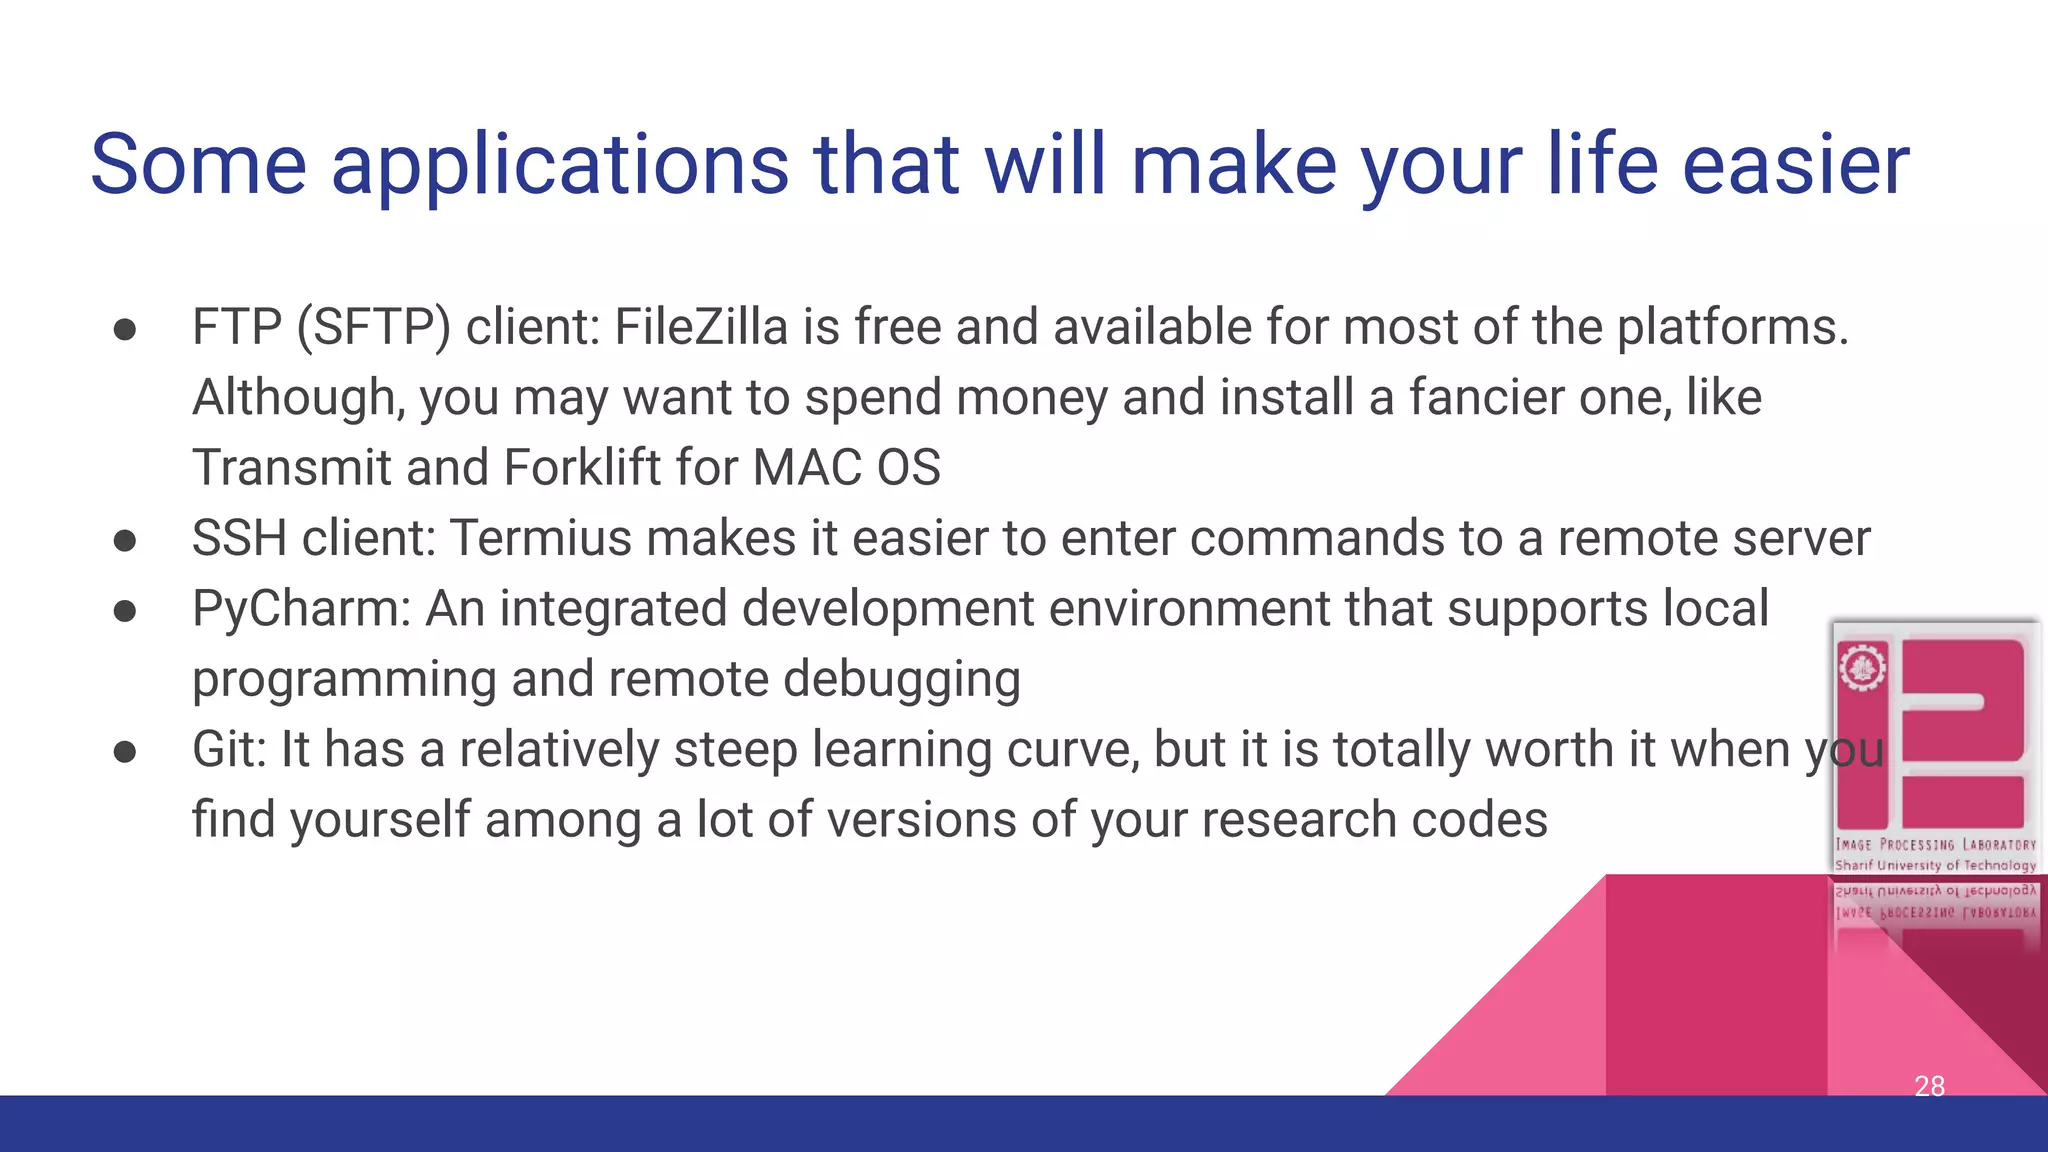
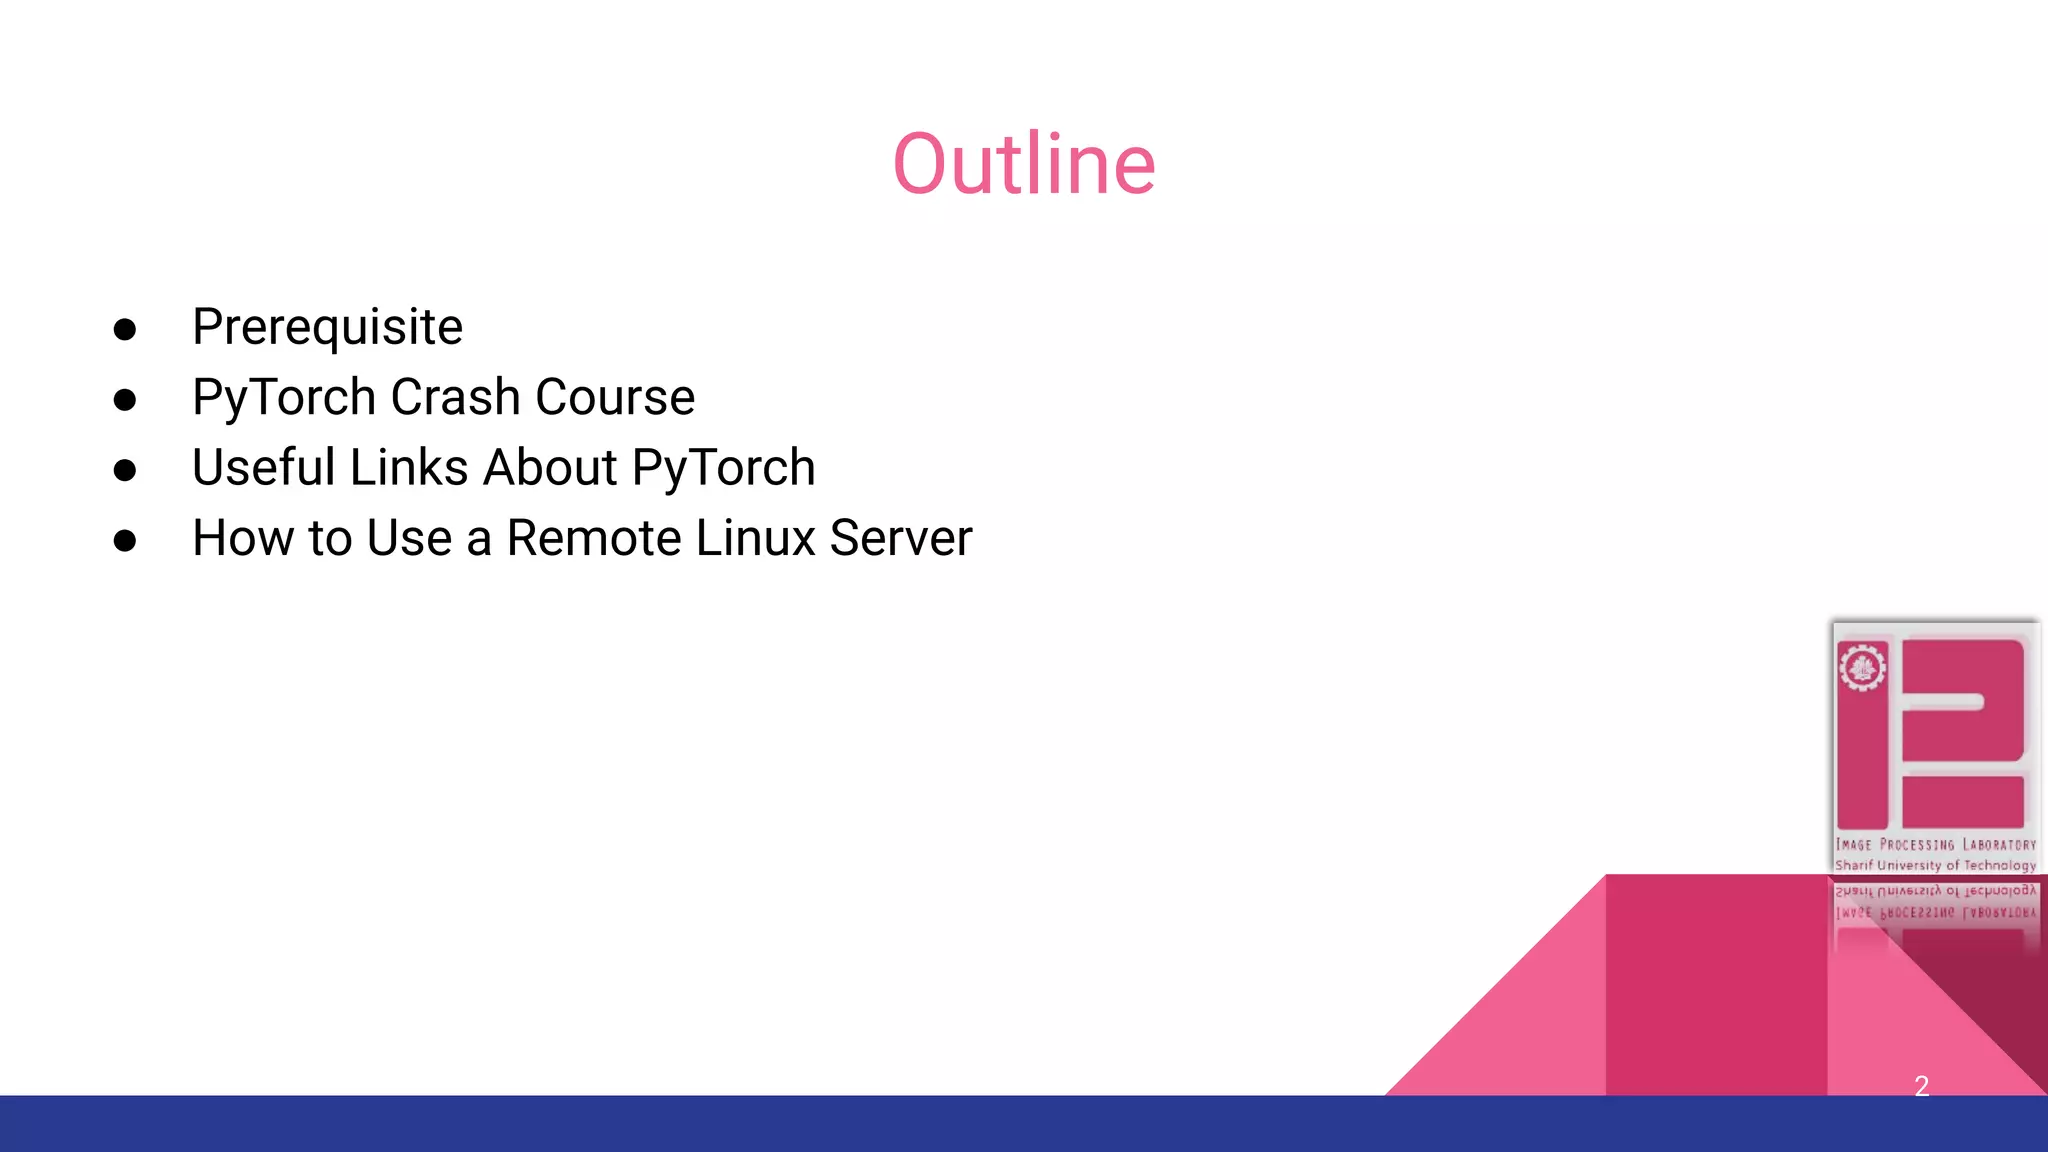
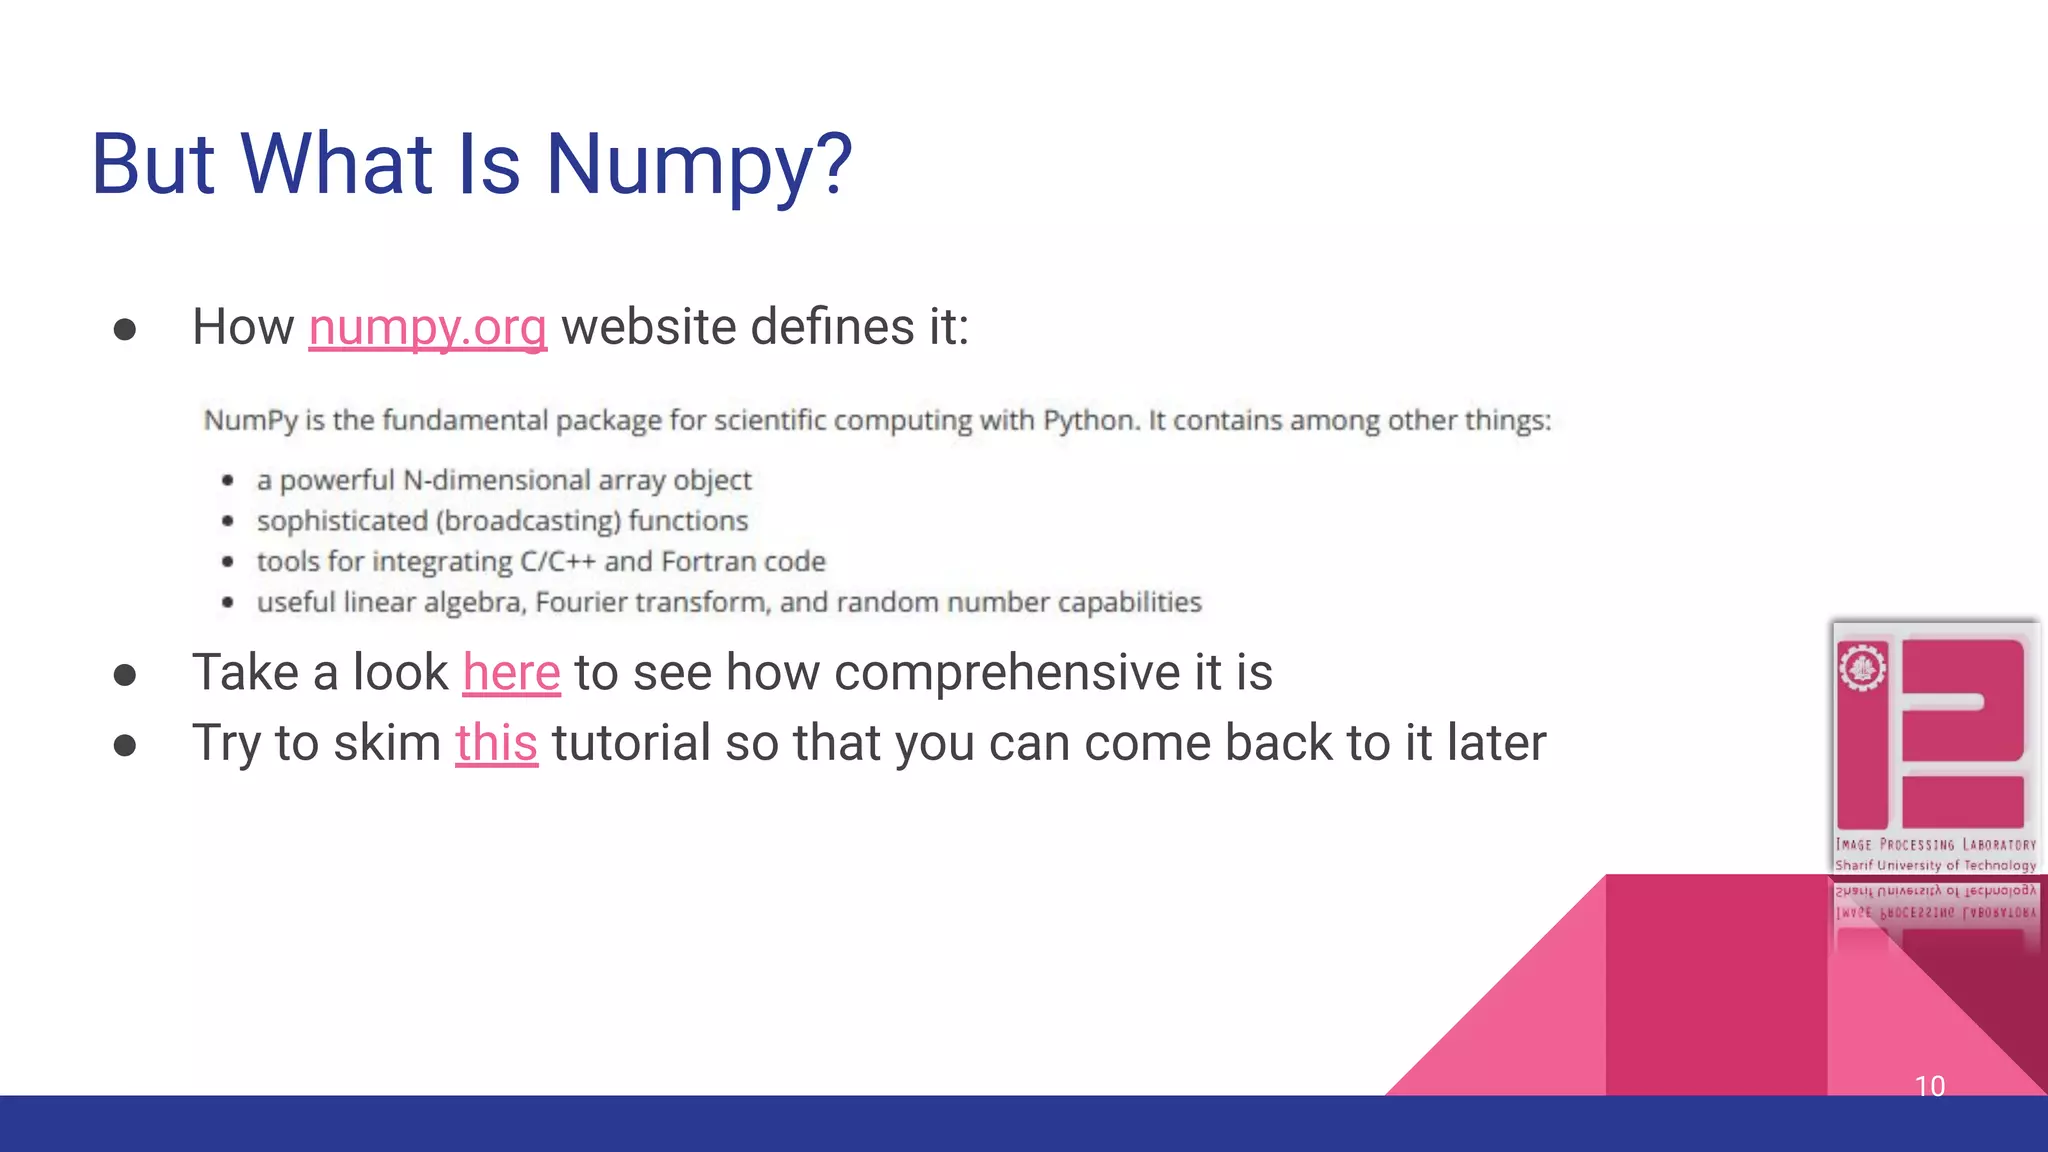
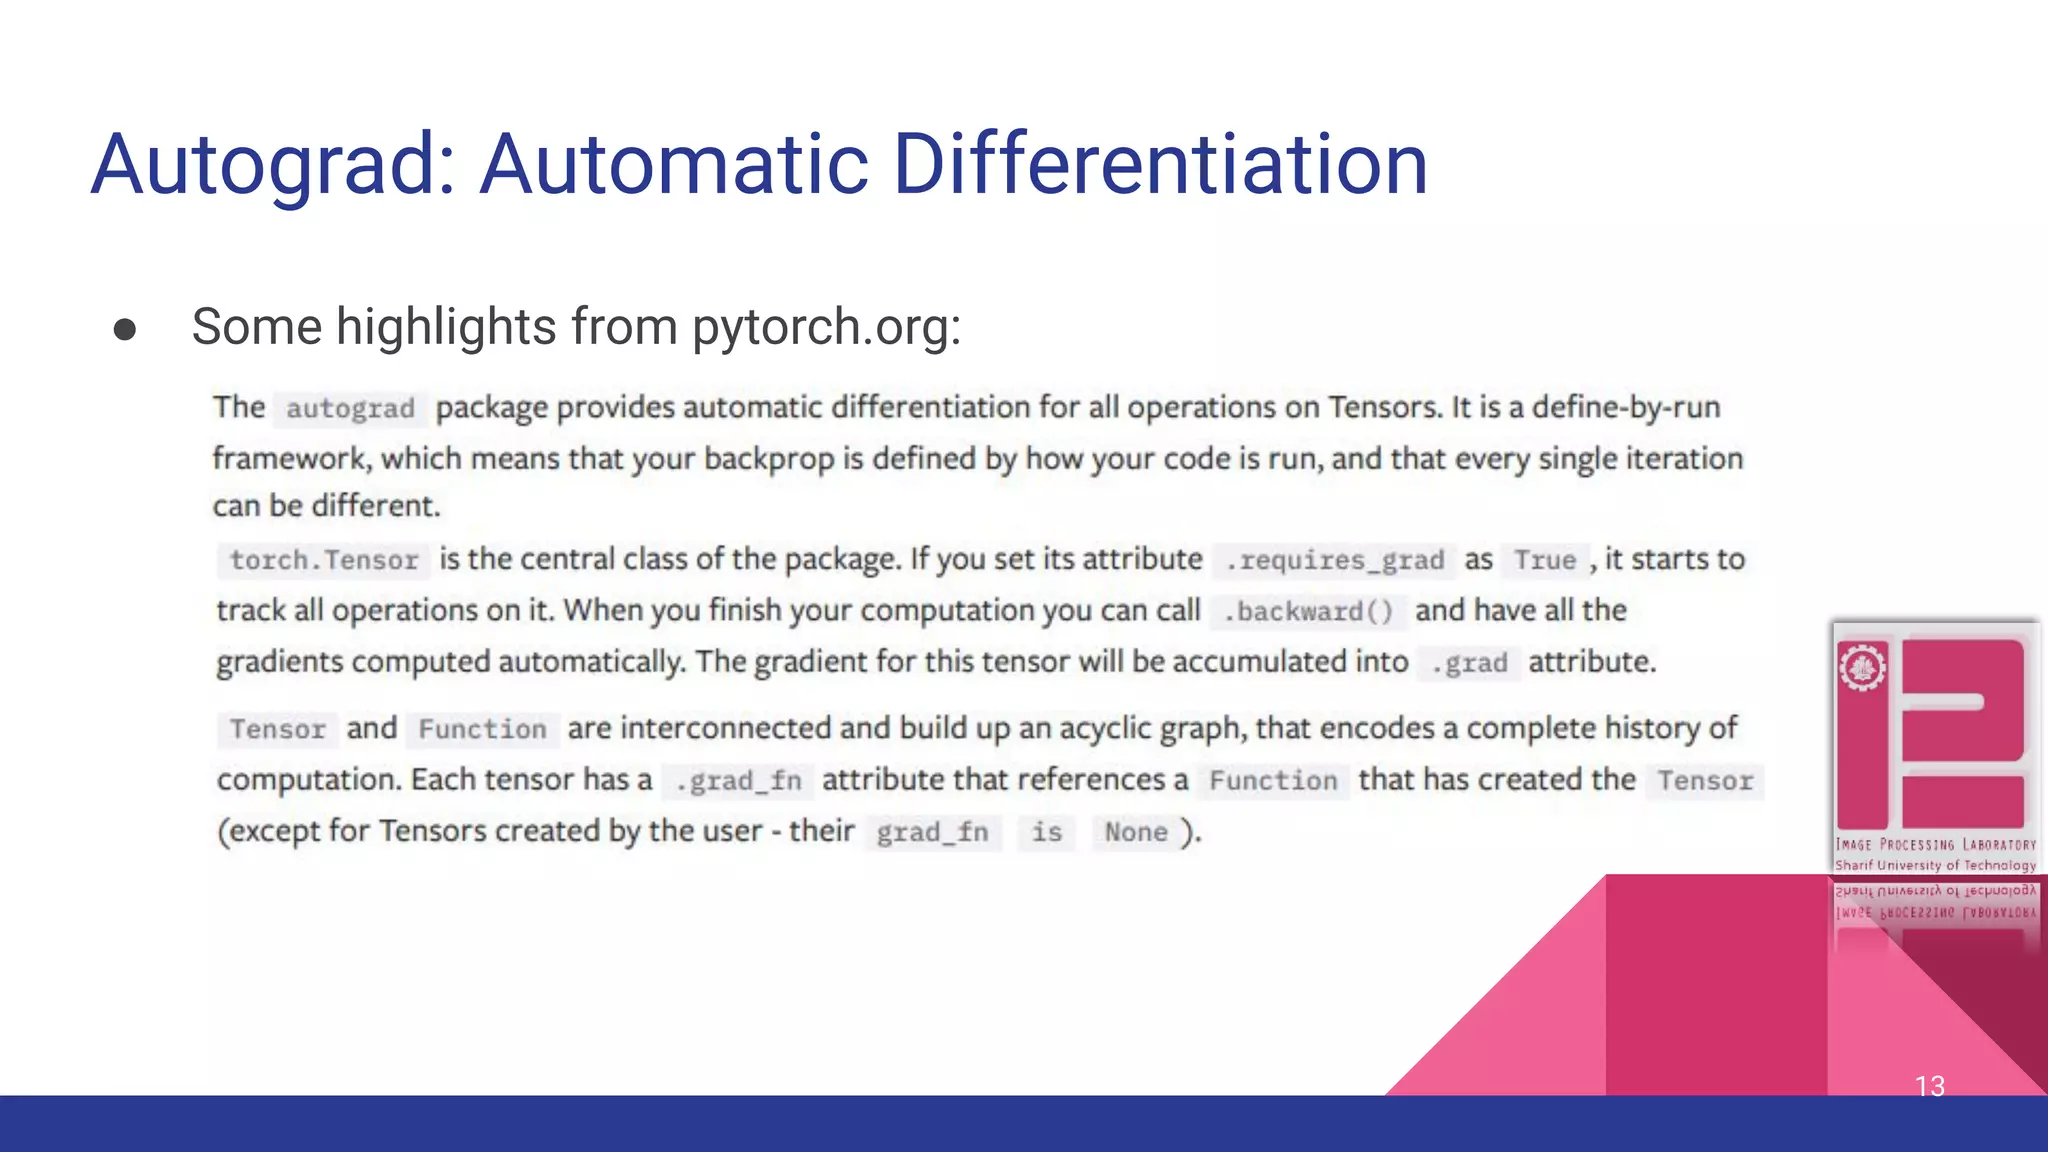
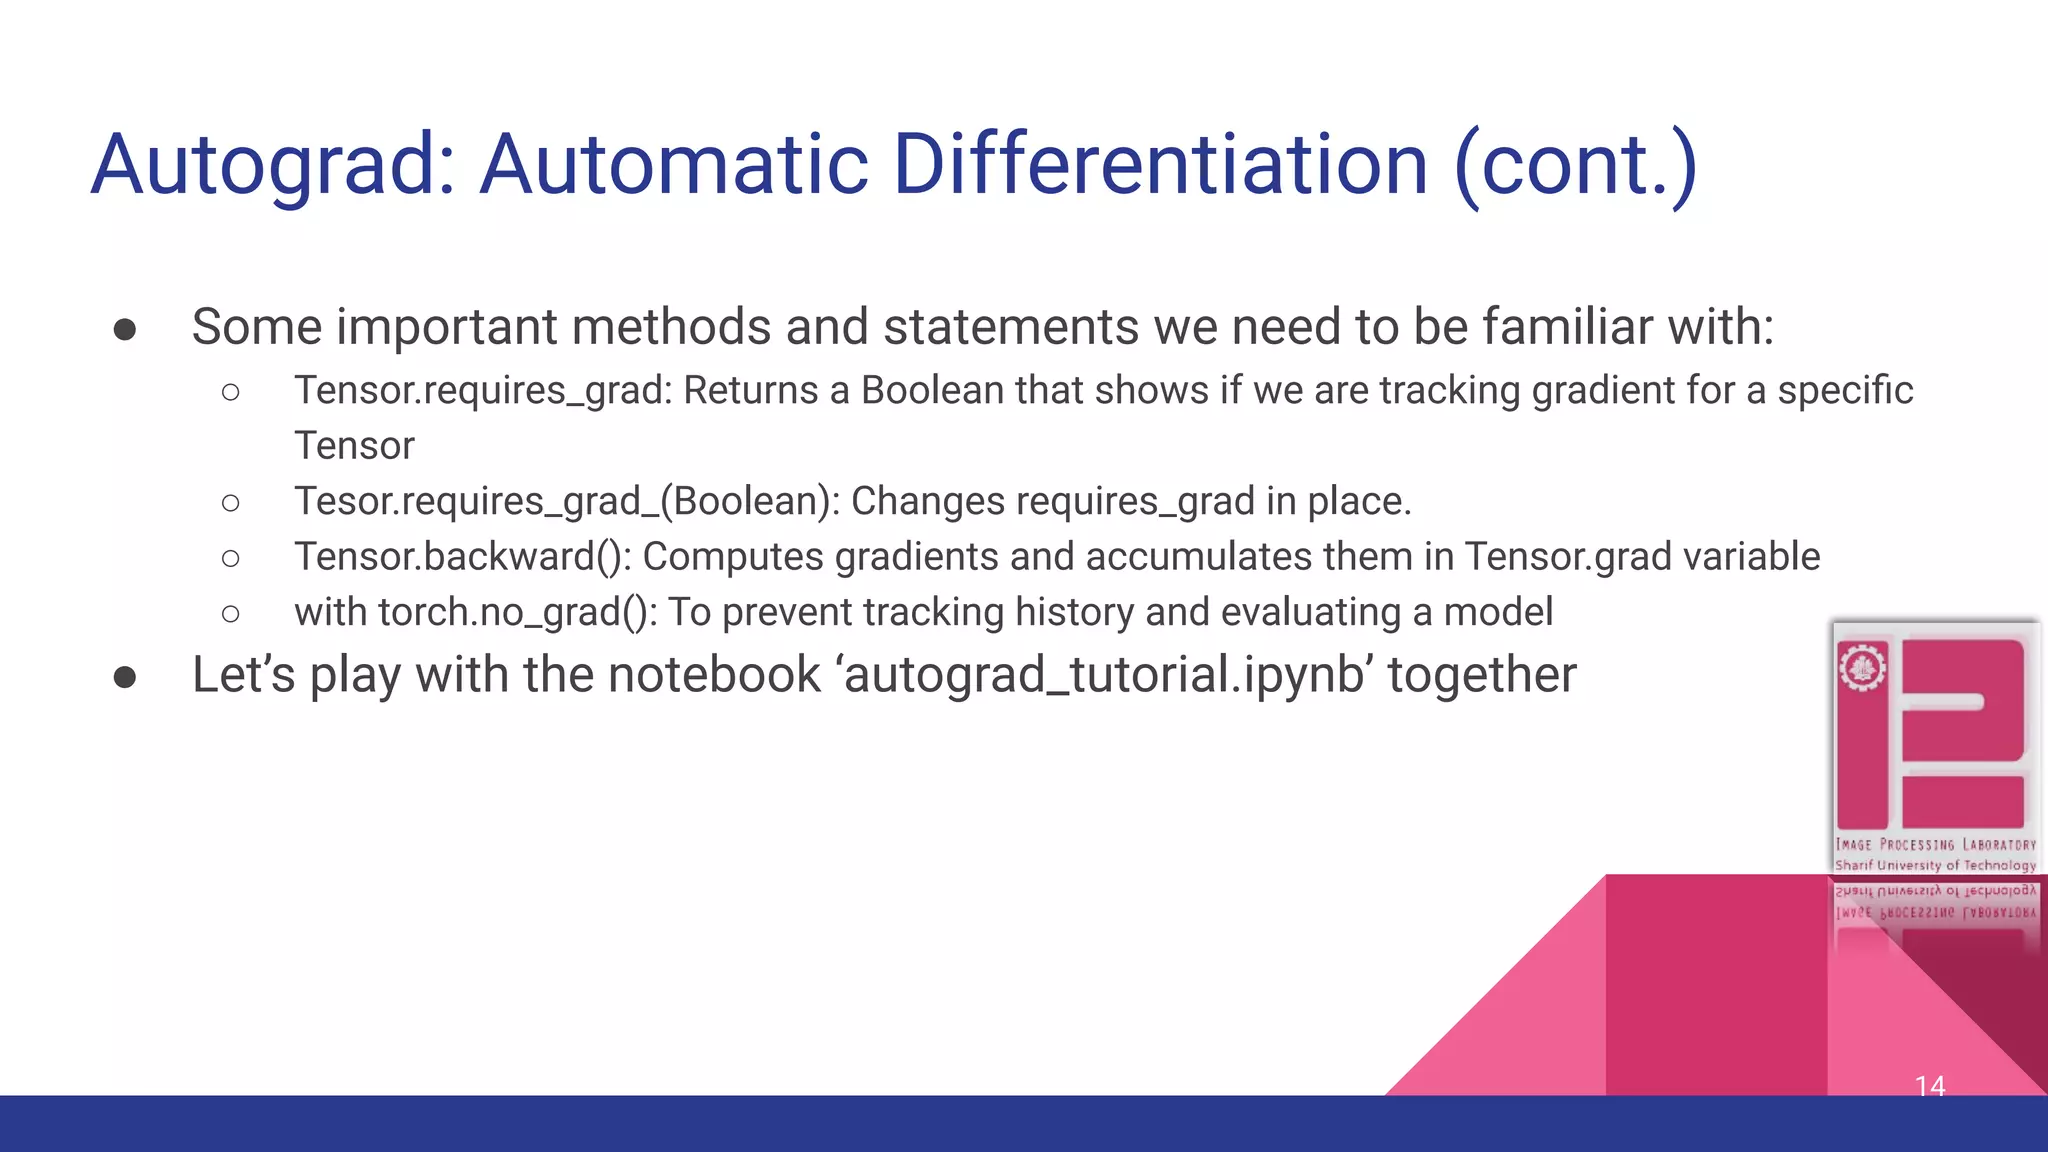
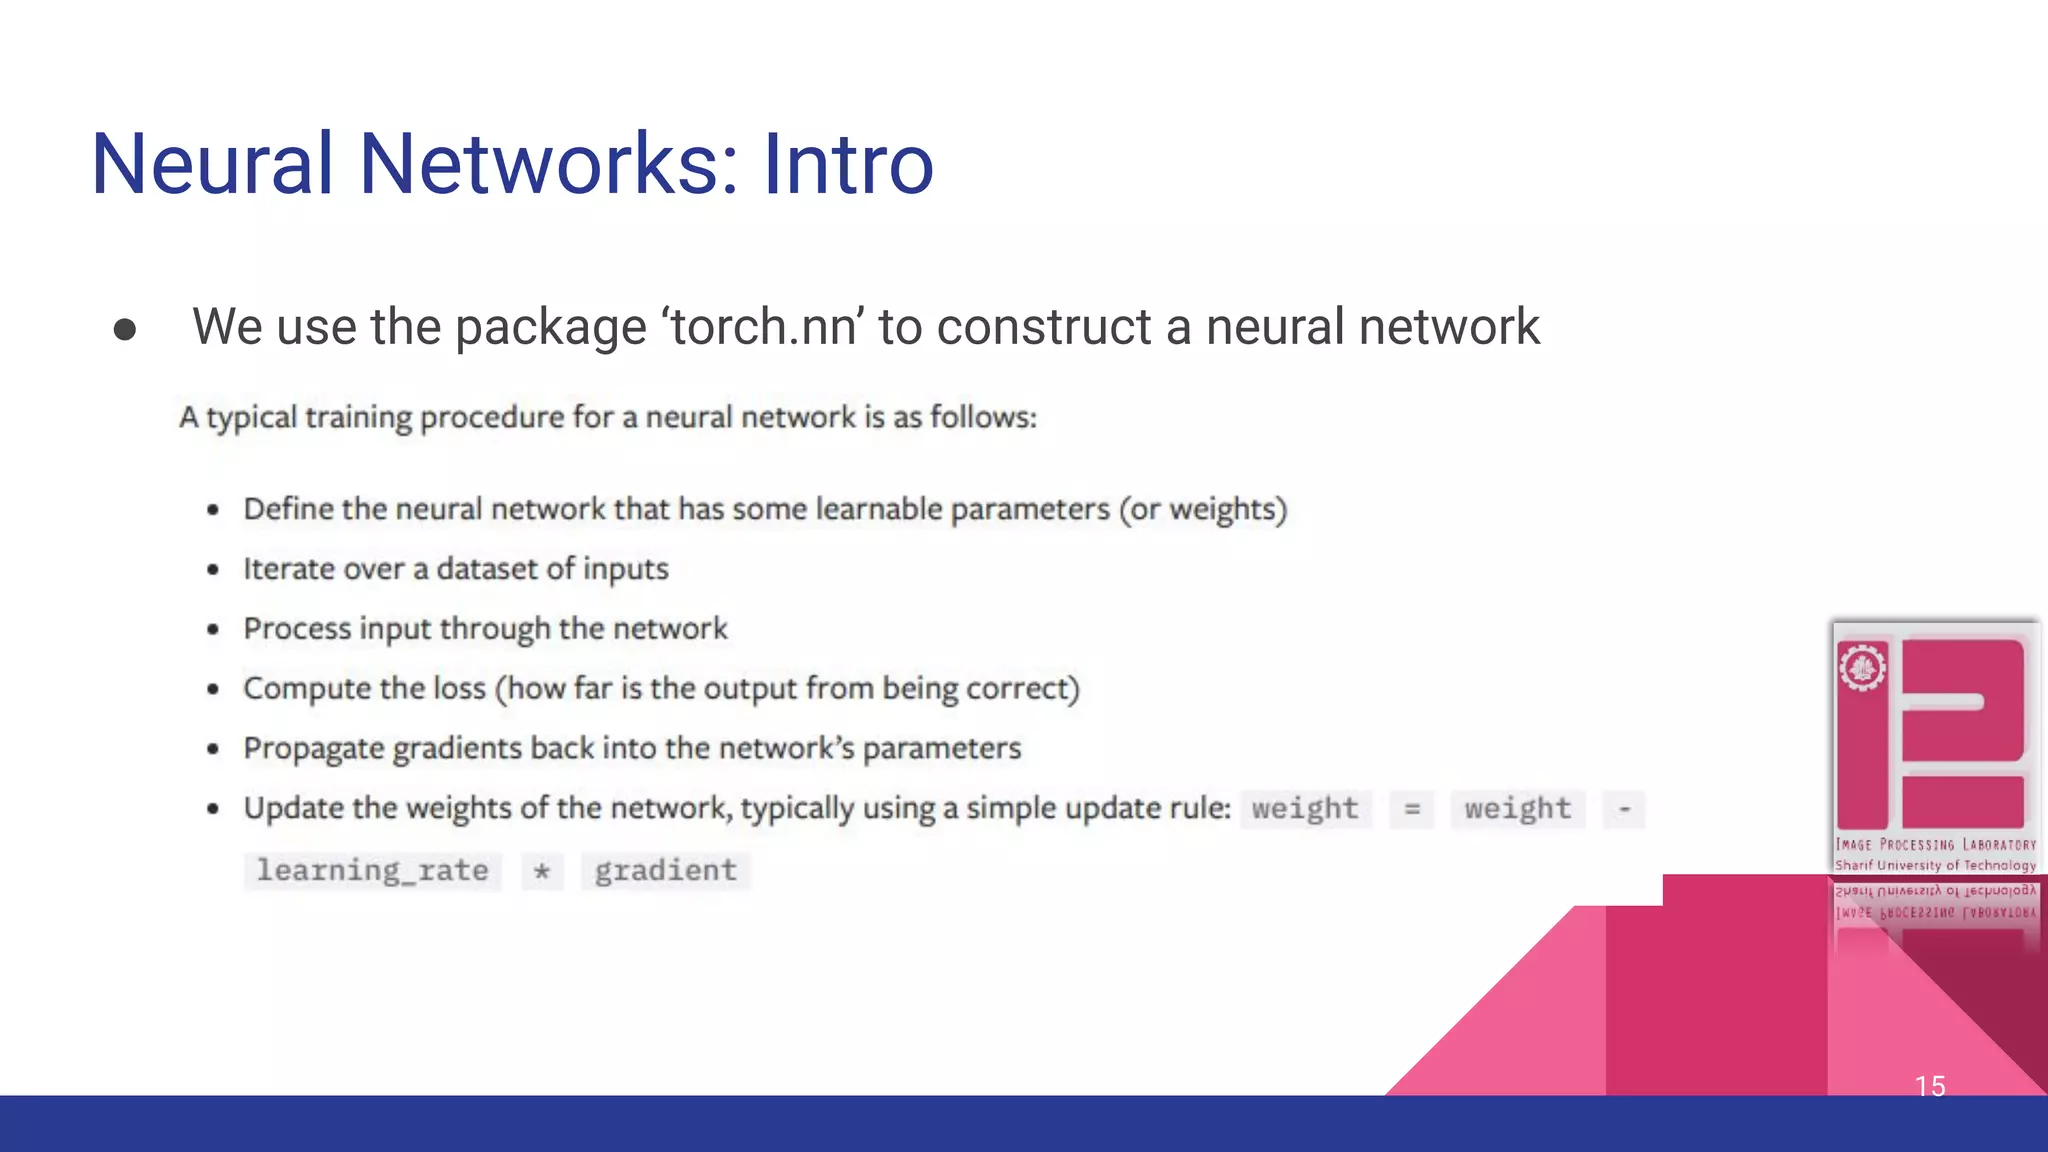
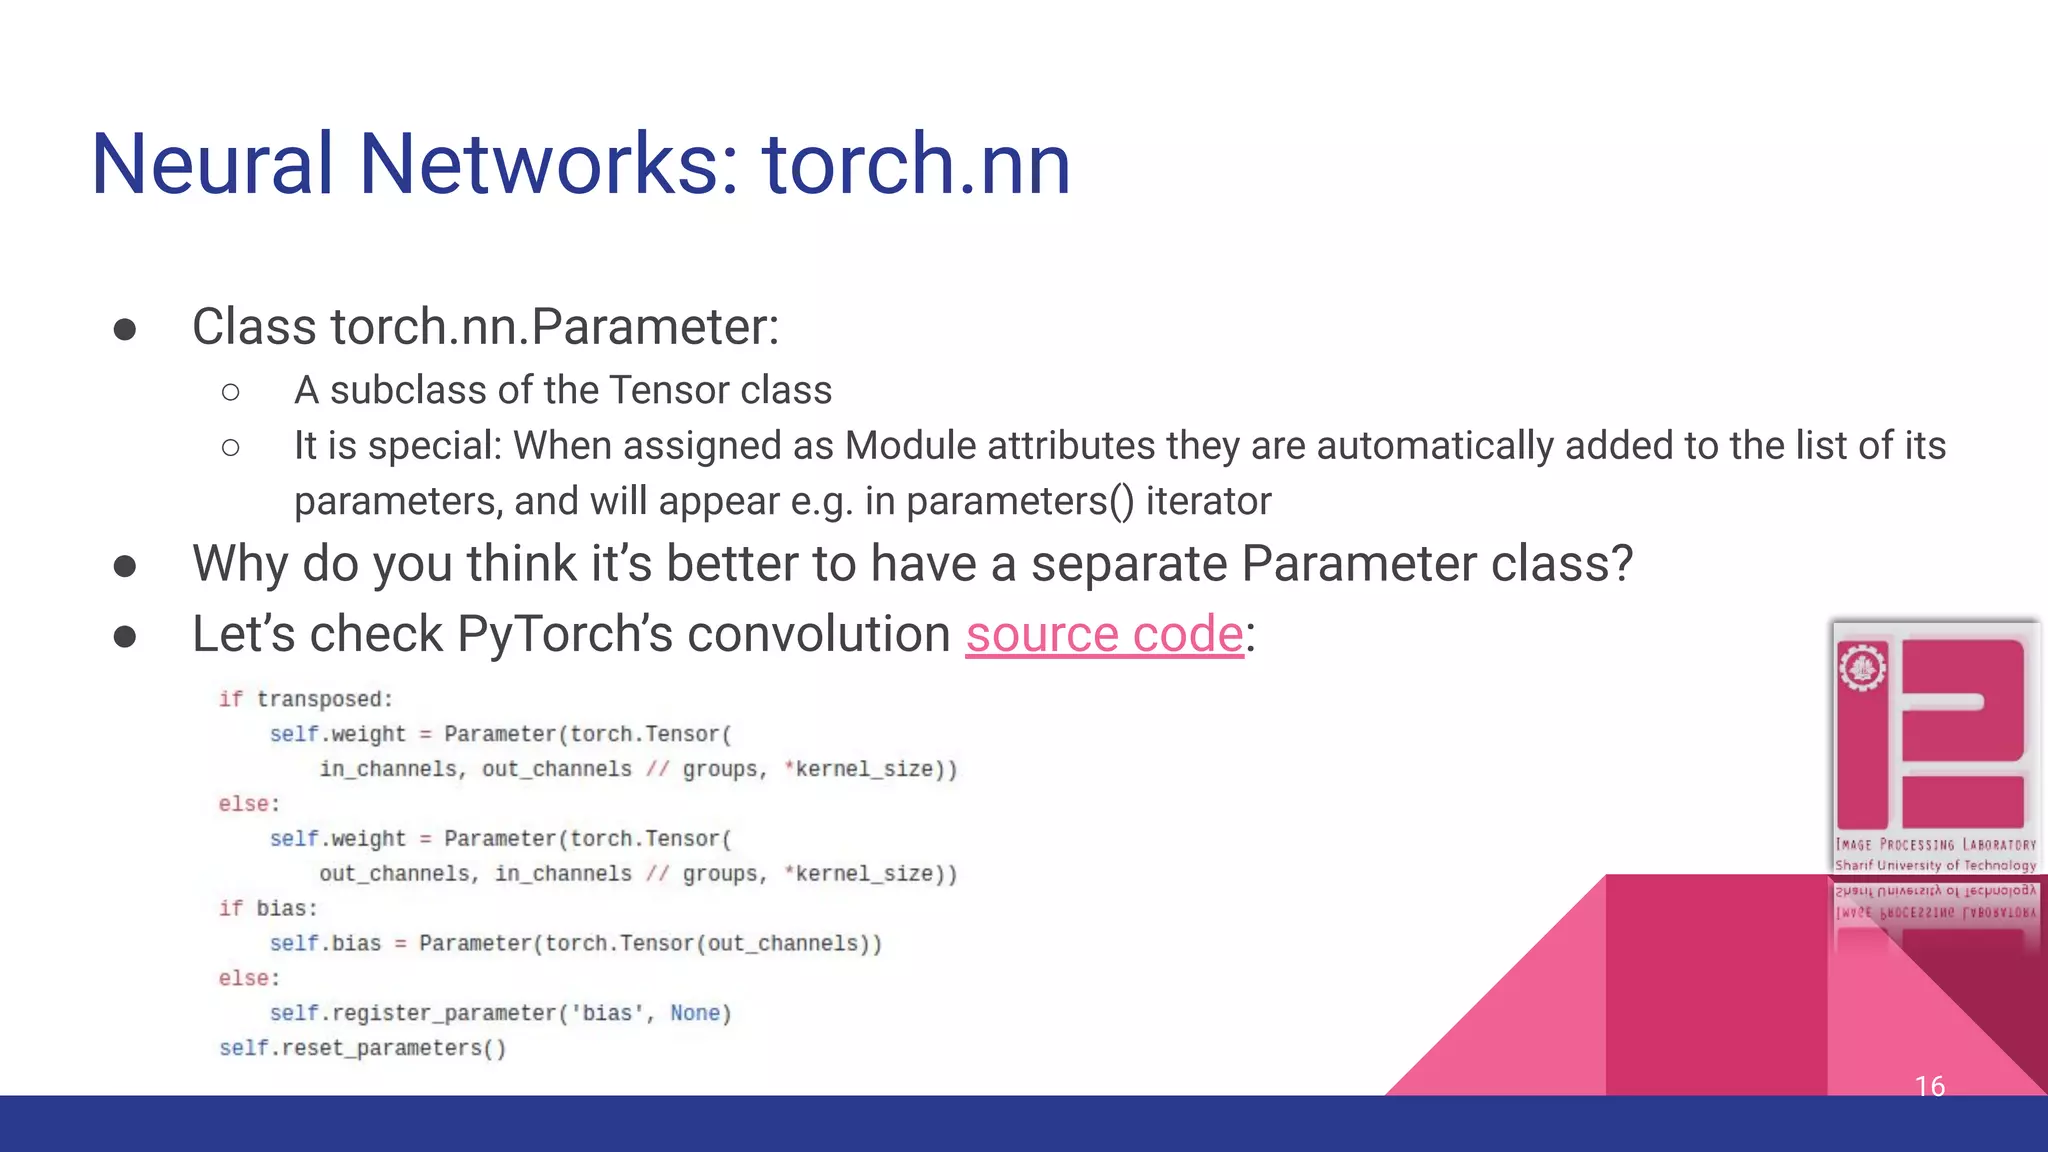
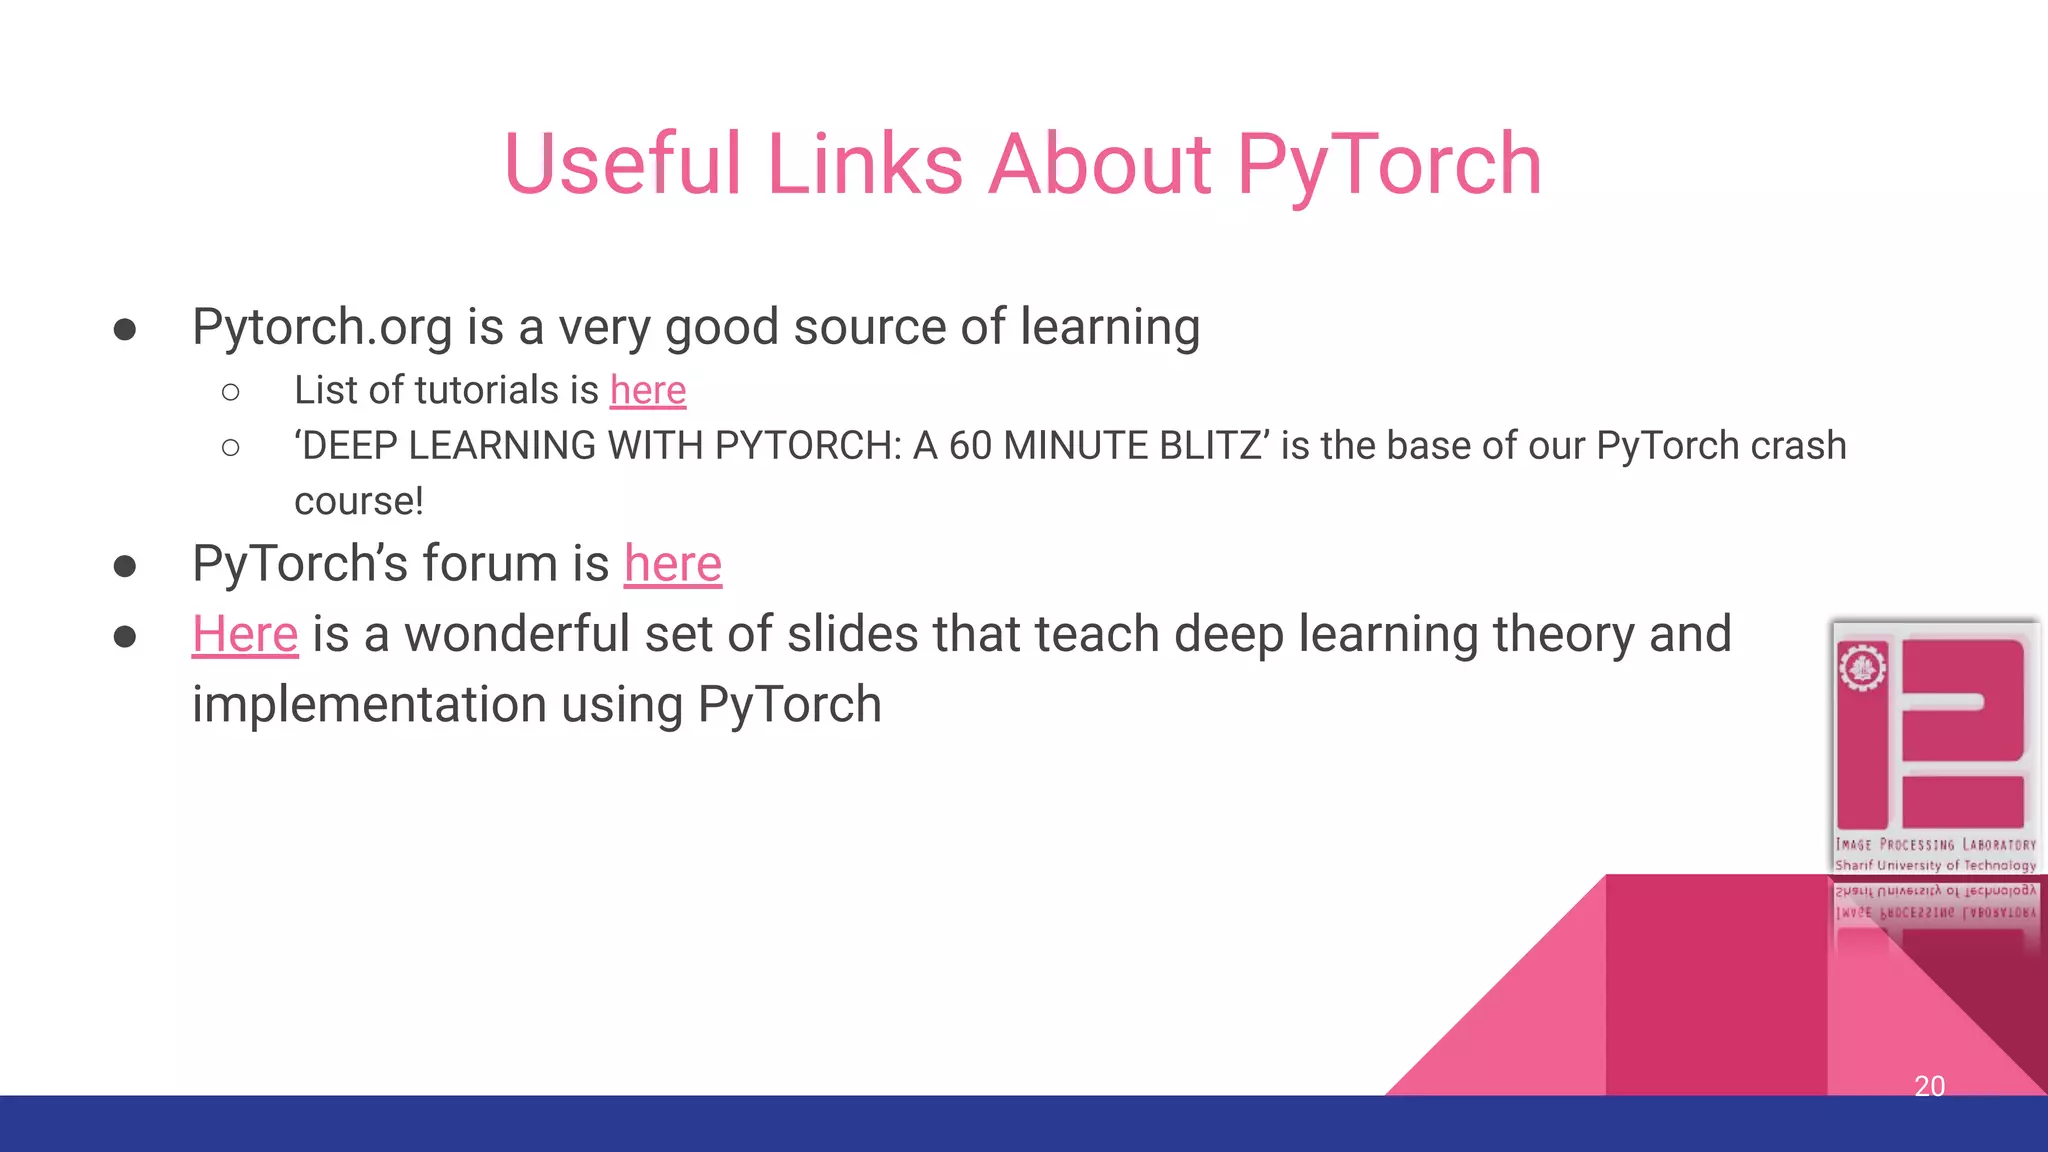
Getting Started with PyTorch For Implementing Deep Learning Supervised by Professor Shohreh Kasaei <pkasaei@gmail.com> Written by Nader Karimi Bavandpour <nader.karimi.b@gmail.com> Image Processing Lab, Sharif University of Technology
Outline ● Prerequisite ● PyTorch Crash Course ● Useful Links About PyTorch ● How to Use a Remote Linux Server 2
Prerequisite ● Virtual envs, conda, pypi, etc ● Installing PyTorch: ○ Go to pytorch.org and let them redefine the simplicity for you 3
Prerequisite (cont.) ● We have prepared some Jupyter notebooks for you to play with in the rest. If you install Anaconda, you will already have Jupyter notebook available on your system. ● To use it with a specific virtual-env, first activate that env, and then enter this command: python -m ipykernel install --user --name=my-kernel-name. Then activate the defined kernel your jupyter notebook. (my new kernel name is tiramisu_ipk). See here for more information. ● Type jupyter notebook launch Jupyter 4
Prerequisite (cont.) ● 5
Prerequisite (cont.) ● If you are not interested in using Jupyter notebook, you can turn the notebook into a .py file easily. 6
PyTorch Crash Course 7
What Is PyTorch? 8
But What Is Numpy? ● Adds support for large, multi-dimensional arrays and matrices, along with a large collection of high-level mathematical functions to operate on these arrays to python ● It’s ancestor project was started in 1995 ● Written in C language ● Open source 9
But What Is Numpy? ● How numpy.org website defines it: ● Take a look here to see how comprehensive it is ● Try to skim this tutorial so that you can come back to it later 10
Numpy and torch.Tensor Are Similar ● Let’s play with ‘numpy_tensor.ipynb’ notebook together 11
The Tensor Class ● Indexing, creating, in place, item(), cpu and gpu, autograd…. Squeeze, numpy bridge, variable class ● Please see here for more information 12
Autograd: Automatic Differentiation ● Some highlights from pytorch.org: 13
Autograd: Automatic Differentiation (cont.) ● Some important methods and statements we need to be familiar with: ○ Tensor.requires_grad: Returns a Boolean that shows if we are tracking gradient for a specific Tensor ○ Tesor.requires_grad_(Boolean): Changes requires_grad in place. ○ Tensor.backward(): Computes gradients and accumulates them in Tensor.grad variable ○ with torch.no_grad(): To prevent tracking history and evaluating a model ● Let’s play with the notebook ‘autograd_tutorial.ipynb’ together 14
Neural Networks: Intro ● We use the package ‘torch.nn’ to construct a neural network 15
Neural Networks: torch.nn ● Class torch.nn.Parameter: ○ A subclass of the Tensor class ○ It is special: When assigned as Module attributes they are automatically added to the list of its parameters, and will appear e.g. in parameters() iterator ● Why do you think it’s better to have a separate Parameter class? ● Let’s check PyTorch’s convolution source code: 16
Neural Networks: torch.nn (cont.) ● Torch.nn is base class for all neural network modules ● Your models should also subclass this class ● Useful methods and classes that you should be familiar with: ○ add_module(name, module) ○ apply(fn) ○ cpu() ○ cuda(device=None) ○ eval(): Sets the module in evaluation mode. Some modules, like dropout and batch-norm change behaviour in eval mode. ○ modules(): Returns an iterator over all modules in the network ○ parameters(recurse=True): Returns an iterator over module parameters ○ ModuleList class 17
Neural Networks: torch.nn (cont.) ● Let’s play with the notebook ‘neural_networks_tutorial’ together ● You can check Neural Transfer example at pytorch.org, which is, well, wonderful ● Check more neural network examples here 18
TensorboardX ● A professional logging technology ● It’s github page which is here which contains installation instructions ● It’s documentation page is here ● Usage example in ‘cifar10_tutorial.ipynb’ notebook 19
Useful Links About PyTorch ● Pytorch.org is a very good source of learning ○ List of tutorials is here ○ ‘DEEP LEARNING WITH PYTORCH: A 60 MINUTE BLITZ’ is the base of our PyTorch crash course! ● PyTorch’s forum is here ● Here is a wonderful set of slides that teach deep learning theory and implementation using PyTorch 20
How to Use a Remote Linux Server 21
Typical Operations You Will Probably Need ● Copying your source code to the server ● Copying your files, e.g., datasets to the server ● Copying result files from server back to your machine ● Install needed libraries, start running your code ● Check if some piece of server’s hardware is available ● ... 22
Some Useful Linux Commands 23 Command Task Options ([.] means optional) cd Change Directory pwd Print Working Directory ls List contents of a directory [path], [-{a,l,h,...}] touch Create a file [parent_directory/] filename nano Simple text editor filename cat See content of a file filename head See some of lines from top filename tail See some of last lines filename
Some Useful Linux Commands (cont.) ● Watch -n1 {command-name}. Example: watch -n1 gpustat, shows result of a command with periodic refresh ● Screen {[-x screen-name], [list]}: Use this so that your program keeps running while you are far far away ○ Examples: ■ Screen: create a new screen and go to it ■ Screen list: list all of available screens (attached or detached) ■ Screen -x screen-name: attach to an available screen ● gpustat: install by pip install gpustat ○ Watch -n1 gpustat is a useful combination 24
Some Useful Linux Commands (cont.) ● Create a new conda virtualenv ○ conda create -n yourenvname python=x.x anaconda ■ Example: conda create -n myenv python=3.6 anaconda ● Activate a conda virtualenv ○ Source activate yourenvname ● Deactivate a conda virtualenv ○ Source deactivate ● Install packages on a specific virtualenv: ○ First activate that env, then proceed like normal 25
Some Useful Linux Commands (cont.) ● To run your code: ● ‘tee’ command clones standard output 26
Some Useful Linux Commands (cont.) ● To run tensorboardX: ○ Tensorboard --logdir {log-directory} ● Set which GPU you want to use: ○ export CUDA_VISIBLE_DEVICES=0 (or =1) ● Use scp (secure copy) to copy files between server and your machine 27
Some applications that will make your life easier ● FTP (SFTP) client: FileZilla is free and available for most of the platforms. Although, you may want to spend money and install a fancier one, like Transmit and Forklift for MAC OS ● SSH client: Termius makes it easier to enter commands to a remote server ● PyCharm: An integrated development environment that supports local programming and remote debugging ● Git: It has a relatively steep learning curve, but it is totally worth it when you find yourself among a lot of versions of your research codes 28
How to Configure PyCharm ● Fill this fields. Then right-click on your server’s name and click set as default 29
How to Configure PyCharm (cont.) ● Fill this fields. Then right-click on your server’s name and click set as default 30
How to Configure PyCharm (cont.) ● You should also set the remote interpreter in your IDE 31
How to Configure PyCharm (cont.) ● How to find your interpreter’s path at the server: 32

PyTorch crash course

  • 1.
    Getting Started withPyTorch For Implementing Deep Learning Supervised by Professor Shohreh Kasaei <pkasaei@gmail.com> Written by Nader Karimi Bavandpour <nader.karimi.b@gmail.com> Image Processing Lab, Sharif University of Technology
  • 2.
    Outline ● Prerequisite ● PyTorchCrash Course ● Useful Links About PyTorch ● How to Use a Remote Linux Server 2
  • 3.
    Prerequisite ● Virtual envs,conda, pypi, etc ● Installing PyTorch: ○ Go to pytorch.org and let them redefine the simplicity for you 3
  • 4.
    Prerequisite (cont.) ● Wehave prepared some Jupyter notebooks for you to play with in the rest. If you install Anaconda, you will already have Jupyter notebook available on your system. ● To use it with a specific virtual-env, first activate that env, and then enter this command: python -m ipykernel install --user --name=my-kernel-name. Then activate the defined kernel your jupyter notebook. (my new kernel name is tiramisu_ipk). See here for more information. ● Type jupyter notebook launch Jupyter 4
  • 5.
  • 6.
    Prerequisite (cont.) ● Ifyou are not interested in using Jupyter notebook, you can turn the notebook into a .py file easily. 6
  • 7.
  • 8.
  • 9.
    But What IsNumpy? ● Adds support for large, multi-dimensional arrays and matrices, along with a large collection of high-level mathematical functions to operate on these arrays to python ● It’s ancestor project was started in 1995 ● Written in C language ● Open source 9
  • 10.
    But What IsNumpy? ● How numpy.org website defines it: ● Take a look here to see how comprehensive it is ● Try to skim this tutorial so that you can come back to it later 10
  • 11.
    Numpy and torch.TensorAre Similar ● Let’s play with ‘numpy_tensor.ipynb’ notebook together 11
  • 12.
    The Tensor Class ●Indexing, creating, in place, item(), cpu and gpu, autograd…. Squeeze, numpy bridge, variable class ● Please see here for more information 12
  • 13.
    Autograd: Automatic Differentiation ●Some highlights from pytorch.org: 13
  • 14.
    Autograd: Automatic Differentiation(cont.) ● Some important methods and statements we need to be familiar with: ○ Tensor.requires_grad: Returns a Boolean that shows if we are tracking gradient for a specific Tensor ○ Tesor.requires_grad_(Boolean): Changes requires_grad in place. ○ Tensor.backward(): Computes gradients and accumulates them in Tensor.grad variable ○ with torch.no_grad(): To prevent tracking history and evaluating a model ● Let’s play with the notebook ‘autograd_tutorial.ipynb’ together 14
  • 15.
    Neural Networks: Intro ●We use the package ‘torch.nn’ to construct a neural network 15
  • 16.
    Neural Networks: torch.nn ●Class torch.nn.Parameter: ○ A subclass of the Tensor class ○ It is special: When assigned as Module attributes they are automatically added to the list of its parameters, and will appear e.g. in parameters() iterator ● Why do you think it’s better to have a separate Parameter class? ● Let’s check PyTorch’s convolution source code: 16
  • 17.
    Neural Networks: torch.nn(cont.) ● Torch.nn is base class for all neural network modules ● Your models should also subclass this class ● Useful methods and classes that you should be familiar with: ○ add_module(name, module) ○ apply(fn) ○ cpu() ○ cuda(device=None) ○ eval(): Sets the module in evaluation mode. Some modules, like dropout and batch-norm change behaviour in eval mode. ○ modules(): Returns an iterator over all modules in the network ○ parameters(recurse=True): Returns an iterator over module parameters ○ ModuleList class 17
  • 18.
    Neural Networks: torch.nn(cont.) ● Let’s play with the notebook ‘neural_networks_tutorial’ together ● You can check Neural Transfer example at pytorch.org, which is, well, wonderful ● Check more neural network examples here 18
  • 19.
    TensorboardX ● A professionallogging technology ● It’s github page which is here which contains installation instructions ● It’s documentation page is here ● Usage example in ‘cifar10_tutorial.ipynb’ notebook 19
  • 20.
    Useful Links AboutPyTorch ● Pytorch.org is a very good source of learning ○ List of tutorials is here ○ ‘DEEP LEARNING WITH PYTORCH: A 60 MINUTE BLITZ’ is the base of our PyTorch crash course! ● PyTorch’s forum is here ● Here is a wonderful set of slides that teach deep learning theory and implementation using PyTorch 20
  • 21.
    How to Usea Remote Linux Server 21
  • 22.
    Typical Operations YouWill Probably Need ● Copying your source code to the server ● Copying your files, e.g., datasets to the server ● Copying result files from server back to your machine ● Install needed libraries, start running your code ● Check if some piece of server’s hardware is available ● ... 22
  • 23.
    Some Useful LinuxCommands 23 Command Task Options ([.] means optional) cd Change Directory pwd Print Working Directory ls List contents of a directory [path], [-{a,l,h,...}] touch Create a file [parent_directory/] filename nano Simple text editor filename cat See content of a file filename head See some of lines from top filename tail See some of last lines filename
  • 24.
    Some Useful LinuxCommands (cont.) ● Watch -n1 {command-name}. Example: watch -n1 gpustat, shows result of a command with periodic refresh ● Screen {[-x screen-name], [list]}: Use this so that your program keeps running while you are far far away ○ Examples: ■ Screen: create a new screen and go to it ■ Screen list: list all of available screens (attached or detached) ■ Screen -x screen-name: attach to an available screen ● gpustat: install by pip install gpustat ○ Watch -n1 gpustat is a useful combination 24
  • 25.
    Some Useful LinuxCommands (cont.) ● Create a new conda virtualenv ○ conda create -n yourenvname python=x.x anaconda ■ Example: conda create -n myenv python=3.6 anaconda ● Activate a conda virtualenv ○ Source activate yourenvname ● Deactivate a conda virtualenv ○ Source deactivate ● Install packages on a specific virtualenv: ○ First activate that env, then proceed like normal 25
  • 26.
    Some Useful LinuxCommands (cont.) ● To run your code: ● ‘tee’ command clones standard output 26
  • 27.
    Some Useful LinuxCommands (cont.) ● To run tensorboardX: ○ Tensorboard --logdir {log-directory} ● Set which GPU you want to use: ○ export CUDA_VISIBLE_DEVICES=0 (or =1) ● Use scp (secure copy) to copy files between server and your machine 27
  • 28.
    Some applications thatwill make your life easier ● FTP (SFTP) client: FileZilla is free and available for most of the platforms. Although, you may want to spend money and install a fancier one, like Transmit and Forklift for MAC OS ● SSH client: Termius makes it easier to enter commands to a remote server ● PyCharm: An integrated development environment that supports local programming and remote debugging ● Git: It has a relatively steep learning curve, but it is totally worth it when you find yourself among a lot of versions of your research codes 28
  • 29.
    How to ConfigurePyCharm ● Fill this fields. Then right-click on your server’s name and click set as default 29
  • 30.
    How to ConfigurePyCharm (cont.) ● Fill this fields. Then right-click on your server’s name and click set as default 30
  • 31.
    How to ConfigurePyCharm (cont.) ● You should also set the remote interpreter in your IDE 31
  • 32.
    How to ConfigurePyCharm (cont.) ● How to find your interpreter’s path at the server: 32