Downloaded 24 times


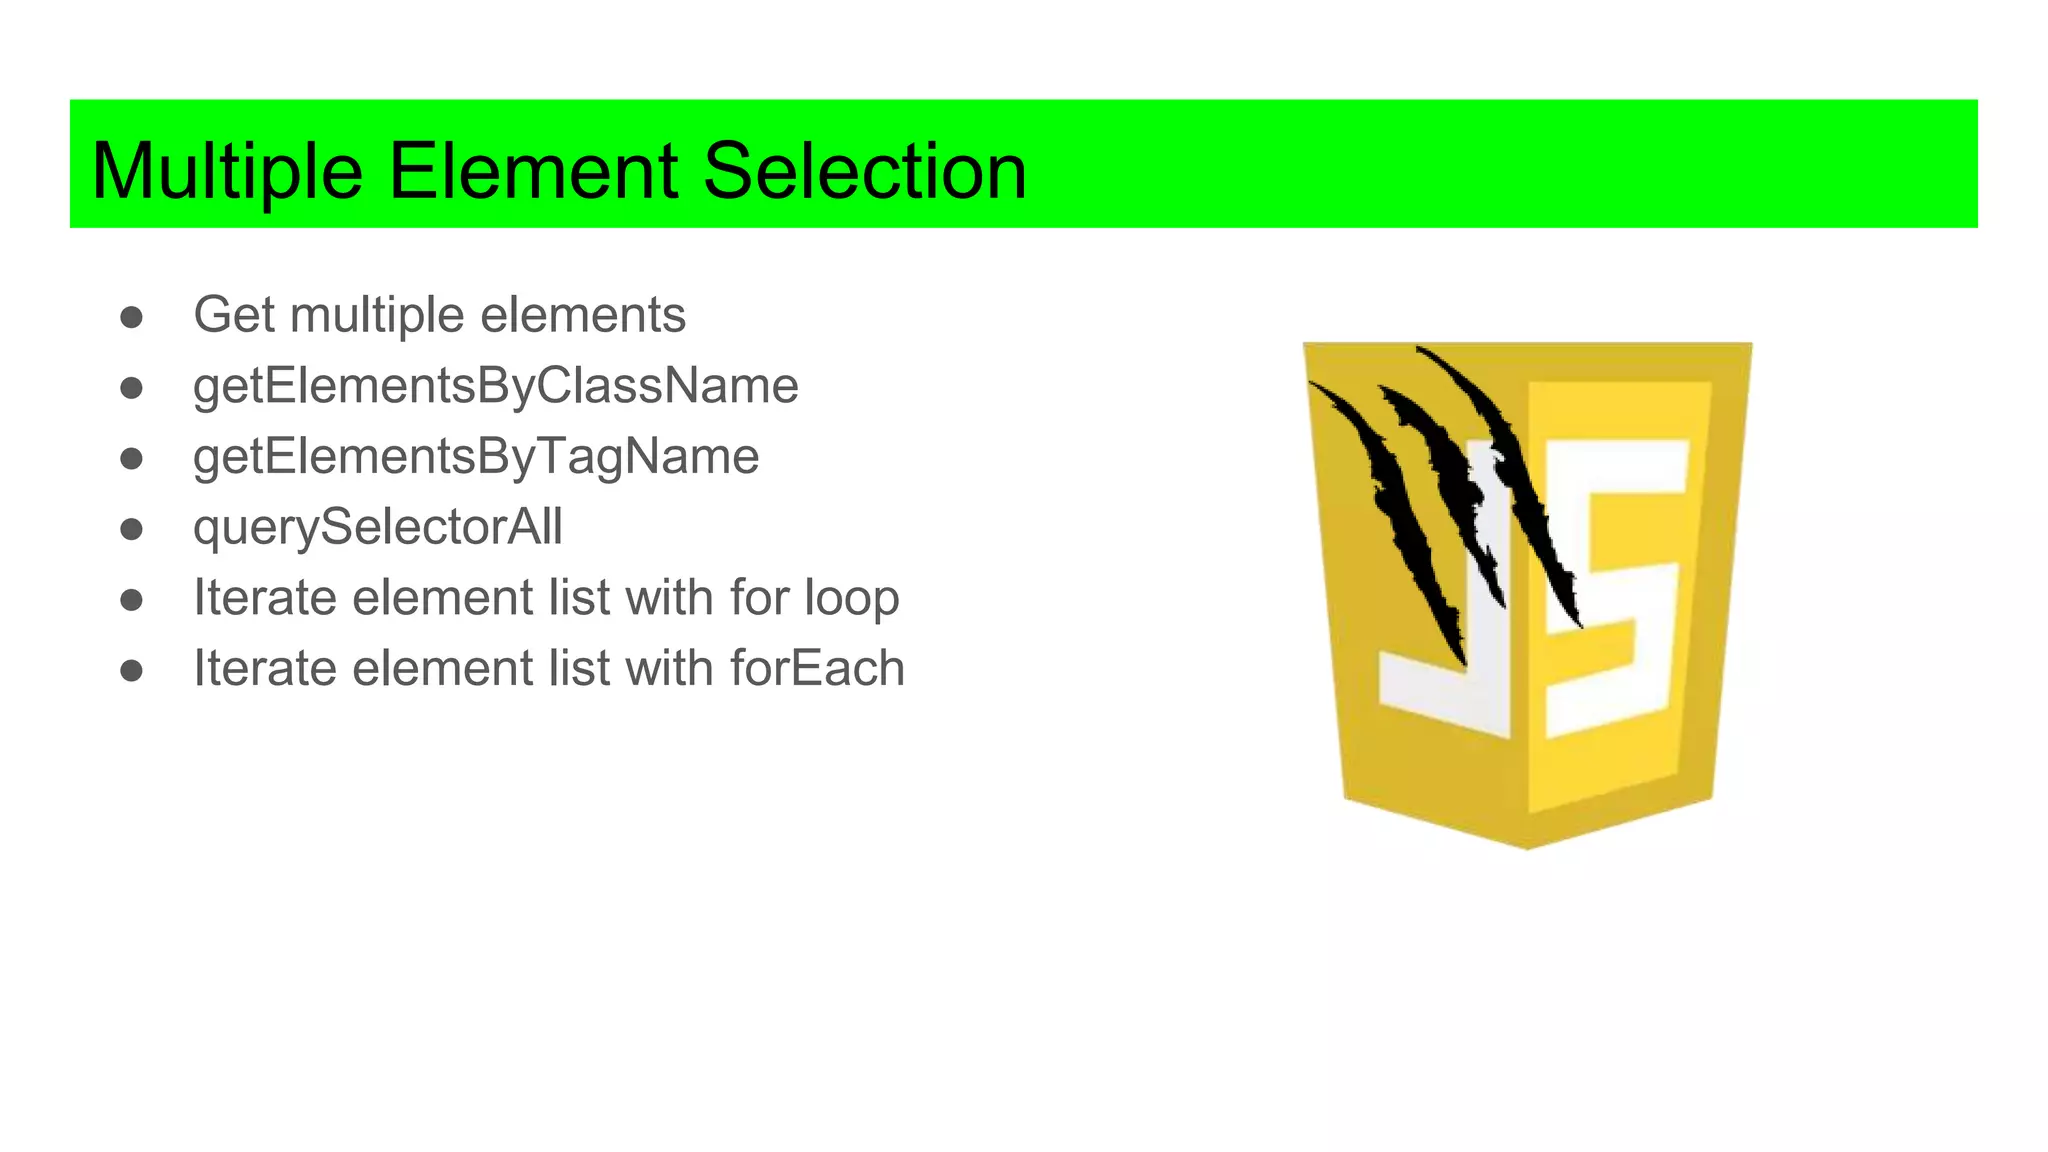
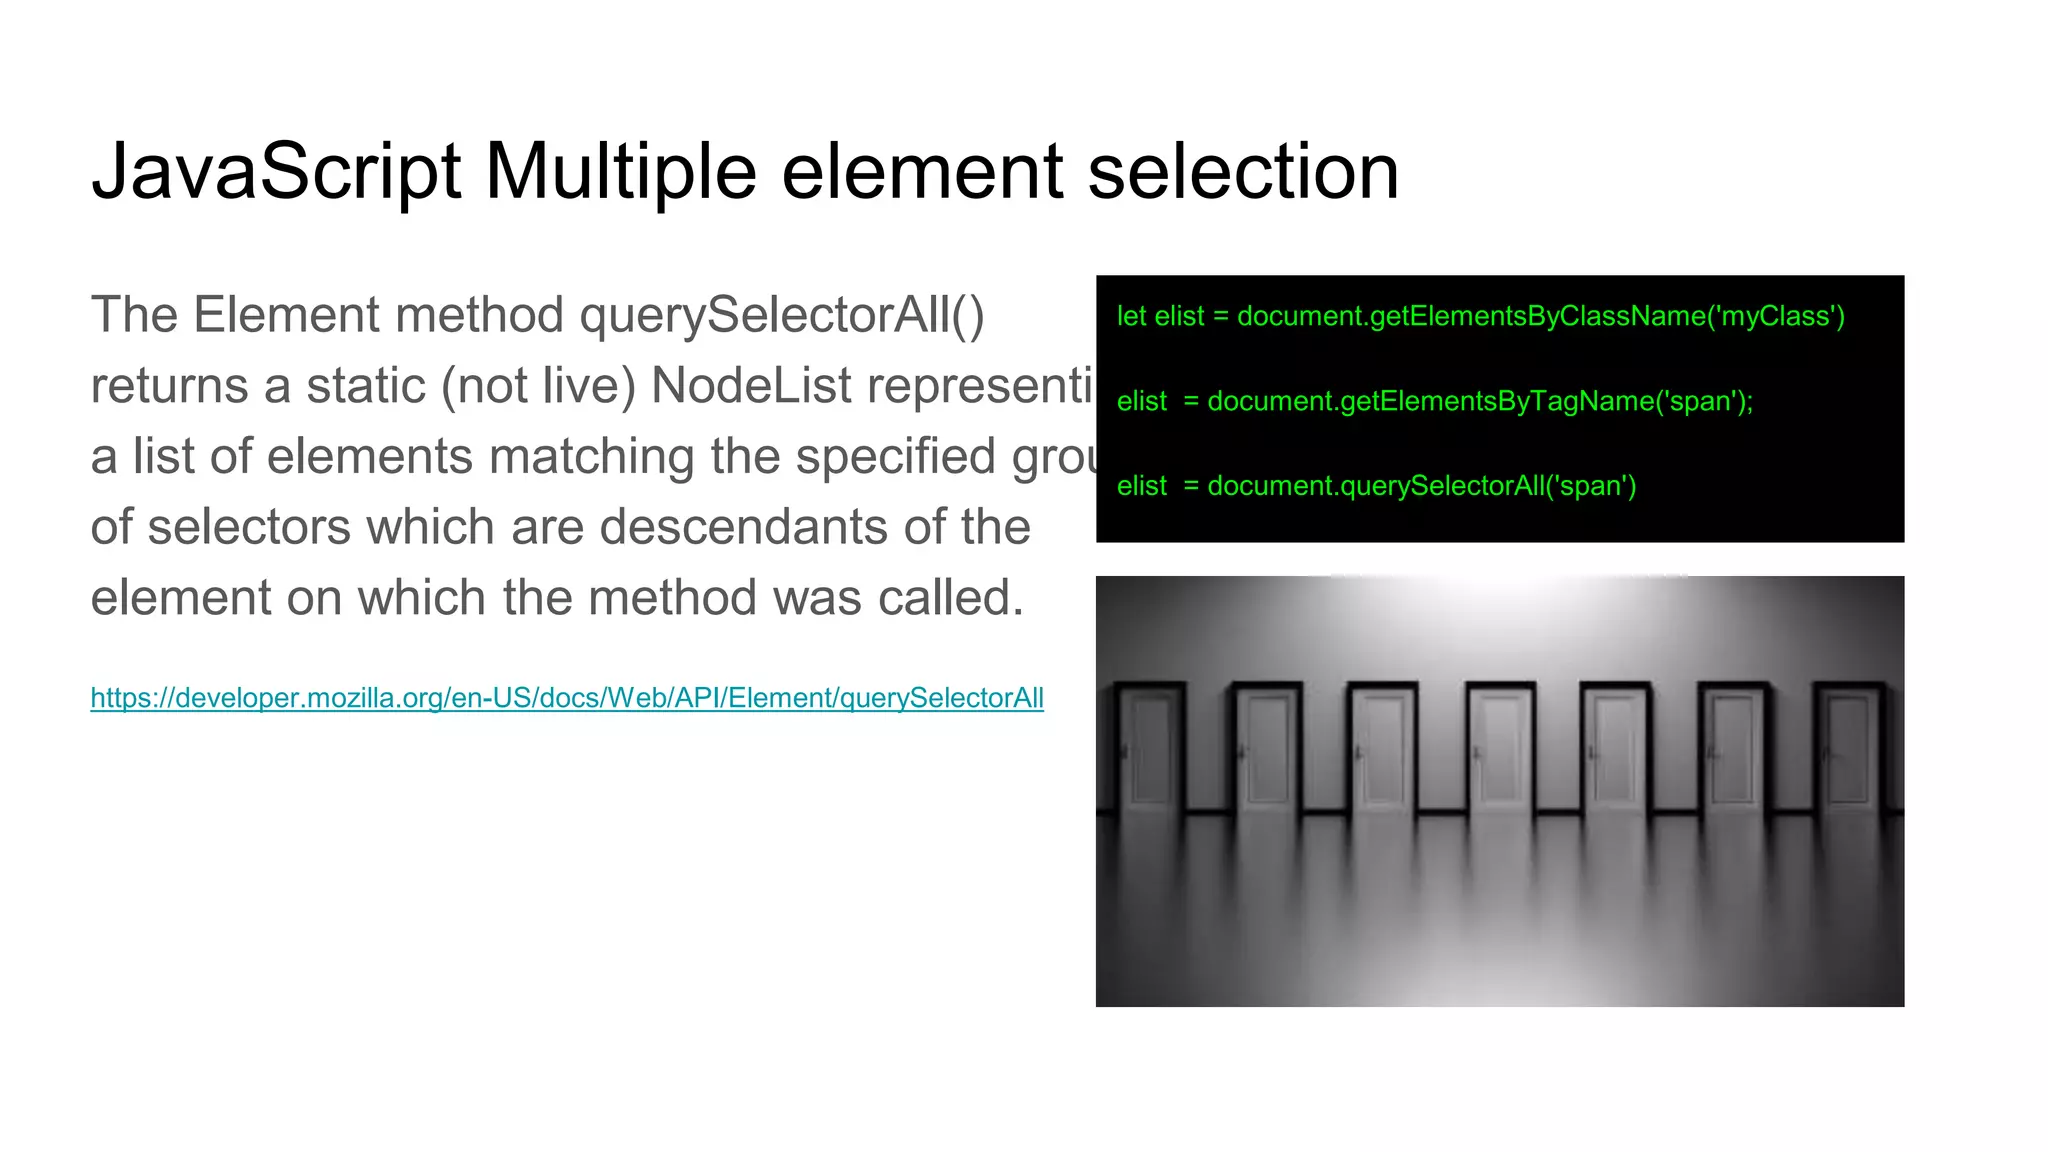
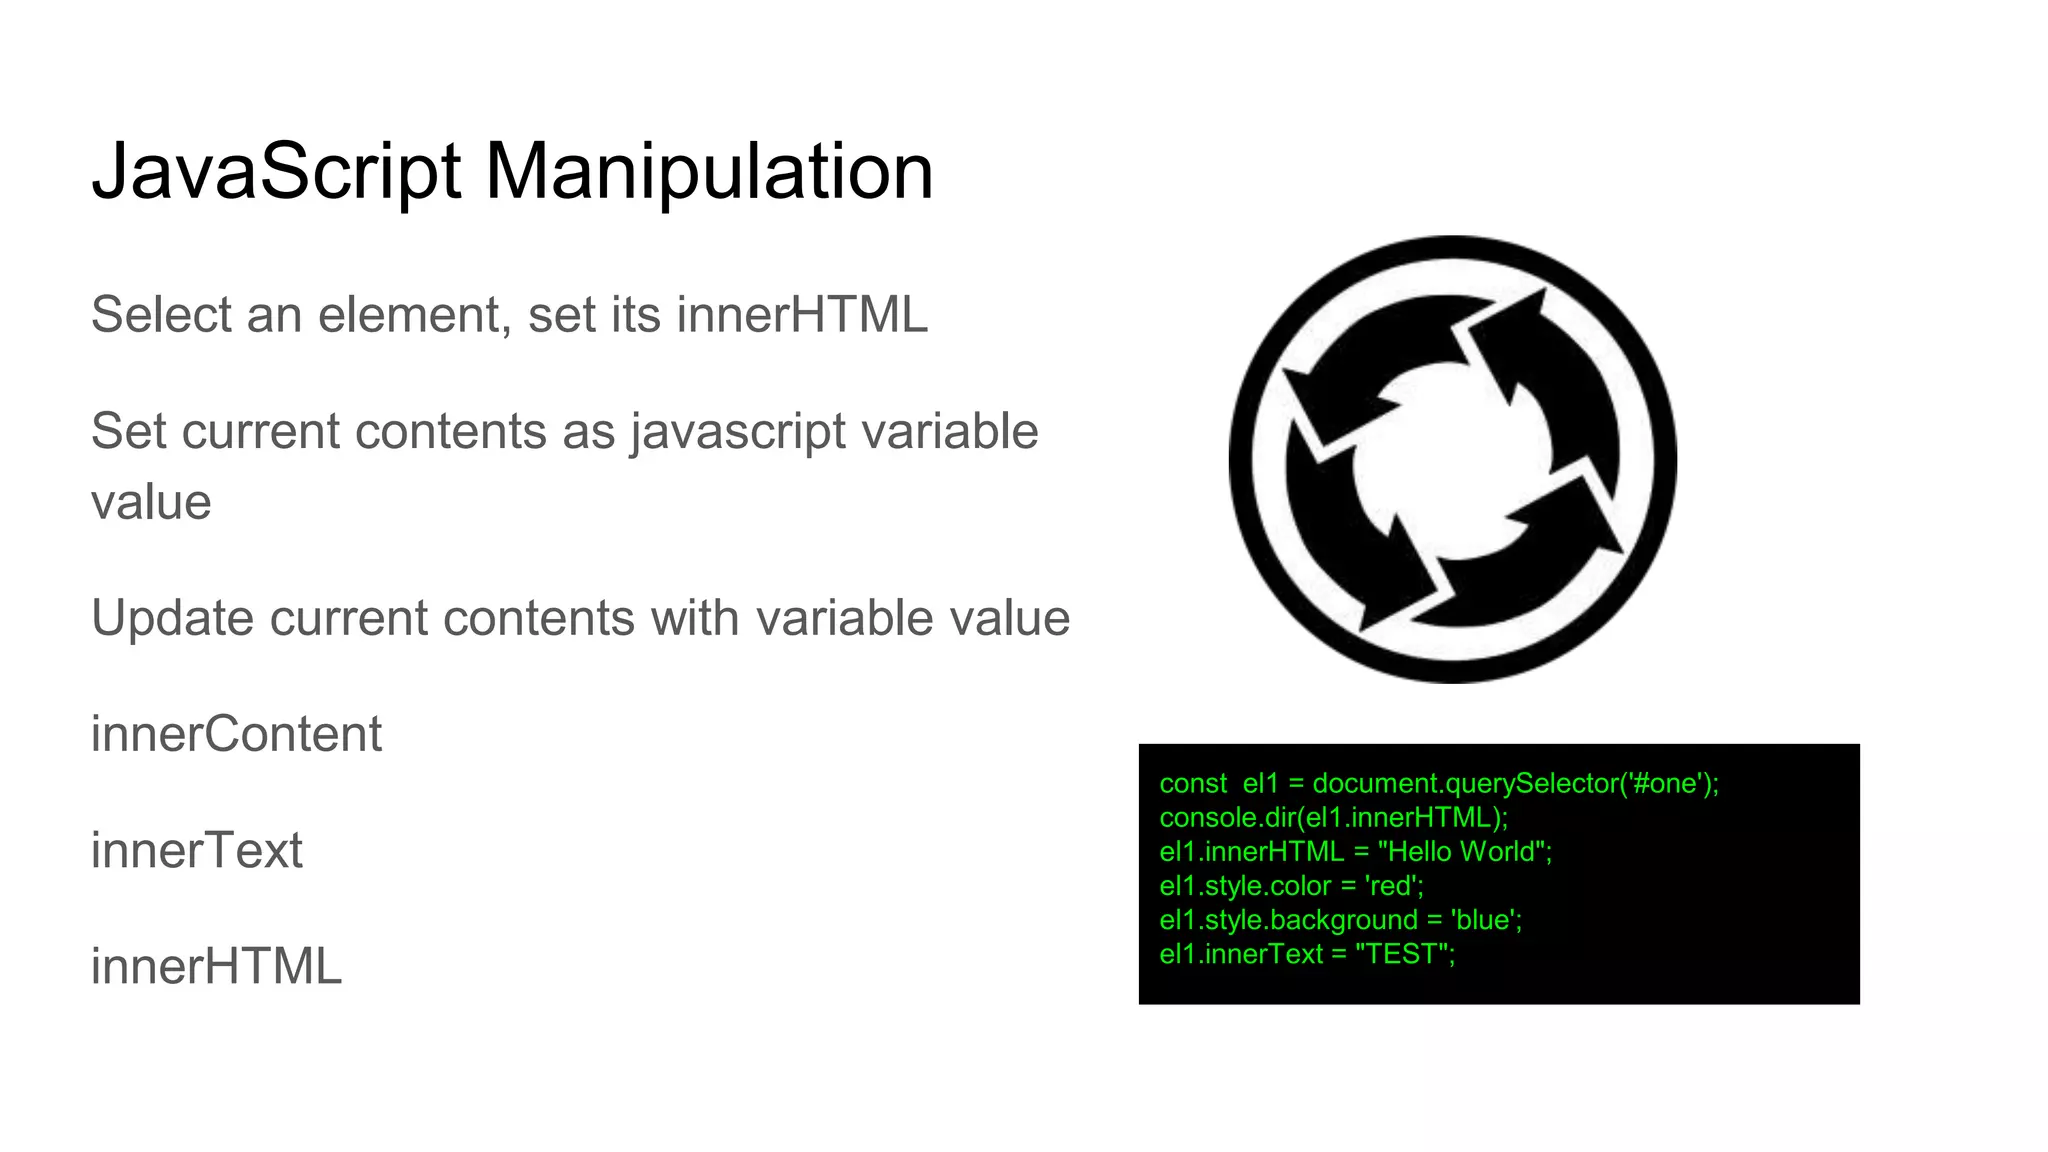
![Code Snippet let elementList = document.getElementsByClassName('myClass') elementList = document.getElementsByTagName('span'); elementList = document.querySelectorAll('span') for (let i = 0; i < elementList.length; i++) { let el = elementList[i]; elementList[i].textContent = i + 1 + ' Updated'; console.log(el); console.log(i); } elementList.forEach(function (el, index) { console.log(el); console.log(index); el.textContent = `${index}: Updated`; });](https://image.slidesharecdn.com/javascriptdom2019-ready-190612162236/75/JavaScript-DOM-Dynamic-interactive-Code-14-2048.jpg)
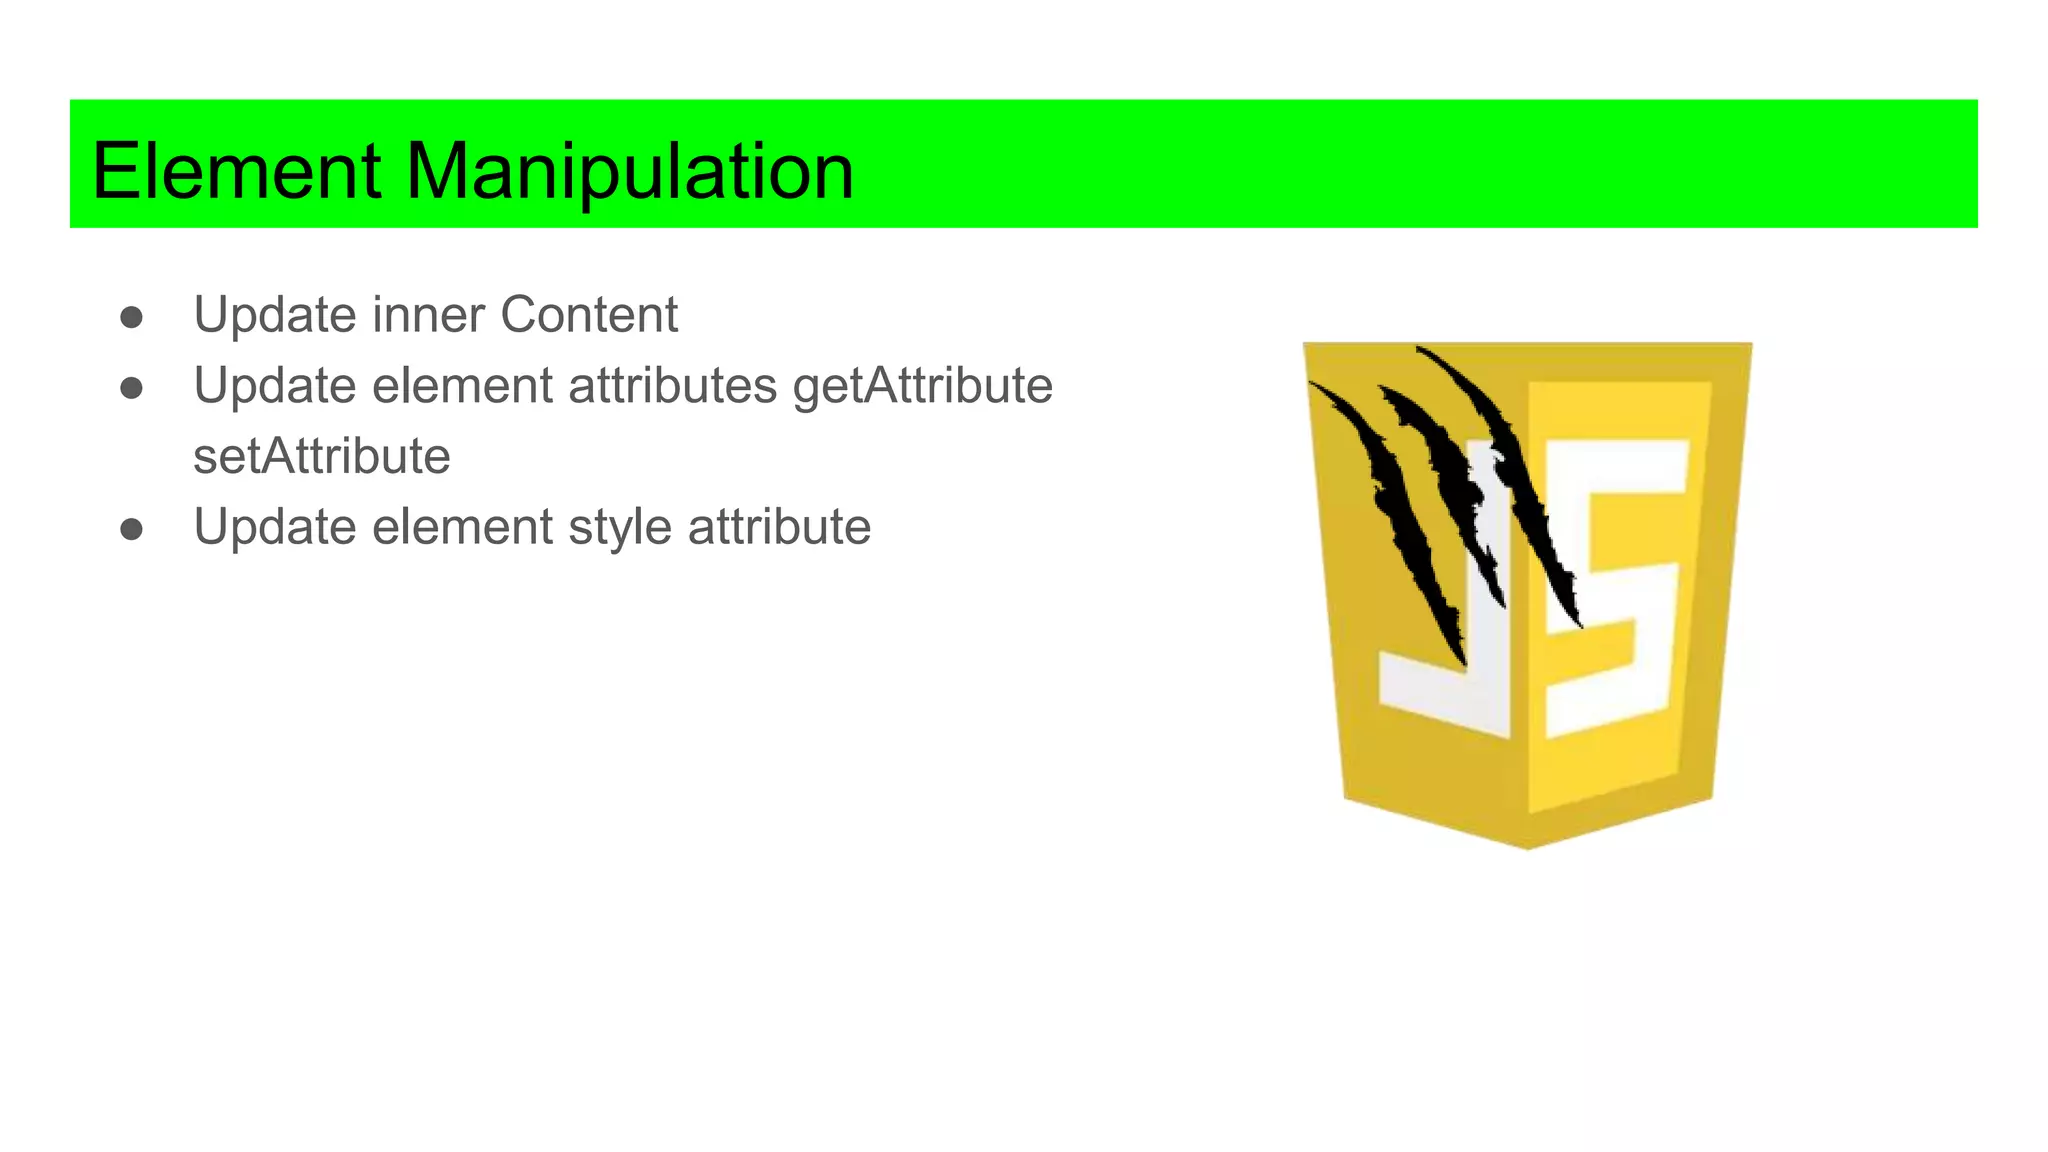
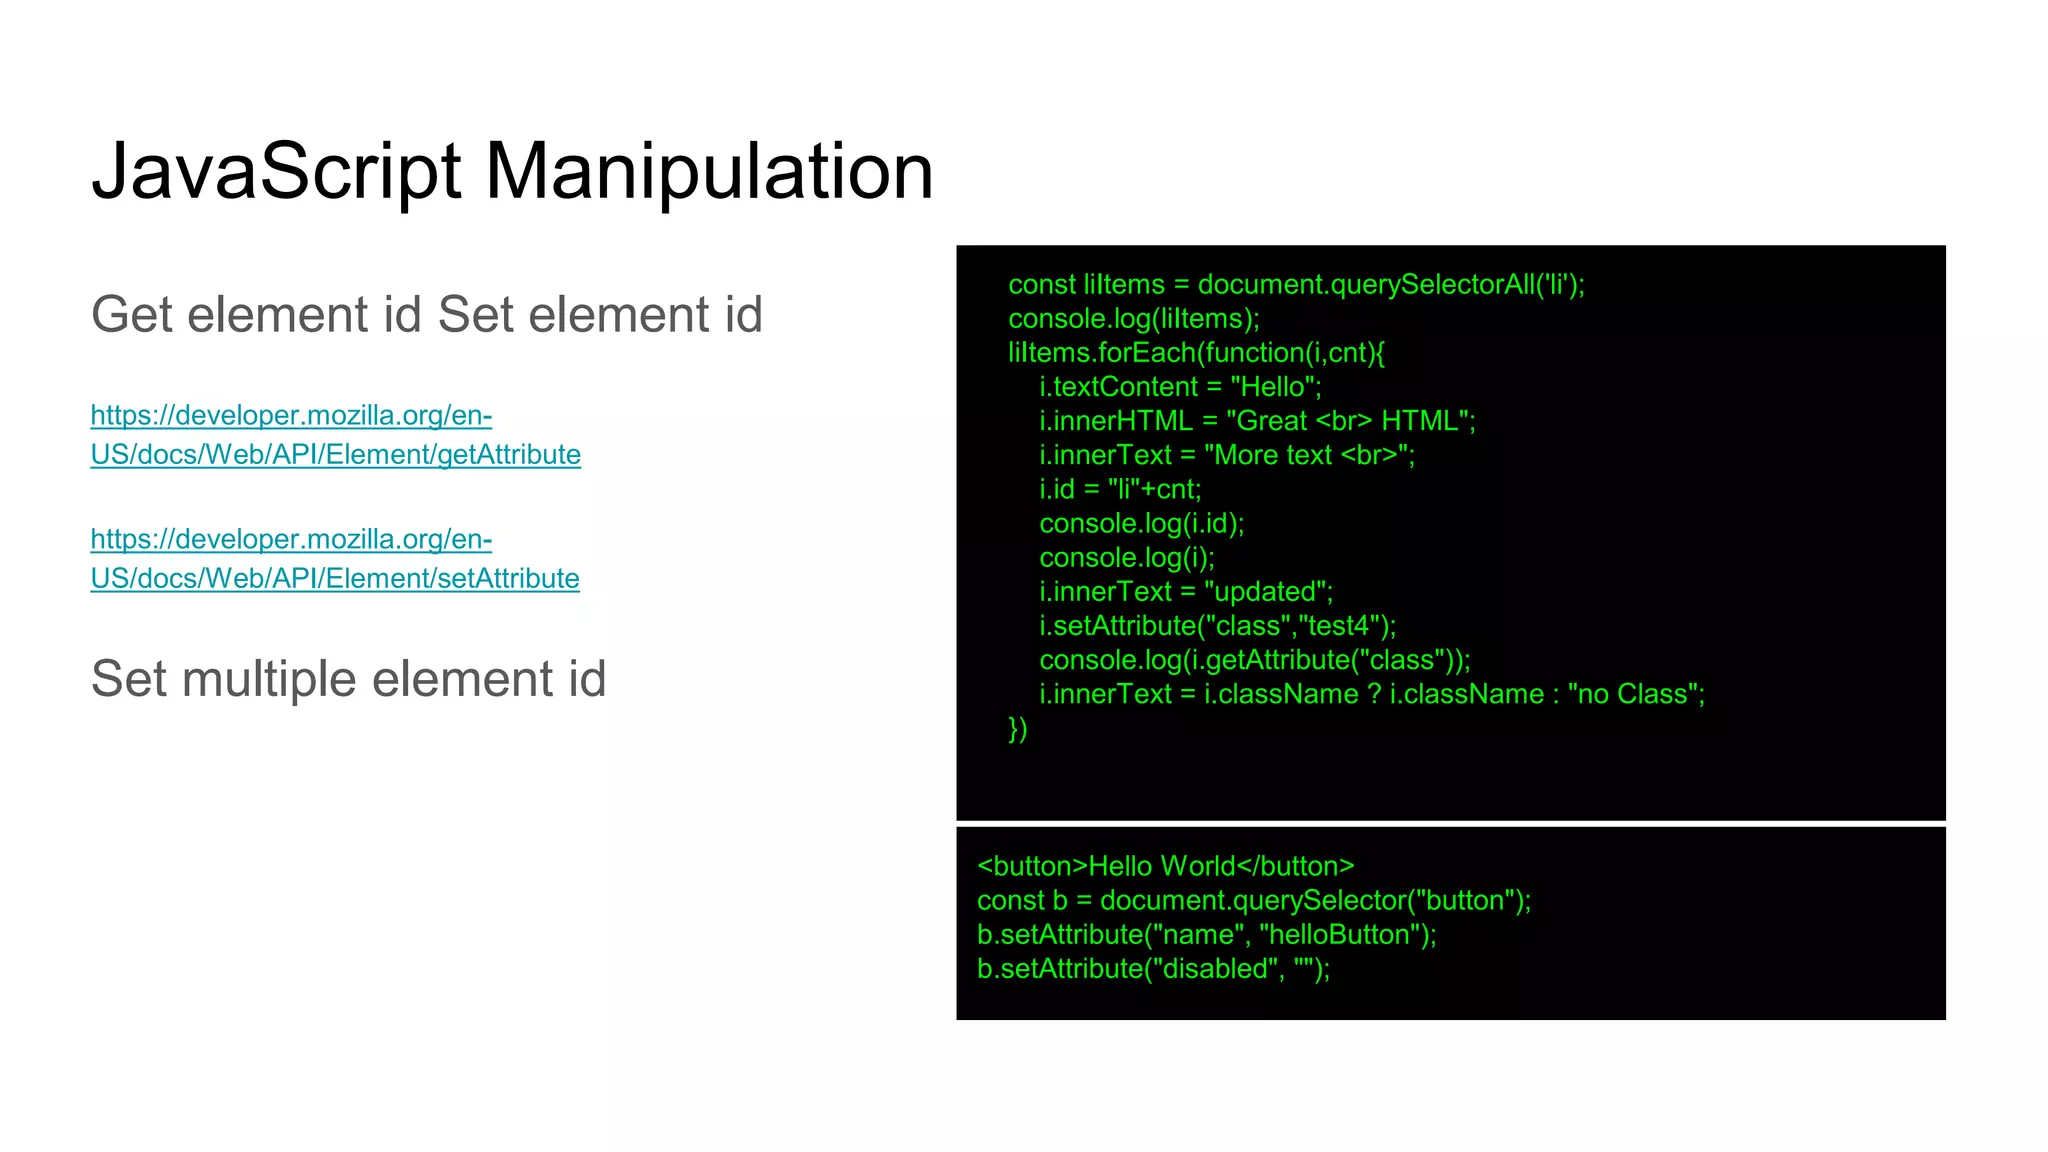
![Update Element Image and URL Path Using getAttribute and setAttribute you can update the element attributes. hasAttribute <a href="https://placeholder.com"><img src="https://via.placeholder.com/250/00ffff/000000"></a> <br> <img src="https://via.placeholder.com/350x150/00ff00/ffffff"> <script> const el1 = document.getElementsByTagName('a'); console.log(el1[0]); const el2 = document.getElementsByTagName('img'); console.log(el2[1]); let temp = el1[0].getAttribute('href'); el1[0].setAttribute('href', 'http://www.google.com'); let tempImg1 = el2[0].getAttribute('src'); let tempImg2 = el2[1].getAttribute('src'); el2[0].setAttribute('src', tempImg2); el2[1].setAttribute('src', tempImg1); console.log(el2[1].hasAttribute('src')); console.log(tempImg1);](https://image.slidesharecdn.com/javascriptdom2019-ready-190612162236/75/JavaScript-DOM-Dynamic-interactive-Code-18-2048.jpg)
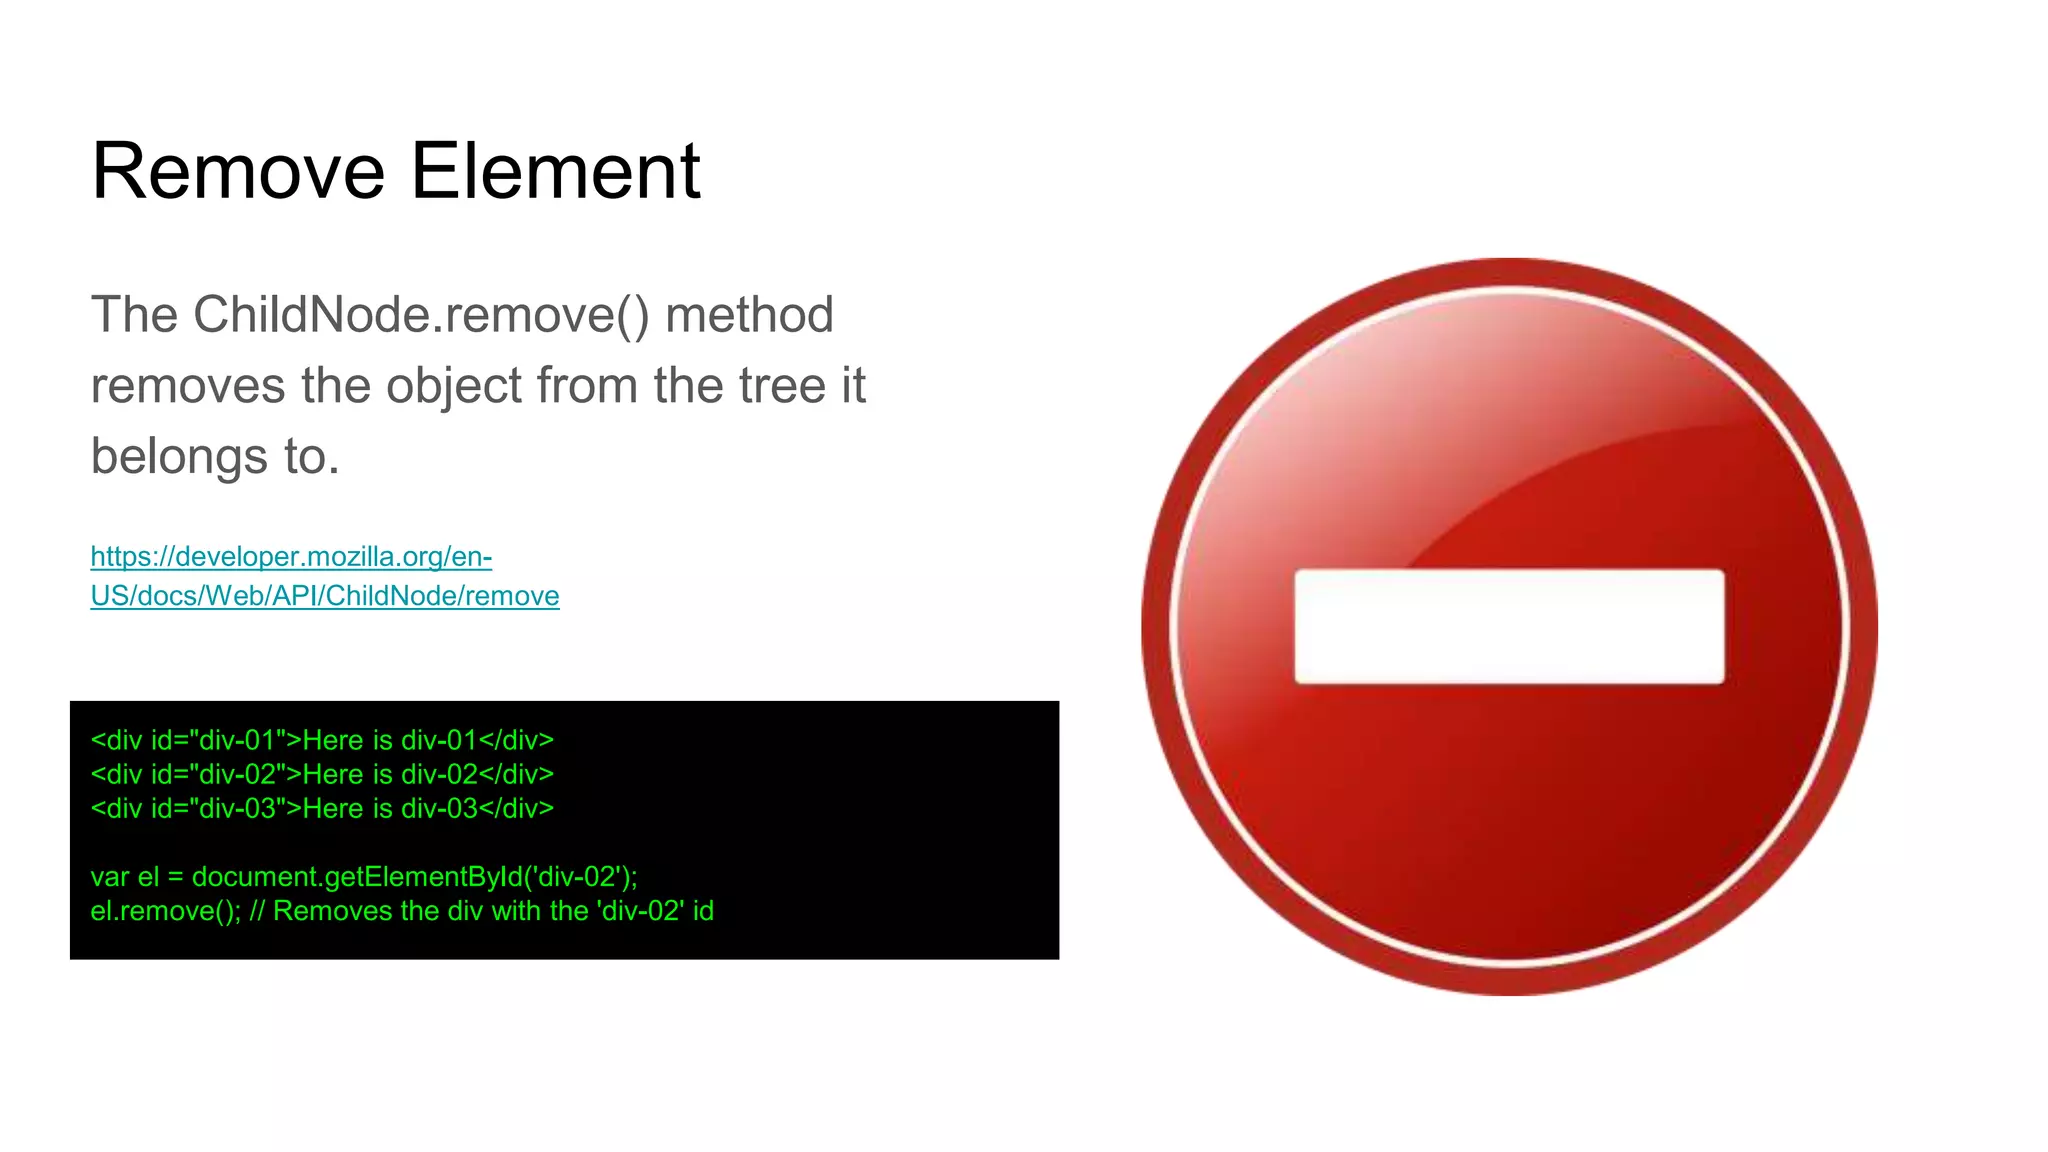
![JavaScript Children The ParentNode property children is a read-only property that returns a live HTMLCollection which contains all of the child elements of the node upon which it was called. HTMLcollection vs NodeList (length) https://developer.mozilla.org/en-US/docs/Web/API/ParentNode/children console.log(el); console.log(el.childNodes); // Note nodelist console.log(el.children); //note HTMLcollection el.childNodes.forEach(function (ele, index) { console.log(ele.textContent); console.log(index); }); /// won't work with children note HTMLcollection for (let i = 0; i < el.children.length; i++) { console.log(el.children[i].textContent); console.log(el.children[i]); } console.log(el.childNodes); console.log(el.parentElement); console.log(el.parentNode); console.log(el); console.log(el.nextElementSibling); console.log(el.nextSibling); console.log(el.previousElementSibling); console.log(el.previousSibling);](https://image.slidesharecdn.com/javascriptdom2019-ready-190612162236/75/JavaScript-DOM-Dynamic-interactive-Code-29-2048.jpg)
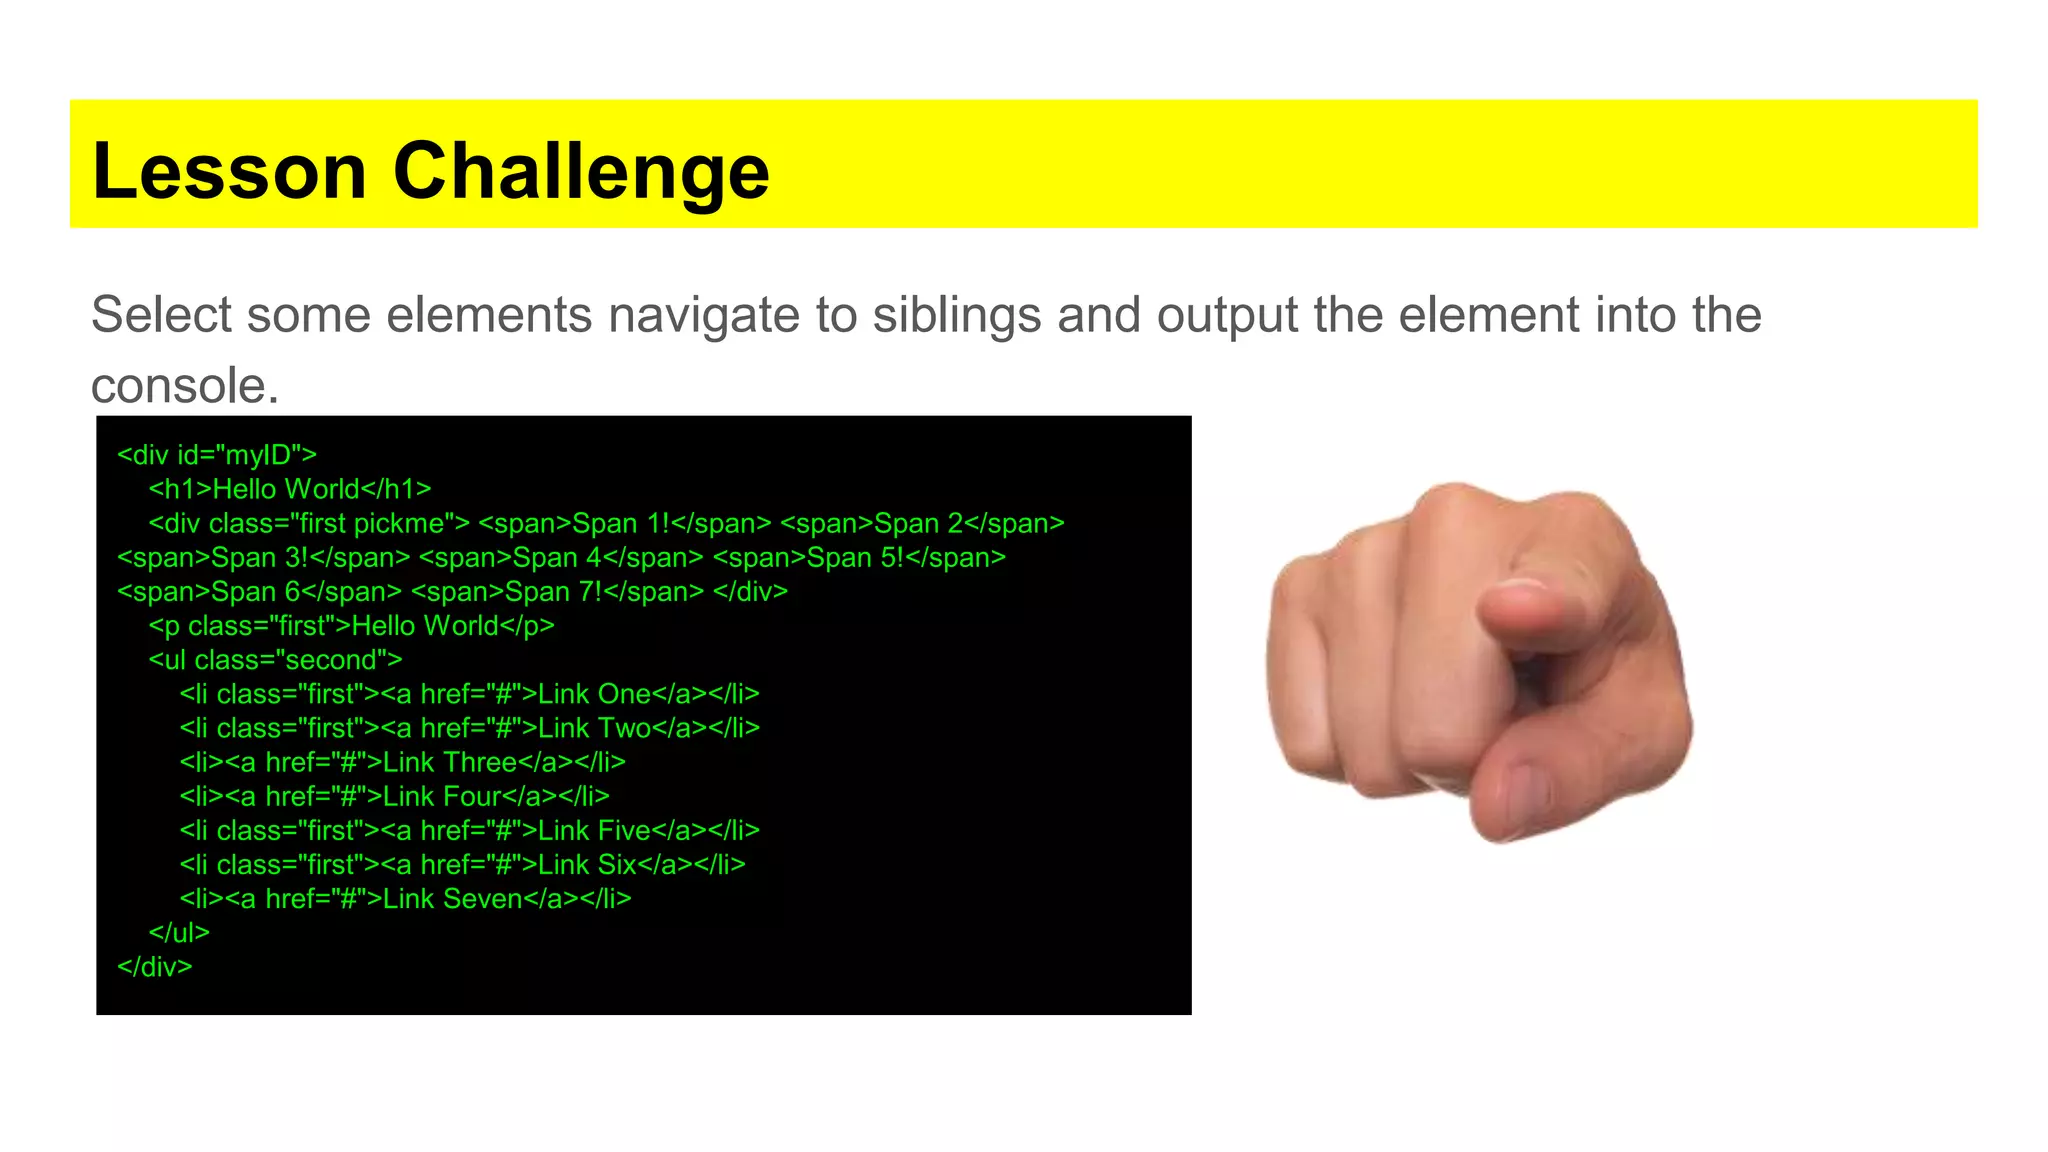
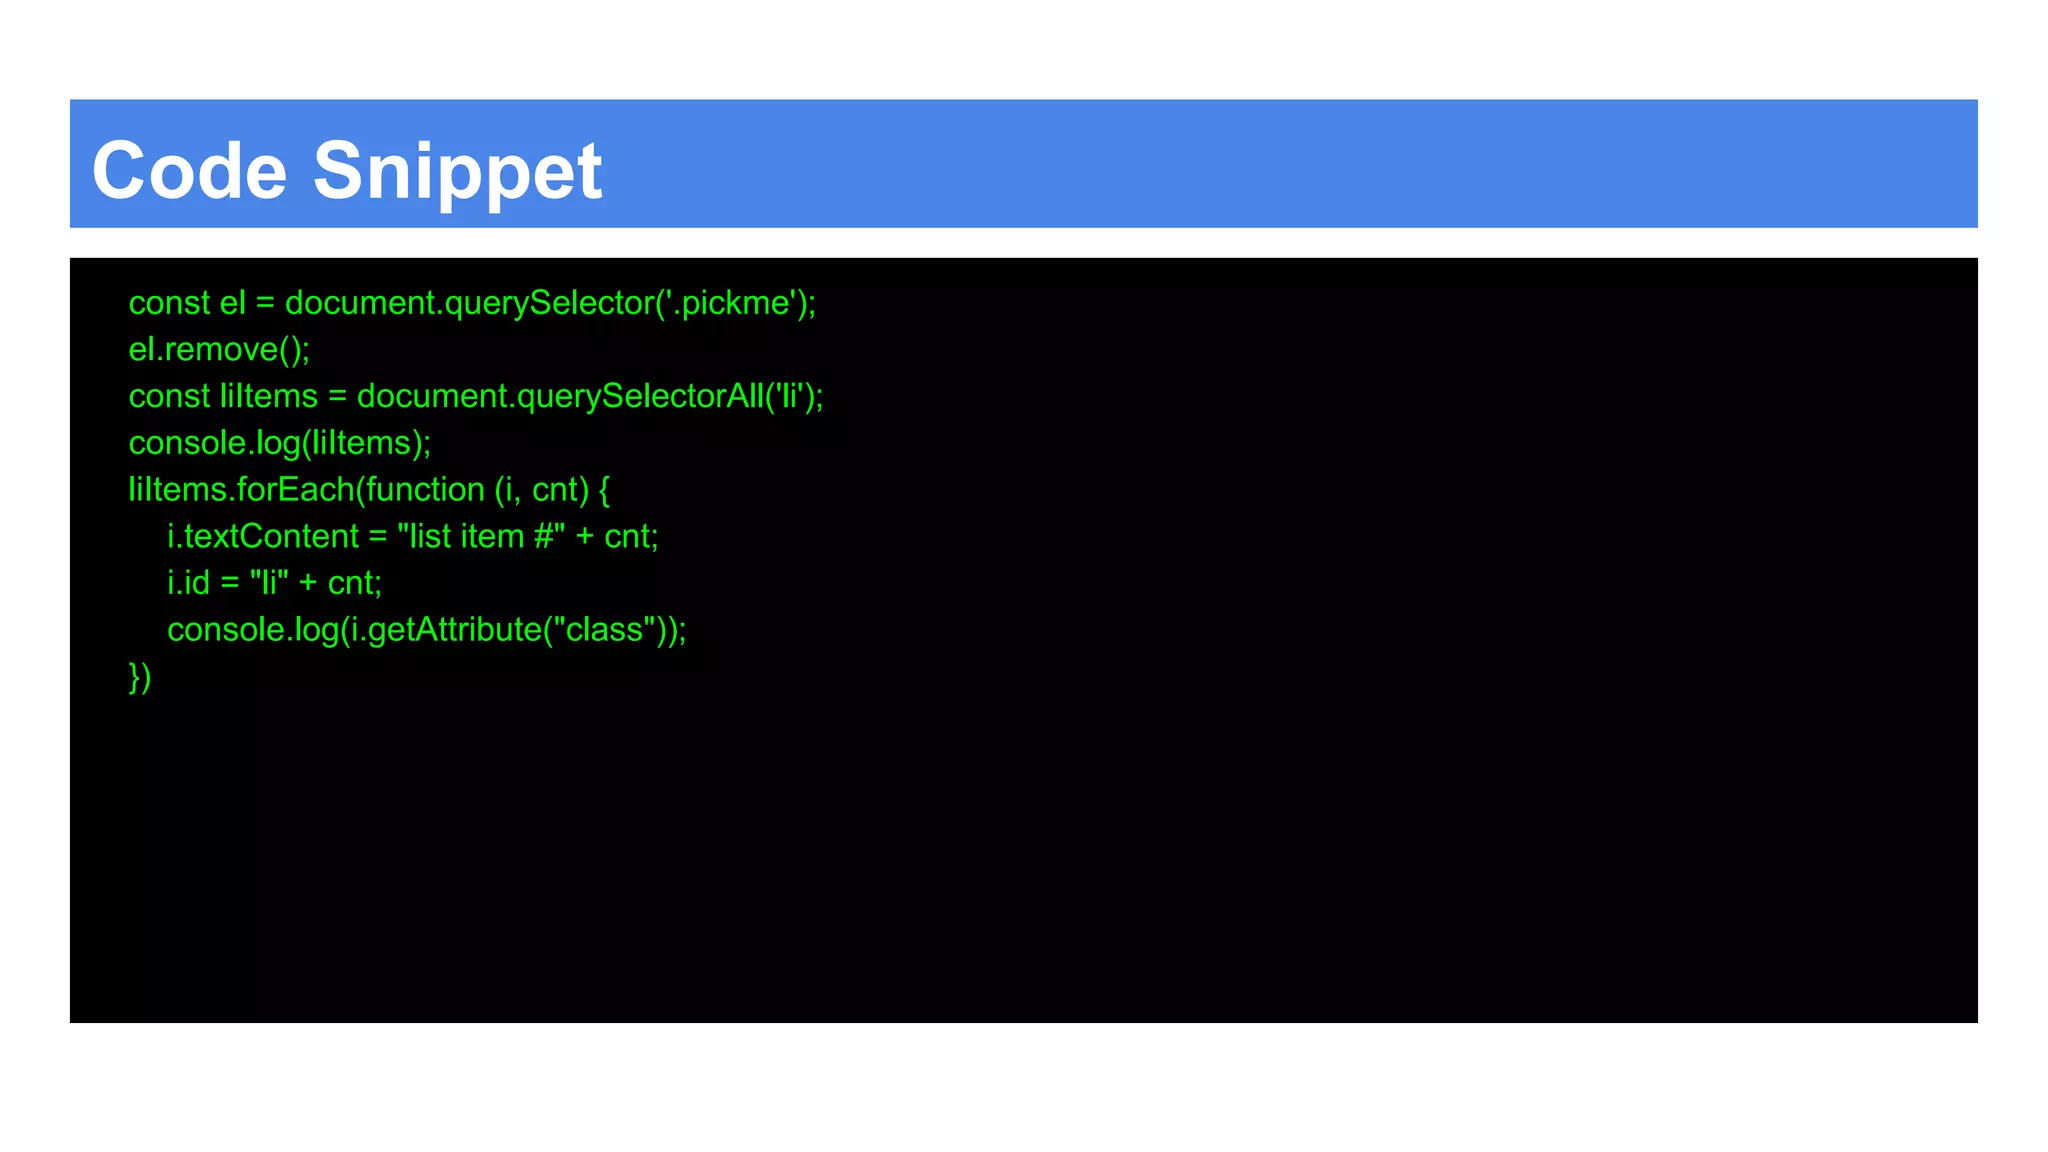
![Code Snippet const el = document.querySelector('.pickme'); console.log(el); console.log(el.childNodes); // Note nodelist console.log(el.children); //note HTMLcollection for (let i = 0; i < el.children.length; i++) { console.log(el.children[i].textContent); console.log(el.children[i]); } console.log(el.childNodes); console.log(el.parentElement); console.log(el.parentNode); console.log(el); console.log(el.nextElementSibling); console.log(el.nextSibling); console.log(el.previousElementSibling); console.log(el.previousSibling);](https://image.slidesharecdn.com/javascriptdom2019-ready-190612162236/75/JavaScript-DOM-Dynamic-interactive-Code-31-2048.jpg)

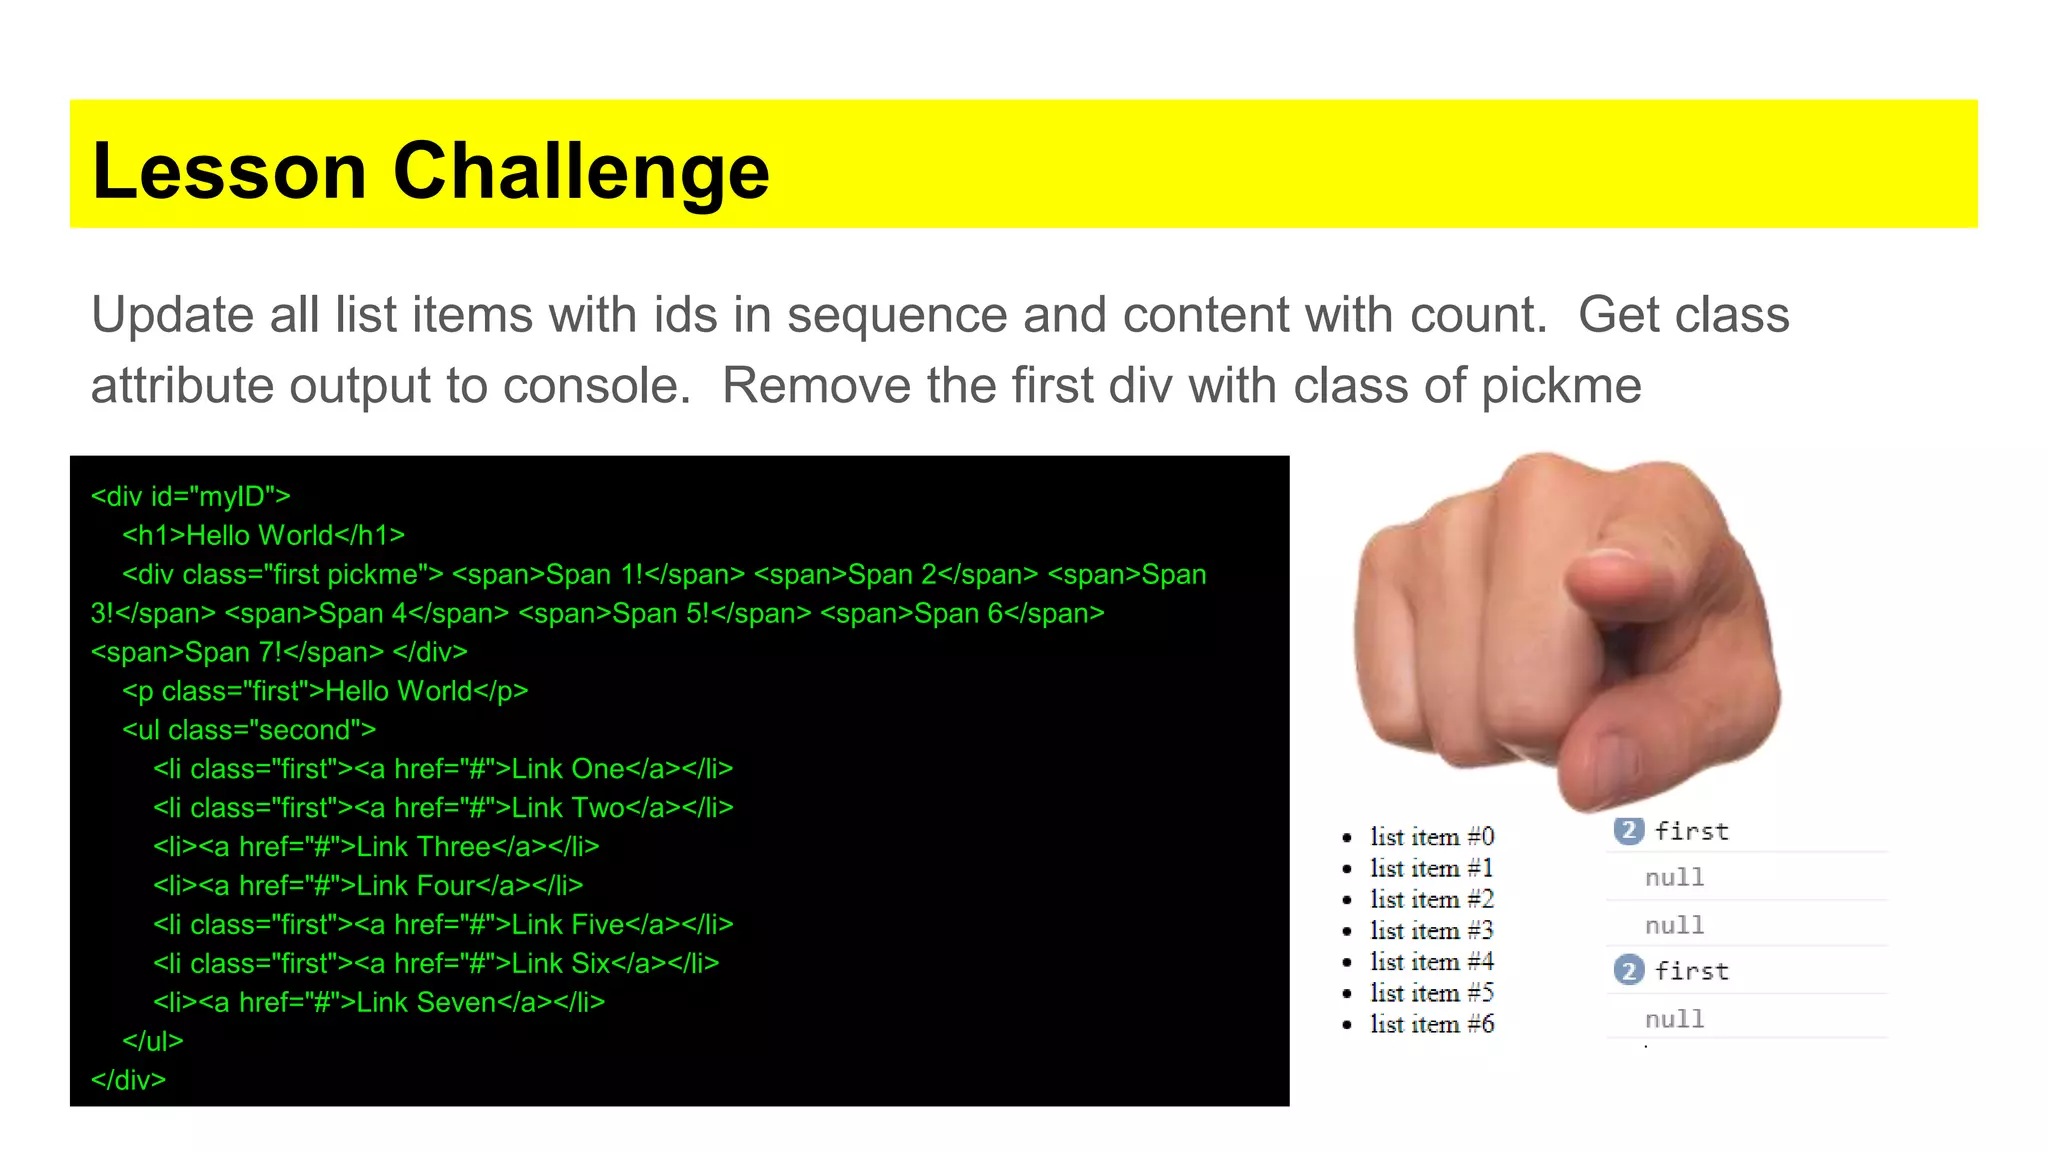
![JavaScript Style Attribute Update the element style attribute https://www.w3.org/TR/DOM-Level-2-Style/css.html#CSS- ElementCSSInlineStyle const el1 = document.getElementsByClassName('test'); console.log(el1[0]); let tempEle = el1[0]; tempEle.style.backgroundColor = "Green"; tempEle.style.color = "white"; tempEle.style.border = "5px dotted purple"; tempEle.style.fontSize = "40px"; tempEle.style.display = "none"; tempEle.style.display = "block";](https://image.slidesharecdn.com/javascriptdom2019-ready-190612162236/75/JavaScript-DOM-Dynamic-interactive-Code-33-2048.jpg)
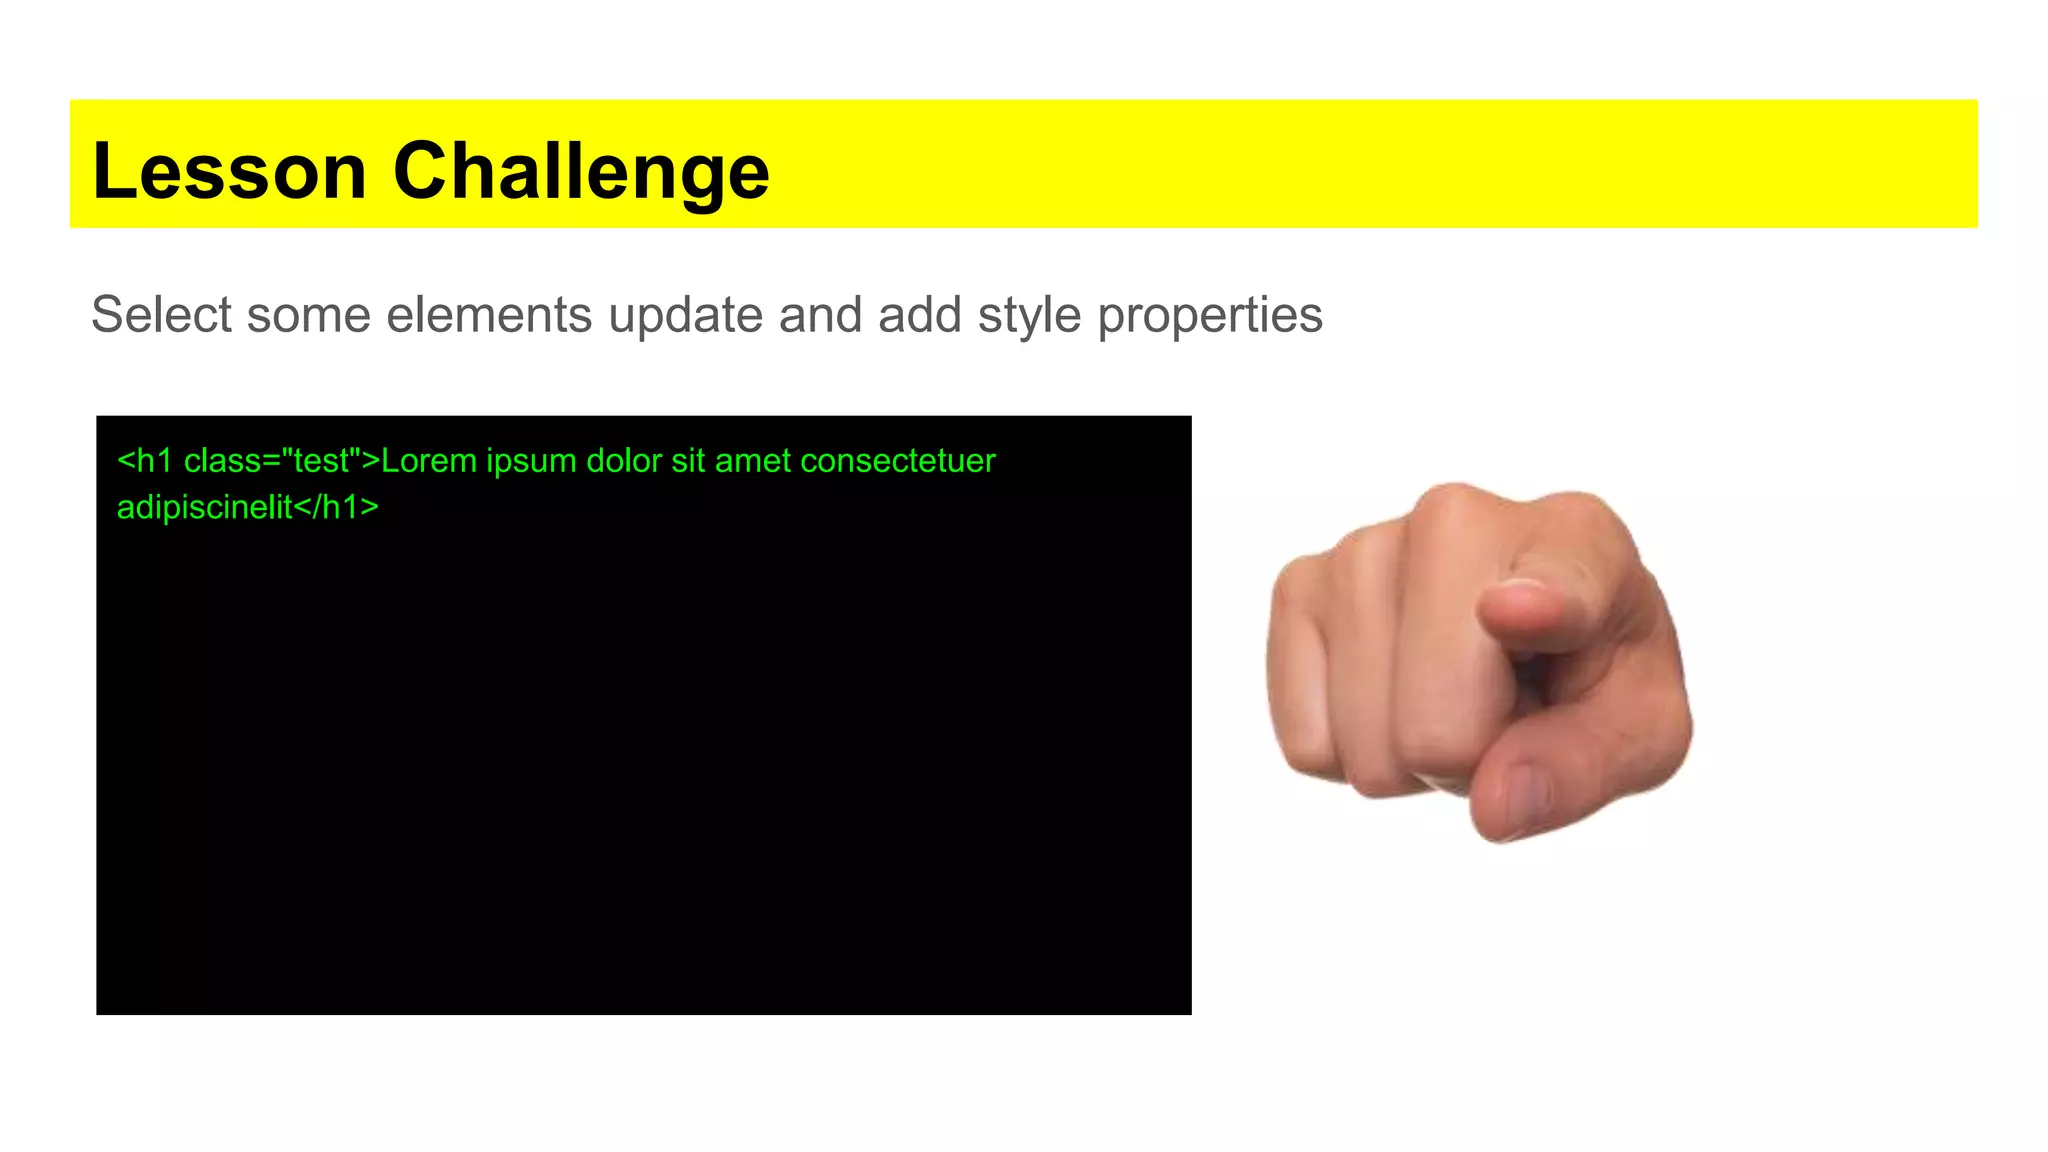
![Code Snippet <h1 class="test">Lorem ipsum dolor sit amet consectetuer adipiscinelit</h1> <script> Const el1 = document.getElementsByClassName('test'); console.log(el1[0]); let tempEle = el1[0]; tempEle.style.backgroundColor = "Green"; tempEle.style.color = "white"; tempEle.style.border = "5px dotted purple"; tempEle.style.fontSize = "40px"; tempEle.style.display = "none"; tempEle.style.display = "block"; </script>](https://image.slidesharecdn.com/javascriptdom2019-ready-190612162236/75/JavaScript-DOM-Dynamic-interactive-Code-35-2048.jpg)
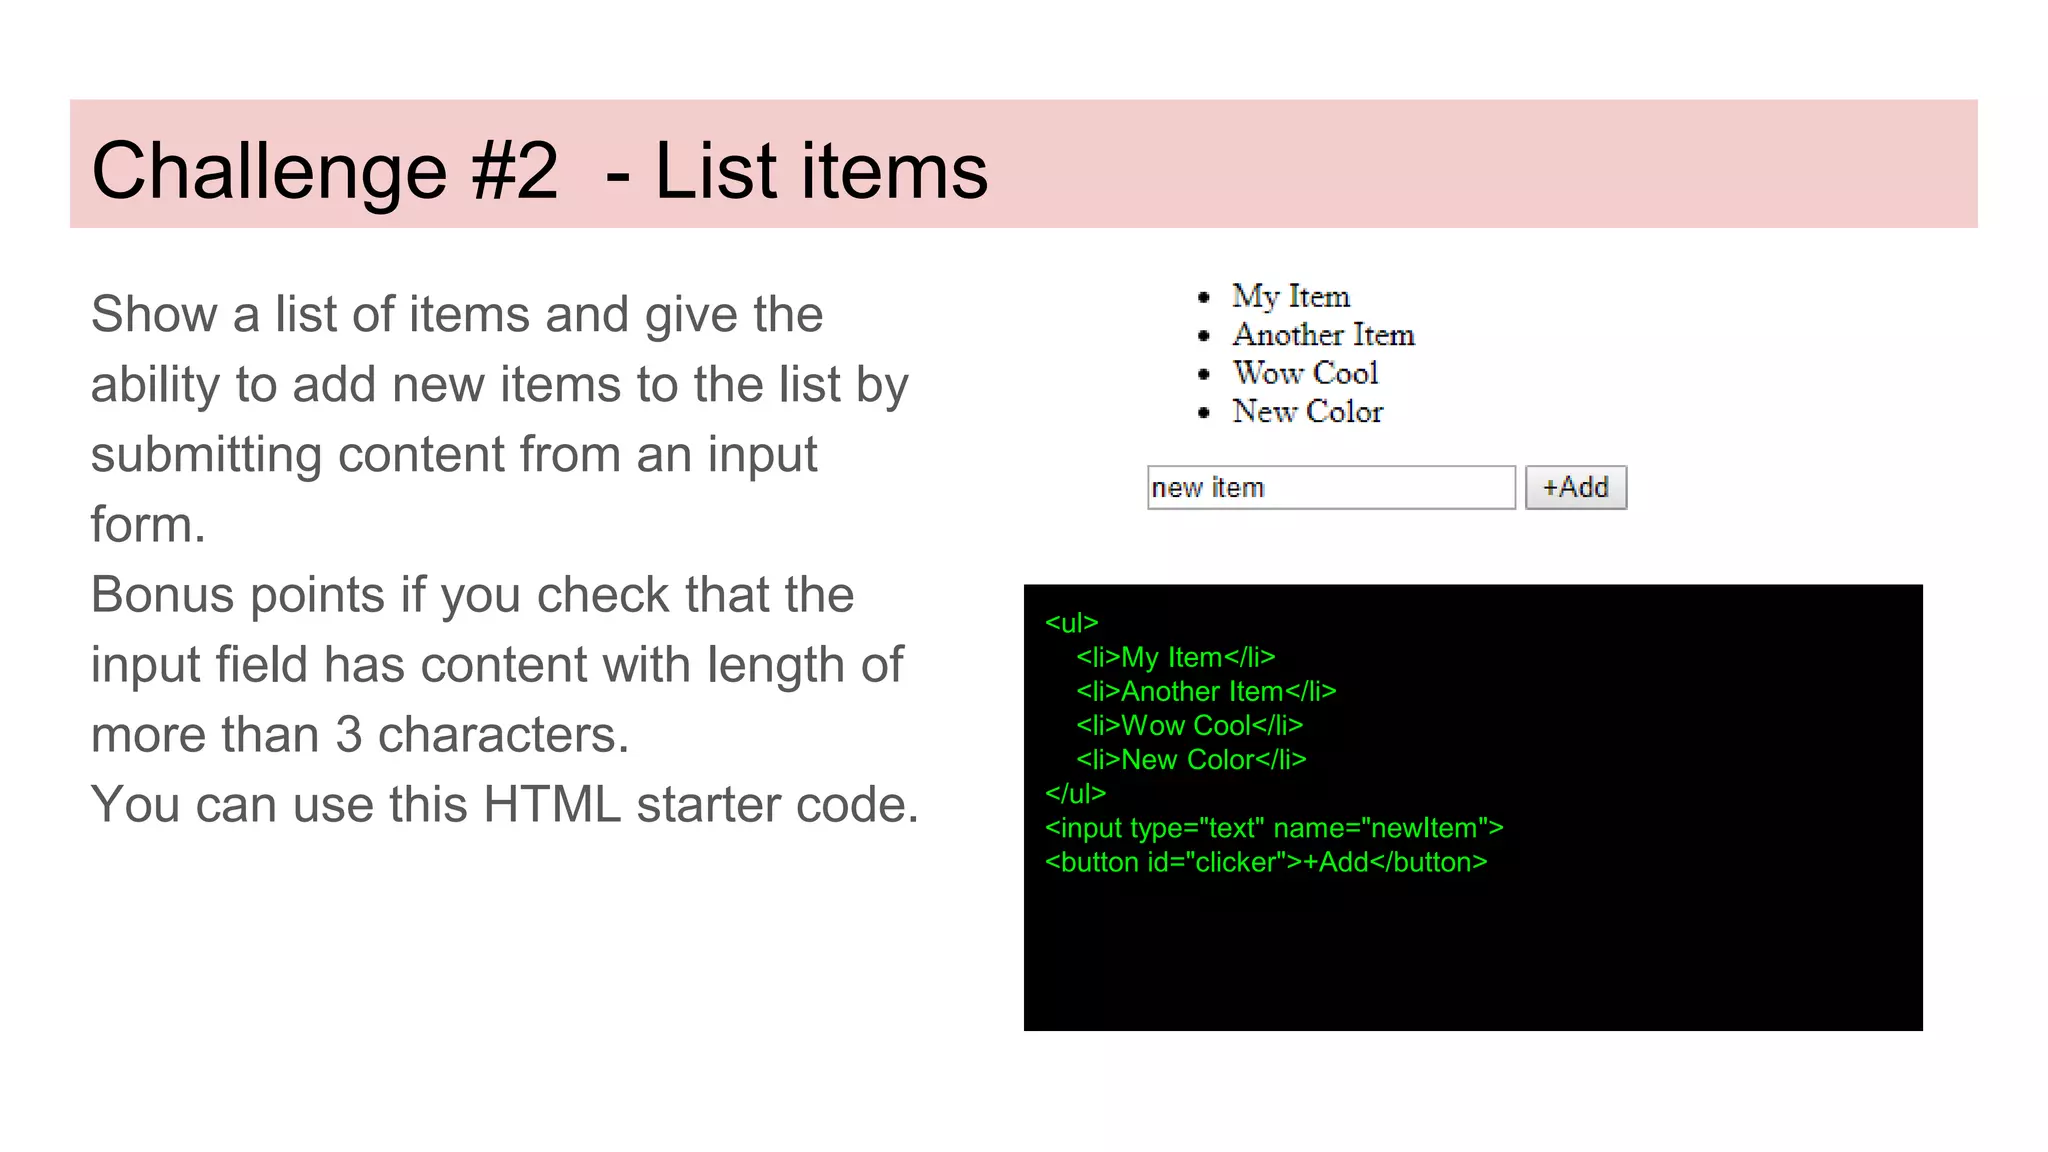
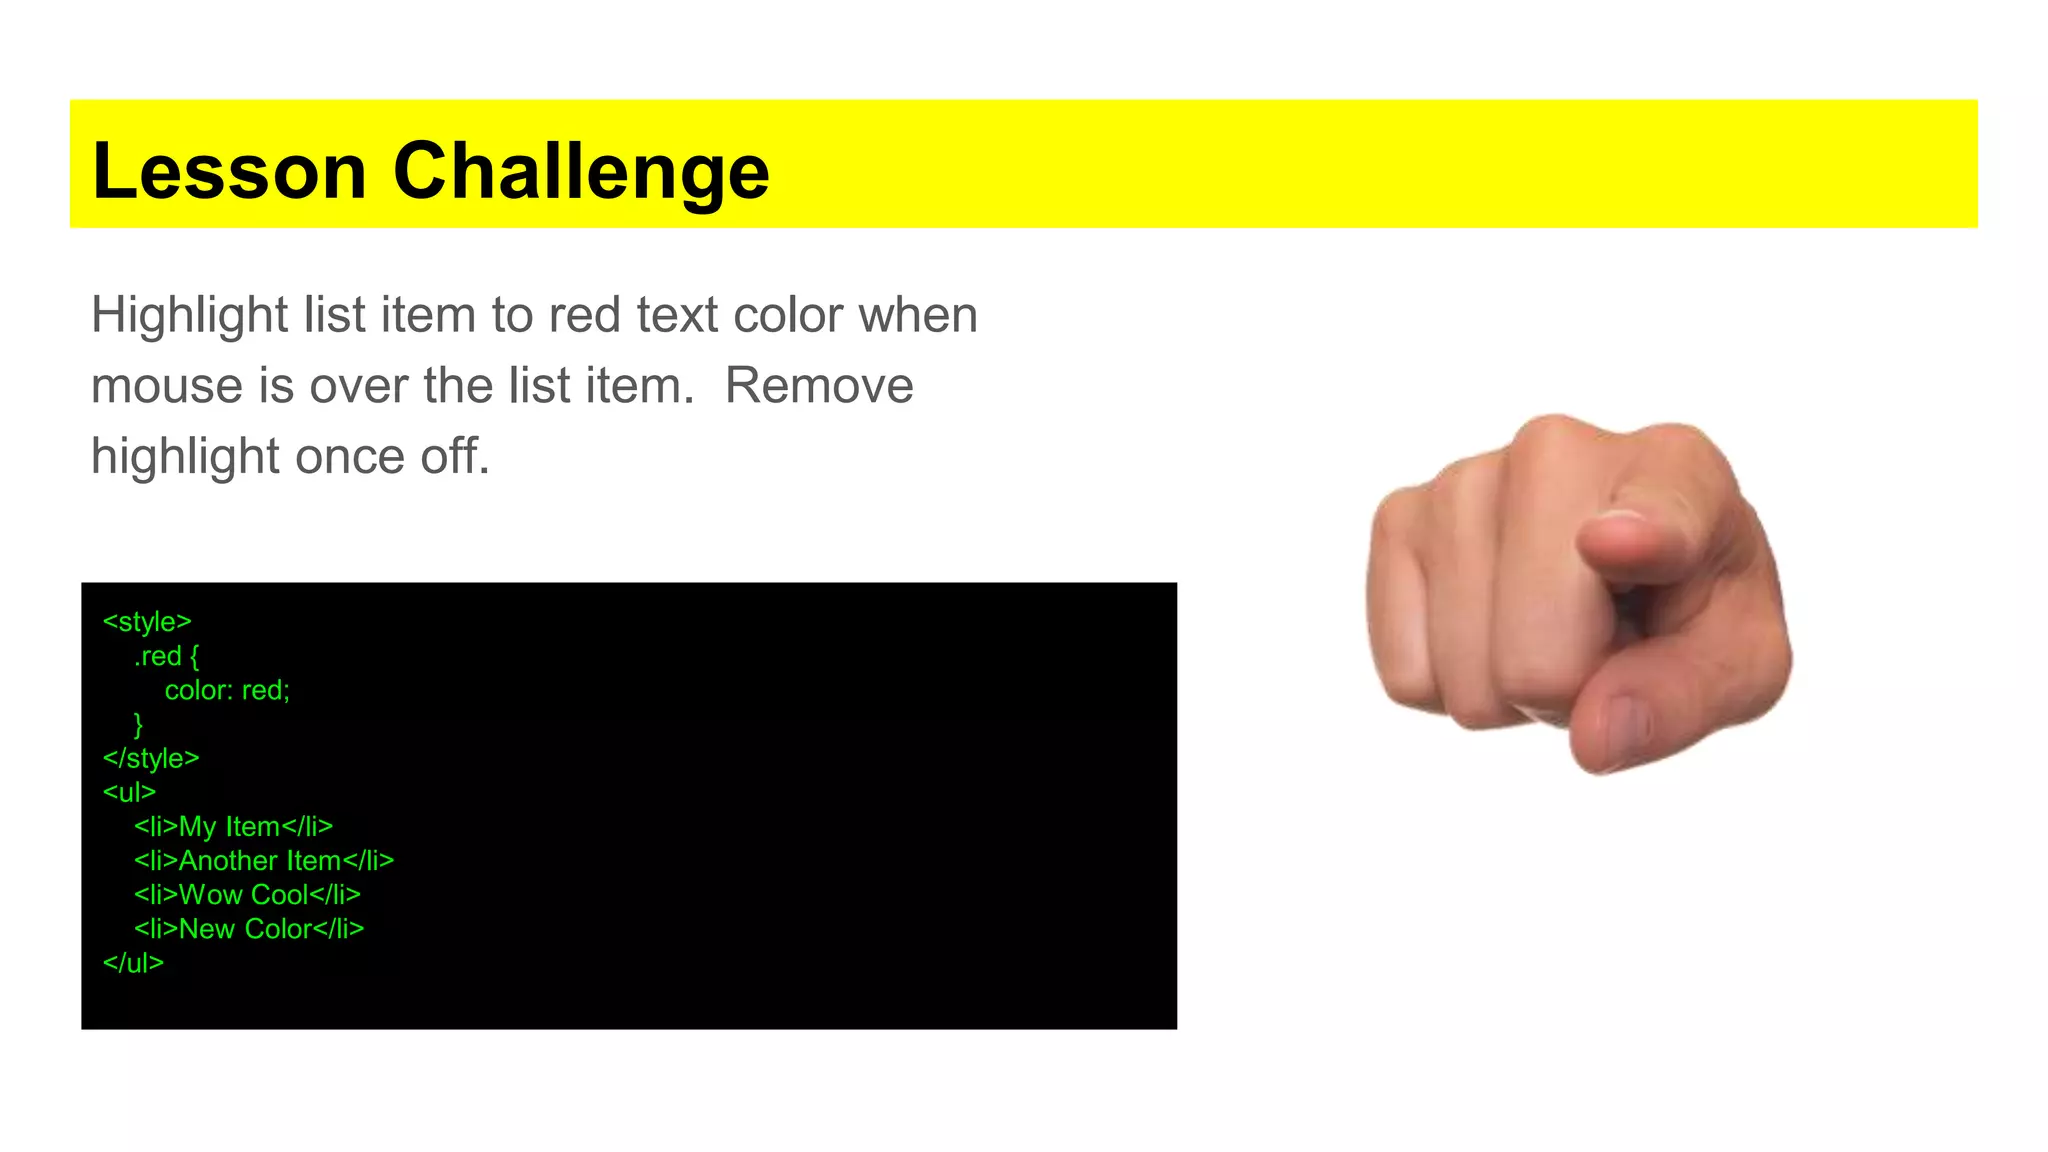
![JavaScript Click Event The EventTarget method addEventListener() sets up a function that will be called whenever the specified event is delivered to the target. Common on Element, Document, and Window https://developer.mozilla.org/en- US/docs/Web/API/EventTarget/addEventListener TIP : useCapture = true the Events execute top to down in the capture phase when false it does a bubble bottom to top. useCapture has not always been optional. Ideally, you should include it for the widest possible browser compatibility. <ul> <li class="listItem">My Item</li> <li>Another Item</li> <li class="listItem">Wow Cool</li> <li class="listItem">New Color</li> </ul> <script> const ele1 = document.querySelector('ul'); ele1.addEventListener('click', function () { console.log('click'); ele1.style.color = "yellow"; }) const eleList = document.querySelectorAll('.listItem'); for (var x = 0; x < eleList.length; x++) { eleList[x].addEventListener('click', makeItRed); } function makeItRed() { console.log(this); let temp = this.classList.toggle('red'); console.log(temp); } </script>](https://image.slidesharecdn.com/javascriptdom2019-ready-190612162236/75/JavaScript-DOM-Dynamic-interactive-Code-41-2048.jpg)
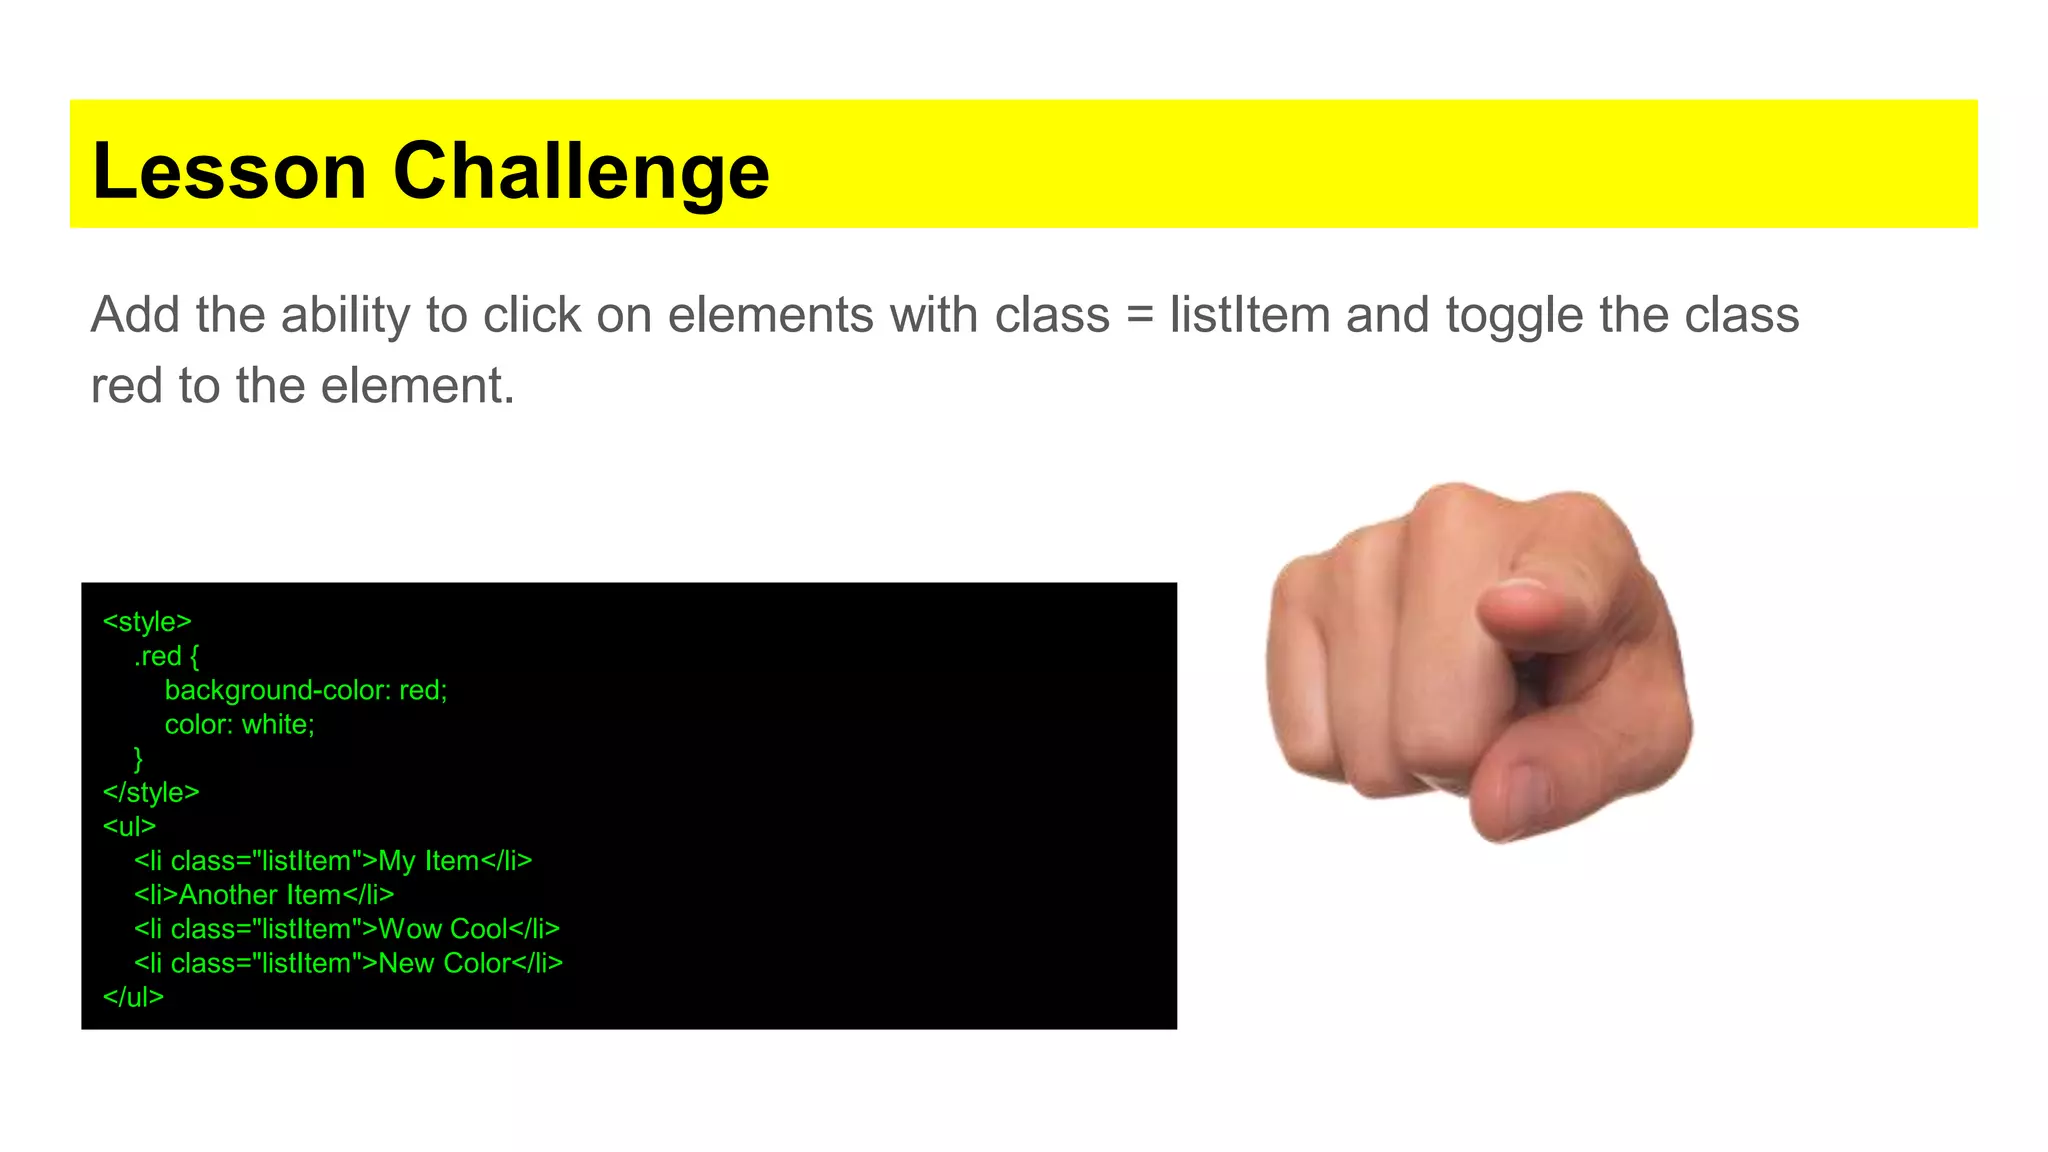
![Code Snippet const eleList = document.querySelectorAll('.listItem'); for (var x = 0; x < eleList.length; x++) { eleList[x].addEventListener('click', makeItRed); } function makeItRed() { console.log(this); let temp = this.classList.toggle('red'); console.log(temp); }](https://image.slidesharecdn.com/javascriptdom2019-ready-190612162236/75/JavaScript-DOM-Dynamic-interactive-Code-43-2048.jpg)


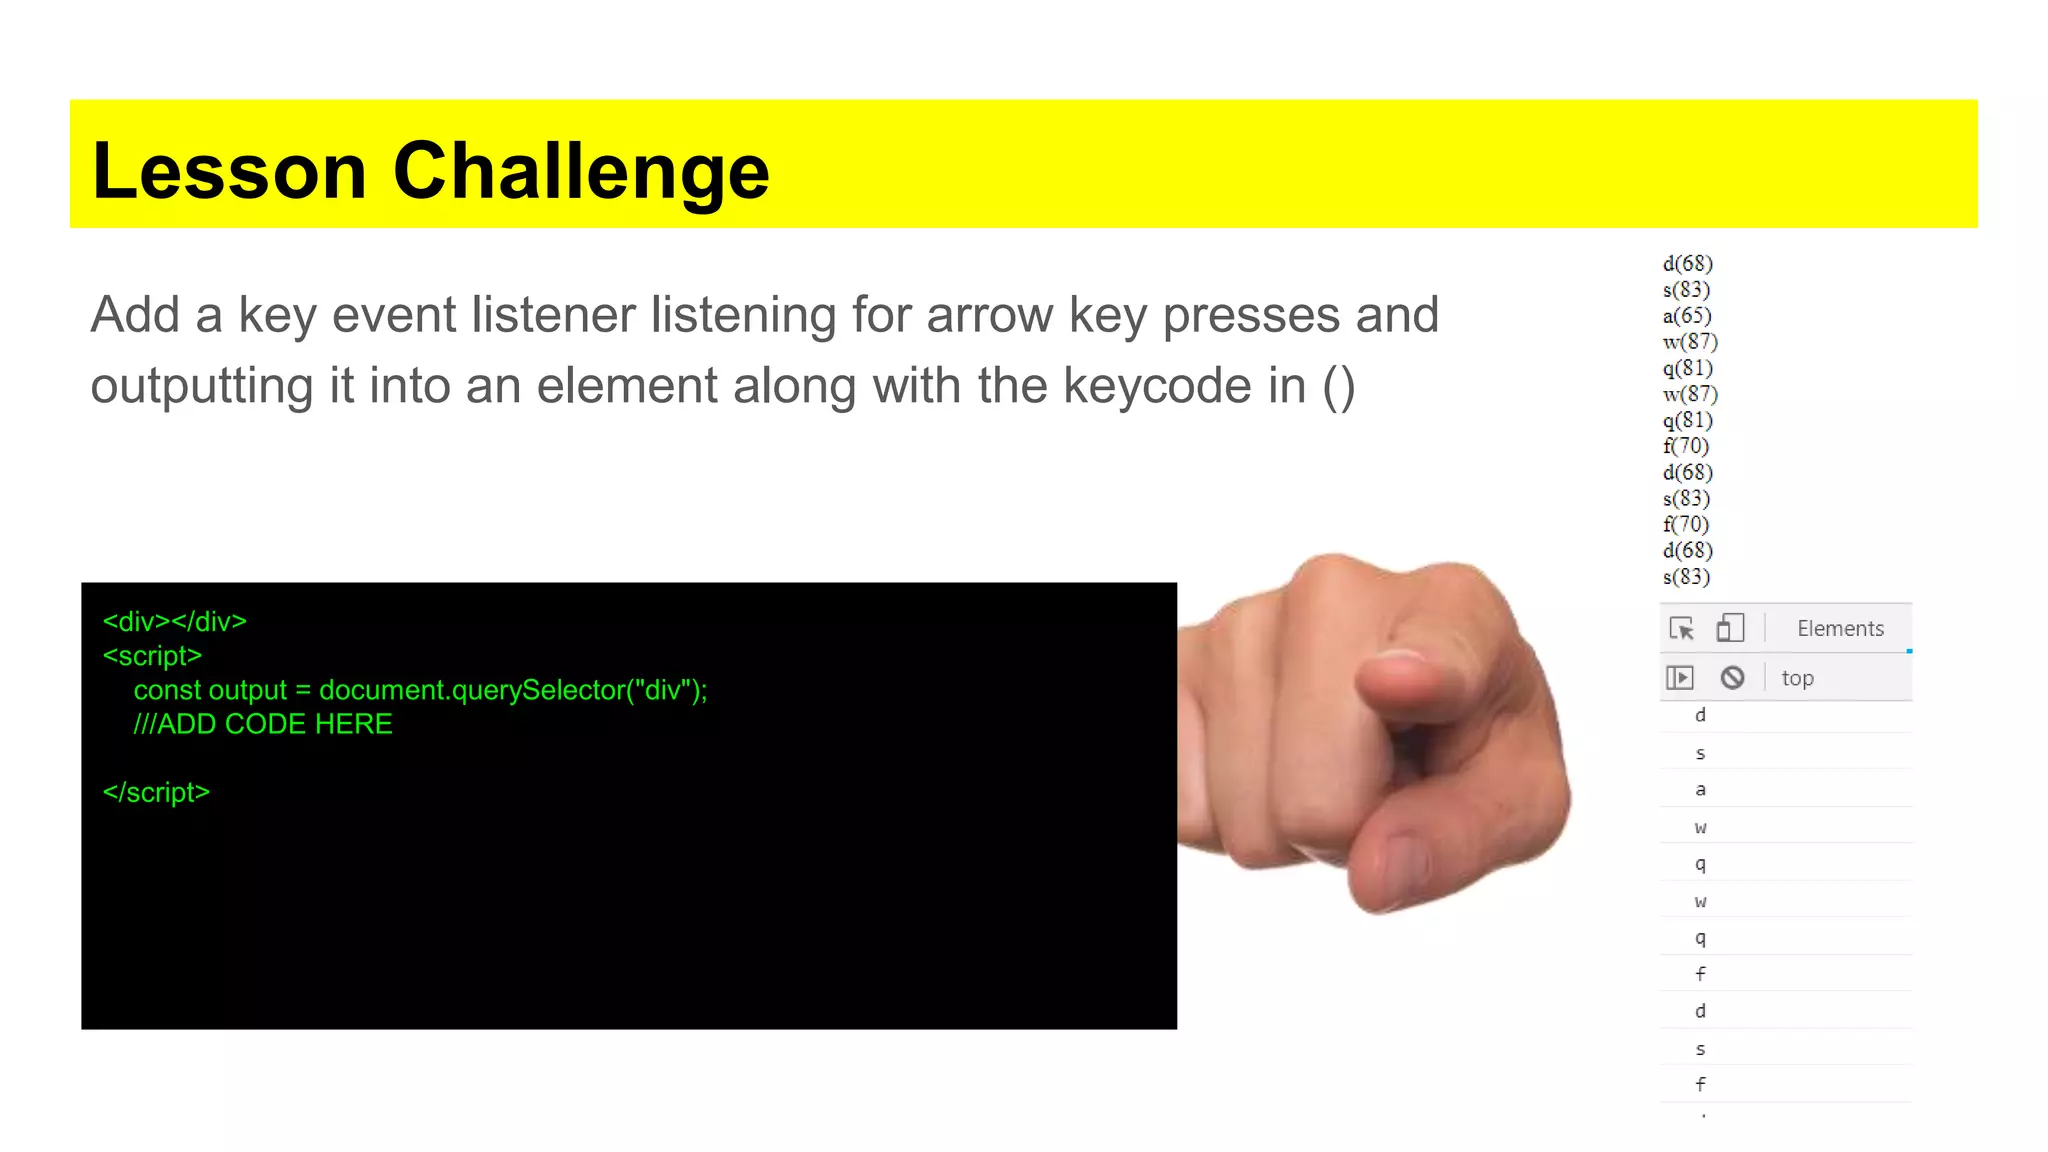
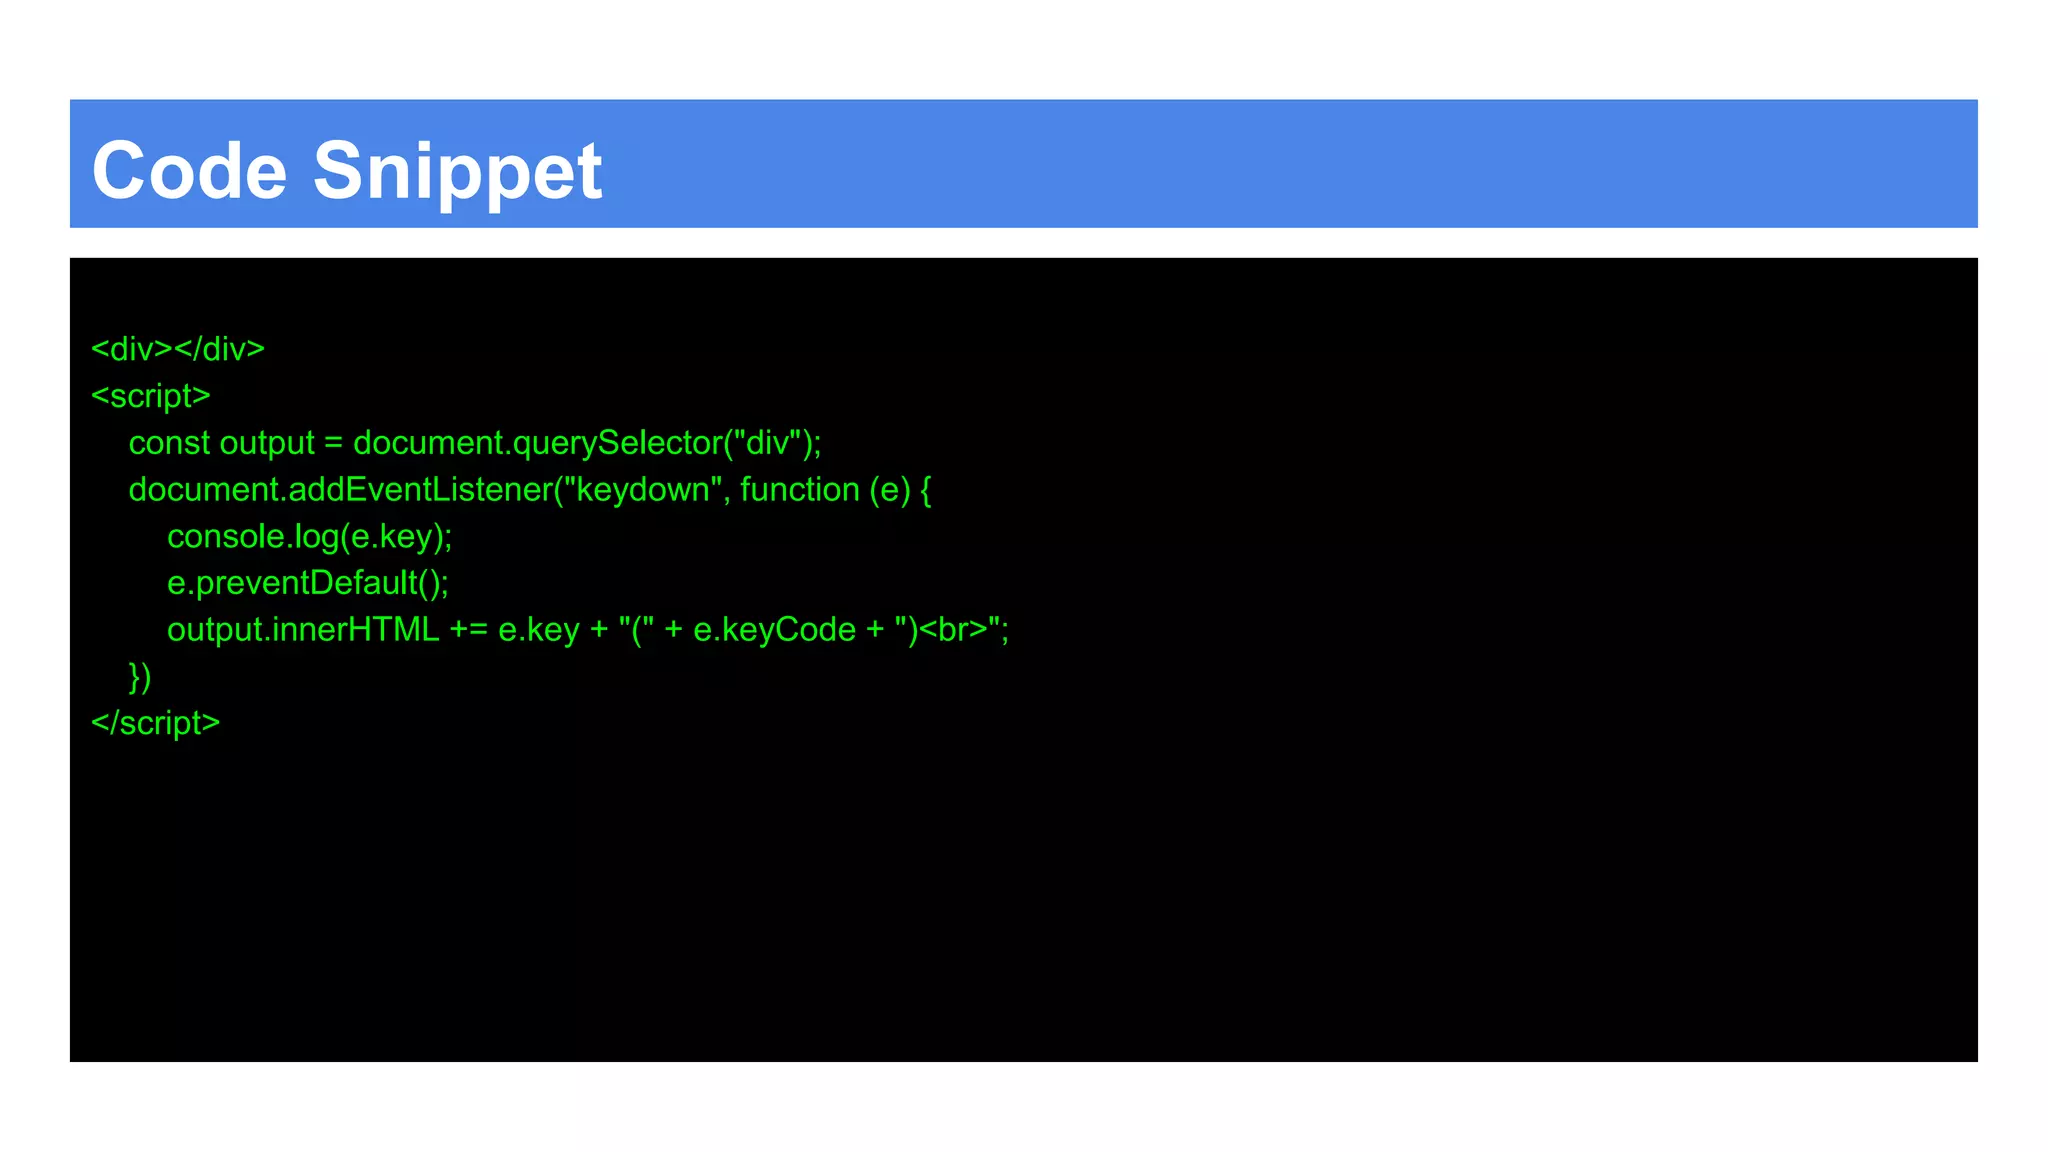
![JavaScript Key Event The keydown event is fired when a key is pressed down. https://developer.mozilla.org/en-US/docs/Web/Events/keydown The keyup event is fired when a key is released. https://developer.mozilla.org/en-US/docs/Web/Events/keyup let keys = { ArrowUp: false , ArrowDown: false , ArrowLeft: false , ArrowRight: false } document.addEventListener("keydown", pressKeyOn); document.addEventListener("keyup", pressKeyOff); function pressKeyOn(event) { console.log(event.key); event.preventDefault(); keys[event.key] = true; console.log(keys); } function pressKeyOff(event) { console.log(event.key); event.preventDefault(); keys[event.key] = false; console.log(keys); }](https://image.slidesharecdn.com/javascriptdom2019-ready-190612162236/75/JavaScript-DOM-Dynamic-interactive-Code-49-2048.jpg)
![Added to an element Can be added to specific element like inputs. <div></div> <input type="text" name="newItem"> <script> const div = document.querySelector('div'); const ele = document.querySelector('input[name="newItem"]'); ele.addEventListener('keypress', addItem); function addItem(event) { div.textContent = ele.value; if (ele.value.length > 5) { ele.style.backgroundColor = "red"; } else { ele.style.backgroundColor = "white"; } if (event.keyCode === 13 && ele.value.length > 1) { console.log(ele.value.length); eleUL.style.backgroundColor = "yellow"; } } </script>](https://image.slidesharecdn.com/javascriptdom2019-ready-190612162236/75/JavaScript-DOM-Dynamic-interactive-Code-50-2048.jpg)

![JavaScript Mouse Events The mouseover event is fired when a pointing device is moved onto the element that has the listener attached or onto one of its children. https://developer.mozilla.org/en-US/docs/Web/API/Element/mouseover_event The mouseout event is fired when a pointing device (usually a mouse) is moved off the element that has the listener attached or off one of its children https://developer.mozilla.org/en-US/docs/Web/API/Element/mouseout_event <style> .red { color: red; } </style> <ul> <li>My Item</li> <li>Another Item</li> <li>Wow Cool</li> <li>New Color</li> </ul> <input type="text" name="newItem"> <script> const eleList = document.querySelectorAll('li'); for (var x = 0; x < eleList.length; x++) { console.log(eleList[x]); eleList[x].addEventListener('mouseover', function () { this.classList.add('red'); }); eleList[x].addEventListener('mouseout', function () { this.classList.remove('red'); }) } </script>](https://image.slidesharecdn.com/javascriptdom2019-ready-190612162236/75/JavaScript-DOM-Dynamic-interactive-Code-54-2048.jpg)
![Code Snippet const eleList = document.querySelectorAll('li'); for (var x = 0; x < eleList.length; x++) { console.log(eleList[x]); eleList[x].addEventListener('mouseover', function () { this.classList.add('red'); }); eleList[x].addEventListener('mouseout', function () { this.classList.remove('red'); }) }](https://image.slidesharecdn.com/javascriptdom2019-ready-190612162236/75/JavaScript-DOM-Dynamic-interactive-Code-56-2048.jpg)
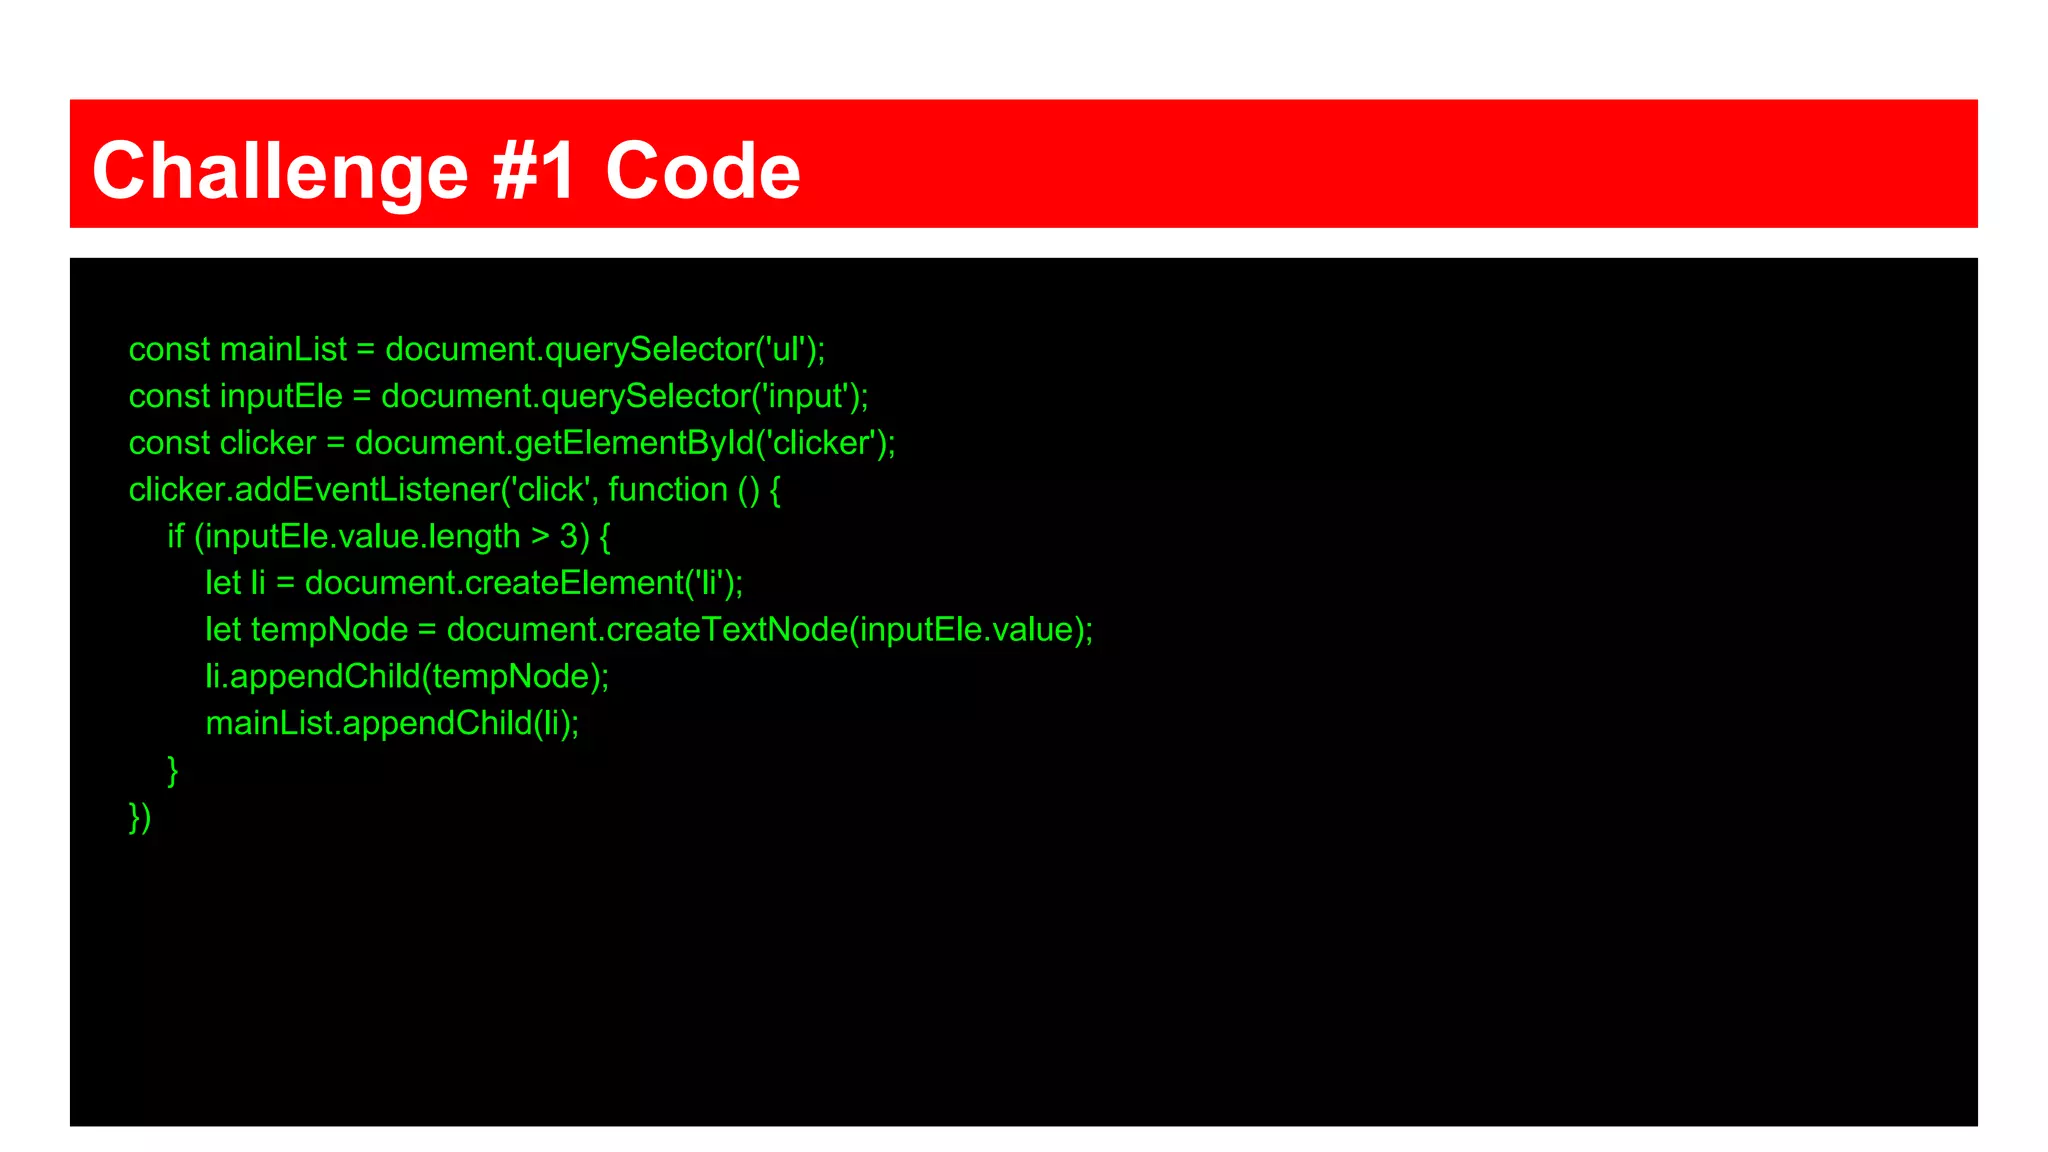
![Challenge #4 - List items advanced ● Add to list items ● Make existing items click and toggle line strike ● Add x to item to allow for removal from list. Starter code is on the side, create functions to add functionality to the list items. .red { background-color: #eee; color: red; text-decoration: line-through; } <ul> <li>Bananas</li> <li>Milk</li> <li>Bread</li> </ul> <input type="text" name="newItem"> const inputSelect = document.querySelector('input[name="newItem"]'); const mainList = document.querySelector('ul'); inputSelect.addEventListener('keypress', function (event) { if (event.keyCode === 13) { console.log(event.keyCode); makeNew(); } })](https://image.slidesharecdn.com/javascriptdom2019-ready-190612162236/75/JavaScript-DOM-Dynamic-interactive-Code-57-2048.jpg)
![Challenge #4 Code const inputSelect = document.querySelector('input[name="newItem"]'); const mainList = document.querySelector('ul'); inputSelect.addEventListener('keypress', function (event) { if (event.keyCode === 13) { console.log(event.keyCode); makeNew(); } }) const allListItems = document.querySelectorAll('li'); for (var x = 0; x < allListItems.length; x++) { allListItems[x].addEventListener('click', myList); } function makeNew() { let li = document.createElement('li'); li.addEventListener('click', myList); let textValue = inputSelect.value; inputSelect.value = ''; let tempNode = document.createTextNode(textValue); li.appendChild(tempNode); mainList.appendChild(li); } function myList() { var temp = this.classList.toggle('red'); if (temp) { let span = document.createElement('span'); span.textContent = ' x '; span.addEventListener('click', function () { this.parentElement.remove(); }) this.appendChild(span); } else { this.getElementsByTagName('span')[0].remove(); } }](https://image.slidesharecdn.com/javascriptdom2019-ready-190612162236/75/JavaScript-DOM-Dynamic-interactive-Code-58-2048.jpg)
![JavaScript Event bubbling and capturing 2 events on the same element !!!! Needed when an event occurs in an element inside another element, and both elements have registered a handle for that event. With bubbling, the event is first captured and handled by the innermost element and then propagated to outer elements. With capturing, the event is first captured by the outermost element and propagated to the inner elements. We can use the addEventListener(type, listener, useCapture) to register event handlers for in either bubbling (default) or capturing mode. To use the capturing model pass the third argument as true. eles[i].addEventListener('click', capture, true); eles[i].addEventListener('click', bubble, false);](https://image.slidesharecdn.com/javascriptdom2019-ready-190612162236/75/JavaScript-DOM-Dynamic-interactive-Code-60-2048.jpg)
![Code Snippet Try it <div>1 <div>2 <div>3 <div>4 <div>5</div></div></div></div></div><section id="output"></section> <script> const outputElement = document.getElementById('output'); const eles = document.getElementsByTagName('div'); function output(msg) {outputElement.innerHTML += (`${msg} <br>`);} function capture() {output('capture: ' + this.v);} function bubble() {output('bubble: ' + this.v);} for (var i = 0; i < eles.length; i++) { eles[i].style.border = "1px solid red"; eles[i].style.width = "100px"; eles[i].style.padding = "10px"; eles[i].v = (i+1); eles[i].addEventListener('click', capture, true); eles[i].addEventListener('click', bubble, false); } </script>](https://image.slidesharecdn.com/javascriptdom2019-ready-190612162236/75/JavaScript-DOM-Dynamic-interactive-Code-61-2048.jpg)

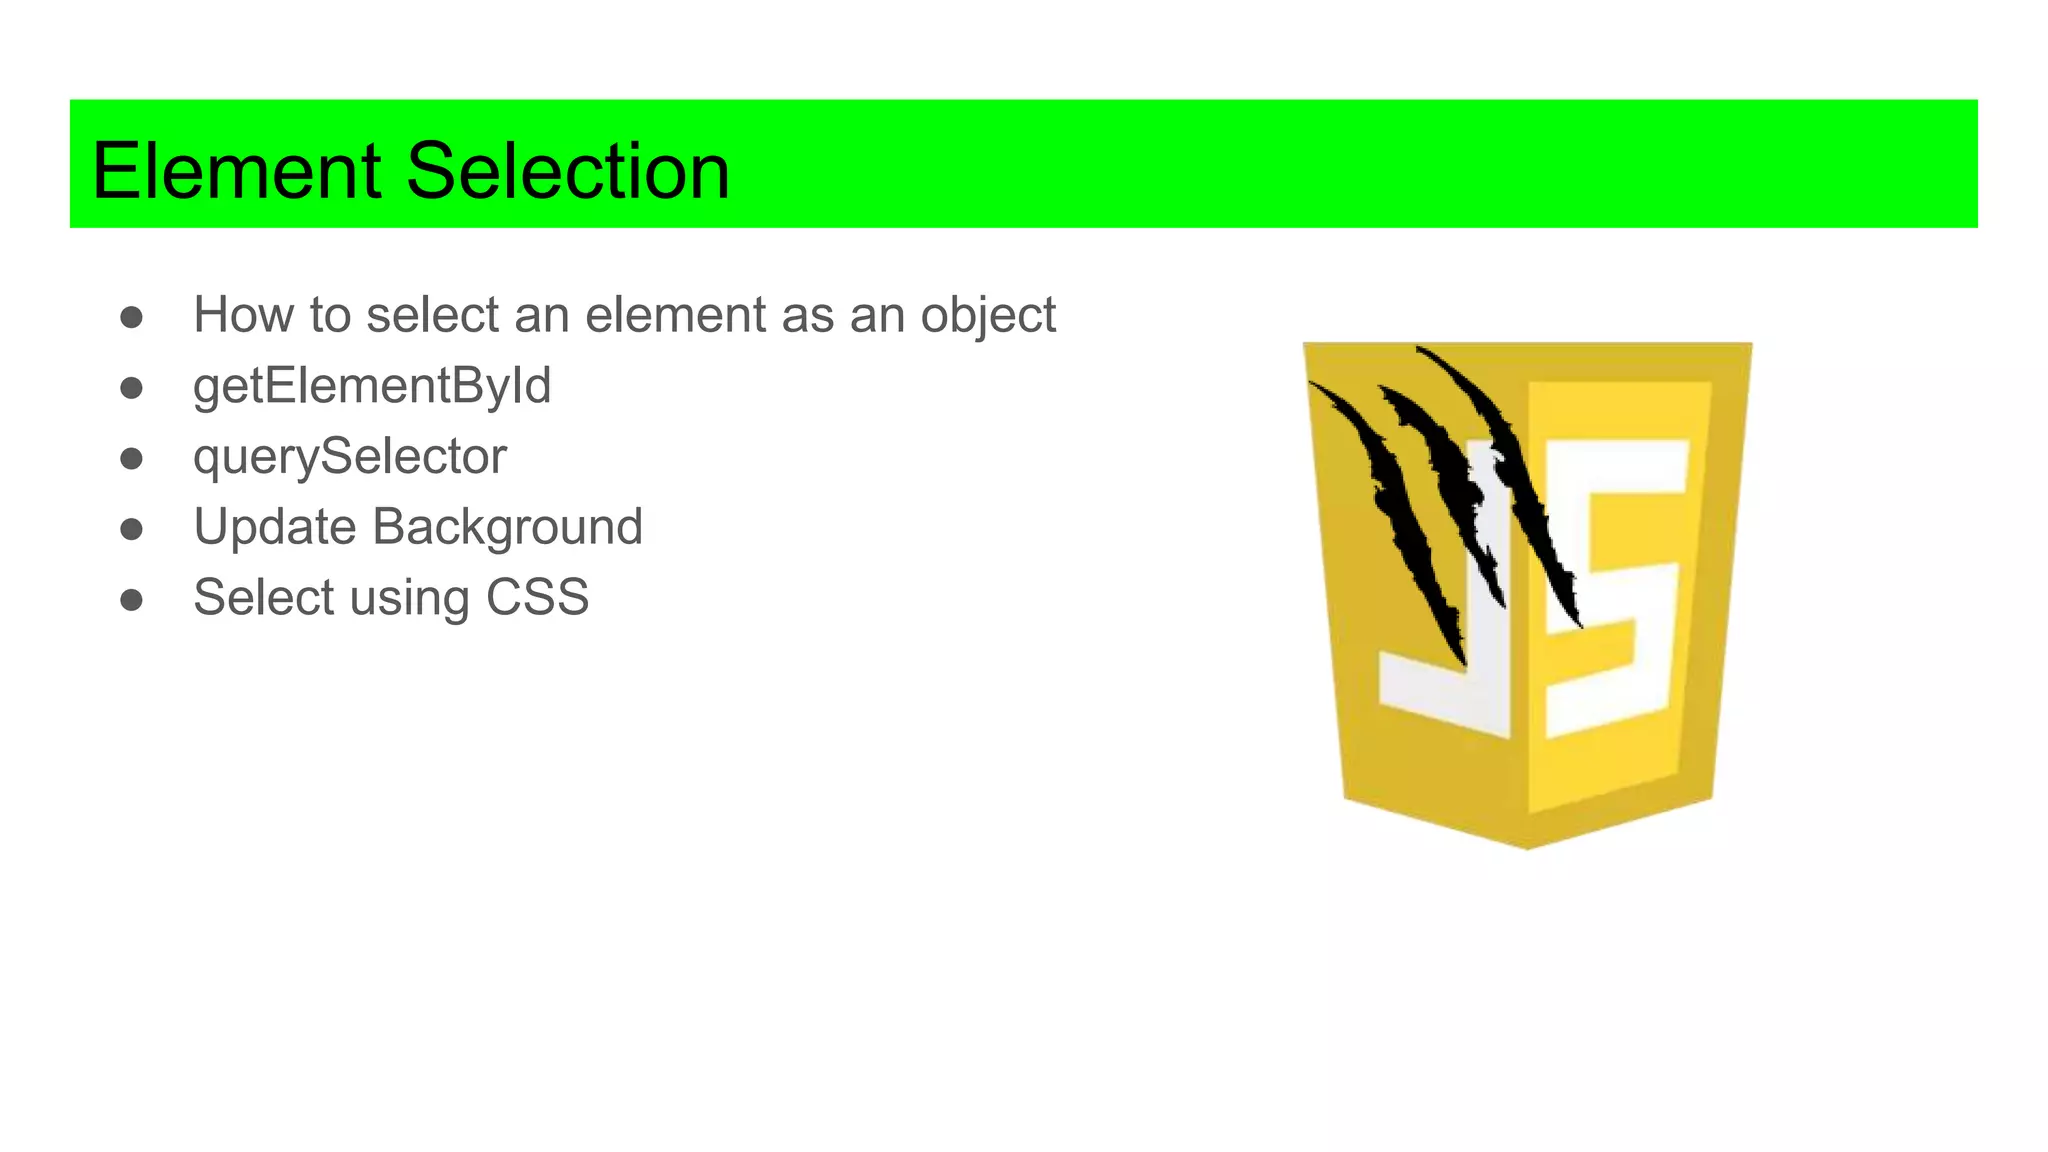
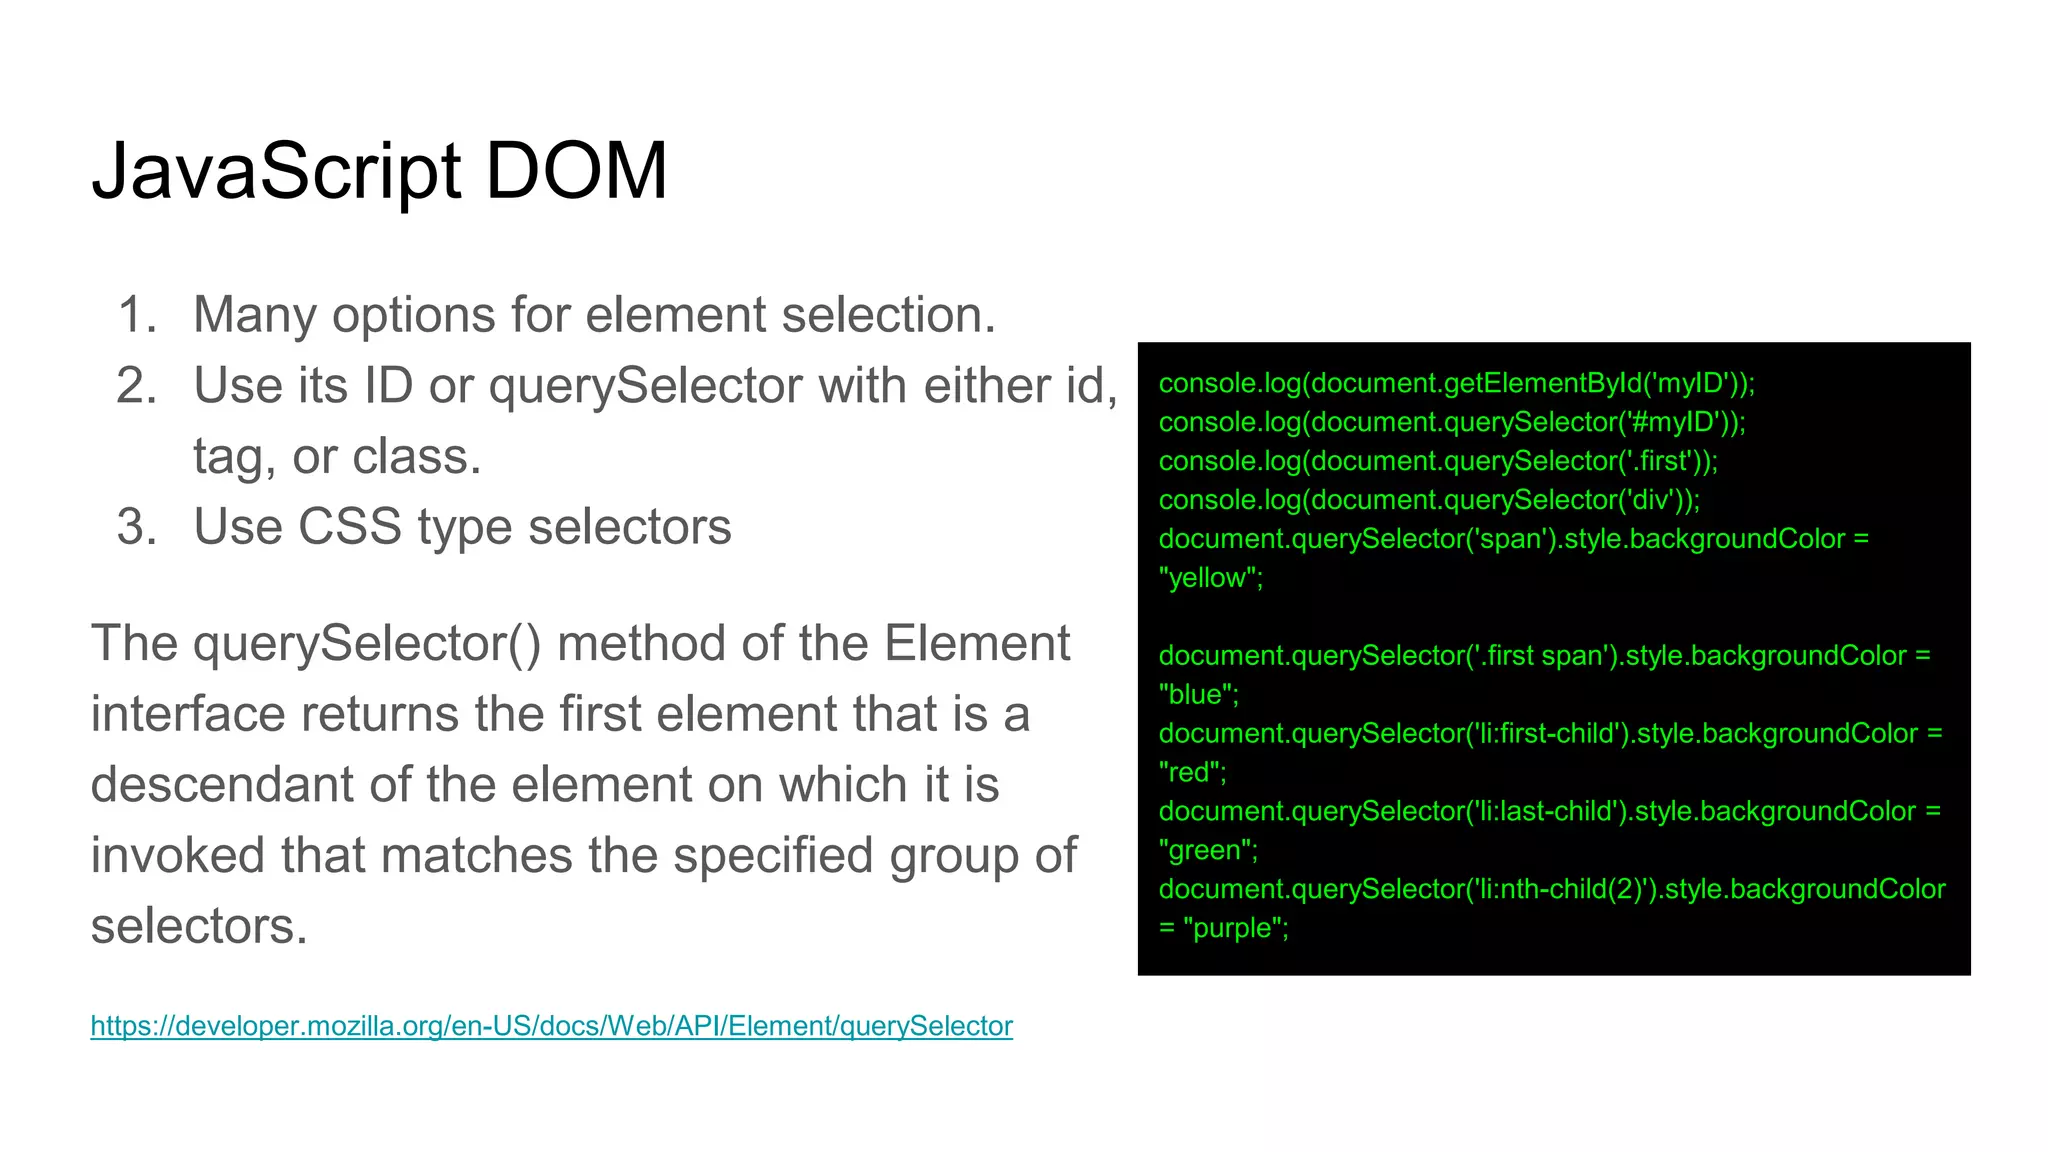
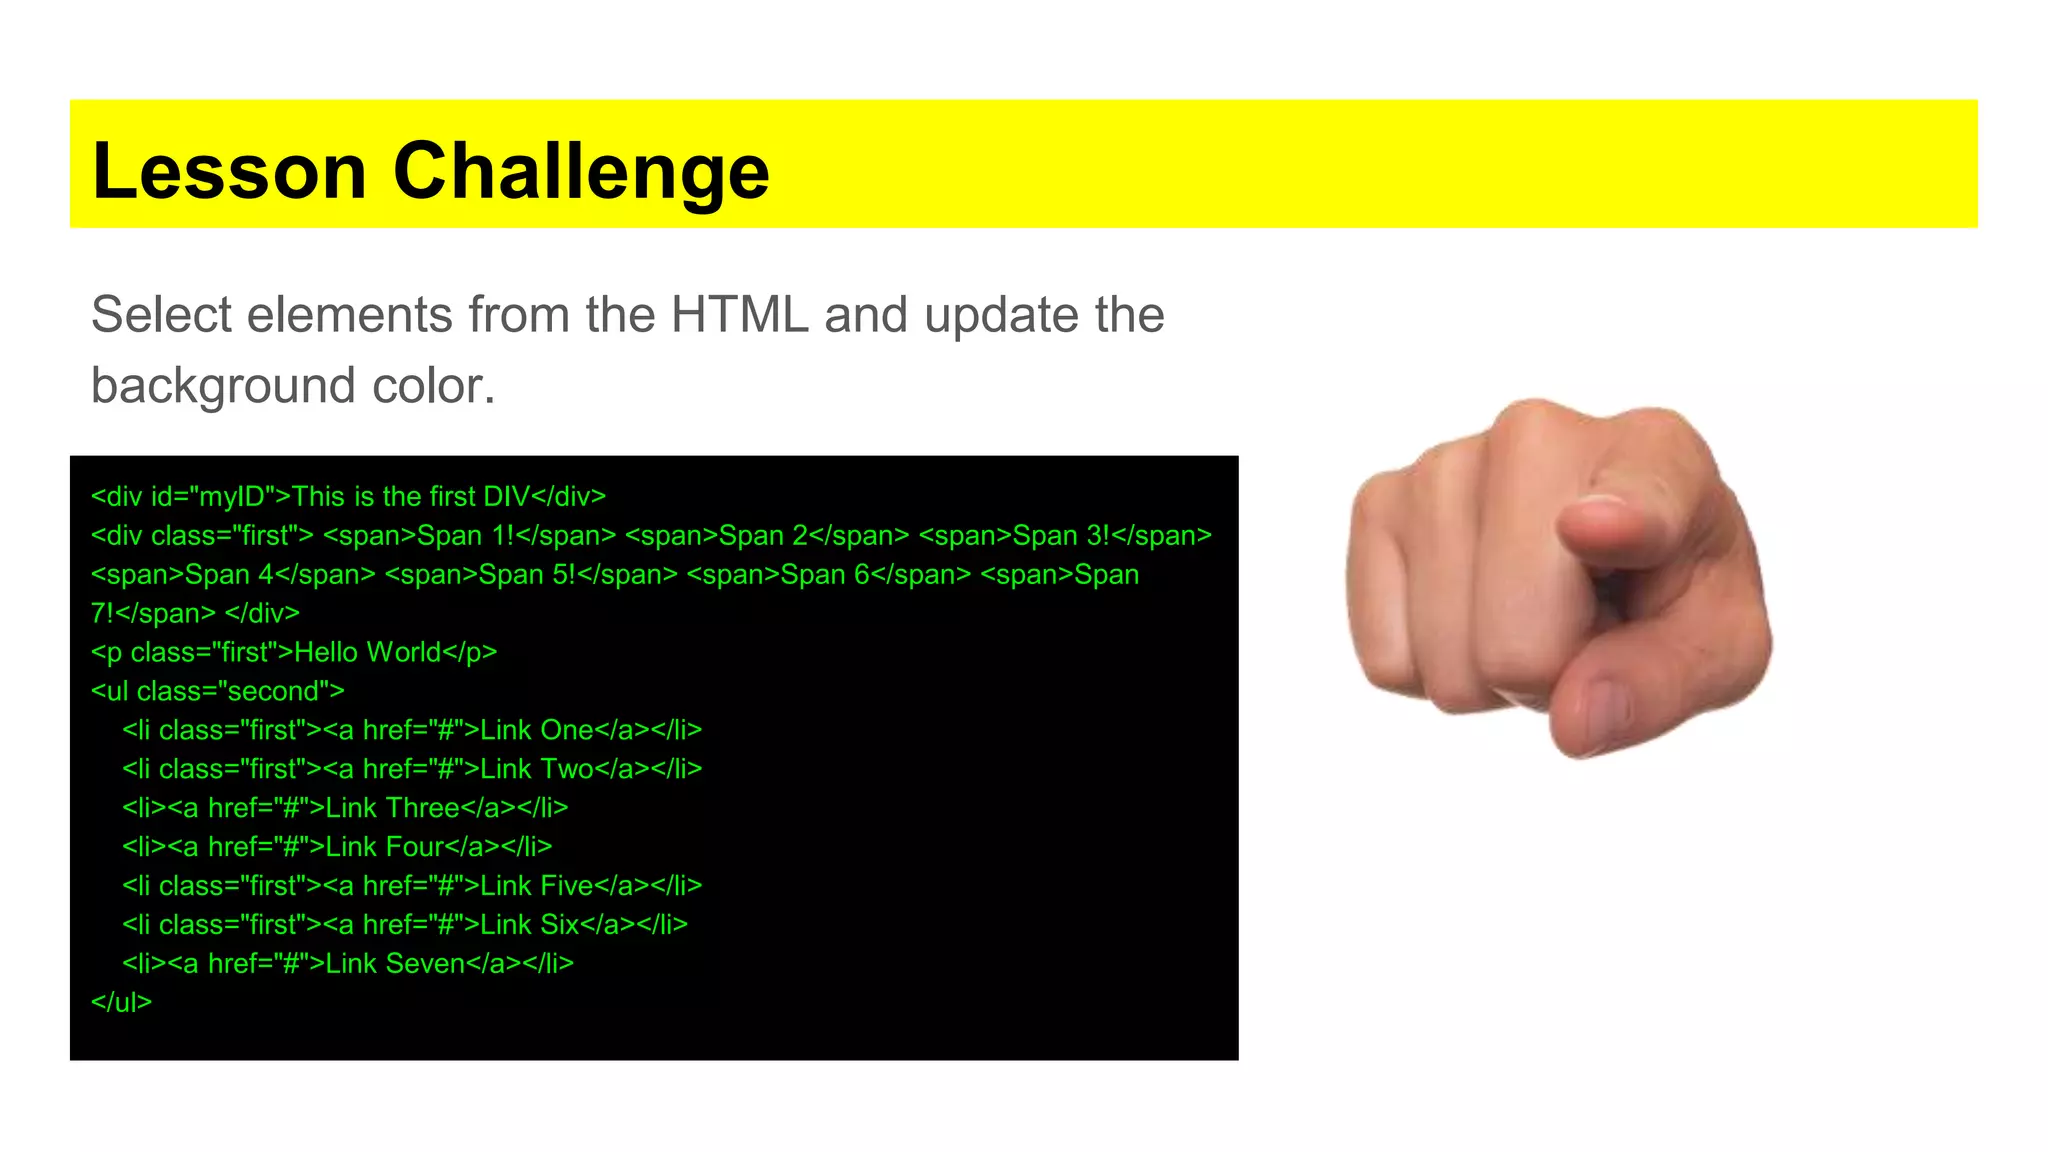
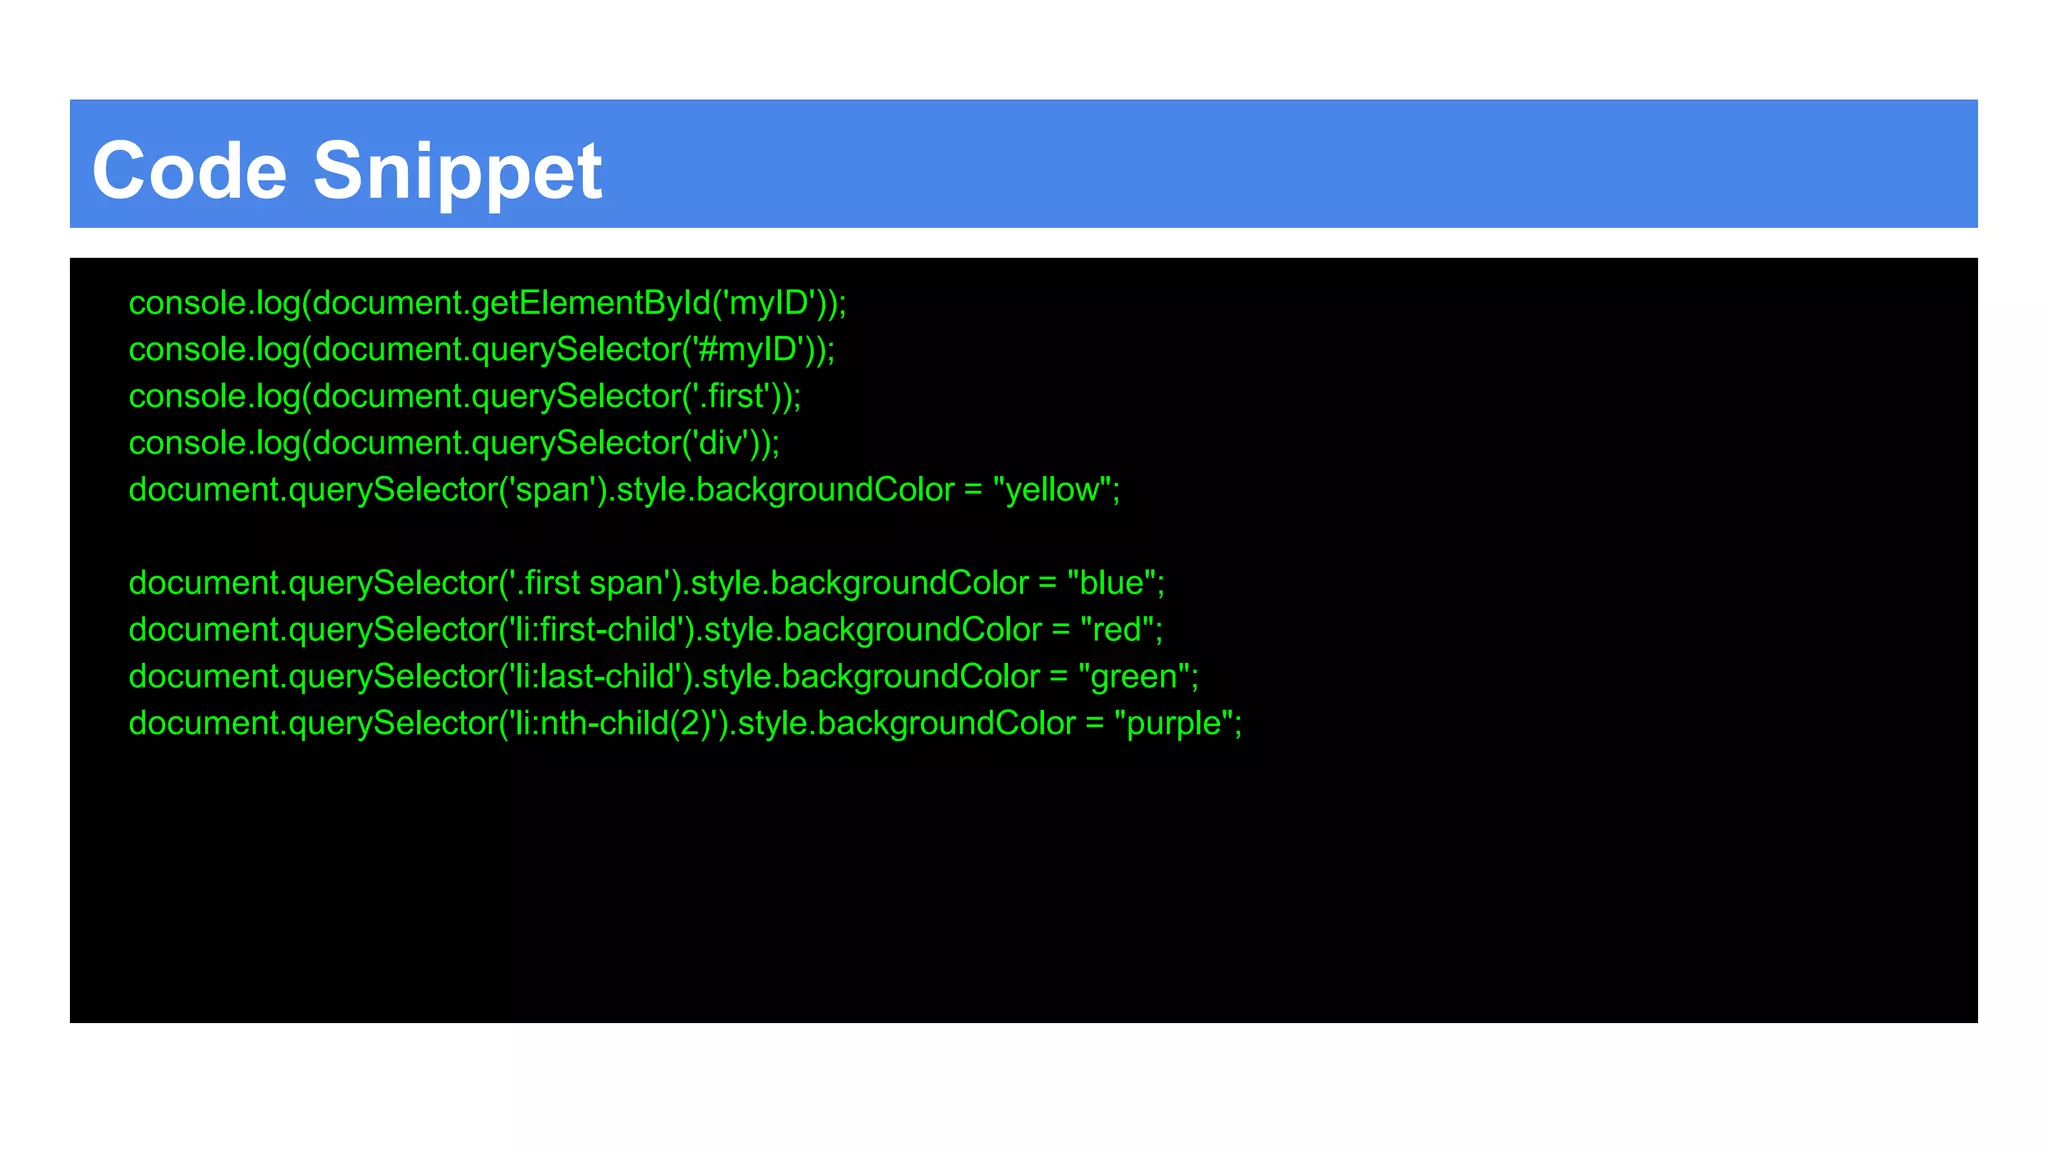
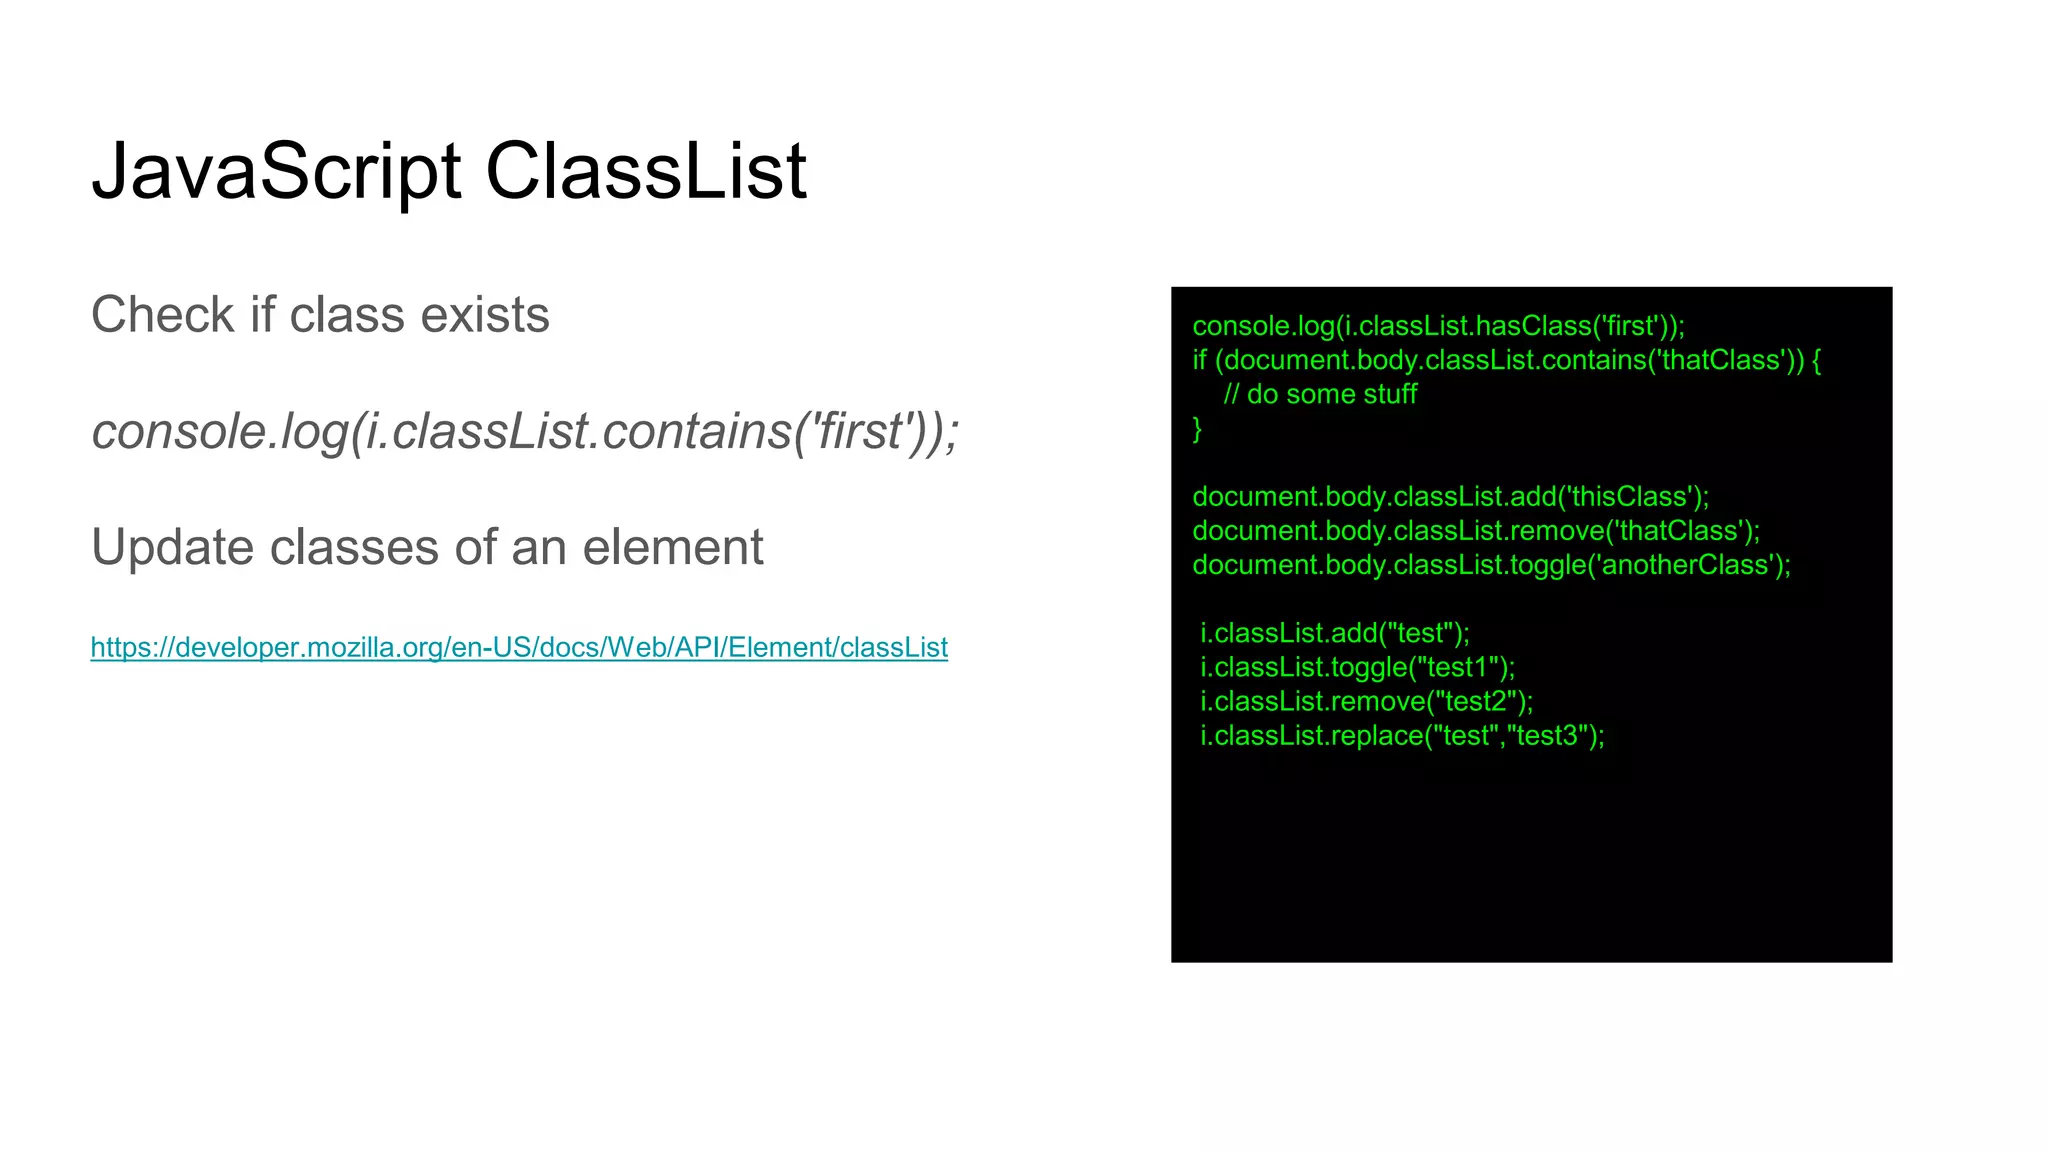
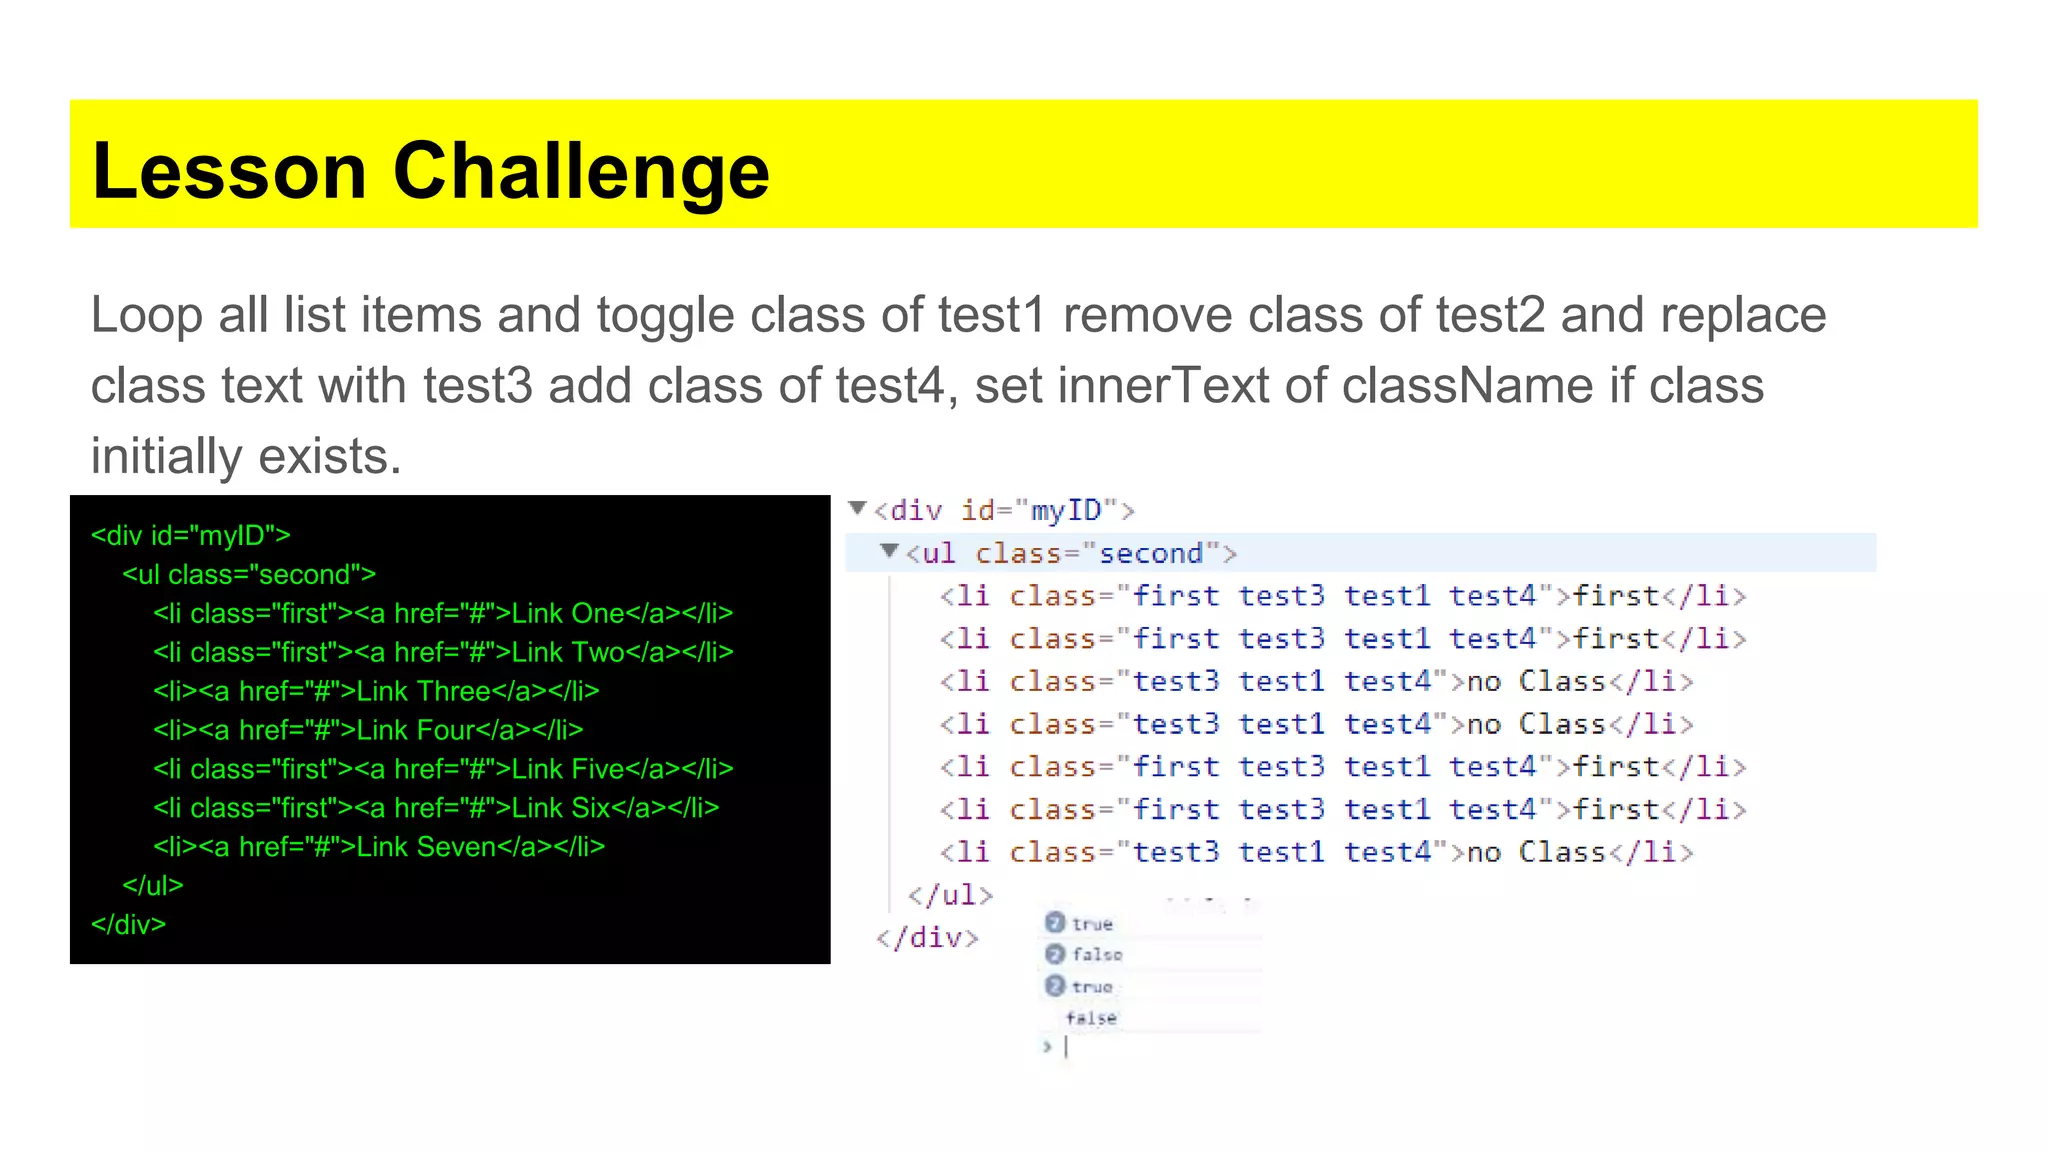
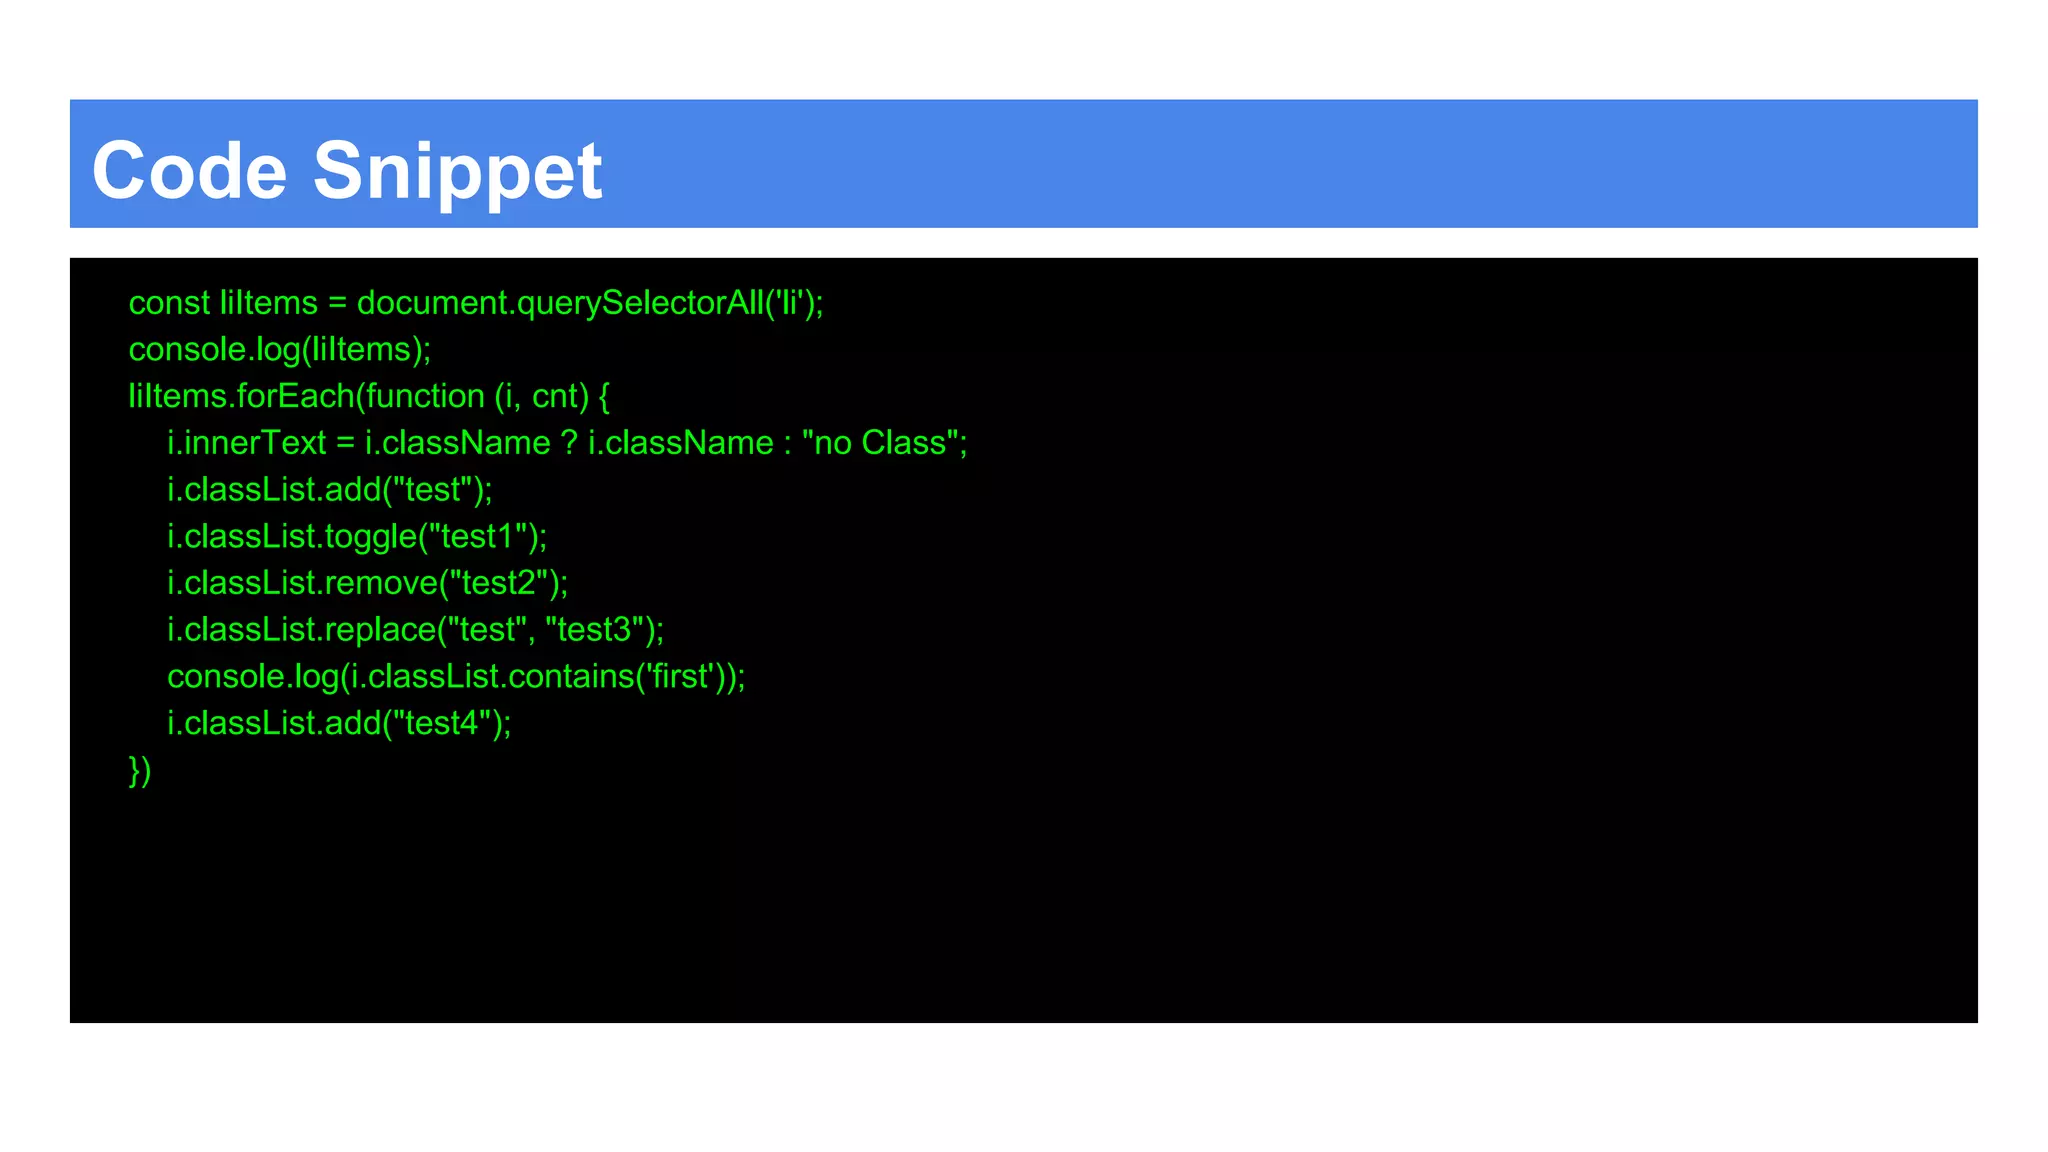
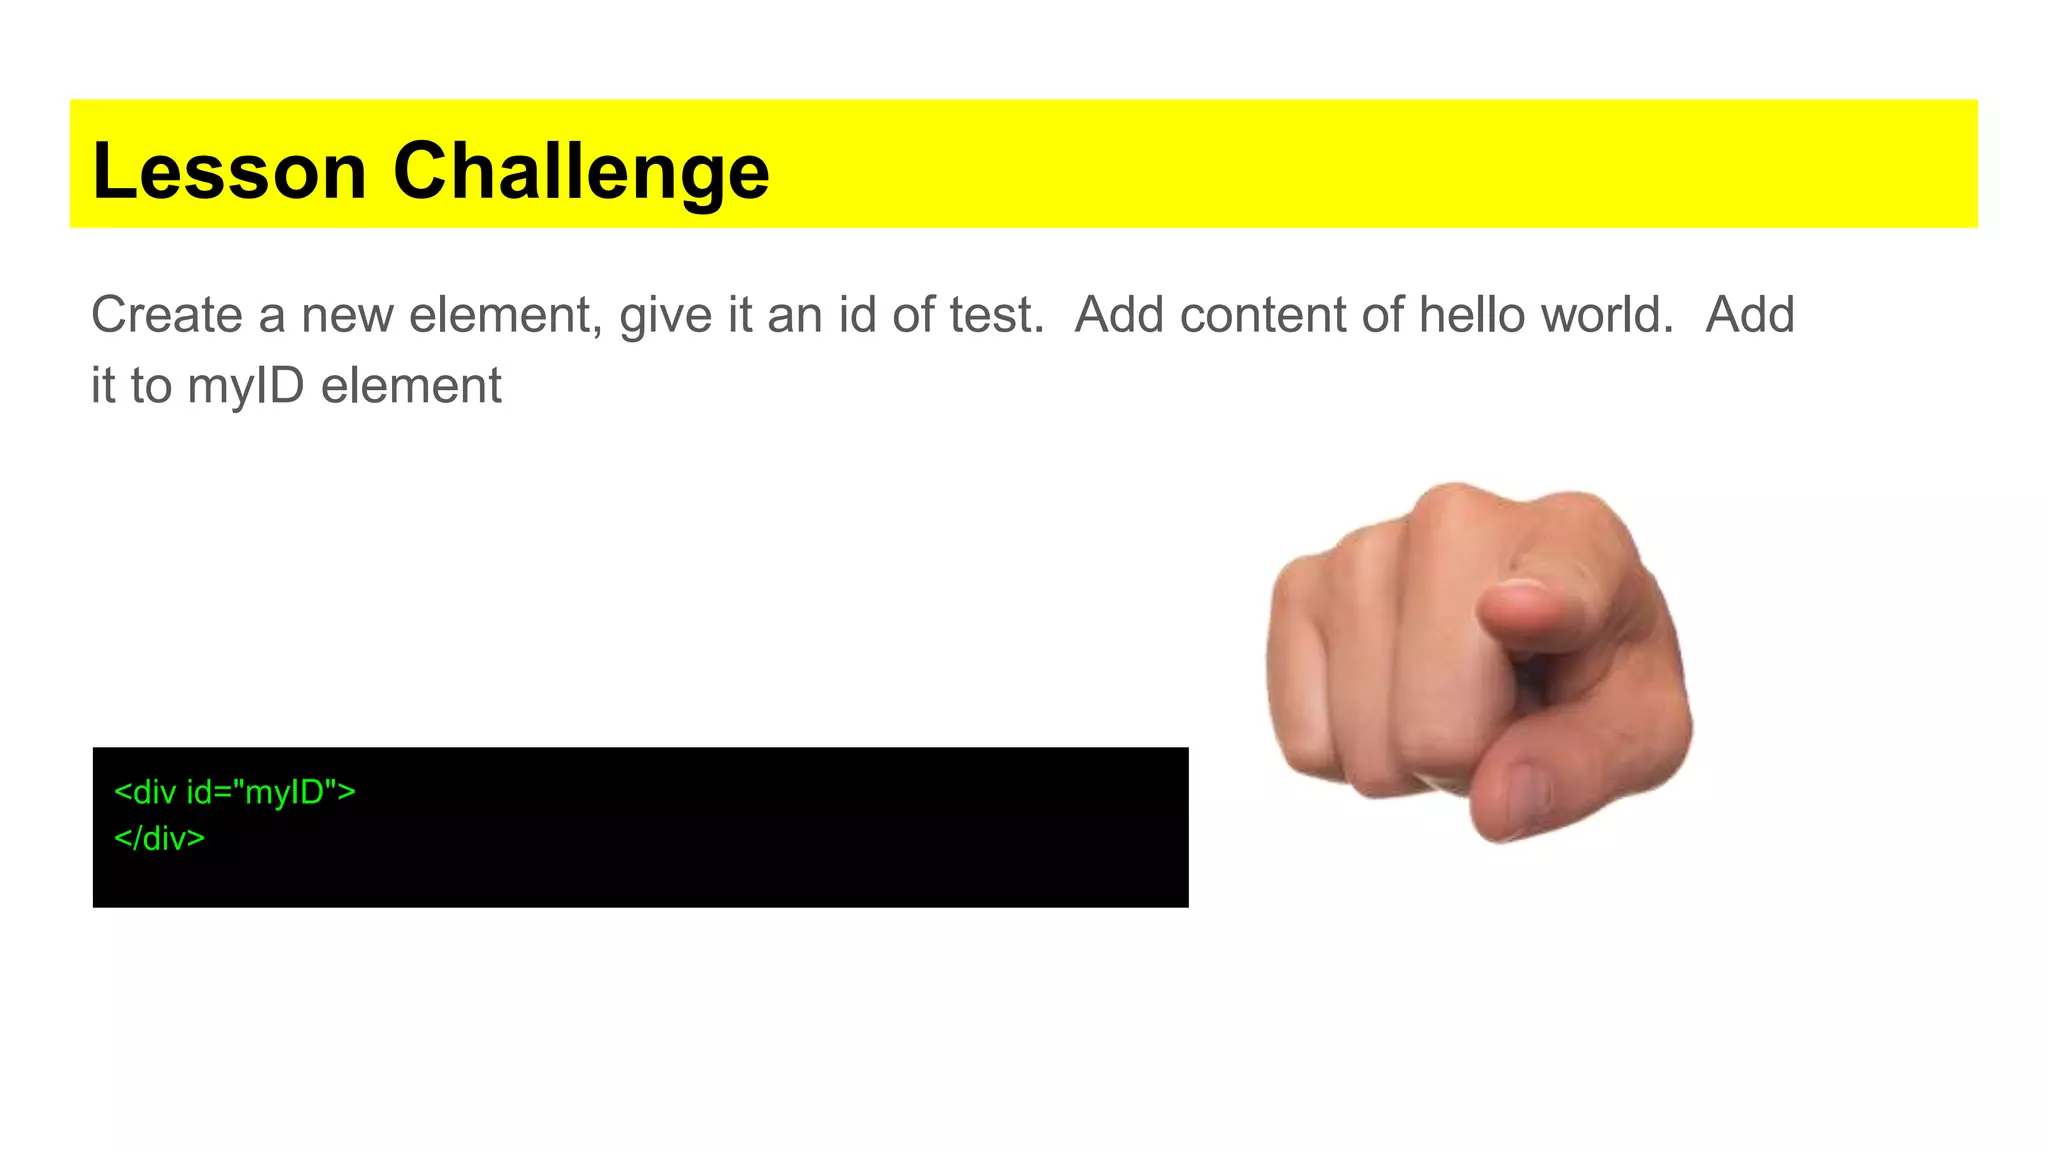
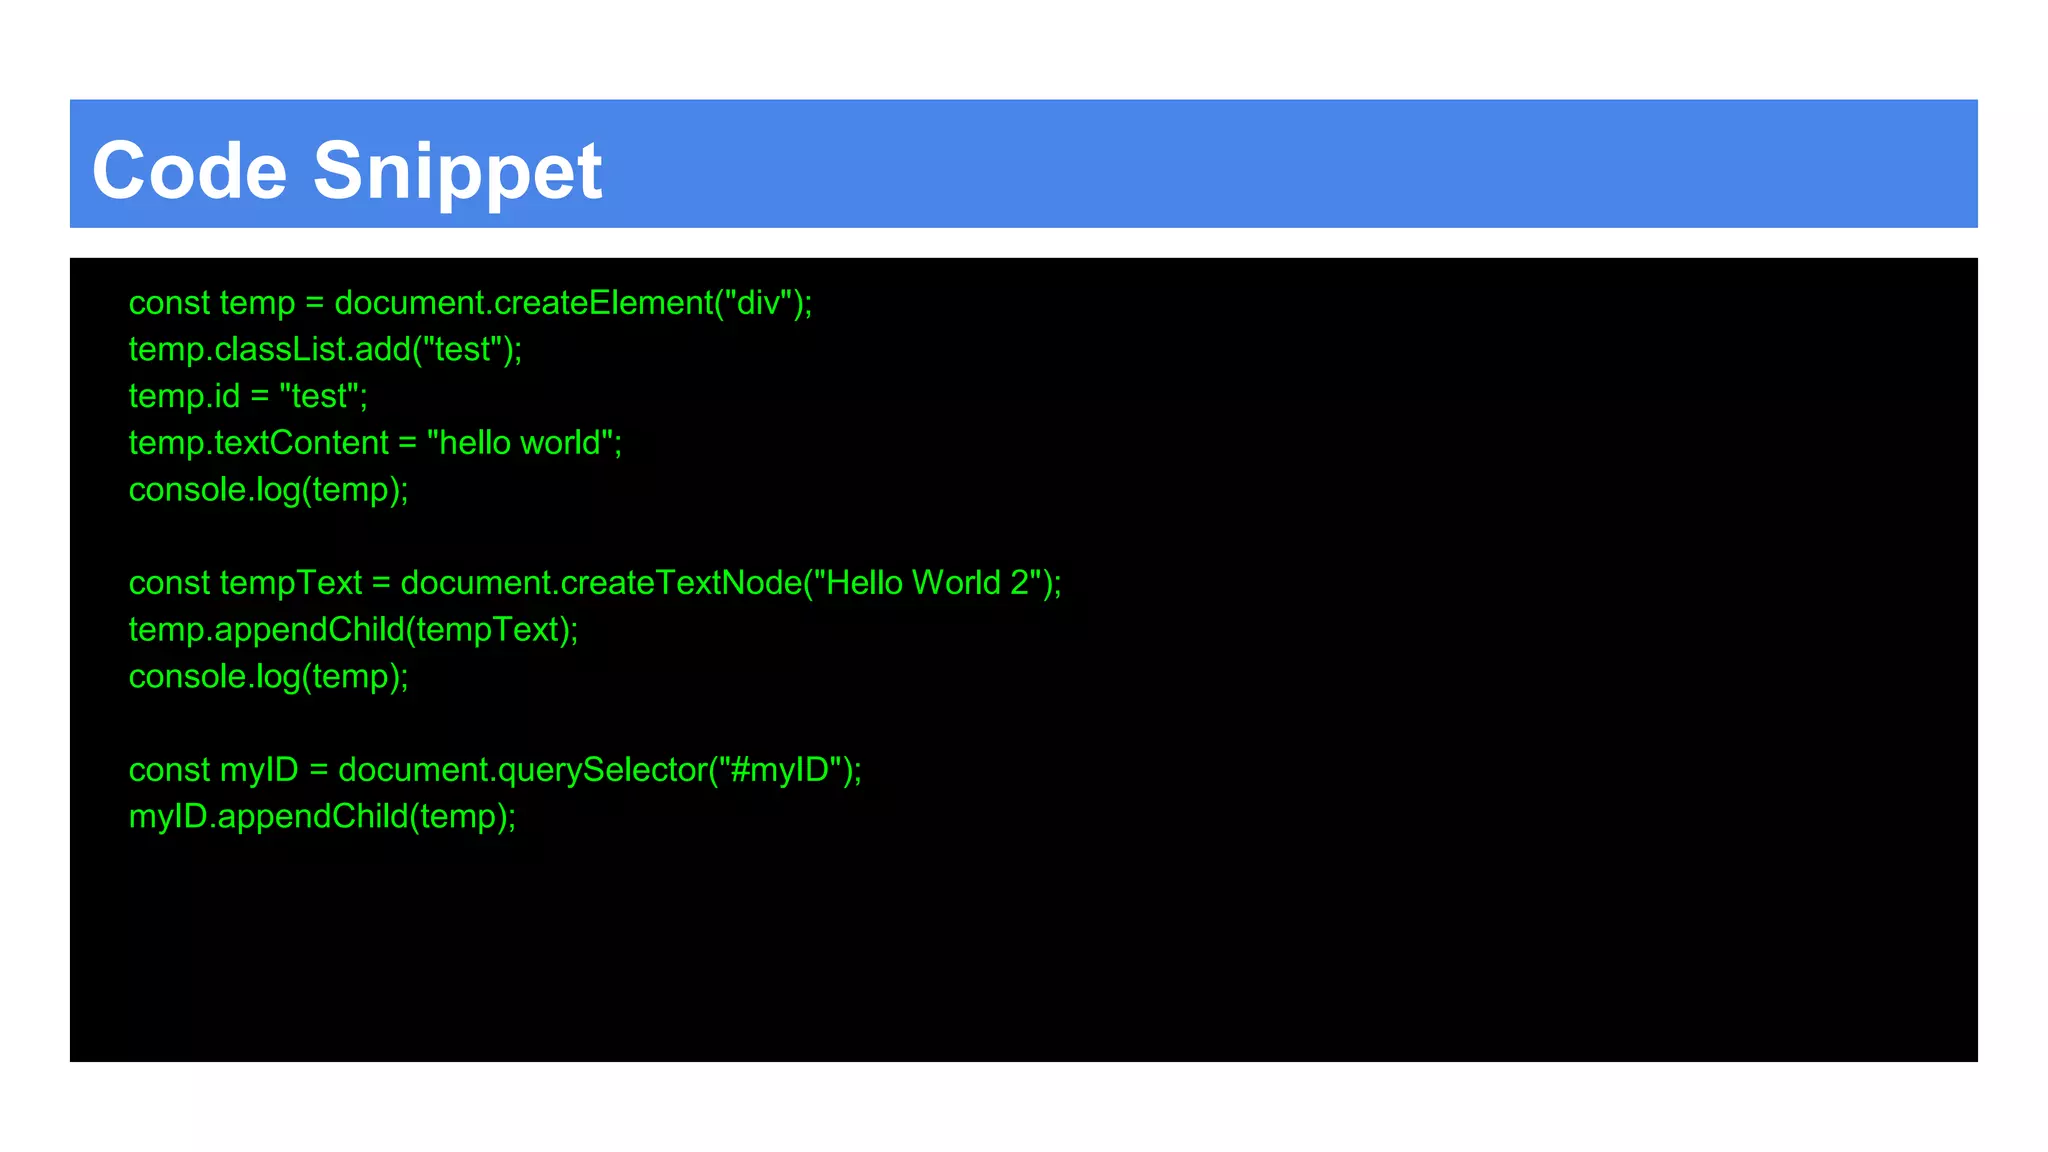
The document provides a comprehensive overview of the JavaScript Document Object Model (DOM), detailing how developers can manipulate HTML and XML documents using various JavaScript methods such as element selection, attribute manipulation, and event handling. It includes practical examples, code snippets, and challenges to help learners understand how to dynamically alter webpage content and styles. Additionally, it covers advanced topics like multiple element selection, class manipulation, and traversing DOM elements.