Downloaded 104 times

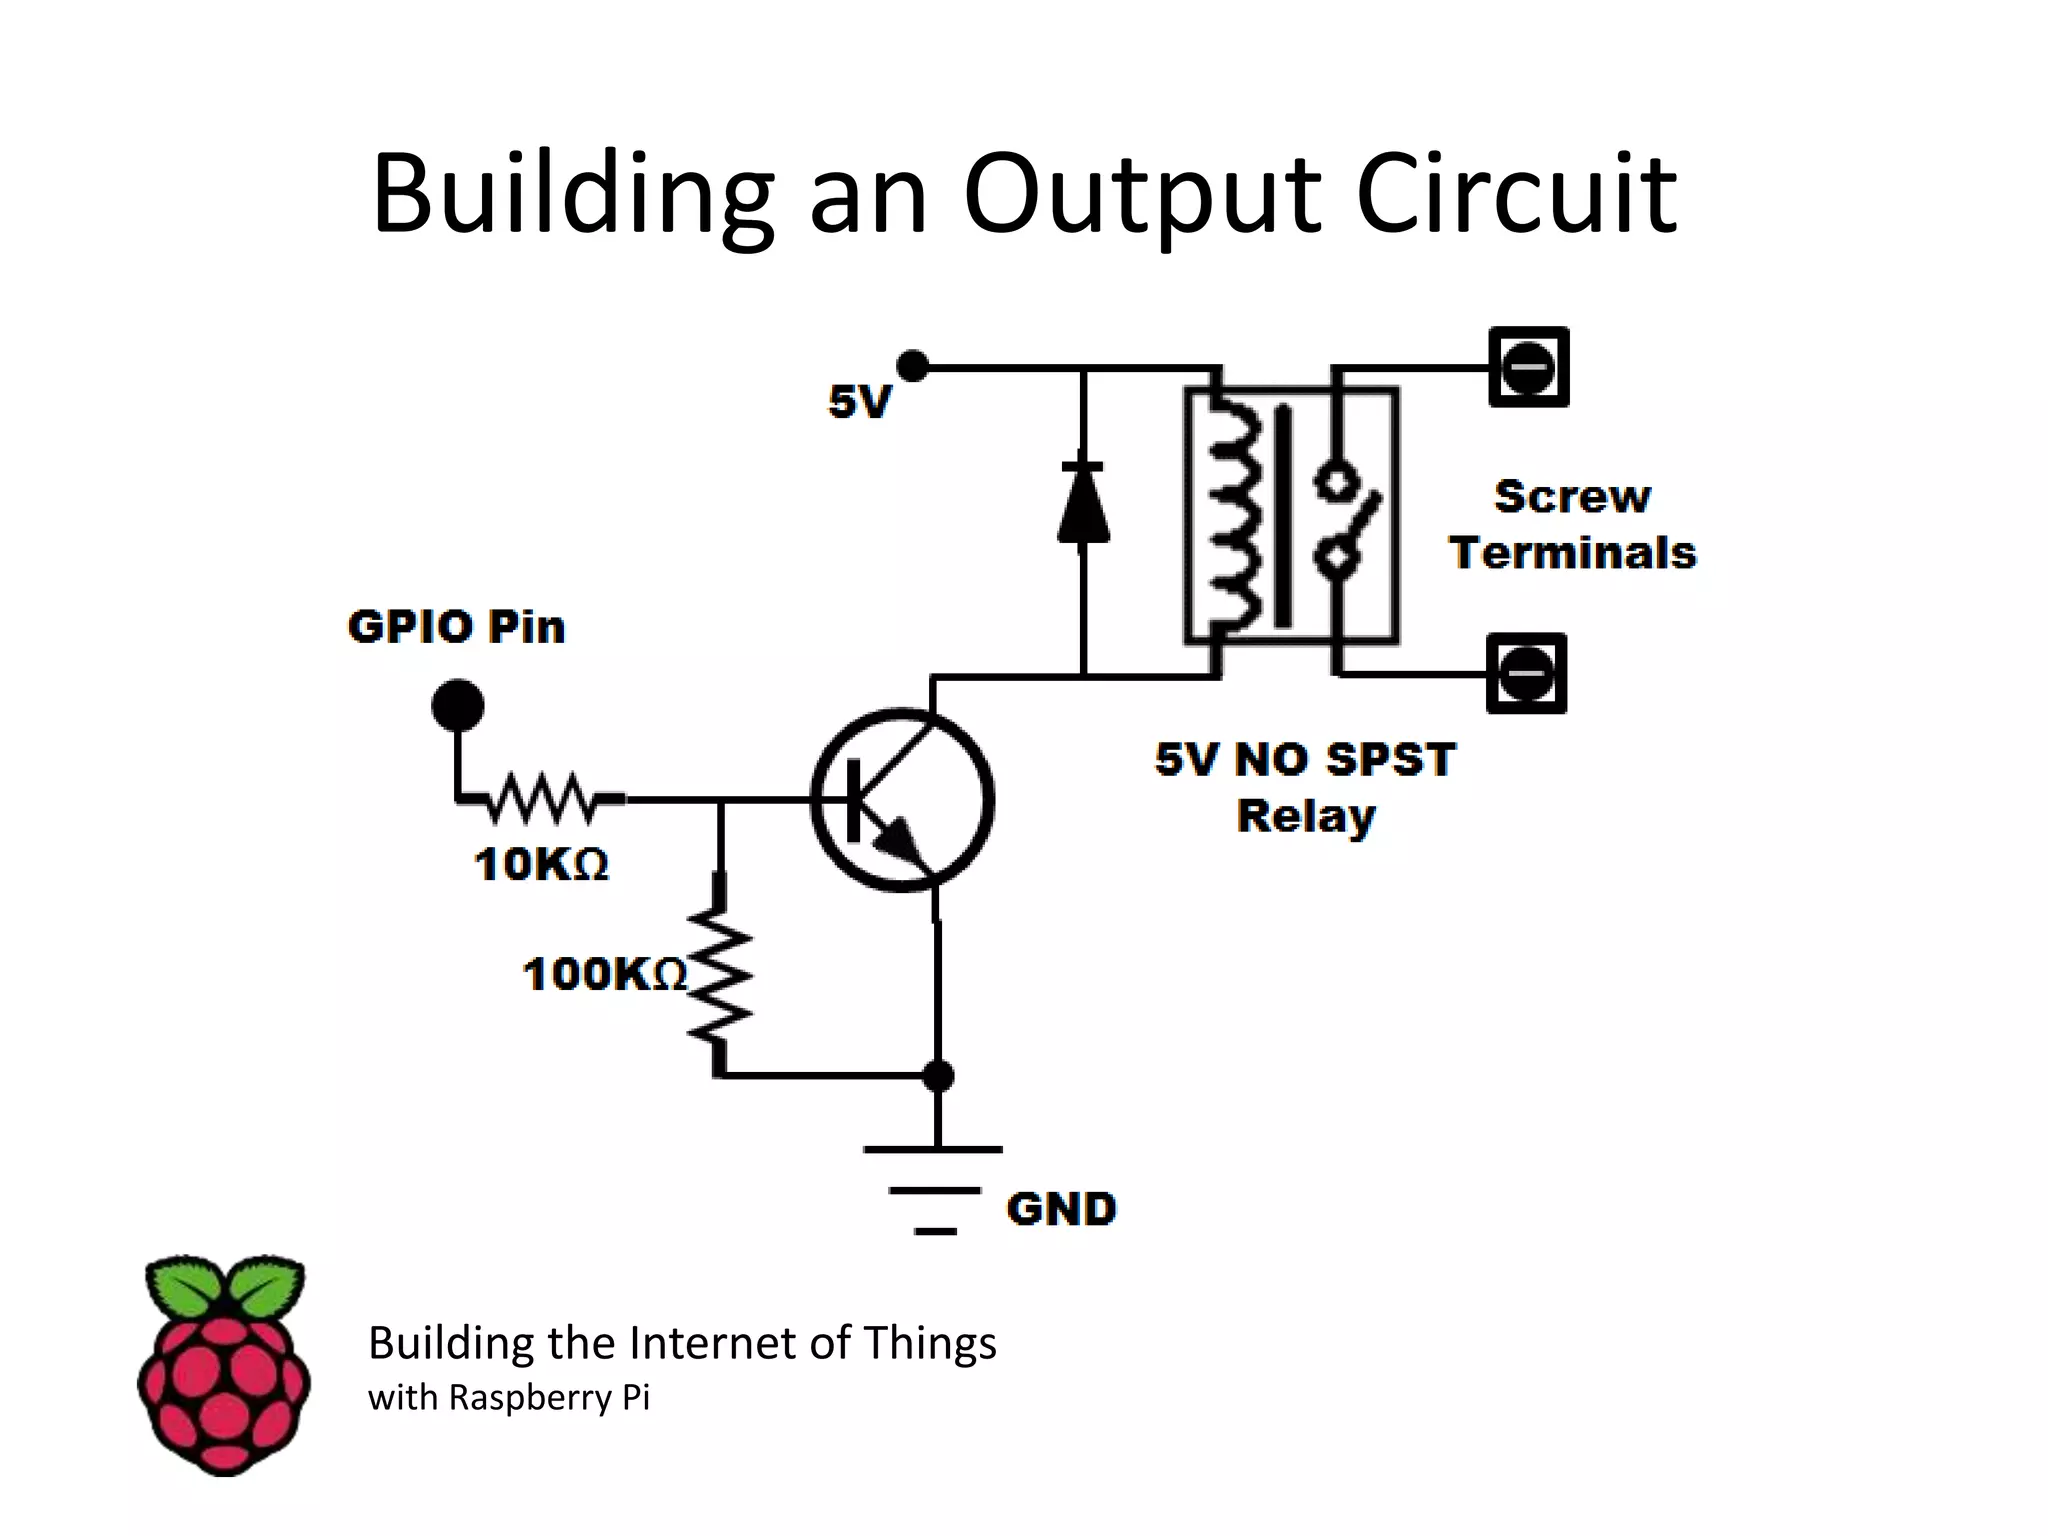
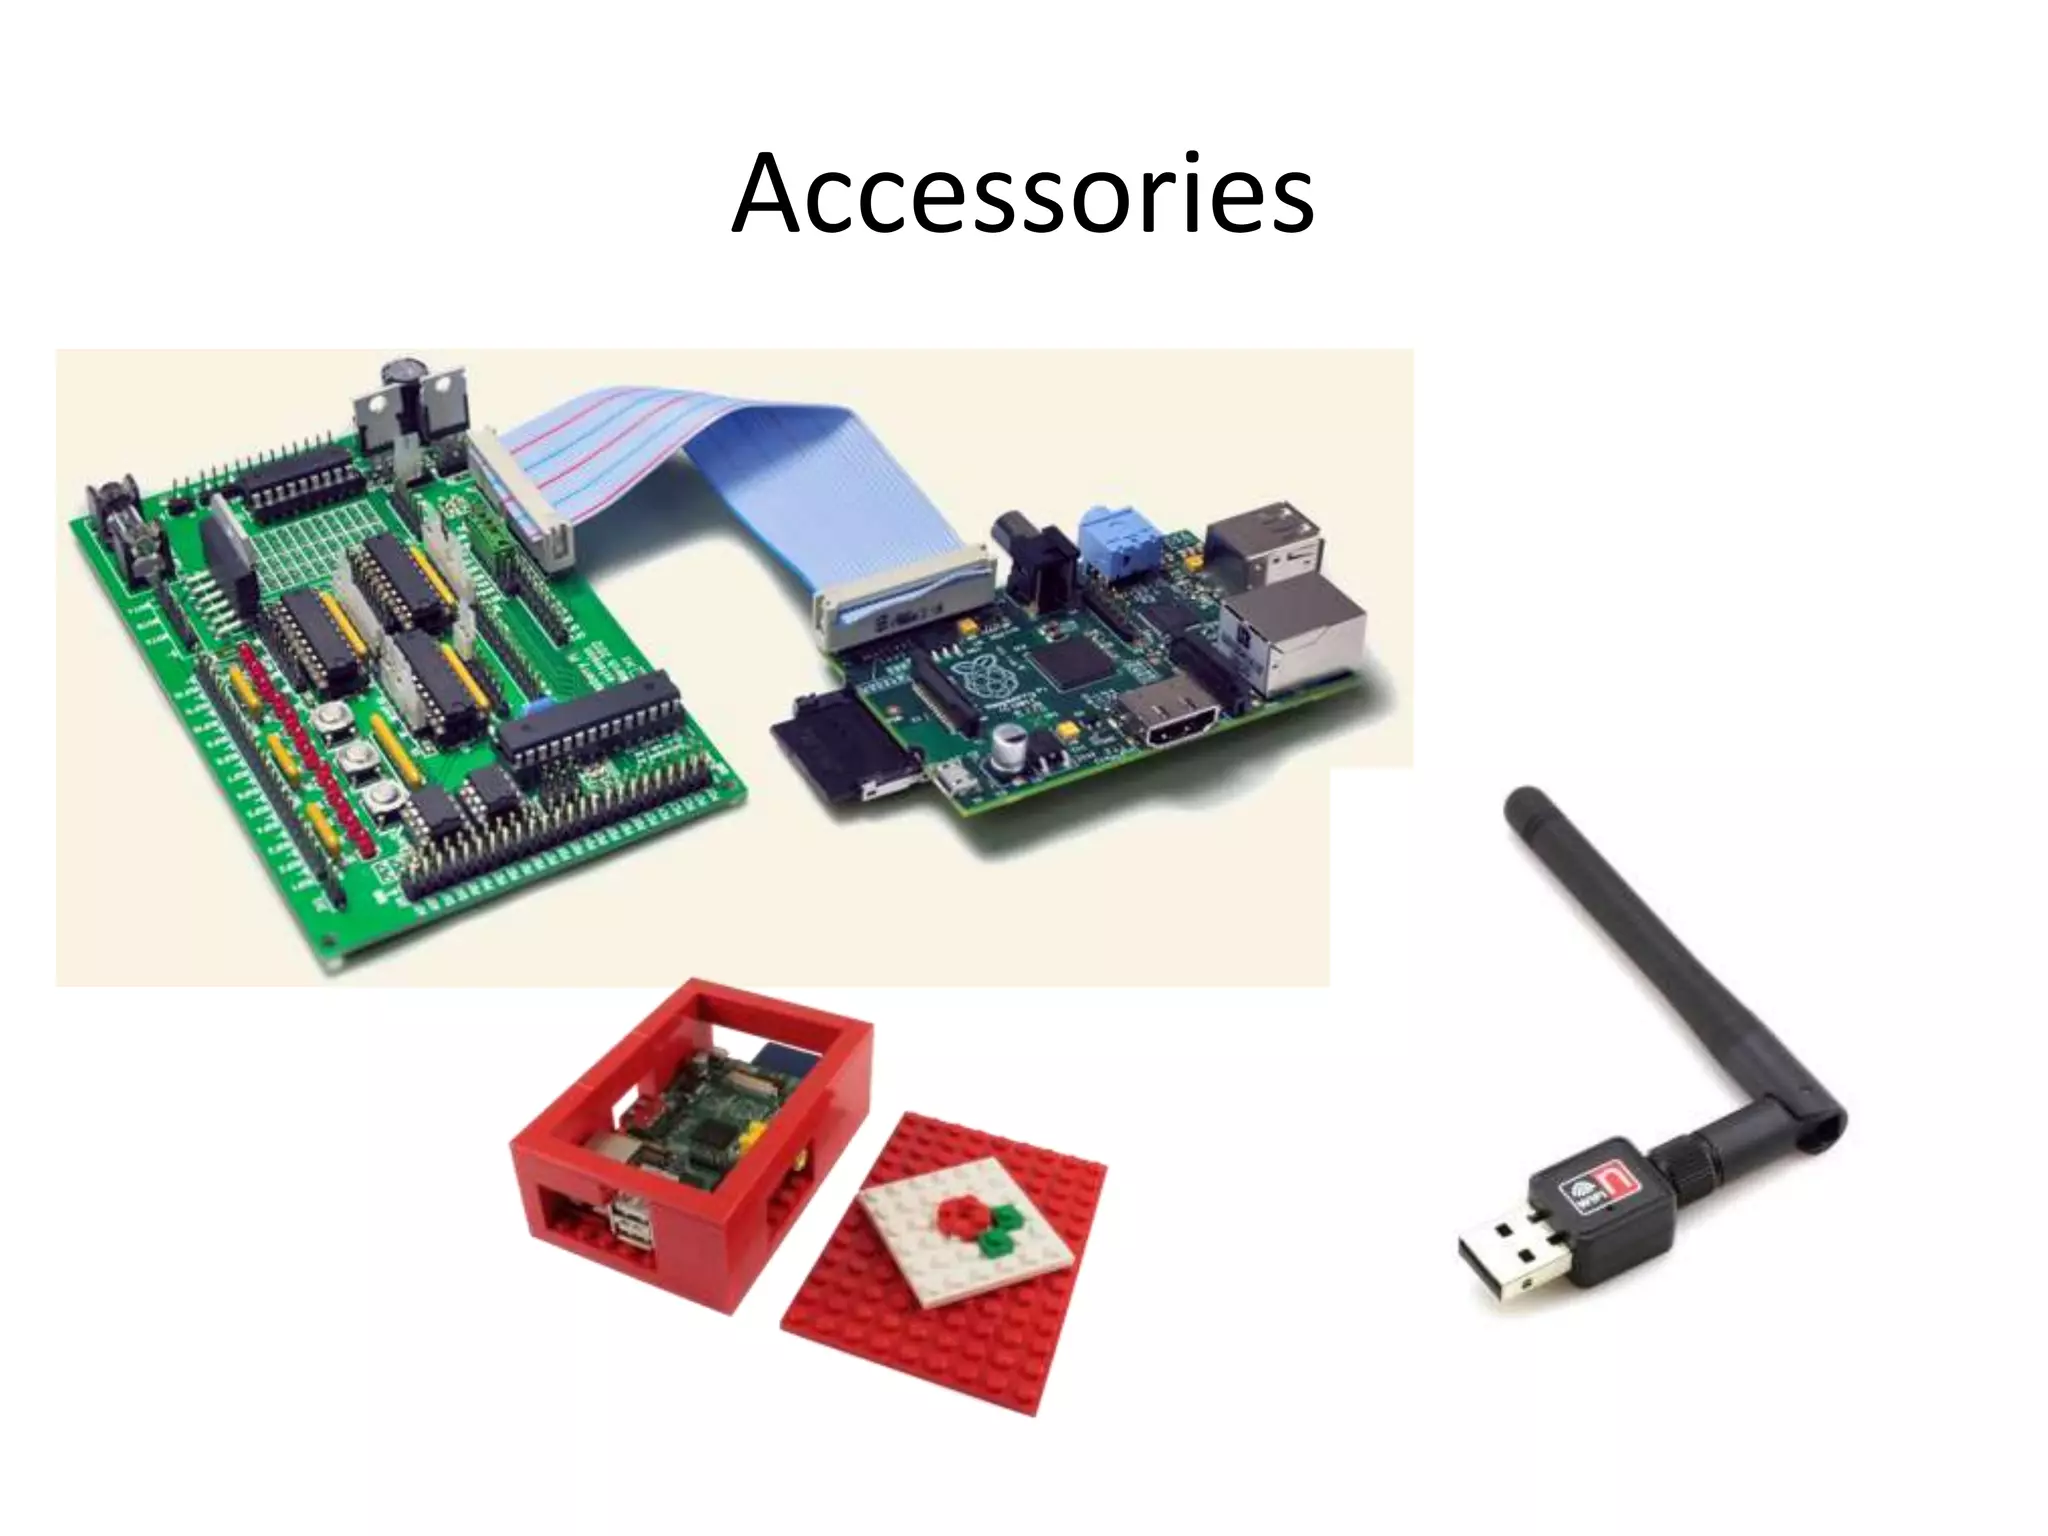
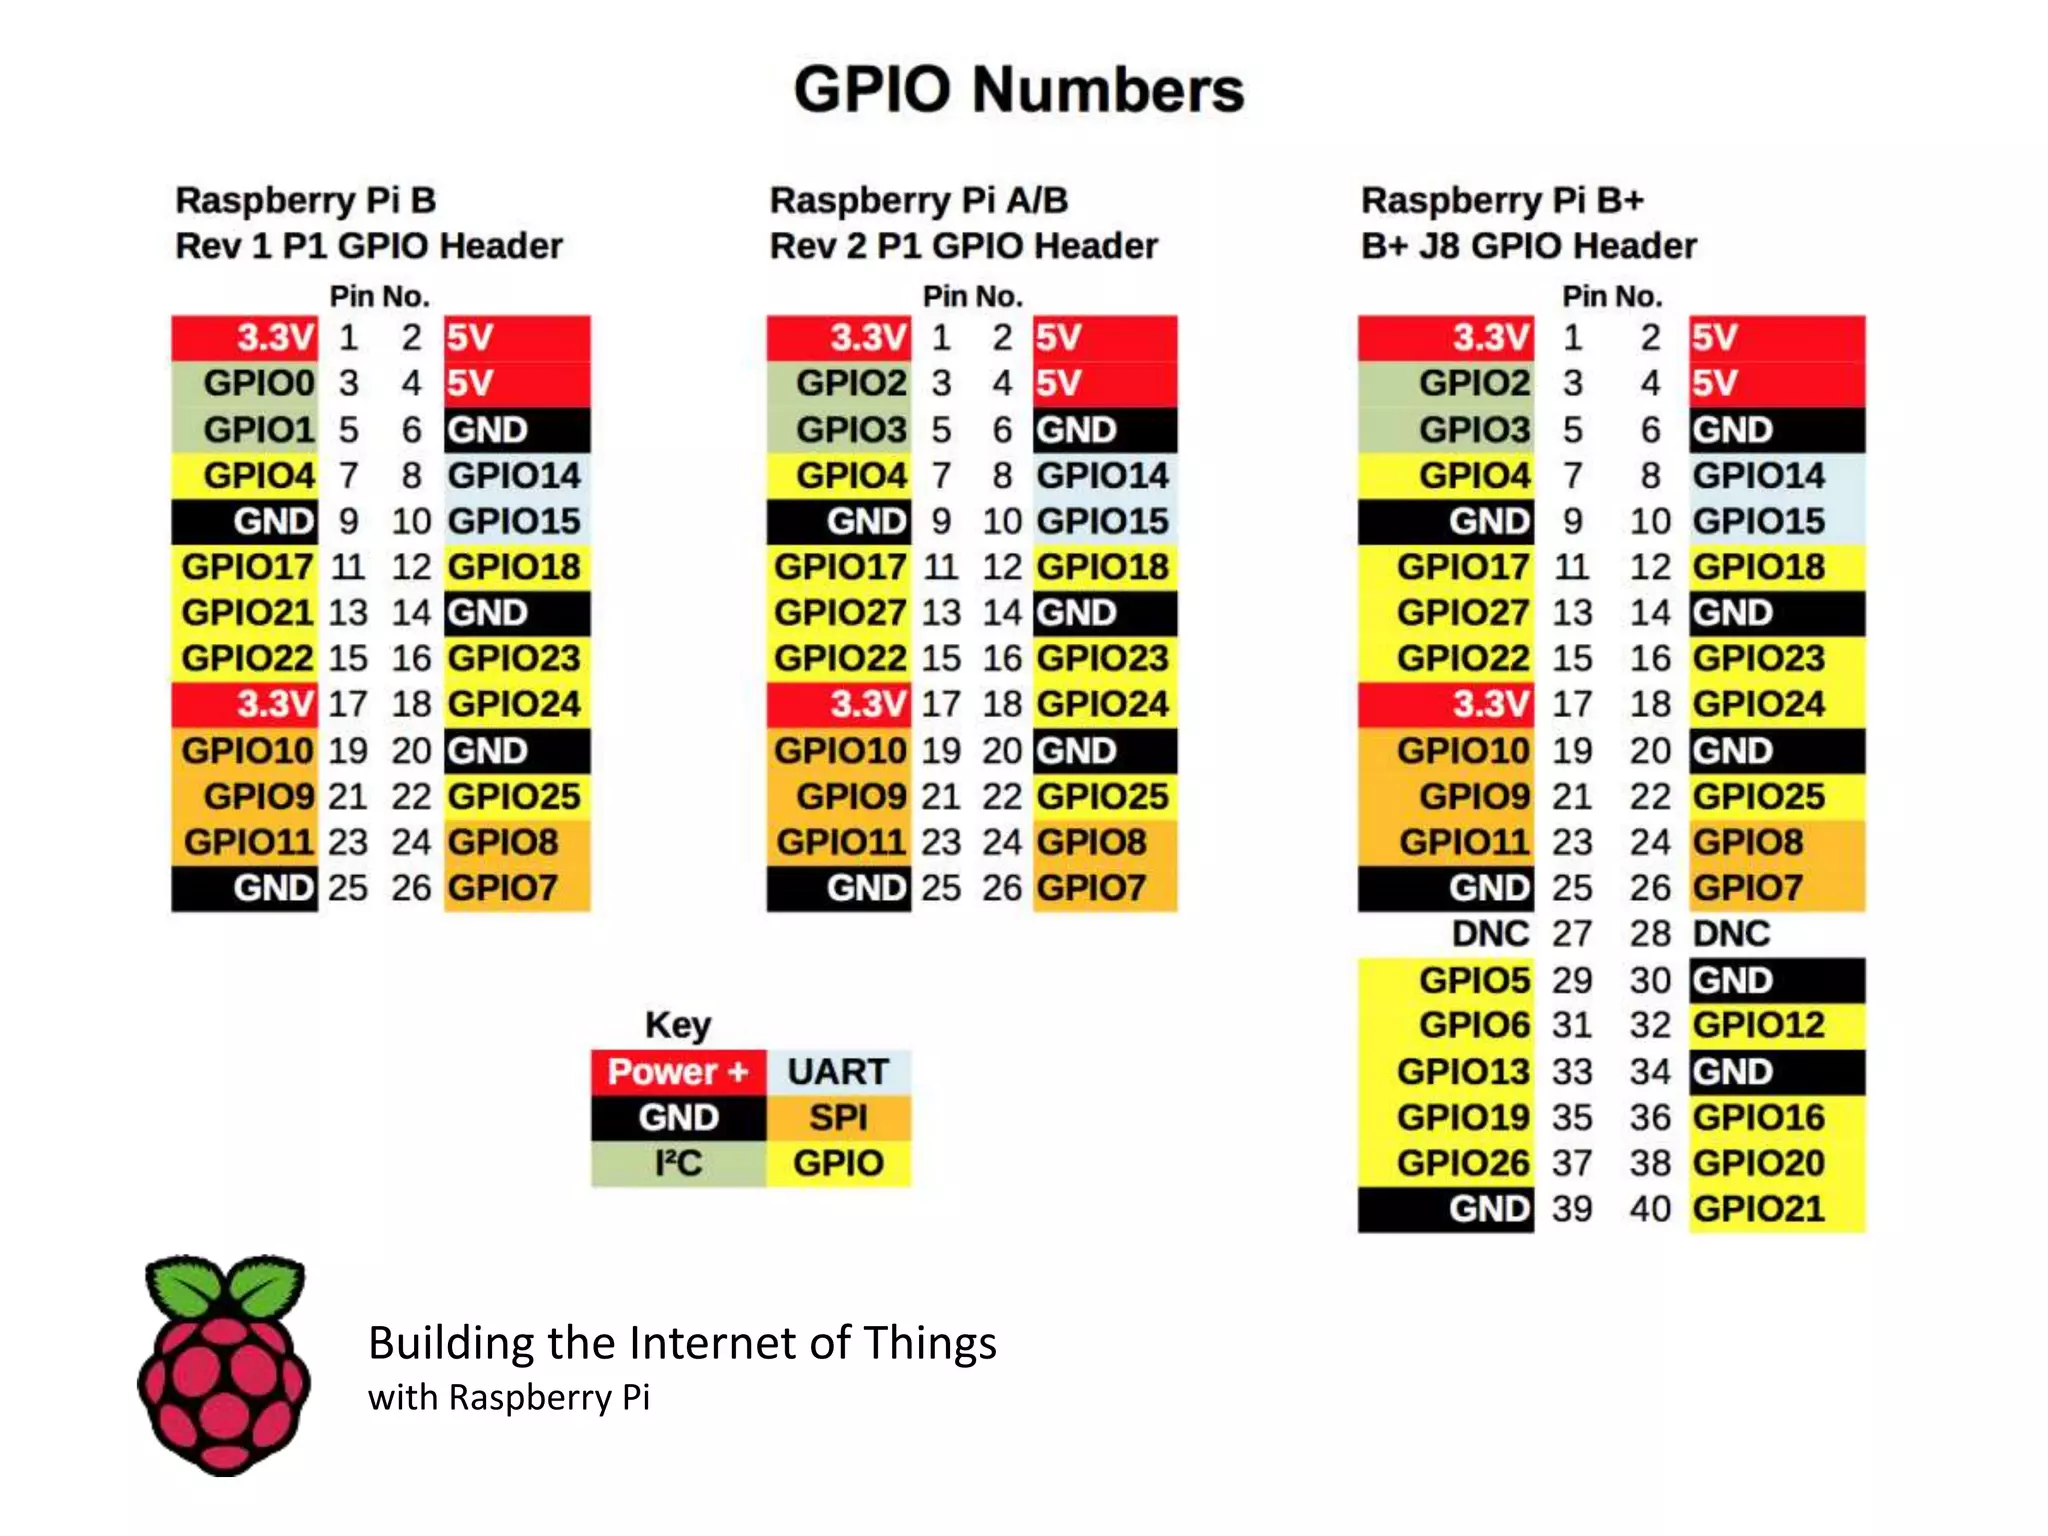
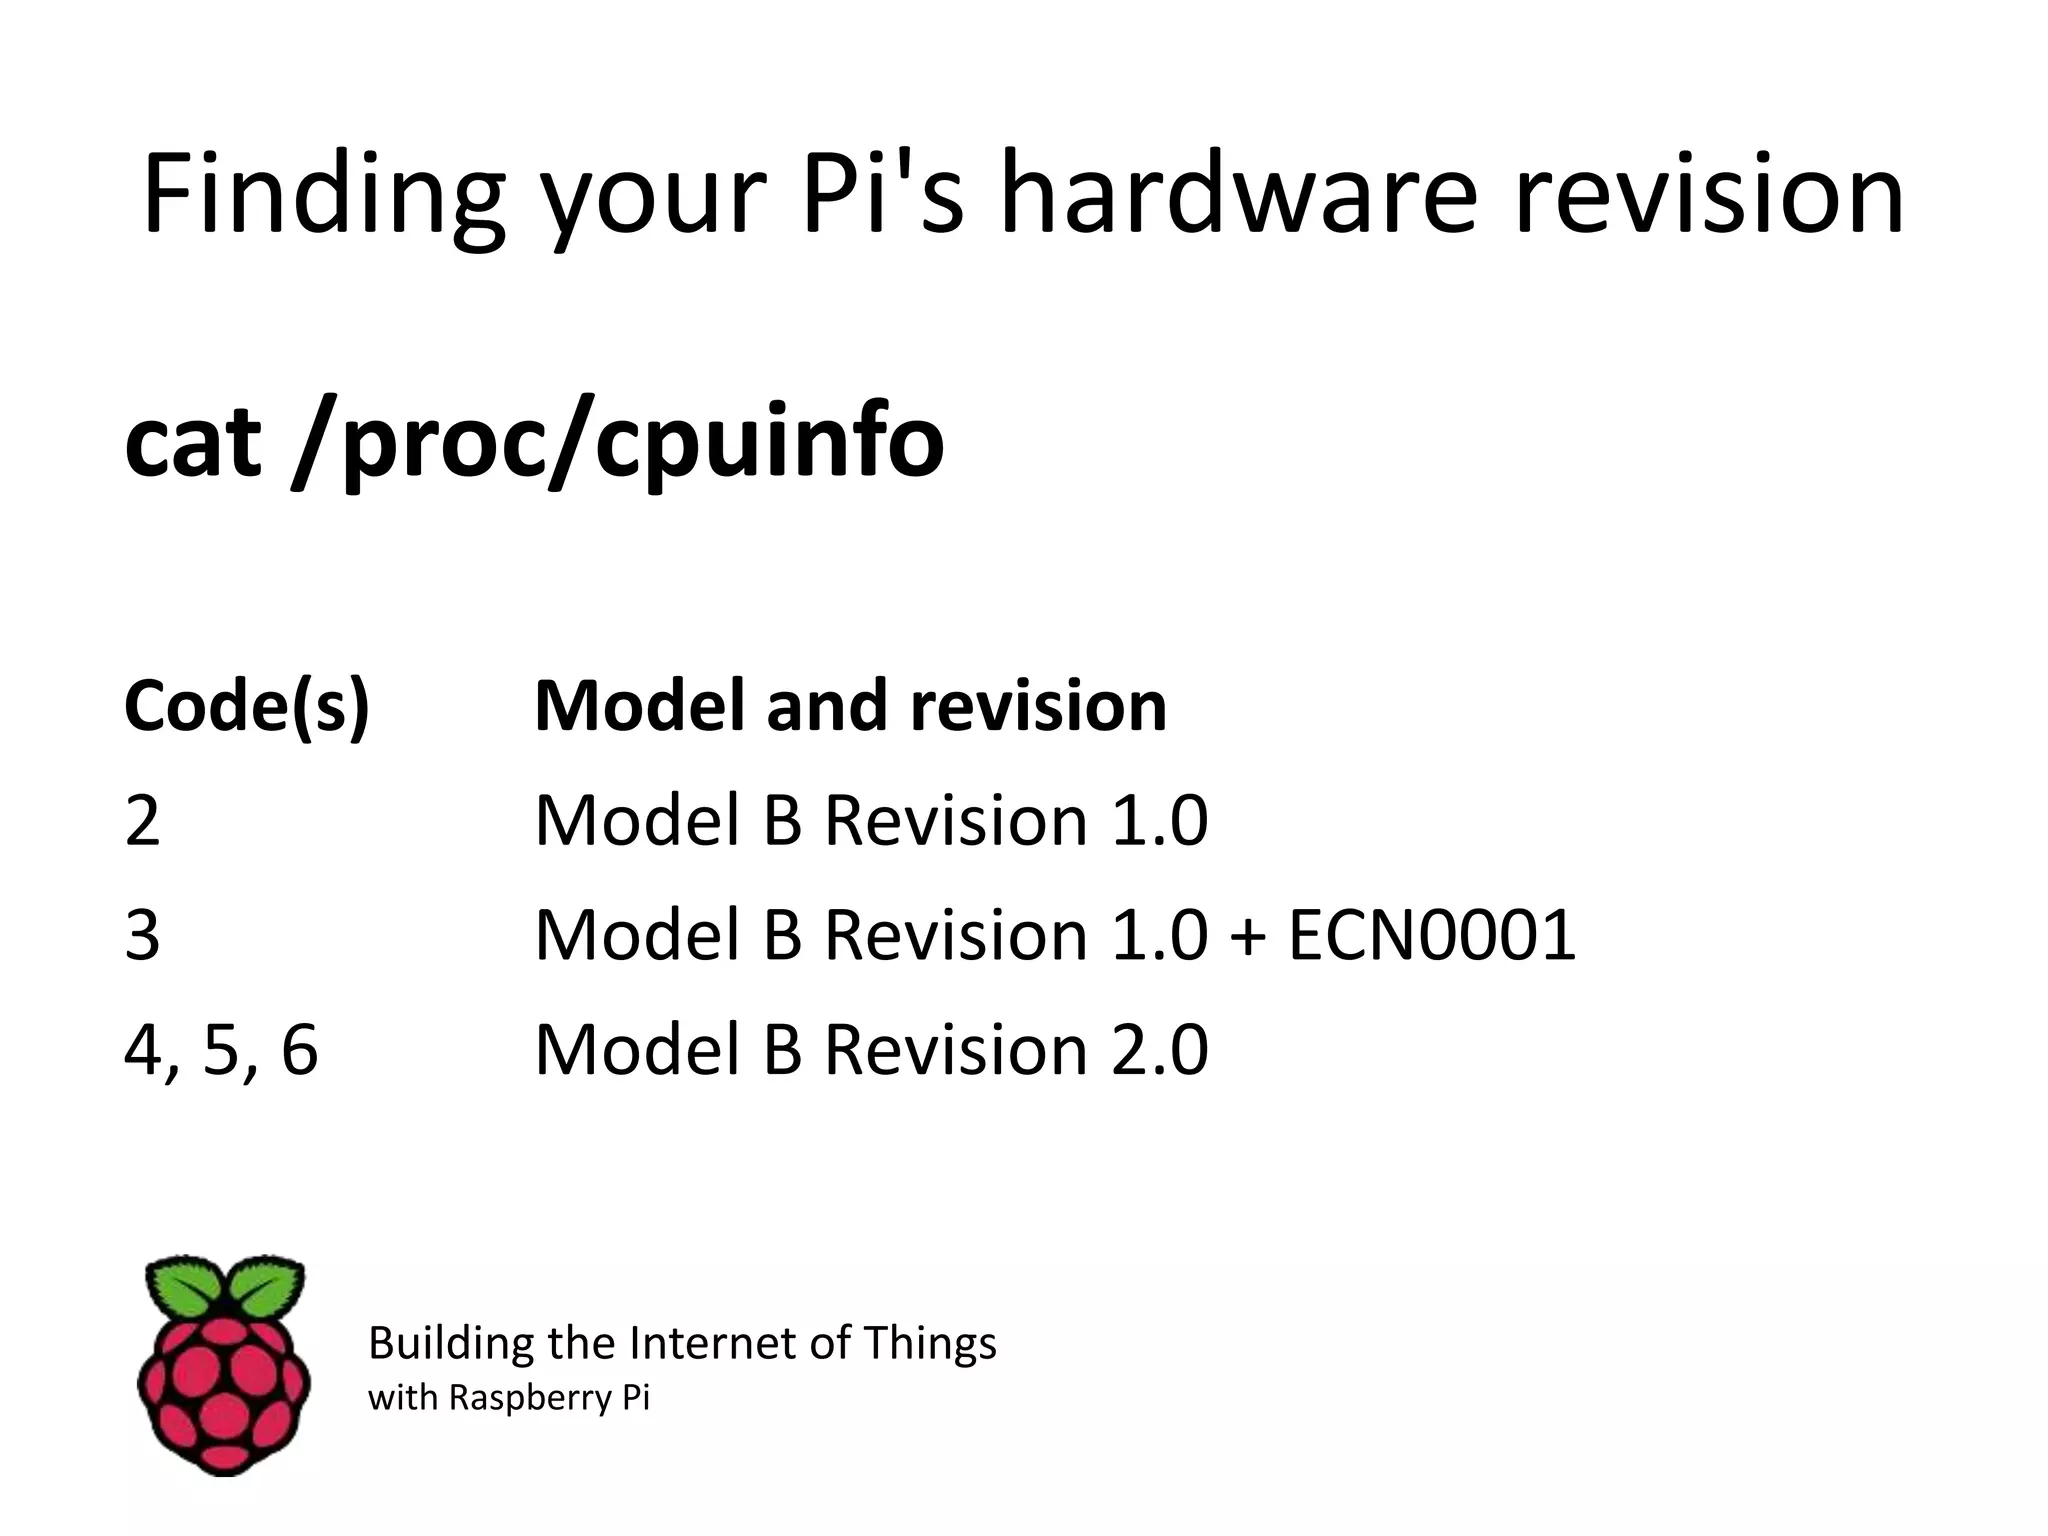
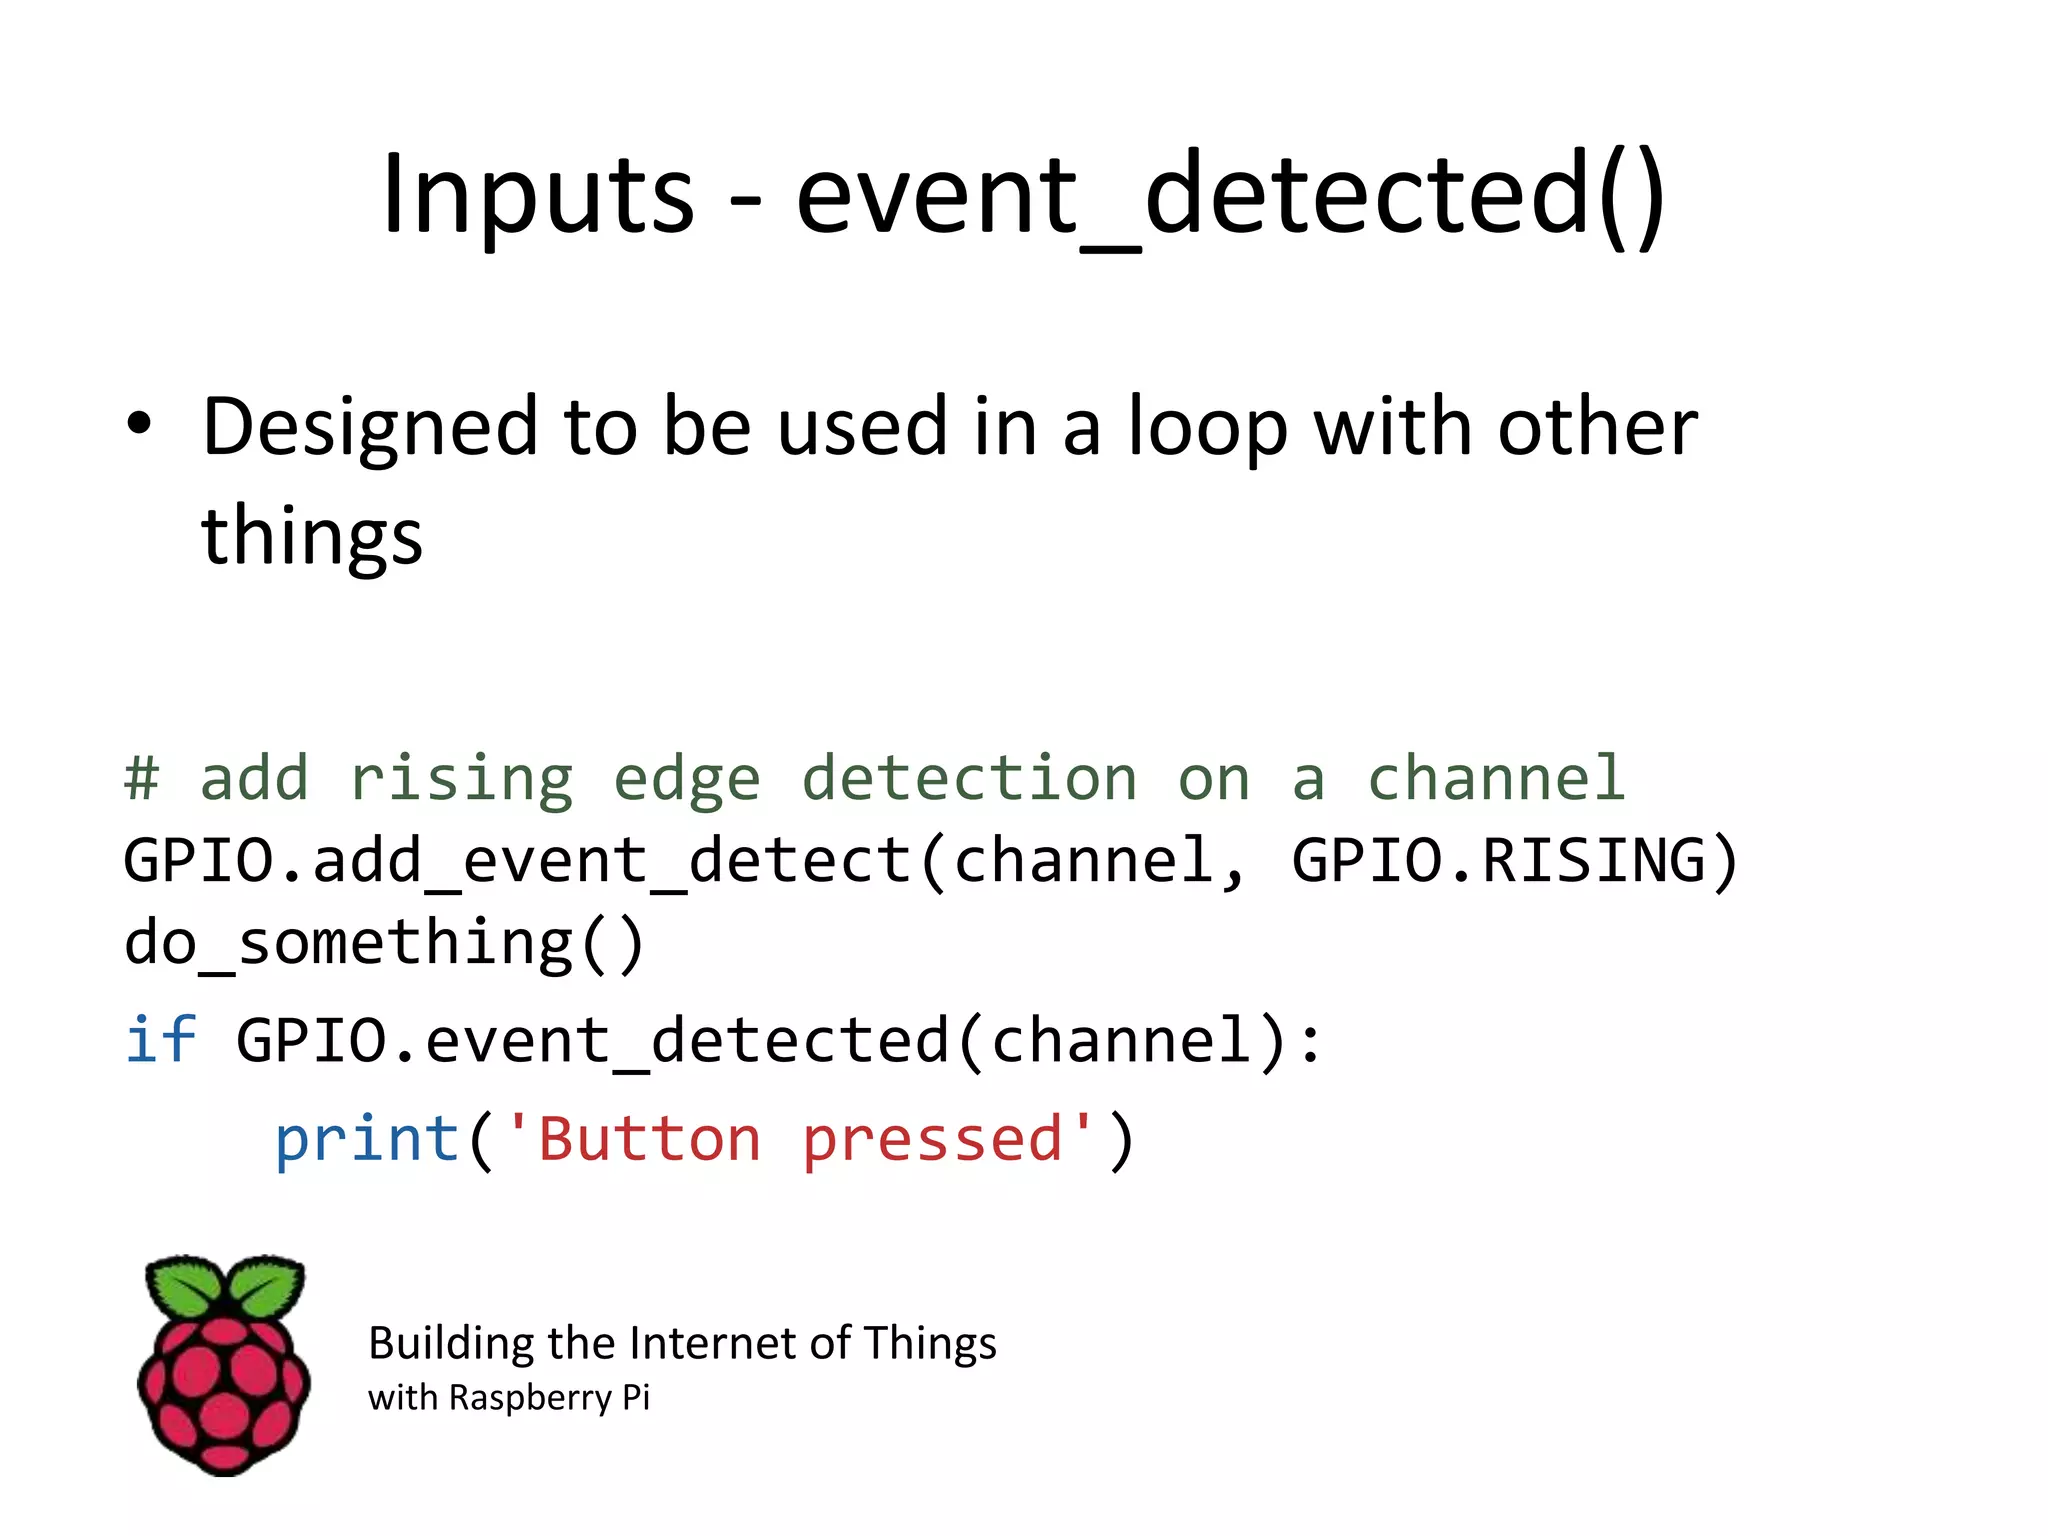
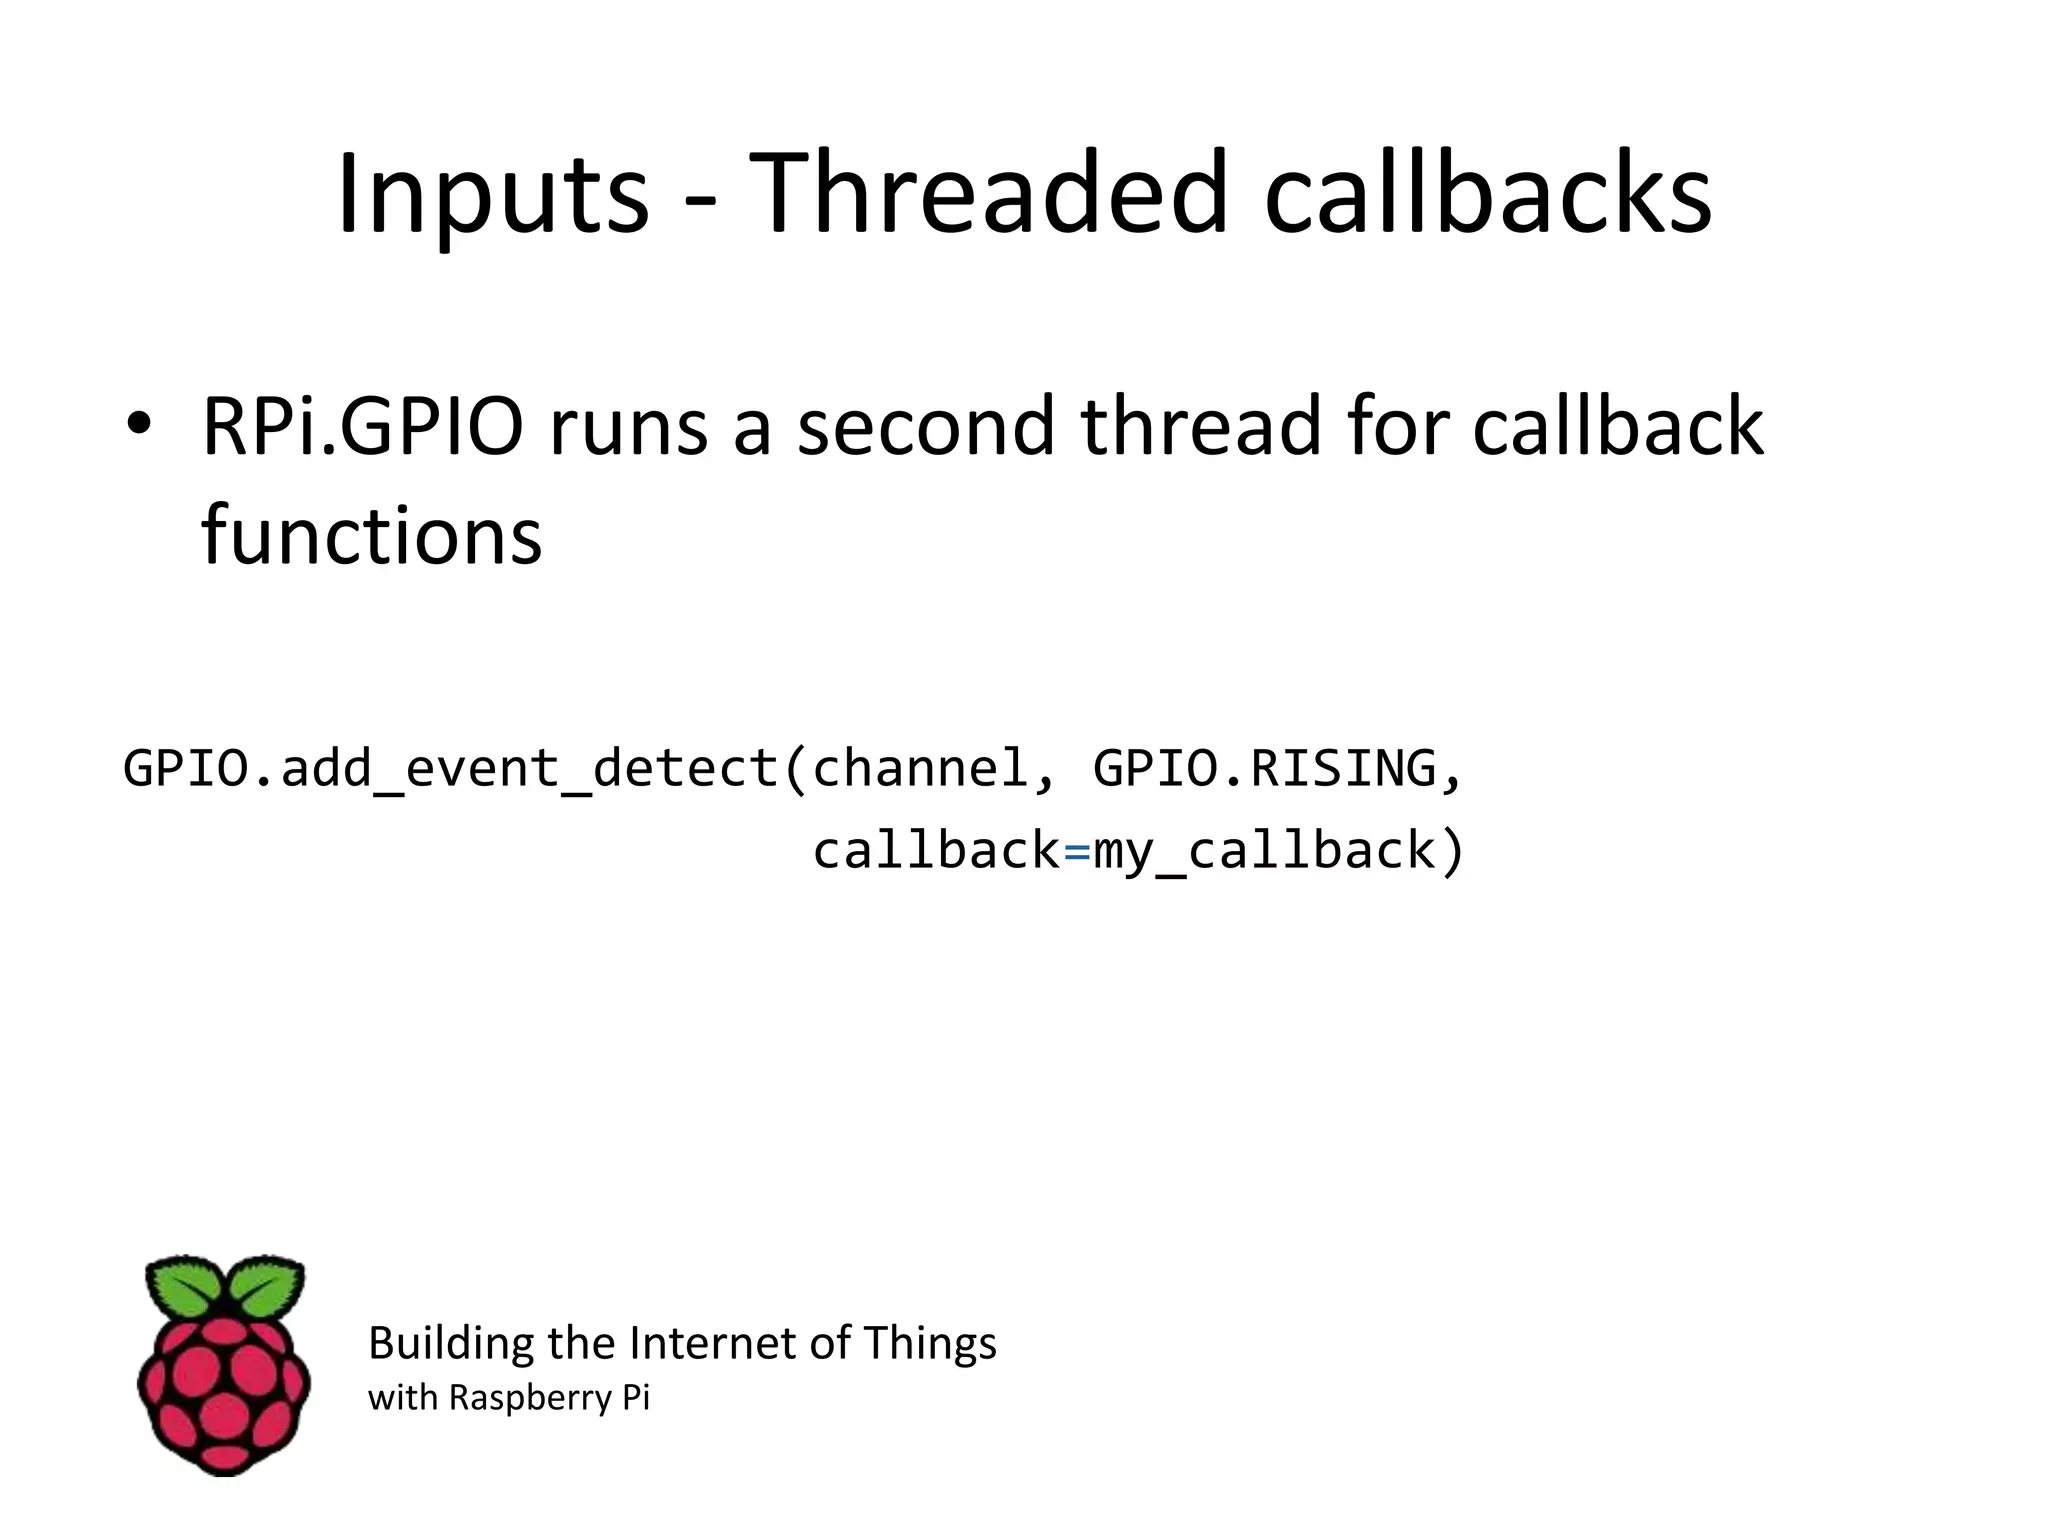
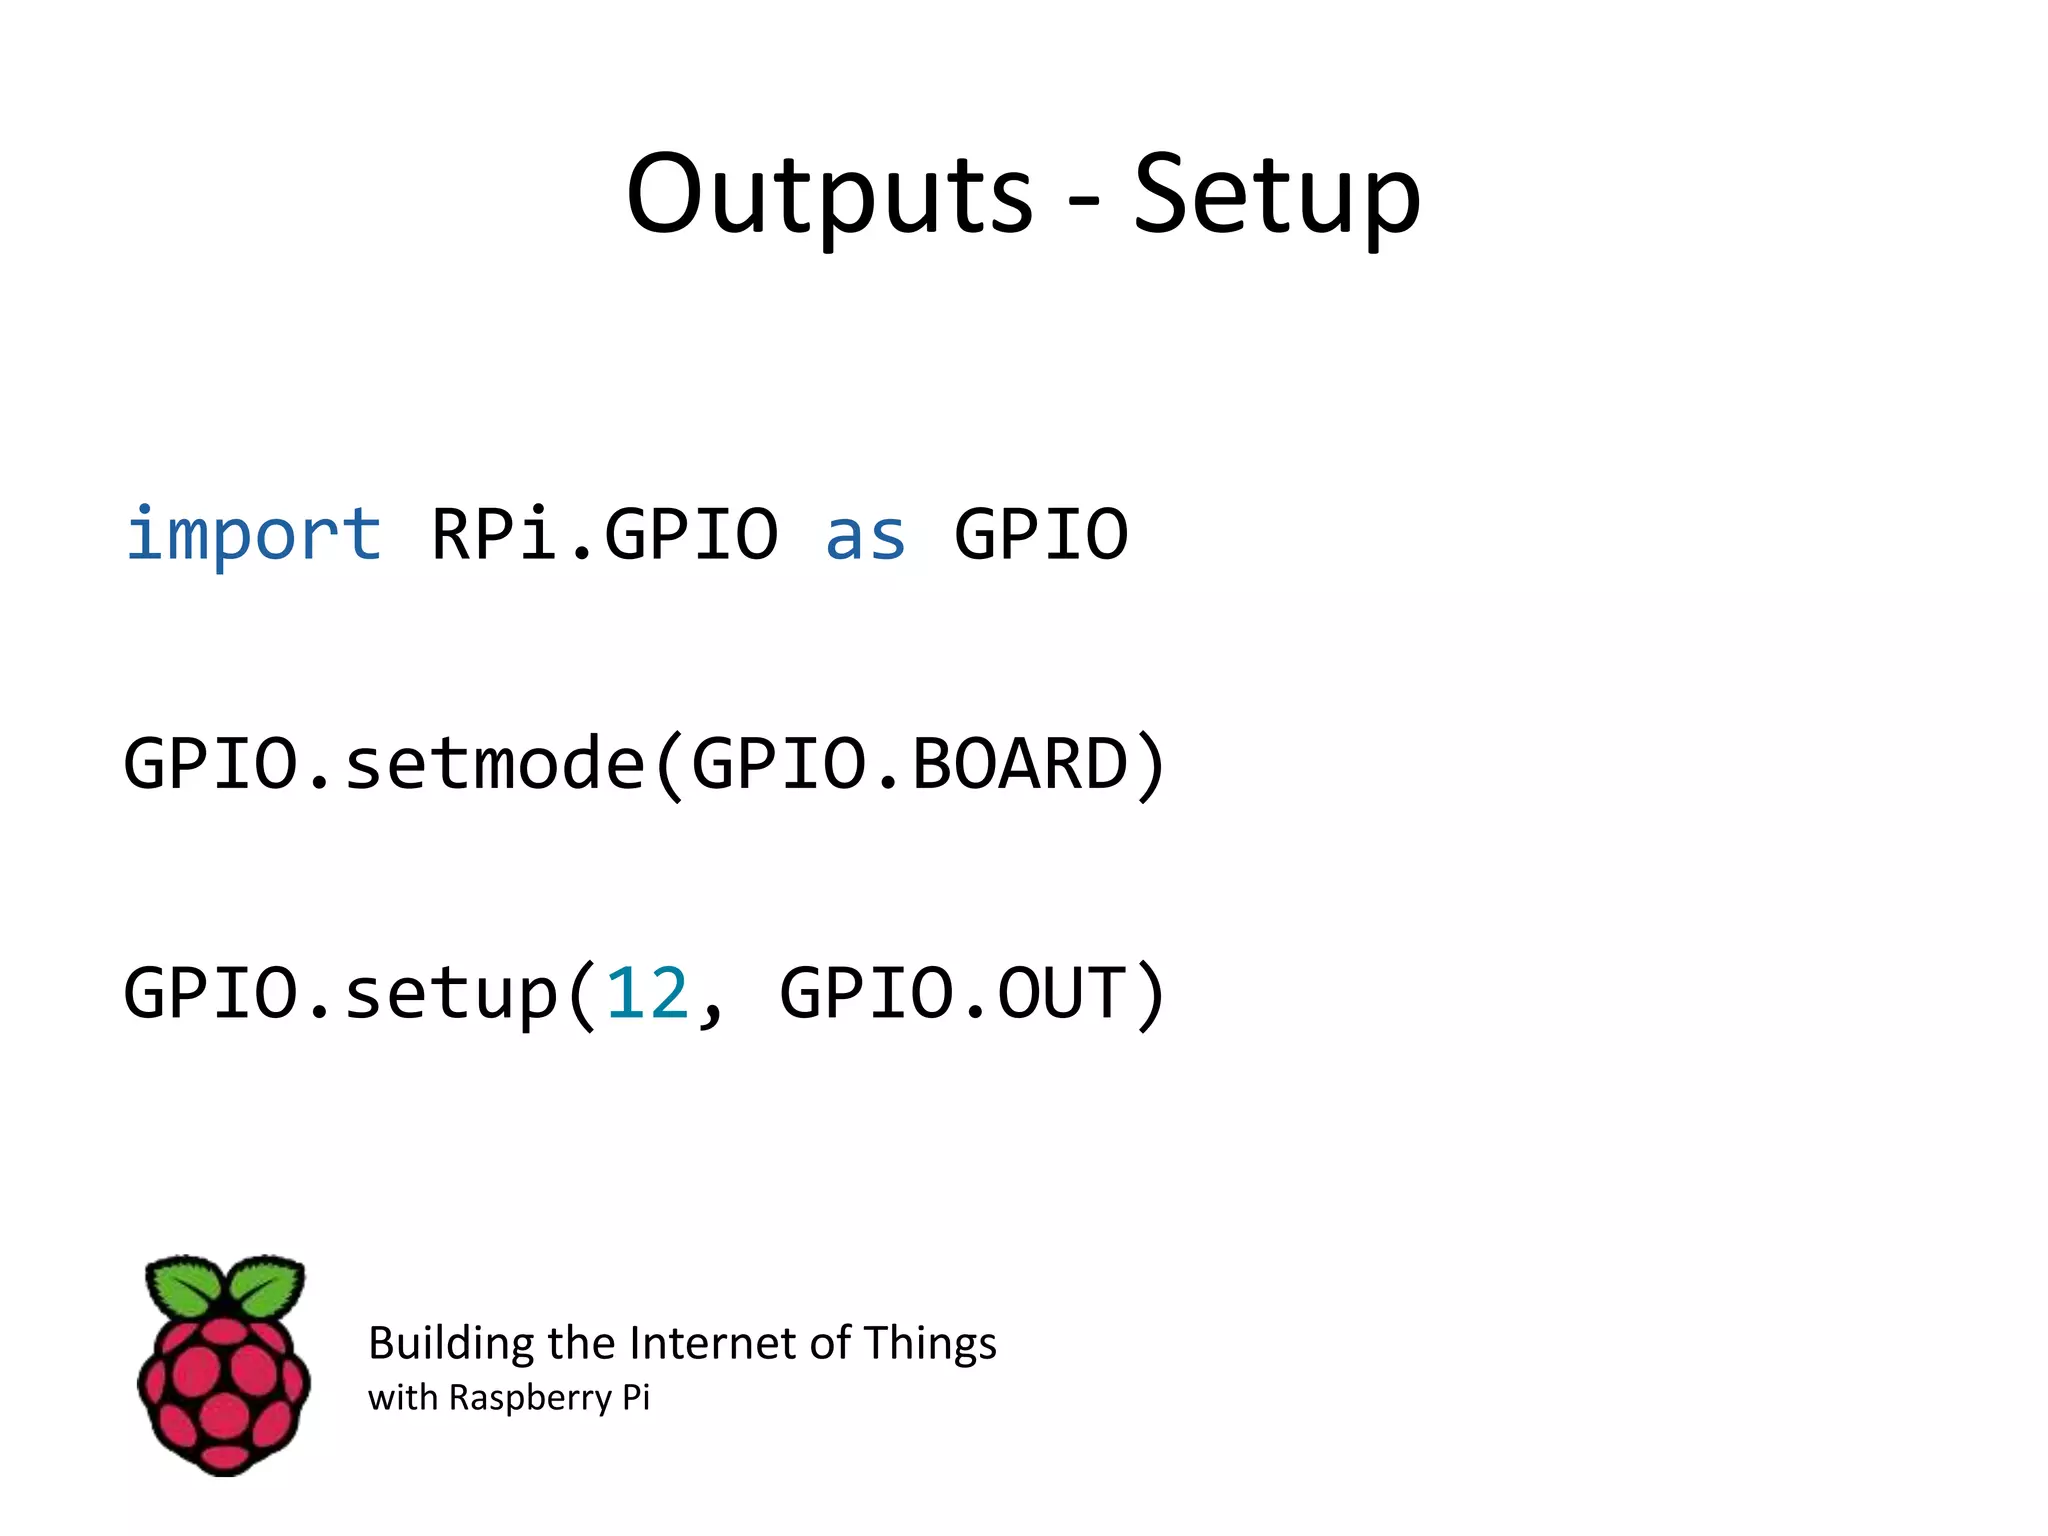
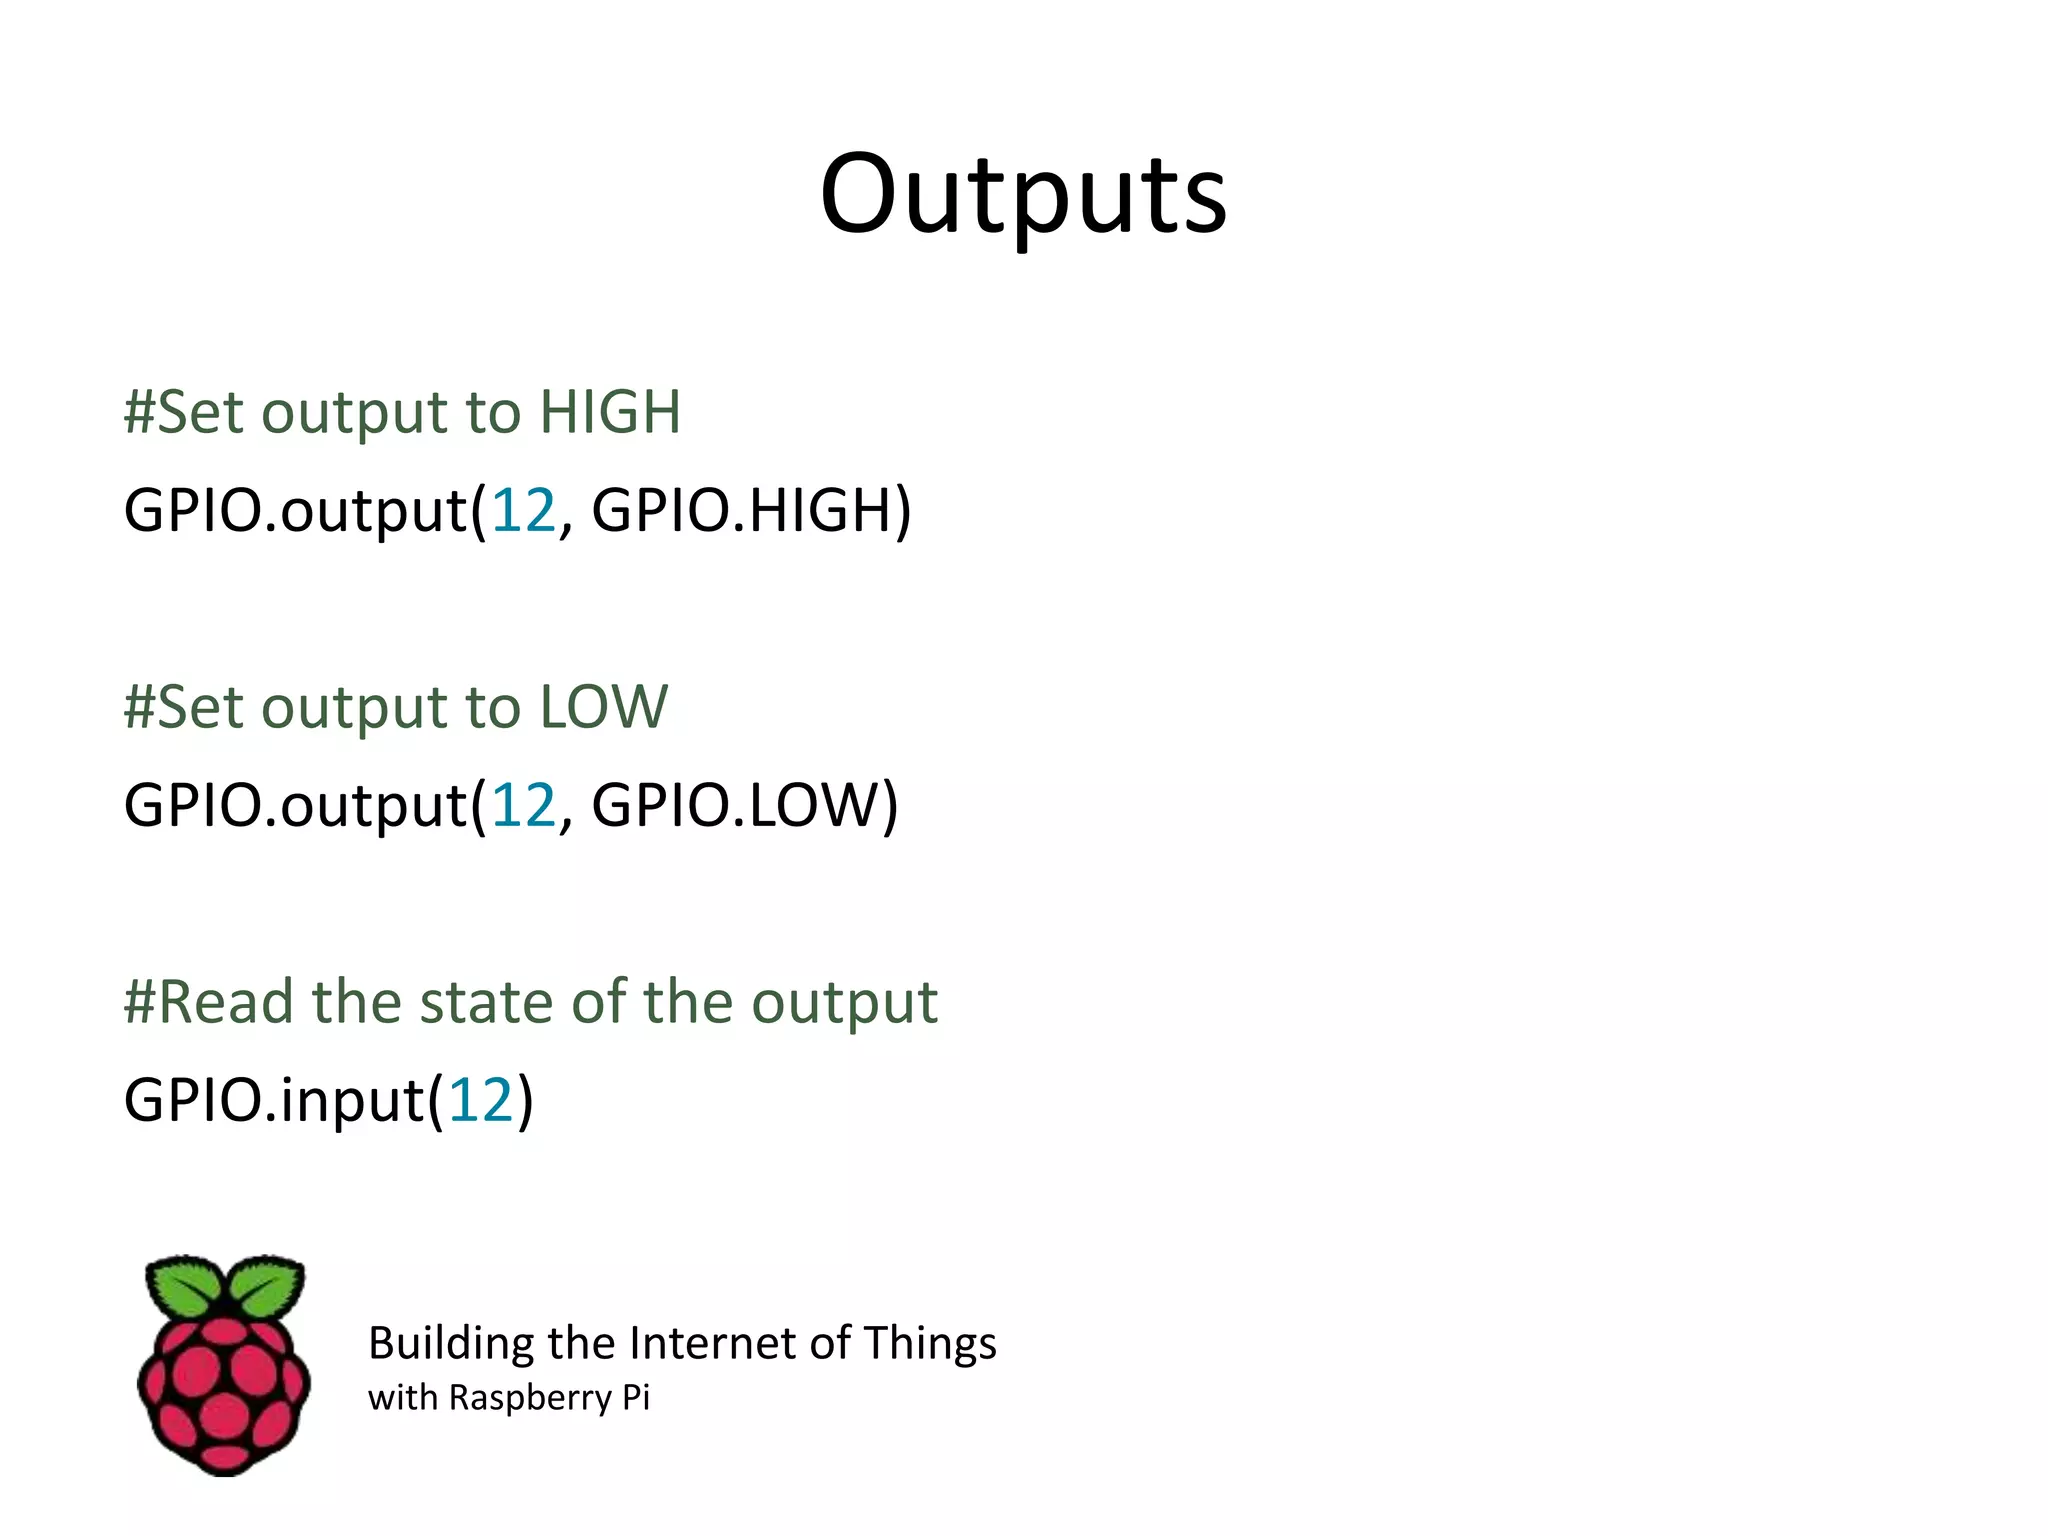
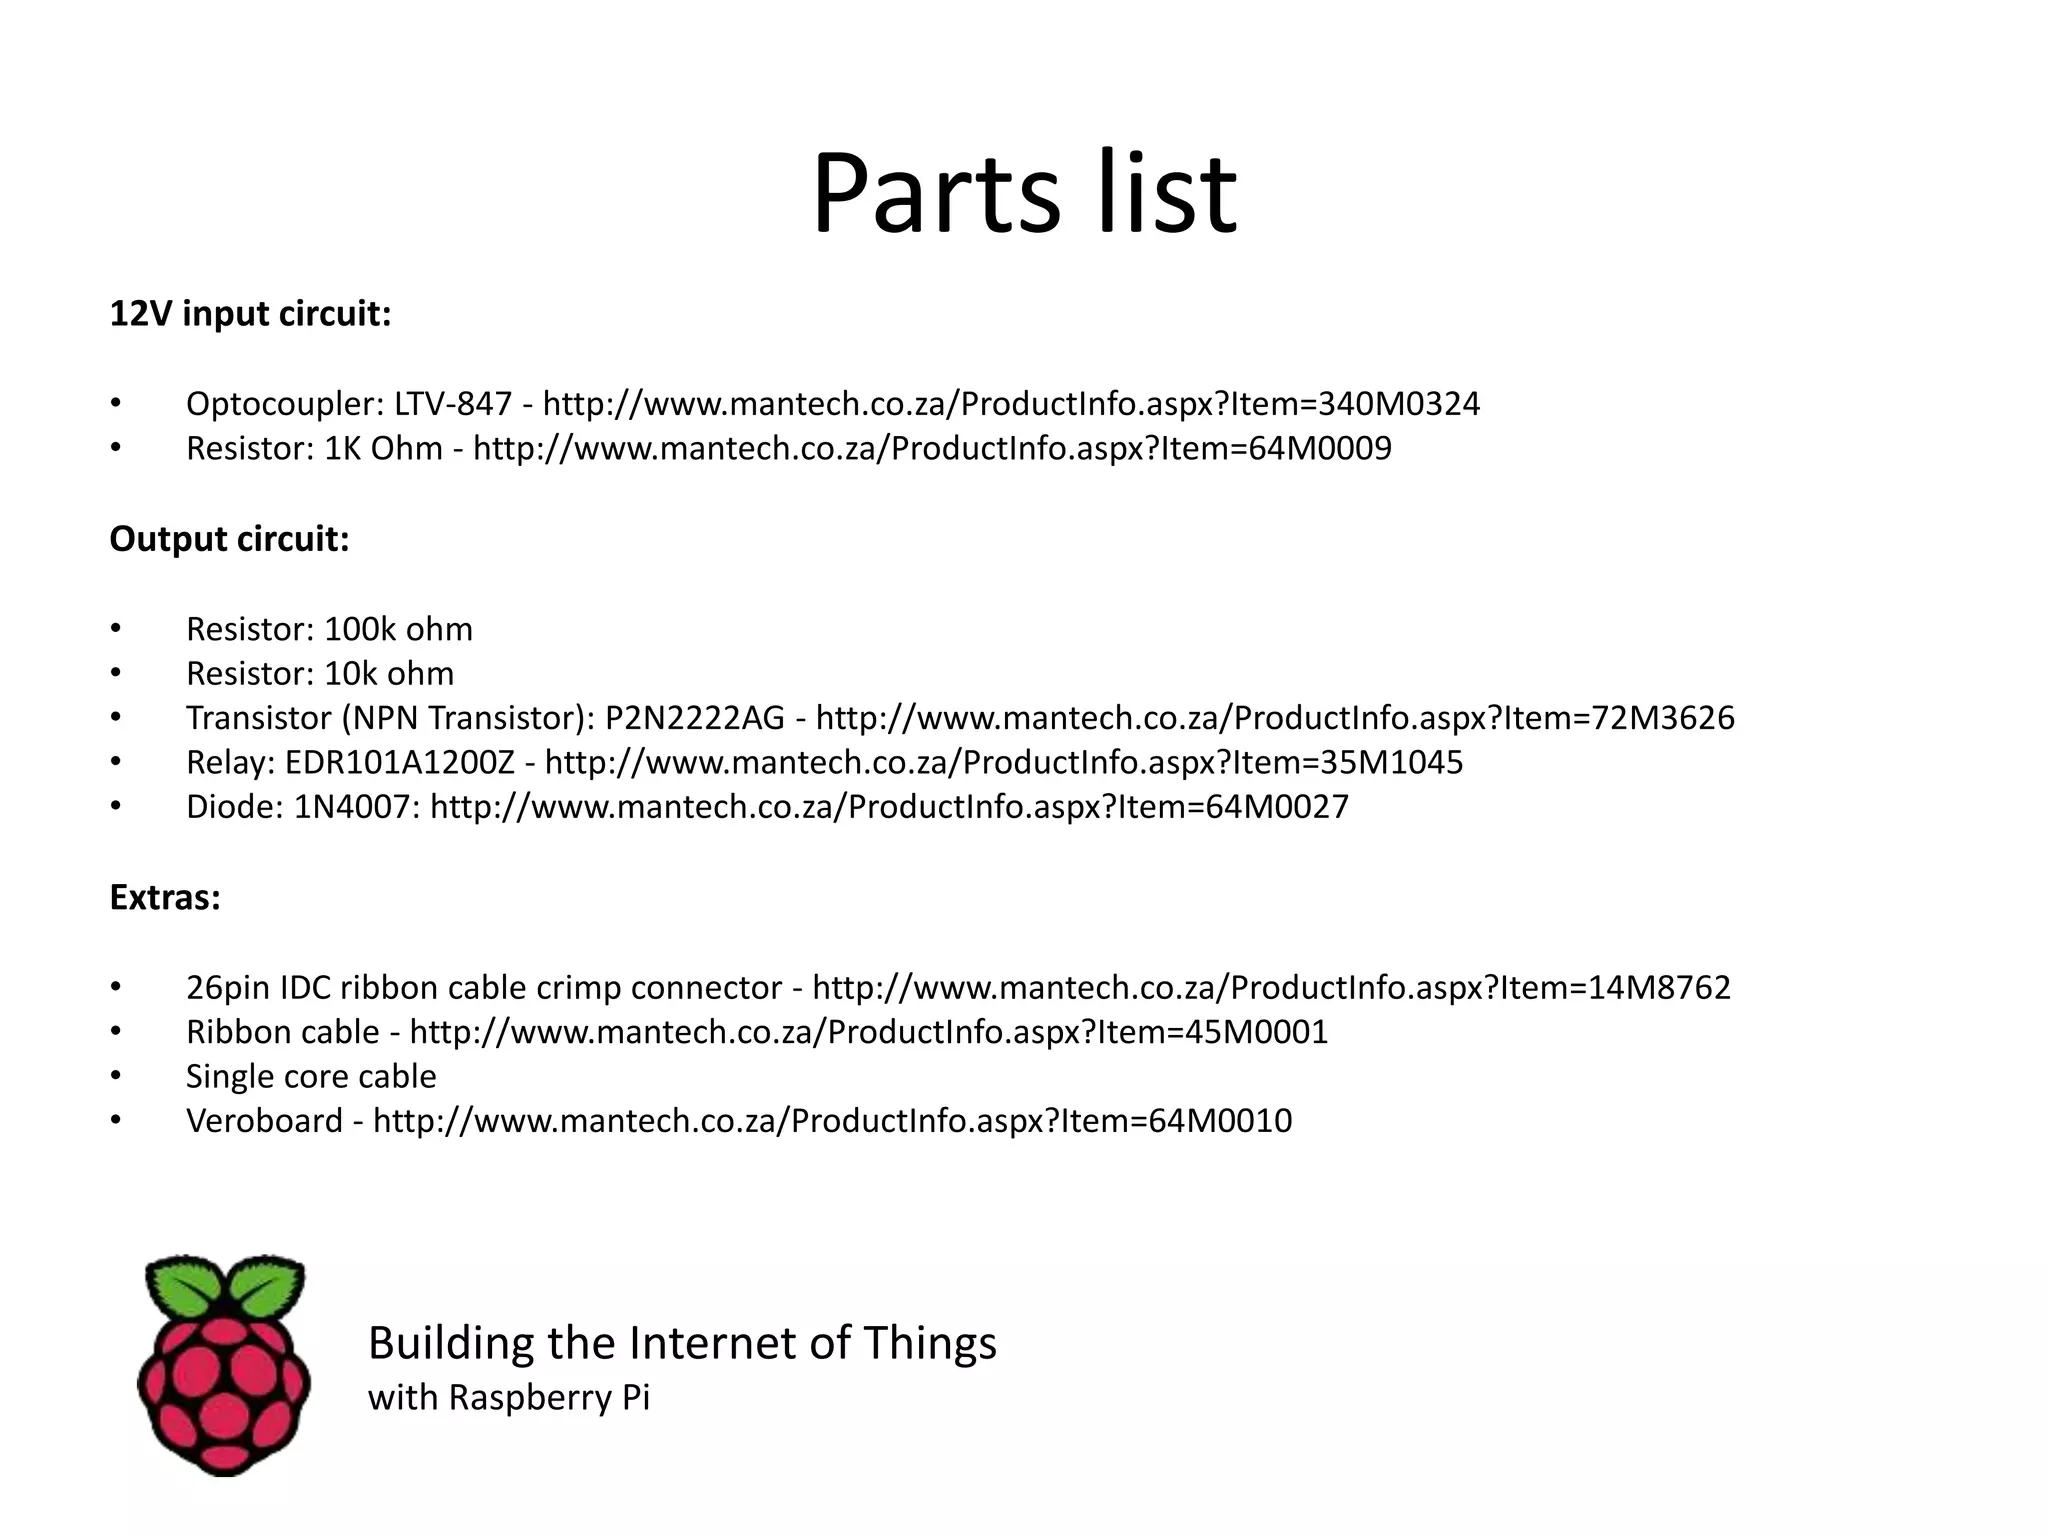


The document provides a comprehensive guide on building Internet of Things (IoT) applications using Raspberry Pi, with a focus on hardware and software components. It details various circuits, including input and output configurations, the use of GPIO pins, and essential components like transistors and relays. Additionally, it includes installation instructions, code examples, and resources for further reference.