Download as PDF, PPTX


![Data types float: This data type is used for numbers with decimal points. These are also known as floating-point numbers. float is one of the more widely used data types along with int to represent numbers in the Arduino language: float varFloat = 1.111; char: This data type stores a character value and occupies 1 byte of memory. When providing a value to char data types, character literals are declared with single quotes: char myCharacater = 'P'; array: An array stores a collection of variables that is accessible by an index number. If you are familiar with arrays in C/C++, it will be easier for you to get started, as the Arduino language uses the same C/C++ arrays. The following are some of the methods to initialize an array: int myIntArray[] = {1, 2, 3, 4, 5}; int tempValues[5] = { 32, 55, 72, 75}; char msgArray[10] = "hello!"; An array can be accessed using an index number (where the index starts from number 0): myIntArray[0] == 1 msgArray[2] == 'e'](https://image.slidesharecdn.com/arduinoday2019-190318192820/75/Arduino-day-2019-15-2048.jpg)
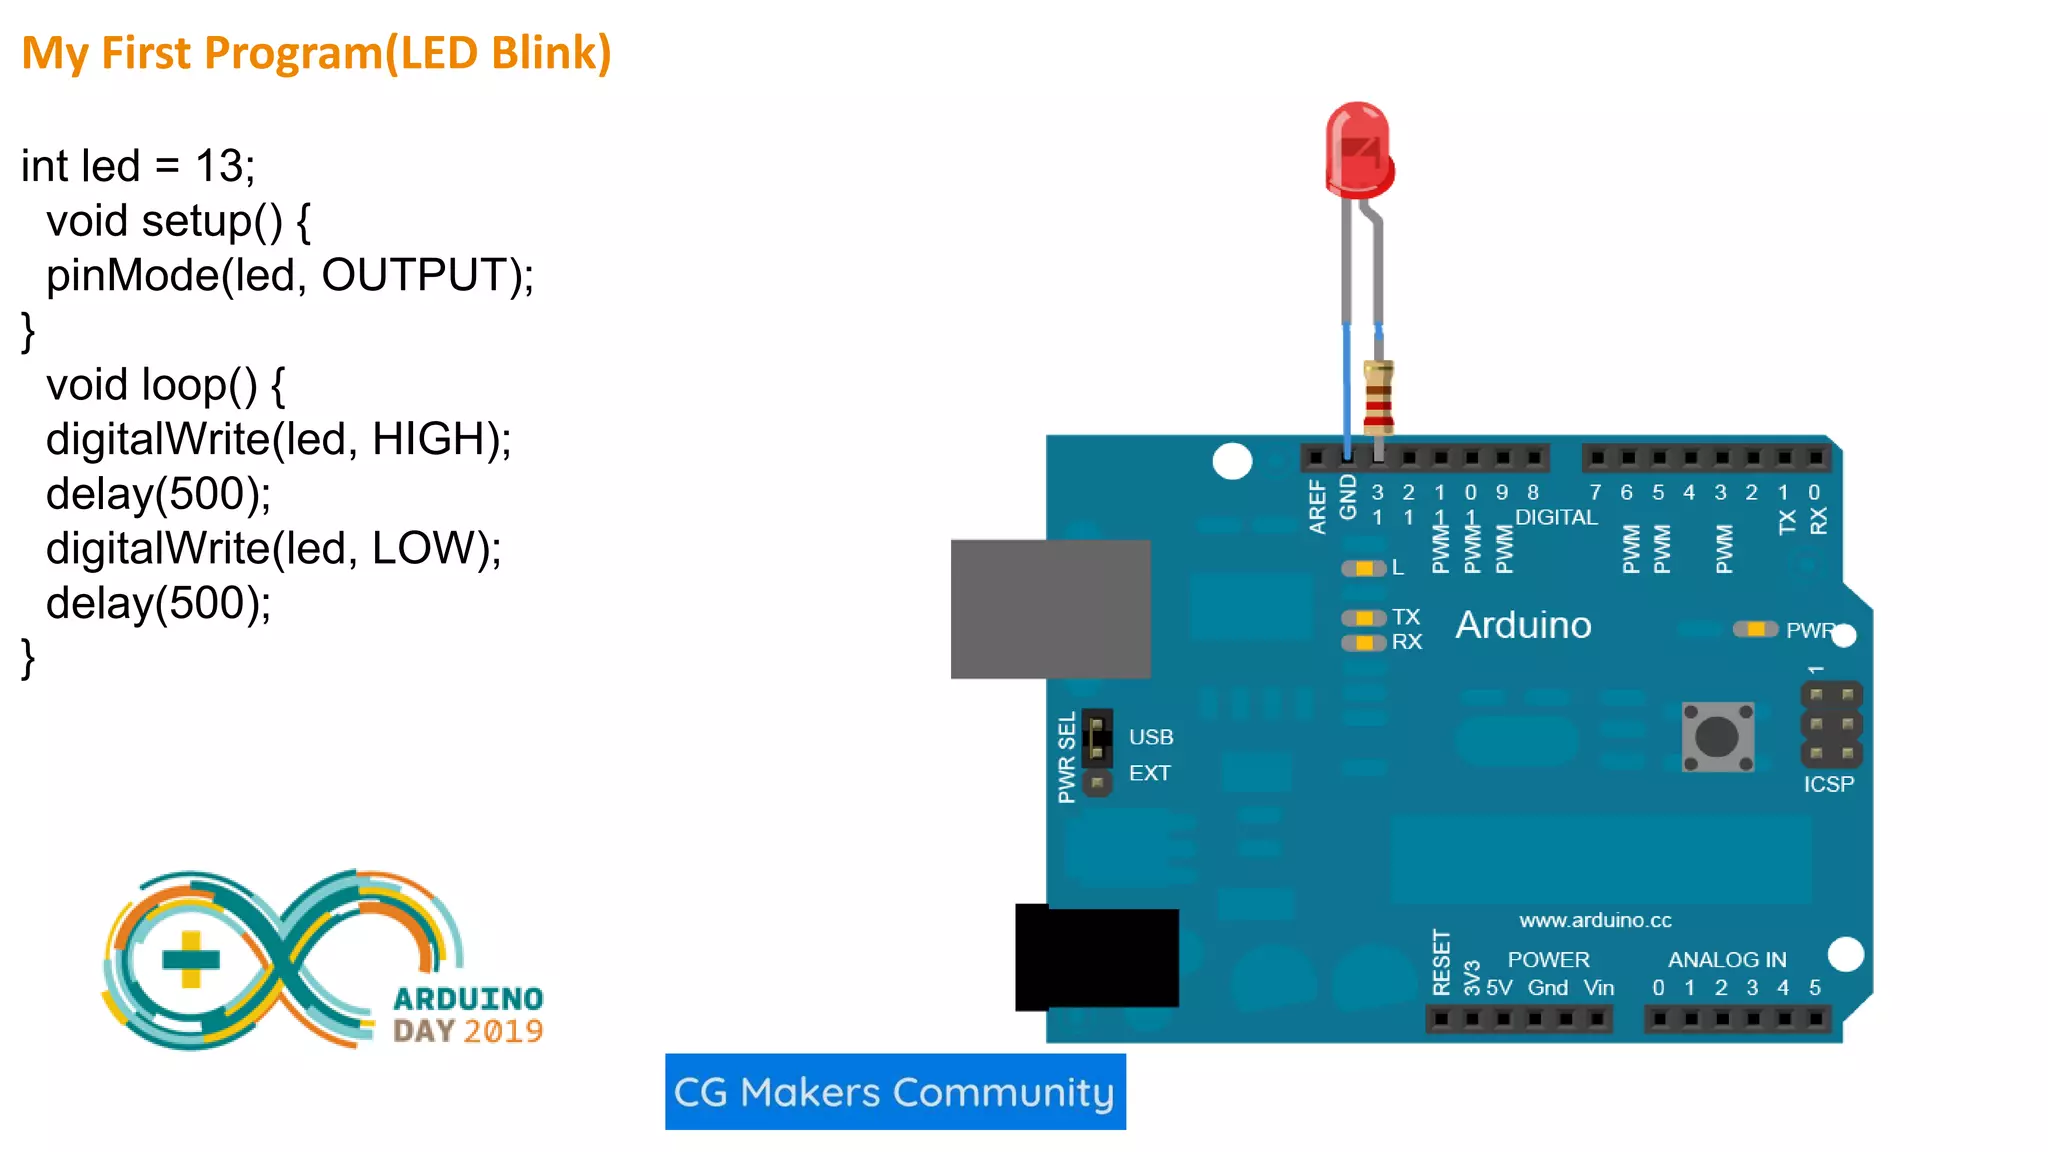

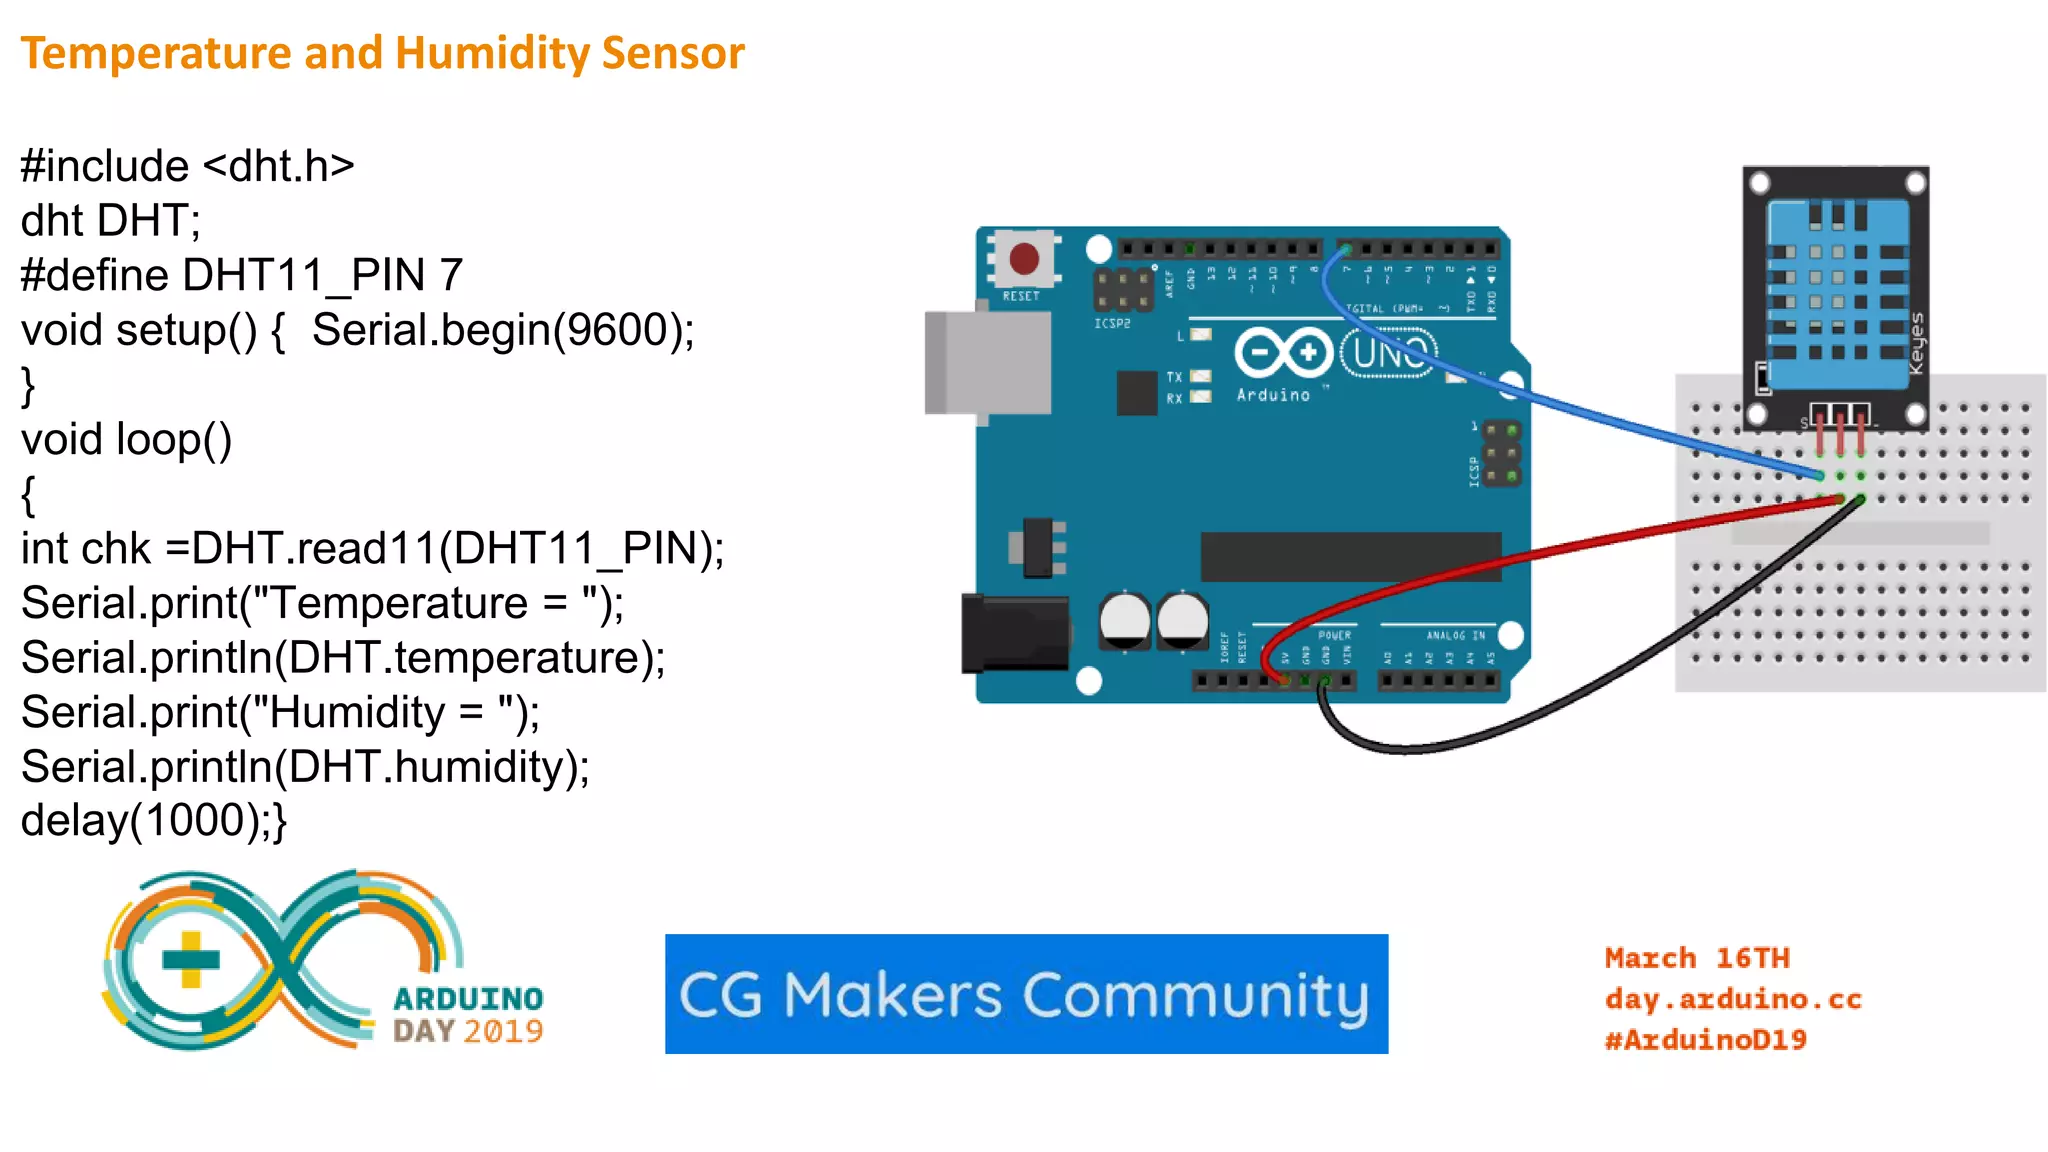
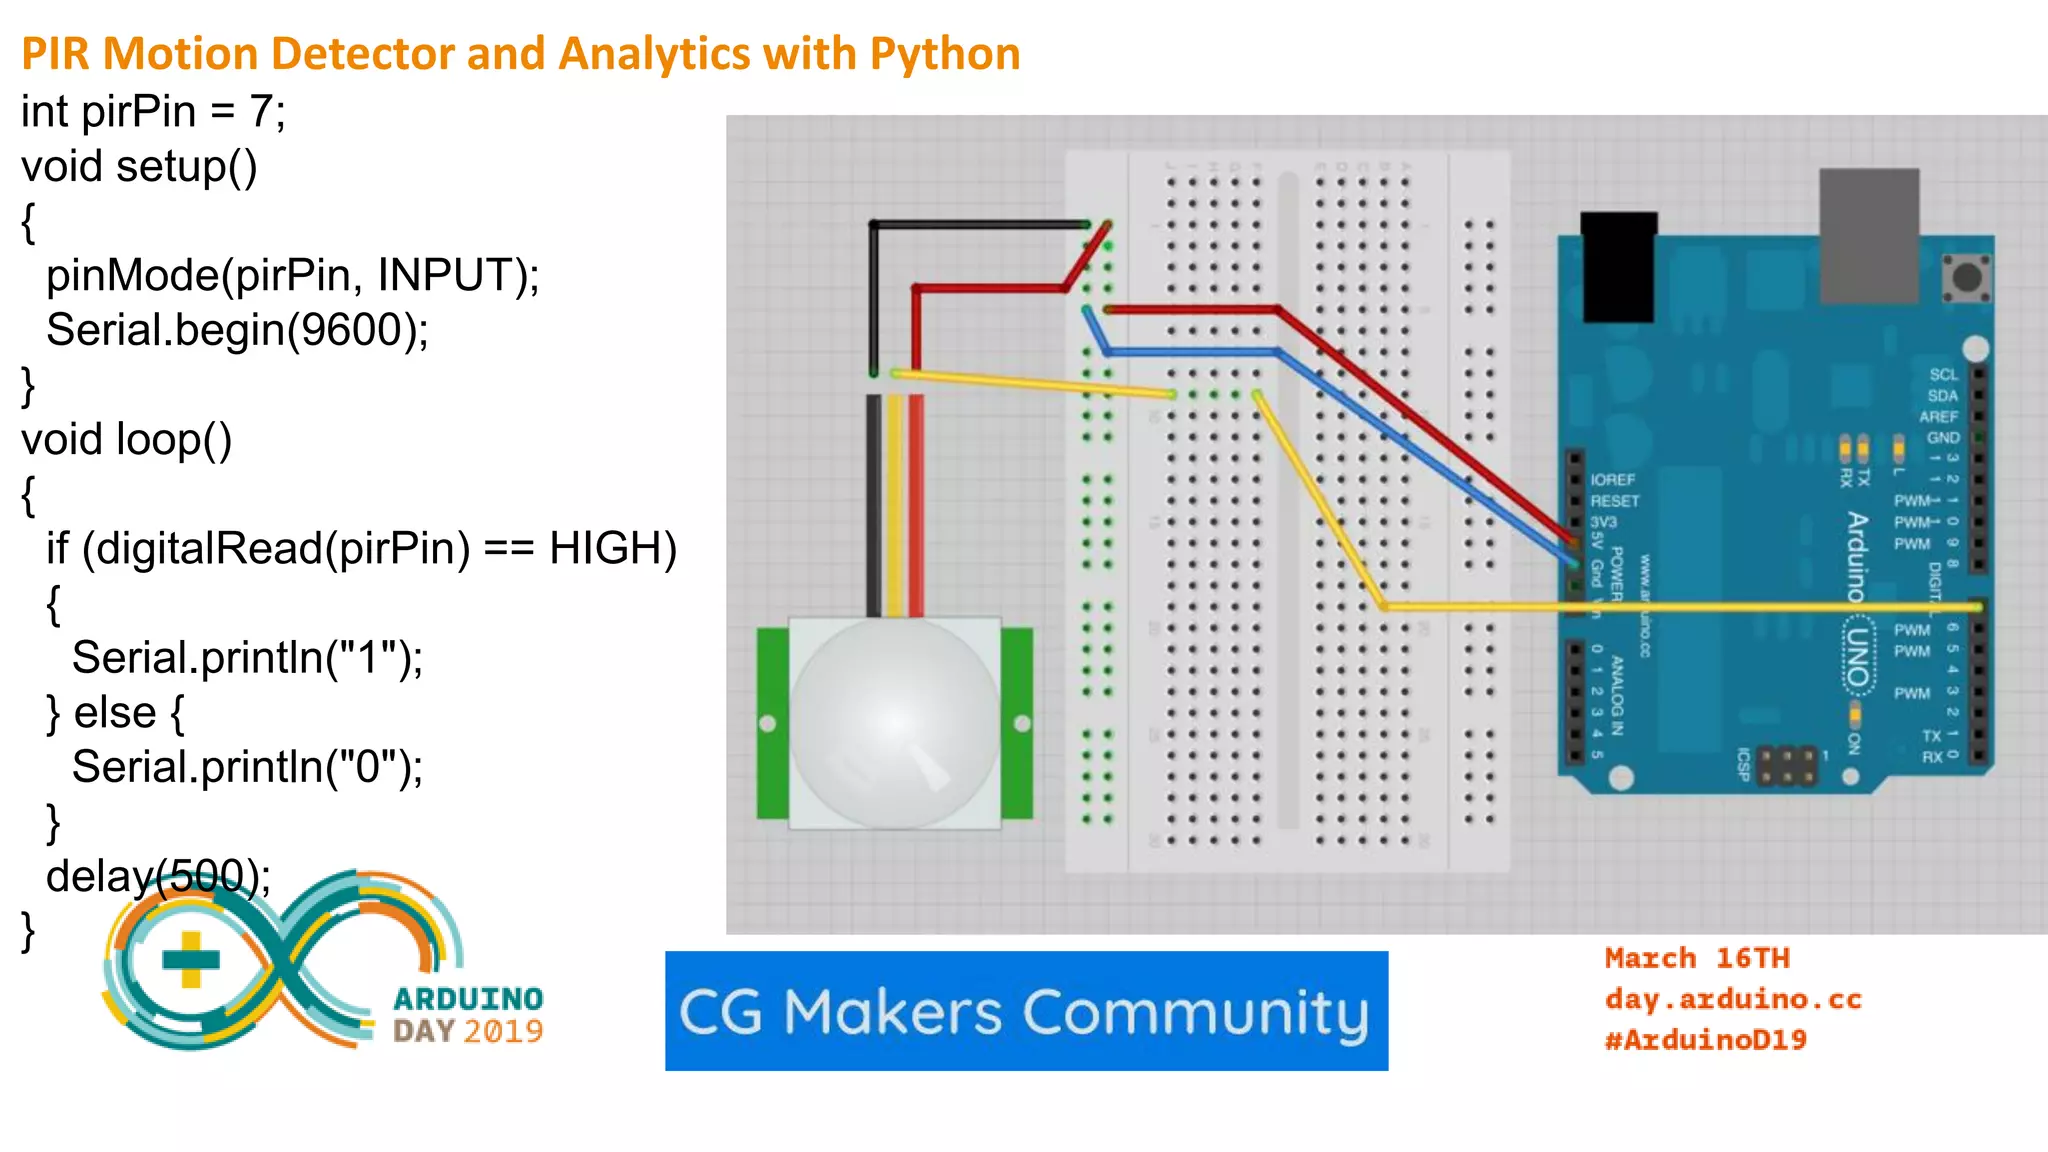

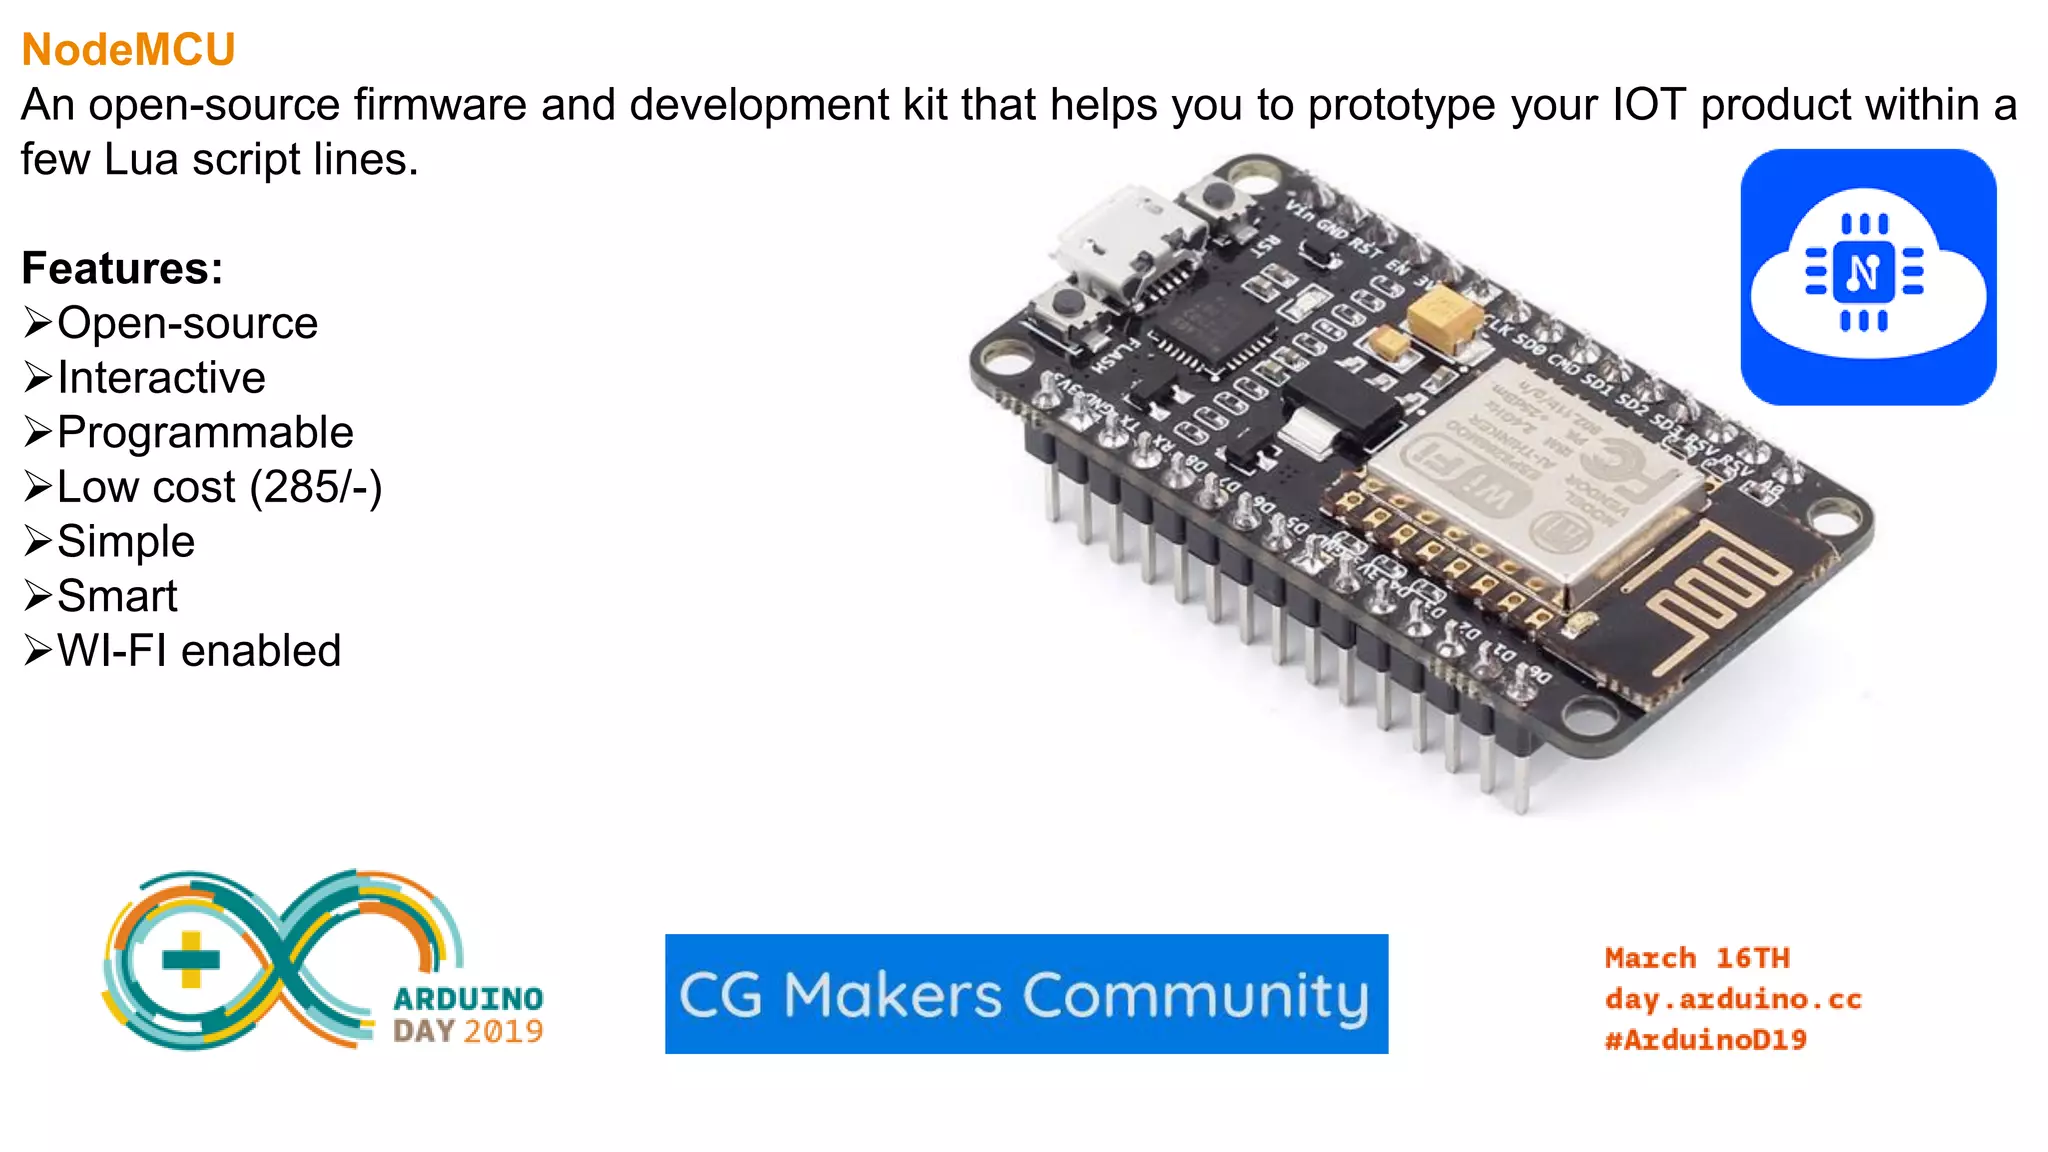
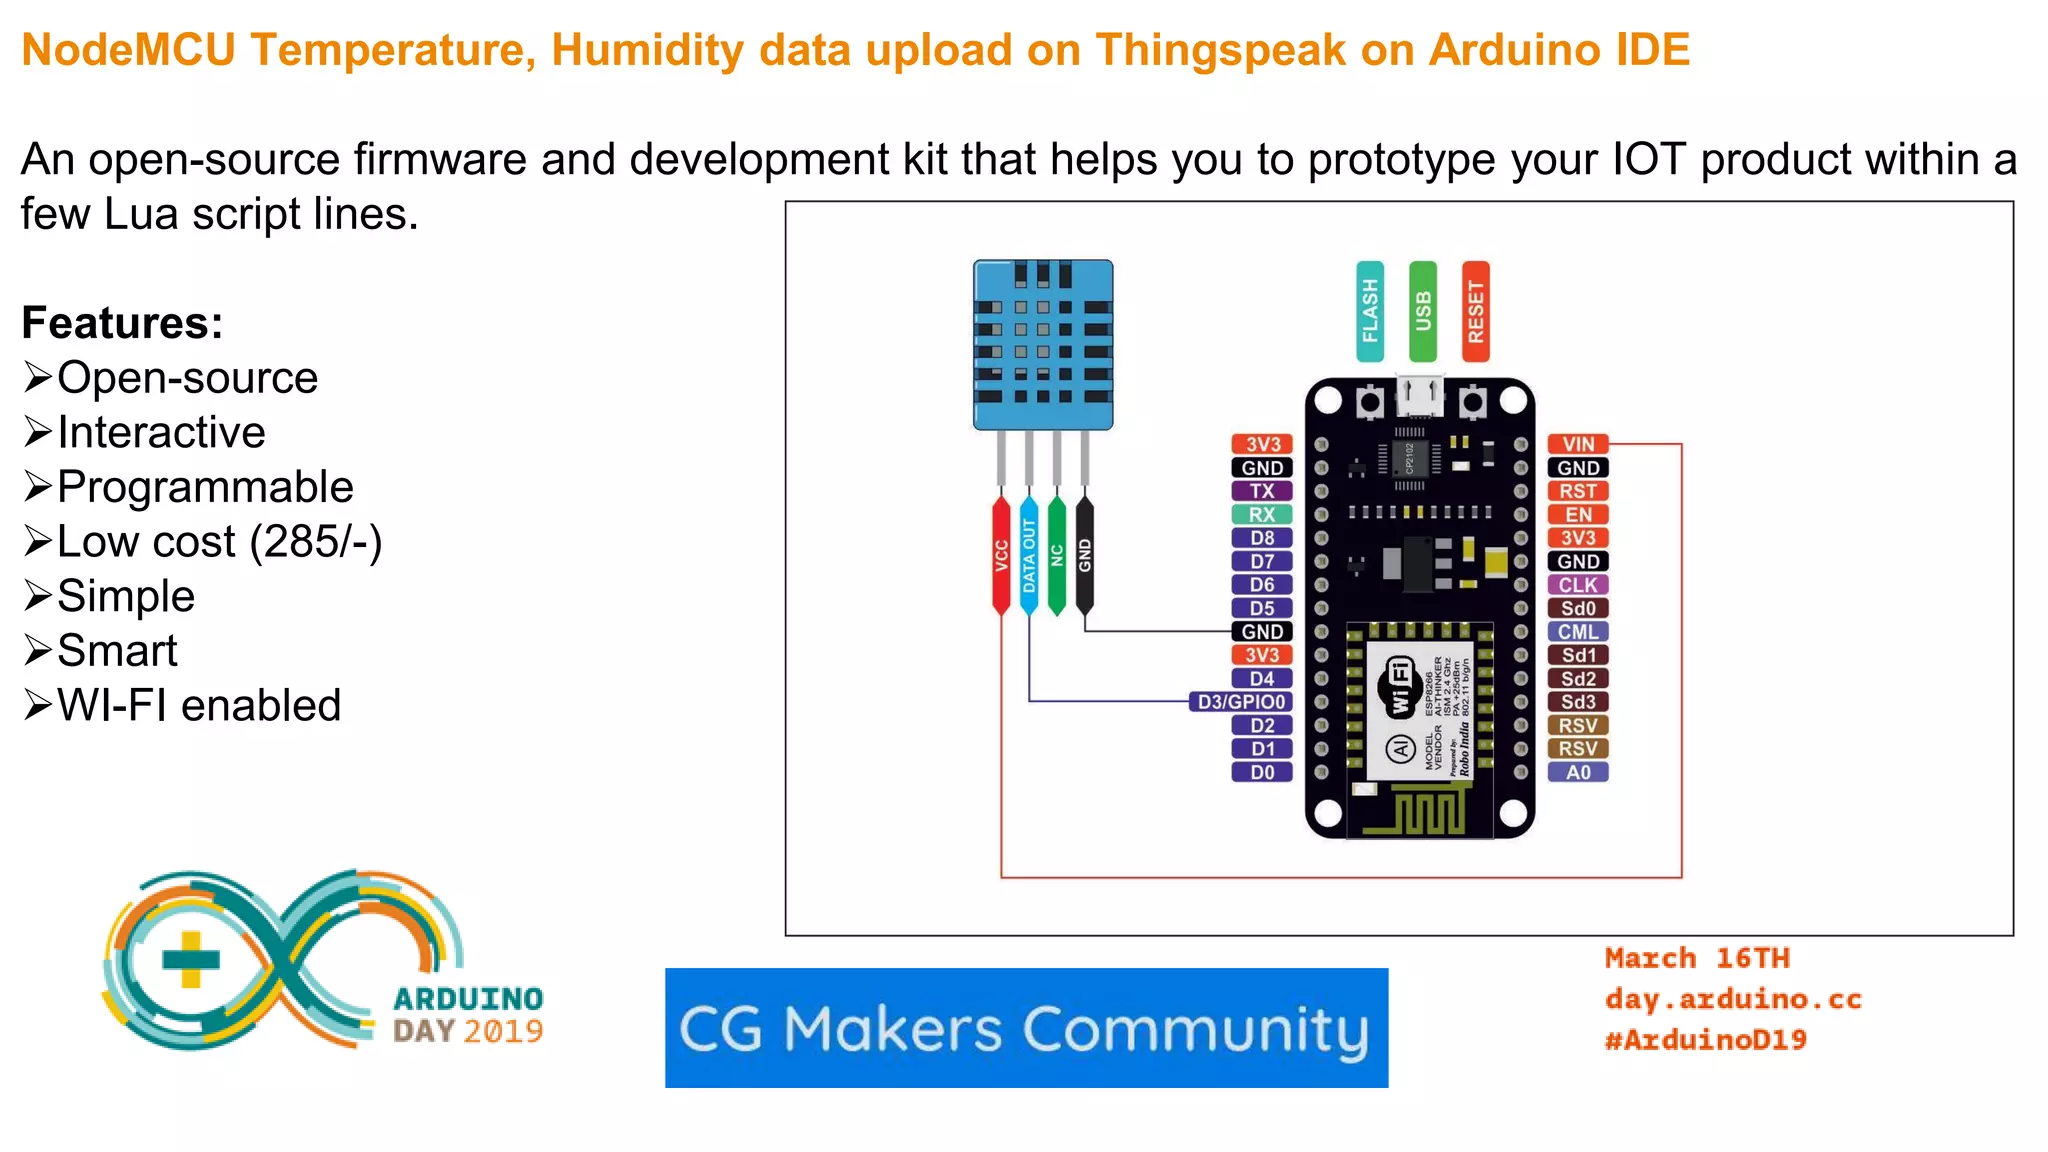
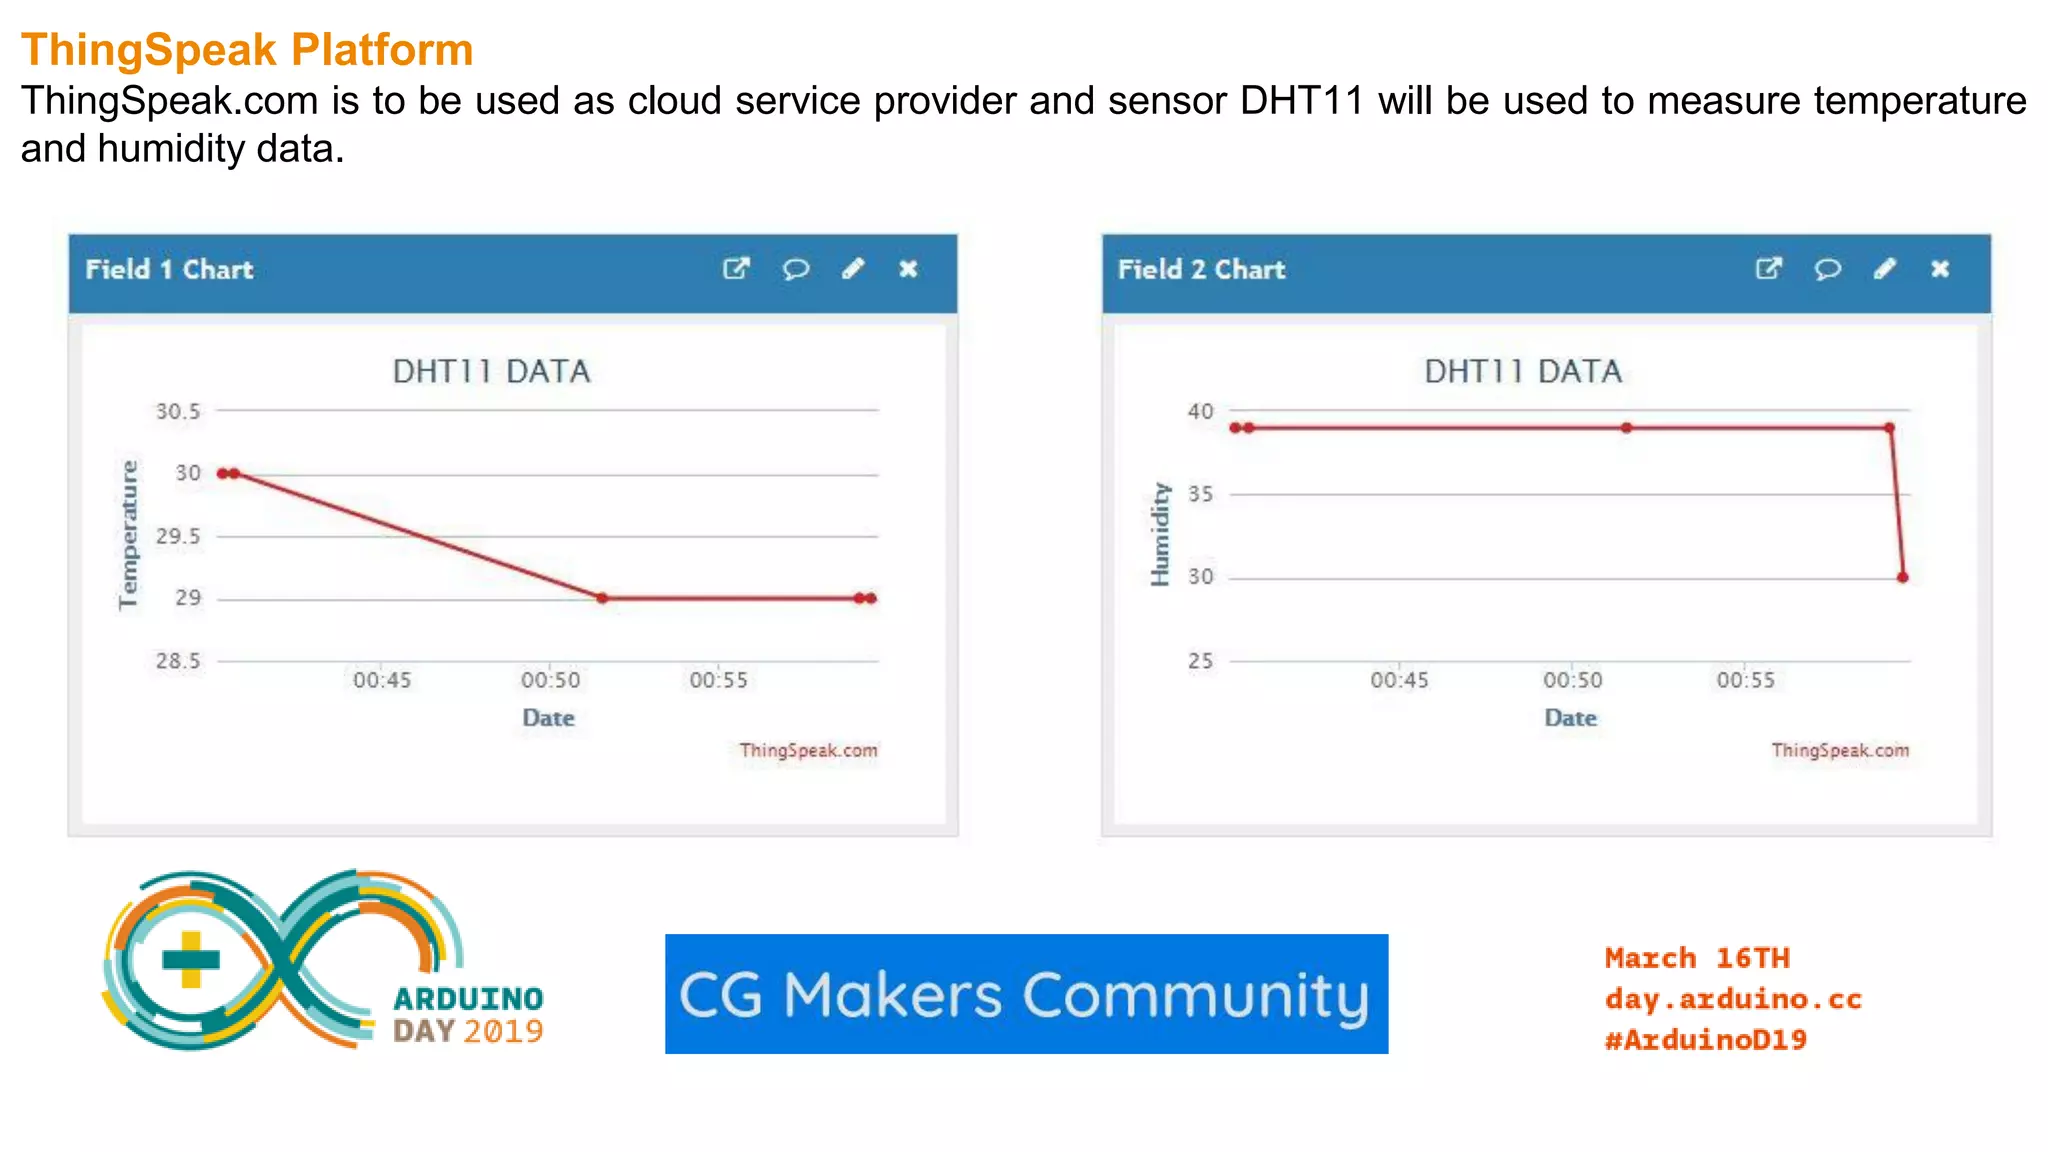


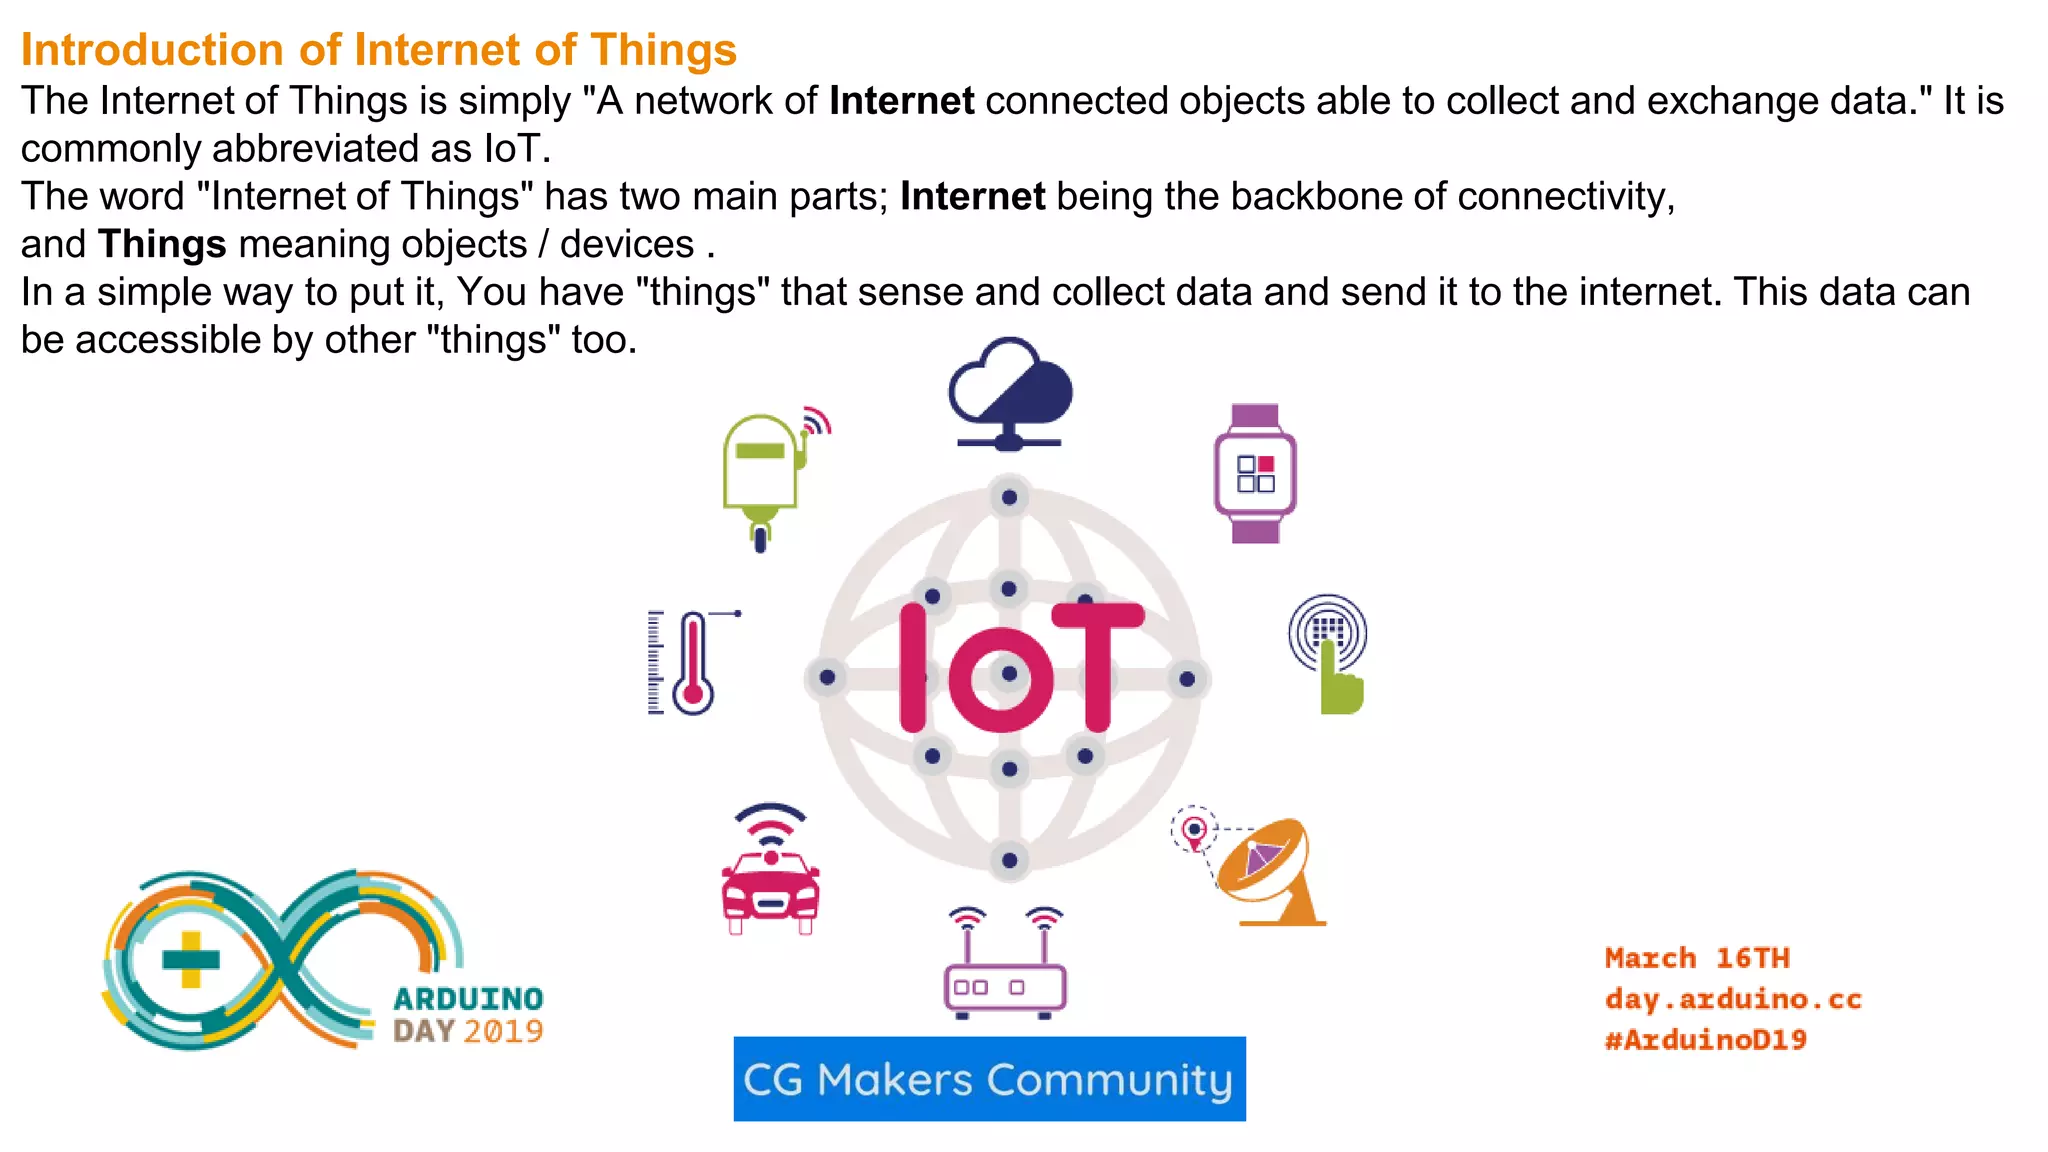
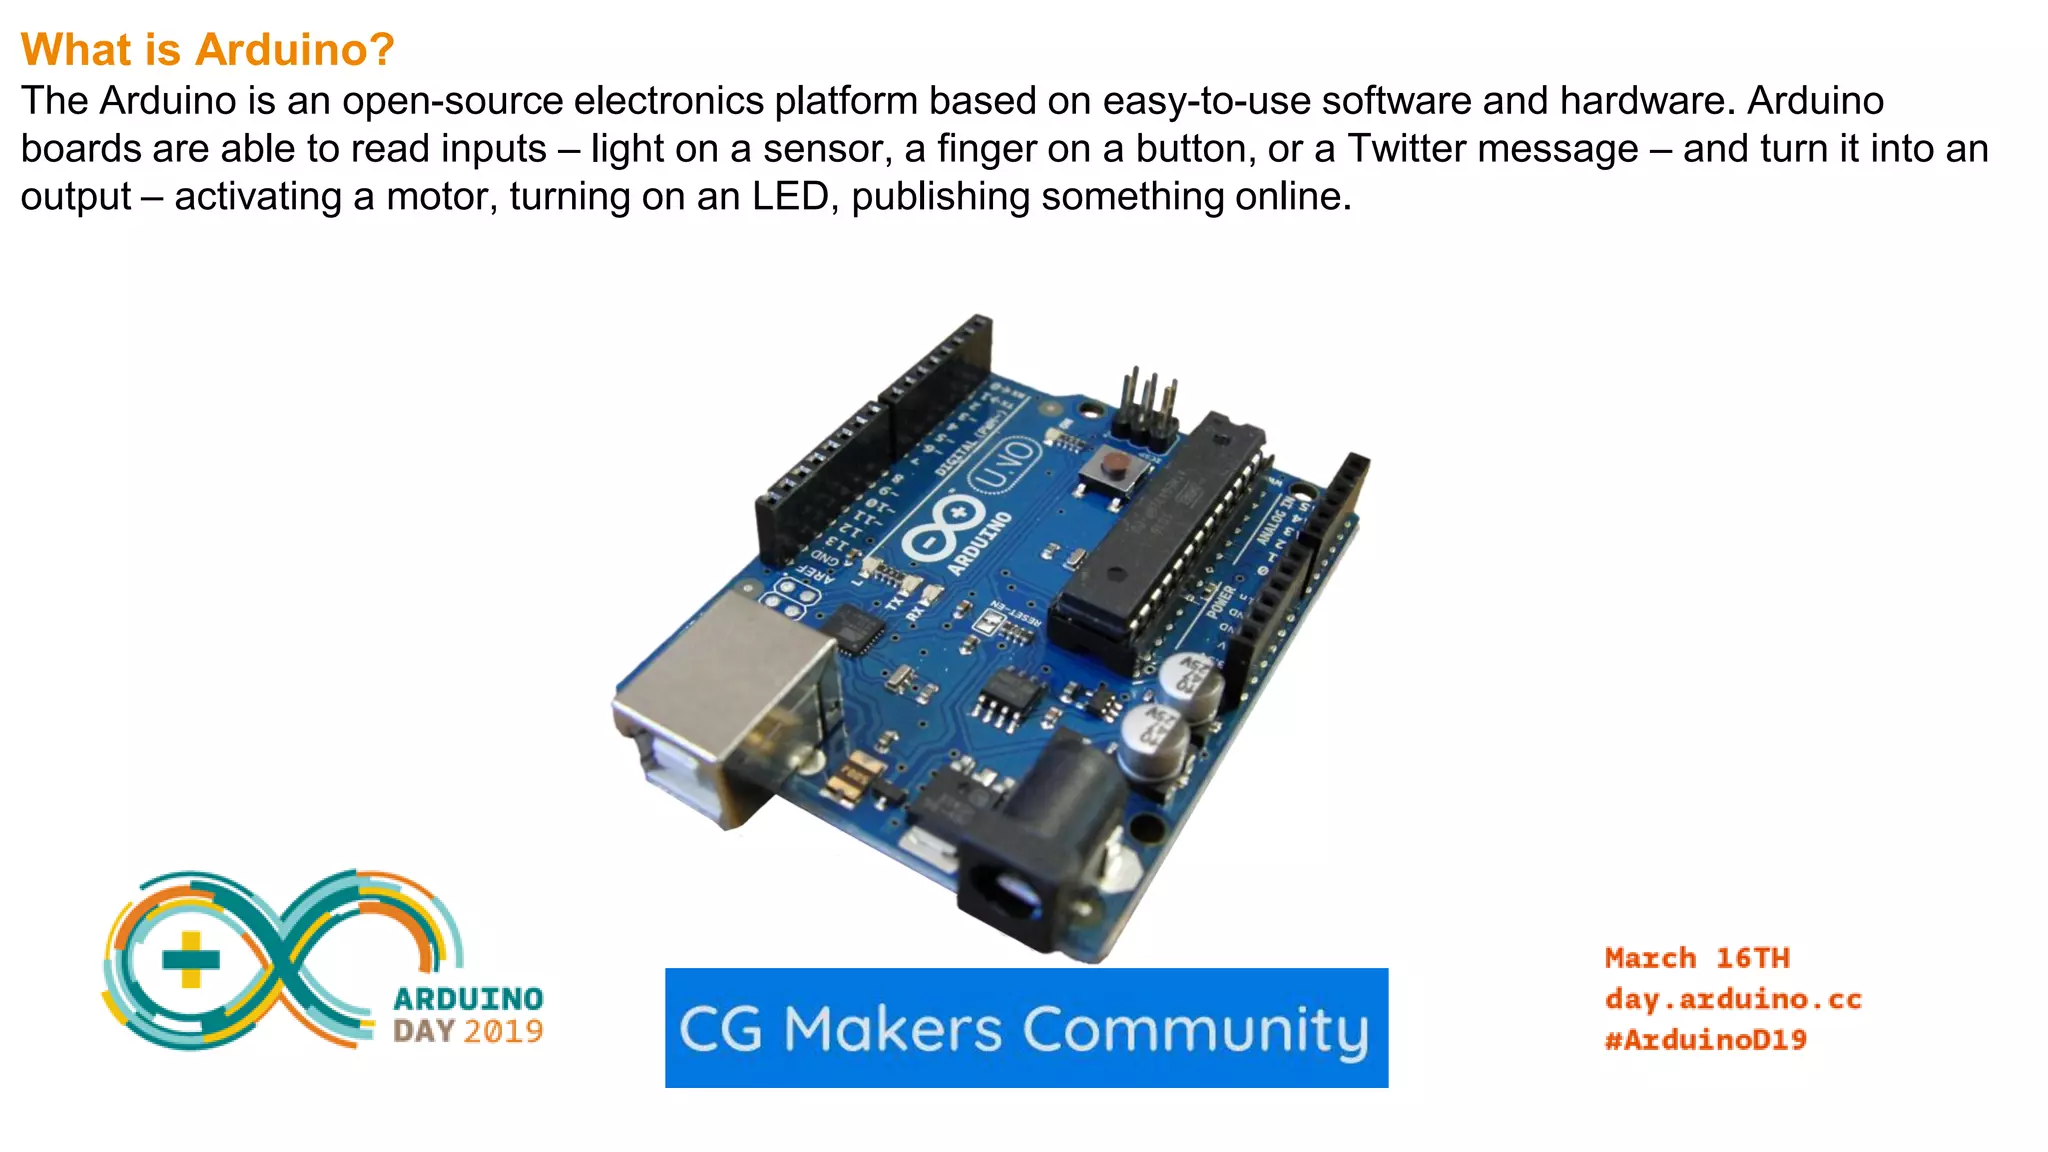
The document summarizes an Arduino Day event, including what Arduino Day is, what types of activities may occur, and an introduction to topics like the Internet of Things, open source platforms, and Arduino. It provides overviews of Arduino boards, the Arduino IDE, programming basics like variables and data types, and examples of programs for an LED blink, temperature and humidity sensor, motion detector, and uploading sensor data to ThingSpeak via NodeMCU.