Download as PDF, PPTX

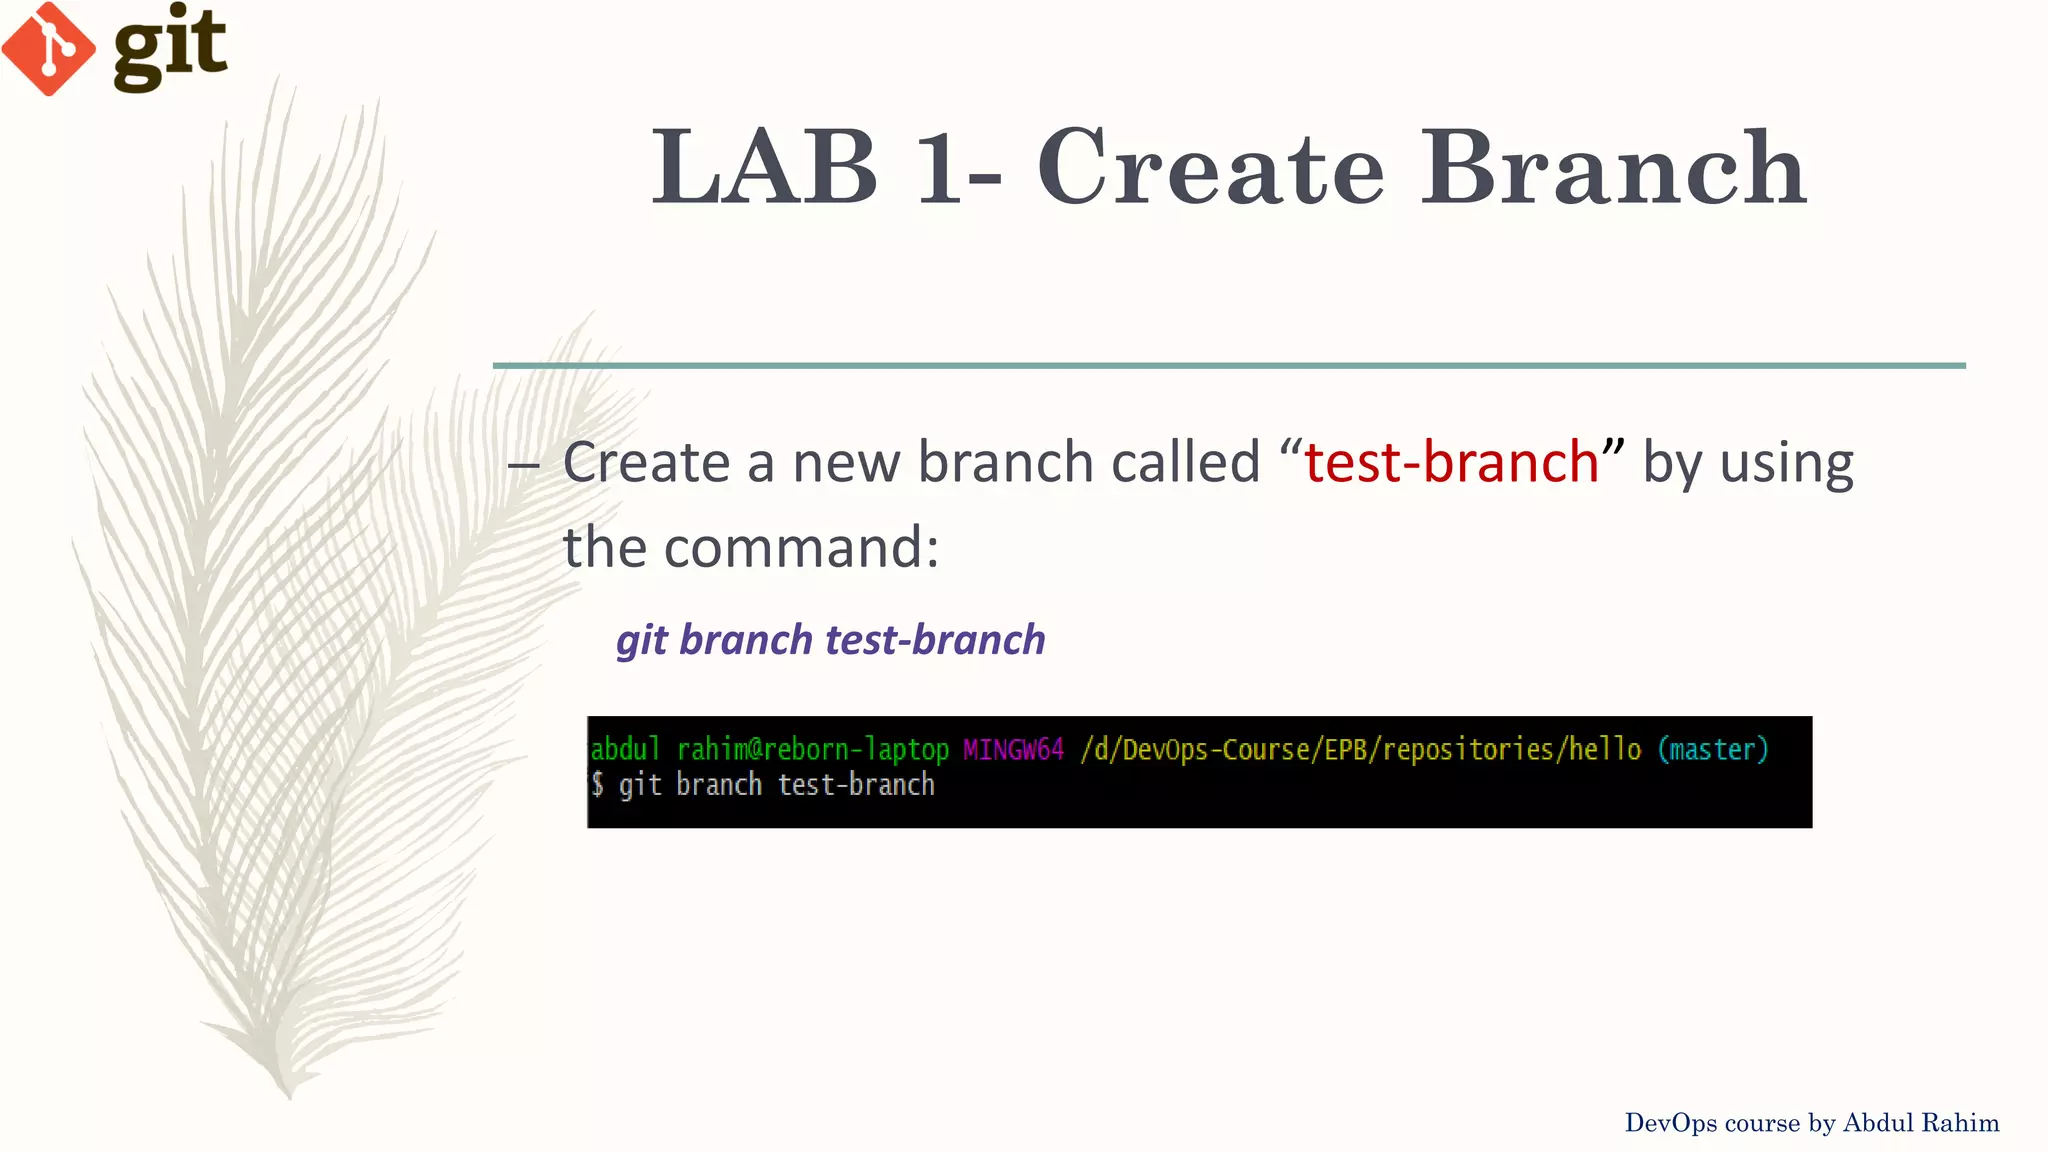
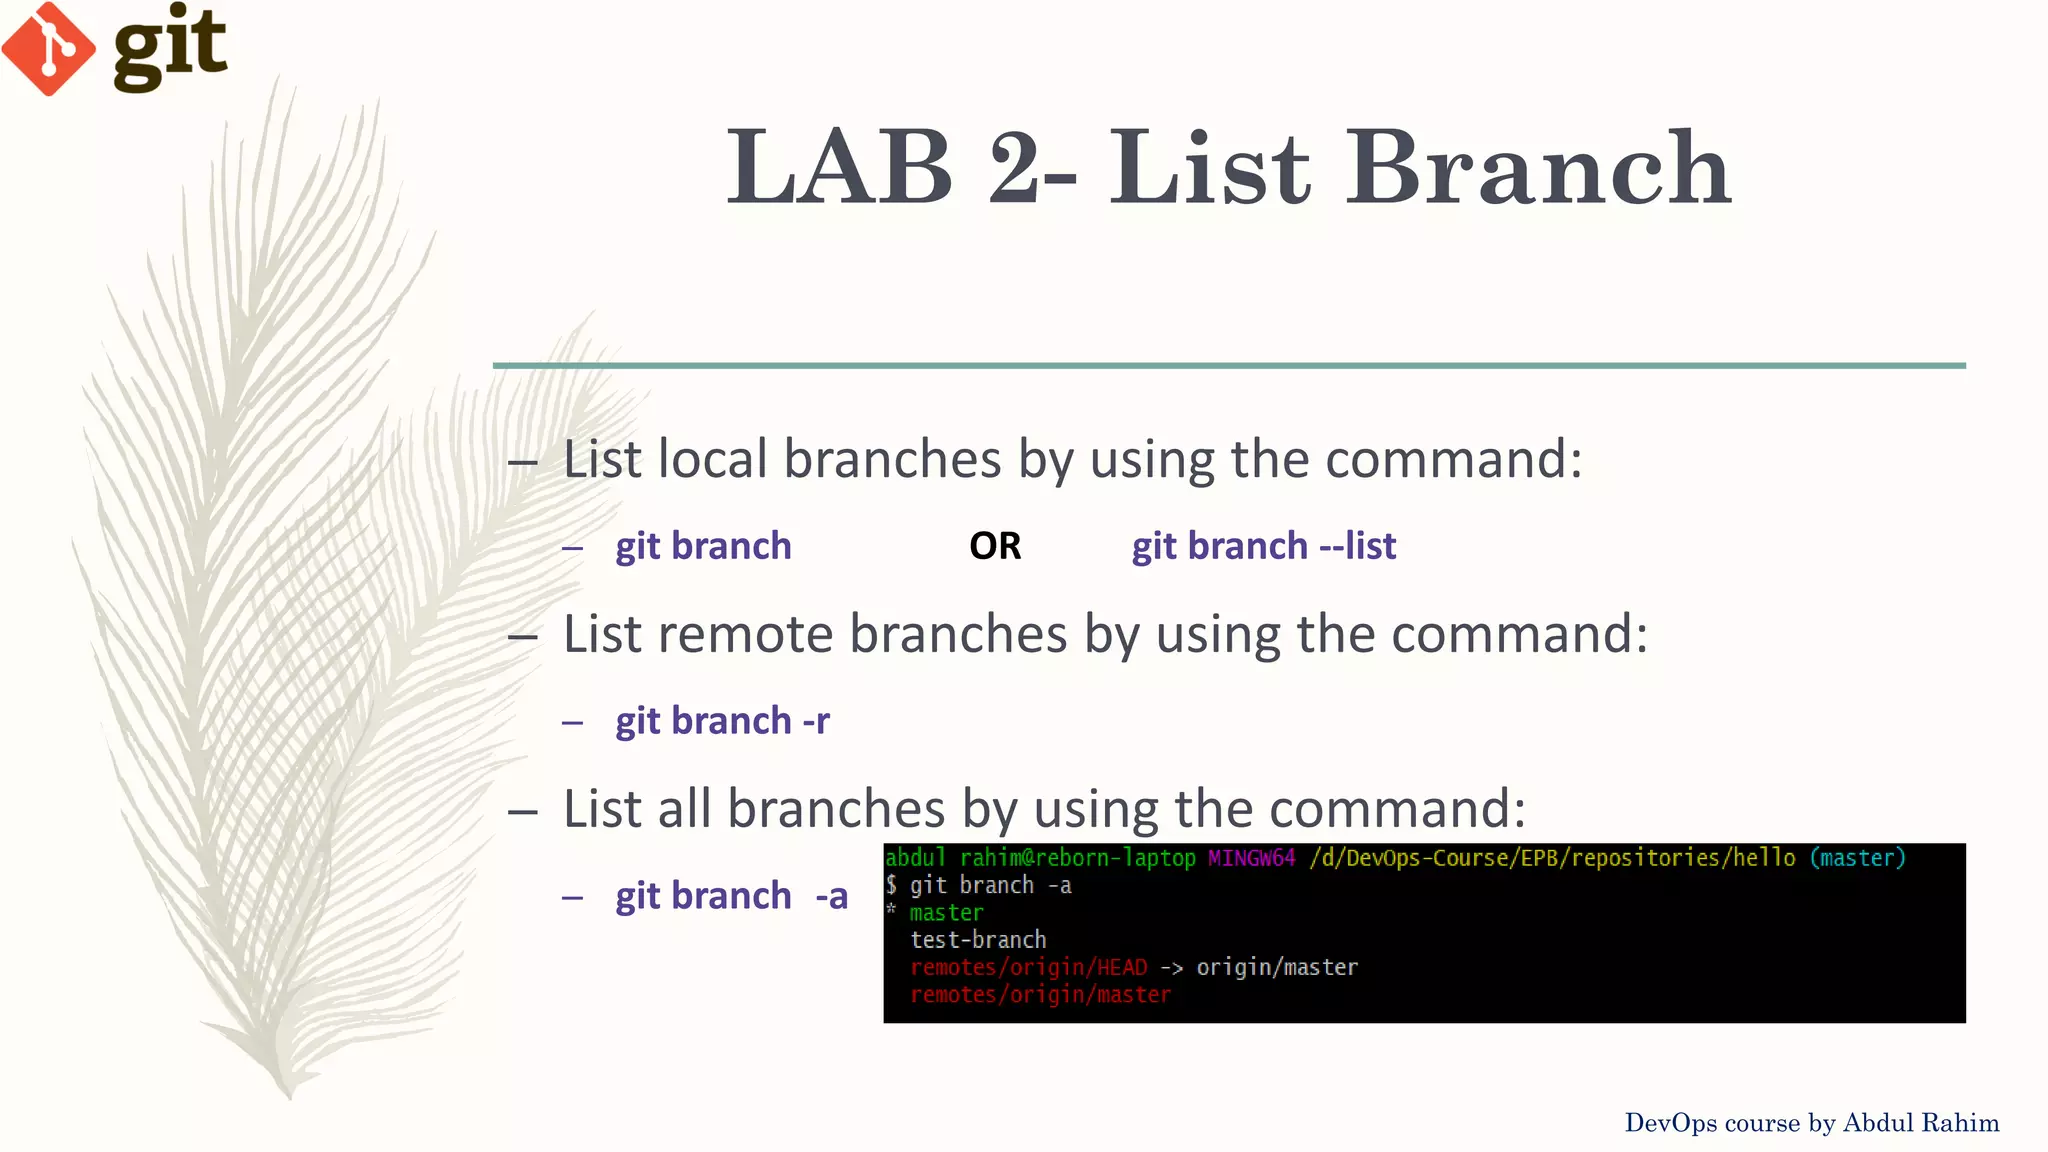
![Git Branching Commands DevOps course by Abdul Rahim – List Branches: git branch – List all Branches: git branch -a – Create Branch: git branch [branch_name] – Delete Branch: git branch -d [branch_name] – Delete remote Branch: git push origin --delete [branch_name] – Create Branch and Switch: git checkout -b [branch_name] – Switch Branch: git checkout [branch_name]](https://image.slidesharecdn.com/versioncontrol-git-2-201019082806/75/Version-control-Git-Lecture-2-7-2048.jpg)

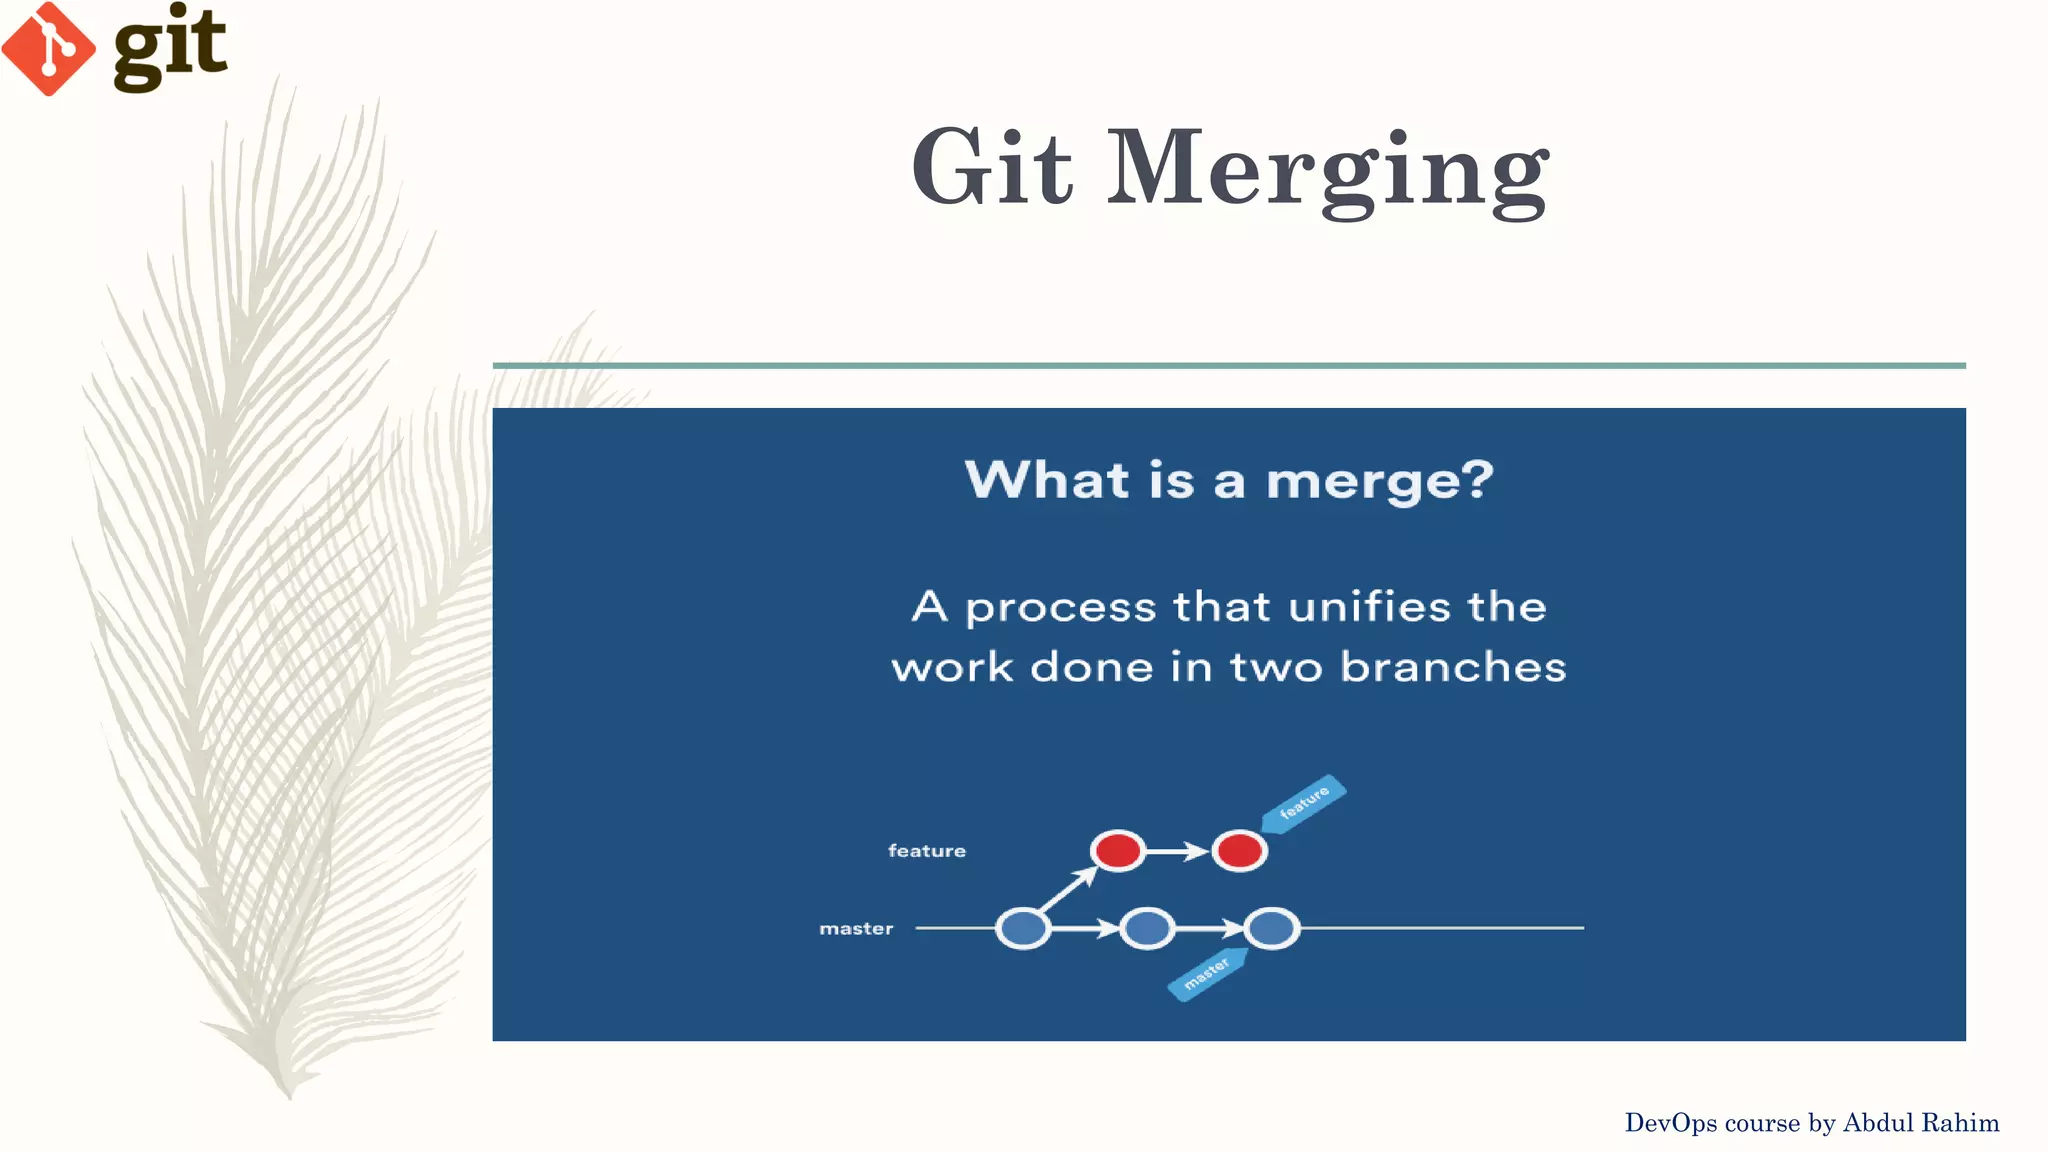
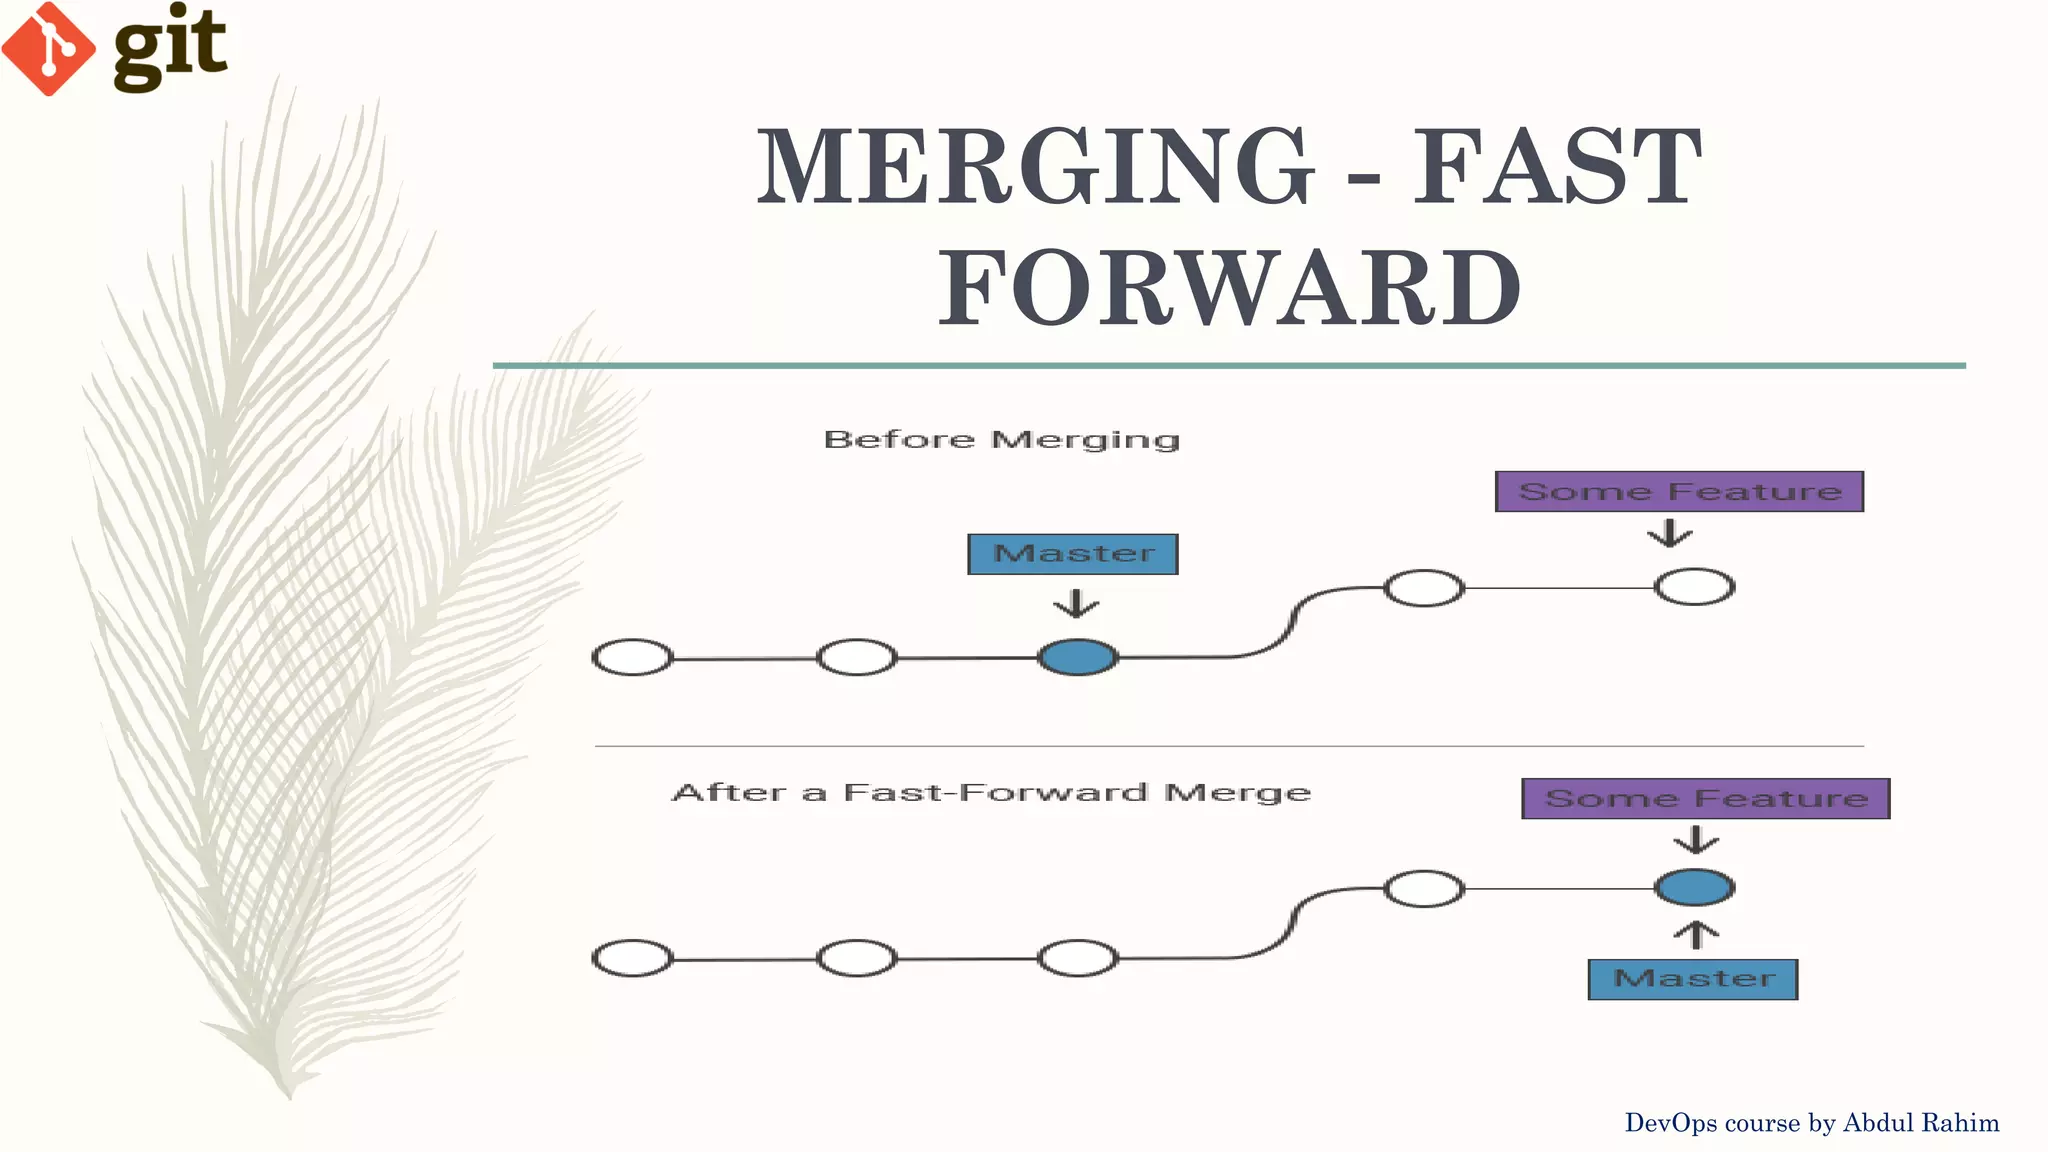
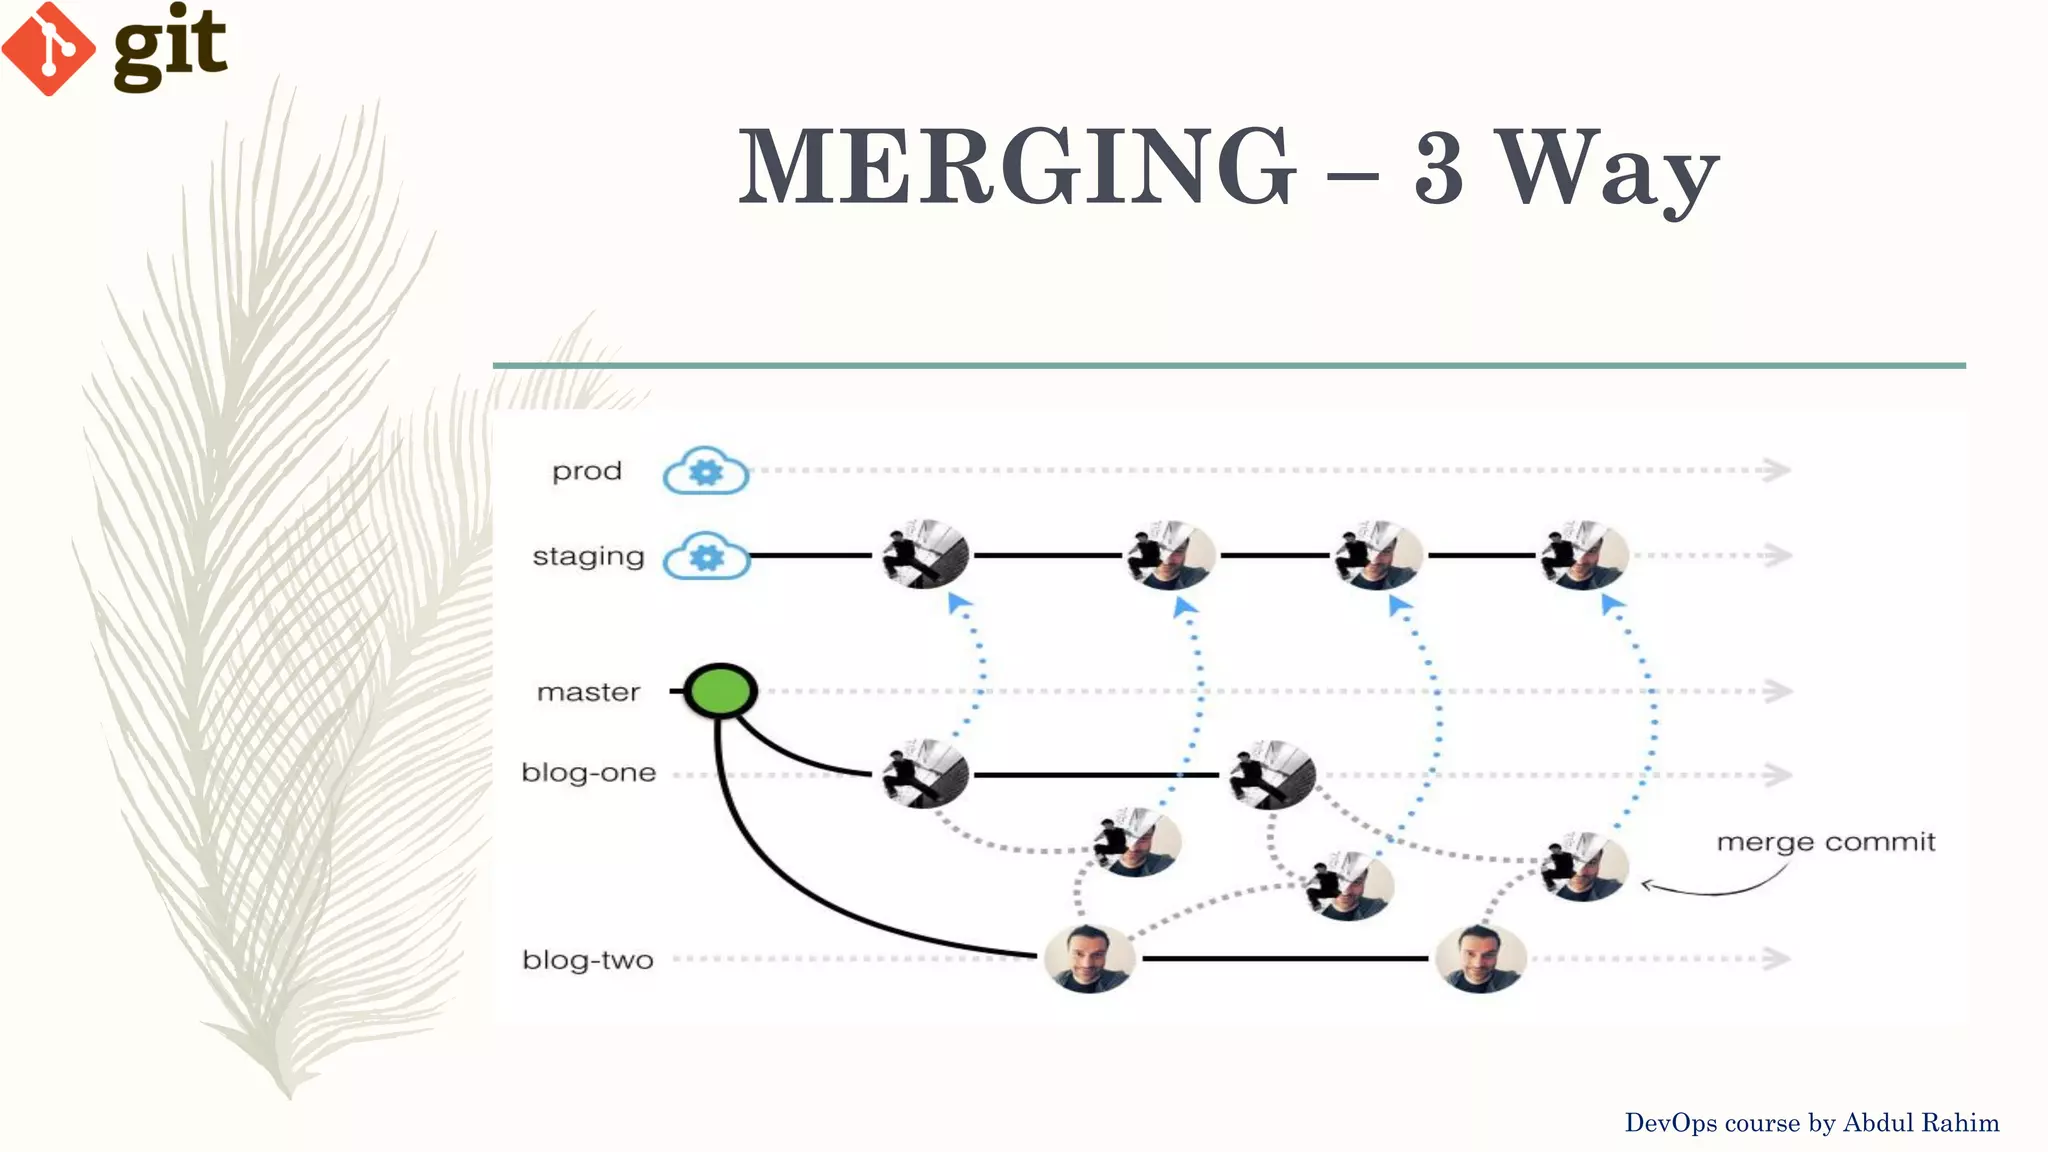
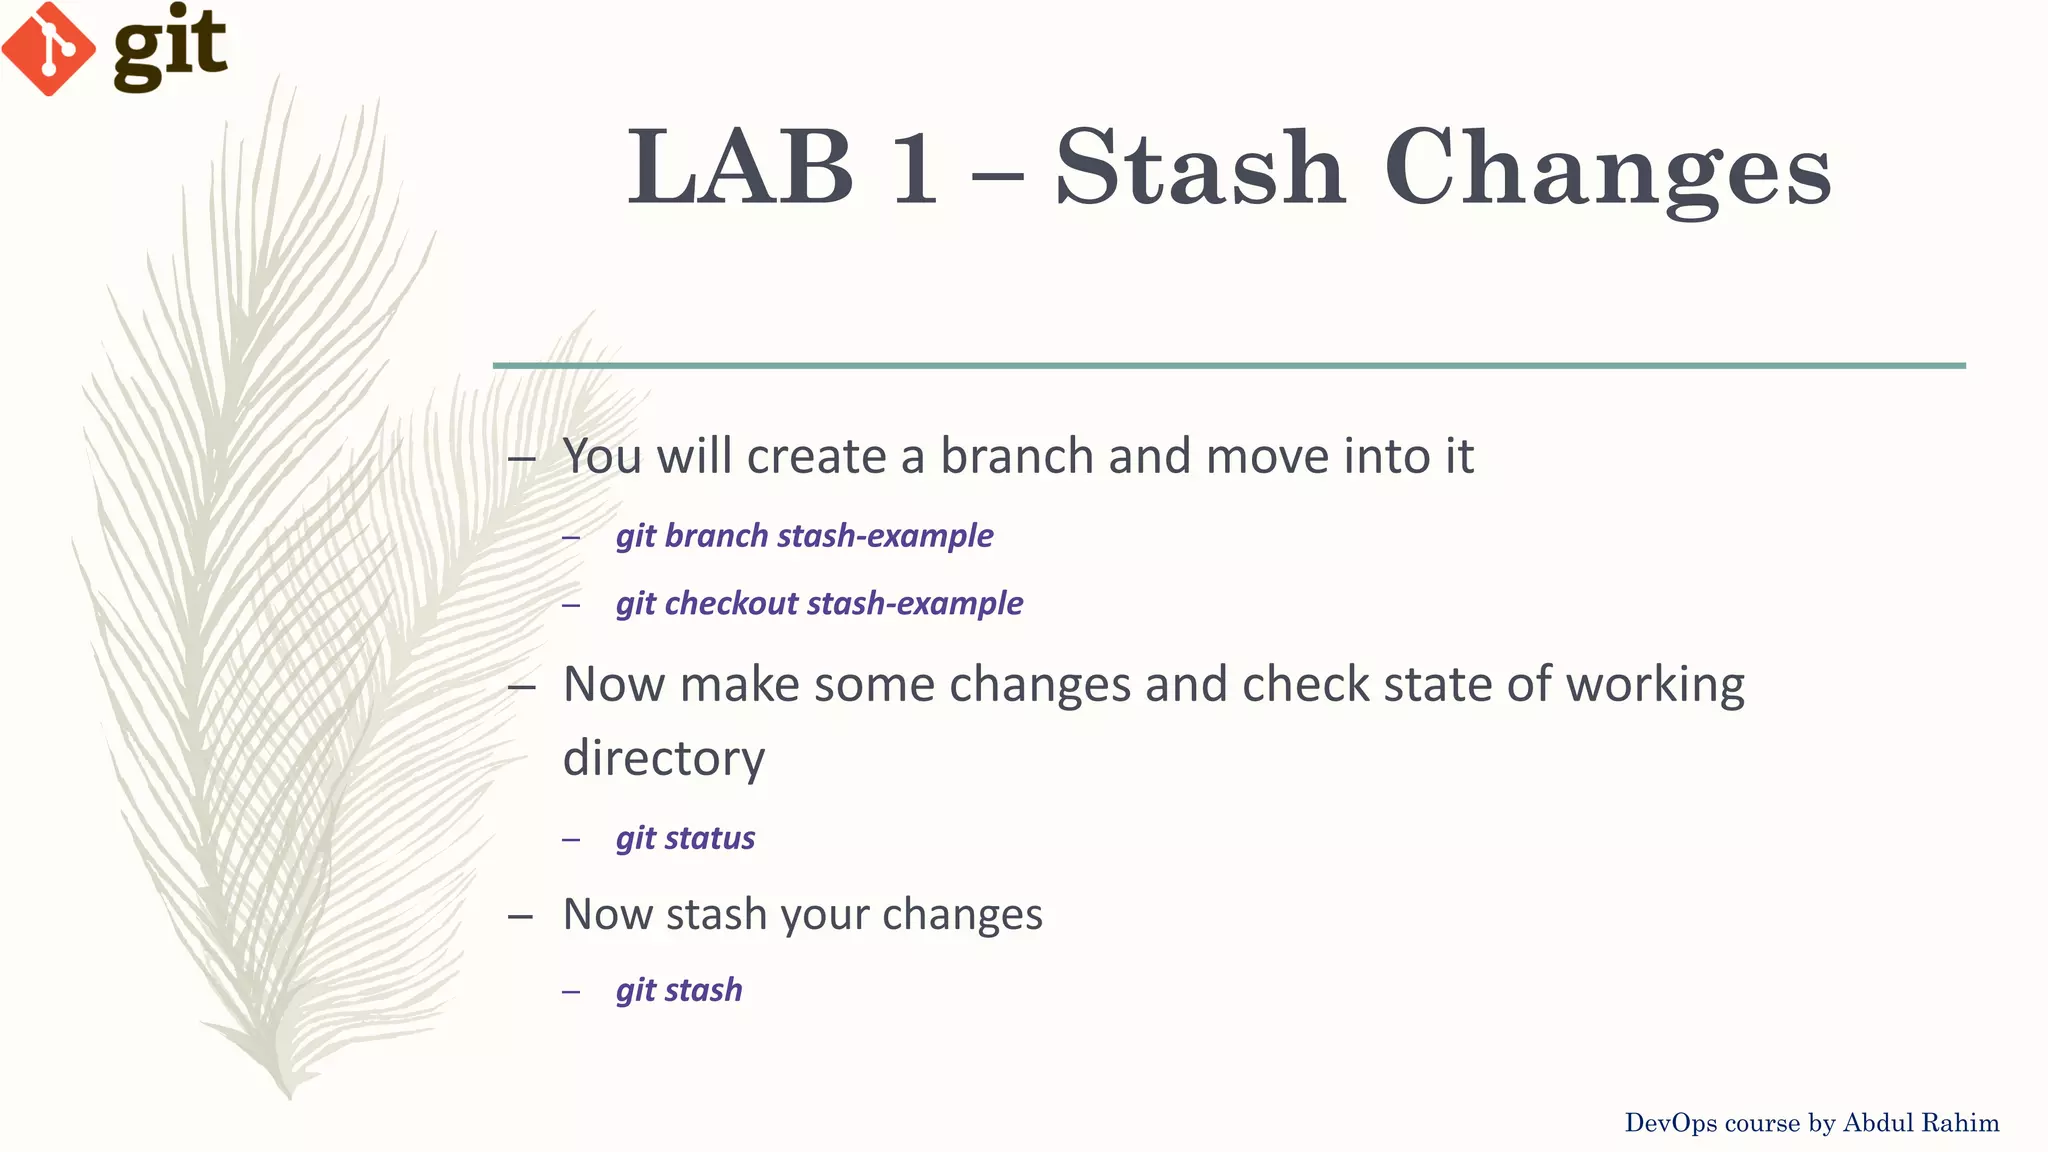
![Git Merging DevOps course by Abdul Rahim – Combine multiple branches into one – Combines multiple sequence into unified history – Commands – Merge branch into active branch: git merge [branch-name] – Merge branch into target branch: git merge [source-branch] [target- branch]](https://image.slidesharecdn.com/versioncontrol-git-2-201019082806/75/Version-control-Git-Lecture-2-16-2048.jpg)


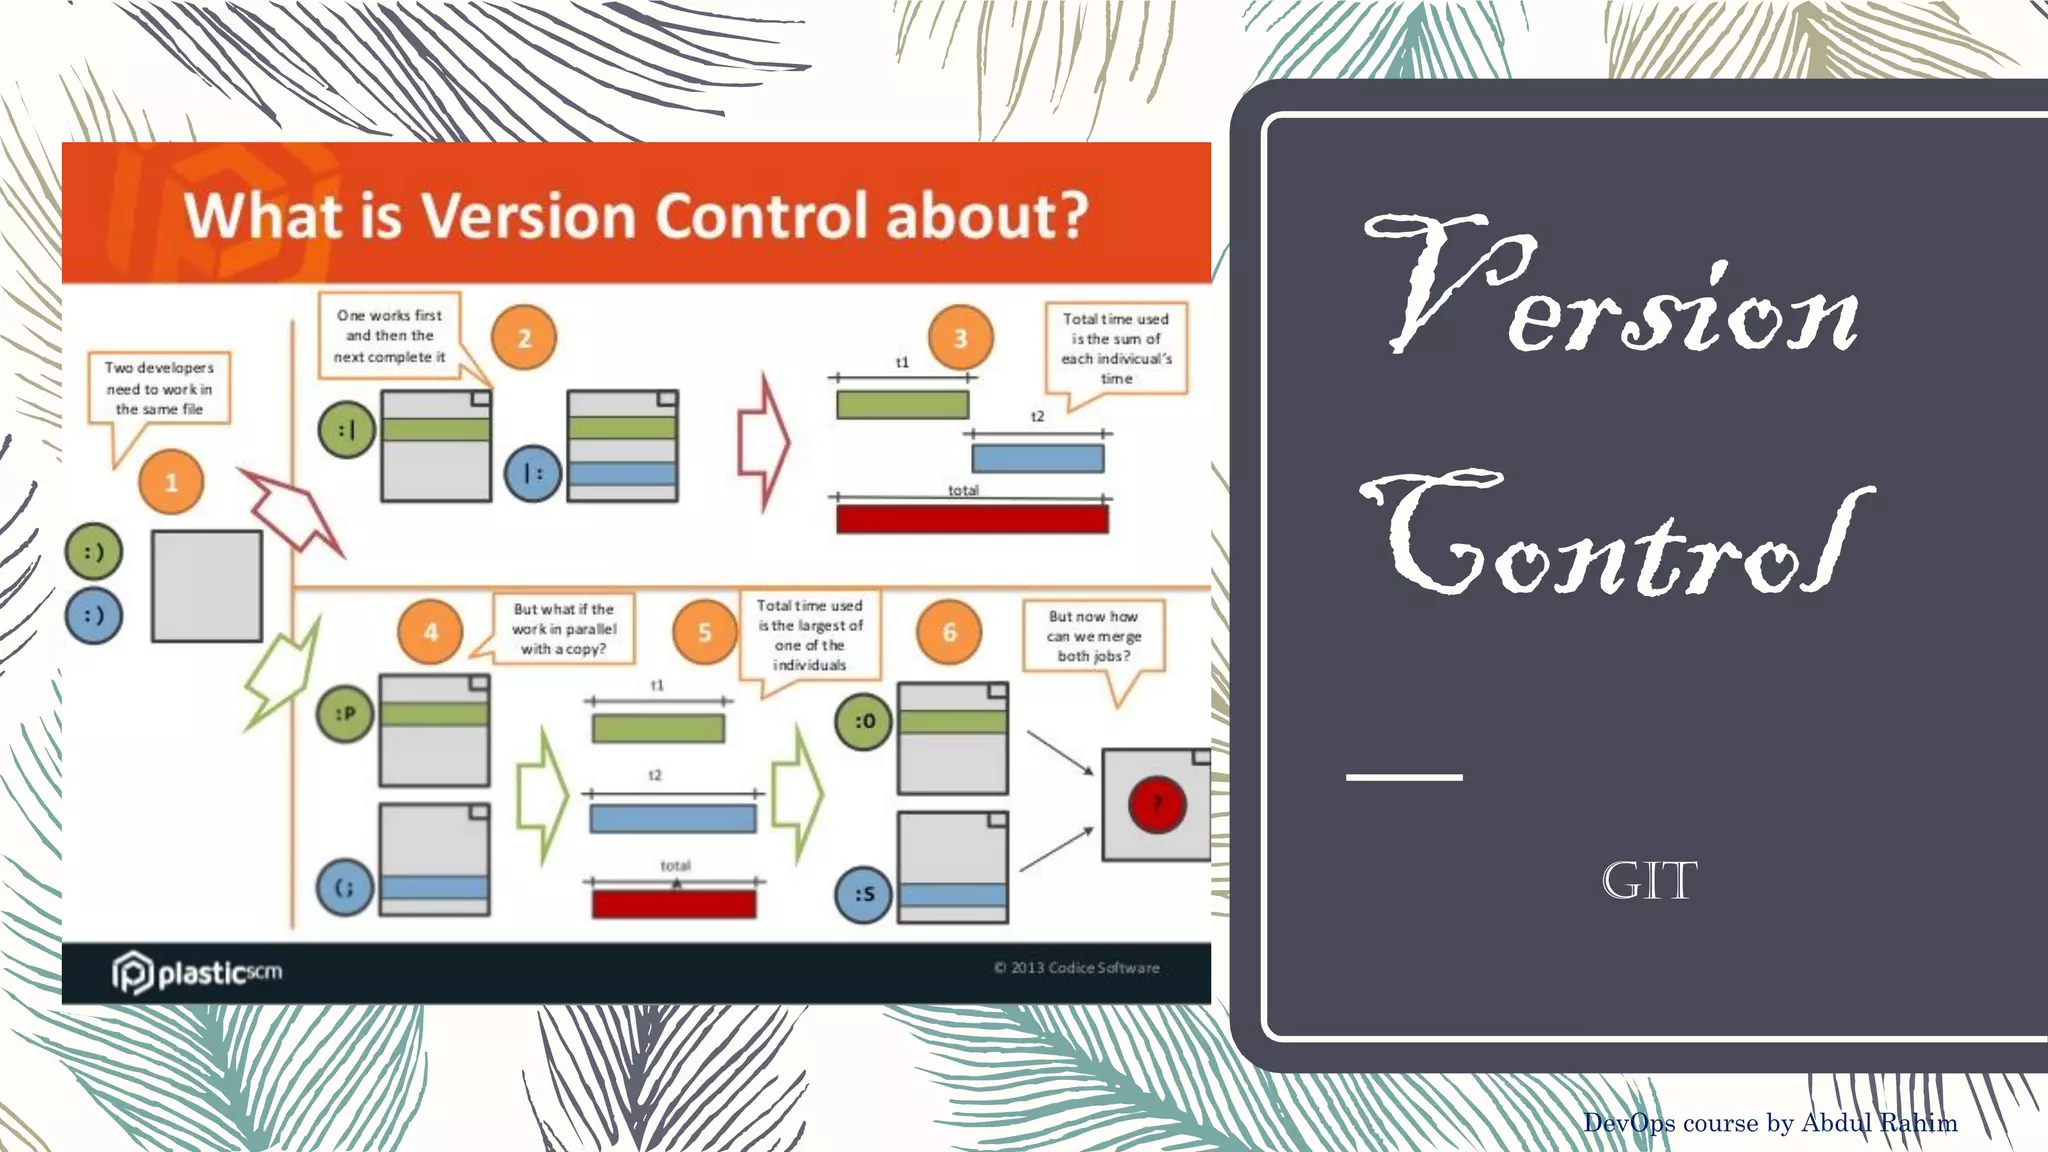
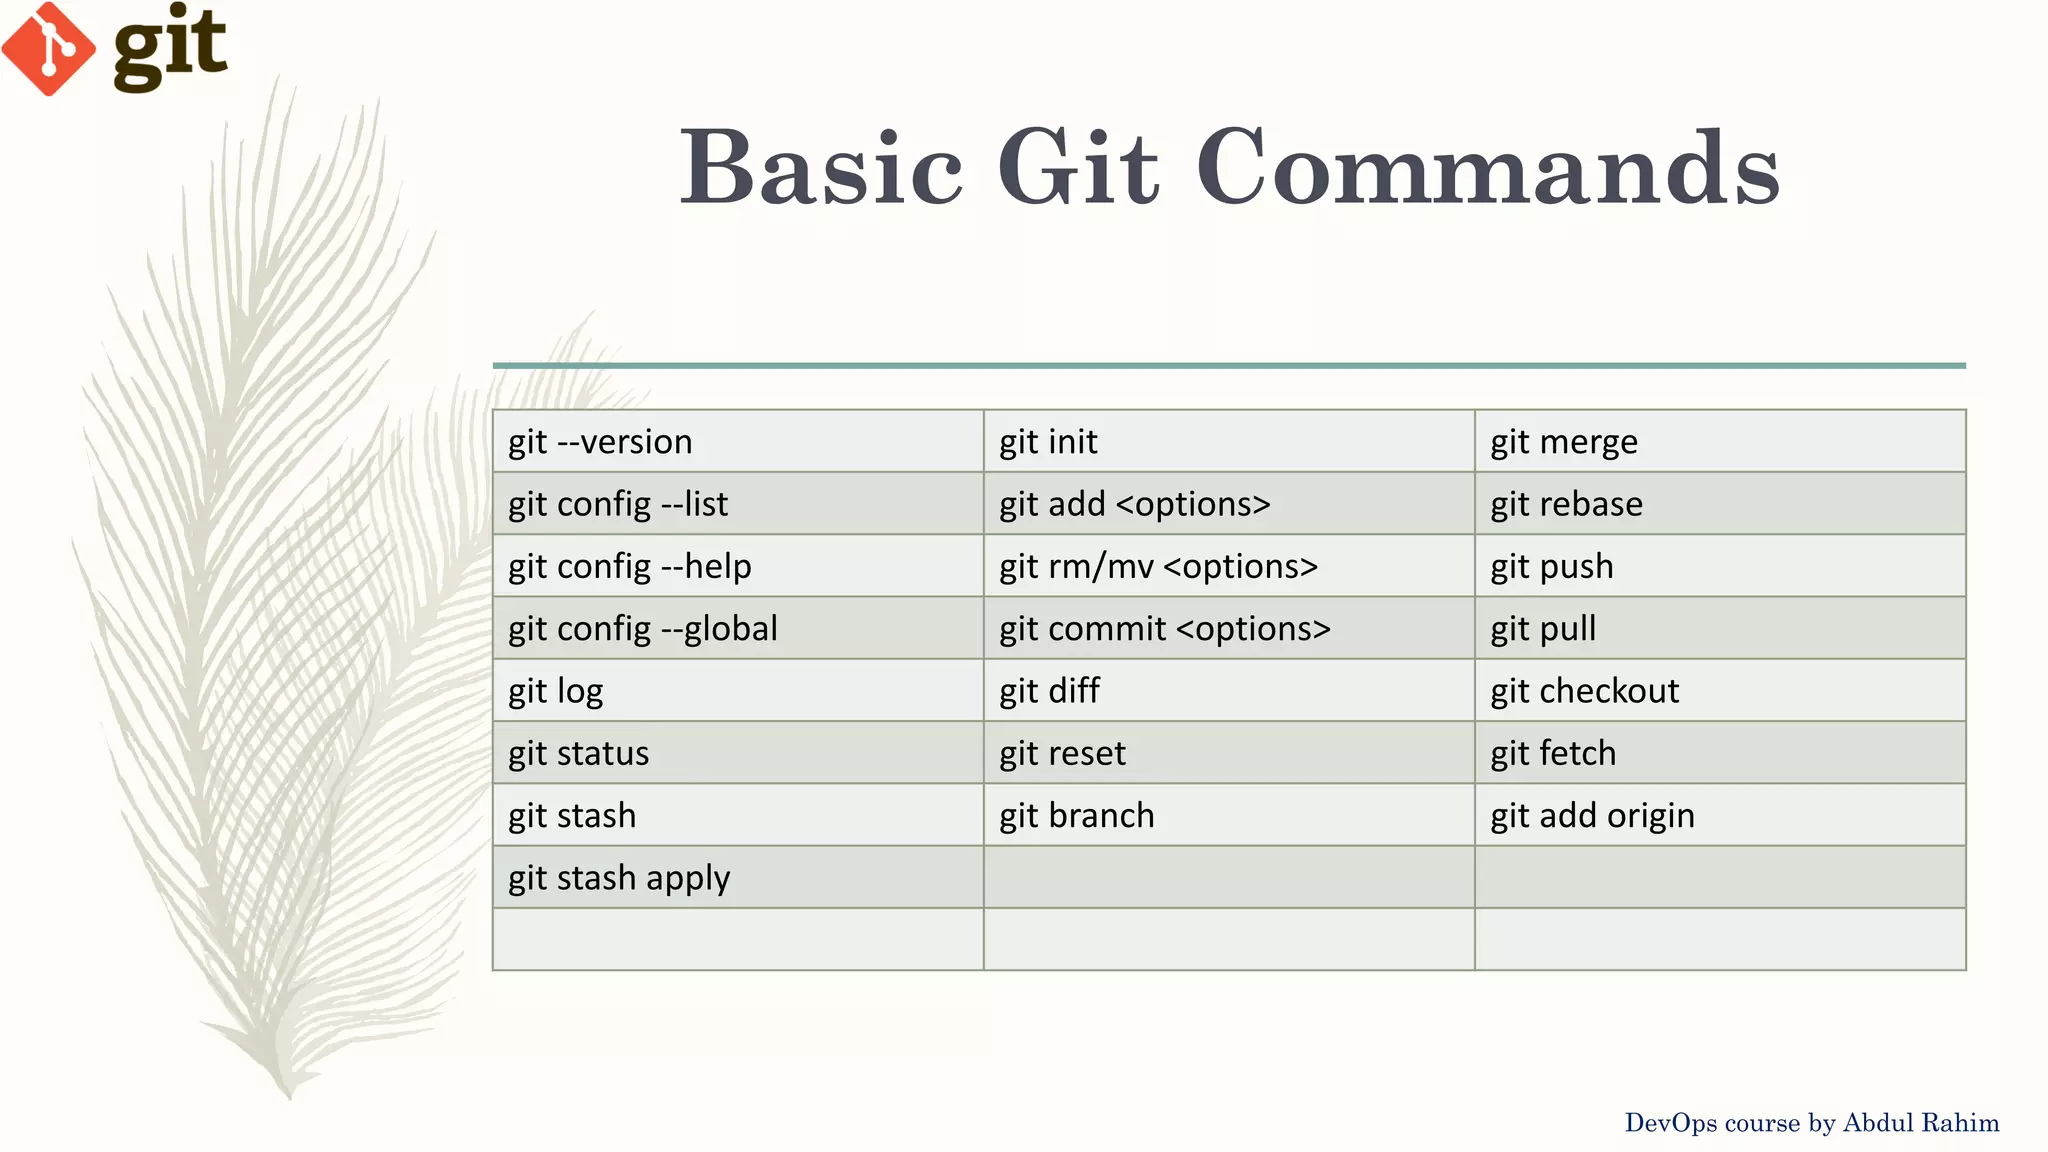
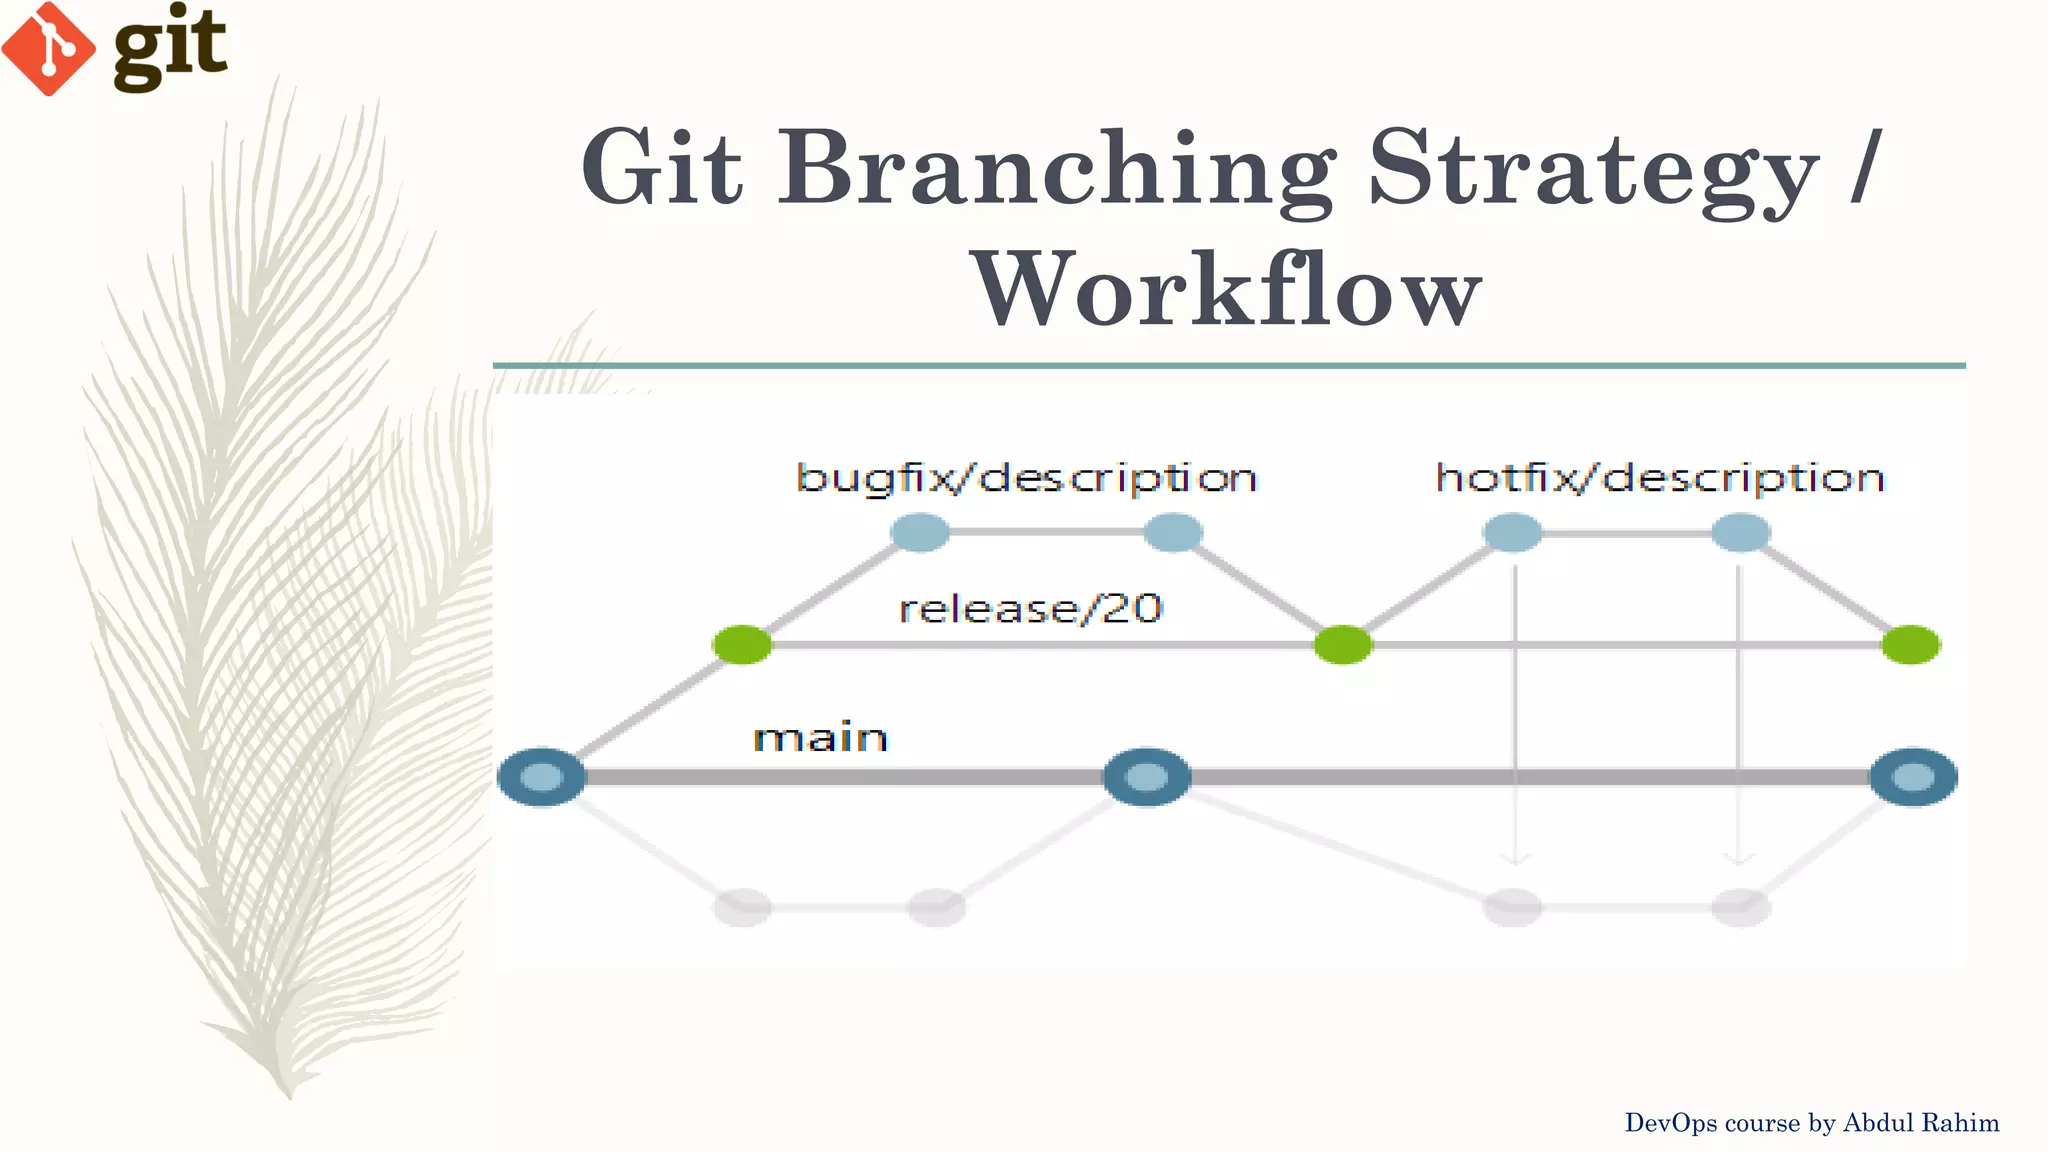
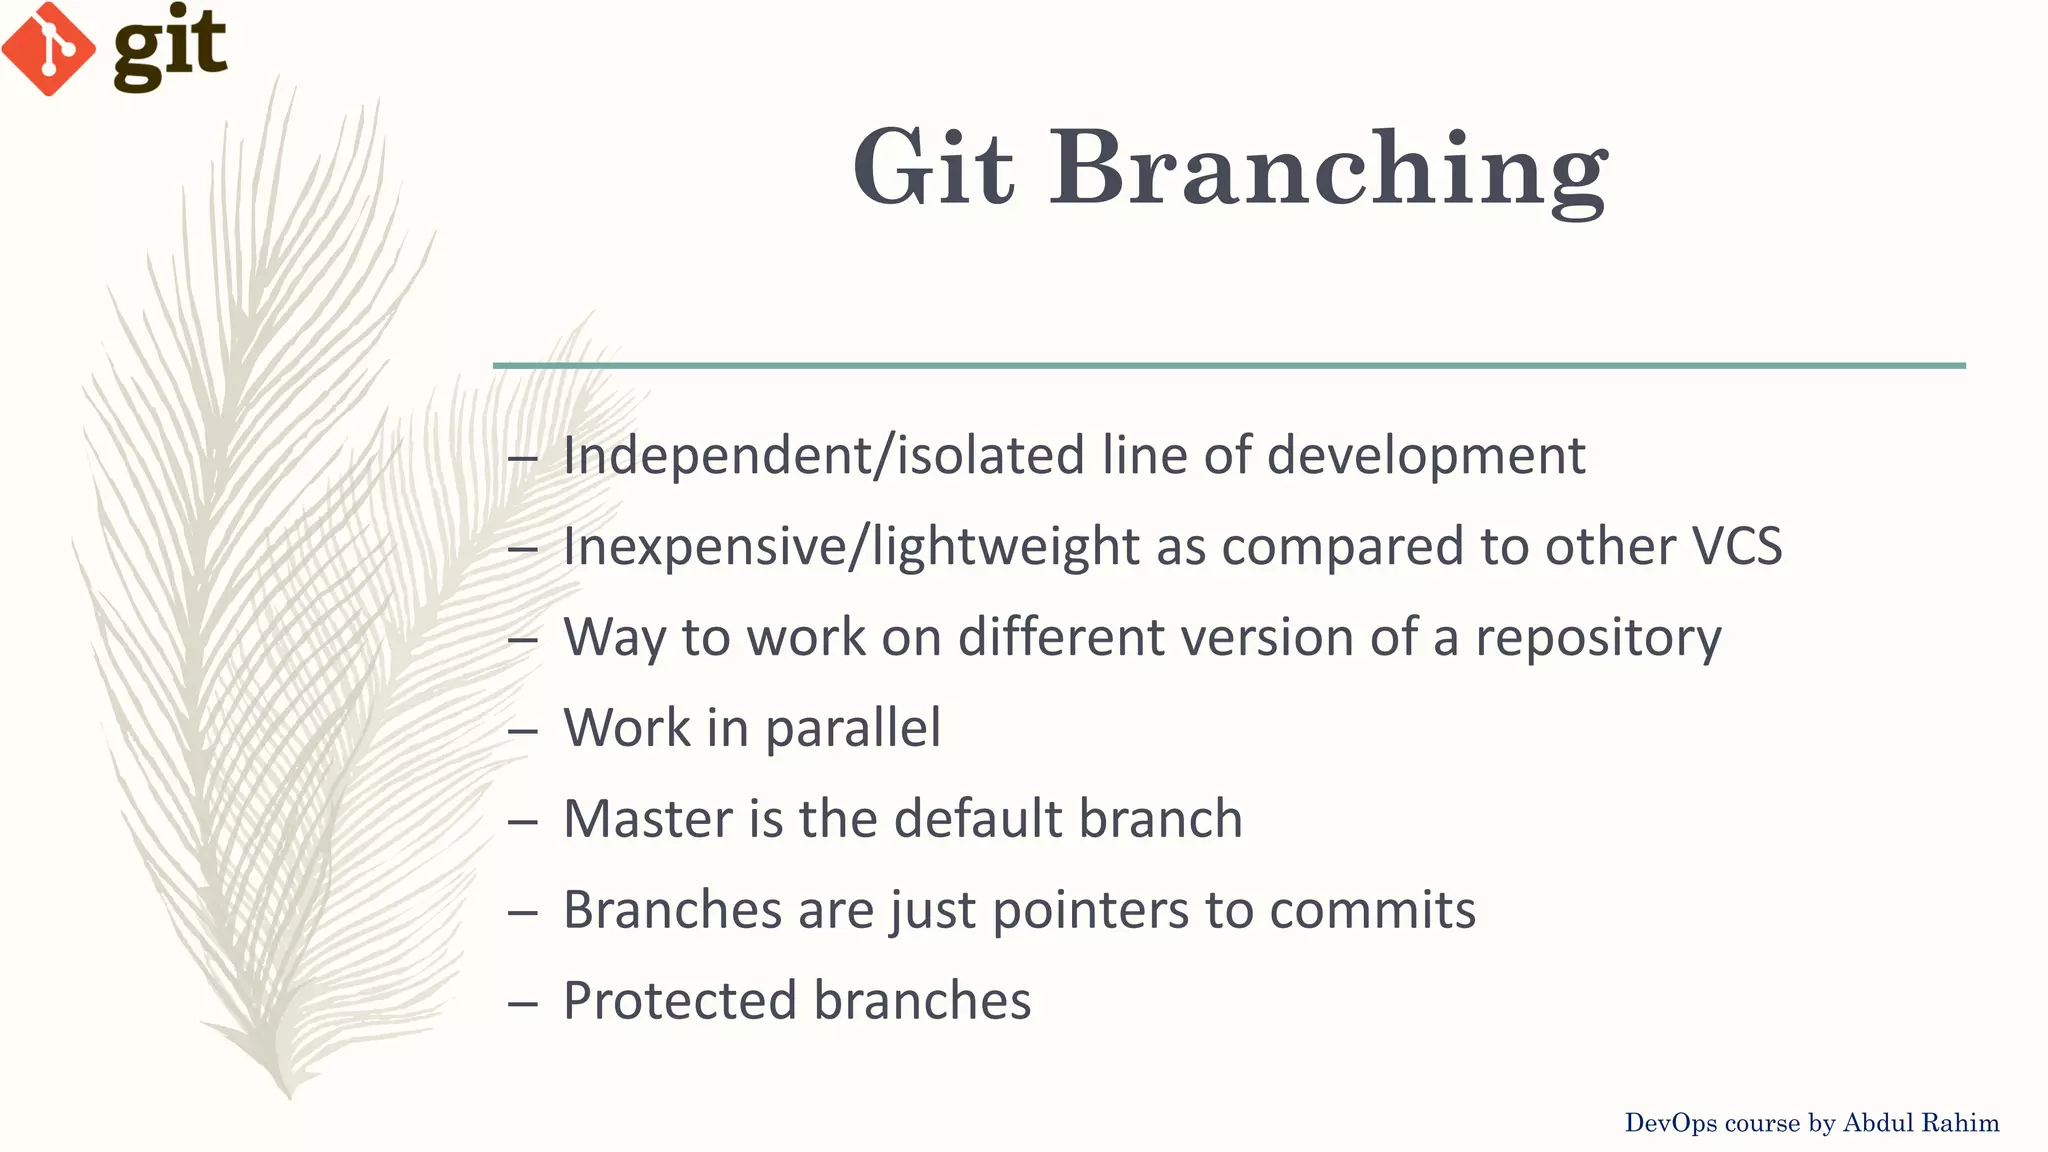
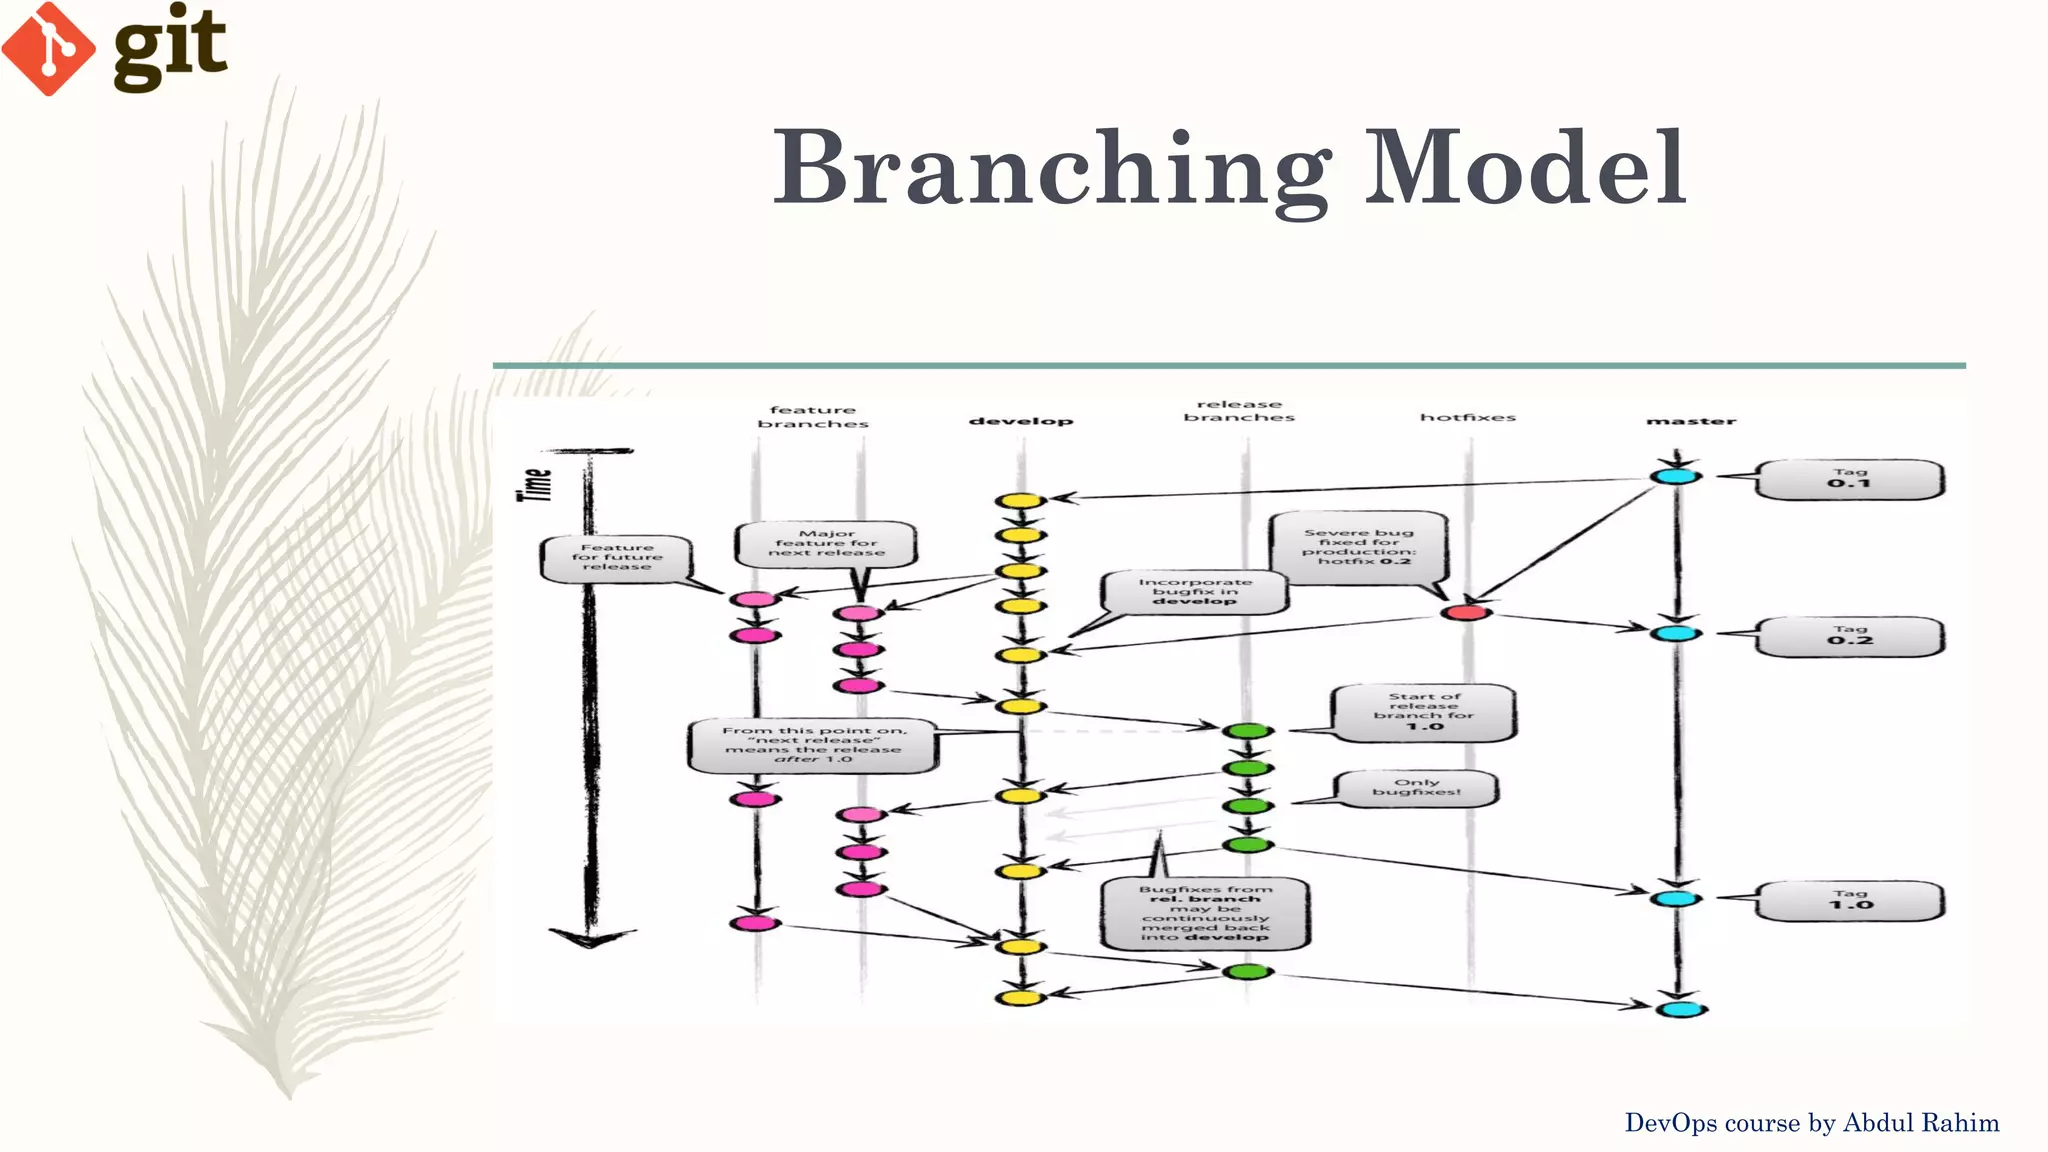
The document outlines a comprehensive Git and DevOps course by Abdul Rahim, covering essential Git commands, branching strategies, merging techniques, rebasing, stashing, tagging, and pull request workflows. It includes practical labs for hands-on experience with creating branches, resolving merge conflicts, and managing tags. Additionally, it provides best practices for Git usage and resources for further learning.