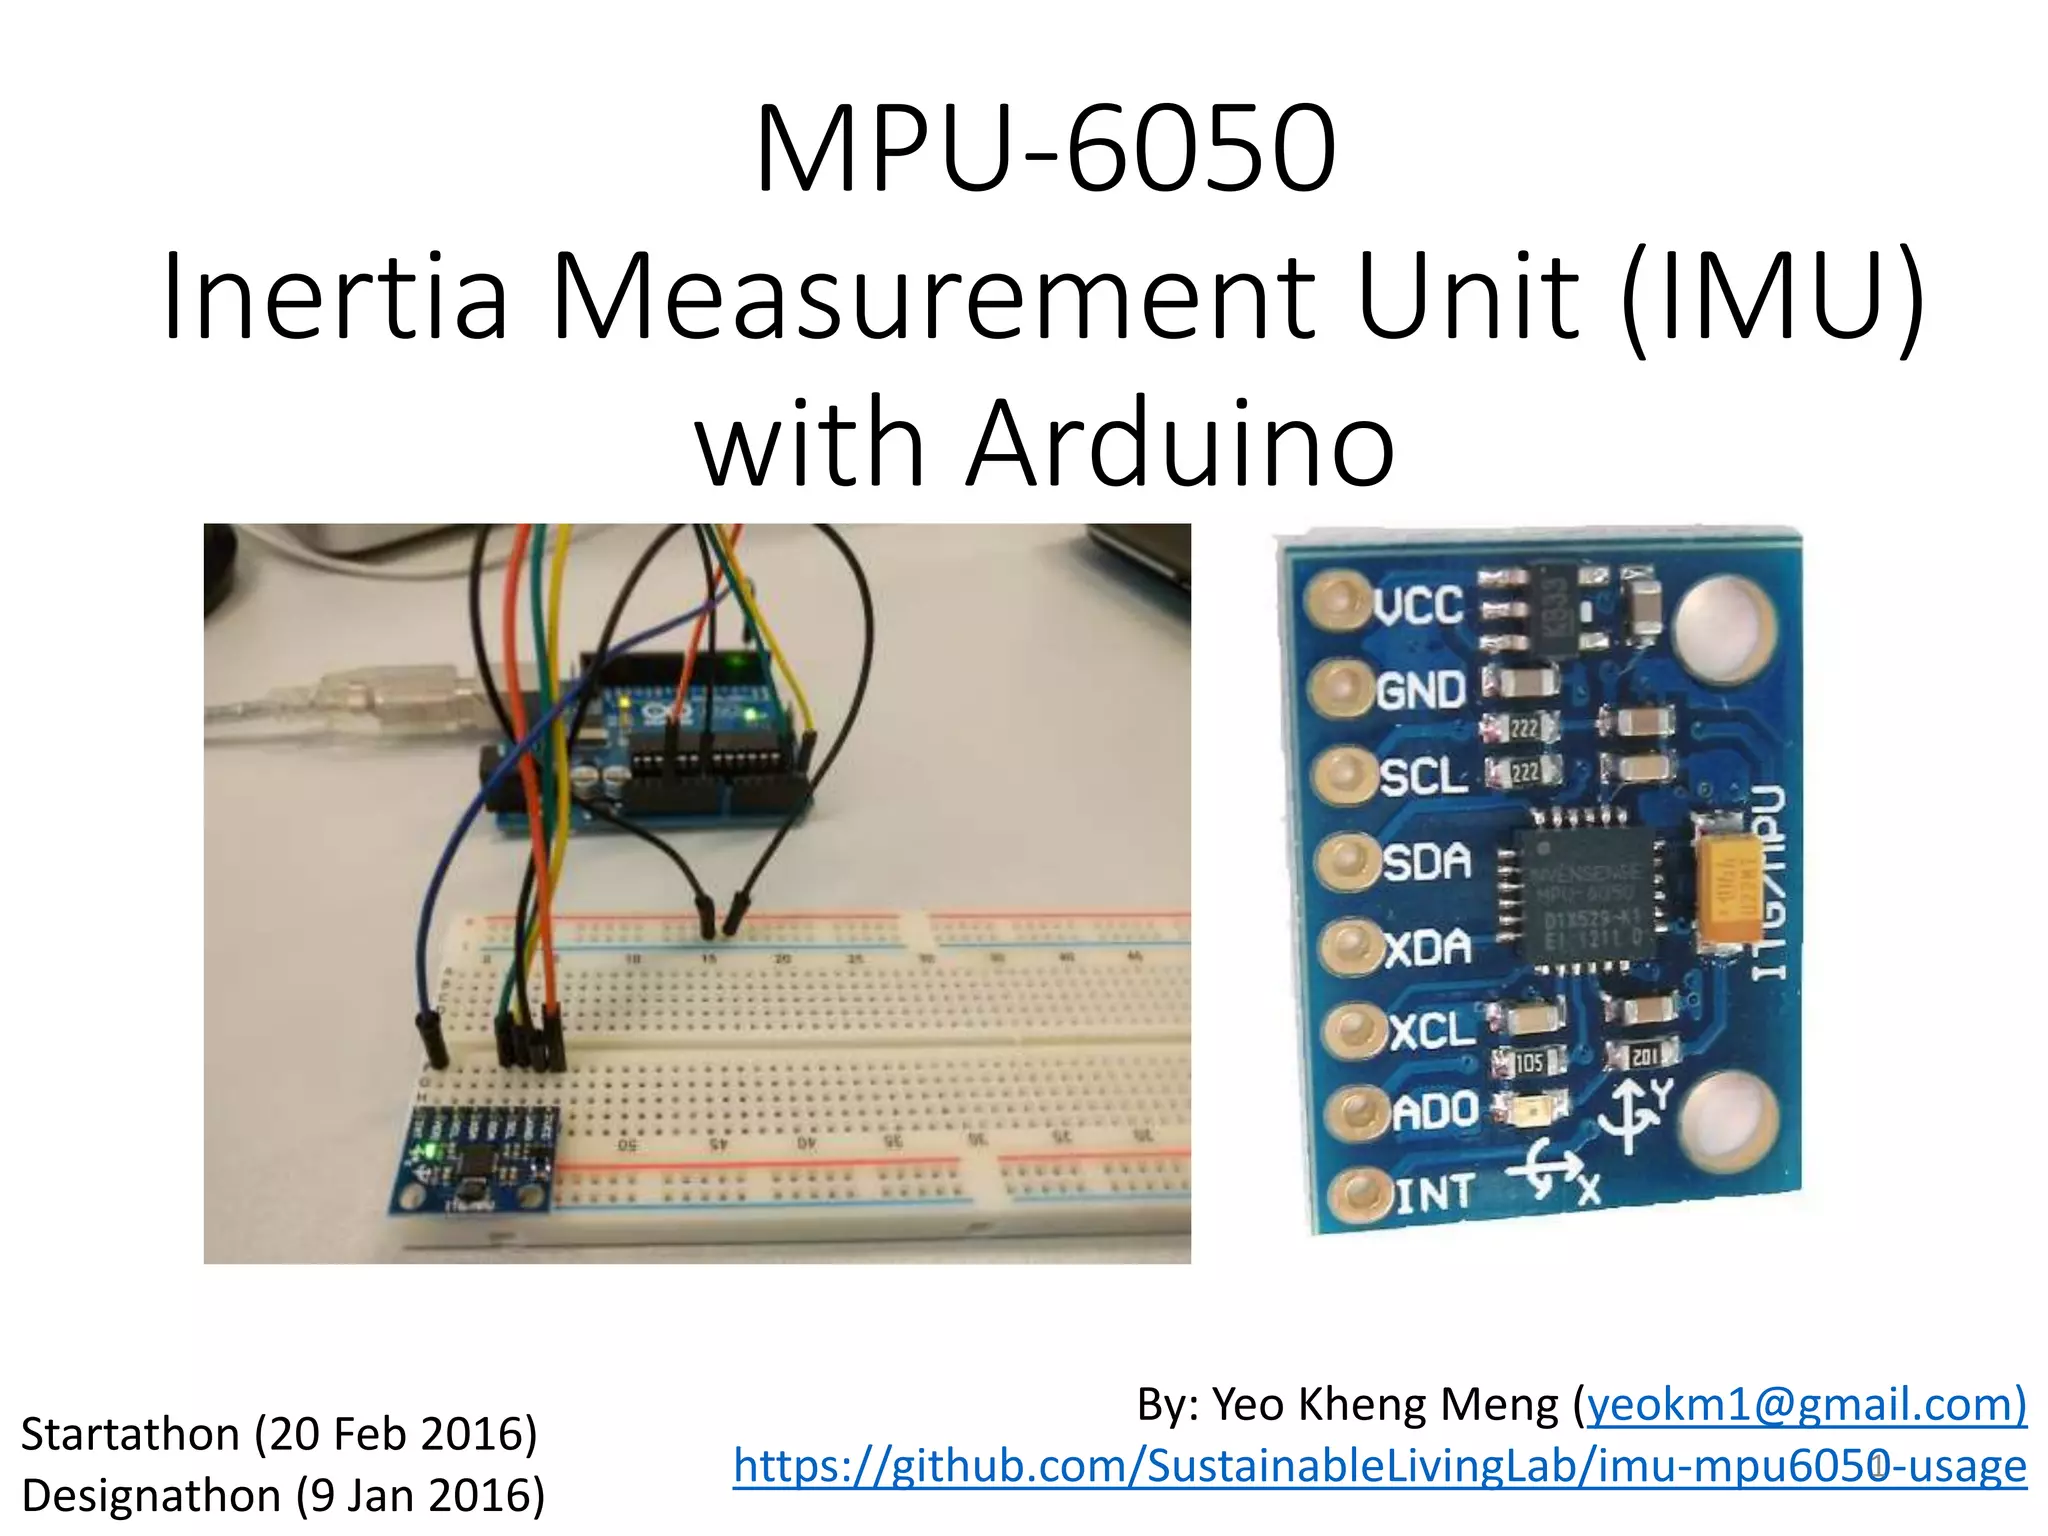
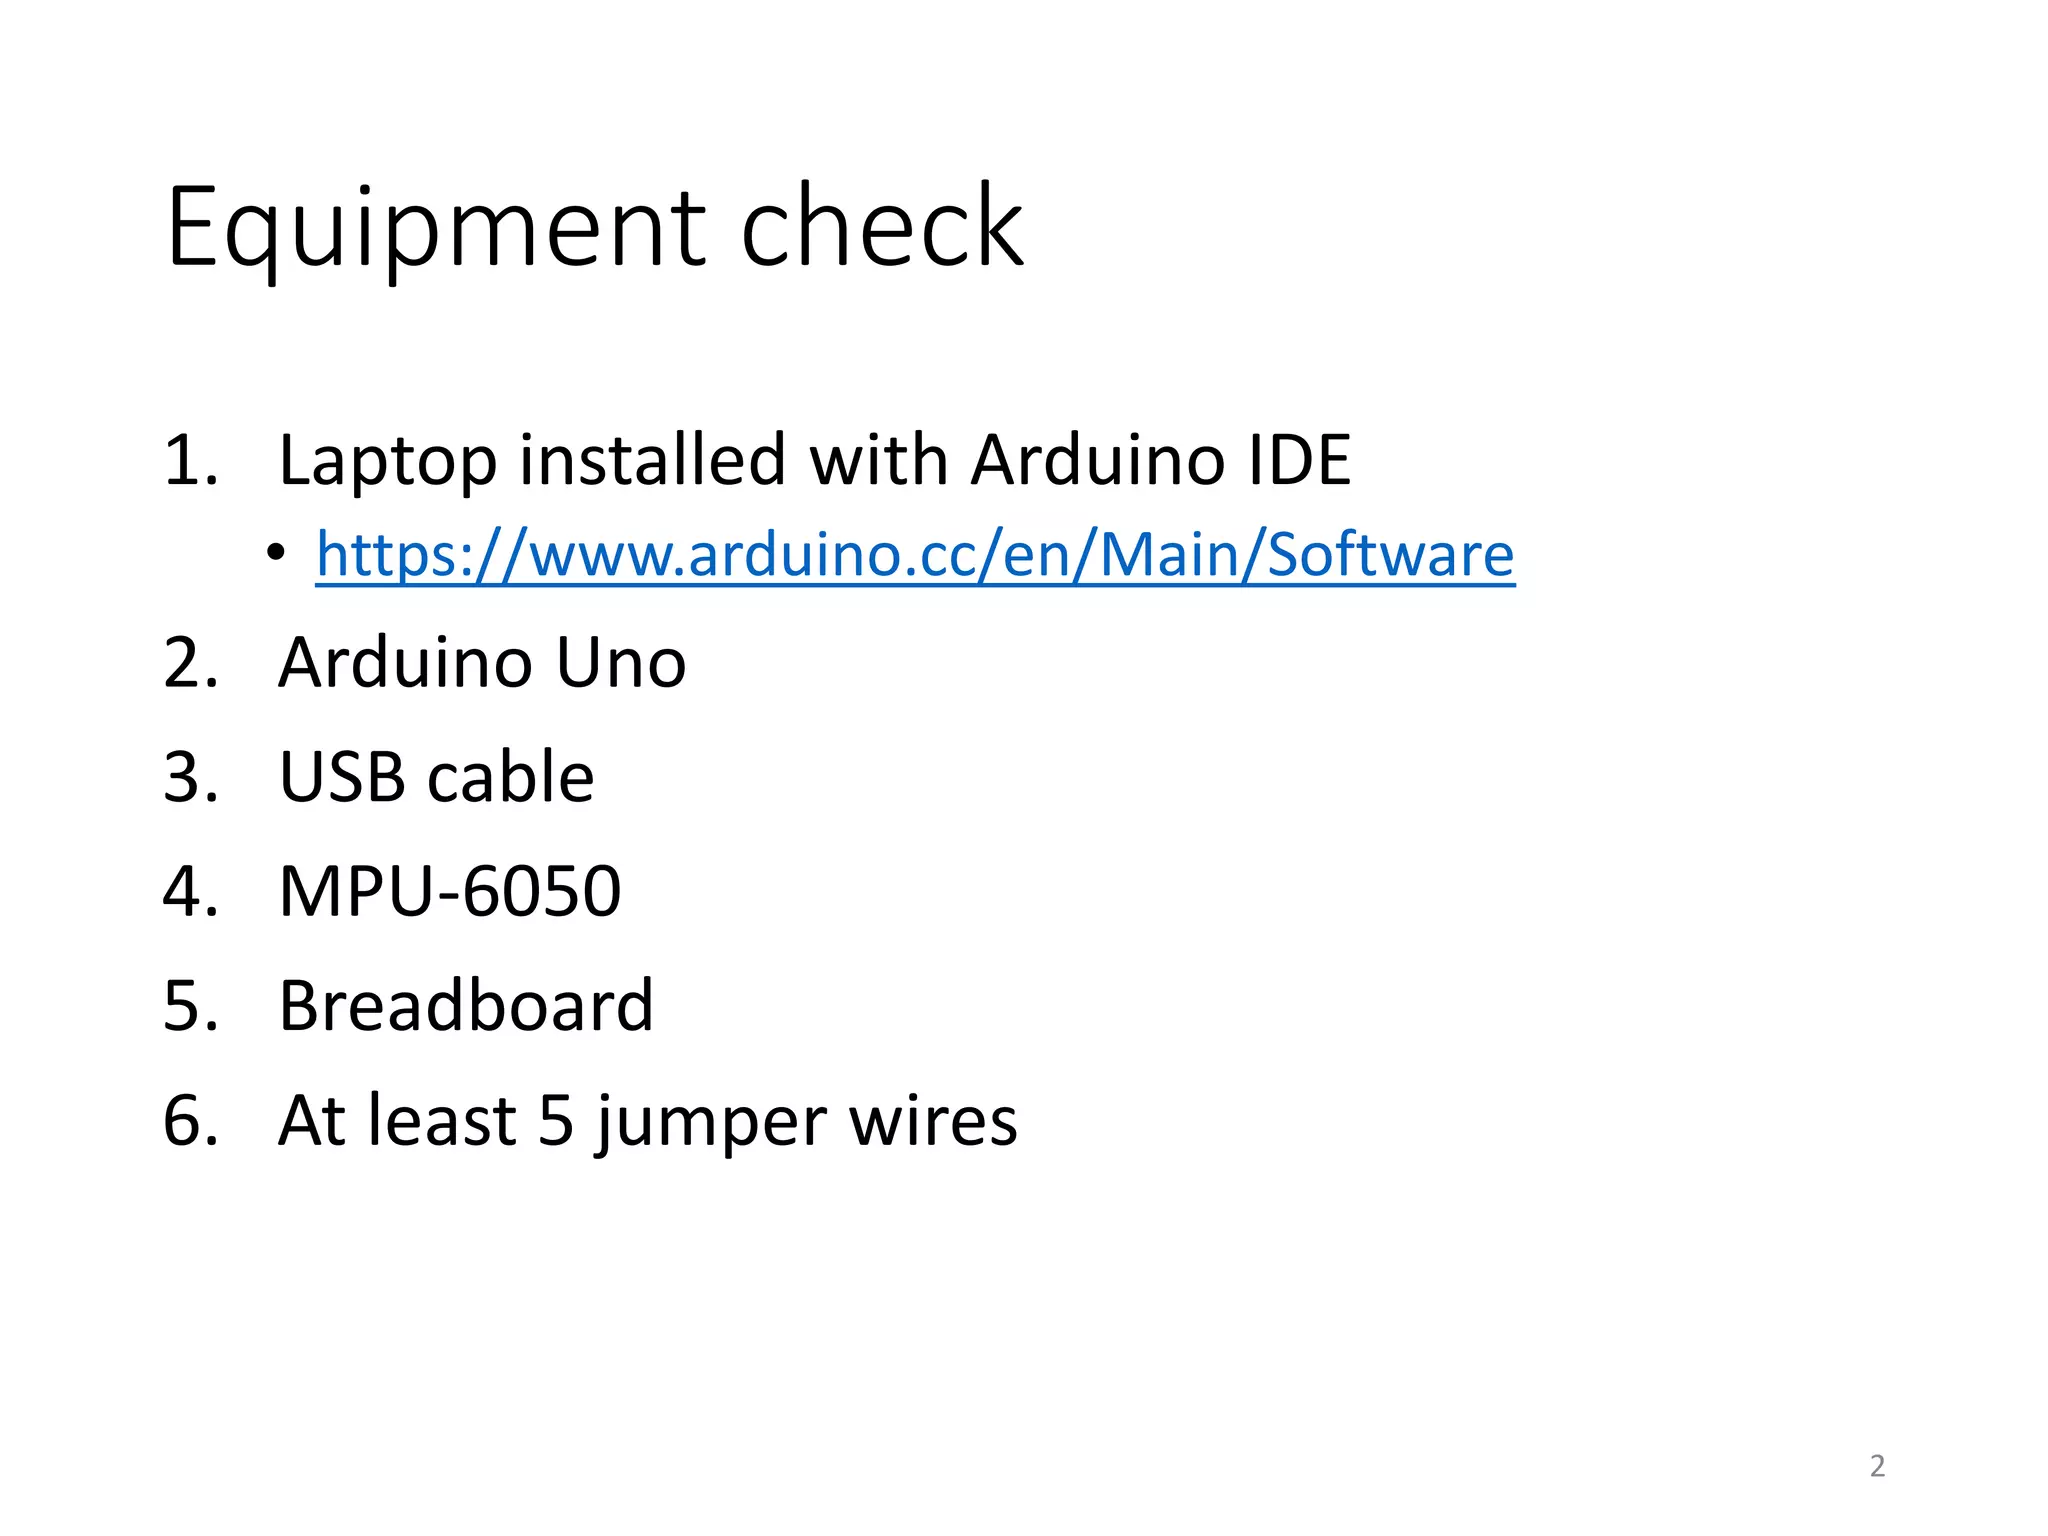
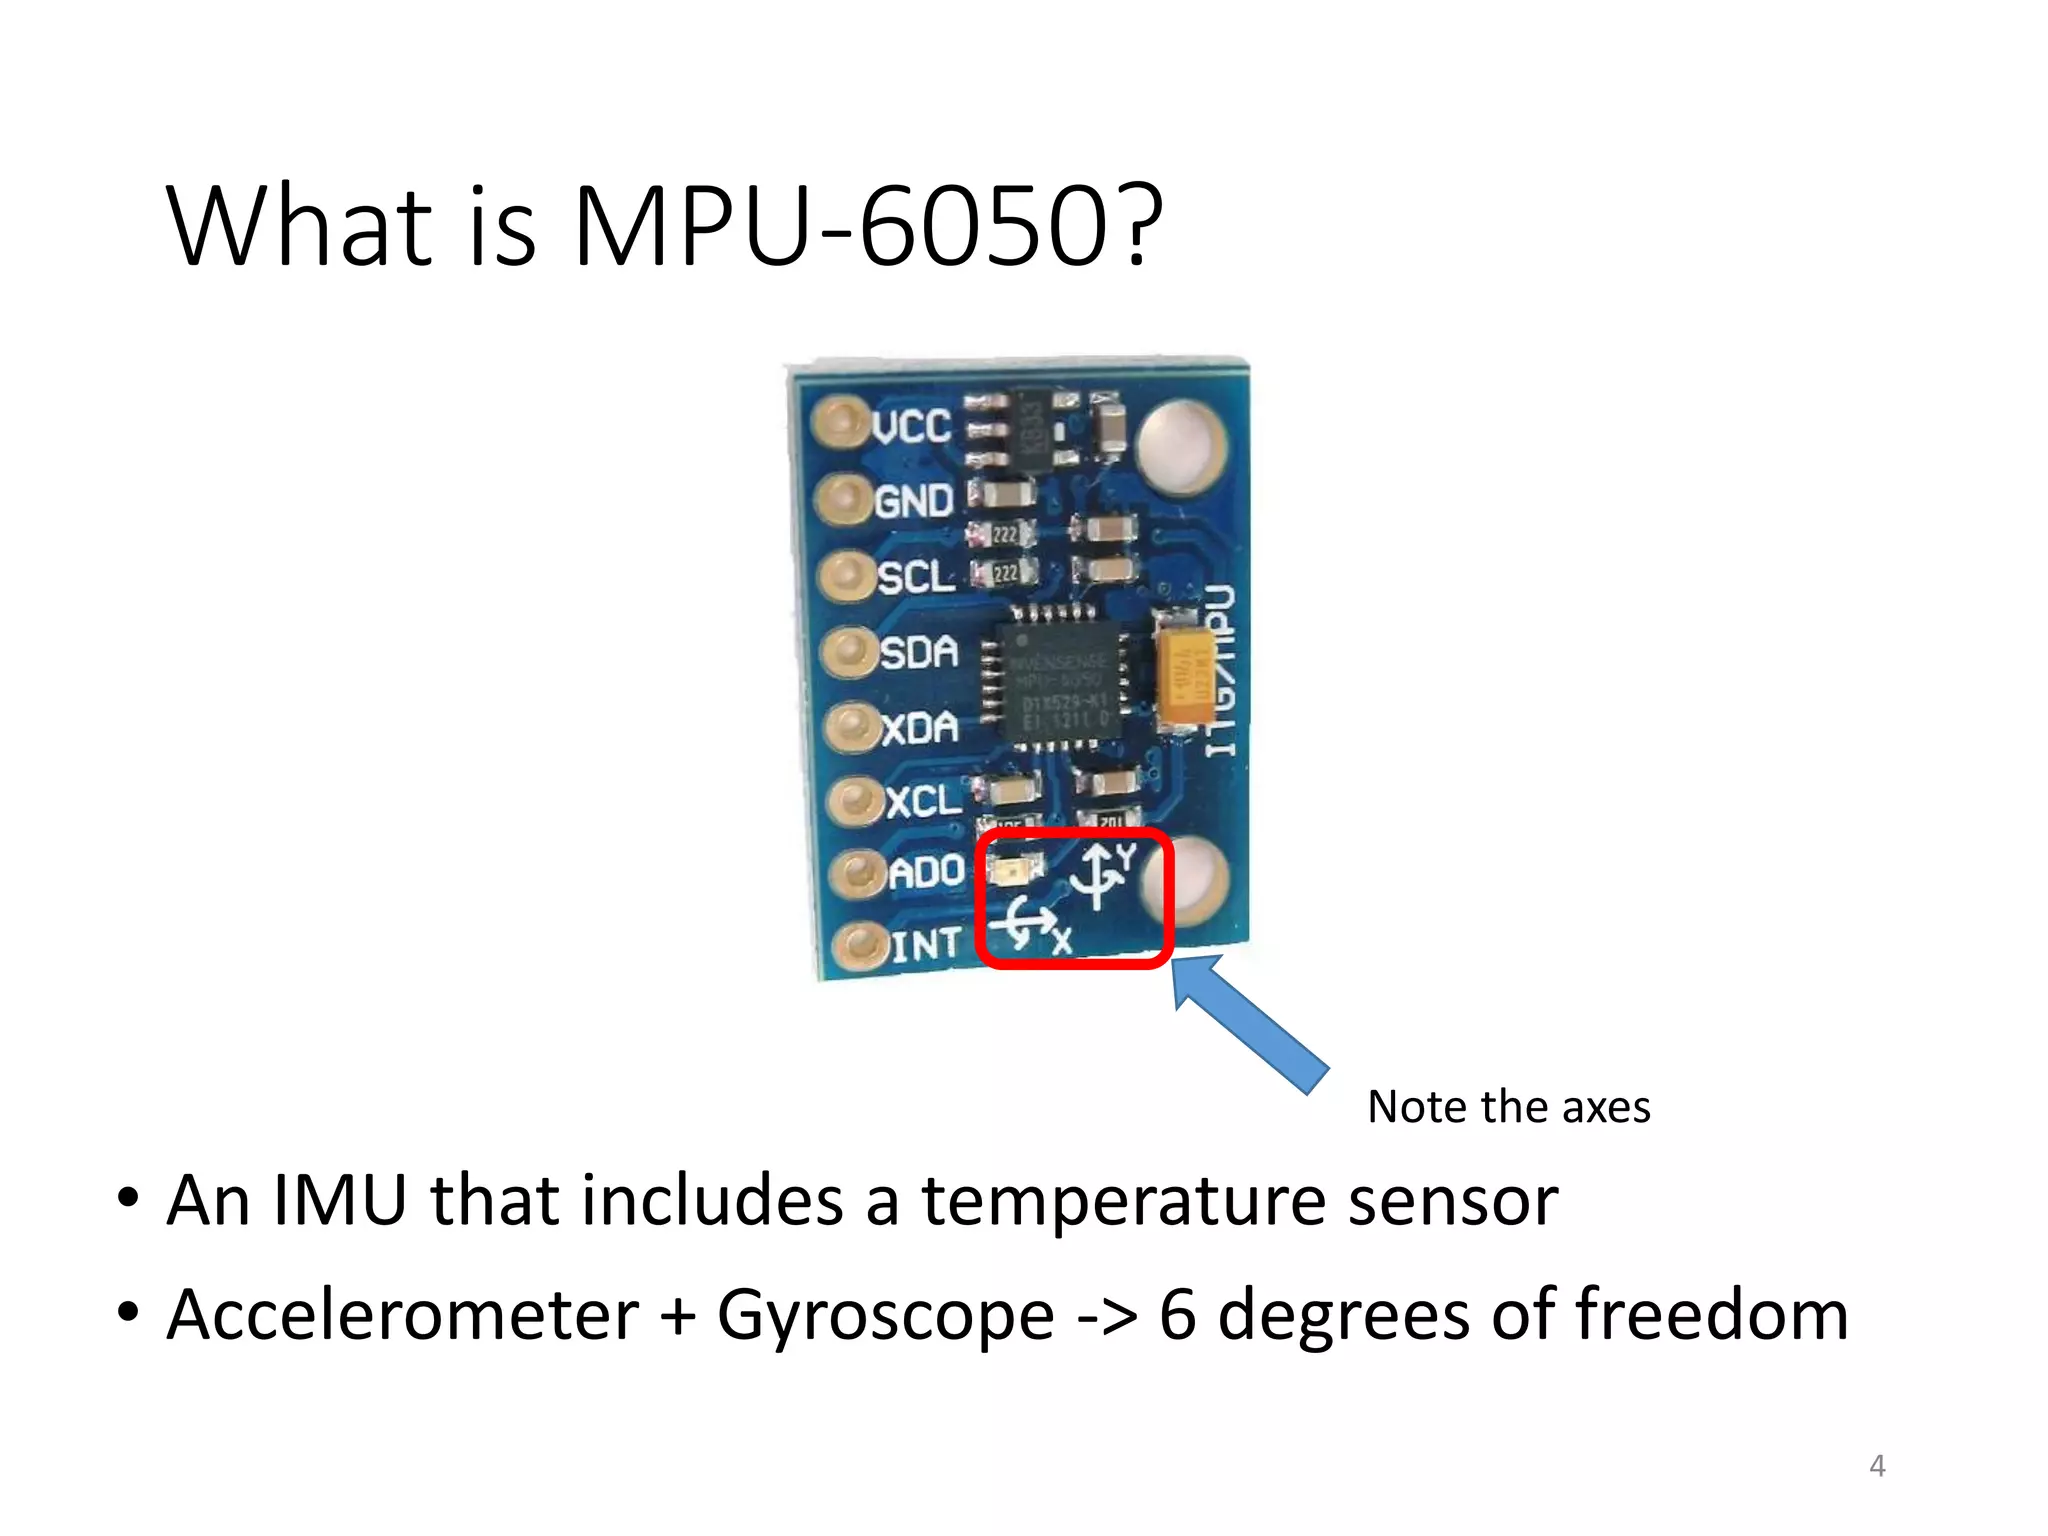
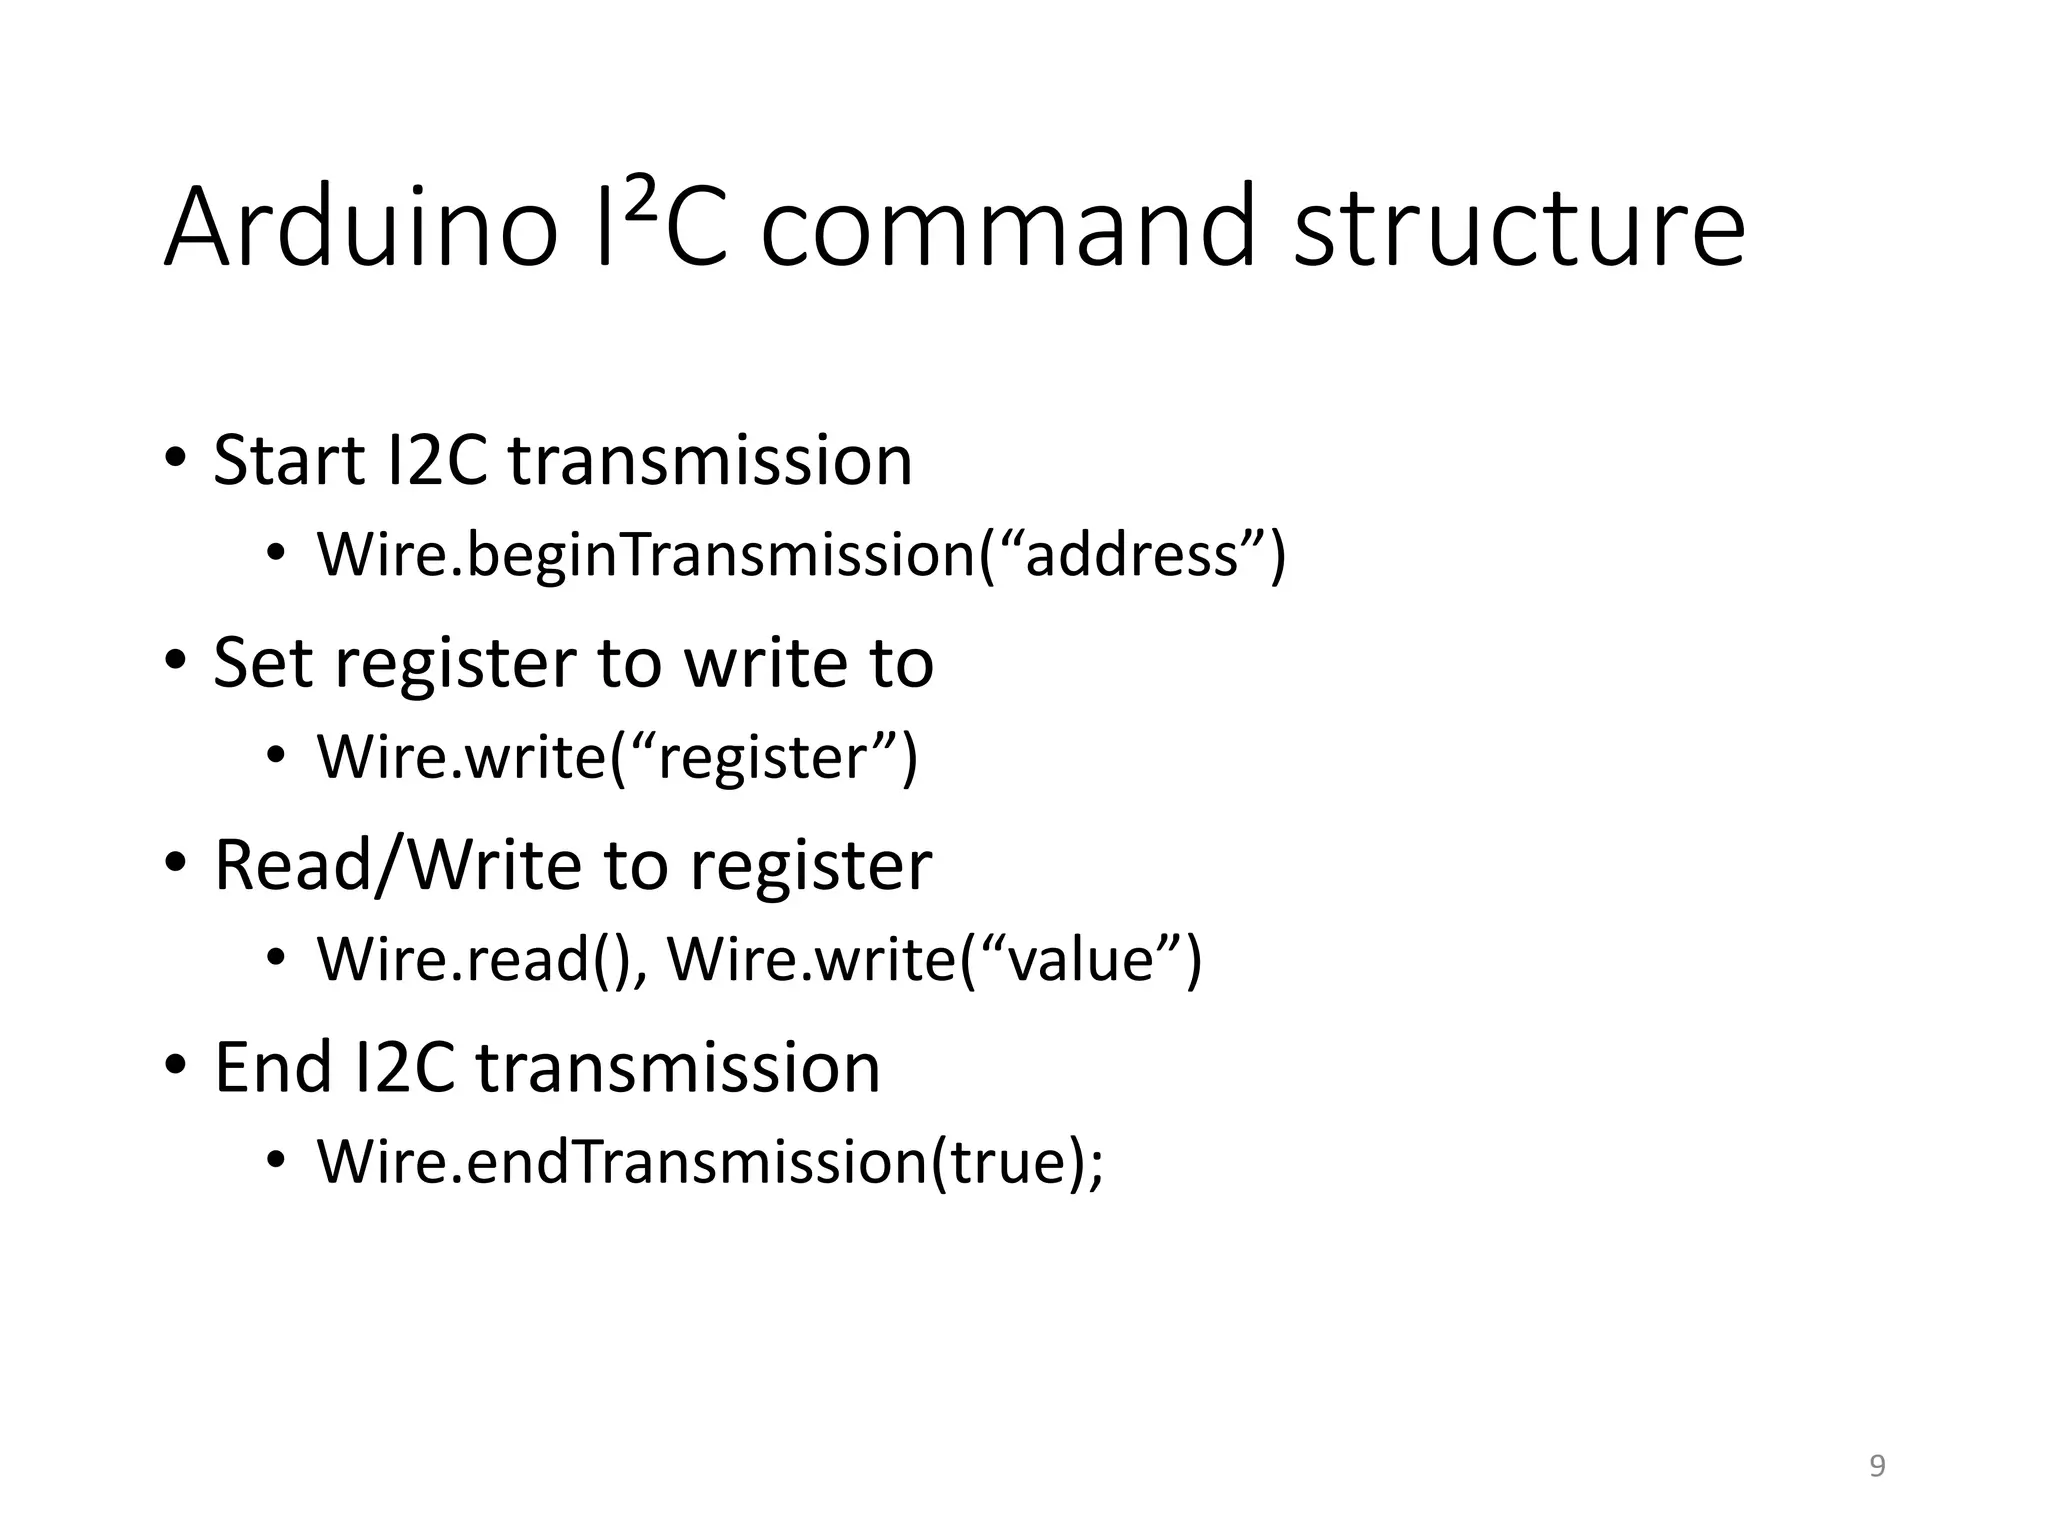
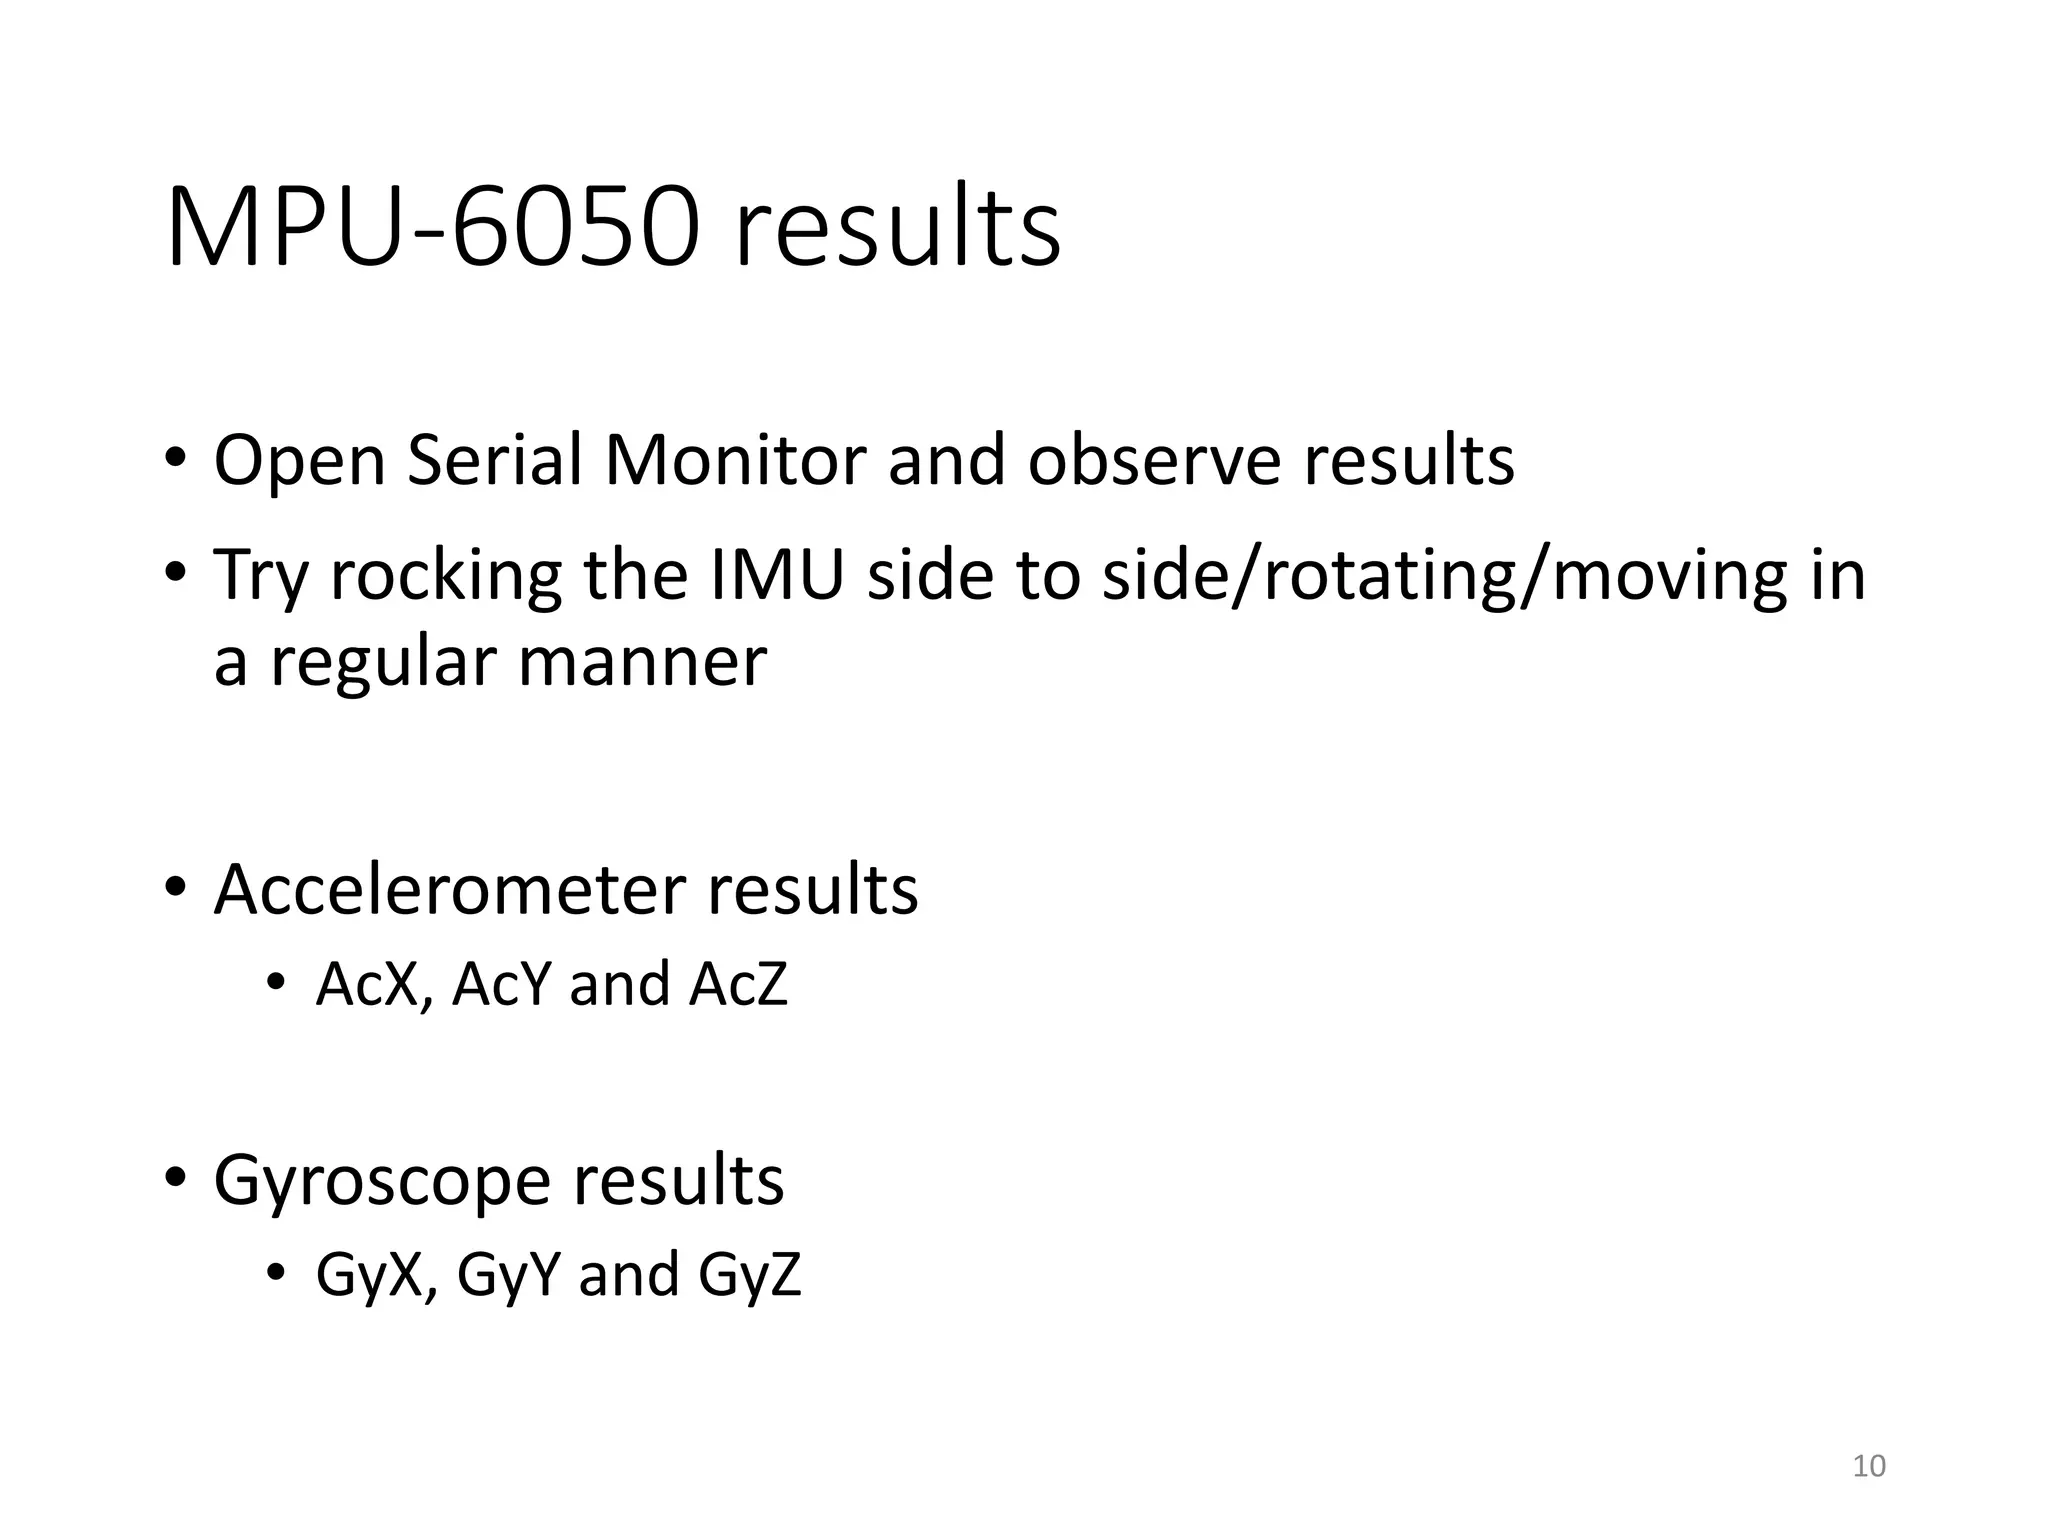
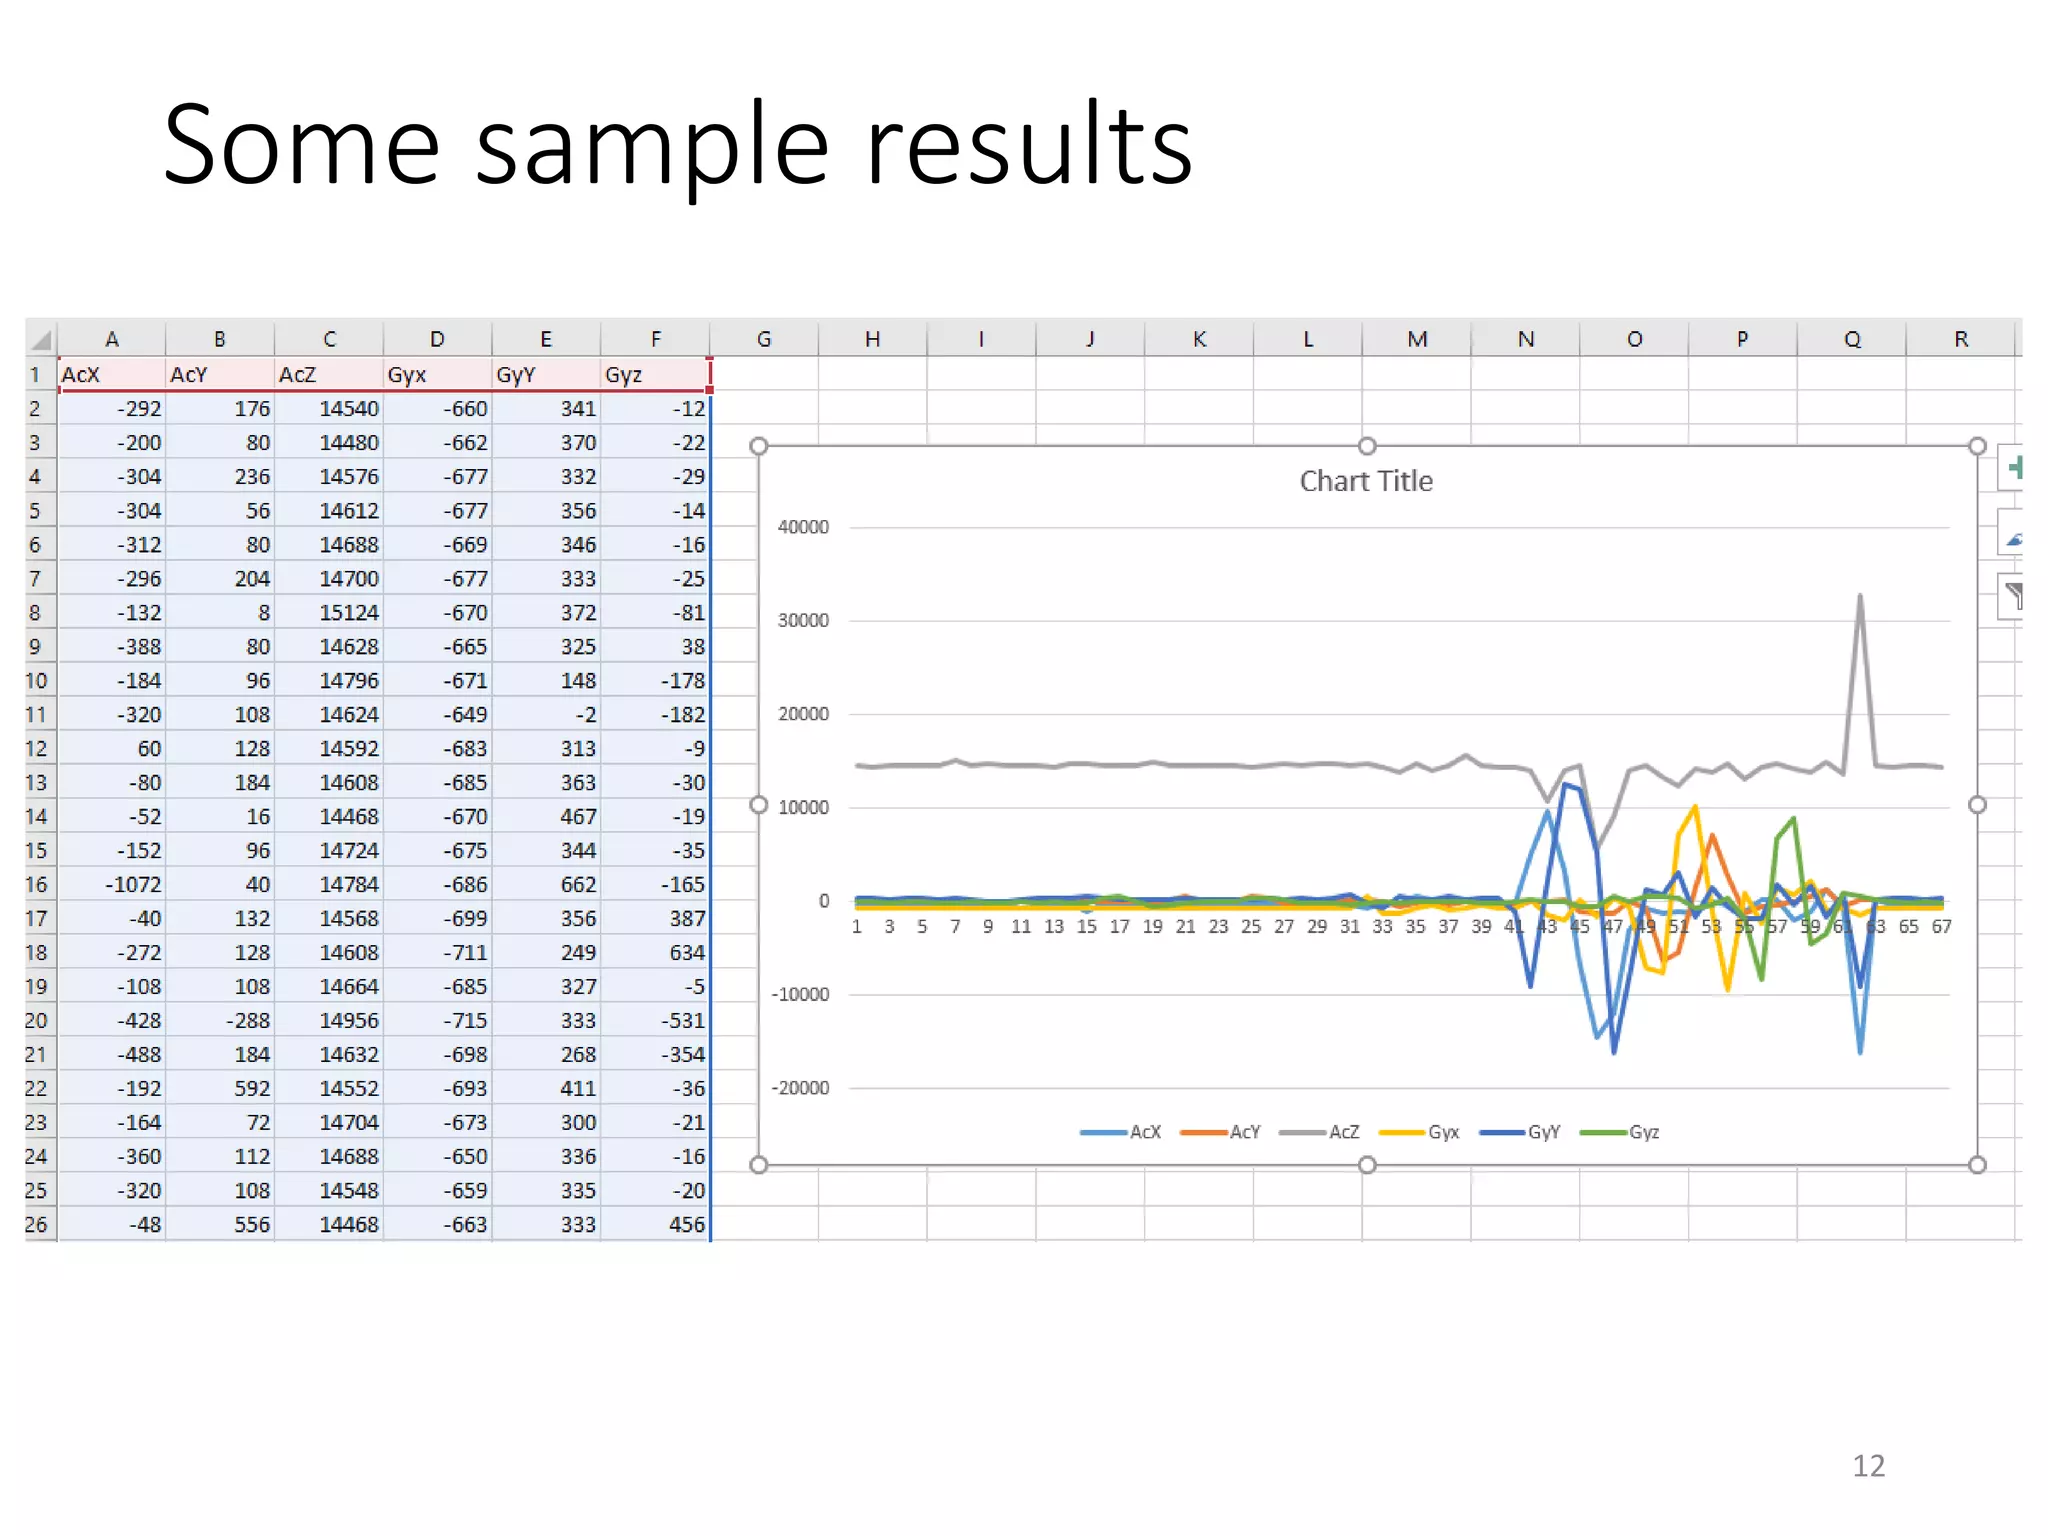
MPU-6050 Inertia Measurement Unit (IMU) with Arduino By: Yeo Kheng Meng (yeokm1@gmail.com) https://github.com/SustainableLivingLab/imu-mpu6050-usage Startathon (20 Feb 2016) Designathon (9 Jan 2016) 1
Equipment check 1. Laptop installed with Arduino IDE • https://www.arduino.cc/en/Main/Software 2. Arduino Uno 3. USB cable 4. MPU-6050 5. Breadboard 6. At least 5 jumper wires 2
What is an IMU? • Inertia Measurement Unit • Measures rate of change of movement via acceleration sensors along the axes • Commonly called accelerometers • Measures orientation changes via gyroscopic sensors 3
What is MPU-6050? • An IMU that includes a temperature sensor • Accelerometer + Gyroscope -> 6 degrees of freedom Note the axes 4
6 degrees of freedom • Accelerometer: Left-Right, Back-Forward, Up-Down • Gyroscope: Pitch, Roll, Yaw 5
Connectivity with Arduino 6 Source: http://diyhacking.com/arduino-mpu-6050-imu-sensor-tutorial/
Code • Download and extract zip file • https://github.com/yeokm1/imu-mpu6050-usage • Remove “-master” from directory name • imu-mpu6050-usage-master -> imu-mpu6050-usage • Open “imu-mpu6050-usage.ino” 7
Concept of I²C • Two-wire connection between components • SDA and SCL • One master and many slaves • Master: Arduino • Slave: MPU6050 • Every slave has its own address • MPU6050 default address = 0x68 8
Arduino I²C command structure • Start I2C transmission • Wire.beginTransmission(“address”) • Set register to write to • Wire.write(“register”) • Read/Write to register • Wire.read(), Wire.write(“value”) • End I2C transmission • Wire.endTransmission(true); 9
MPU-6050 results • Open Serial Monitor and observe results • Try rocking the IMU side to side/rotating/moving in a regular manner • Accelerometer results • AcX, AcY and AcZ • Gyroscope results • GyX, GyY and GyZ 10
Making sense of the results • Disable autoscroll • Copy paste values to spreadsheet like Excel • Select column A • Data Tab, Text to columns, Delimited, tick Space, Finish • Add an empty row above the first row • Add column titles above values on first row • AcX, AcY, AcZ, GyX, GyY, GyZ • Delete unused rows • Creating a chart • Select only the 6 columns • Insert Tab, Line chart • See how the data corresponds to the movement 11
Some sample results 12

MPU6050 IMU with Arduino

  • 1.
    MPU-6050 Inertia Measurement Unit(IMU) with Arduino By: Yeo Kheng Meng (yeokm1@gmail.com) https://github.com/SustainableLivingLab/imu-mpu6050-usage Startathon (20 Feb 2016) Designathon (9 Jan 2016) 1
  • 2.
    Equipment check 1. Laptopinstalled with Arduino IDE • https://www.arduino.cc/en/Main/Software 2. Arduino Uno 3. USB cable 4. MPU-6050 5. Breadboard 6. At least 5 jumper wires 2
  • 3.
    What is anIMU? • Inertia Measurement Unit • Measures rate of change of movement via acceleration sensors along the axes • Commonly called accelerometers • Measures orientation changes via gyroscopic sensors 3
  • 4.
    What is MPU-6050? •An IMU that includes a temperature sensor • Accelerometer + Gyroscope -> 6 degrees of freedom Note the axes 4
  • 5.
    6 degrees offreedom • Accelerometer: Left-Right, Back-Forward, Up-Down • Gyroscope: Pitch, Roll, Yaw 5
  • 6.
    Connectivity with Arduino 6 Source:http://diyhacking.com/arduino-mpu-6050-imu-sensor-tutorial/
  • 7.
    Code • Download andextract zip file • https://github.com/yeokm1/imu-mpu6050-usage • Remove “-master” from directory name • imu-mpu6050-usage-master -> imu-mpu6050-usage • Open “imu-mpu6050-usage.ino” 7
  • 8.
    Concept of I²C •Two-wire connection between components • SDA and SCL • One master and many slaves • Master: Arduino • Slave: MPU6050 • Every slave has its own address • MPU6050 default address = 0x68 8
  • 9.
    Arduino I²C commandstructure • Start I2C transmission • Wire.beginTransmission(“address”) • Set register to write to • Wire.write(“register”) • Read/Write to register • Wire.read(), Wire.write(“value”) • End I2C transmission • Wire.endTransmission(true); 9
  • 10.
    MPU-6050 results • OpenSerial Monitor and observe results • Try rocking the IMU side to side/rotating/moving in a regular manner • Accelerometer results • AcX, AcY and AcZ • Gyroscope results • GyX, GyY and GyZ 10
  • 11.
    Making sense ofthe results • Disable autoscroll • Copy paste values to spreadsheet like Excel • Select column A • Data Tab, Text to columns, Delimited, tick Space, Finish • Add an empty row above the first row • Add column titles above values on first row • AcX, AcY, AcZ, GyX, GyY, GyZ • Delete unused rows • Creating a chart • Select only the 6 columns • Insert Tab, Line chart • See how the data corresponds to the movement 11
  • 12.