Downloaded 320 times


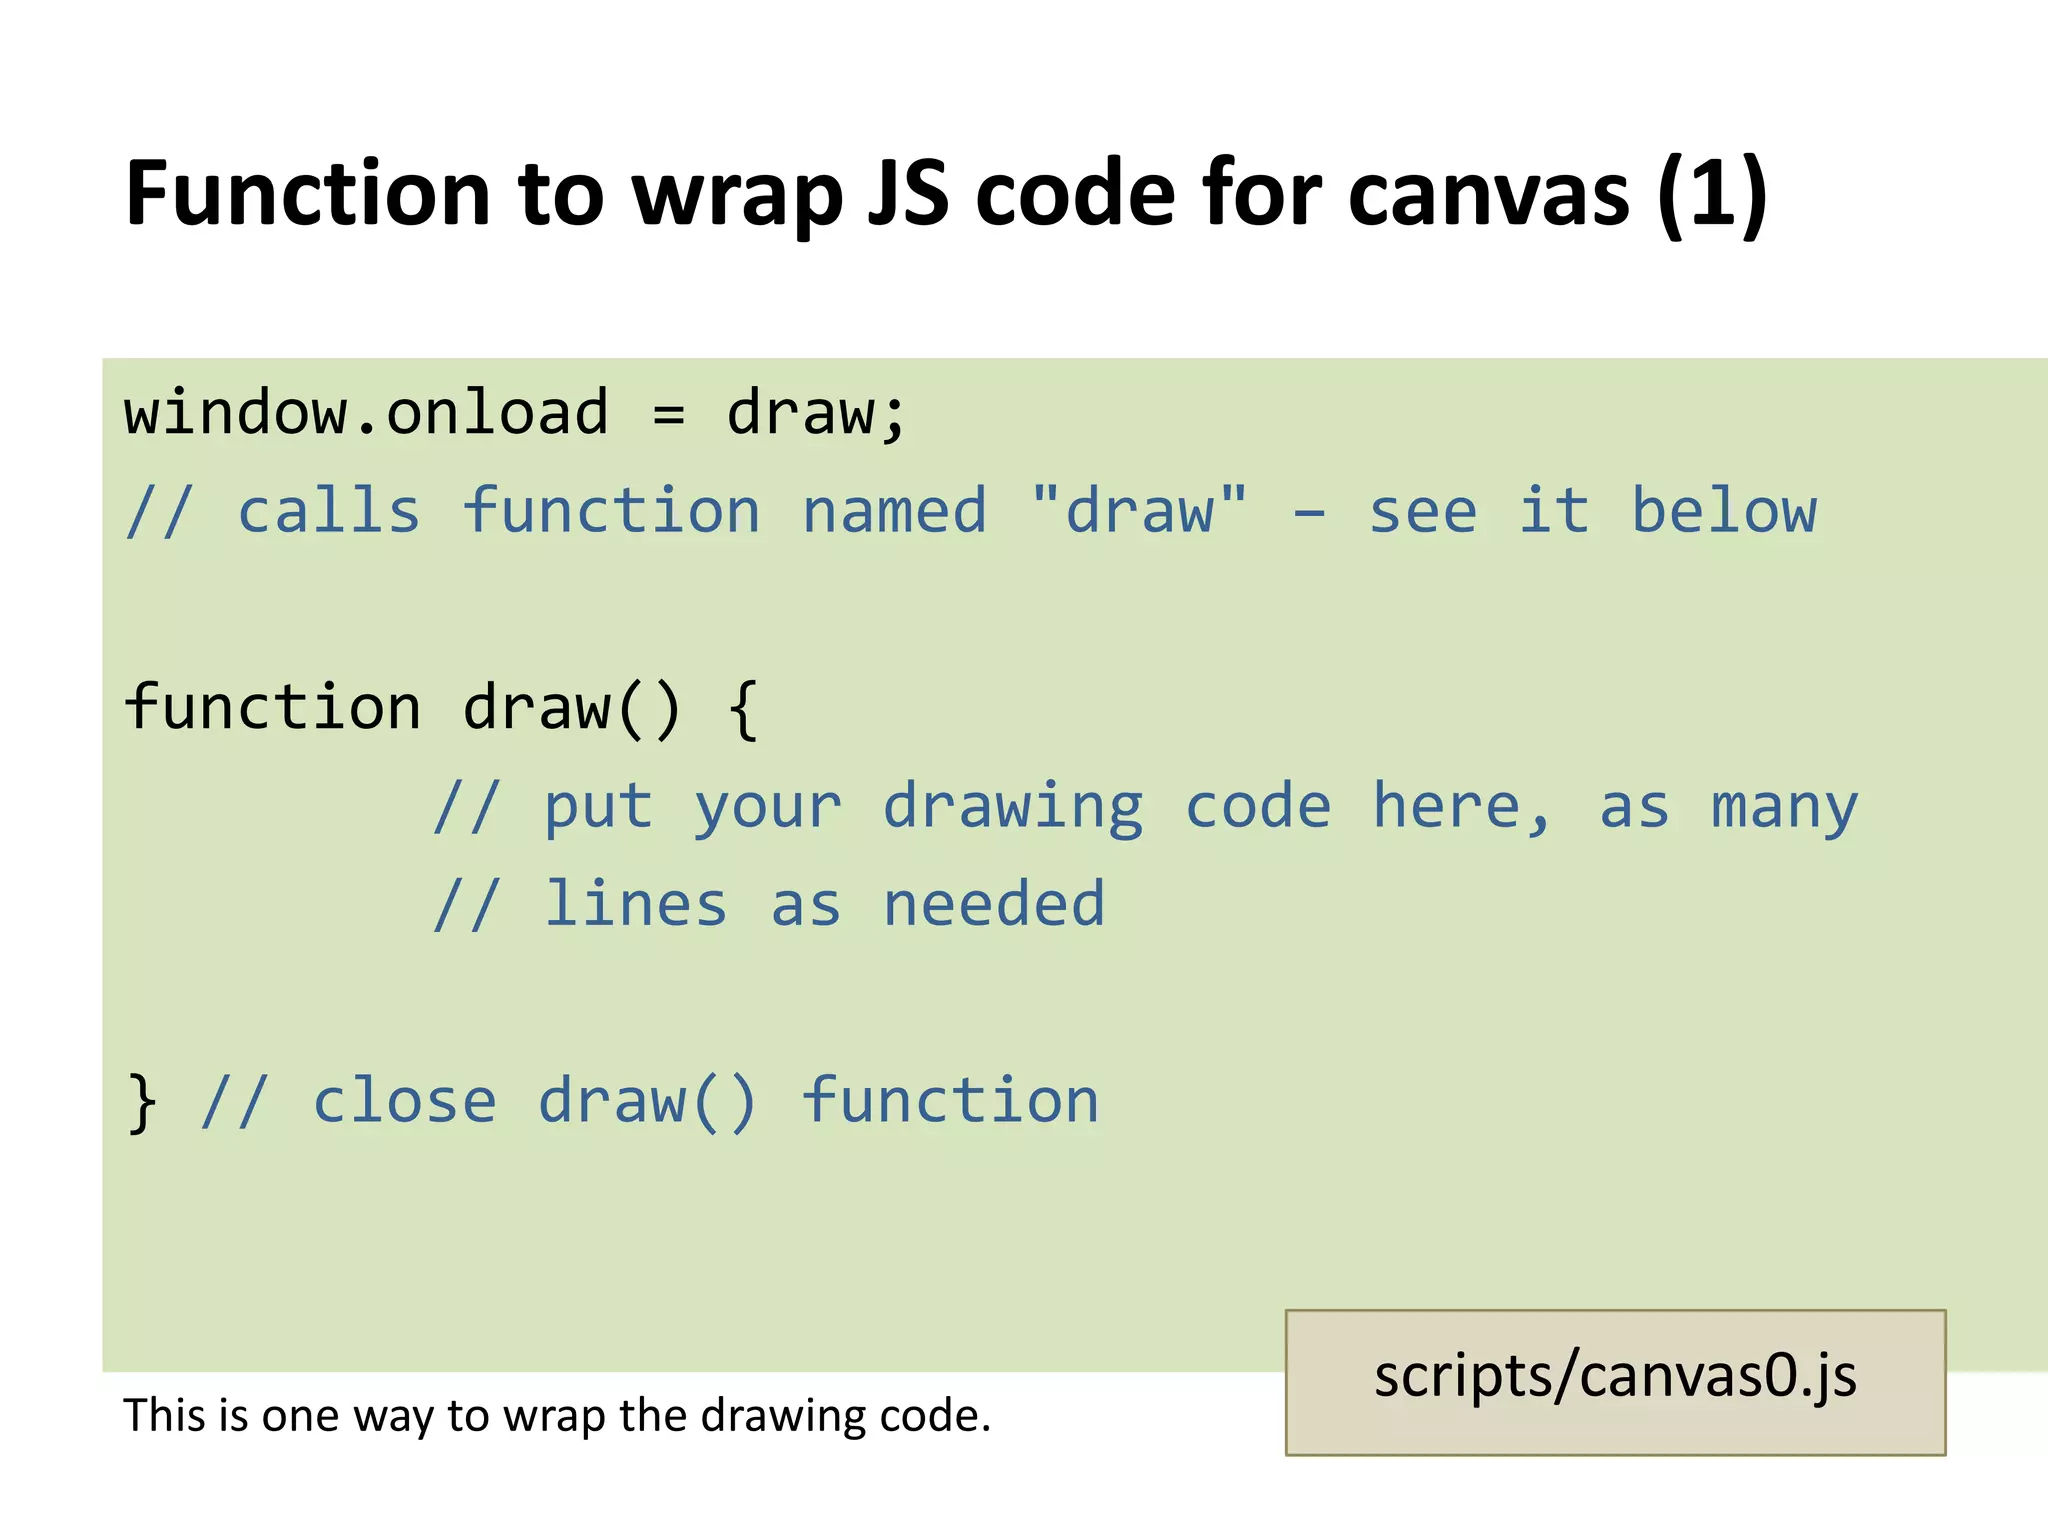
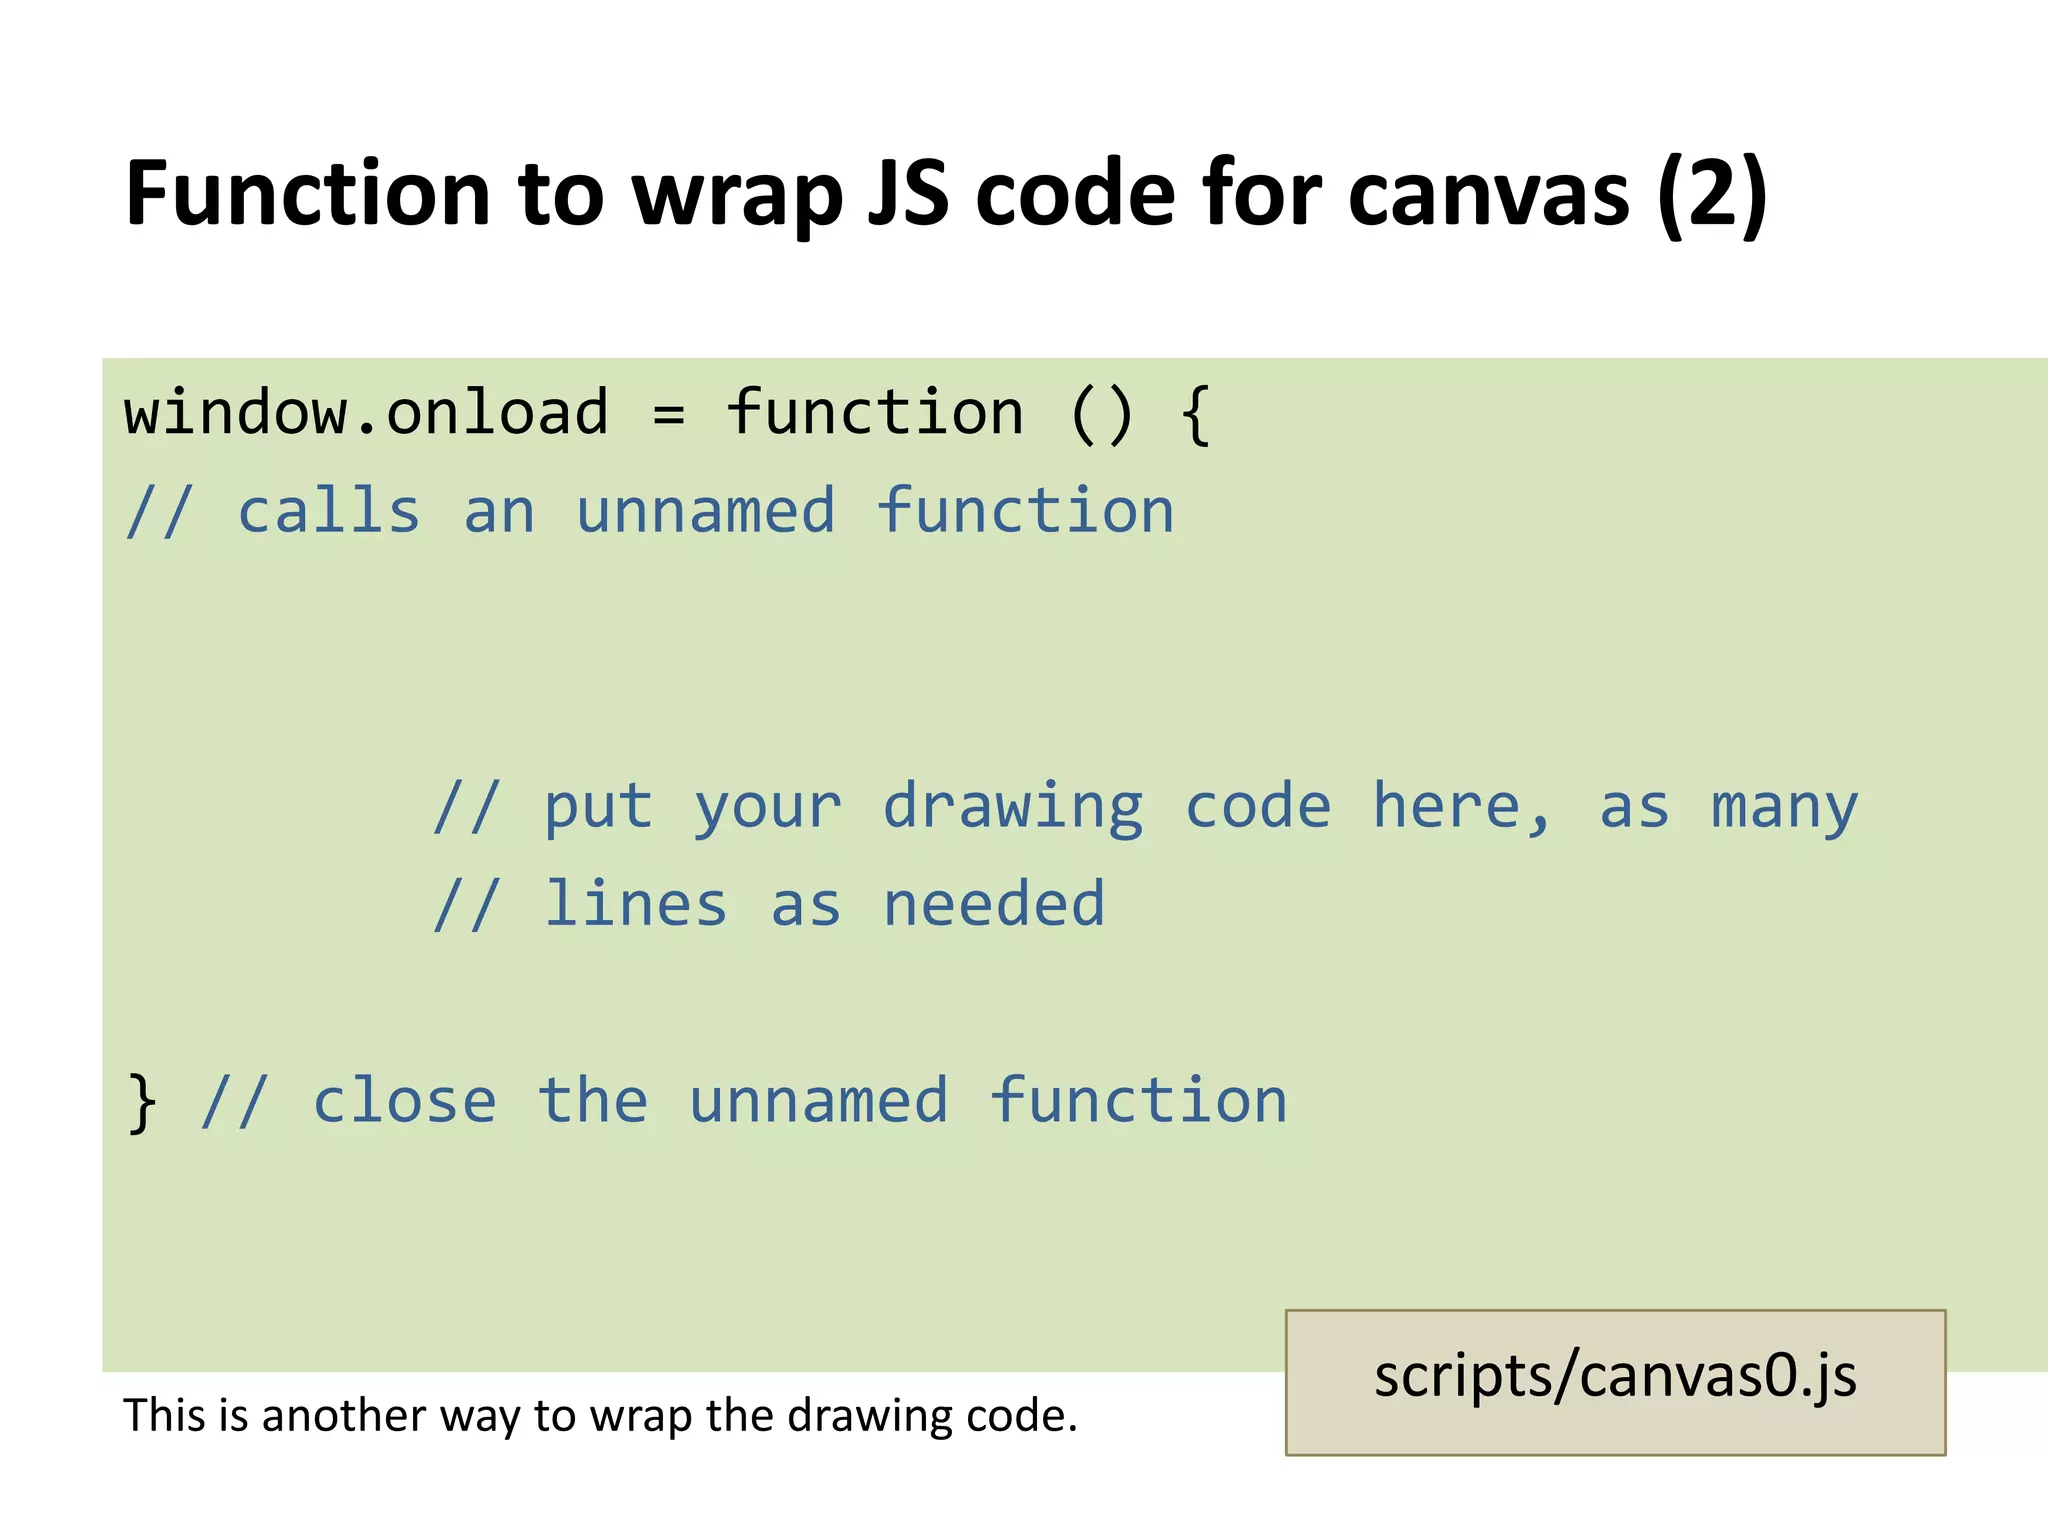
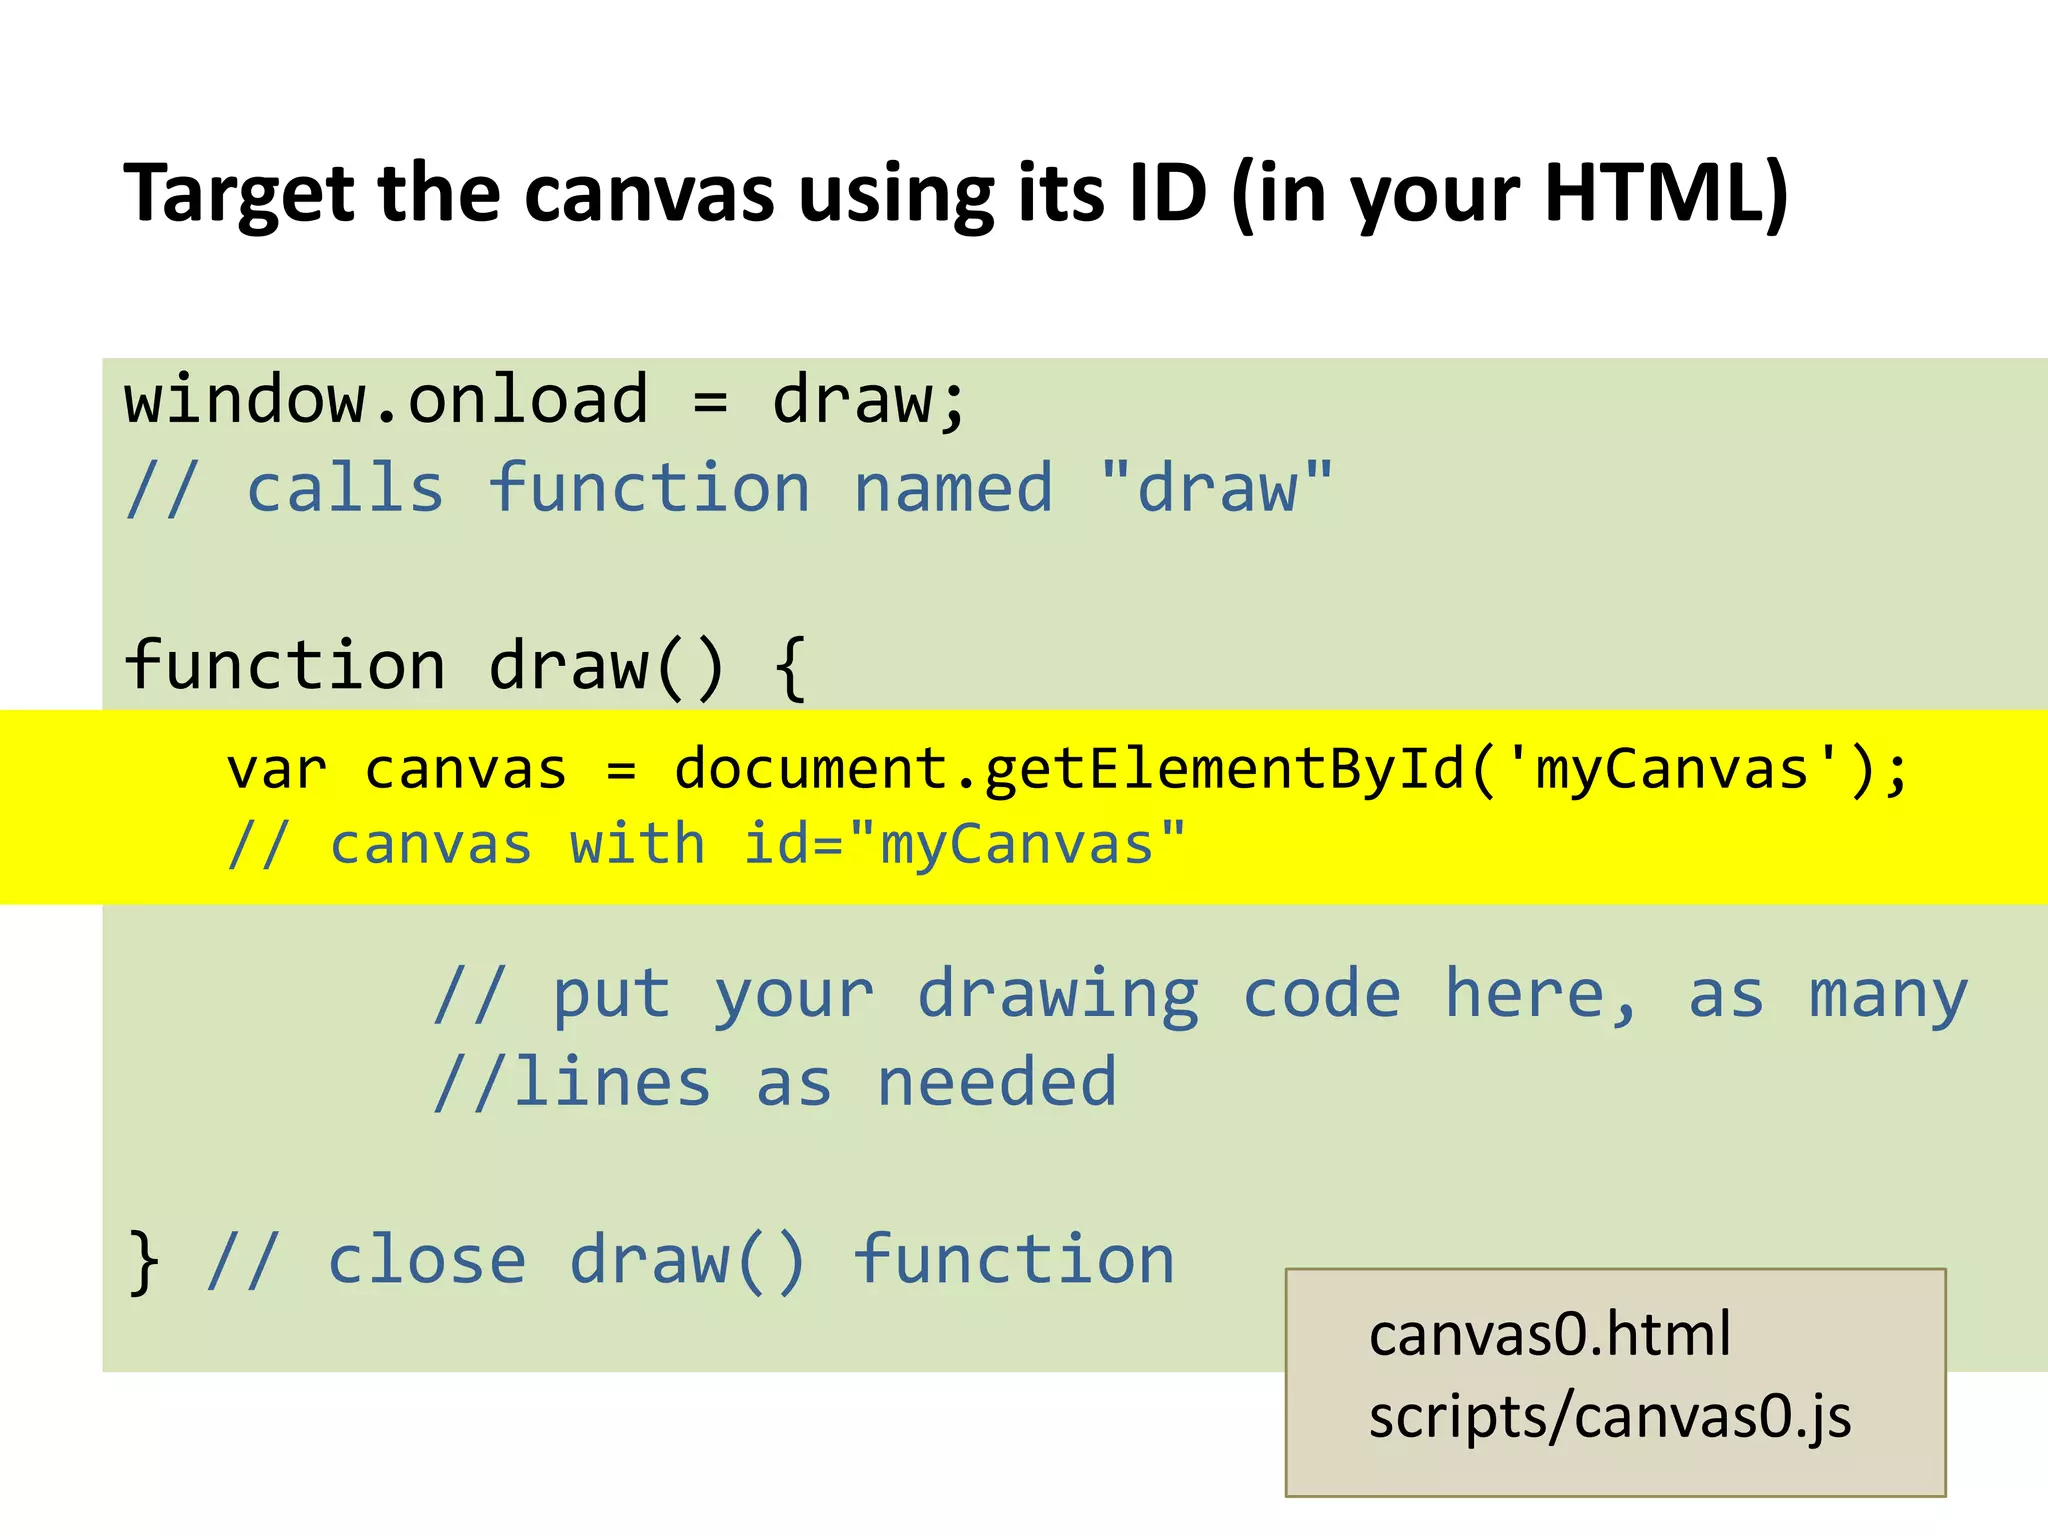

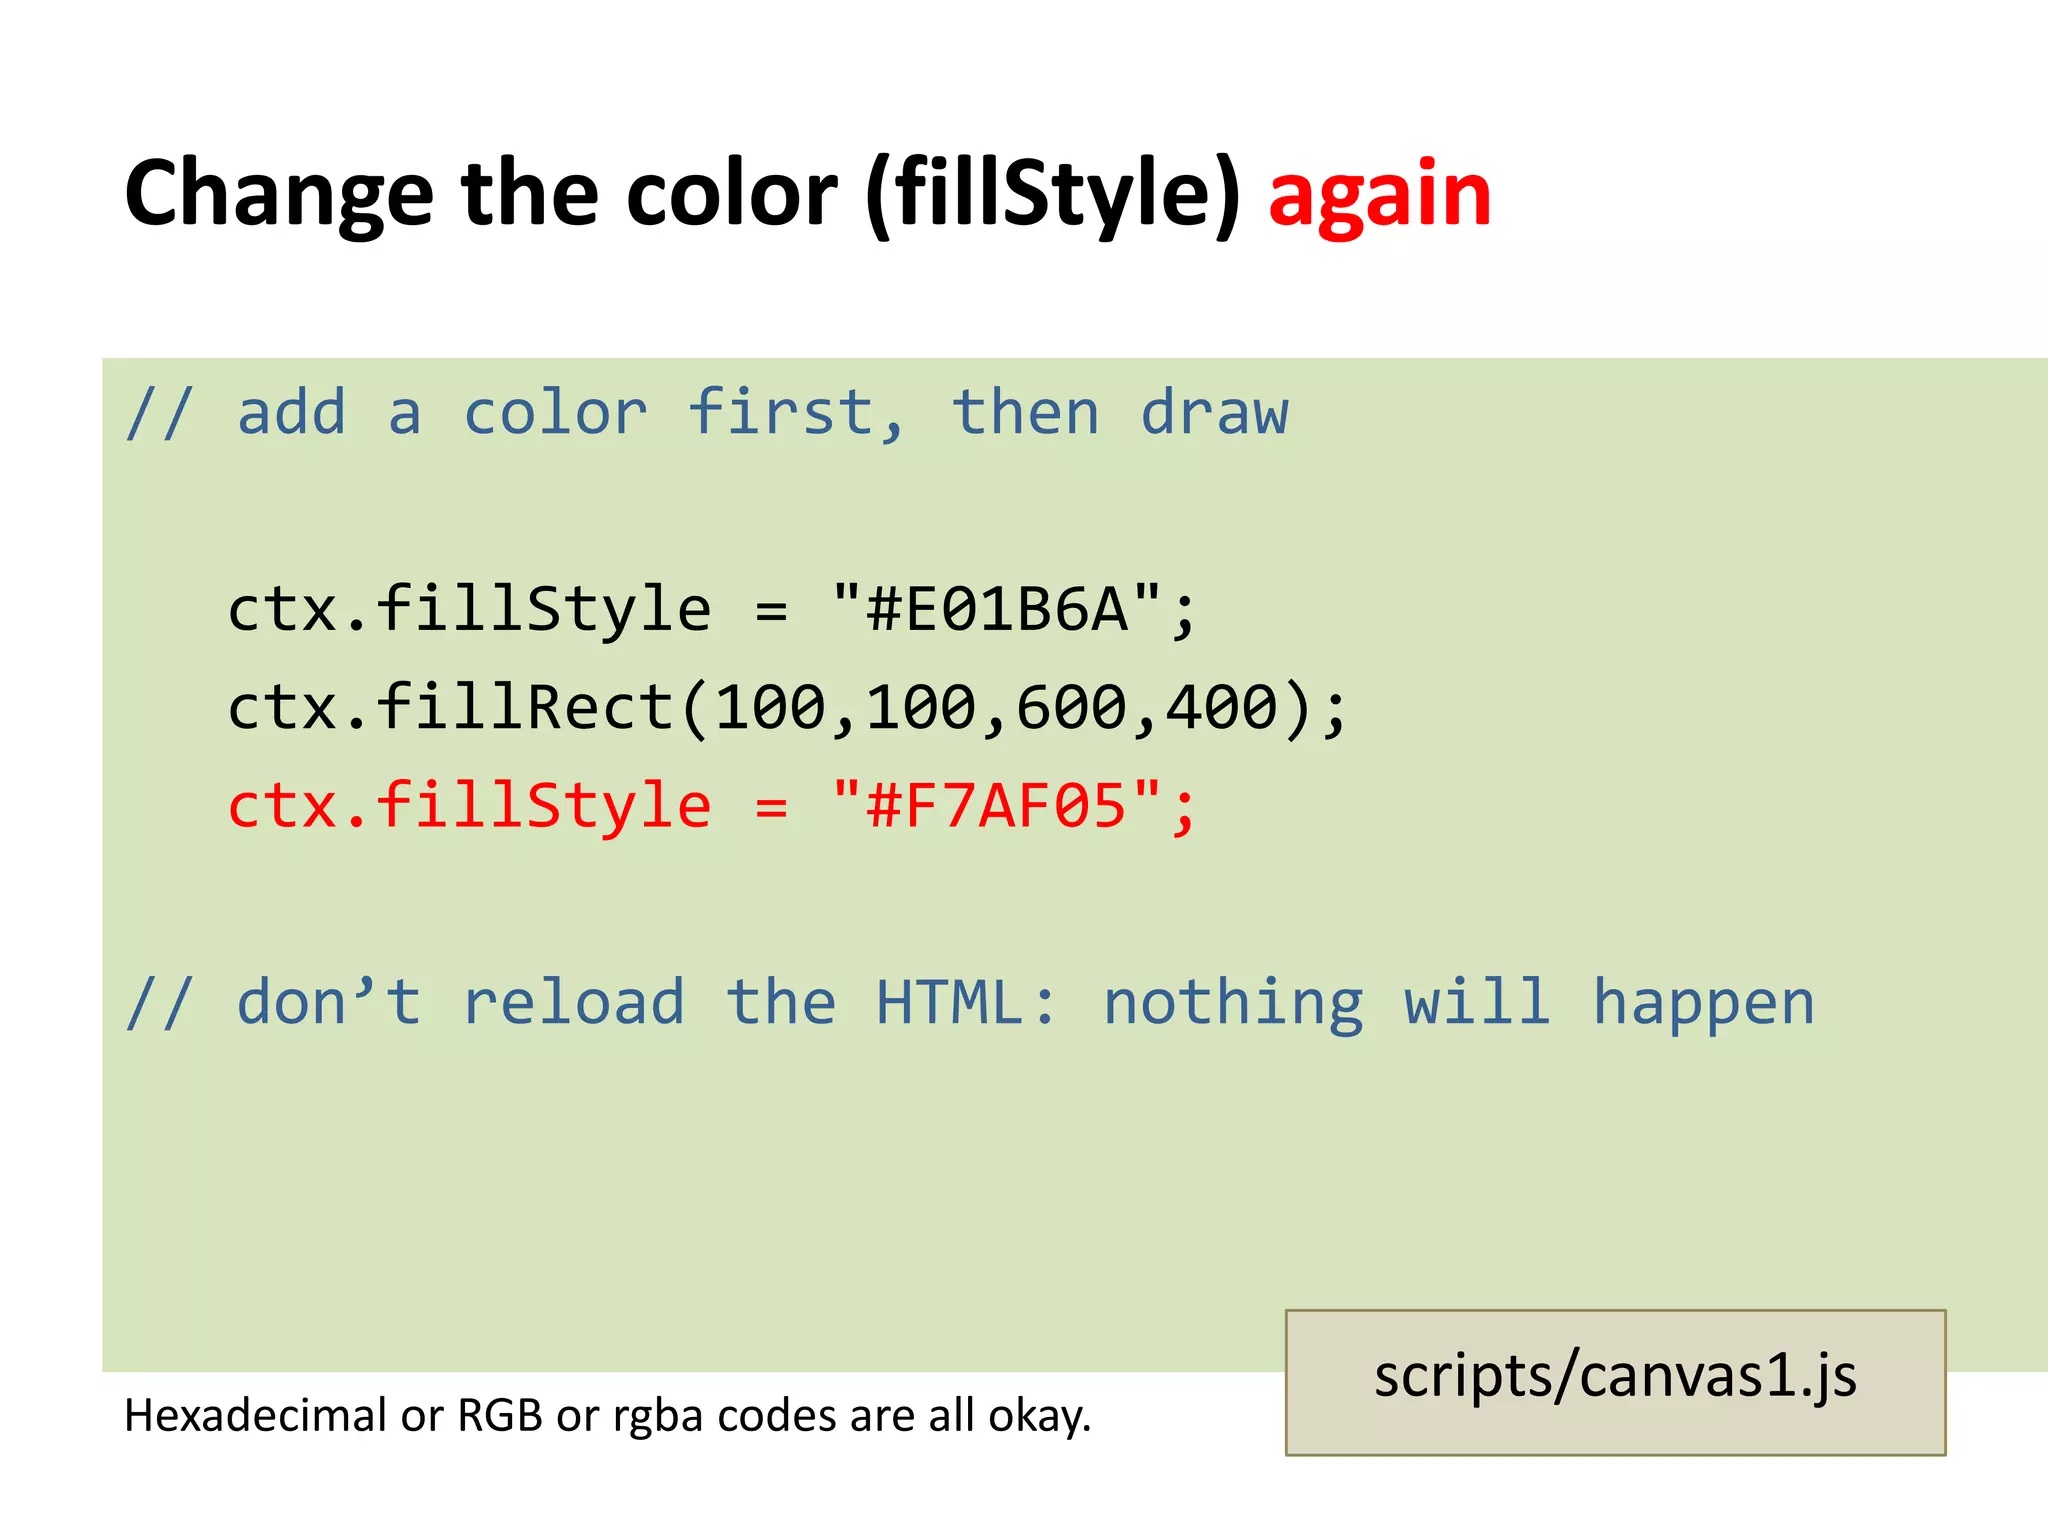

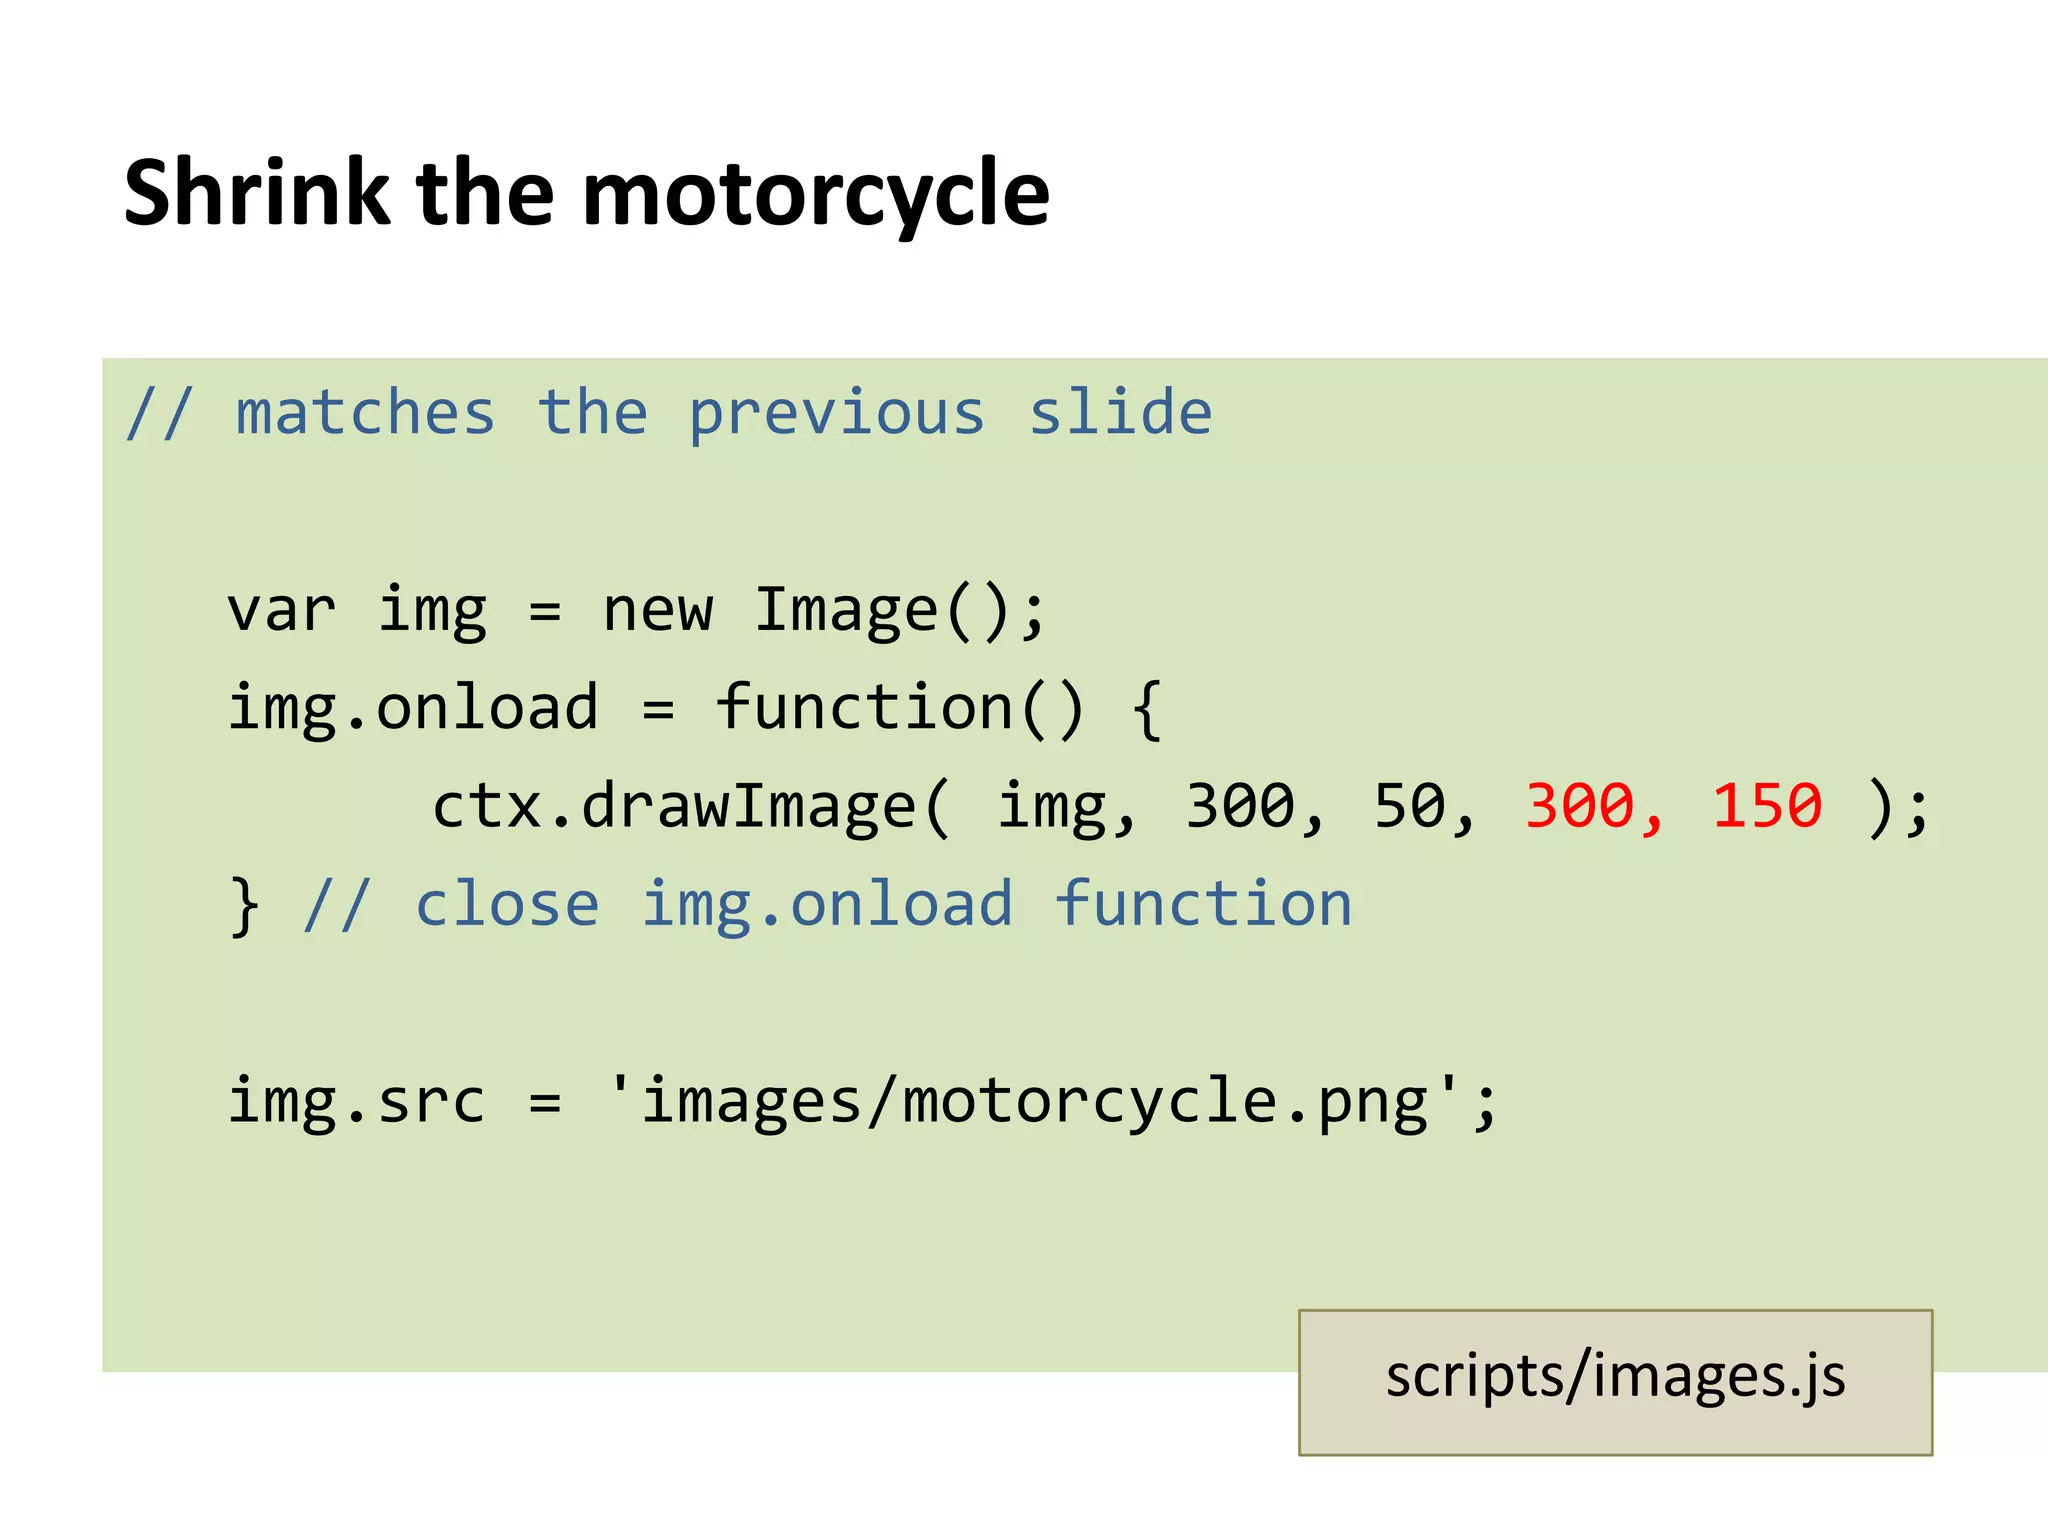
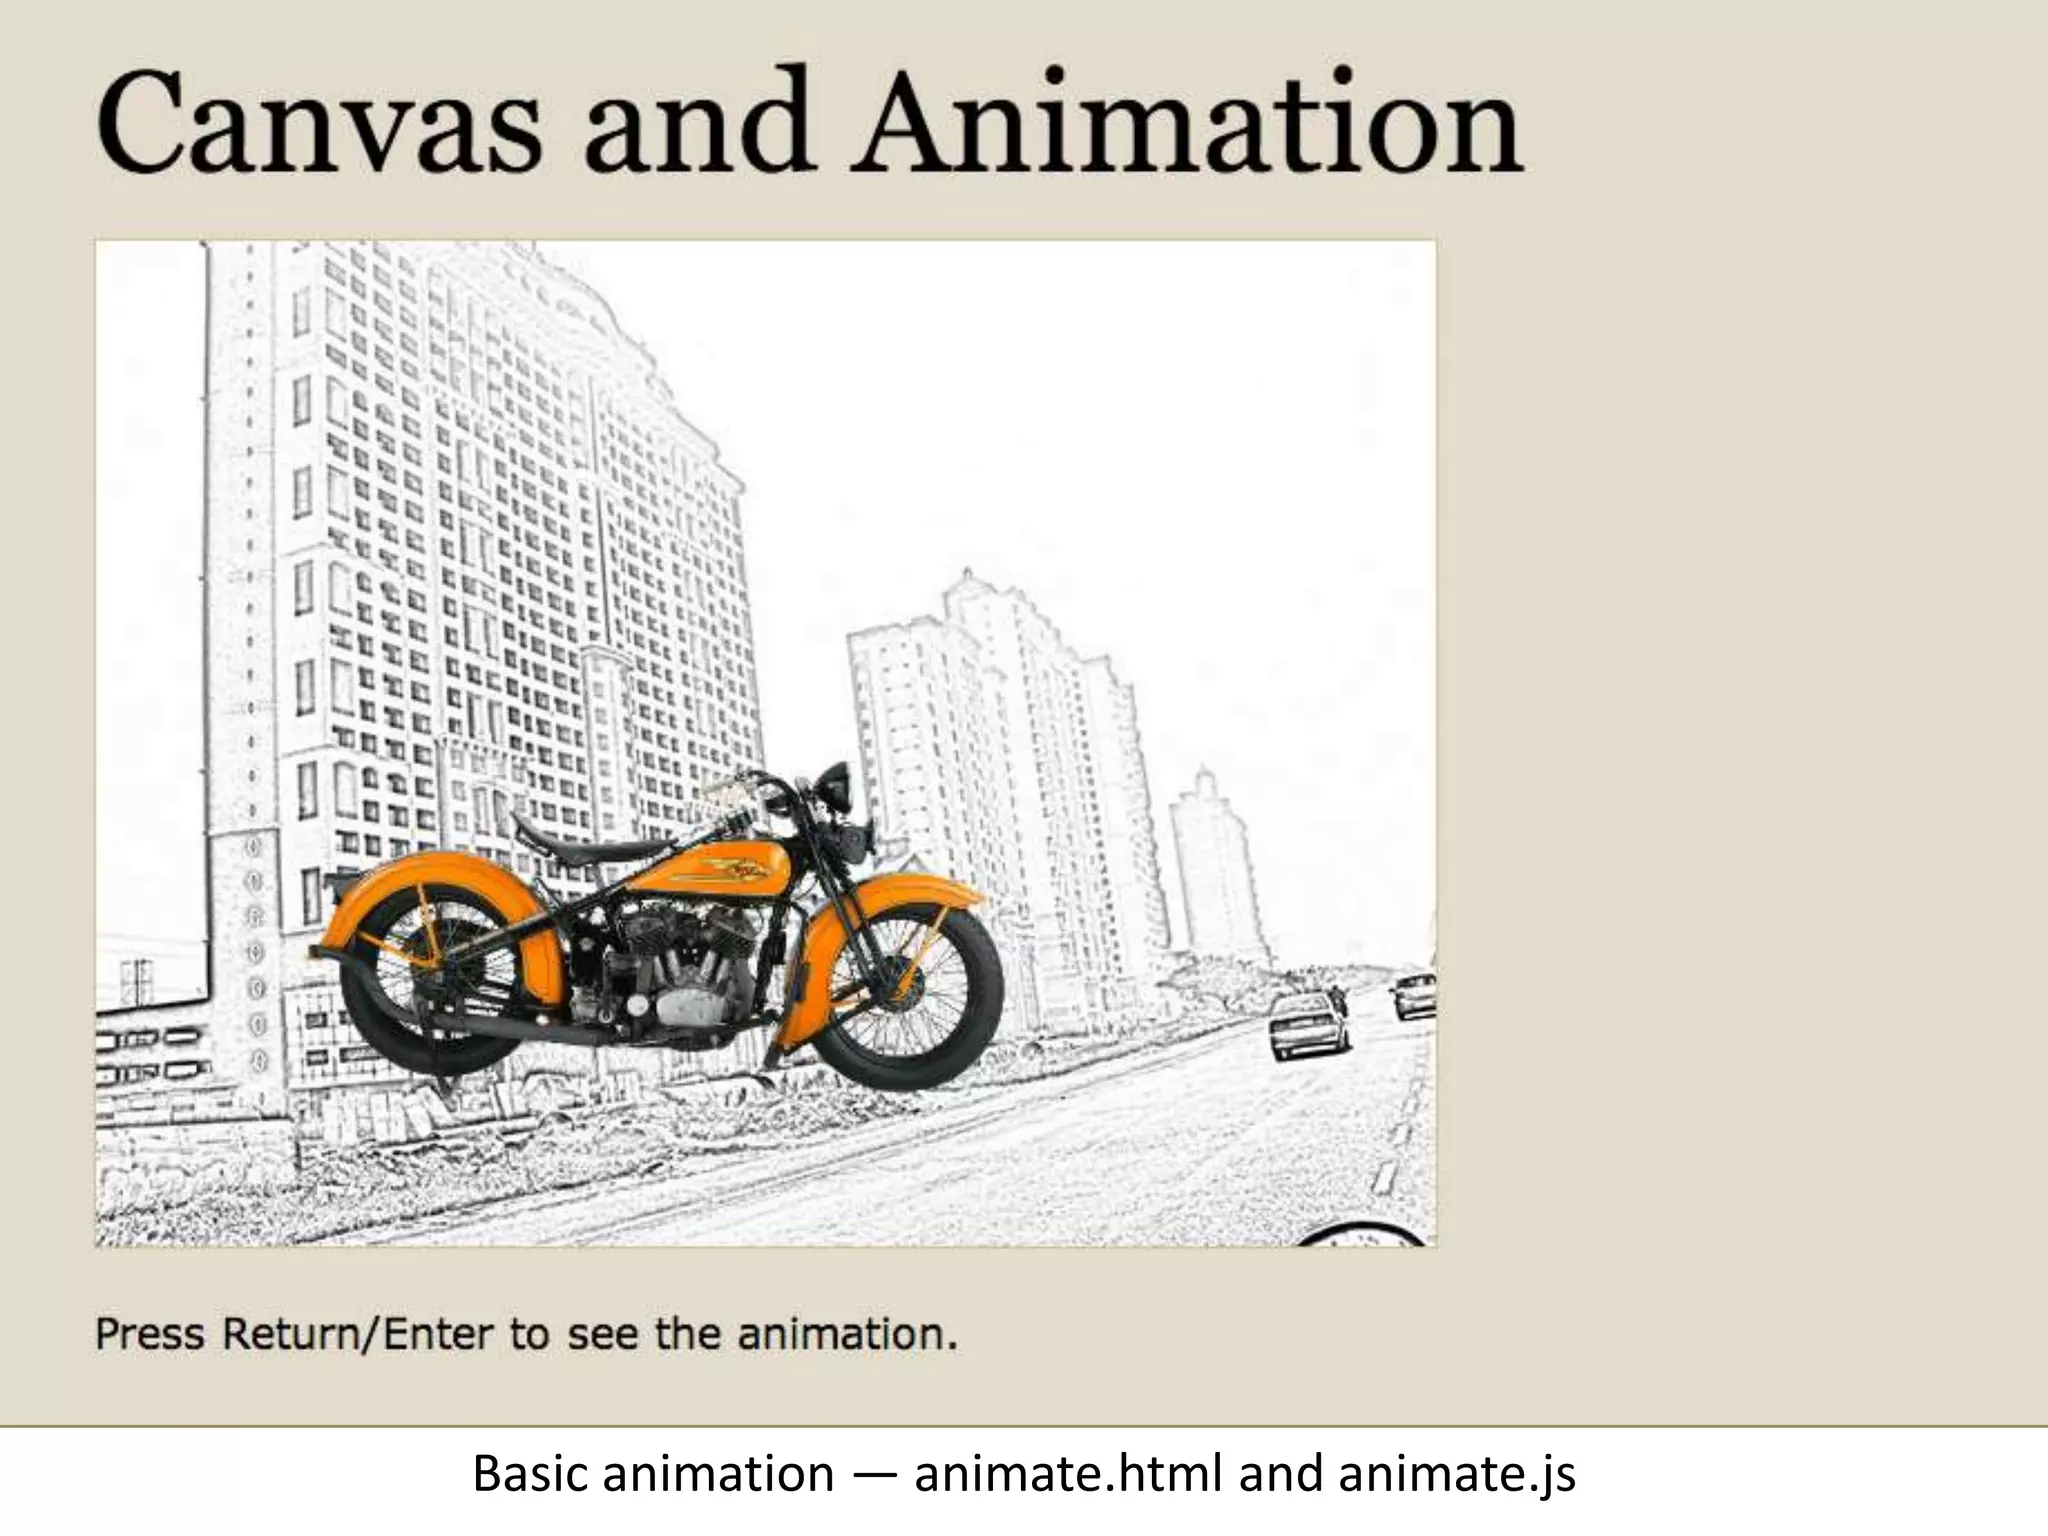
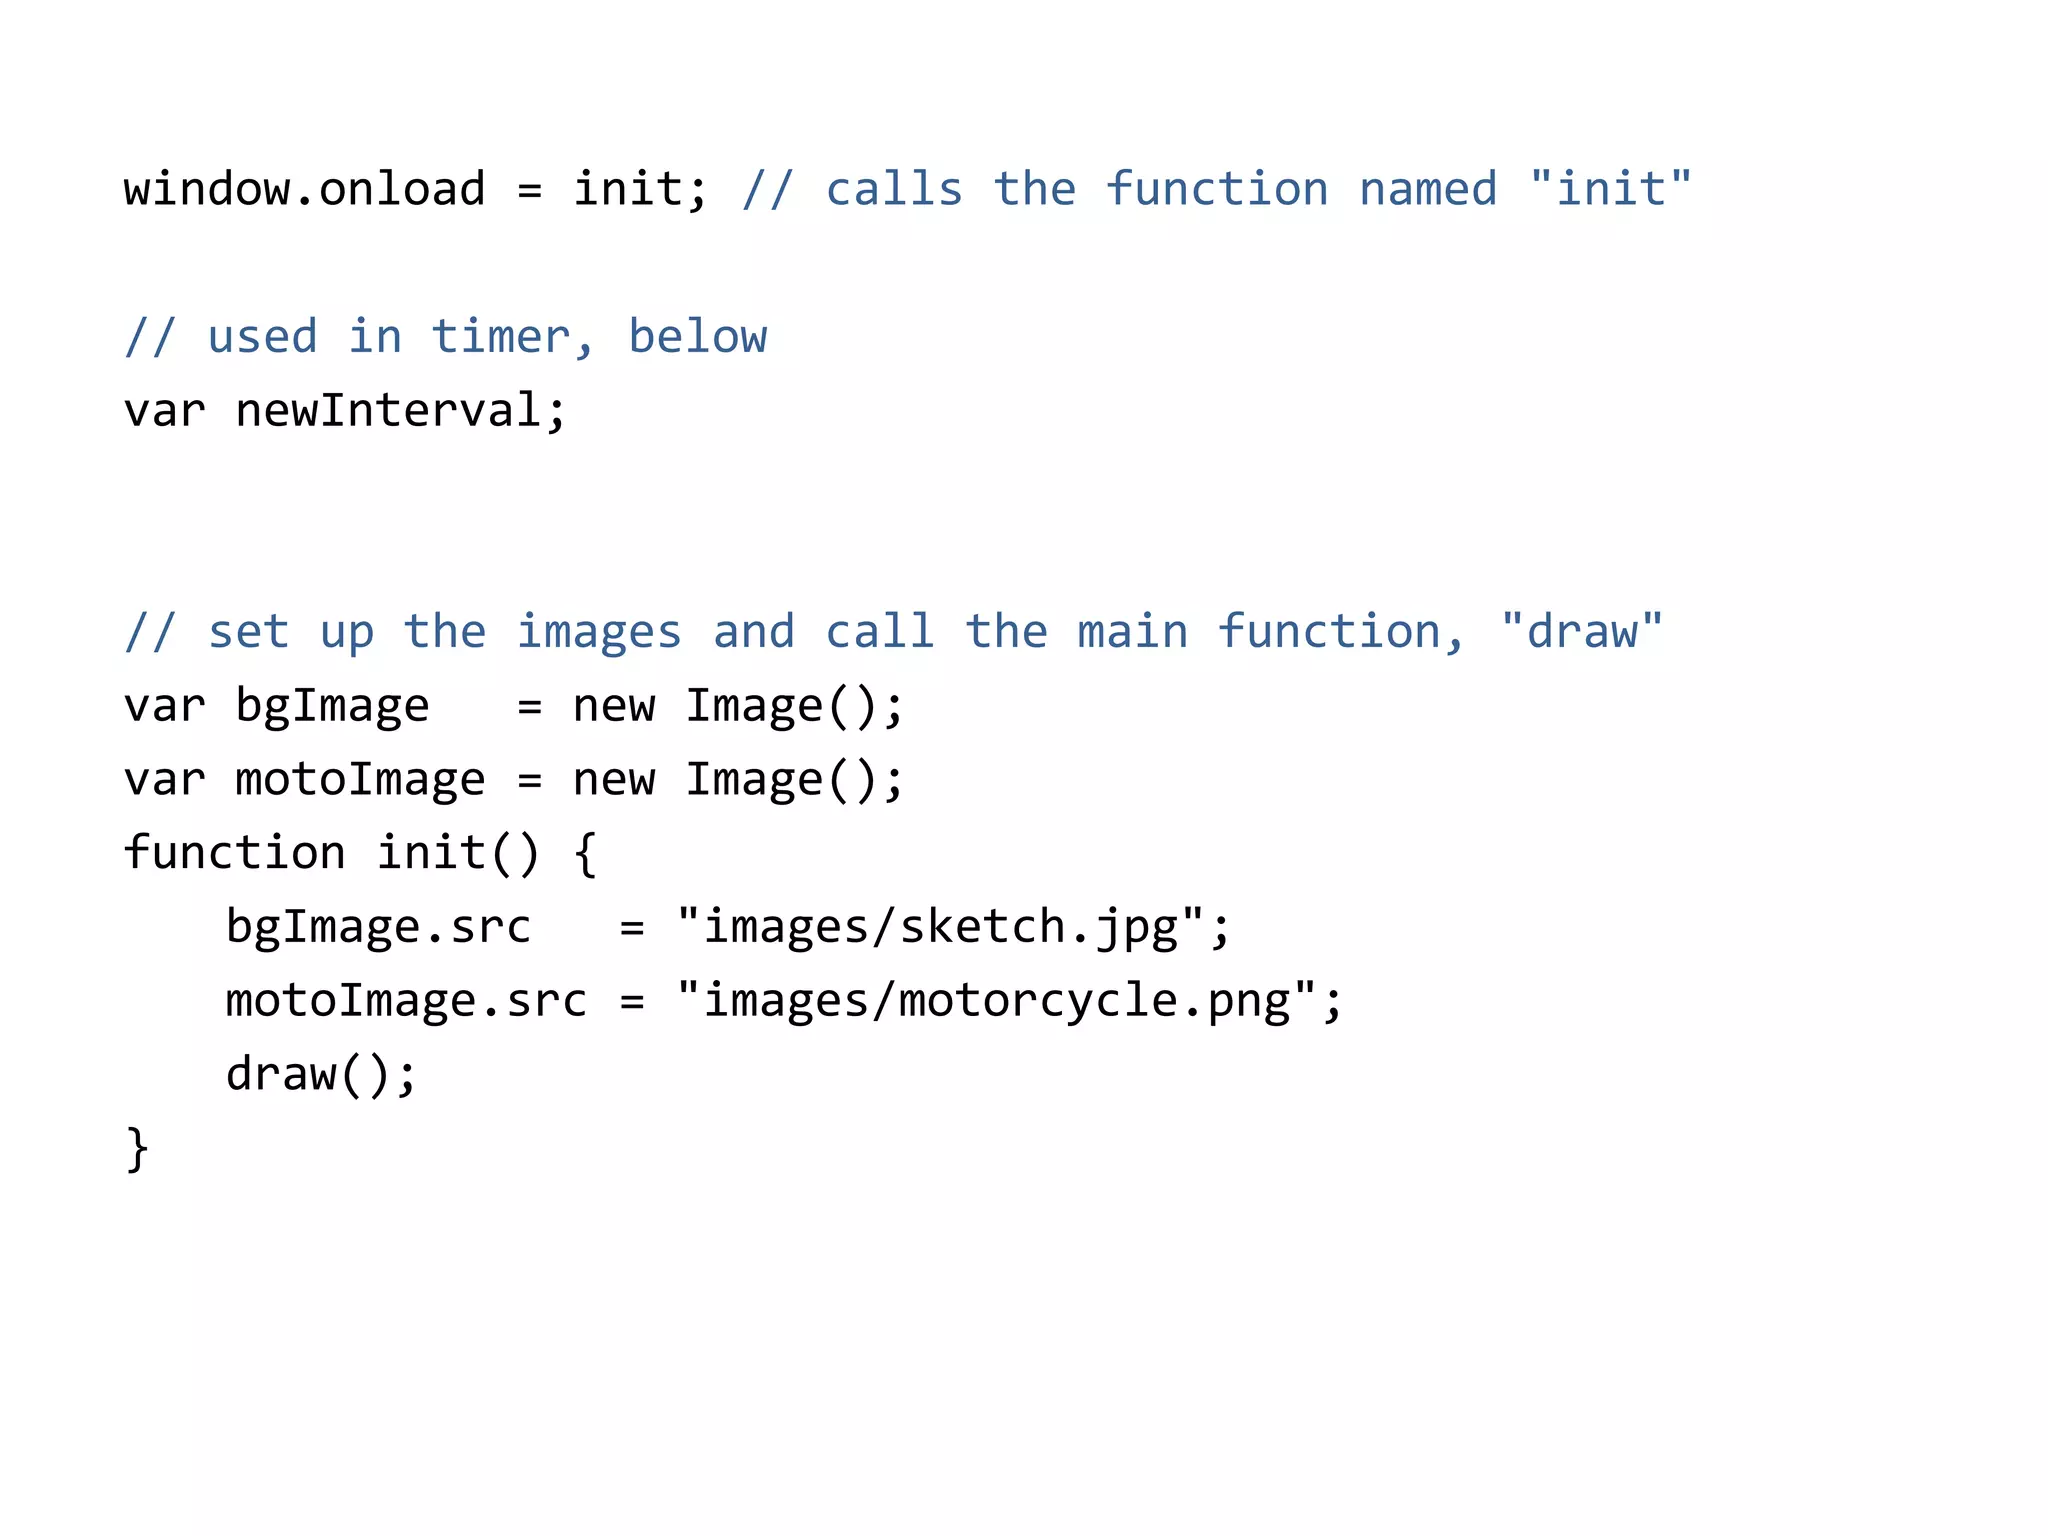
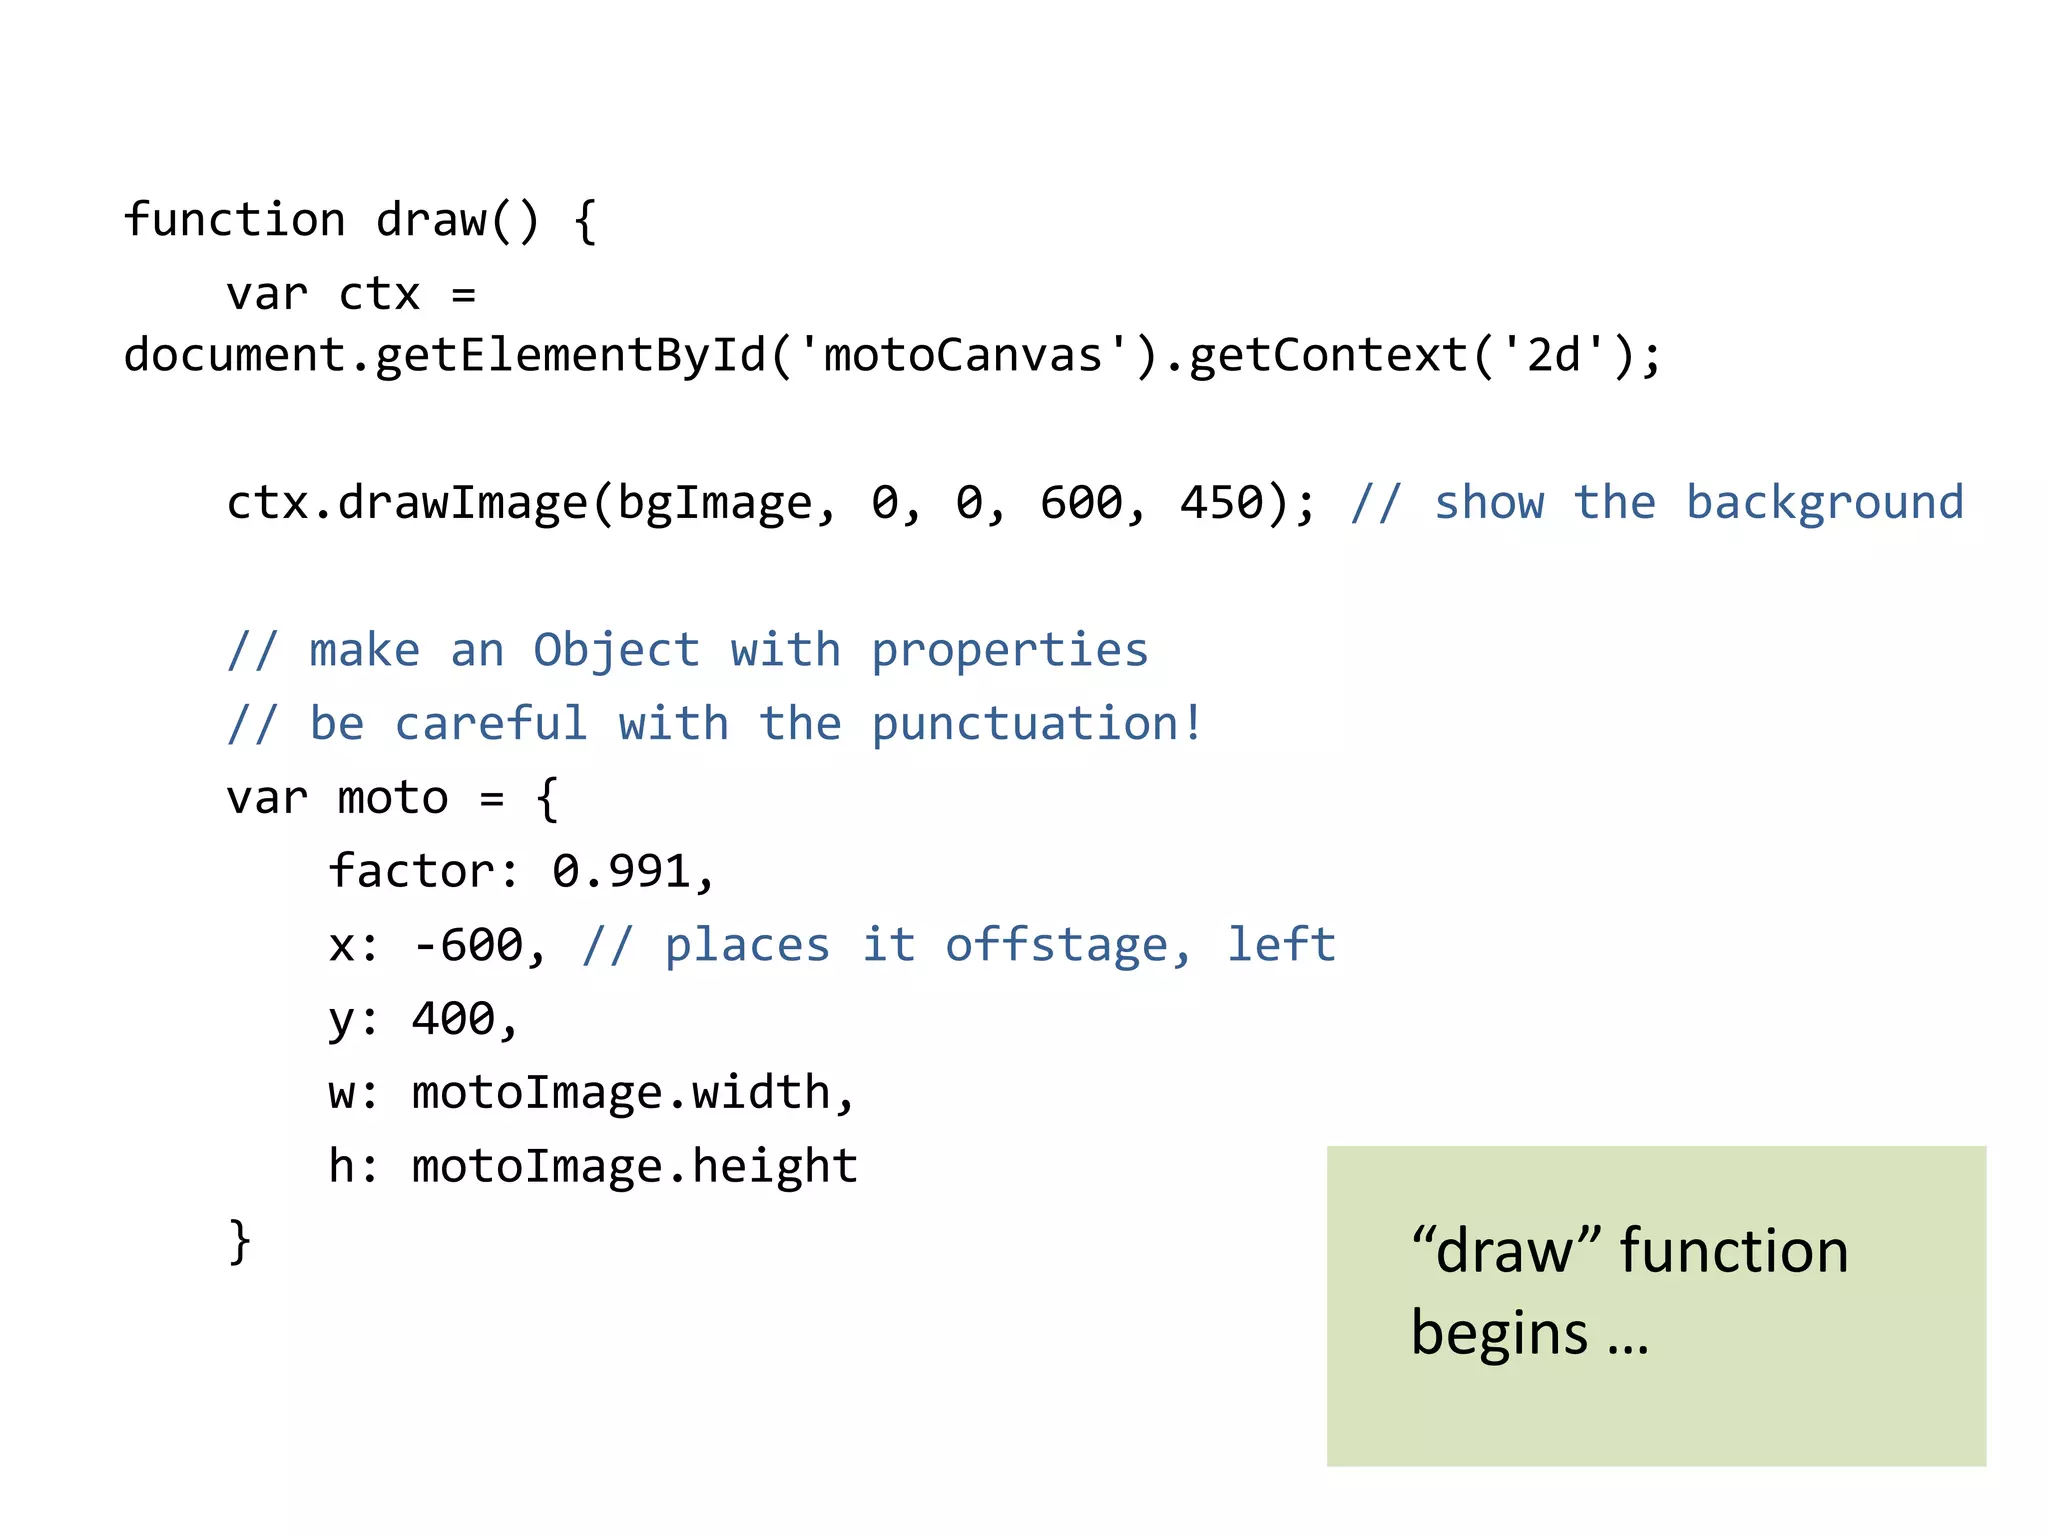

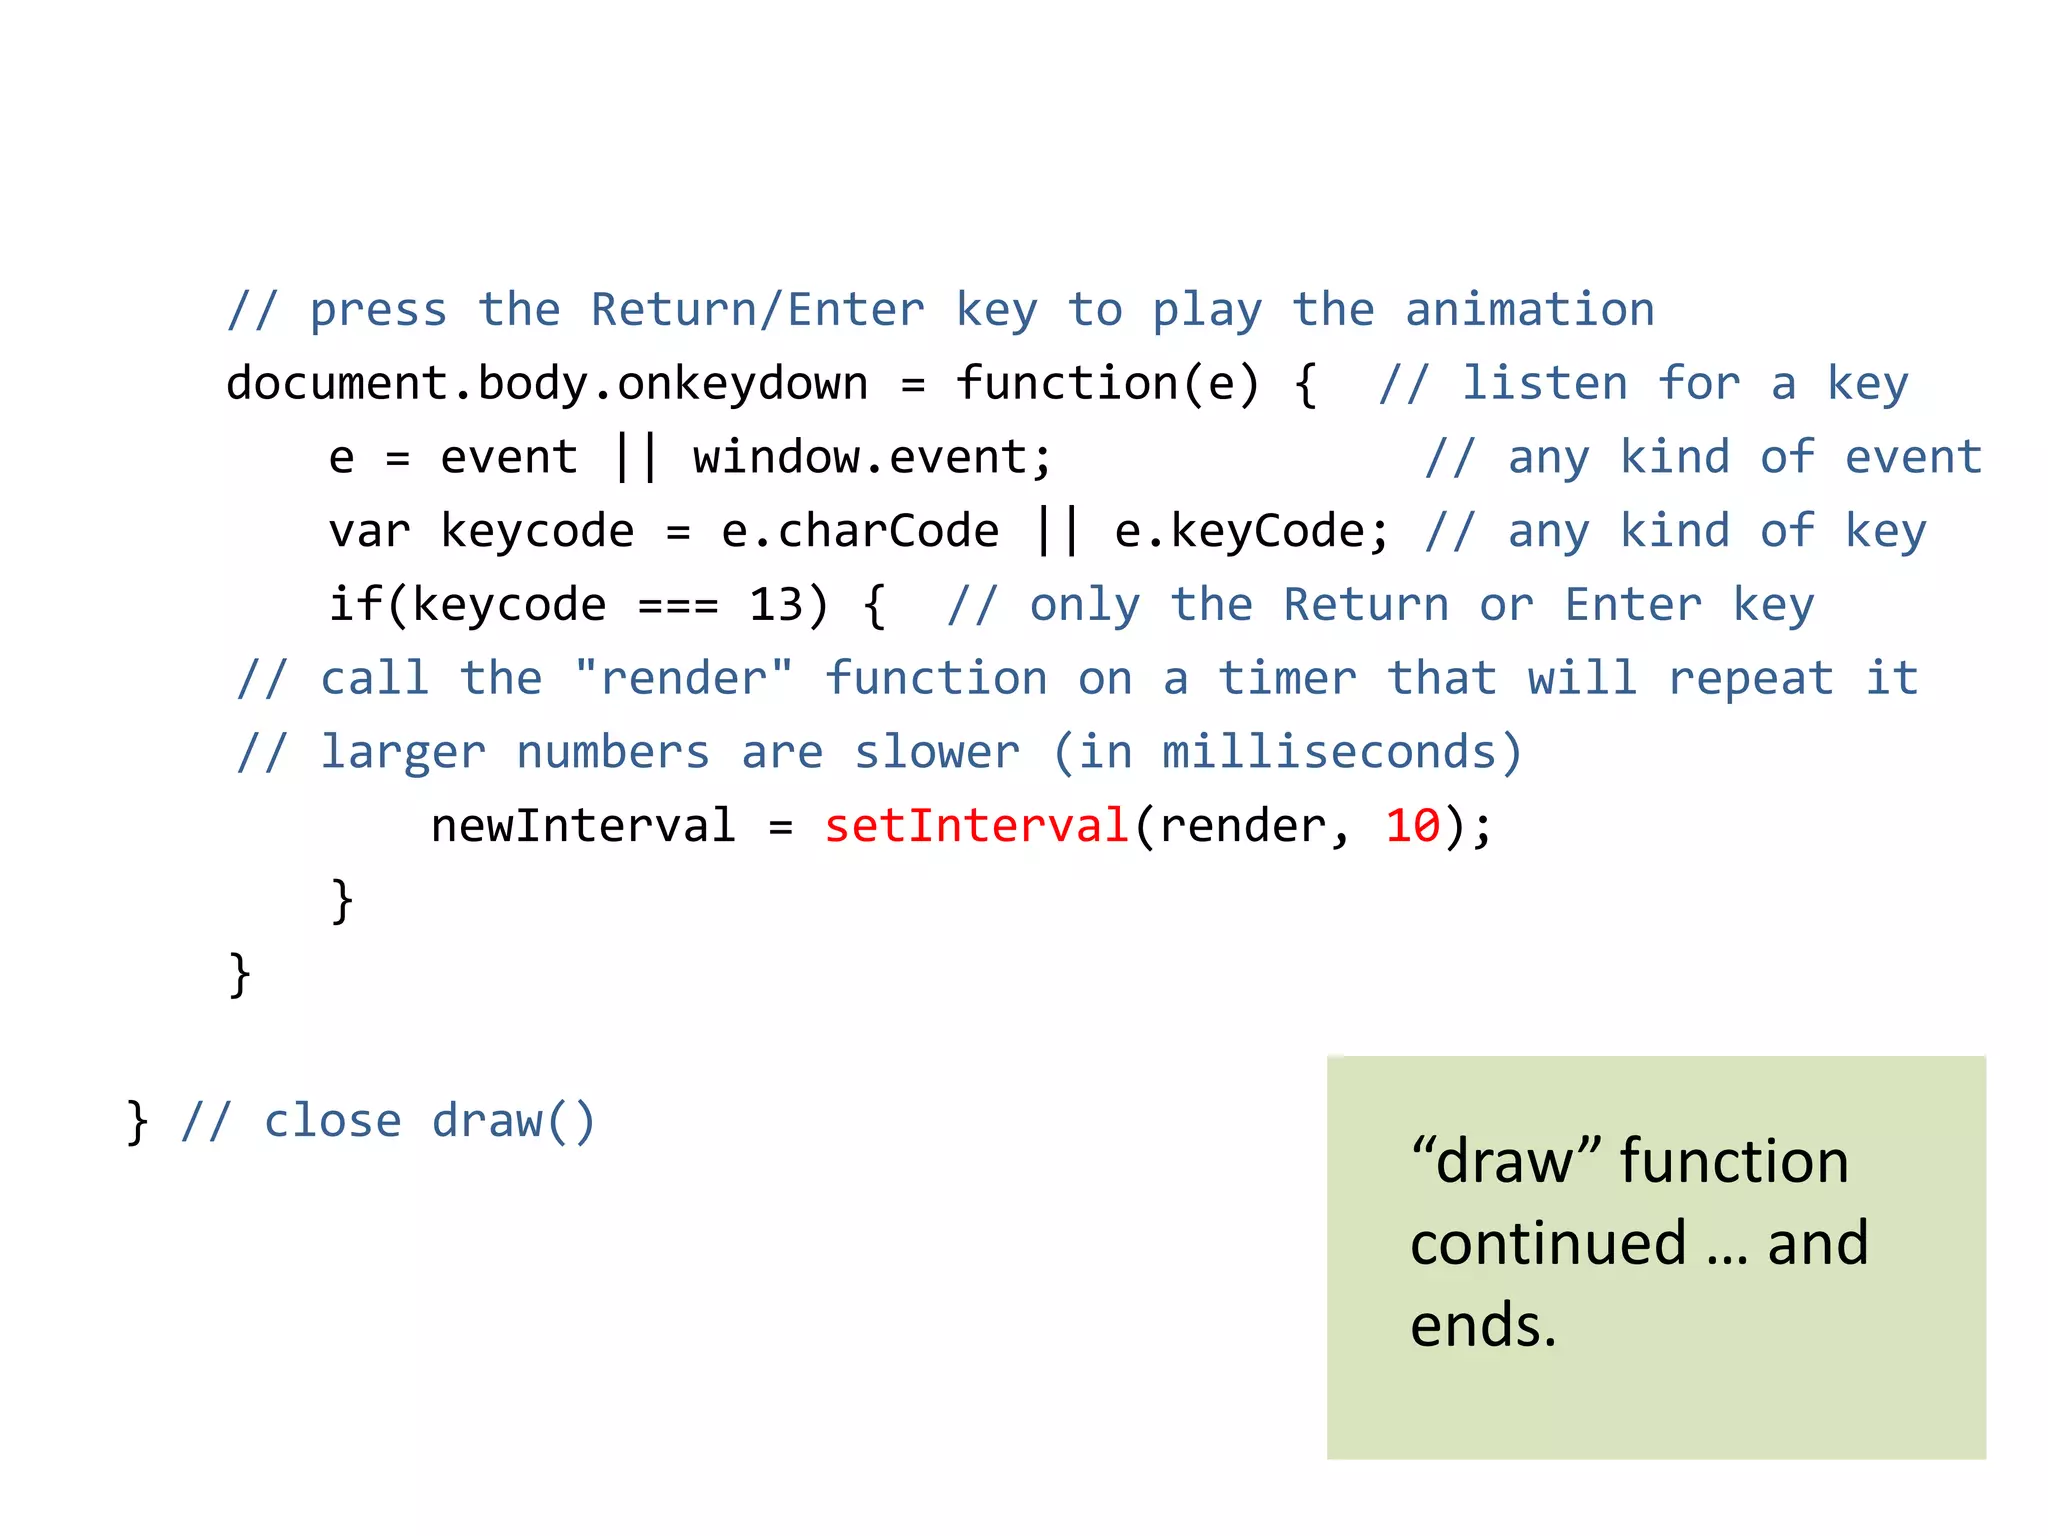
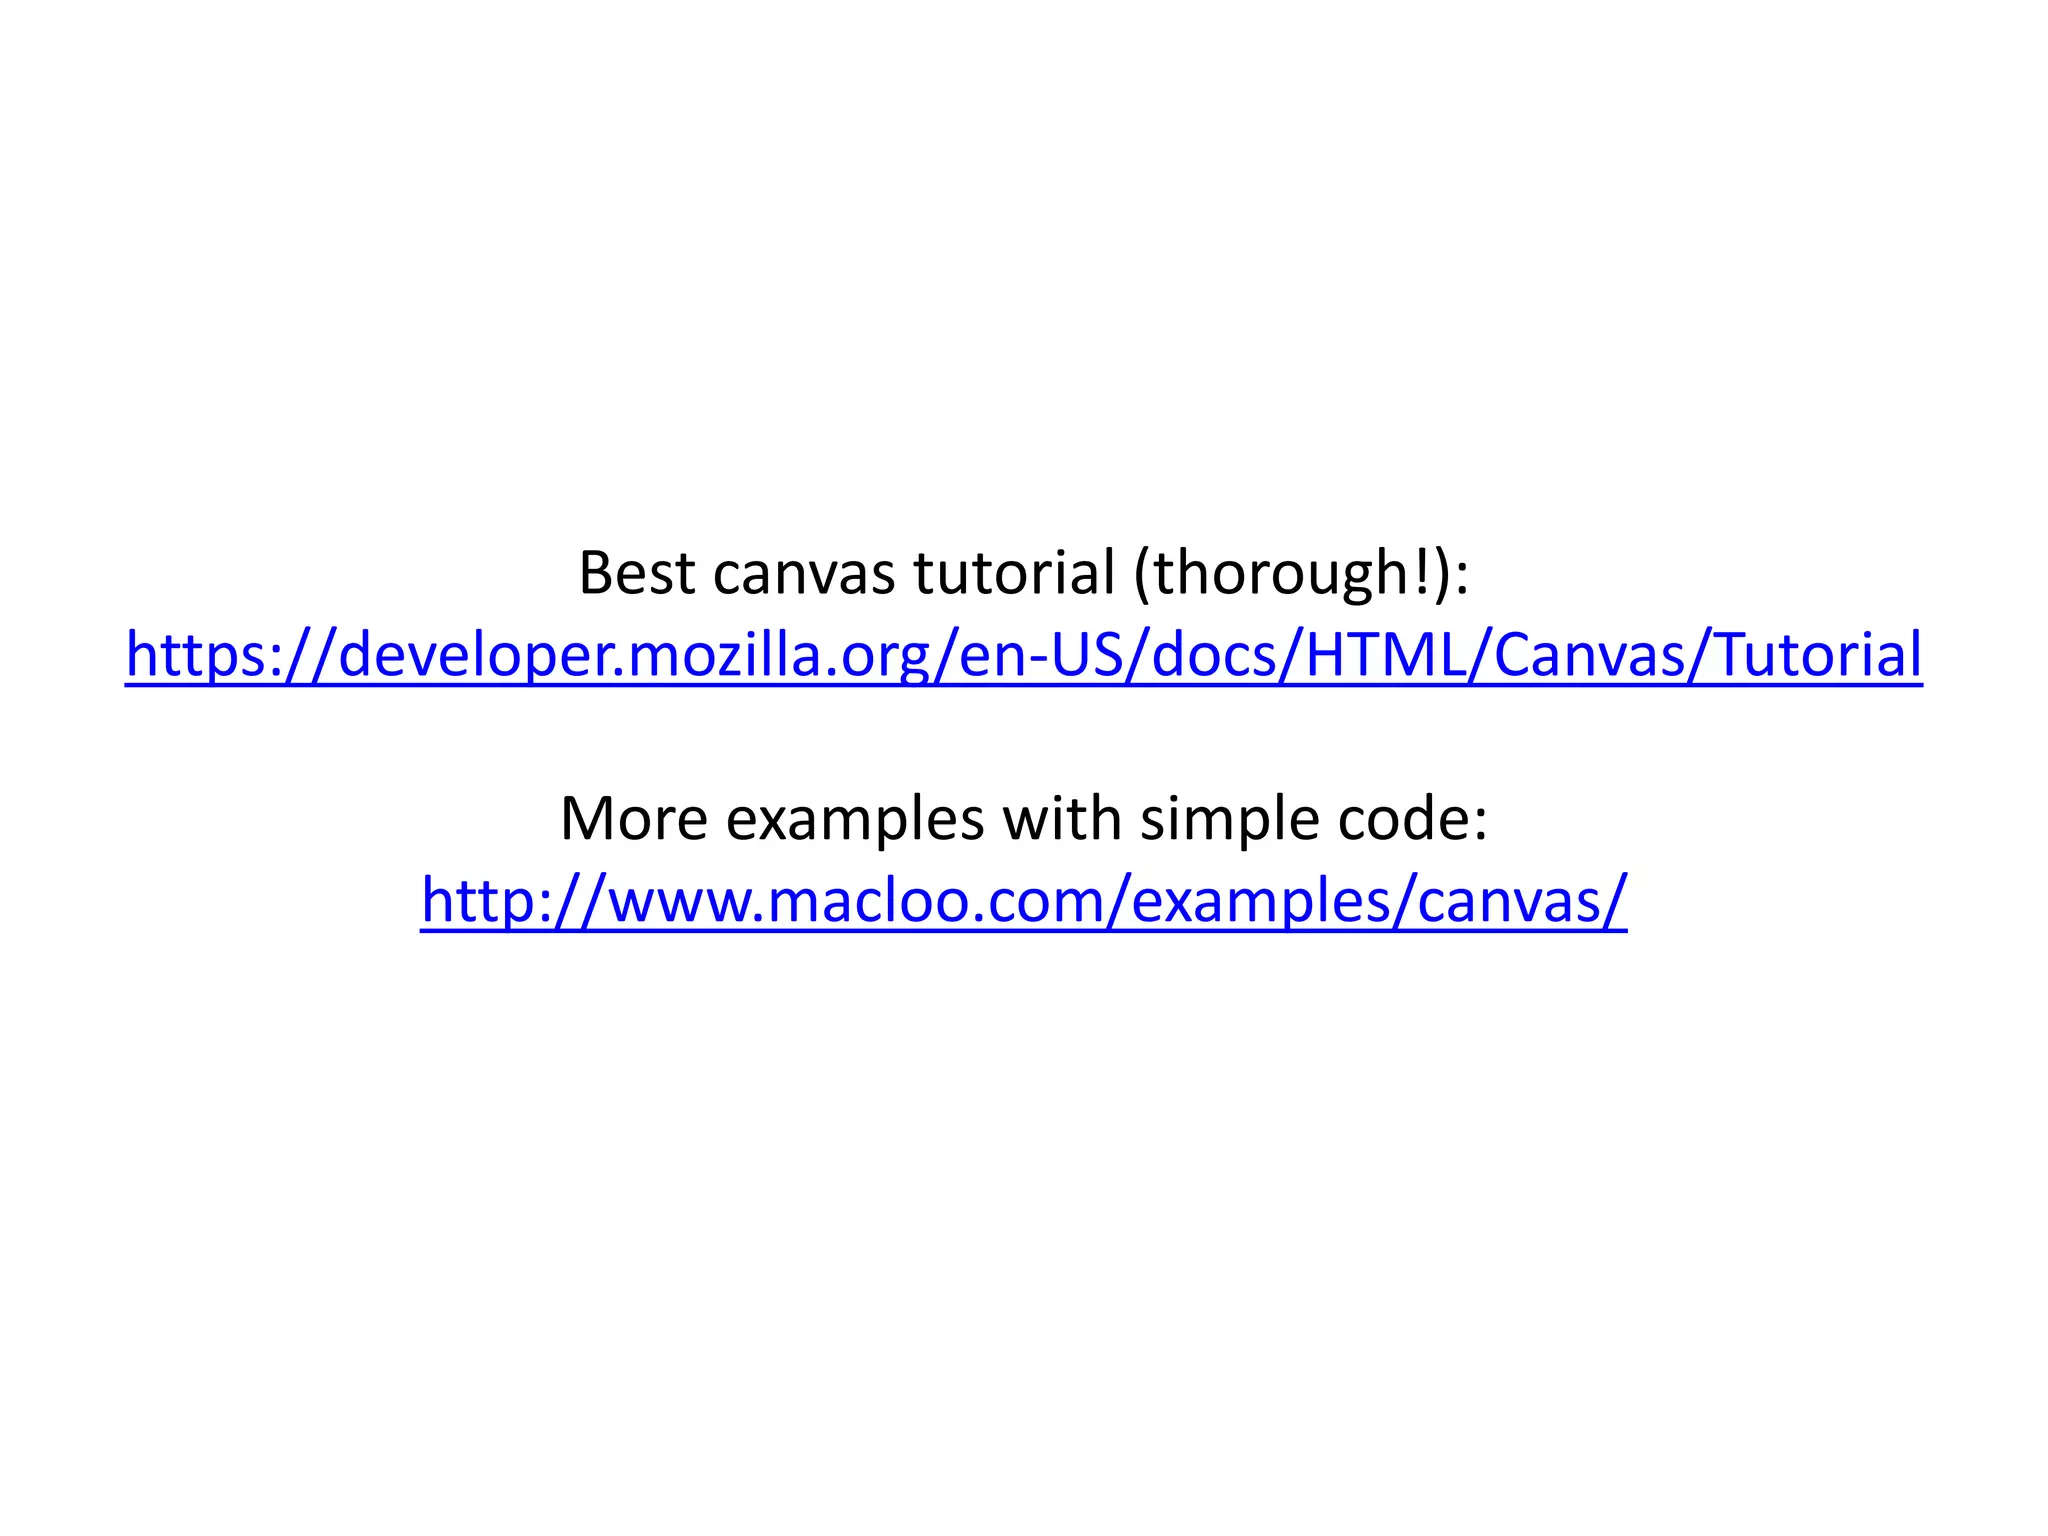


This document provides an introduction to HTML5's <canvas> element, detailing its usage for drawing and animation in web browsers. It covers necessary attributes, JavaScript code for drawing, and examples of creating shapes and animations. The document also includes exercises and links to additional resources for further learning.