Downloaded 181 times


![Reading the Light Sensor? What is the biggest and smallest value the analog pin will “measure”? [Hint: open your serial monitor to find out!]](https://image.slidesharecdn.com/introtoarduinoardublocklilypad01-131008175354-phpapp02/75/Introduction-to-Arduino-with-ArduBlock-SparkFun-LilyPad-71-2048.jpg)


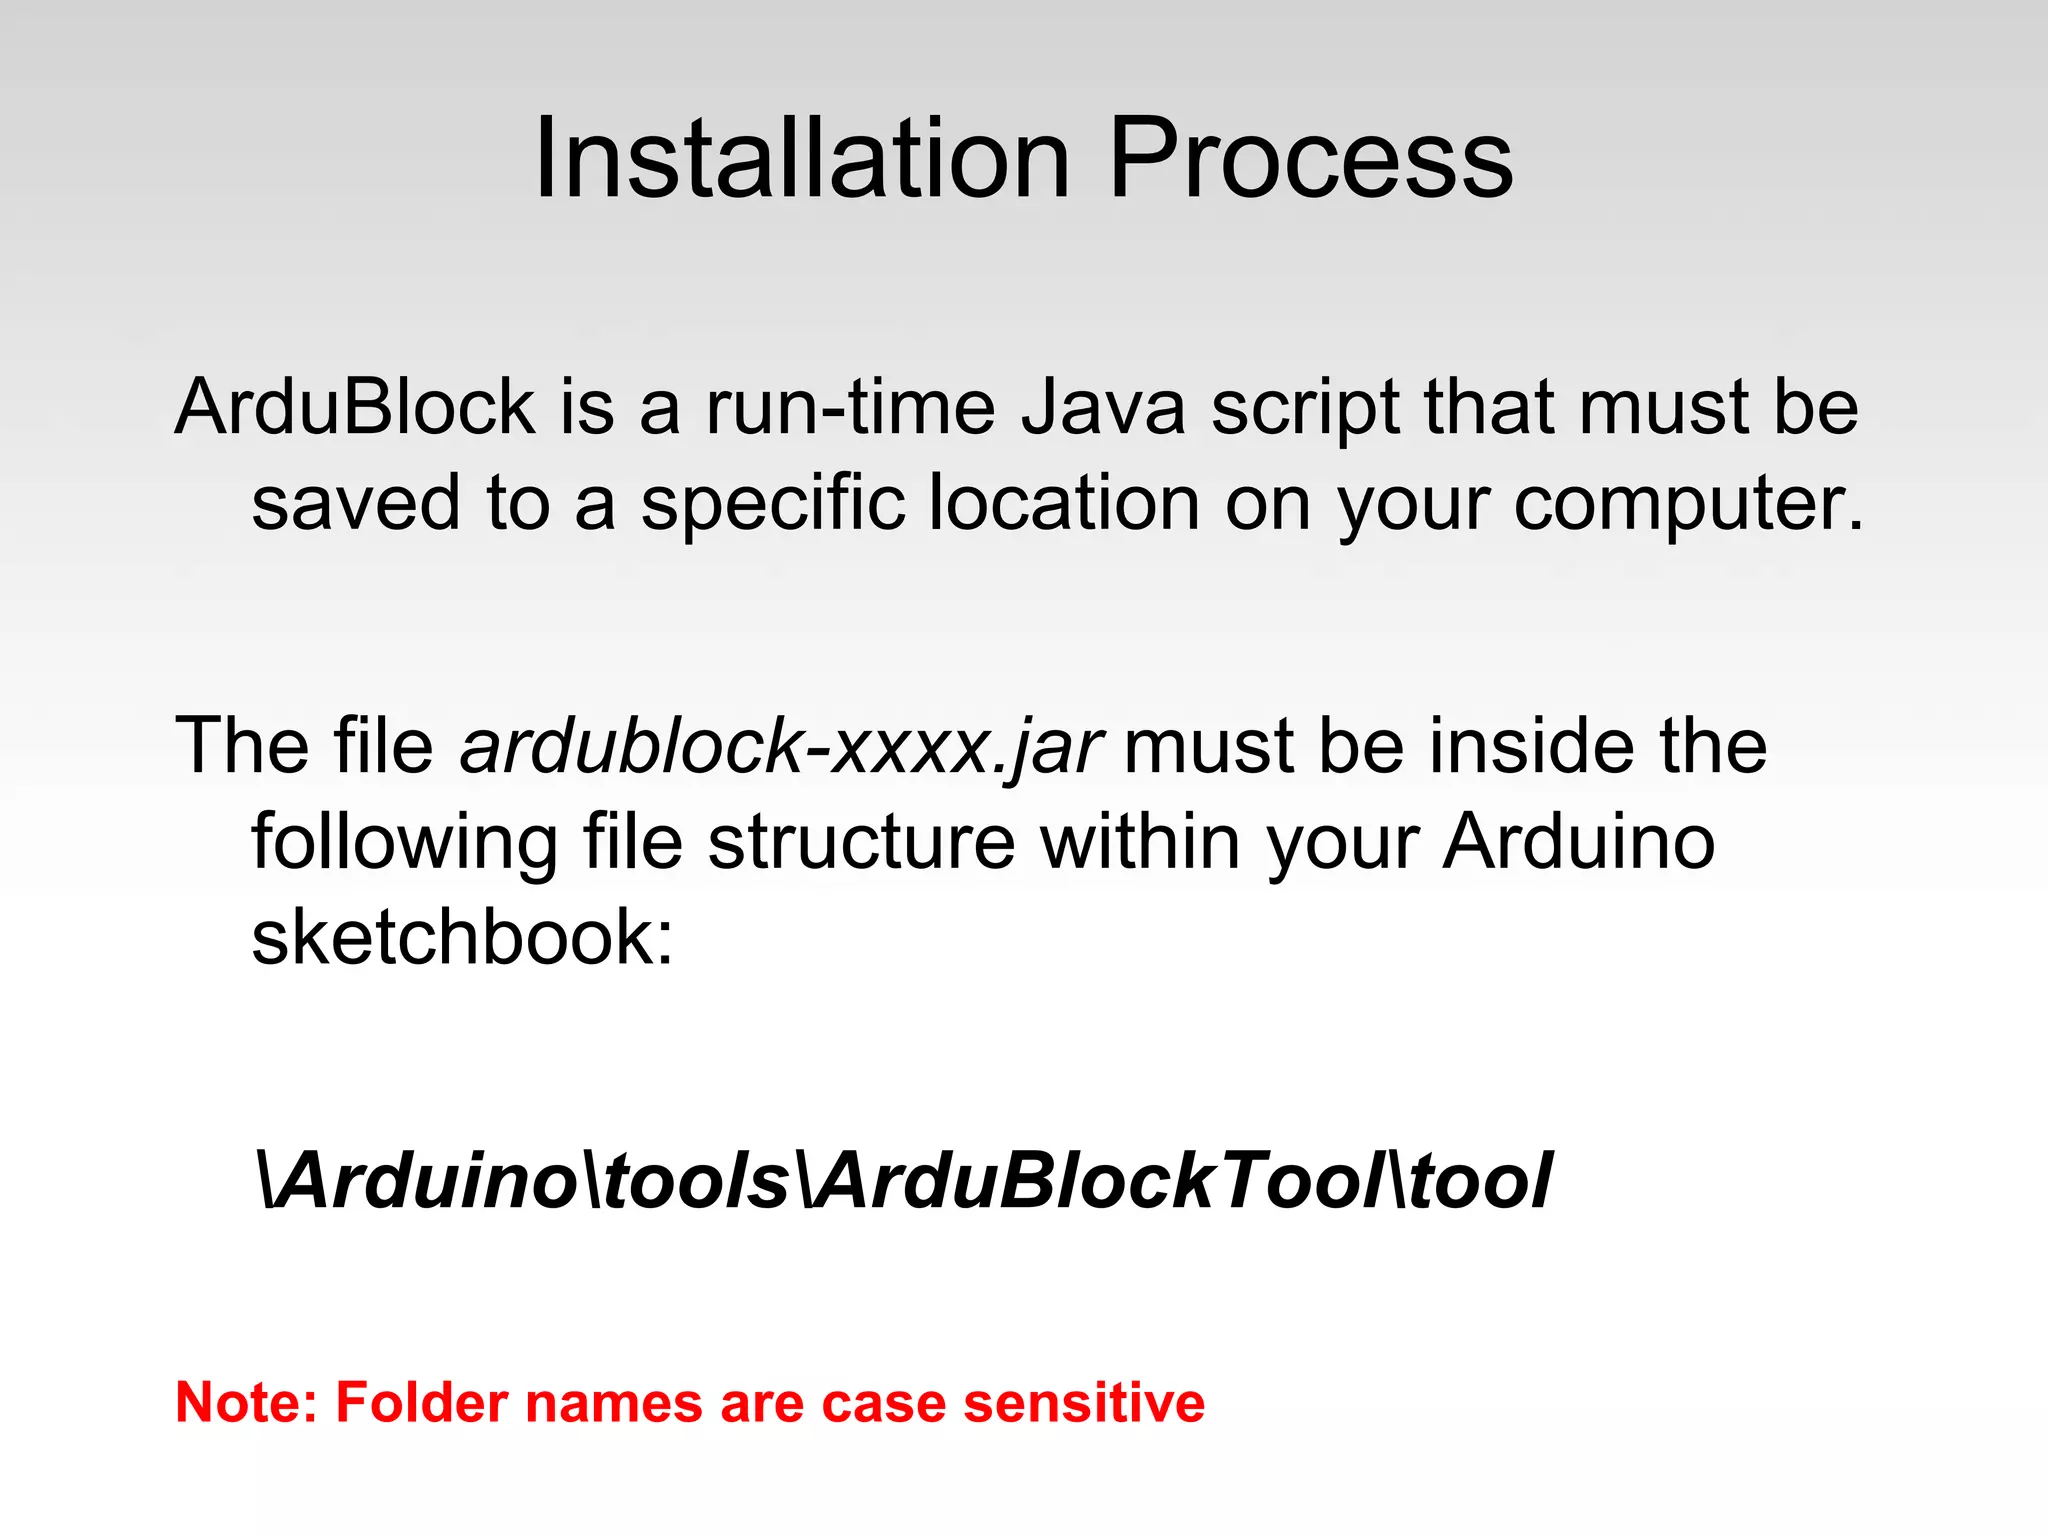
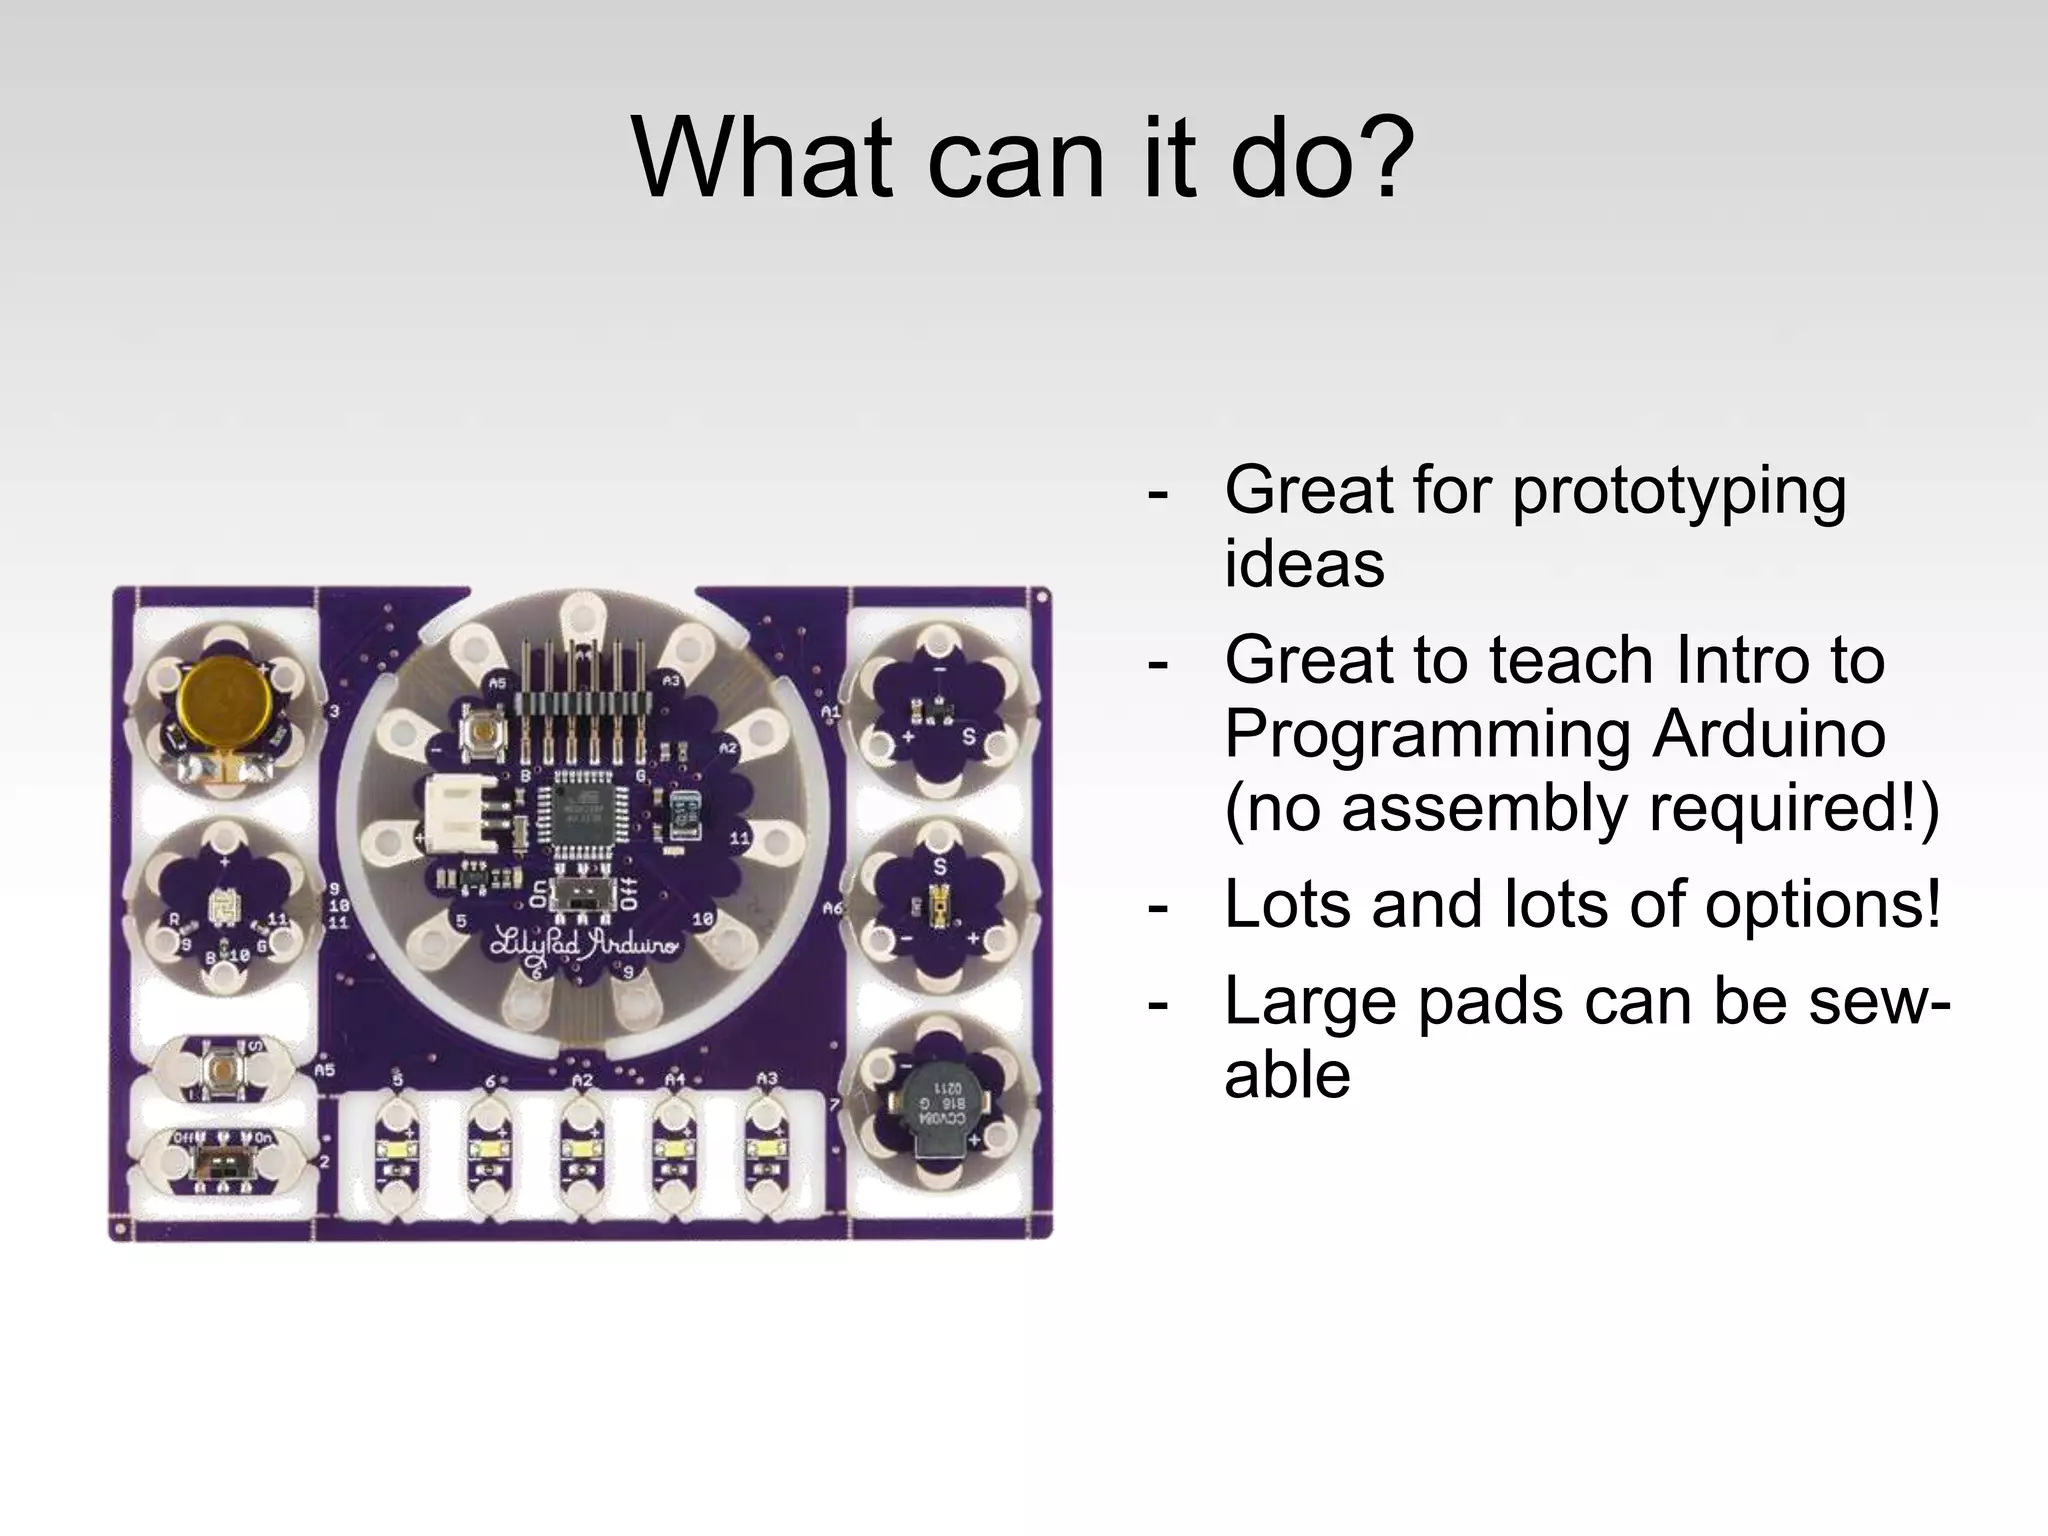
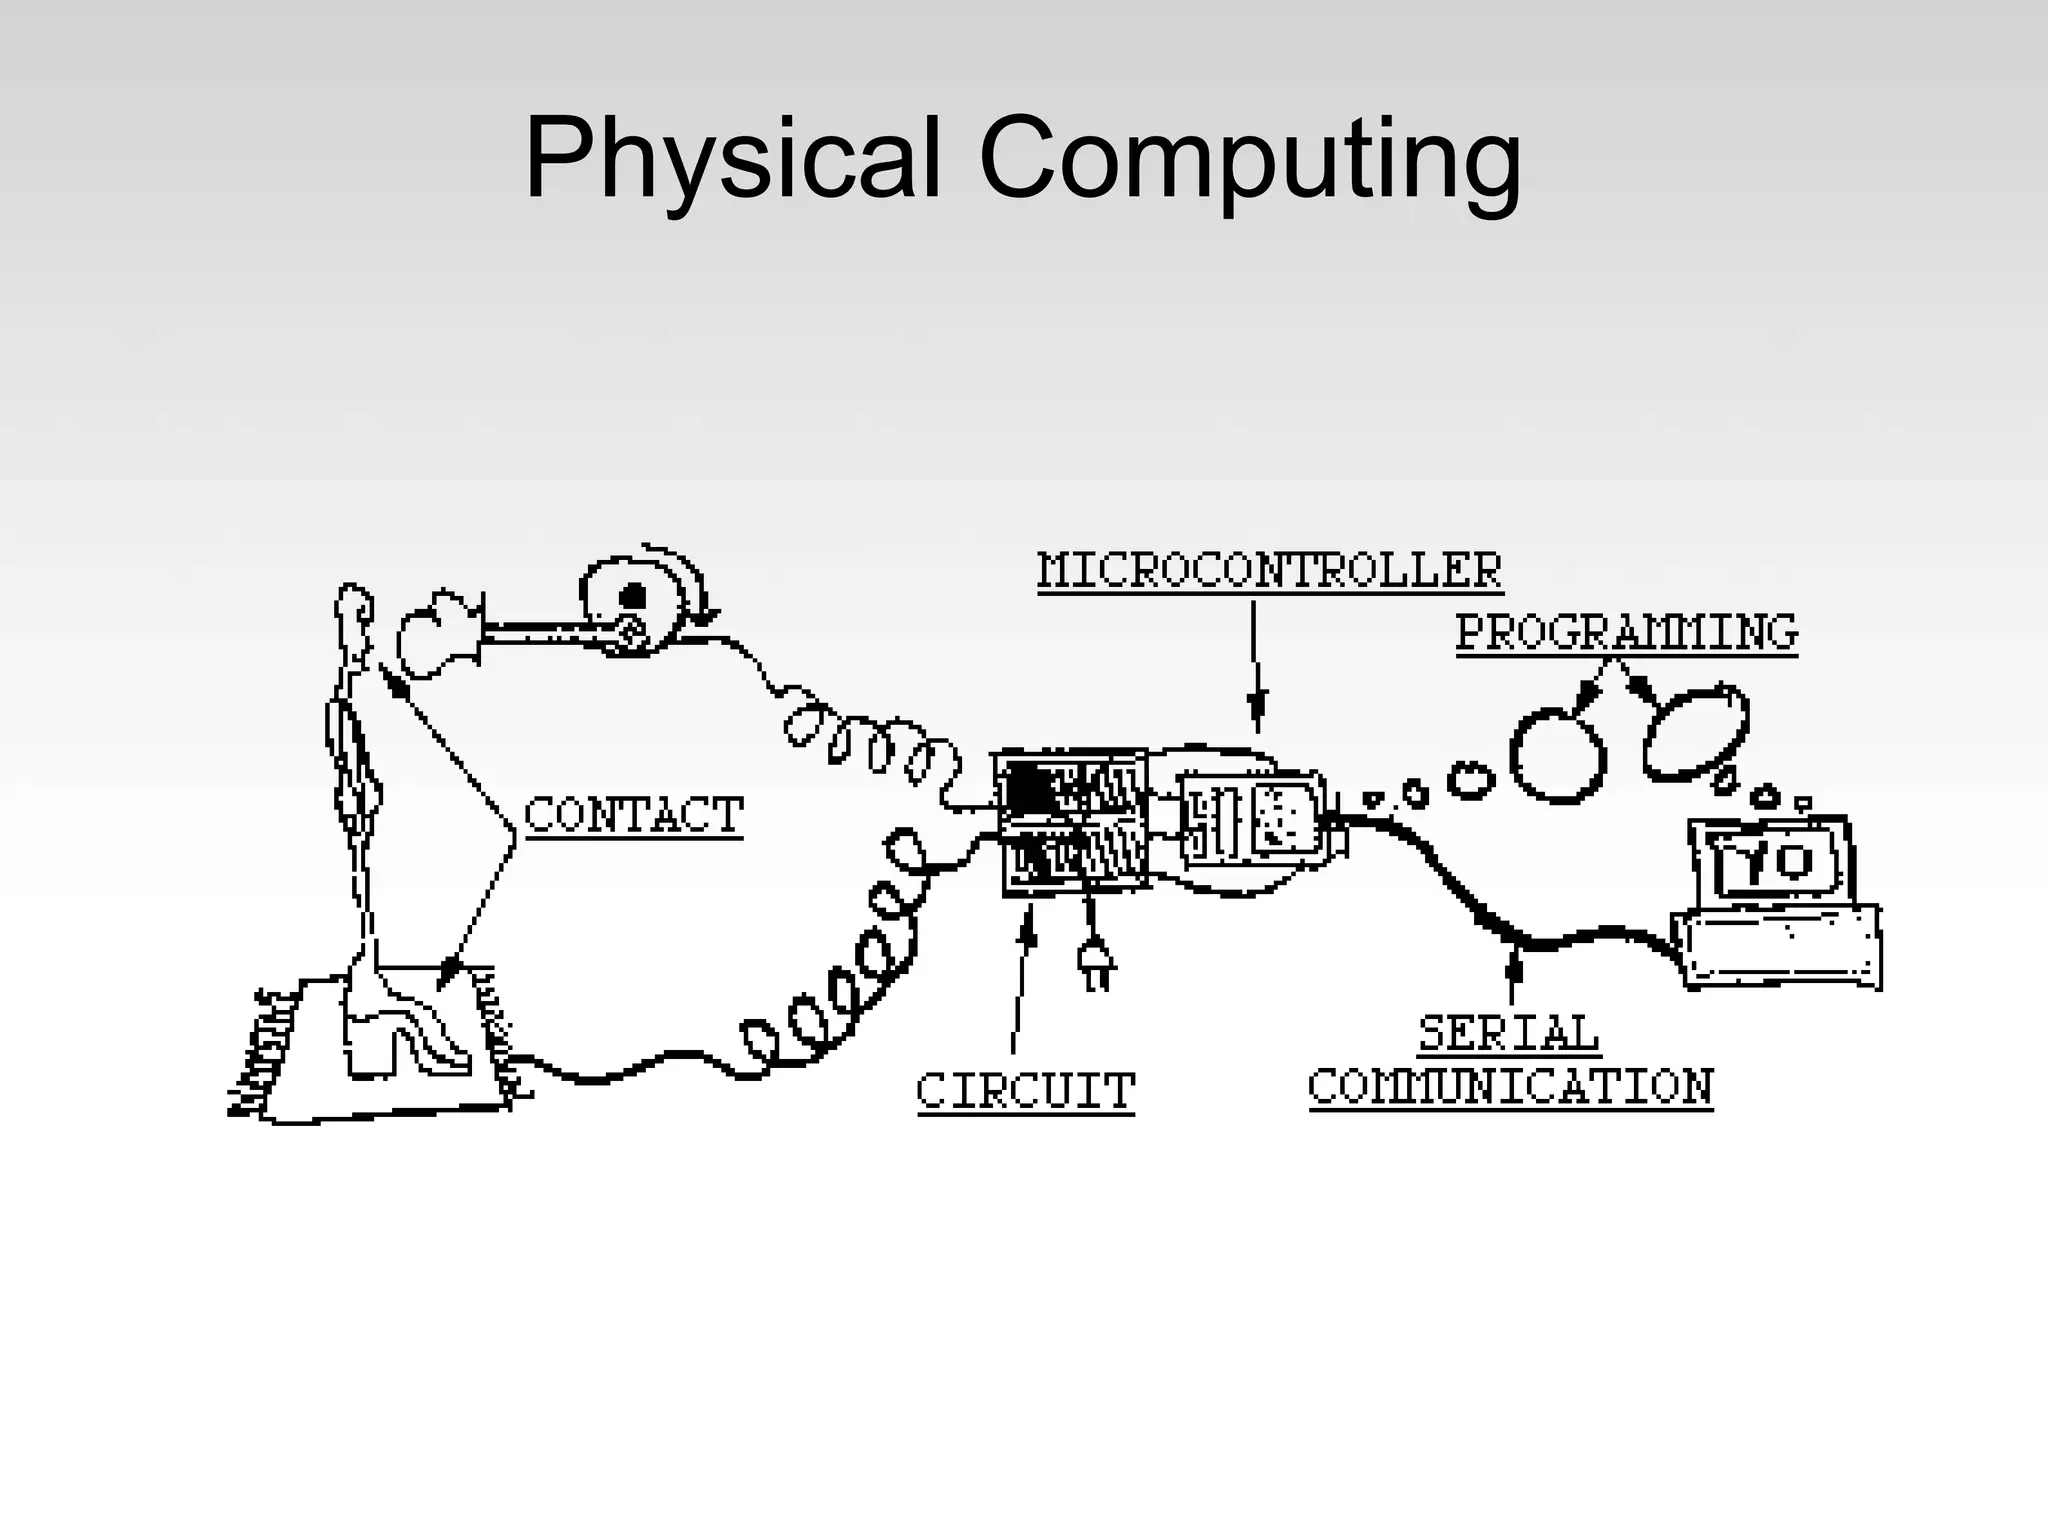
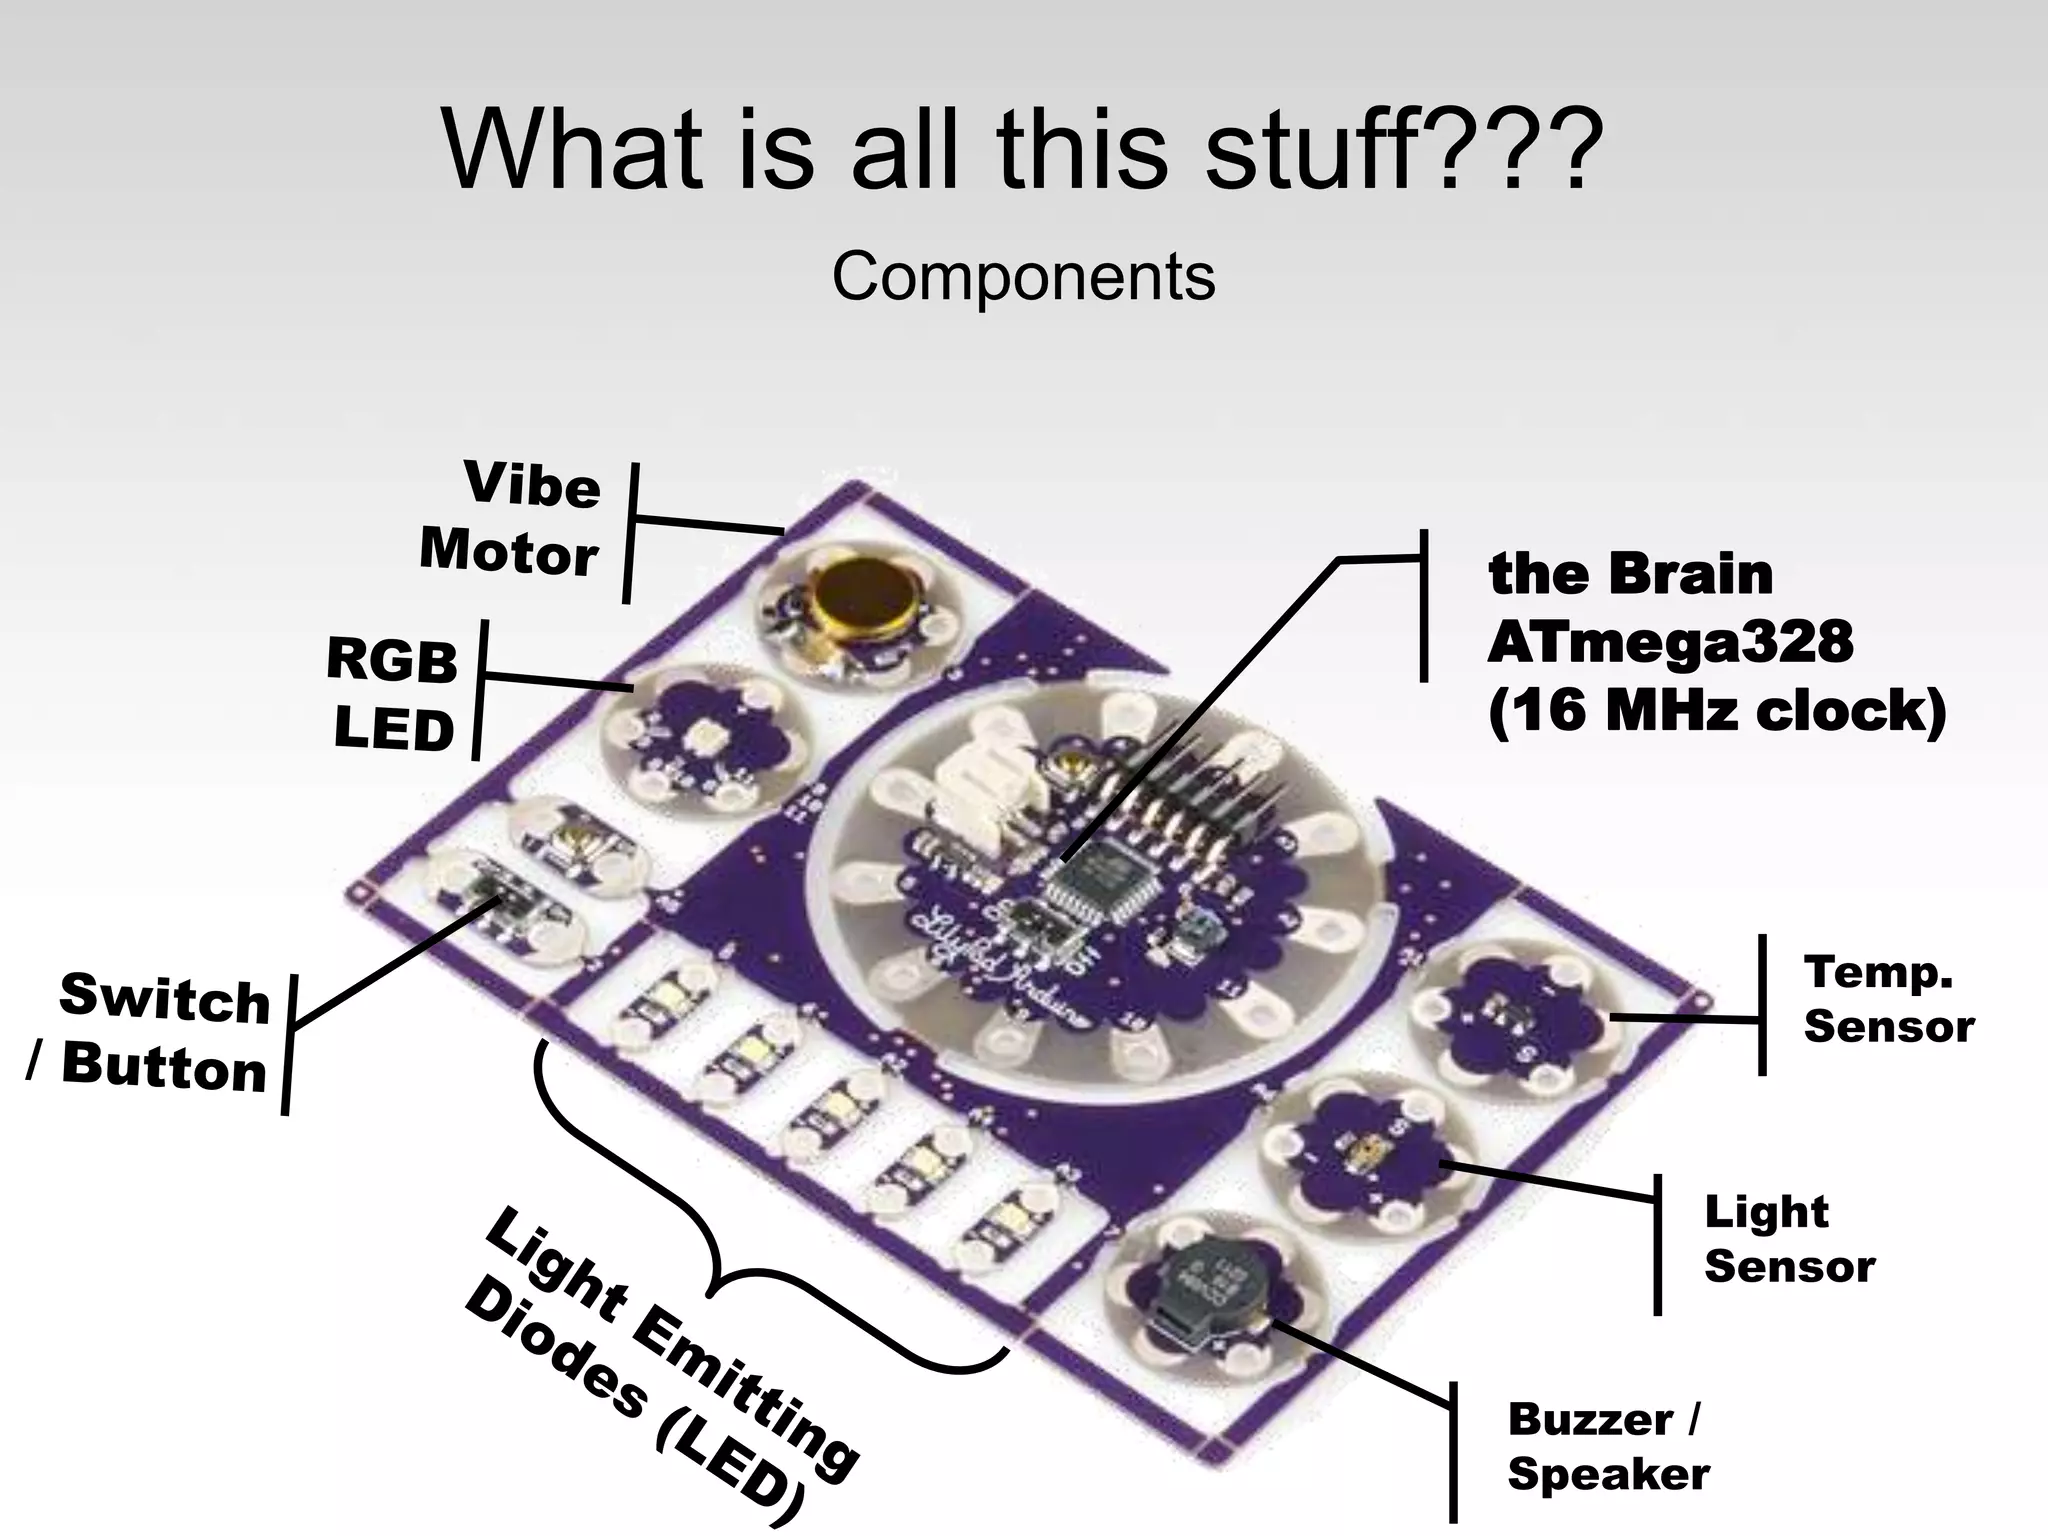
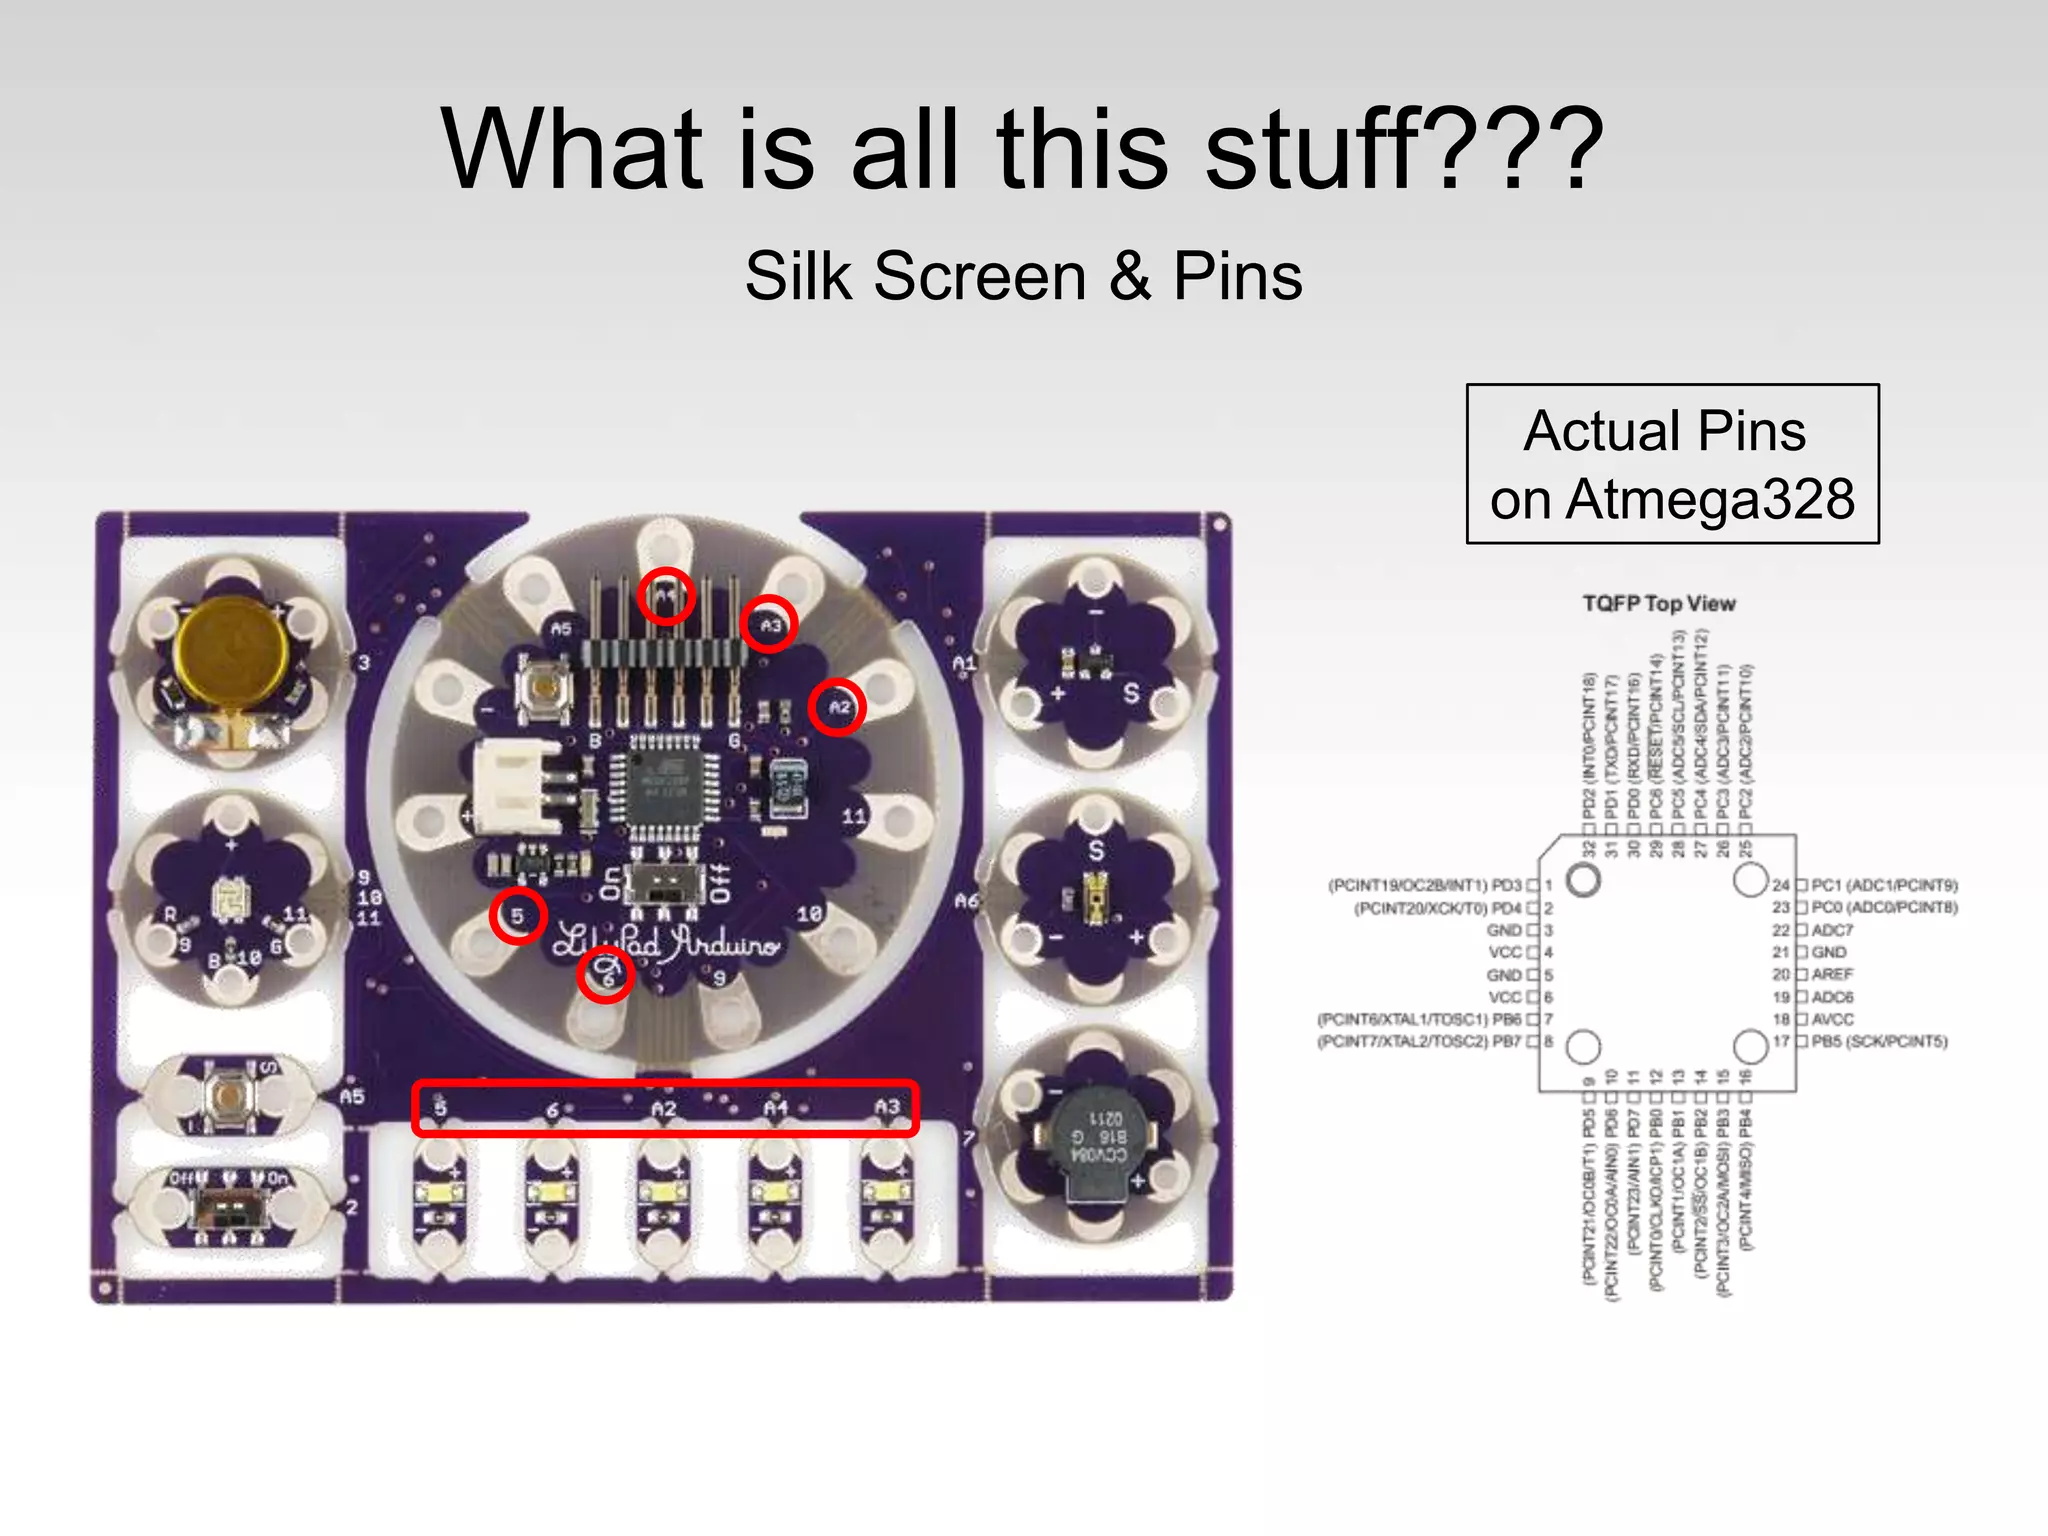
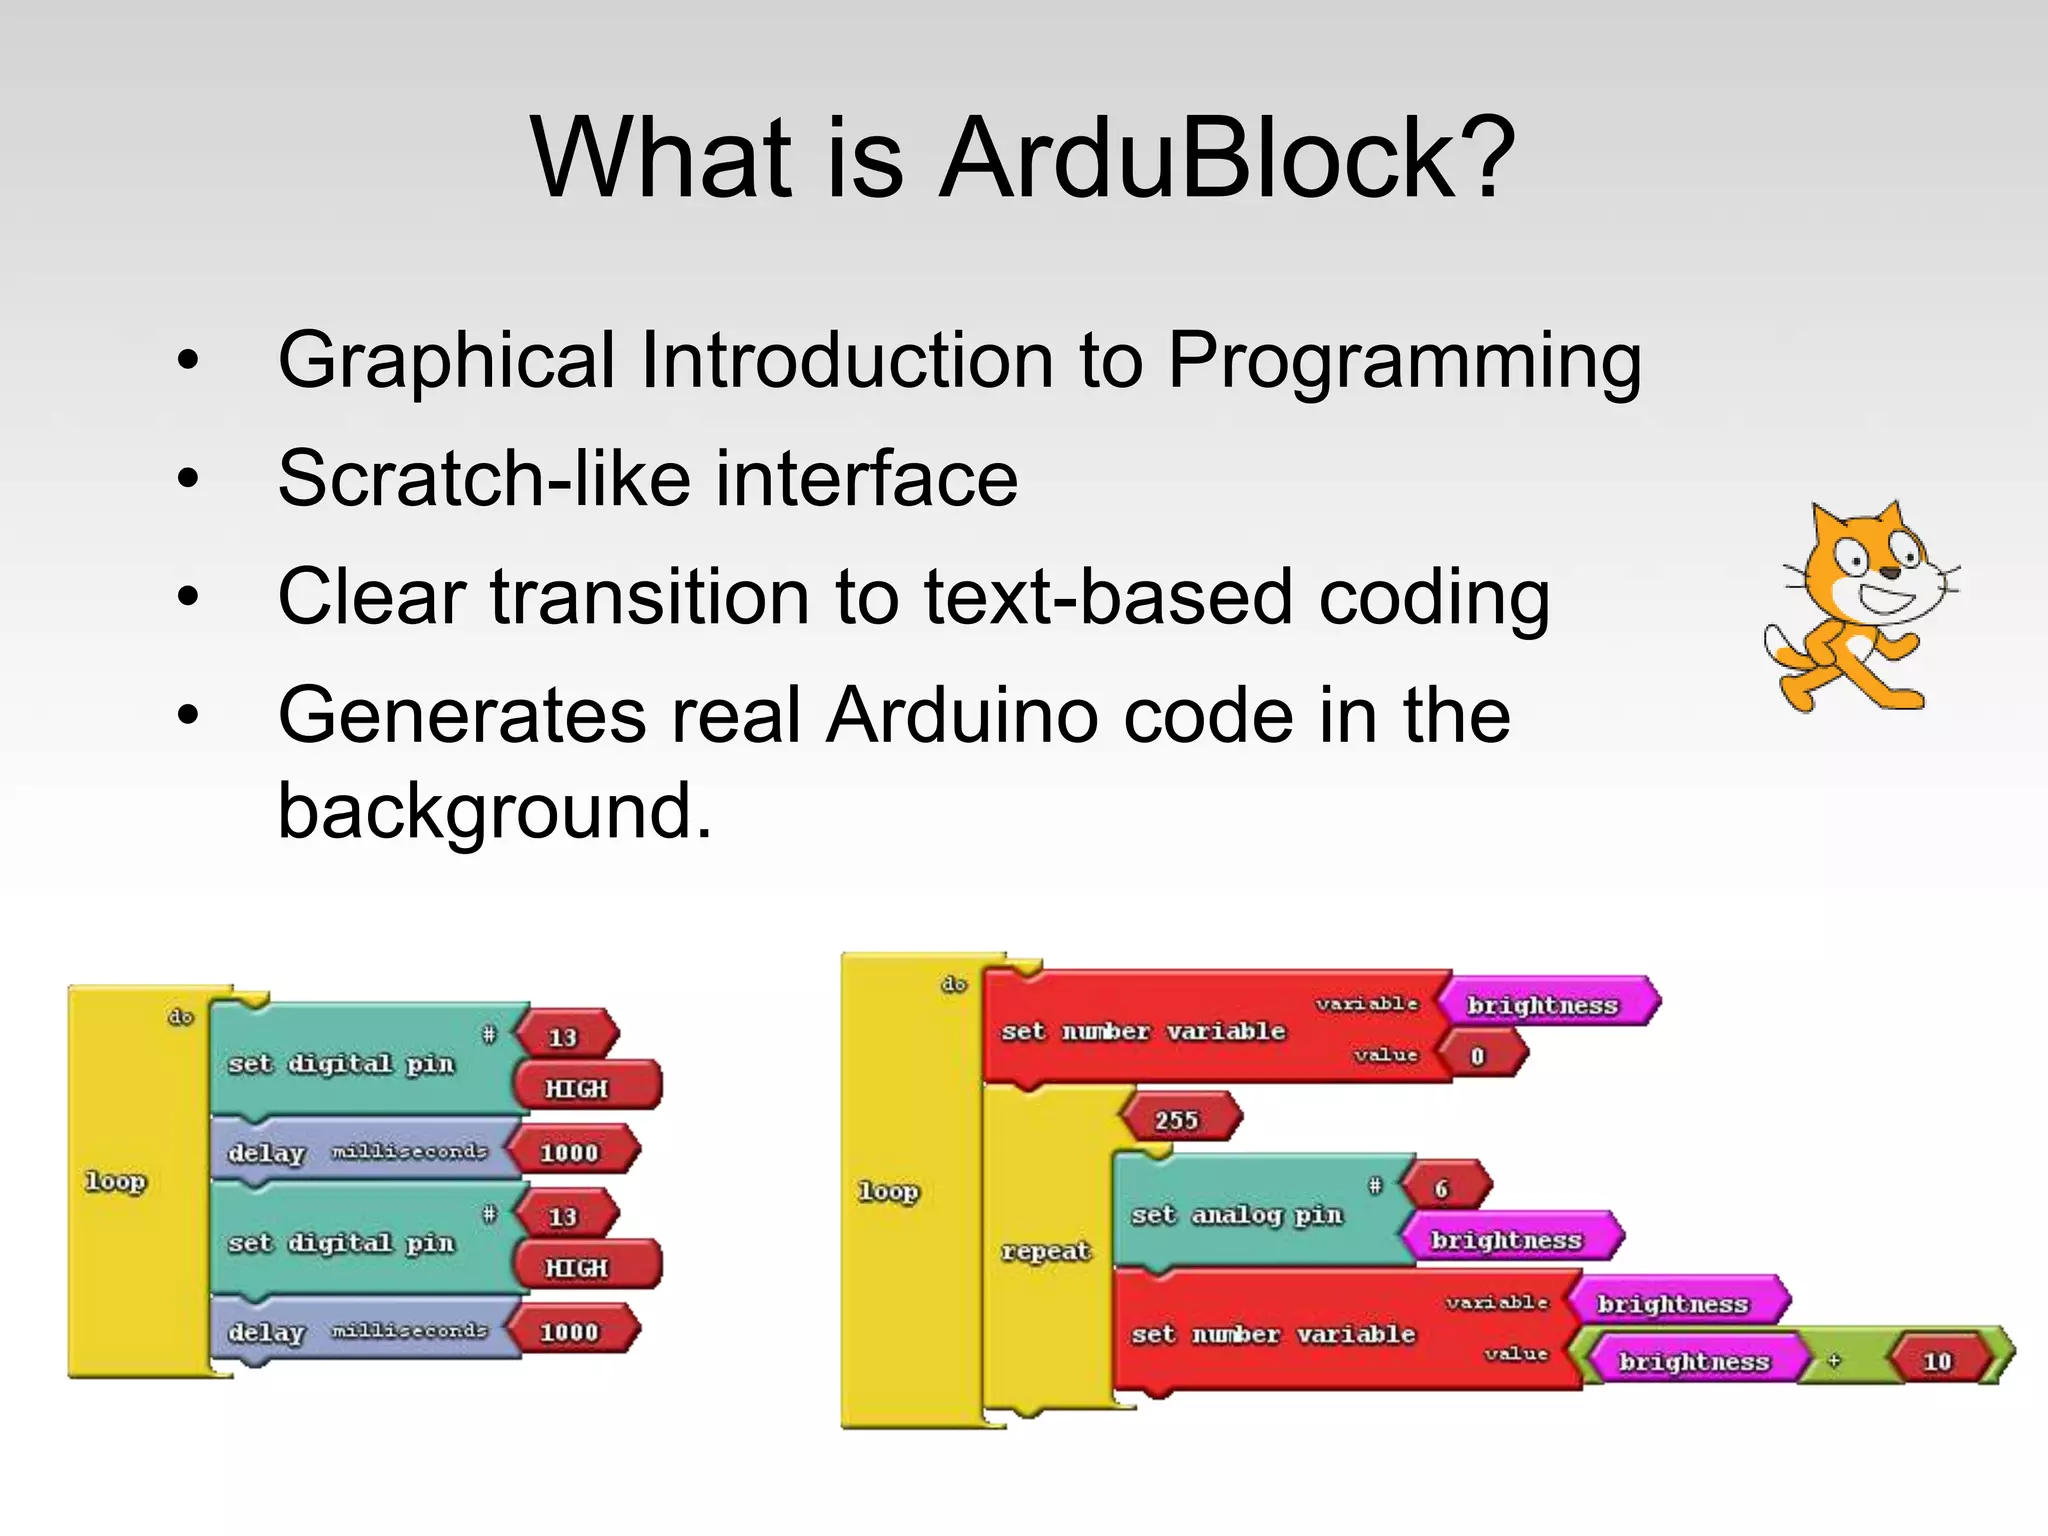
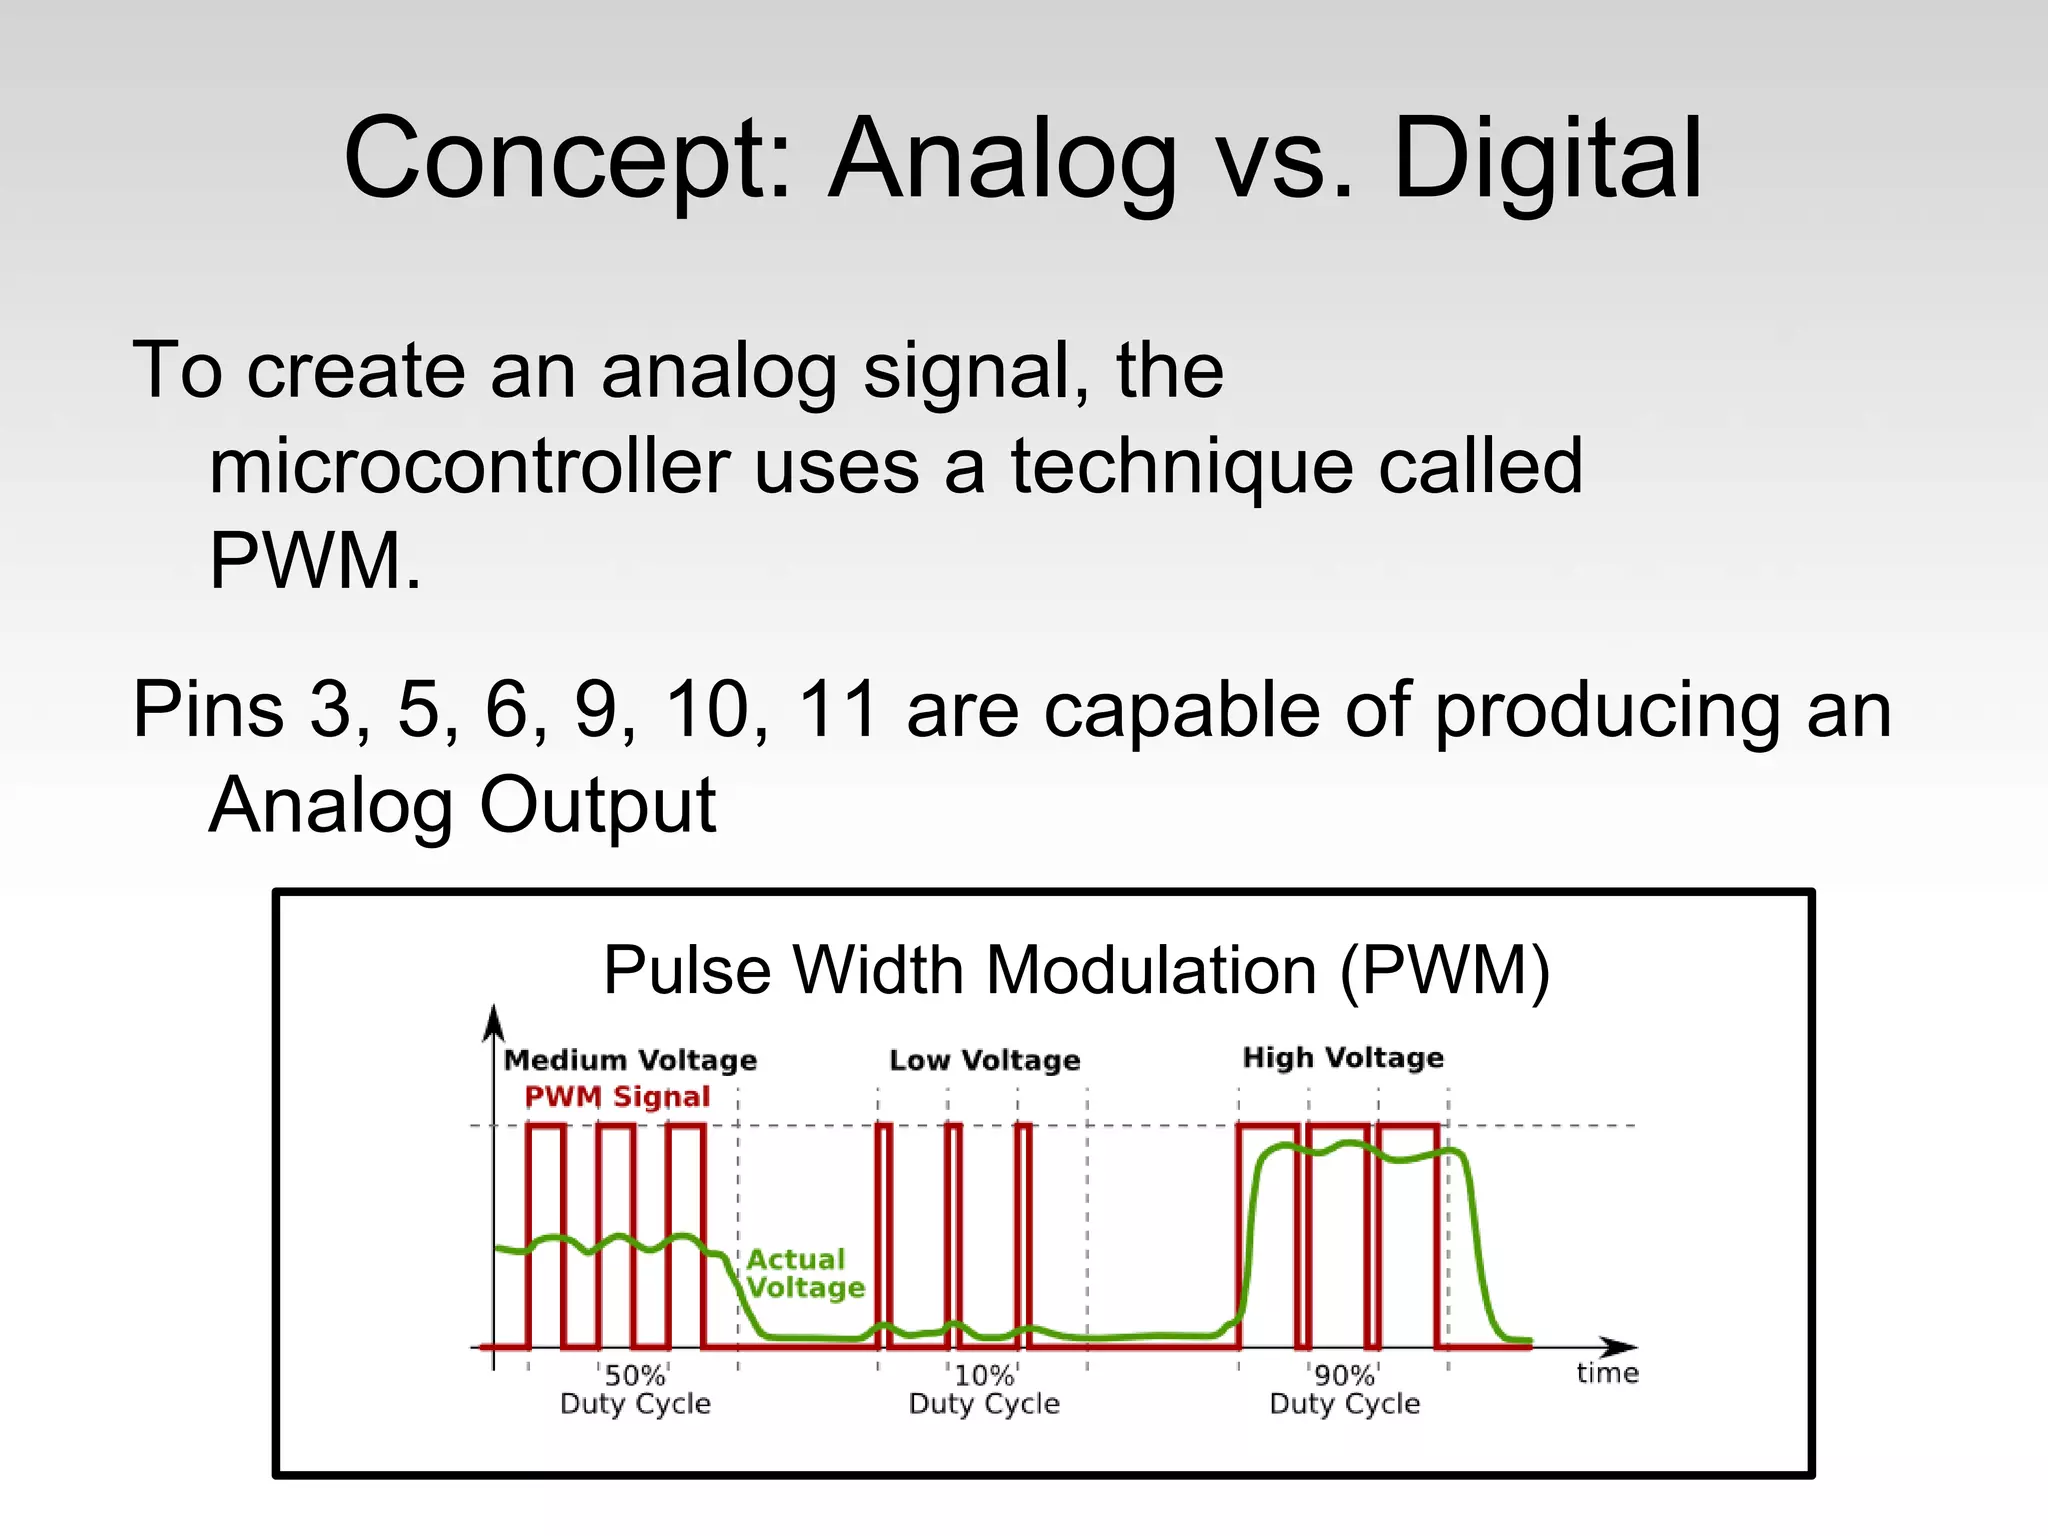
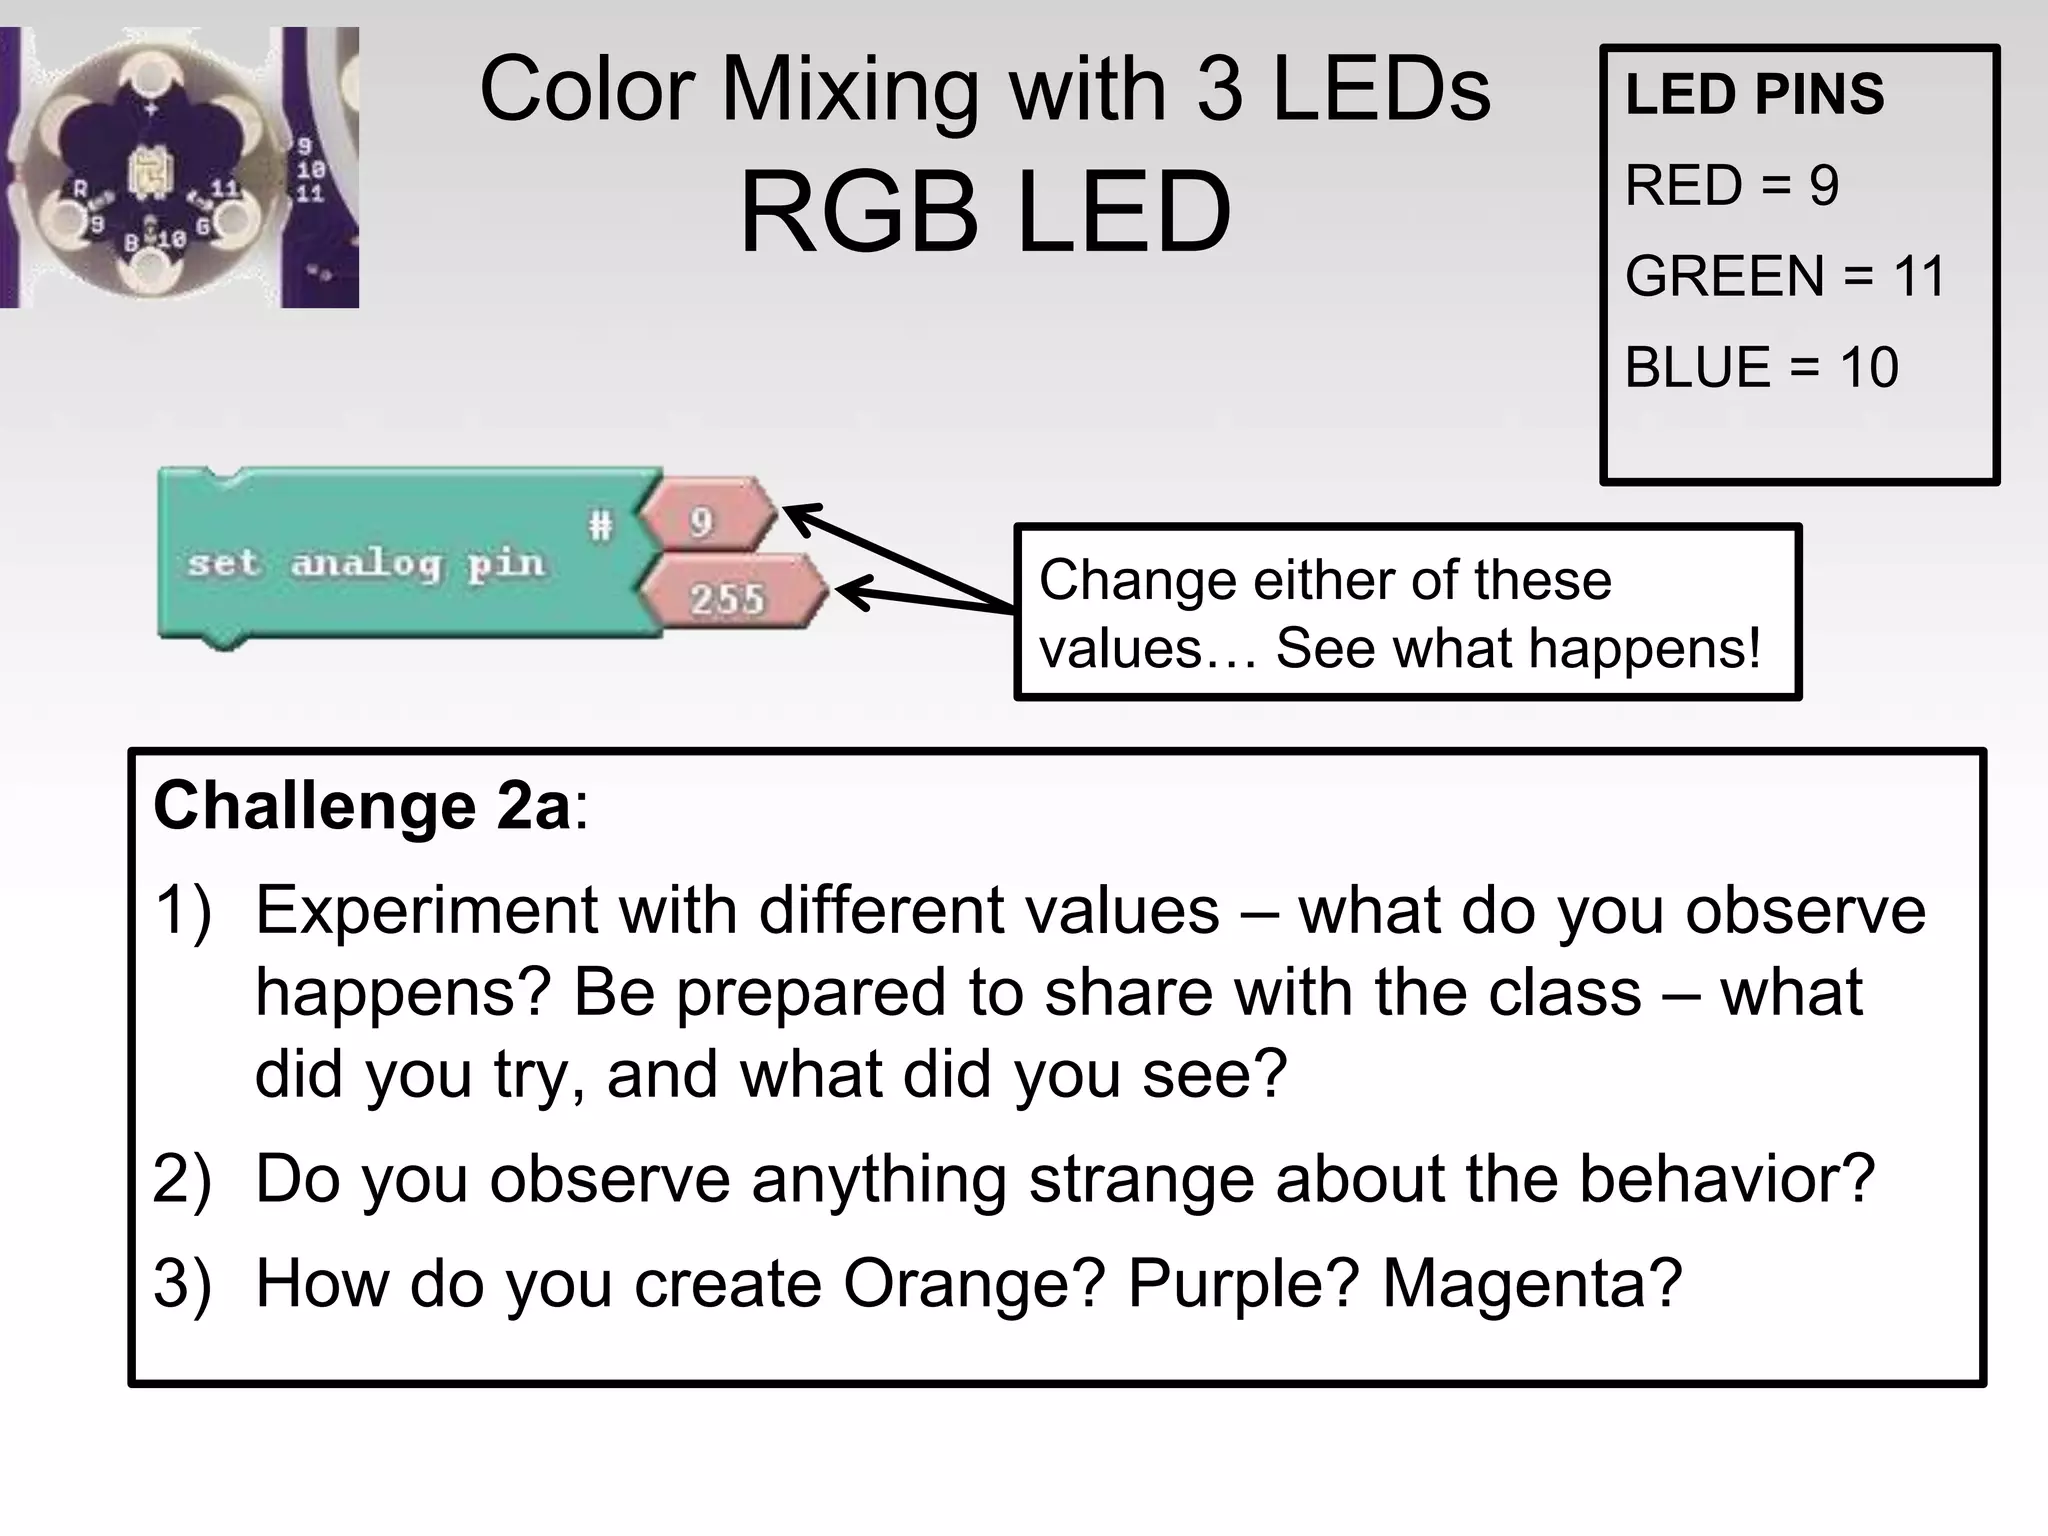
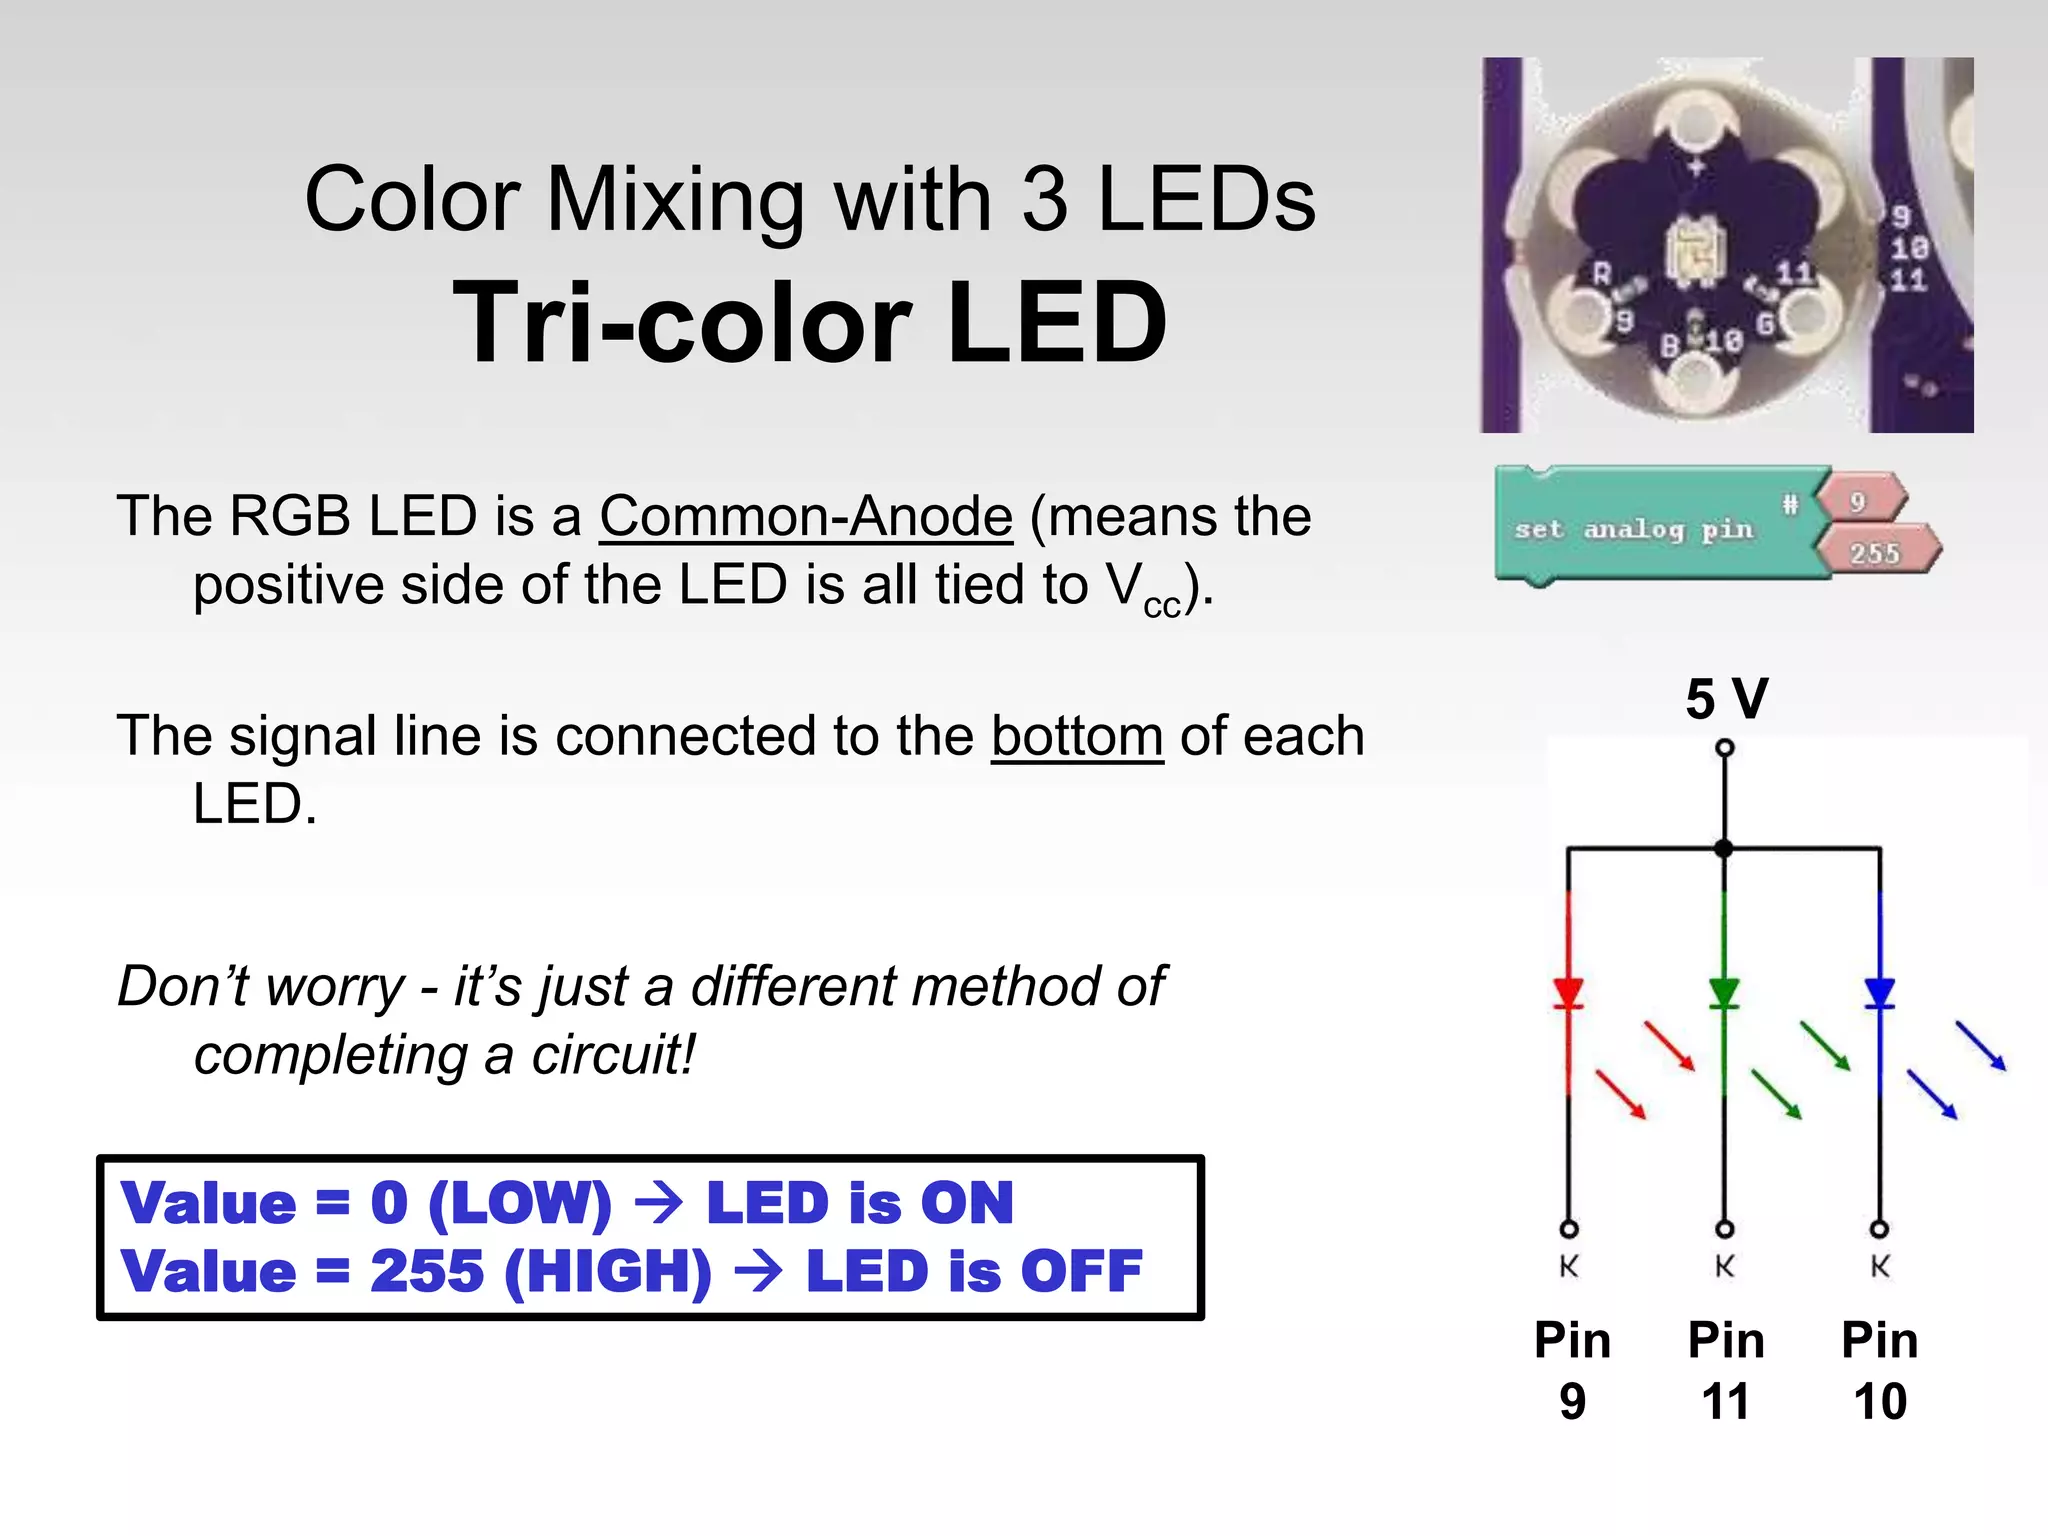
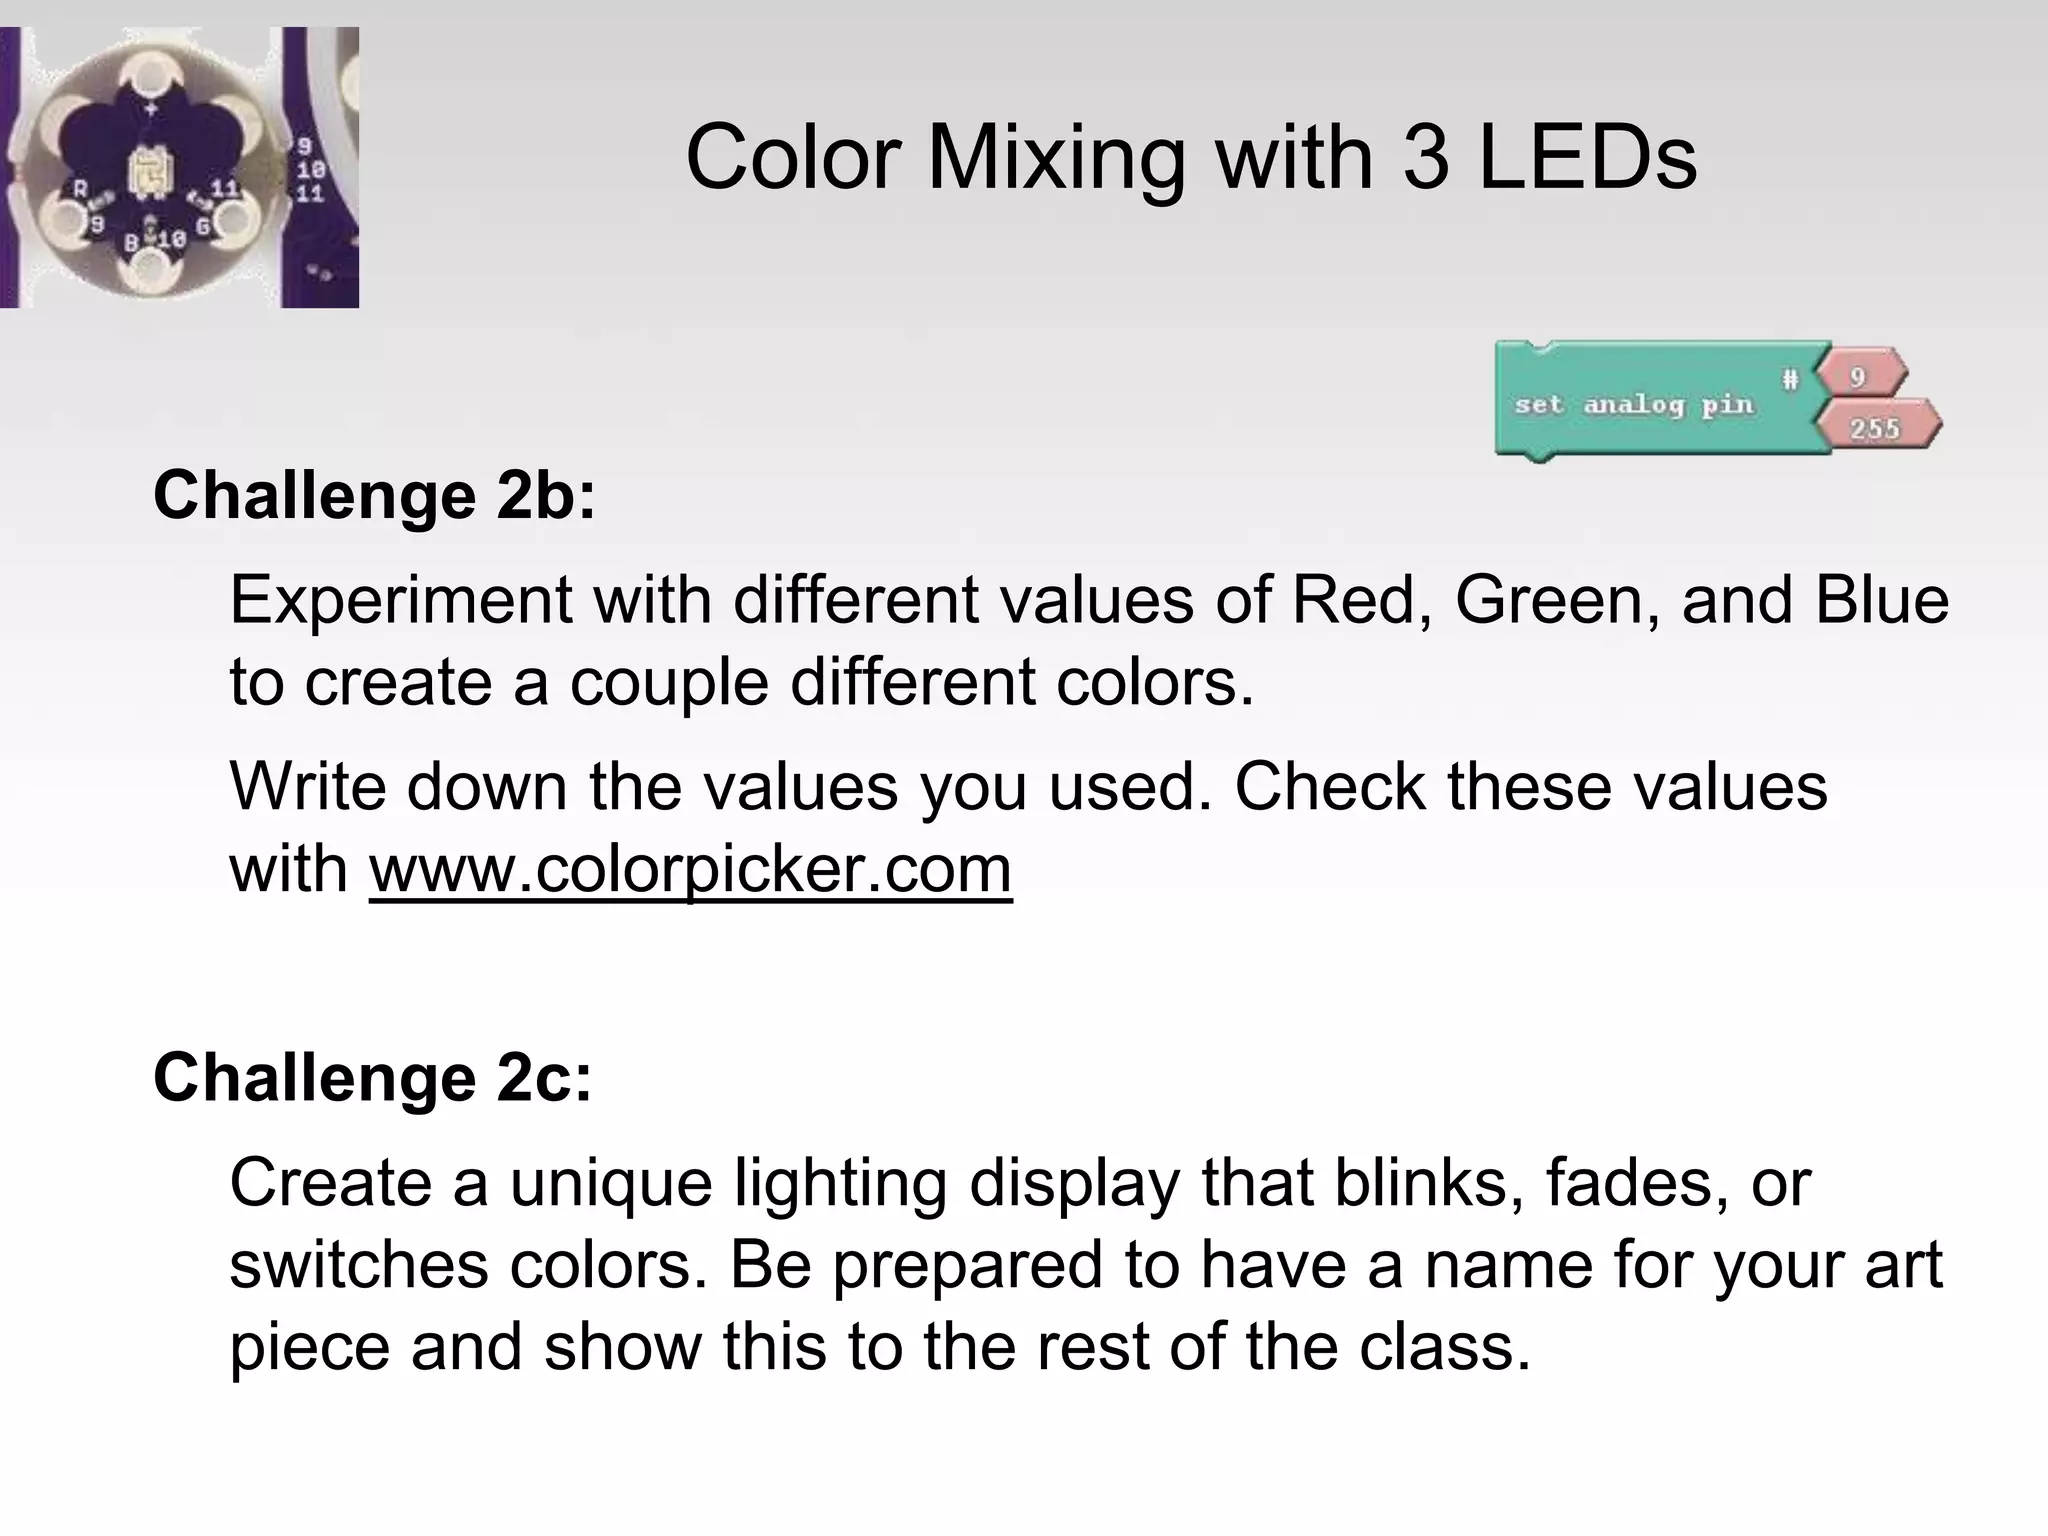
The document is an introduction to programming with Arduino using Ardublock and Lilypad, focusing on practical lessons to engage users in physical computing. It includes installation instructions, programming concepts, and lessons that guide users through working with components such as LEDs, sensors, and sound devices. The document emphasizes experimentation and creativity in coding while providing resources for further learning.