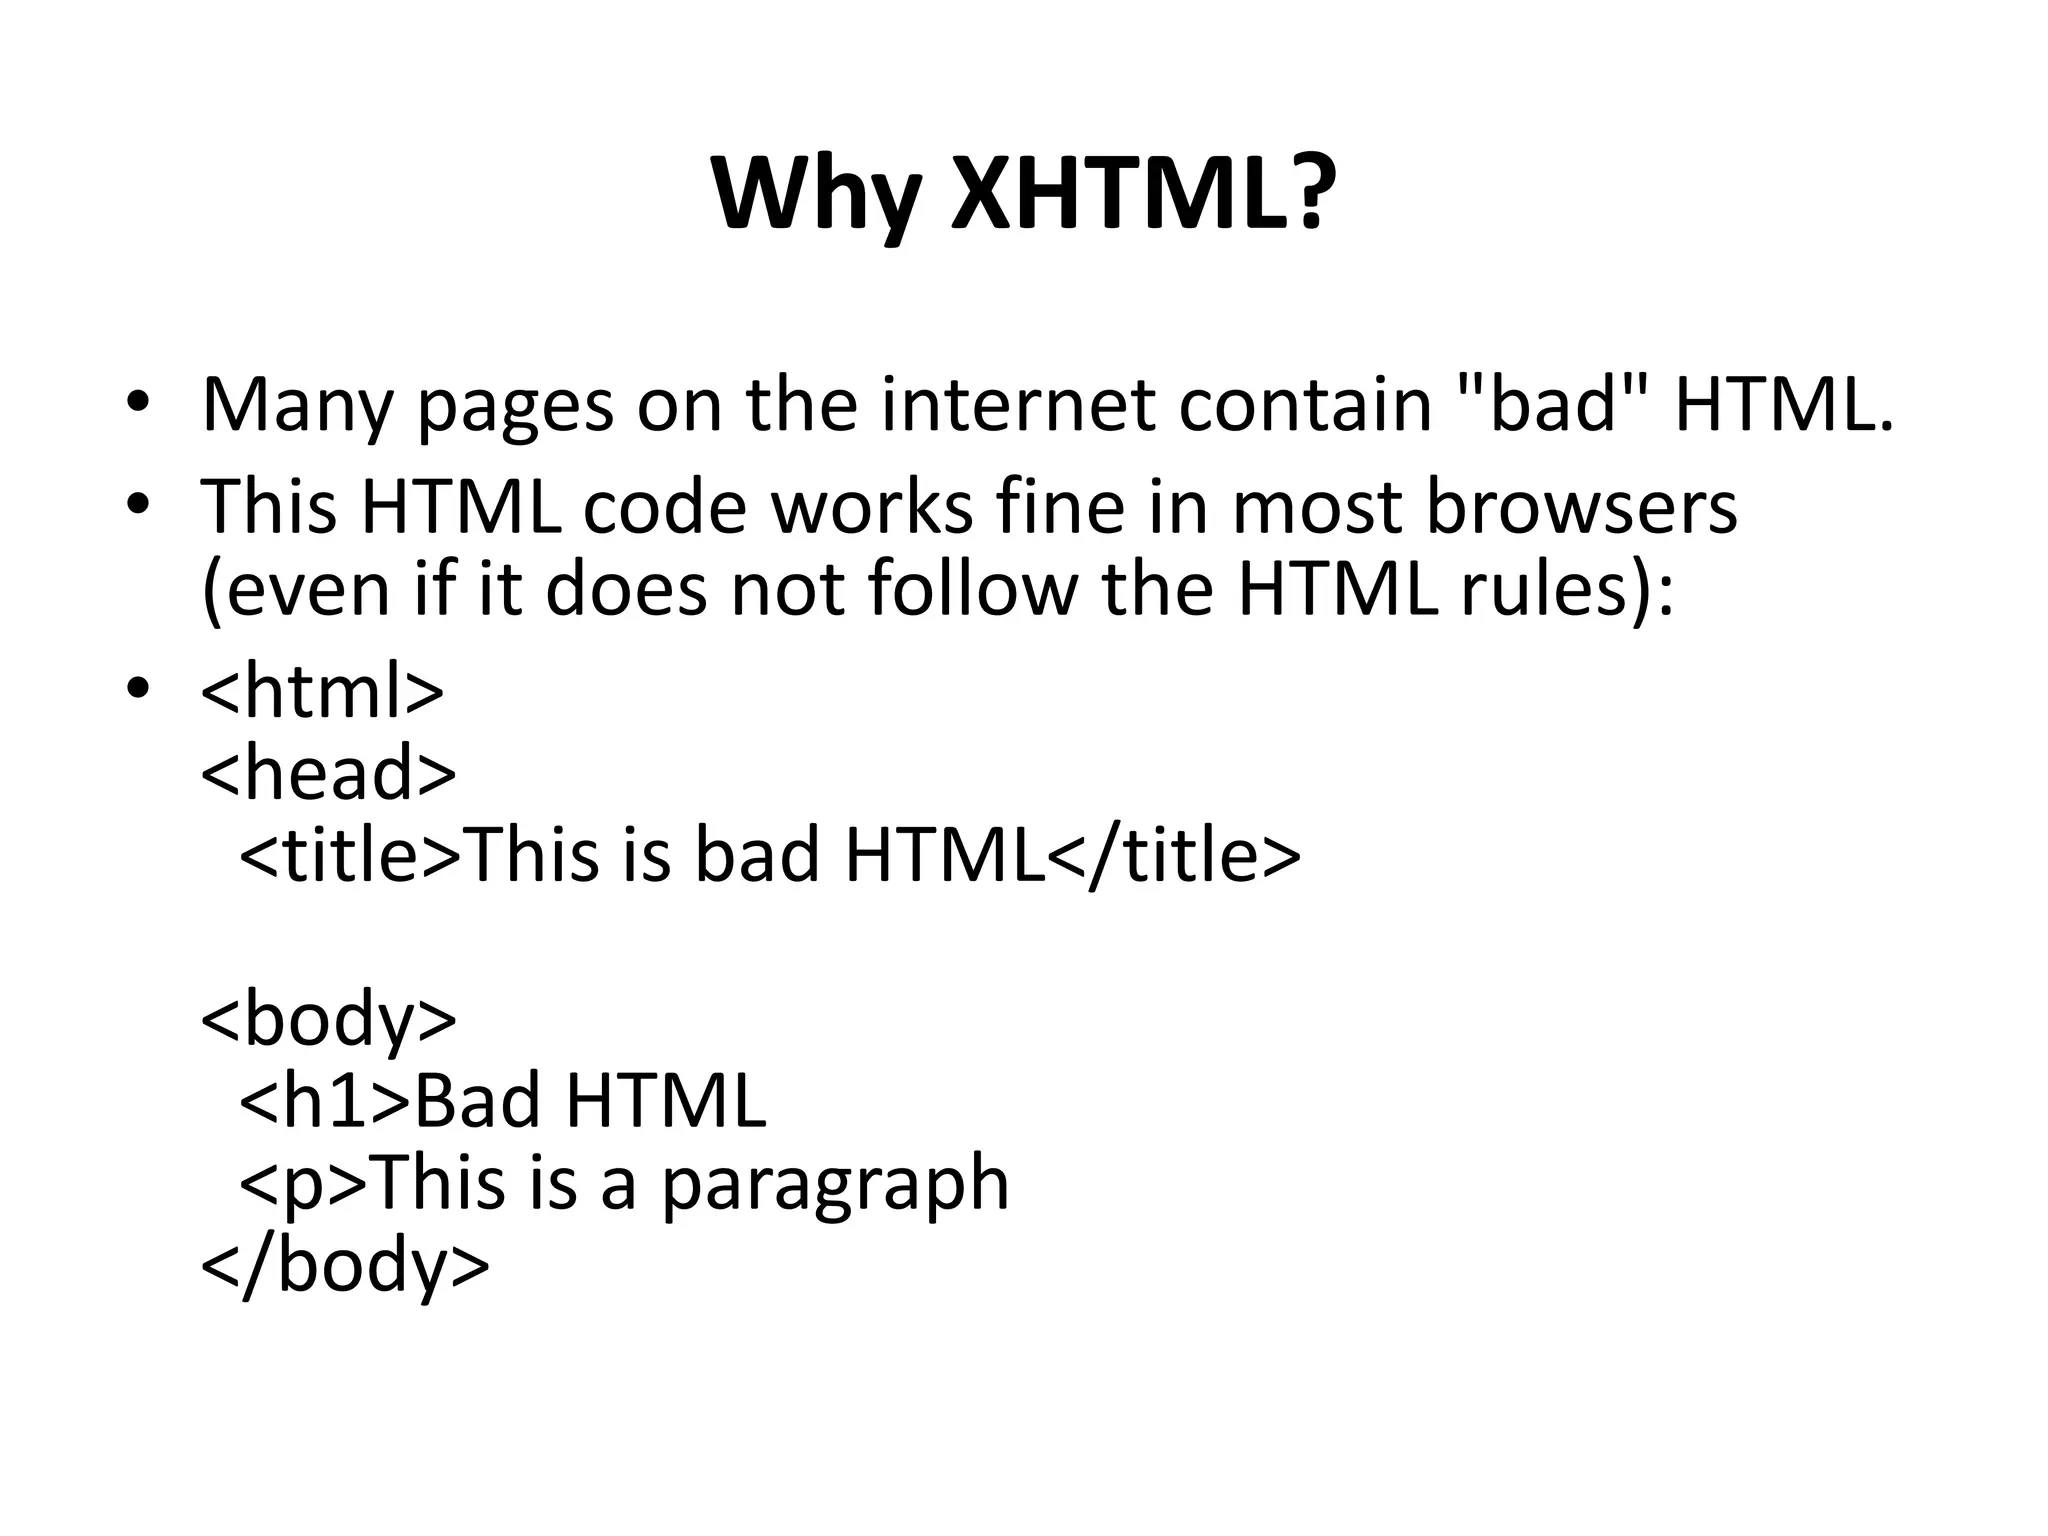
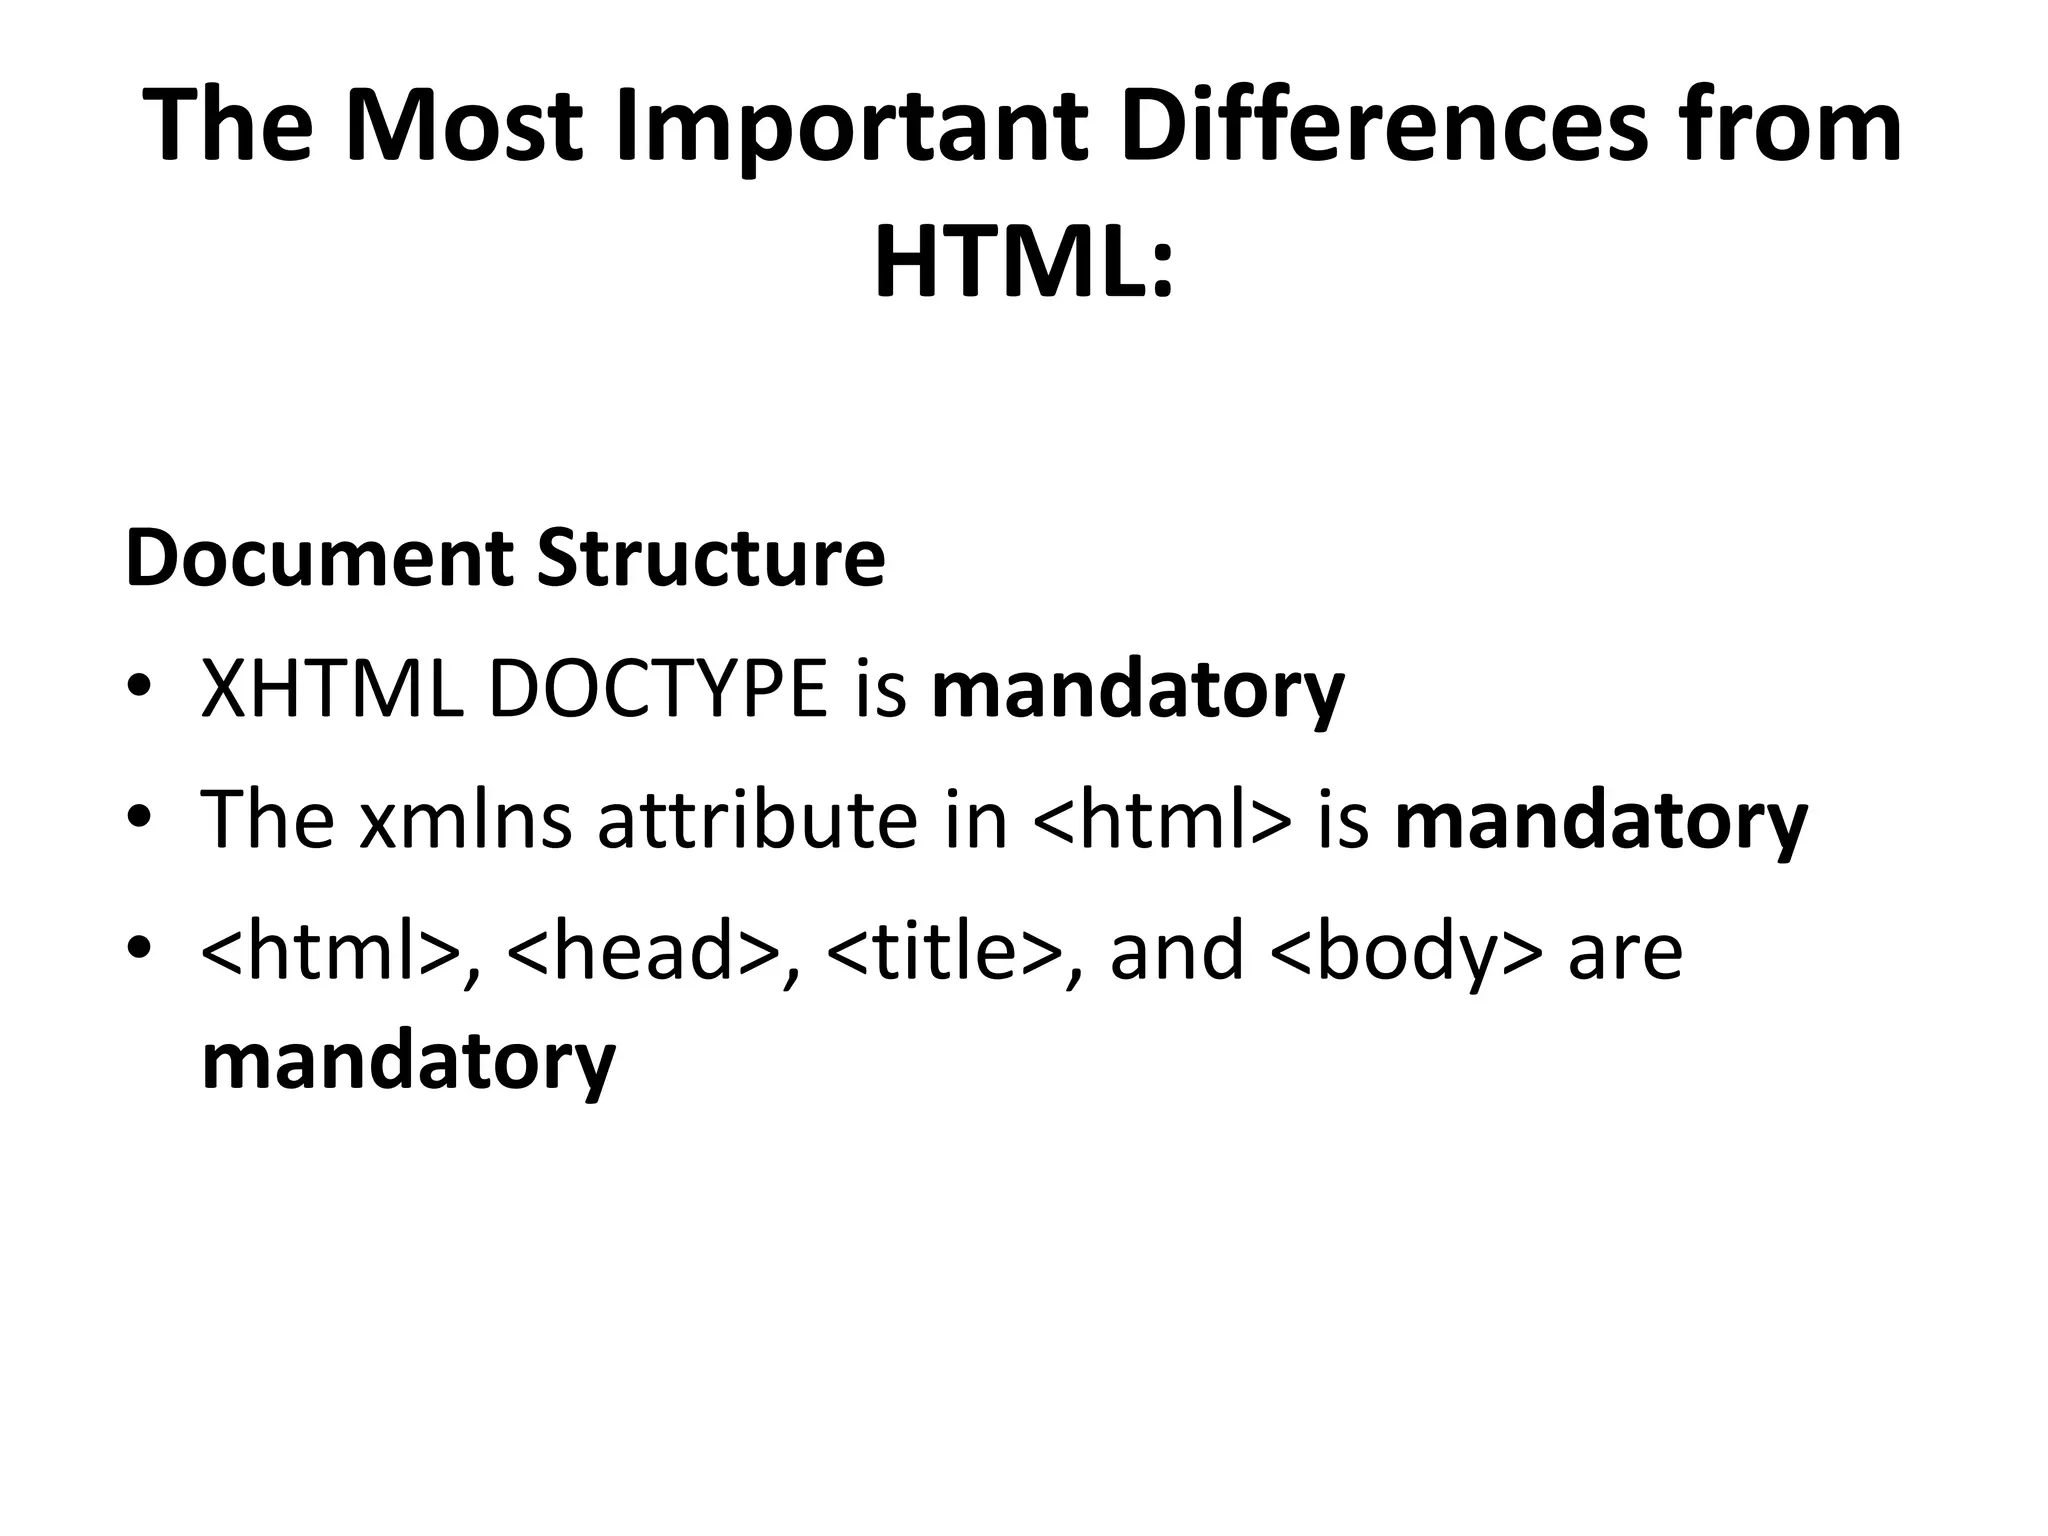
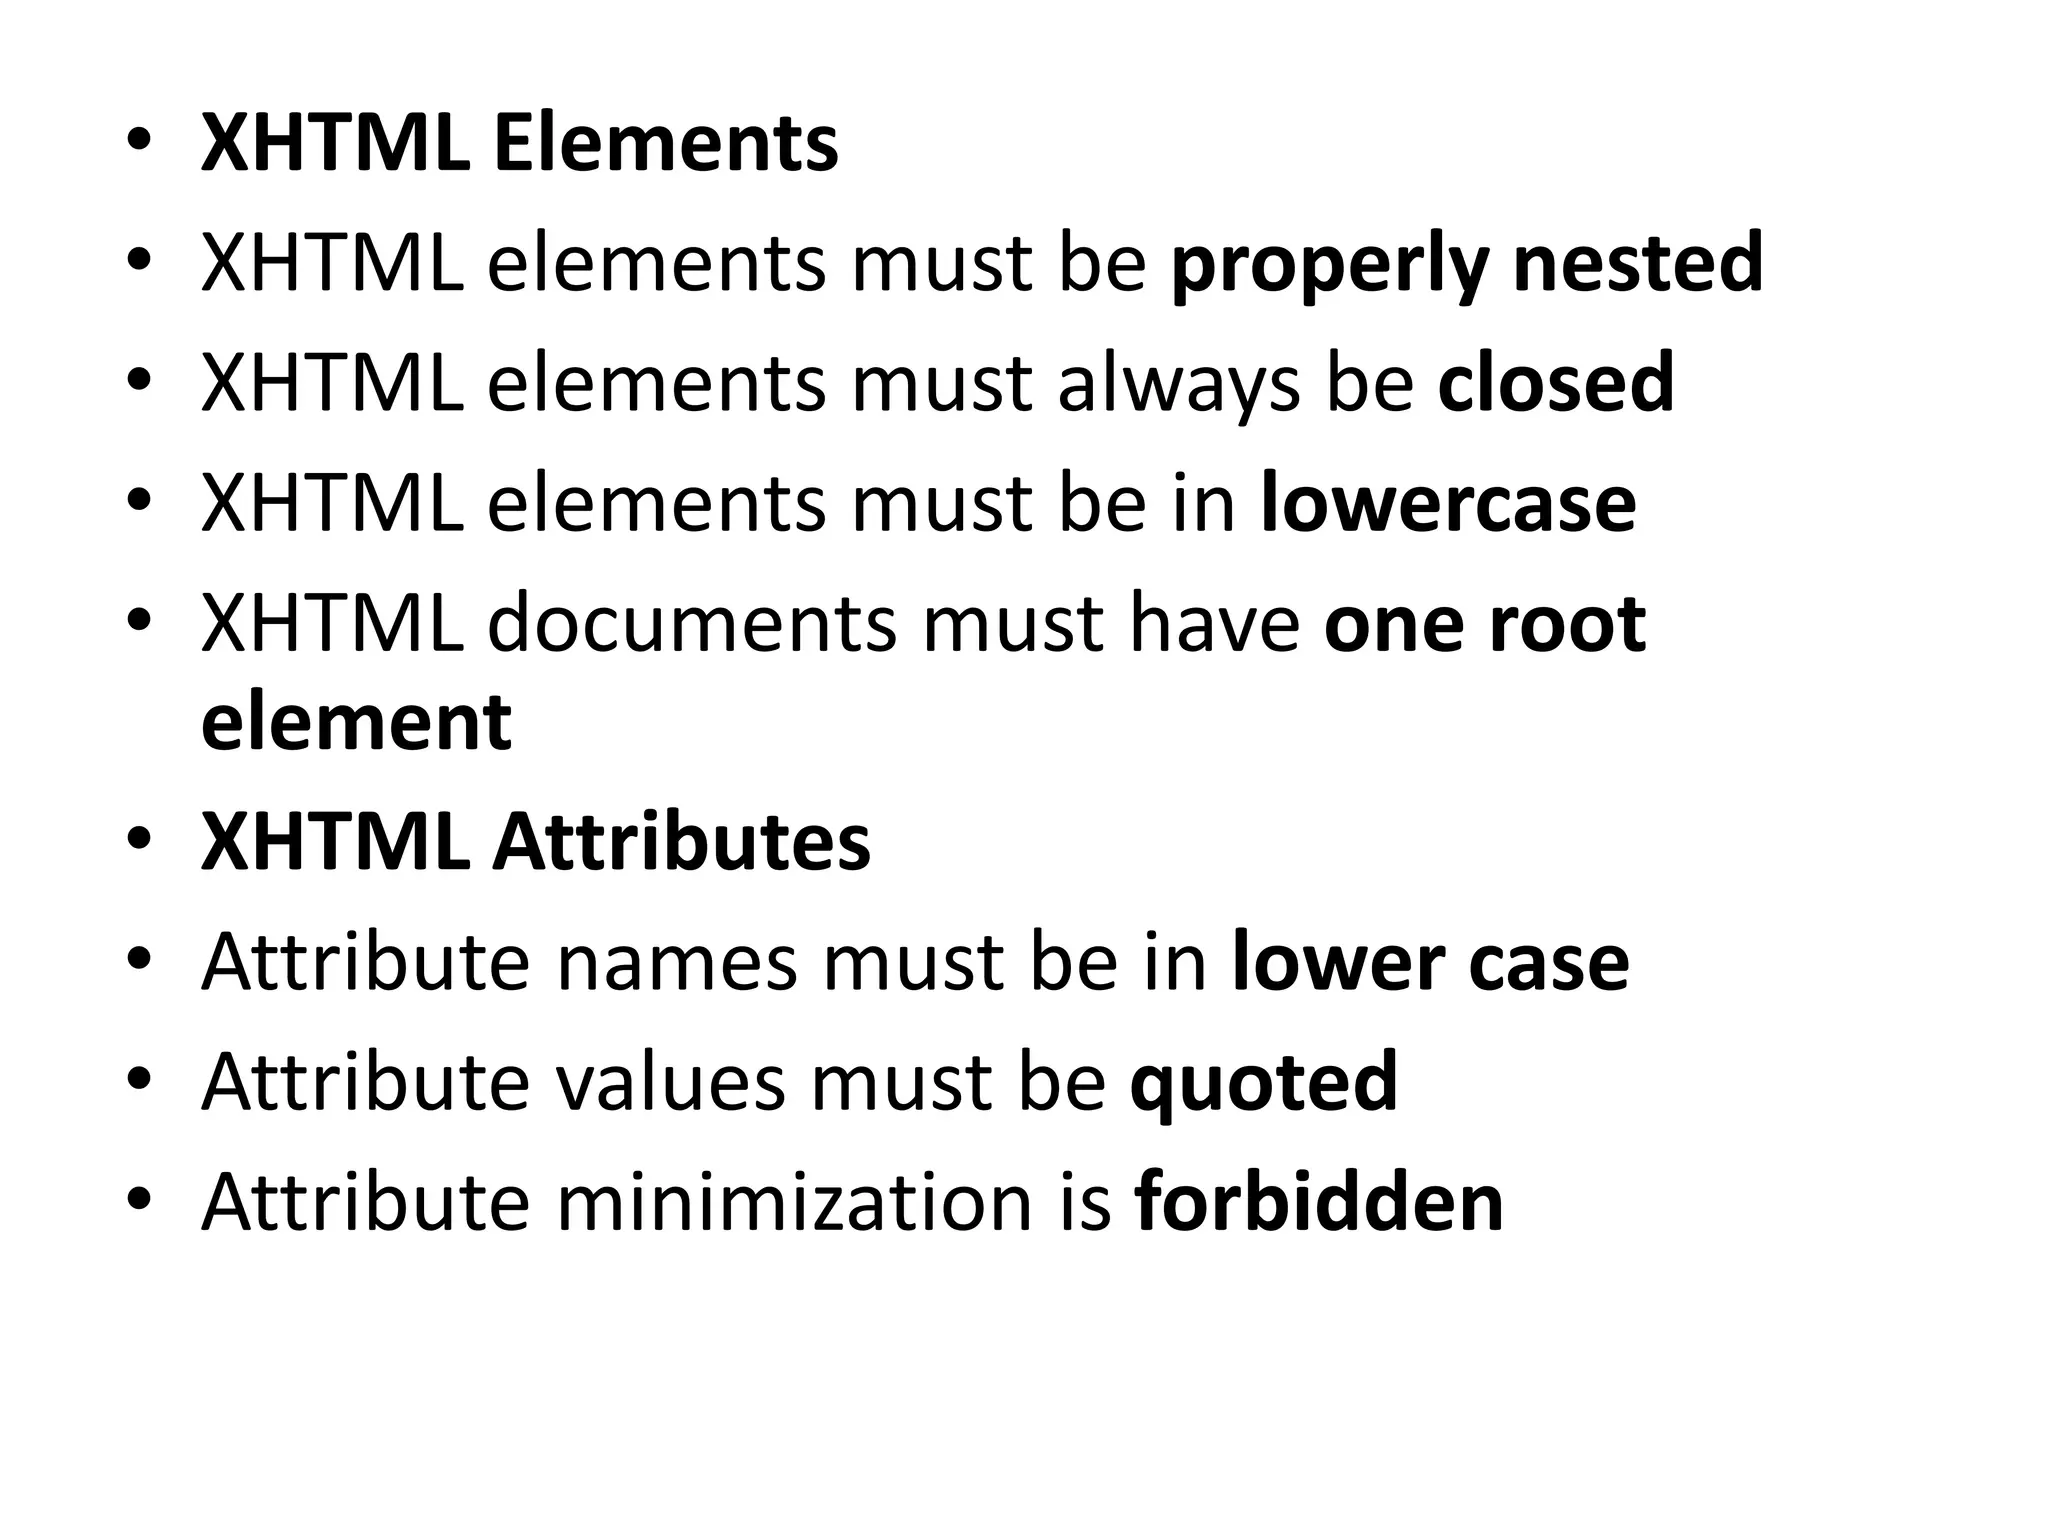
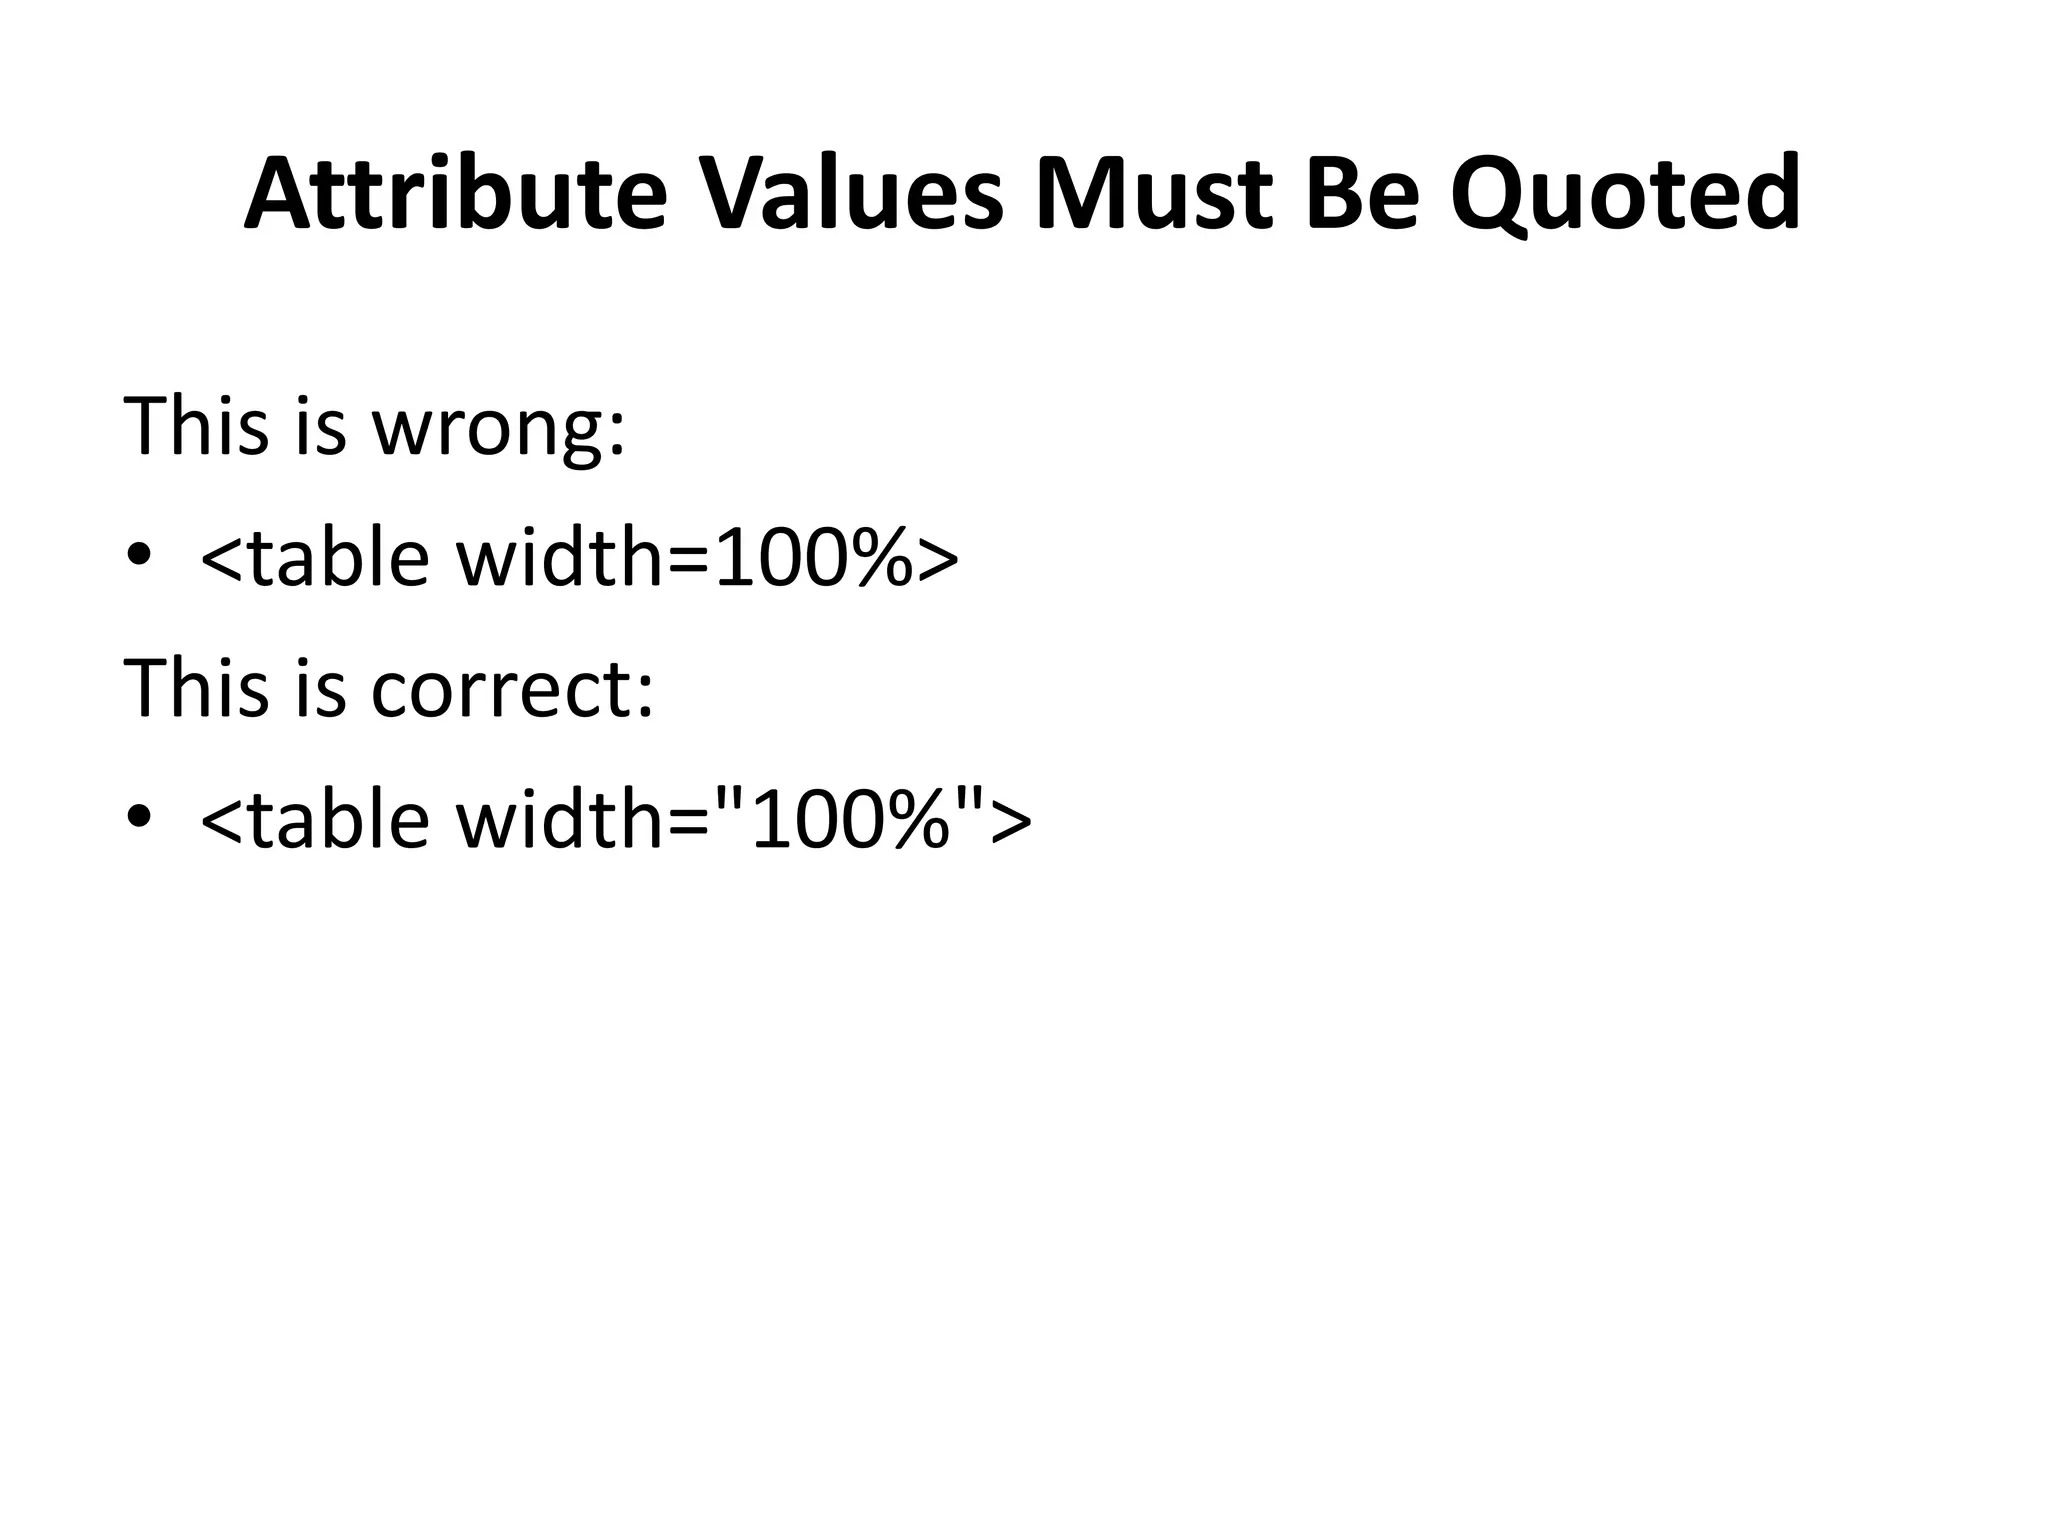
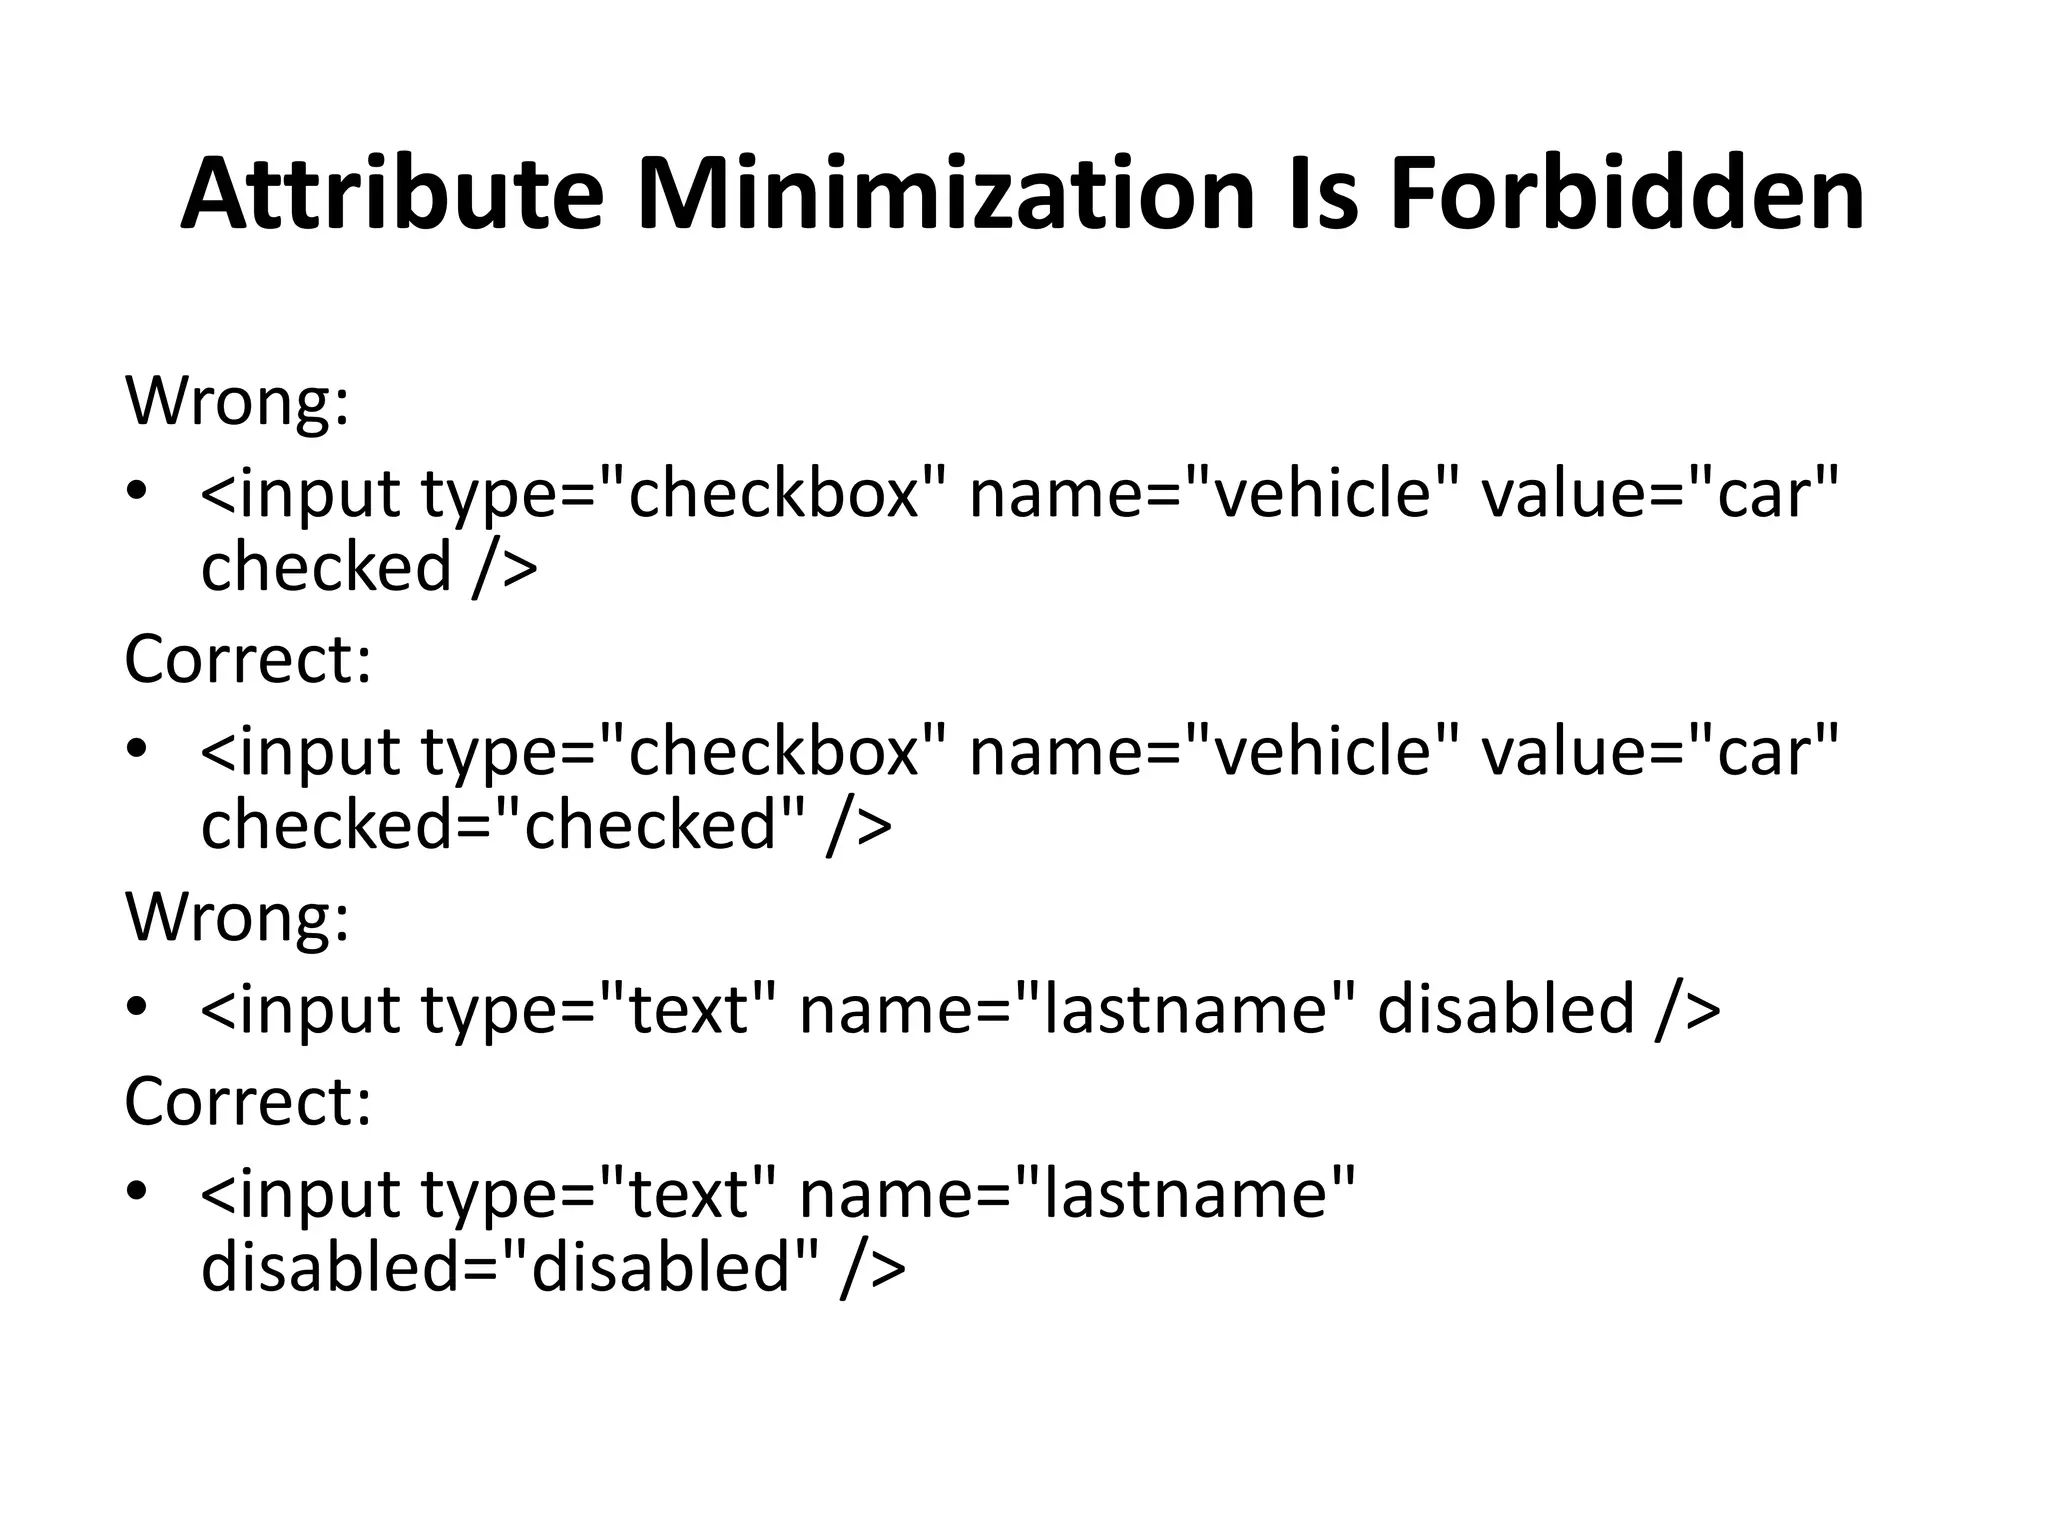
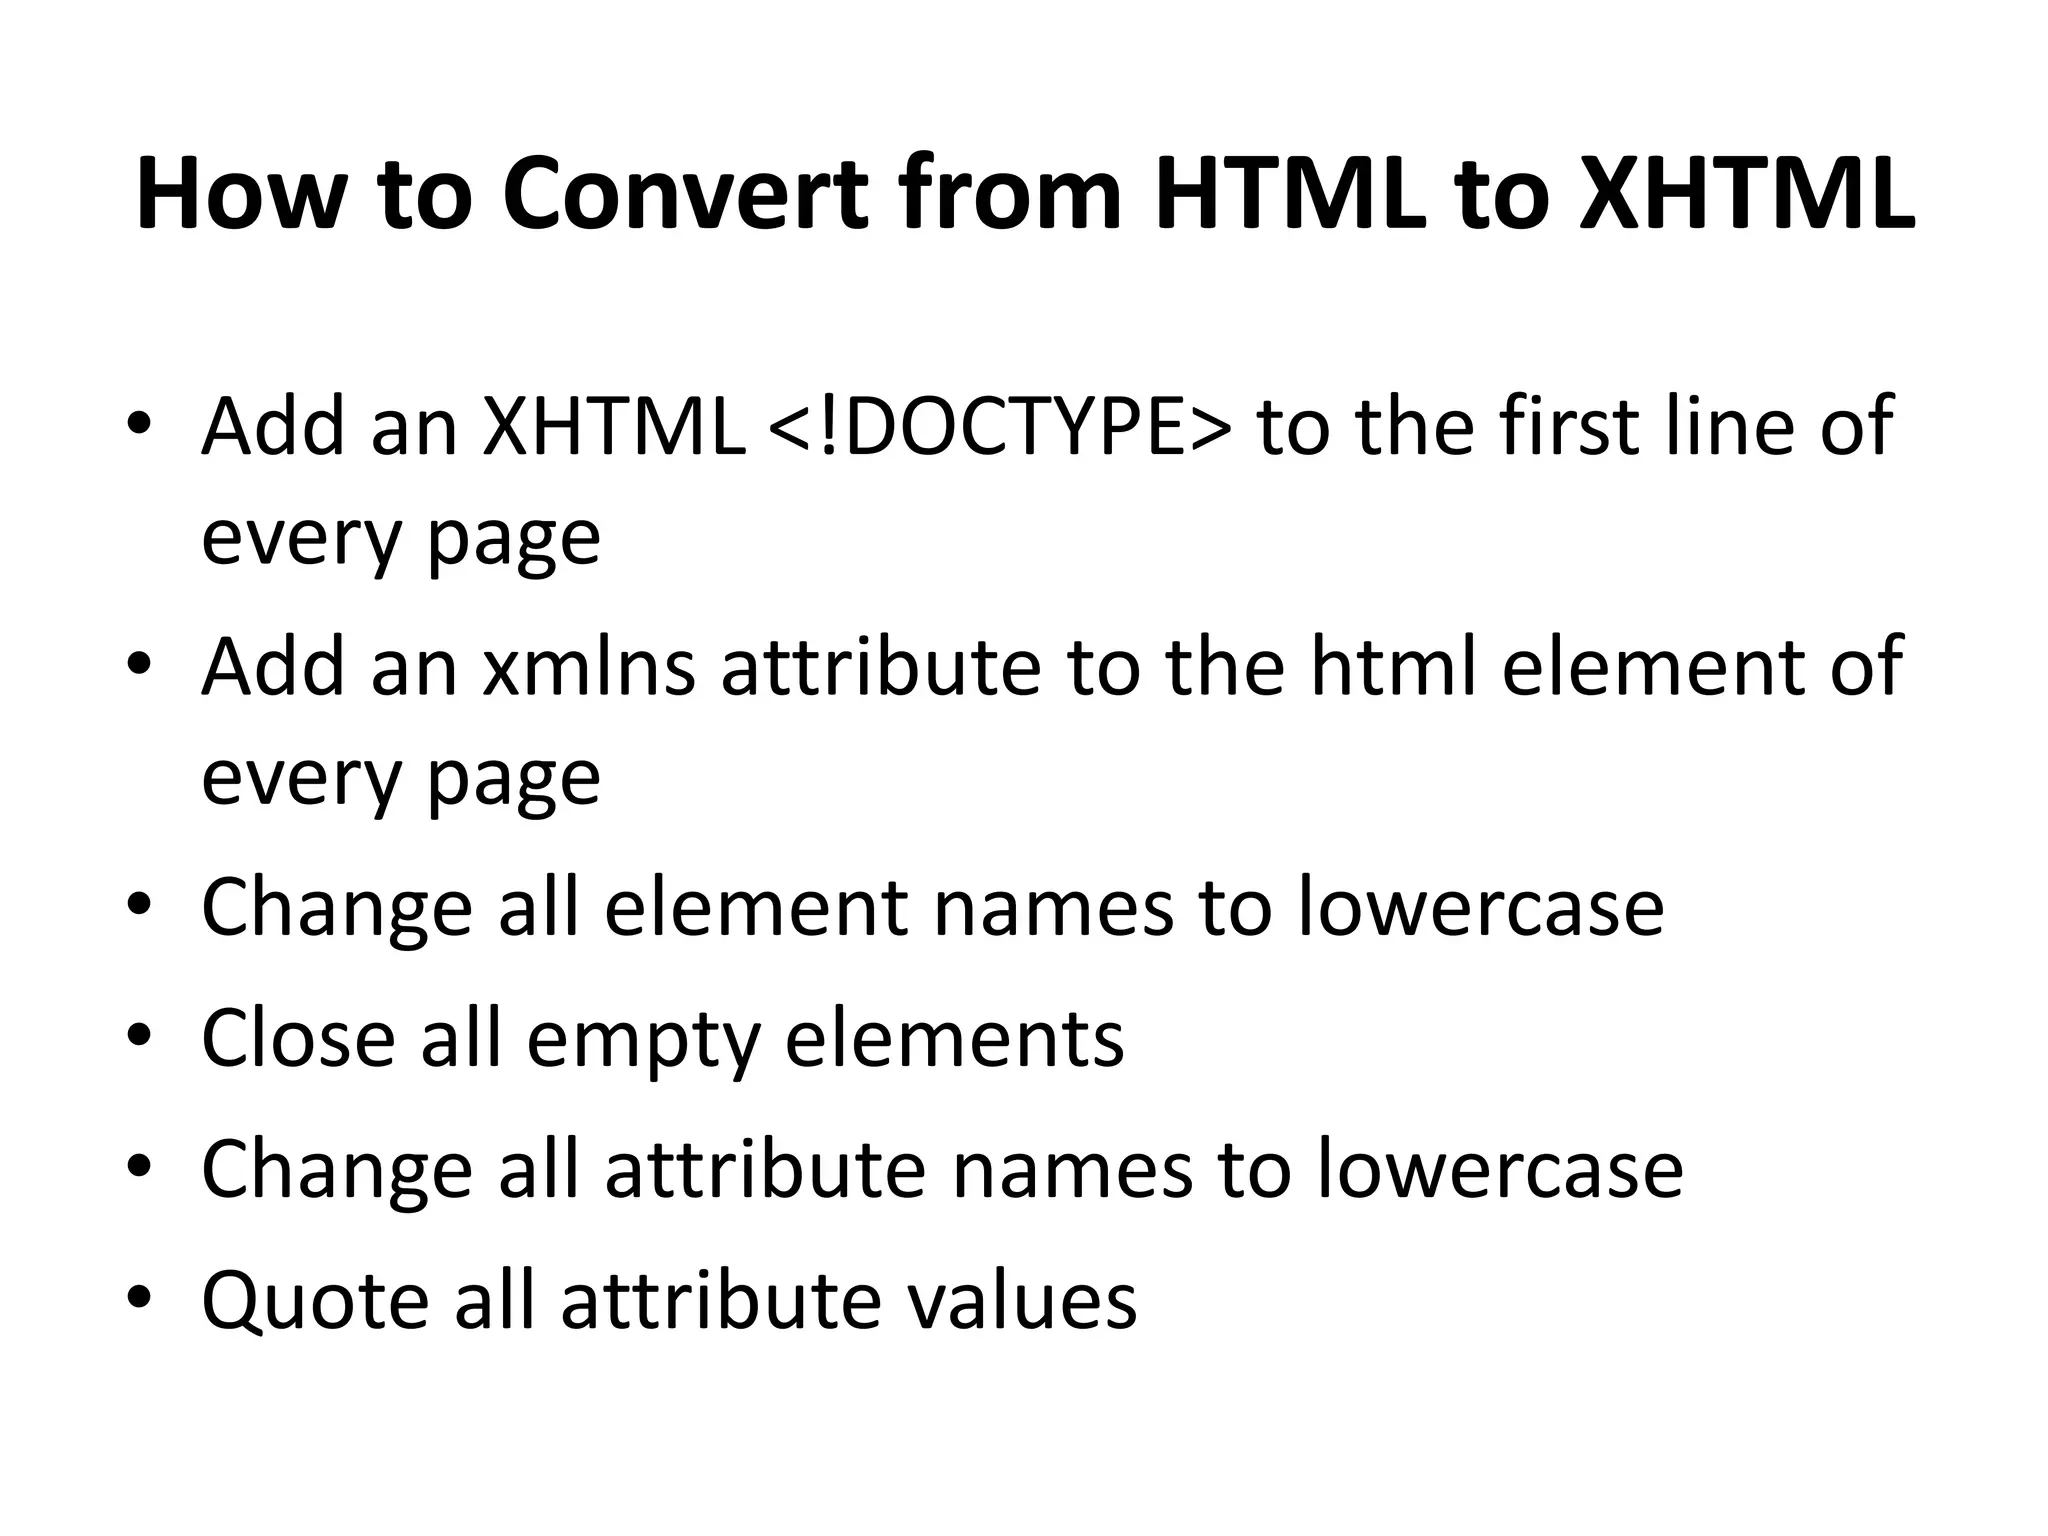
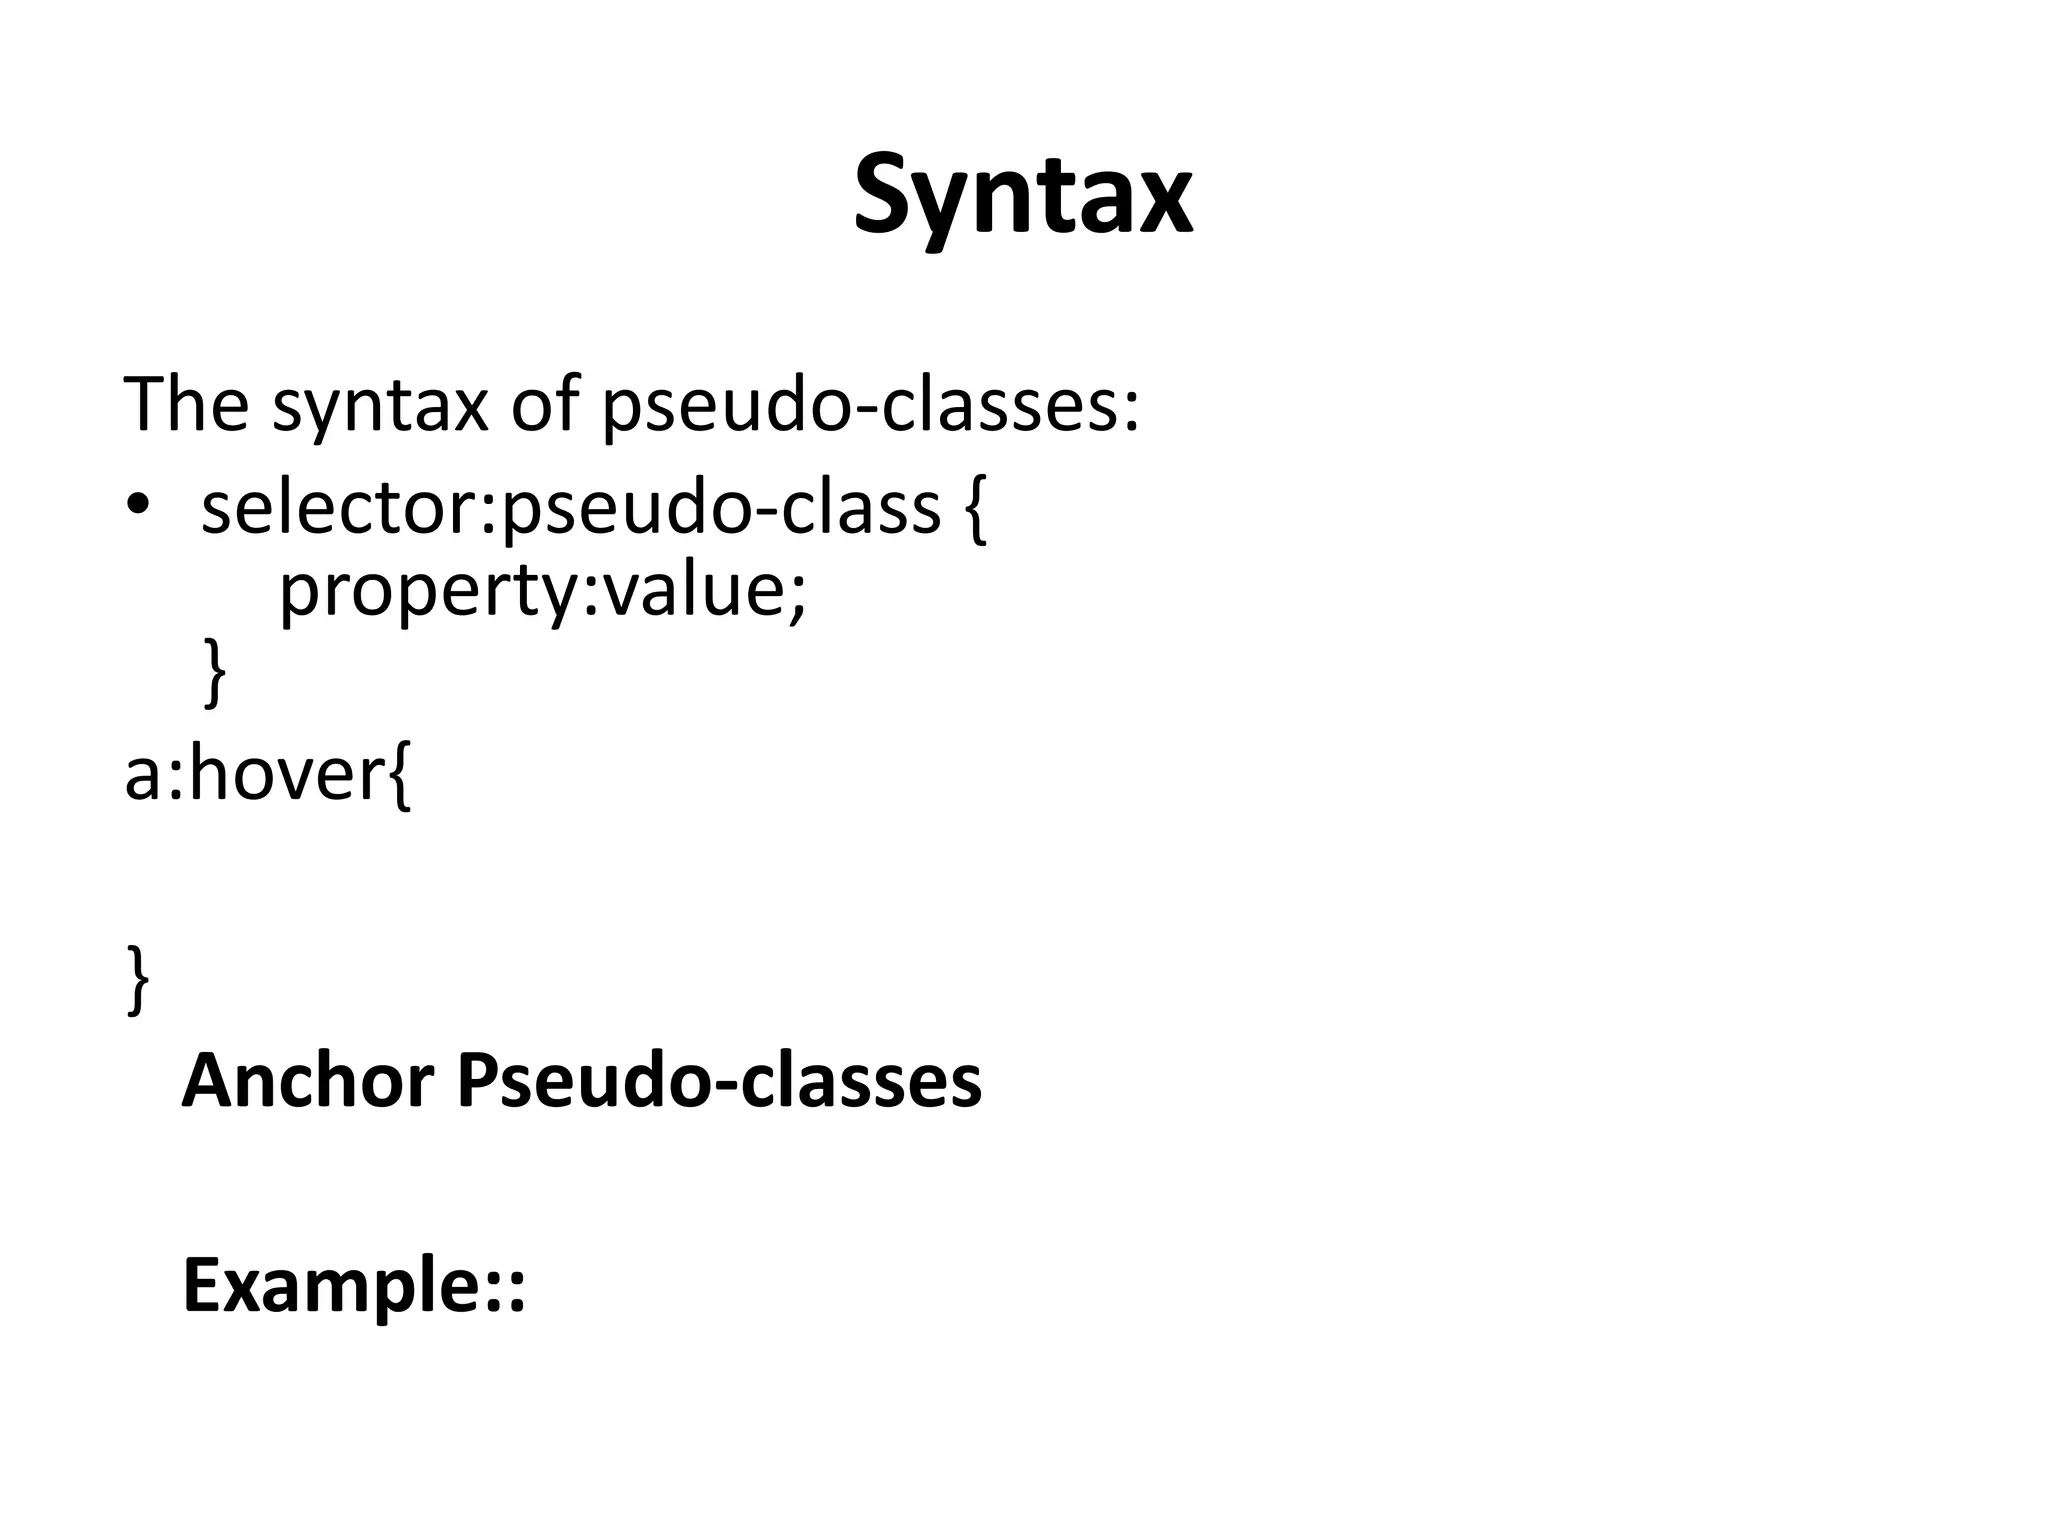
CSS Tables Table Borders • To specify table borders in CSS, use the border property. • Example  • Notice that the table in the example above has double borders. This is because both the table and the <th> and <td> elements have separate borders.
Collapse Table Borders • The border-collapse property sets whether the table borders should be collapsed into a single border: • Example  ----- • If you only want a border around the table, only specify the border property for <table> • Example  -----
Table Width and Height • Width and height of a table are defined by the width and height properties. • Example ::::
Horizontal Alignment • The text-align property sets the horizontal alignment (like left, right, or center) of the content in <th> or <td>. • By default, the content of <th> elements are center-aligned and the content of <td> elements are left-aligned. • Example:: 
Vertical Alignment • The vertical-align property sets the vertical alignment (like top, bottom, or middle) of the content in <th> or <td>. • By default, the vertical alignment of the content in a table is middle (for both <th> and <td> elements) • Ex::::
Table Padding • To control the space between the border and the content in a table, use the padding property on <td> and <th> elements: • Example 
Horizontal Dividers • Add the border-bottom property to <th> and <td> for horizontal dividers: • Example
Hoverable Table • Use the :hover selector on <tr> to highlight table rows on mouse over: • Ex 
Striped Tables • For zebra-striped tables, use the nth-child() selector and add a background-color to all even (or odd) table rows: • Ex::
Table Color • This example specifies the background color and text color of <th> elements: • -
Responsive Table • A responsive table will display a horizontal scroll bar if the screen is too small to display the full content: • Ex::
CSS Layout - float and clear The float Property • In its simplest use, the float property can be used to wrap text around images. • The following example specifies that an image should float to the right in a text:
The clear Property • The clear property is used to control the behavior of floating elements. • Elements after a floating element will flow around it. To avoid this, use the clear property. • The clear property specifies on which sides of an element floating elements are not allowed to float:
Web Layout Example • It is common to do entire web layouts using the float property: • Ex: 
CSS Layout - inline-block The inline-block Value • It has been possible for a long time to create a grid of boxes that fills the browser width and wraps nicely (when the browser is resized), by using the float property. • However, the inline-block value of the display property makes this even easier. • inline-block elements are like inline elements but they can have a width and a height.
Examples • The old way - using float (notice that we also need to specify a clear property for the element after the floating boxes): • The same effect can be achieved by using the inline-block value of the display property (notice that no clear property is needed):
CSS Layout - The display Property • The display property is the most important CSS property for controlling layout. The display Property • The display property specifies if/how an element is displayed. • Every HTML element has a default display value depending on what type of element it is. The default display value for most elements is block or inline.
Block-level Elements A block-level element always starts on a new line and takes up the full width available (stretches out to the left and right as far as it can). • The <div> element is a block-level element. • Examples of block-level elements: • <div> • <h1> - <h6> • <p> • <form> • <header> • <footer> • <section>
Inline Elements • An inline element does not start on a new line and only takes up as much width as necessary. • This is an inline <span> element inside a paragraph. • Examples of inline elements: • <span> • <a> • <img>
Display: none; • display: none; is commonly used with JavaScript to hide and show elements without deleting and recreating them. Take a look at our last example on this page if you want to know how this can be achieved. • The <script> element uses display: none; as default.
Override The Default Display Value • As mentioned, every element has a default display value. However, you can override this. • Changing an inline element to a block element, or vice versa, can be useful for making the page look a specific way, and still follow the web standards. • A common example is making inline <li> elements for horizontal menus:
• Note: Setting the display property of an element only changes how the element is displayed, NOT what kind of element it is. So, an inline element with display: block; is not allowed to have other block elements inside it.
• The following example displays <span> elements as block elements: • The following example displays <a> elements as block elements:
Hide an Element - display:none or visibility:hidden? • Hiding an element can be done by setting the display property to none. The element will be hidden, and the page will be displayed as if the element is not there: visibility:hidden; also hides an element. • However, the element will still take up the same space as before. The element will be hidden, but still affect the layout:
What Is XHTML? • XHTML stands for EXtensible HyperText Markup Language • XHTML is almost identical to HTML • XHTML is stricter than HTML • XHTML is HTML defined as an XML application • XHTML is supported by all major browsers
Why XHTML? • Many pages on the internet contain "bad" HTML. • This HTML code works fine in most browsers (even if it does not follow the HTML rules): • <html> <head> <title>This is bad HTML</title> <body> <h1>Bad HTML <p>This is a paragraph </body>
• Today's market consists of different browser technologies. Some browsers run on computers, and some browsers run on mobile phones or other small devices. Smaller devices often lack the resources or power to interpret "bad" markup. • XML is a markup language where documents must be marked up correctly (be "well- formed"). • By combining the strengths of HTML and XML, XHTML was developed. • XHTML is HTML redesigned as XML.
The Most Important Differences from HTML: Document Structure • XHTML DOCTYPE is mandatory • The xmlns attribute in <html> is mandatory • <html>, <head>, <title>, and <body> are mandatory
• XHTML Elements • XHTML elements must be properly nested • XHTML elements must always be closed • XHTML elements must be in lowercase • XHTML documents must have one root element • XHTML Attributes • Attribute names must be in lower case • Attribute values must be quoted • Attribute minimization is forbidden
• <!DOCTYPE ....> Is Mandatory • An XHTML document must have an XHTML DOCTYPE declaration. • The <html>, <head>, <title>, and <body> elements must also be present, and the xmlns attribute in <html> must specify the xml namespace for the document.
XHTML Elements Must Be Properly Nested • In HTML, some elements can be improperly nested within each other, like this: • <b><i>This text is bold and italic</b></i> • In XHTML, all elements must be properly nested within each other, like this: • <b><i>This text is bold and italic</i></b>
XHTML Elements Must Always Be Closed This is wrong: • <p>This is a paragraph <p>This is another paragraph • This is correct: • <p>This is a paragraph</p> <p>This is another paragraph</p>
Empty Elements Must Also Be Closed • This is wrong: • A break: <br> A horizontal rule: <hr> An image: <img src="happy.gif" alt="Happy face"> • This is correct: A break: <br /> A horizontal rule: <hr />An image: <img src="happy.gif" alt="Happy face" />
XHTML Elements Must Be In Lower Case • This is wrong: • <BODY> <P>This is a paragraph</P> </BODY> • This is correct: • <body> <p>This is a paragraph</p> </body>
XHTML Attribute Names Must Be In Lower Case • This is wrong: • <table WIDTH="100%"> • This is correct: • <table width="100%">
Attribute Values Must Be Quoted This is wrong: • <table width=100%> This is correct: • <table width="100%">
Attribute Minimization Is Forbidden Wrong: • <input type="checkbox" name="vehicle" value="car" checked /> Correct: • <input type="checkbox" name="vehicle" value="car" checked="checked" /> Wrong: • <input type="text" name="lastname" disabled /> Correct: • <input type="text" name="lastname" disabled="disabled" />
How to Convert from HTML to XHTML • Add an XHTML <!DOCTYPE> to the first line of every page • Add an xmlns attribute to the html element of every page • Change all element names to lowercase • Close all empty elements • Change all attribute names to lowercase • Quote all attribute values
Validate HTML With The W3C Validator https://validator.w3.org/
CSS Layout - Horizontal & Vertical Align Center Align Elements • To horizontally center a block element (like <div>), use margin: auto; • Setting the width of the element will prevent it from stretching out to the edges of its container. • The element will then take up the specified width, and the remaining space will be split equally between the two margins:
Center Align Text • To just center the text inside an element, use text-align: center; • Go for Example : 
Center an Image • To center an image, use margin: auto; and make it into a block element: • Example::
Left and Right Align - Using float • Another method for aligning elements is to use the float property: Example:: • Tip: When aligning elements with float, always define margin and padding for the <body> element. This is to avoid visual differences in different browsers.
Careful for IE • There is also a problem with IE8 and earlier, when using float. If the !DOCTYPE declaration is missing, IE8 and earlier versions will add a 17px margin on the right side. This seems to be space reserved for a scrollbar. So, always set the !DOCTYPE declaration when using float:
Center Vertically - Using padding • There are many ways to center an element vertically in CSS. A simple solution is to use top and bottom padding: • Example--- • To center both vertically and horizontally, use padding and text-align: center: • Example---
Center Vertically - Using line-height • Another trick is to use the line-height property with a value that is equal to the height property. • Example
CSS Pseudo-classes • What are Pseudo-classes? • A pseudo-class is used to define a special state of an element. For example, it can be used to: • Style an element when a user mouses over it • Style visited and unvisited links differently • Style an element when it gets focus
Syntax The syntax of pseudo-classes: • selector:pseudo-class { property:value; } a:hover{ } Anchor Pseudo-classes Example::
Anchor Pseudo-classes • Note: a:hover MUST come after a:link and a:visited in the CSS definition in order to be effective! a:active MUST come after a:hover in the CSS definition in order to be effective! Pseudo-class names are not case-sensitive. • The Ex::
Pseudo-classes and CSS Classes • Pseudo-classes can be combined with CSS classes: • Ex: • Hover on <div> • Using the :hover pseudo-class on a <div> element: • Ex::
Simple Tooltip Hover • Hover over a <div> element to show a <p> element (like a tooltip): • Ex:
CSS - The :first-child Pseudo-class • The :first-child pseudo-class matches a specified element that is the first child of another element. • Match the first <p> element • The selector matches any <p> element that is the first child of any element: • Example:
Match the first <i> element in all <p> elements Example • Match all <i> elements in all first child <p> elements Example
CSS tutorial chapter 3

CSS tutorial chapter 3

  • 1.
    CSS Tables Table Borders •To specify table borders in CSS, use the border property. • Example  • Notice that the table in the example above has double borders. This is because both the table and the <th> and <td> elements have separate borders.
  • 2.
    Collapse Table Borders •The border-collapse property sets whether the table borders should be collapsed into a single border: • Example  ----- • If you only want a border around the table, only specify the border property for <table> • Example  -----
  • 3.
    Table Width andHeight • Width and height of a table are defined by the width and height properties. • Example ::::
  • 4.
    Horizontal Alignment • Thetext-align property sets the horizontal alignment (like left, right, or center) of the content in <th> or <td>. • By default, the content of <th> elements are center-aligned and the content of <td> elements are left-aligned. • Example:: 
  • 5.
    Vertical Alignment • Thevertical-align property sets the vertical alignment (like top, bottom, or middle) of the content in <th> or <td>. • By default, the vertical alignment of the content in a table is middle (for both <th> and <td> elements) • Ex::::
  • 6.
    Table Padding • Tocontrol the space between the border and the content in a table, use the padding property on <td> and <th> elements: • Example 
  • 7.
    Horizontal Dividers • Addthe border-bottom property to <th> and <td> for horizontal dividers: • Example
  • 8.
    Hoverable Table • Usethe :hover selector on <tr> to highlight table rows on mouse over: • Ex 
  • 9.
    Striped Tables • Forzebra-striped tables, use the nth-child() selector and add a background-color to all even (or odd) table rows: • Ex::
  • 10.
    Table Color • Thisexample specifies the background color and text color of <th> elements: • -
  • 11.
    Responsive Table • Aresponsive table will display a horizontal scroll bar if the screen is too small to display the full content: • Ex::
  • 12.
    CSS Layout -float and clear The float Property • In its simplest use, the float property can be used to wrap text around images. • The following example specifies that an image should float to the right in a text:
  • 13.
    The clear Property •The clear property is used to control the behavior of floating elements. • Elements after a floating element will flow around it. To avoid this, use the clear property. • The clear property specifies on which sides of an element floating elements are not allowed to float:
  • 14.
    Web Layout Example •It is common to do entire web layouts using the float property: • Ex: 
  • 15.
    CSS Layout -inline-block The inline-block Value • It has been possible for a long time to create a grid of boxes that fills the browser width and wraps nicely (when the browser is resized), by using the float property. • However, the inline-block value of the display property makes this even easier. • inline-block elements are like inline elements but they can have a width and a height.
  • 16.
    Examples • The oldway - using float (notice that we also need to specify a clear property for the element after the floating boxes): • The same effect can be achieved by using the inline-block value of the display property (notice that no clear property is needed):
  • 17.
    CSS Layout -The display Property • The display property is the most important CSS property for controlling layout. The display Property • The display property specifies if/how an element is displayed. • Every HTML element has a default display value depending on what type of element it is. The default display value for most elements is block or inline.
  • 18.
    Block-level Elements A block-levelelement always starts on a new line and takes up the full width available (stretches out to the left and right as far as it can). • The <div> element is a block-level element. • Examples of block-level elements: • <div> • <h1> - <h6> • <p> • <form> • <header> • <footer> • <section>
  • 19.
    Inline Elements • Aninline element does not start on a new line and only takes up as much width as necessary. • This is an inline <span> element inside a paragraph. • Examples of inline elements: • <span> • <a> • <img>
  • 20.
    Display: none; • display:none; is commonly used with JavaScript to hide and show elements without deleting and recreating them. Take a look at our last example on this page if you want to know how this can be achieved. • The <script> element uses display: none; as default.
  • 21.
    Override The DefaultDisplay Value • As mentioned, every element has a default display value. However, you can override this. • Changing an inline element to a block element, or vice versa, can be useful for making the page look a specific way, and still follow the web standards. • A common example is making inline <li> elements for horizontal menus:
  • 22.
    • Note: Settingthe display property of an element only changes how the element is displayed, NOT what kind of element it is. So, an inline element with display: block; is not allowed to have other block elements inside it.
  • 23.
    • The followingexample displays <span> elements as block elements: • The following example displays <a> elements as block elements:
  • 24.
    Hide an Element- display:none or visibility:hidden? • Hiding an element can be done by setting the display property to none. The element will be hidden, and the page will be displayed as if the element is not there: visibility:hidden; also hides an element. • However, the element will still take up the same space as before. The element will be hidden, but still affect the layout:
  • 25.
    What Is XHTML? •XHTML stands for EXtensible HyperText Markup Language • XHTML is almost identical to HTML • XHTML is stricter than HTML • XHTML is HTML defined as an XML application • XHTML is supported by all major browsers
  • 26.
    Why XHTML? • Manypages on the internet contain "bad" HTML. • This HTML code works fine in most browsers (even if it does not follow the HTML rules): • <html> <head> <title>This is bad HTML</title> <body> <h1>Bad HTML <p>This is a paragraph </body>
  • 27.
    • Today's marketconsists of different browser technologies. Some browsers run on computers, and some browsers run on mobile phones or other small devices. Smaller devices often lack the resources or power to interpret "bad" markup. • XML is a markup language where documents must be marked up correctly (be "well- formed"). • By combining the strengths of HTML and XML, XHTML was developed. • XHTML is HTML redesigned as XML.
  • 28.
    The Most ImportantDifferences from HTML: Document Structure • XHTML DOCTYPE is mandatory • The xmlns attribute in <html> is mandatory • <html>, <head>, <title>, and <body> are mandatory
  • 29.
    • XHTML Elements •XHTML elements must be properly nested • XHTML elements must always be closed • XHTML elements must be in lowercase • XHTML documents must have one root element • XHTML Attributes • Attribute names must be in lower case • Attribute values must be quoted • Attribute minimization is forbidden
  • 30.
    • <!DOCTYPE ....>Is Mandatory • An XHTML document must have an XHTML DOCTYPE declaration. • The <html>, <head>, <title>, and <body> elements must also be present, and the xmlns attribute in <html> must specify the xml namespace for the document.
  • 31.
    XHTML Elements MustBe Properly Nested • In HTML, some elements can be improperly nested within each other, like this: • <b><i>This text is bold and italic</b></i> • In XHTML, all elements must be properly nested within each other, like this: • <b><i>This text is bold and italic</i></b>
  • 32.
    XHTML Elements MustAlways Be Closed This is wrong: • <p>This is a paragraph <p>This is another paragraph • This is correct: • <p>This is a paragraph</p> <p>This is another paragraph</p>
  • 33.
    Empty Elements MustAlso Be Closed • This is wrong: • A break: <br> A horizontal rule: <hr> An image: <img src="happy.gif" alt="Happy face"> • This is correct: A break: <br /> A horizontal rule: <hr />An image: <img src="happy.gif" alt="Happy face" />
  • 34.
    XHTML Elements MustBe In Lower Case • This is wrong: • <BODY> <P>This is a paragraph</P> </BODY> • This is correct: • <body> <p>This is a paragraph</p> </body>
  • 35.
    XHTML Attribute NamesMust Be In Lower Case • This is wrong: • <table WIDTH="100%"> • This is correct: • <table width="100%">
  • 36.
    Attribute Values MustBe Quoted This is wrong: • <table width=100%> This is correct: • <table width="100%">
  • 37.
    Attribute Minimization IsForbidden Wrong: • <input type="checkbox" name="vehicle" value="car" checked /> Correct: • <input type="checkbox" name="vehicle" value="car" checked="checked" /> Wrong: • <input type="text" name="lastname" disabled /> Correct: • <input type="text" name="lastname" disabled="disabled" />
  • 38.
    How to Convertfrom HTML to XHTML • Add an XHTML <!DOCTYPE> to the first line of every page • Add an xmlns attribute to the html element of every page • Change all element names to lowercase • Close all empty elements • Change all attribute names to lowercase • Quote all attribute values
  • 39.
    Validate HTML WithThe W3C Validator https://validator.w3.org/
  • 40.
    CSS Layout -Horizontal & Vertical Align Center Align Elements • To horizontally center a block element (like <div>), use margin: auto; • Setting the width of the element will prevent it from stretching out to the edges of its container. • The element will then take up the specified width, and the remaining space will be split equally between the two margins:
  • 41.
    Center Align Text •To just center the text inside an element, use text-align: center; • Go for Example : 
  • 42.
    Center an Image •To center an image, use margin: auto; and make it into a block element: • Example::
  • 43.
    Left and RightAlign - Using float • Another method for aligning elements is to use the float property: Example:: • Tip: When aligning elements with float, always define margin and padding for the <body> element. This is to avoid visual differences in different browsers.
  • 44.
    Careful for IE •There is also a problem with IE8 and earlier, when using float. If the !DOCTYPE declaration is missing, IE8 and earlier versions will add a 17px margin on the right side. This seems to be space reserved for a scrollbar. So, always set the !DOCTYPE declaration when using float:
  • 45.
    Center Vertically -Using padding • There are many ways to center an element vertically in CSS. A simple solution is to use top and bottom padding: • Example--- • To center both vertically and horizontally, use padding and text-align: center: • Example---
  • 46.
    Center Vertically -Using line-height • Another trick is to use the line-height property with a value that is equal to the height property. • Example
  • 47.
    CSS Pseudo-classes • Whatare Pseudo-classes? • A pseudo-class is used to define a special state of an element. For example, it can be used to: • Style an element when a user mouses over it • Style visited and unvisited links differently • Style an element when it gets focus
  • 48.
    Syntax The syntax ofpseudo-classes: • selector:pseudo-class { property:value; } a:hover{ } Anchor Pseudo-classes Example::
  • 49.
    Anchor Pseudo-classes • Note:a:hover MUST come after a:link and a:visited in the CSS definition in order to be effective! a:active MUST come after a:hover in the CSS definition in order to be effective! Pseudo-class names are not case-sensitive. • The Ex::
  • 50.
    Pseudo-classes and CSSClasses • Pseudo-classes can be combined with CSS classes: • Ex: • Hover on <div> • Using the :hover pseudo-class on a <div> element: • Ex::
  • 51.
    Simple Tooltip Hover •Hover over a <div> element to show a <p> element (like a tooltip): • Ex:
  • 52.
    CSS - The:first-child Pseudo-class • The :first-child pseudo-class matches a specified element that is the first child of another element. • Match the first <p> element • The selector matches any <p> element that is the first child of any element: • Example:
  • 53.
    Match the first<i> element in all <p> elements Example • Match all <i> elements in all first child <p> elements Example