Download to read offline

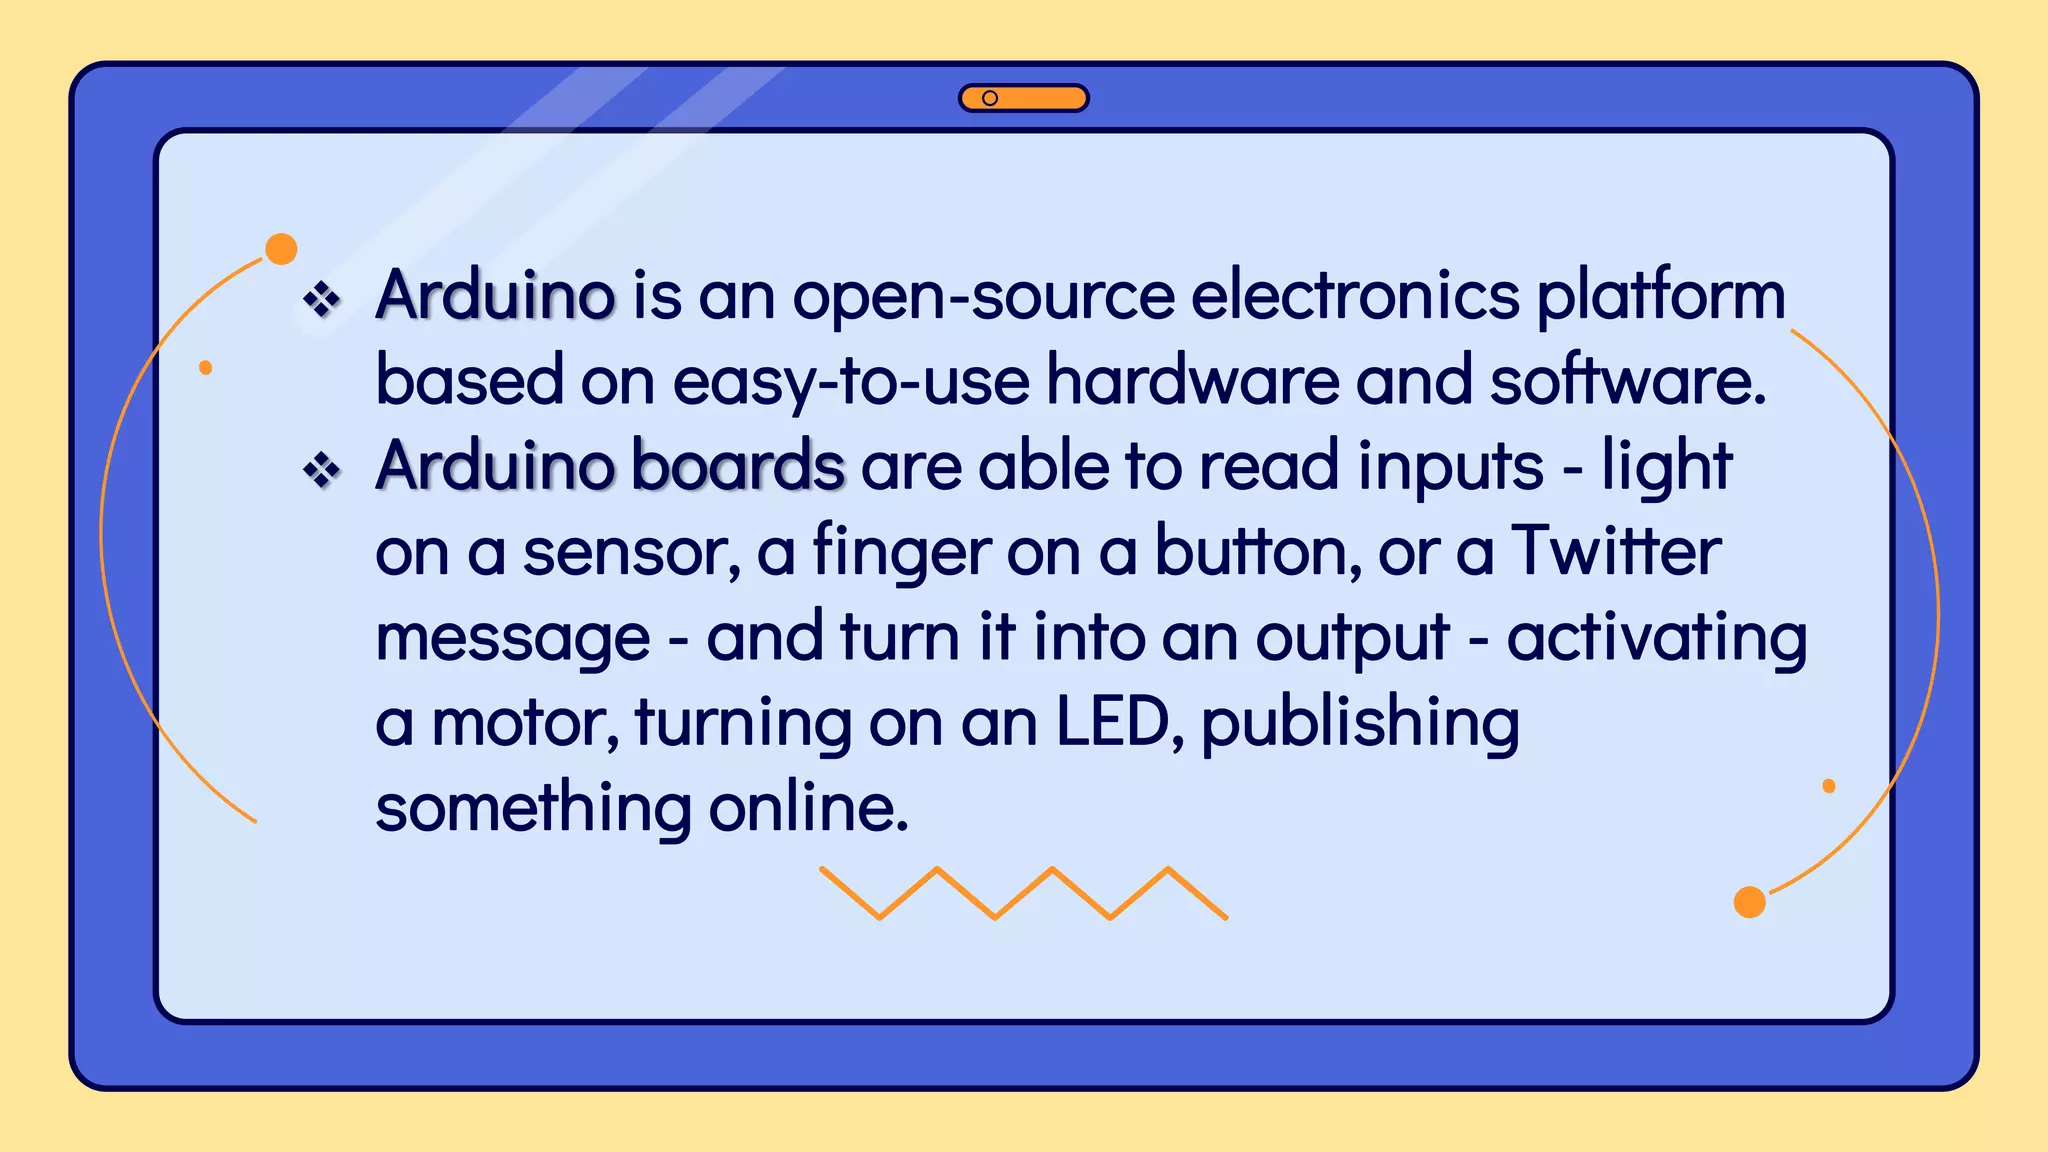
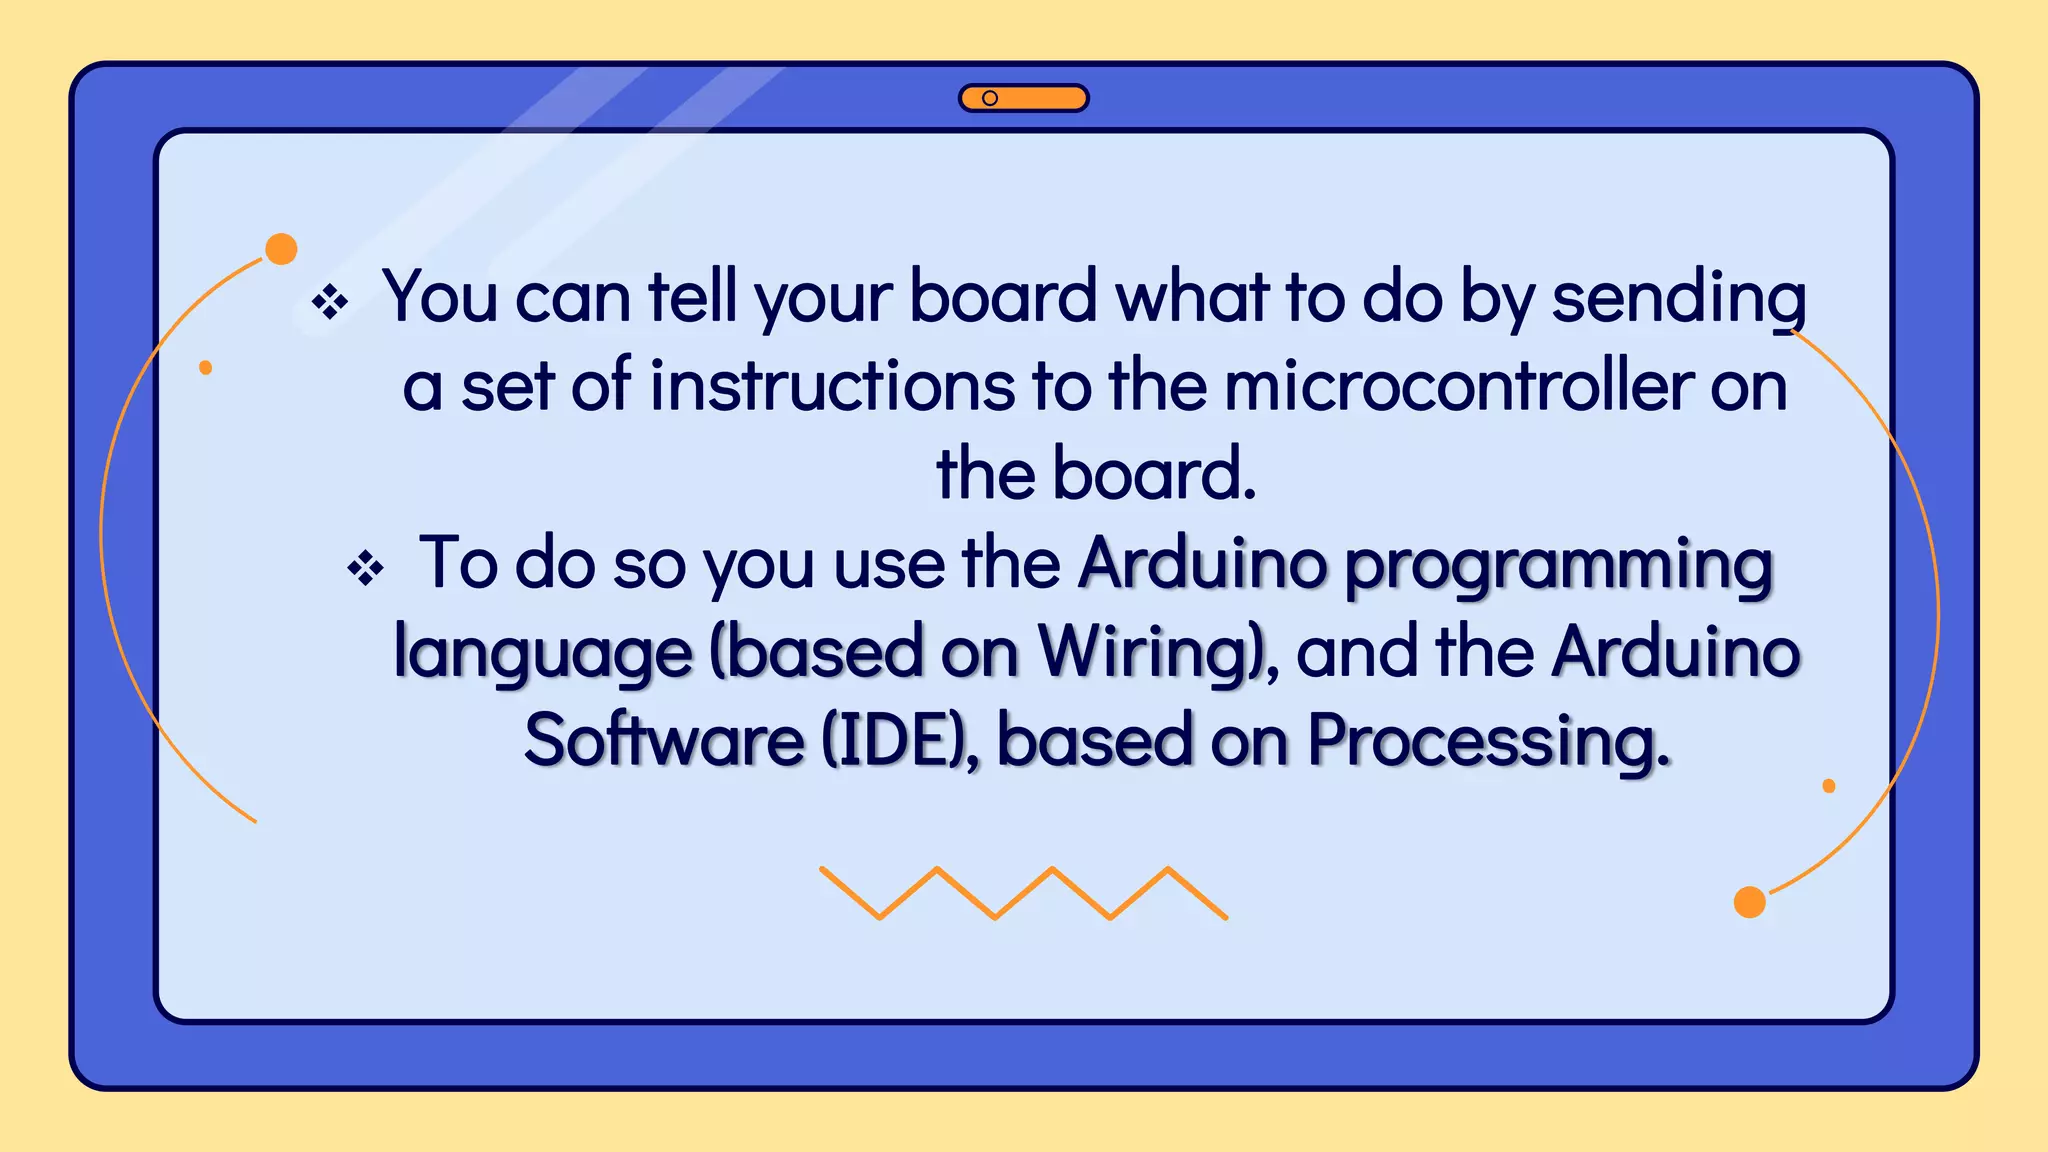
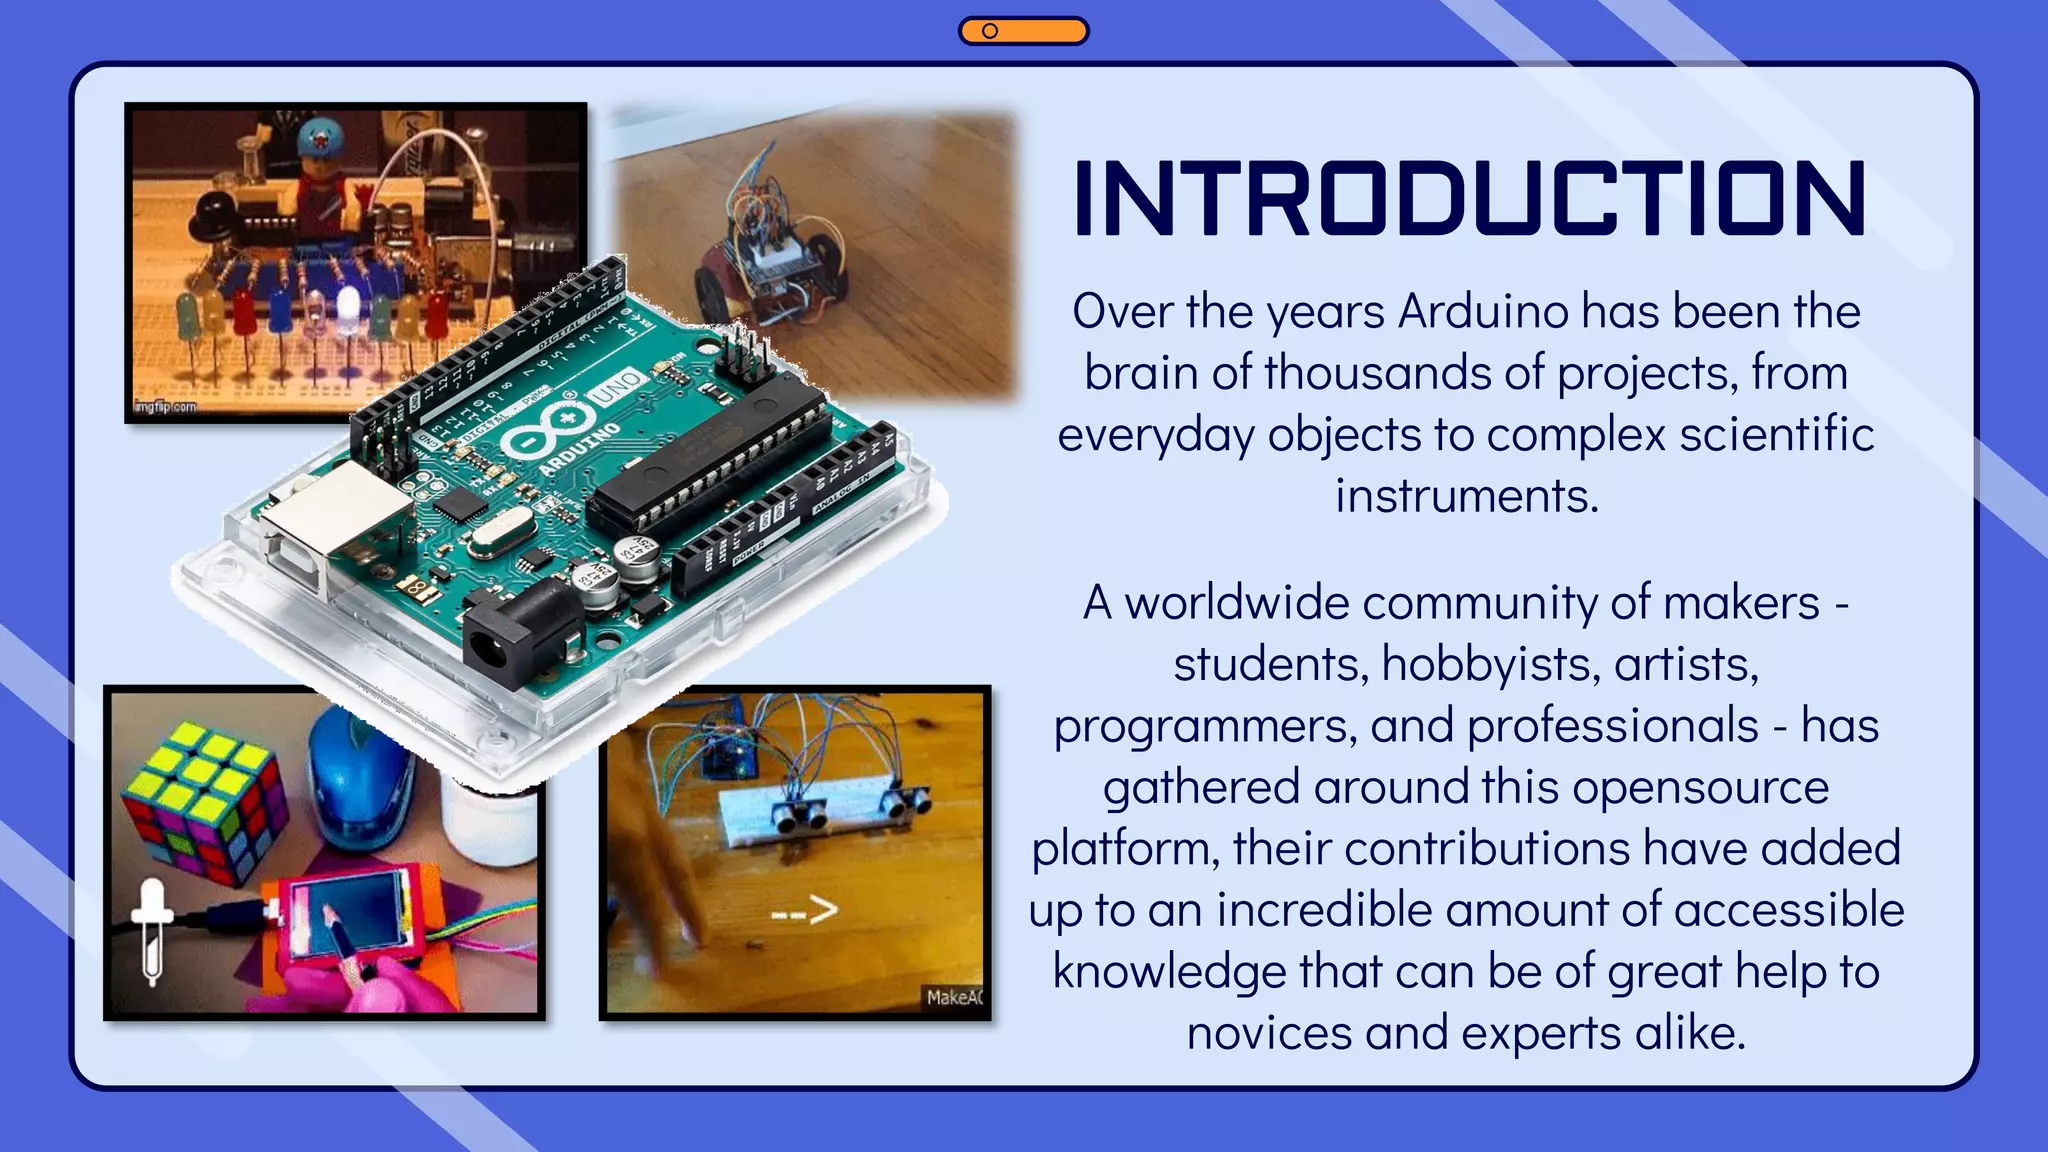
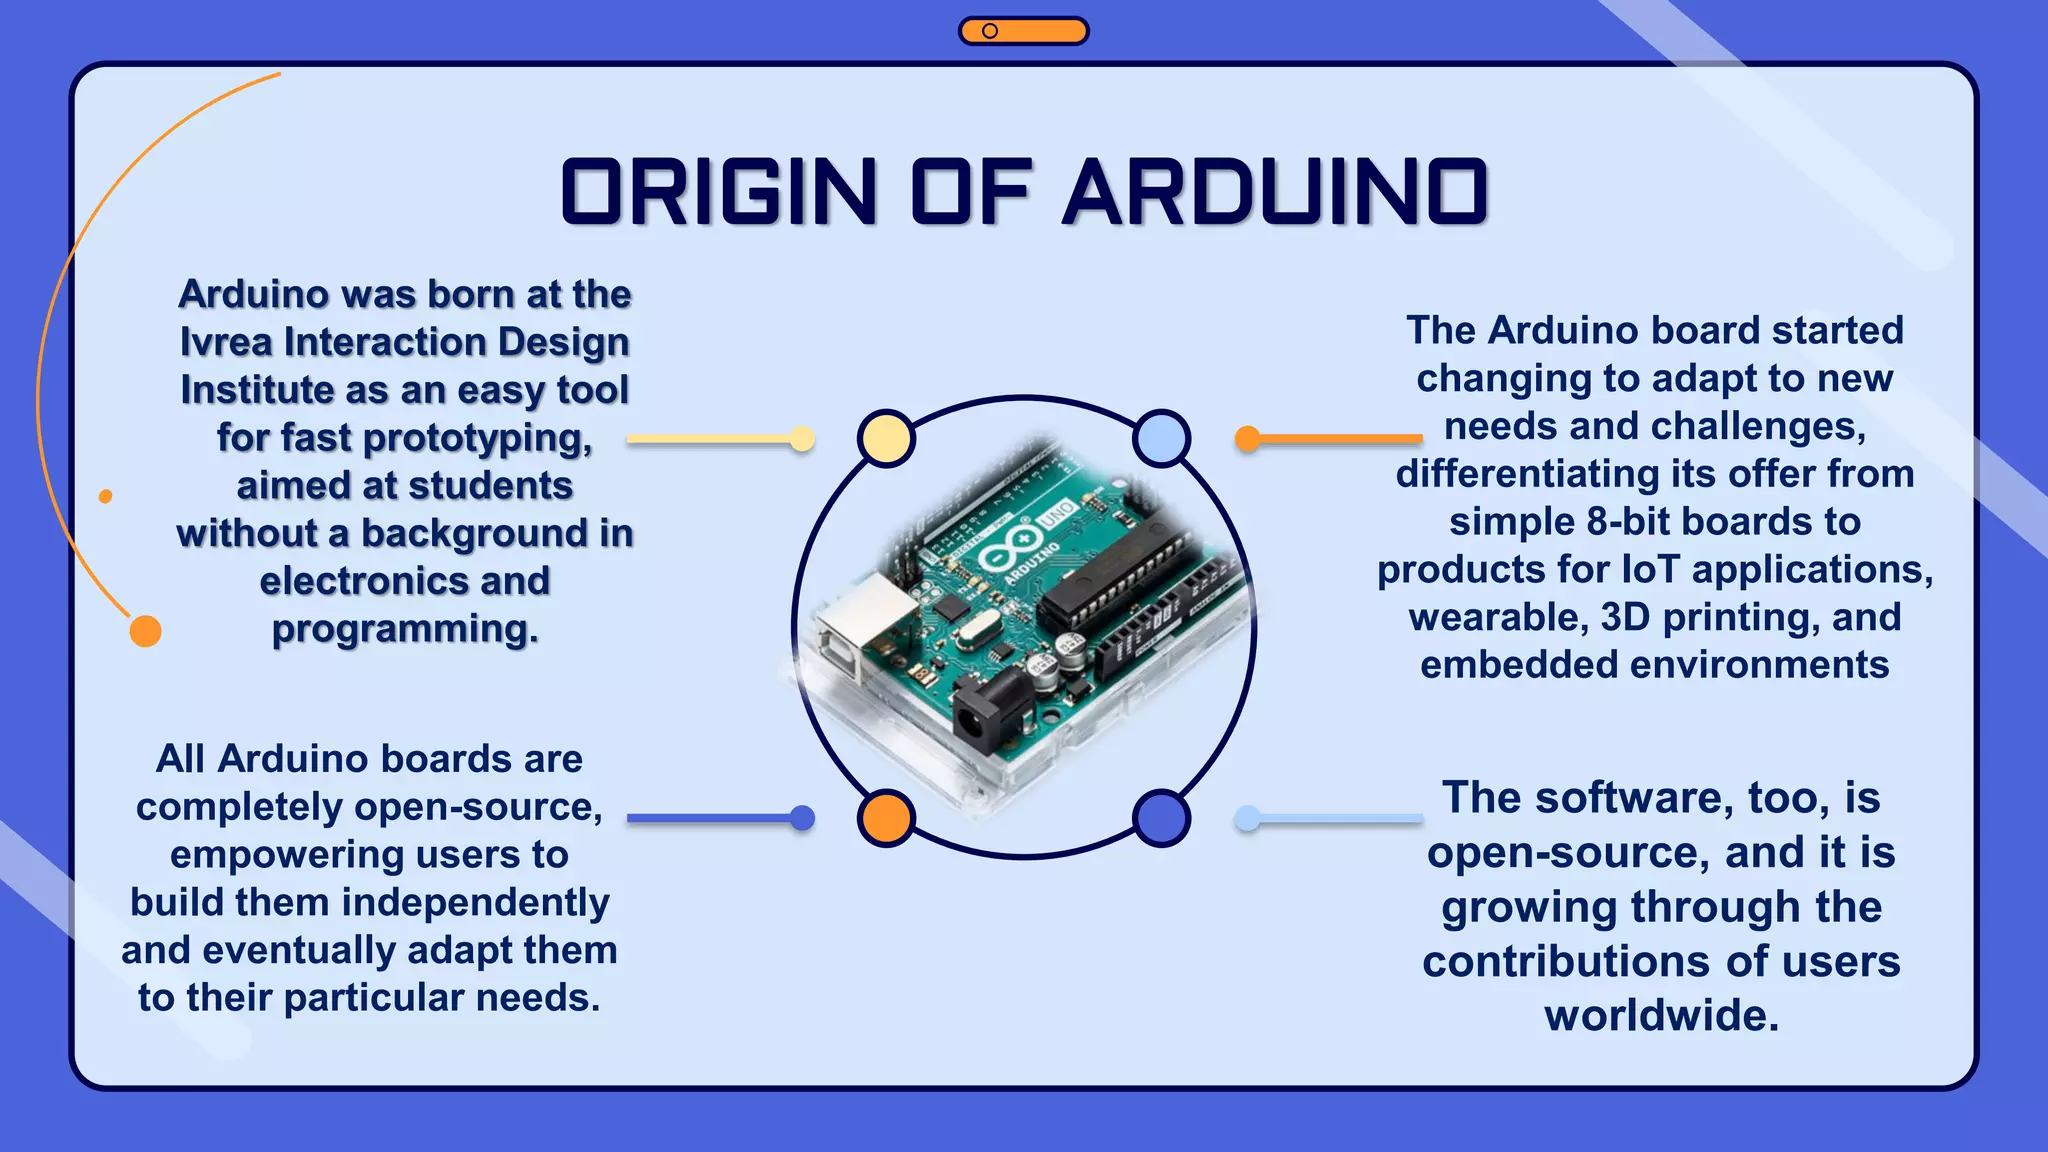
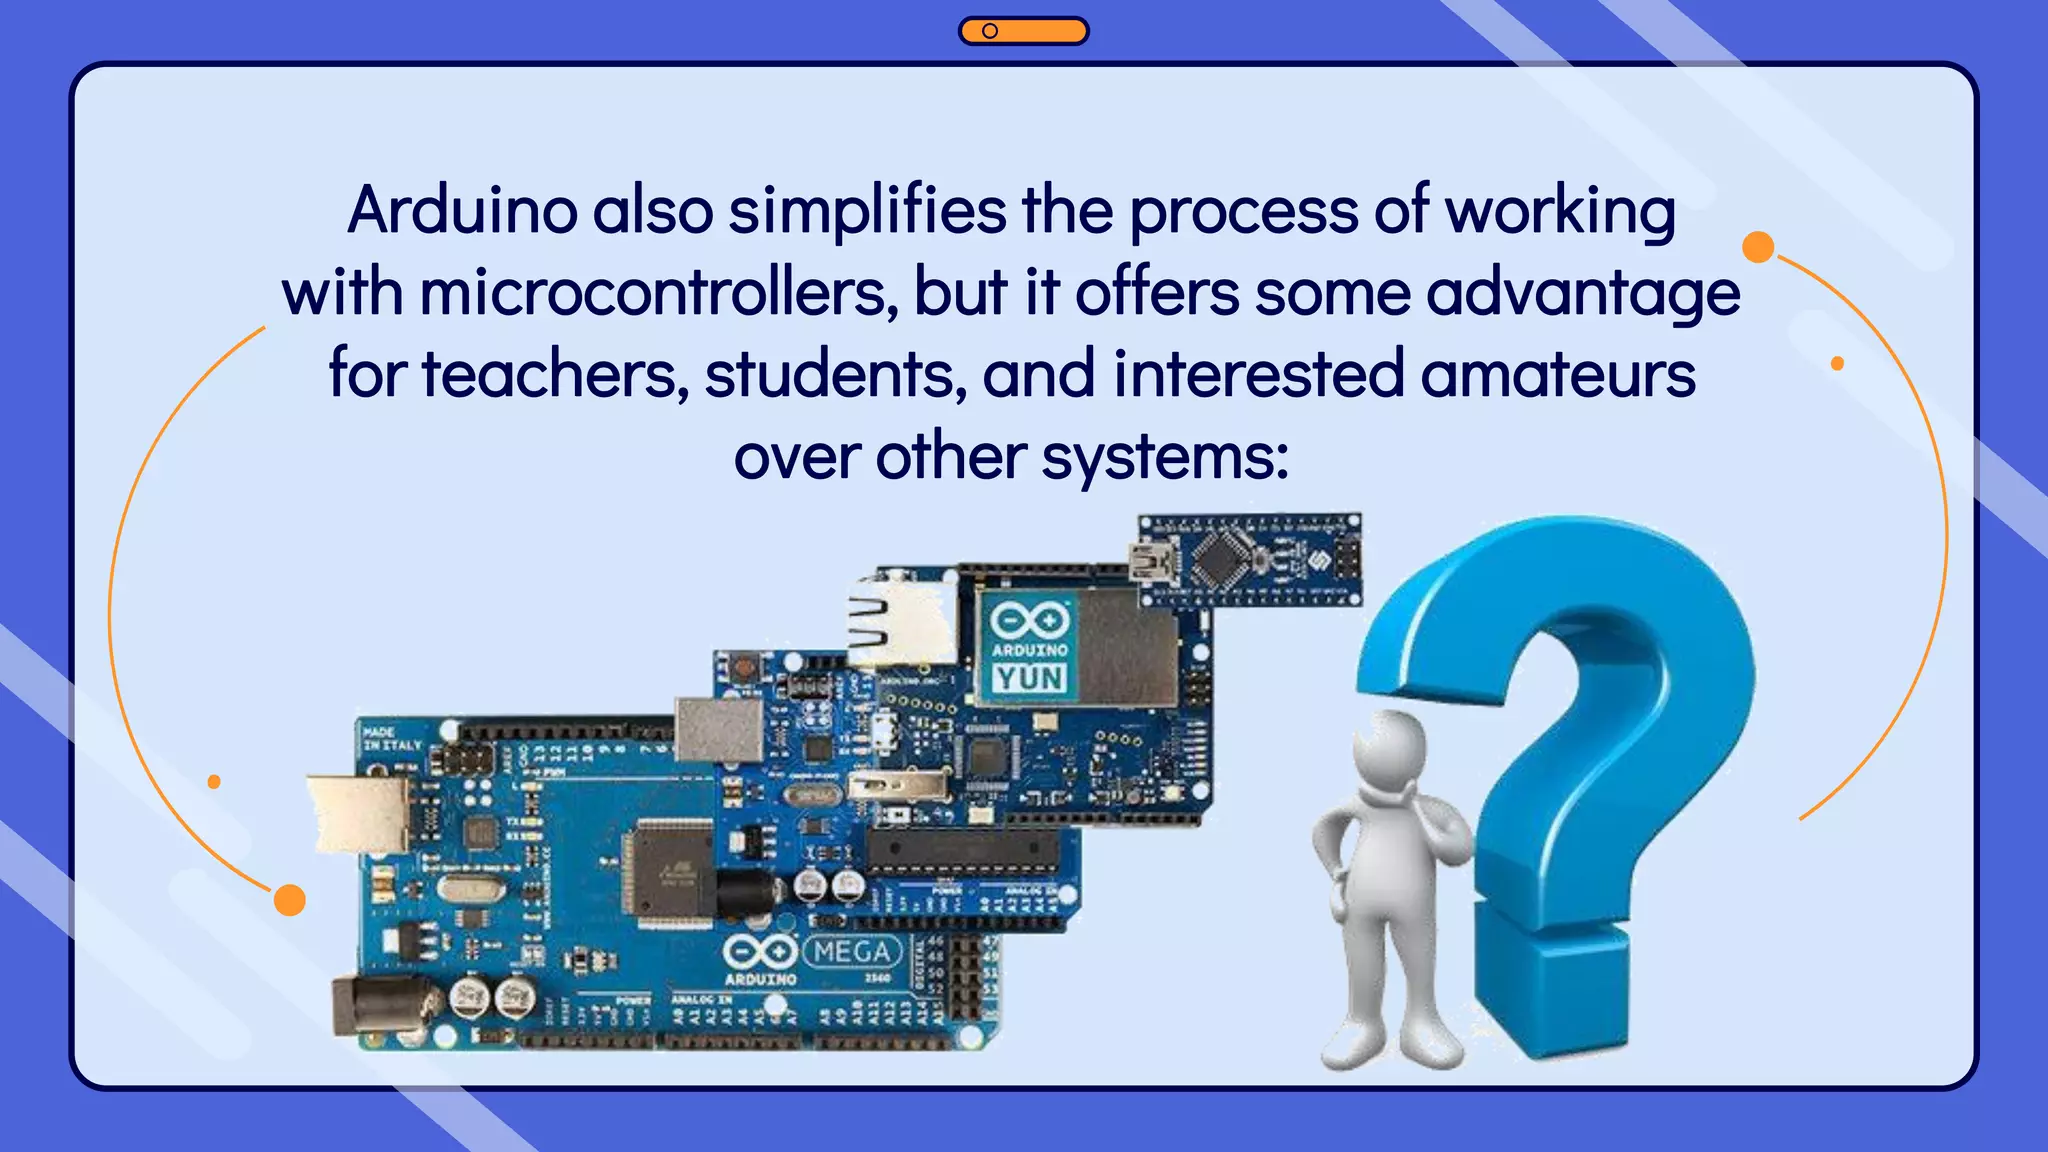
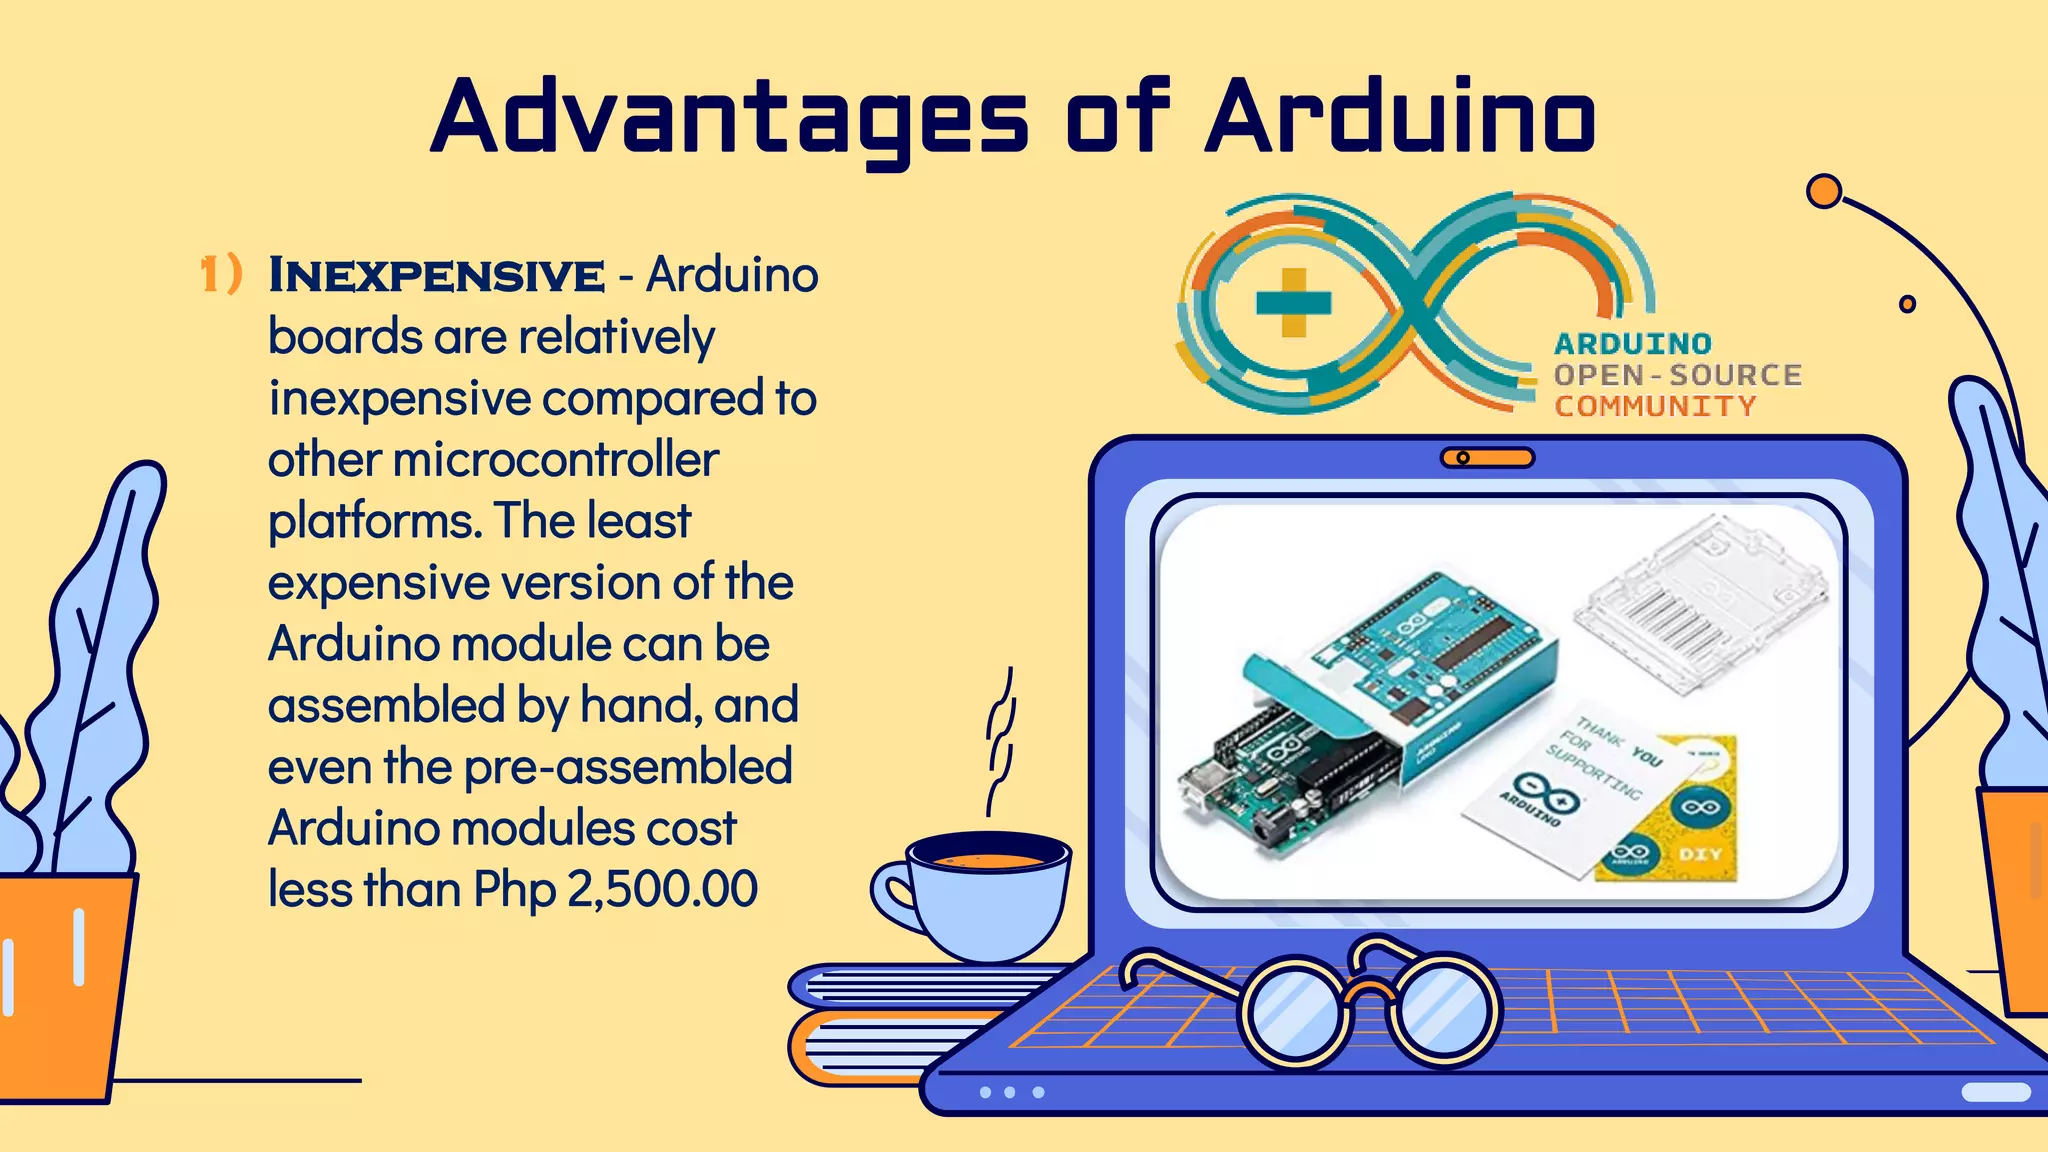
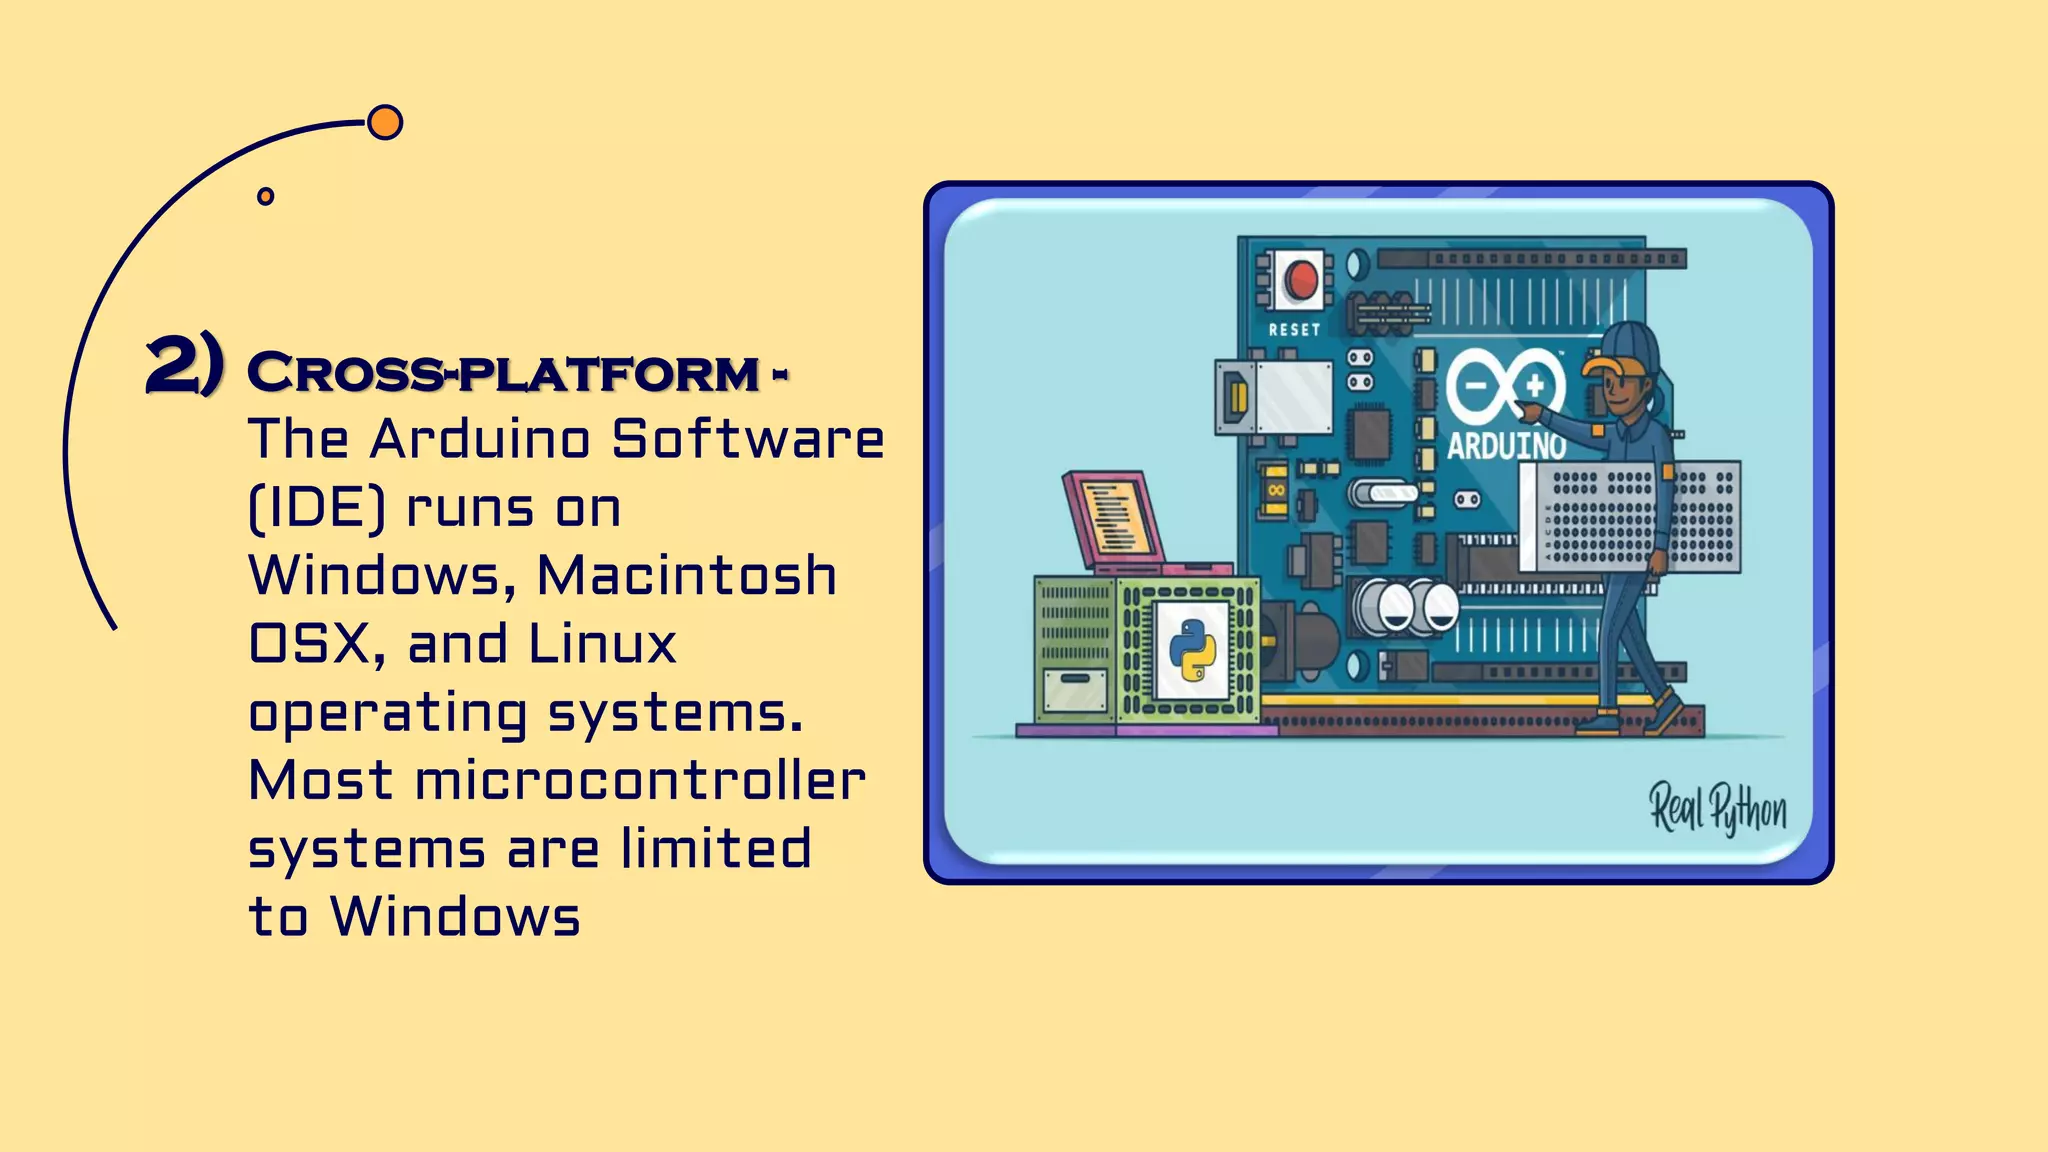
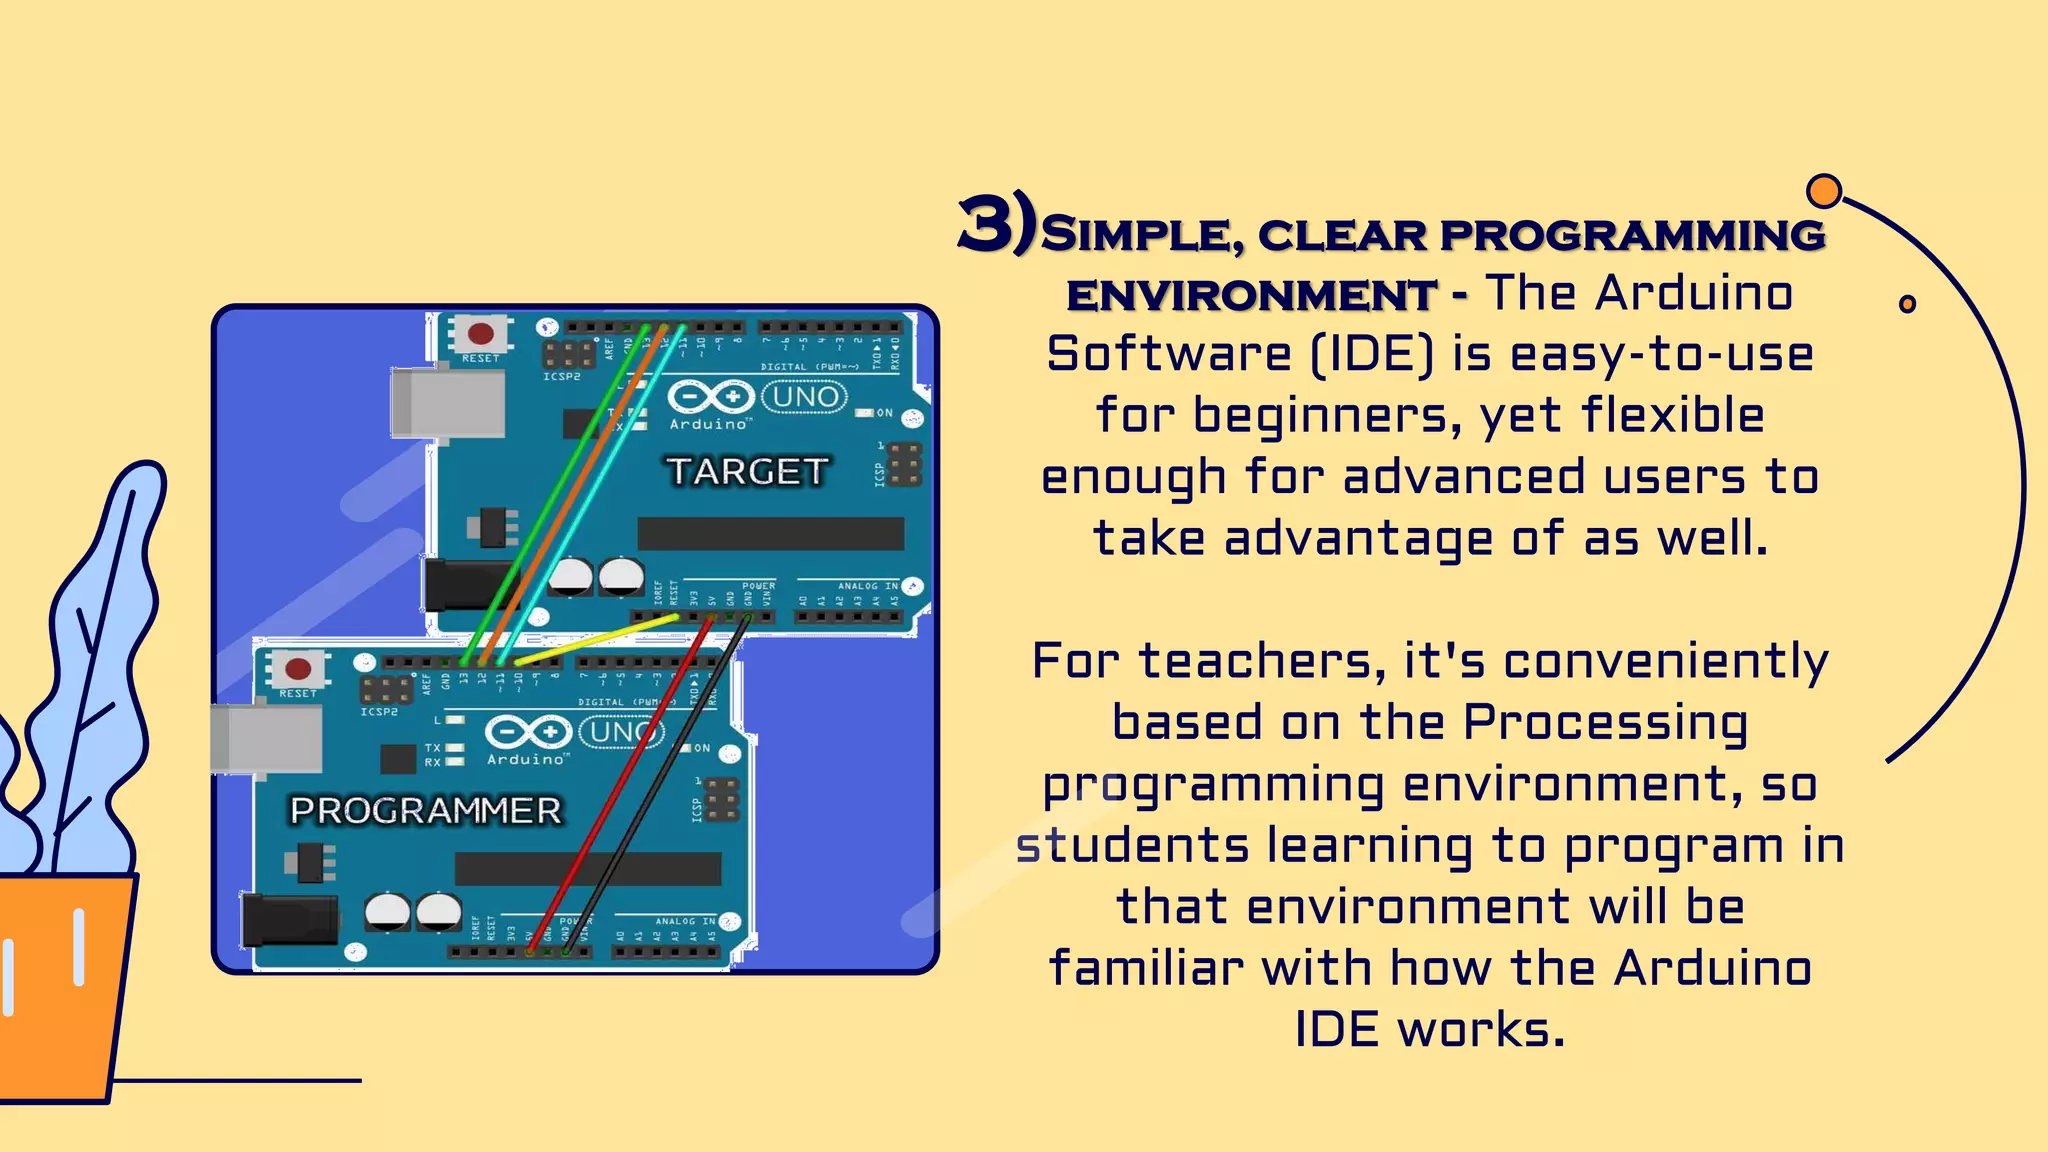
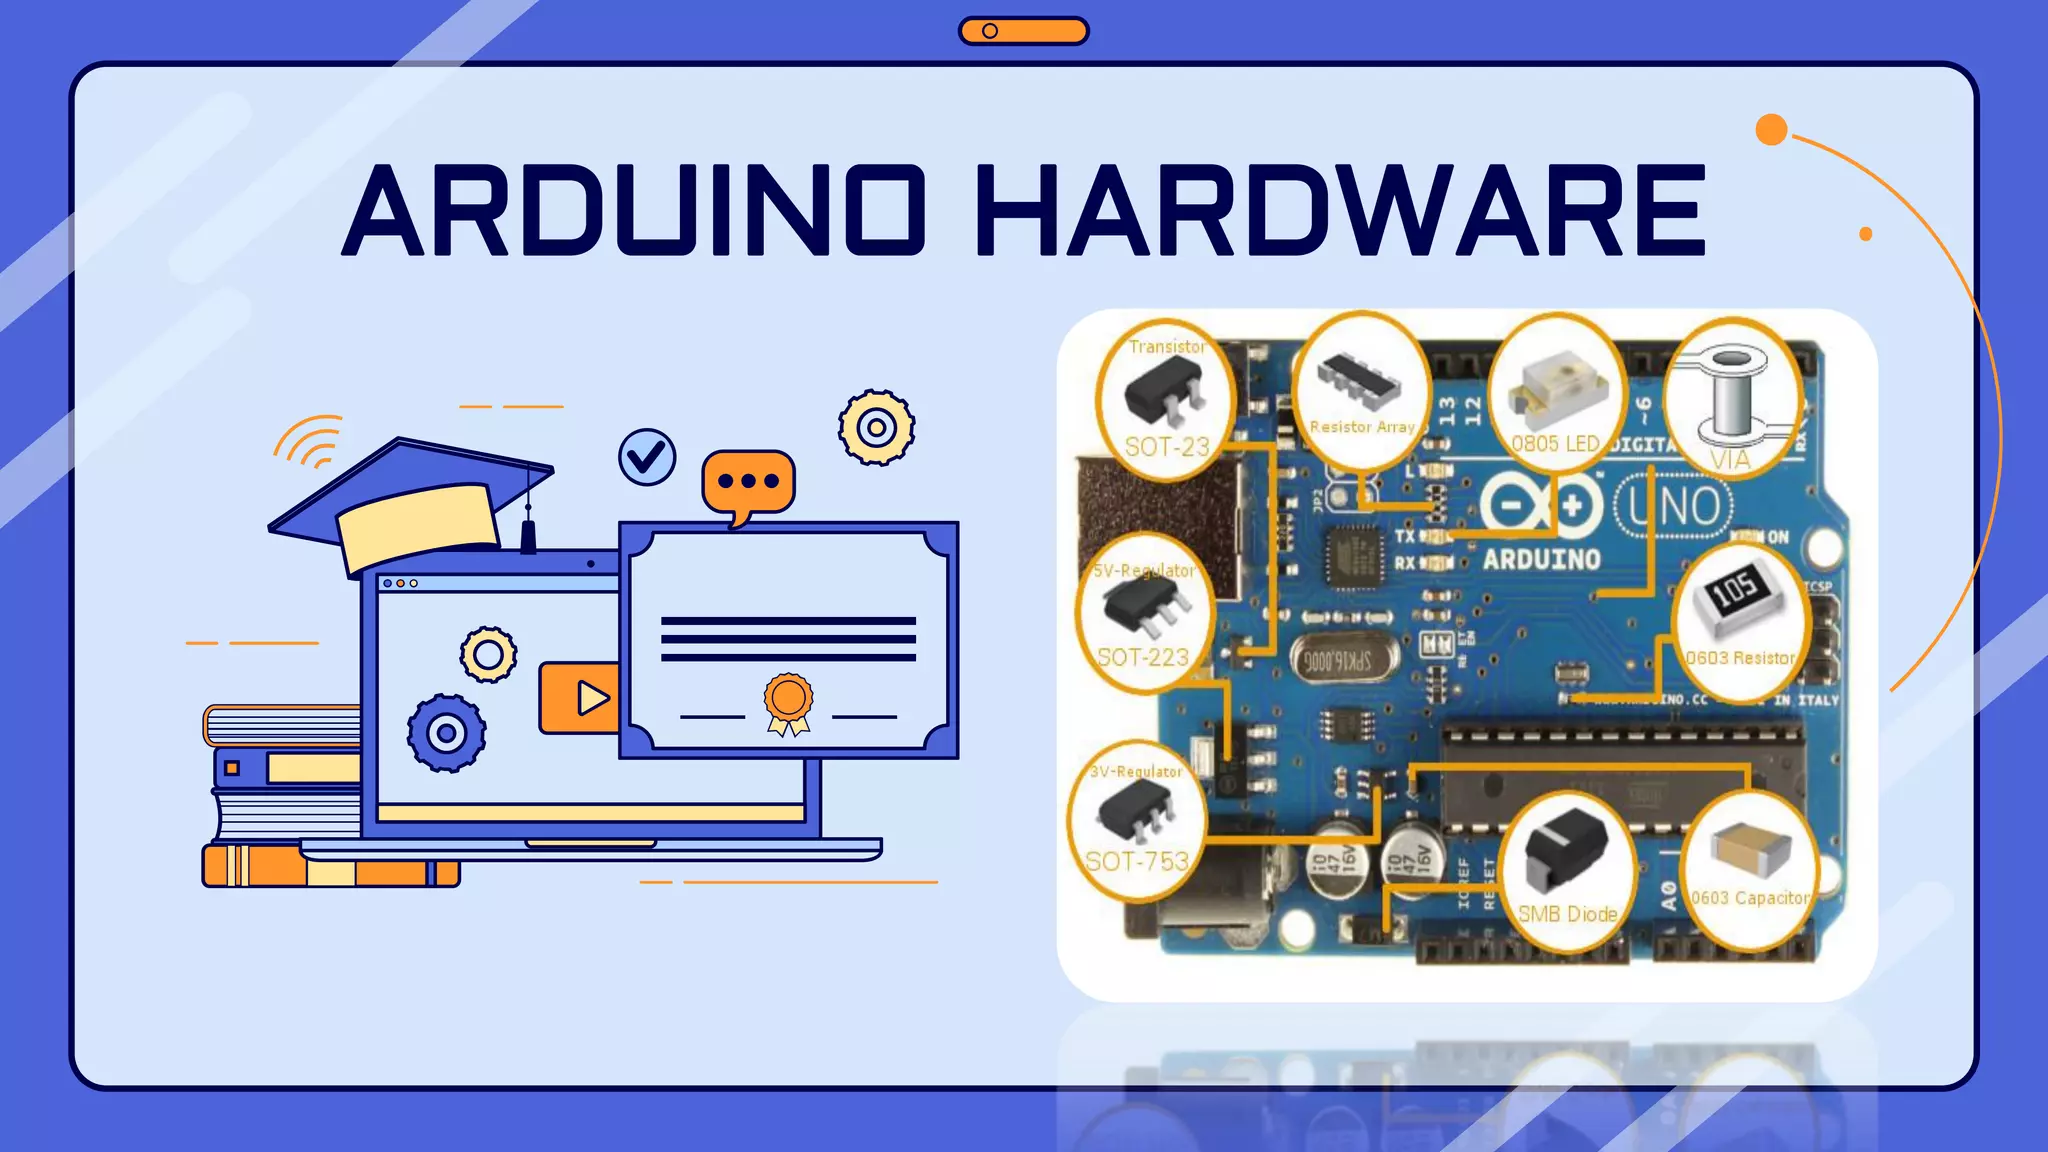
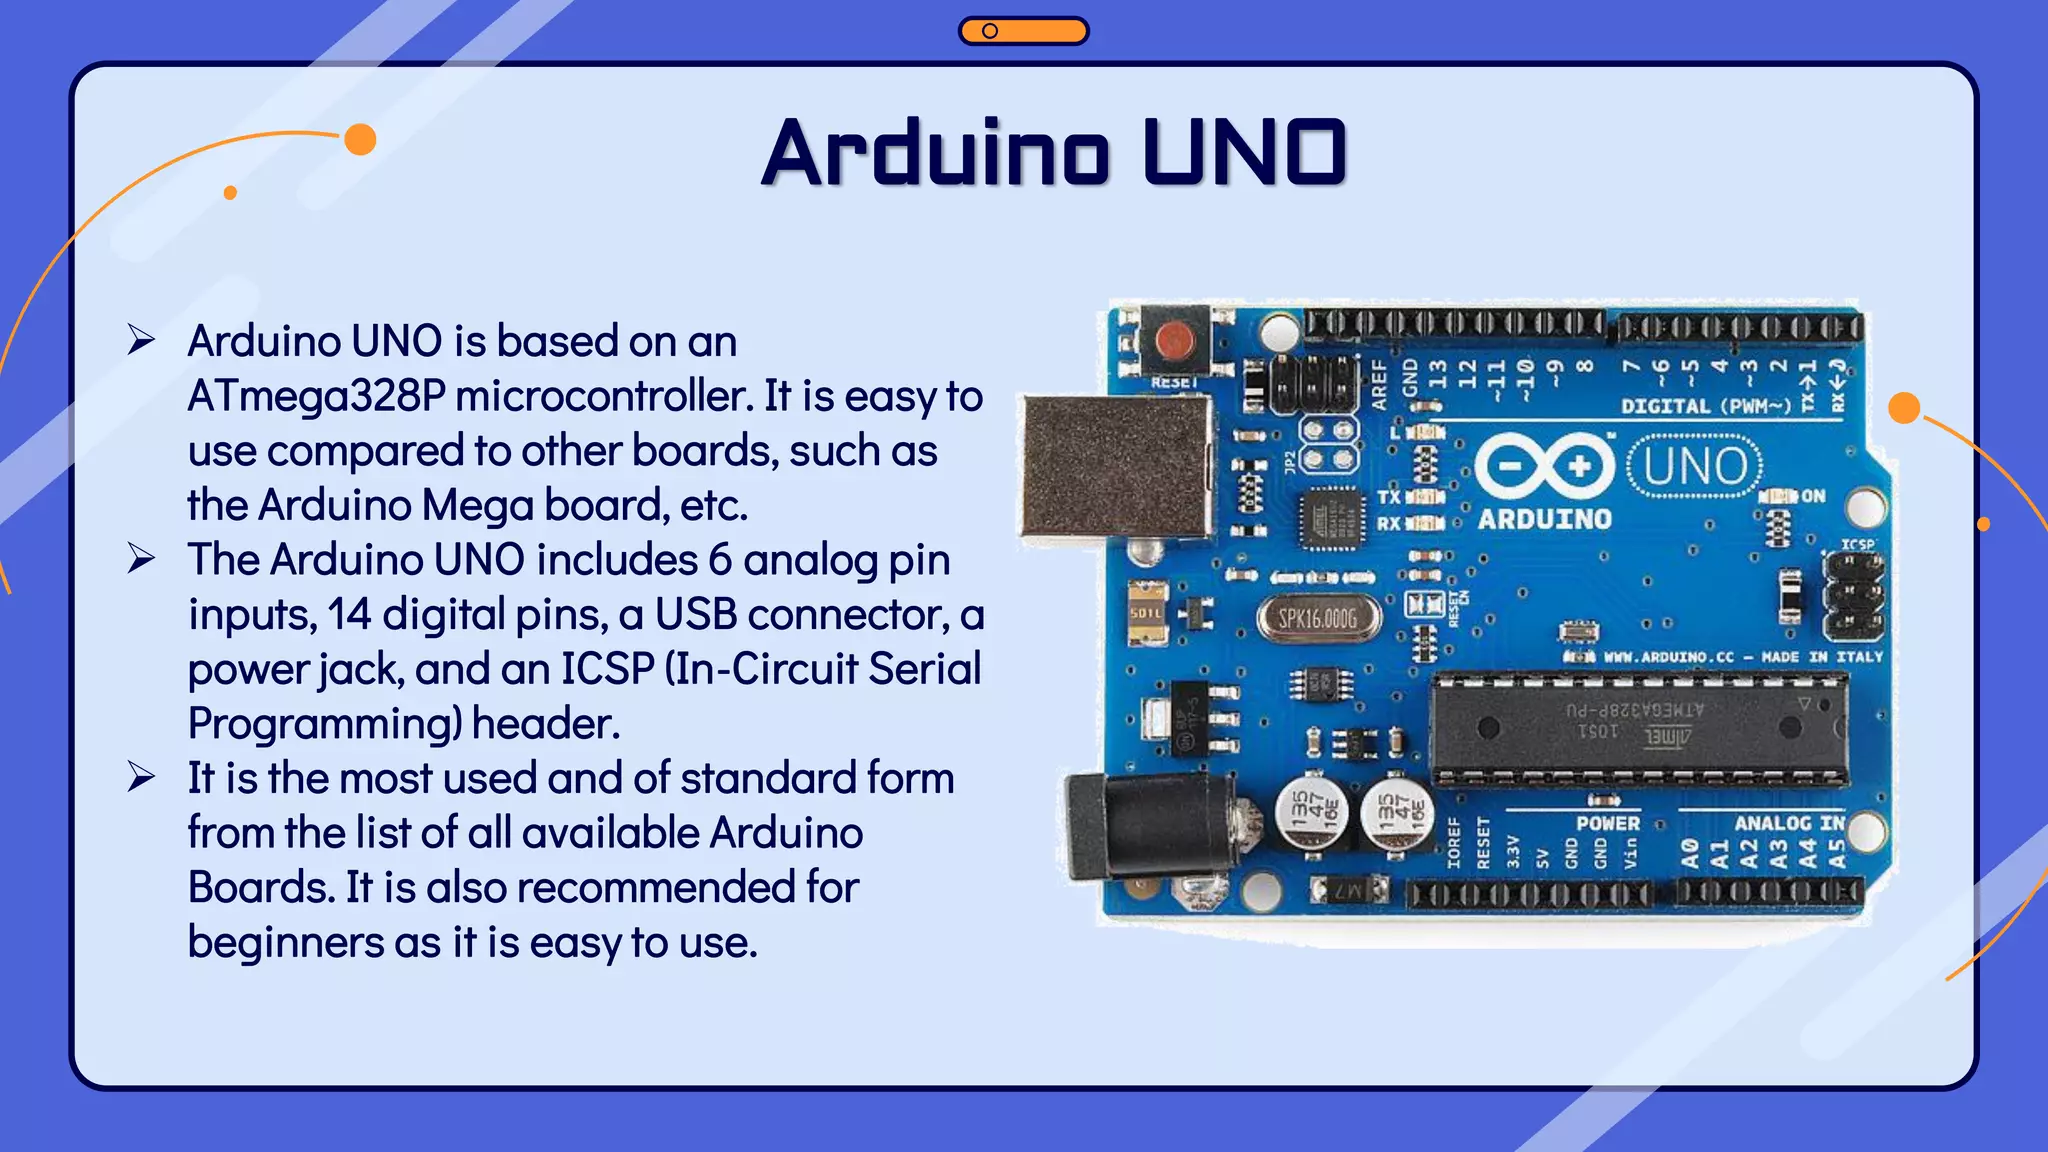
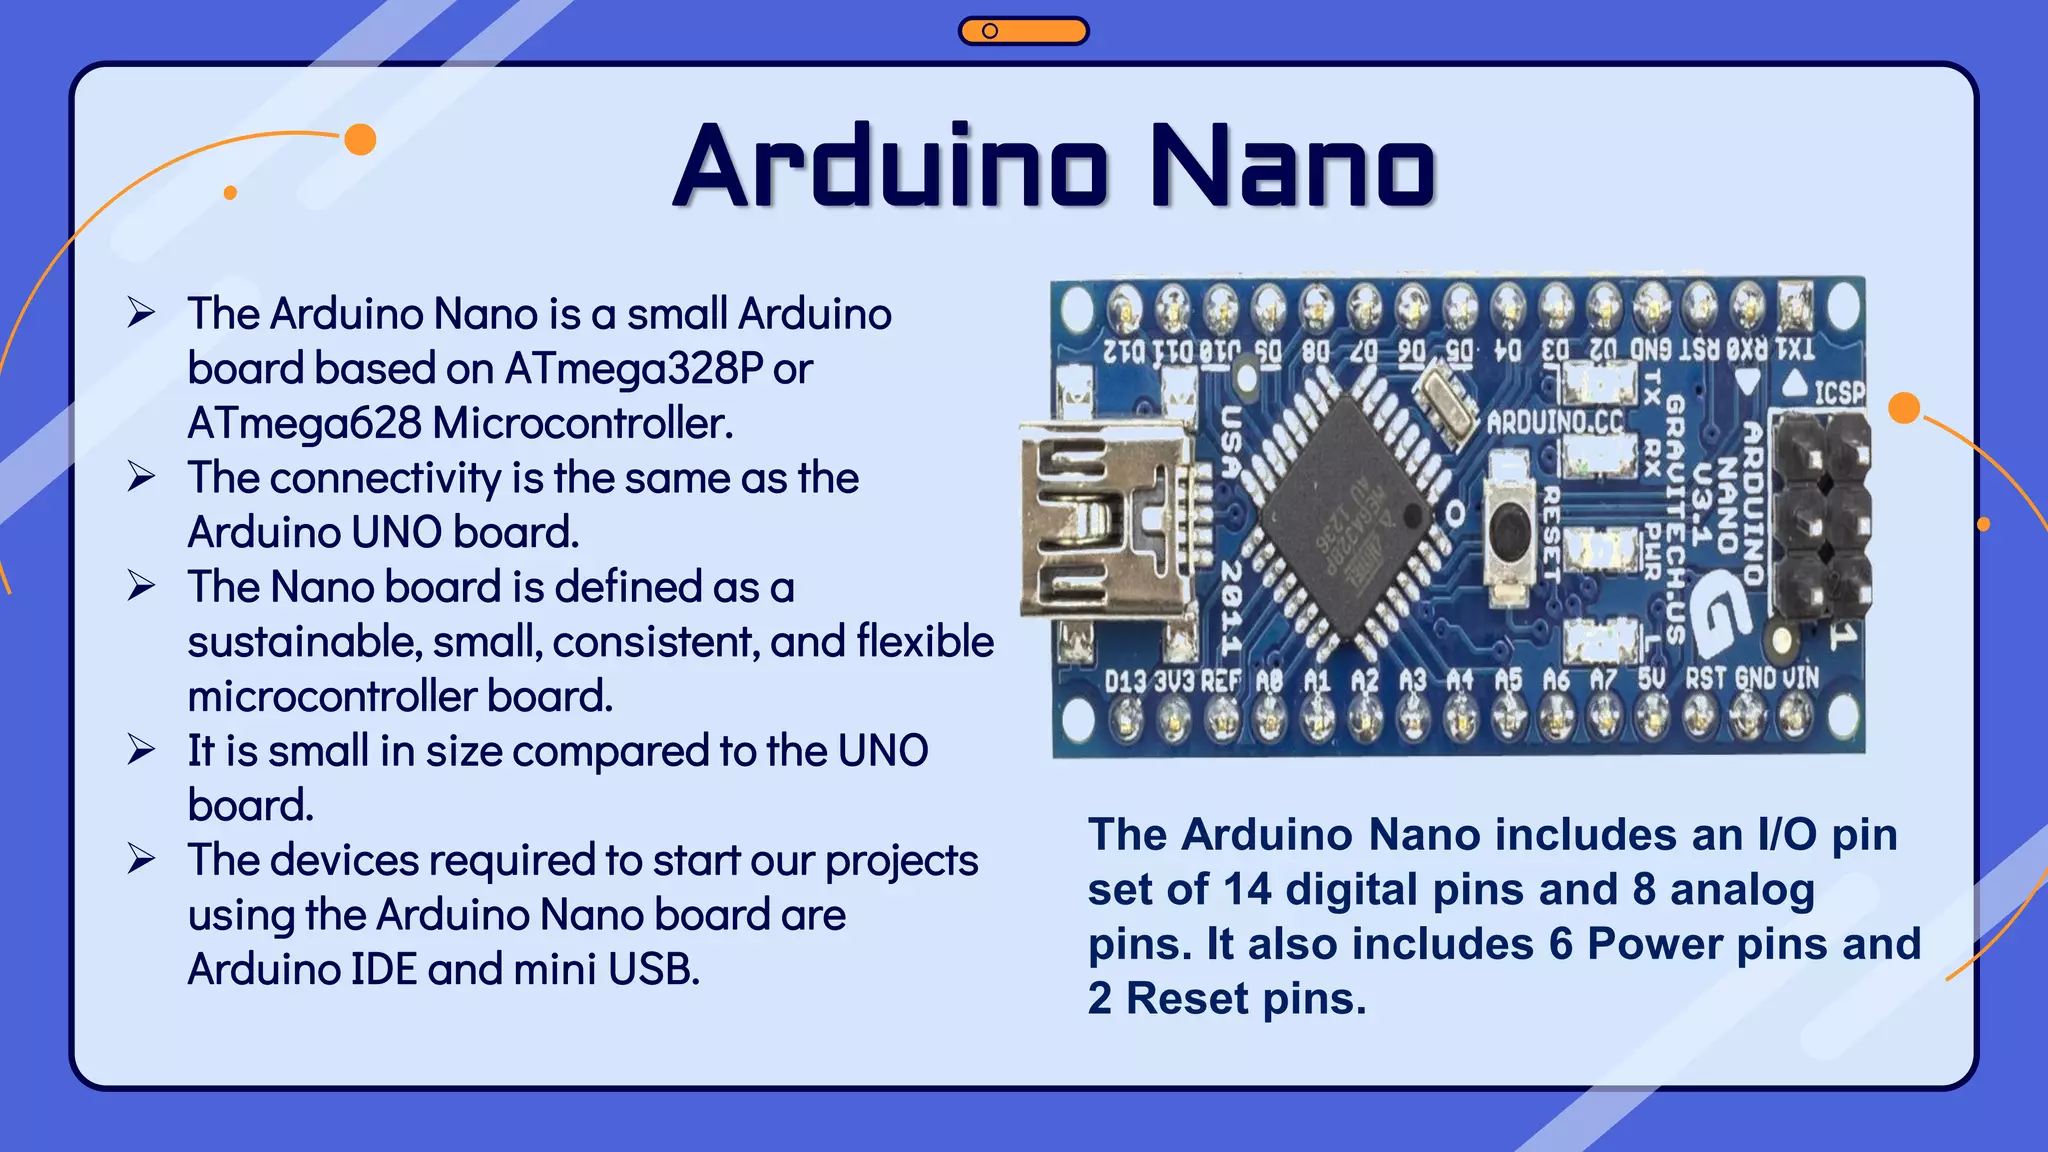
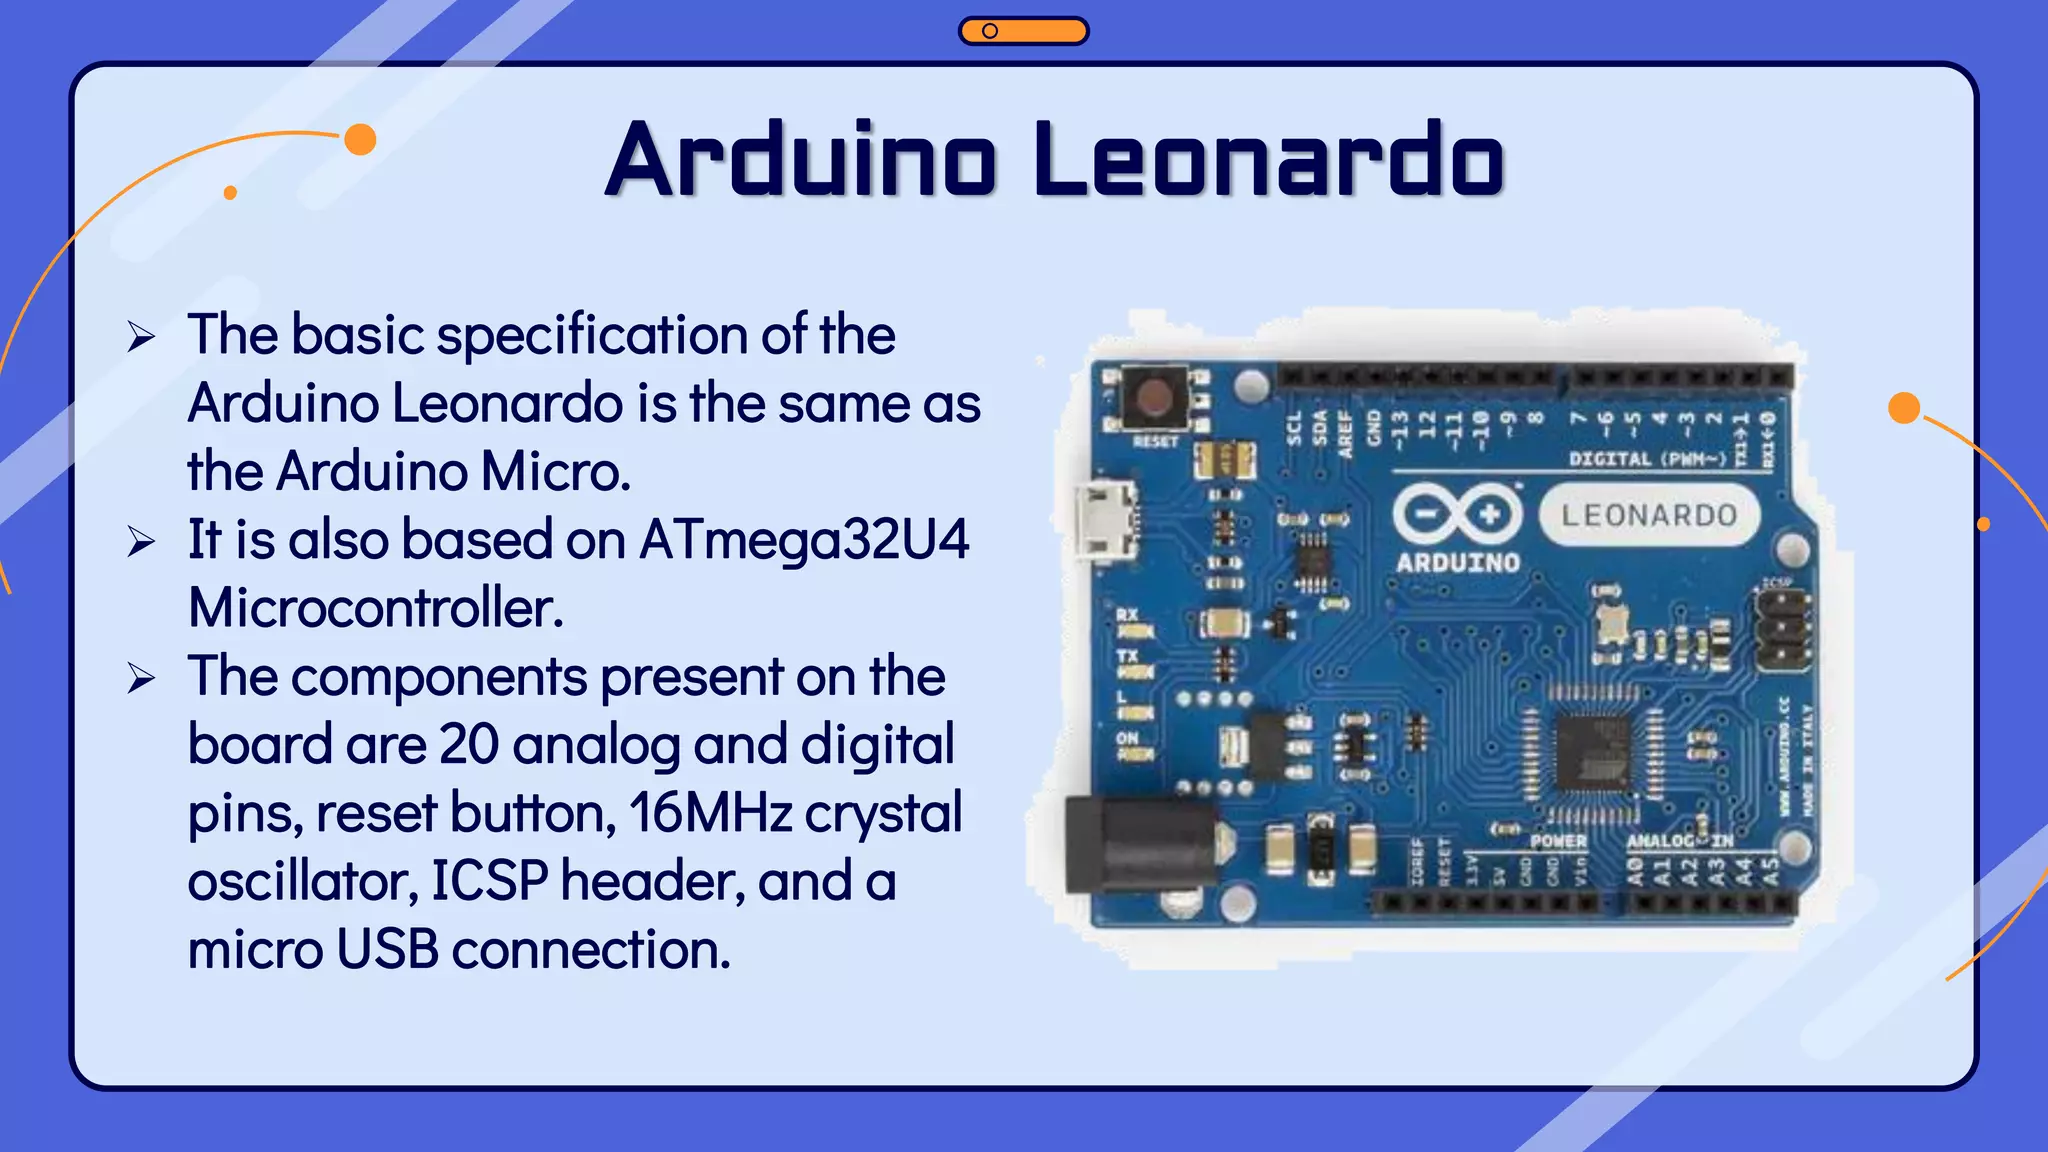
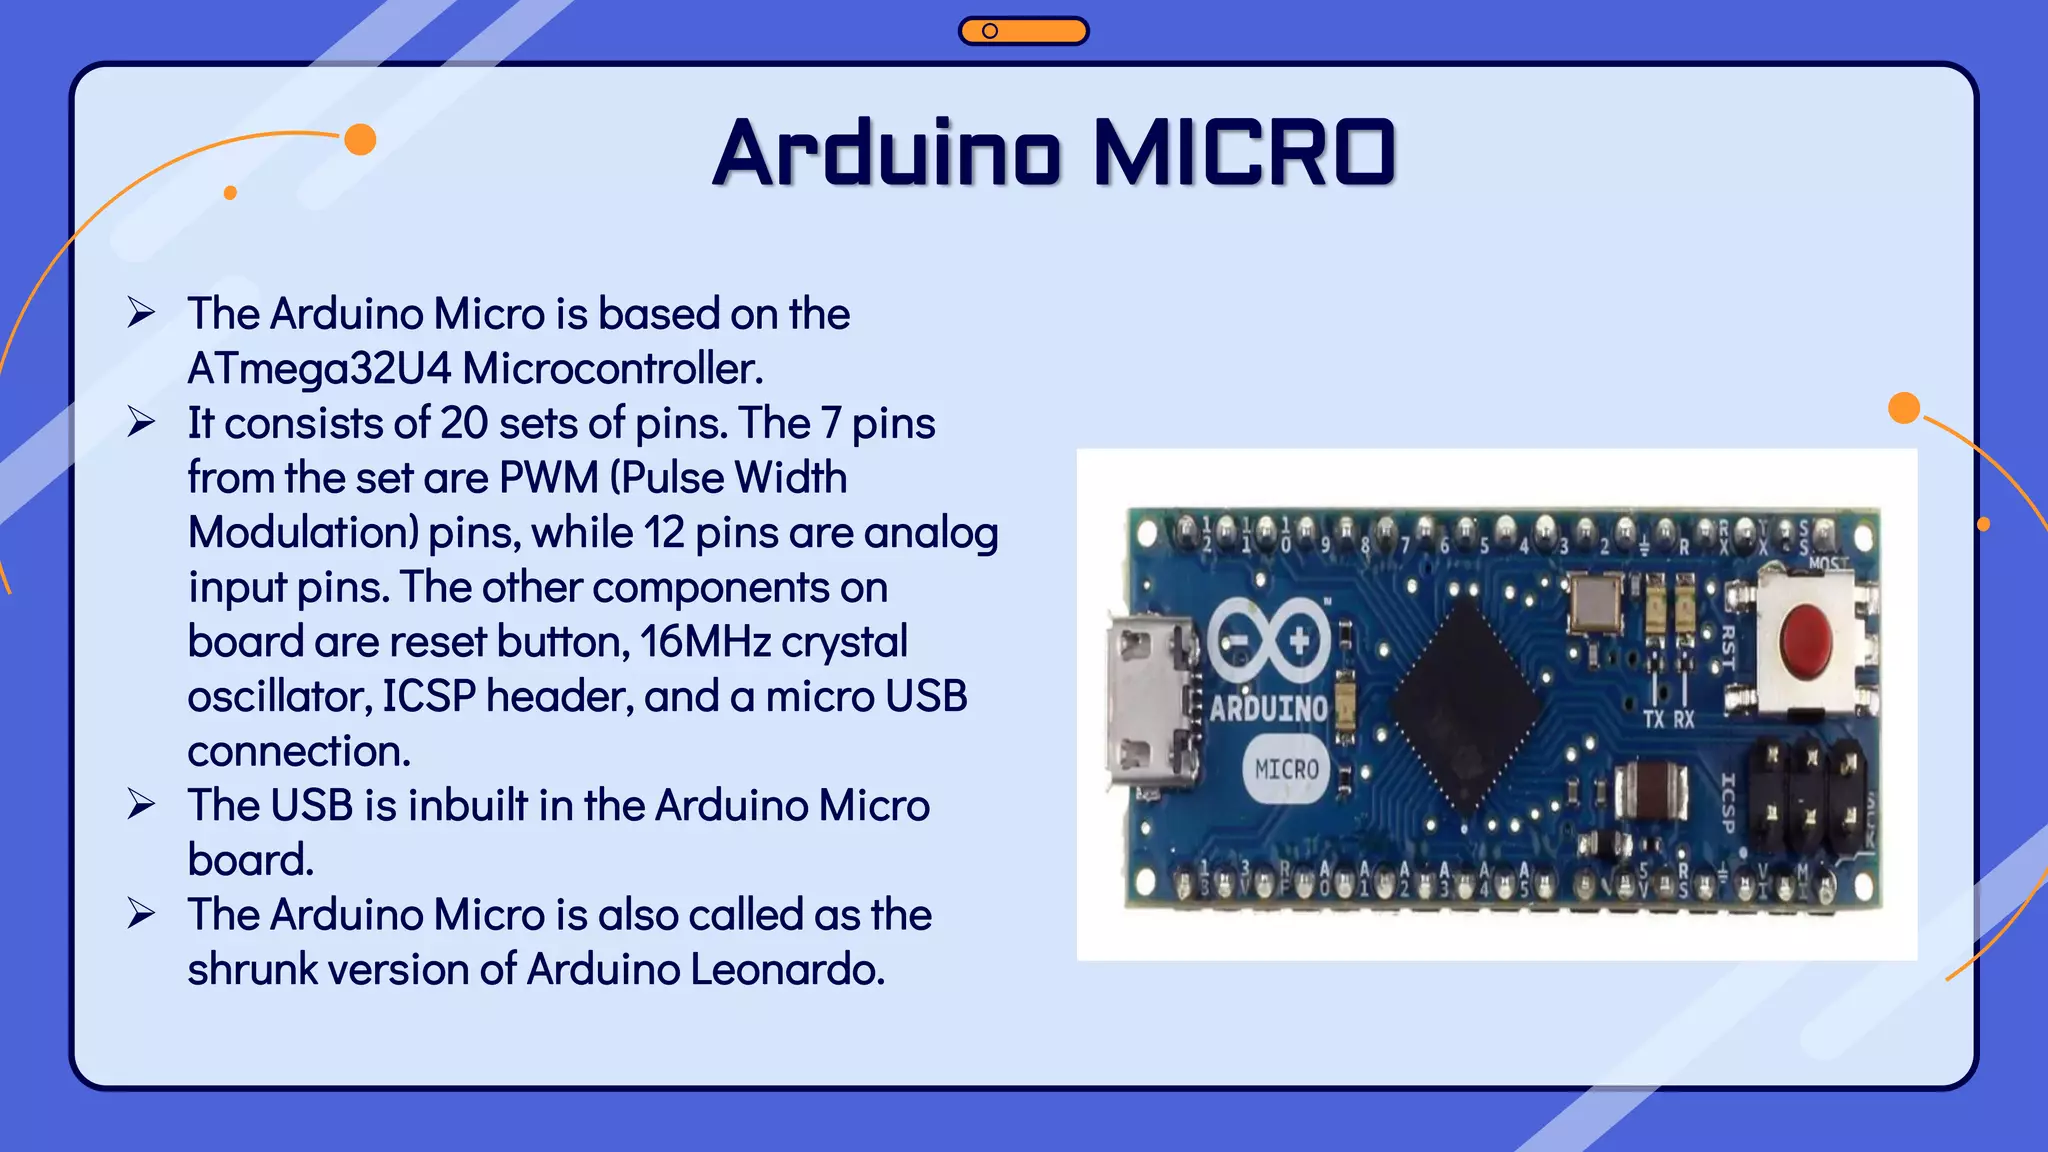


This document provides an overview of the Arduino hardware and software platform. It discusses that Arduino is an open-source electronics platform that can read inputs and turn them into outputs. Common Arduino boards like the UNO, Nano, Leonardo and Micro are identified along with their key components and specifications. The document also explains the benefits of using Arduino including its low cost, cross-platform software, simple programming and extensible open-source hardware and software.