Download as PDF, PPTX

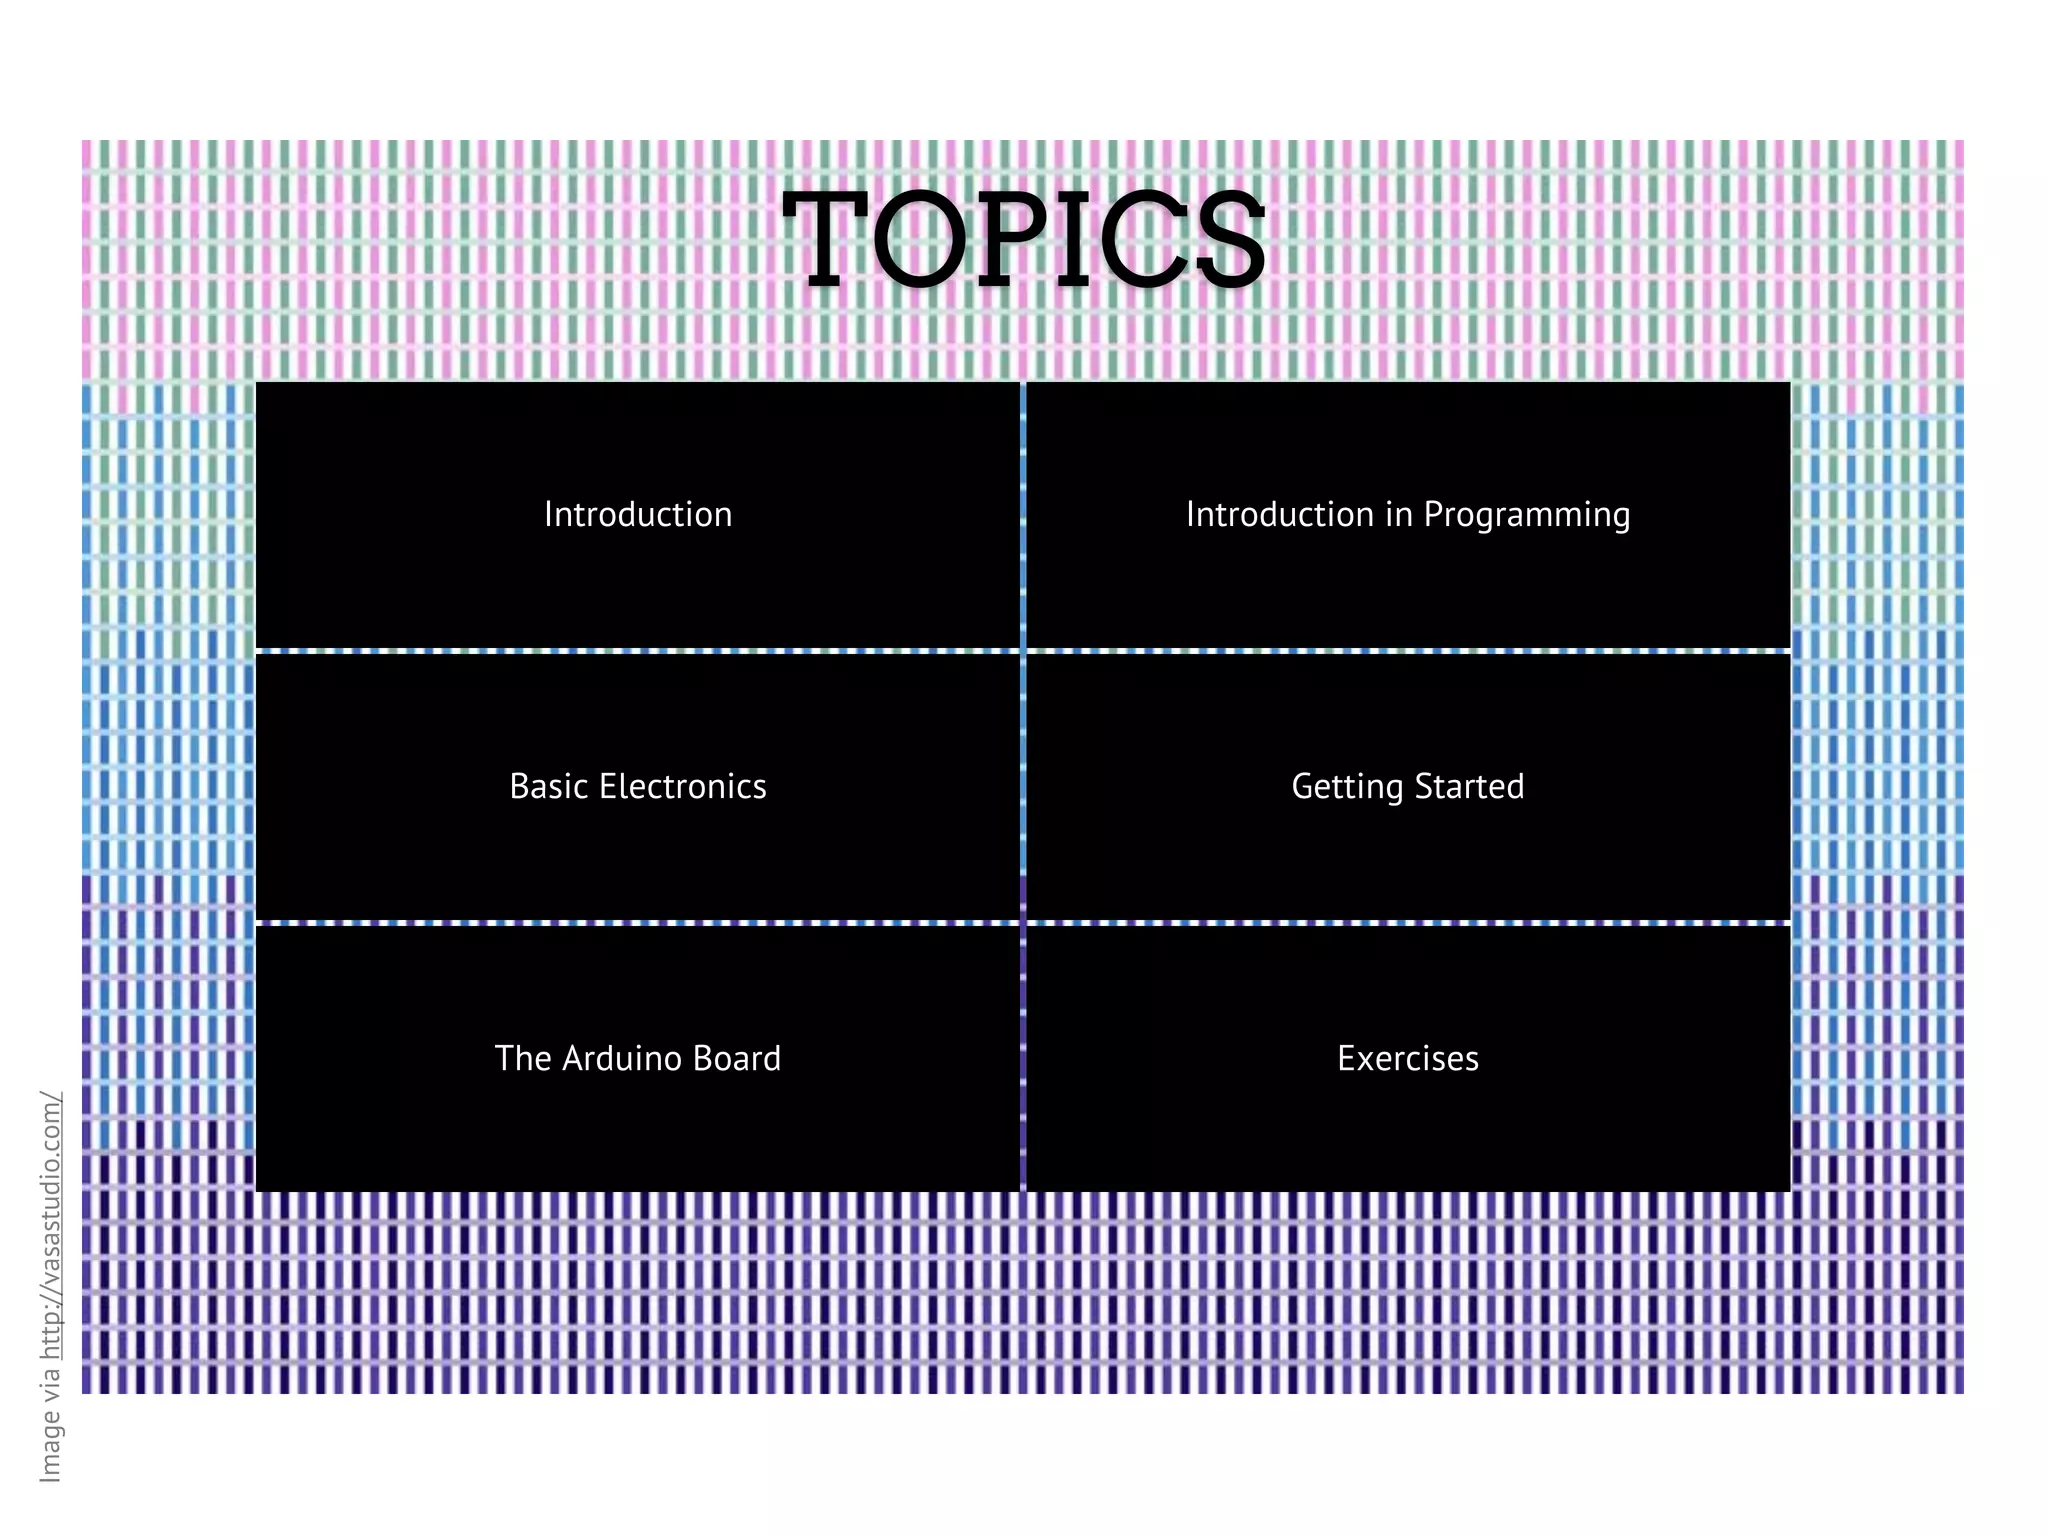
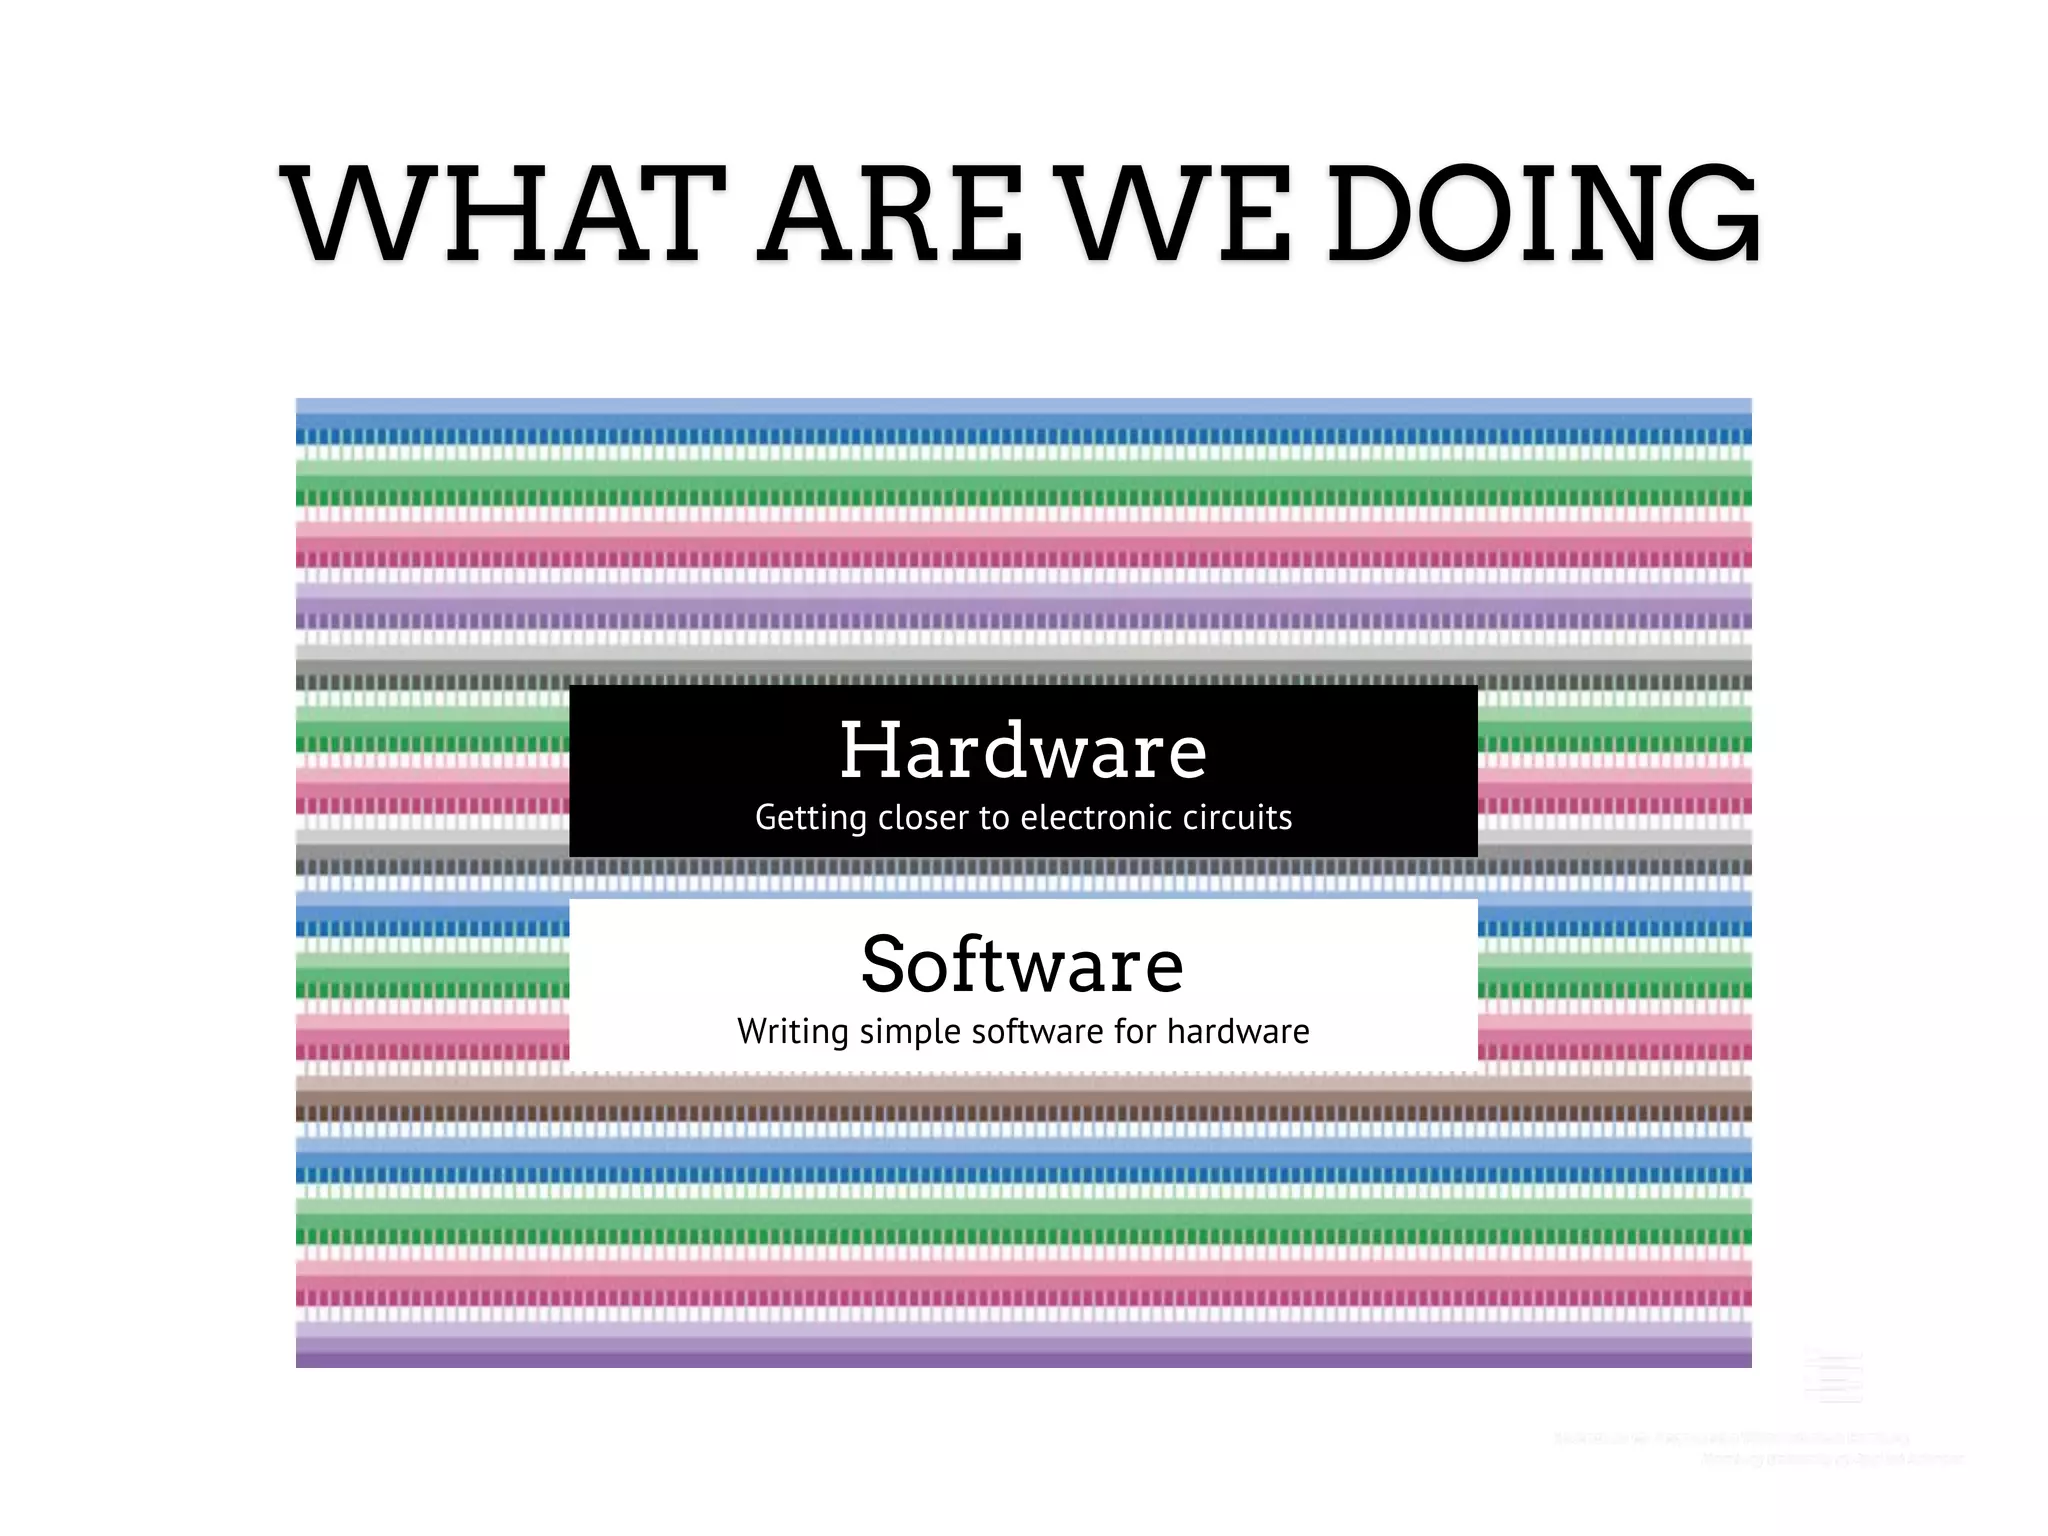


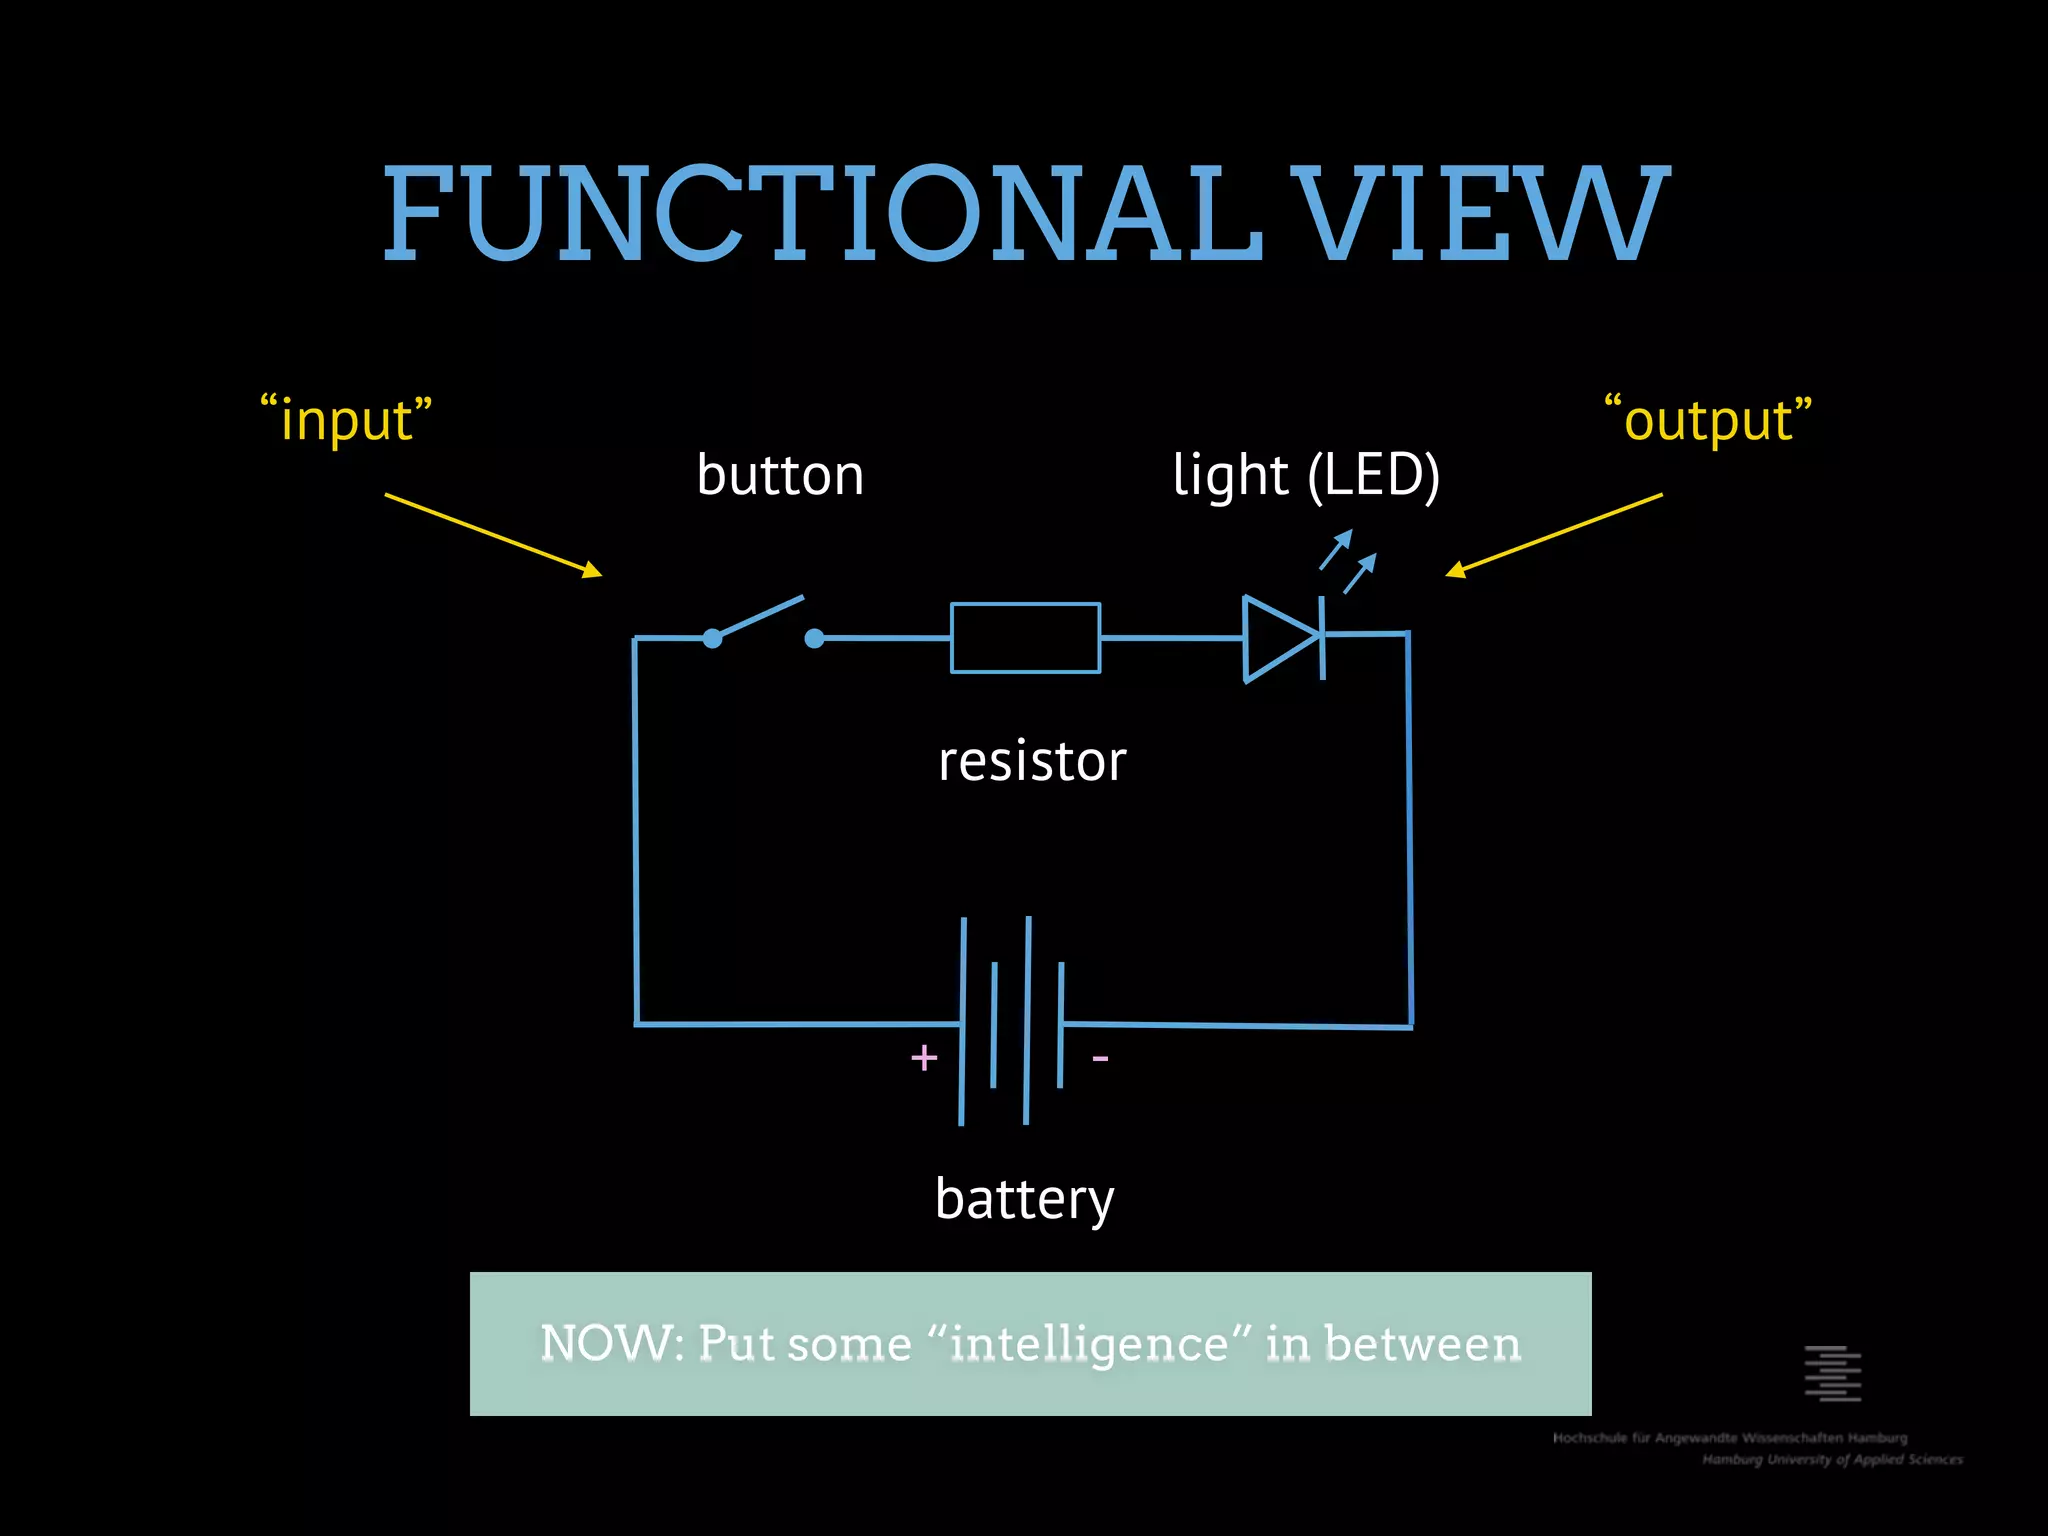
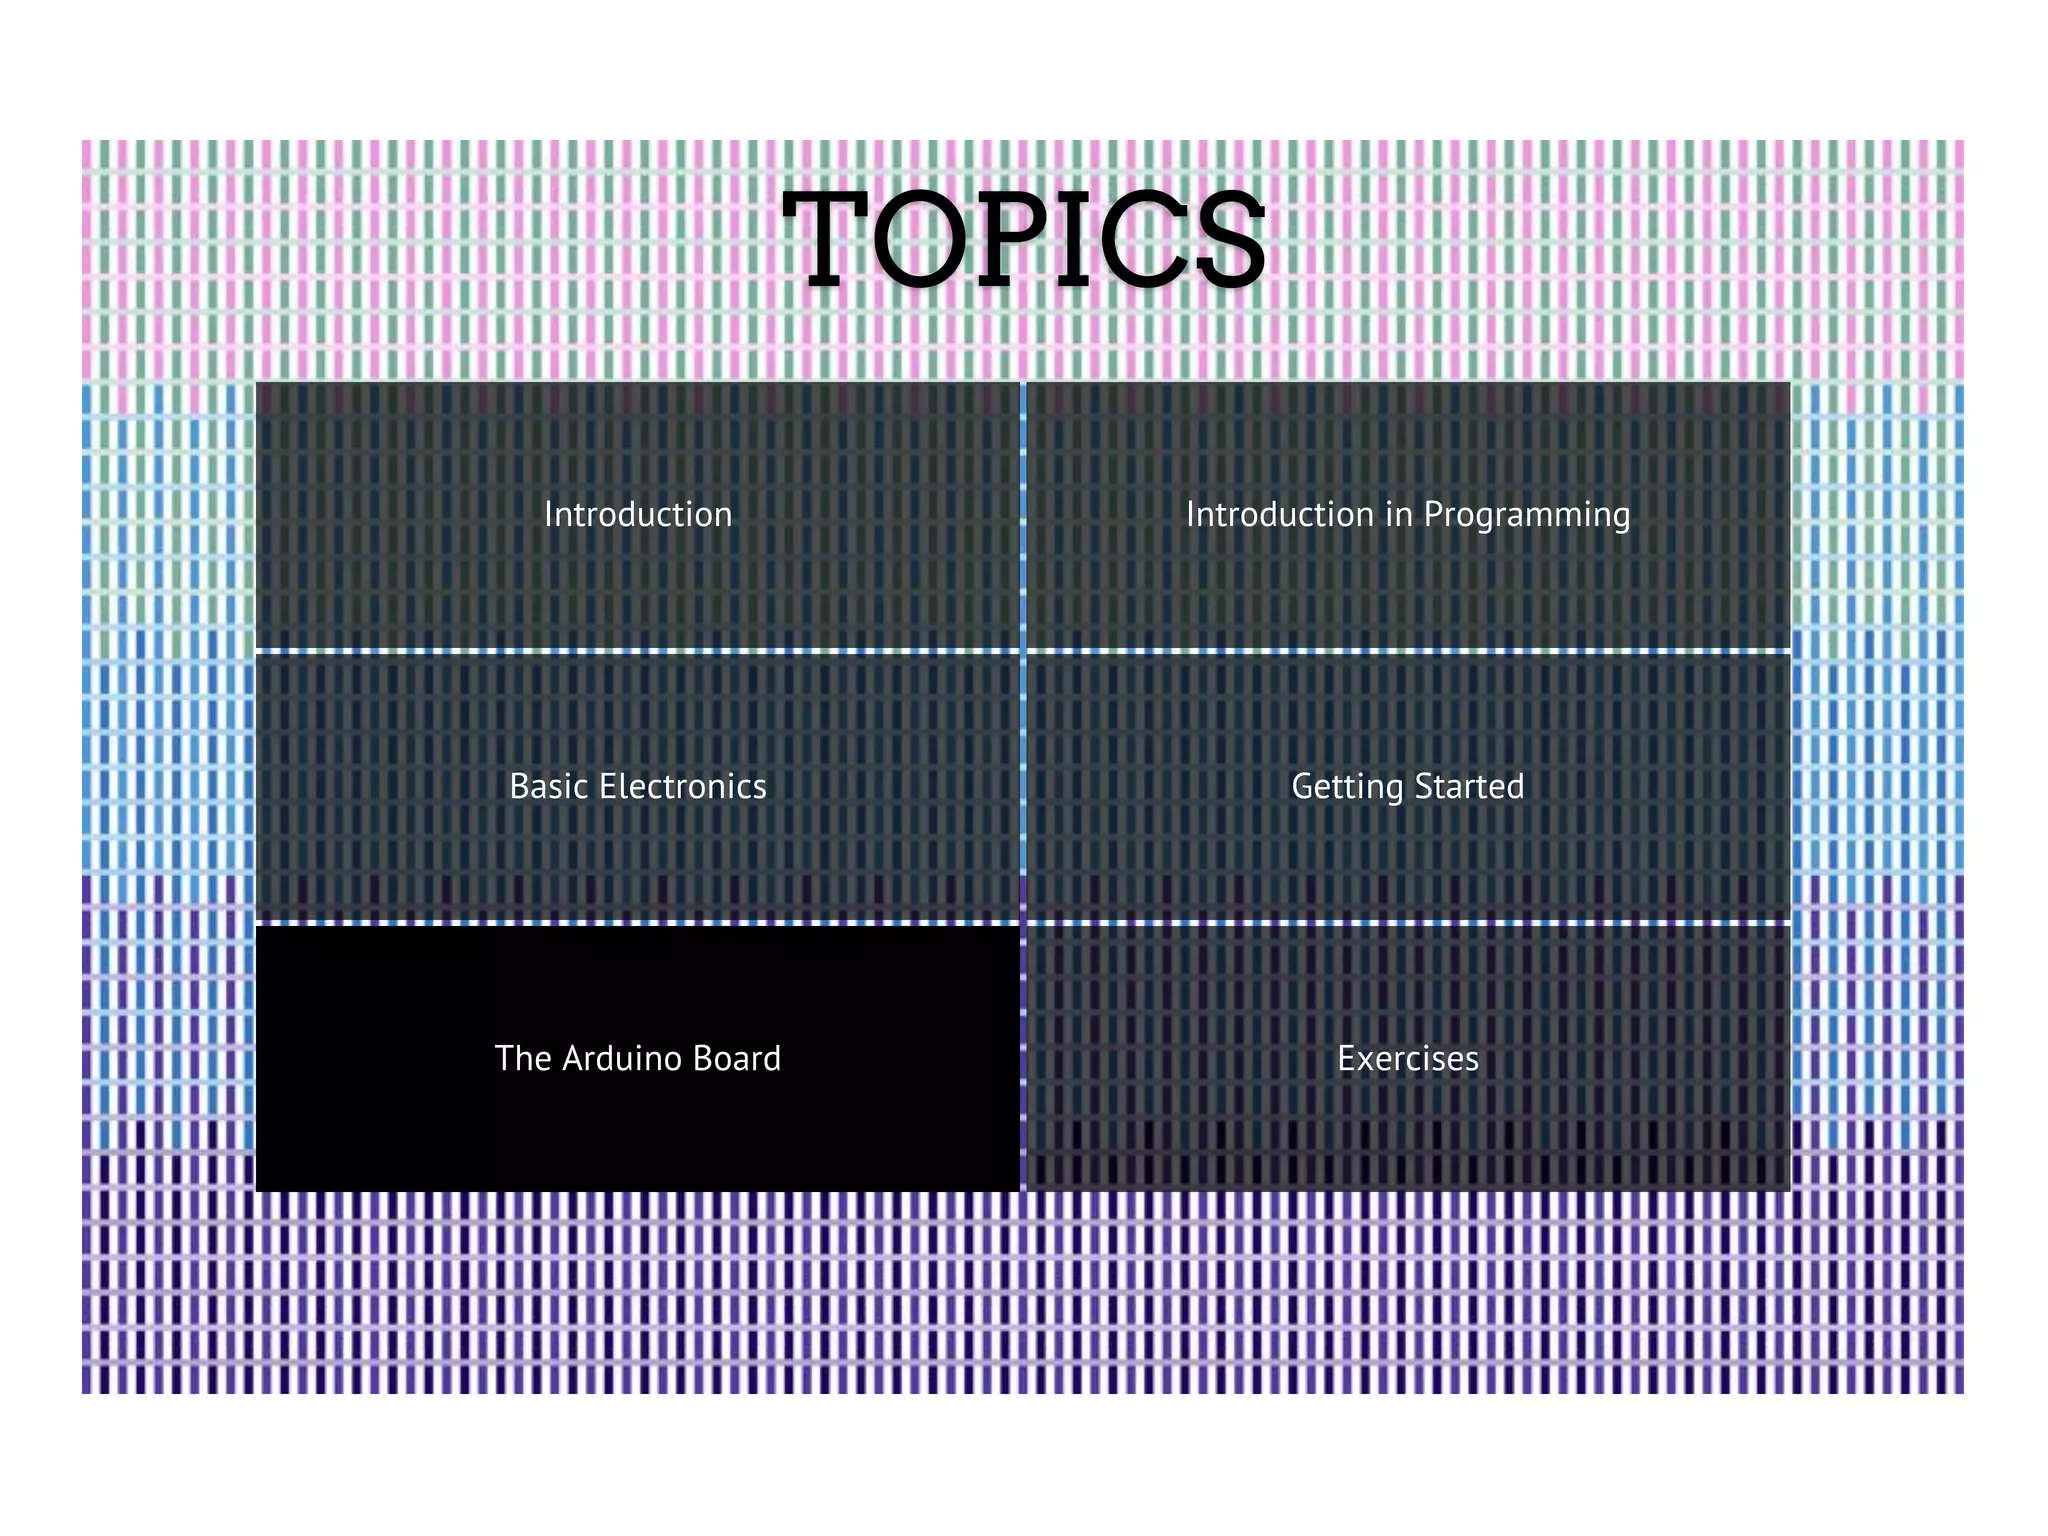
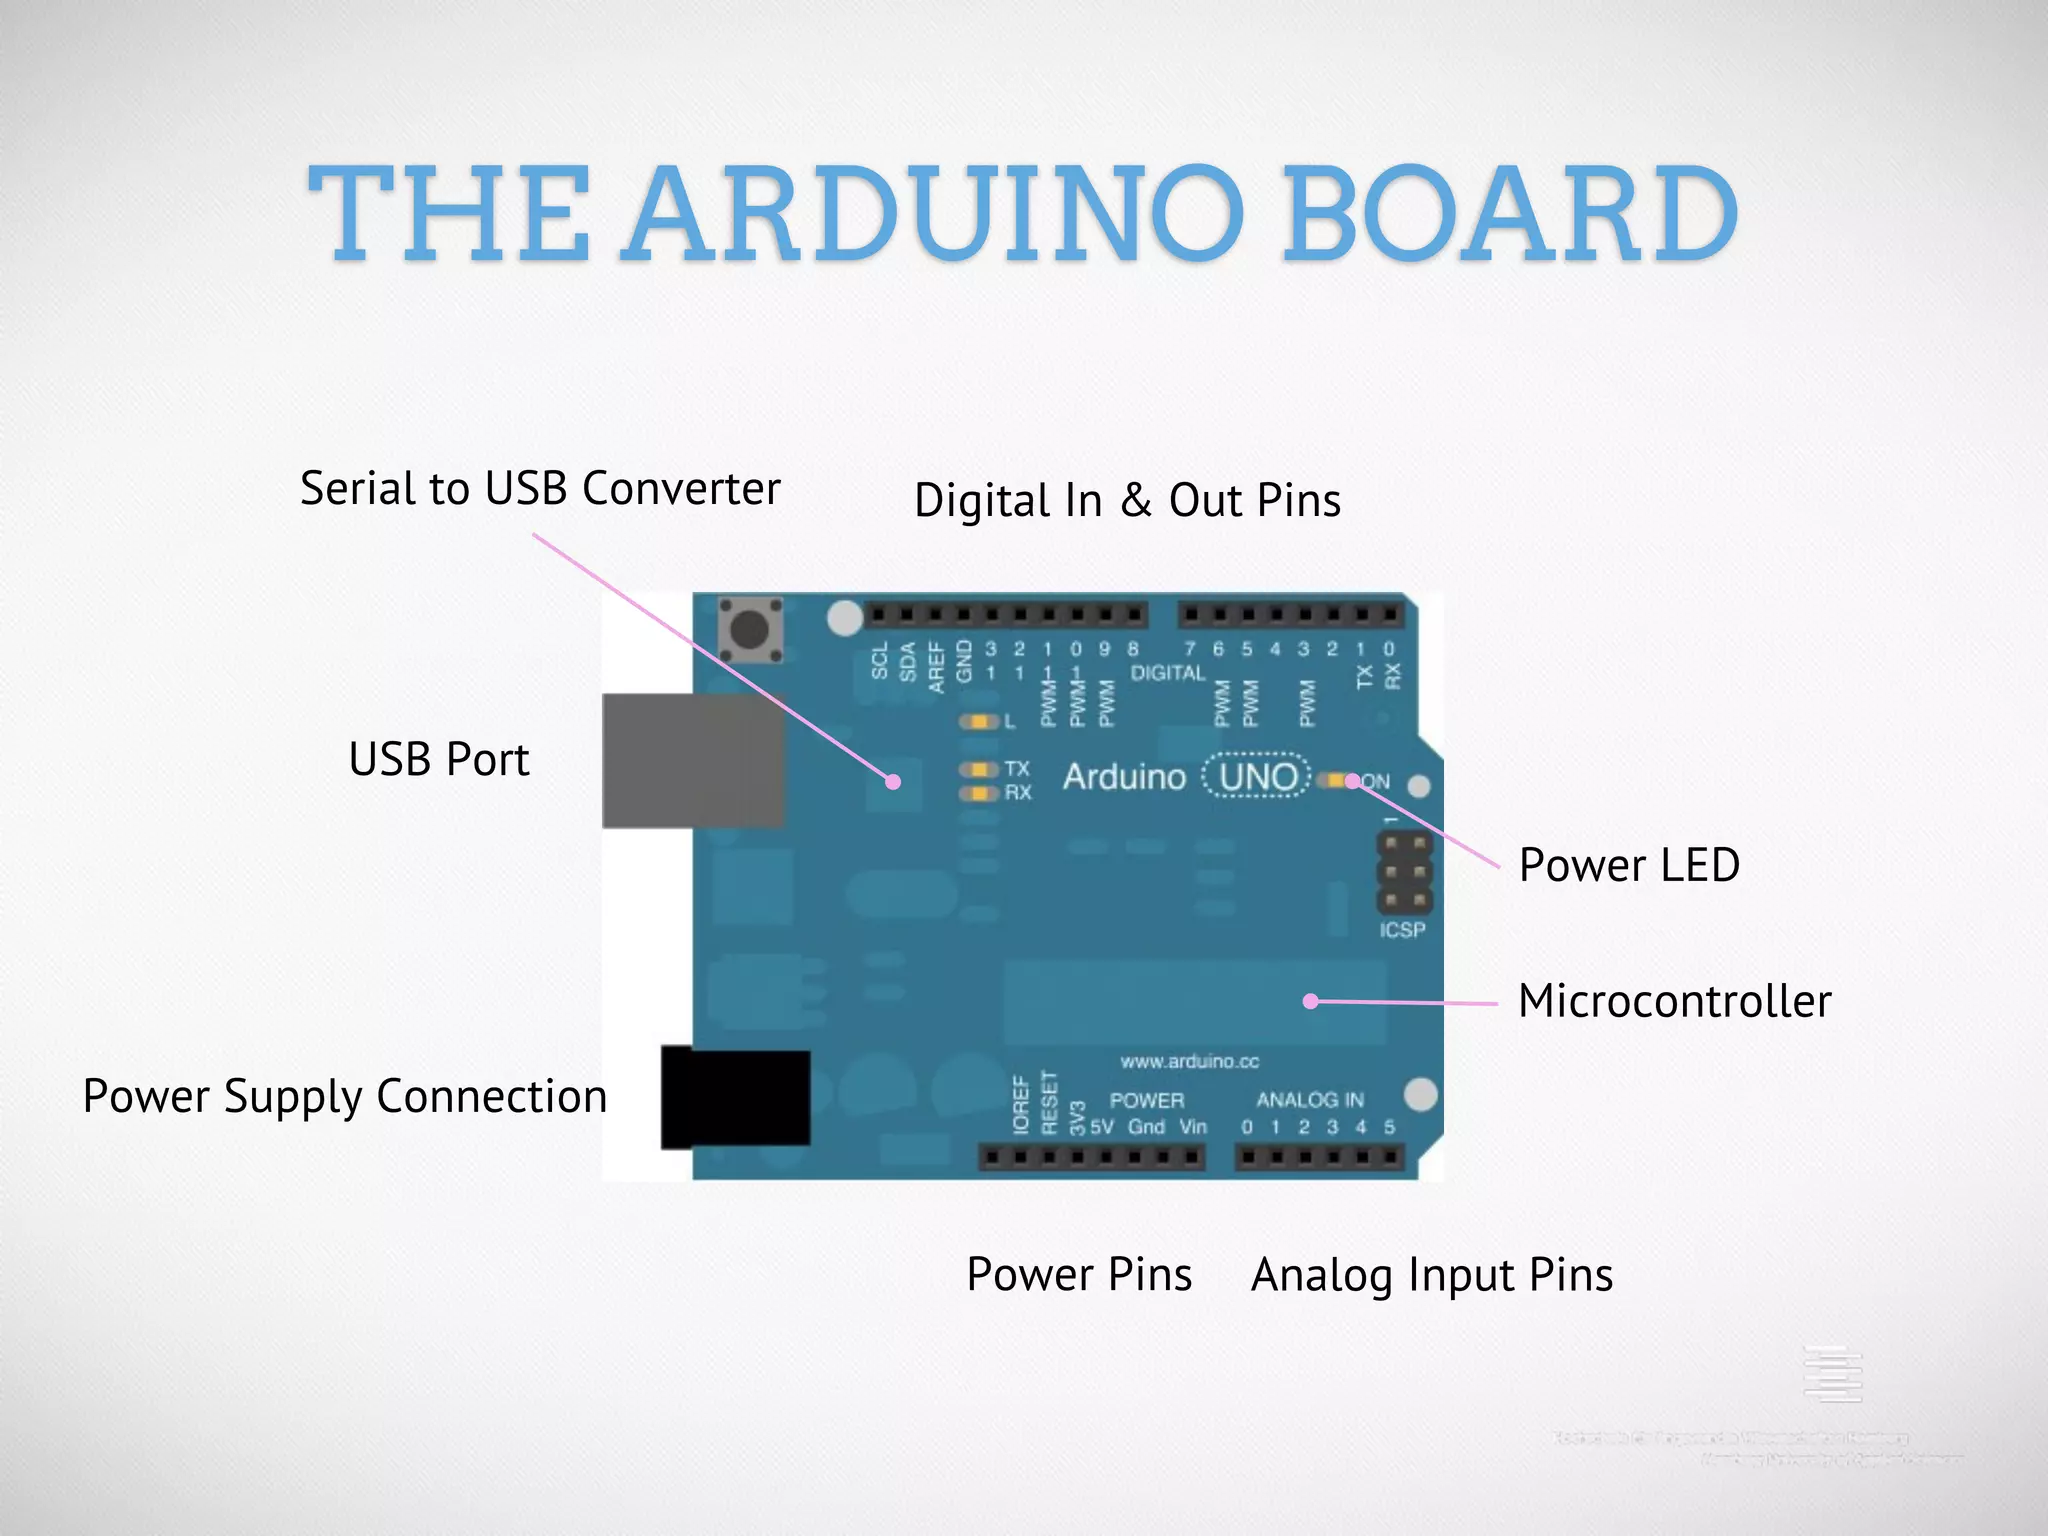
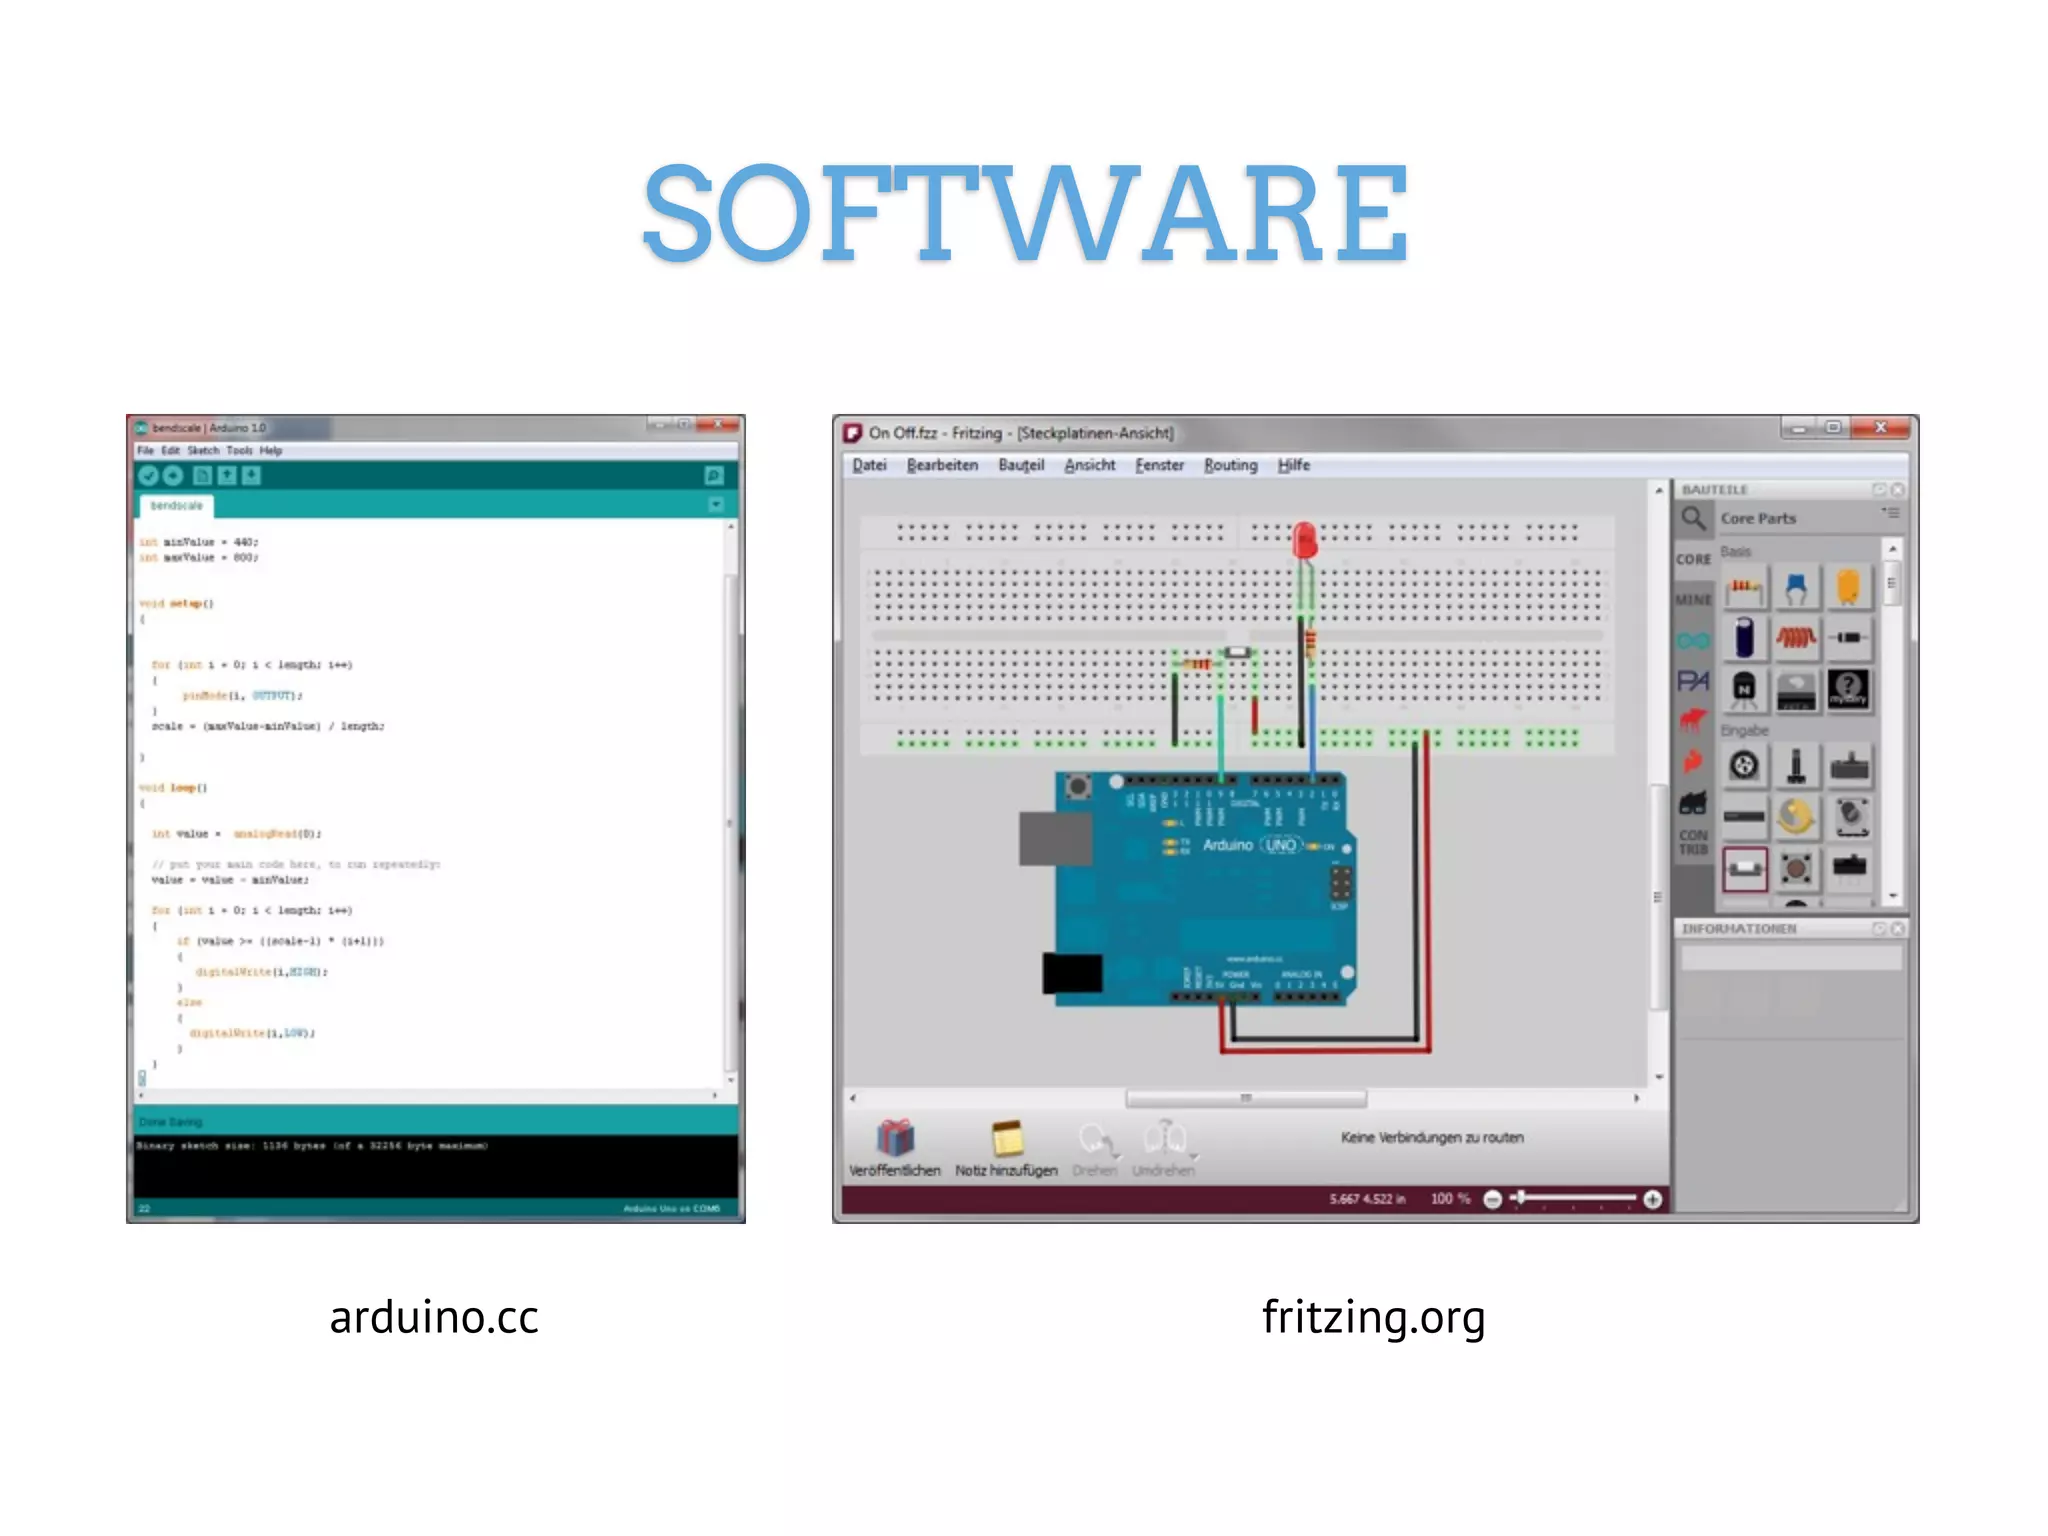
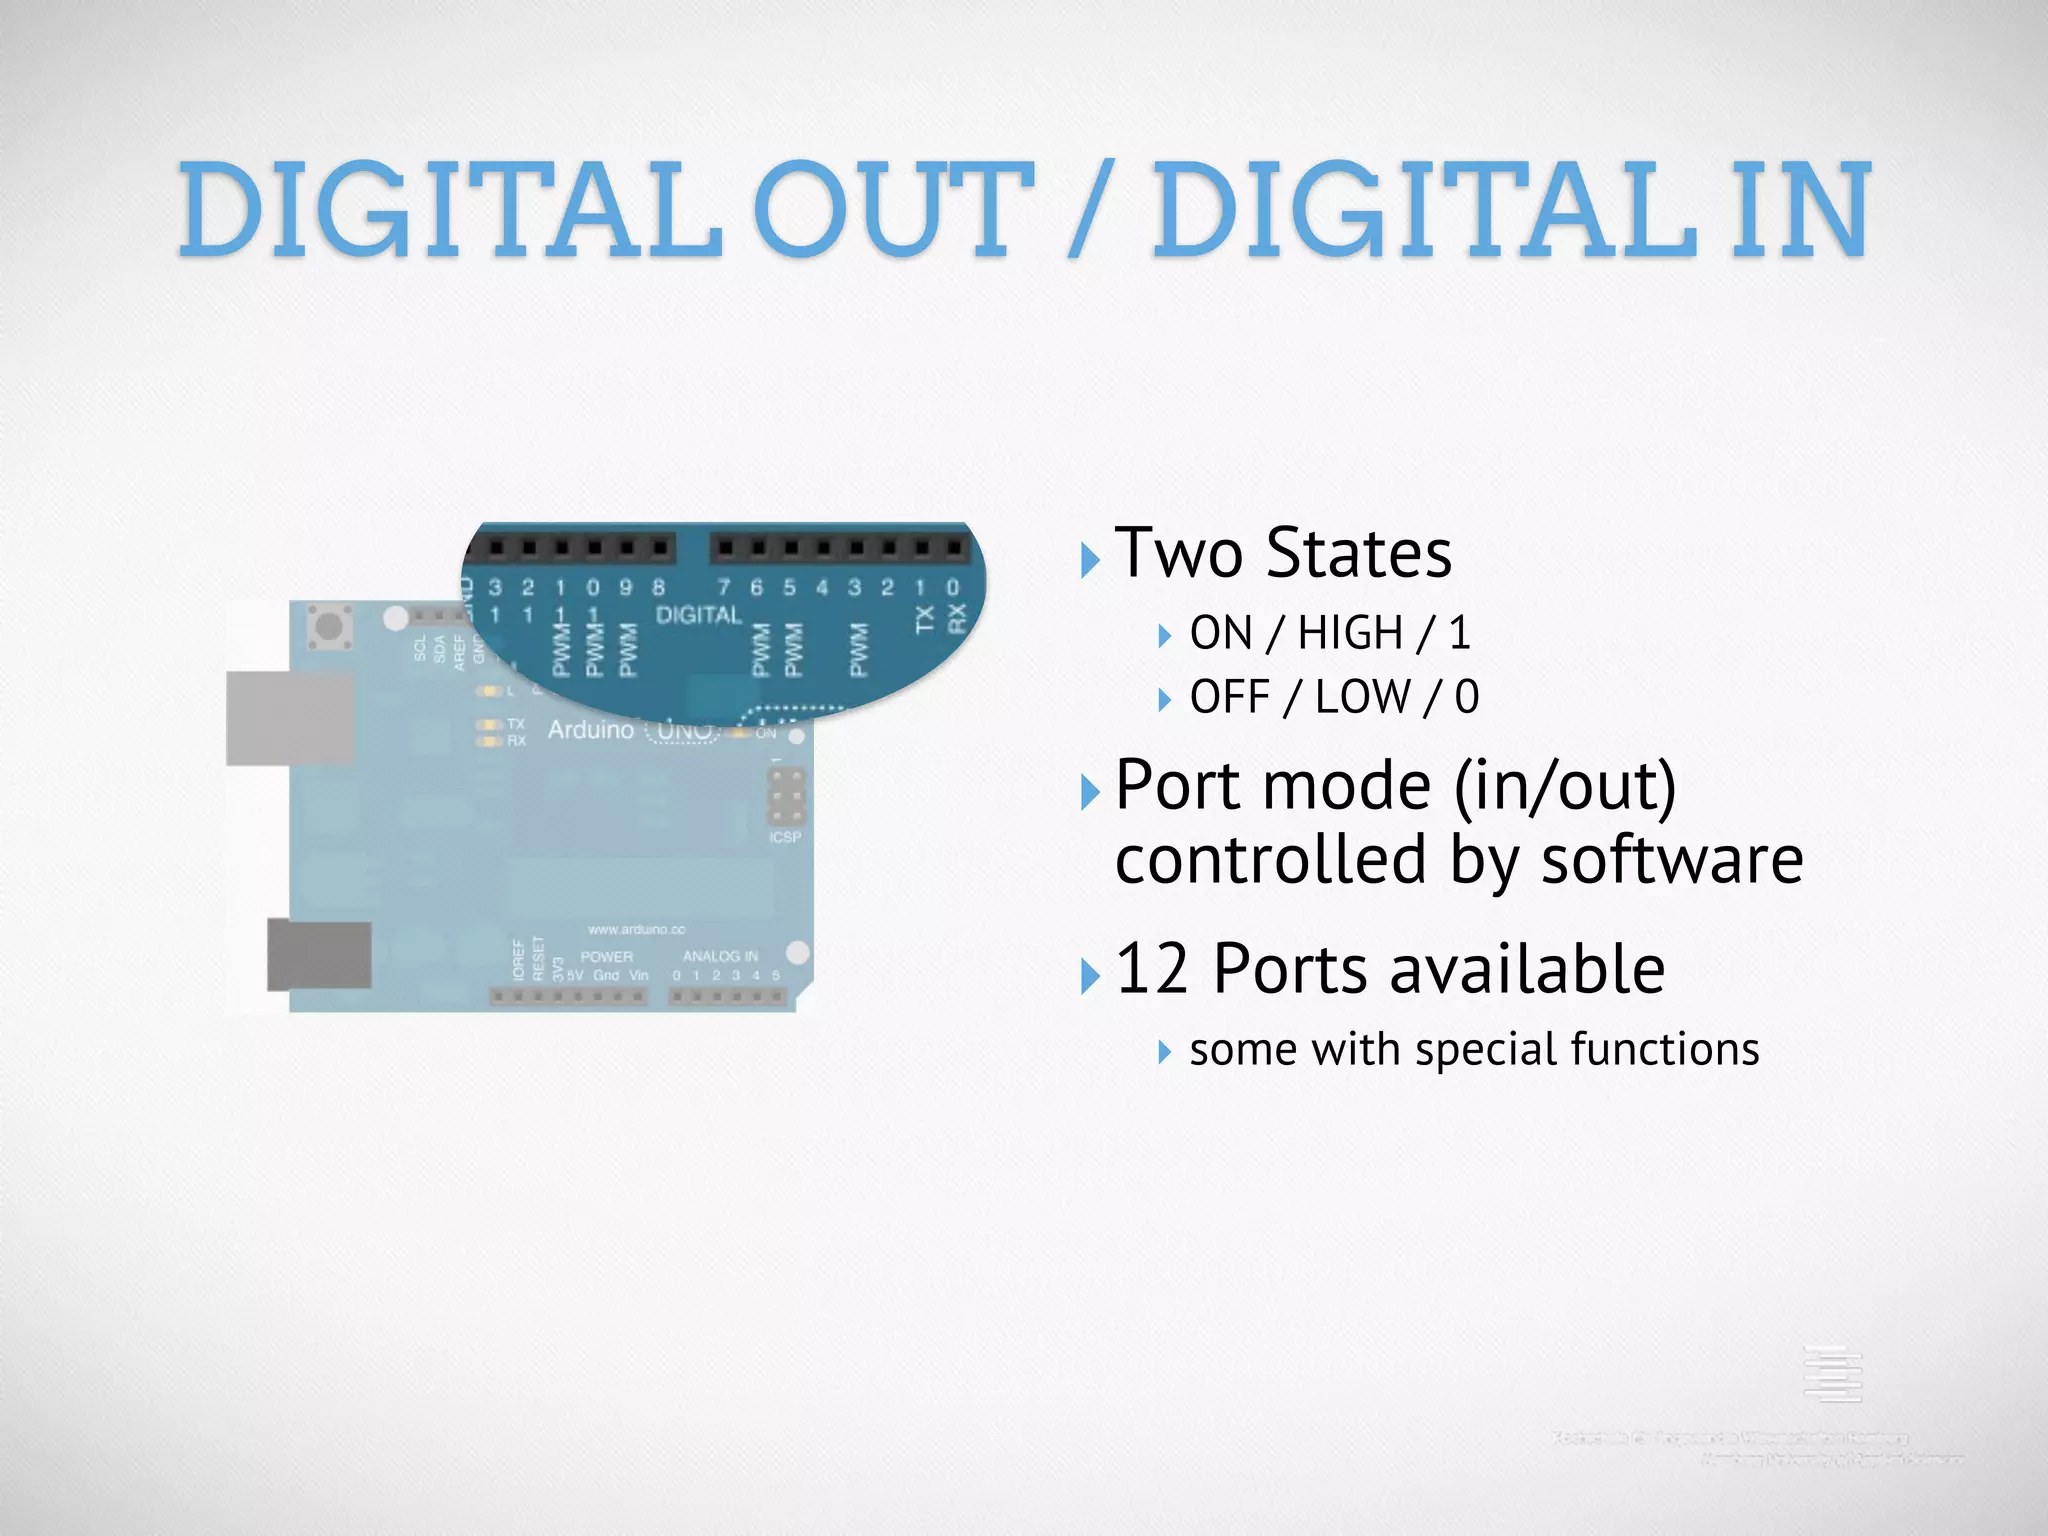
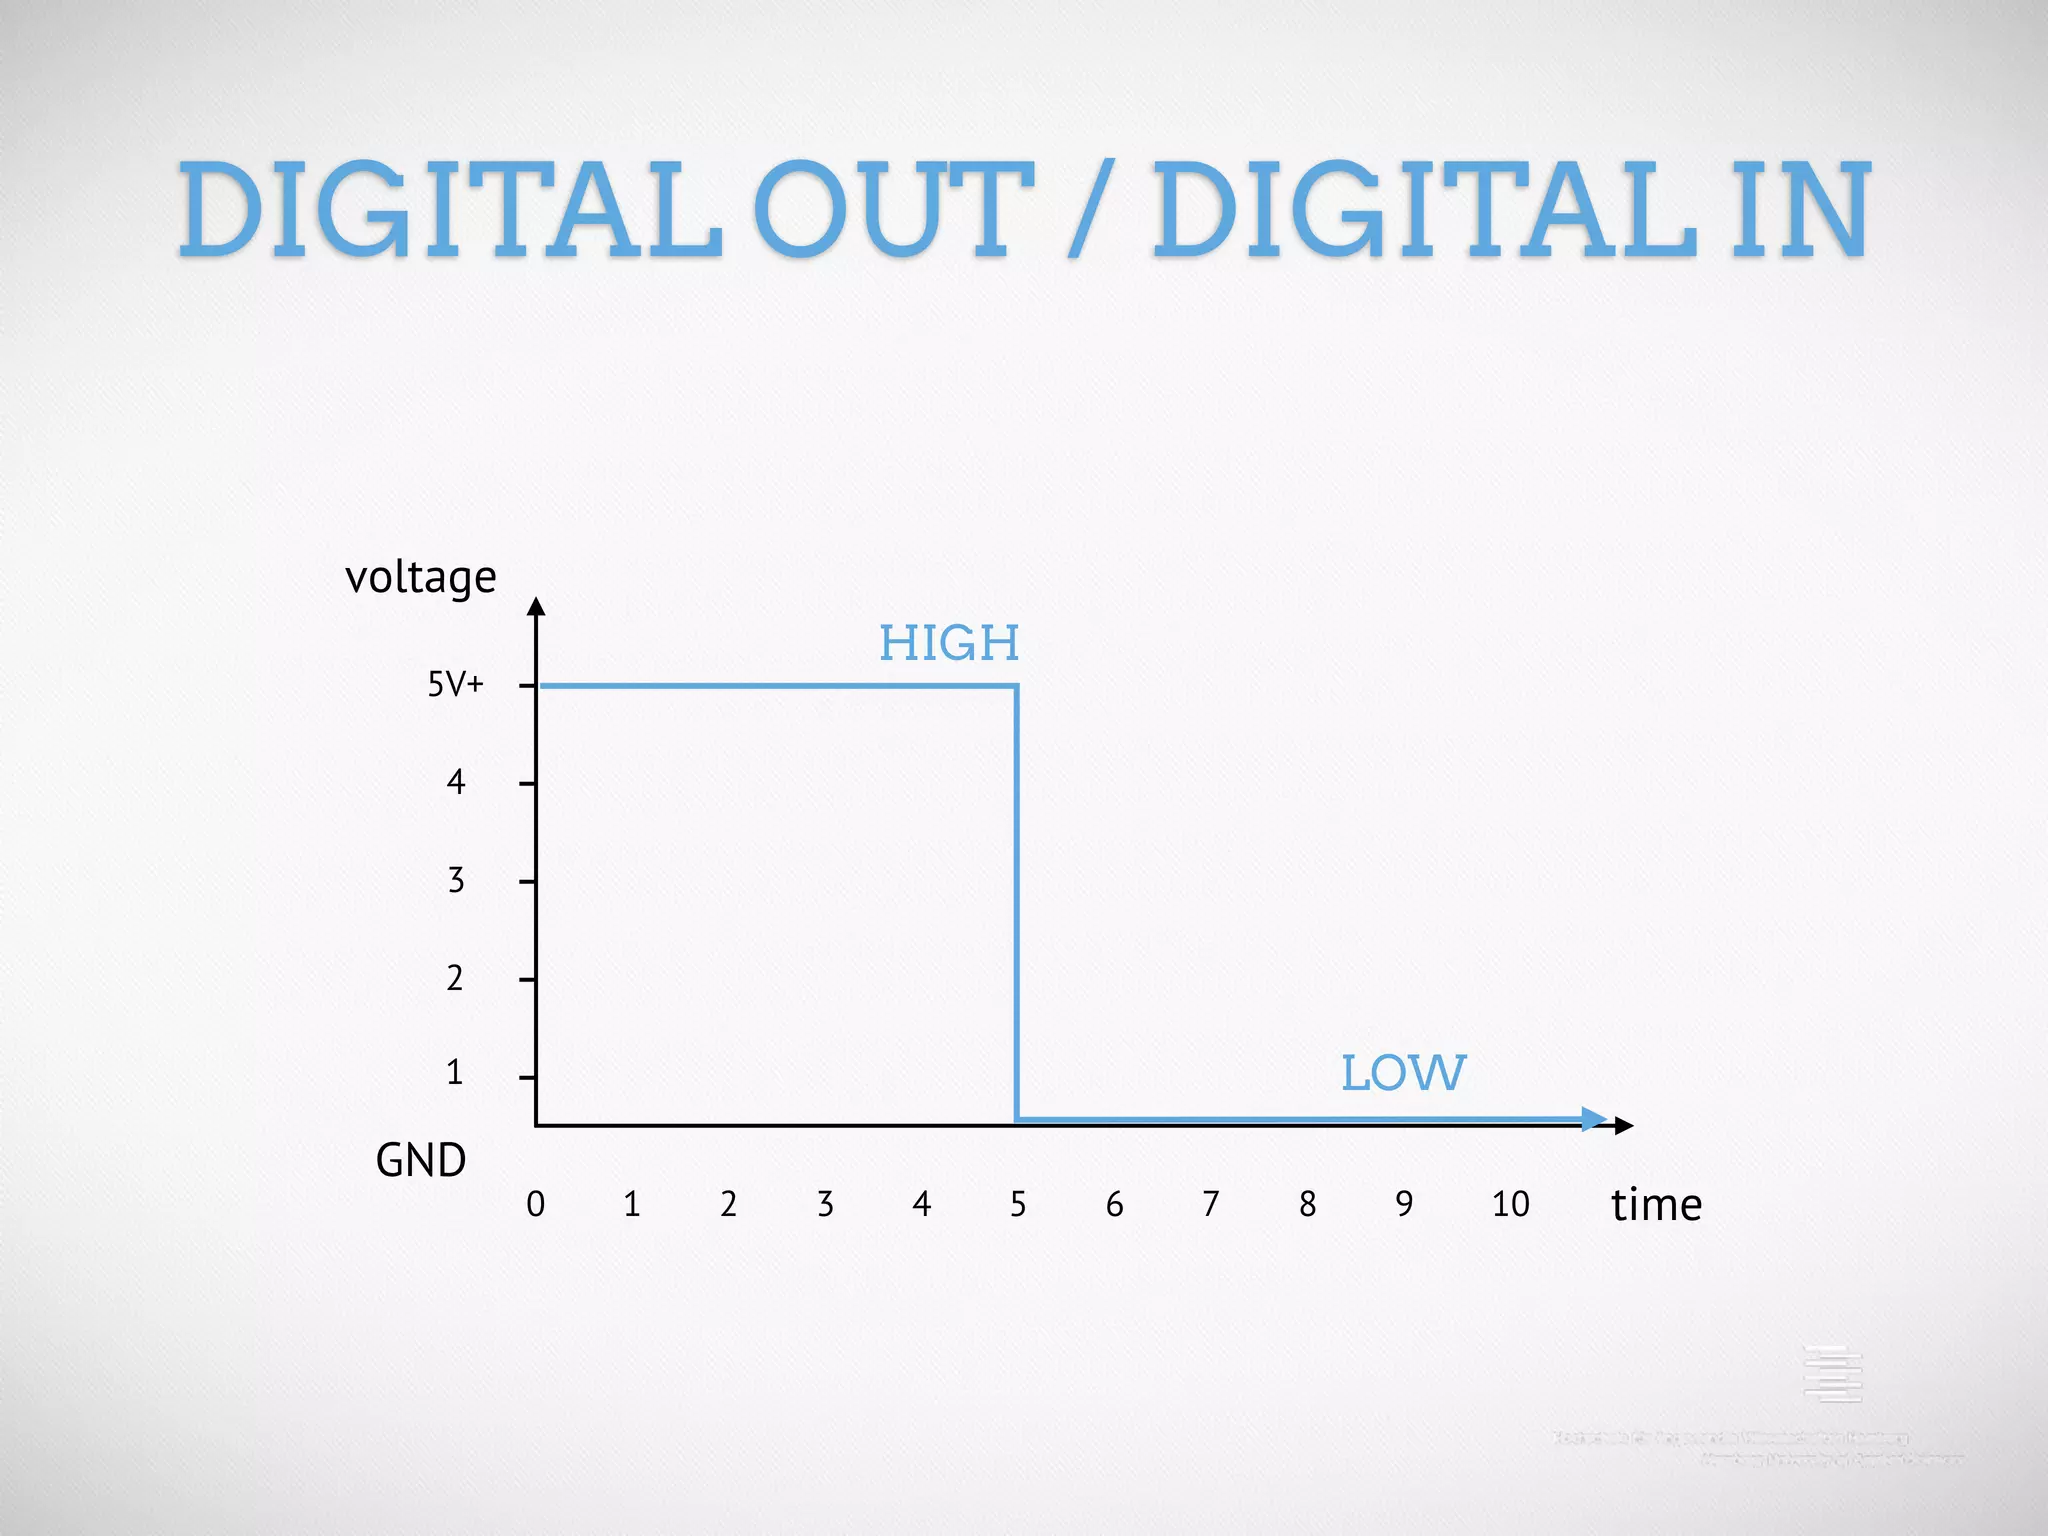
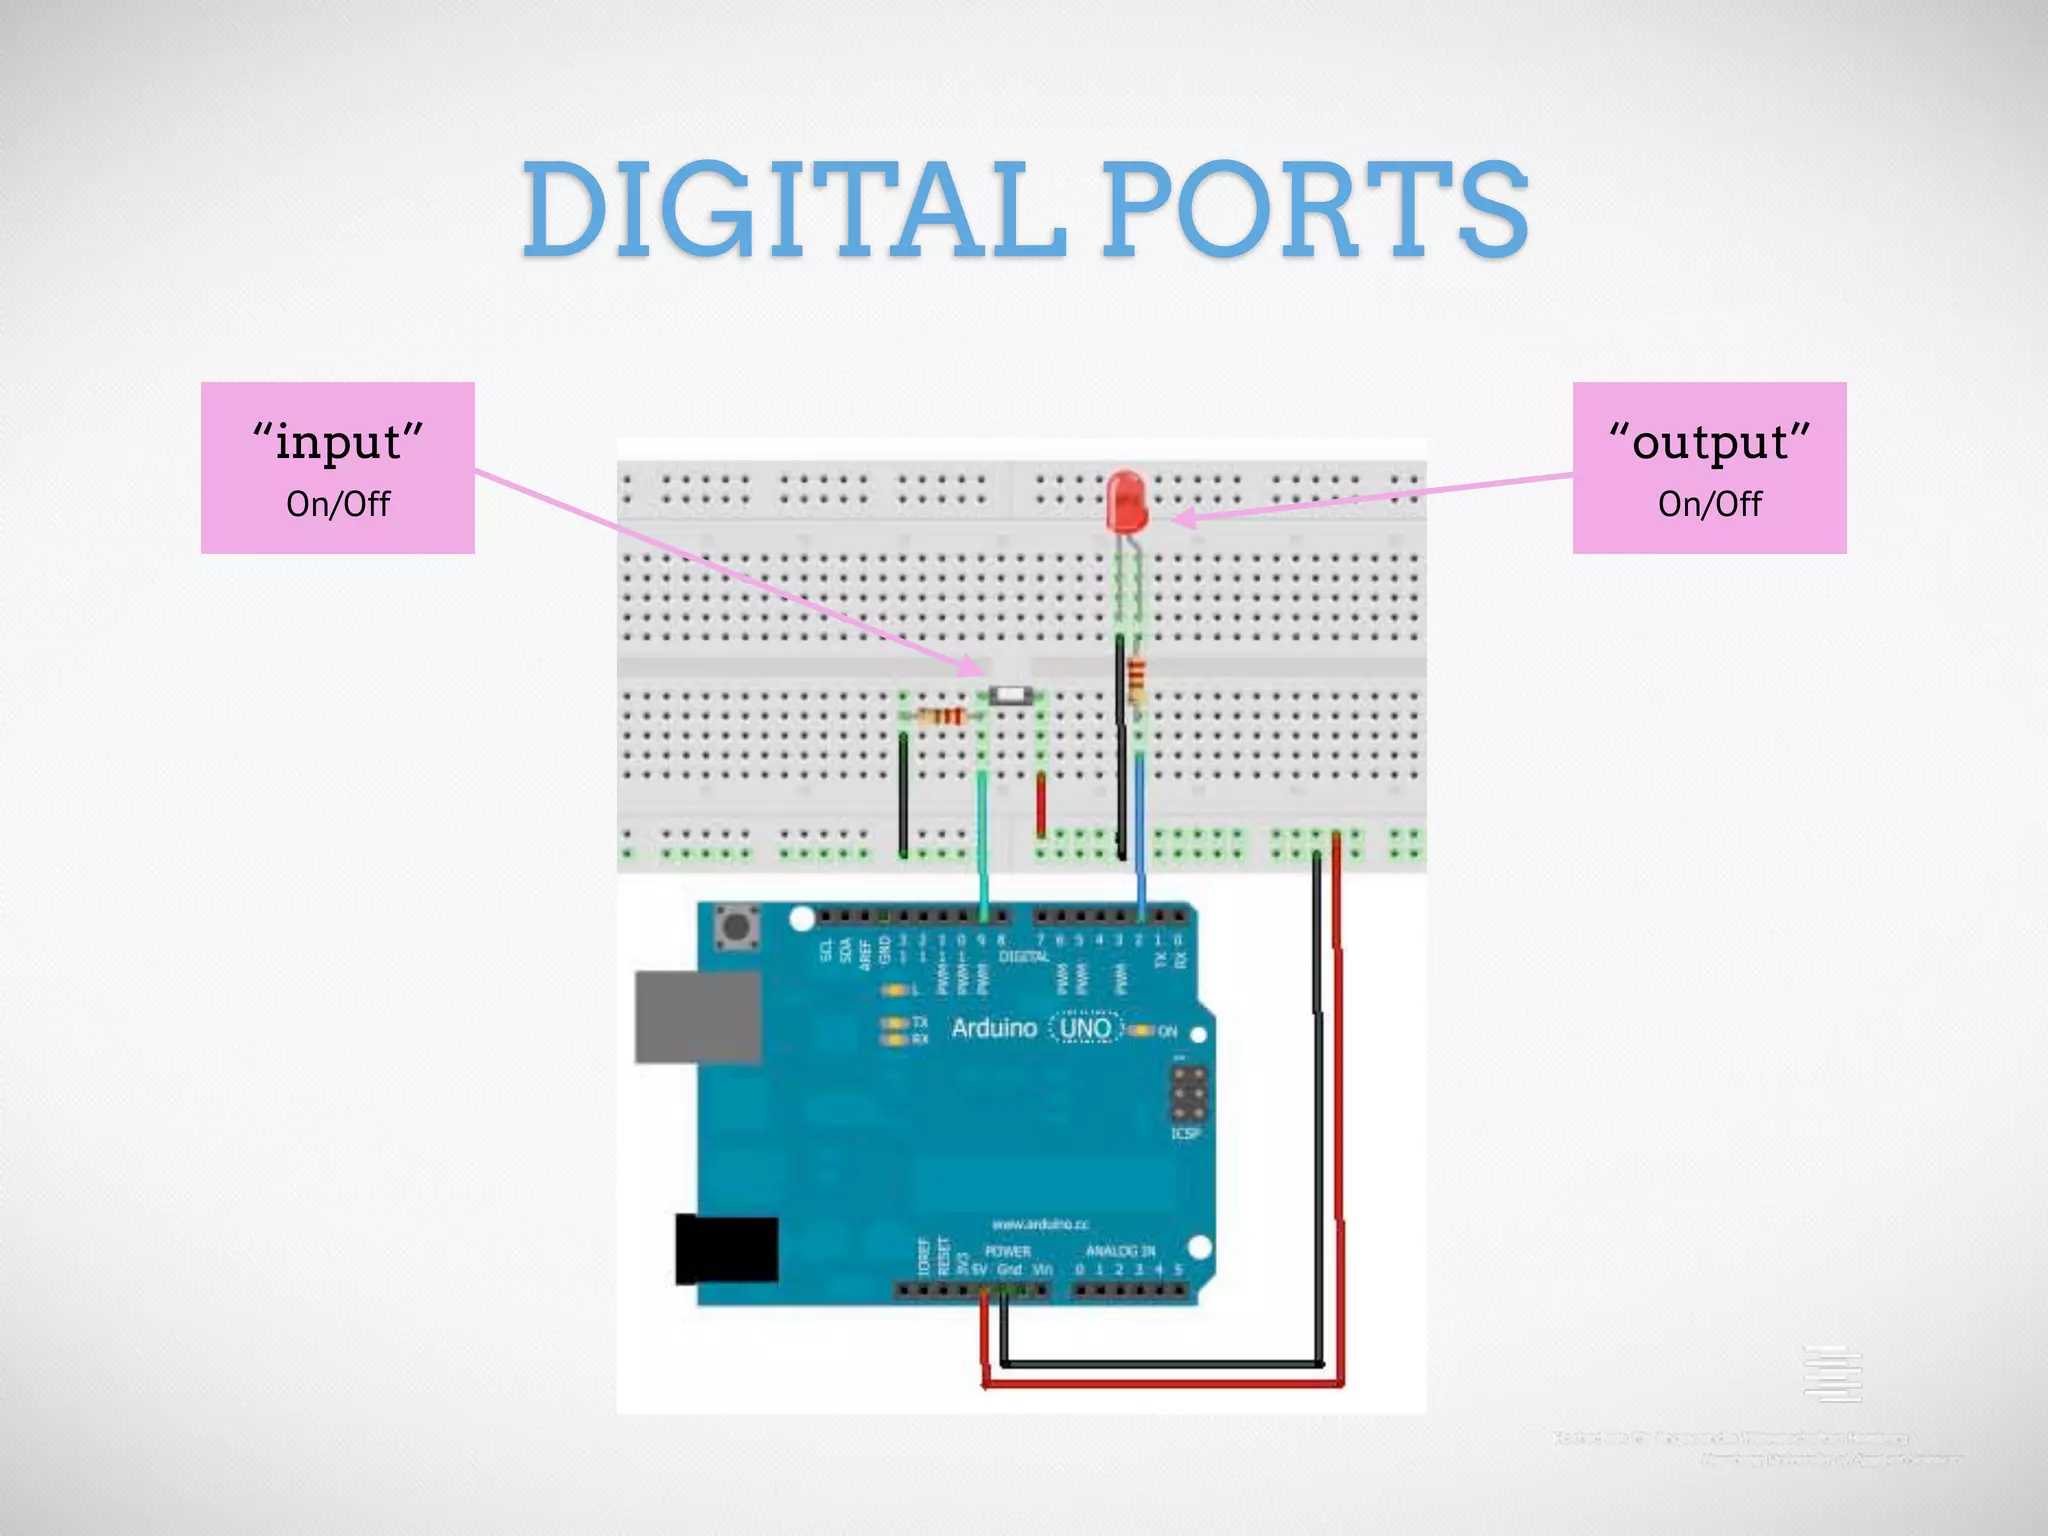
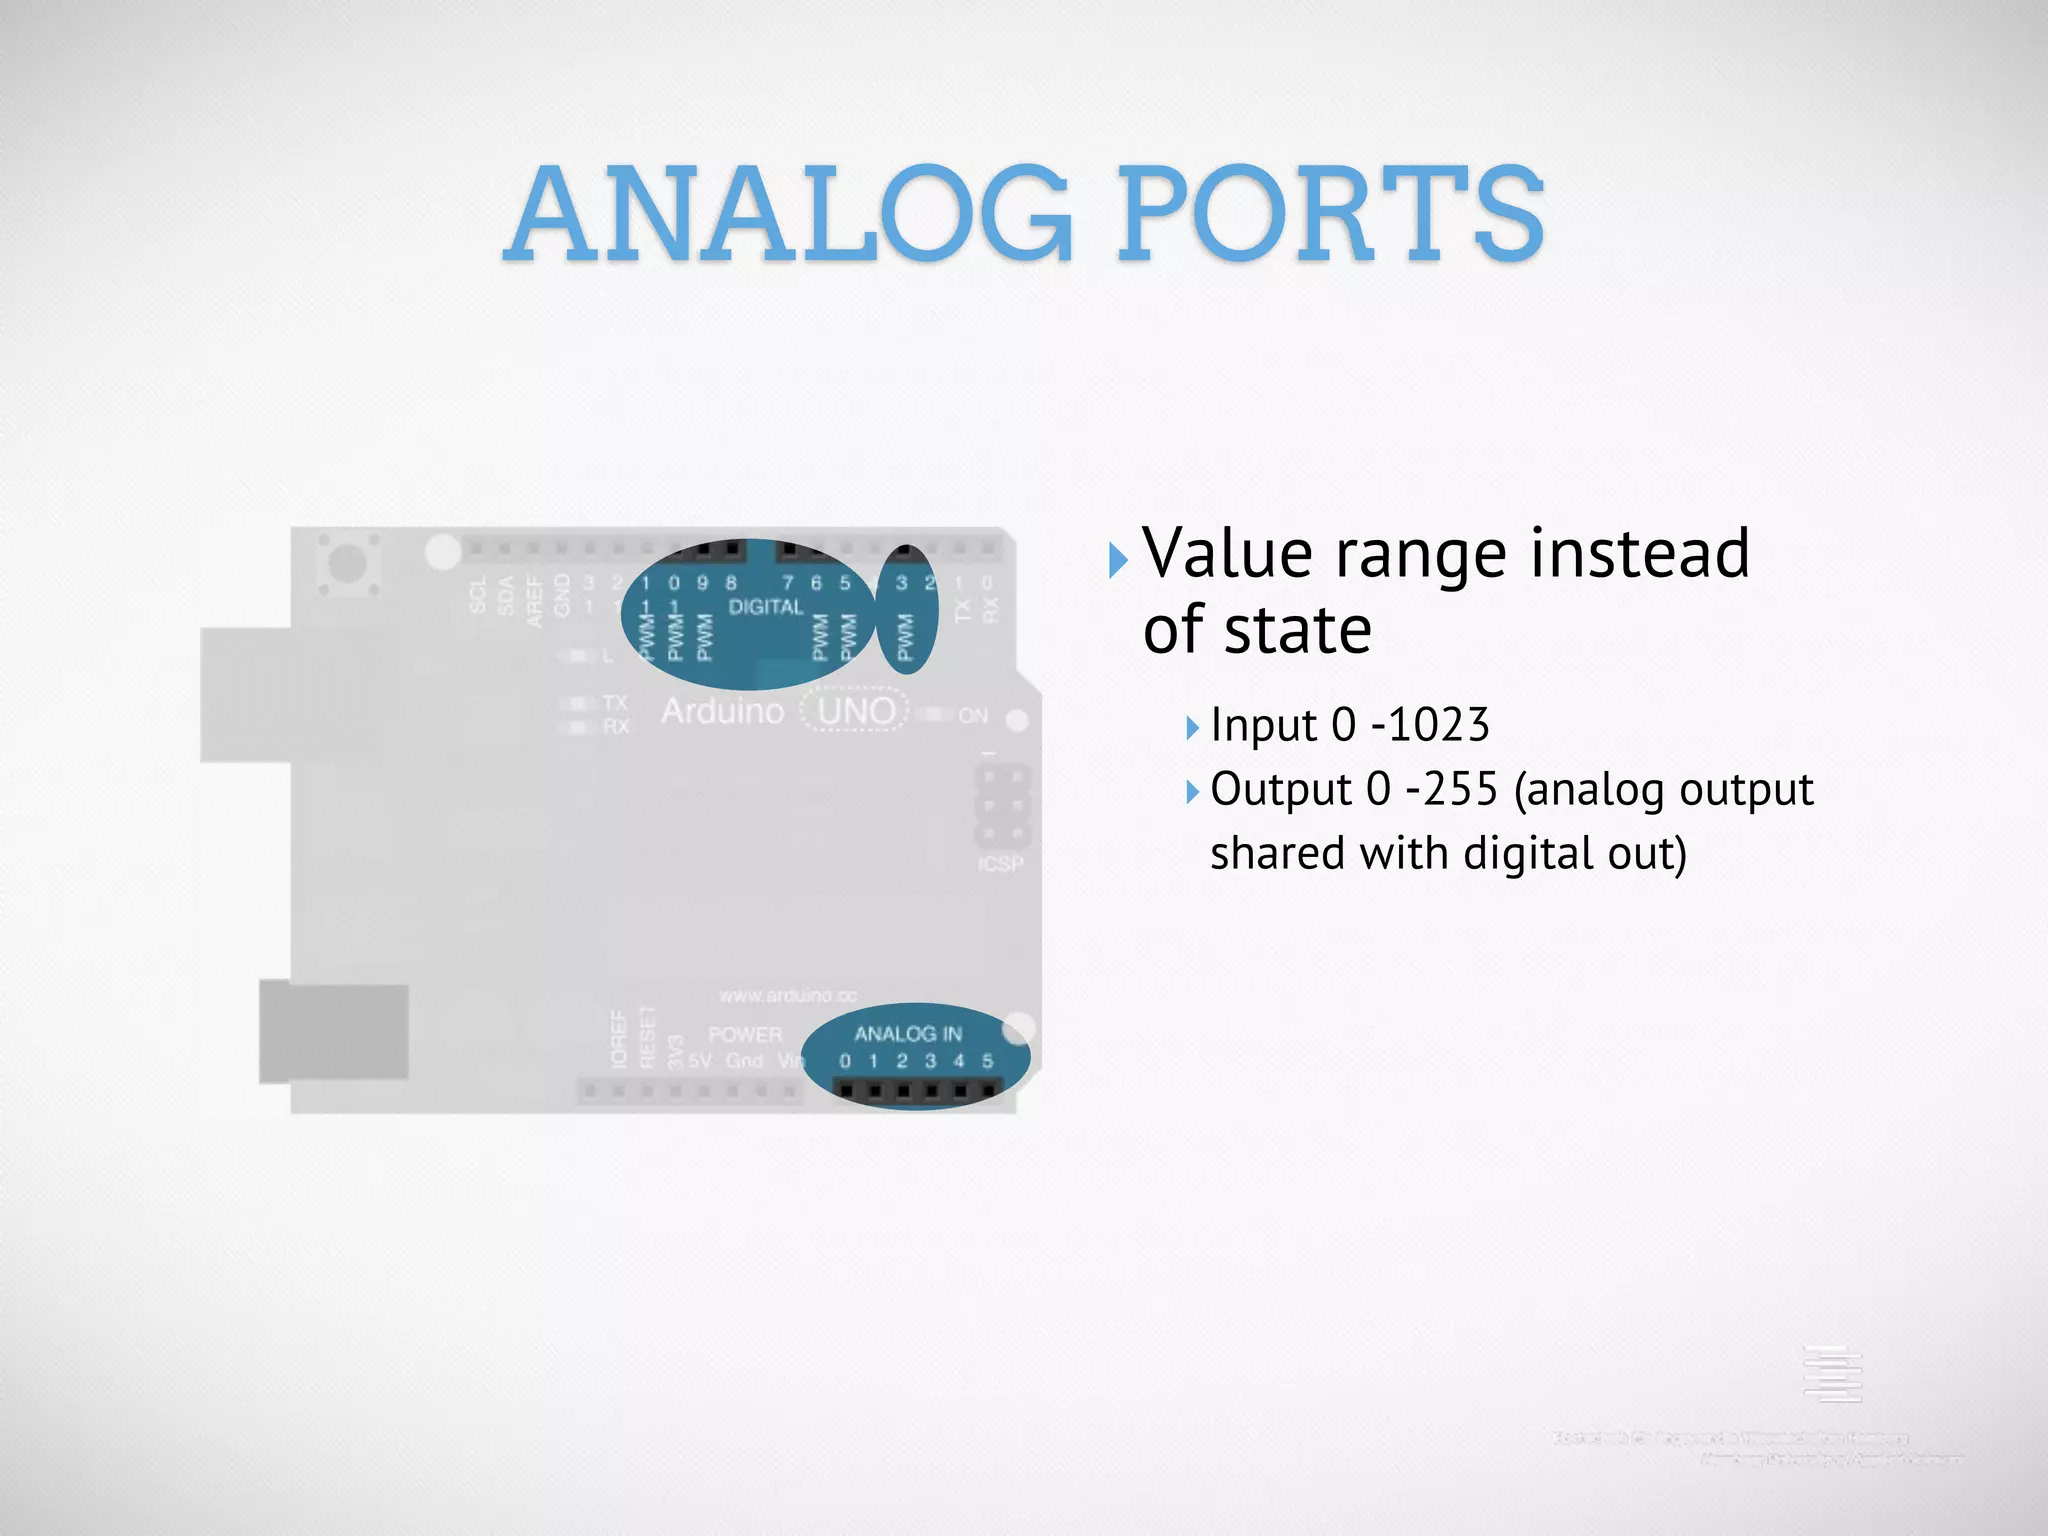
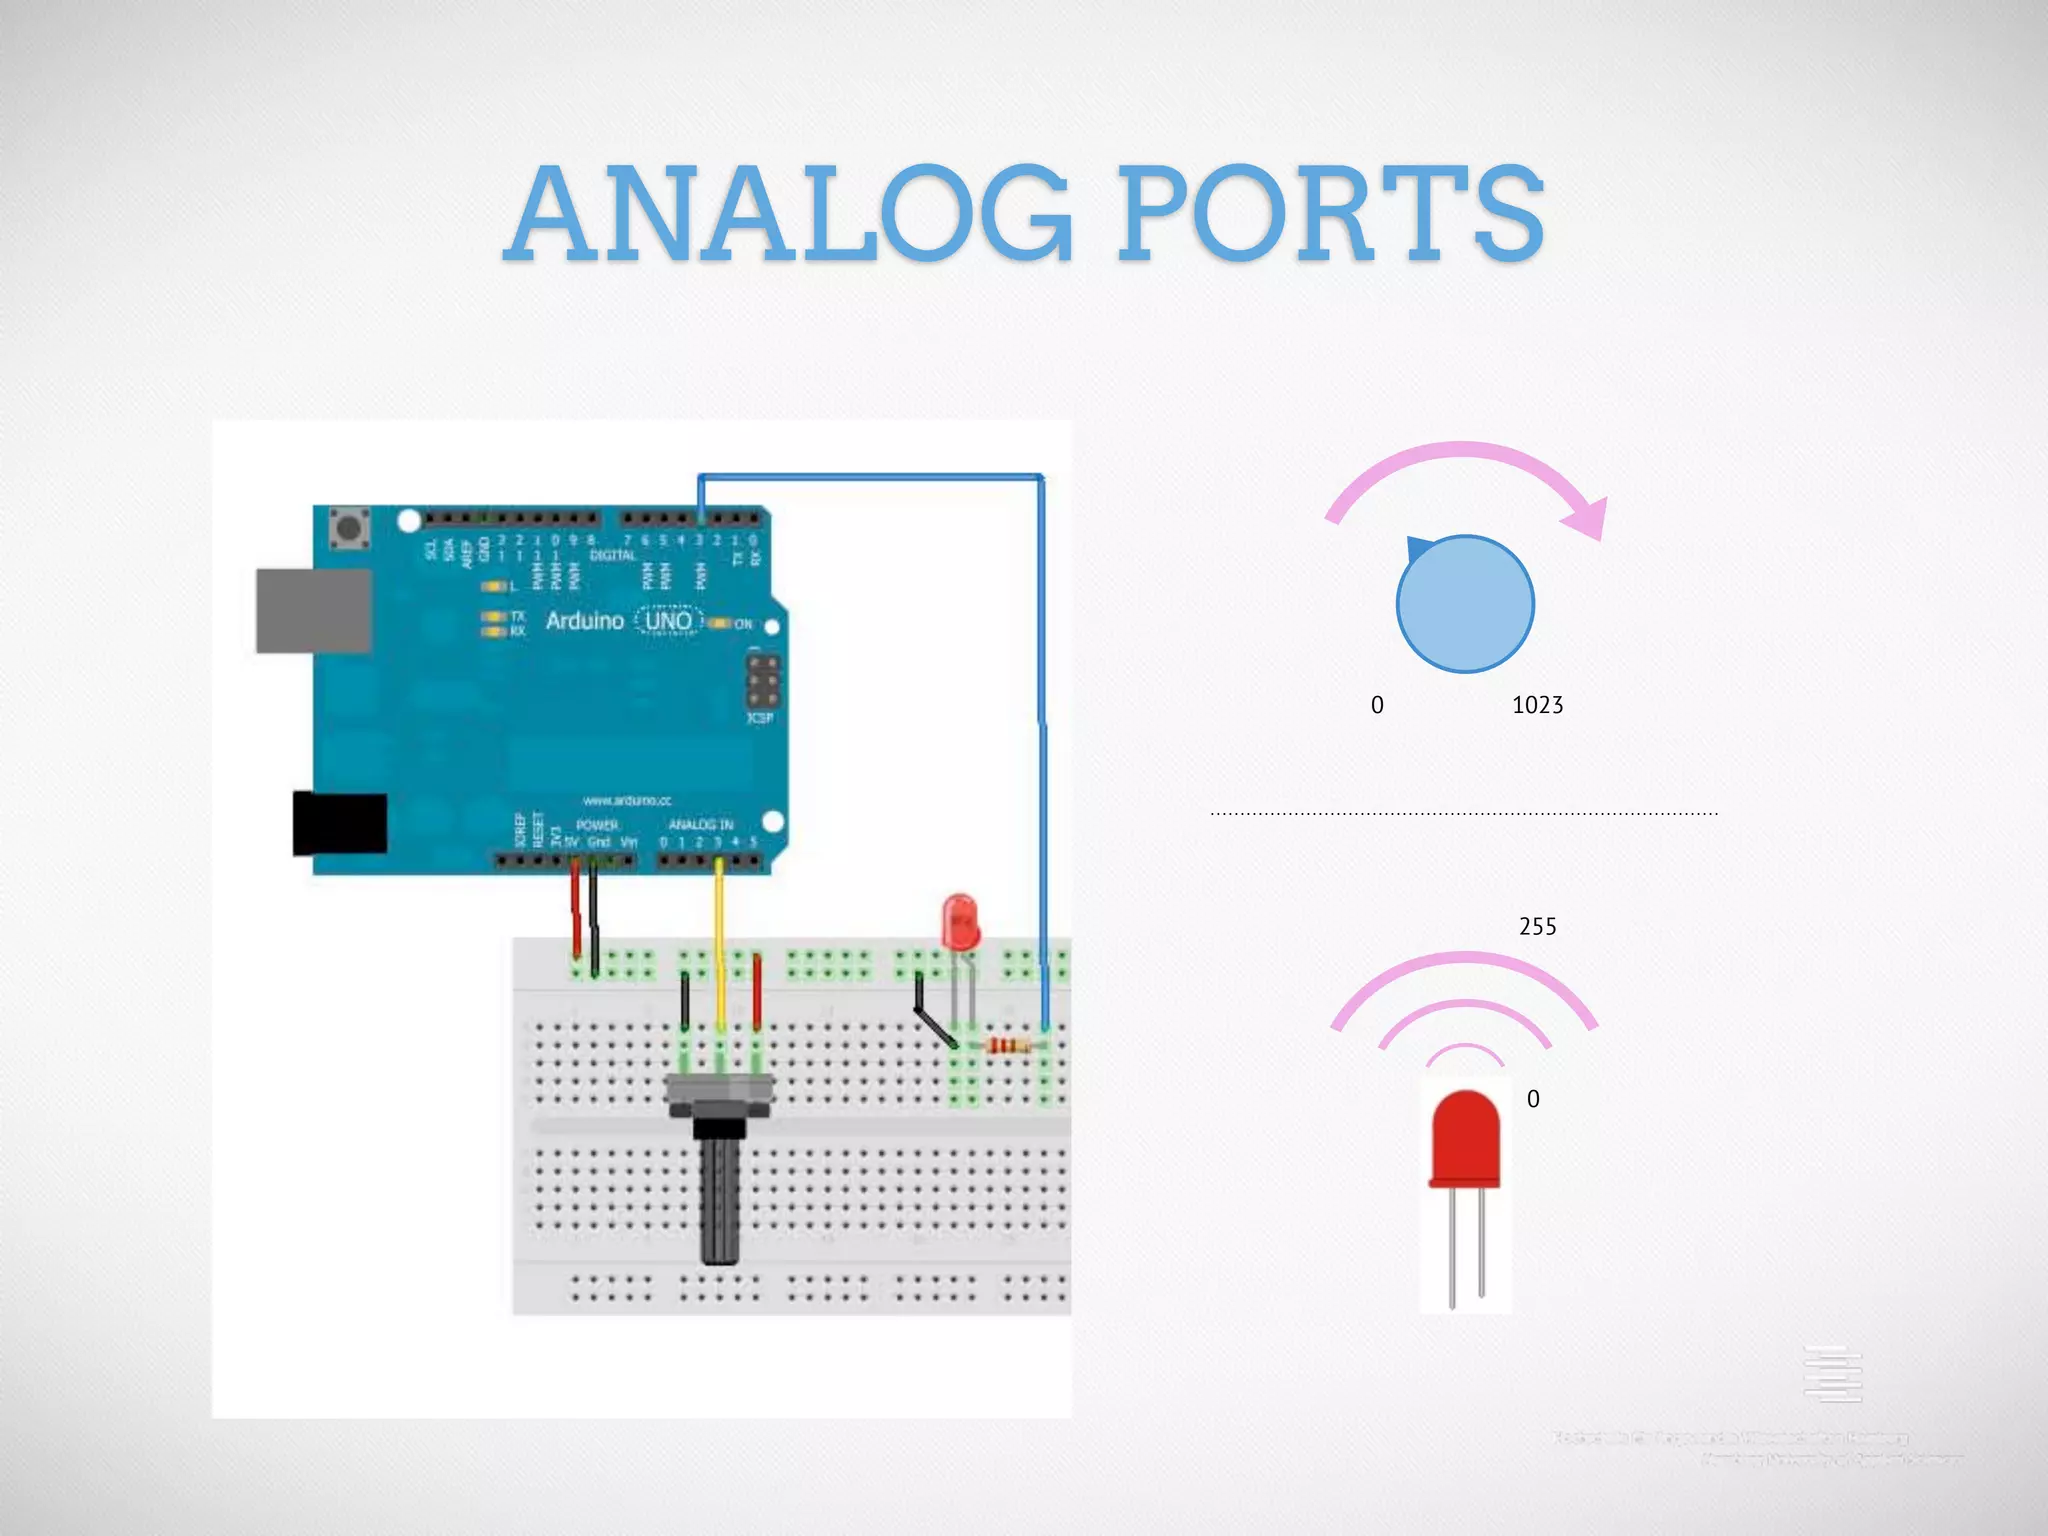
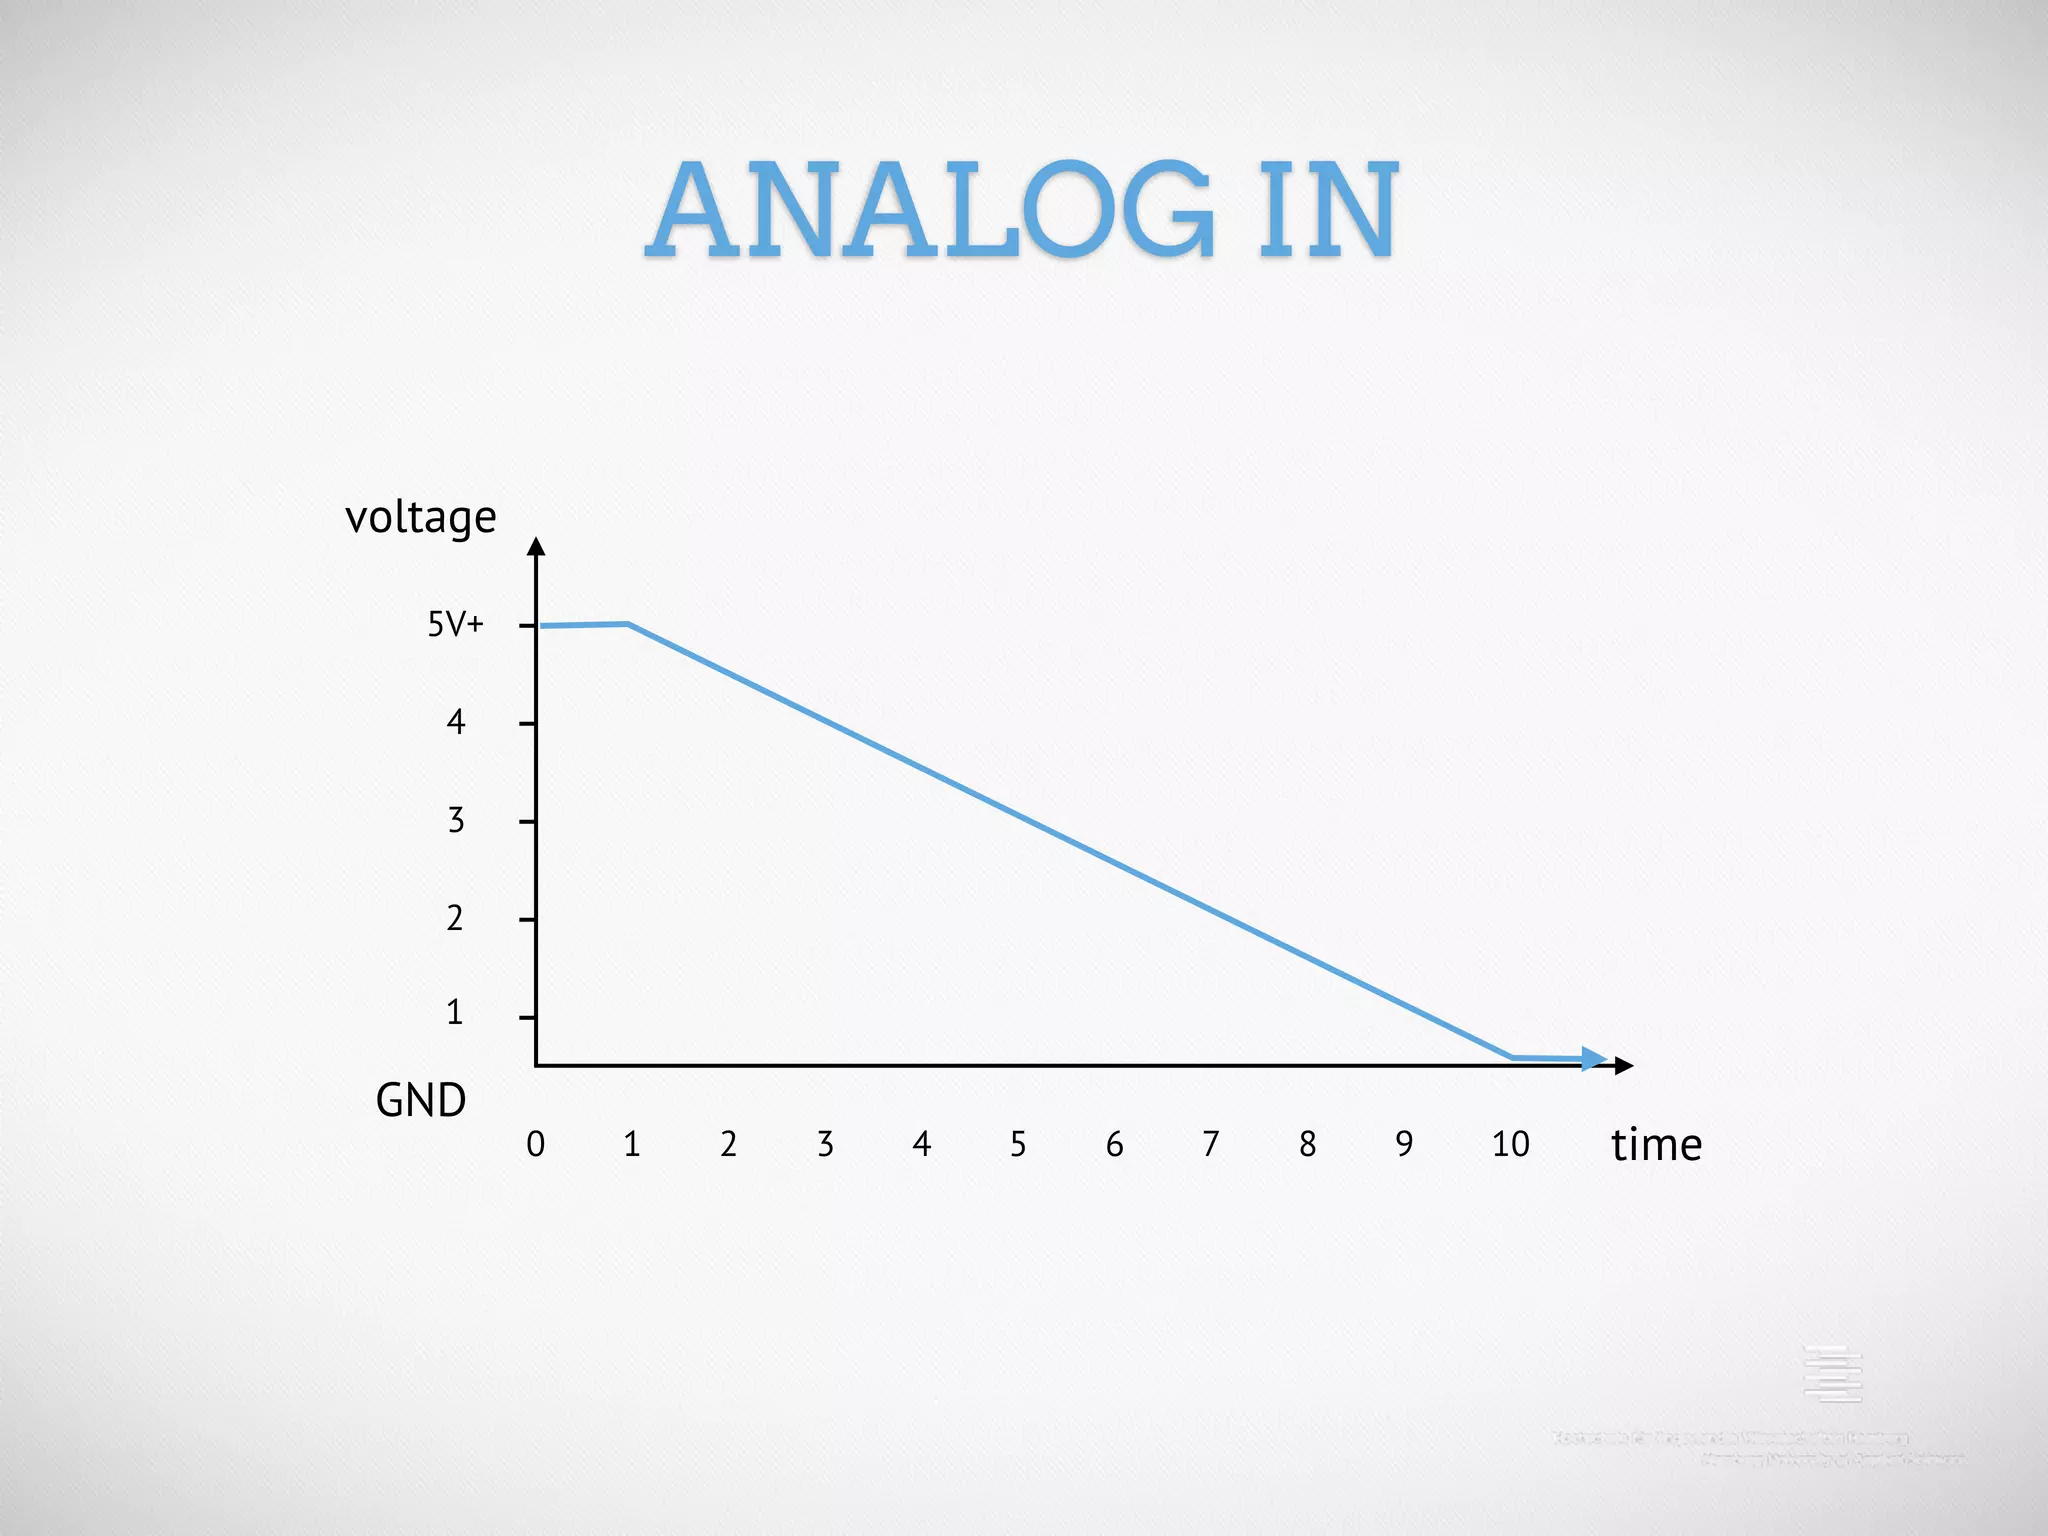
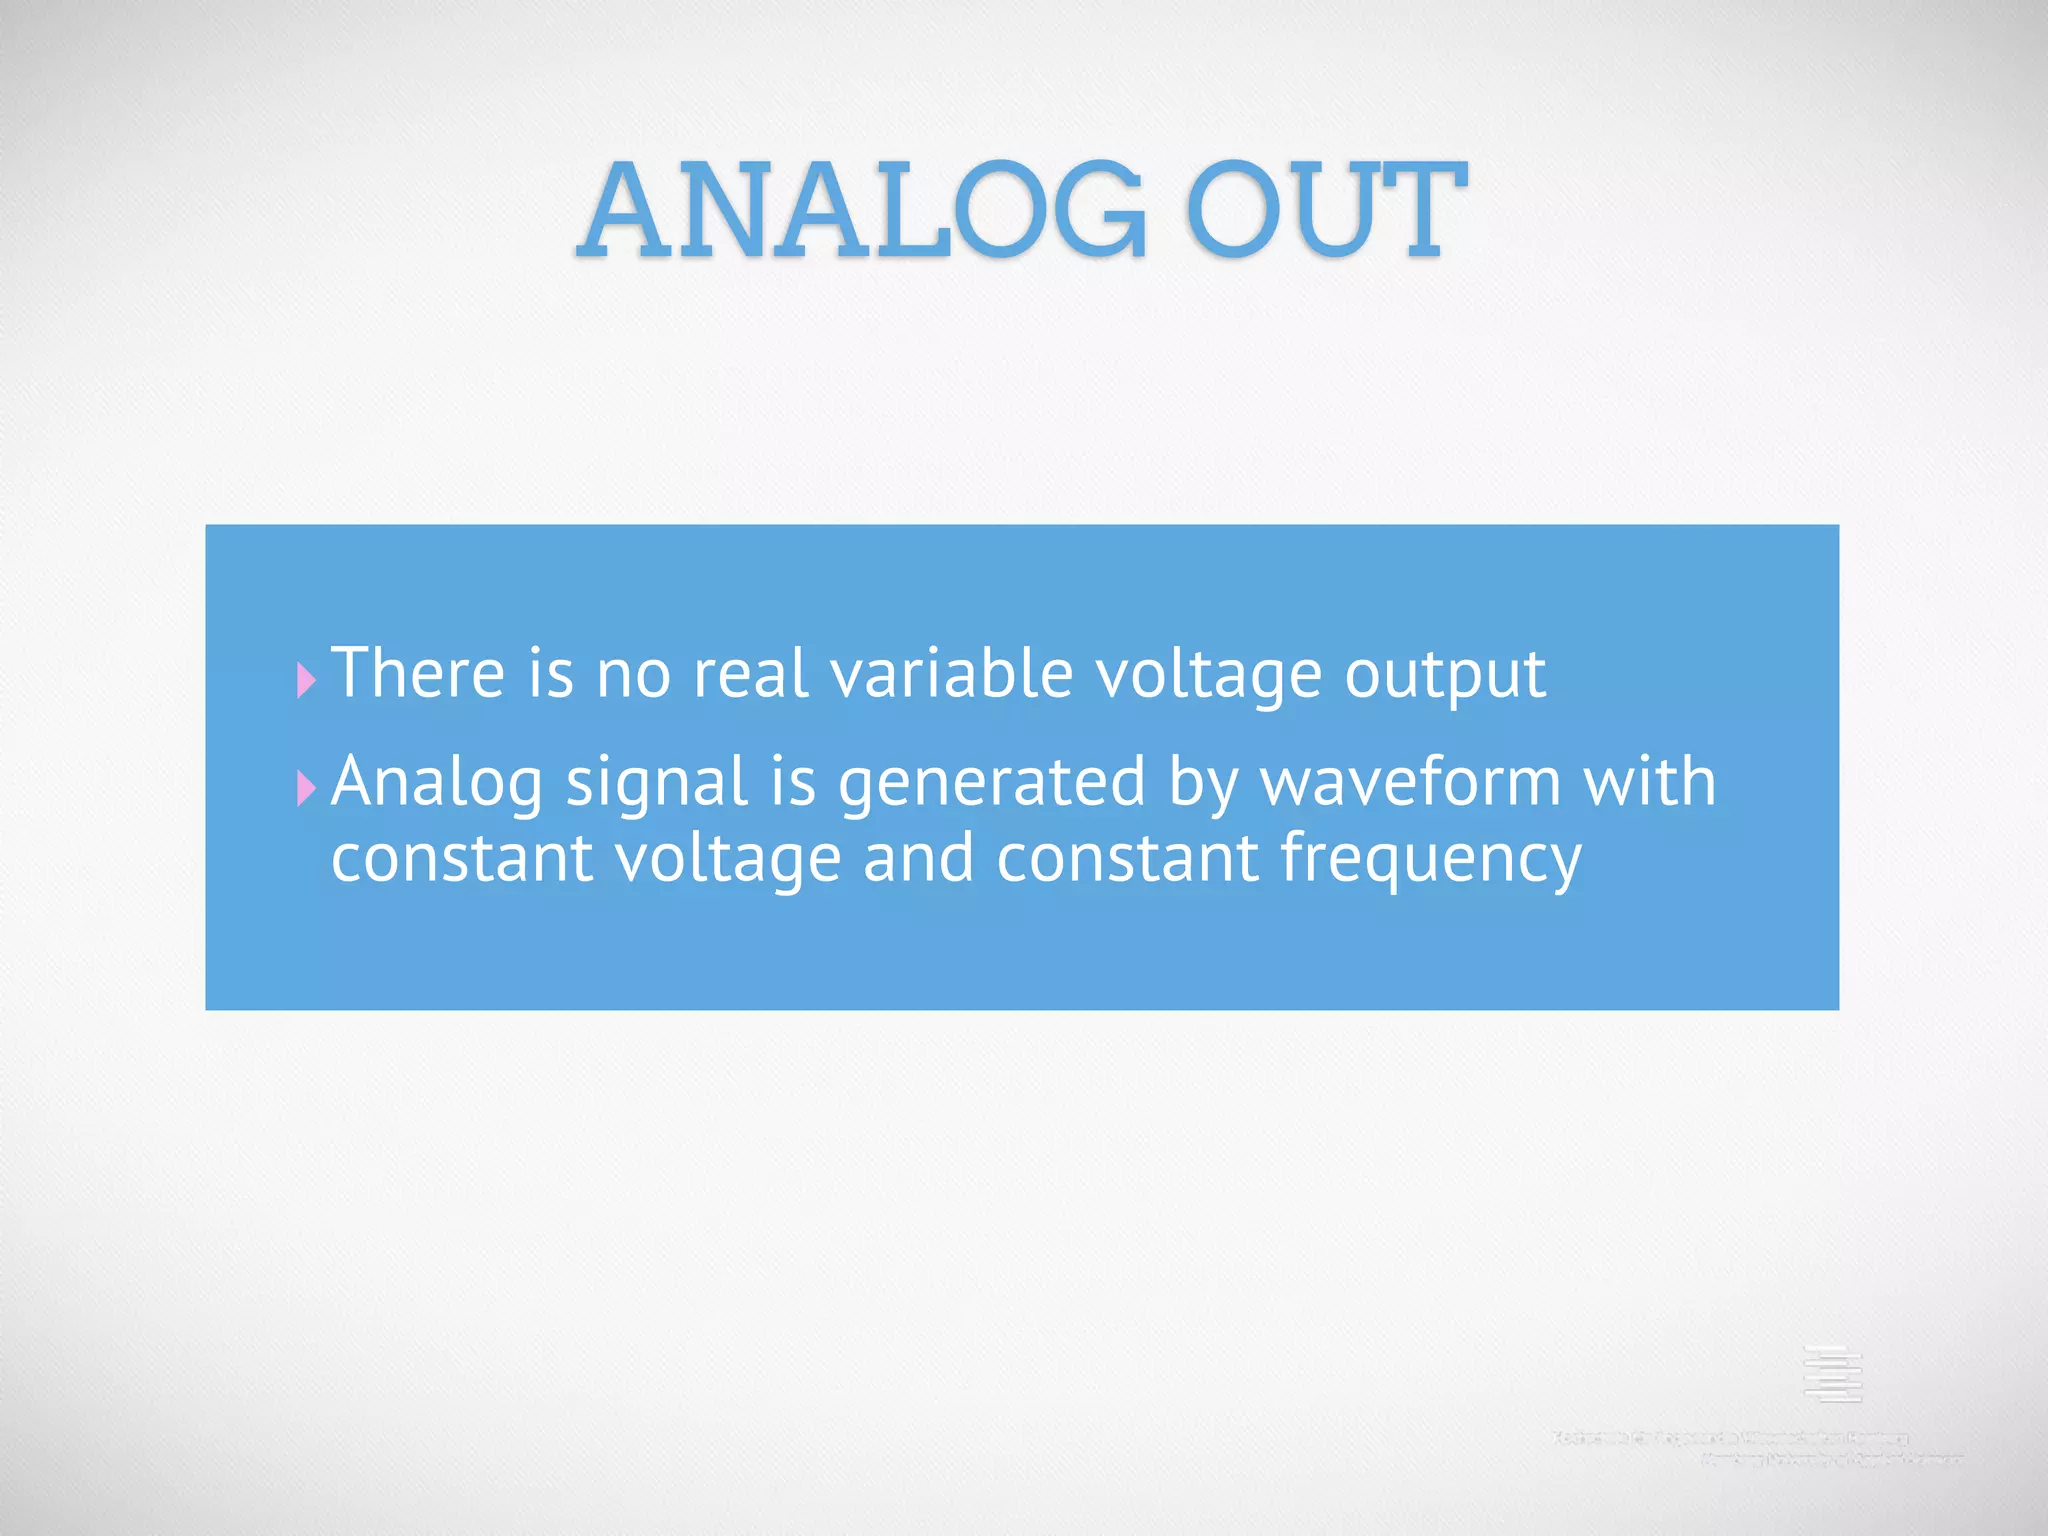
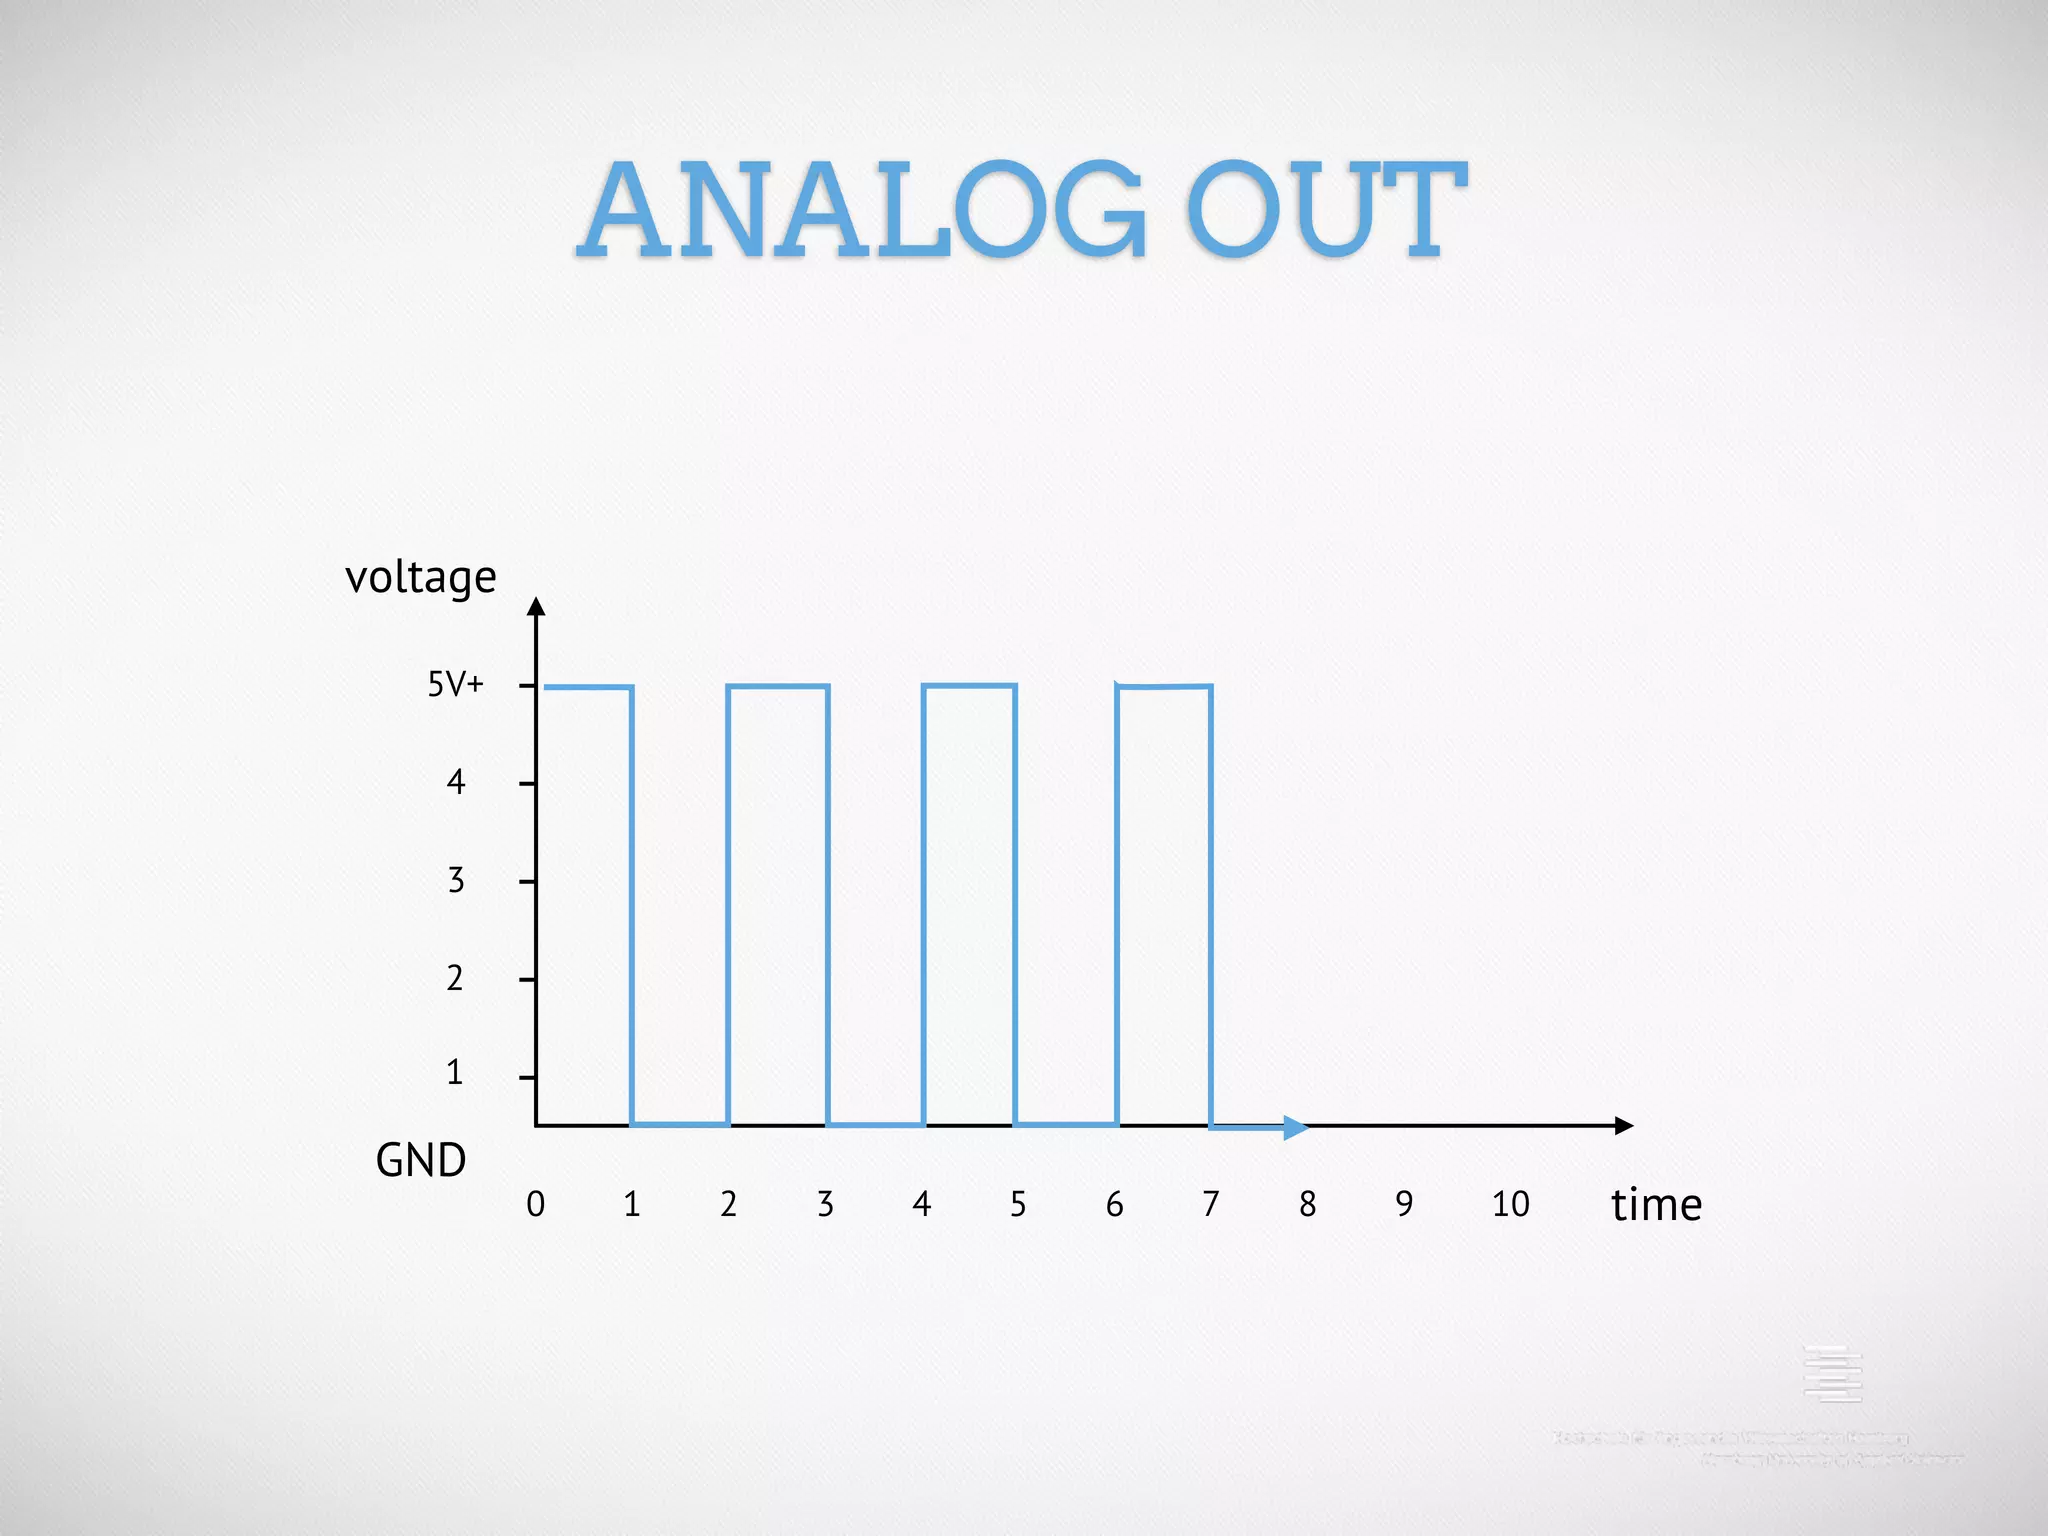


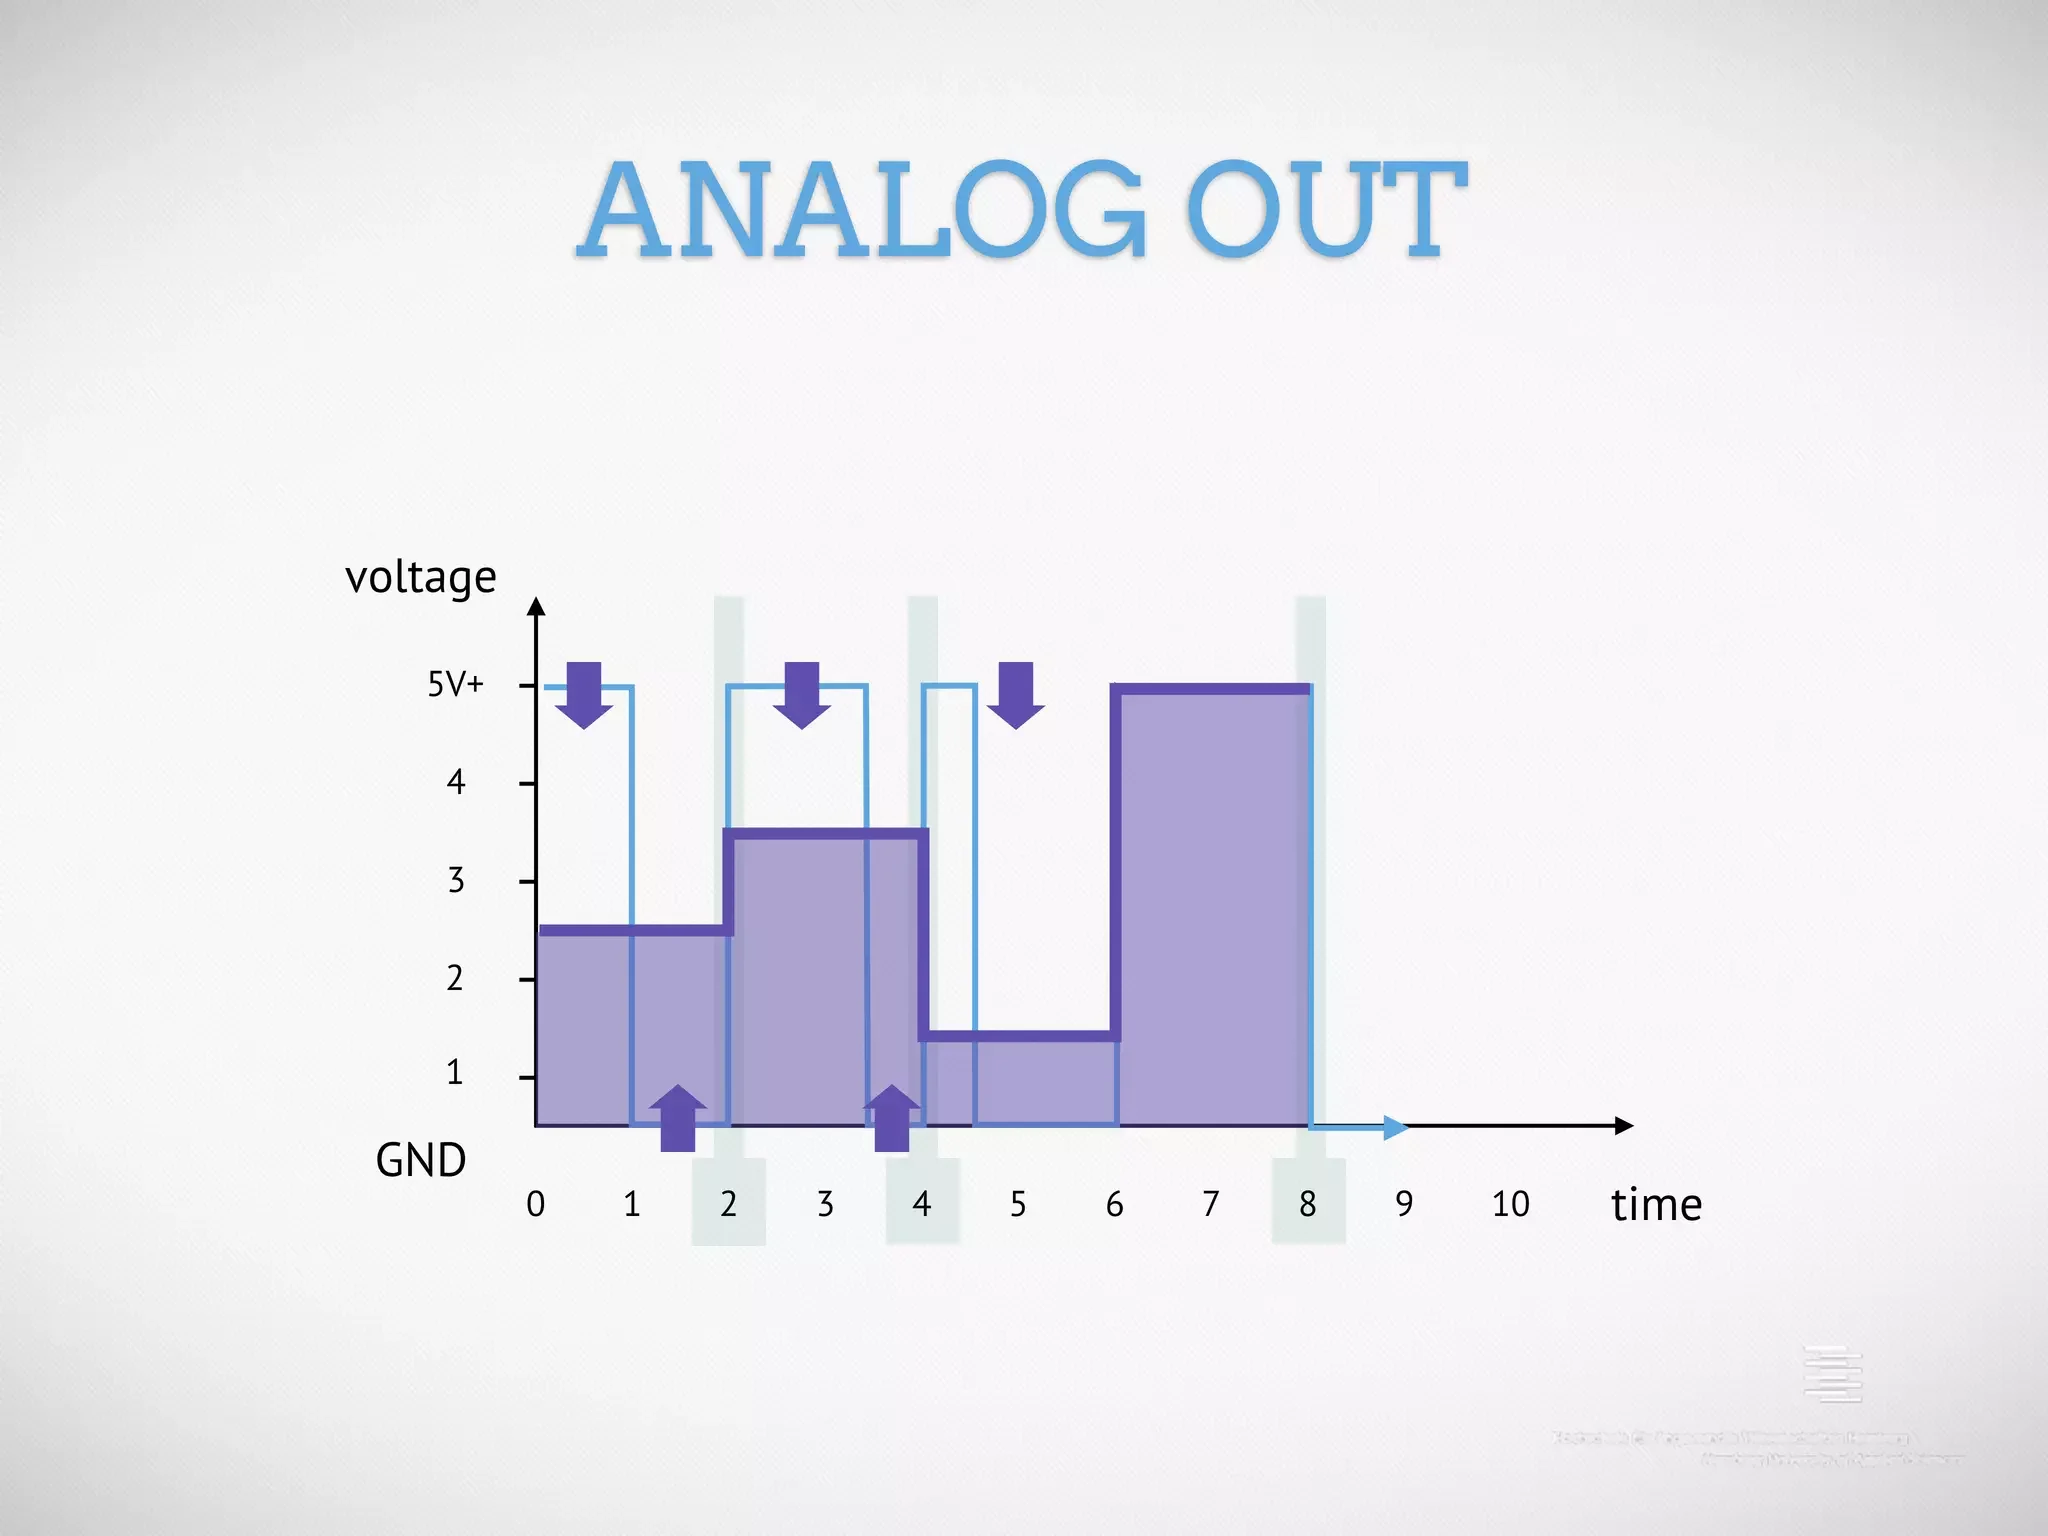

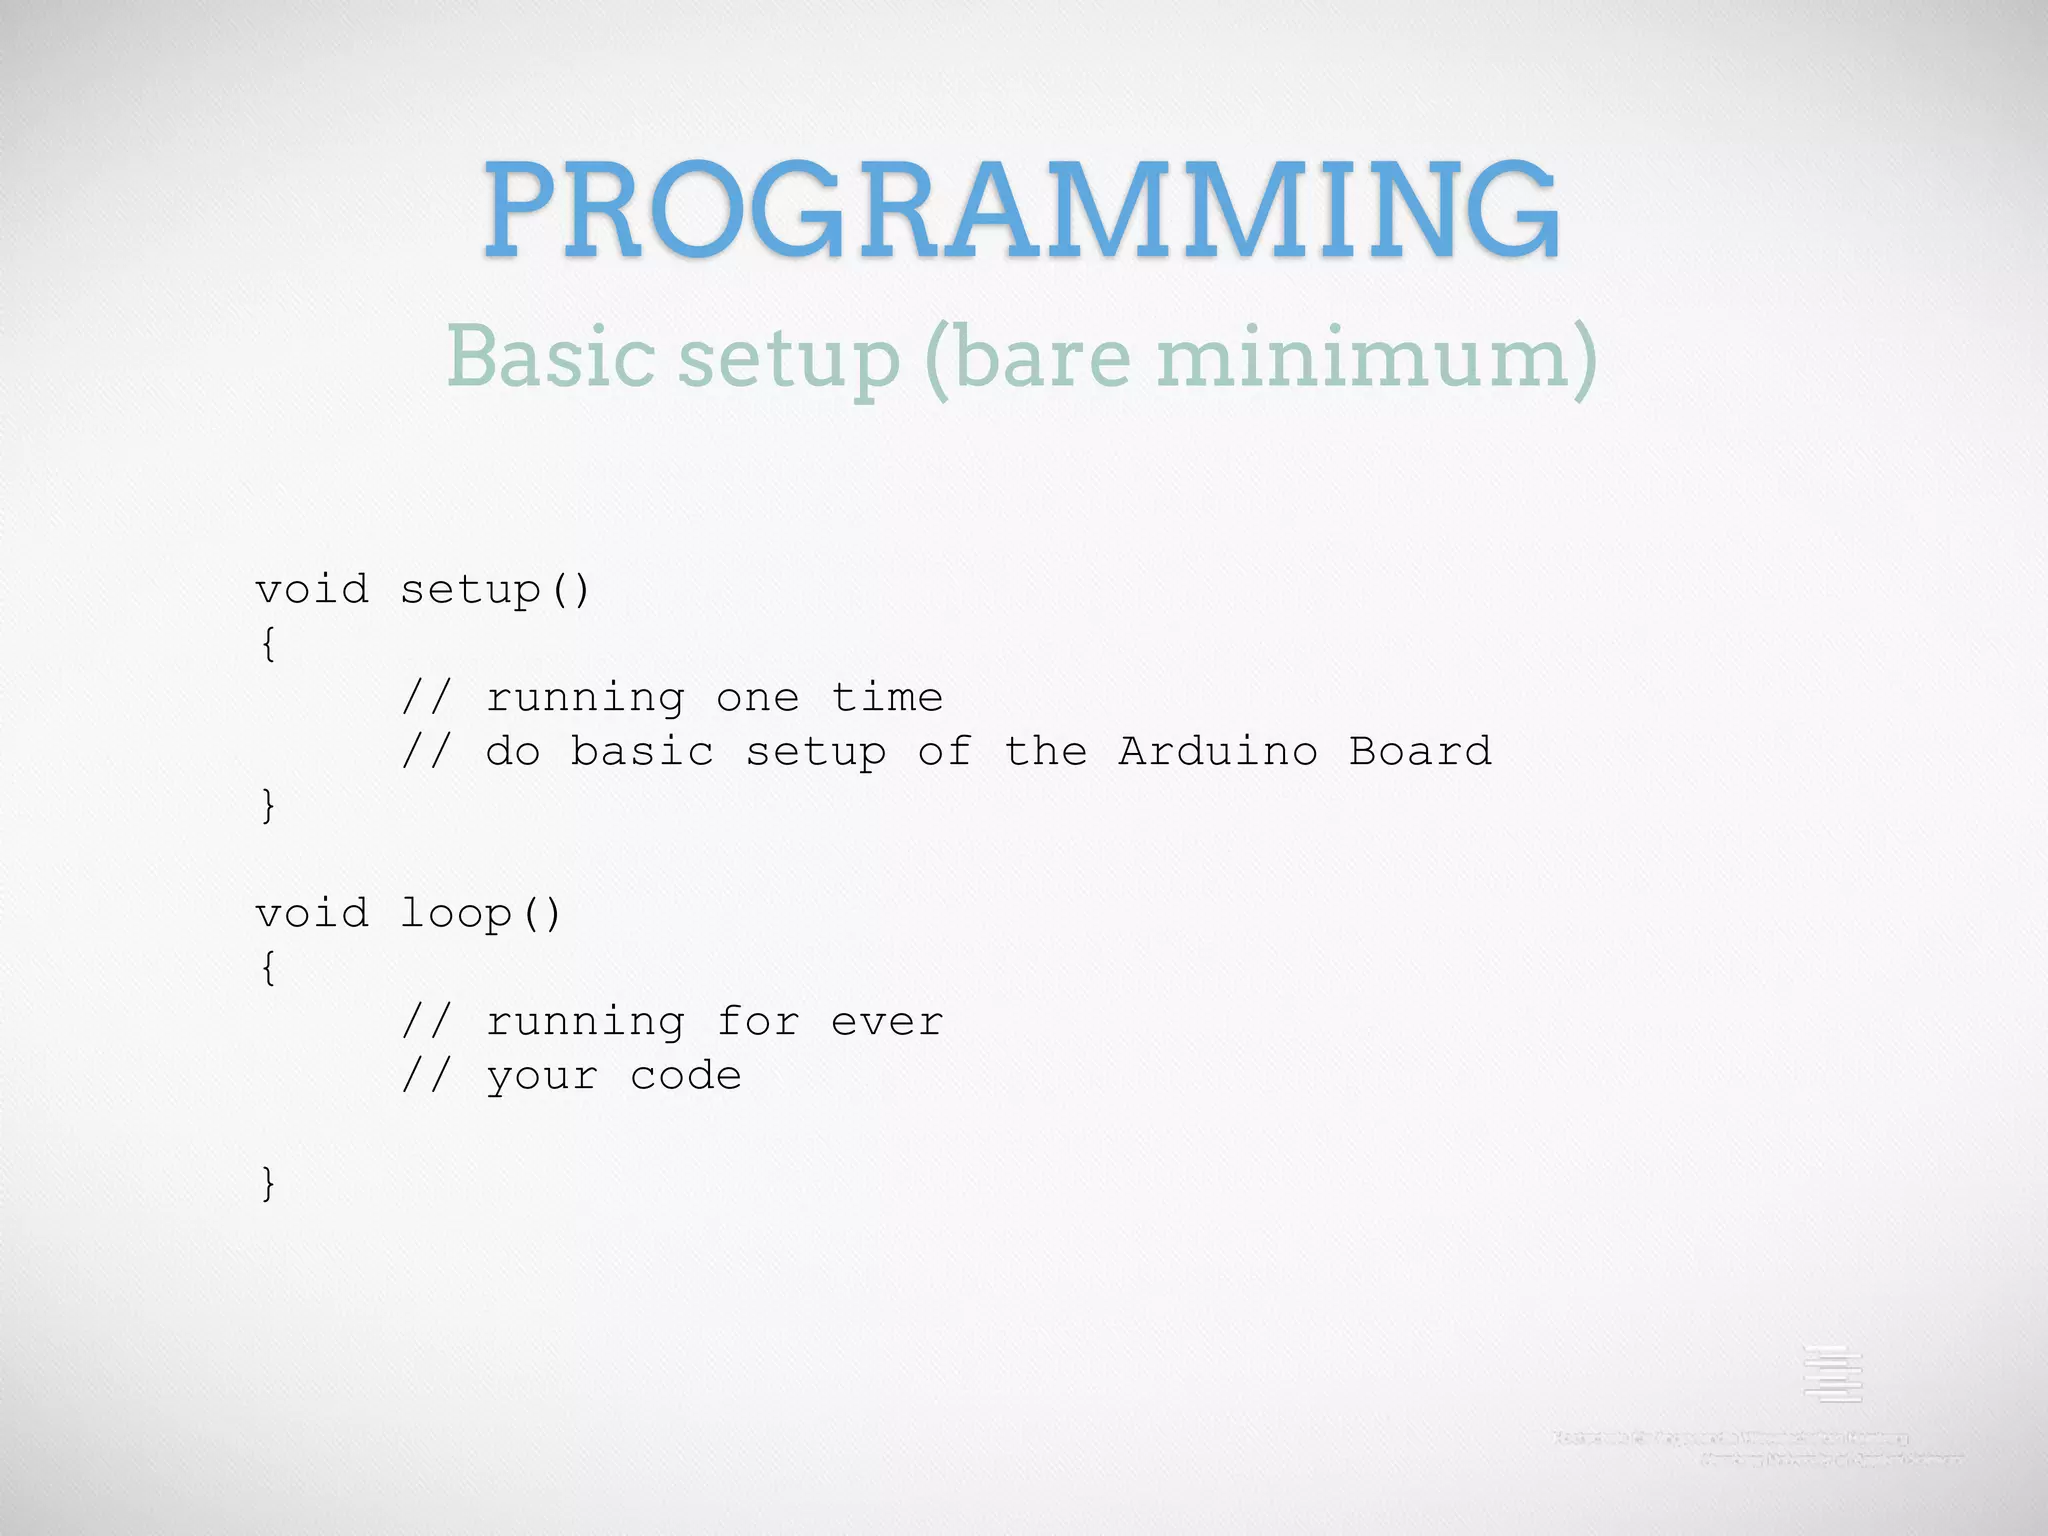
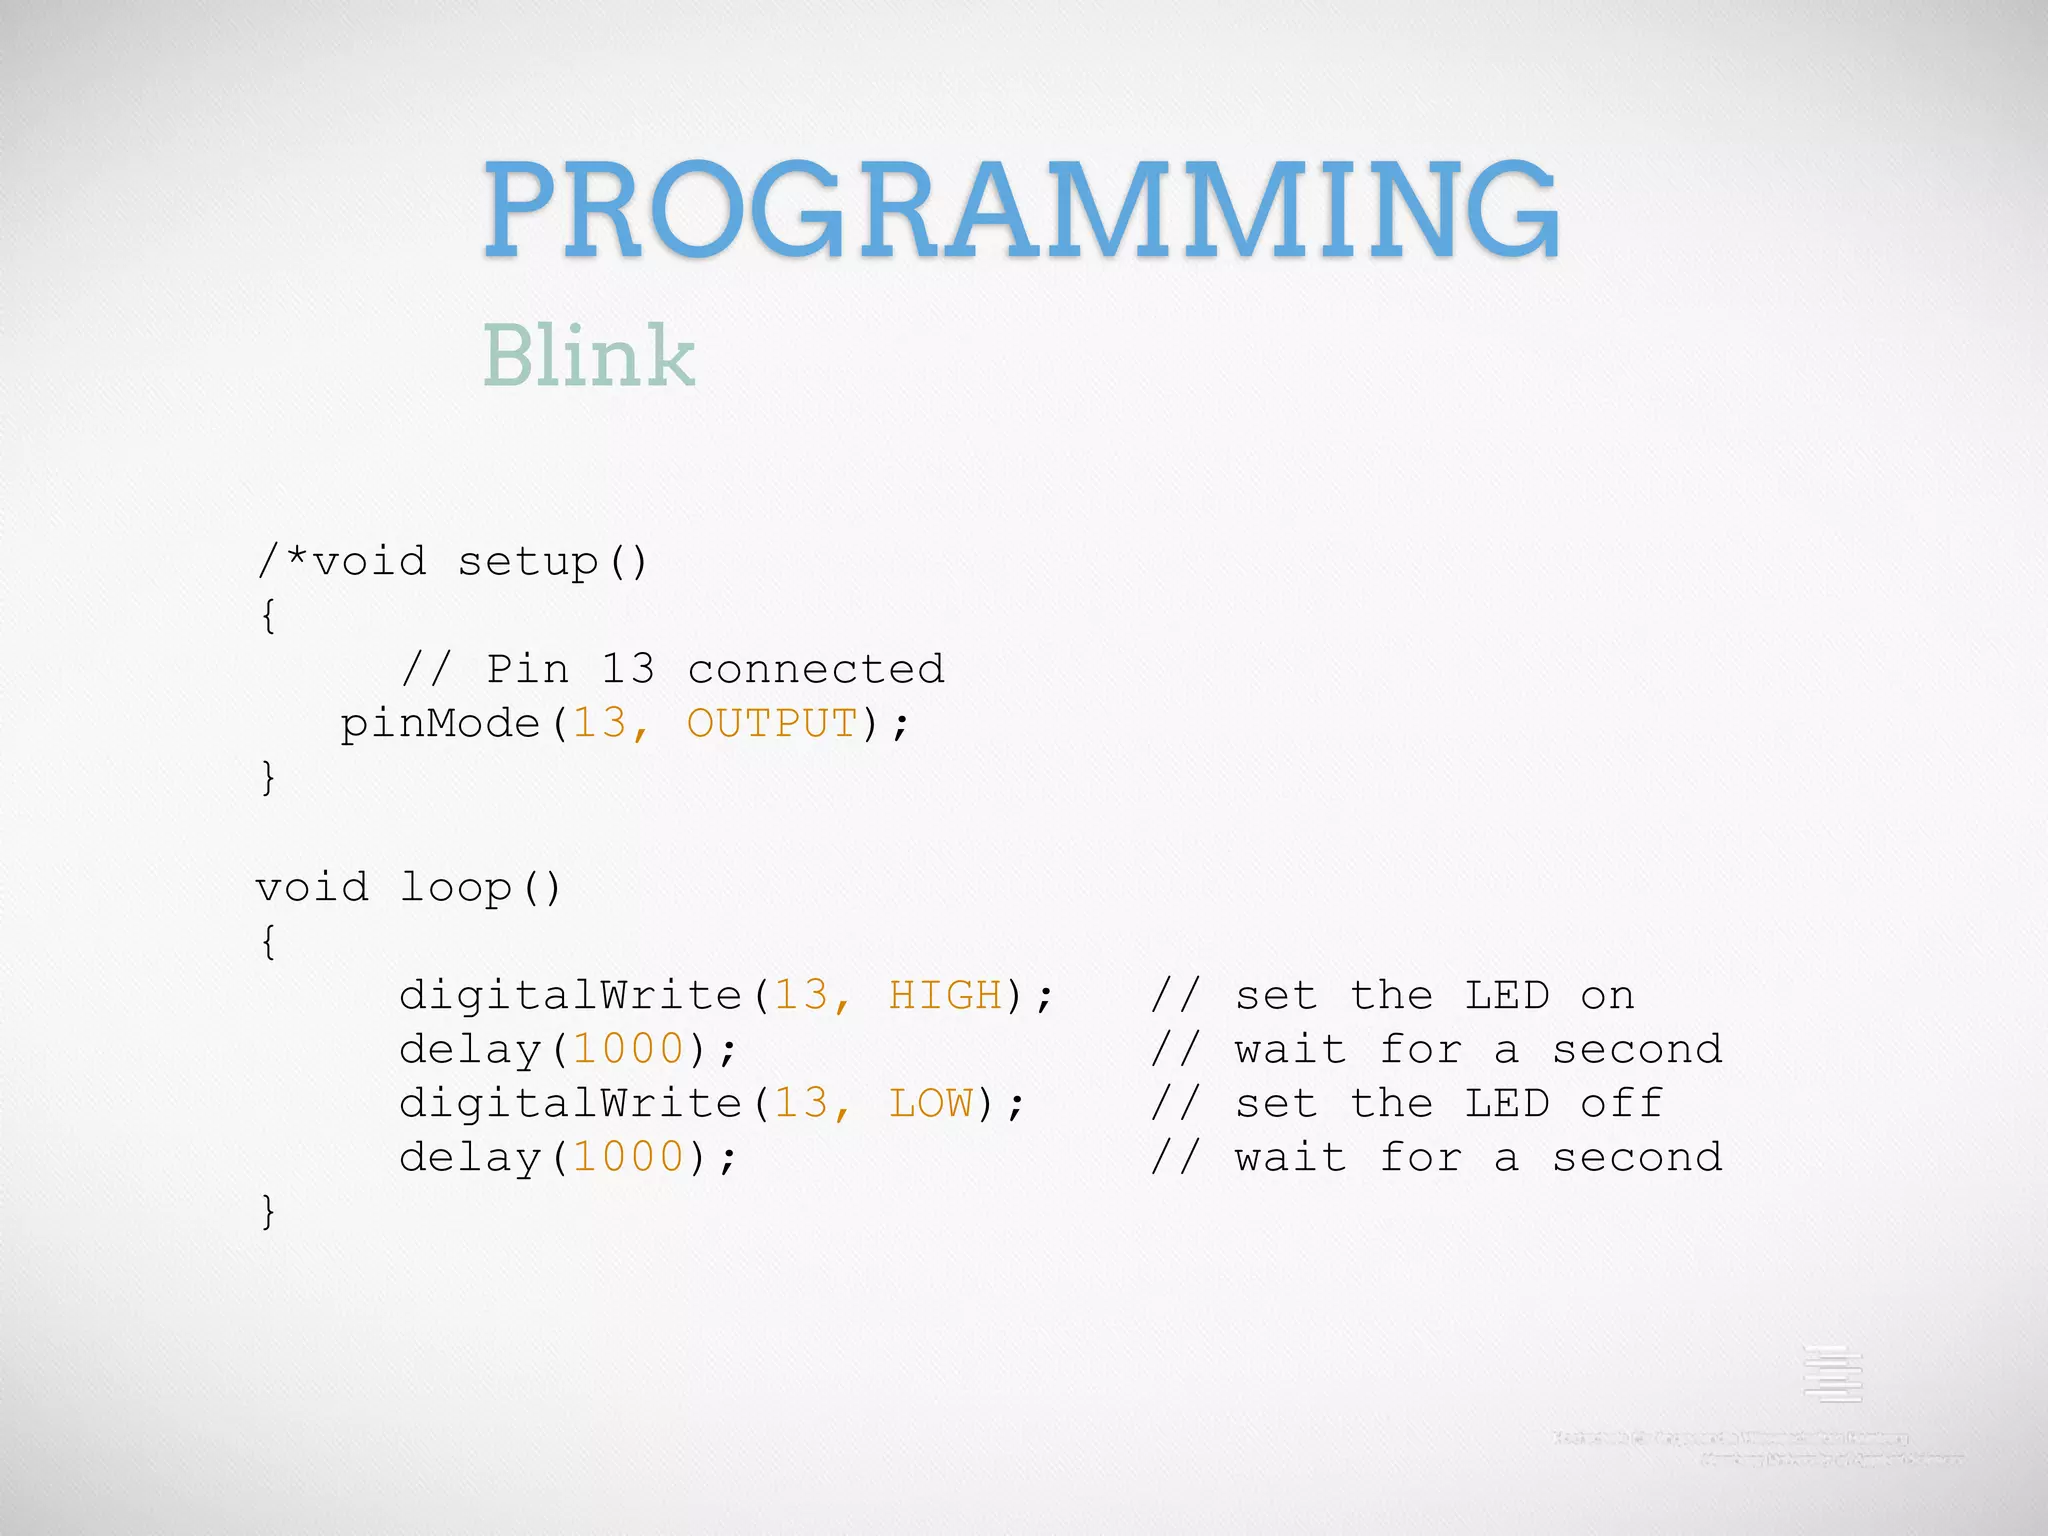
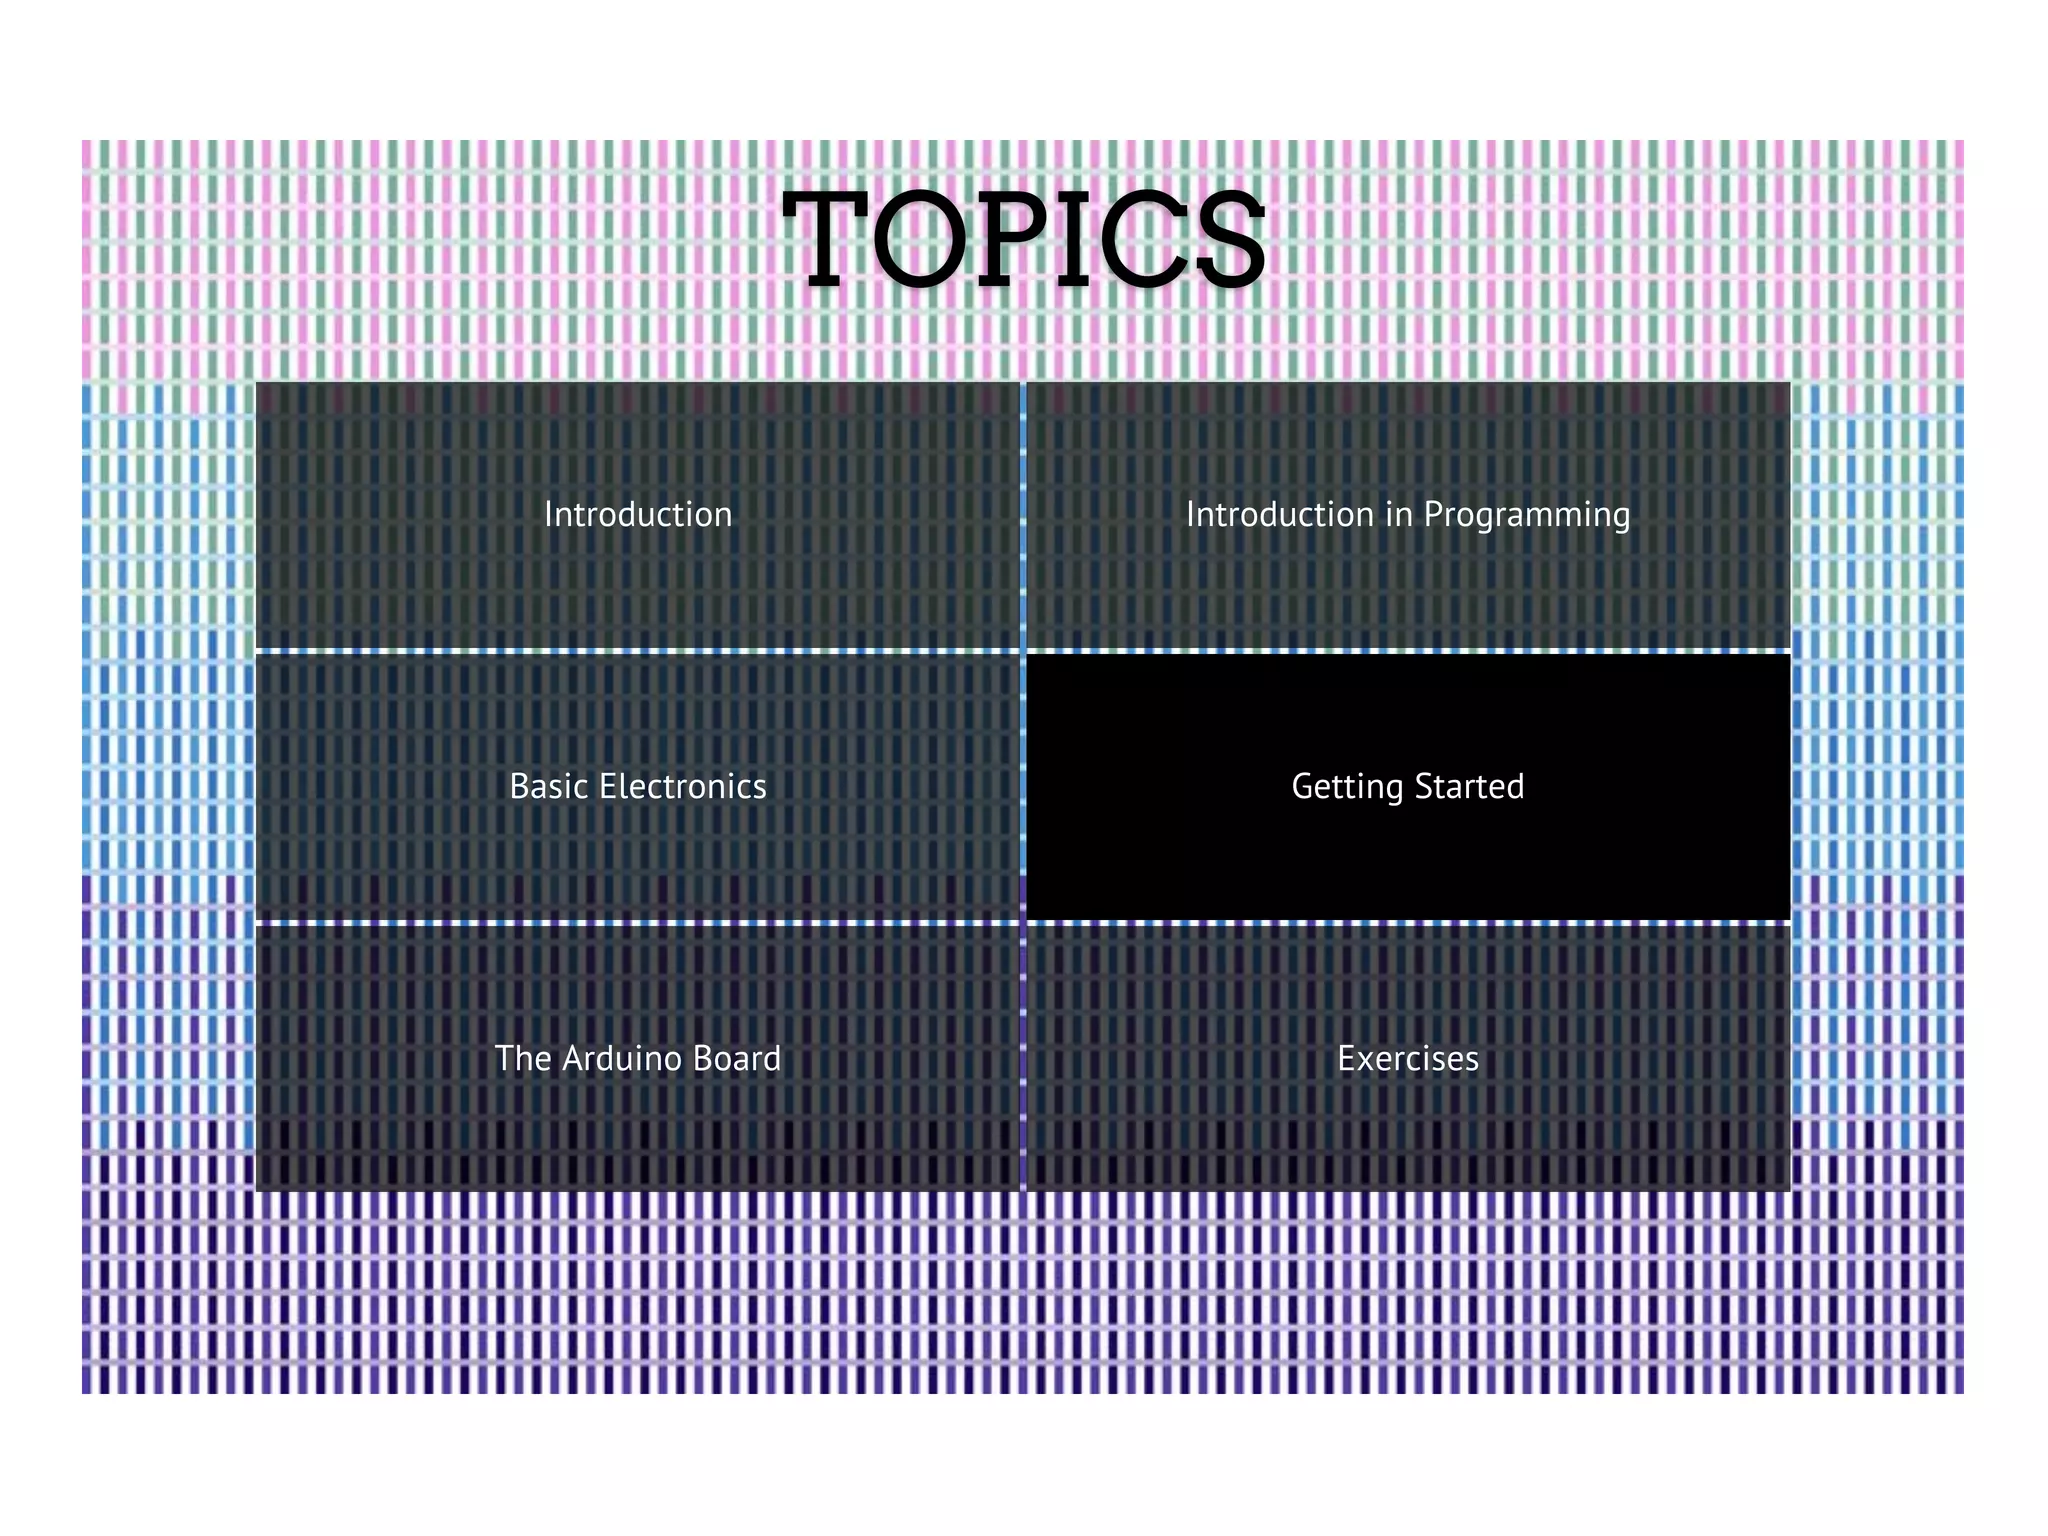


The document serves as an introduction to basic programming and electronics using the Arduino platform, covering fundamental concepts like voltage, current, and circuit design. It offers insights into hardware components and software programming through examples, including setting up simple tasks with LEDs. The material emphasizes hands-on exercises and resources for further learning in microelectronics and Arduino projects.