Download to read offline


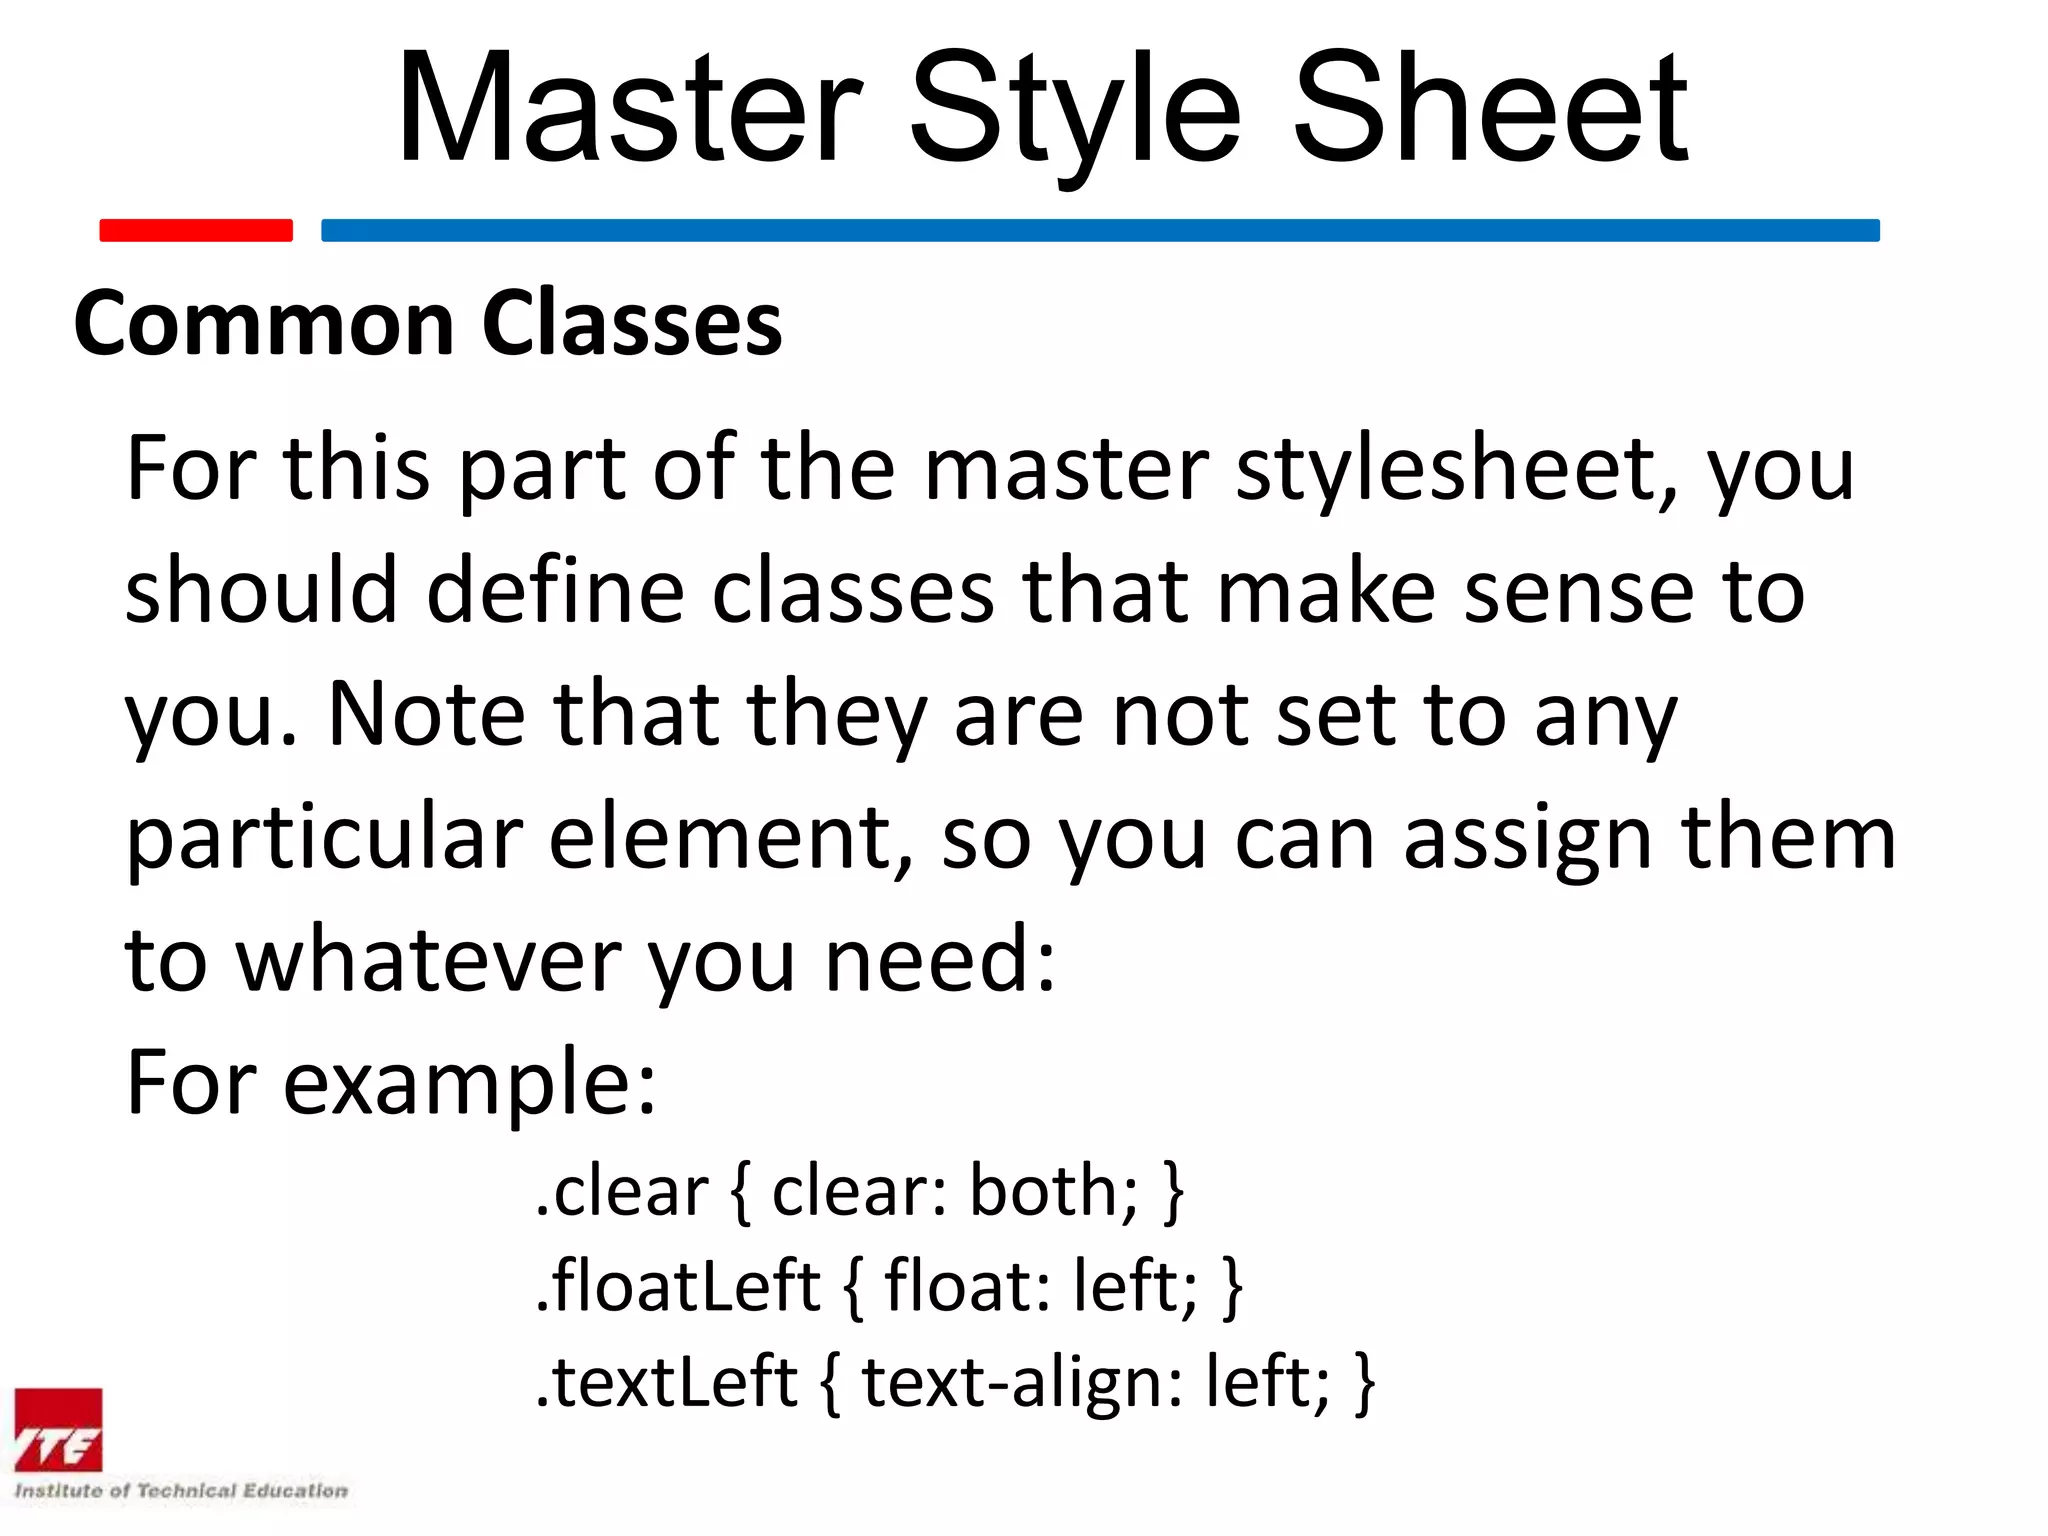
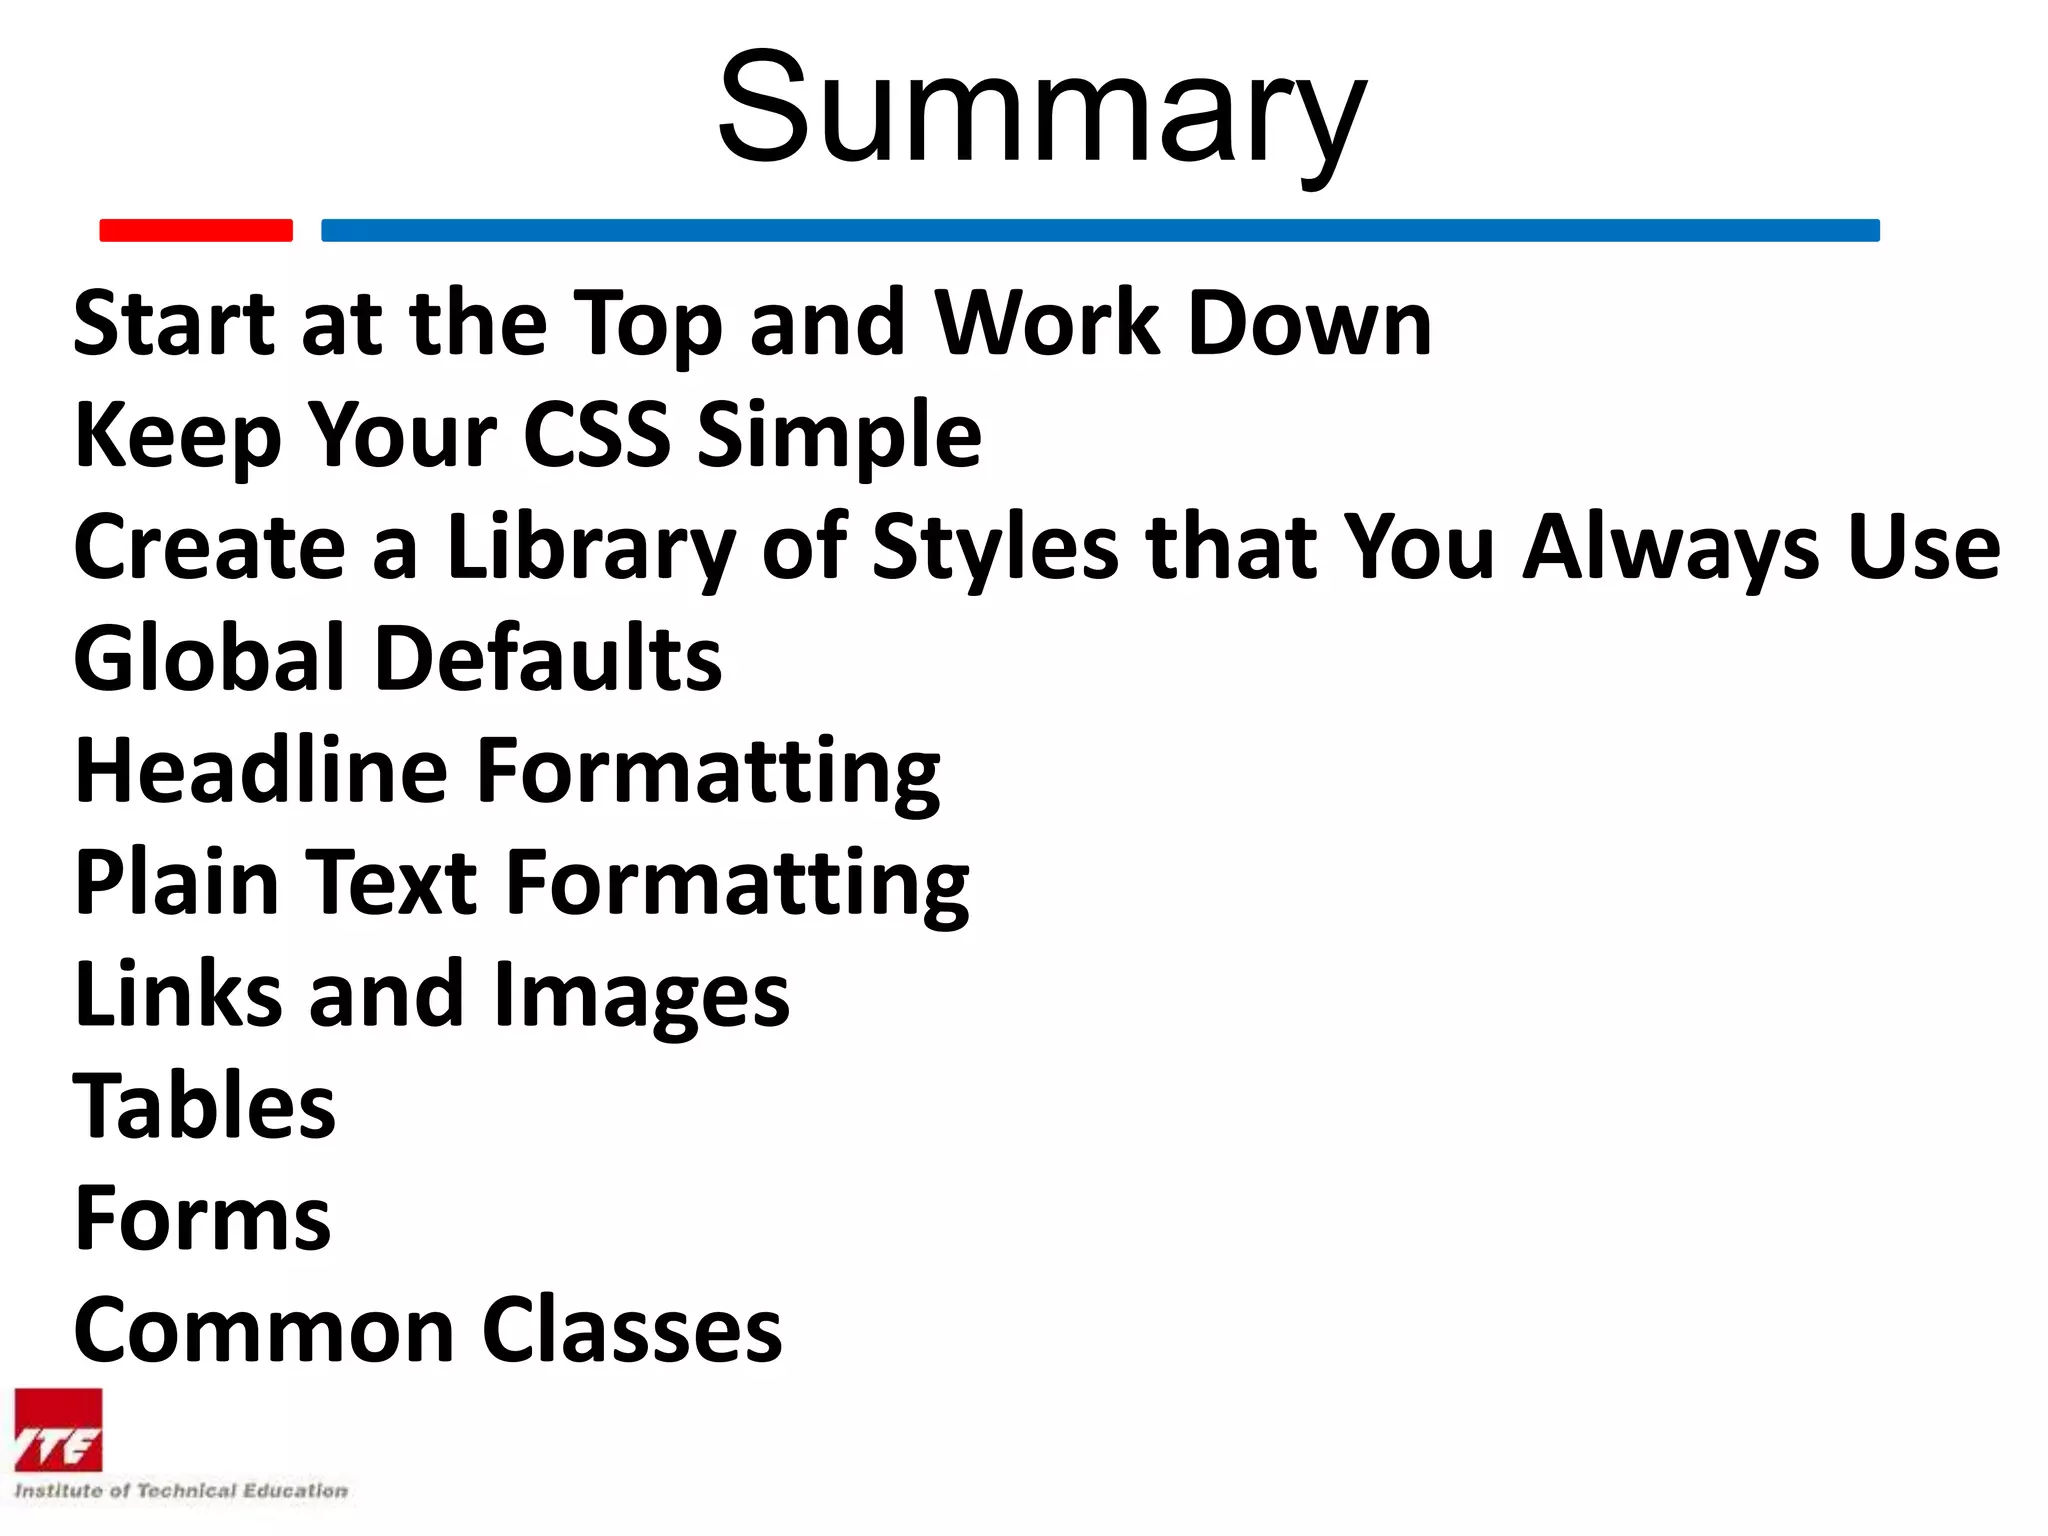

This document provides guidance on using a standardized workflow to create CSS web pages. It recommends starting with content and basic HTML before working on CSS styles from the top of the page down. The CSS should be kept simple with a master style sheet that resets defaults, formats text elements consistently, and defines common reusable classes. Following this workflow helps create CSS pages in half the time by establishing a clean base and reusable styles.