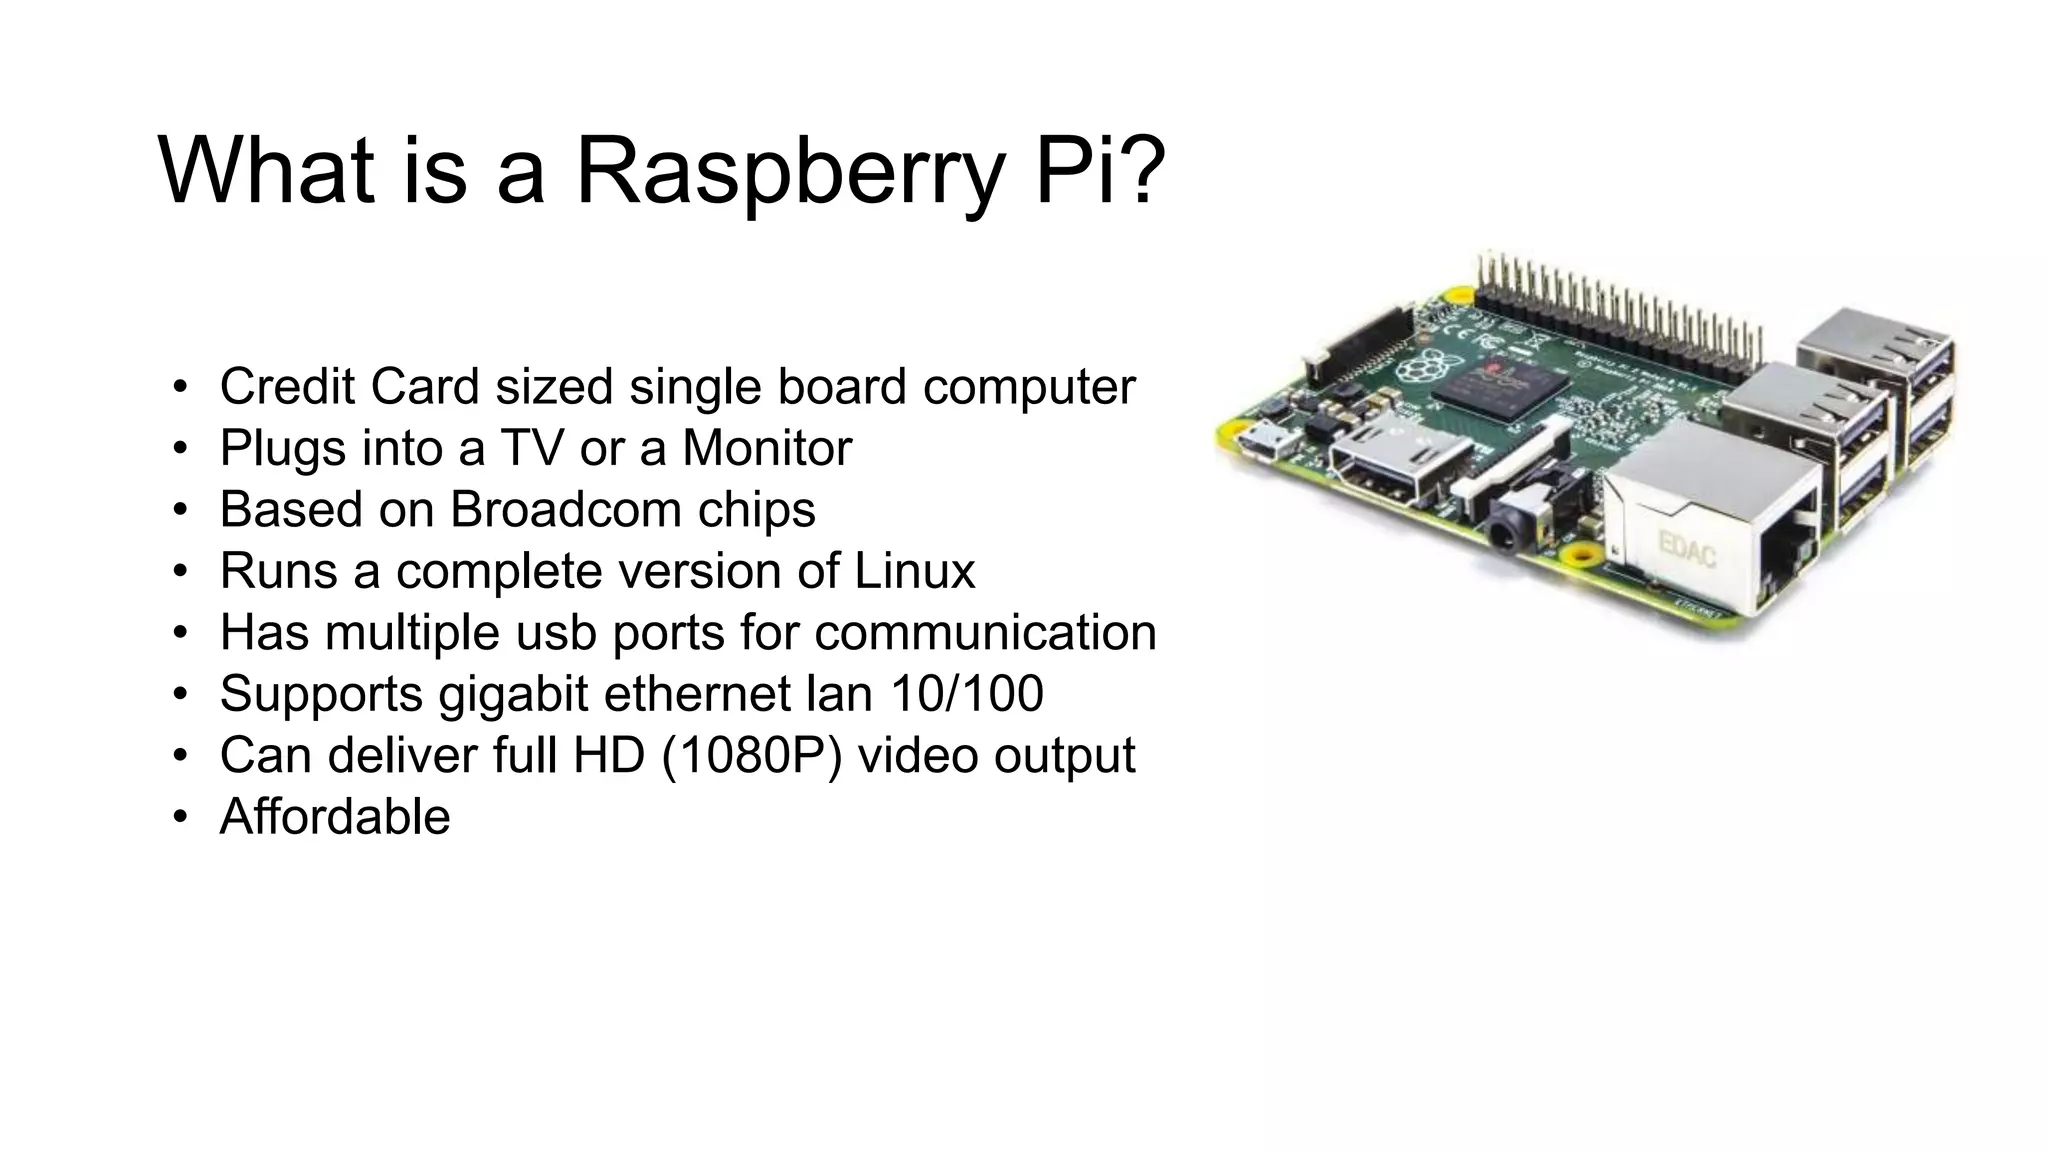
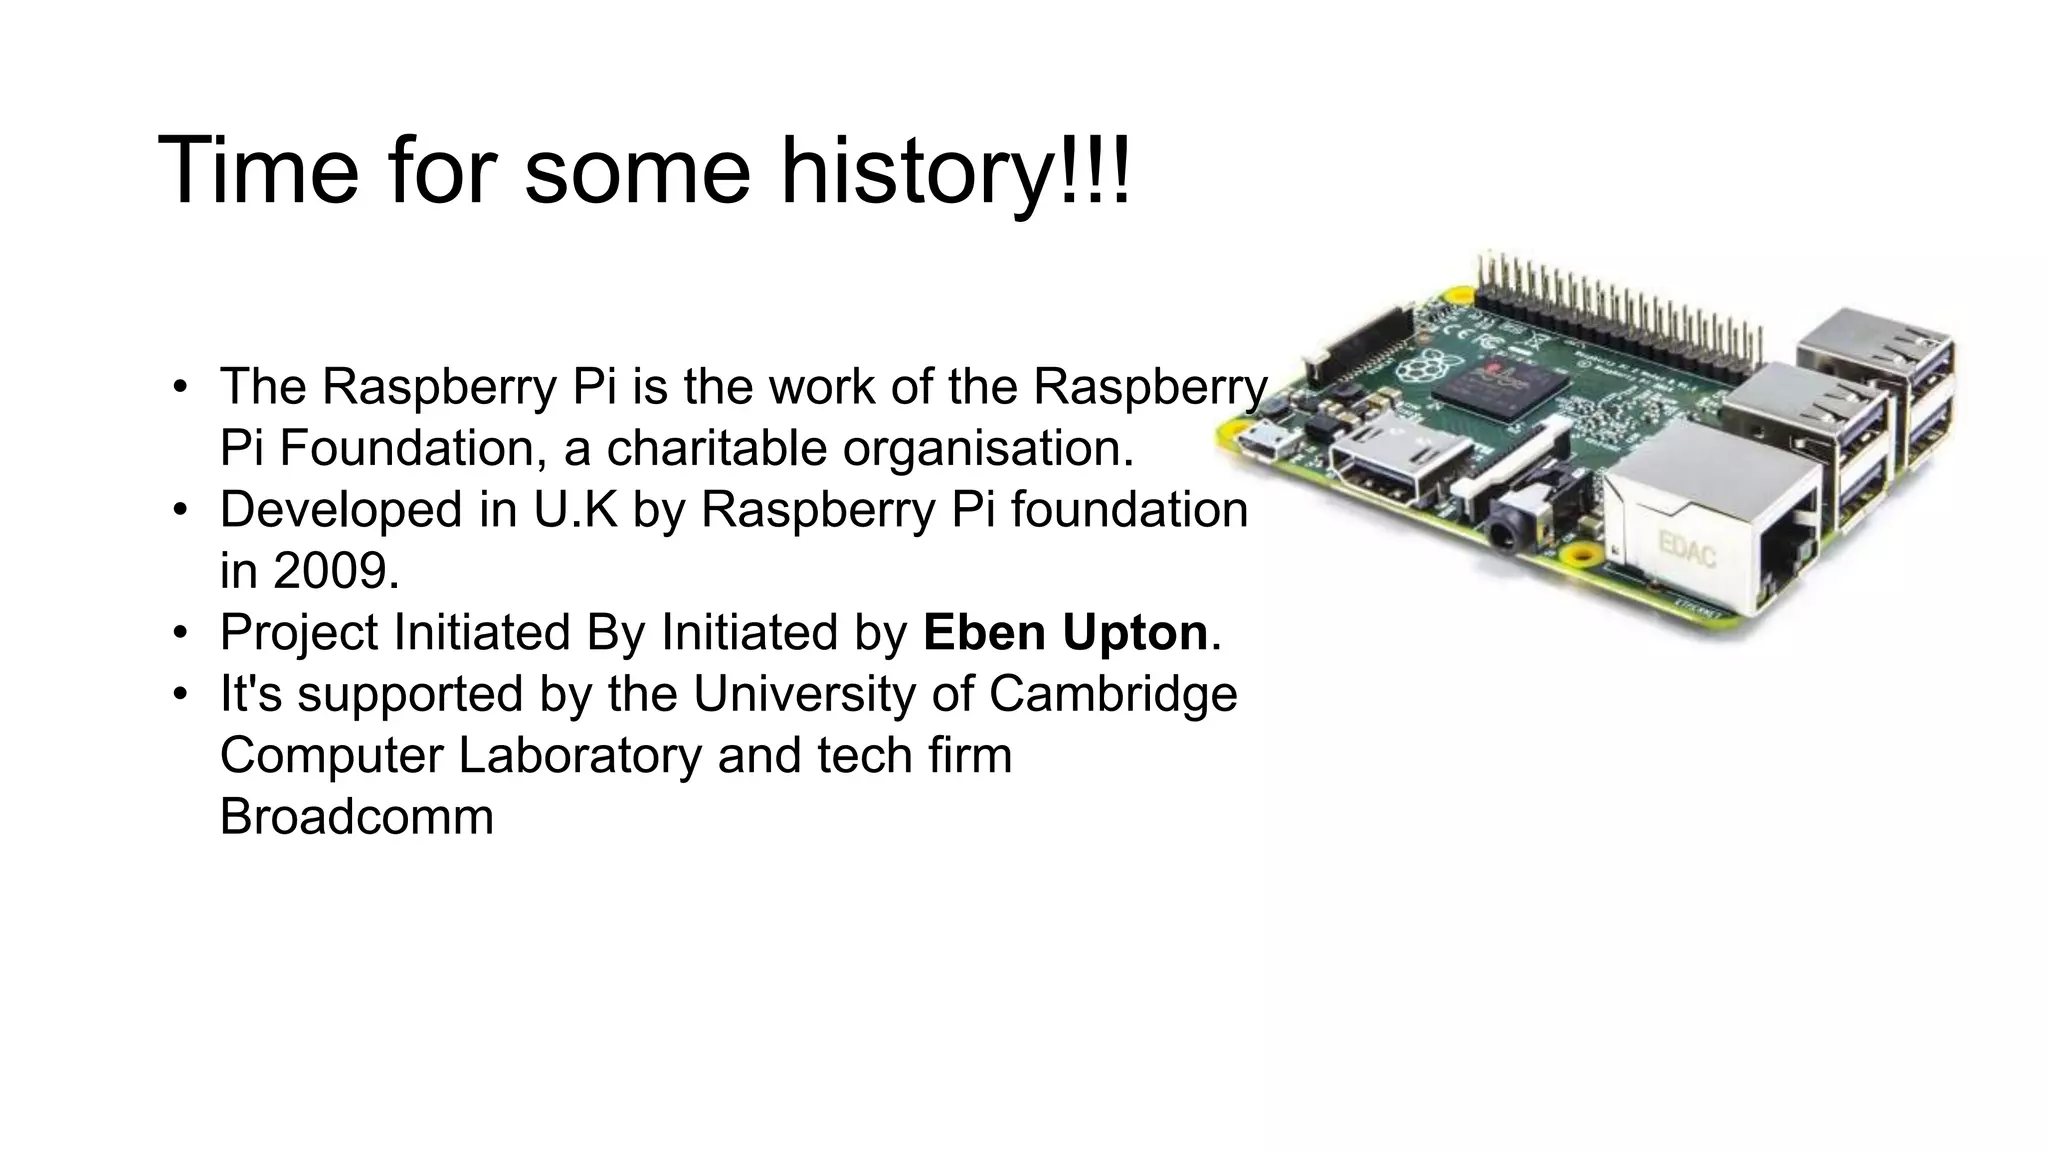
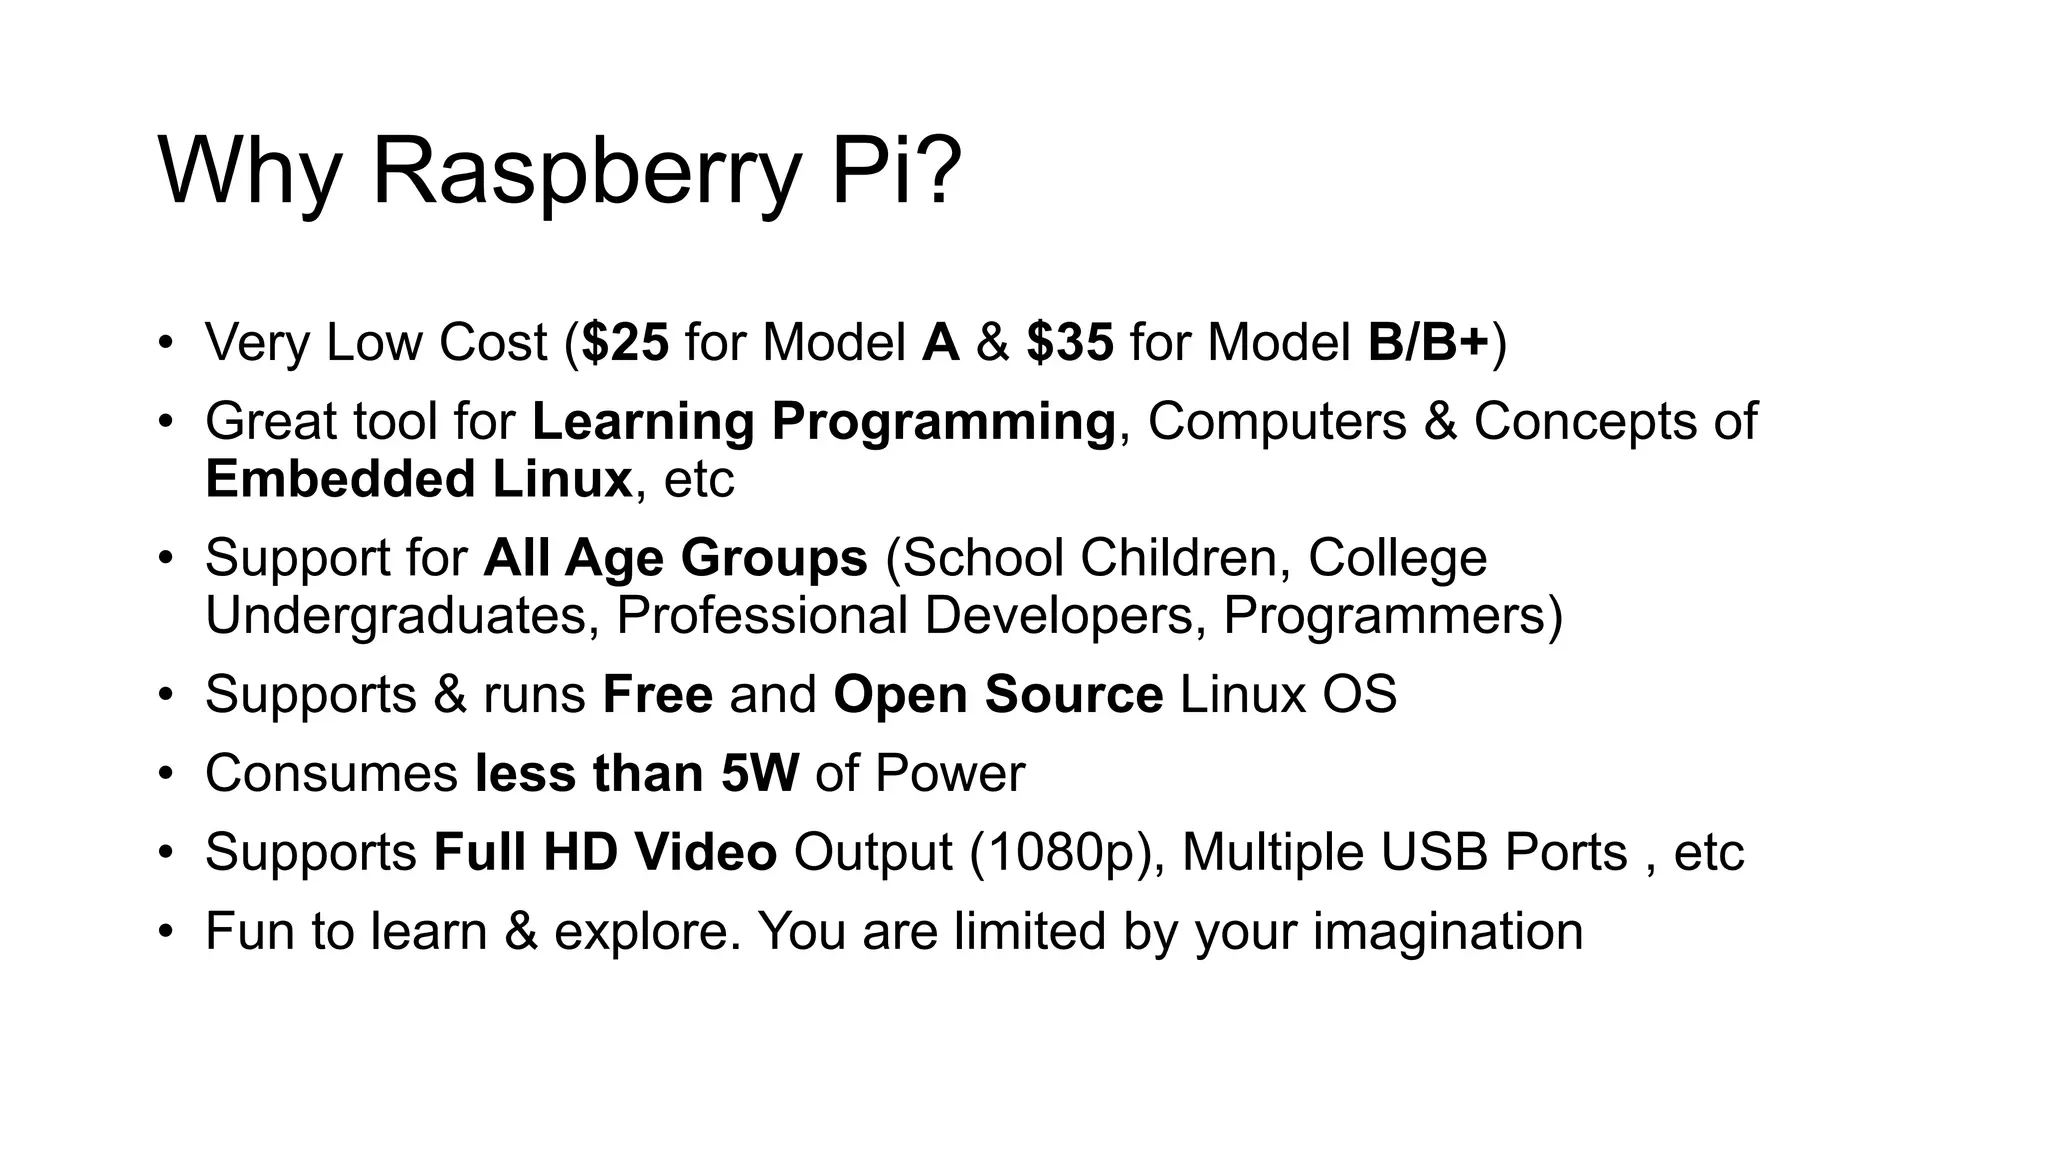
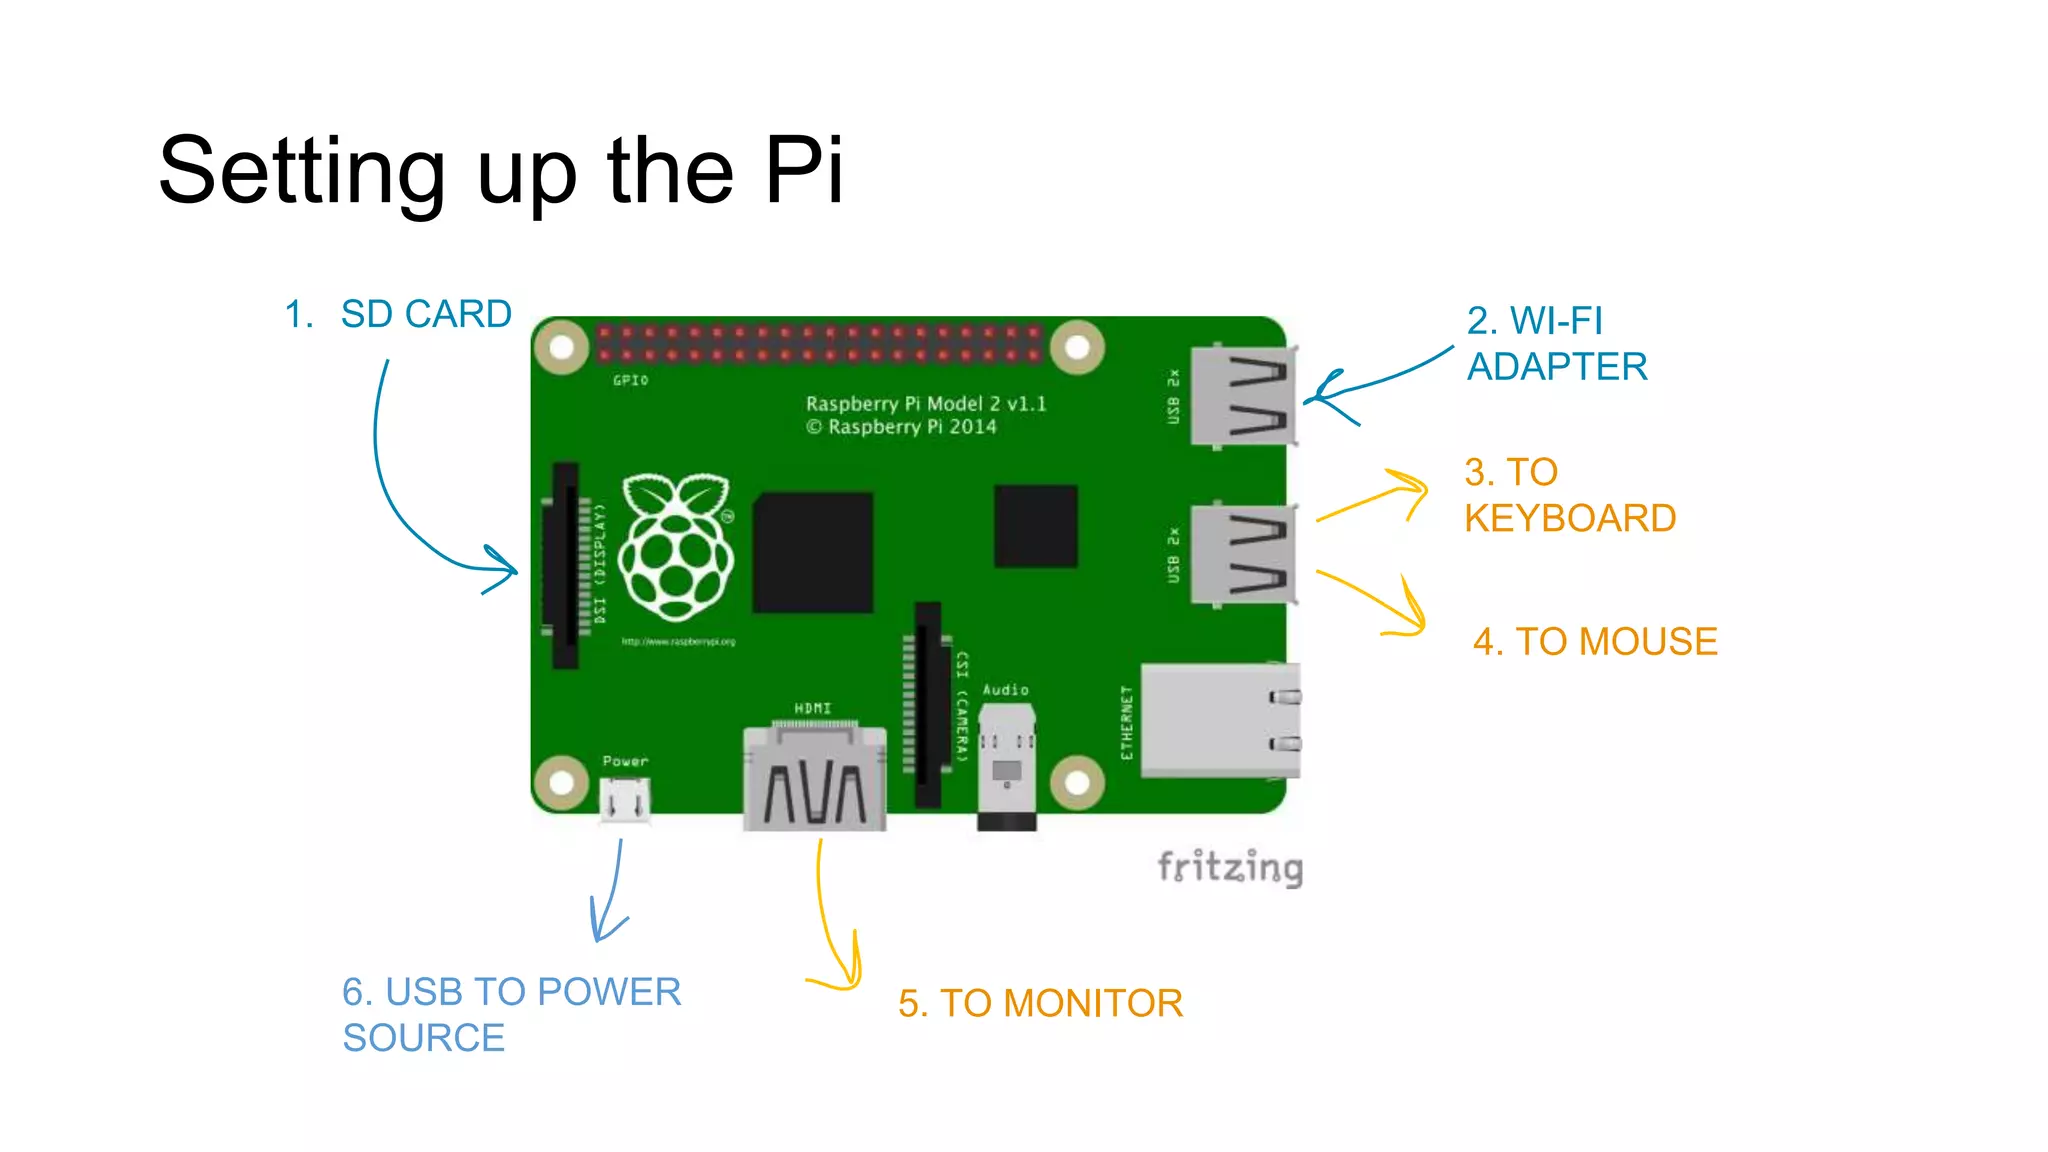
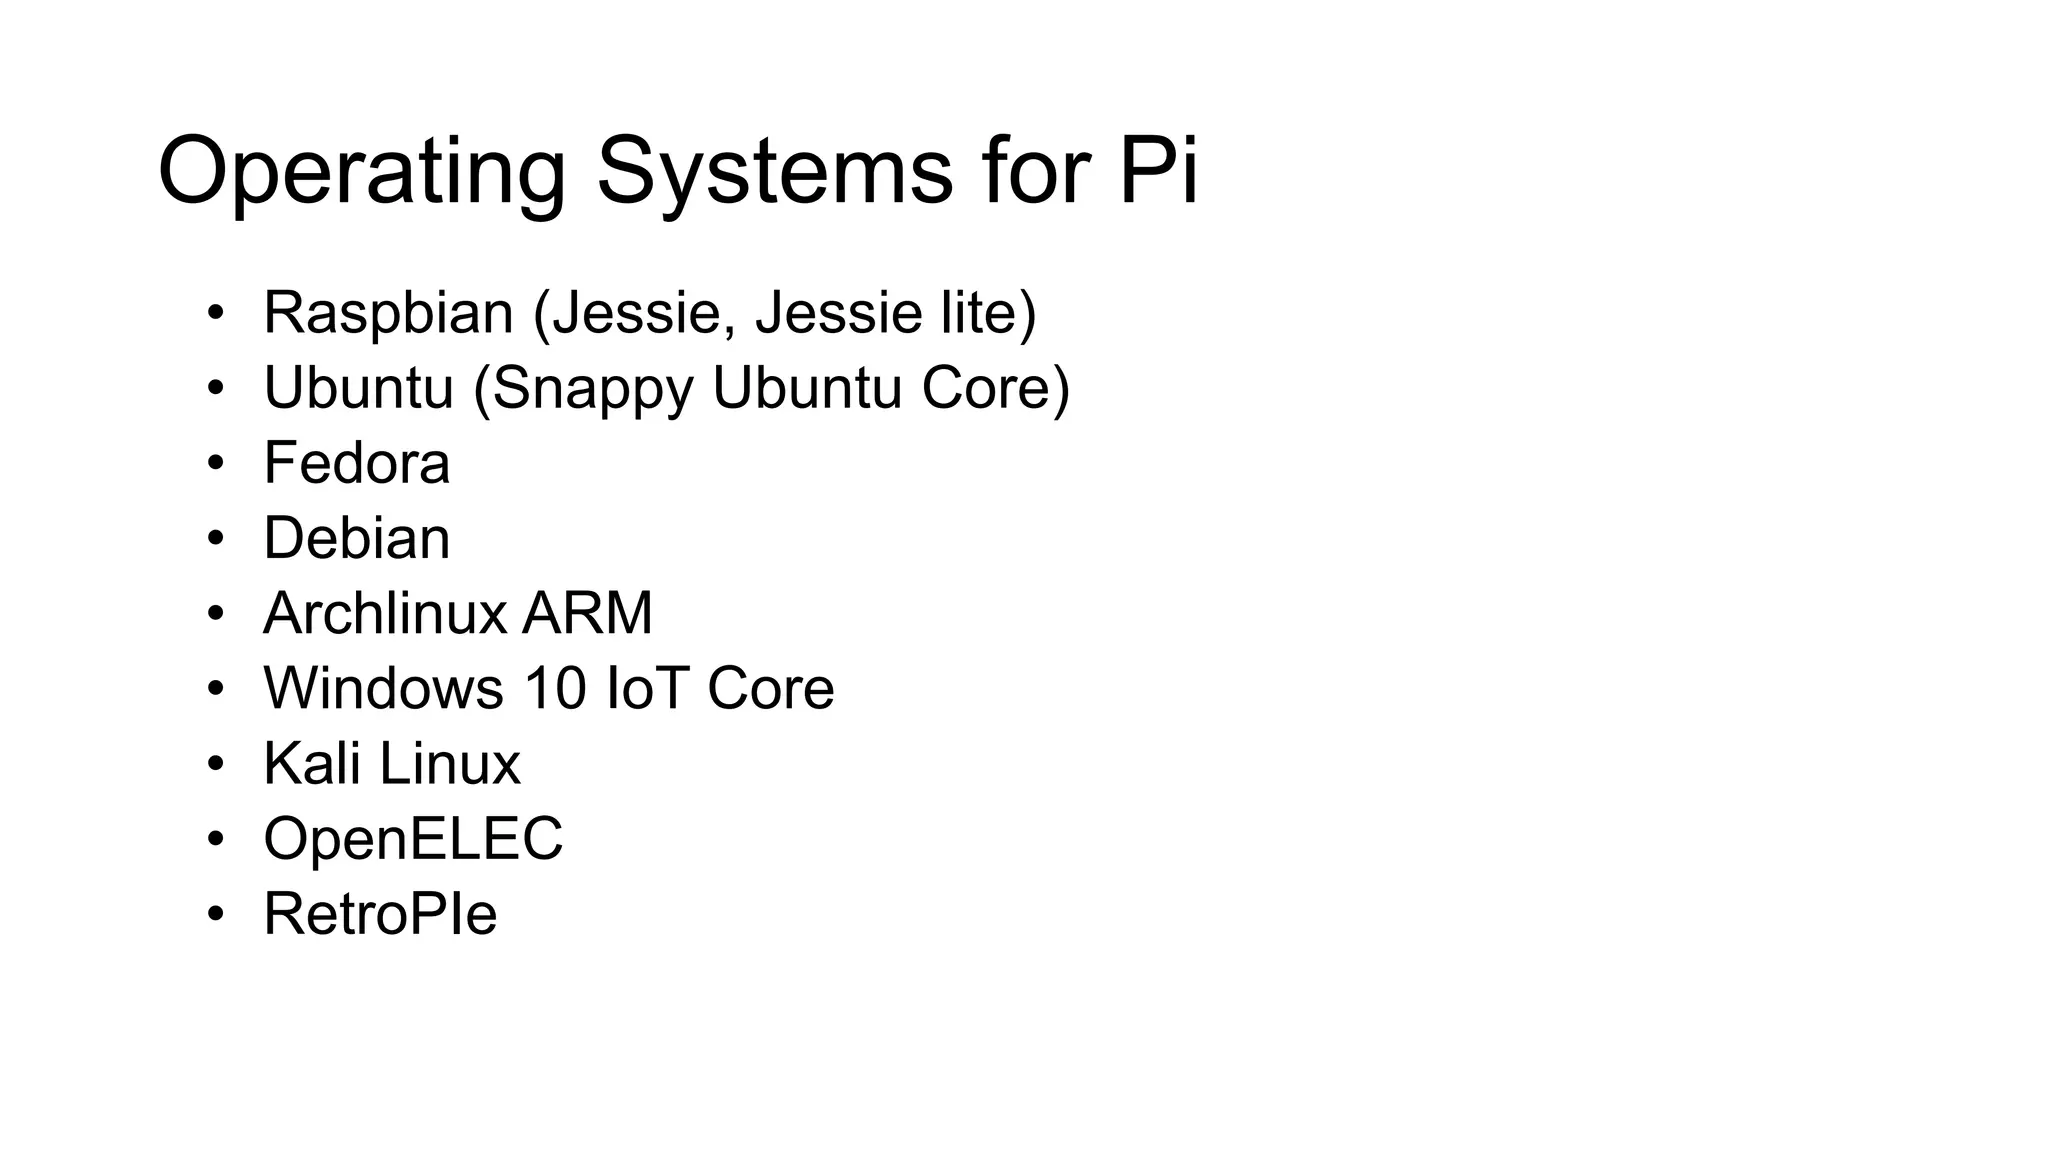
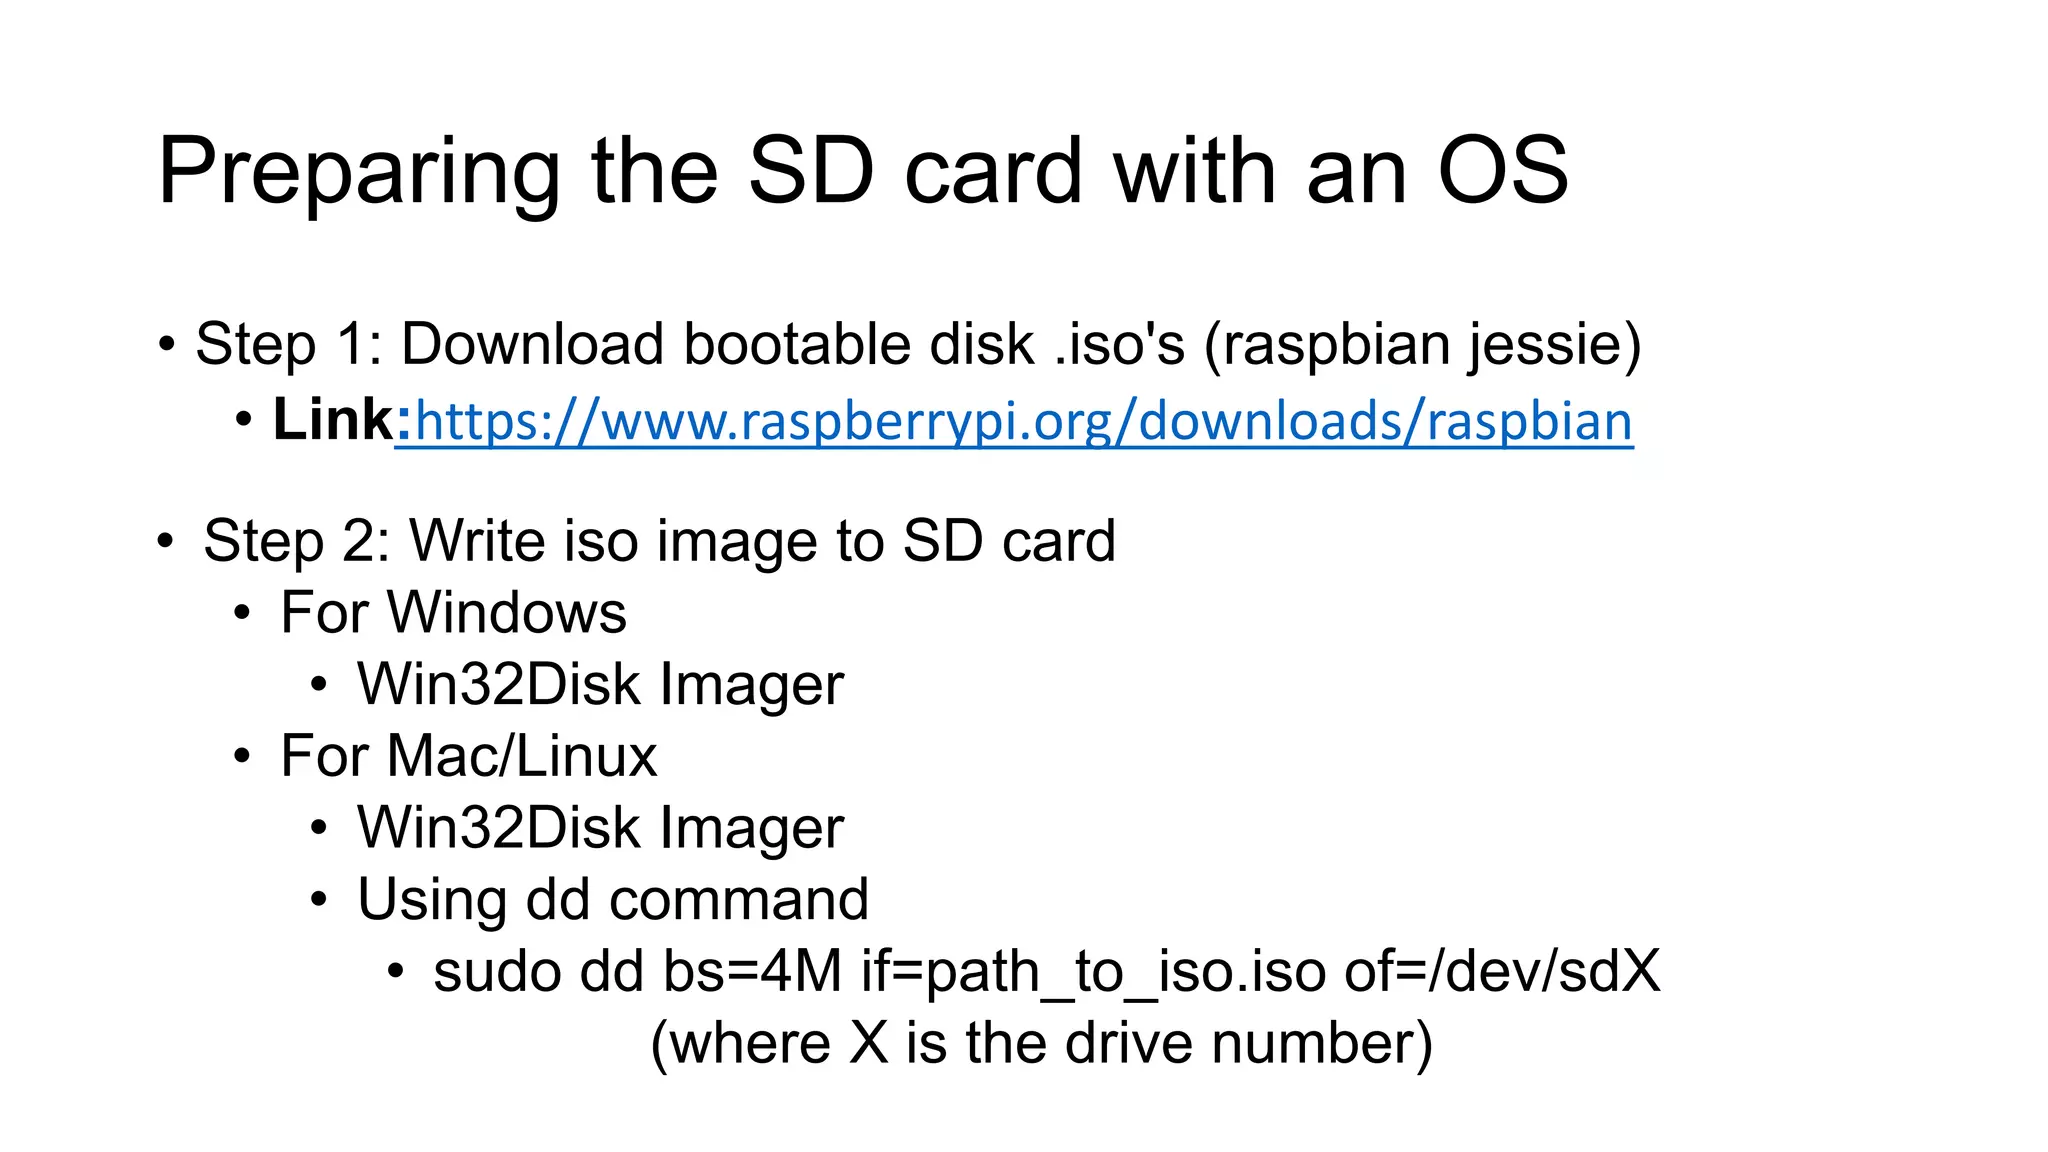
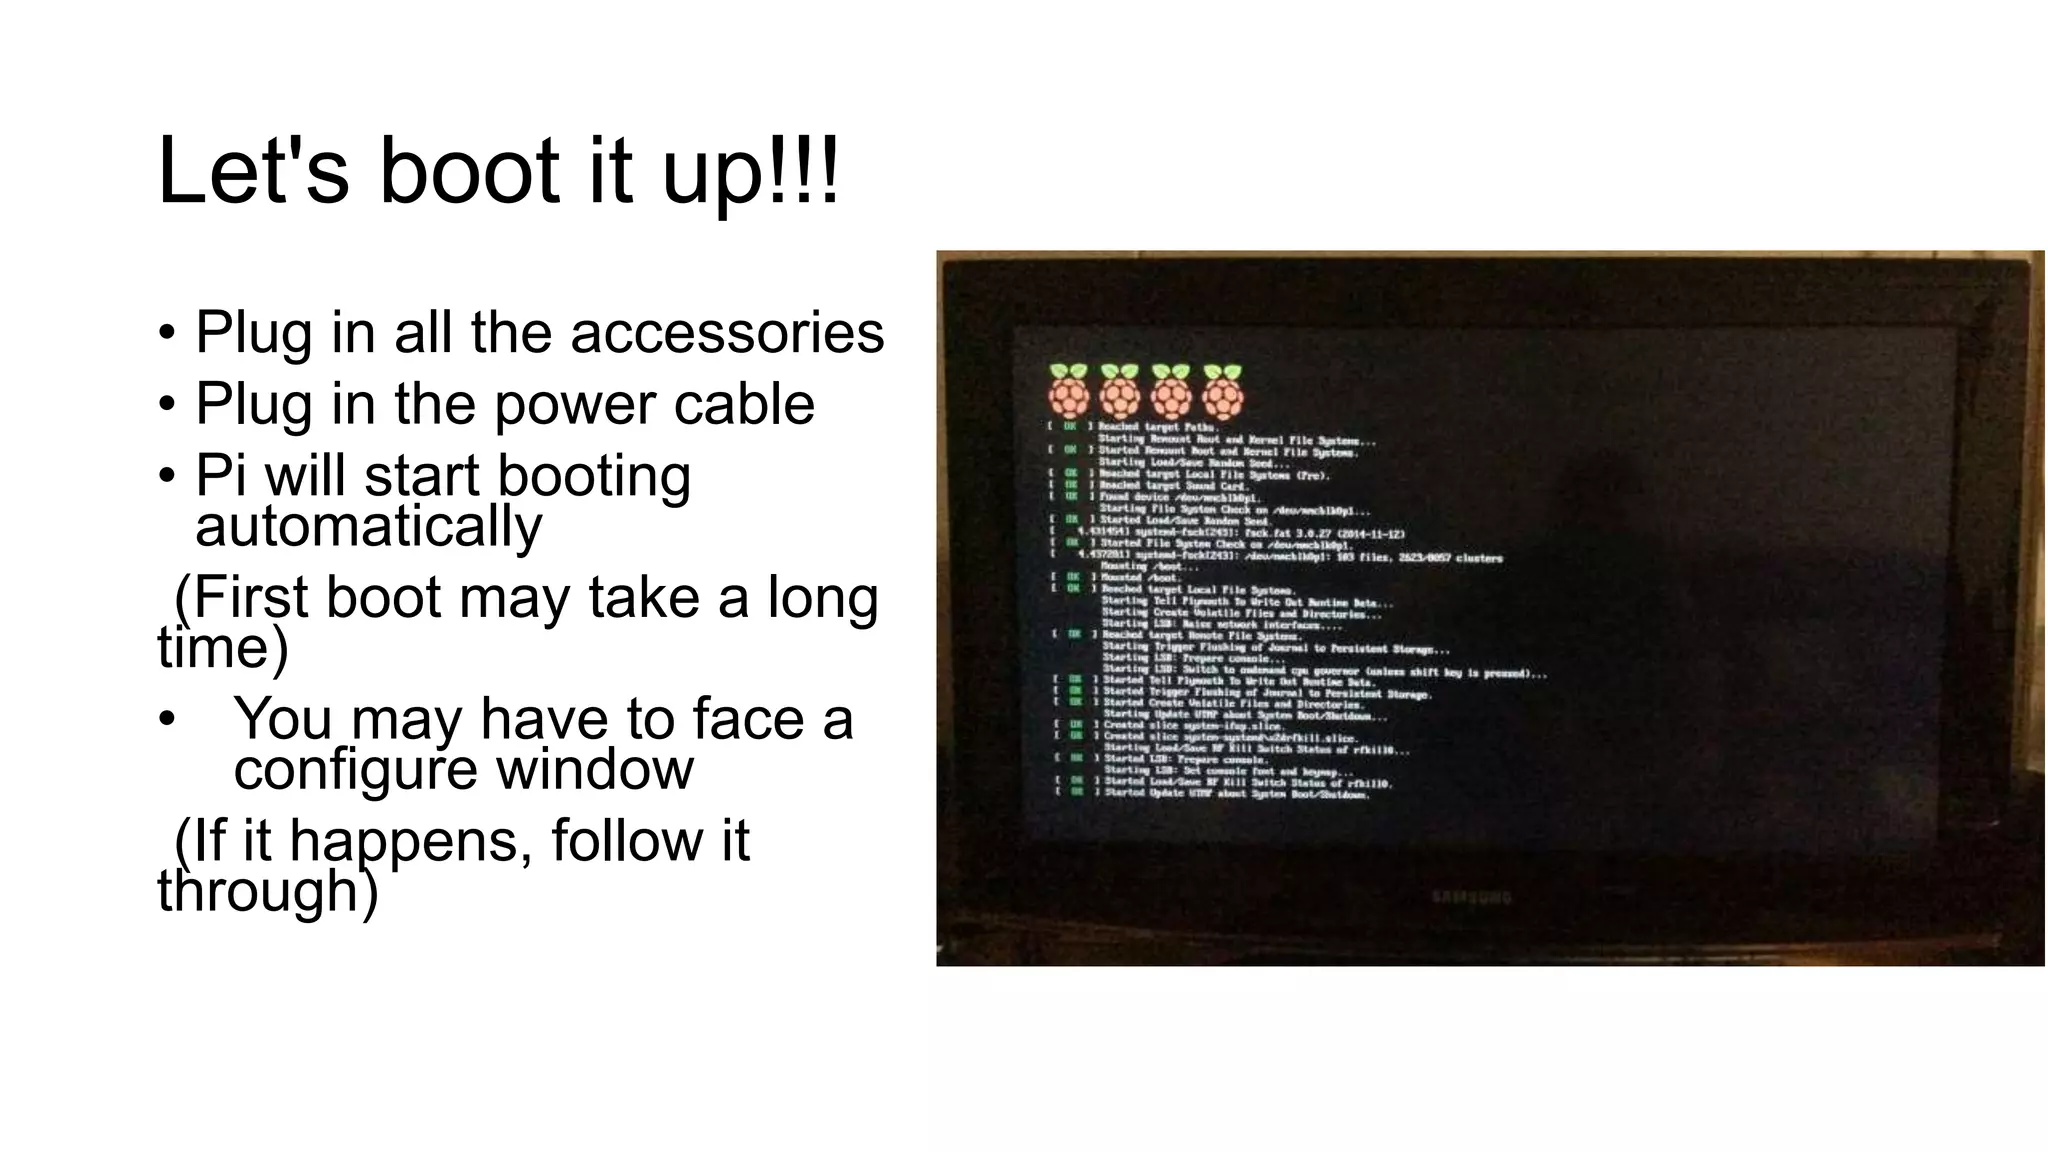
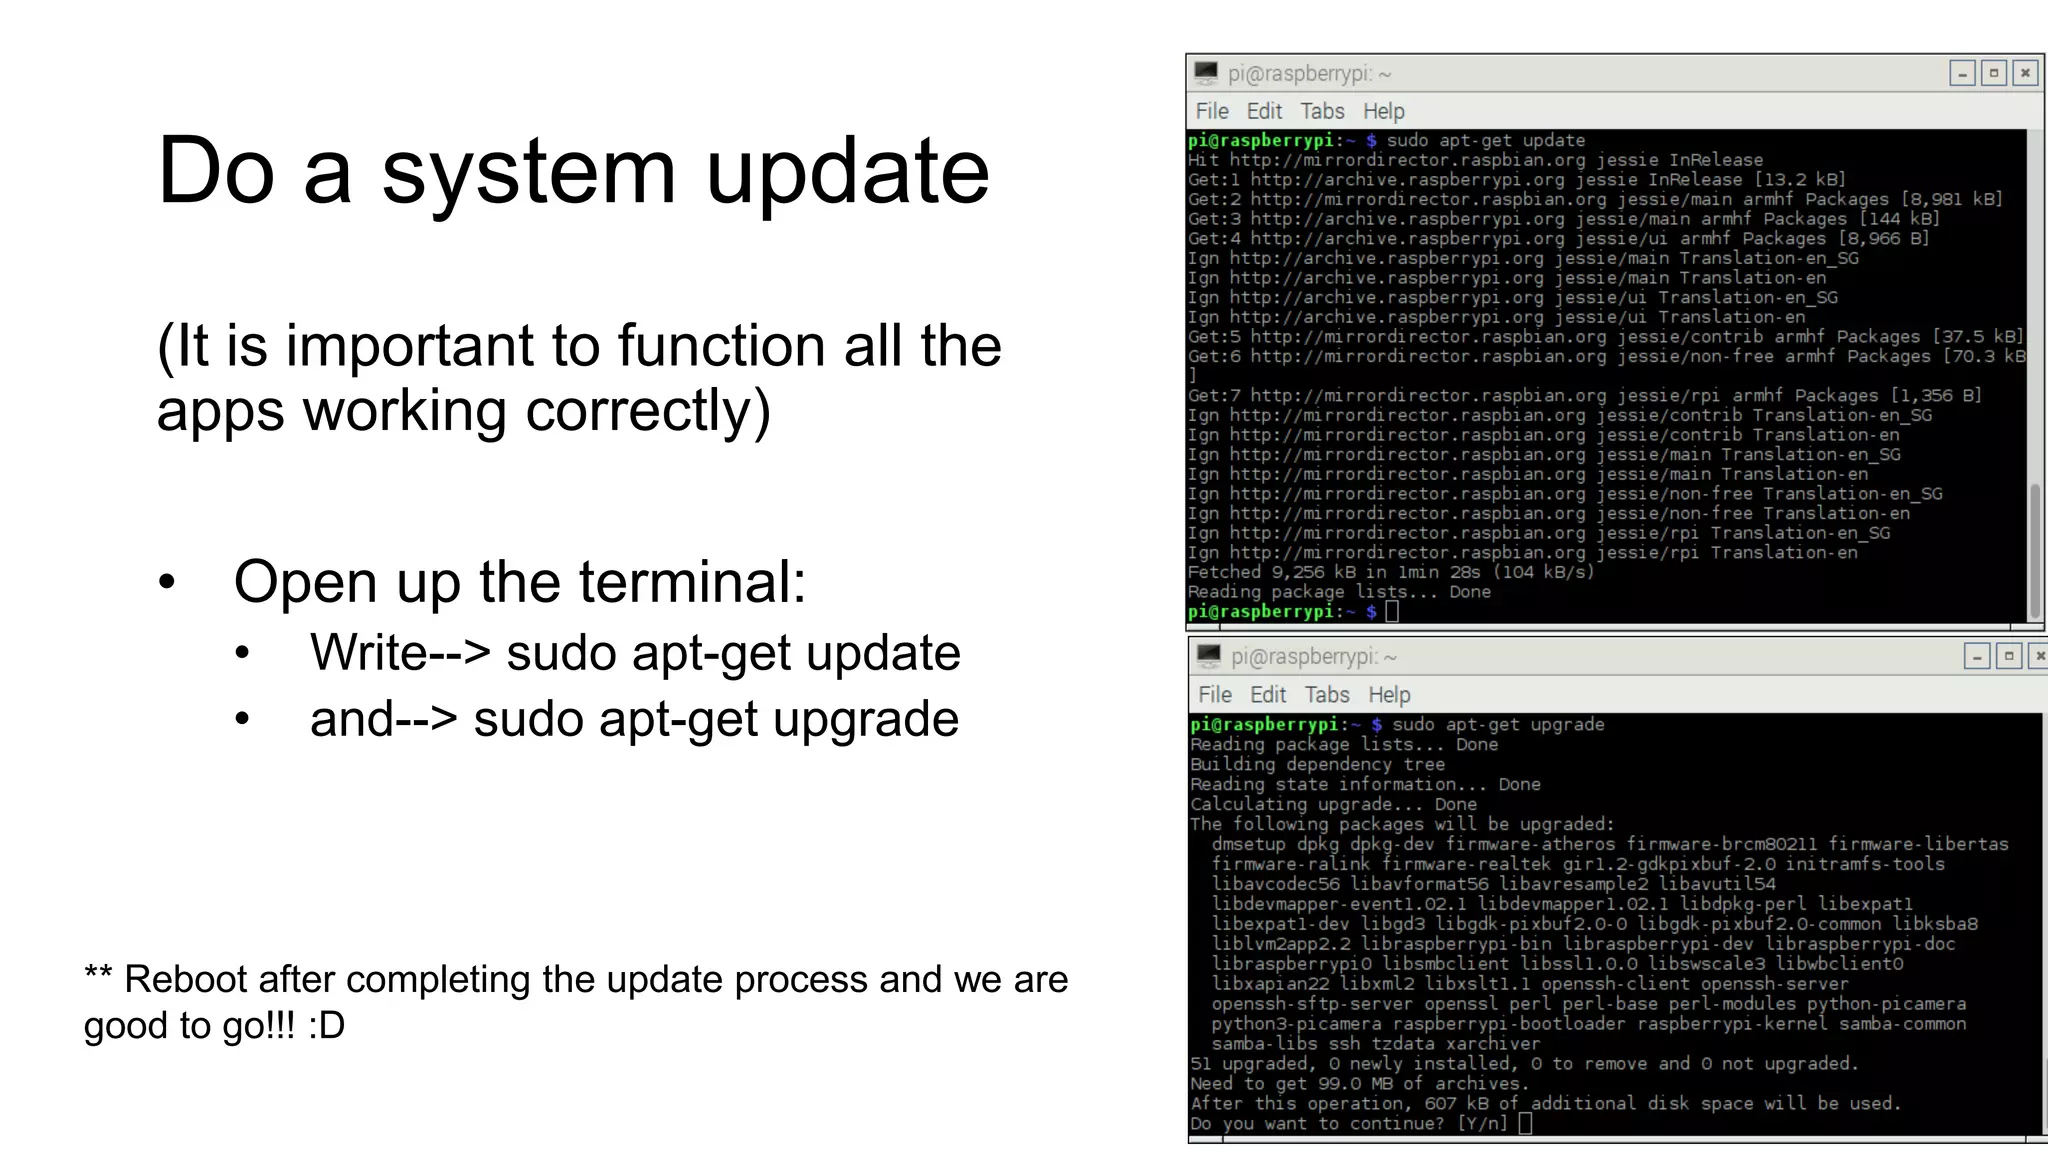
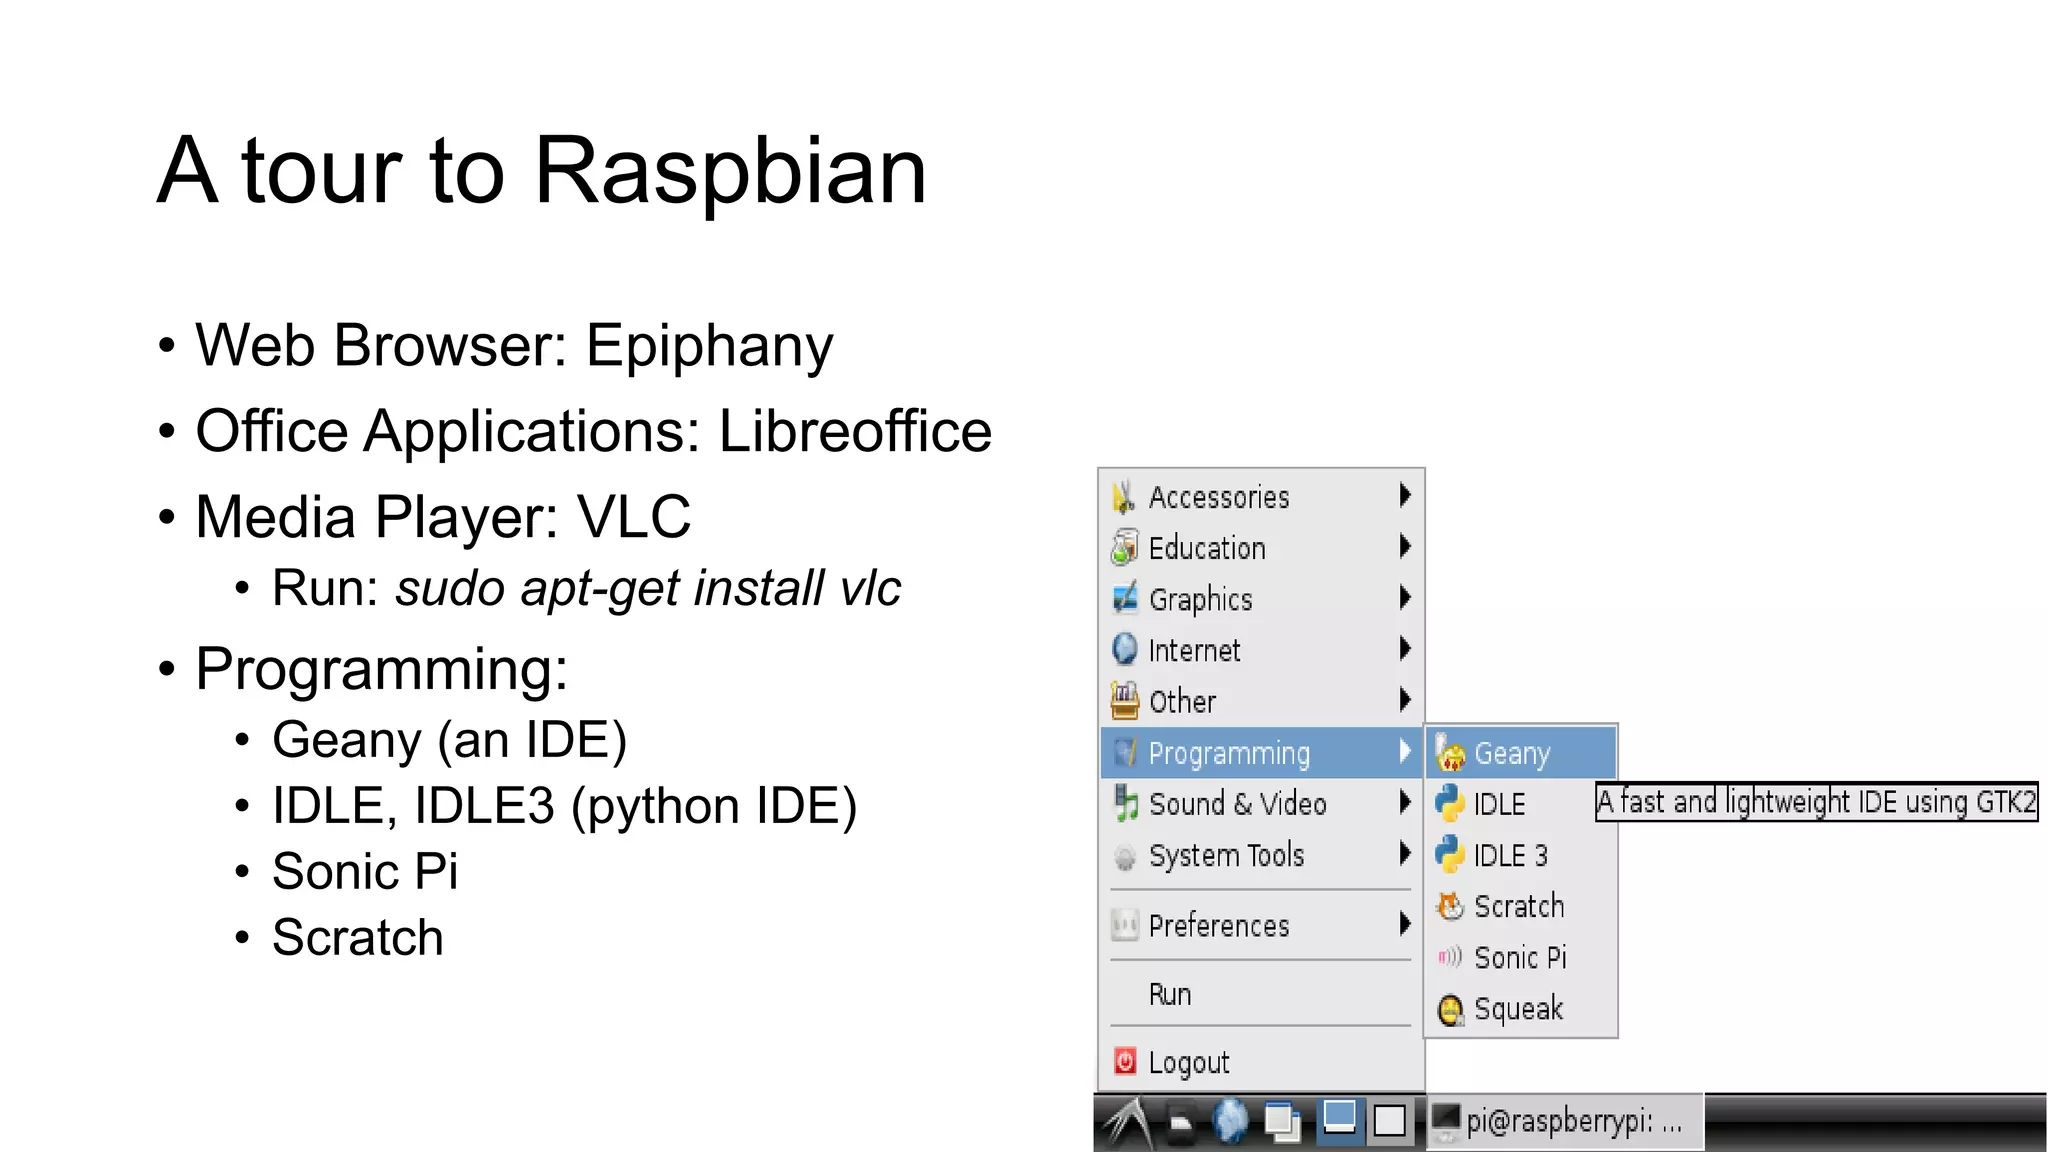
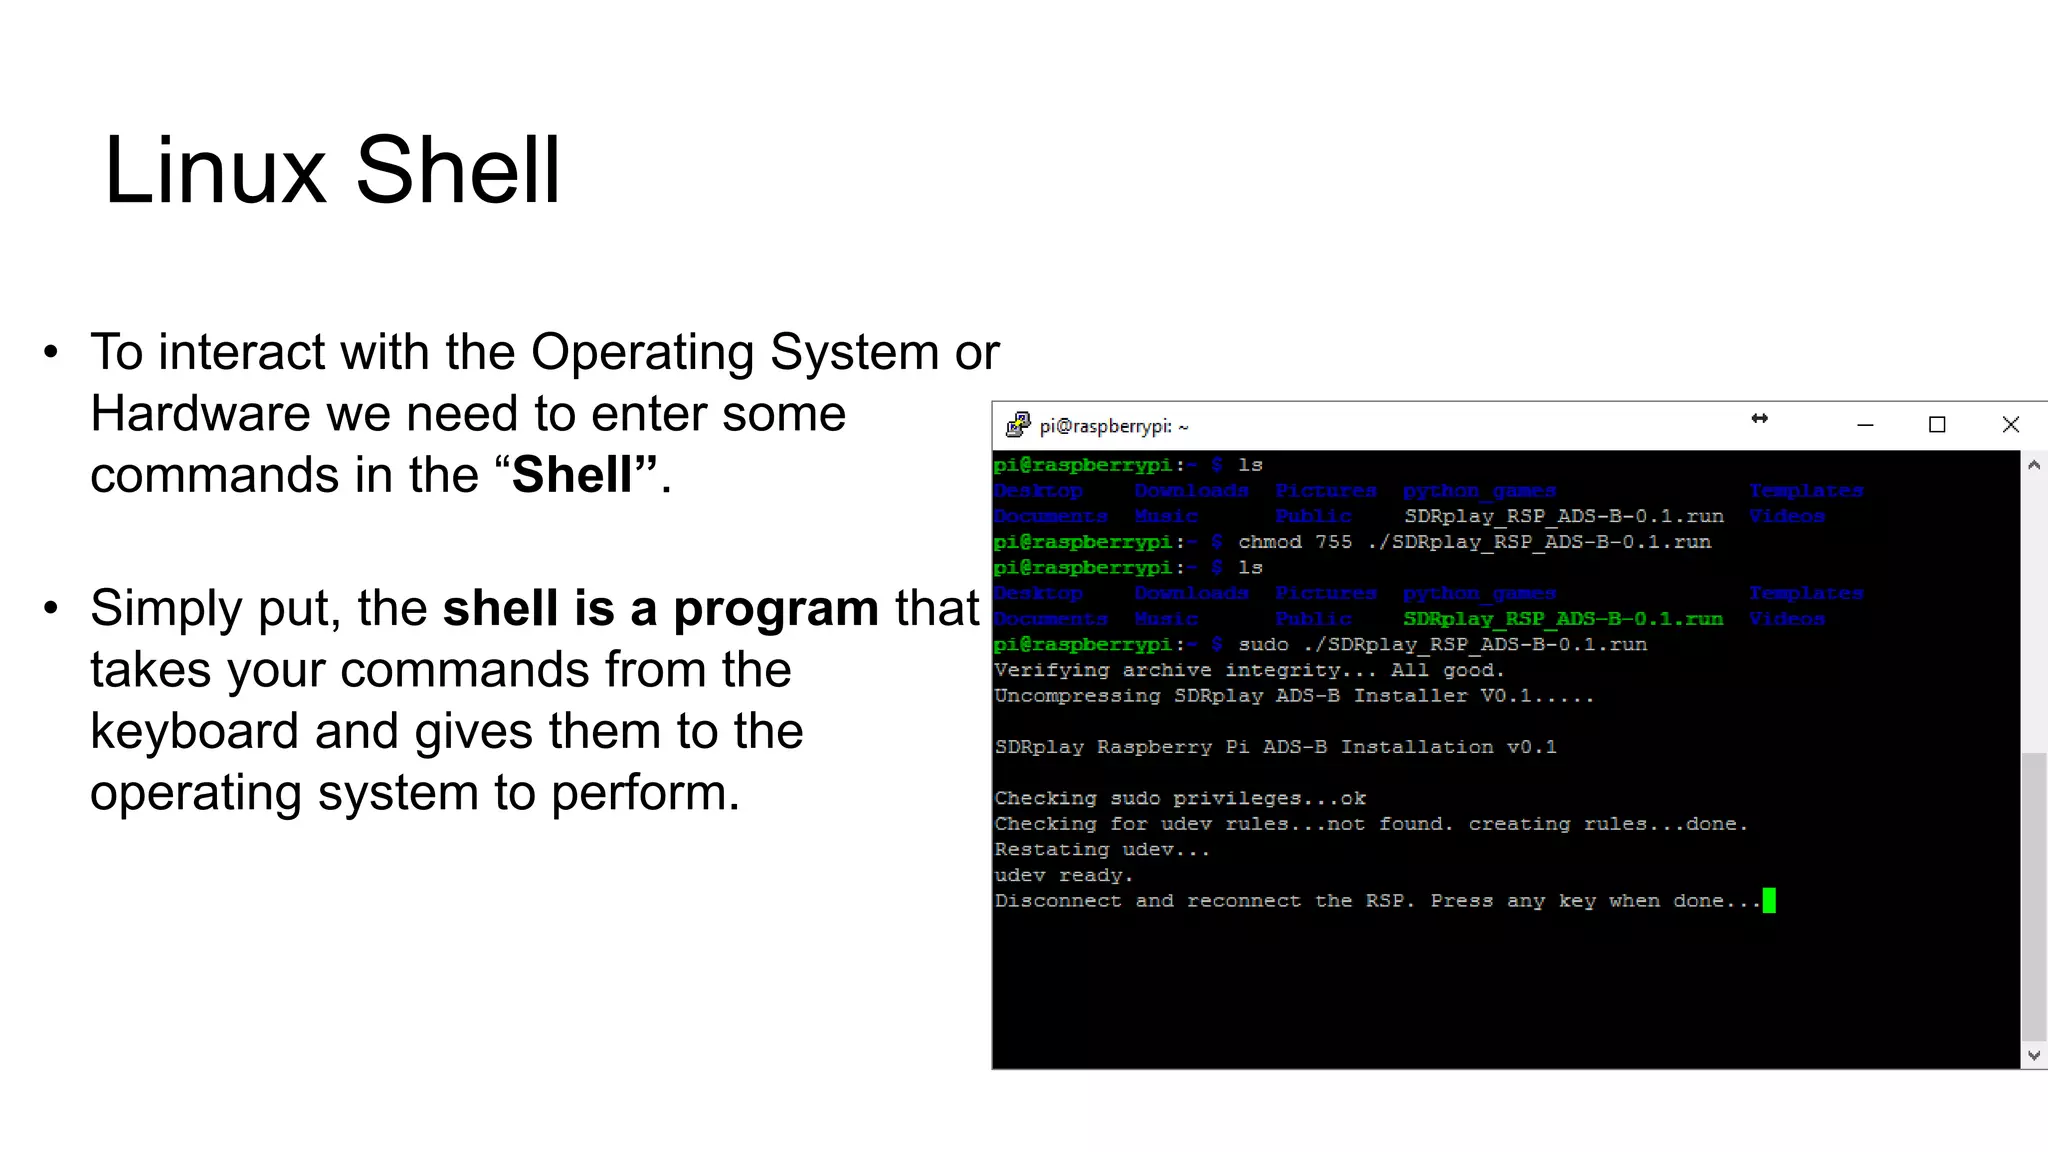
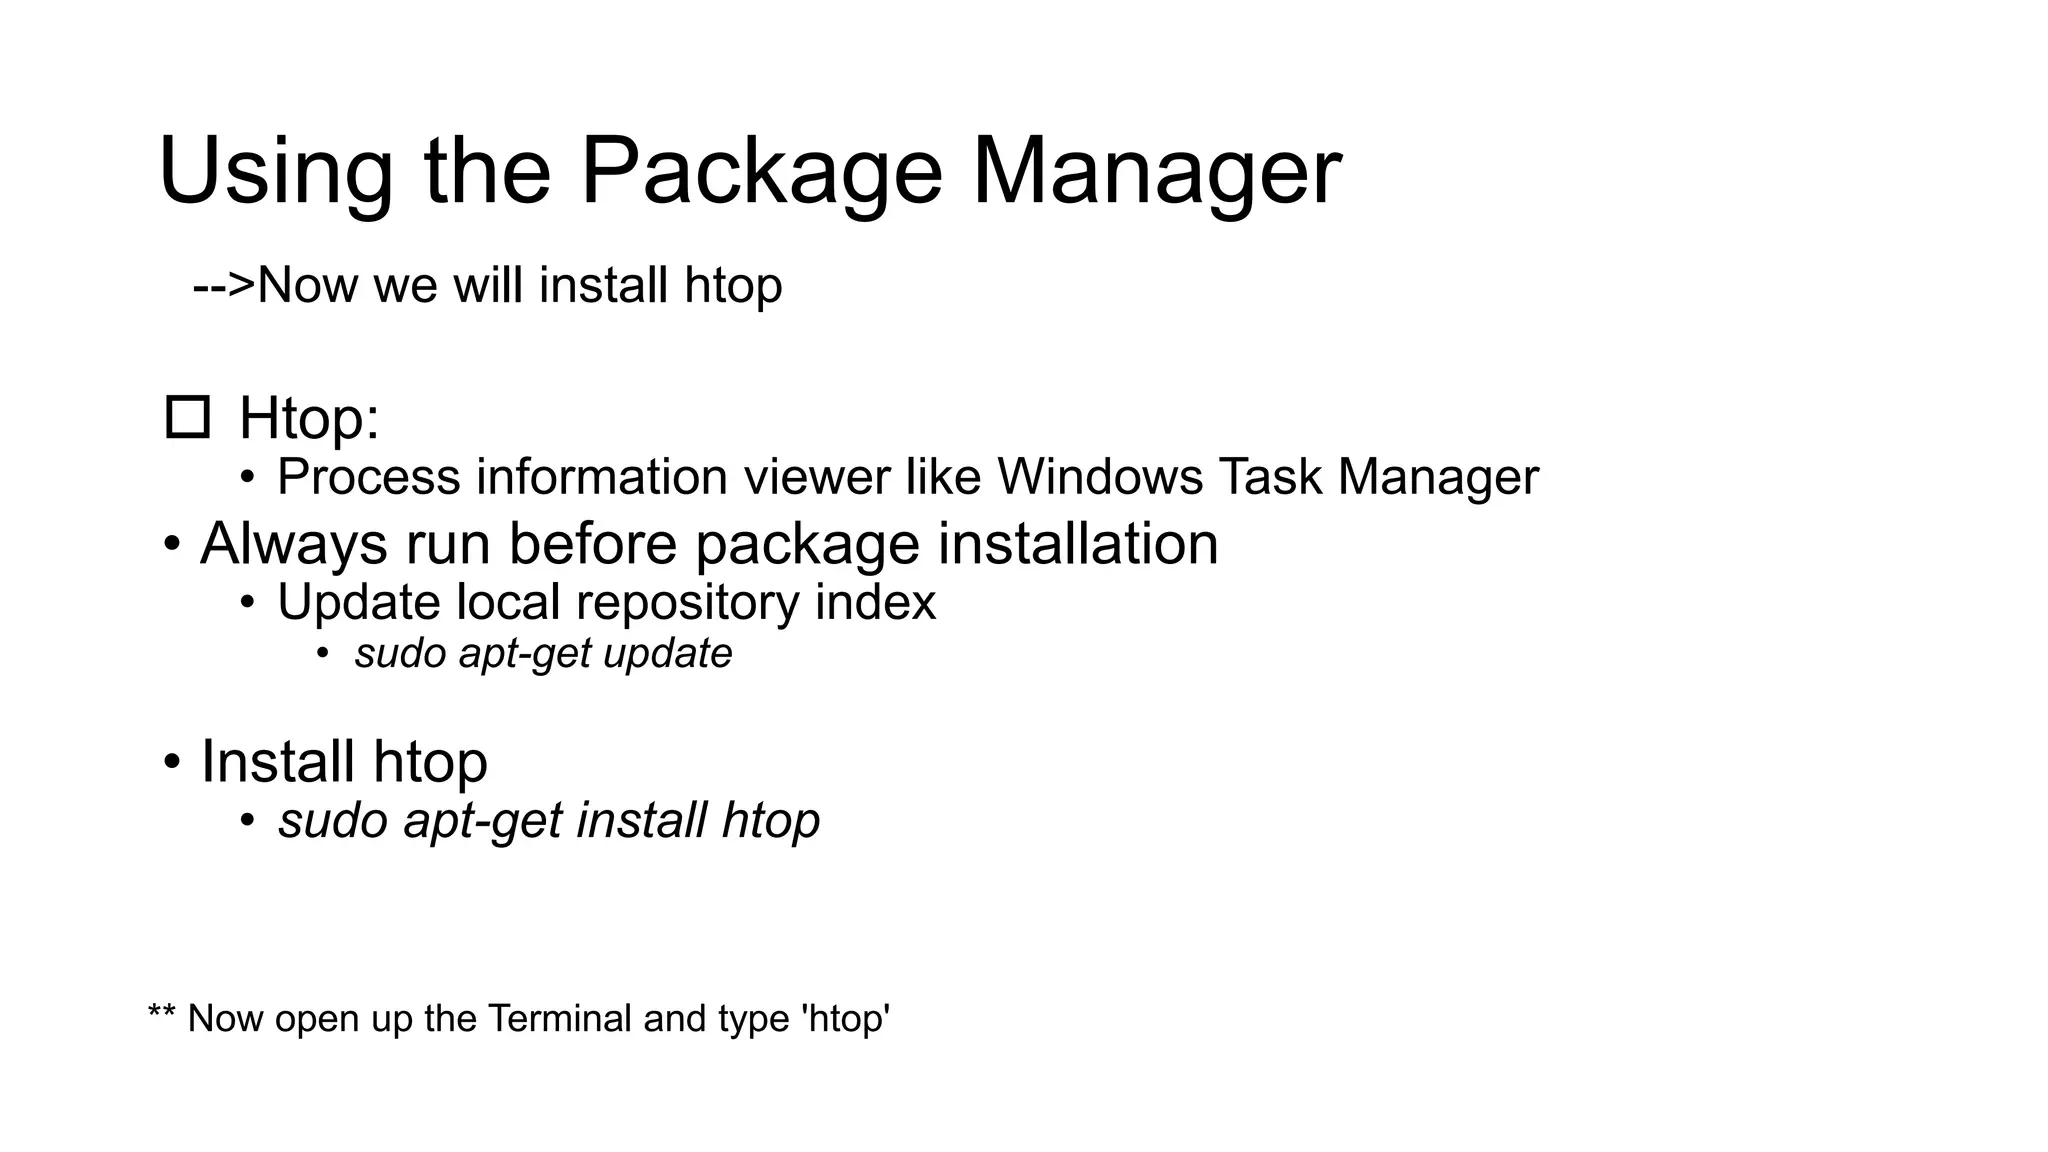
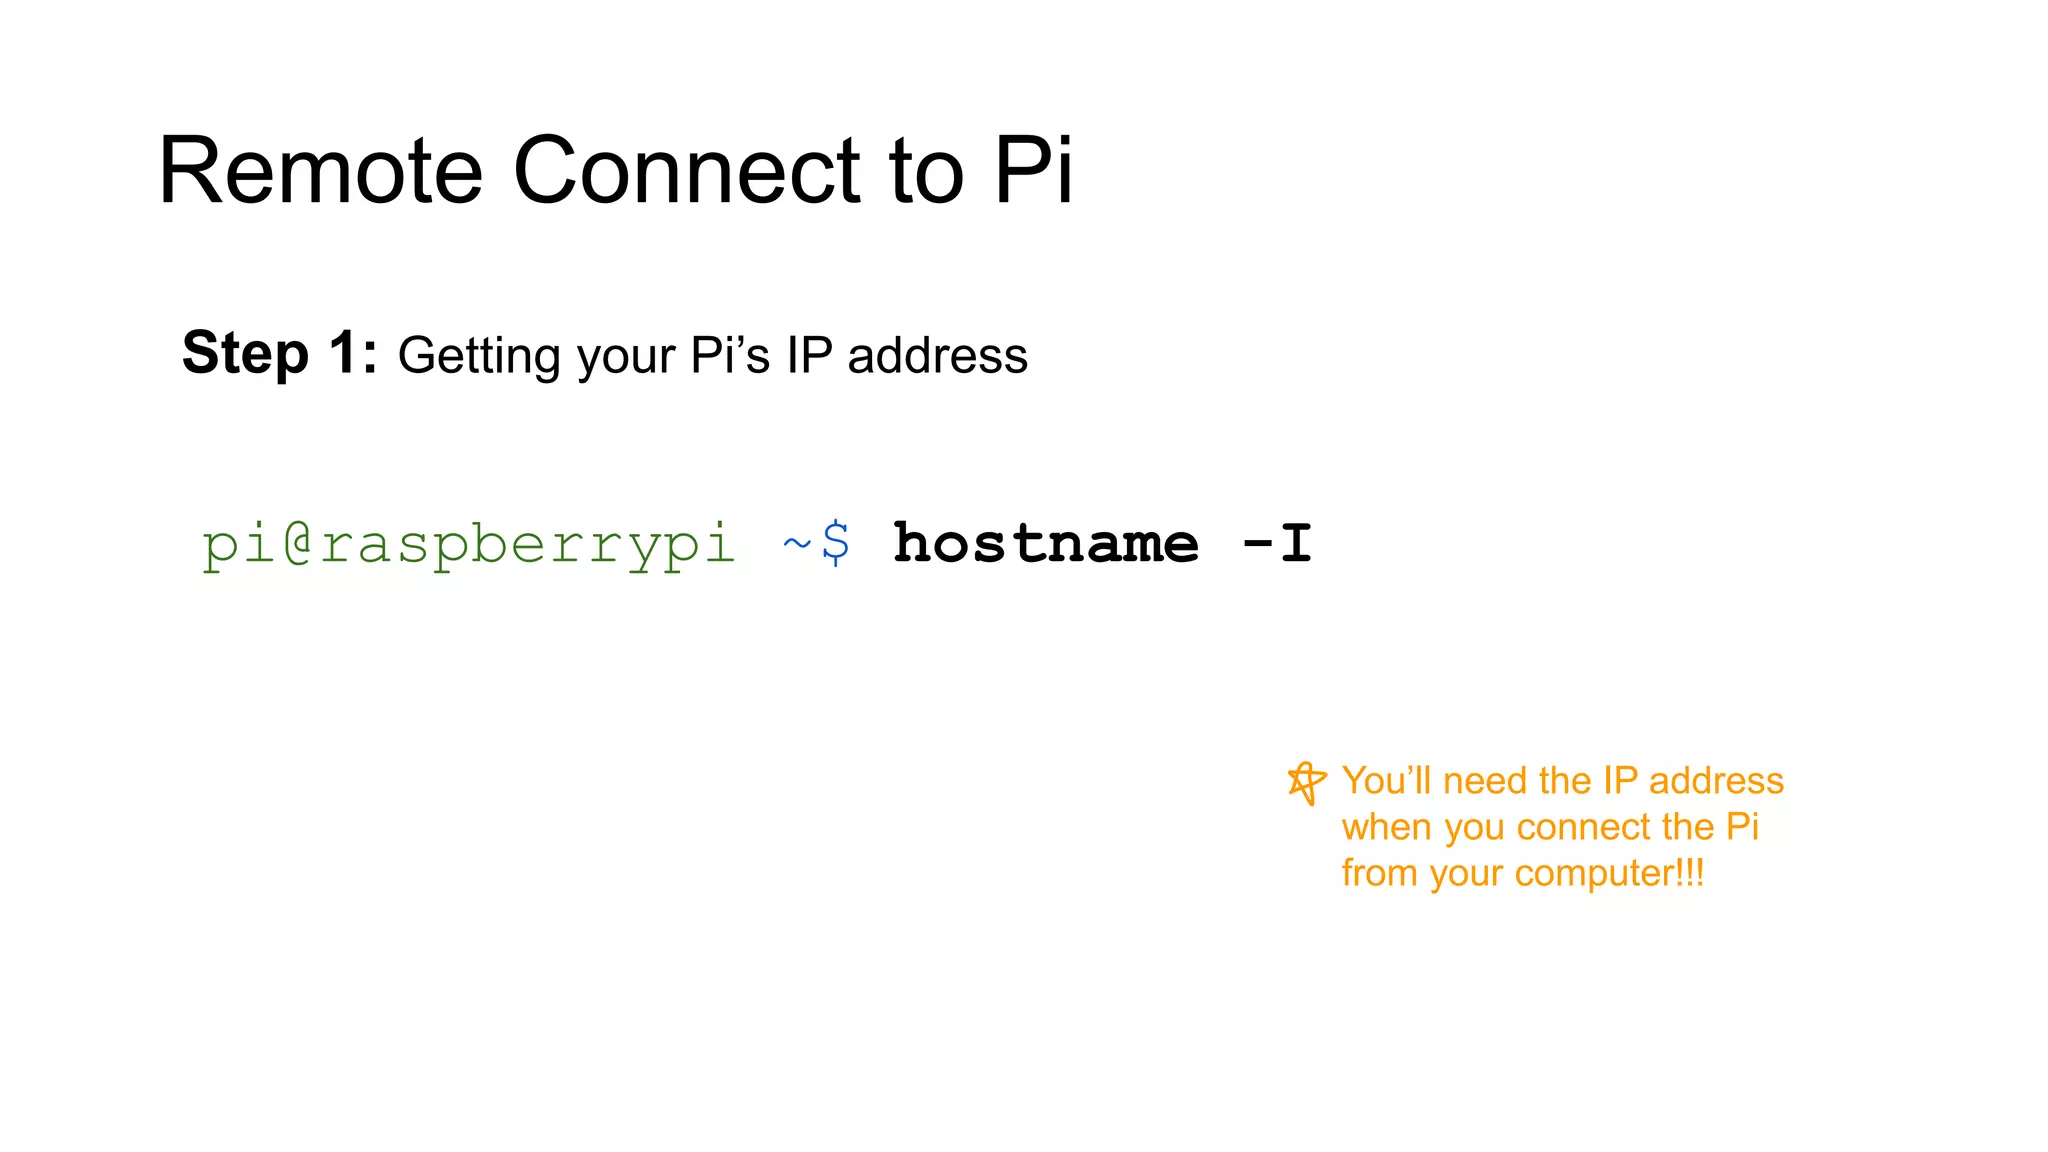
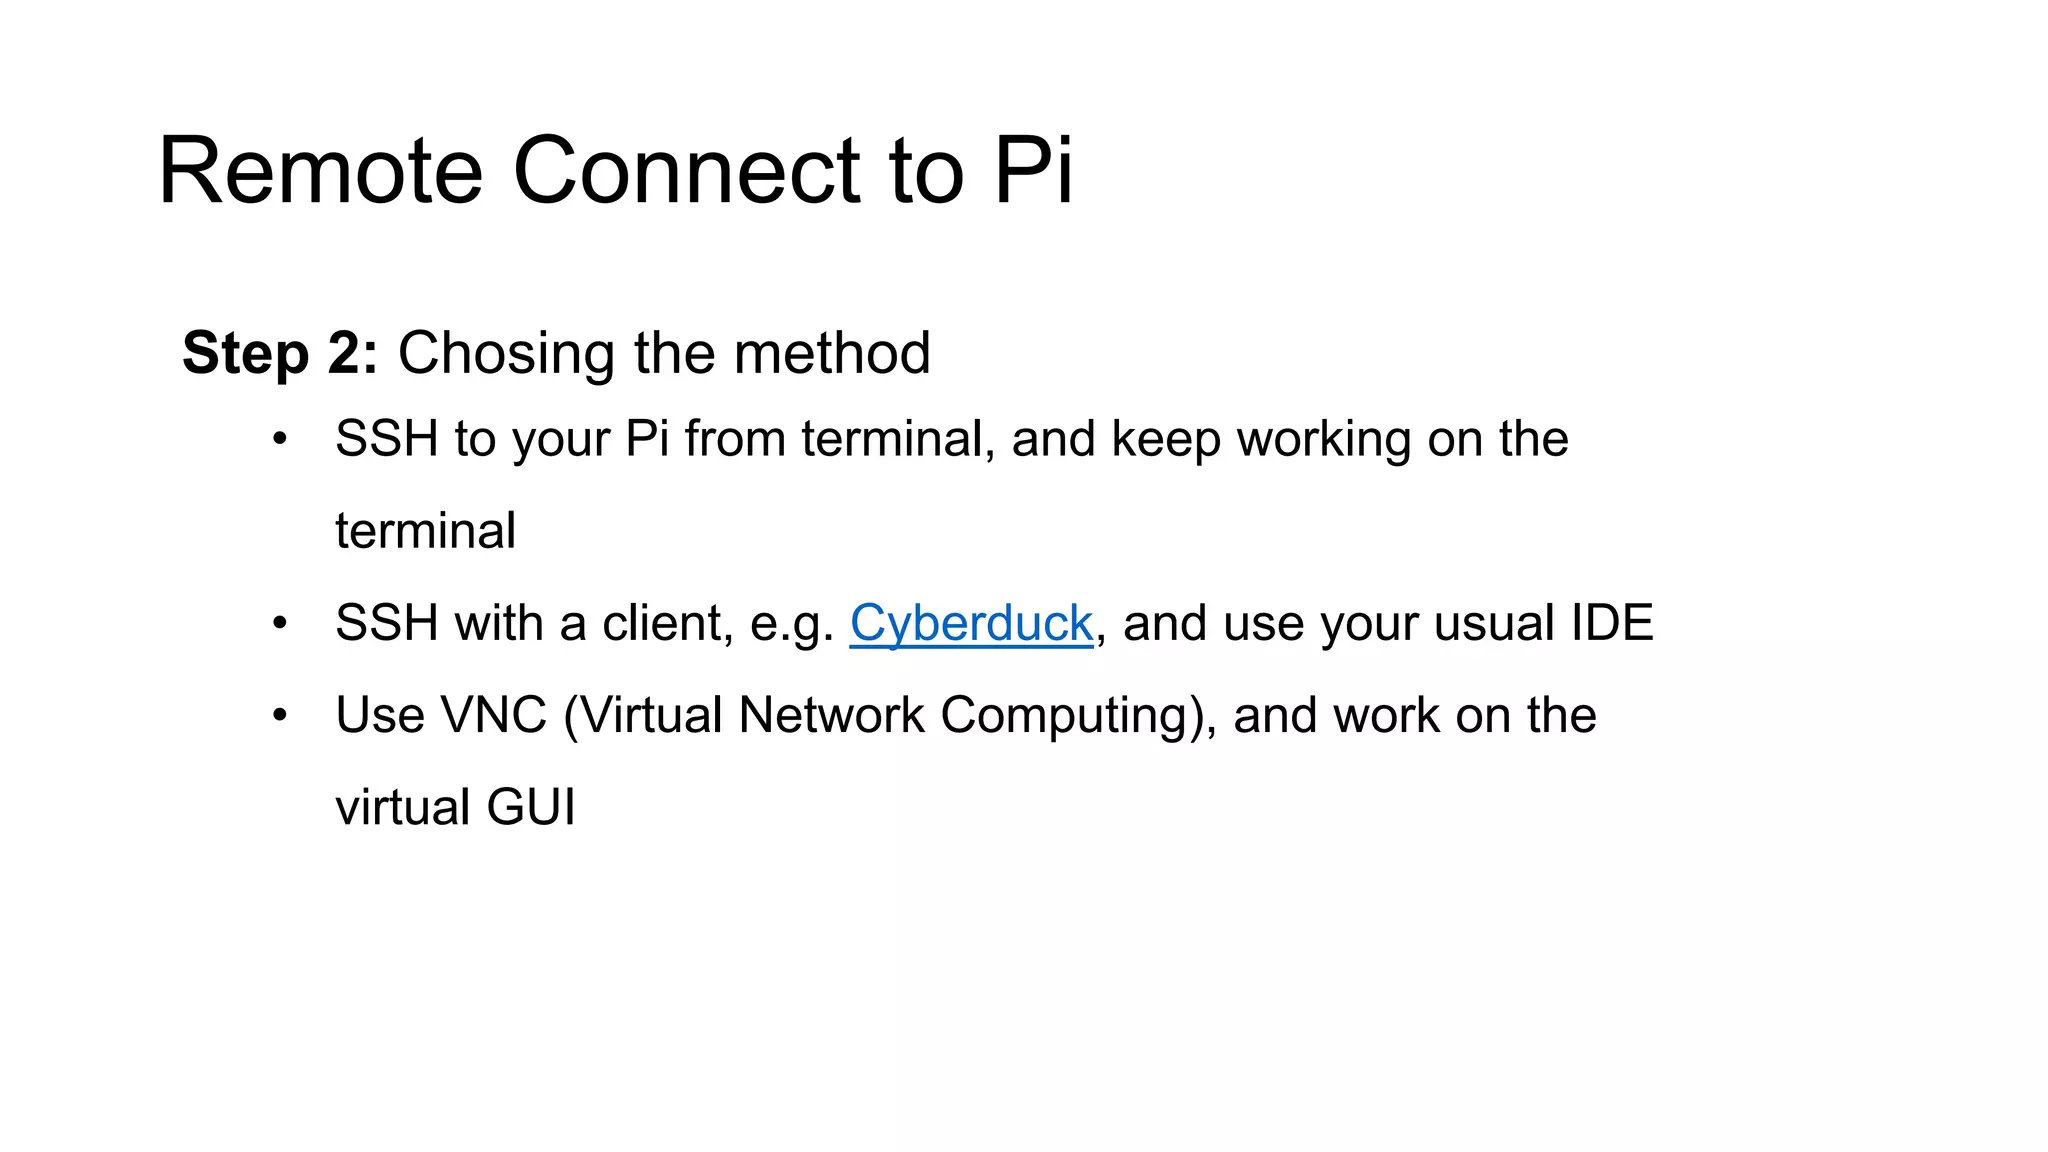
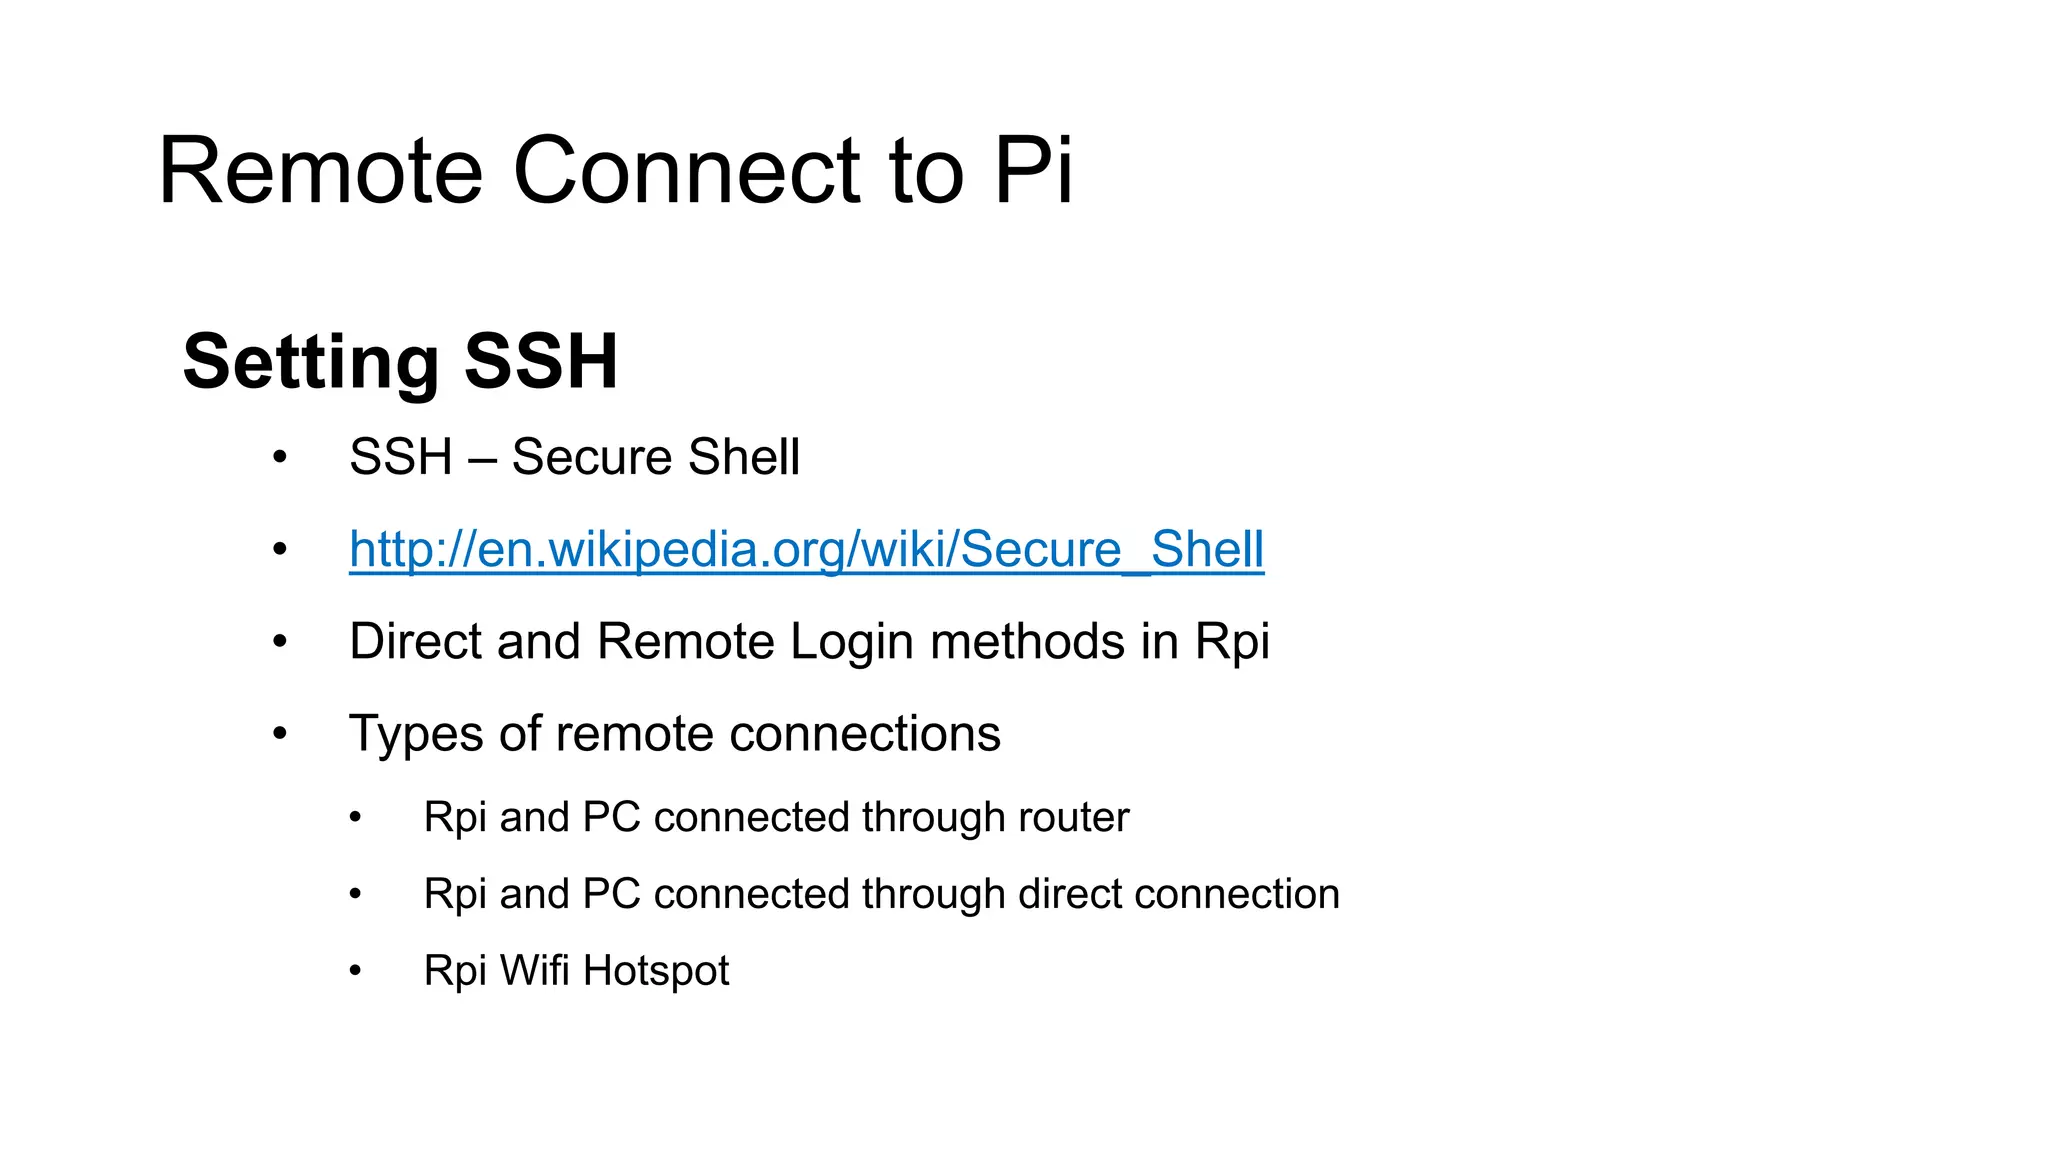
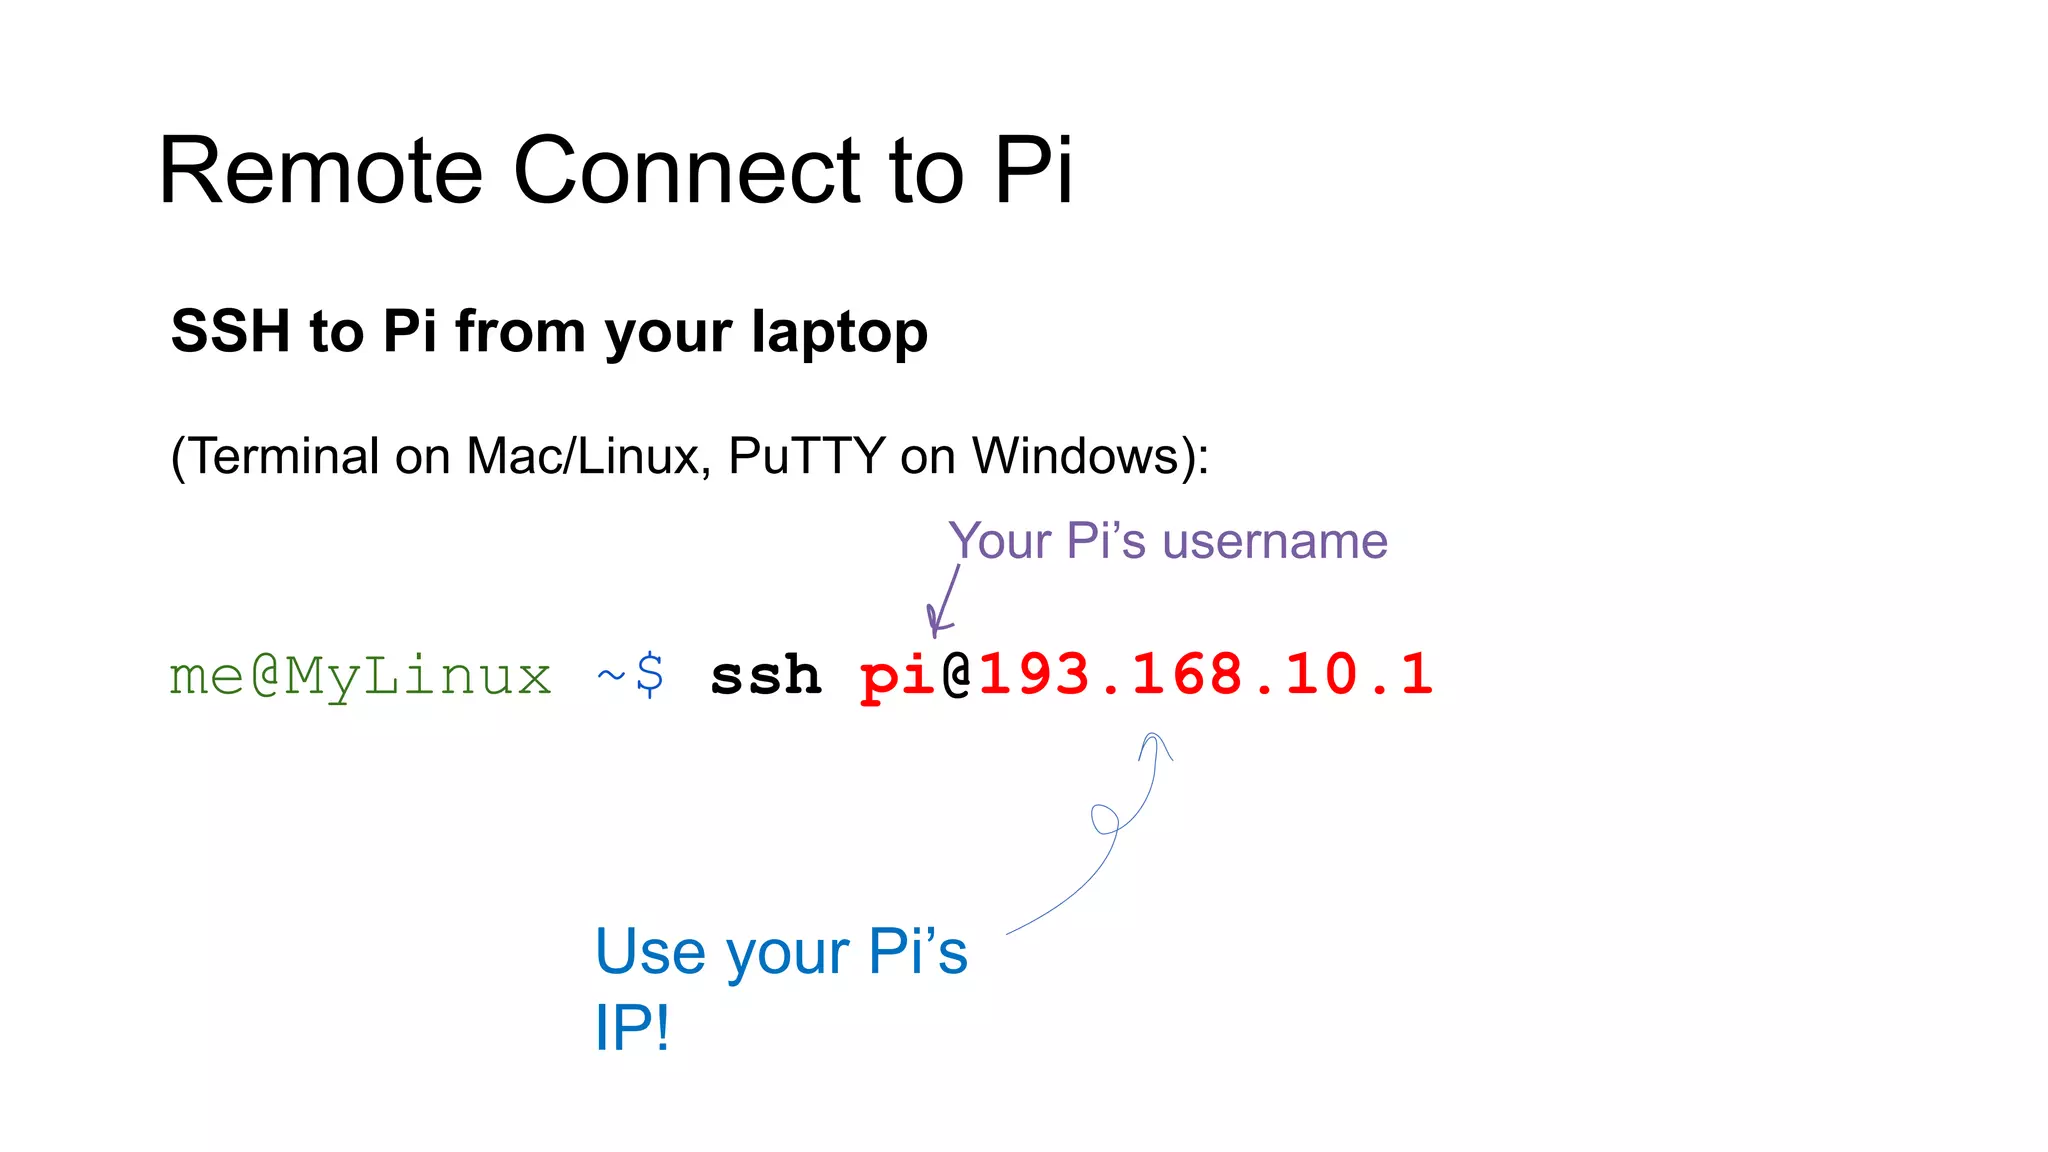
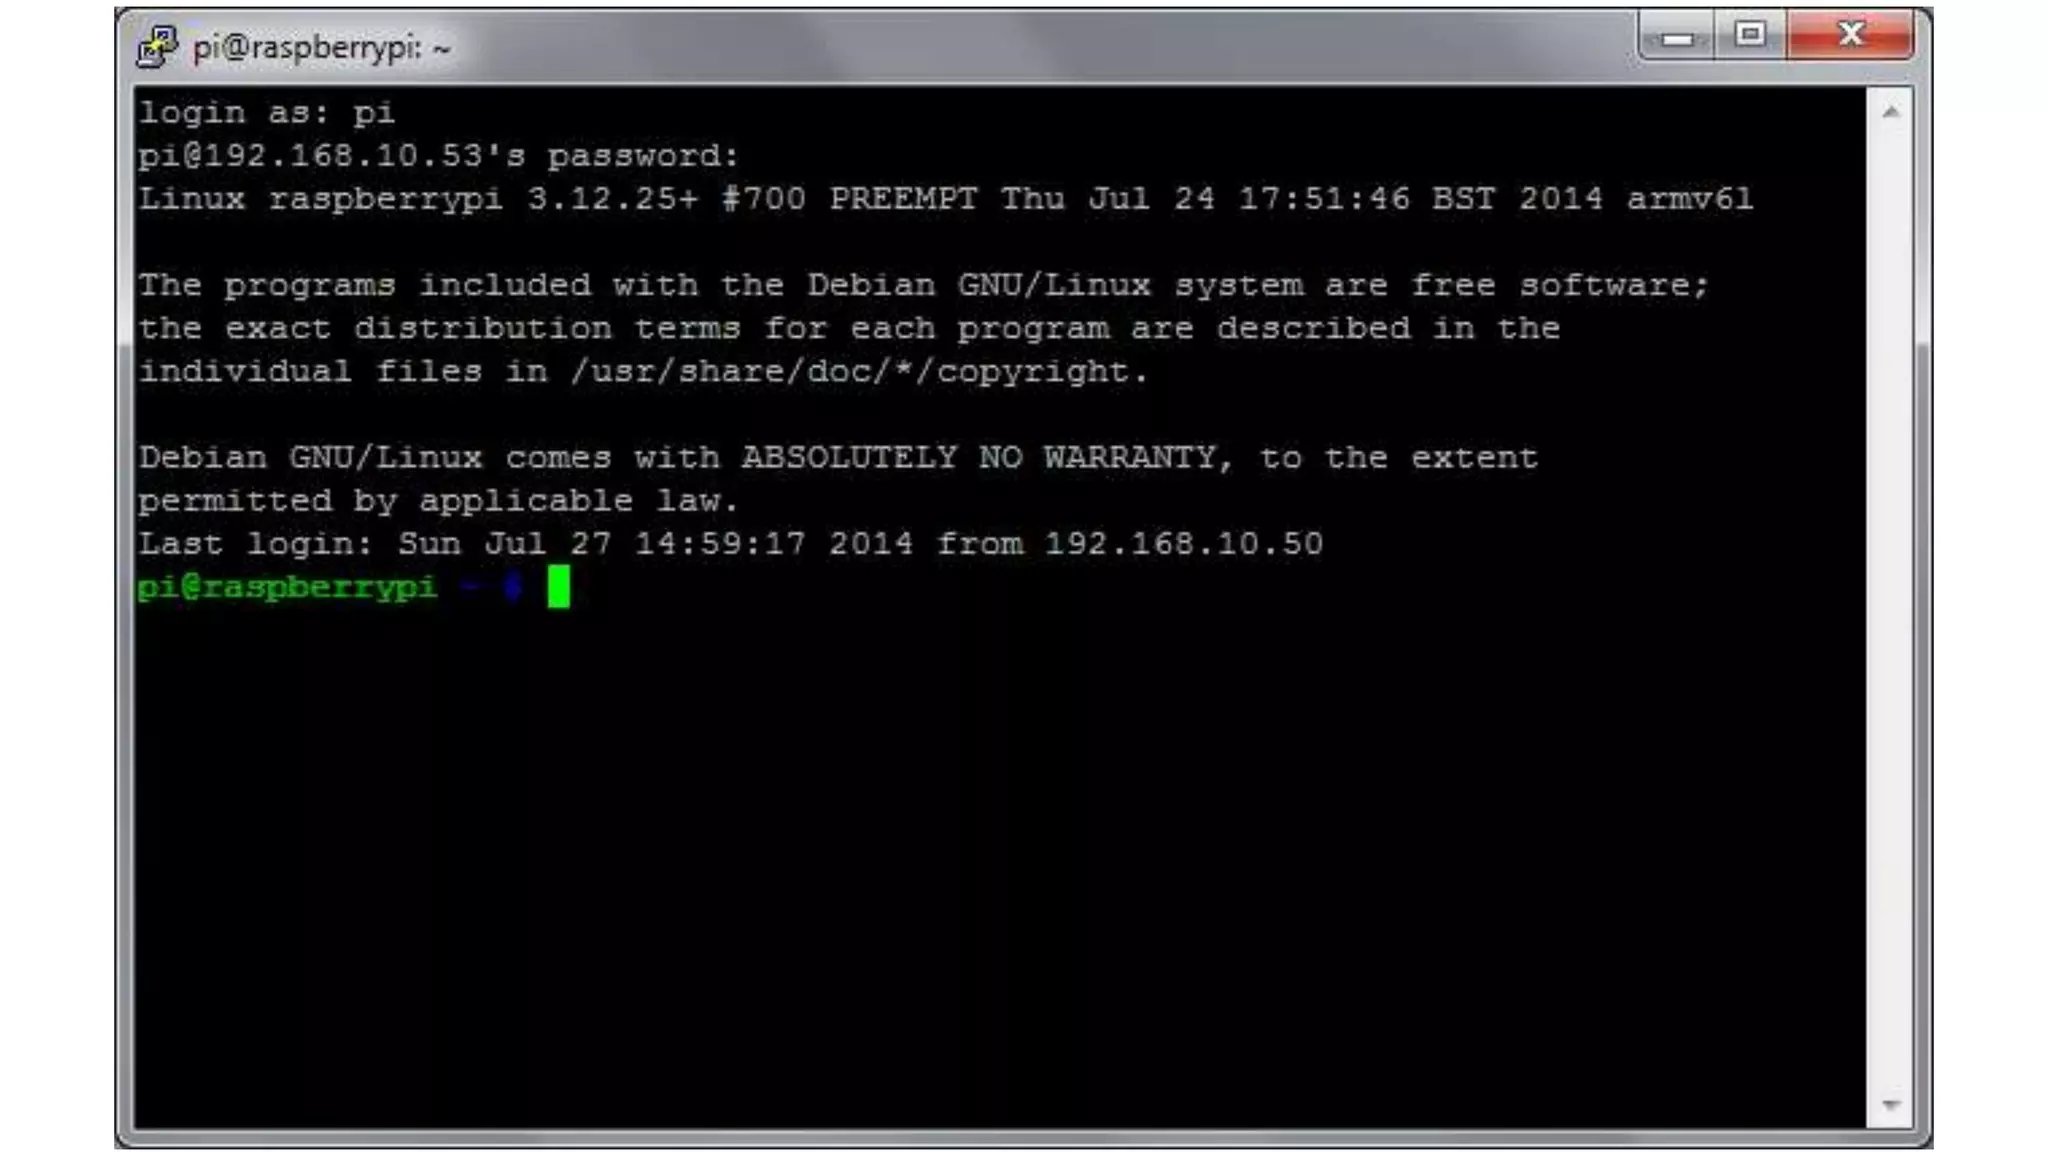
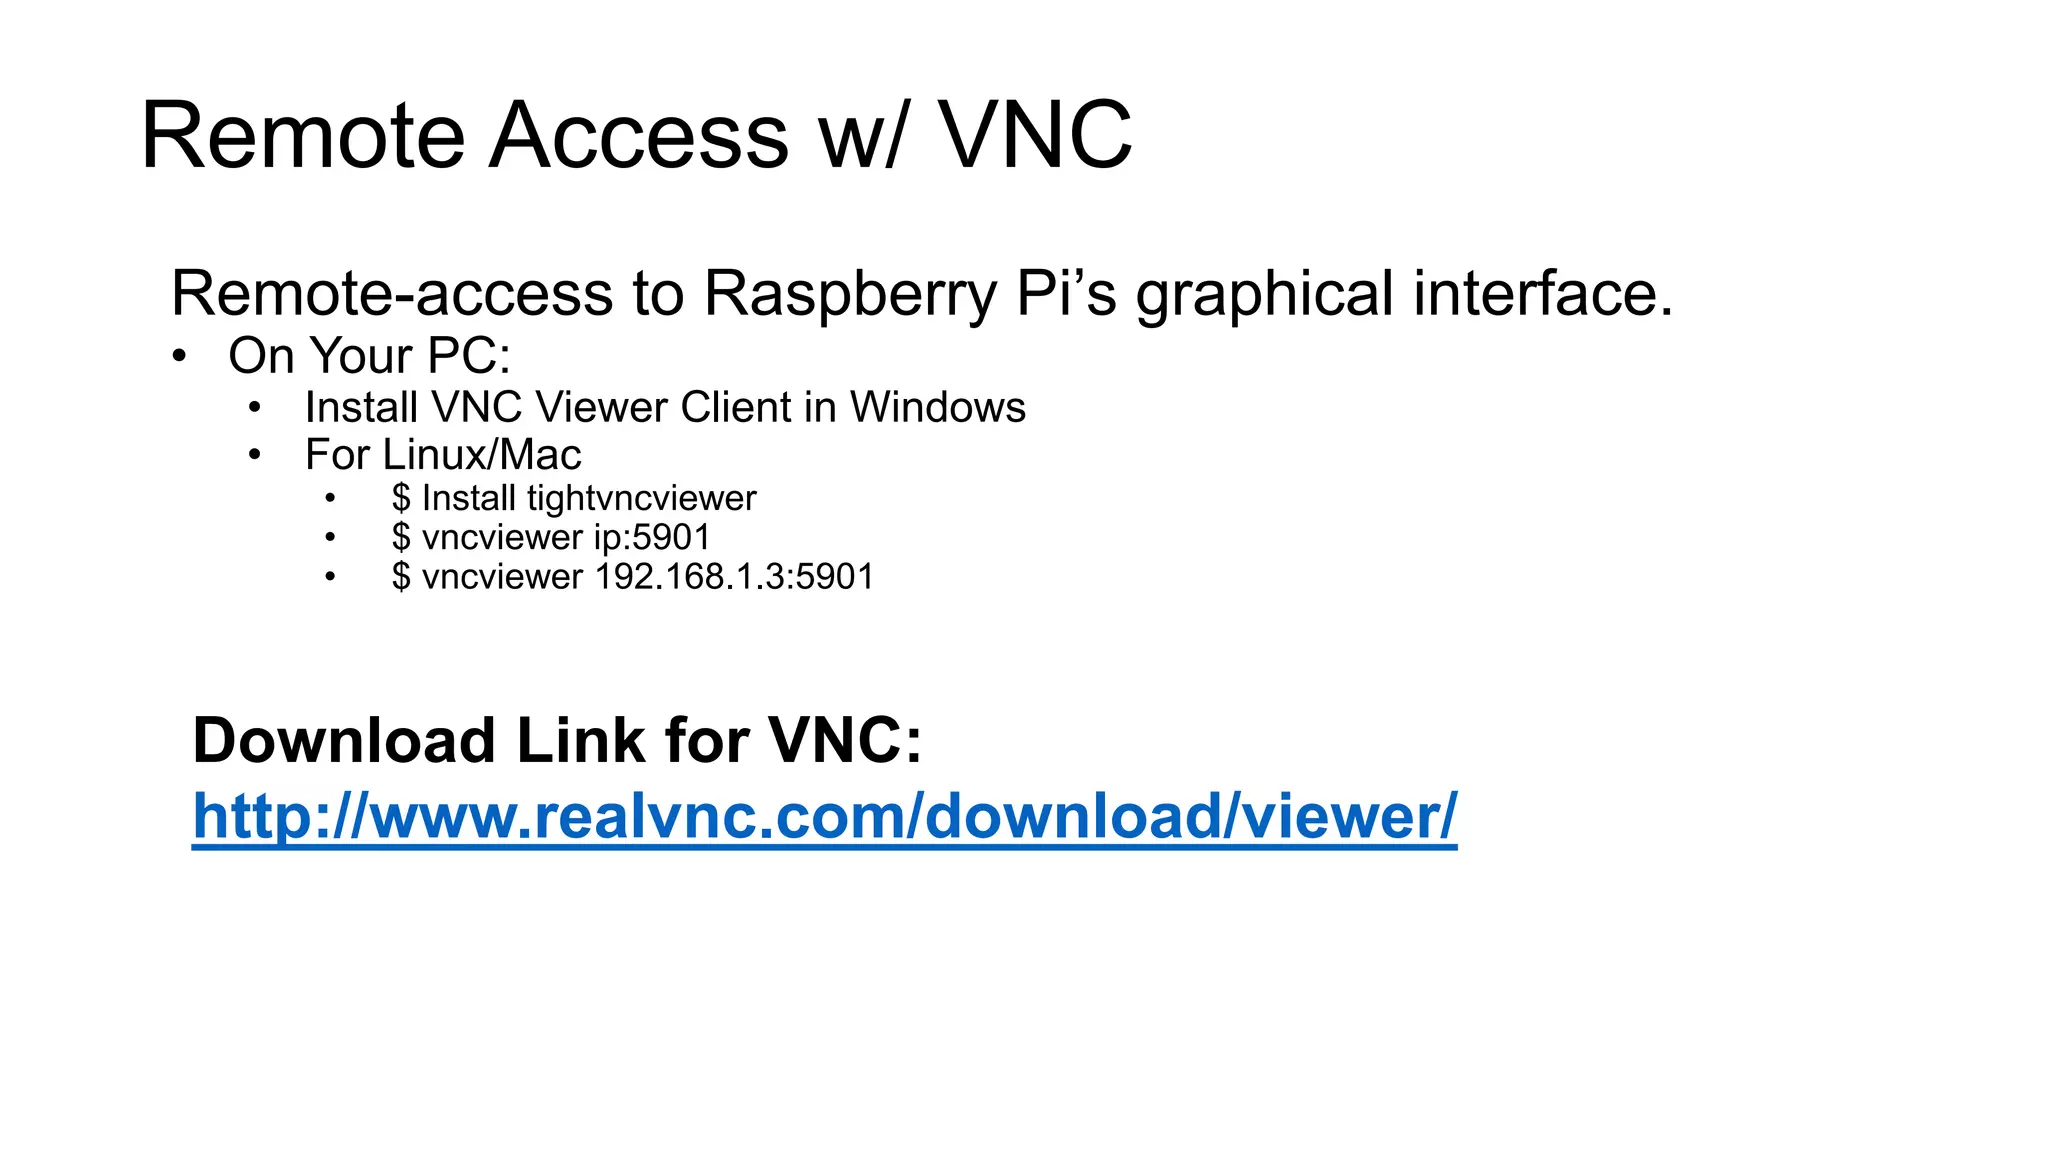
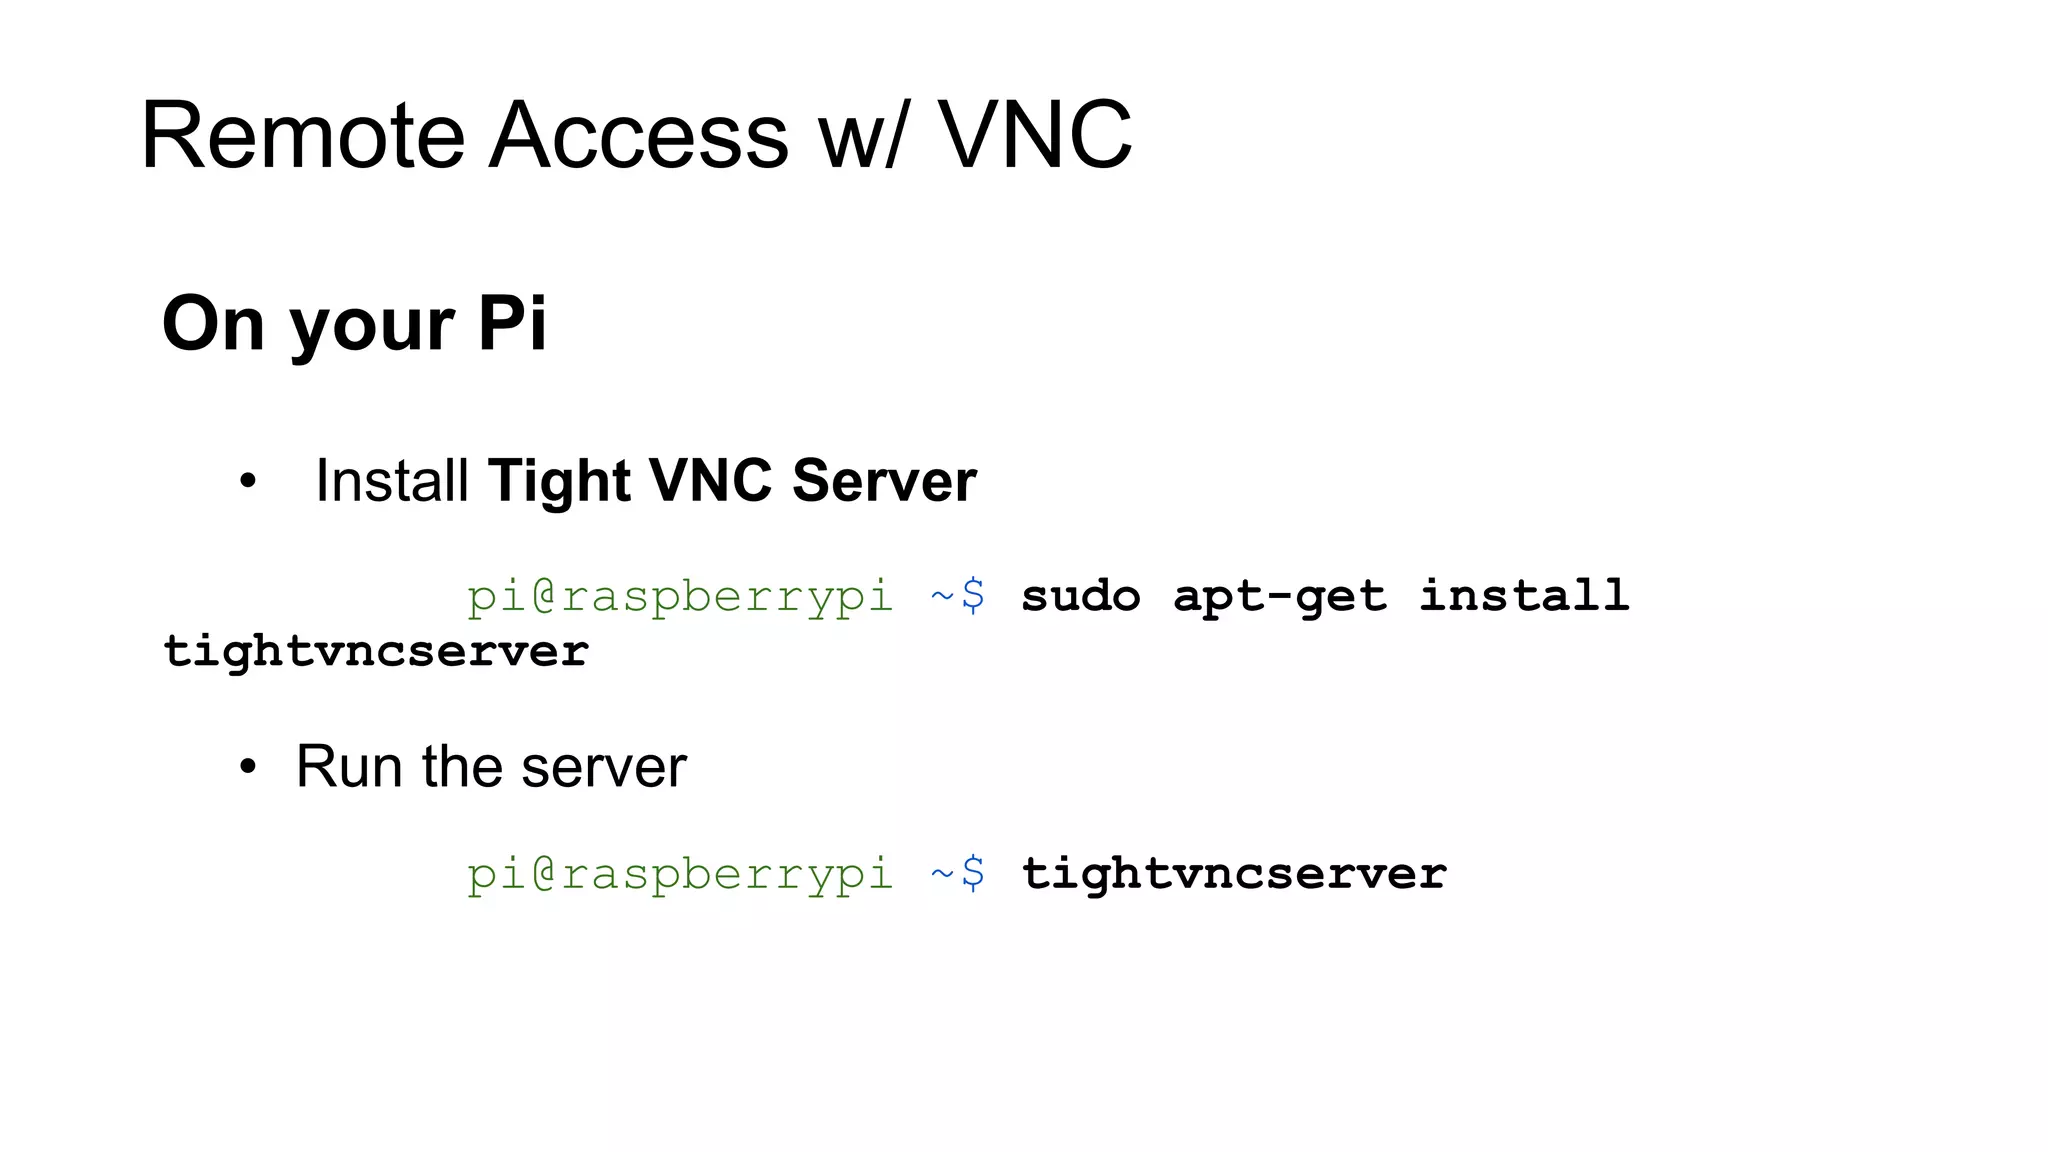
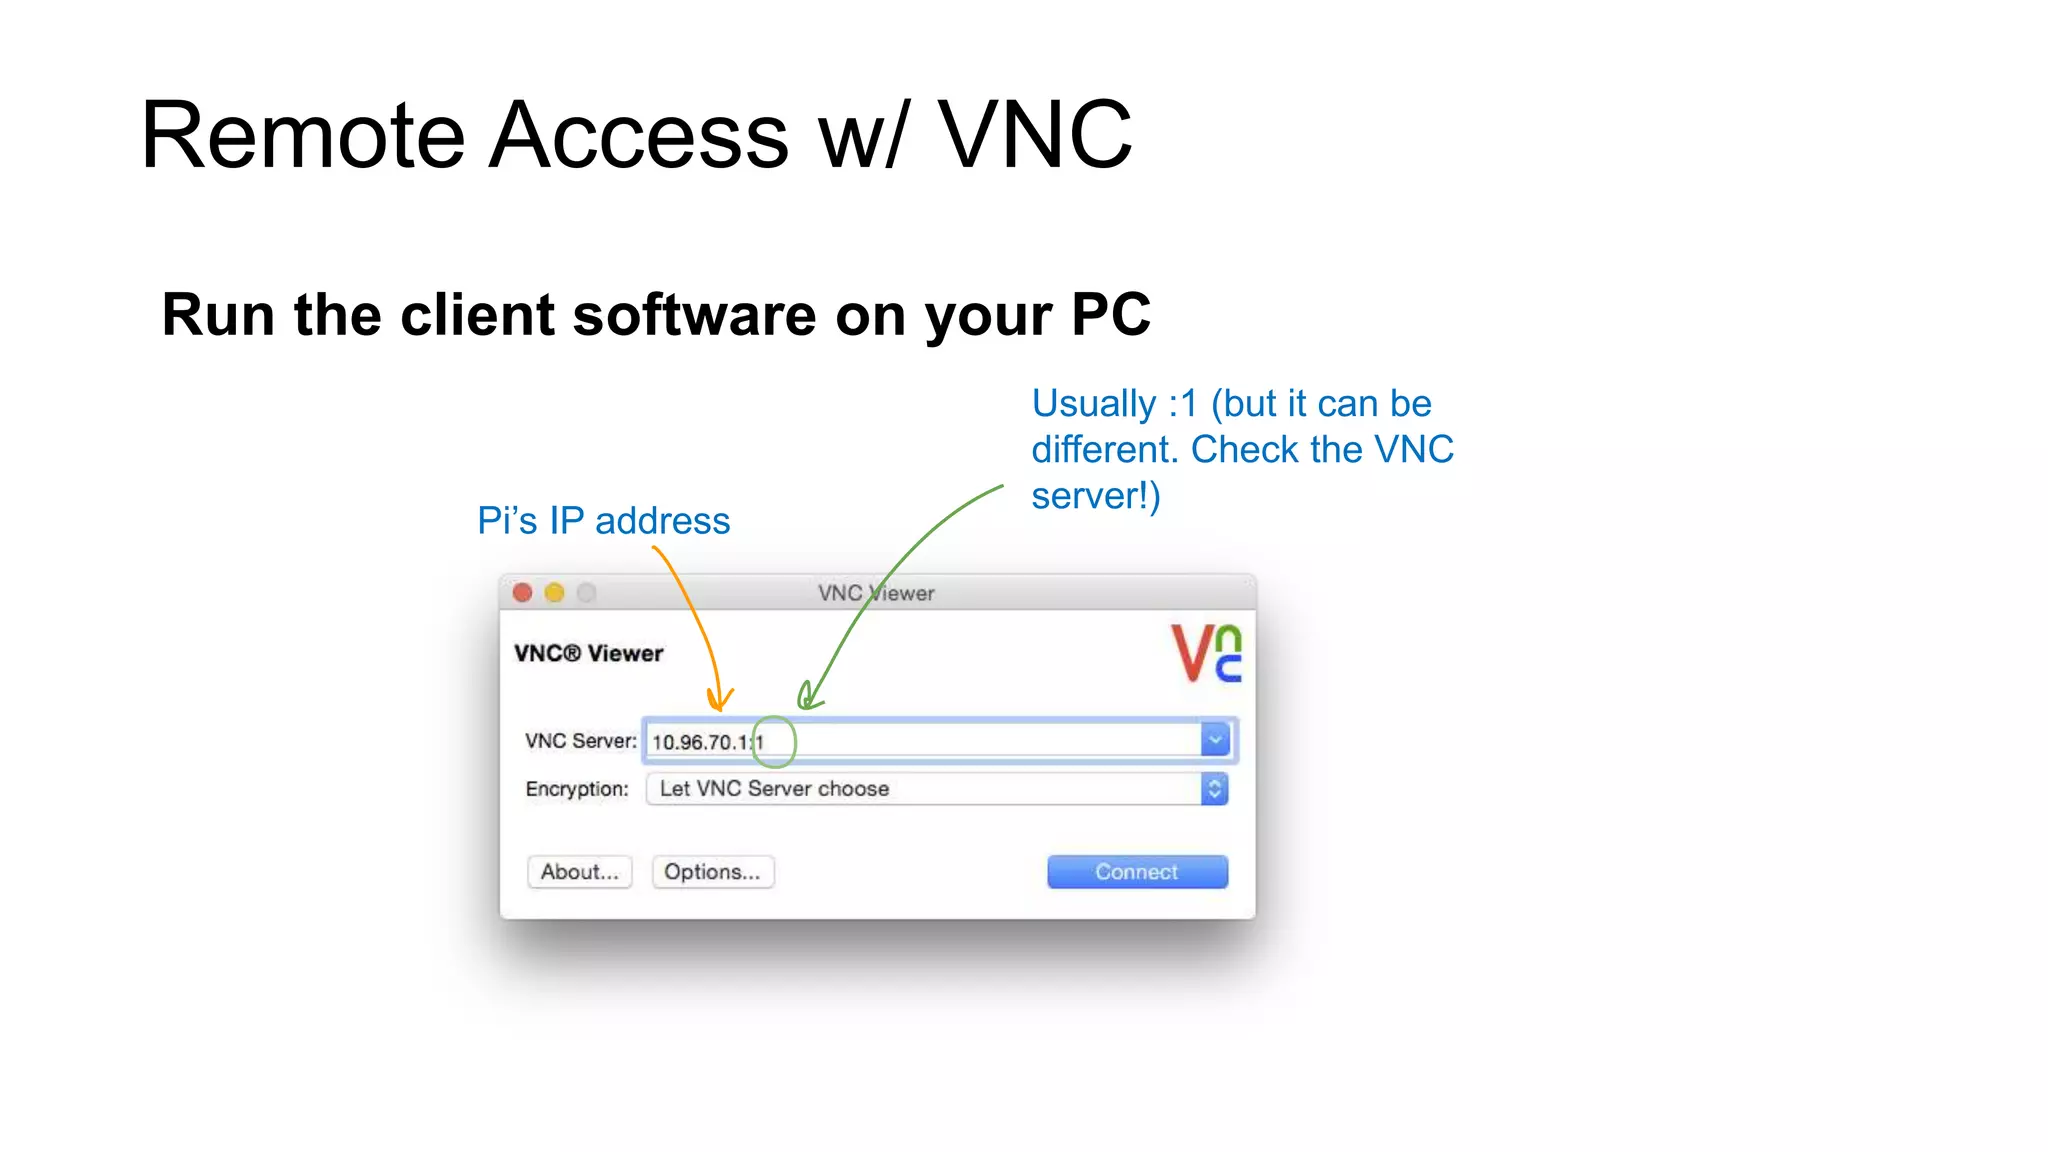
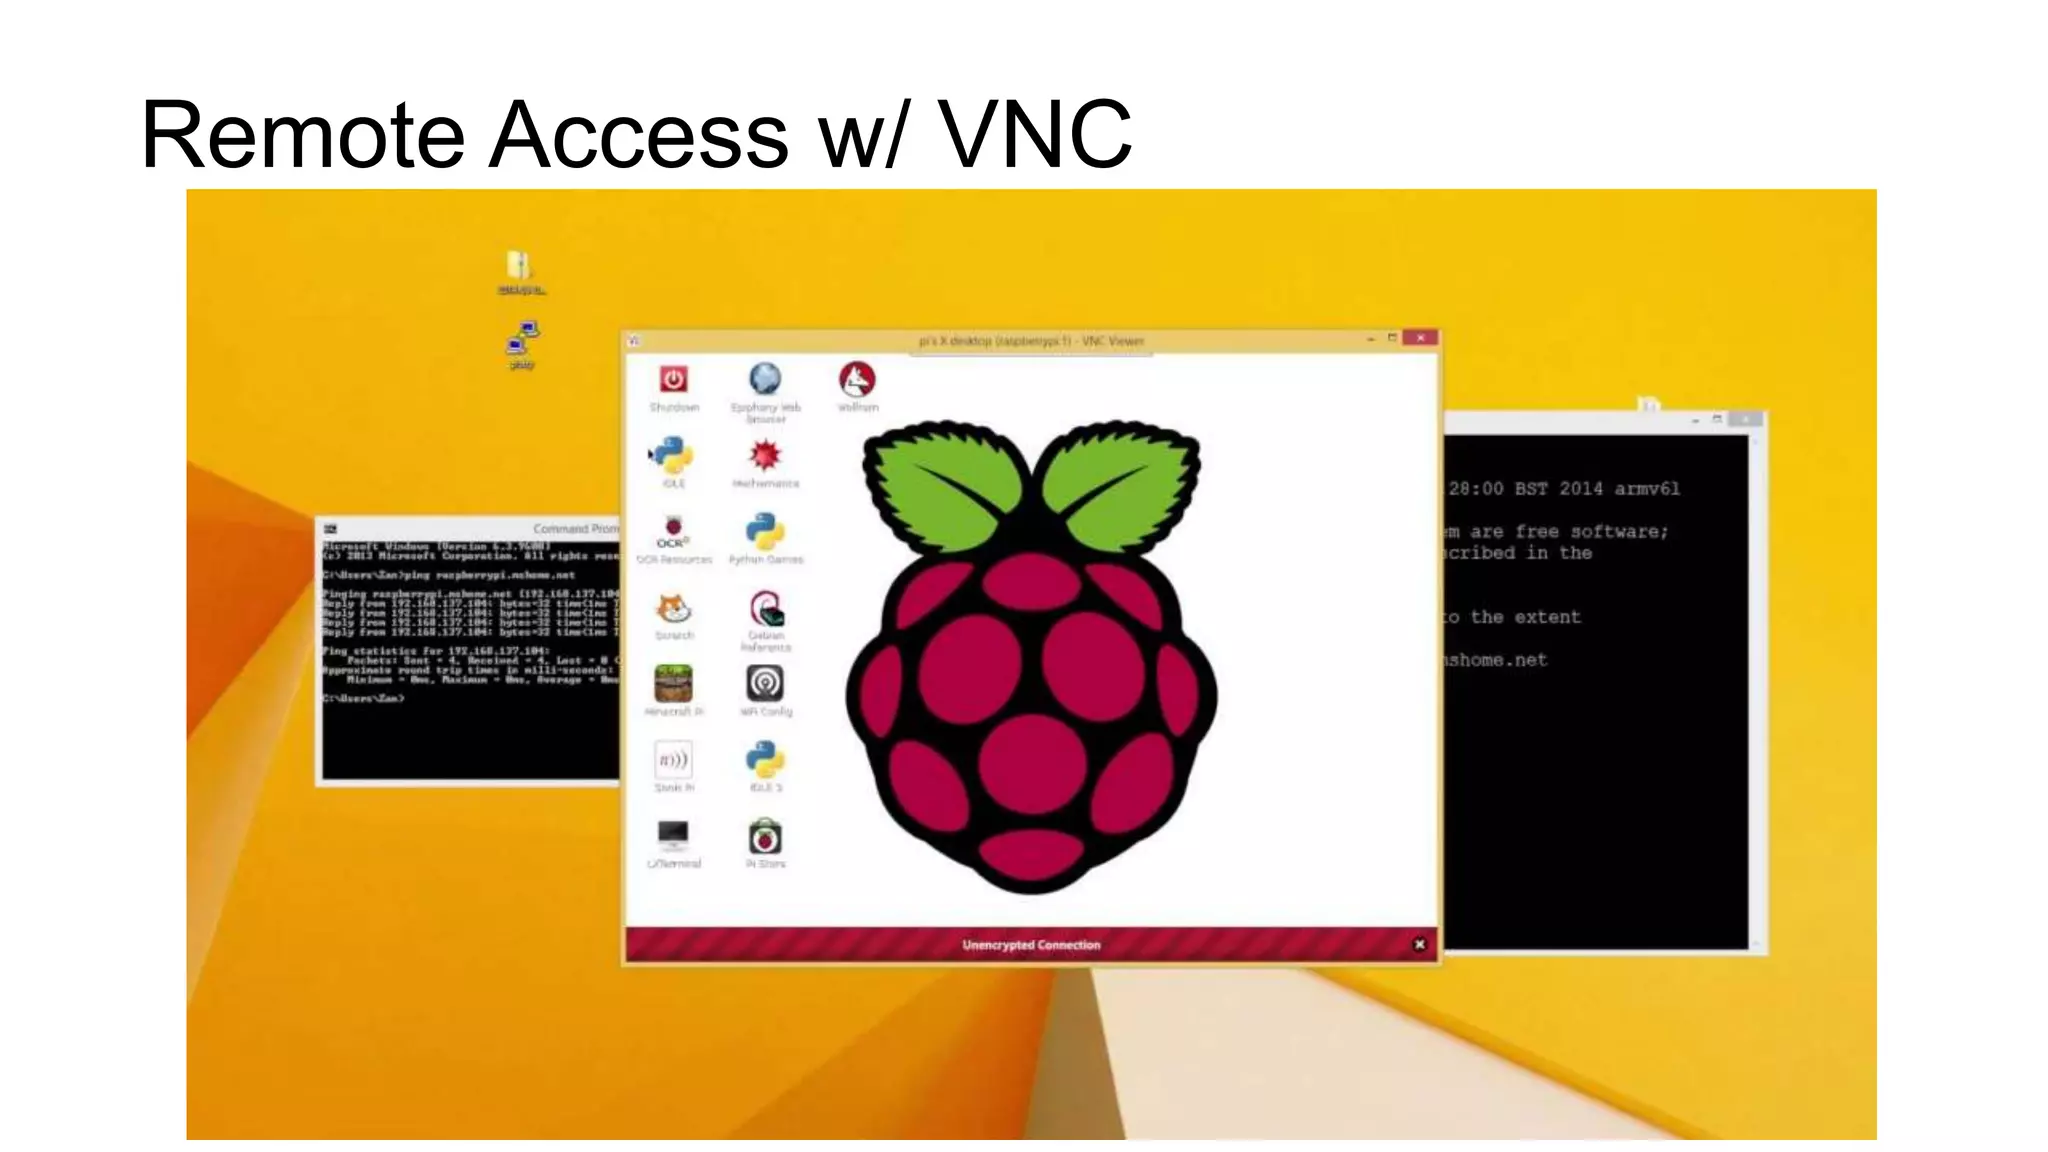
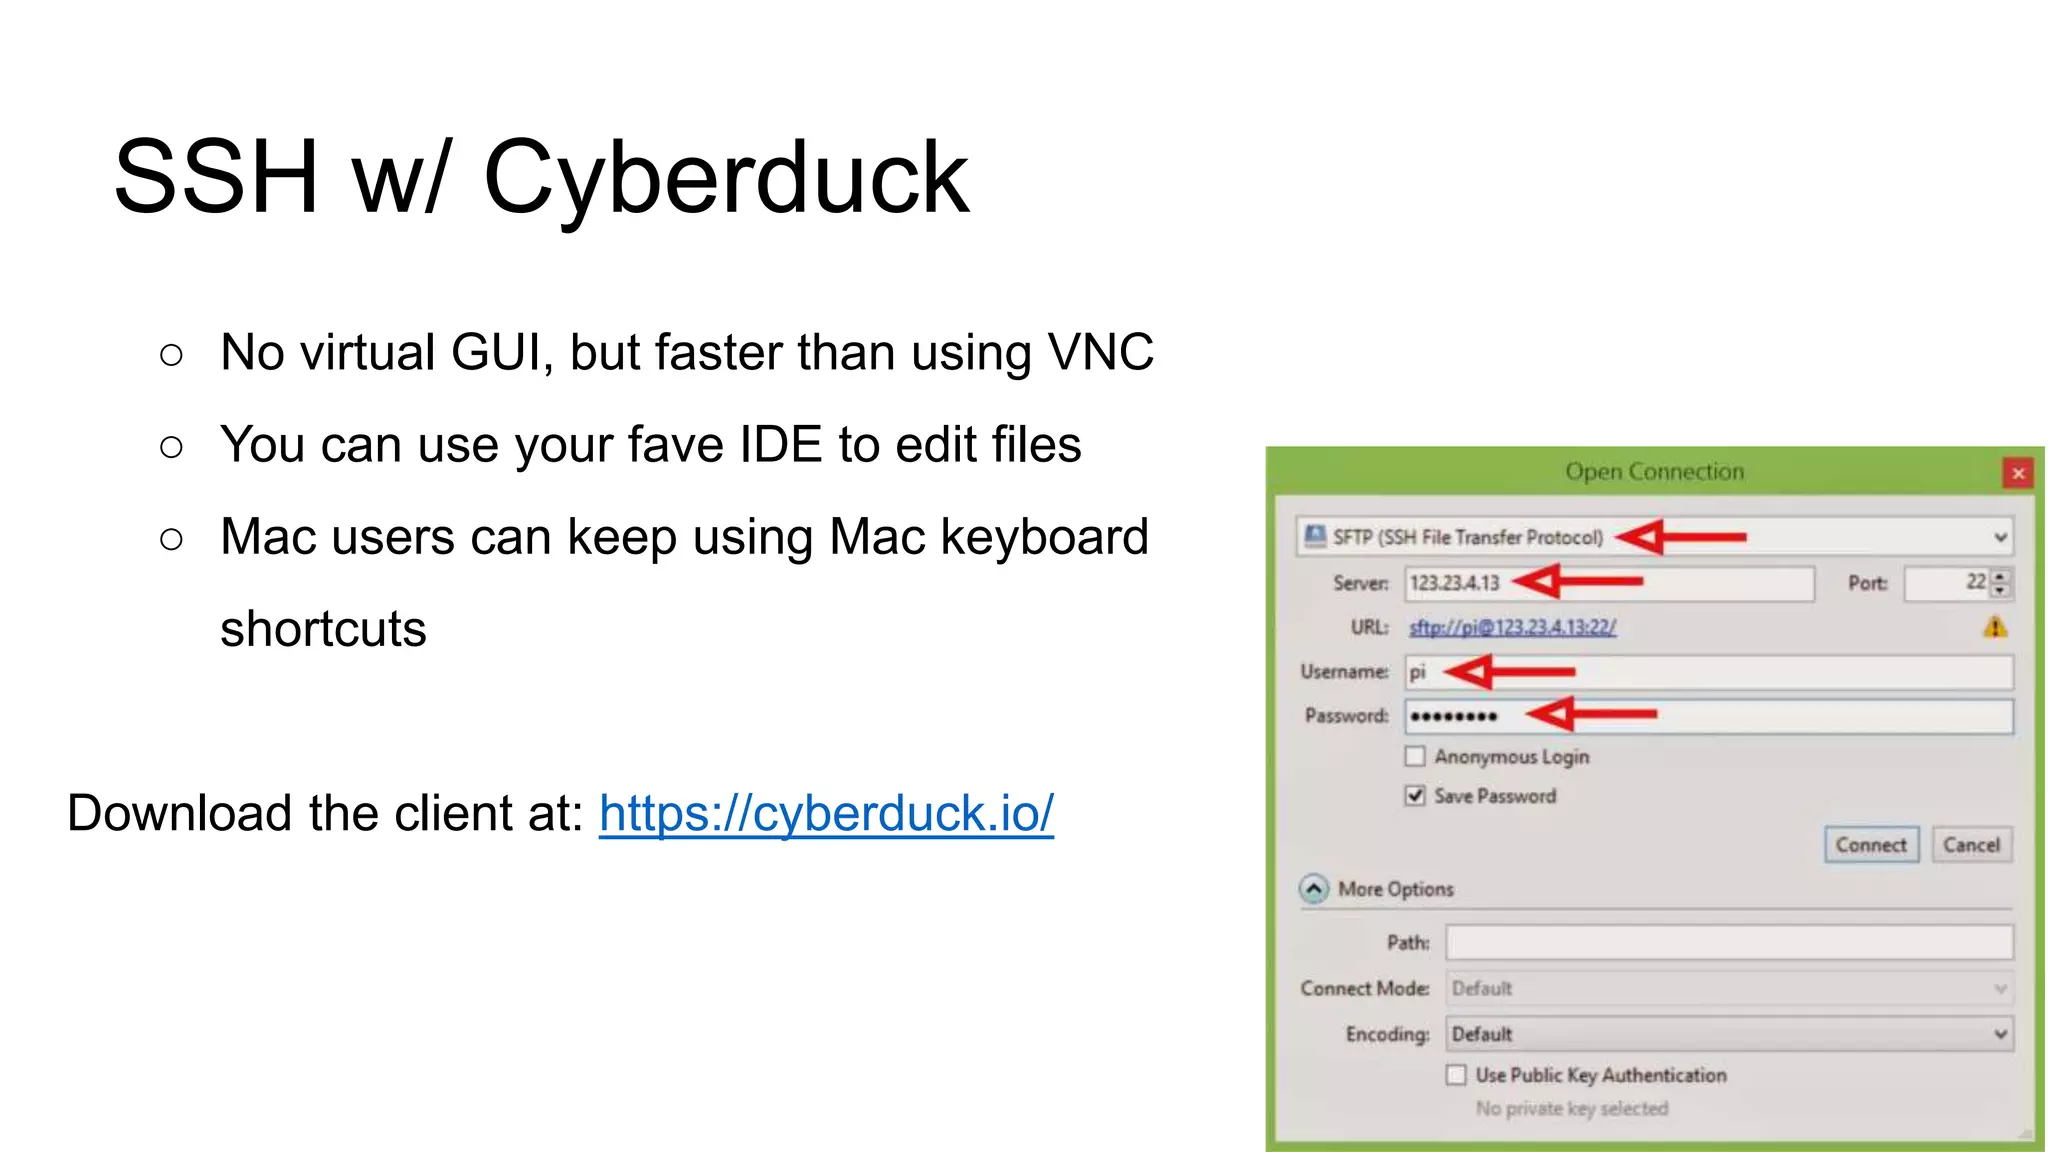
Up and Running with Raspberry Pi (RaspberryPi-101) Shahed
What we are gonna learn ==> • Introduction to Raspberry Pi • Hardware description • Types of OS for Pi • Installation of OS • OS instruction • Remote Access using SSH, VNC, Cyberduck • Package management • Python, GCC and Scratch • Accessing GPIO ports with Python • LED blink project • Some awesome projects using RPi
About Me • Mechanical Engineering Undergrad • Hardcore fan of Linux ecosystems • Build robots as a hobby • Love to play with Python
What is a Raspberry Pi? • Credit Card sized single board computer • Plugs into a TV or a Monitor • Based on Broadcom chips • Runs a complete version of Linux • Has multiple usb ports for communication • Supports gigabit ethernet lan 10/100 • Can deliver full HD (1080P) video output • Affordable
Time for some history!!! • The Raspberry Pi is the work of the Raspberry Pi Foundation, a charitable organisation. • Developed in U.K by Raspberry Pi foundation in 2009. • Project Initiated By Initiated by Eben Upton. • It's supported by the University of Cambridge Computer Laboratory and tech firm Broadcomm
Why Raspberry Pi? • Very Low Cost ($25 for Model A & $35 for Model B/B+) • Great tool for Learning Programming, Computers & Concepts of Embedded Linux, etc • Support for All Age Groups (School Children, College Undergraduates, Professional Developers, Programmers) • Supports & runs Free and Open Source Linux OS • Consumes less than 5W of Power • Supports Full HD Video Output (1080p), Multiple USB Ports , etc • Fun to learn & explore. You are limited by your imagination
Technology used in a Pi Model A Model B+ Model B+
Hardwares :
Arduino vs Raspberry Pi Specs Arduino Uno Raspberry Pi Model B+ CPU type Microcontroller Microprocessor Operating System None Linux (usually Raspbian) Speed 16 Mhz 700 Mhz RAM 2KB 512MB GPU/Display None VideoCore IV GPU Disk 32KB Depends on SD card GPIO pins 14 digital pins (includes 6 analog) 26 digital pins Other connectivity None USB, Ethernet, HDMI, audio Power consumption 0.25W 3.5W
Minimum things to get started • Raspberry Pi • HDMI/VGA monitor • USB Keyboard • USB Mouse • USB WiFi adapter (If isn't built-in) • 2.0+ Amp USB Power Adapter • Micro-USB cable • 8GB+ Micro-SD card • A Computer to load initial card image
Setting up the Pi 6. USB TO POWER SOURCE 5. TO MONITOR 4. TO MOUSE 3. TO KEYBOARD 2. WI-FI ADAPTER 1. SD CARD
Operating Systems for Pi • Raspbian (Jessie, Jessie lite) • Ubuntu (Snappy Ubuntu Core) • Fedora • Debian • Archlinux ARM • Windows 10 IoT Core • Kali Linux • OpenELEC • RetroPIe
Preparing the SD card with an OS • Step 1: Download bootable disk .iso's (raspbian jessie) • Link:https://www.raspberrypi.org/downloads/raspbian • Step 2: Write iso image to SD card • For Windows • Win32Disk Imager • For Mac/Linux • Win32Disk Imager • Using dd command • sudo dd bs=4M if=path_to_iso.iso of=/dev/sdX (where X is the drive number)
Let's boot it up!!! • Plug in all the accessories • Plug in the power cable • Pi will start booting automatically (First boot may take a long time) • You may have to face a configure window (If it happens, follow it through)
Default Credentials for a new user • If you encounter for a username and password: • username: pi • password: raspberry • After login, type 'startx' to go to the Desktop
Setup Completed!!!
Time for making it home! ▶▶ ▶▶
Wifi Configuration Menu > Preferences > Wifi Configuration OR Click on the network icon on the top panel
Almoooooost Ready!! Just one more step! :p
Do a system update (It is important to function all the apps working correctly) • Open up the terminal: • Write--> sudo apt-get update • and--> sudo apt-get upgrade ** Reboot after completing the update process and we are good to go!!! :D
A tour to Raspbian • Web Browser: Epiphany • Office Applications: Libreoffice • Media Player: VLC • Run: sudo apt-get install vlc • Programming: • Geany (an IDE) • IDLE, IDLE3 (python IDE) • Sonic Pi • Scratch
A Little bit of linux • Bash (Linux Shell) • Terminal Commands • Linux File Systems
Linux Shell • To interact with the Operating System or Hardware we need to enter some commands in the “Shell”. • Simply put, the shell is a program that takes your commands from the keyboard and gives them to the operating system to perform.
Basic Linux Commands • Show directory contents: • (Do this after every command below to see what has changed) • ls or ls -l • Make directory: • mkdir lesson • Change directory: • cd lesson • Create an empty file: • touch myfile • Edit file with nano: • nano myfile • Type something random inside the text editor then press Ctrl+X to save and quit. • View file quickly: • cat myfile • Copy file • cp myfile myfile2 • Remove file: • rm myfile • Move file • mv myfile2 myfile
More Useful Commands Command Purpose man Get information about a particular command. Eg: man ls ifconfig Get network information like IP address adduser Create user passwd Change password uname –a, uname -r Show OS information history Shows past commands you ran chmod Change permissions of a file/directory
File System Directory Layout • /home/pi or “~” • Your “Home” directory • Removable Drives at • /media/pi/….
The Linux File System bin : Essential command binaries boot : Static files of the boot loader dev : Device files etc : Host-specific system config home : User login and data folders lib : Essential shared libraries and kernel modules mnt : Mount point for mounting a file system or media opt : Add-on application software packages proc : Virtual folder that has information about system root : Home folder of the Linux super user sbin : Essential system binaries tmp : Temporary files usr : Secondary hierarchy var : Variable data
Package Management • Package manager means? • Which installs software from online repositories • Maintains dependencies for you **In Linux systems software comes as packages (firefox,music player etc.)
Using the Package Manager  Htop: • Process information viewer like Windows Task Manager • Always run before package installation • Update local repository index • sudo apt-get update • Install htop • sudo apt-get install htop -->Now we will install htop ** Now open up the Terminal and type 'htop'
Remote Connect to Pi Step 1: Getting your Pi’s IP address pi@raspberrypi ~$ hostname -I You’ll need the IP address when you connect the Pi from your computer!!!
Remote Connect to Pi Step 2: Chosing the method • SSH to your Pi from terminal, and keep working on the terminal • SSH with a client, e.g. Cyberduck, and use your usual IDE • Use VNC (Virtual Network Computing), and work on the virtual GUI
Remote Connect to Pi Setting SSH • SSH – Secure Shell • http://en.wikipedia.org/wiki/Secure_Shell • Direct and Remote Login methods in Rpi • Types of remote connections • Rpi and PC connected through router • Rpi and PC connected through direct connection • Rpi Wifi Hotspot
Remote Connect to Pi SSH to Pi from your laptop (Terminal on Mac/Linux, PuTTY on Windows): me@MyLinux ~$ ssh pi@193.168.10.1 Your Pi’s username Use your Pi’s IP!
Remote Access w/ VNC • VNC(Virtual Network Computing) • http://en.wikipedia.org/wiki/VNC_server • Graphical desktop sharing system
Remote Access w/ VNC Remote-access to Raspberry Pi’s graphical interface. • On Your PC: • Install VNC Viewer Client in Windows • For Linux/Mac • $ Install tightvncviewer • $ vncviewer ip:5901 • $ vncviewer 192.168.1.3:5901 Download Link for VNC: http://www.realvnc.com/download/viewer/
Remote Access w/ VNC On your Pi • Install Tight VNC Server pi@raspberrypi ~$ sudo apt-get install tightvncserver • Run the server pi@raspberrypi ~$ tightvncserver
Remote Access w/ VNC Run the client software on your PC Pi’s IP address Usually :1 (but it can be different. Check the VNC server!)
Remote Access w/ VNC
SSH w/ Cyberduck ○ No virtual GUI, but faster than using VNC ○ You can use your fave IDE to edit files ○ Mac users can keep using Mac keyboard shortcuts Download the client at: https://cyberduck.io/
Cyberduck Demo
Programming on Raspberry Pi • Raspberry Pi supports several Programming Languages like : Python, C, C++, JAVA, Perl, HTML5, JavaScript, JQuery etc. • Python is supported as the principal or main user programming language. • Extremely powerful and flexible language. • Can also be used to control hardware on the Pi. • Compiled using gcc (GNU Compiler Collection) ** Learning Programming = Practice Writing Programs
Programming on Raspberry Pi
Programming on Raspberry Pi • Demo of Python Program on IDLE. • Demo of C Program on Raspberry Pi. • Demo of Scratch Program on Raspberry Pi.
GPIO on Raspberry Pi • 26 GPIO Header in Model A/B and 40 GPIO Header in Model B • These pins are a physical interface between the Pi and the outside world. • Out of 26, 8 are dedicated IO Lines, 2 are for UART, 4 are for SPI (+1 for Another Chip Select) , and another 2 for the I2C Interface (Total 17 out of 26) • Rest are Supply Rails. • Model B+ has 9 additional GPIO including a extra SPI (Total 17 + 9 = 26 out of 40) • WiringPi : Easy to use C Library for accessing the GPIO Lines via Programming (Arduino Style Programming)
Let's Do Blinky!!! Making of a LED Blinker using Python ==> What you will need: -> A raspberry pi -> A LED -> A 330Ω resistor to protect the LED -> Jumper wires
Let's Do Blinky!!! Step 1: Make sure if the LED is okay • Connect the jumper wires as shown • One wire on the short leg of LED (Negative) • Another one attached with the resistor is on the long leg (Positive) LED
Let's Do Blinky!!! Step 1: Make sure if the LED is okay • Connect the wires as shown • One in the 3.3V pin (Positive wire) • Another one is in GND ** Check if the LED is on! 3.3V (Pin 1) GND Cathode Anode (longer leg)
Let's Do Blinky!!! 3.3V Ground GPIO (general purpose input output)
Let's Do Blinky!!! GPIO-4 (Pin 7)
Let's Do Blinky!!! ->Programming the LED import RPi.GPIO as GPIO import time GPIO.setmode(GPIO.BCM) LED = 4 GPIO.setup(LED,GPIO.OUT) while True: GPIO.output(LED,True) time.sleep(1) GPIO.output(LED,False) time.sleep(1) import RPi.GPIO libs set LED pin as output toggle light pin signal to low/high to make it blink. set pin type. use BCM, not pin number GPIO 4 pin (Pin 7)
Congrats!!! You just finished your first Raspberry Pi project!
Project Showcase 1) Raspberry Pi Wall Mounted Google Calendar – On Instructables
Project Showcase 2) PiPad: Tablet Using Raspberry Pi
Project Showcase 3) PiPhone : Using Raspberry Pi
Project Showcase 4) Pi as a Media Centre : Using Open Source XBMC
Project Showcase 5) Running a Web server on Raspberry Pi
Project Showcase 6) Iridis-Pi : Supercomputer using Raspberry Pi (64 Processors, 1 TB of Memory.
Project Showcase 7) Low Cost HD Surveillance Camera
Project Showcase 8) Games on Raspberry Pi
----Q/A Session----
Thank You !!

Up and running with Raspberry Pi

  • 1.
    Up and Runningwith Raspberry Pi (RaspberryPi-101) Shahed
  • 2.
    What we aregonna learn ==> • Introduction to Raspberry Pi • Hardware description • Types of OS for Pi • Installation of OS • OS instruction • Remote Access using SSH, VNC, Cyberduck • Package management • Python, GCC and Scratch • Accessing GPIO ports with Python • LED blink project • Some awesome projects using RPi
  • 3.
    About Me • MechanicalEngineering Undergrad • Hardcore fan of Linux ecosystems • Build robots as a hobby • Love to play with Python
  • 4.
    What is aRaspberry Pi? • Credit Card sized single board computer • Plugs into a TV or a Monitor • Based on Broadcom chips • Runs a complete version of Linux • Has multiple usb ports for communication • Supports gigabit ethernet lan 10/100 • Can deliver full HD (1080P) video output • Affordable
  • 5.
    Time for somehistory!!! • The Raspberry Pi is the work of the Raspberry Pi Foundation, a charitable organisation. • Developed in U.K by Raspberry Pi foundation in 2009. • Project Initiated By Initiated by Eben Upton. • It's supported by the University of Cambridge Computer Laboratory and tech firm Broadcomm
  • 6.
    Why Raspberry Pi? •Very Low Cost ($25 for Model A & $35 for Model B/B+) • Great tool for Learning Programming, Computers & Concepts of Embedded Linux, etc • Support for All Age Groups (School Children, College Undergraduates, Professional Developers, Programmers) • Supports & runs Free and Open Source Linux OS • Consumes less than 5W of Power • Supports Full HD Video Output (1080p), Multiple USB Ports , etc • Fun to learn & explore. You are limited by your imagination
  • 7.
    Technology used ina Pi Model A Model B+ Model B+
  • 8.
  • 9.
    Arduino vs RaspberryPi Specs Arduino Uno Raspberry Pi Model B+ CPU type Microcontroller Microprocessor Operating System None Linux (usually Raspbian) Speed 16 Mhz 700 Mhz RAM 2KB 512MB GPU/Display None VideoCore IV GPU Disk 32KB Depends on SD card GPIO pins 14 digital pins (includes 6 analog) 26 digital pins Other connectivity None USB, Ethernet, HDMI, audio Power consumption 0.25W 3.5W
  • 10.
    Minimum things toget started • Raspberry Pi • HDMI/VGA monitor • USB Keyboard • USB Mouse • USB WiFi adapter (If isn't built-in) • 2.0+ Amp USB Power Adapter • Micro-USB cable • 8GB+ Micro-SD card • A Computer to load initial card image
  • 11.
    Setting up thePi 6. USB TO POWER SOURCE 5. TO MONITOR 4. TO MOUSE 3. TO KEYBOARD 2. WI-FI ADAPTER 1. SD CARD
  • 12.
    Operating Systems forPi • Raspbian (Jessie, Jessie lite) • Ubuntu (Snappy Ubuntu Core) • Fedora • Debian • Archlinux ARM • Windows 10 IoT Core • Kali Linux • OpenELEC • RetroPIe
  • 13.
    Preparing the SDcard with an OS • Step 1: Download bootable disk .iso's (raspbian jessie) • Link:https://www.raspberrypi.org/downloads/raspbian • Step 2: Write iso image to SD card • For Windows • Win32Disk Imager • For Mac/Linux • Win32Disk Imager • Using dd command • sudo dd bs=4M if=path_to_iso.iso of=/dev/sdX (where X is the drive number)
  • 14.
    Let's boot itup!!! • Plug in all the accessories • Plug in the power cable • Pi will start booting automatically (First boot may take a long time) • You may have to face a configure window (If it happens, follow it through)
  • 15.
    Default Credentials fora new user • If you encounter for a username and password: • username: pi • password: raspberry • After login, type 'startx' to go to the Desktop
  • 16.
  • 17.
    Time for makingit home! ▶▶ ▶▶
  • 18.
    Wifi Configuration Menu >Preferences > Wifi Configuration OR Click on the network icon on the top panel
  • 19.
  • 20.
    Do a systemupdate (It is important to function all the apps working correctly) • Open up the terminal: • Write--> sudo apt-get update • and--> sudo apt-get upgrade ** Reboot after completing the update process and we are good to go!!! :D
  • 21.
    A tour toRaspbian • Web Browser: Epiphany • Office Applications: Libreoffice • Media Player: VLC • Run: sudo apt-get install vlc • Programming: • Geany (an IDE) • IDLE, IDLE3 (python IDE) • Sonic Pi • Scratch
  • 22.
    A Little bitof linux • Bash (Linux Shell) • Terminal Commands • Linux File Systems
  • 23.
    Linux Shell • Tointeract with the Operating System or Hardware we need to enter some commands in the “Shell”. • Simply put, the shell is a program that takes your commands from the keyboard and gives them to the operating system to perform.
  • 24.
    Basic Linux Commands •Show directory contents: • (Do this after every command below to see what has changed) • ls or ls -l • Make directory: • mkdir lesson • Change directory: • cd lesson • Create an empty file: • touch myfile • Edit file with nano: • nano myfile • Type something random inside the text editor then press Ctrl+X to save and quit. • View file quickly: • cat myfile • Copy file • cp myfile myfile2 • Remove file: • rm myfile • Move file • mv myfile2 myfile
  • 25.
    More Useful Commands CommandPurpose man Get information about a particular command. Eg: man ls ifconfig Get network information like IP address adduser Create user passwd Change password uname –a, uname -r Show OS information history Shows past commands you ran chmod Change permissions of a file/directory
  • 26.
    File System DirectoryLayout • /home/pi or “~” • Your “Home” directory • Removable Drives at • /media/pi/….
  • 27.
    The Linux FileSystem bin : Essential command binaries boot : Static files of the boot loader dev : Device files etc : Host-specific system config home : User login and data folders lib : Essential shared libraries and kernel modules mnt : Mount point for mounting a file system or media opt : Add-on application software packages proc : Virtual folder that has information about system root : Home folder of the Linux super user sbin : Essential system binaries tmp : Temporary files usr : Secondary hierarchy var : Variable data
  • 28.
    Package Management • Packagemanager means? • Which installs software from online repositories • Maintains dependencies for you **In Linux systems software comes as packages (firefox,music player etc.)
  • 29.
    Using the PackageManager  Htop: • Process information viewer like Windows Task Manager • Always run before package installation • Update local repository index • sudo apt-get update • Install htop • sudo apt-get install htop -->Now we will install htop ** Now open up the Terminal and type 'htop'
  • 30.
    Remote Connect toPi Step 1: Getting your Pi’s IP address pi@raspberrypi ~$ hostname -I You’ll need the IP address when you connect the Pi from your computer!!!
  • 31.
    Remote Connect toPi Step 2: Chosing the method • SSH to your Pi from terminal, and keep working on the terminal • SSH with a client, e.g. Cyberduck, and use your usual IDE • Use VNC (Virtual Network Computing), and work on the virtual GUI
  • 32.
    Remote Connect toPi Setting SSH • SSH – Secure Shell • http://en.wikipedia.org/wiki/Secure_Shell • Direct and Remote Login methods in Rpi • Types of remote connections • Rpi and PC connected through router • Rpi and PC connected through direct connection • Rpi Wifi Hotspot
  • 33.
    Remote Connect toPi SSH to Pi from your laptop (Terminal on Mac/Linux, PuTTY on Windows): me@MyLinux ~$ ssh pi@193.168.10.1 Your Pi’s username Use your Pi’s IP!
  • 35.
    Remote Access w/VNC • VNC(Virtual Network Computing) • http://en.wikipedia.org/wiki/VNC_server • Graphical desktop sharing system
  • 36.
    Remote Access w/VNC Remote-access to Raspberry Pi’s graphical interface. • On Your PC: • Install VNC Viewer Client in Windows • For Linux/Mac • $ Install tightvncviewer • $ vncviewer ip:5901 • $ vncviewer 192.168.1.3:5901 Download Link for VNC: http://www.realvnc.com/download/viewer/
  • 37.
    Remote Access w/VNC On your Pi • Install Tight VNC Server pi@raspberrypi ~$ sudo apt-get install tightvncserver • Run the server pi@raspberrypi ~$ tightvncserver
  • 38.
    Remote Access w/VNC Run the client software on your PC Pi’s IP address Usually :1 (but it can be different. Check the VNC server!)
  • 39.
  • 40.
    SSH w/ Cyberduck ○No virtual GUI, but faster than using VNC ○ You can use your fave IDE to edit files ○ Mac users can keep using Mac keyboard shortcuts Download the client at: https://cyberduck.io/
  • 41.
  • 42.
    Programming on RaspberryPi • Raspberry Pi supports several Programming Languages like : Python, C, C++, JAVA, Perl, HTML5, JavaScript, JQuery etc. • Python is supported as the principal or main user programming language. • Extremely powerful and flexible language. • Can also be used to control hardware on the Pi. • Compiled using gcc (GNU Compiler Collection) ** Learning Programming = Practice Writing Programs
  • 43.
  • 44.
    Programming on RaspberryPi • Demo of Python Program on IDLE. • Demo of C Program on Raspberry Pi. • Demo of Scratch Program on Raspberry Pi.
  • 45.
    GPIO on RaspberryPi • 26 GPIO Header in Model A/B and 40 GPIO Header in Model B • These pins are a physical interface between the Pi and the outside world. • Out of 26, 8 are dedicated IO Lines, 2 are for UART, 4 are for SPI (+1 for Another Chip Select) , and another 2 for the I2C Interface (Total 17 out of 26) • Rest are Supply Rails. • Model B+ has 9 additional GPIO including a extra SPI (Total 17 + 9 = 26 out of 40) • WiringPi : Easy to use C Library for accessing the GPIO Lines via Programming (Arduino Style Programming)
  • 46.
    Let's Do Blinky!!! Makingof a LED Blinker using Python ==> What you will need: -> A raspberry pi -> A LED -> A 330Ω resistor to protect the LED -> Jumper wires
  • 47.
    Let's Do Blinky!!! Step1: Make sure if the LED is okay • Connect the jumper wires as shown • One wire on the short leg of LED (Negative) • Another one attached with the resistor is on the long leg (Positive) LED
  • 48.
    Let's Do Blinky!!! Step1: Make sure if the LED is okay • Connect the wires as shown • One in the 3.3V pin (Positive wire) • Another one is in GND ** Check if the LED is on! 3.3V (Pin 1) GND Cathode Anode (longer leg)
  • 49.
    Let's Do Blinky!!! 3.3V Ground GPIO(general purpose input output)
  • 50.
  • 51.
    Let's Do Blinky!!! ->Programmingthe LED import RPi.GPIO as GPIO import time GPIO.setmode(GPIO.BCM) LED = 4 GPIO.setup(LED,GPIO.OUT) while True: GPIO.output(LED,True) time.sleep(1) GPIO.output(LED,False) time.sleep(1) import RPi.GPIO libs set LED pin as output toggle light pin signal to low/high to make it blink. set pin type. use BCM, not pin number GPIO 4 pin (Pin 7)
  • 52.
    Congrats!!! You just finishedyour first Raspberry Pi project!
  • 53.
    Project Showcase 1) RaspberryPi Wall Mounted Google Calendar – On Instructables
  • 54.
    Project Showcase 2) PiPad:Tablet Using Raspberry Pi
  • 55.
    Project Showcase 3) PiPhone: Using Raspberry Pi
  • 56.
    Project Showcase 4) Pias a Media Centre : Using Open Source XBMC
  • 57.
    Project Showcase 5) Runninga Web server on Raspberry Pi
  • 58.
    Project Showcase 6) Iridis-Pi: Supercomputer using Raspberry Pi (64 Processors, 1 TB of Memory.
  • 59.
    Project Showcase 7) LowCost HD Surveillance Camera
  • 60.
  • 61.
  • 62.