Downloaded 106 times

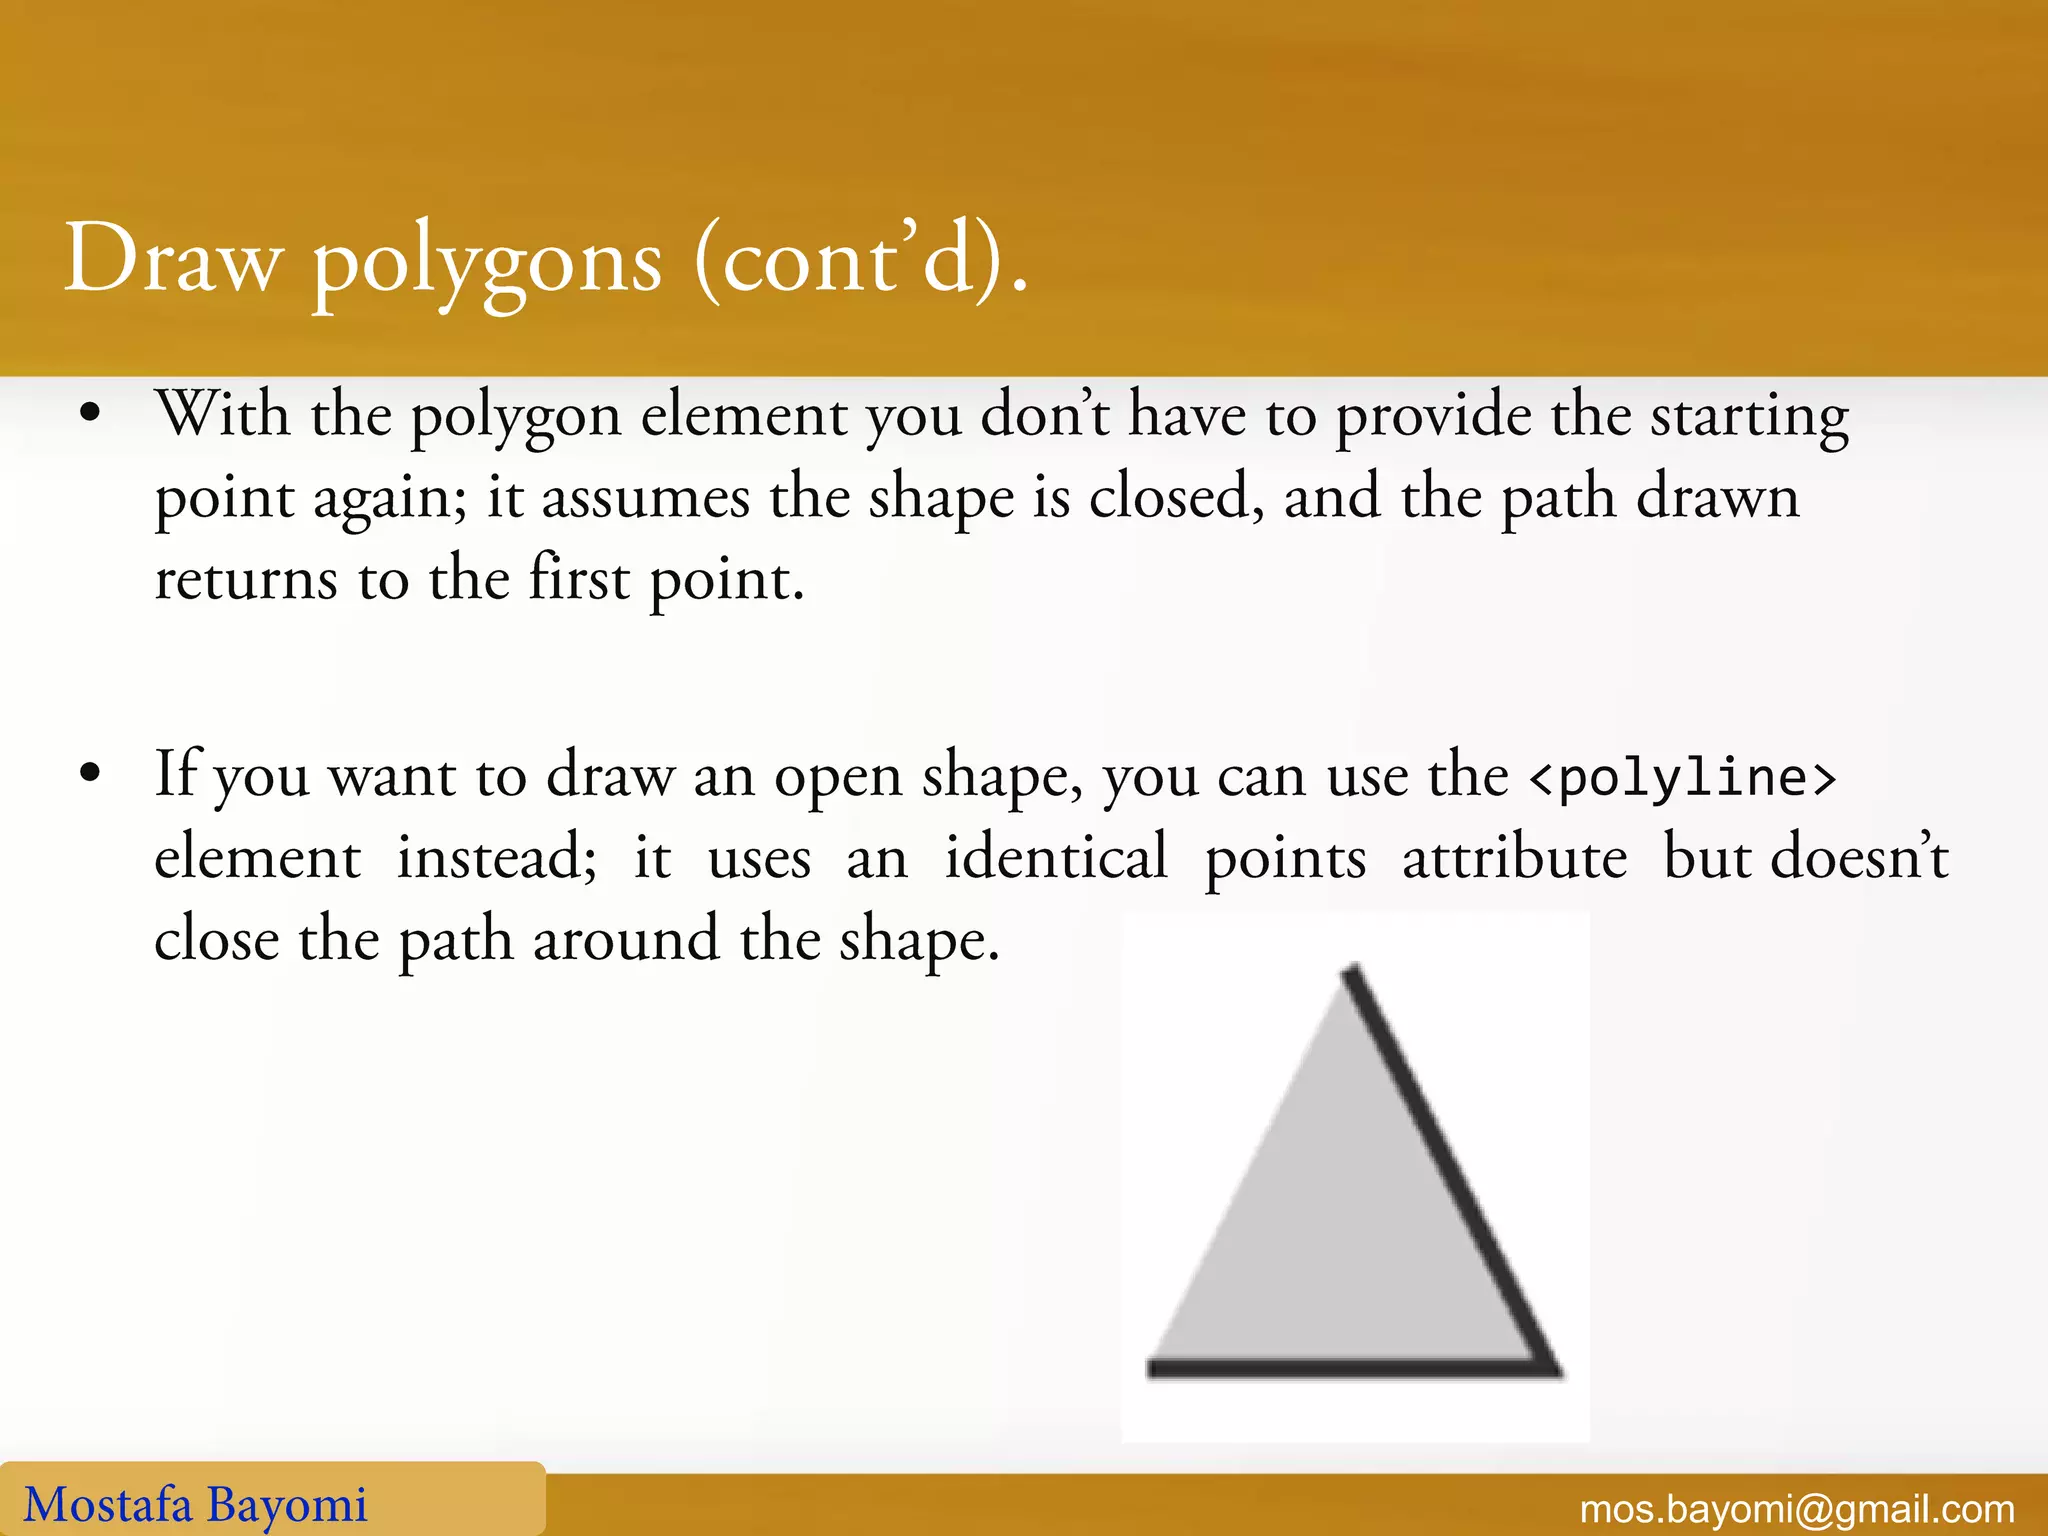
![mos.bayomi@gmail.com HTML [New] Tags JavaScript APIs HTML5](https://image.slidesharecdn.com/learnhtml5-130509122608-phpapp01/75/Learn-html5-3-2048.jpg)
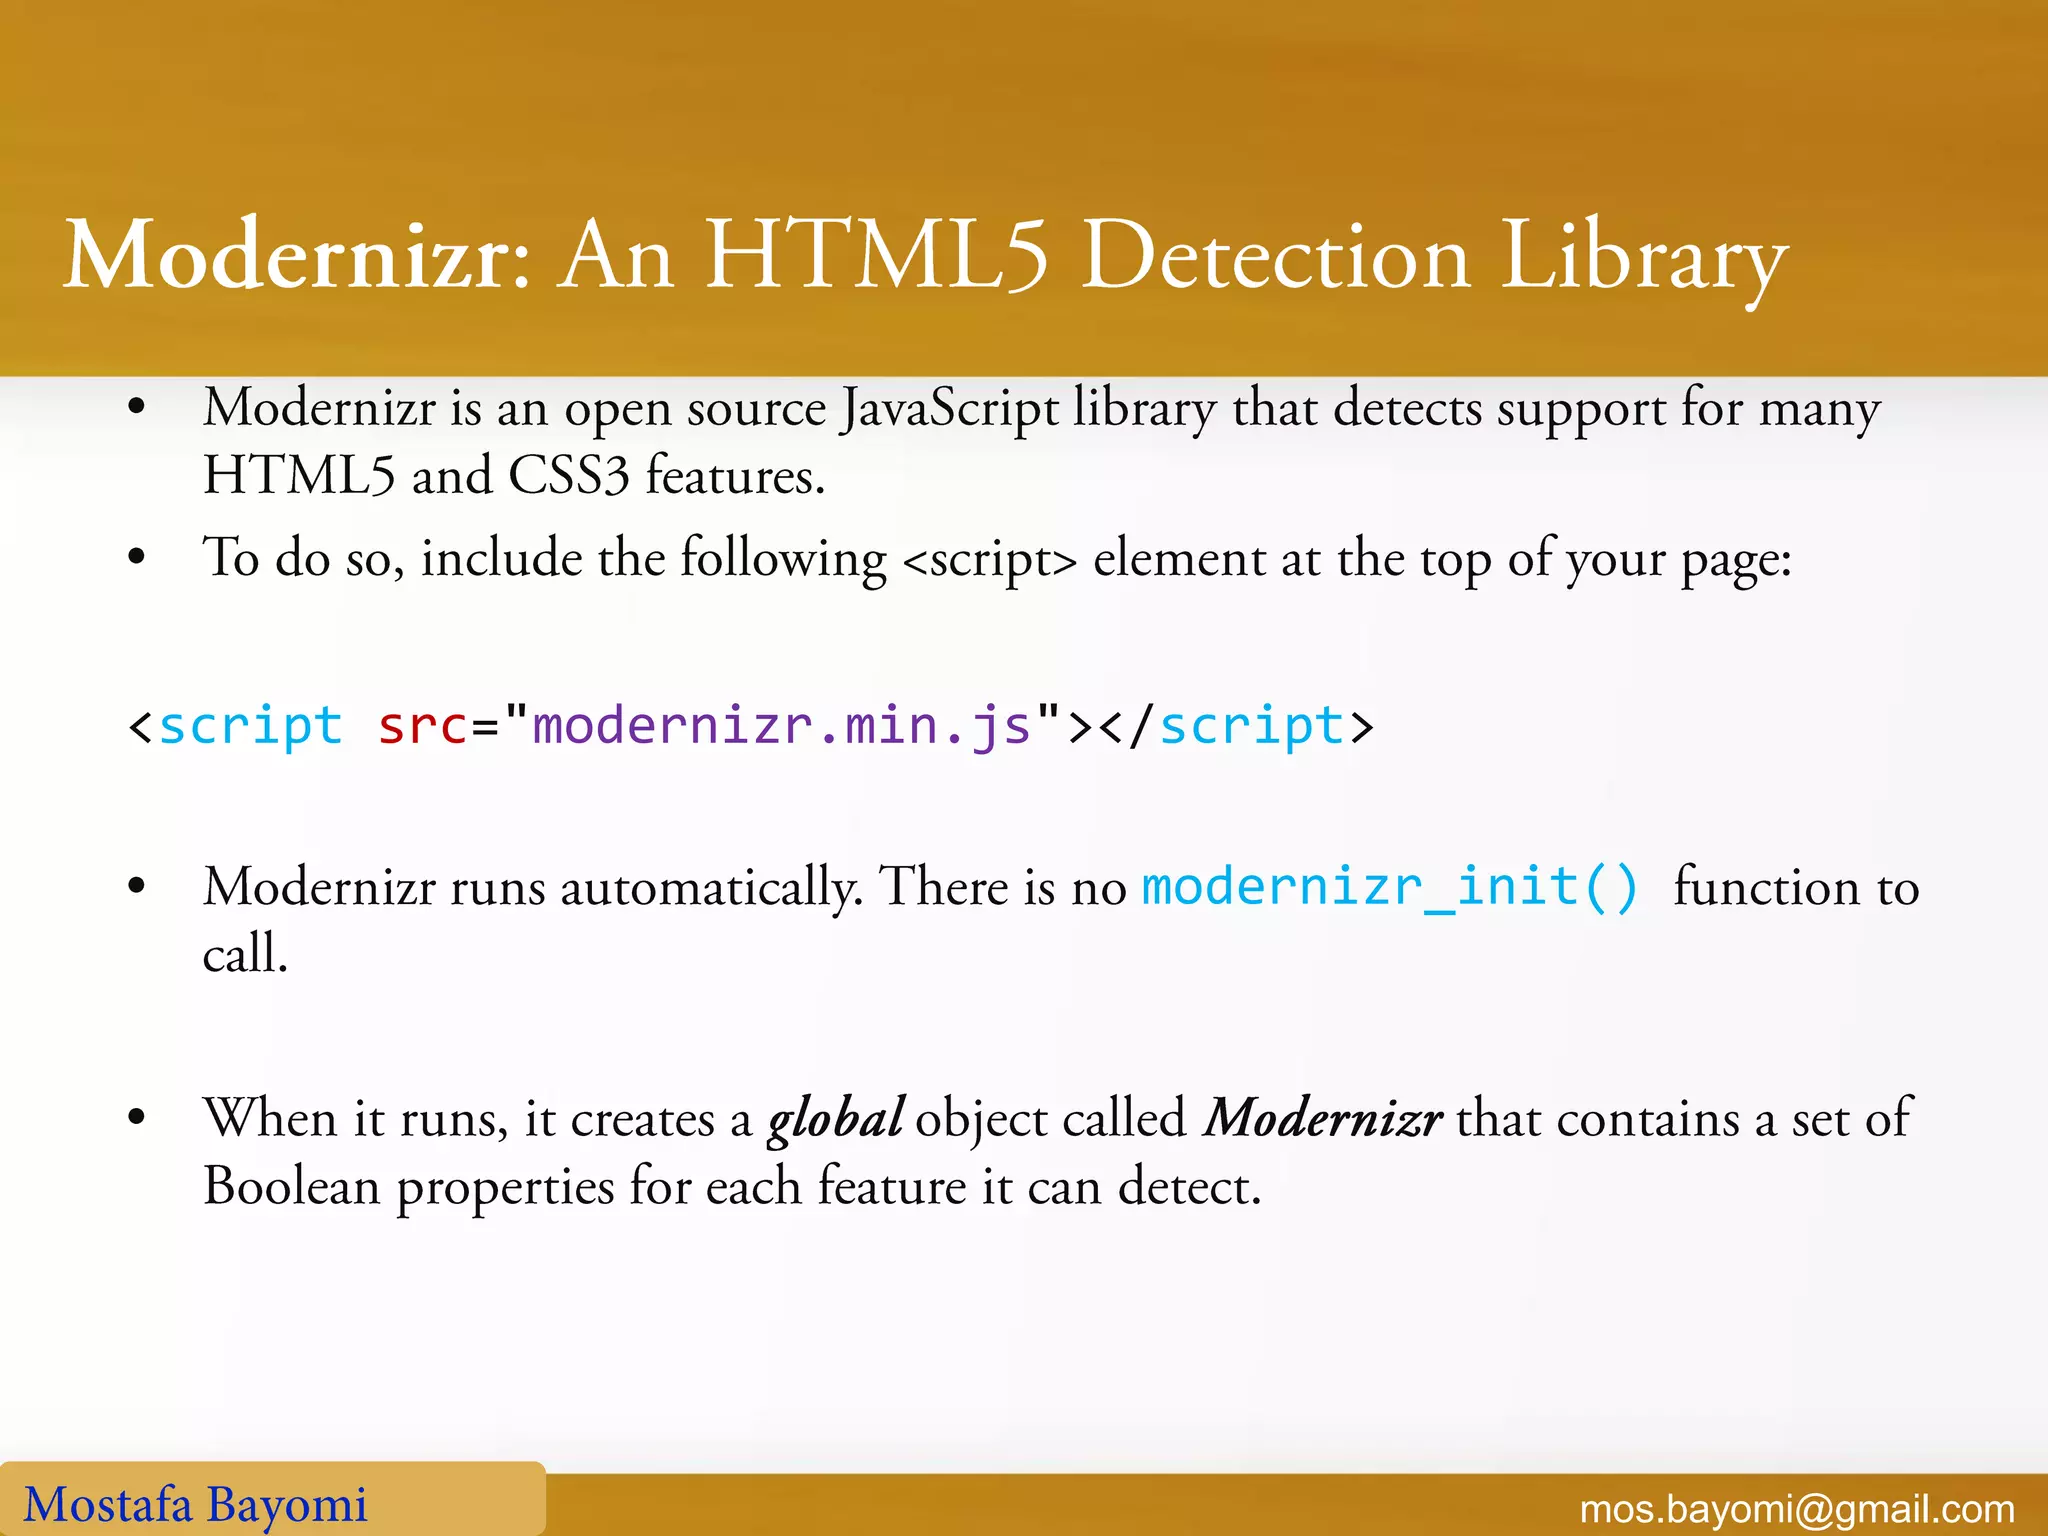

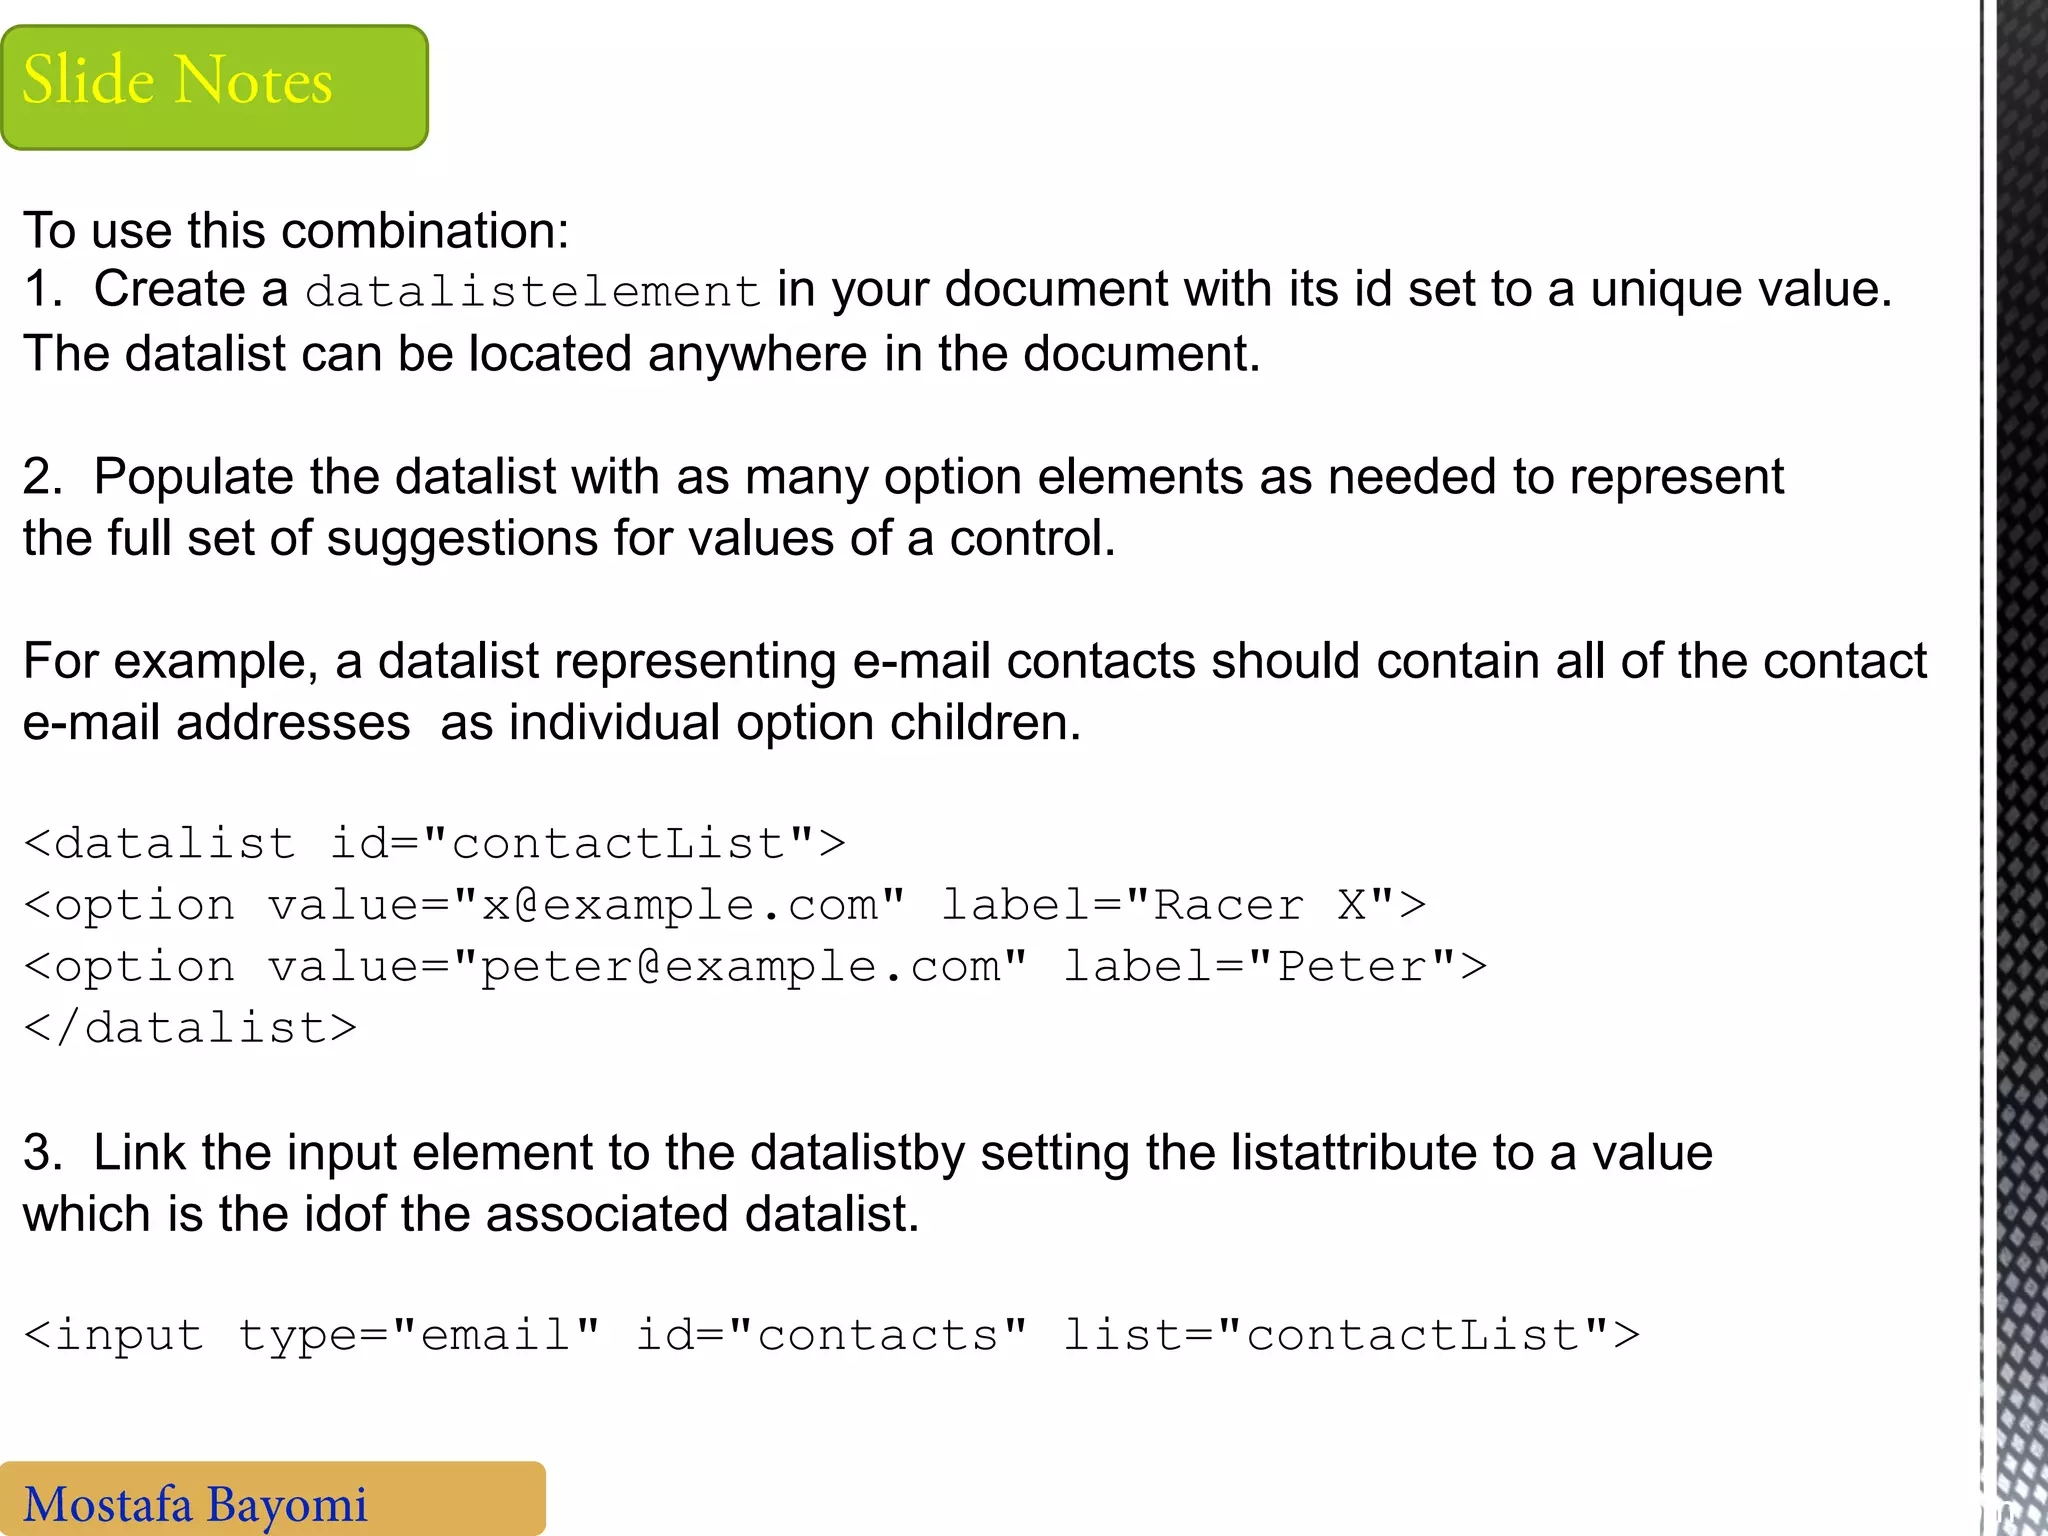
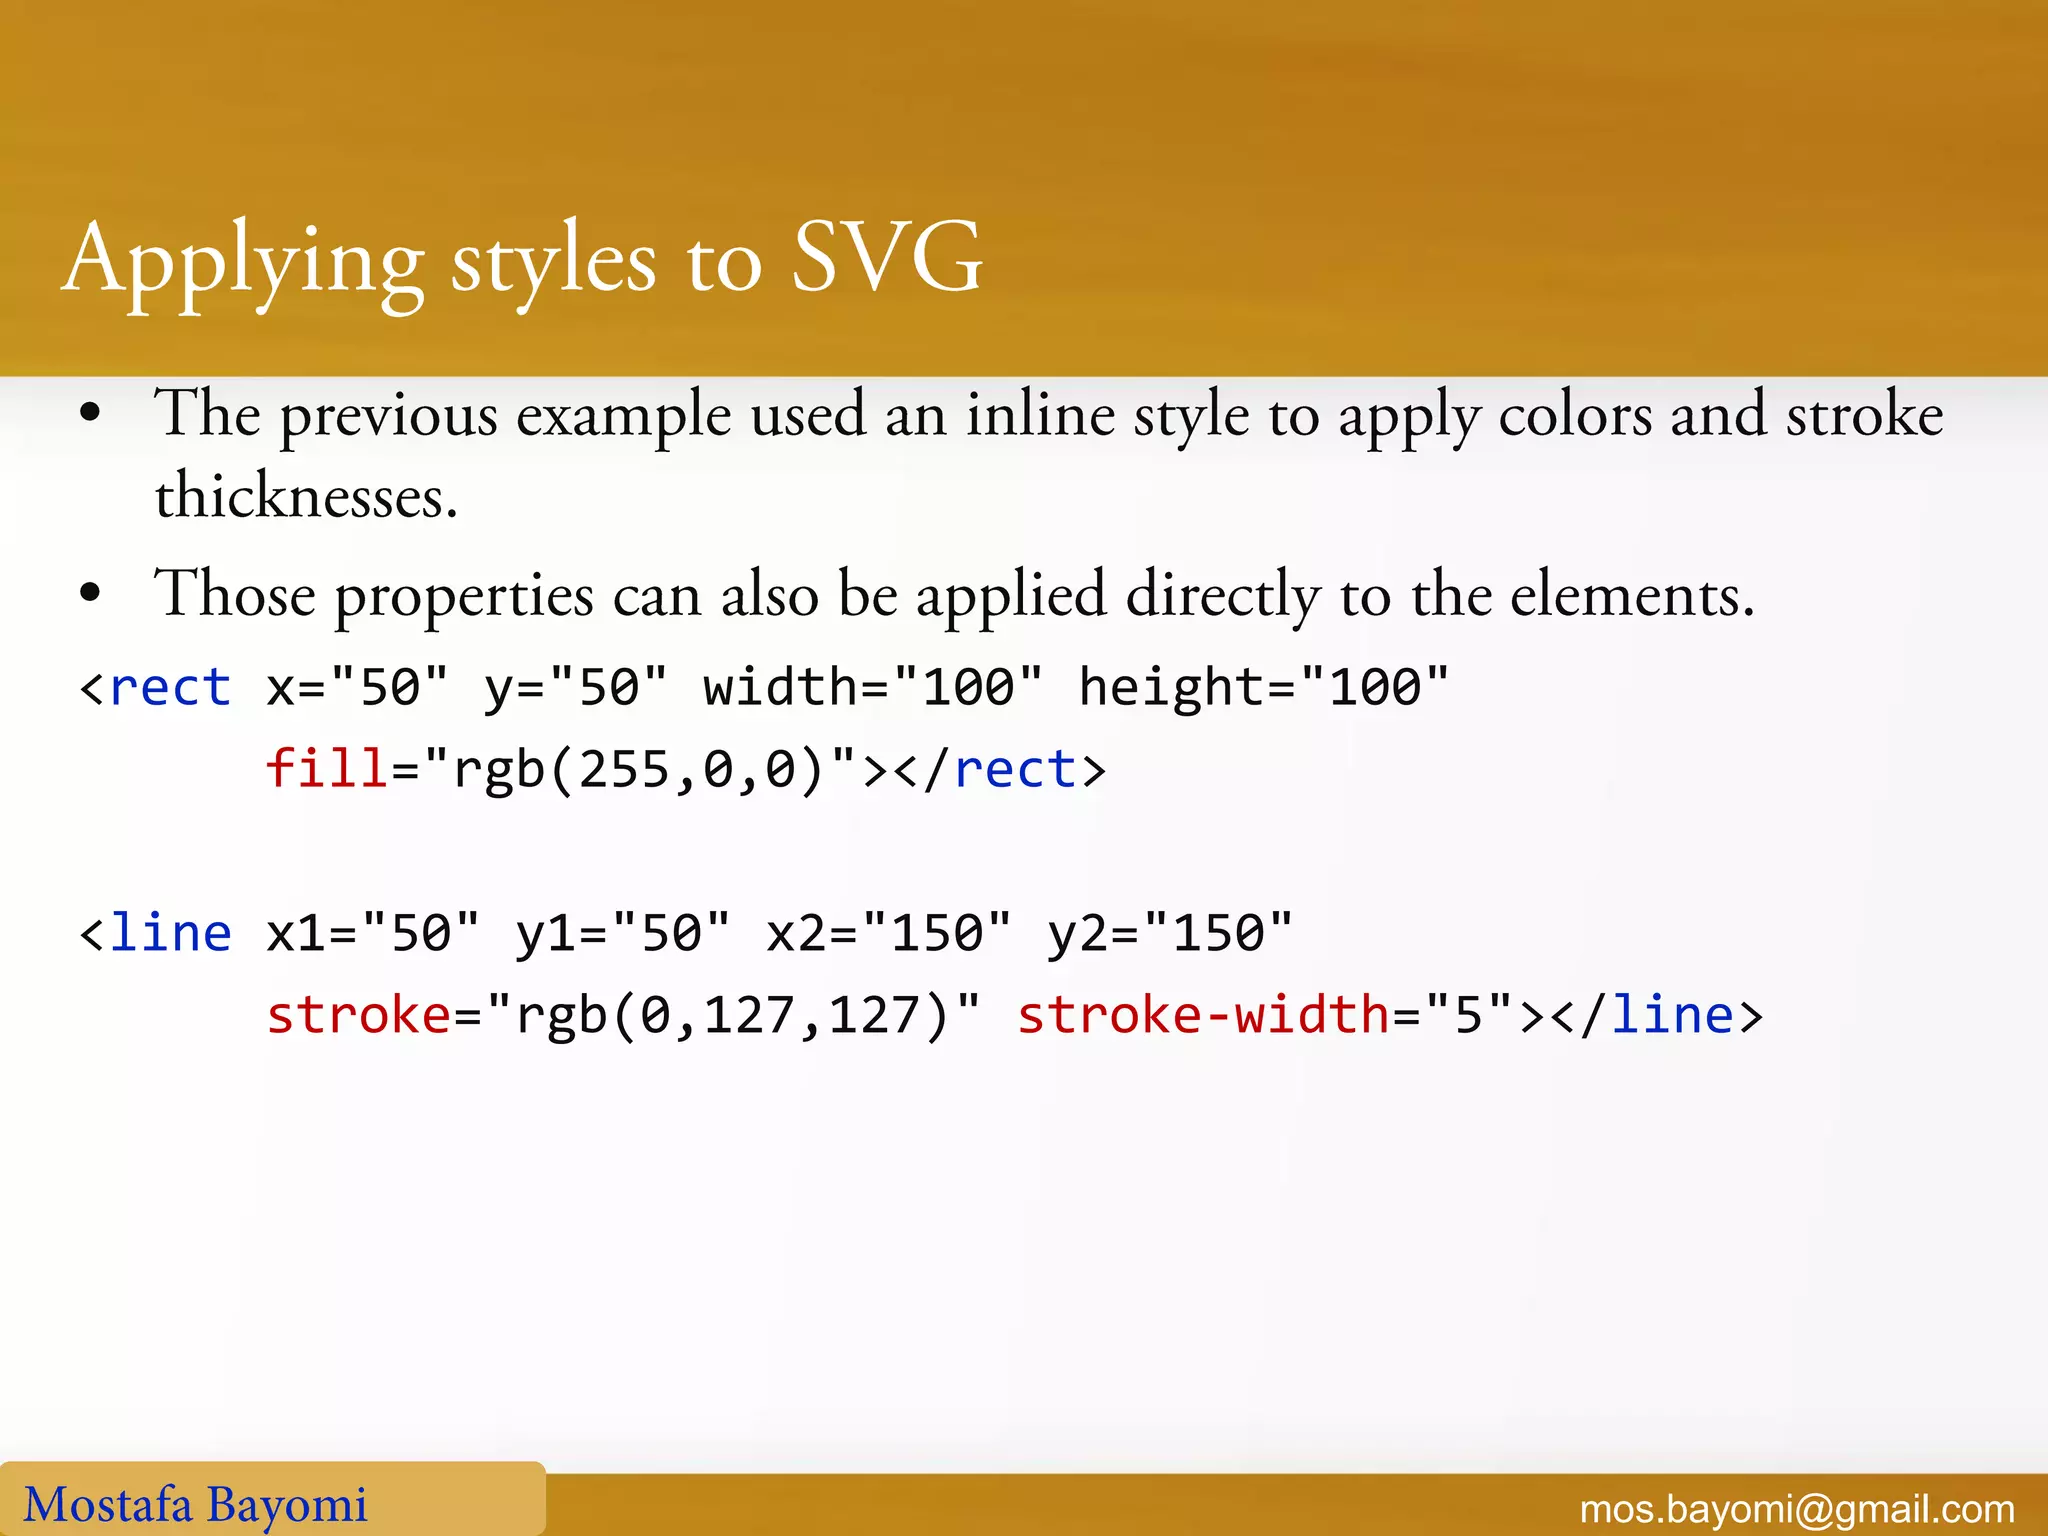
![mos.bayomi@gmail.com <input type="text" pattern="[0-9]{16}">](https://image.slidesharecdn.com/learnhtml5-130509122608-phpapp01/75/Learn-html5-55-2048.jpg)

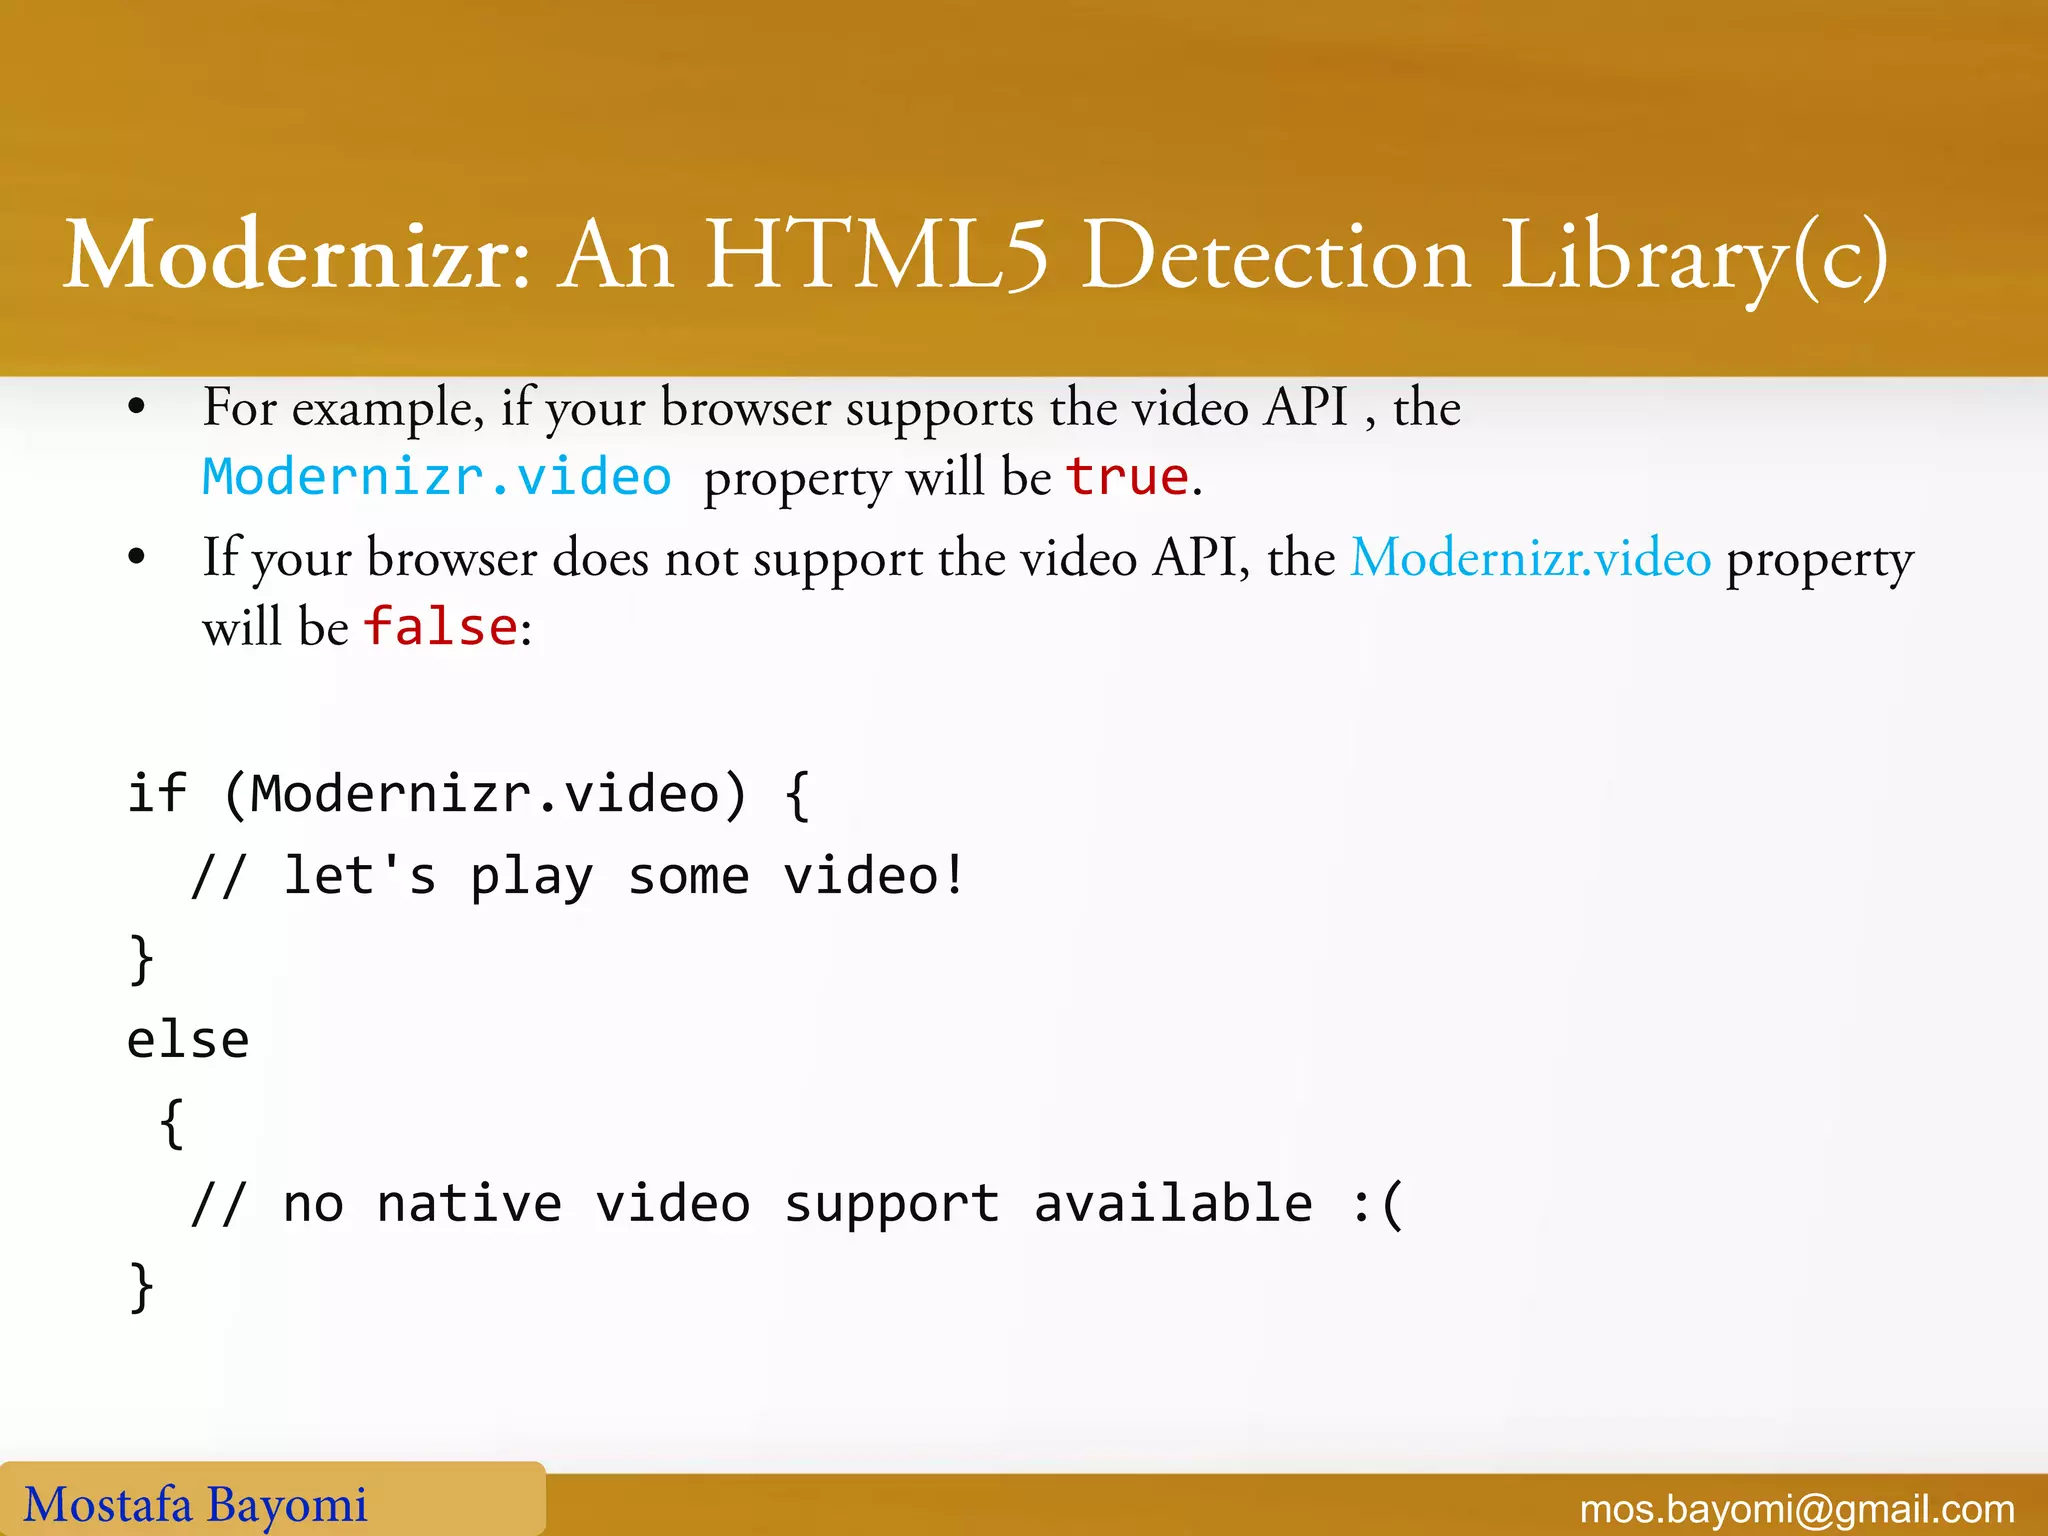
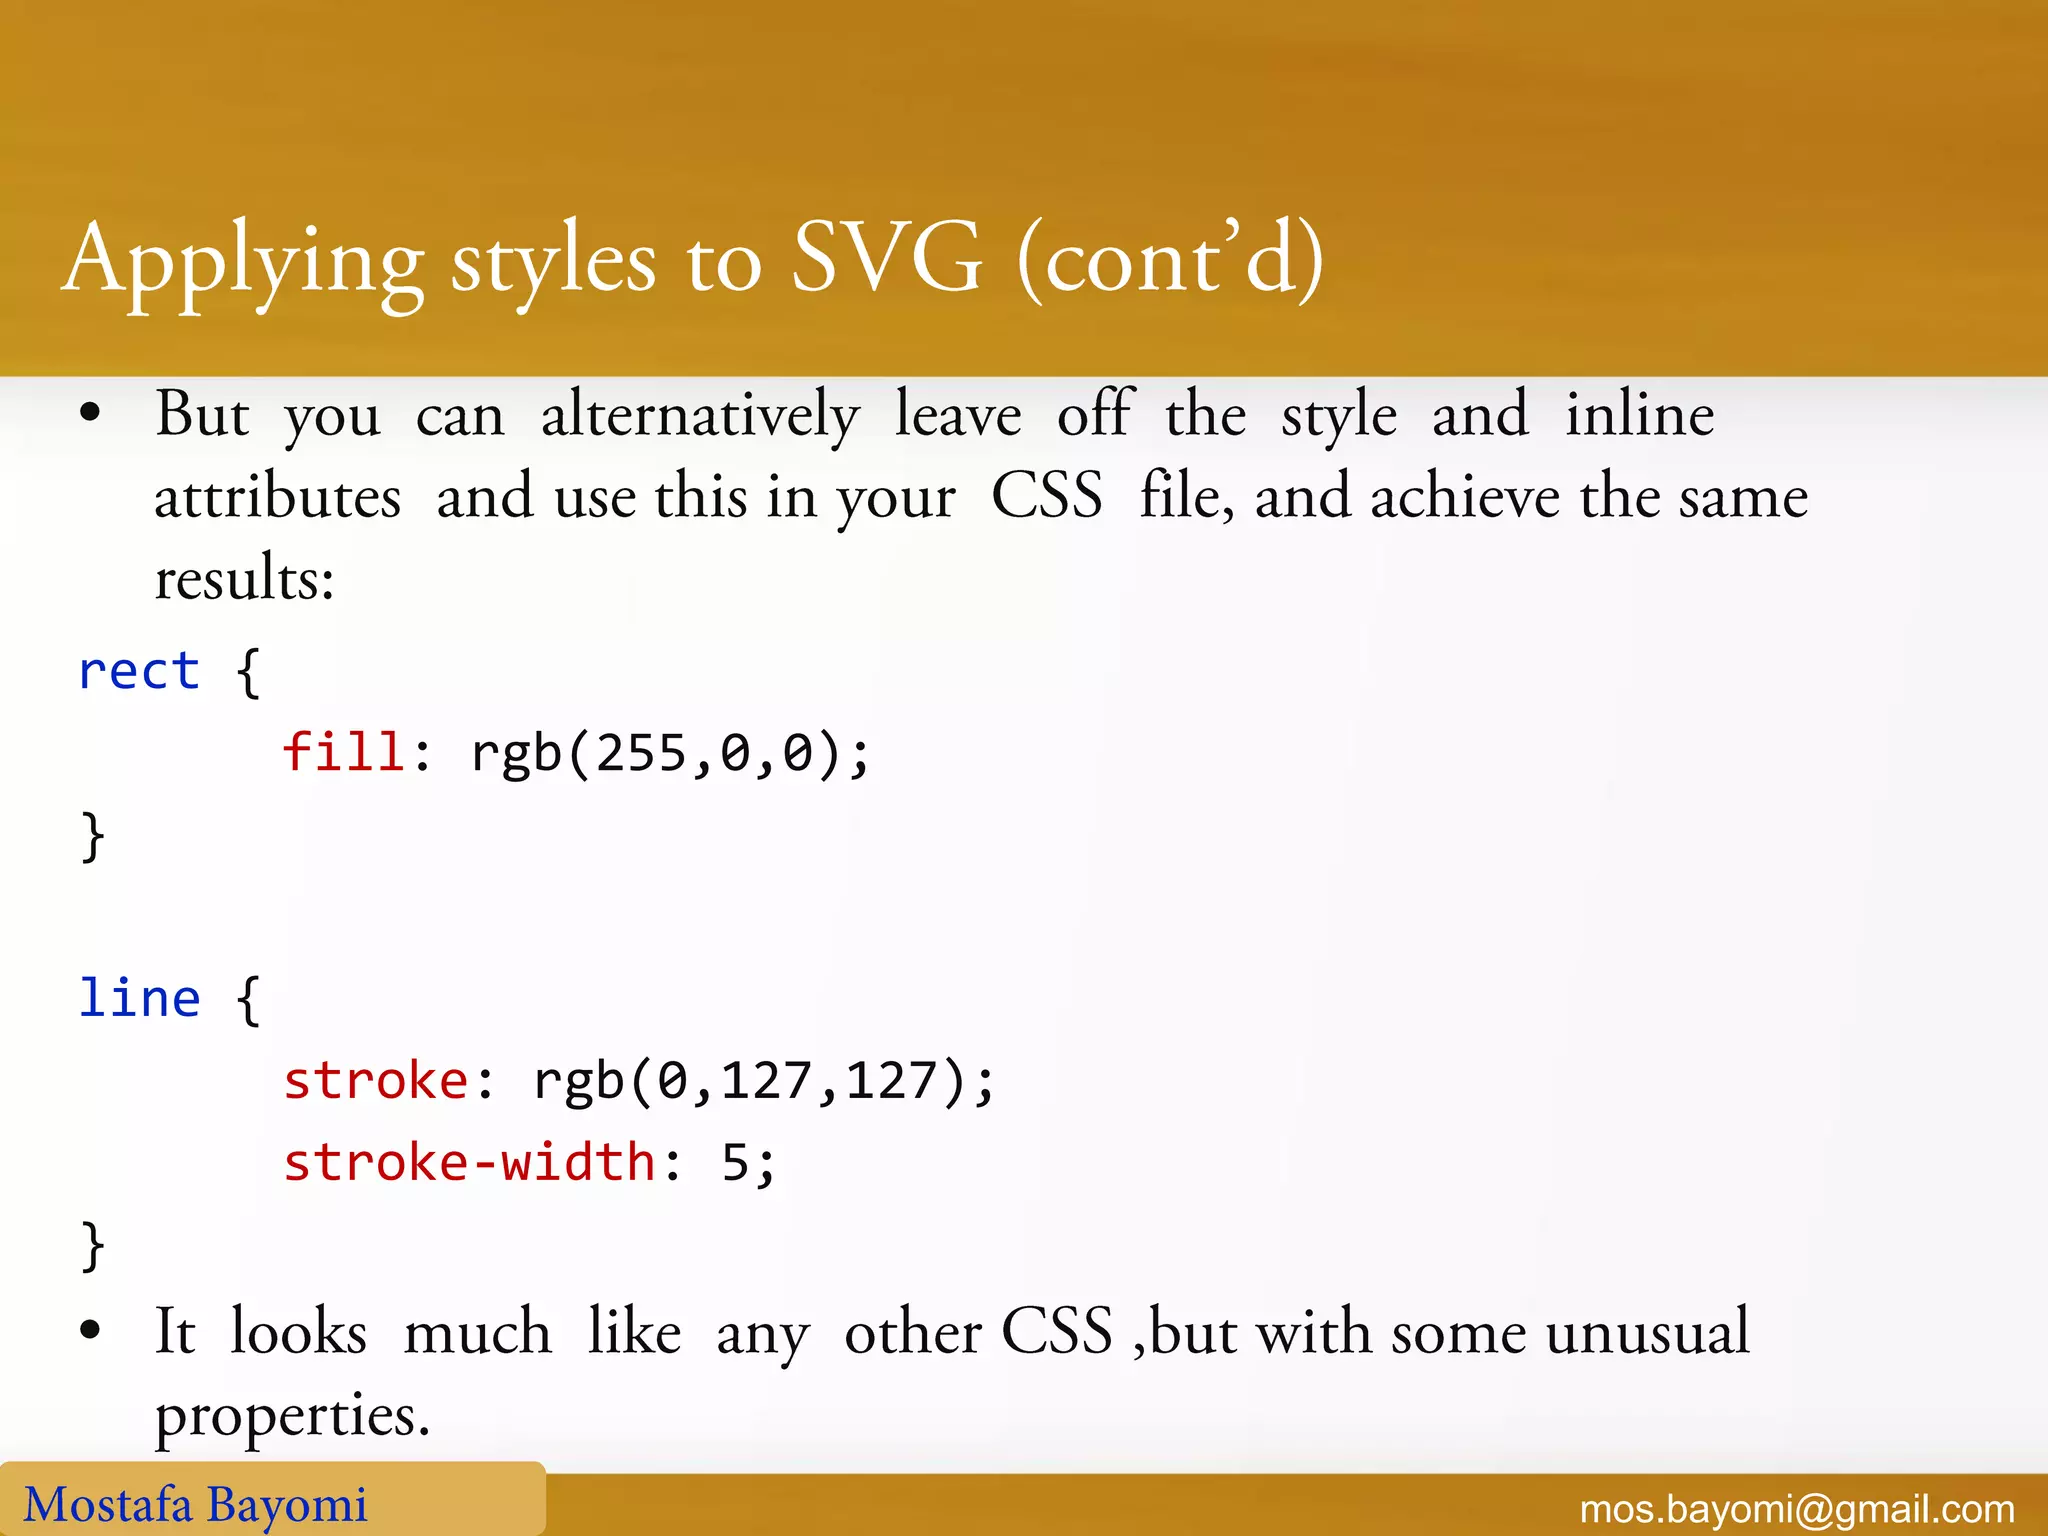
![mos.bayomi@gmail.com <head> <!--[if IE]> <script src="excanvas.js"></script> <![endif]--> </head>](https://image.slidesharecdn.com/learnhtml5-130509122608-phpapp01/75/Learn-html5-64-2048.jpg)
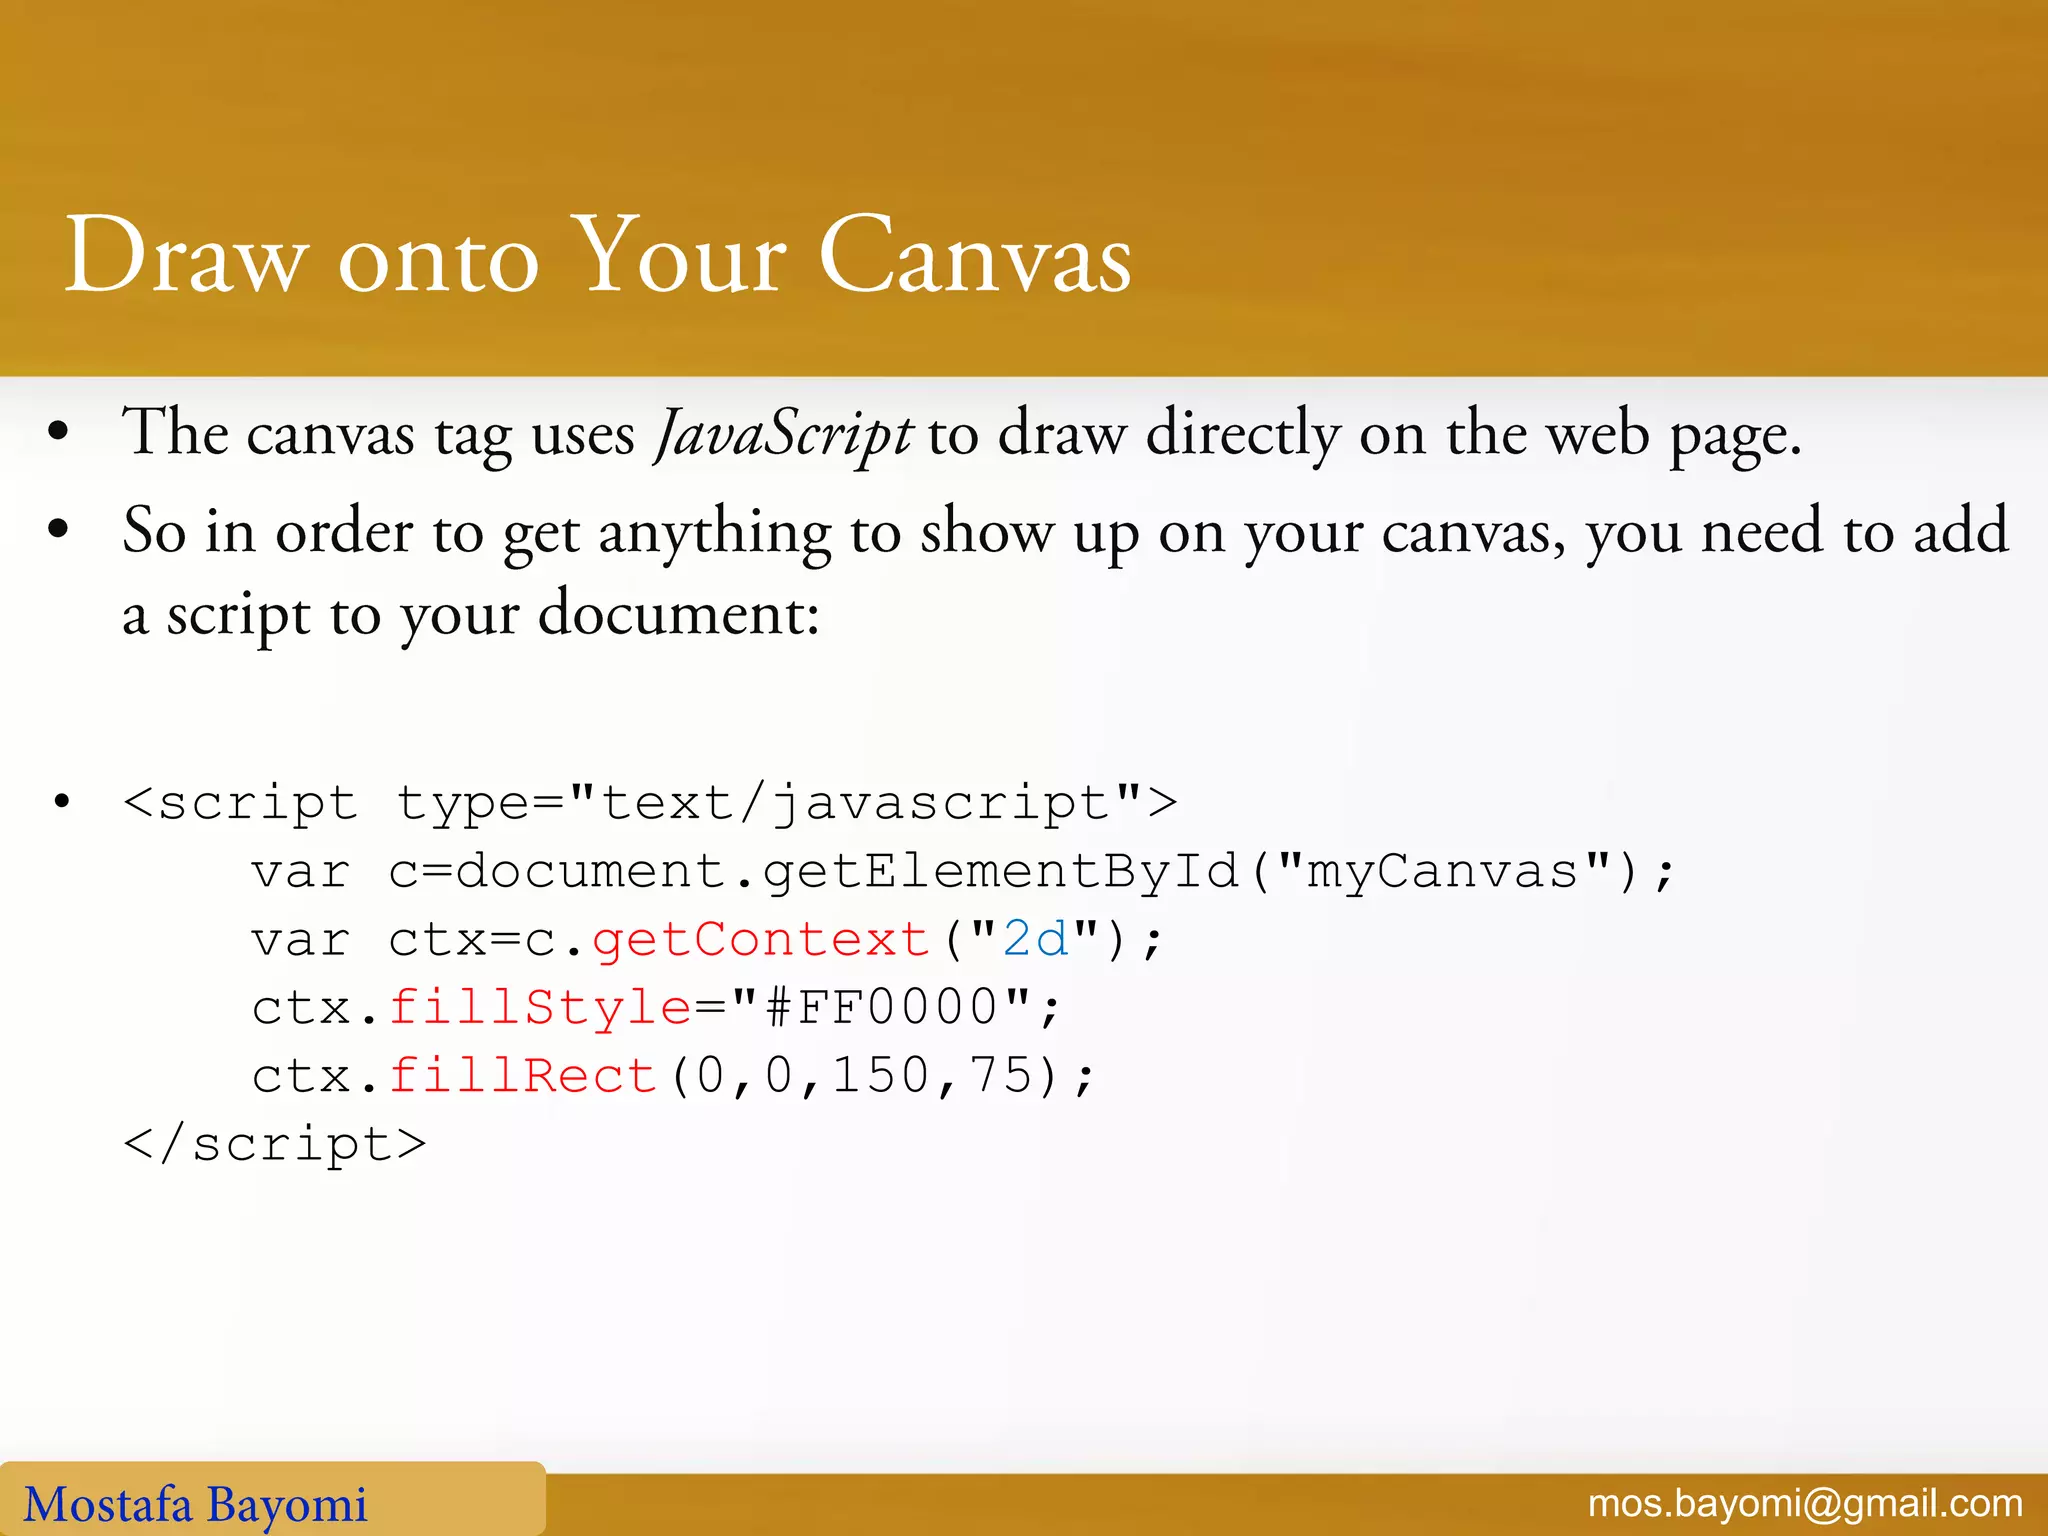
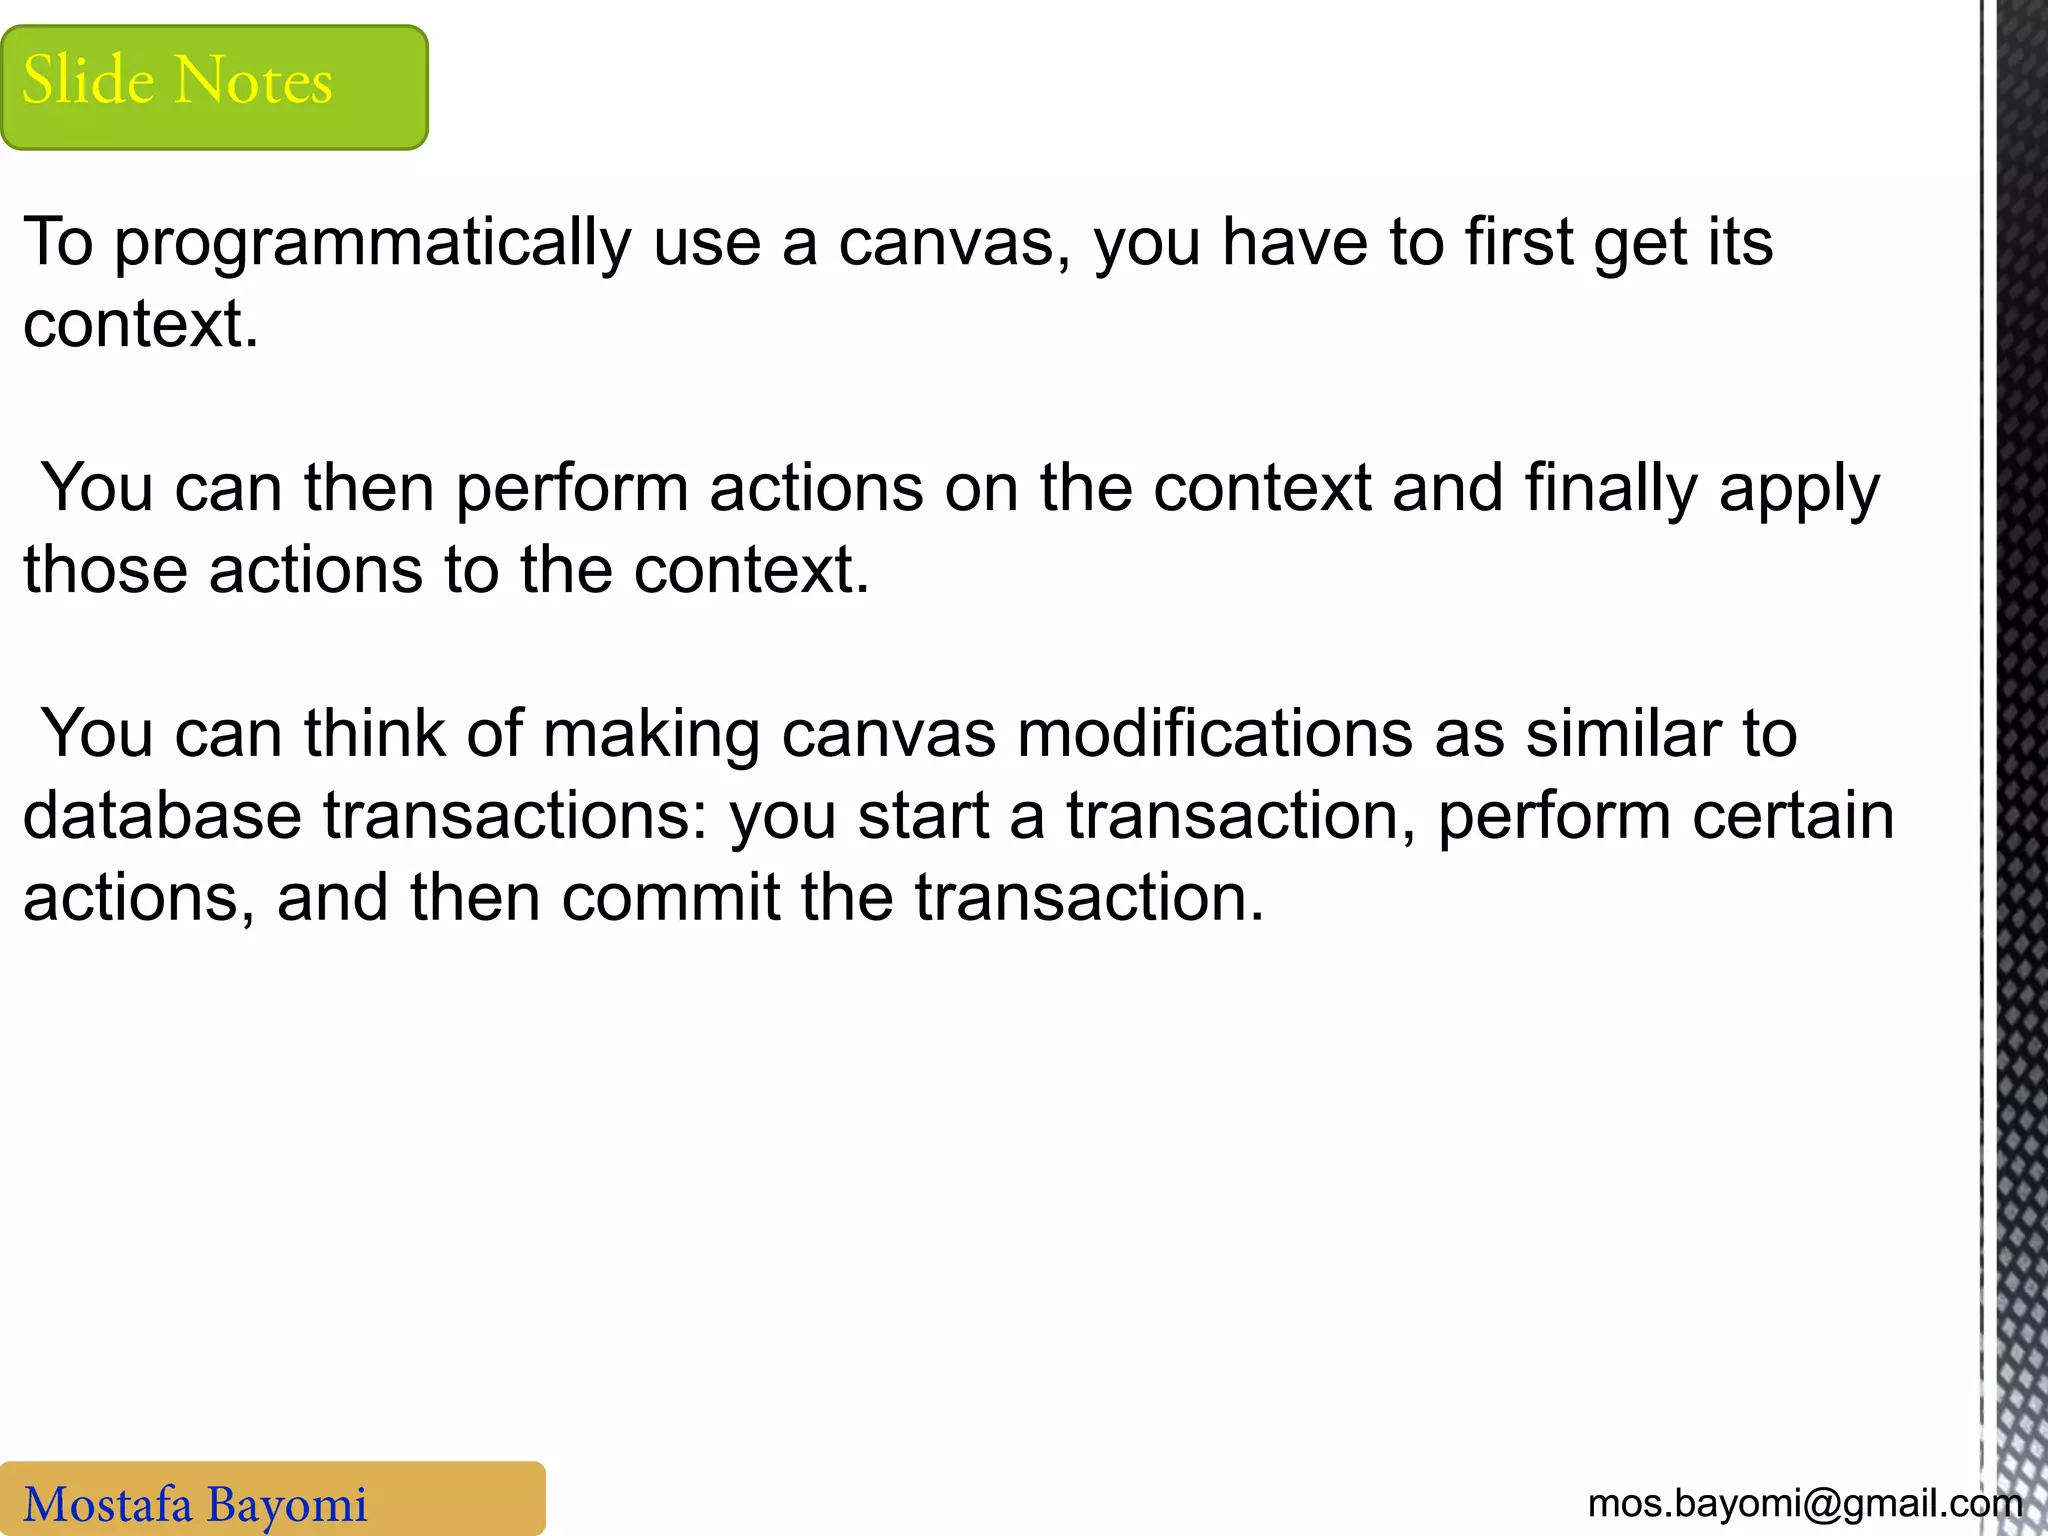
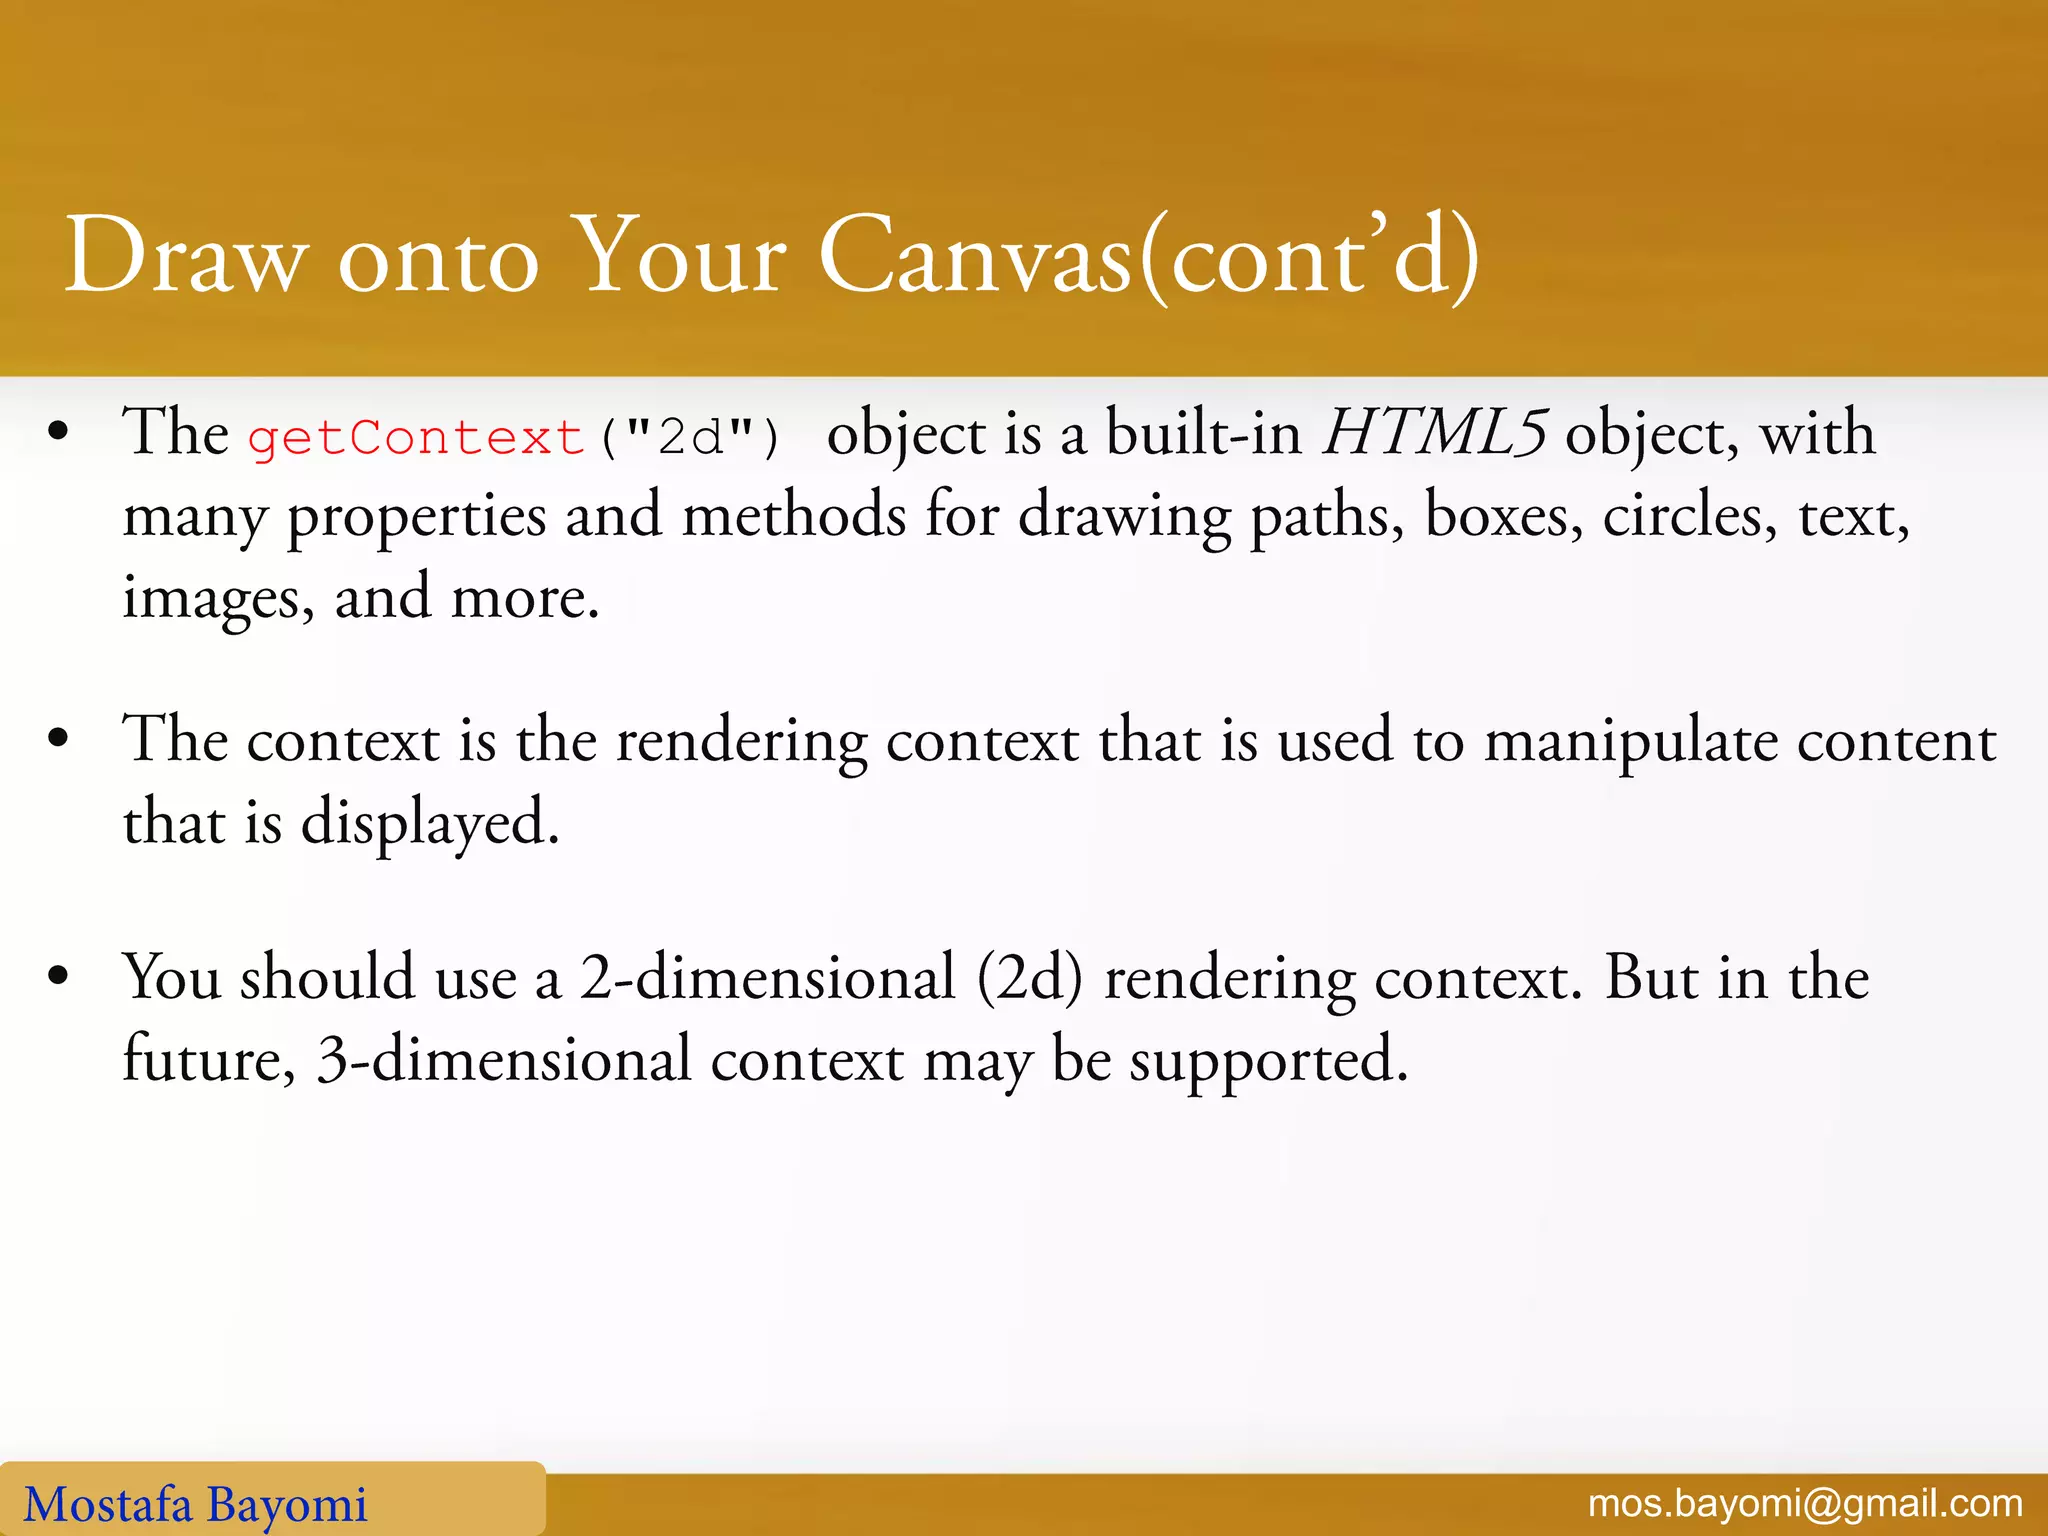
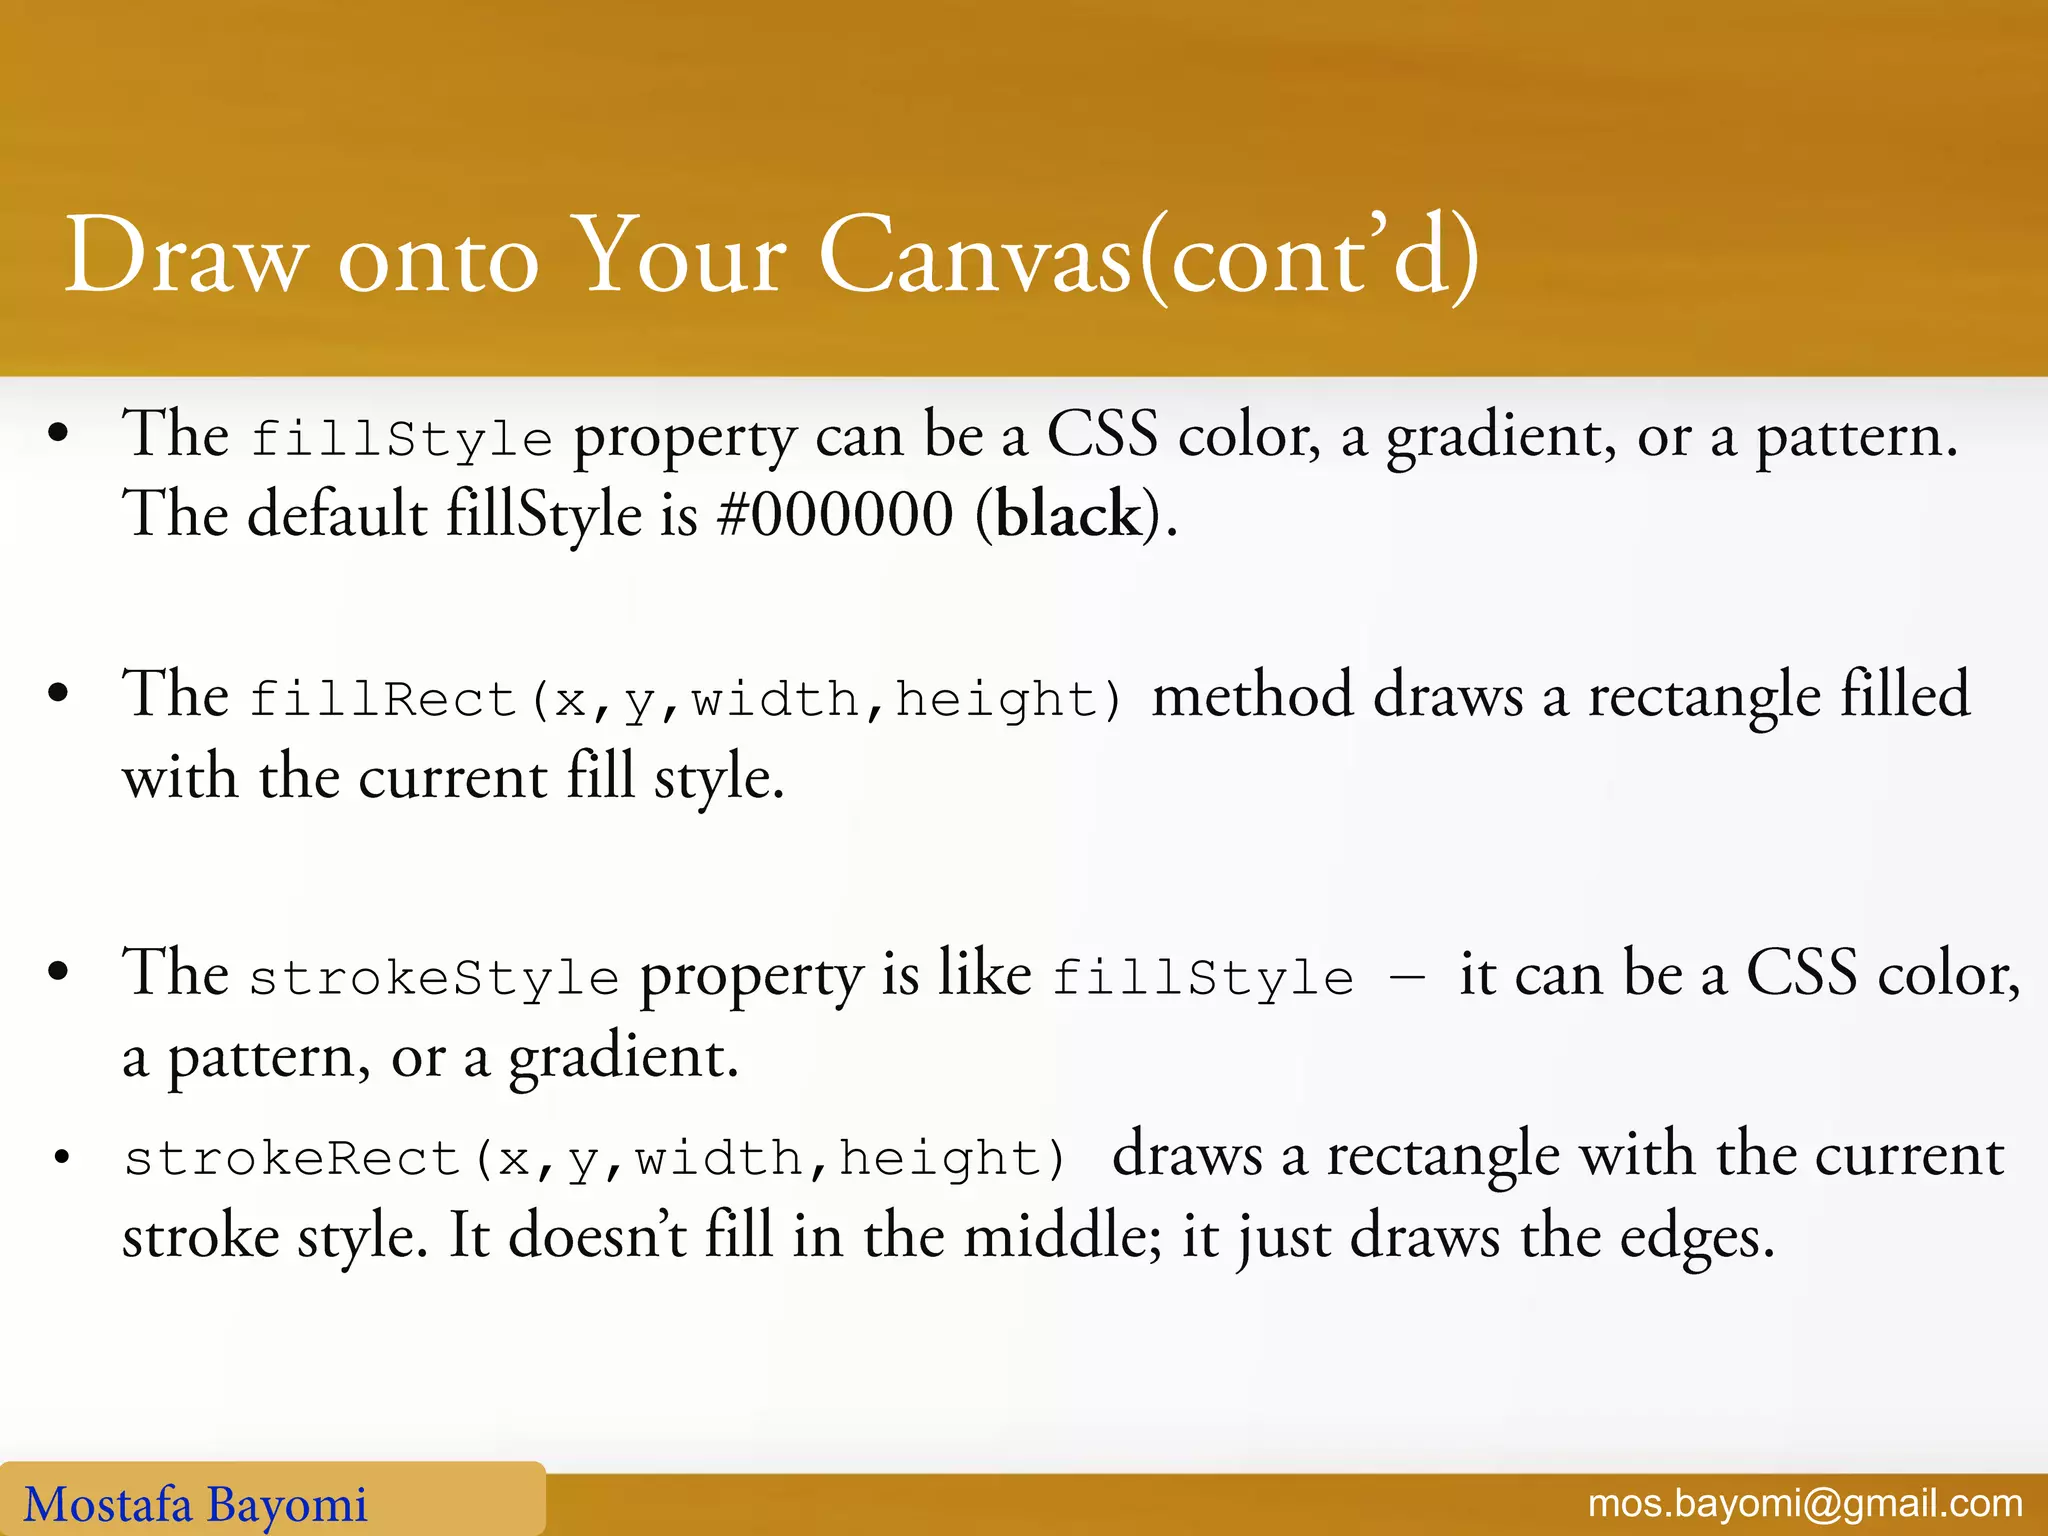
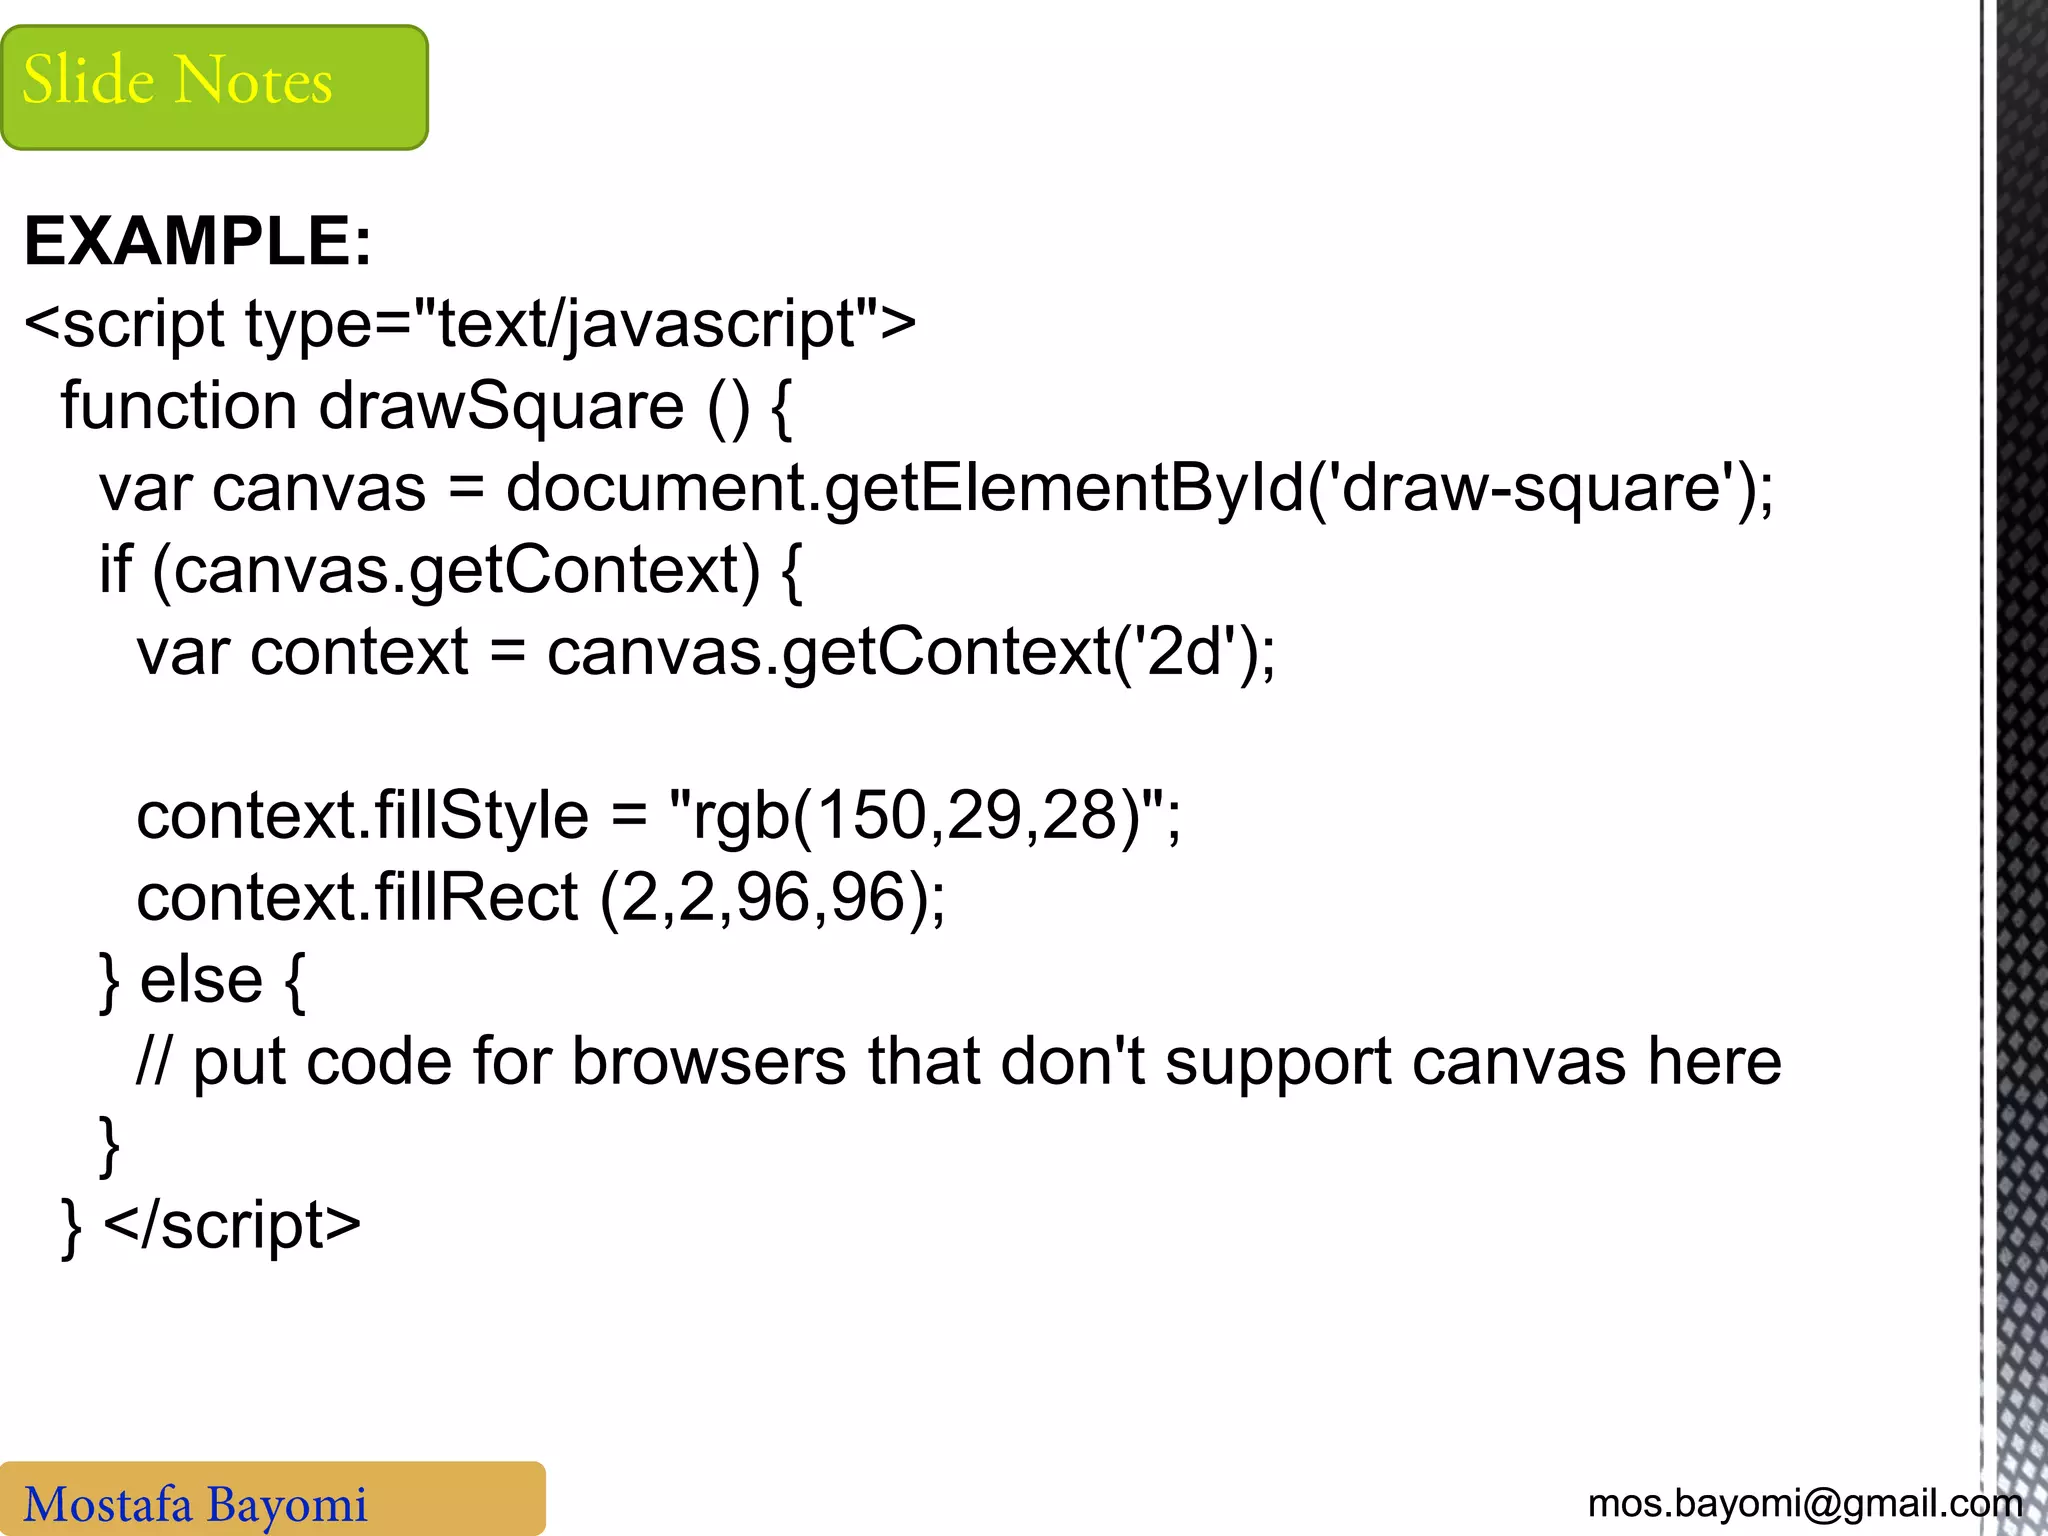
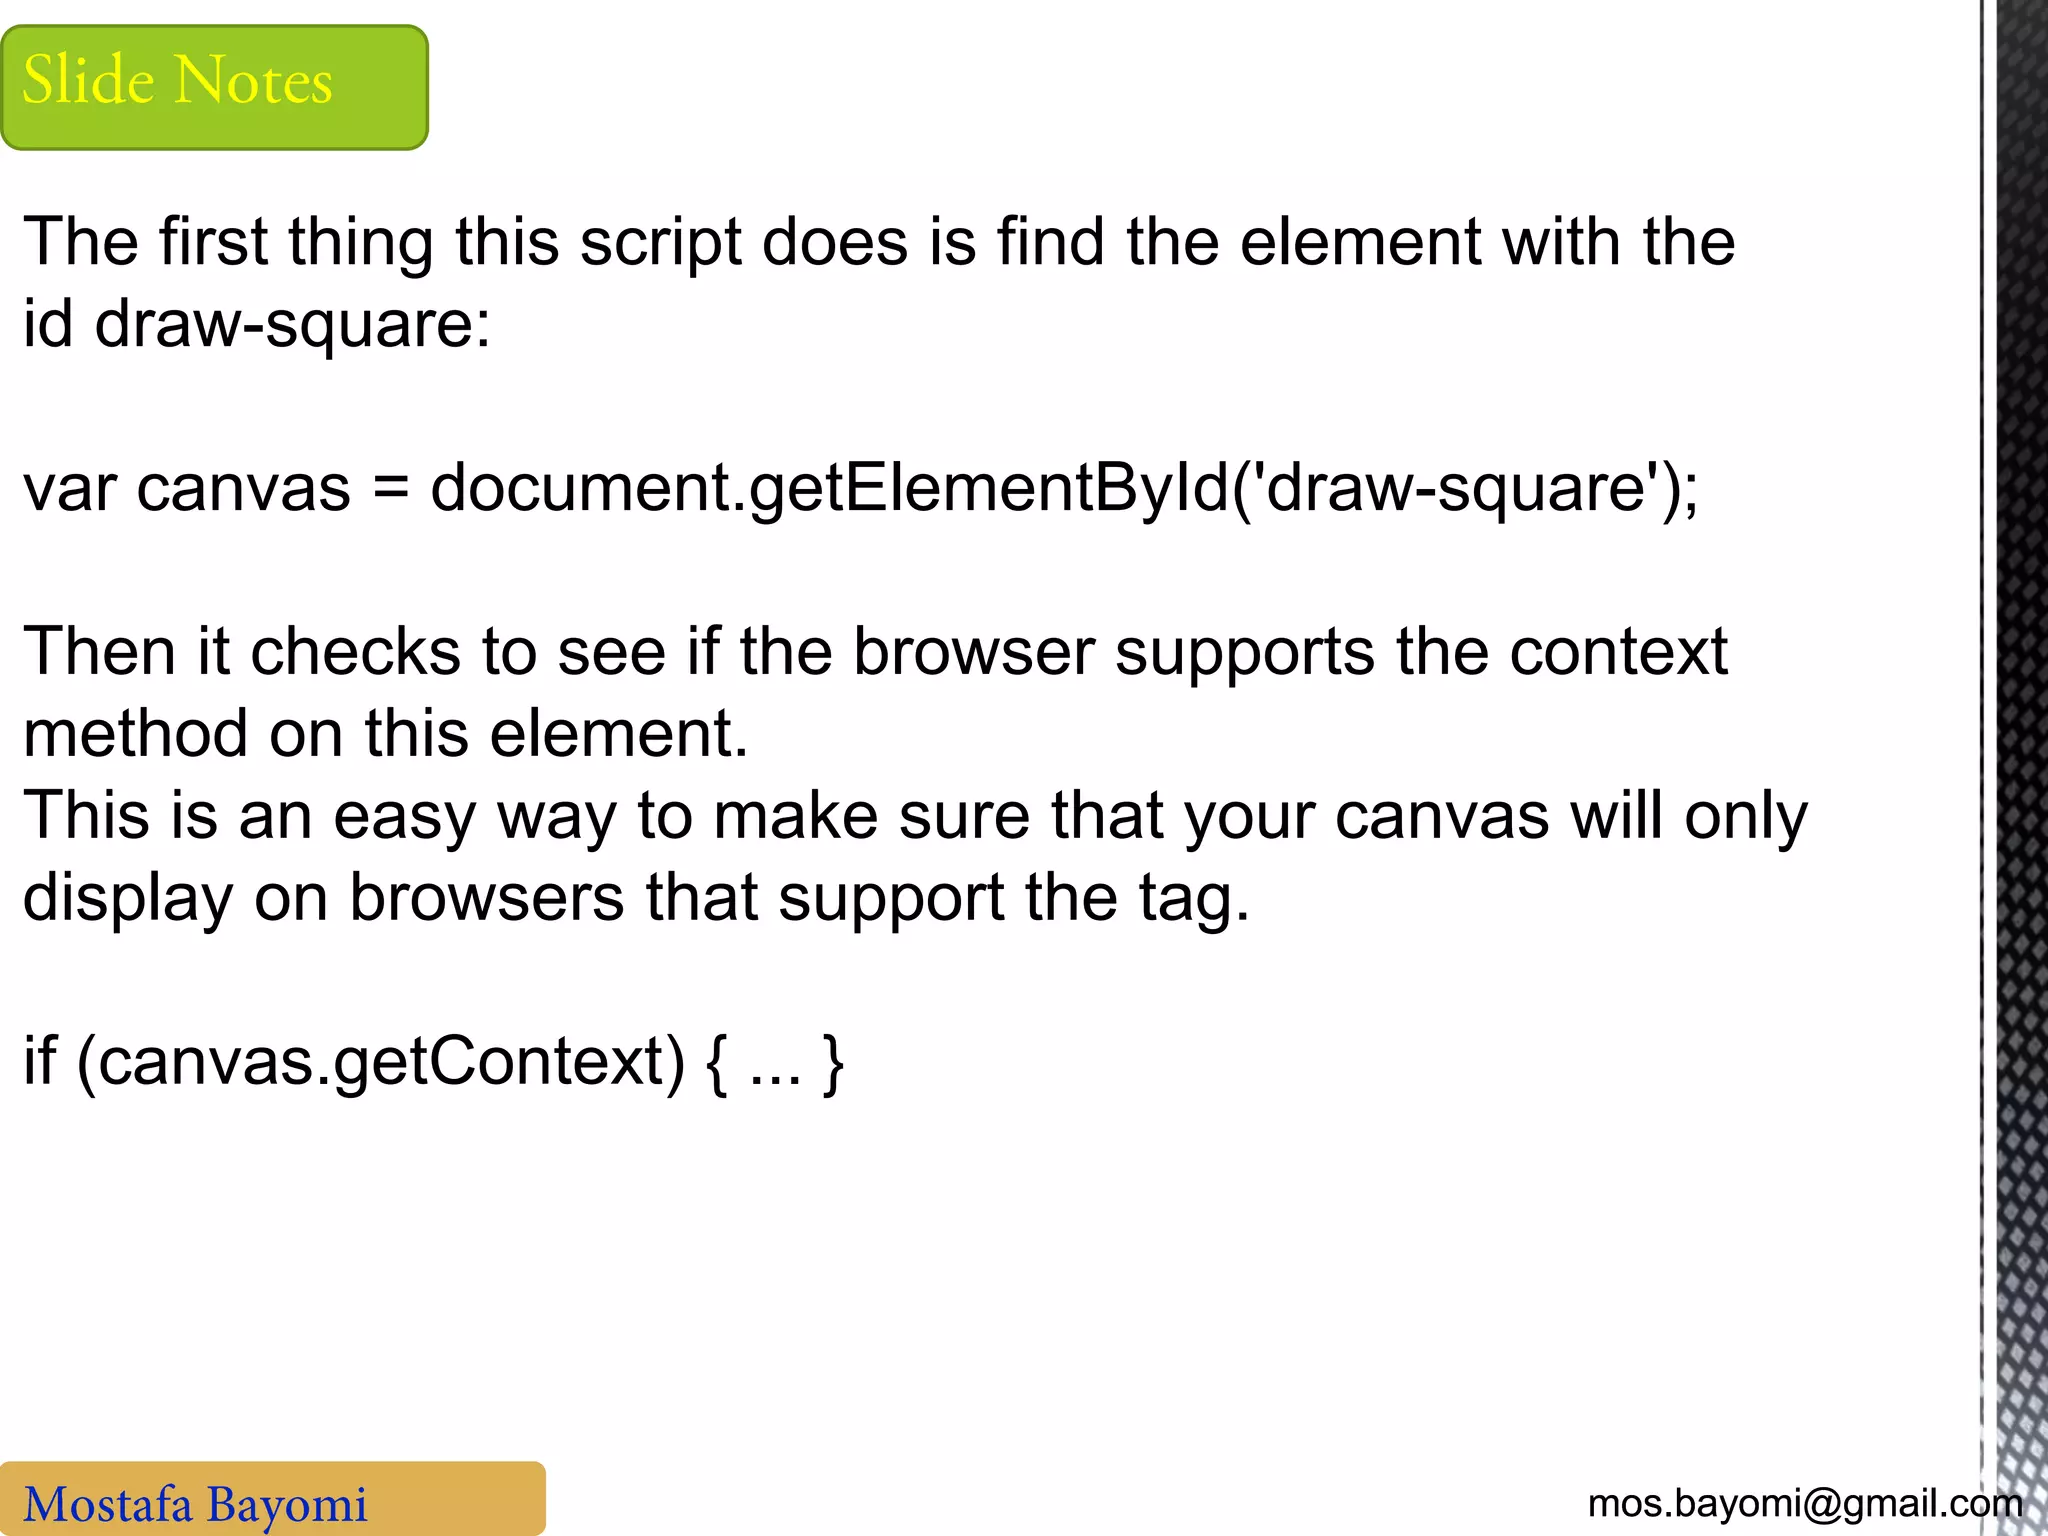
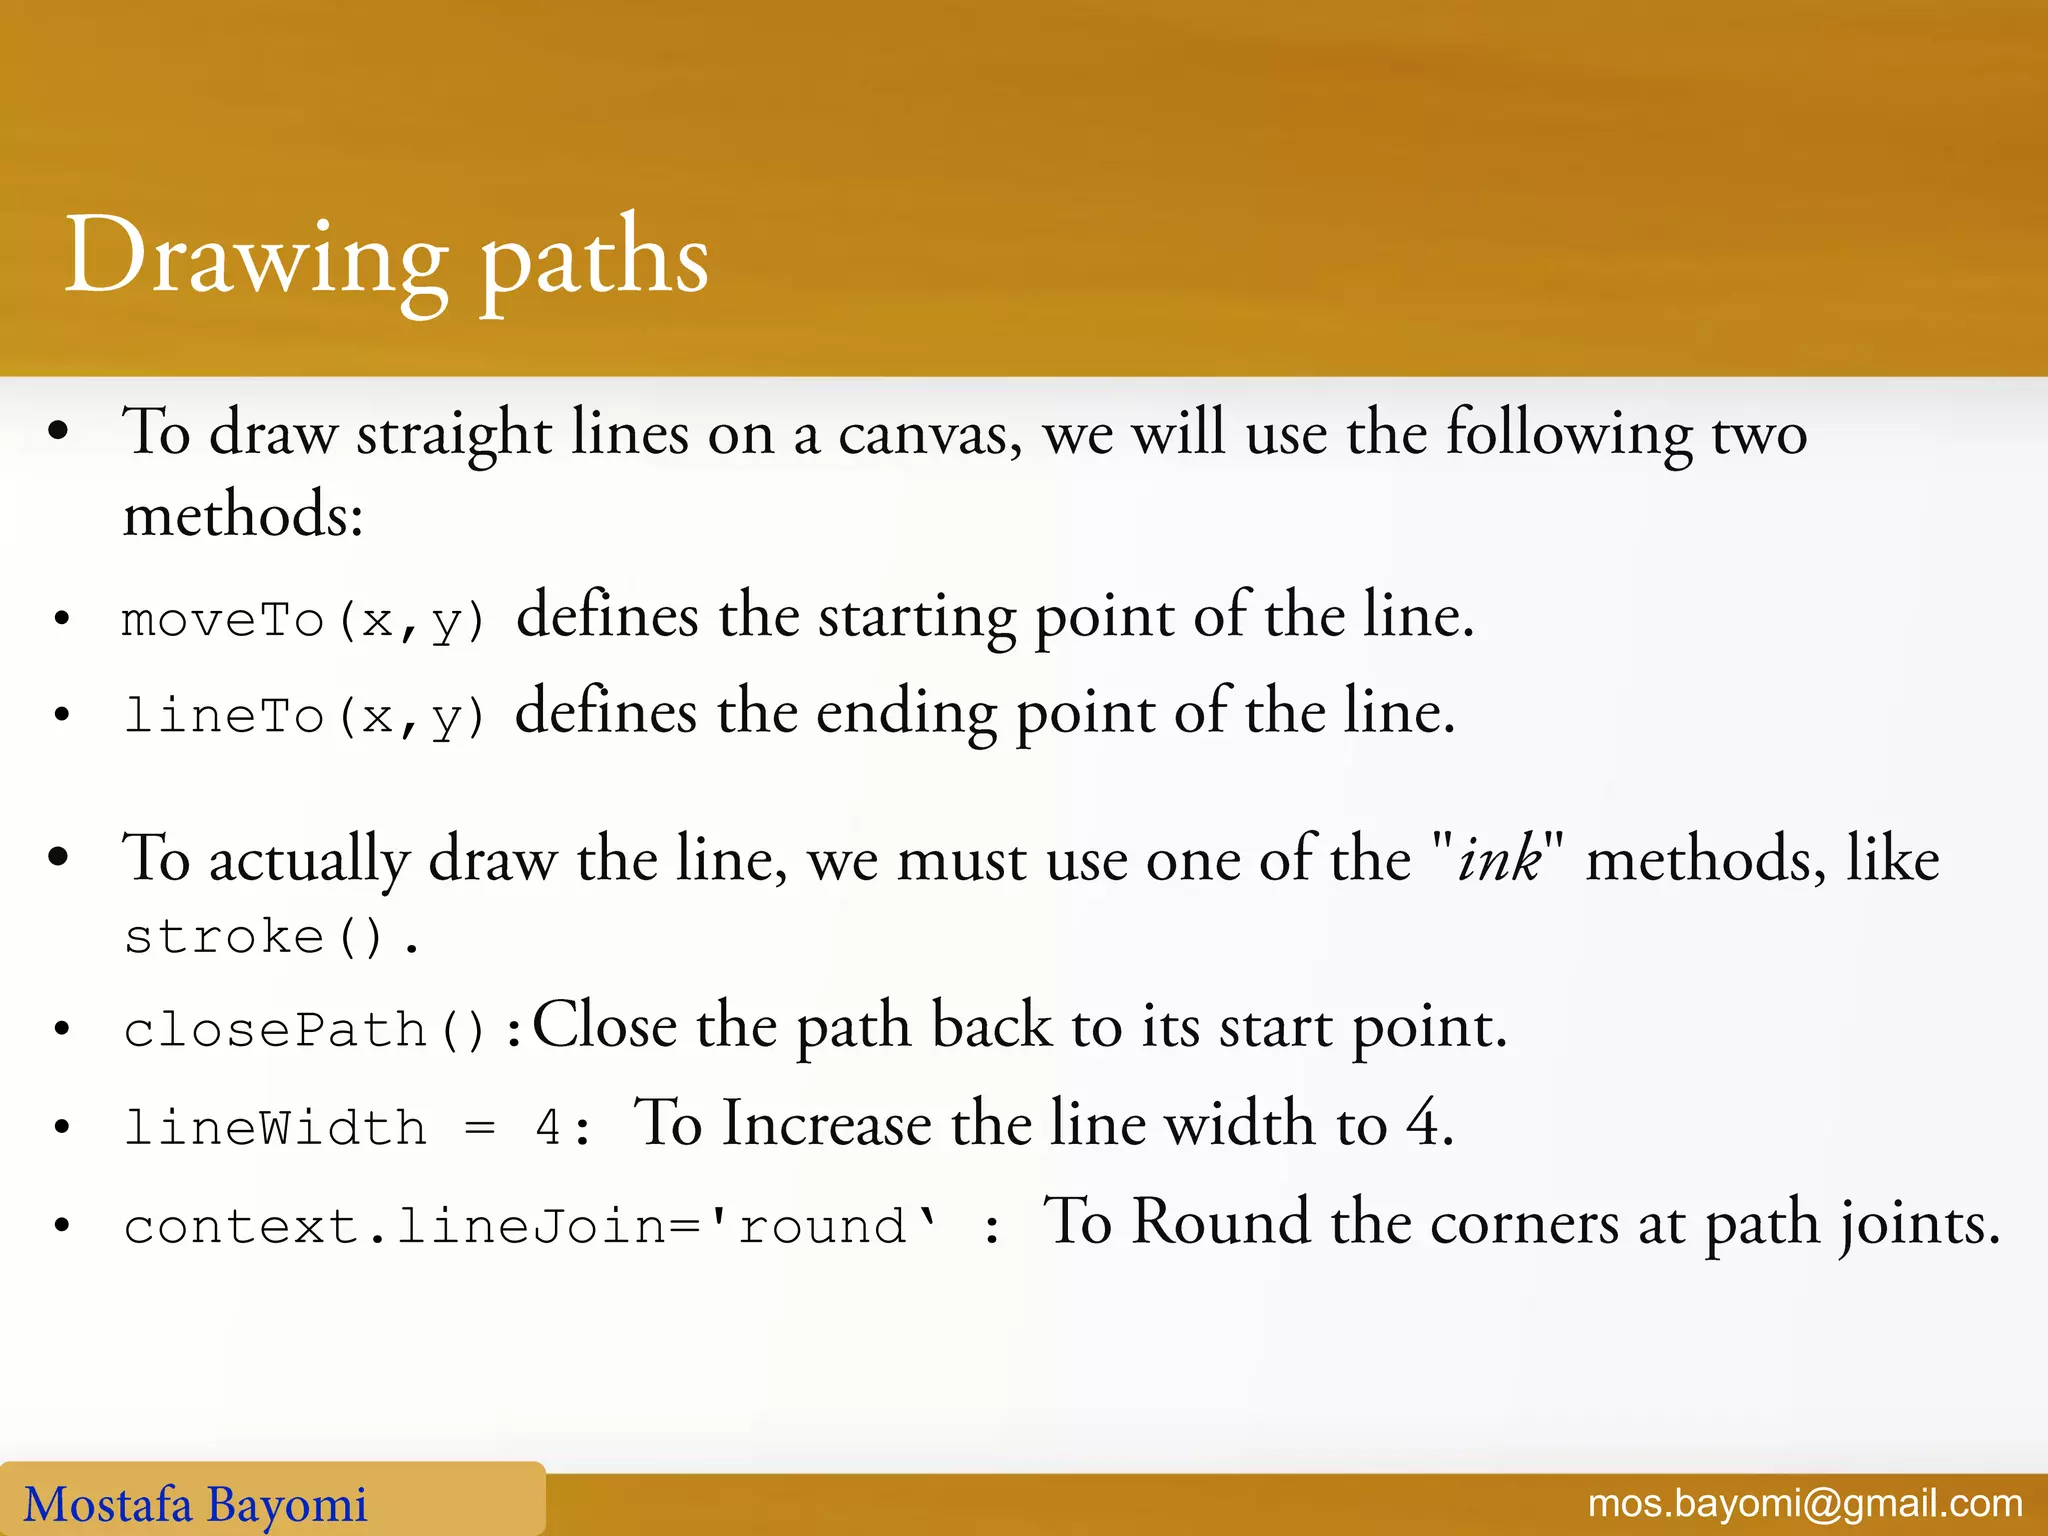
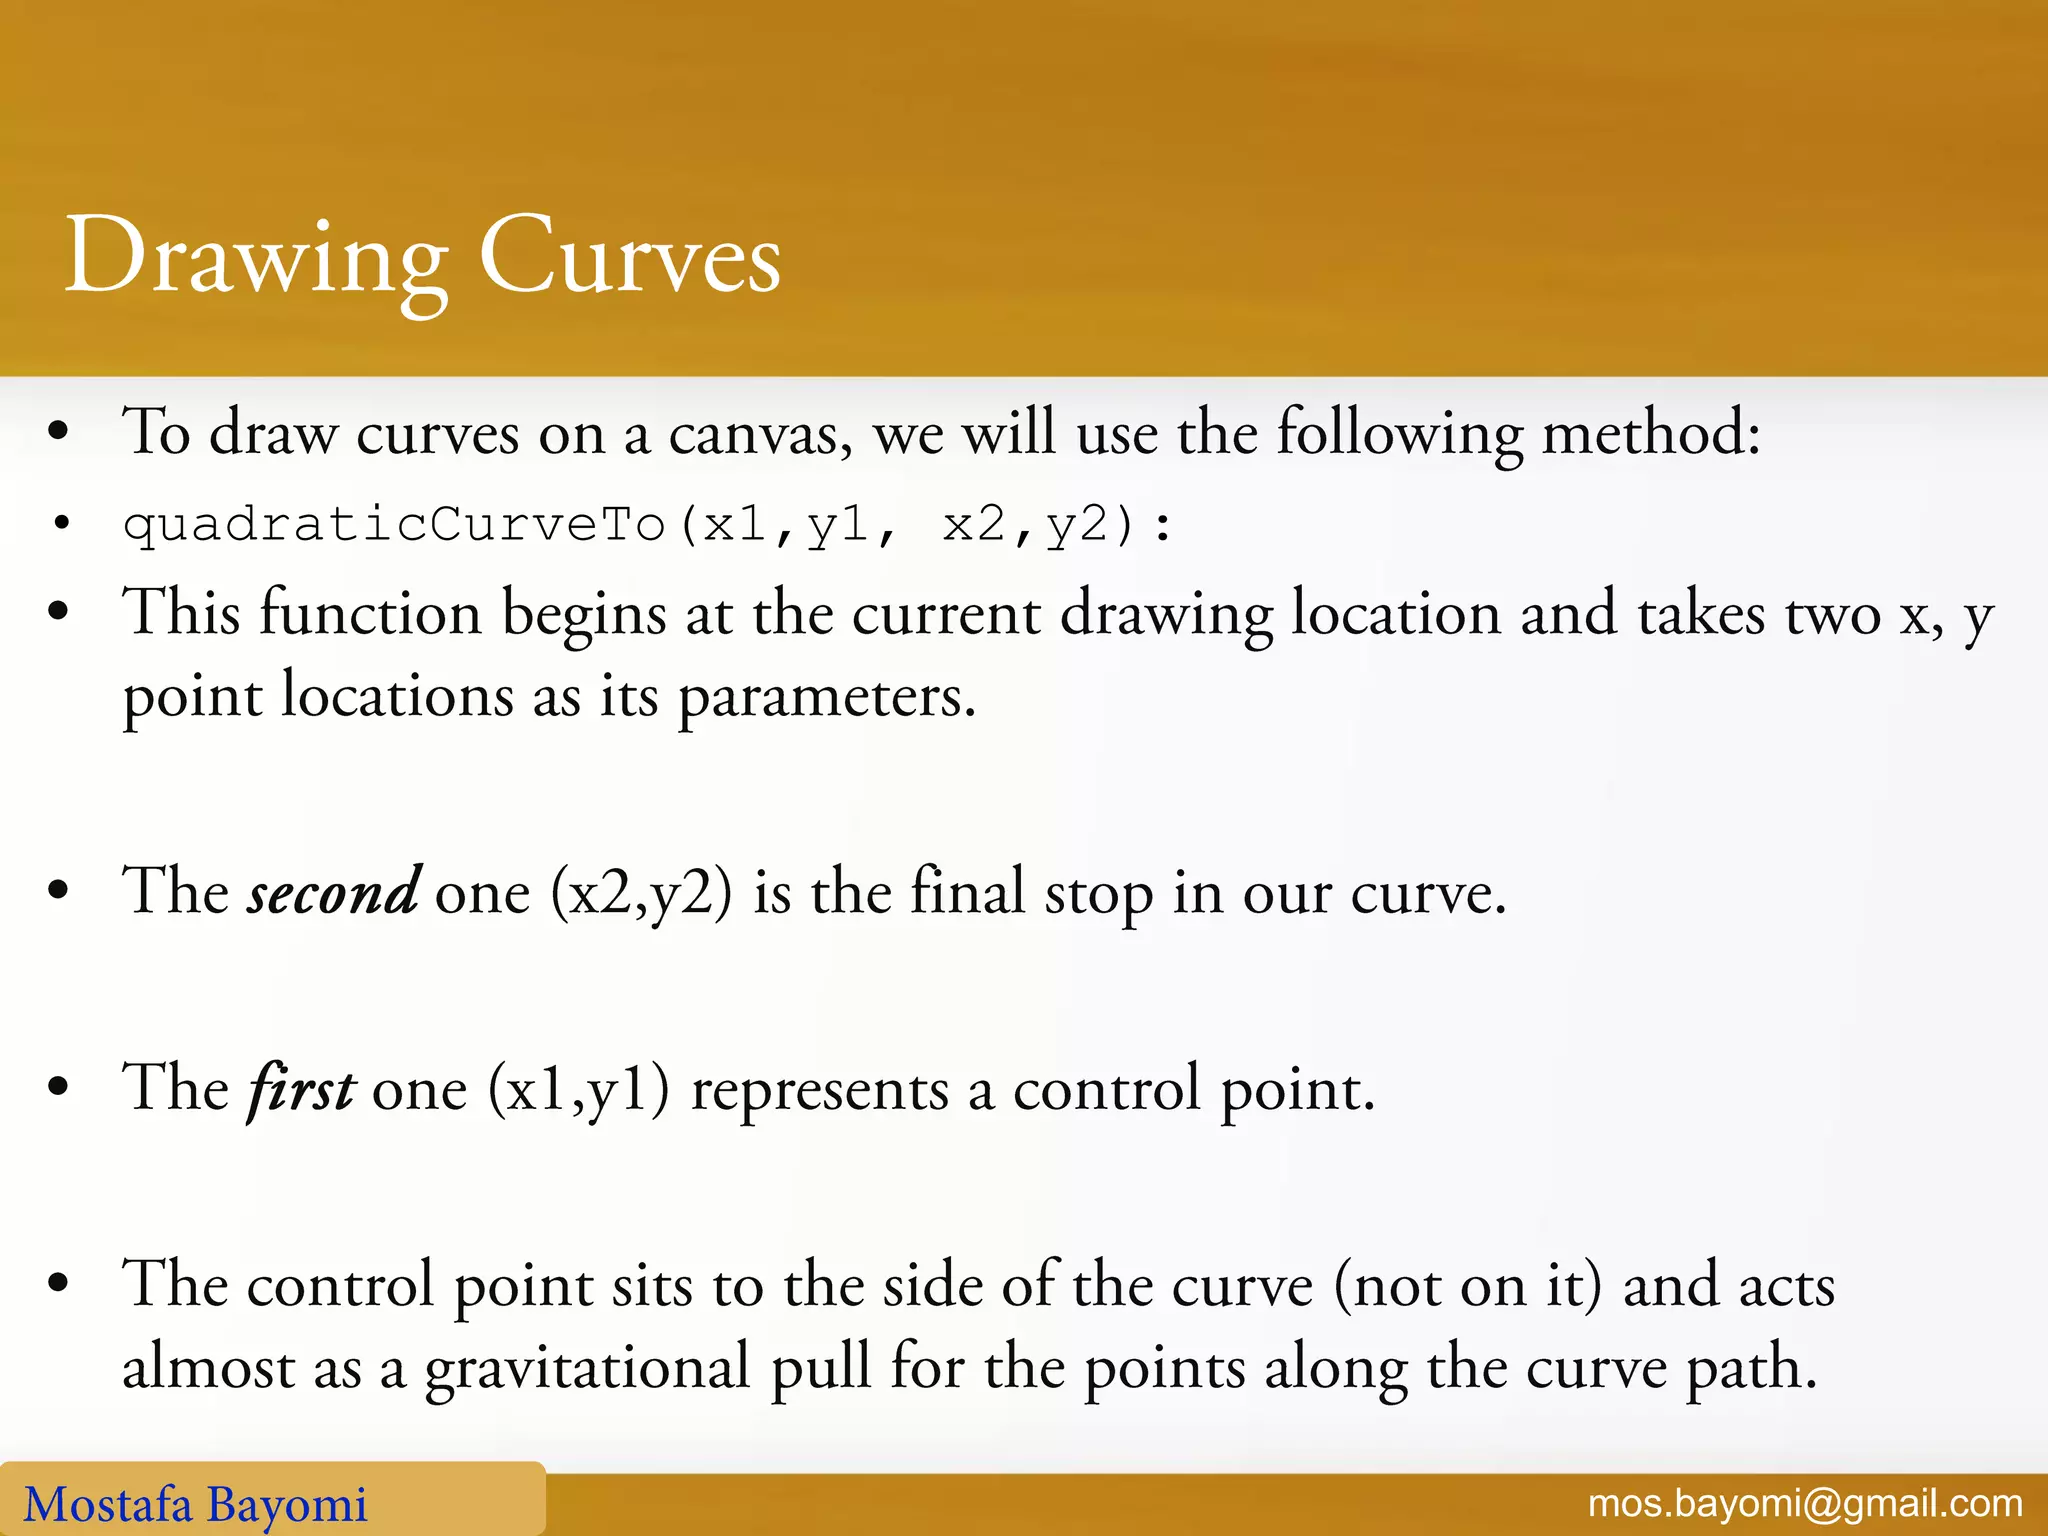
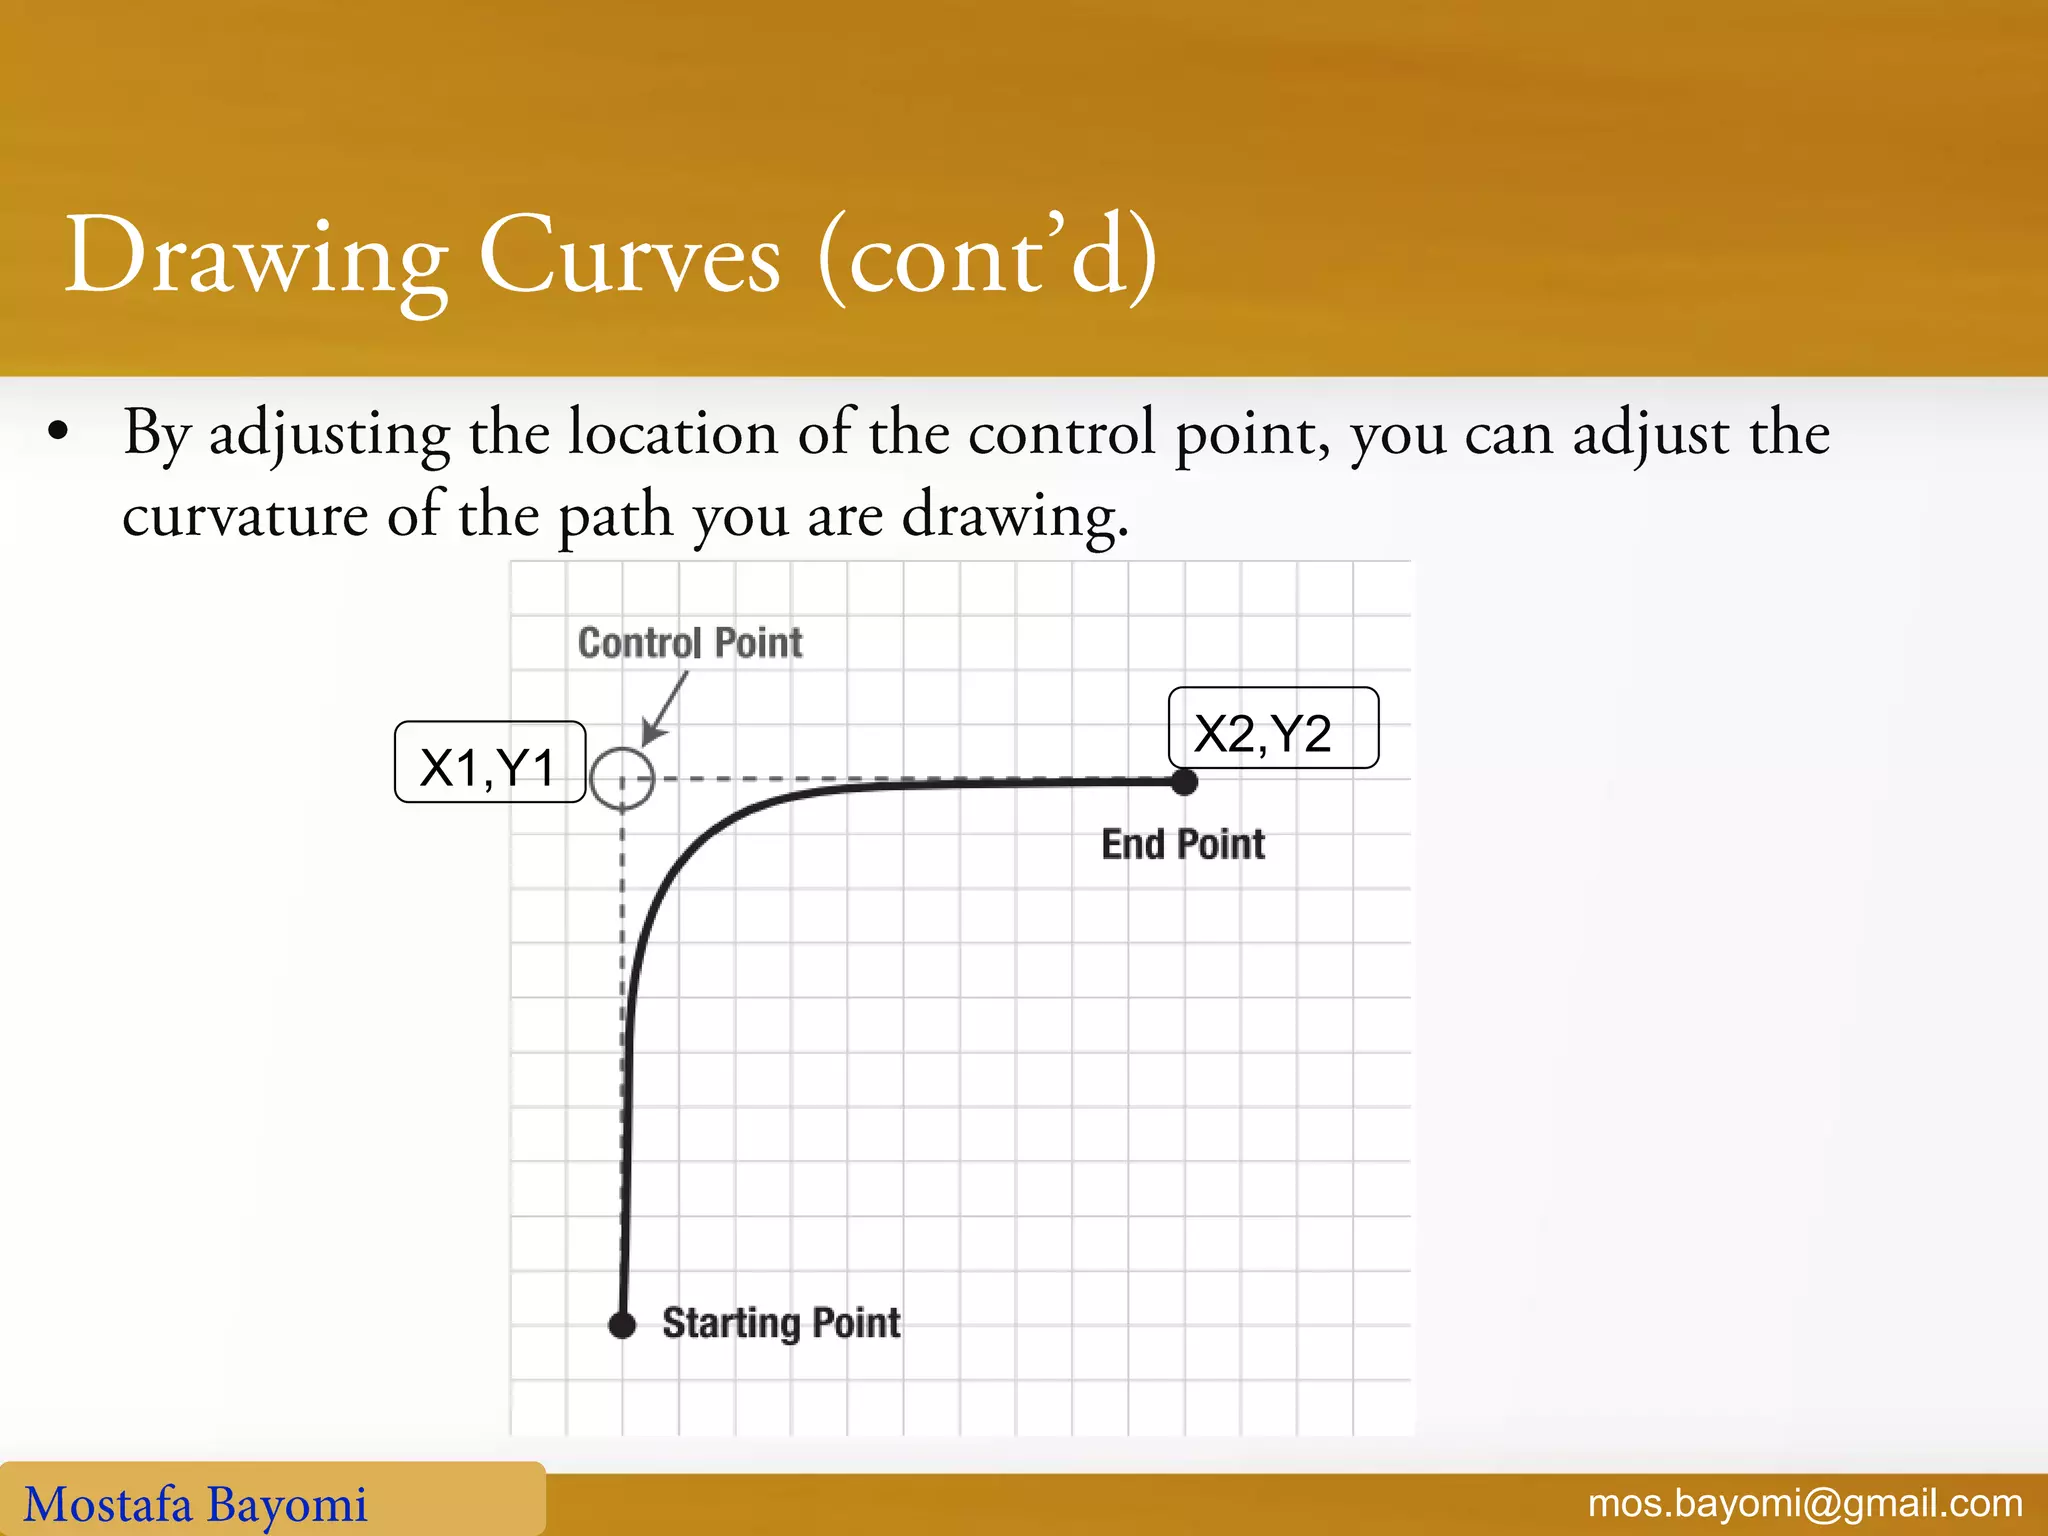
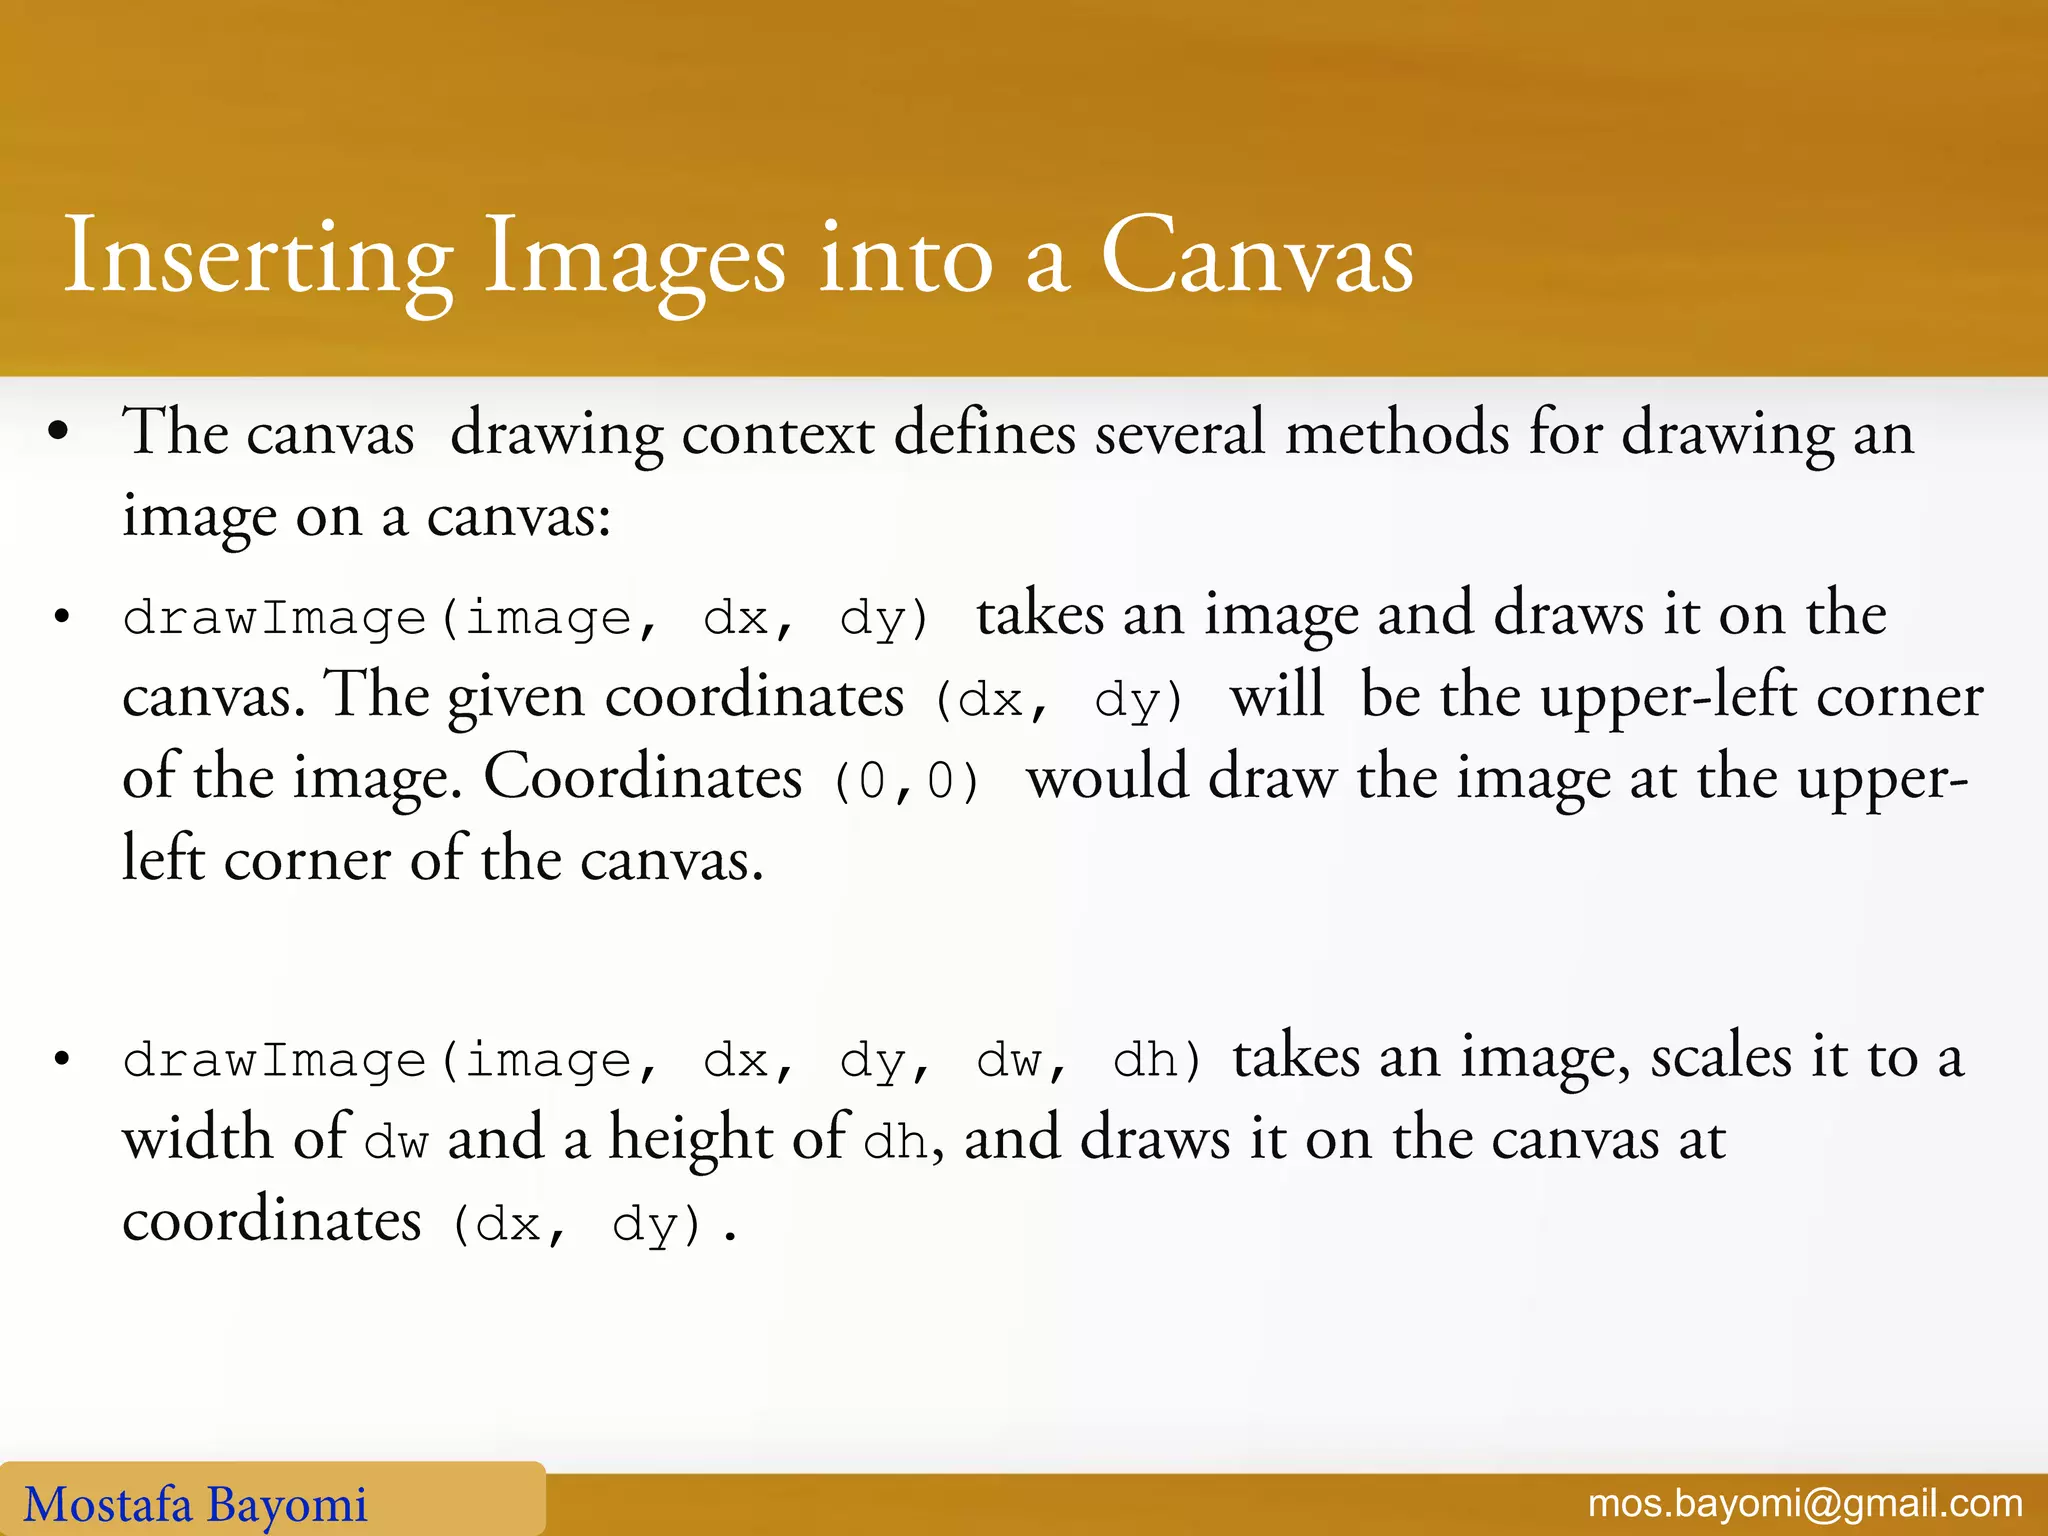
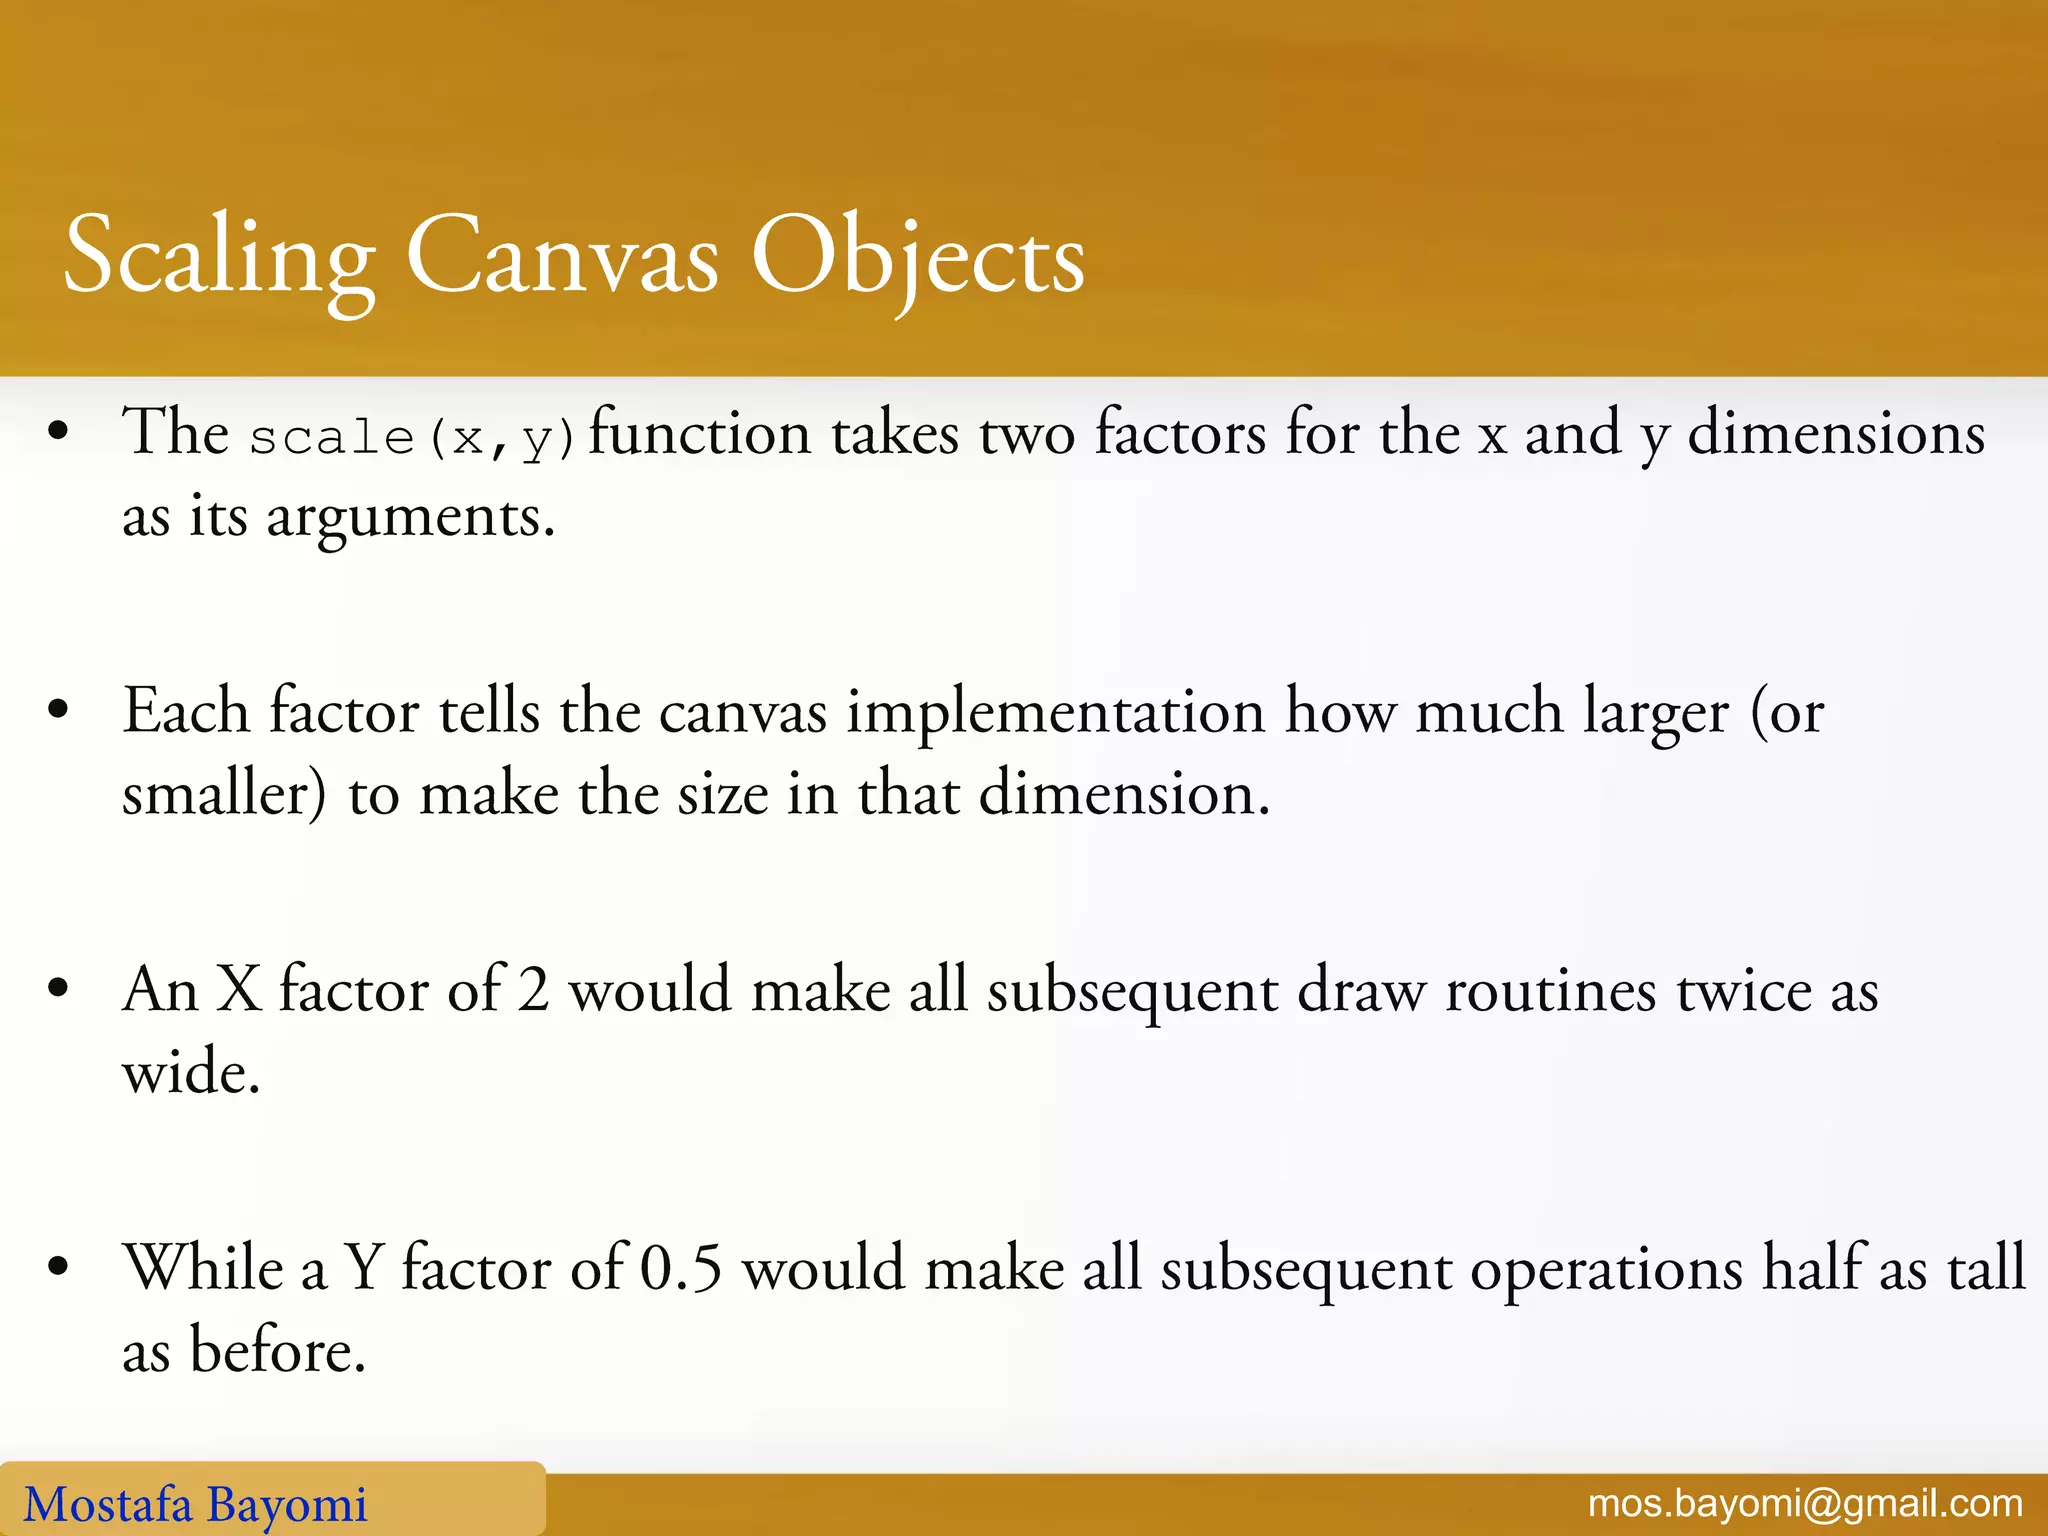
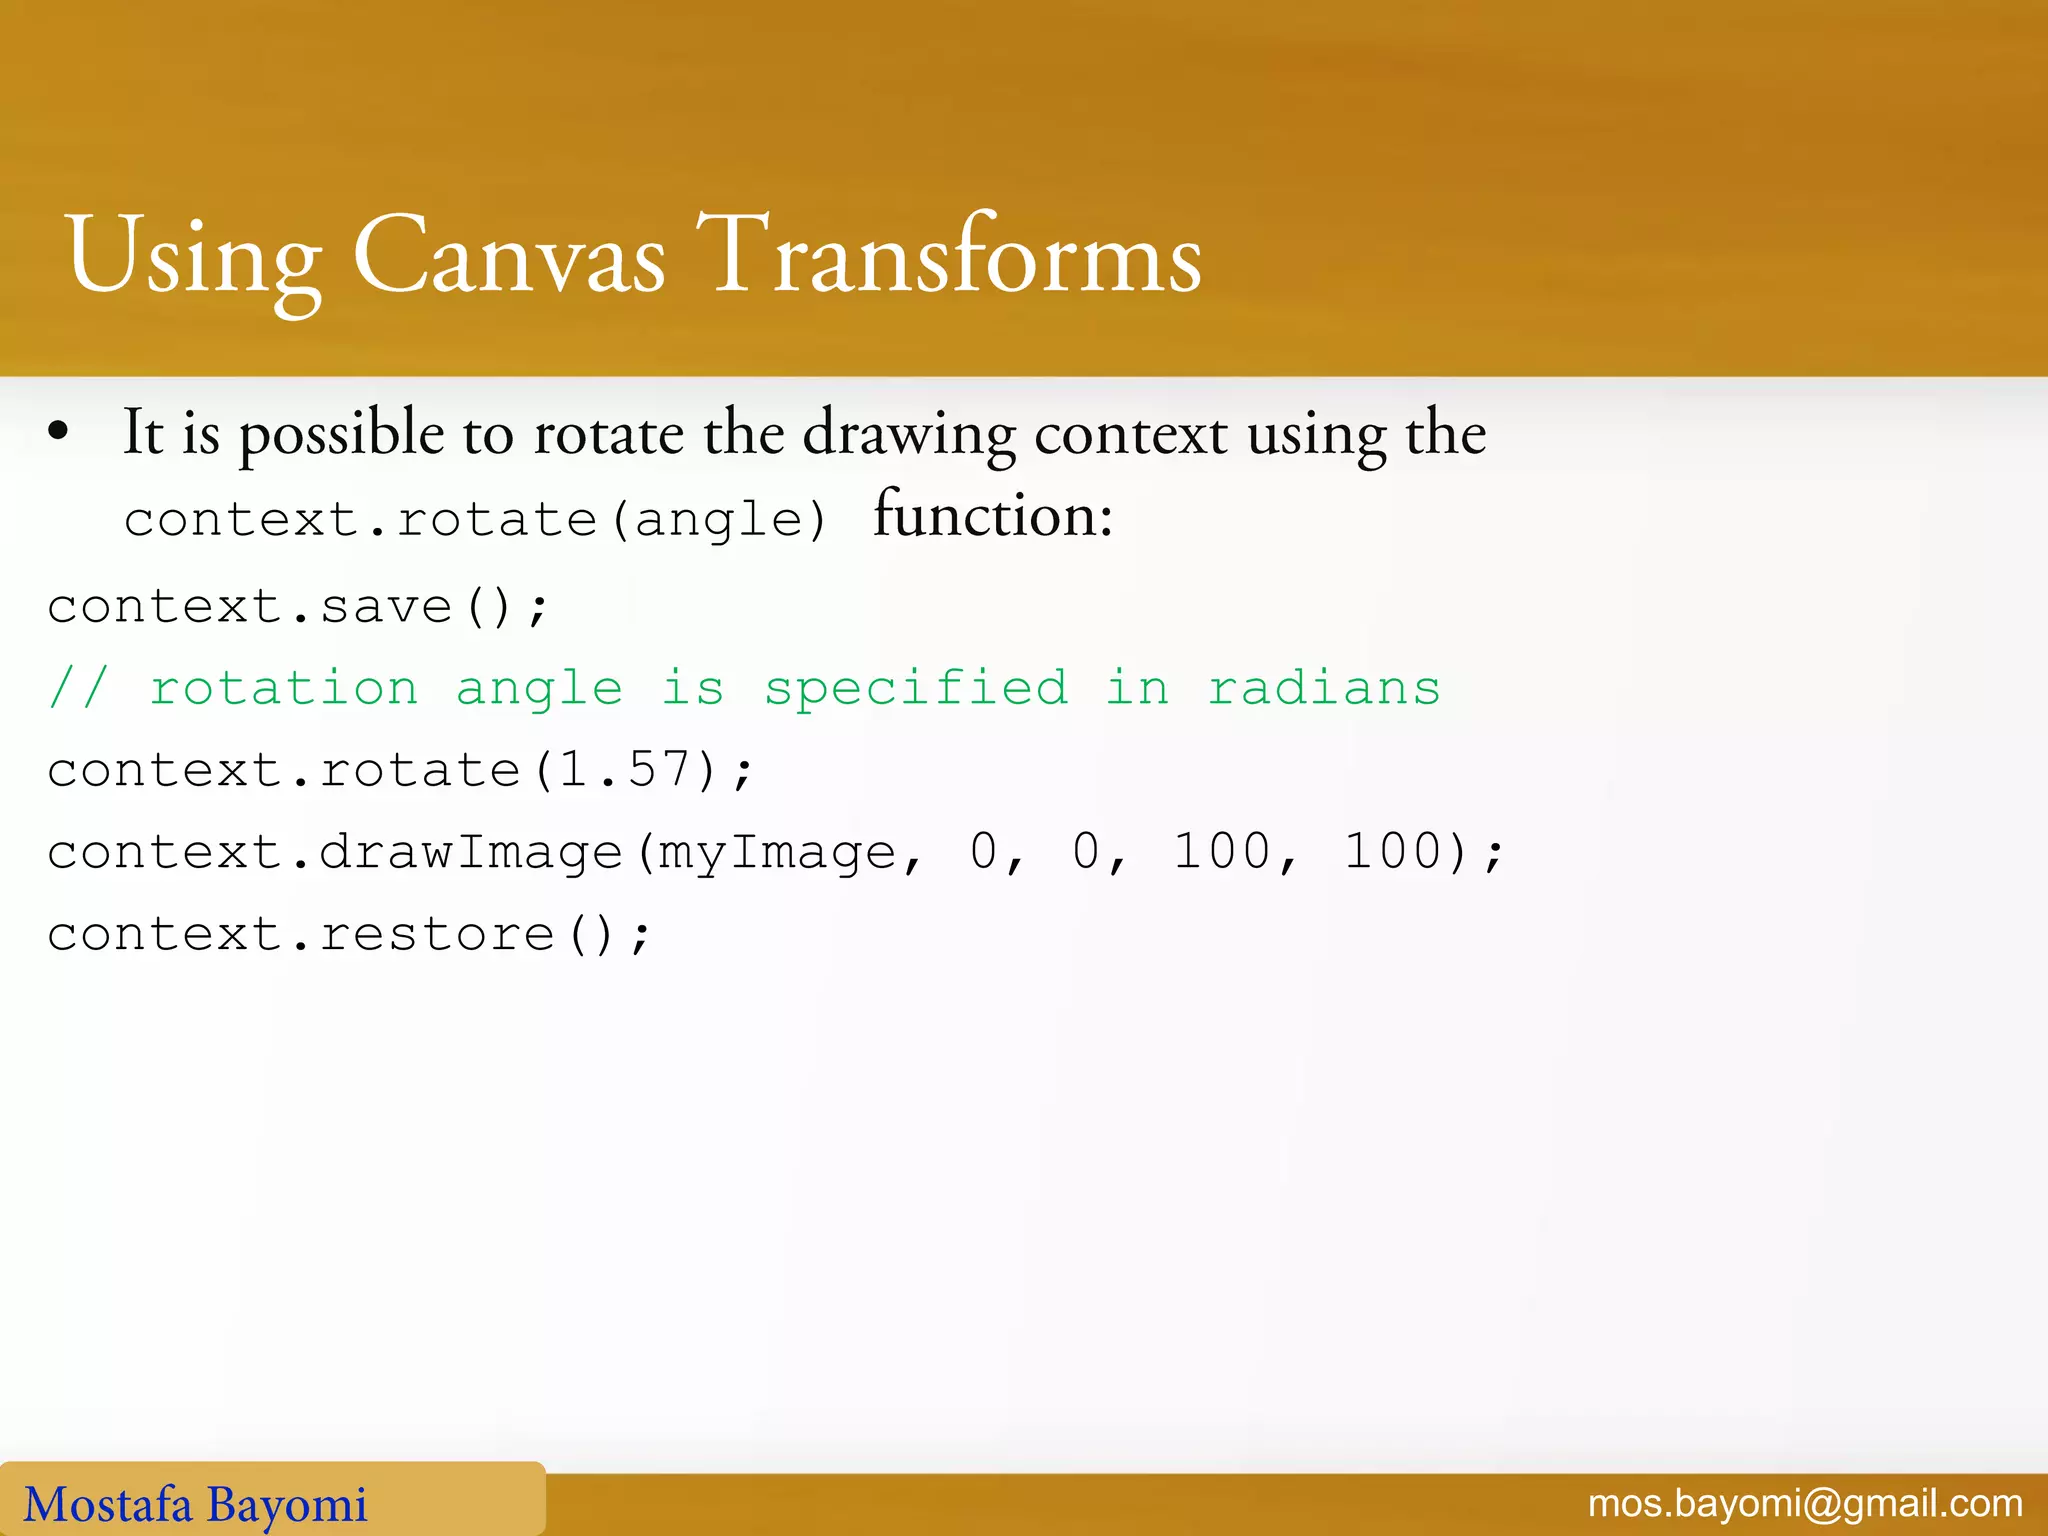
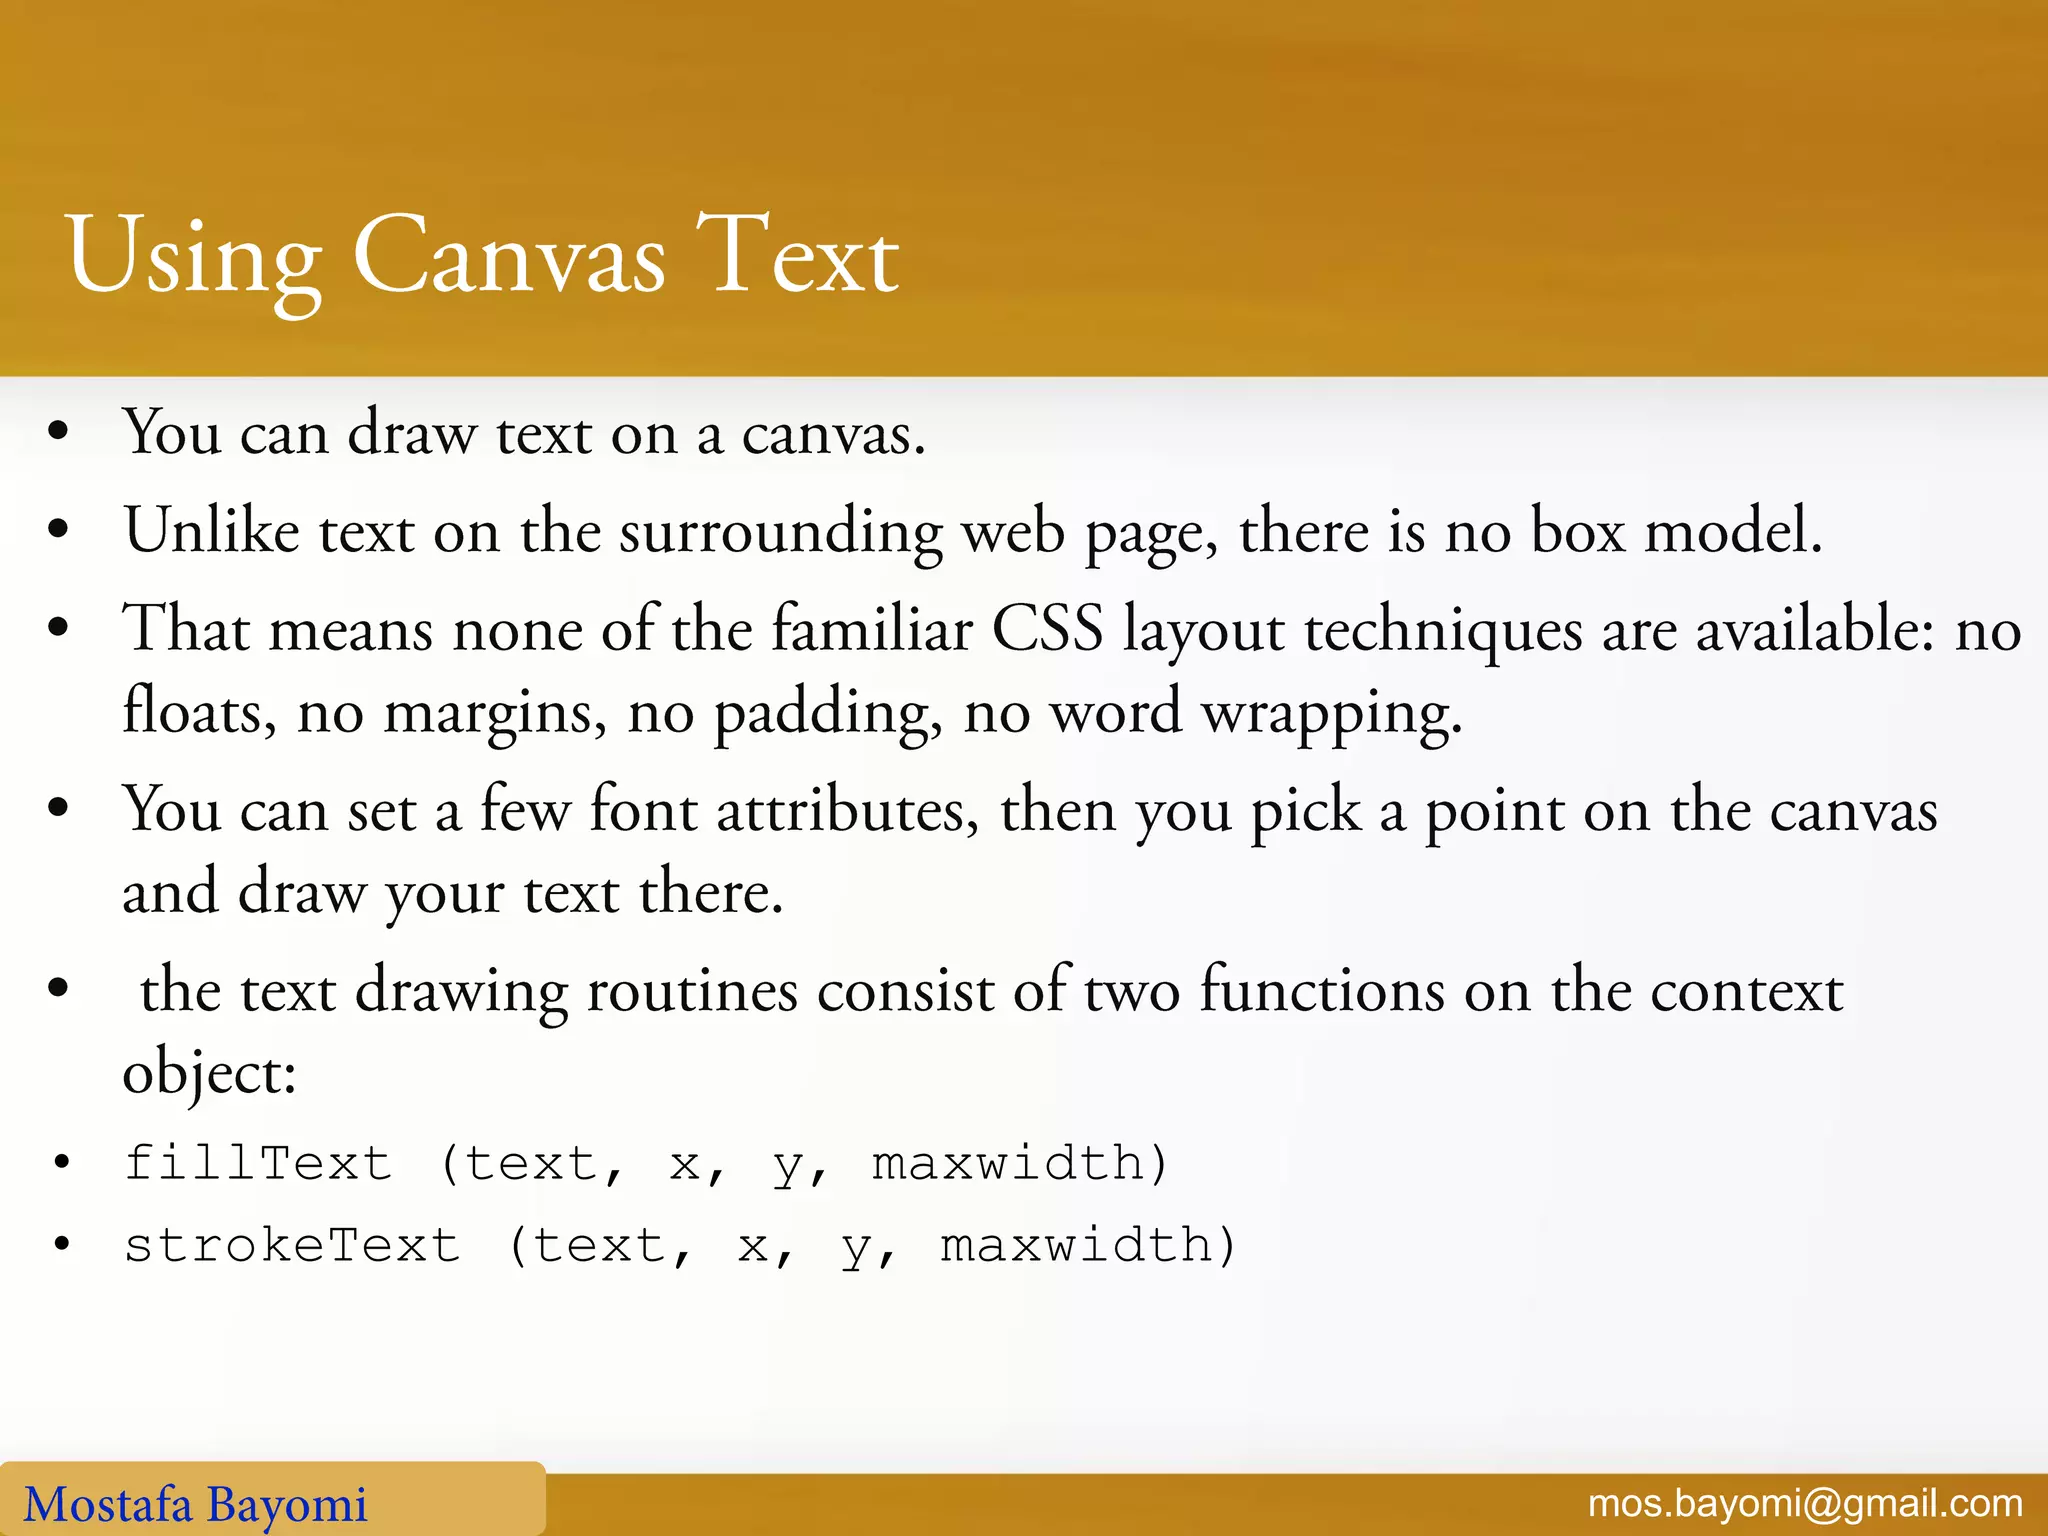
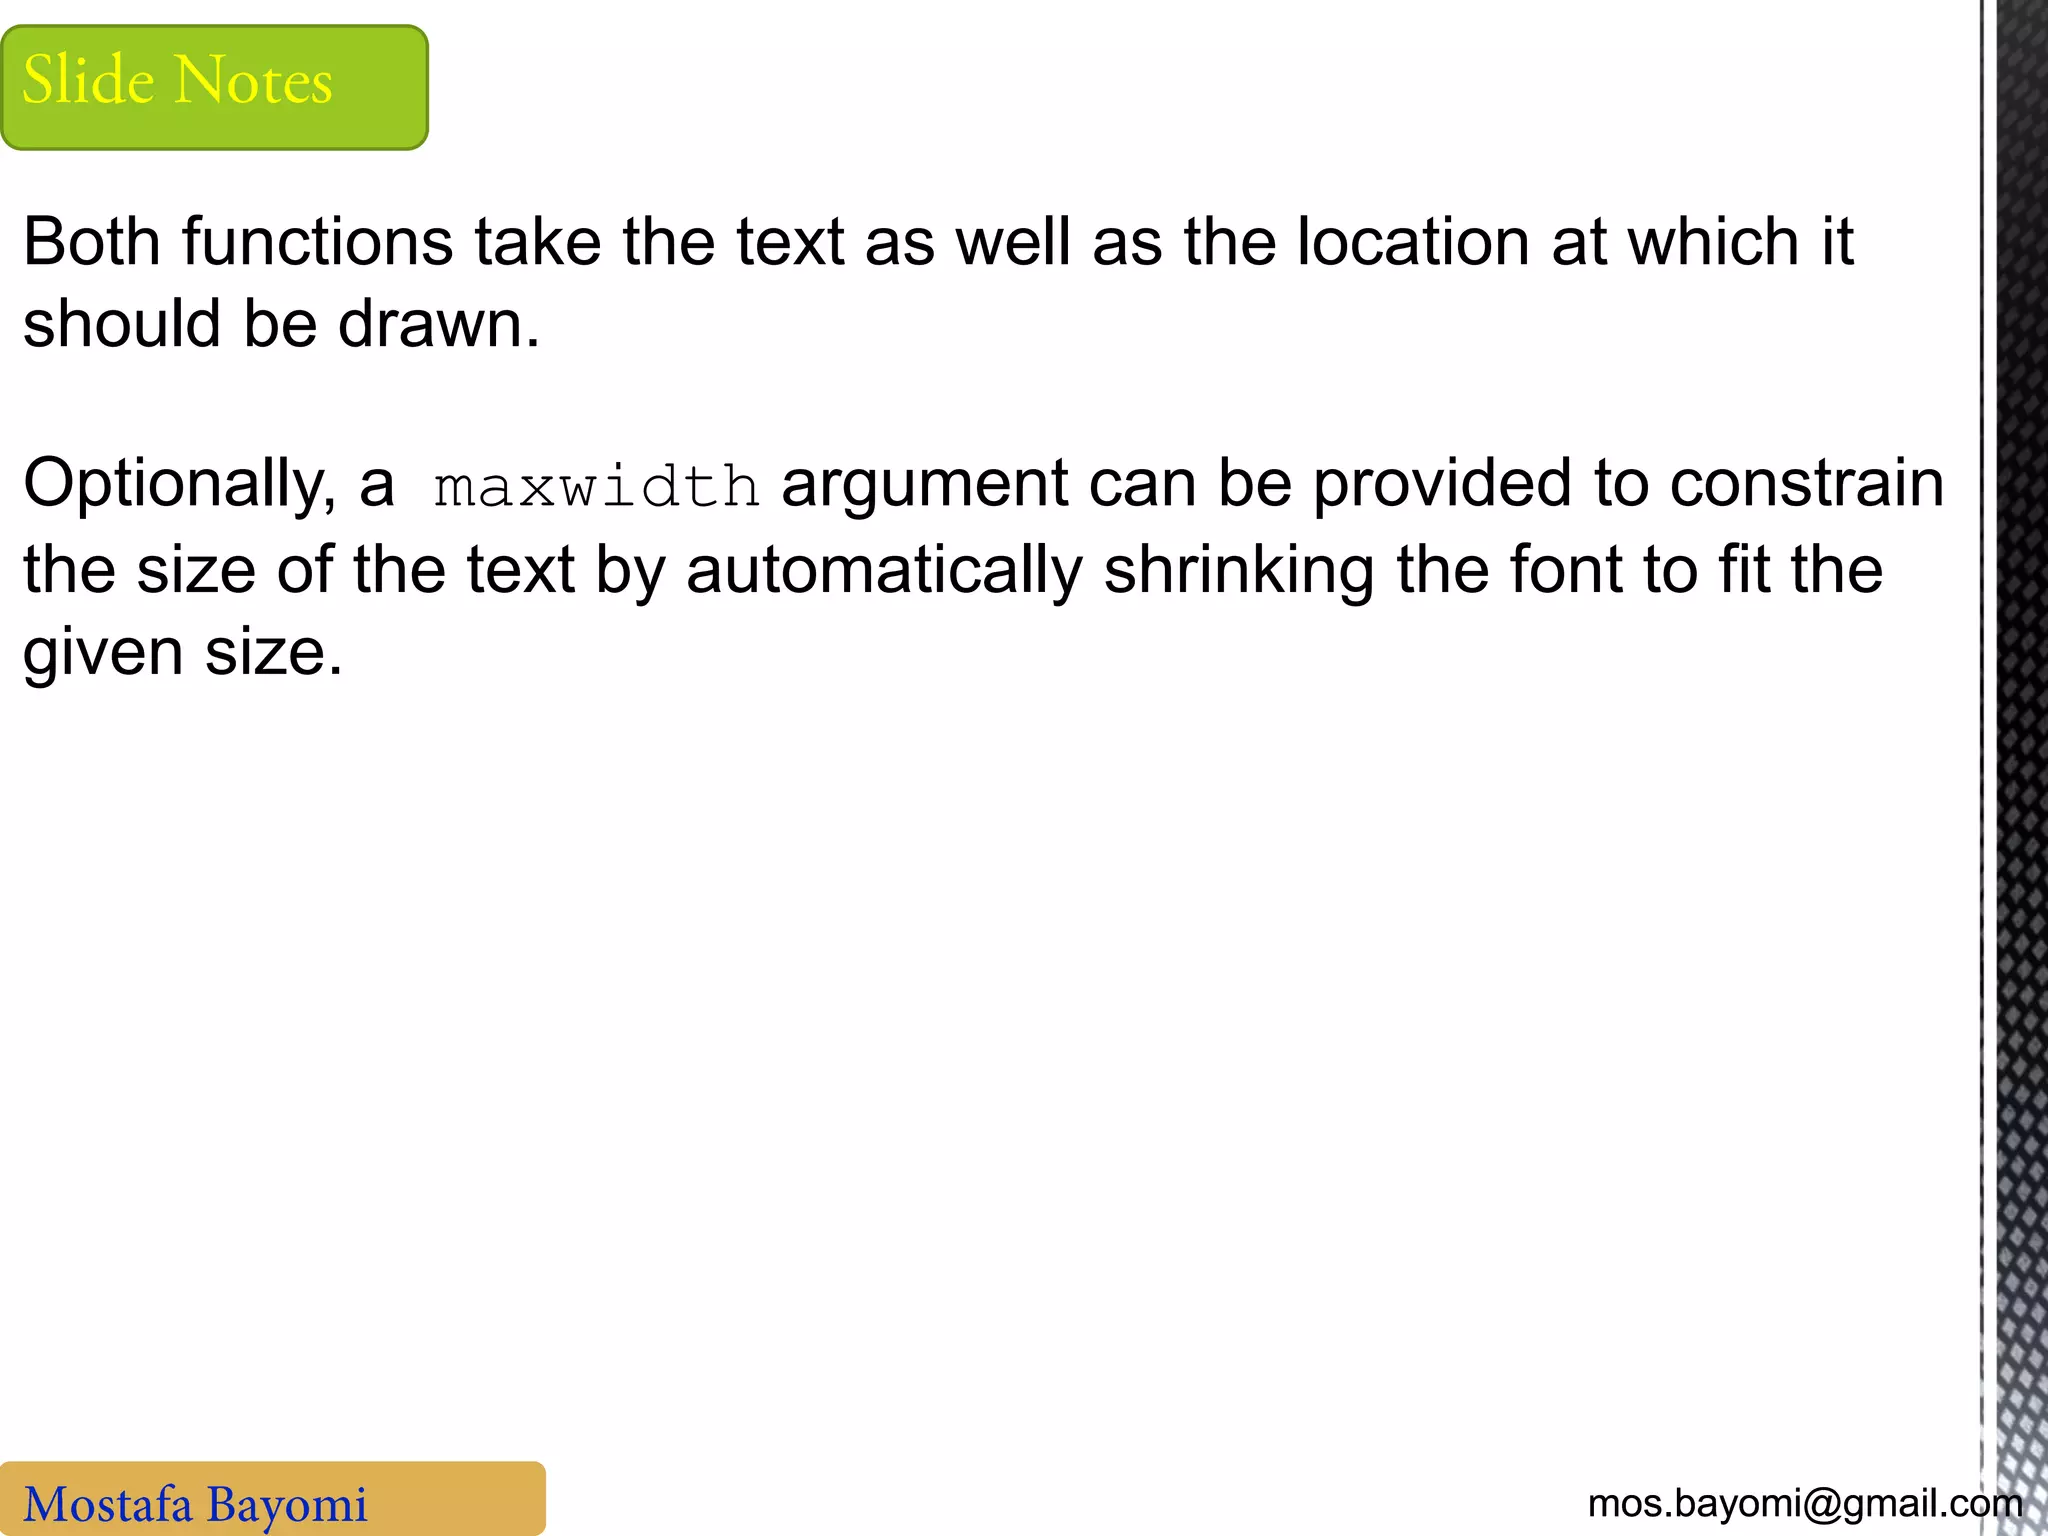
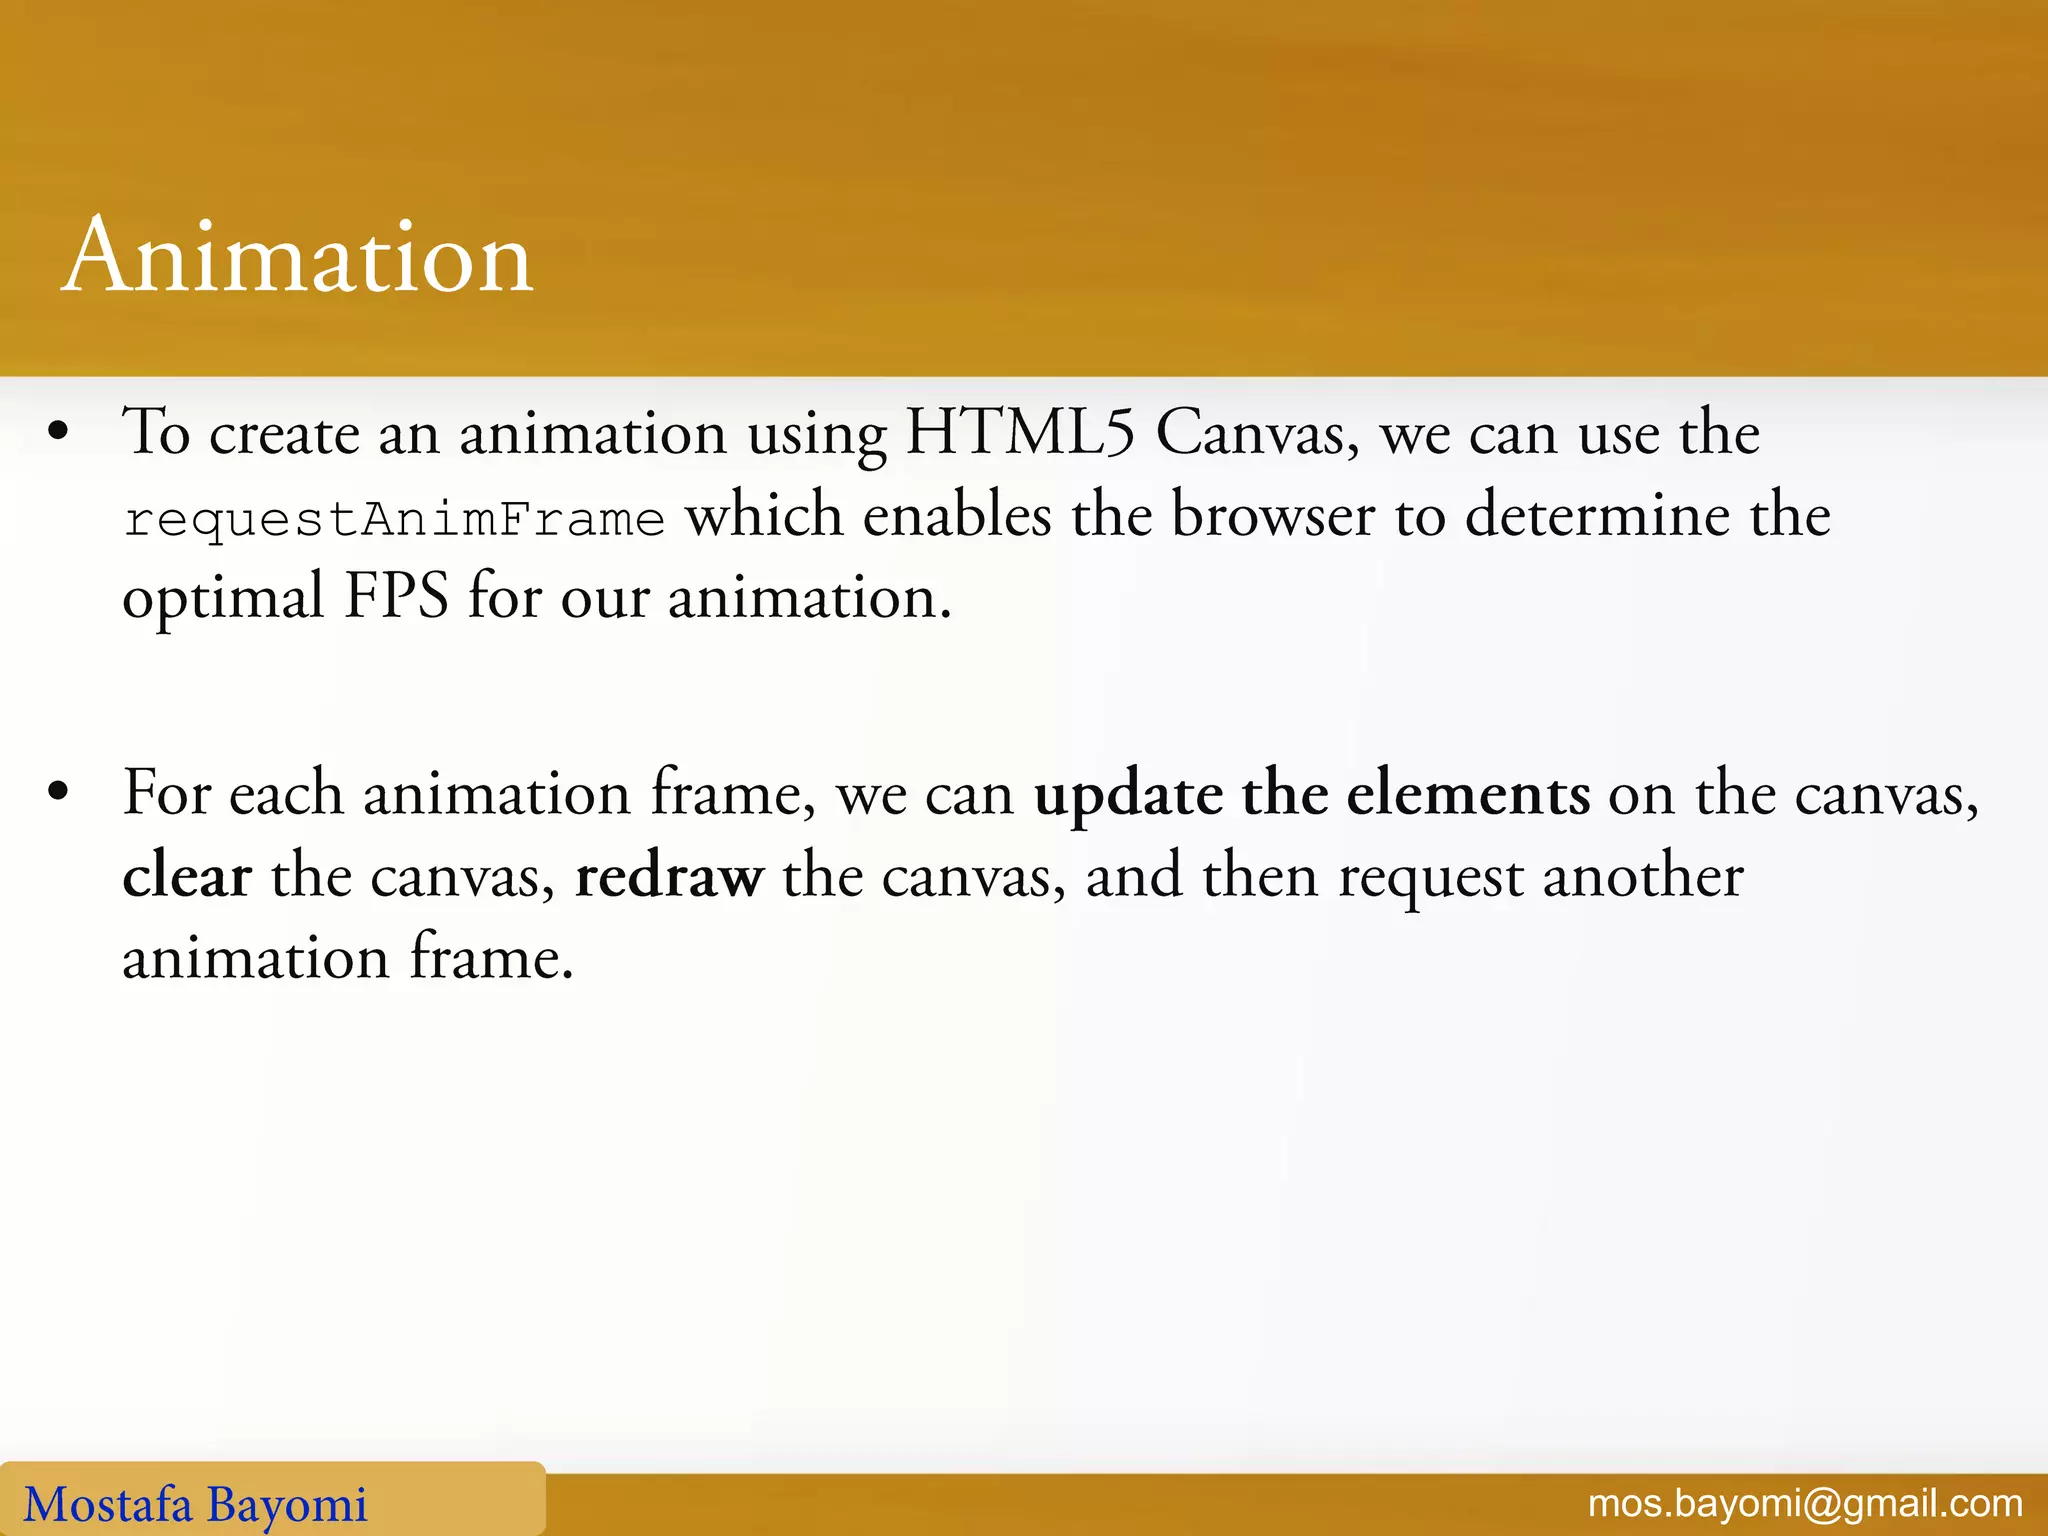
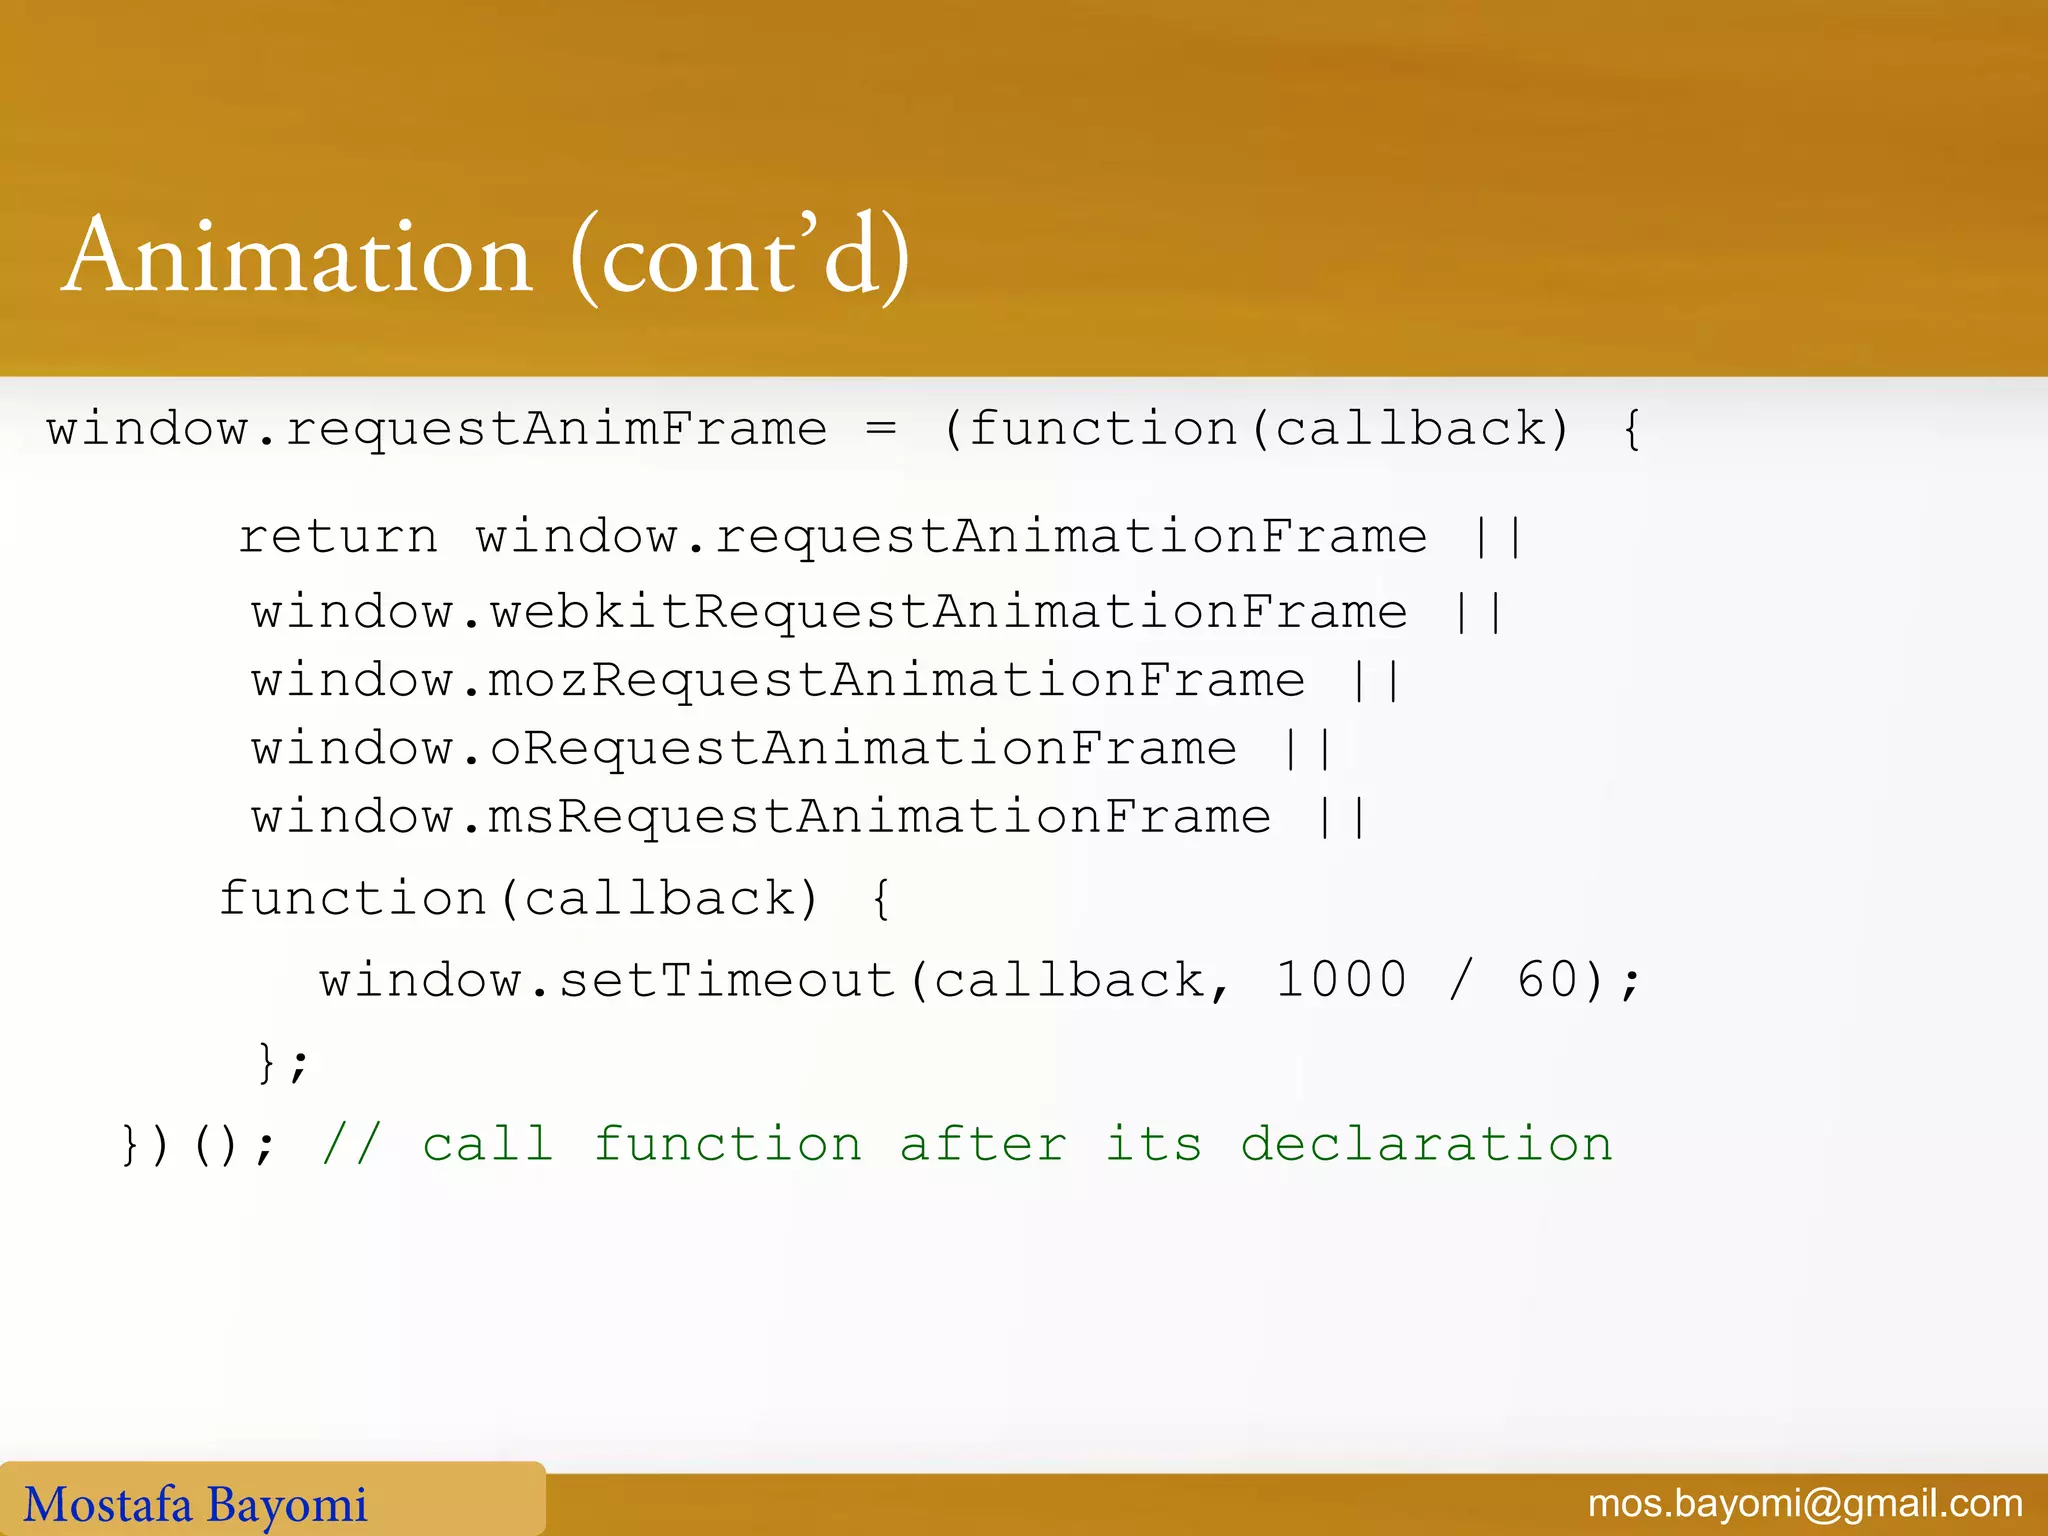
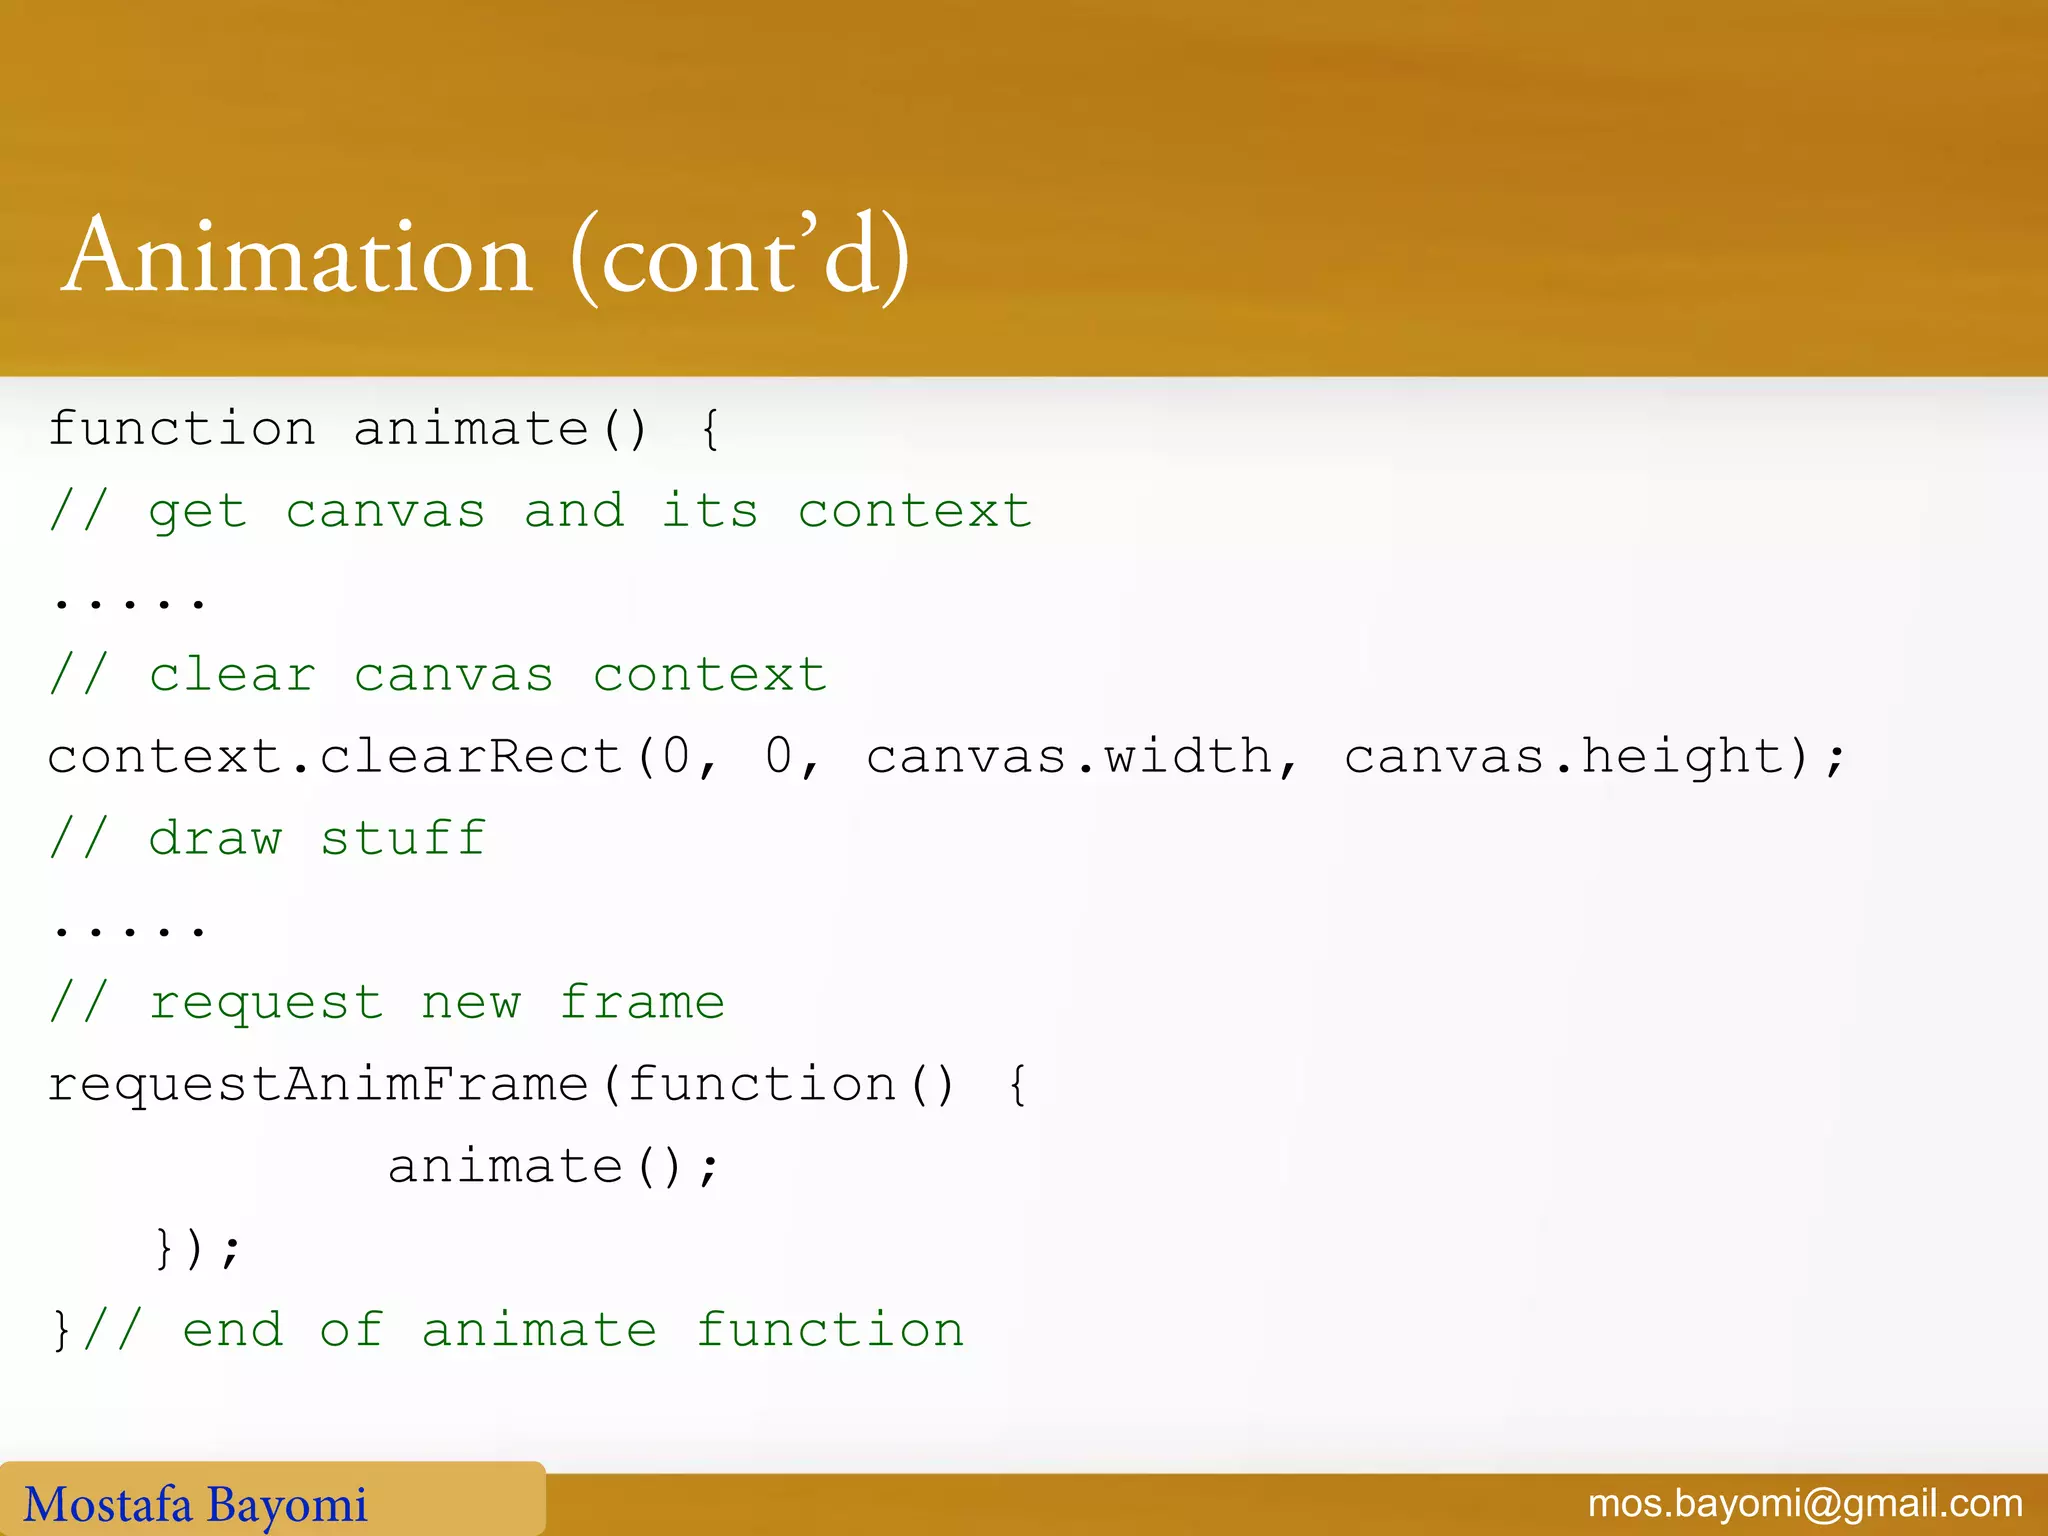


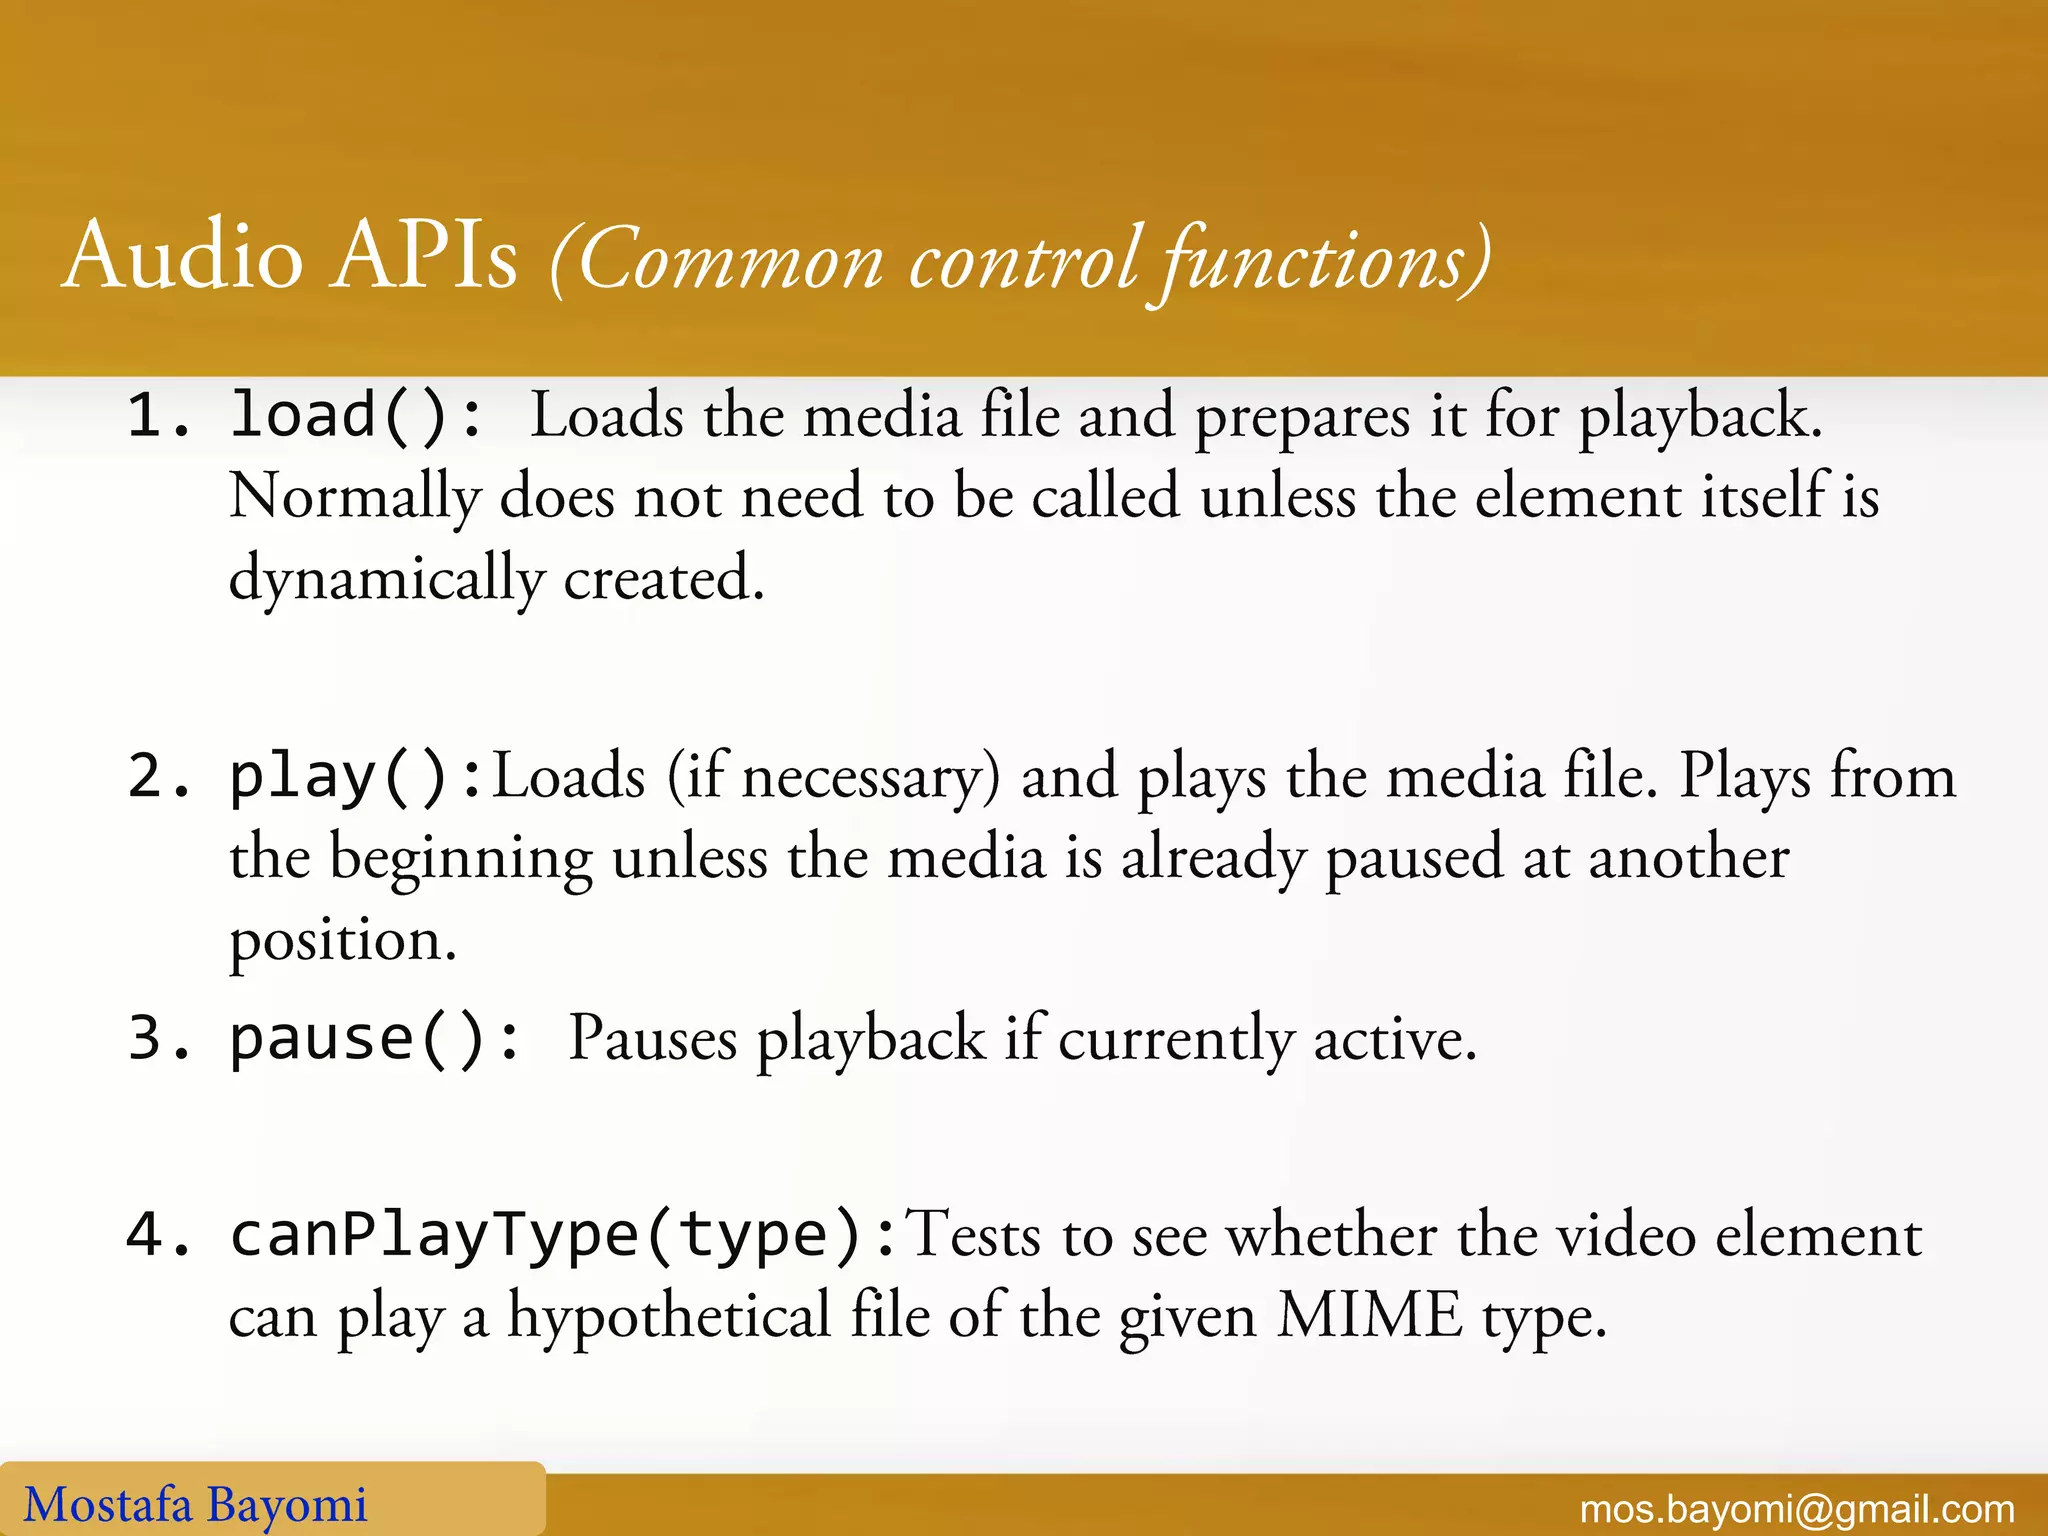
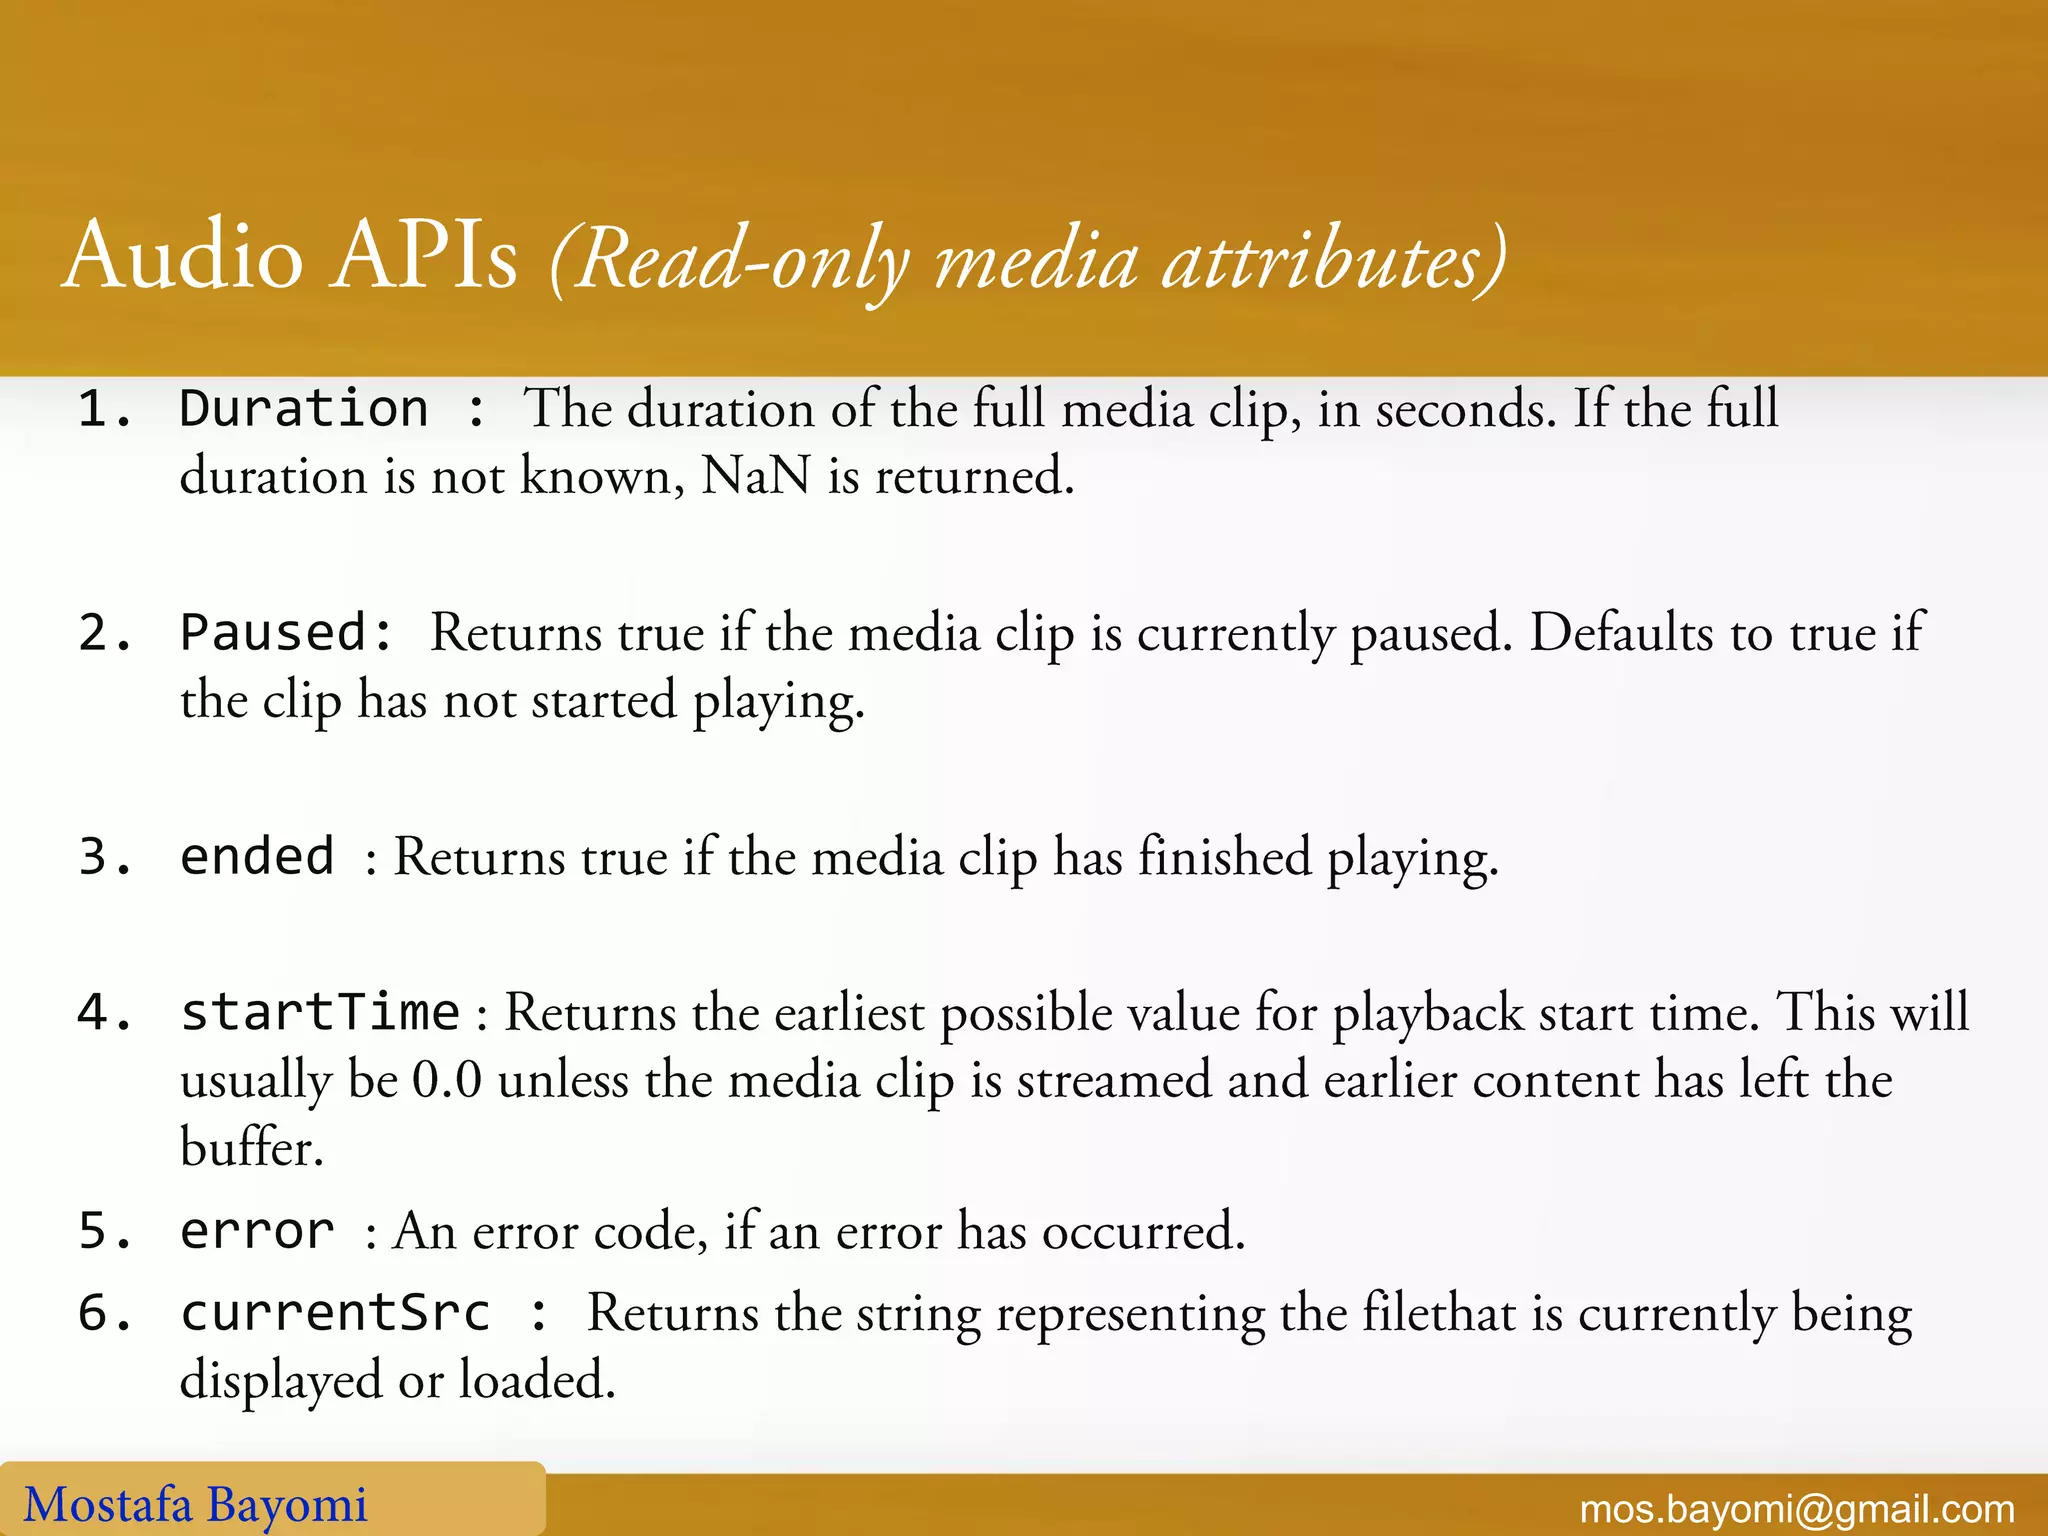
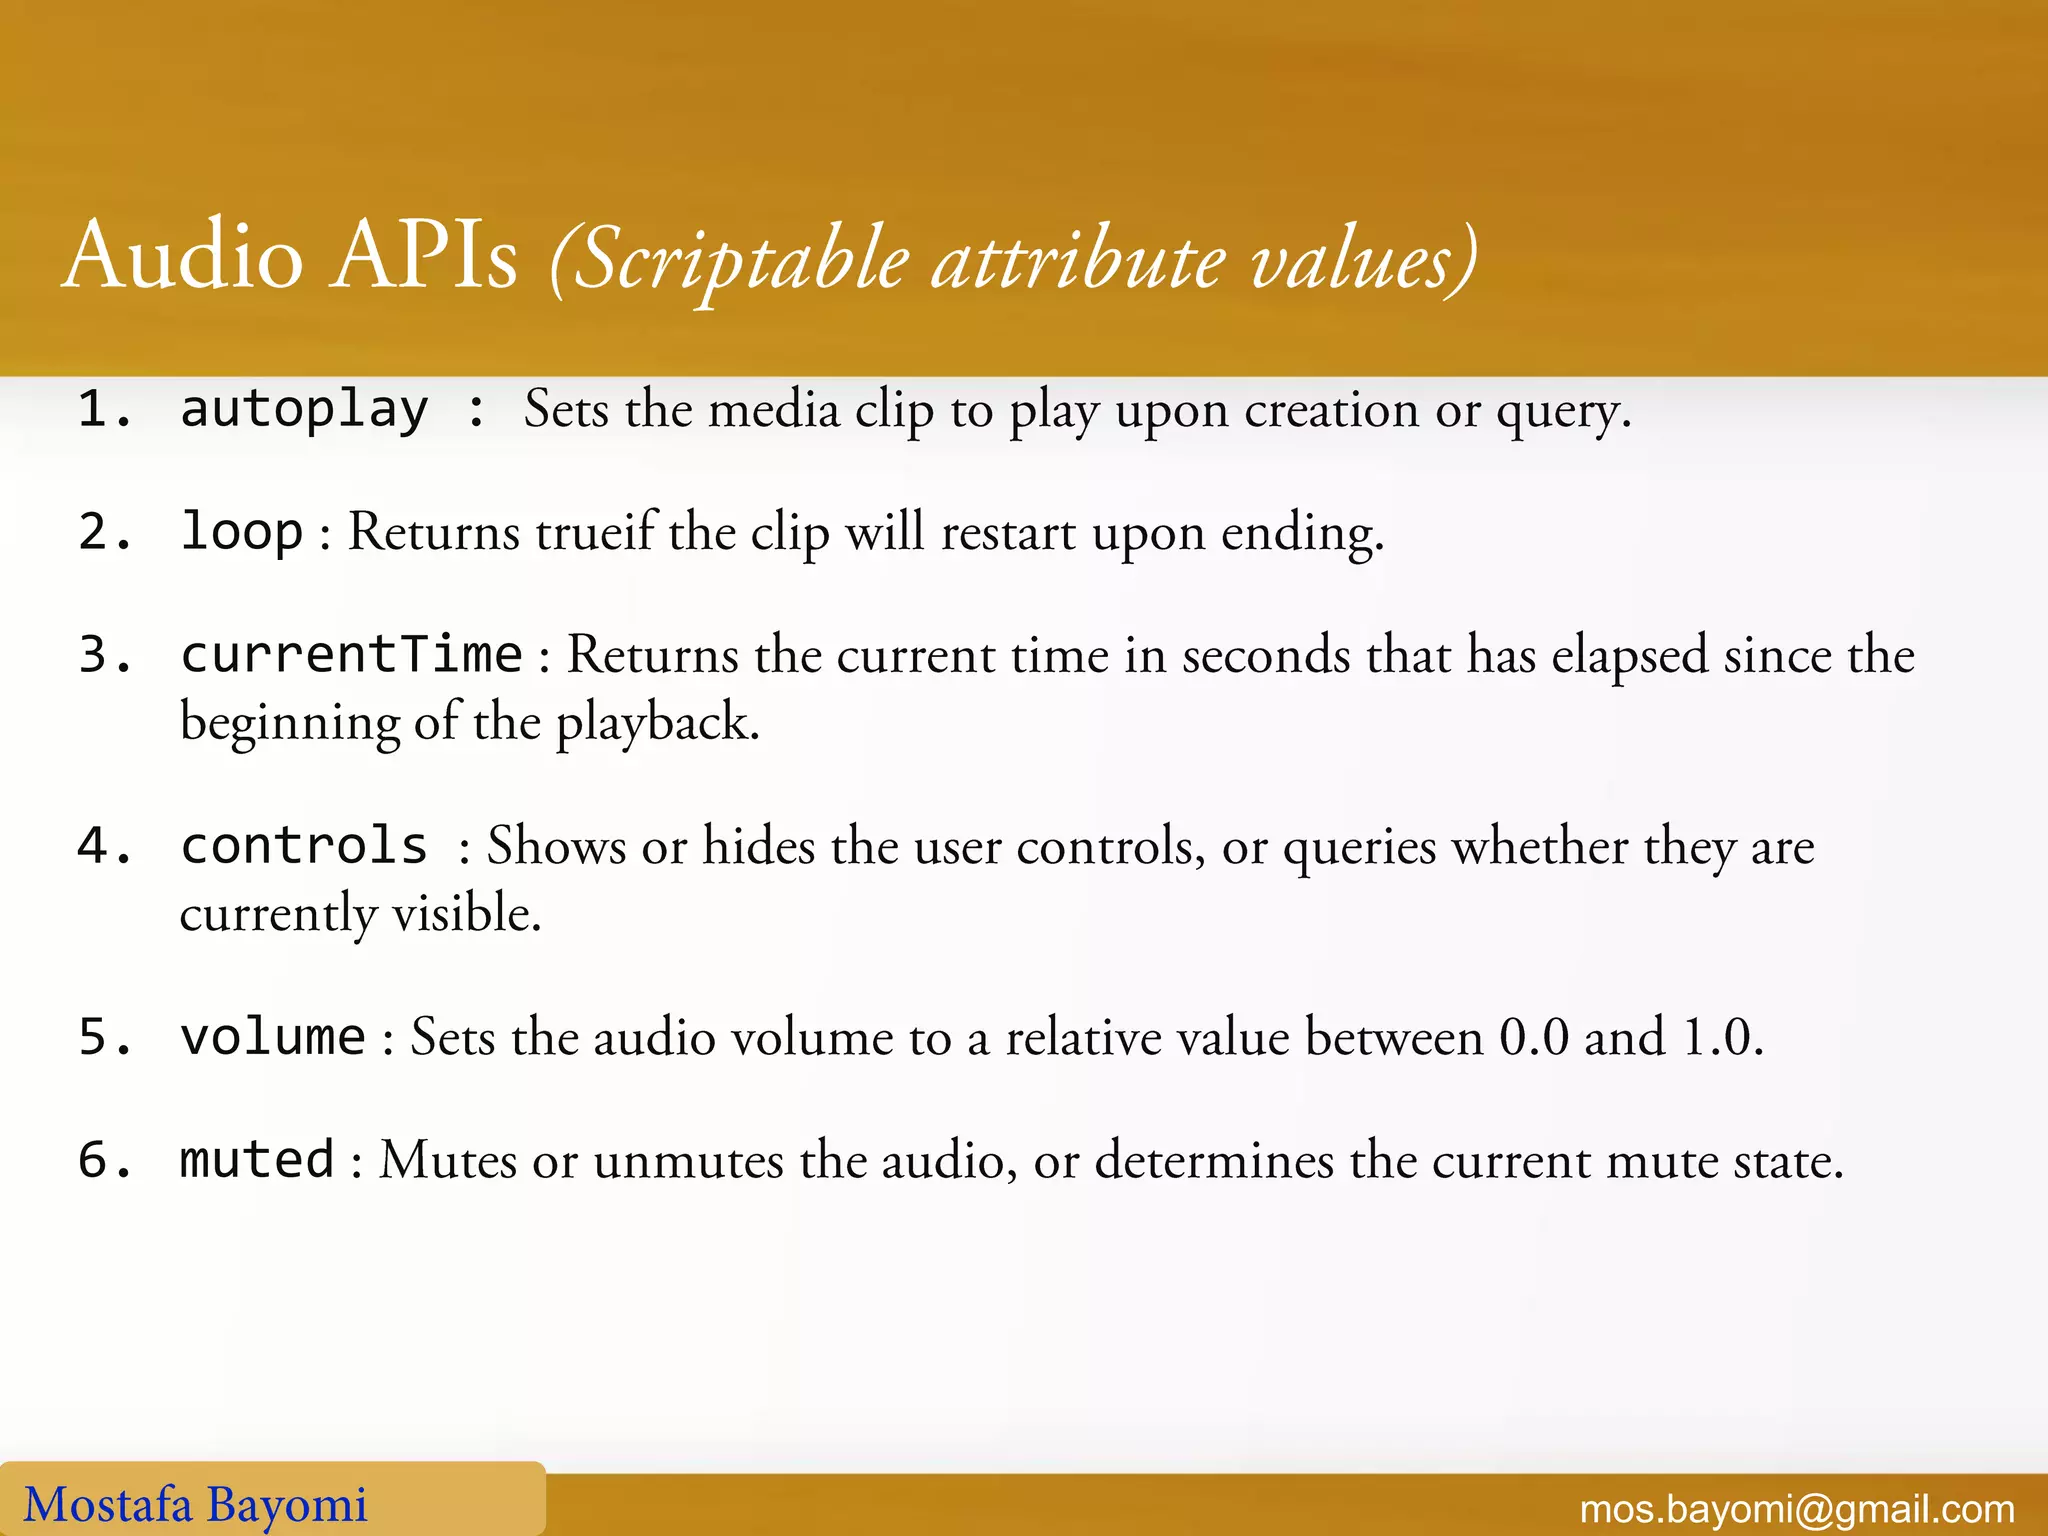


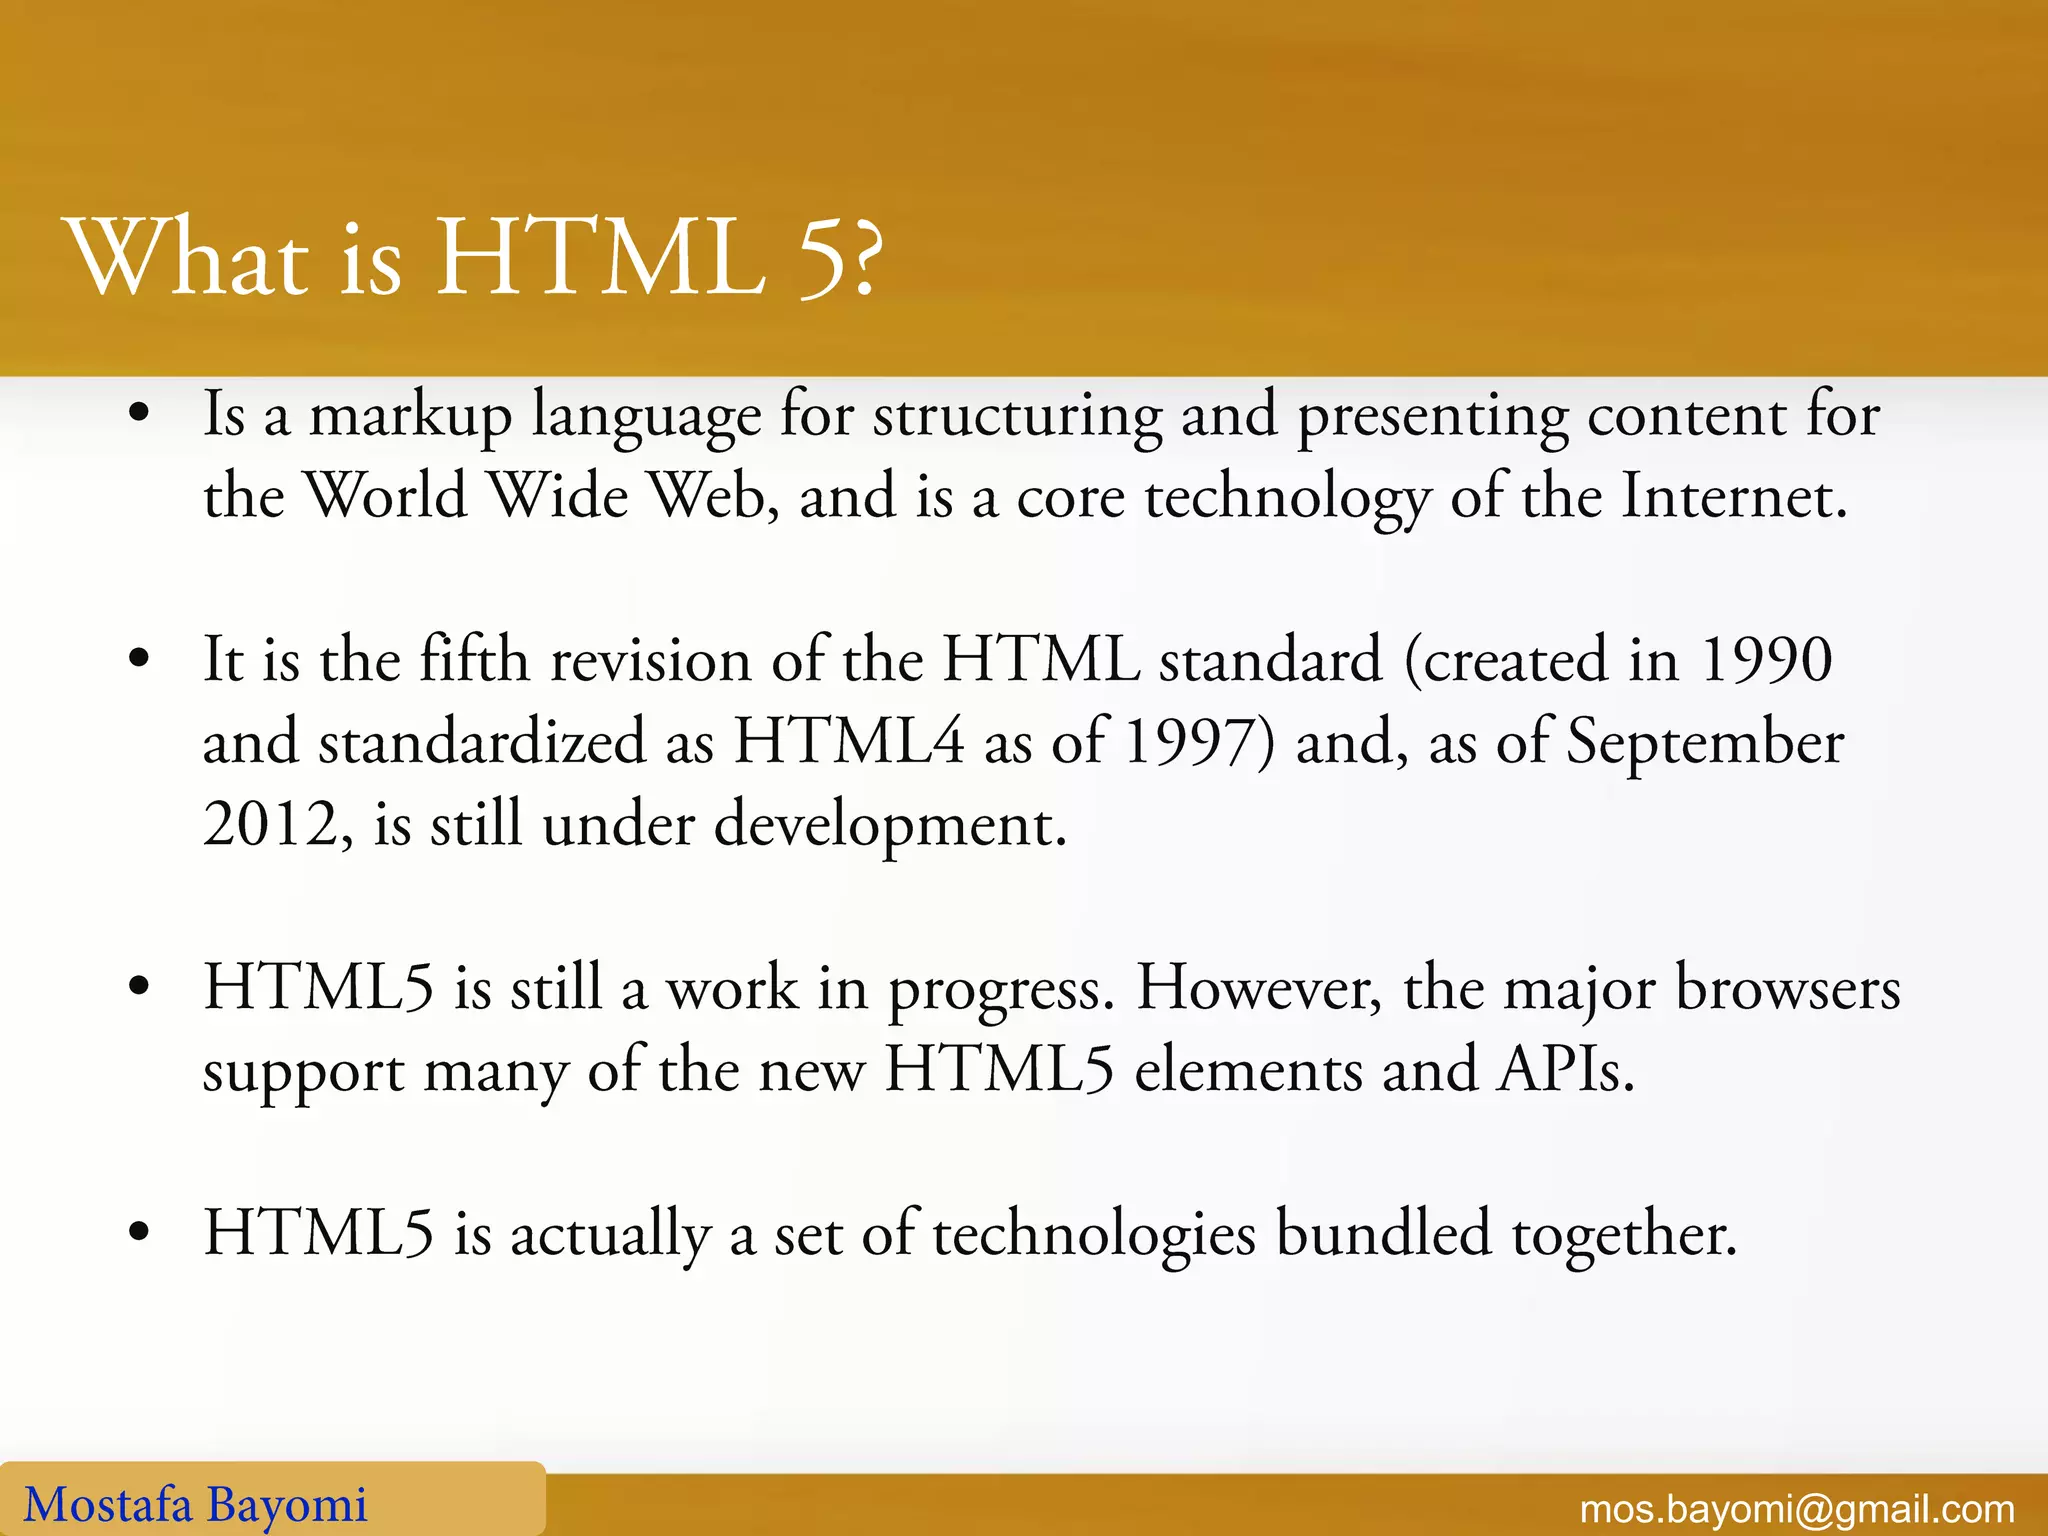
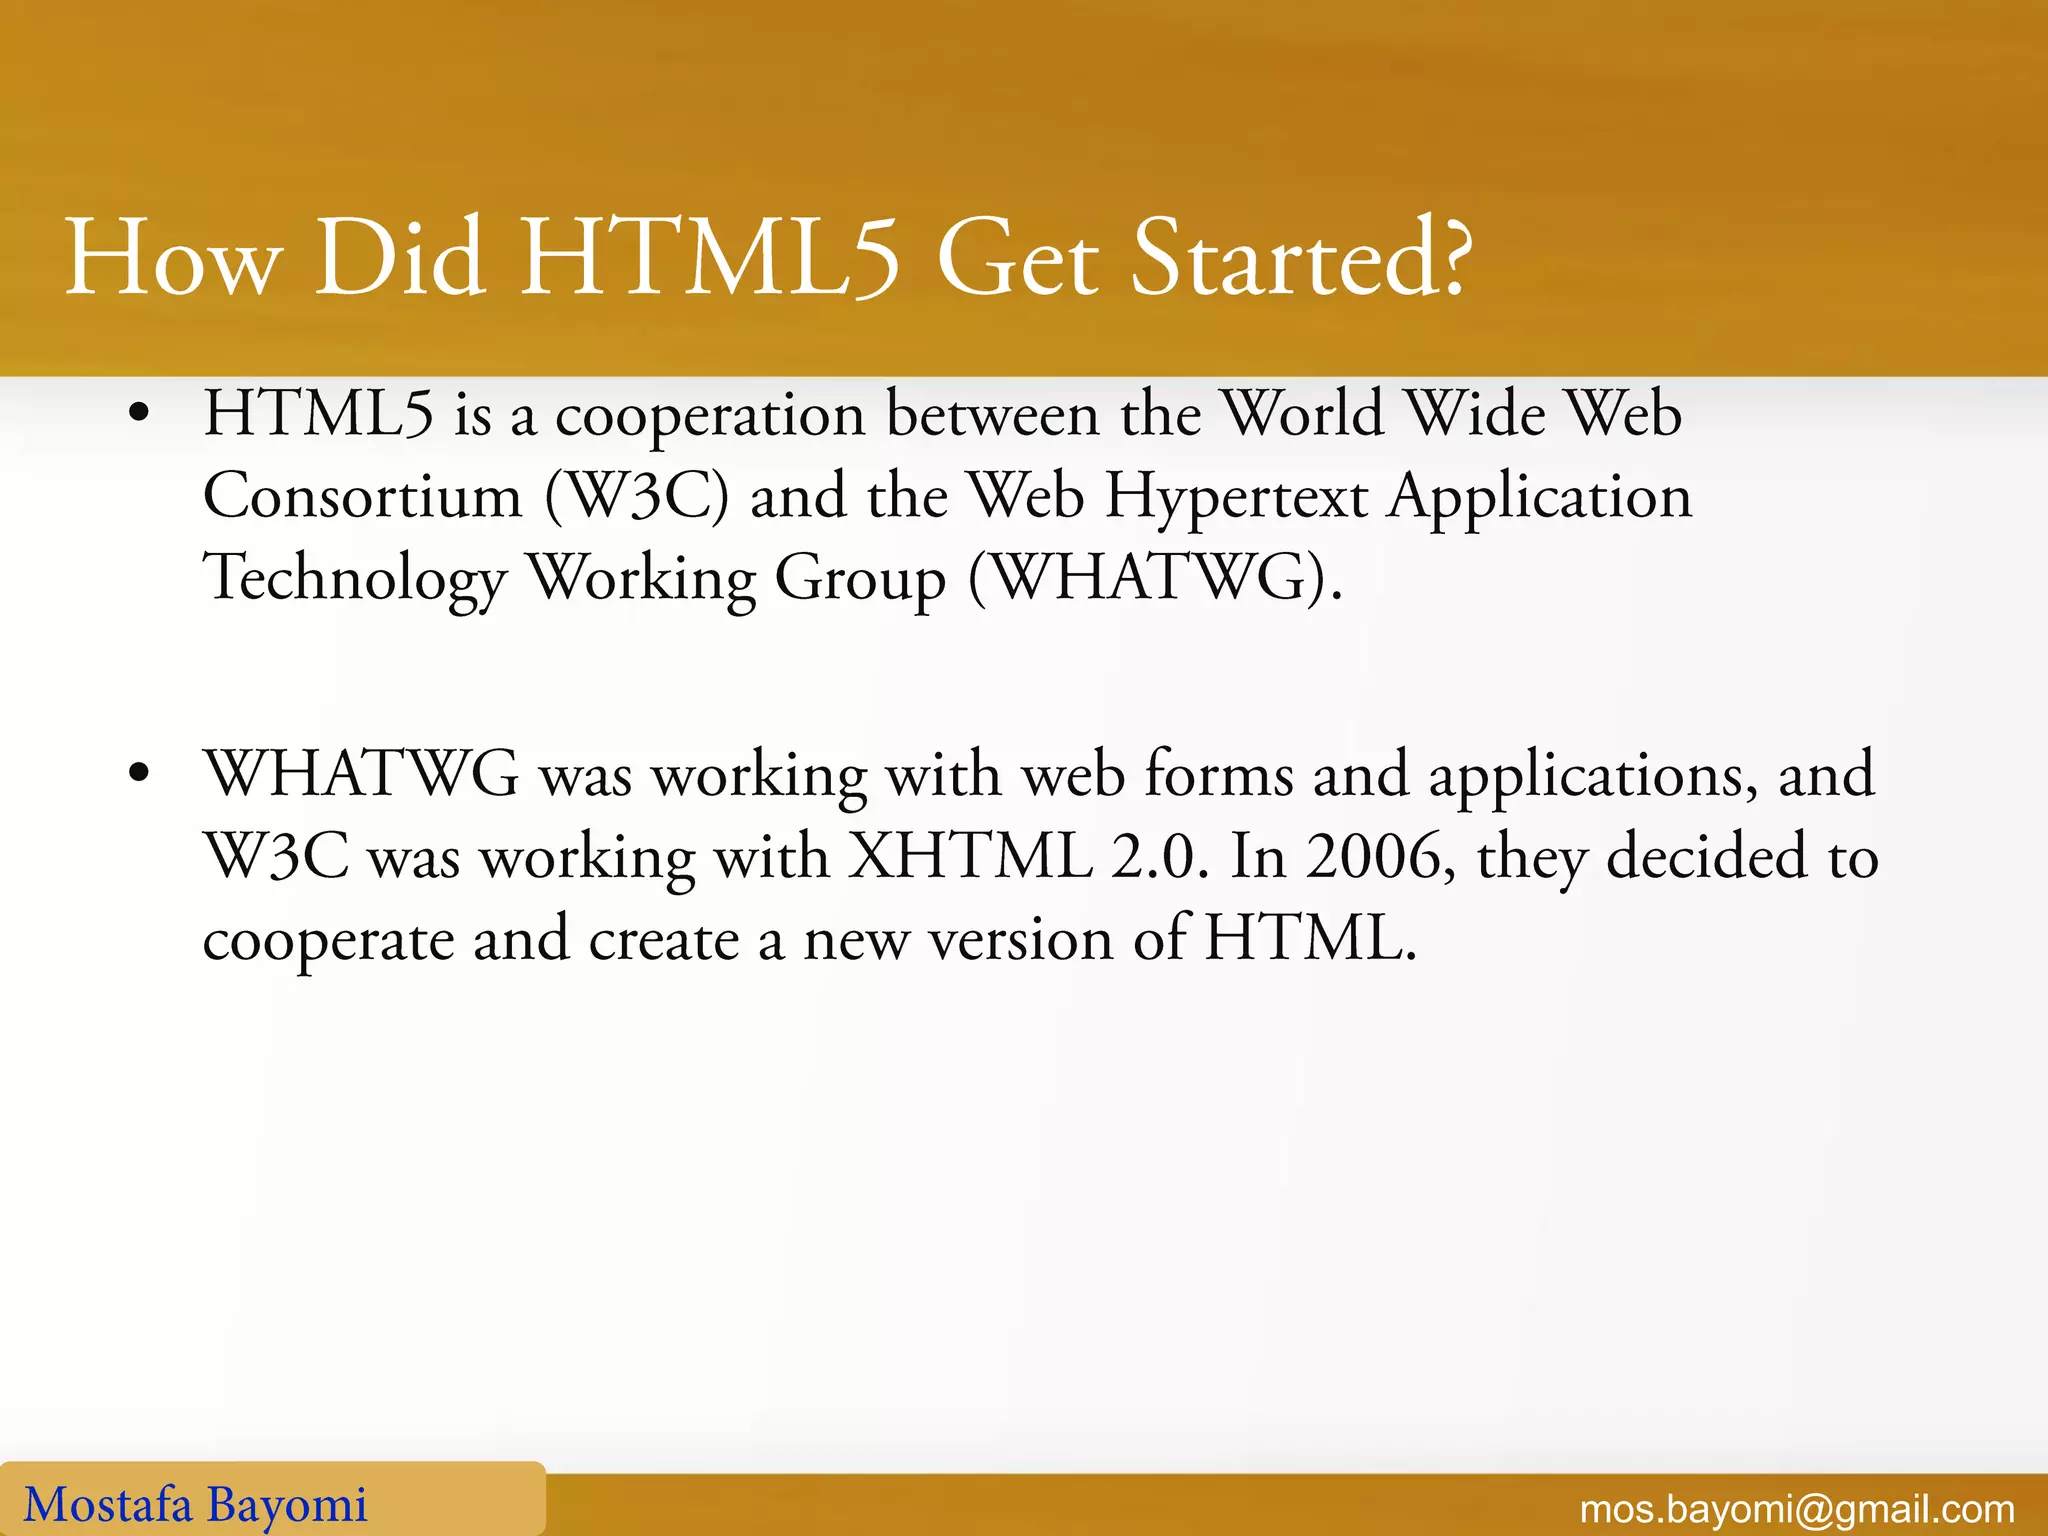
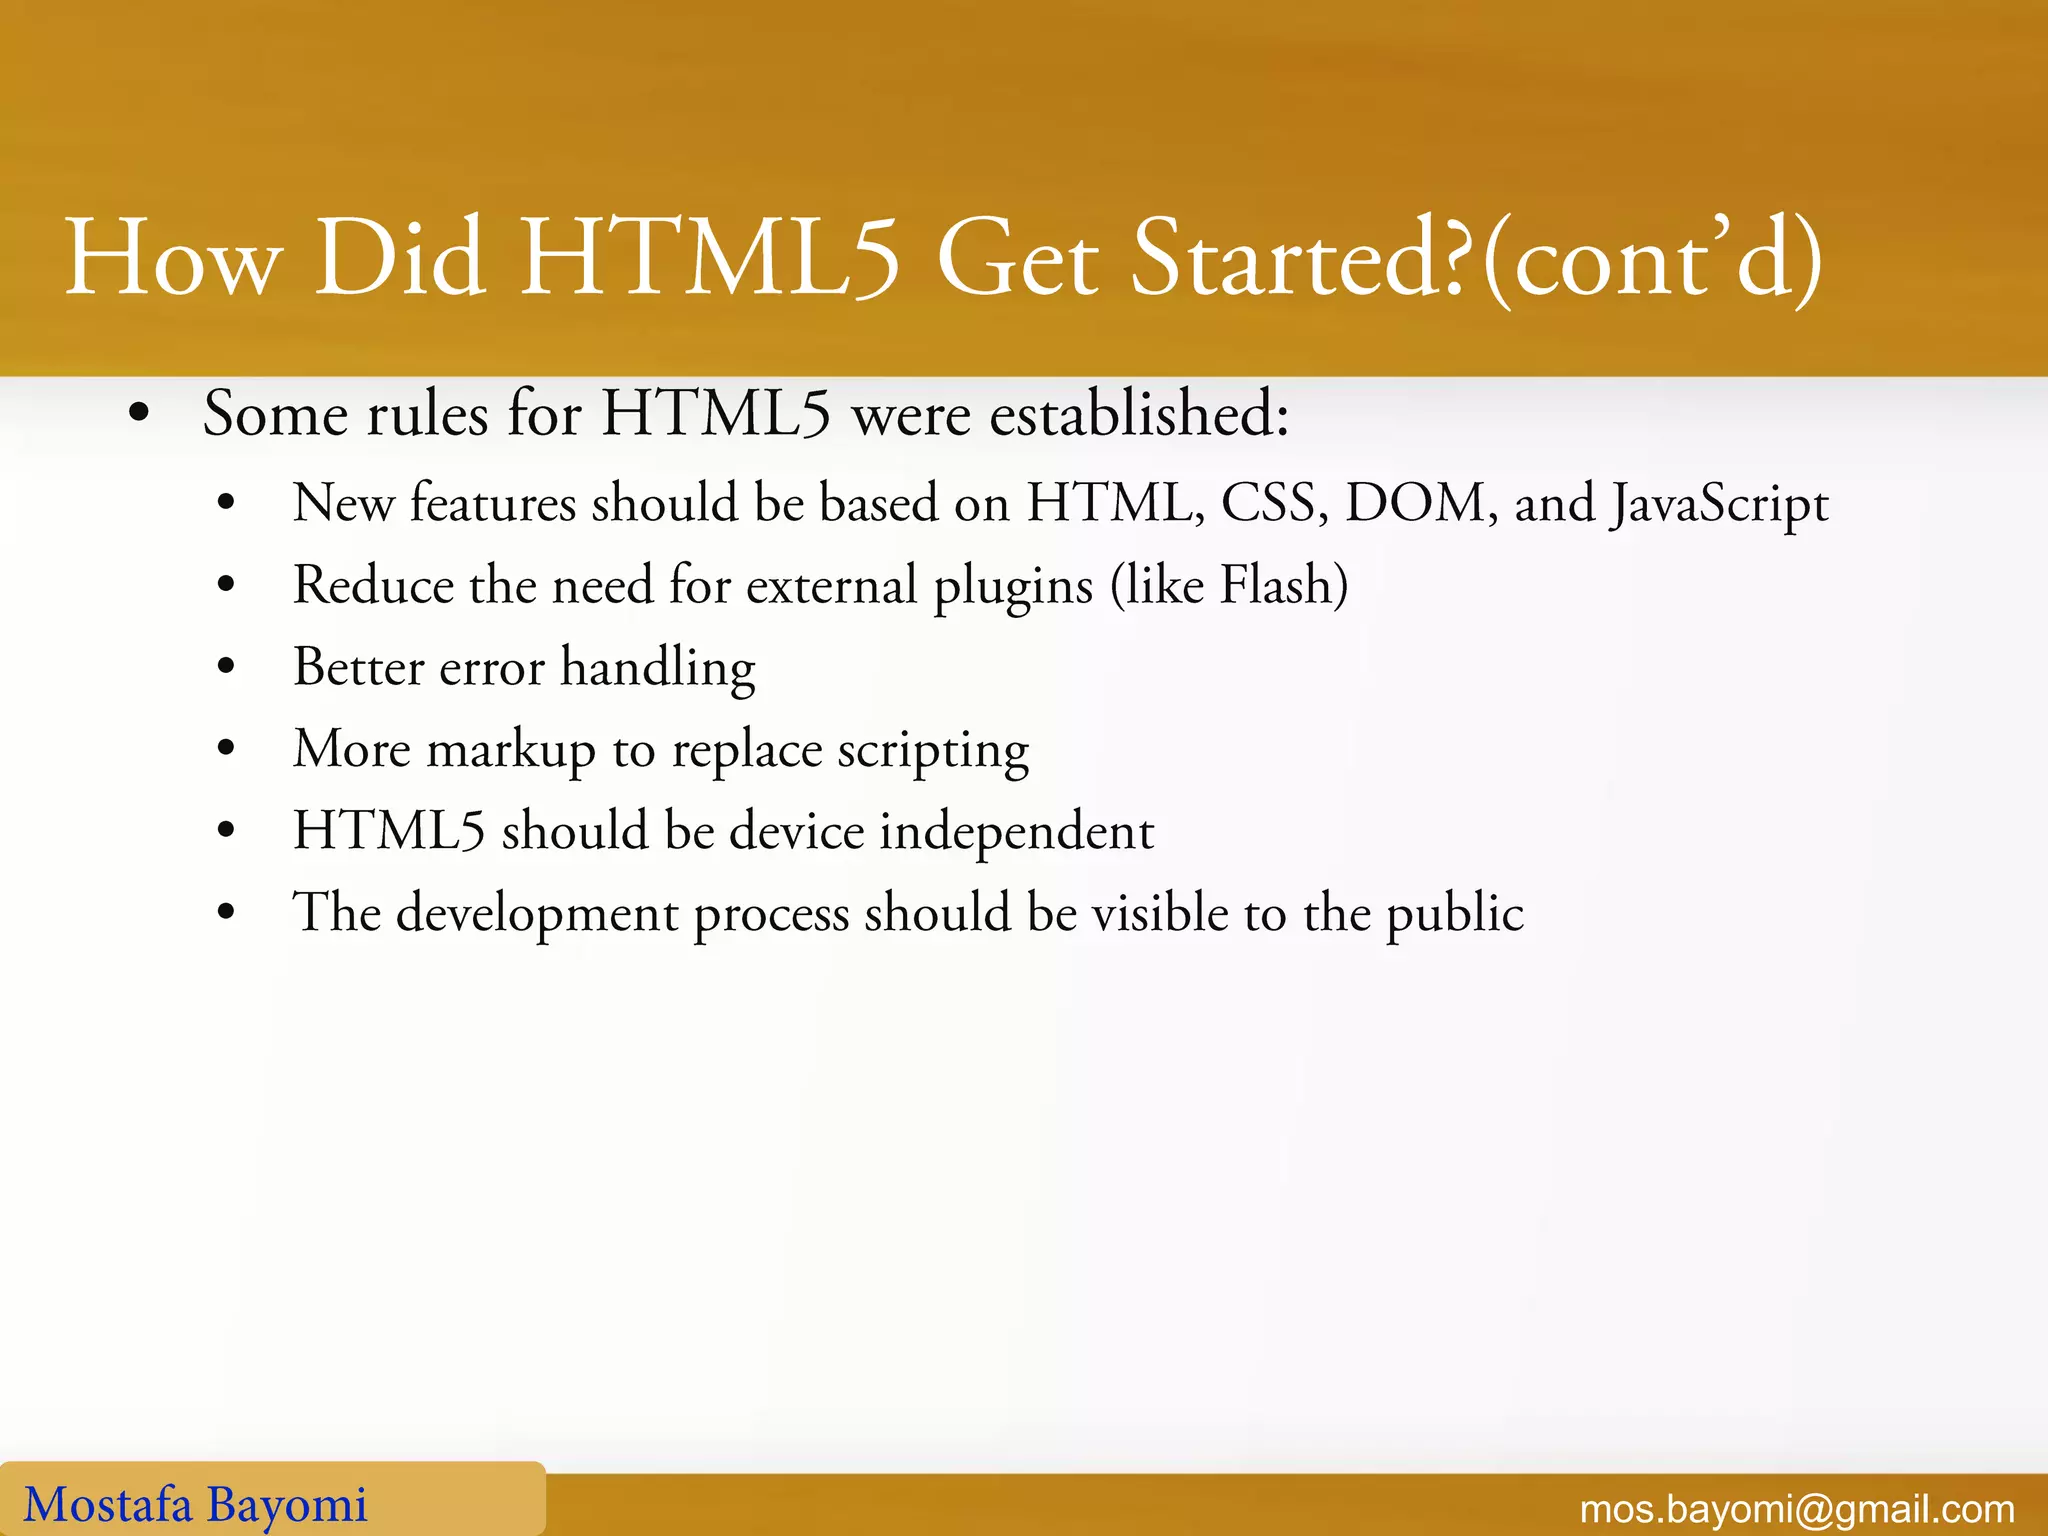
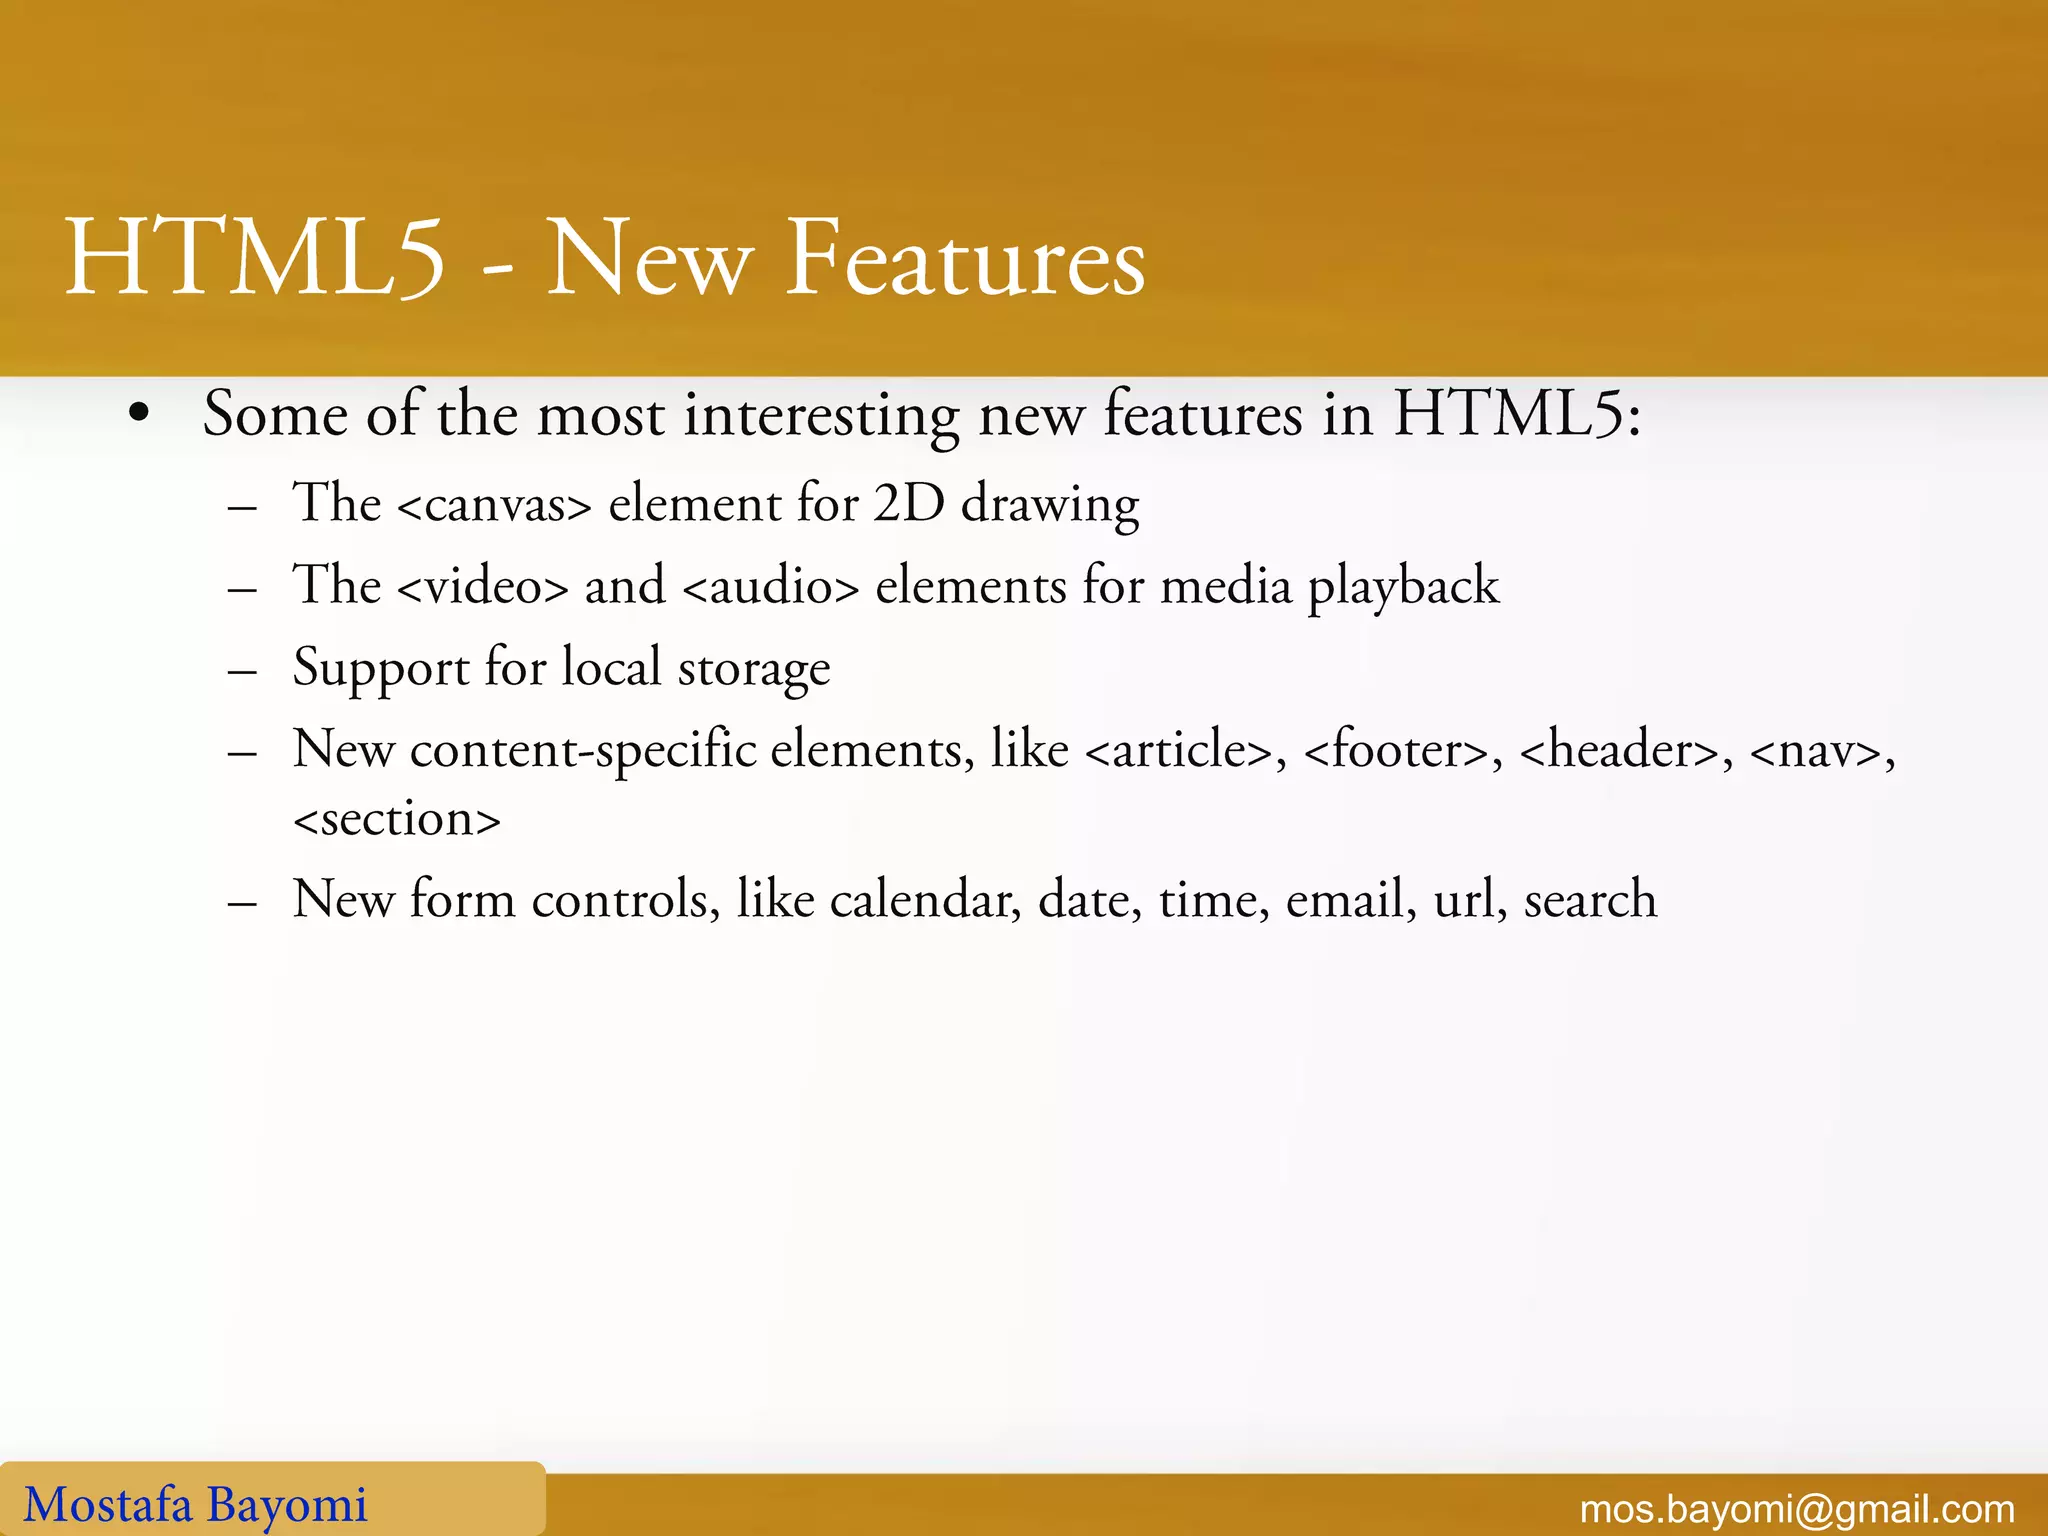
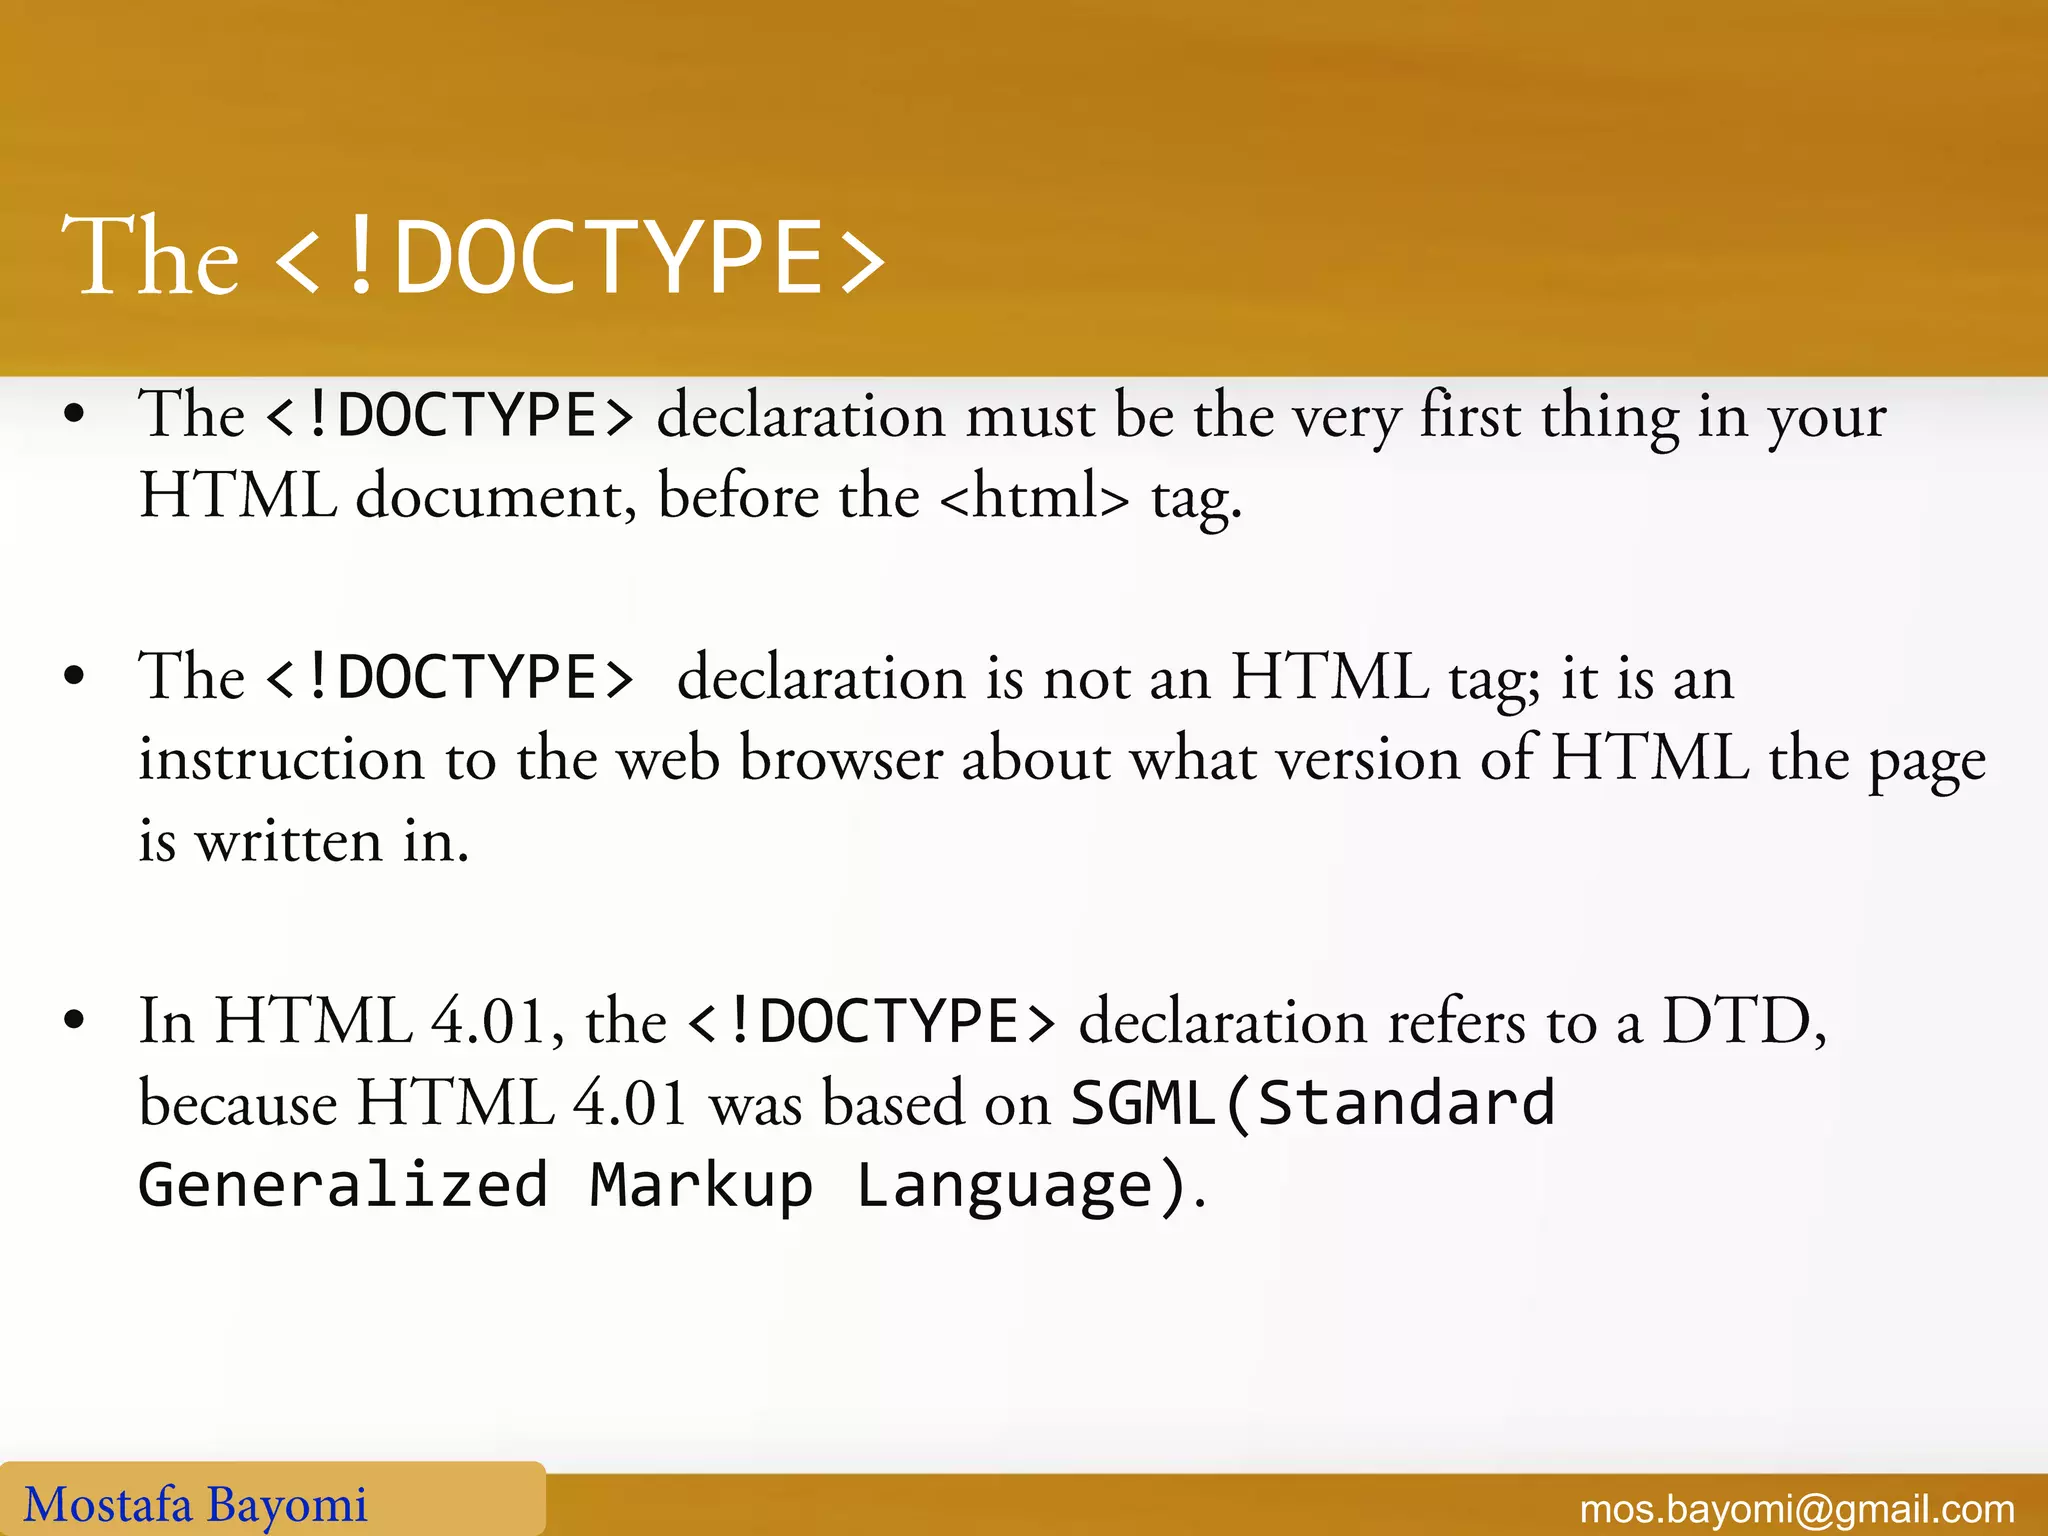
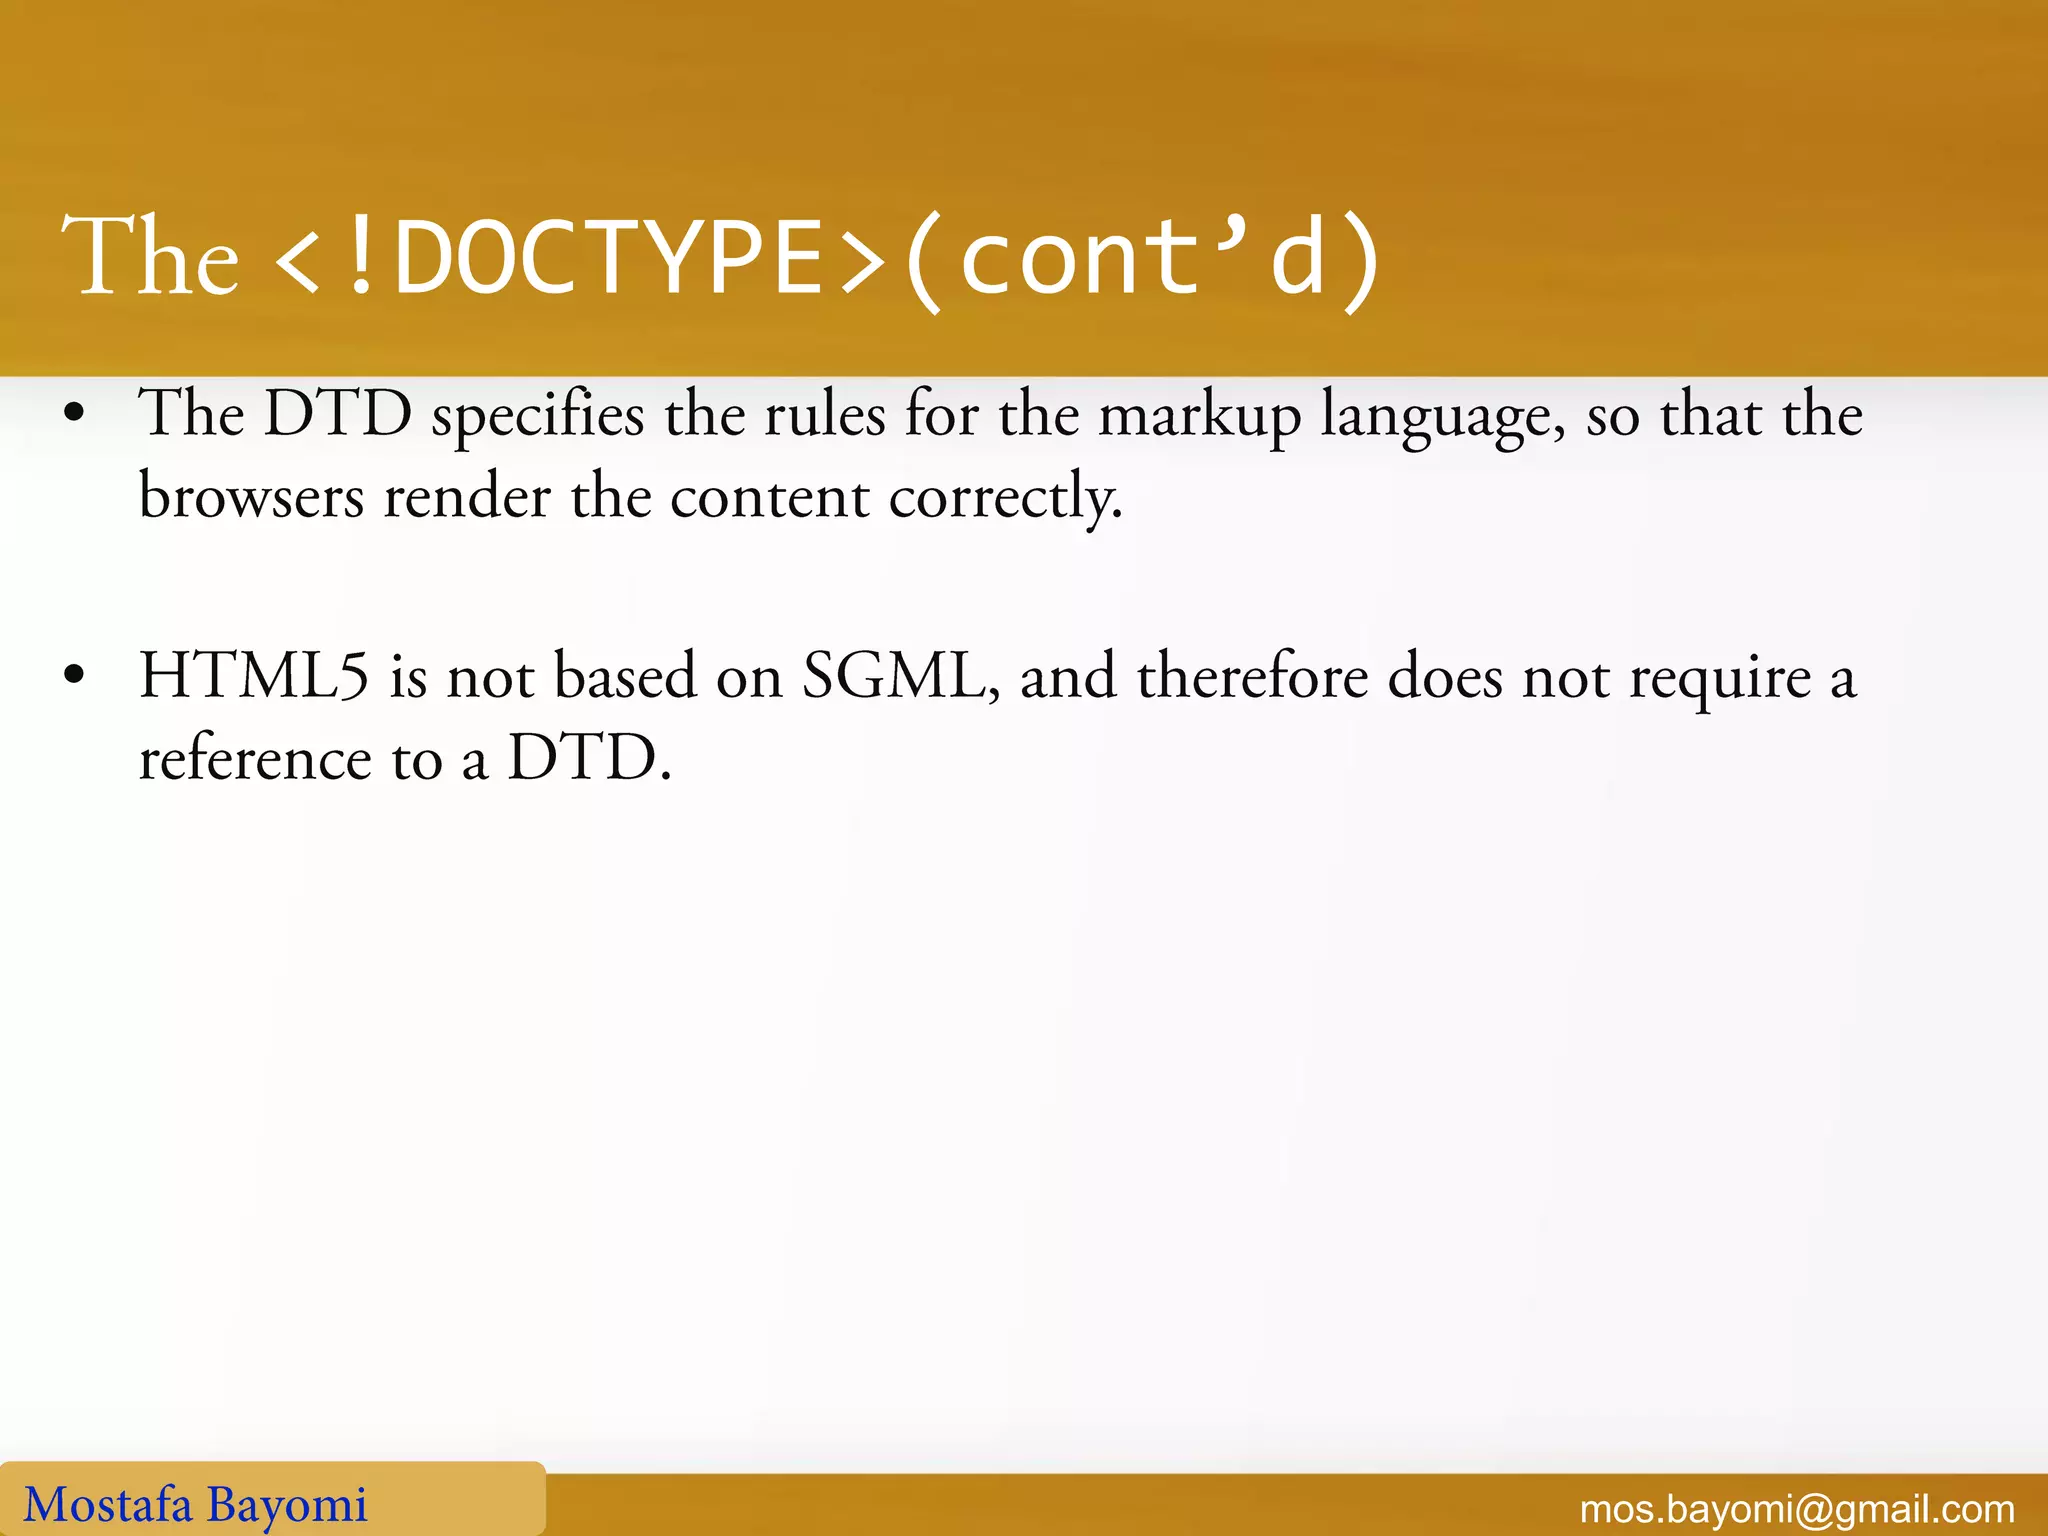
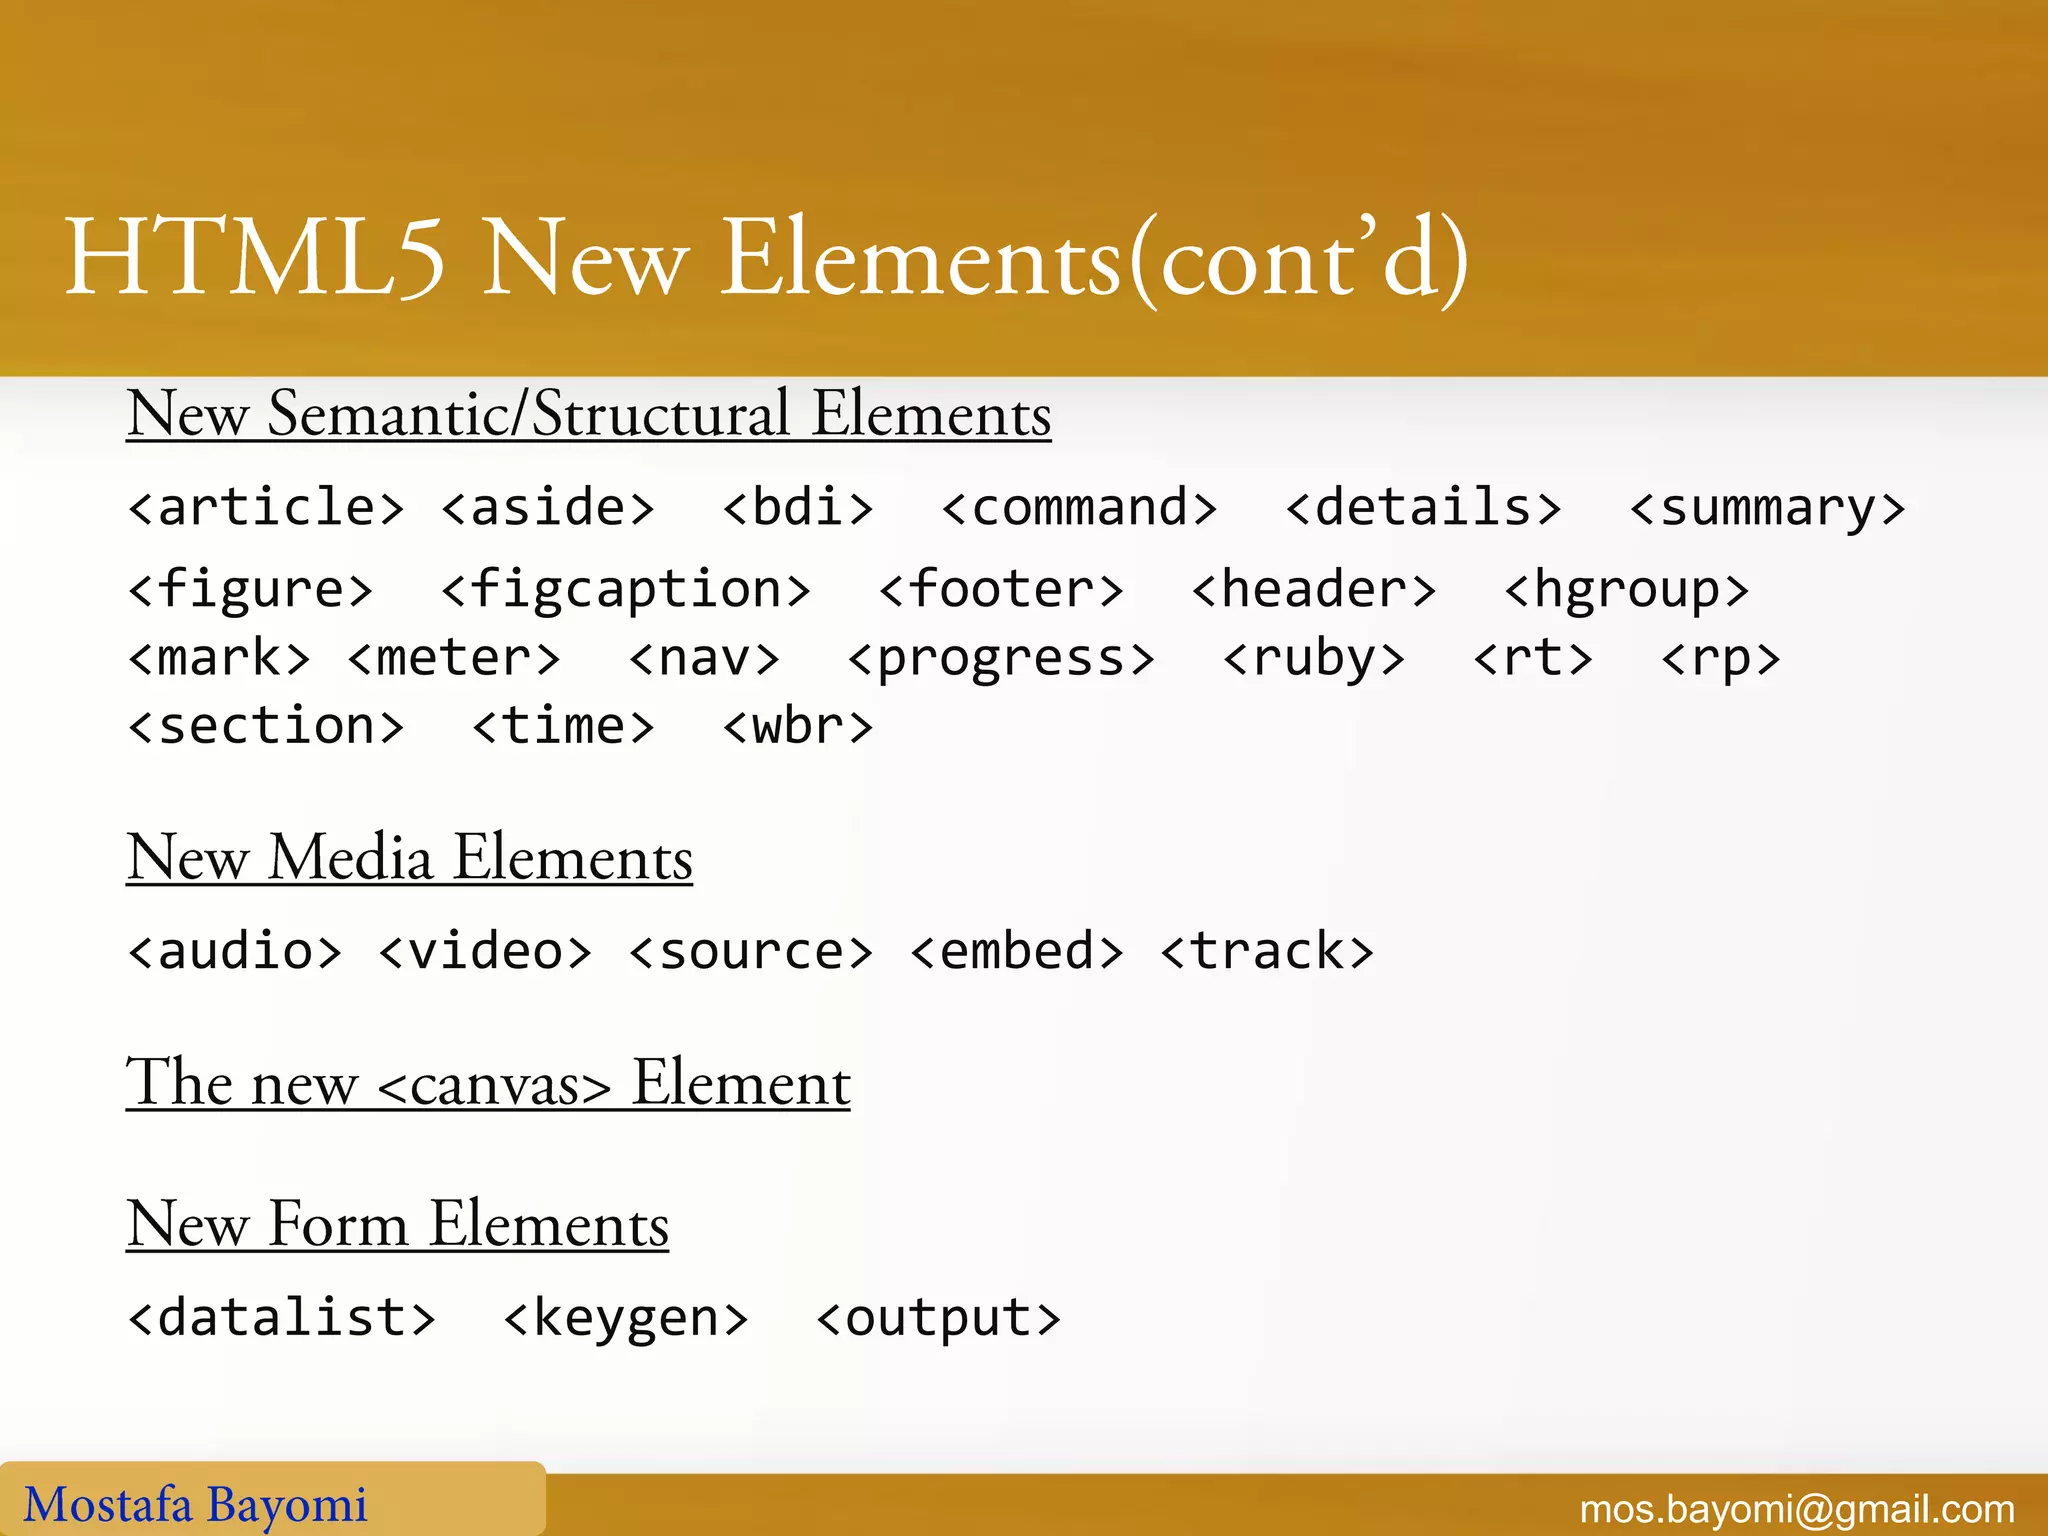
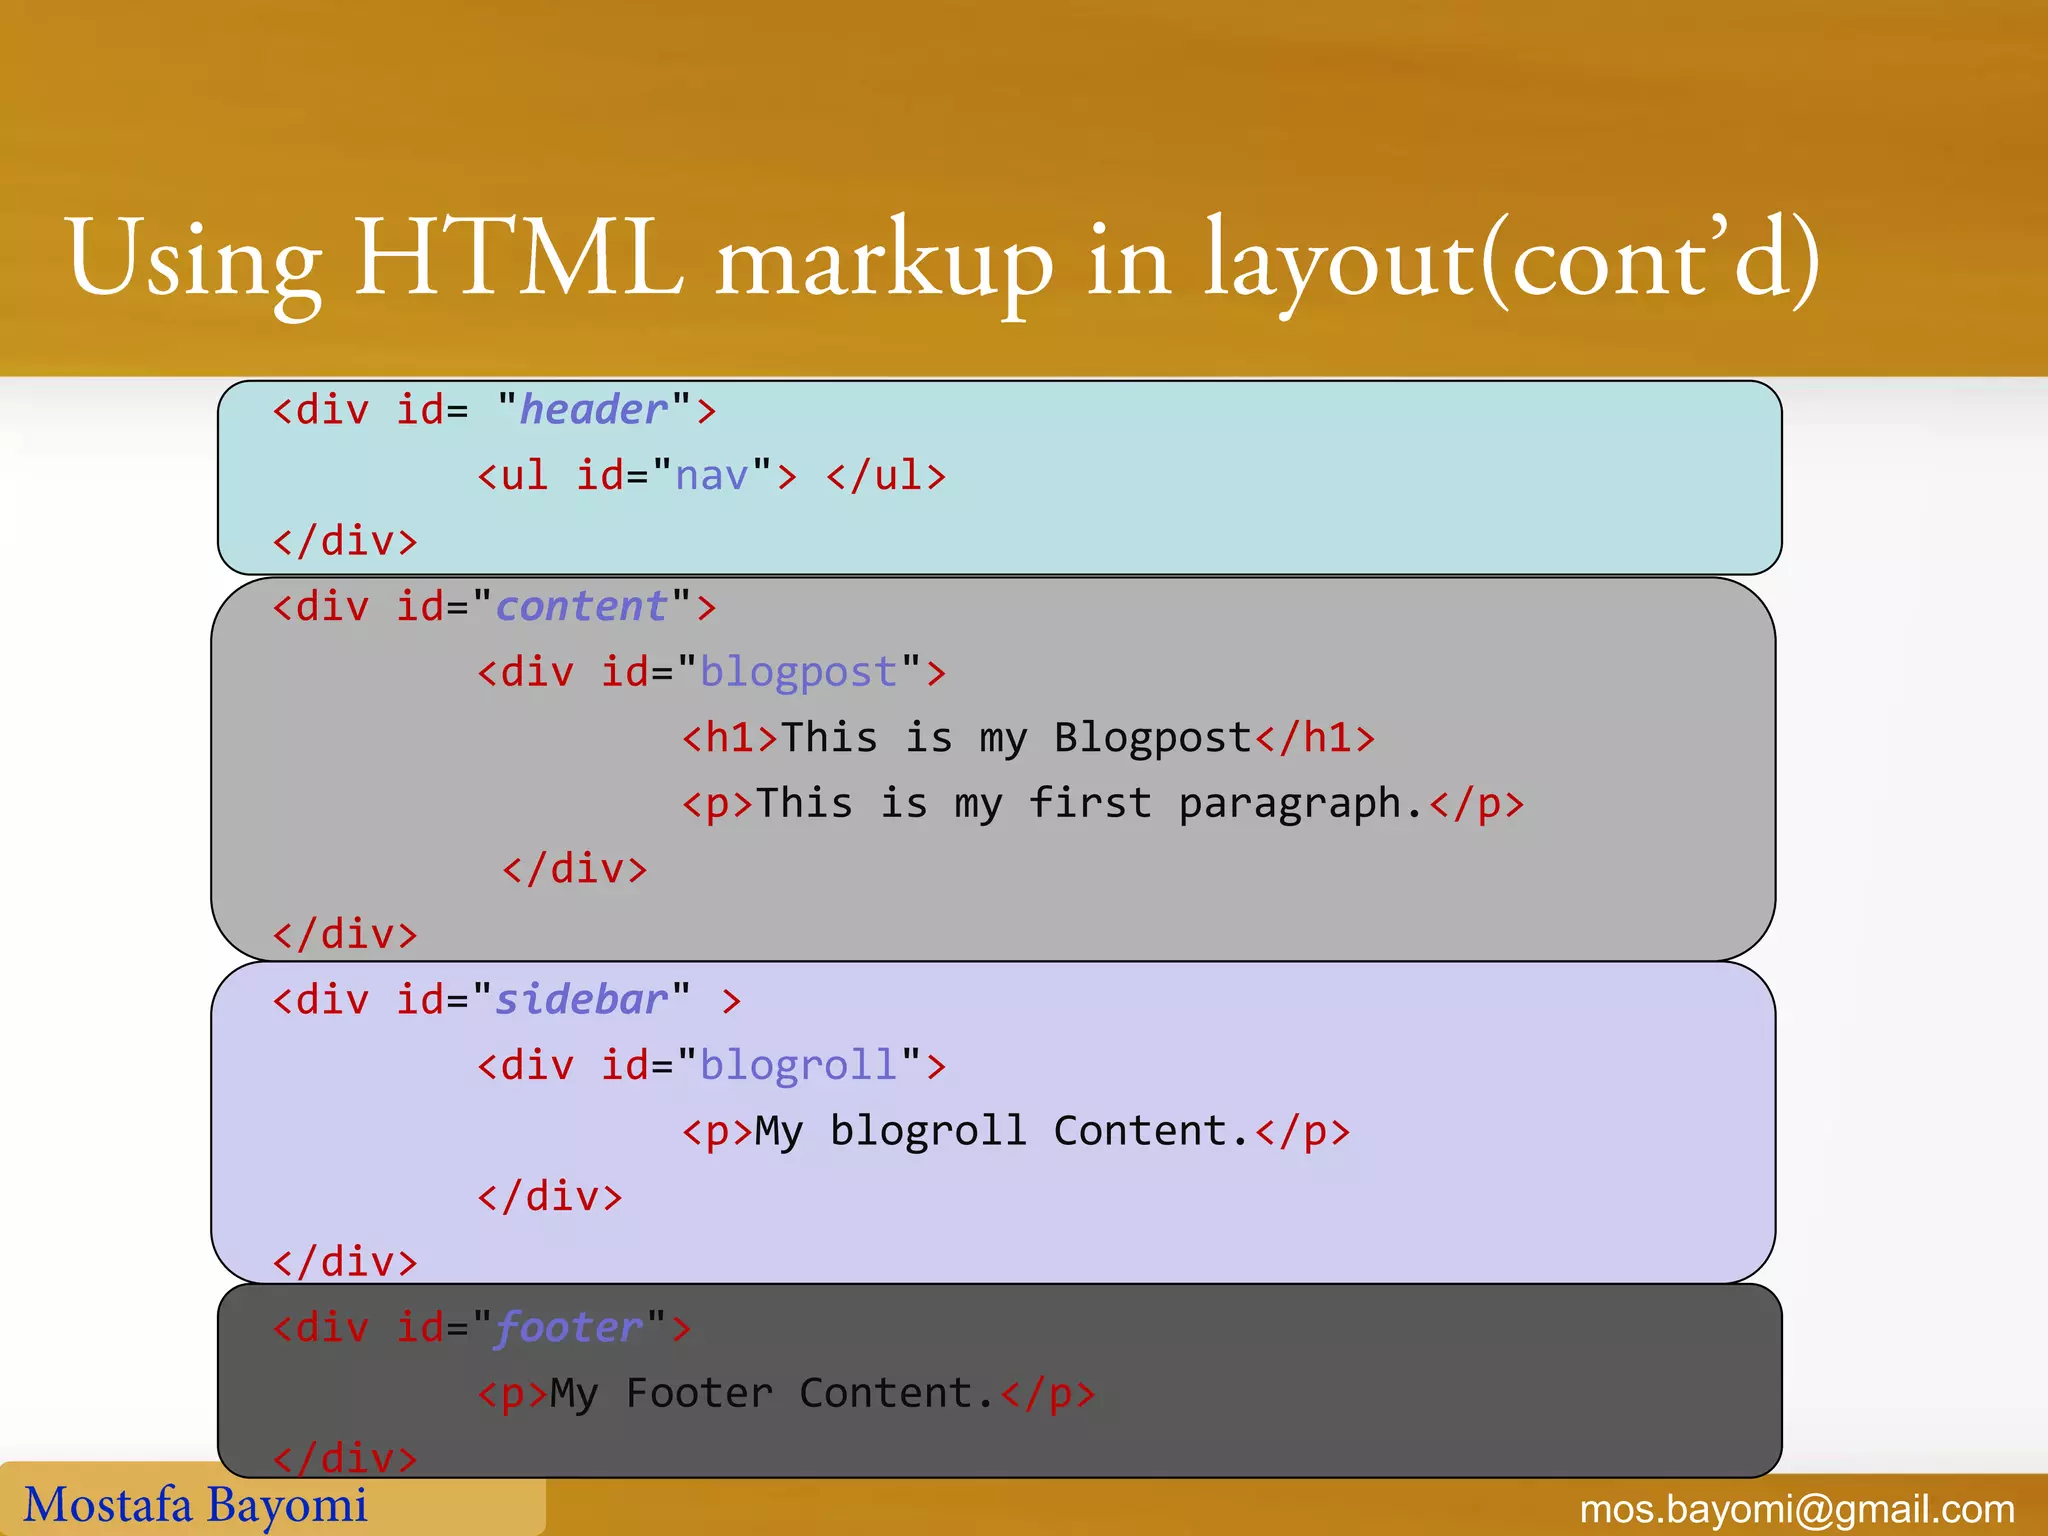
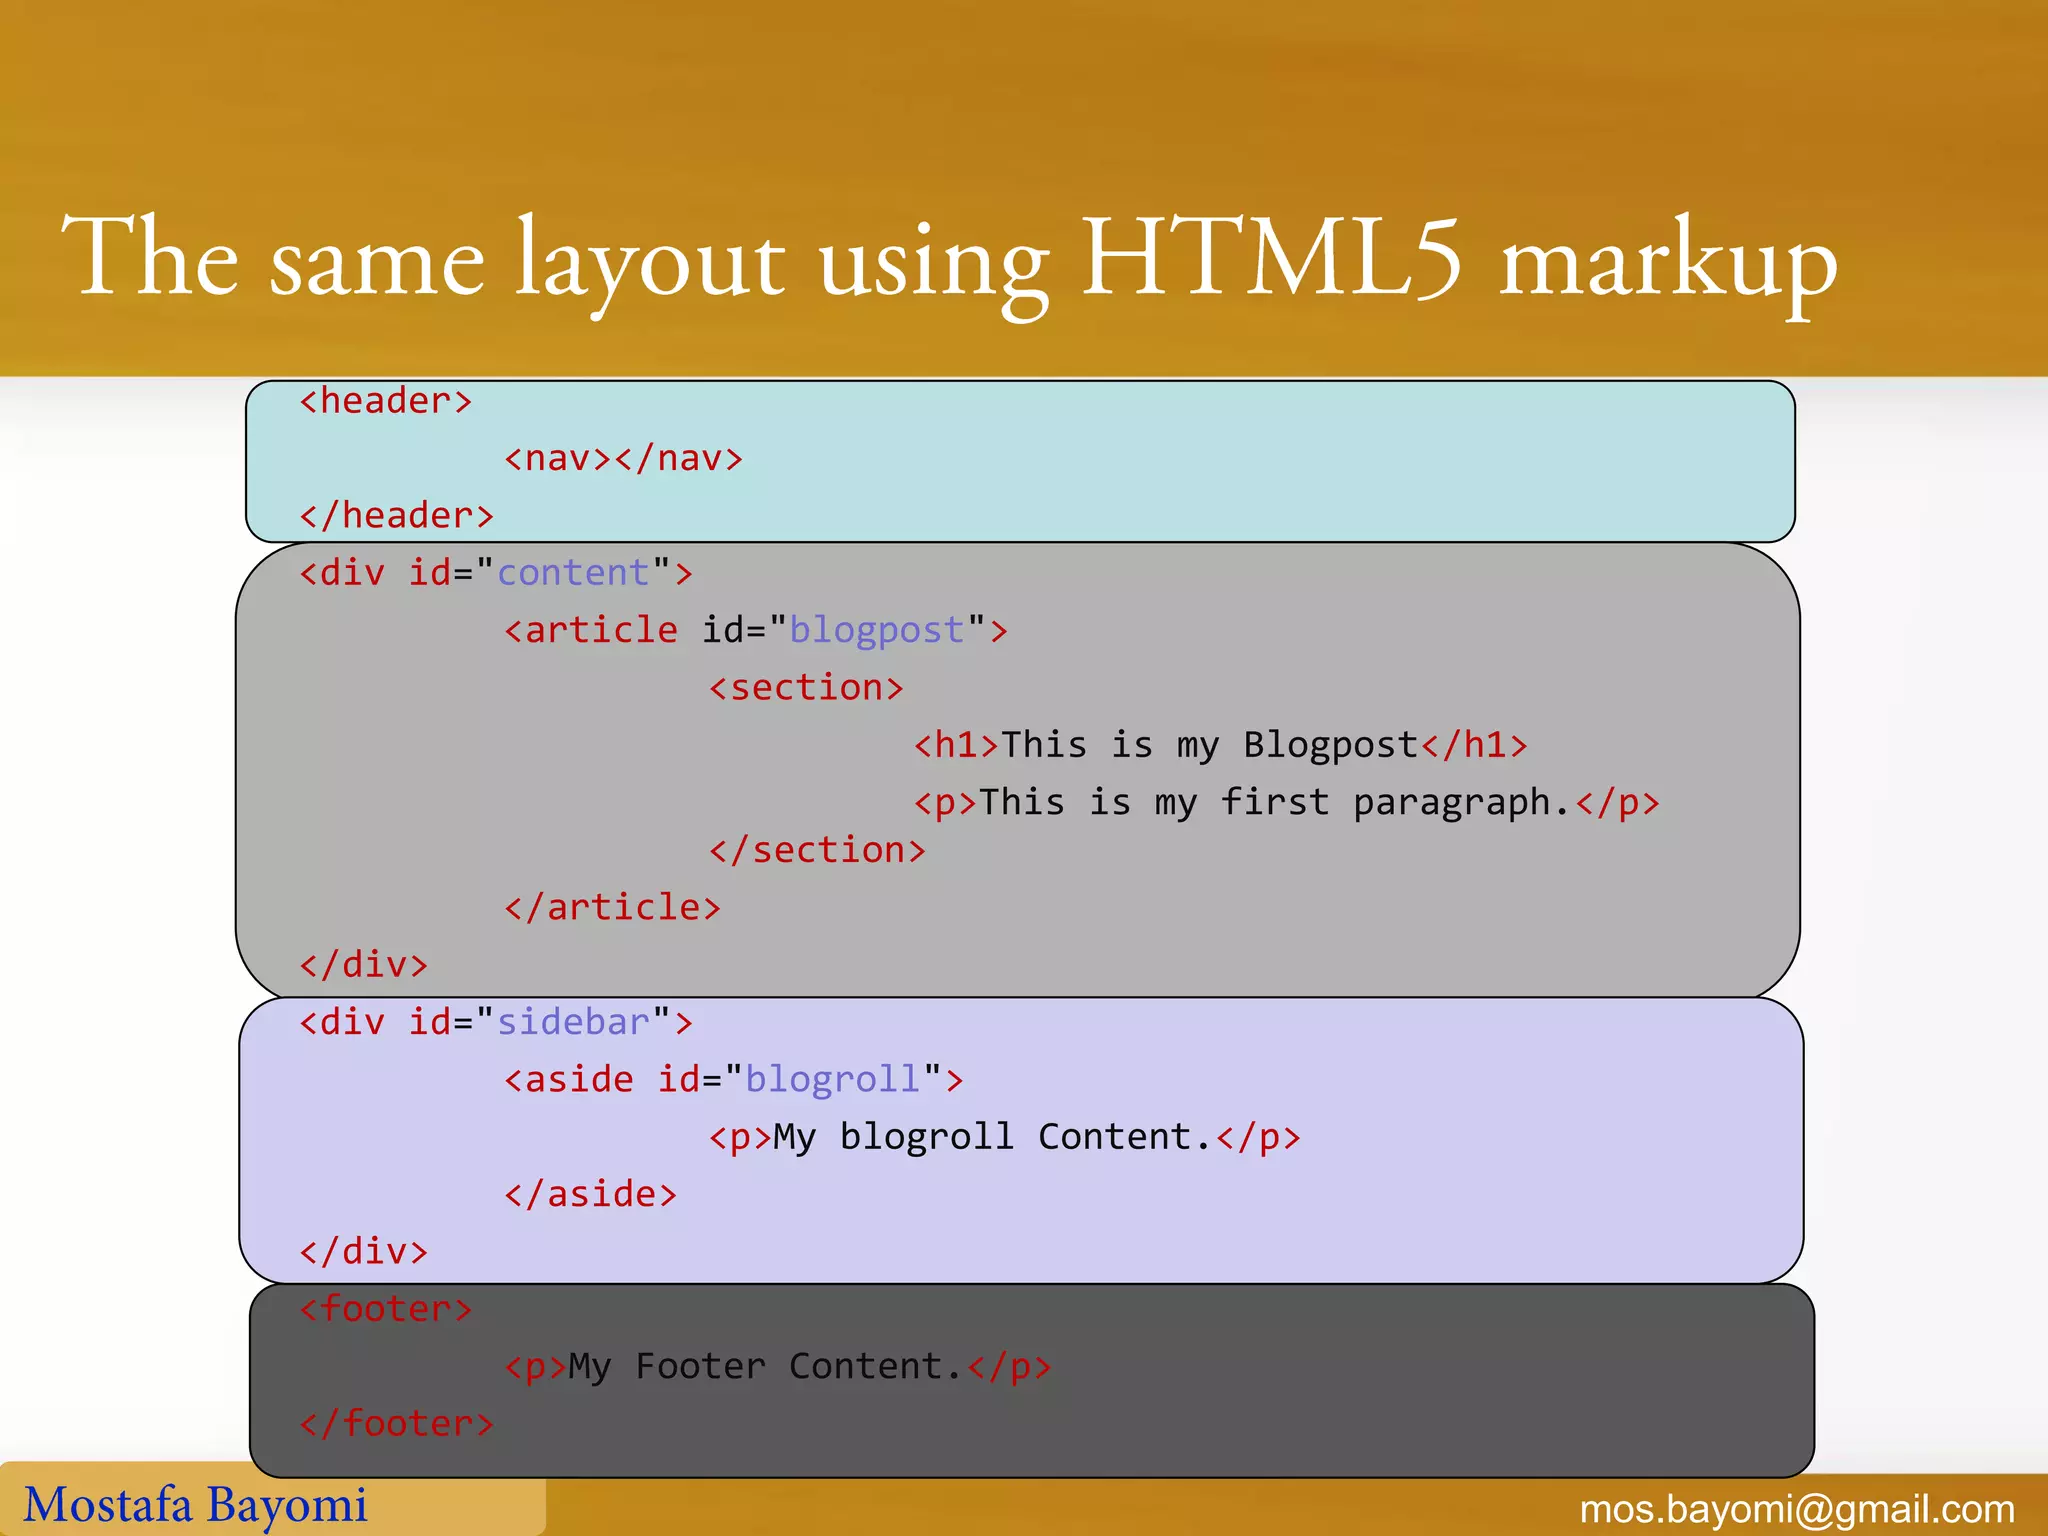
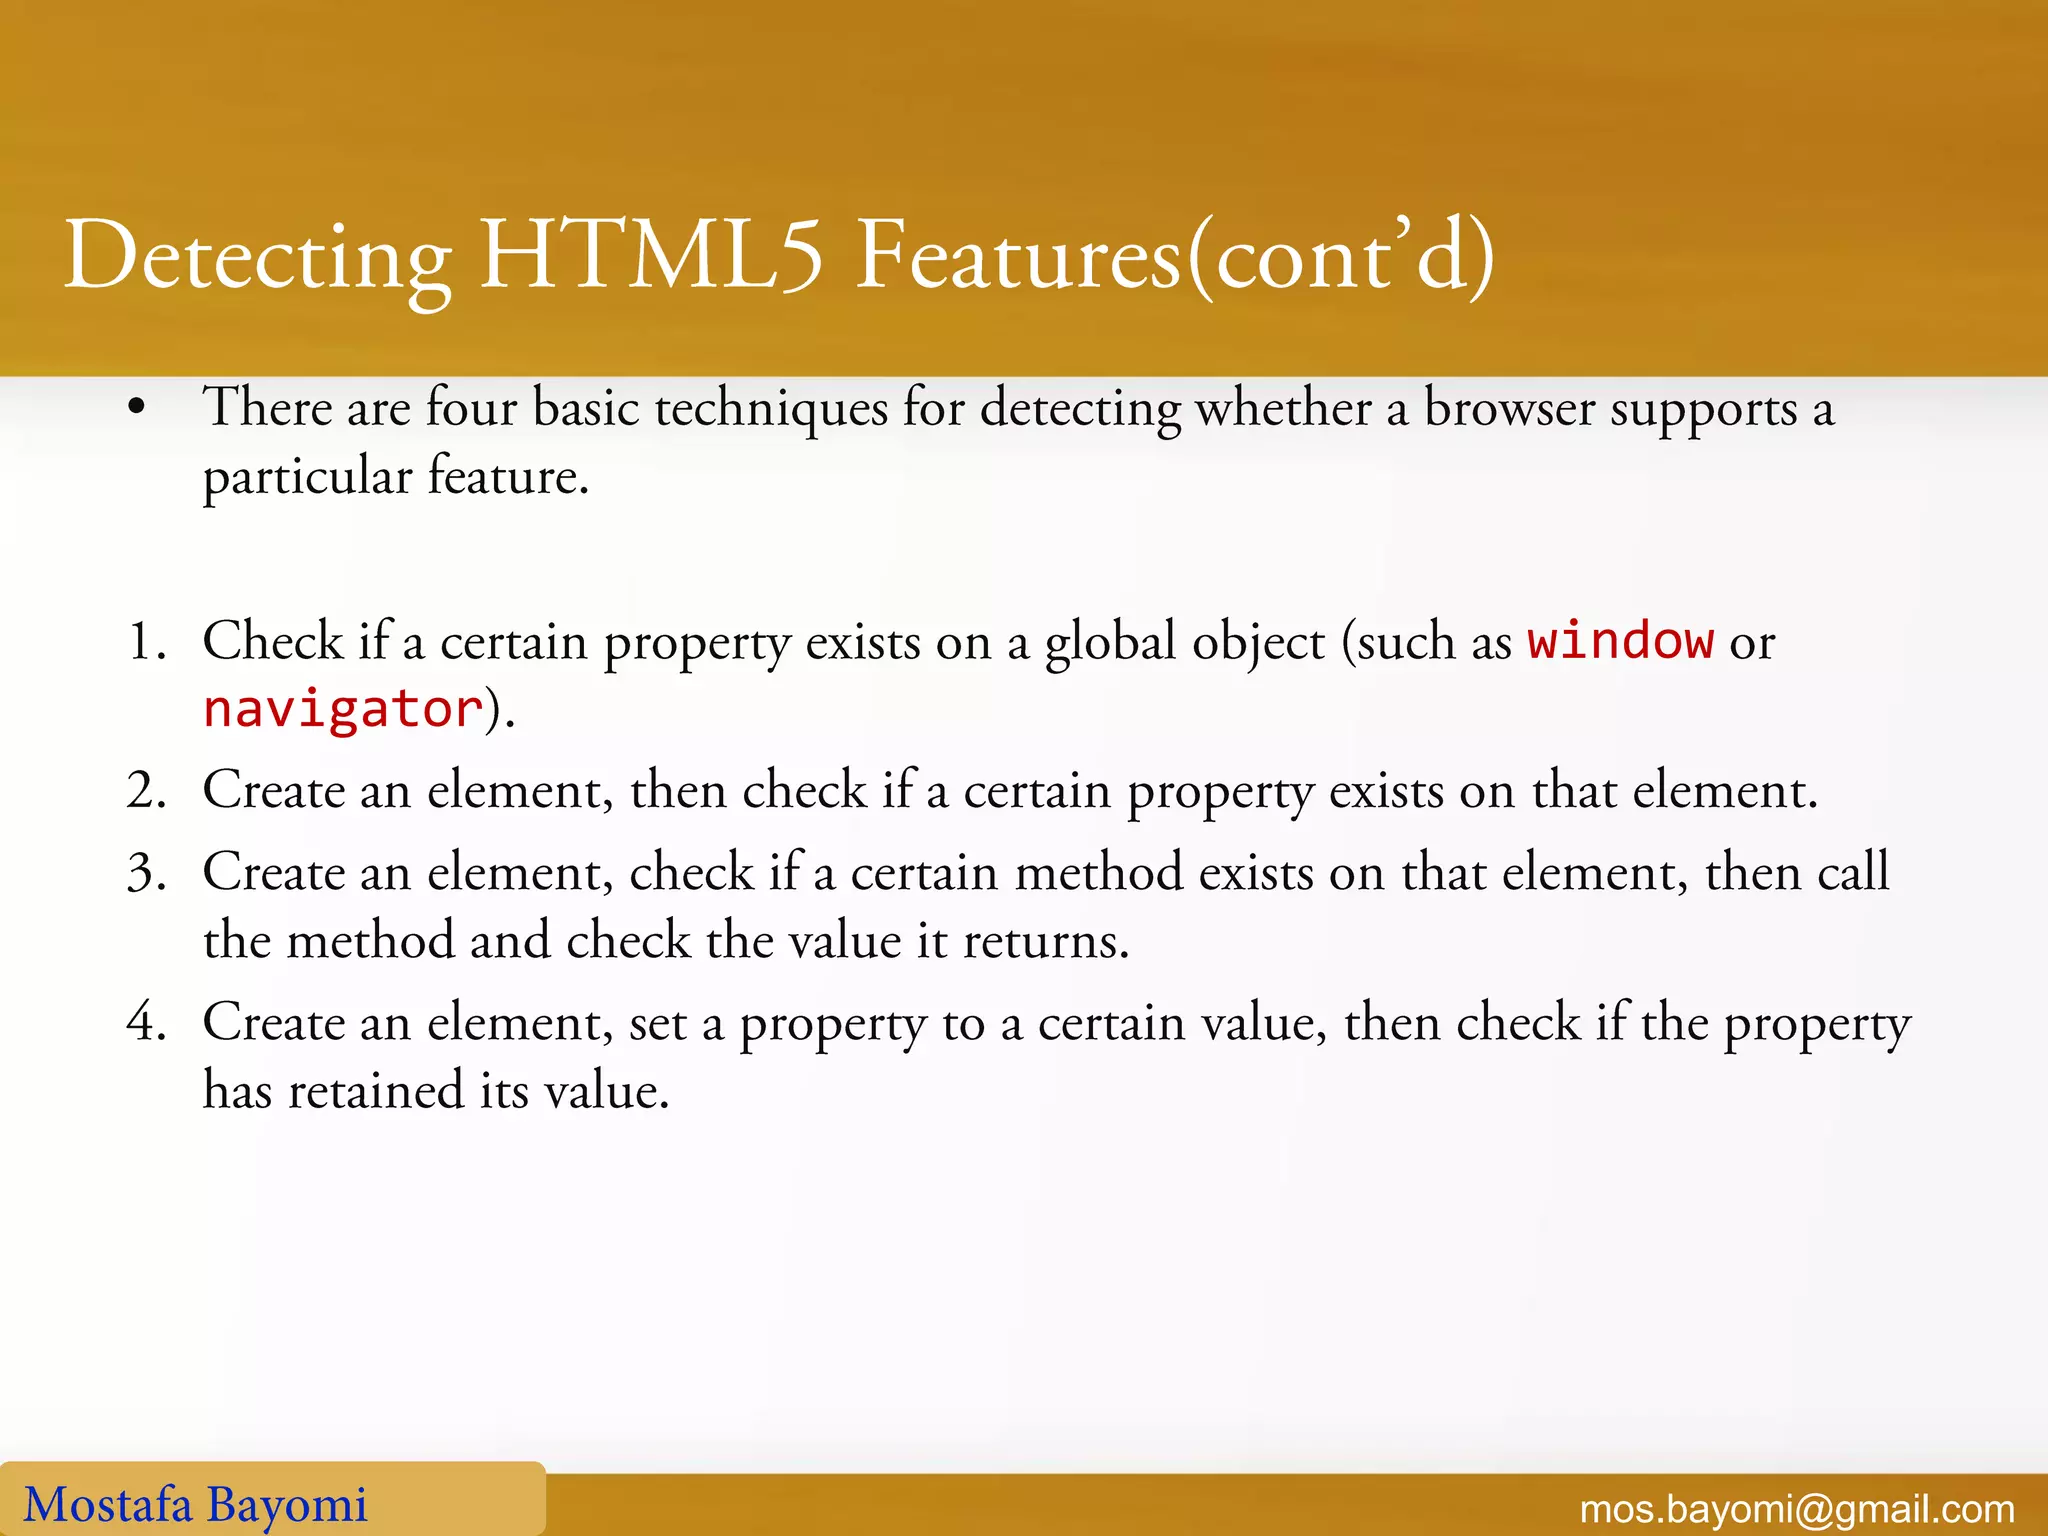
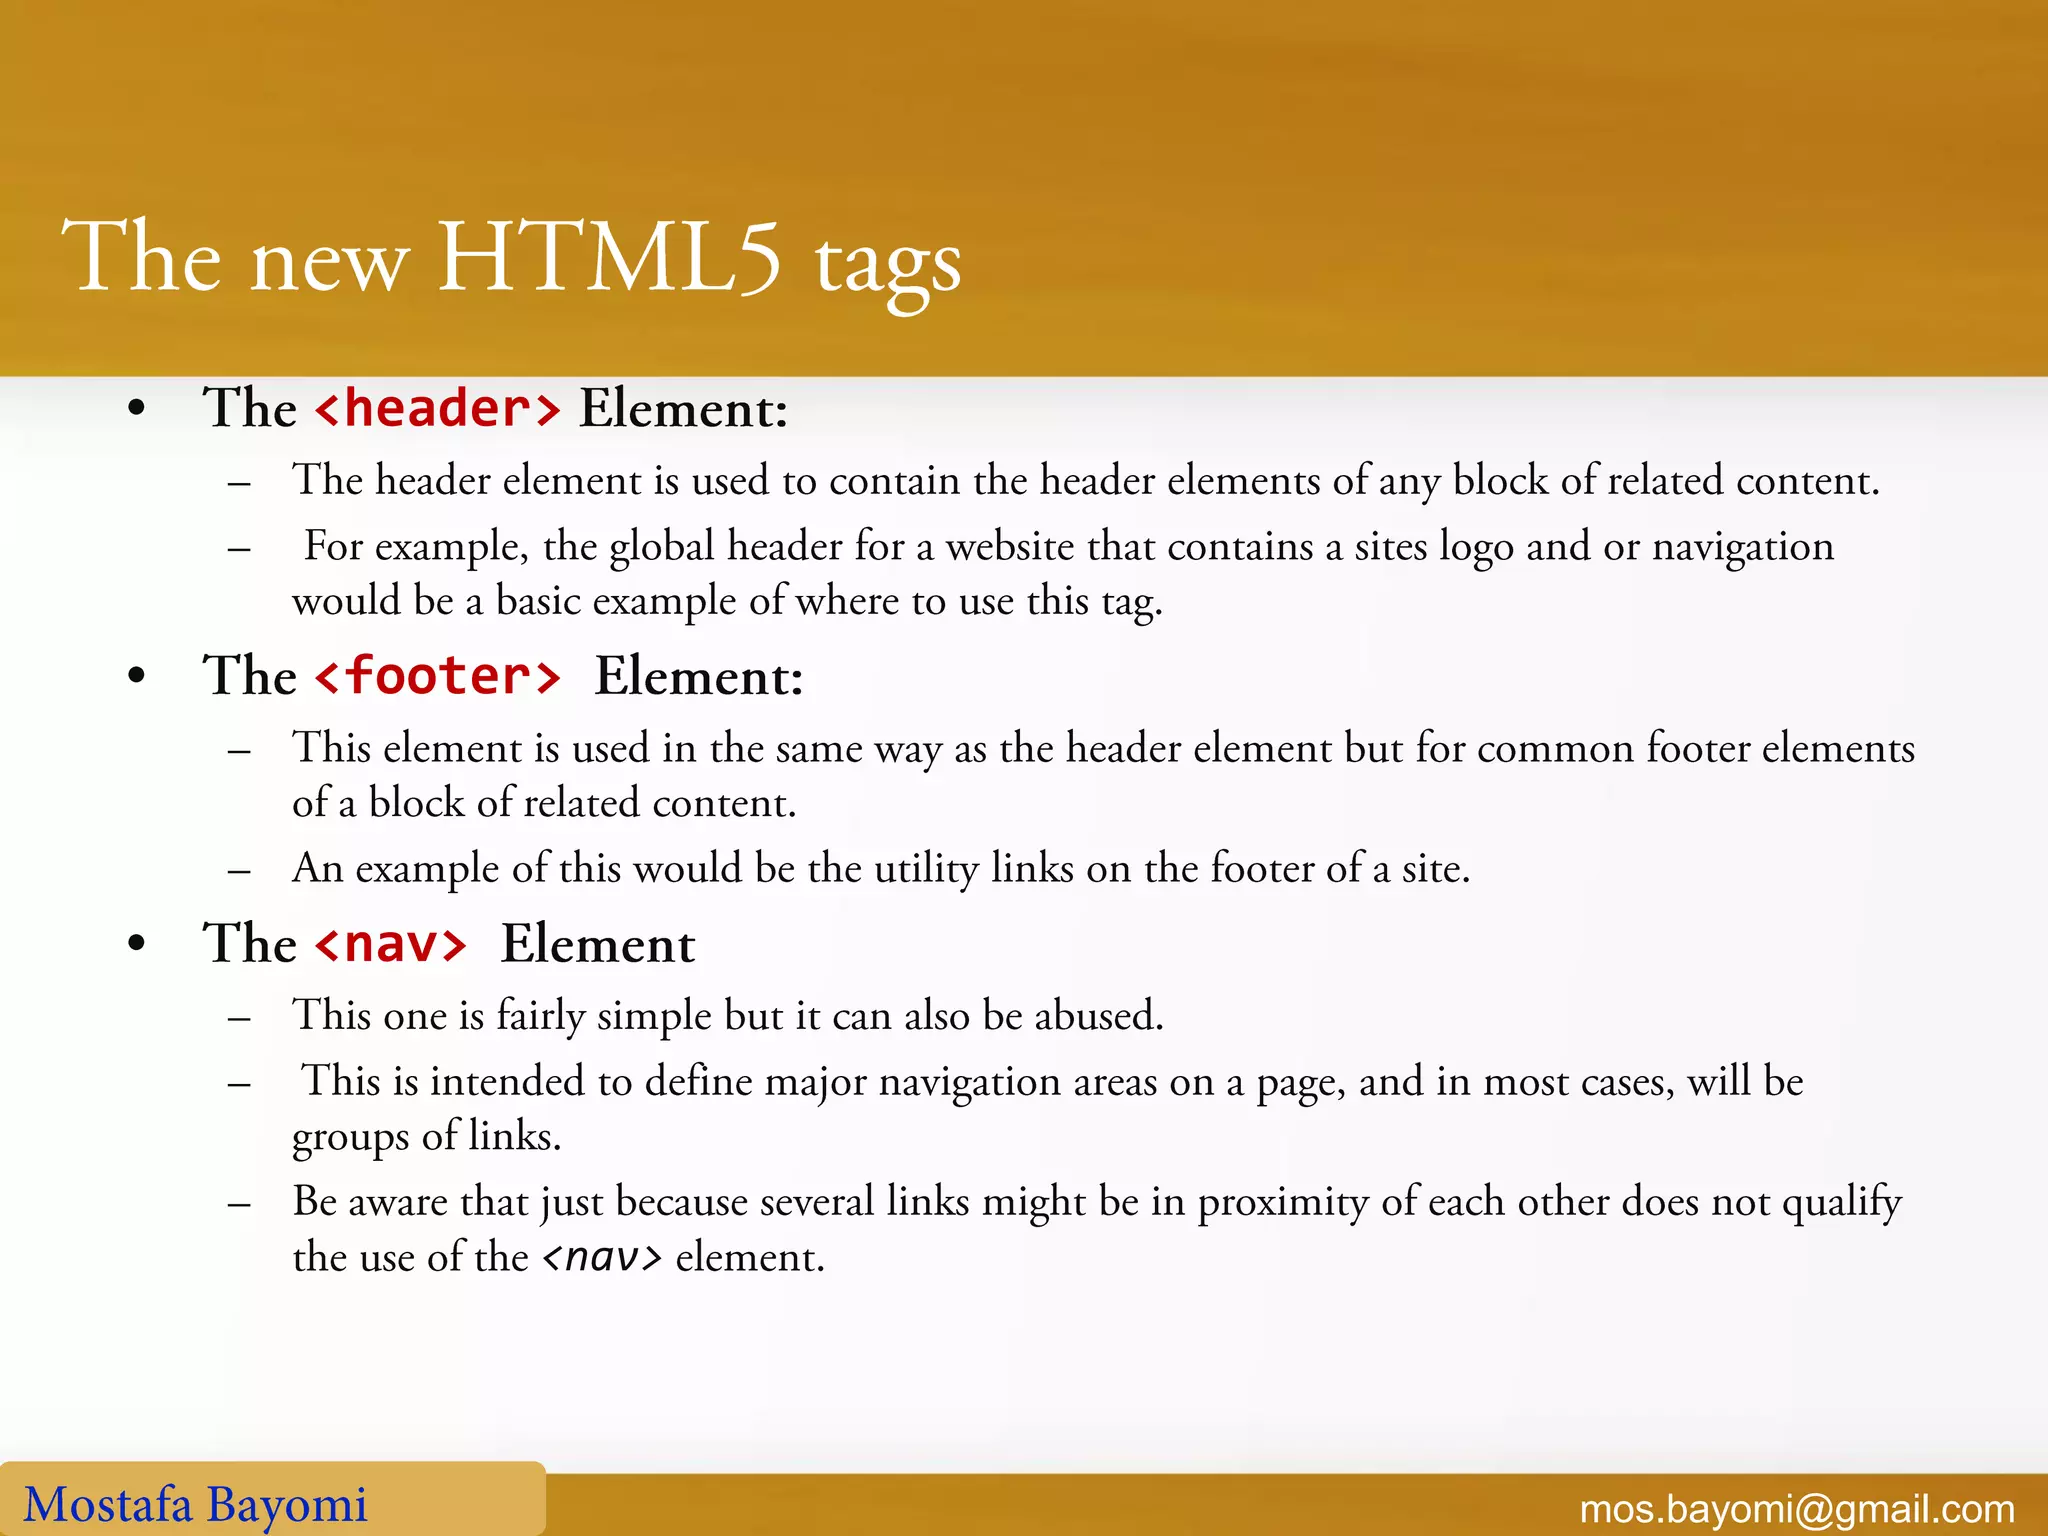
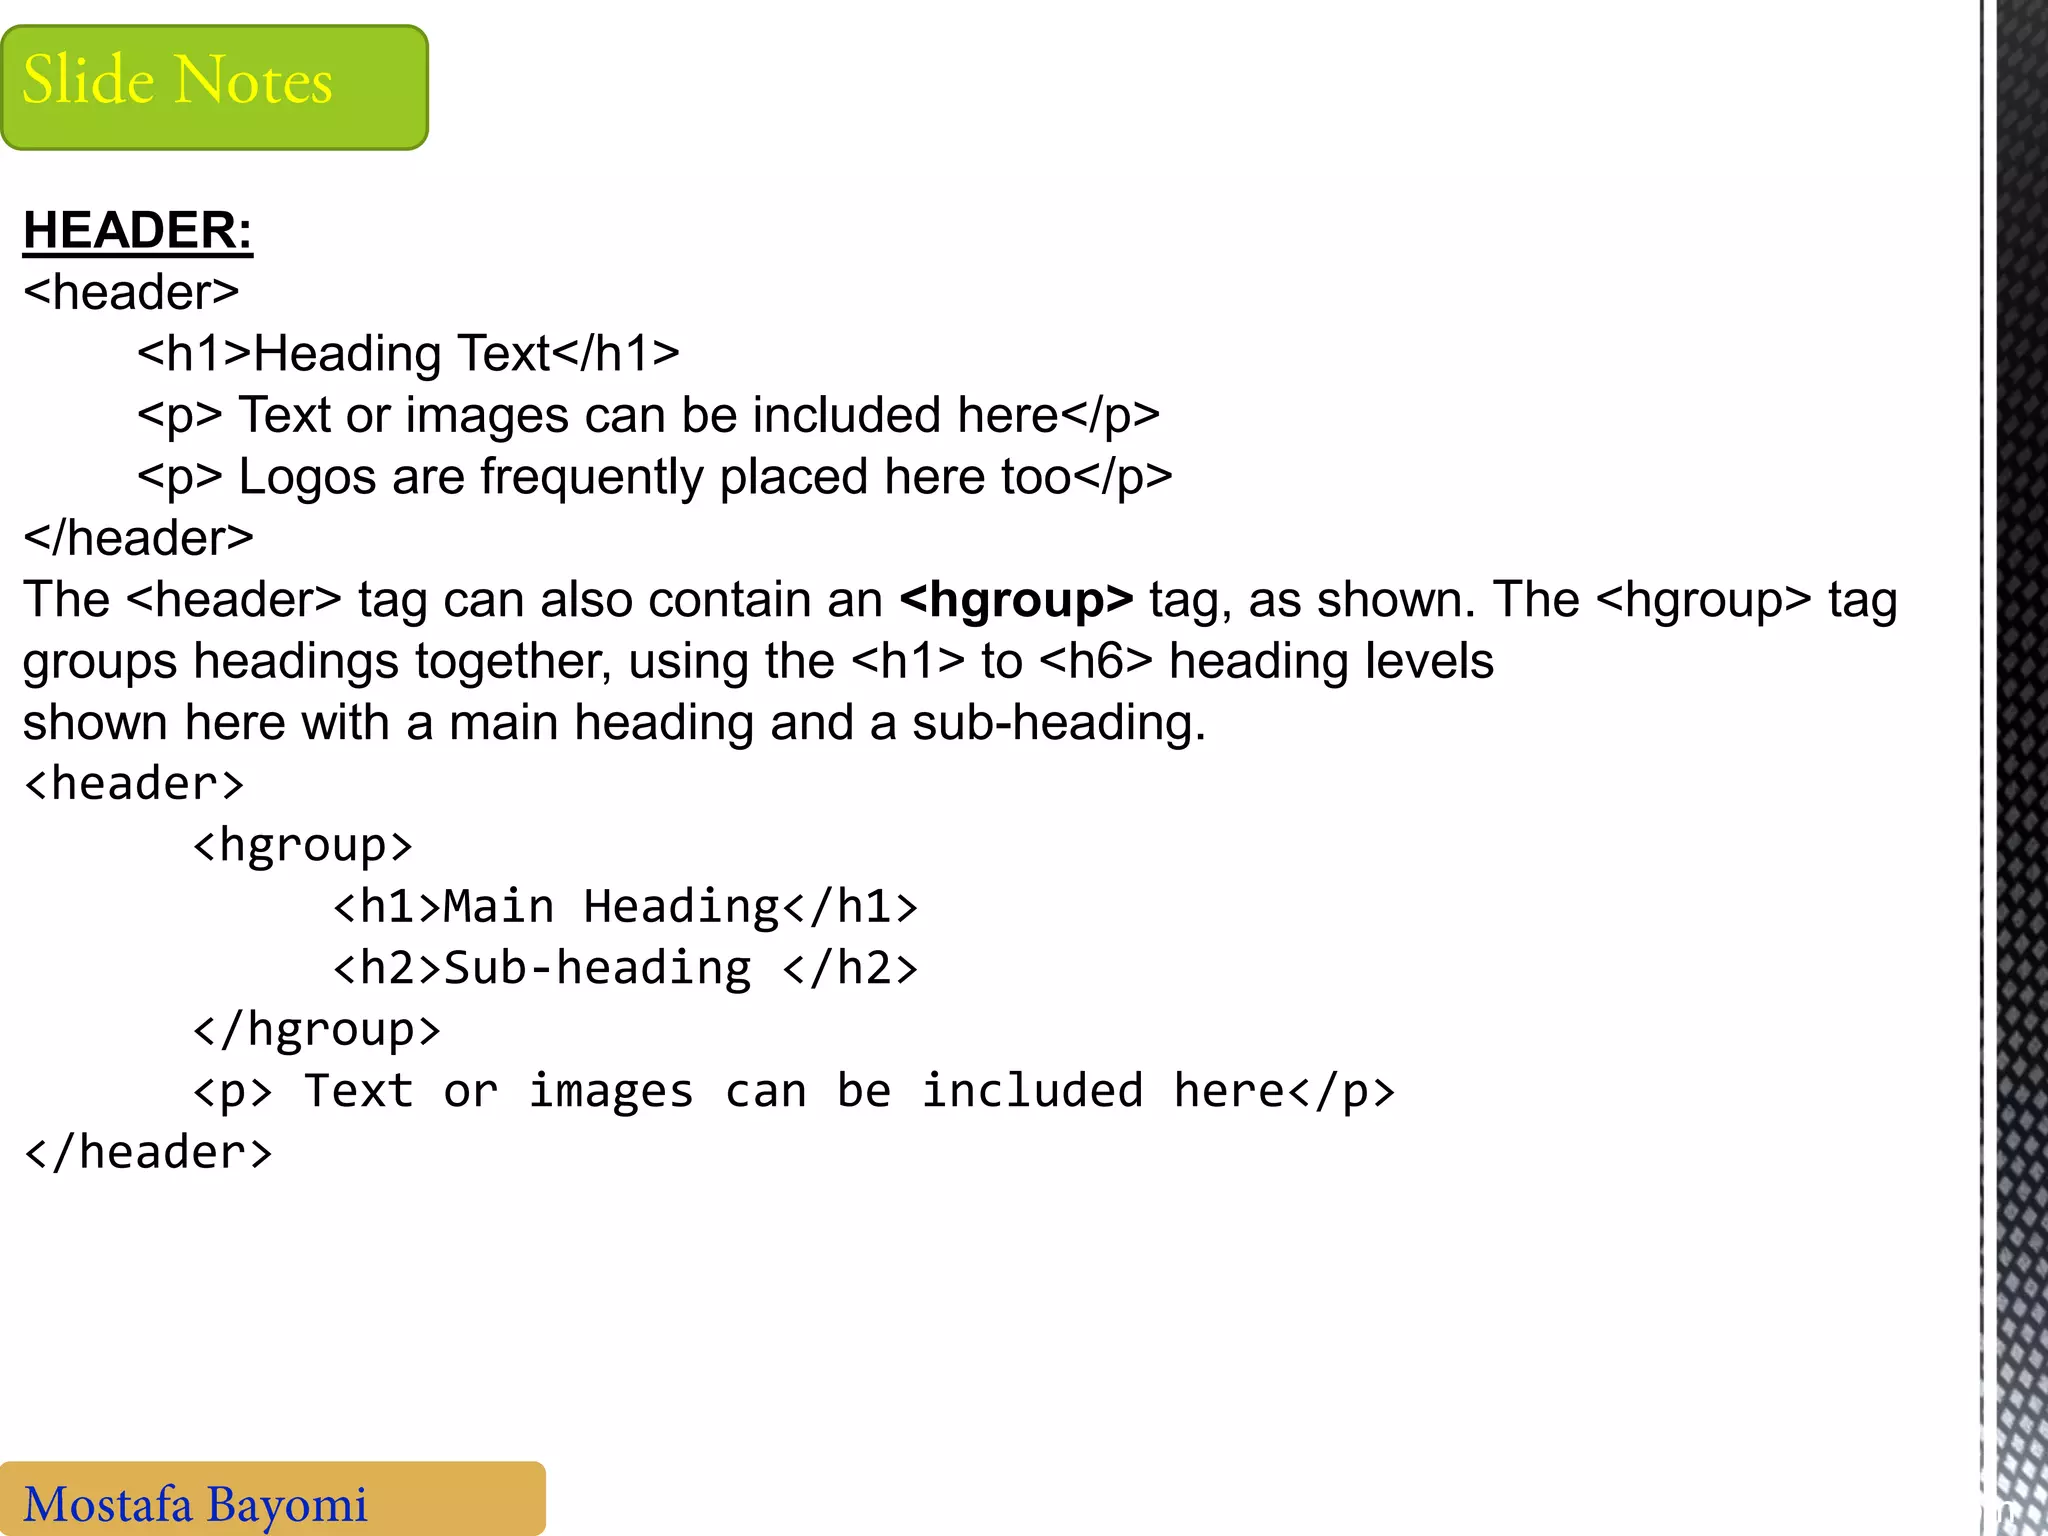
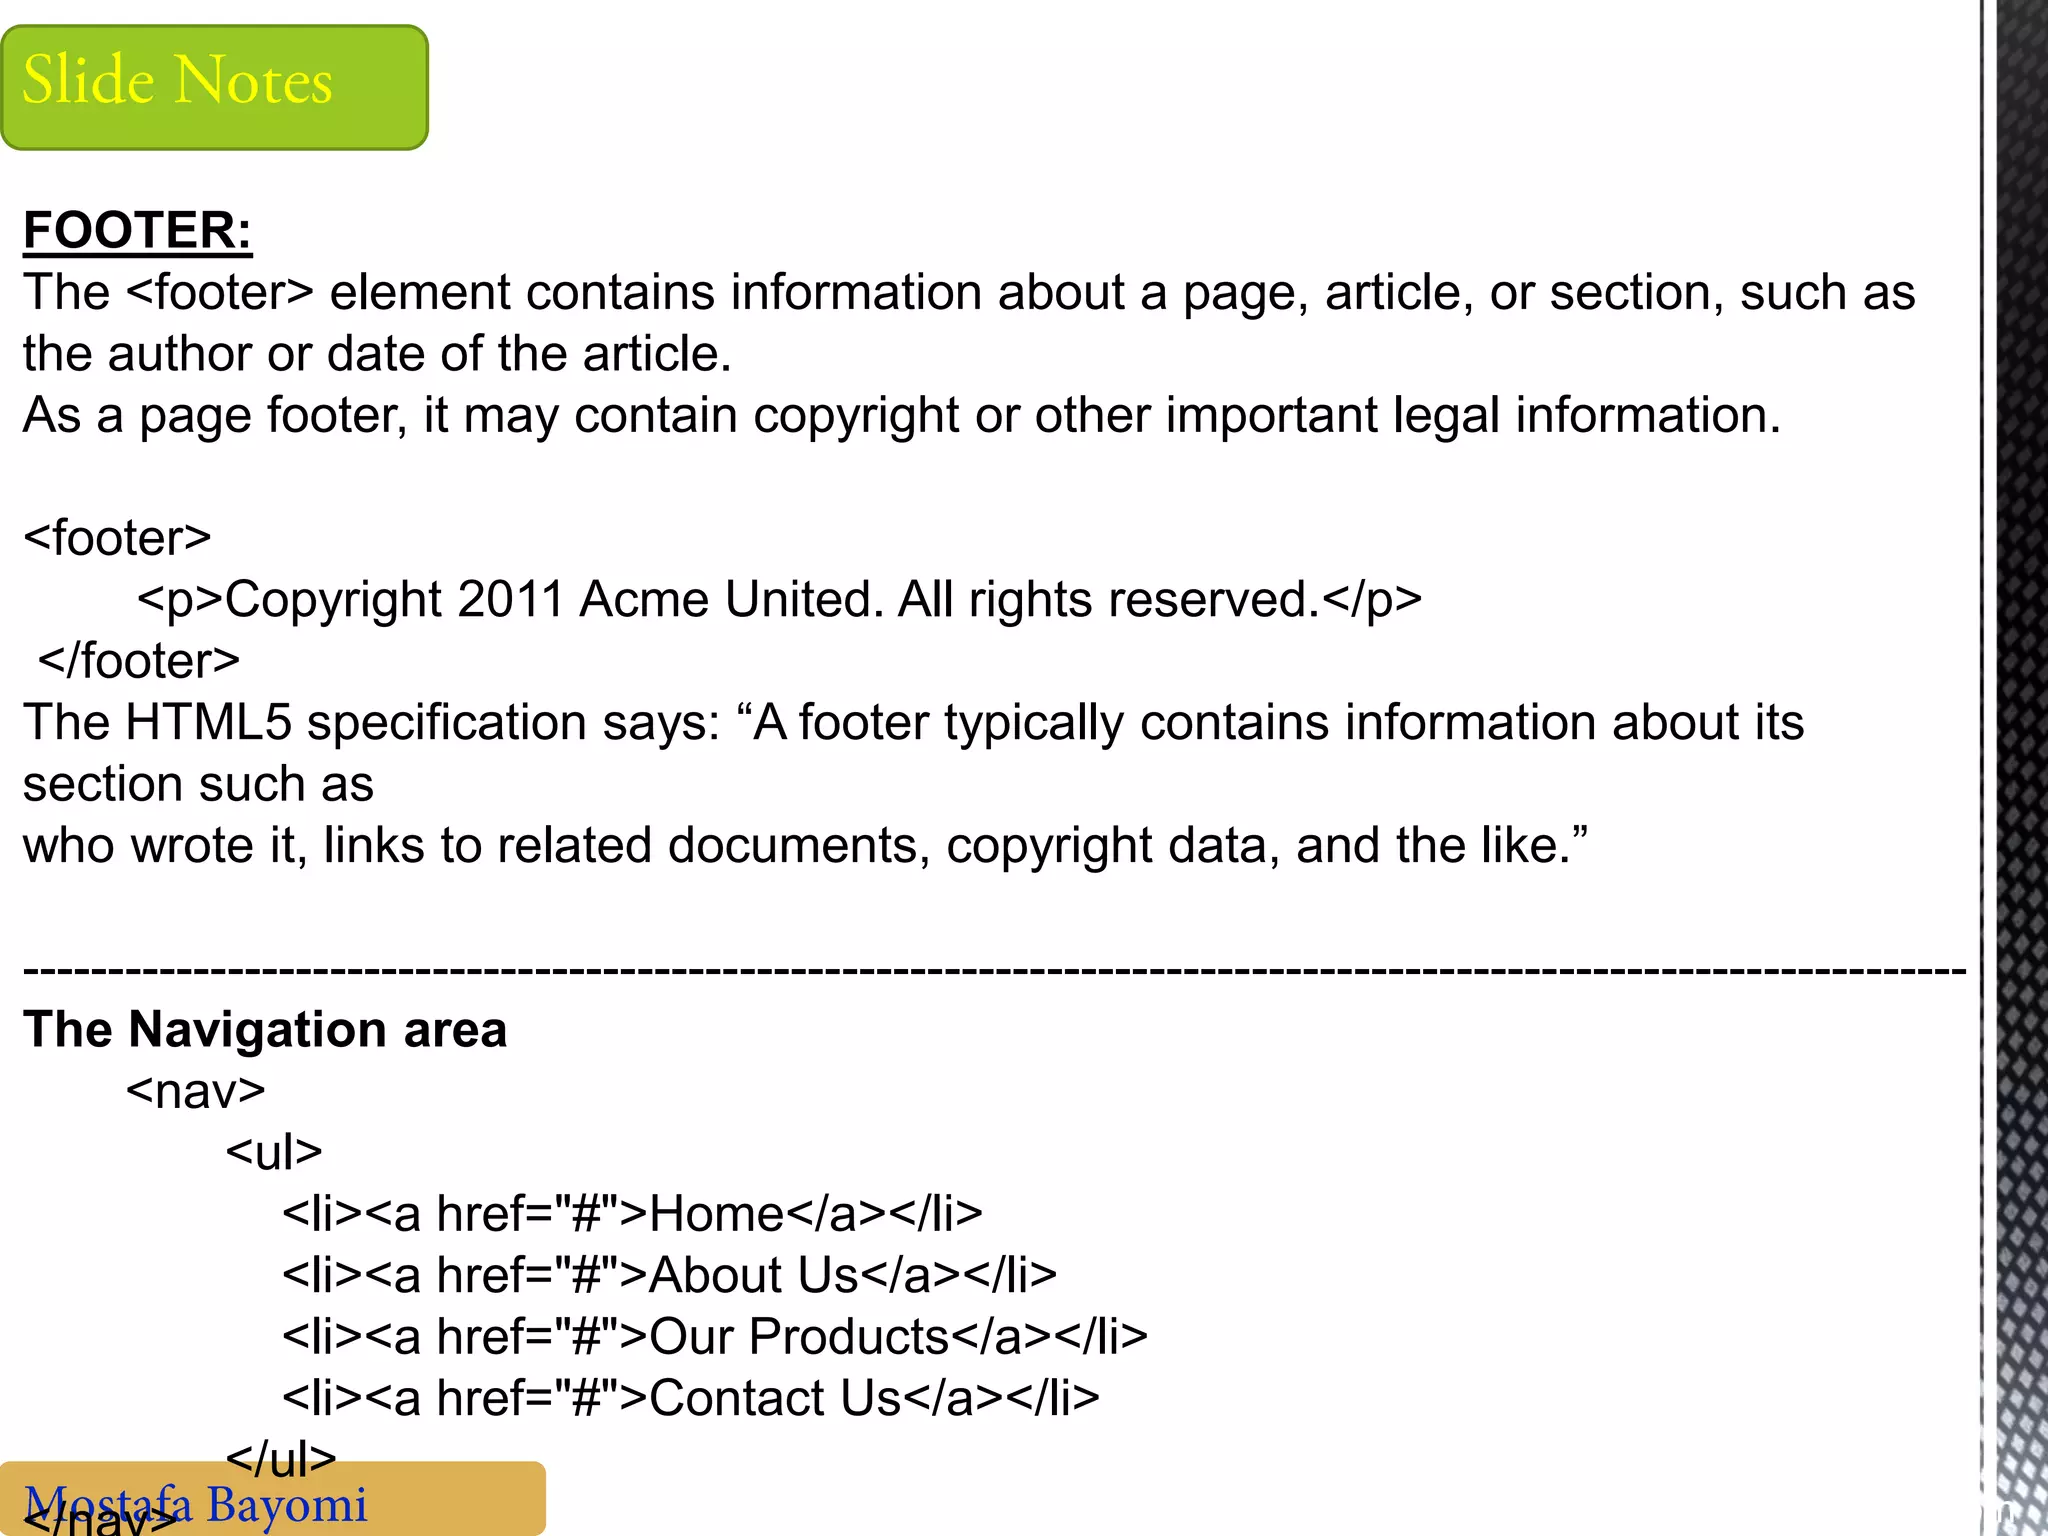
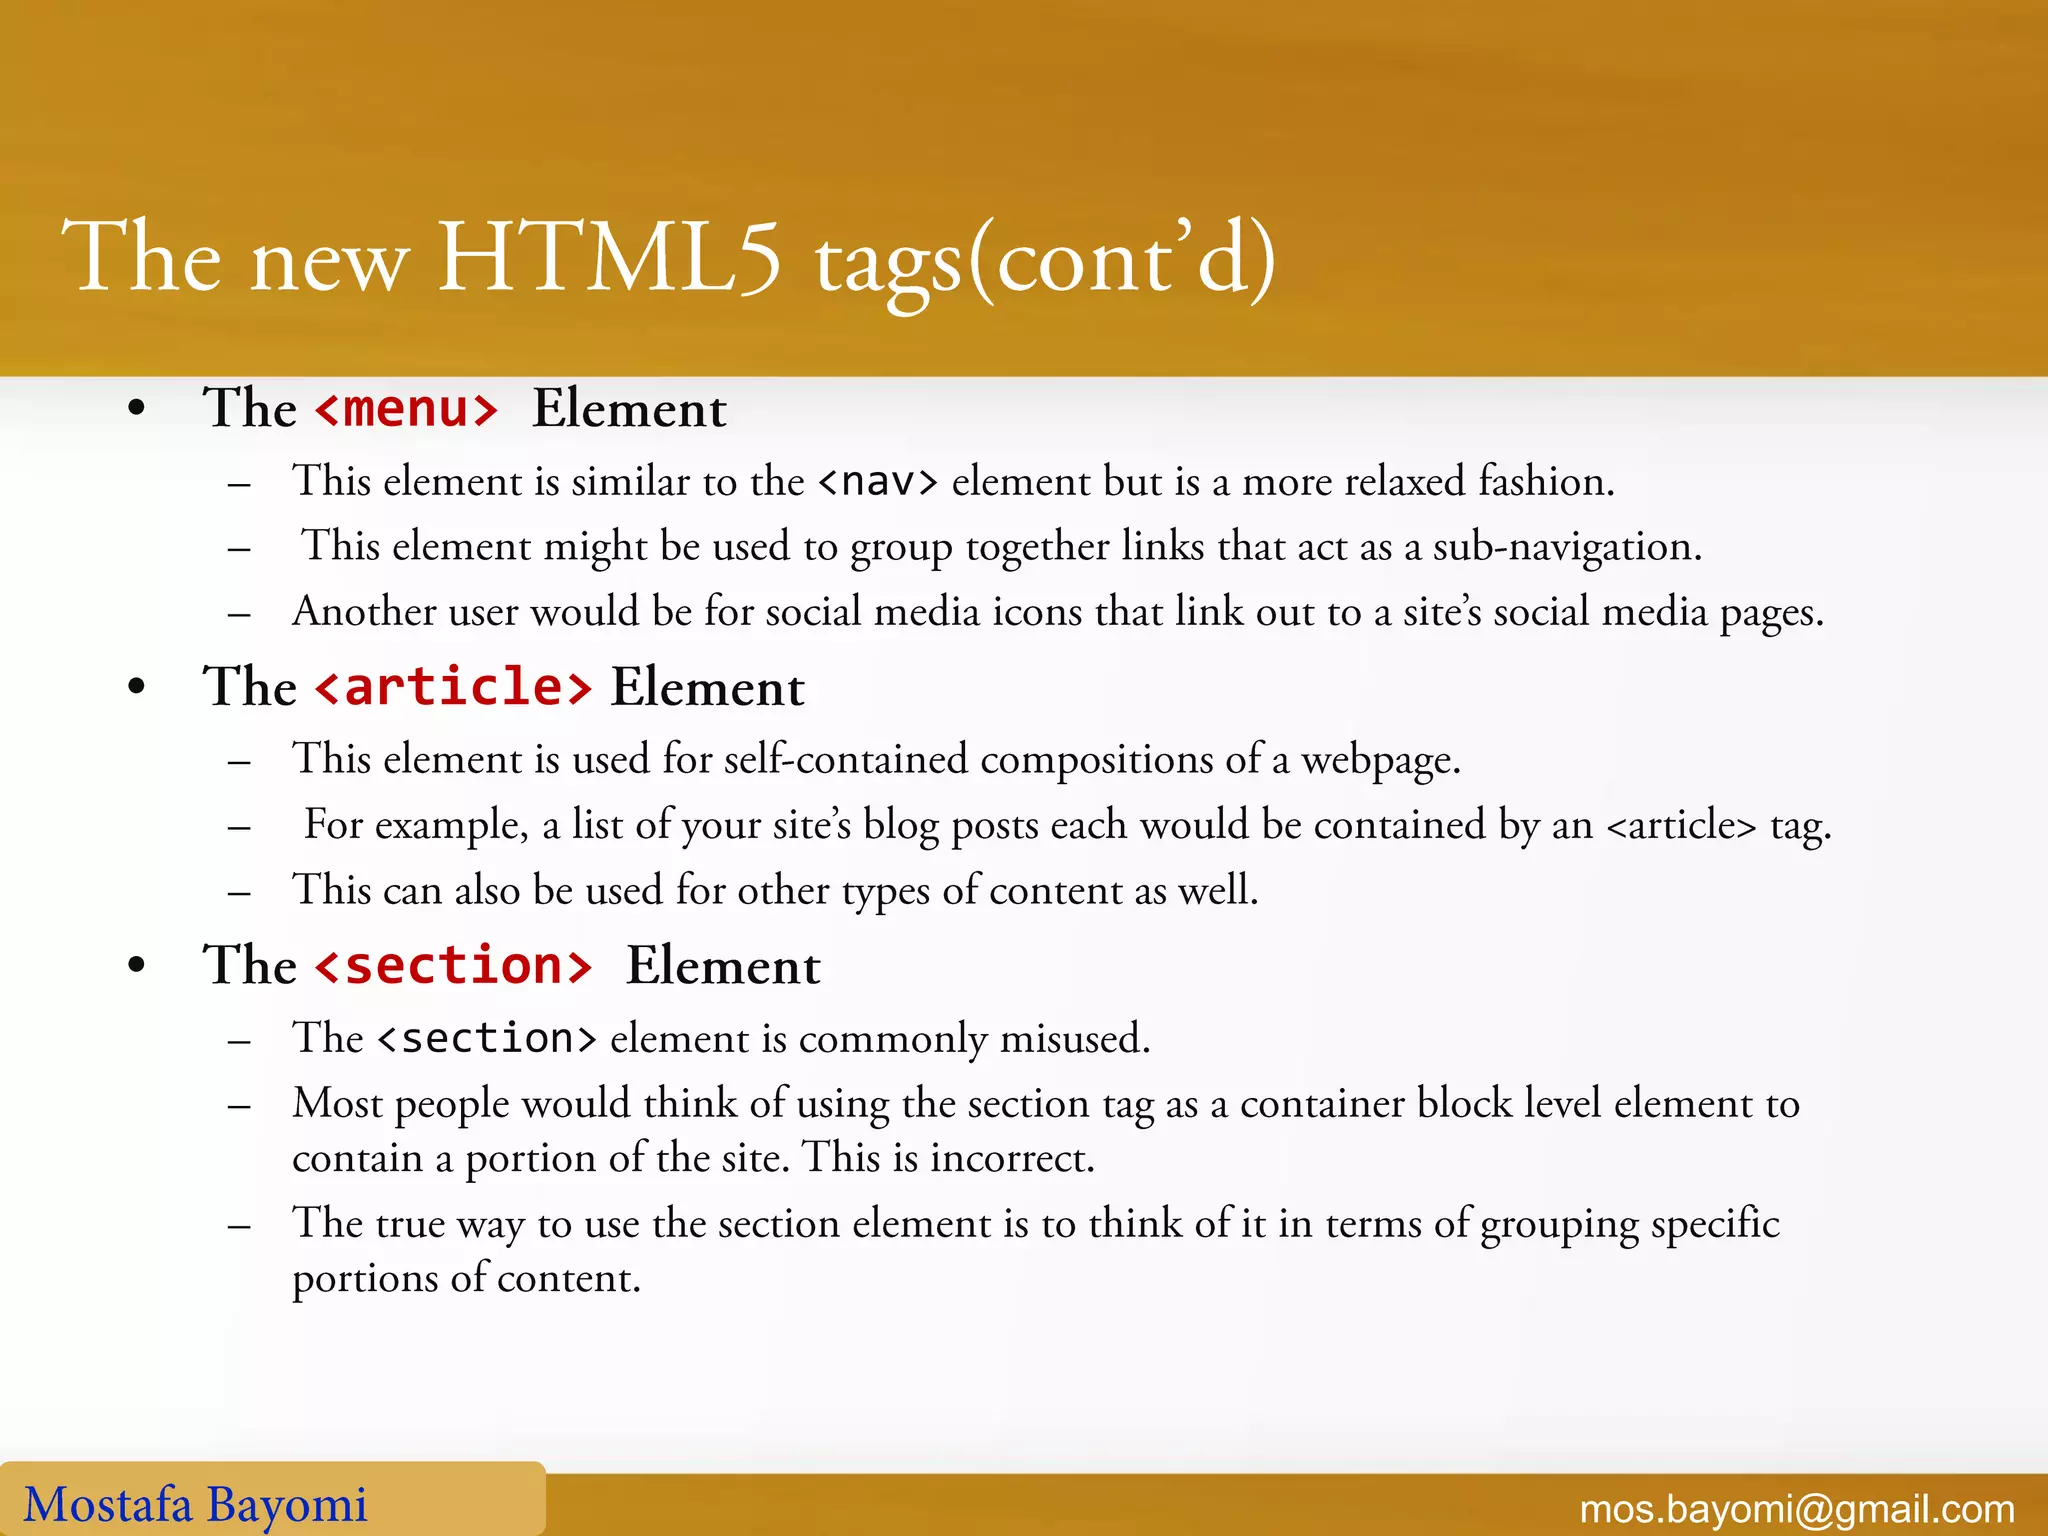
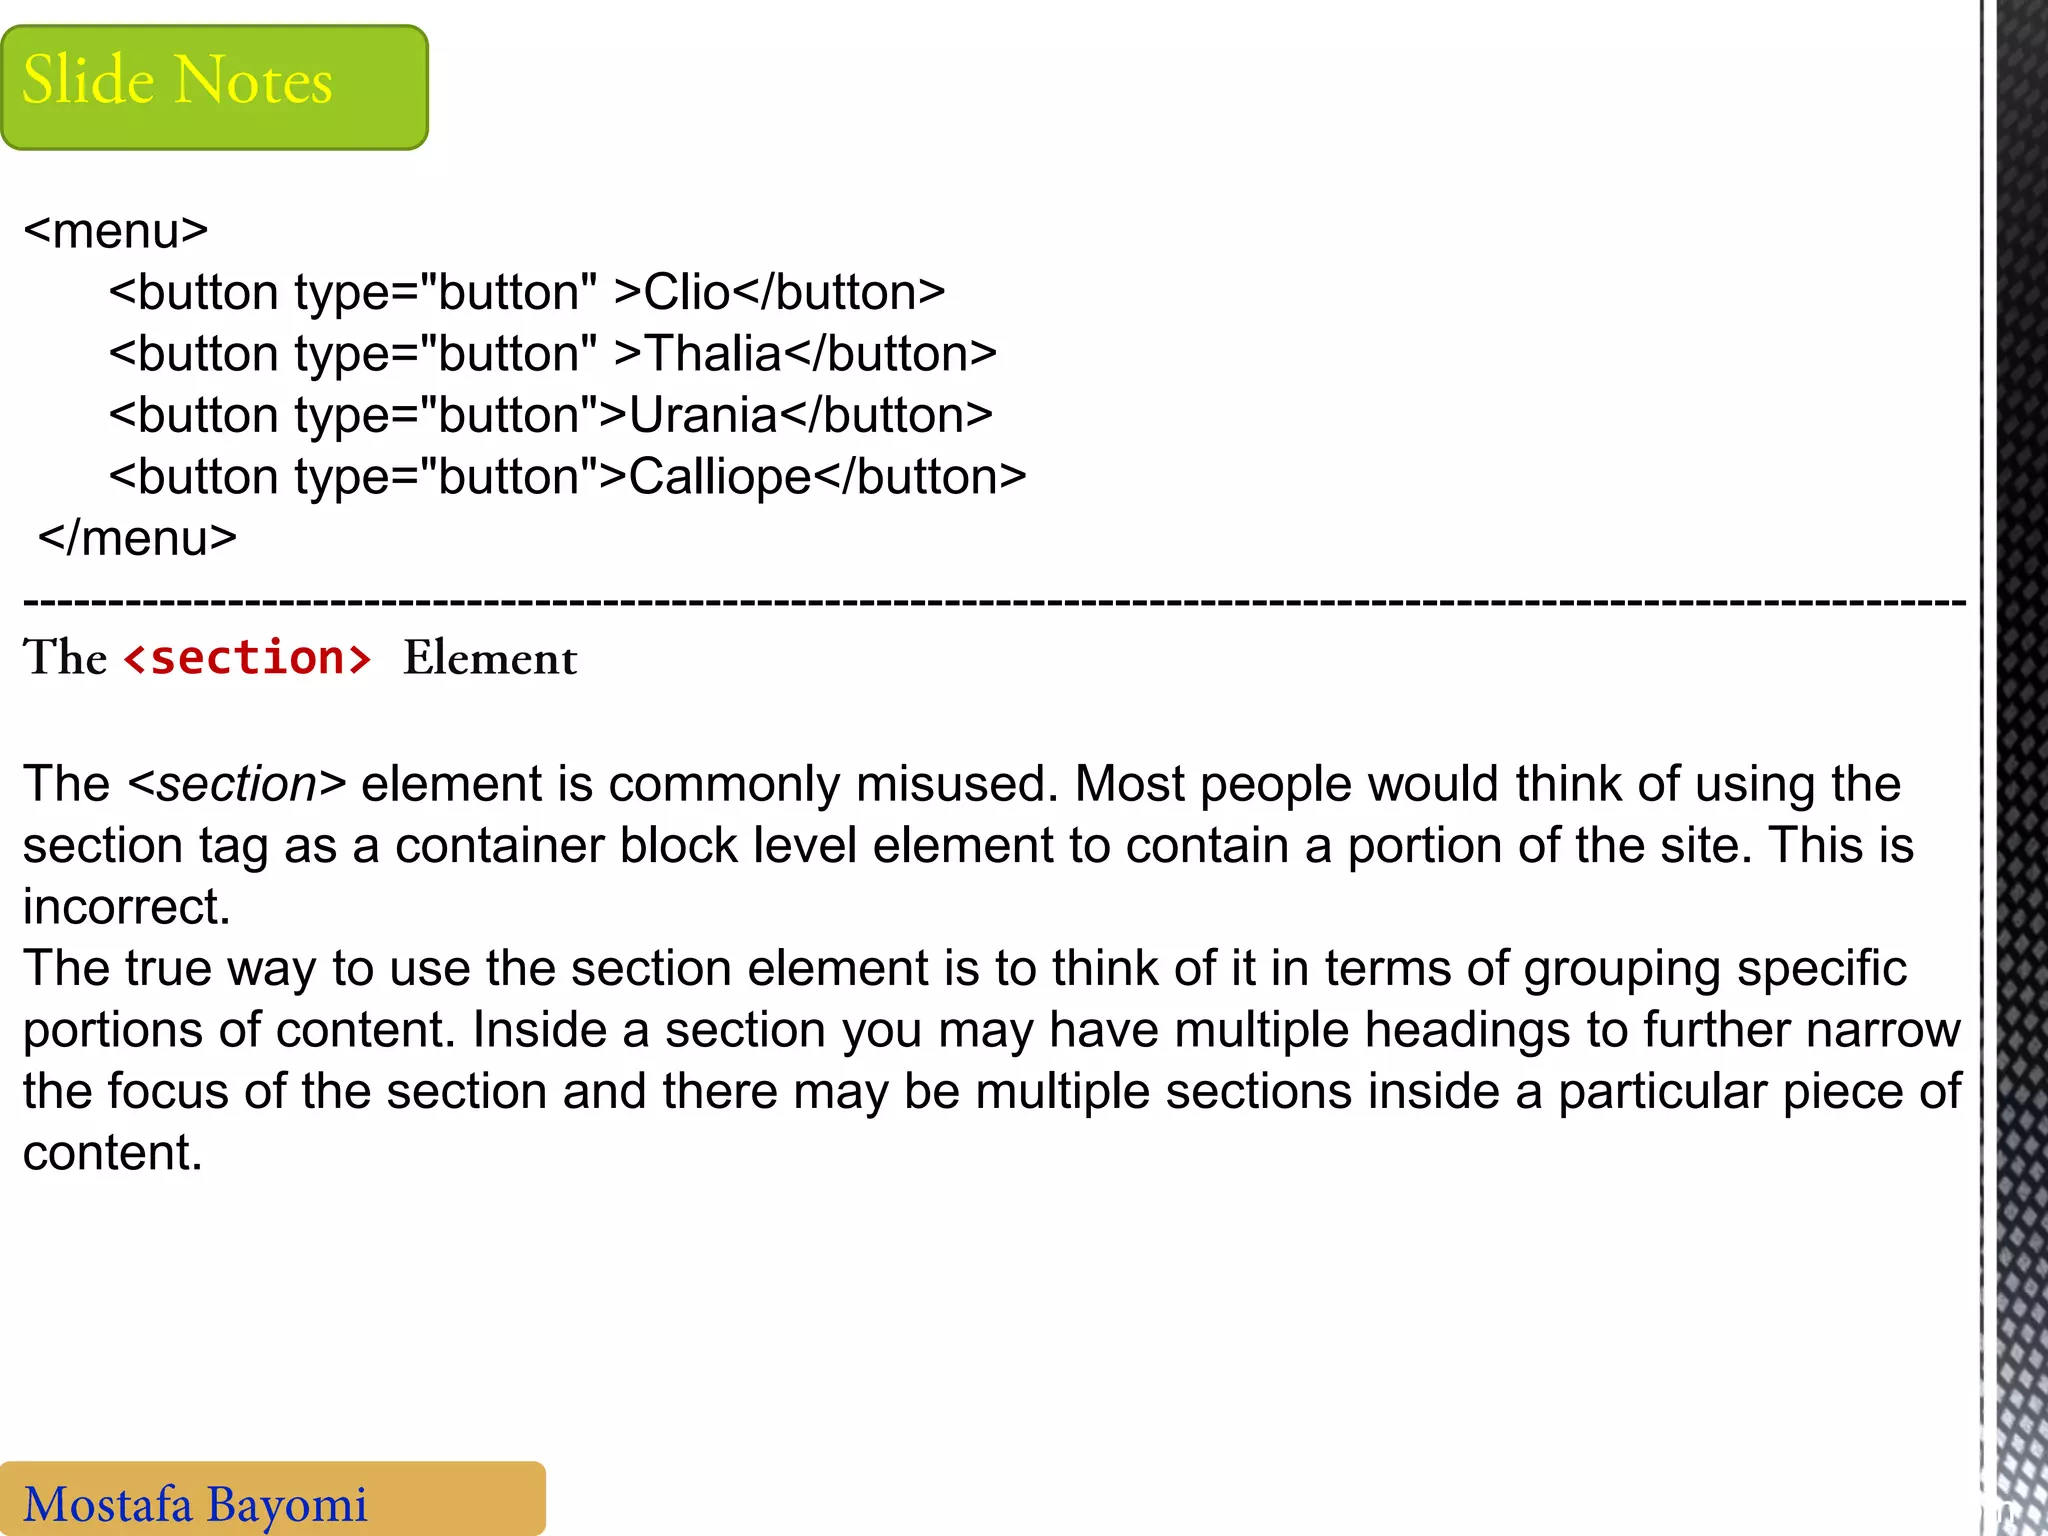
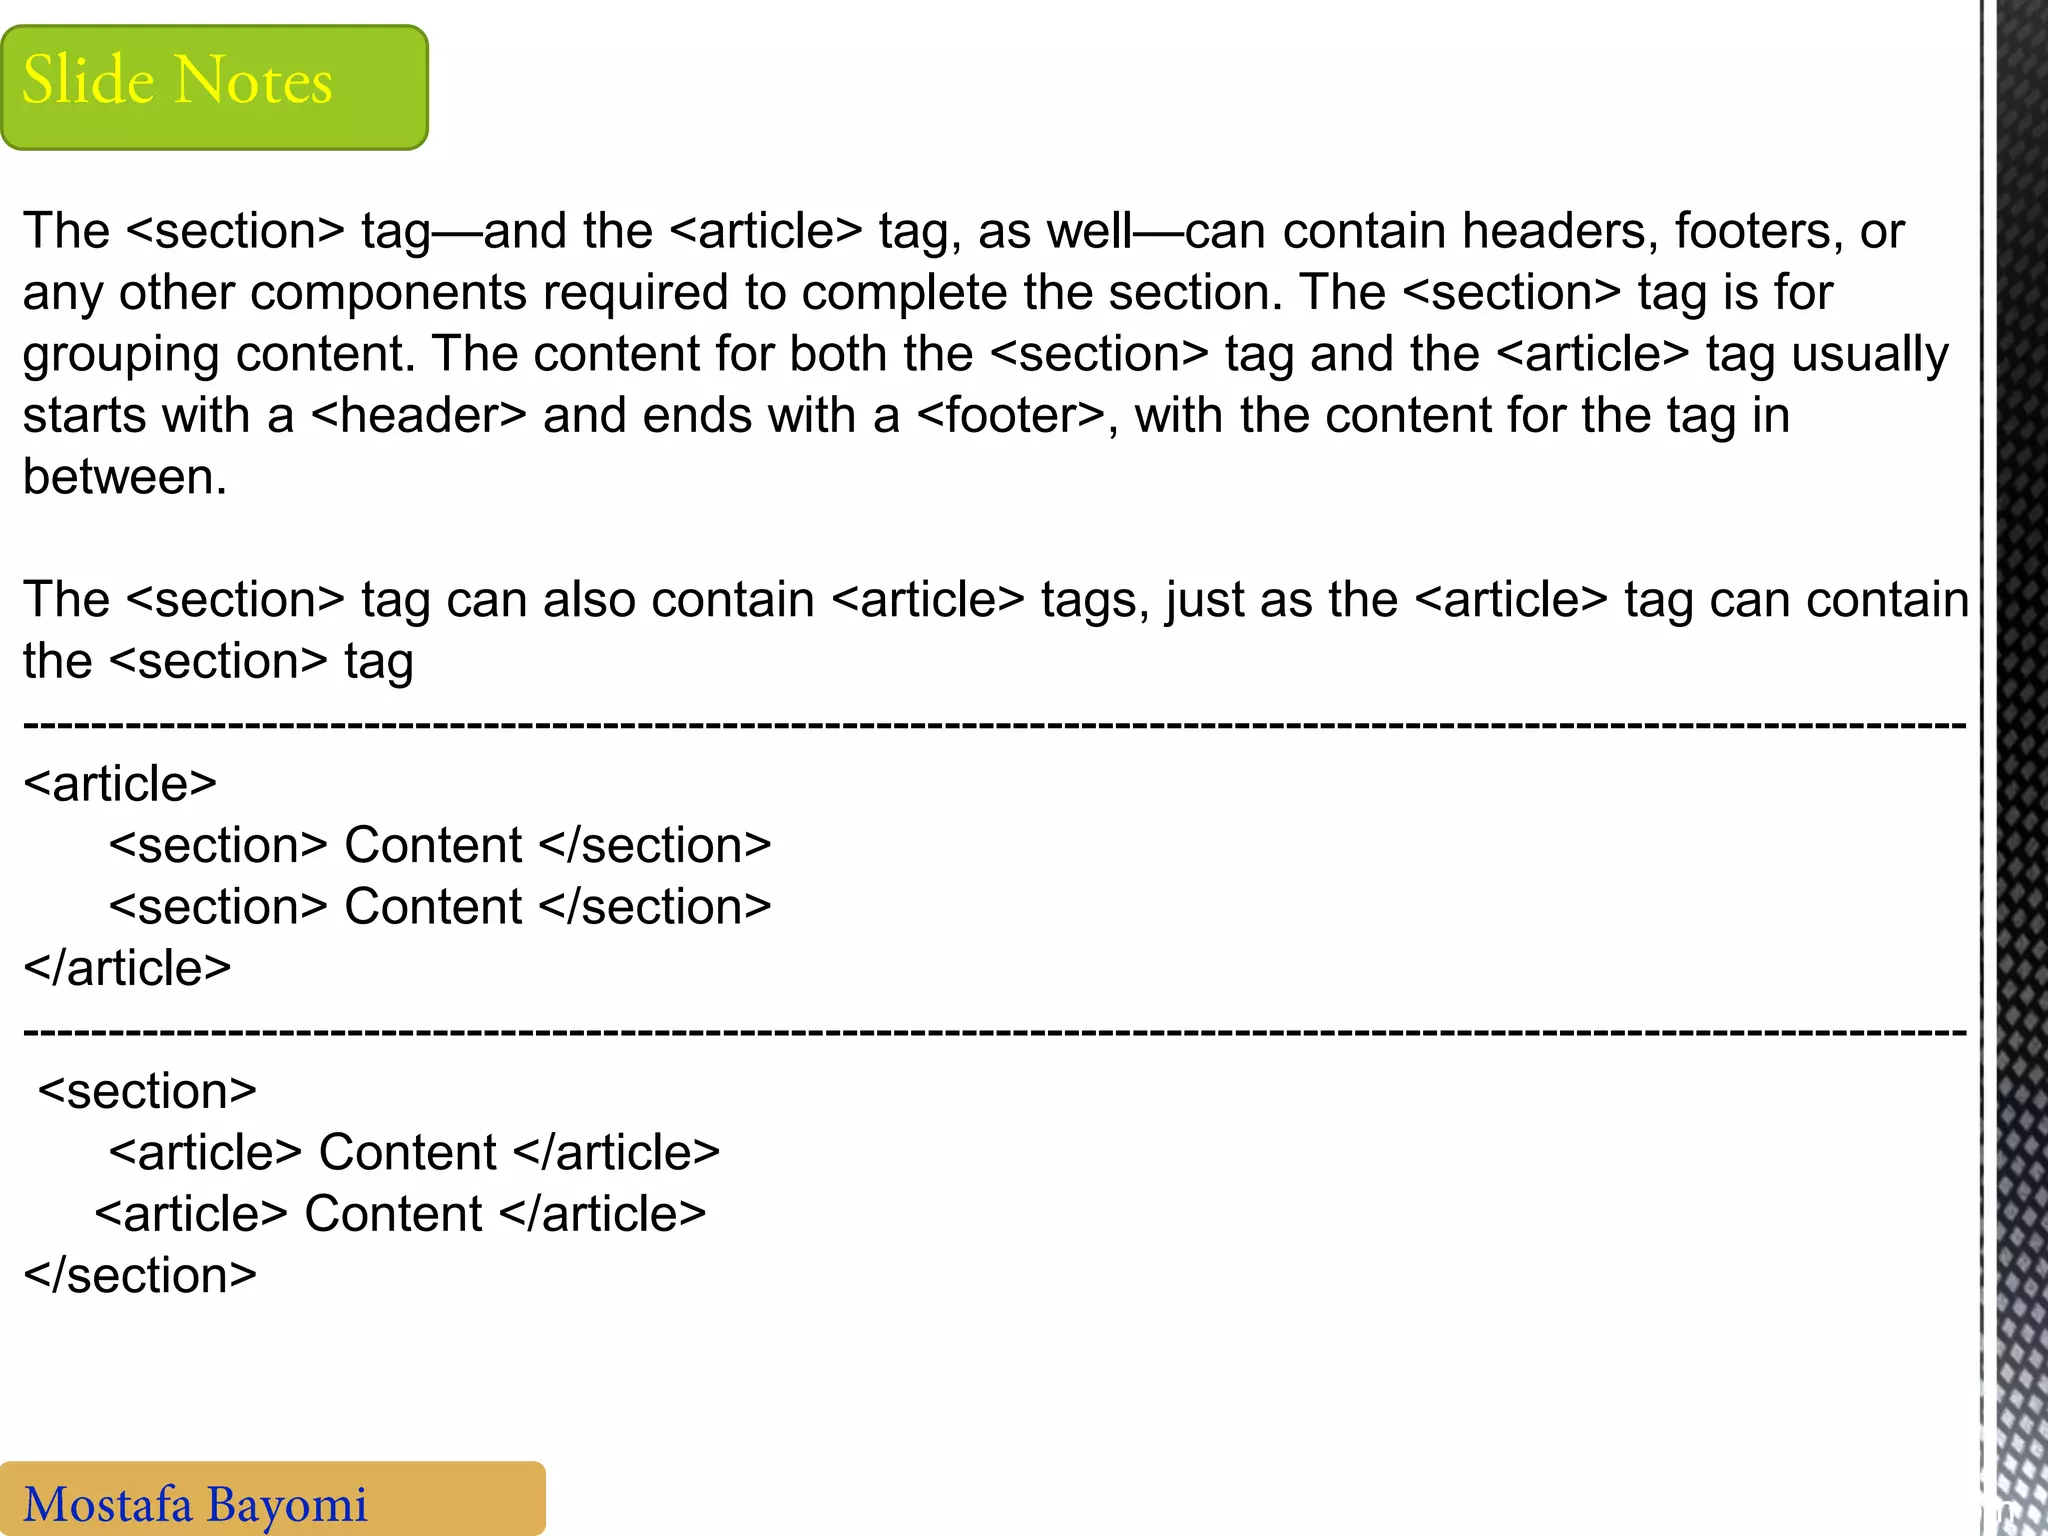
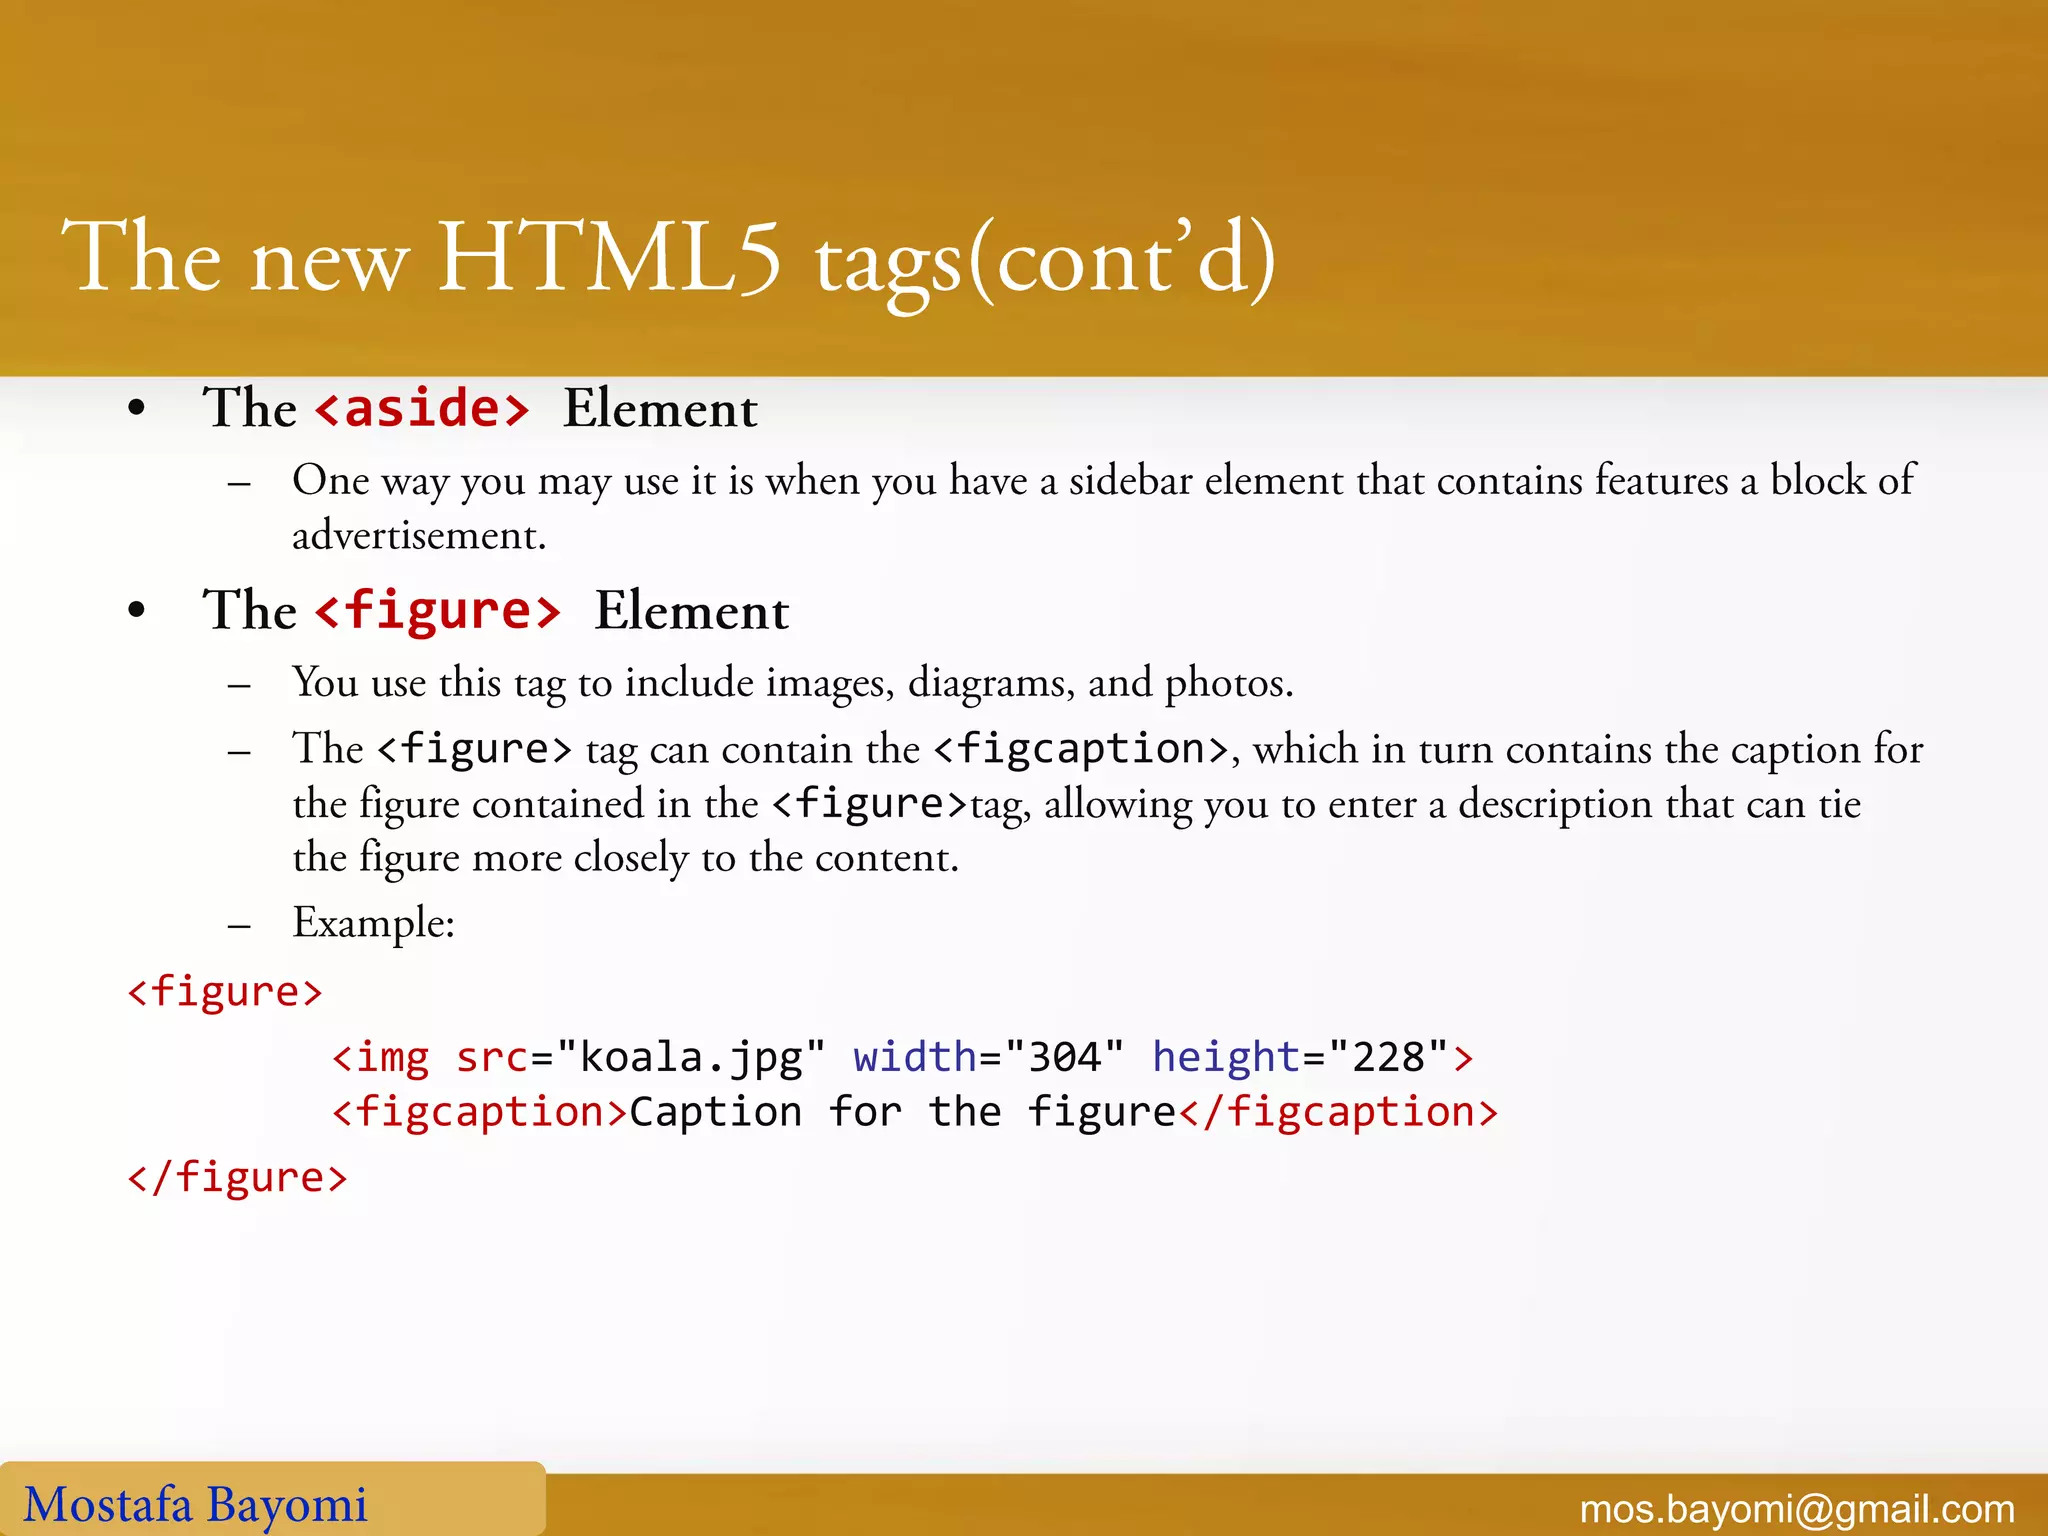
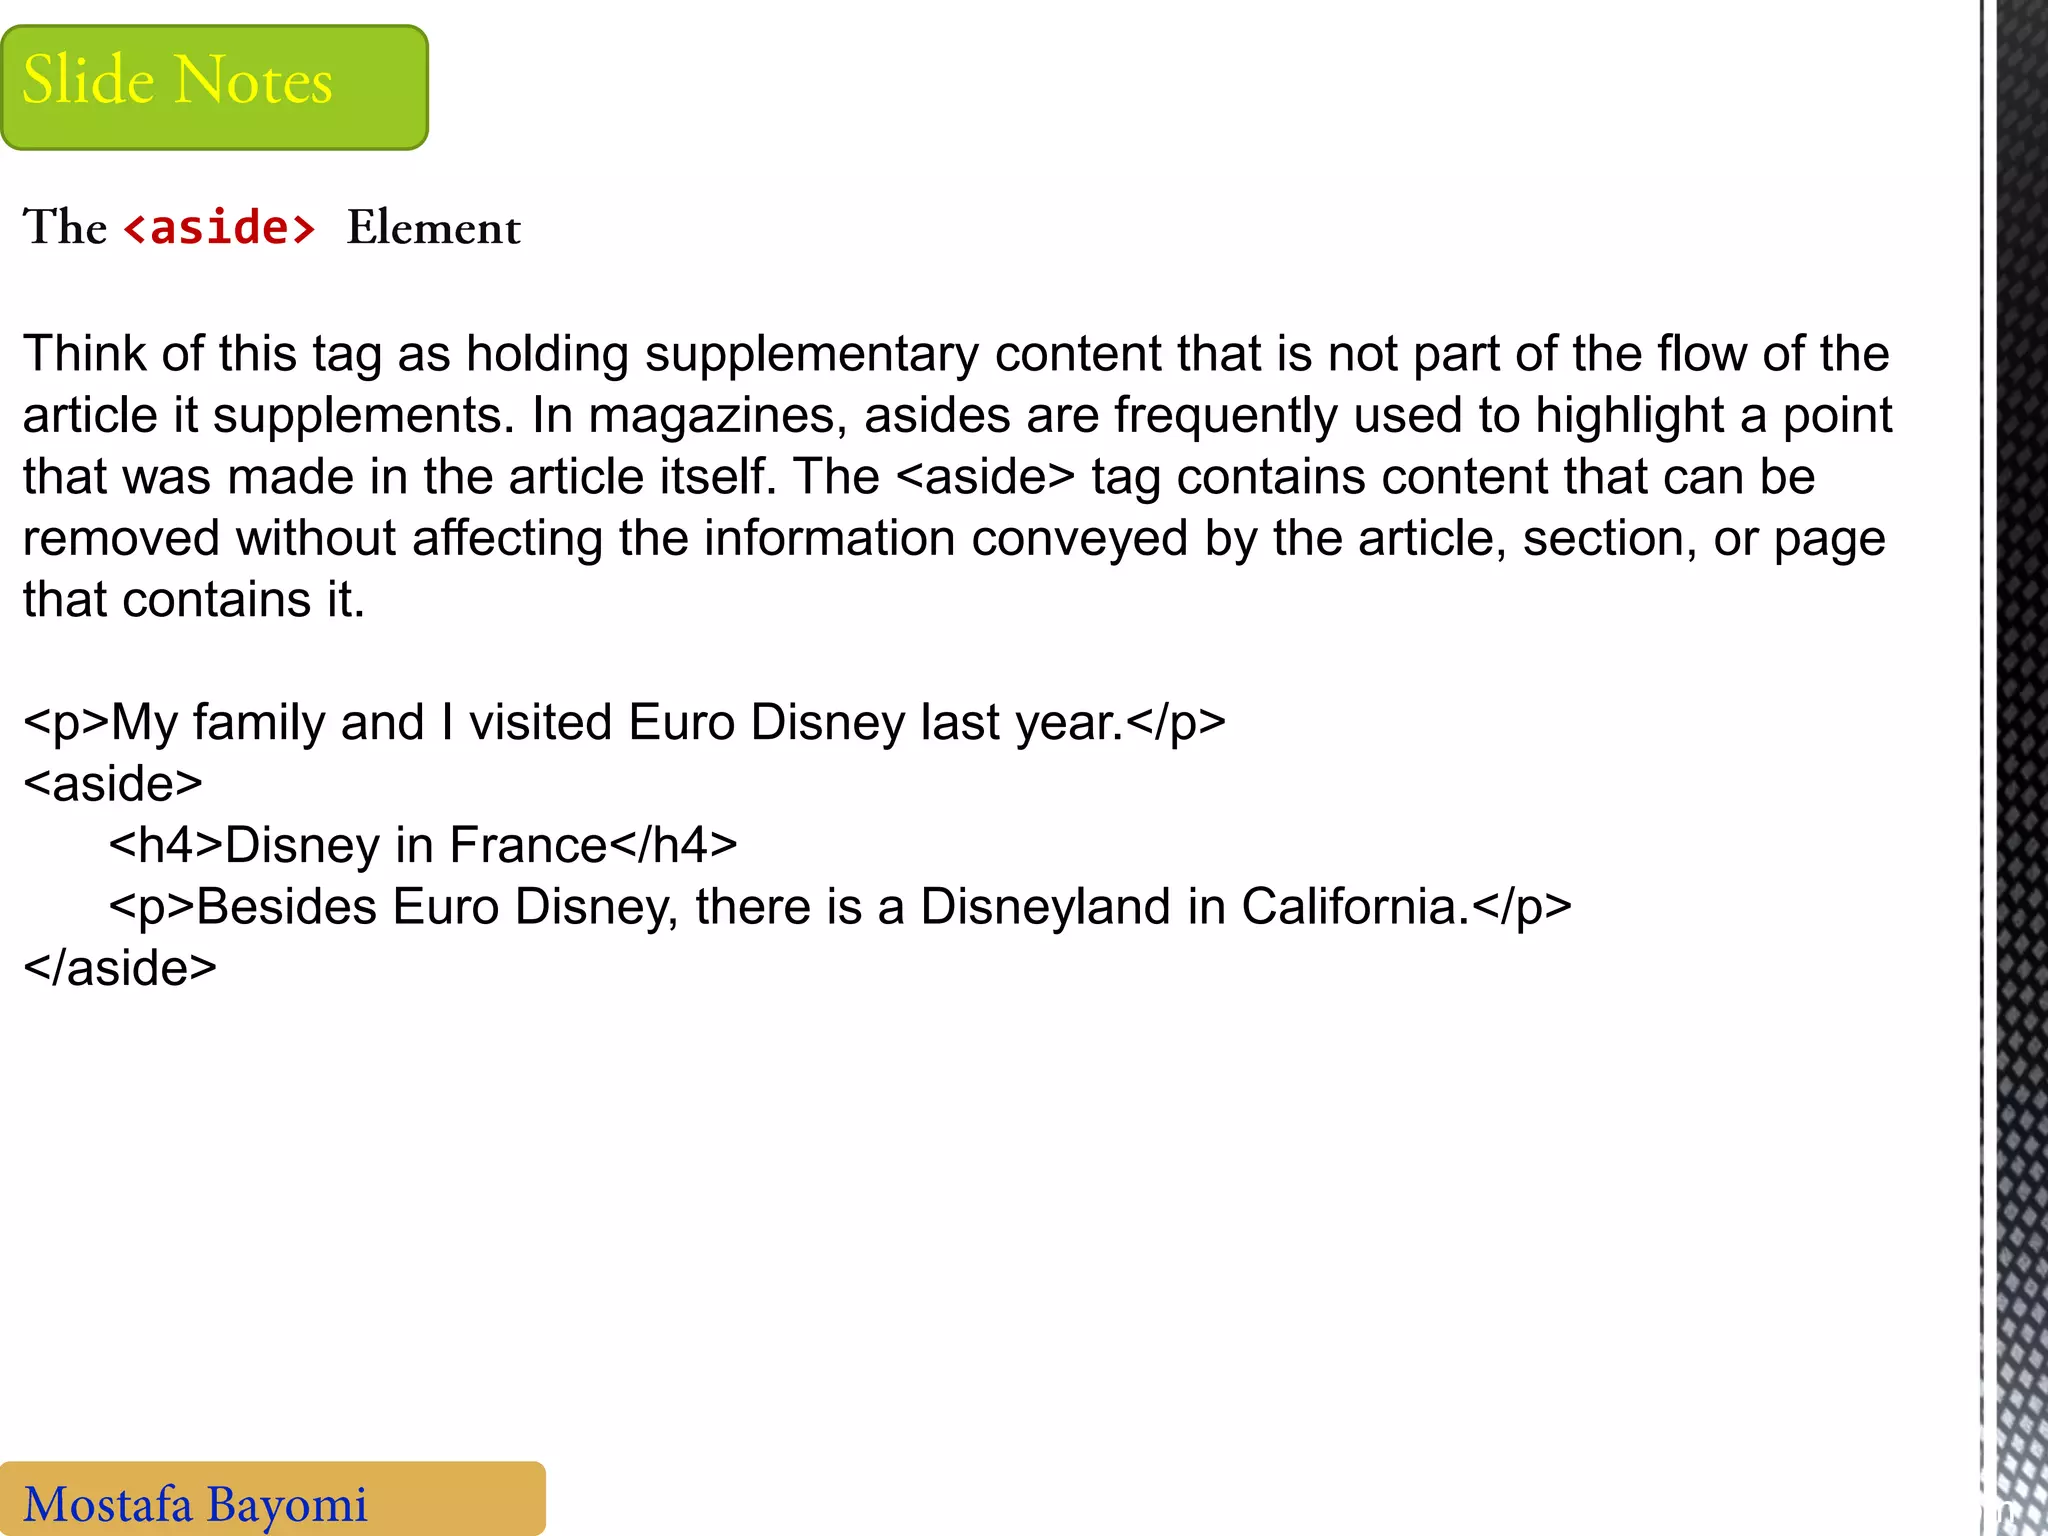
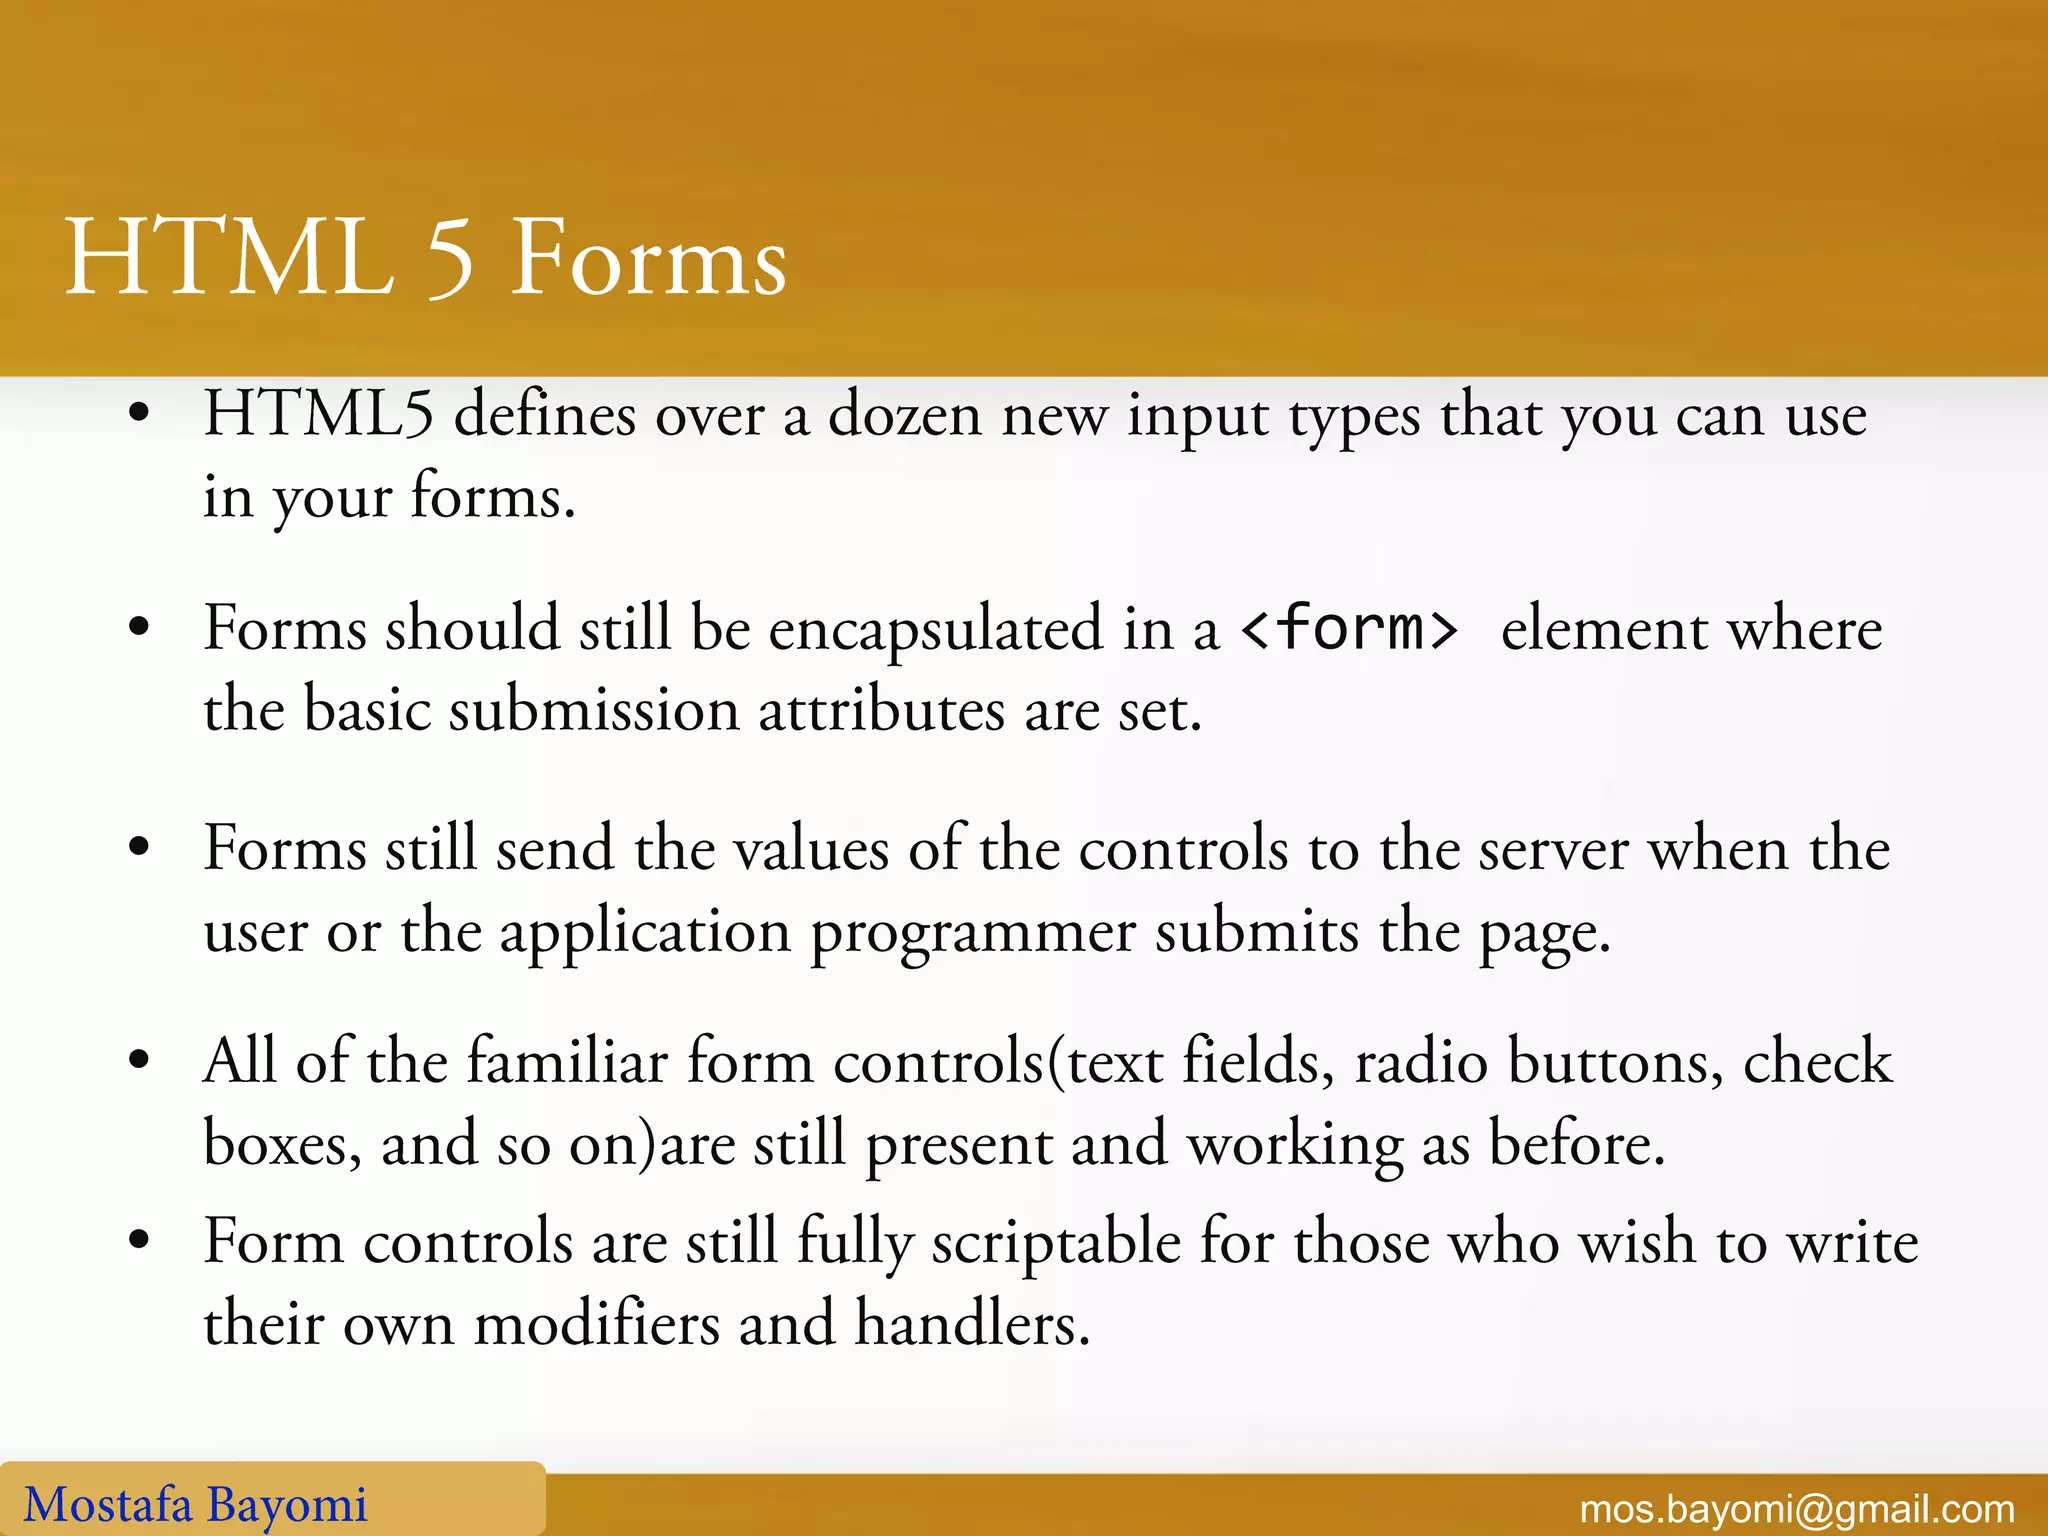
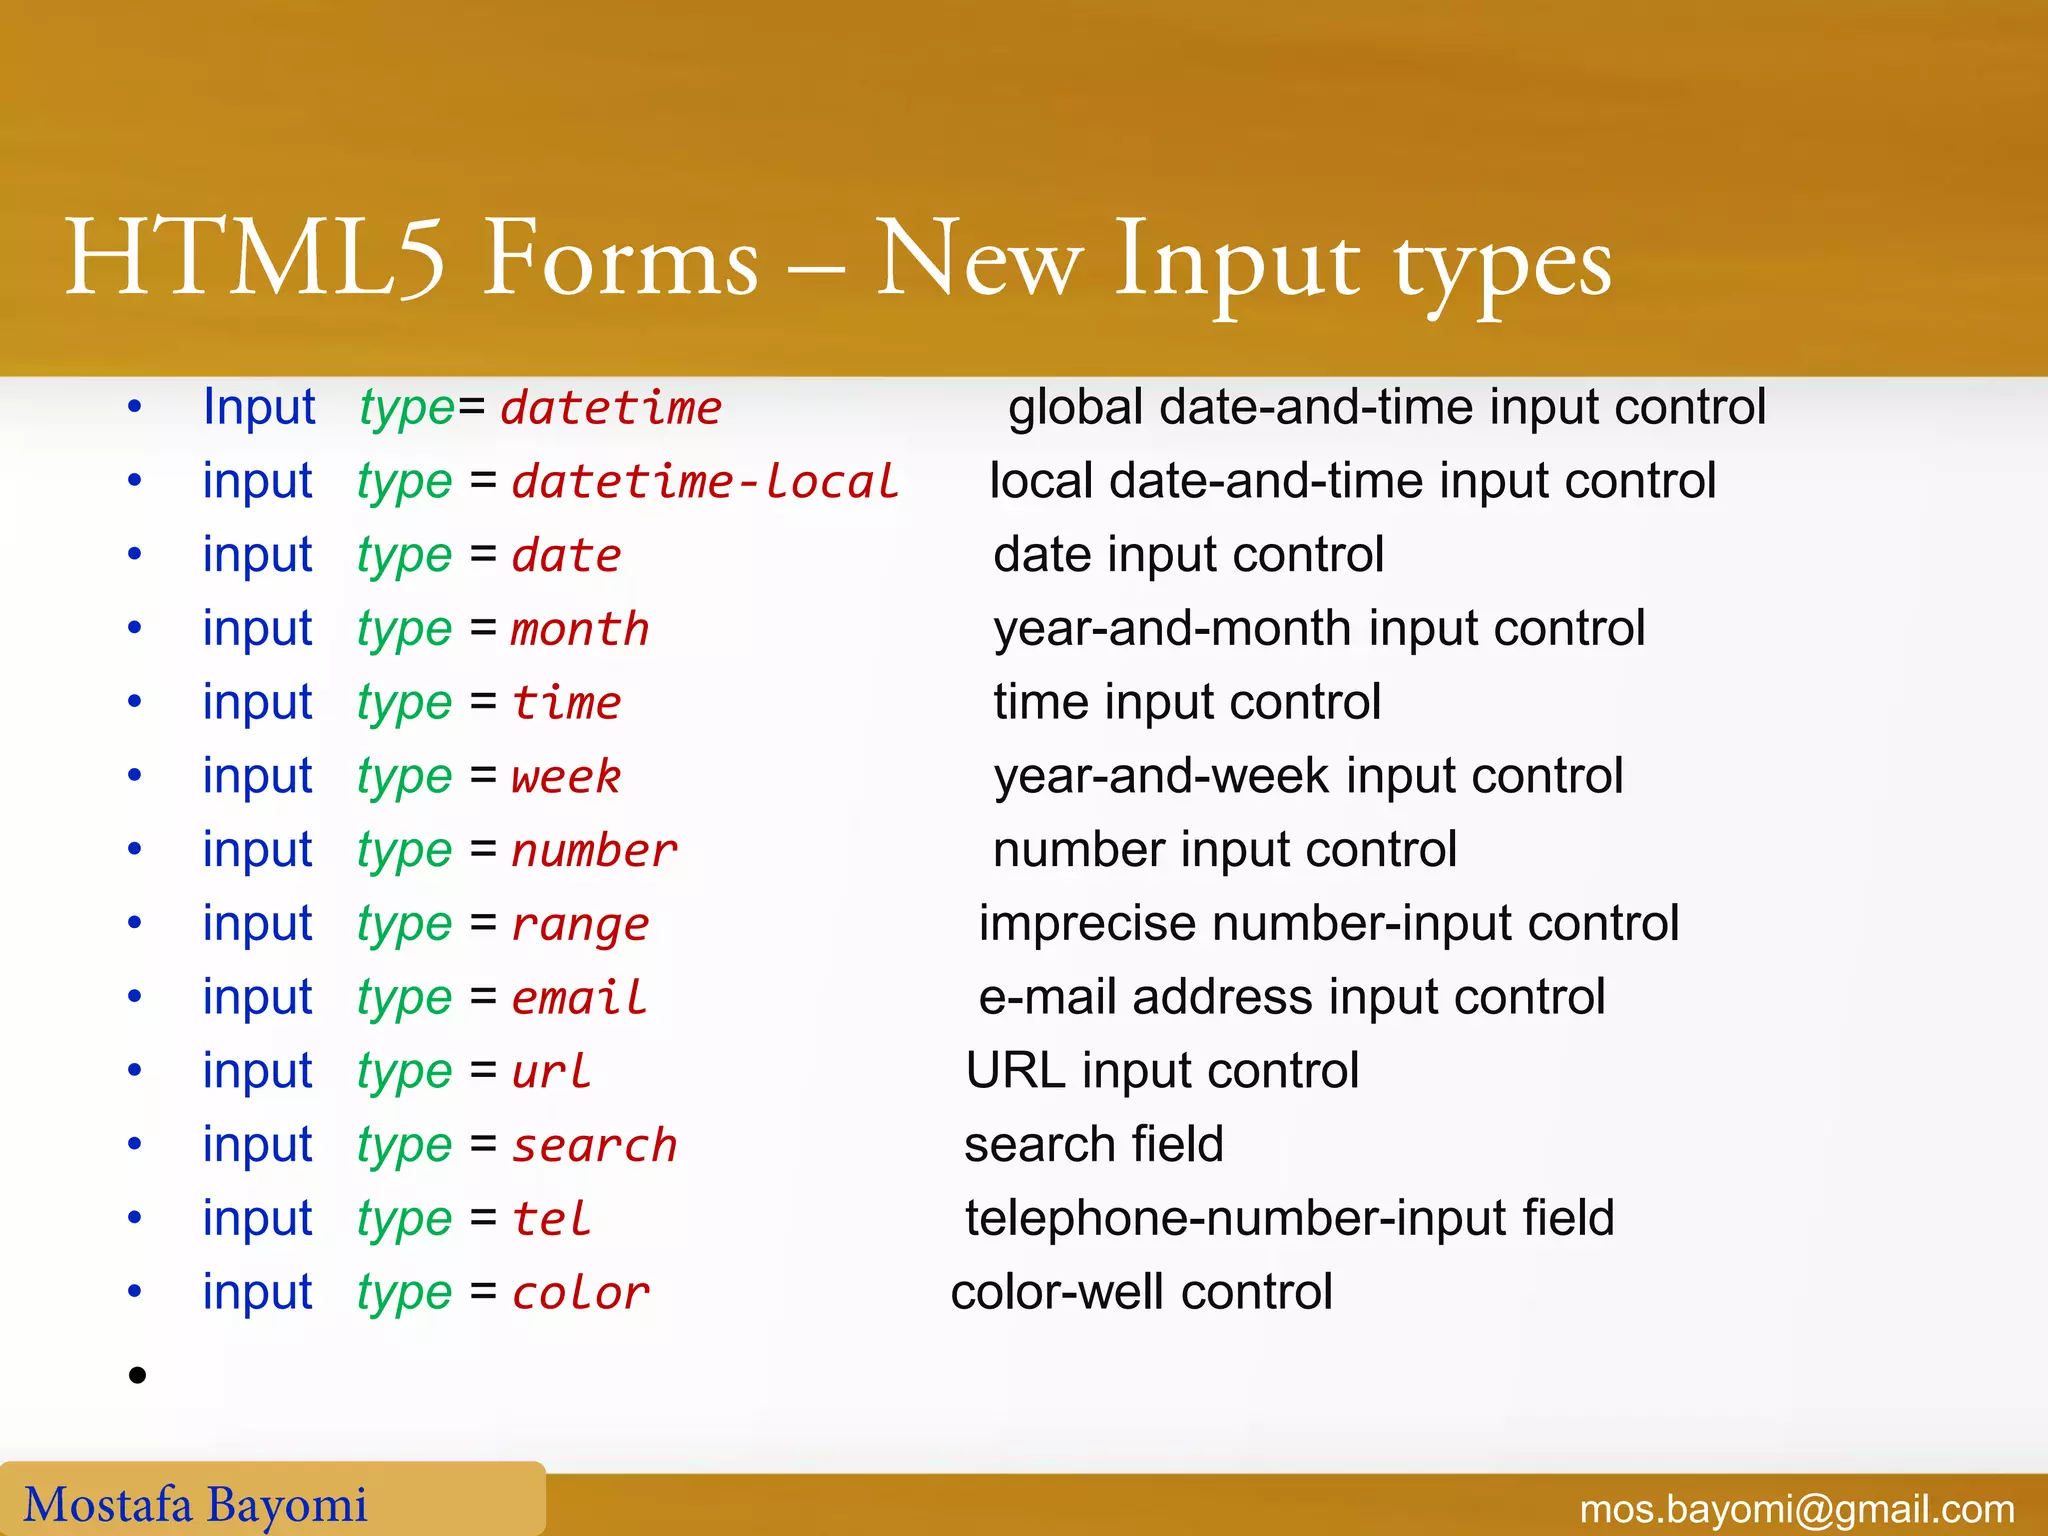
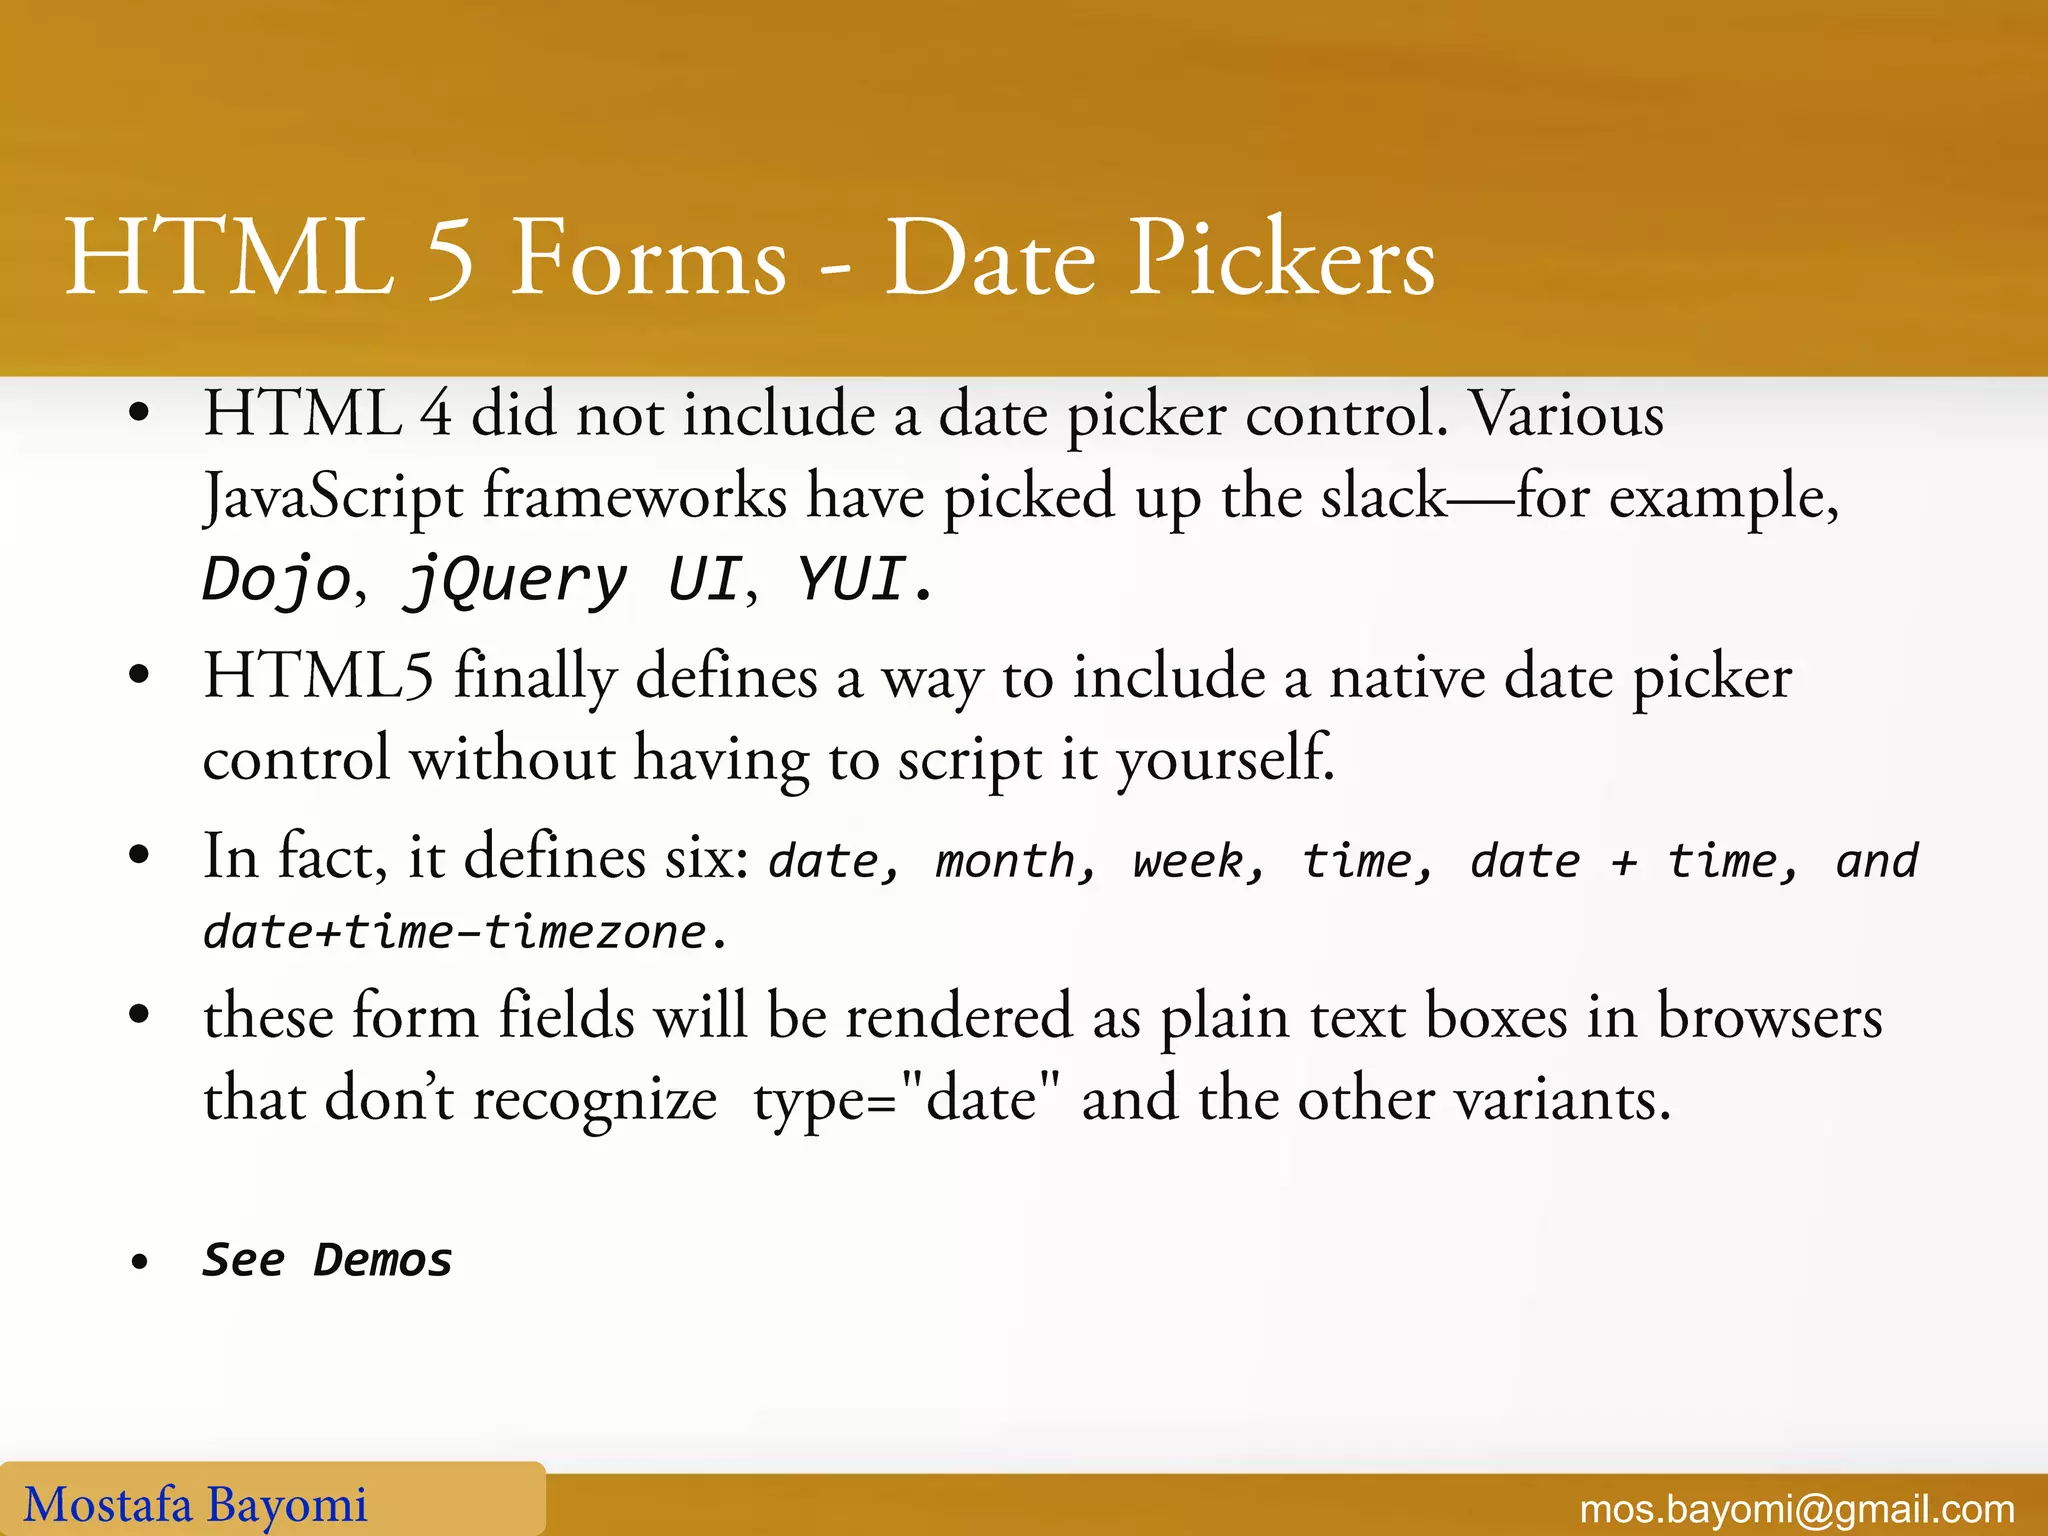
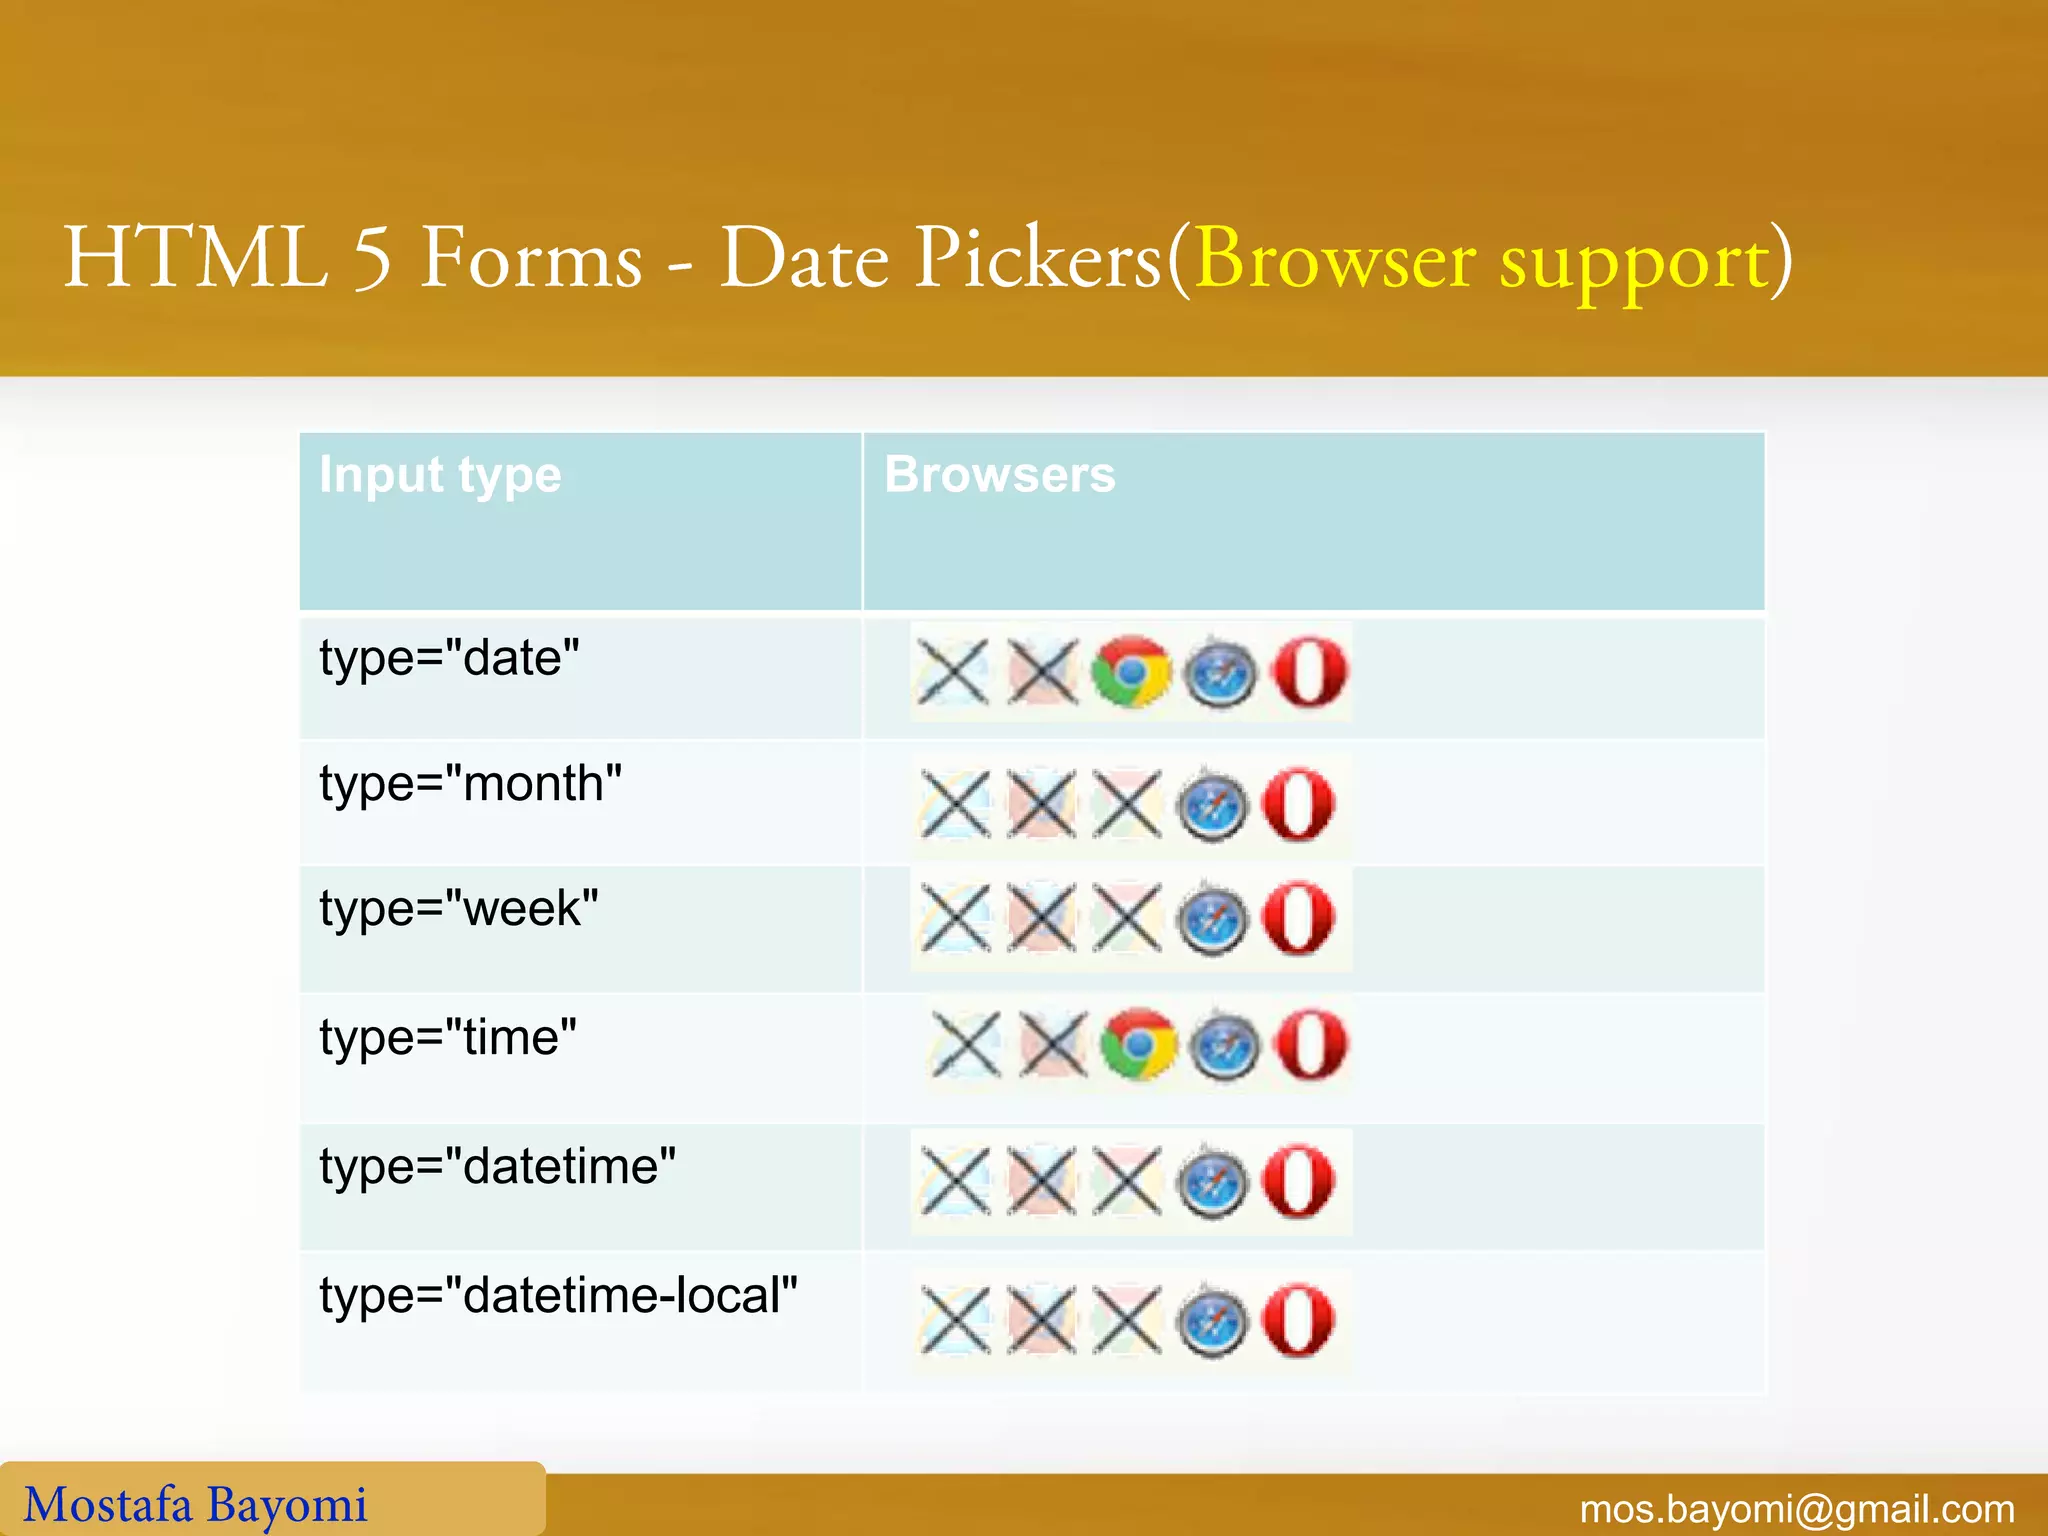
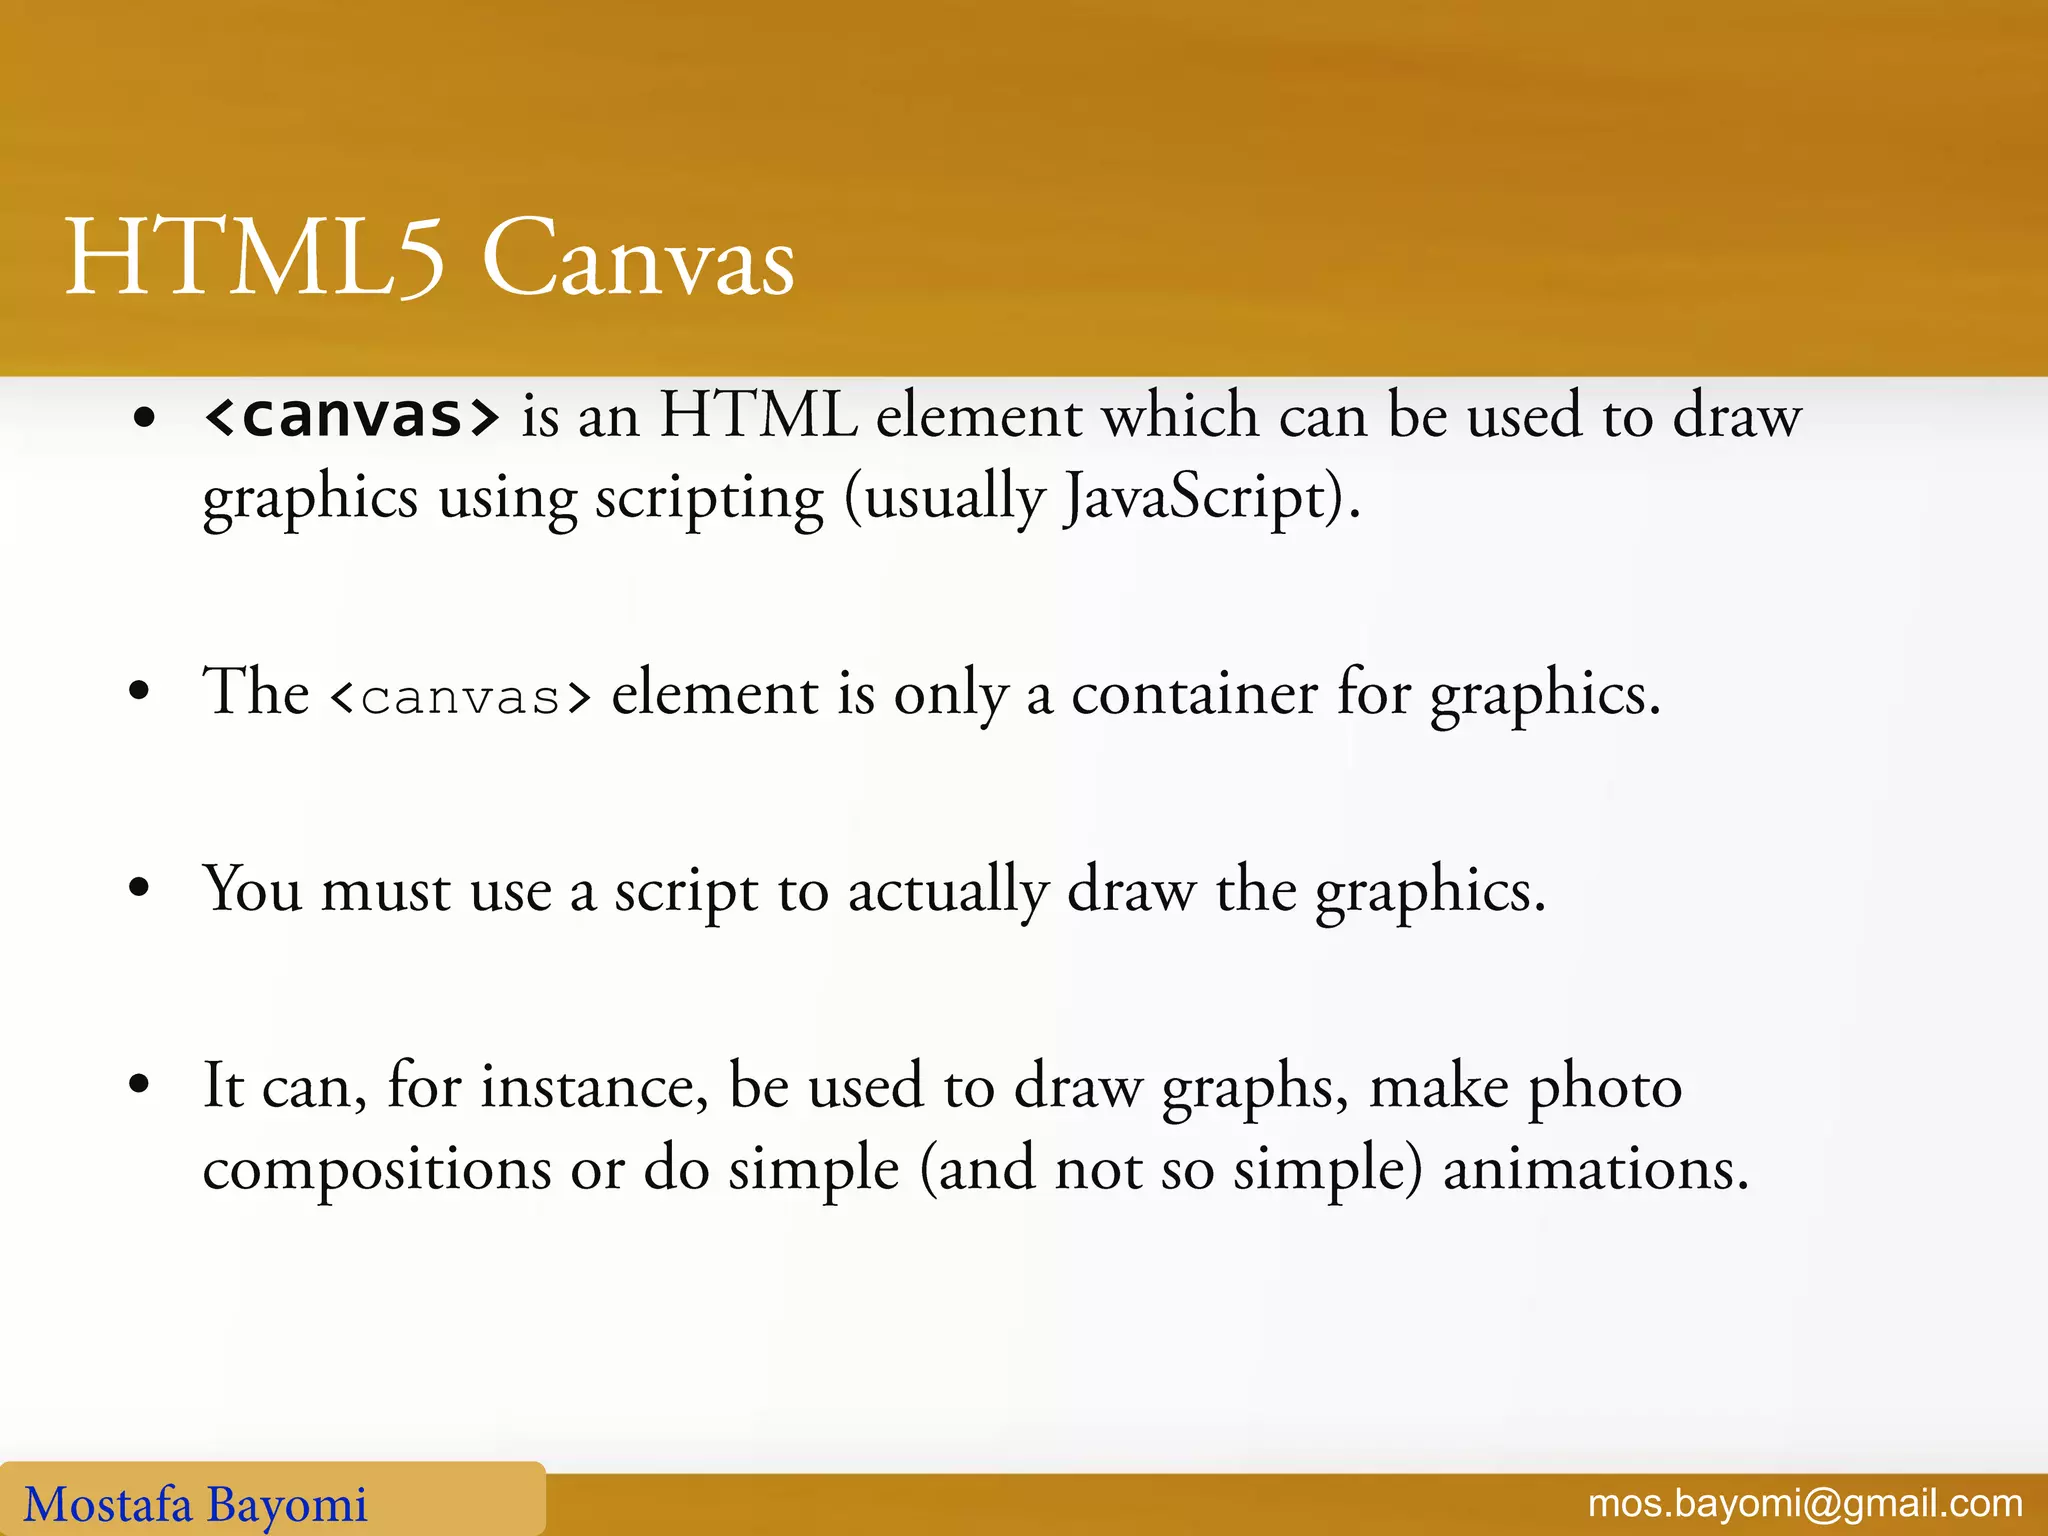
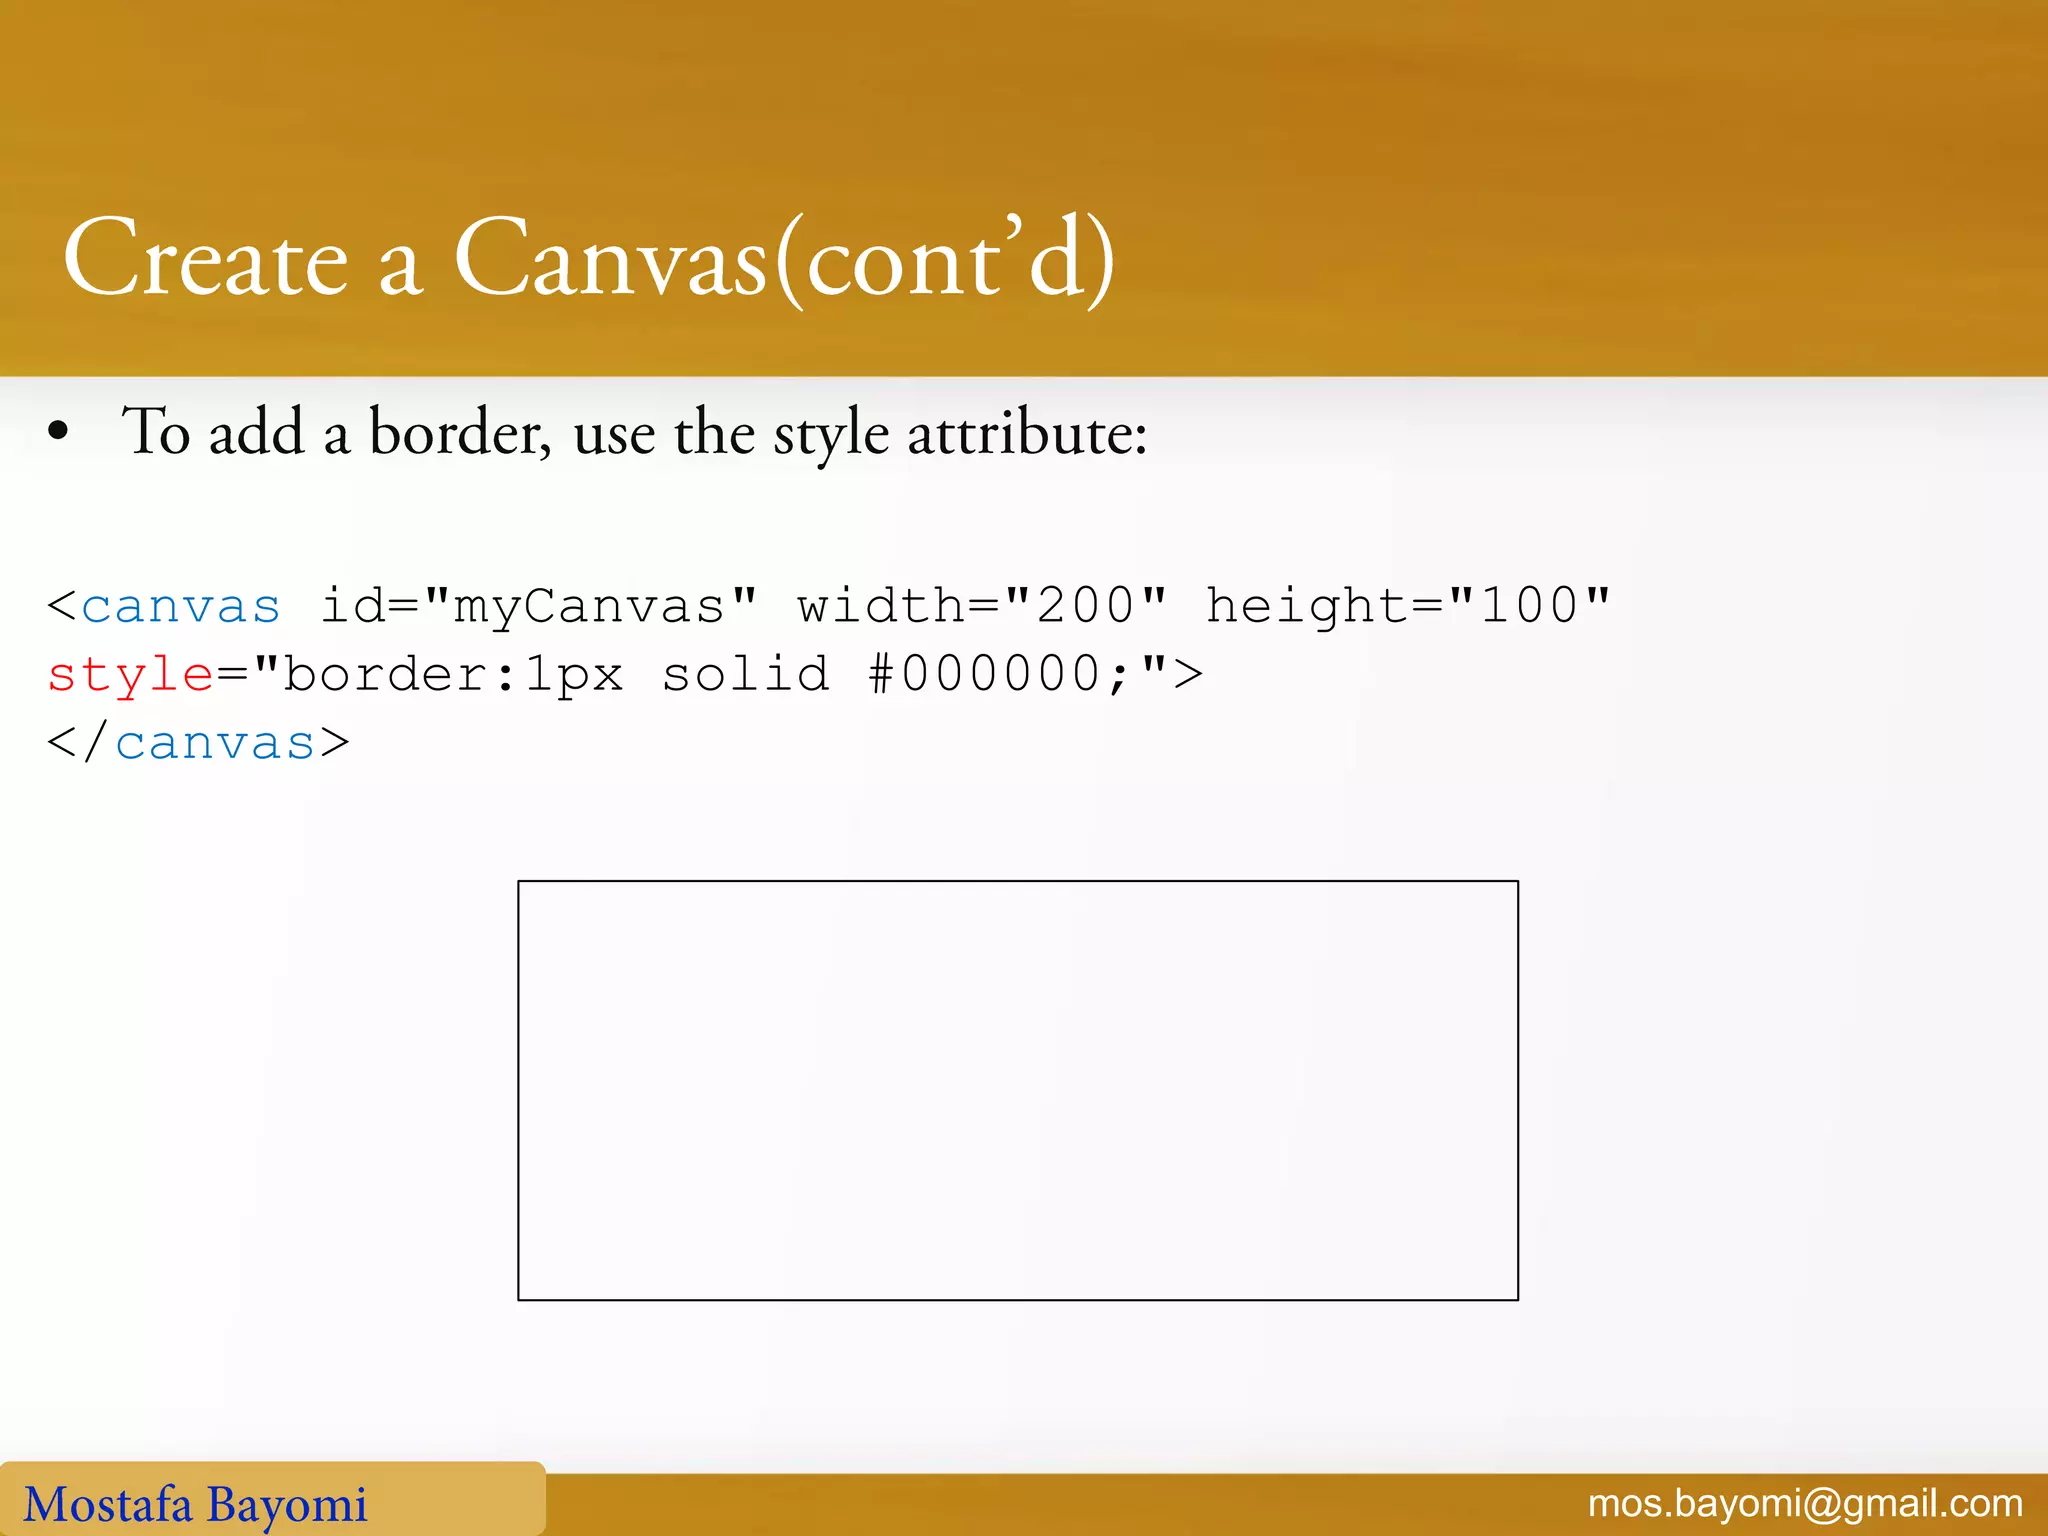
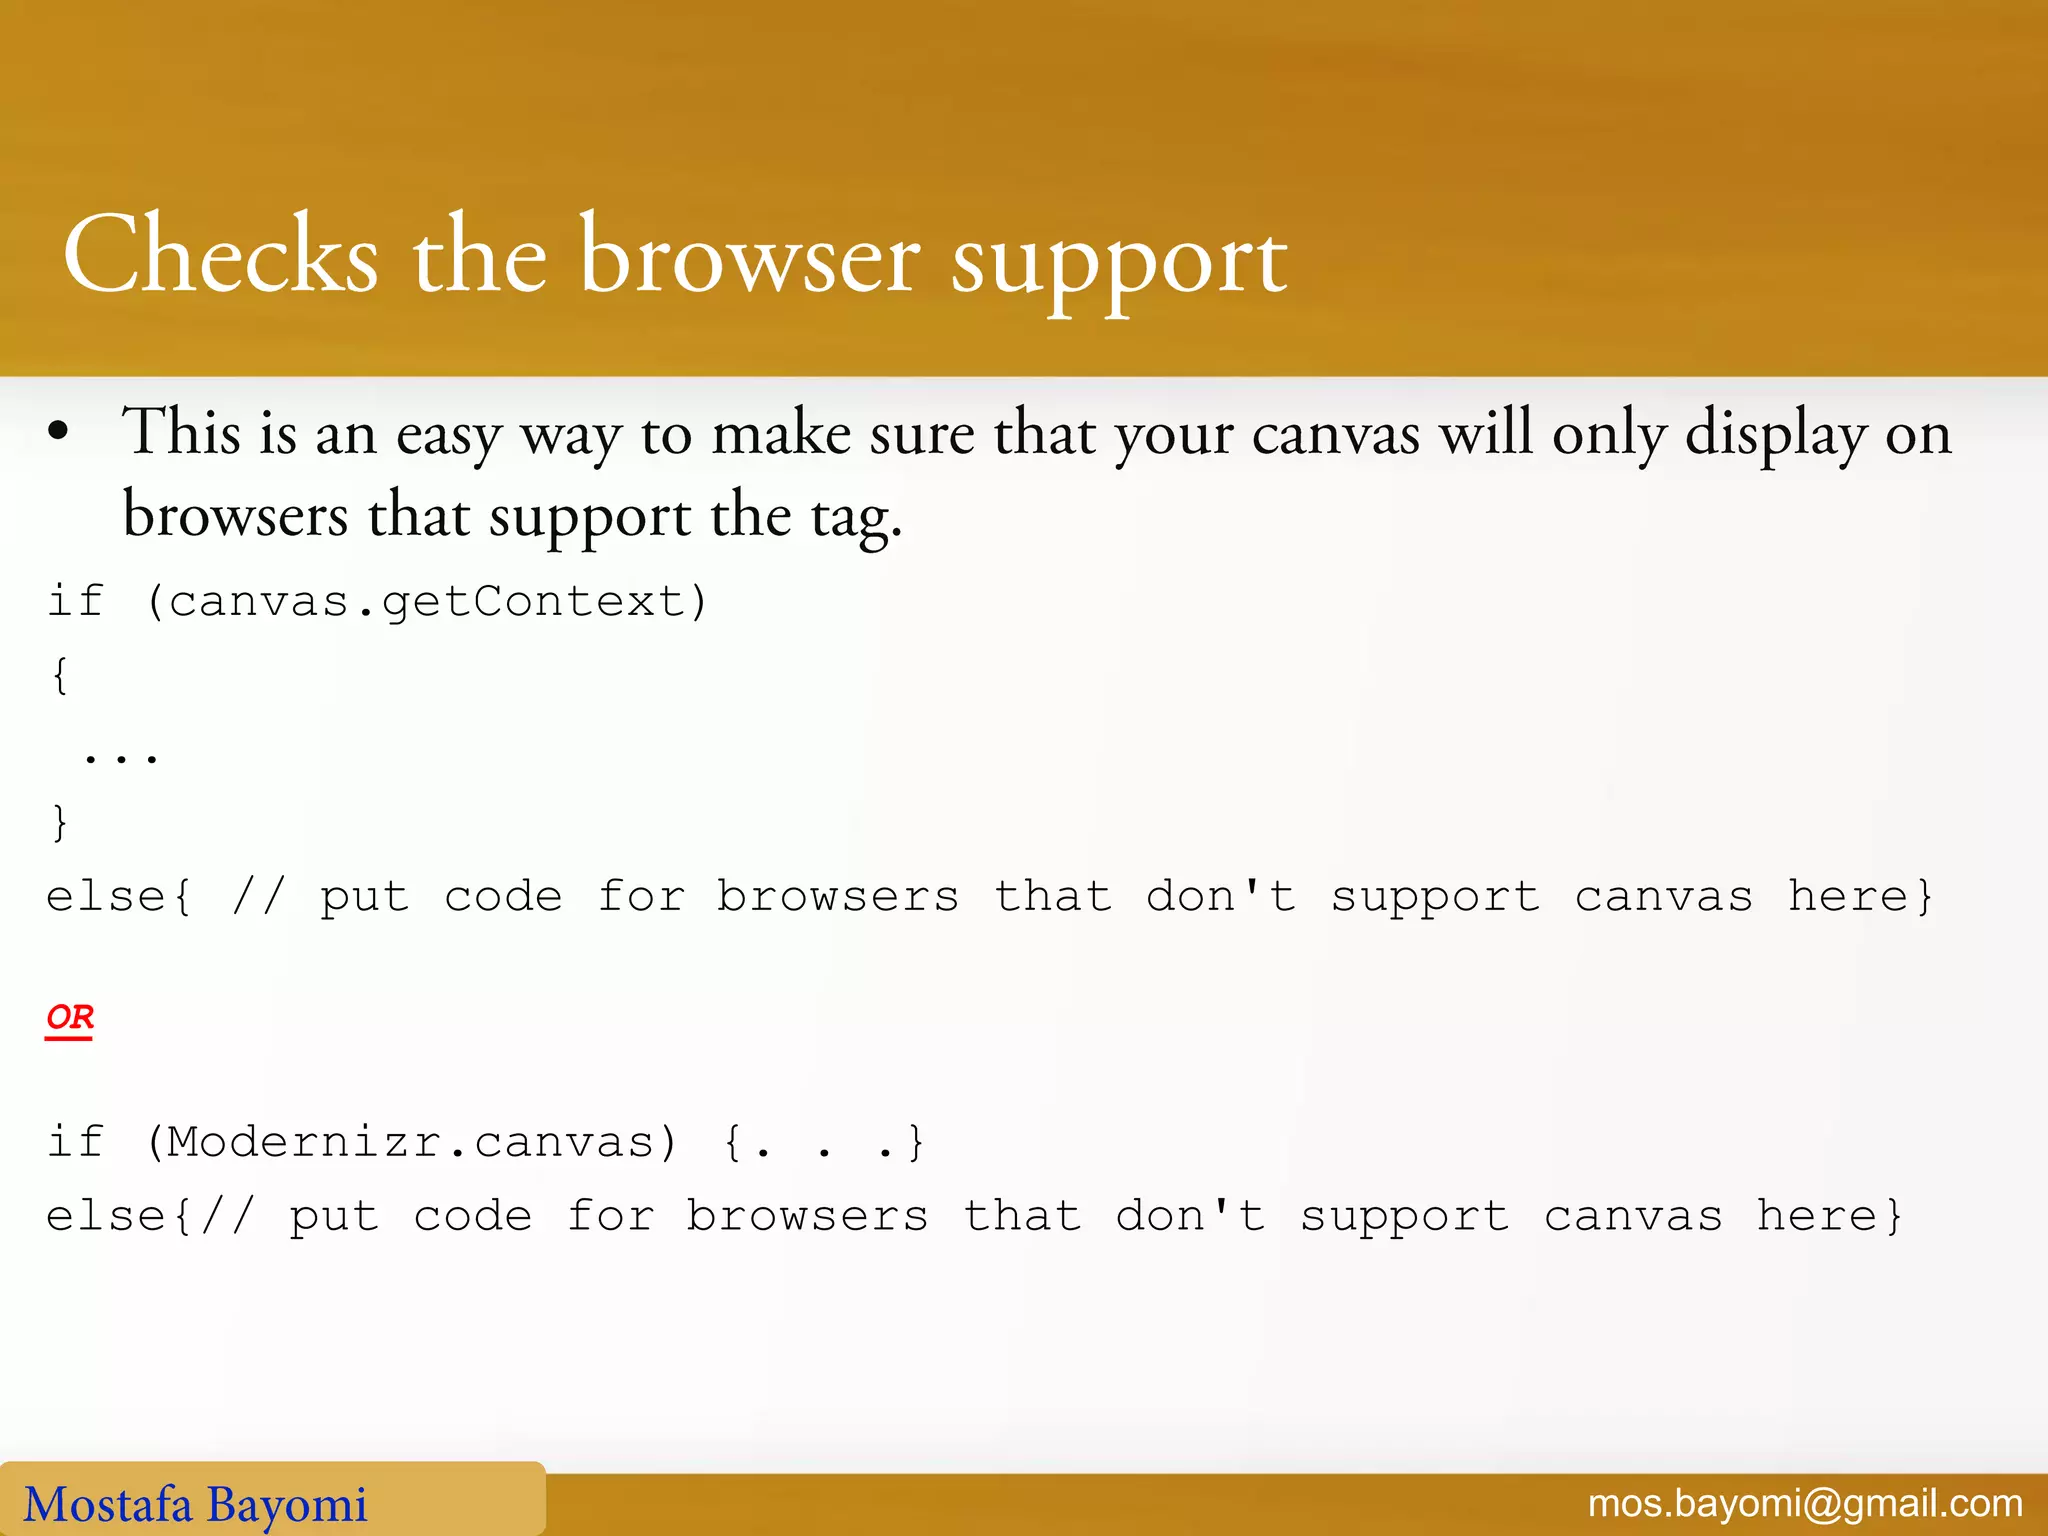
The document discusses HTML5 features including new HTML5 elements such as <header>, <footer>, <nav>, <article>, <section>, <aside>, and <figure>. It provides examples of how to properly use these new elements to structure web pages. It also covers new form input types like <input type="date">, Canvas, and JavaScript APIs for Canvas. The document is intended to educate developers on best practices for using HTML5 structural elements and features.