Basic of HTML, CSS(StyleSheet), JavaScript(js), Bootstrap, JSON & AngularJS
The document provides an extensive introduction to HTML and CSS, explaining their fundamental concepts, elements, and structure used in web development. It also covers HTML form elements, JavaScript basics, and the use of Bootstrap for responsive design. Overall, it serves as a comprehensive guide for beginners aiming to learn the foundational skills needed for web development.
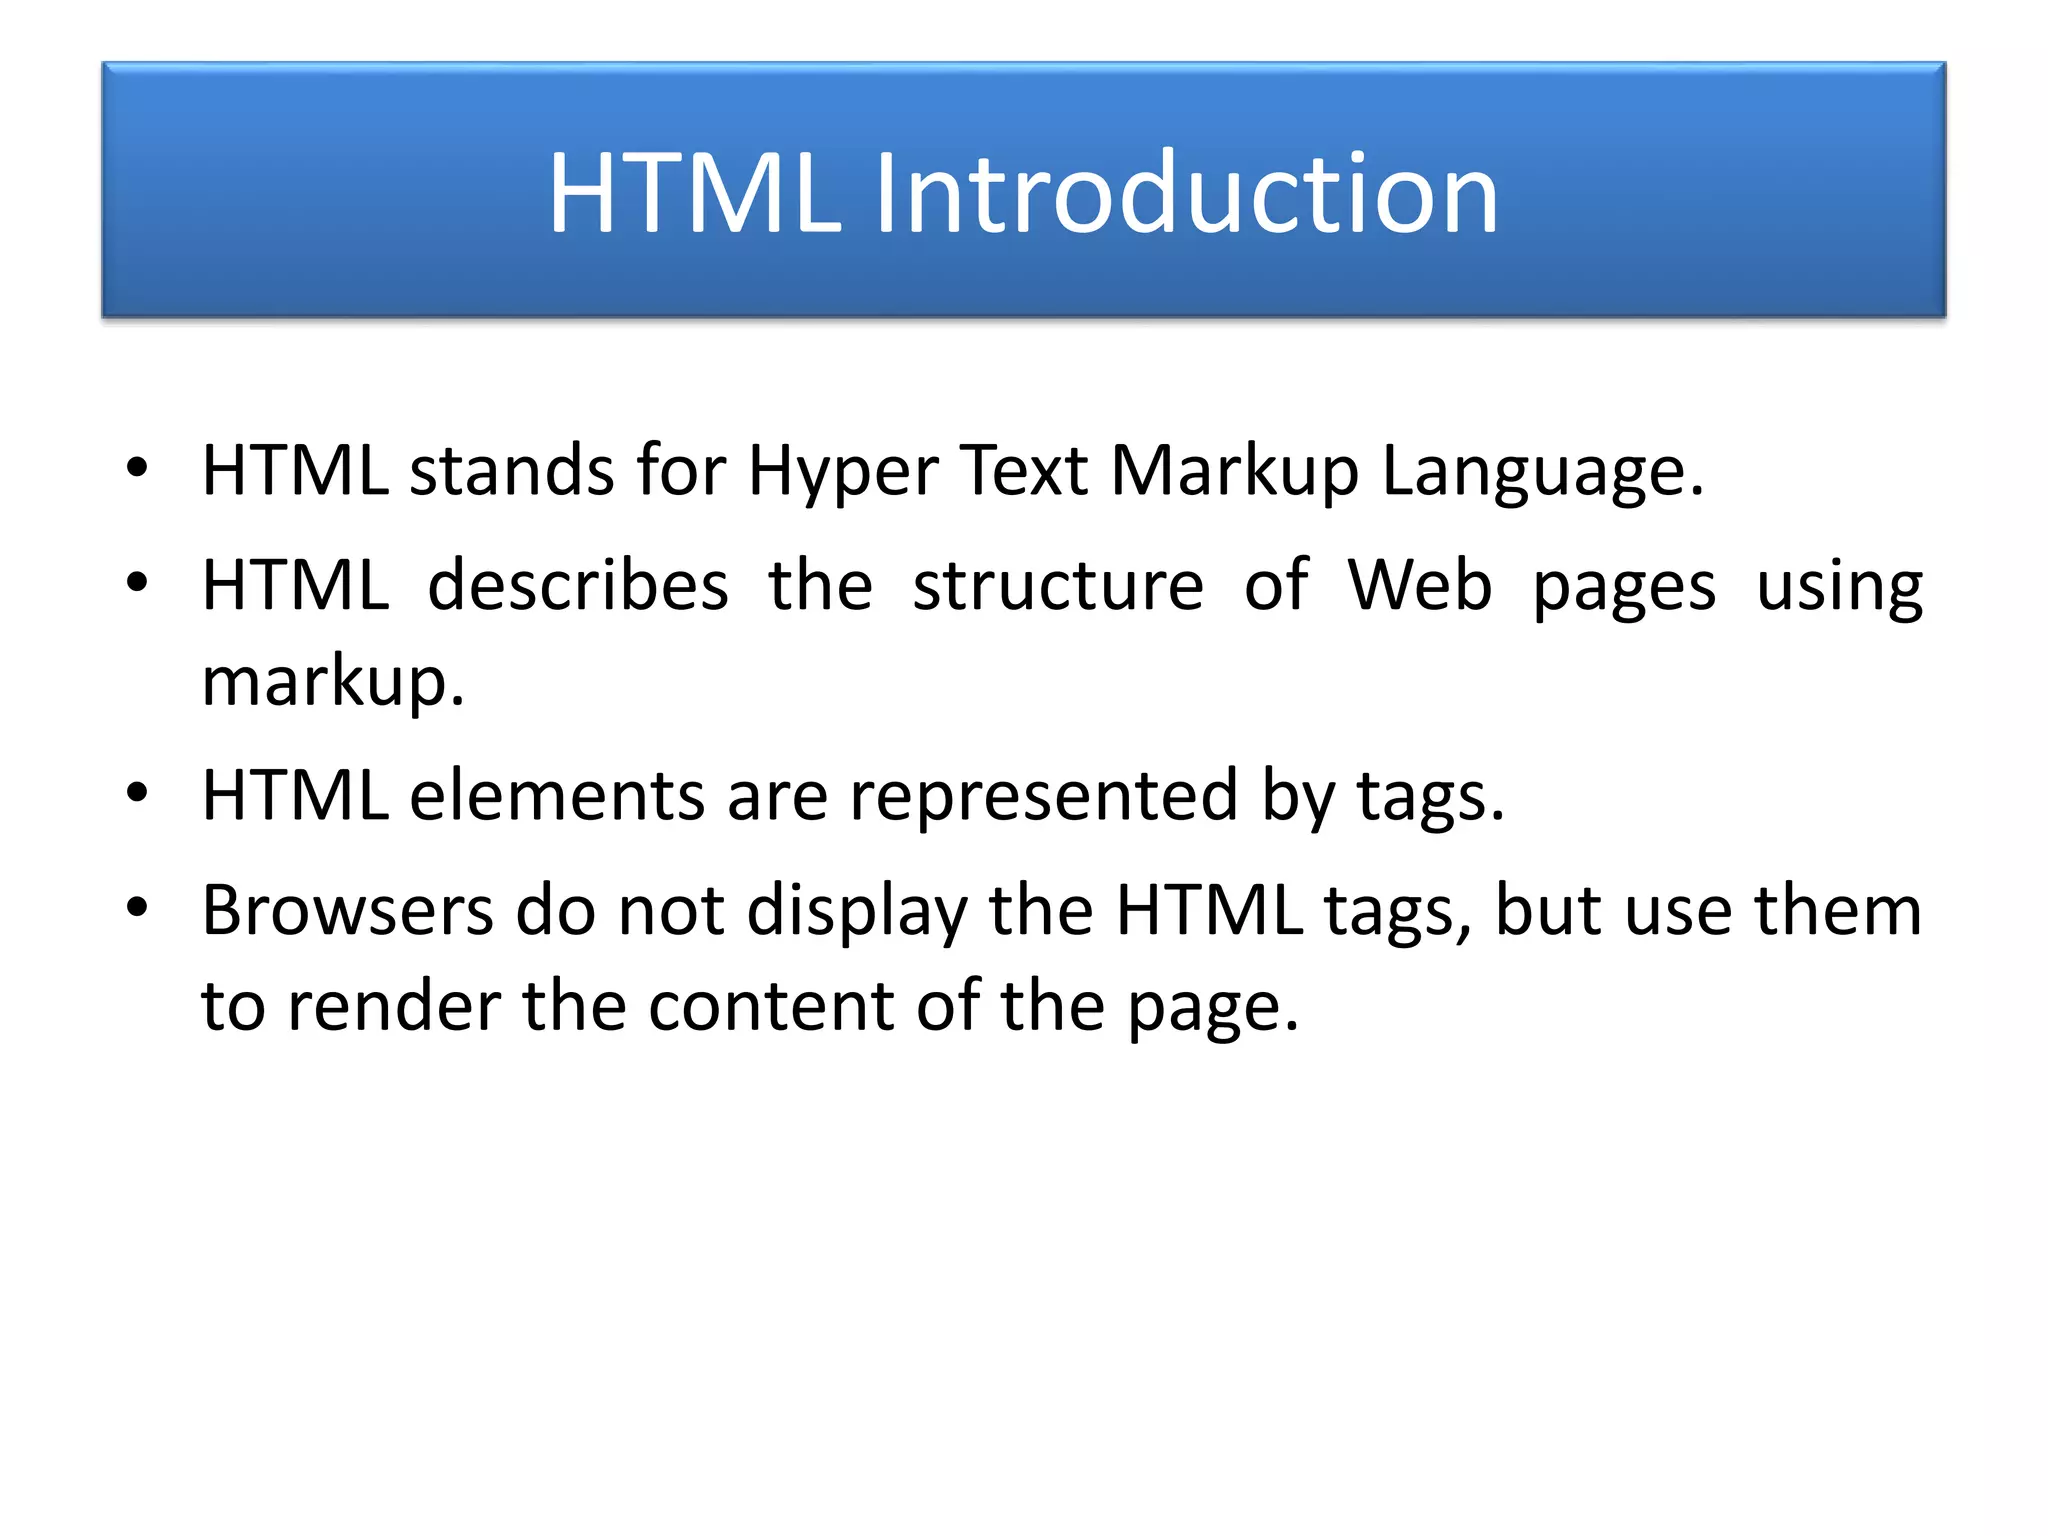
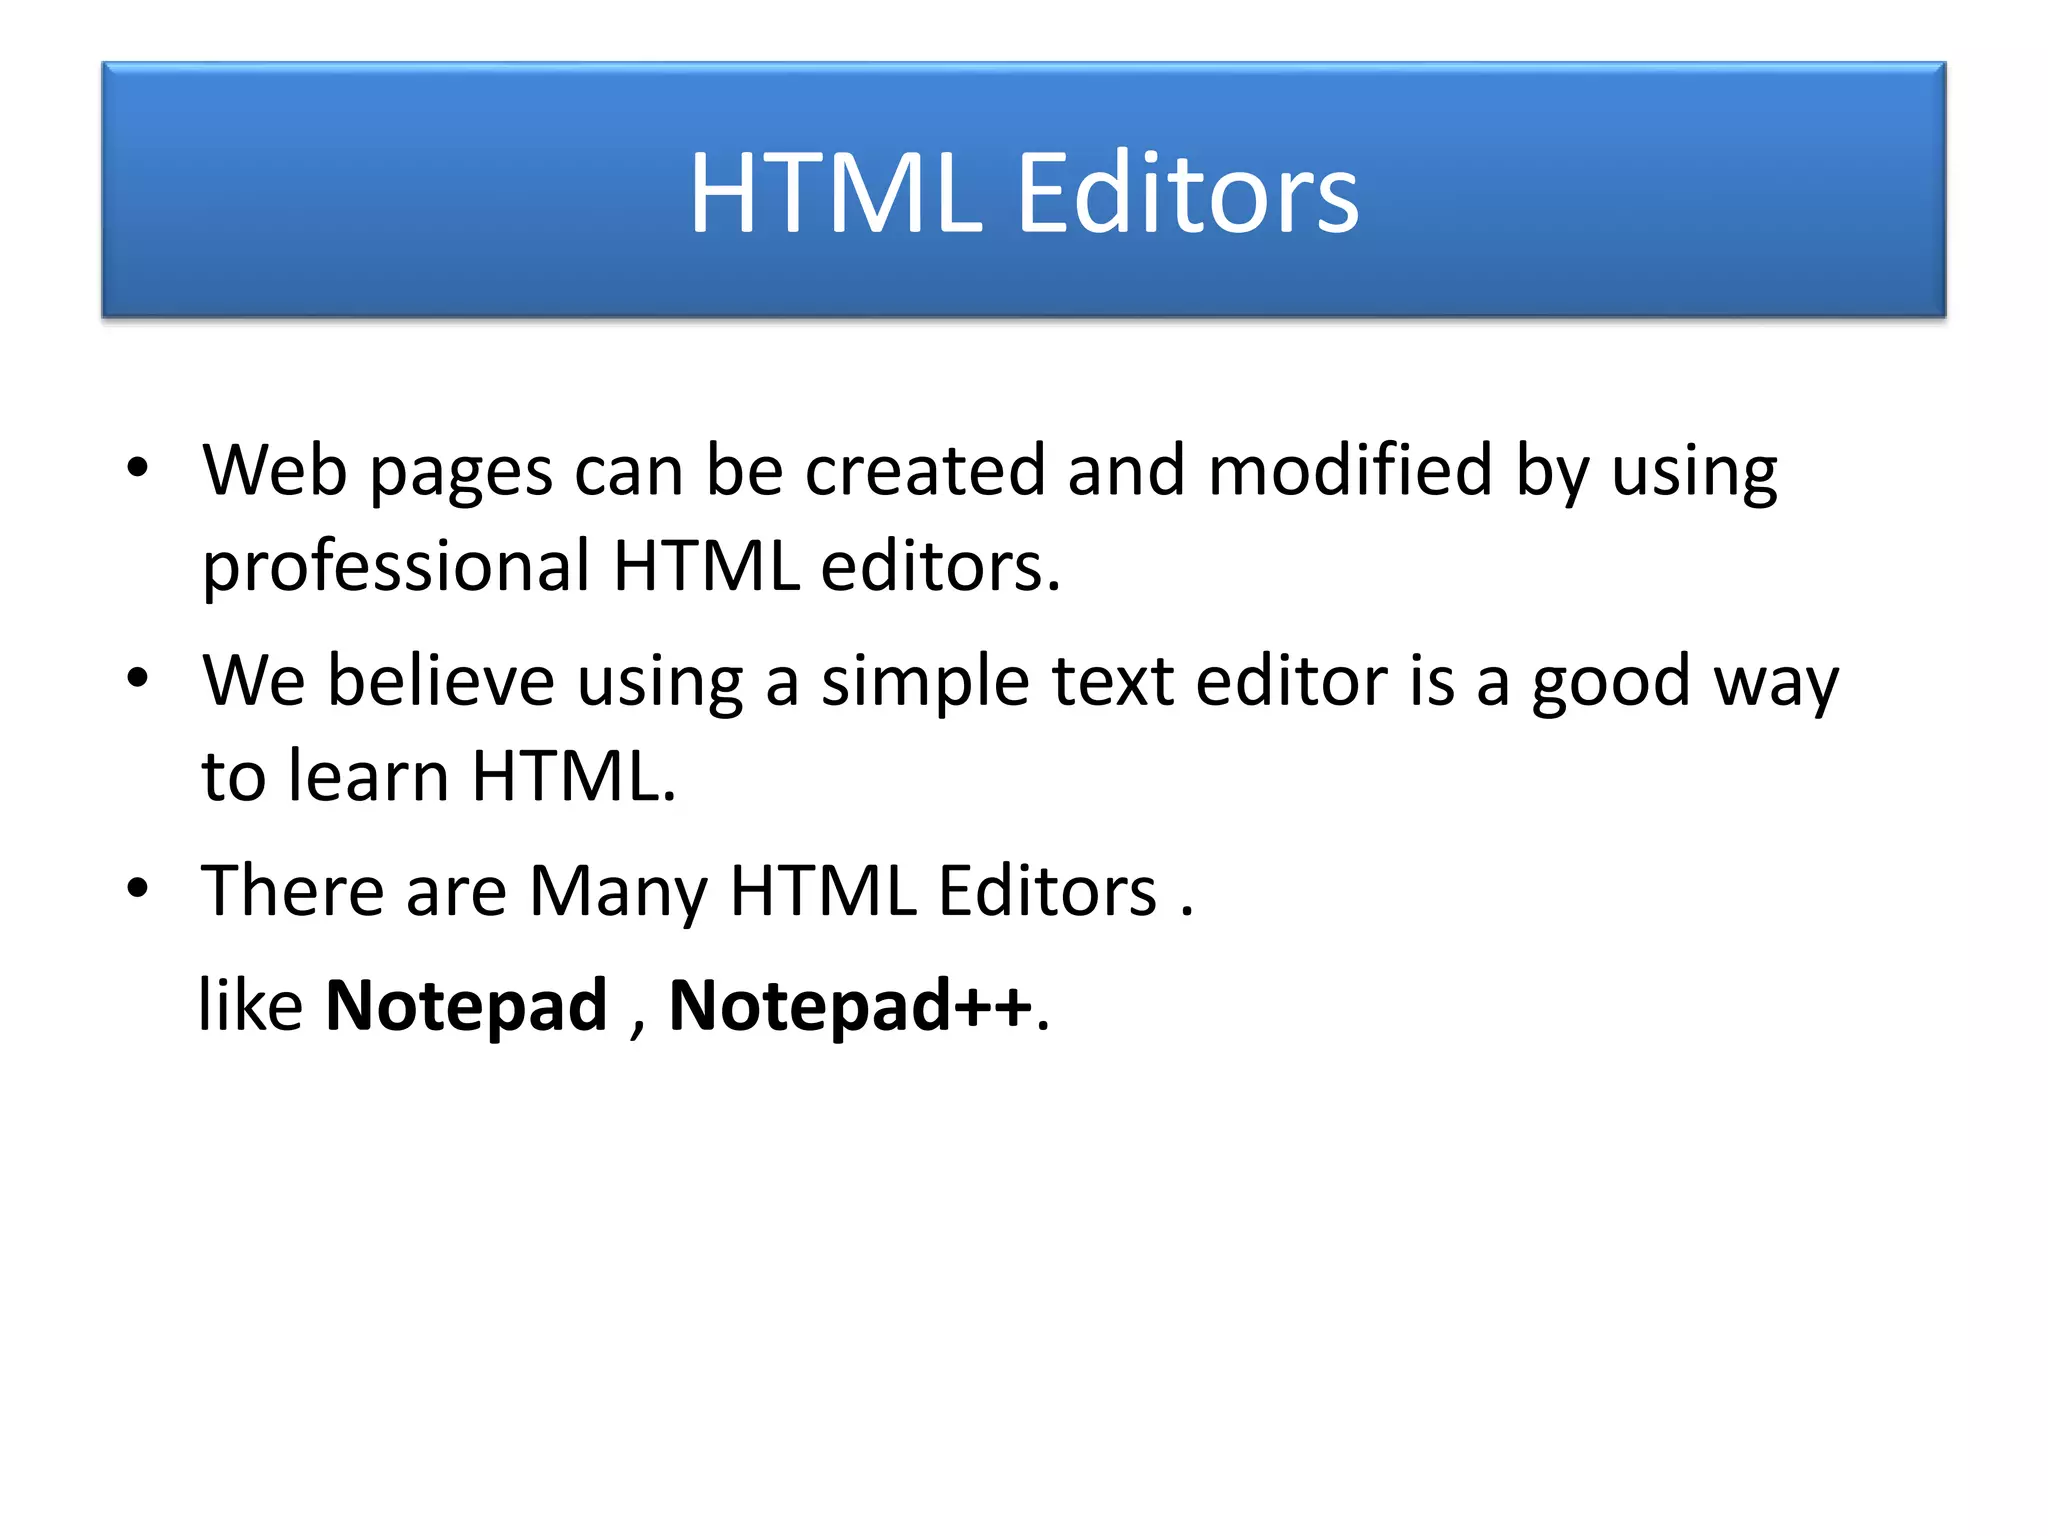
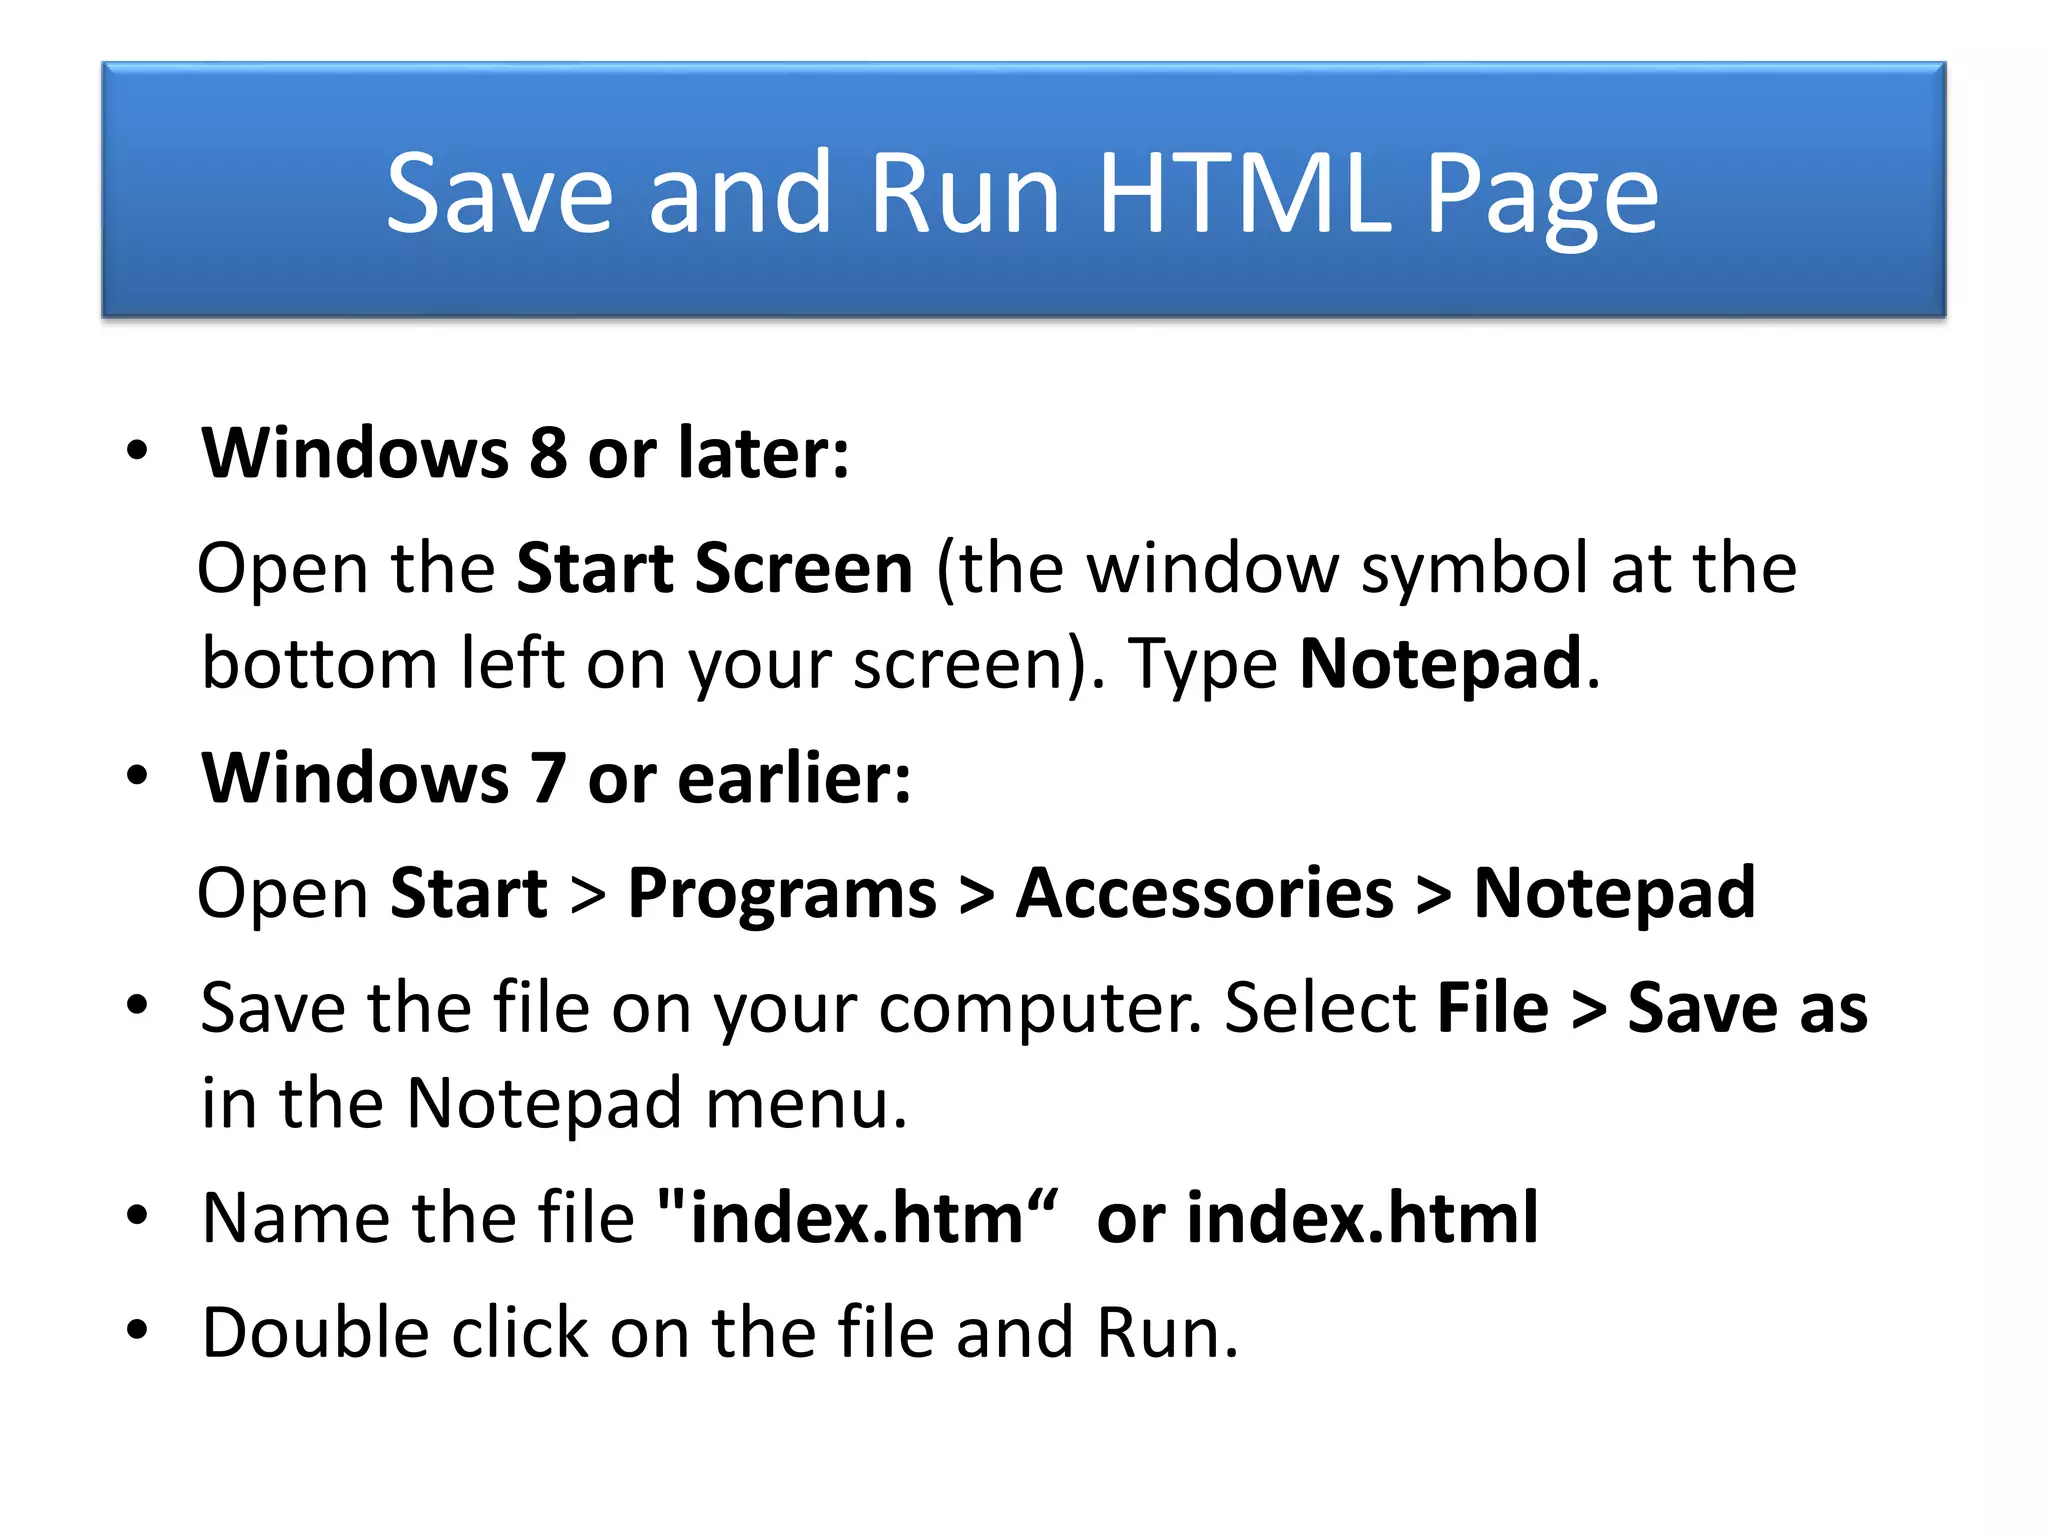
Introduction to HTML, structure, usage of editors, and basic file saving and running.
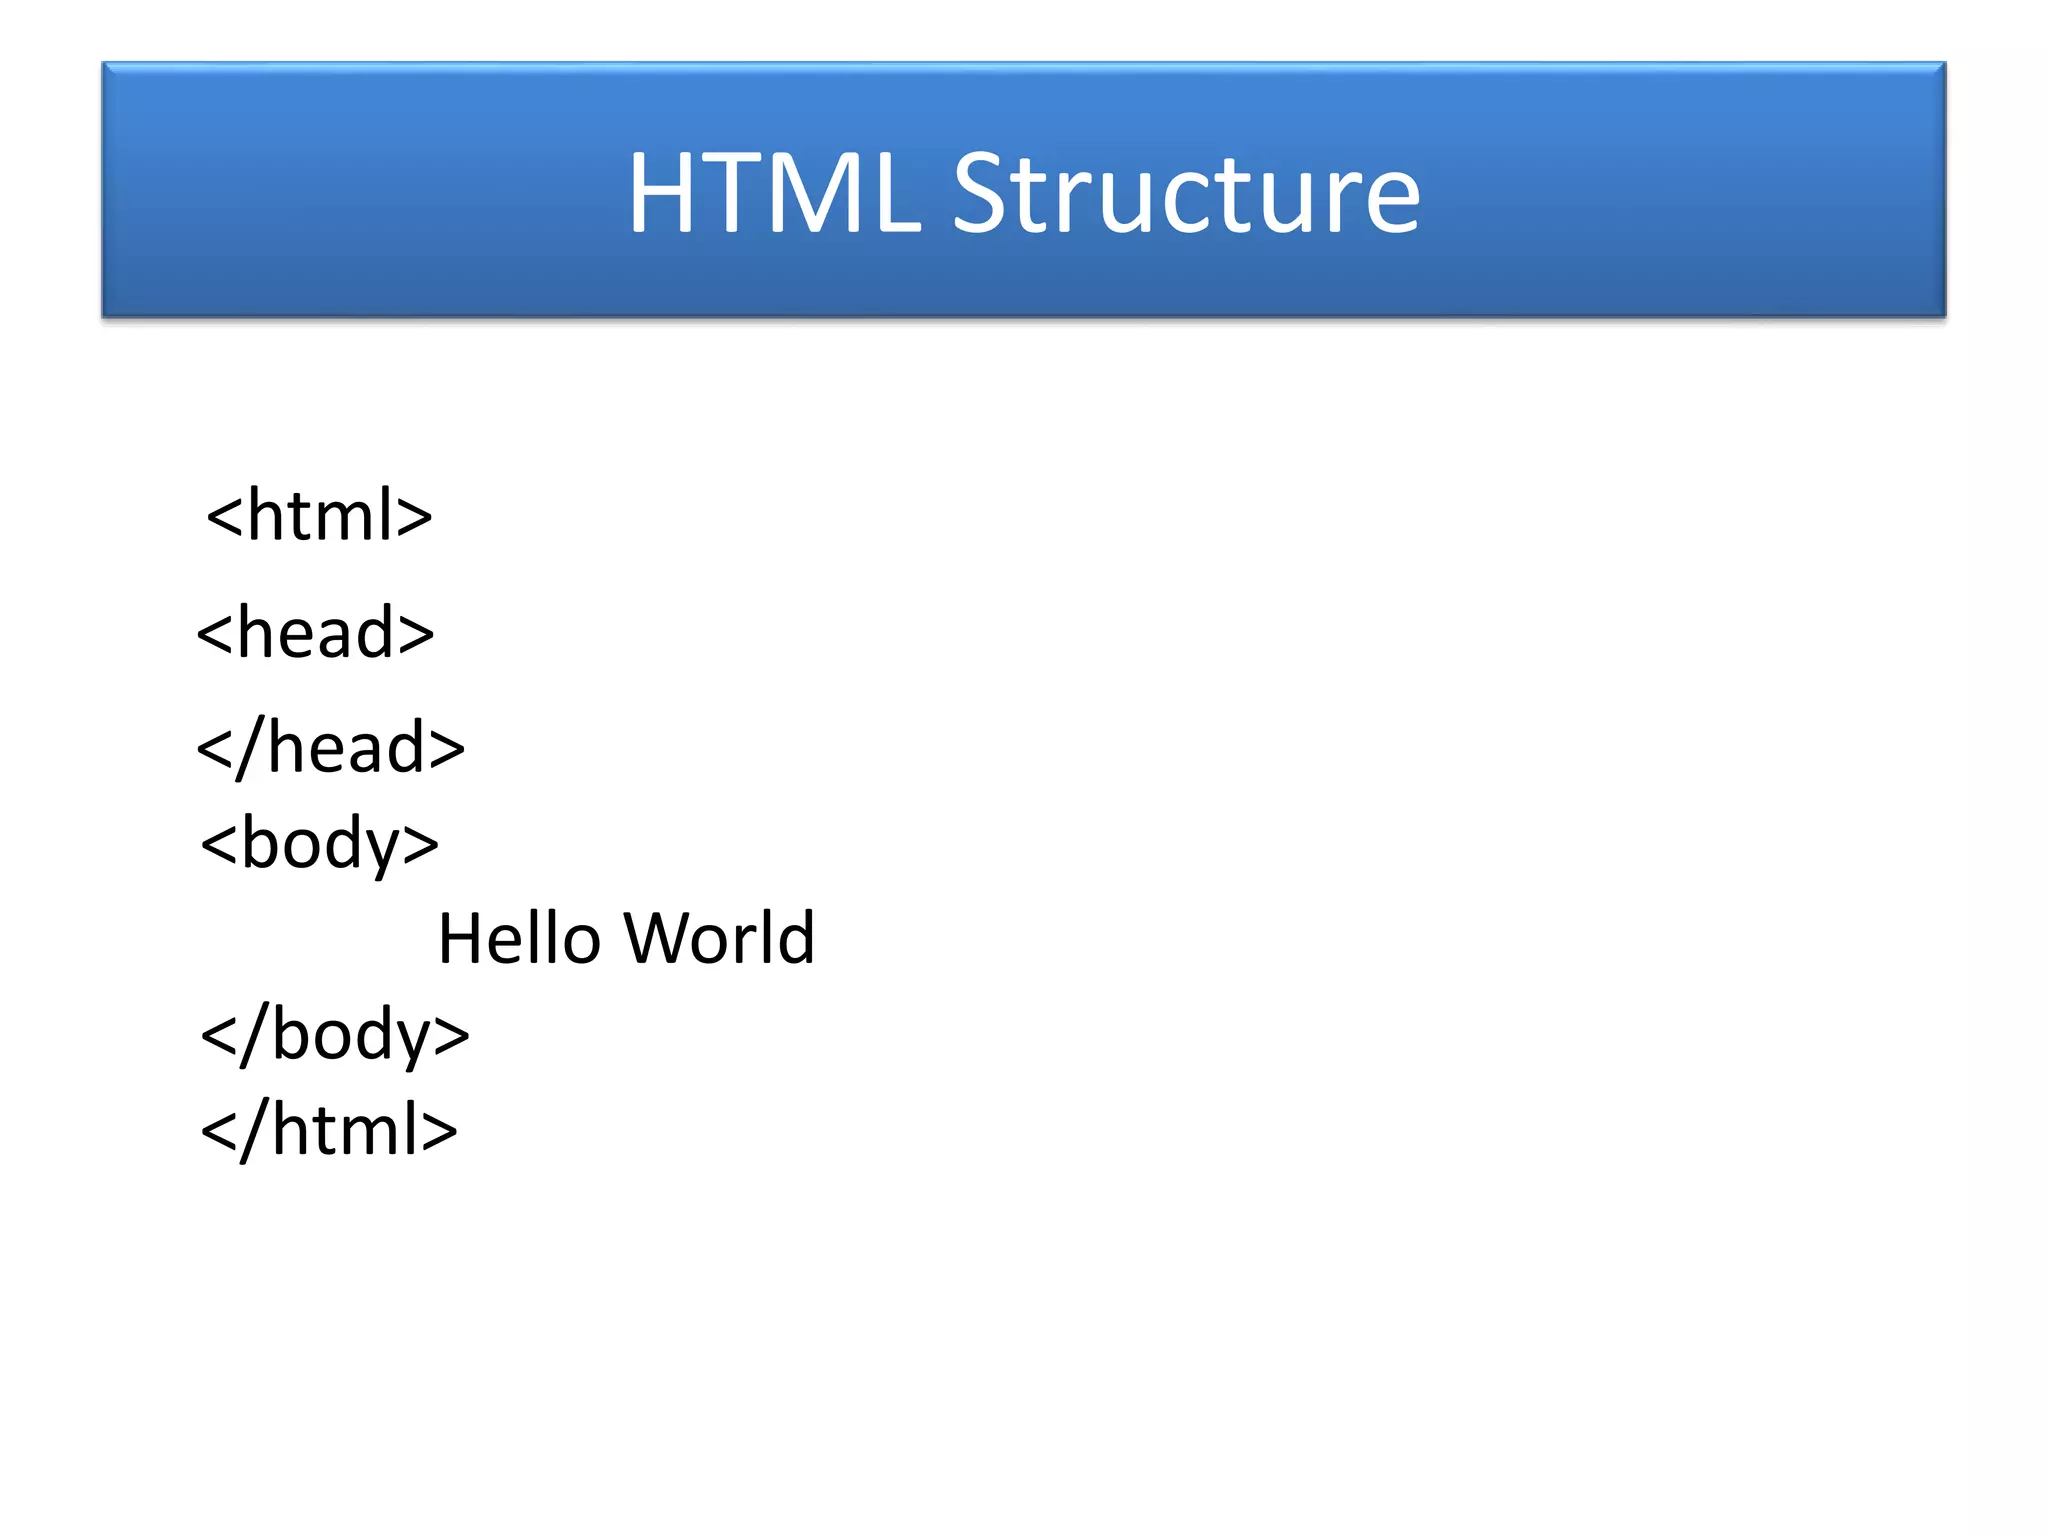
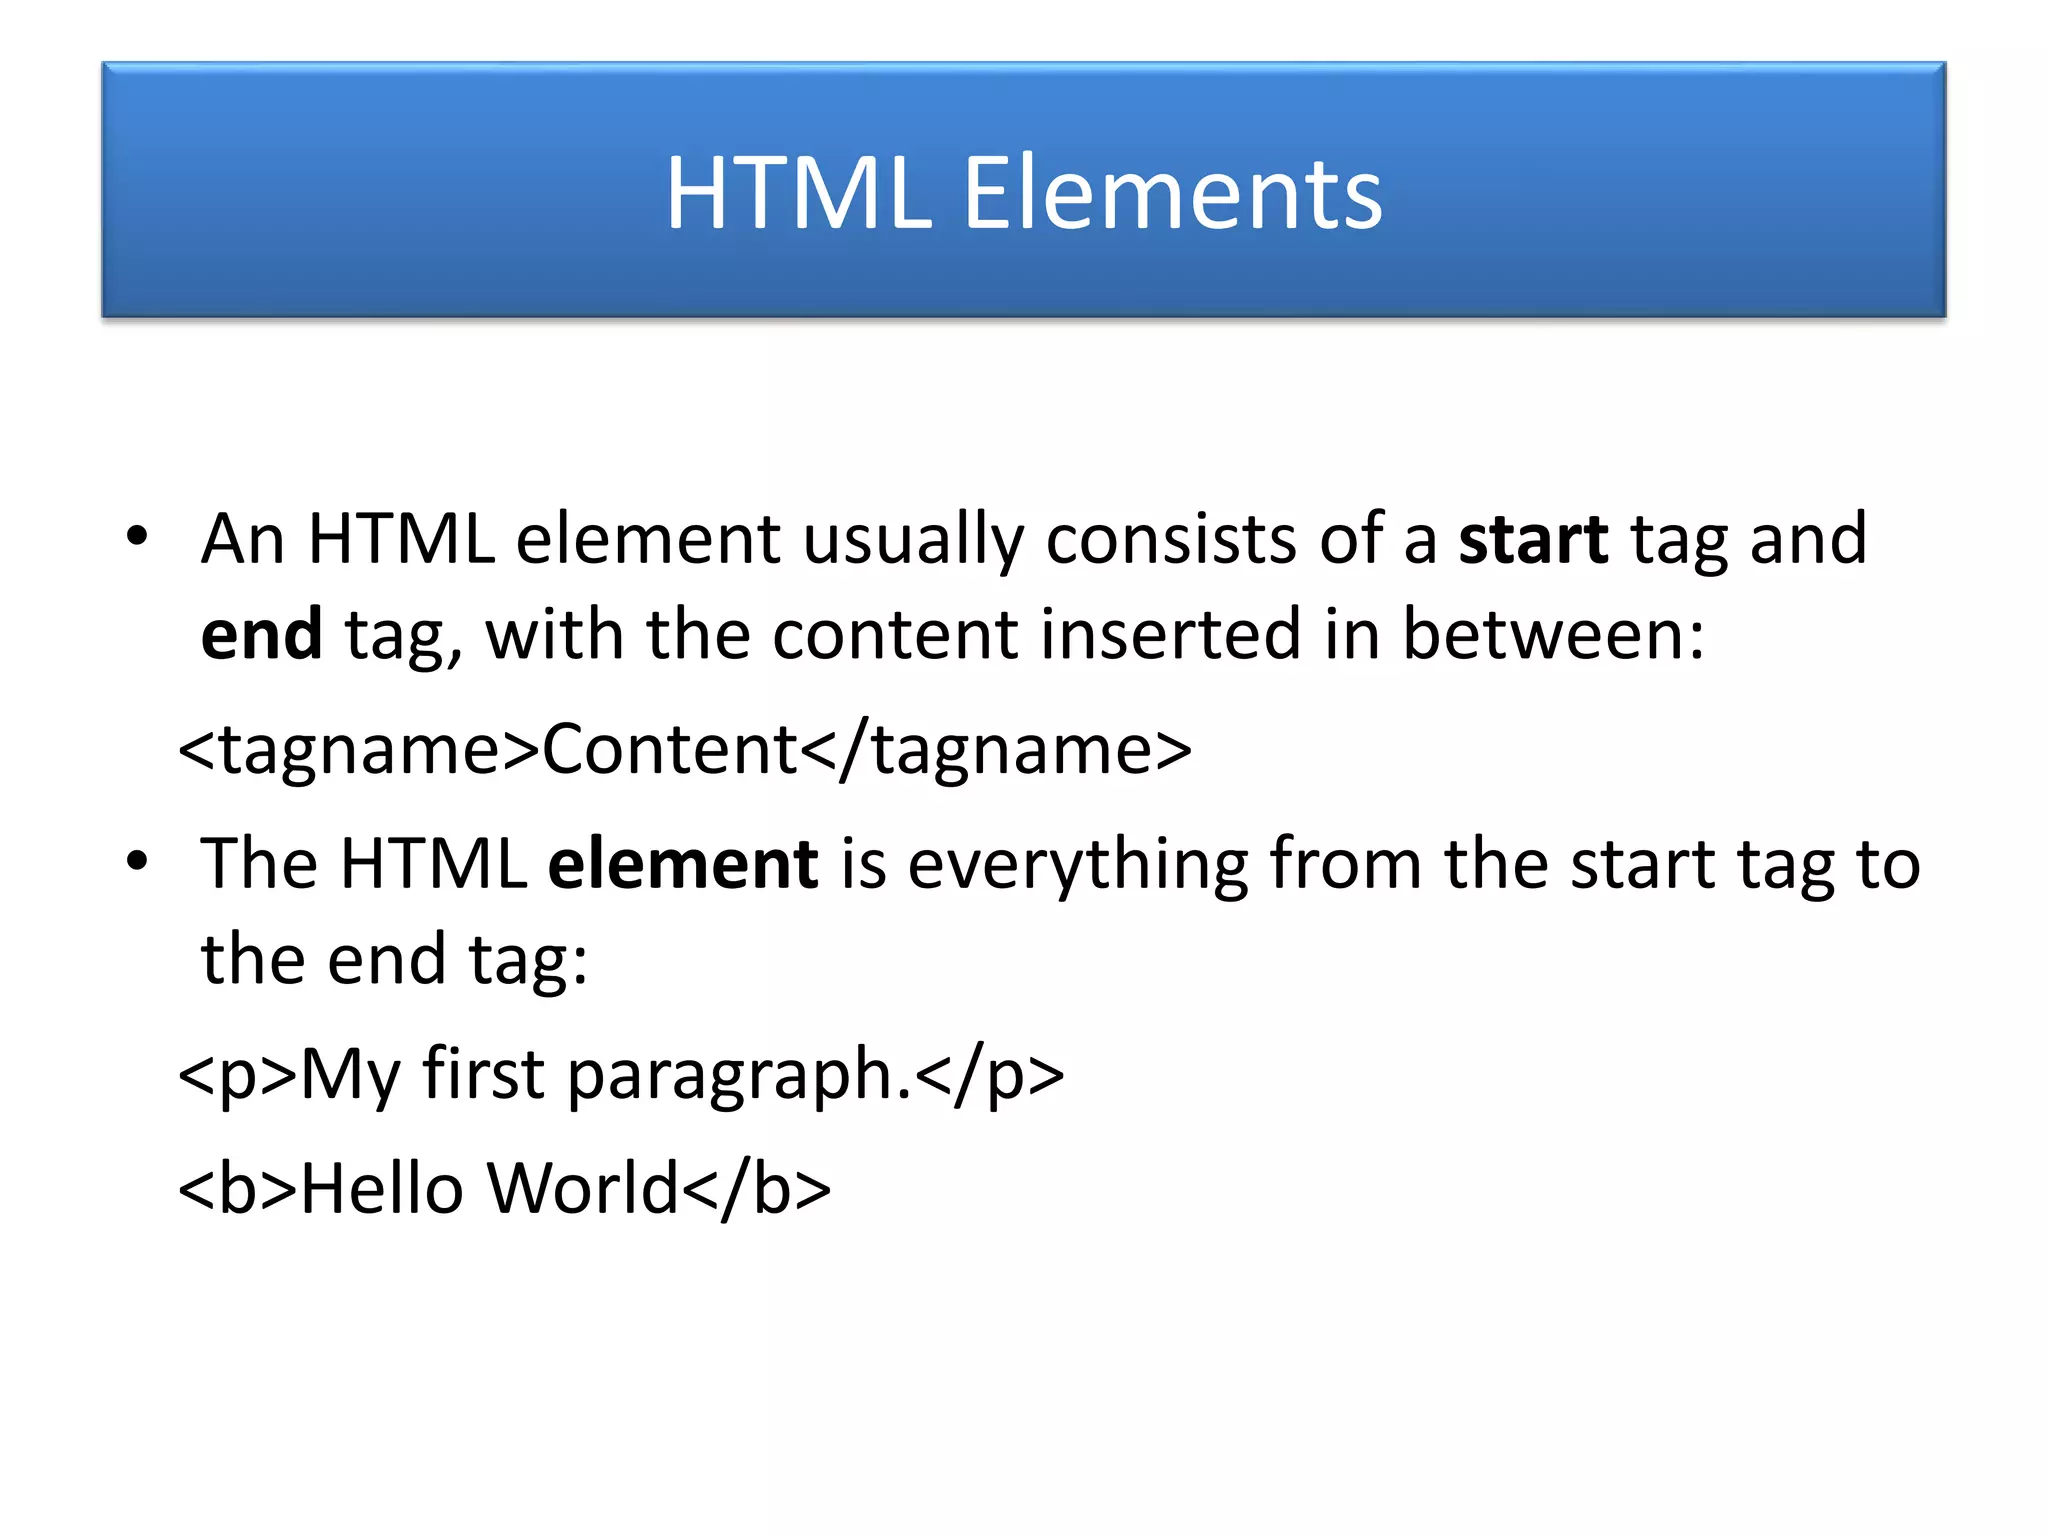
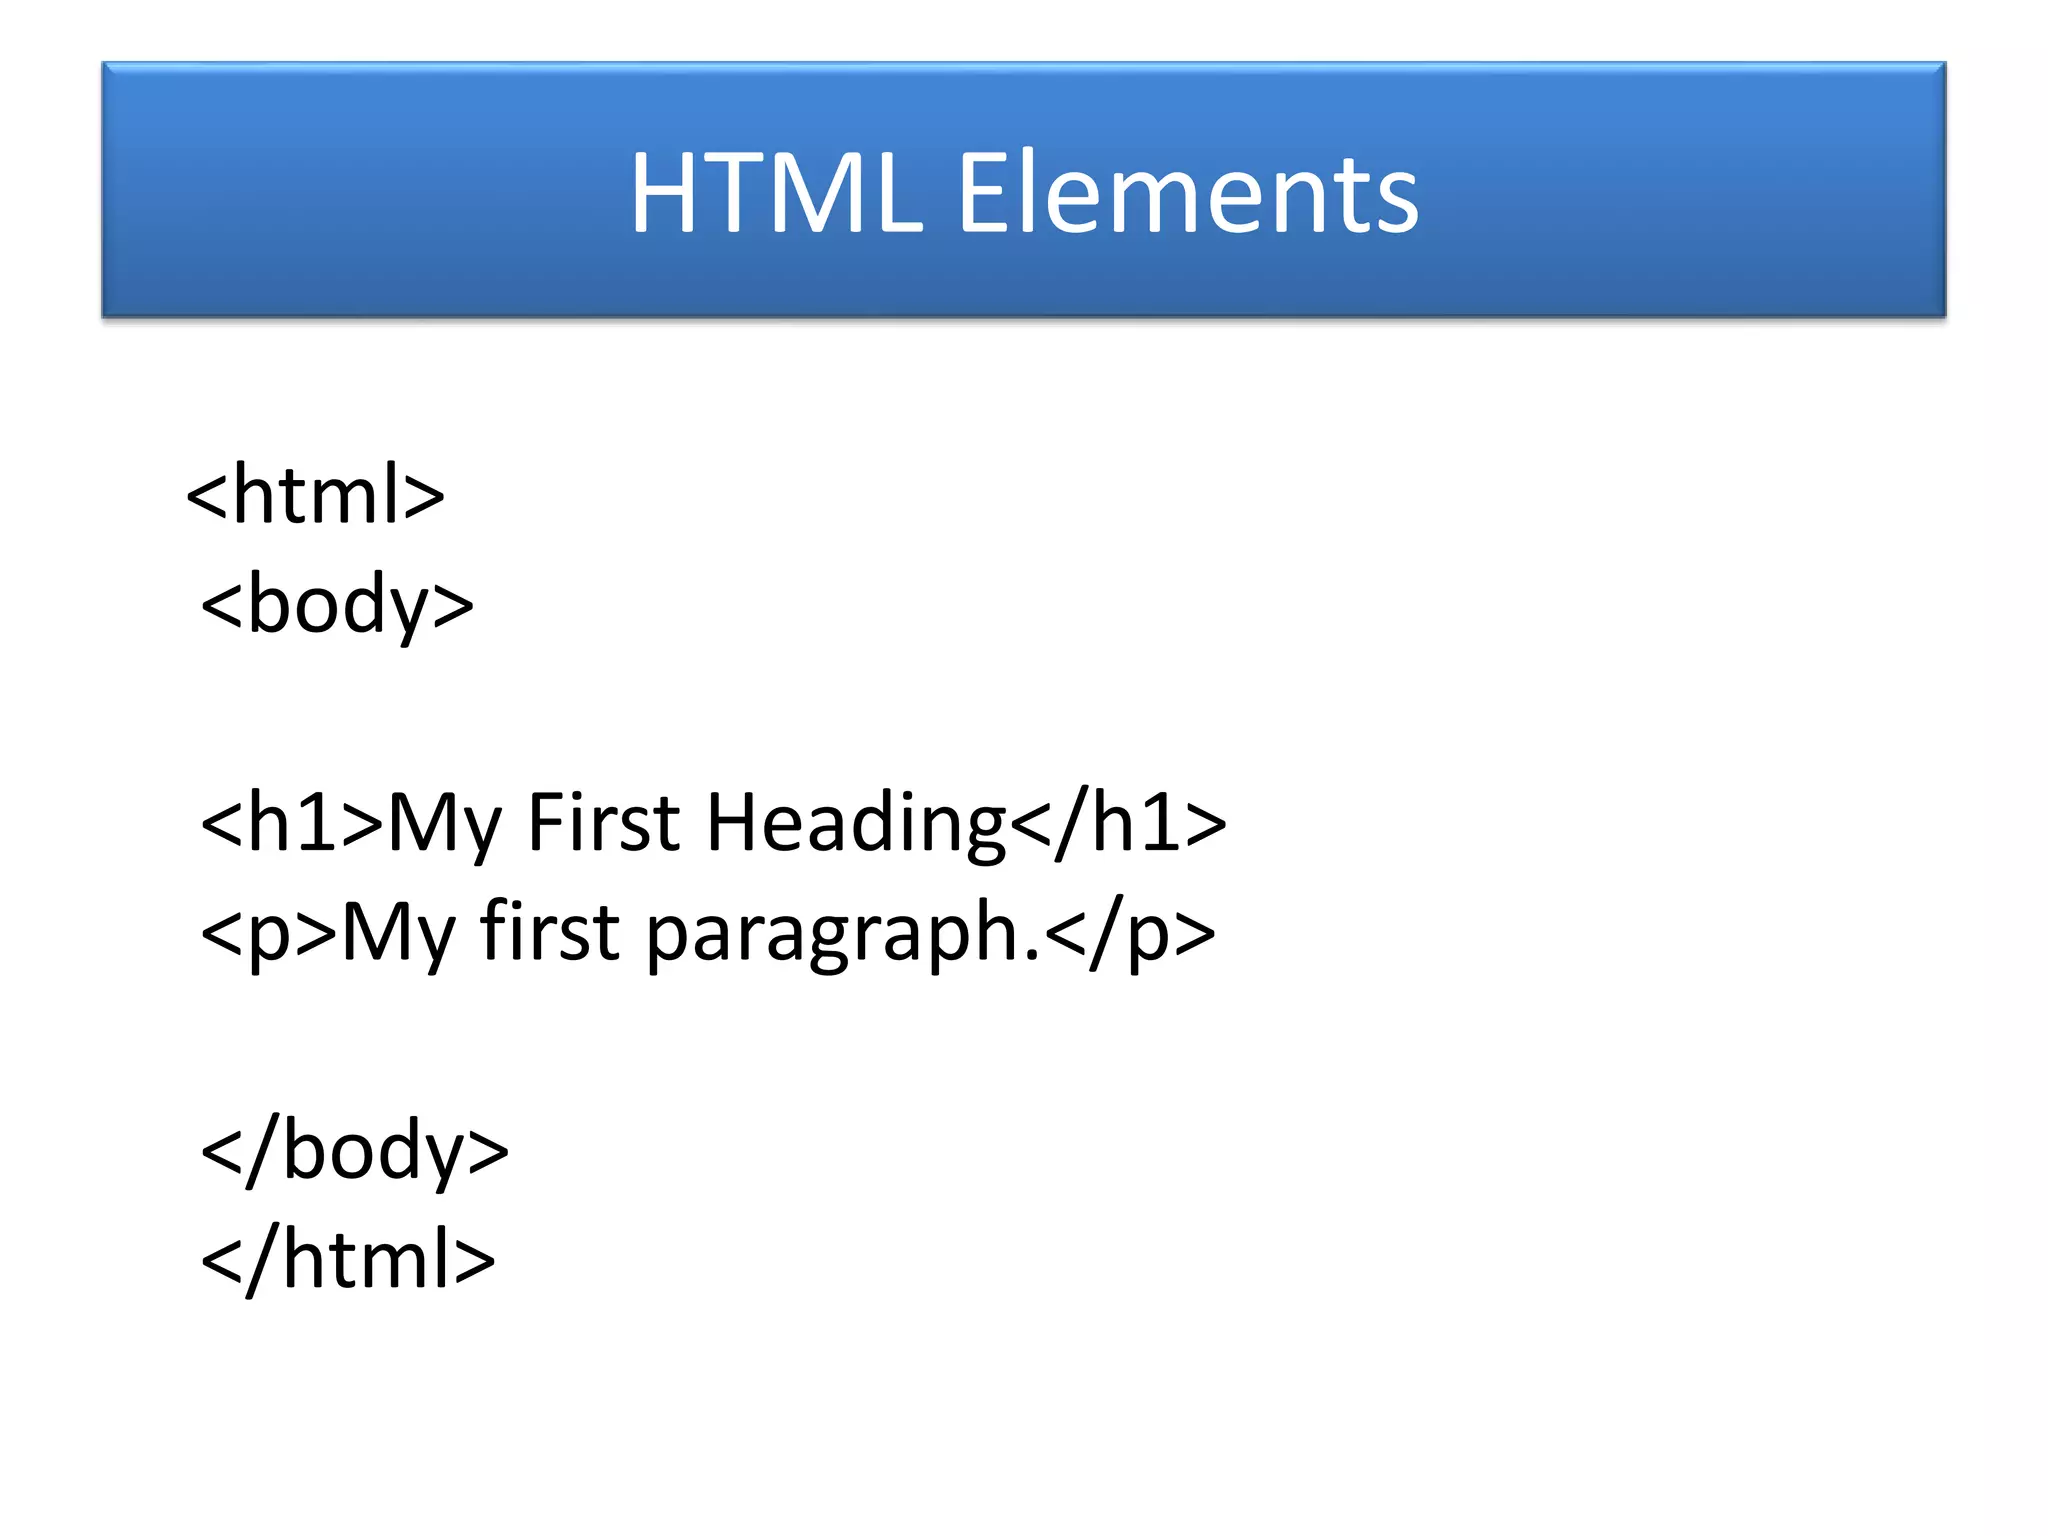
Basic HTML structure and elements, examples of tags like headers and paragraphs.
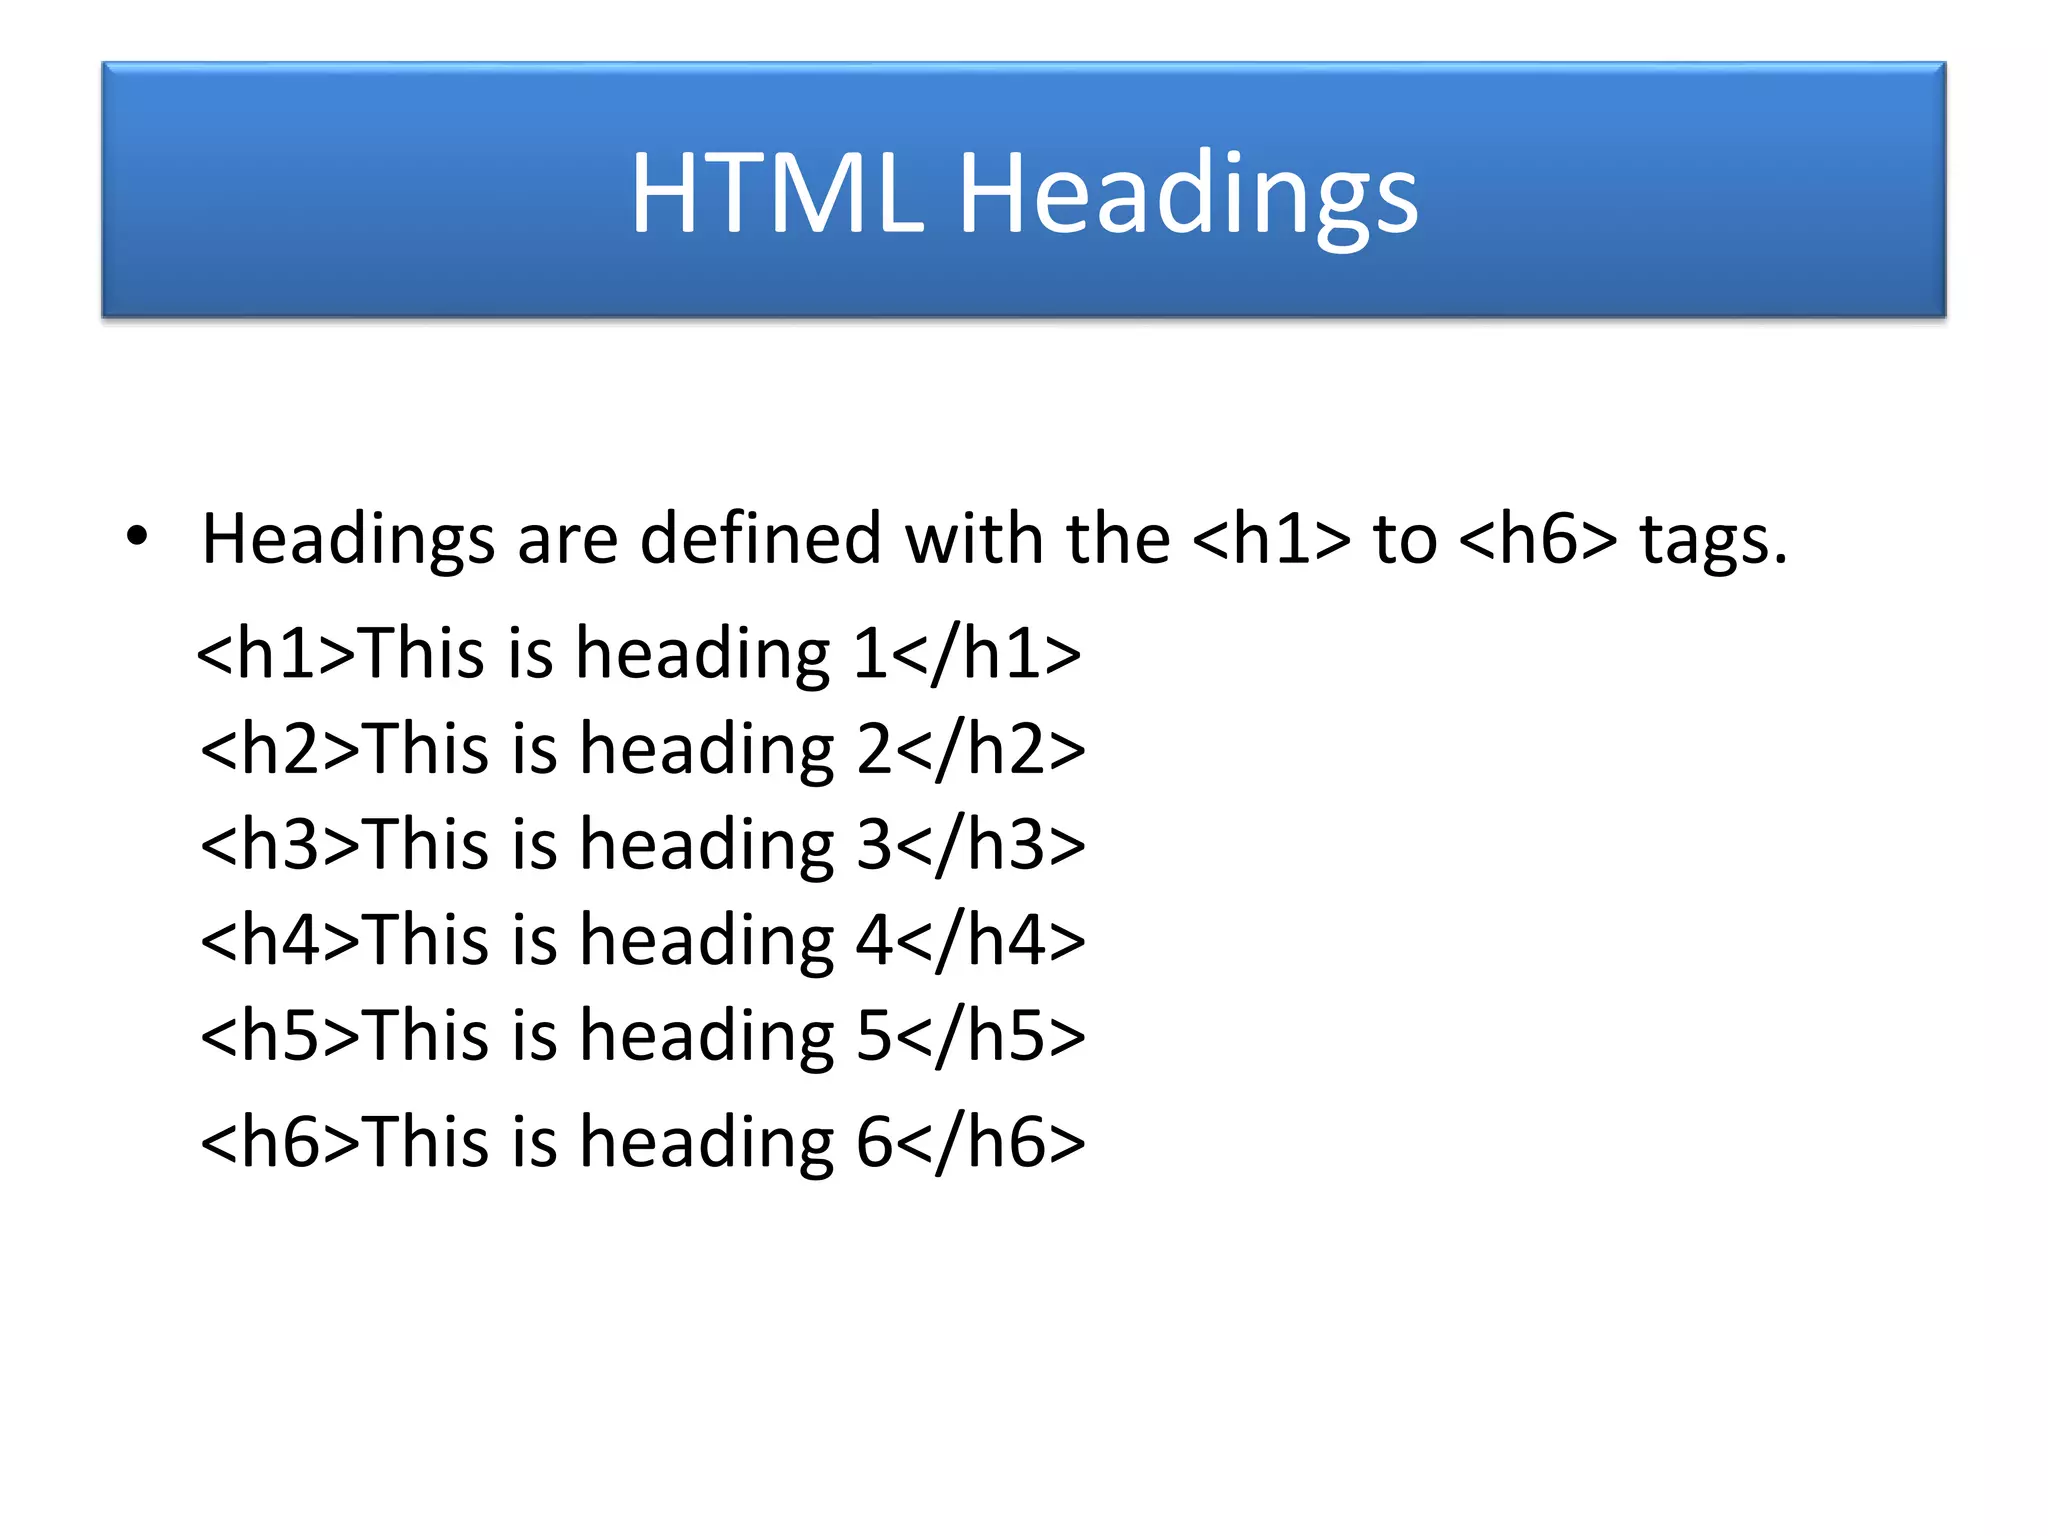
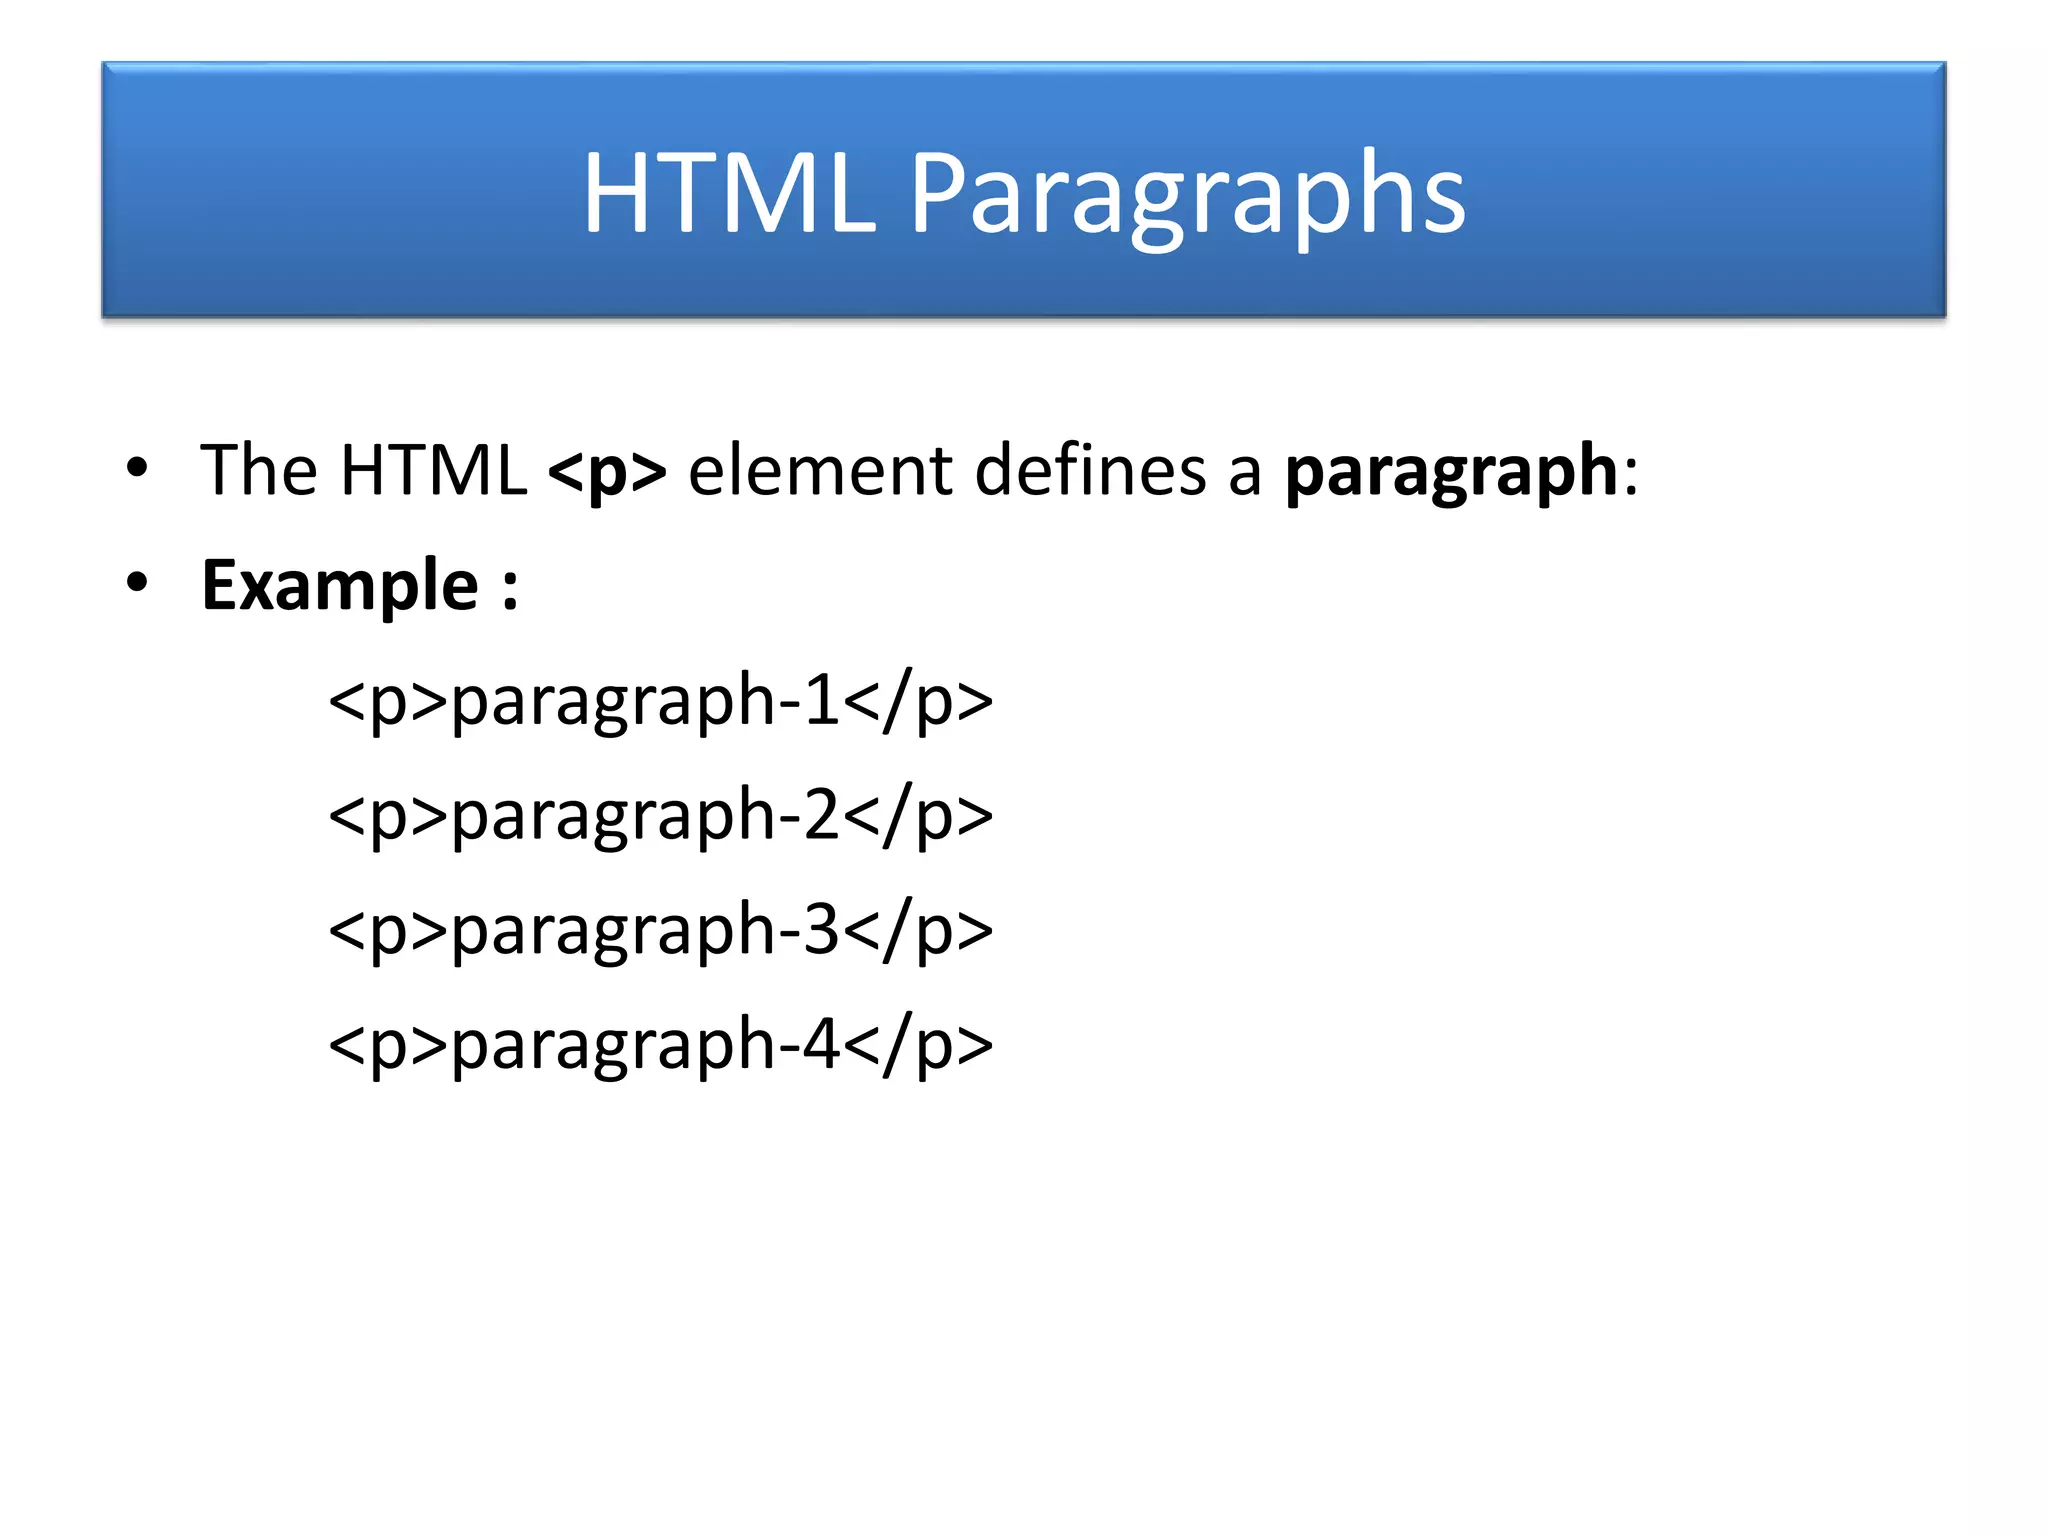
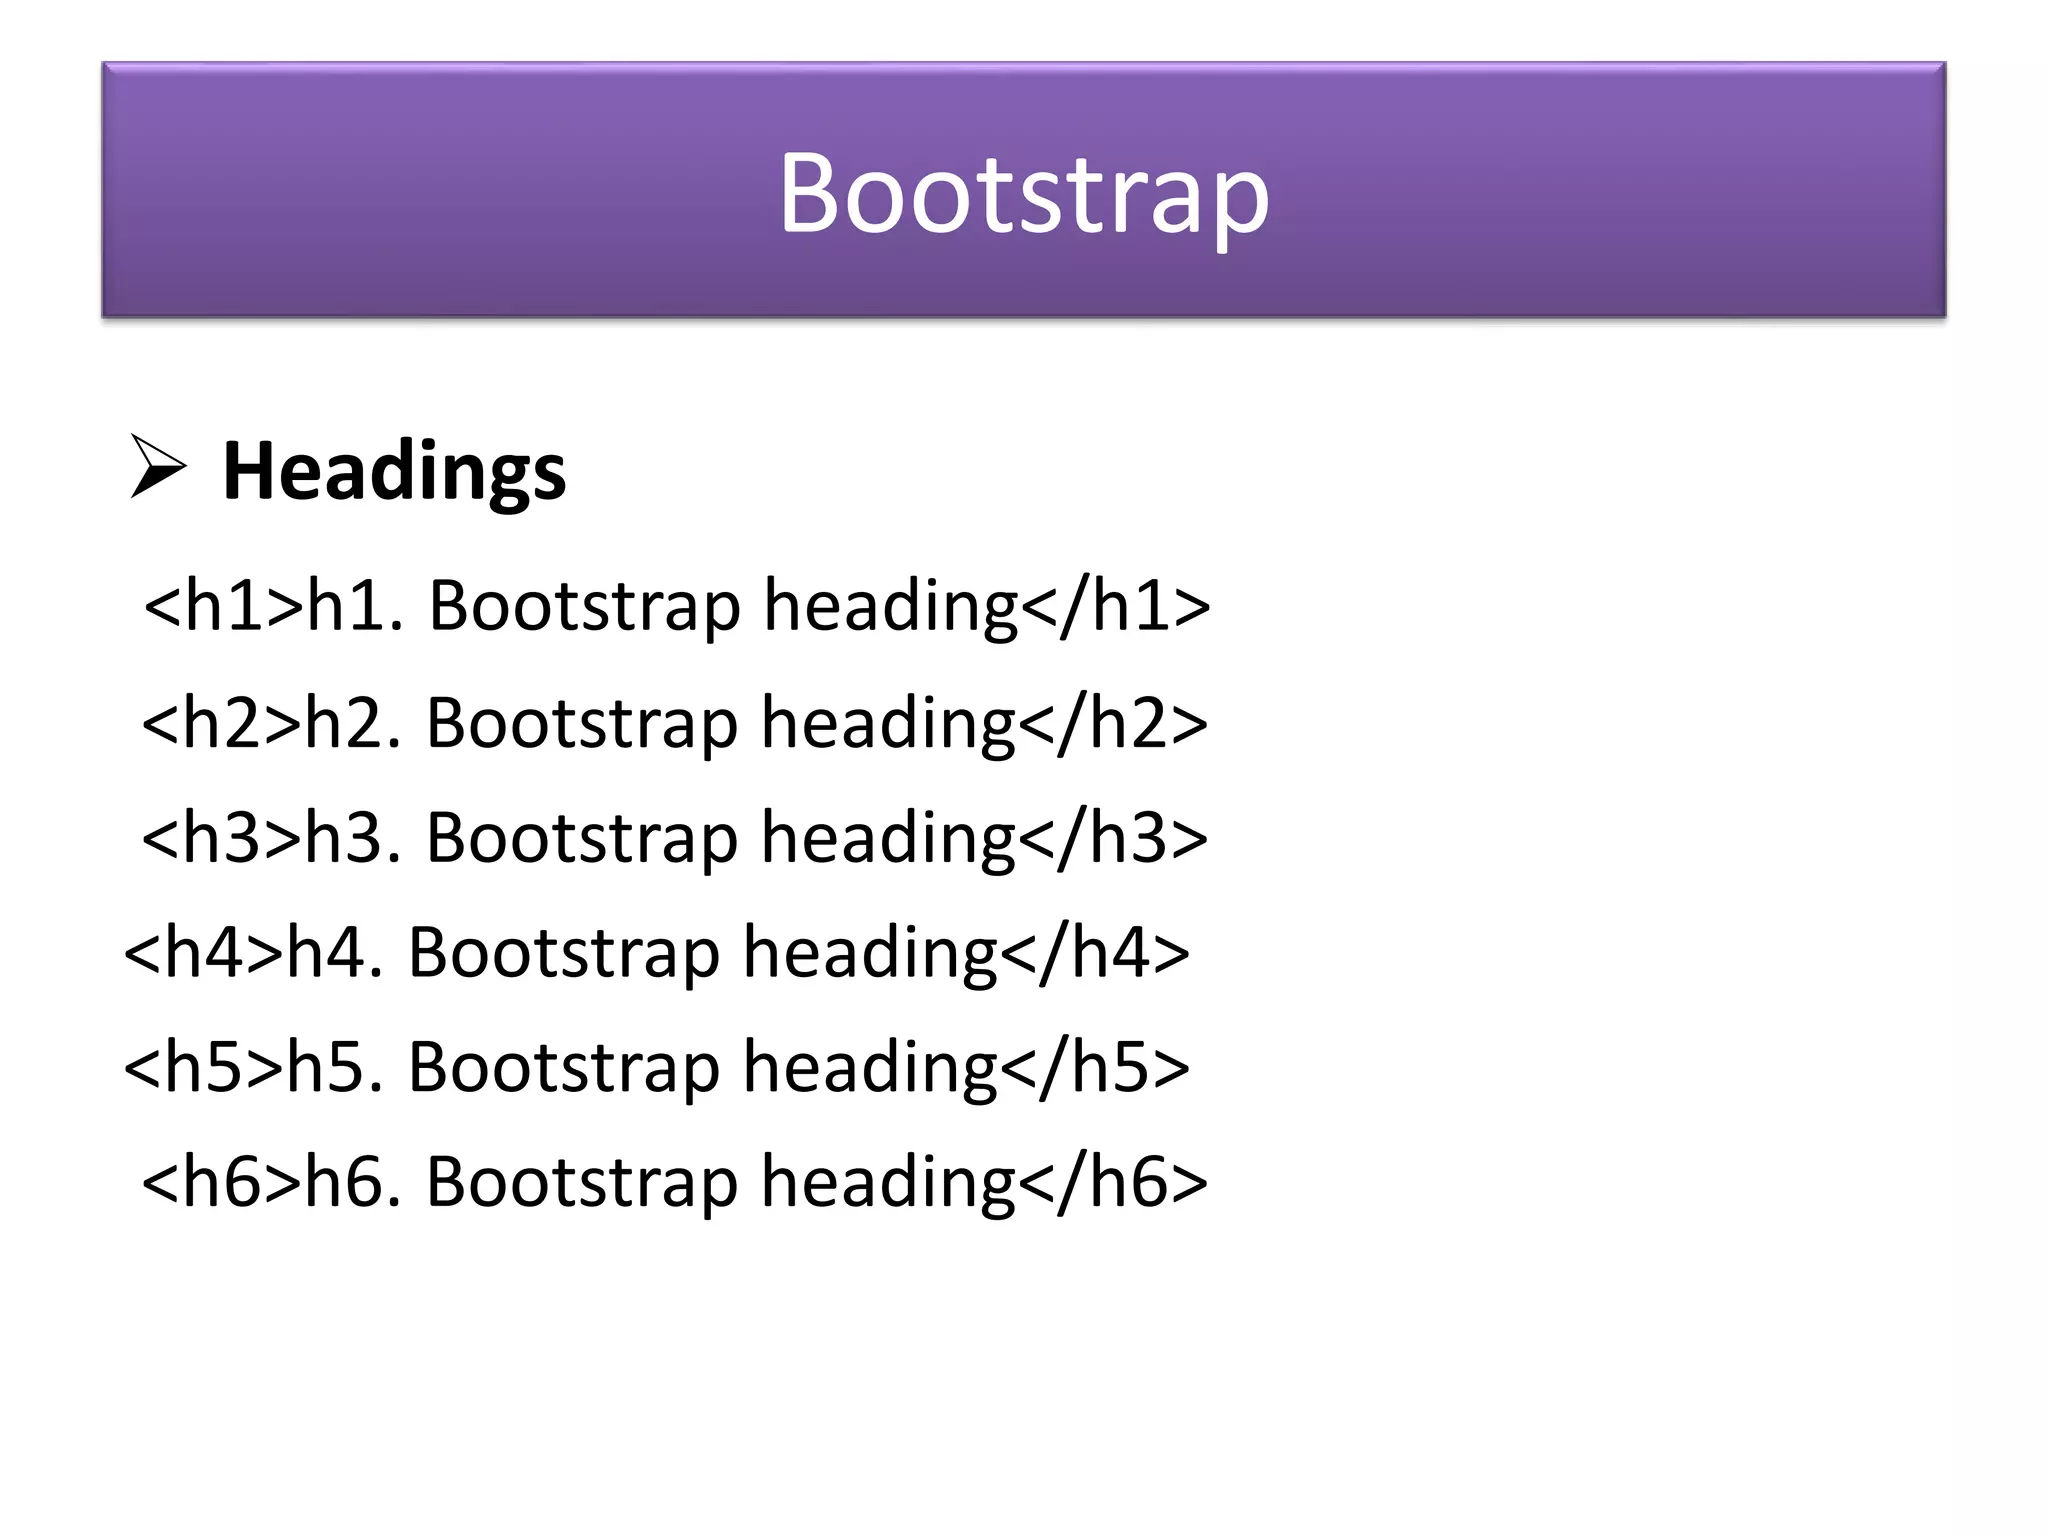
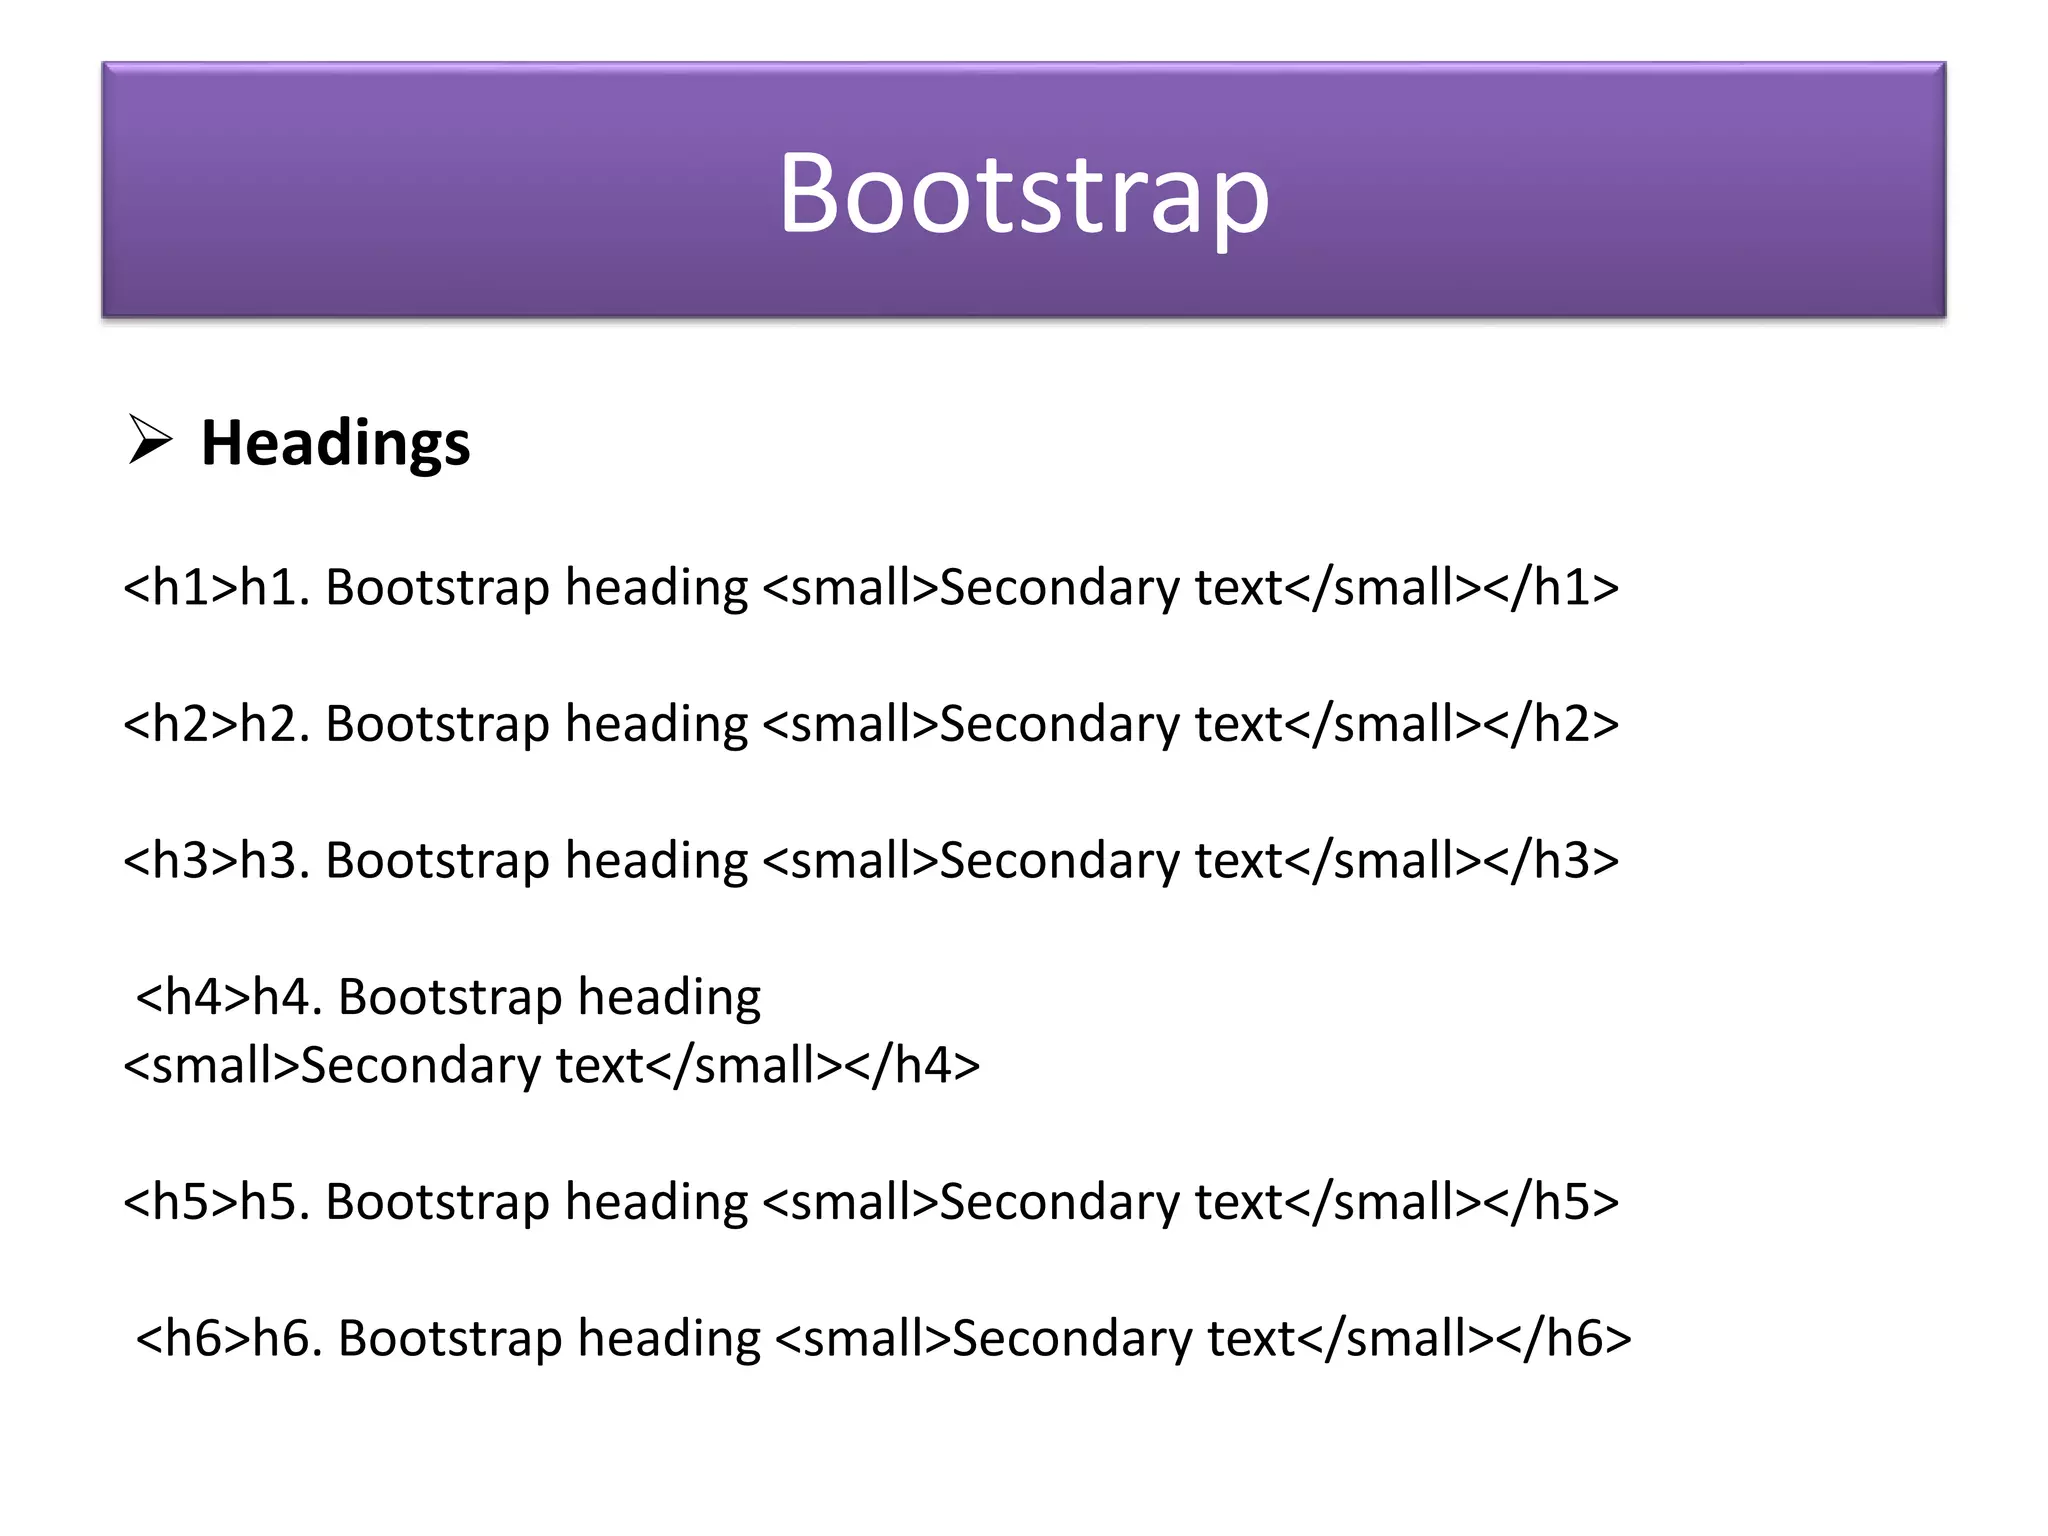
Overview of header tags <h1> to <h6> and the <p> element for paragraphs.
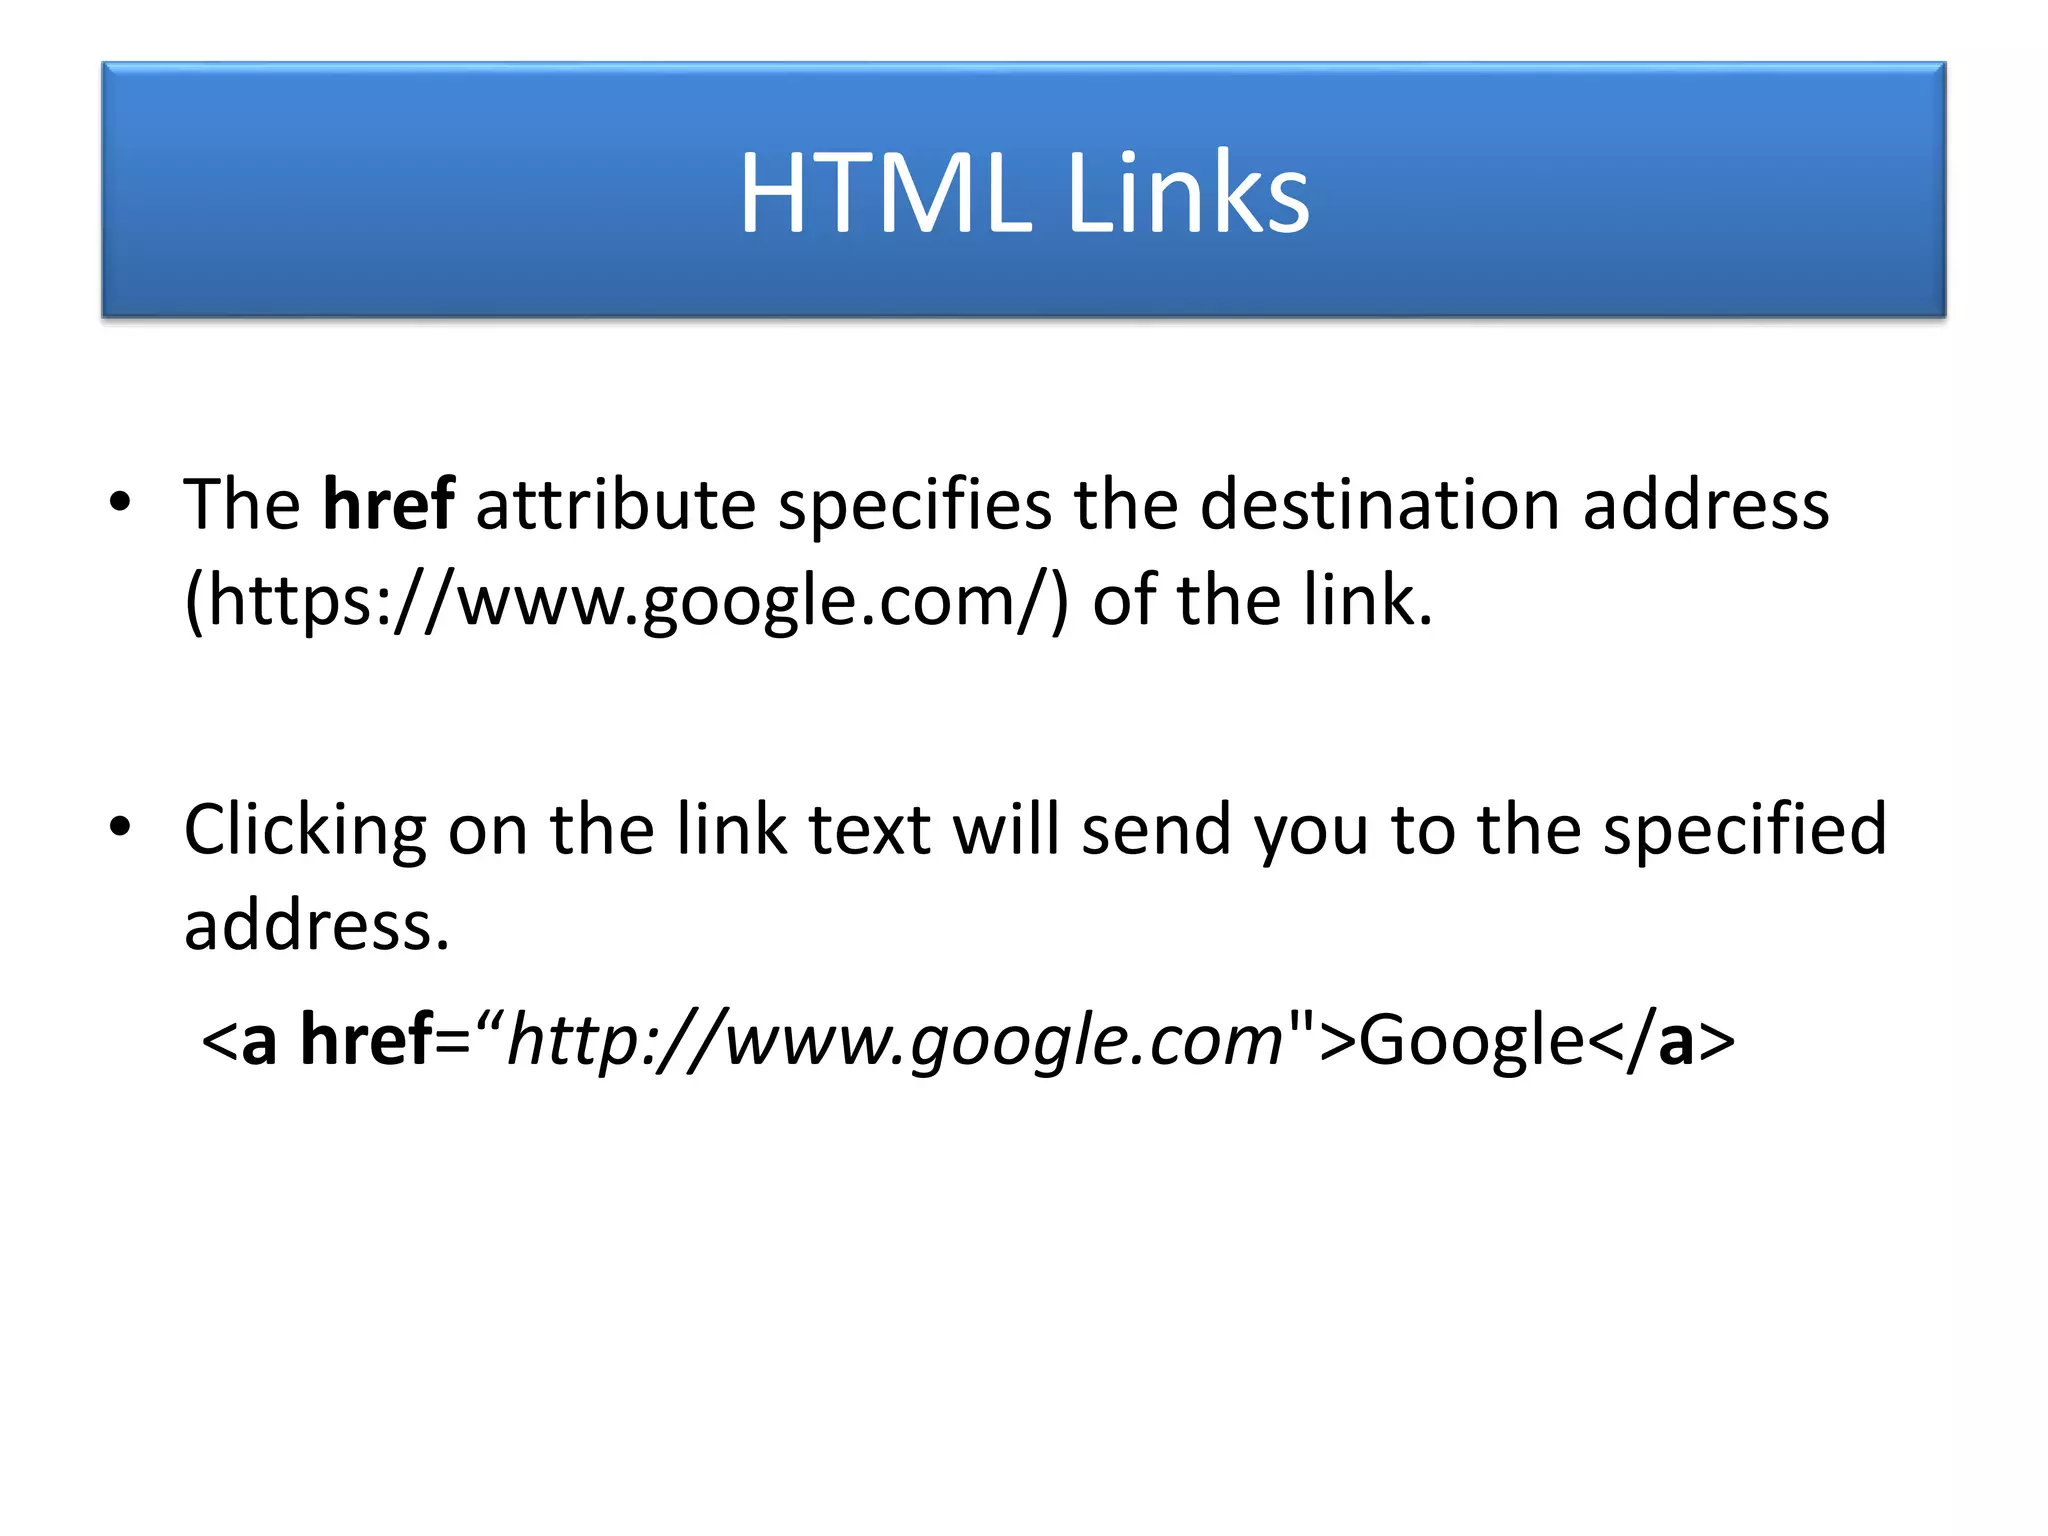
Creating hyperlinks with <a> tags, includes external and local links.
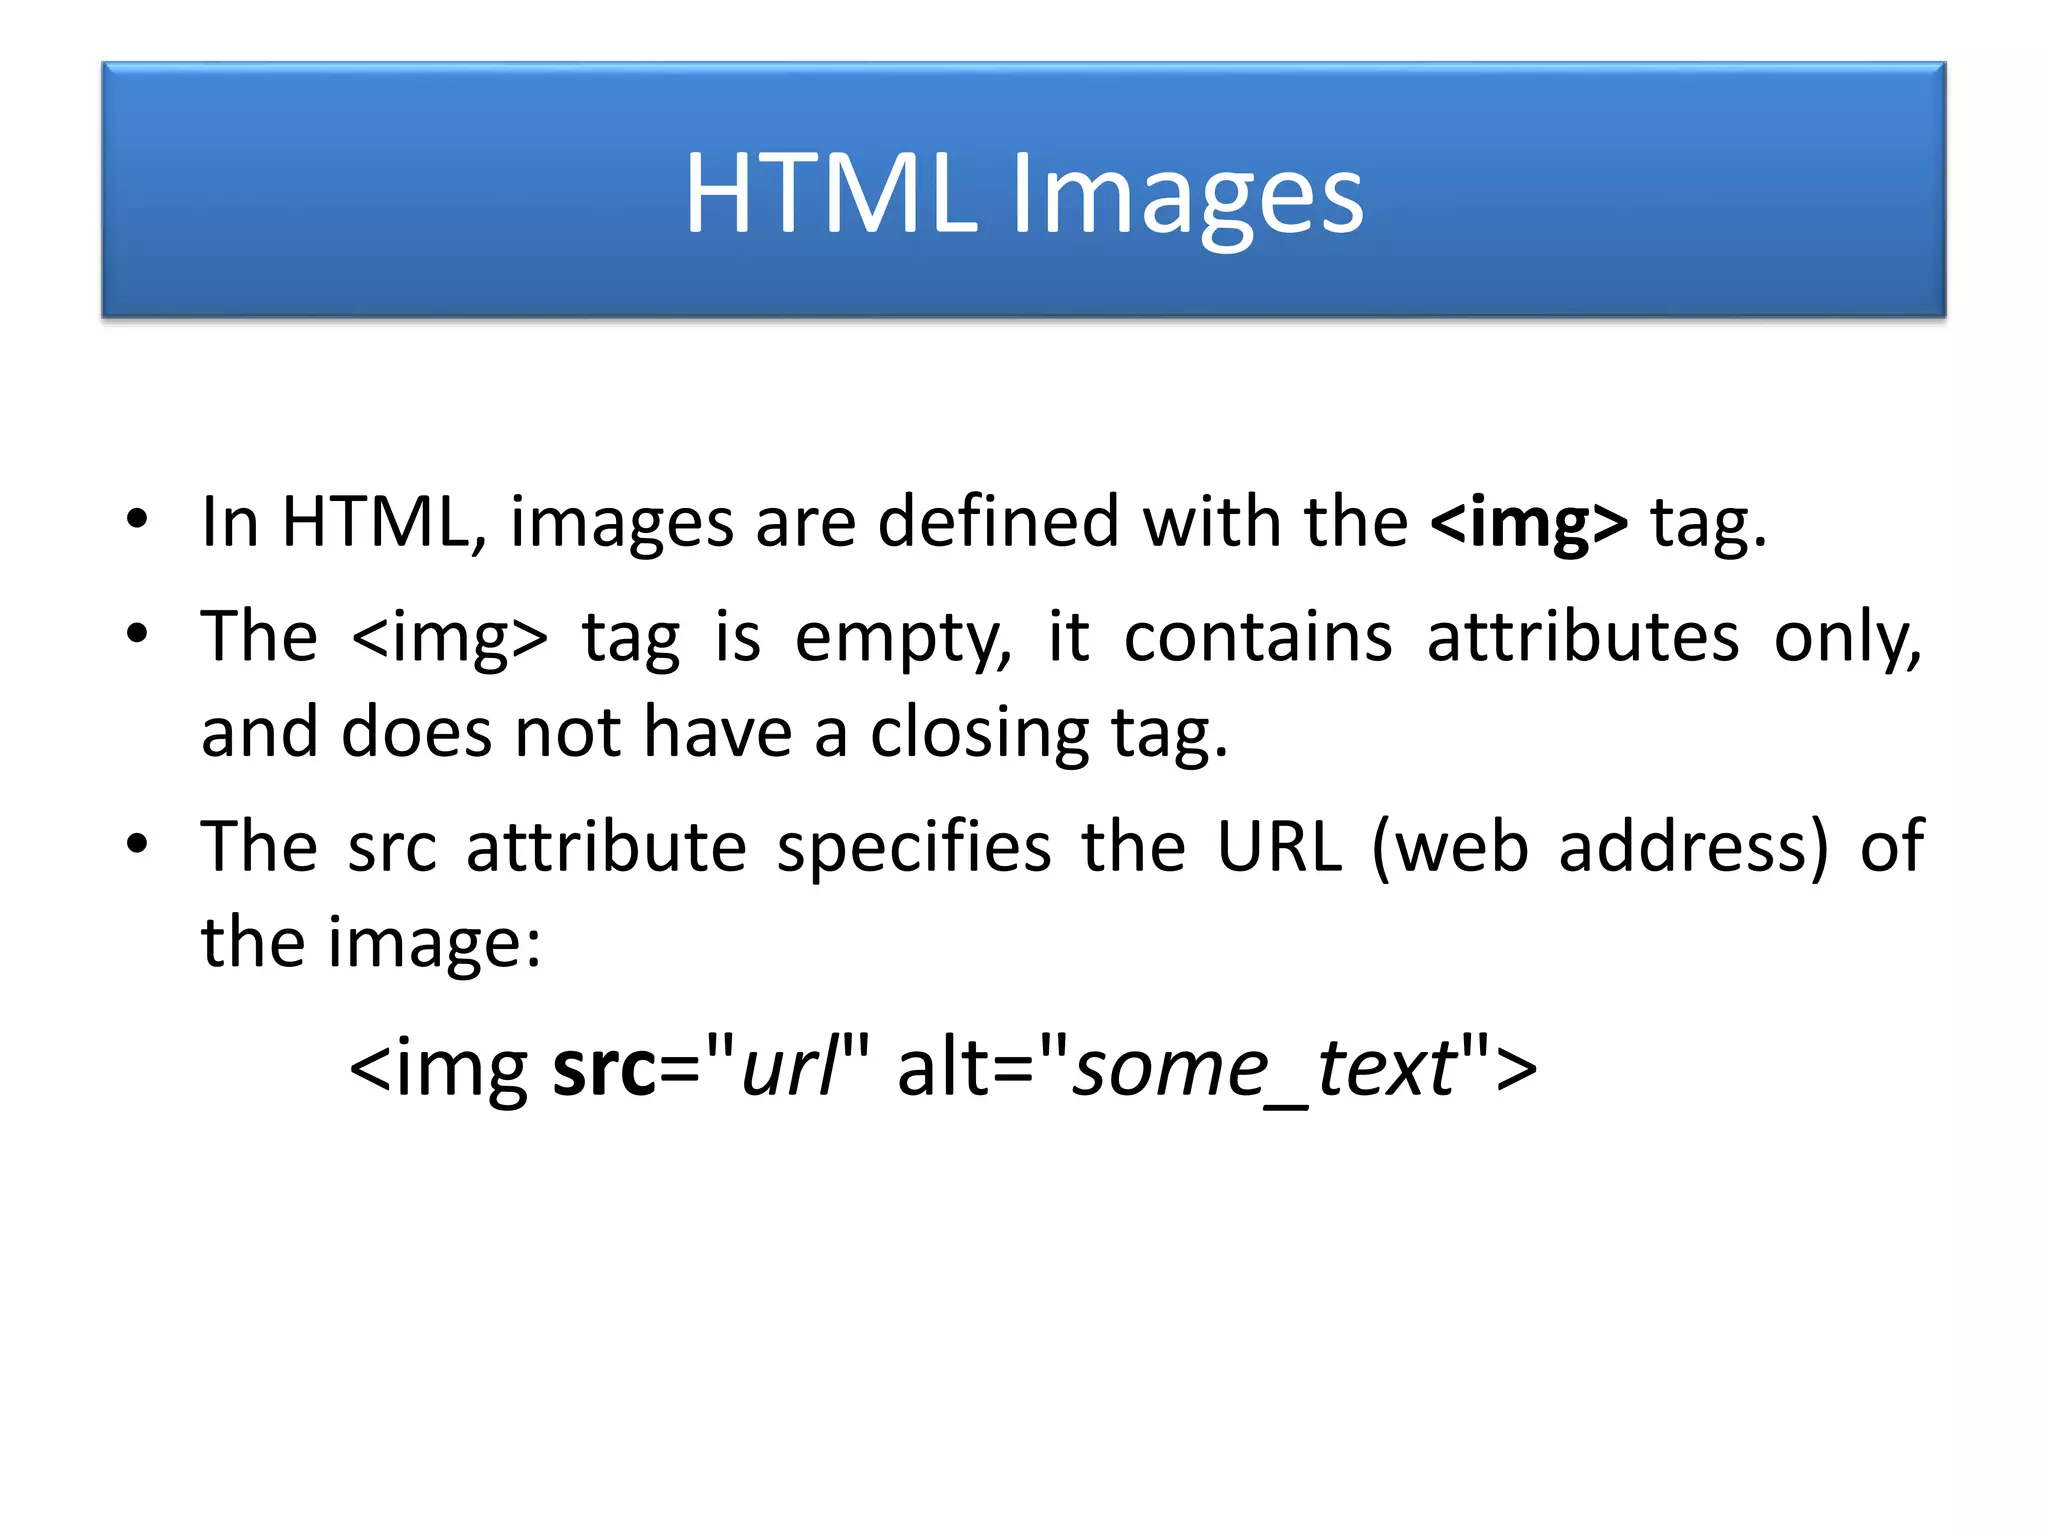
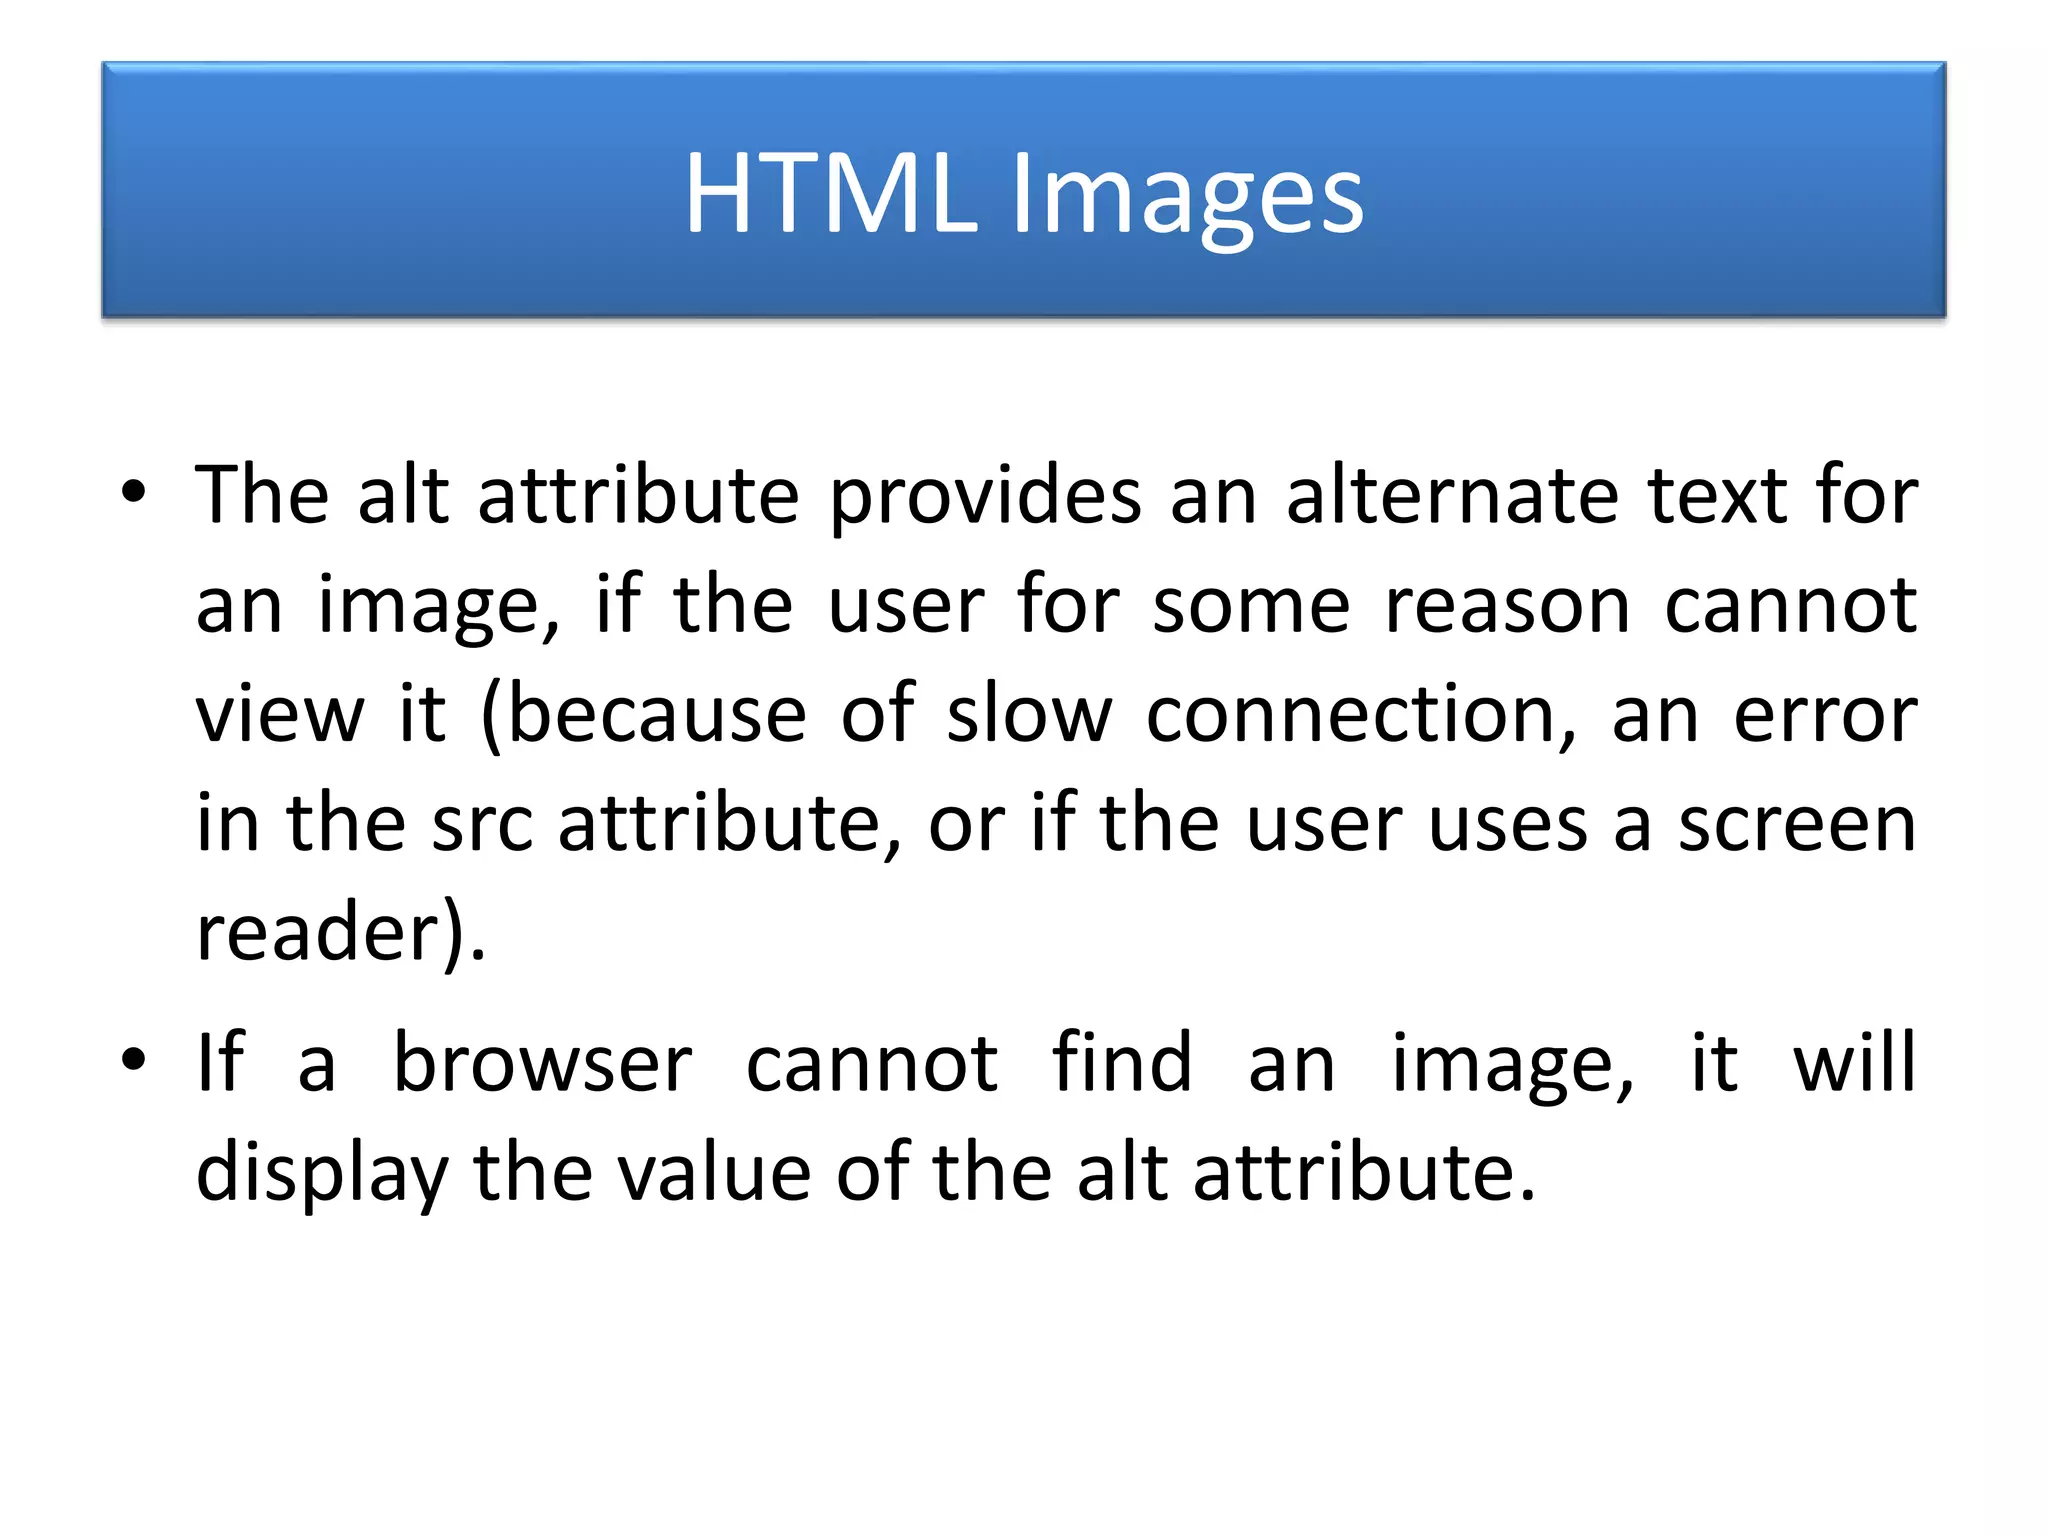
Inclusion of images using <img> tags, attributes like src and alt.
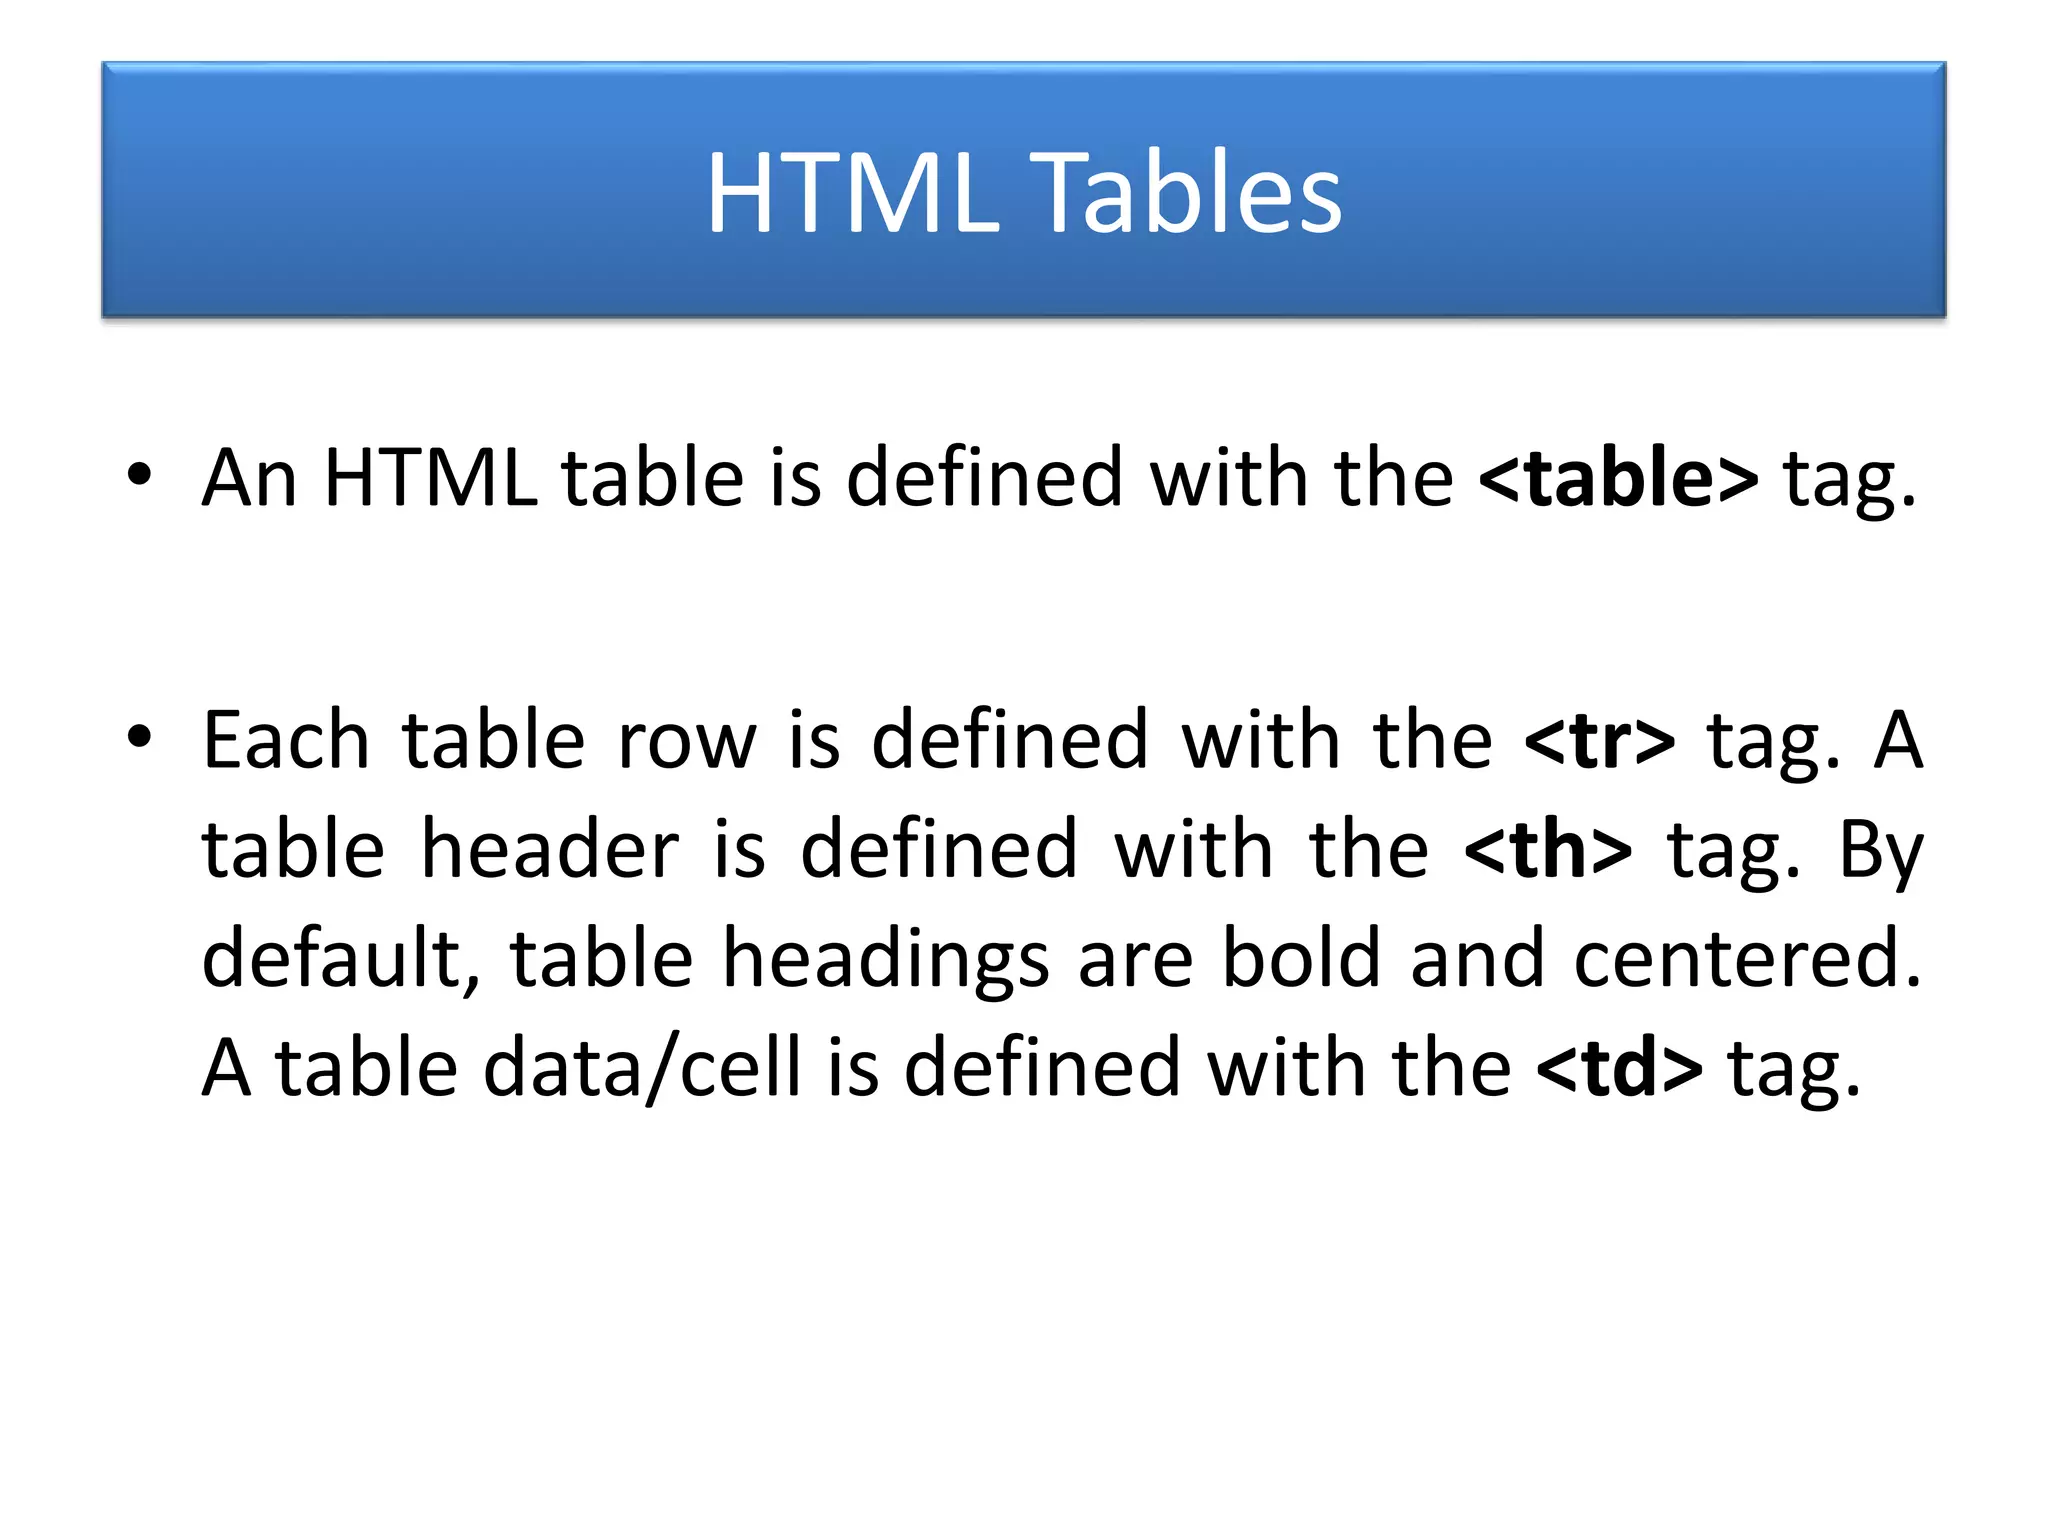
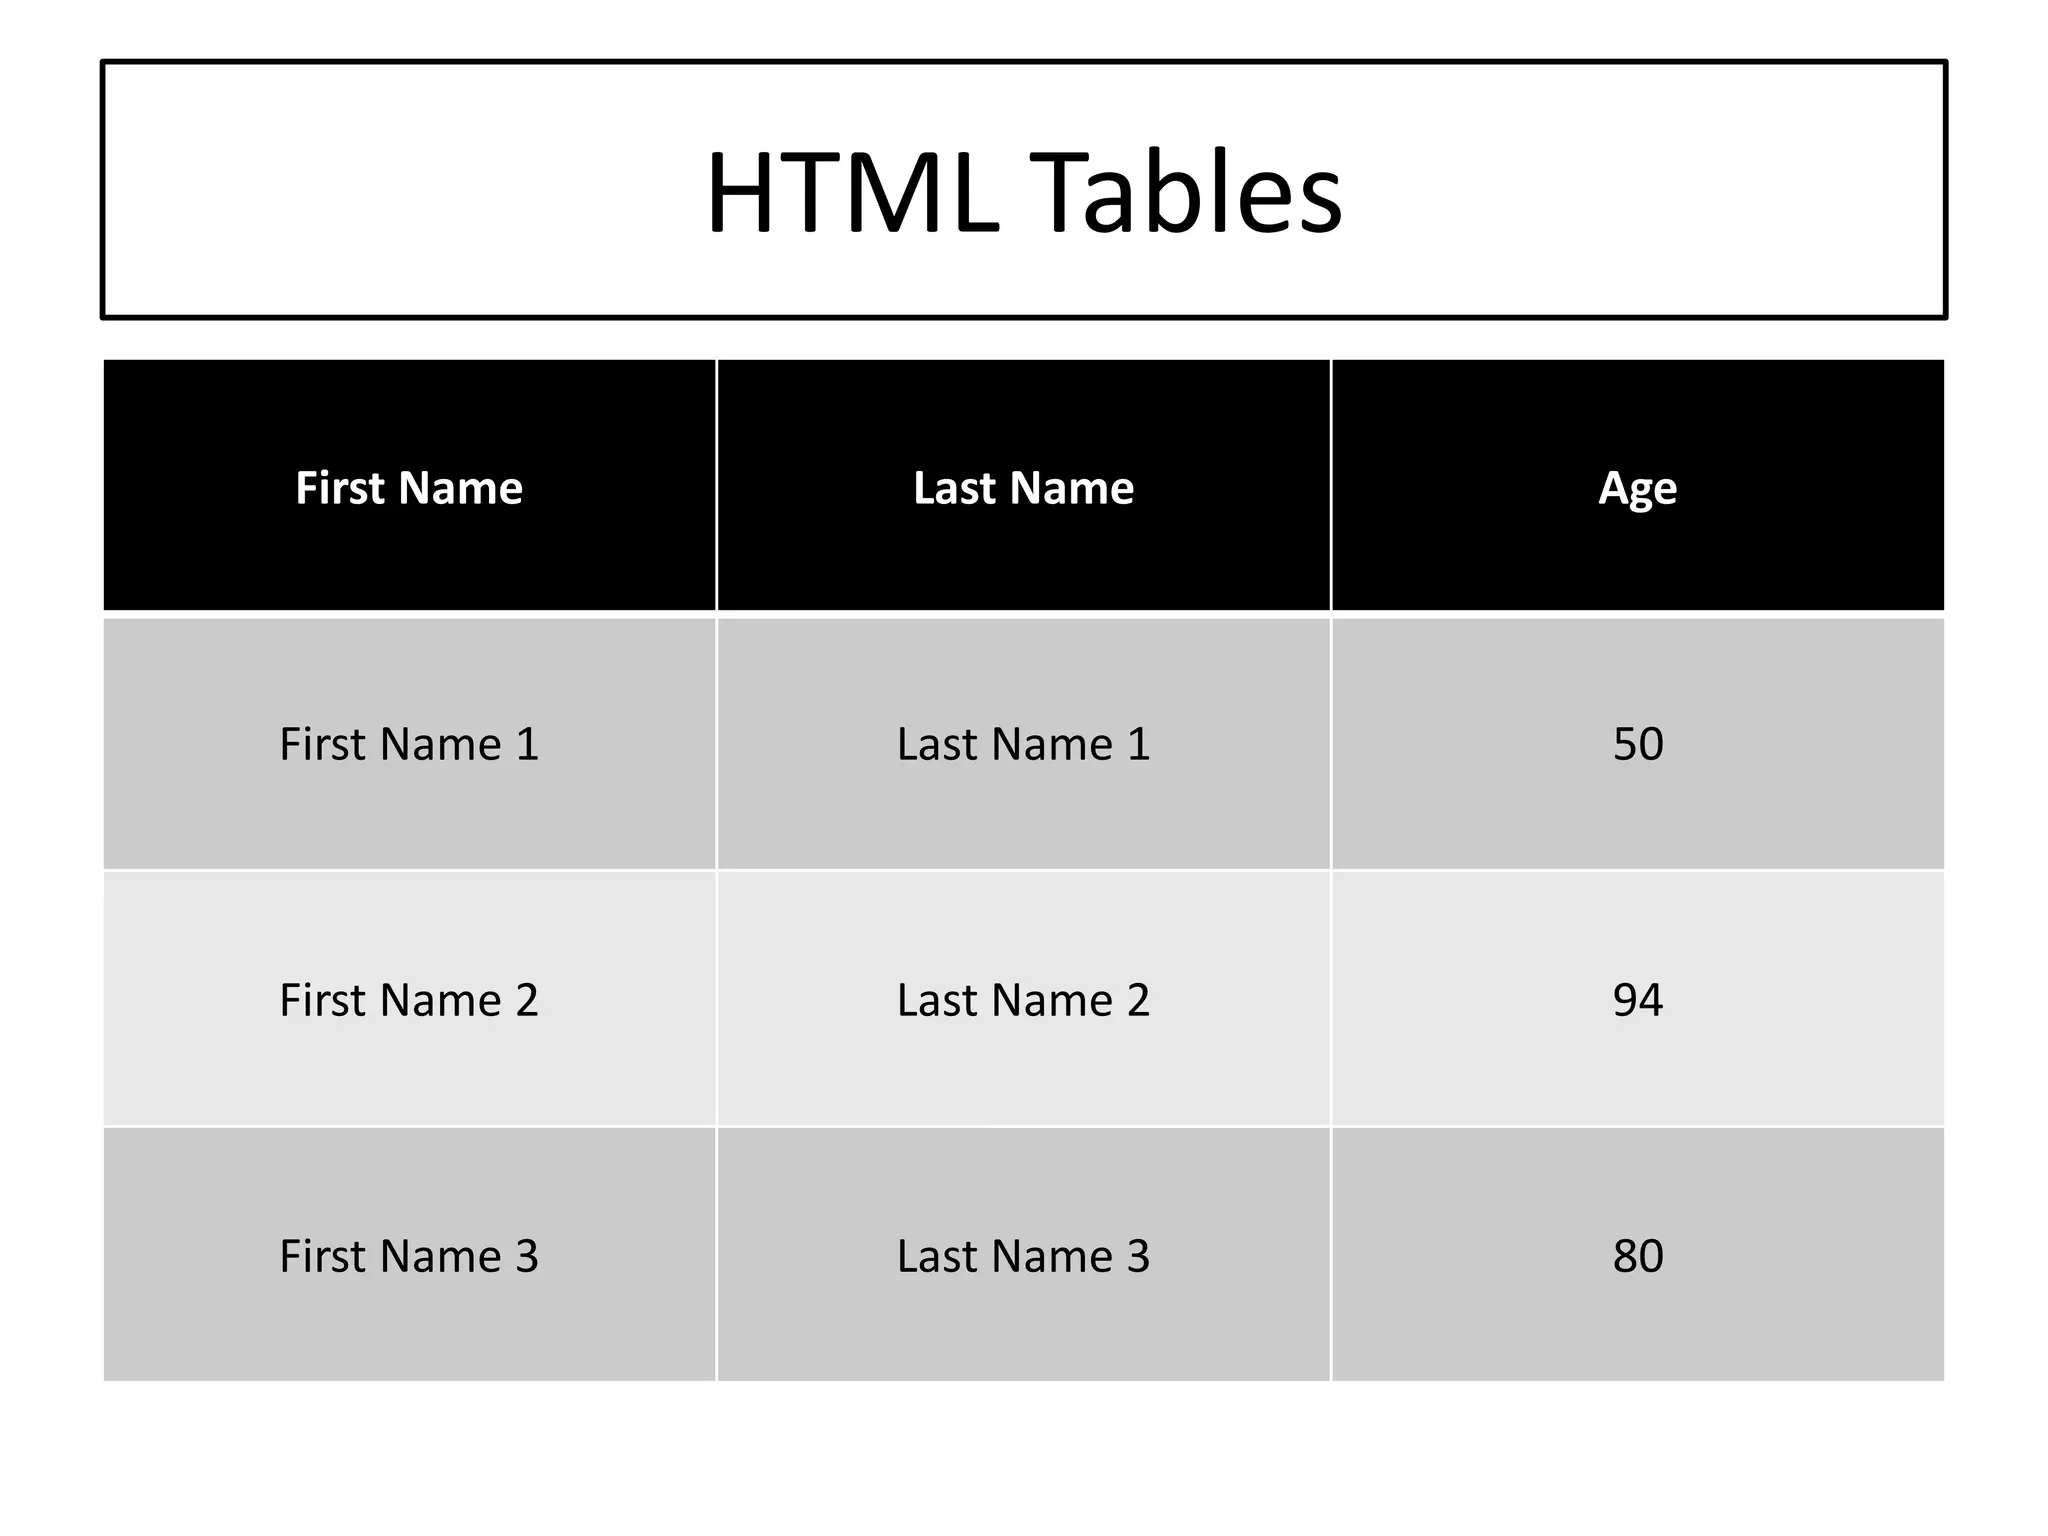
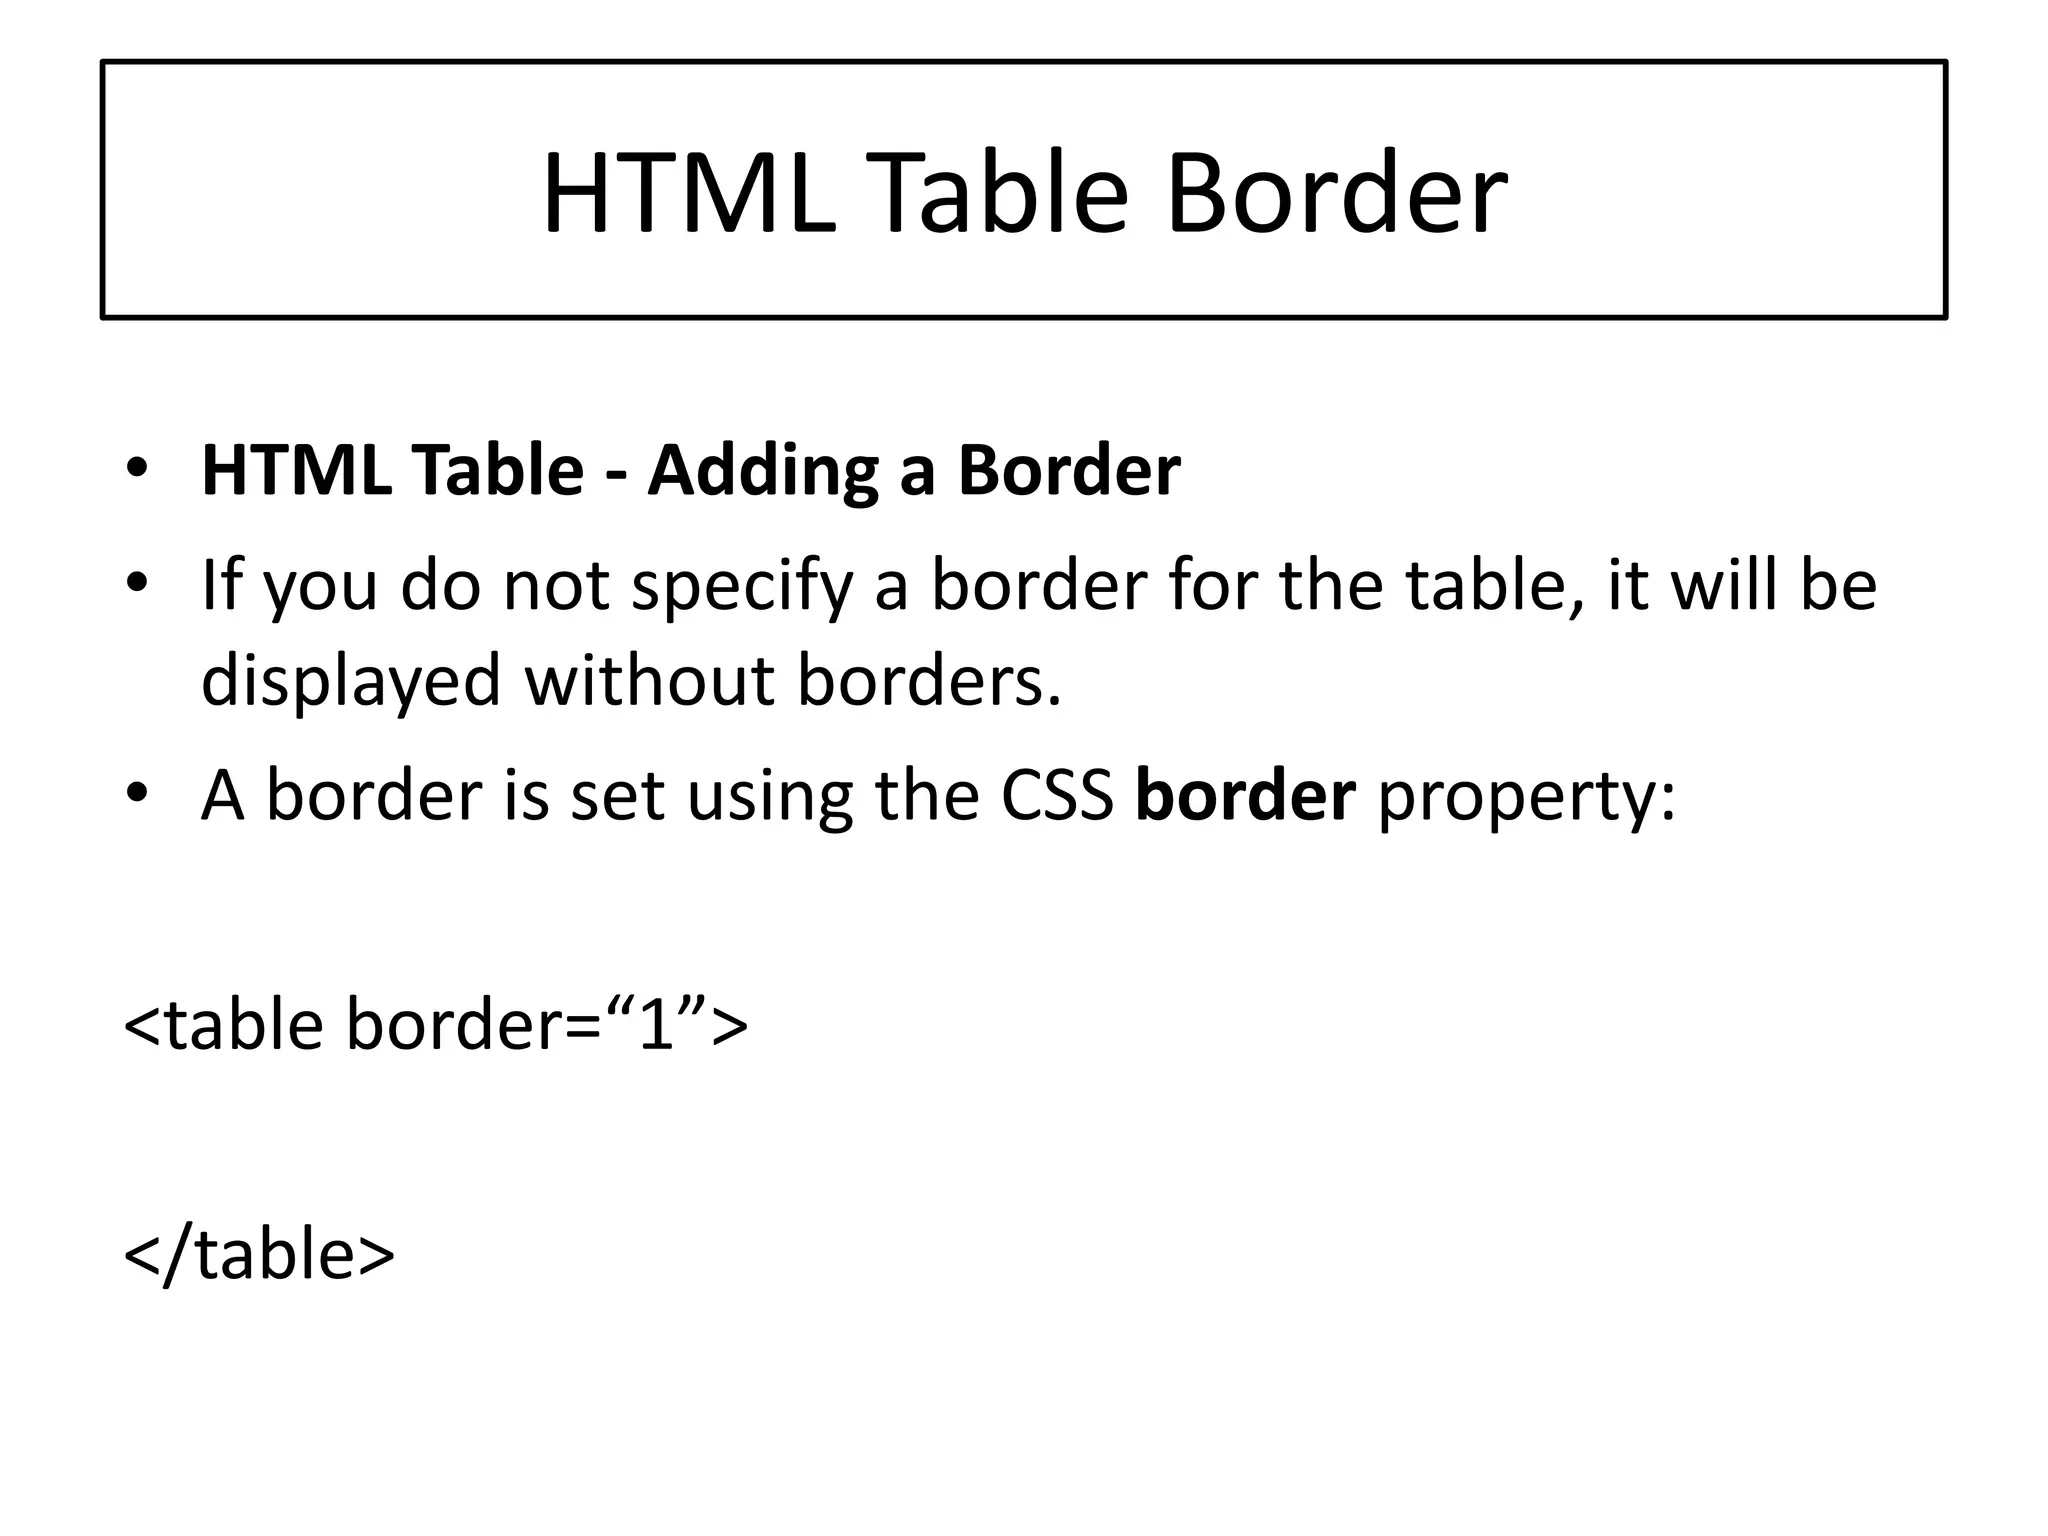
Defining tables with <table>, rows with <tr>, and adding borders.
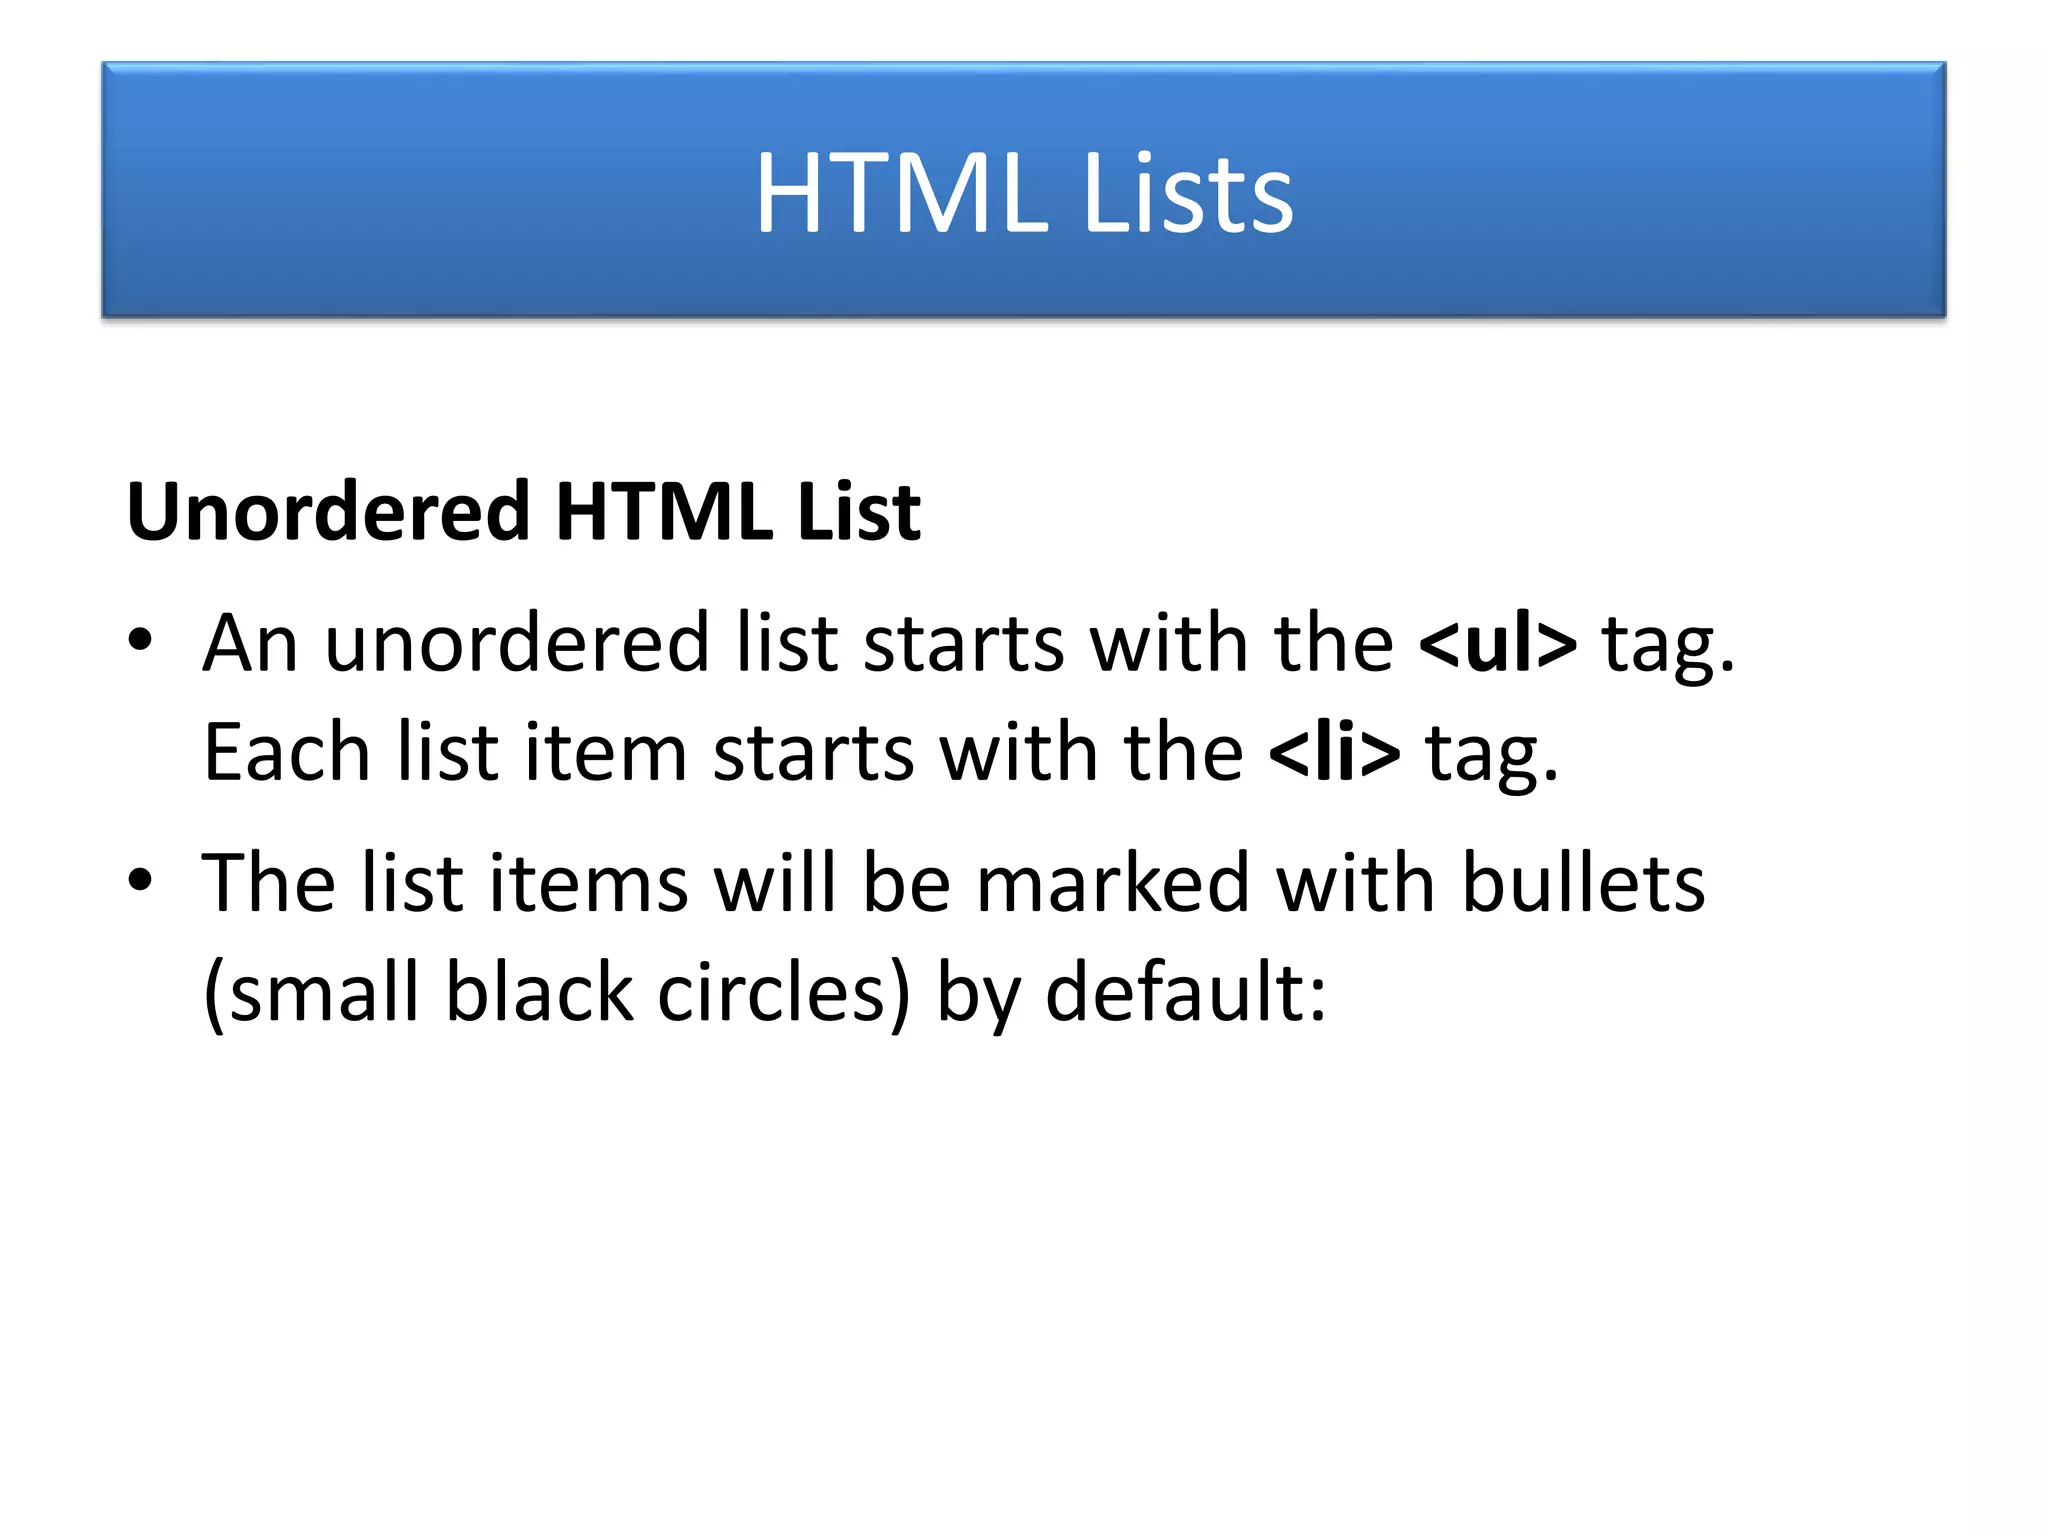
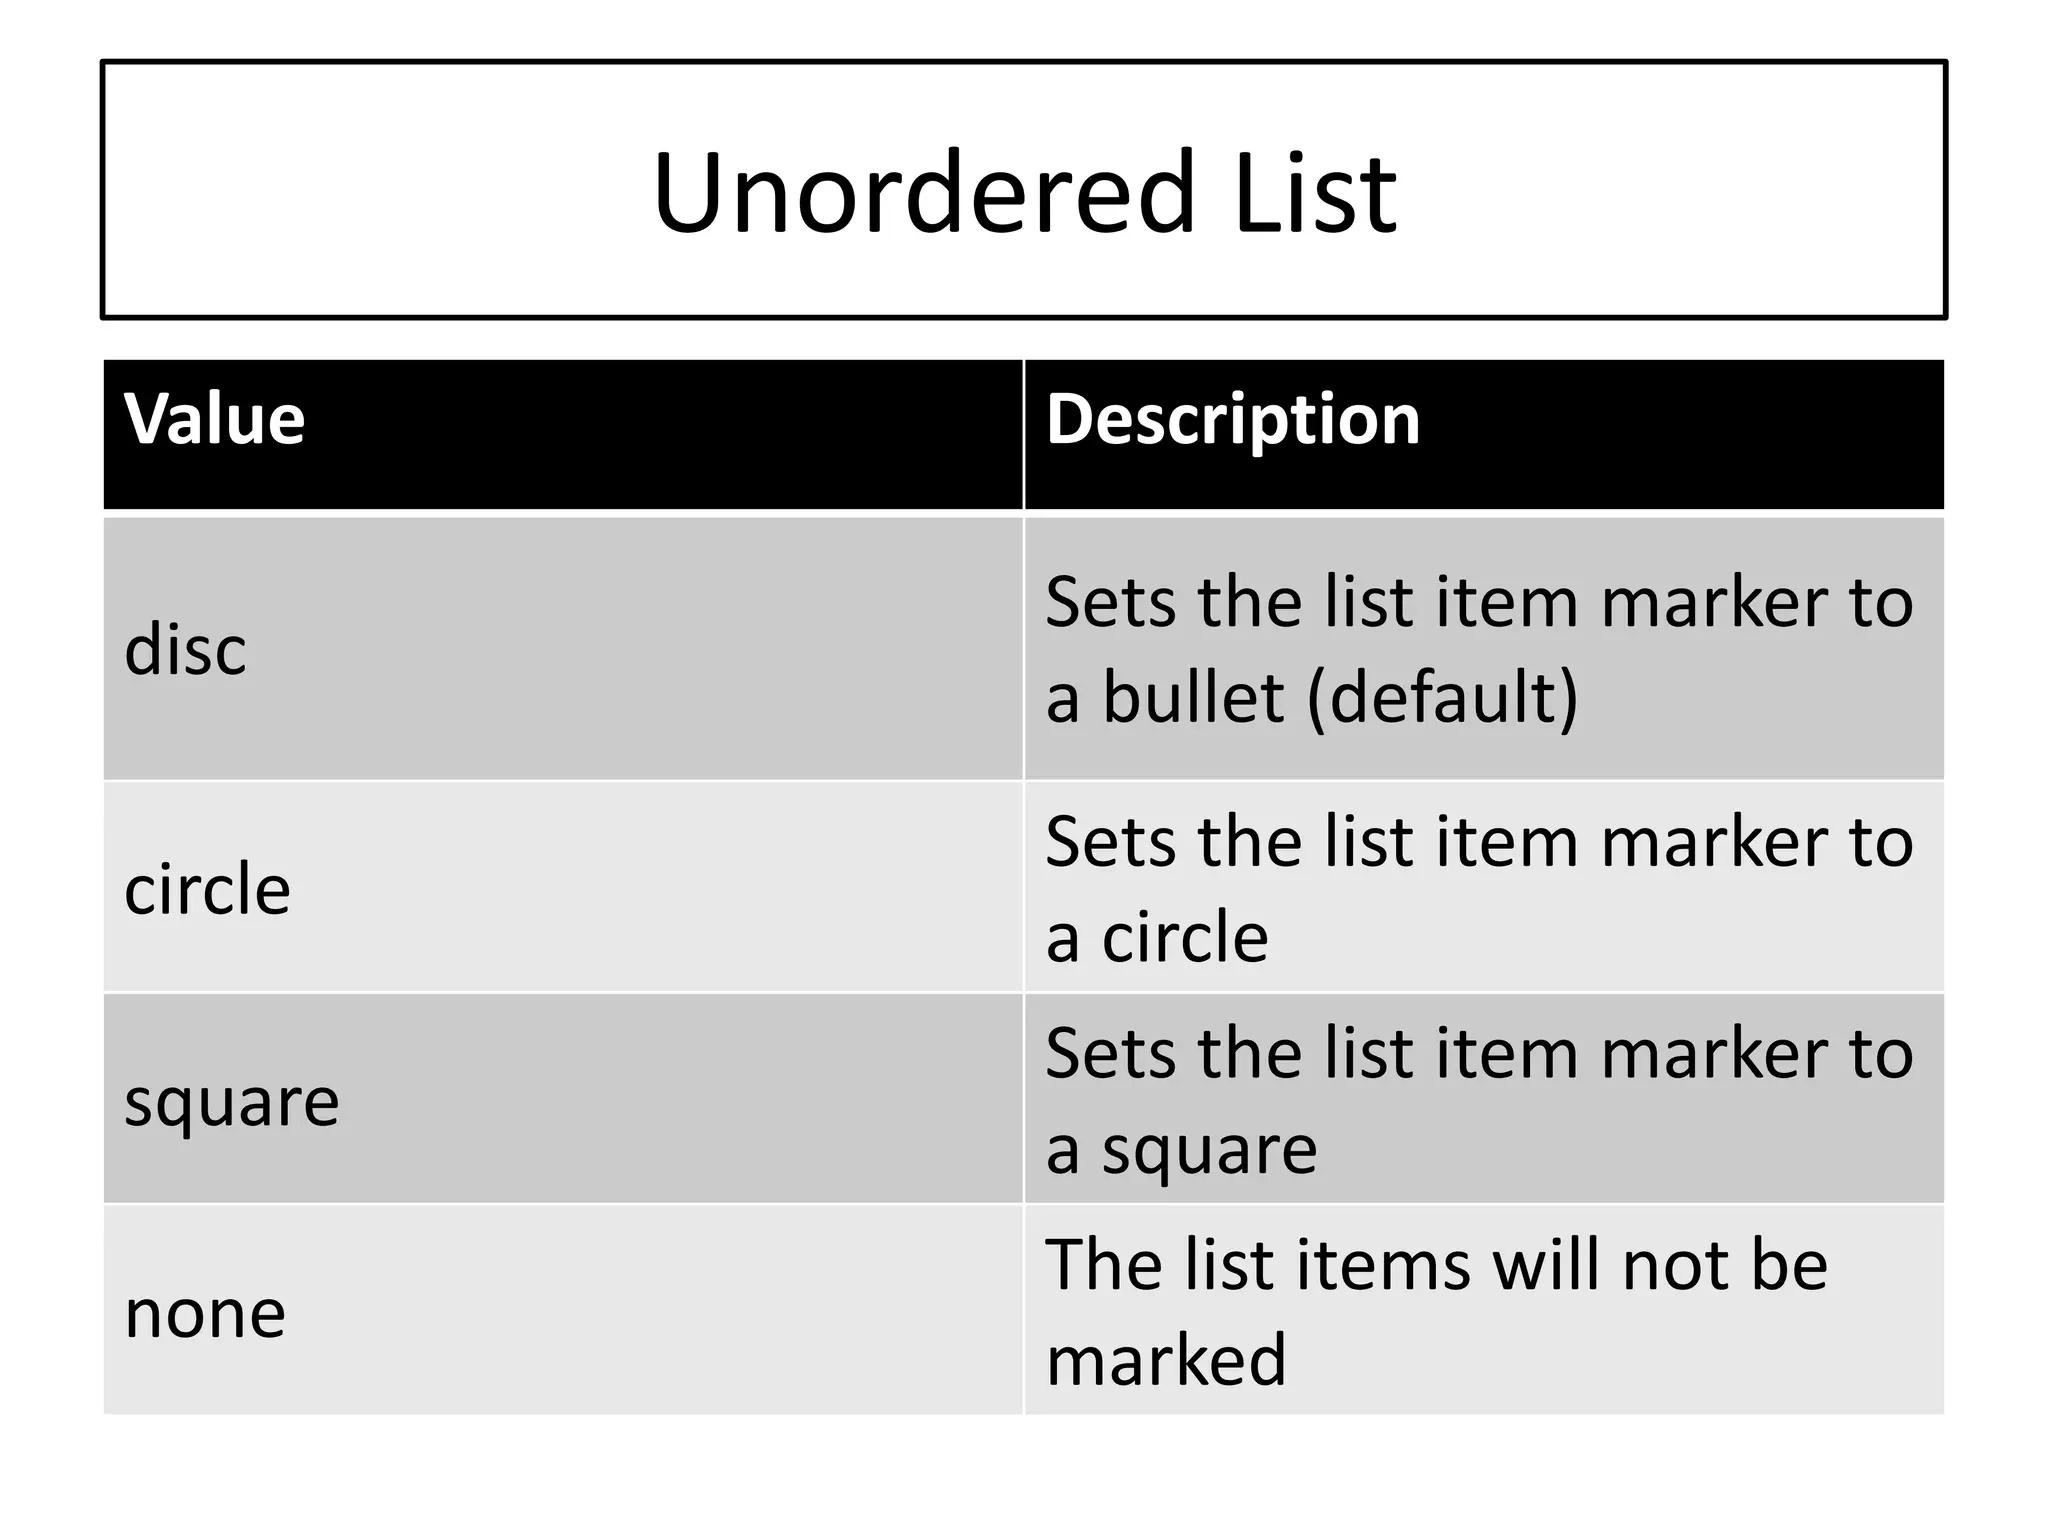
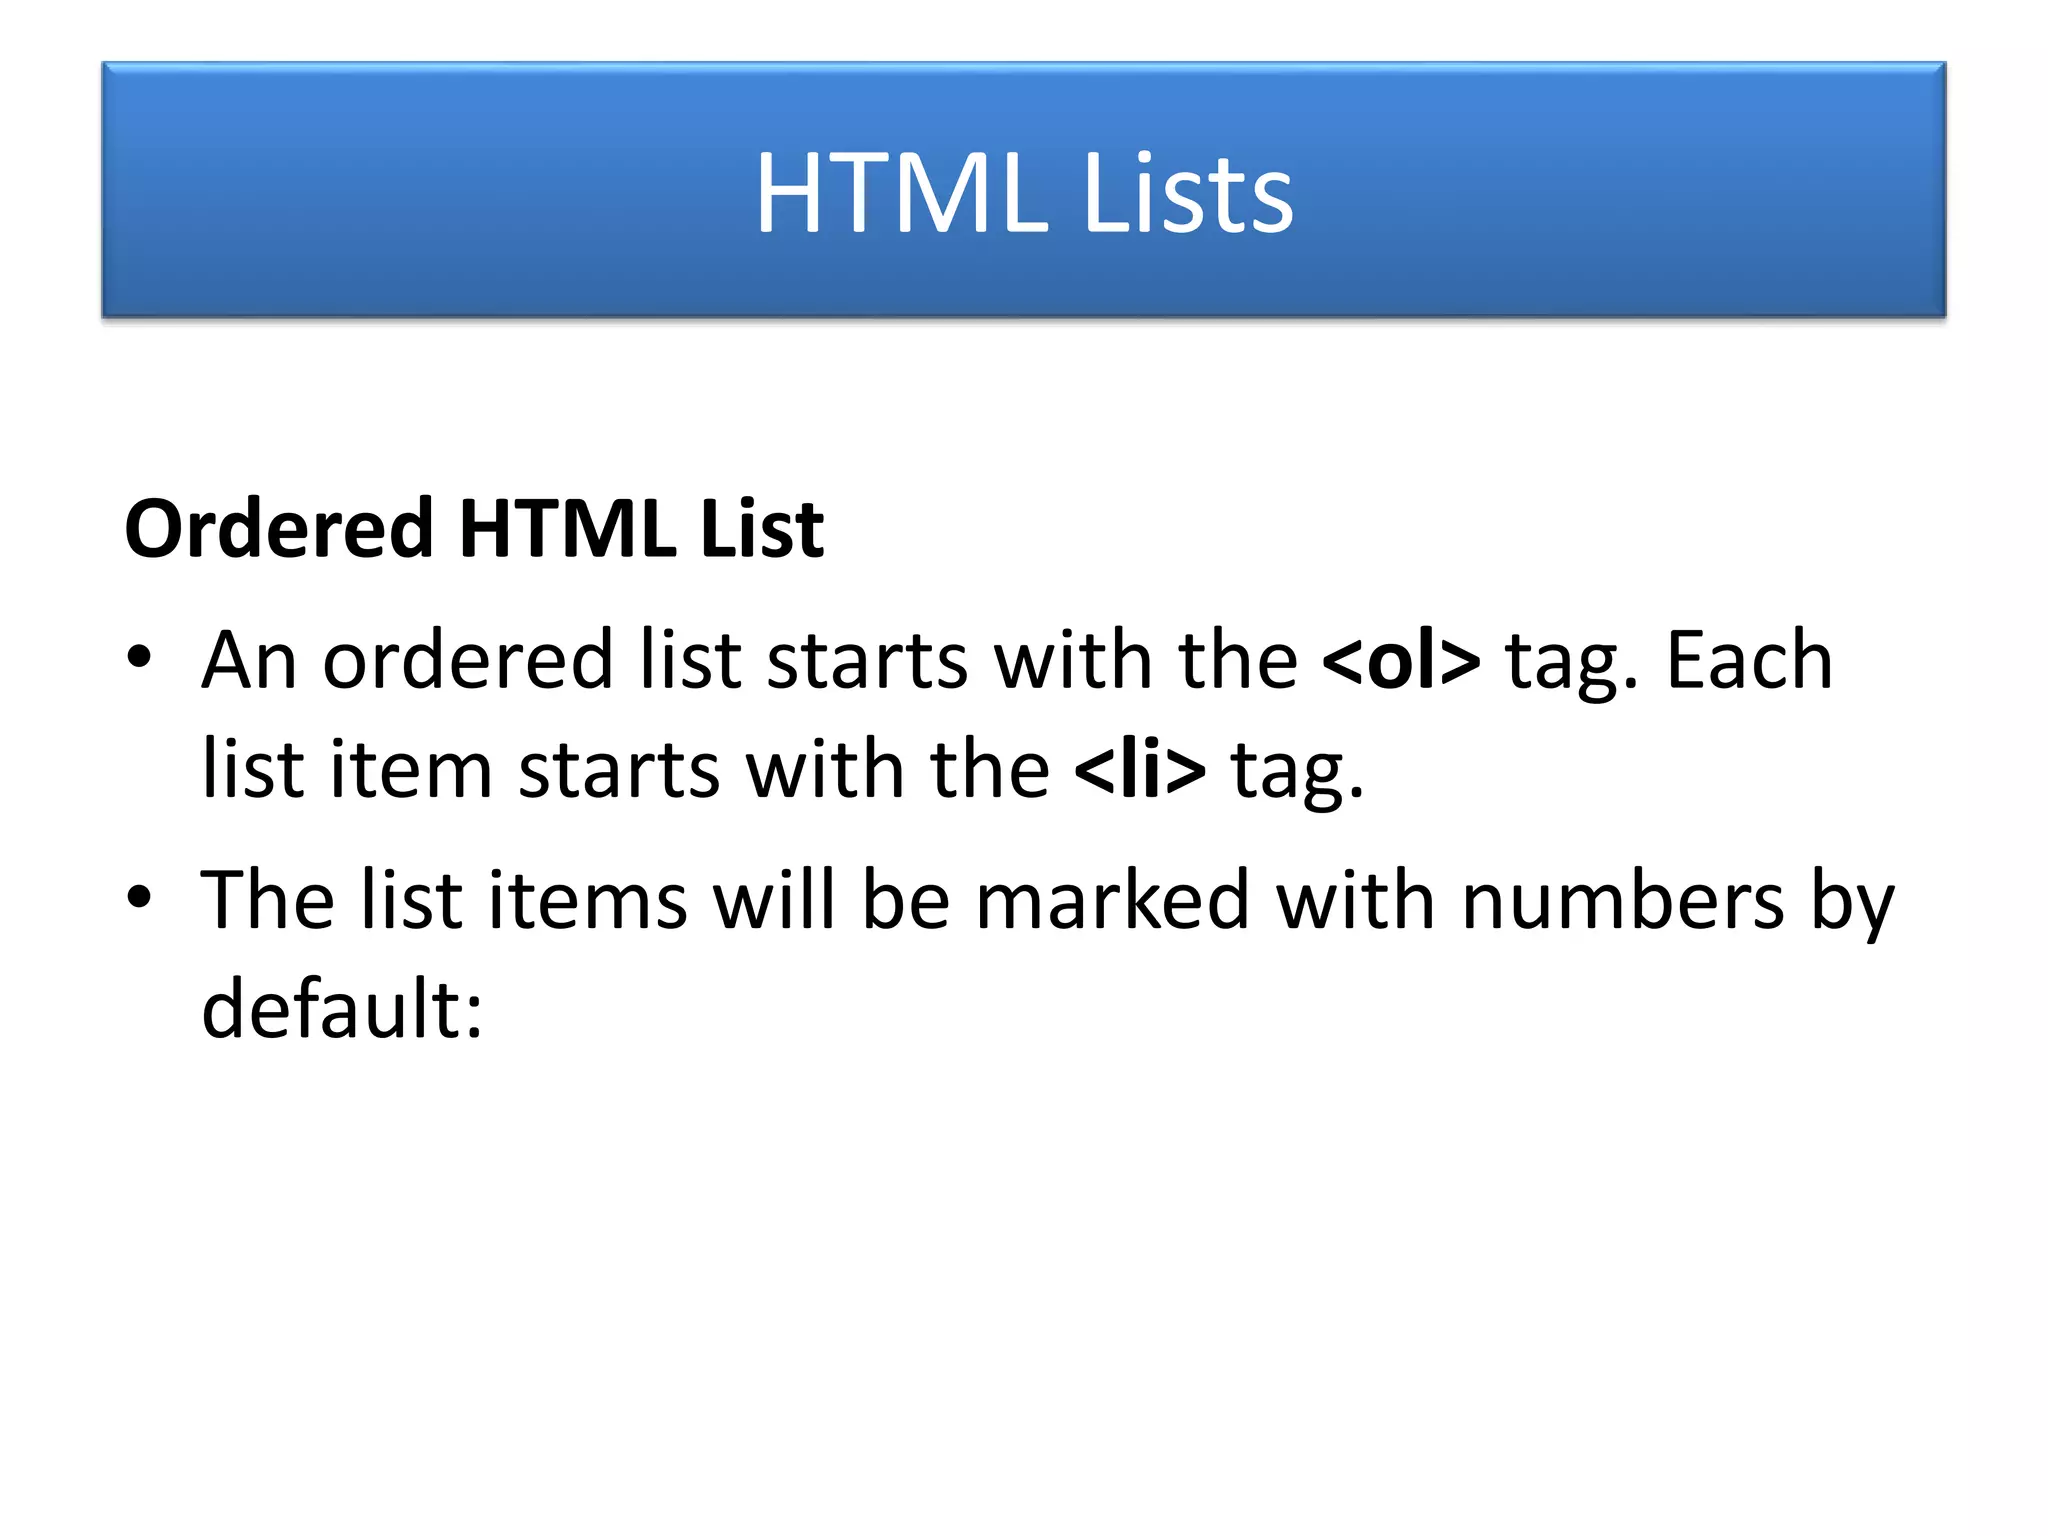
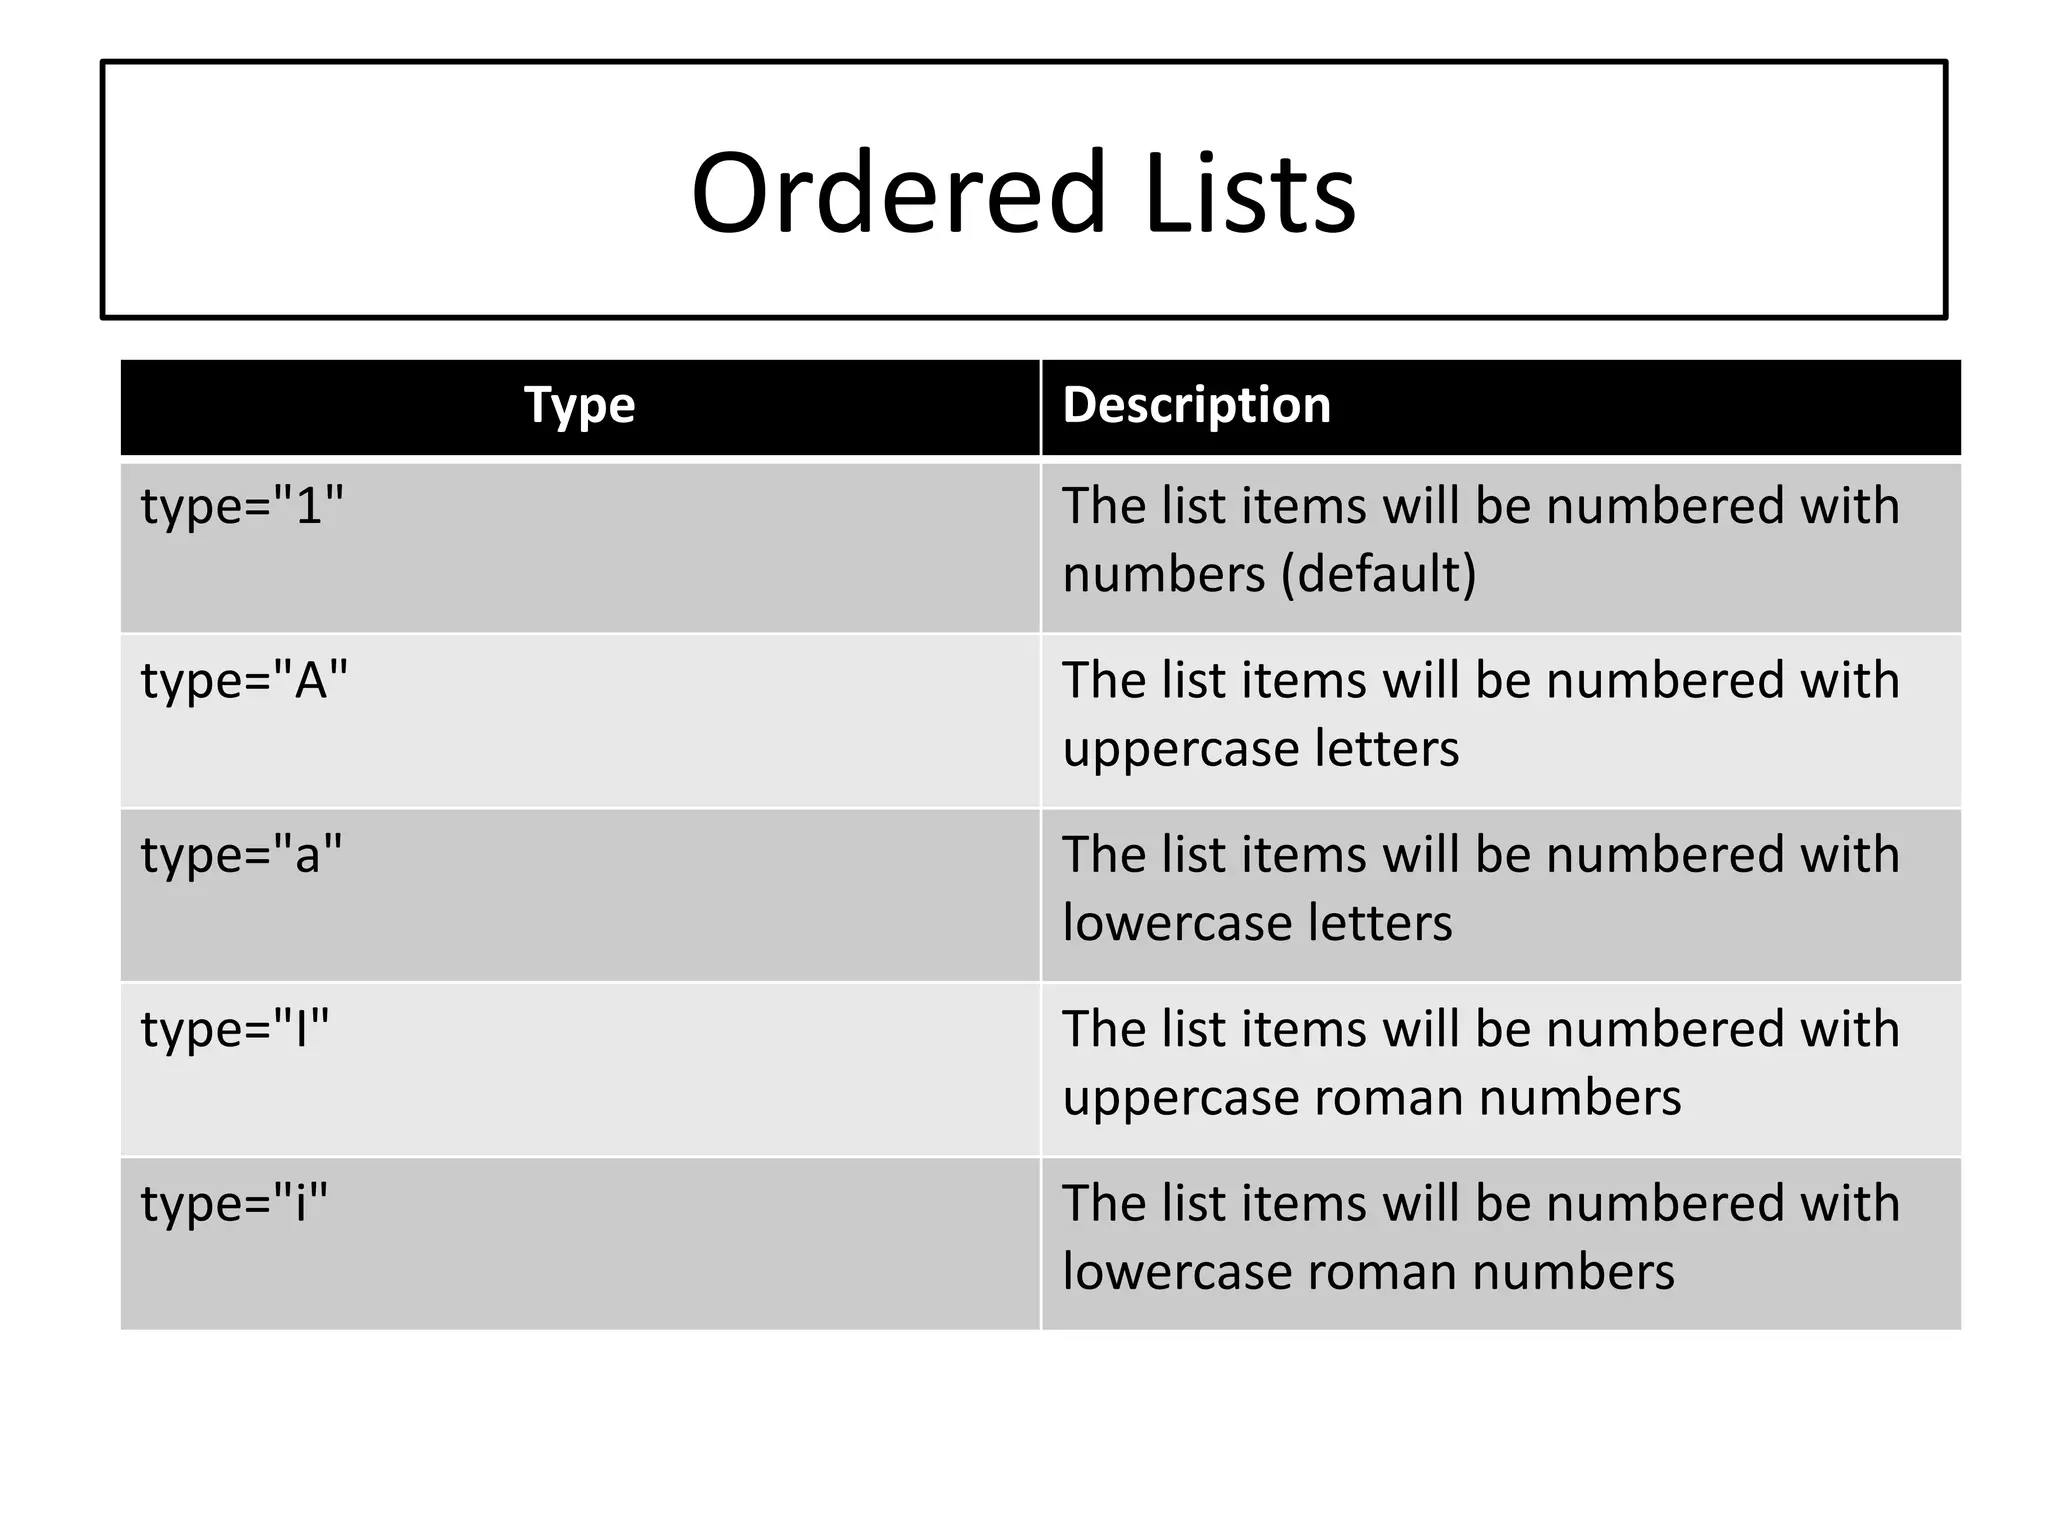
Creating unordered and ordered lists with <ul> and <ol> tags.
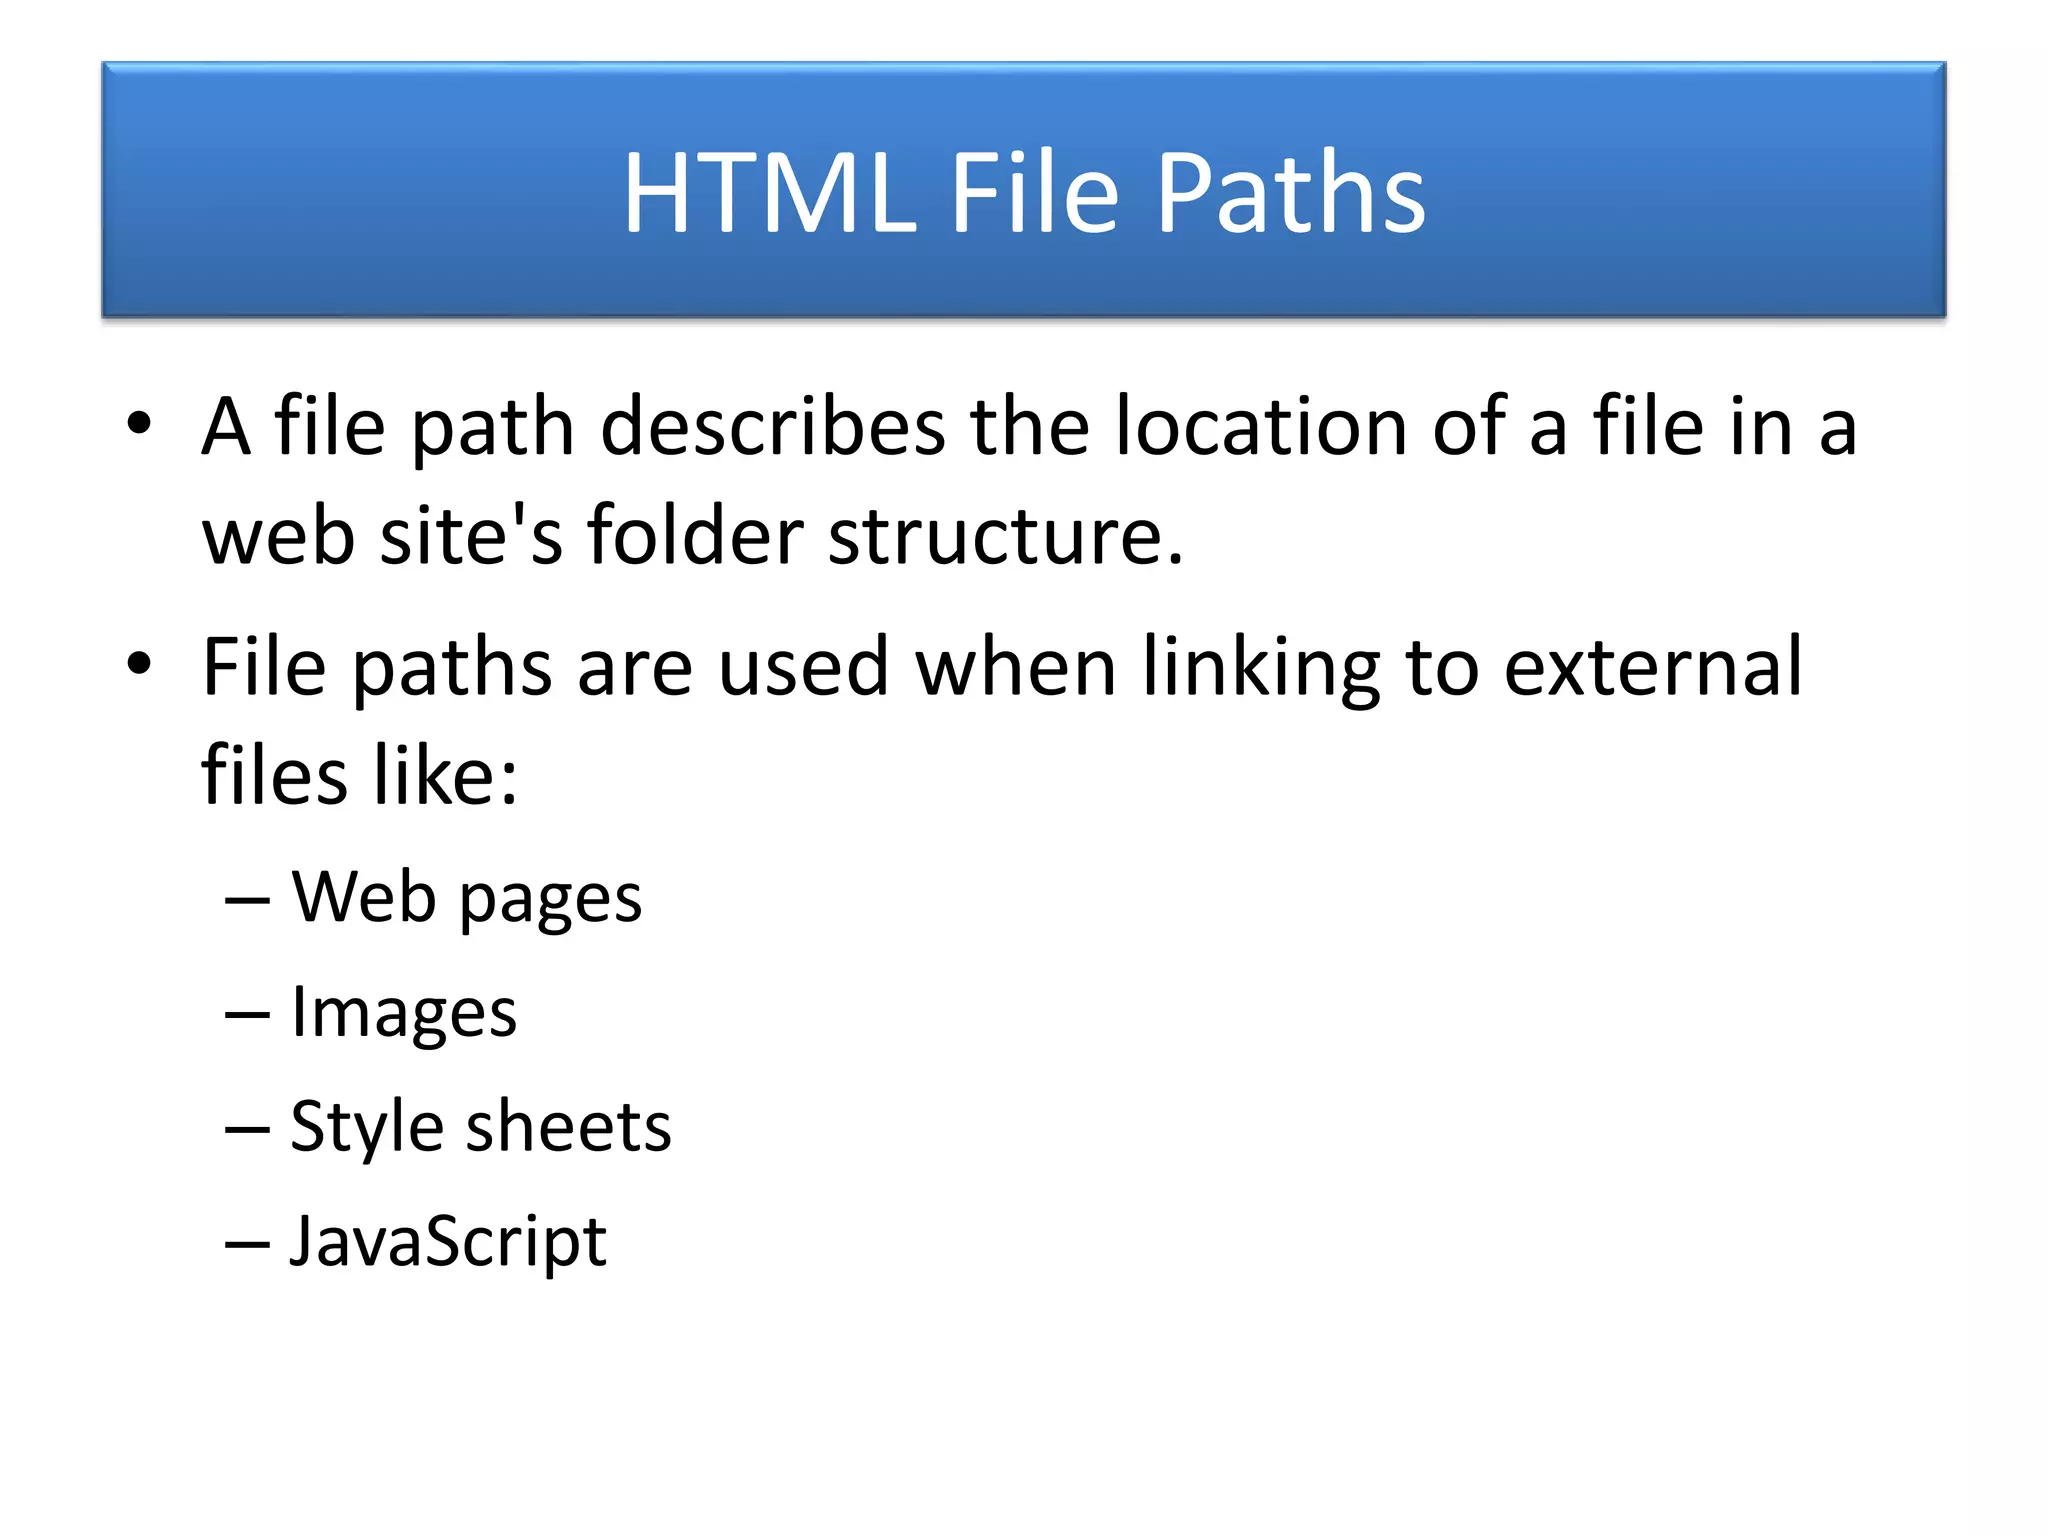
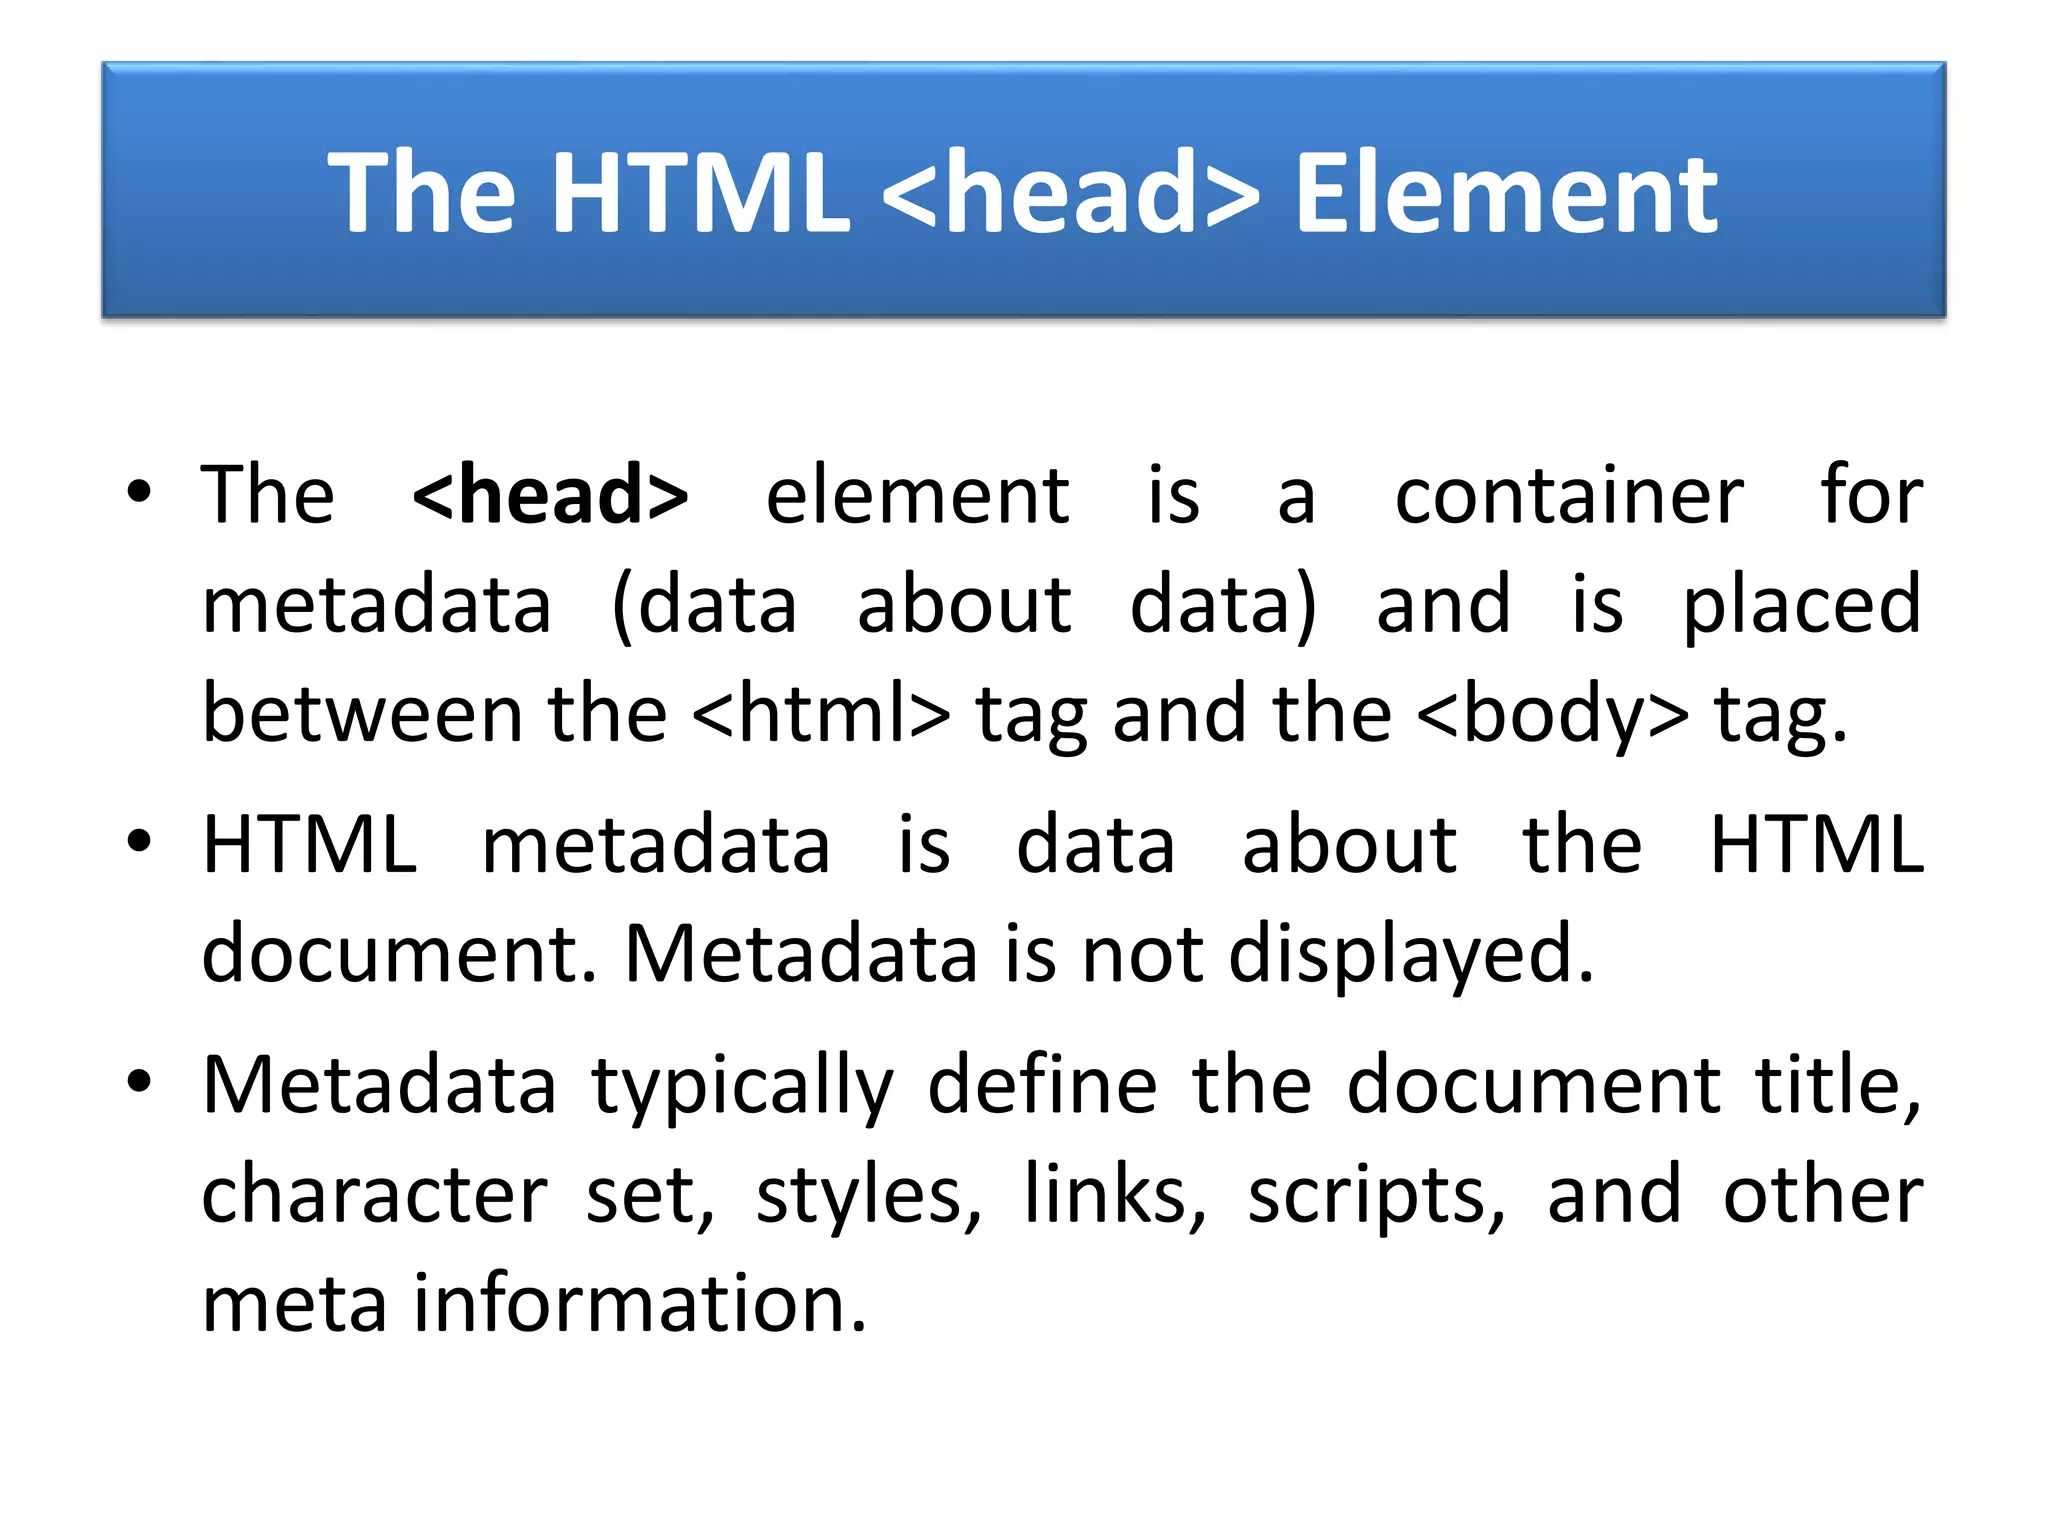
Description of file paths for resources and the metadata in <head>.
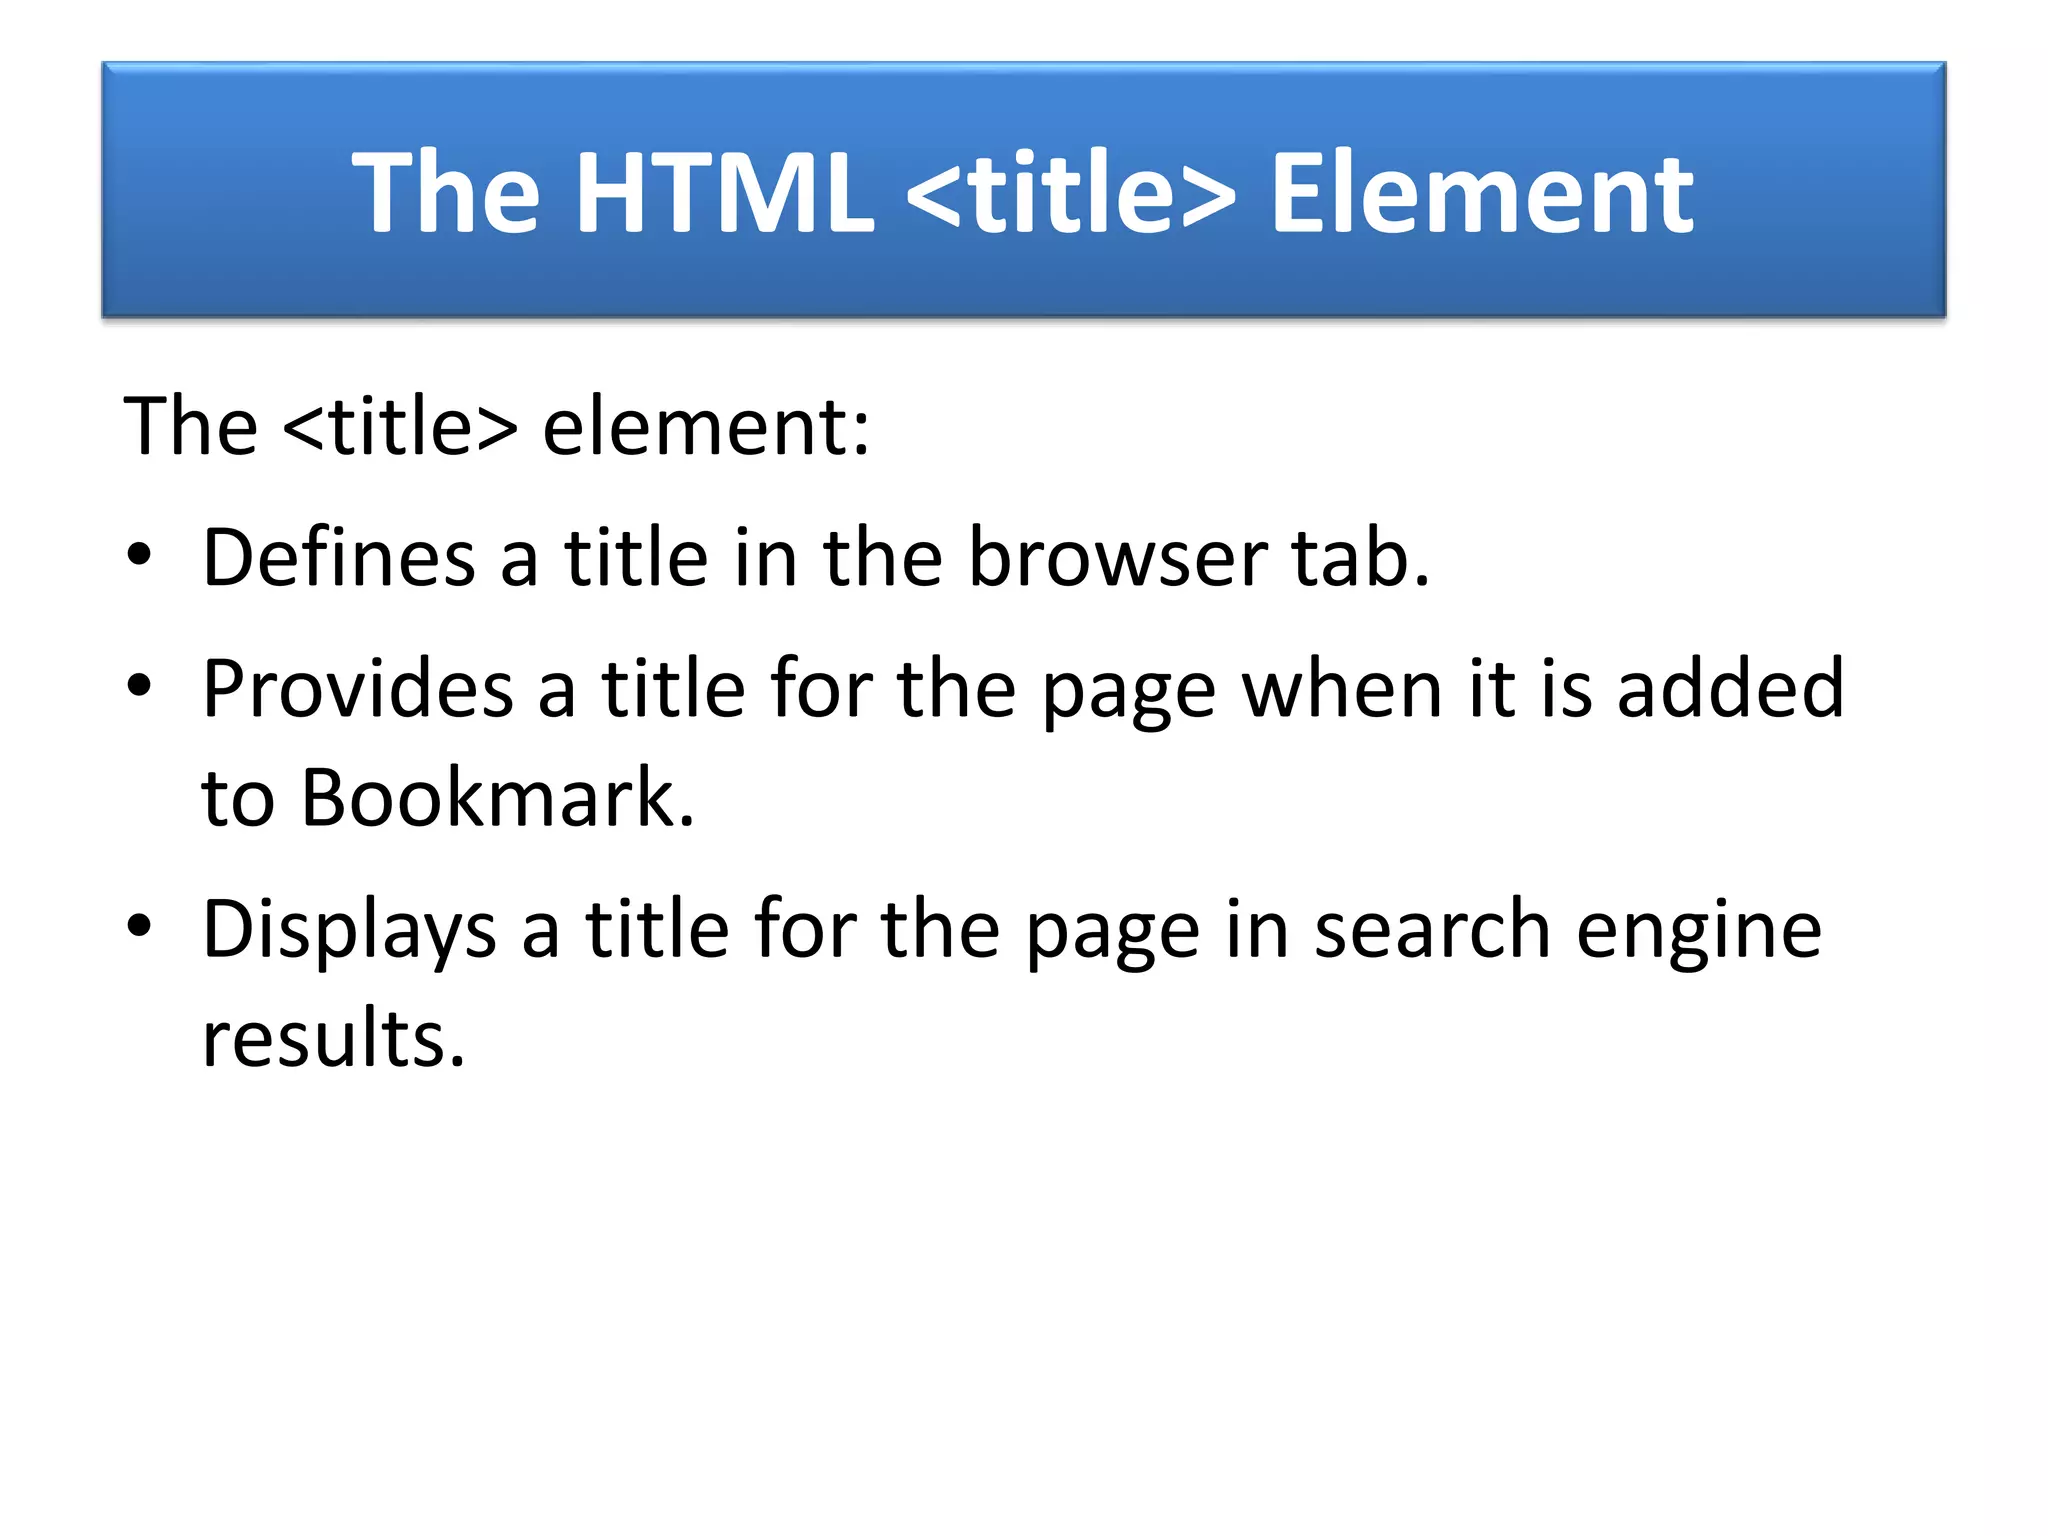
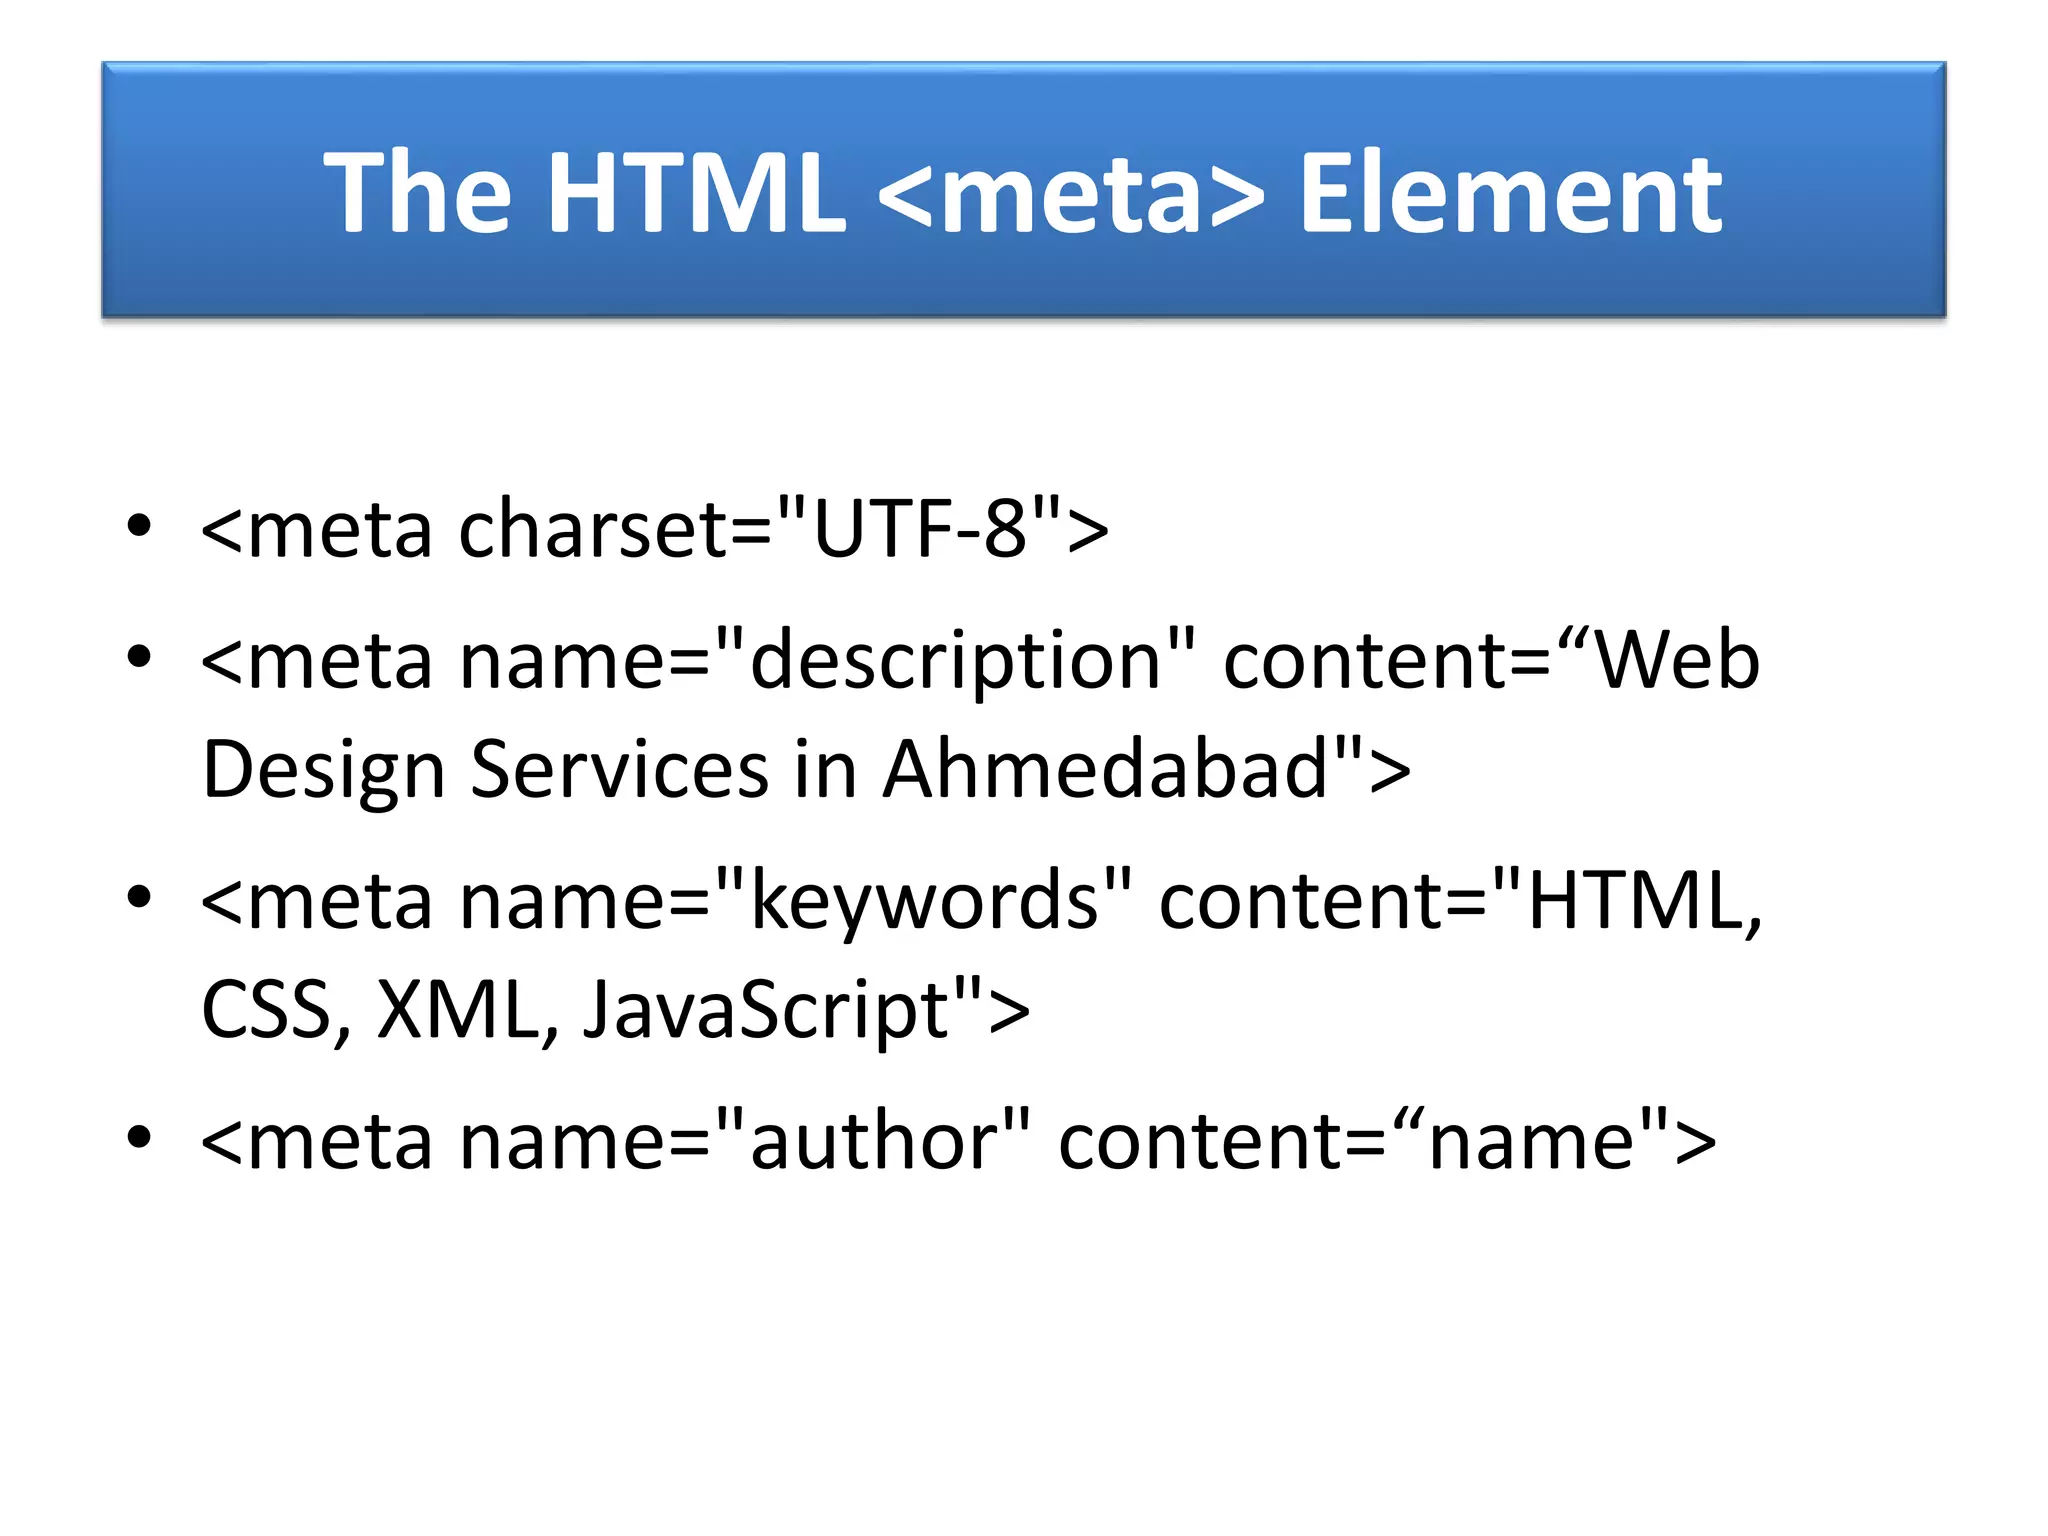
Usage of <title> and <meta> tags for defining page properties.
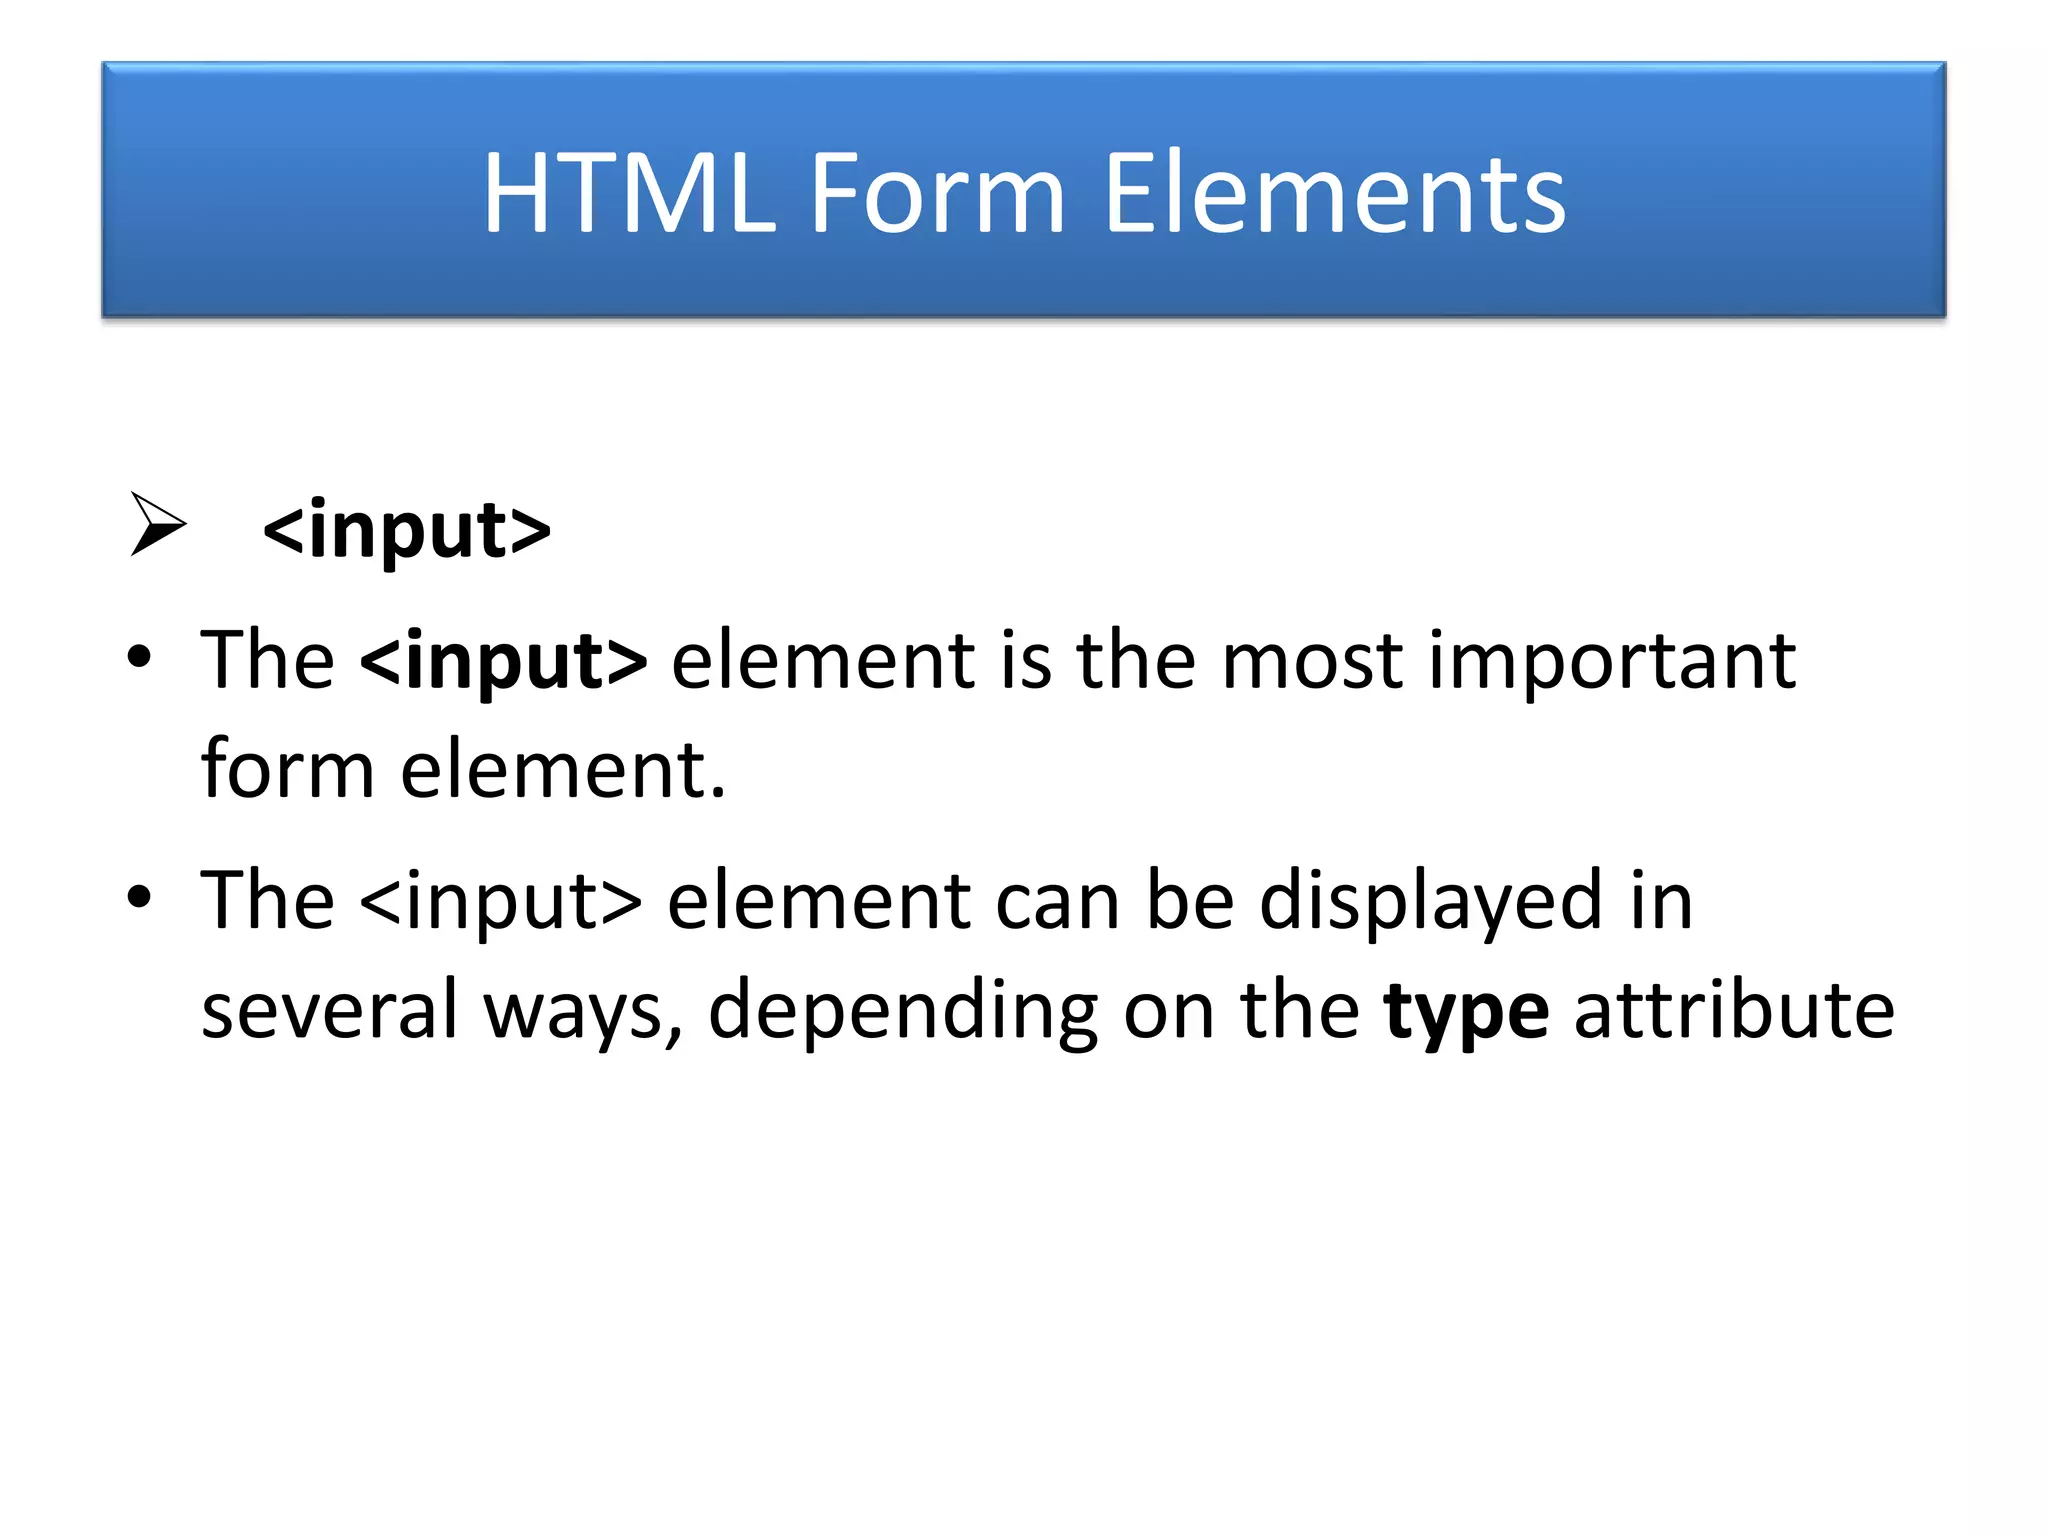
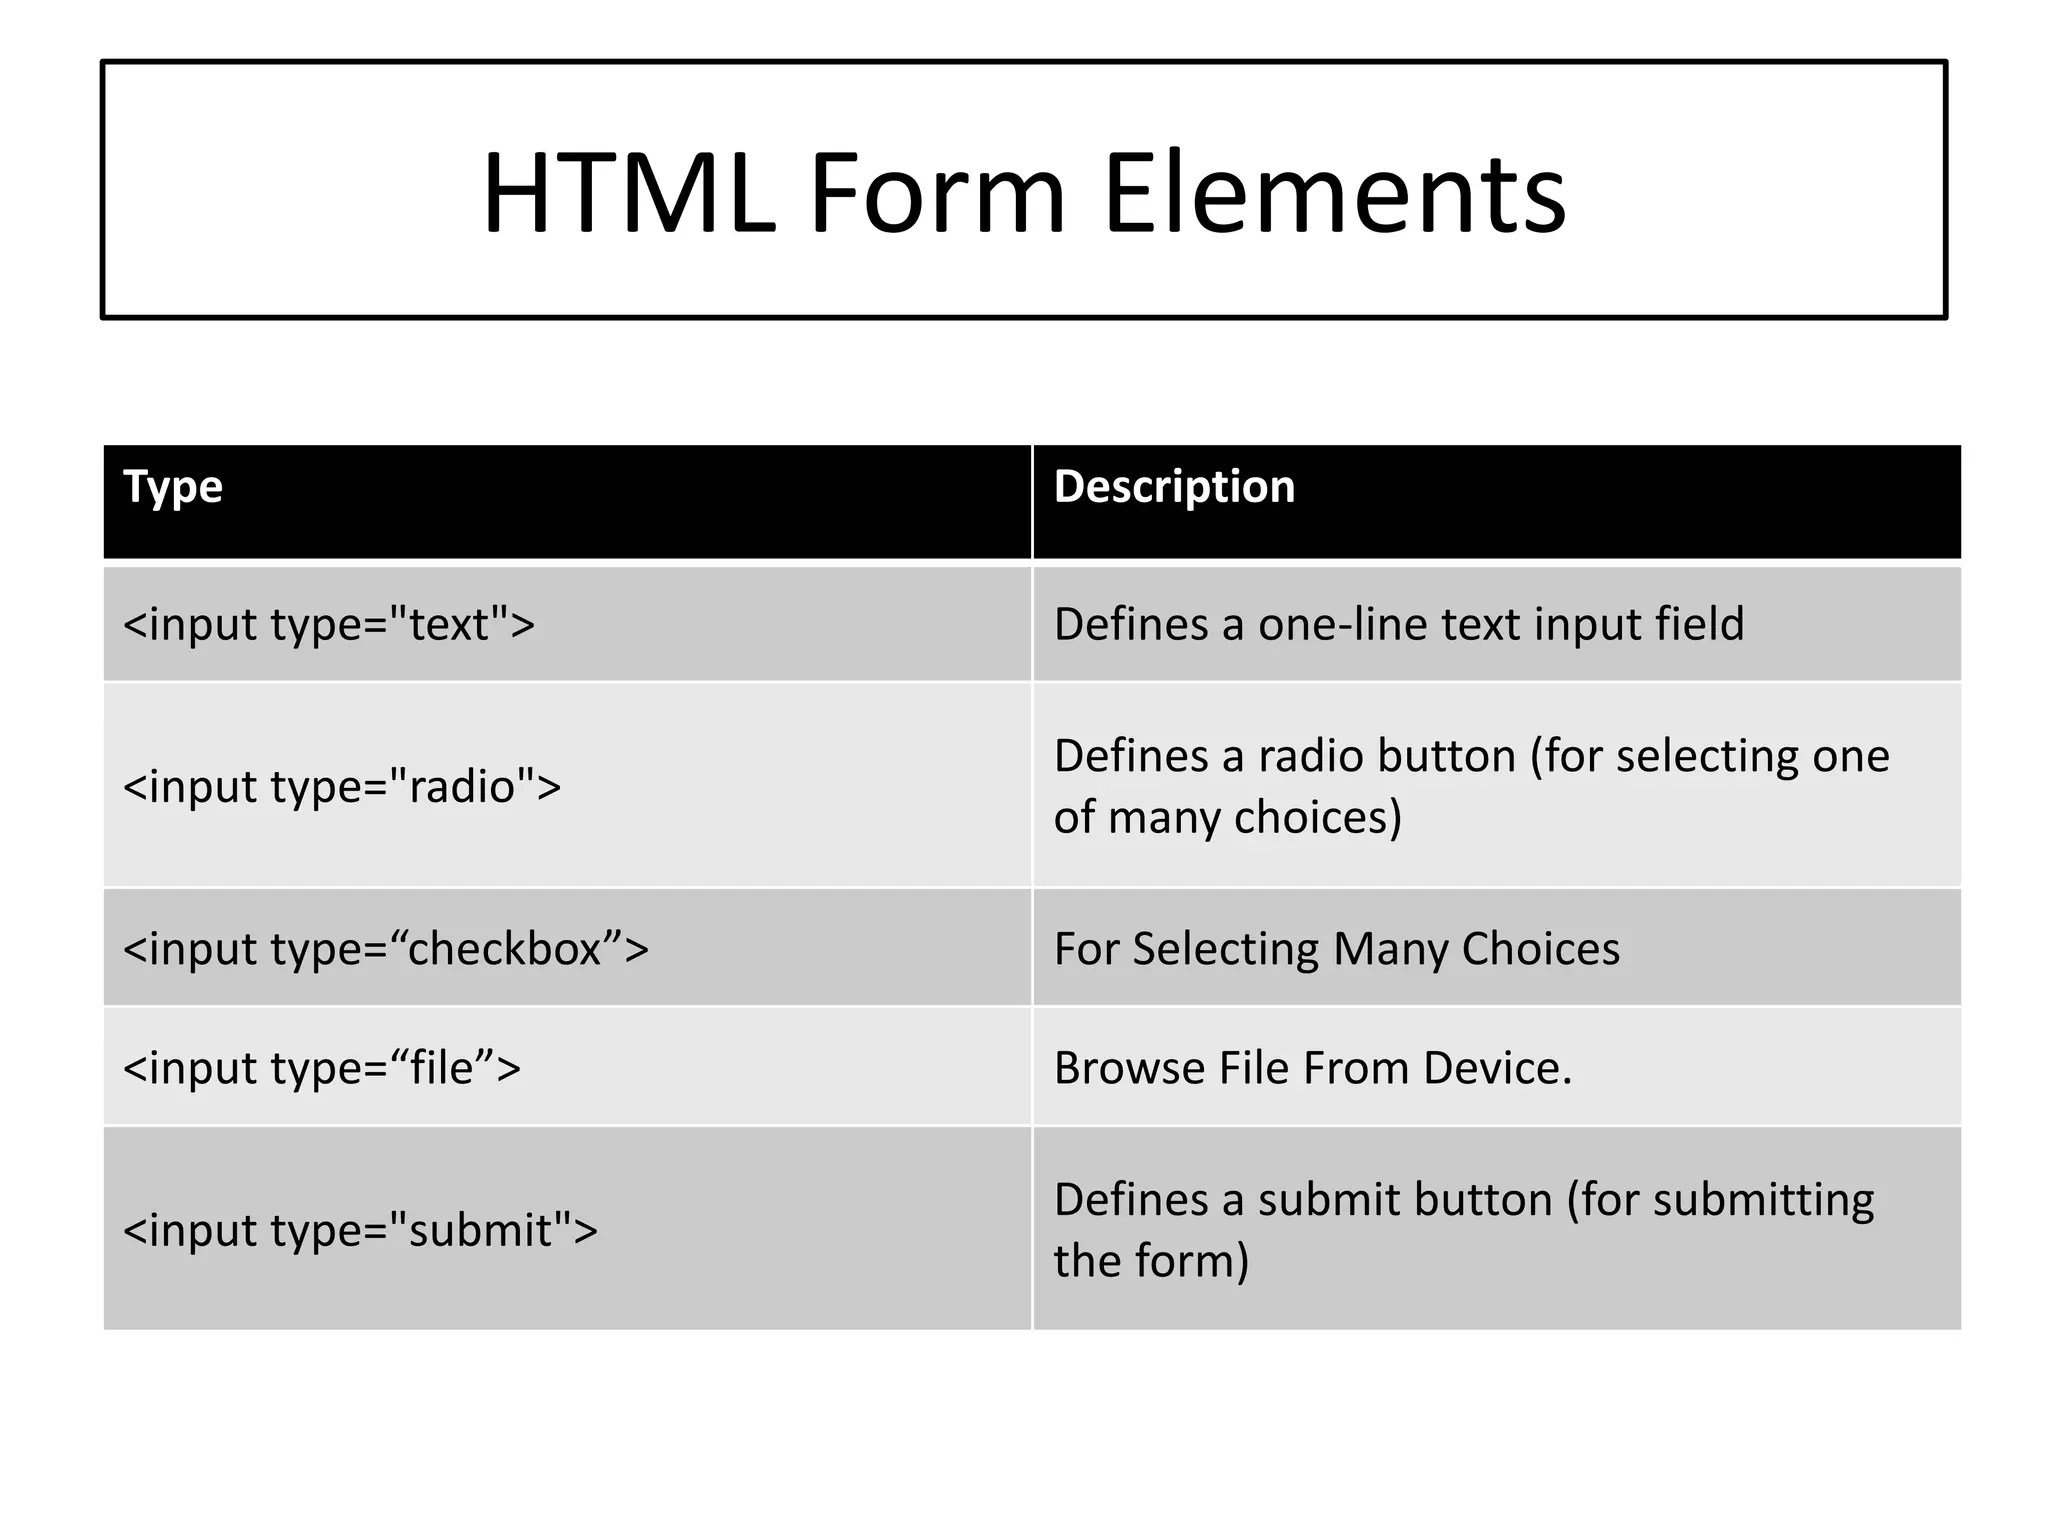
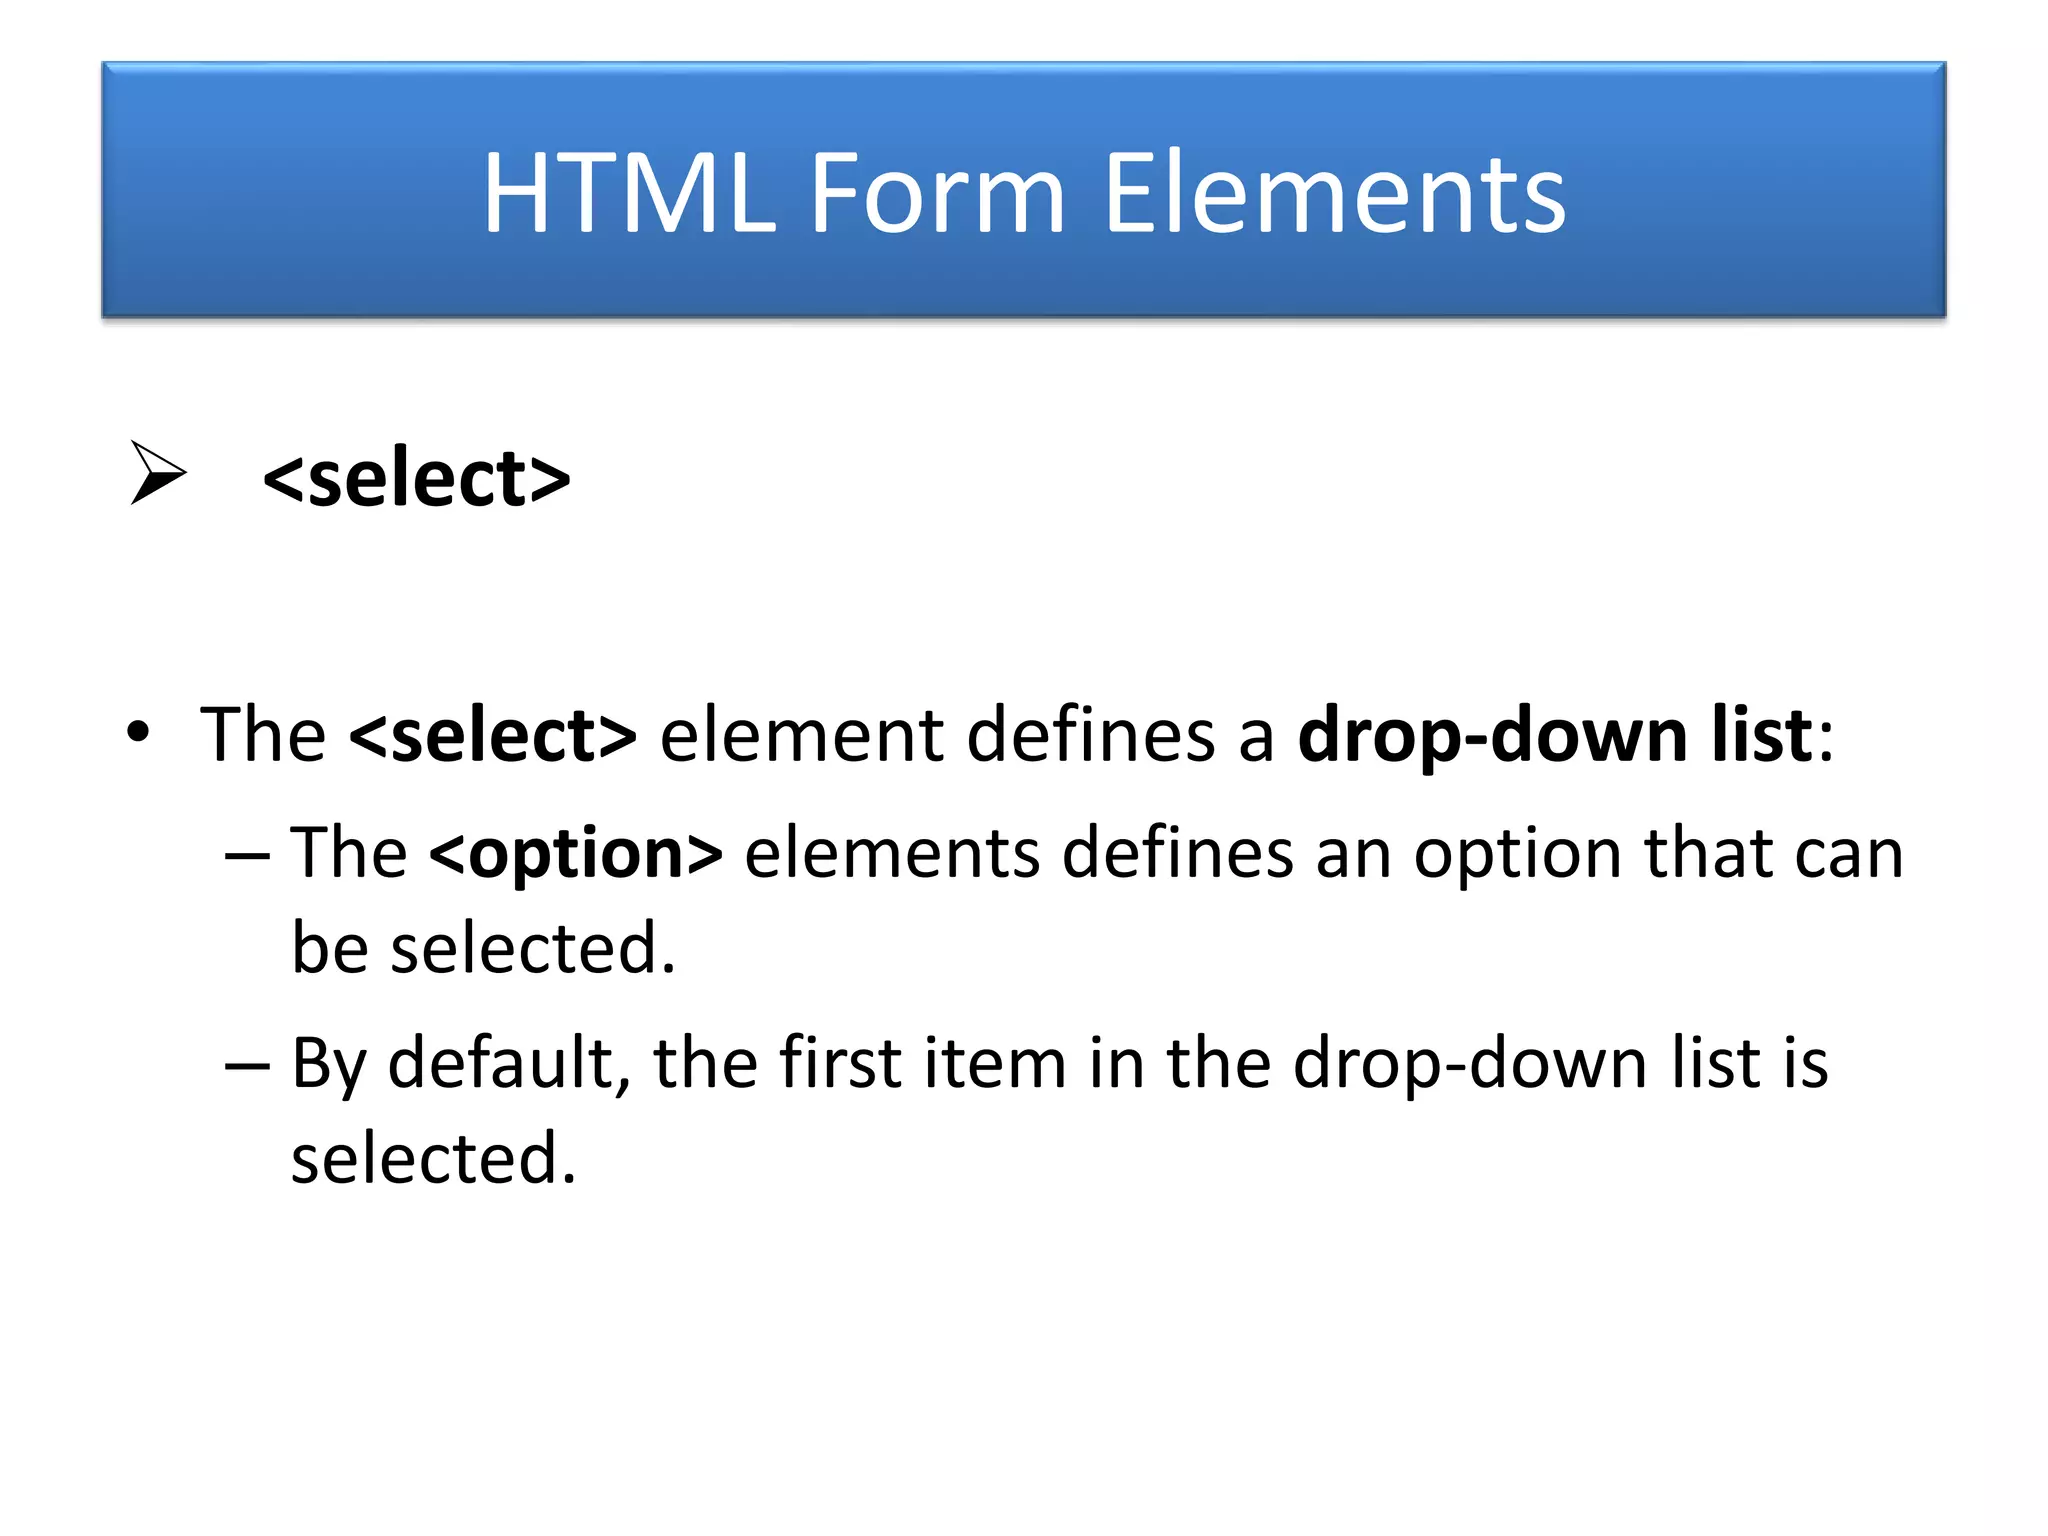
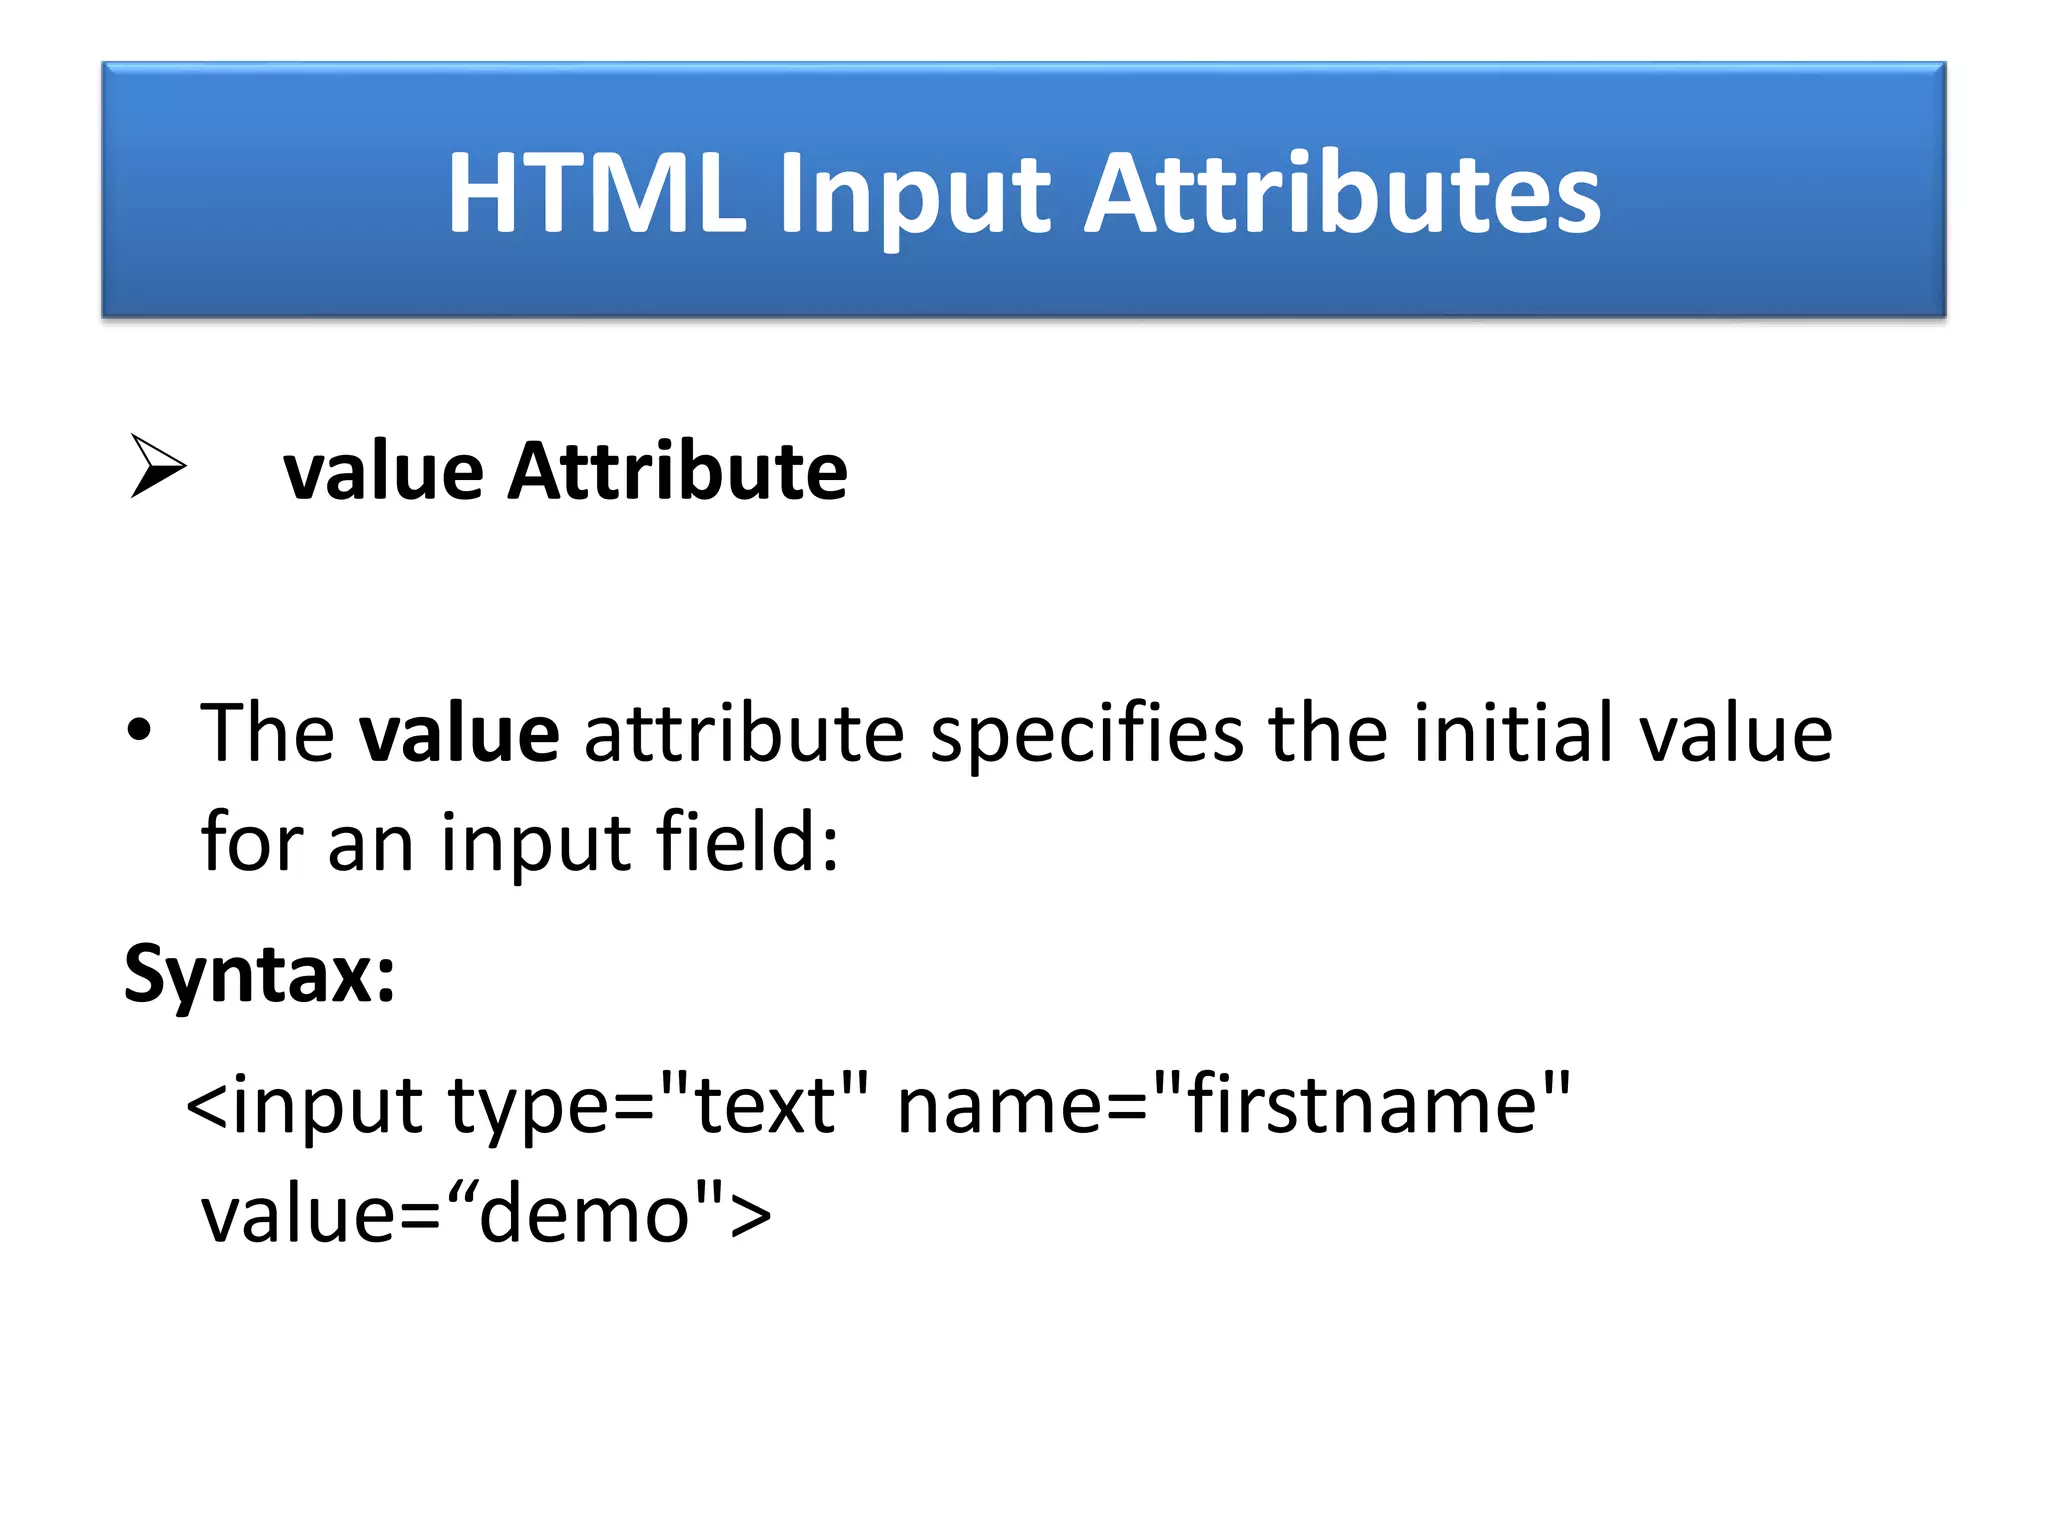
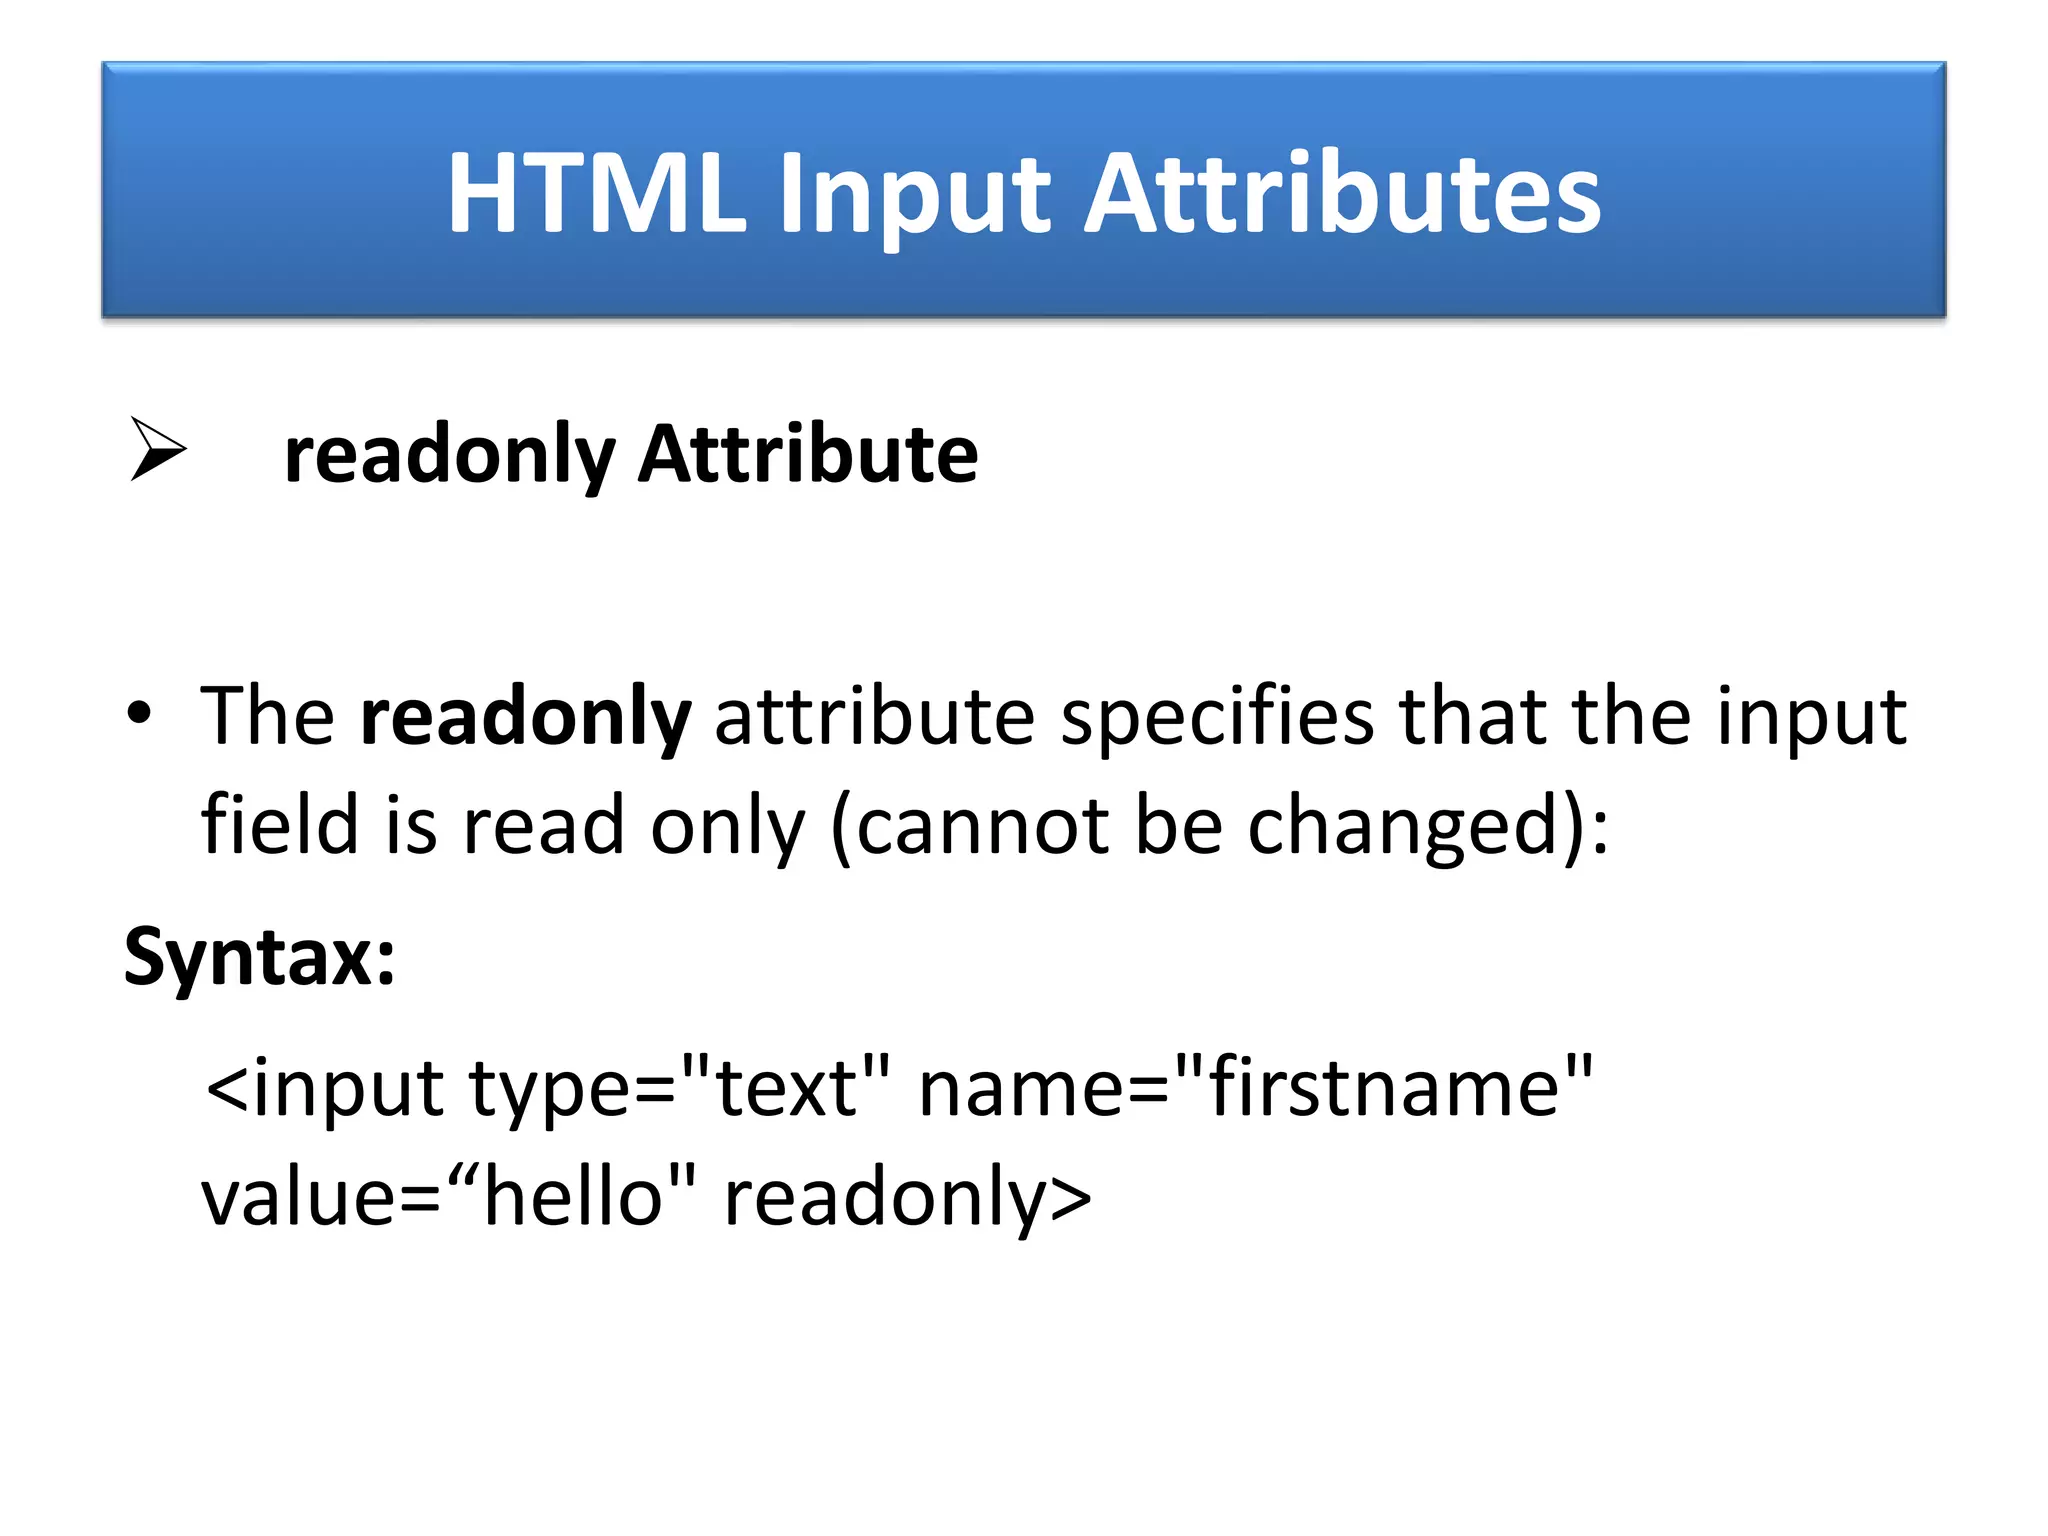
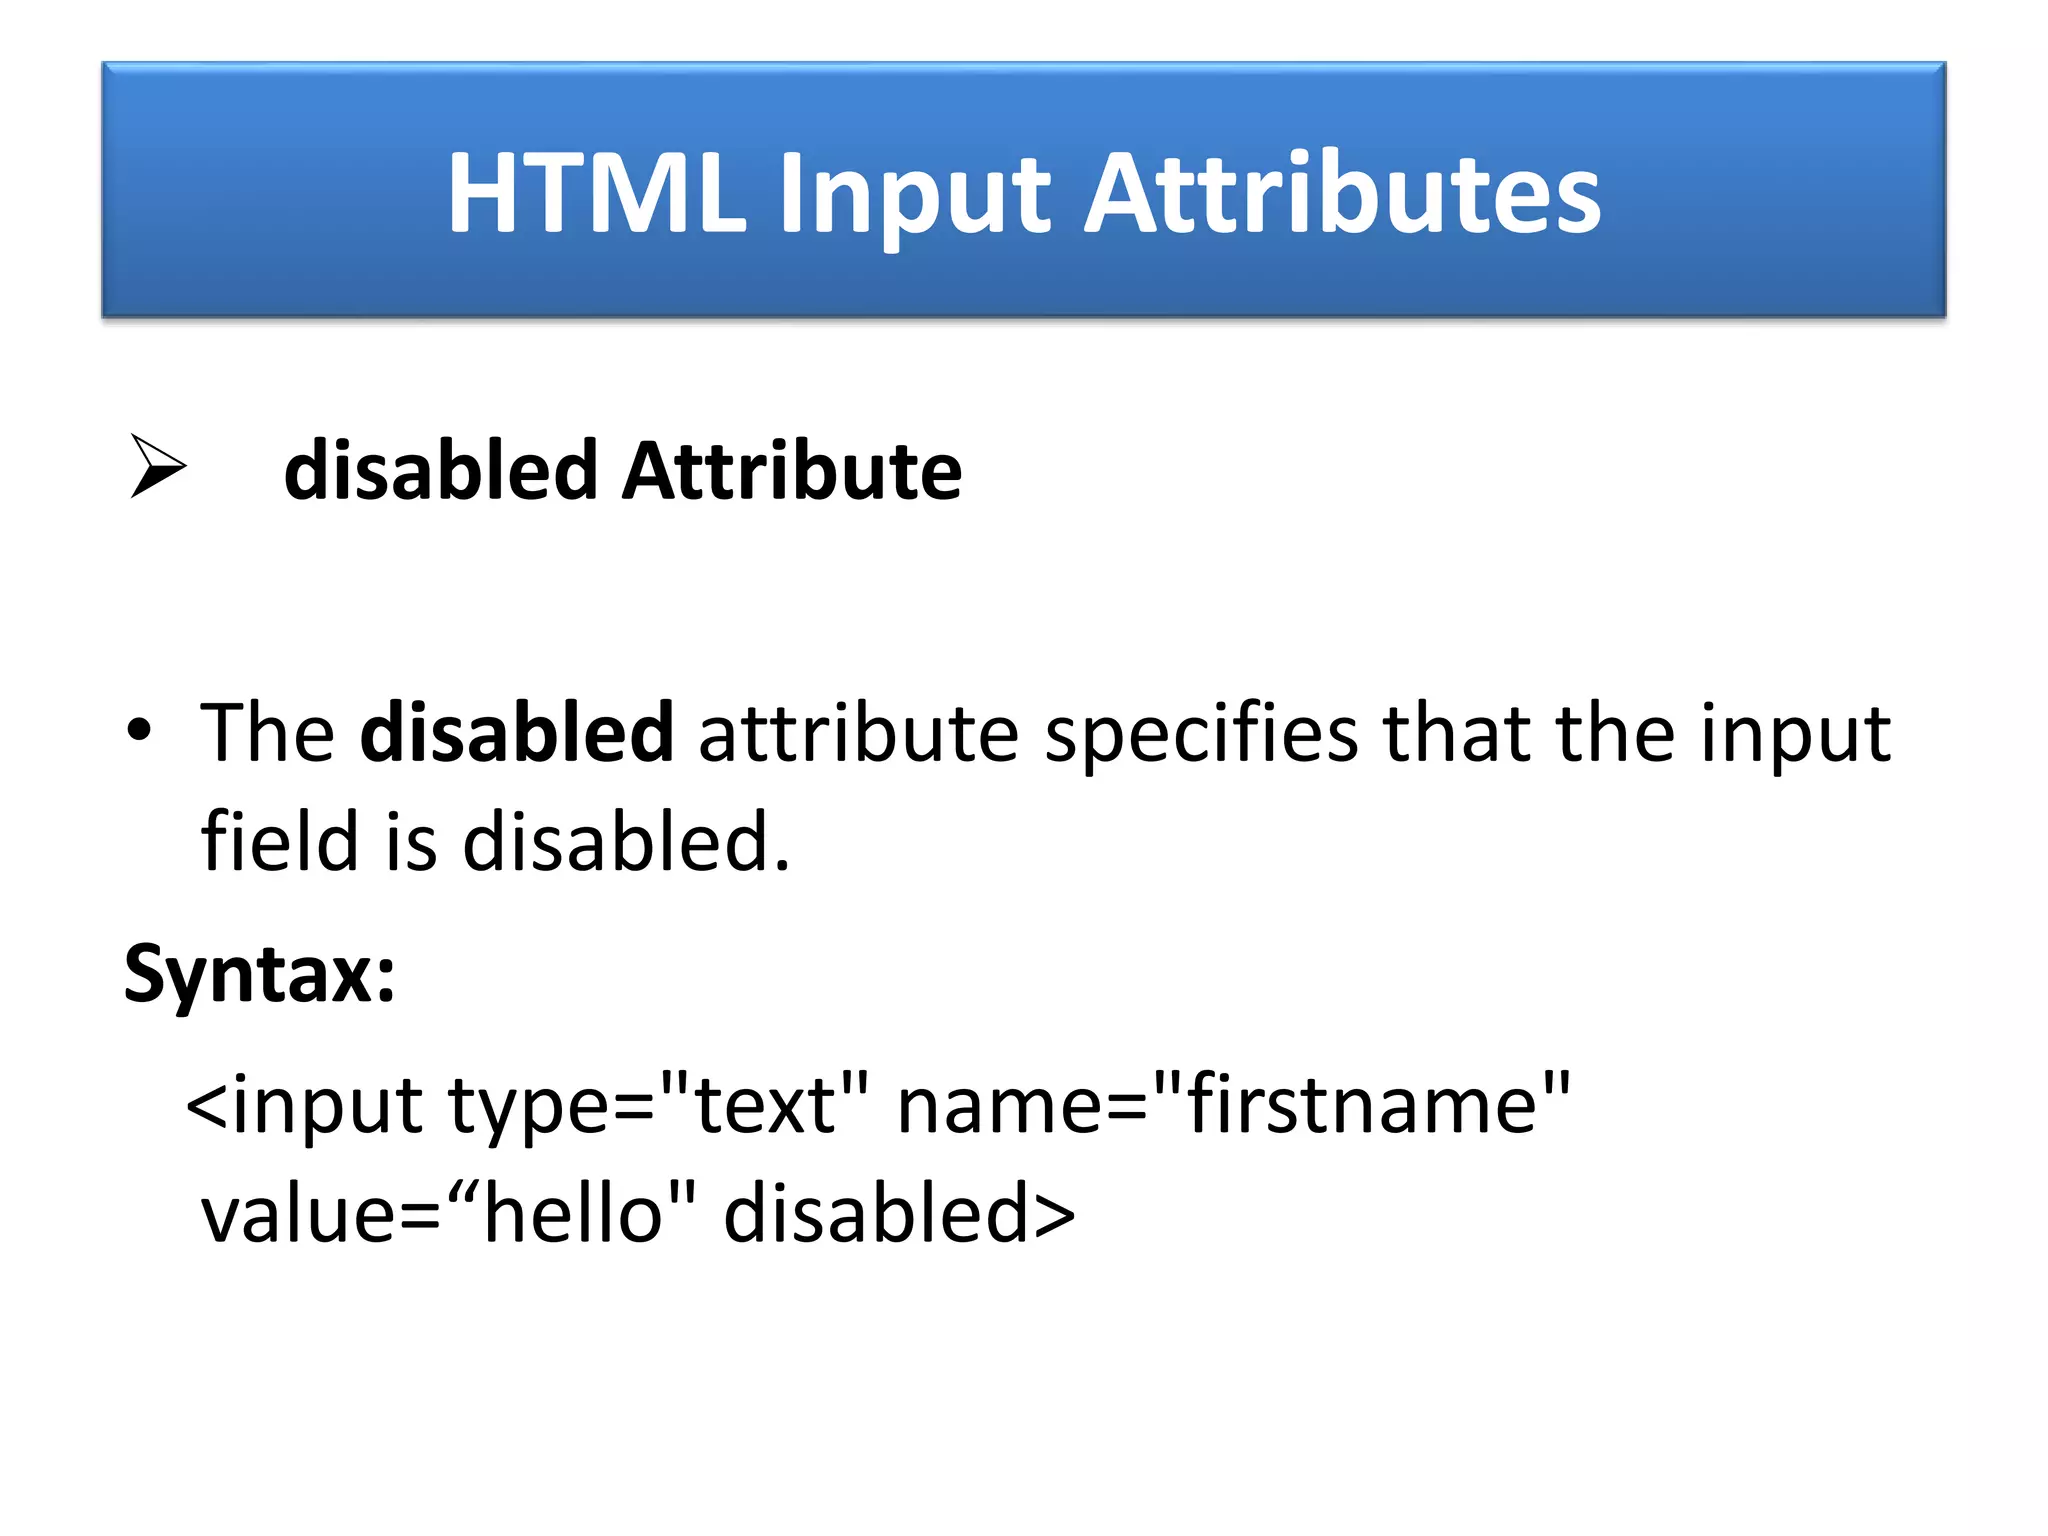
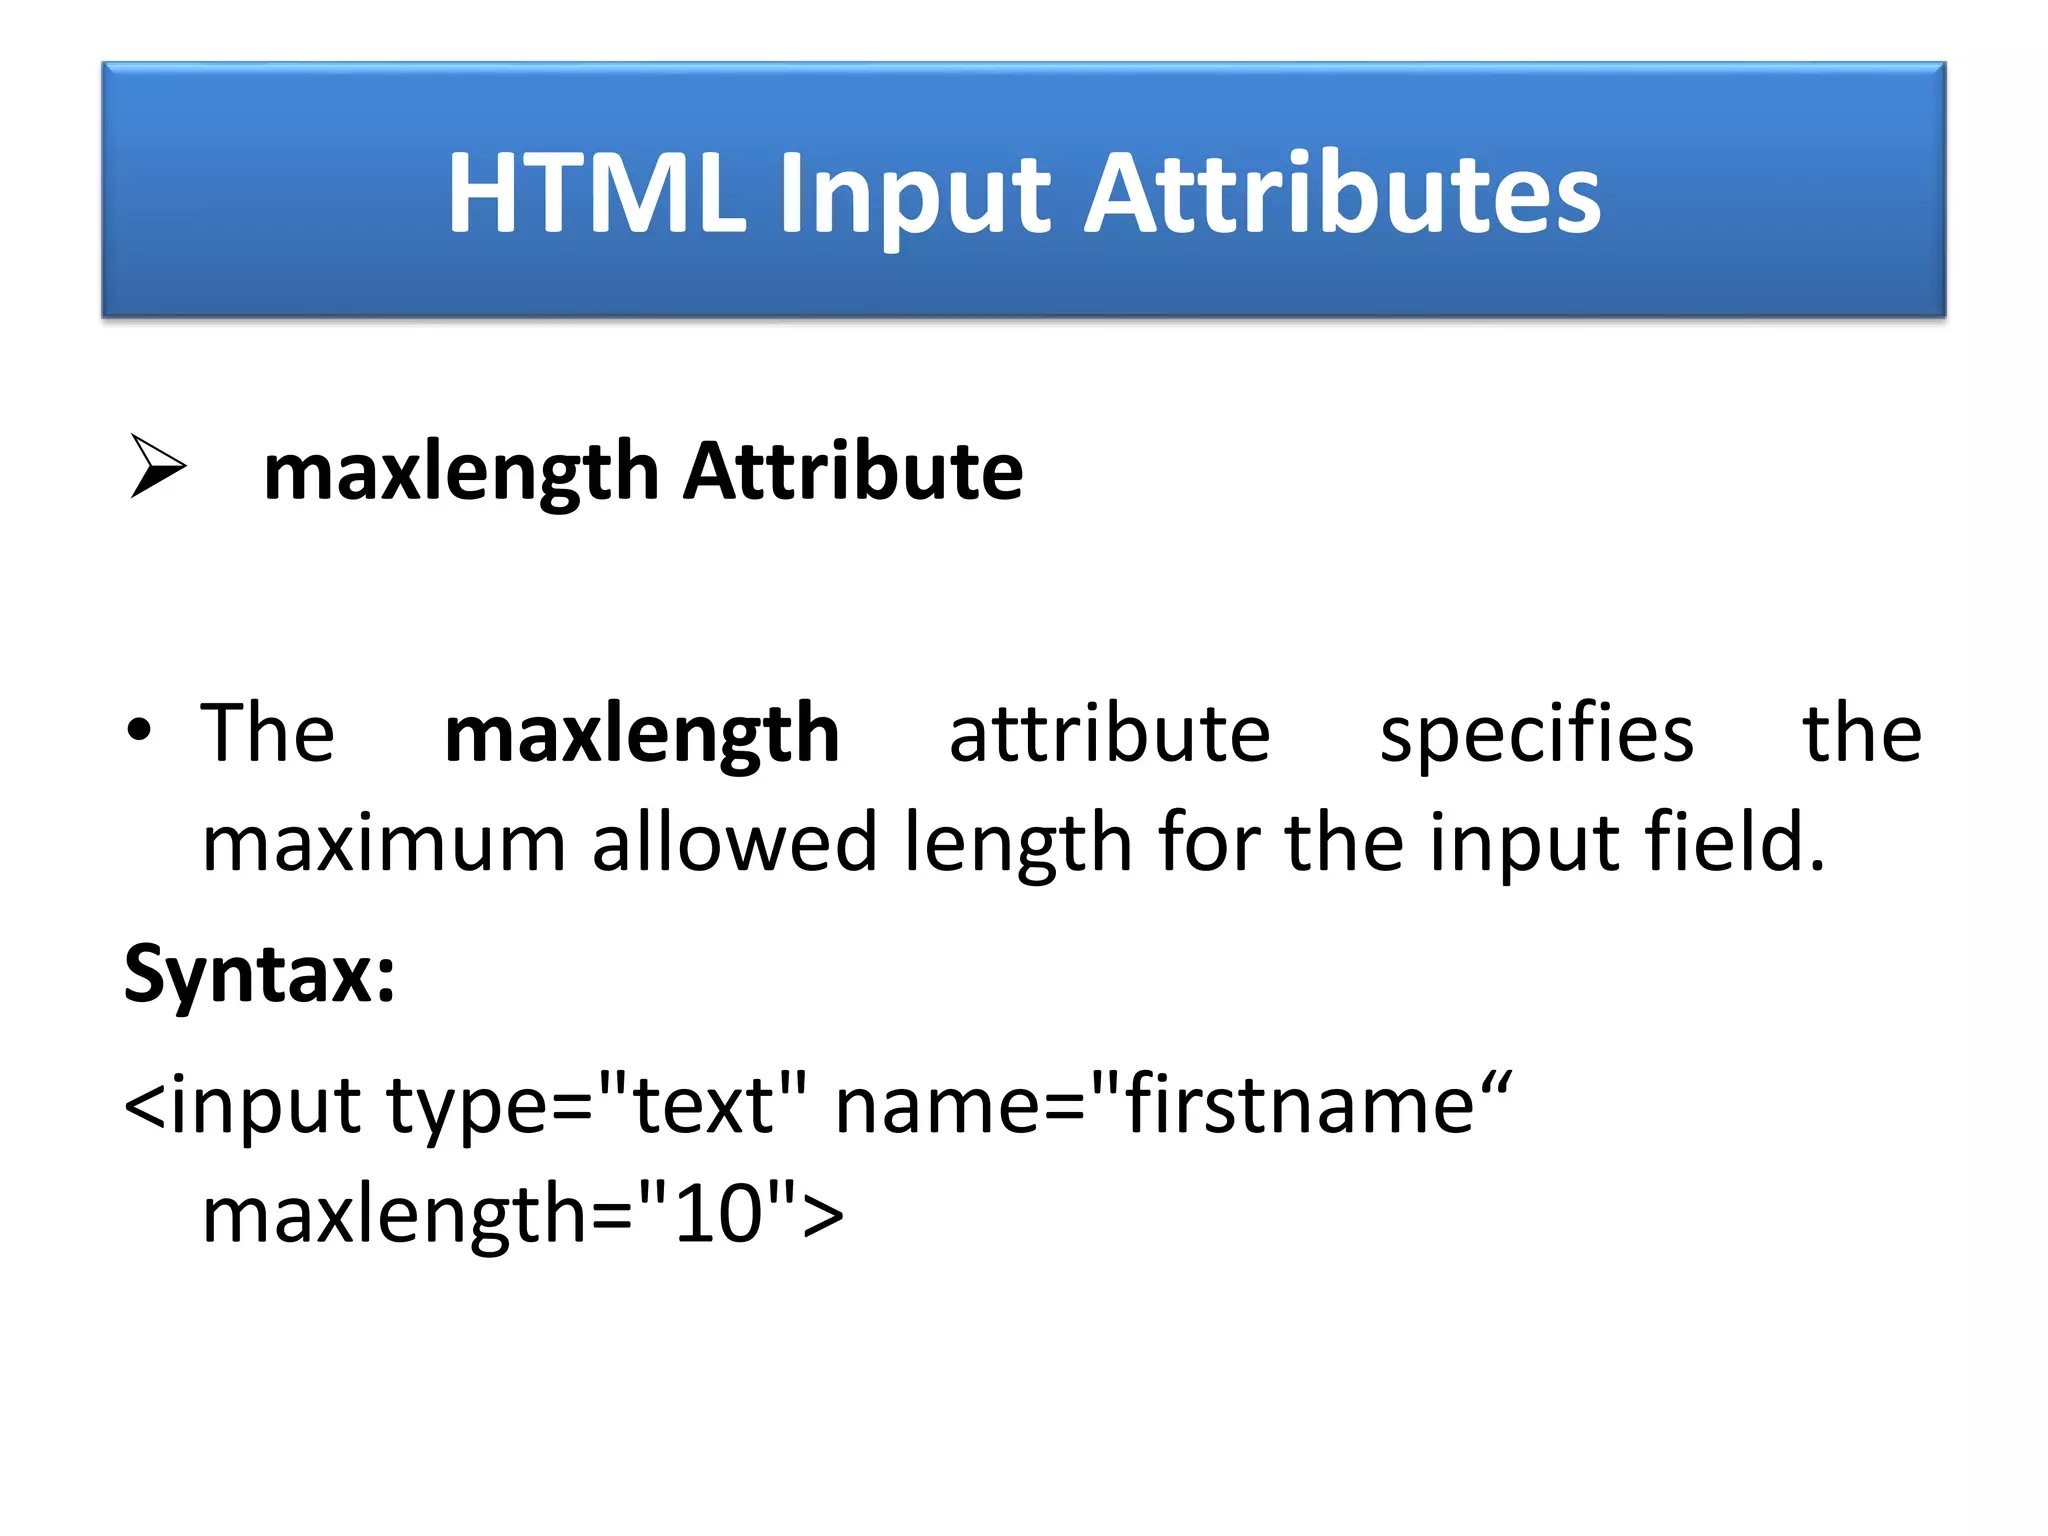
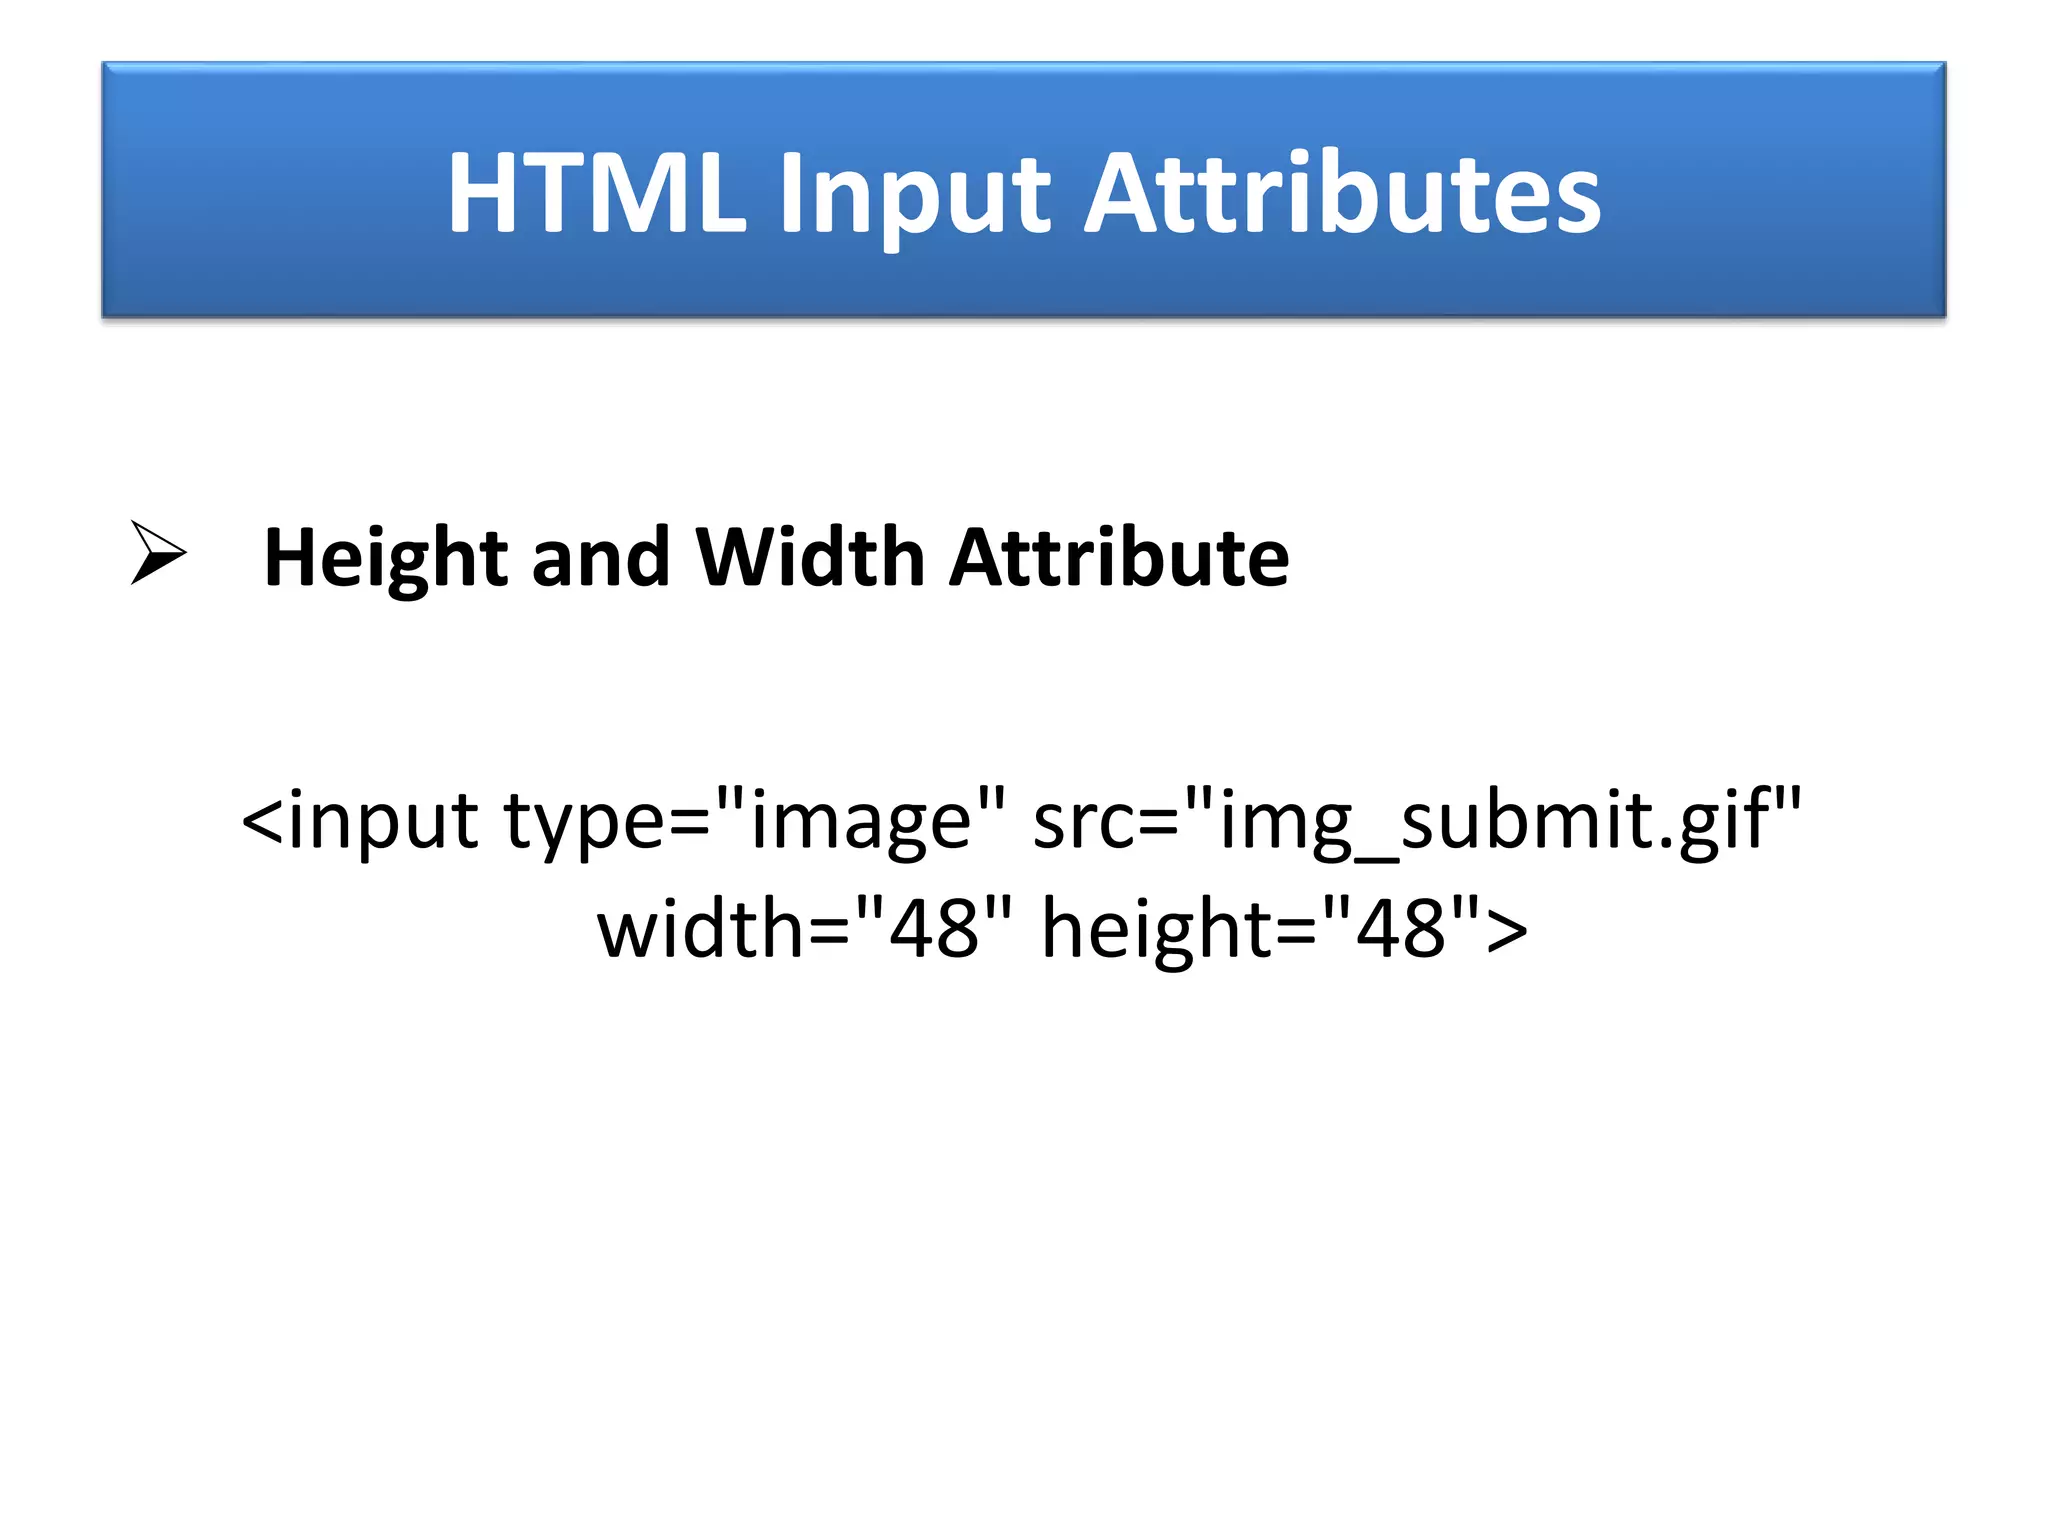
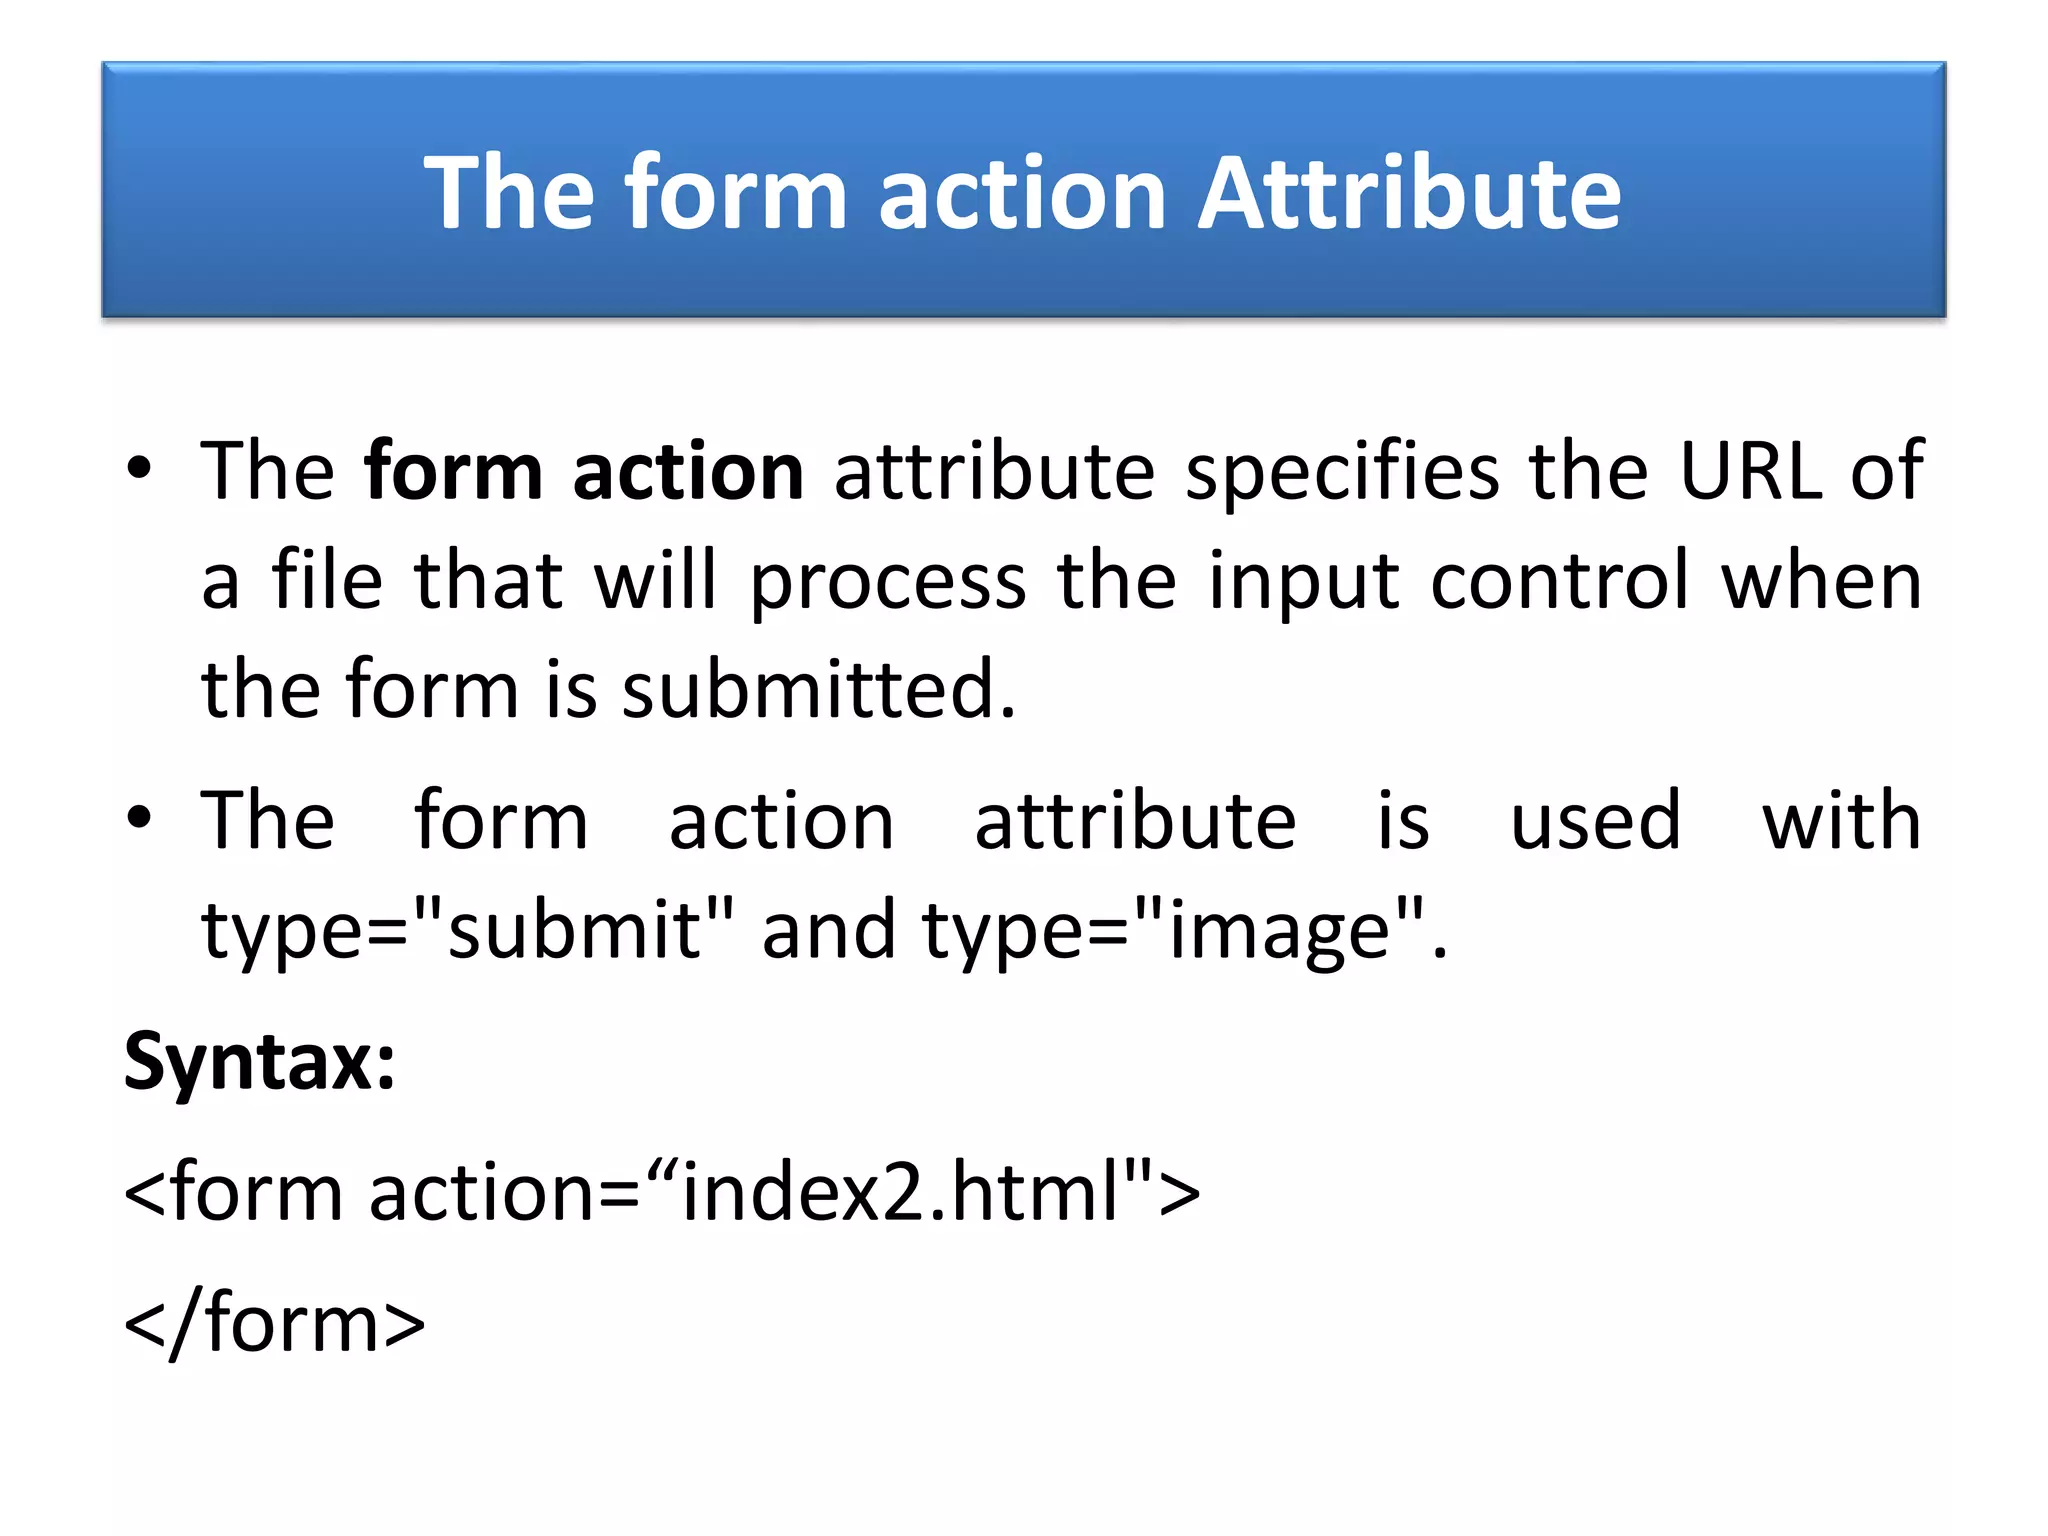
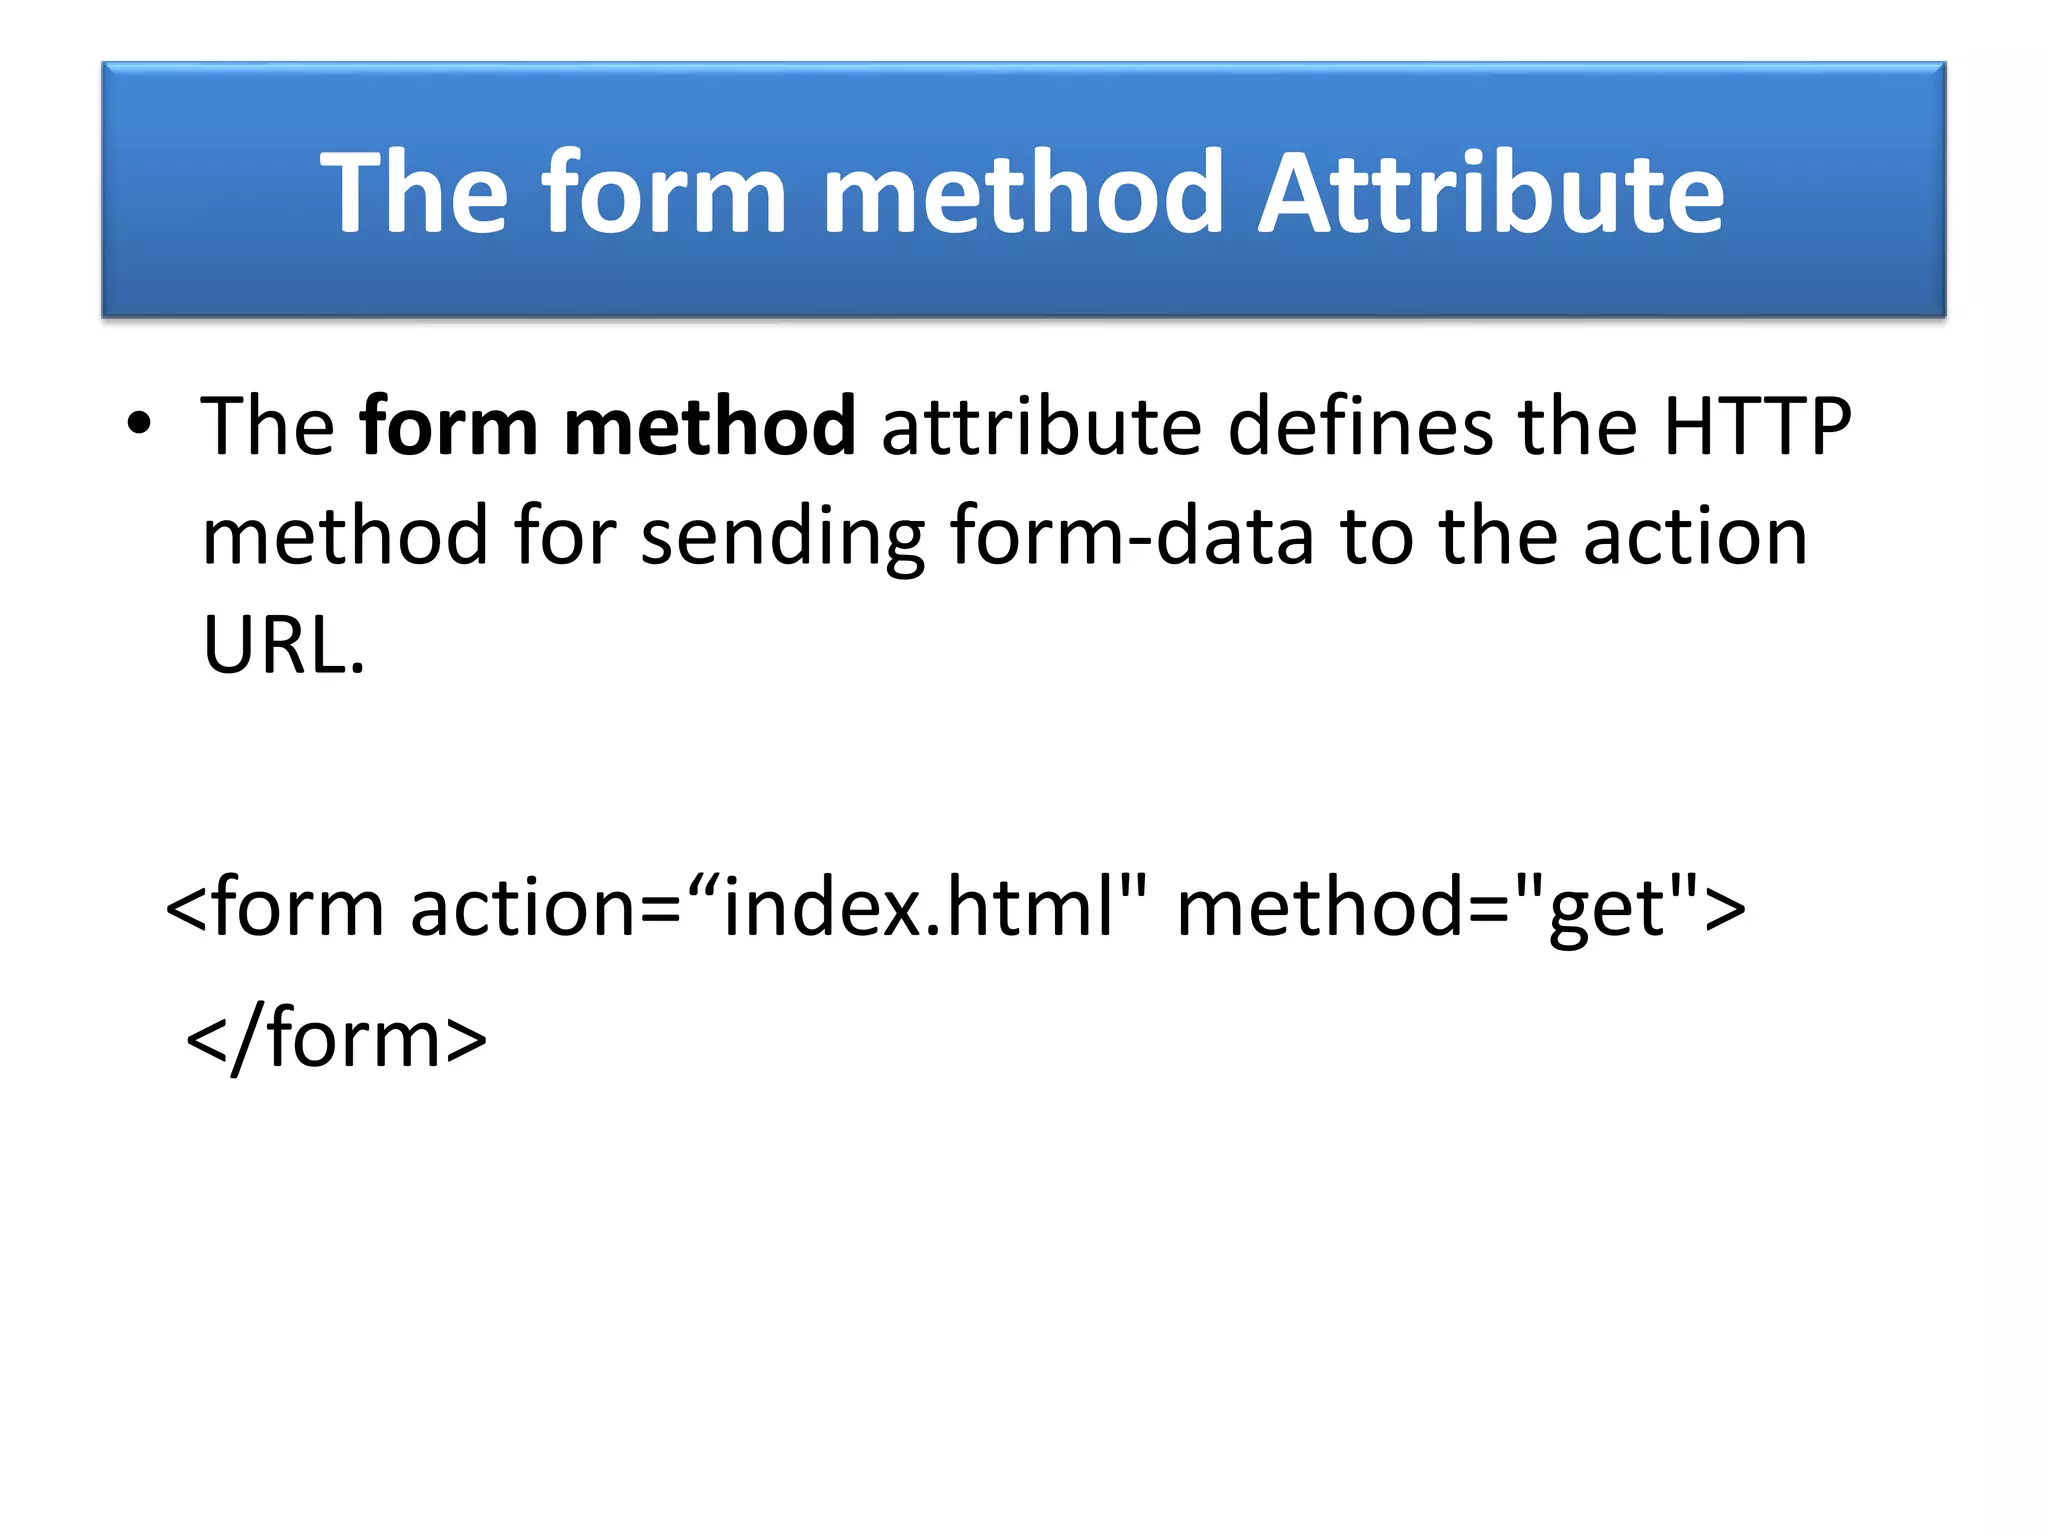
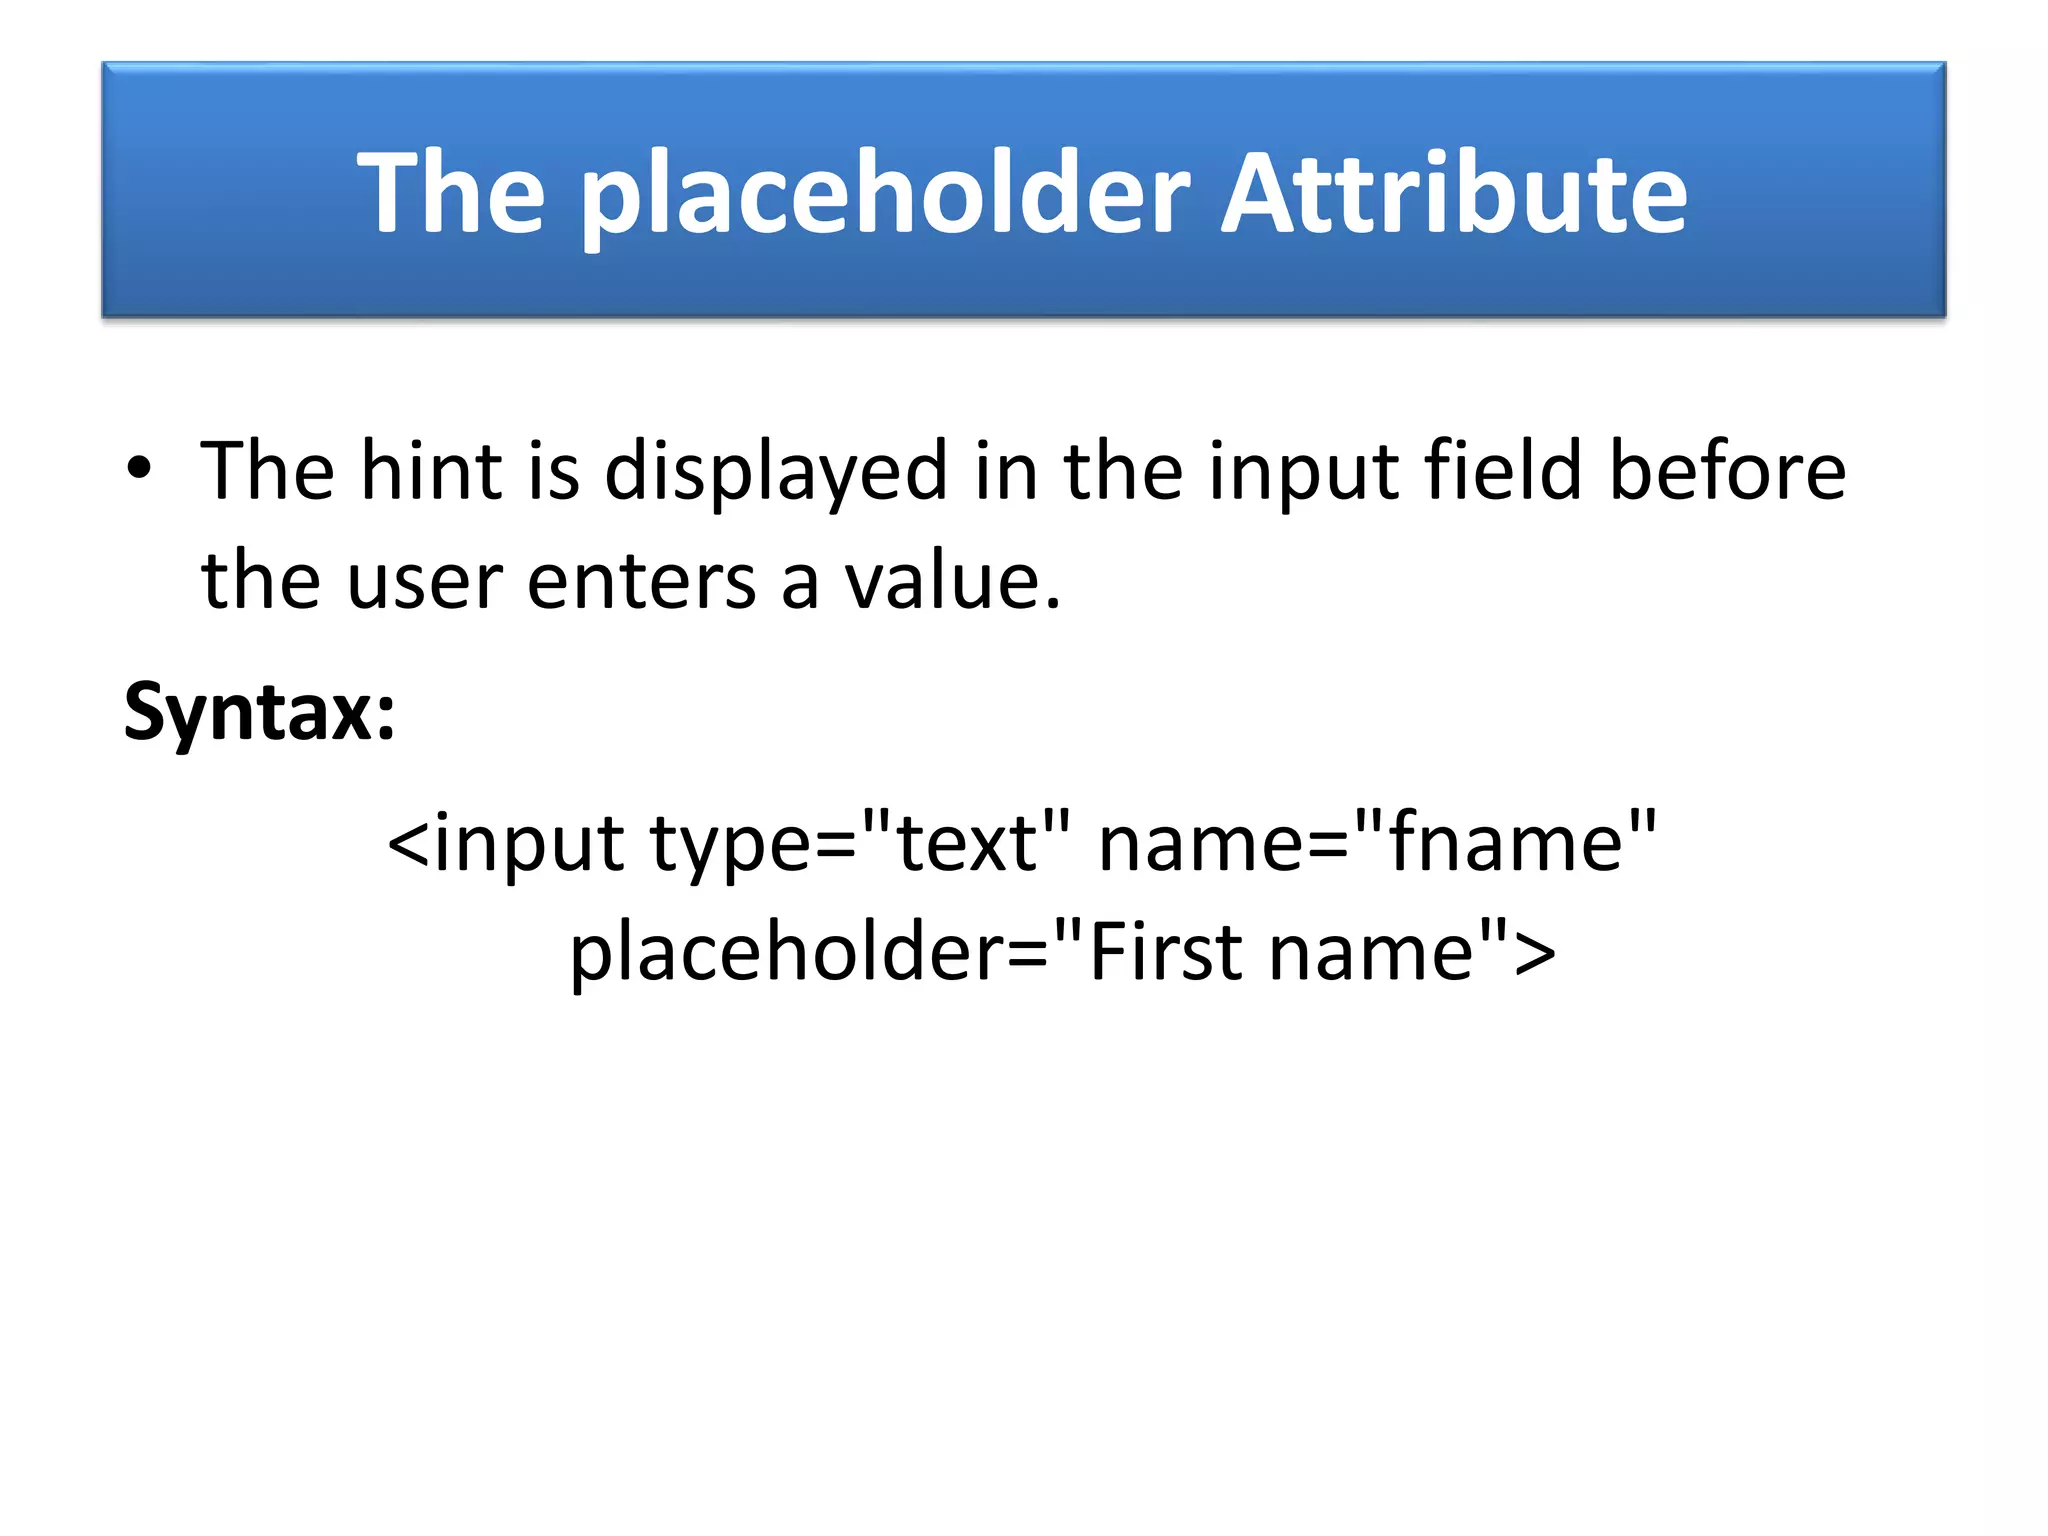
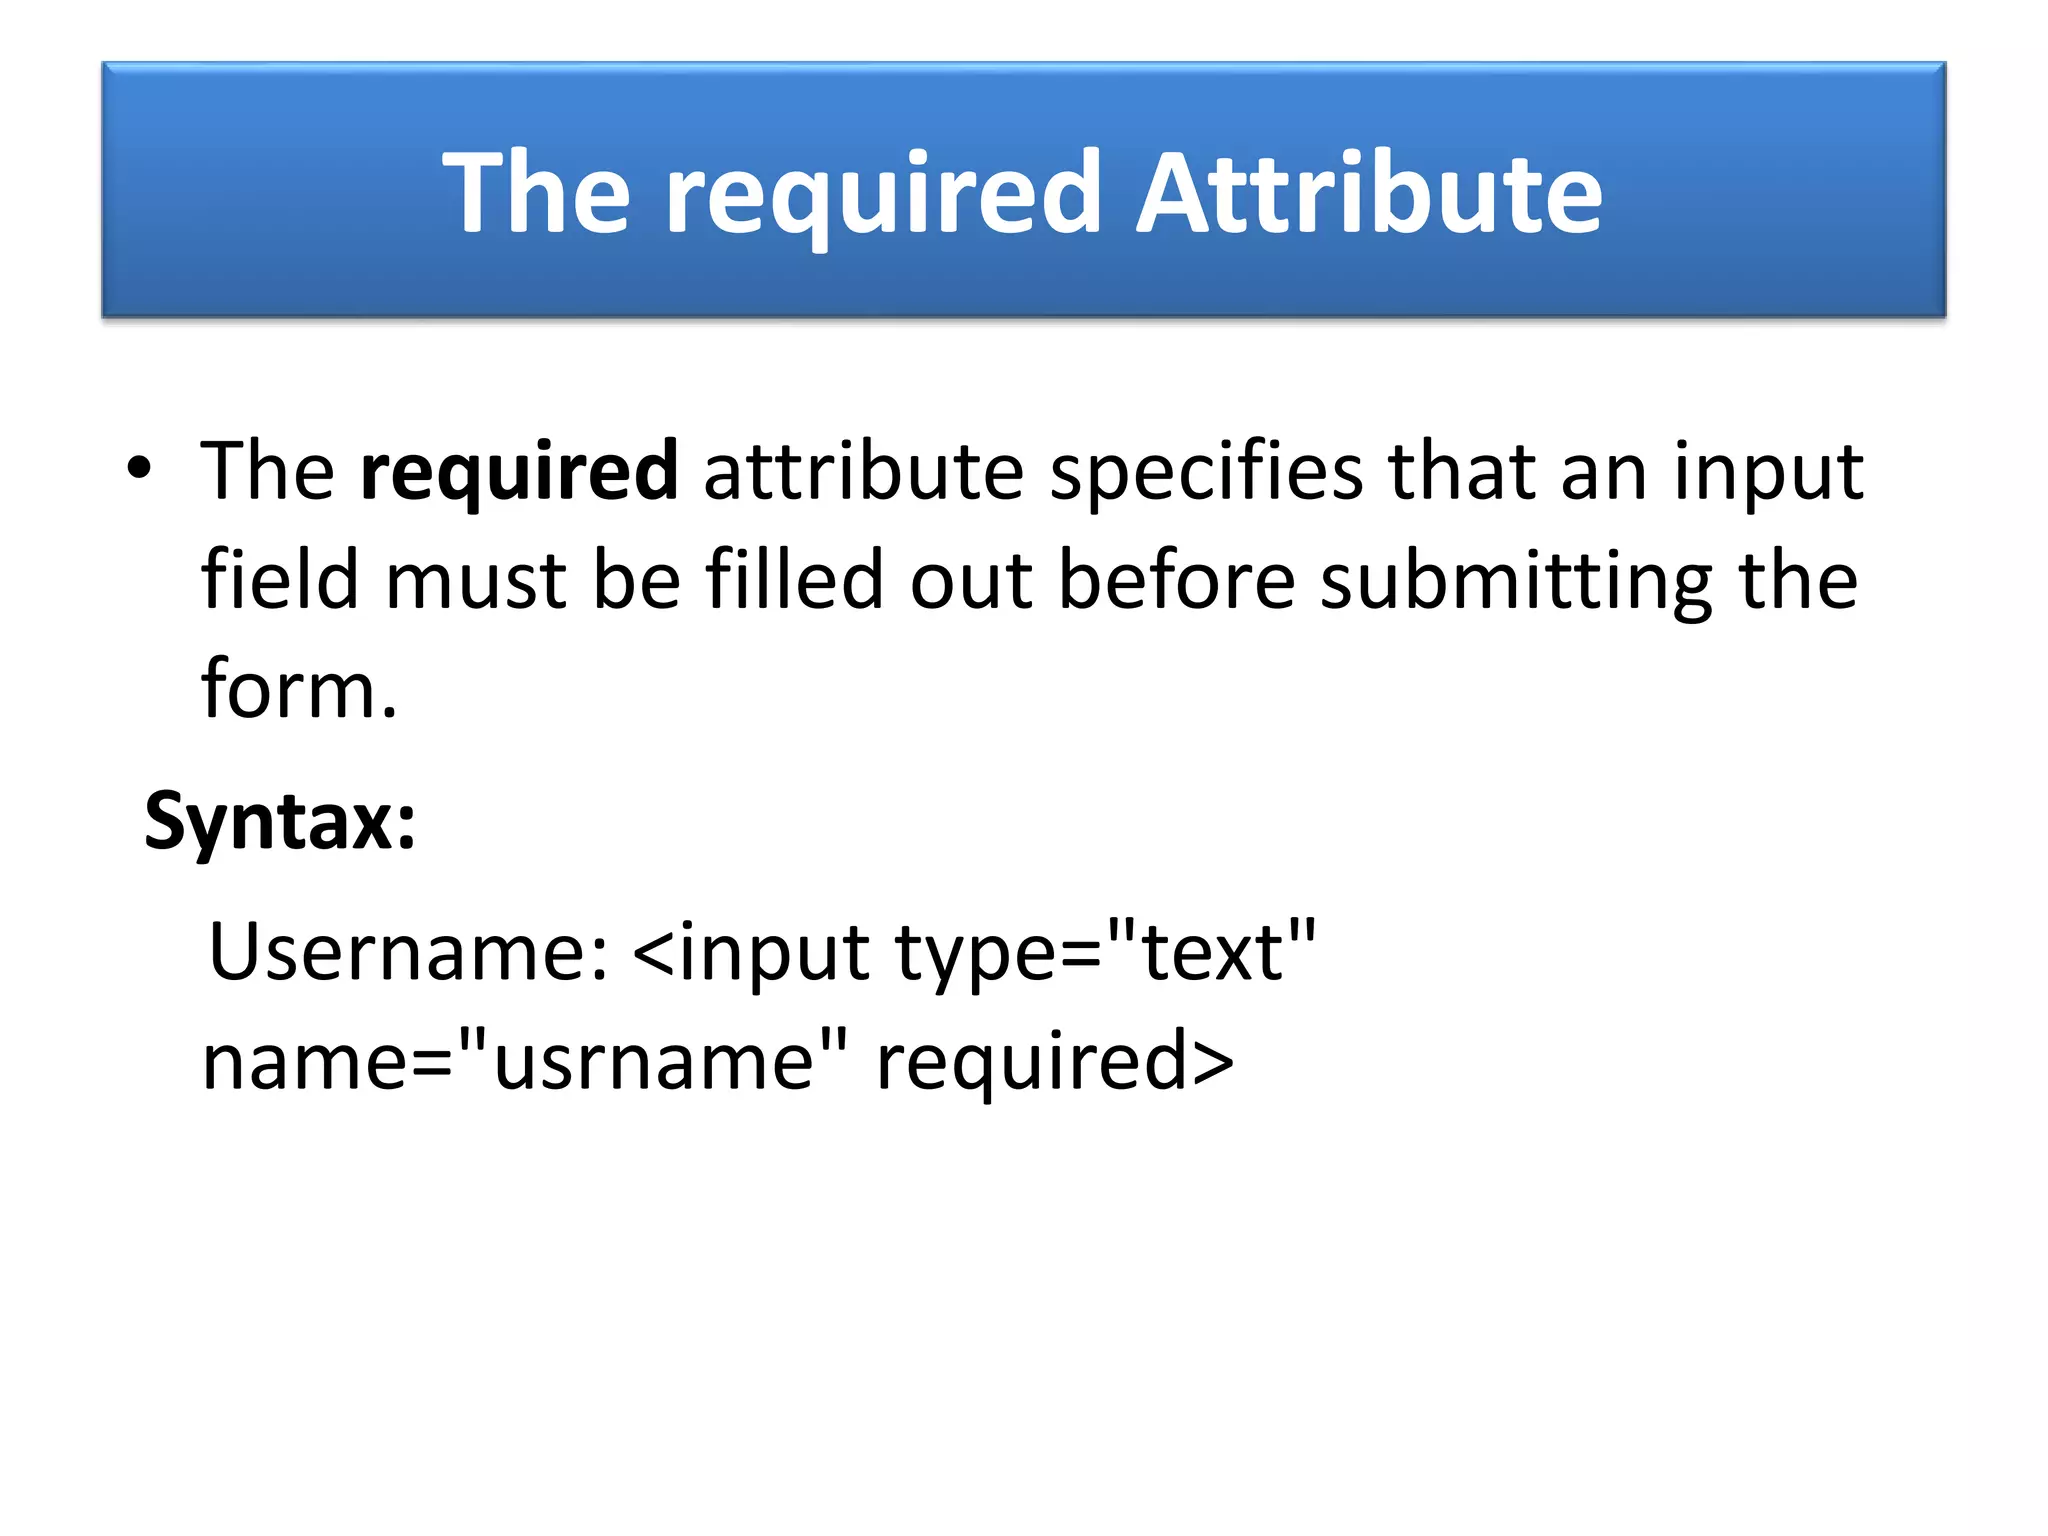
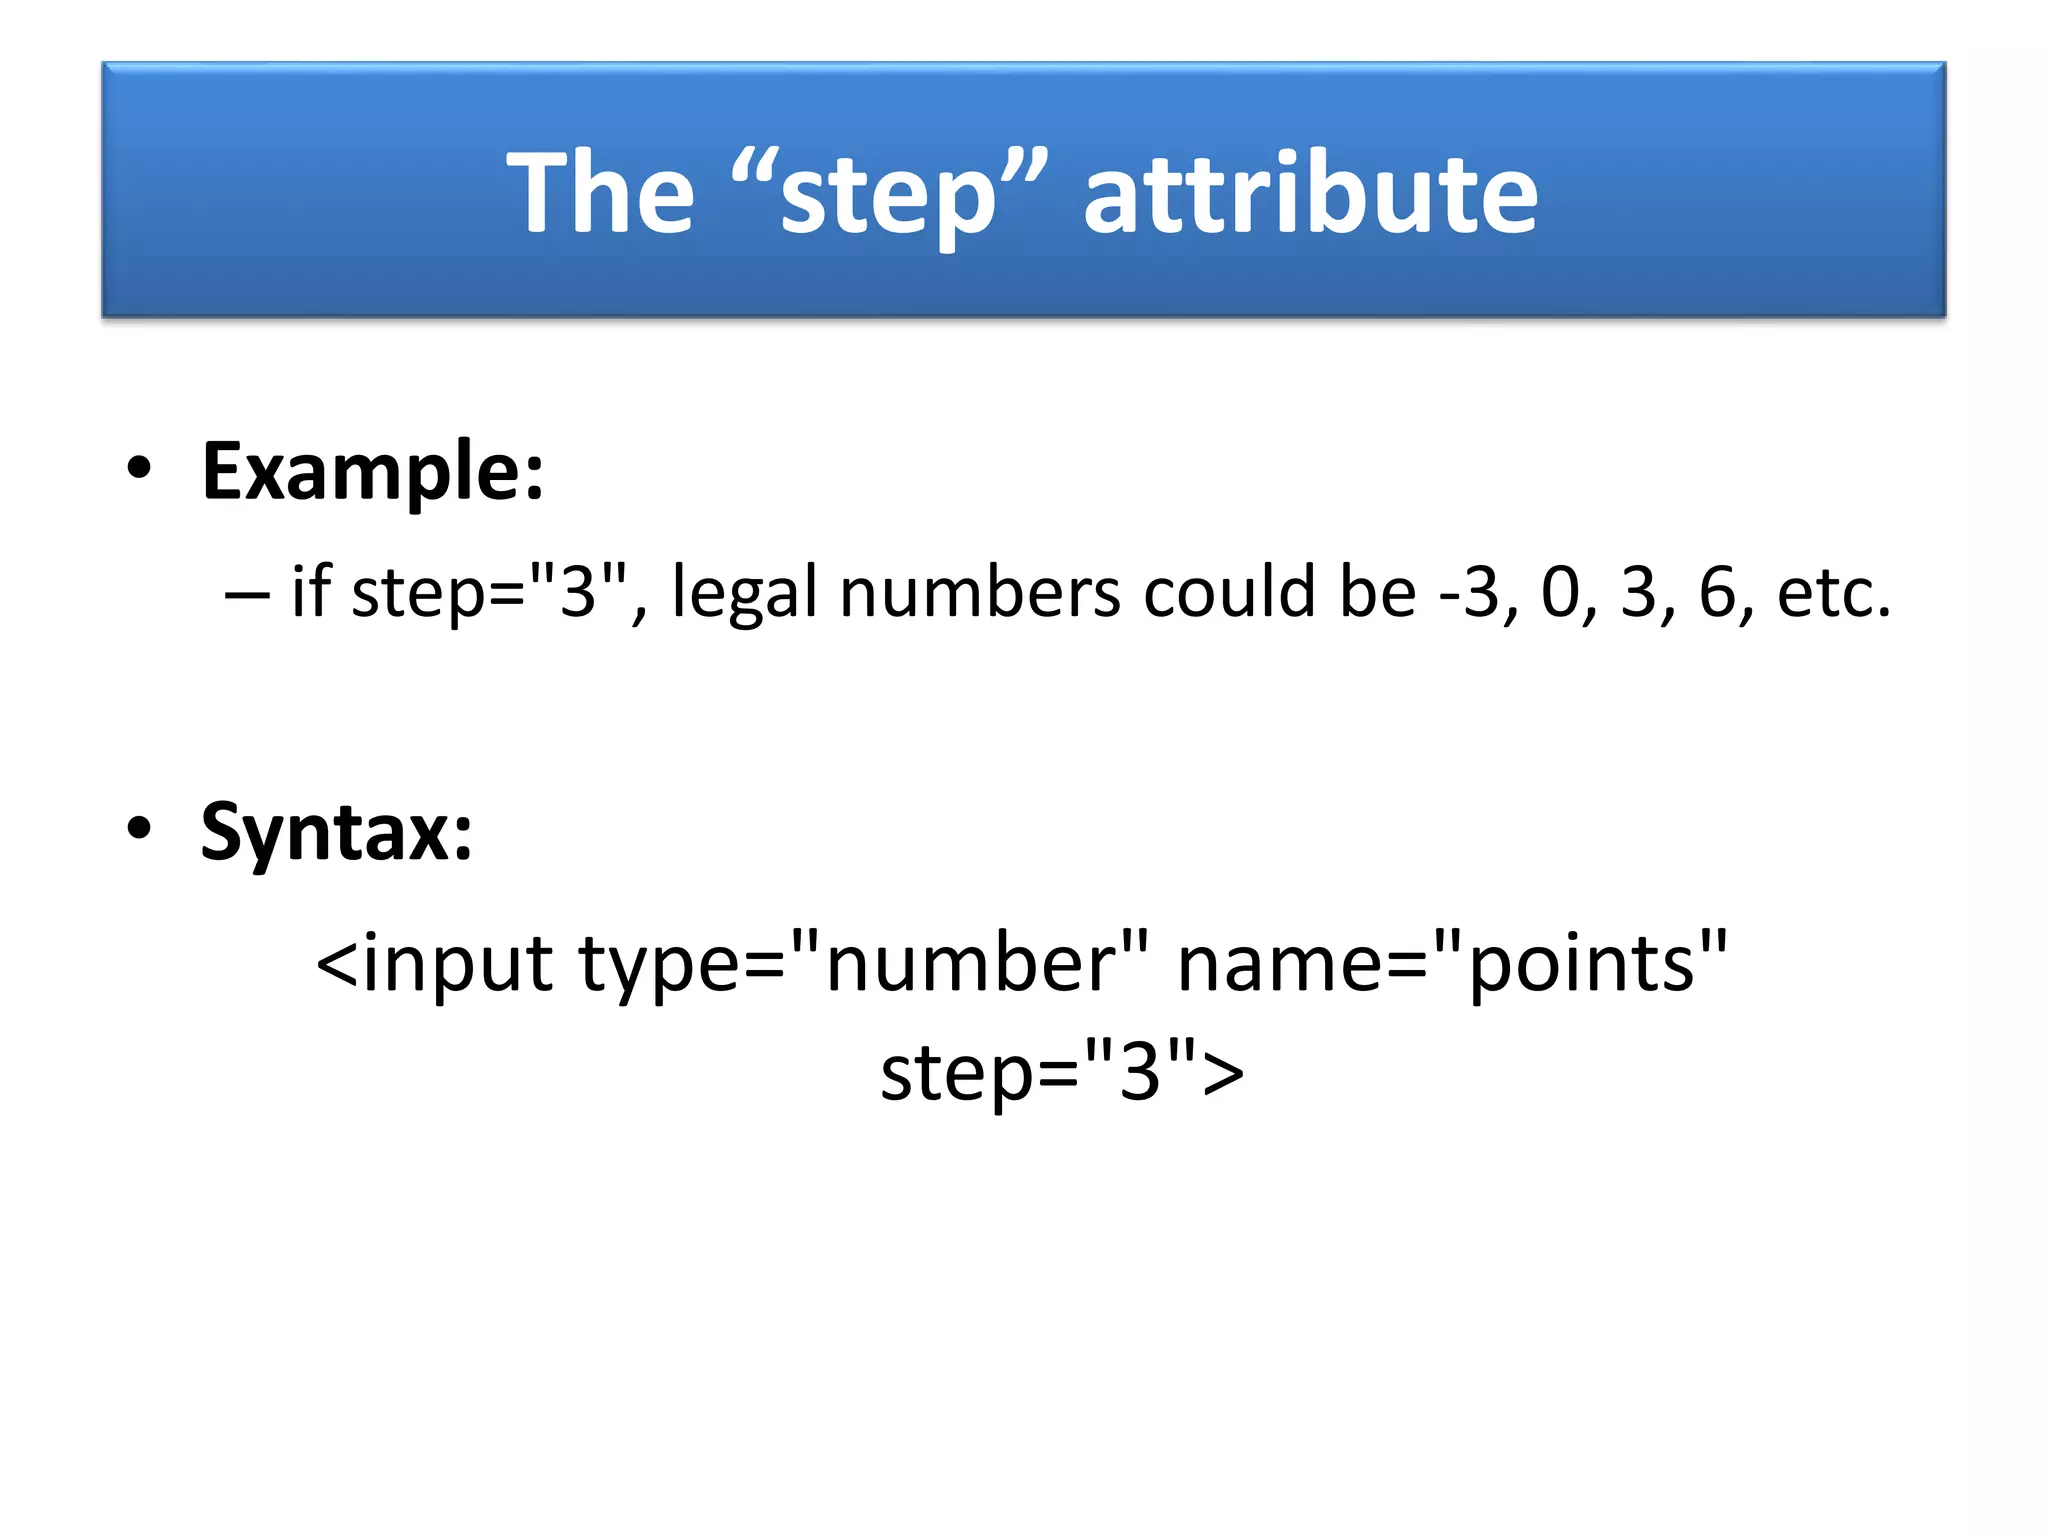
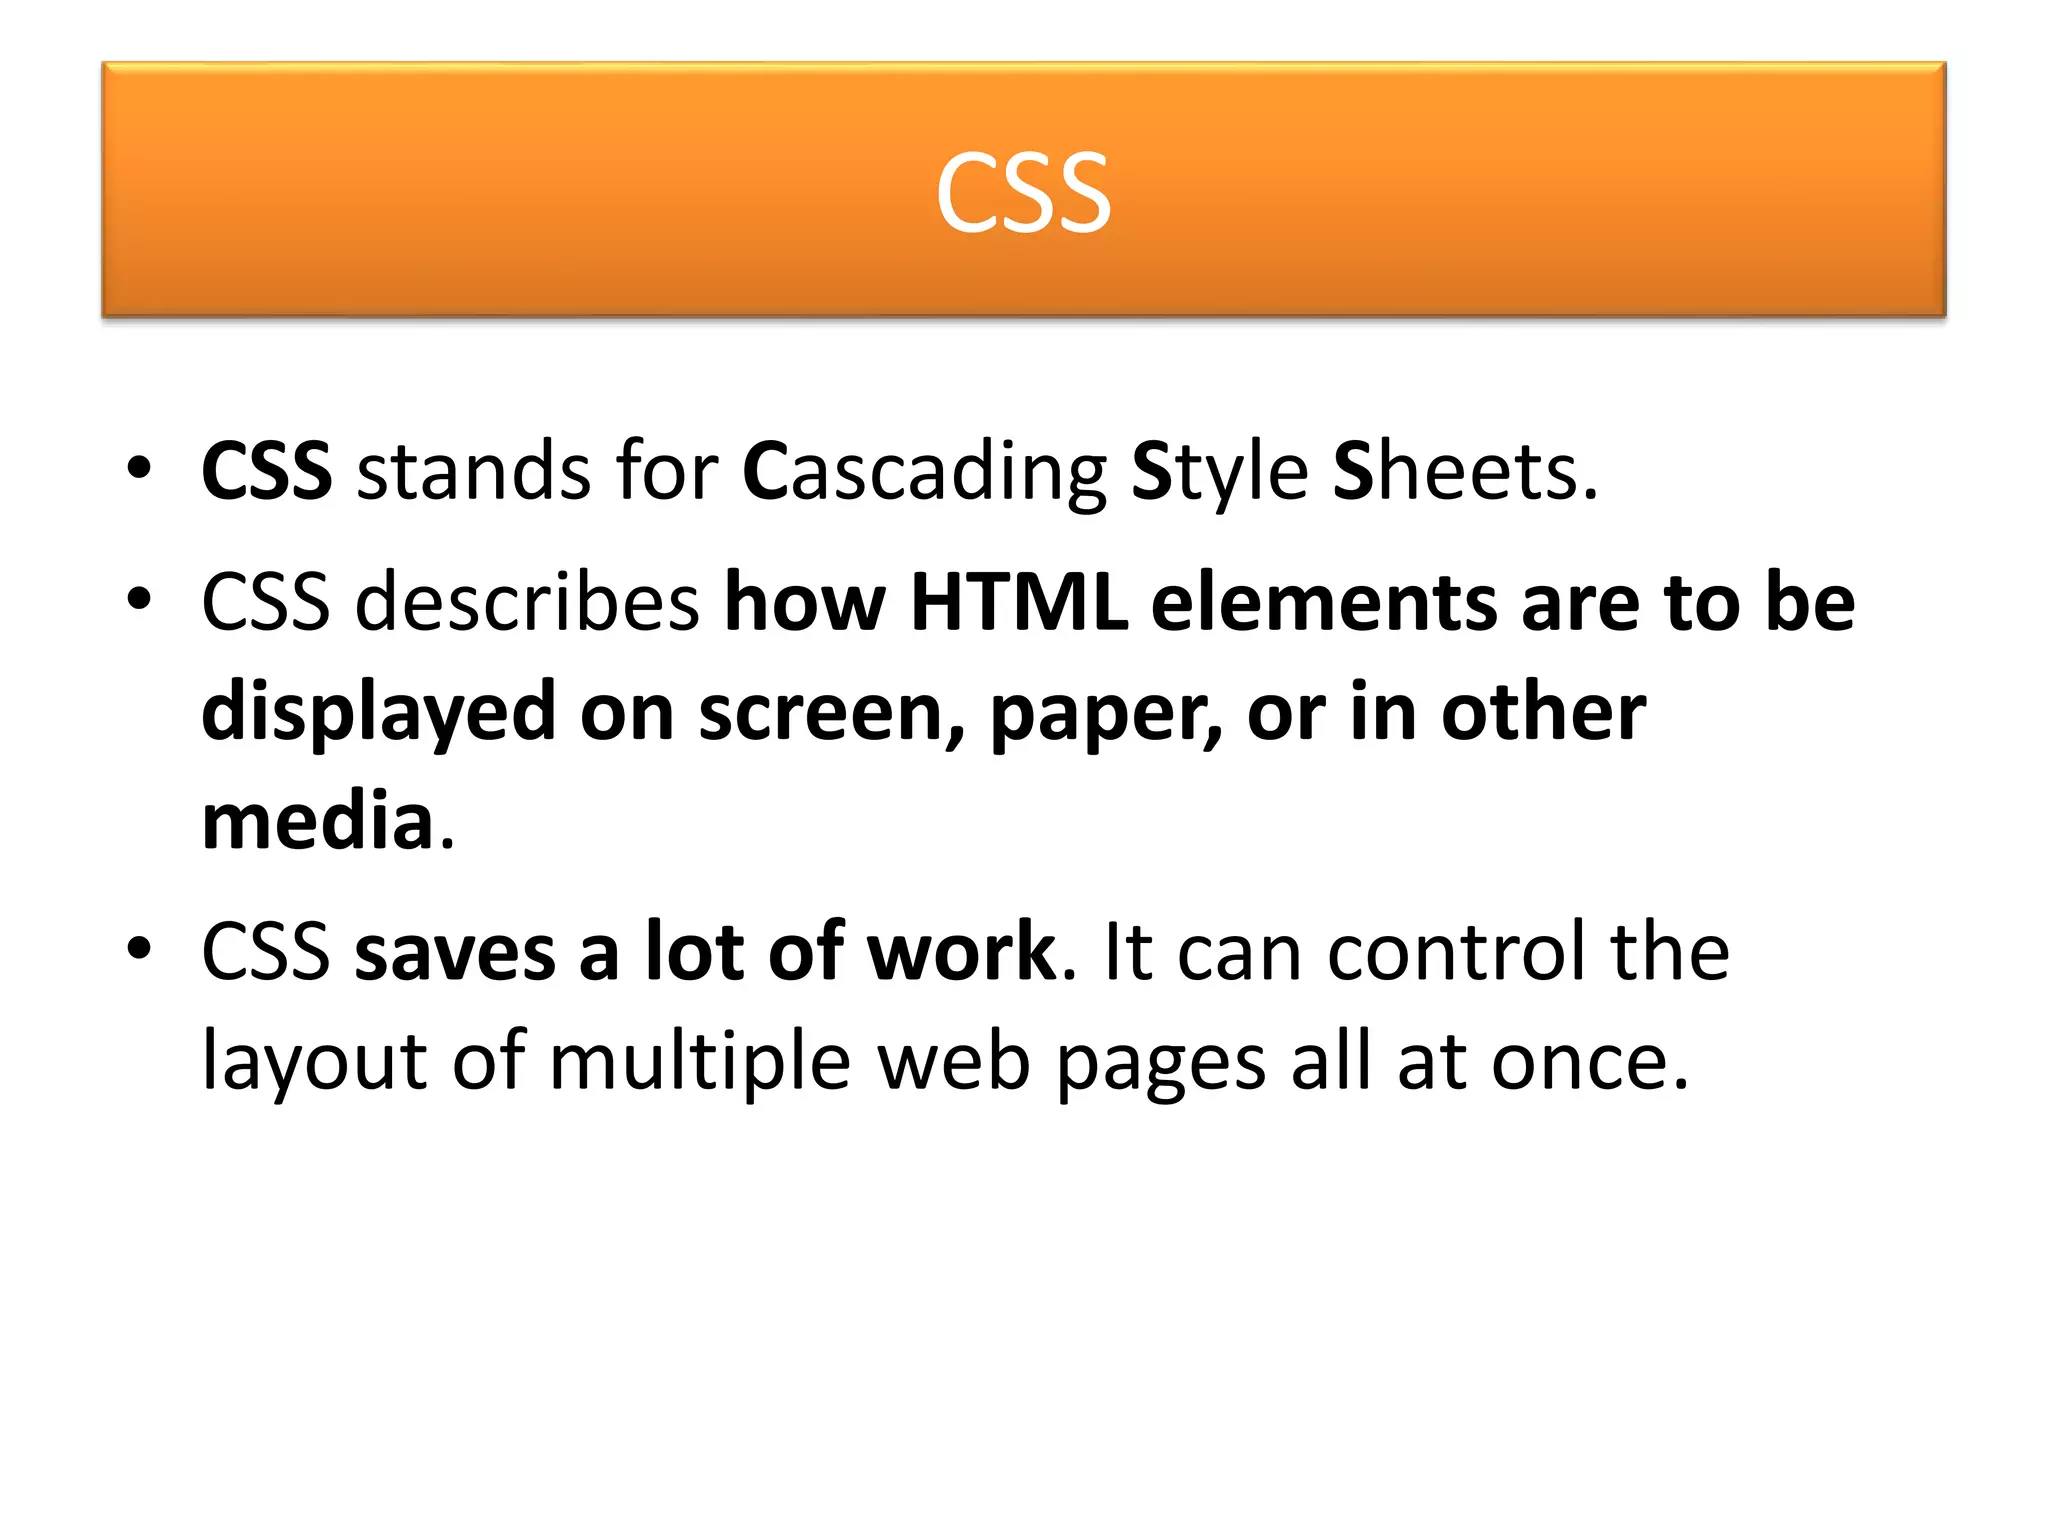
Form elements like <input>, <select>, <textarea> with various types.Common attributes for form elements: value, readonly, disabled, maxlength, etc.Introduction to CSS, methods to apply styles to HTML.
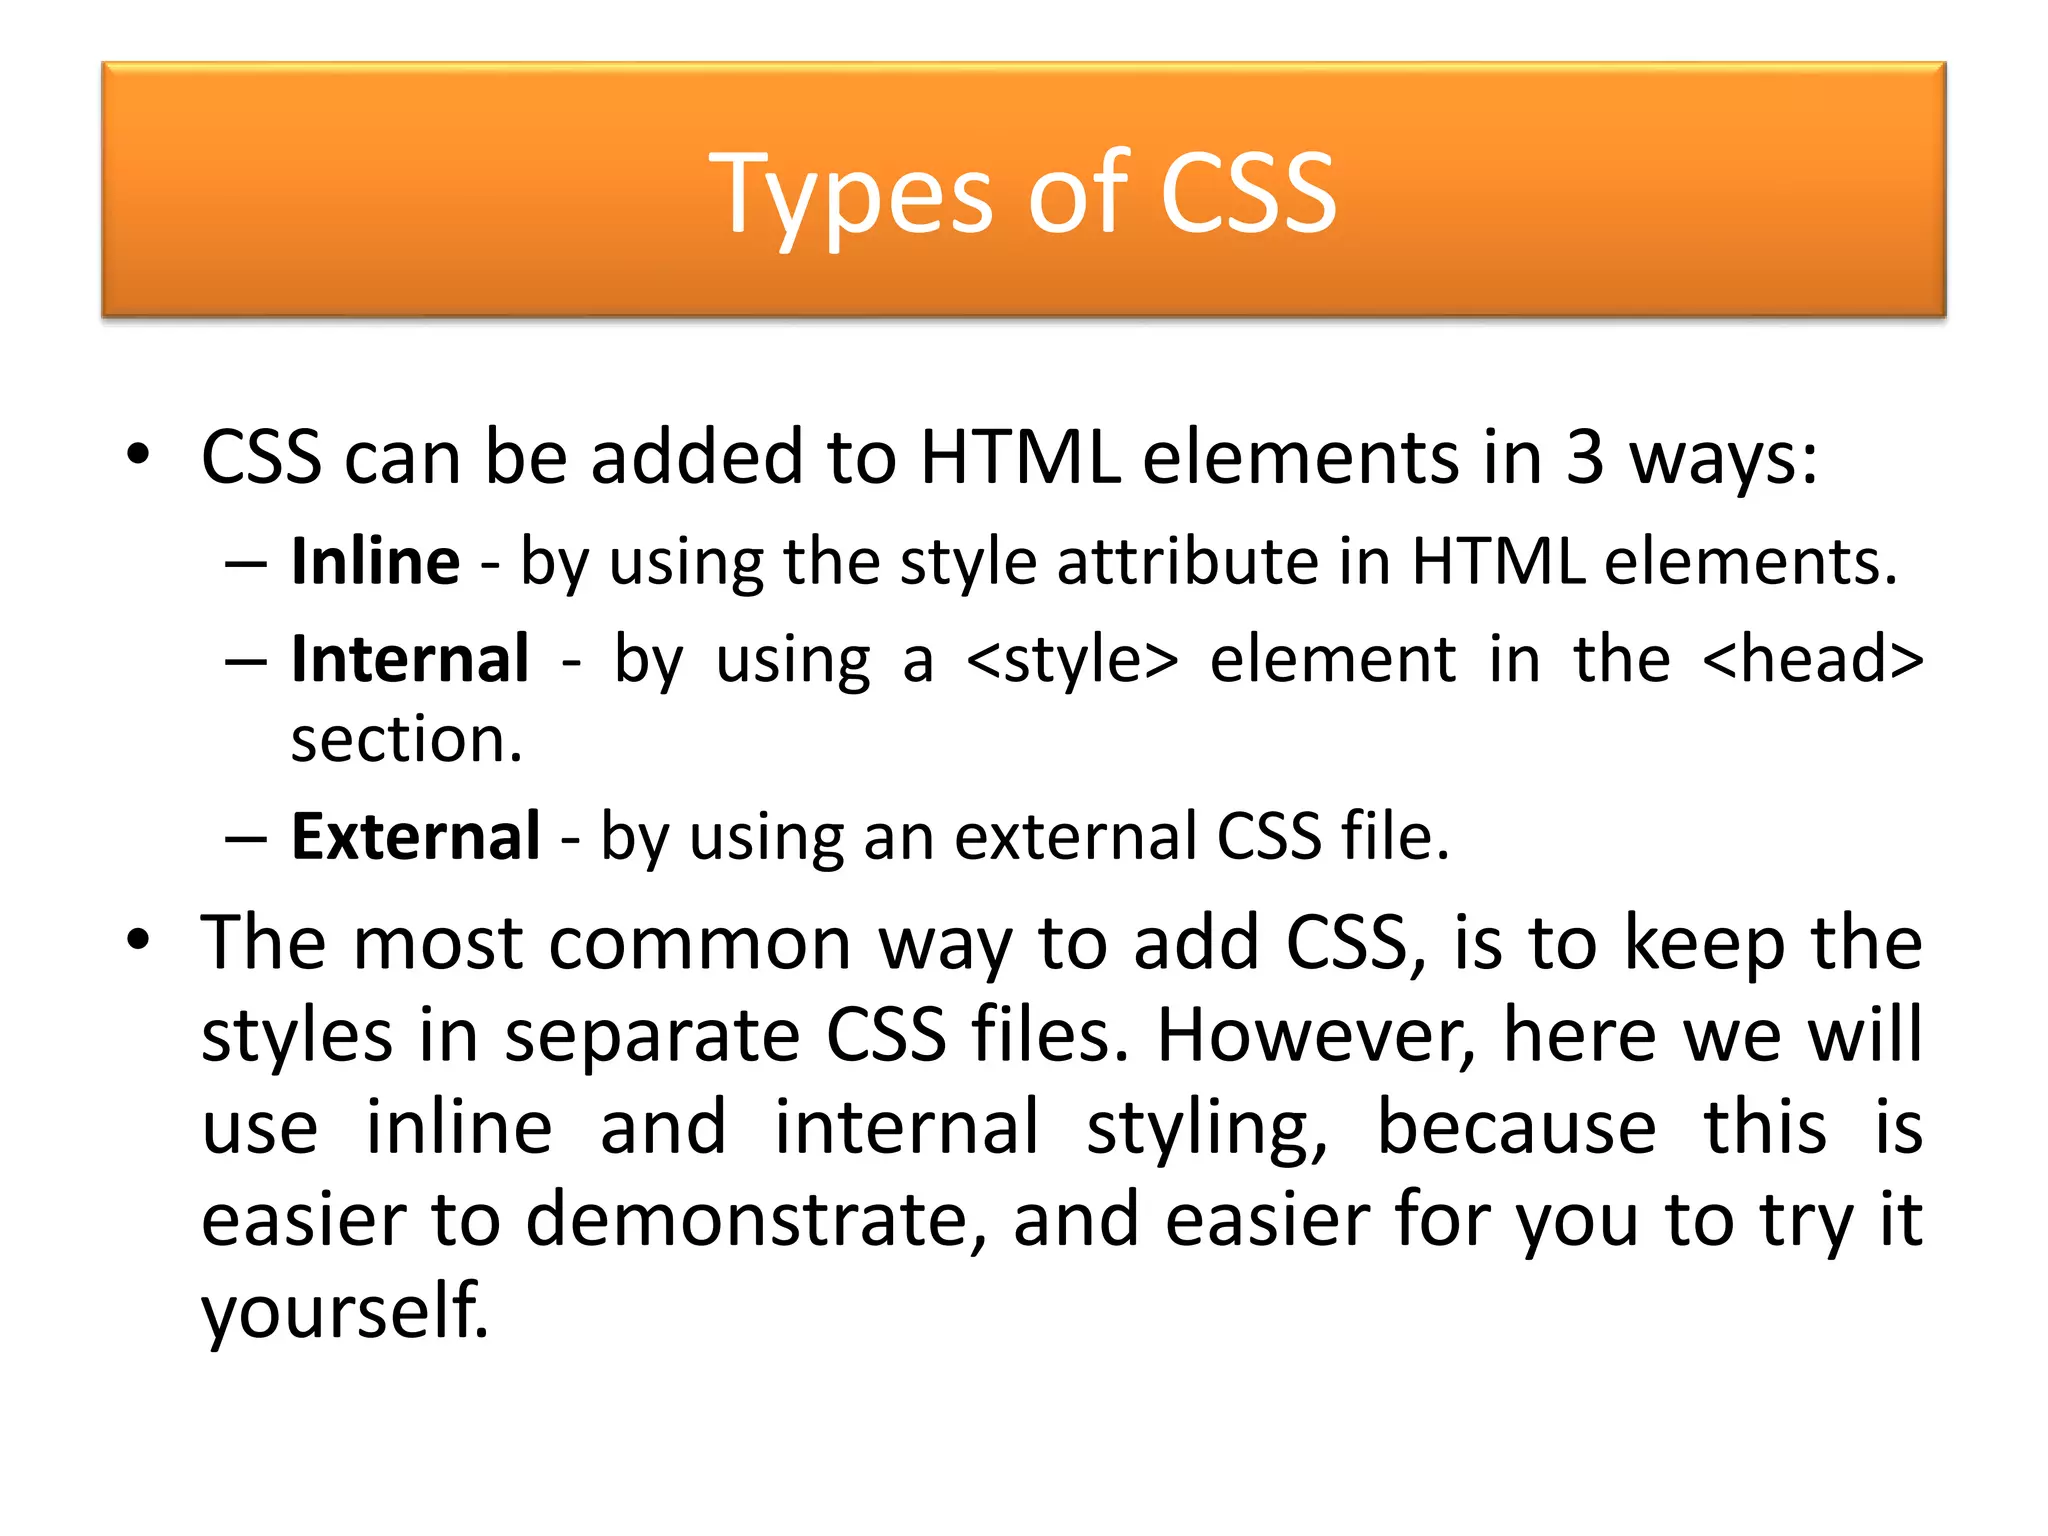
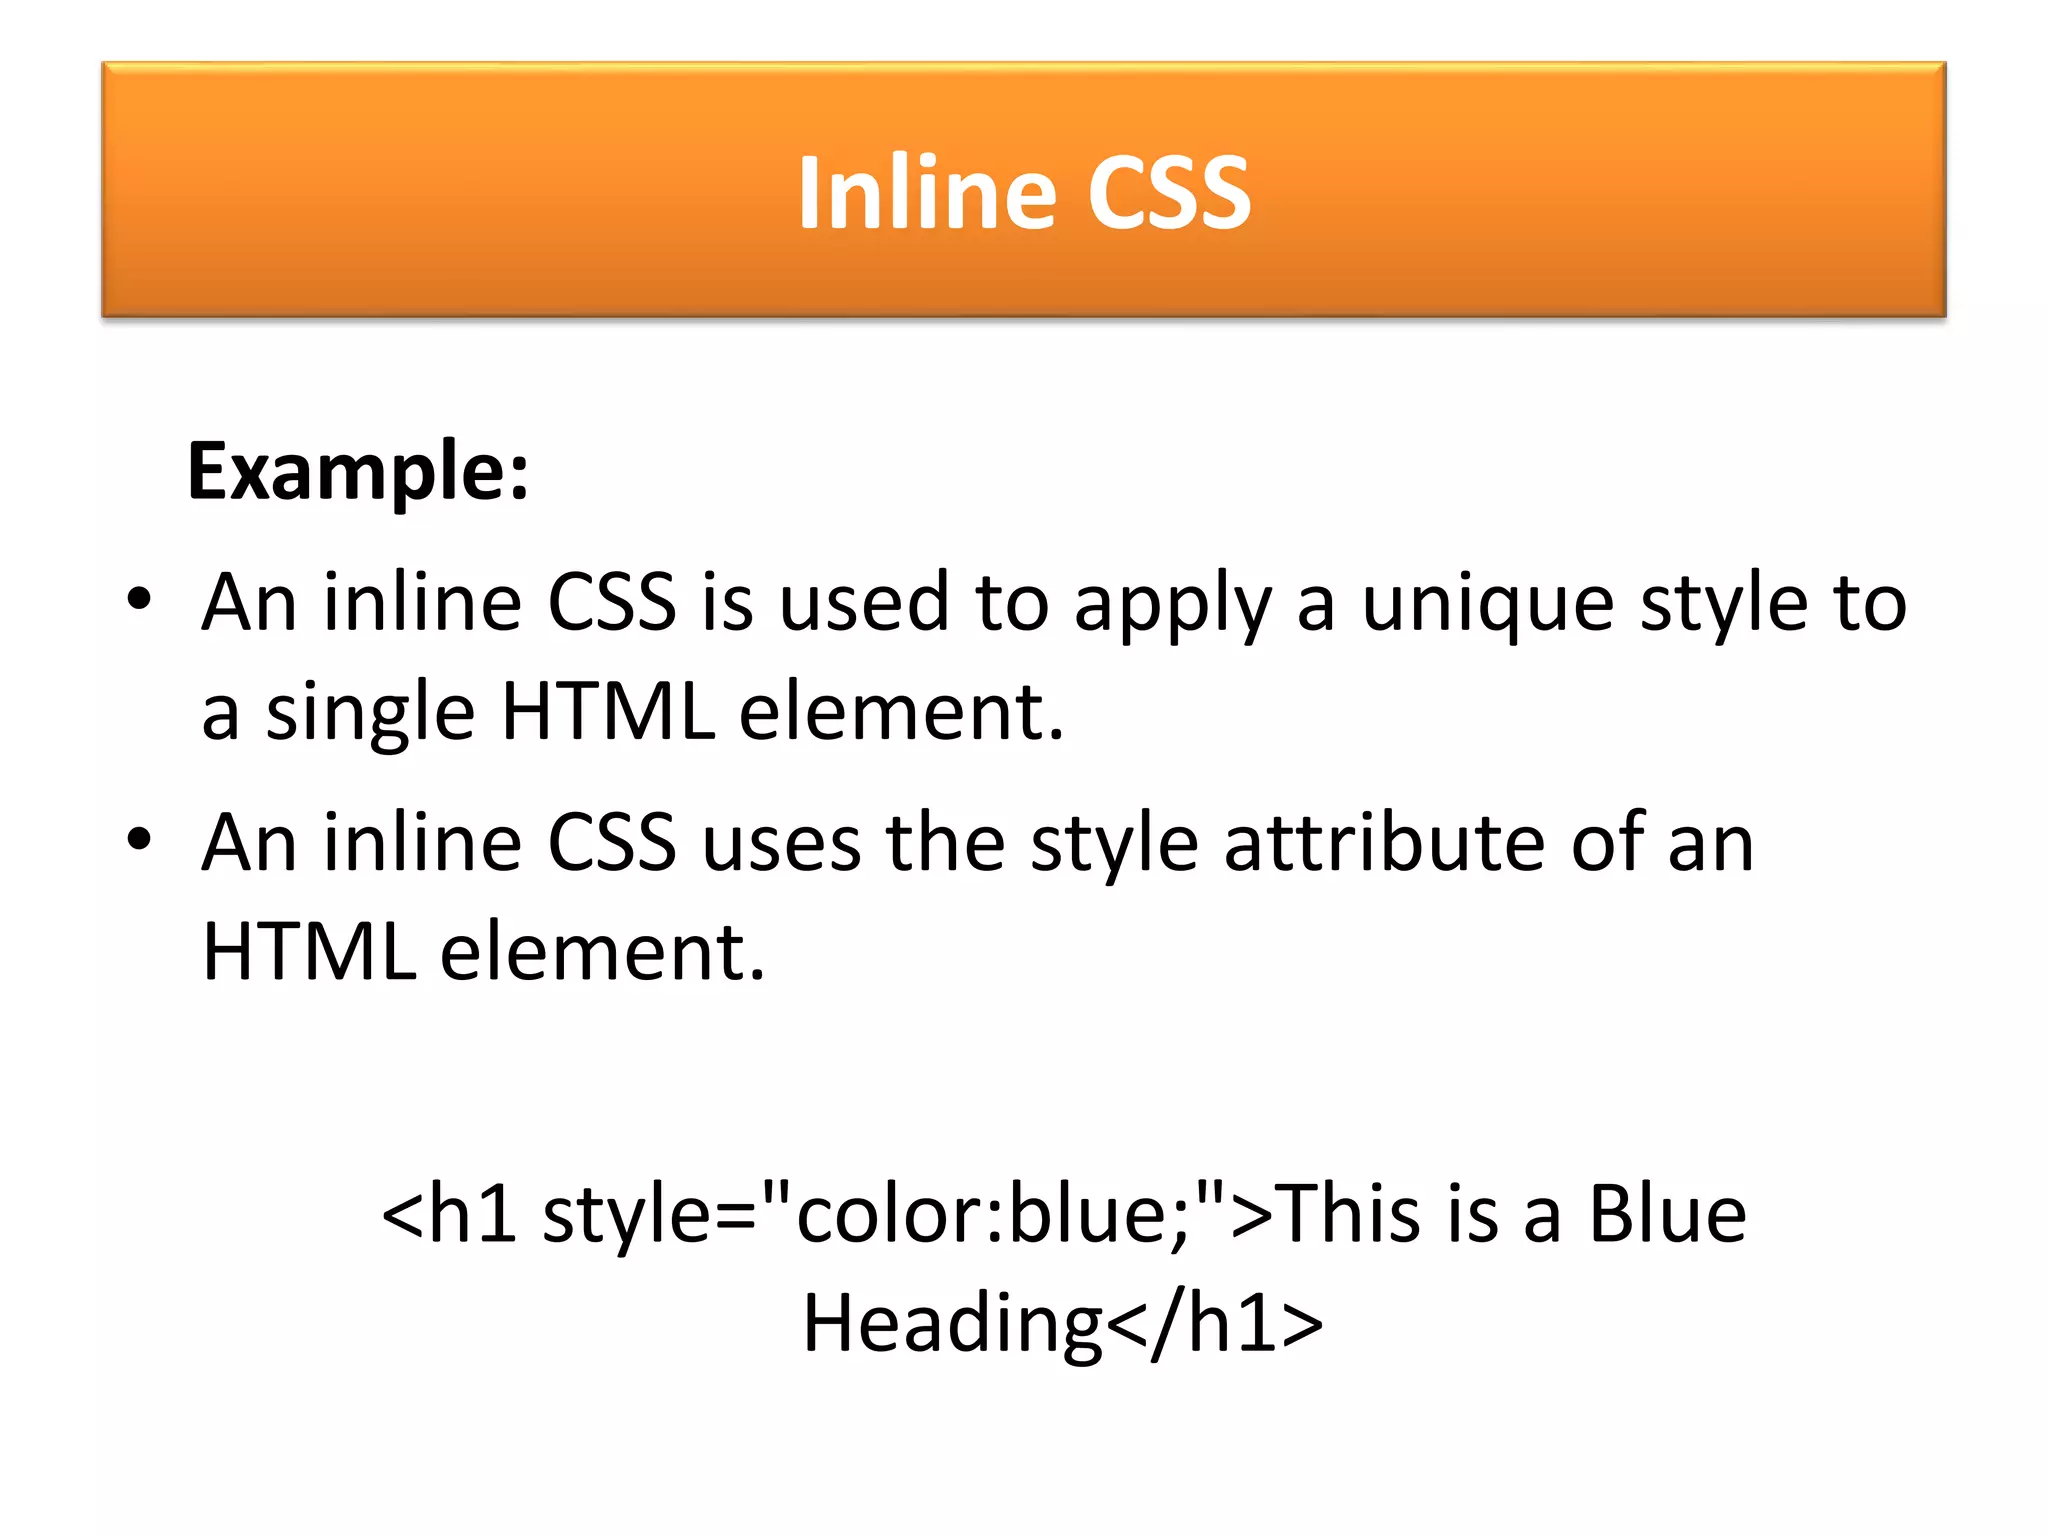
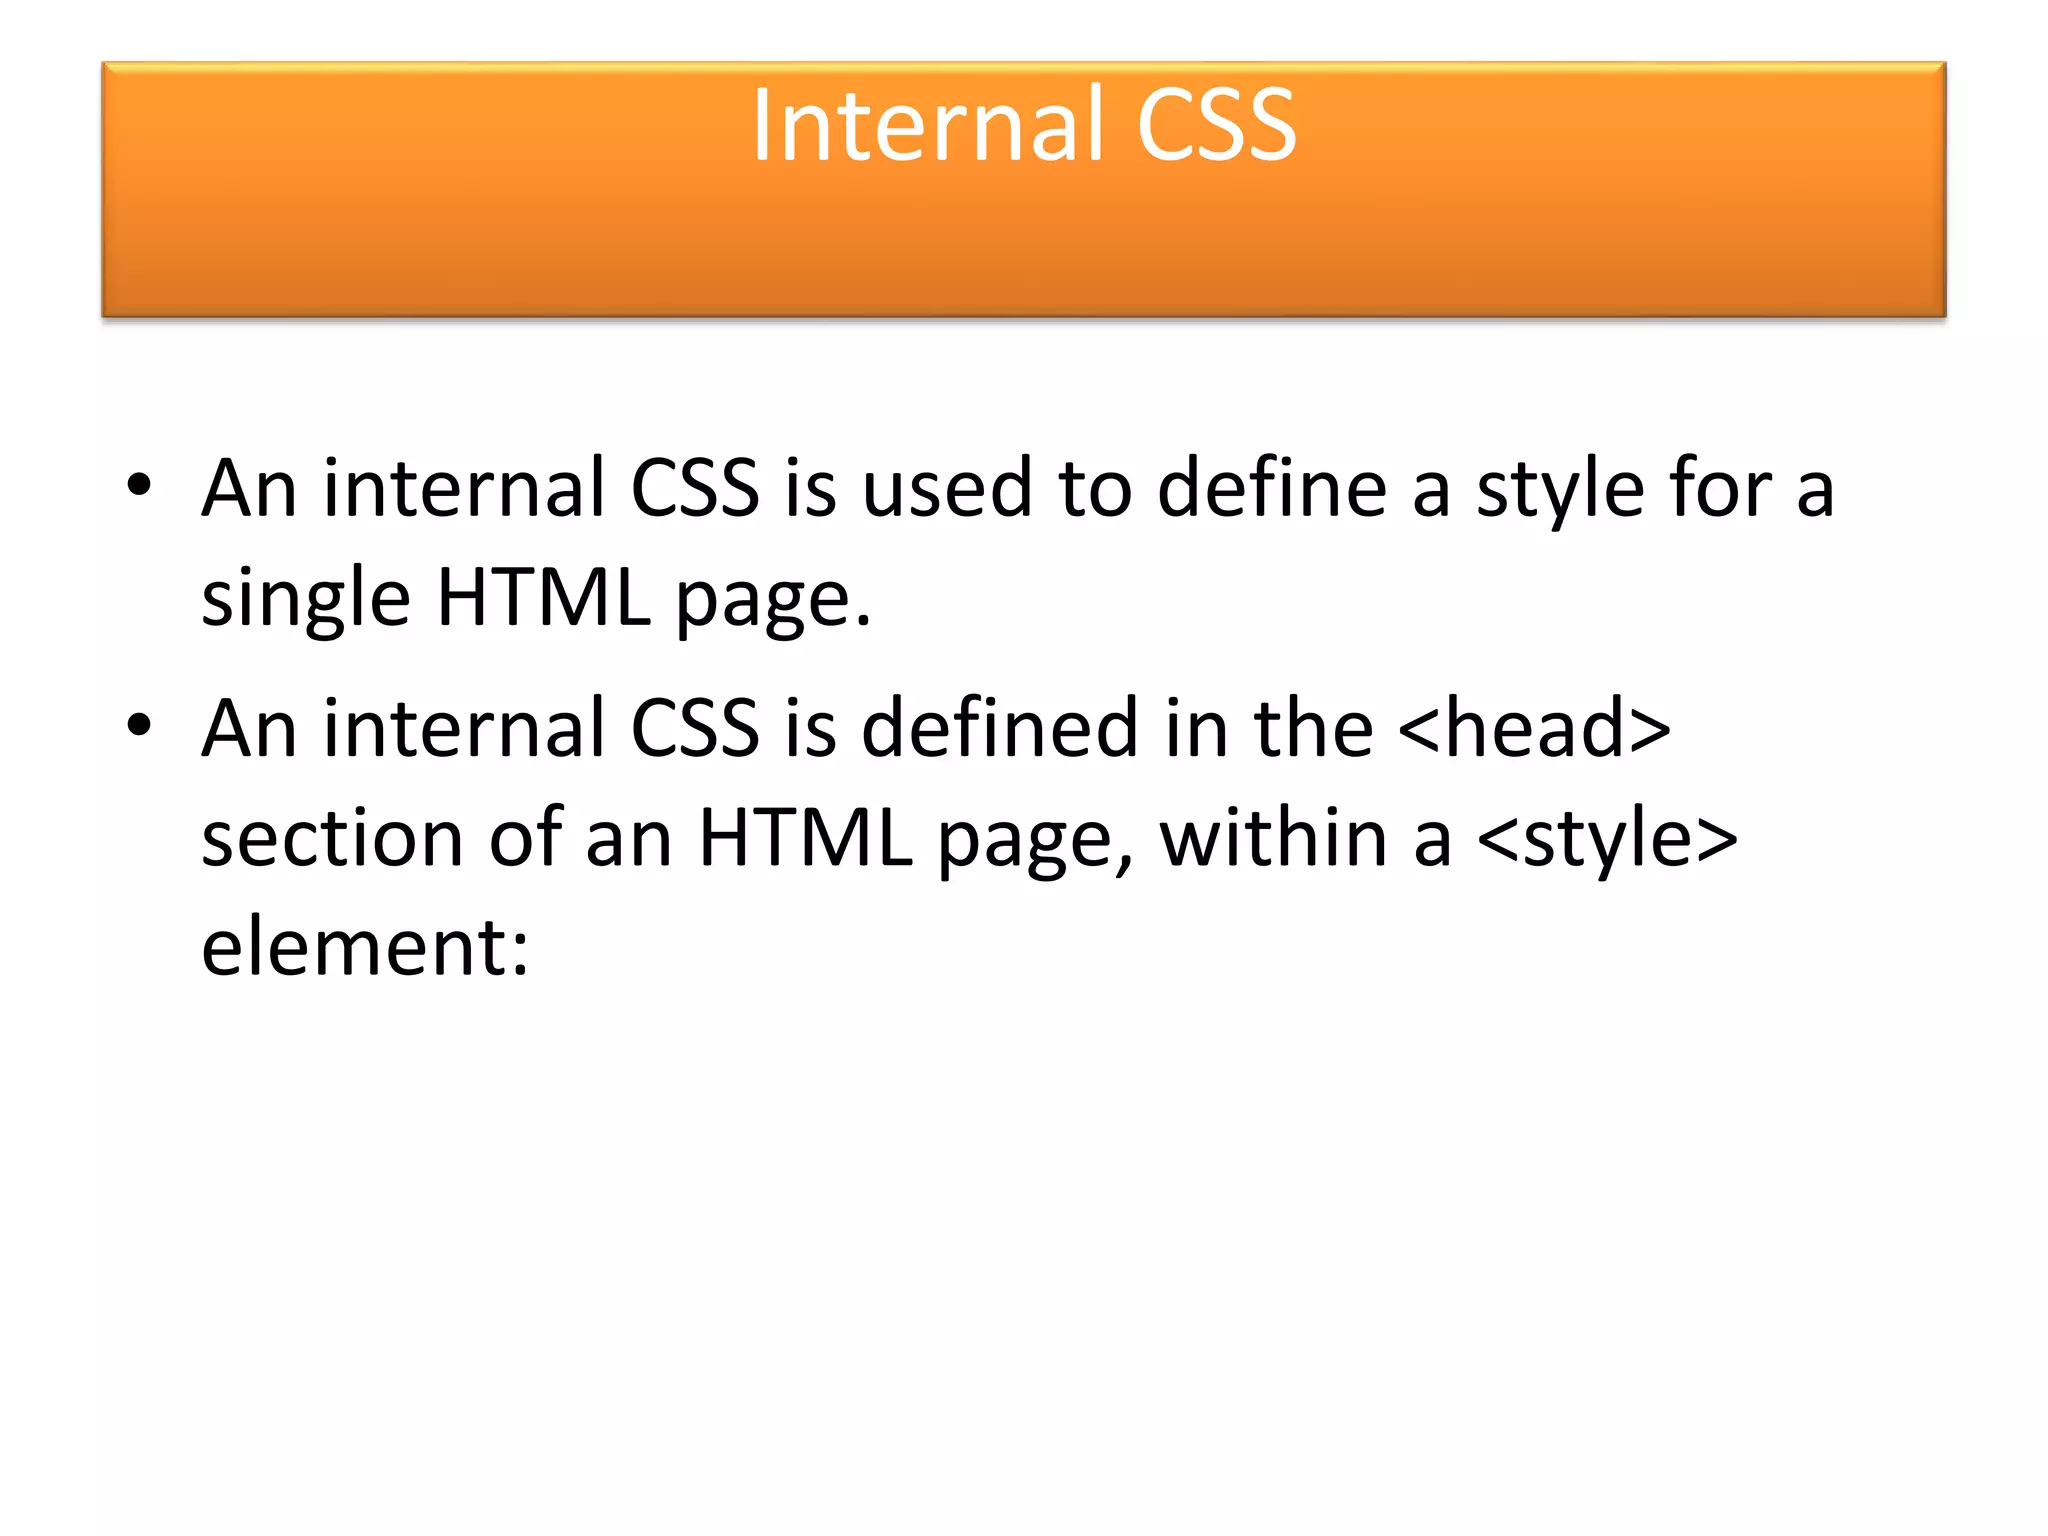
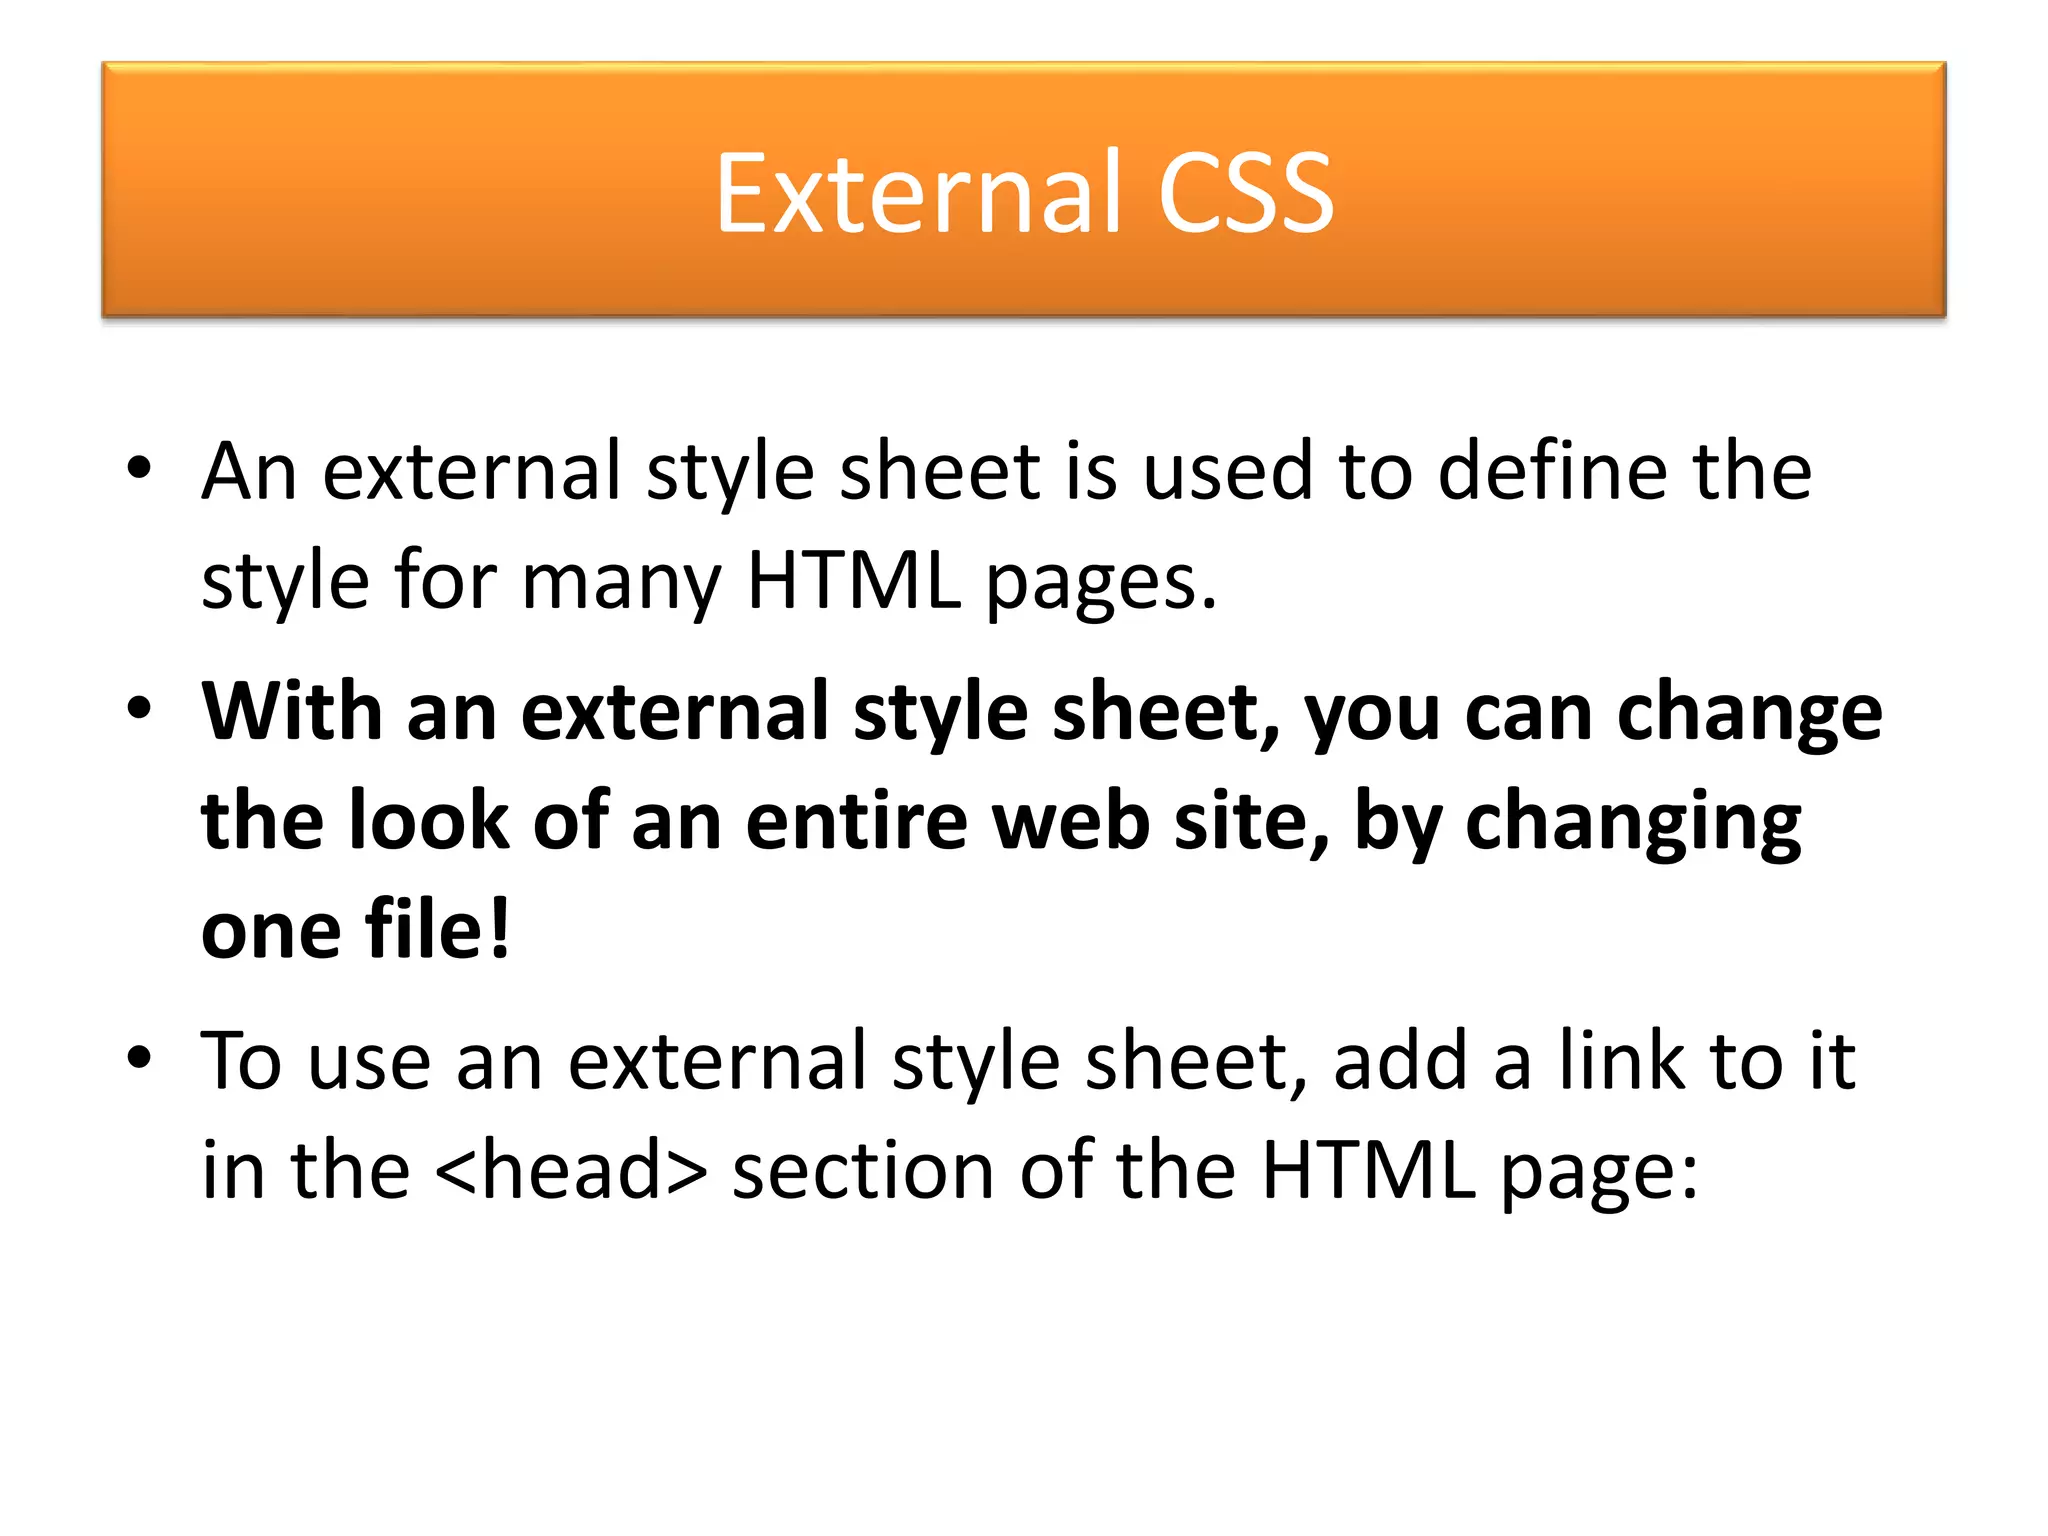
Methods of CSS application including inline, internal, and external styles.
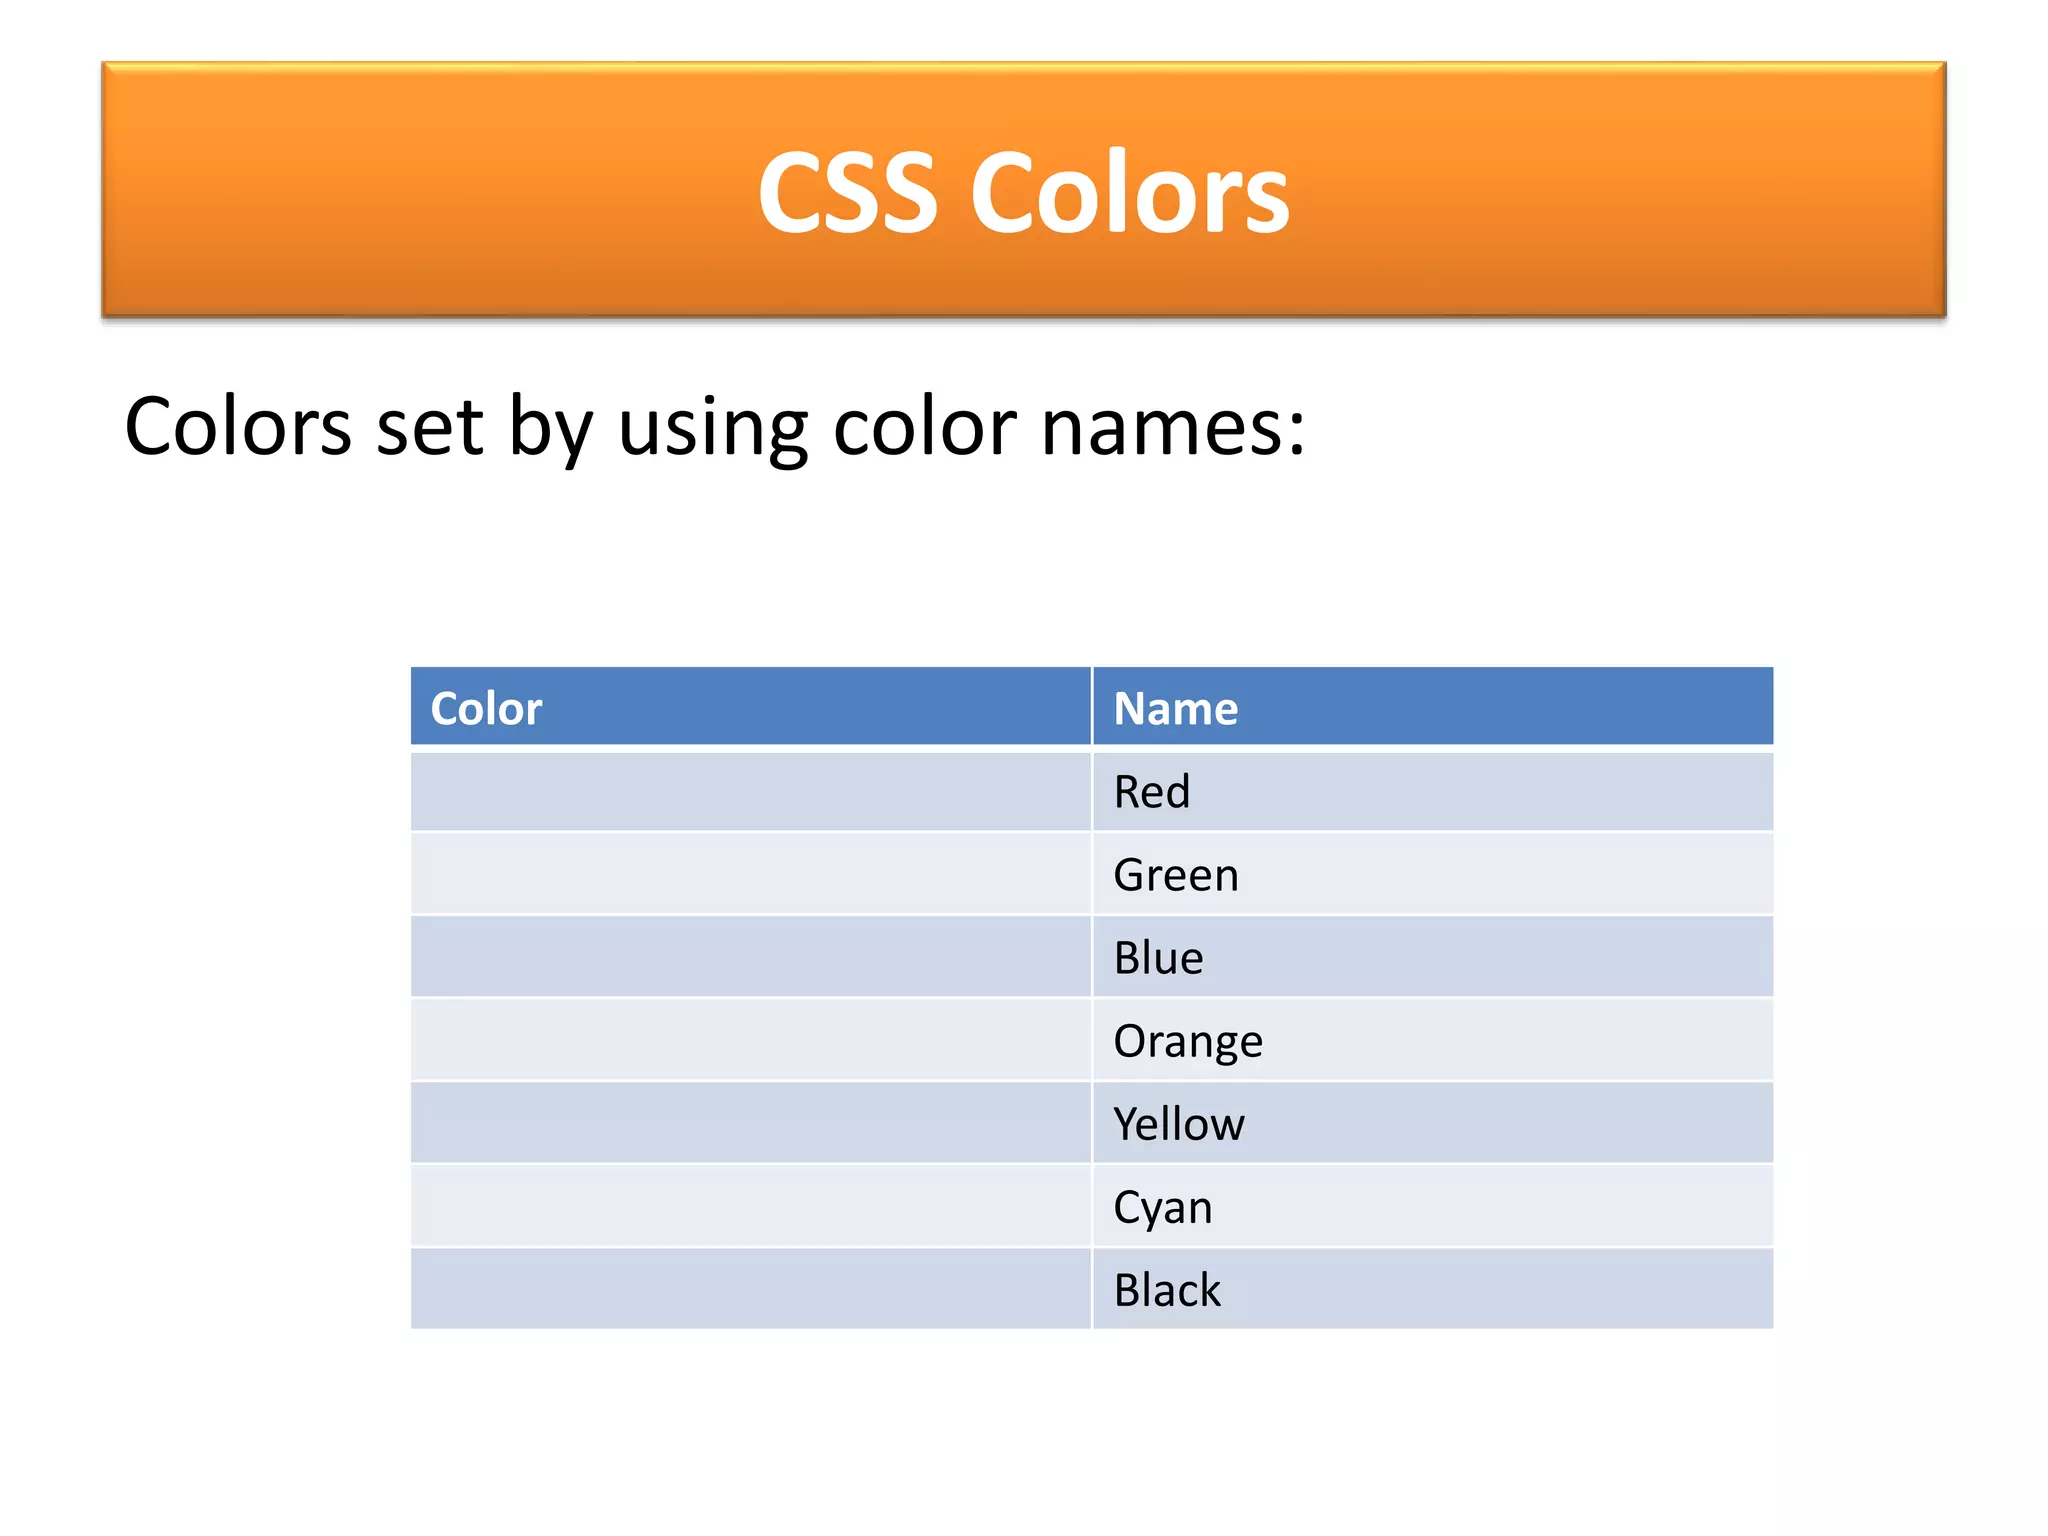
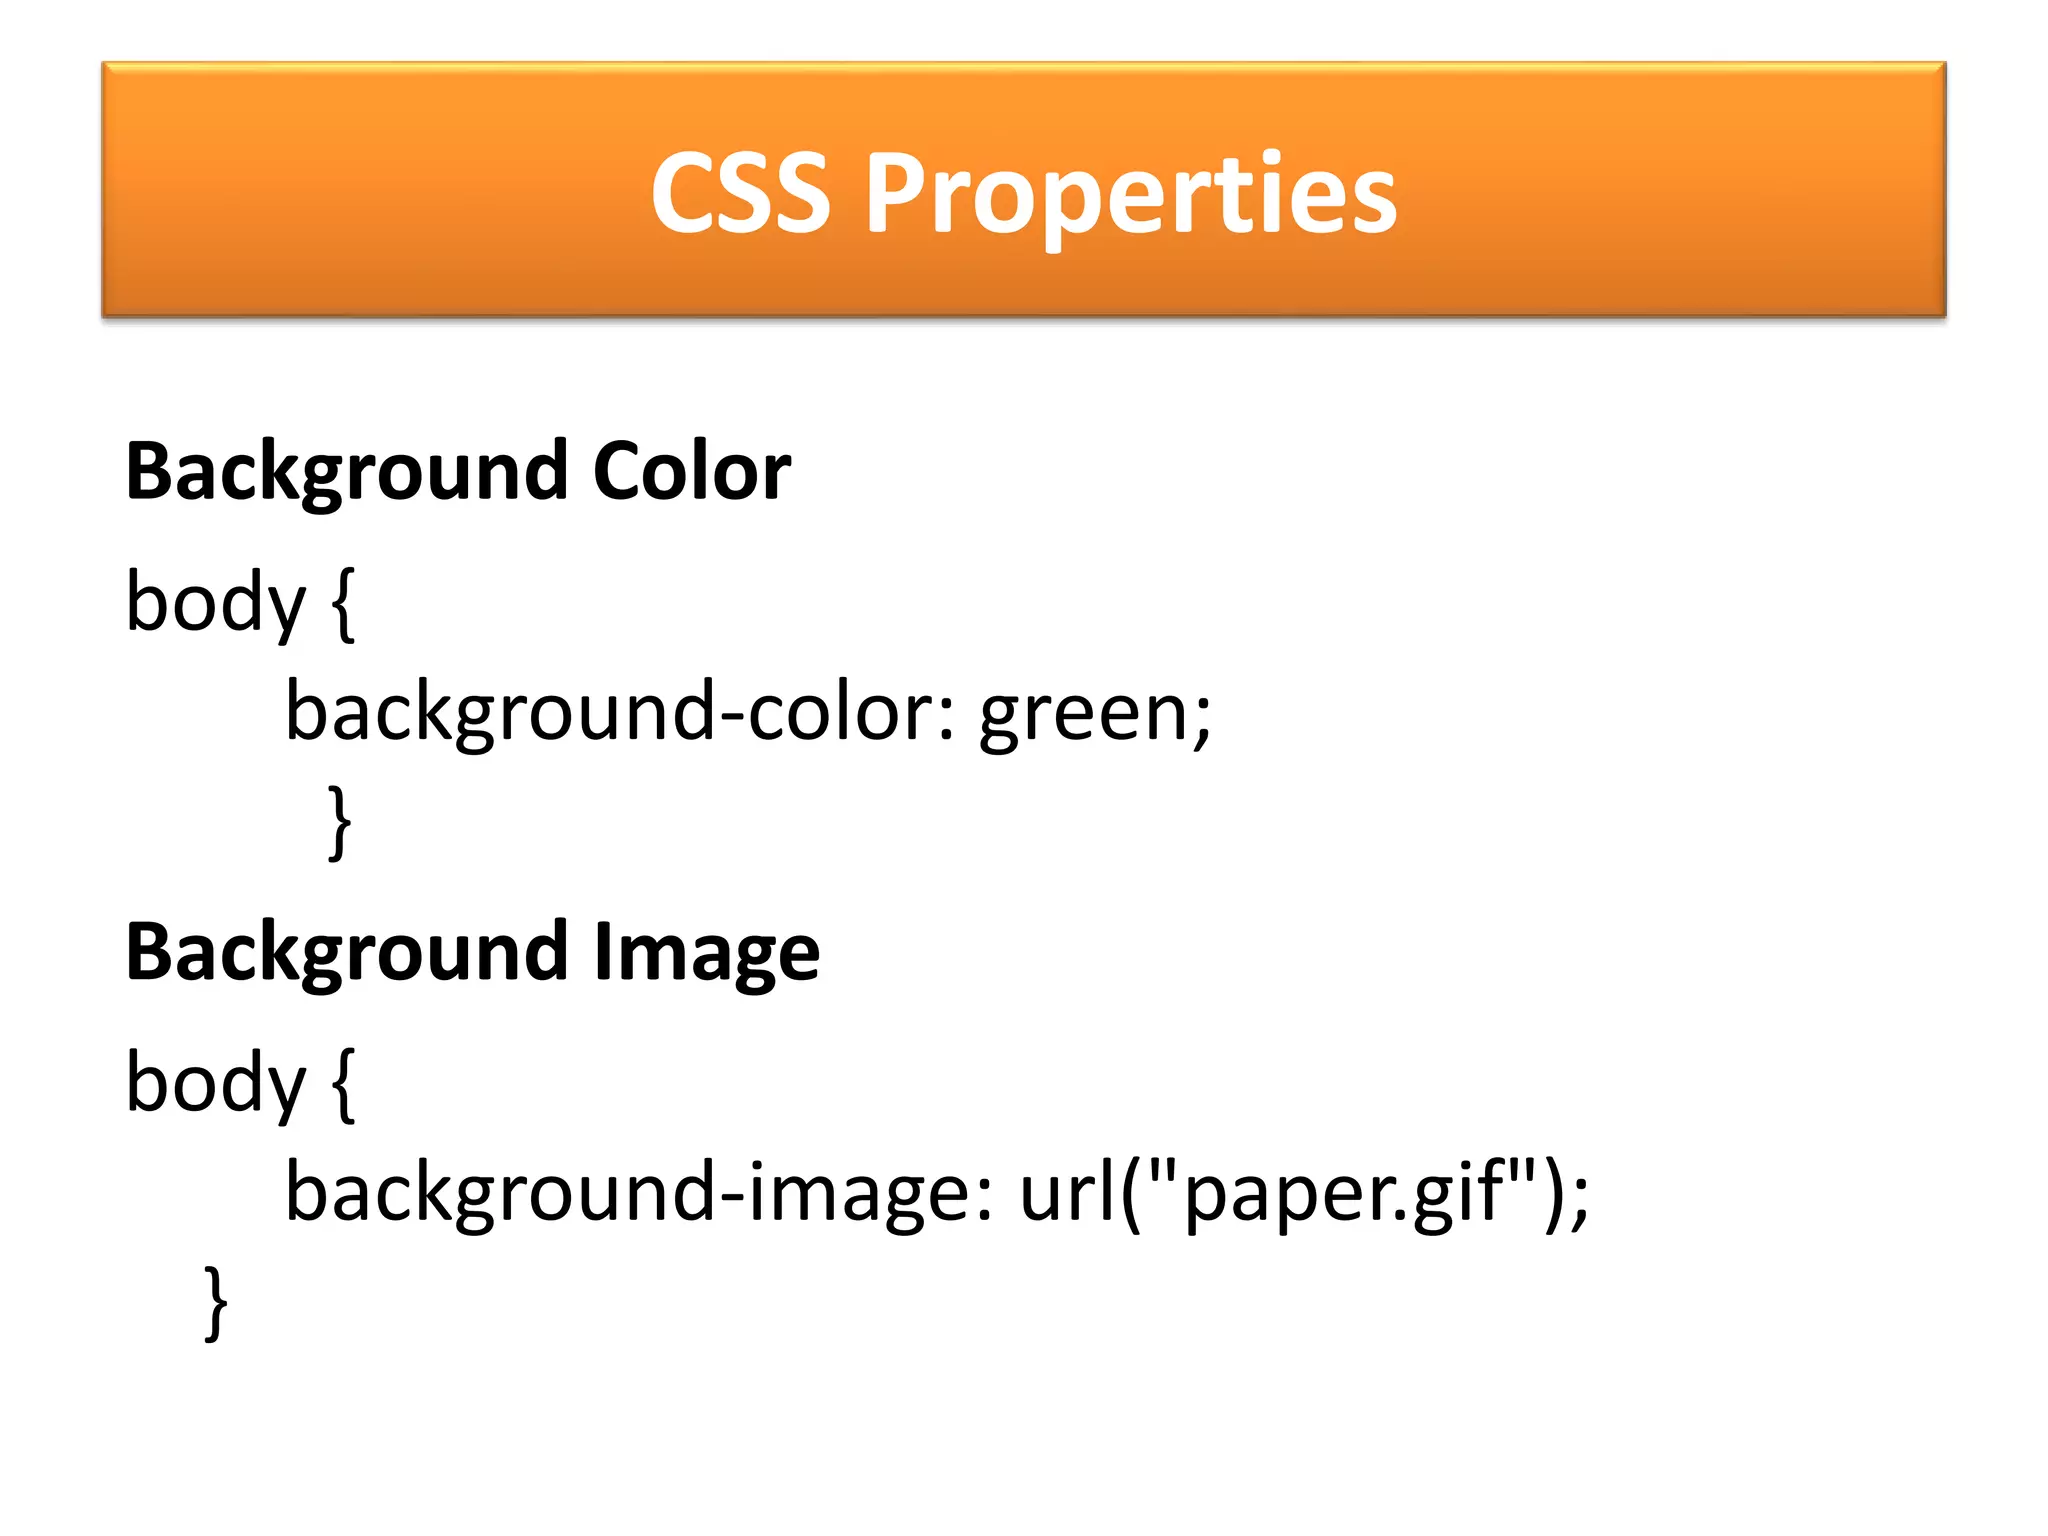
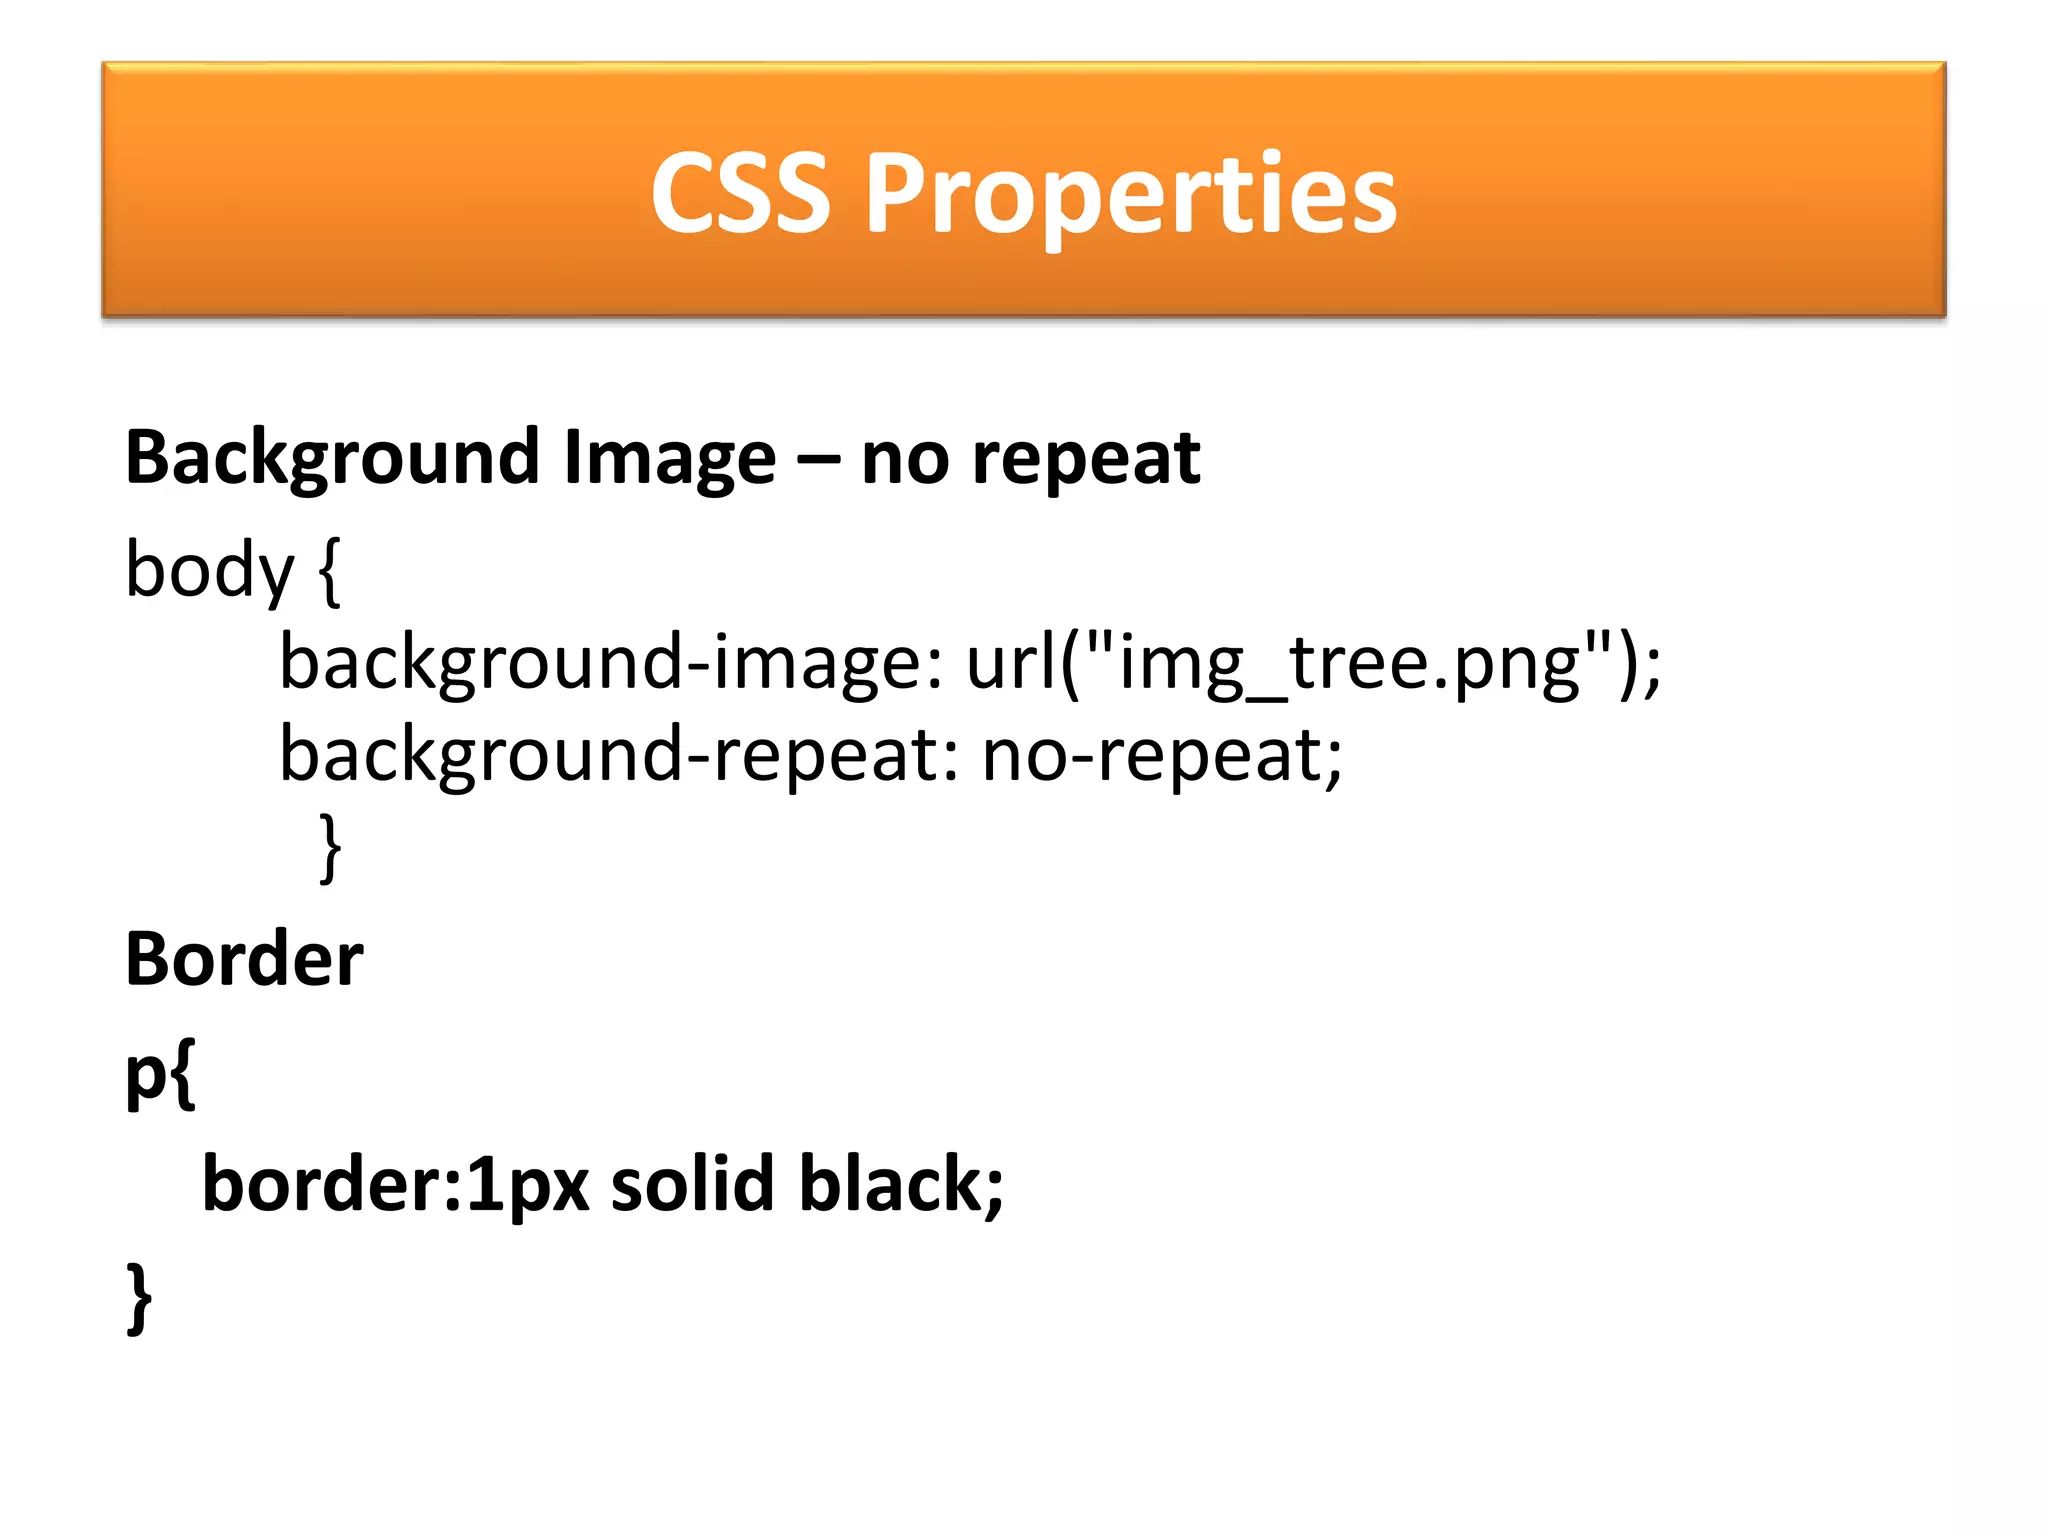
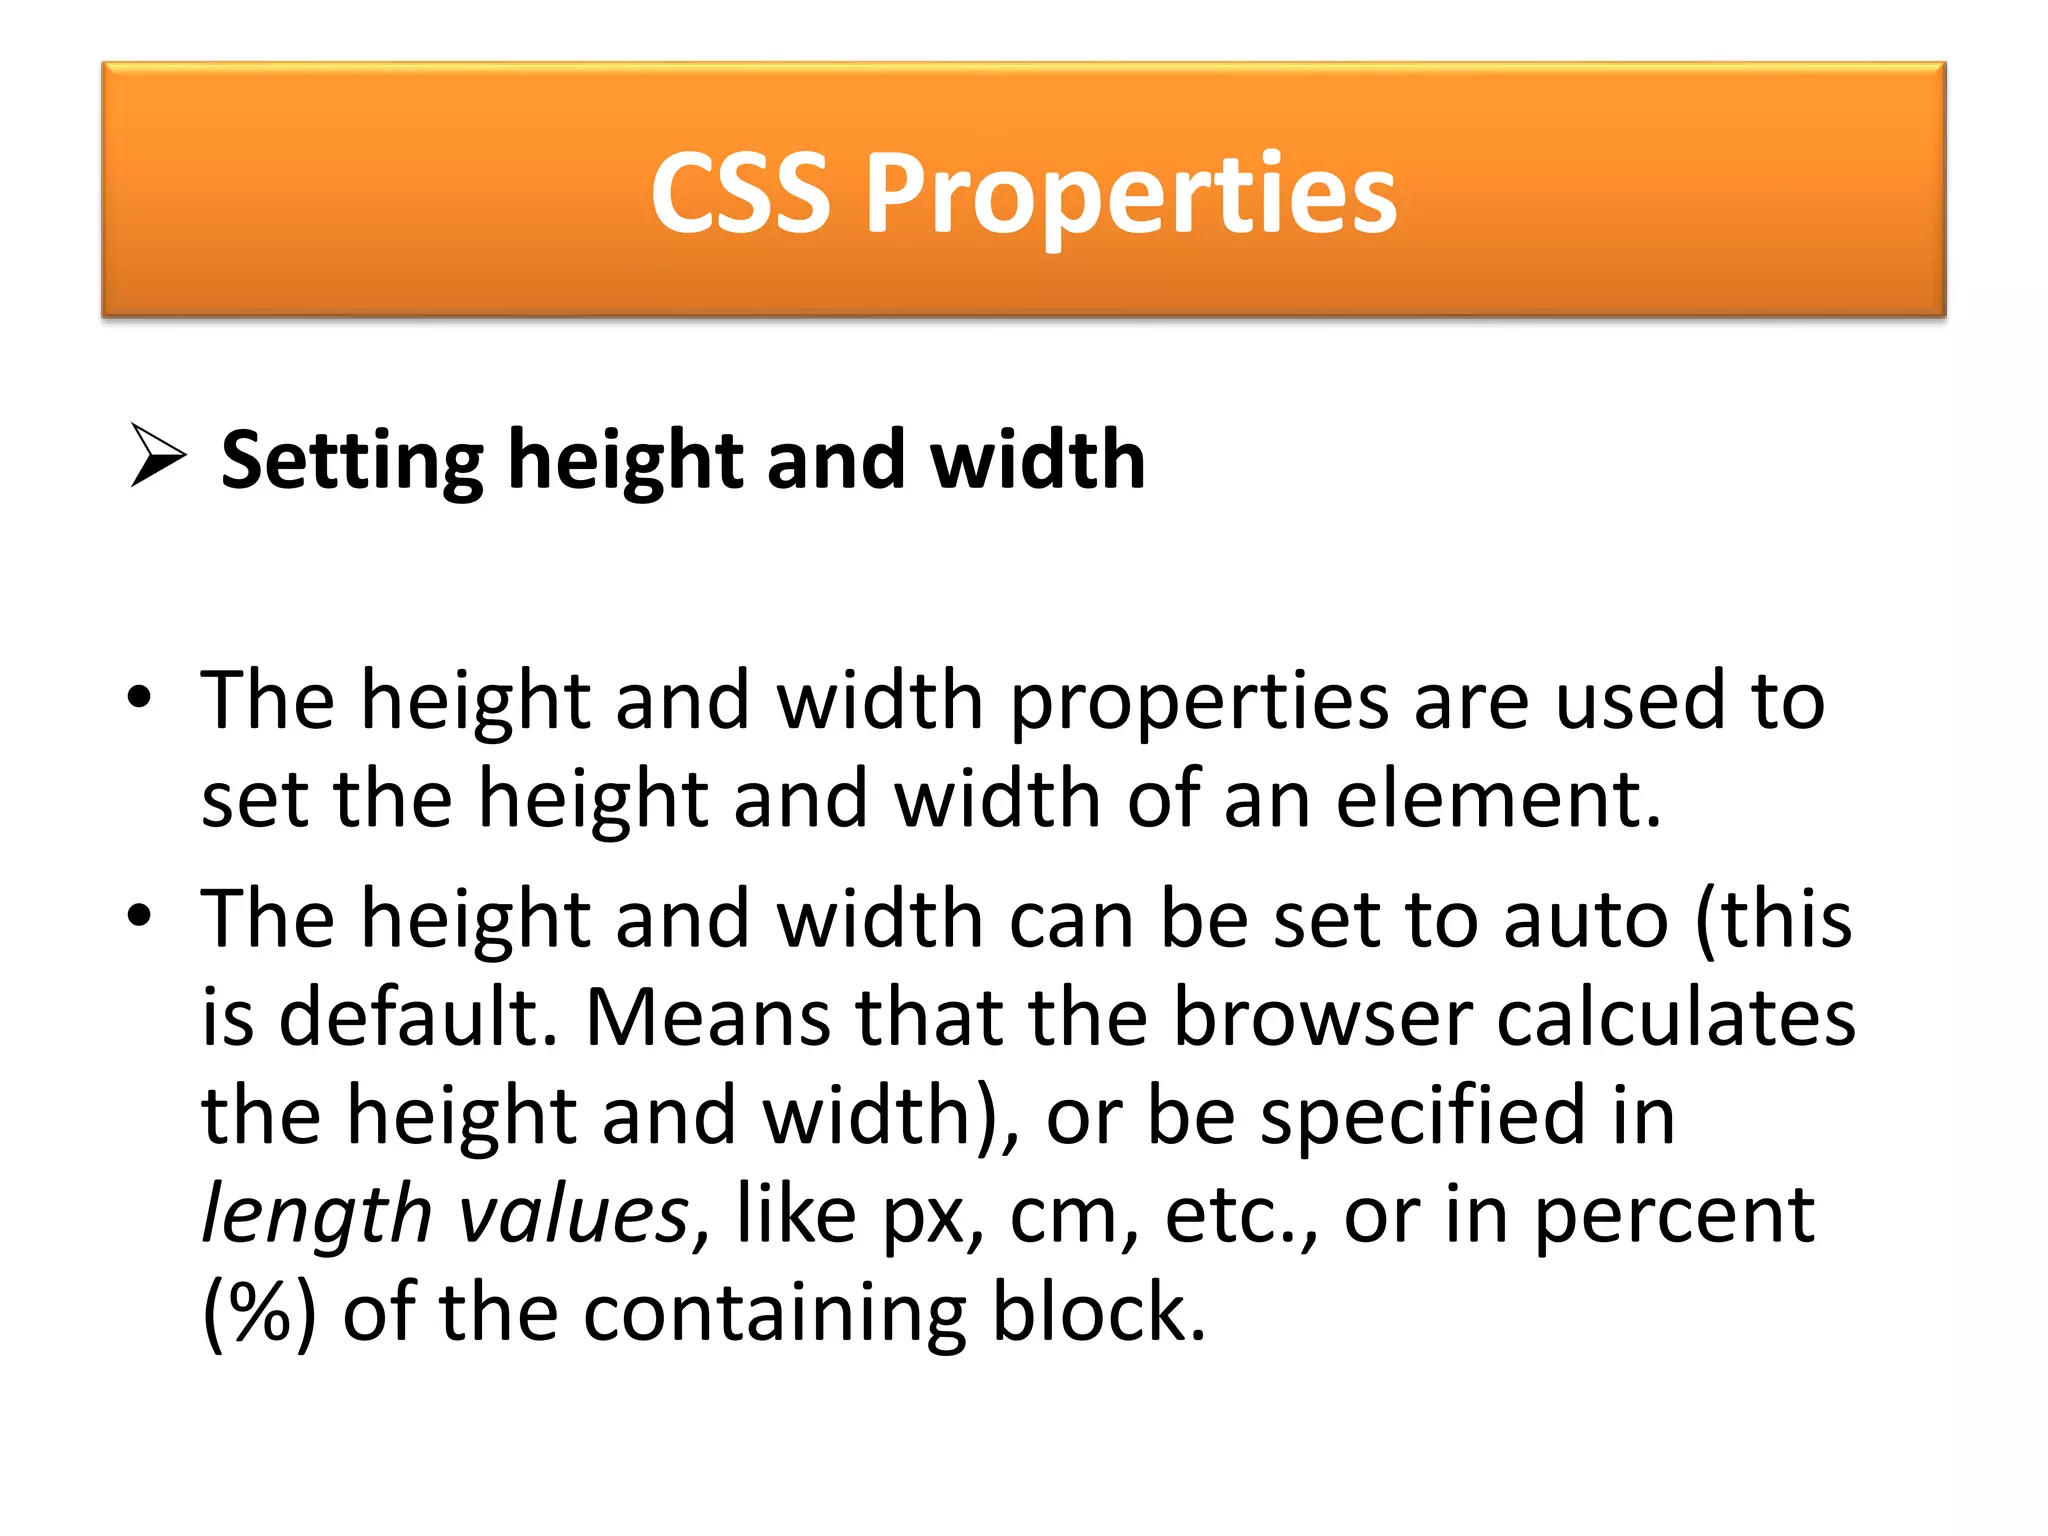
Setting colors and backgrounds in CSS.
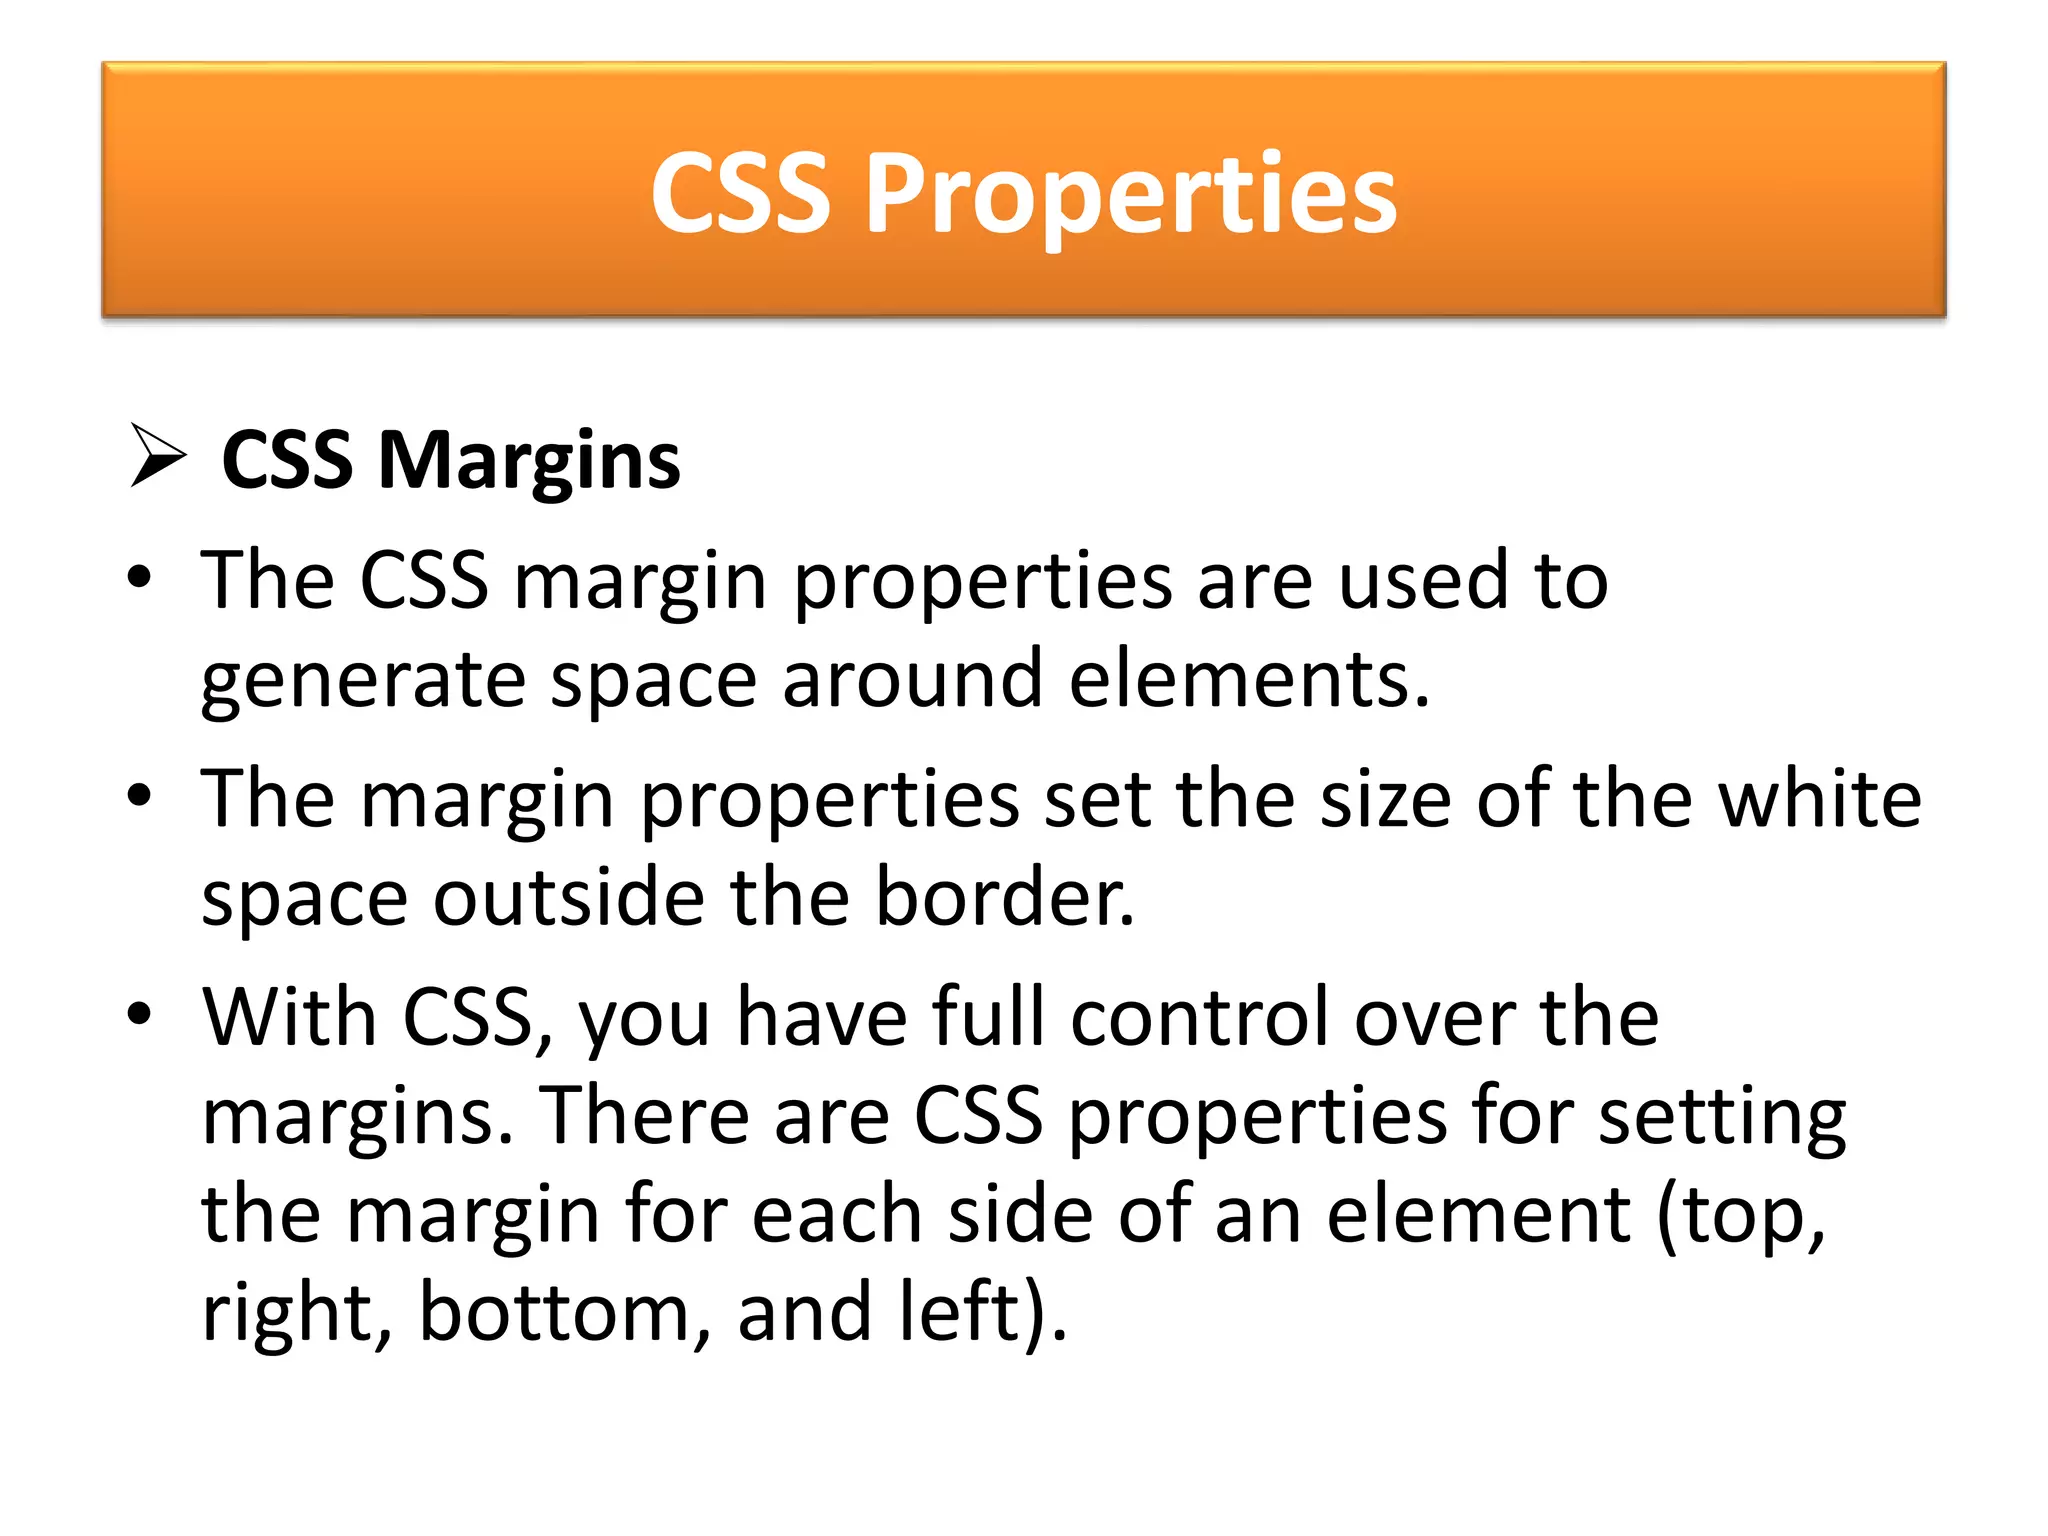
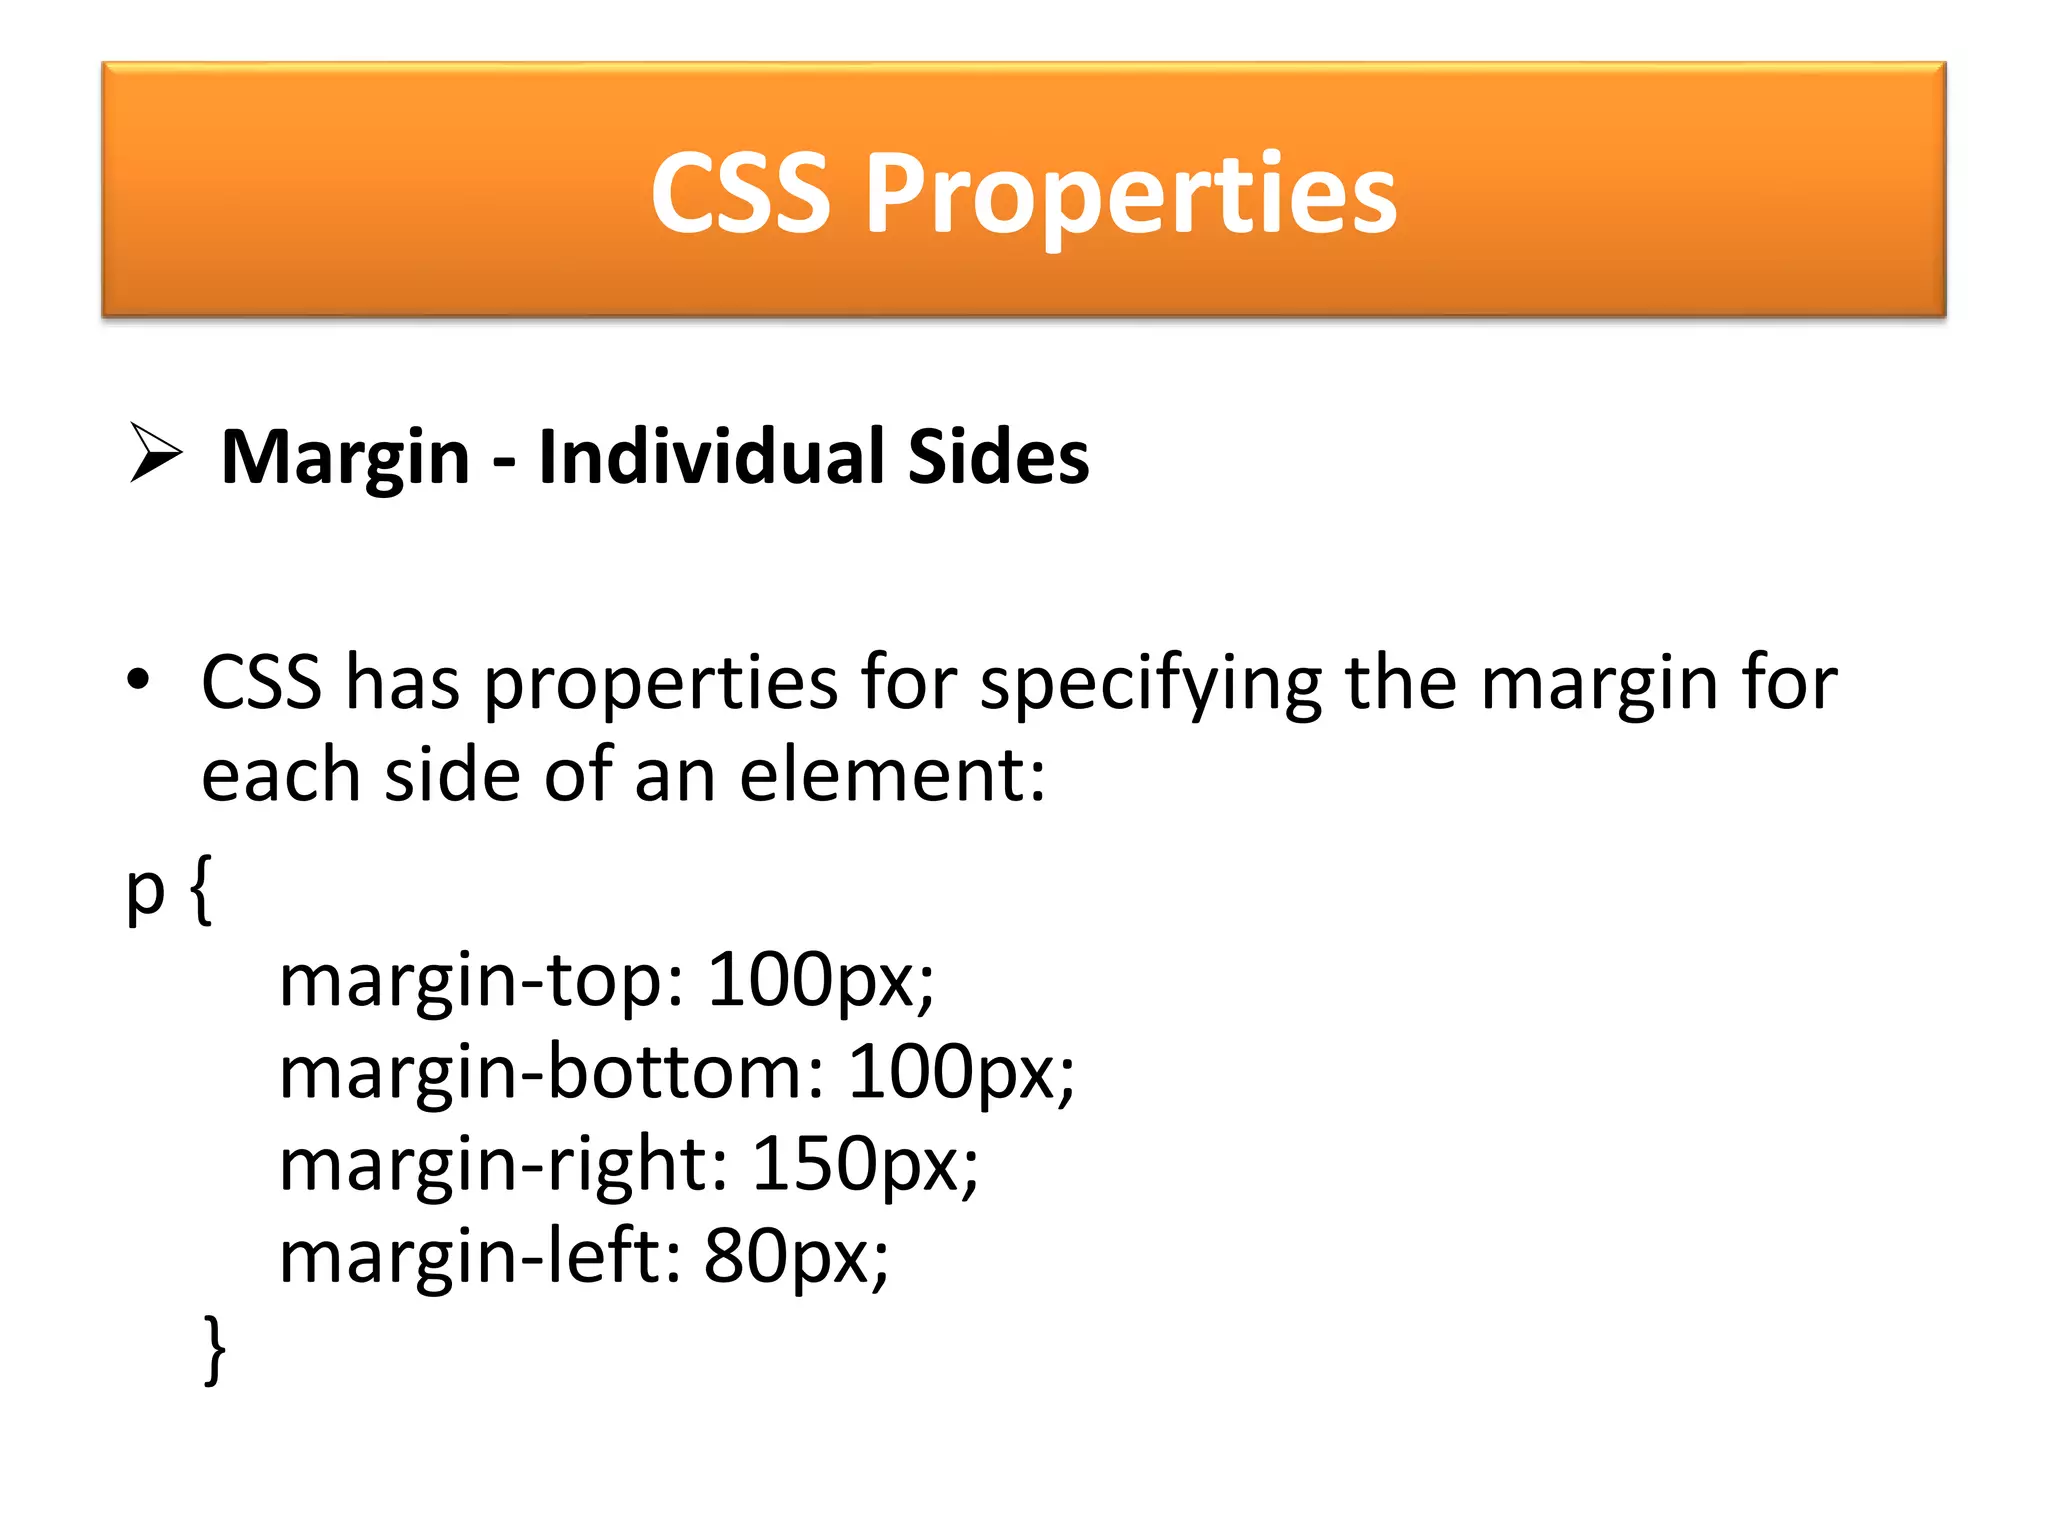
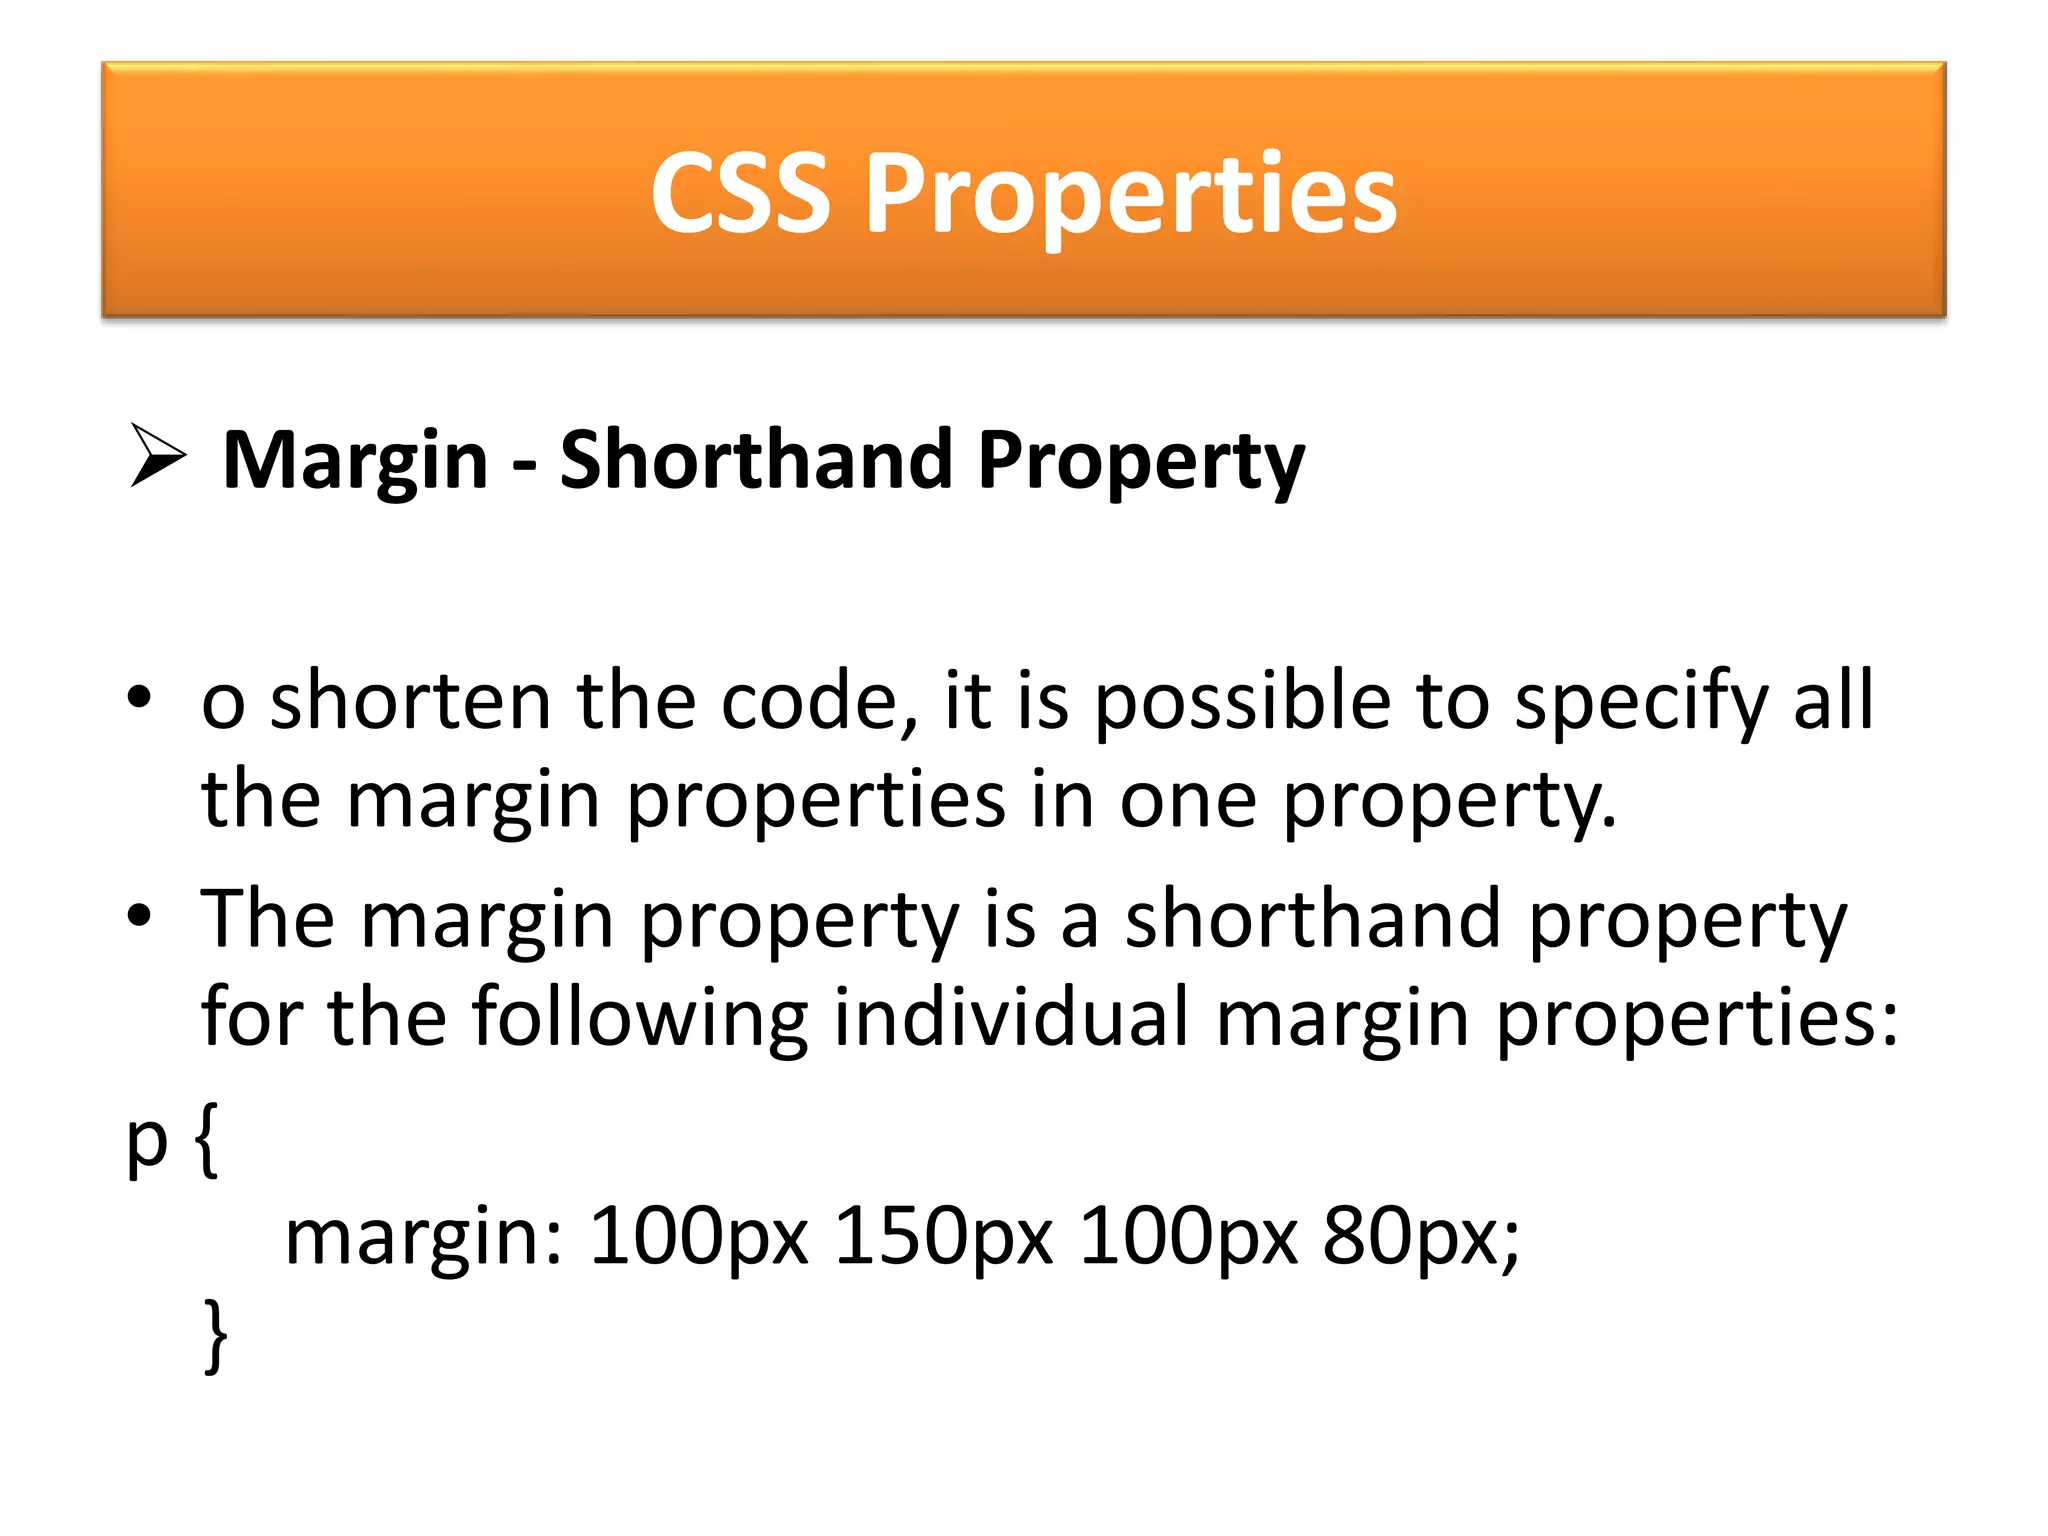
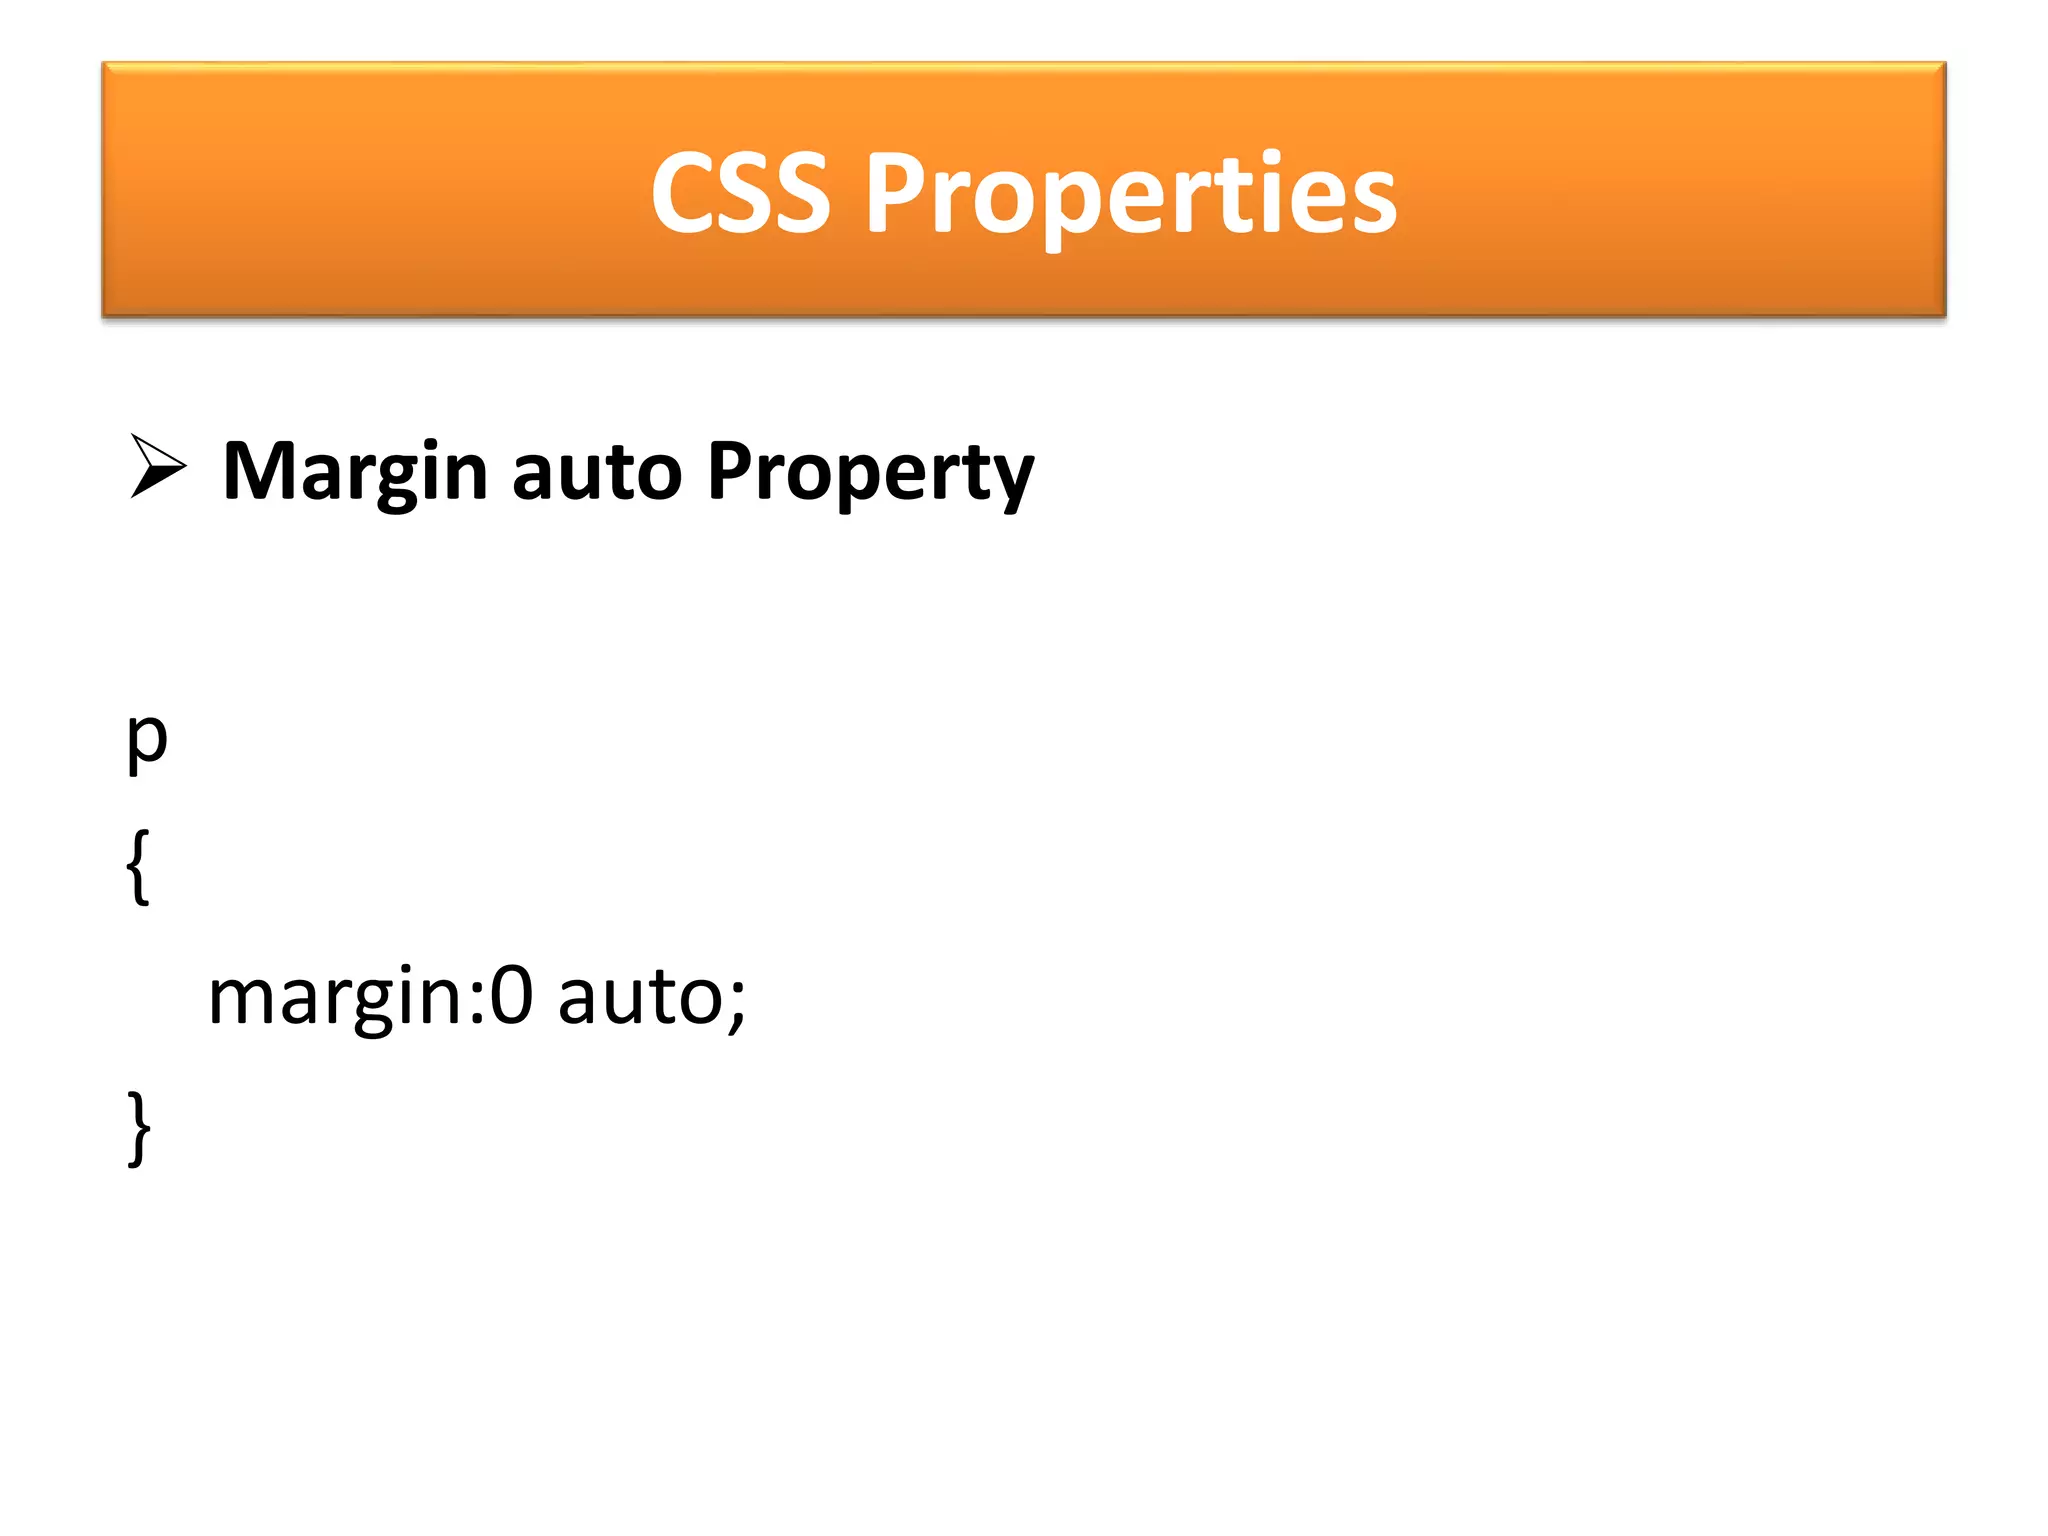
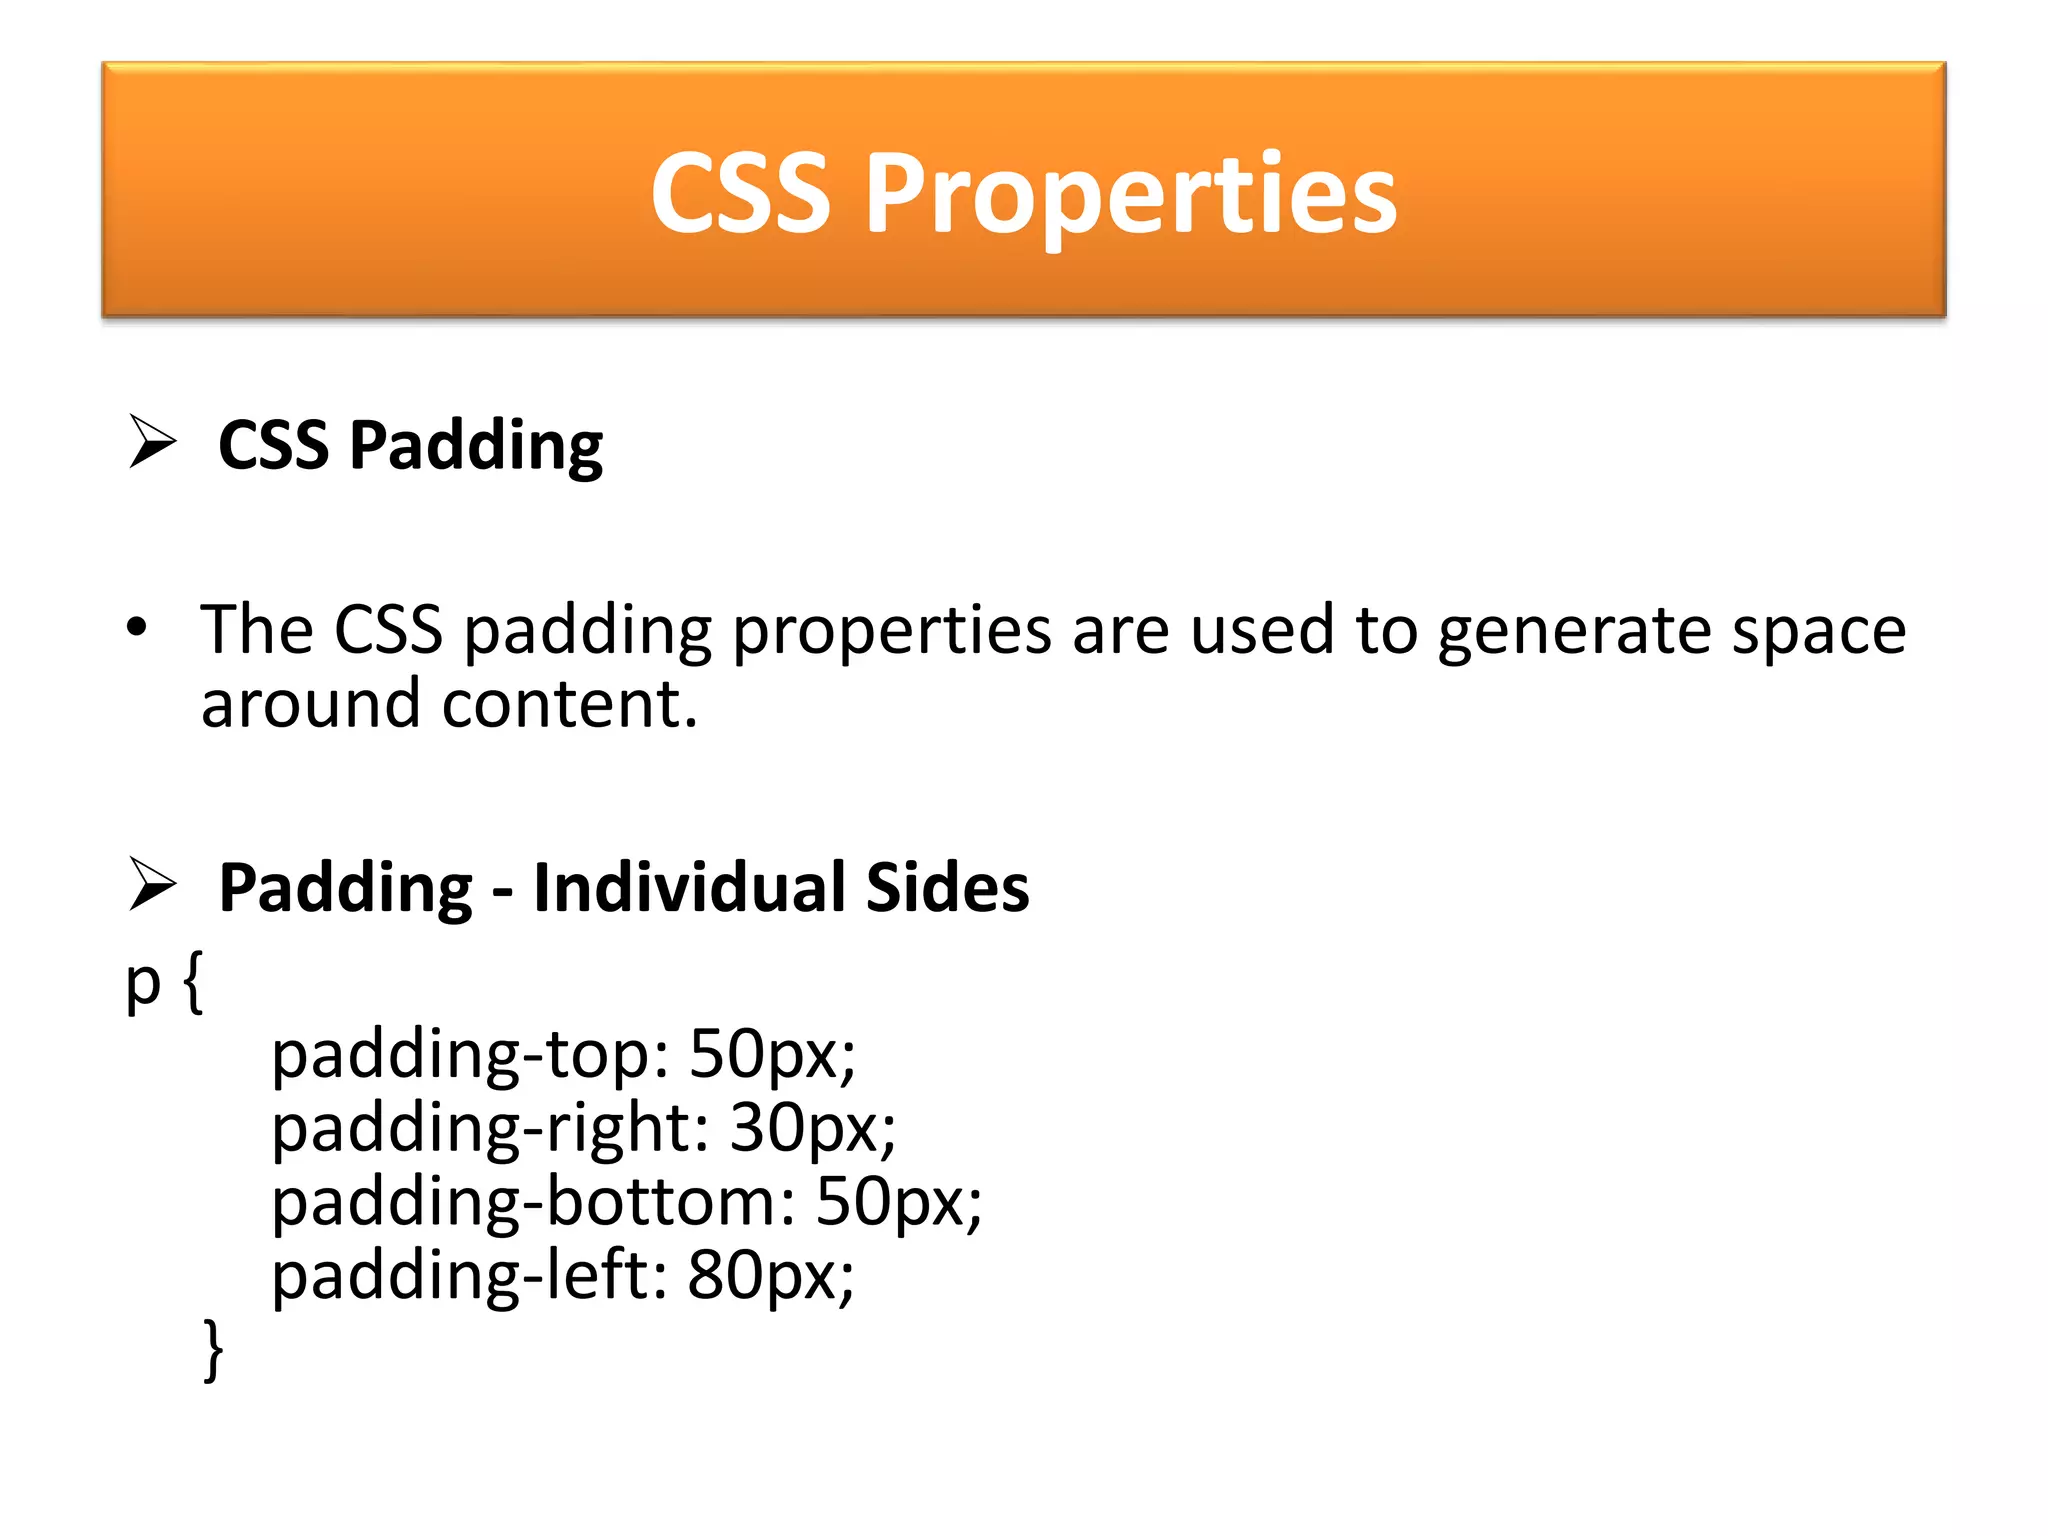
Usage of margin and padding properties for spacing elements.
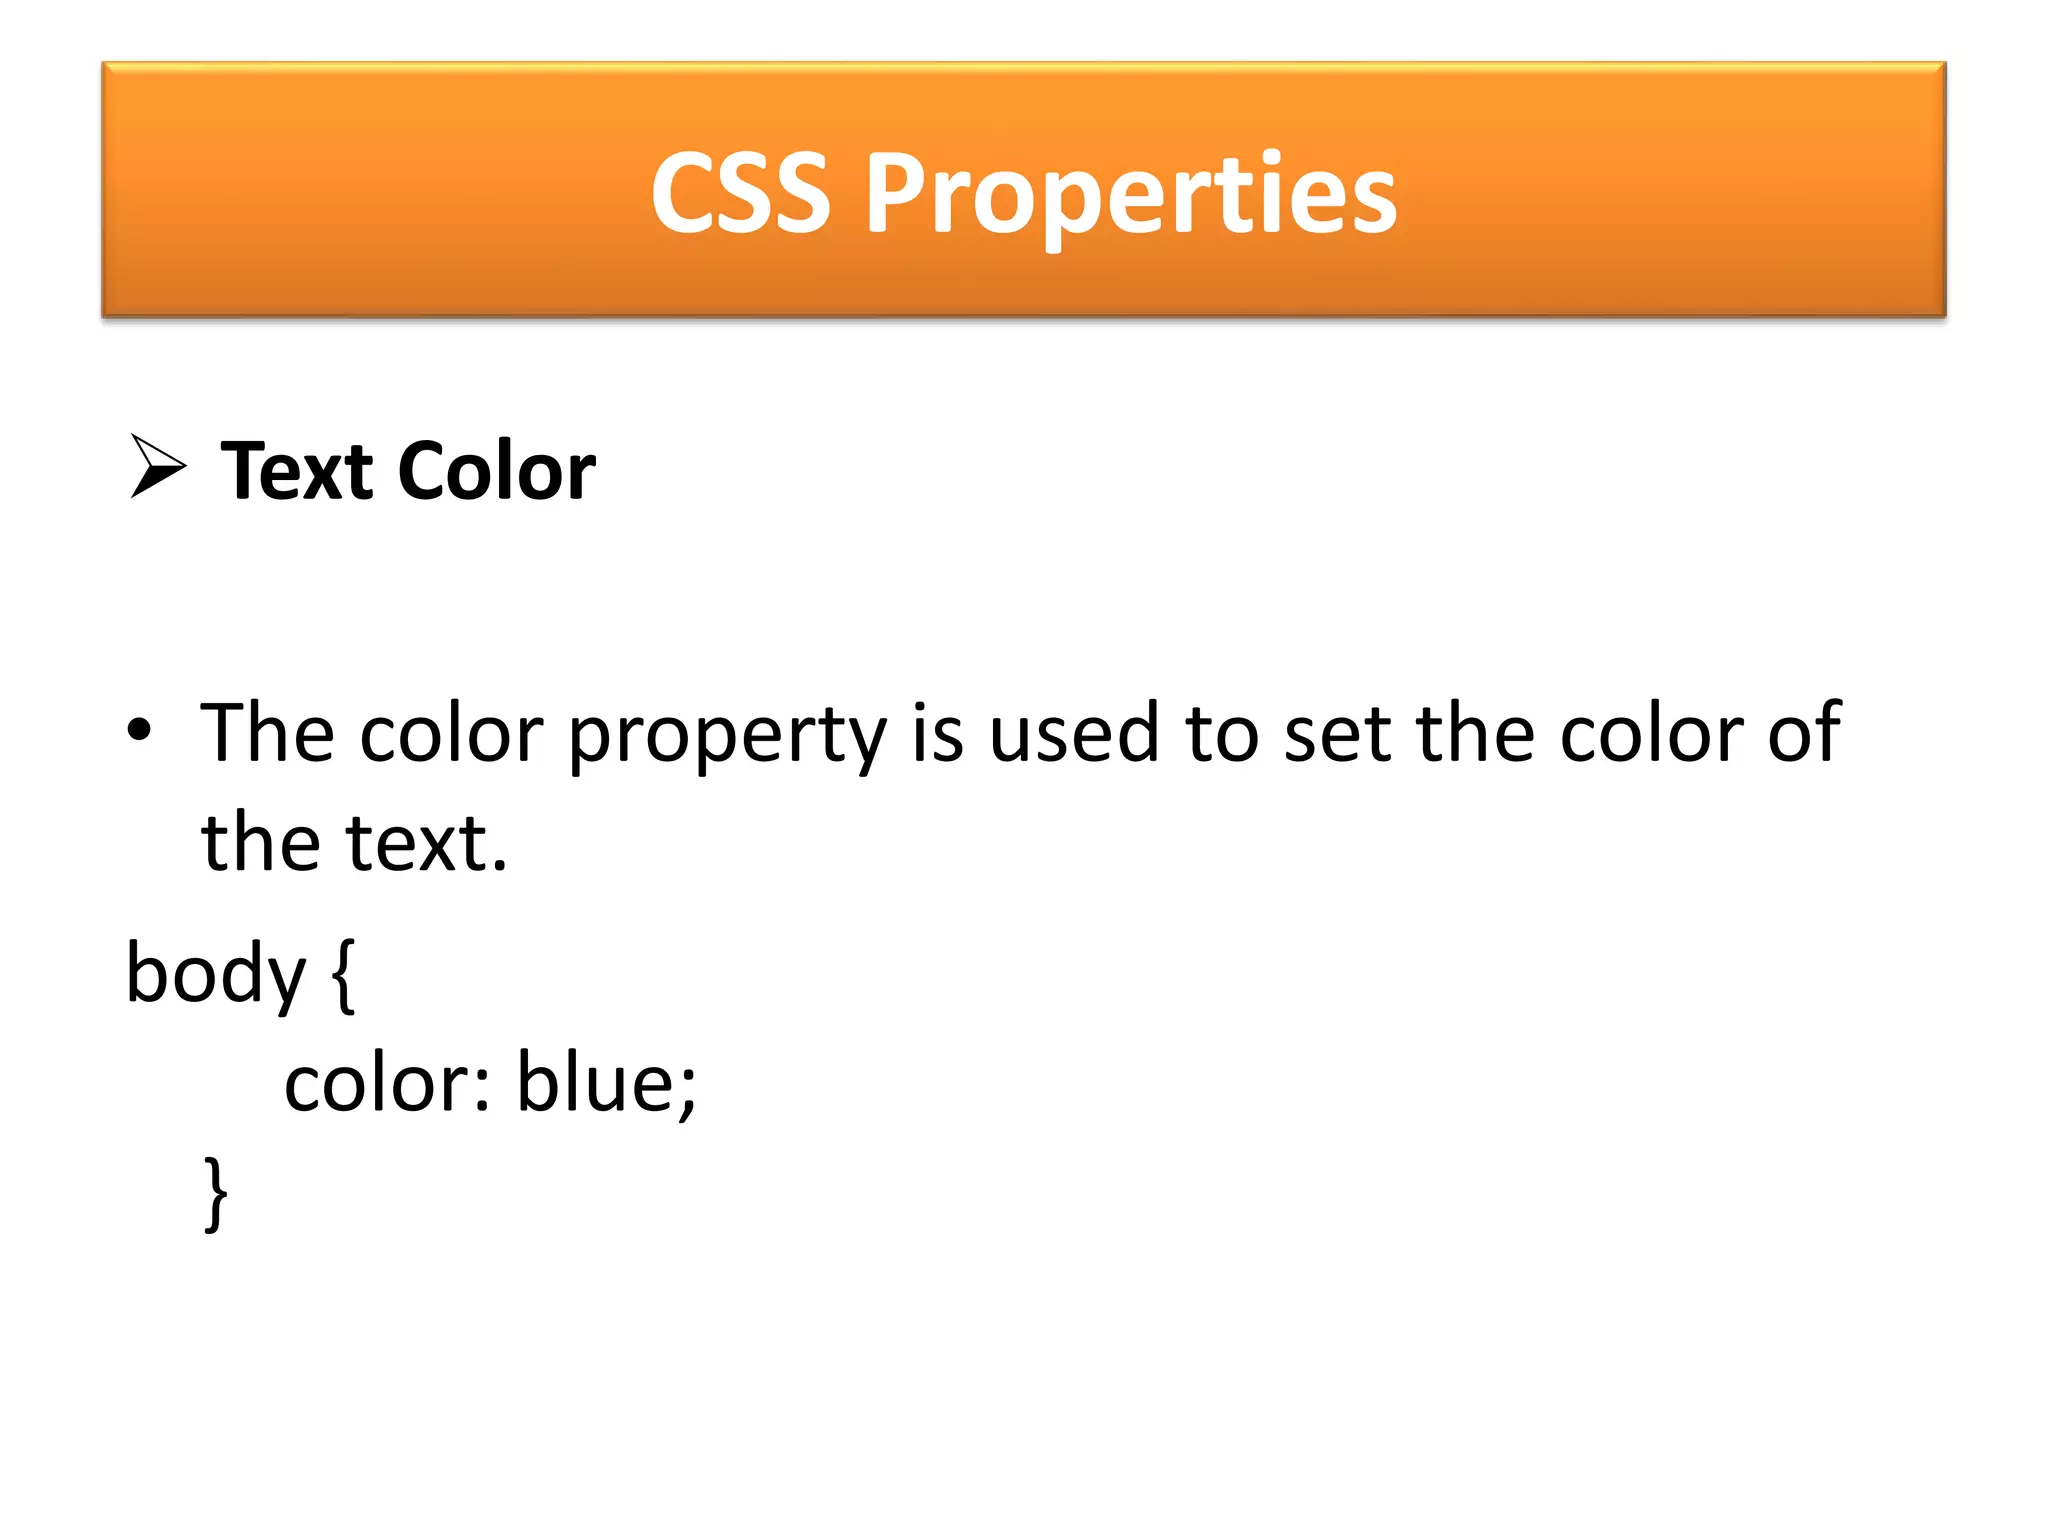
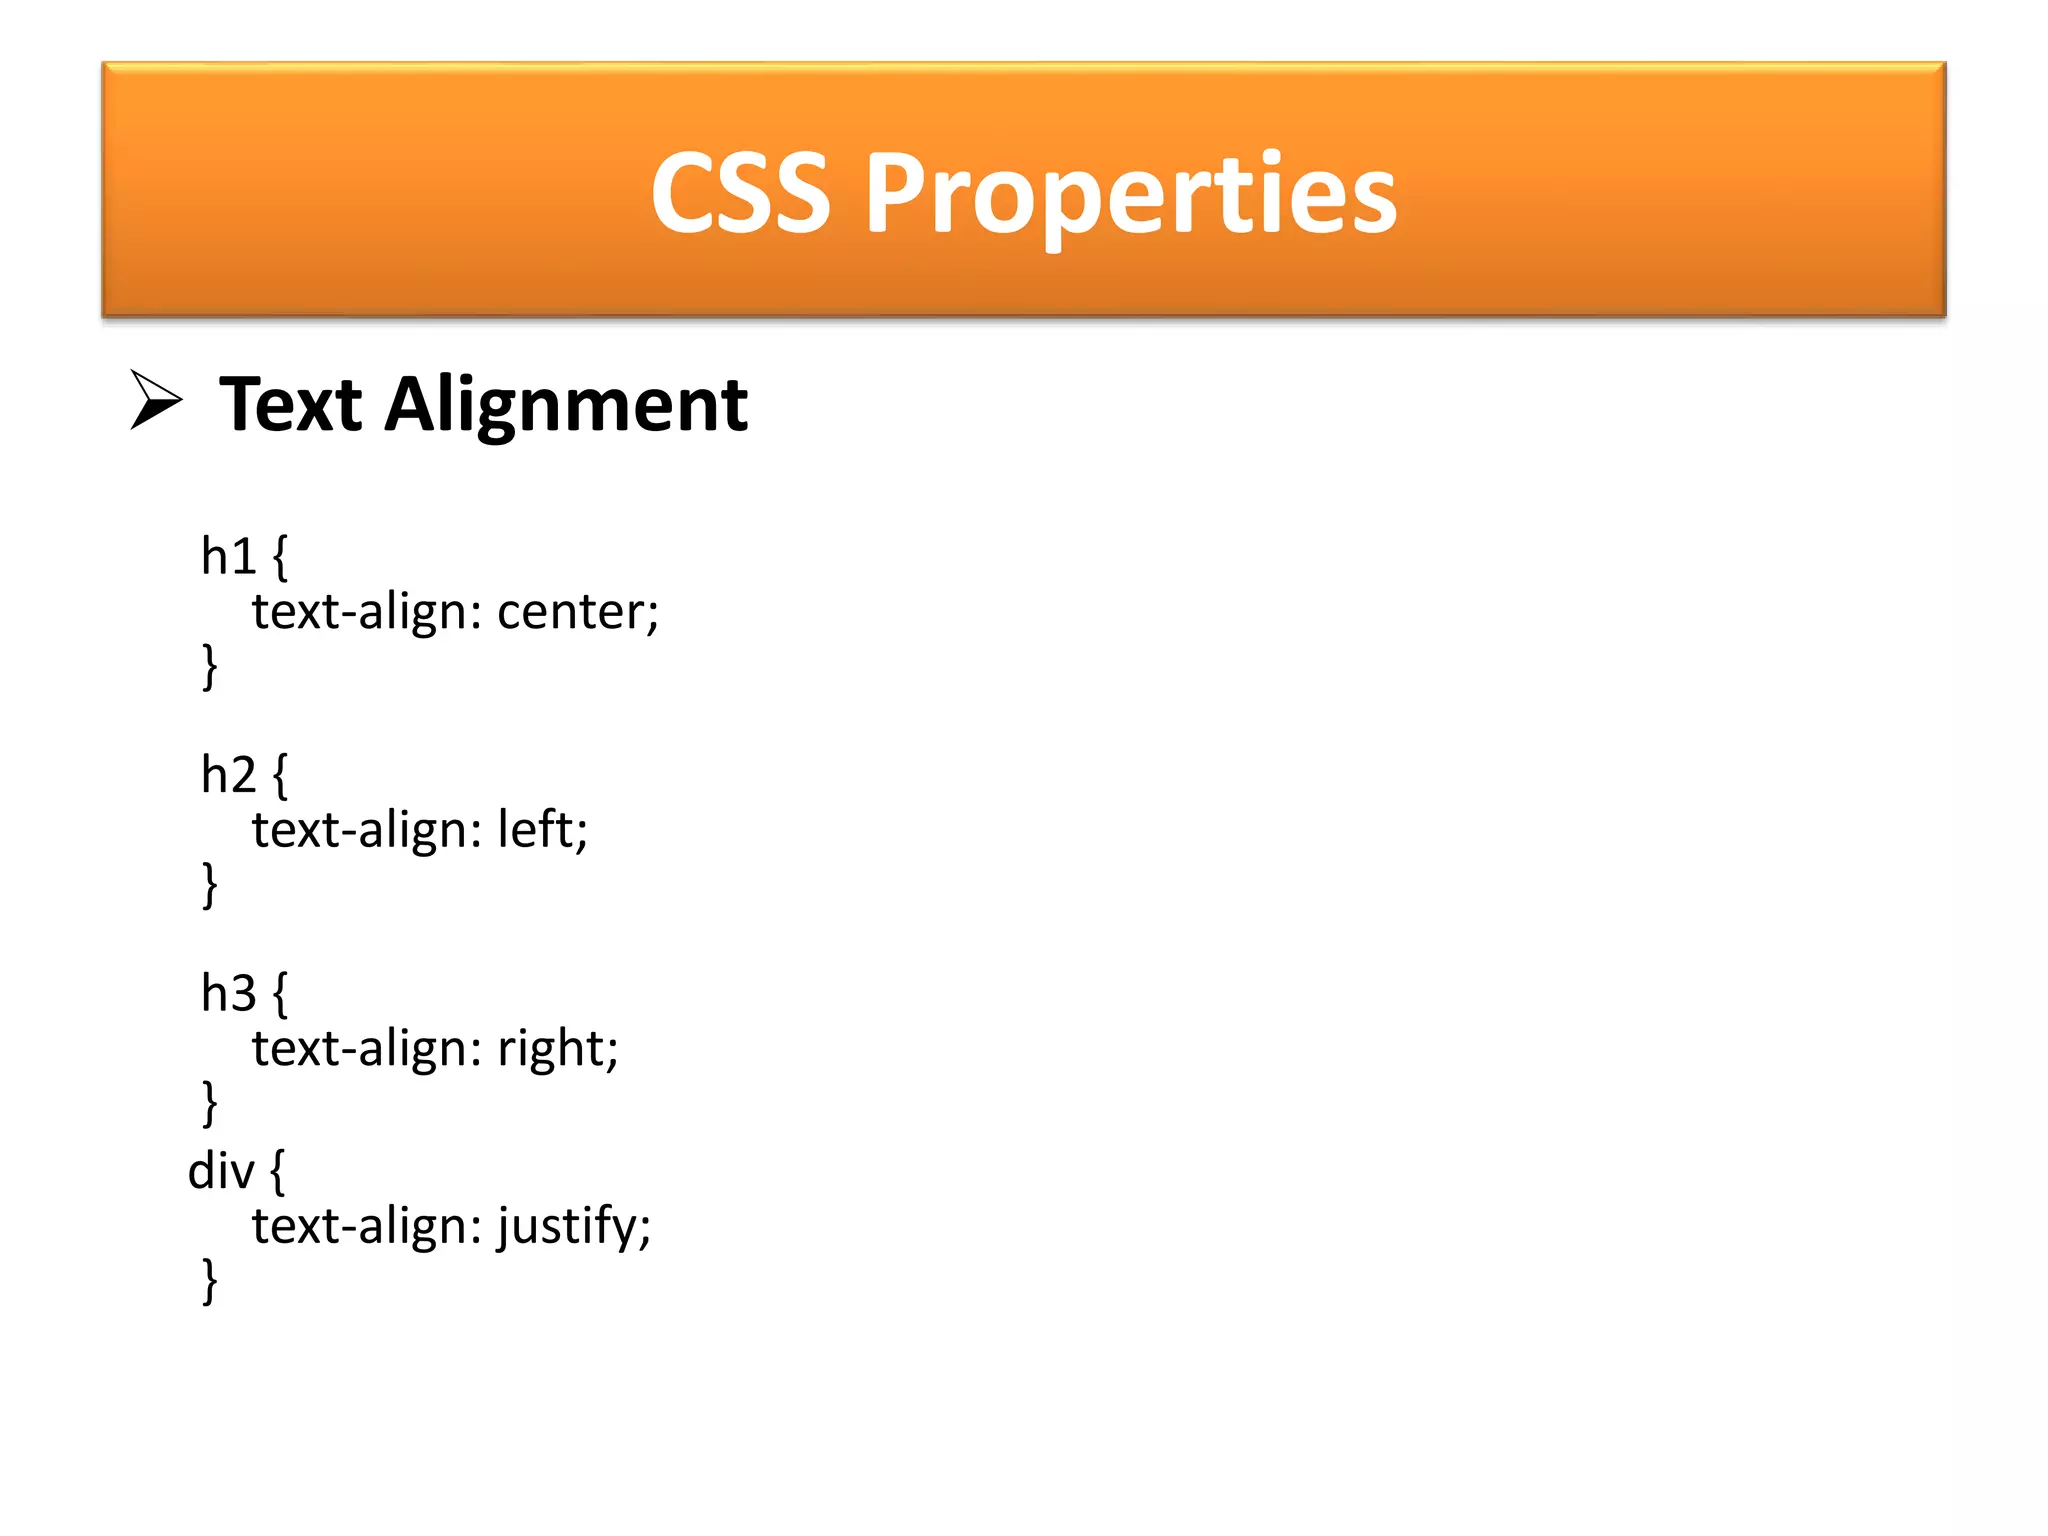
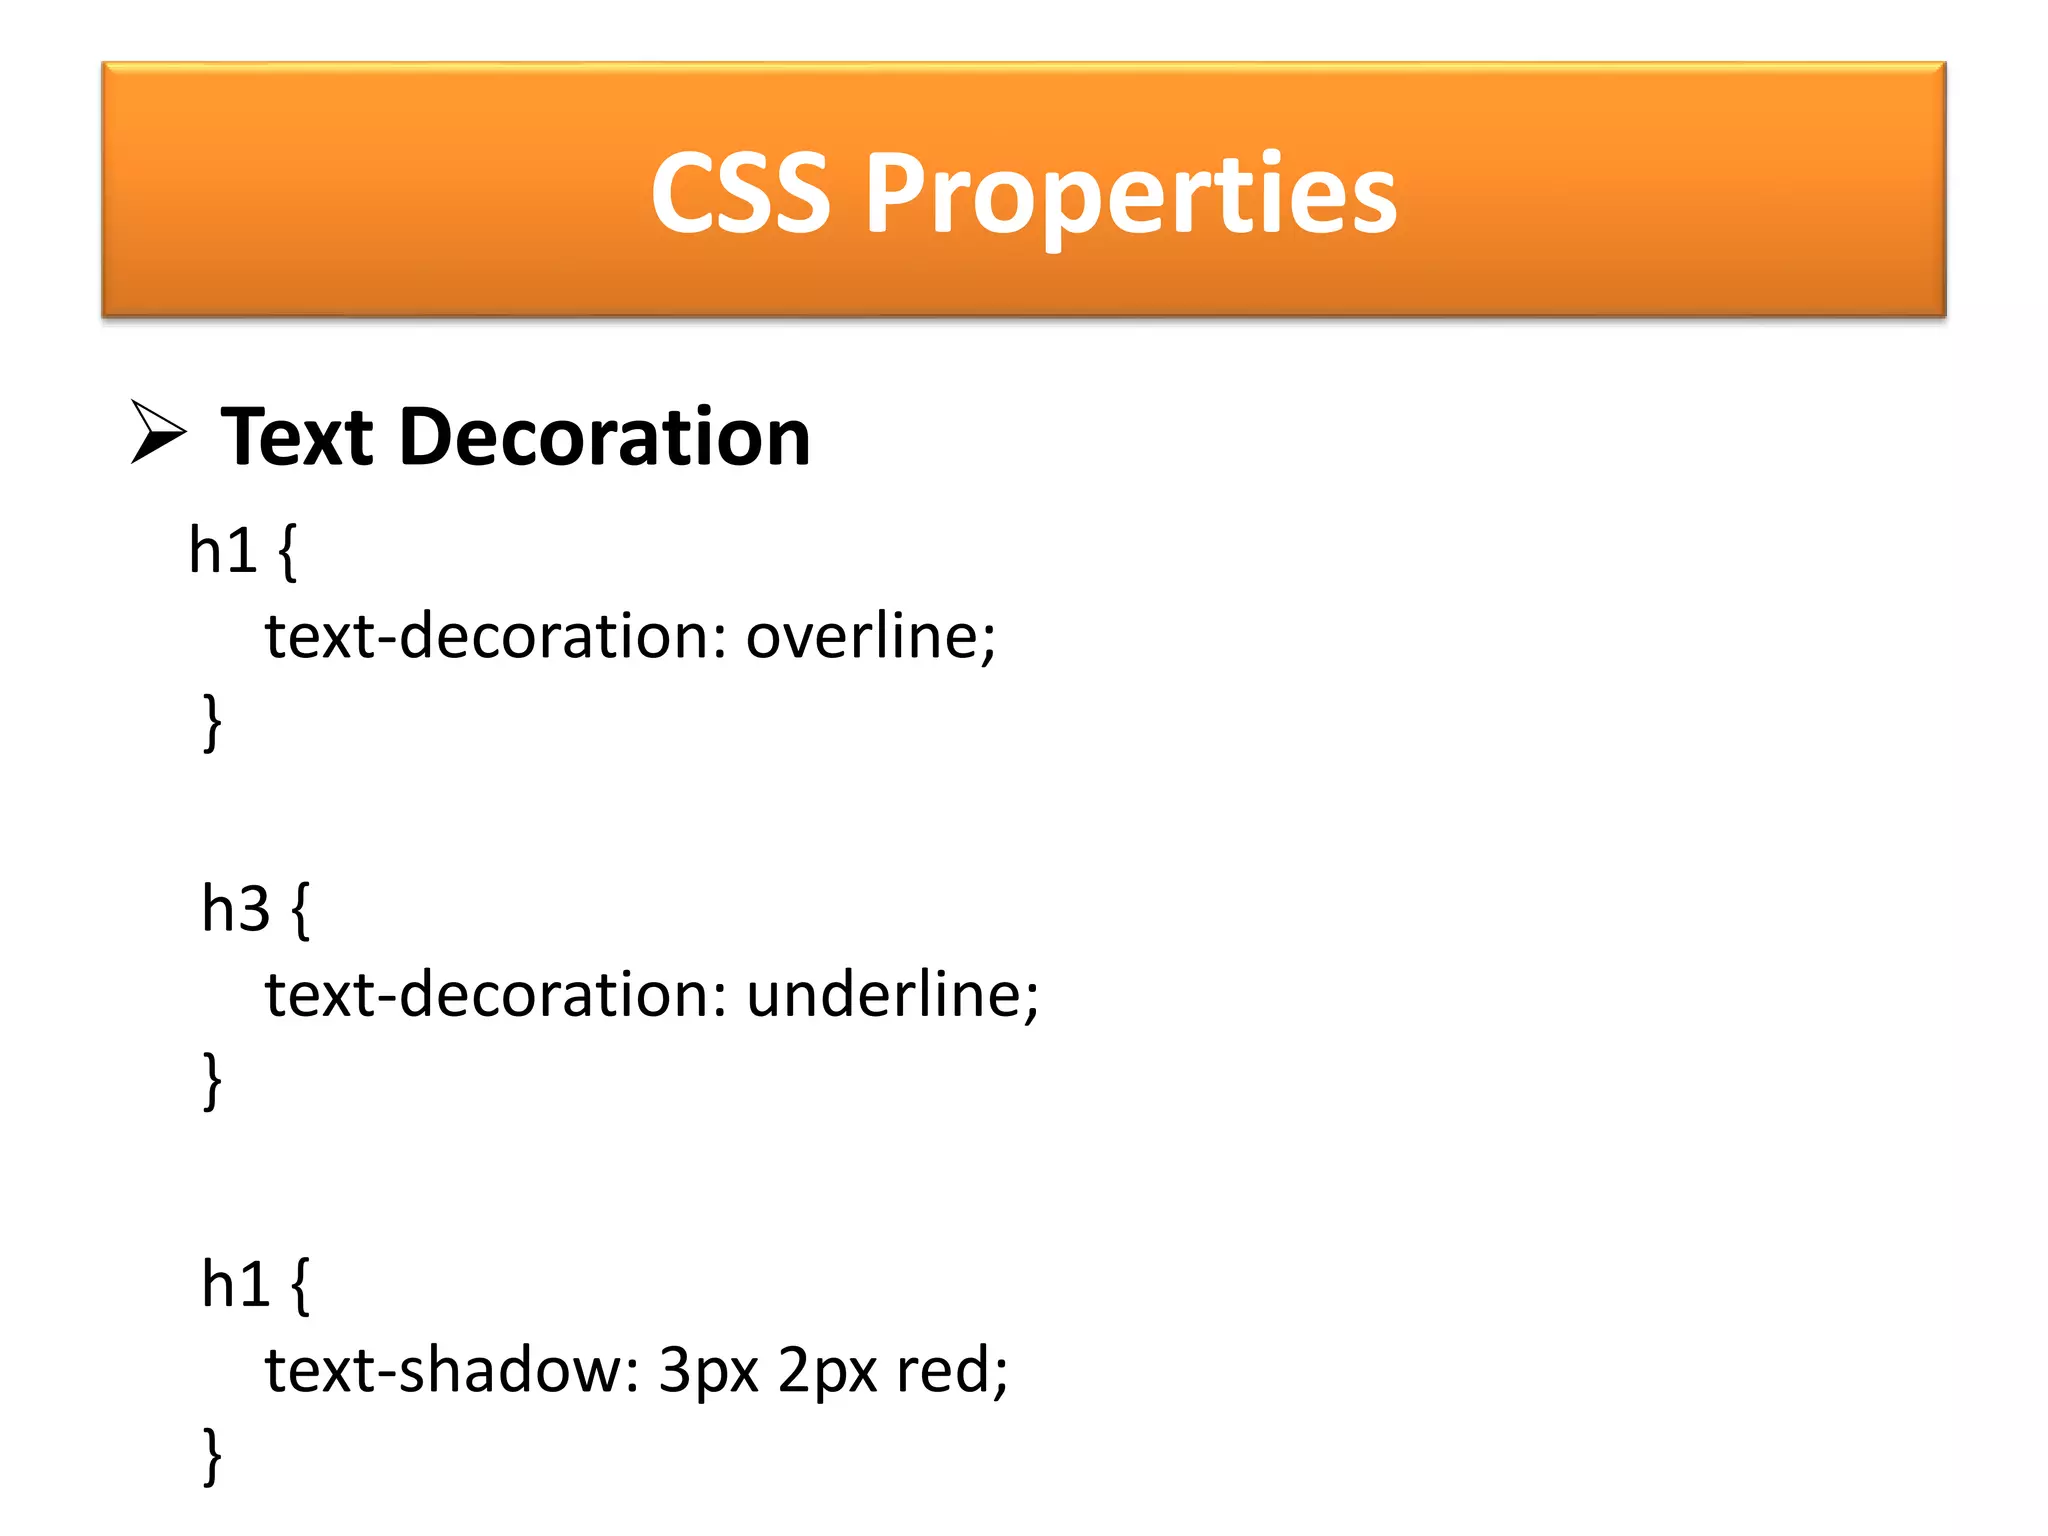
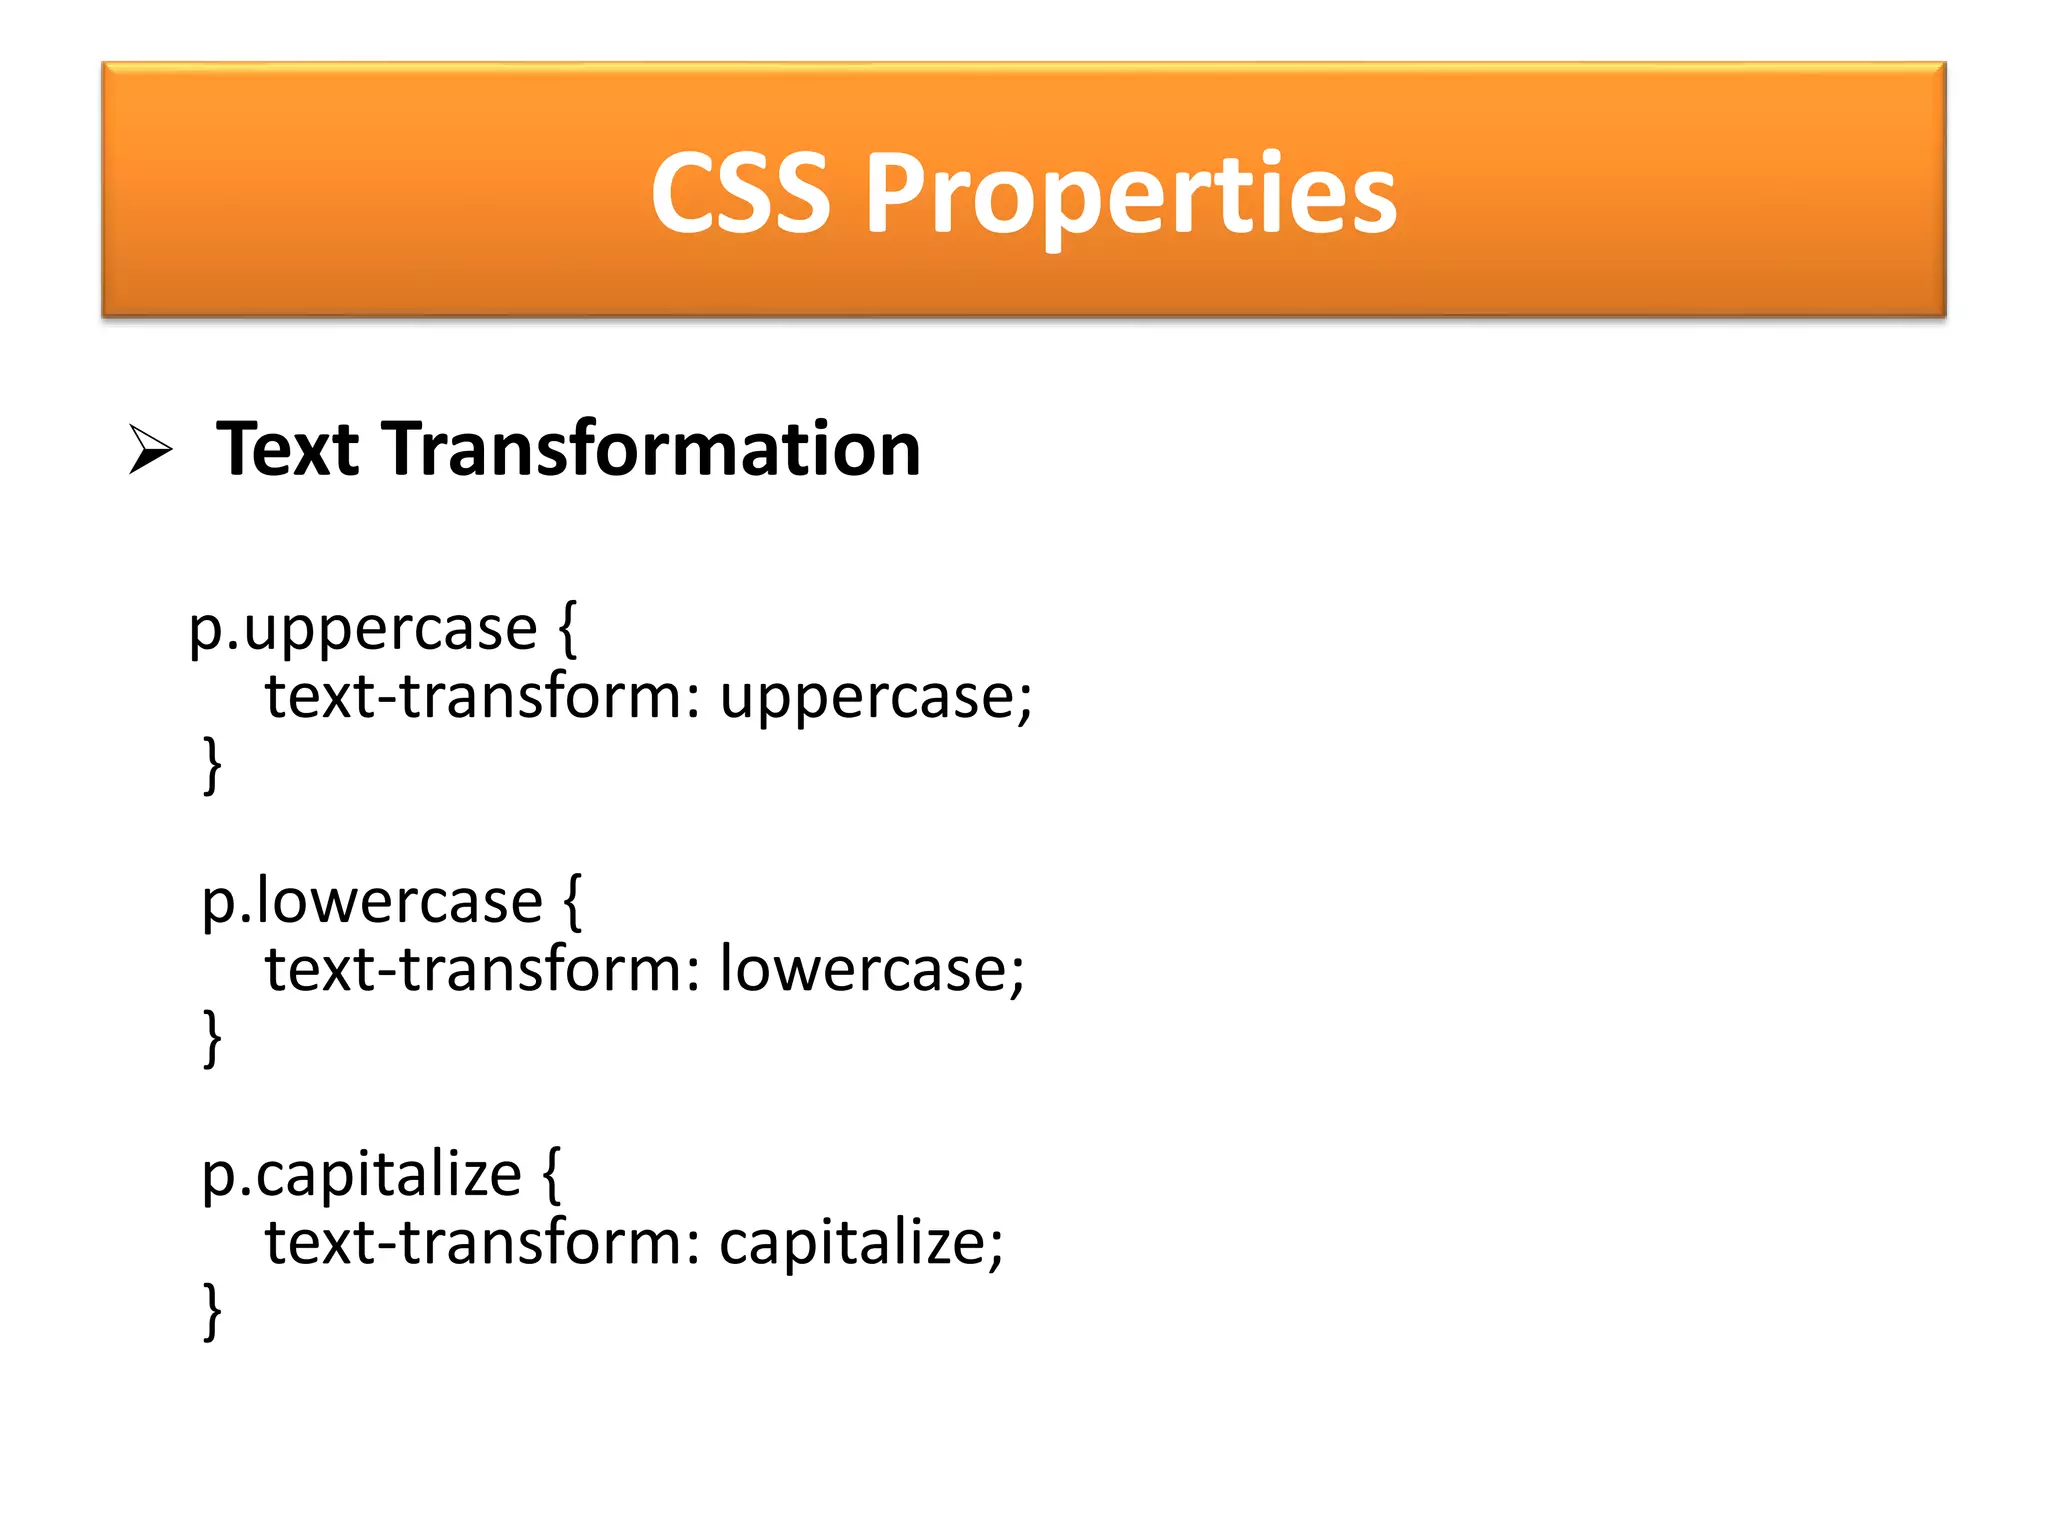
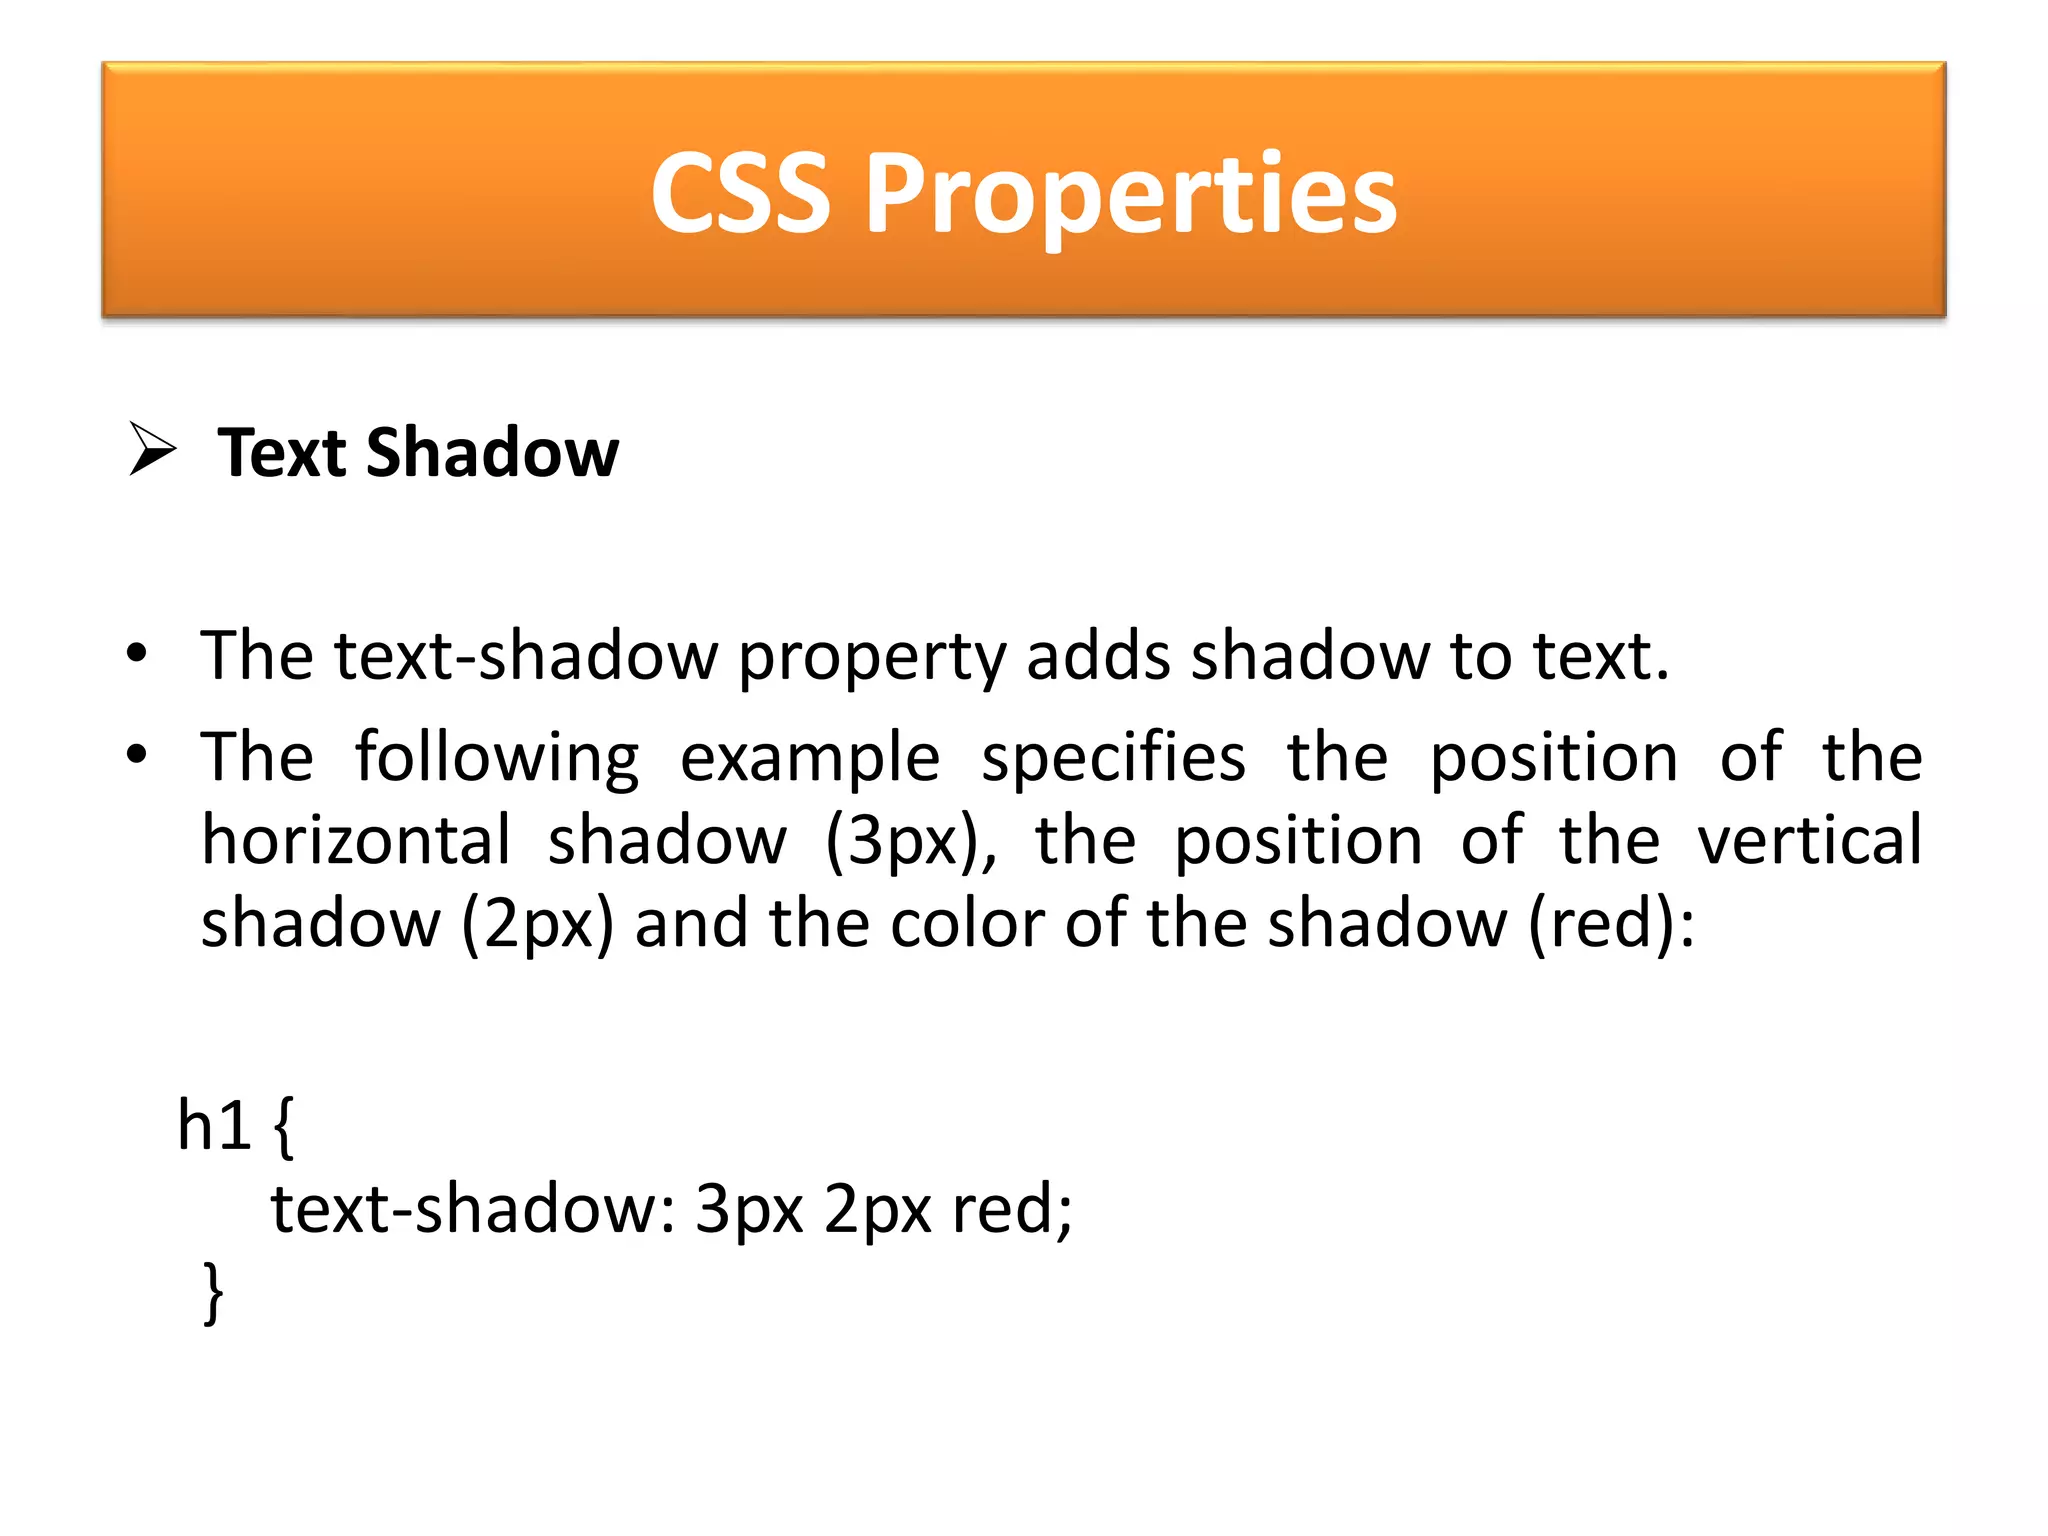
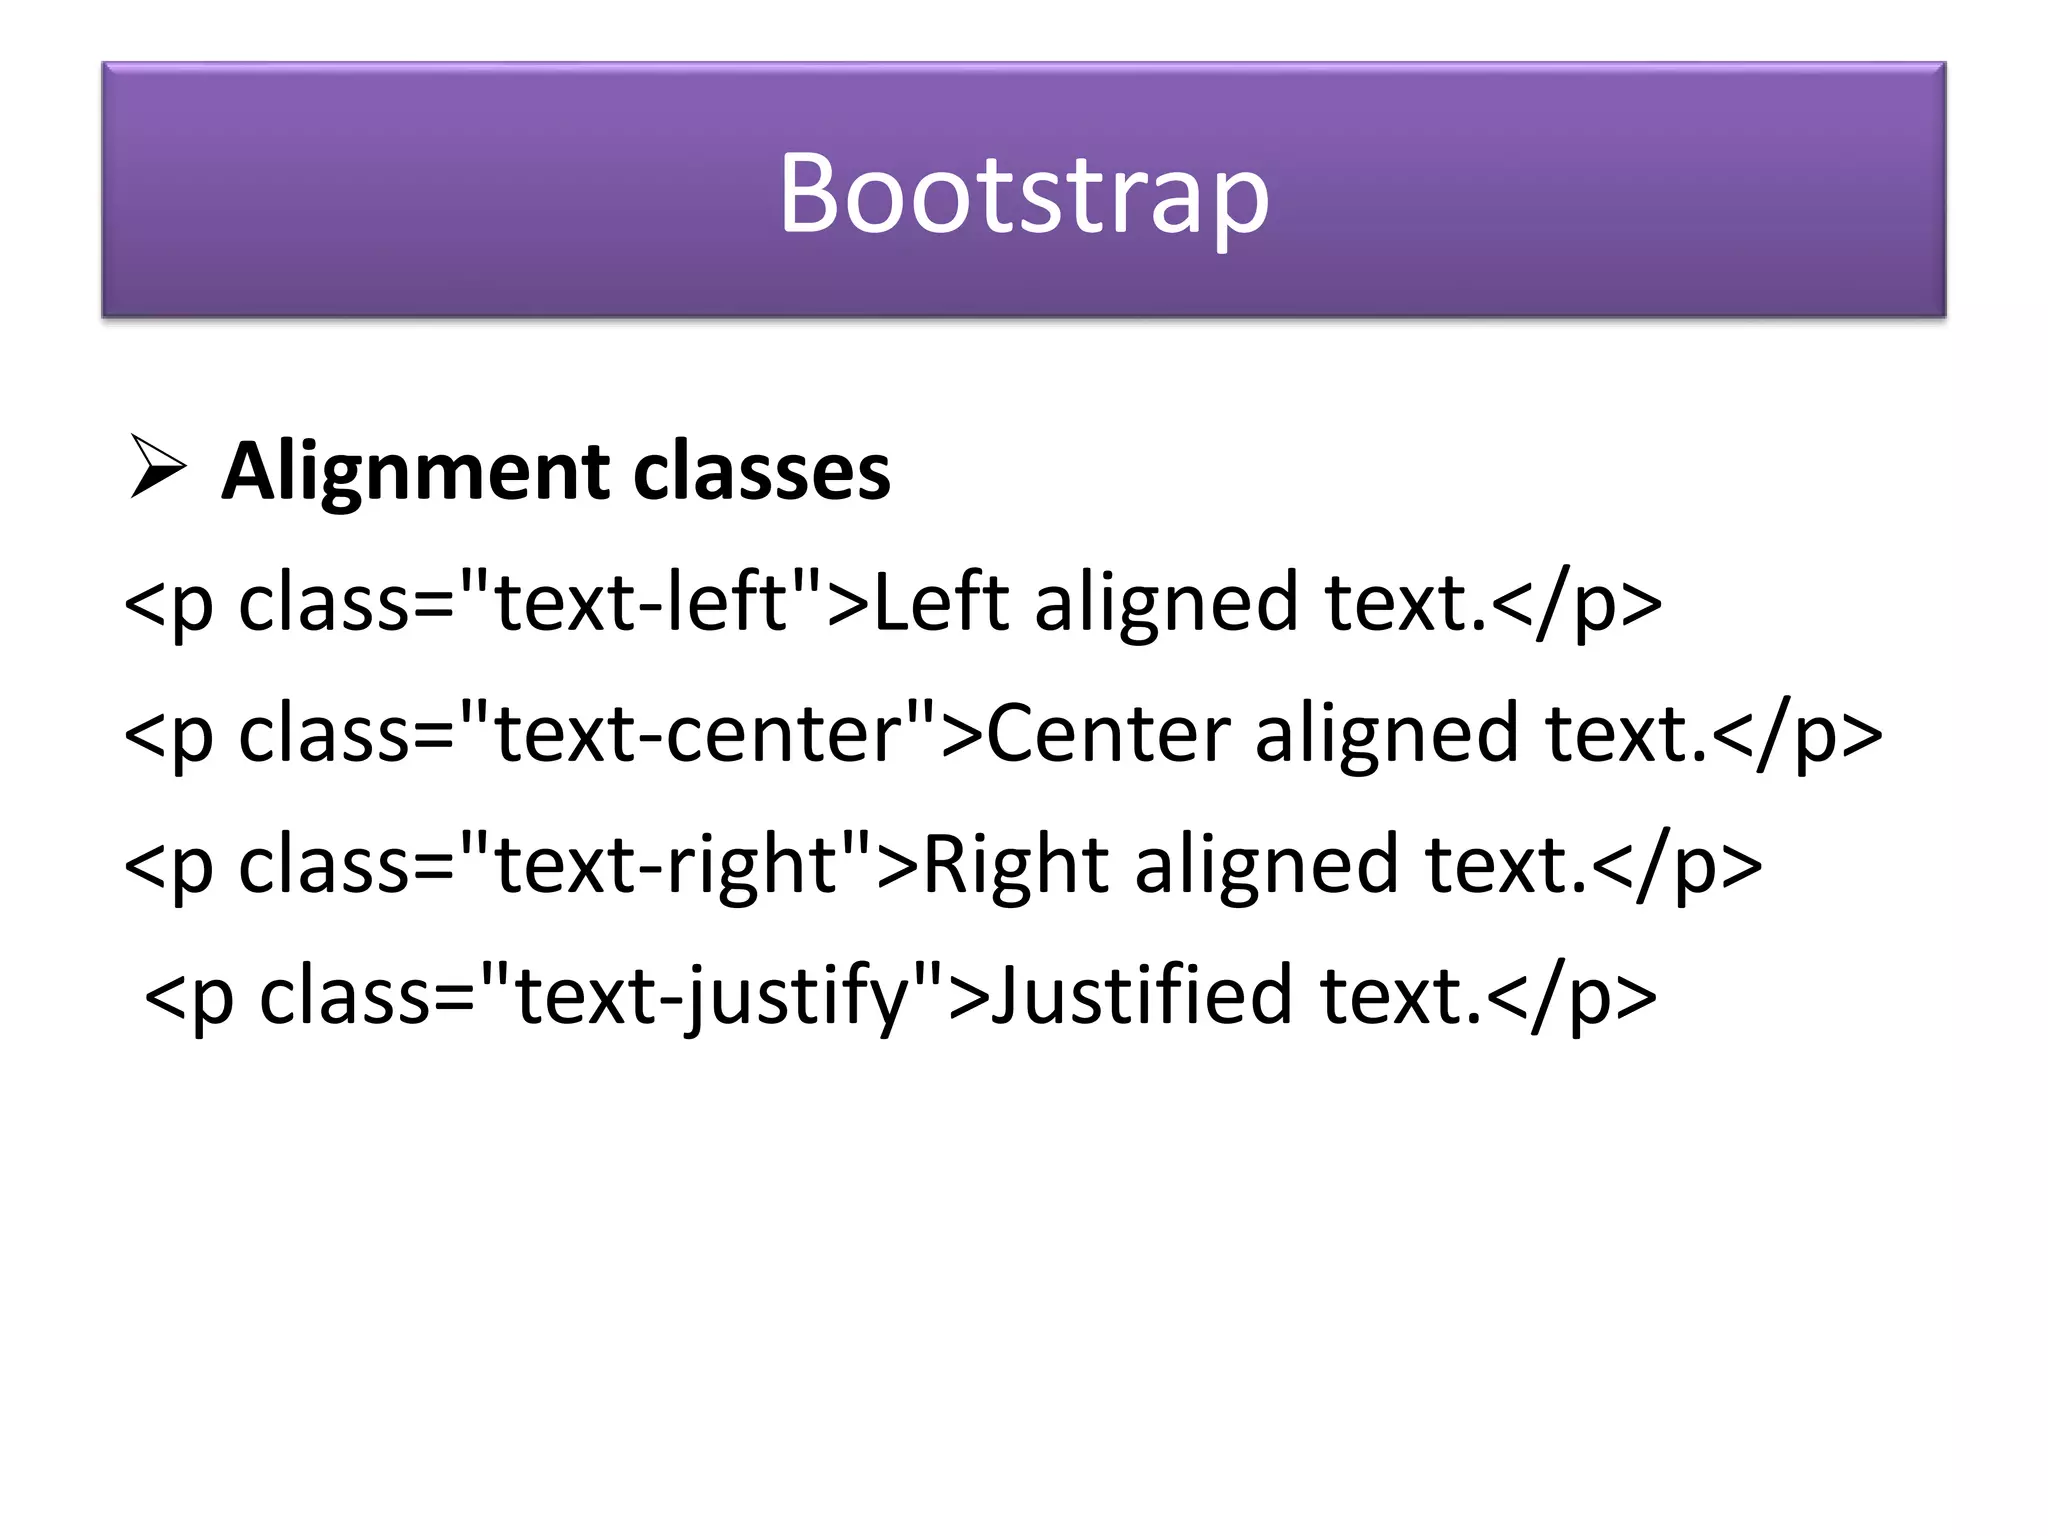
Text properties includes setting color, alignment, decoration, and shadow.
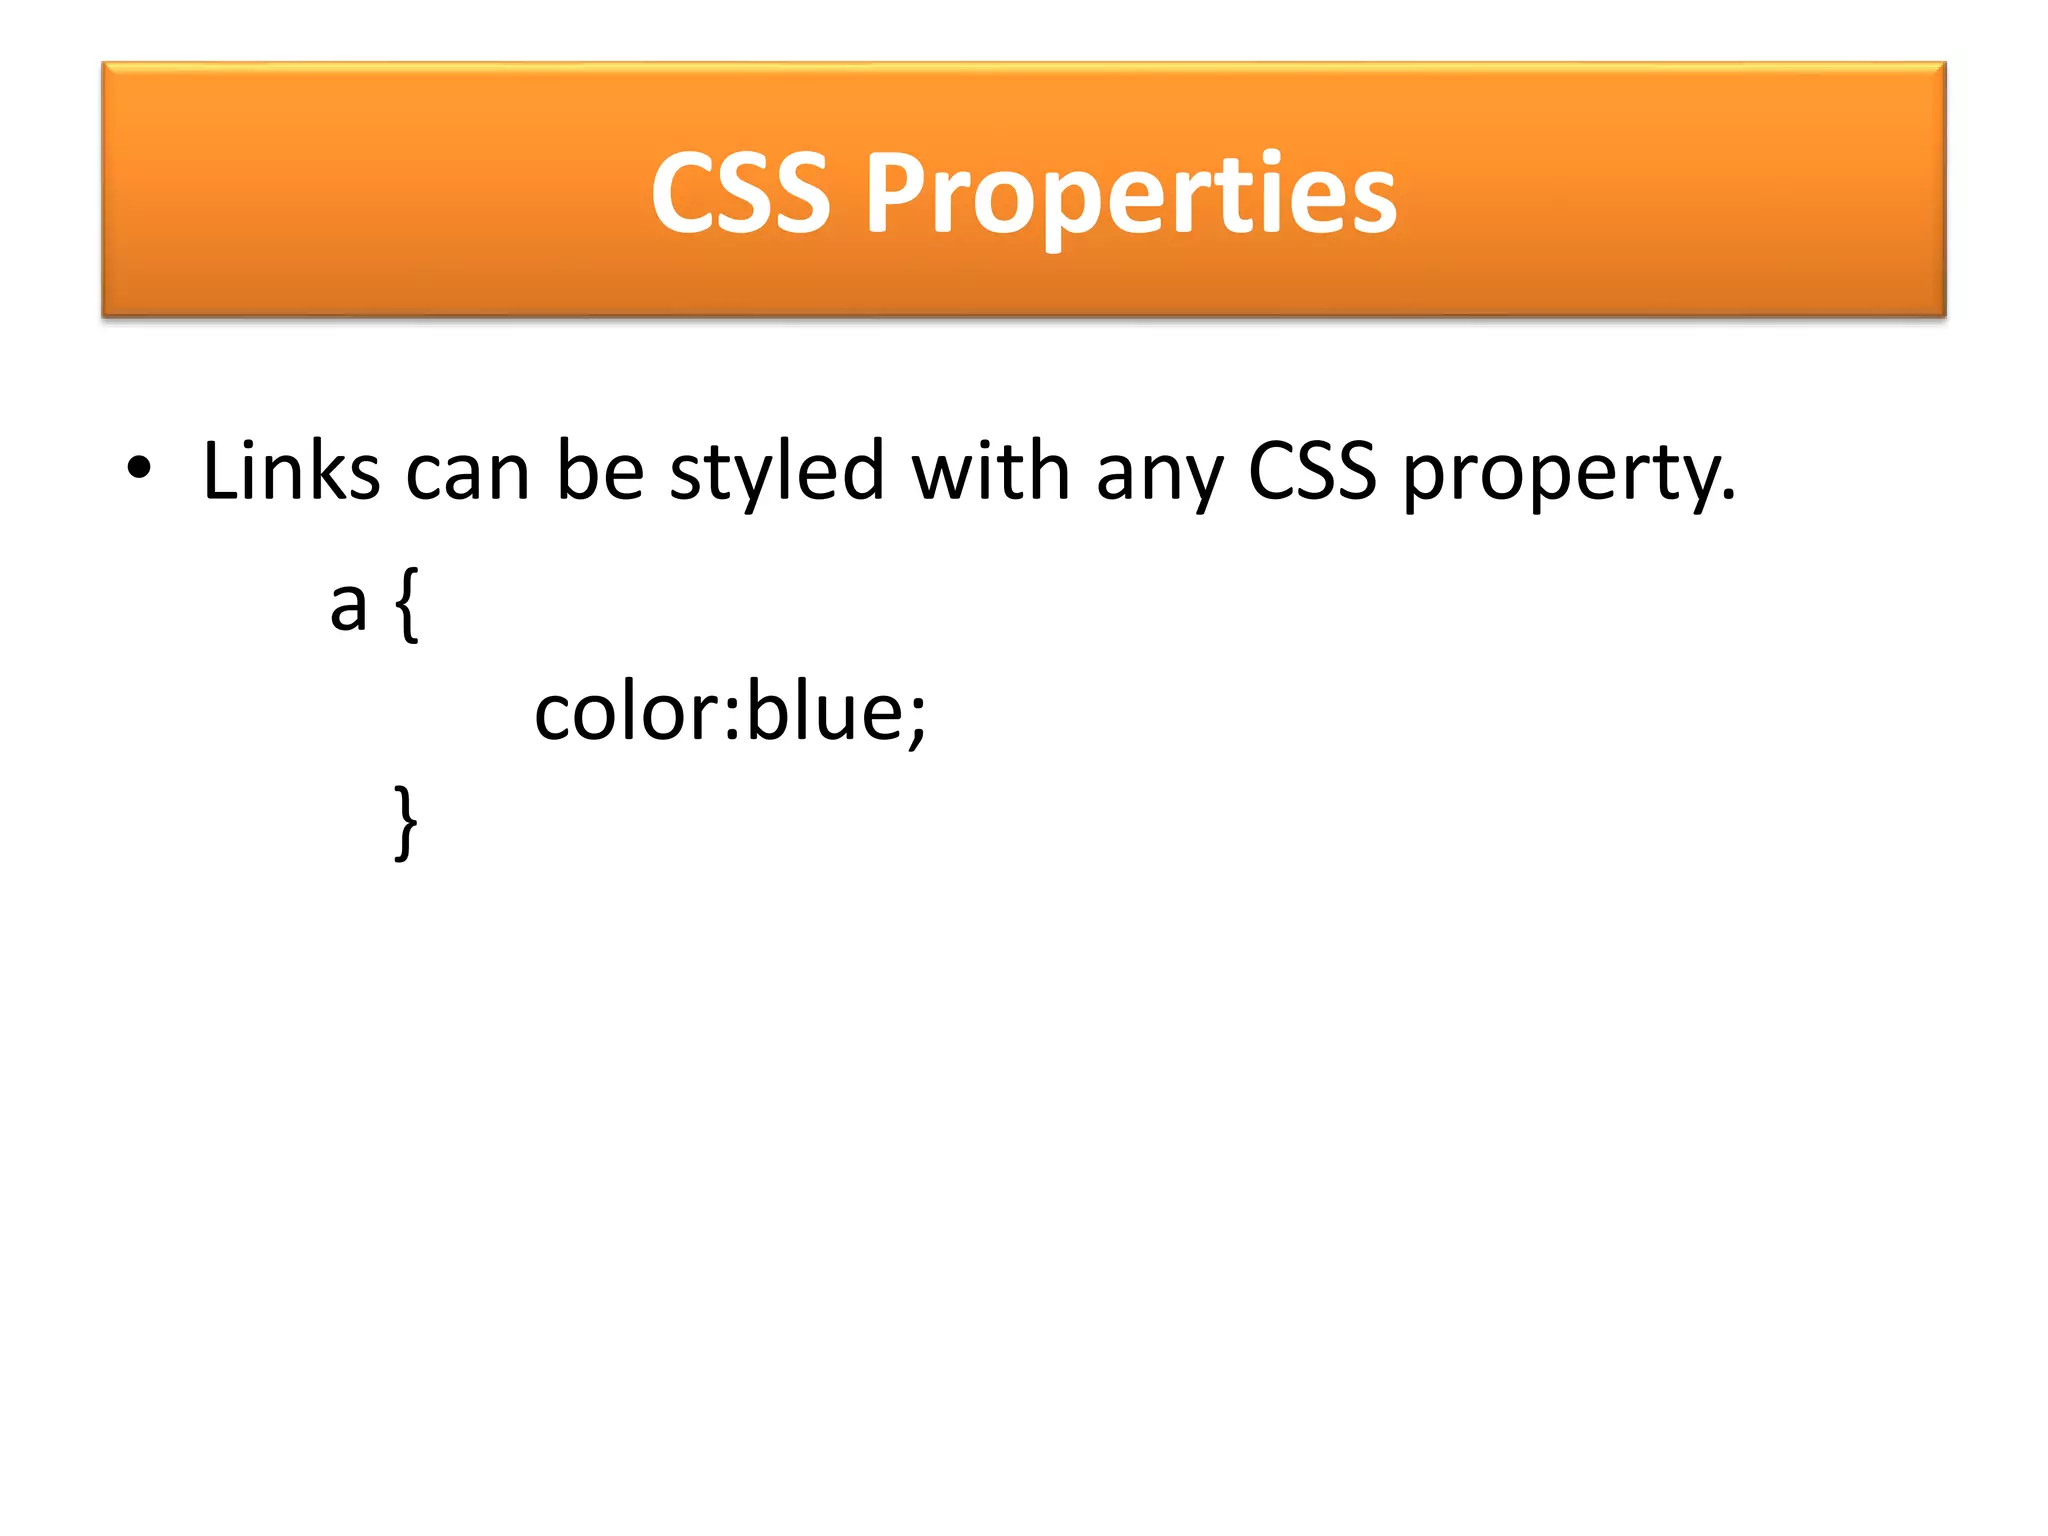
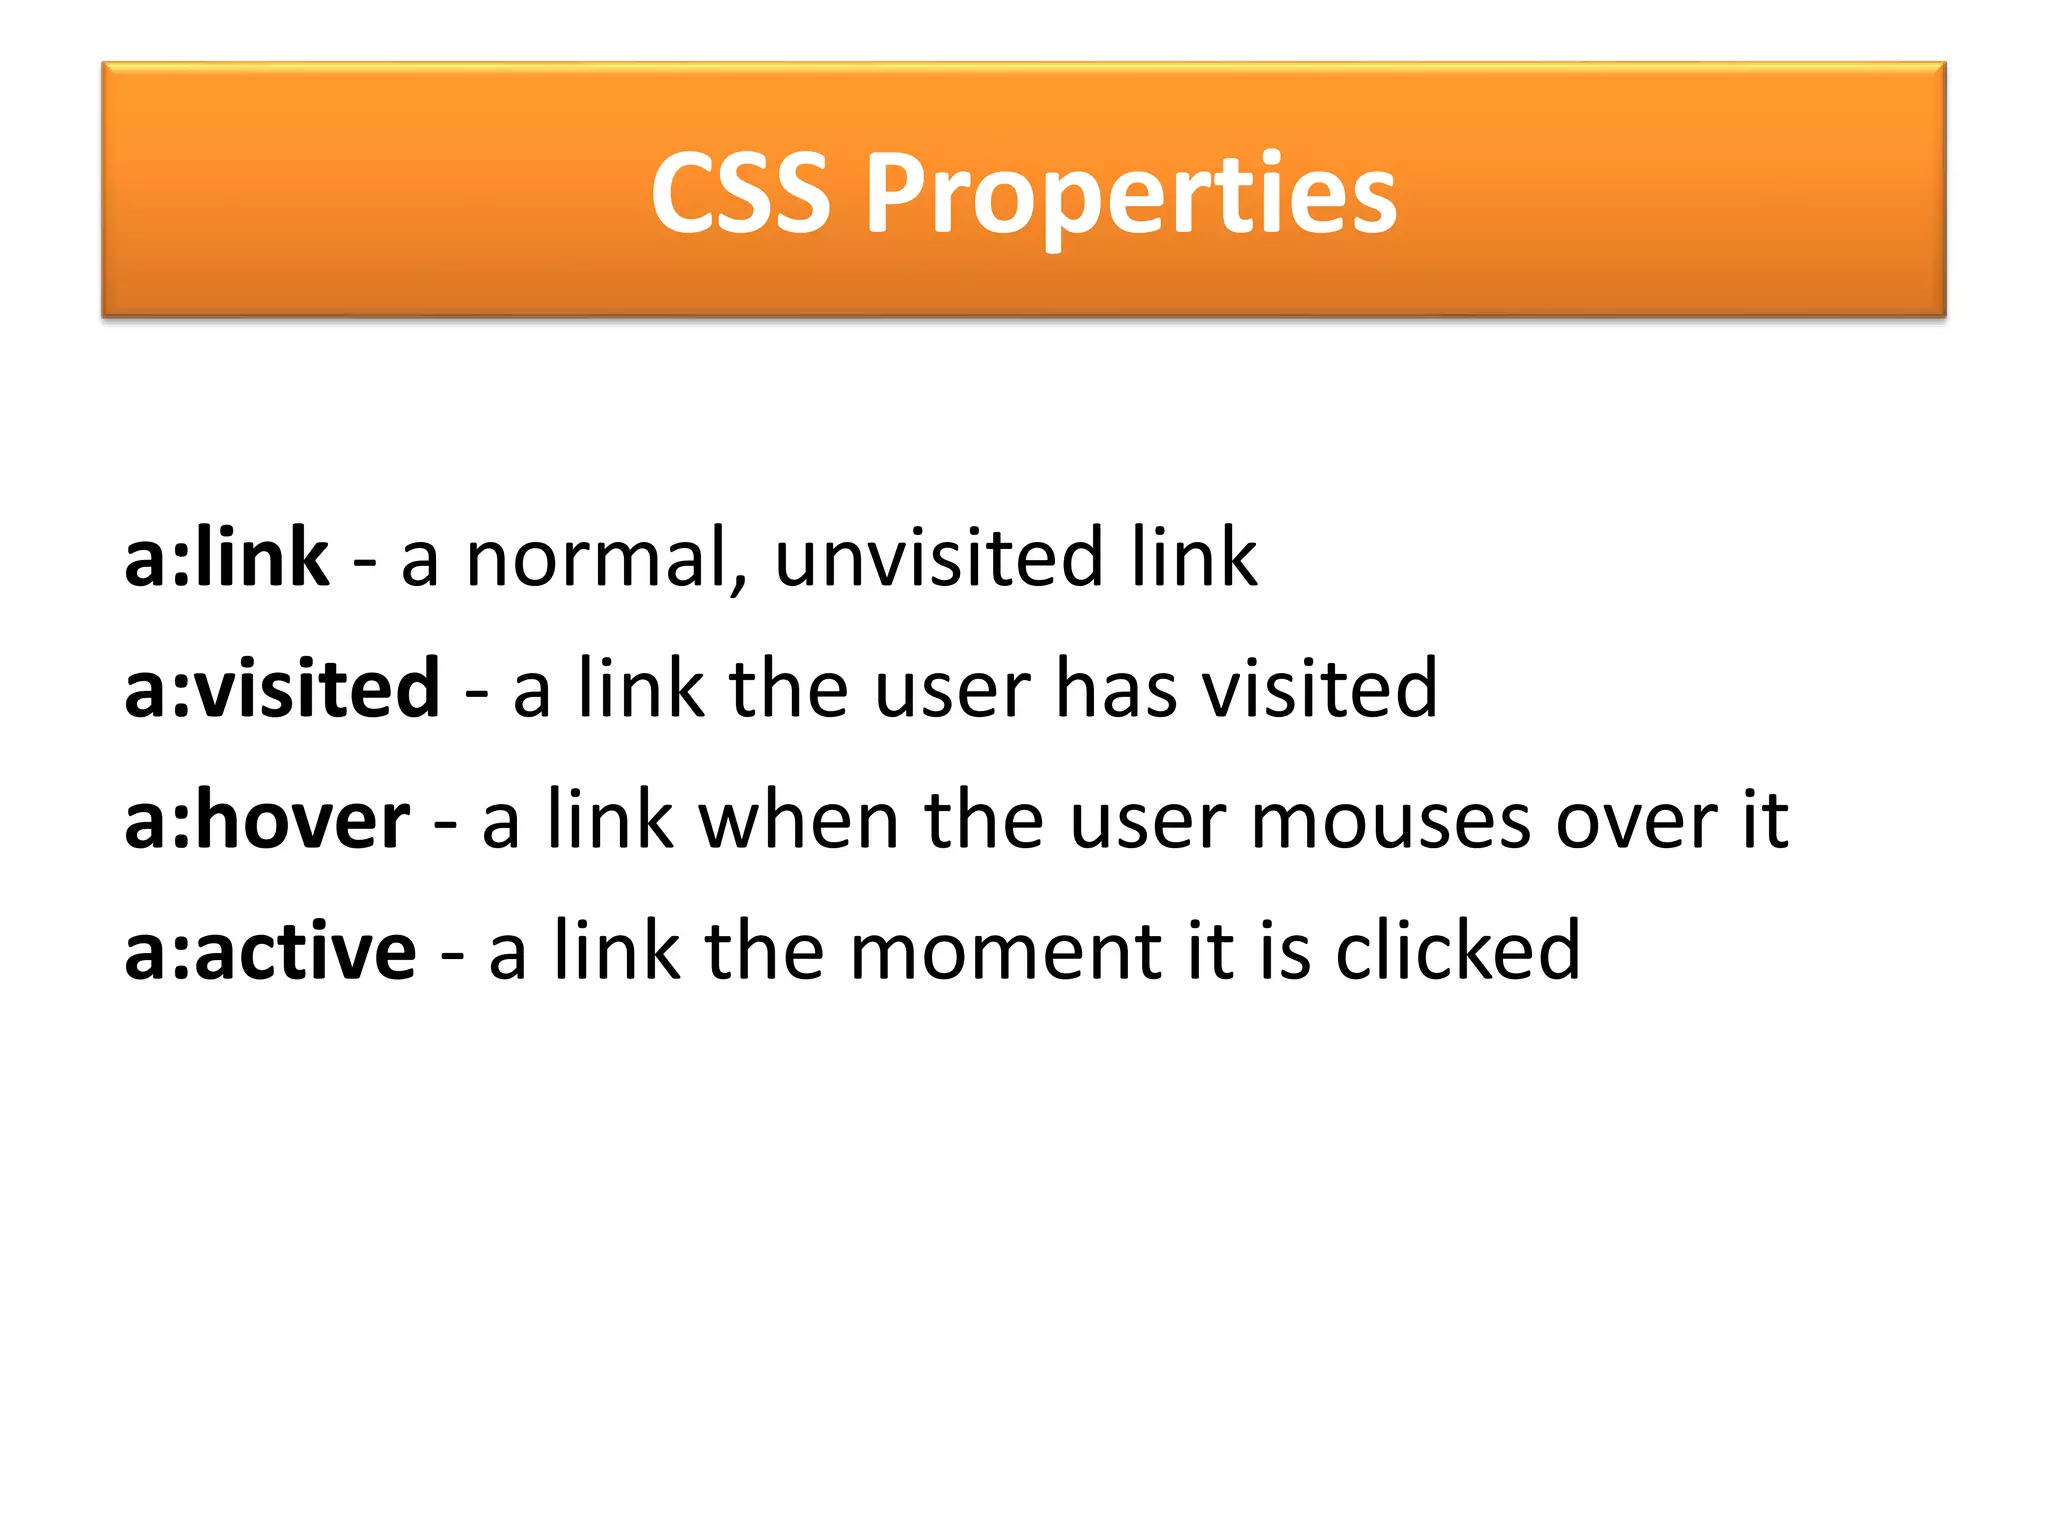
Styling links and form elements with CSS.
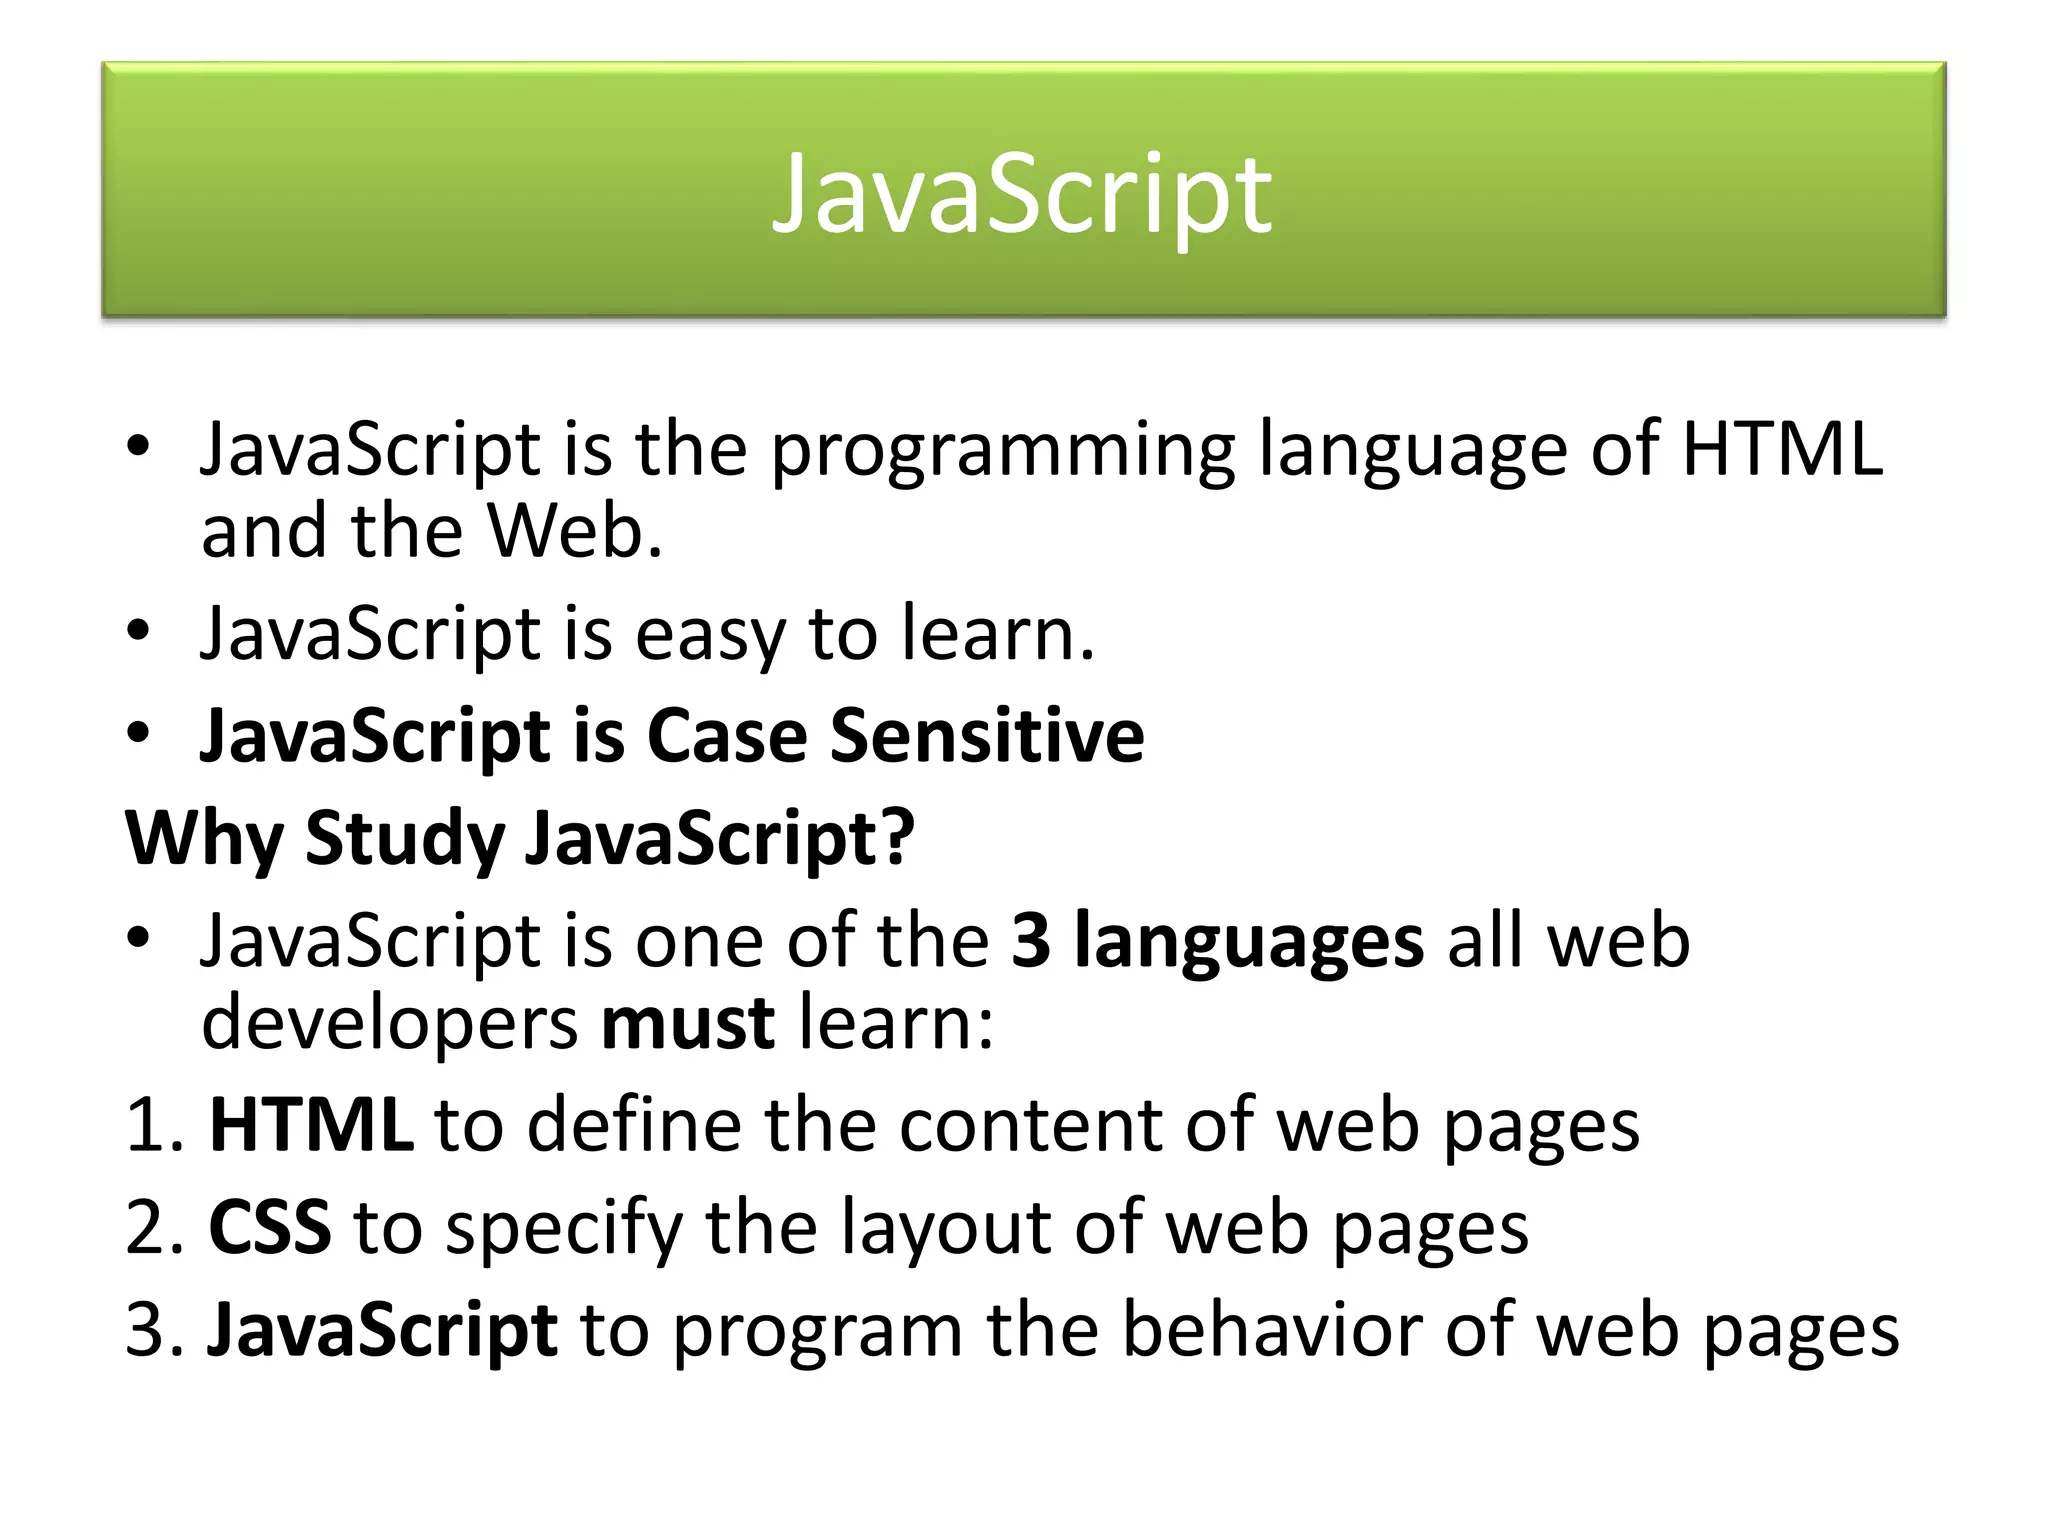
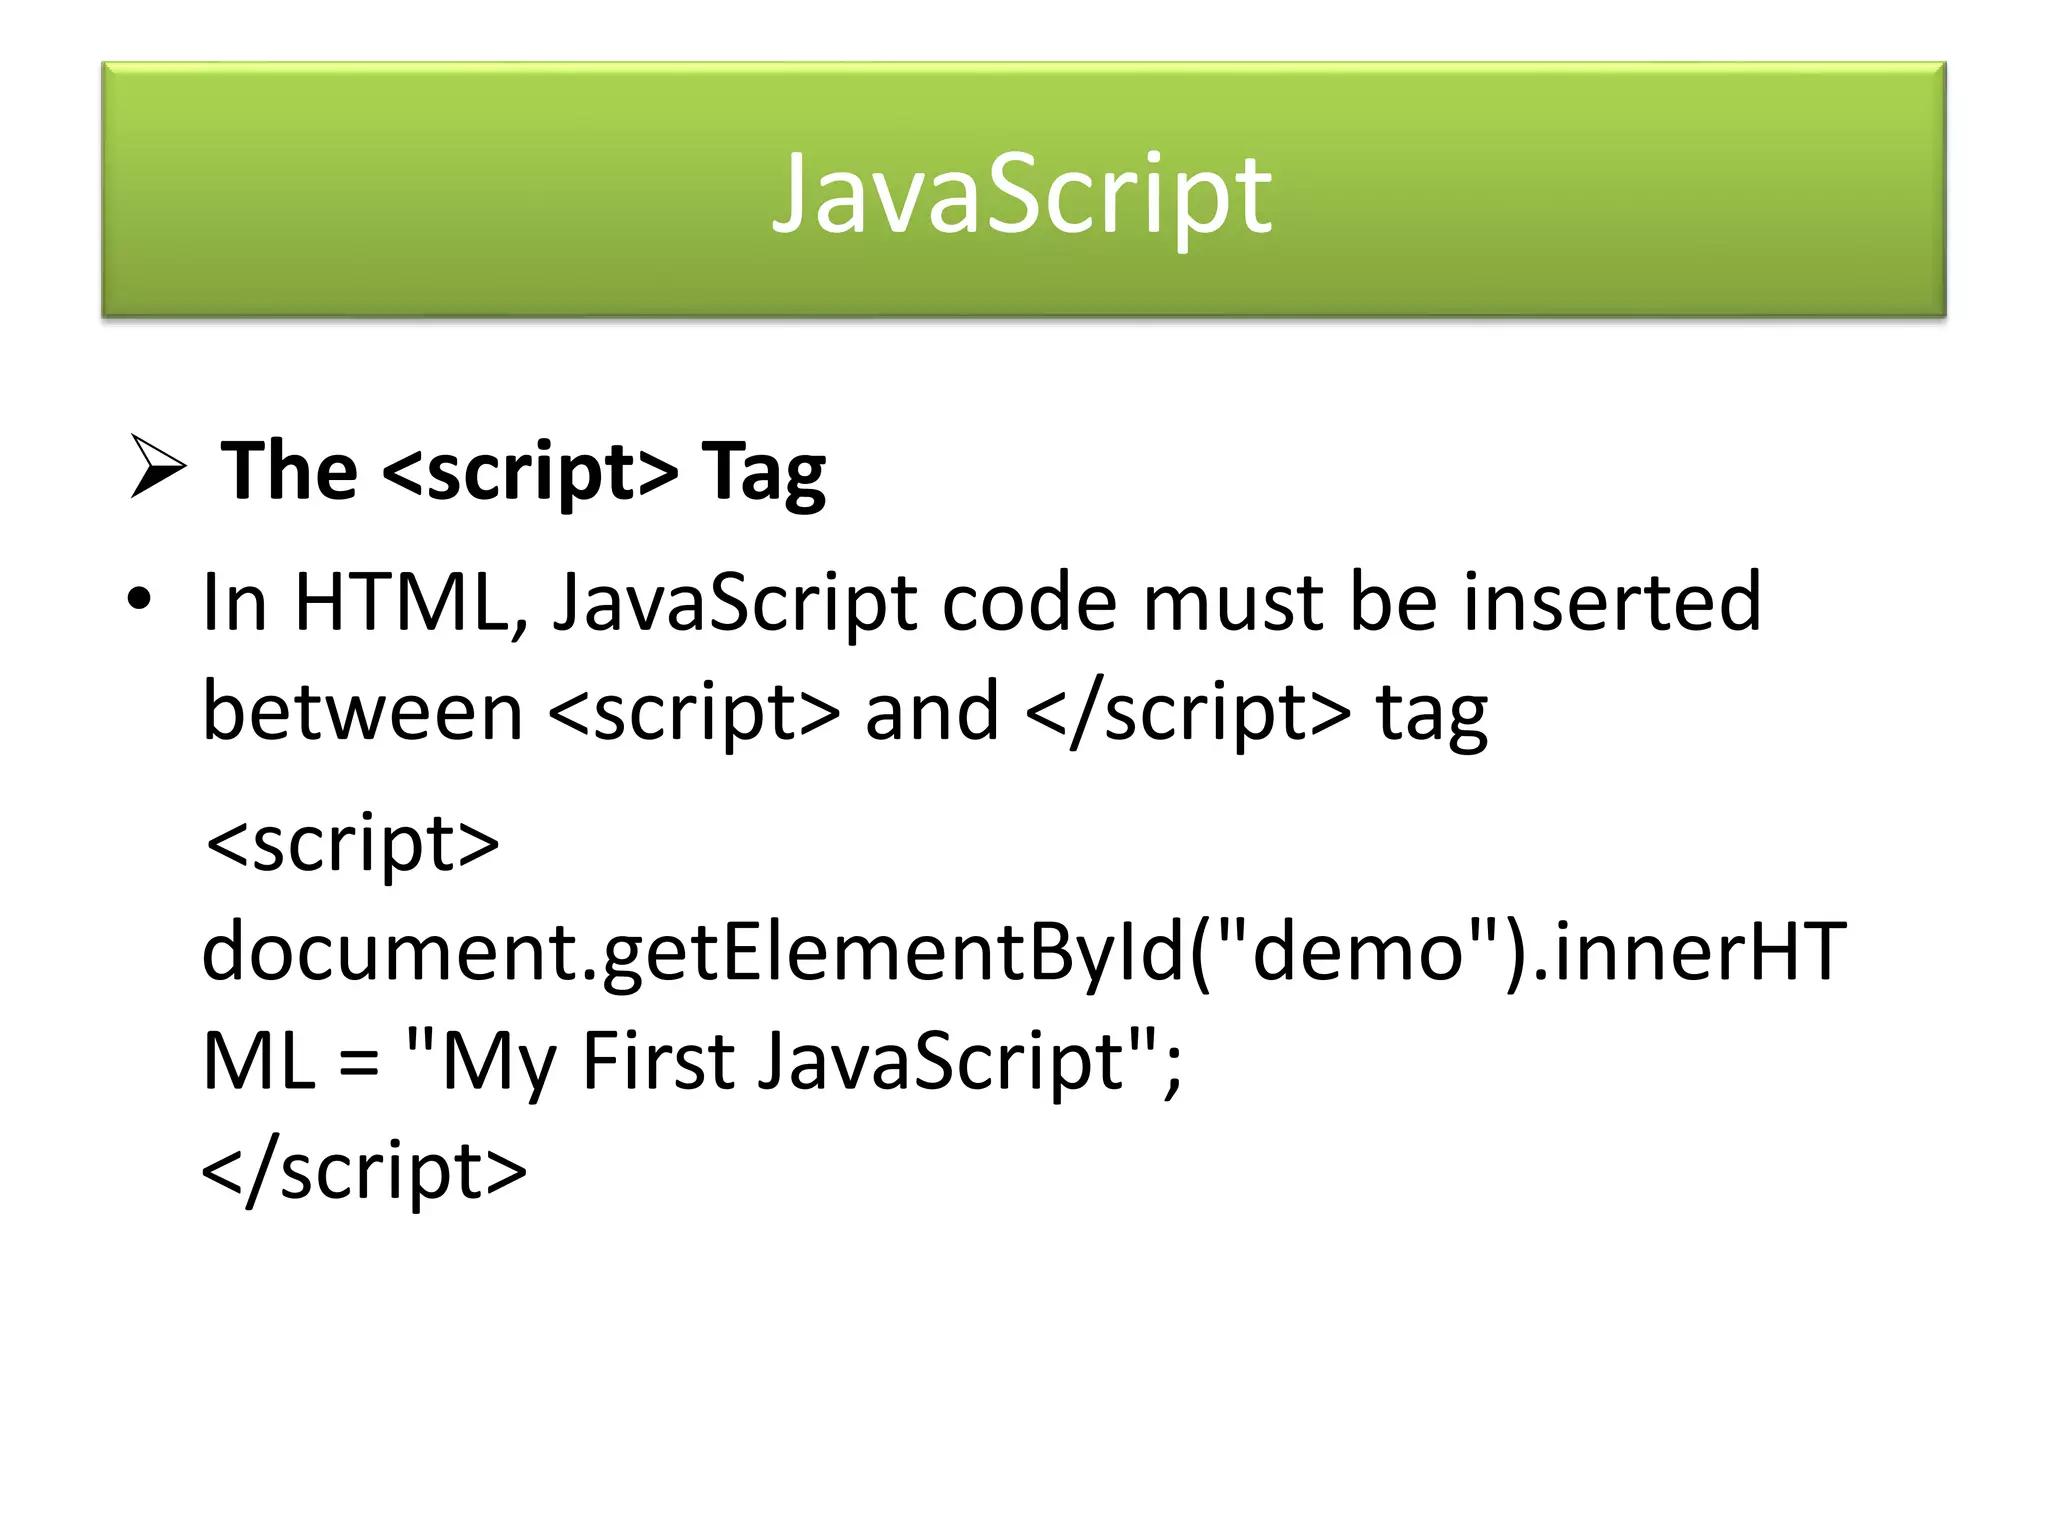
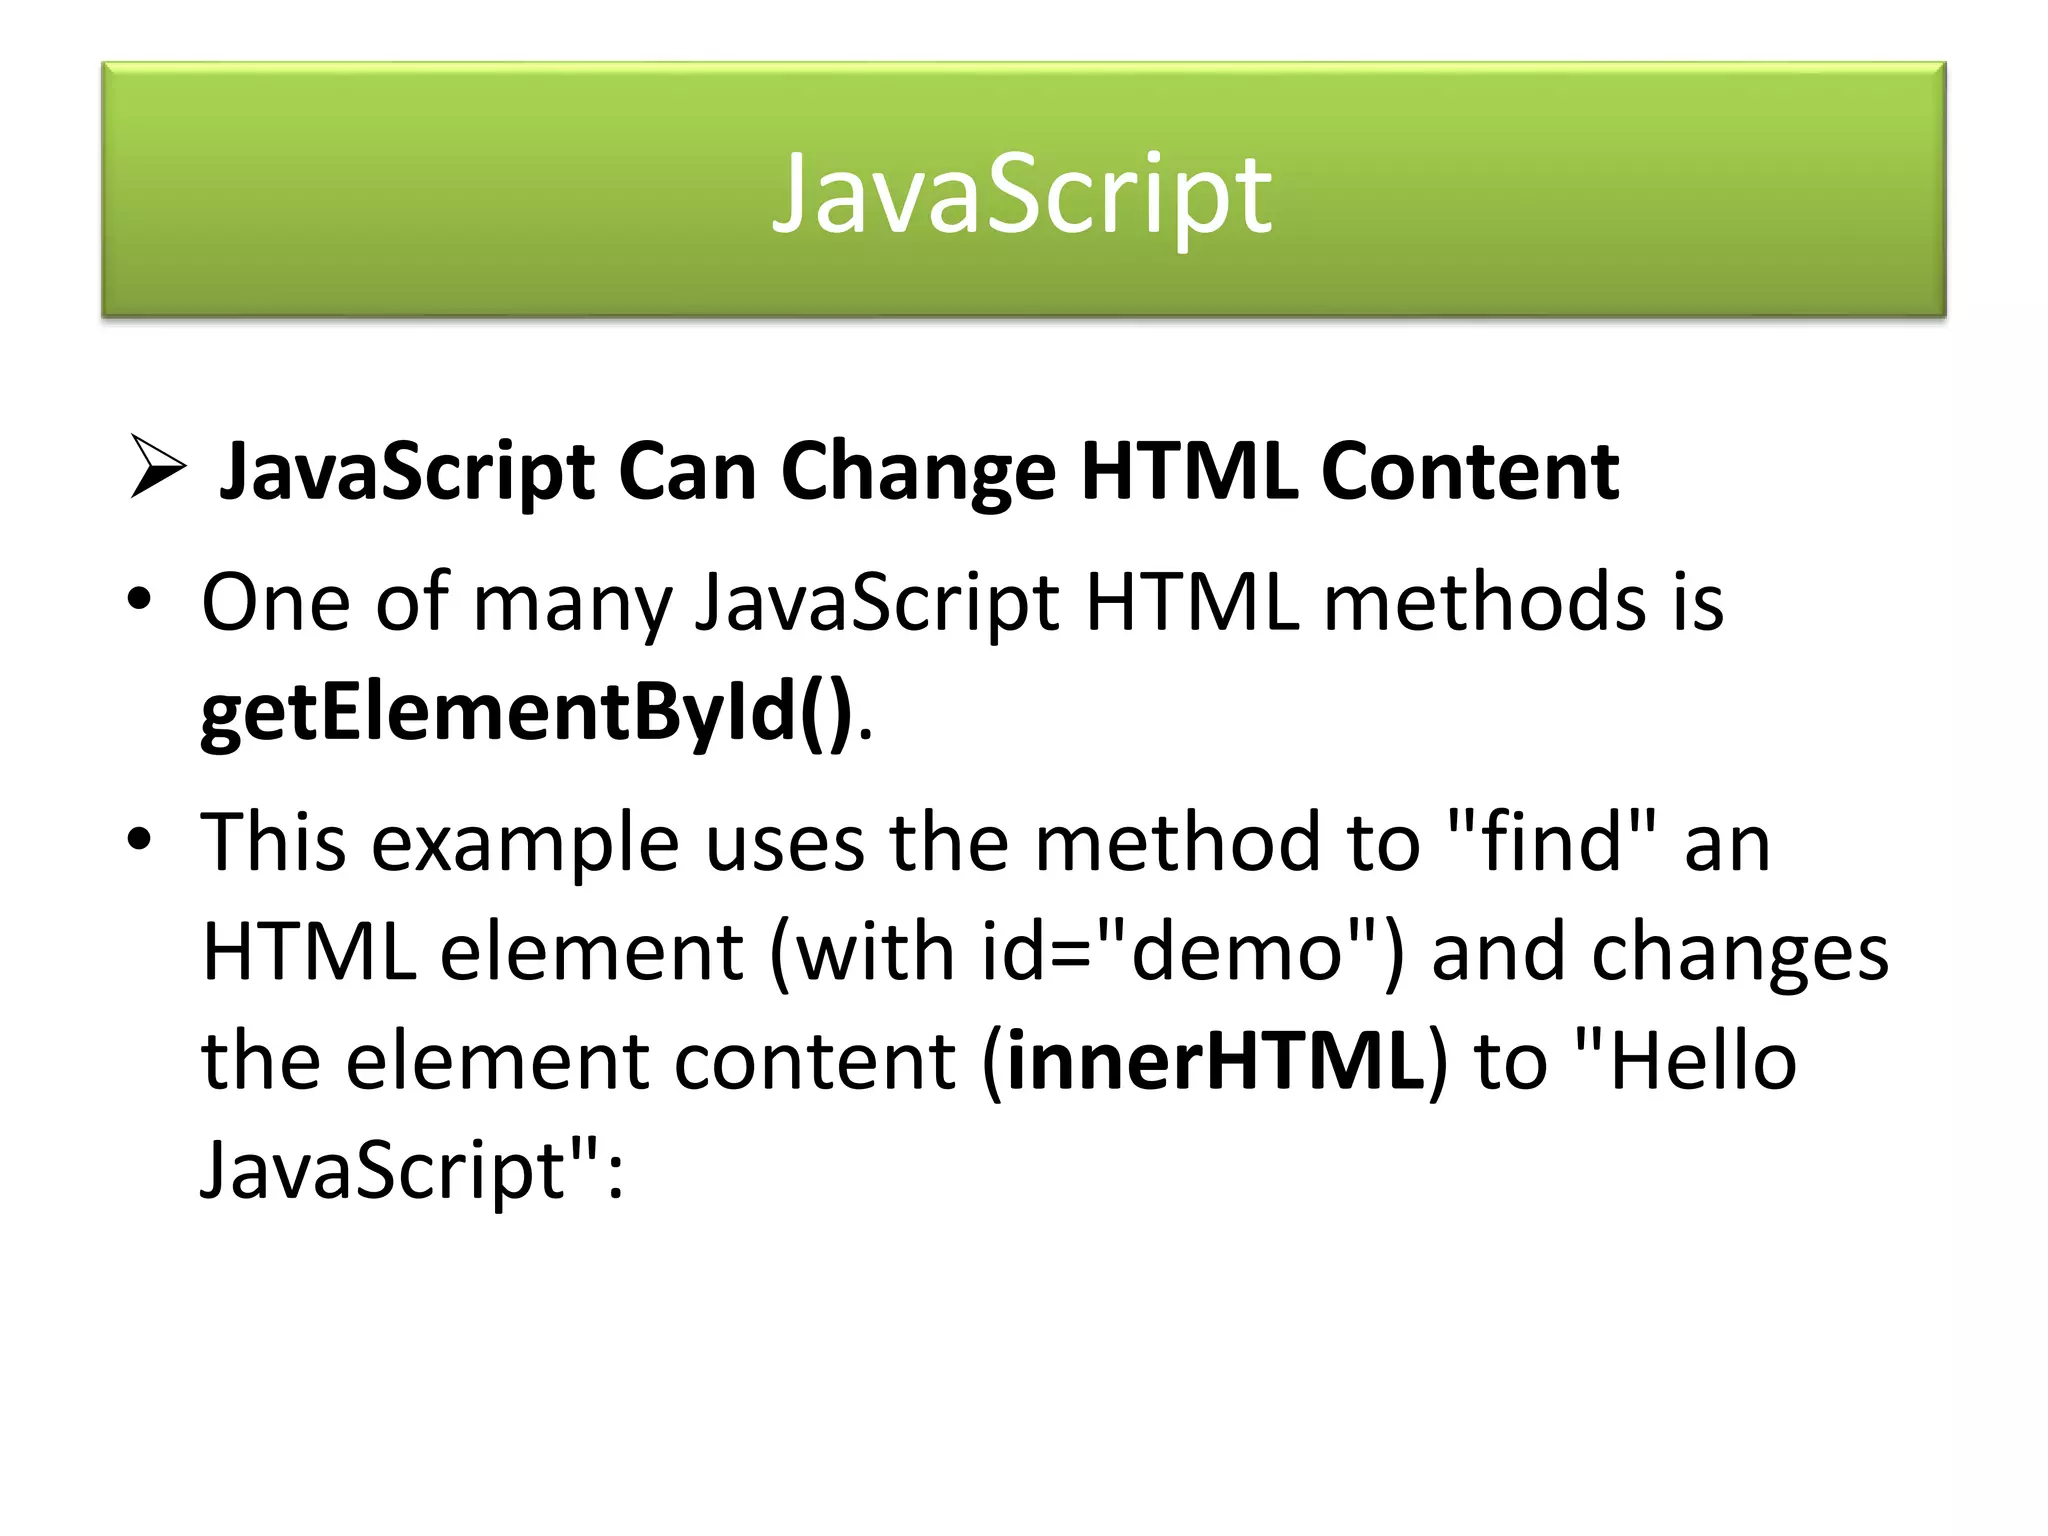
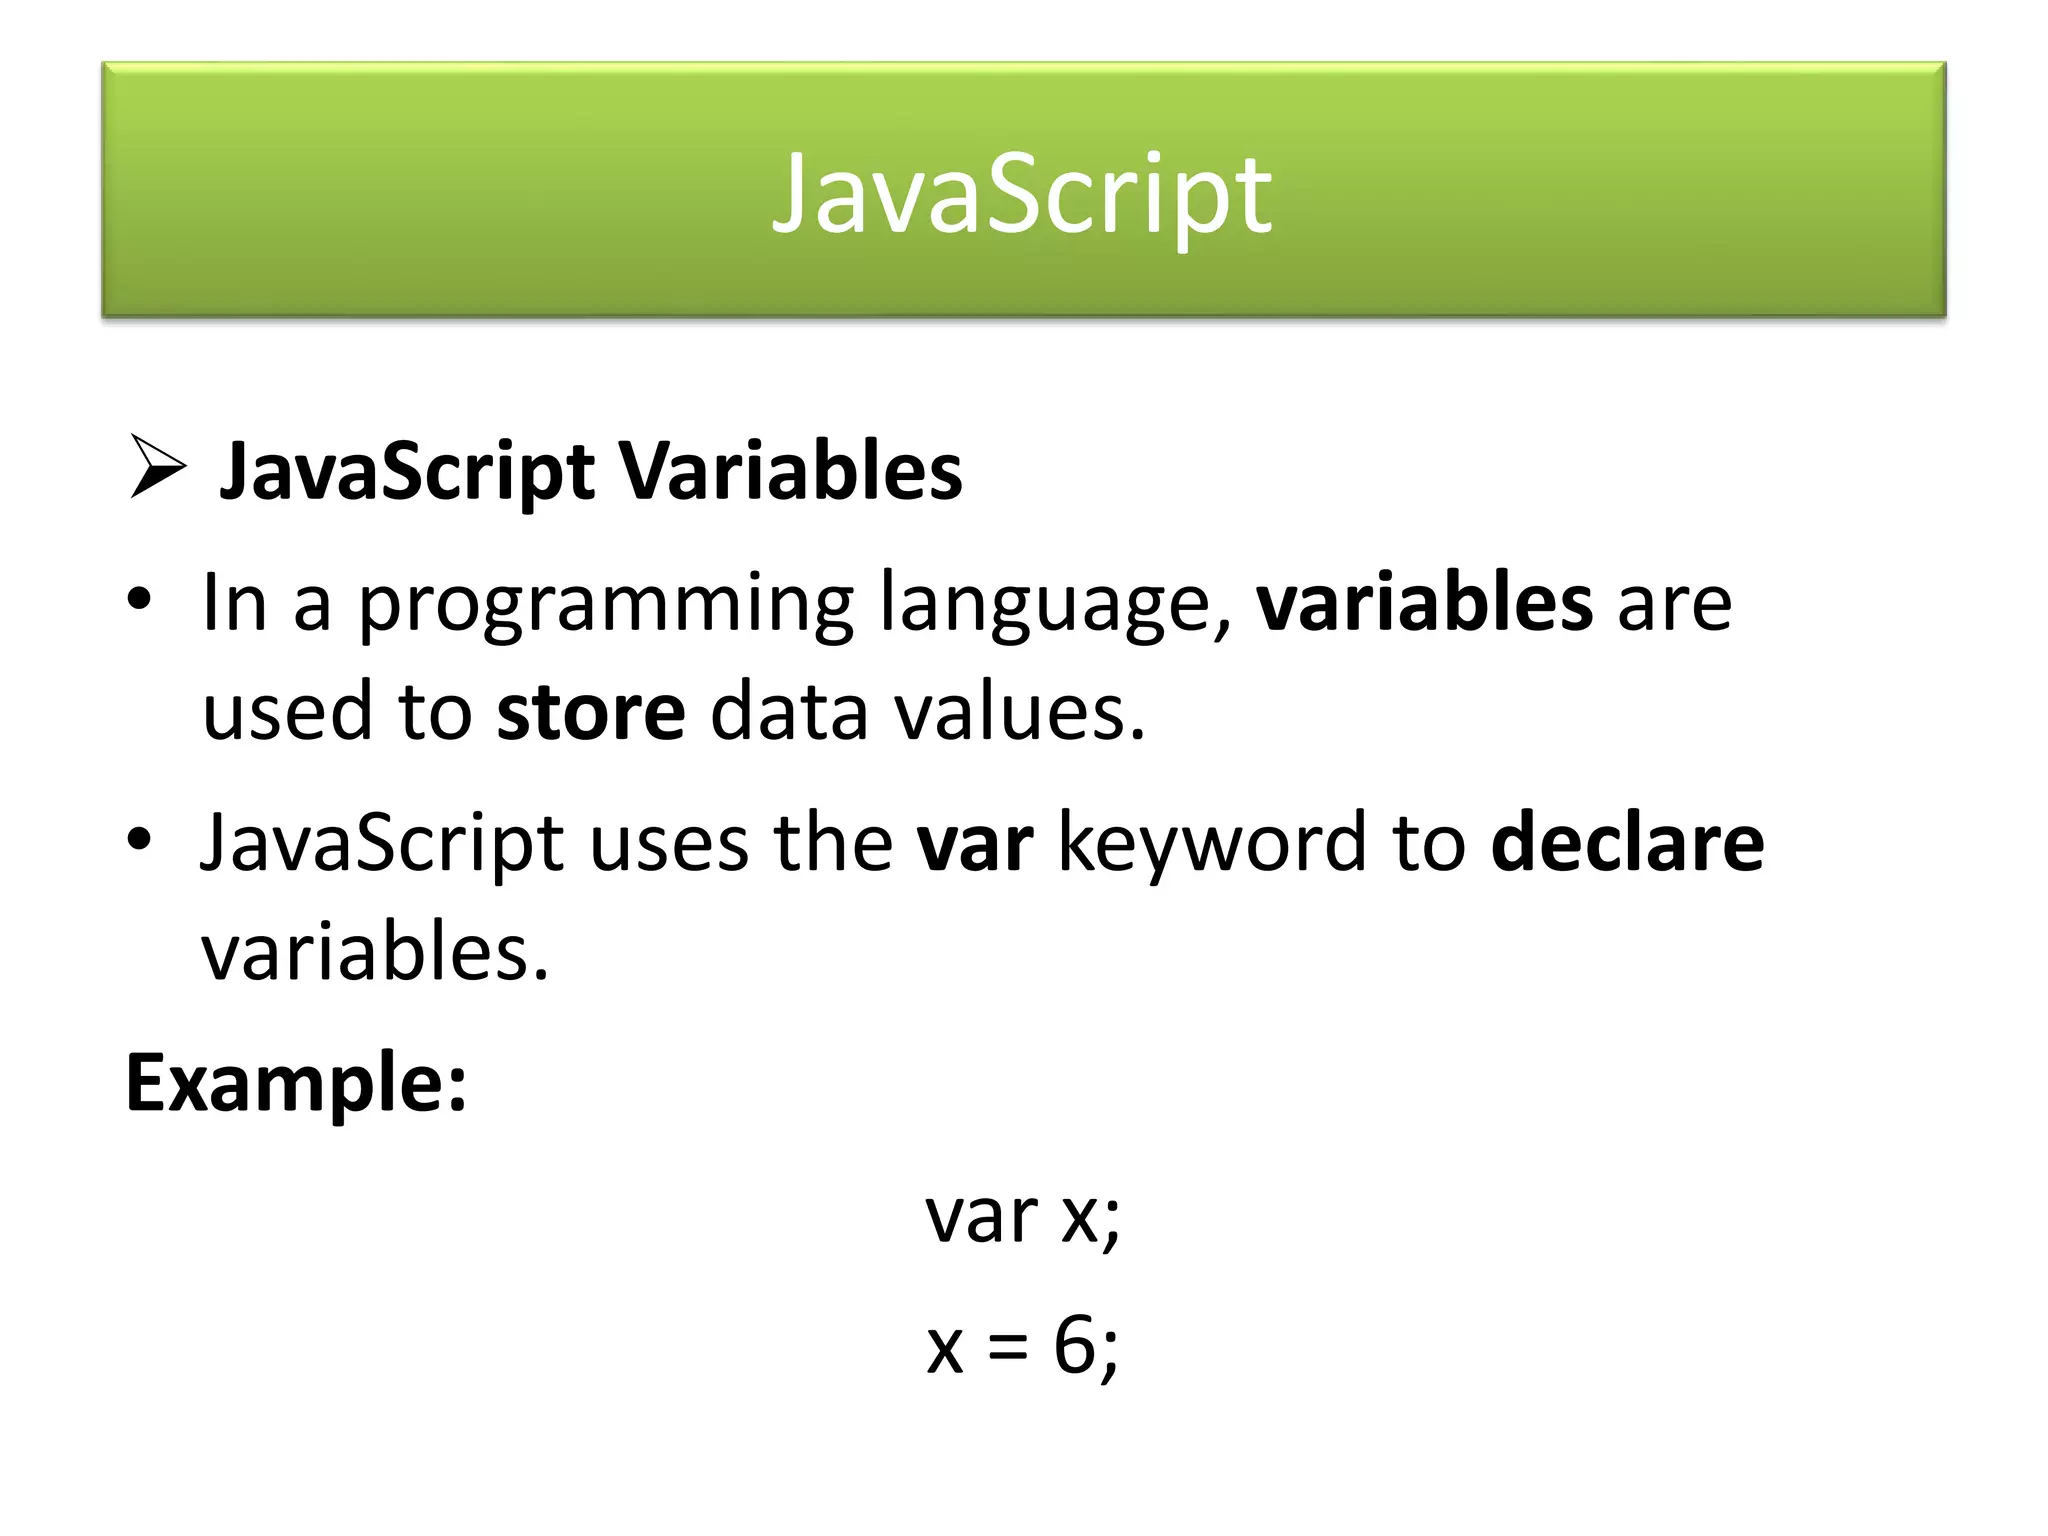
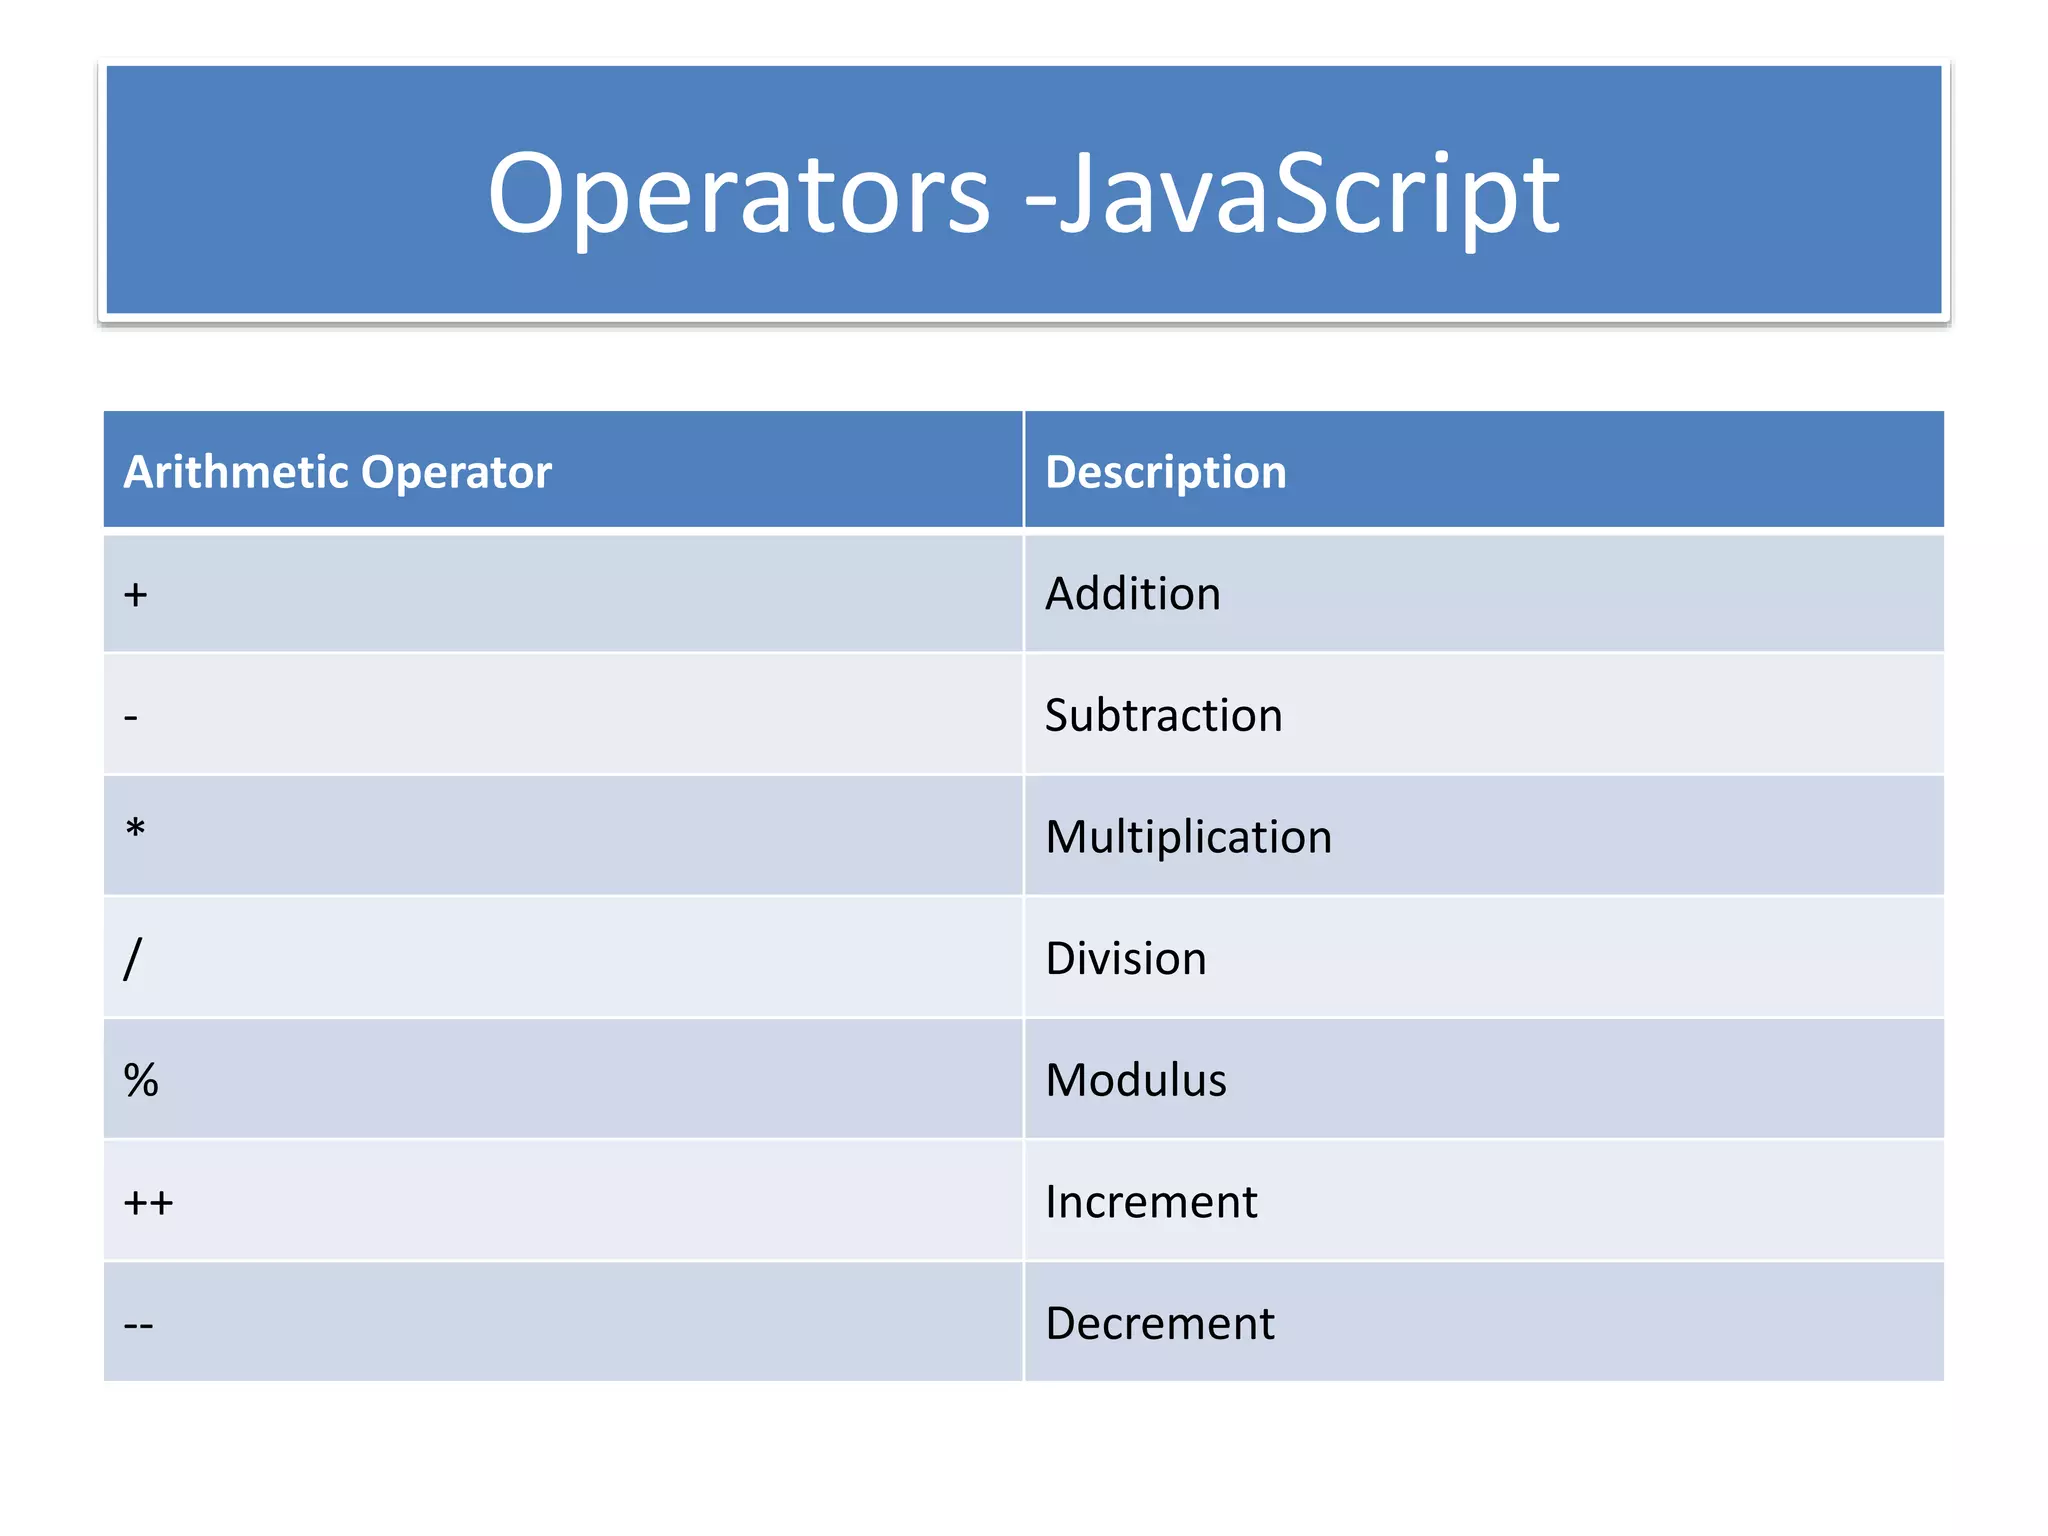
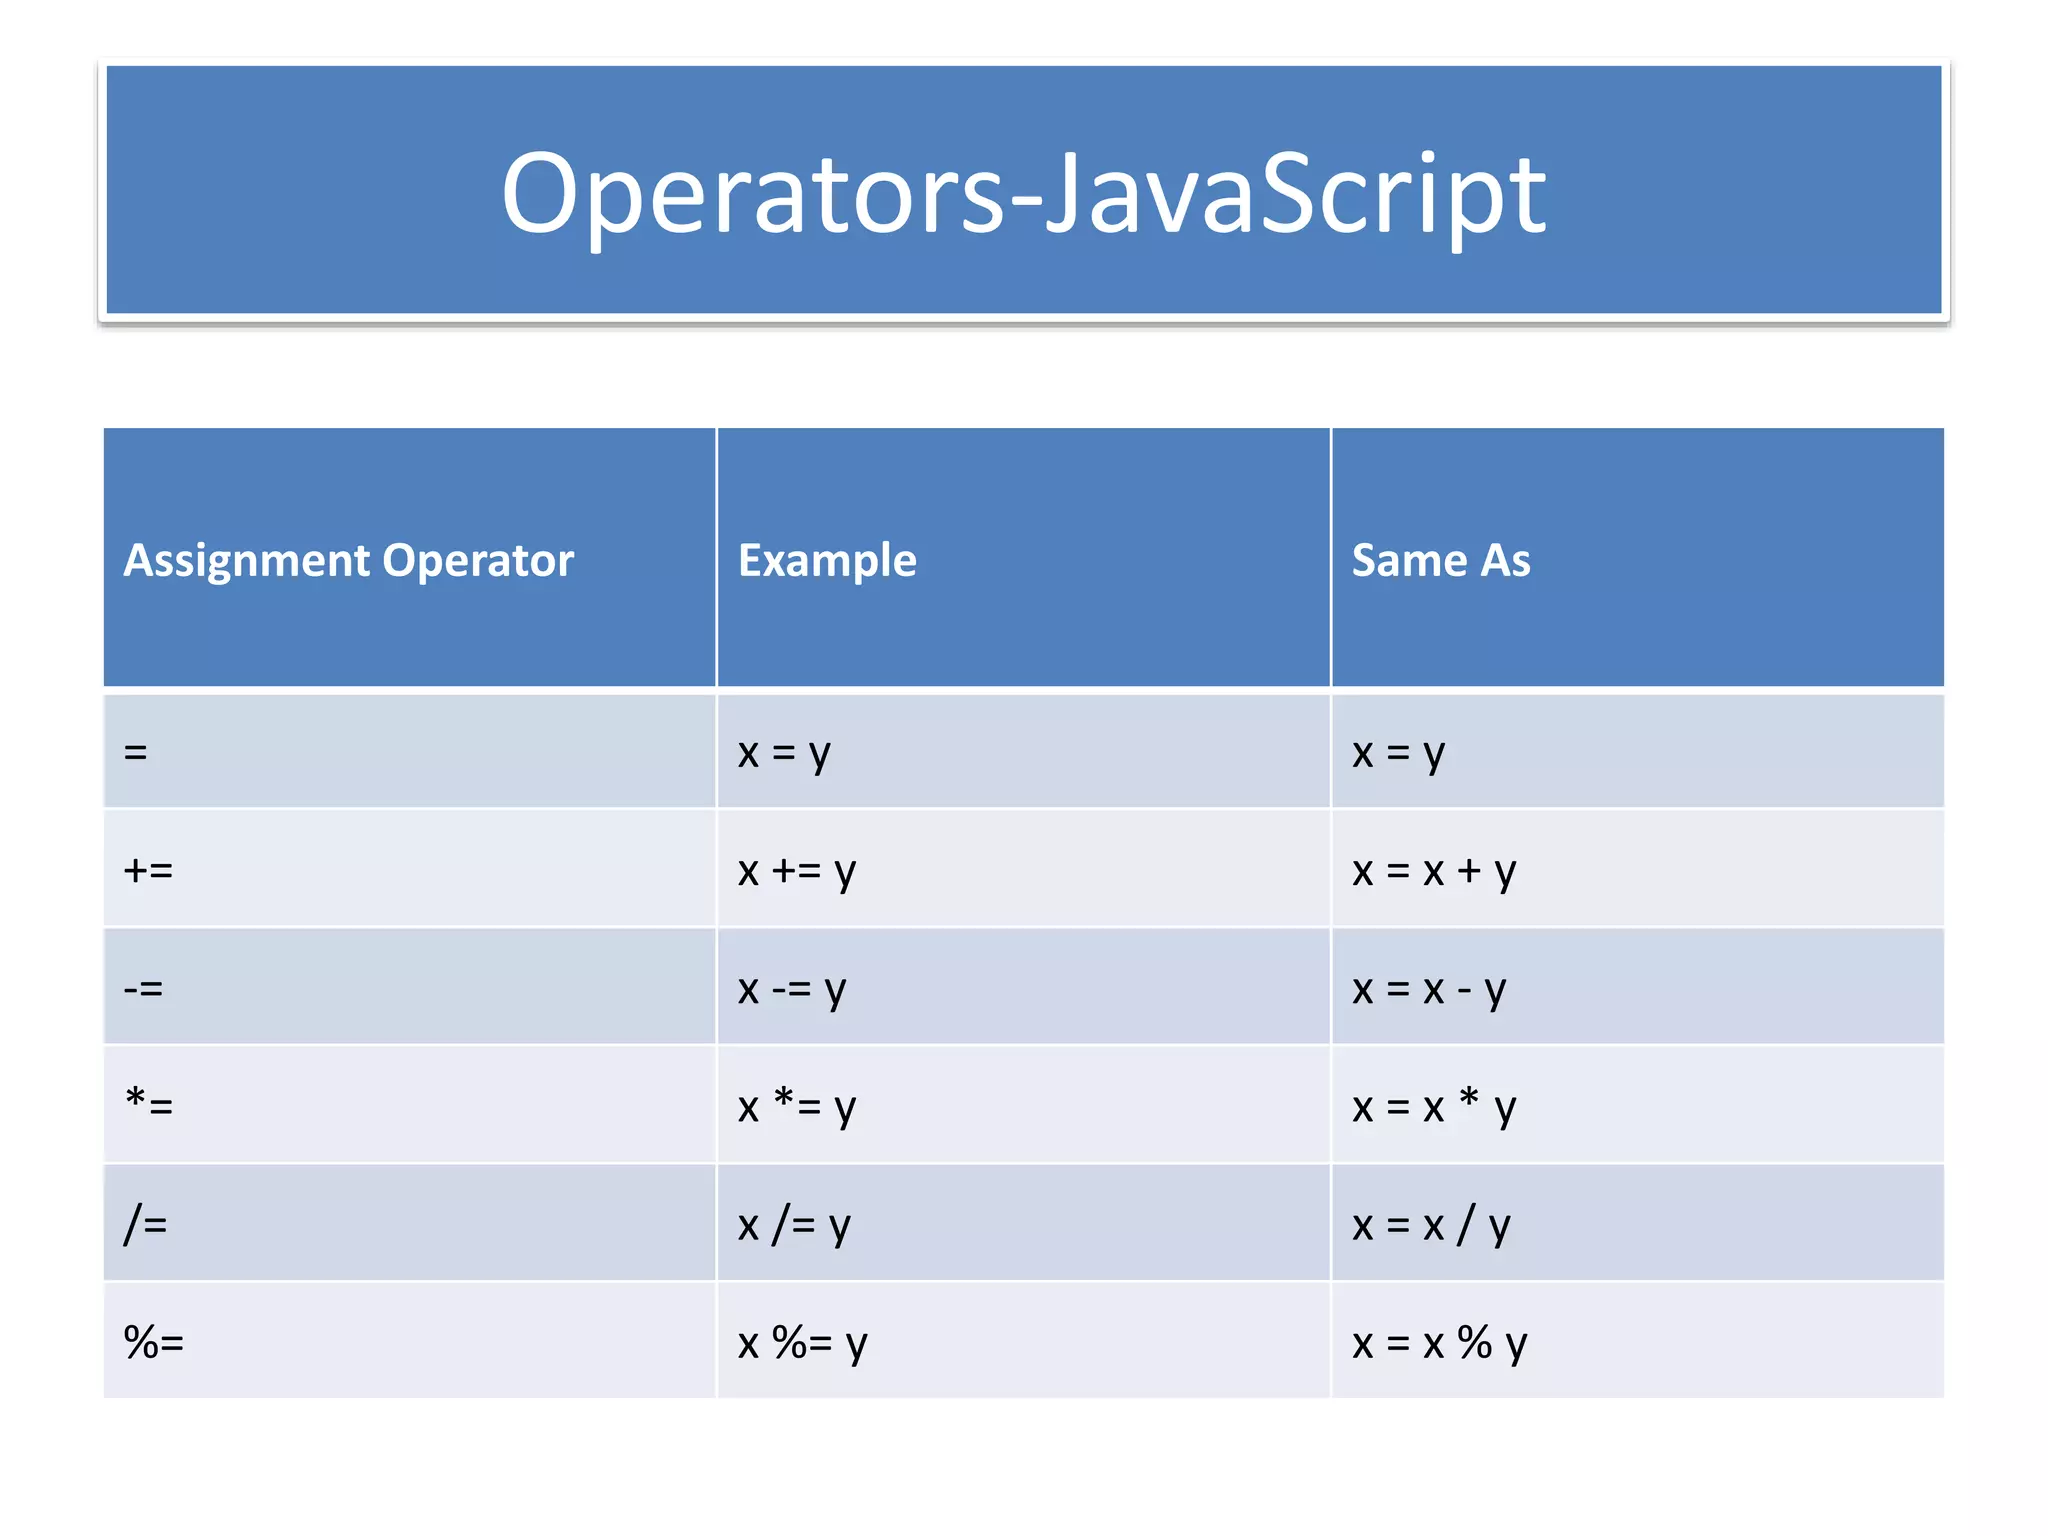
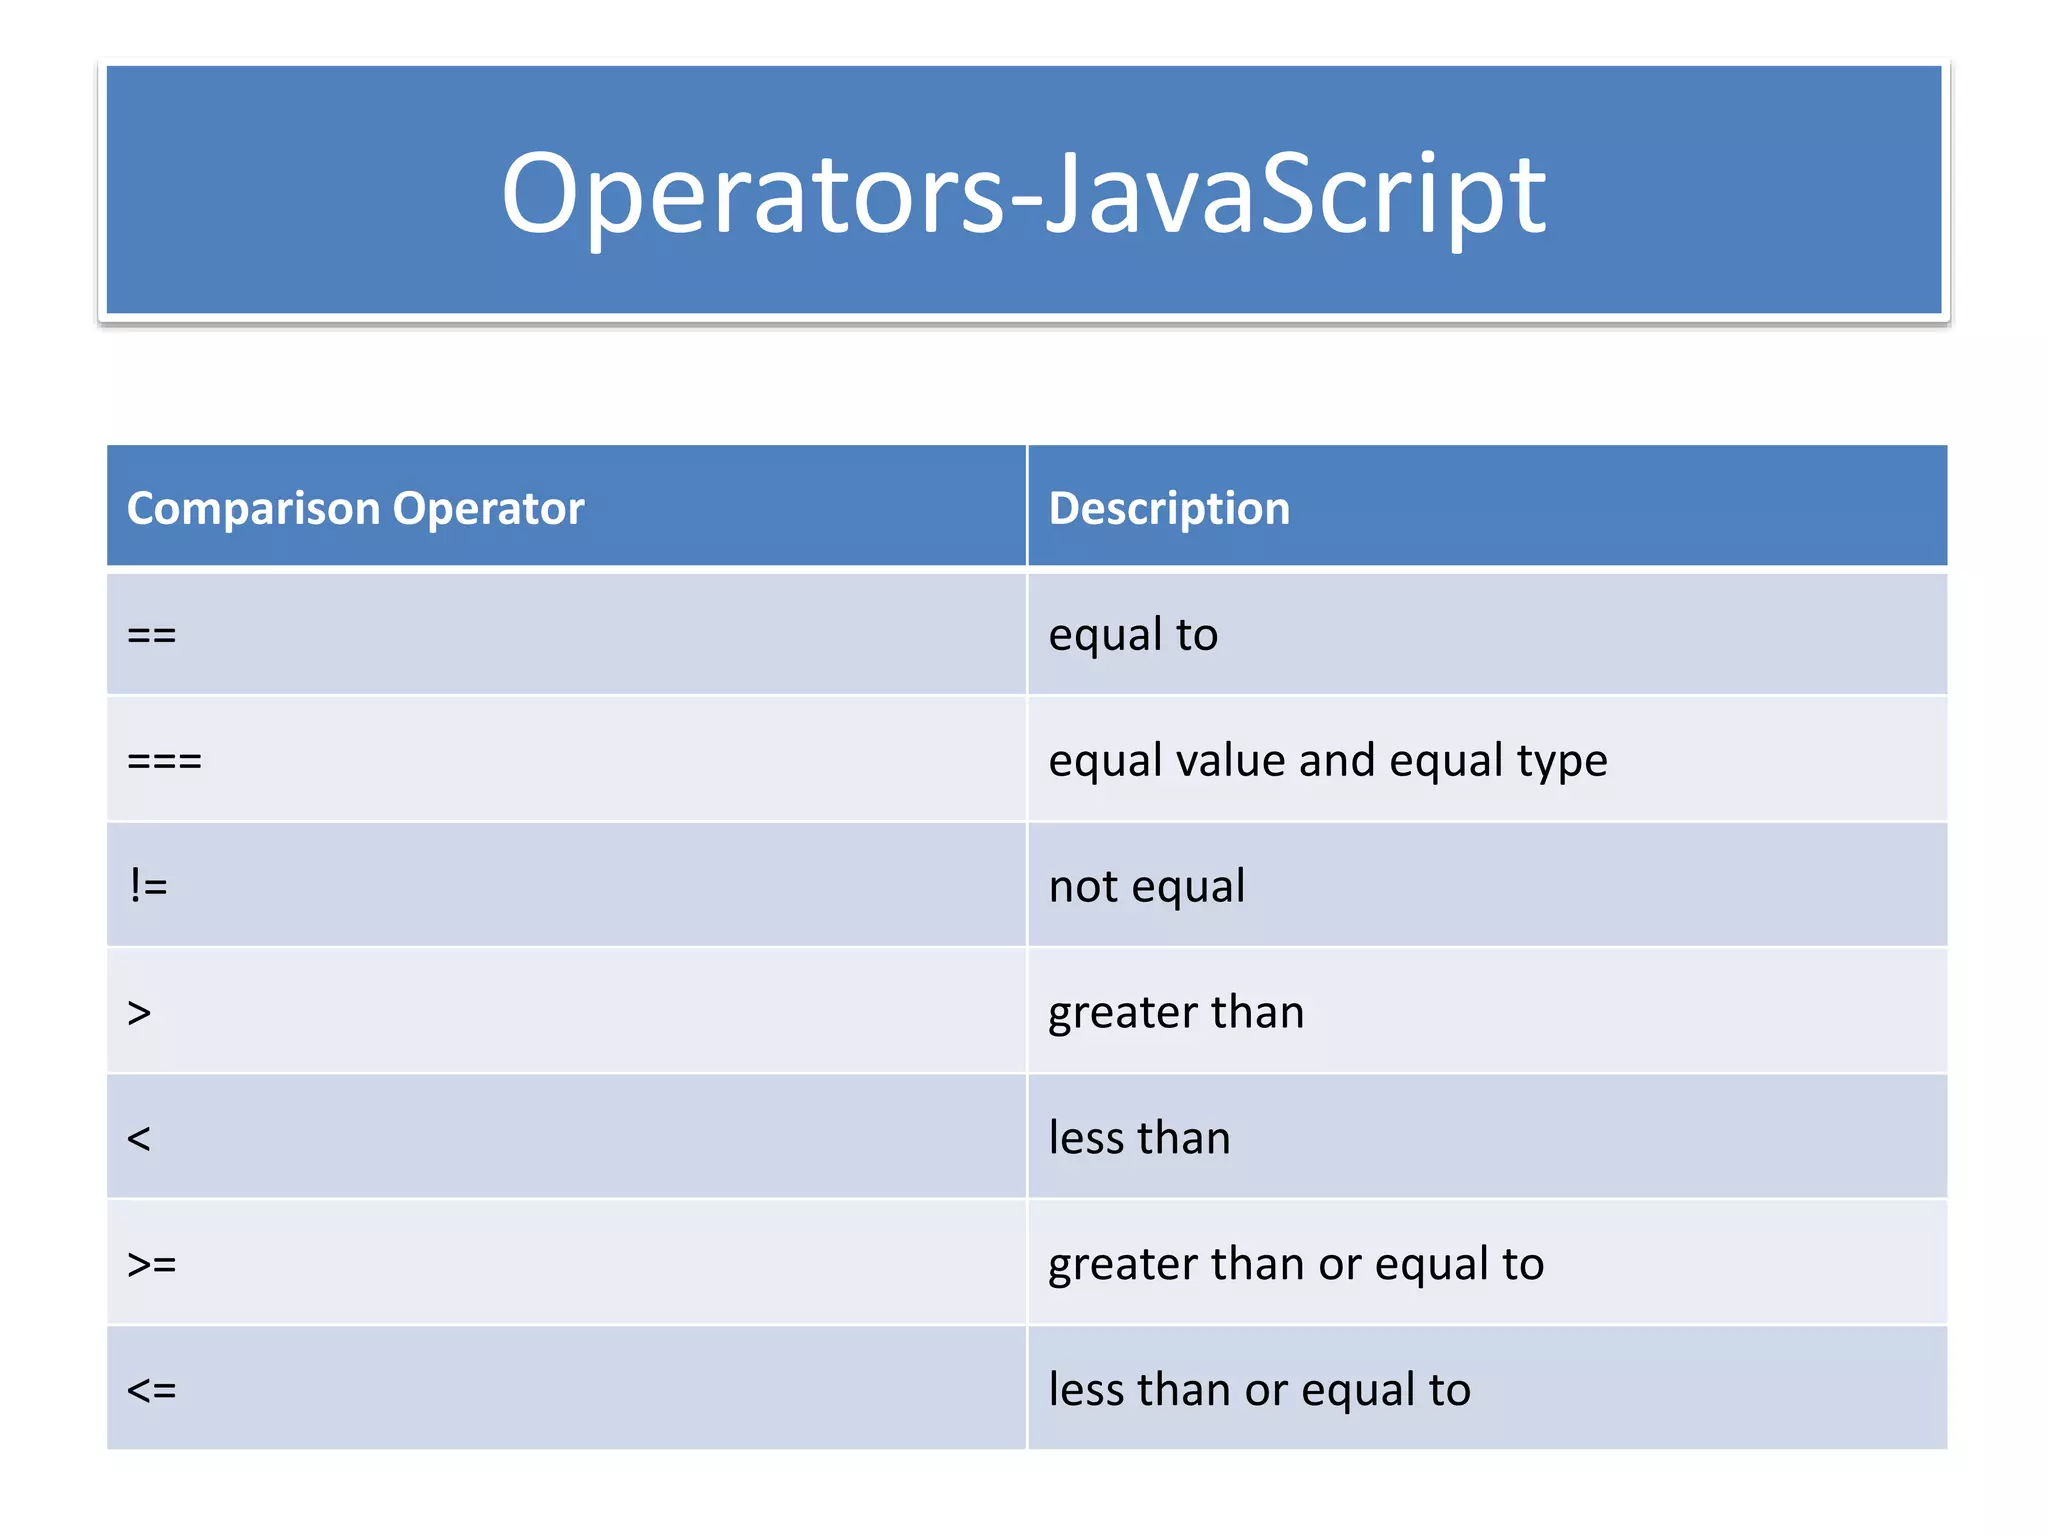
Introduction to JavaScript, its importance, types of operators.
Loop structures in JavaScript including for and while loops.
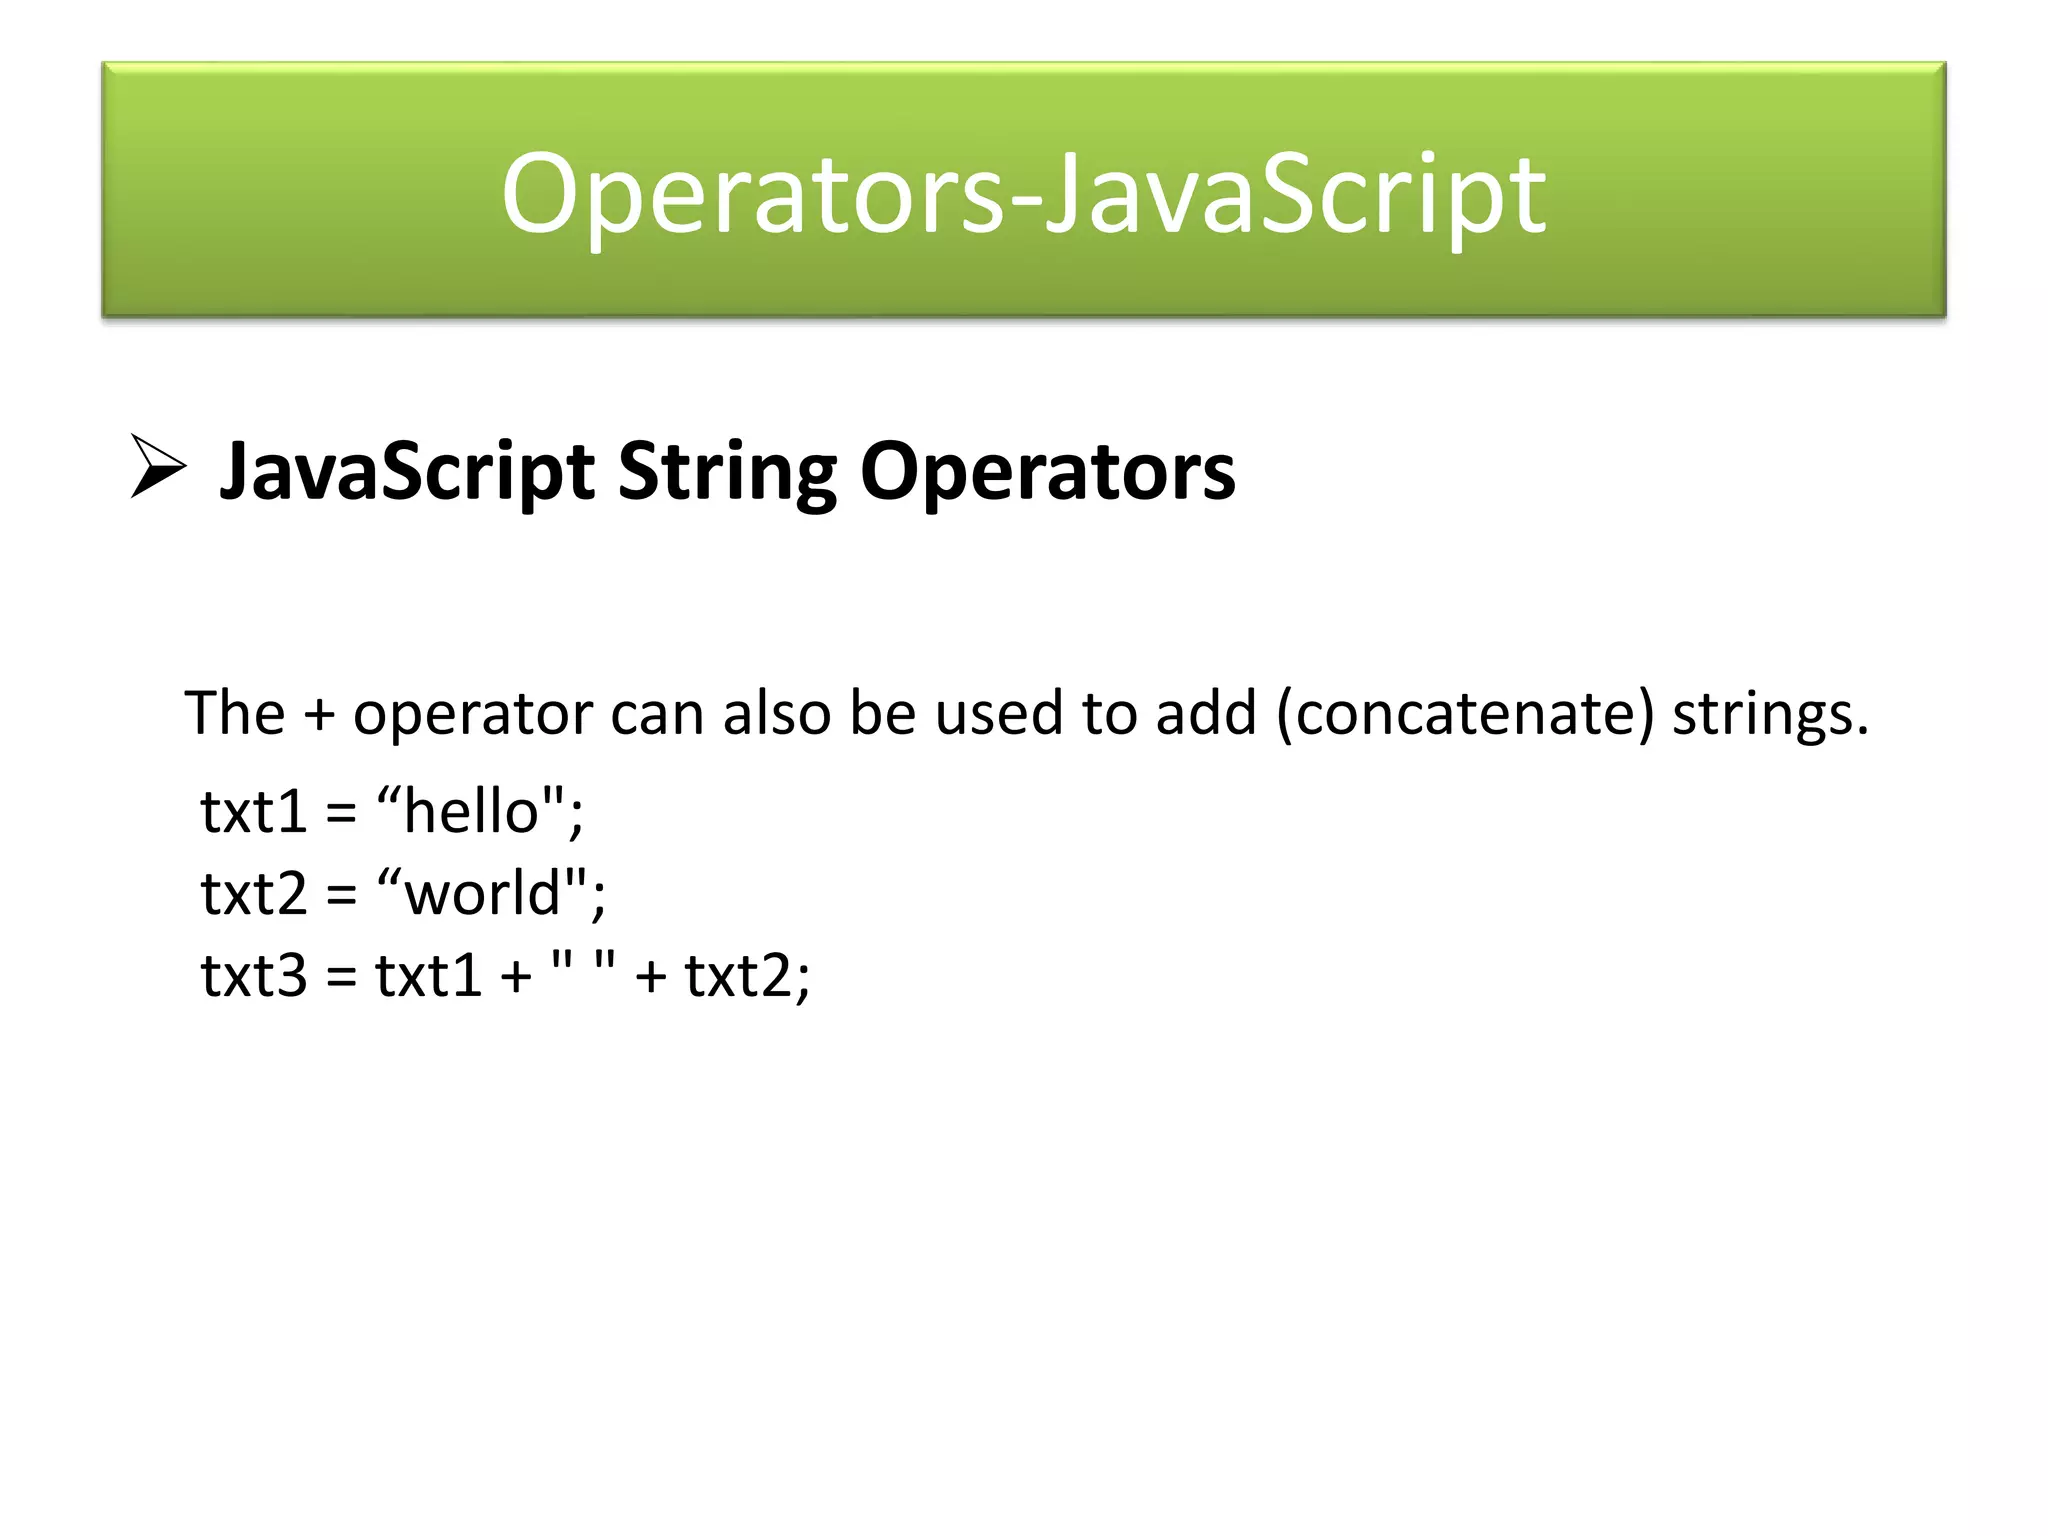
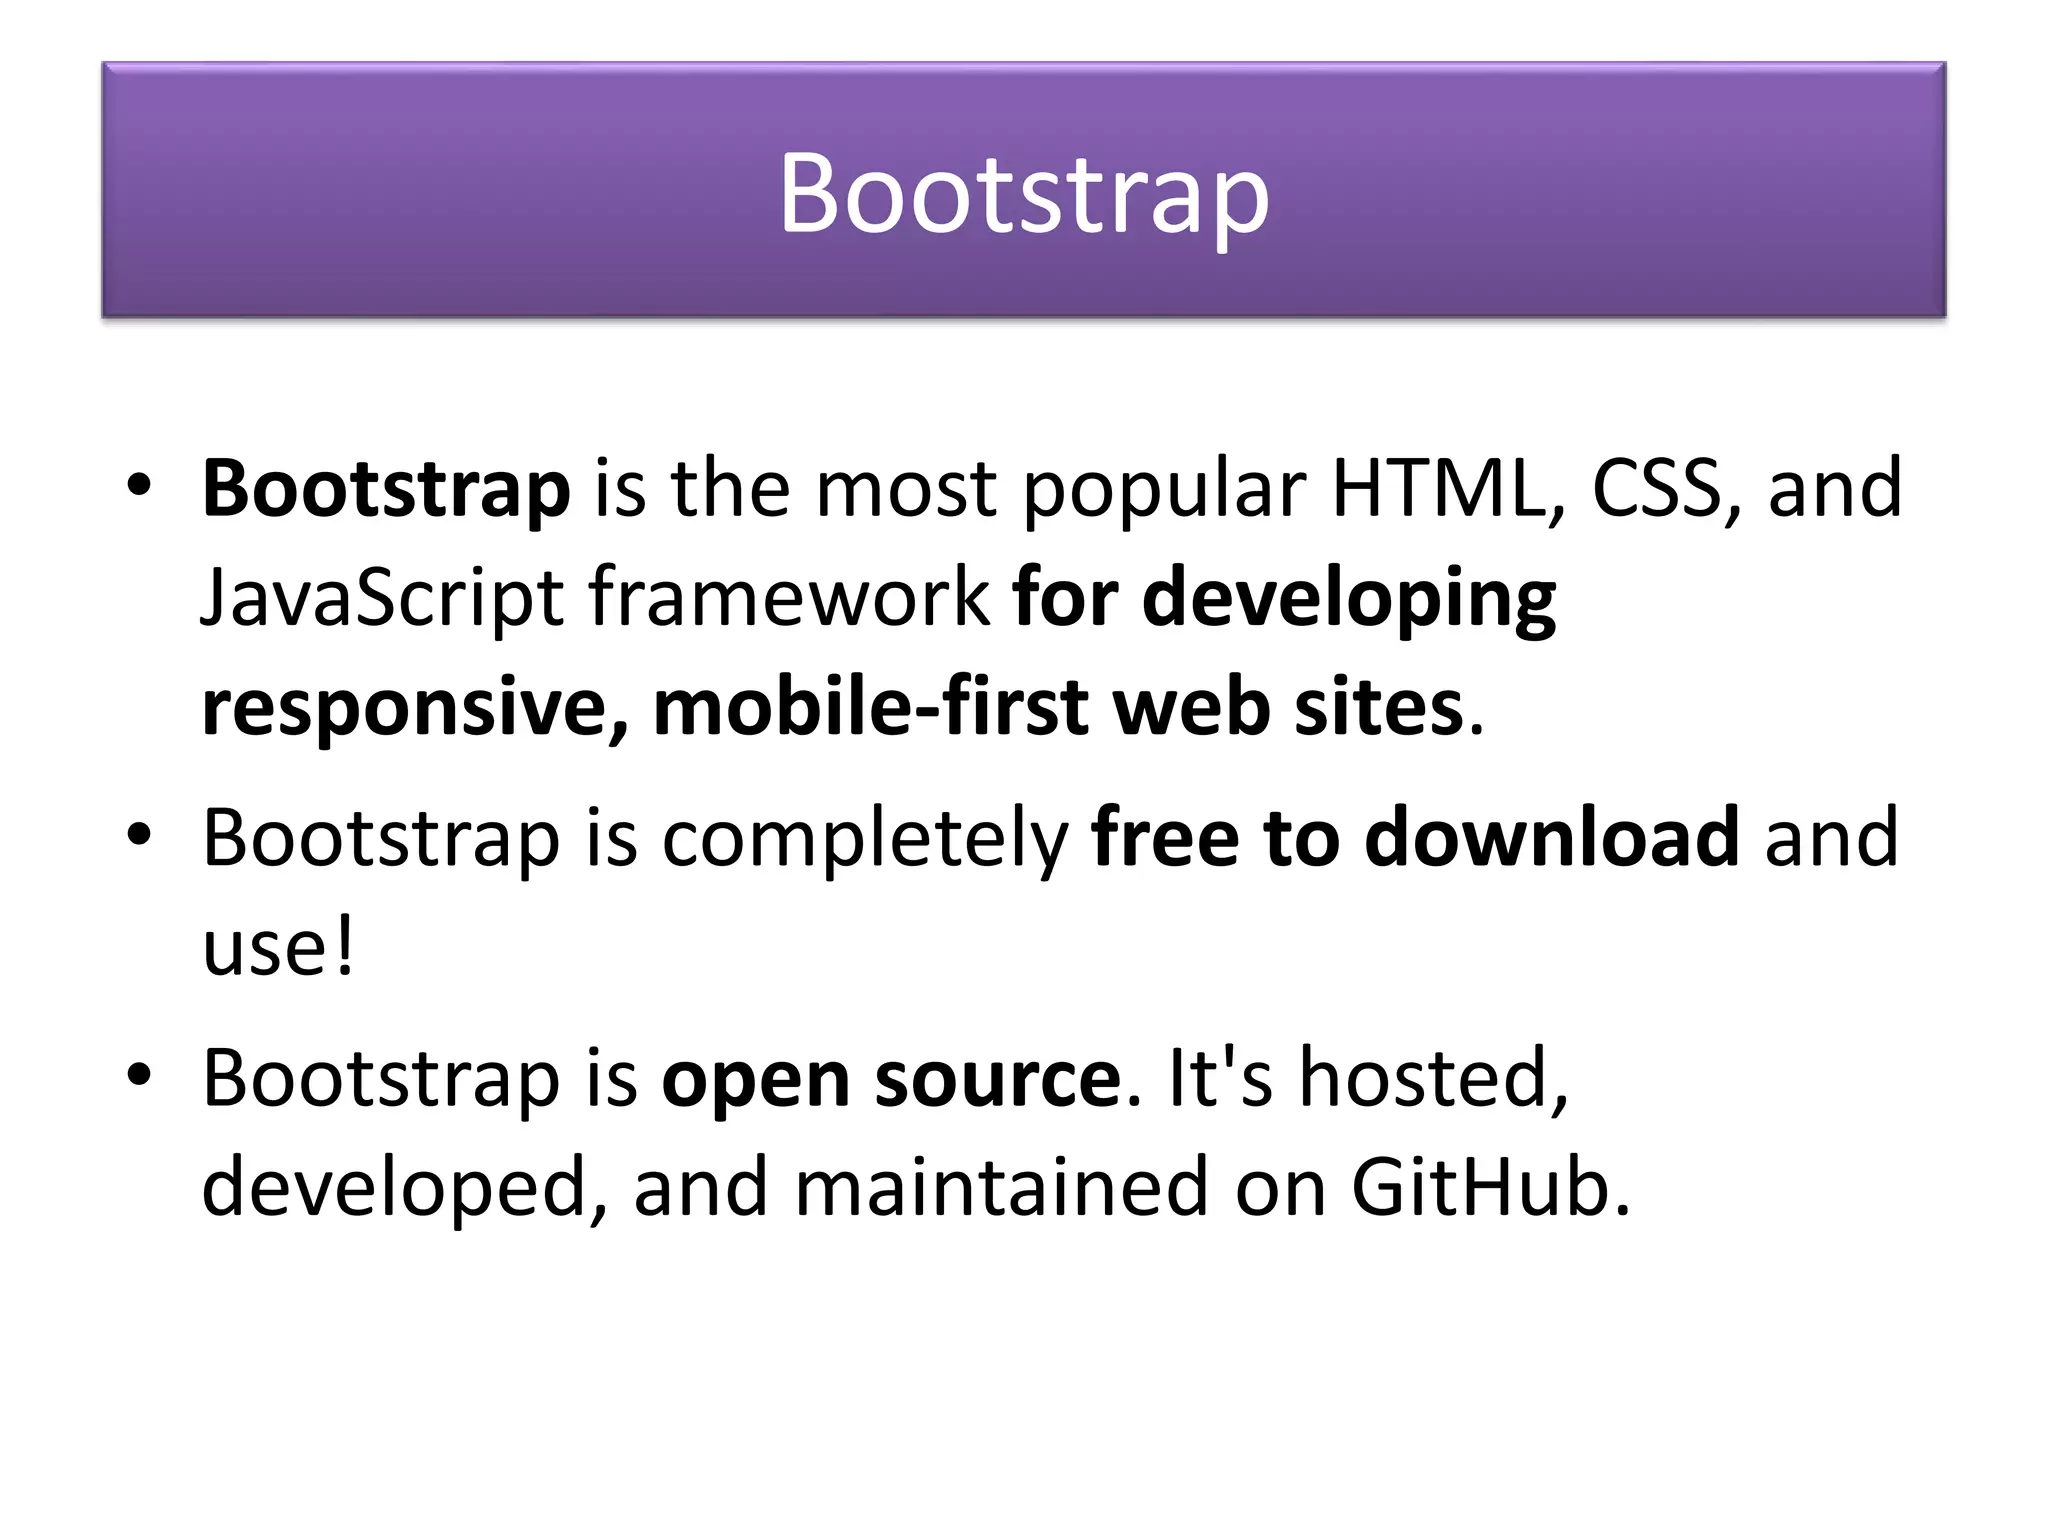
String and logical operators used in JavaScript.Introduction to Bootstrap framework for responsive design, grid system.
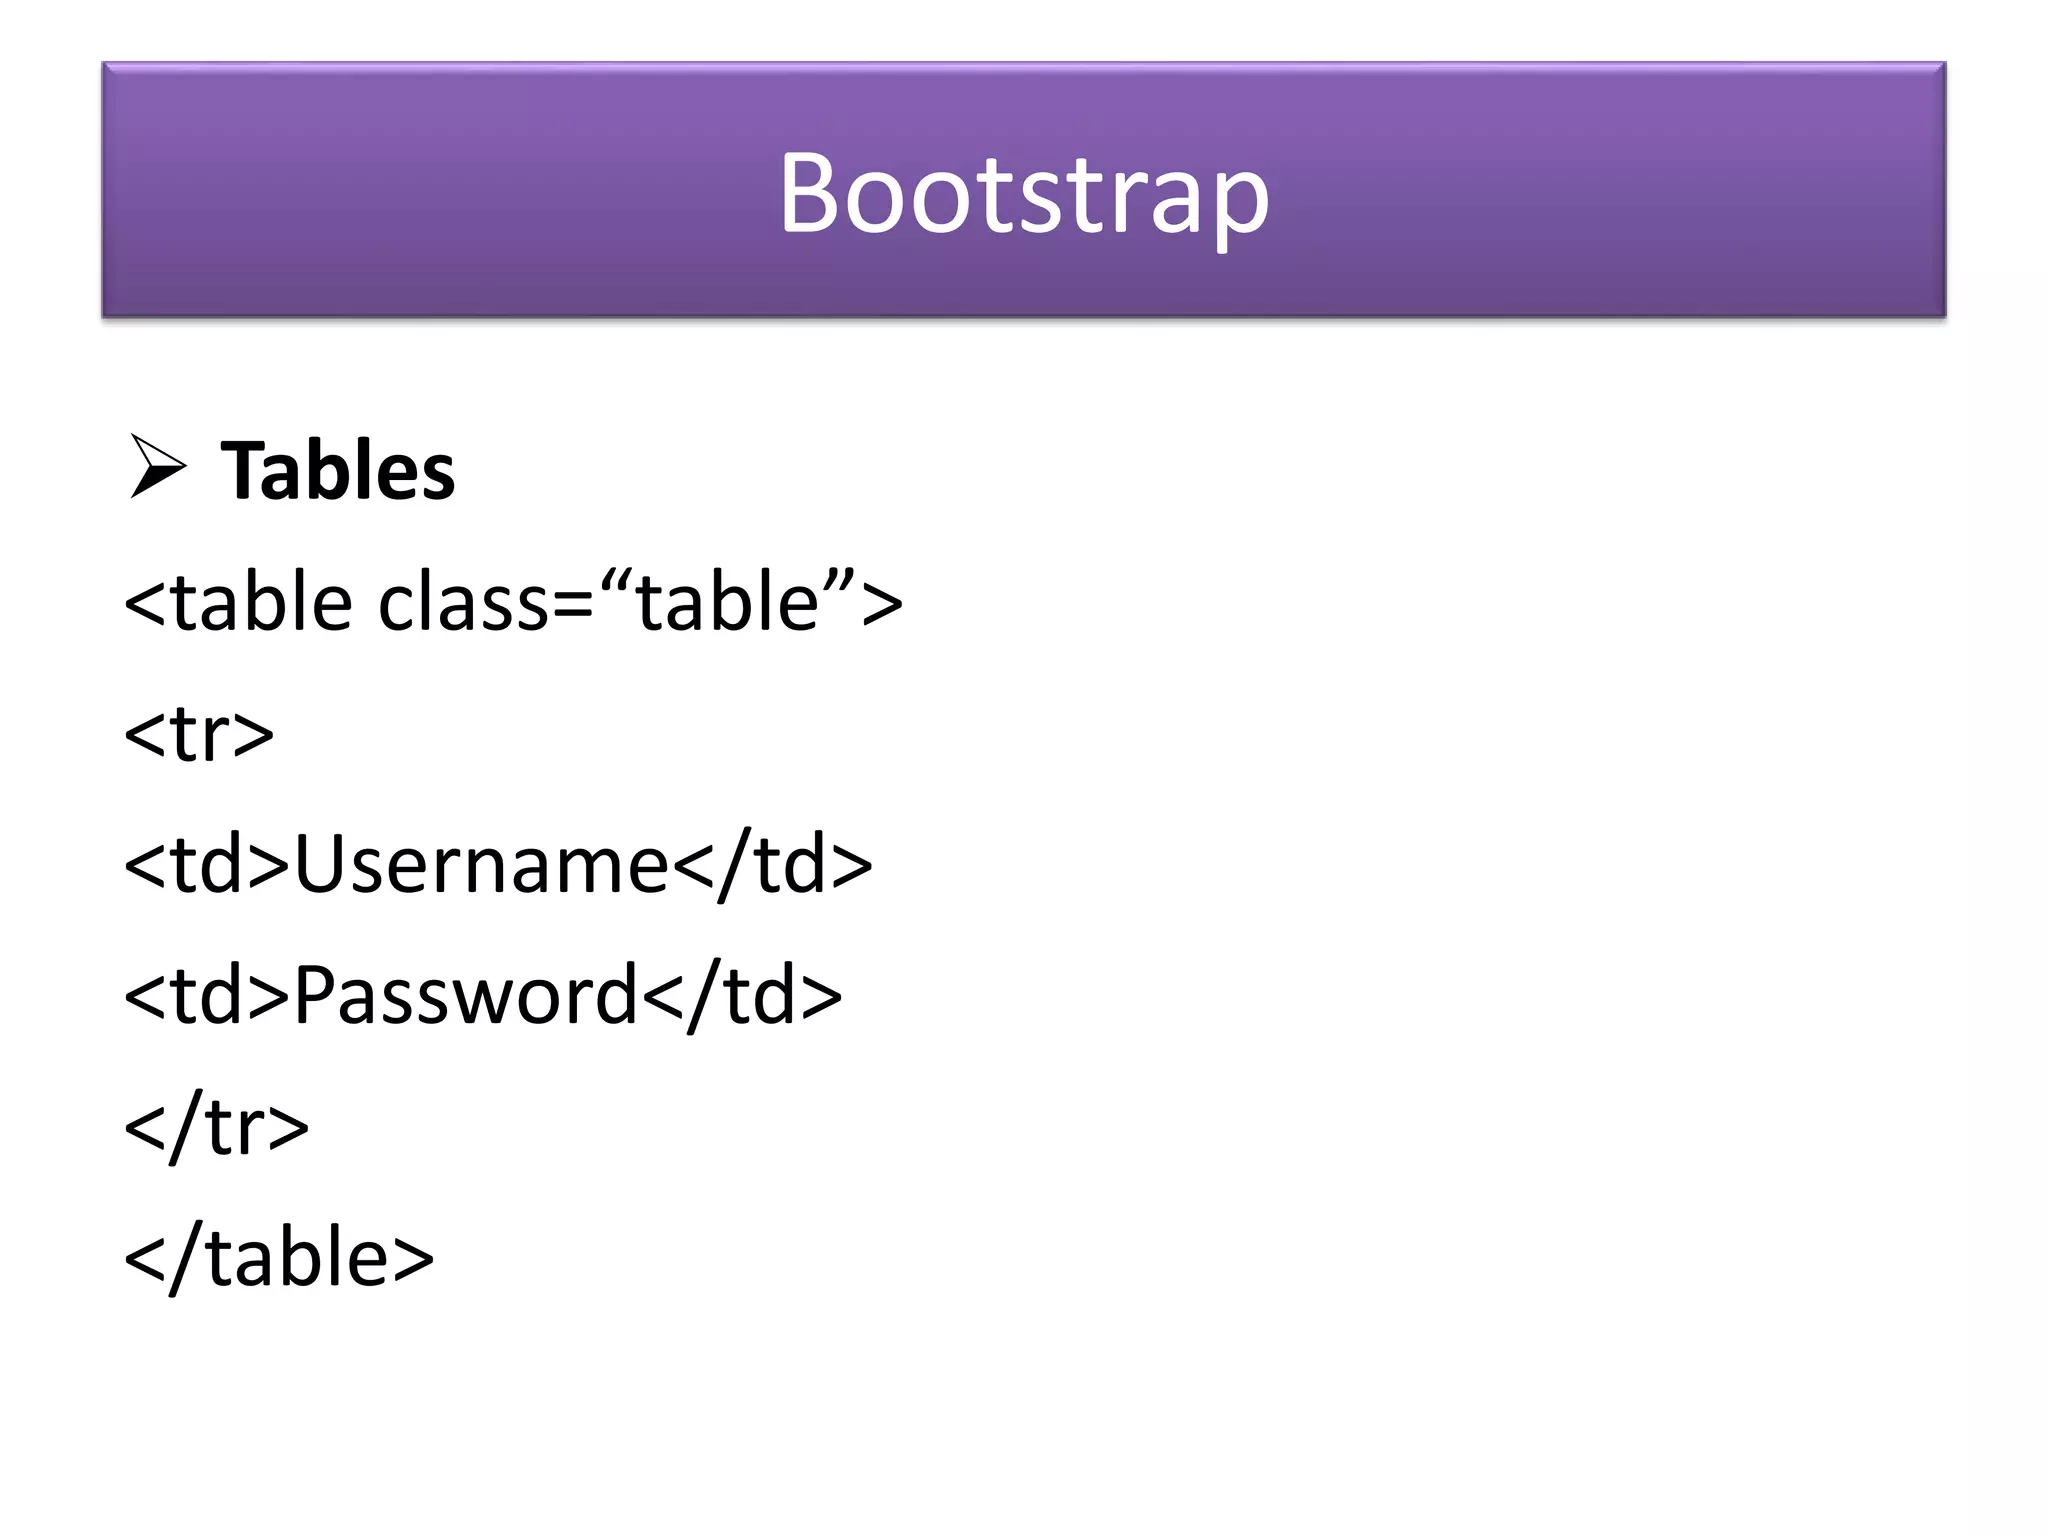
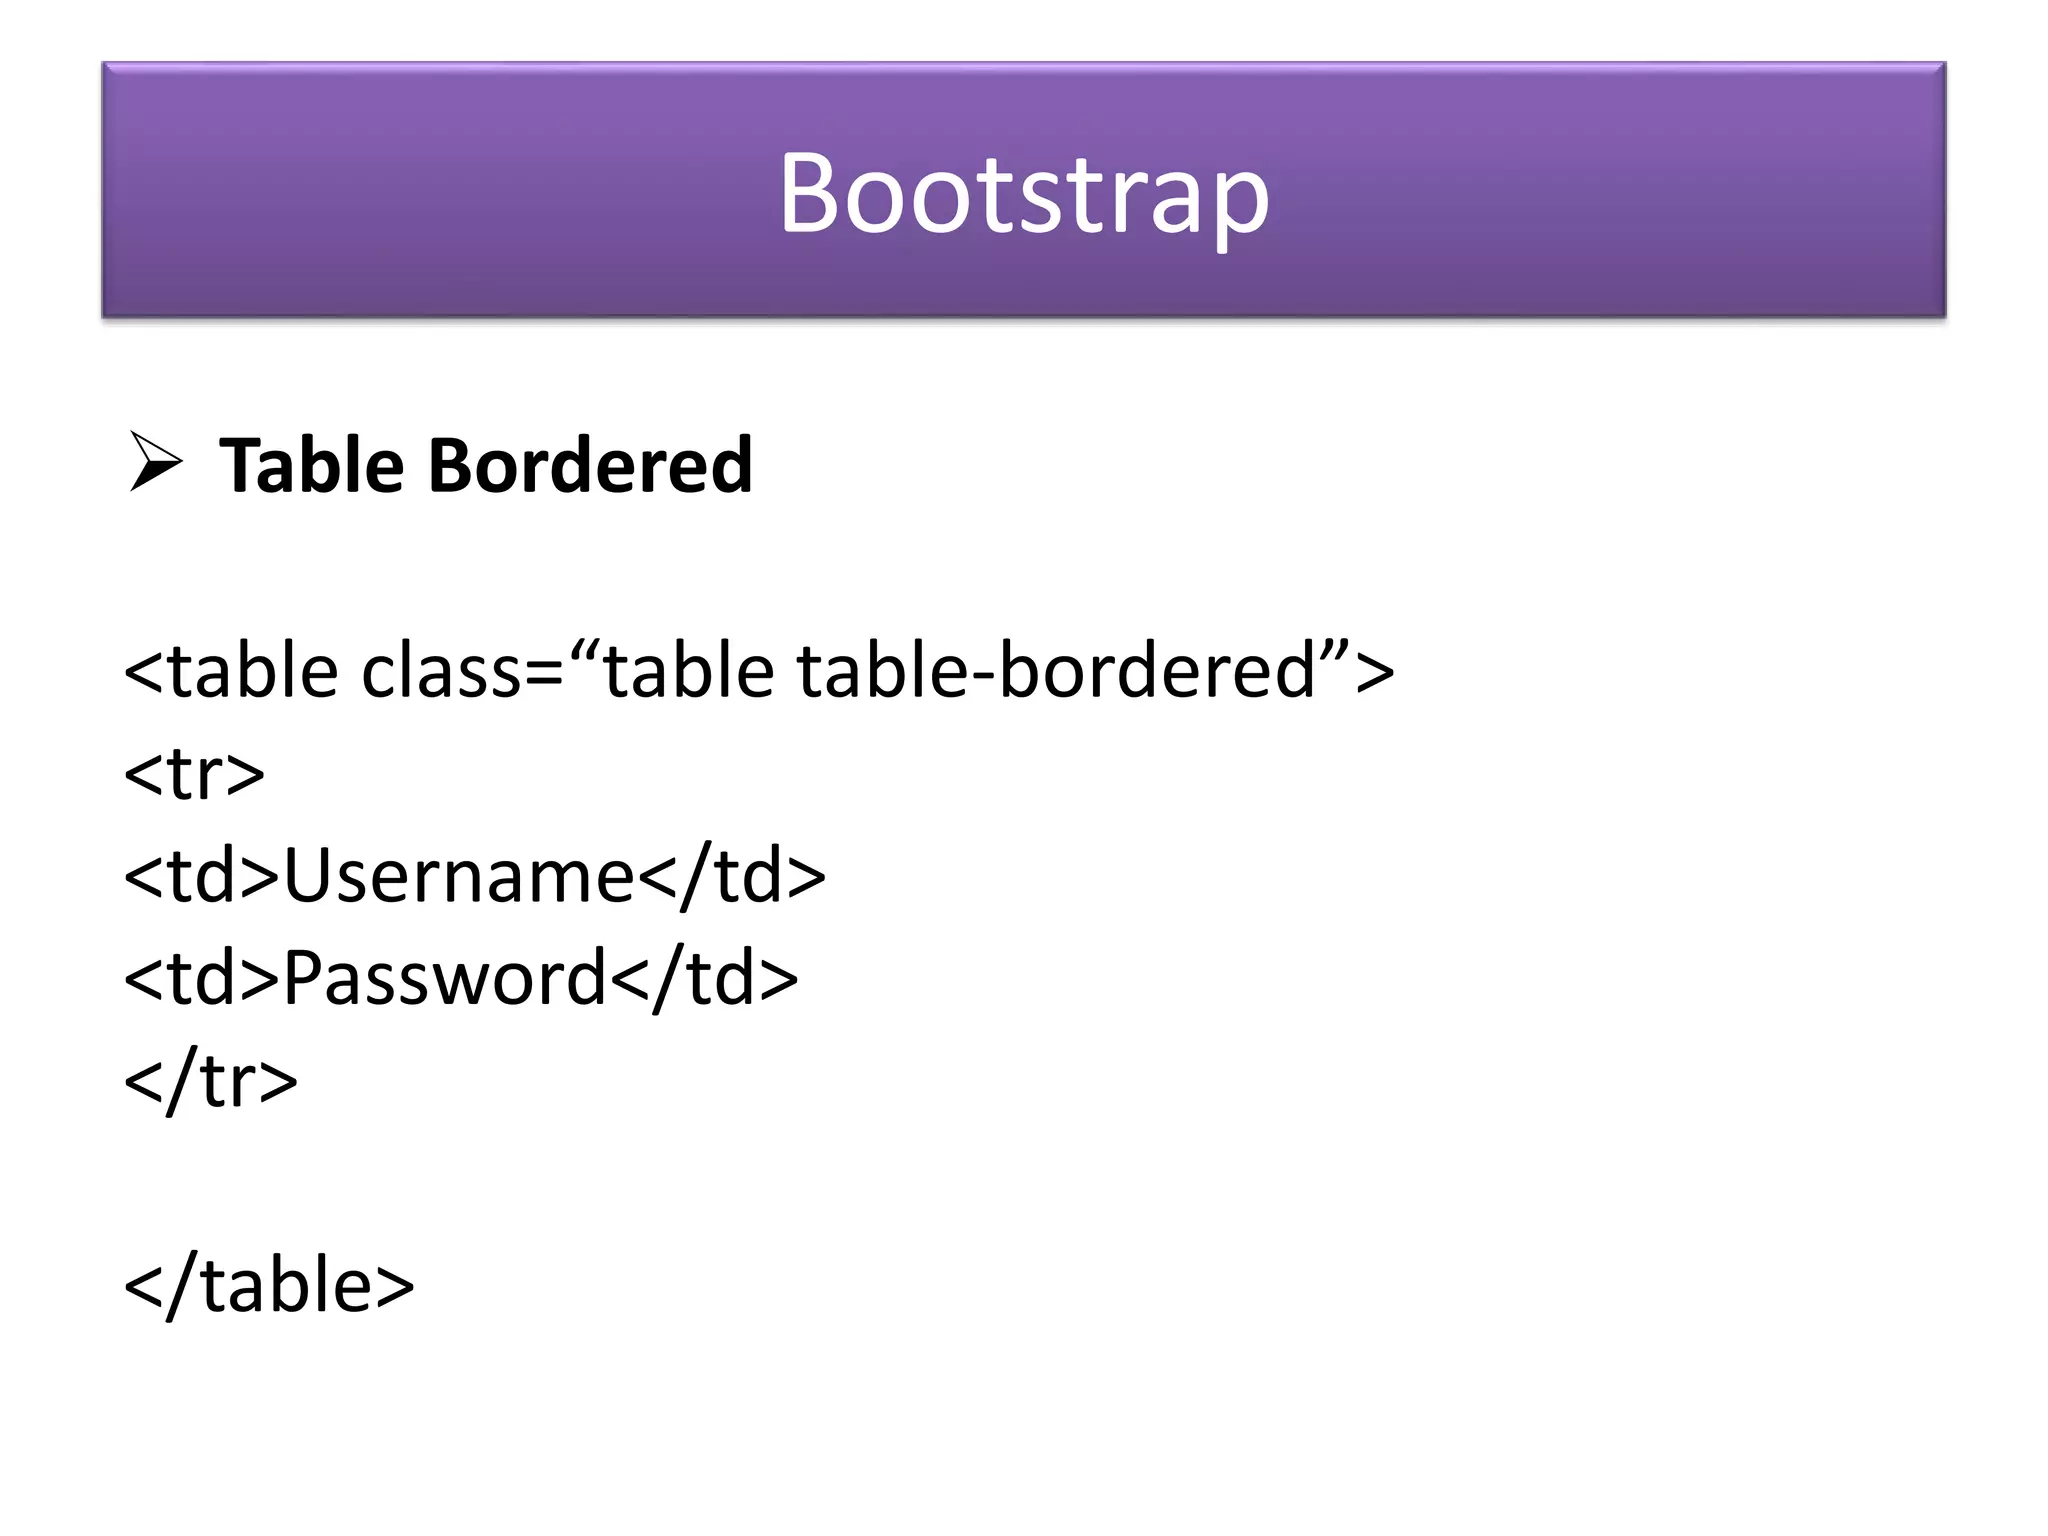
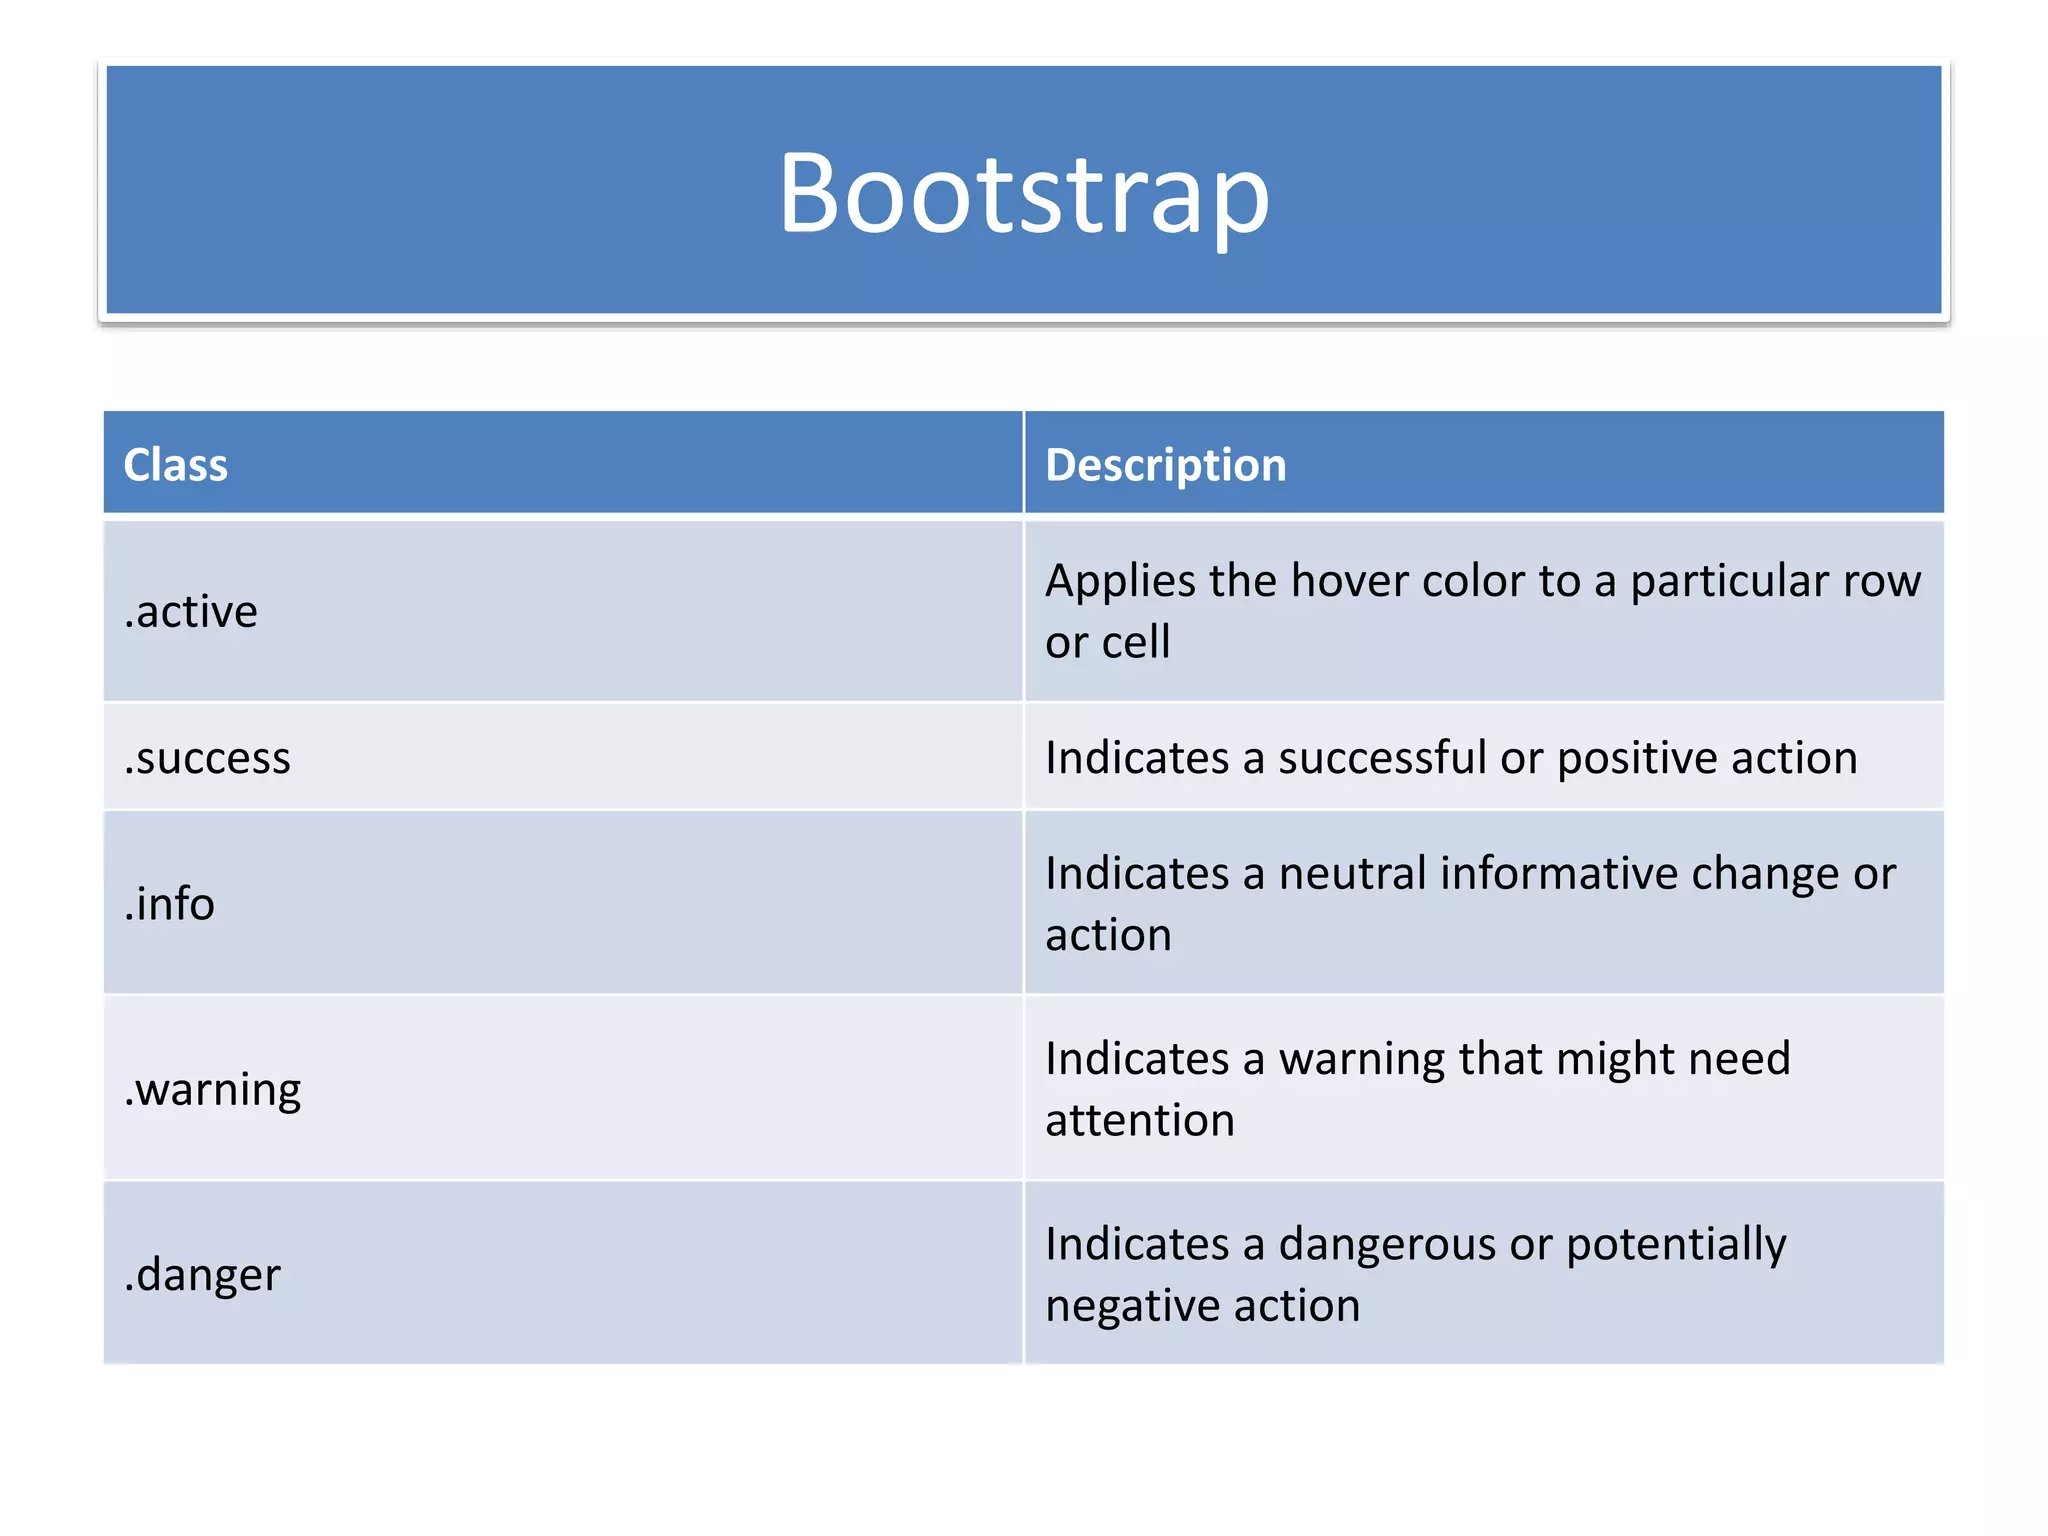
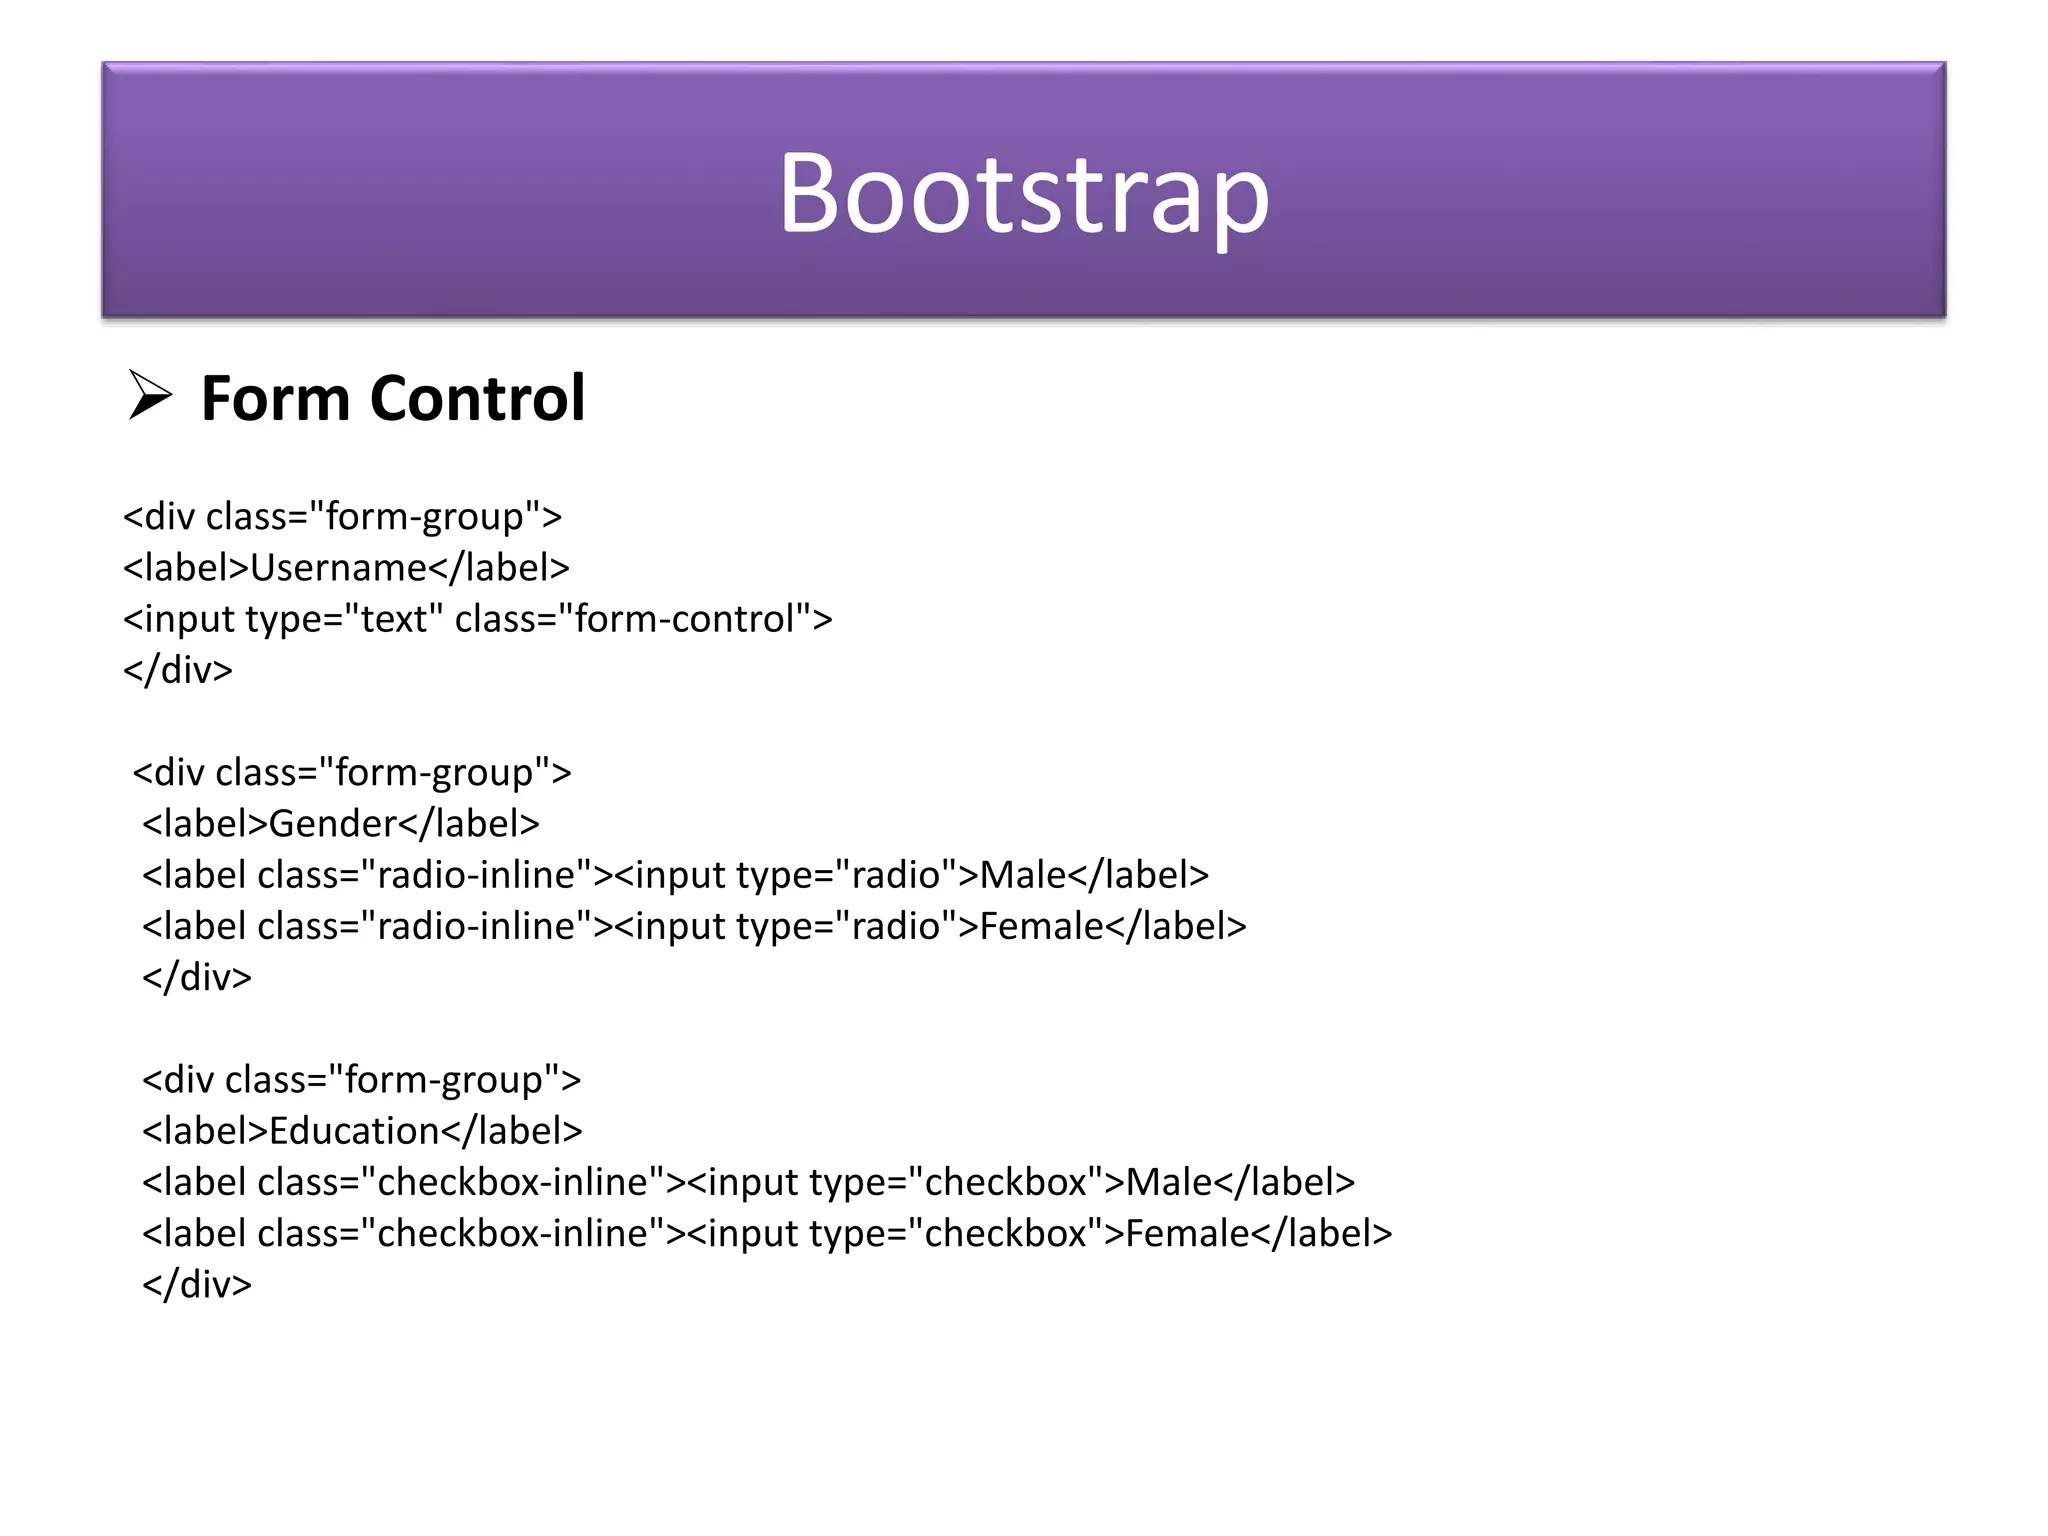
Using Bootstrap for creating responsive tables and form controls.
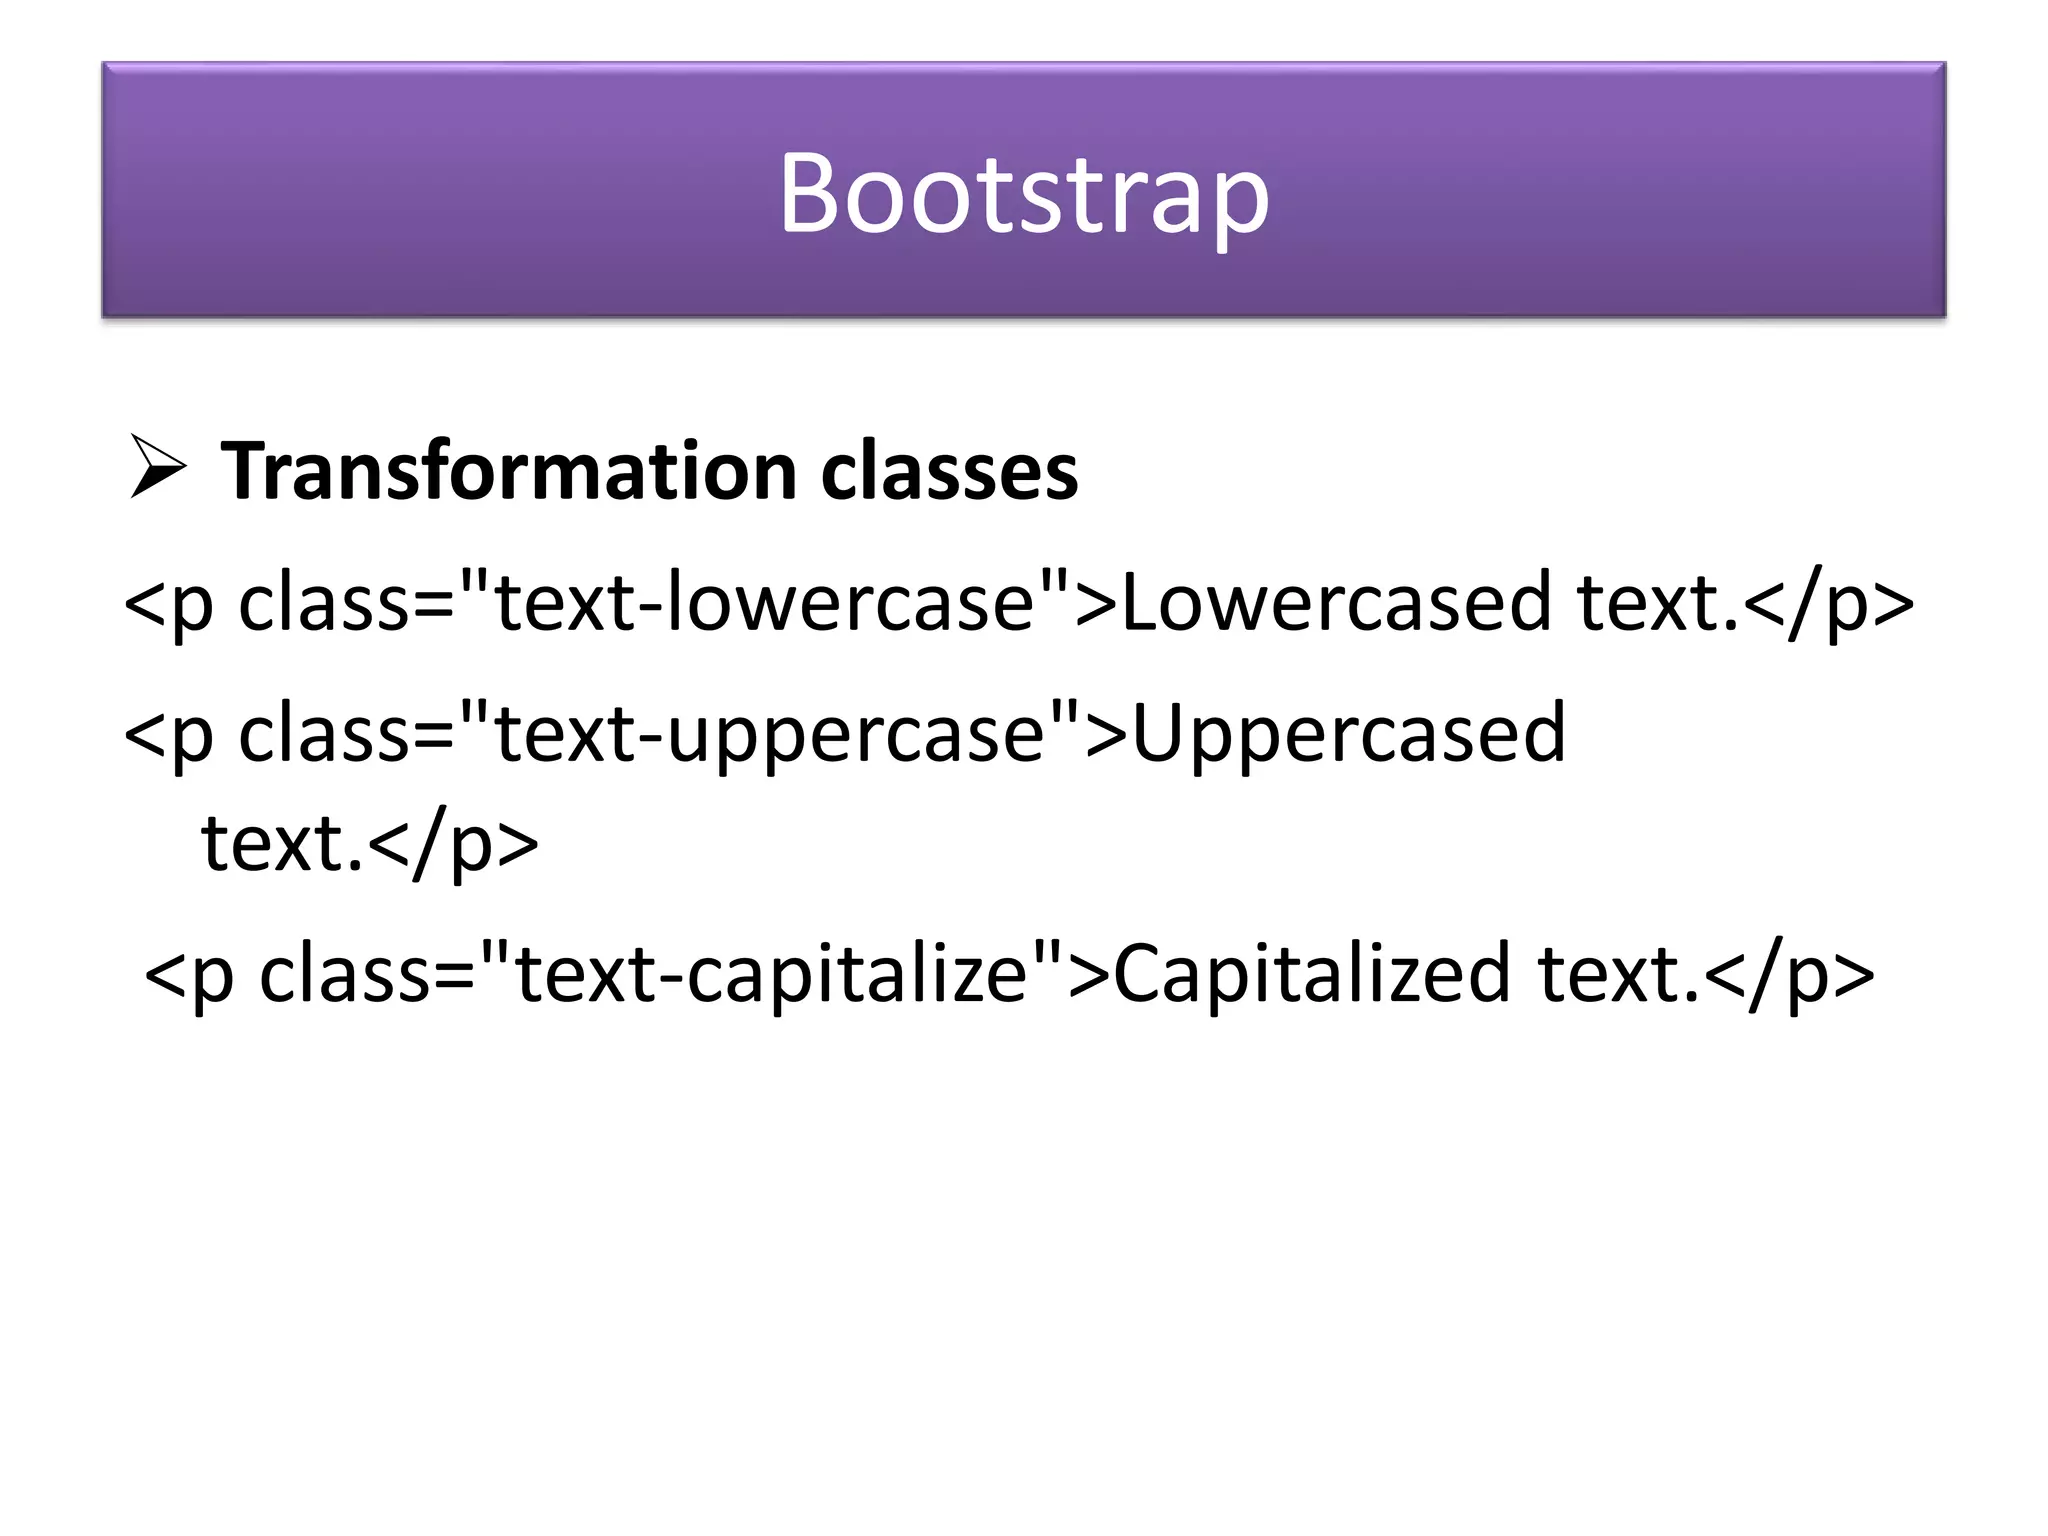
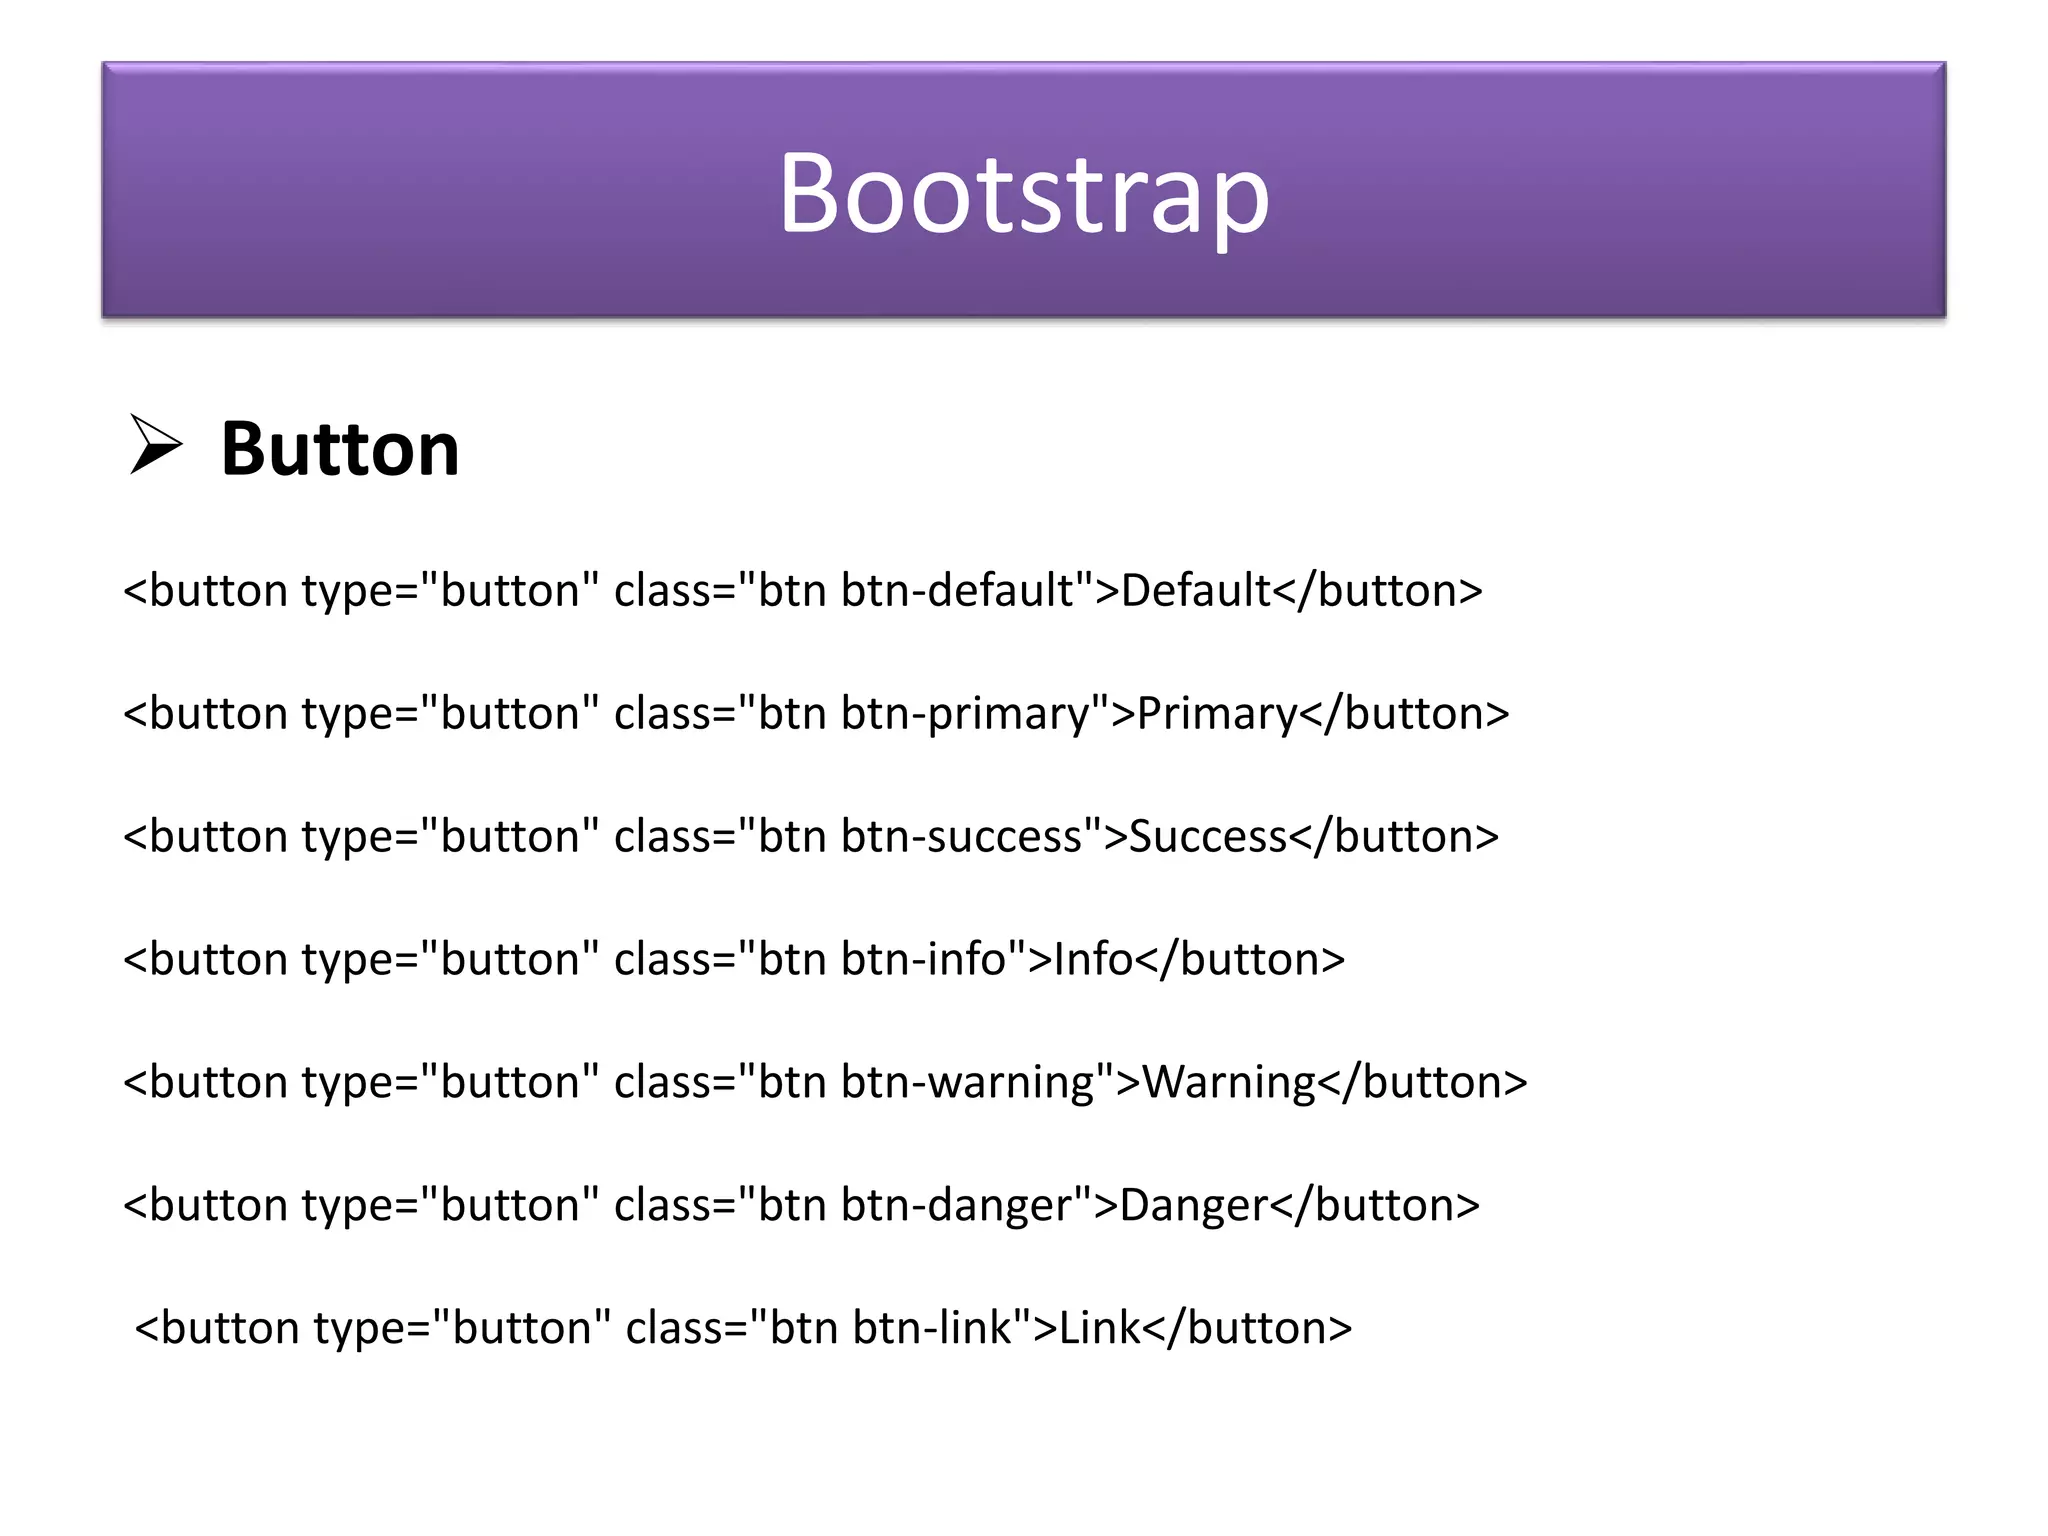
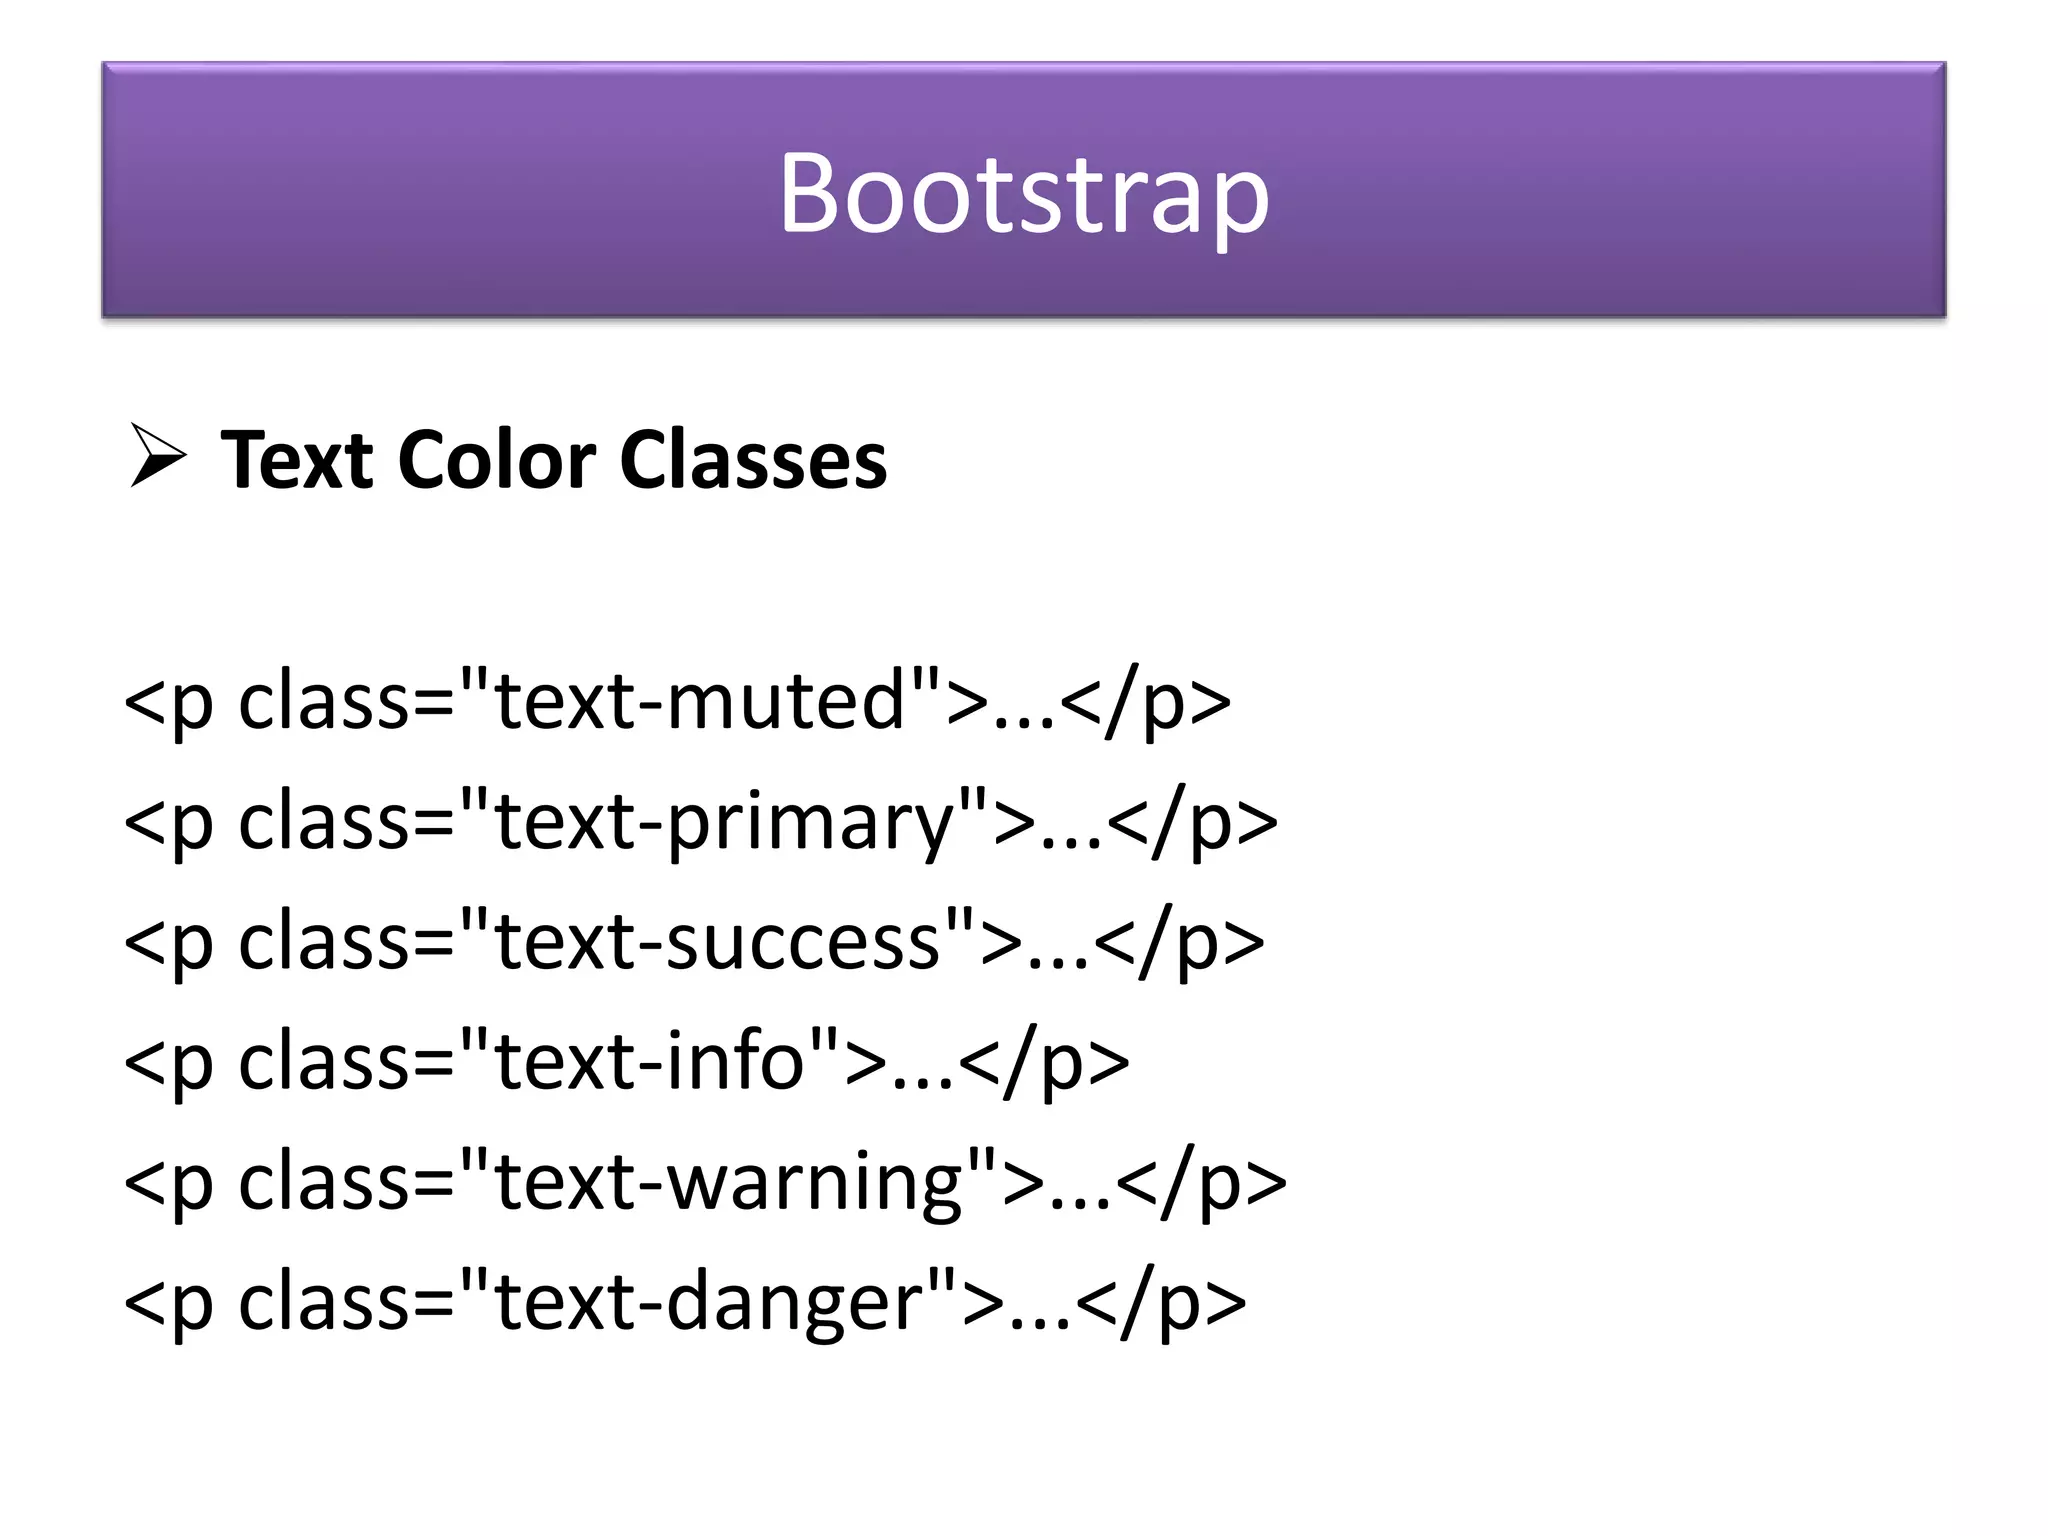
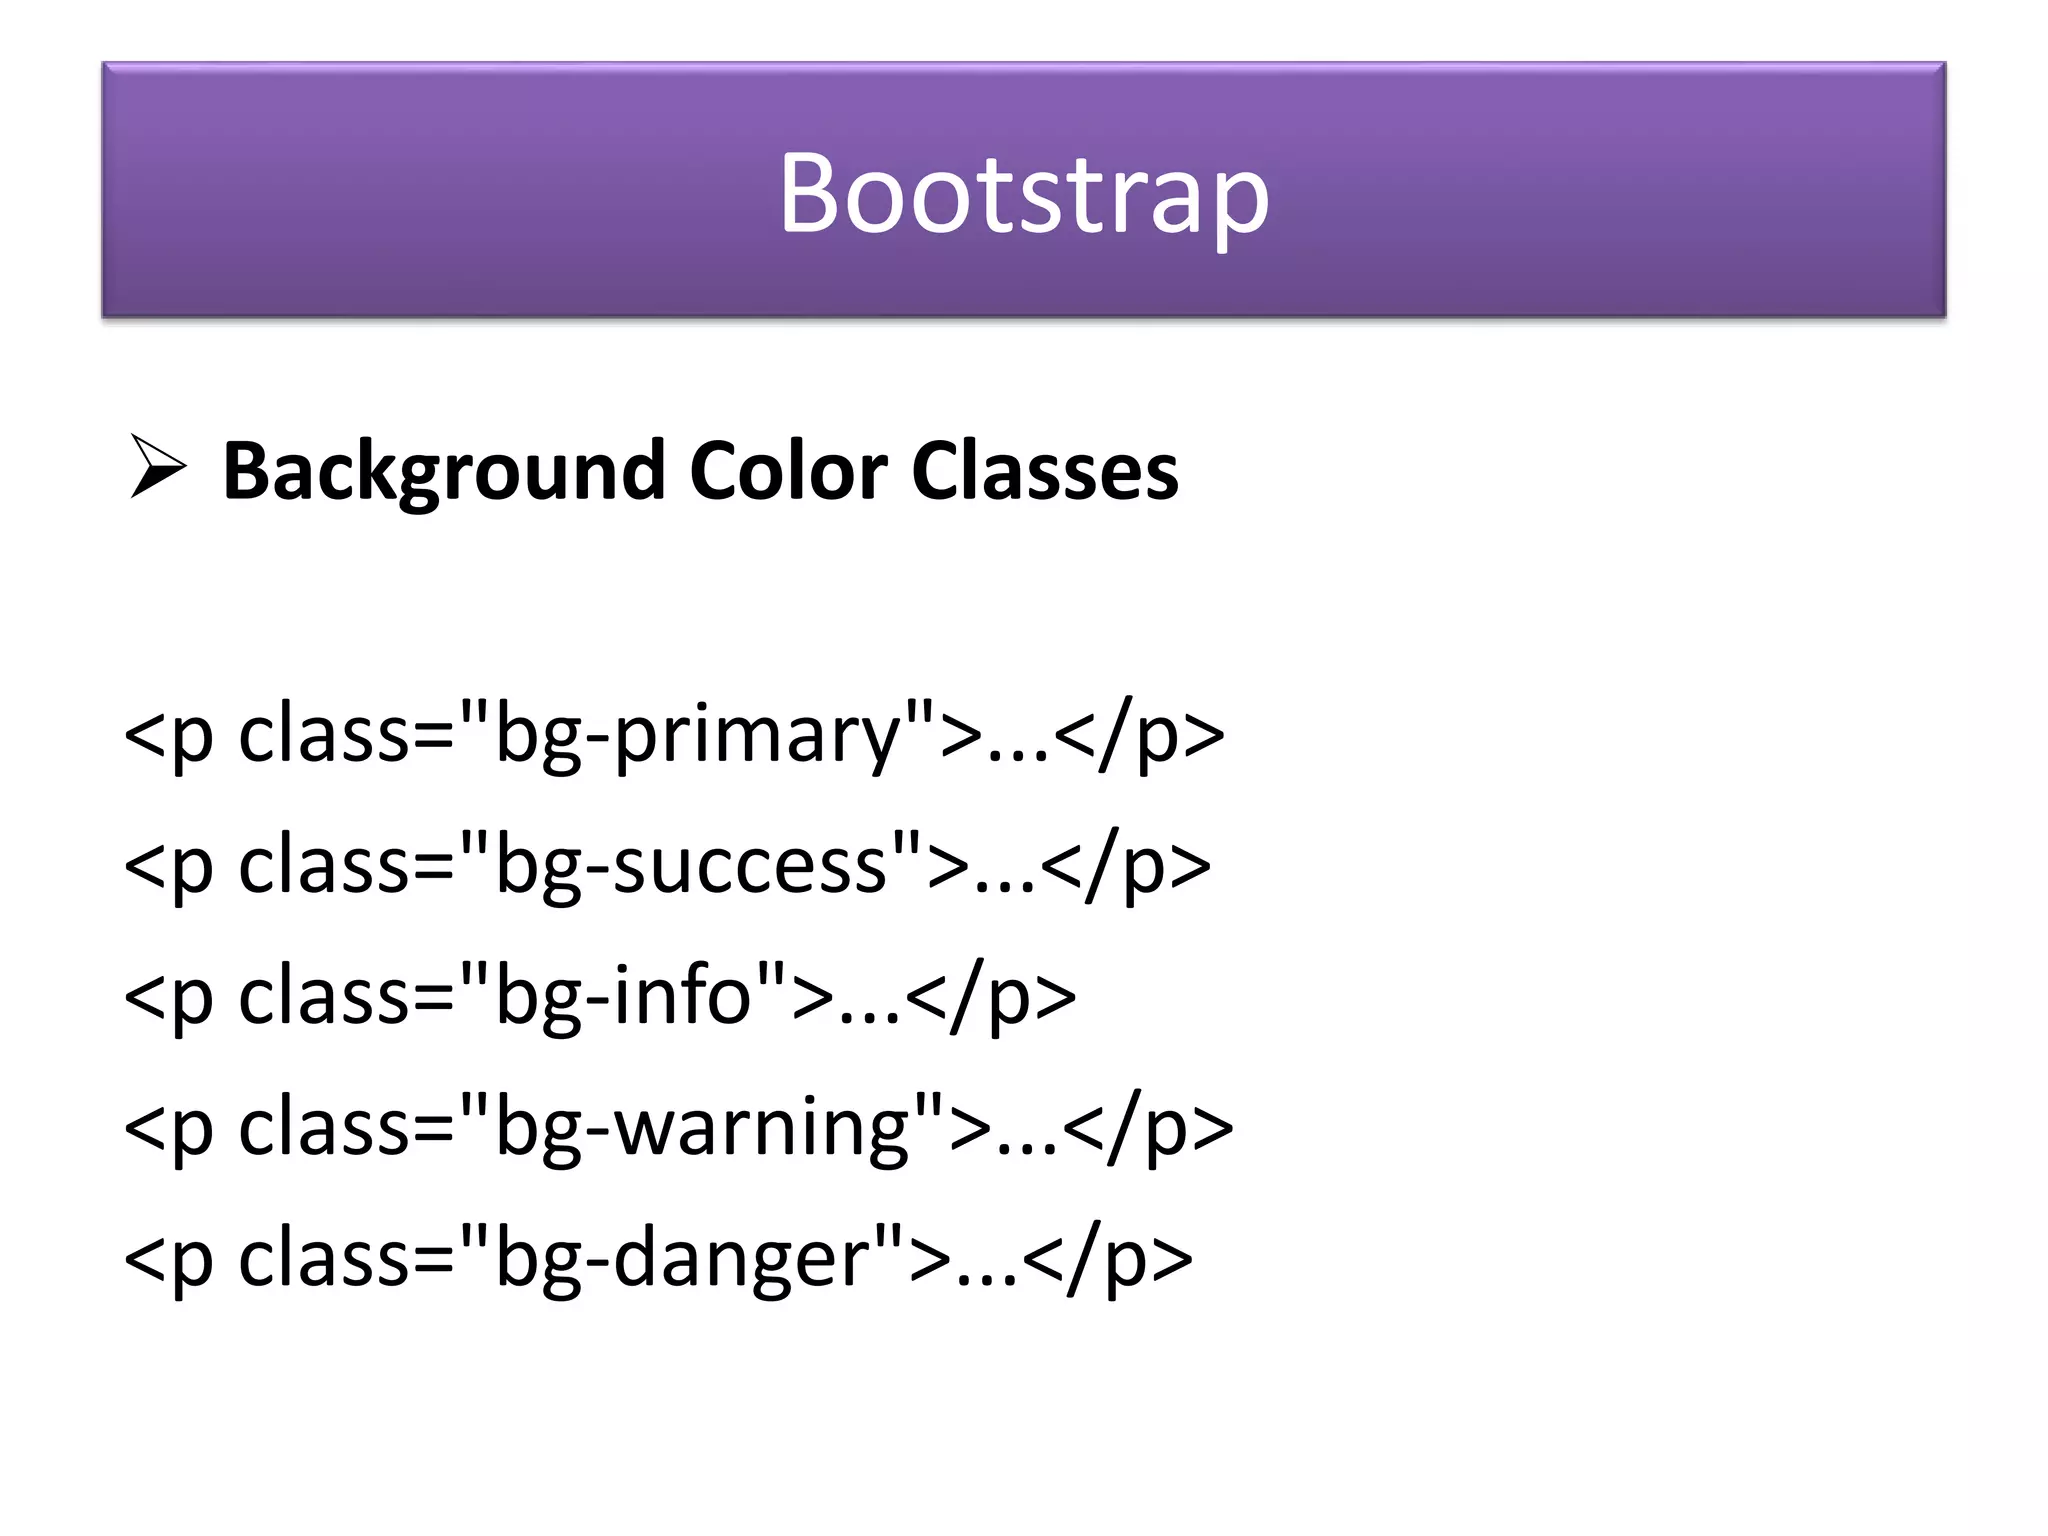
Using Bootstrap classes for button styling and text colors.
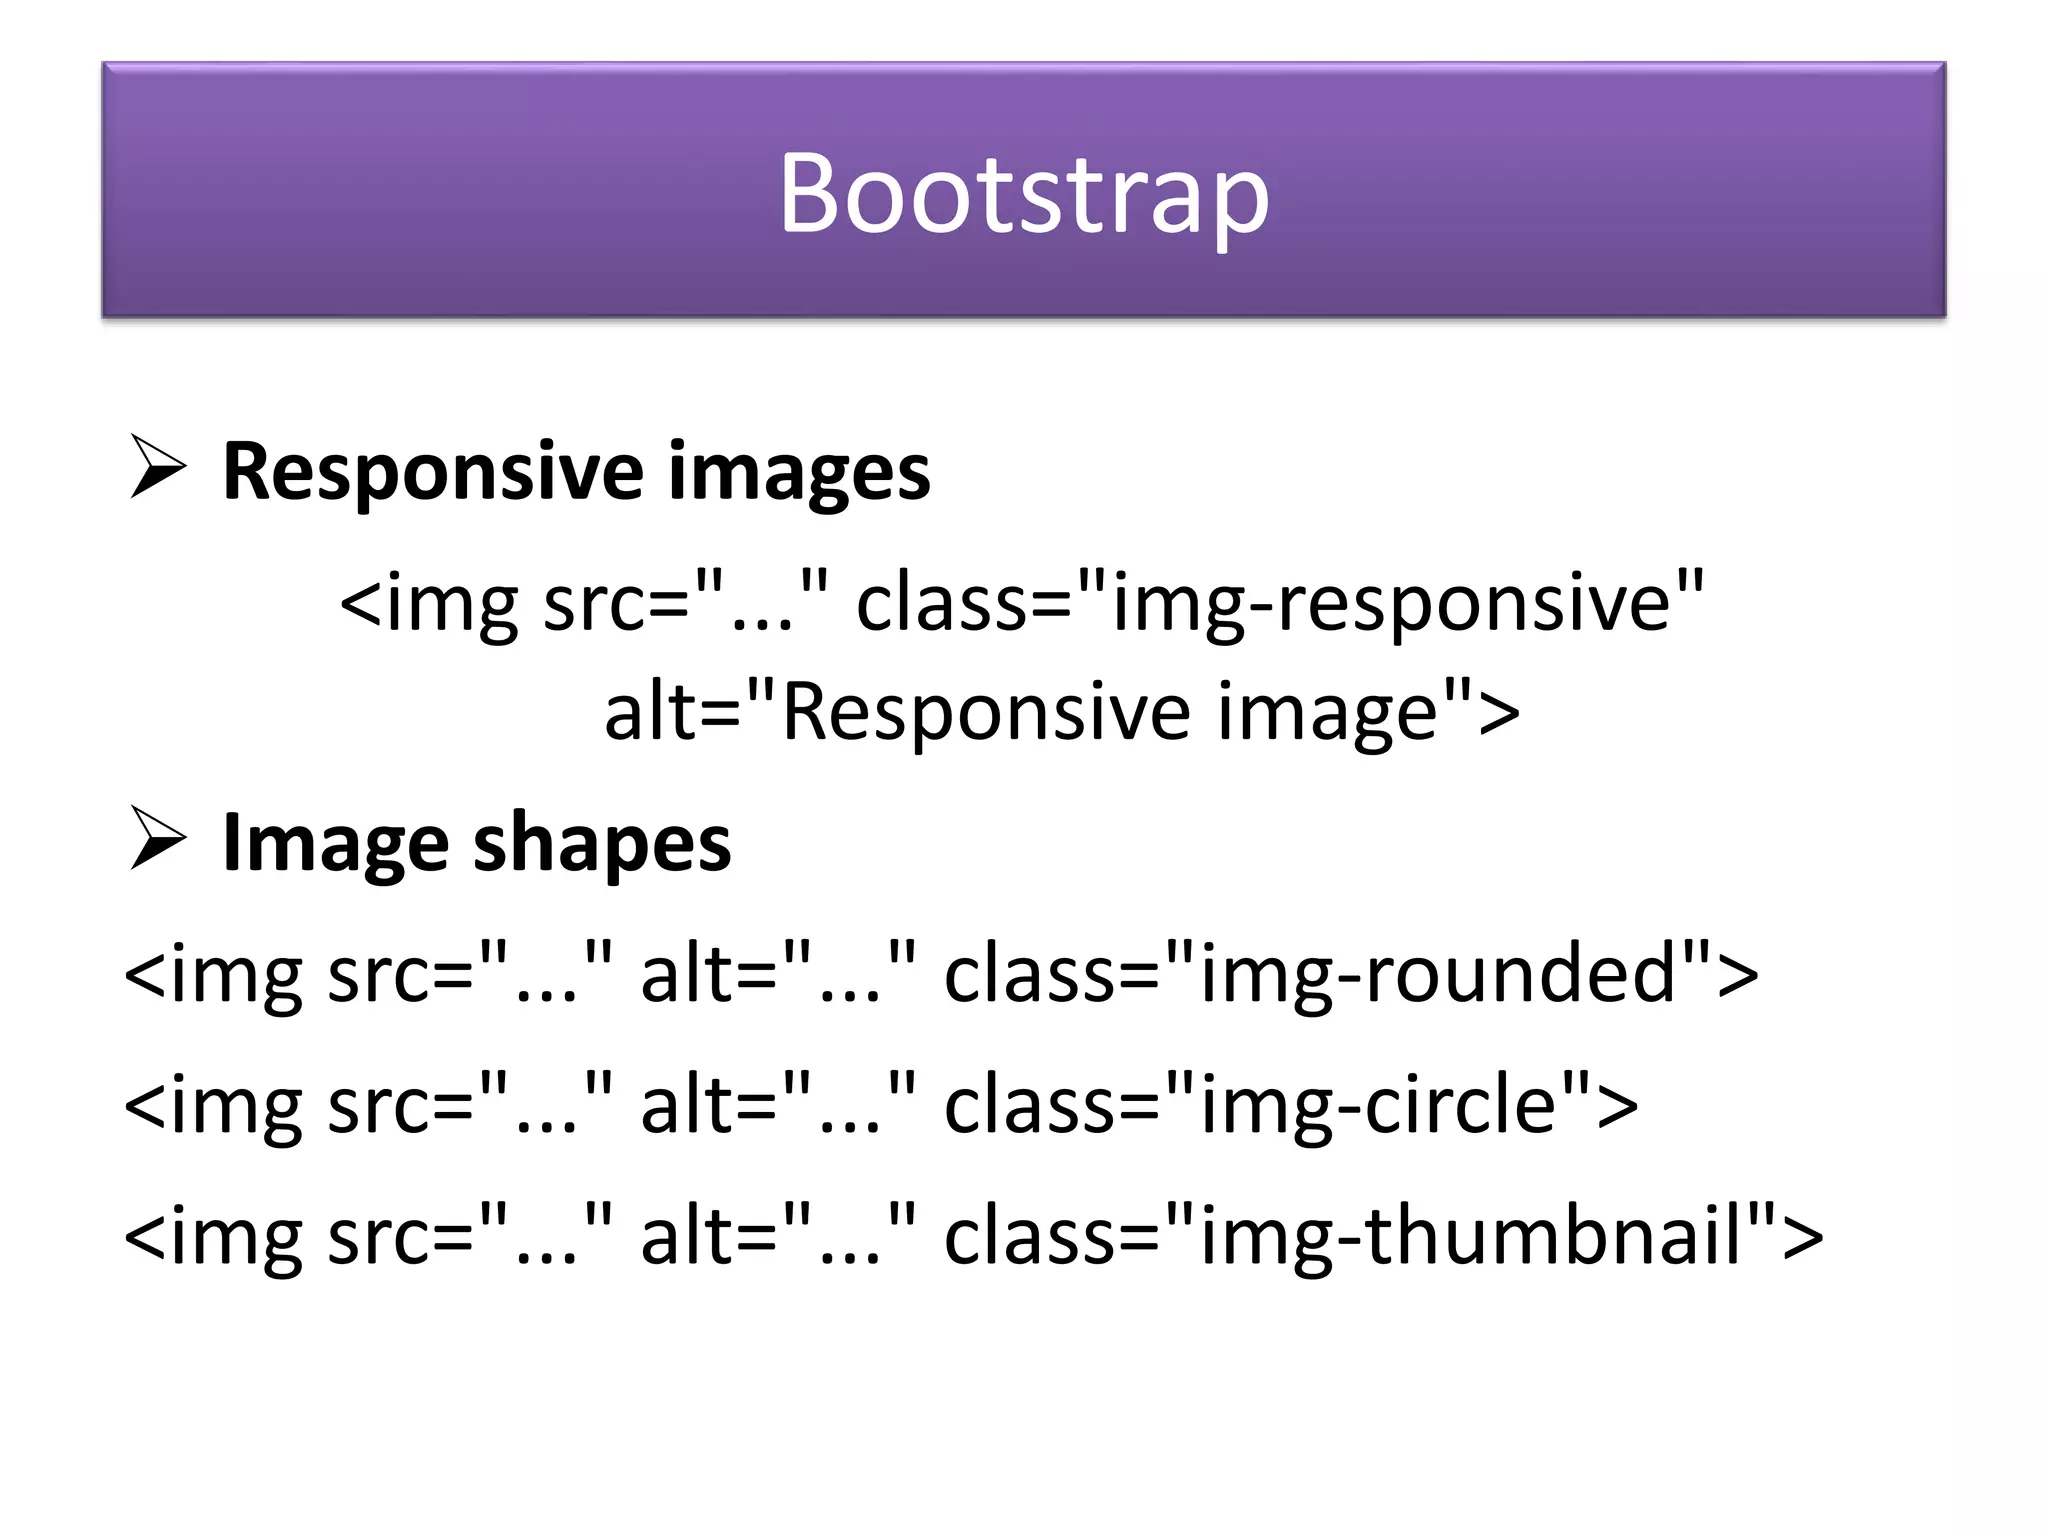
Responsive images and form controls with Bootstrap.
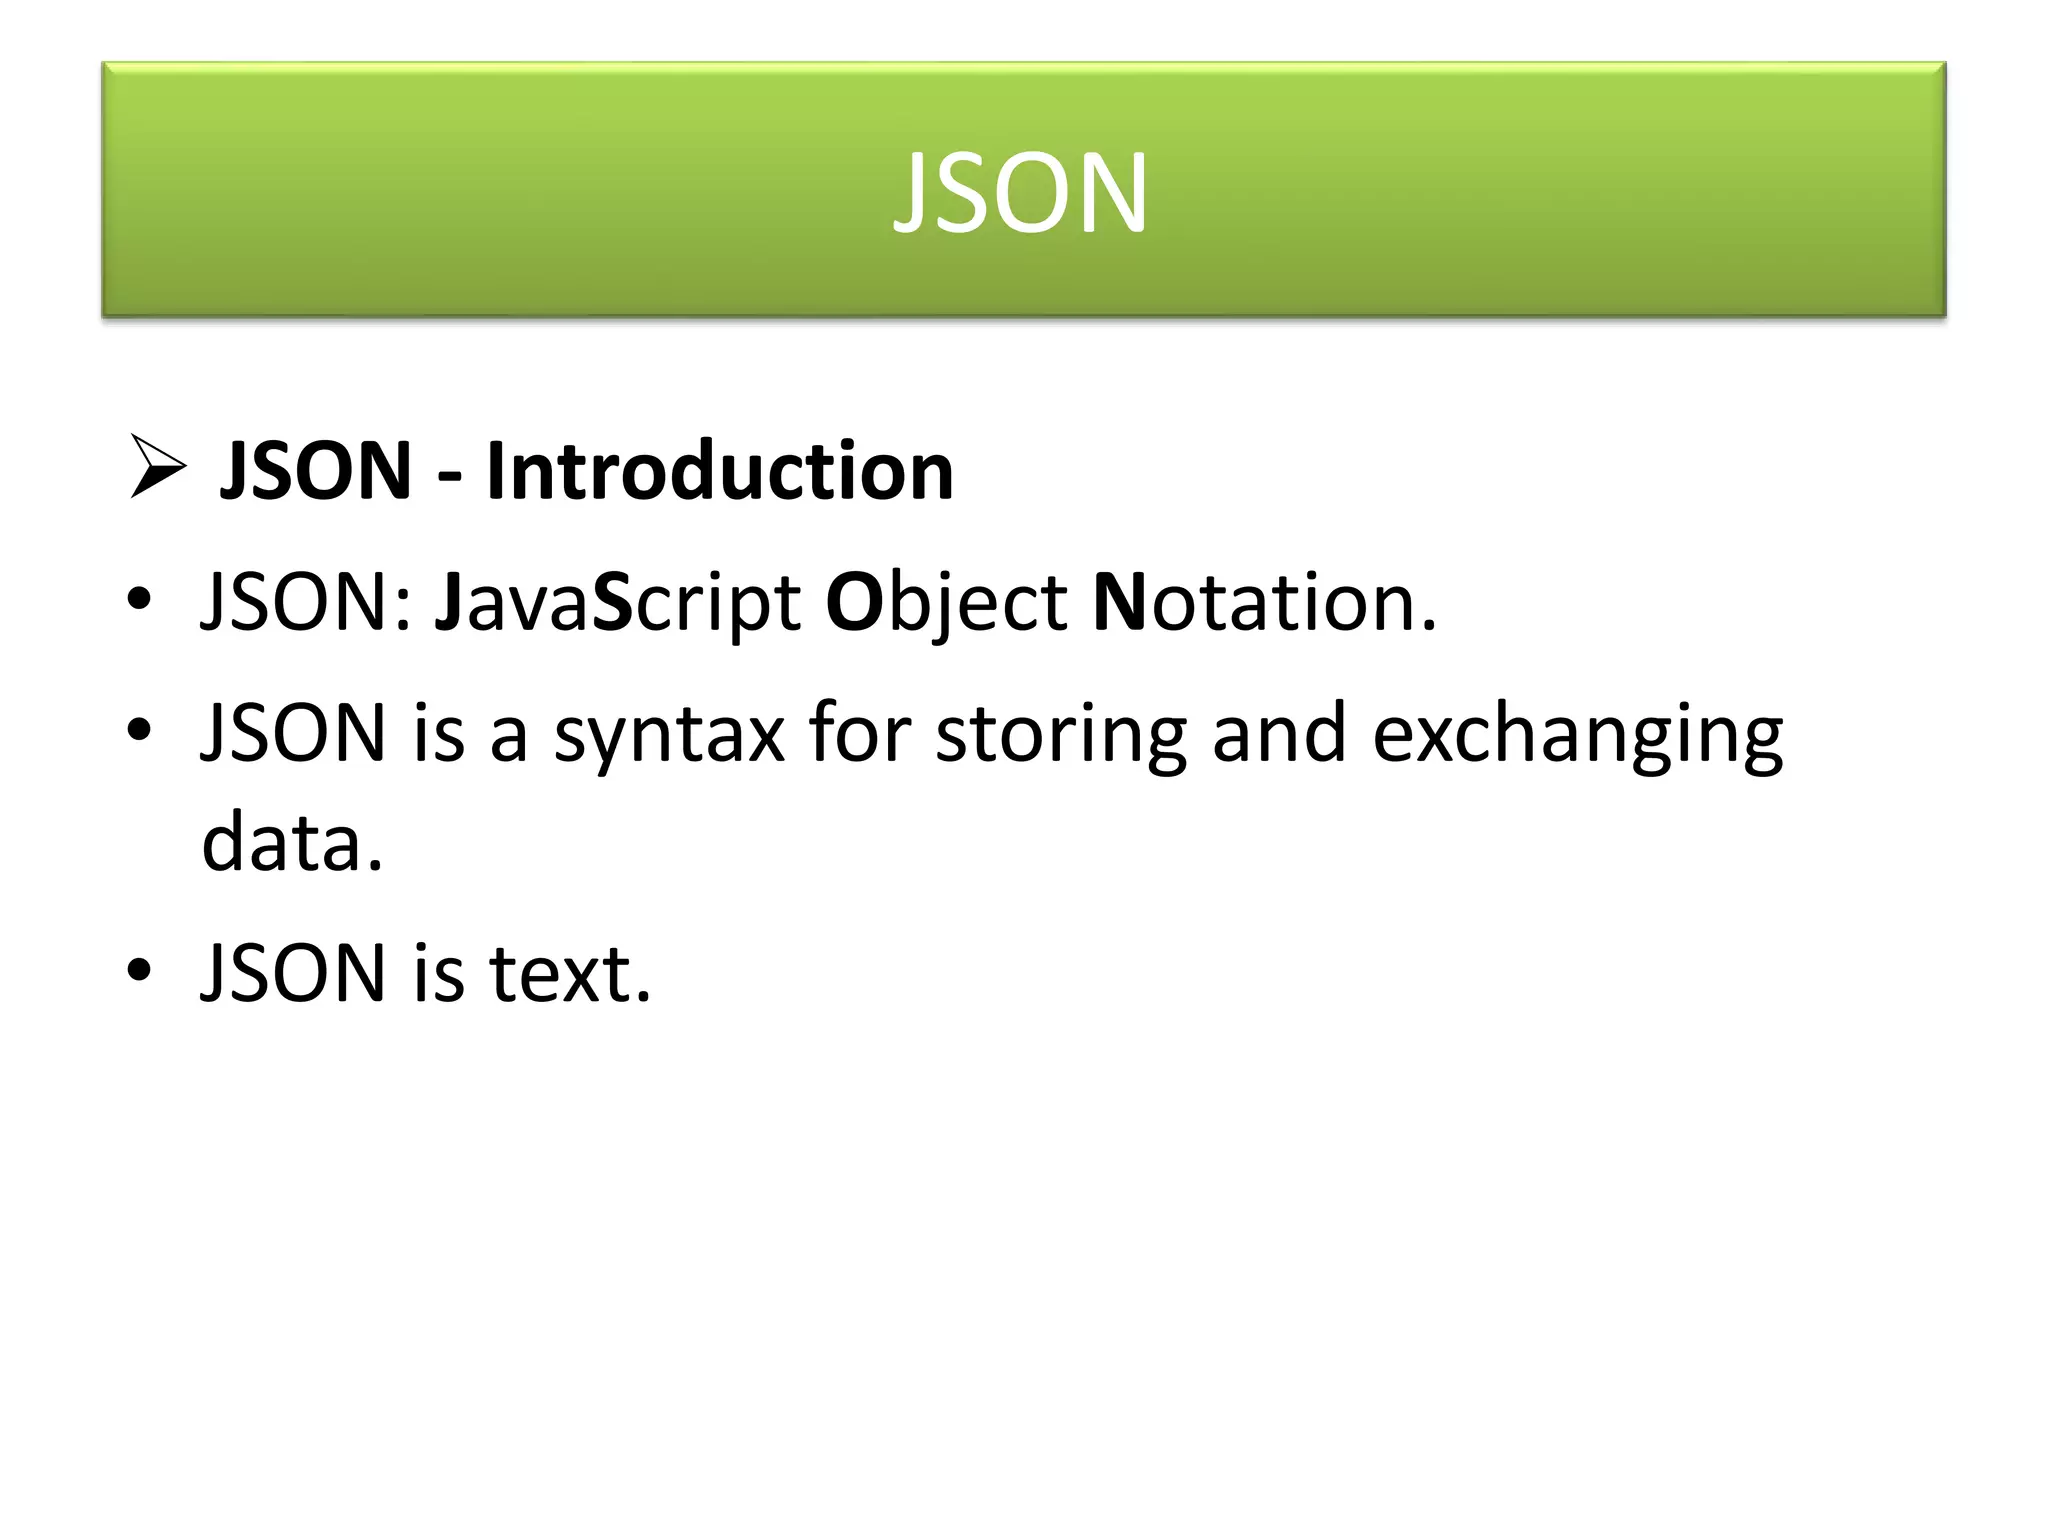
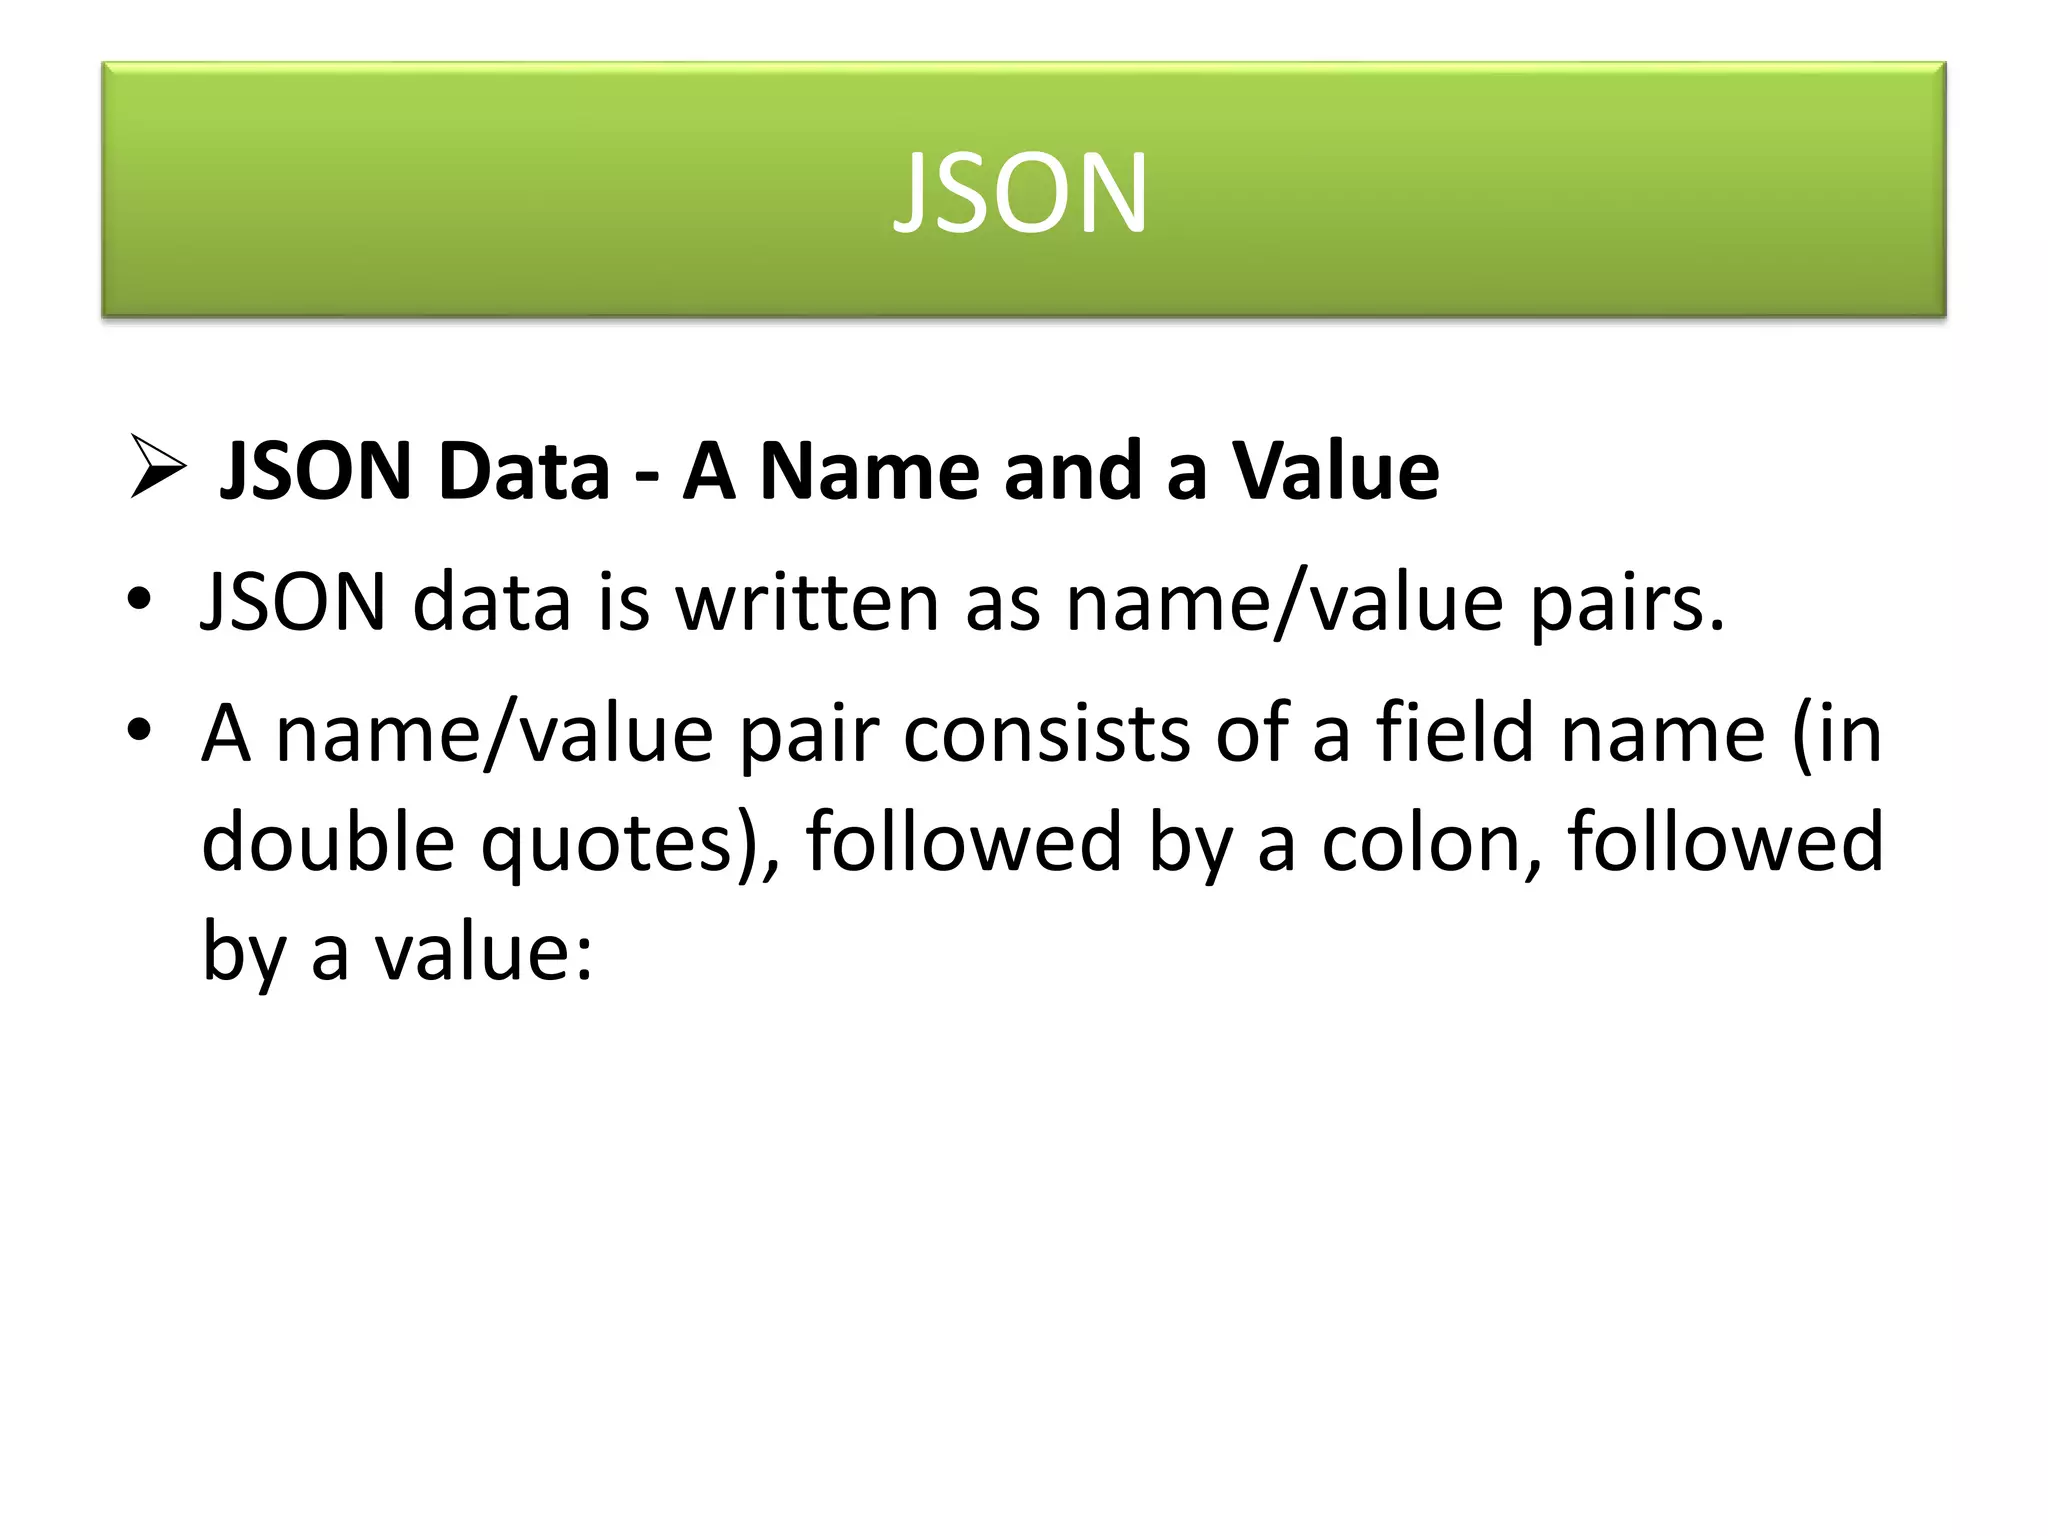
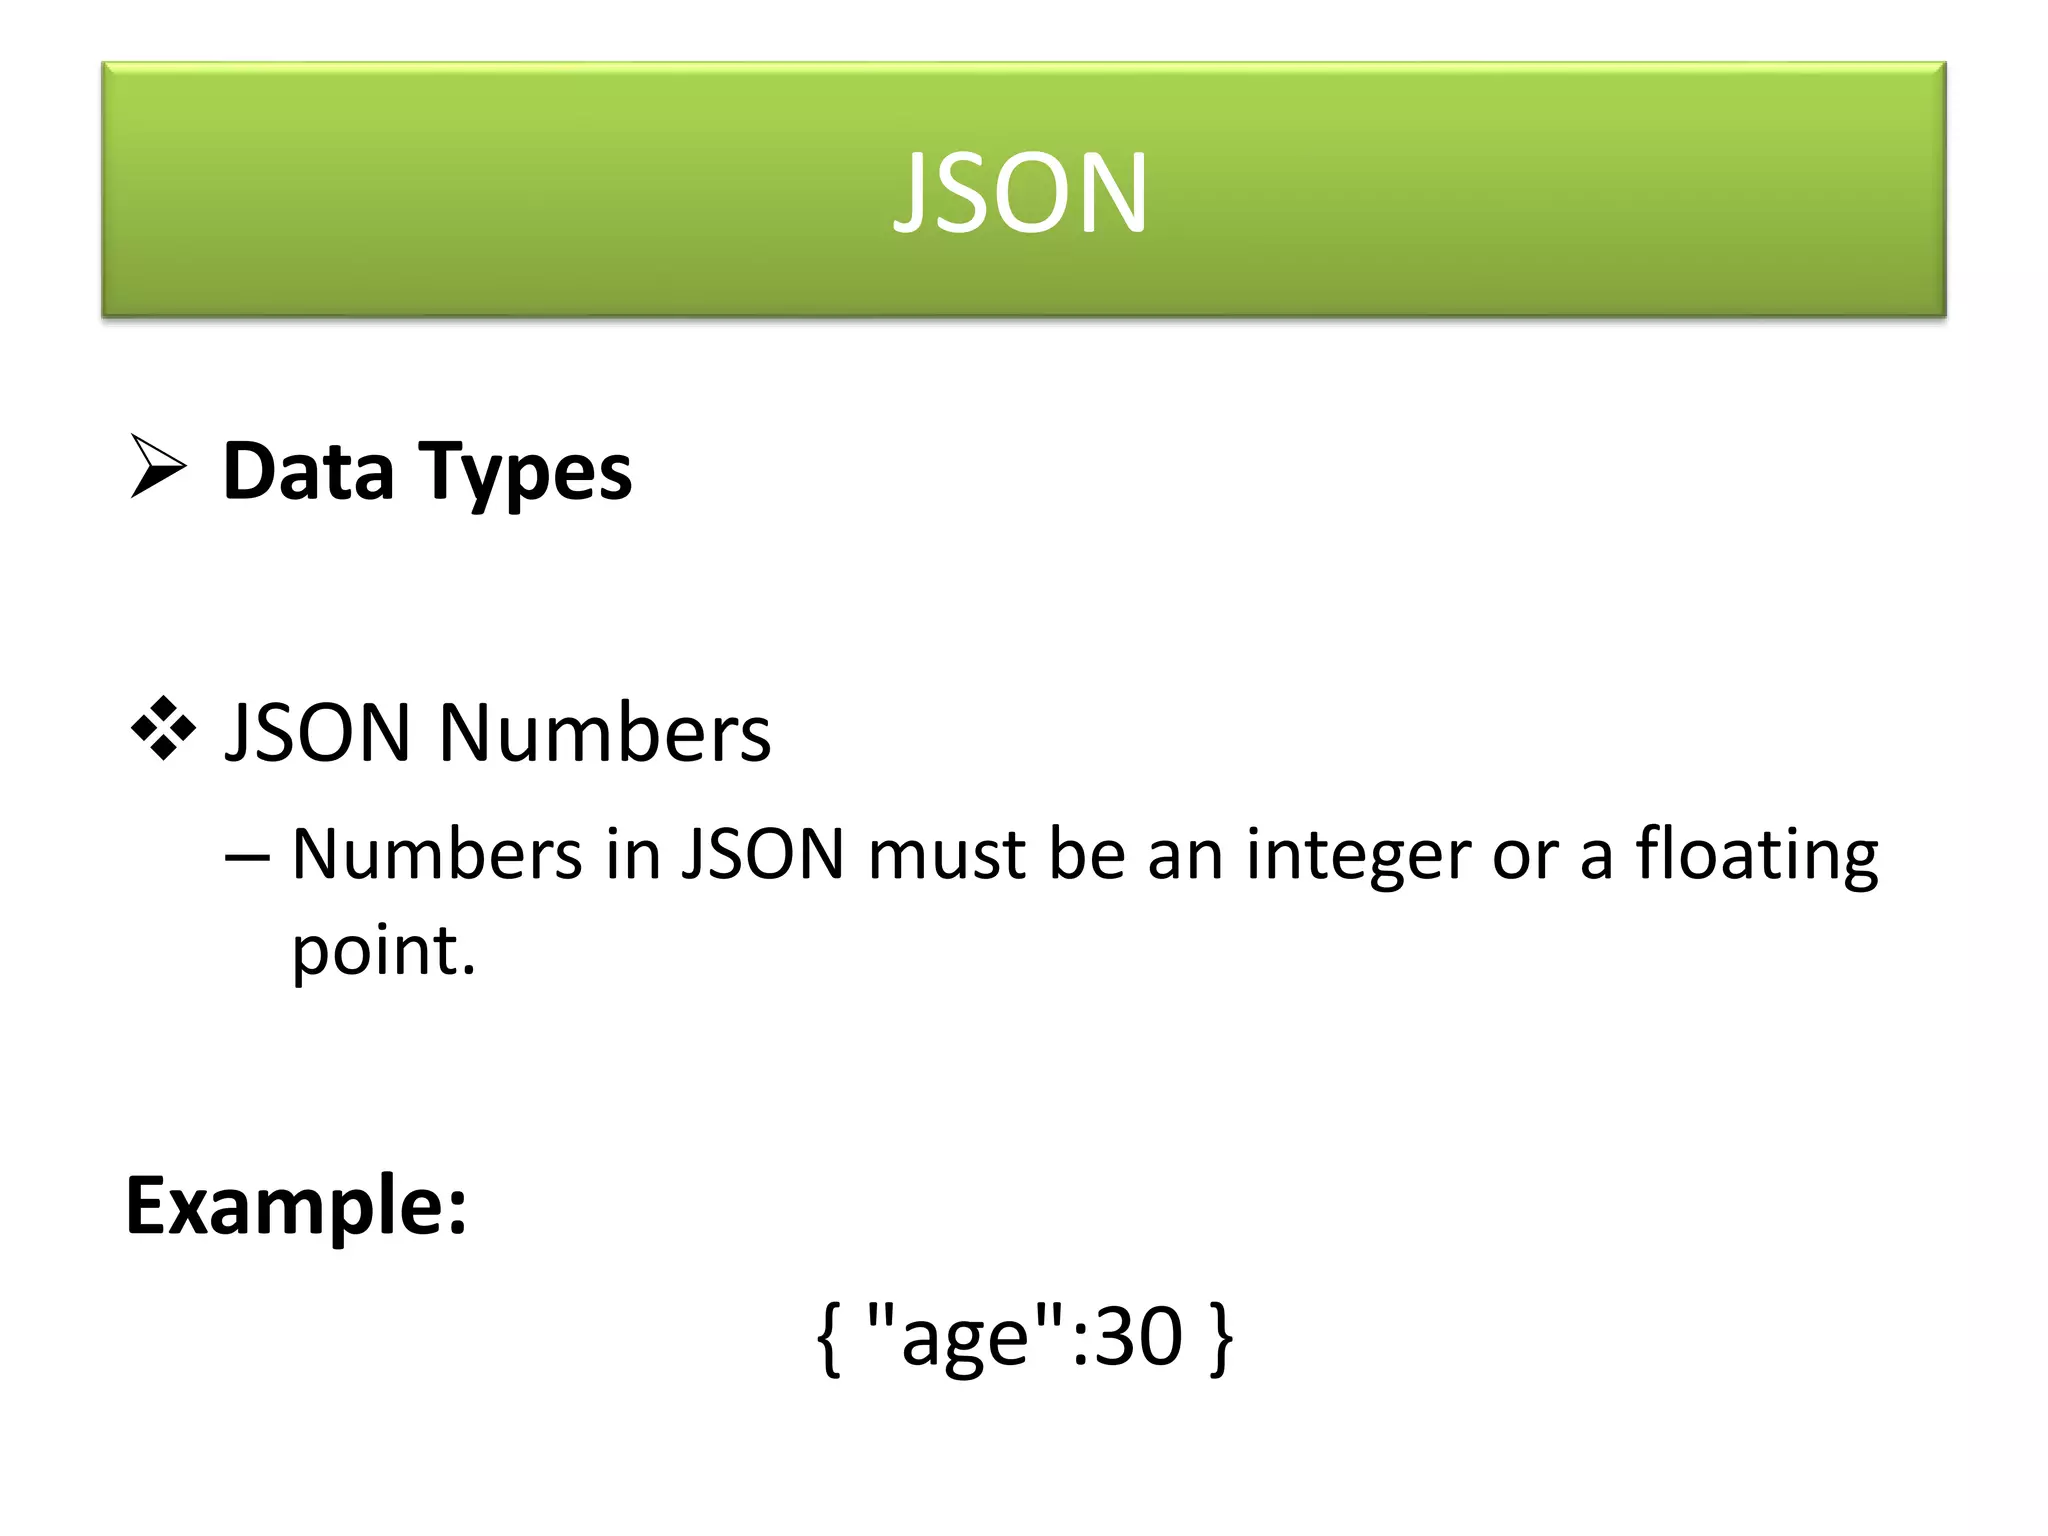
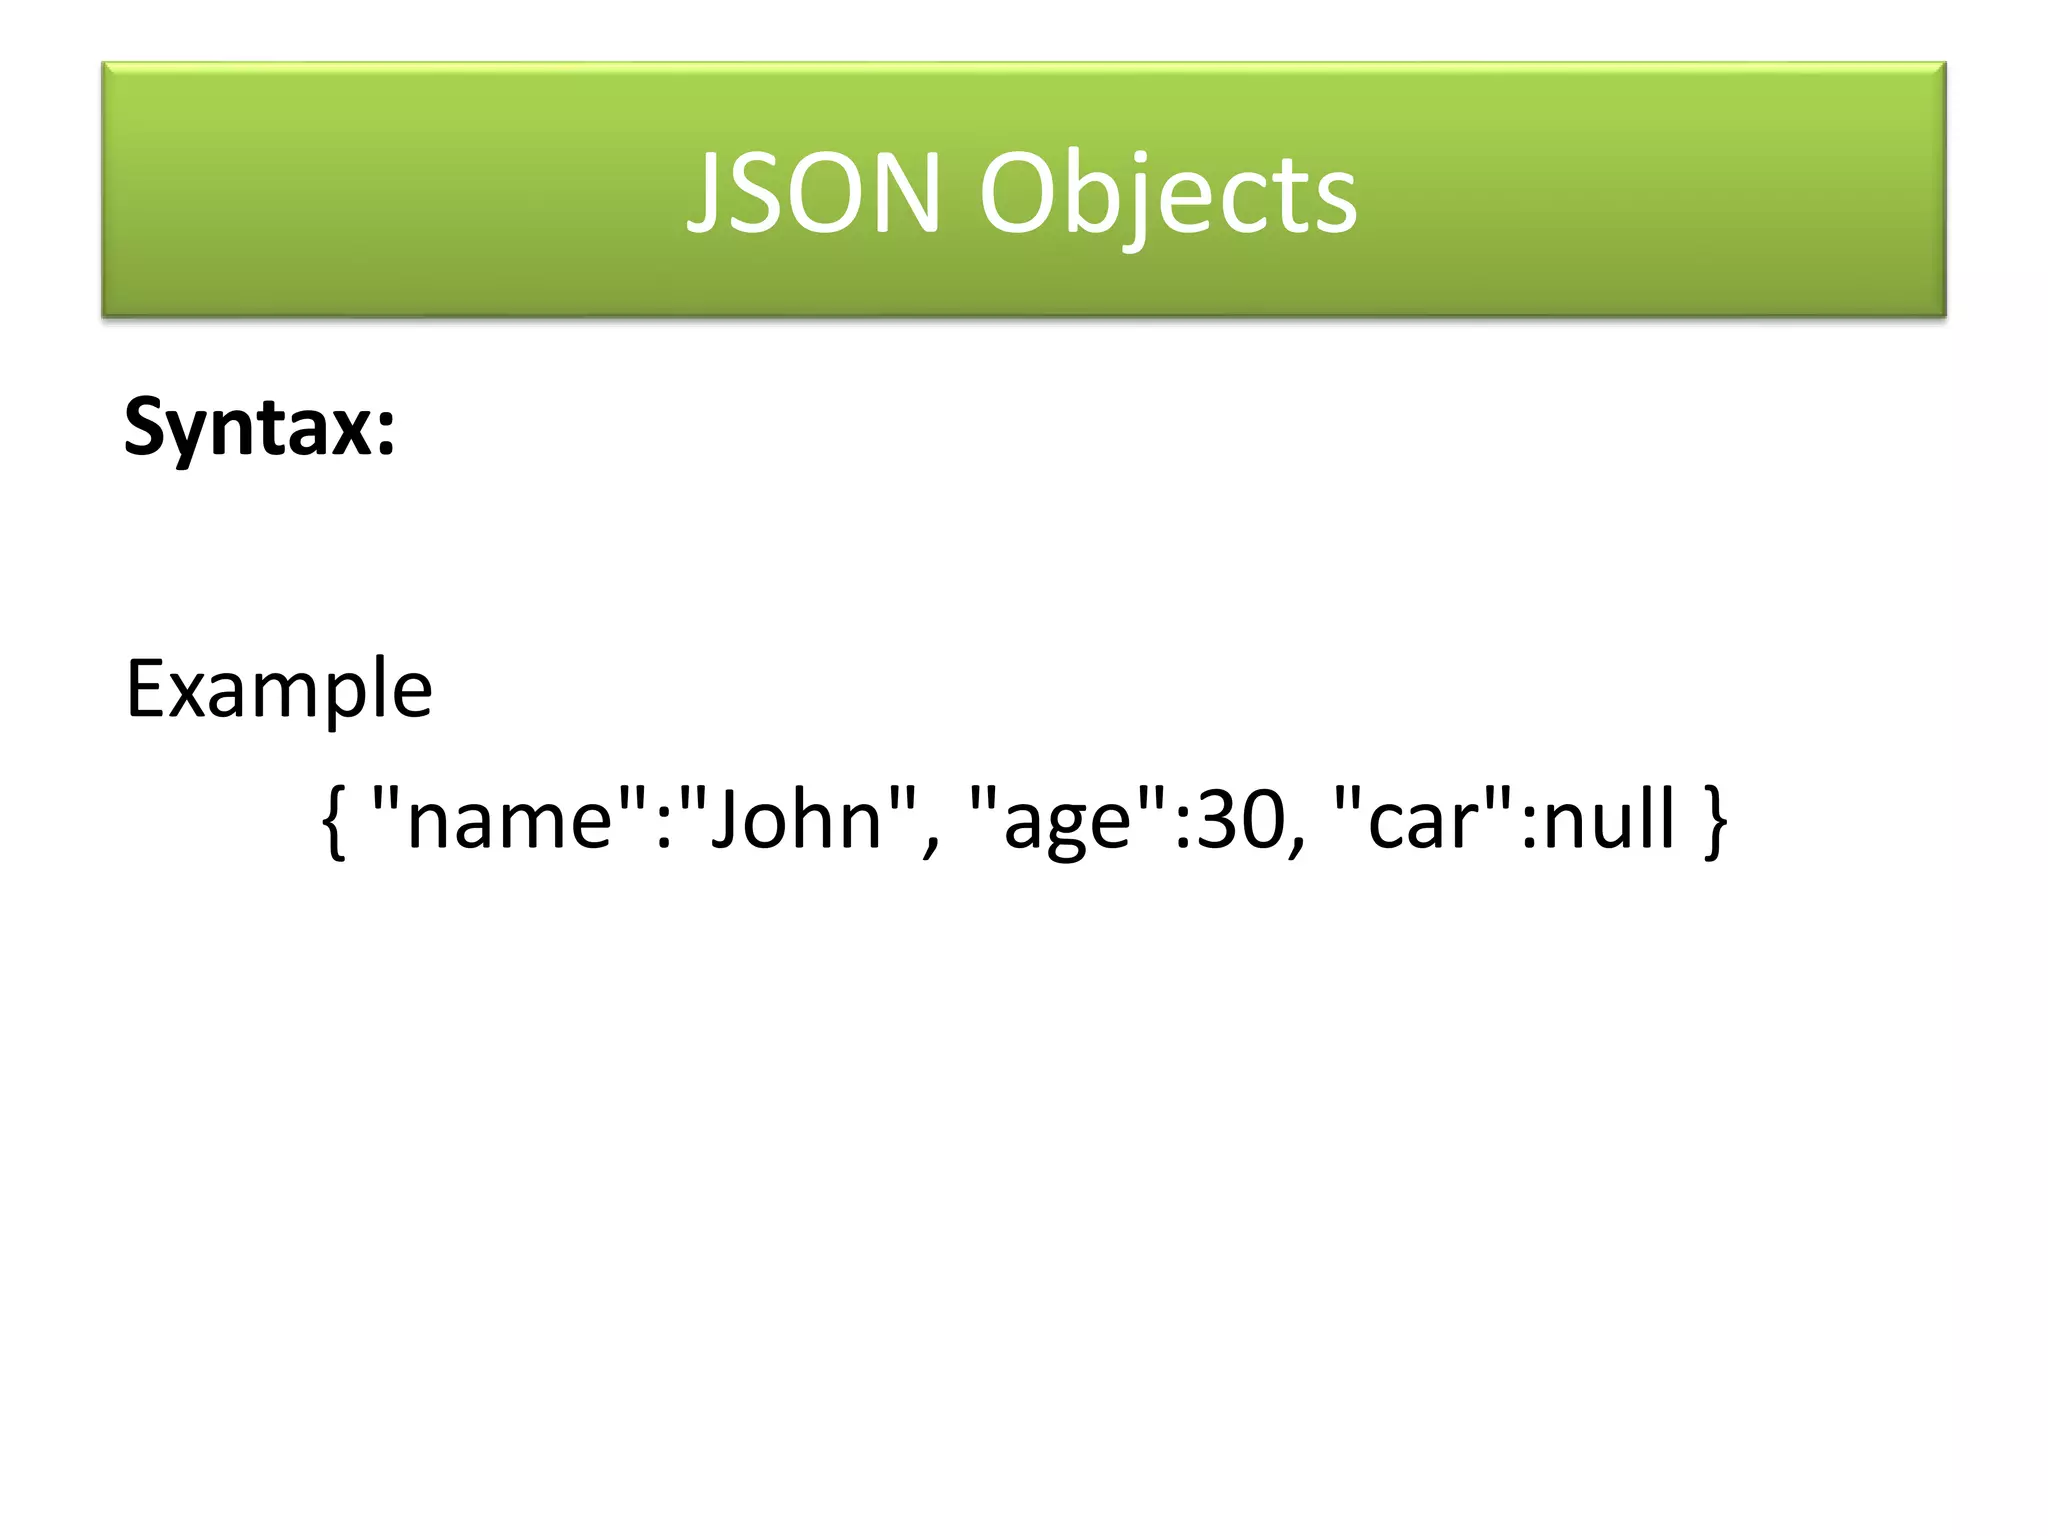
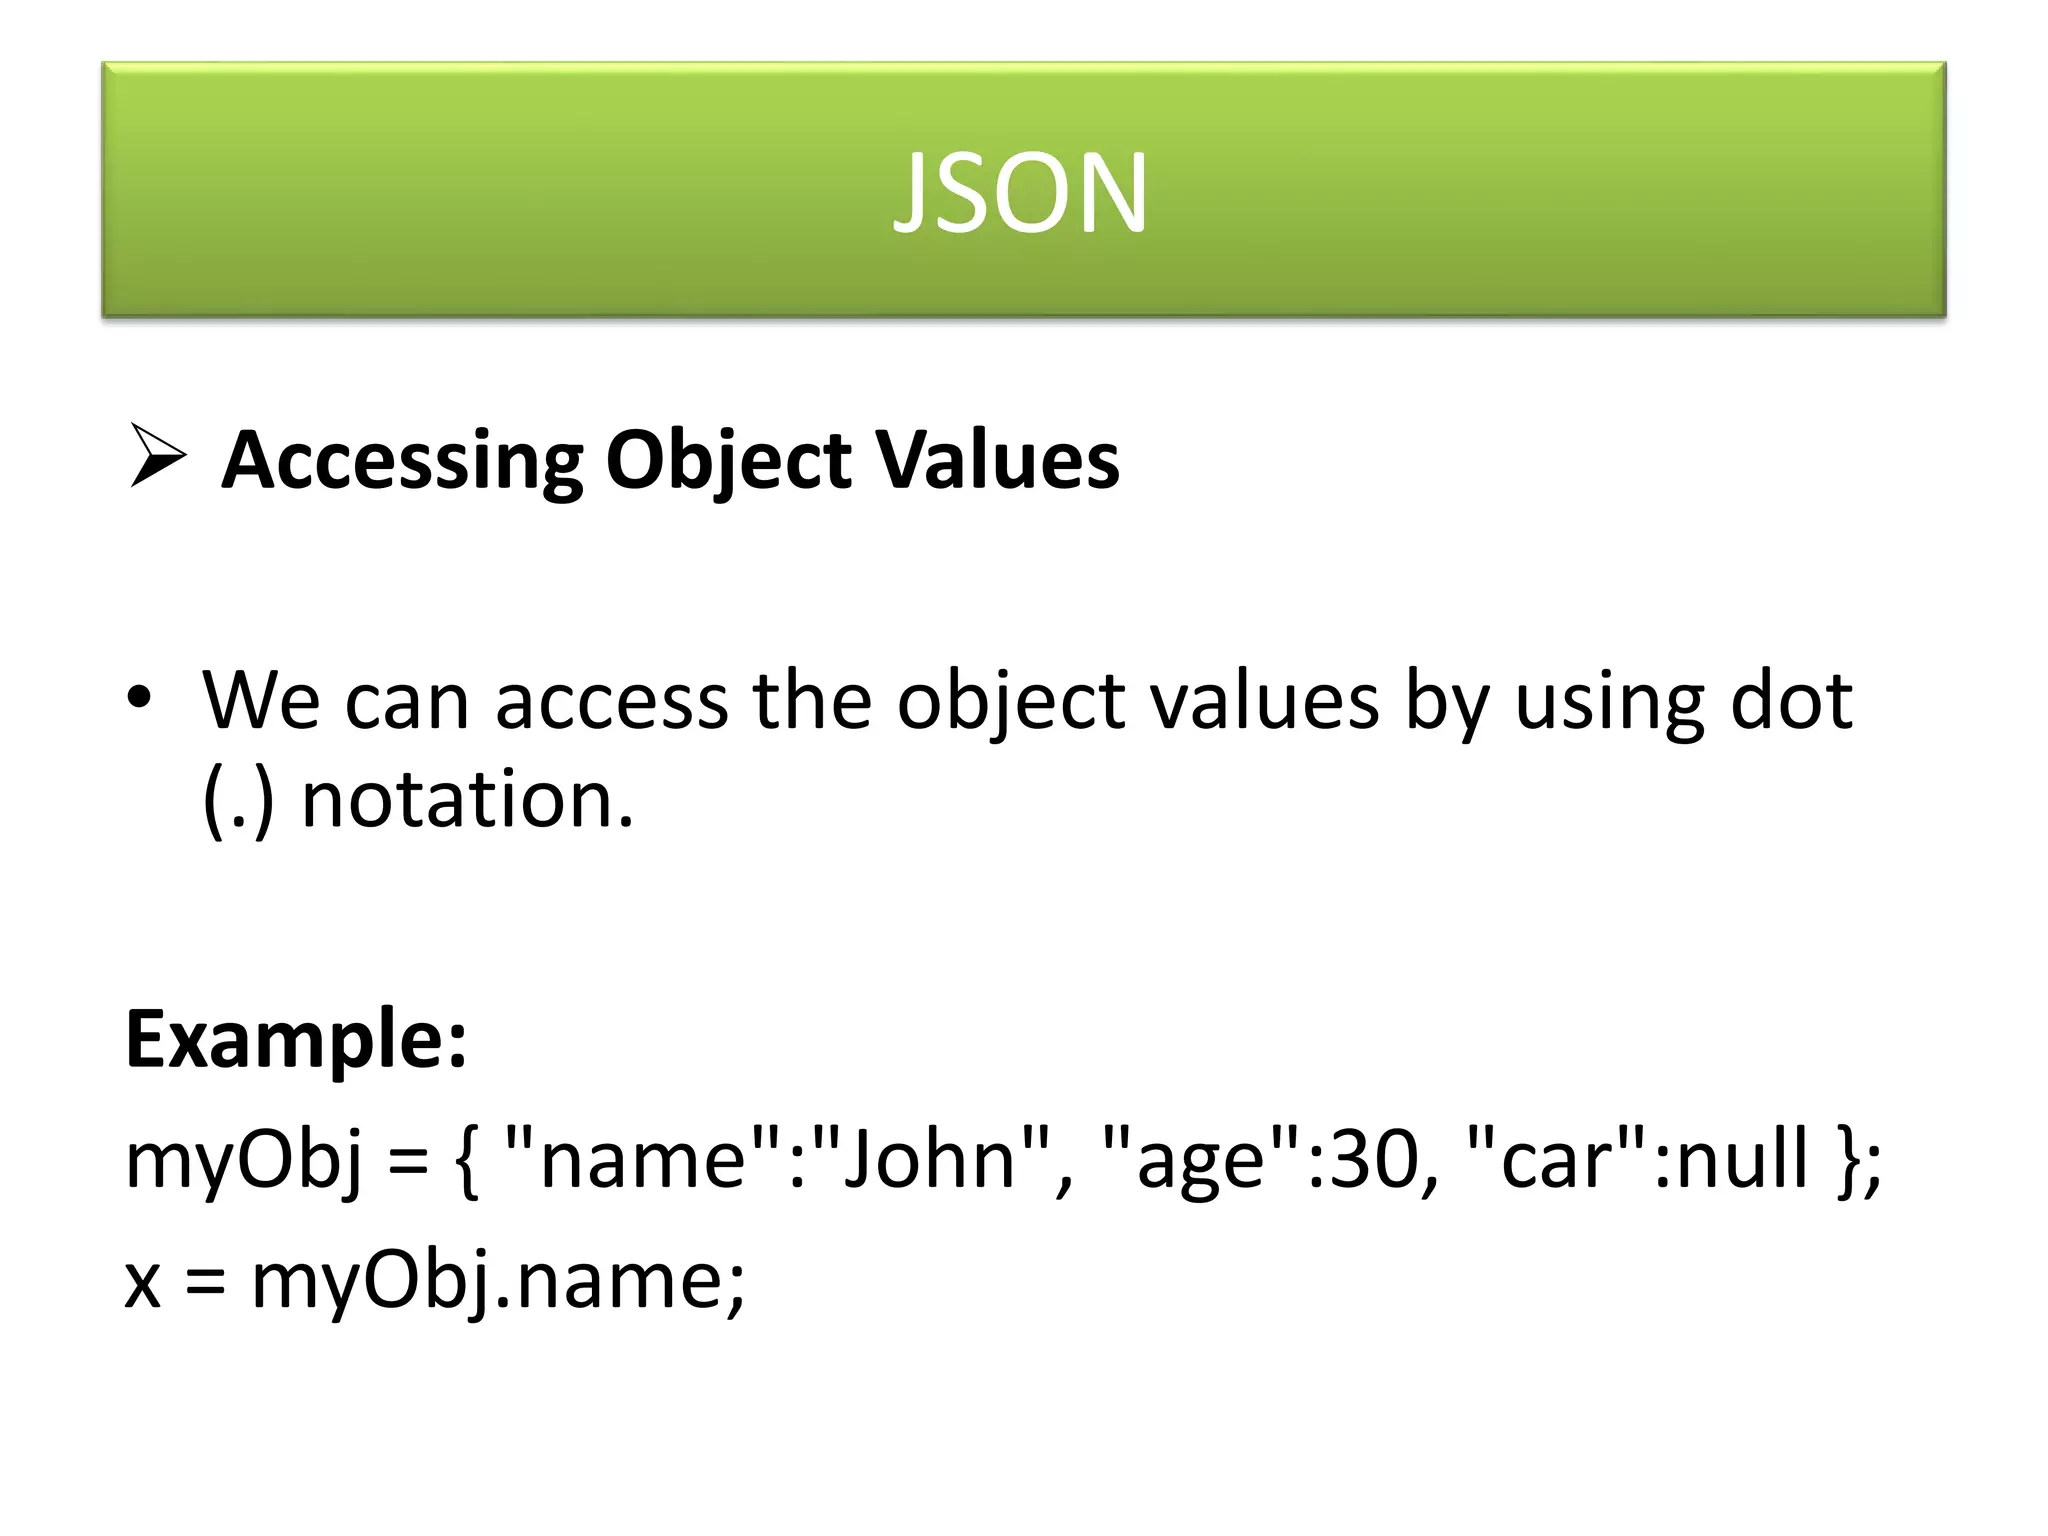
Introduction to JSON, data types, and accessing values.
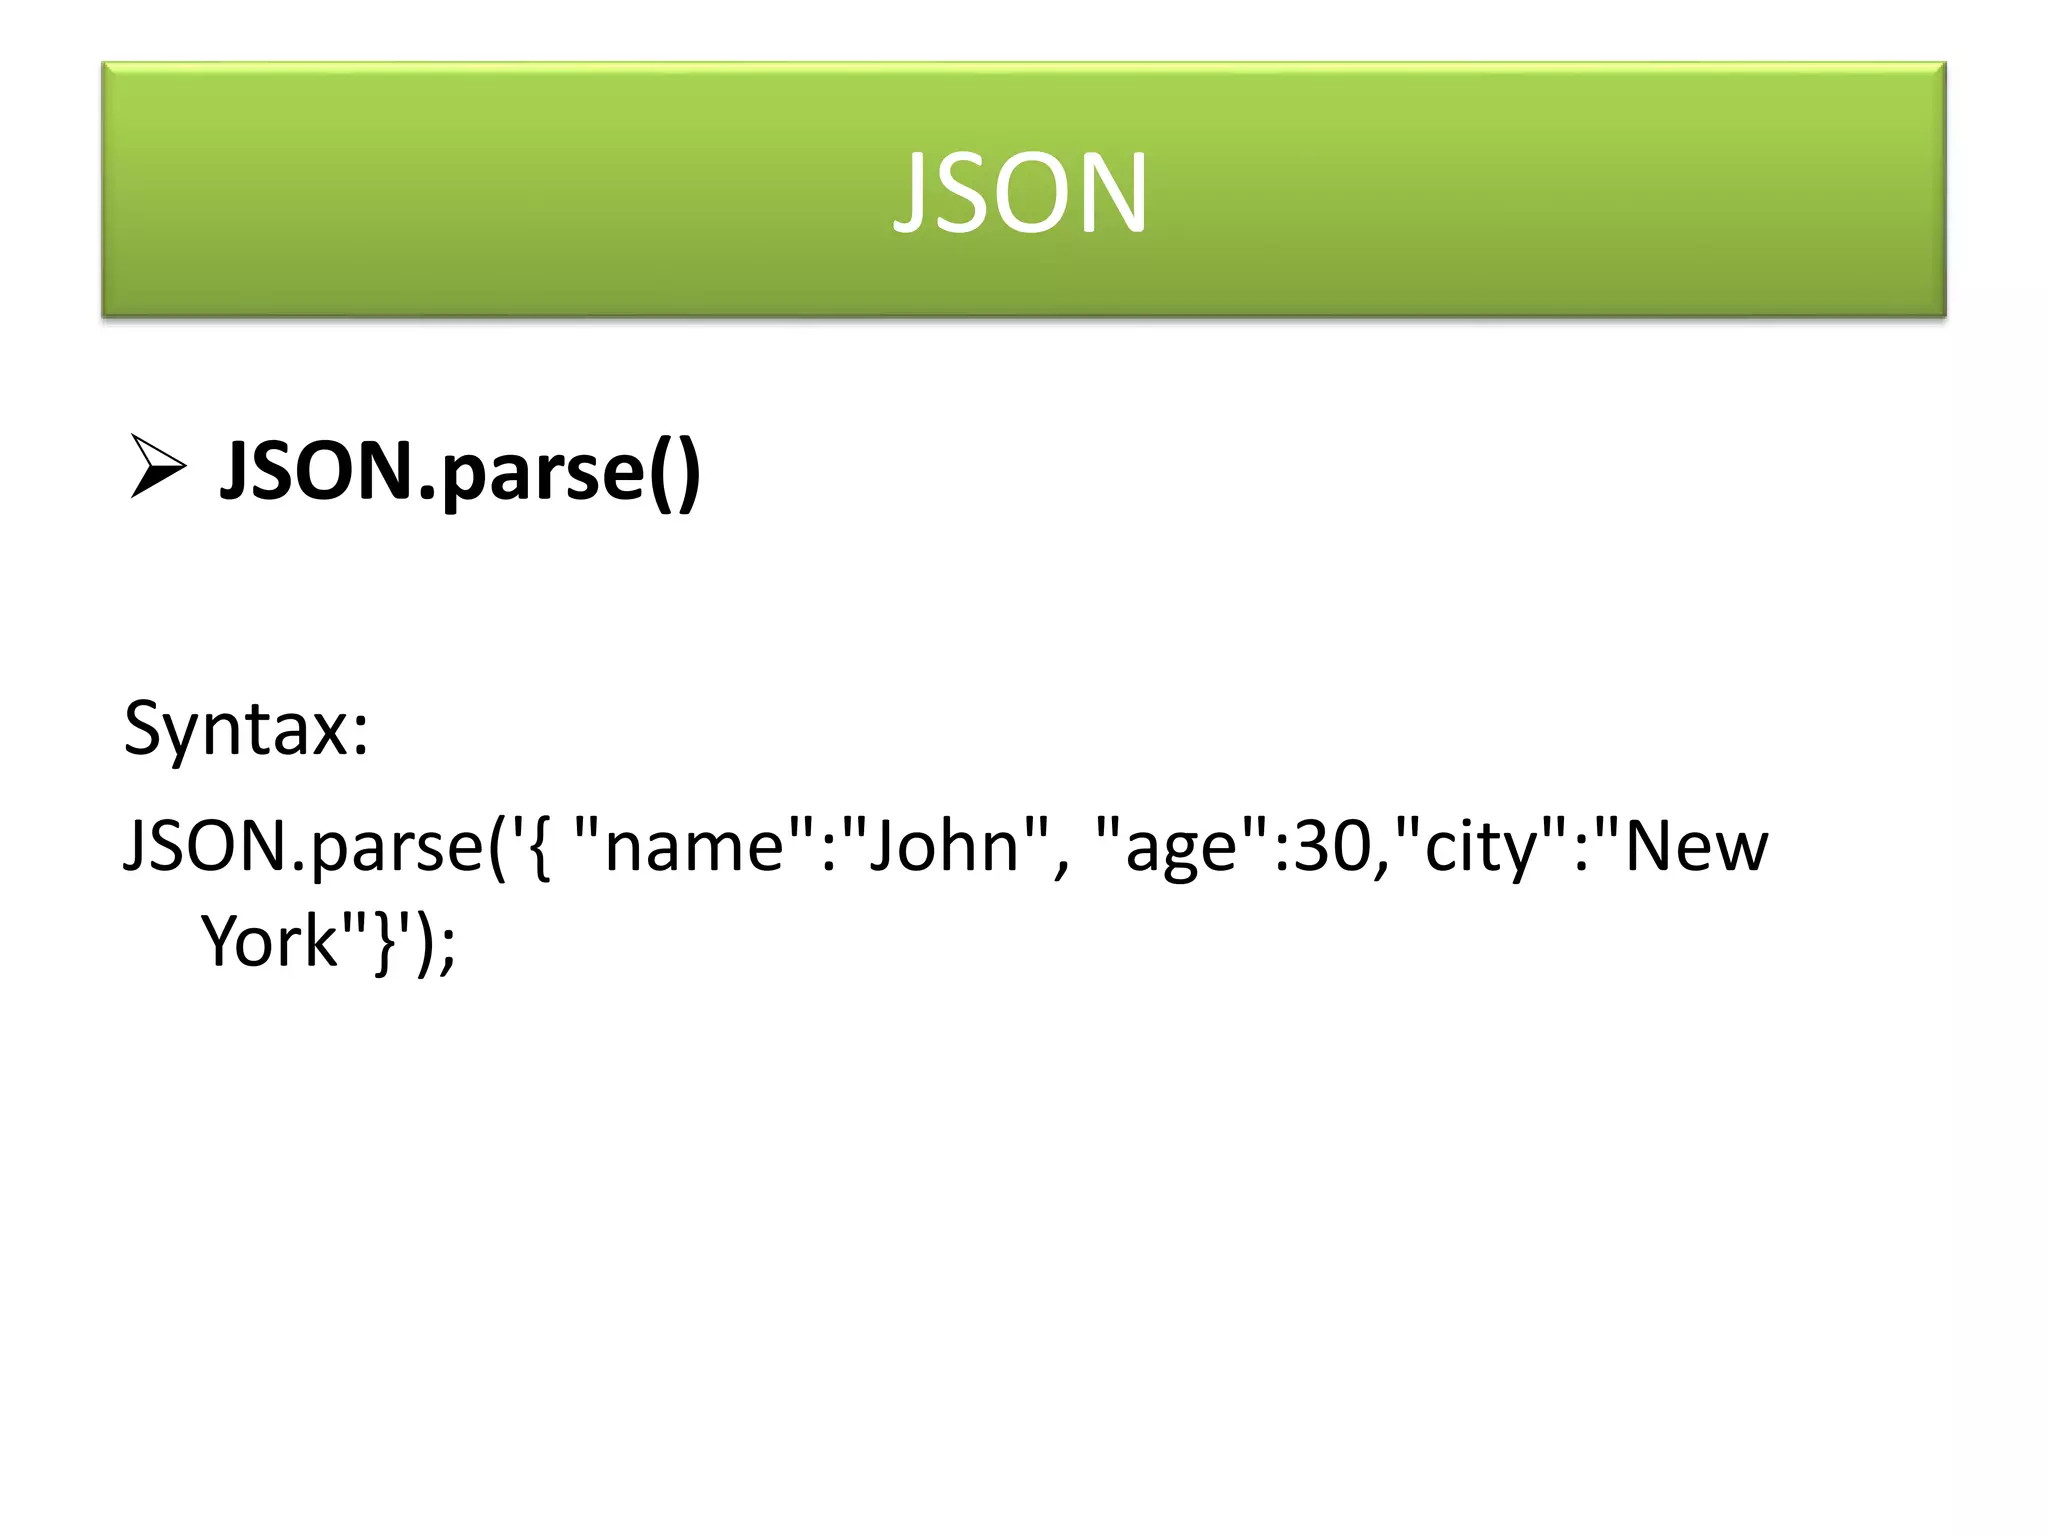
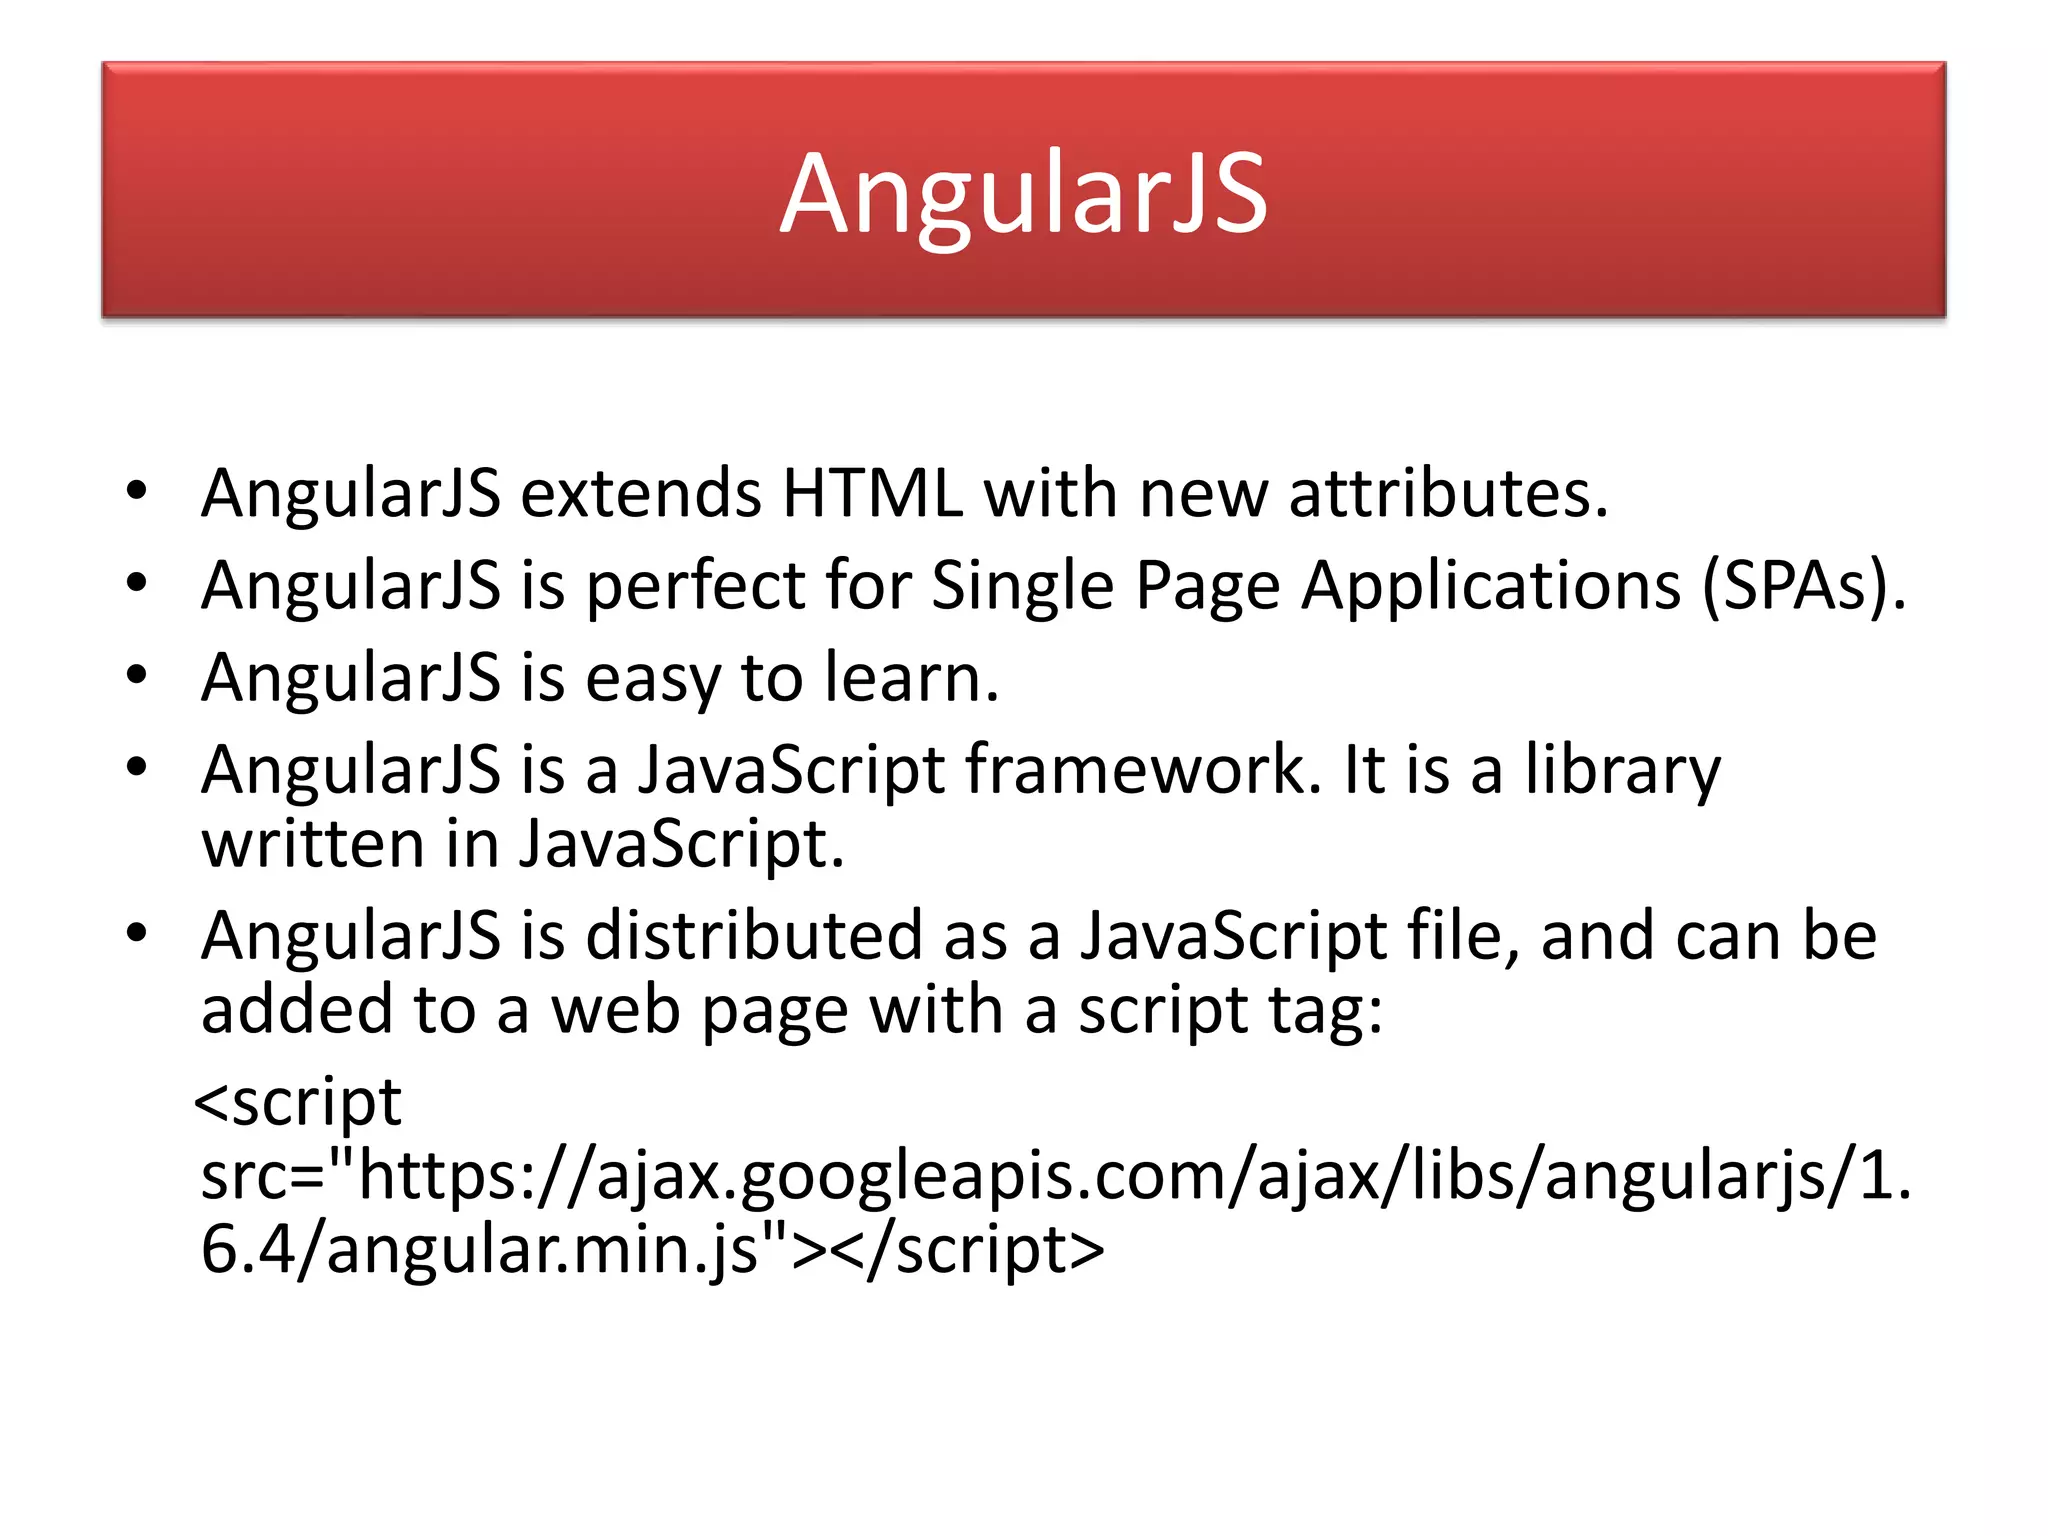
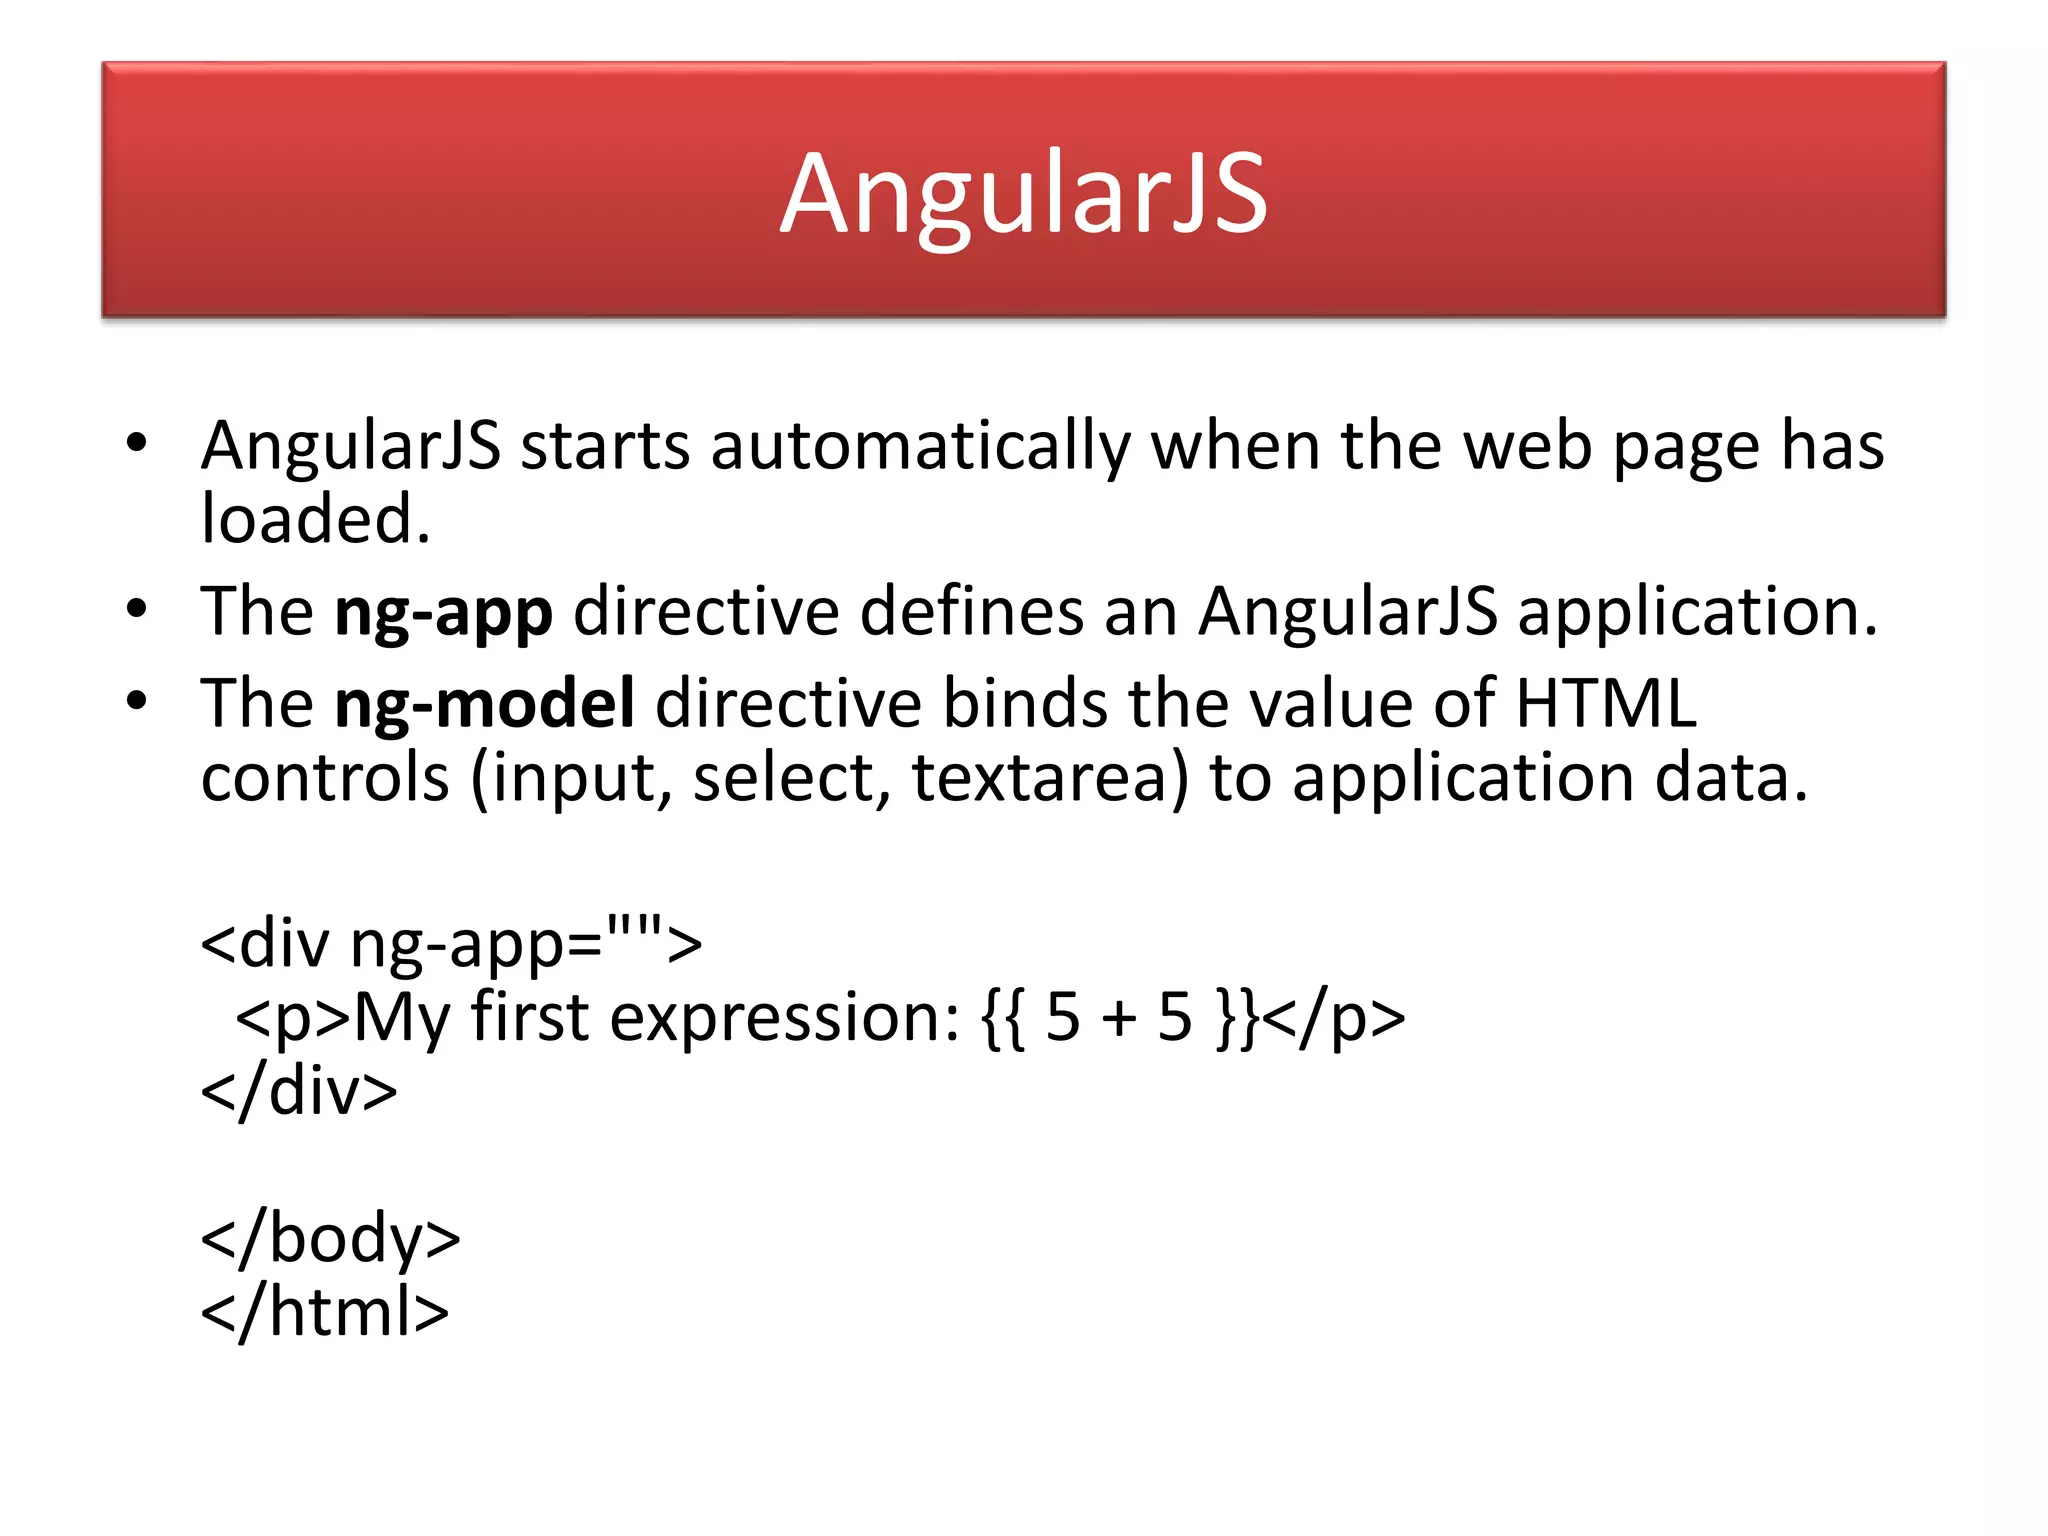
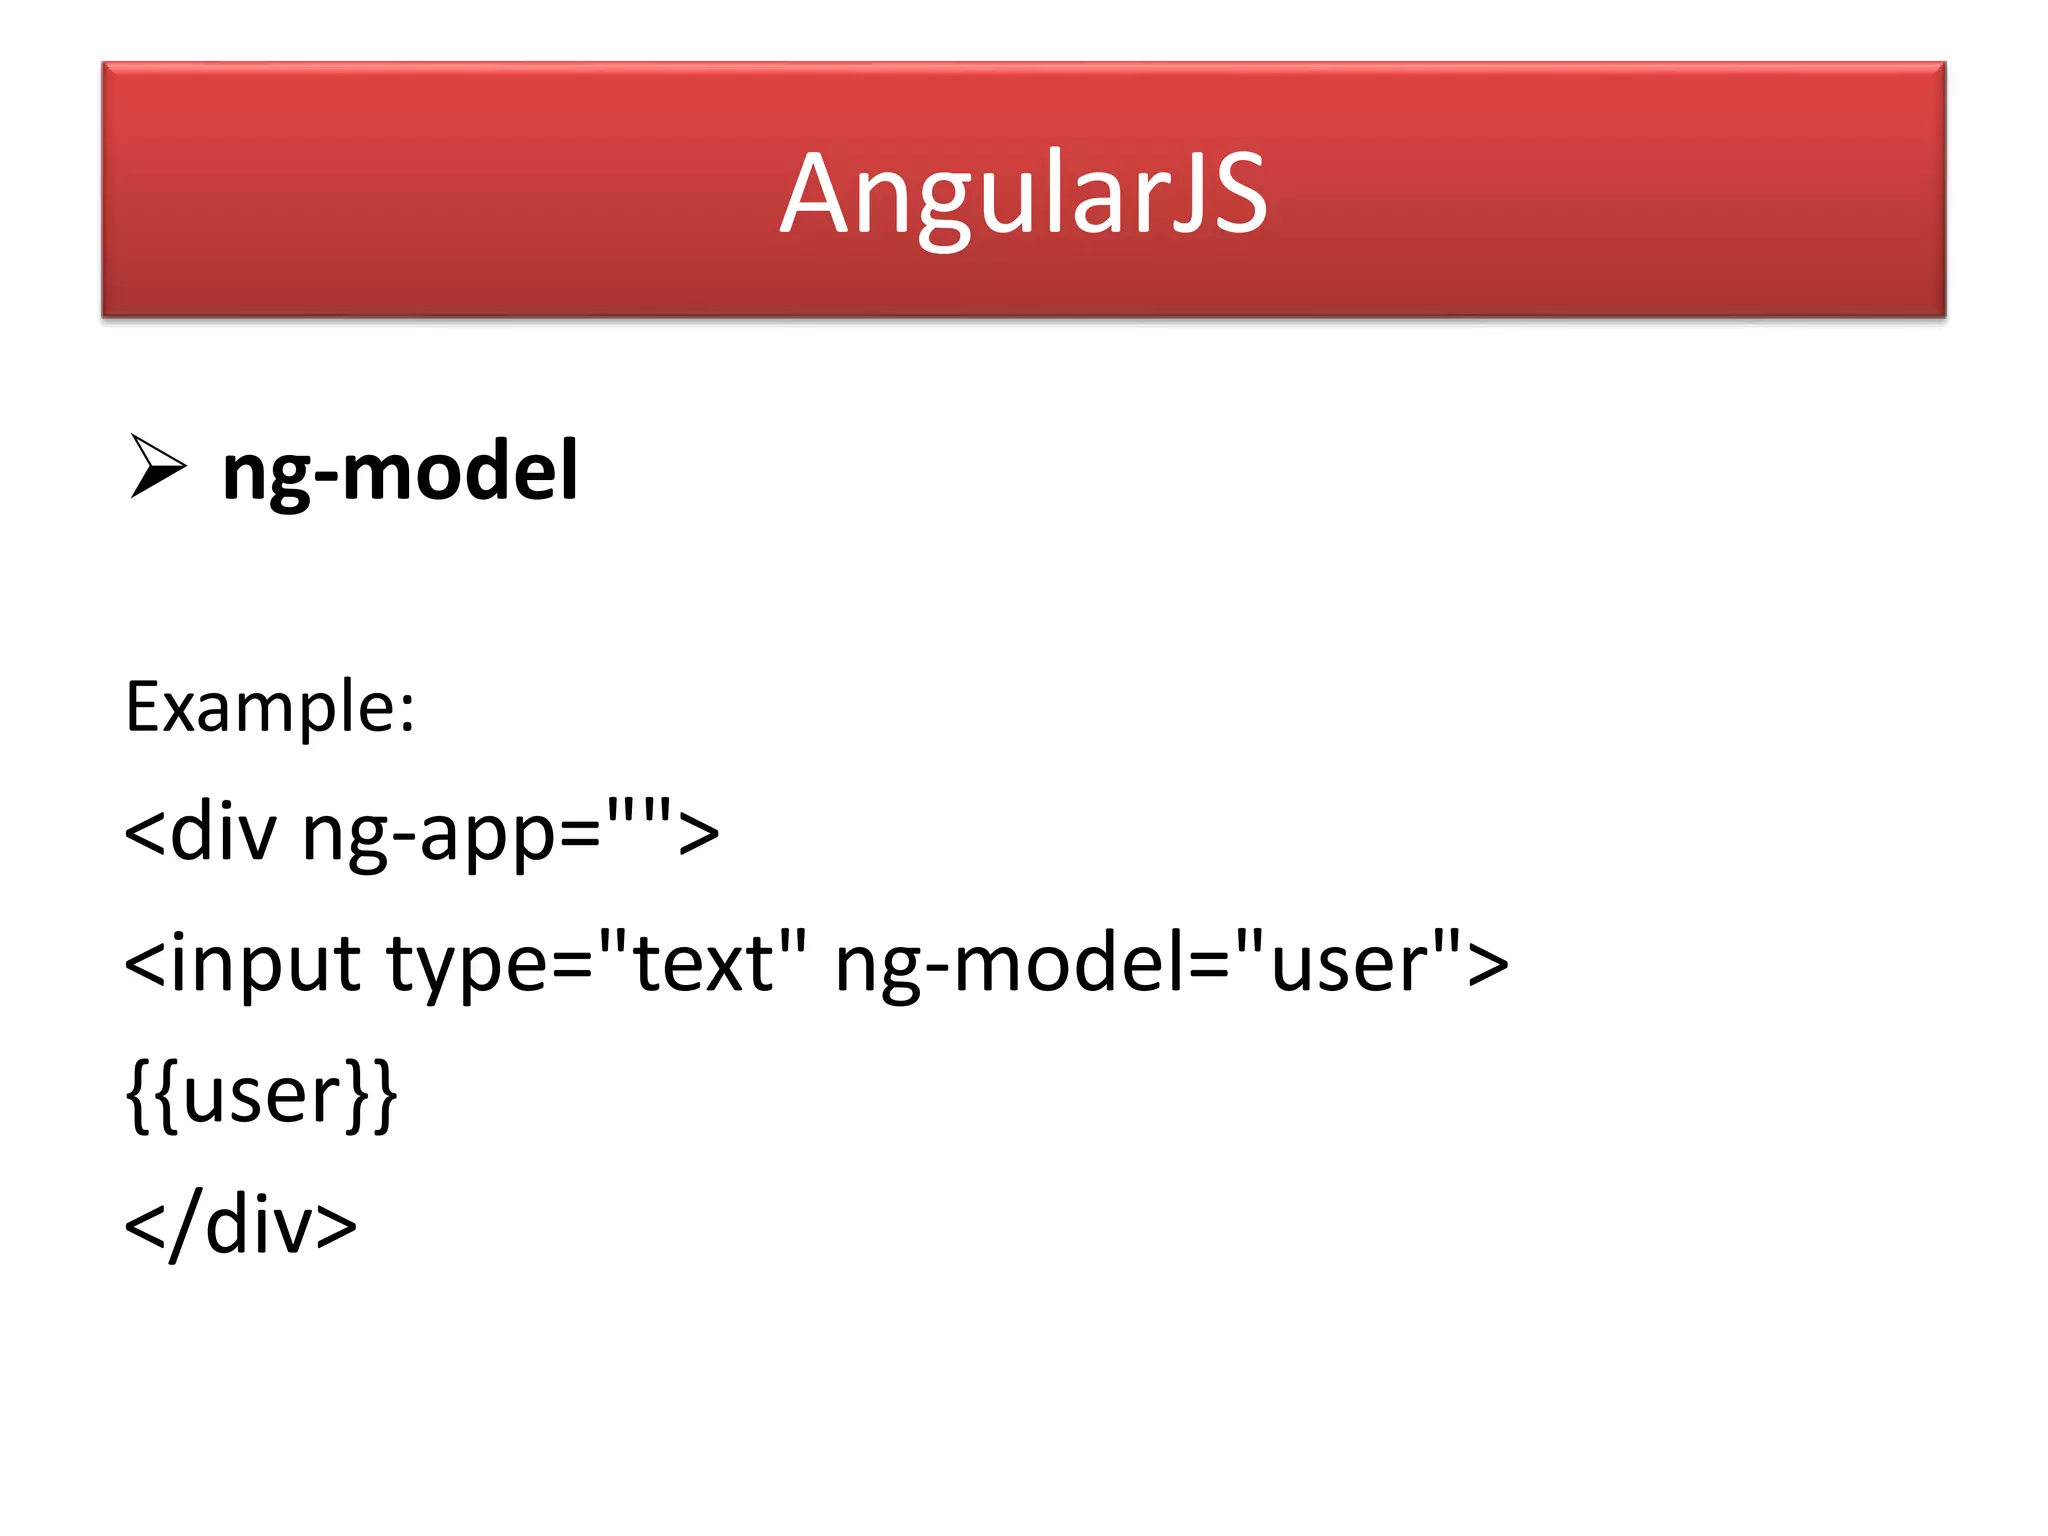
Using JSON.parse and examples of JSON data structures.Overview of AngularJS framework, directives, and data binding.
Examples of using ng-repeat to display collections.
Basic of HTML, CSS(StyleSheet), JavaScript(js), Bootstrap, JSON & AngularJS
1.
HTML Introduction • HTMLstands for Hyper Text Markup Language. • HTML describes the structure of Web pages using markup. • HTML elements are represented by tags. • Browsers do not display the HTML tags, but use them to render the content of the page.
2.
HTML Editors • Webpages can be created and modified by using professional HTML editors. • We believe using a simple text editor is a good way to learn HTML. • There are Many HTML Editors . like Notepad , Notepad++.
3.
Save and RunHTML Page • Windows 8 or later: Open the Start Screen (the window symbol at the bottom left on your screen). Type Notepad. • Windows 7 or earlier: Open Start > Programs > Accessories > Notepad • Save the file on your computer. Select File > Save as in the Notepad menu. • Name the file "index.htm“ or index.html • Double click on the file and Run.
HTML Elements • AnHTML element usually consists of a start tag and end tag, with the content inserted in between: <tagname>Content</tagname> • The HTML element is everything from the start tag to the end tag: <p>My first paragraph.</p> <b>Hello World</b>
HTML Headings • Headingsare defined with the <h1> to <h6> tags. <h1>This is heading 1</h1> <h2>This is heading 2</h2> <h3>This is heading 3</h3> <h4>This is heading 4</h4> <h5>This is heading 5</h5> <h6>This is heading 6</h6>
8.
HTML Paragraphs • TheHTML <p> element defines a paragraph: • Example : <p>paragraph-1</p> <p>paragraph-2</p> <p>paragraph-3</p> <p>paragraph-4</p>
9.
HTML Links • Thehref attribute specifies the destination address (https://www.google.com/) of the link. • Clicking on the link text will send you to the specified address. <a href=“http://www.google.com">Google</a>
10.
HTML Links Local Links Alocal link (link to the same web site) is specified with a relative URL (without http://www....) <a href=“home.html">Home Page</a>
11.
HTML Images • InHTML, images are defined with the <img> tag. • The <img> tag is empty, it contains attributes only, and does not have a closing tag. • The src attribute specifies the URL (web address) of the image: <img src="url" alt="some_text">
12.
HTML Images • Thealt attribute provides an alternate text for an image, if the user for some reason cannot view it (because of slow connection, an error in the src attribute, or if the user uses a screen reader). • If a browser cannot find an image, it will display the value of the alt attribute.
13.
HTML Tables • AnHTML table is defined with the <table> tag. • Each table row is defined with the <tr> tag. A table header is defined with the <th> tag. By default, table headings are bold and centered. A table data/cell is defined with the <td> tag.
14.
HTML Tables First NameLast Name Age First Name 1 Last Name 1 50 First Name 2 Last Name 2 94 First Name 3 Last Name 3 80
15.
HTML Table Border •HTML Table - Adding a Border • If you do not specify a border for the table, it will be displayed without borders. • A border is set using the CSS border property: <table border=“1”> </table>
16.
HTML Lists Unordered HTMLList • An unordered list starts with the <ul> tag. Each list item starts with the <li> tag. • The list items will be marked with bullets (small black circles) by default:
17.
Unordered List Value Description disc Setsthe list item marker to a bullet (default) circle Sets the list item marker to a circle square Sets the list item marker to a square none The list items will not be marked
18.
HTML Lists Ordered HTMLList • An ordered list starts with the <ol> tag. Each list item starts with the <li> tag. • The list items will be marked with numbers by default:
19.
Ordered Lists Type Description type="1"The list items will be numbered with numbers (default) type="A" The list items will be numbered with uppercase letters type="a" The list items will be numbered with lowercase letters type="I" The list items will be numbered with uppercase roman numbers type="i" The list items will be numbered with lowercase roman numbers
20.
HTML File Paths •A file path describes the location of a file in a web site's folder structure. • File paths are used when linking to external files like: – Web pages – Images – Style sheets – JavaScript
21.
The HTML <head>Element • The <head> element is a container for metadata (data about data) and is placed between the <html> tag and the <body> tag. • HTML metadata is data about the HTML document. Metadata is not displayed. • Metadata typically define the document title, character set, styles, links, scripts, and other meta information.
22.
The HTML <title>Element The <title> element: • Defines a title in the browser tab. • Provides a title for the page when it is added to Bookmark. • Displays a title for the page in search engine results.
23.
The HTML <meta>Element • <meta charset="UTF-8"> • <meta name="description" content=“Web Design Services in Ahmedabad"> • <meta name="keywords" content="HTML, CSS, XML, JavaScript"> • <meta name="author" content=“name">
24.
HTML Form Elements <input> • The <input> element is the most important form element. • The <input> element can be displayed in several ways, depending on the type attribute
25.
HTML Form Elements TypeDescription <input type="text"> Defines a one-line text input field <input type="radio"> Defines a radio button (for selecting one of many choices) <input type=“checkbox”> For Selecting Many Choices <input type=“file”> Browse File From Device. <input type="submit"> Defines a submit button (for submitting the form)
26.
HTML Form Elements <select> • The <select> element defines a drop-down list: – The <option> elements defines an option that can be selected. – By default, the first item in the drop-down list is selected.
27.
HTML Form Elements <textarea> • The <textarea> element defines a multi-line input field (a text area): – The rows attribute specifies the visible number of lines in a text area. – The cols attribute specifies the visible width of a text area.
28.
HTML Input Attributes value Attribute • The value attribute specifies the initial value for an input field: Syntax: <input type="text" name="firstname" value=“demo">
29.
HTML Input Attributes readonly Attribute • The readonly attribute specifies that the input field is read only (cannot be changed): Syntax: <input type="text" name="firstname" value=“hello" readonly>
30.
HTML Input Attributes disabled Attribute • The disabled attribute specifies that the input field is disabled. Syntax: <input type="text" name="firstname" value=“hello" disabled>
31.
HTML Input Attributes maxlength Attribute • The maxlength attribute specifies the maximum allowed length for the input field. Syntax: <input type="text" name="firstname“ maxlength="10">
32.
HTML Input Attributes Height and Width Attribute <input type="image" src="img_submit.gif" width="48" height="48">
33.
The form actionAttribute • The form action attribute specifies the URL of a file that will process the input control when the form is submitted. • The form action attribute is used with type="submit" and type="image". Syntax: <form action=“index2.html"> </form>
34.
The form methodAttribute • The form method attribute defines the HTTP method for sending form-data to the action URL. <form action=“index.html" method="get"> </form>
35.
The pattern Attribute •The pattern attribute specifies a regular expression that the <input> element's value is checked against. • The pattern attribute works with the following input types: text, Url , email, and password. <input type="text" name="country_code" pattern="[A-Za-z]{3}" title="Three letter country code">
36.
The placeholder Attribute •The hint is displayed in the input field before the user enters a value. Syntax: <input type="text" name="fname" placeholder="First name">
37.
The required Attribute •The required attribute specifies that an input field must be filled out before submitting the form. Syntax: Username: <input type="text" name="usrname" required>
38.
The “step” attribute •Example: – if step="3", legal numbers could be -3, 0, 3, 6, etc. • Syntax: <input type="number" name="points" step="3">
39.
CSS • CSS standsfor Cascading Style Sheets. • CSS describes how HTML elements are to be displayed on screen, paper, or in other media. • CSS saves a lot of work. It can control the layout of multiple web pages all at once.
40.
Types of CSS •CSS can be added to HTML elements in 3 ways: – Inline - by using the style attribute in HTML elements. – Internal - by using a <style> element in the <head> section. – External - by using an external CSS file. • The most common way to add CSS, is to keep the styles in separate CSS files. However, here we will use inline and internal styling, because this is easier to demonstrate, and easier for you to try it yourself.
41.
Inline CSS Example: • Aninline CSS is used to apply a unique style to a single HTML element. • An inline CSS uses the style attribute of an HTML element. <h1 style="color:blue;">This is a Blue Heading</h1>
42.
Internal CSS • Aninternal CSS is used to define a style for a single HTML page. • An internal CSS is defined in the <head> section of an HTML page, within a <style> element:
43.
External CSS • Anexternal style sheet is used to define the style for many HTML pages. • With an external style sheet, you can change the look of an entire web site, by changing one file! • To use an external style sheet, add a link to it in the <head> section of the HTML page:
44.
CSS Colors Colors setby using color names: Color Name Red Green Blue Orange Yellow Cyan Black
CSS Properties Background Image– no repeat body { background-image: url("img_tree.png"); background-repeat: no-repeat; } Border p{ border:1px solid black; }
47.
CSS Properties CSSMargins • The CSS margin properties are used to generate space around elements. • The margin properties set the size of the white space outside the border. • With CSS, you have full control over the margins. There are CSS properties for setting the margin for each side of an element (top, right, bottom, and left).
48.
CSS Properties Margin- Individual Sides • CSS has properties for specifying the margin for each side of an element: p { margin-top: 100px; margin-bottom: 100px; margin-right: 150px; margin-left: 80px; }
49.
CSS Properties Margin- Shorthand Property • o shorten the code, it is possible to specify all the margin properties in one property. • The margin property is a shorthand property for the following individual margin properties: p { margin: 100px 150px 100px 80px; }
CSS Properties CSSPadding • The CSS padding properties are used to generate space around content. Padding - Individual Sides p { padding-top: 50px; padding-right: 30px; padding-bottom: 50px; padding-left: 80px; }
52.
CSS Properties Settingheight and width • The height and width properties are used to set the height and width of an element. • The height and width can be set to auto (this is default. Means that the browser calculates the height and width), or be specified in length values, like px, cm, etc., or in percent (%) of the containing block.
53.
CSS Properties TextColor • The color property is used to set the color of the text. body { color: blue; }
CSS Properties TextShadow • The text-shadow property adds shadow to text. • The following example specifies the position of the horizontal shadow (3px), the position of the vertical shadow (2px) and the color of the shadow (red): h1 { text-shadow: 3px 2px red; }
CSS Properties a:link -a normal, unvisited link a:visited - a link the user has visited a:hover - a link when the user mouses over it a:active - a link the moment it is clicked
60.
CSS Properties CSSForms input { width: 100%; } Individual input field • input[type=text] - will only select text fields • input[type=password] - will only select password fields
61.
CSS Properties BorderedInputs • Use the border property to change the border size and color, and use the border-radius property to add rounded corners: input[type=text] { border: 2px solid red; border-radius: 4px; }
62.
CSS Properties ColoredInputs • Use the background-color property to add a background color to the input, and the color property to change the text color: input[type=text] { background-color: blue; color: white; }
JavaScript • JavaScript isthe programming language of HTML and the Web. • JavaScript is easy to learn. • JavaScript is Case Sensitive Why Study JavaScript? • JavaScript is one of the 3 languages all web developers must learn: 1. HTML to define the content of web pages 2. CSS to specify the layout of web pages 3. JavaScript to program the behavior of web pages
66.
JavaScript The <script>Tag • In HTML, JavaScript code must be inserted between <script> and </script> tag <script> document.getElementById("demo").innerHT ML = "My First JavaScript"; </script>
67.
JavaScript JavaScript CanChange HTML Content • One of many JavaScript HTML methods is getElementById(). • This example uses the method to "find" an HTML element (with id="demo") and changes the element content (innerHTML) to "Hello JavaScript":
68.
JavaScript JavaScript Variables •In a programming language, variables are used to store data values. • JavaScript uses the var keyword to declare variables. Example: var x; x = 6;
Operators-JavaScript JavaScript StringOperators The + operator can also be used to add (concatenate) strings. txt1 = “hello"; txt2 = “world"; txt3 = txt1 + " " + txt2;
Bootstrap • Bootstrap isthe most popular HTML, CSS, and JavaScript framework for developing responsive, mobile-first web sites. • Bootstrap is completely free to download and use! • Bootstrap is open source. It's hosted, developed, and maintained on GitHub.
76.
Bootstrap Containers <div class="container">... </div> <div class="container-fluid"> ... </div> Grid options 1 Row=12 Column .col-xs Use for Extra small Devices(Mobile). .col-sm use for small Devices(Tablet). .col-md Use for Medium Devices(Desktop). .col-lg Use for Large Devices(Desktop).
Bootstrap Class Description .active Applies thehover color to a particular row or cell .success Indicates a successful or positive action .info Indicates a neutral informative change or action .warning Indicates a warning that might need attention .danger Indicates a dangerous or potentially negative action
JSON JSON -Introduction • JSON: JavaScript Object Notation. • JSON is a syntax for storing and exchanging data. • JSON is text.
92.
JSON JSON Data- A Name and a Value • JSON data is written as name/value pairs. • A name/value pair consists of a field name (in double quotes), followed by a colon, followed by a value:
93.
JSON Data Types JSON Strings – Strings in JSON must be written in double quotes. Example: { "name":"John" }
94.
JSON Data Types JSON Numbers – Numbers in JSON must be an integer or a floating point. Example: { "age":30 }
JSON Accessing ObjectValues • We can access the object values by using dot (.) notation. Example: myObj = { "name":"John", "age":30, "car":null }; x = myObj.name;
97.
JSON Arrays Example: [ "Ford","BMW", "Fiat" ] Accessing Array Values • You access the array values by using the index number: Example: x = myObj.cars[0];
98.
JSON For Loop Syntax: varx; var z=""; x={"username":["two","three"],"password":"admin@123"}; for(i=0;i<x.username.length;i++) { z+=x.username[i]+"<br>"; } document.getElementById("demo").innerHTML=z;
AngularJS • AngularJS extendsHTML with new attributes. • AngularJS is perfect for Single Page Applications (SPAs). • AngularJS is easy to learn. • AngularJS is a JavaScript framework. It is a library written in JavaScript. • AngularJS is distributed as a JavaScript file, and can be added to a web page with a script tag: <script src="https://ajax.googleapis.com/ajax/libs/angularjs/1. 6.4/angular.min.js"></script>
101.
AngularJS • AngularJS startsautomatically when the web page has loaded. • The ng-app directive defines an AngularJS application. • The ng-model directive binds the value of HTML controls (input, select, textarea) to application data. <div ng-app=""> <p>My first expression: {{ 5 + 5 }}</p> </div> </body> </html>