Download to read offline

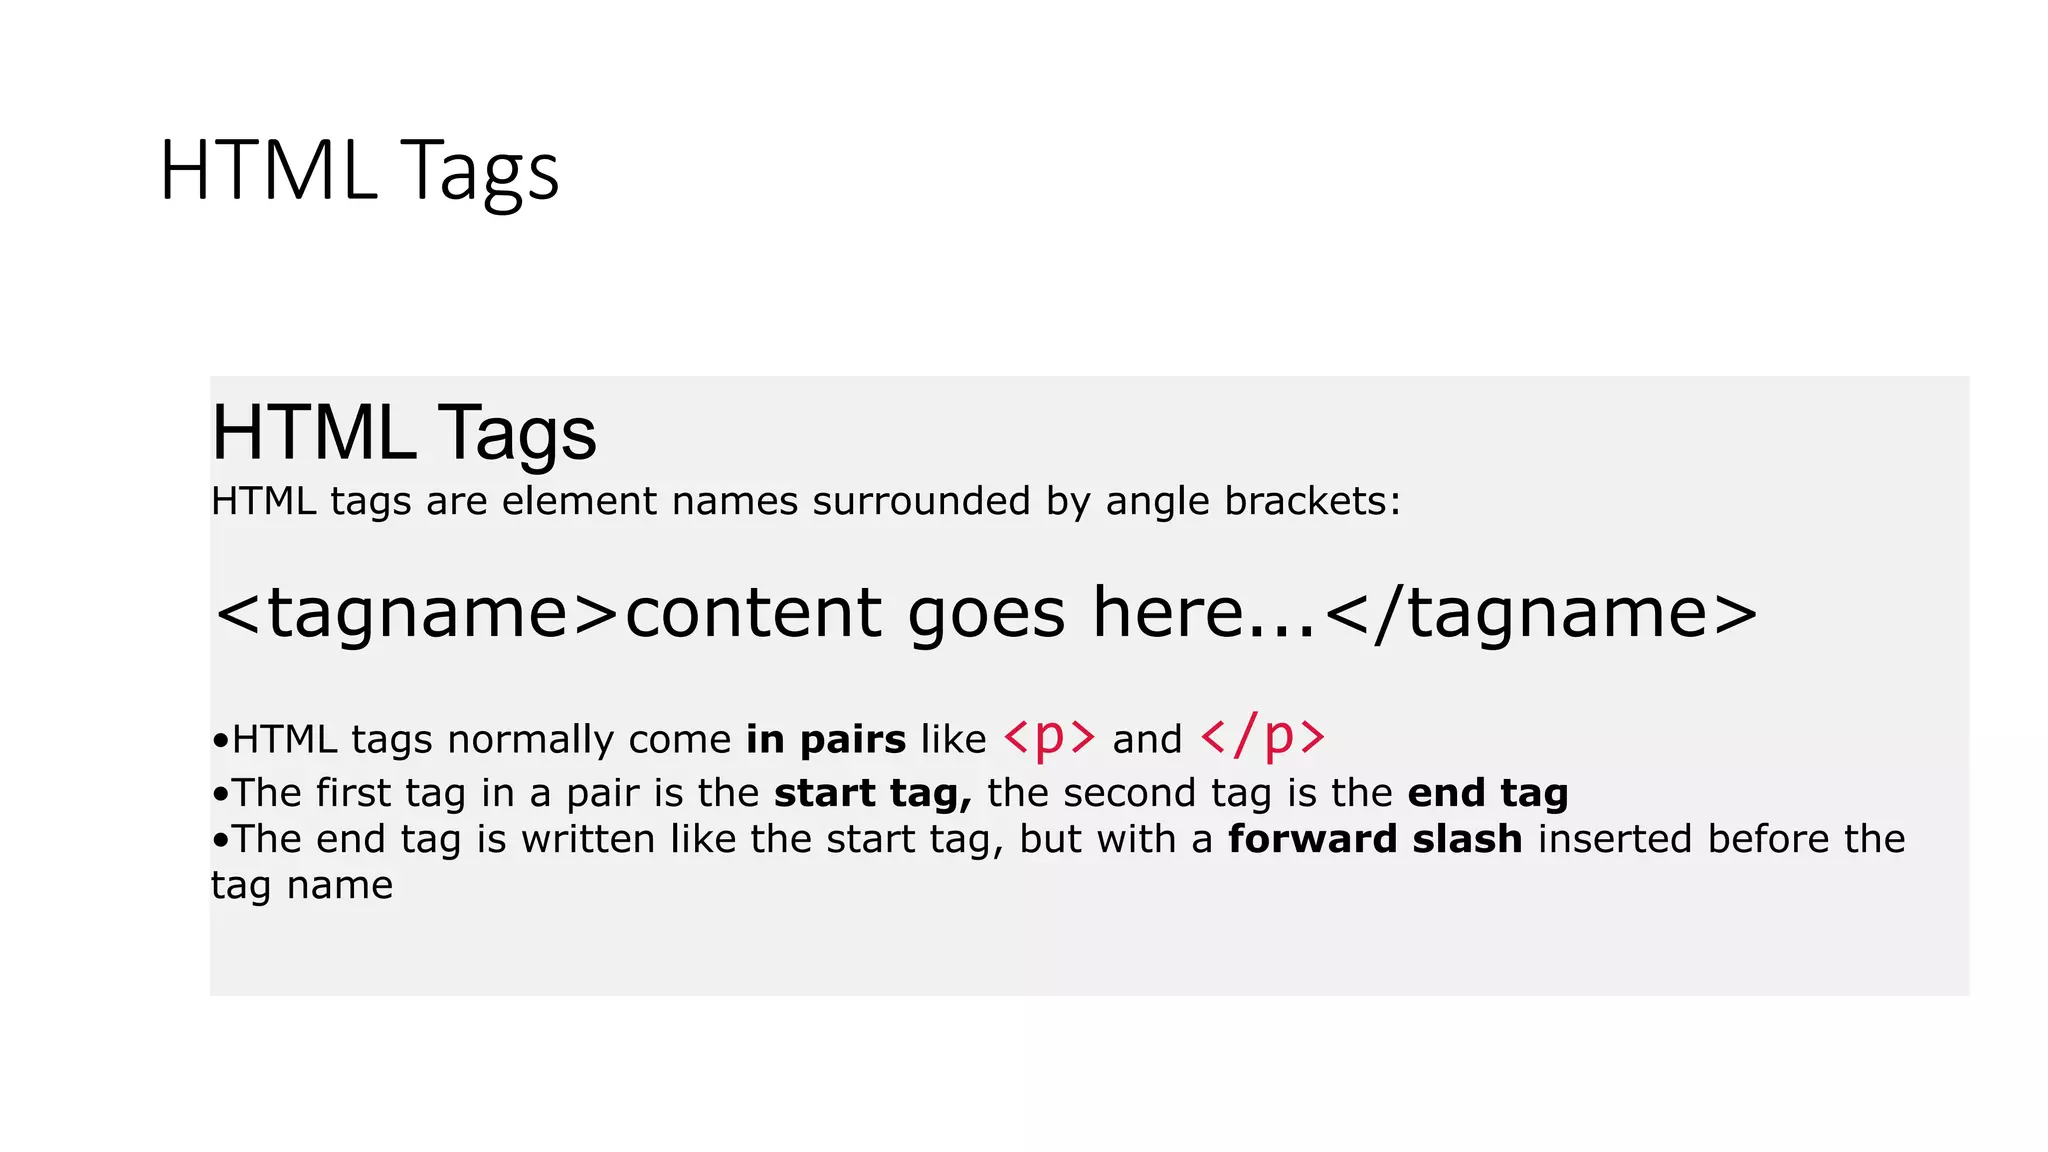


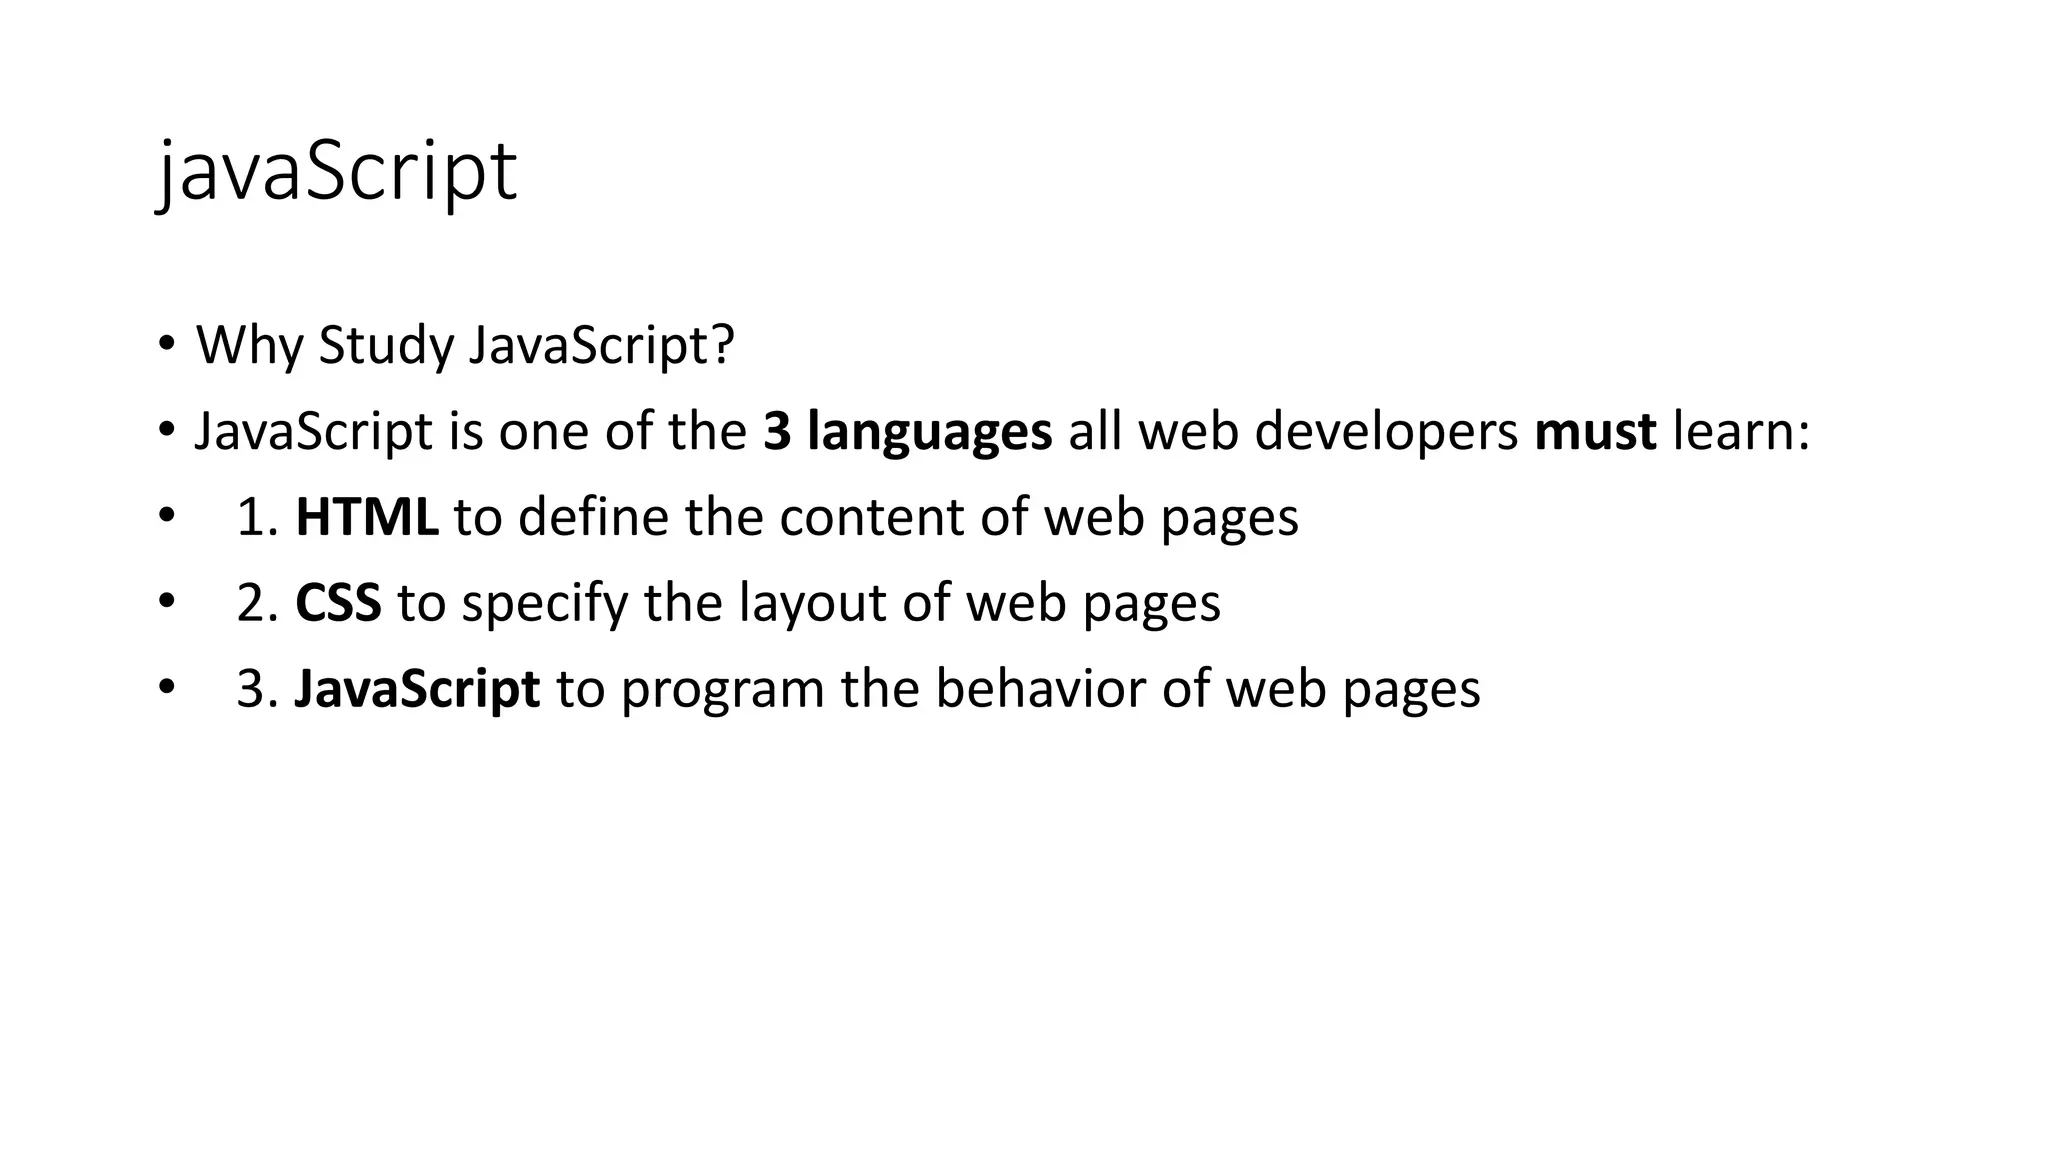


![String Methods • String.toUpperCase() and String.toLowerCase() • String.Concat() or use + Operator • String.trim() • String.charAt(SomeIndex) • String.charCodeAt(someindex) returns ASCII Code • String[index] or String[index] = ‘x’ • Split () • var txt = "a,b,c,d,e"; // String txt.split(","); // Split on commas txt.split(" "); // Split on spaces txt.split("|");](https://image.slidesharecdn.com/javascriptandhtmlnew-200317063552/75/Java-script-and-html-new-75-2048.jpg)
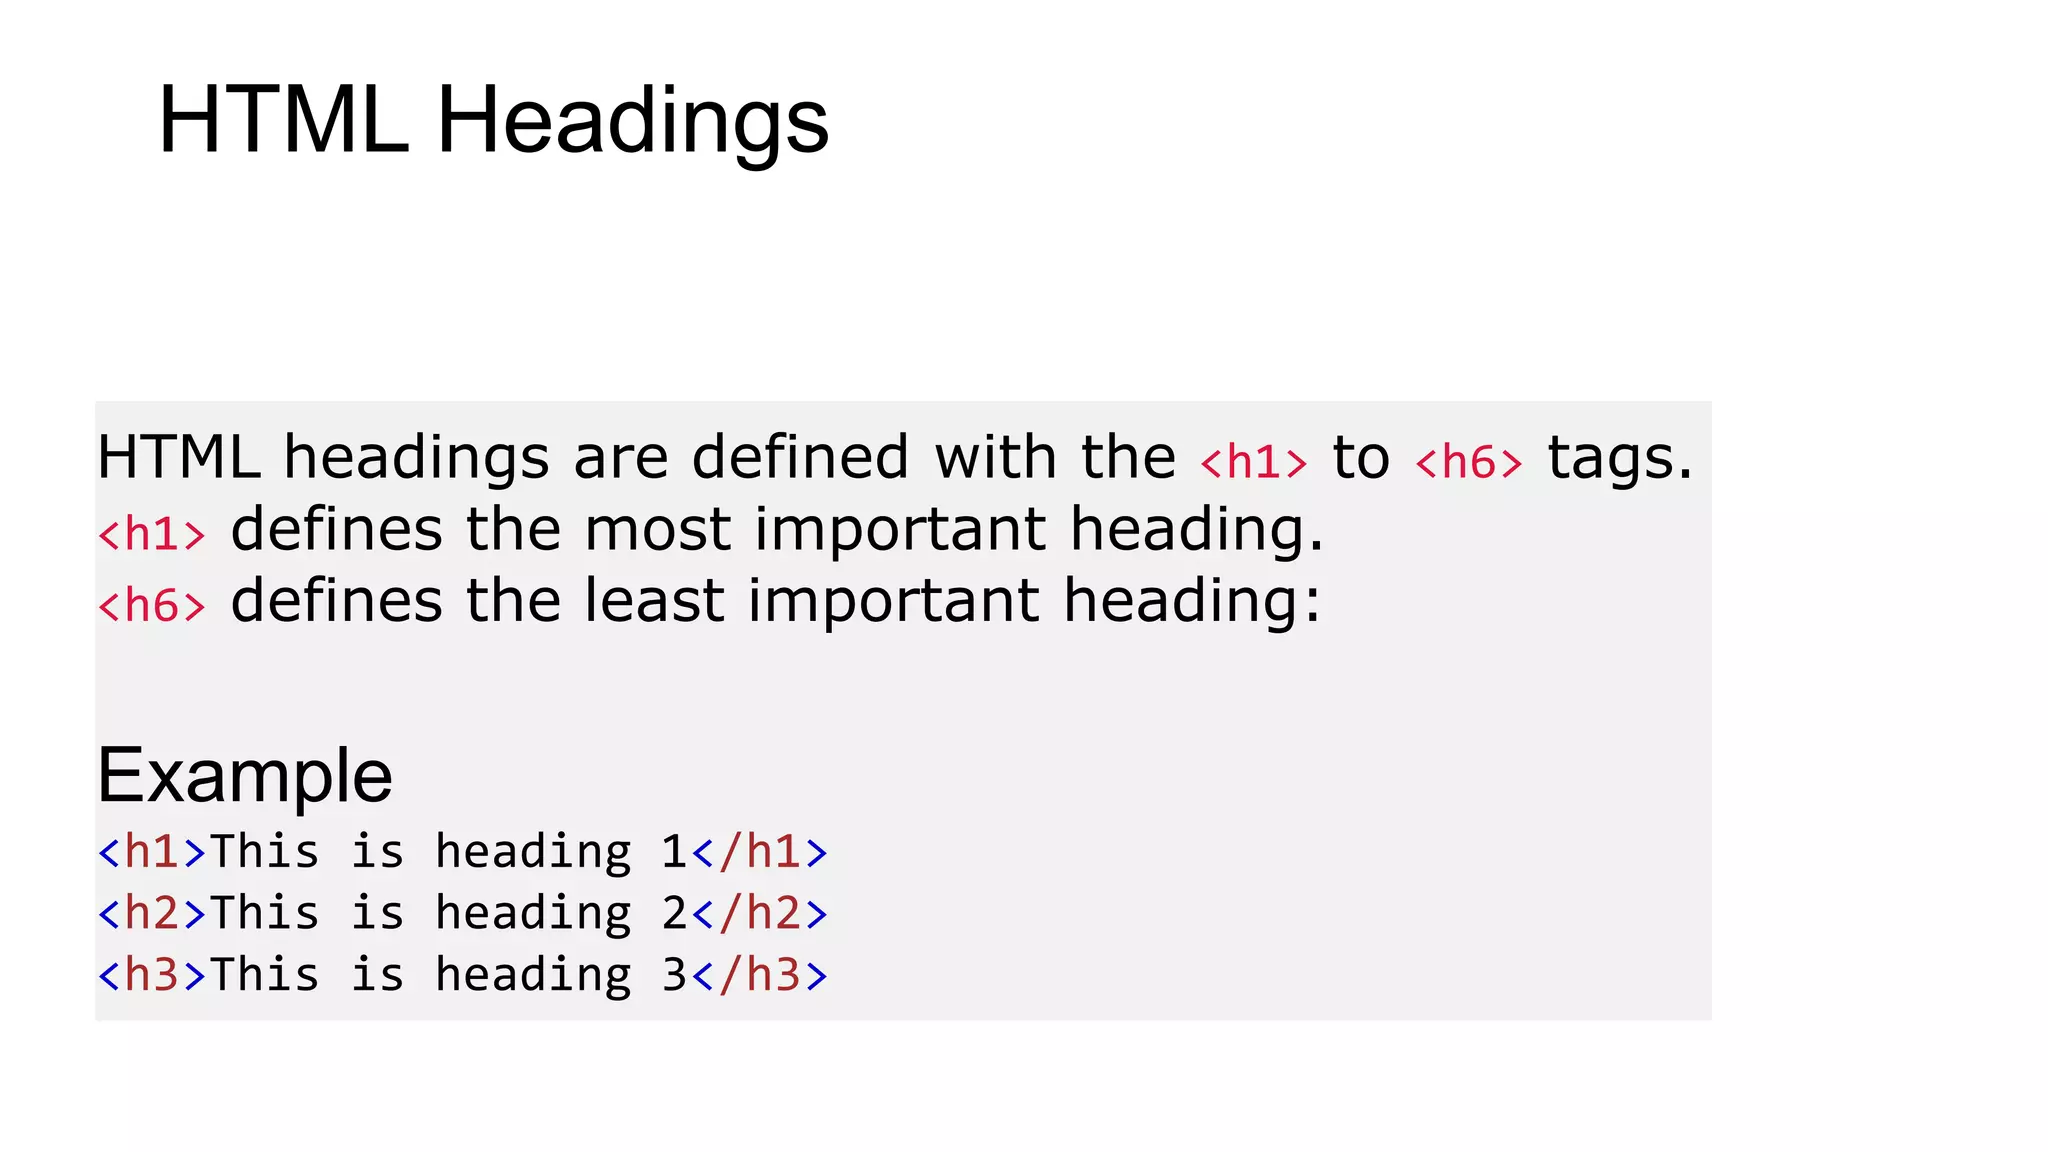
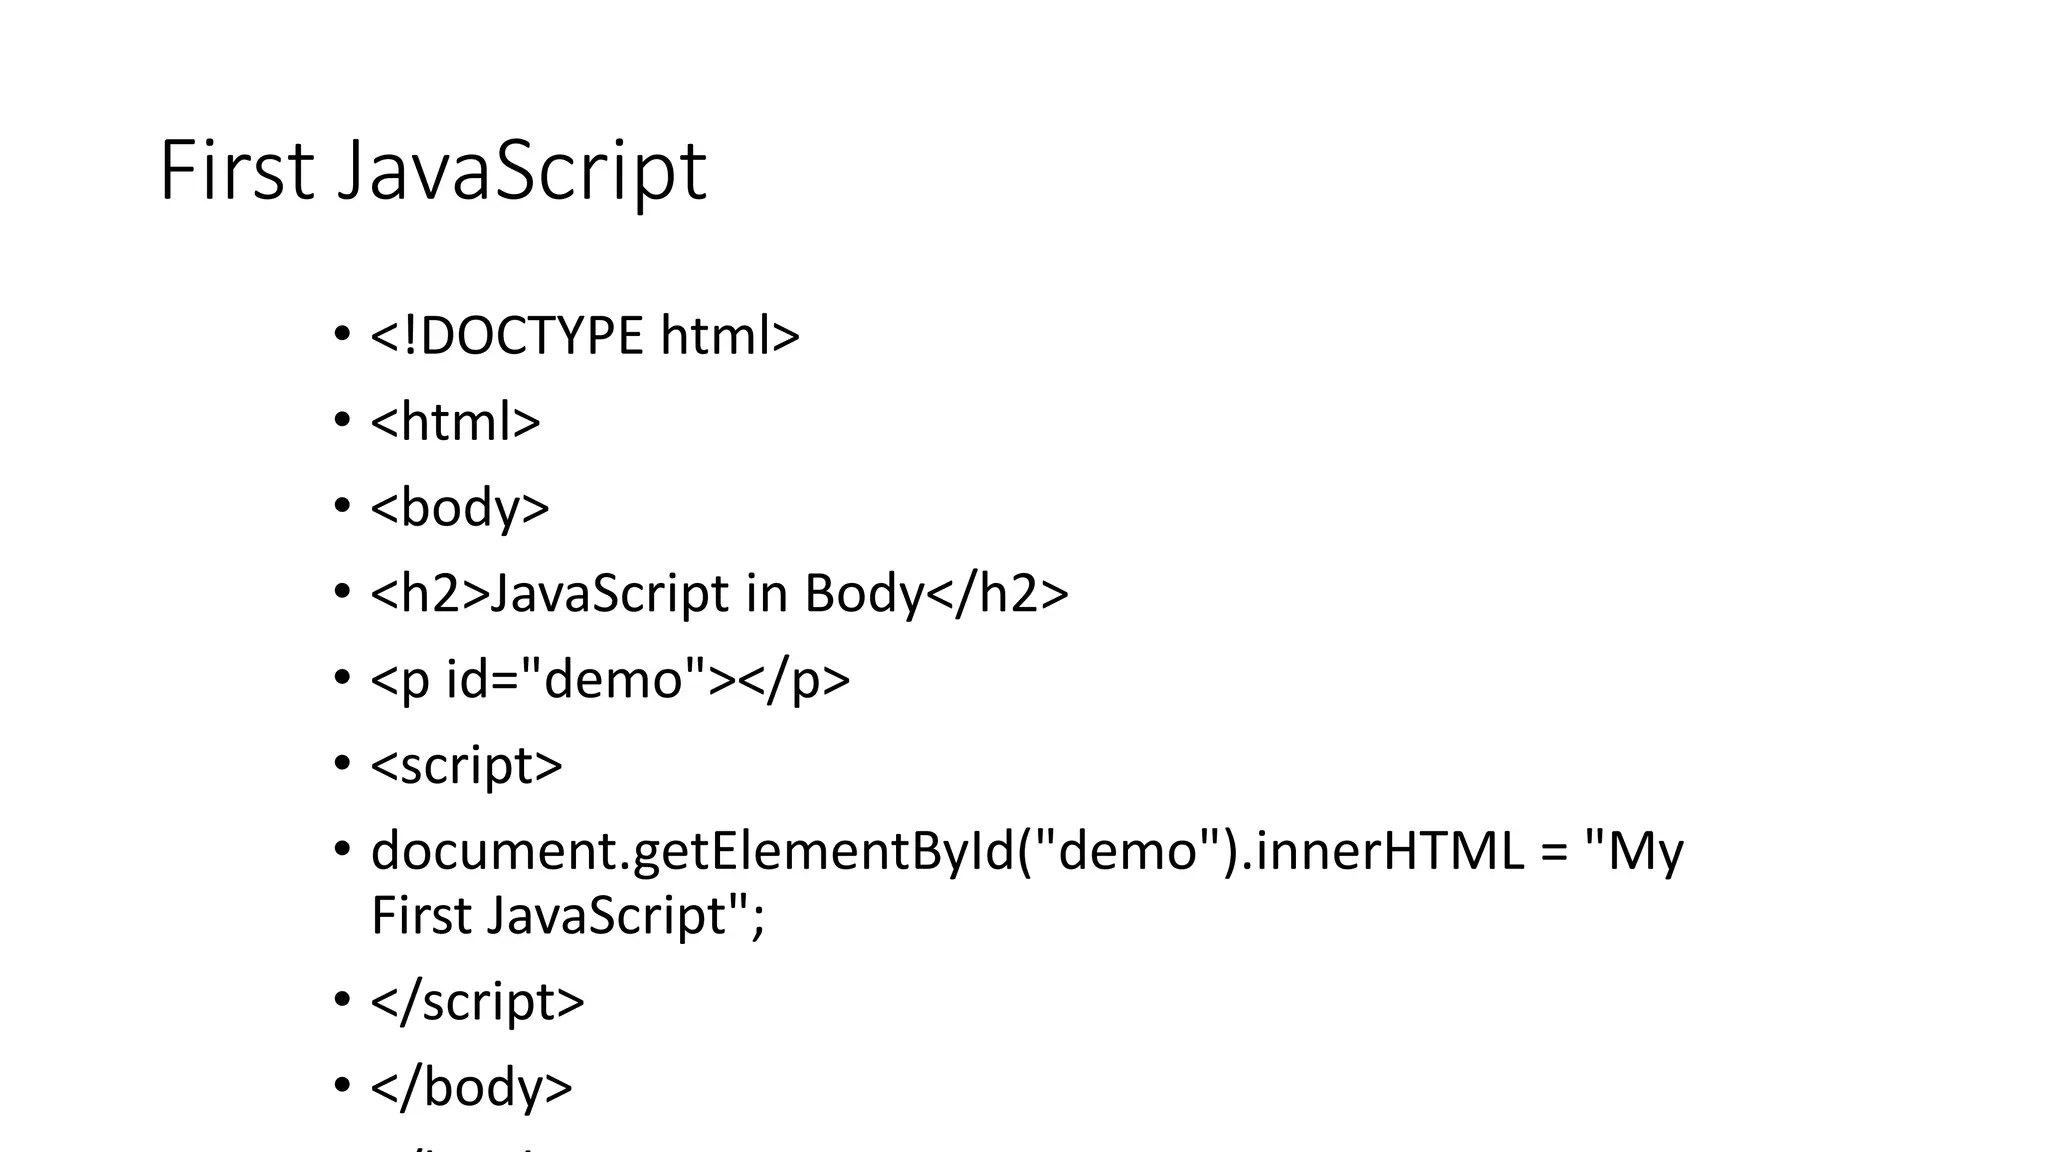
![JS Arrays <!DOCTYPE html> <html> <body> <h2>JavaScript Arrays</h2> <p>JavaScript array elements are accessed using numeric indexes (starting from 0).</p> <p id="demo"></p> <script> var cars = ["Saab", "Volvo", "BMW"]; cars[0] = "Opel"; document.getElementById("demo").innerHTML = cars; </script> </body> </html>](https://image.slidesharecdn.com/javascriptandhtmlnew-200317063552/75/Java-script-and-html-new-76-2048.jpg)
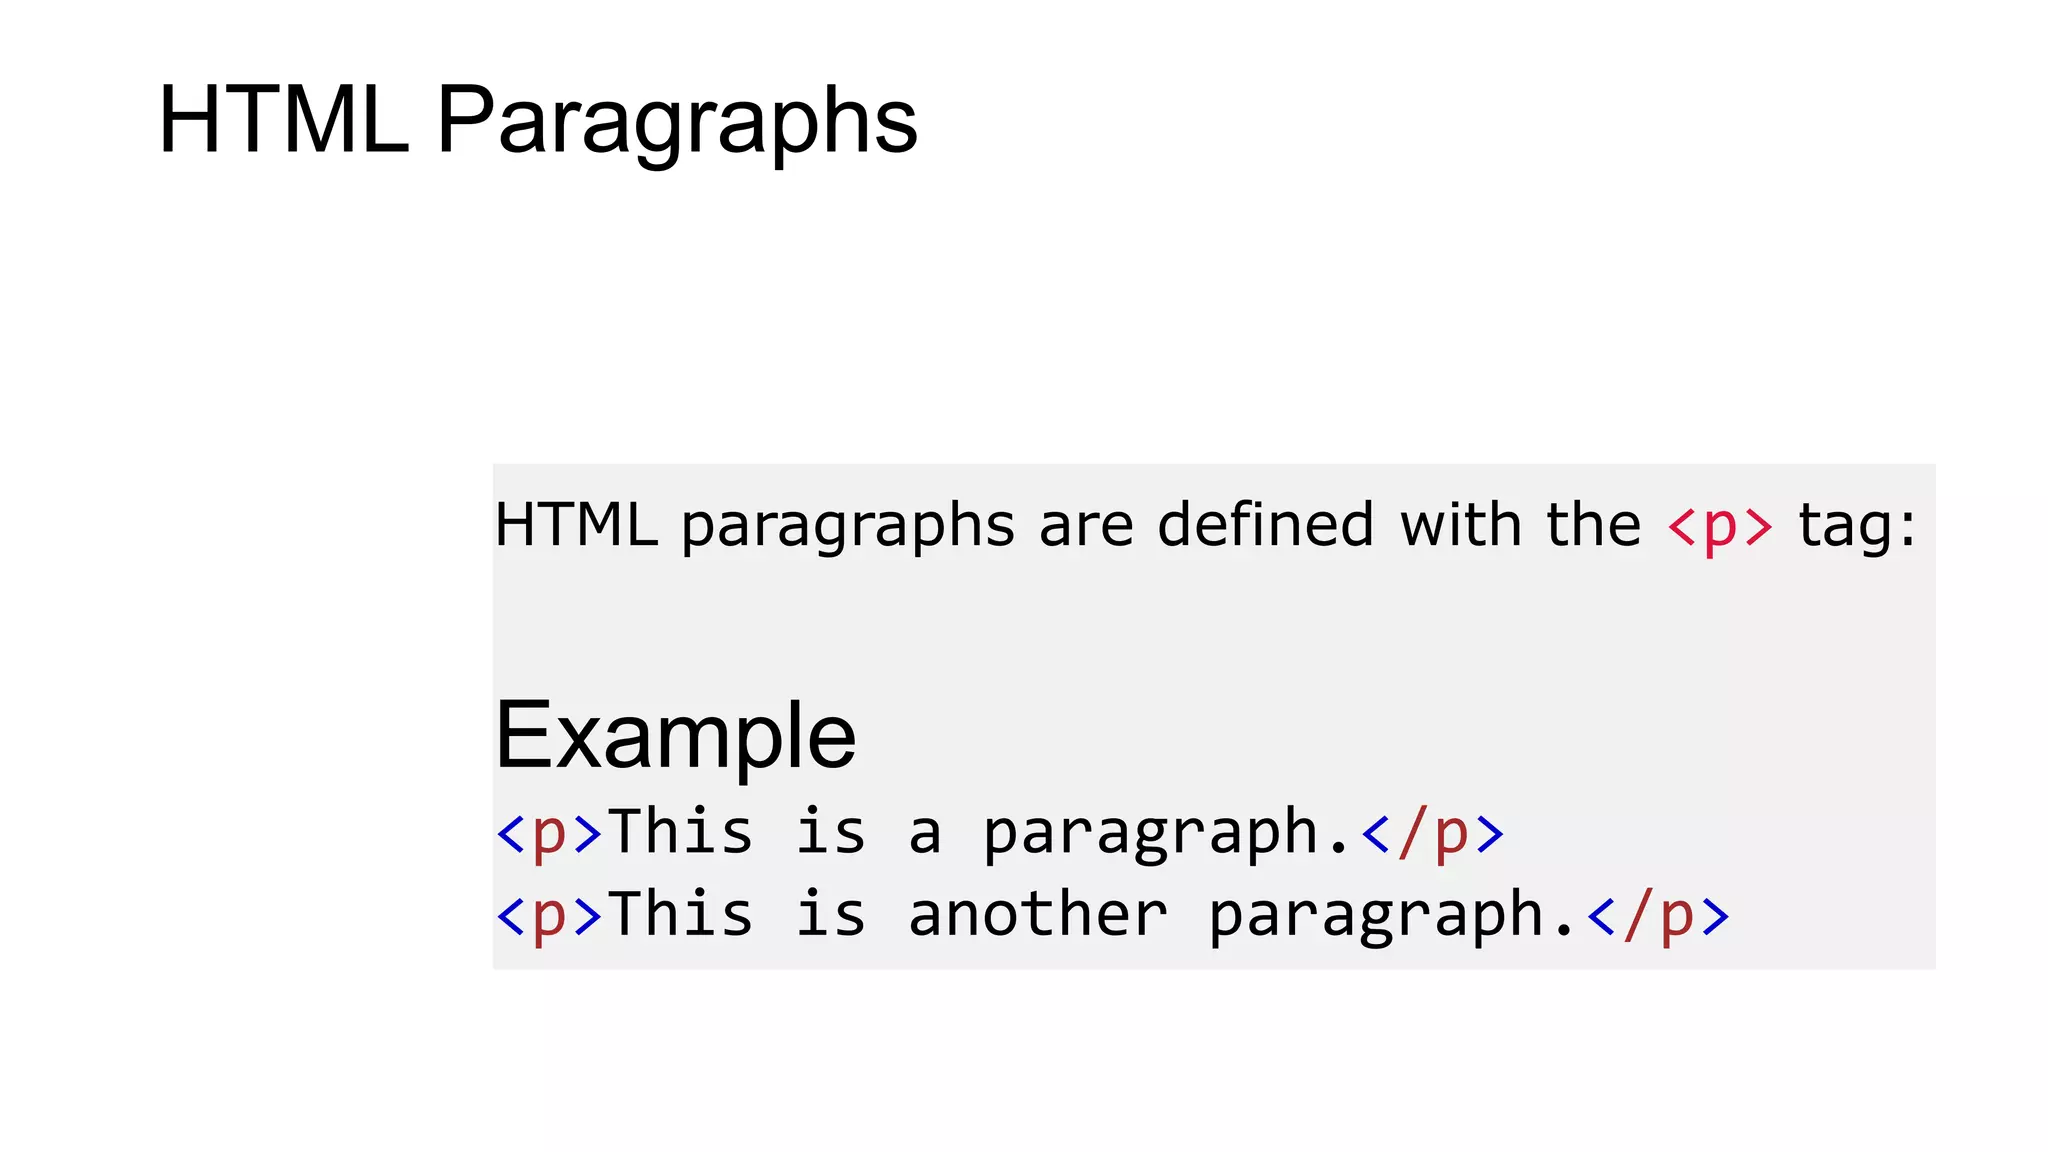
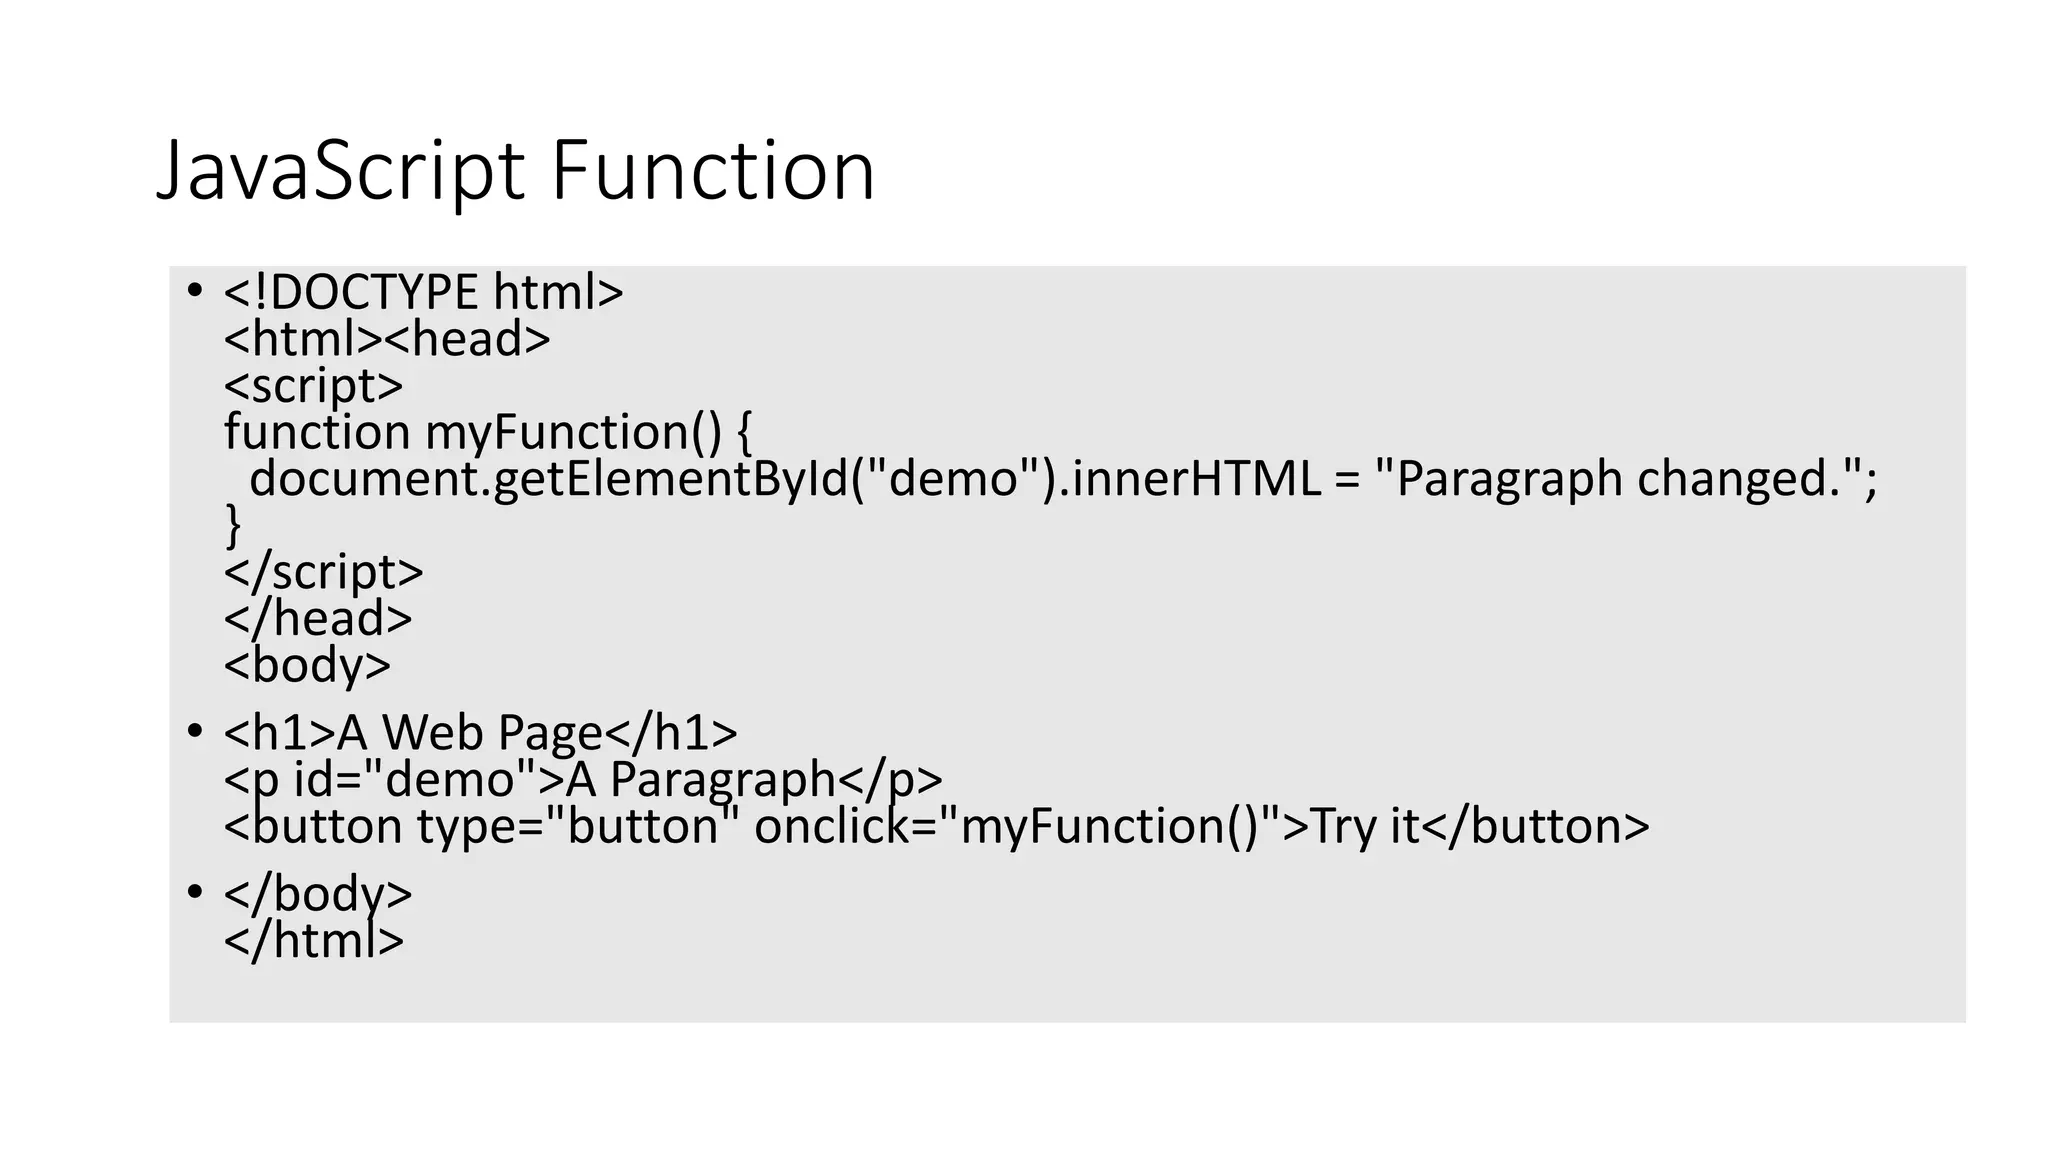
![Array Elements Can Be Objects • JavaScript variables can be objects. Arrays are special kinds of objects. • Because of this, you can have variables of different types in the same Array. • You can have objects in an Array. You can have functions in an Array. You can have arrays in an Array: • myArray[0] = Date.now; myArray[1] = myFunction; myArray[2] = myCars; Array Properties and Methods The real strength of JavaScript arrays are the built-in array properties and methods: Examples var x = cars.length; // The length property returns the number of elements var y = cars.sort(); // The sort() method sorts arrays](https://image.slidesharecdn.com/javascriptandhtmlnew-200317063552/75/Java-script-and-html-new-77-2048.jpg)
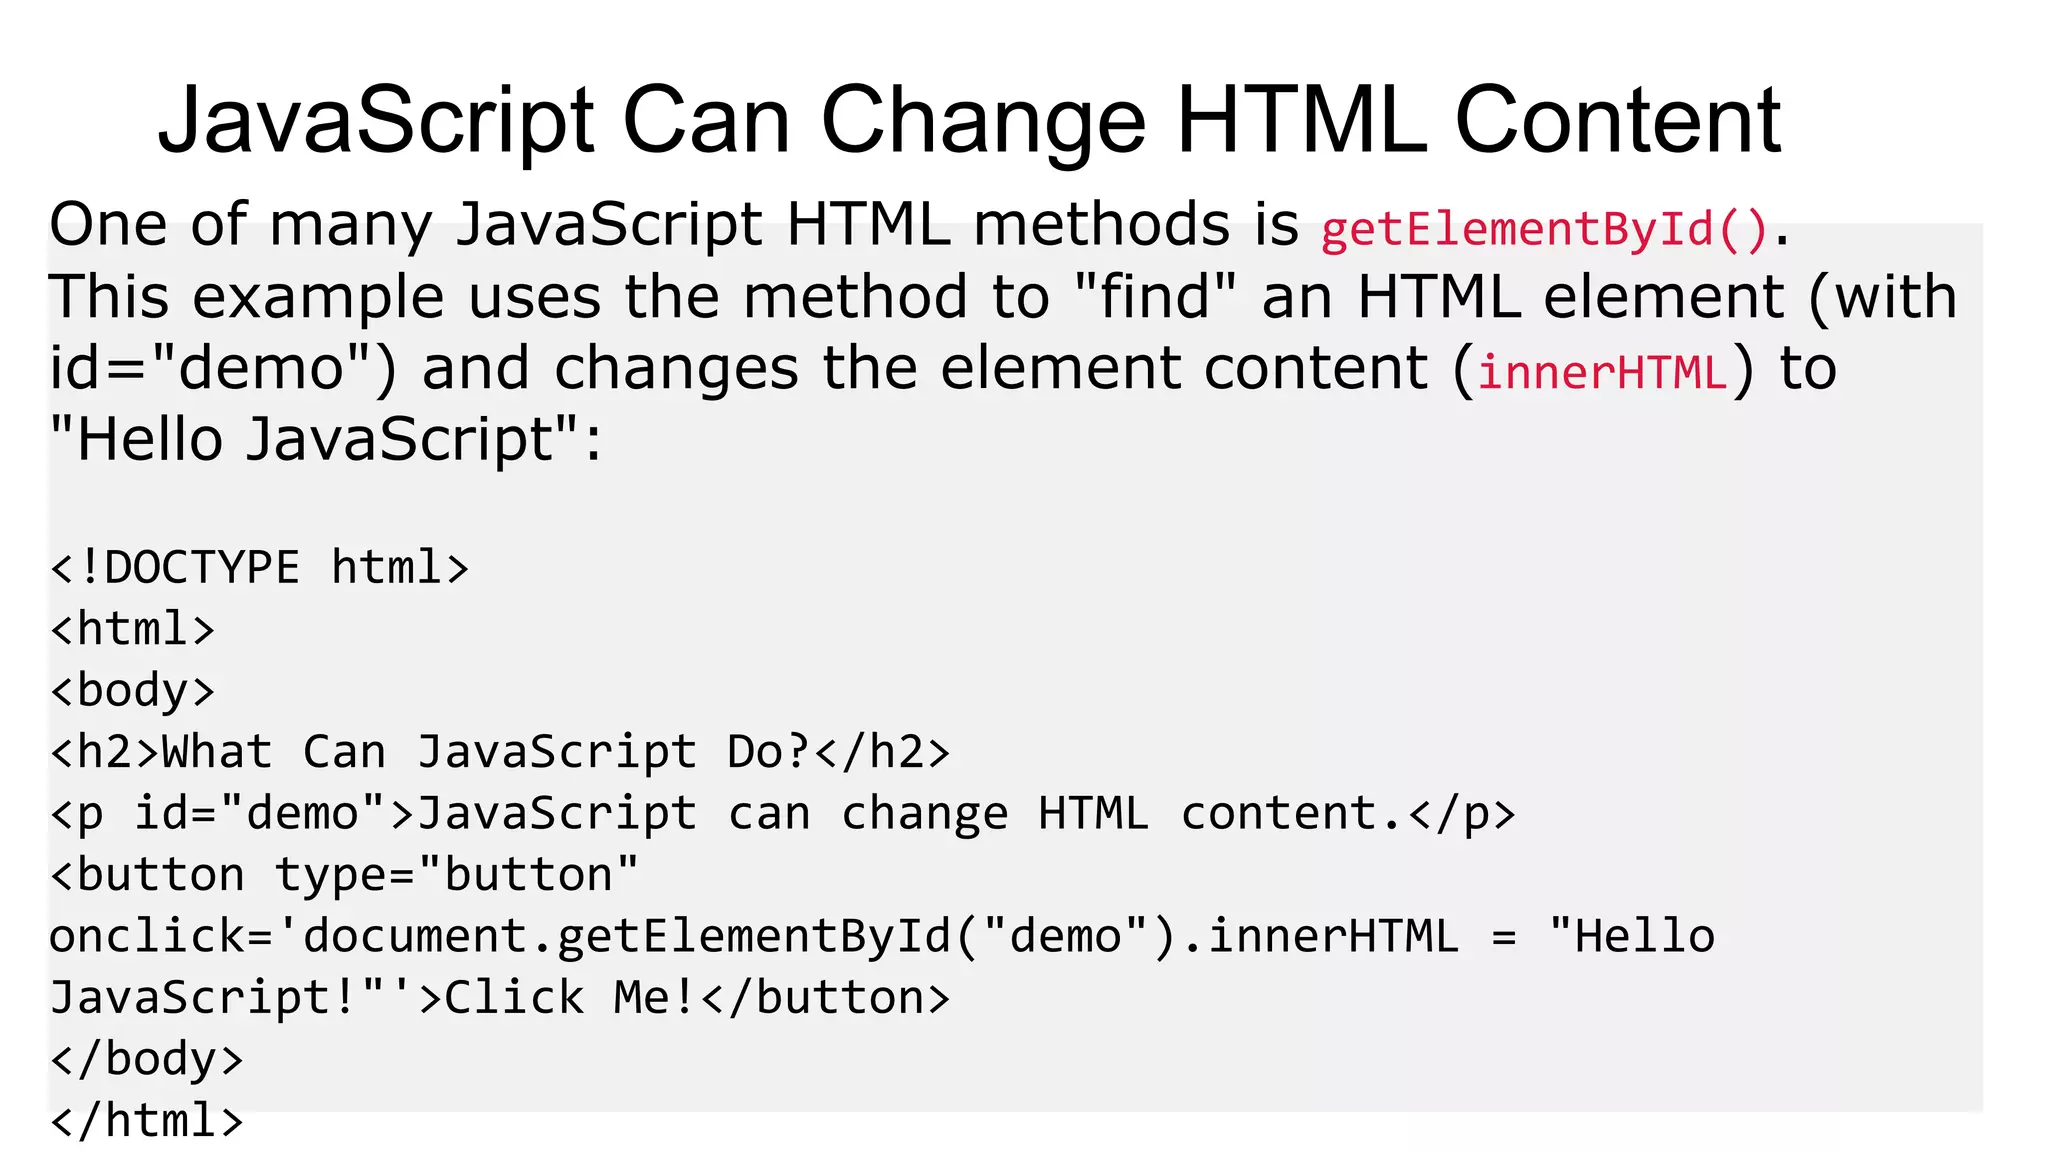
![Looping through Arrays • <body> • <h2>JavaScript Arrays</h2> • <p>The best way to loop through an array is using a standard for loop:</p> • <p id="demo"></p> • <script> • var fruits, text, fLen, i; • fruits = ["Banana", "Orange", "Apple", "Mango"]; • fruits.push("Lemon"); fruits[fruits.length] = "Lemon"; // adds a new element (Lemon) to fruits • fLen = fruits.length; • text = "<ul>"; • for (i = 0; i < fLen; i++) { • text += "<li>" + fruits[i] + "</li>"; } • text += "</ul>"; • document.getElementById("demo").innerHTML = text; • </script> • </body>](https://image.slidesharecdn.com/javascriptandhtmlnew-200317063552/75/Java-script-and-html-new-78-2048.jpg)
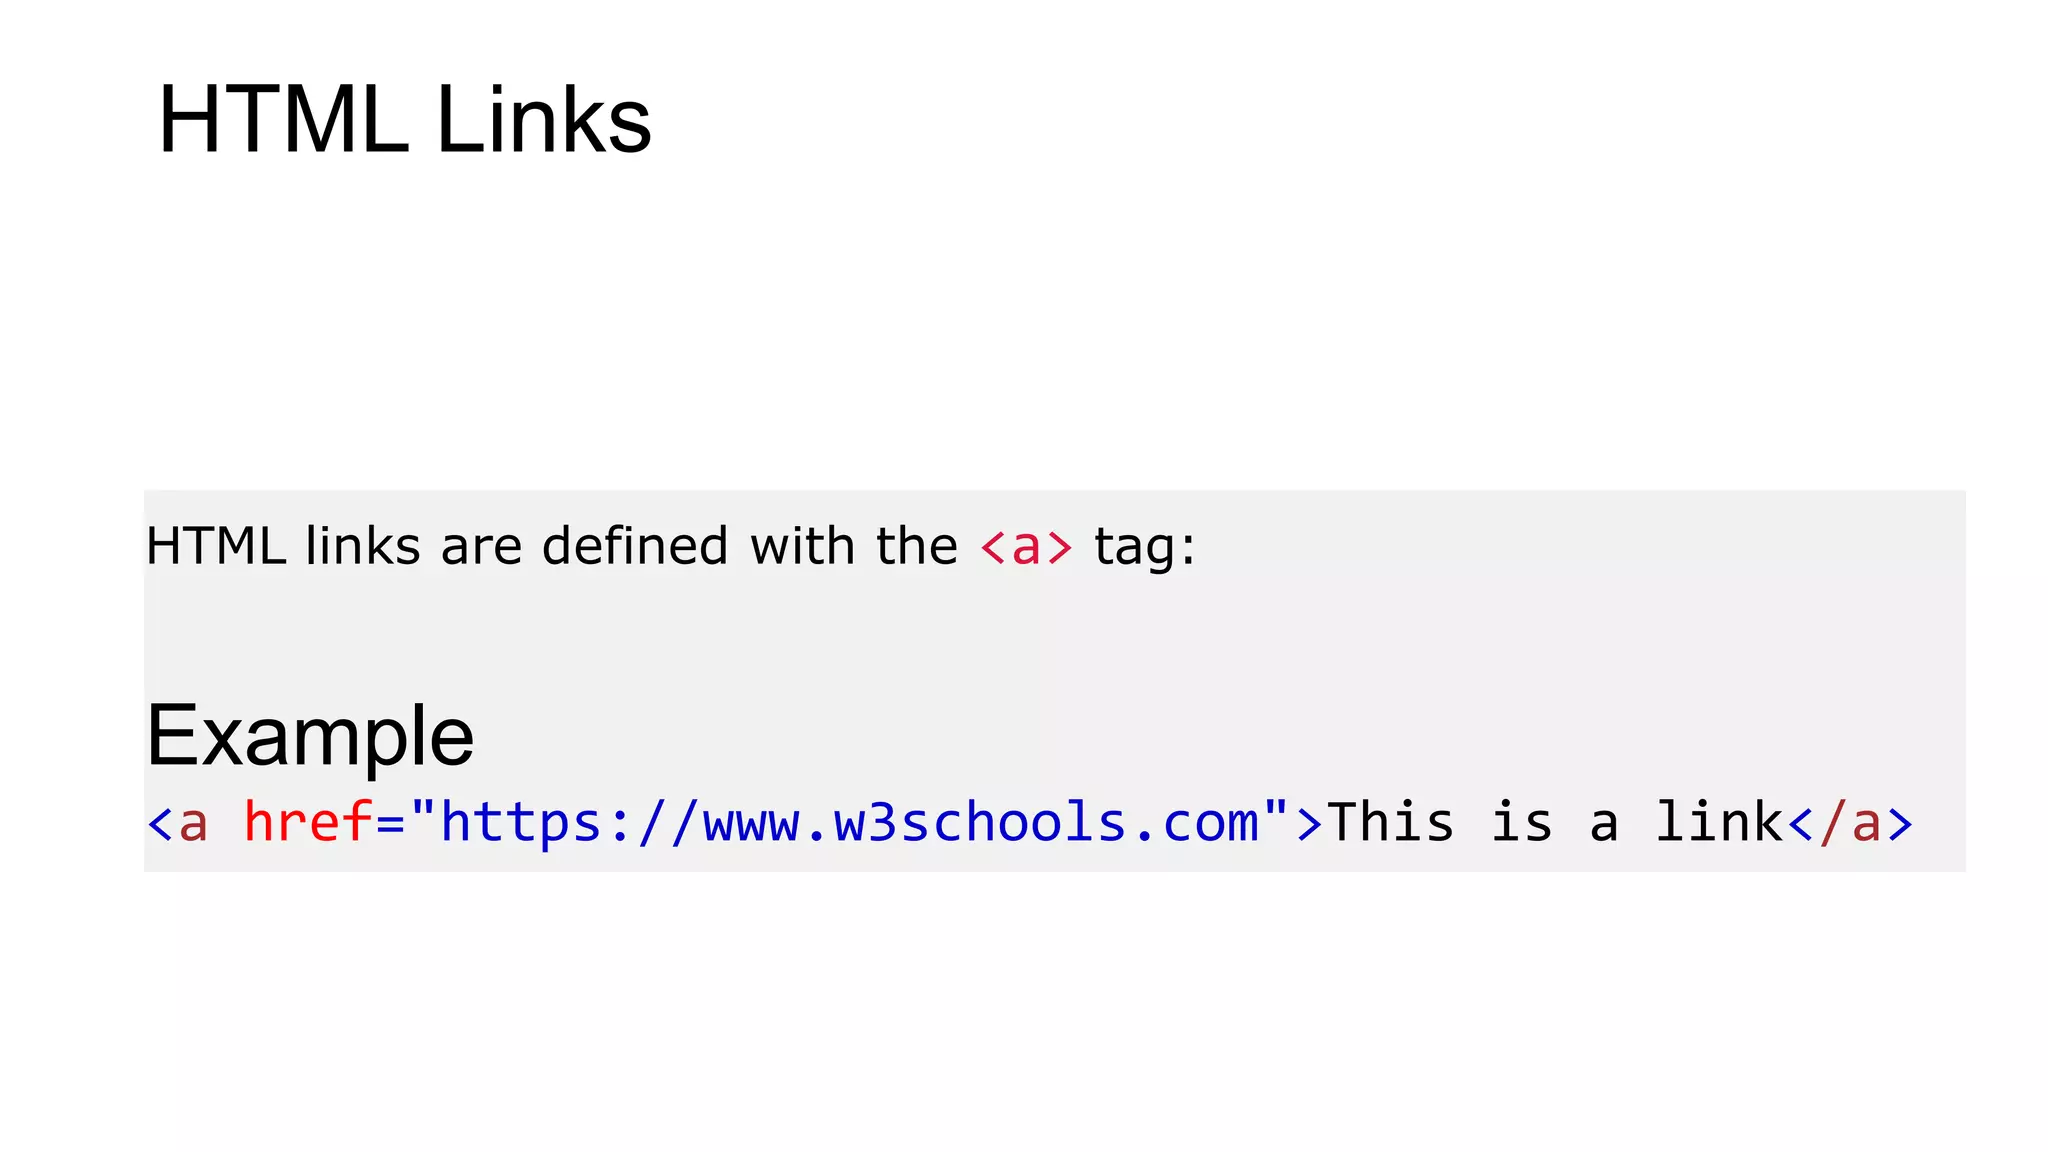
![Sorting Arrays • <body> • <h2>JavaScript Array Sort</h2> • <p>Click the buttons to sort the array alphabetically or numerically.</p> • <button onclick="myFunction1()">Sort Alphabetically</button> • <button onclick="myFunction2()">Sort Numerically</button> • <p id="demo"></p> • <script> • var points = [40, 100, 1, 5, 25, 10]; • document.getElementById("demo").innerHTML = points; • function myFunction1() { • points.sort(); • document.getElementById("demo").innerHTML = points; } • function myFunction2() { • points.sort(function (a, b) { return a - b }); • document.getElementById("demo").innerHTML = points; • } </script> </body>](https://image.slidesharecdn.com/javascriptandhtmlnew-200317063552/75/Java-script-and-html-new-79-2048.jpg)
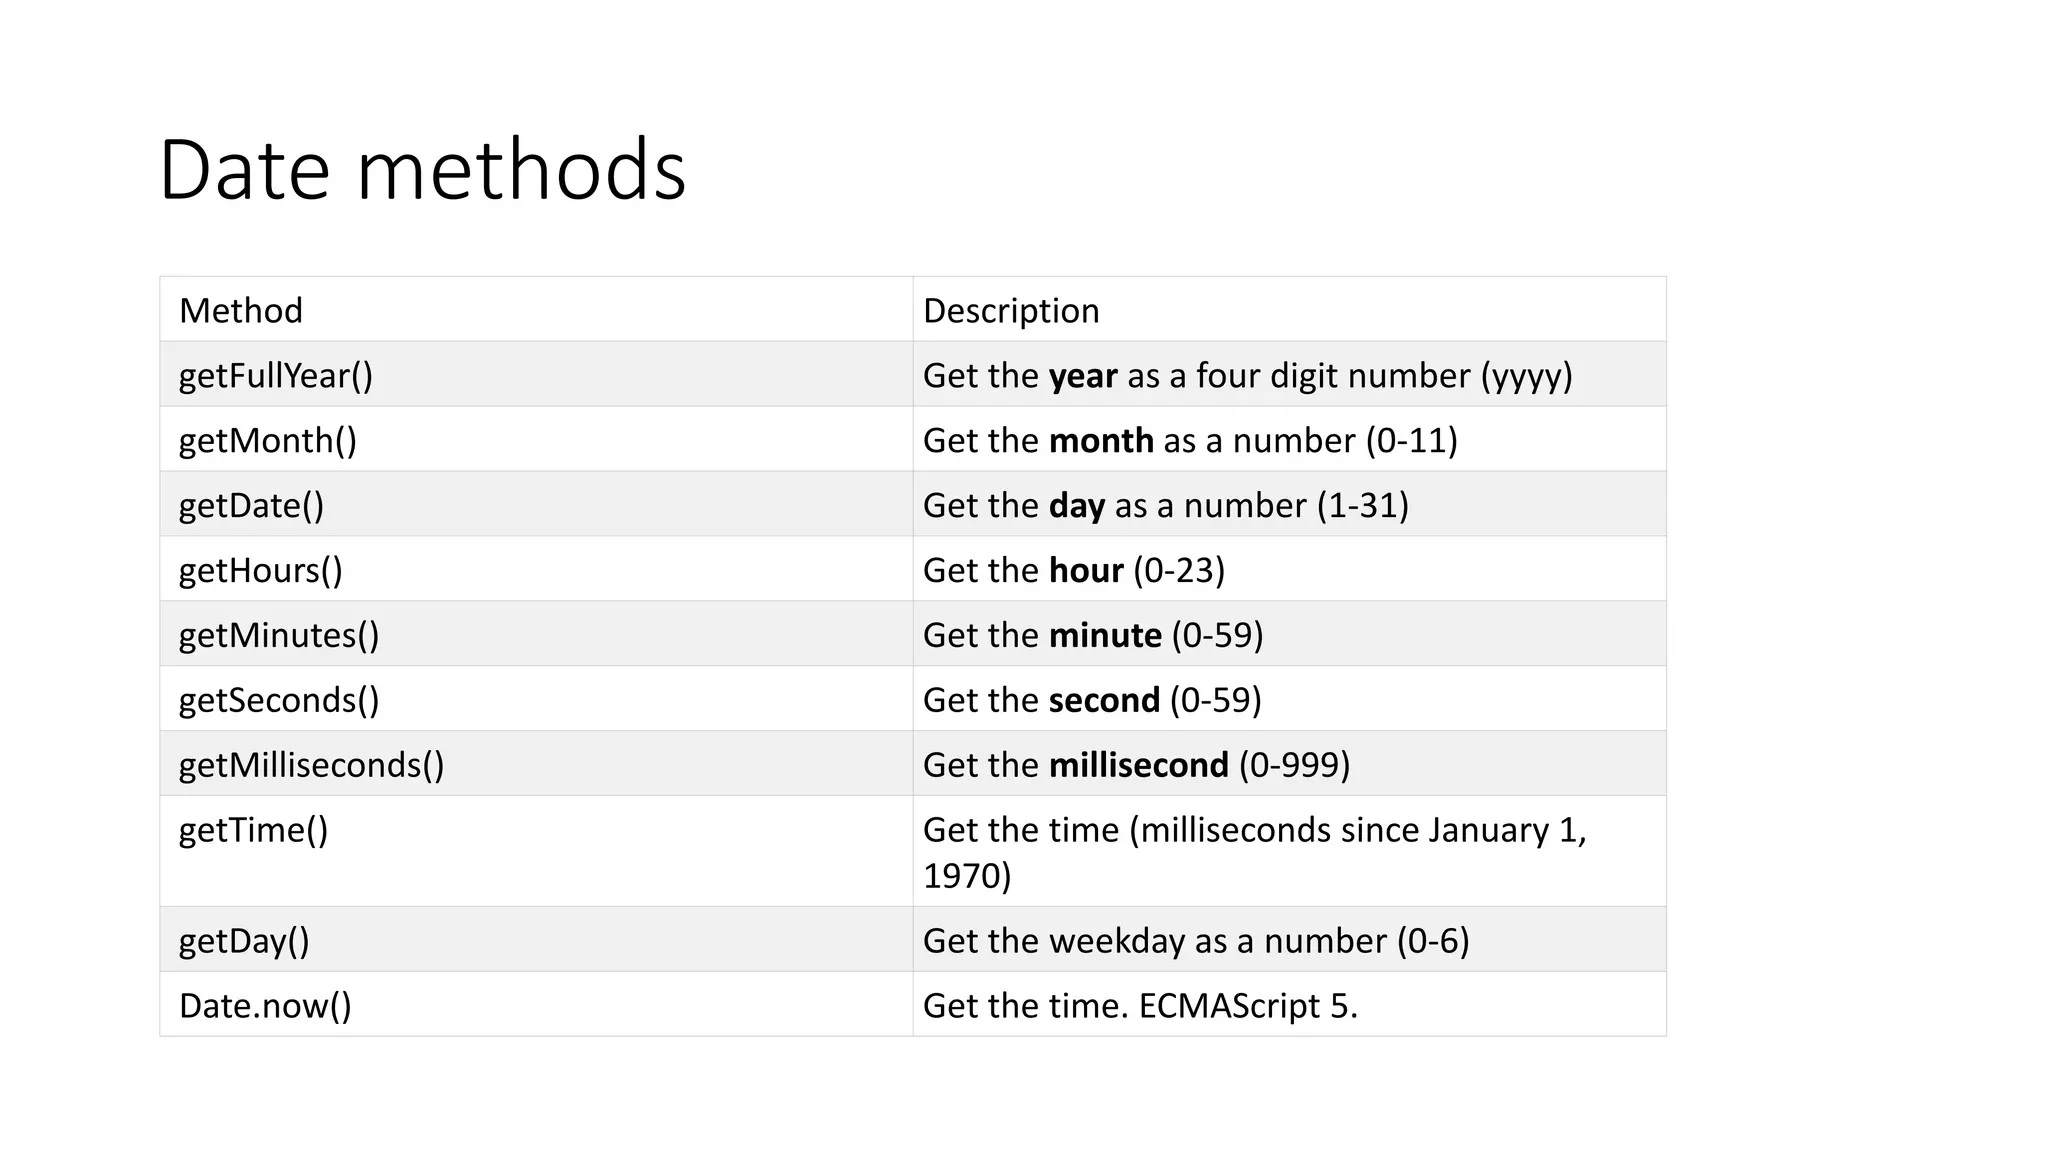
![Date methods <!DOCTYPE html> <html> <body> <h2>JavaScript getMonth()</h2> <p>The getMonth() method returns the month as a number:</p> <p>You can use an array to display the name of the month:</p> <p id="demo"></p> <script> var d = new Date(); var months = ["January","February","March","April","May","June","July","August","September","October","Novembe r","December"]; document.getElementById("demo").innerHTML = months[d.getMonth()];</script> </body> </html>](https://image.slidesharecdn.com/javascriptandhtmlnew-200317063552/75/Java-script-and-html-new-82-2048.jpg)
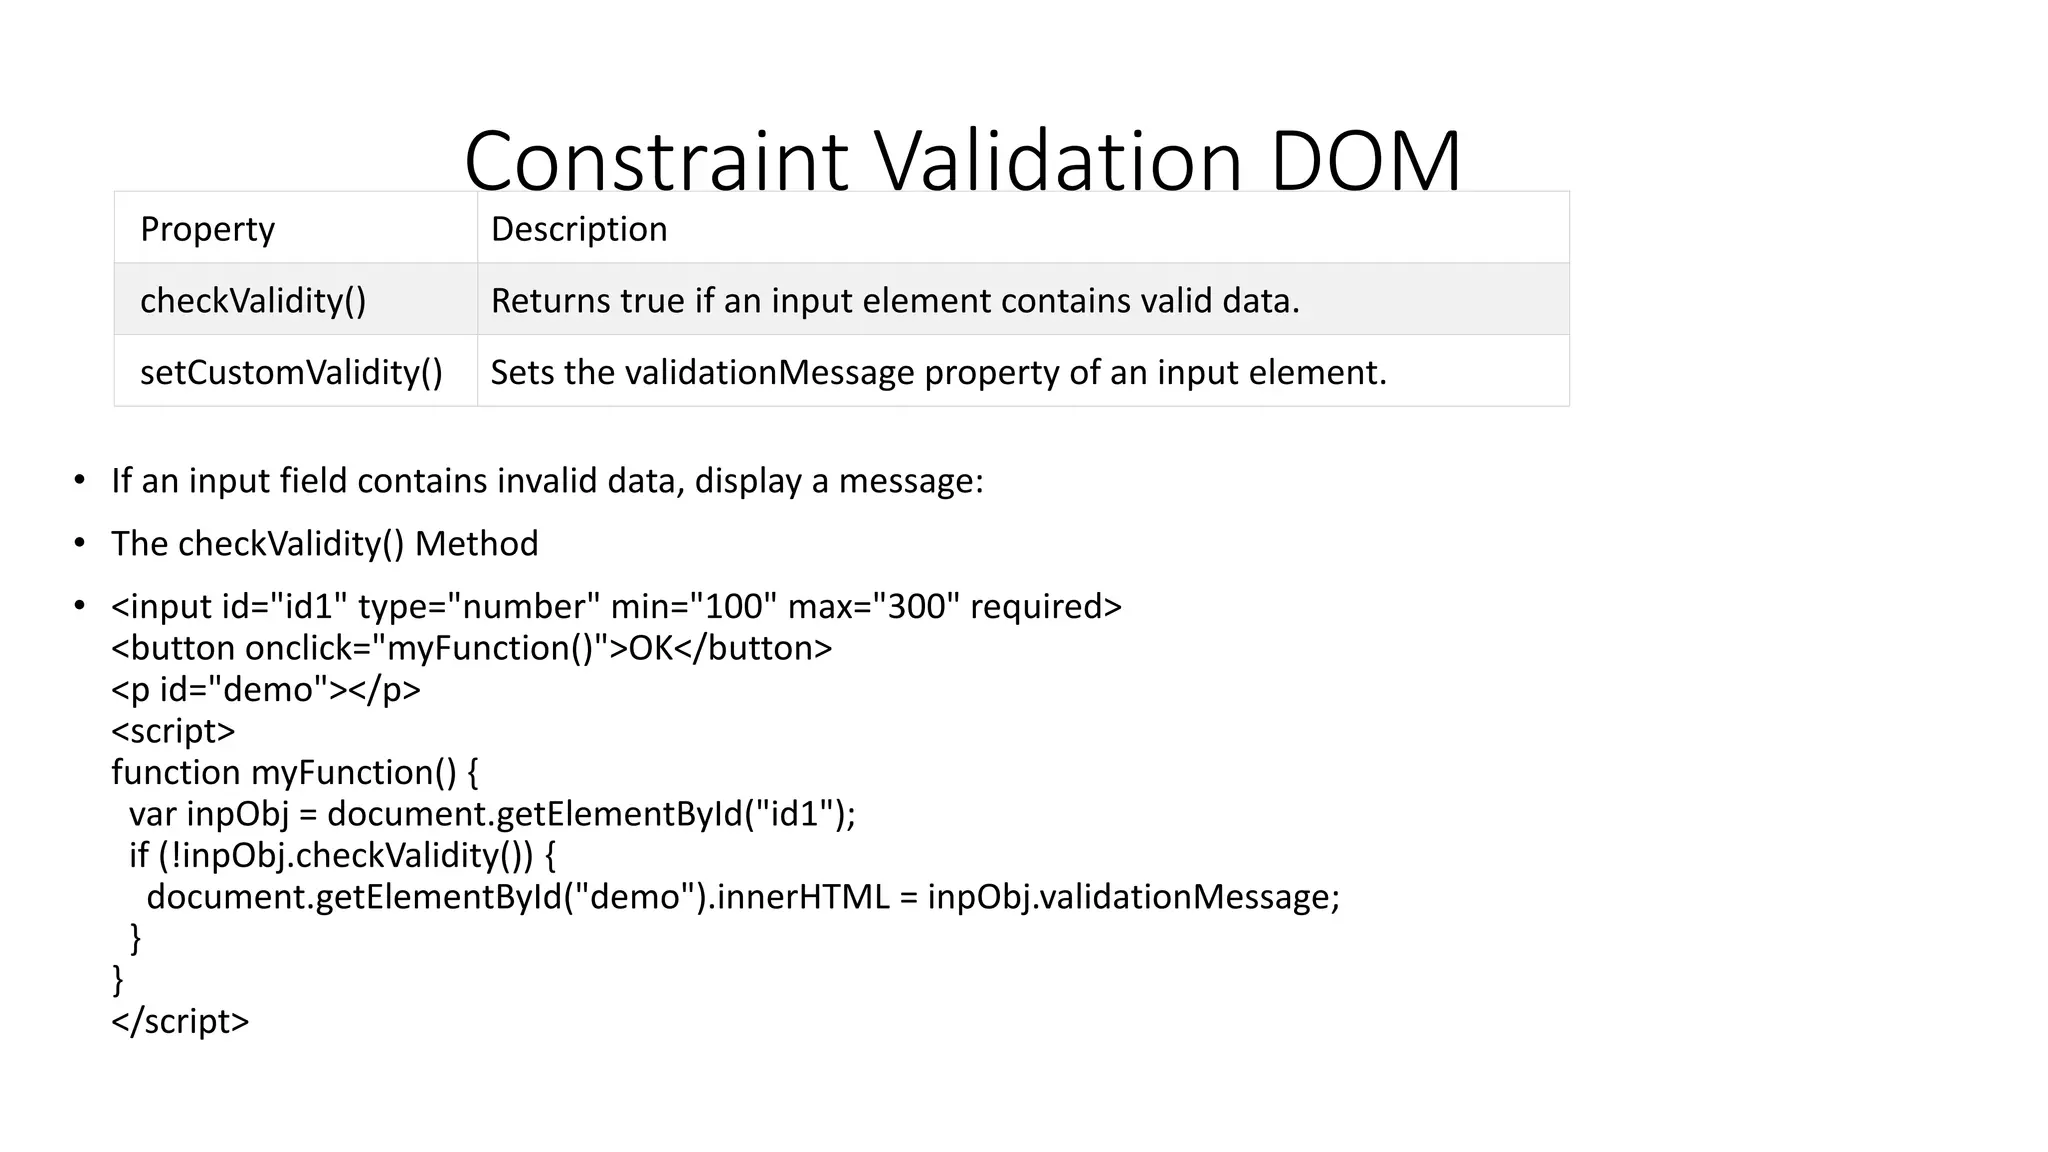
![JavaScript Form Validation • HTML form validation can be done by JavaScript. • If a form field (fname) is empty, this function alerts a message, and returns false, to prevent the form from being submitted: • JavaScript Example • function validateForm() { var x = document.forms["myForm"]["fname"].value; if (x == "") { alert("Name must be filled out"); return false; } }](https://image.slidesharecdn.com/javascriptandhtmlnew-200317063552/75/Java-script-and-html-new-83-2048.jpg)


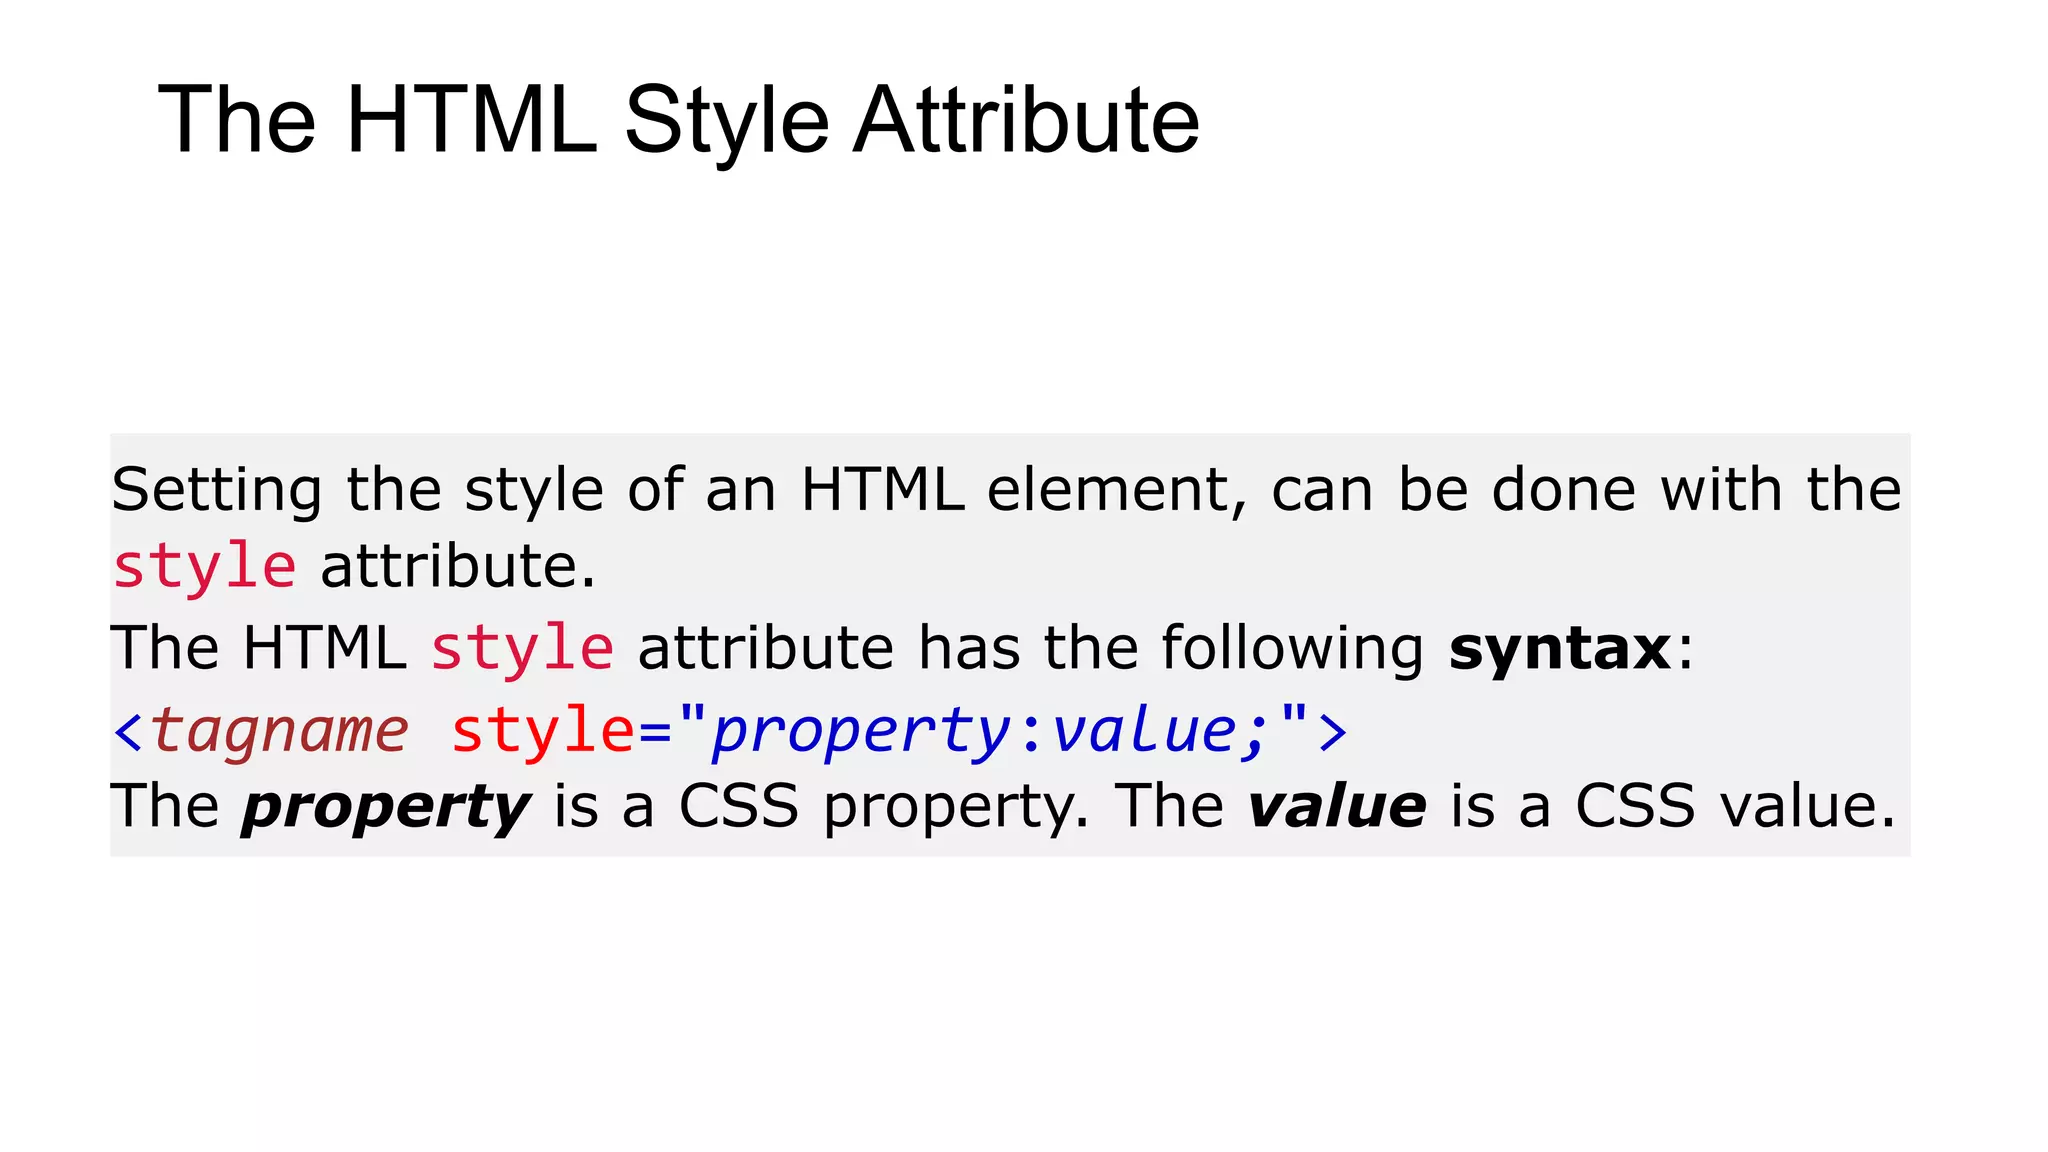
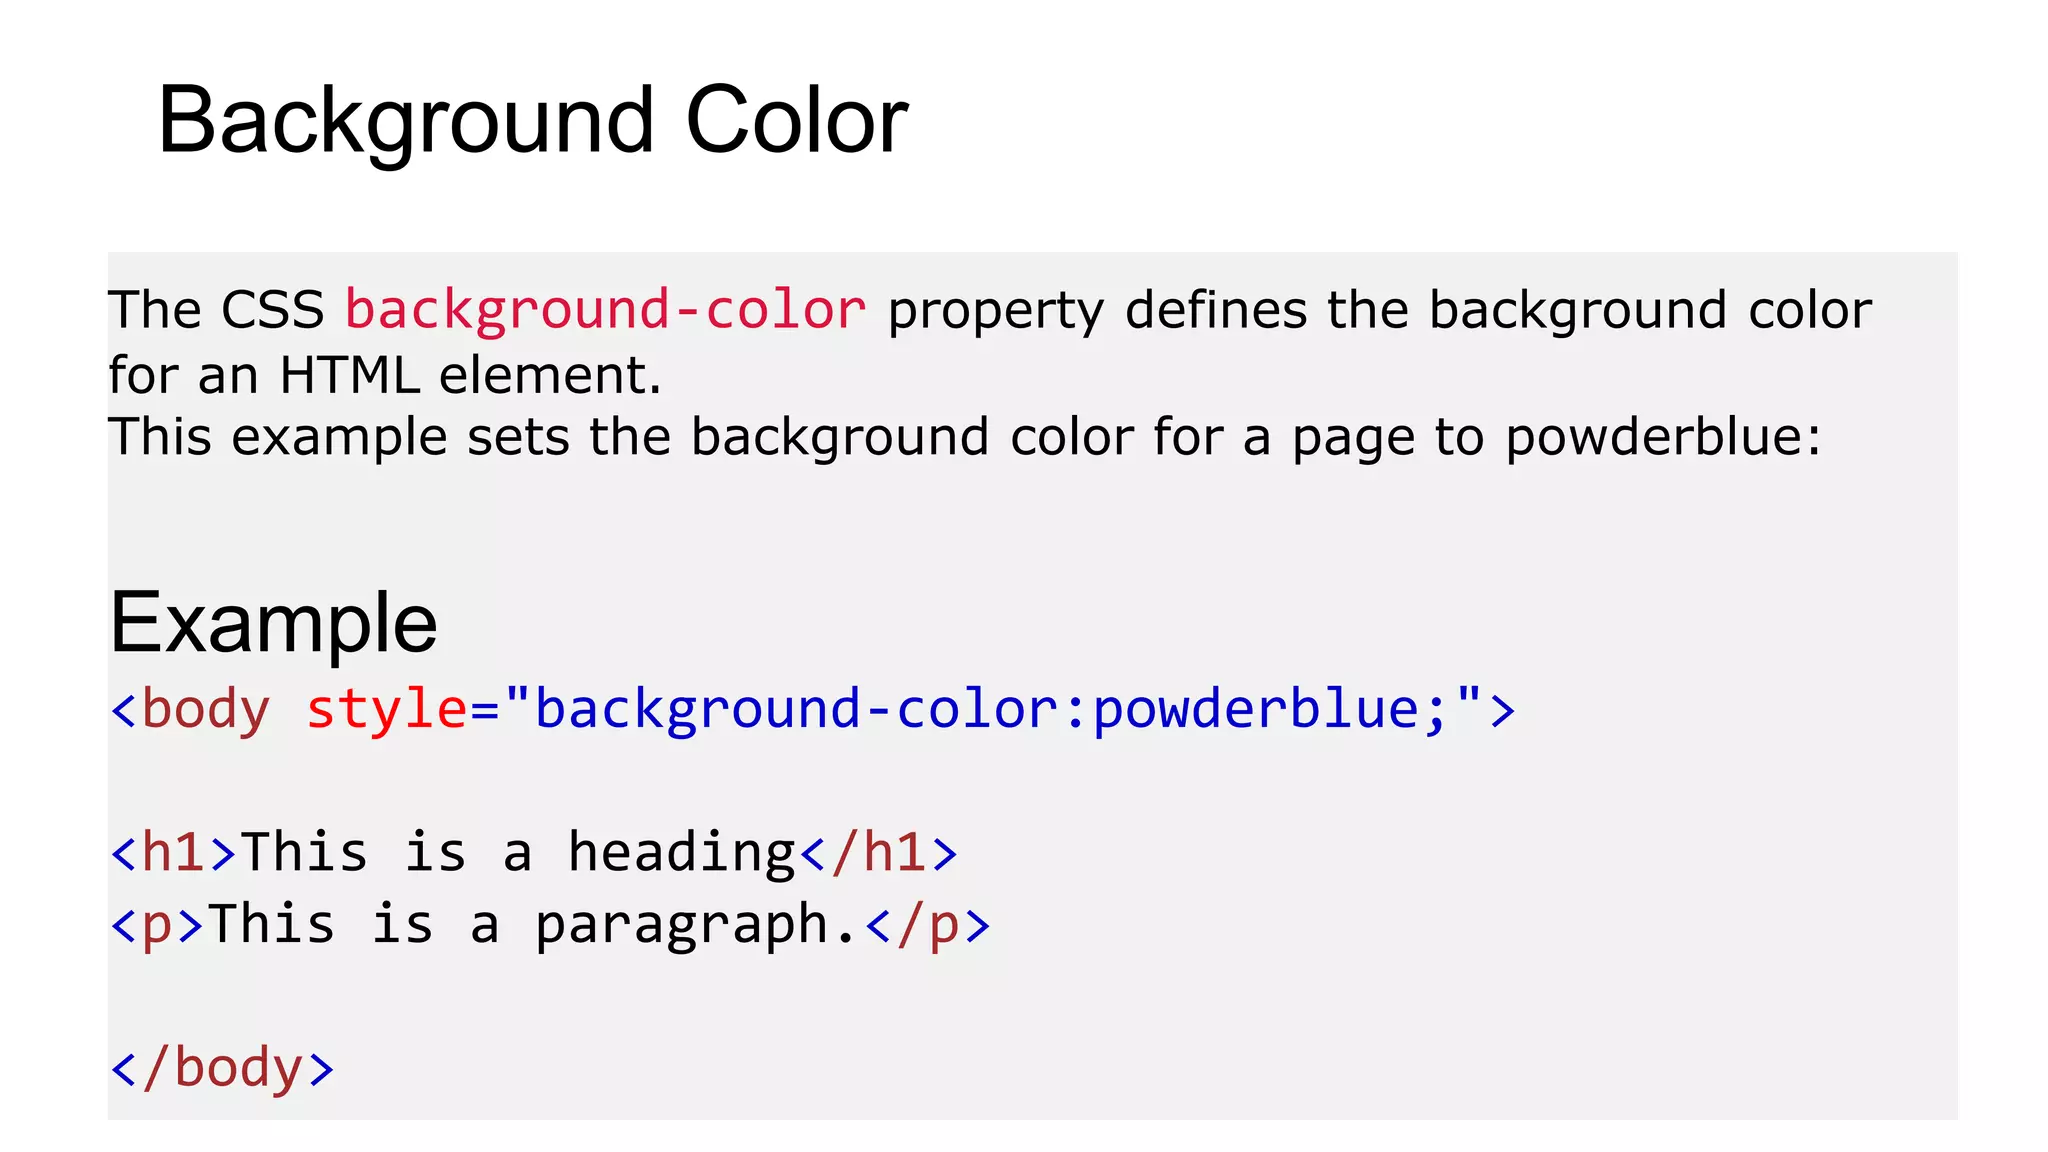
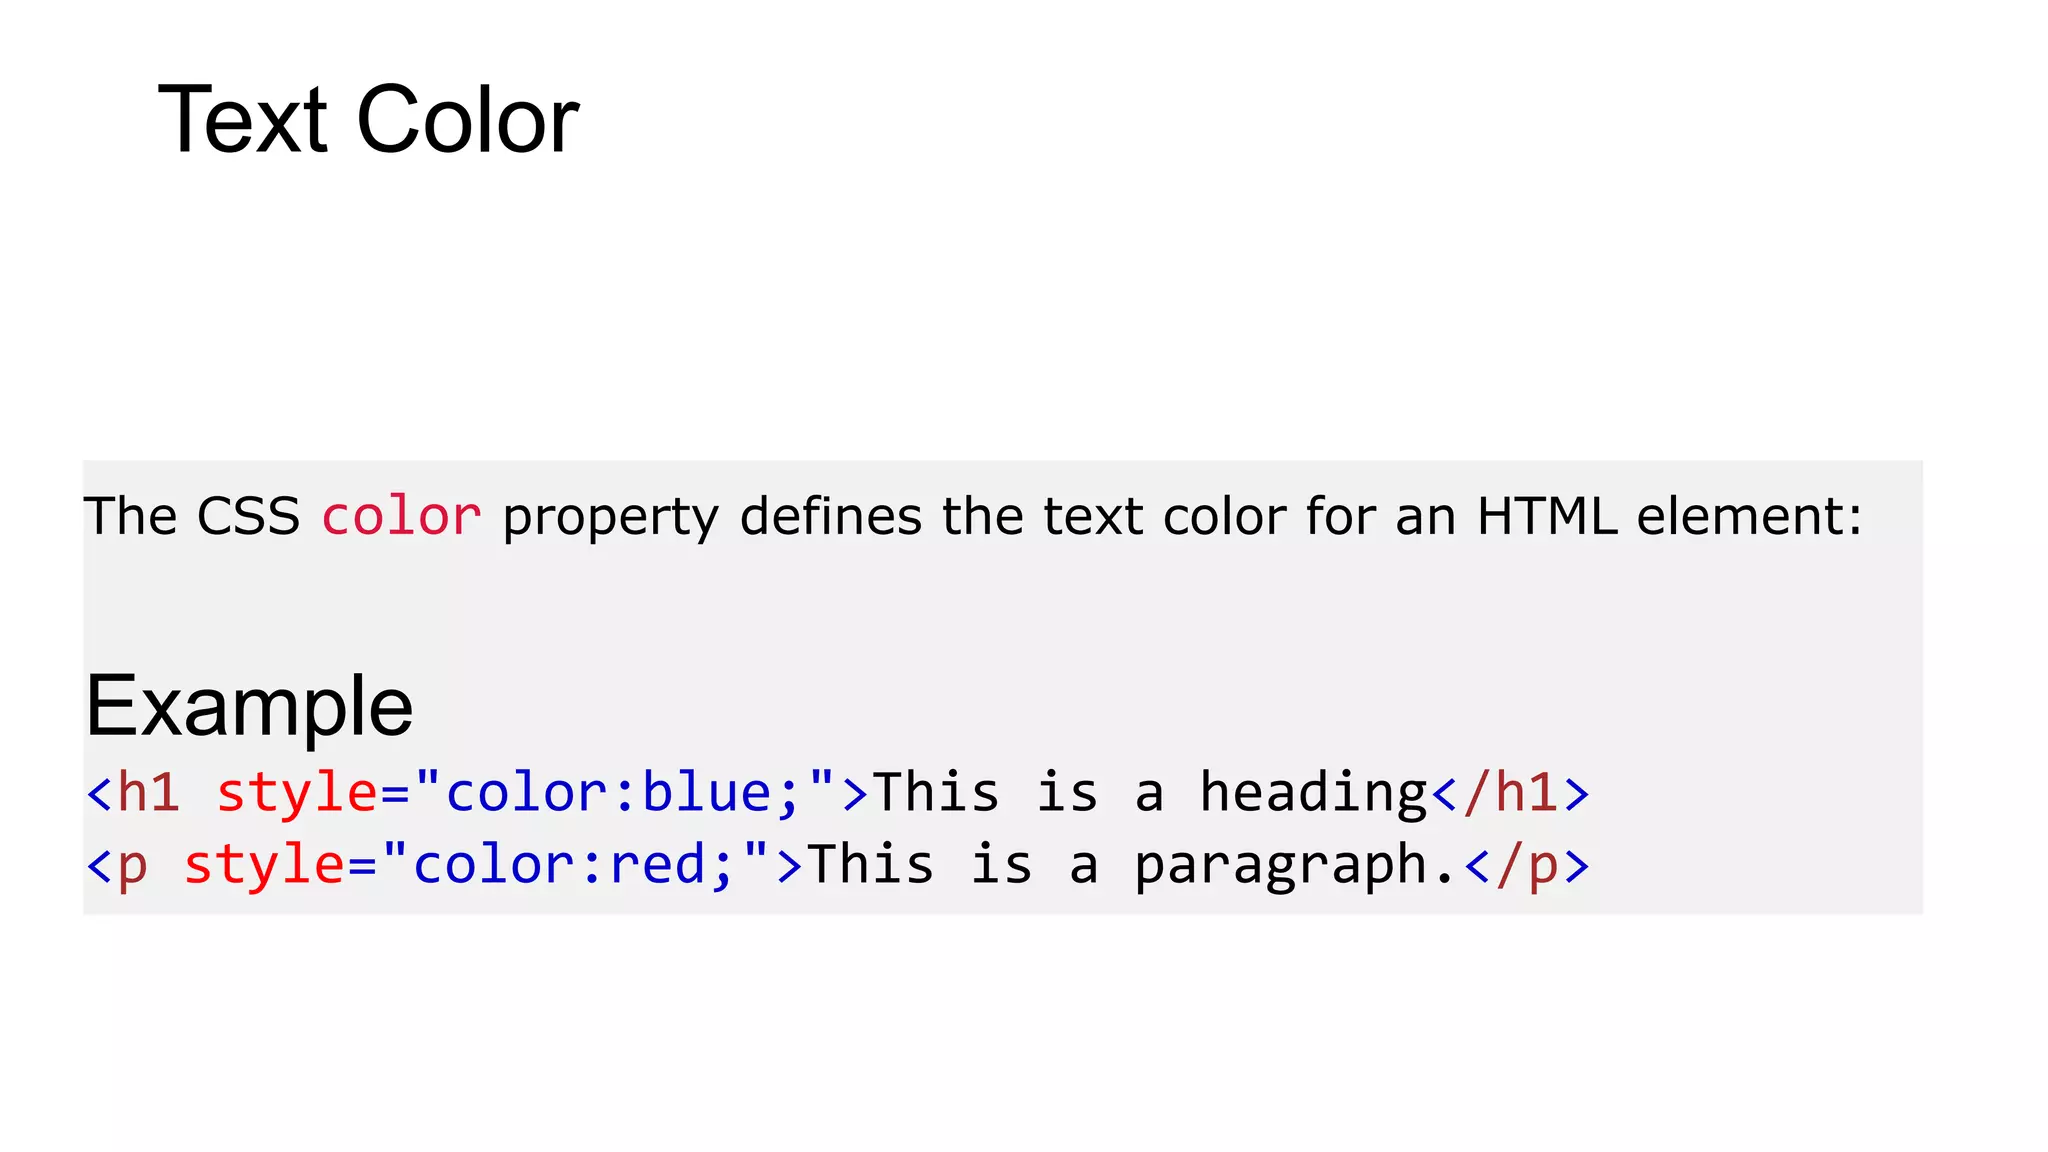
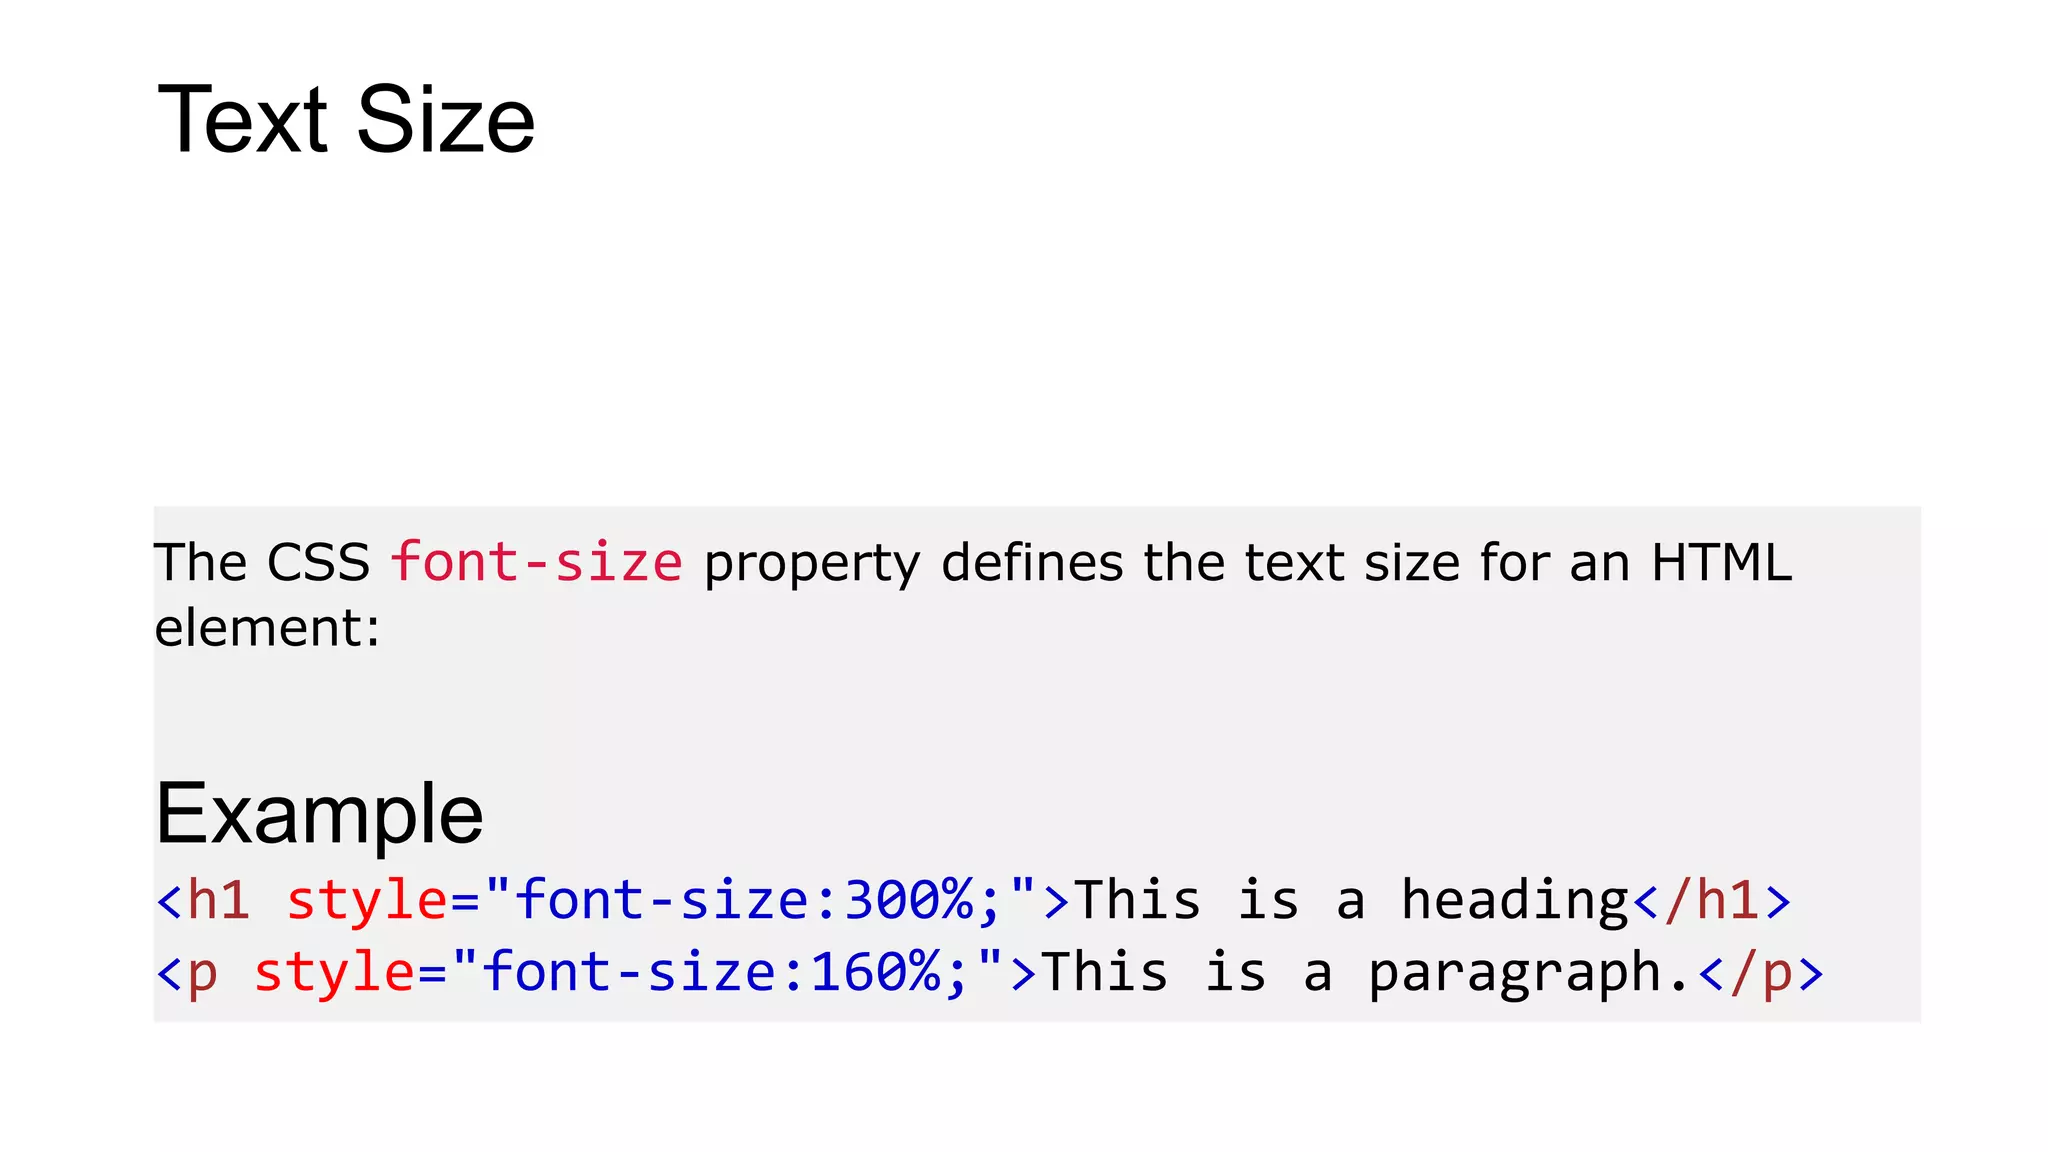
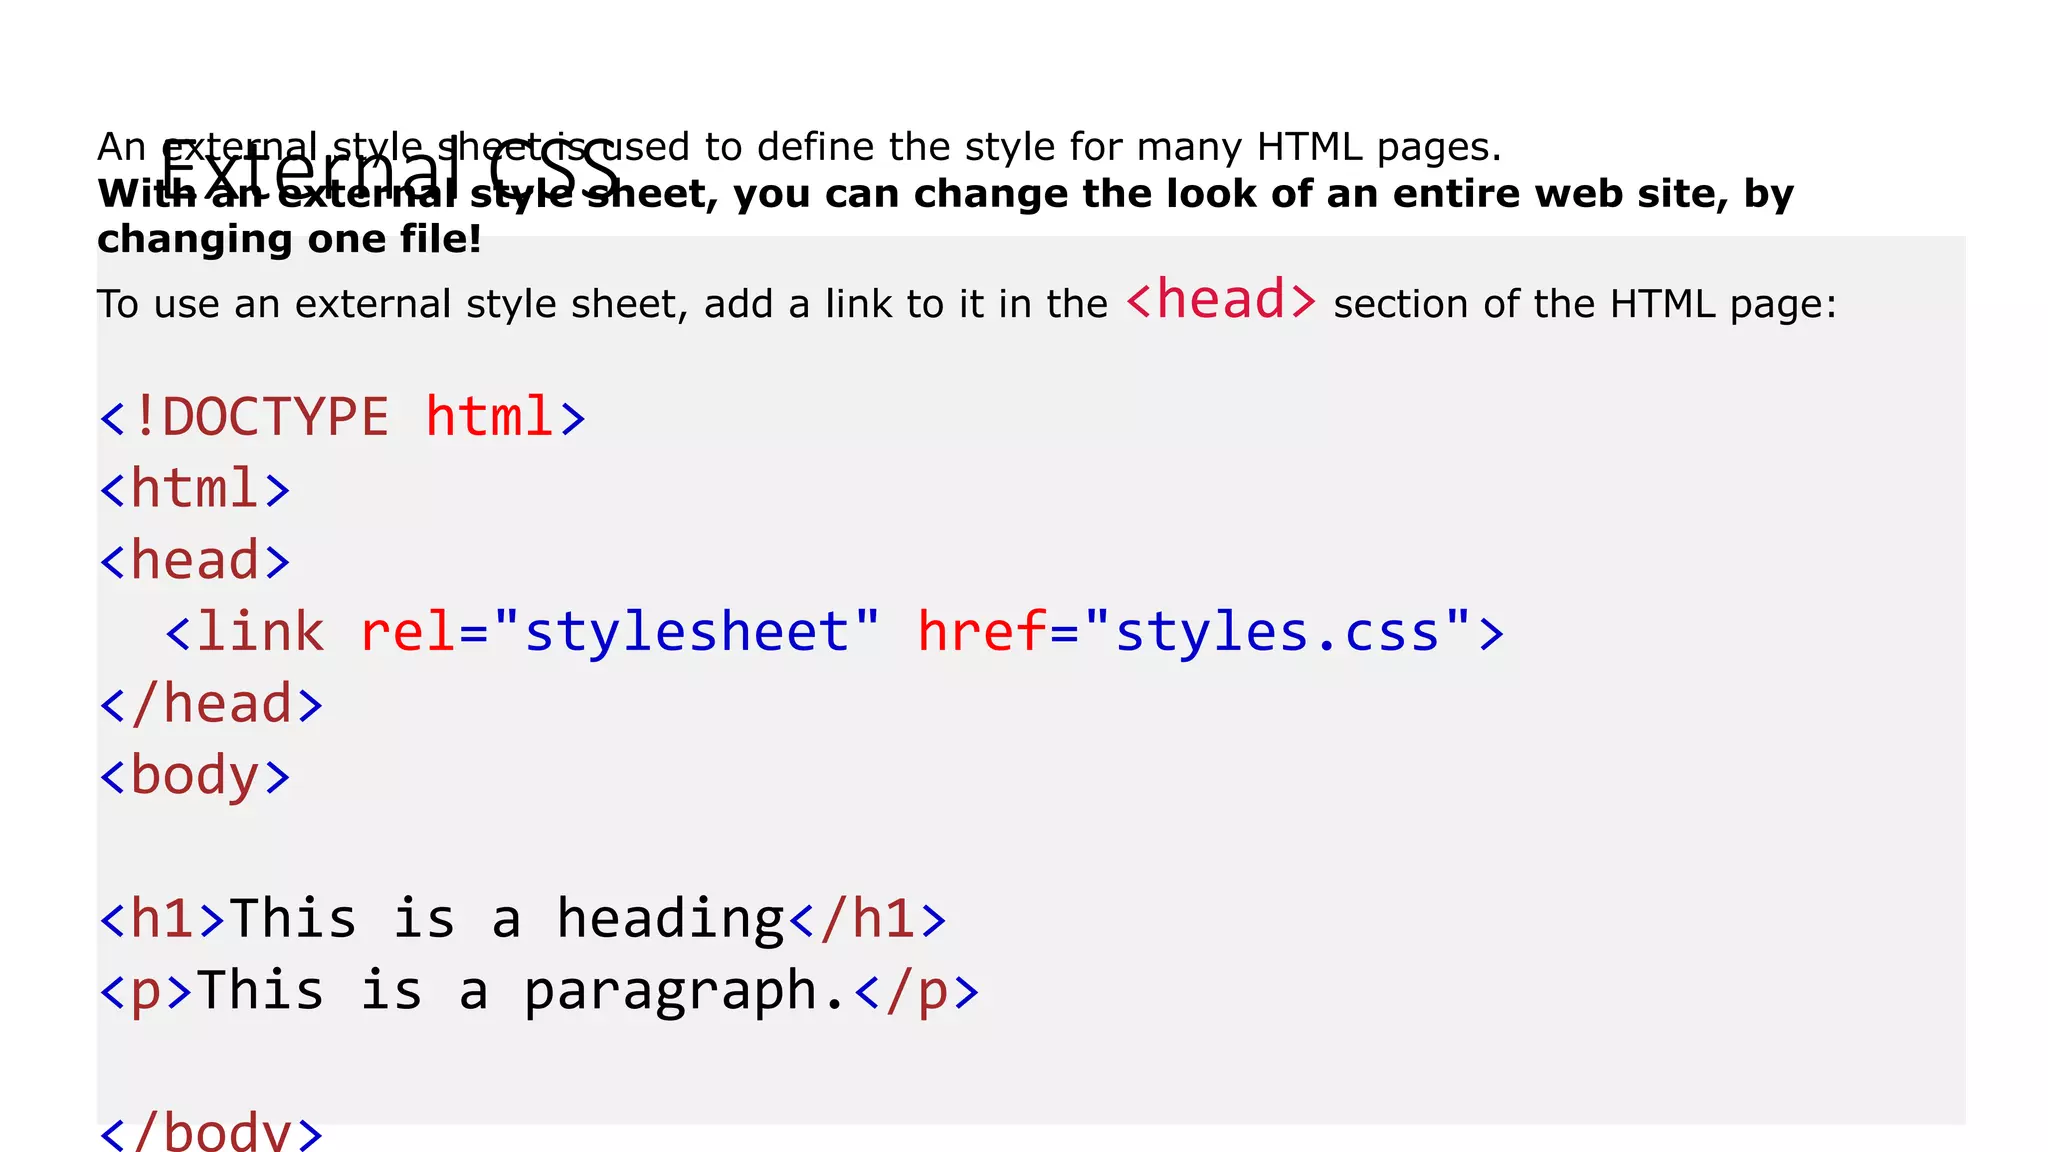
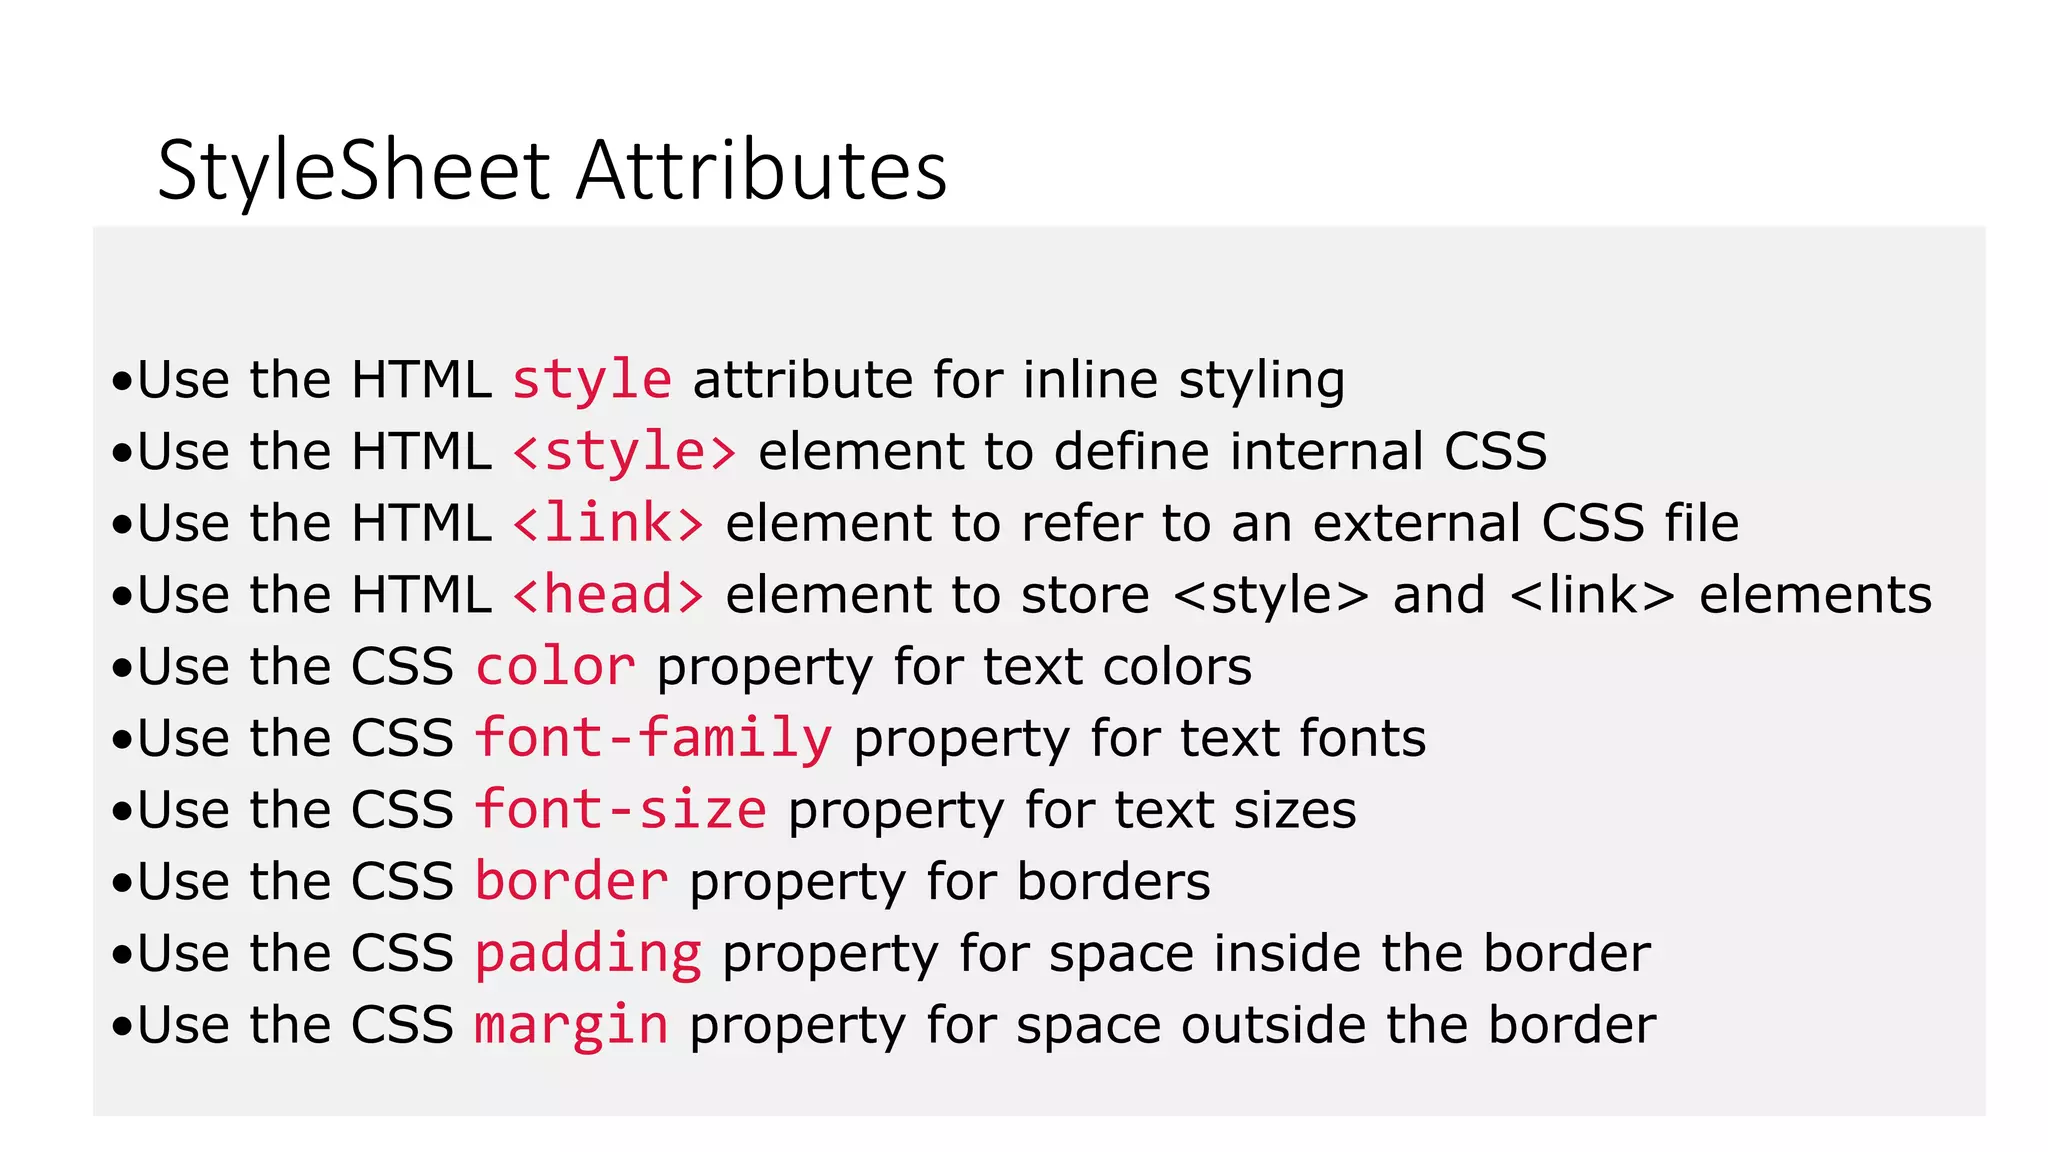
HTML defines the structure and layout of a web page. It uses elements like <h1> for headings and <p> for paragraphs to structure content. CSS can be used to style HTML elements by specifying properties for things like color, font, size, and layout. JavaScript can dynamically update HTML content and attributes, adding interactivity to web pages. It is one of the core languages all web developers must learn along with HTML and CSS.