Download to read offline

![Running a docker container docker run [docker_image] You can run containers from locally stored Docker images. If you use an image that is not on your system, the software pulls it from the online registry.](https://image.slidesharecdn.com/dockergitoop-210327174155/75/Git-Docker-Python-Package-and-Module-14-2048.jpg)
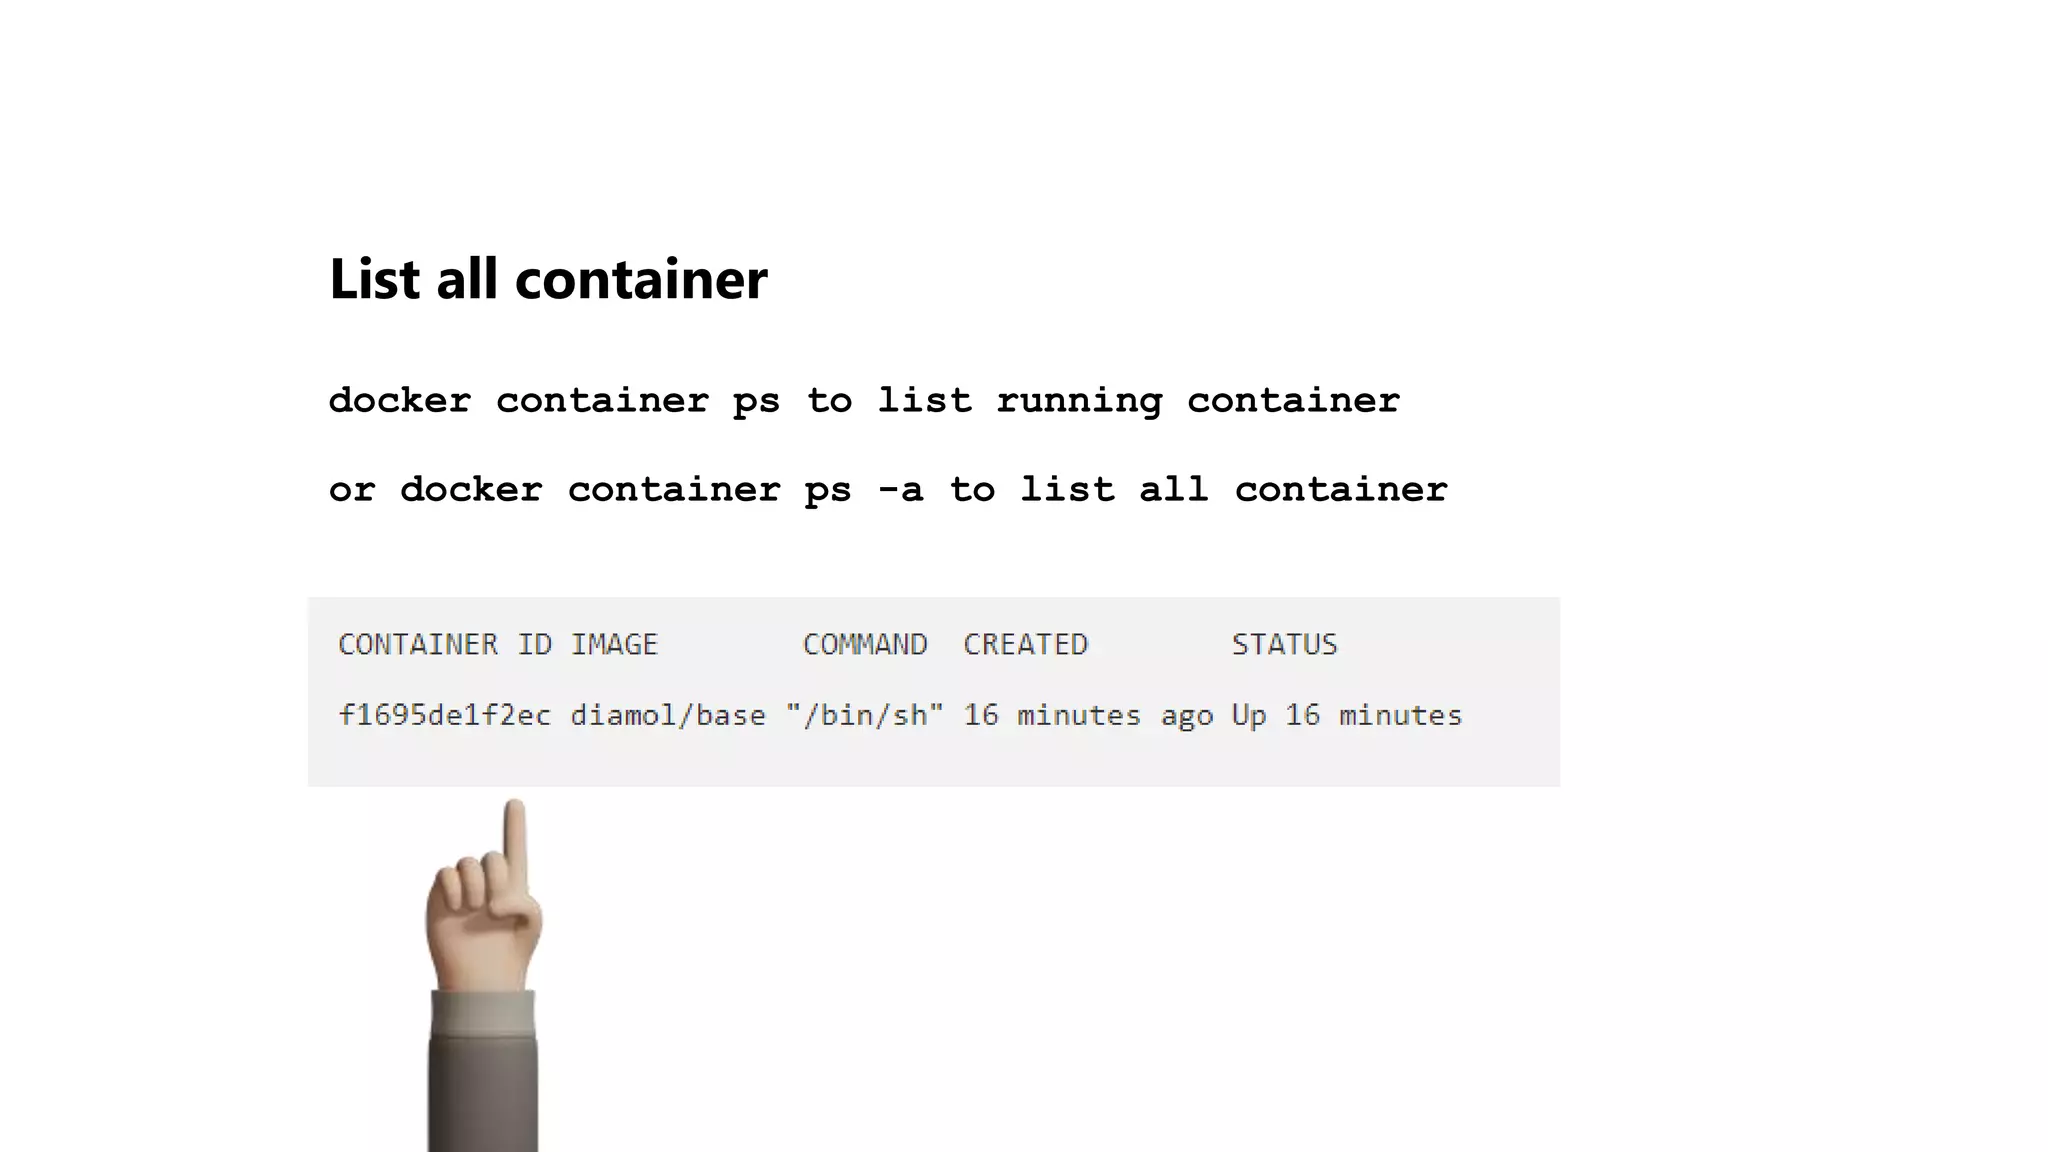
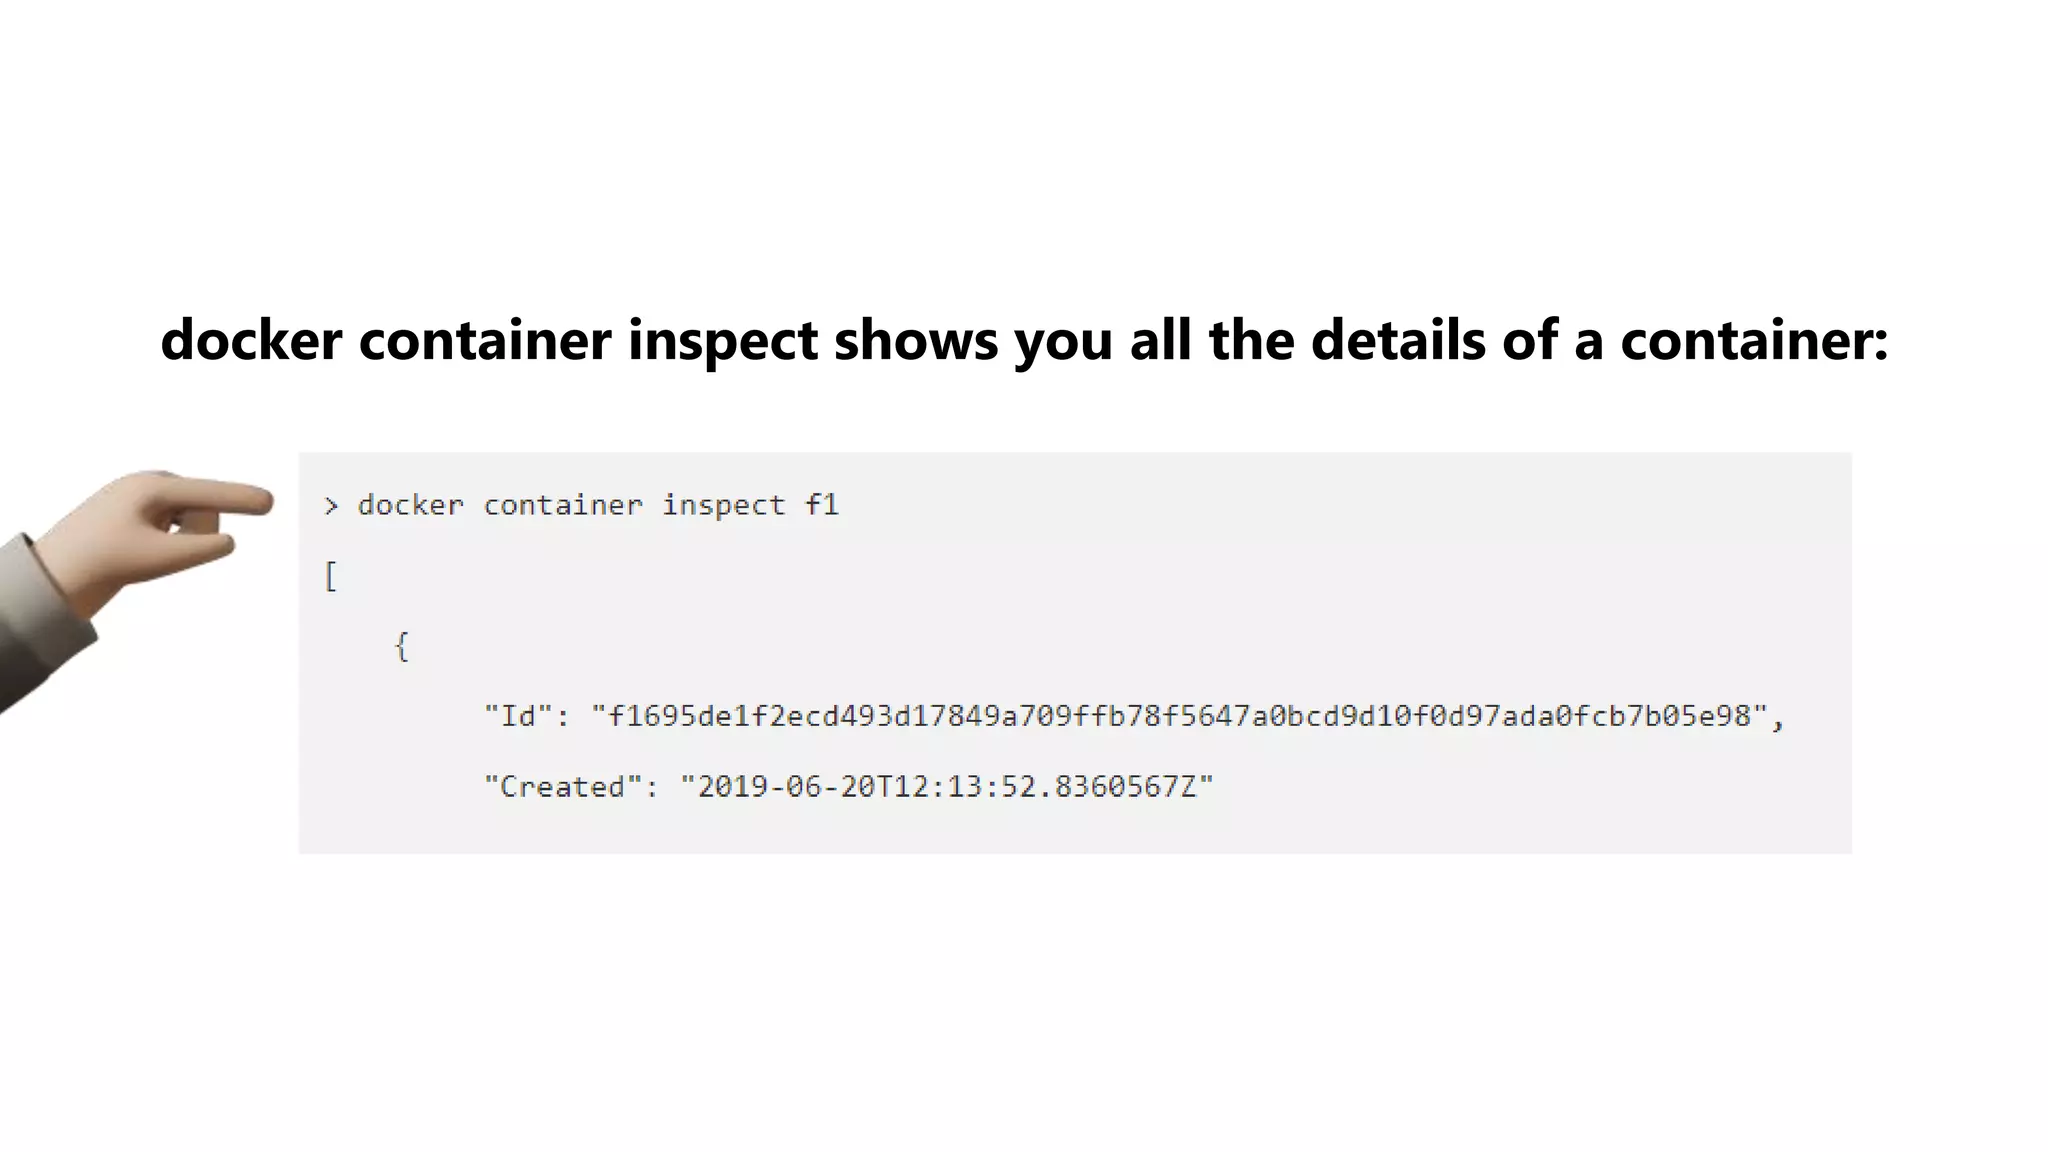
![Run a Container Under a Specific Name docker container run --name [container_name] [docker_image] You can check whether you have successfully set a container name by displaying a list of all containers (running and stopped) with the command: docker ps -a](https://image.slidesharecdn.com/dockergitoop-210327174155/75/Git-Docker-Python-Package-and-Module-15-2048.jpg)
![Stop and start container docker container stop [CONTAINER_ID] docker container start [CONTAINER_ID]](https://image.slidesharecdn.com/dockergitoop-210327174155/75/Git-Docker-Python-Package-and-Module-16-2048.jpg)
![Exec into a running container Sometimes, we want to run another process insi. How can we do this? First, we need to know either the ID or the name of the container, and then we can define which process we want to run and how we want it to run docker exec -it [CONTAINER NAME/ID] bash The -i flag signifies that we want to run the additional process interactively, and -t tells Docker that we want it to provide us with a TTY (a Terminal emulator) for the command. Finally, the process we run is bash.](https://image.slidesharecdn.com/dockergitoop-210327174155/75/Git-Docker-Python-Package-and-Module-17-2048.jpg)
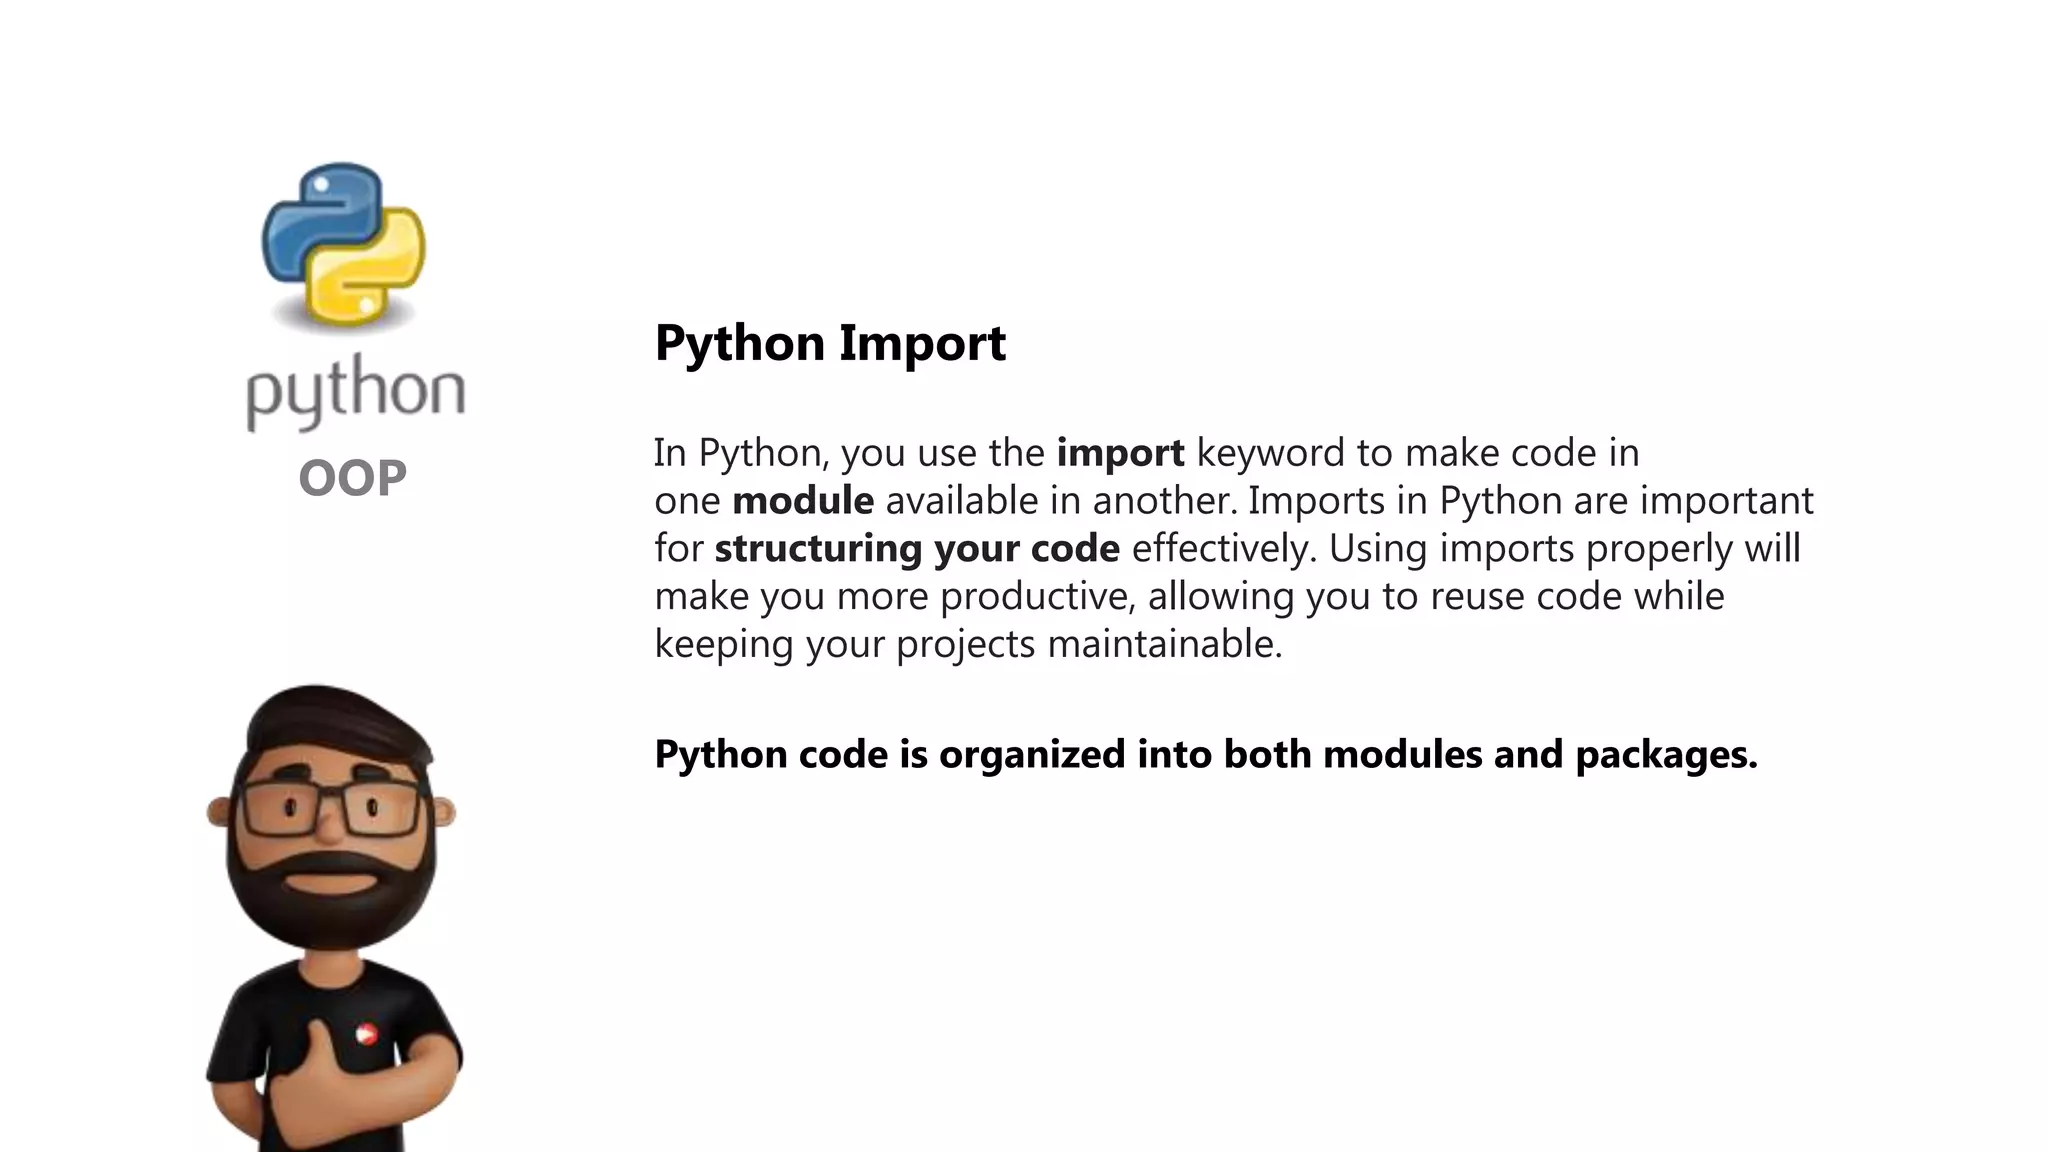
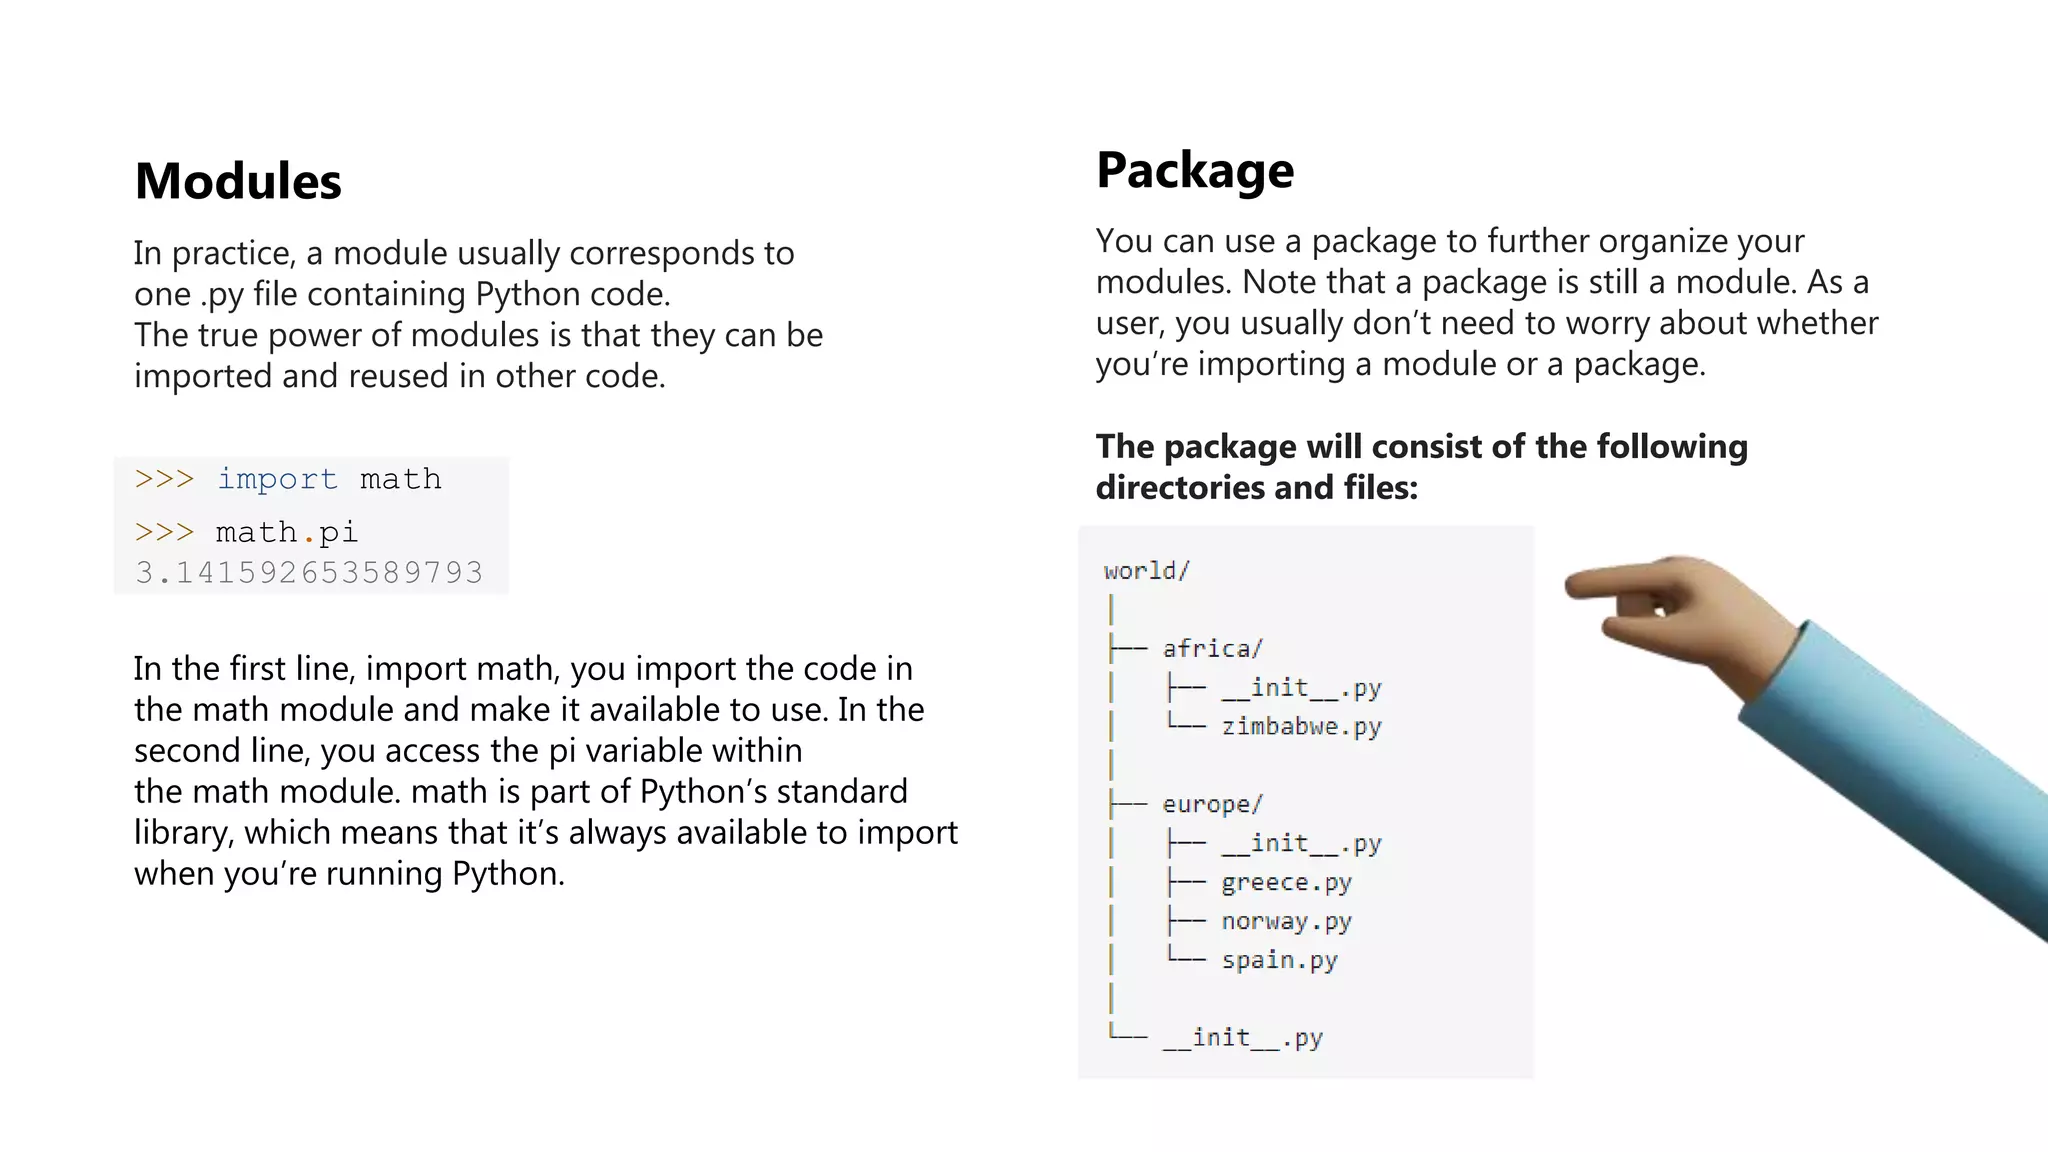

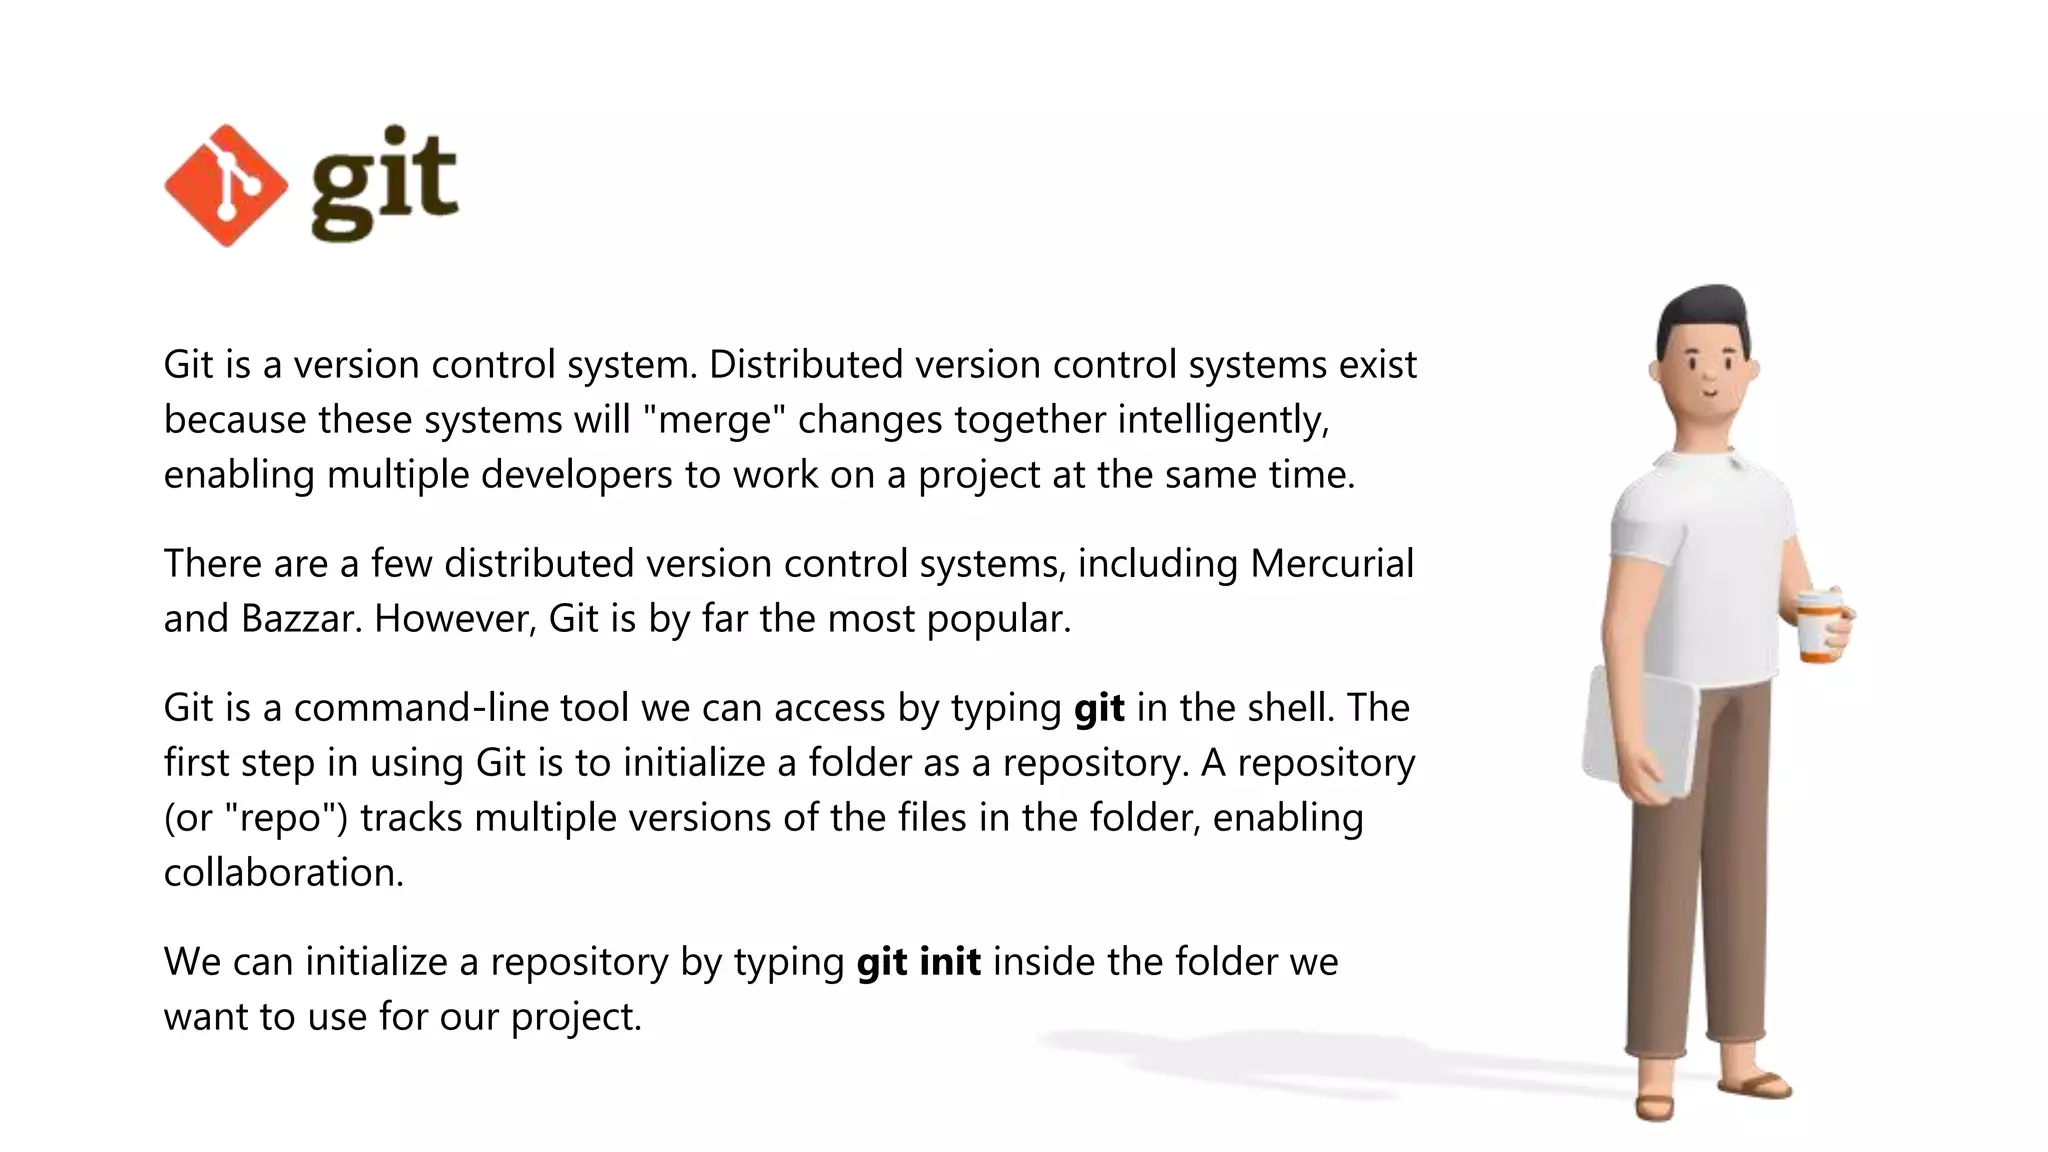
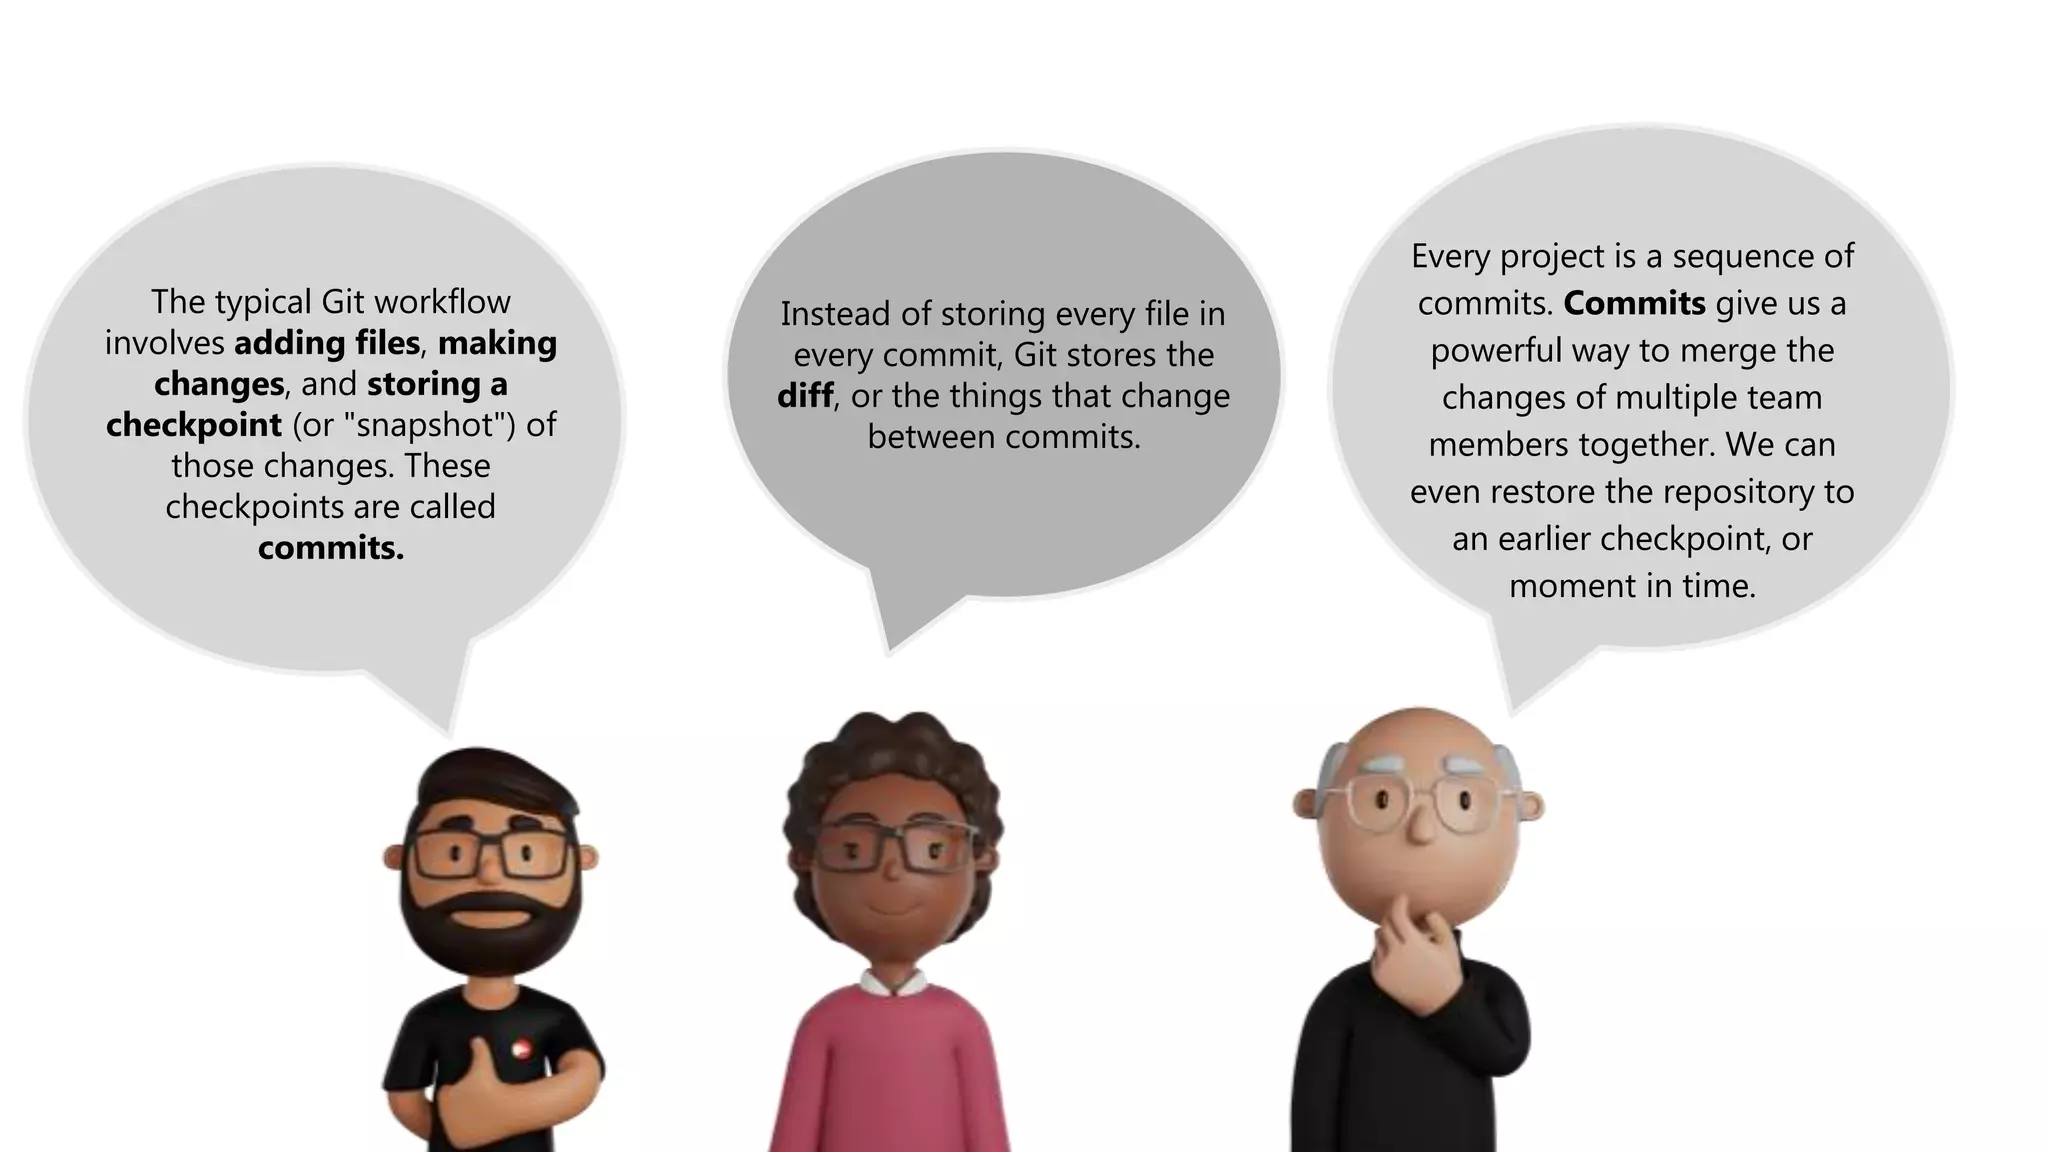
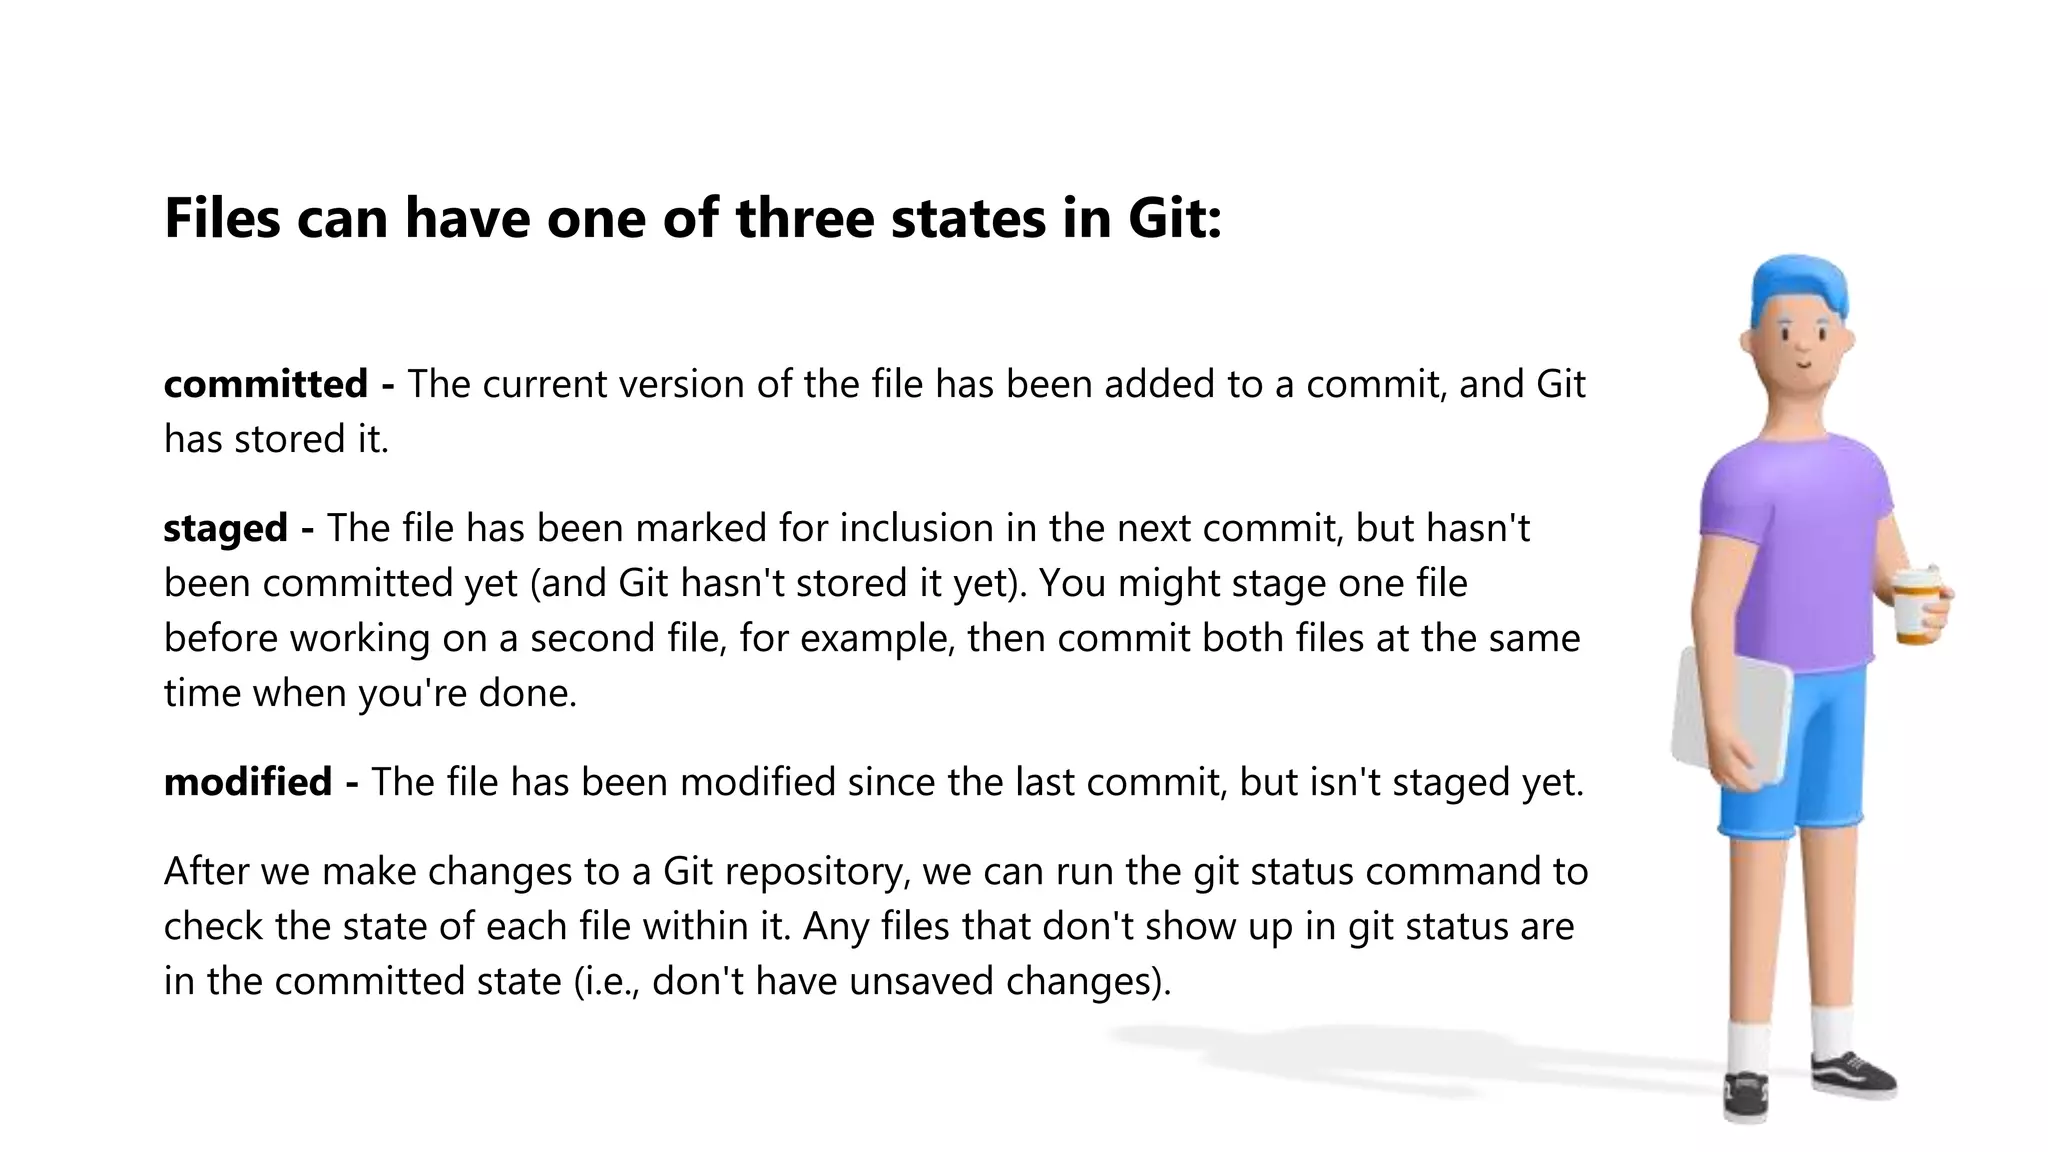
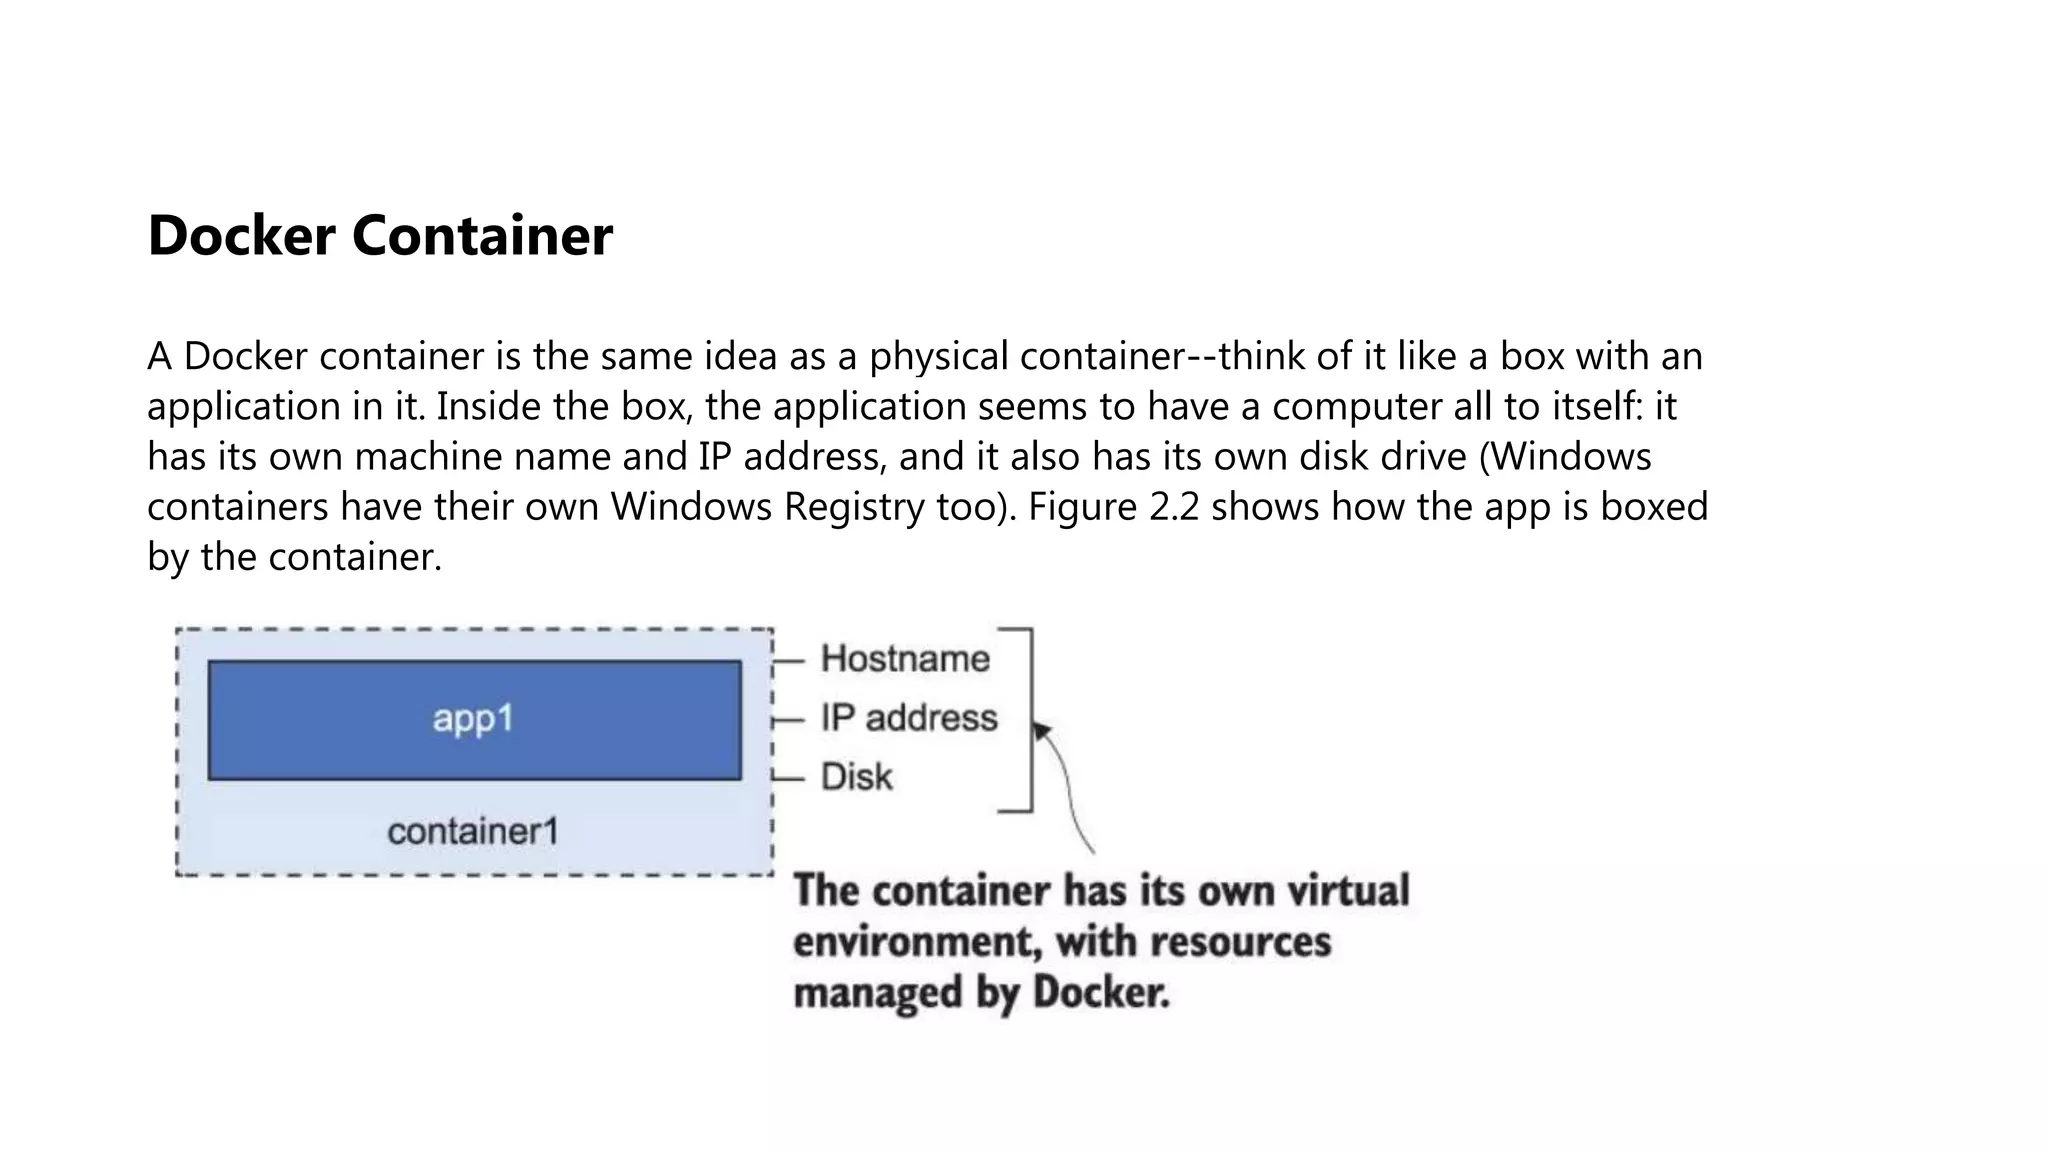
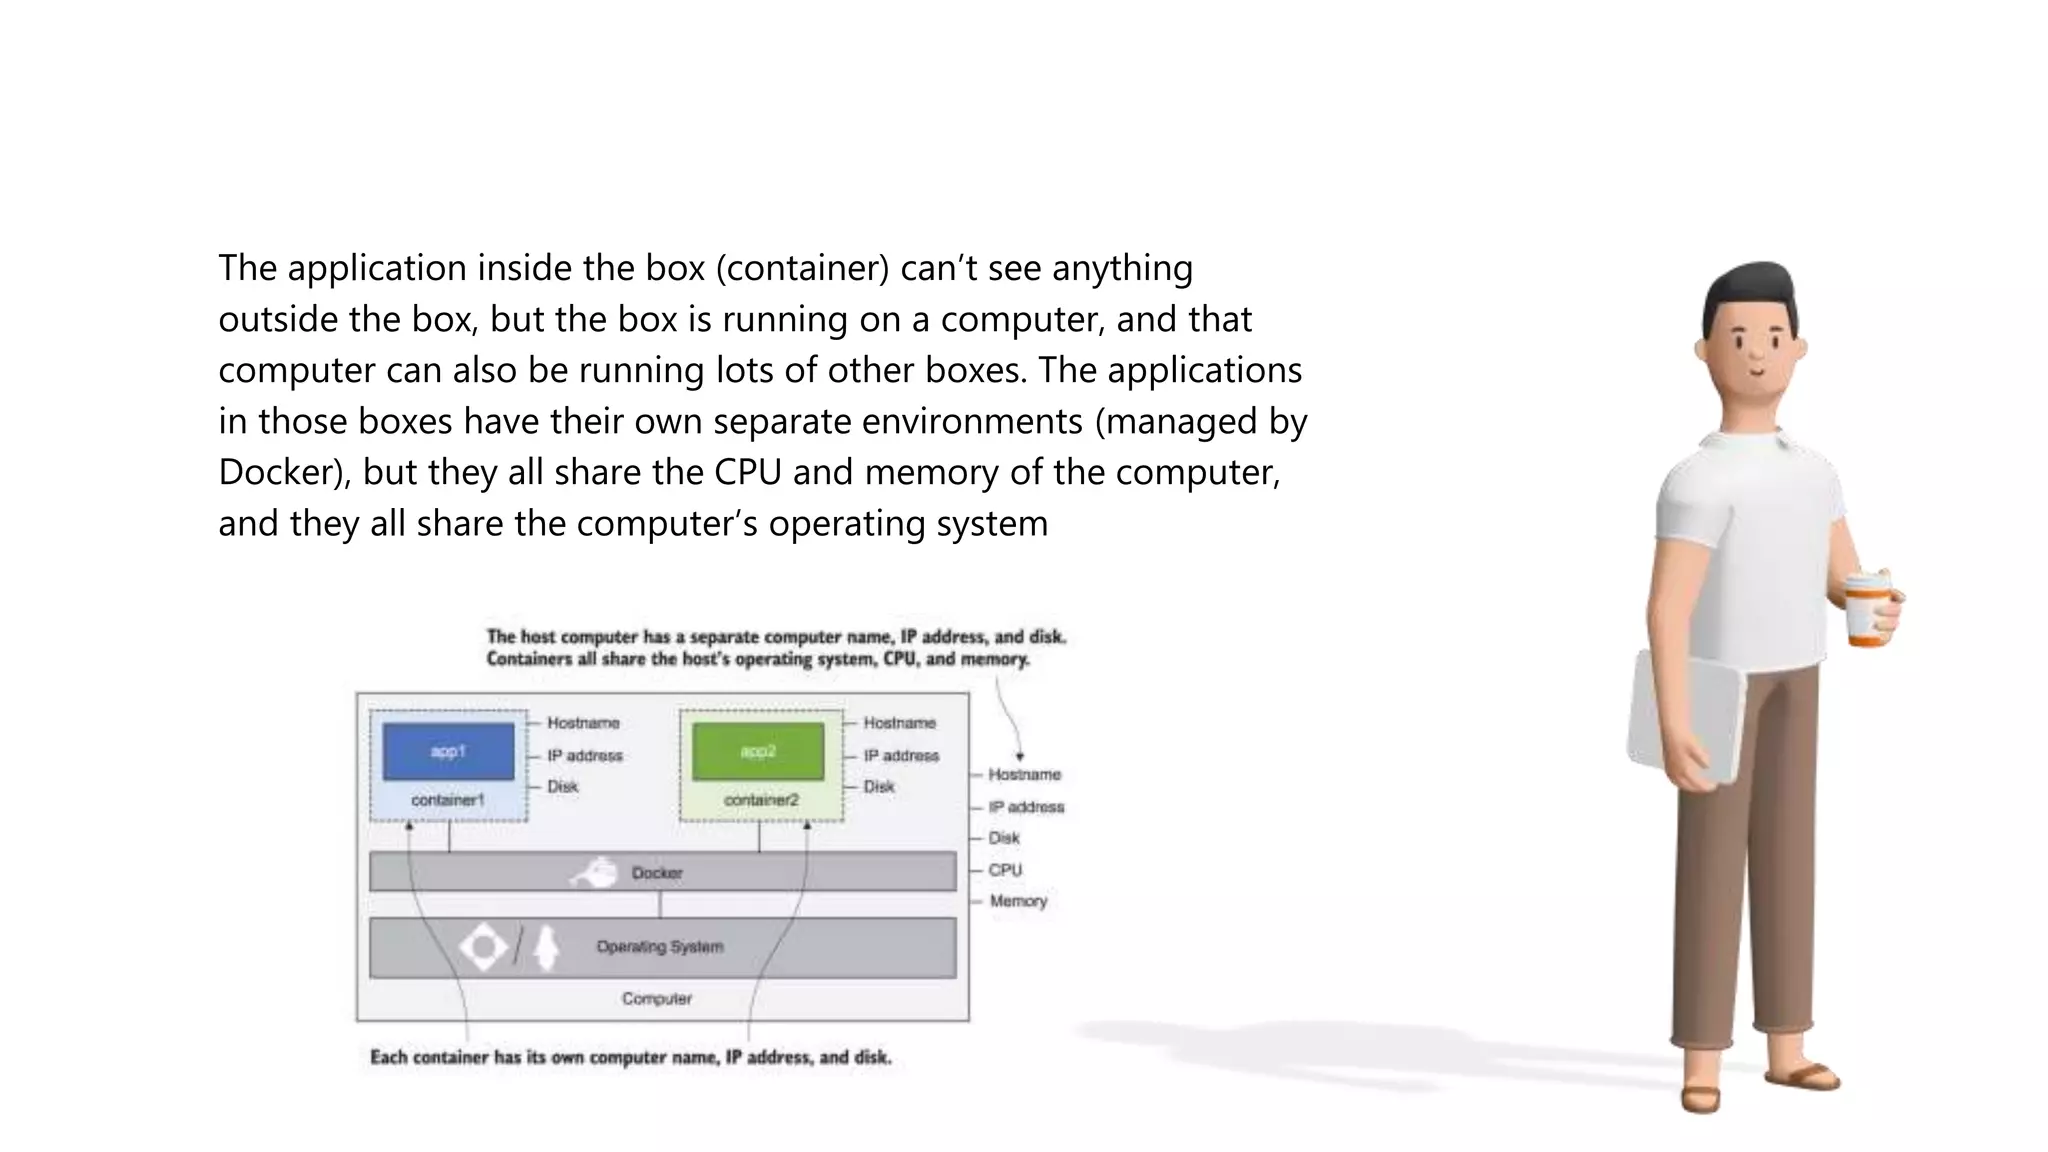
The document provides an overview of Git, a version control system, explaining its functionality, including the process of initializing a repository, managing file states (committed, staged, modified), and basic commands for checking status, making commits, and viewing differences. It also discusses Docker, describing it as a tool for packaging applications in containers, allowing for easier deployment and replication, along with basic Docker commands for managing containers. Additionally, the document covers Python's module organization using imports and the structure of packages.