Download as ODP, PPTX


![Parent to child communication ● We pass props to communicate between parent and child components. ● <parent-component> <child-compoent v-bind:value = value></child-component> </parent-component> ● The “value” is the data that is present in the parent- component. ● In child, under script, we have props: [‘value’] - (this.value prints the value of the data)](https://image.slidesharecdn.com/basics-vuejs-190520130942/75/Basics-of-VueJS-10-2048.jpg)
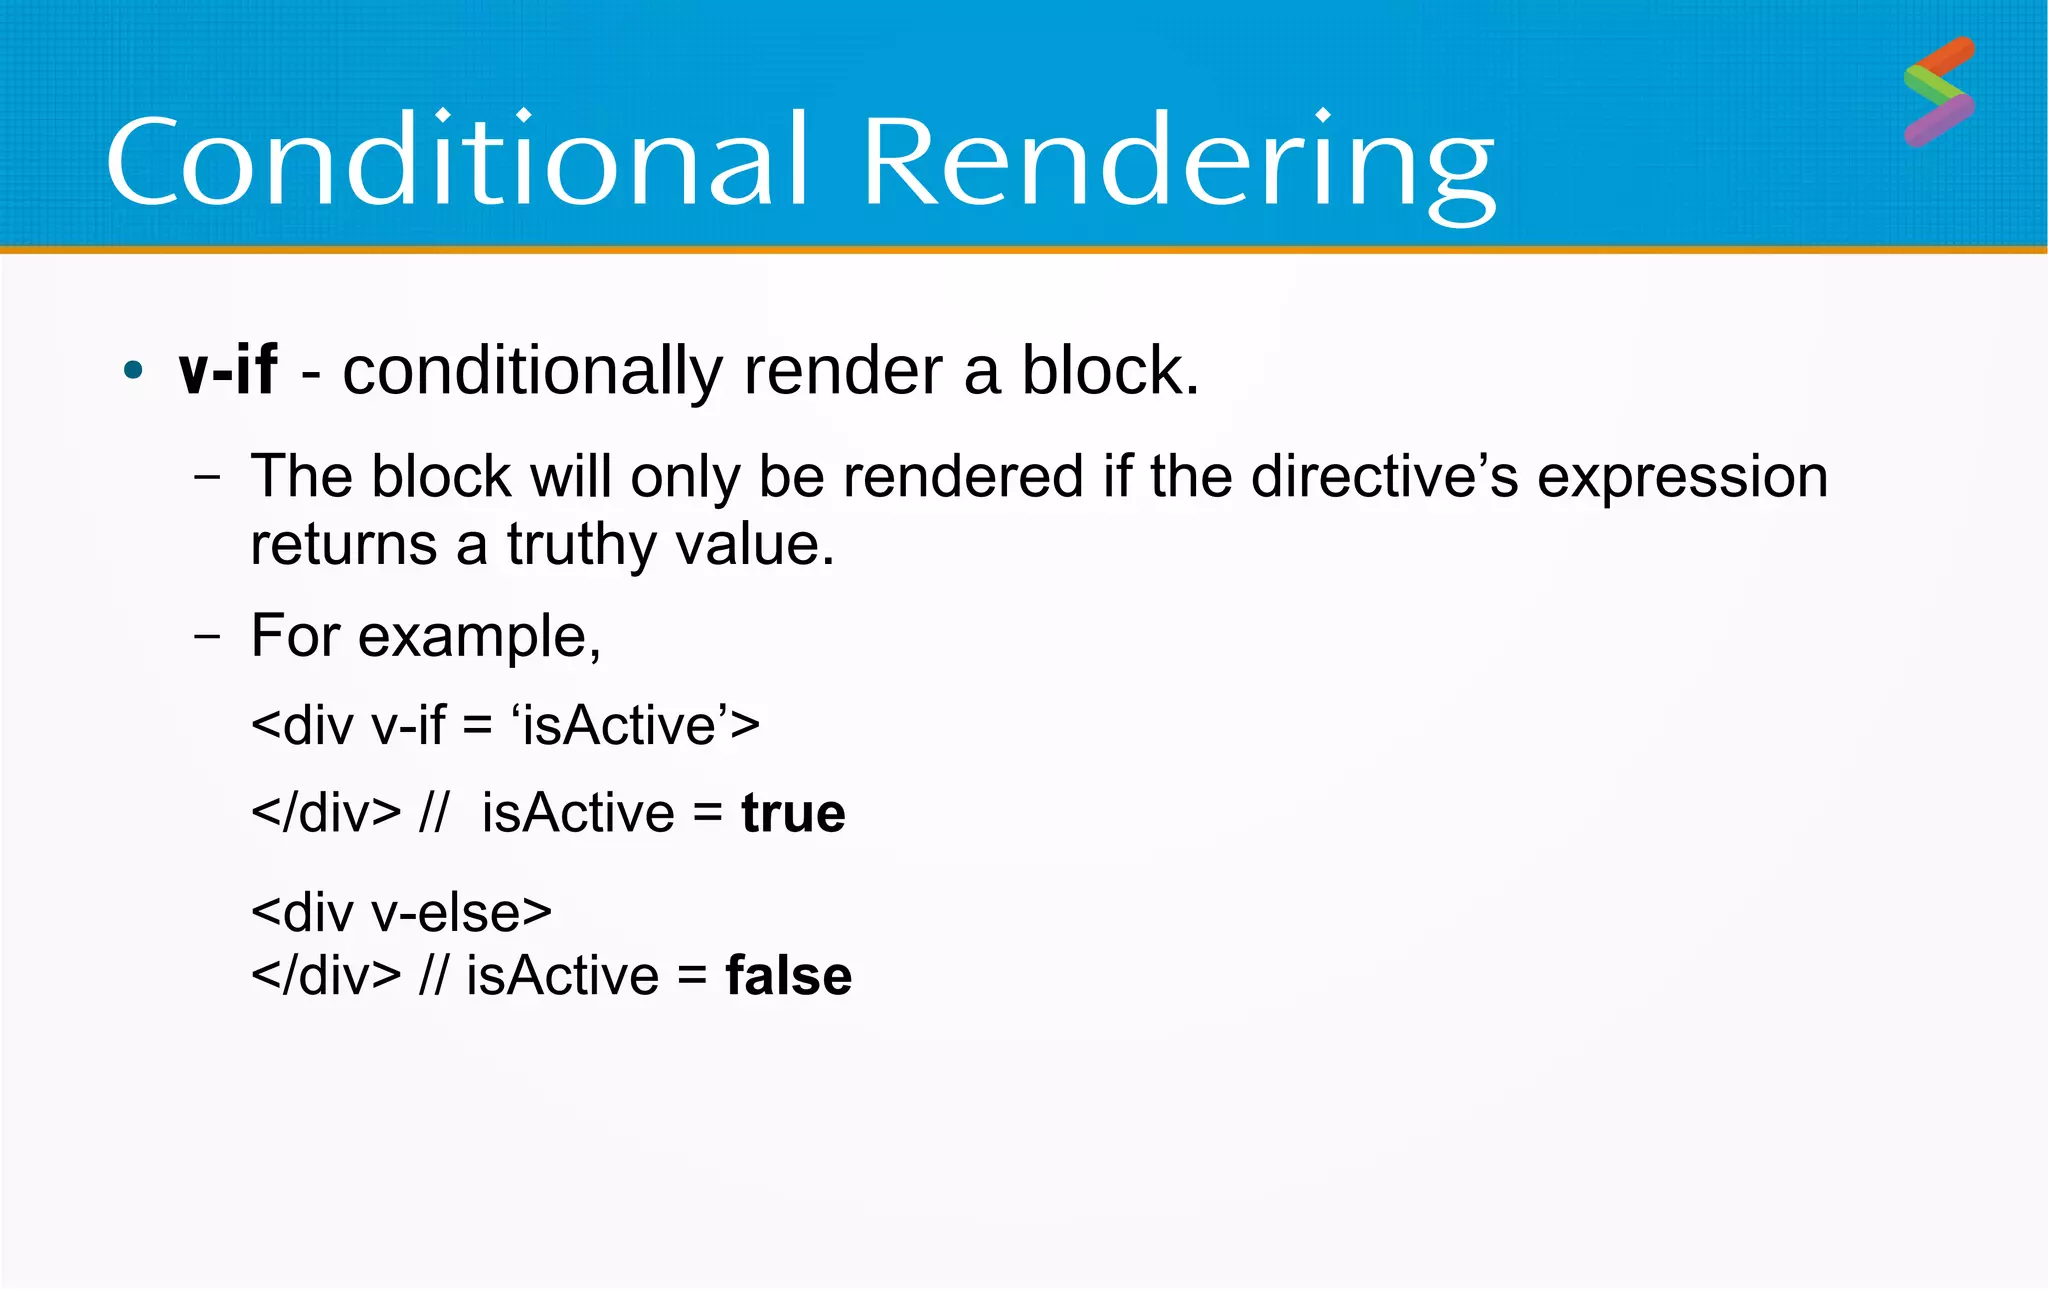
![Conditional Rendering ● v-show - Another option for conditionally displaying an element. Same like v-if. – But it will always be rendered and remain in the DOM. – It toggles the display CSS property of the element. – For eg, <div v-show = ‘isActive’></div> ● v-for – same like for-loop. Used to render a list of items based on an array. – <div v-for = (item, index) in items> items[{{ index }}] – {{ item }} </div> – No. of times it iterates – (values.length-1)](https://image.slidesharecdn.com/basics-vuejs-190520130942/75/Basics-of-VueJS-15-2048.jpg)


VueJs is a front-end framework for building JavaScript applications that run in the browser. It allows creation of components, two-way data binding, communication between components, and conditional rendering. To install Vue, use npm to install vue-cli and initialize a project, which will create the initial project structure including a component template with sections for template, script, and style. Components can then be built with data, methods, and bindings for properties like classes and styles.
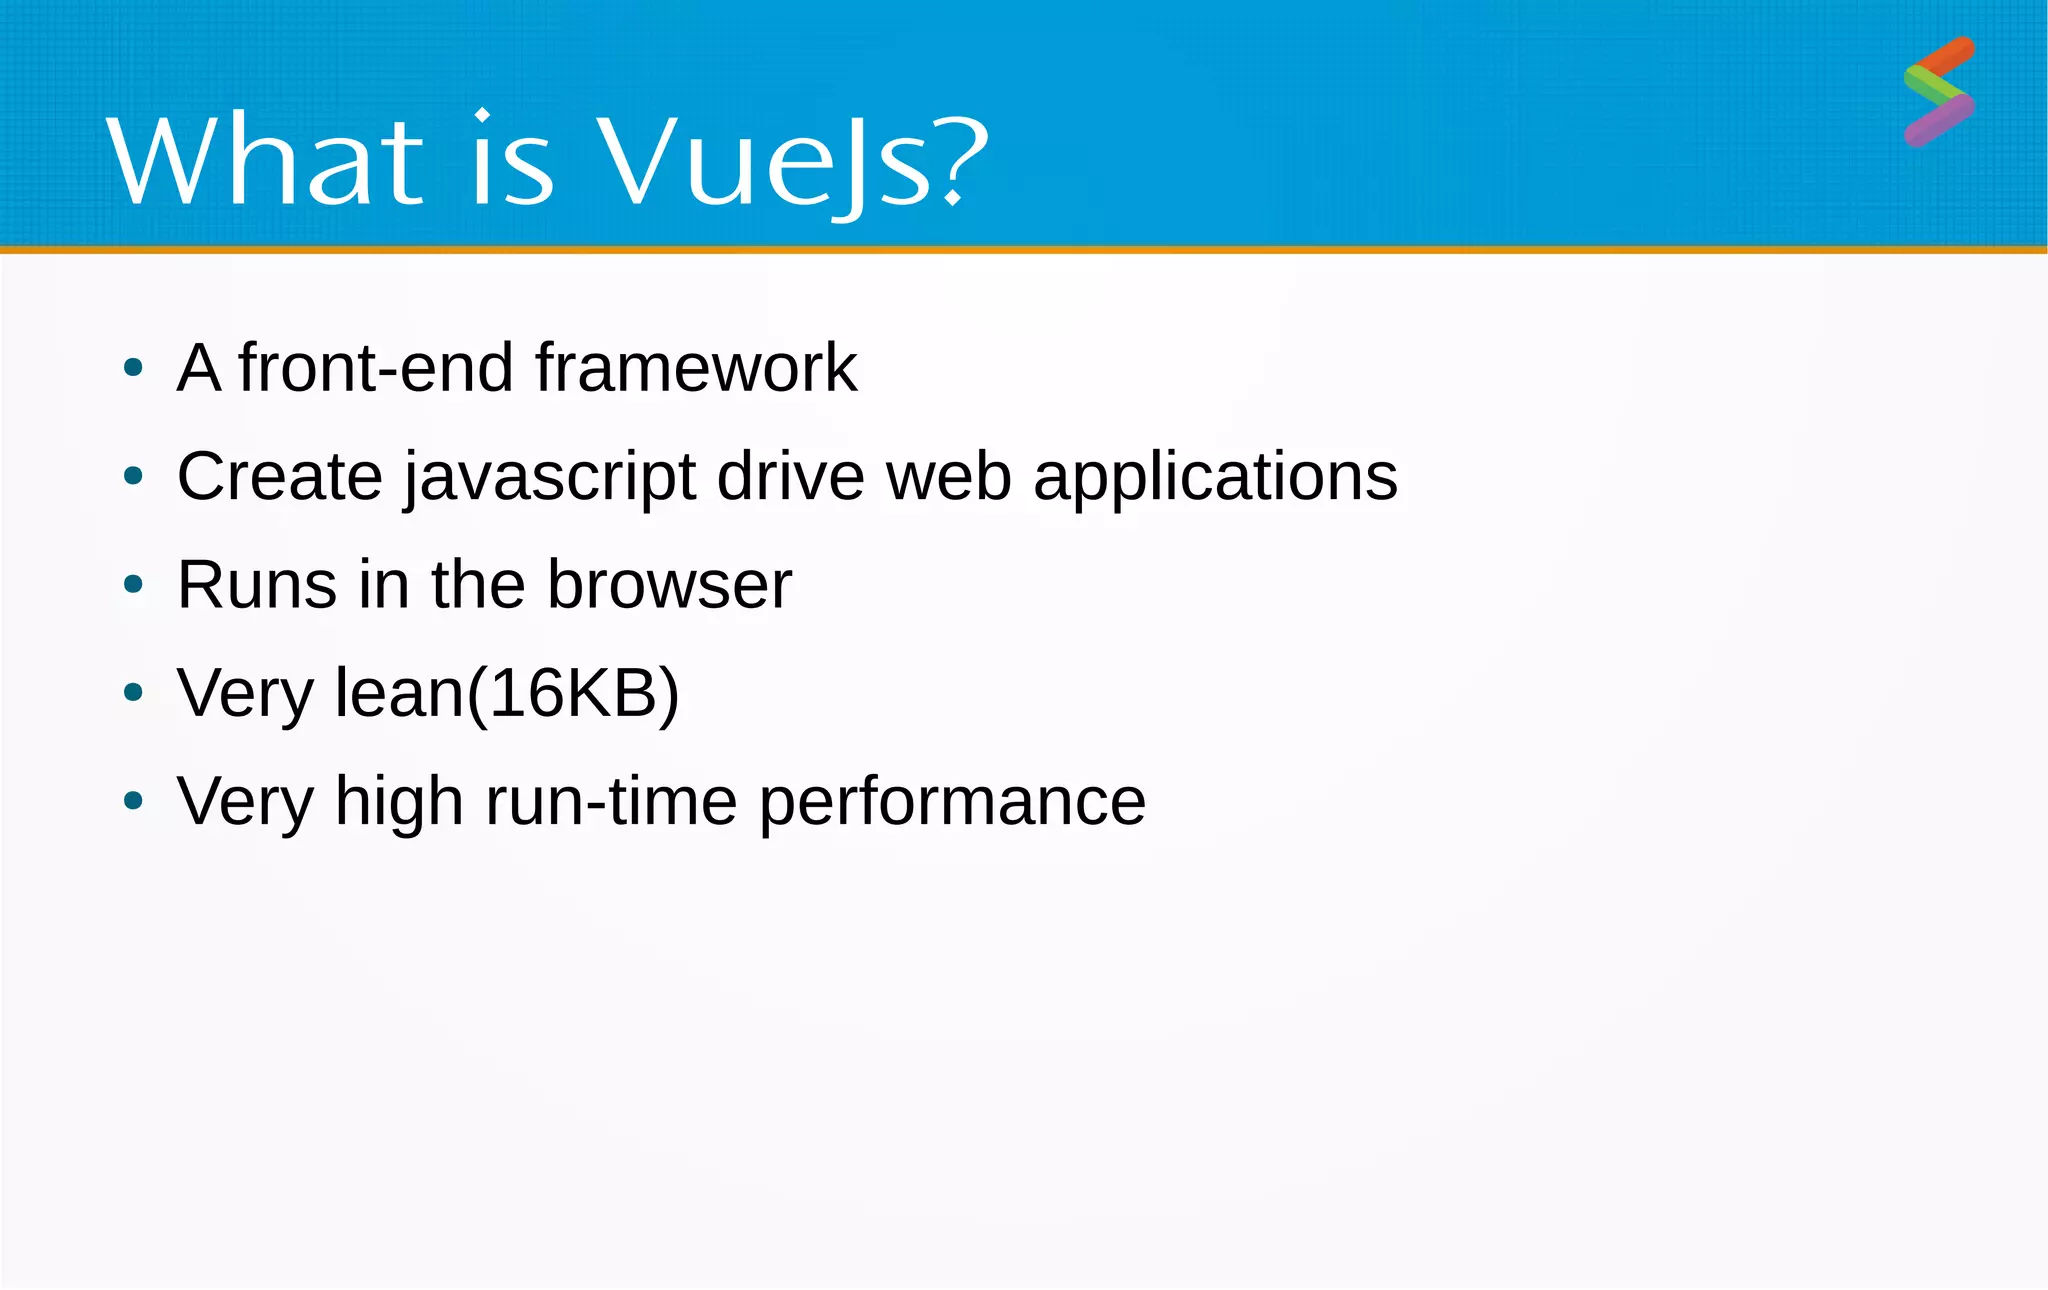
Overview of VueJs, a lean front-end framework (16KB) for building JavaScript-driven web applications.
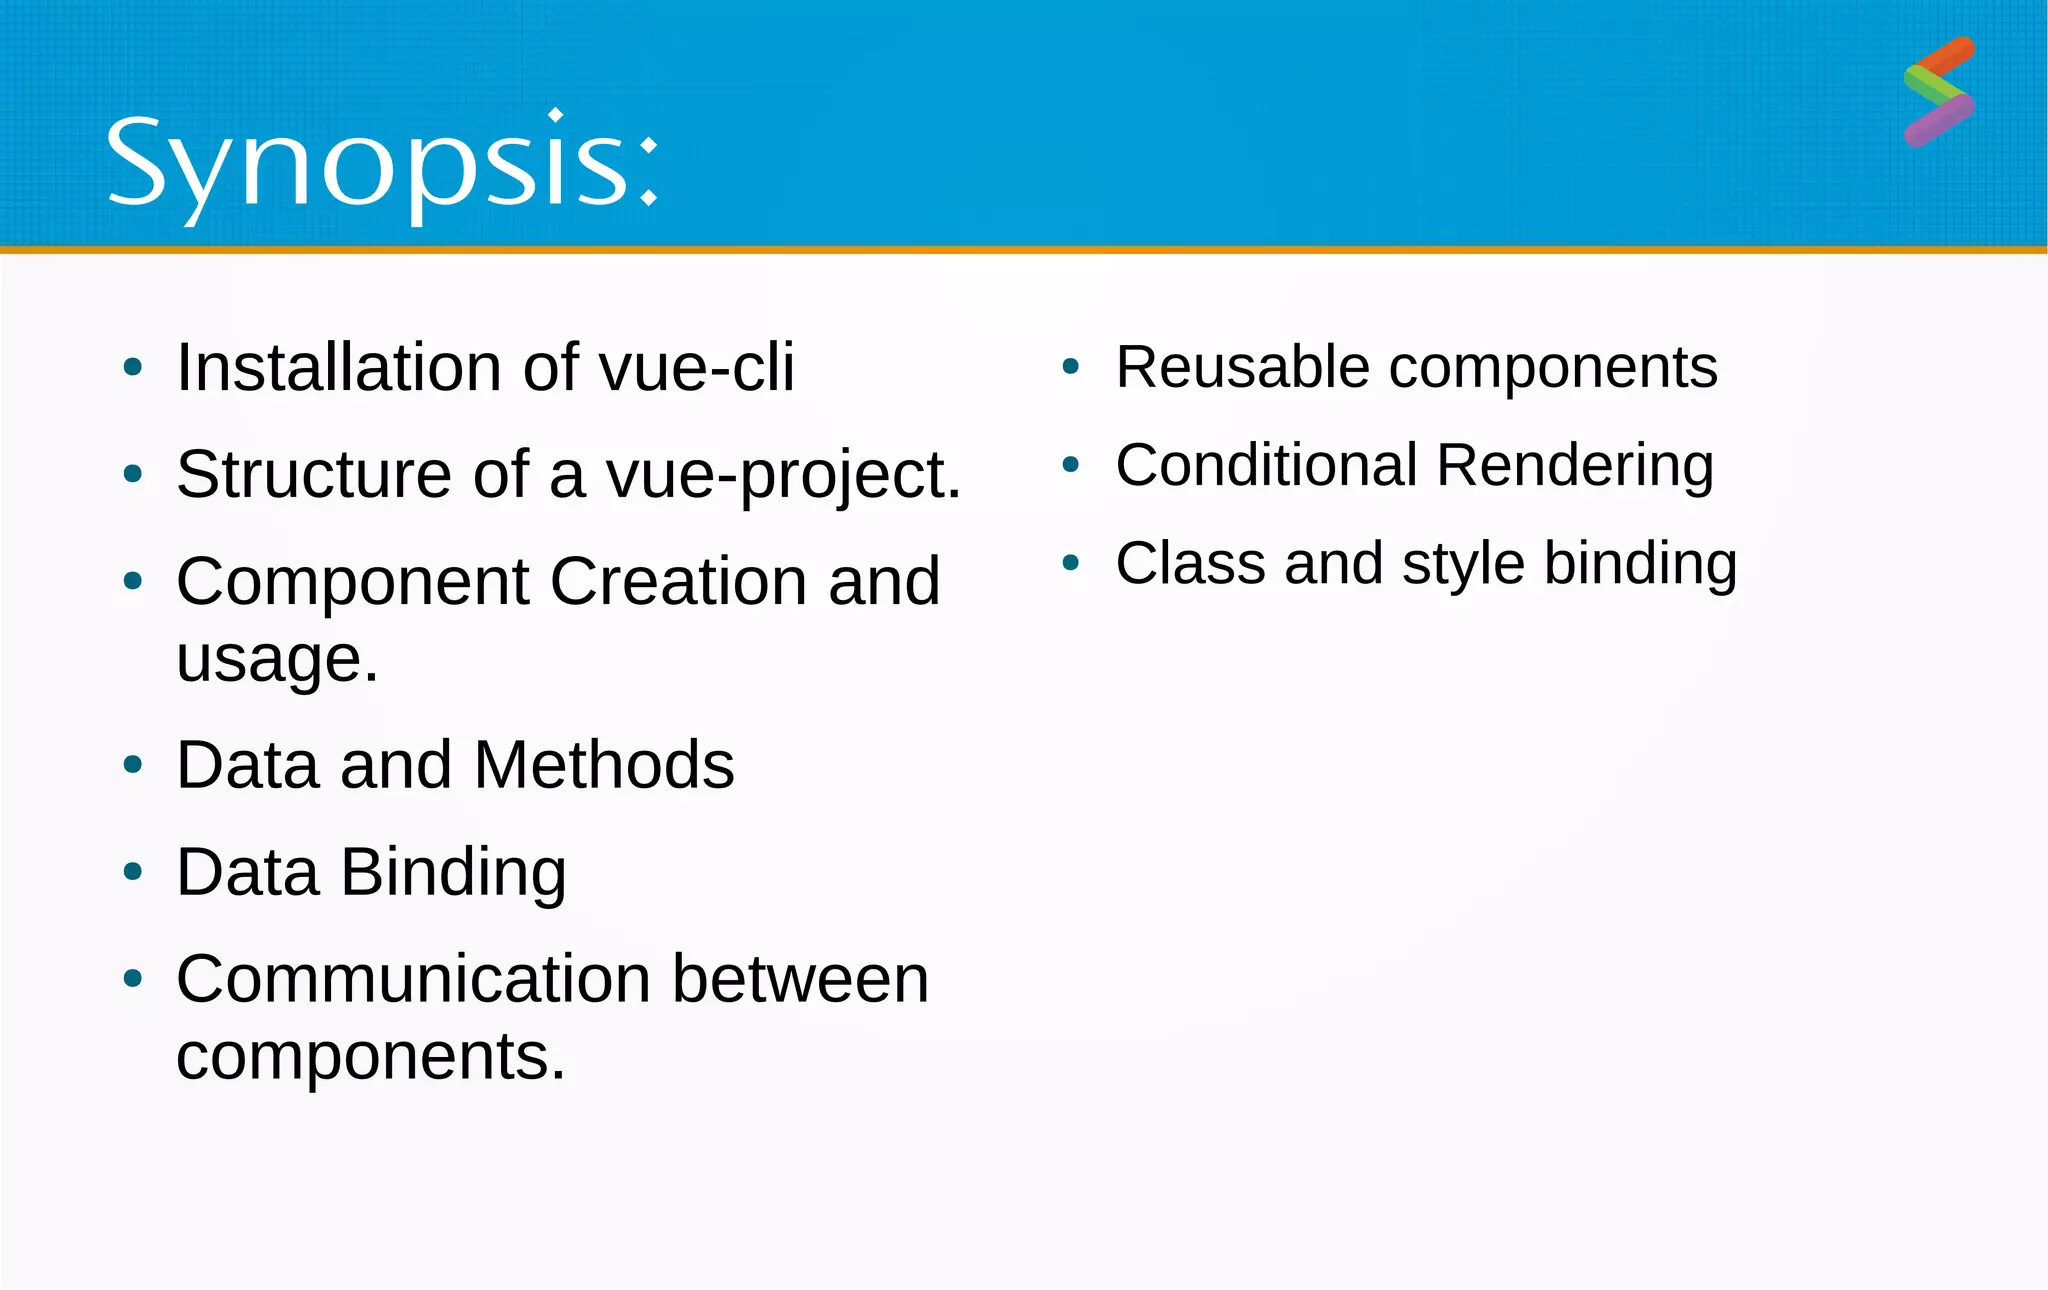
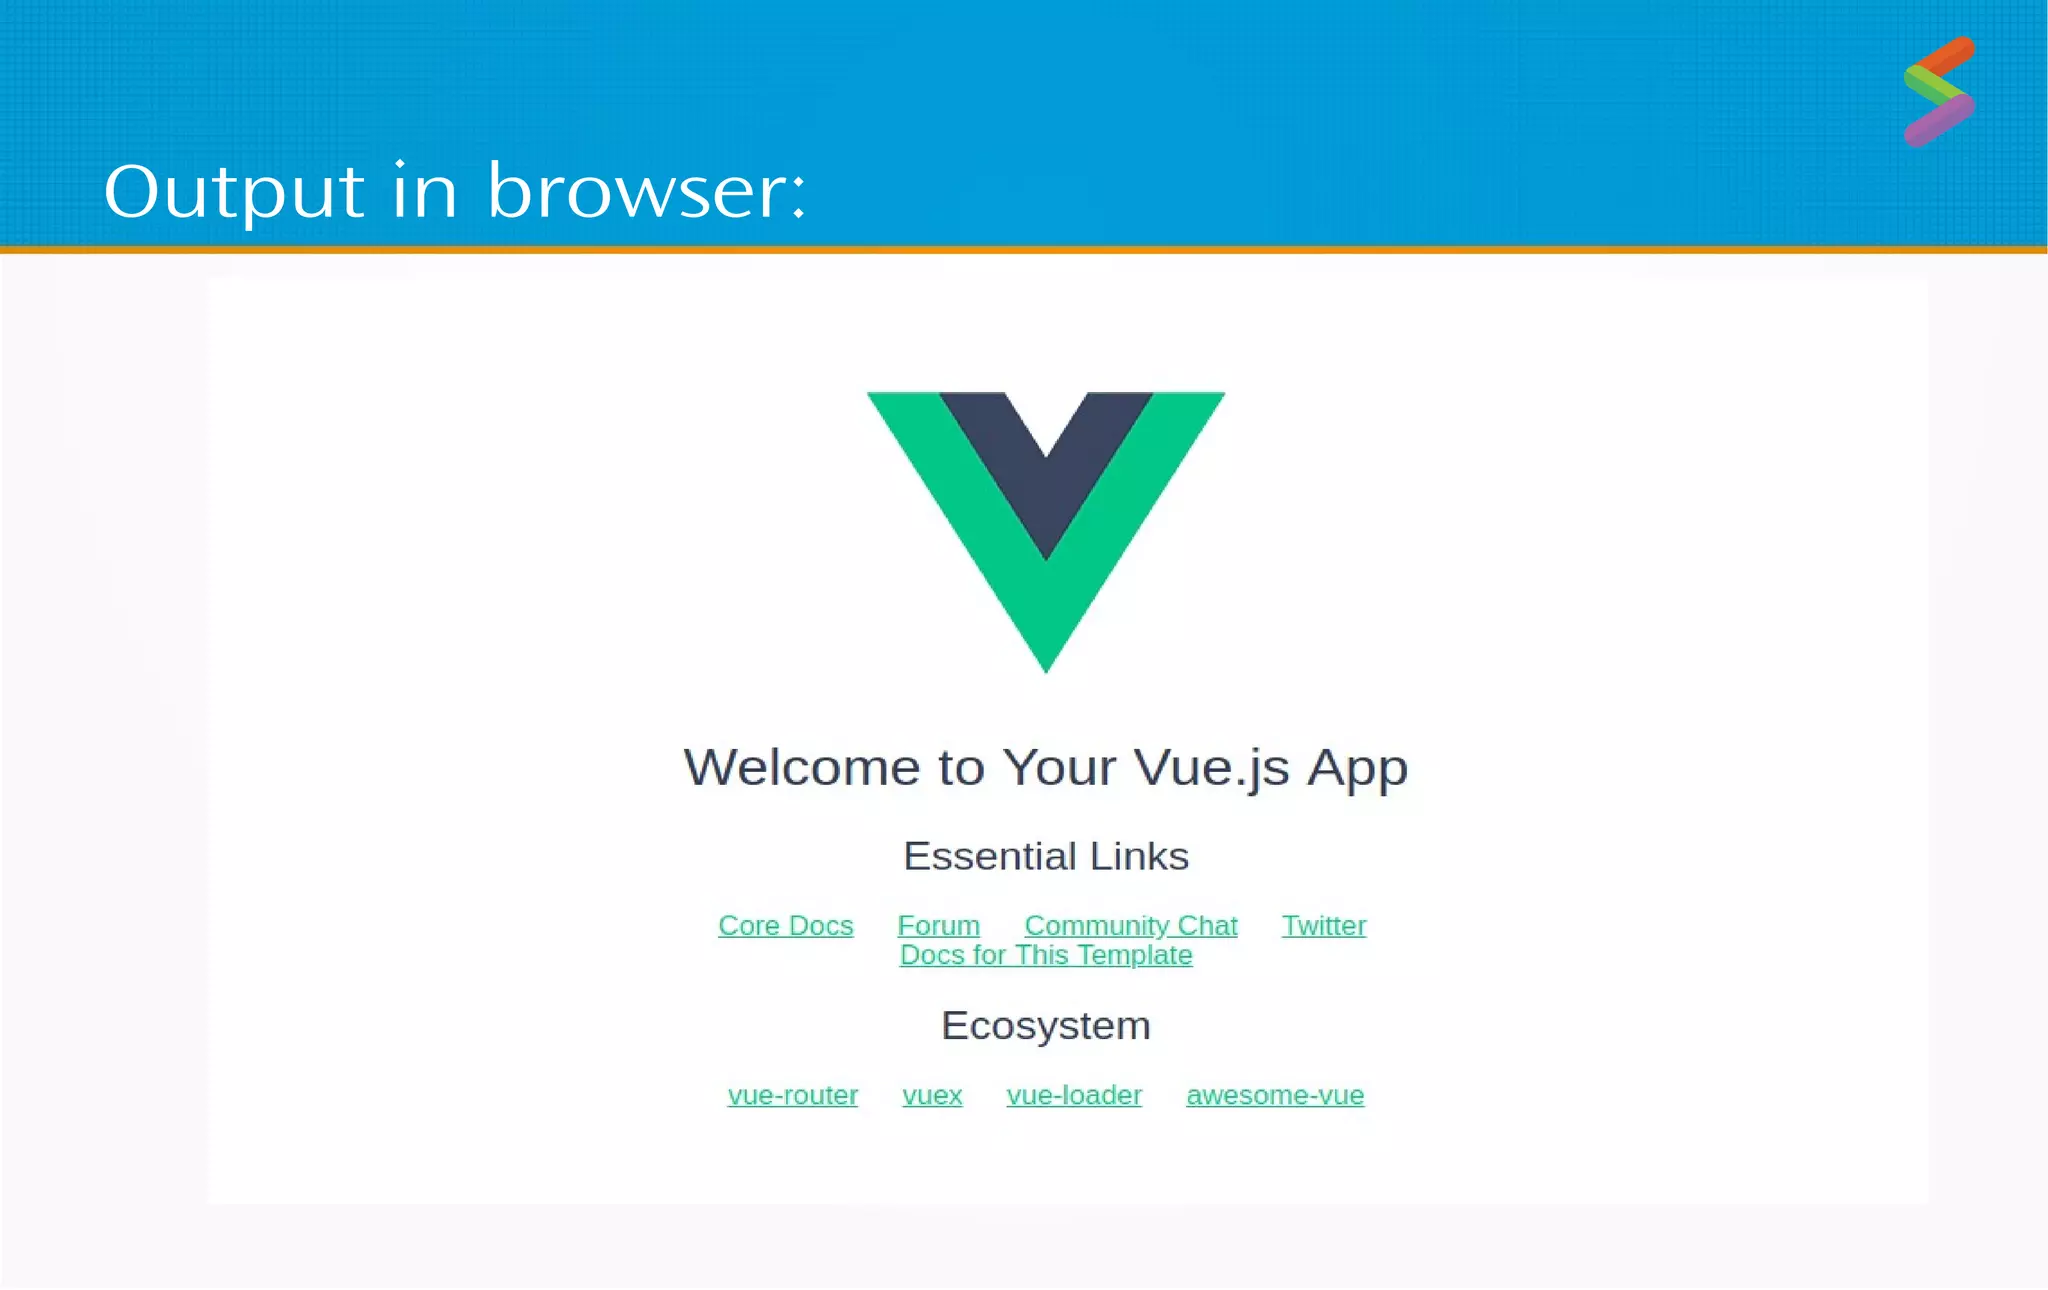
Installation of vue-cli, project structure setup, and creating a Vue project using npm commands.
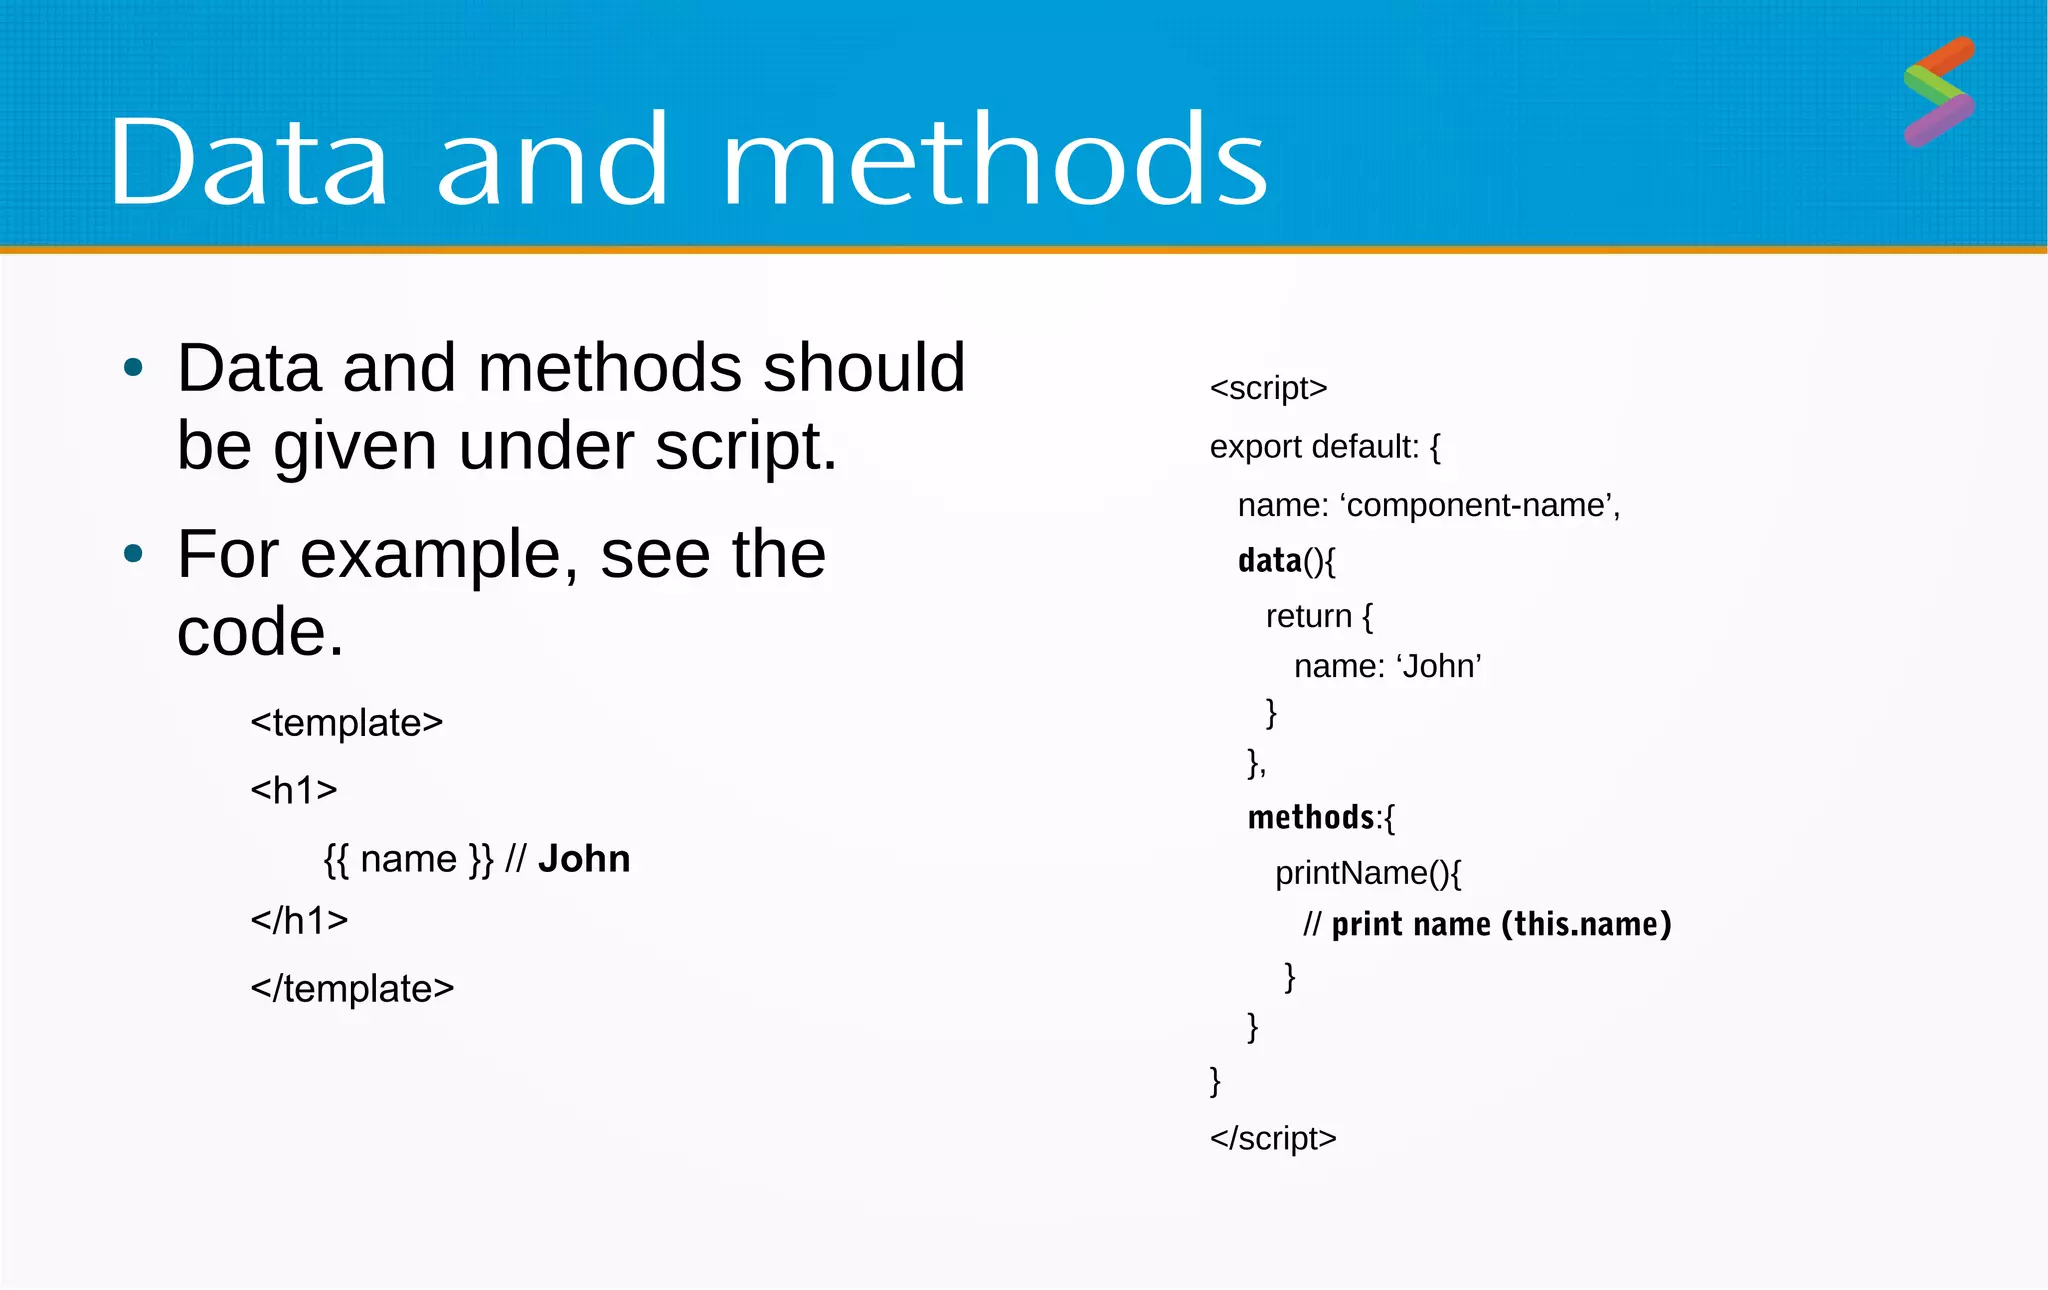
Steps to create a Vue component (.vue file) and structuring data and methods within a component.
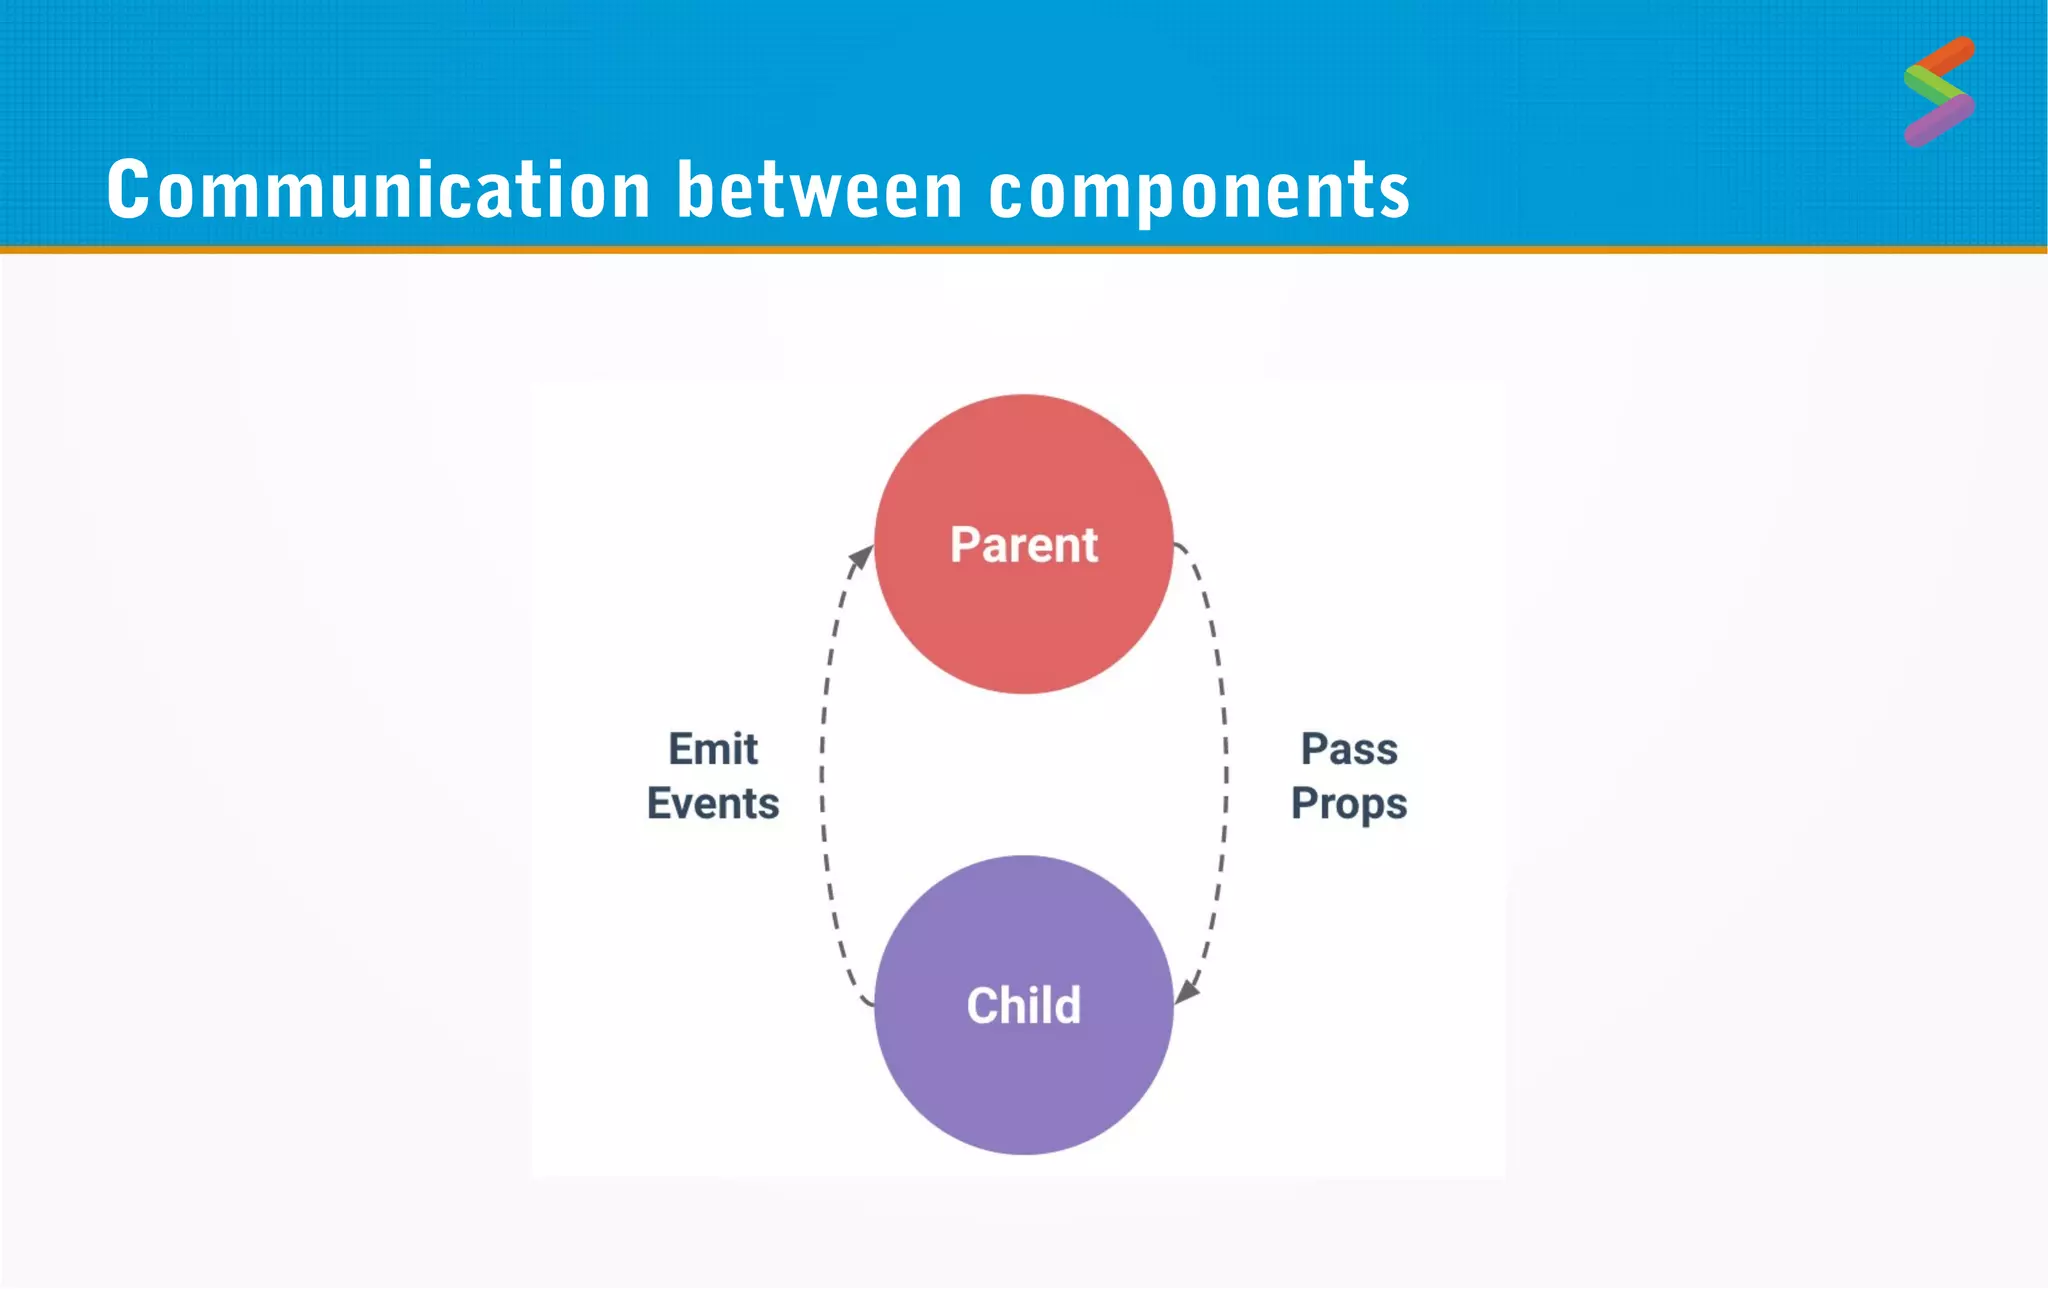
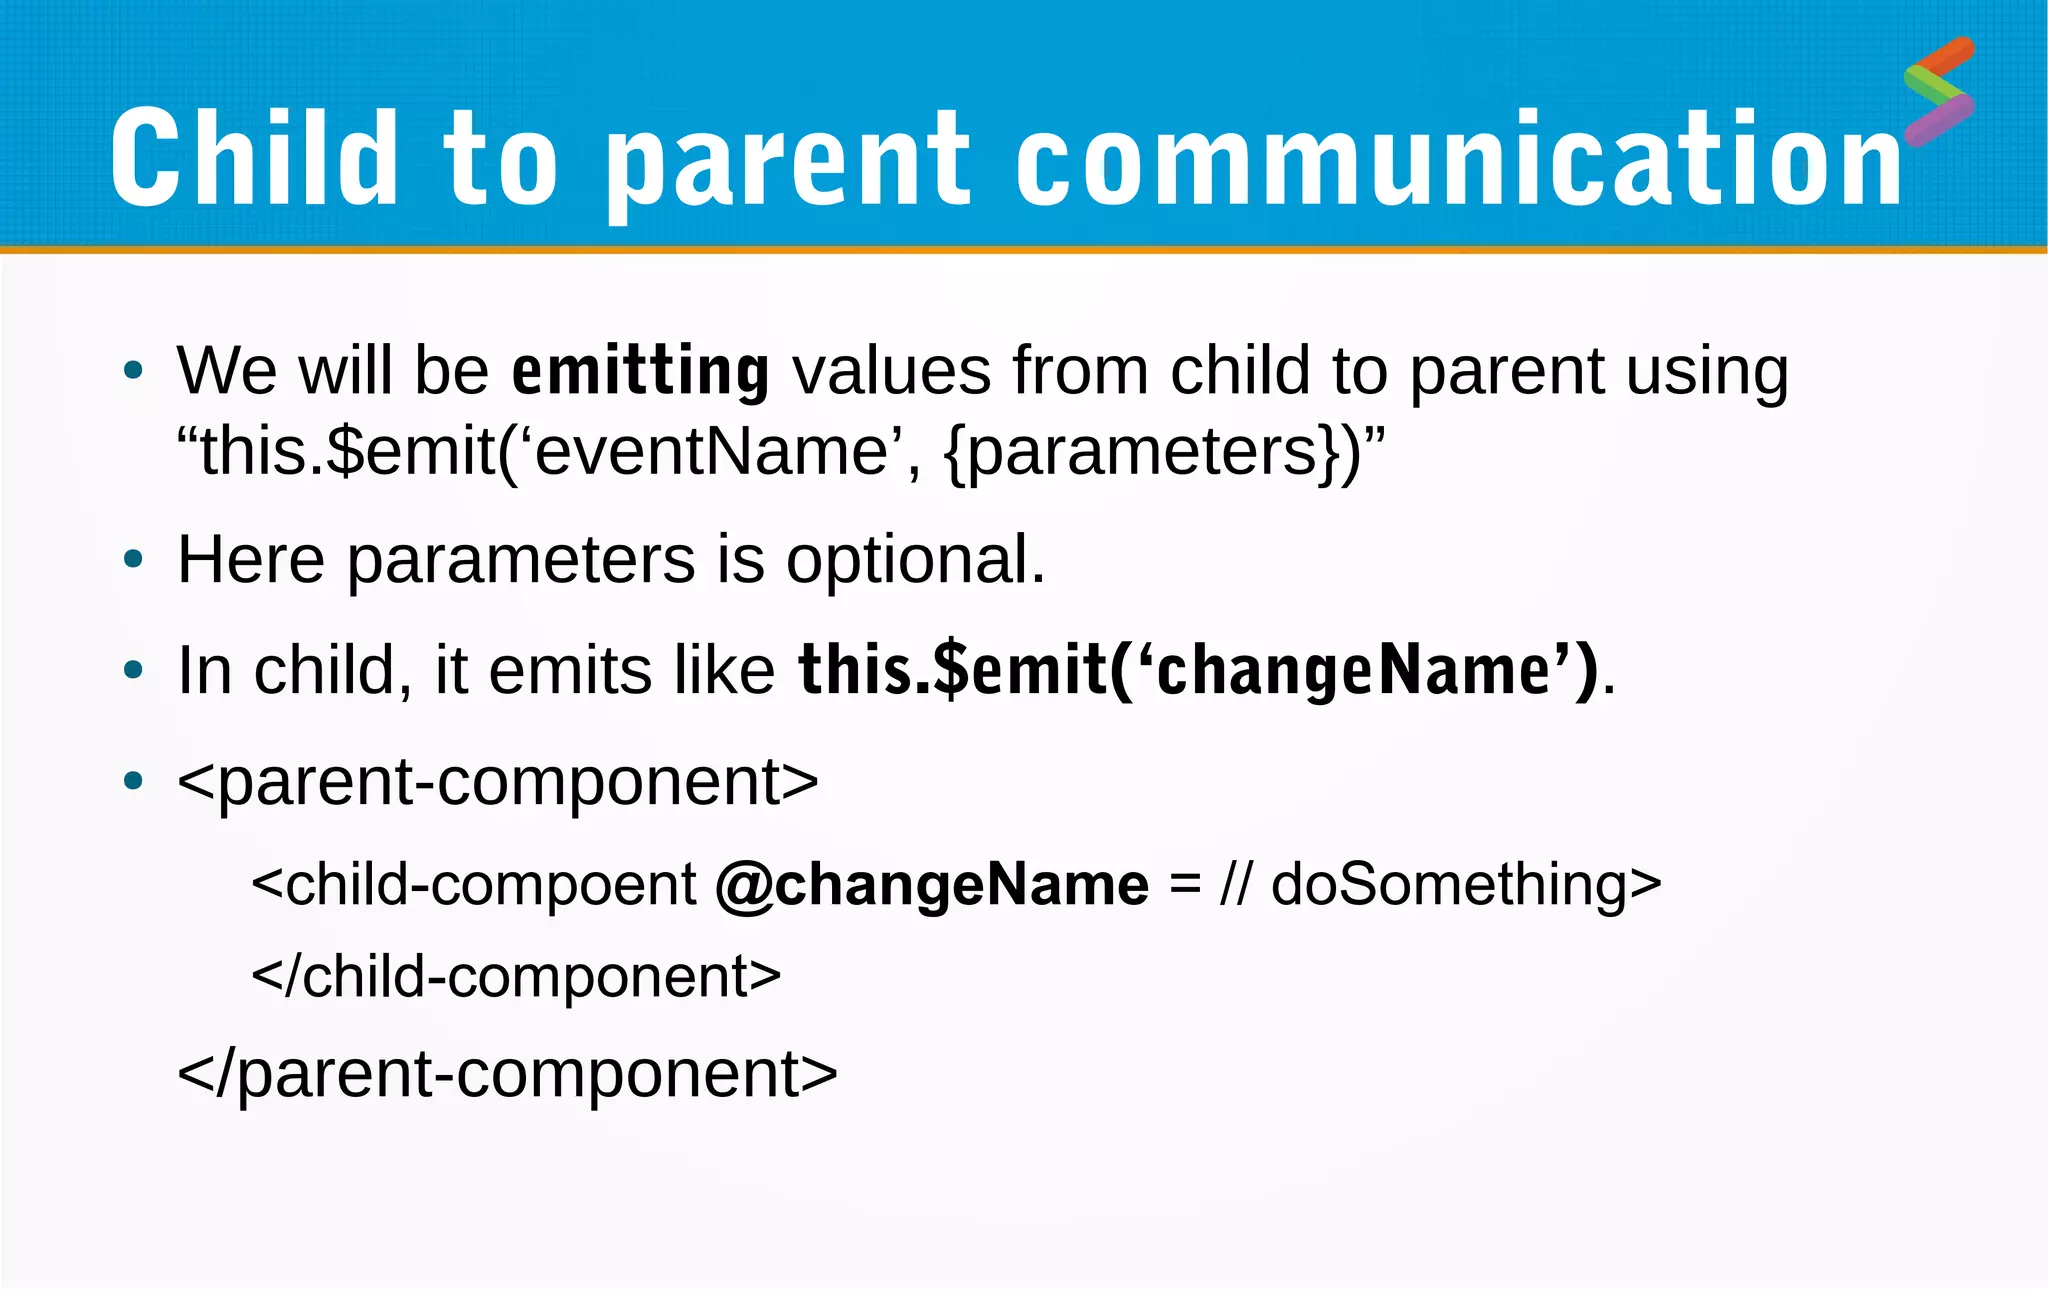
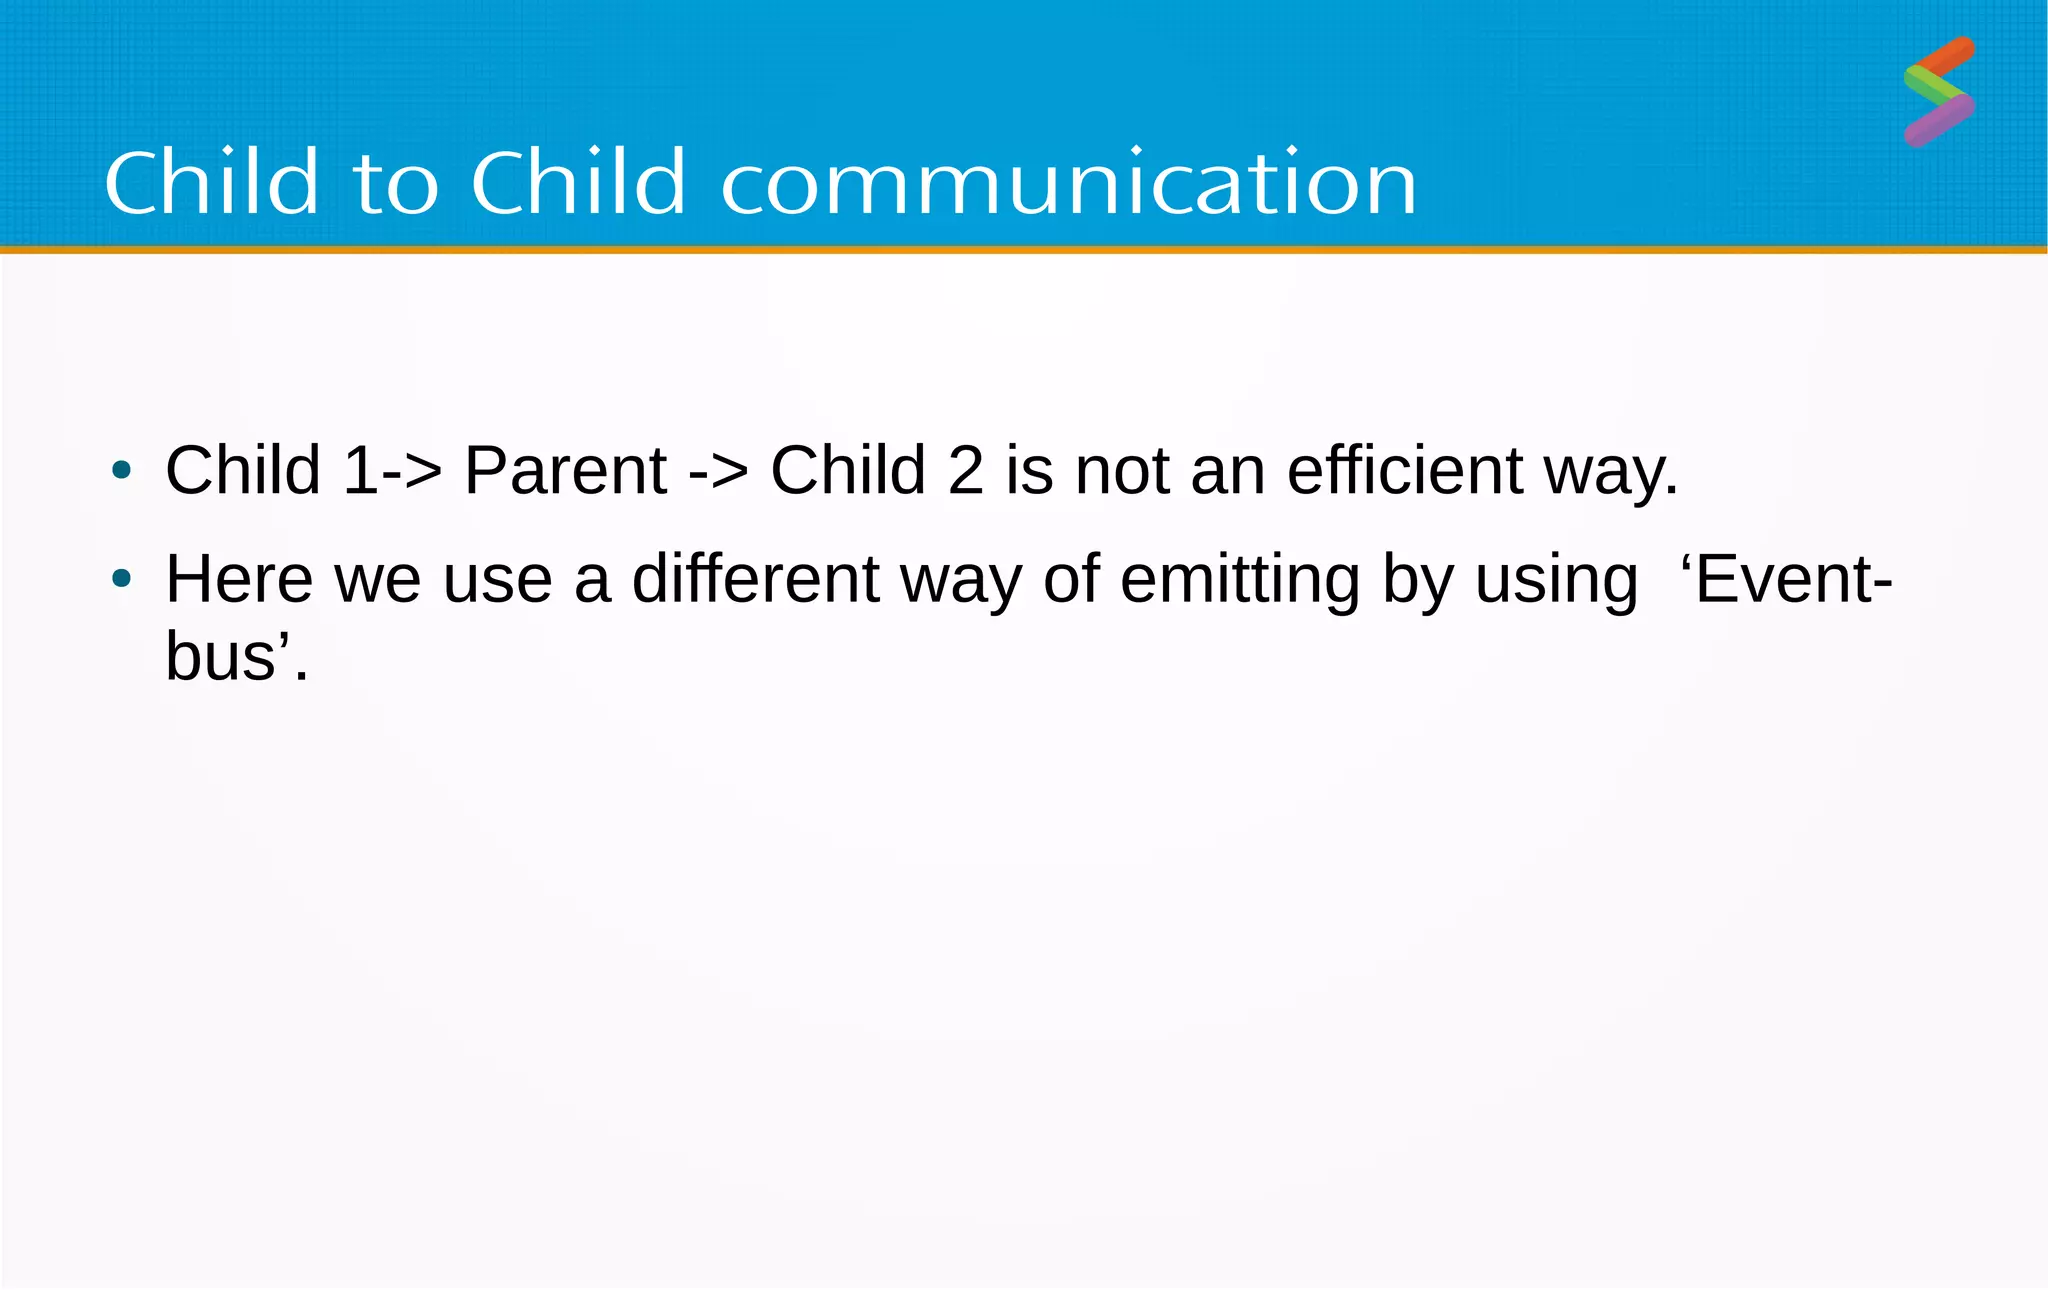
Methods for communication among components: parent-child, child-parent, and sibling components using event emitters.
Introduction to creating reusable components within VueJs for better code modularity.
Use of v-if, v-show, and v-for directives for rendering elements conditionally and iterating over data.
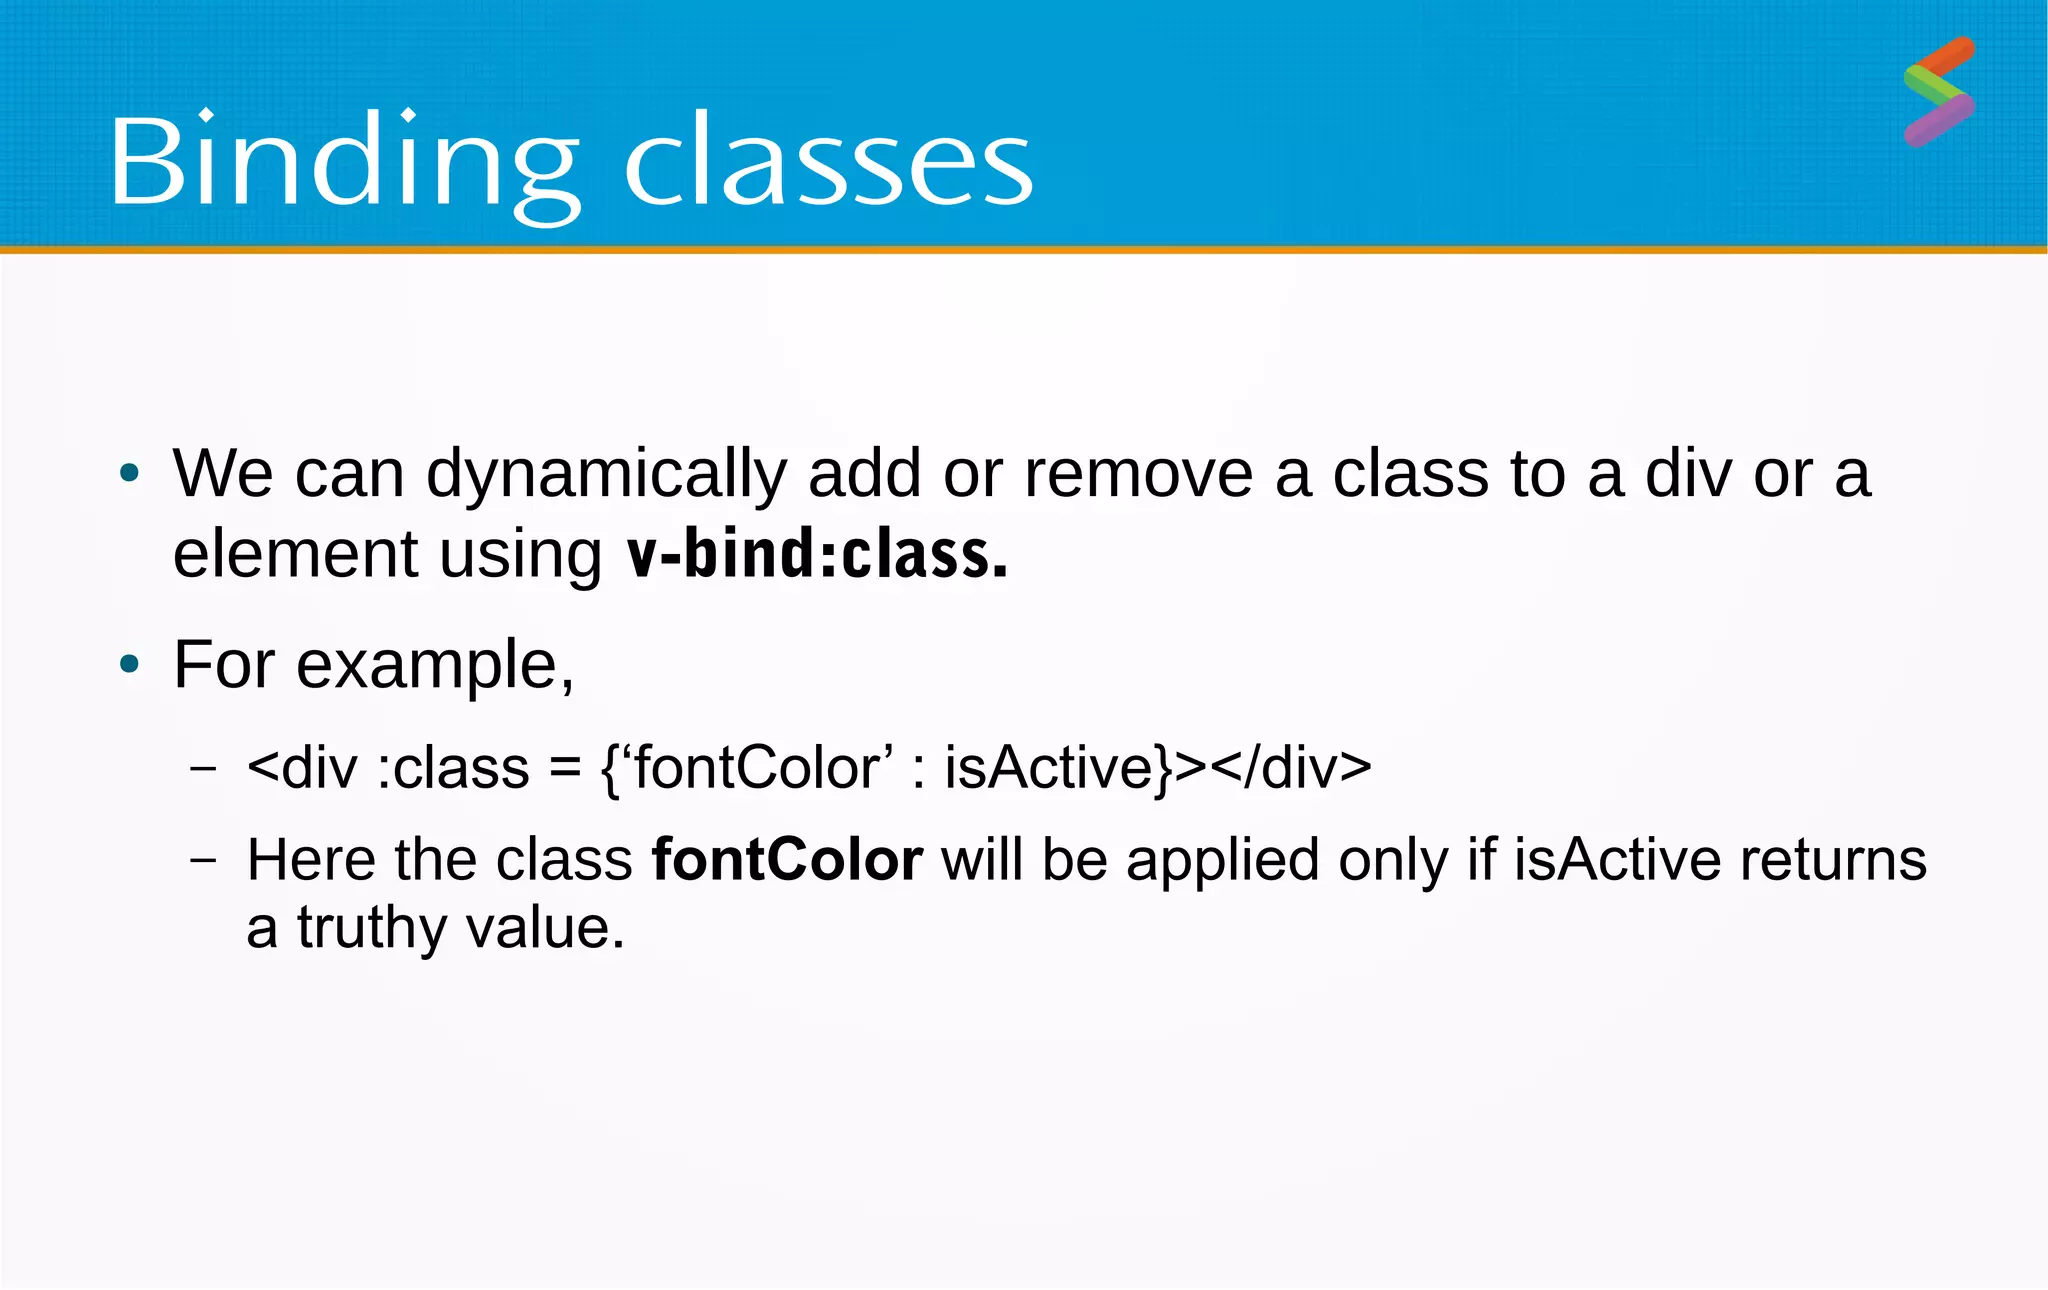
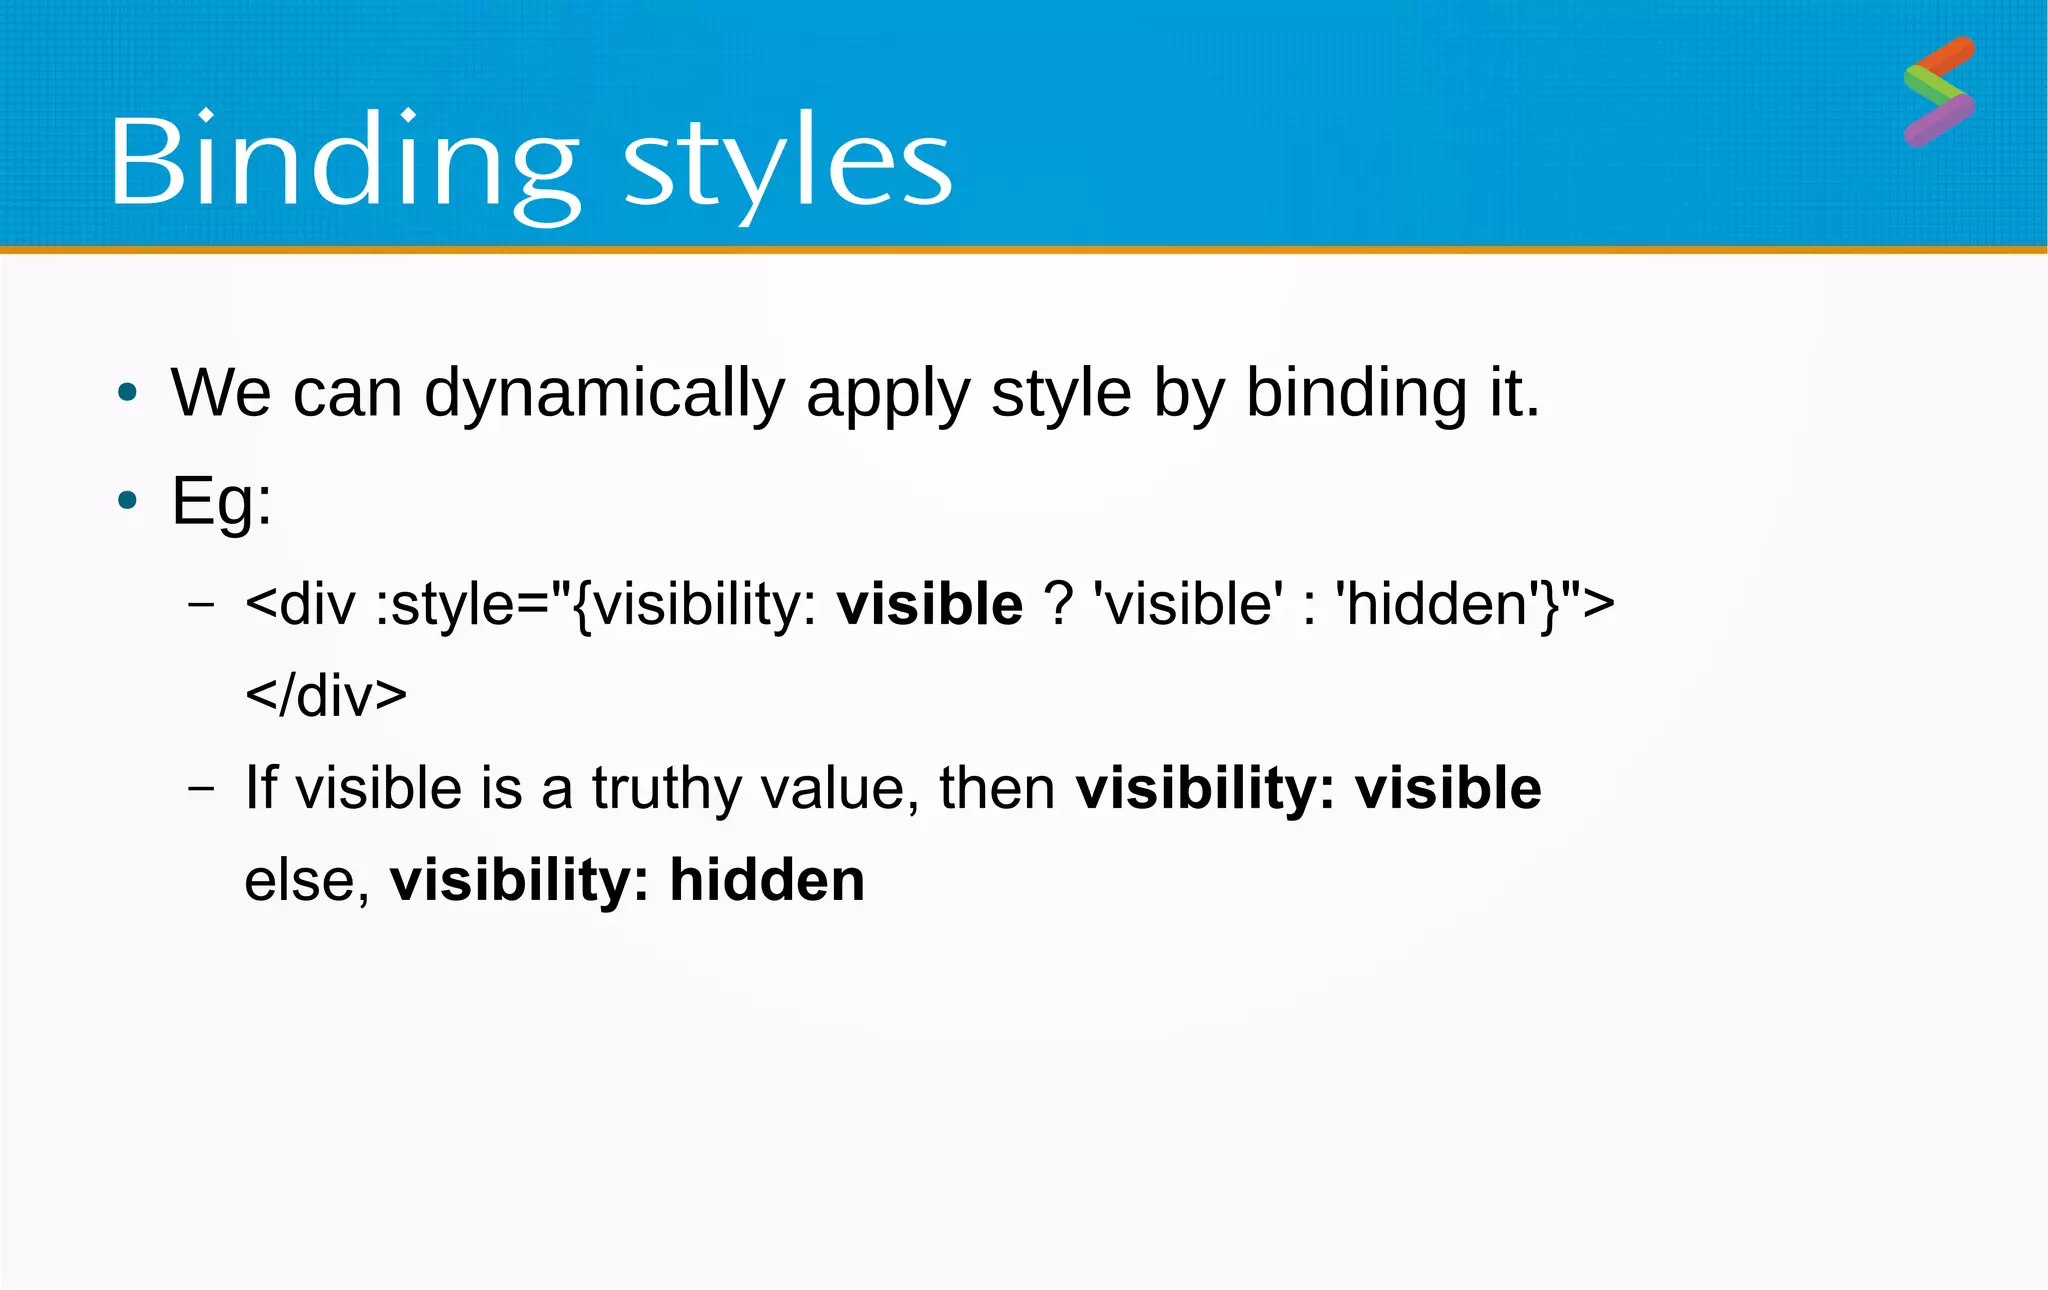
Dynamic binding of classes and styles in VueJs to modify element appearance based on conditions.
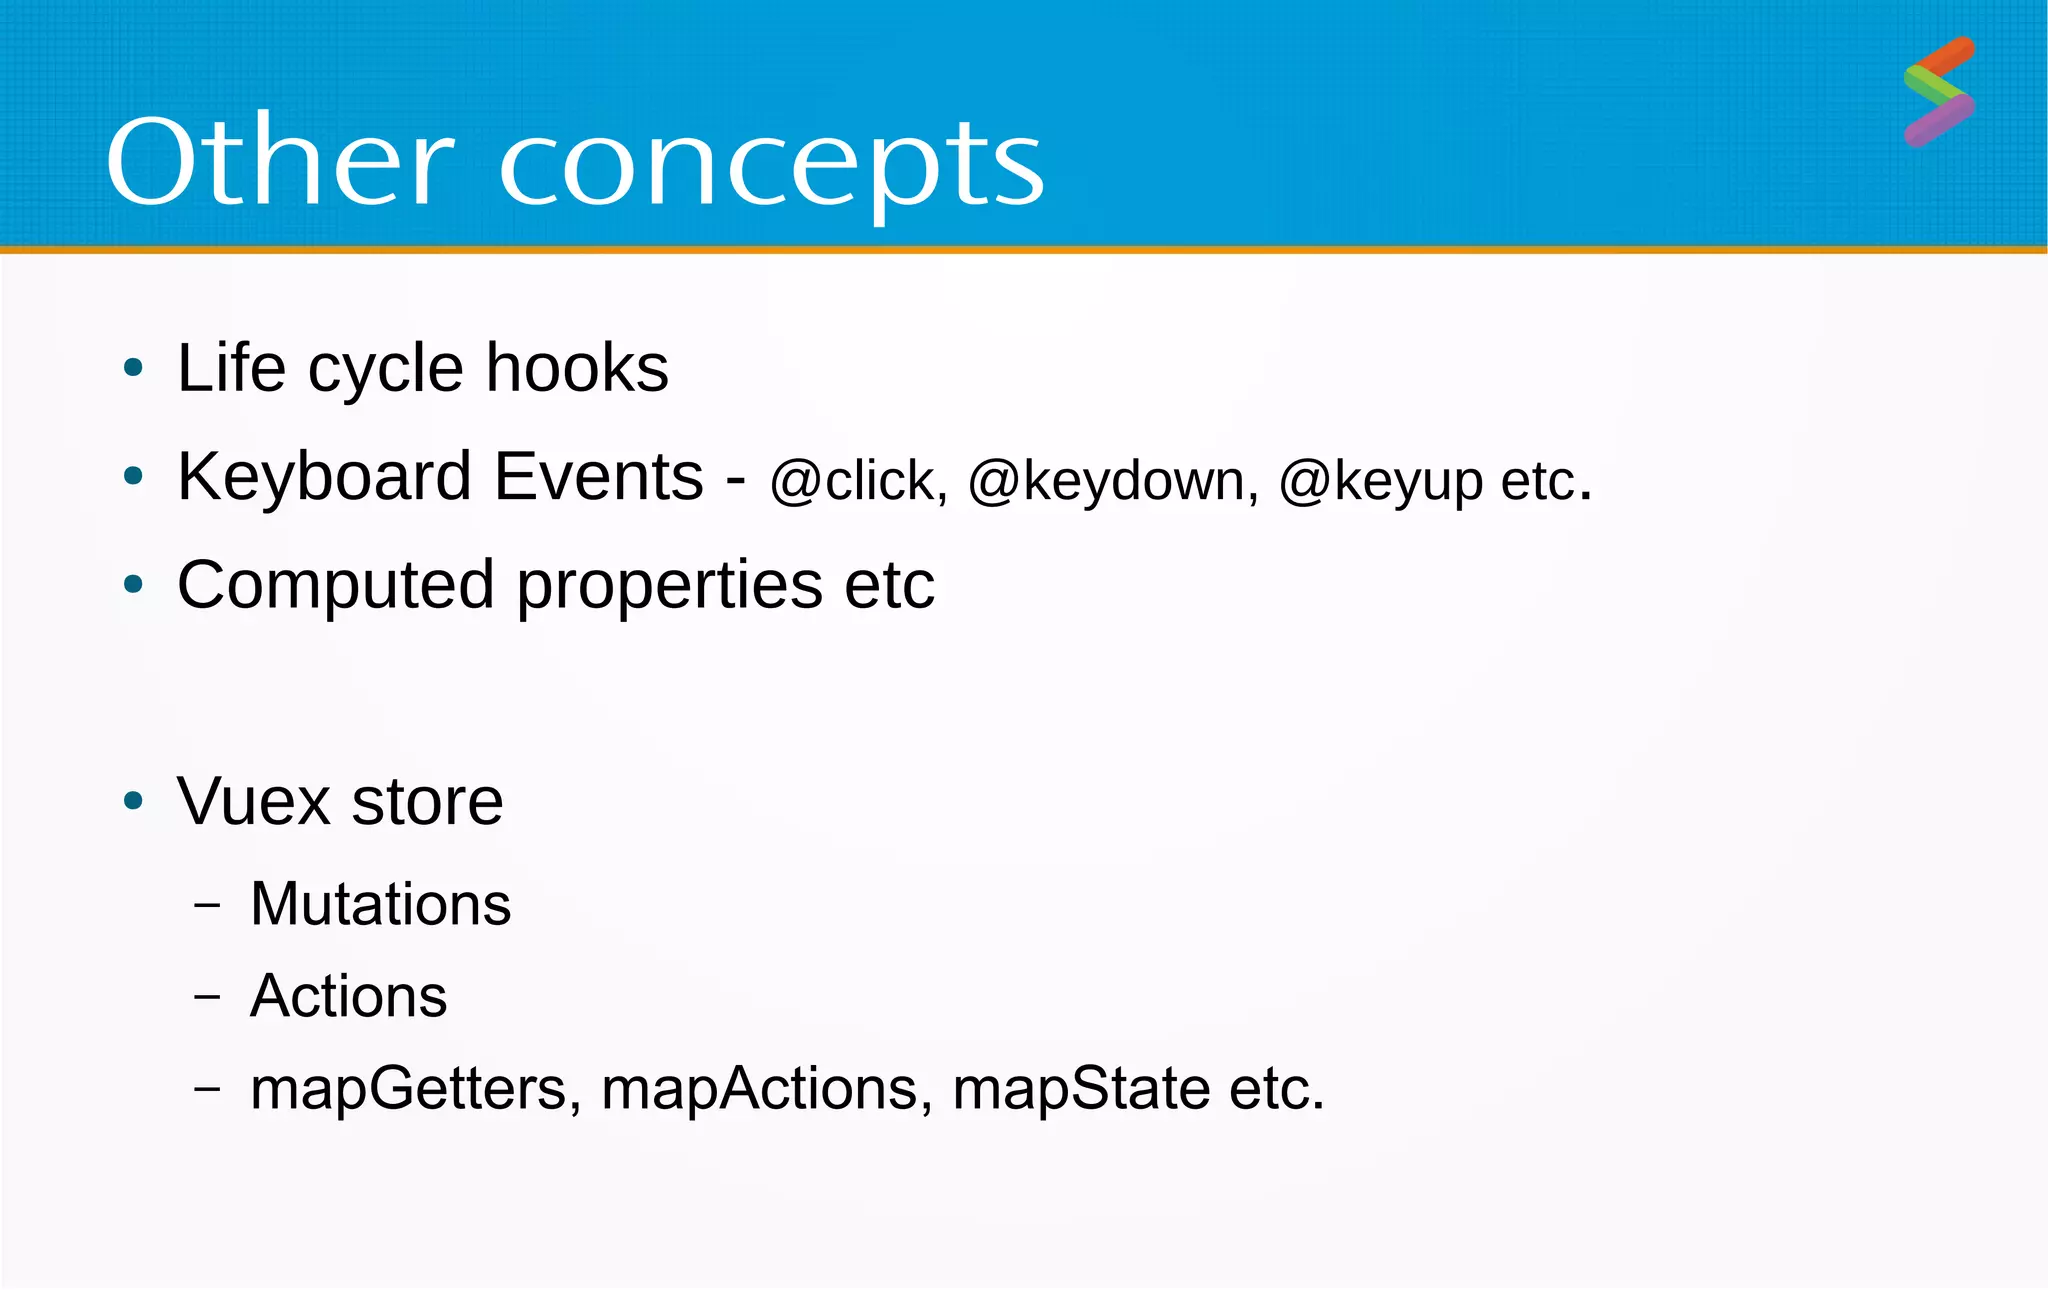
Overview of lifecycle hooks, keyboard events, computed properties, and Vuex store management.
Links to installation guides, tutorial videos, and Vuetify for further learning about VueJs.