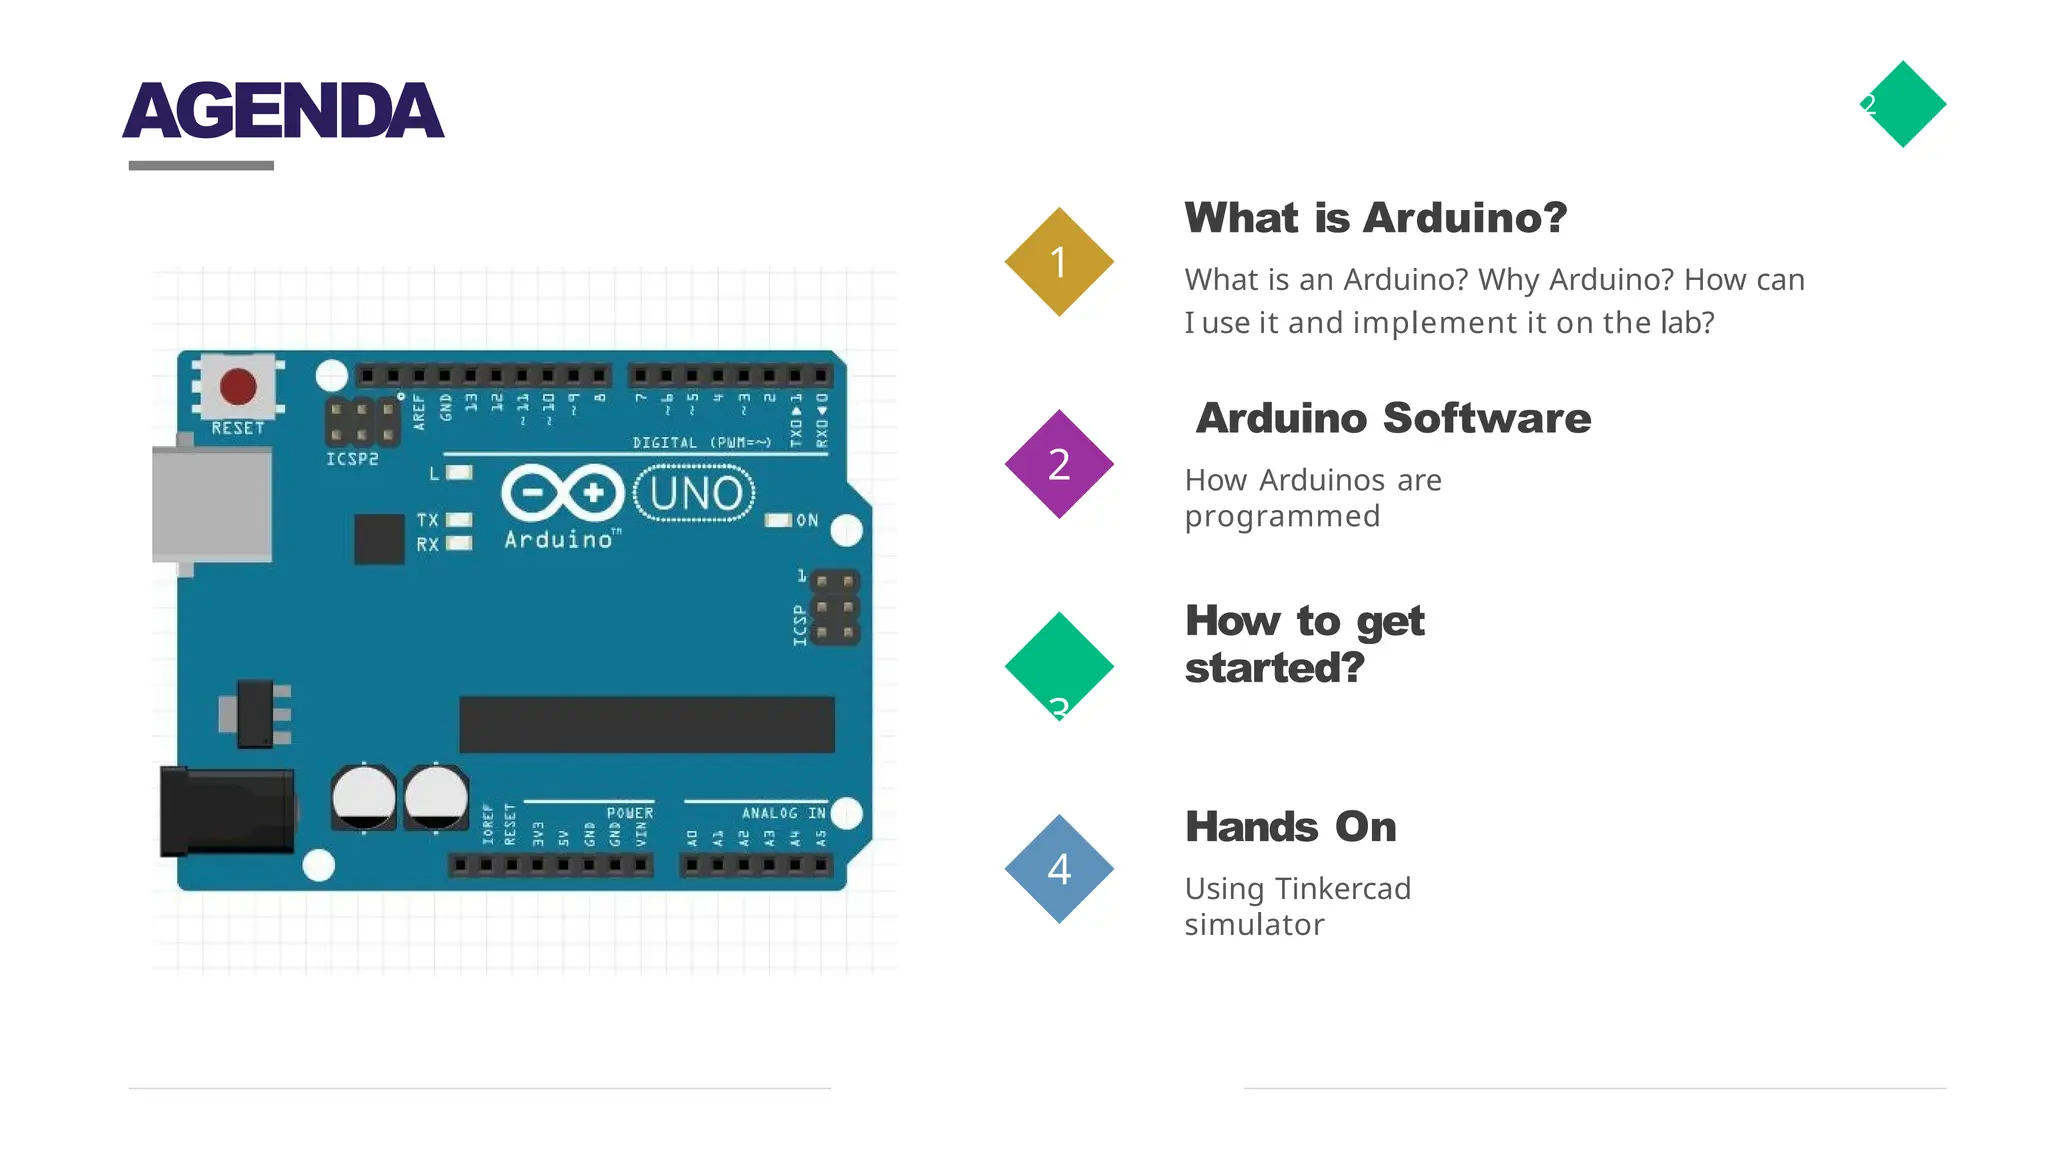
AGENDA 2 1 2 How toget started? 3 4 What is Arduino? What is an Arduino? Why Arduino? How can I use it and implement it on the lab? Arduino Software How Arduinos are programmed Hands On Using Tinkercad simulator
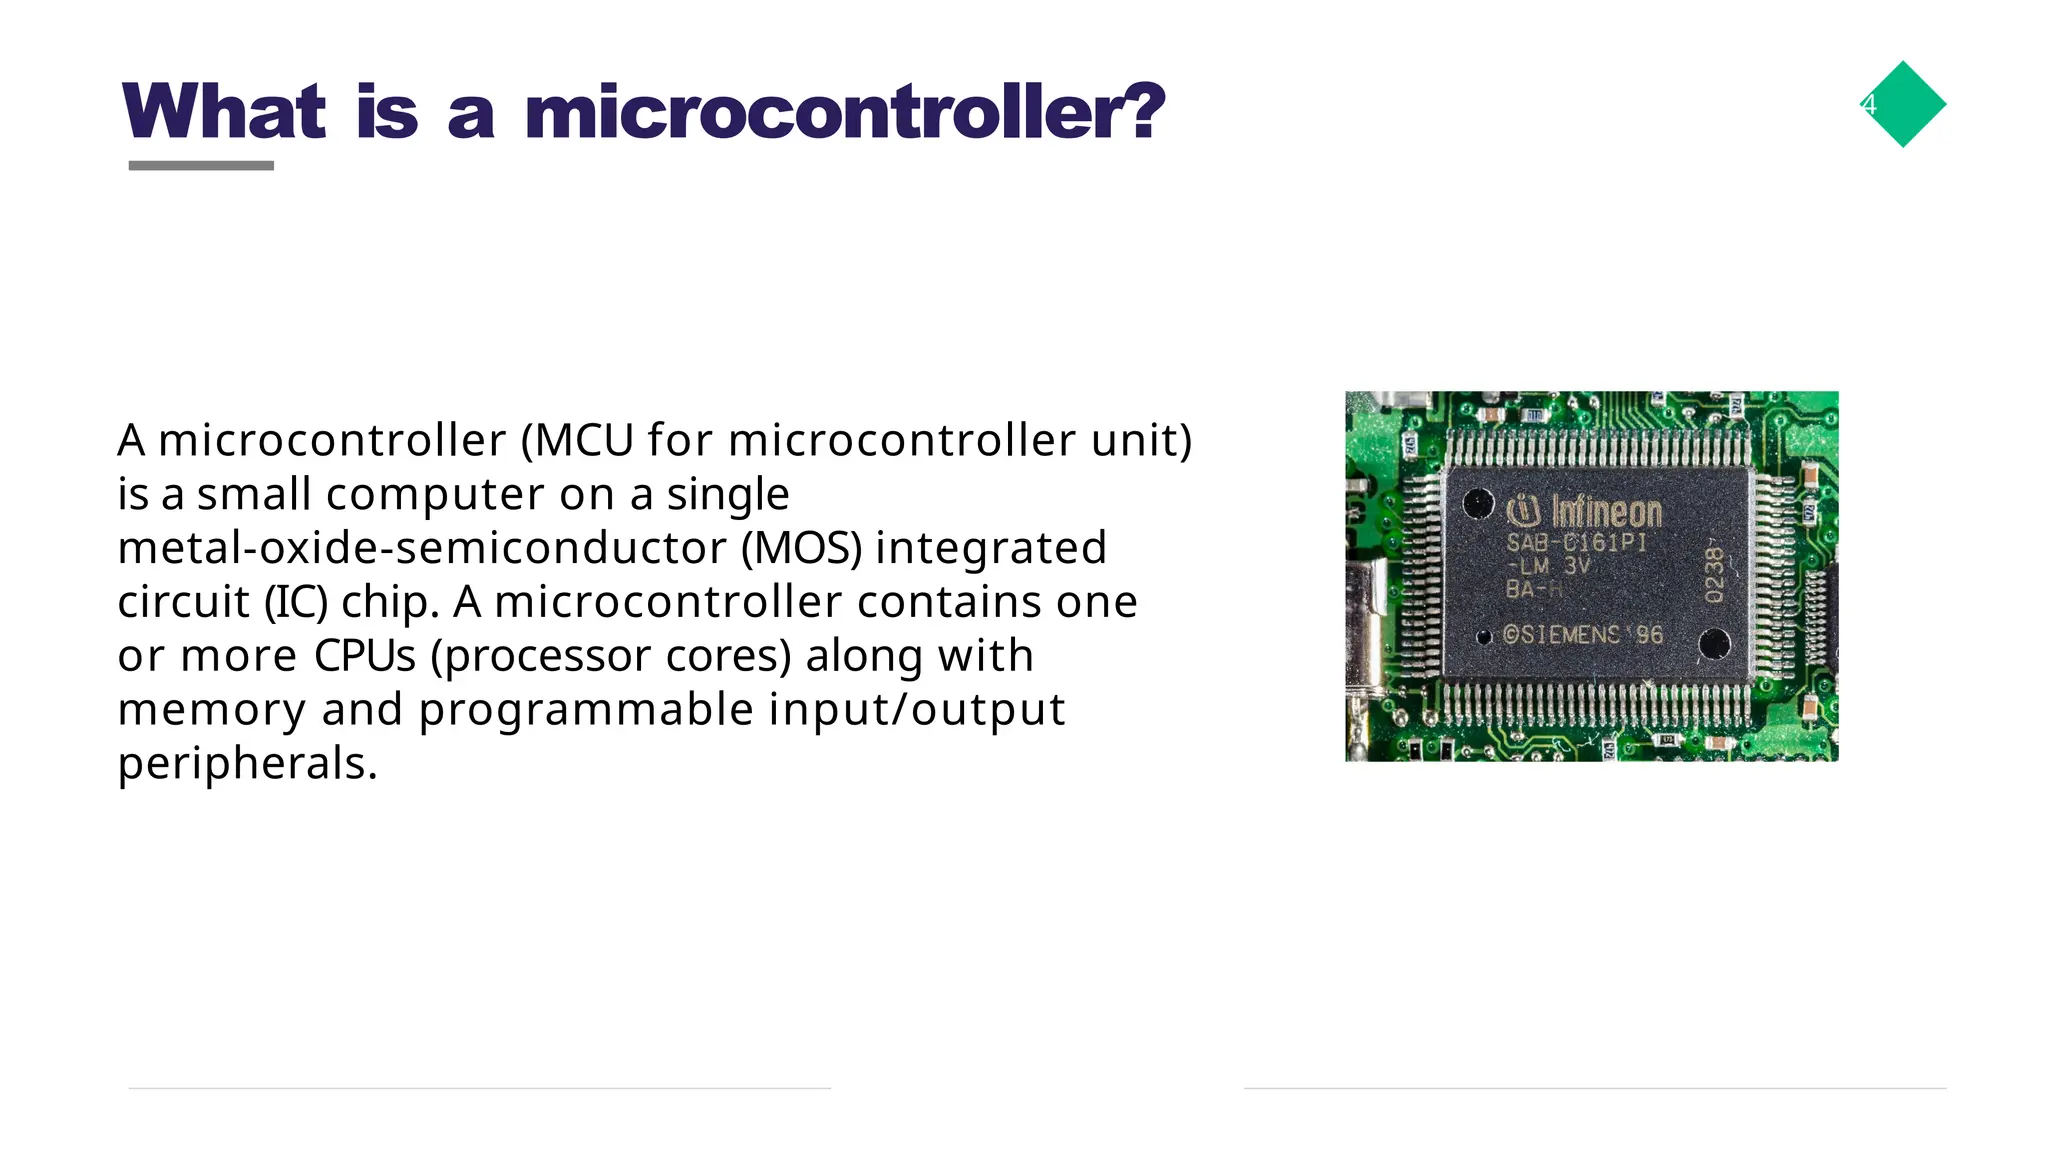
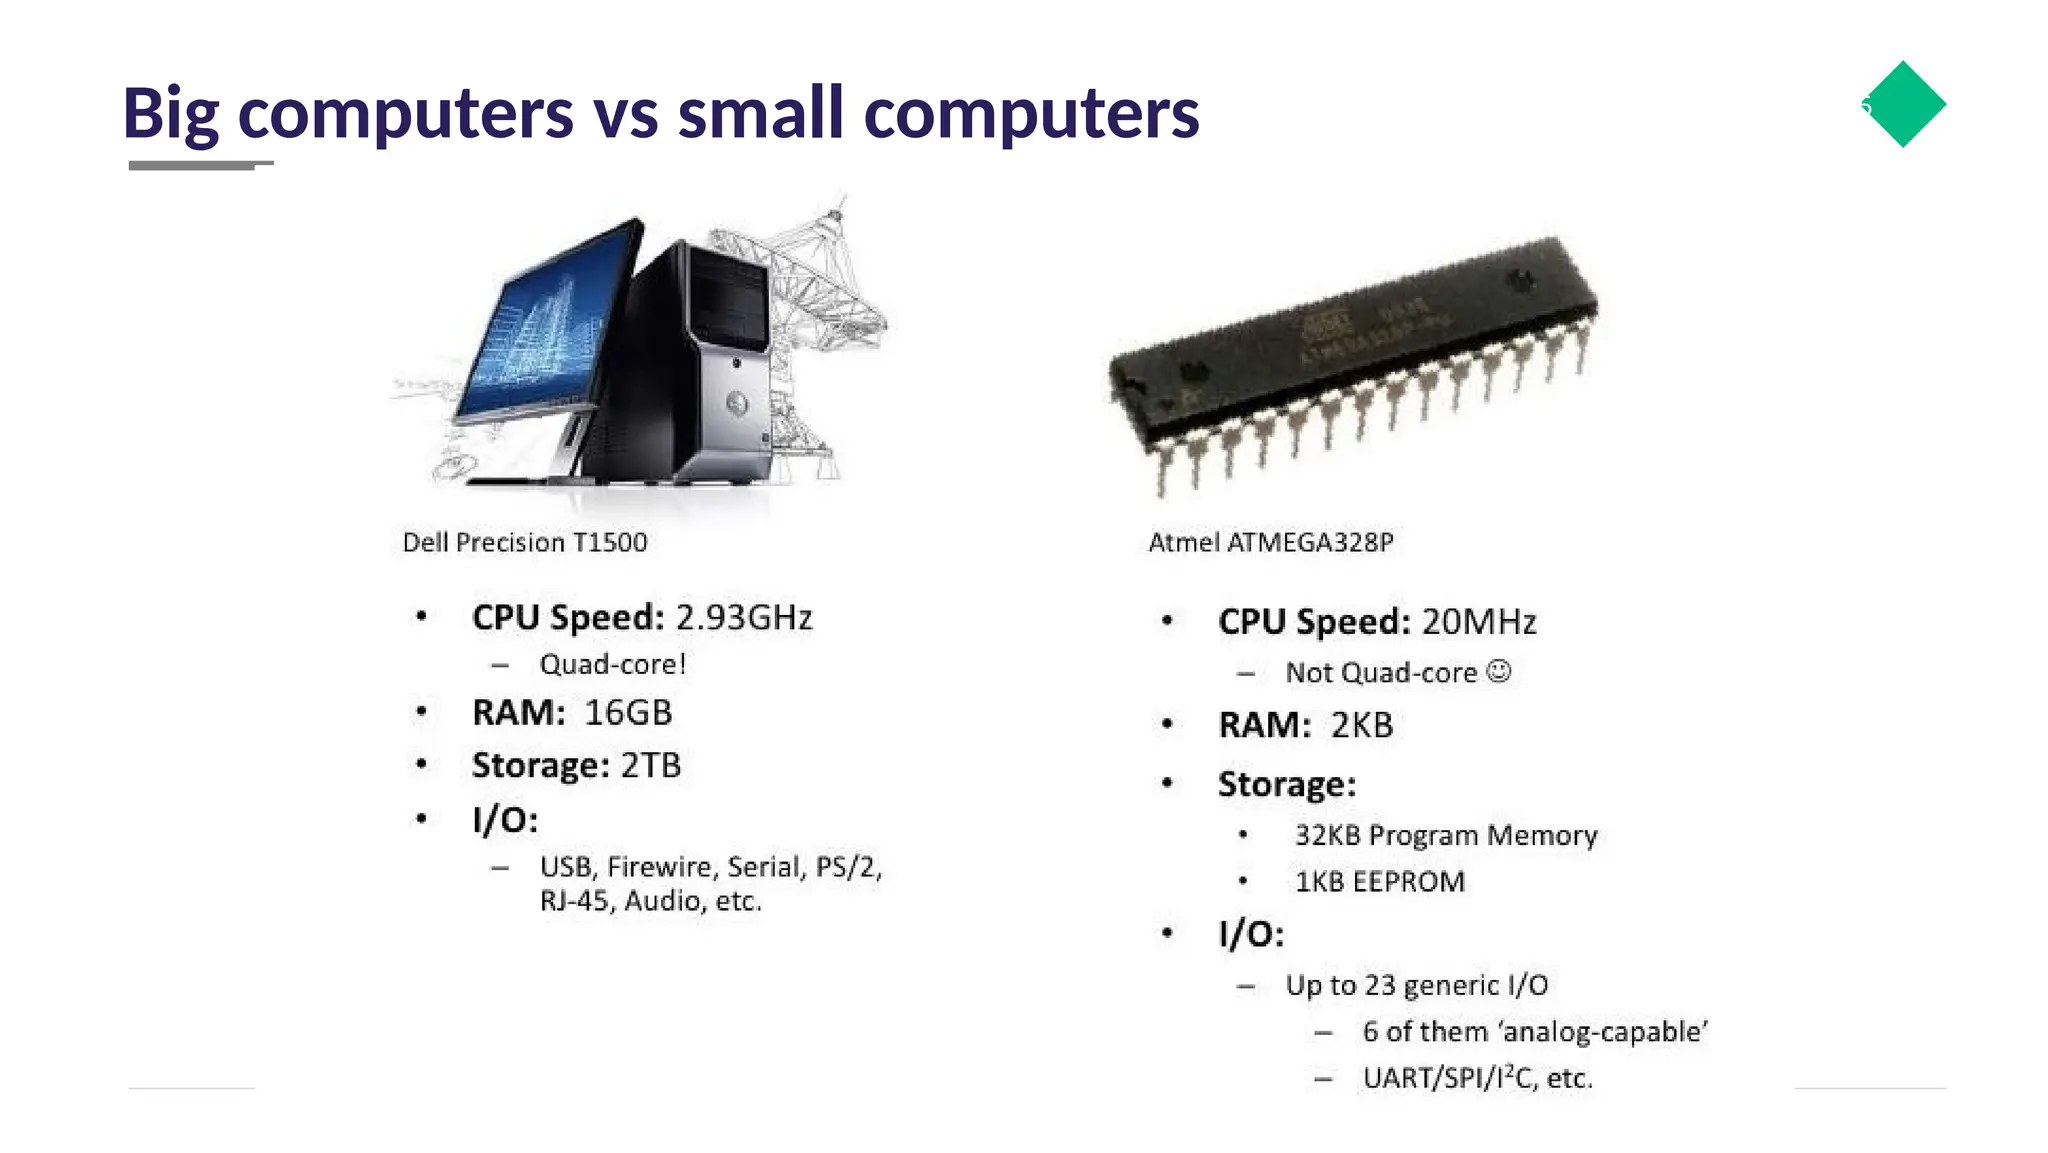
What is amicrocontroller? 4 A microcontroller (MCU for microcontroller unit) is a small computer on a single metal-oxide-semiconductor (MOS) integrated circuit (IC) chip. A microcontroller contains one or more CPUs (processor cores) along with memory and programmable input/output peripherals.
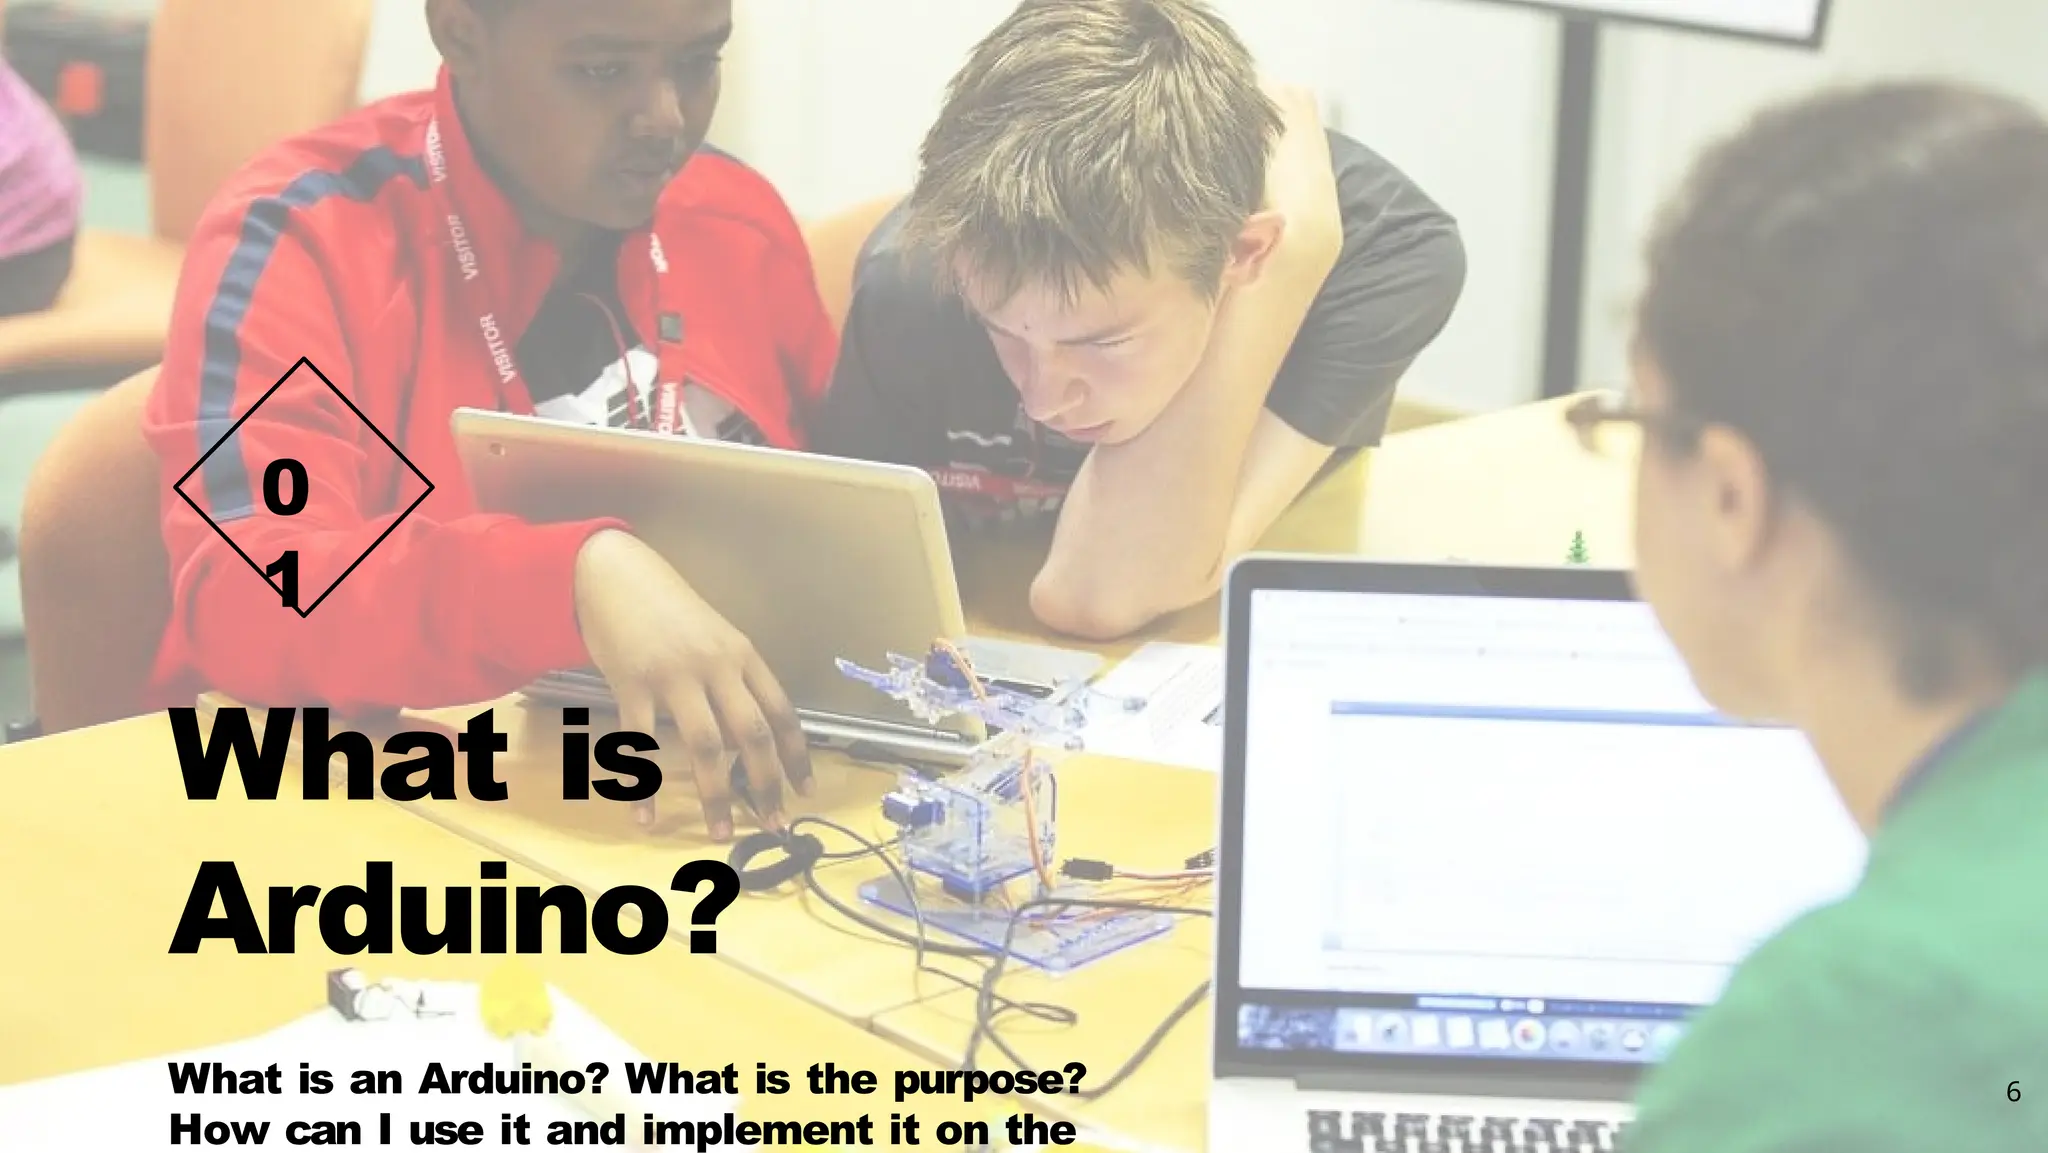
What is Arduino? What isan Arduino? What is the purpose? How can I use it and implement it on the 0 1 6
7.
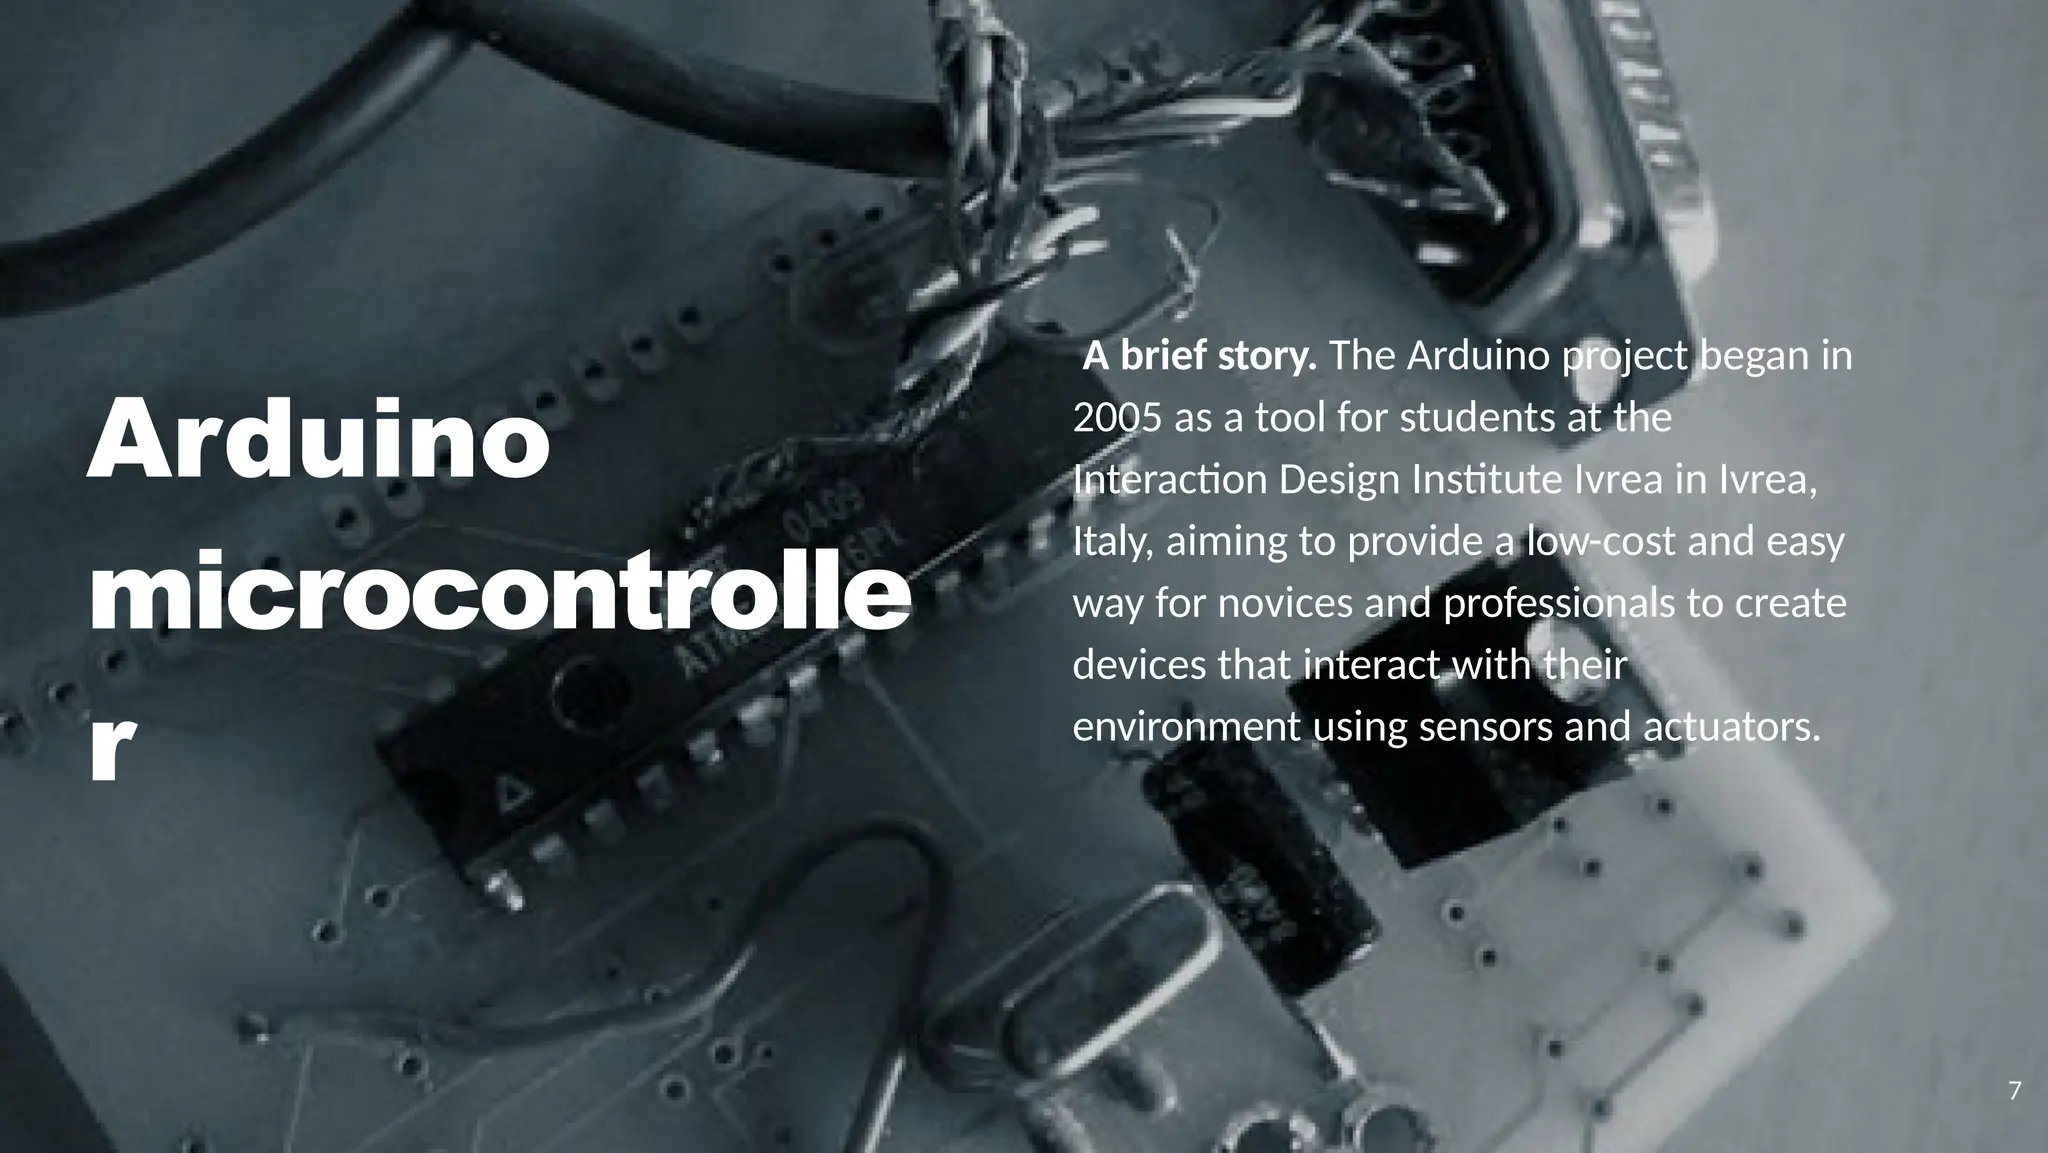
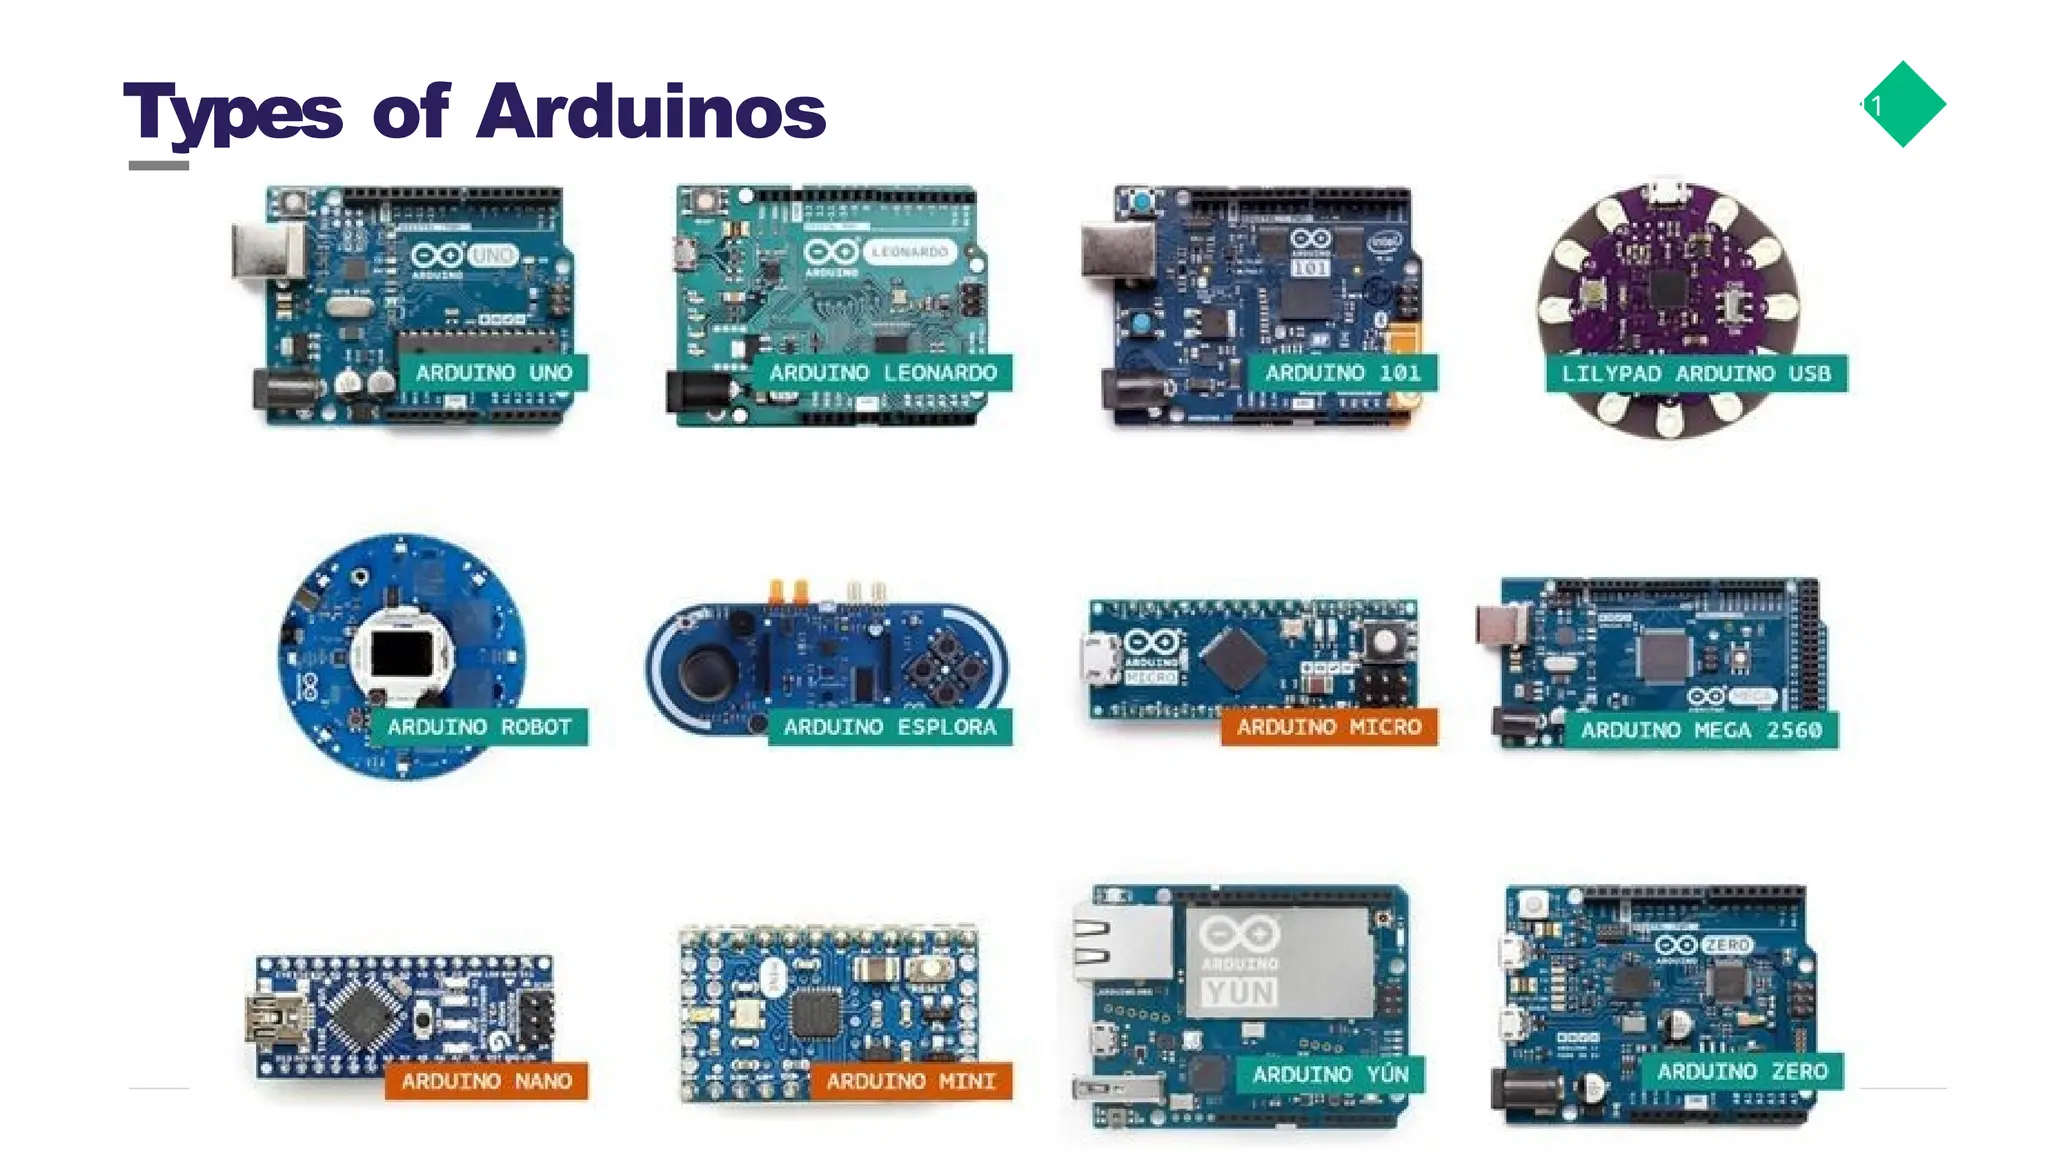
A brief story.The Arduino project began in 2005 as a tool for students at the Interaction Design Institute Ivrea in Ivrea, Italy, aiming to provide a low-cost and easy way for novices and professionals to create devices that interact with their environment using sensors and actuators. Arduino microcontrolle r 7
8.
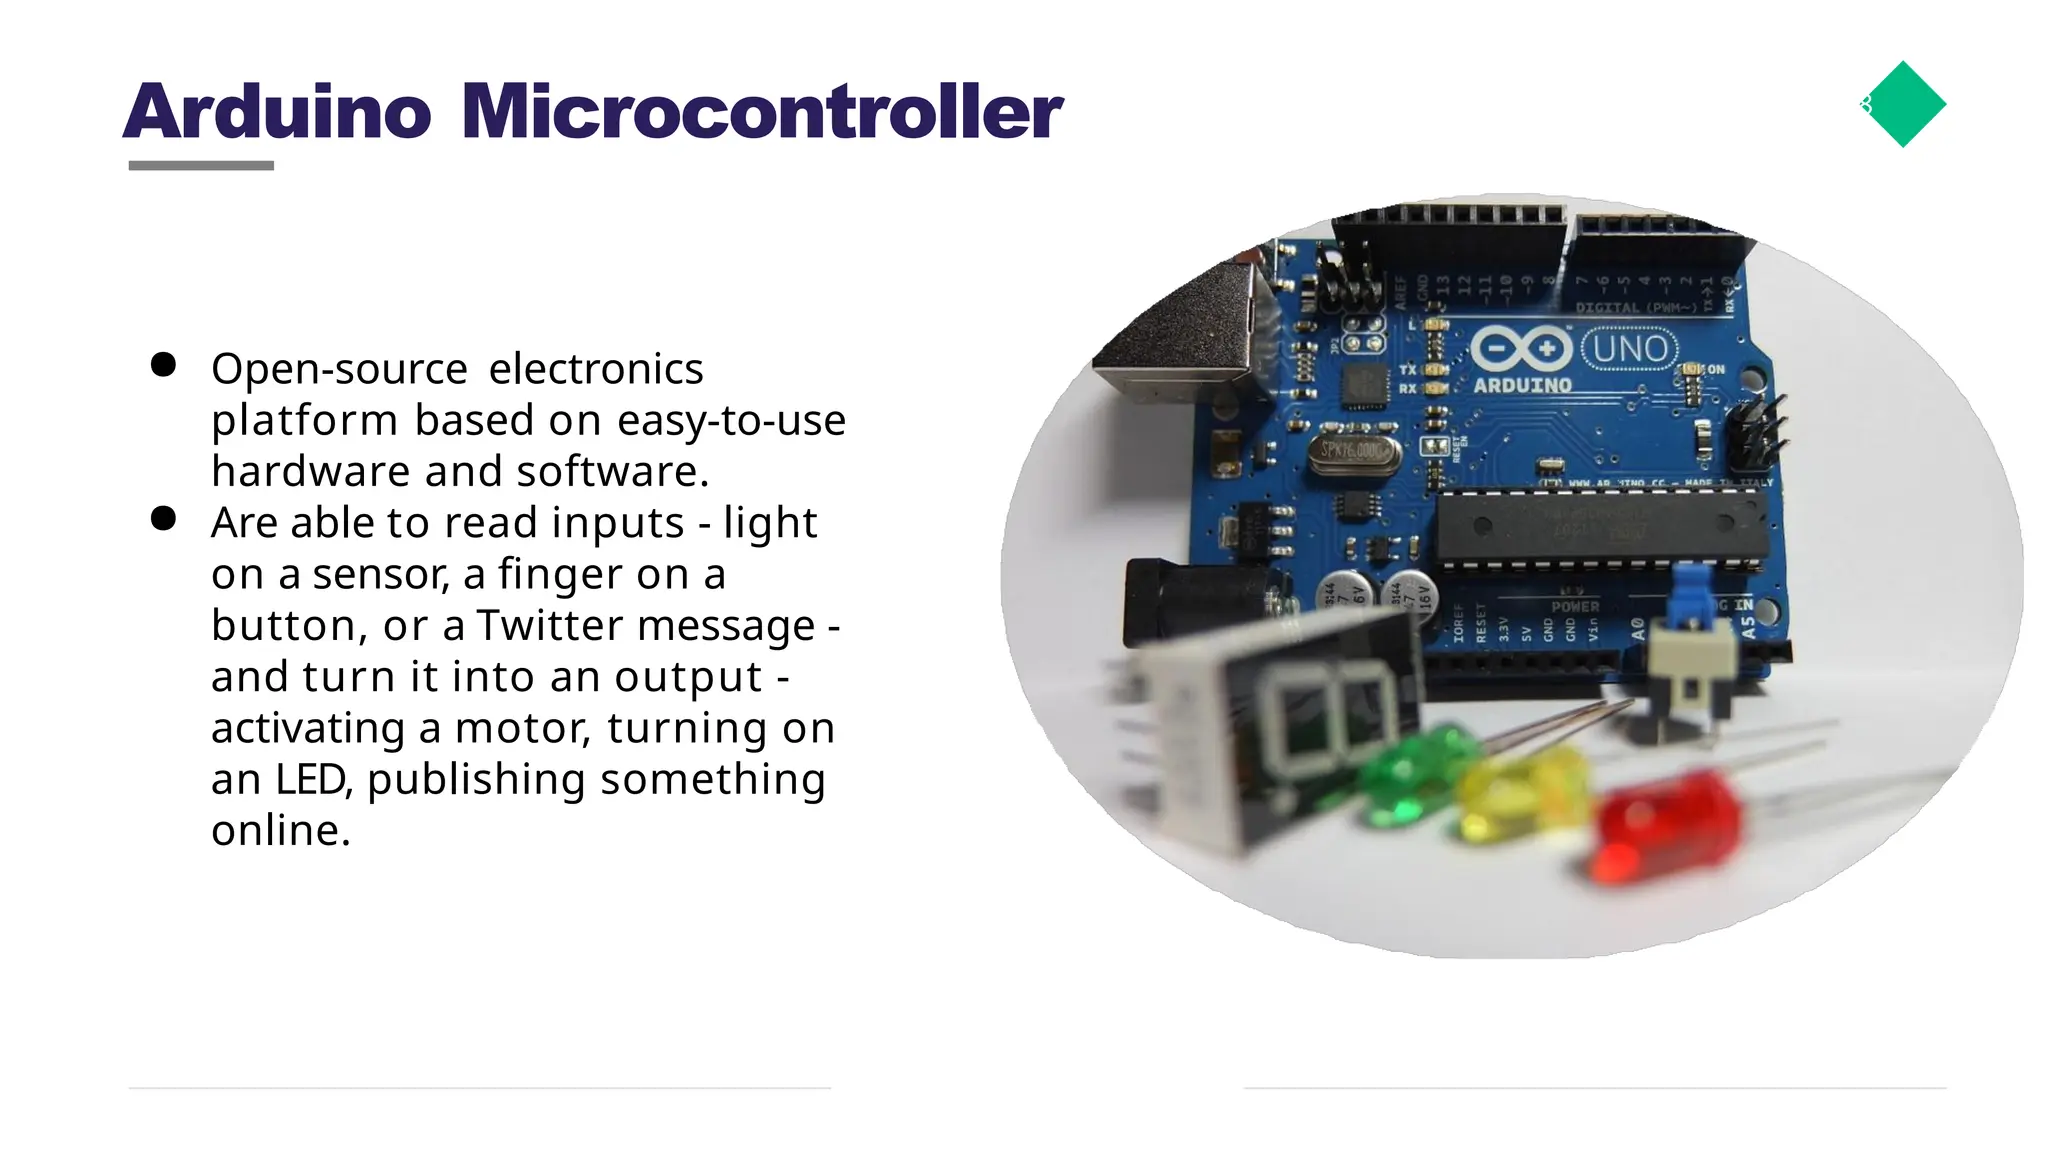
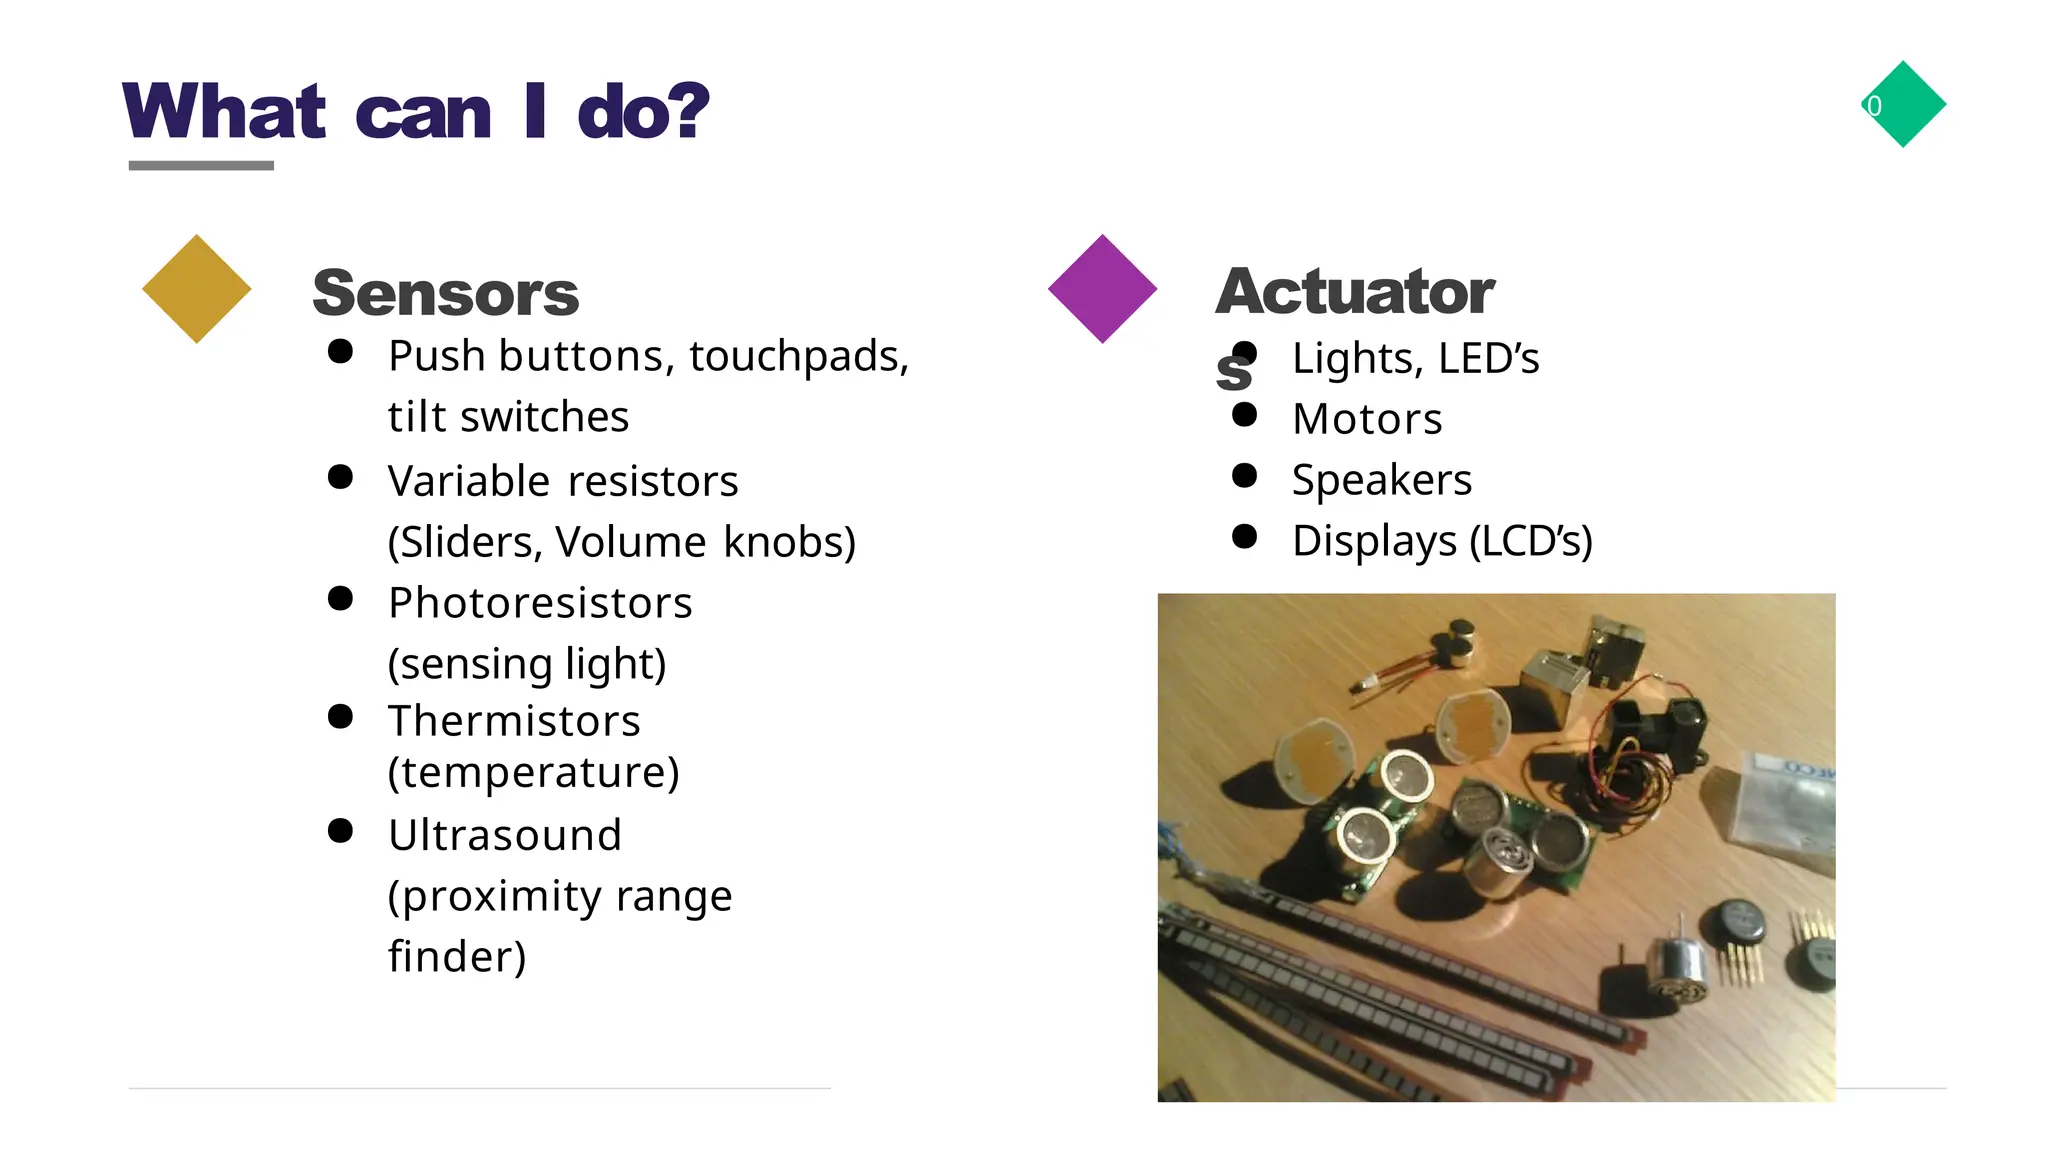
Arduino Microcontroller 8 ●Open-source electronics platform based on easy-to-use hardware and software. ● Are able to read inputs - light on a sensor, a finger on a button, or a Twitter message - and turn it into an output - activating a motor, turning on an LED, publishing something online.
9.
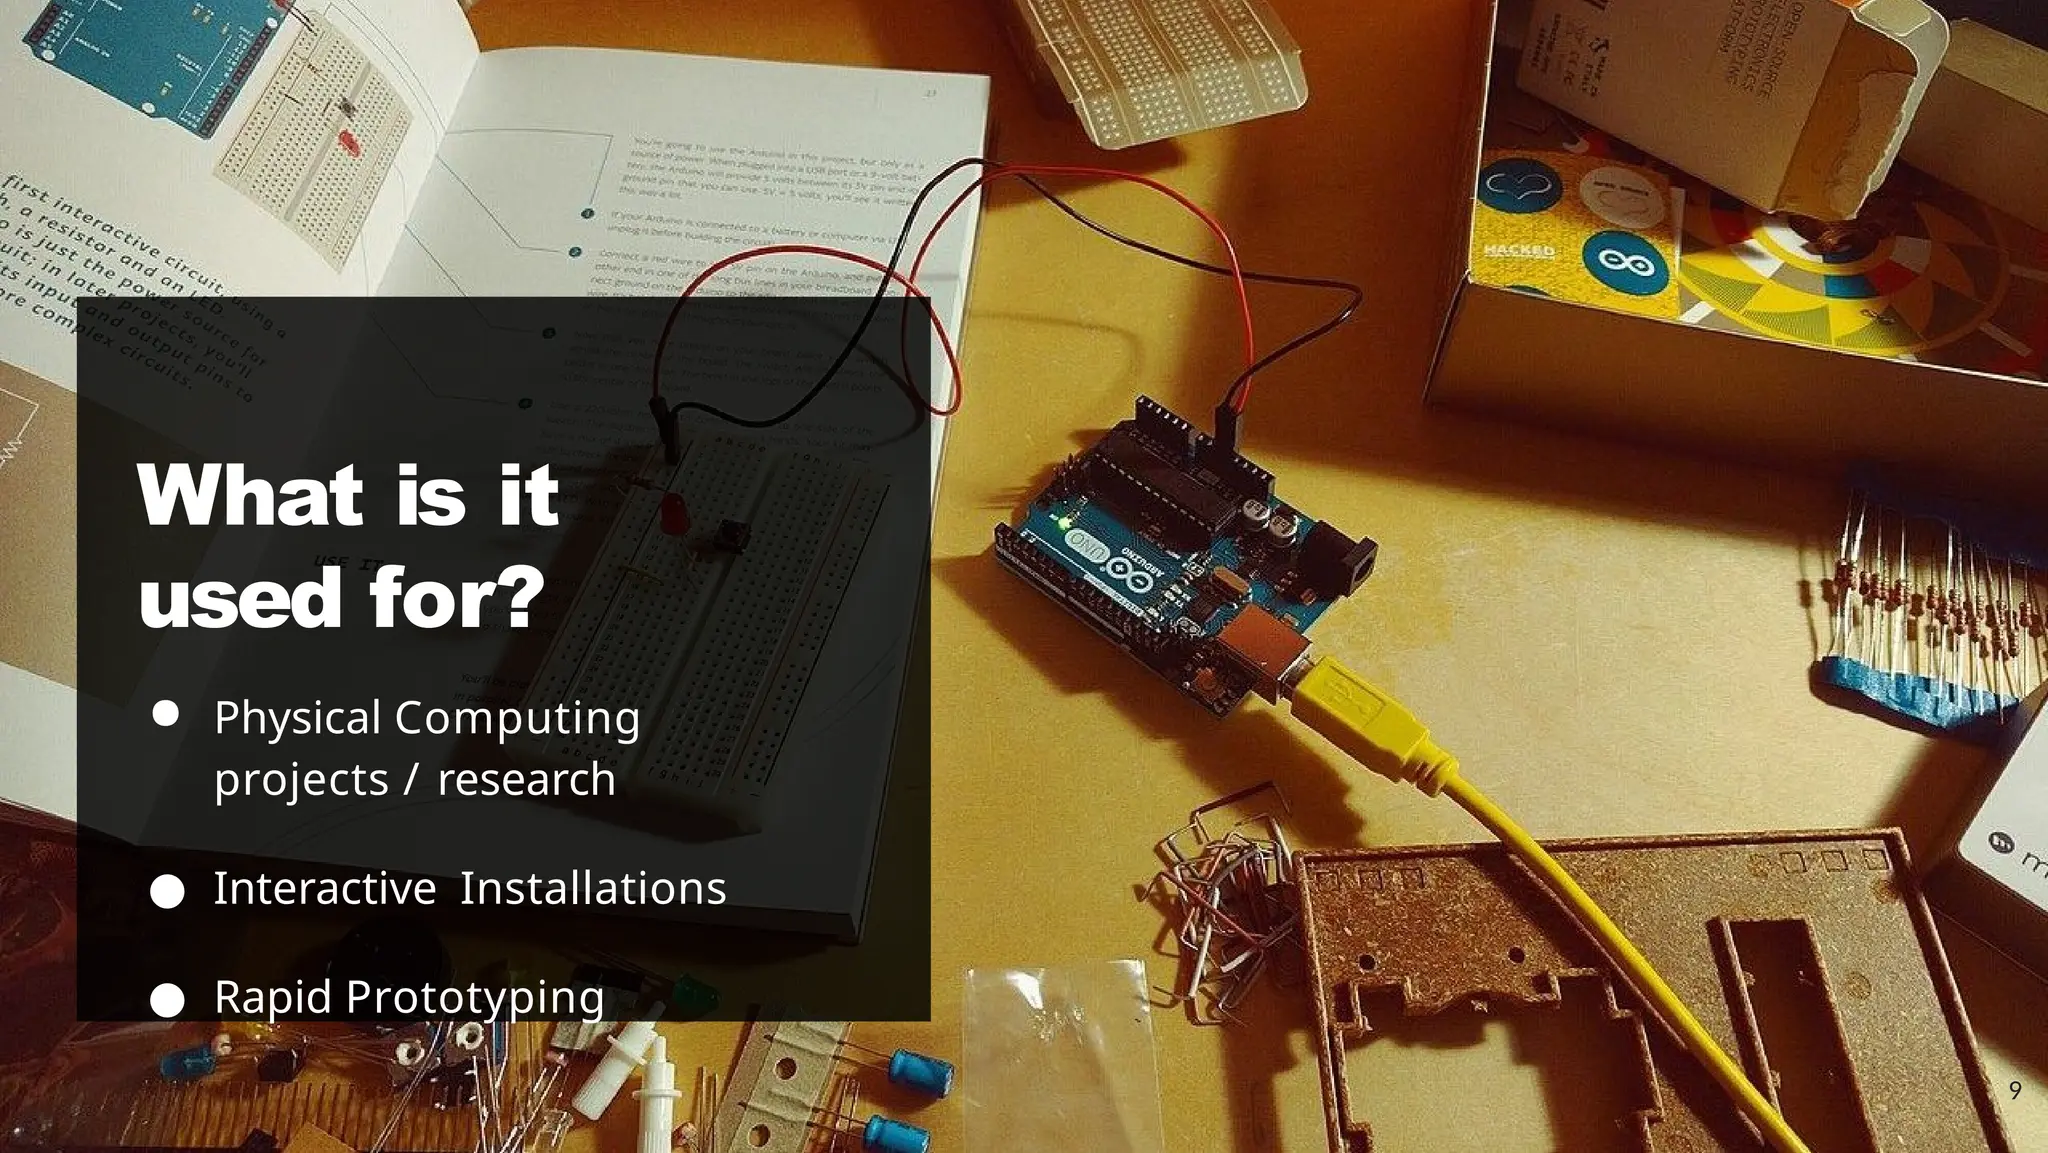
9 What is it usedfor? ● Physical Computing projects / research ● Interactive Installations ● Rapid Prototyping
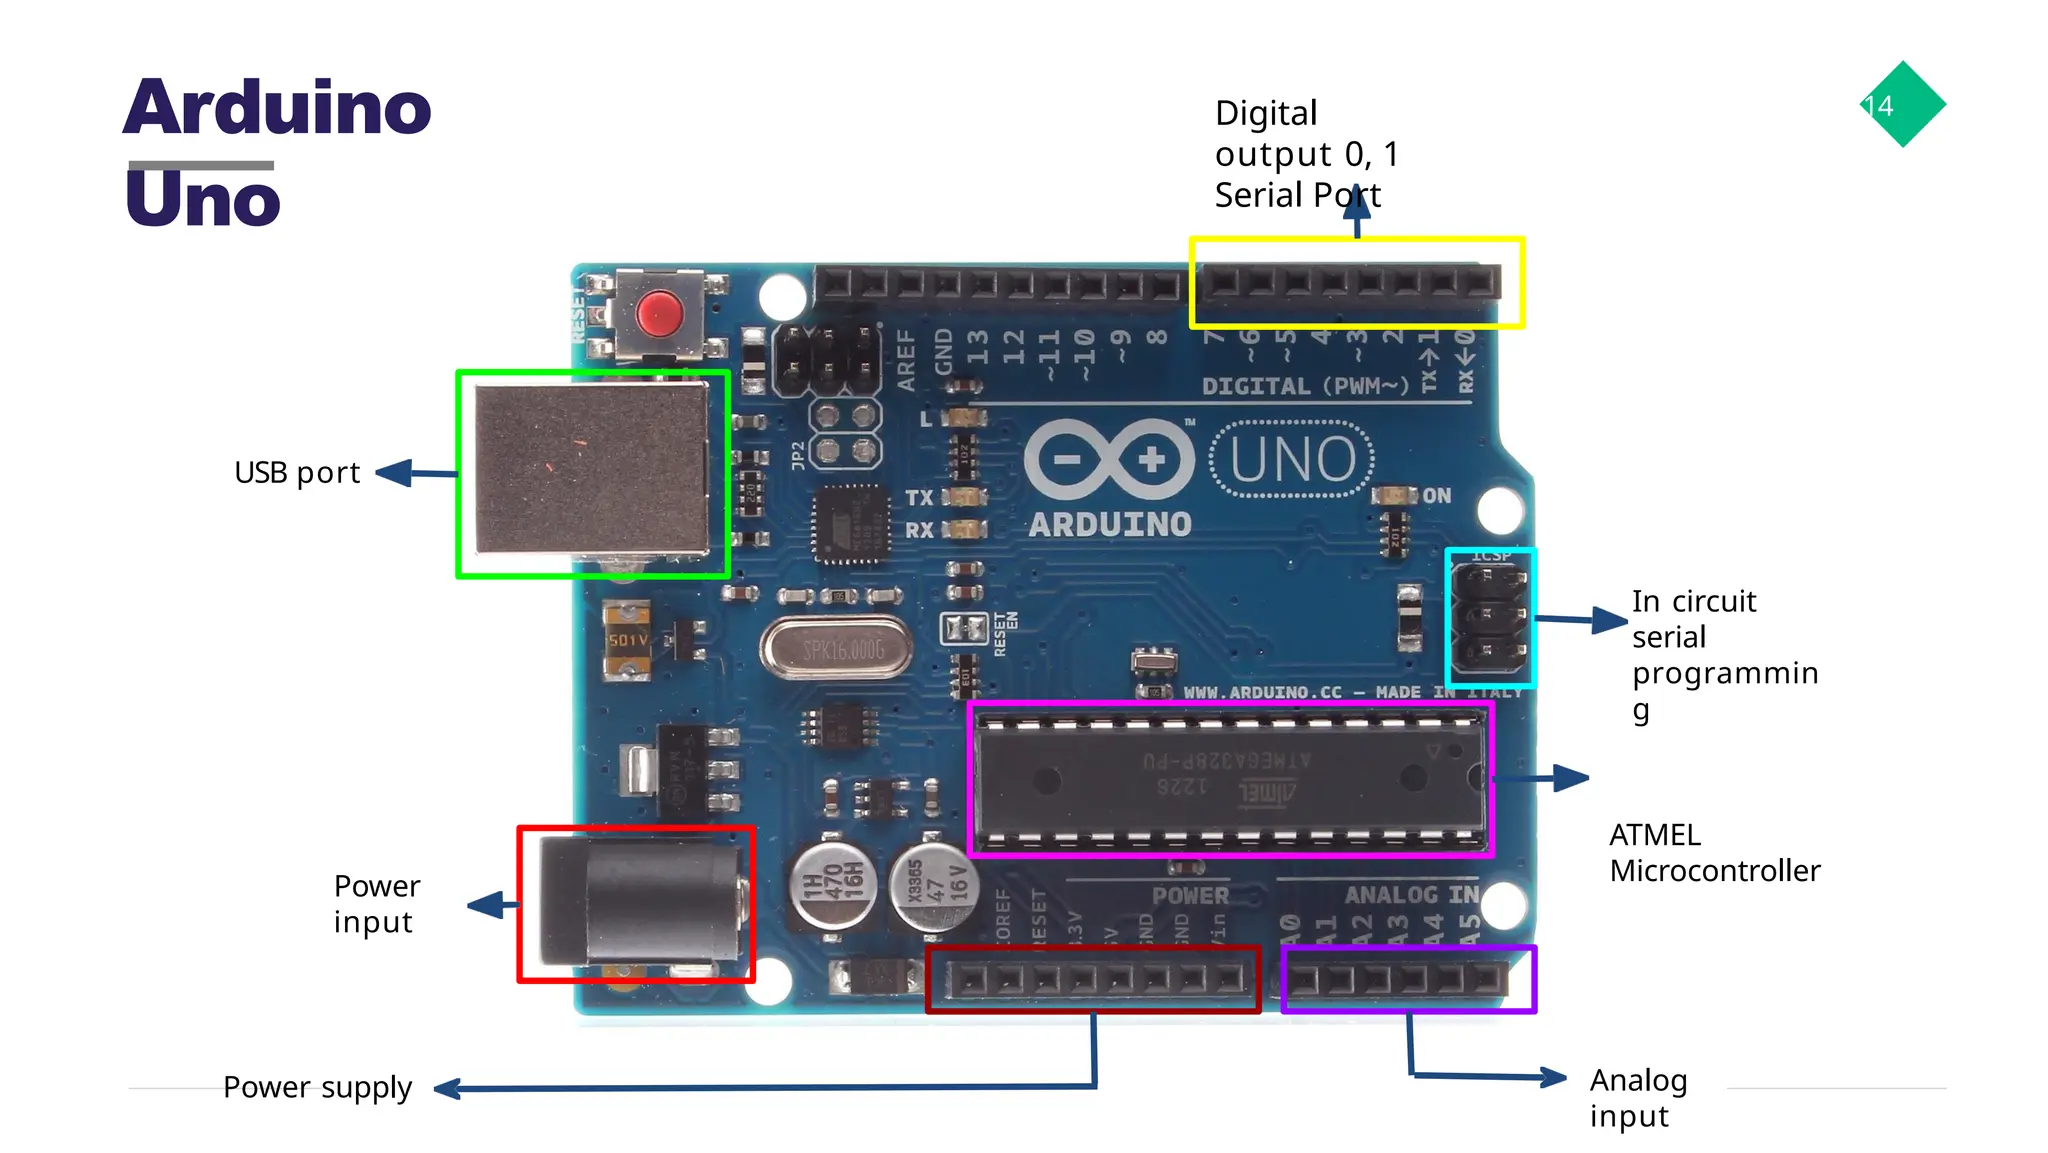
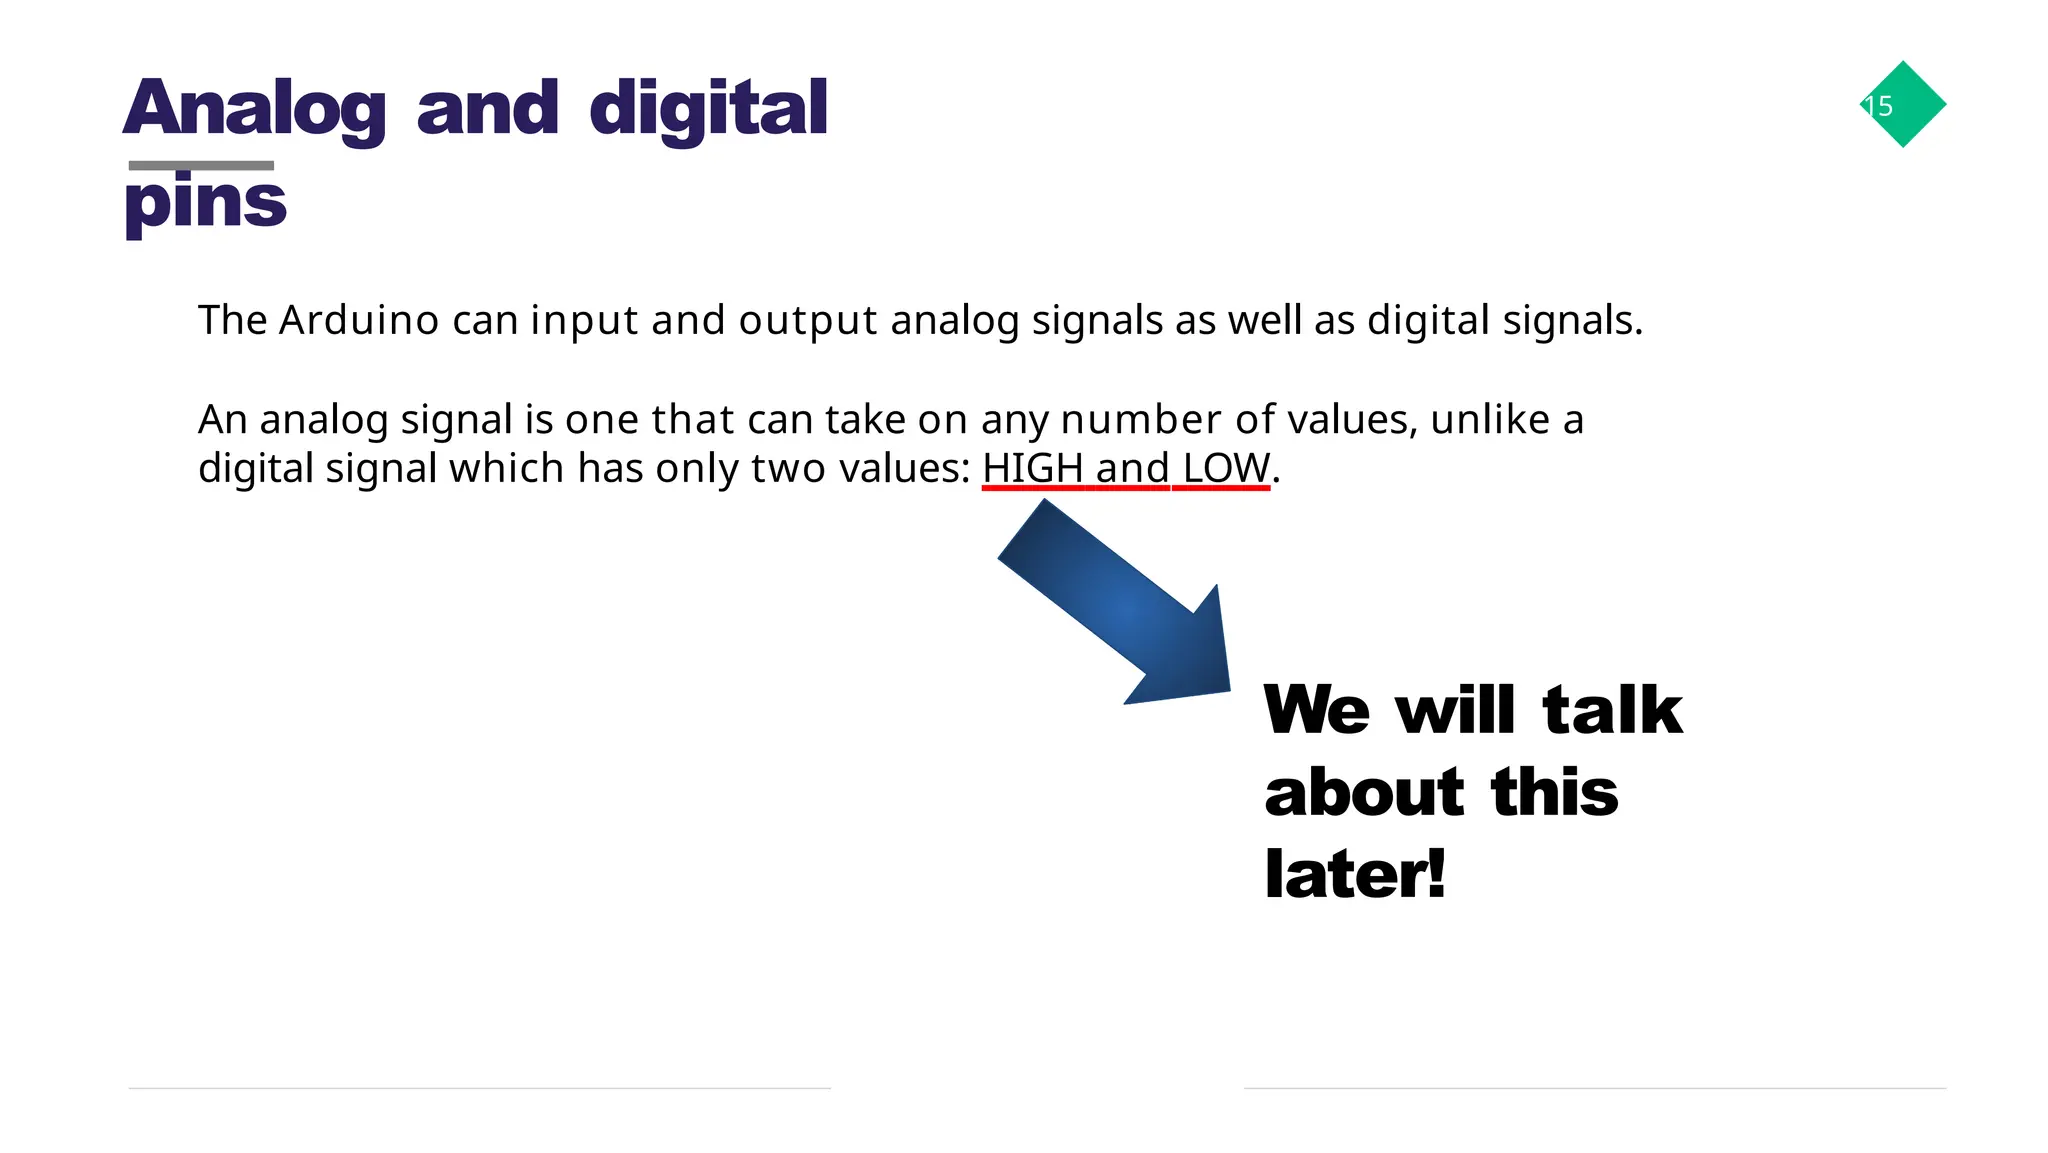
Analog and digital pins 15 TheArduino can input and output analog signals as well as digital signals. An analog signal is one that can take on any number of values, unlike a digital signal which has only two values: HIGH and LOW. We will talk about this later!
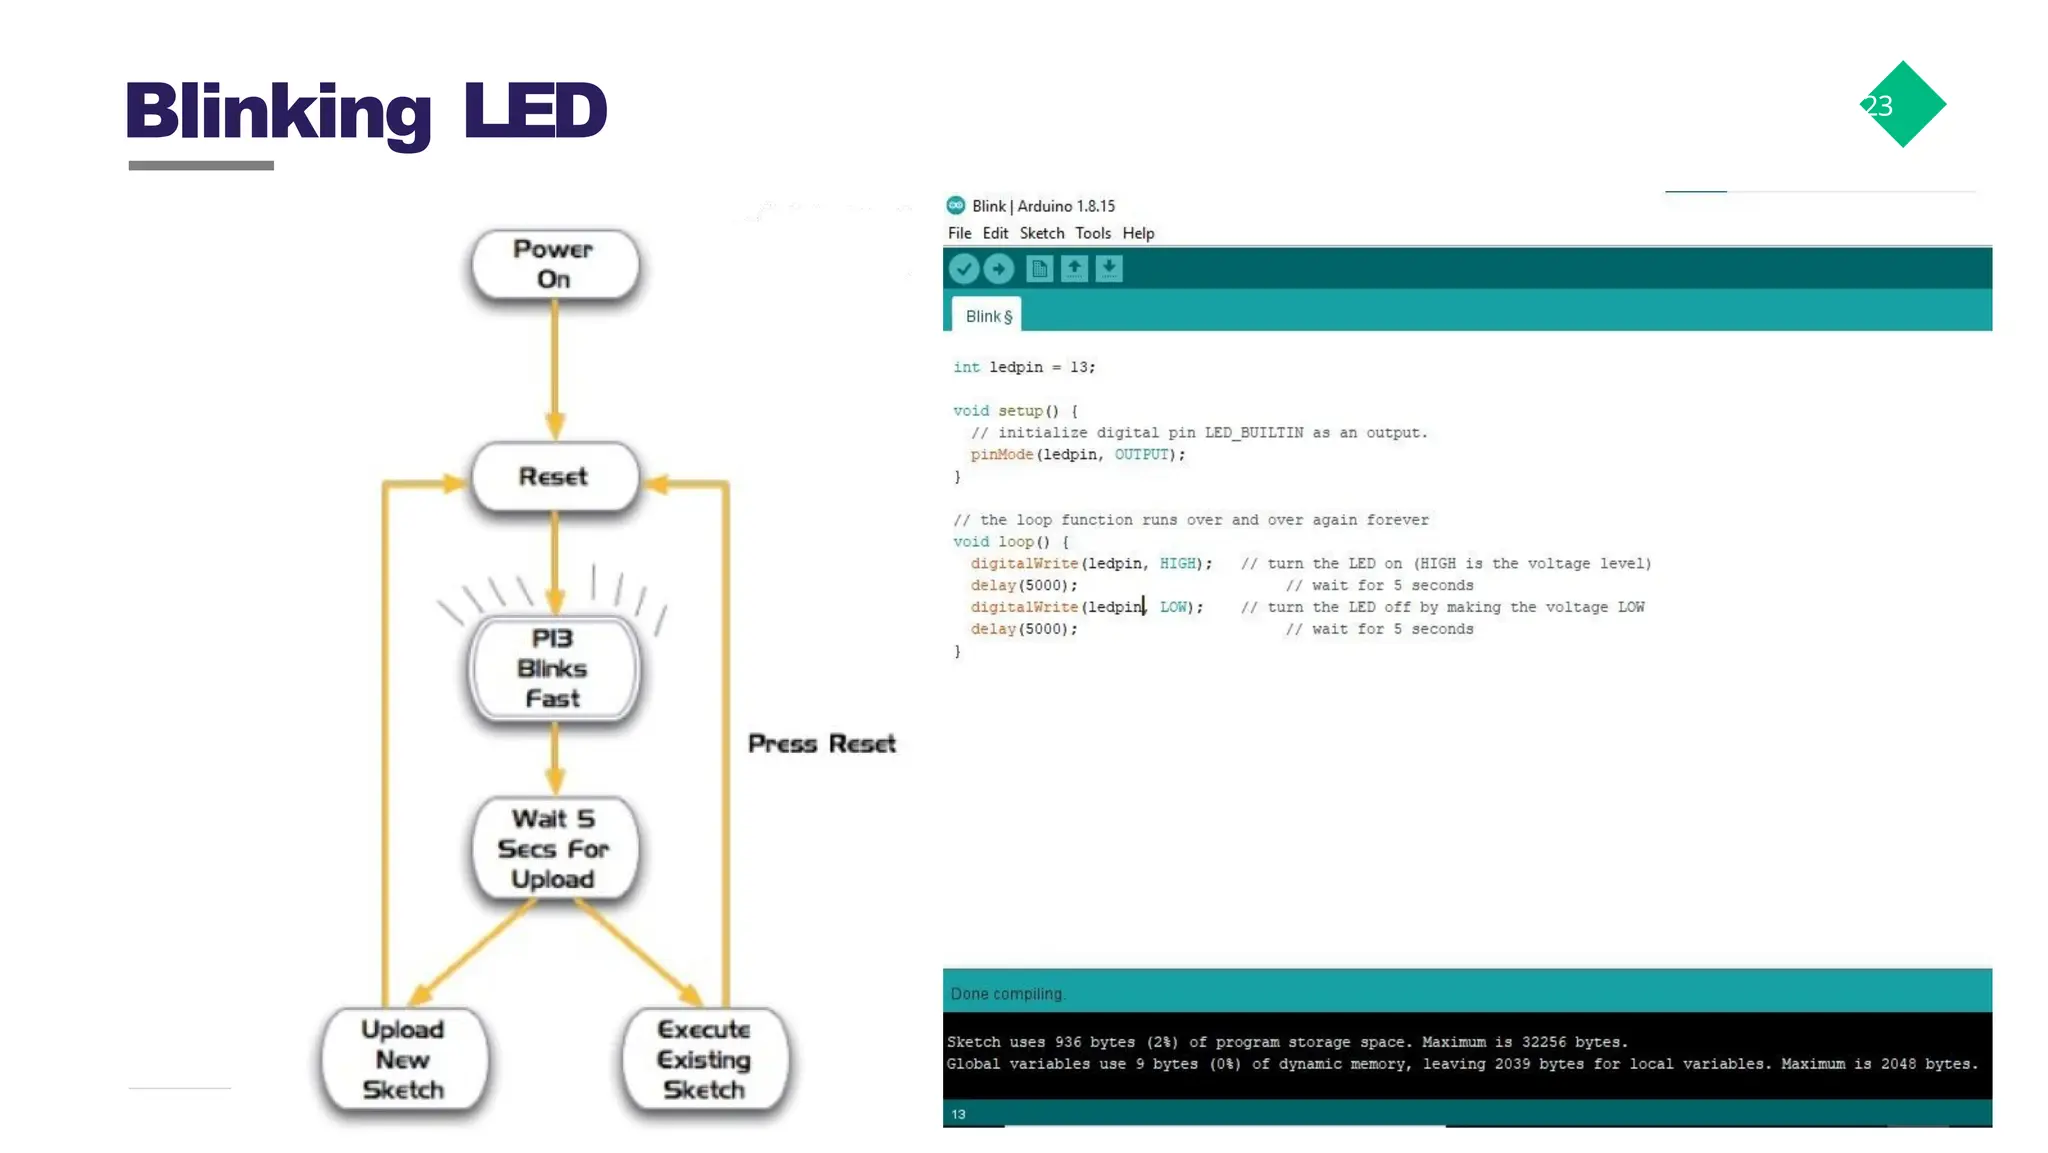
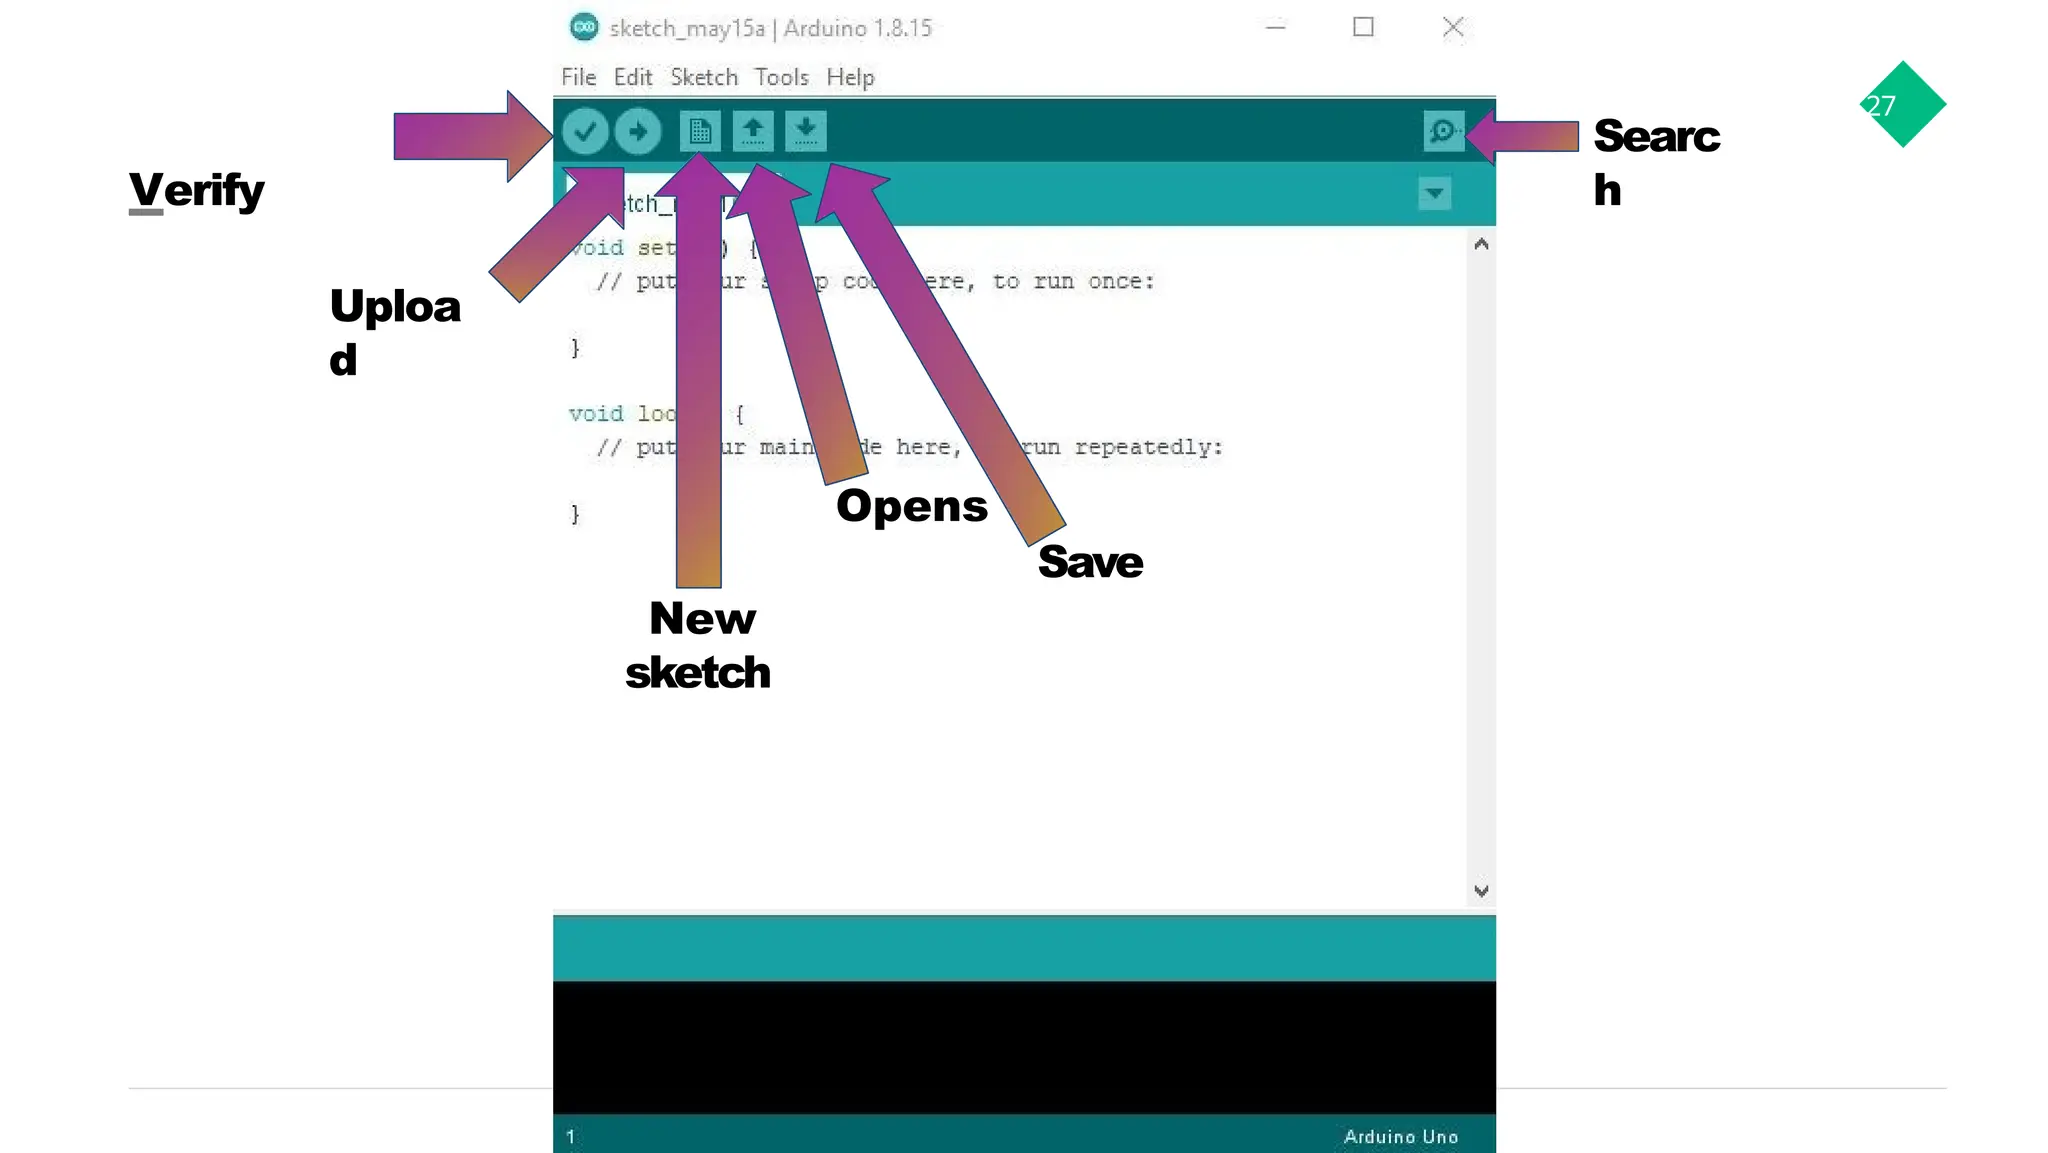
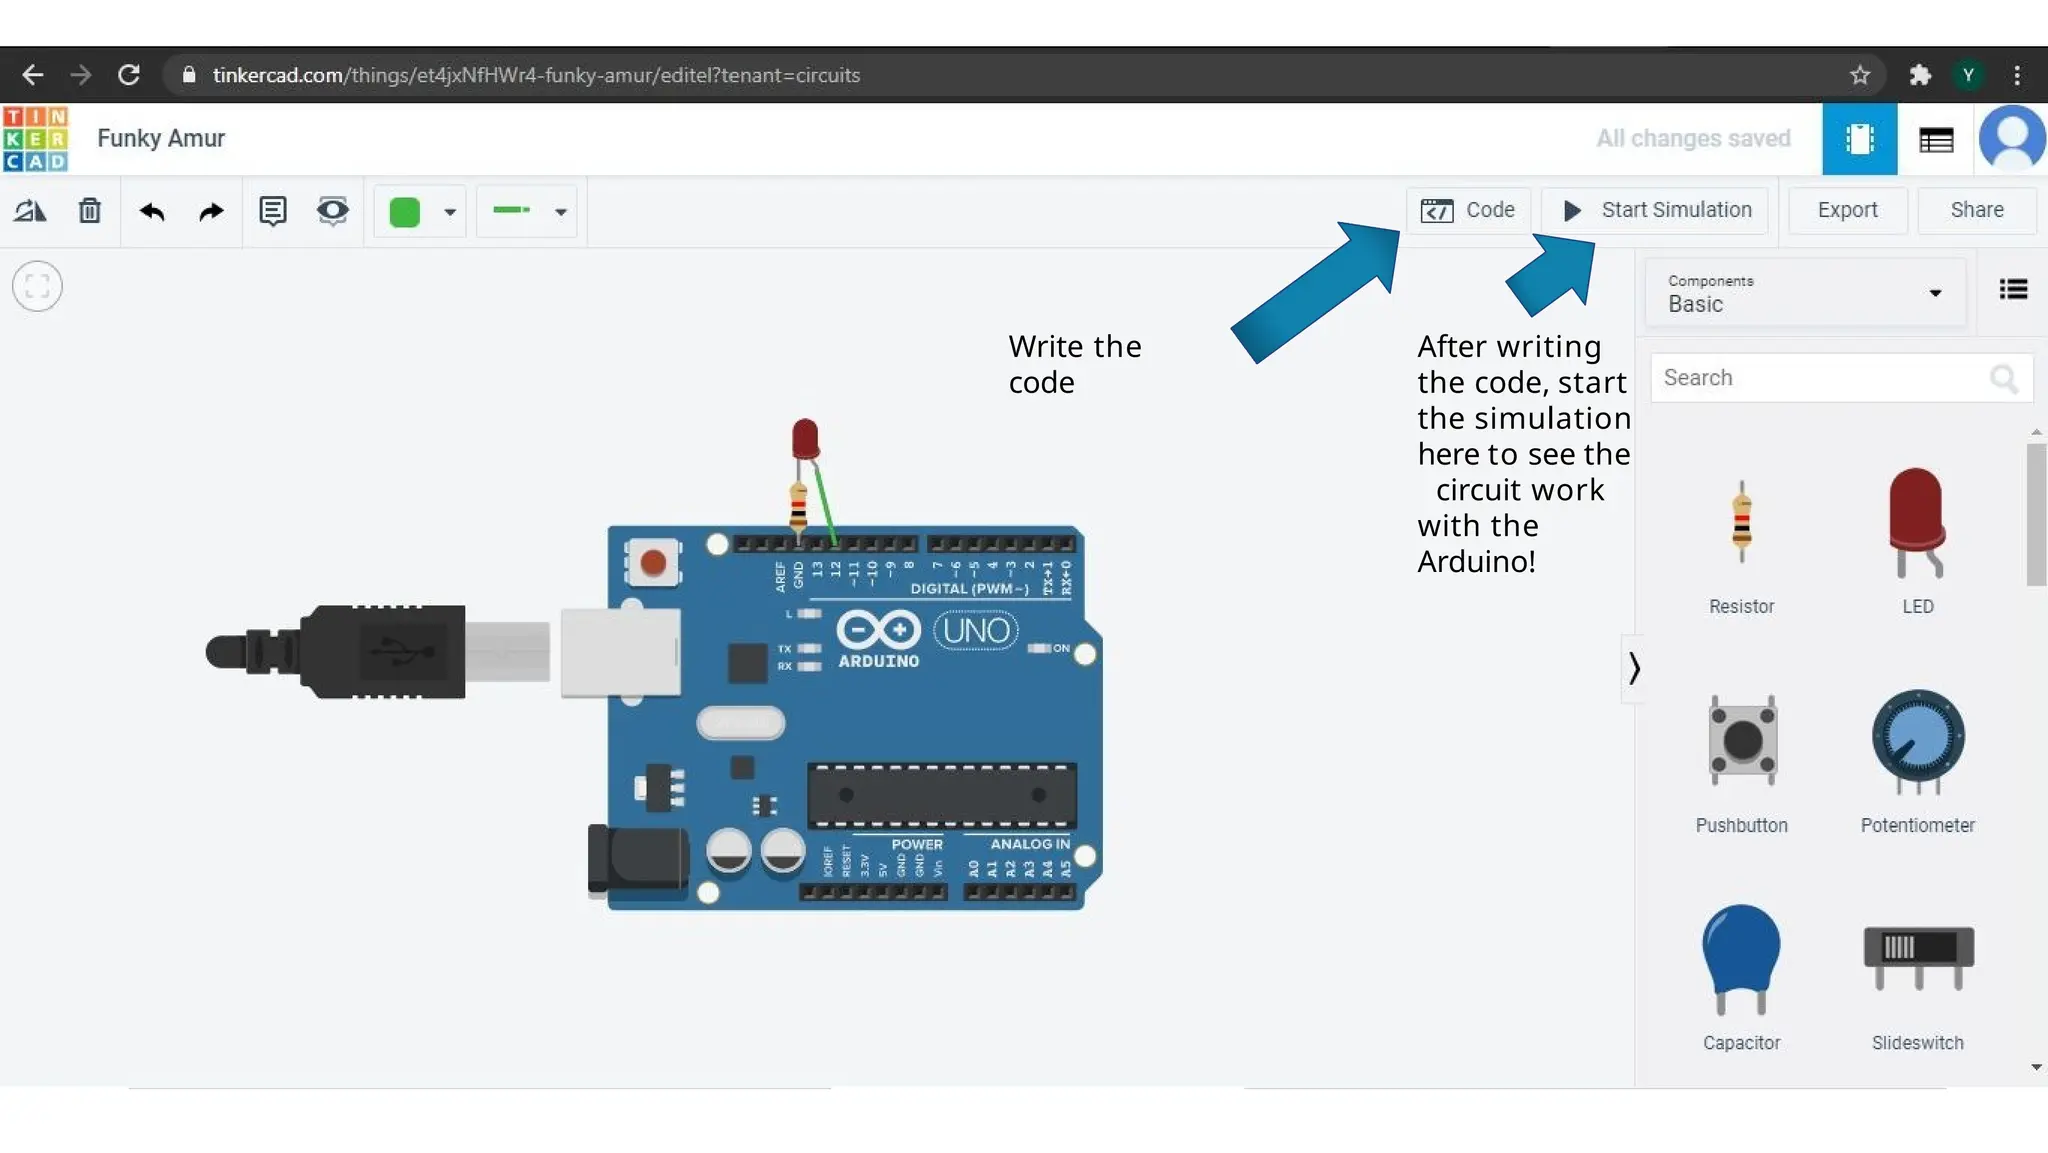
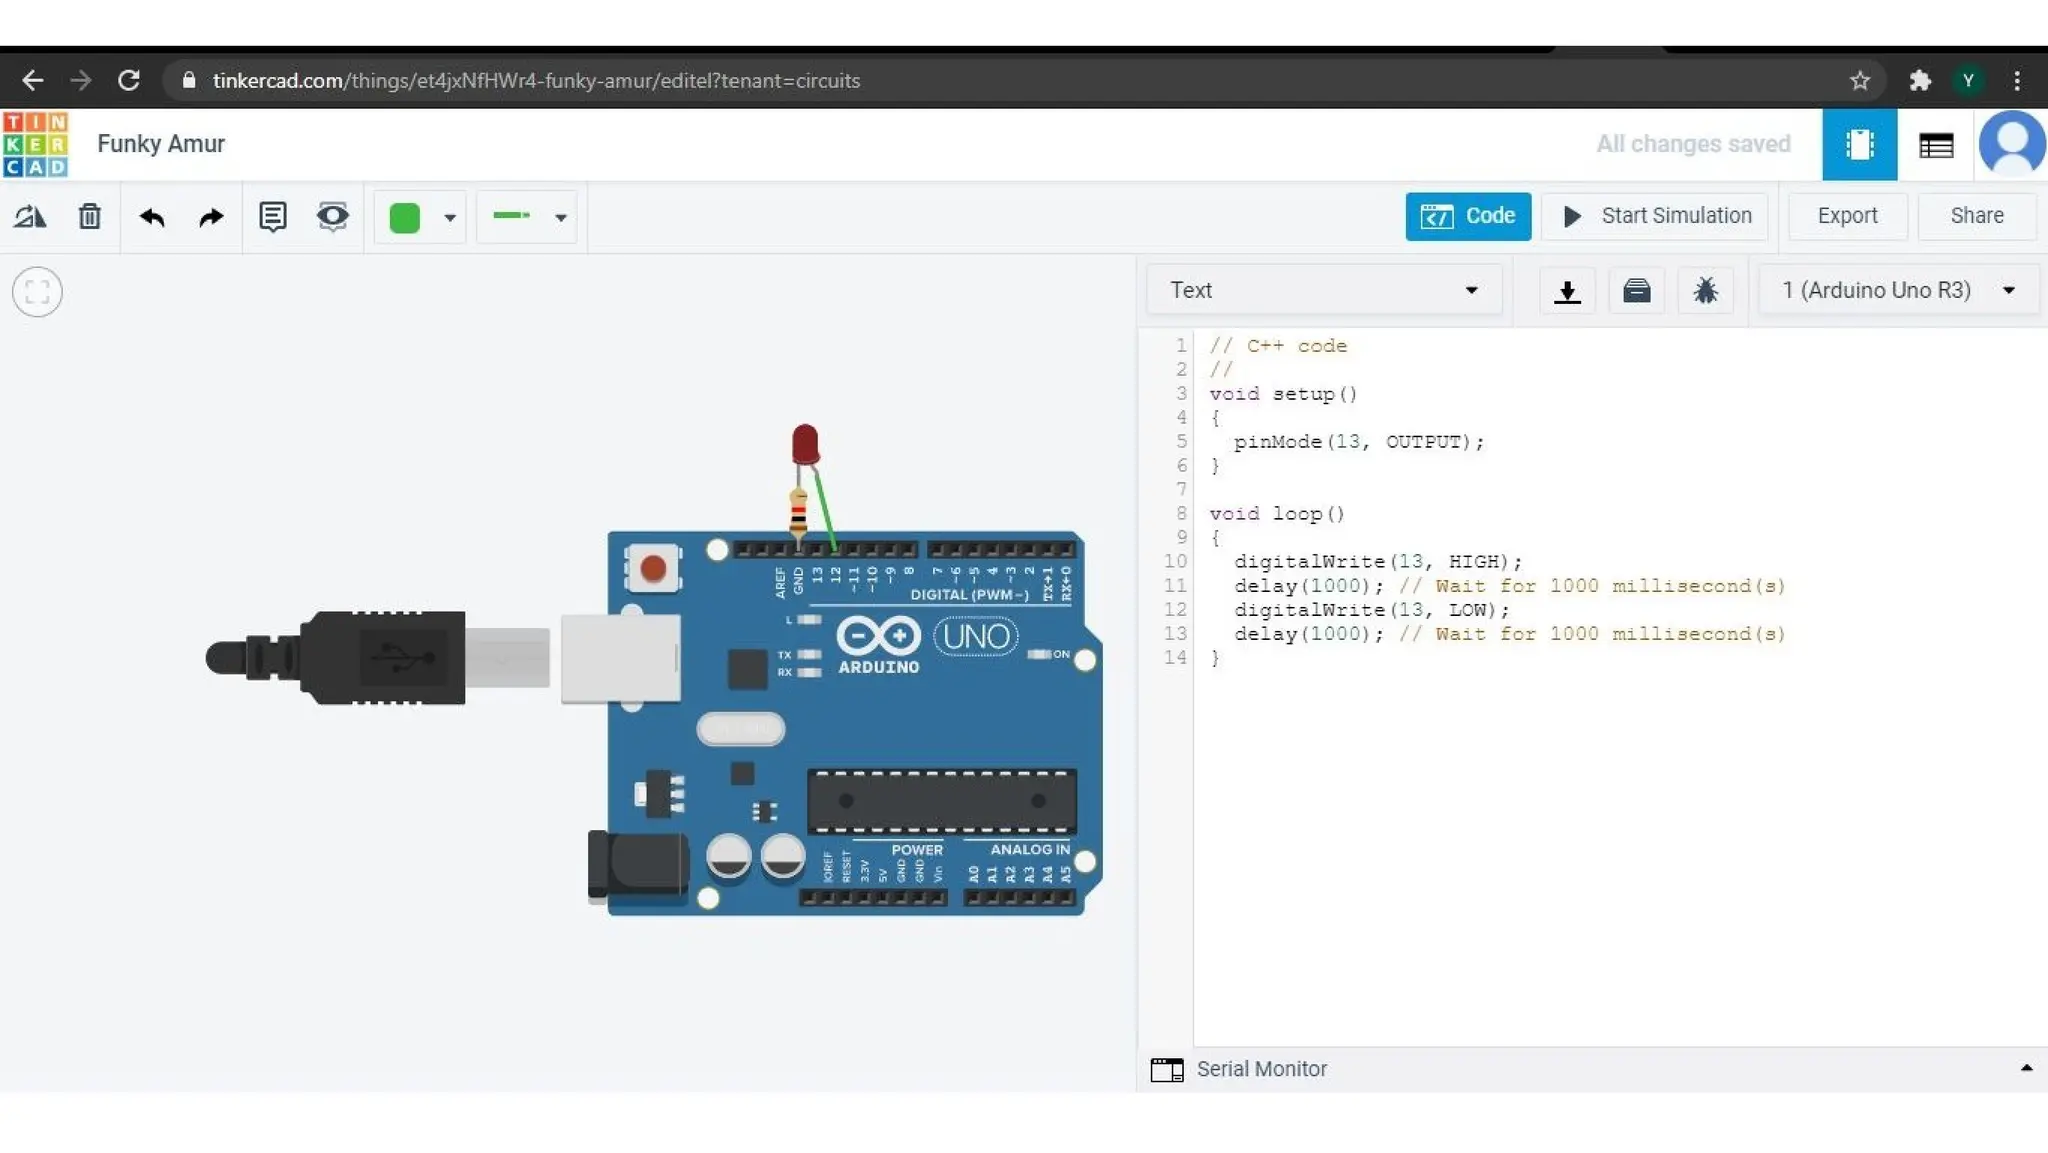
Arduino Software (IDE) companyname.com 18 TheArduino Integrated Development Environment - or Arduino Software (IDE) - contains a text editor for writing code, a message area, a text console, a toolbar with buttons for common functions and a series of menus. It connects to the Arduino hardware to upload programs and communicate with them.
19.
Arduino Language 19 ●Simplified C/C++ ● Based on the wiring project ○ http://wiring.org.co ● Peripheral libraries ○ LCD, sensors, 12C, ect.
20.
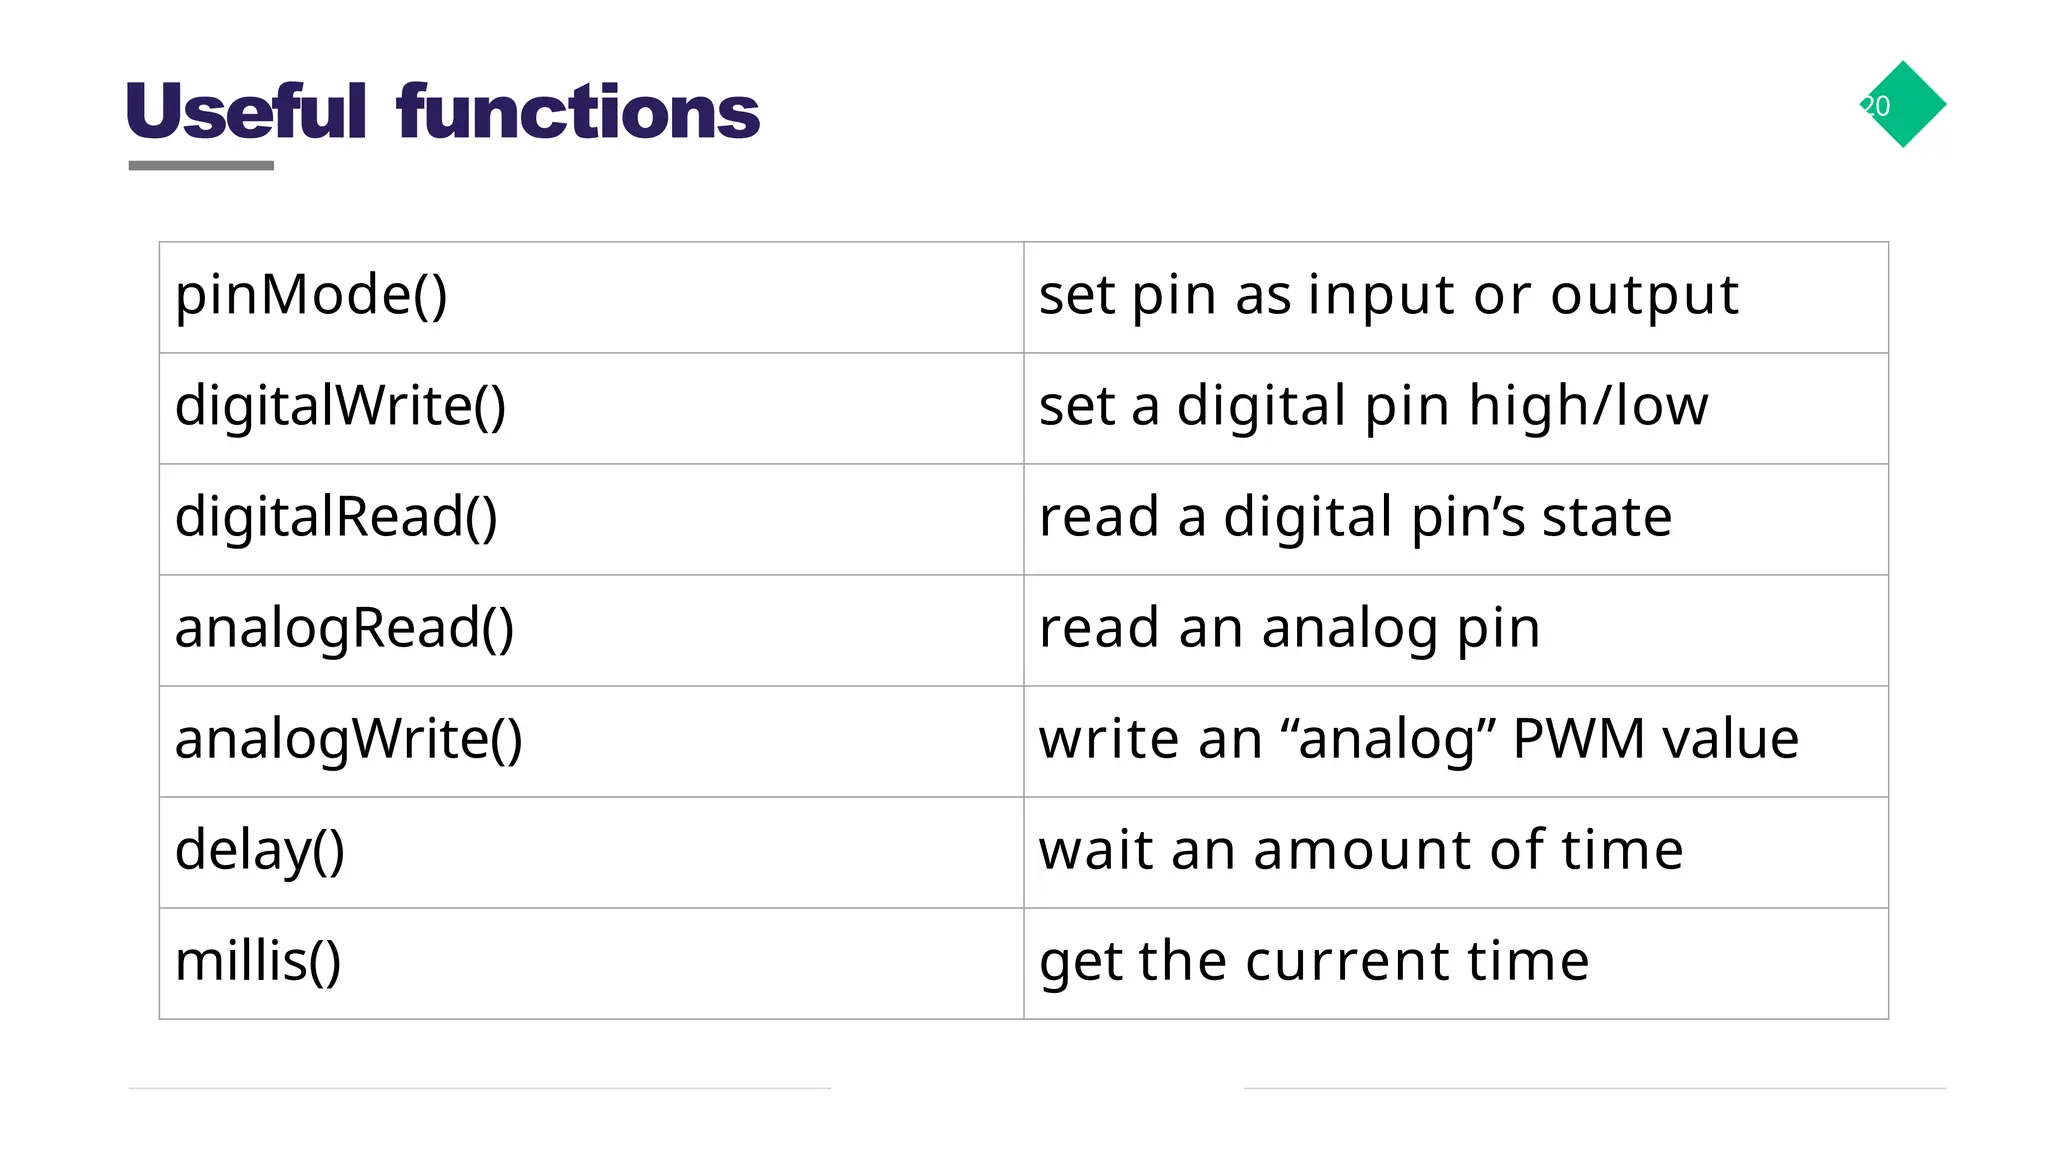
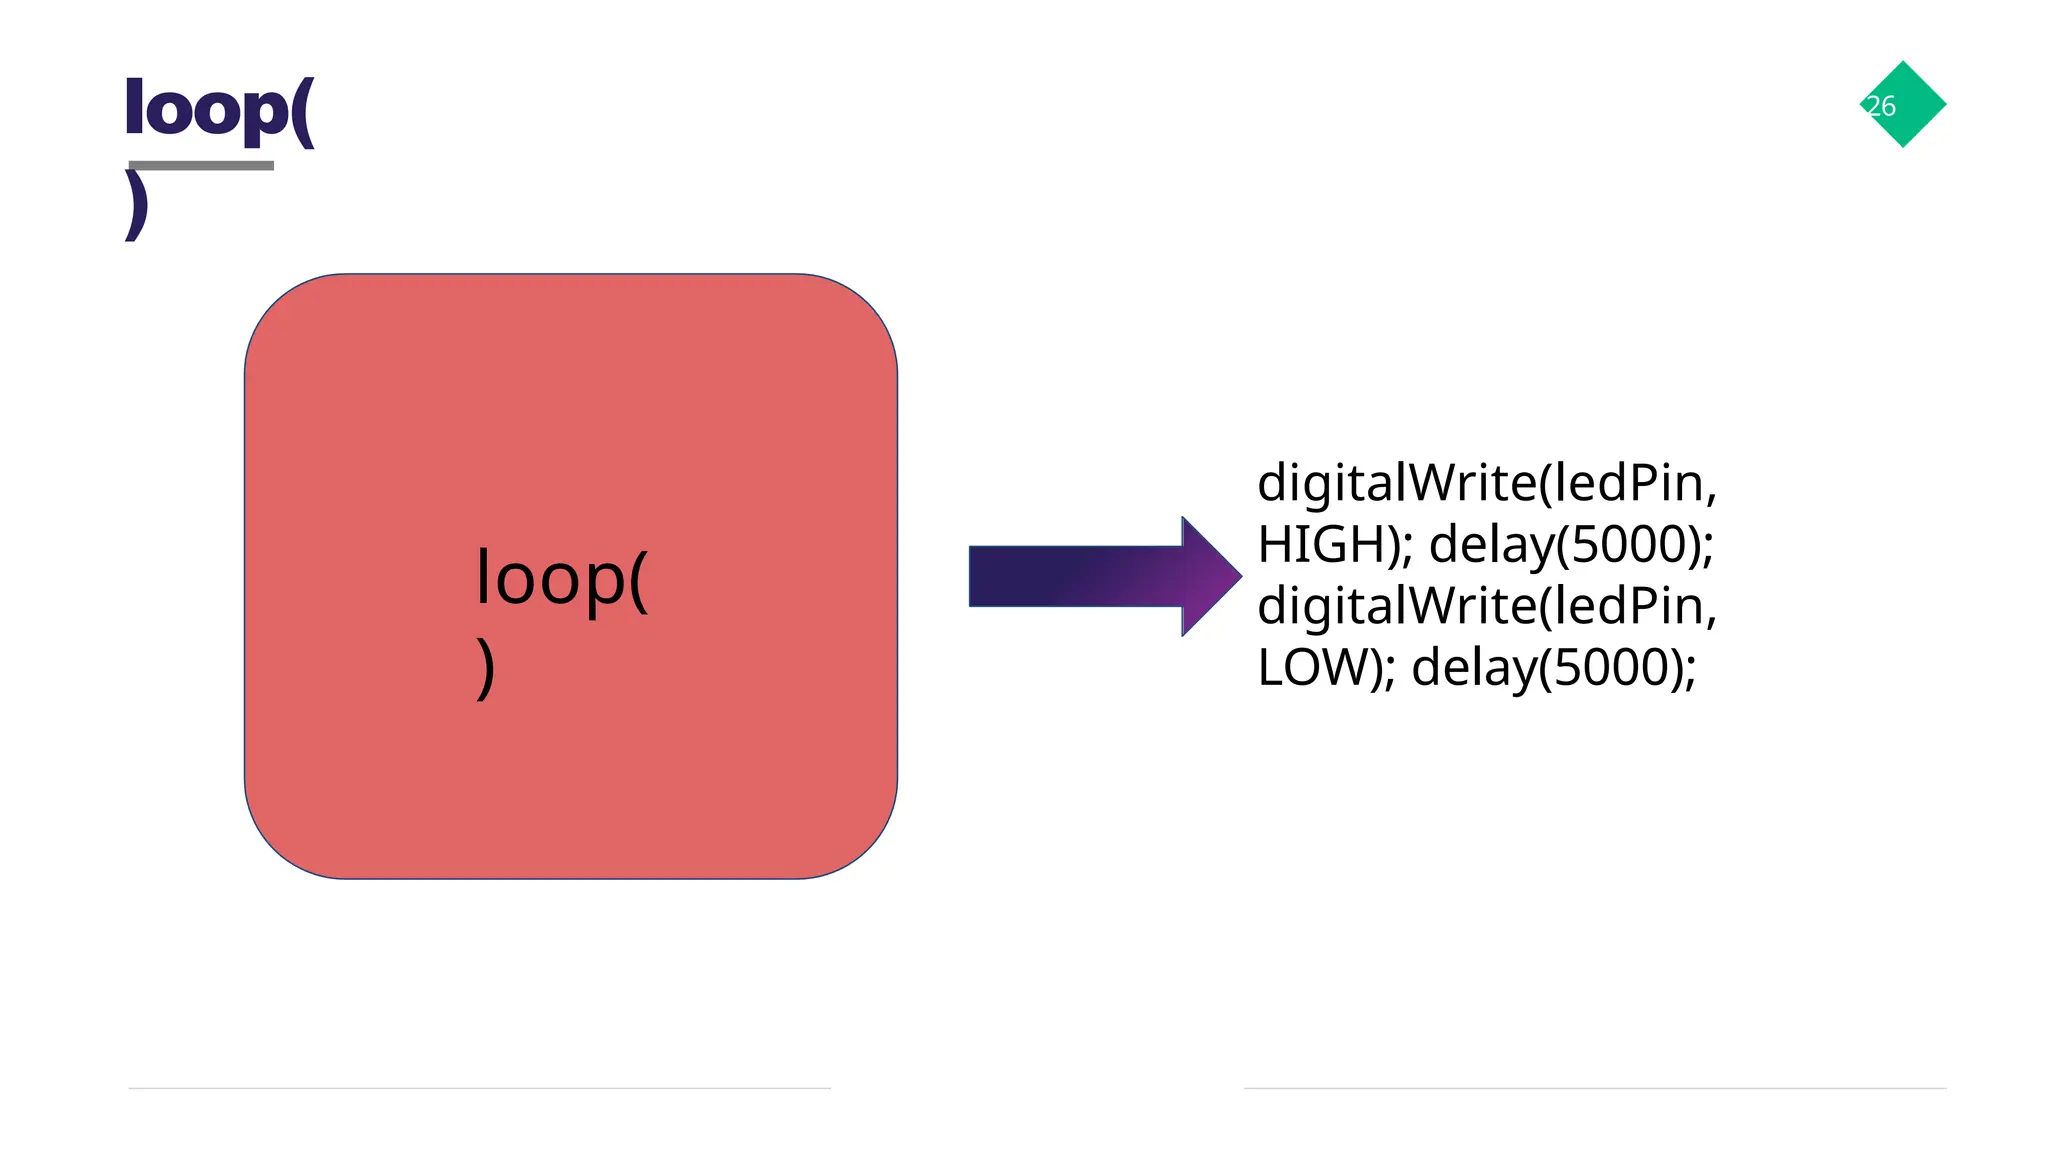
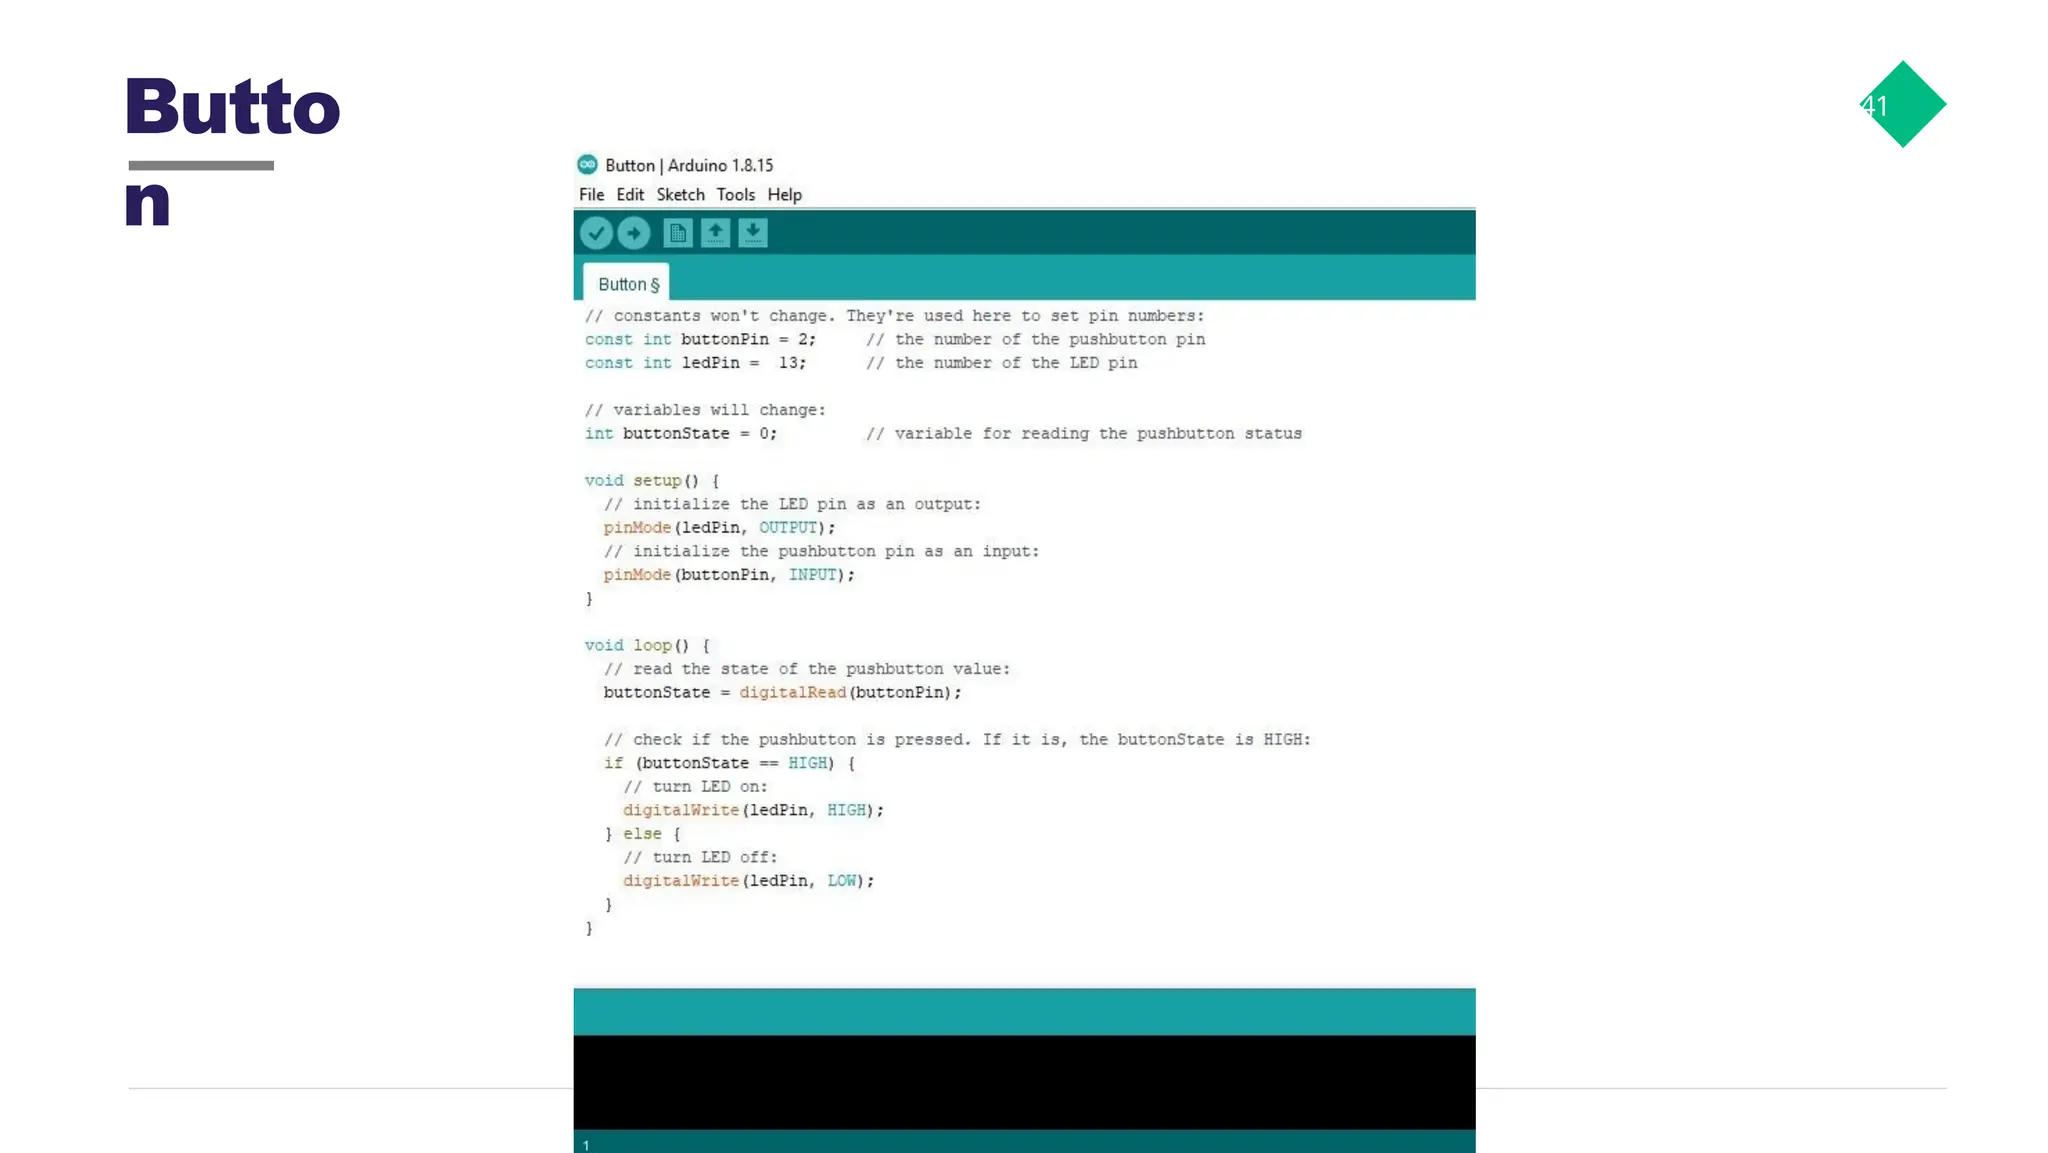
Useful functions 20 pinMode()set pin as input or output digitalWrite() set a digital pin high/low digitalRead() read a digital pin’s state analogRead() read an analog pin analogWrite() write an “analog” PWM value delay() wait an amount of time millis() get the current time
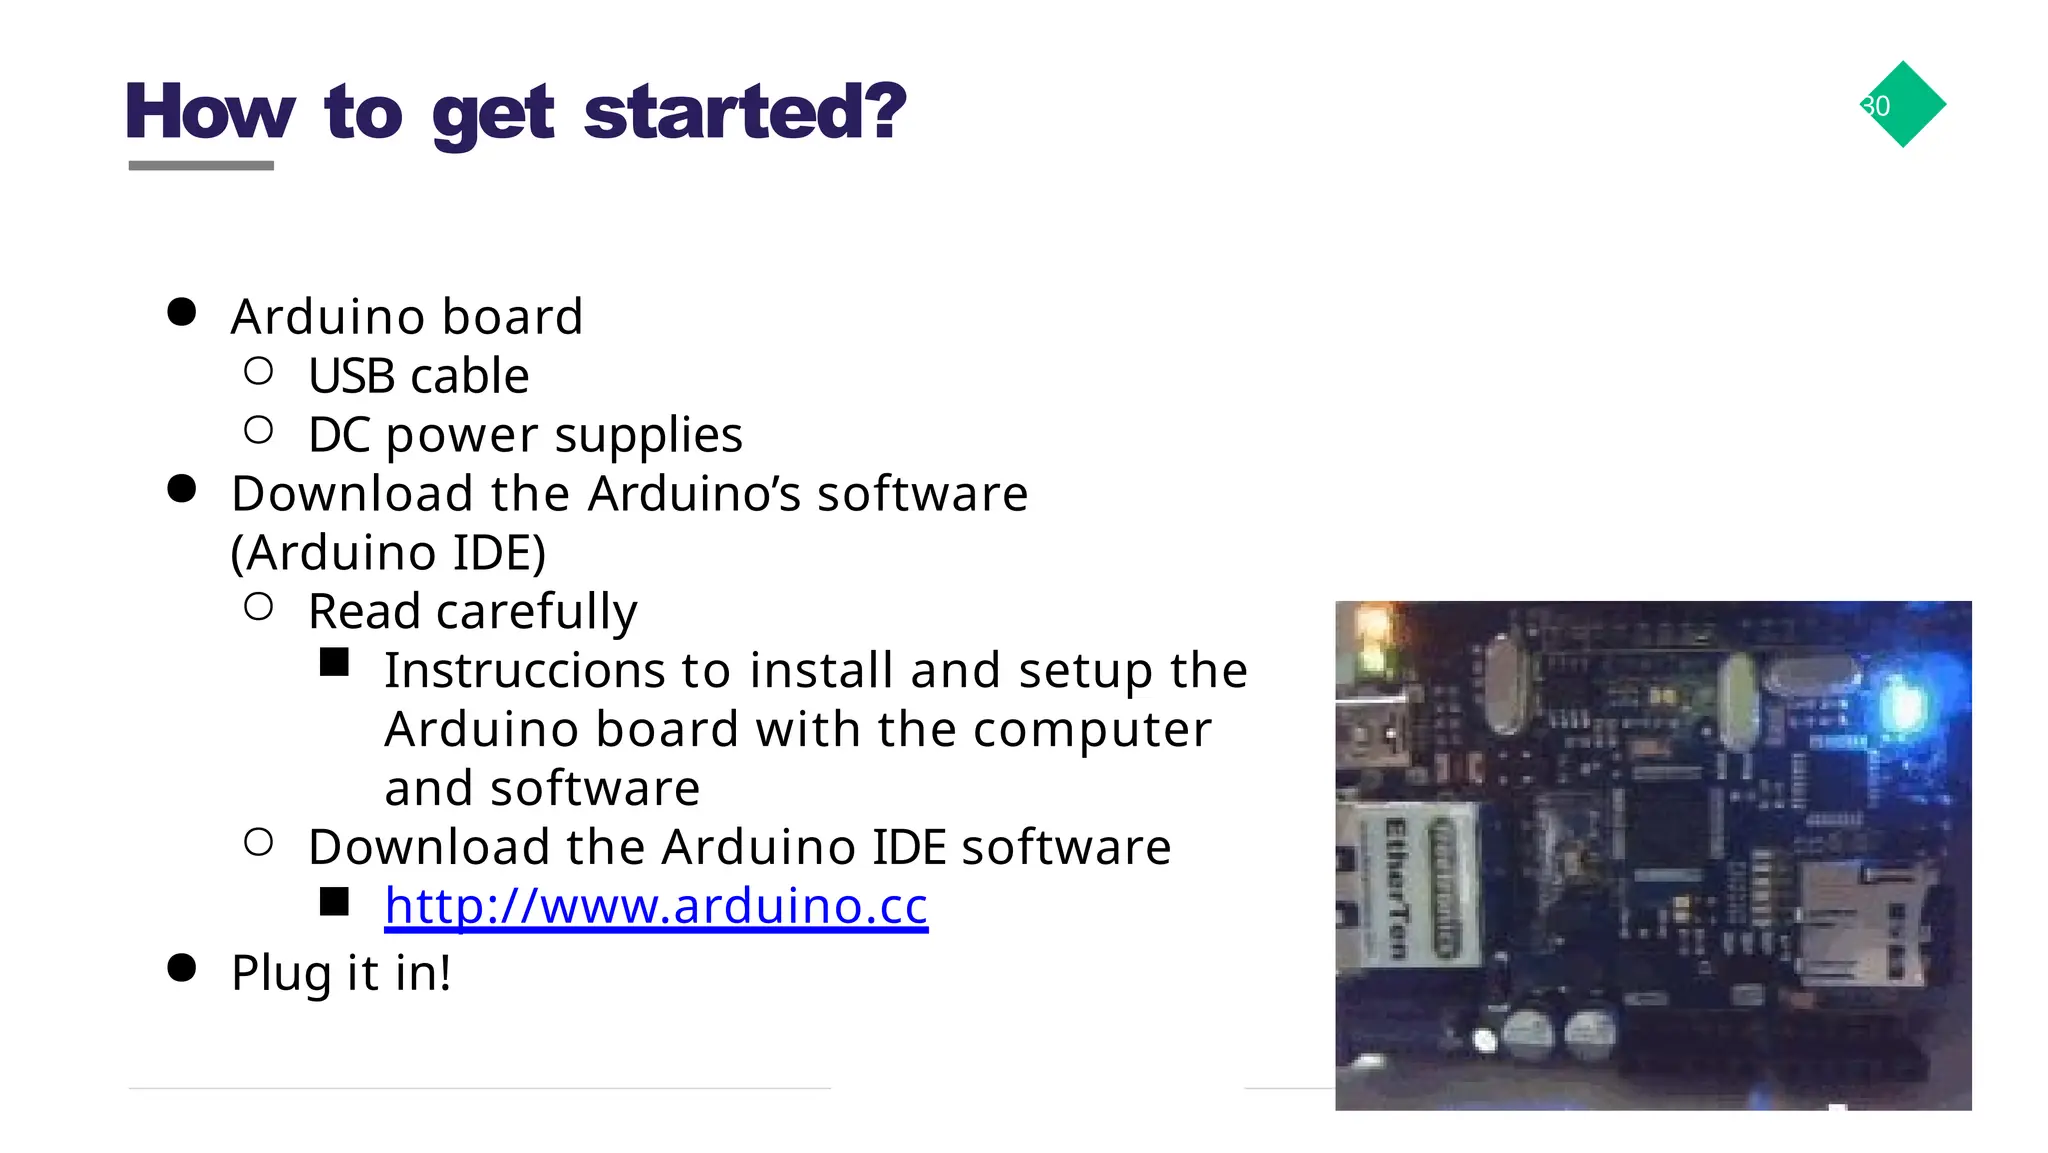
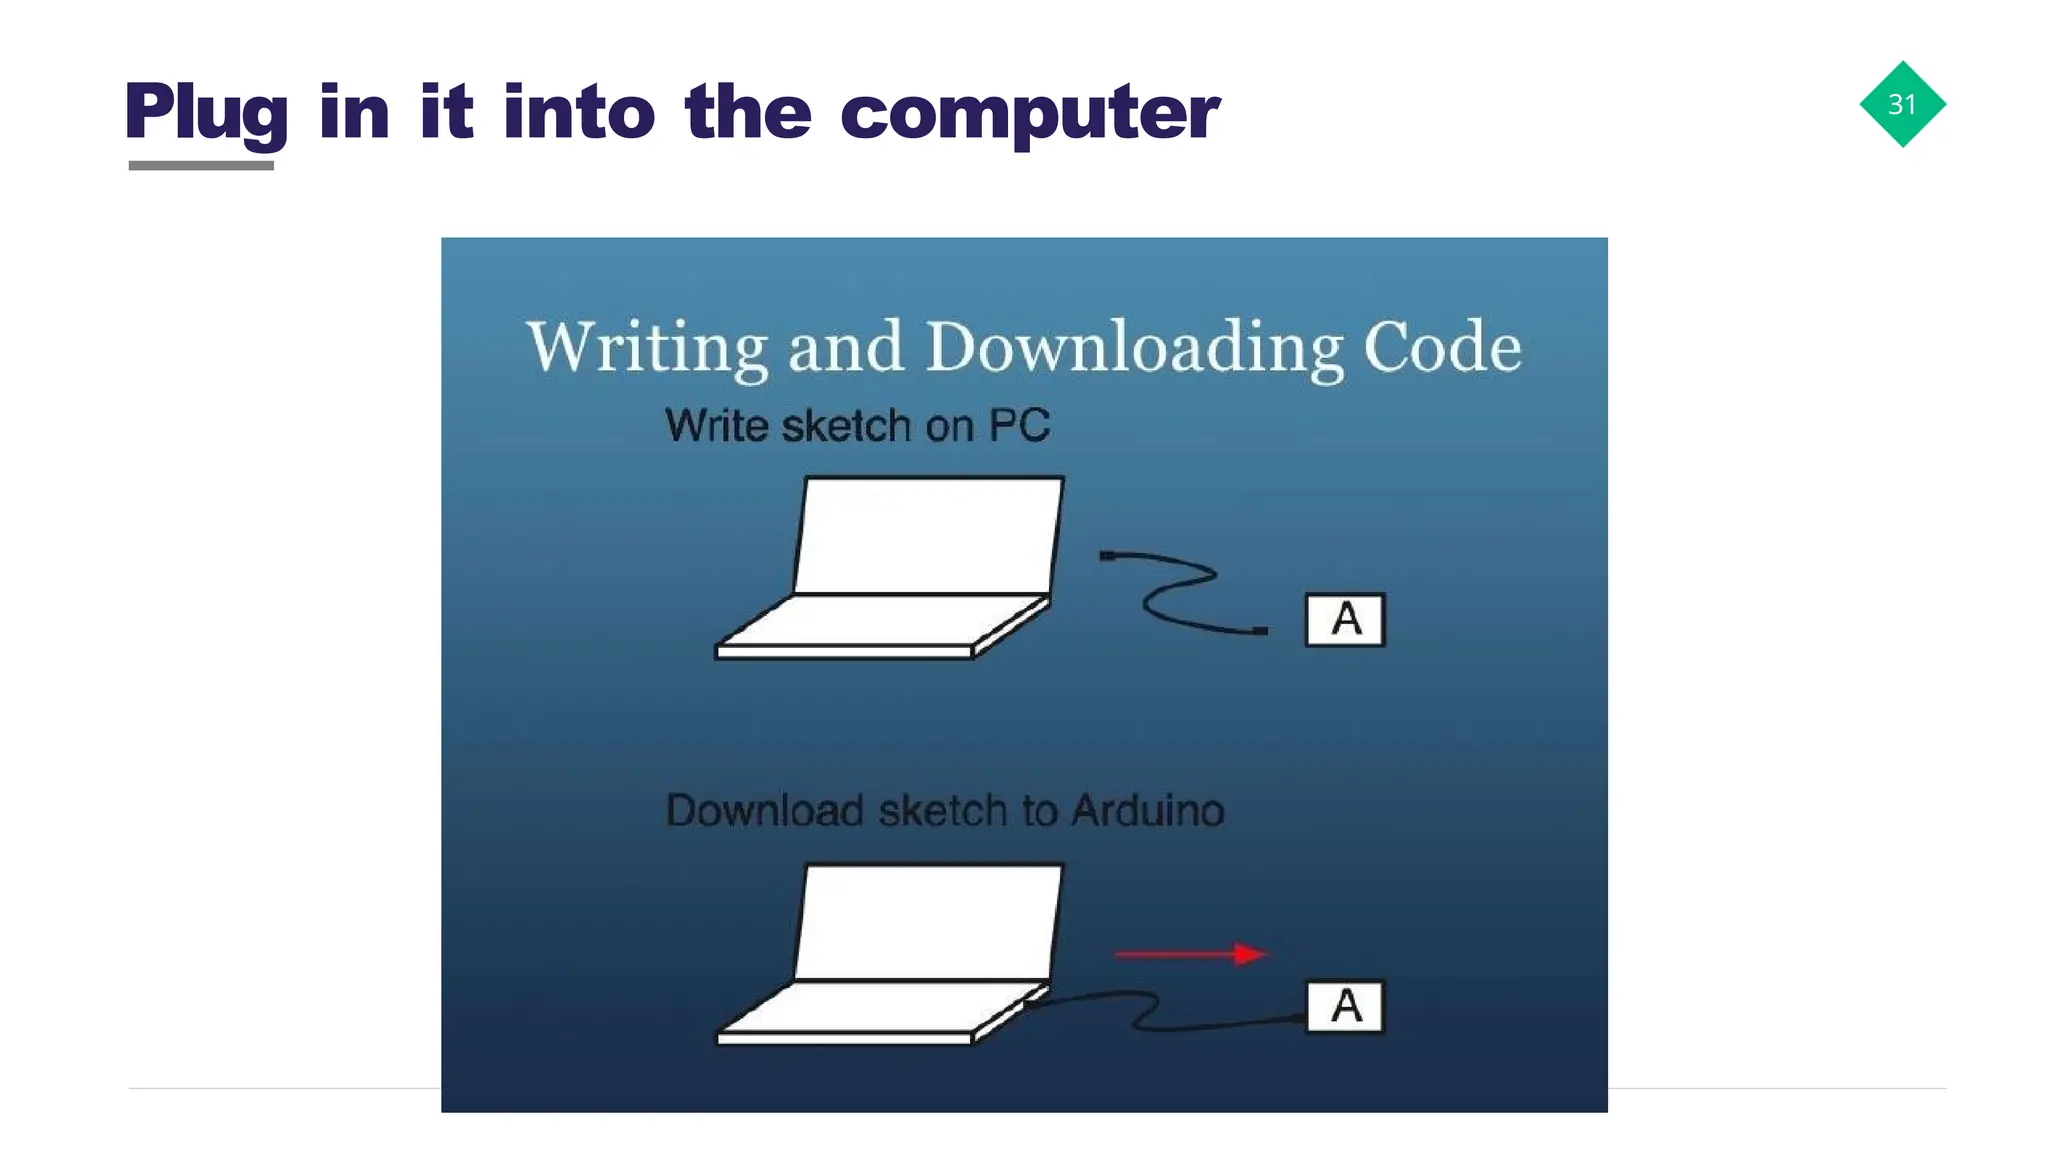
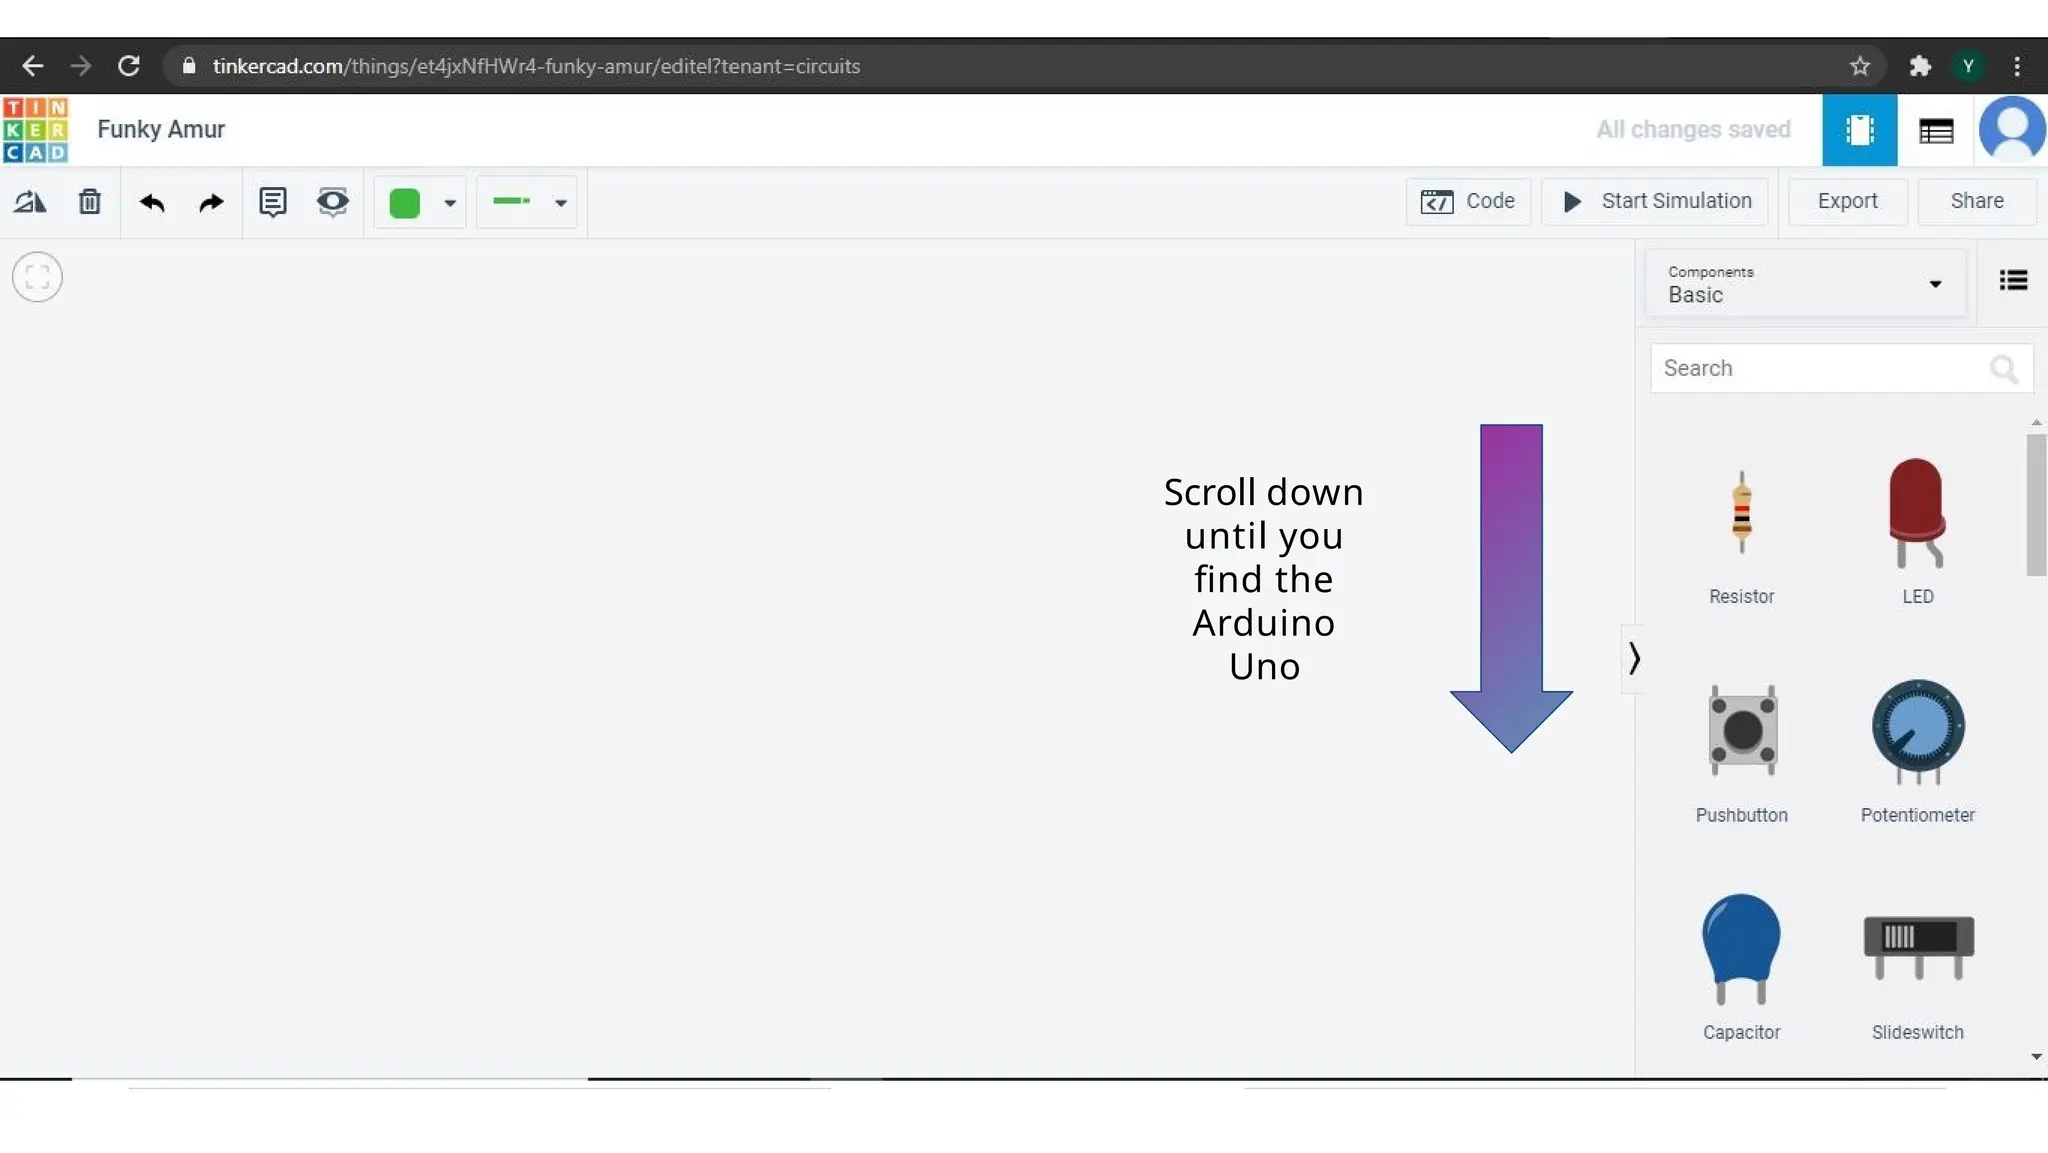
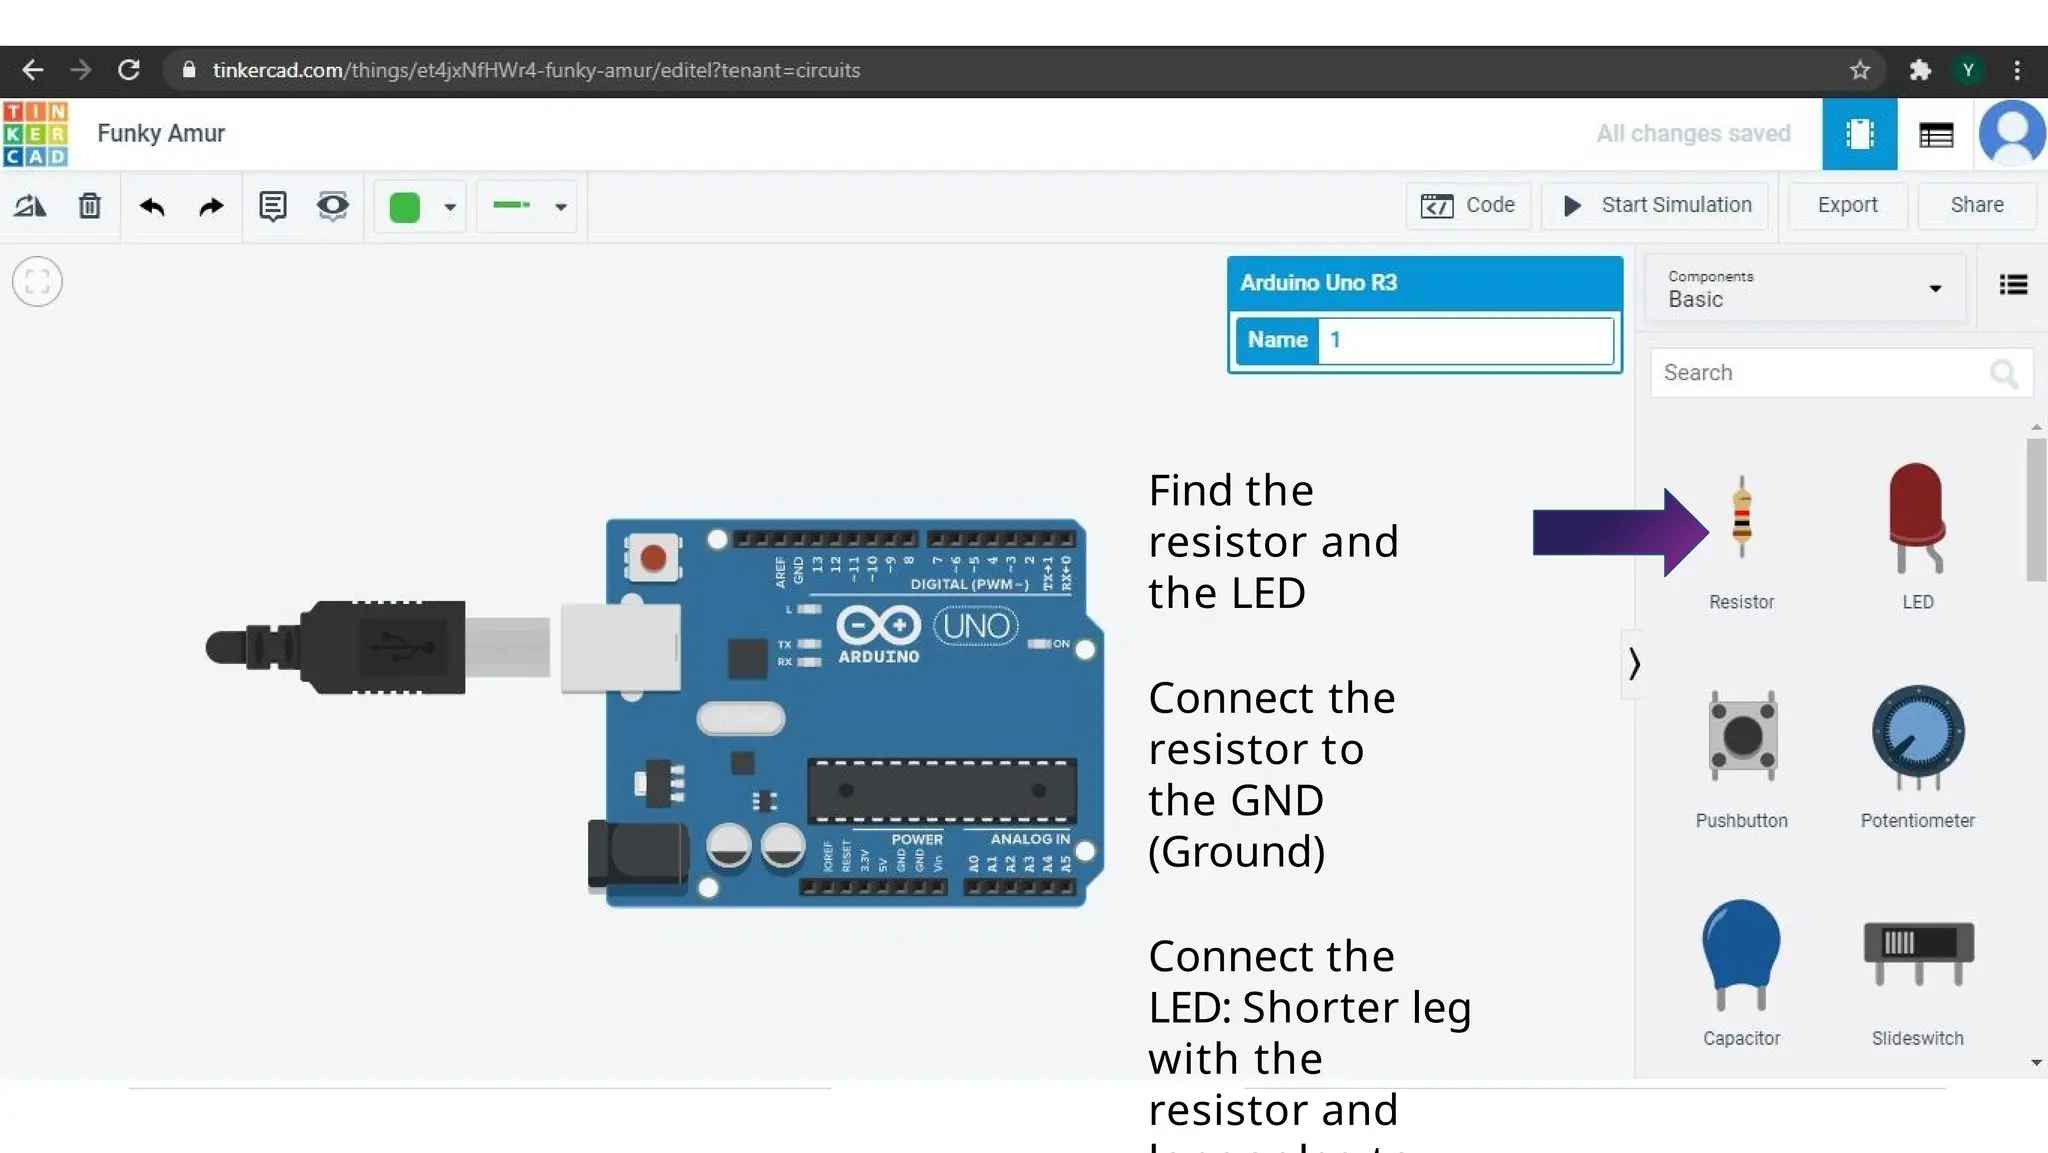
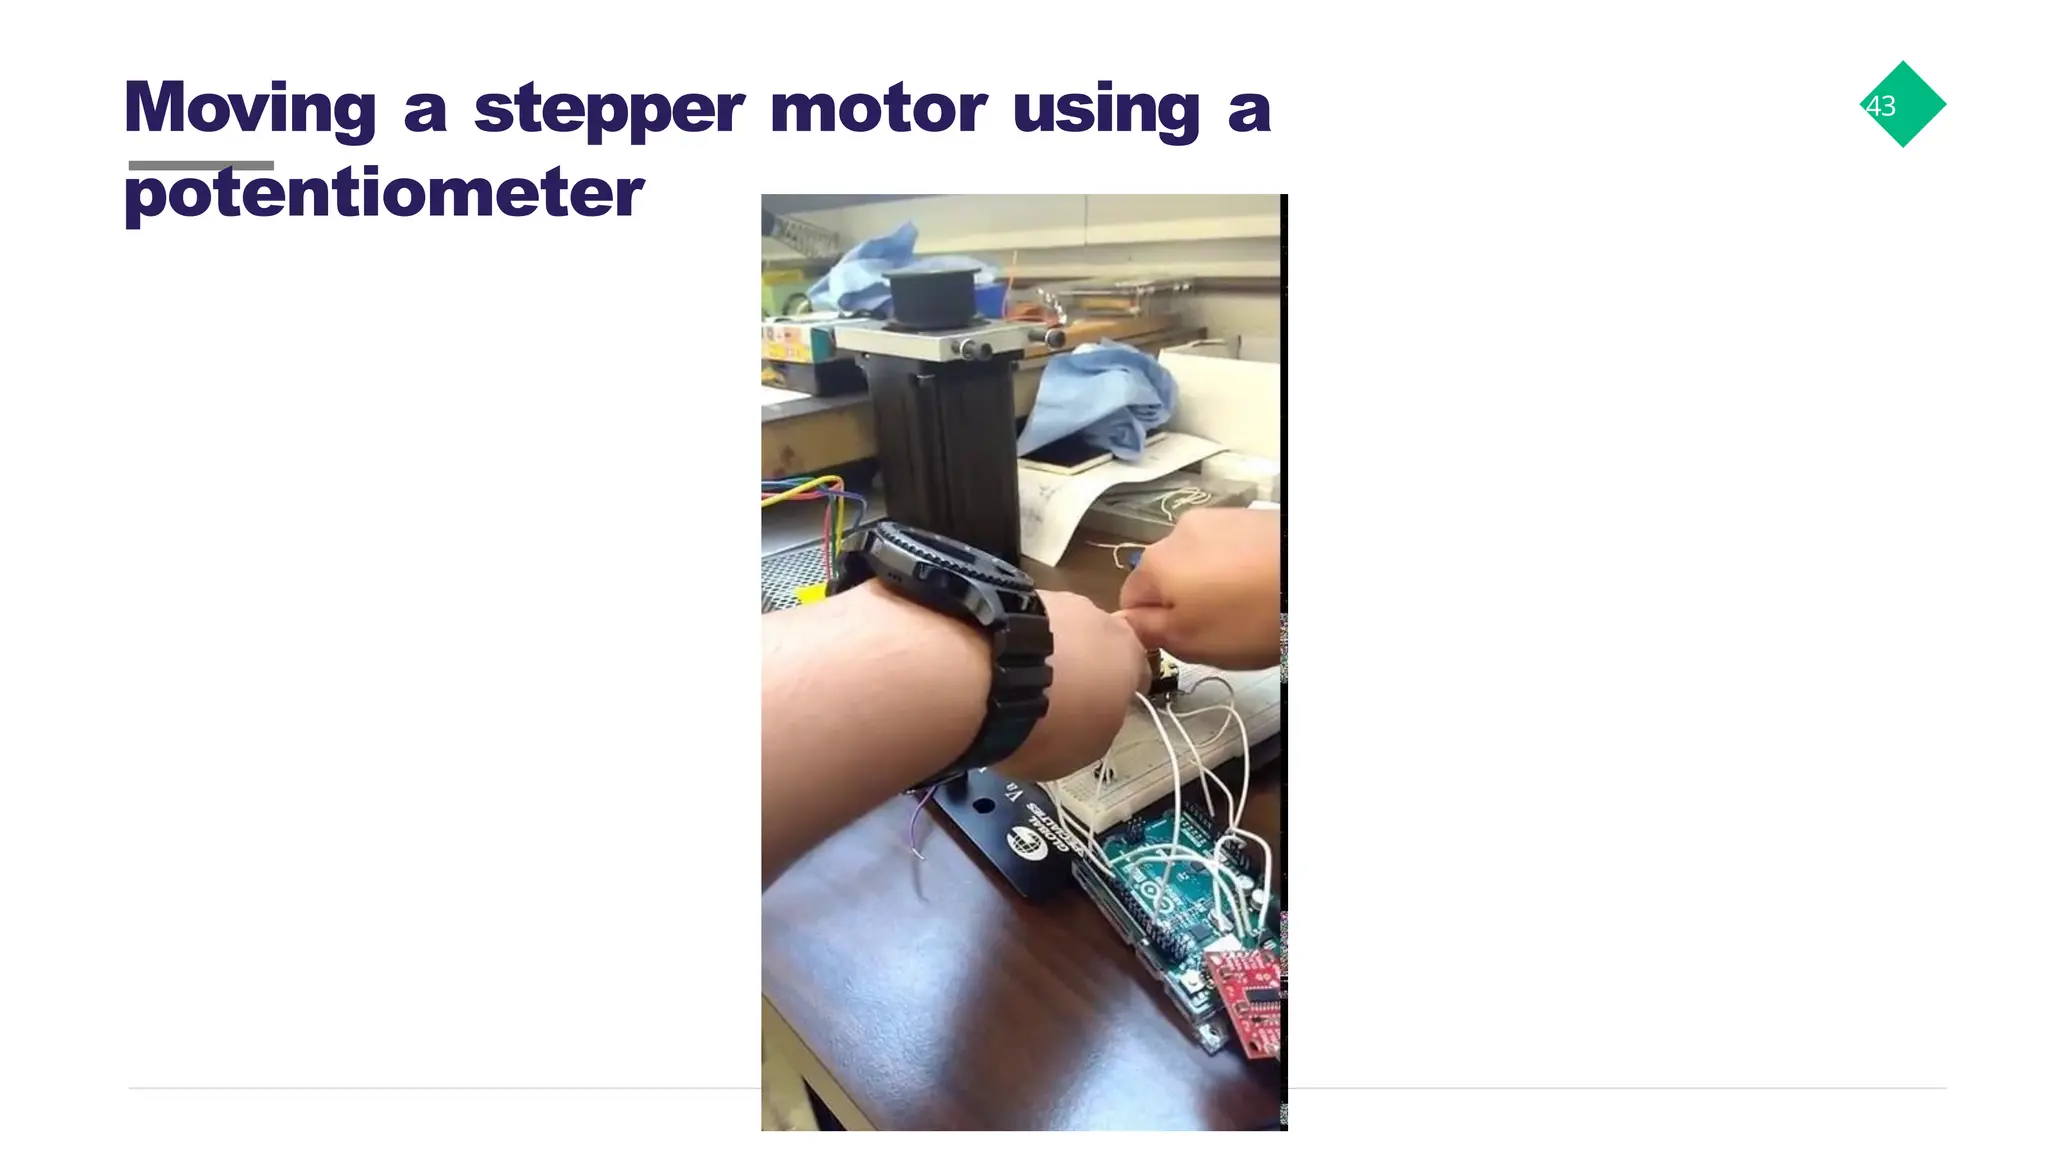
How to getstarted? 30 ● Arduino board ○ USB cable ○ DC power supplies ● Download the Arduino’s software (Arduino IDE) ○ Read carefully ■ Instruccions to install and setup the Arduino board with the computer and software ○ Download the Arduino IDE software ■ http://www.arduino.cc ● Plug it in!
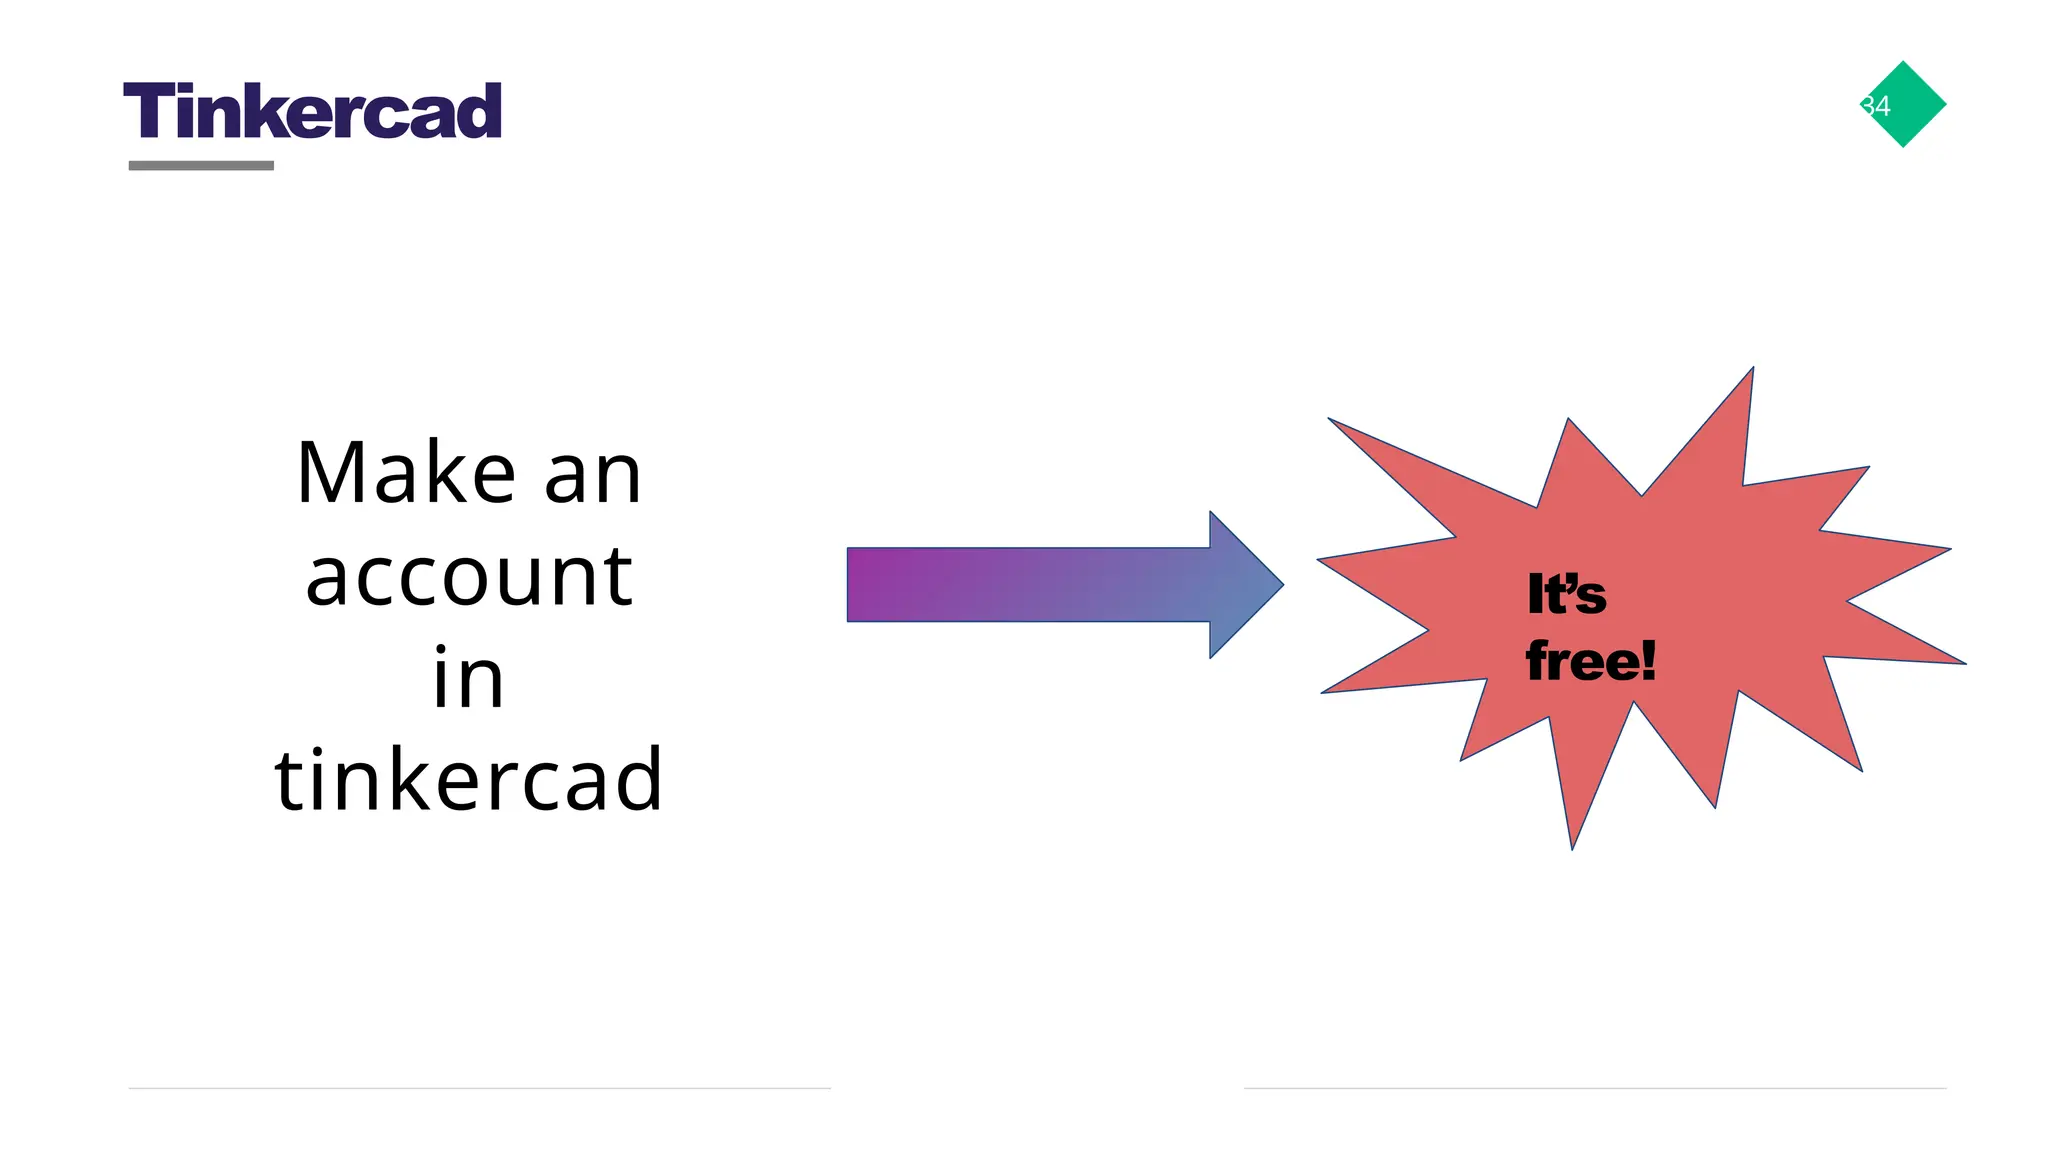
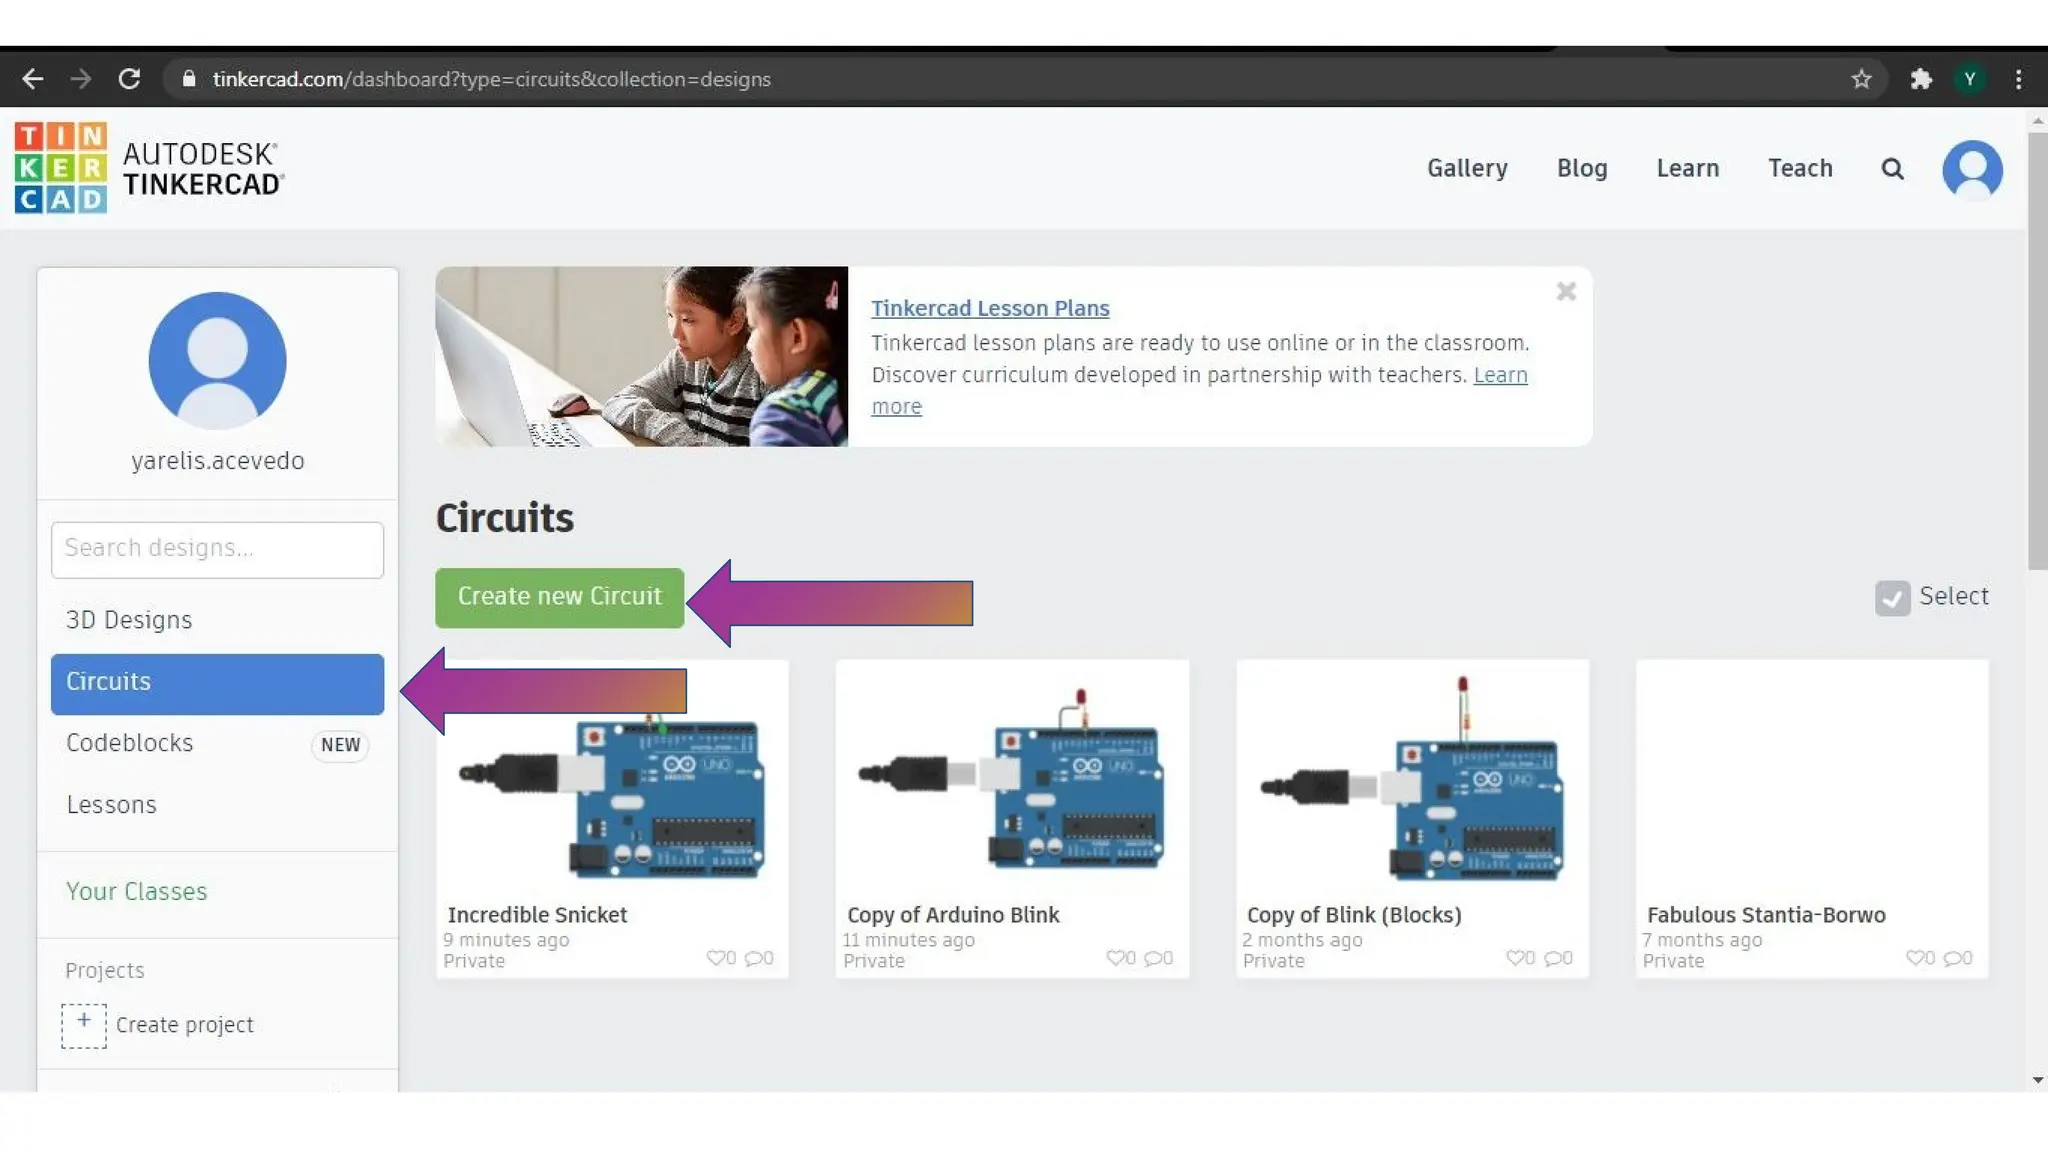
33 Tinkercad is afree, online 3D modeling program that runs in a web browser, known for its simplicity and ease of use. Since it became available in 2011 it has become a popular platform for creating models for 3D printing as well as an entry-level introduction to constructive solid geometry in schools.