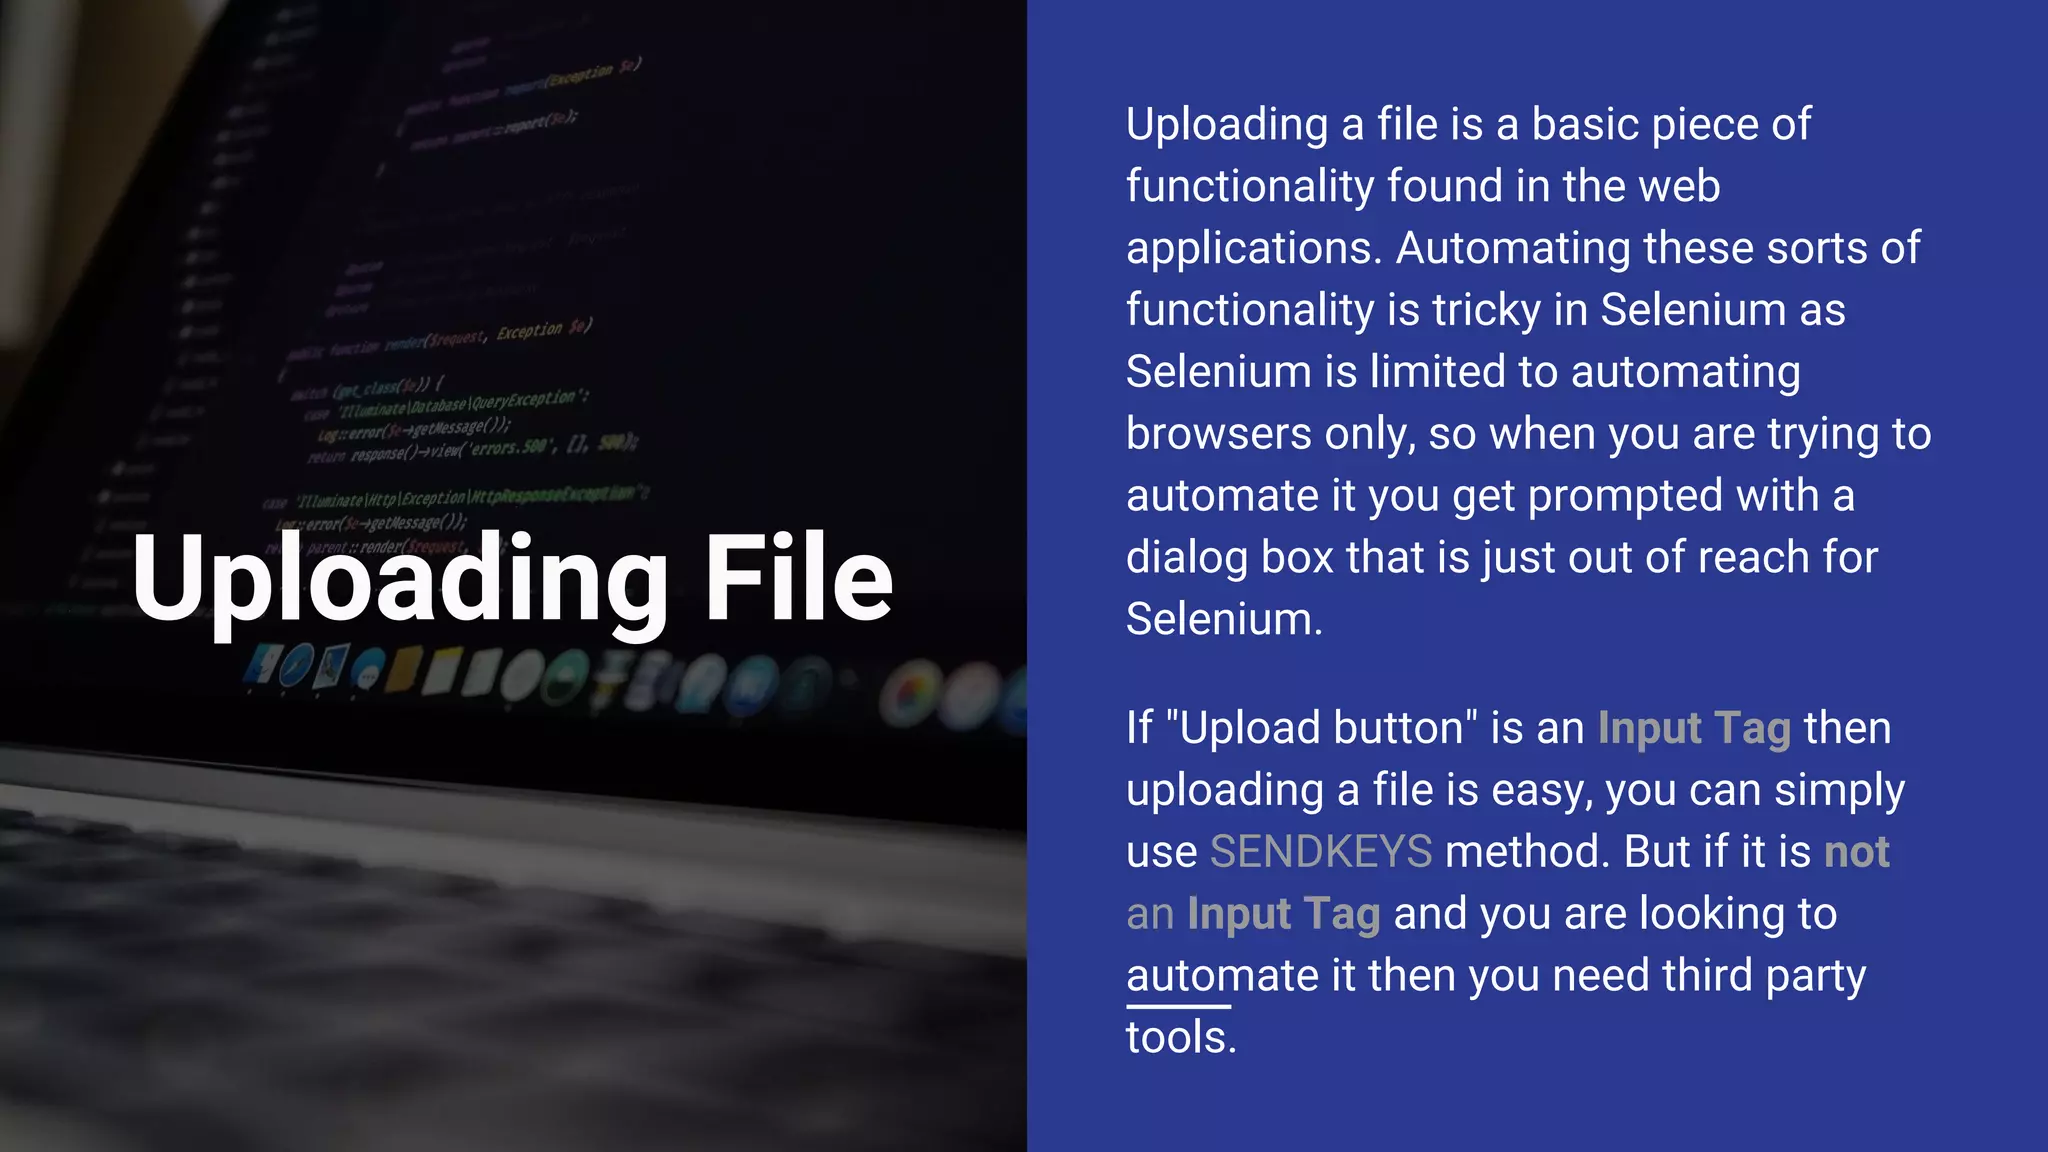
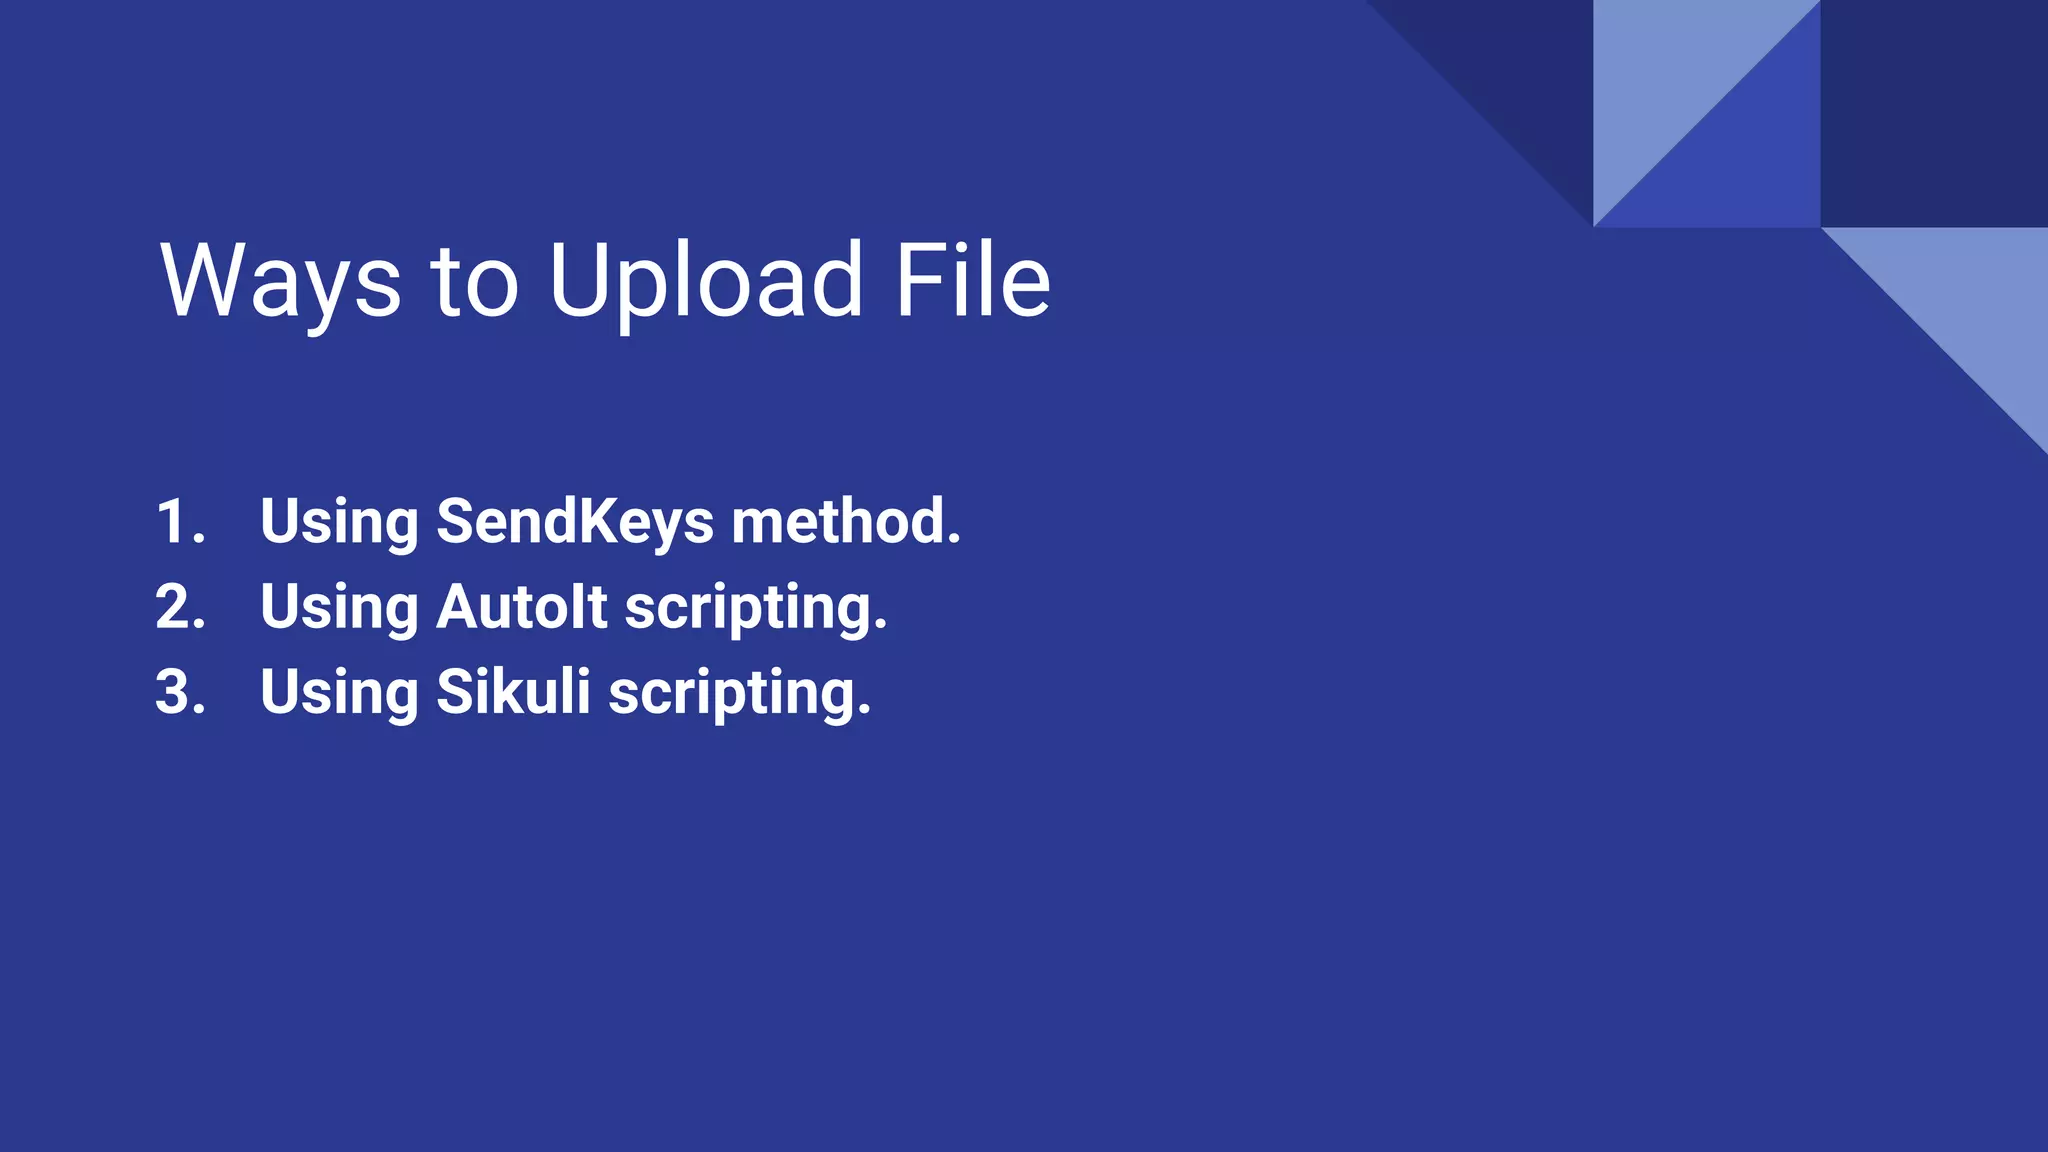
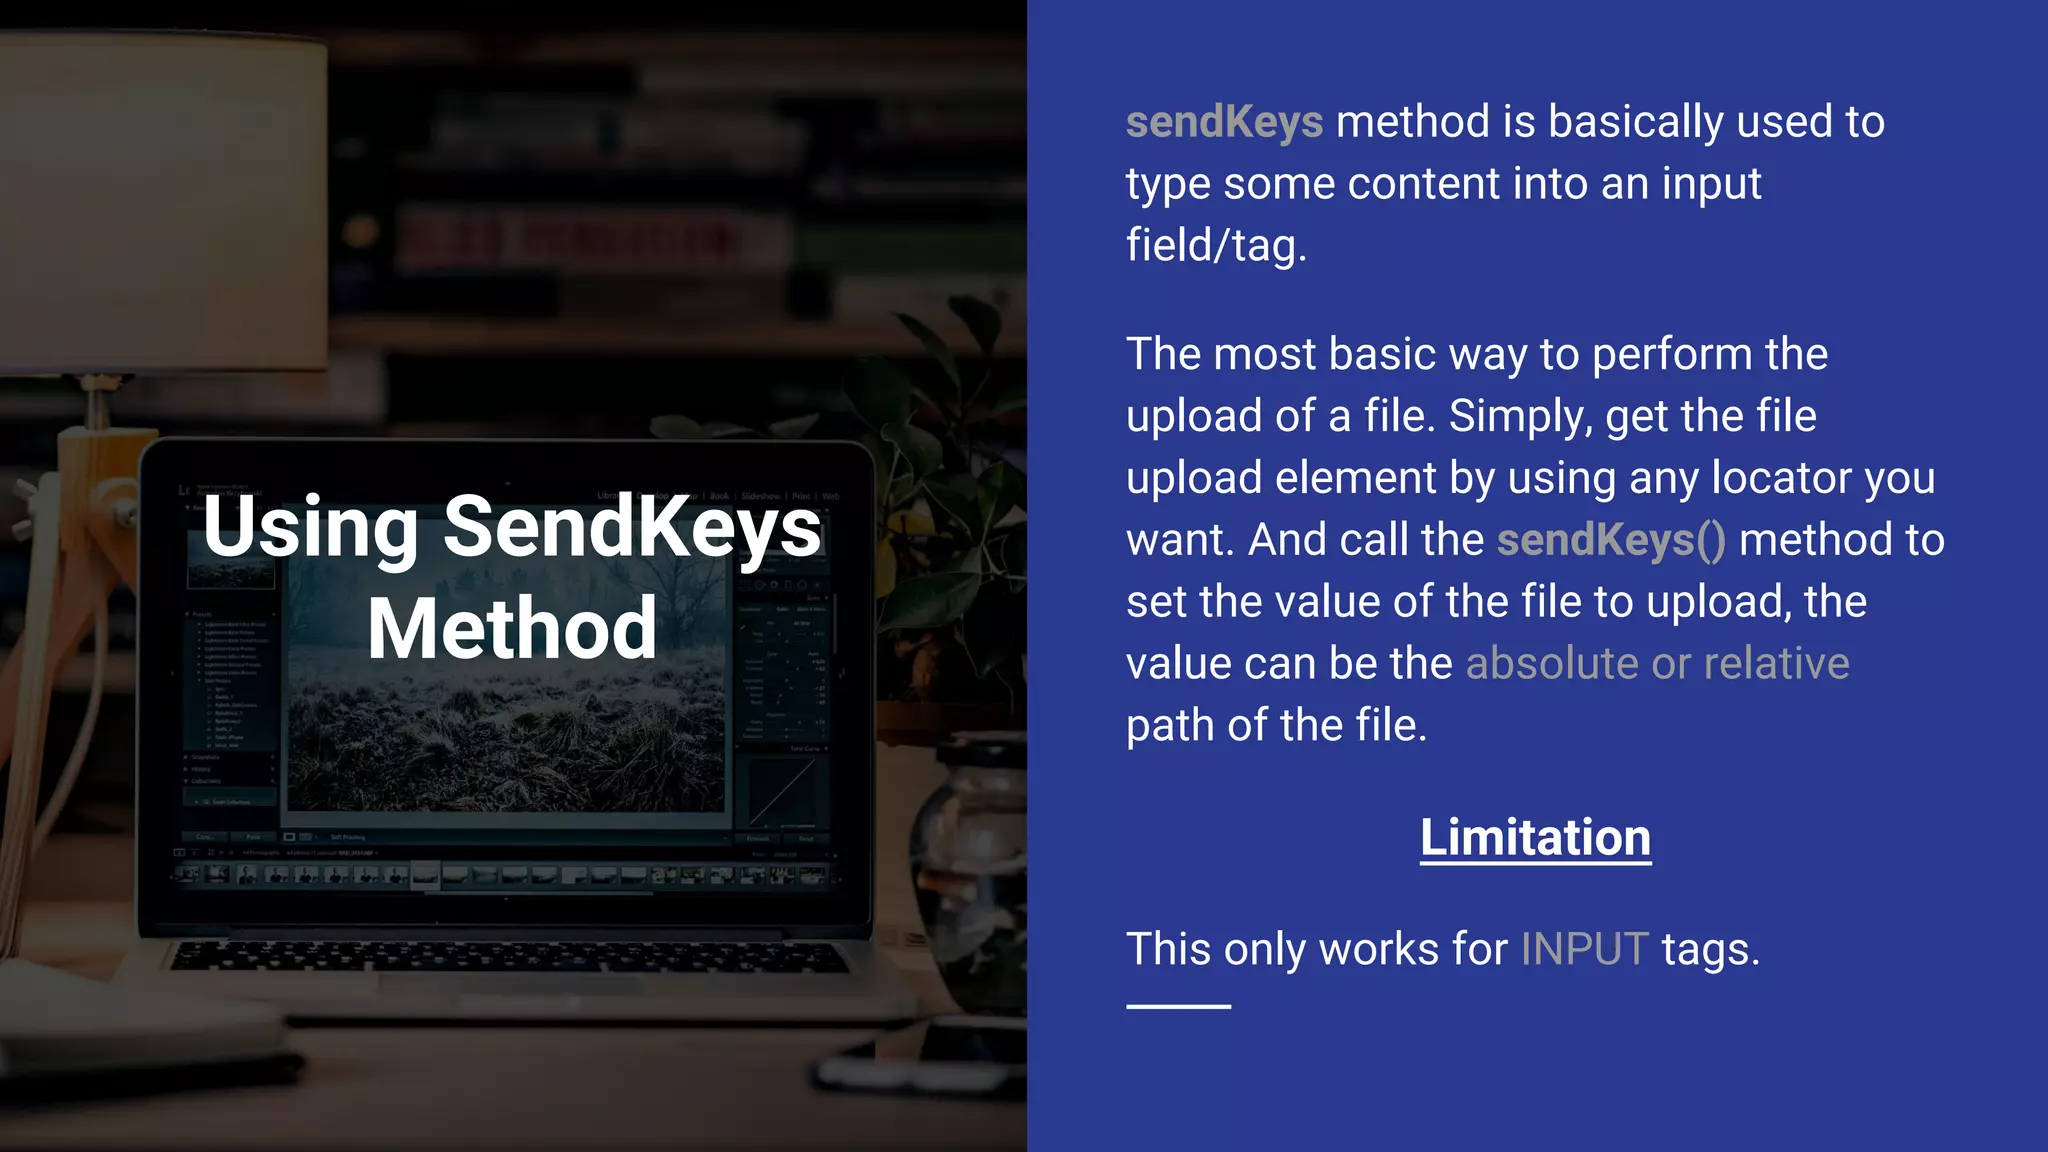
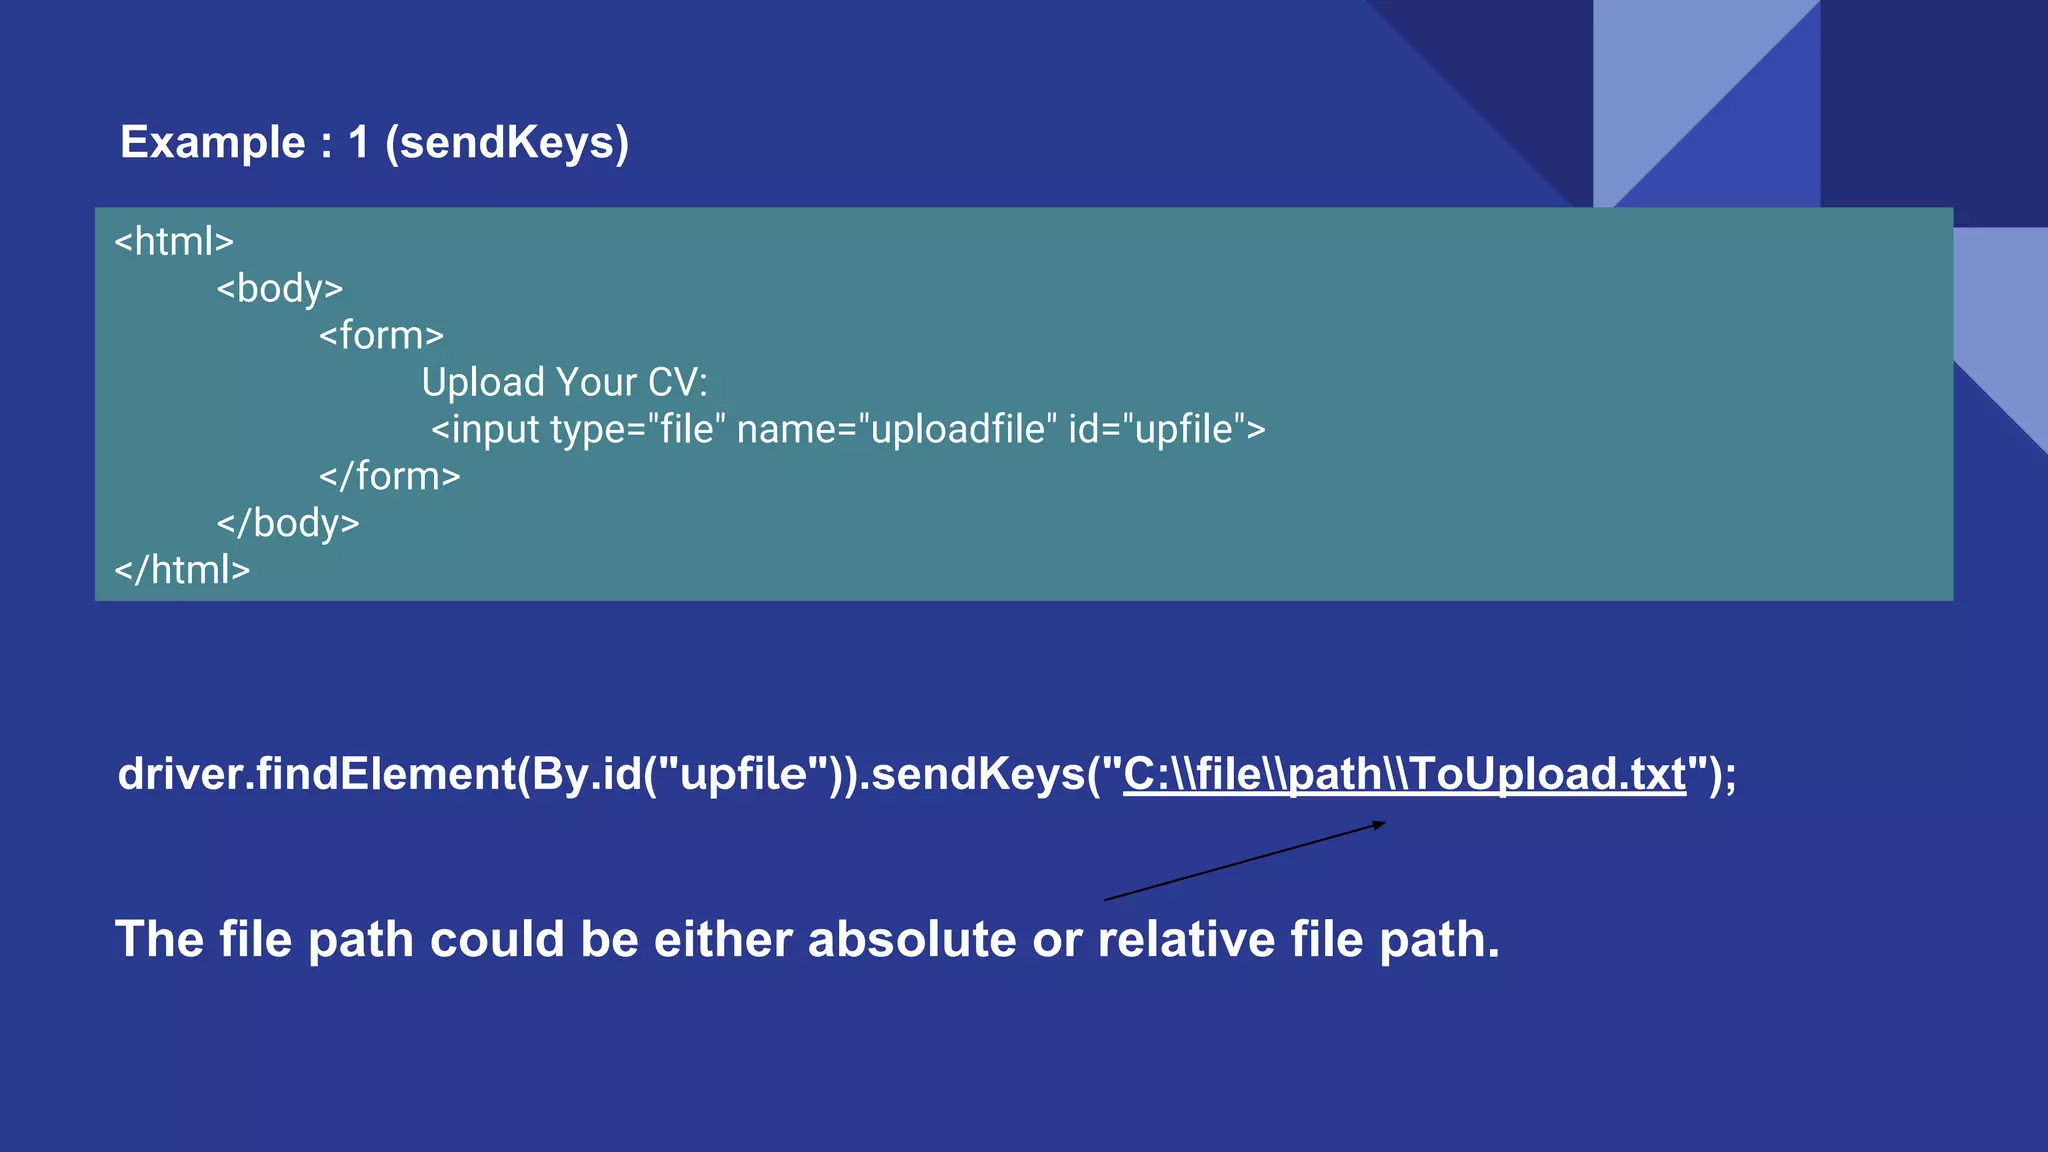
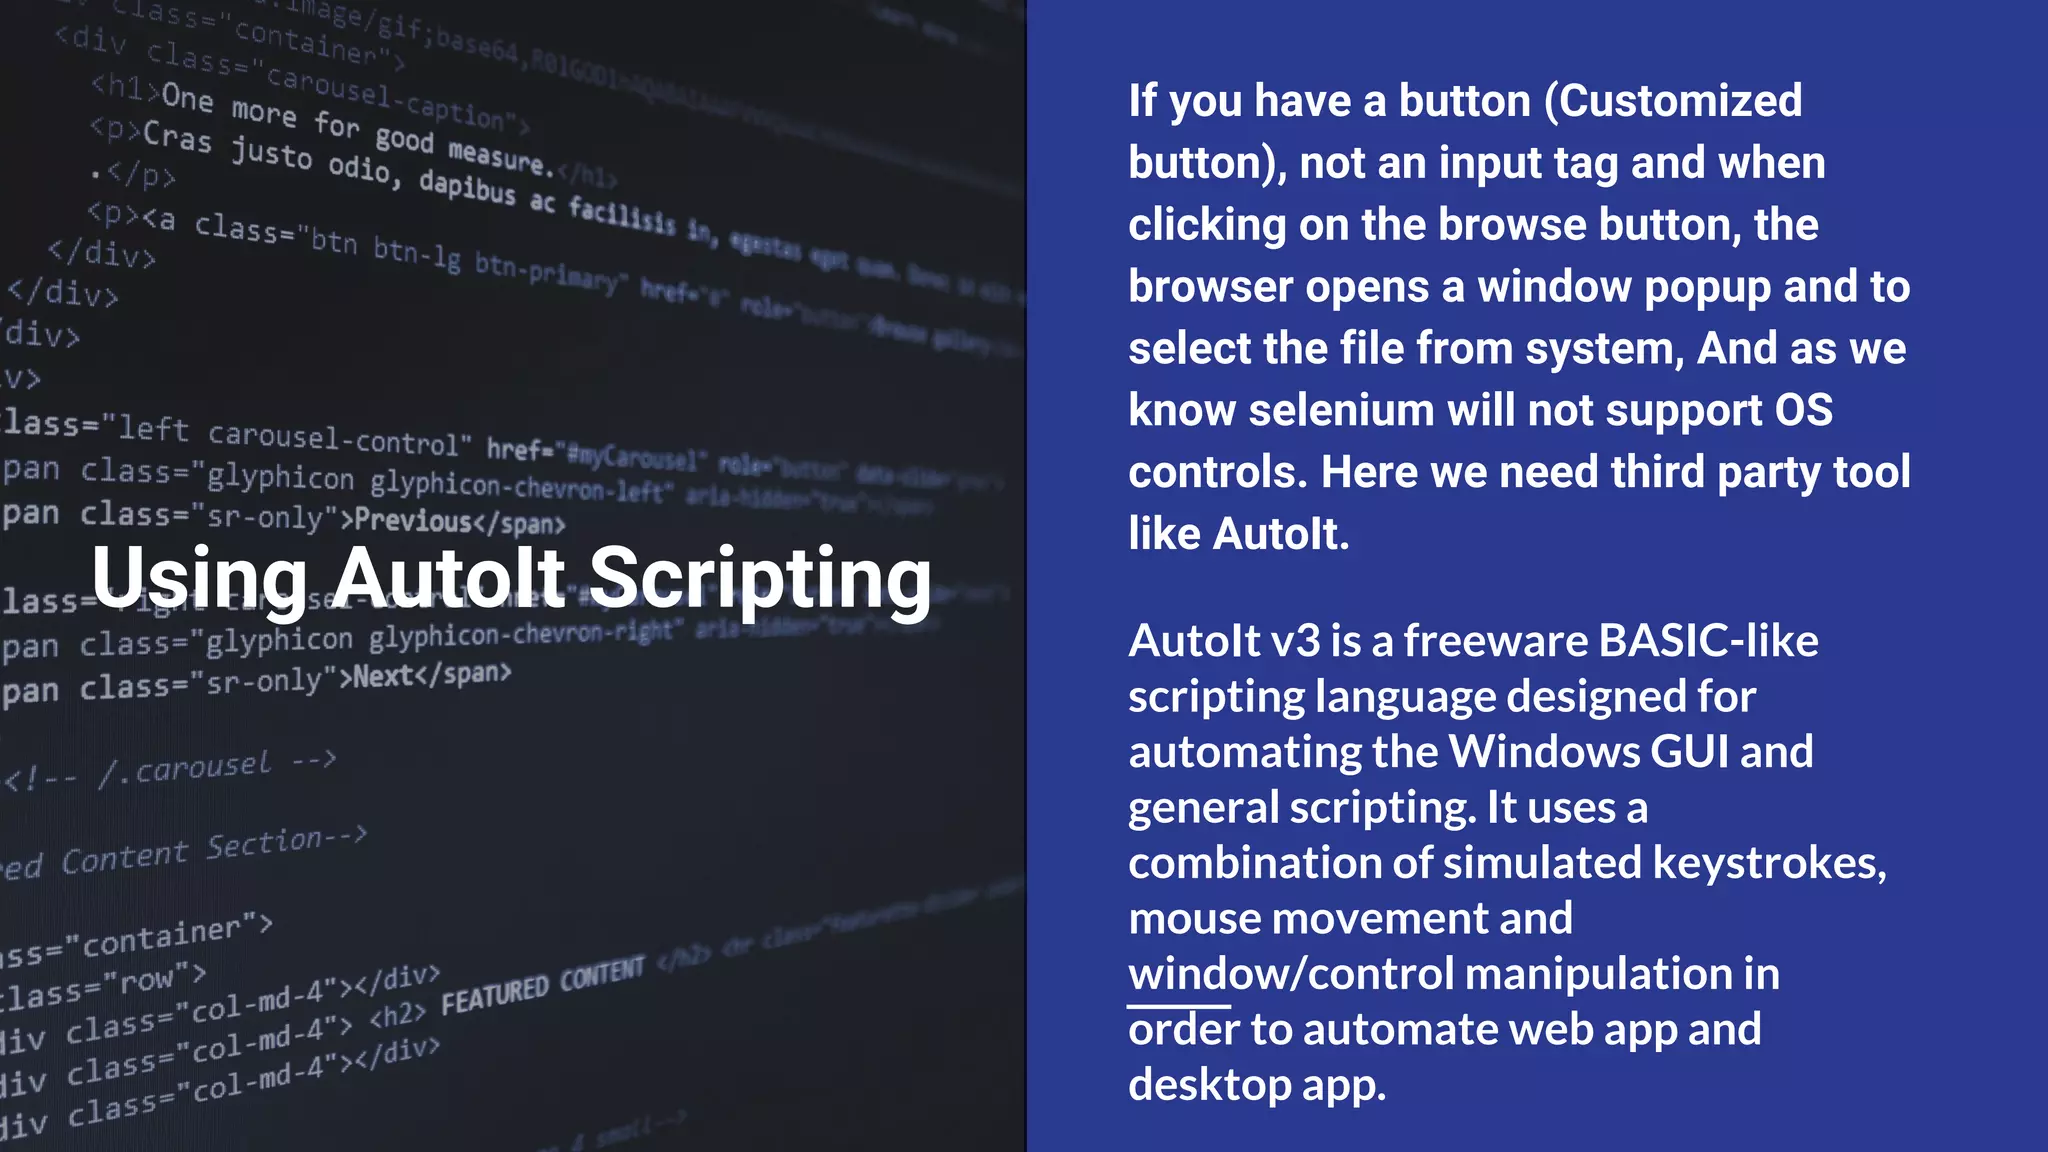
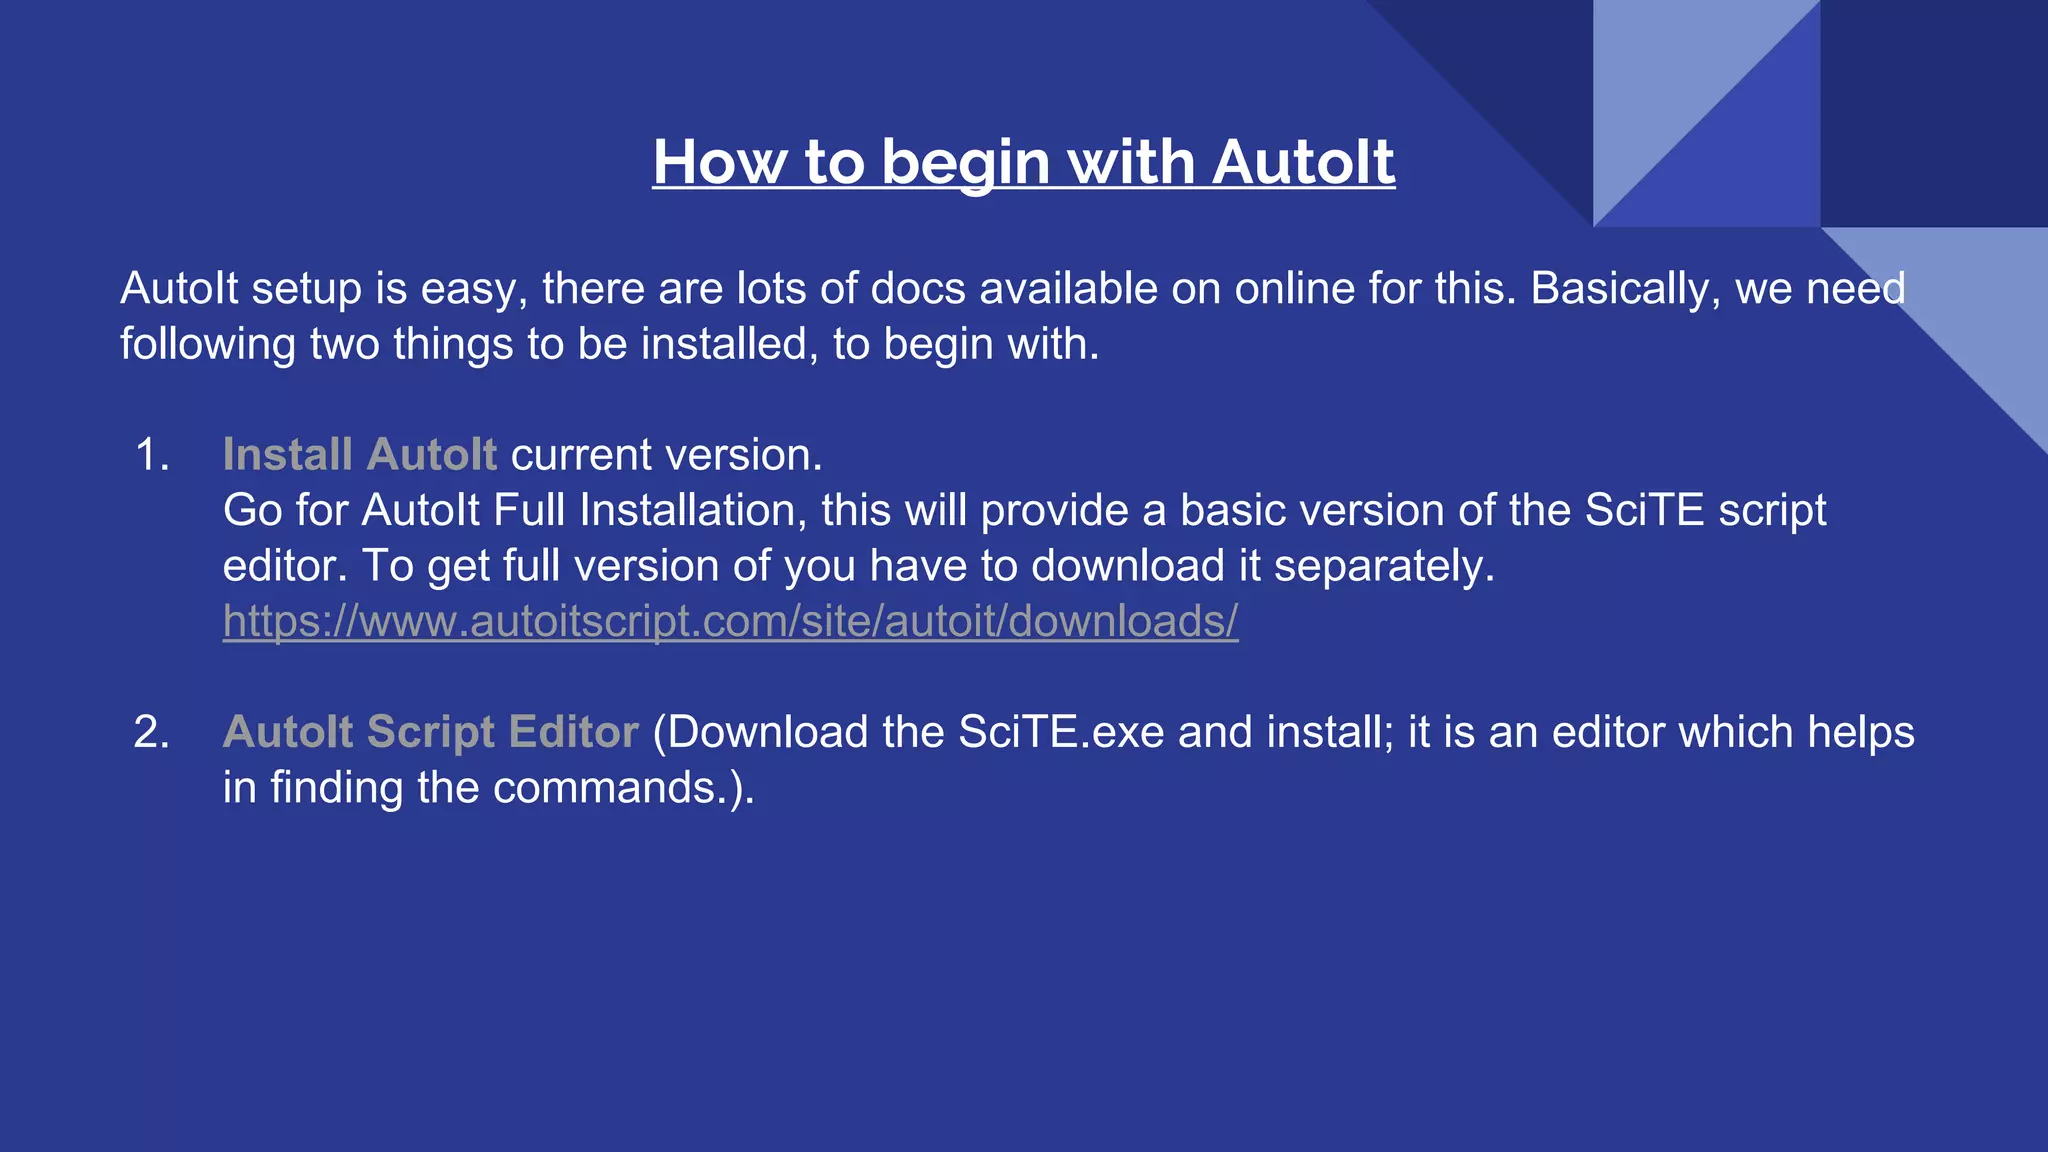
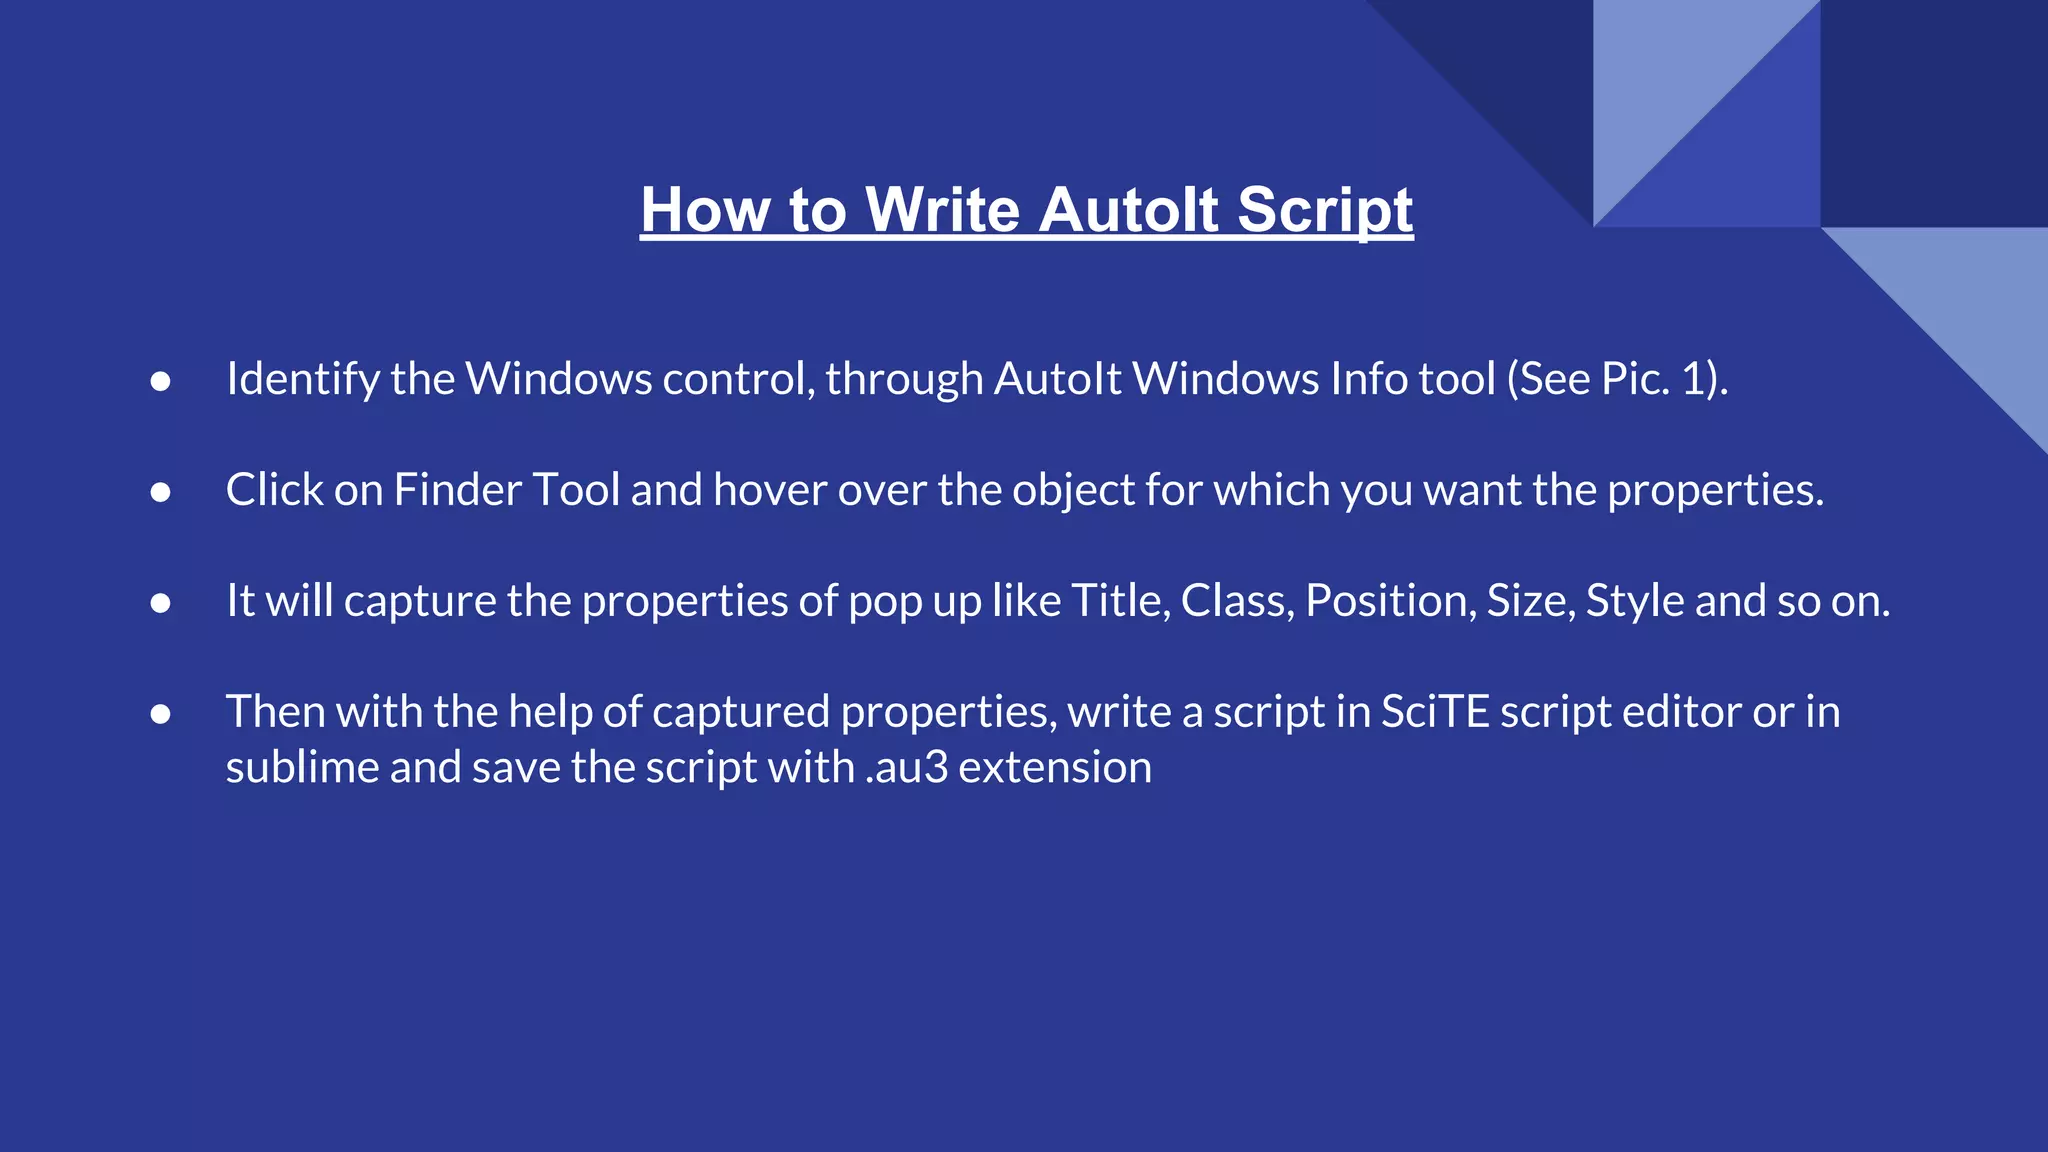
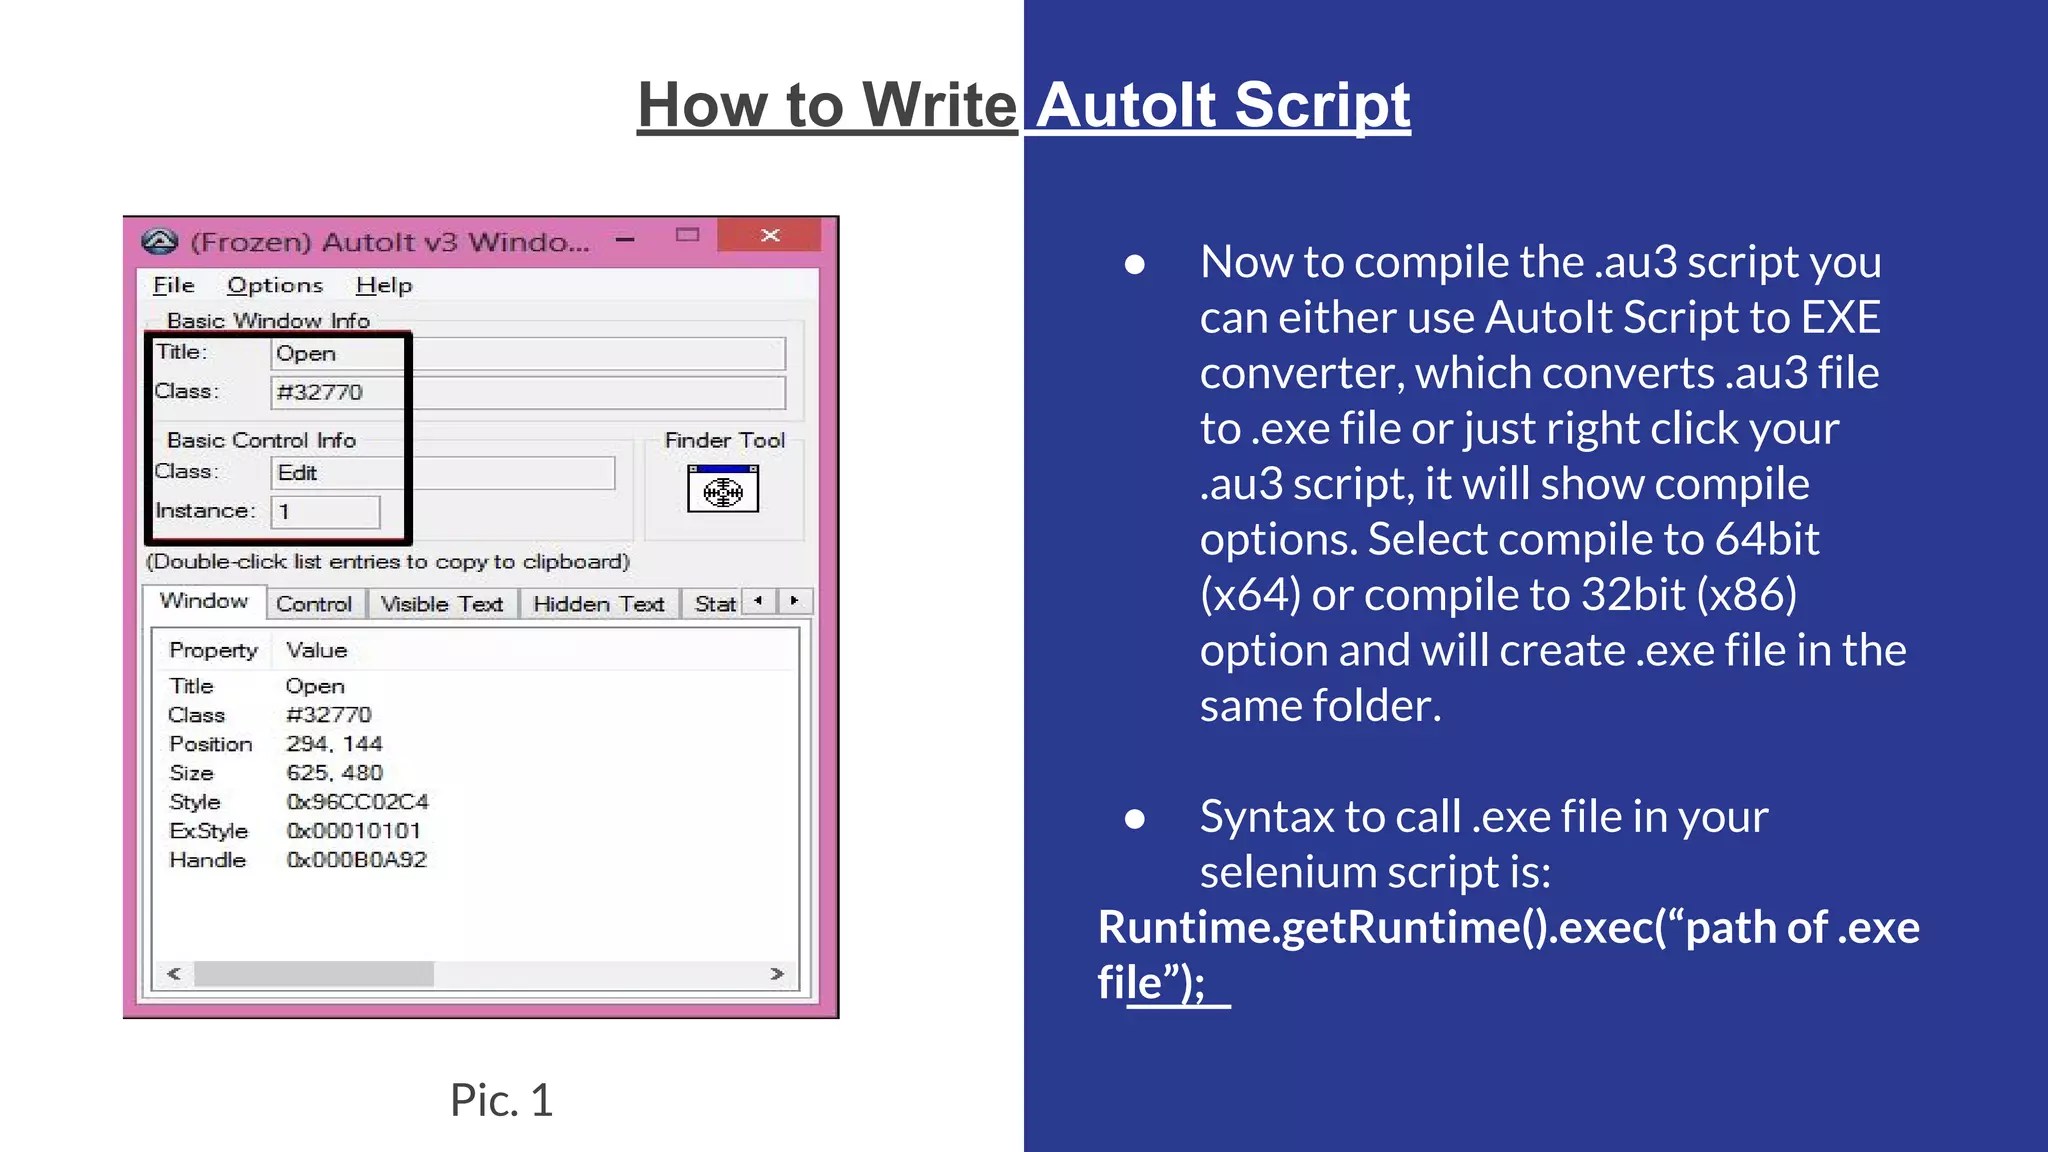
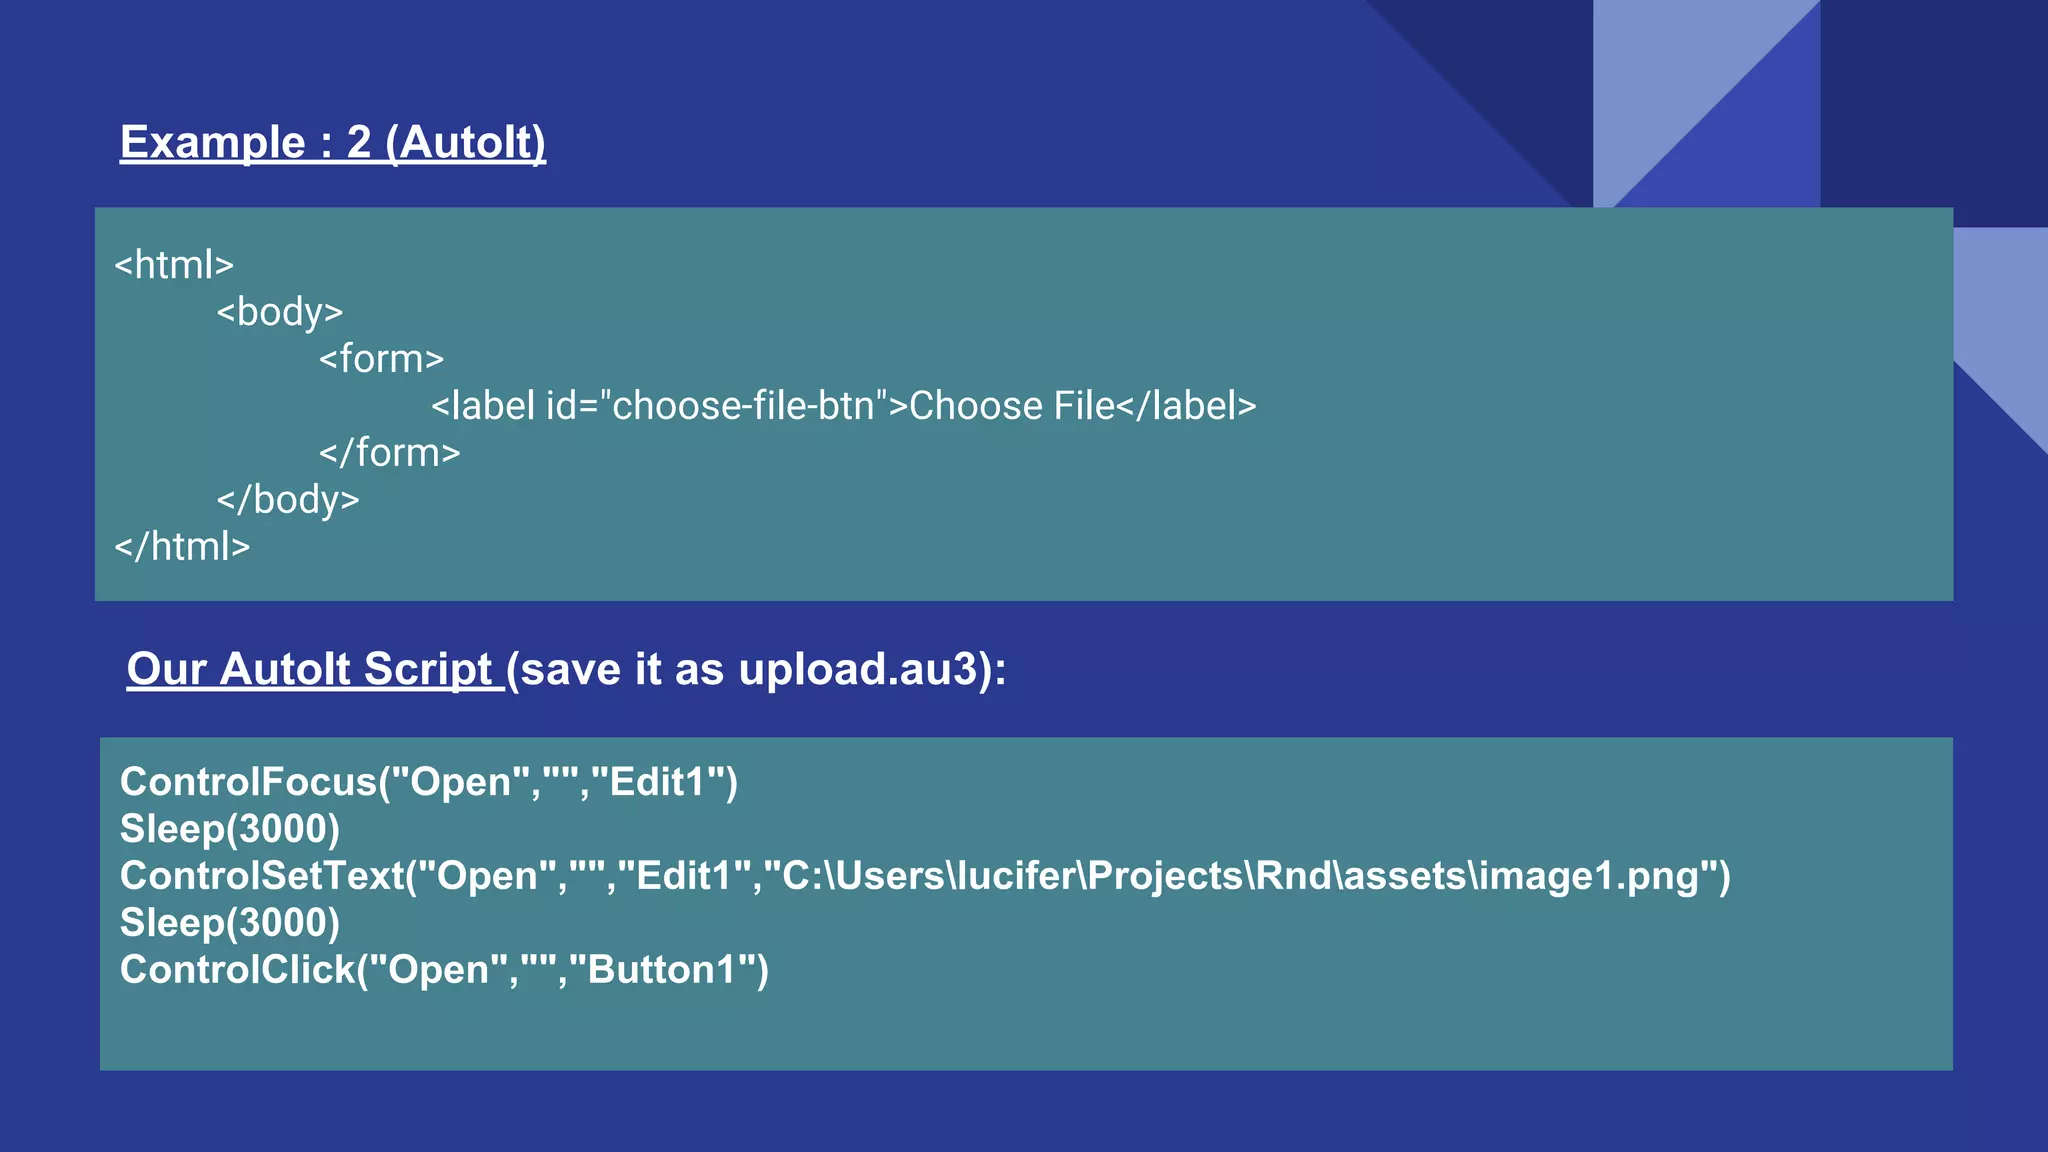
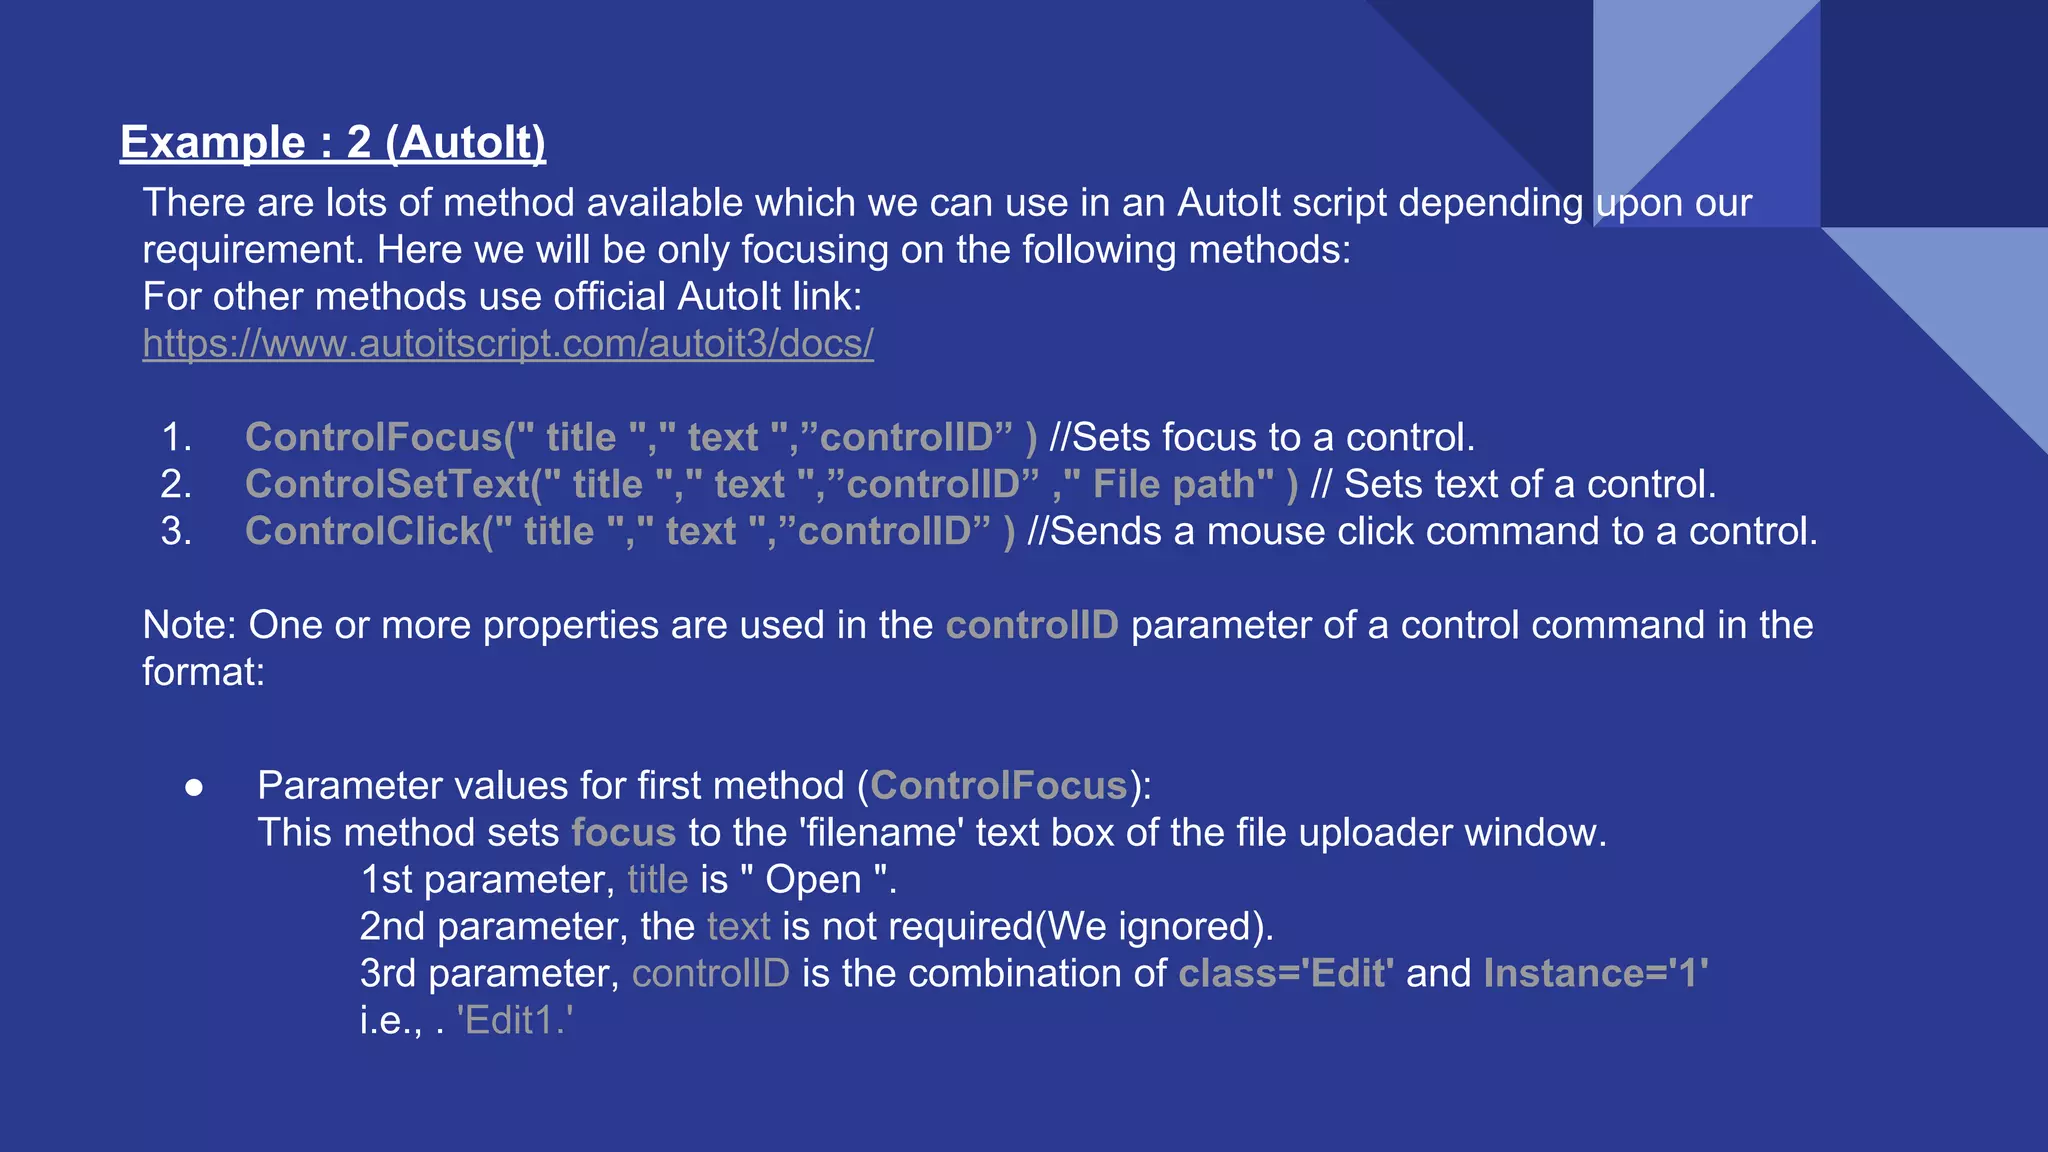
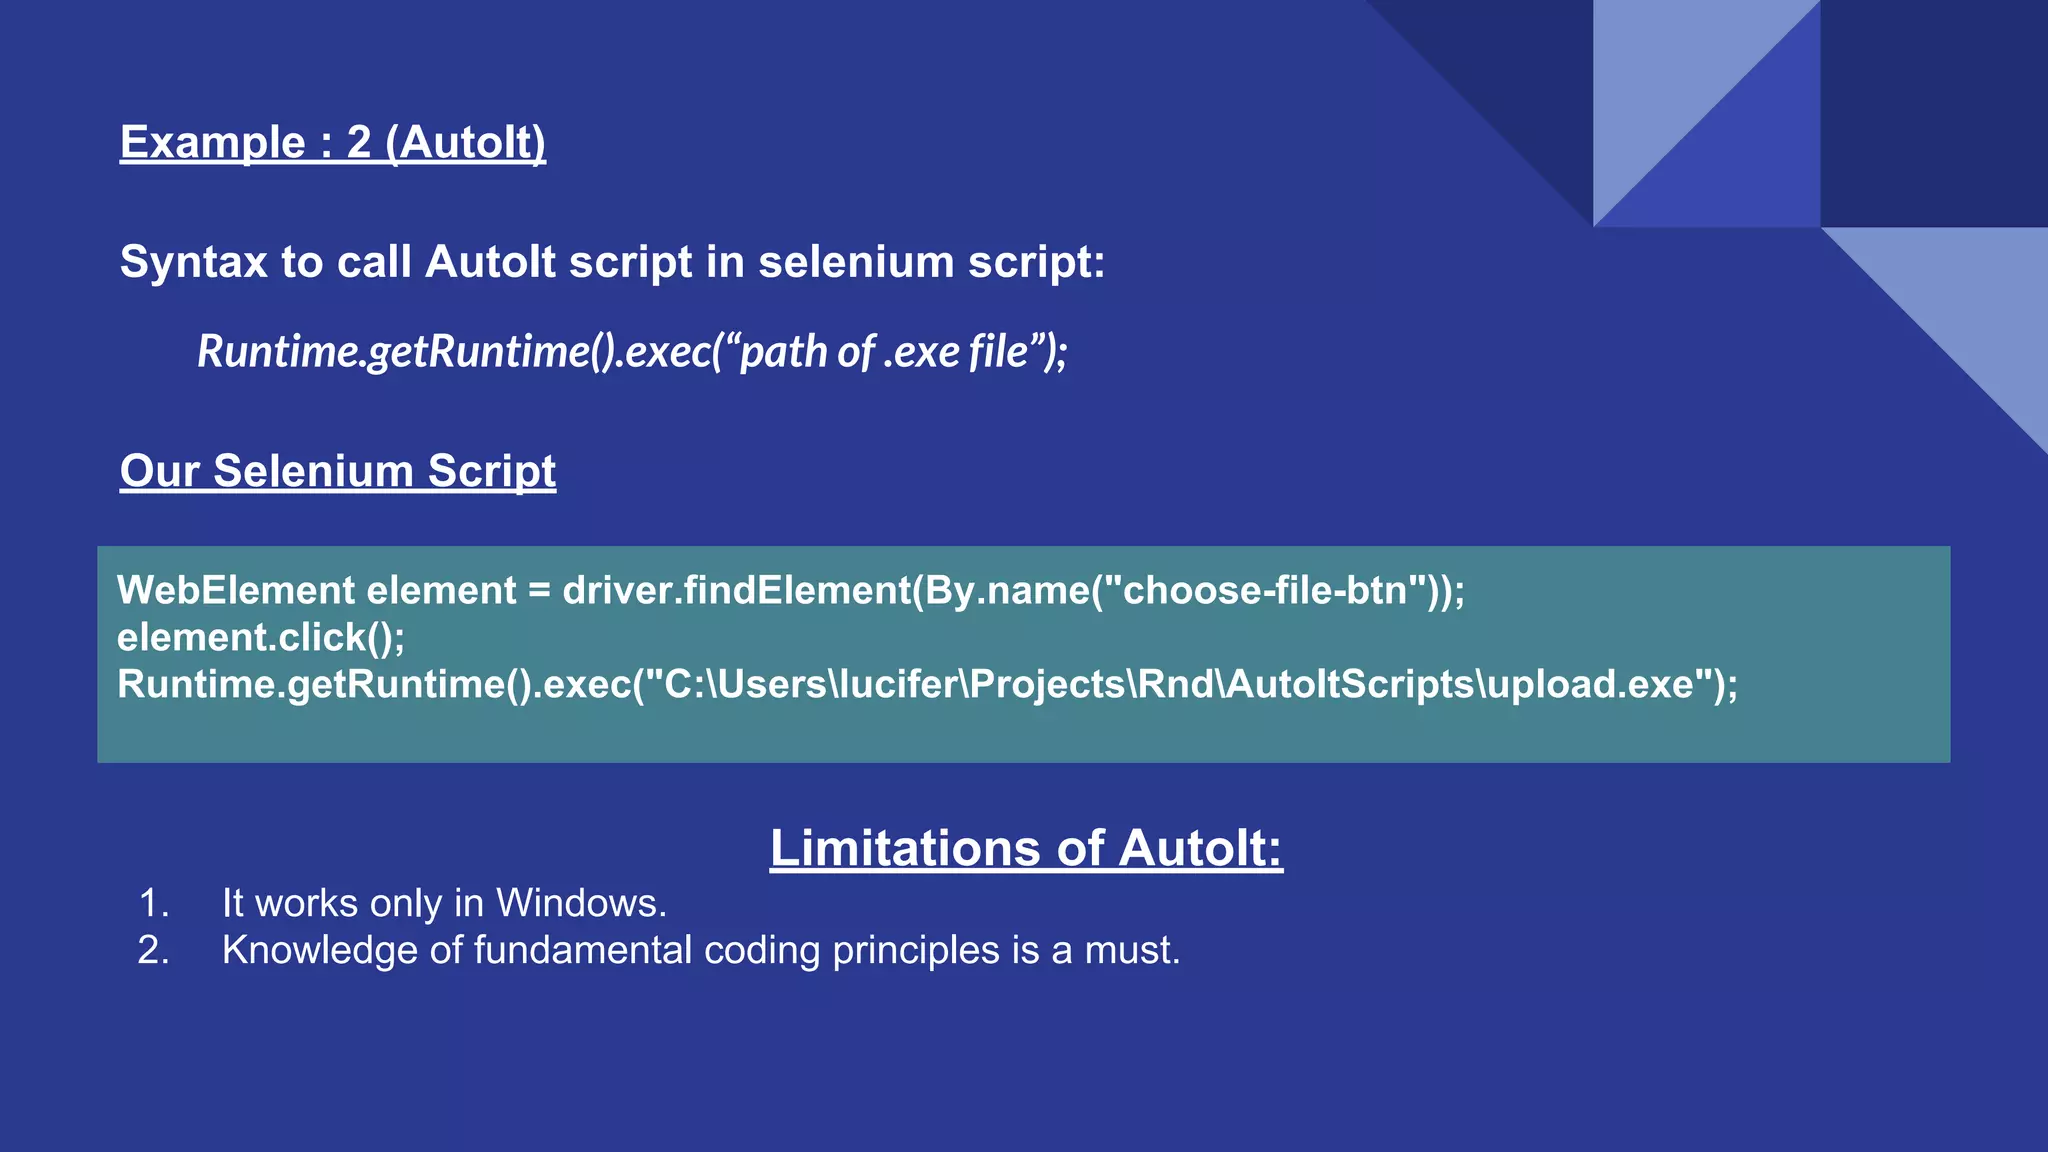
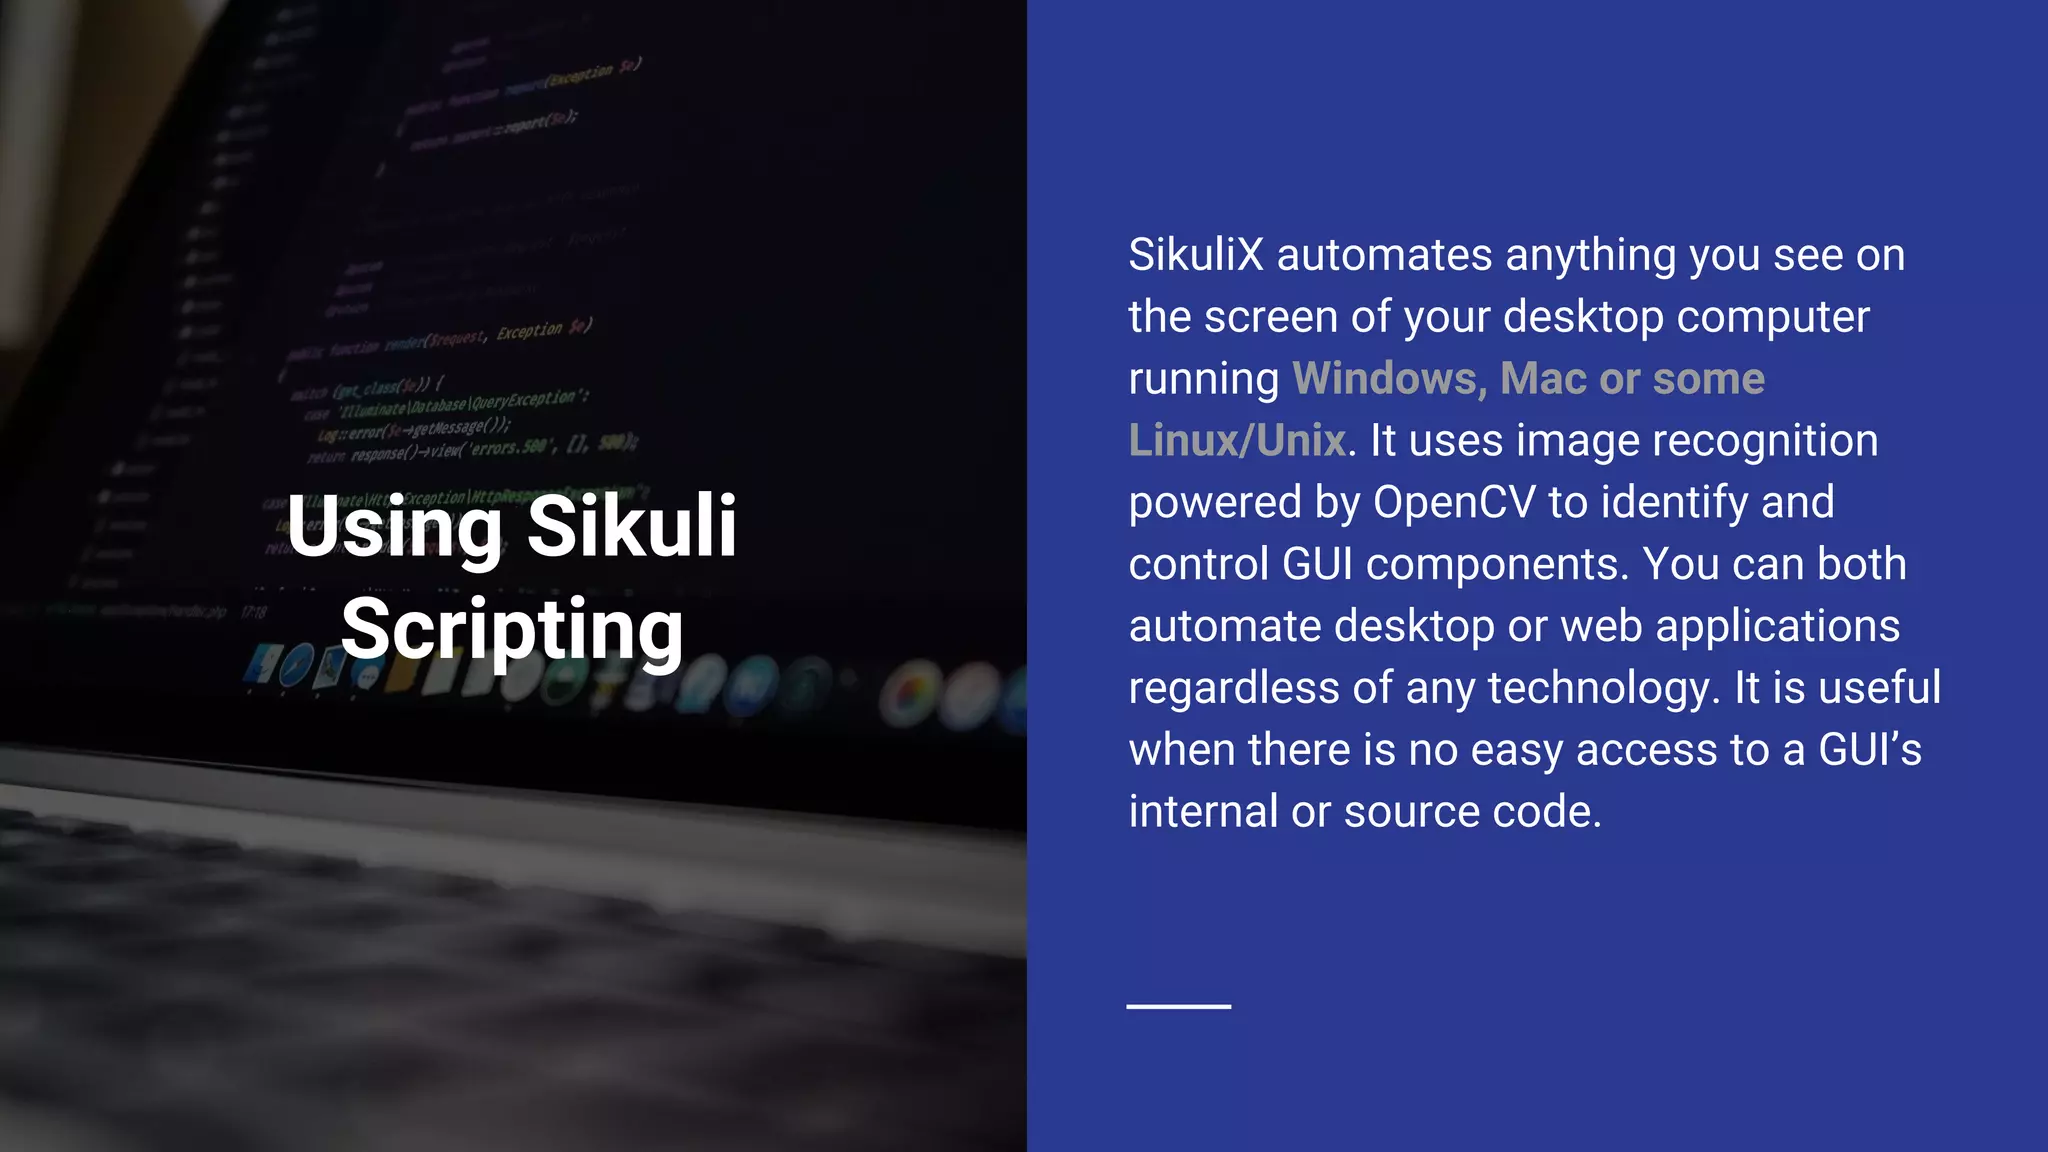
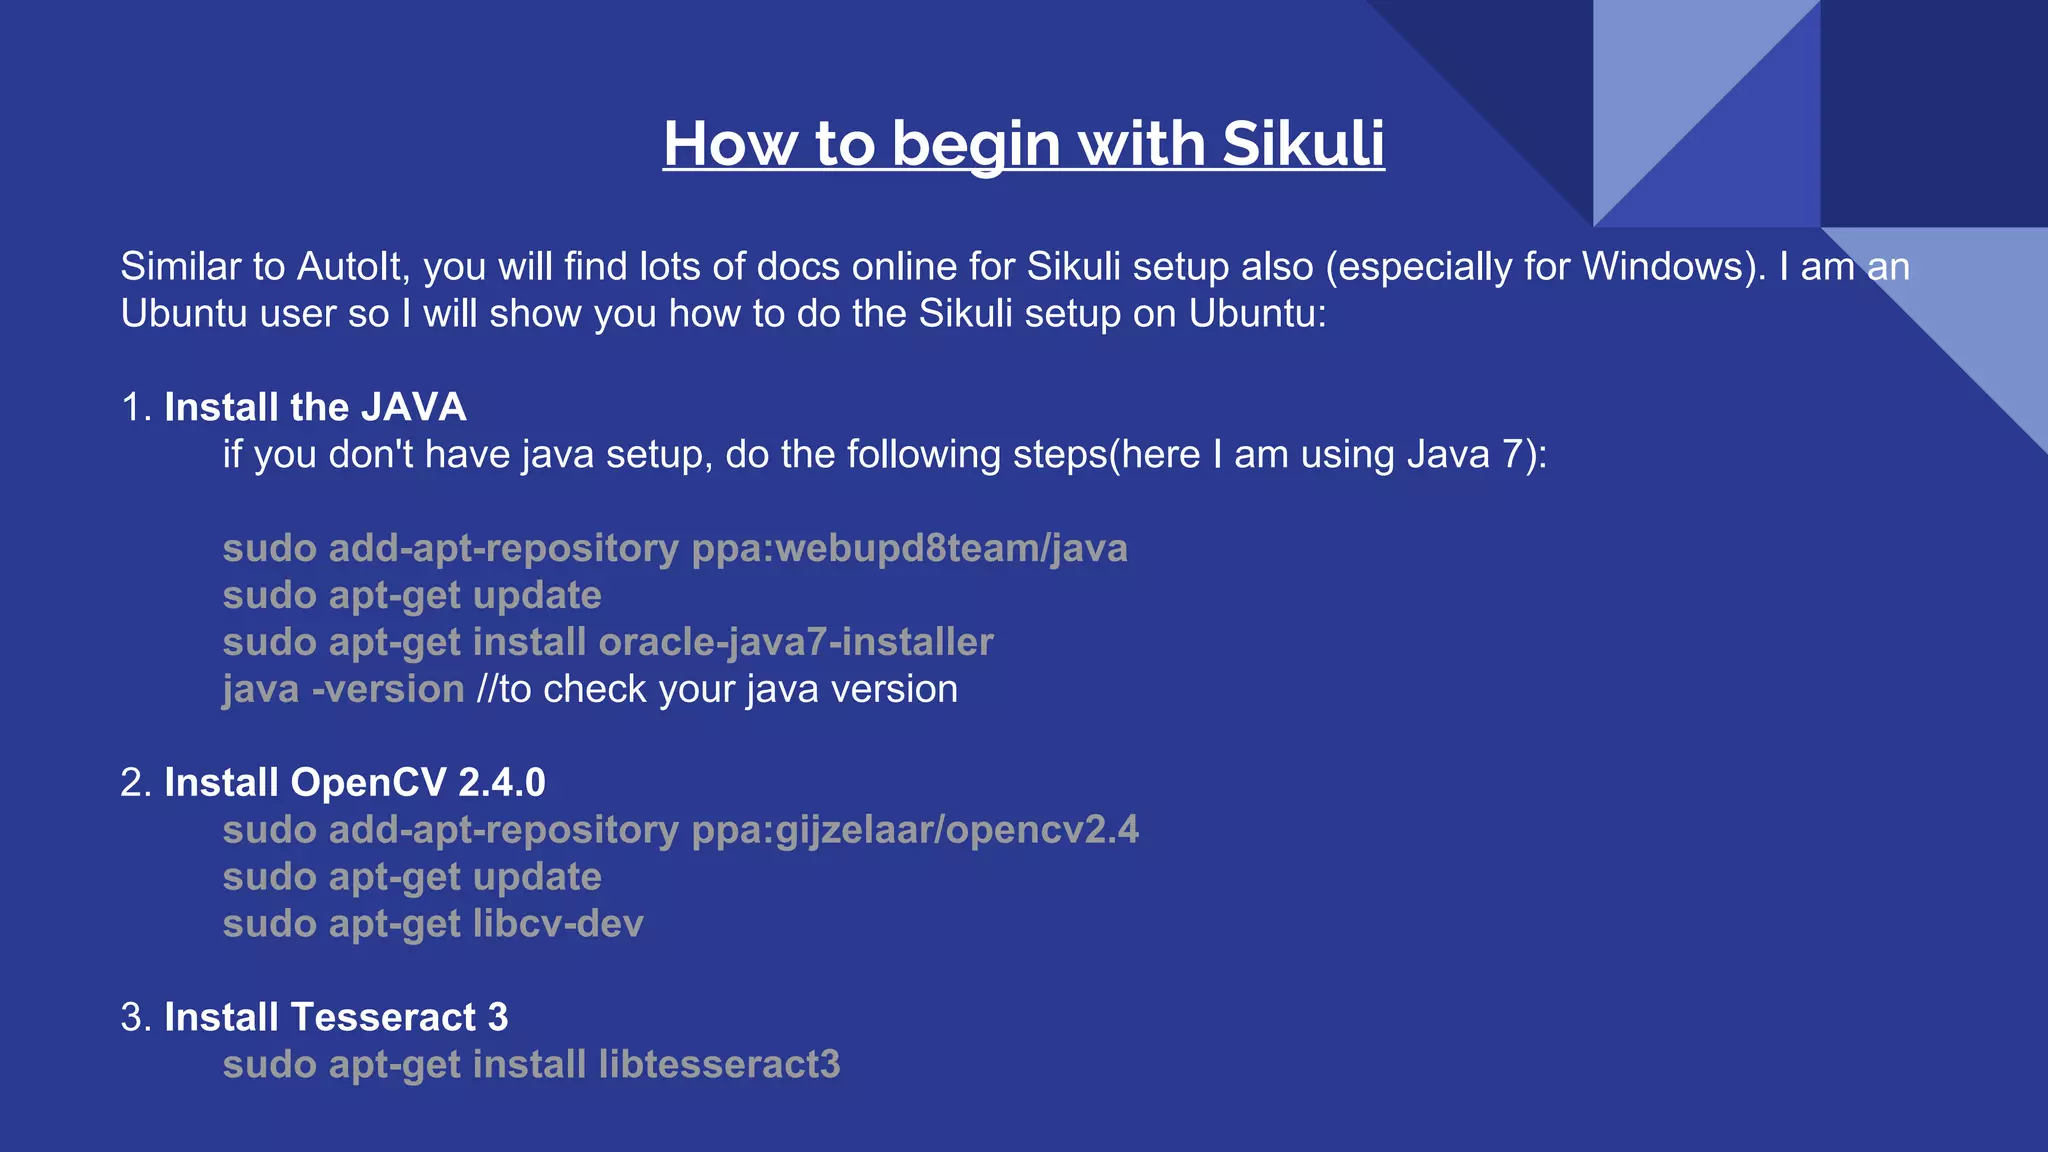
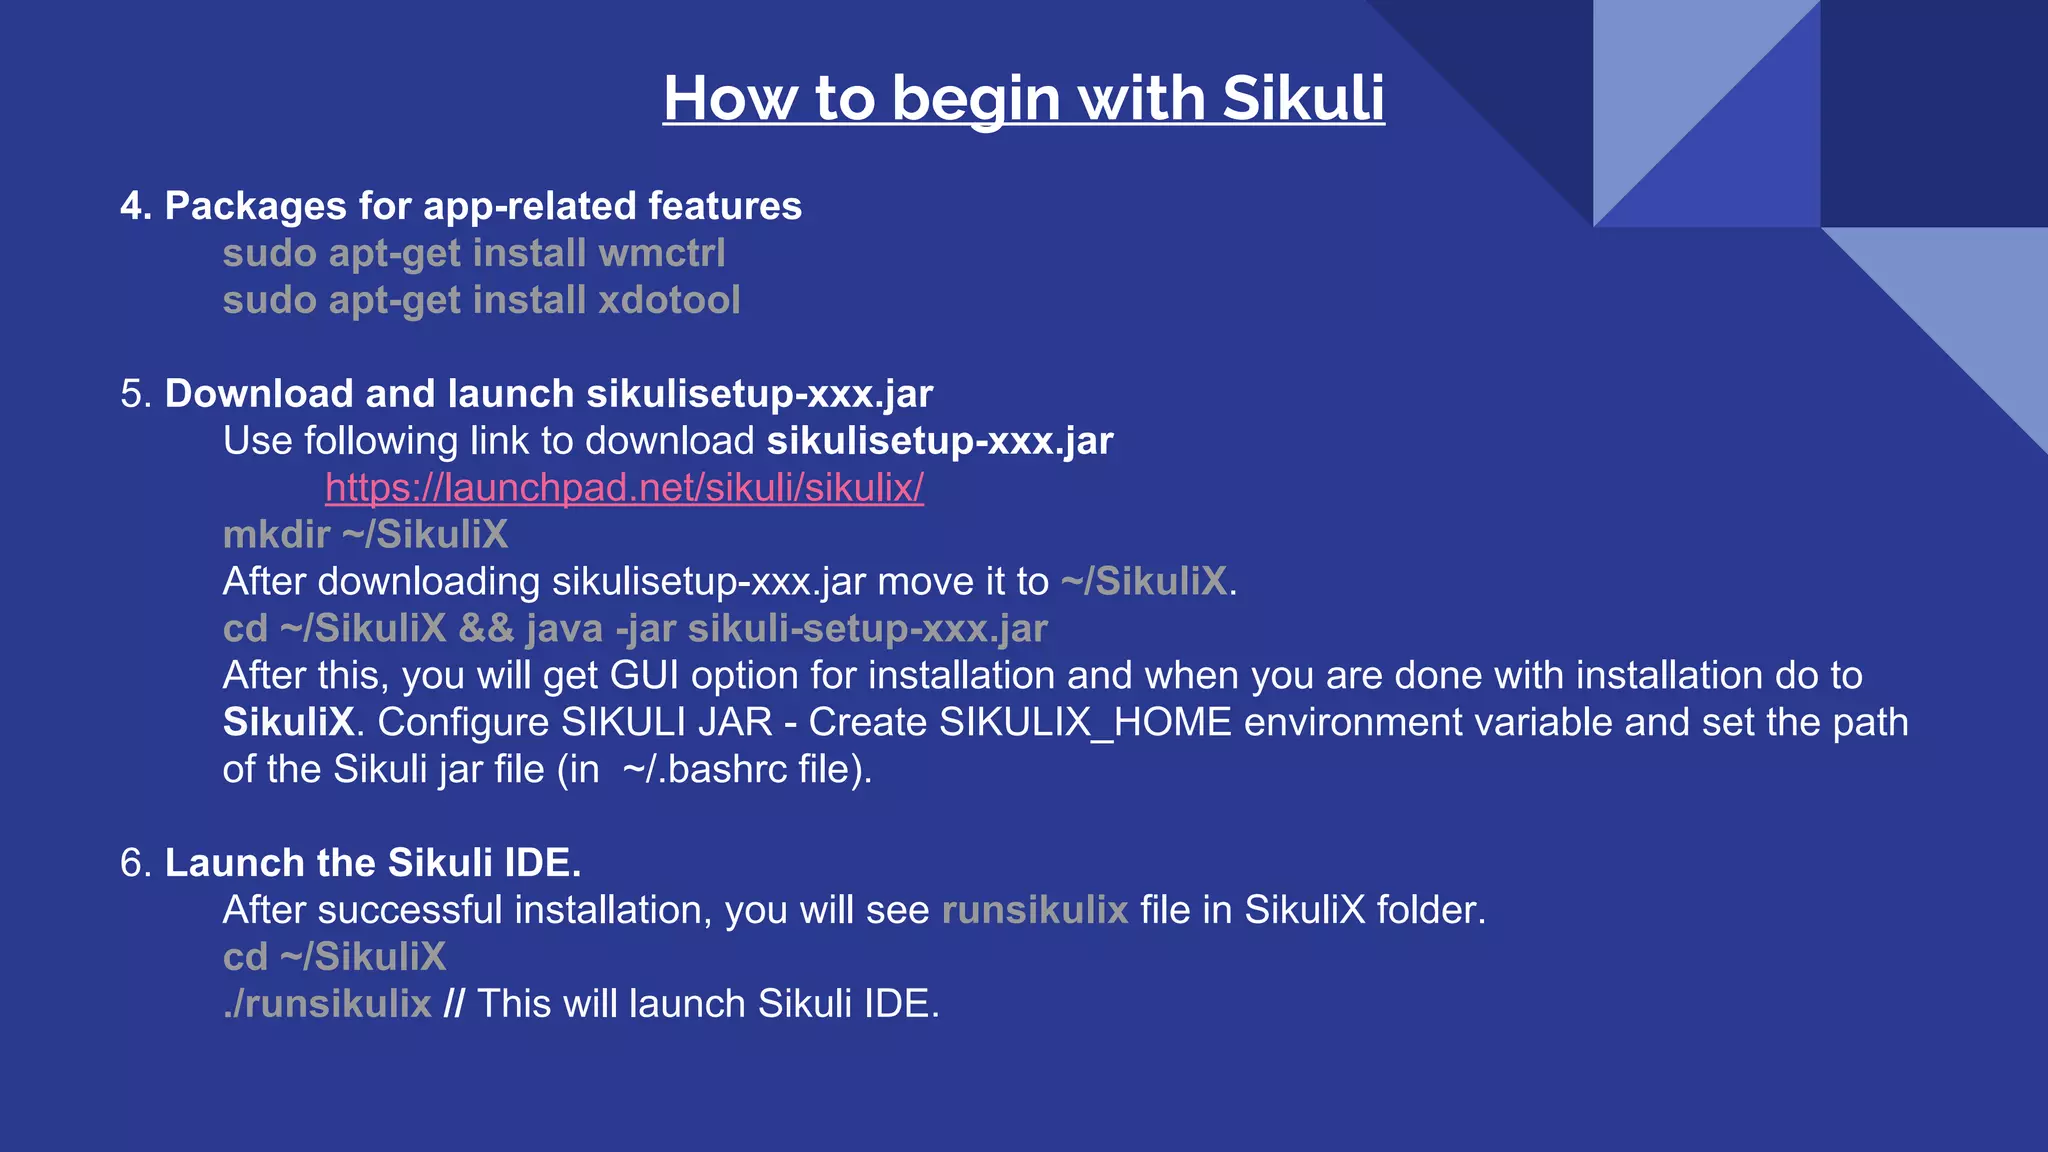
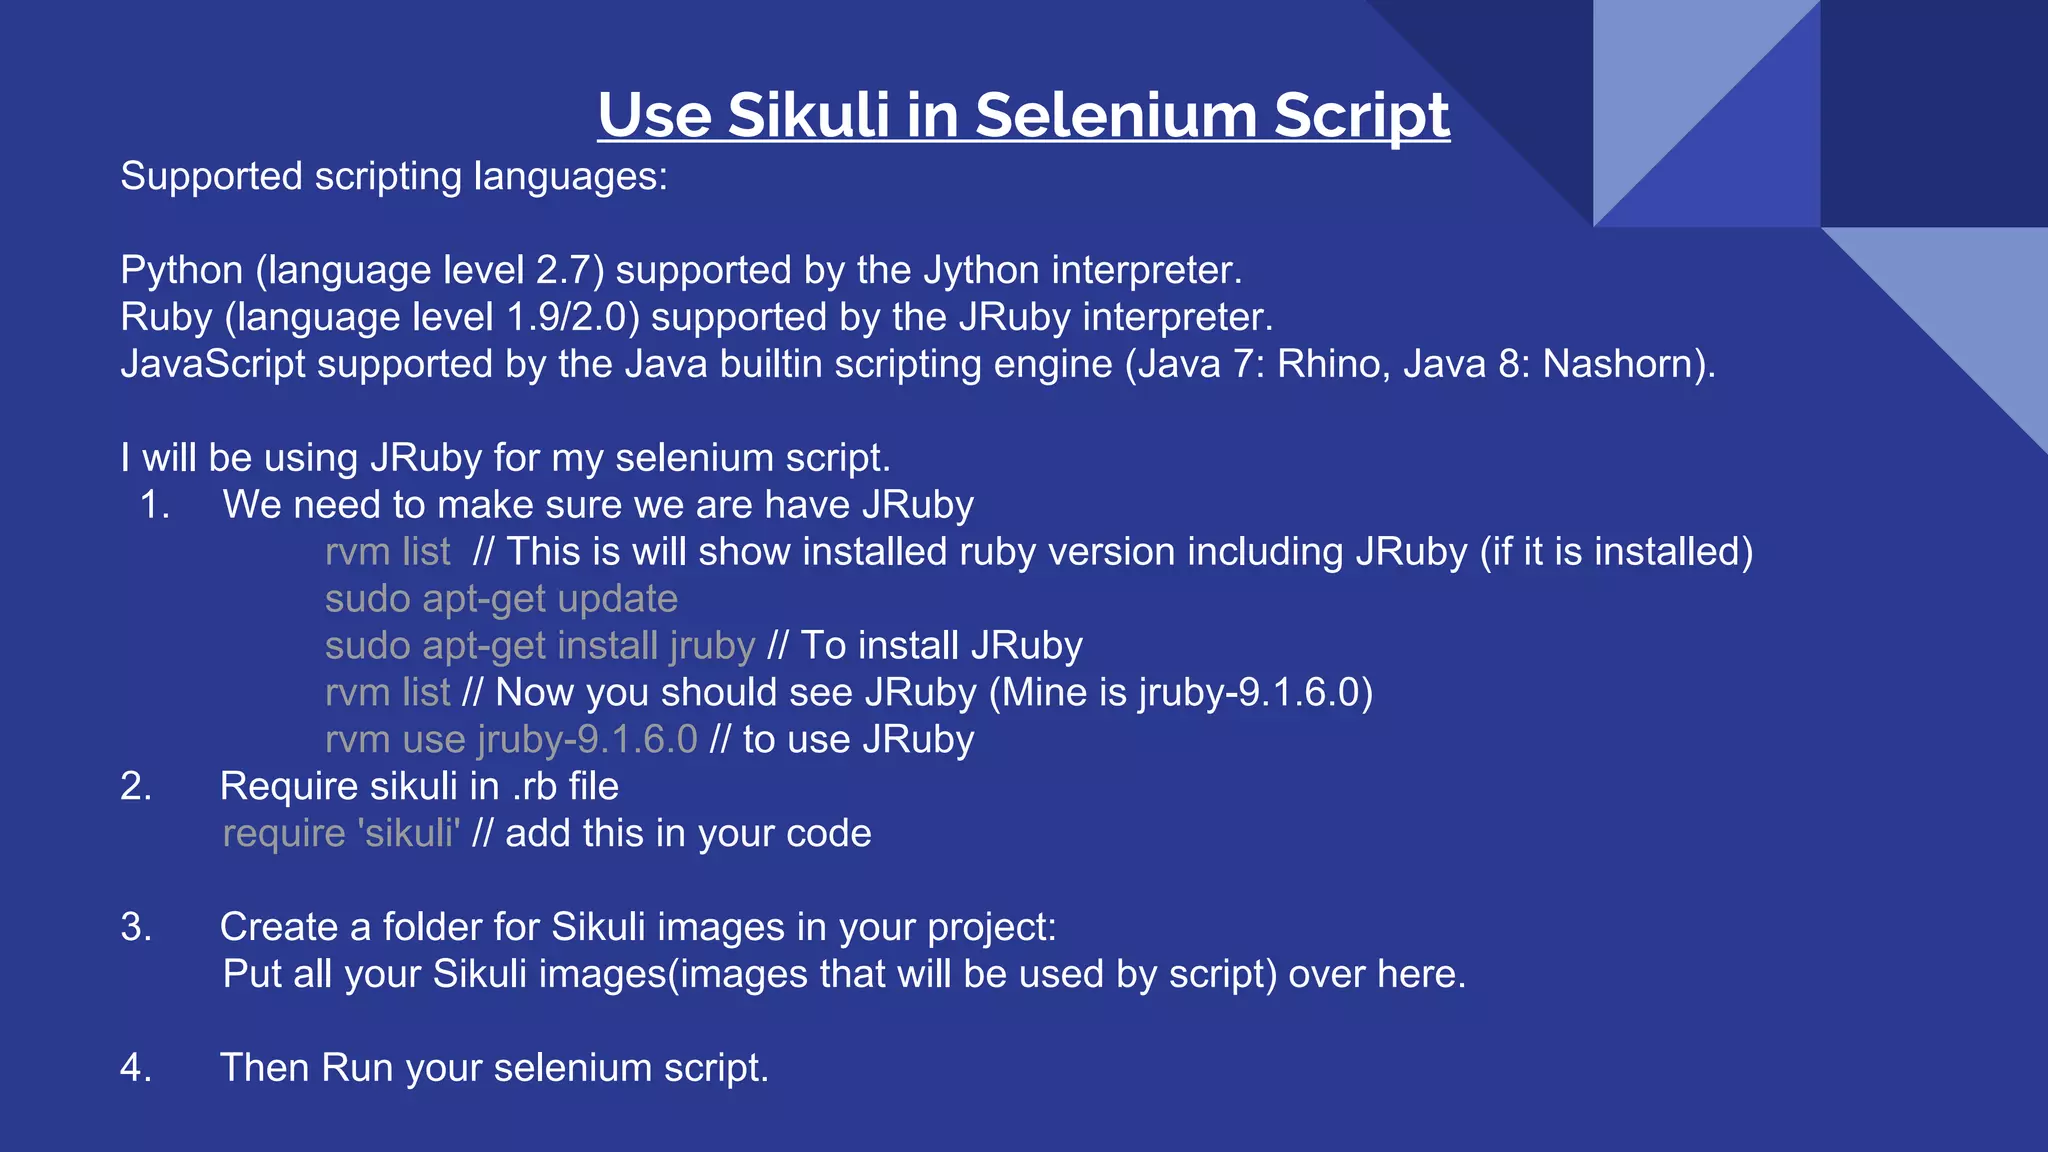
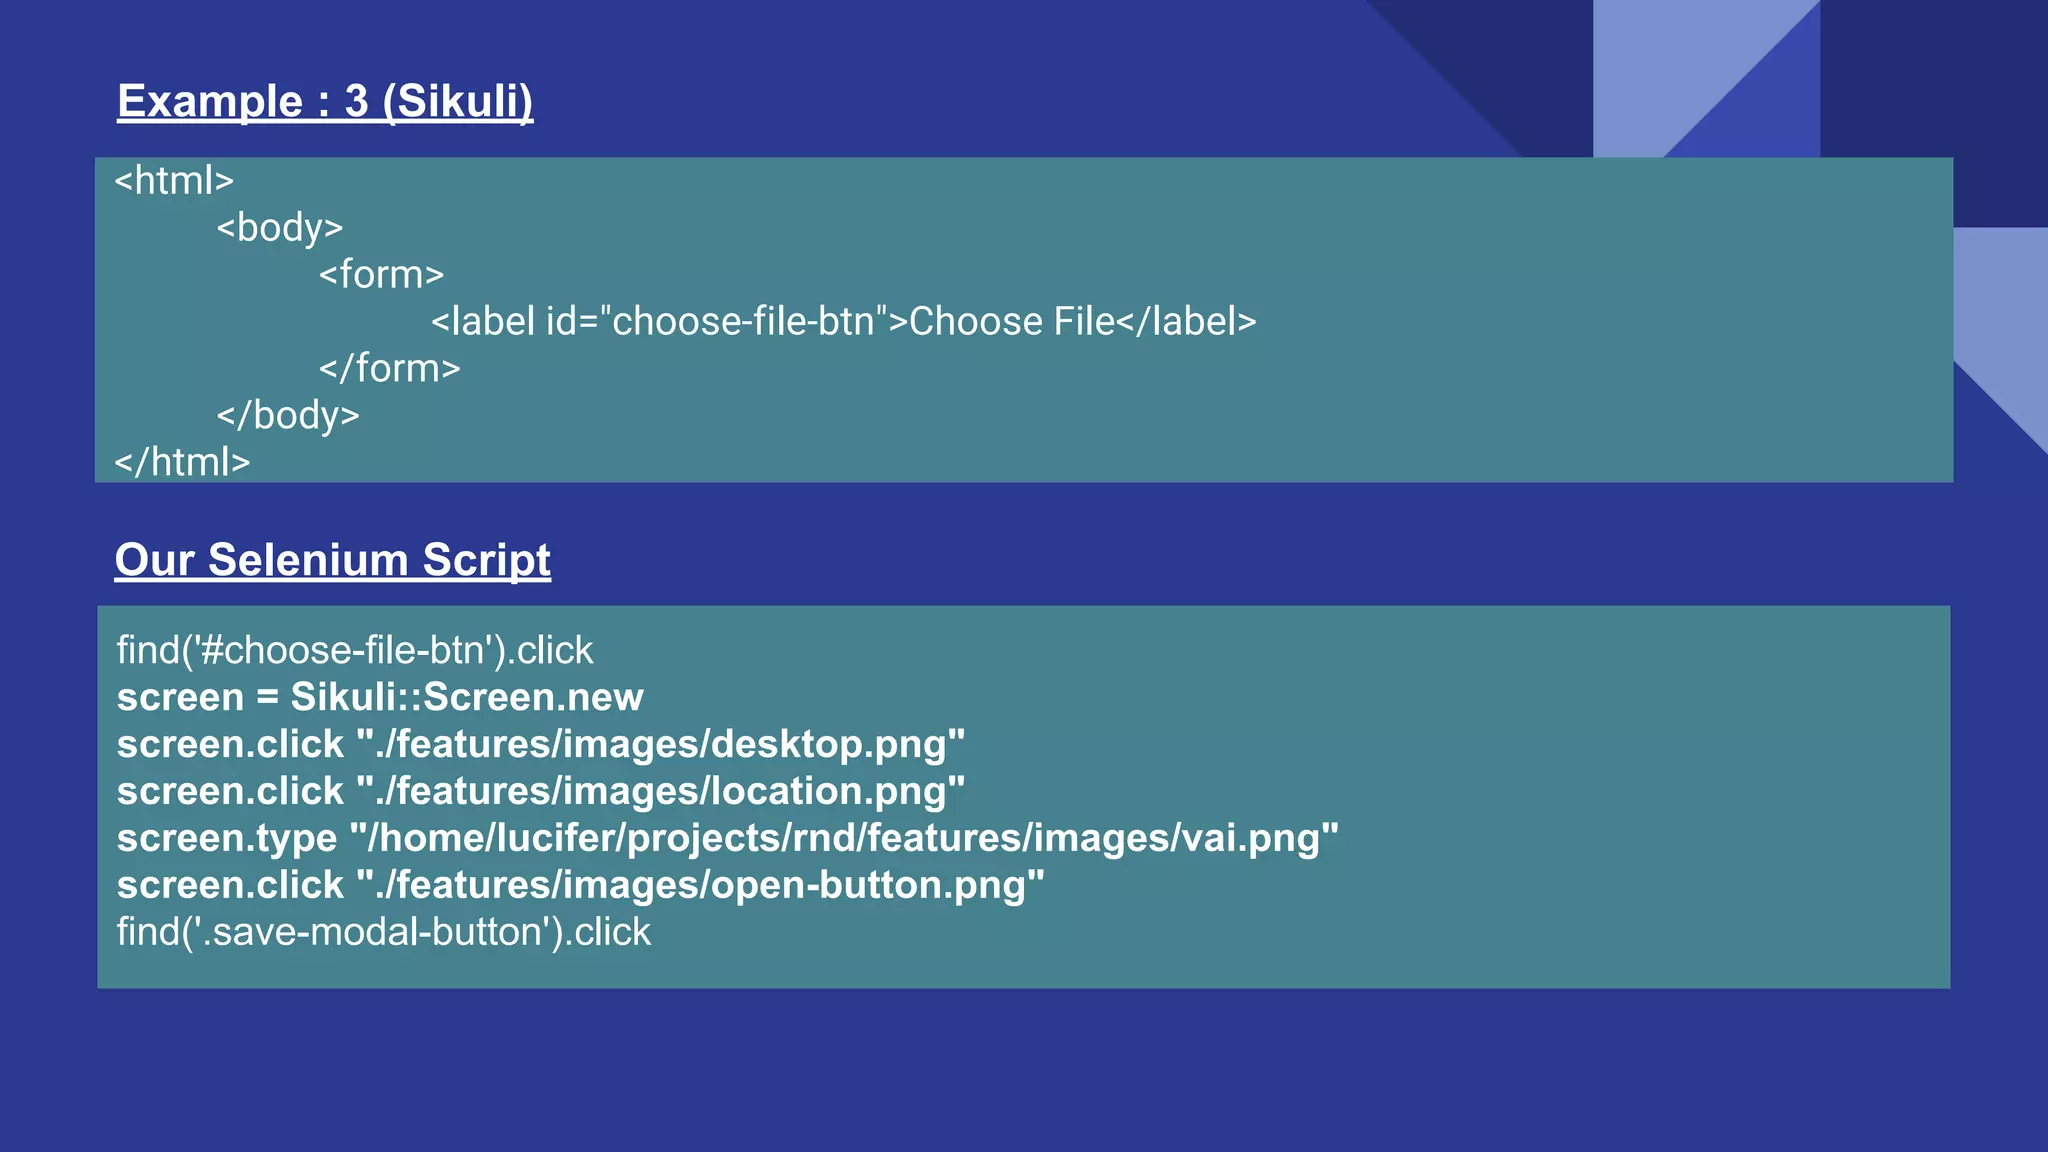
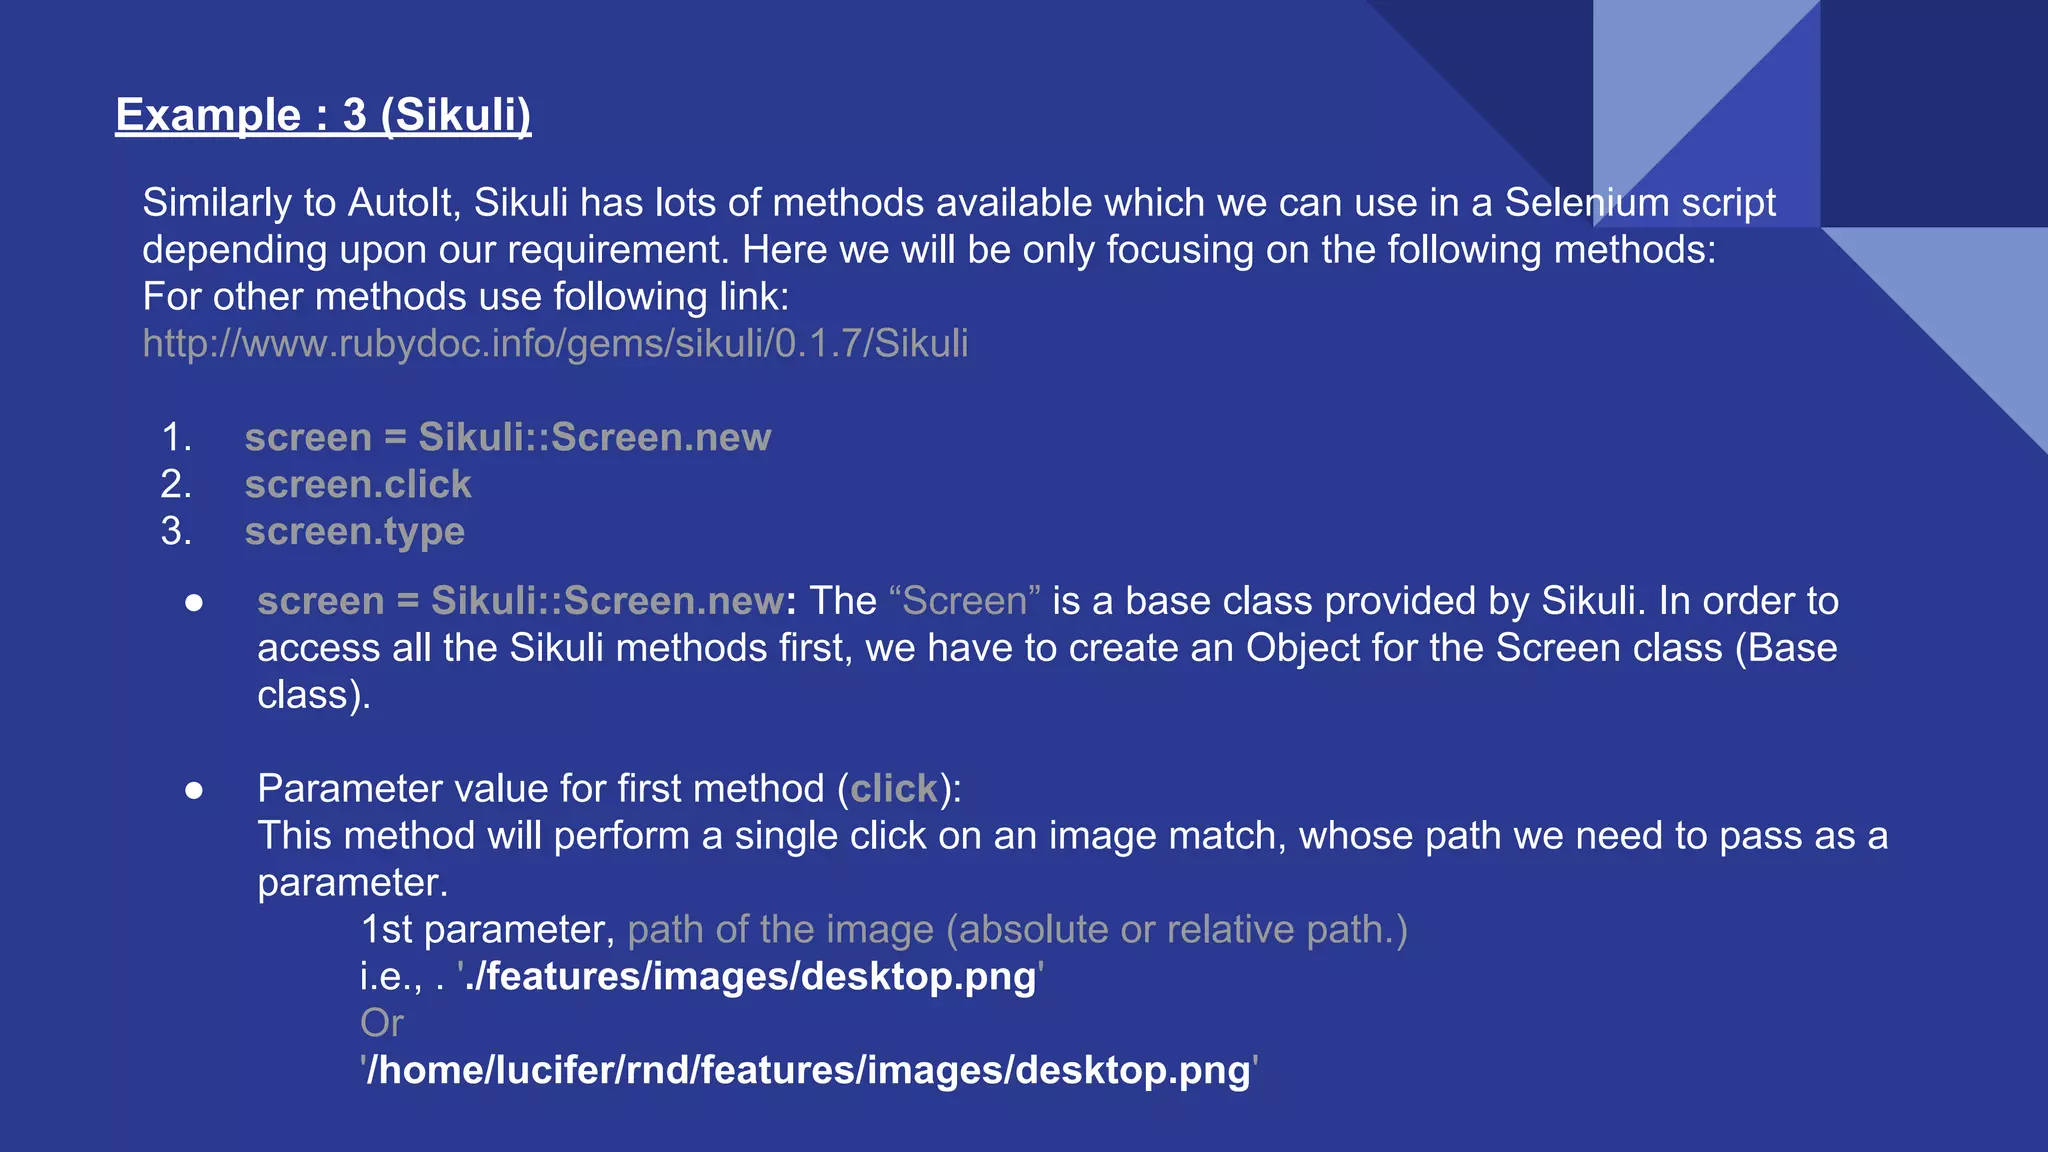
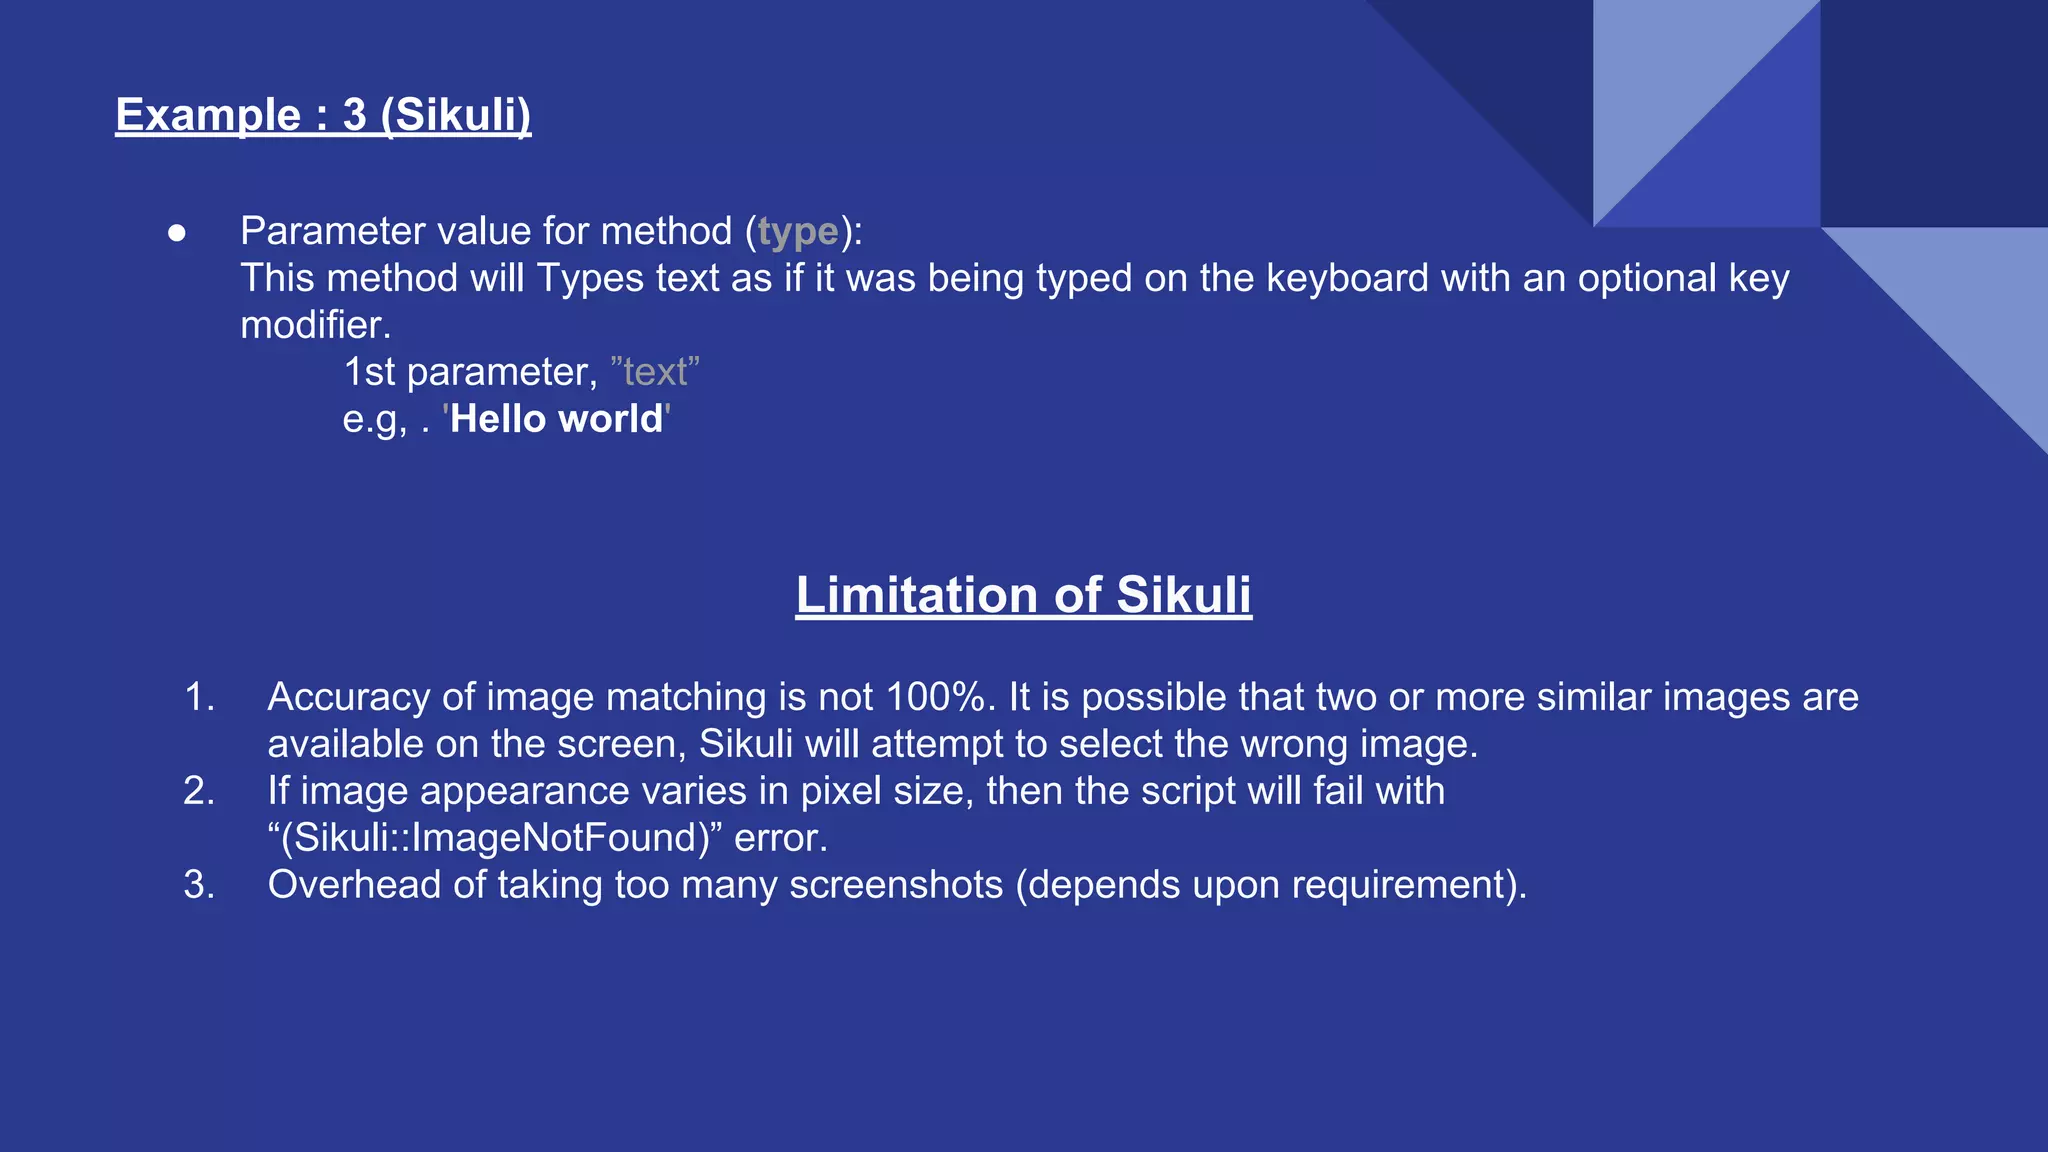
Uploading Files using Selenium WebDriver
Uploading File Uploading a file is a basic piece of functionality found in the web applications. Automating these sorts of functionality is tricky in Selenium as Selenium is limited to automating browsers only, so when you are trying to automate it you get prompted with a dialog box that is just out of reach for Selenium. If "Upload button" is an Input Tag then uploading a file is easy, you can simply use SENDKEYS method. But if it is not an Input Tag and you are looking to automate it then you need third party tools.
Ways to Upload File 1. Using SendKeys method. 2. Using AutoIt scripting. 3. Using Sikuli scripting.
Using SendKeys Method sendKeys method is basically used to type some content into an input field/tag. The most basic way to perform the upload of a file. Simply, get the file upload element by using any locator you want. And call the sendKeys() method to set the value of the file to upload, the value can be the absolute or relative path of the file. Limitation This only works for INPUT tags.
<html> <body> <form> Upload Your CV: <input type="file" name="uploadfile" id="upfile"> </form> </body> </html> driver.findElement(By.id("upfile")).sendKeys("C:filepathToUpload.txt"); The file path could be either absolute or relative file path. Example : 1 (sendKeys)
Using AutoIt Scripting If you have a button (Customized button), not an input tag and when clicking on the browse button, the browser opens a window popup and to select the file from system, And as we know selenium will not support OS controls. Here we need third party tool like AutoIt. AutoIt v3 is a freeware BASIC-like scripting language designed for automating the Windows GUI and general scripting. It uses a combination of simulated keystrokes, mouse movement and window/control manipulation in order to automate web app and desktop app.
How to begin with AutoIt AutoIt setup is easy, there are lots of docs available on online for this. Basically, we need following two things to be installed, to begin with. 1. Install AutoIt current version. Go for AutoIt Full Installation, this will provide a basic version of the SciTE script editor. To get full version of you have to download it separately. https://www.autoitscript.com/site/autoit/downloads/ 2. AutoIt Script Editor (Download the SciTE.exe and install; it is an editor which helps in finding the commands.).
How to Write AutoIt Script ● Identify the Windows control, through AutoIt Windows Info tool (See Pic. 1). ● Click on Finder Tool and hover over the object for which you want the properties. ● It will capture the properties of pop up like Title, Class, Position, Size, Style and so on. ● Then with the help of captured properties, write a script in SciTE script editor or in sublime and save the script with .au3 extension
How to Write AutoIt Script ● Now to compile the .au3 script you can either use AutoIt Script to EXE converter, which converts .au3 file to .exe file or just right click your .au3 script, it will show compile options. Select compile to 64bit (x64) or compile to 32bit (x86) option and will create .exe file in the same folder. ● Syntax to call .exe file in your selenium script is: Runtime.getRuntime().exec(“path of .exe file”); Pic. 1
<html> <body> <form> <label id="choose-file-btn">Choose File</label> </form> </body> </html> Example : 2 (AutoIt) ControlFocus("Open","","Edit1") Sleep(3000) ControlSetText("Open","","Edit1","C:UsersluciferProjectsRndassetsimage1.png") Sleep(3000) ControlClick("Open","","Button1") Our AutoIt Script (save it as upload.au3):
Example : 2 (AutoIt) There are lots of method available which we can use in an AutoIt script depending upon our requirement. Here we will be only focusing on the following methods: For other methods use official AutoIt link: https://www.autoitscript.com/autoit3/docs/ 1. ControlFocus(" title "," text ",”controlID” ) //Sets focus to a control. 2. ControlSetText(" title "," text ",”controlID” ," File path" ) // Sets text of a control. 3. ControlClick(" title "," text ",”controlID” ) //Sends a mouse click command to a control. Note: One or more properties are used in the controlID parameter of a control command in the format: ● Parameter values for first method (ControlFocus): This method sets focus to the 'filename' text box of the file uploader window. 1st parameter, title is " Open ". 2nd parameter, the text is not required(We ignored). 3rd parameter, controlID is the combination of class='Edit' and Instance='1' i.e., . 'Edit1.'
Example : 2 (AutoIt) ● Parameter values for second method (ControlSetText): This method has one more attribute(new text) compare to previous one. This method is used to define the path of a file which we need to upload in 'filename' textbox. 1st parameter, title is " Open ". 2nd parameter, the text is not required( We ignored). 3rd parameter, controlID is the combination of class and Instance, i.e., " Edit1 ". 4th parameter new text, in this we pass the path of the file which we want to upload. ● Parameter values for third method (ControlClick): This method clicks on 'Open' button of the file uploader window. 1st parameter, title is " Open ". 2nd parameter; the text is not required (We ignored ). 3rd parameter, controlID is the combination of class and Instance, i.e., " Button1 ".
Example : 2 (AutoIt) WebElement element = driver.findElement(By.name("choose-file-btn")); element.click(); Runtime.getRuntime().exec("C:UsersluciferProjectsRndAutoItScriptsupload.exe"); Our Selenium Script Runtime.getRuntime().exec(“path of .exe file”); Syntax to call AutoIt script in selenium script: Limitations of AutoIt: 1. It works only in Windows. 2. Knowledge of fundamental coding principles is a must.
Using Sikuli Scripting SikuliX automates anything you see on the screen of your desktop computer running Windows, Mac or some Linux/Unix. It uses image recognition powered by OpenCV to identify and control GUI components. You can both automate desktop or web applications regardless of any technology. It is useful when there is no easy access to a GUI’s internal or source code.
How to begin with Sikuli Similar to AutoIt, you will find lots of docs online for Sikuli setup also (especially for Windows). I am an Ubuntu user so I will show you how to do the Sikuli setup on Ubuntu: 1. Install the JAVA if you don't have java setup, do the following steps(here I am using Java 7): sudo add-apt-repository ppa:webupd8team/java sudo apt-get update sudo apt-get install oracle-java7-installer java -version //to check your java version 2. Install OpenCV 2.4.0 sudo add-apt-repository ppa:gijzelaar/opencv2.4 sudo apt-get update sudo apt-get libcv-dev 3. Install Tesseract 3 sudo apt-get install libtesseract3
How to begin with Sikuli 4. Packages for app-related features sudo apt-get install wmctrl sudo apt-get install xdotool 5. Download and launch sikulisetup-xxx.jar Use following link to download sikulisetup-xxx.jar https://launchpad.net/sikuli/sikulix/ mkdir ~/SikuliX After downloading sikulisetup-xxx.jar move it to ~/SikuliX. cd ~/SikuliX && java -jar sikuli-setup-xxx.jar After this, you will get GUI option for installation and when you are done with installation do to SikuliX. Configure SIKULI JAR - Create SIKULIX_HOME environment variable and set the path of the Sikuli jar file (in ~/.bashrc file). 6. Launch the Sikuli IDE. After successful installation, you will see runsikulix file in SikuliX folder. cd ~/SikuliX ./runsikulix // This will launch Sikuli IDE.
Use Sikuli in Selenium Script Supported scripting languages: Python (language level 2.7) supported by the Jython interpreter. Ruby (language level 1.9/2.0) supported by the JRuby interpreter. JavaScript supported by the Java builtin scripting engine (Java 7: Rhino, Java 8: Nashorn). I will be using JRuby for my selenium script. 1. We need to make sure we are have JRuby rvm list // This is will show installed ruby version including JRuby (if it is installed) sudo apt-get update sudo apt-get install jruby // To install JRuby rvm list // Now you should see JRuby (Mine is jruby-9.1.6.0) rvm use jruby-9.1.6.0 // to use JRuby 2. Require sikuli in .rb file require 'sikuli' // add this in your code 3. Create a folder for Sikuli images in your project: Put all your Sikuli images(images that will be used by script) over here. 4. Then Run your selenium script.
<html> <body> <form> <label id="choose-file-btn">Choose File</label> </form> </body> </html> Example : 3 (Sikuli) find('#choose-file-btn').click screen = Sikuli::Screen.new screen.click "./features/images/desktop.png" screen.click "./features/images/location.png" screen.type "/home/lucifer/projects/rnd/features/images/vai.png" screen.click "./features/images/open-button.png" find('.save-modal-button').click Our Selenium Script
Example : 3 (Sikuli) Similarly to AutoIt, Sikuli has lots of methods available which we can use in a Selenium script depending upon our requirement. Here we will be only focusing on the following methods: For other methods use following link: http://www.rubydoc.info/gems/sikuli/0.1.7/Sikuli 1. screen = Sikuli::Screen.new 2. screen.click 3. screen.type ● screen = Sikuli::Screen.new: The “Screen” is a base class provided by Sikuli. In order to access all the Sikuli methods first, we have to create an Object for the Screen class (Base class). ● Parameter value for first method (click): This method will perform a single click on an image match, whose path we need to pass as a parameter. 1st parameter, path of the image (absolute or relative path.) i.e., . './features/images/desktop.png' Or '/home/lucifer/rnd/features/images/desktop.png'
Example : 3 (Sikuli) ● Parameter value for method (type): This method will Types text as if it was being typed on the keyboard with an optional key modifier. 1st parameter, ”text” e.g, . 'Hello world' Limitation of Sikuli 1. Accuracy of image matching is not 100%. It is possible that two or more similar images are available on the screen, Sikuli will attempt to select the wrong image. 2. If image appearance varies in pixel size, then the script will fail with “(Sikuli::ImageNotFound)” error. 3. Overhead of taking too many screenshots (depends upon requirement).
Thank You Pankaj Biswas

Uploading files using selenium web driver

  • 1.
  • 2.
    Uploading File Uploading afile is a basic piece of functionality found in the web applications. Automating these sorts of functionality is tricky in Selenium as Selenium is limited to automating browsers only, so when you are trying to automate it you get prompted with a dialog box that is just out of reach for Selenium. If "Upload button" is an Input Tag then uploading a file is easy, you can simply use SENDKEYS method. But if it is not an Input Tag and you are looking to automate it then you need third party tools.
  • 3.
    Ways to UploadFile 1. Using SendKeys method. 2. Using AutoIt scripting. 3. Using Sikuli scripting.
  • 4.
    Using SendKeys Method sendKeys methodis basically used to type some content into an input field/tag. The most basic way to perform the upload of a file. Simply, get the file upload element by using any locator you want. And call the sendKeys() method to set the value of the file to upload, the value can be the absolute or relative path of the file. Limitation This only works for INPUT tags.
  • 5.
    <html> <body> <form> Upload Your CV: <inputtype="file" name="uploadfile" id="upfile"> </form> </body> </html> driver.findElement(By.id("upfile")).sendKeys("C:filepathToUpload.txt"); The file path could be either absolute or relative file path. Example : 1 (sendKeys)
  • 6.
    Using AutoIt Scripting Ifyou have a button (Customized button), not an input tag and when clicking on the browse button, the browser opens a window popup and to select the file from system, And as we know selenium will not support OS controls. Here we need third party tool like AutoIt. AutoIt v3 is a freeware BASIC-like scripting language designed for automating the Windows GUI and general scripting. It uses a combination of simulated keystrokes, mouse movement and window/control manipulation in order to automate web app and desktop app.
  • 7.
    How to beginwith AutoIt AutoIt setup is easy, there are lots of docs available on online for this. Basically, we need following two things to be installed, to begin with. 1. Install AutoIt current version. Go for AutoIt Full Installation, this will provide a basic version of the SciTE script editor. To get full version of you have to download it separately. https://www.autoitscript.com/site/autoit/downloads/ 2. AutoIt Script Editor (Download the SciTE.exe and install; it is an editor which helps in finding the commands.).
  • 8.
    How to WriteAutoIt Script ● Identify the Windows control, through AutoIt Windows Info tool (See Pic. 1). ● Click on Finder Tool and hover over the object for which you want the properties. ● It will capture the properties of pop up like Title, Class, Position, Size, Style and so on. ● Then with the help of captured properties, write a script in SciTE script editor or in sublime and save the script with .au3 extension
  • 9.
    How to WriteAutoIt Script ● Now to compile the .au3 script you can either use AutoIt Script to EXE converter, which converts .au3 file to .exe file or just right click your .au3 script, it will show compile options. Select compile to 64bit (x64) or compile to 32bit (x86) option and will create .exe file in the same folder. ● Syntax to call .exe file in your selenium script is: Runtime.getRuntime().exec(“path of .exe file”); Pic. 1
  • 10.
    <html> <body> <form> <label id="choose-file-btn">Choose File</label> </form> </body> </html> Example: 2 (AutoIt) ControlFocus("Open","","Edit1") Sleep(3000) ControlSetText("Open","","Edit1","C:UsersluciferProjectsRndassetsimage1.png") Sleep(3000) ControlClick("Open","","Button1") Our AutoIt Script (save it as upload.au3):
  • 11.
    Example : 2(AutoIt) There are lots of method available which we can use in an AutoIt script depending upon our requirement. Here we will be only focusing on the following methods: For other methods use official AutoIt link: https://www.autoitscript.com/autoit3/docs/ 1. ControlFocus(" title "," text ",”controlID” ) //Sets focus to a control. 2. ControlSetText(" title "," text ",”controlID” ," File path" ) // Sets text of a control. 3. ControlClick(" title "," text ",”controlID” ) //Sends a mouse click command to a control. Note: One or more properties are used in the controlID parameter of a control command in the format: ● Parameter values for first method (ControlFocus): This method sets focus to the 'filename' text box of the file uploader window. 1st parameter, title is " Open ". 2nd parameter, the text is not required(We ignored). 3rd parameter, controlID is the combination of class='Edit' and Instance='1' i.e., . 'Edit1.'
  • 12.
    Example : 2(AutoIt) ● Parameter values for second method (ControlSetText): This method has one more attribute(new text) compare to previous one. This method is used to define the path of a file which we need to upload in 'filename' textbox. 1st parameter, title is " Open ". 2nd parameter, the text is not required( We ignored). 3rd parameter, controlID is the combination of class and Instance, i.e., " Edit1 ". 4th parameter new text, in this we pass the path of the file which we want to upload. ● Parameter values for third method (ControlClick): This method clicks on 'Open' button of the file uploader window. 1st parameter, title is " Open ". 2nd parameter; the text is not required (We ignored ). 3rd parameter, controlID is the combination of class and Instance, i.e., " Button1 ".
  • 13.
    Example : 2(AutoIt) WebElement element = driver.findElement(By.name("choose-file-btn")); element.click(); Runtime.getRuntime().exec("C:UsersluciferProjectsRndAutoItScriptsupload.exe"); Our Selenium Script Runtime.getRuntime().exec(“path of .exe file”); Syntax to call AutoIt script in selenium script: Limitations of AutoIt: 1. It works only in Windows. 2. Knowledge of fundamental coding principles is a must.
  • 14.
    Using Sikuli Scripting SikuliX automatesanything you see on the screen of your desktop computer running Windows, Mac or some Linux/Unix. It uses image recognition powered by OpenCV to identify and control GUI components. You can both automate desktop or web applications regardless of any technology. It is useful when there is no easy access to a GUI’s internal or source code.
  • 15.
    How to beginwith Sikuli Similar to AutoIt, you will find lots of docs online for Sikuli setup also (especially for Windows). I am an Ubuntu user so I will show you how to do the Sikuli setup on Ubuntu: 1. Install the JAVA if you don't have java setup, do the following steps(here I am using Java 7): sudo add-apt-repository ppa:webupd8team/java sudo apt-get update sudo apt-get install oracle-java7-installer java -version //to check your java version 2. Install OpenCV 2.4.0 sudo add-apt-repository ppa:gijzelaar/opencv2.4 sudo apt-get update sudo apt-get libcv-dev 3. Install Tesseract 3 sudo apt-get install libtesseract3
  • 16.
    How to beginwith Sikuli 4. Packages for app-related features sudo apt-get install wmctrl sudo apt-get install xdotool 5. Download and launch sikulisetup-xxx.jar Use following link to download sikulisetup-xxx.jar https://launchpad.net/sikuli/sikulix/ mkdir ~/SikuliX After downloading sikulisetup-xxx.jar move it to ~/SikuliX. cd ~/SikuliX && java -jar sikuli-setup-xxx.jar After this, you will get GUI option for installation and when you are done with installation do to SikuliX. Configure SIKULI JAR - Create SIKULIX_HOME environment variable and set the path of the Sikuli jar file (in ~/.bashrc file). 6. Launch the Sikuli IDE. After successful installation, you will see runsikulix file in SikuliX folder. cd ~/SikuliX ./runsikulix // This will launch Sikuli IDE.
  • 17.
    Use Sikuli inSelenium Script Supported scripting languages: Python (language level 2.7) supported by the Jython interpreter. Ruby (language level 1.9/2.0) supported by the JRuby interpreter. JavaScript supported by the Java builtin scripting engine (Java 7: Rhino, Java 8: Nashorn). I will be using JRuby for my selenium script. 1. We need to make sure we are have JRuby rvm list // This is will show installed ruby version including JRuby (if it is installed) sudo apt-get update sudo apt-get install jruby // To install JRuby rvm list // Now you should see JRuby (Mine is jruby-9.1.6.0) rvm use jruby-9.1.6.0 // to use JRuby 2. Require sikuli in .rb file require 'sikuli' // add this in your code 3. Create a folder for Sikuli images in your project: Put all your Sikuli images(images that will be used by script) over here. 4. Then Run your selenium script.
  • 18.
    <html> <body> <form> <label id="choose-file-btn">Choose File</label> </form> </body> </html> Example: 3 (Sikuli) find('#choose-file-btn').click screen = Sikuli::Screen.new screen.click "./features/images/desktop.png" screen.click "./features/images/location.png" screen.type "/home/lucifer/projects/rnd/features/images/vai.png" screen.click "./features/images/open-button.png" find('.save-modal-button').click Our Selenium Script
  • 19.
    Example : 3(Sikuli) Similarly to AutoIt, Sikuli has lots of methods available which we can use in a Selenium script depending upon our requirement. Here we will be only focusing on the following methods: For other methods use following link: http://www.rubydoc.info/gems/sikuli/0.1.7/Sikuli 1. screen = Sikuli::Screen.new 2. screen.click 3. screen.type ● screen = Sikuli::Screen.new: The “Screen” is a base class provided by Sikuli. In order to access all the Sikuli methods first, we have to create an Object for the Screen class (Base class). ● Parameter value for first method (click): This method will perform a single click on an image match, whose path we need to pass as a parameter. 1st parameter, path of the image (absolute or relative path.) i.e., . './features/images/desktop.png' Or '/home/lucifer/rnd/features/images/desktop.png'
  • 20.
    Example : 3(Sikuli) ● Parameter value for method (type): This method will Types text as if it was being typed on the keyboard with an optional key modifier. 1st parameter, ”text” e.g, . 'Hello world' Limitation of Sikuli 1. Accuracy of image matching is not 100%. It is possible that two or more similar images are available on the screen, Sikuli will attempt to select the wrong image. 2. If image appearance varies in pixel size, then the script will fail with “(Sikuli::ImageNotFound)” error. 3. Overhead of taking too many screenshots (depends upon requirement).
  • 21.