Download to read offline
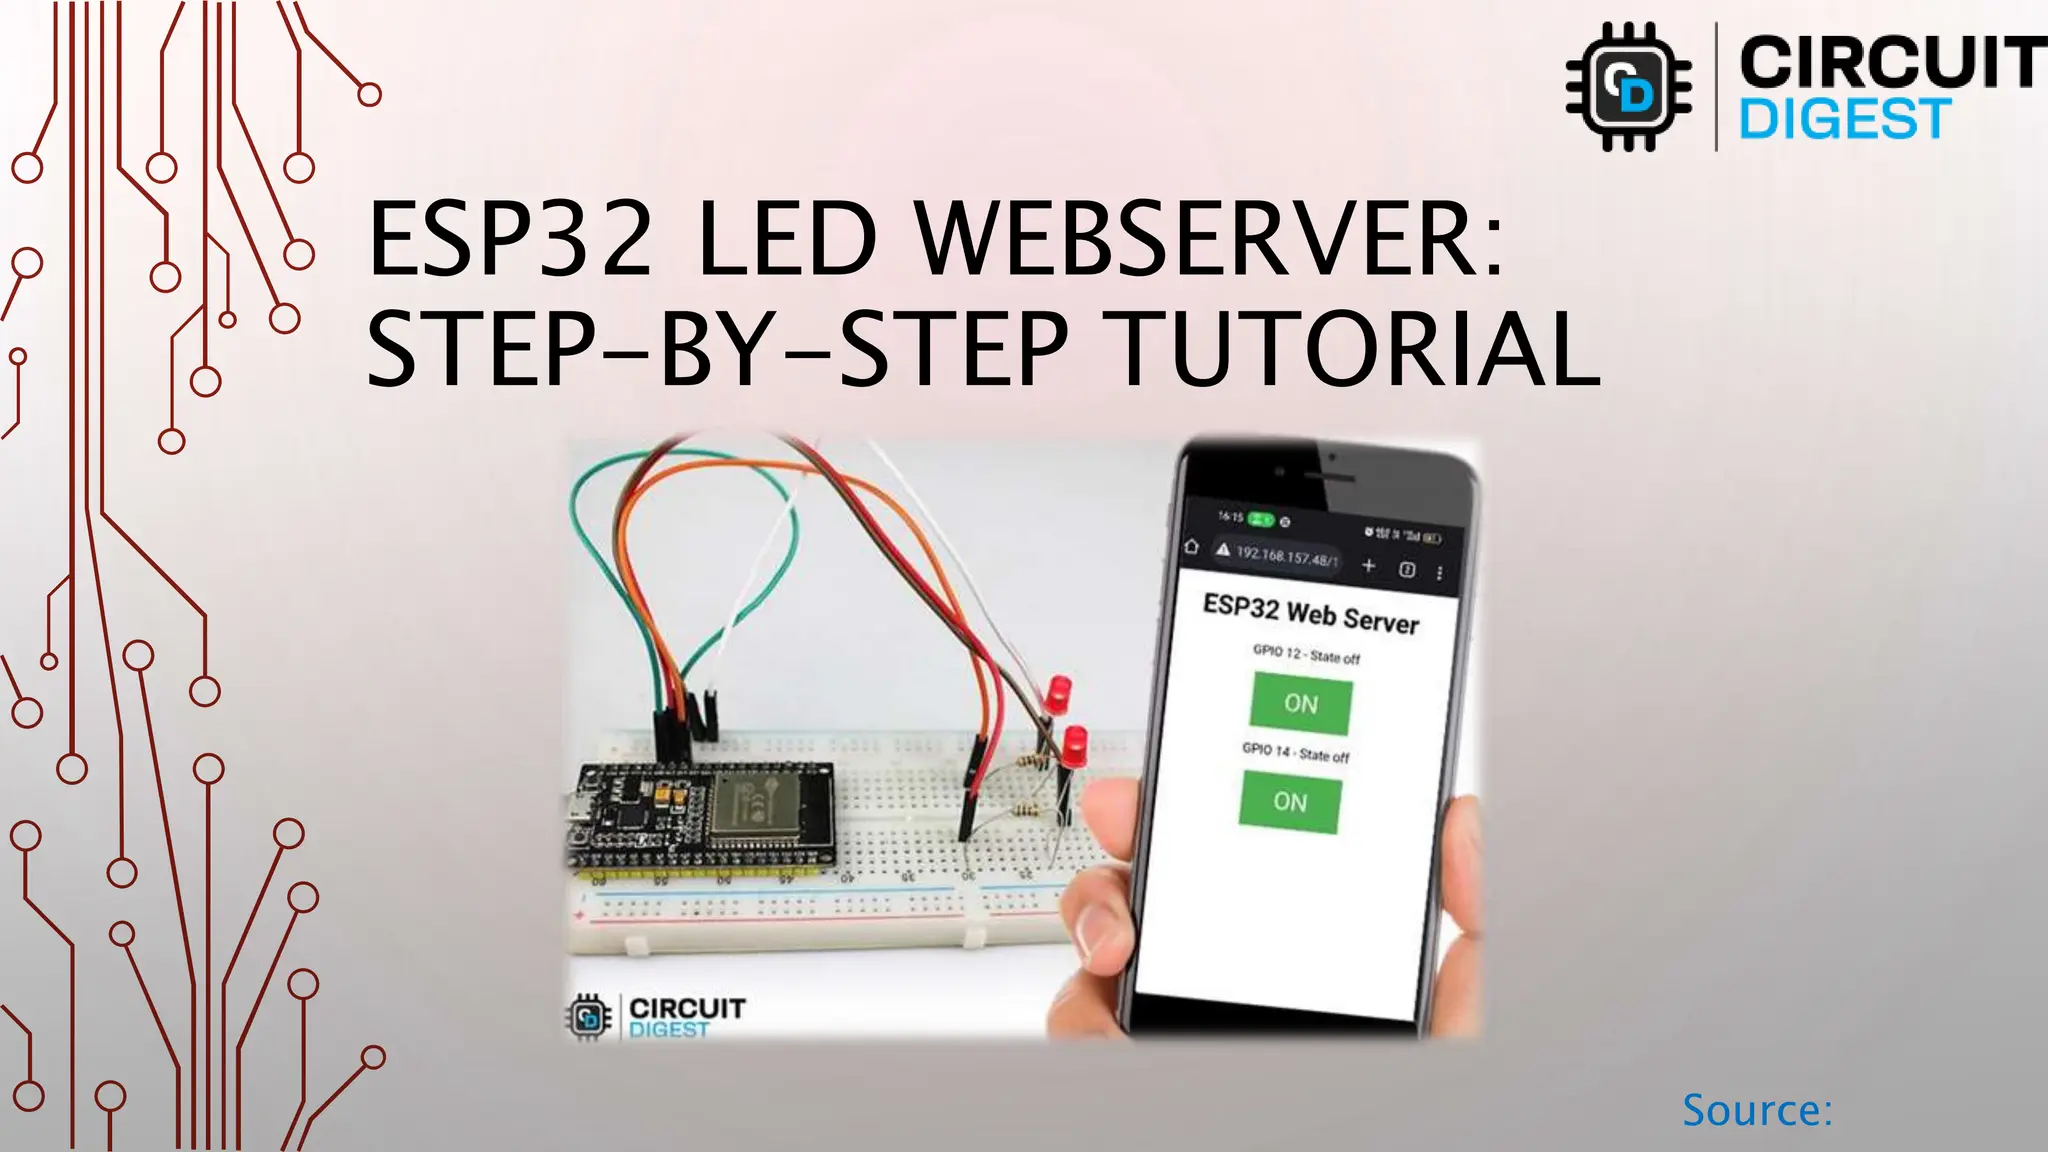
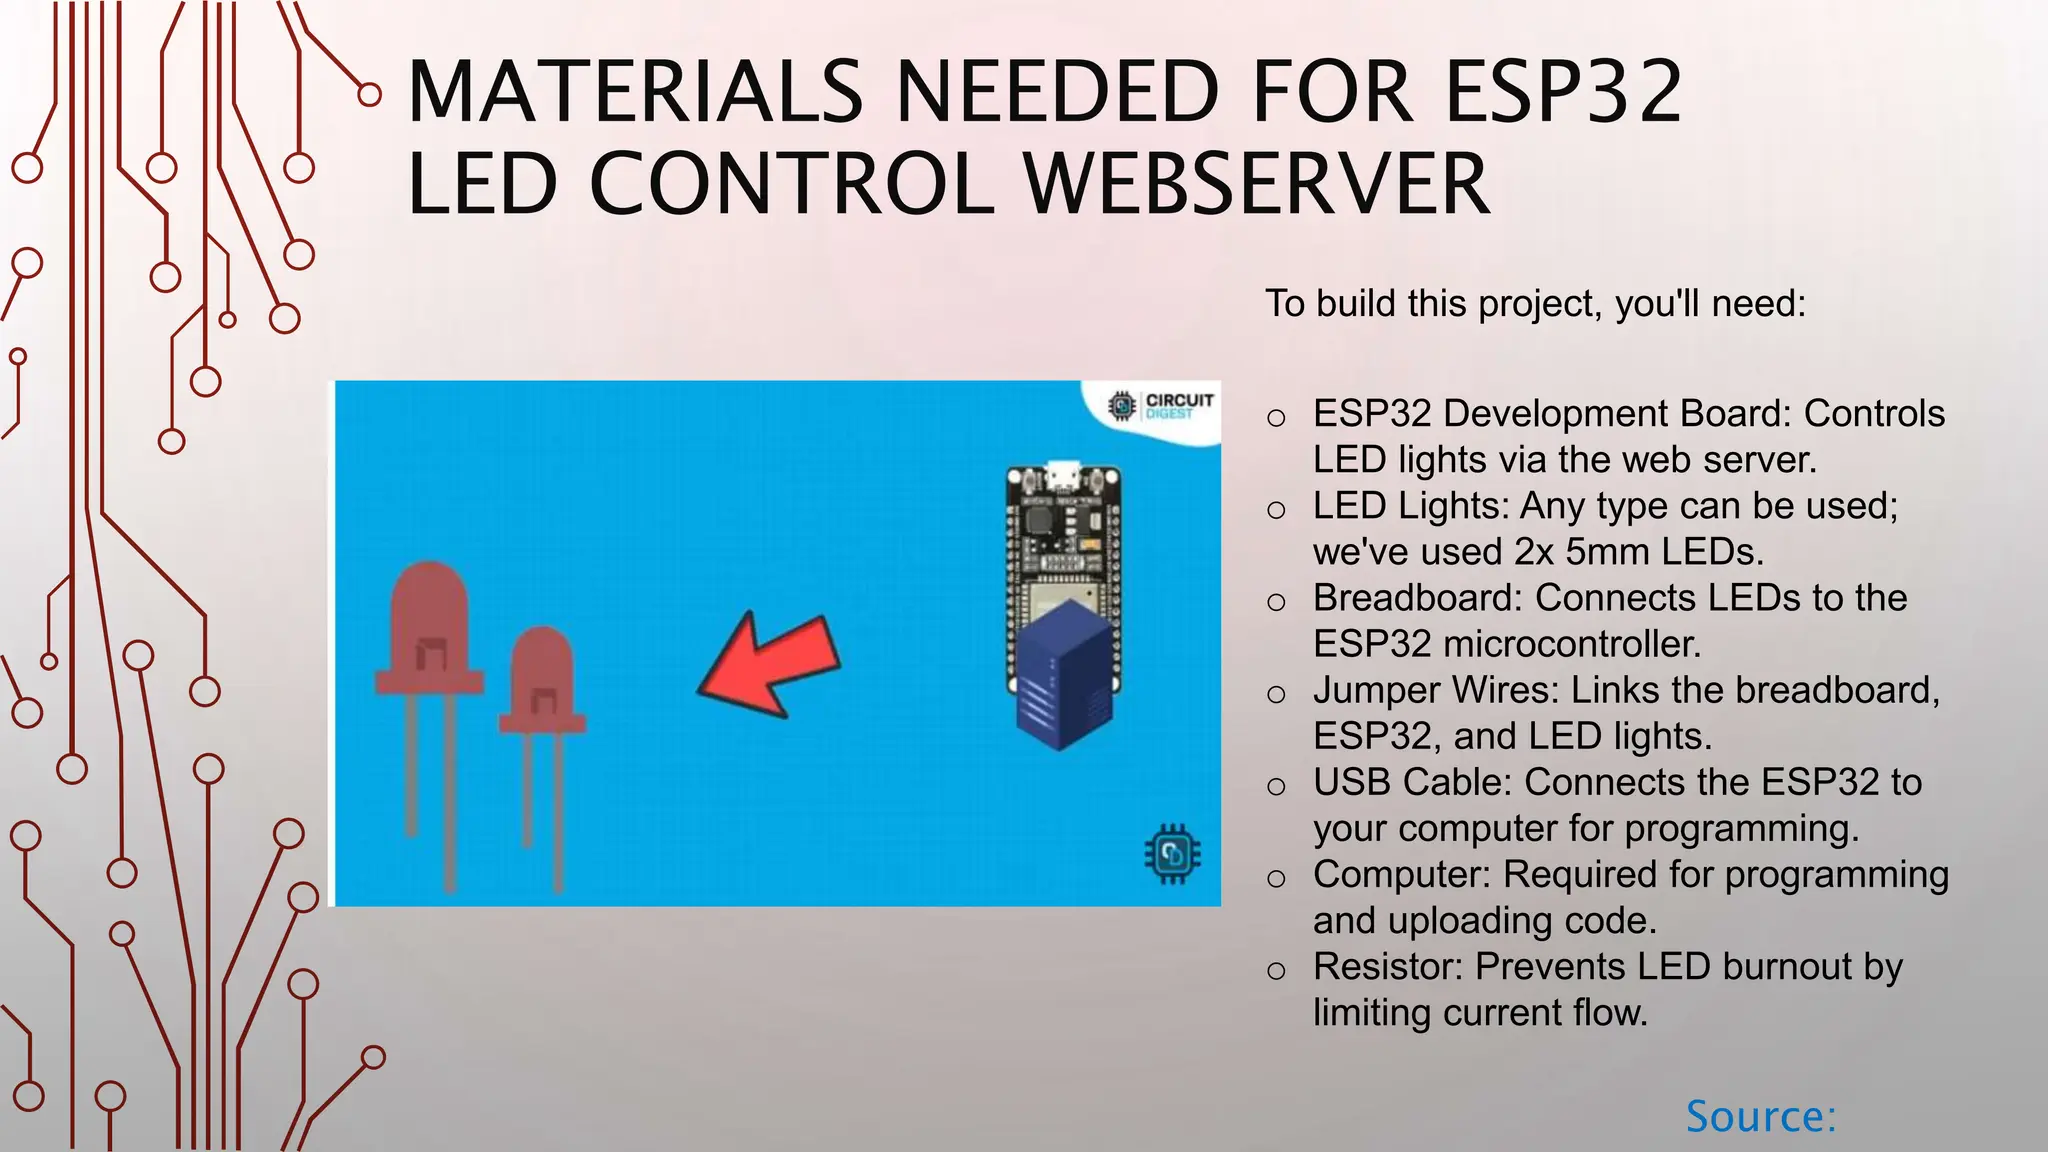
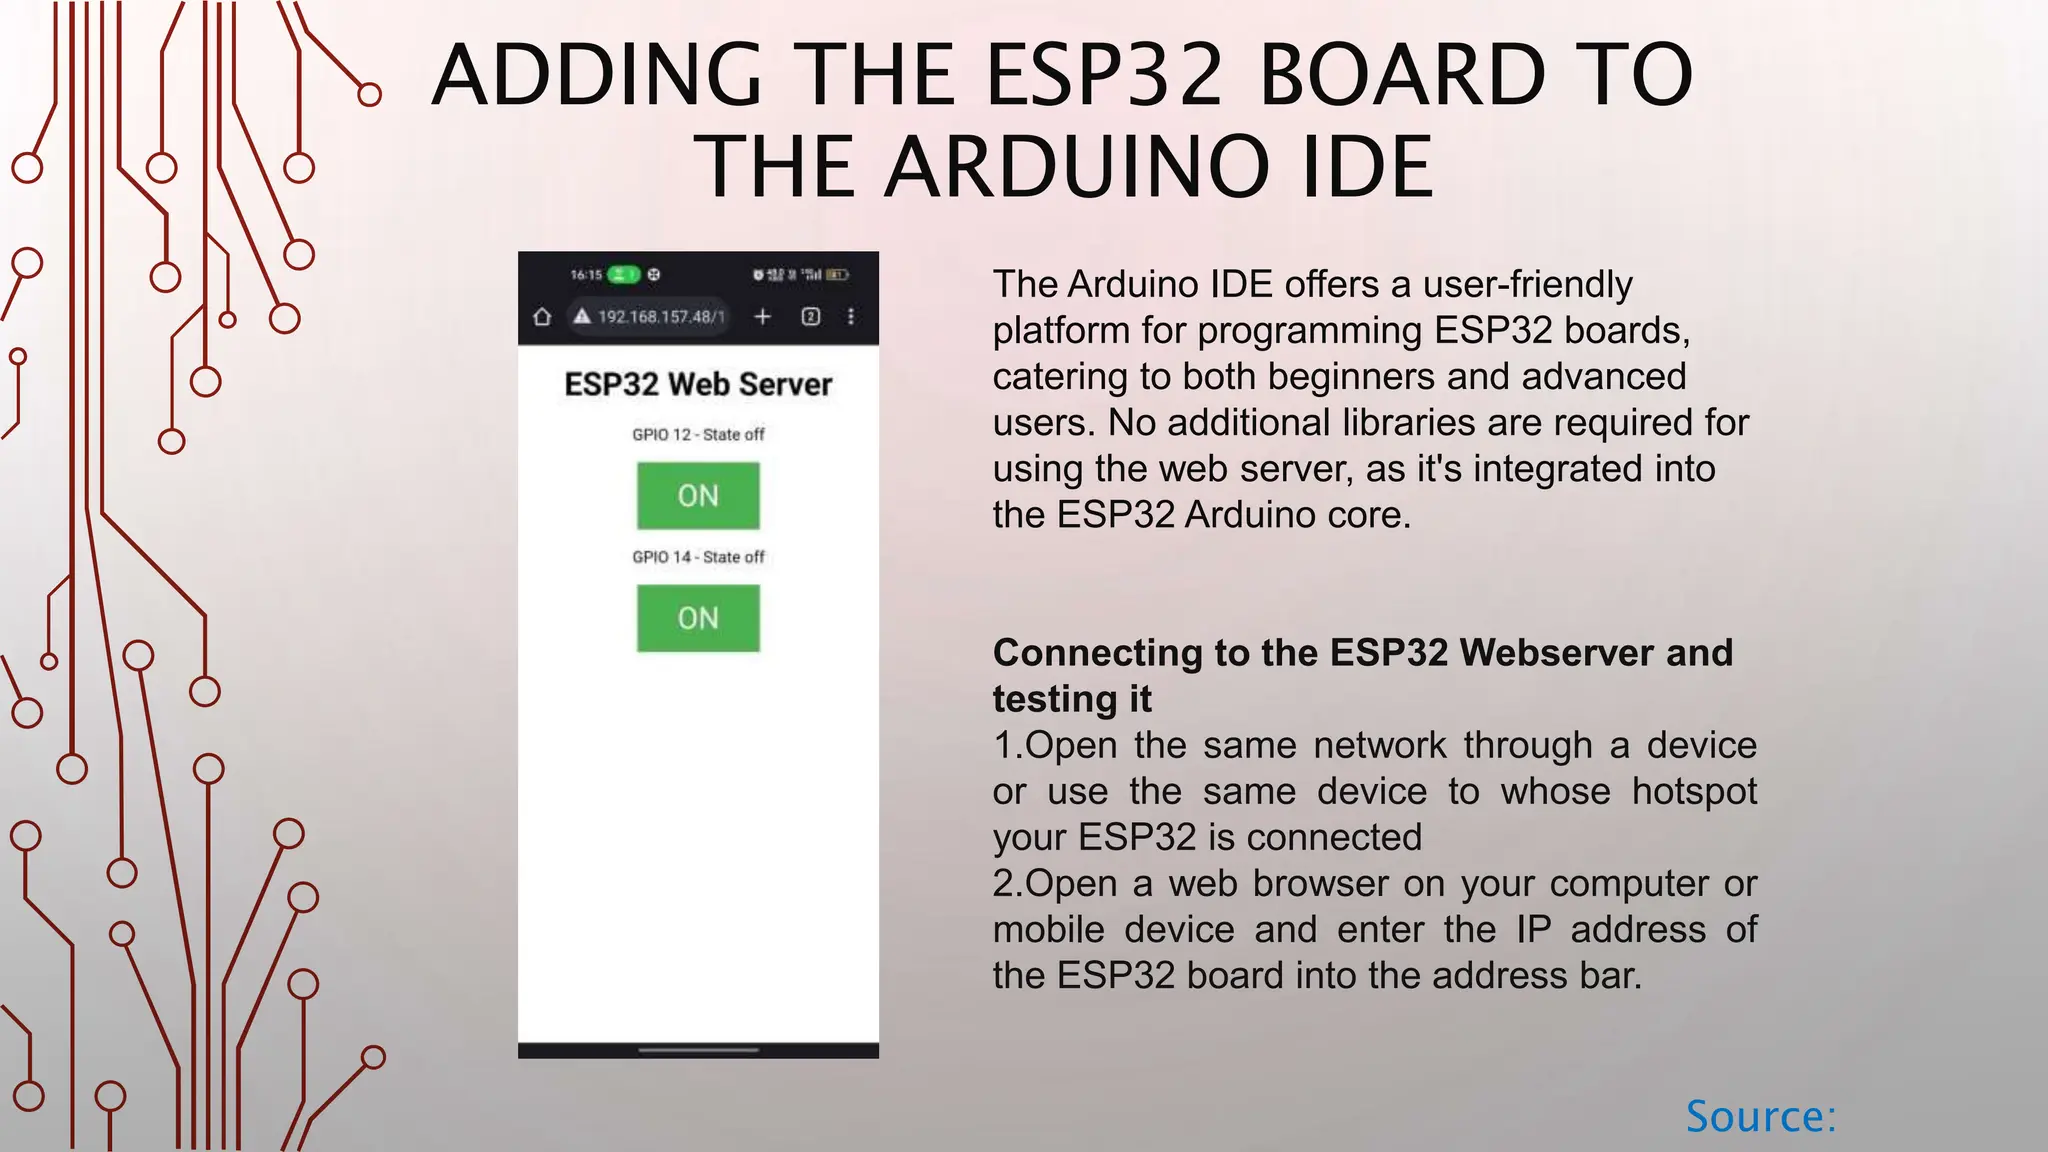
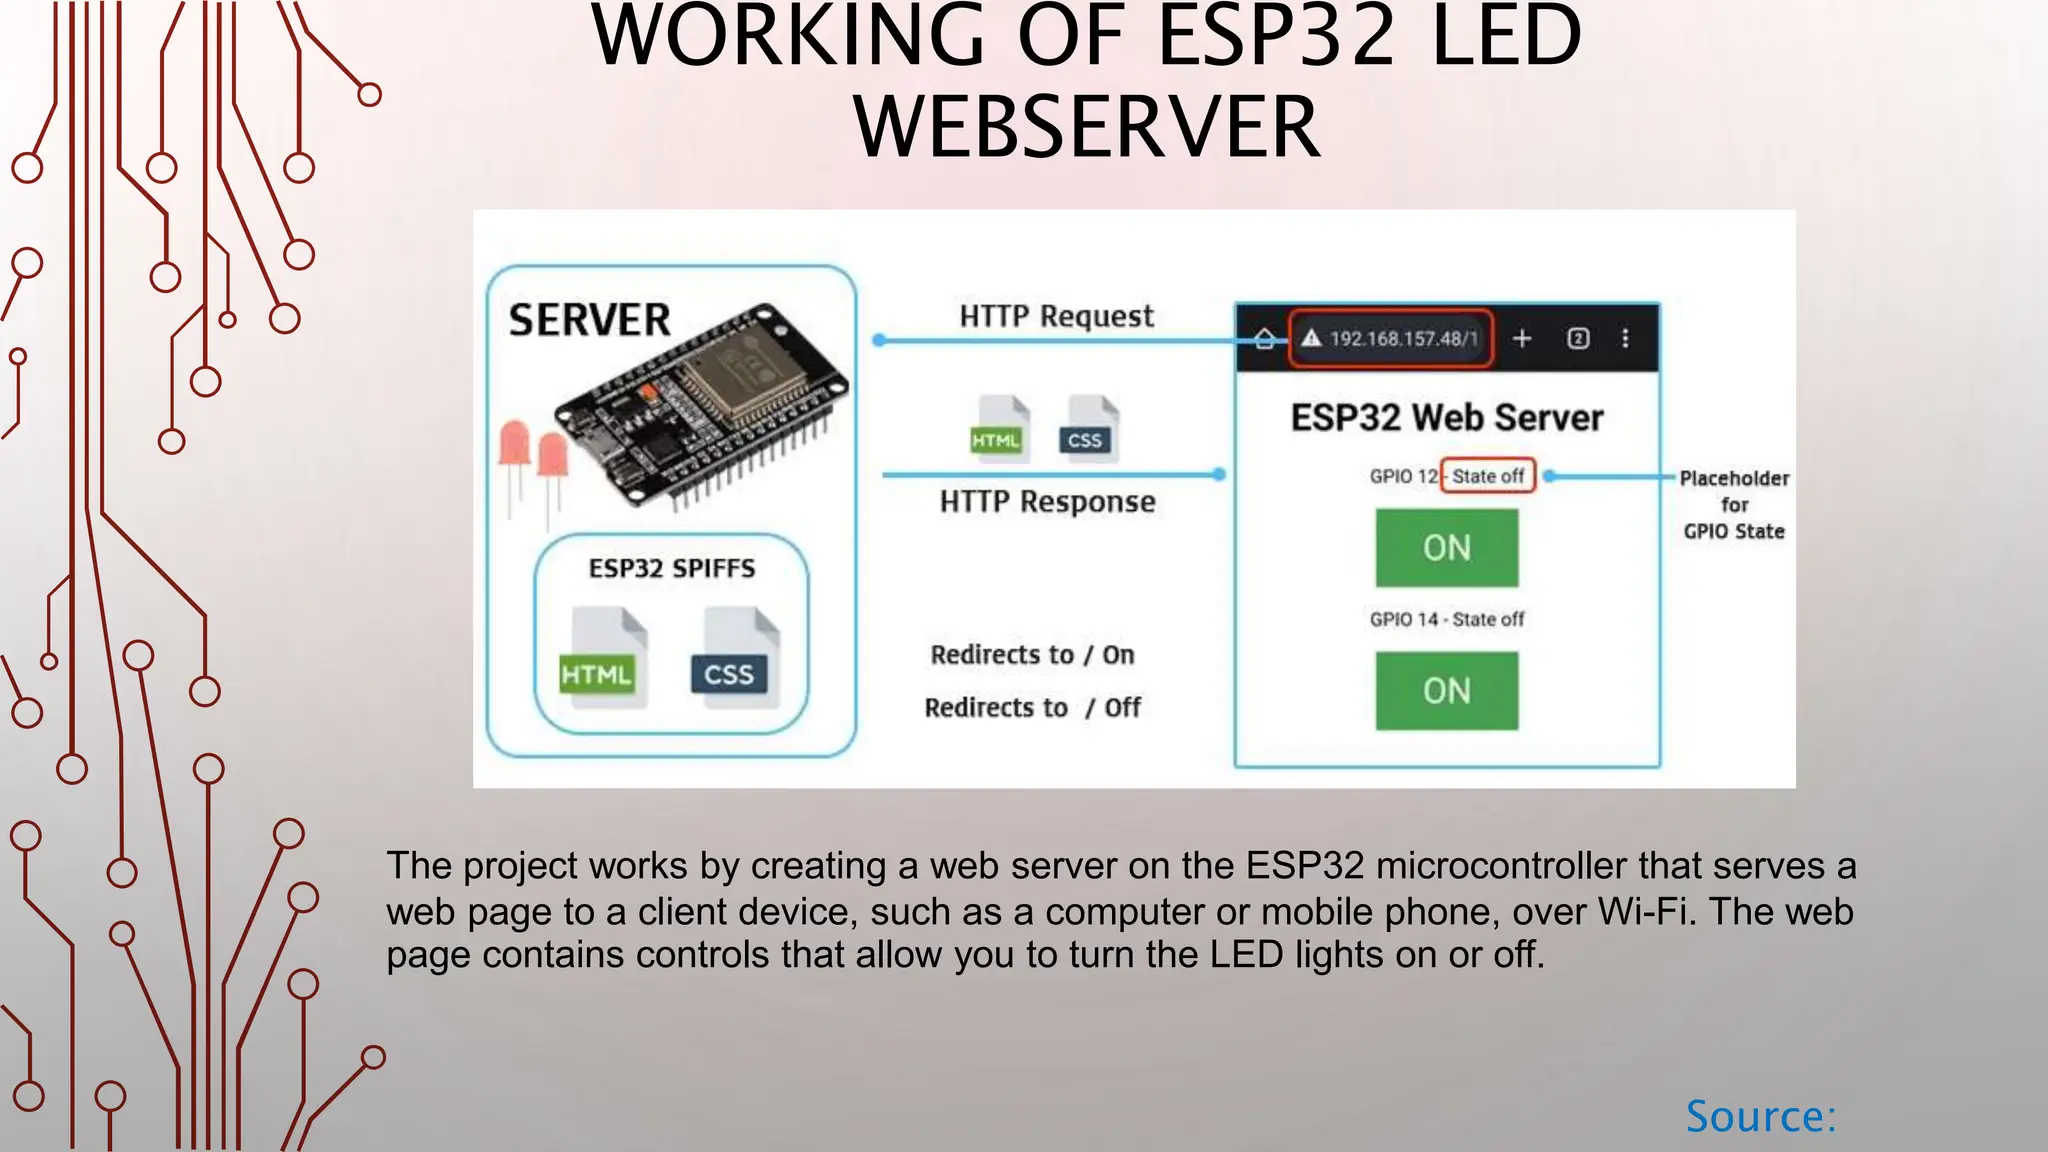

El tutorial detalla cómo crear un servidor web utilizando el microcontrolador ESP32 para controlar luces LED a través de una red Wi-Fi. Se requiere un desarrollo del ESP32, LED, una placa de prueba, cables de conexión, una computadora para la programación y un resistor para proteger los LED. El proyecto permite a los usuarios encender y apagar las luces LED a través de una página web servida por el ESP32.