AND This is an introductory post on using StackMob for the backend services of your mobile applications. The StackMob platform helps you build, deploy and scale your backend while making it very easy for you to add push notifications, social integration and more to your apps. Here is a blog posting on why services like StackMob are a value-add for Appcelerator developers. Why a PaaS for Mobile Developers Makes Sense Here is my brief outline on the benefits StackMob provides: More Information Available on website • REST Based API • Custom Code Integration • Social Media Integration • Push Notification • Separation of Production and Staging Environments In this first part of a three part series we will cover a very basic implementation using a Javascript REST based API. StackMob provides an IOS and Android SDK so you can create a native module if you like. In the last few weeks I created a functioning IOS module and have started working on an Android module that I will release to the Marketplace soon. In this initial example I have created, there are two simple objects: users and photos. We will expand on the relationship in a later posting, but this is good enough for now. First you need to go to StackMob and get an account. They are still in beta, but if you indicate that you are trying to integrate with Appcelerator, they will give you priority access. Create An App
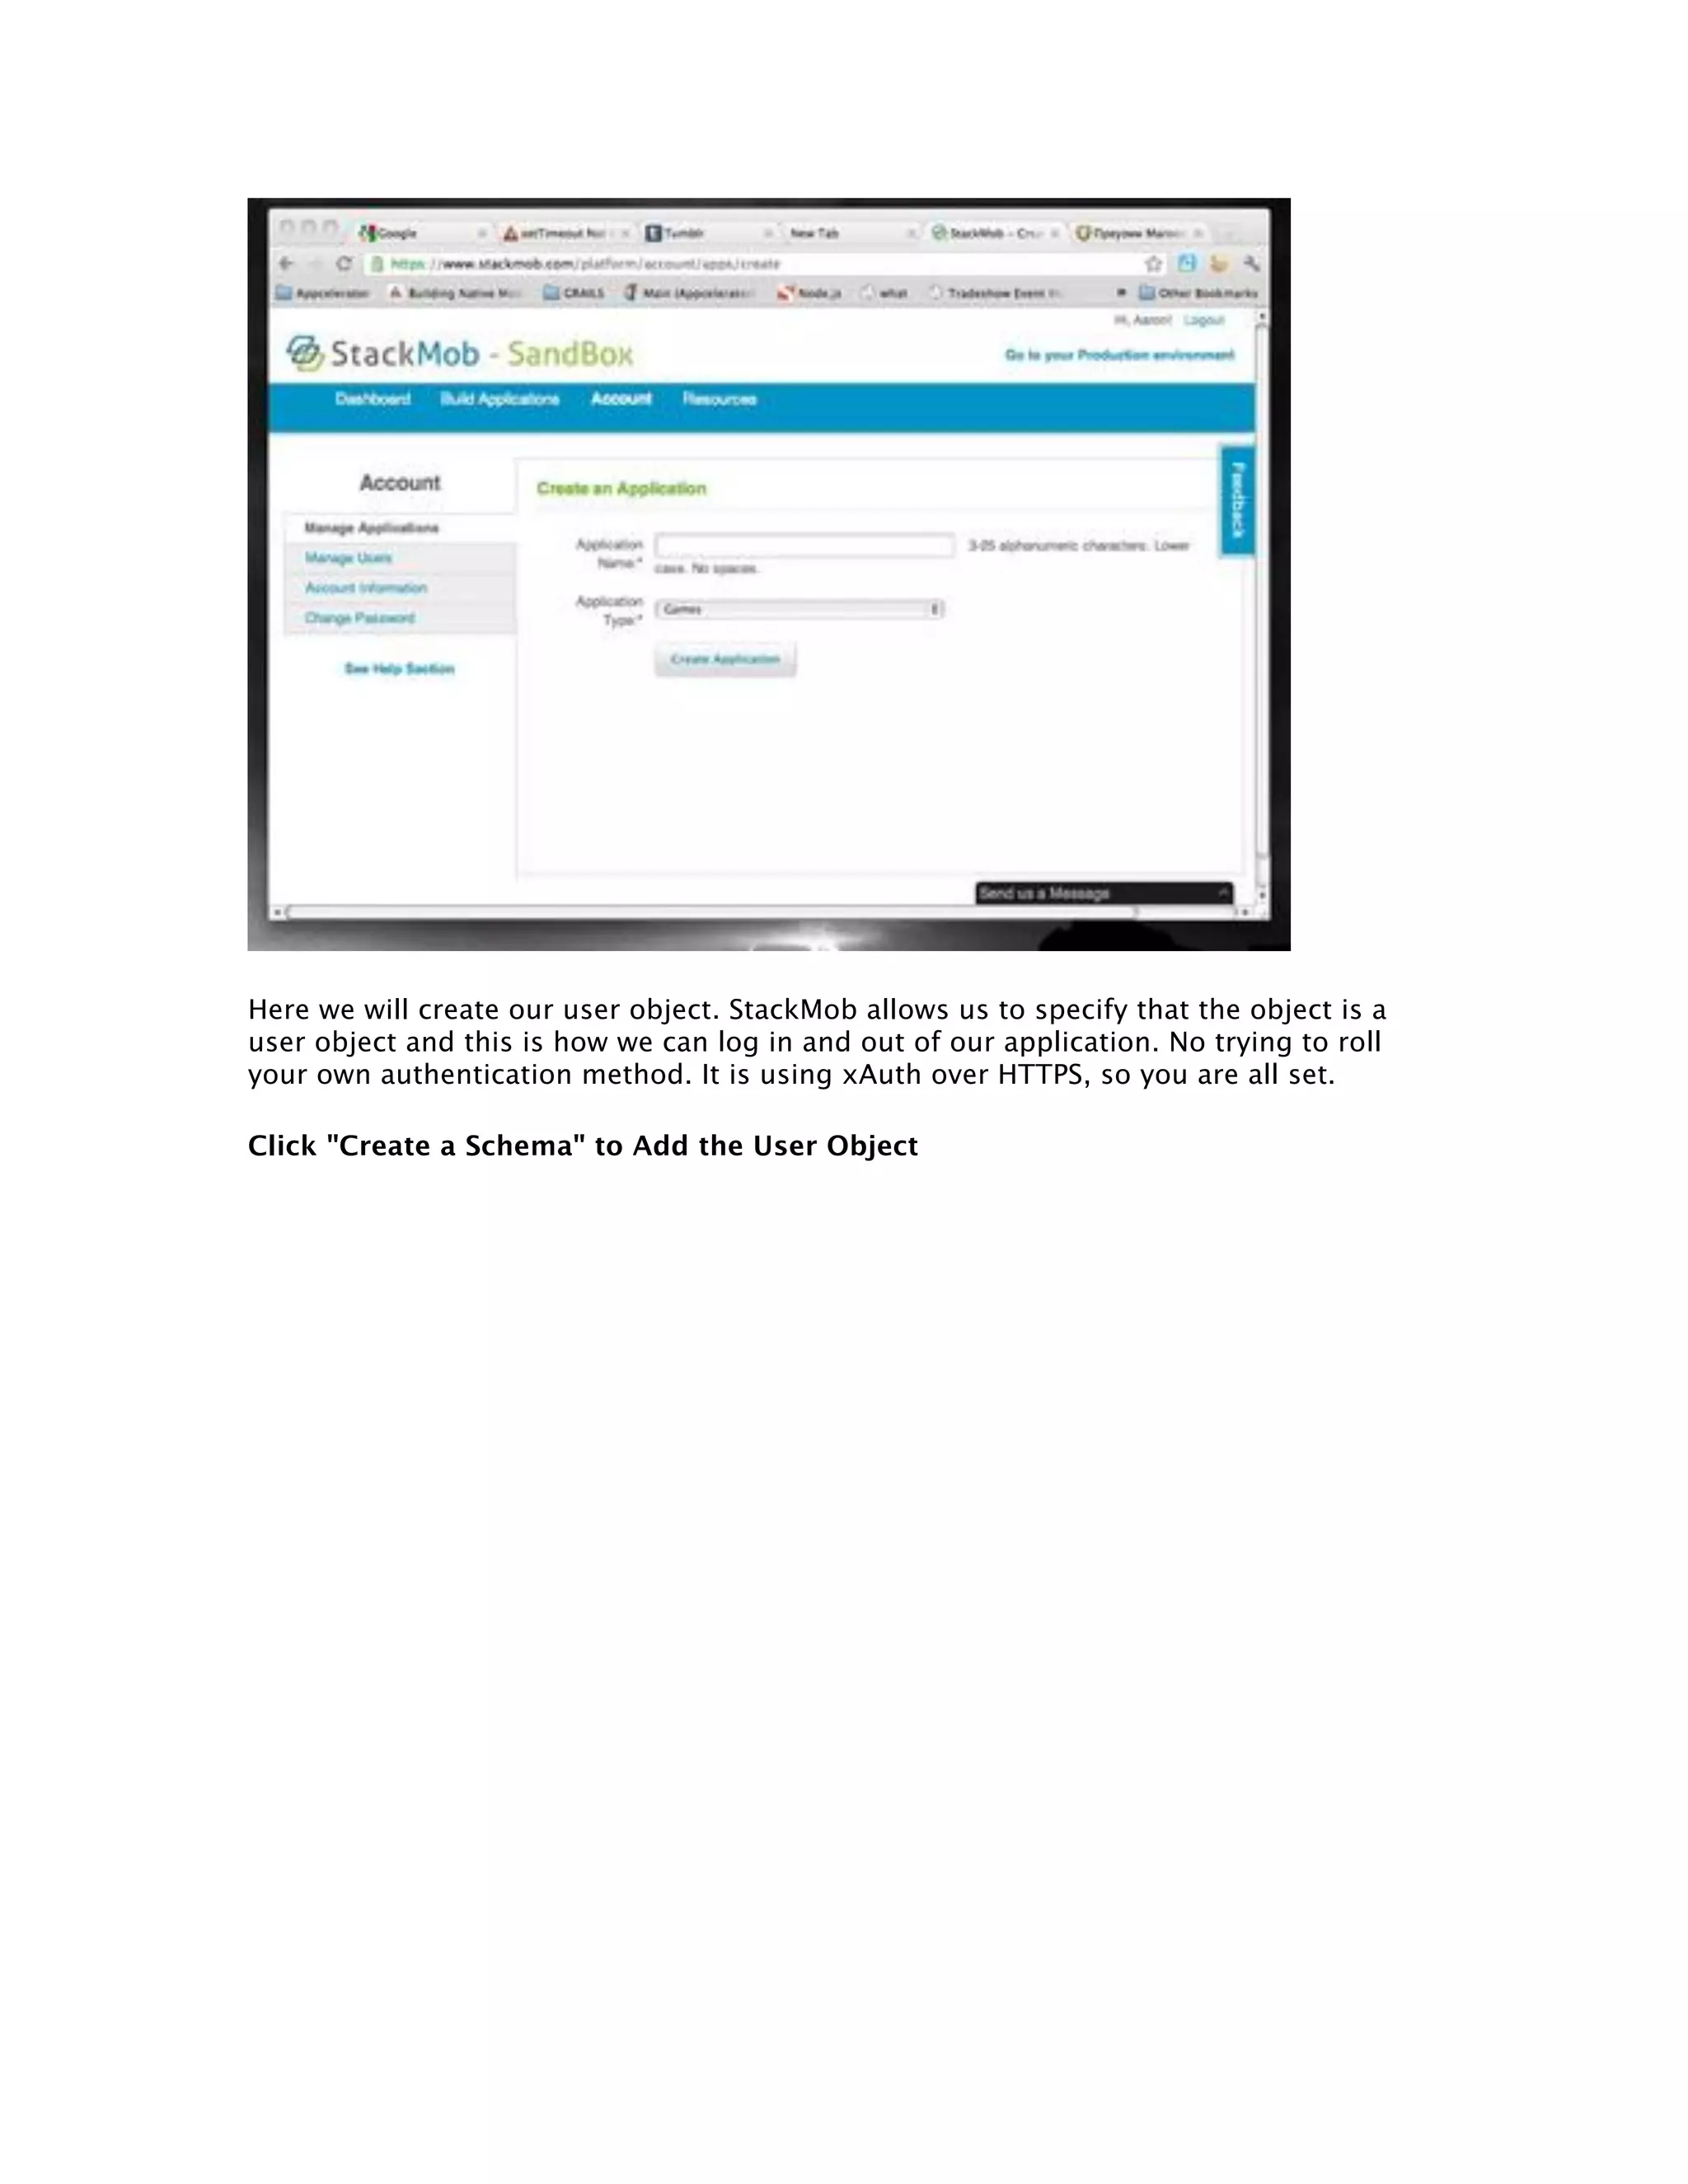
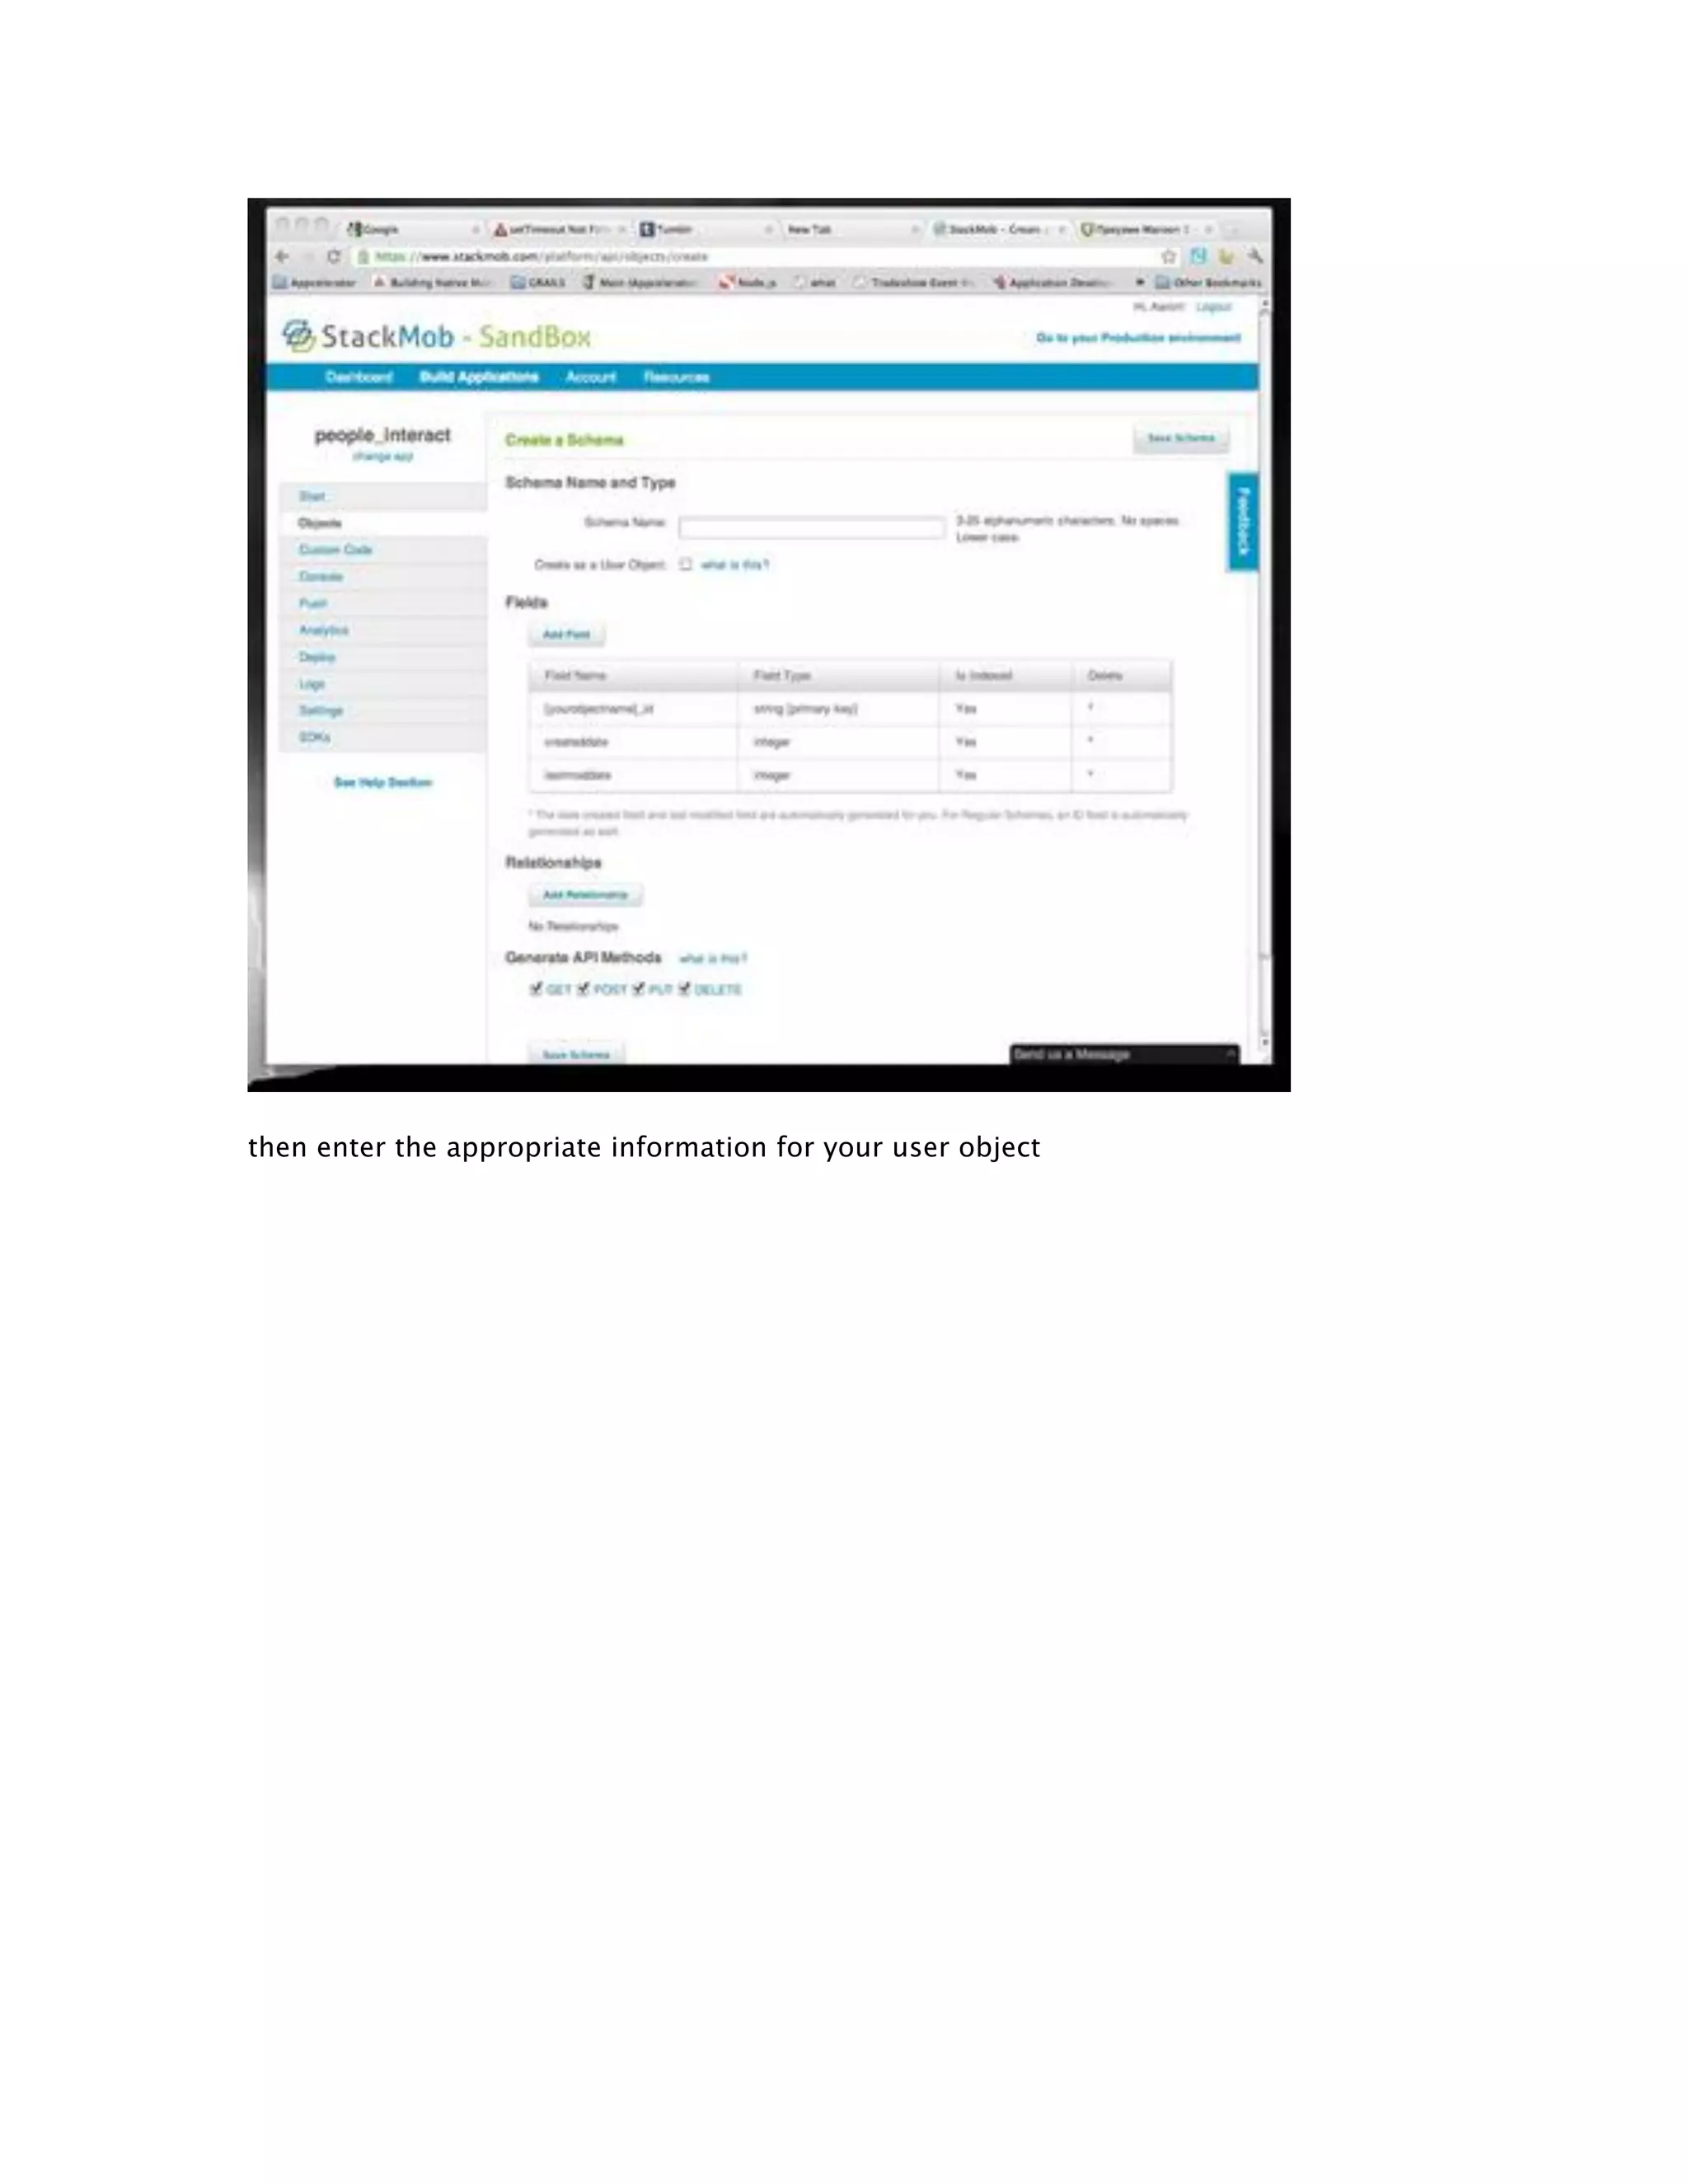
Here we will create our user object. StackMob allows us to specify that the object is a user object and this is how we can log in and out of our application. No trying to roll your own authentication method. It is using xAuth over HTTPS, so you are all set. Click "Create a Schema" to Add the User Object
then enter the appropriate information for your user object
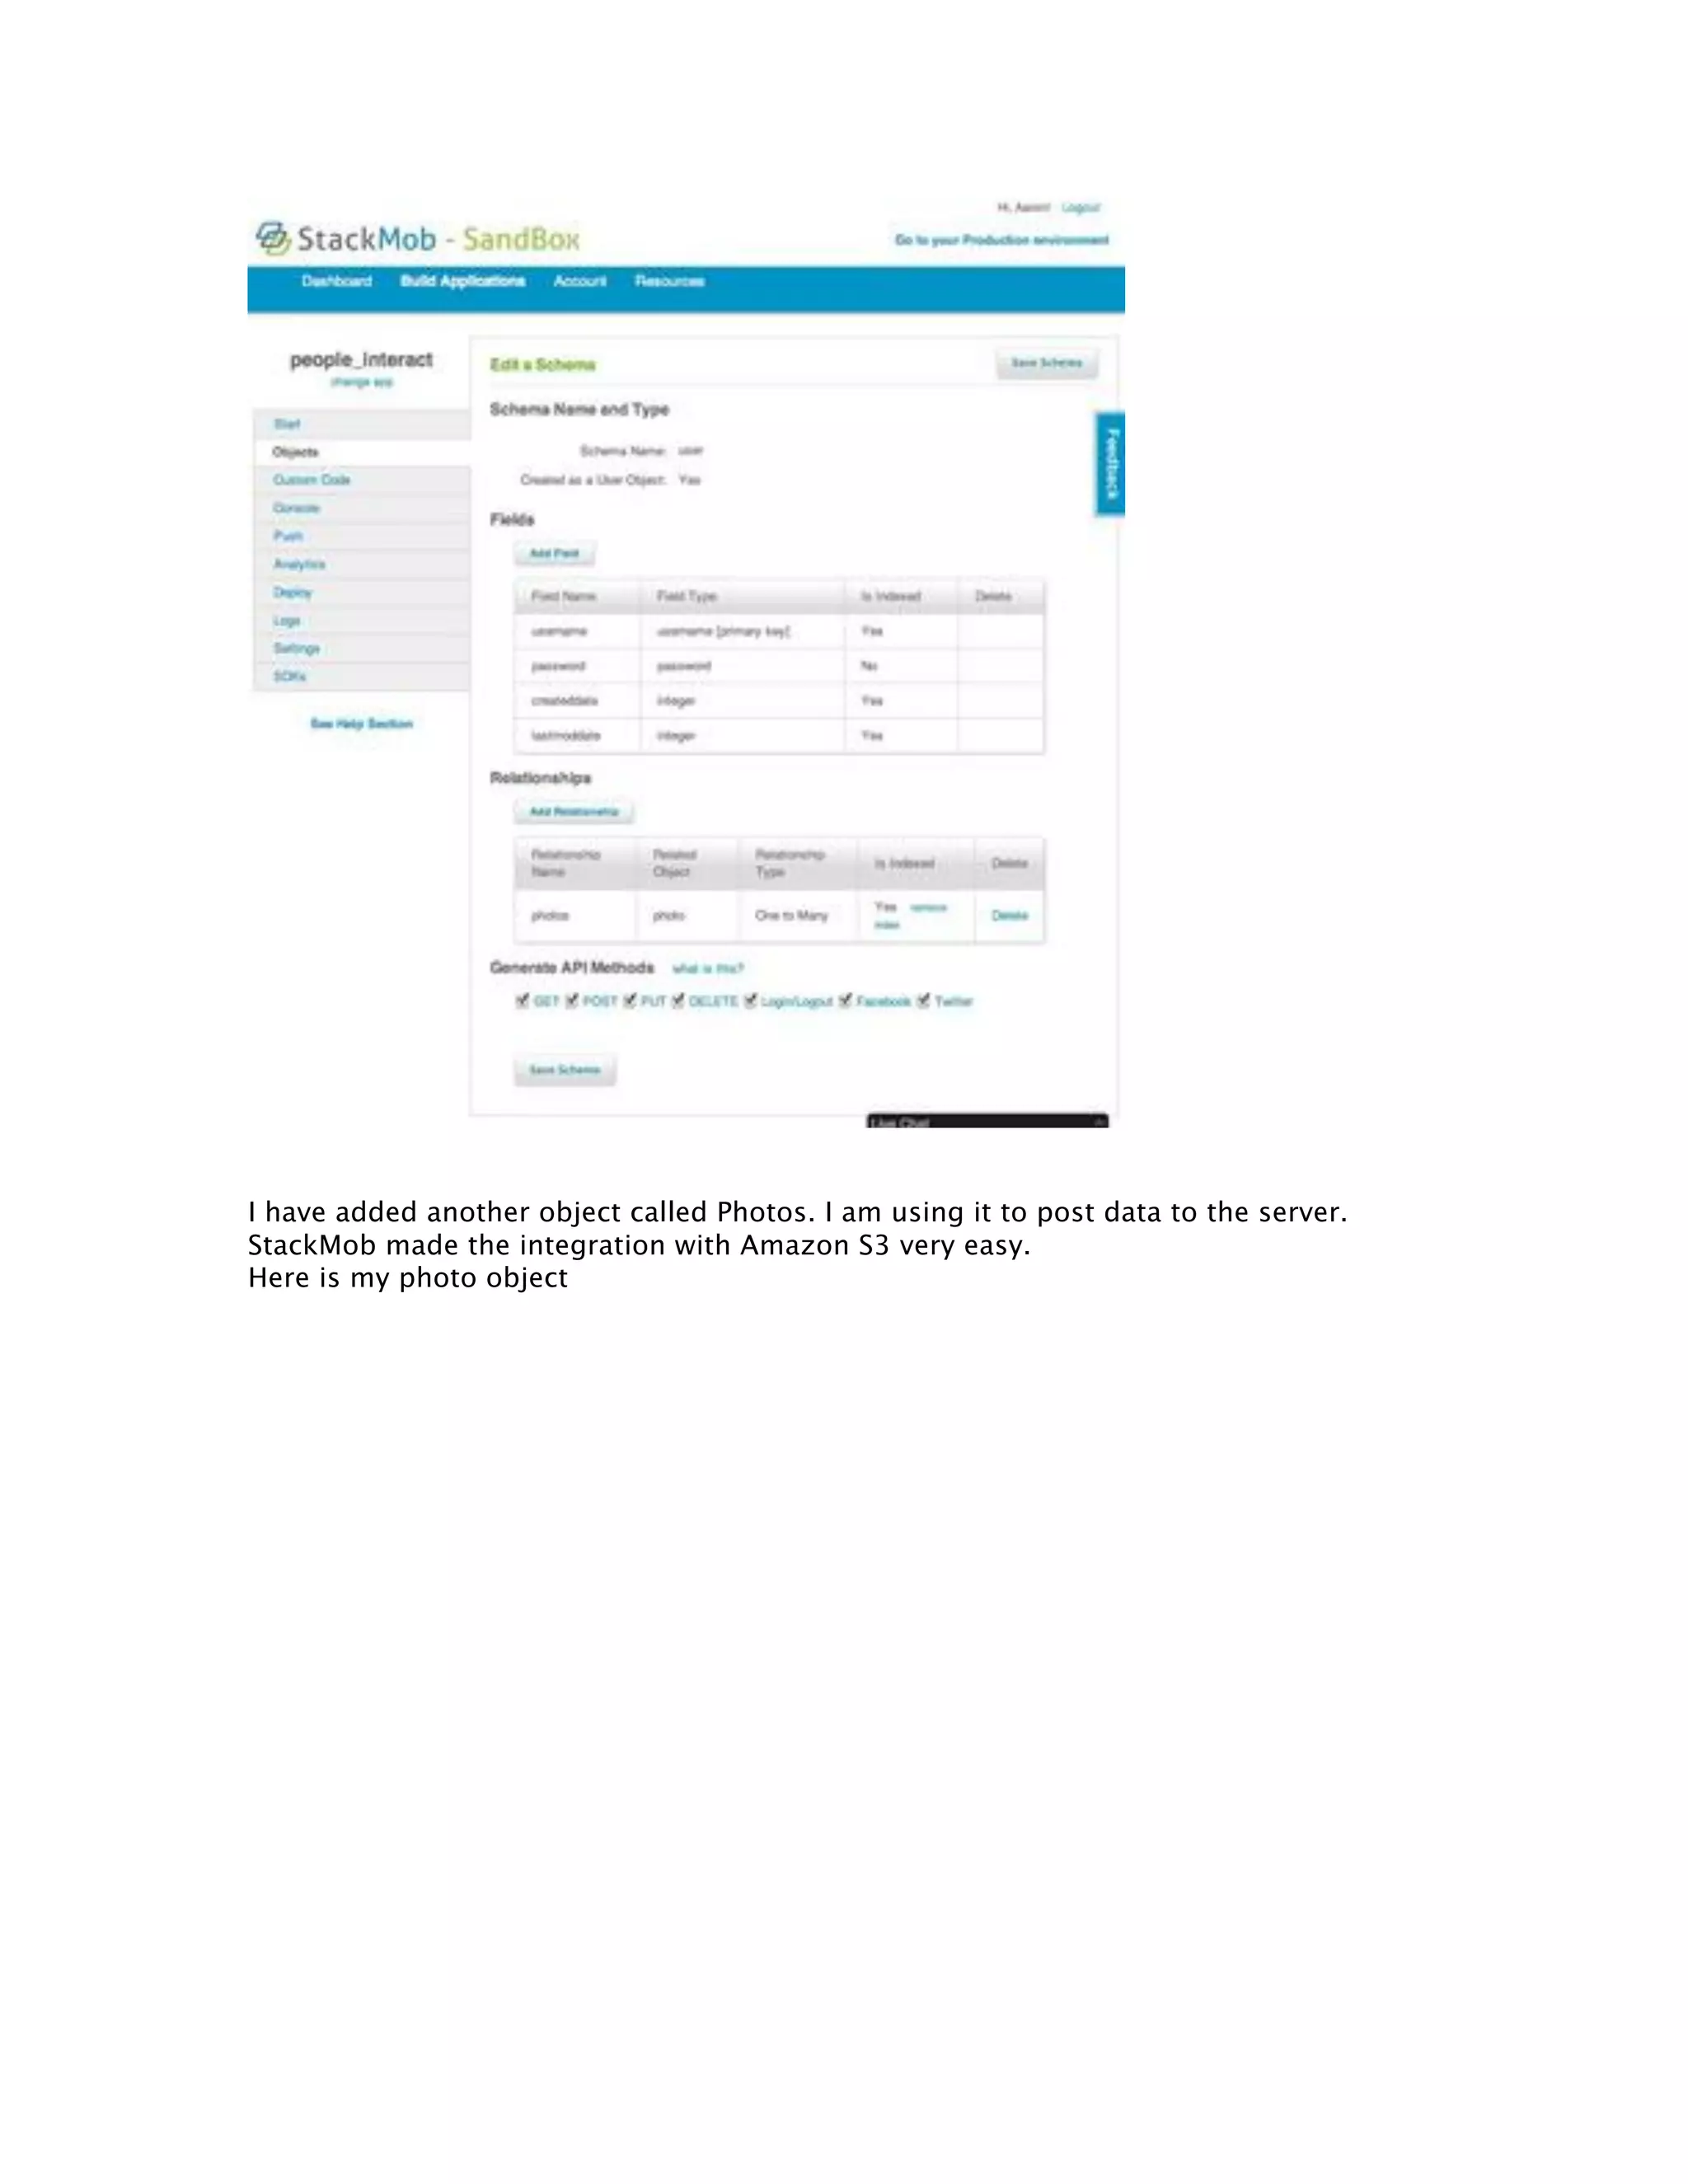
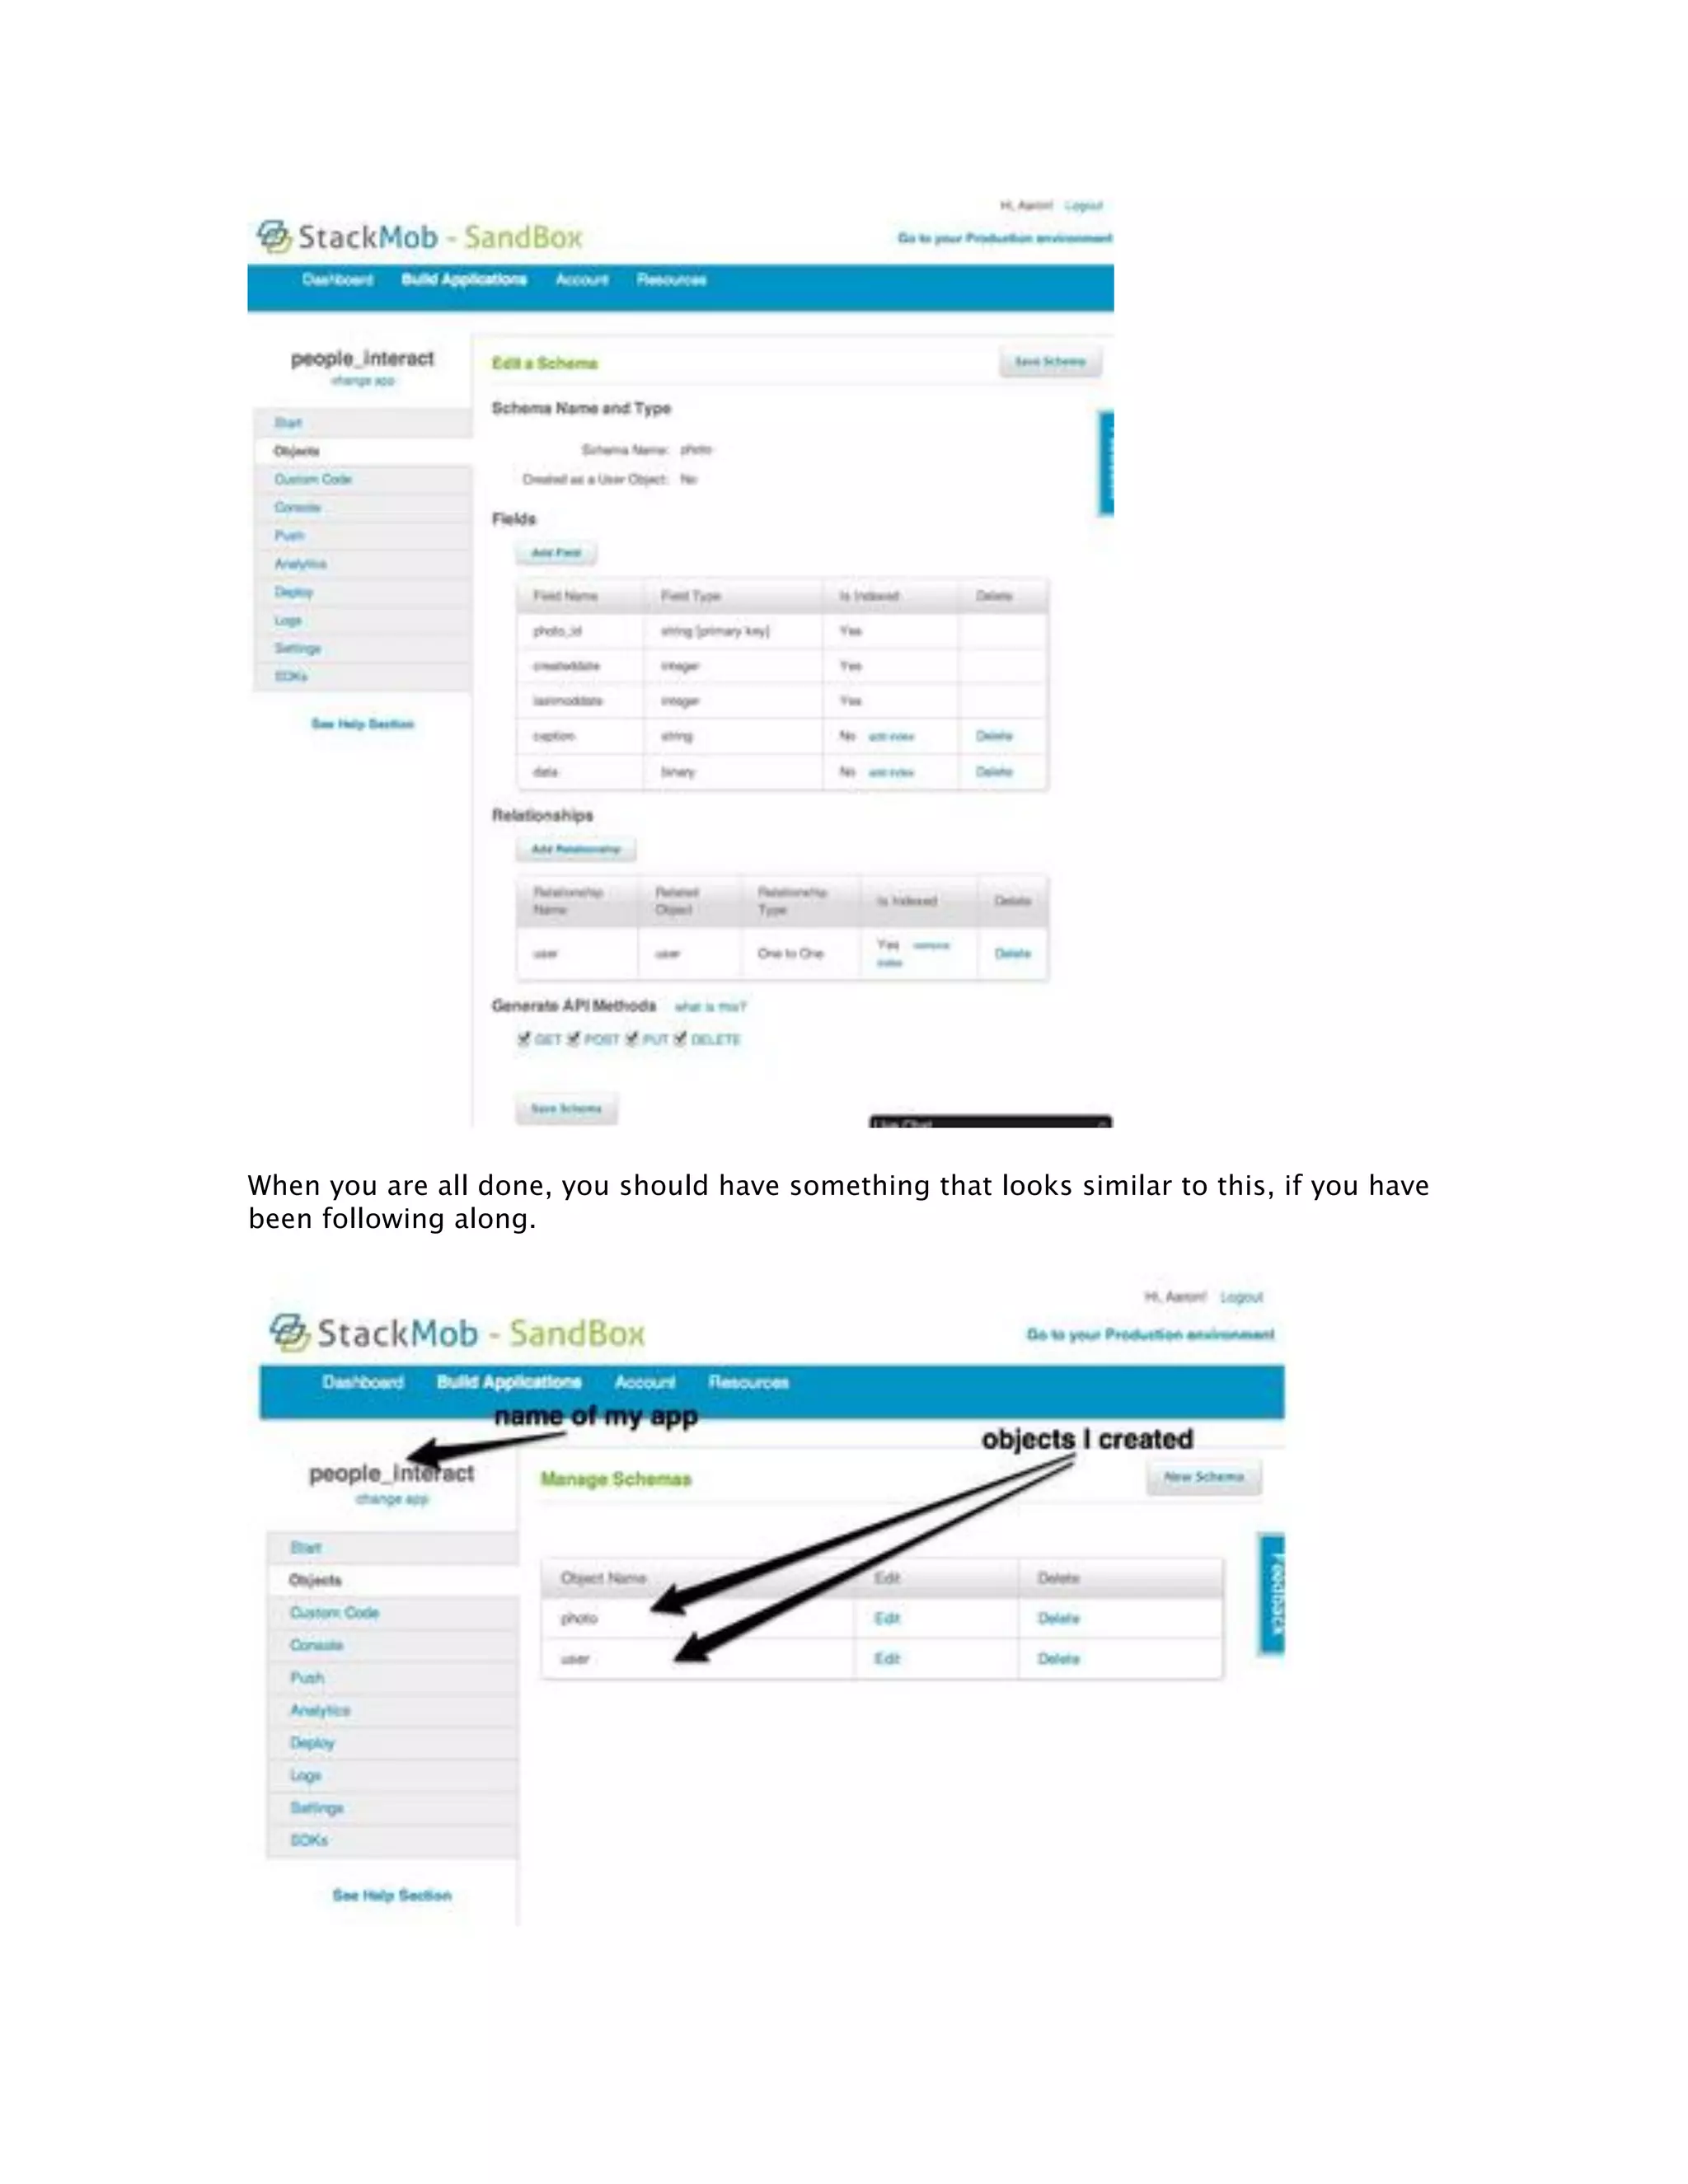
I have added another object called Photos. I am using it to post data to the server. StackMob made the integration with Amazon S3 very easy. Here is my photo object
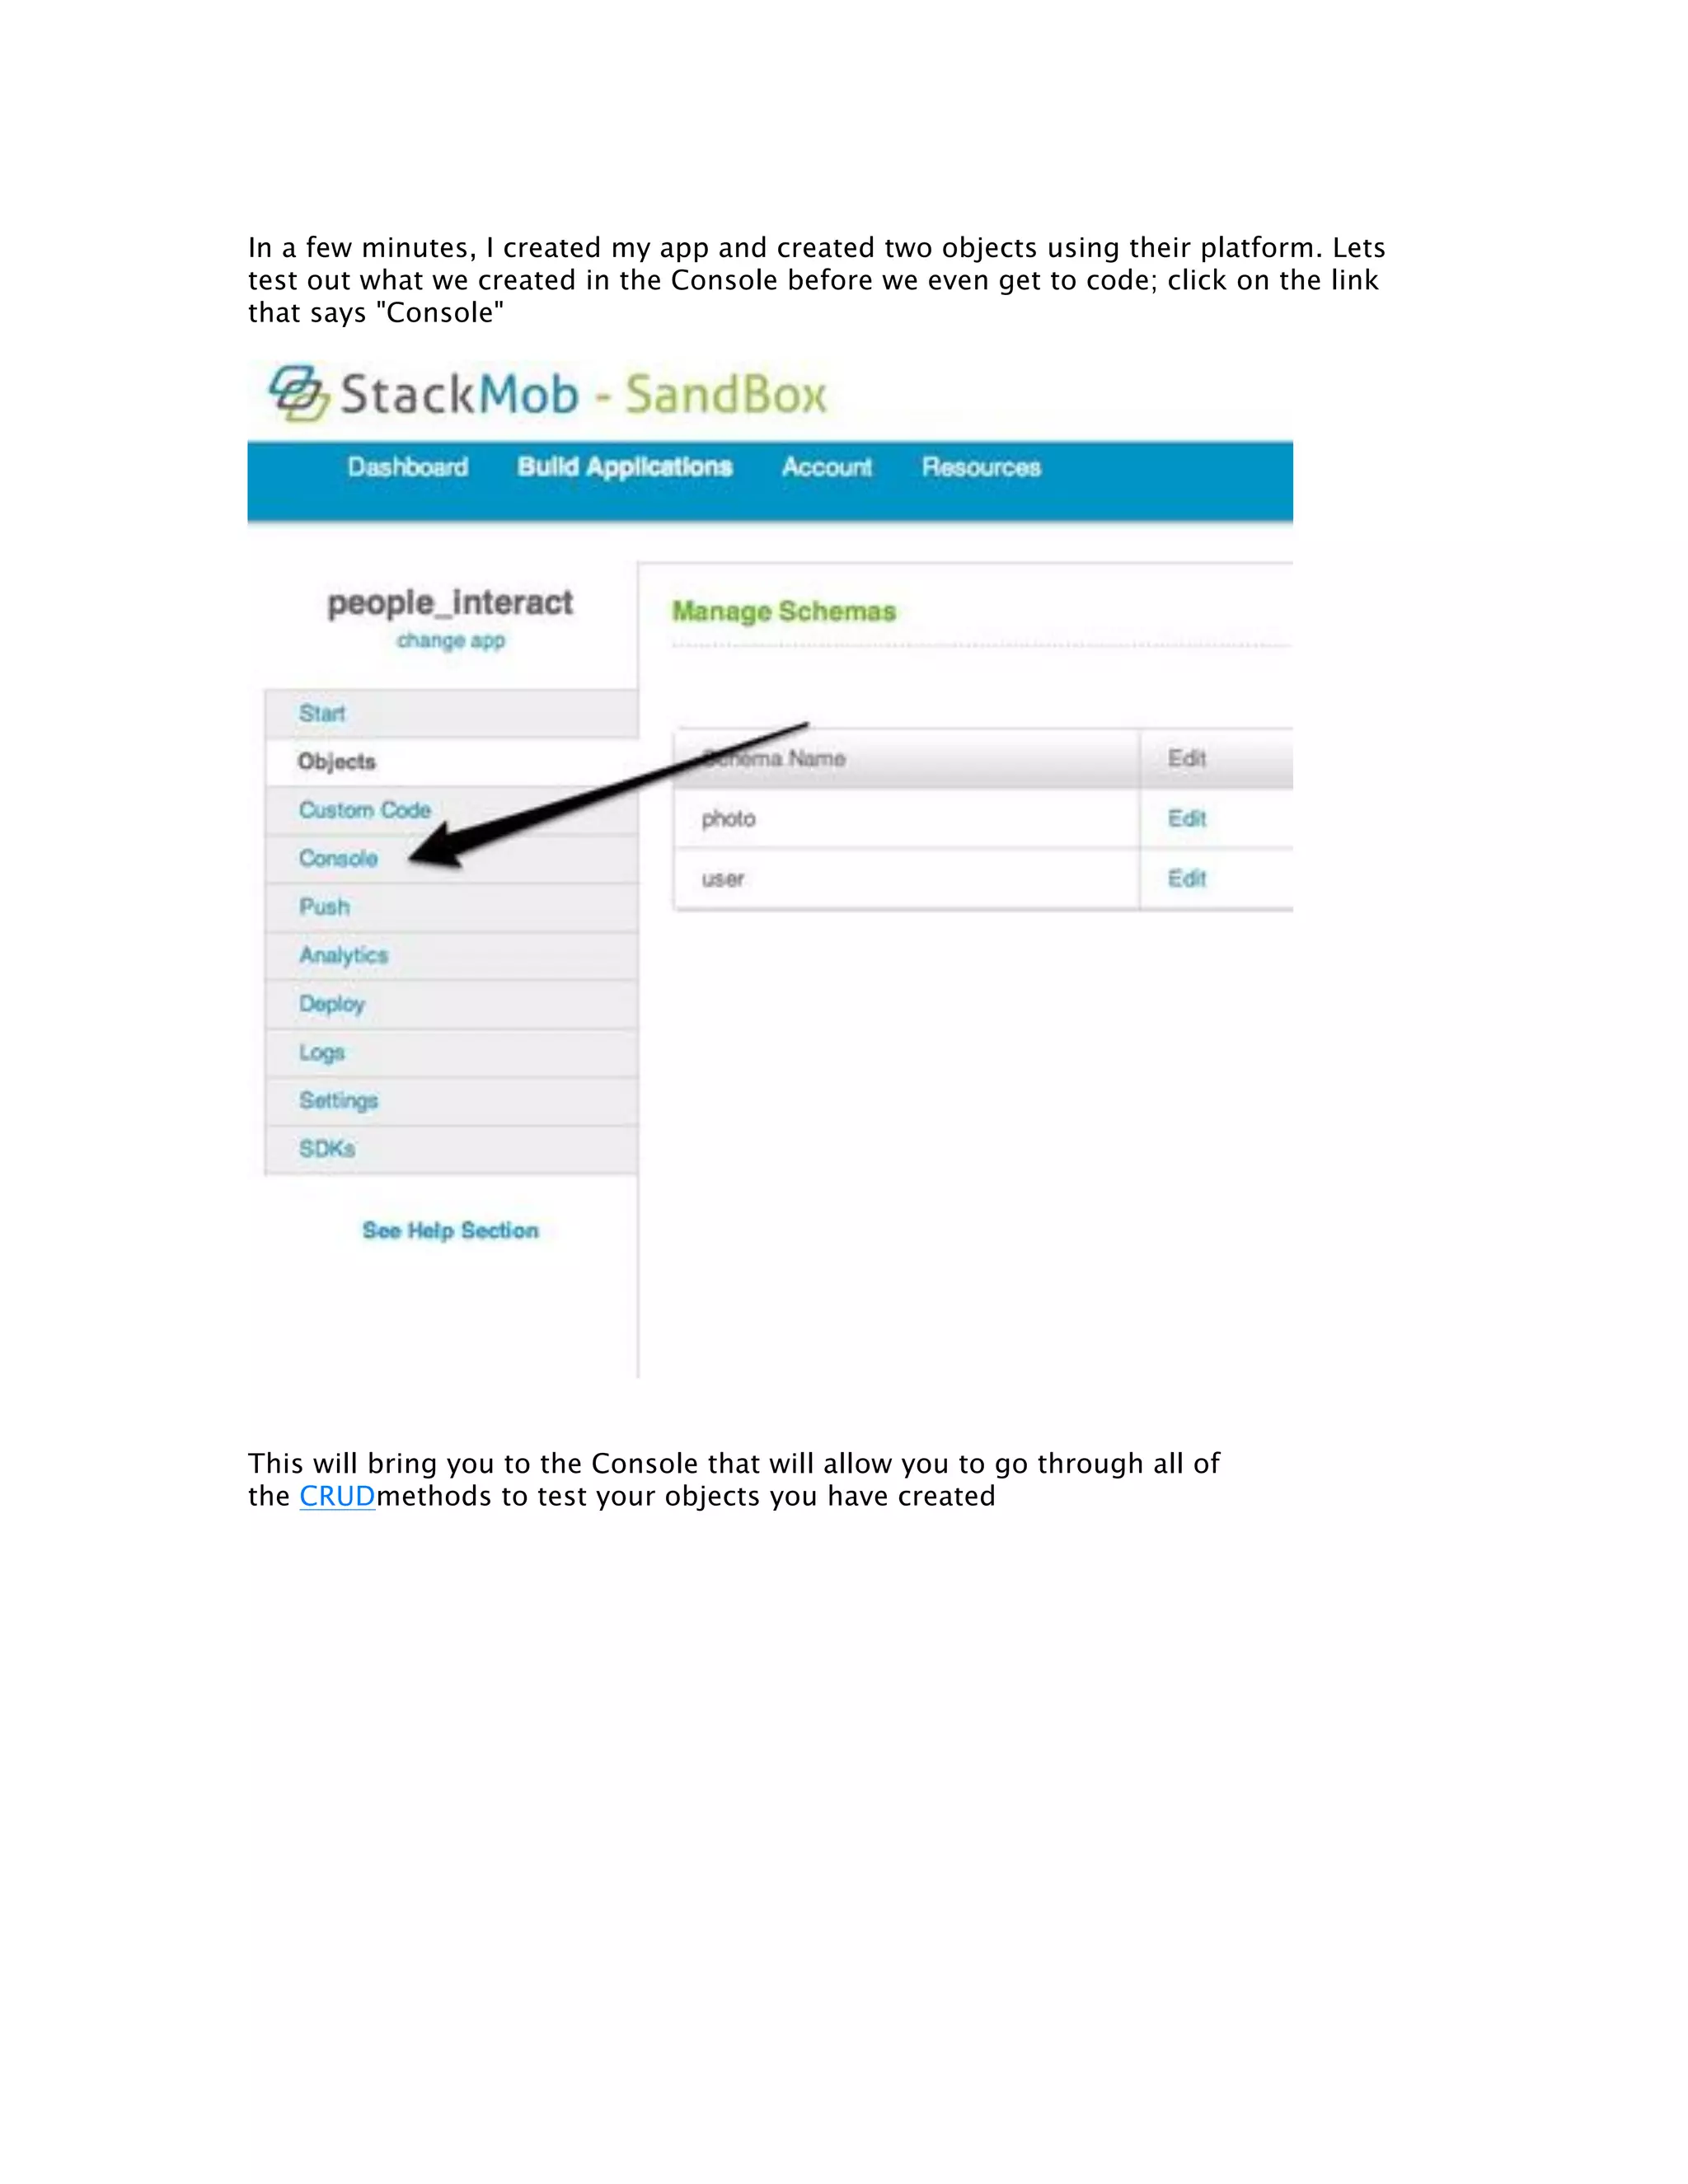
When you are all done, you should have something that looks similar to this, if you have been following along.
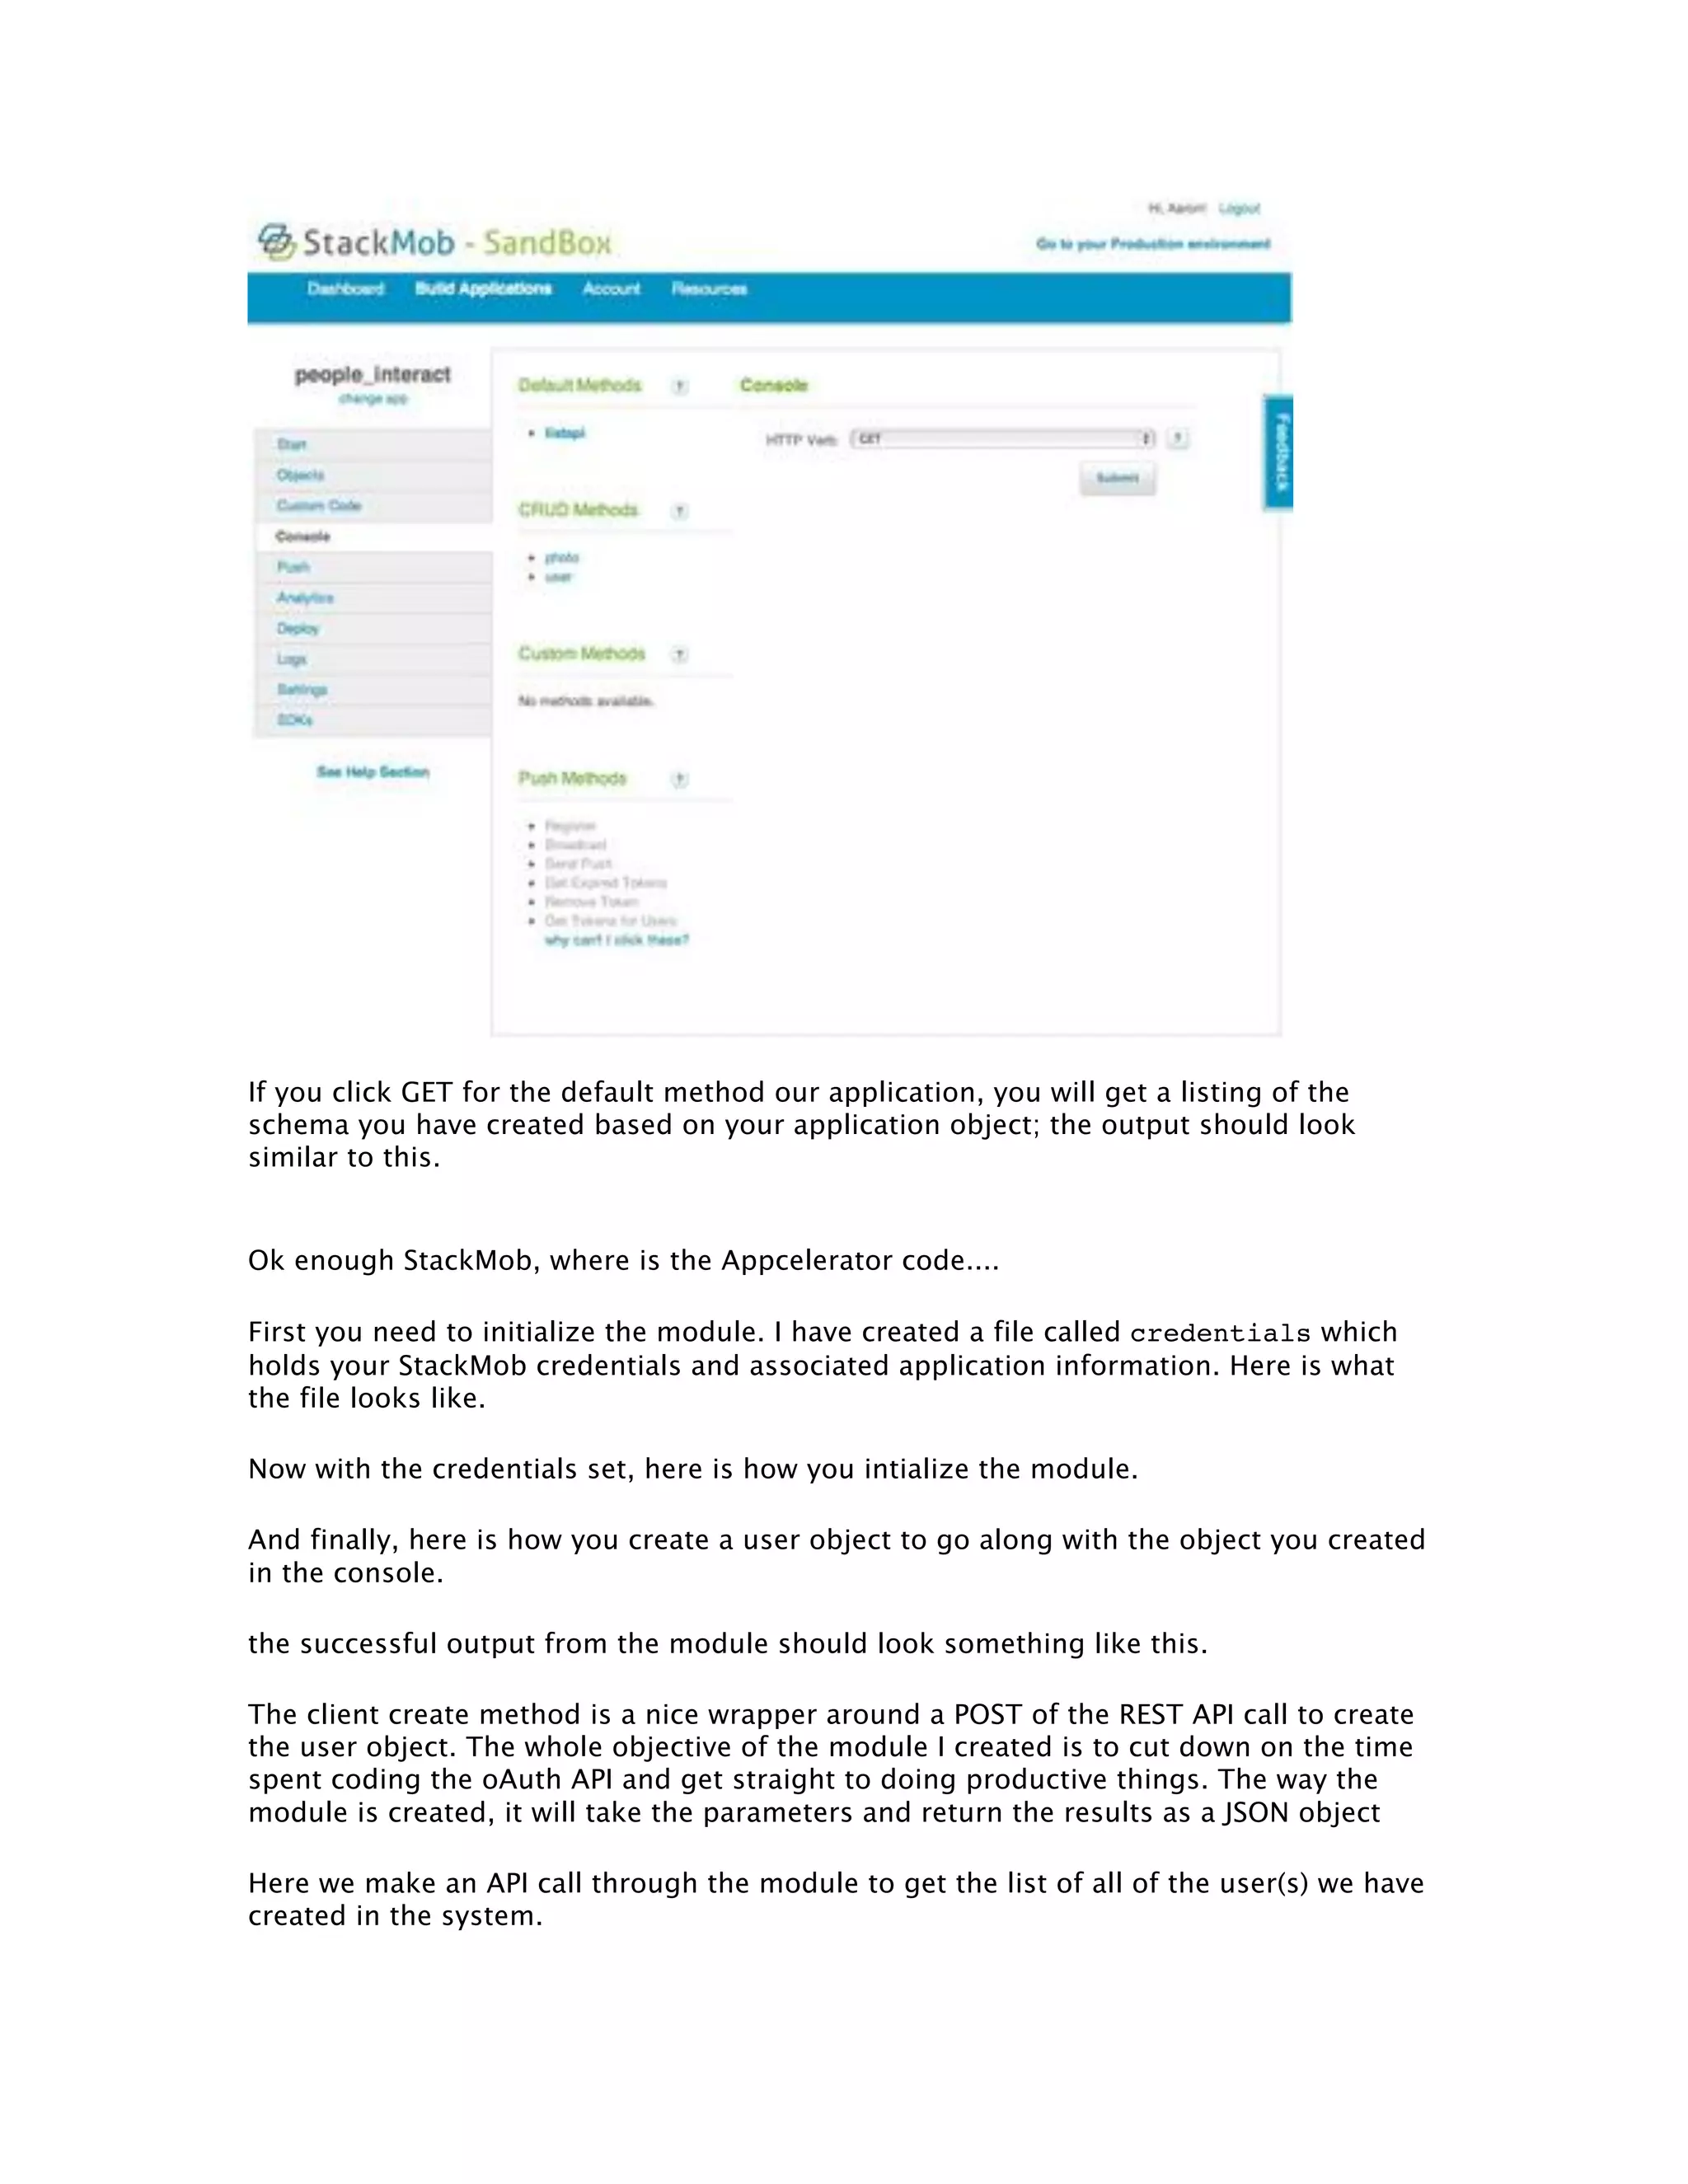
In a few minutes, I created my app and created two objects using their platform. Lets test out what we created in the Console before we even get to code; click on the link that says "Console" This will bring you to the Console that will allow you to go through all of the CRUDmethods to test your objects you have created
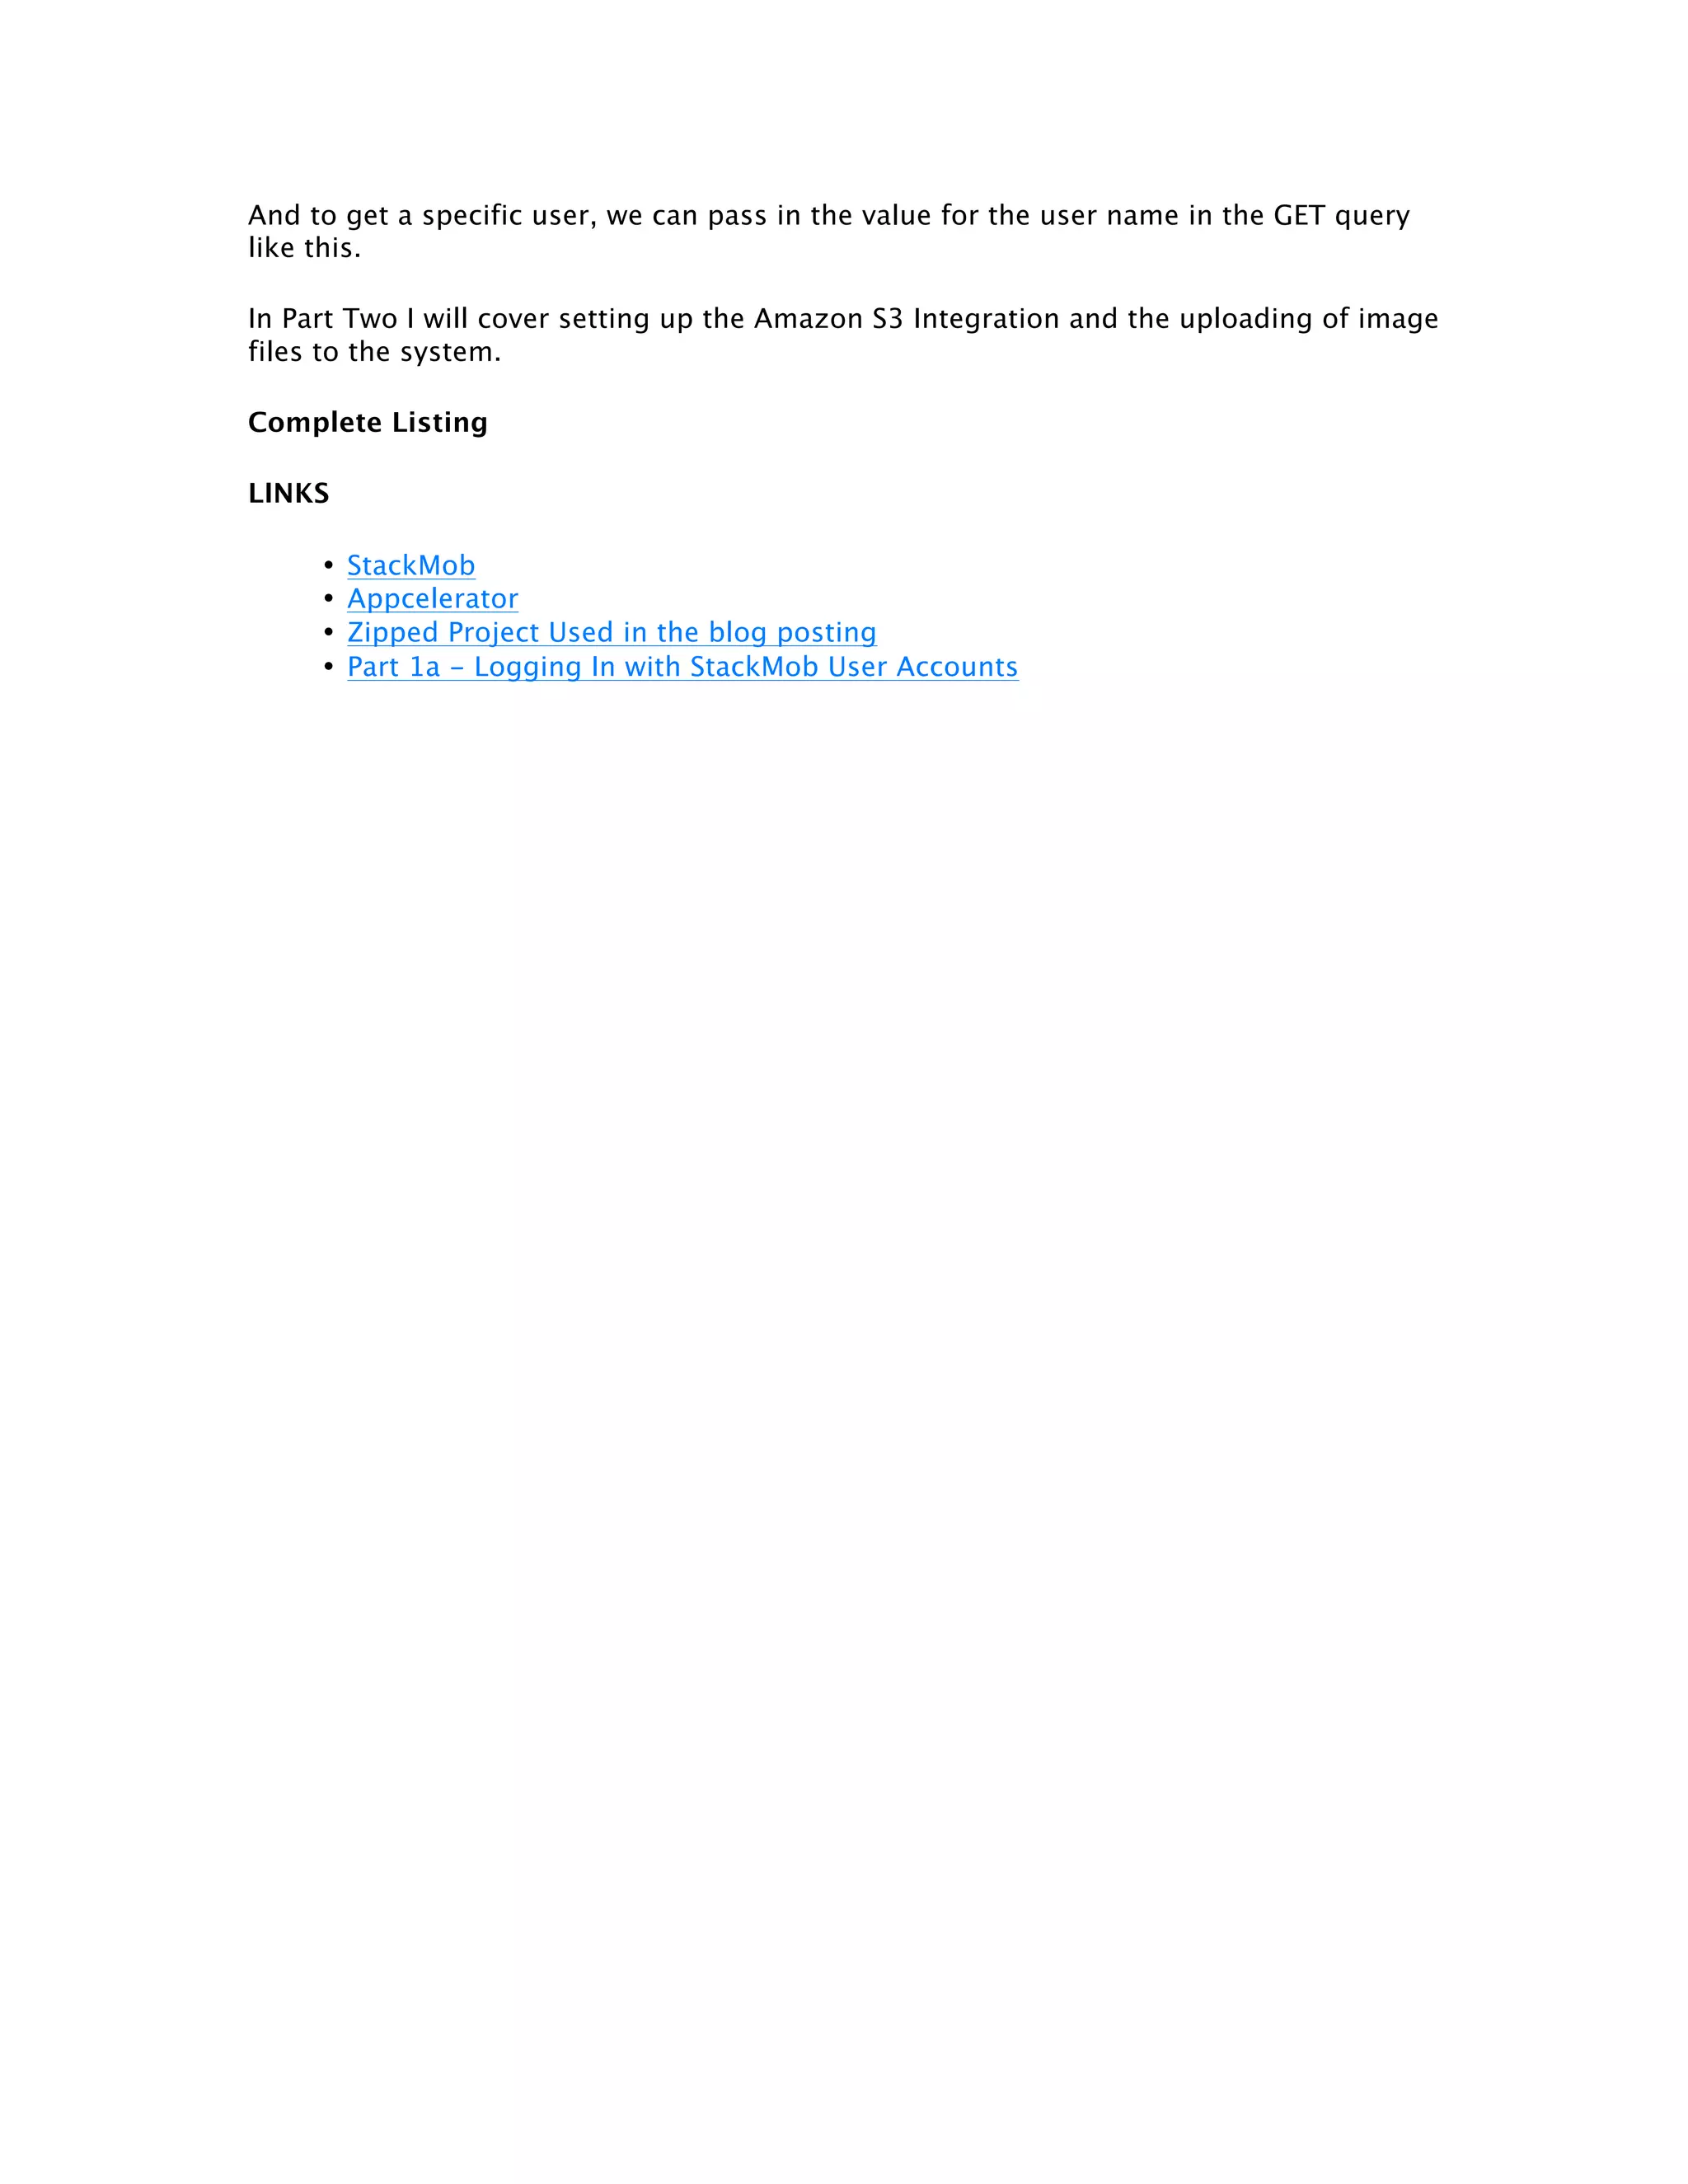
If you click GET for the default method our application, you will get a listing of the schema you have created based on your application object; the output should look similar to this. Ok enough StackMob, where is the Appcelerator code.... First you need to initialize the module. I have created a file called credentials which holds your StackMob credentials and associated application information. Here is what the file looks like. Now with the credentials set, here is how you intialize the module. And finally, here is how you create a user object to go along with the object you created in the console. the successful output from the module should look something like this. The client create method is a nice wrapper around a POST of the REST API call to create the user object. The whole objective of the module I created is to cut down on the time spent coding the oAuth API and get straight to doing productive things. The way the module is created, it will take the parameters and return the results as a JSON object Here we make an API call through the module to get the list of all of the user(s) we have created in the system.
And to get a specific user, we can pass in the value for the user name in the GET query like this. In Part Two I will cover setting up the Amazon S3 Integration and the uploading of image files to the system. Complete Listing LINKS • StackMob • Appcelerator • Zipped Project Used in the blog posting • Part 1a - Logging In with StackMob User Accounts  

StackMob & Appcelerator Module Part One

  • 1.
    AND This is anintroductory post on using StackMob for the backend services of your mobile applications. The StackMob platform helps you build, deploy and scale your backend while making it very easy for you to add push notifications, social integration and more to your apps. Here is a blog posting on why services like StackMob are a value-add for Appcelerator developers. Why a PaaS for Mobile Developers Makes Sense Here is my brief outline on the benefits StackMob provides: More Information Available on website • REST Based API • Custom Code Integration • Social Media Integration • Push Notification • Separation of Production and Staging Environments In this first part of a three part series we will cover a very basic implementation using a Javascript REST based API. StackMob provides an IOS and Android SDK so you can create a native module if you like. In the last few weeks I created a functioning IOS module and have started working on an Android module that I will release to the Marketplace soon. In this initial example I have created, there are two simple objects: users and photos. We will expand on the relationship in a later posting, but this is good enough for now. First you need to go to StackMob and get an account. They are still in beta, but if you indicate that you are trying to integrate with Appcelerator, they will give you priority access. Create An App
  • 2.
    Here we willcreate our user object. StackMob allows us to specify that the object is a user object and this is how we can log in and out of our application. No trying to roll your own authentication method. It is using xAuth over HTTPS, so you are all set. Click "Create a Schema" to Add the User Object
  • 3.
    then enter theappropriate information for your user object
  • 4.
    I have addedanother object called Photos. I am using it to post data to the server. StackMob made the integration with Amazon S3 very easy. Here is my photo object
  • 5.
    When you areall done, you should have something that looks similar to this, if you have been following along.
  • 6.
    In a fewminutes, I created my app and created two objects using their platform. Lets test out what we created in the Console before we even get to code; click on the link that says "Console" This will bring you to the Console that will allow you to go through all of the CRUDmethods to test your objects you have created
  • 7.
    If you clickGET for the default method our application, you will get a listing of the schema you have created based on your application object; the output should look similar to this. Ok enough StackMob, where is the Appcelerator code.... First you need to initialize the module. I have created a file called credentials which holds your StackMob credentials and associated application information. Here is what the file looks like. Now with the credentials set, here is how you intialize the module. And finally, here is how you create a user object to go along with the object you created in the console. the successful output from the module should look something like this. The client create method is a nice wrapper around a POST of the REST API call to create the user object. The whole objective of the module I created is to cut down on the time spent coding the oAuth API and get straight to doing productive things. The way the module is created, it will take the parameters and return the results as a JSON object Here we make an API call through the module to get the list of all of the user(s) we have created in the system.
  • 8.
    And to geta specific user, we can pass in the value for the user name in the GET query like this. In Part Two I will cover setting up the Amazon S3 Integration and the uploading of image files to the system. Complete Listing LINKS • StackMob • Appcelerator • Zipped Project Used in the blog posting • Part 1a - Logging In with StackMob User Accounts