Download as PDF, PPTX

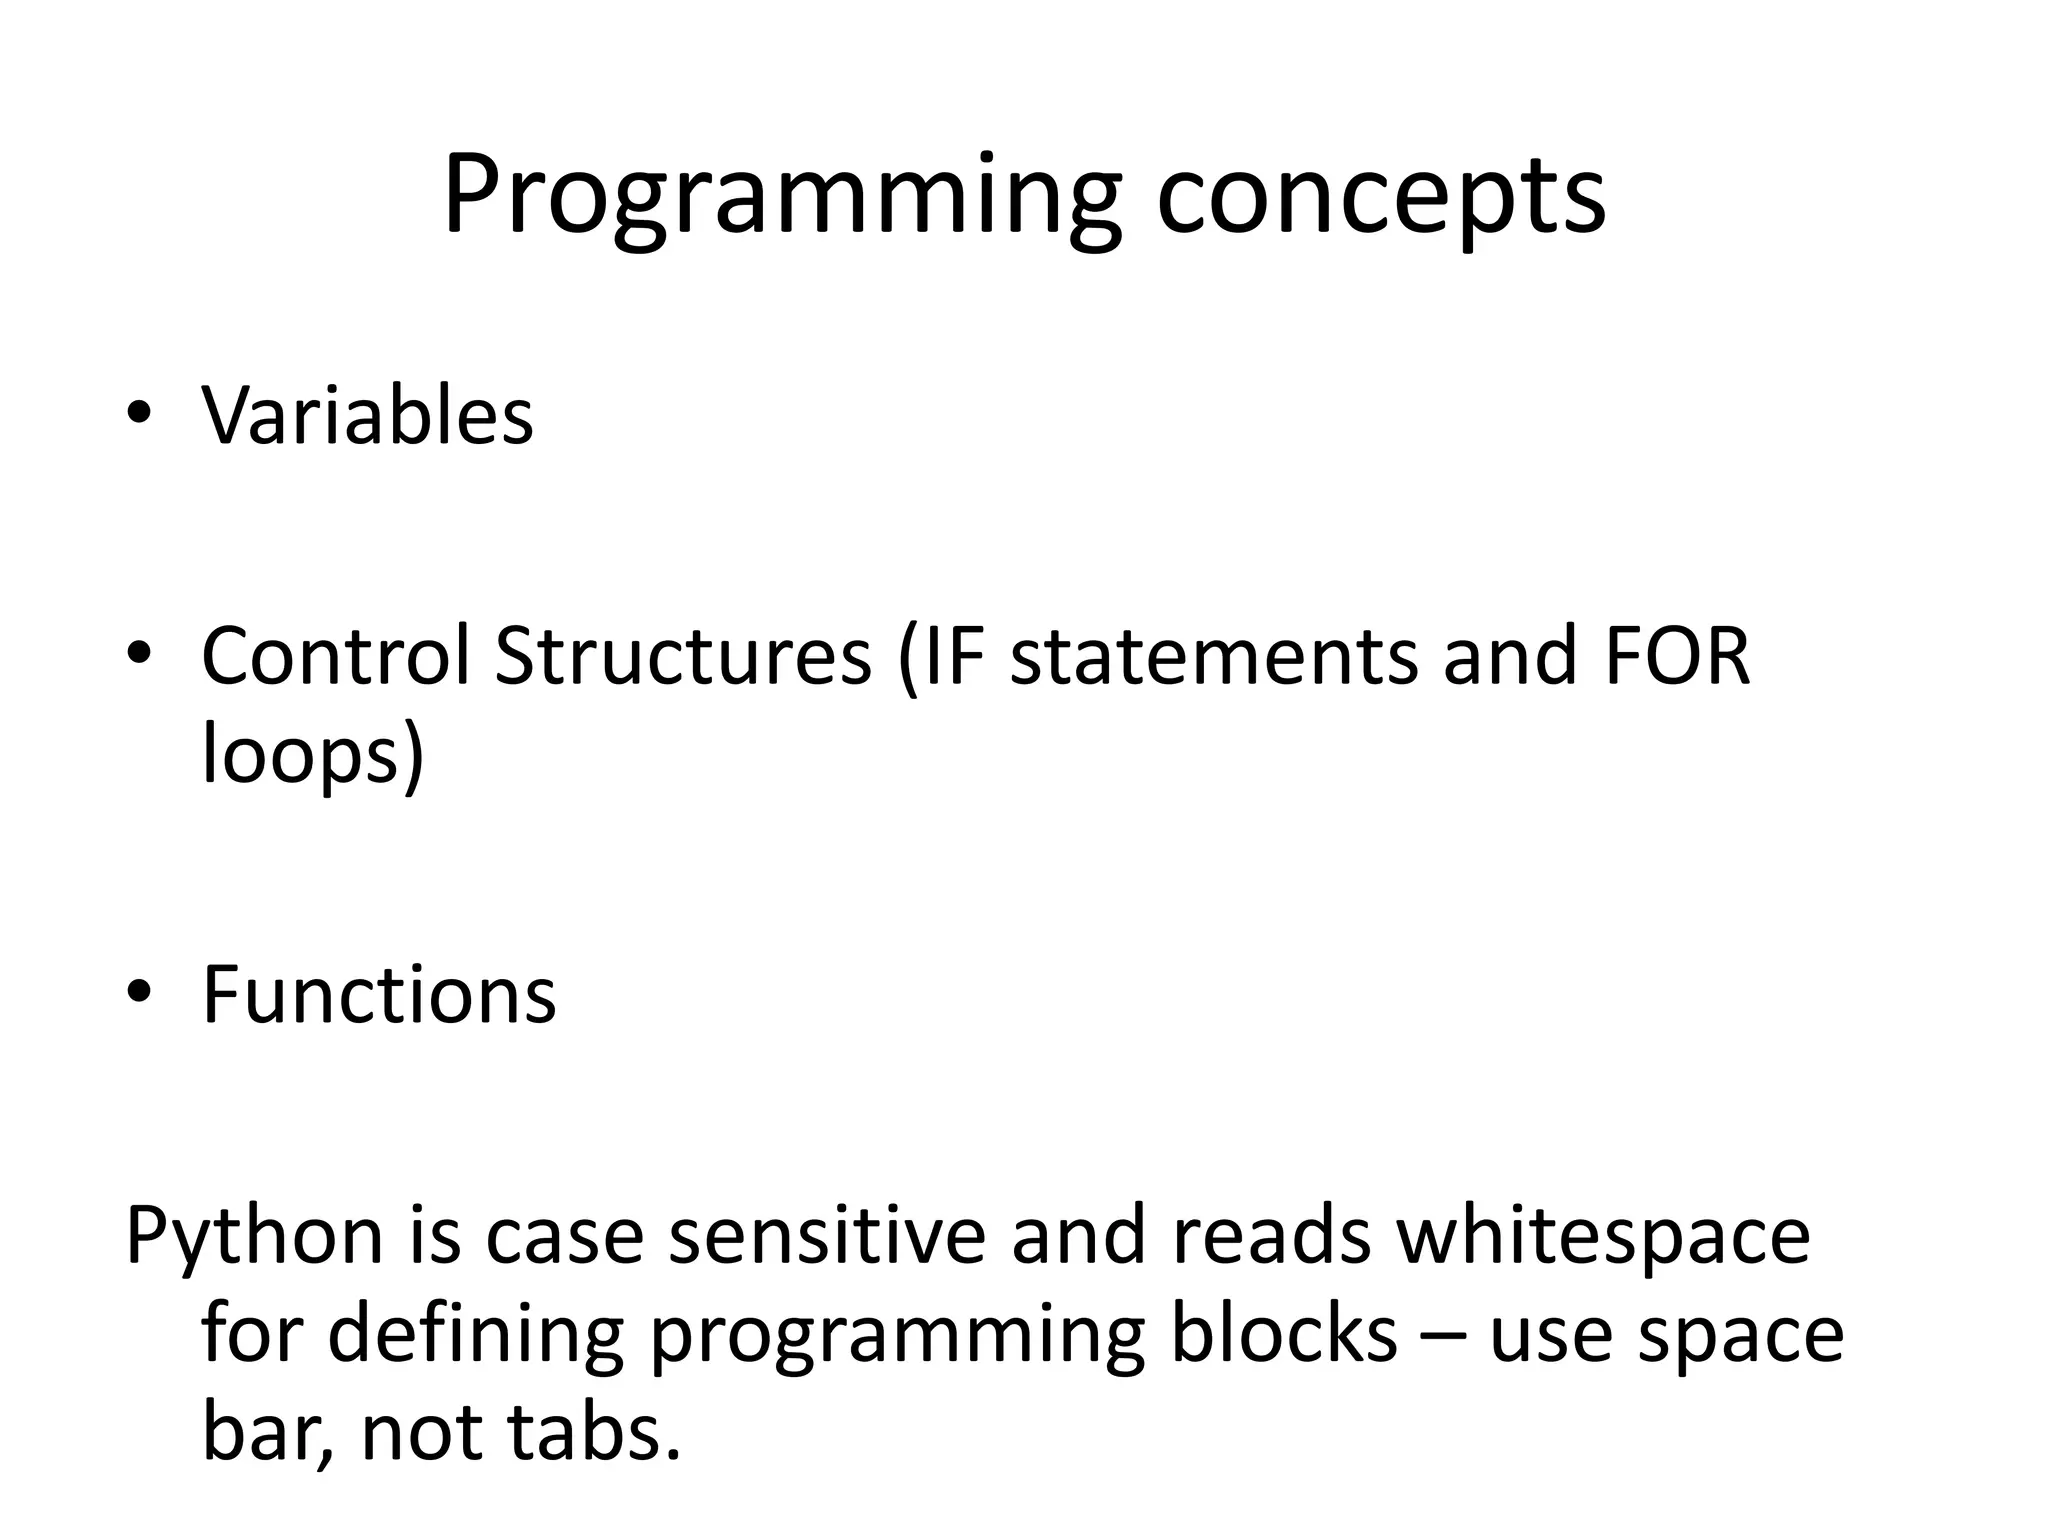
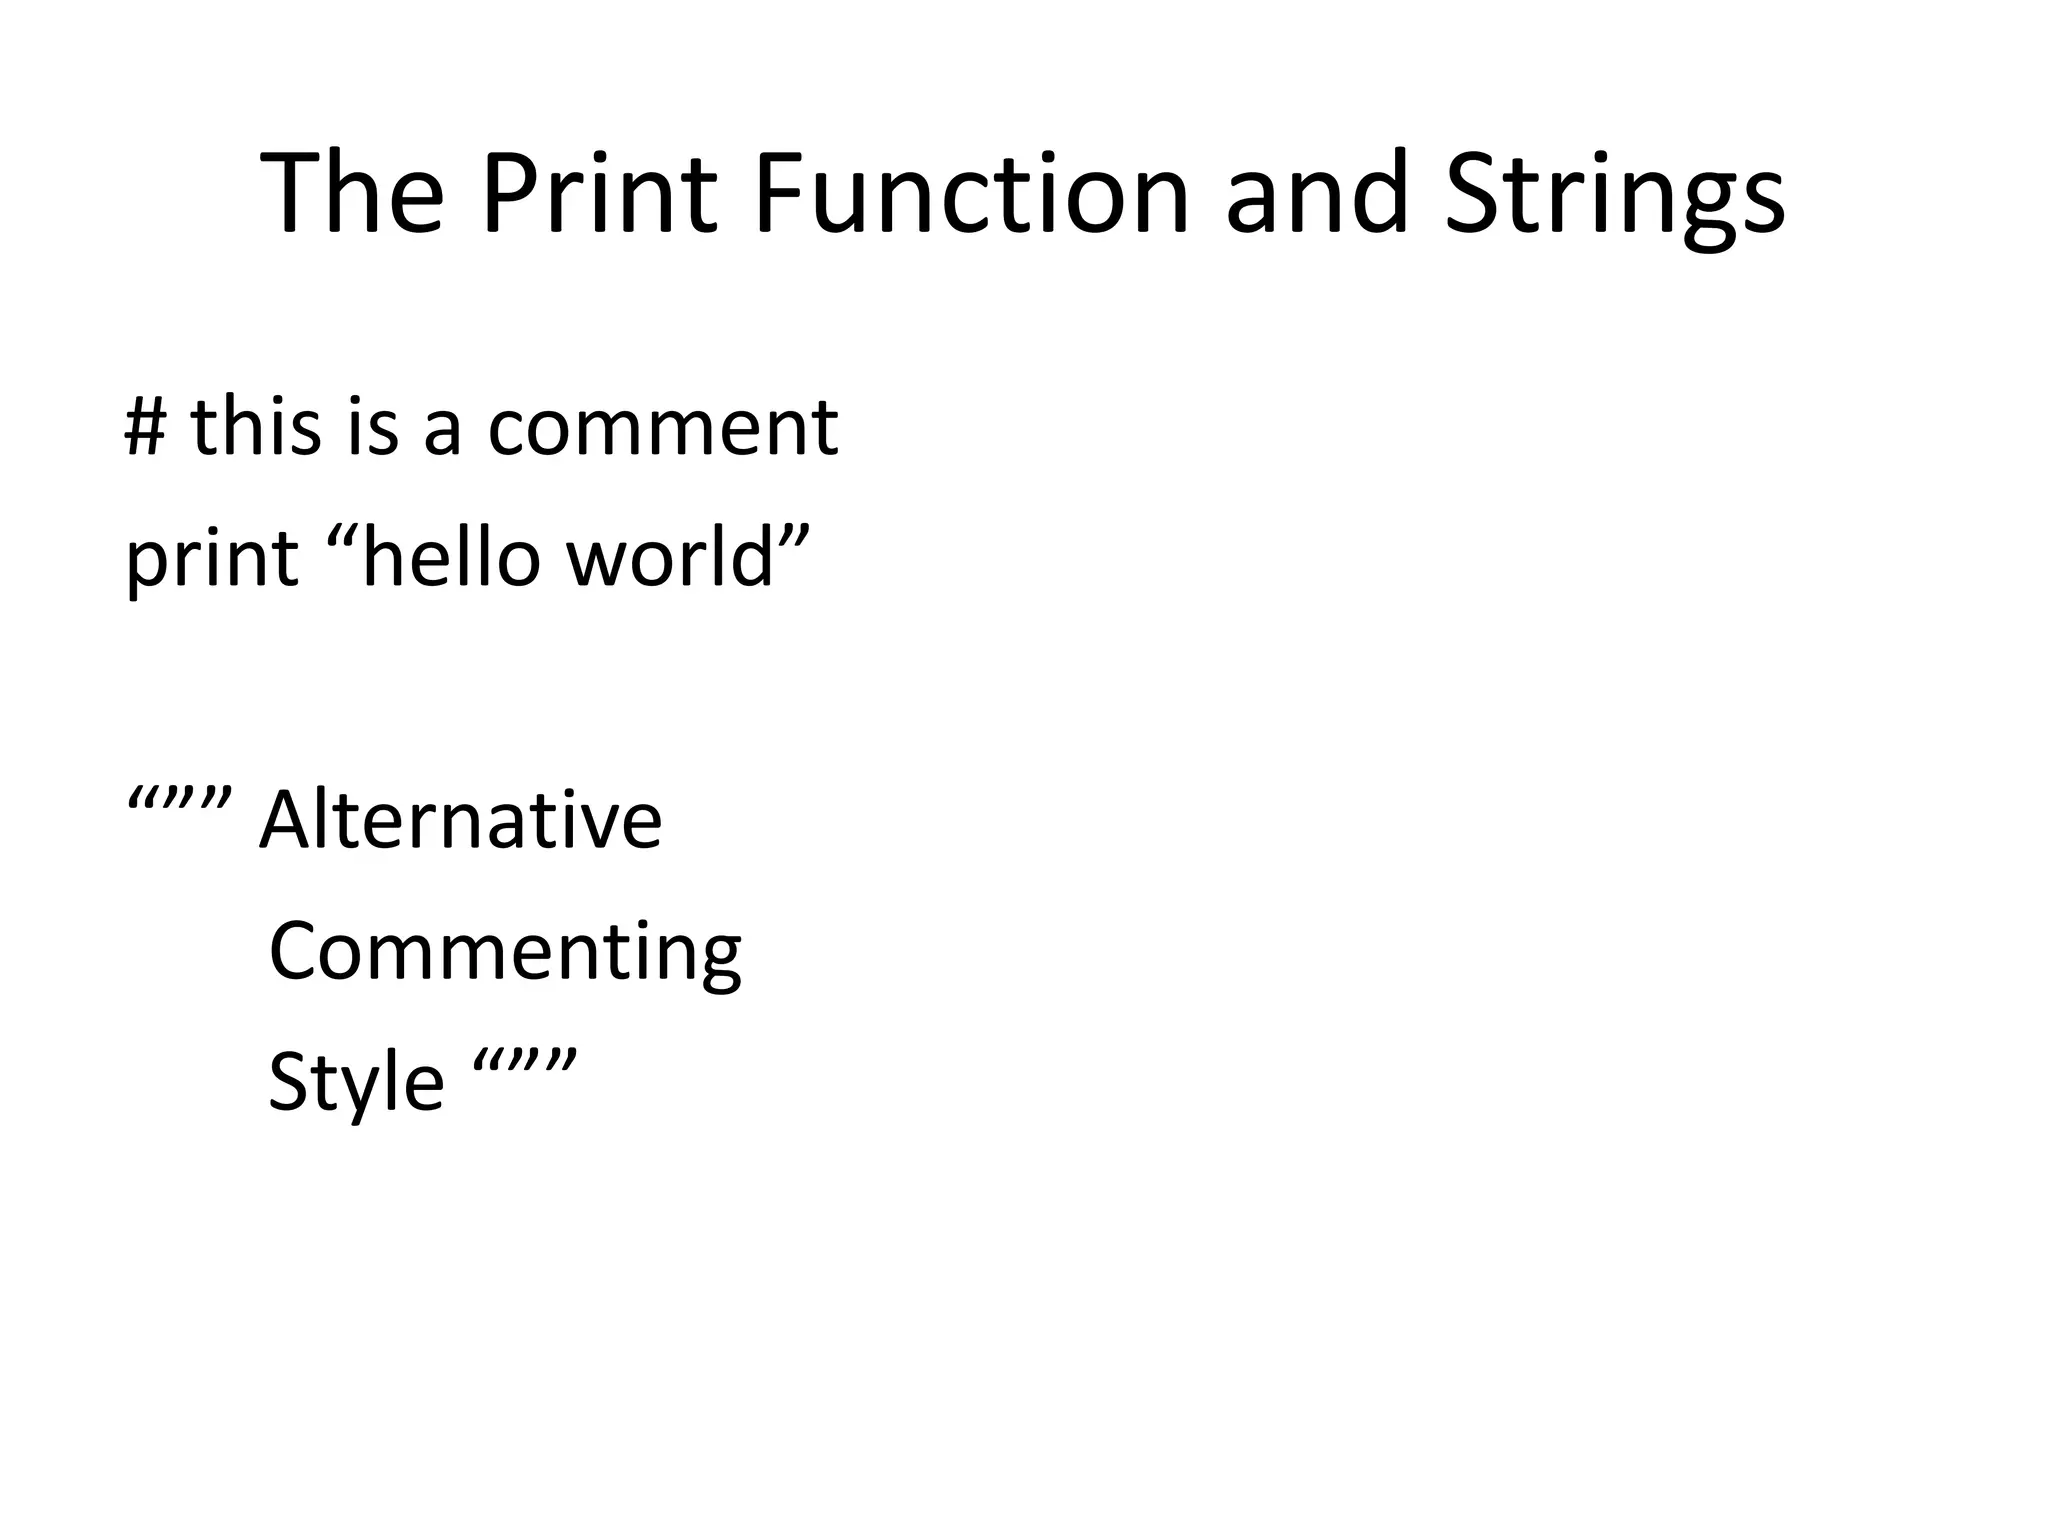
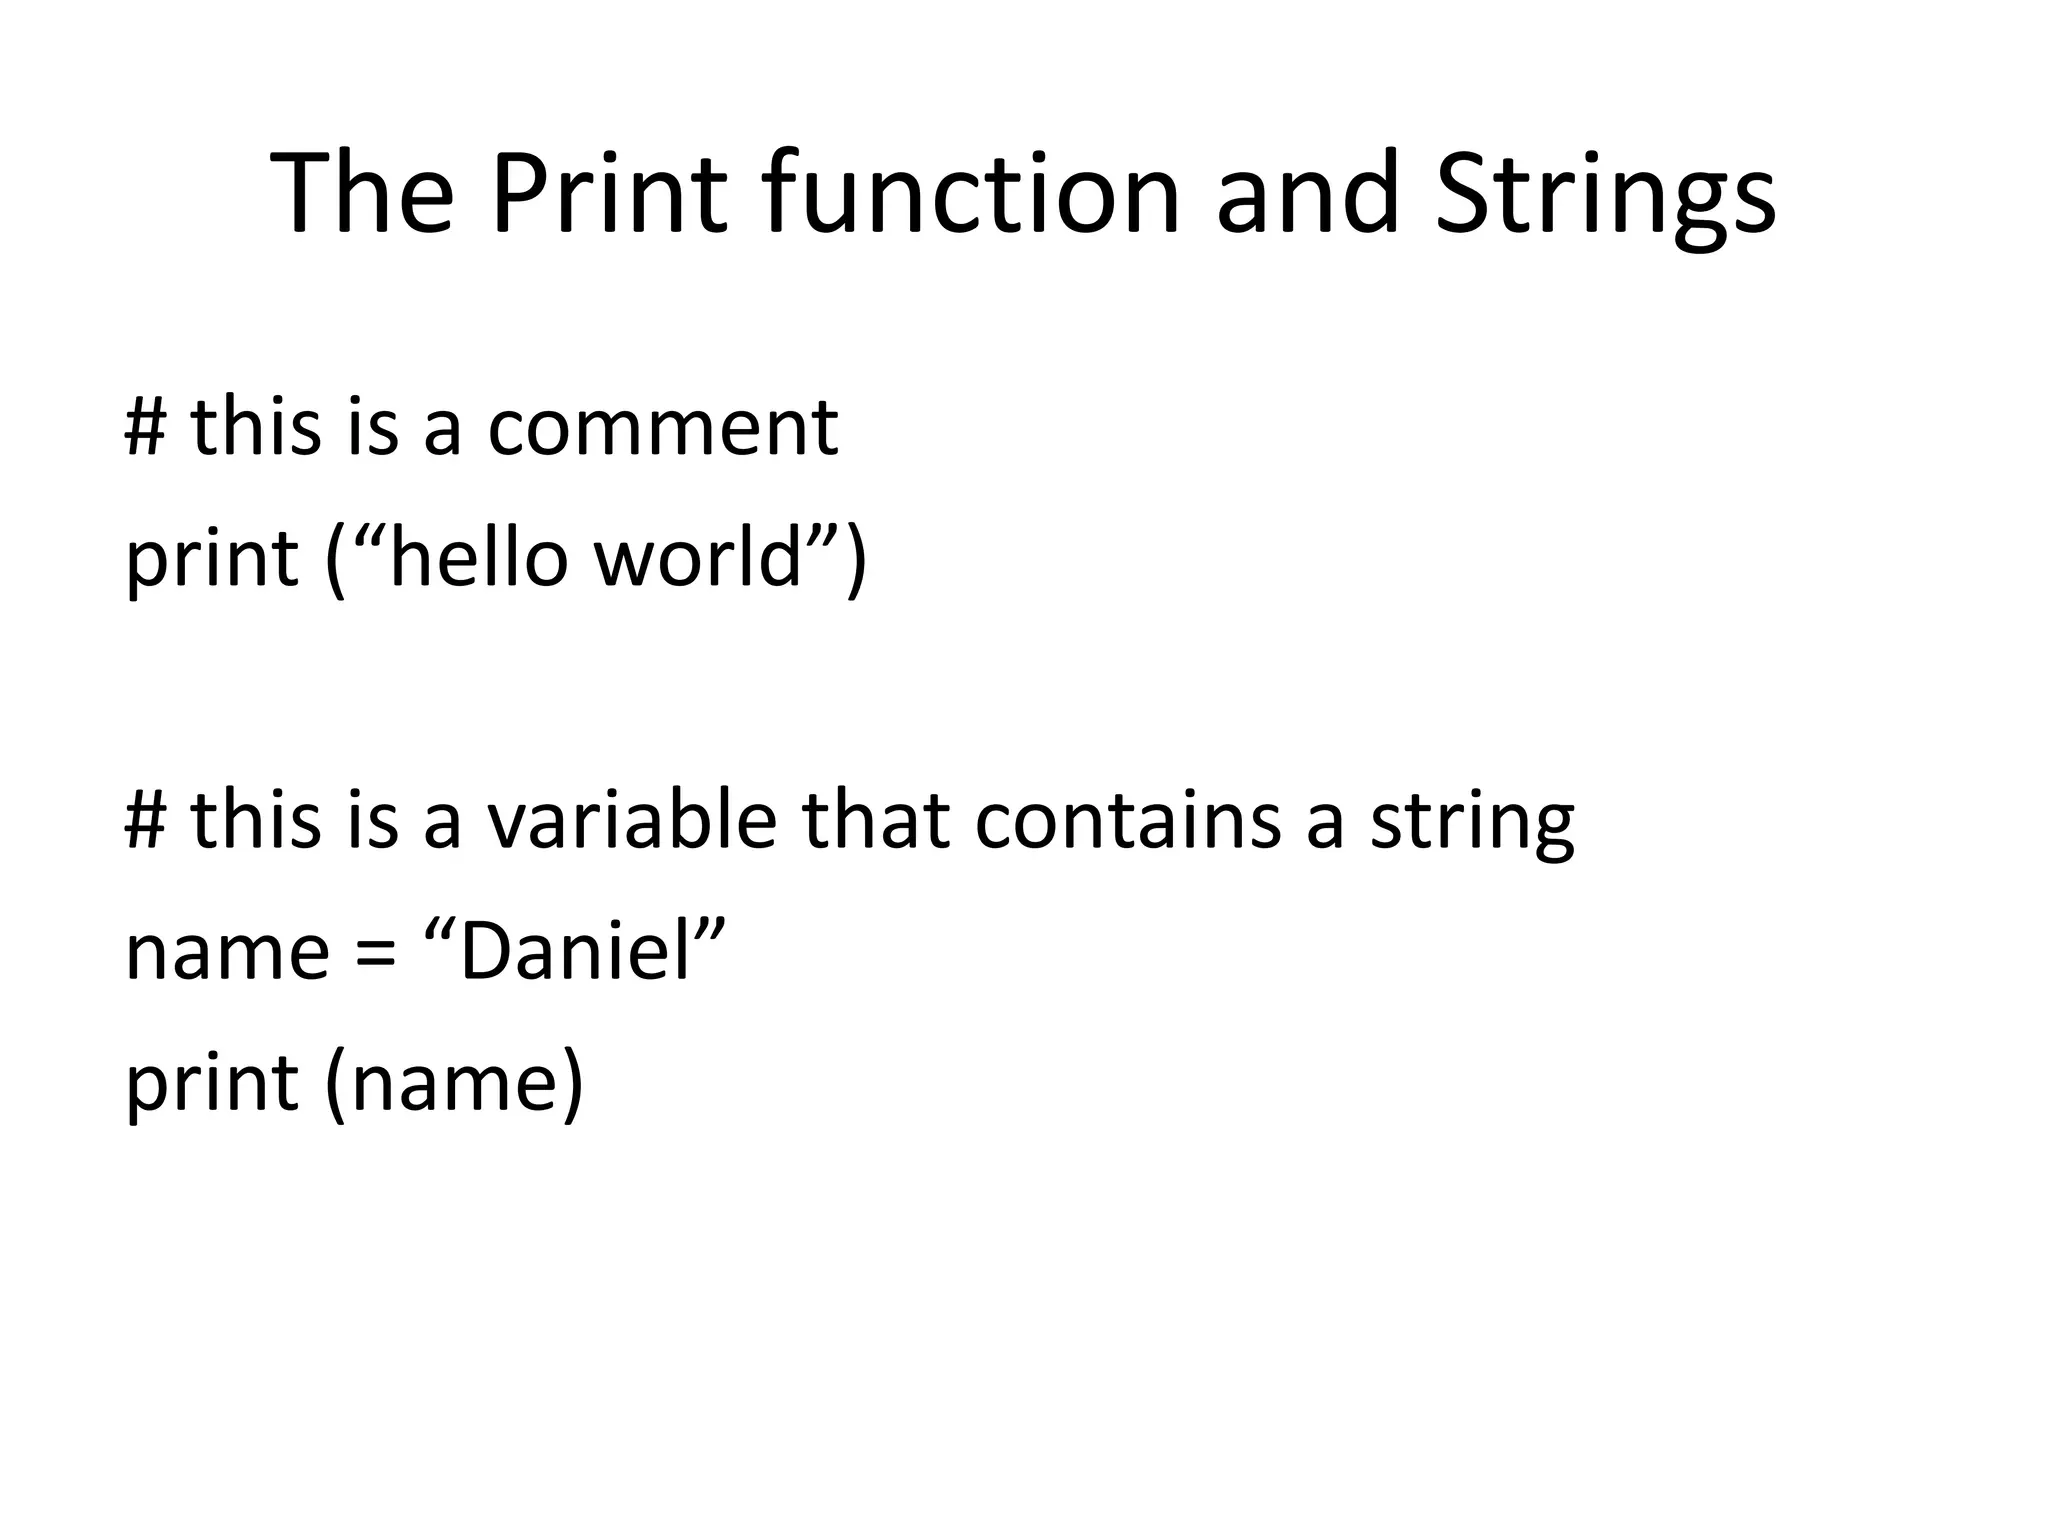
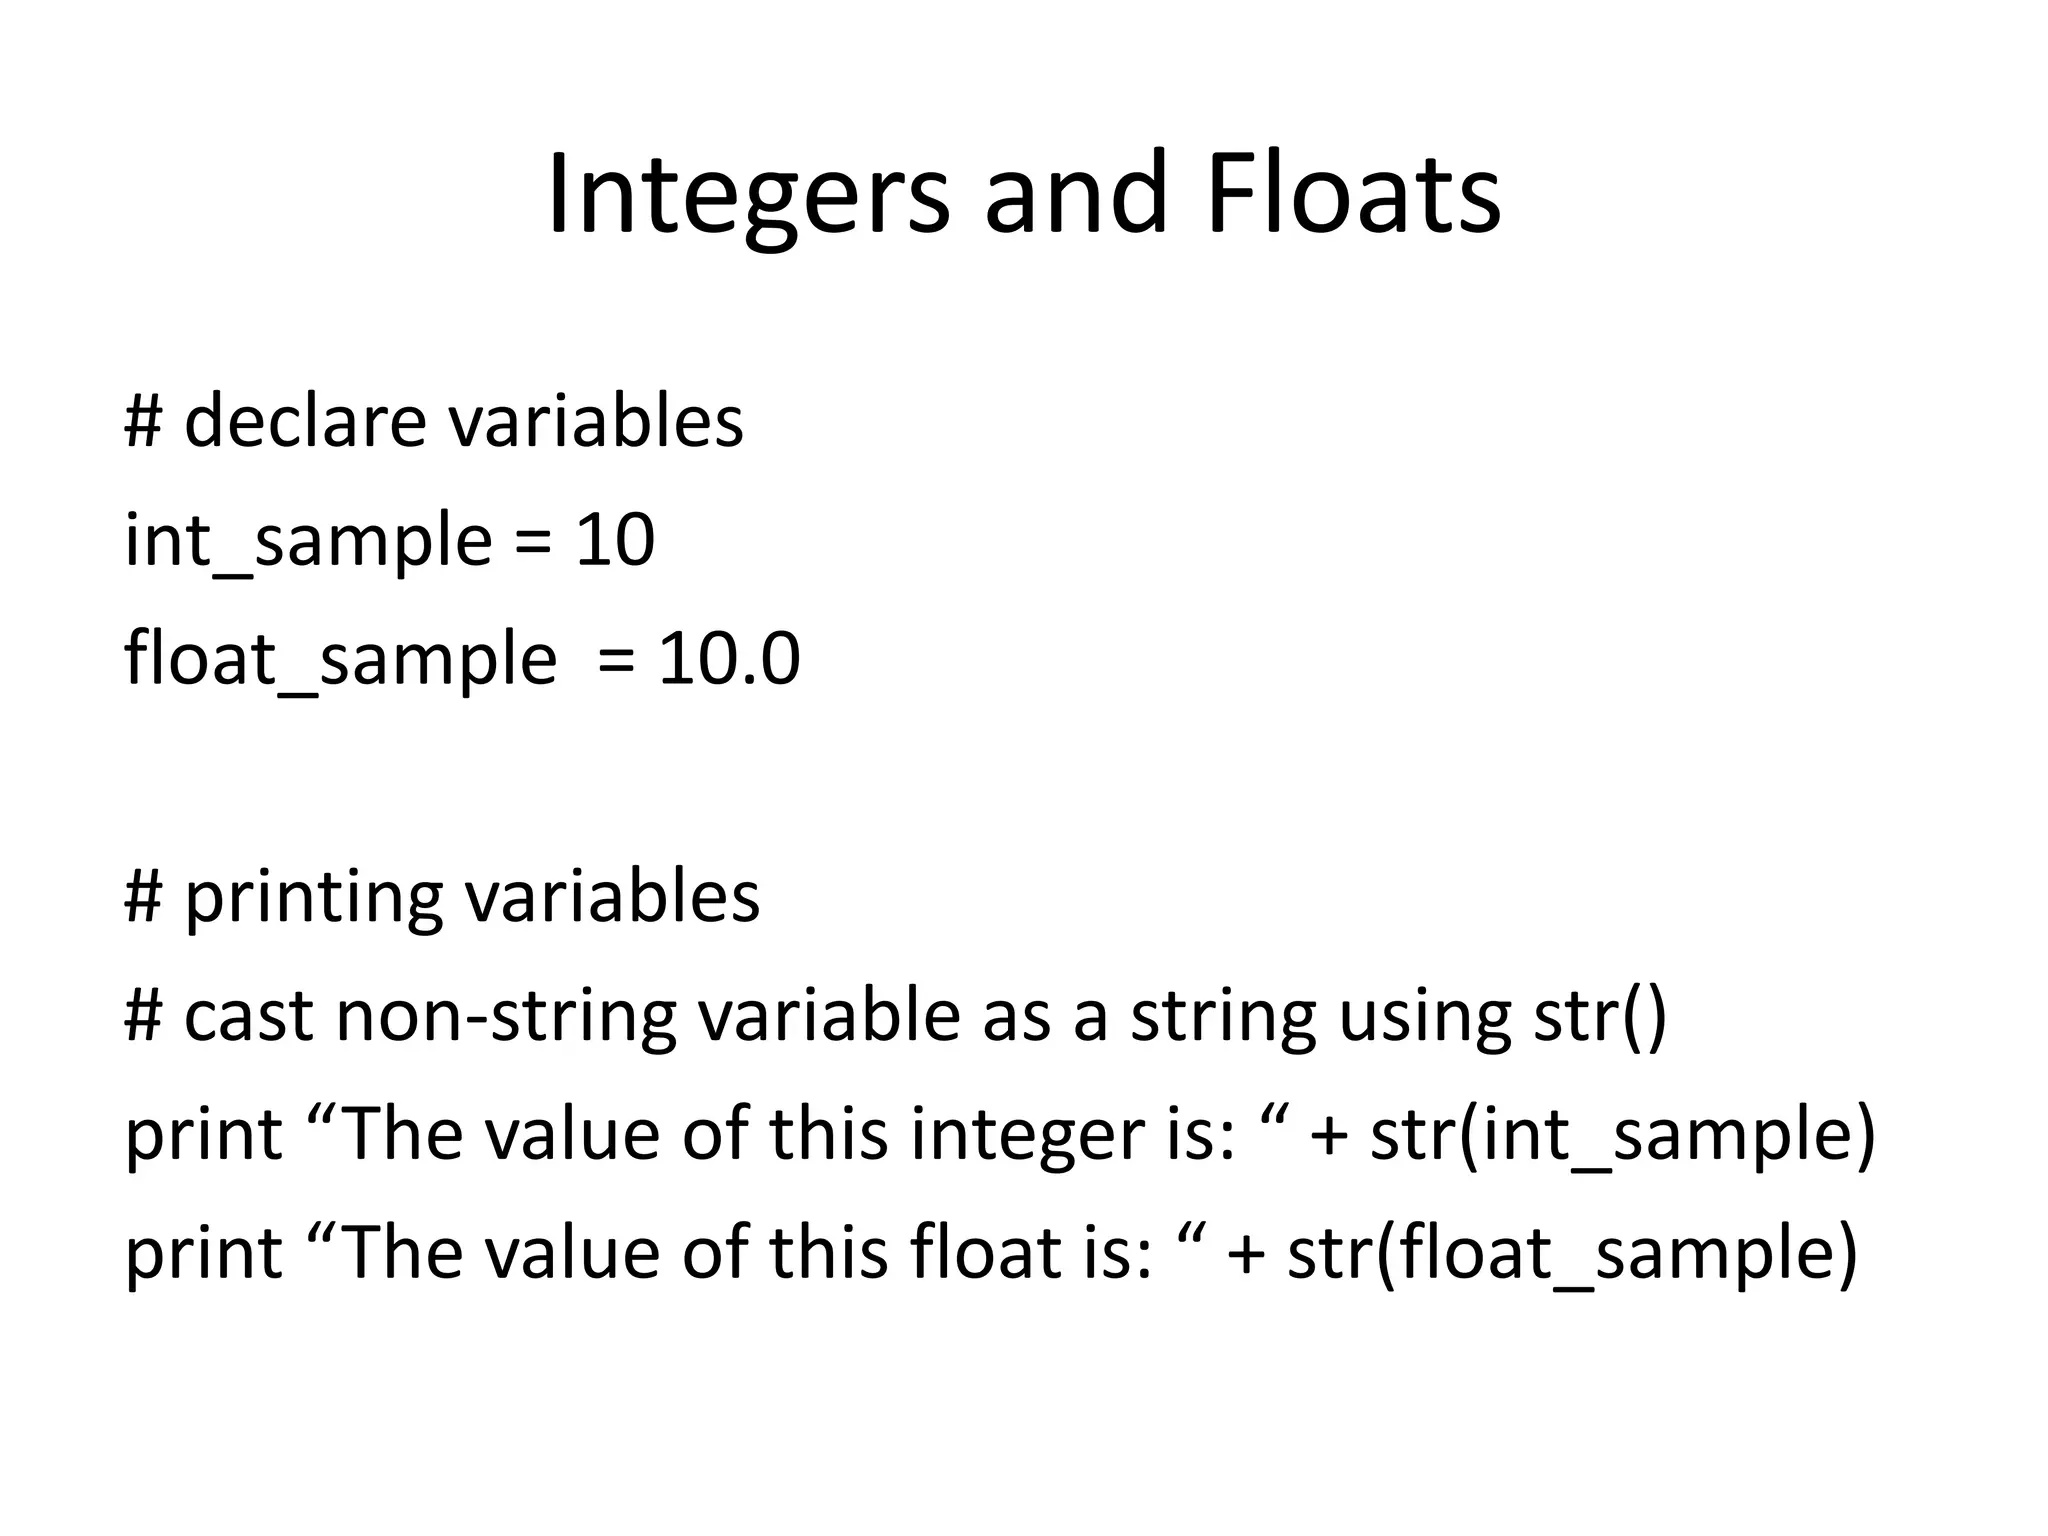
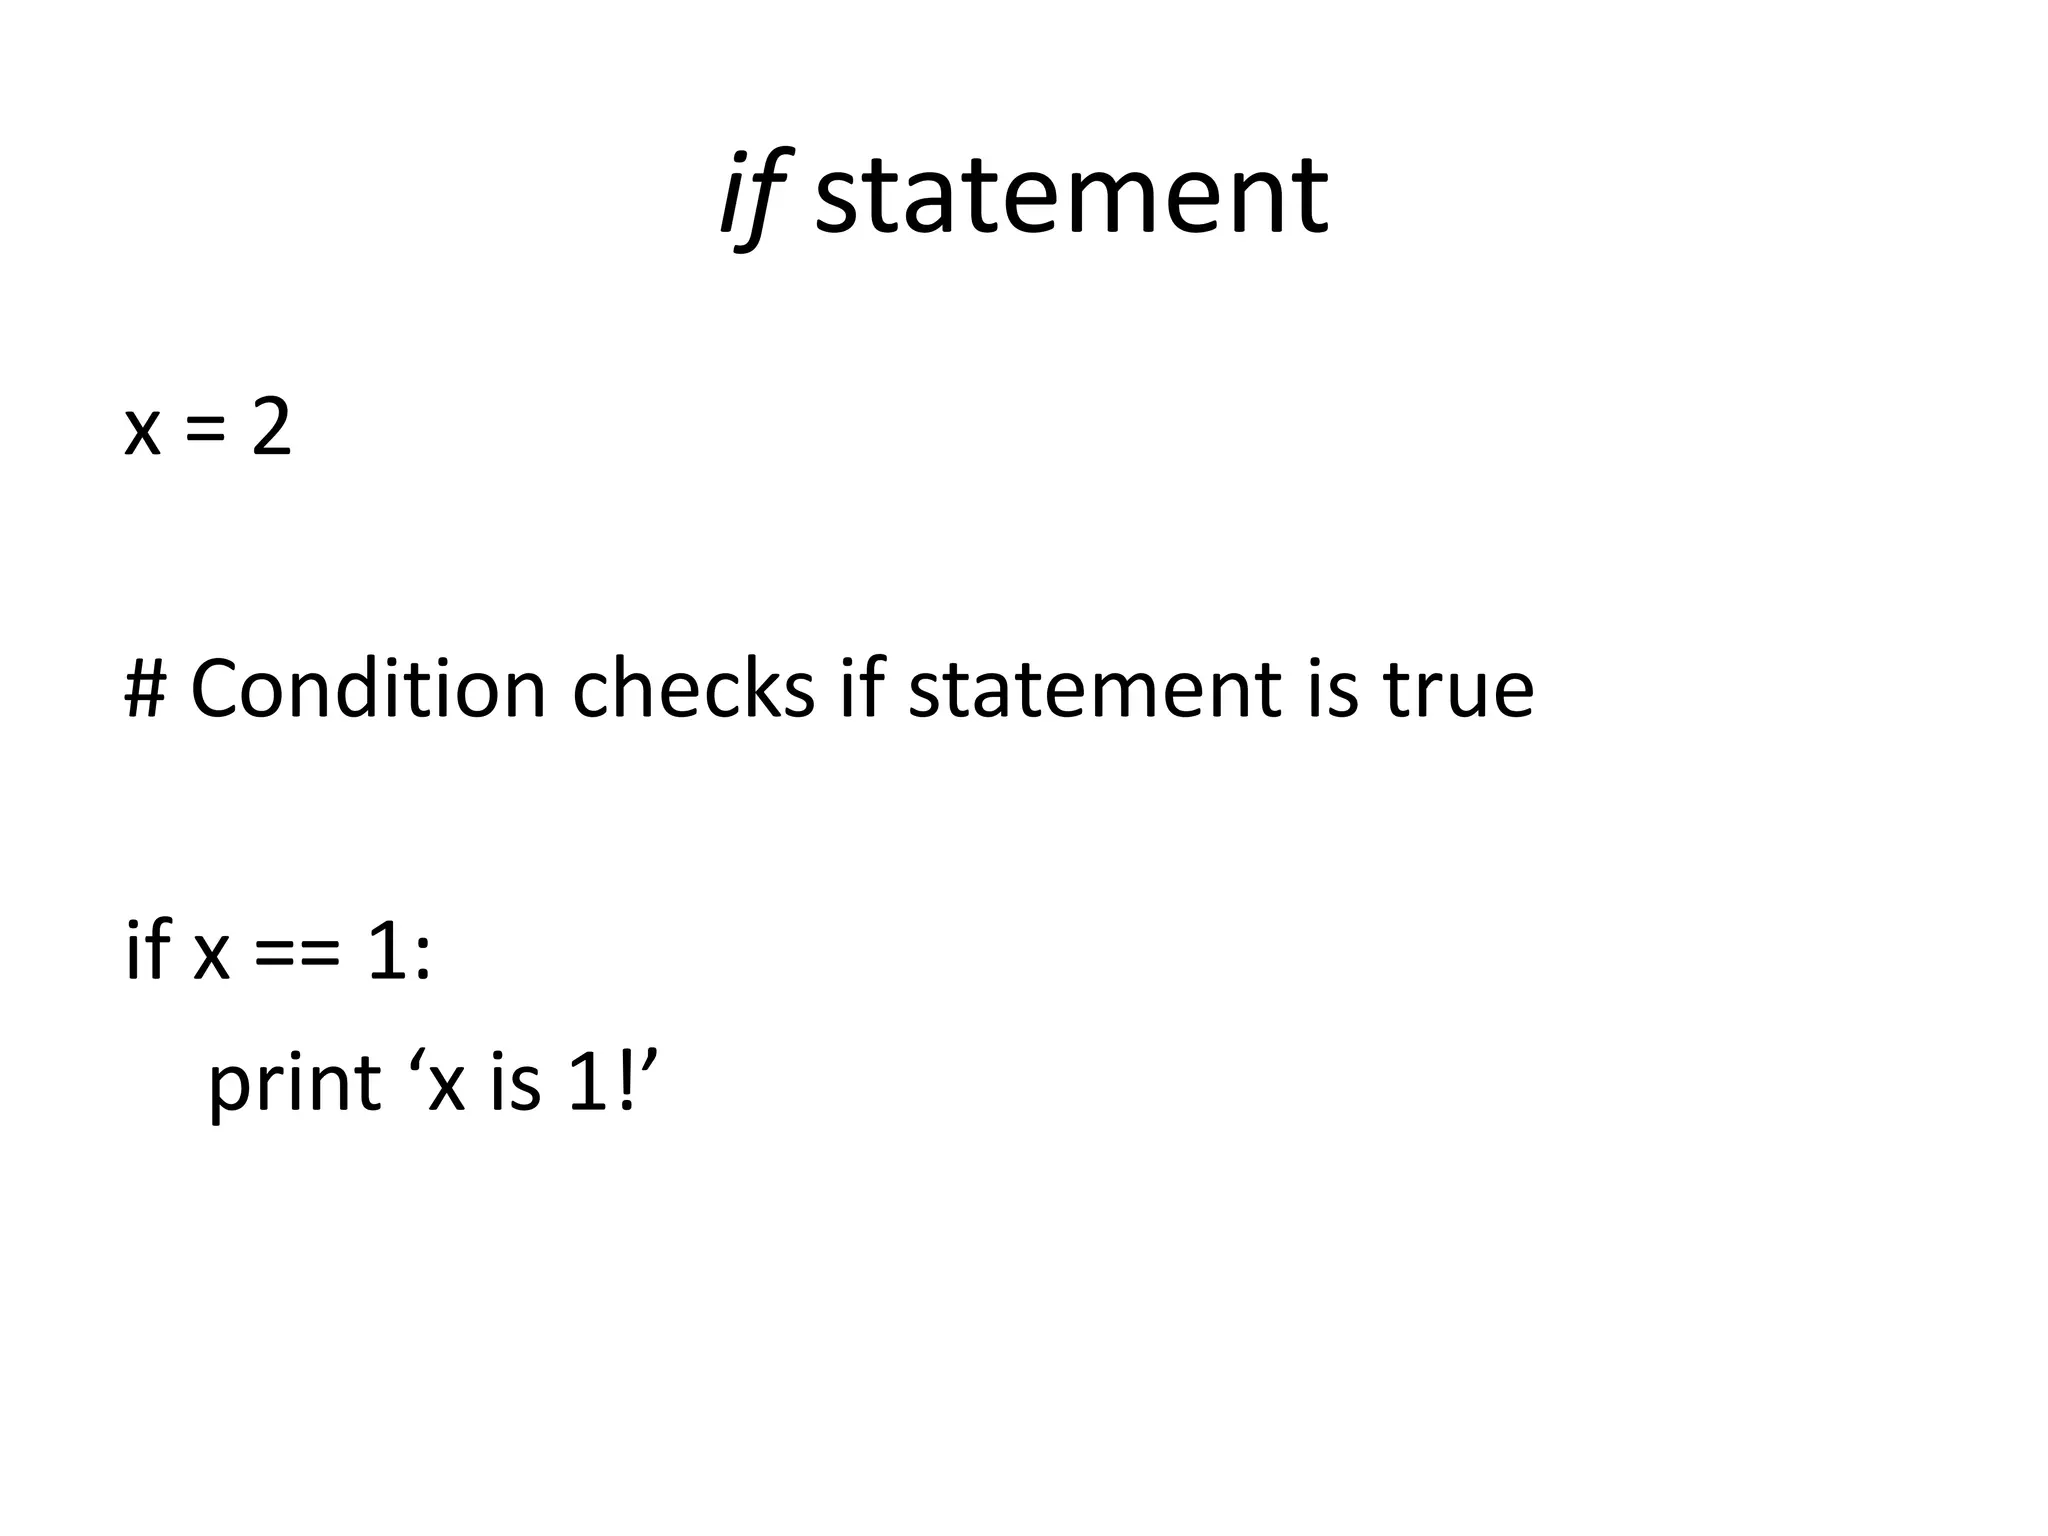
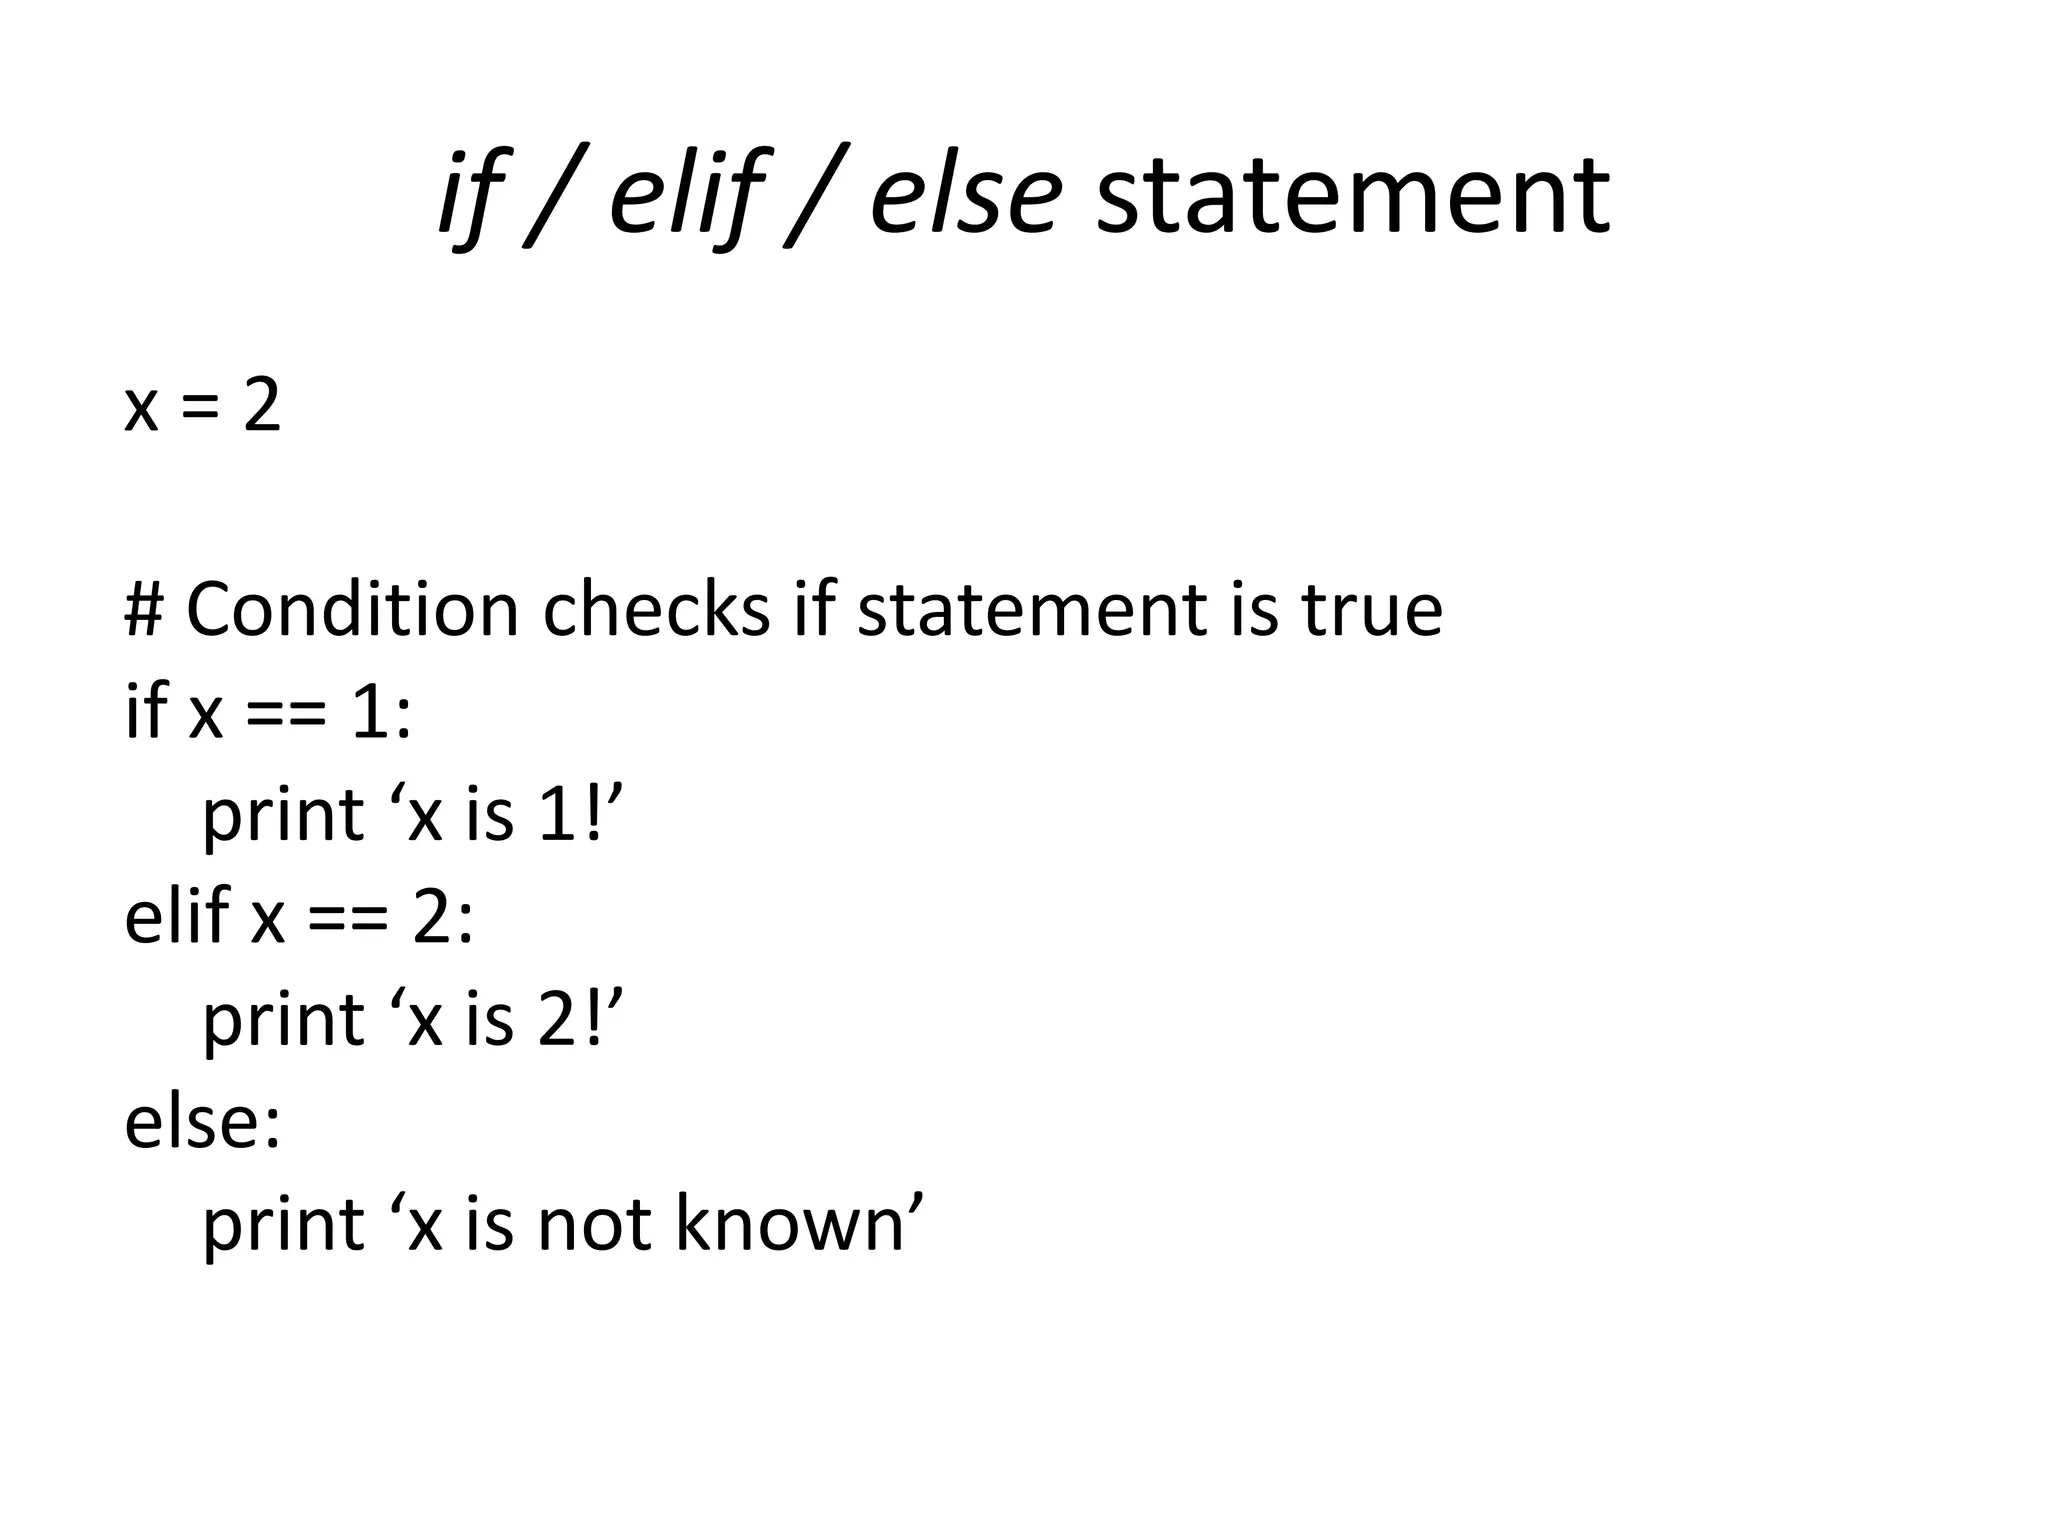
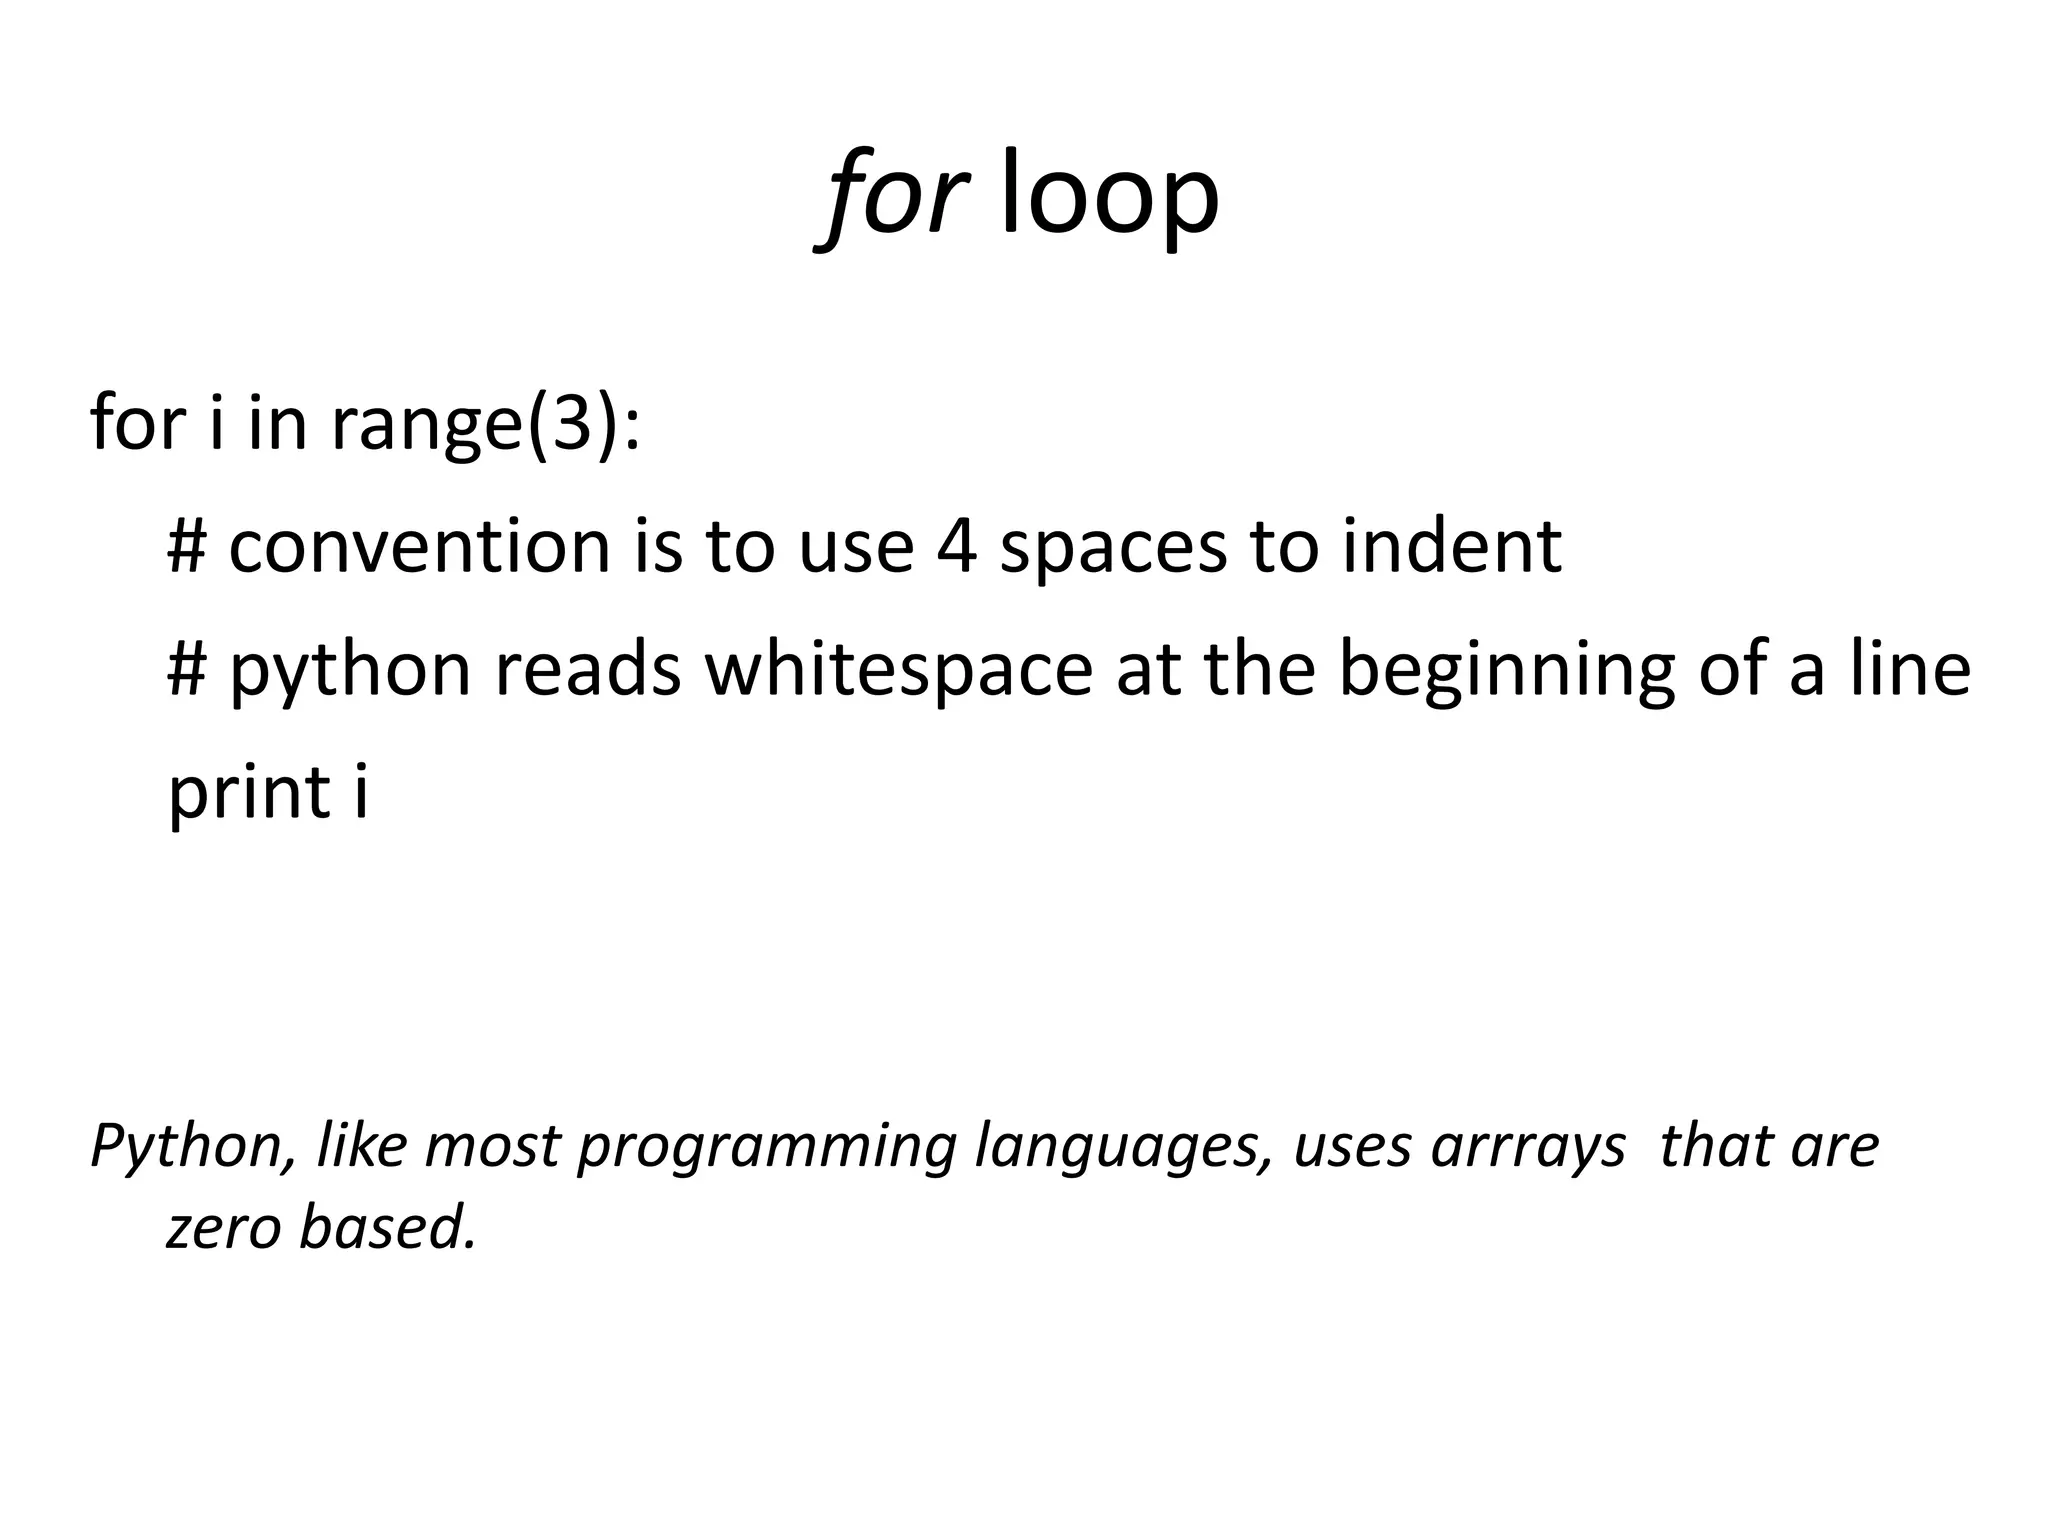
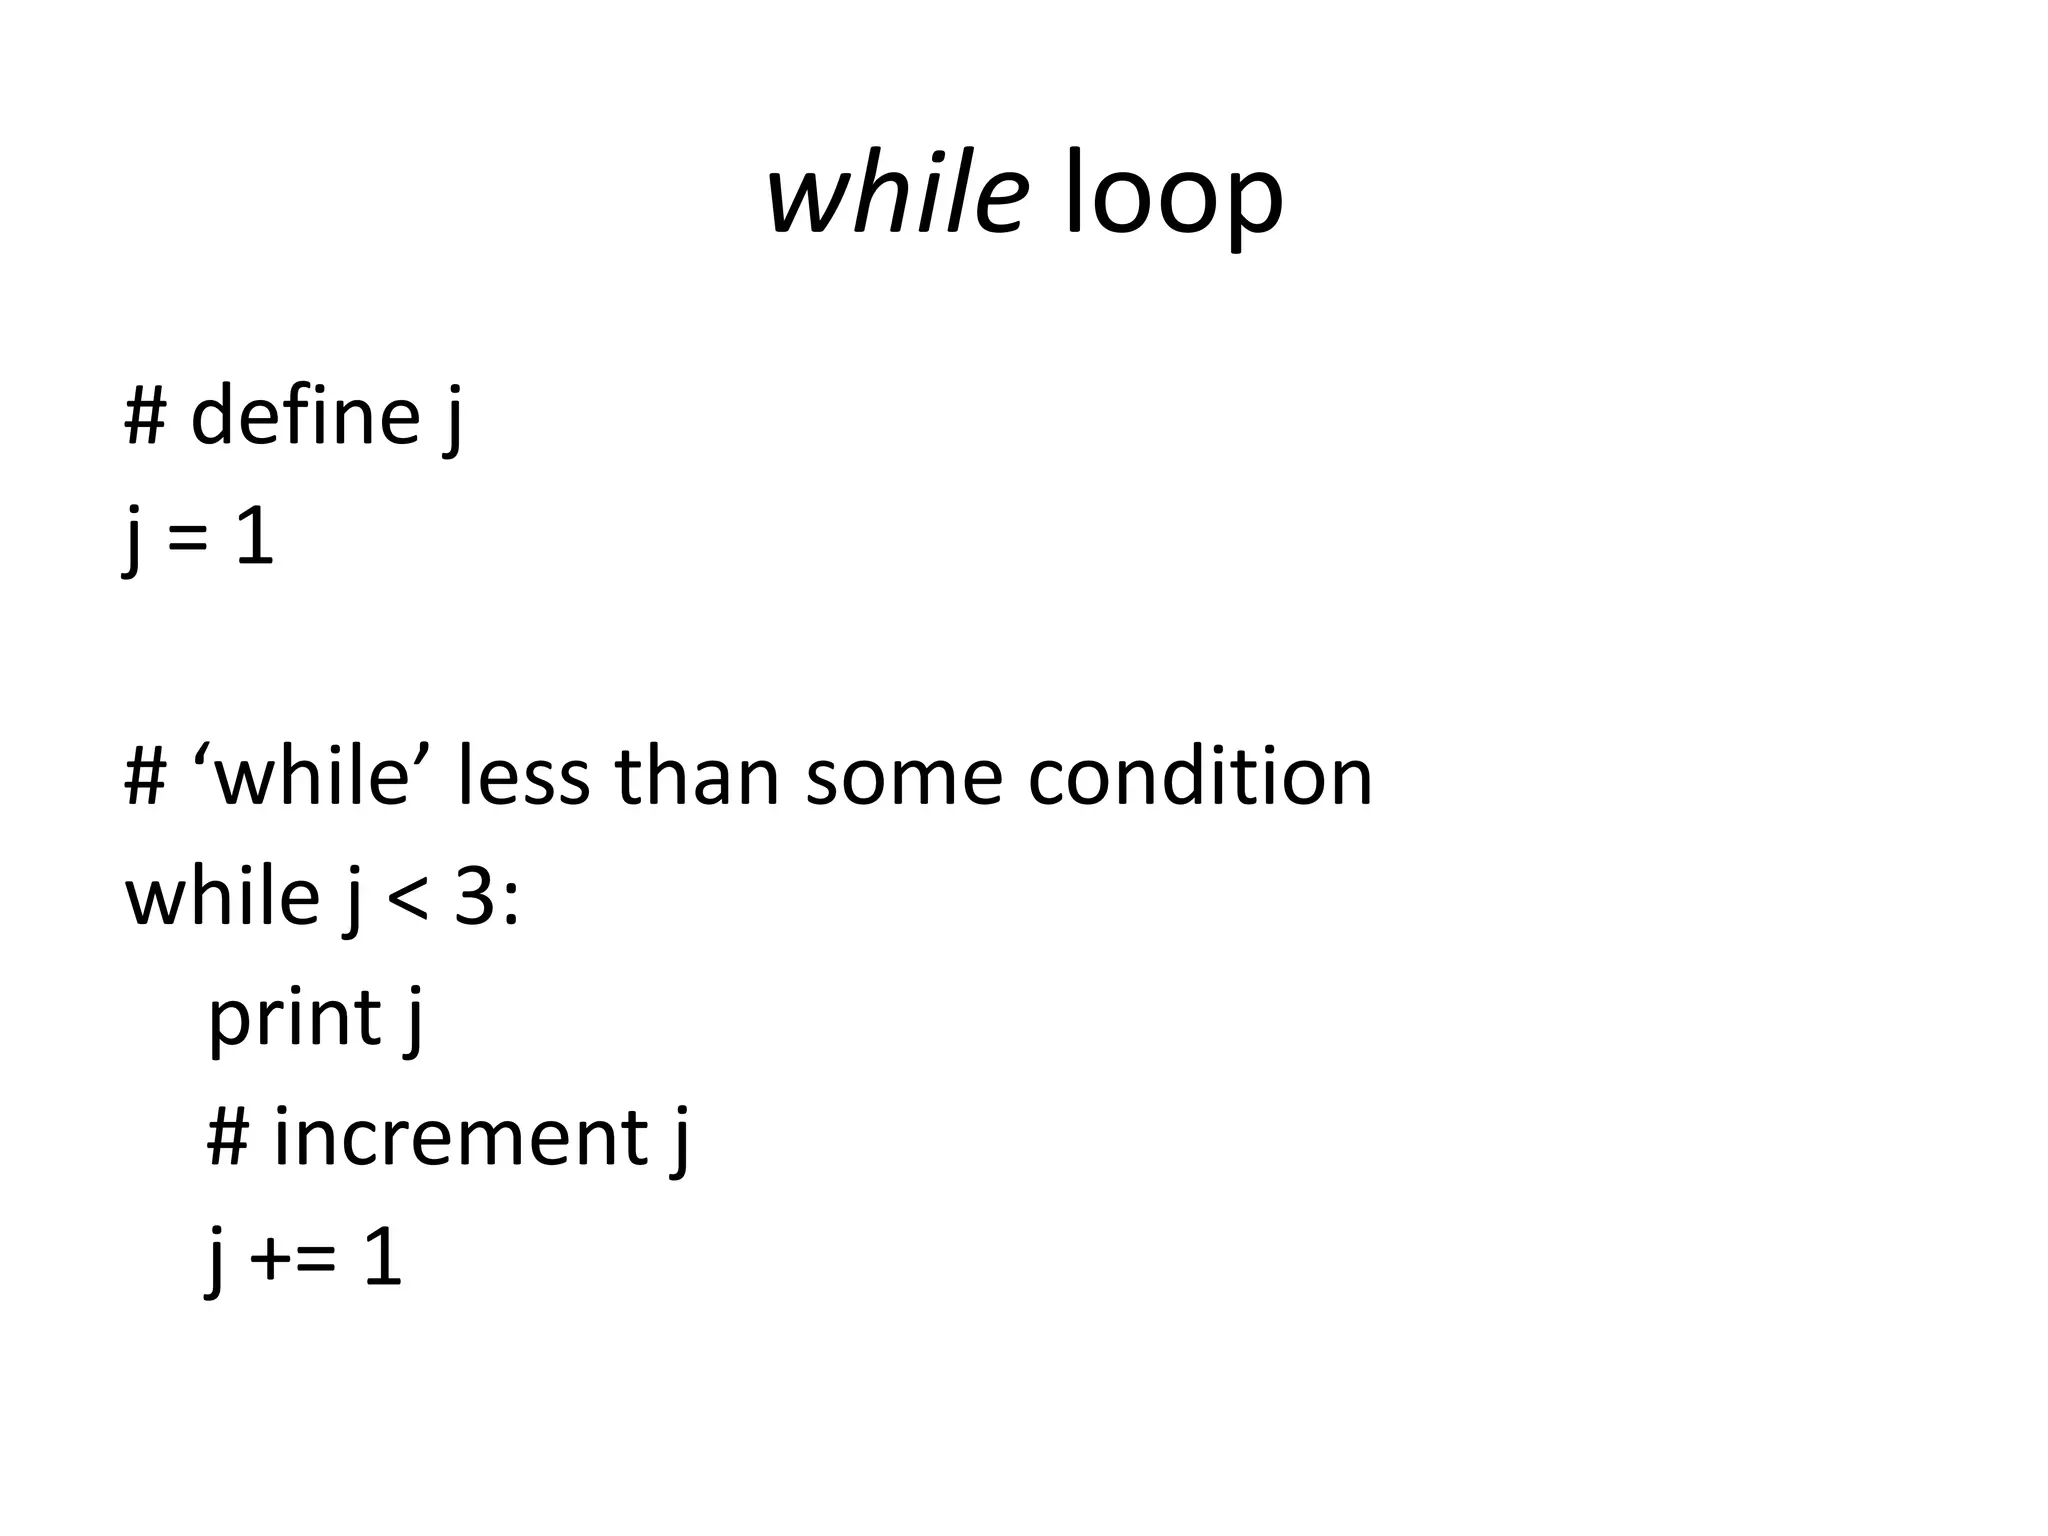
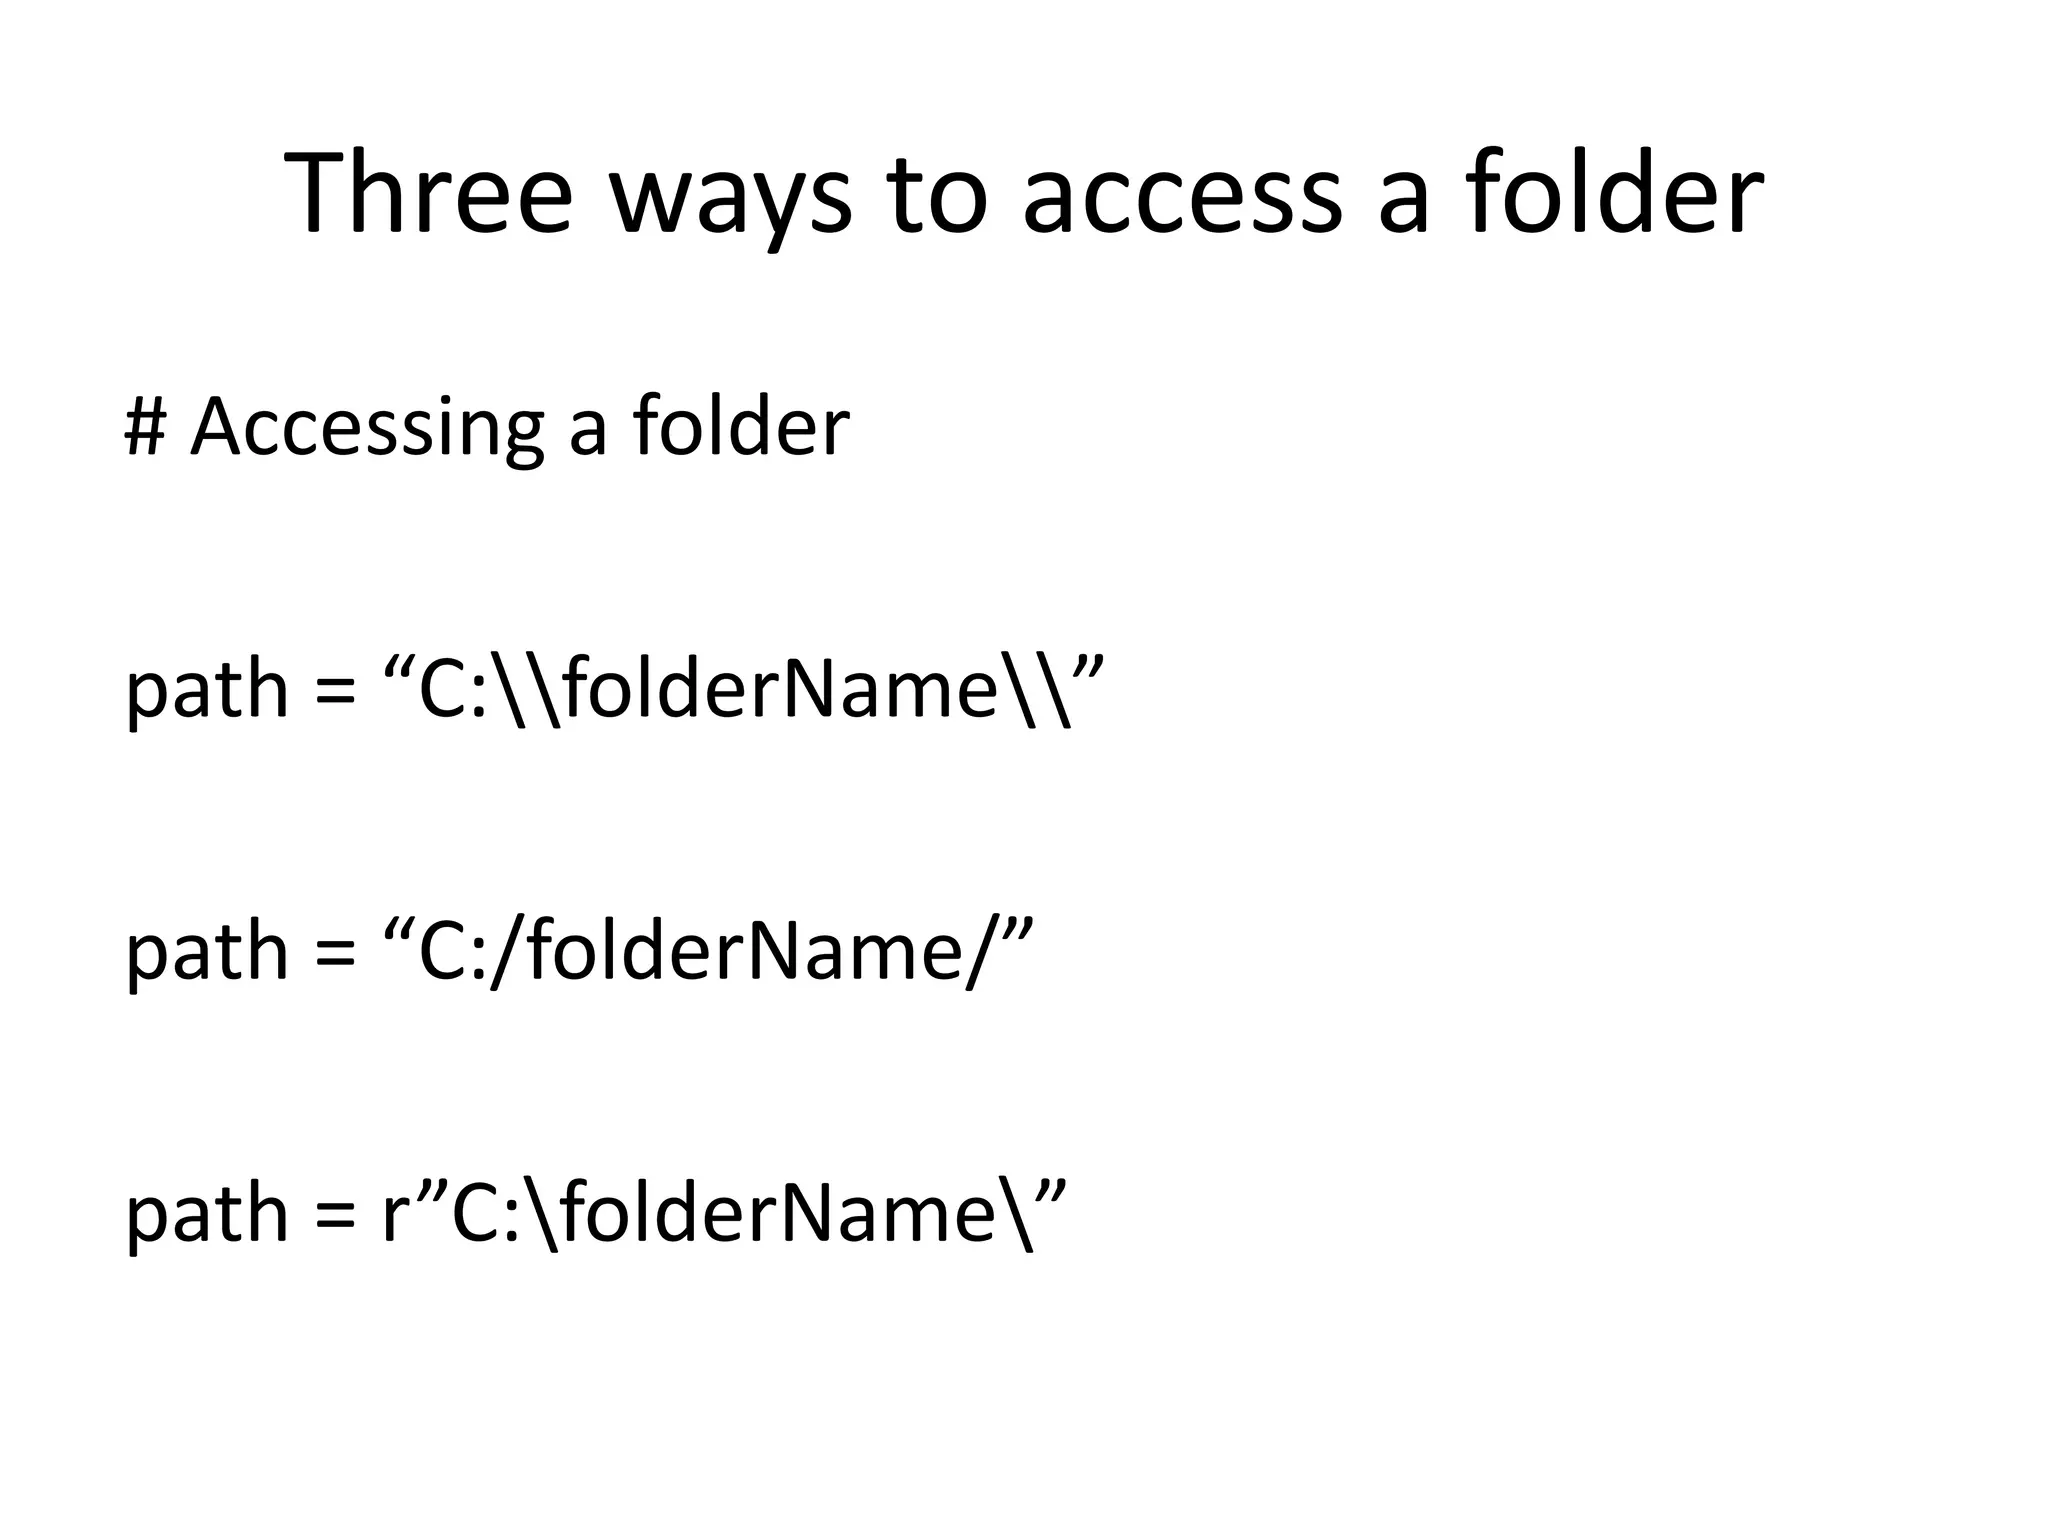
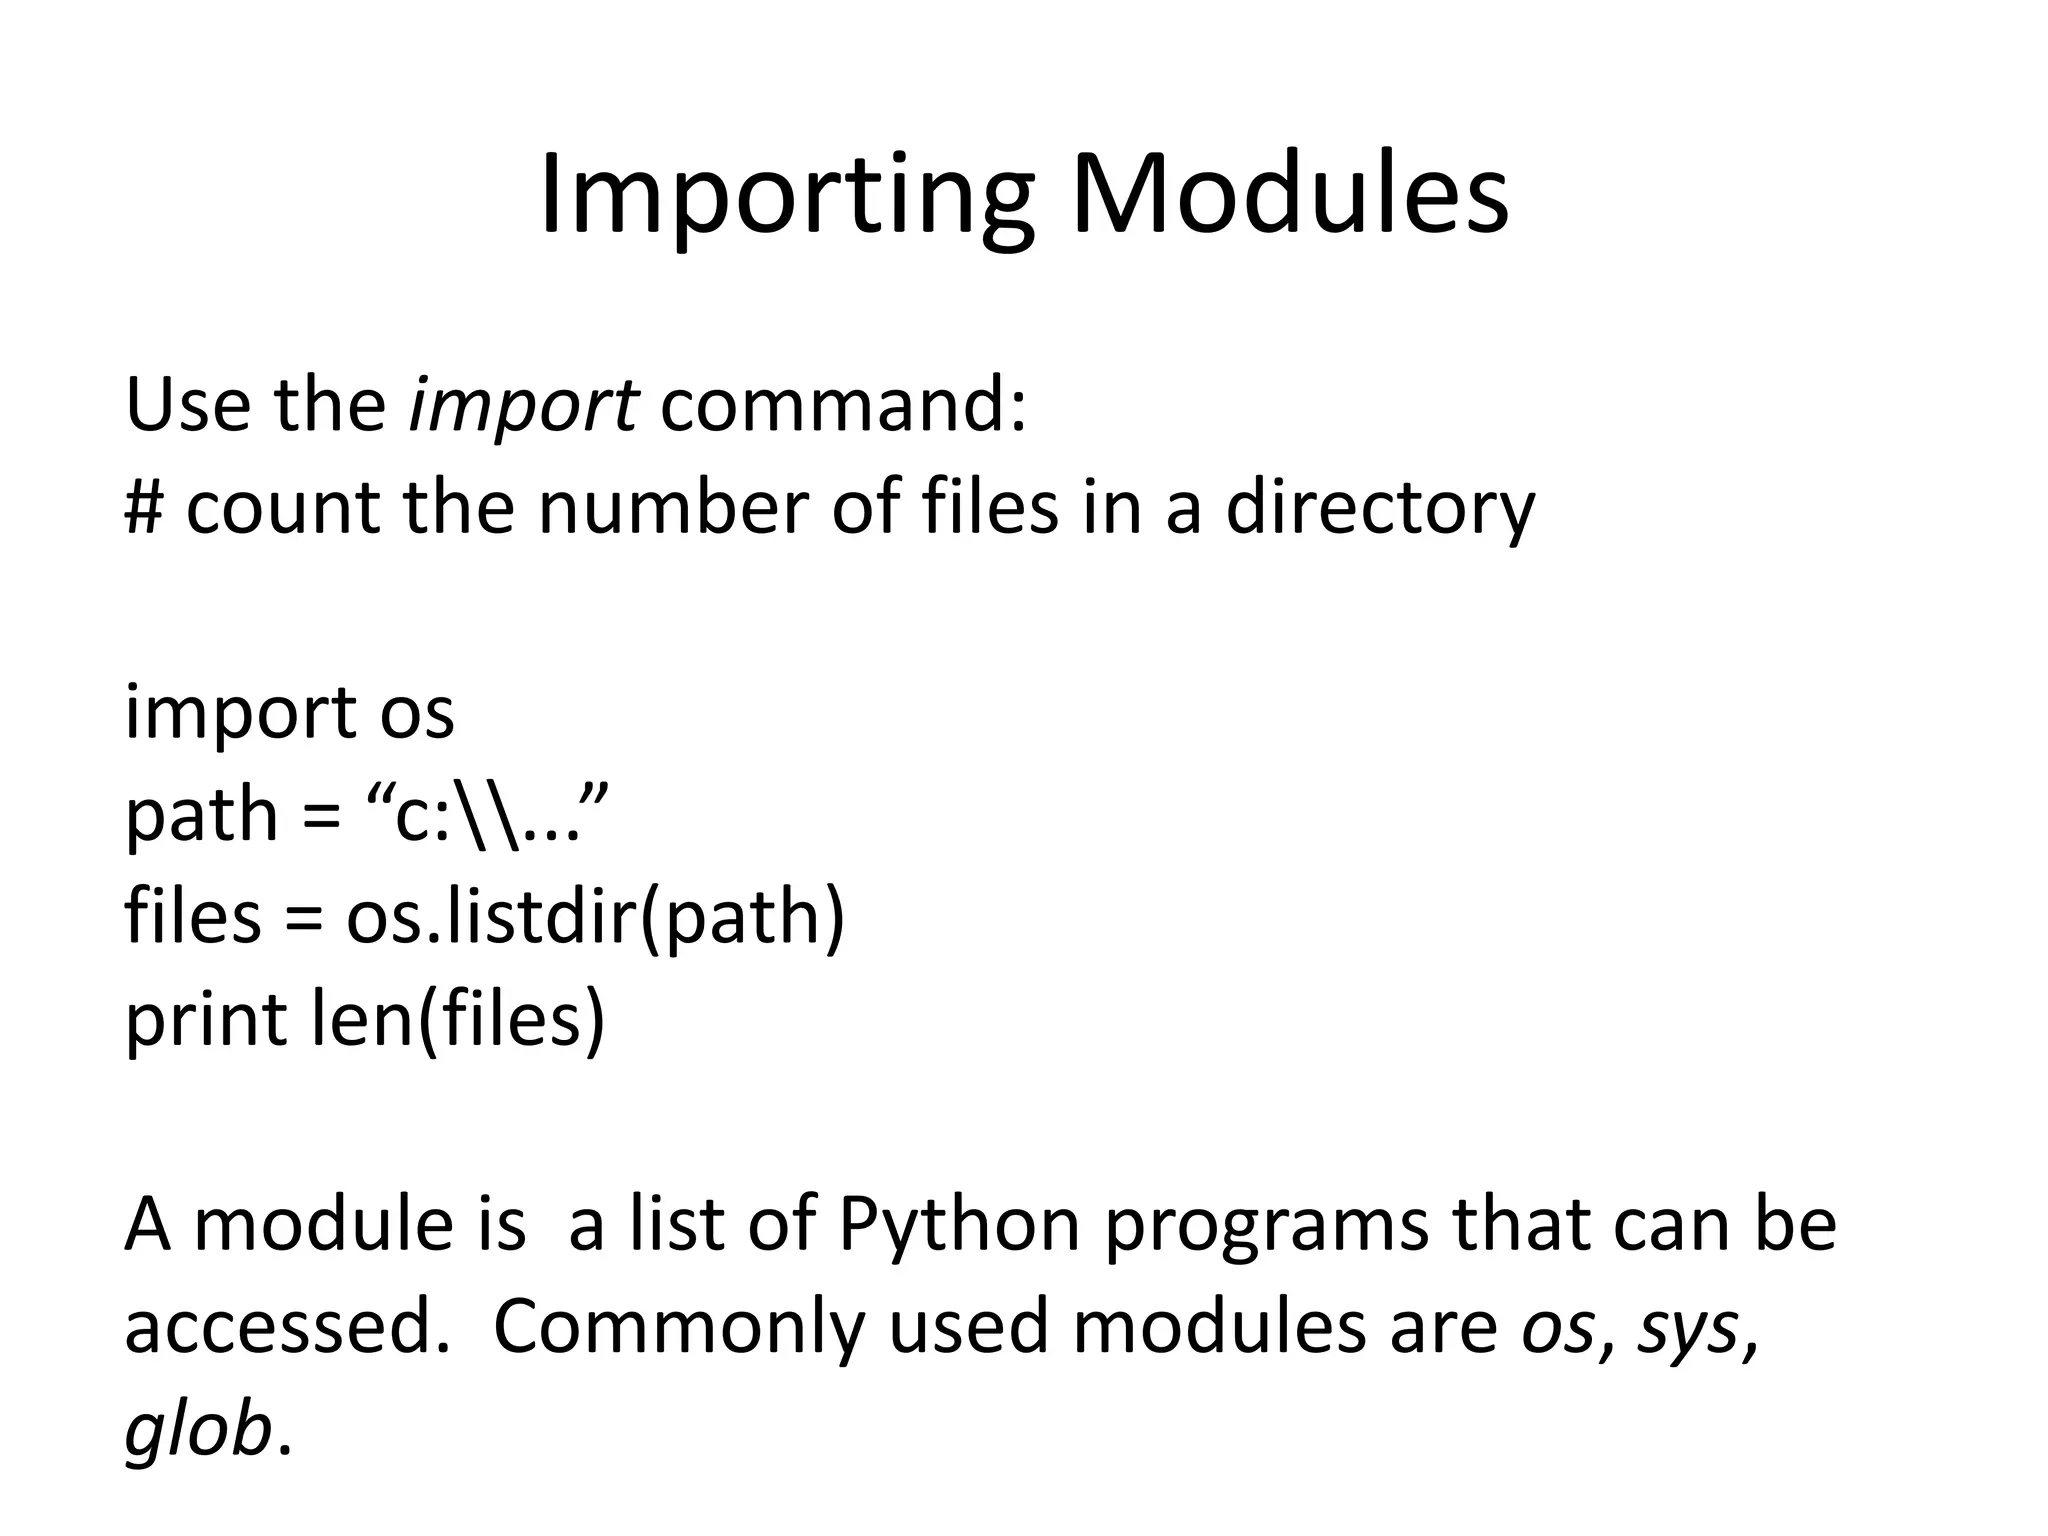
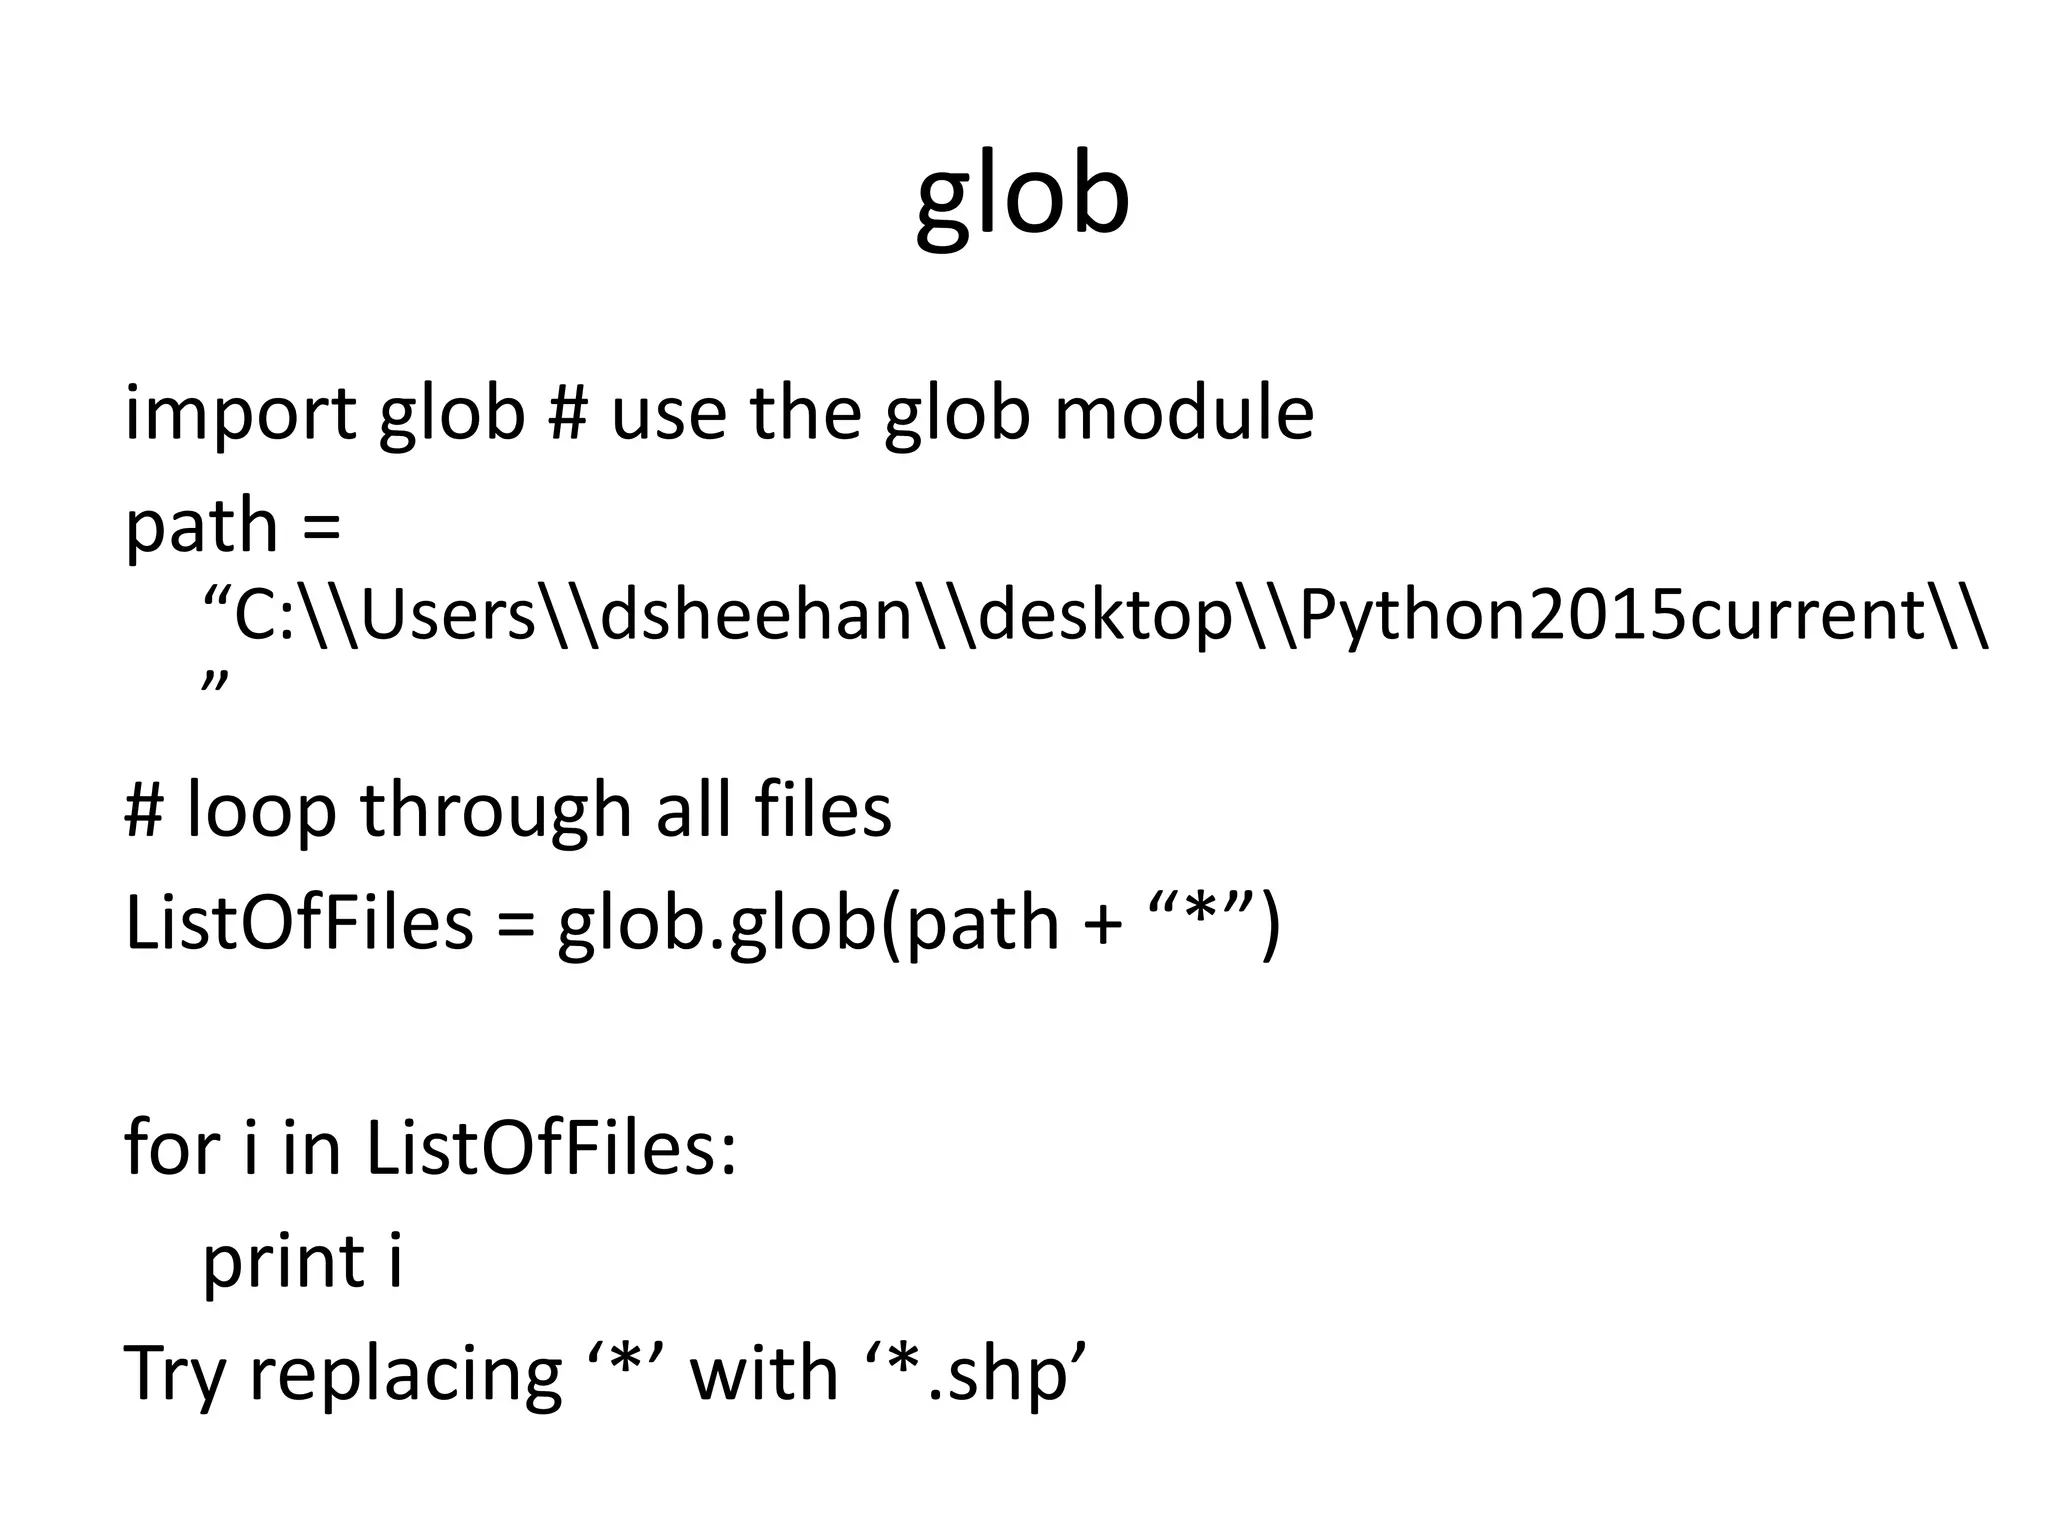
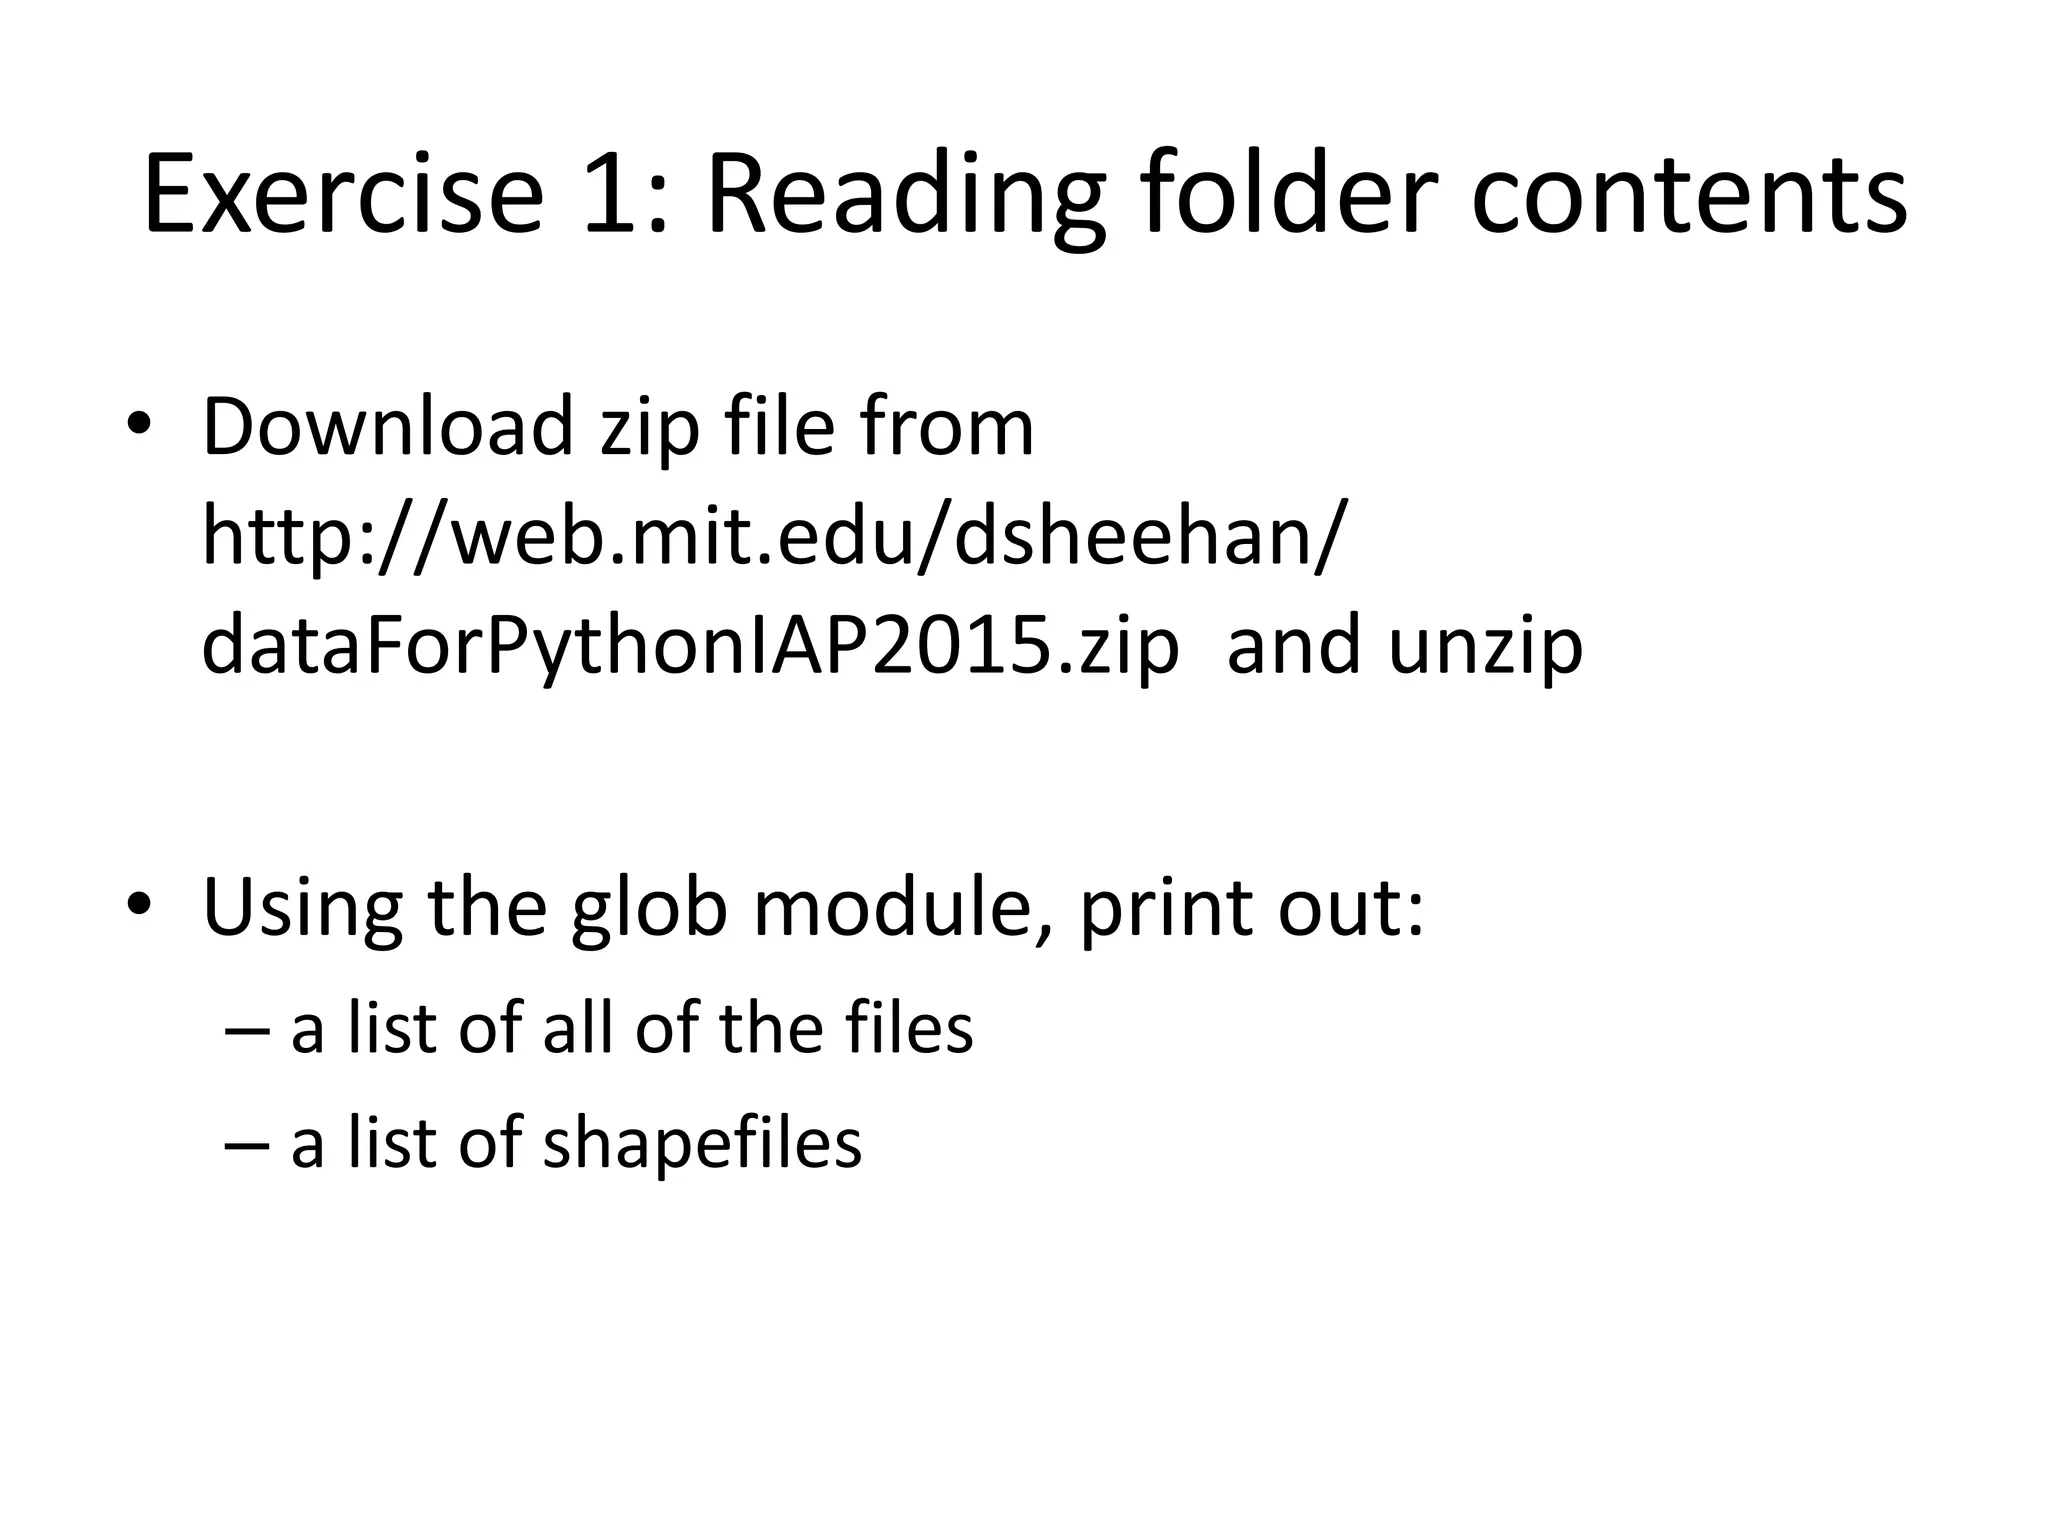
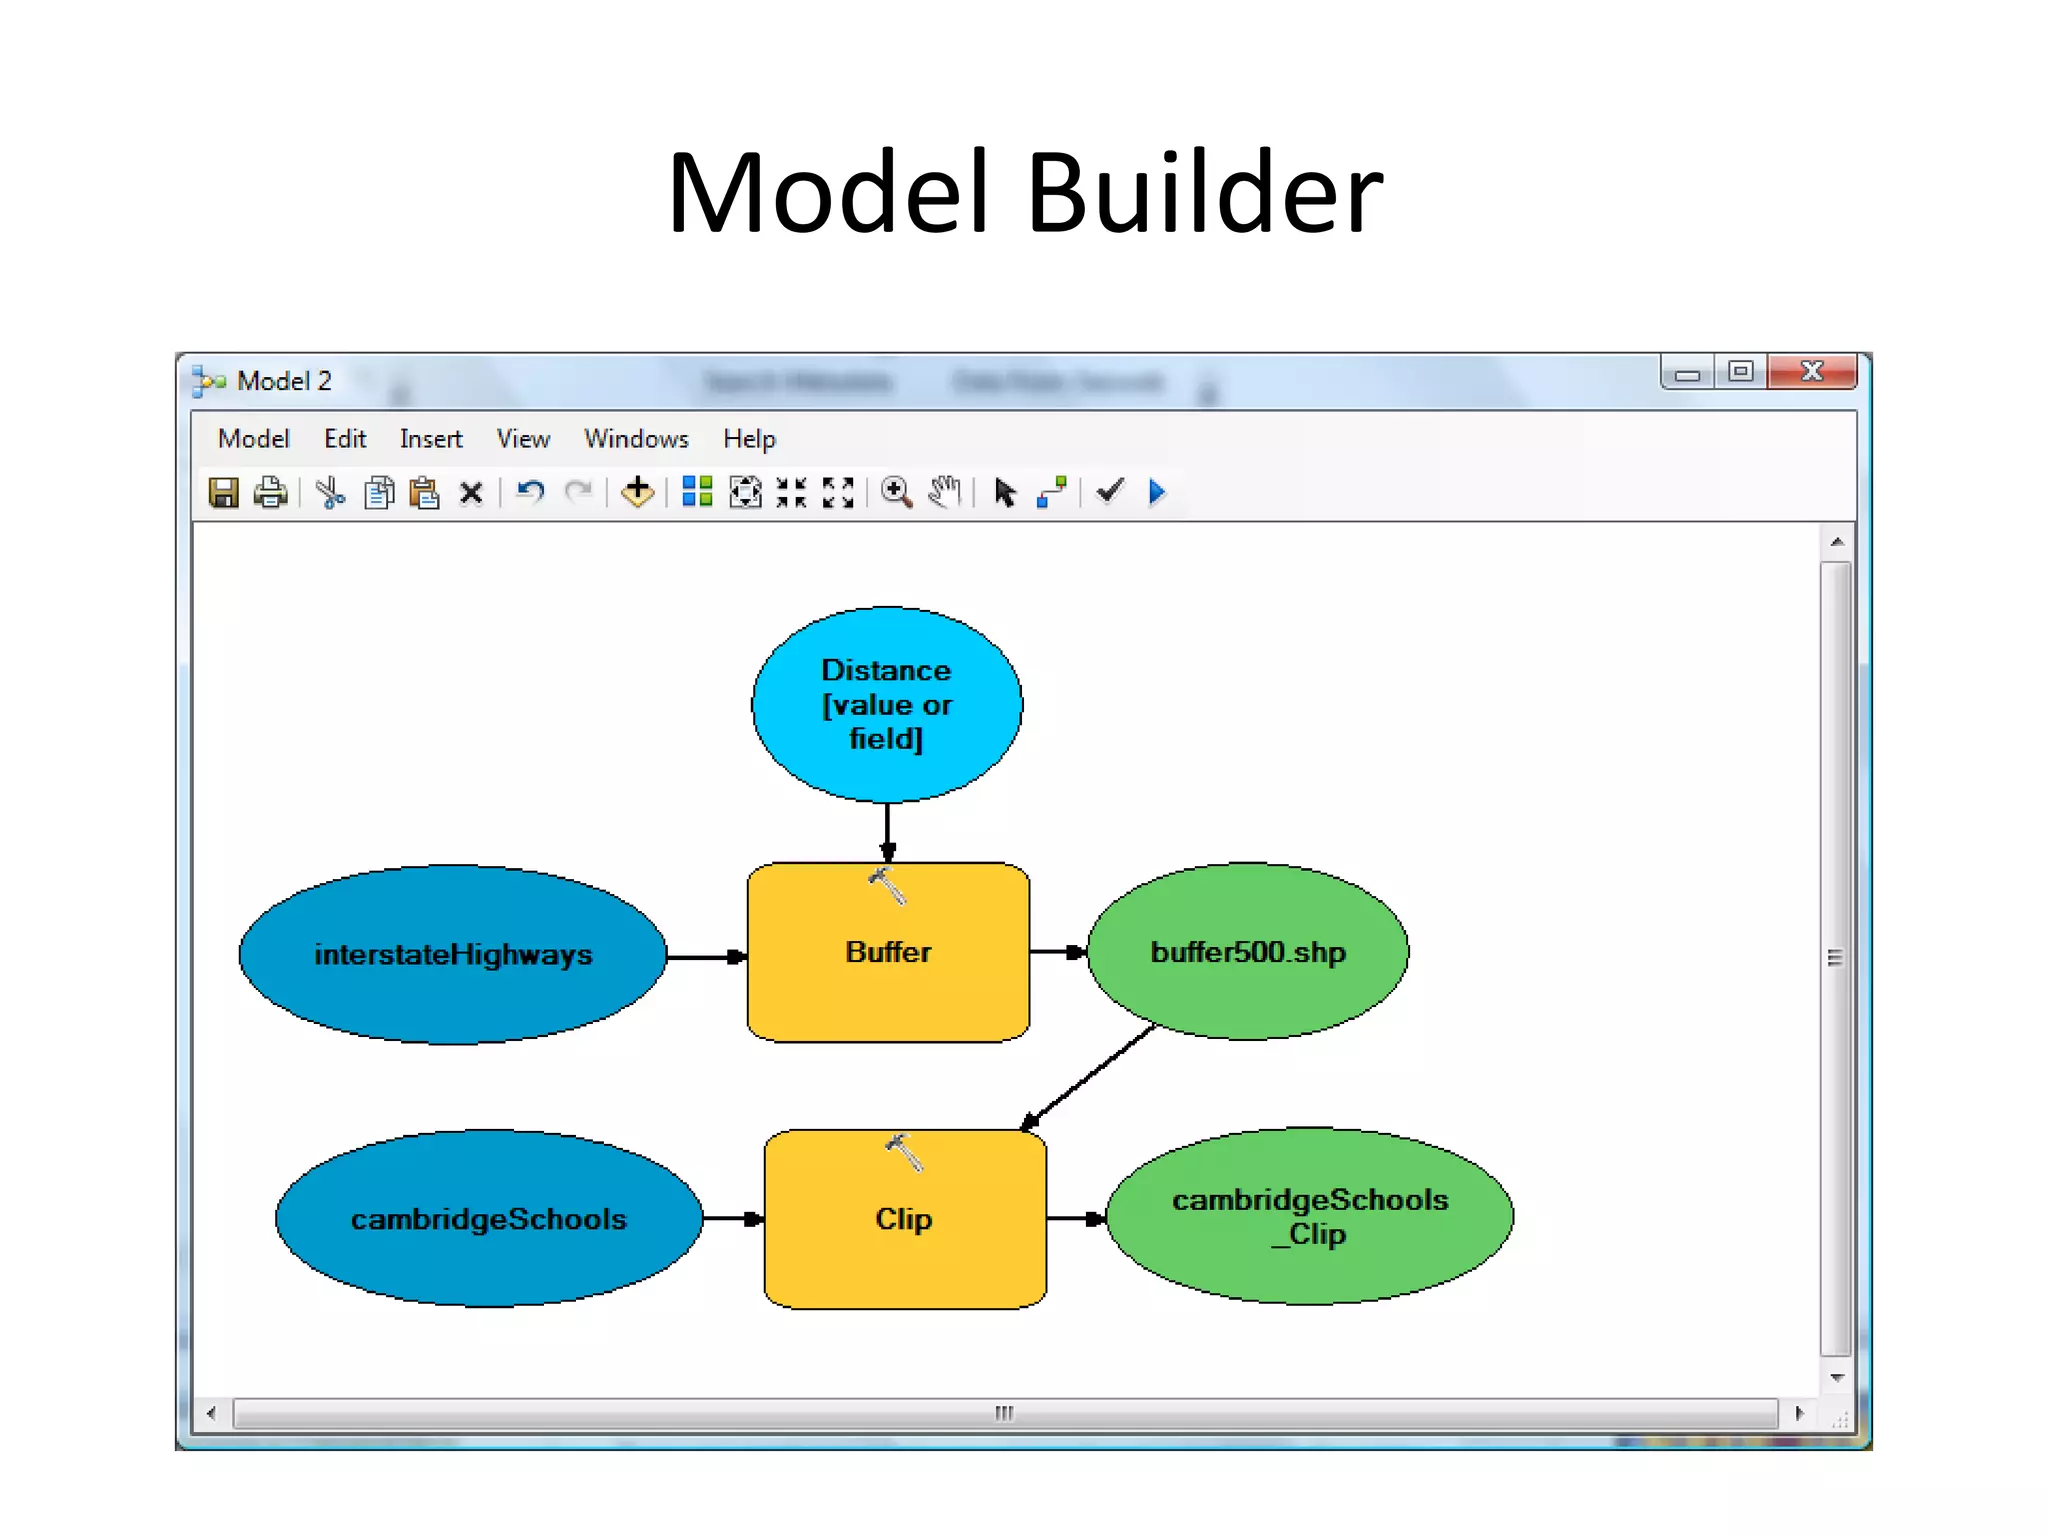
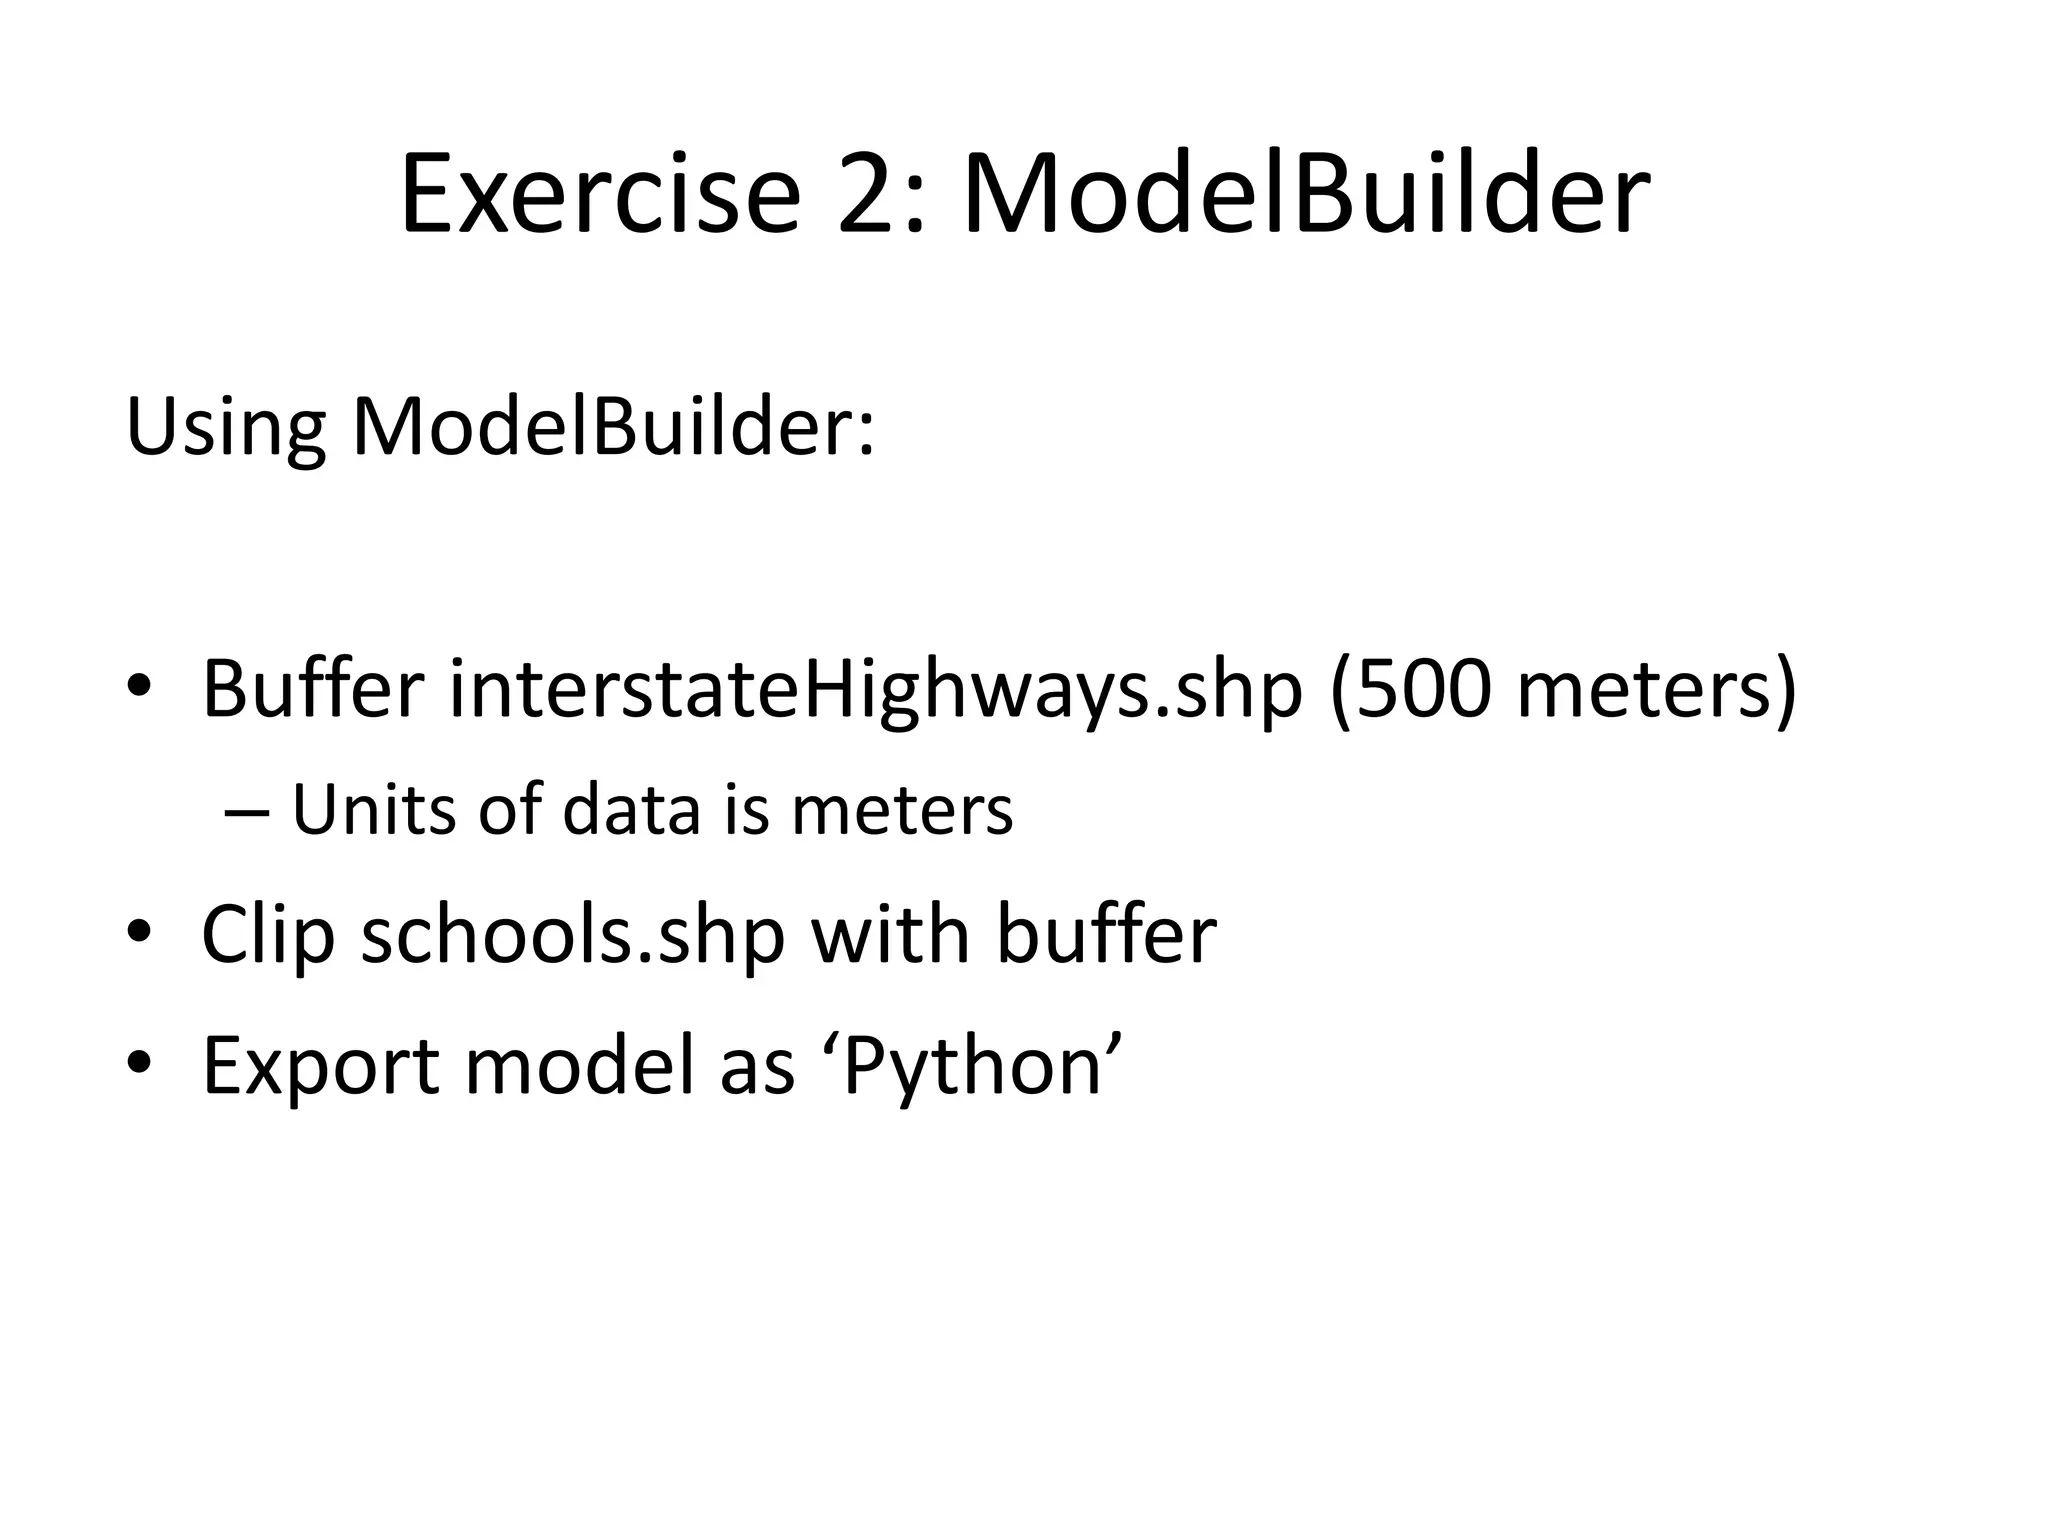
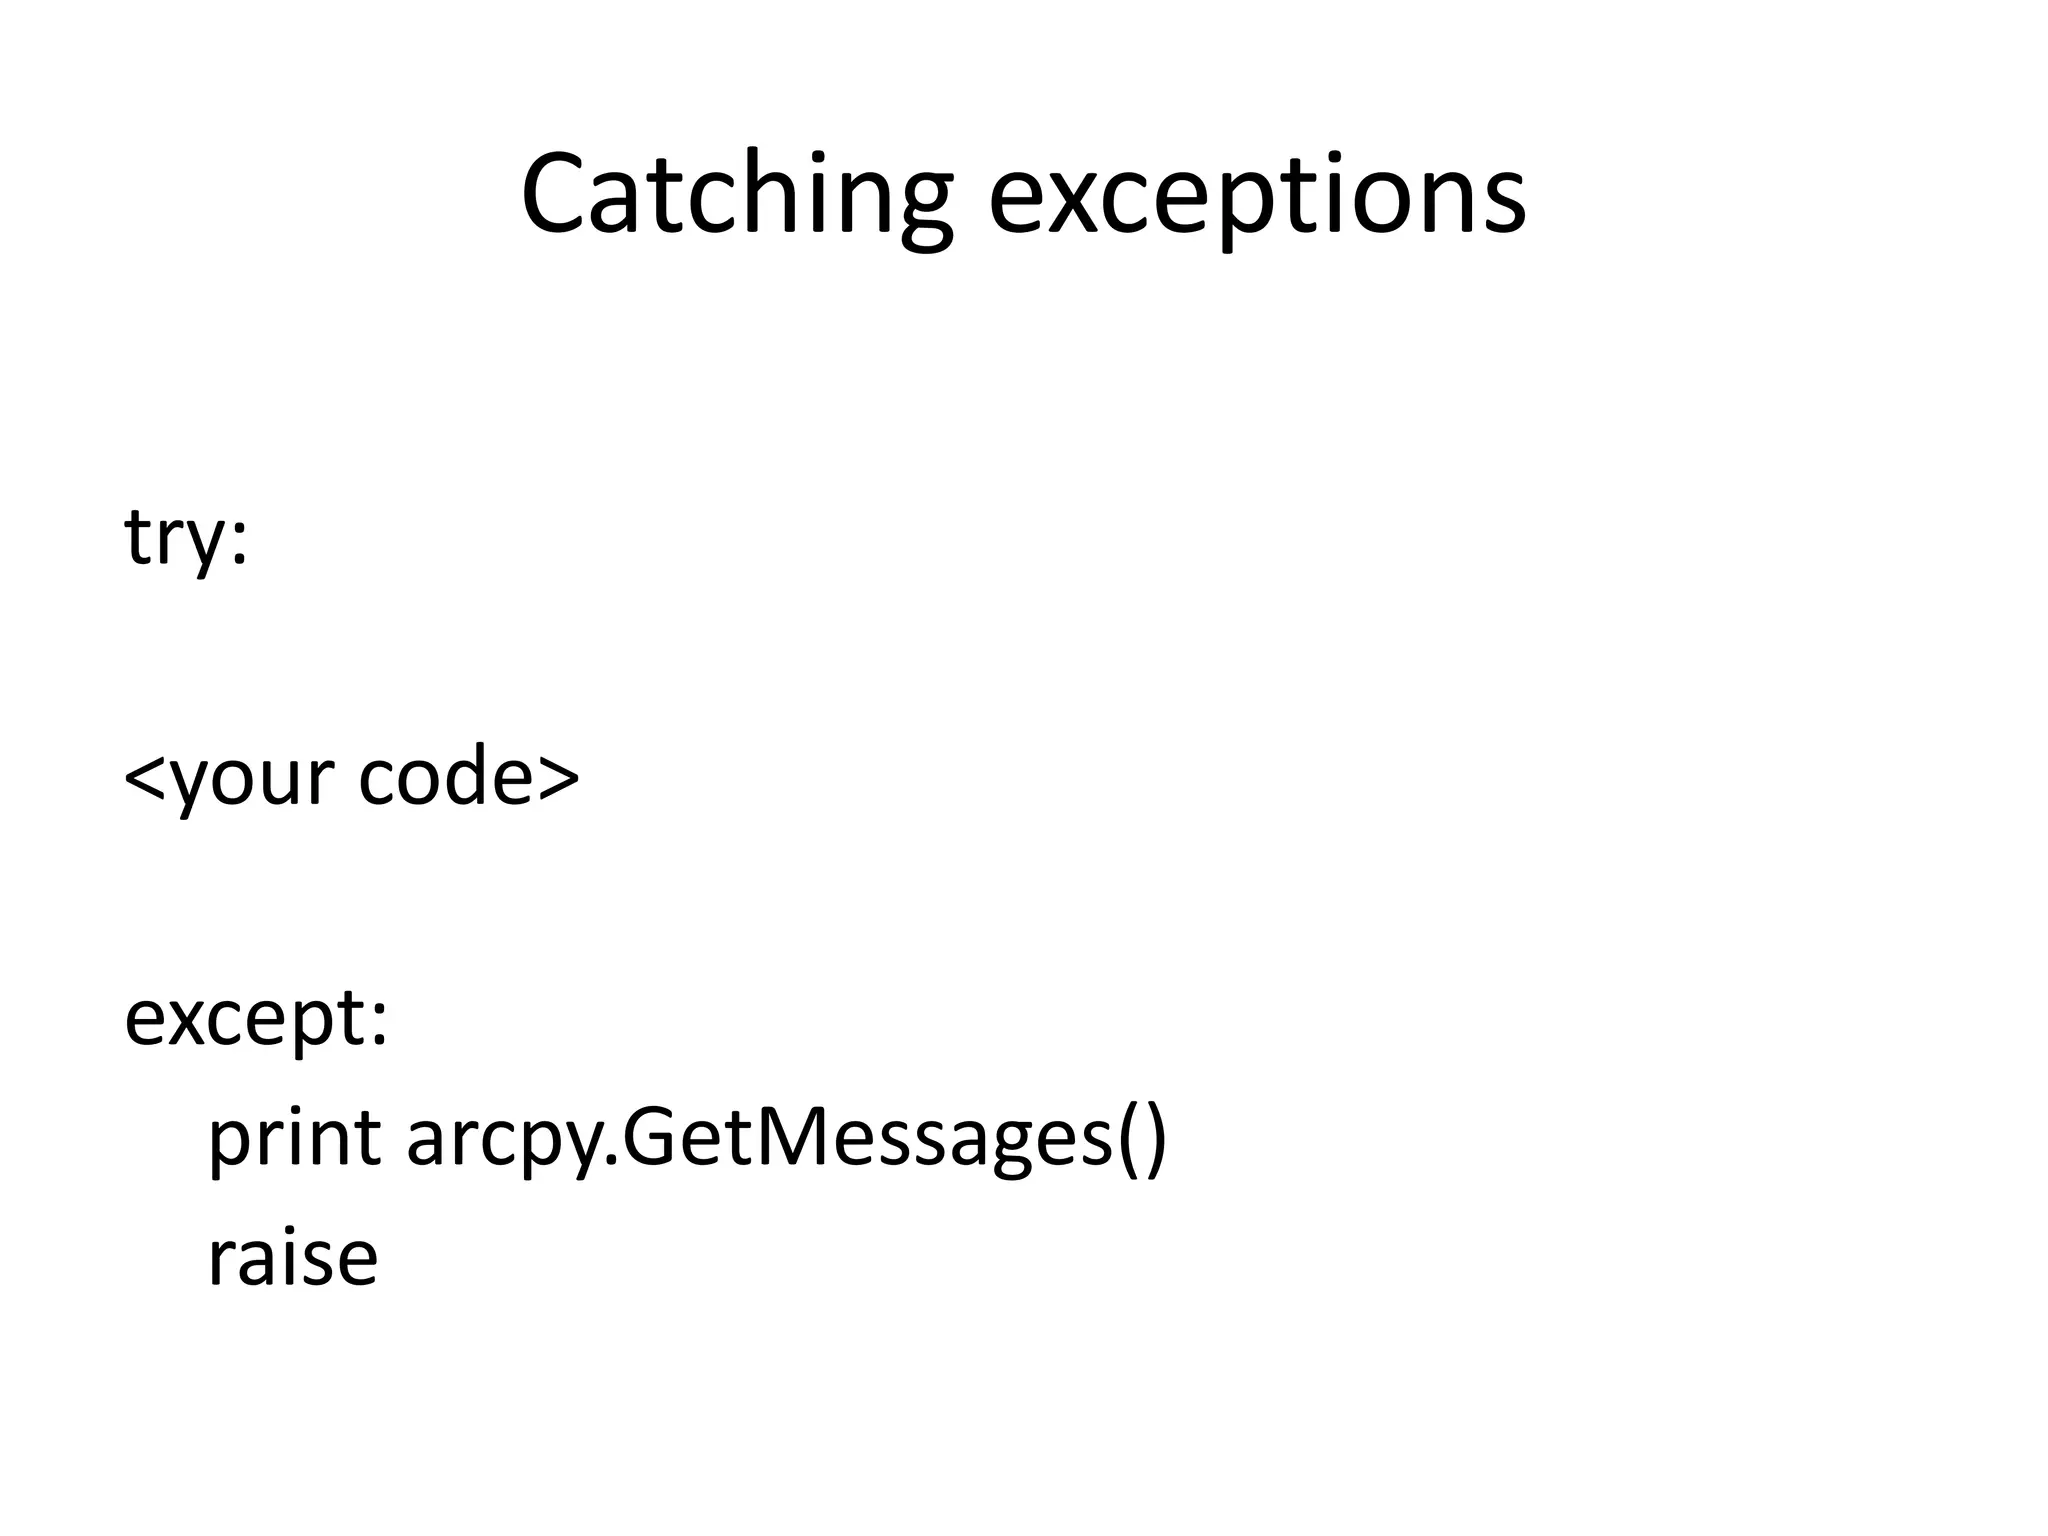
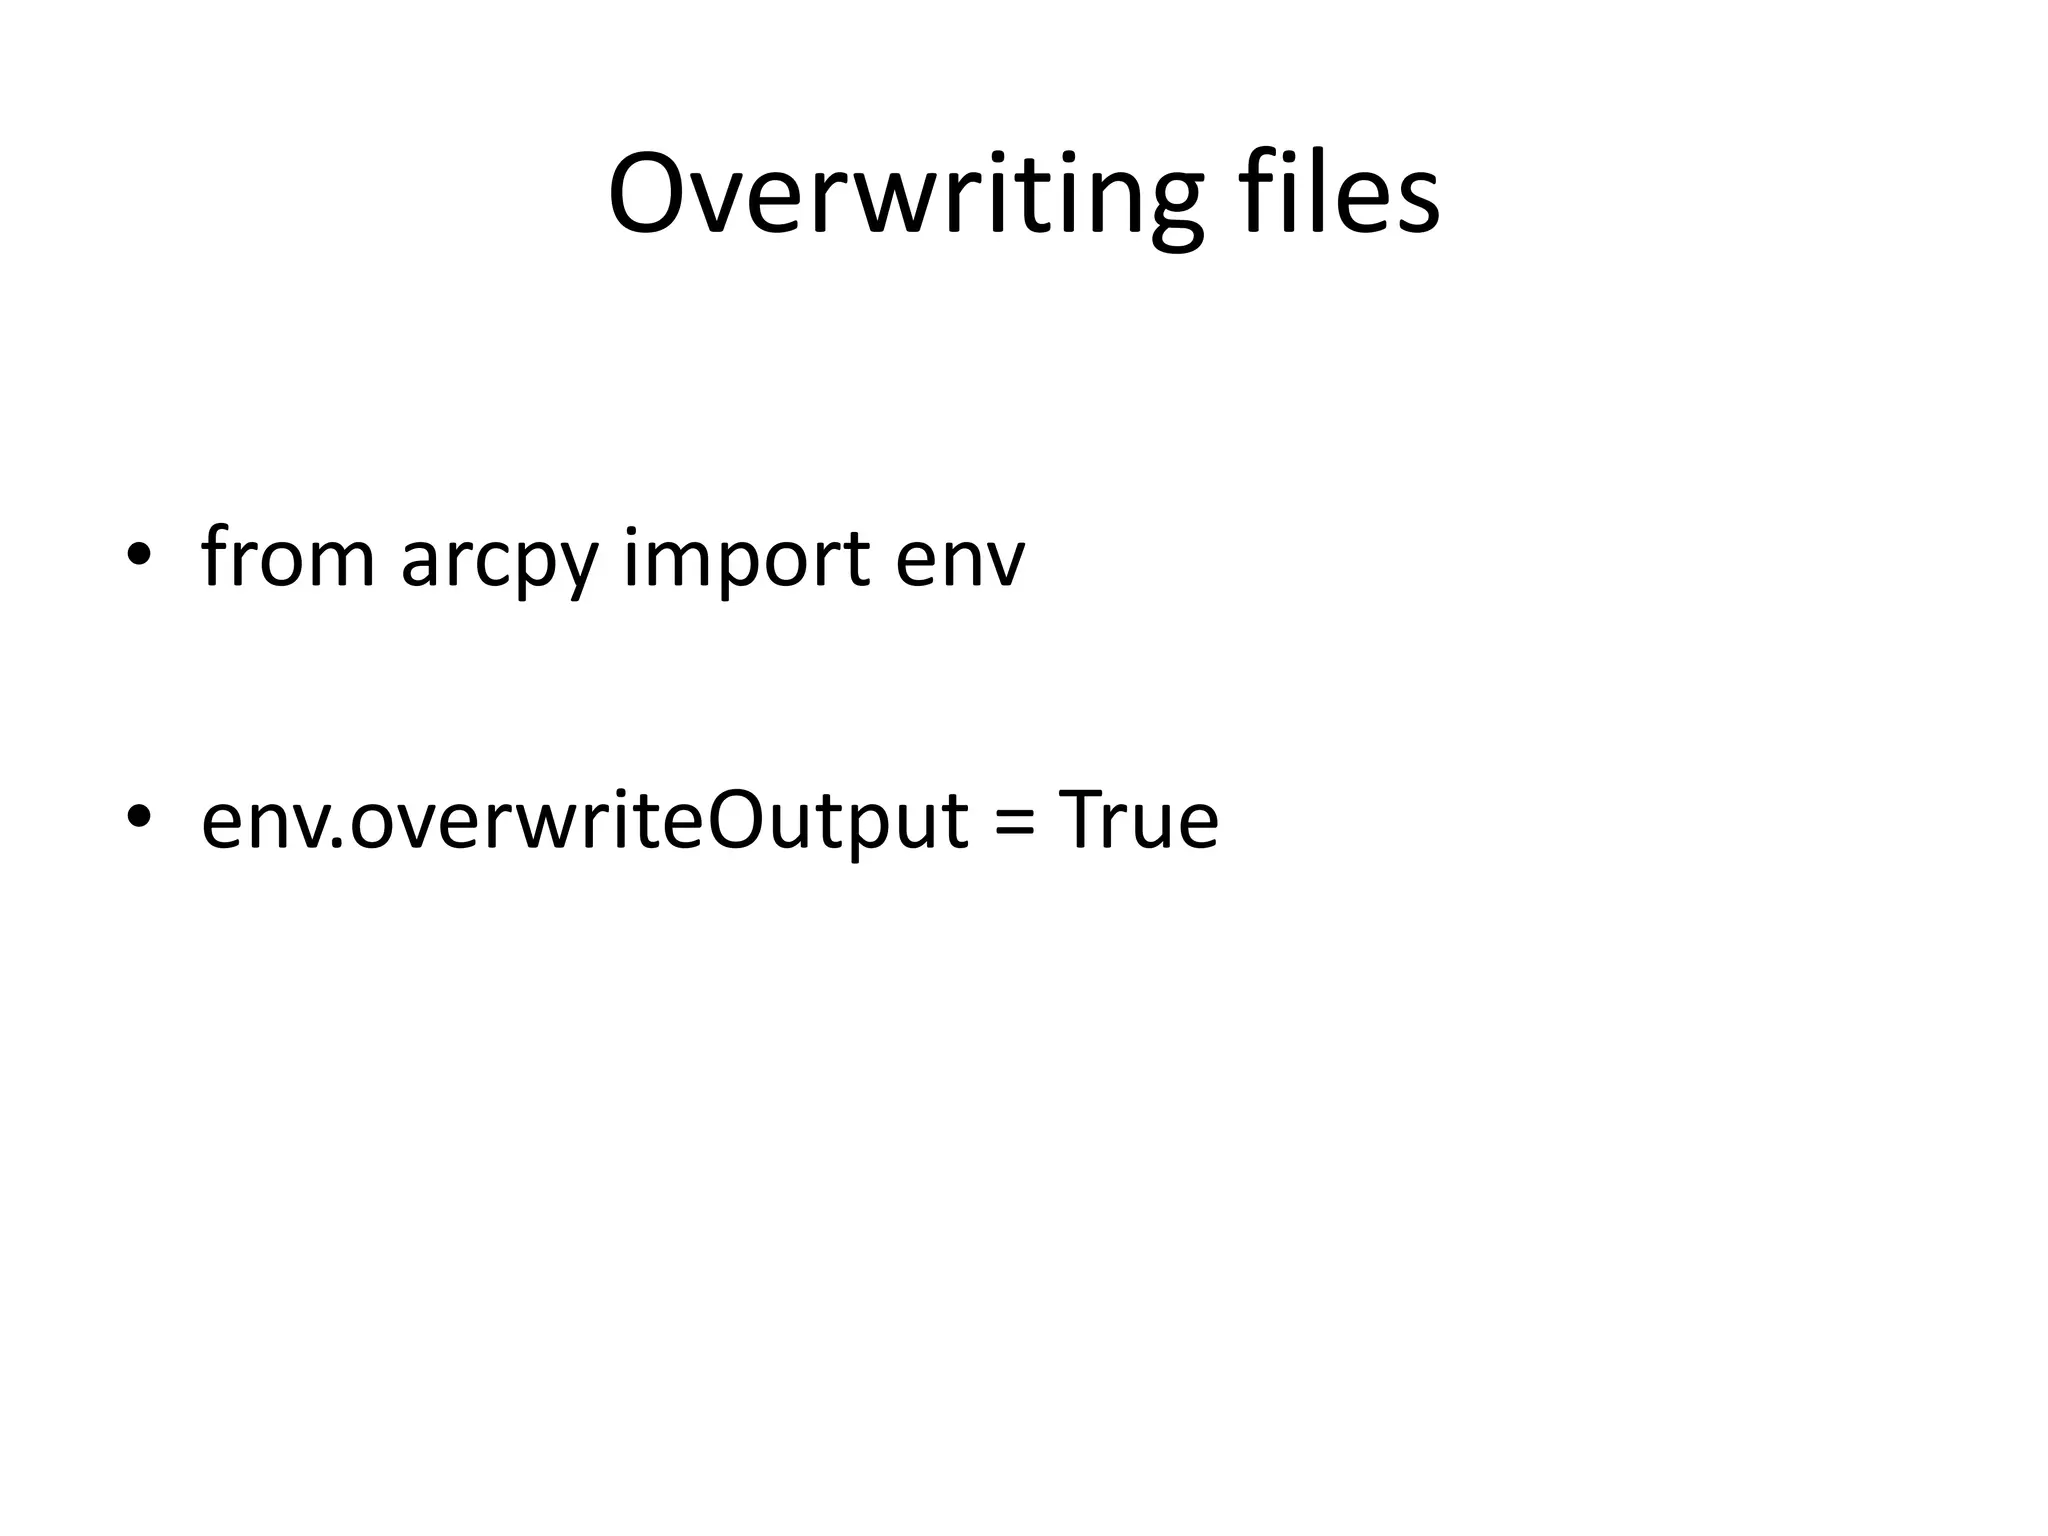
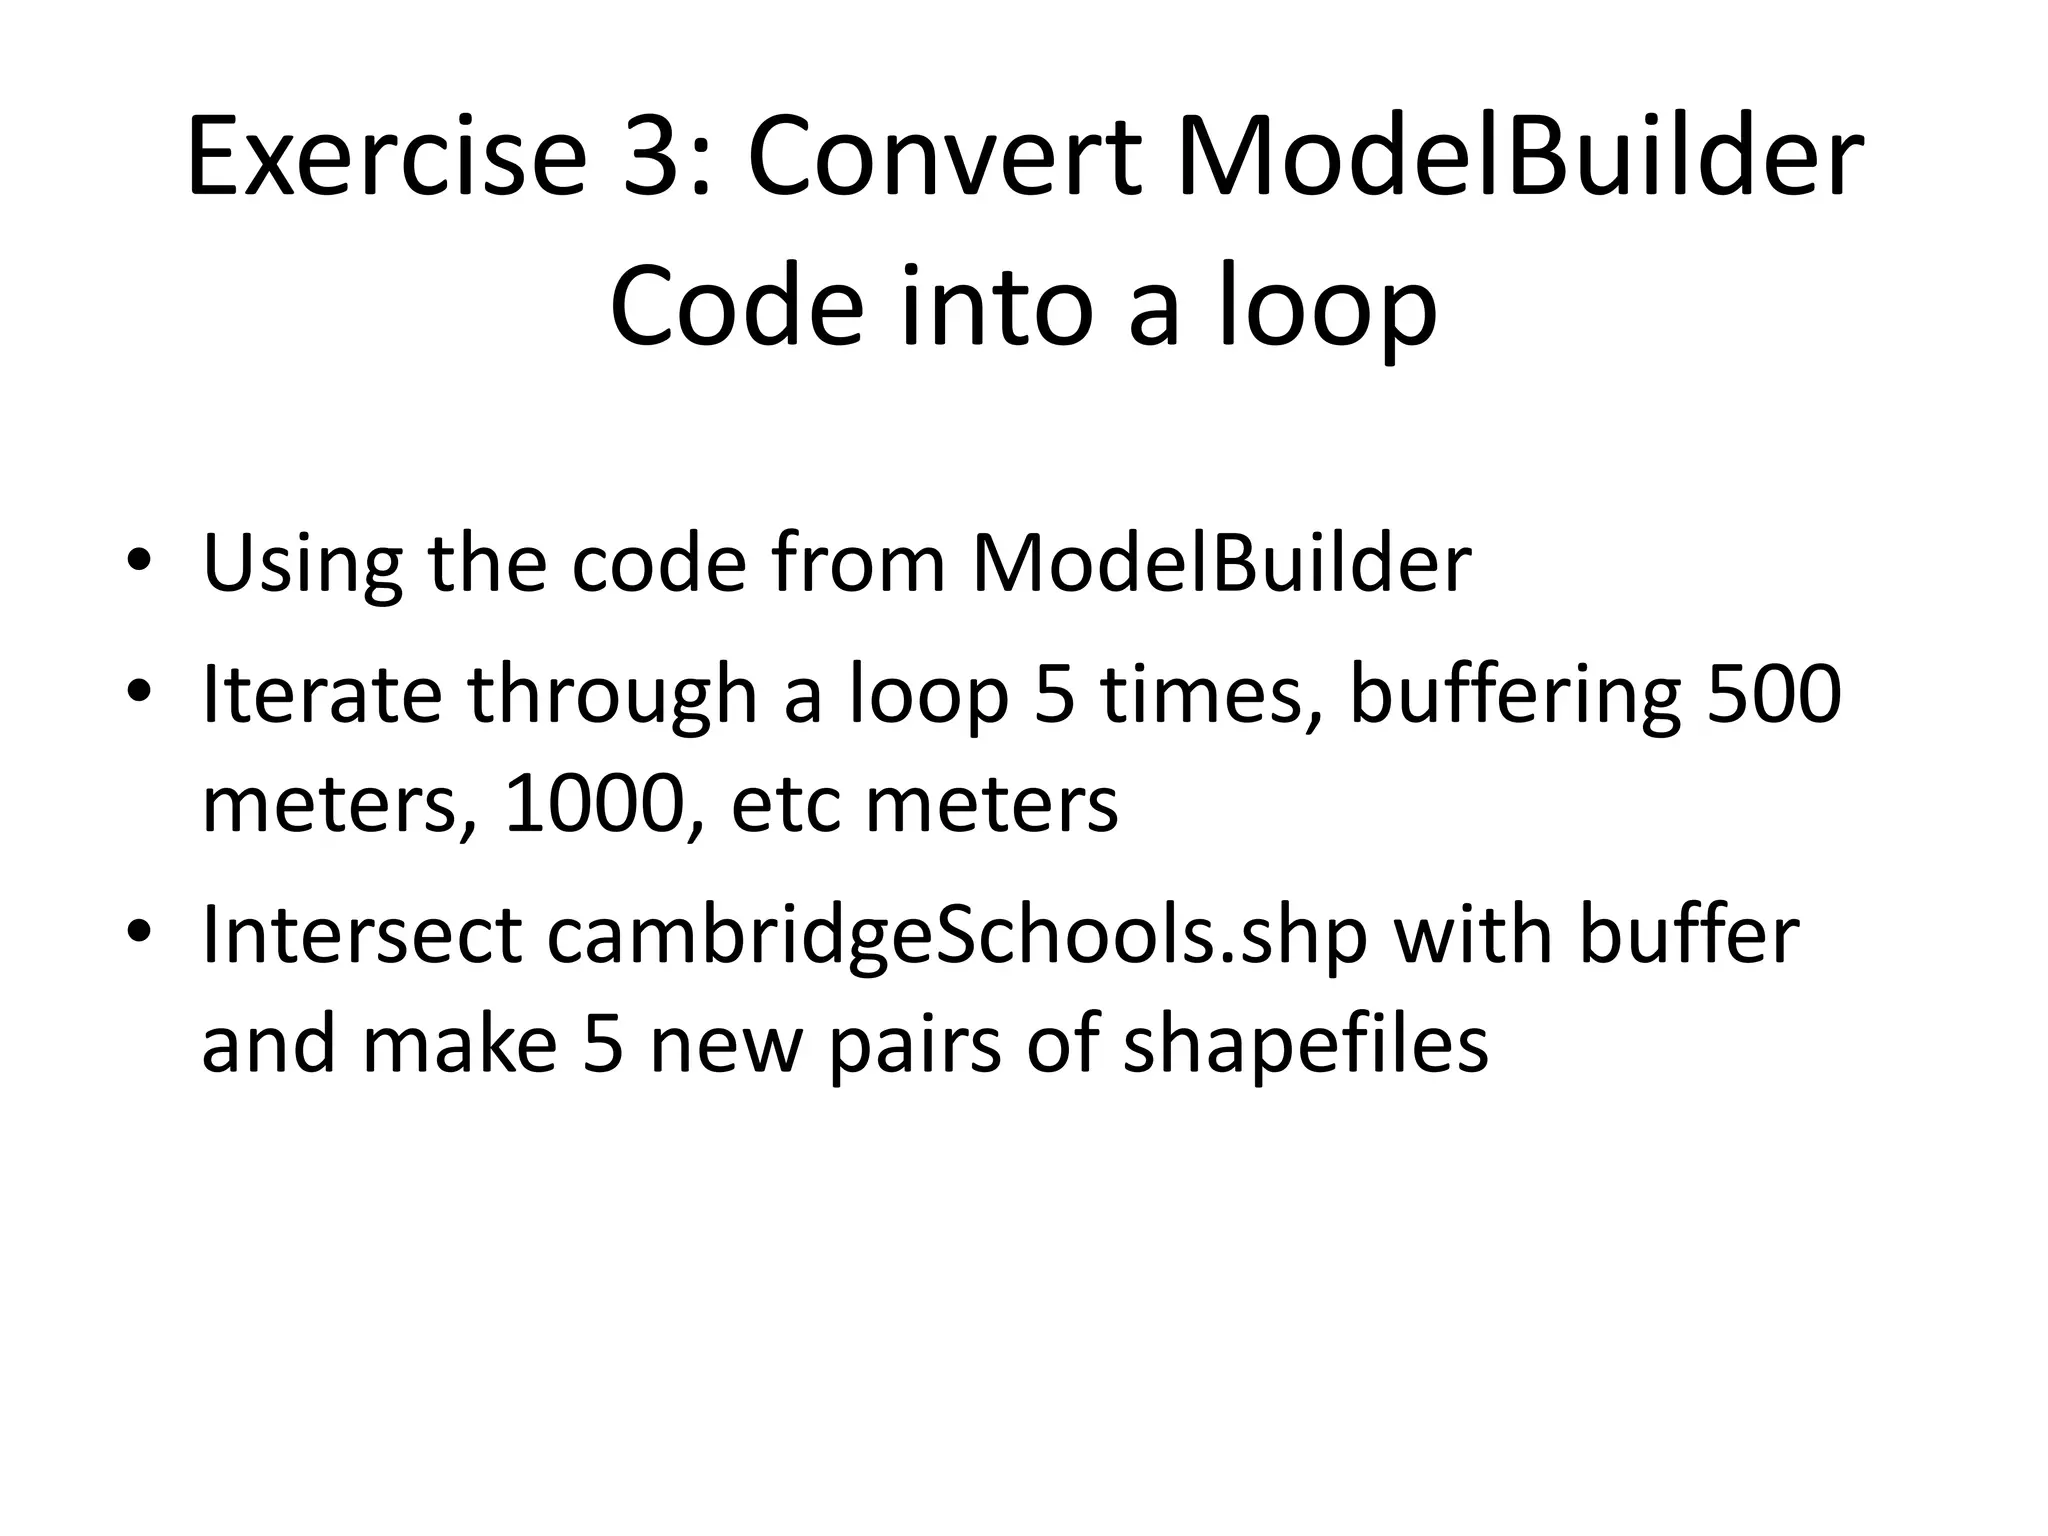


This document provides an overview of a Python Programming for ArcGIS workshop, including: - The workshop will teach Python skills to access ArcGIS commands, attribute tables, and geometries for geoprocessing. - An outline of topics includes introductions to Python and ArcGIS, programming principles and modules, ModelBuilder, and reading and writing data. - Examples of Python code are provided to demonstrate basic concepts like variables, conditionals, loops, importing modules, and file manipulation.