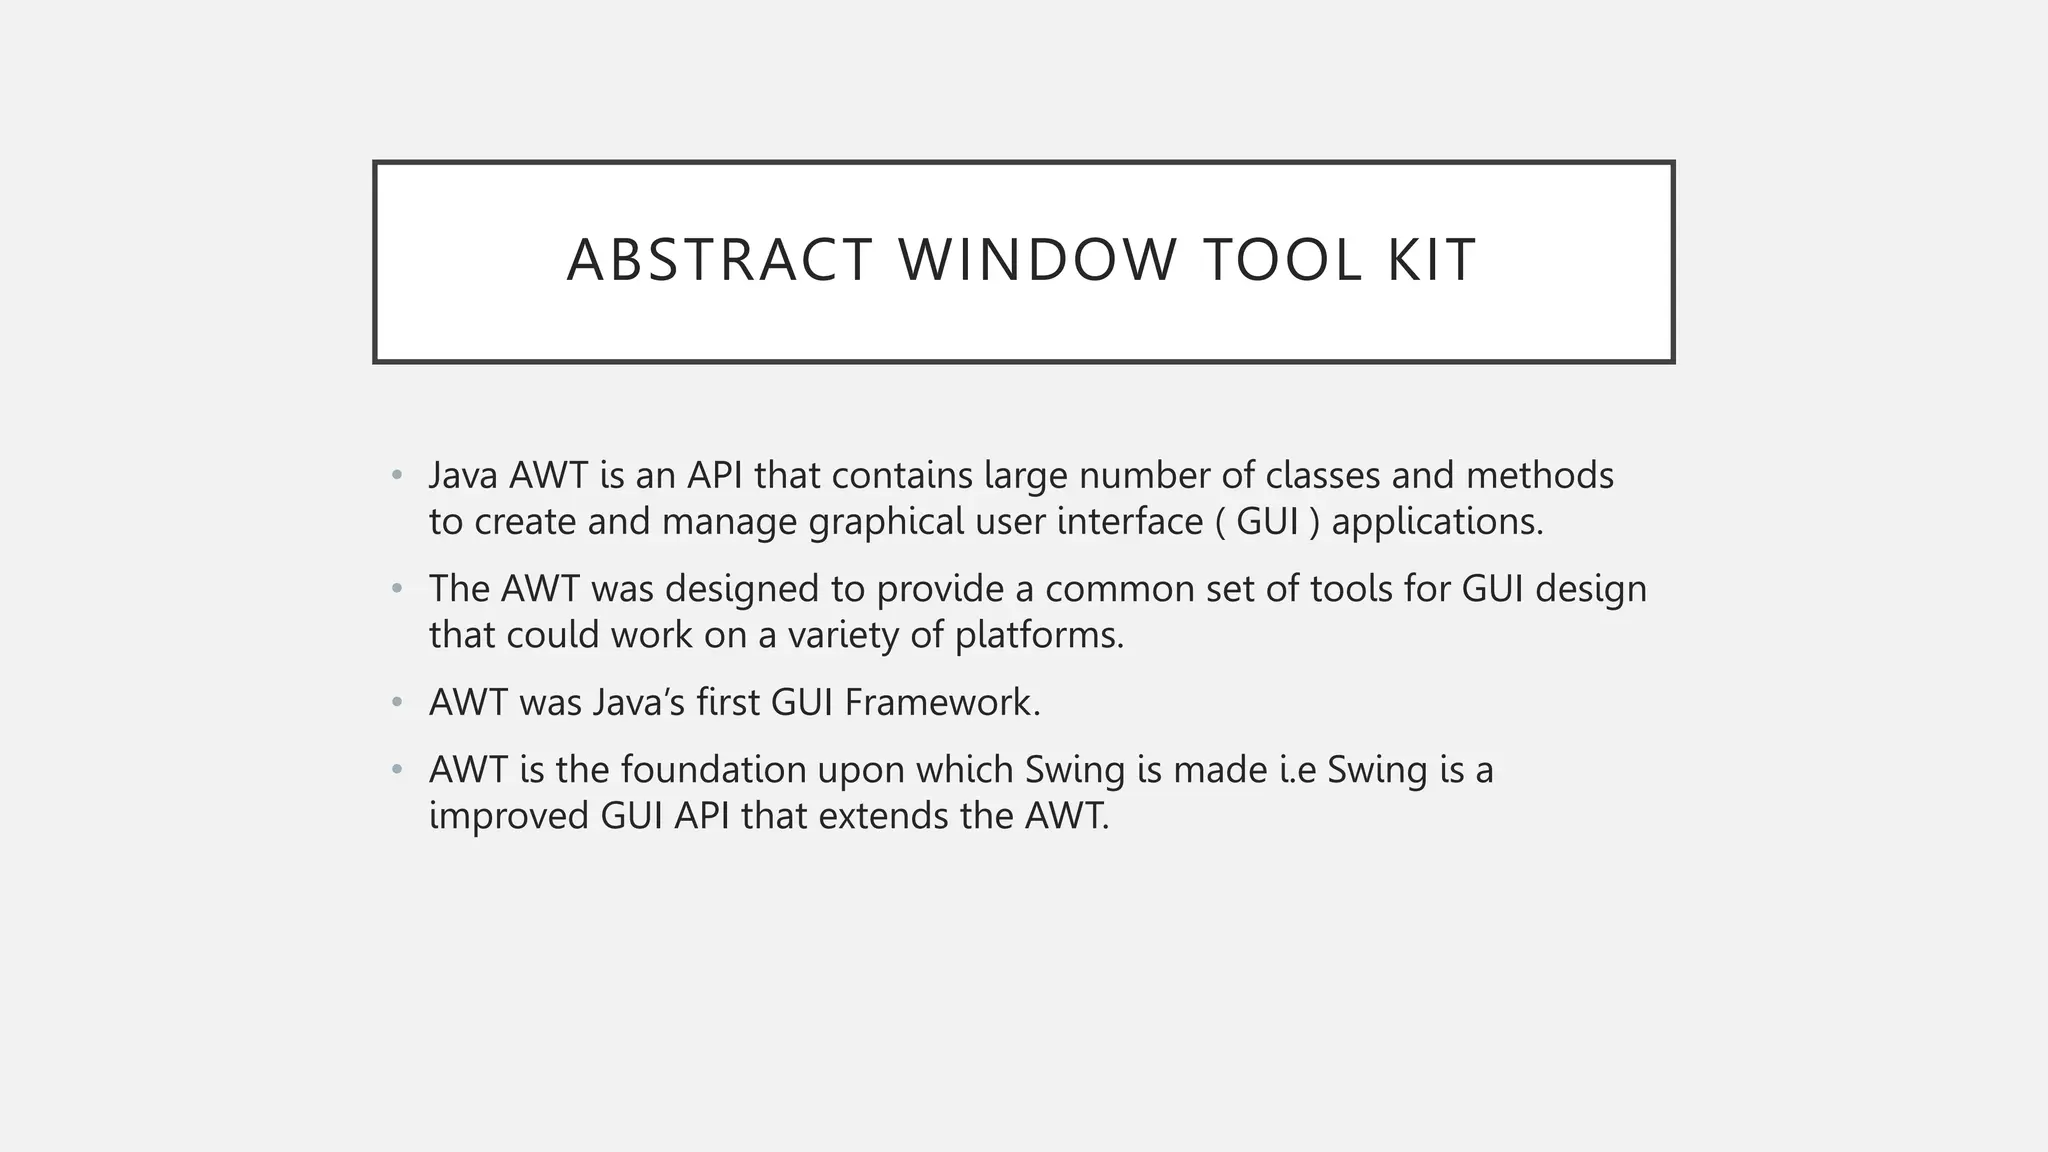
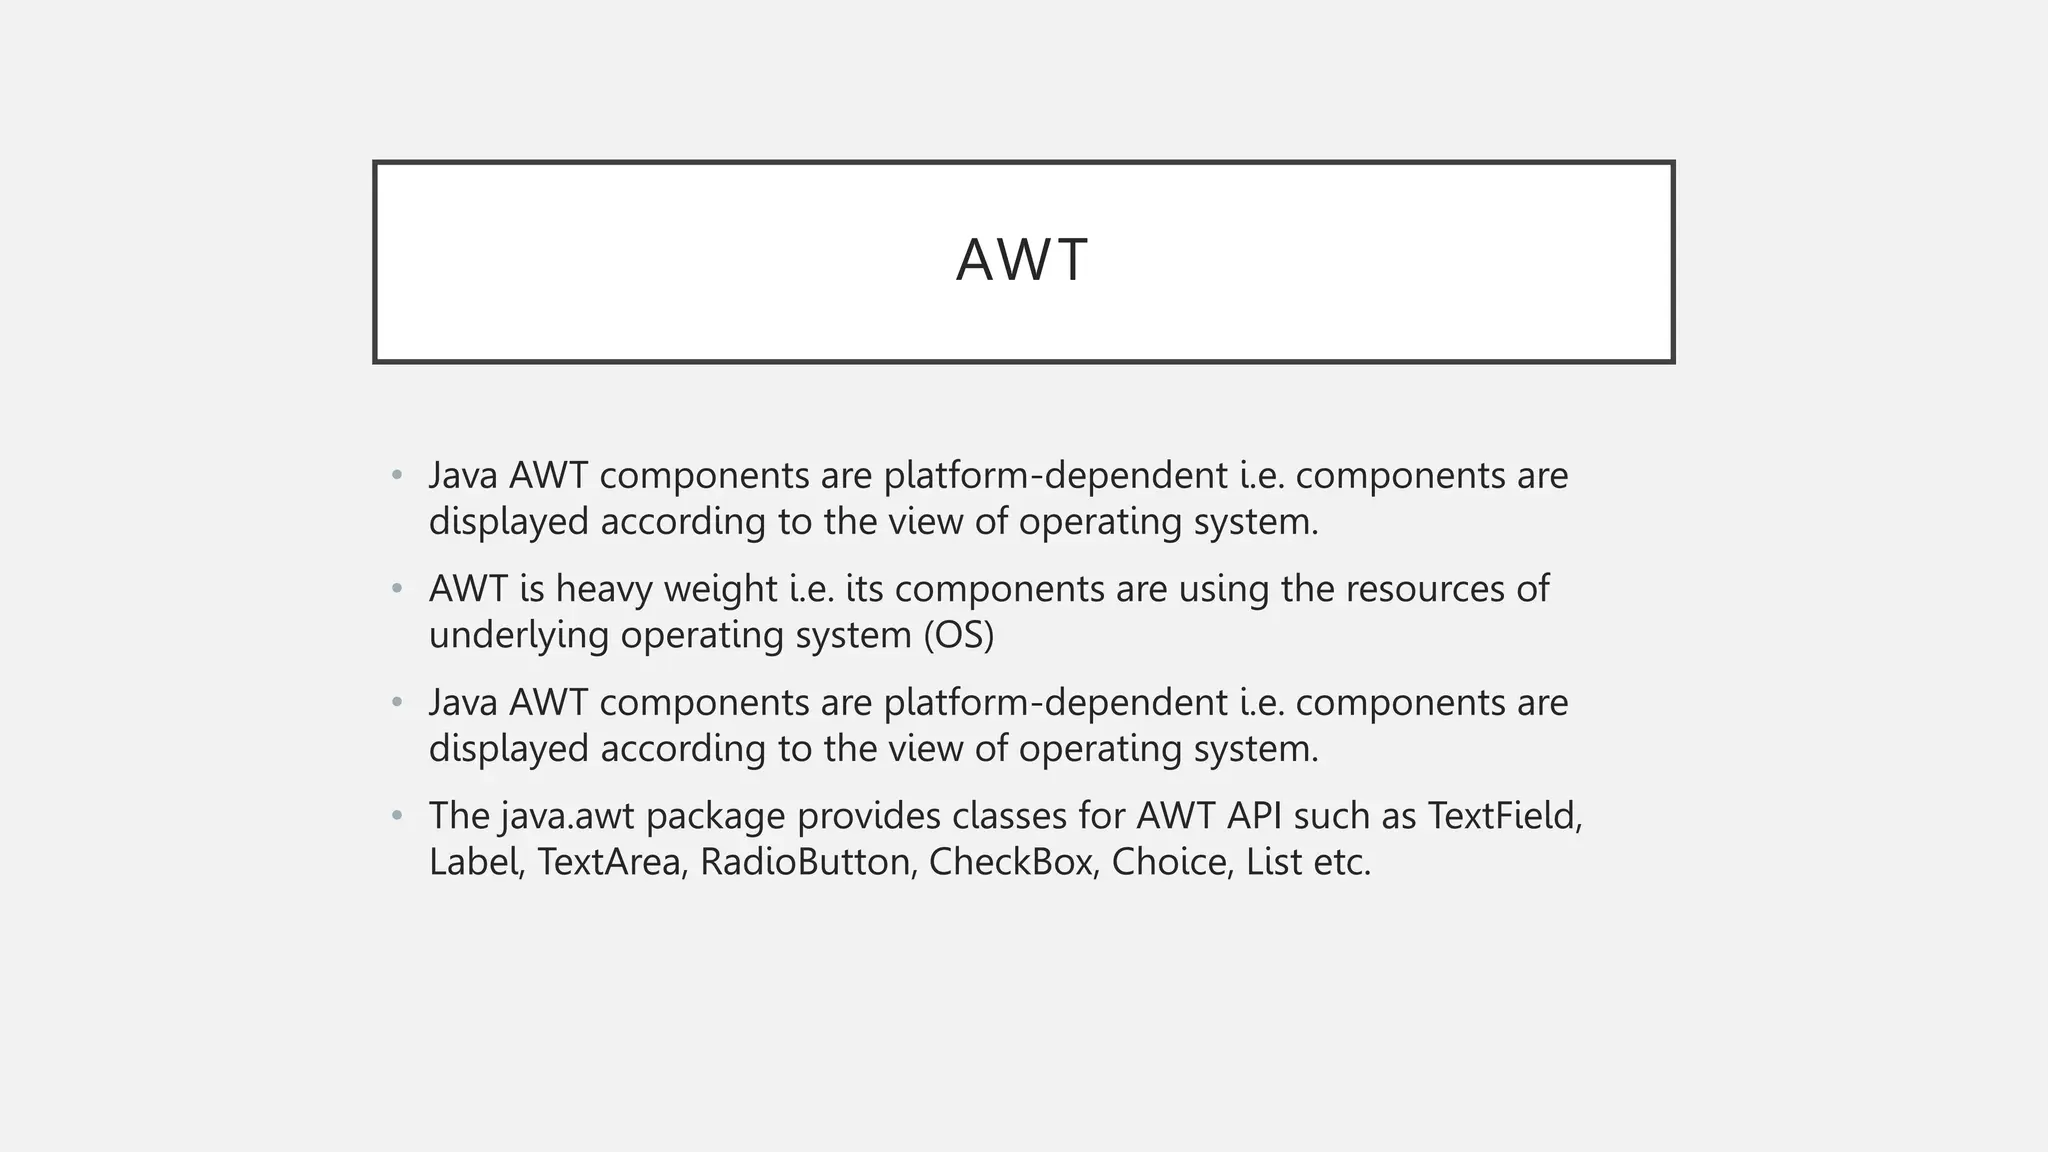
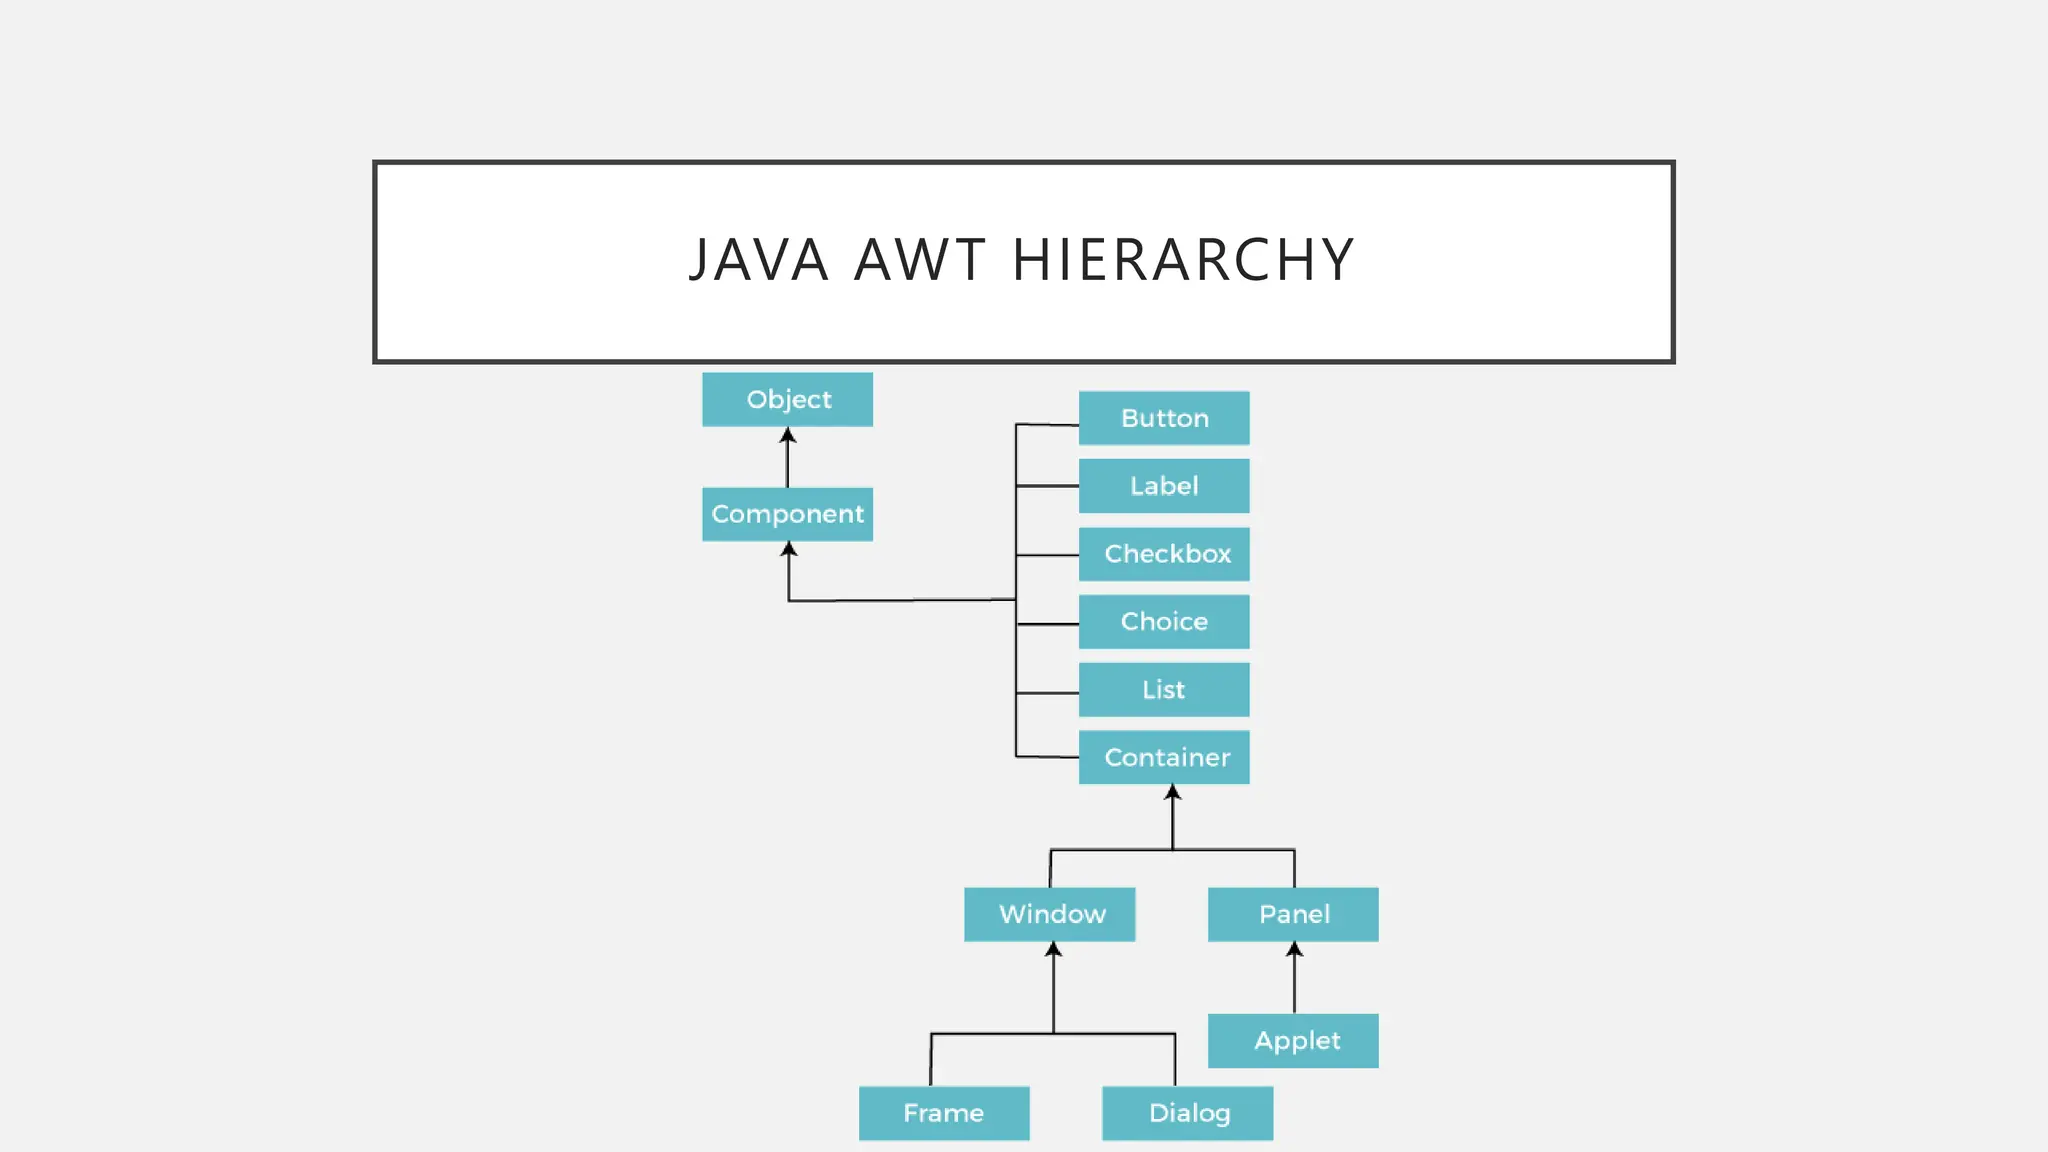
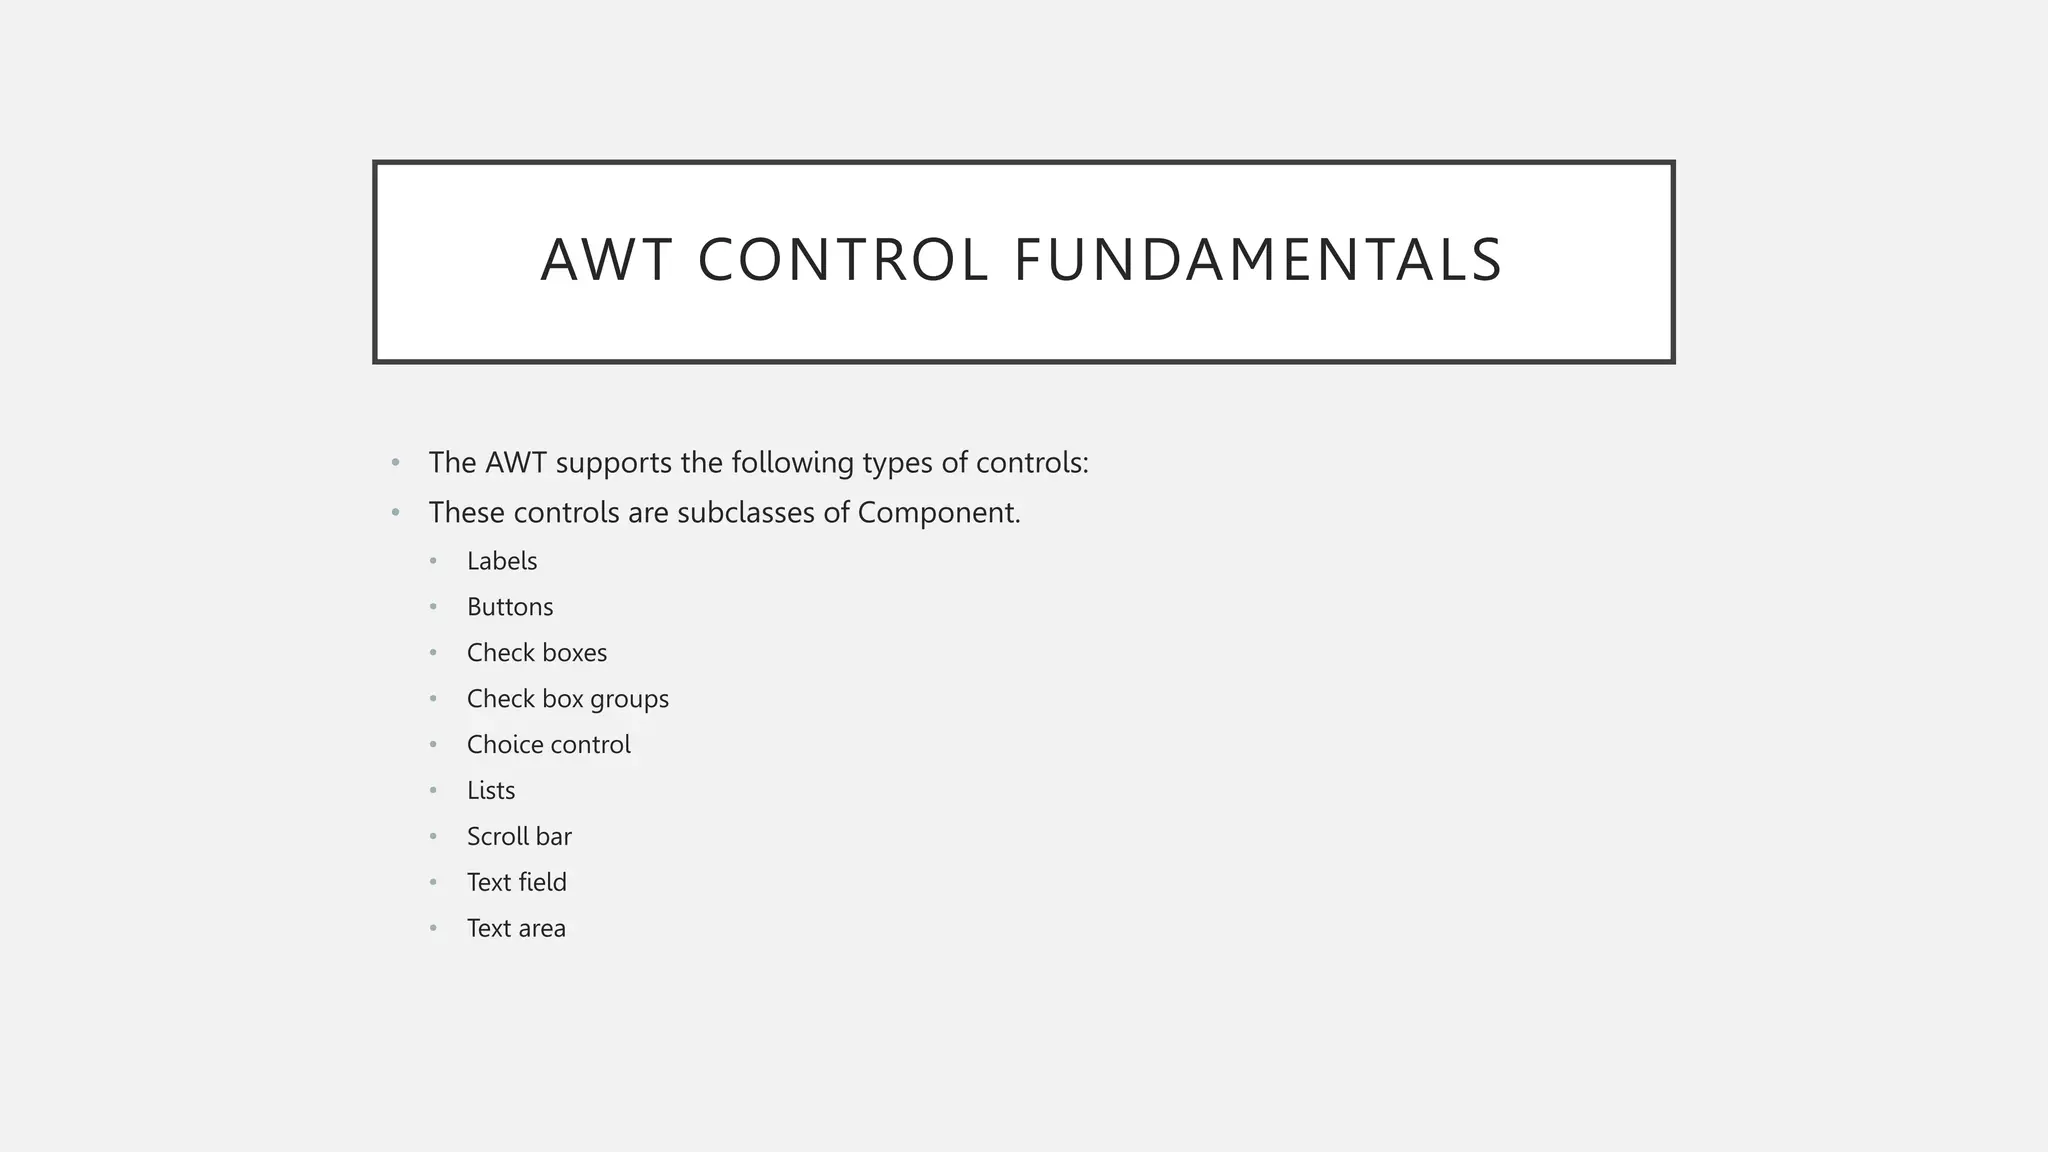
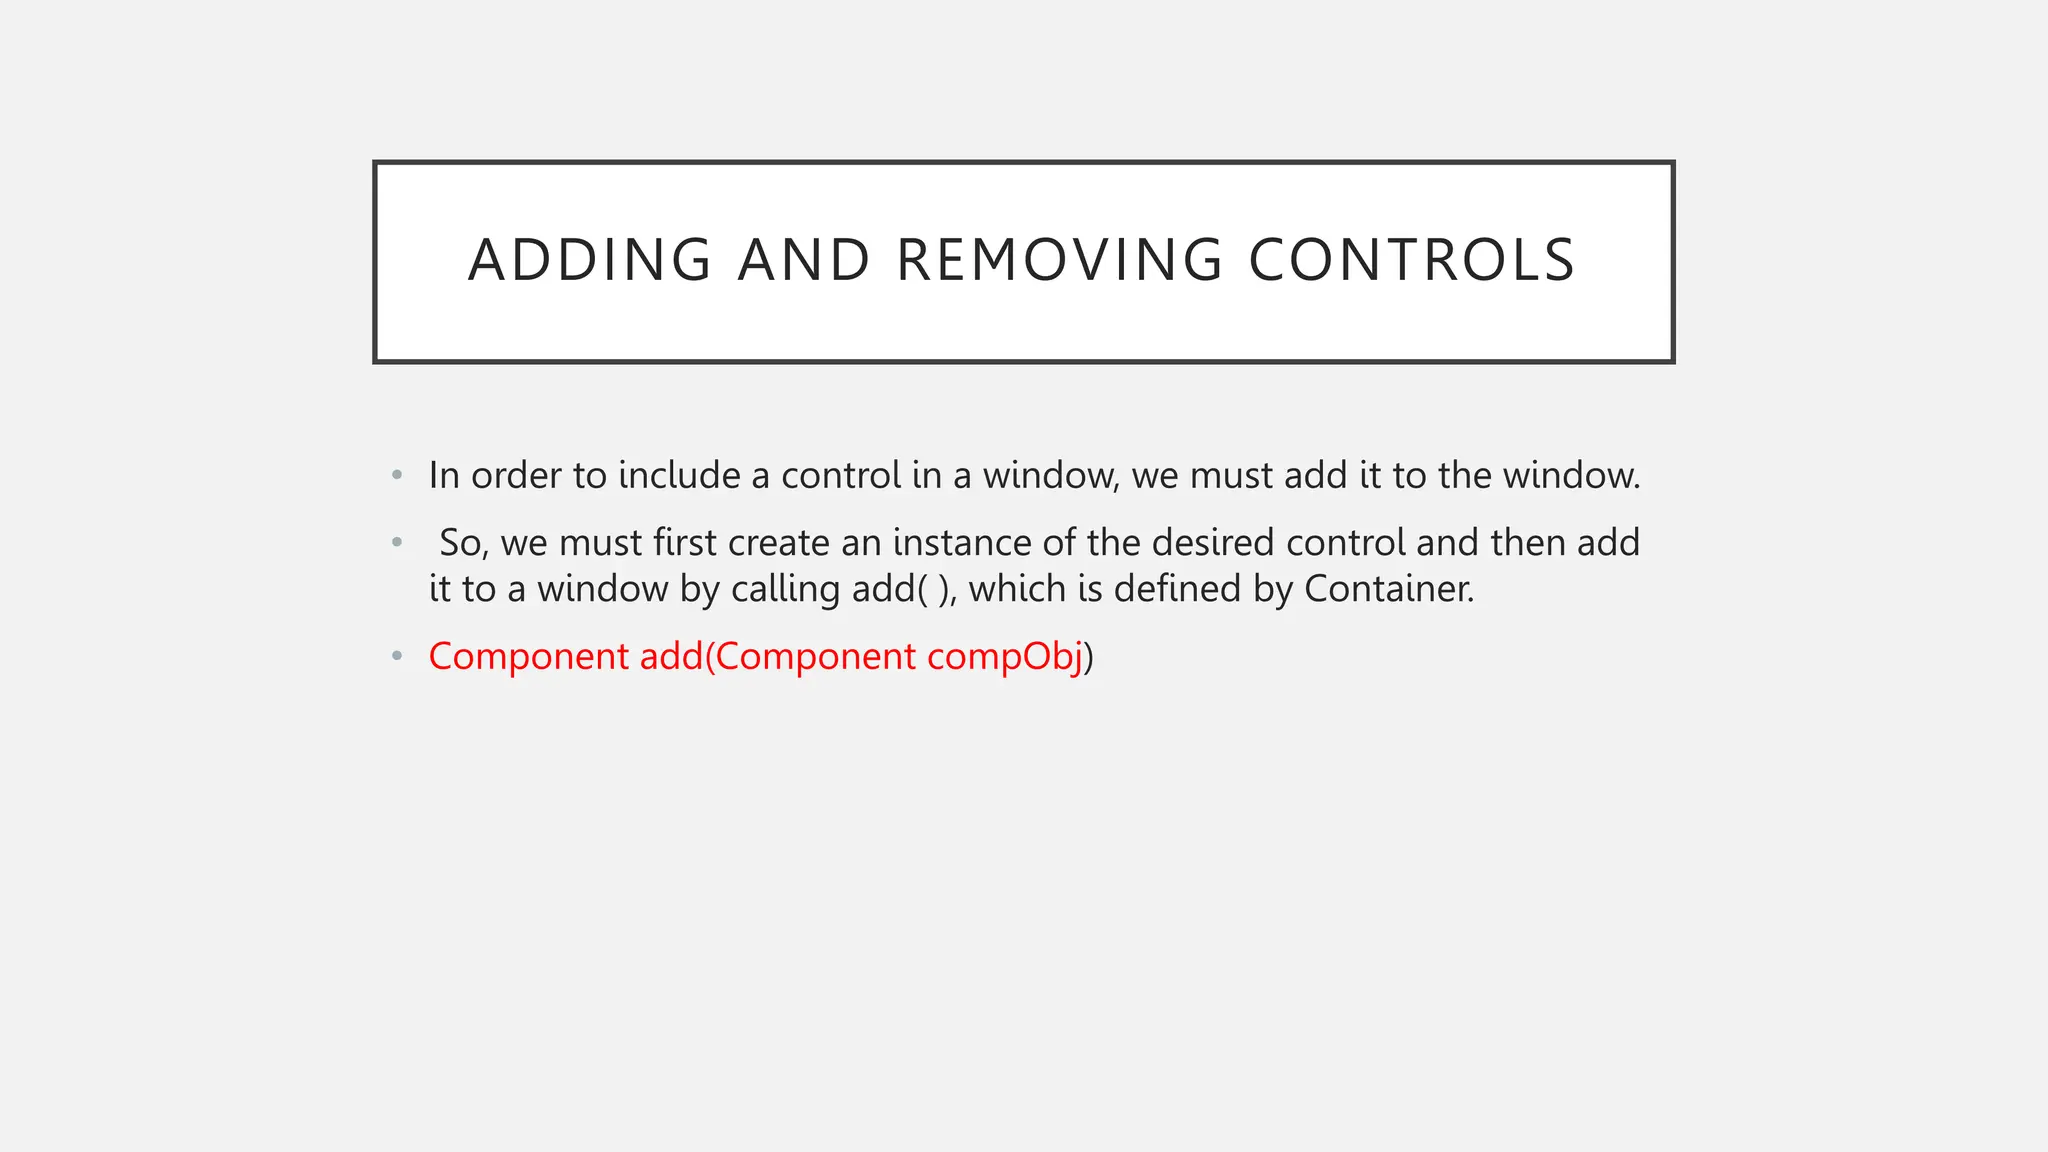
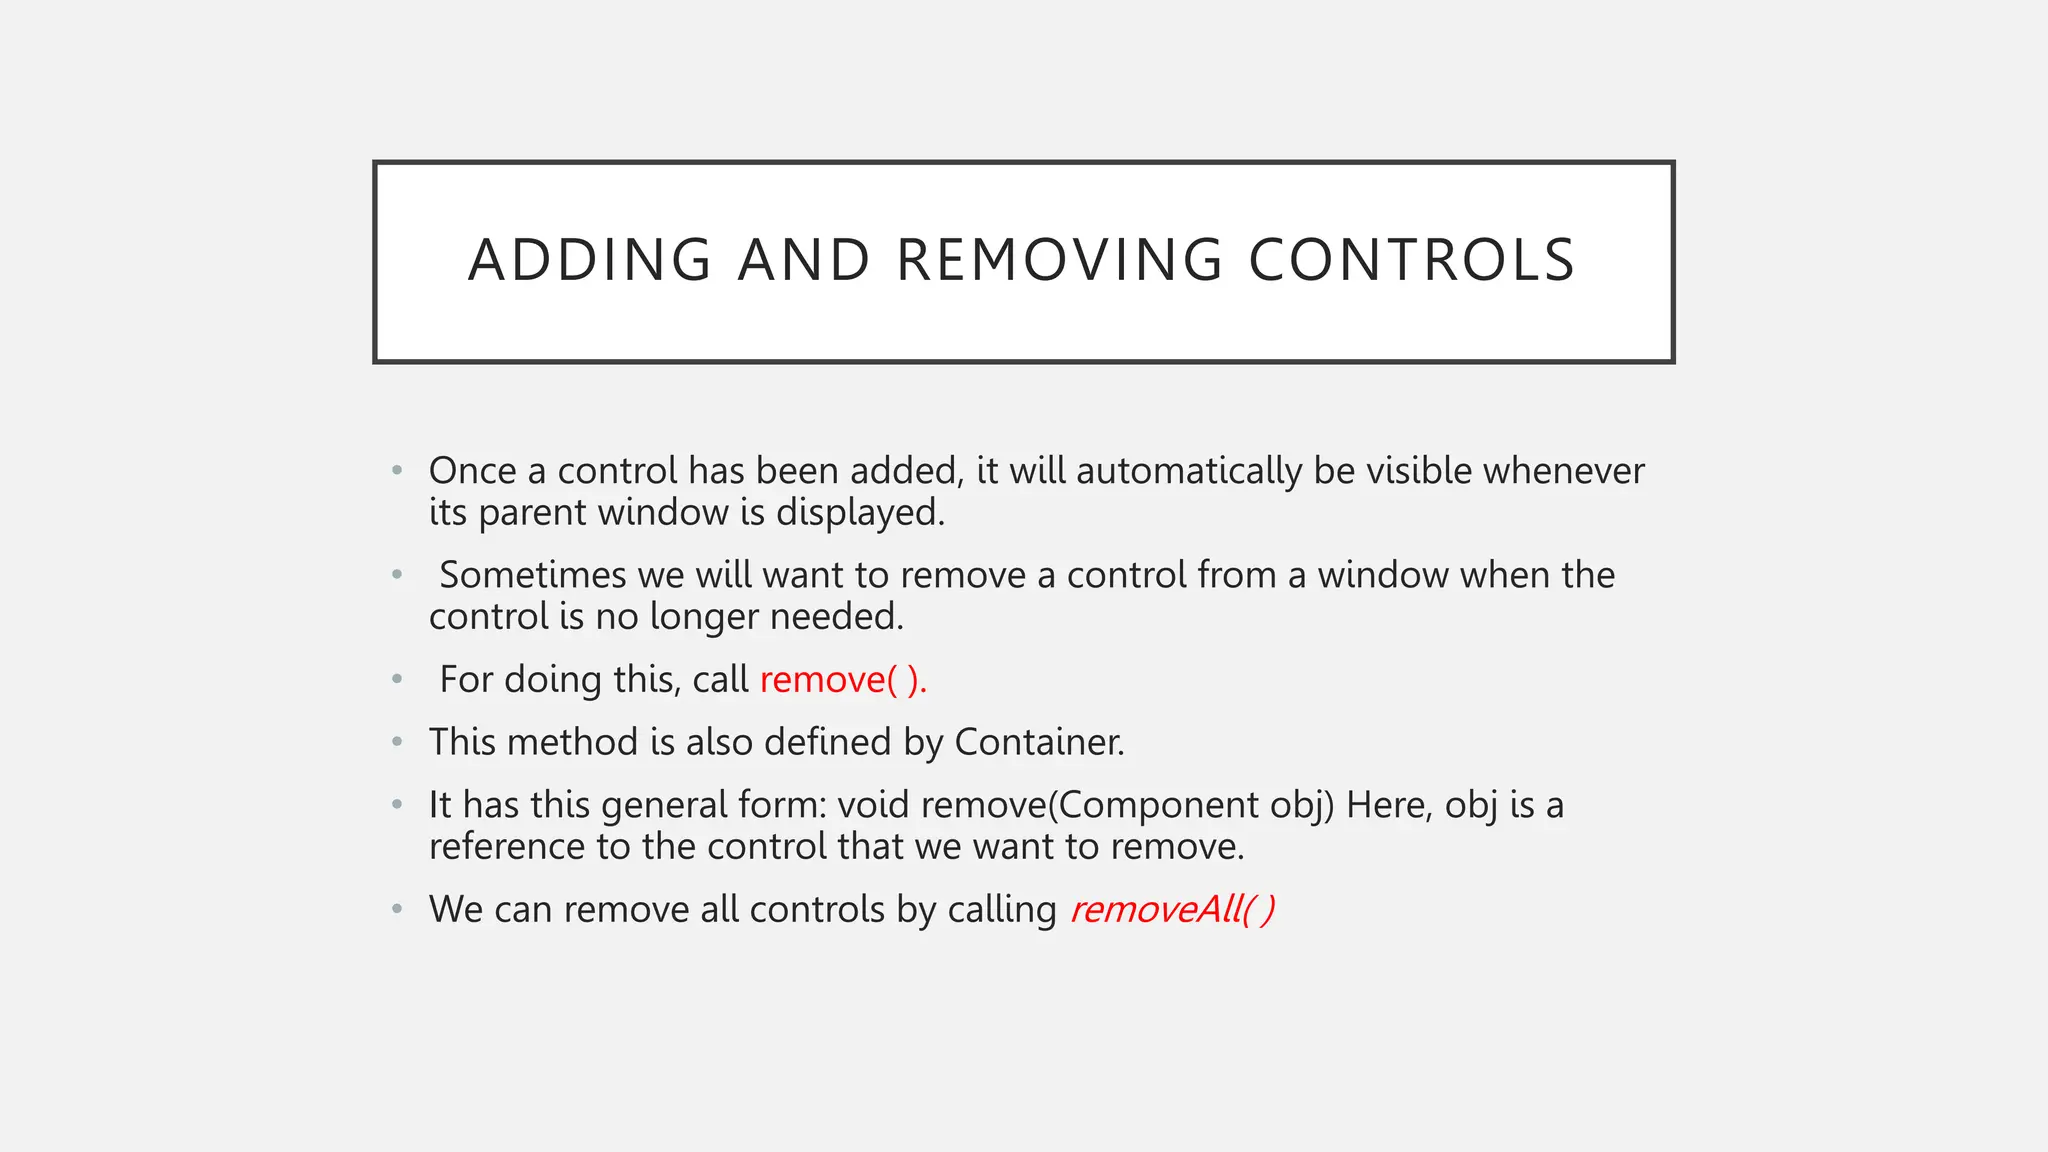
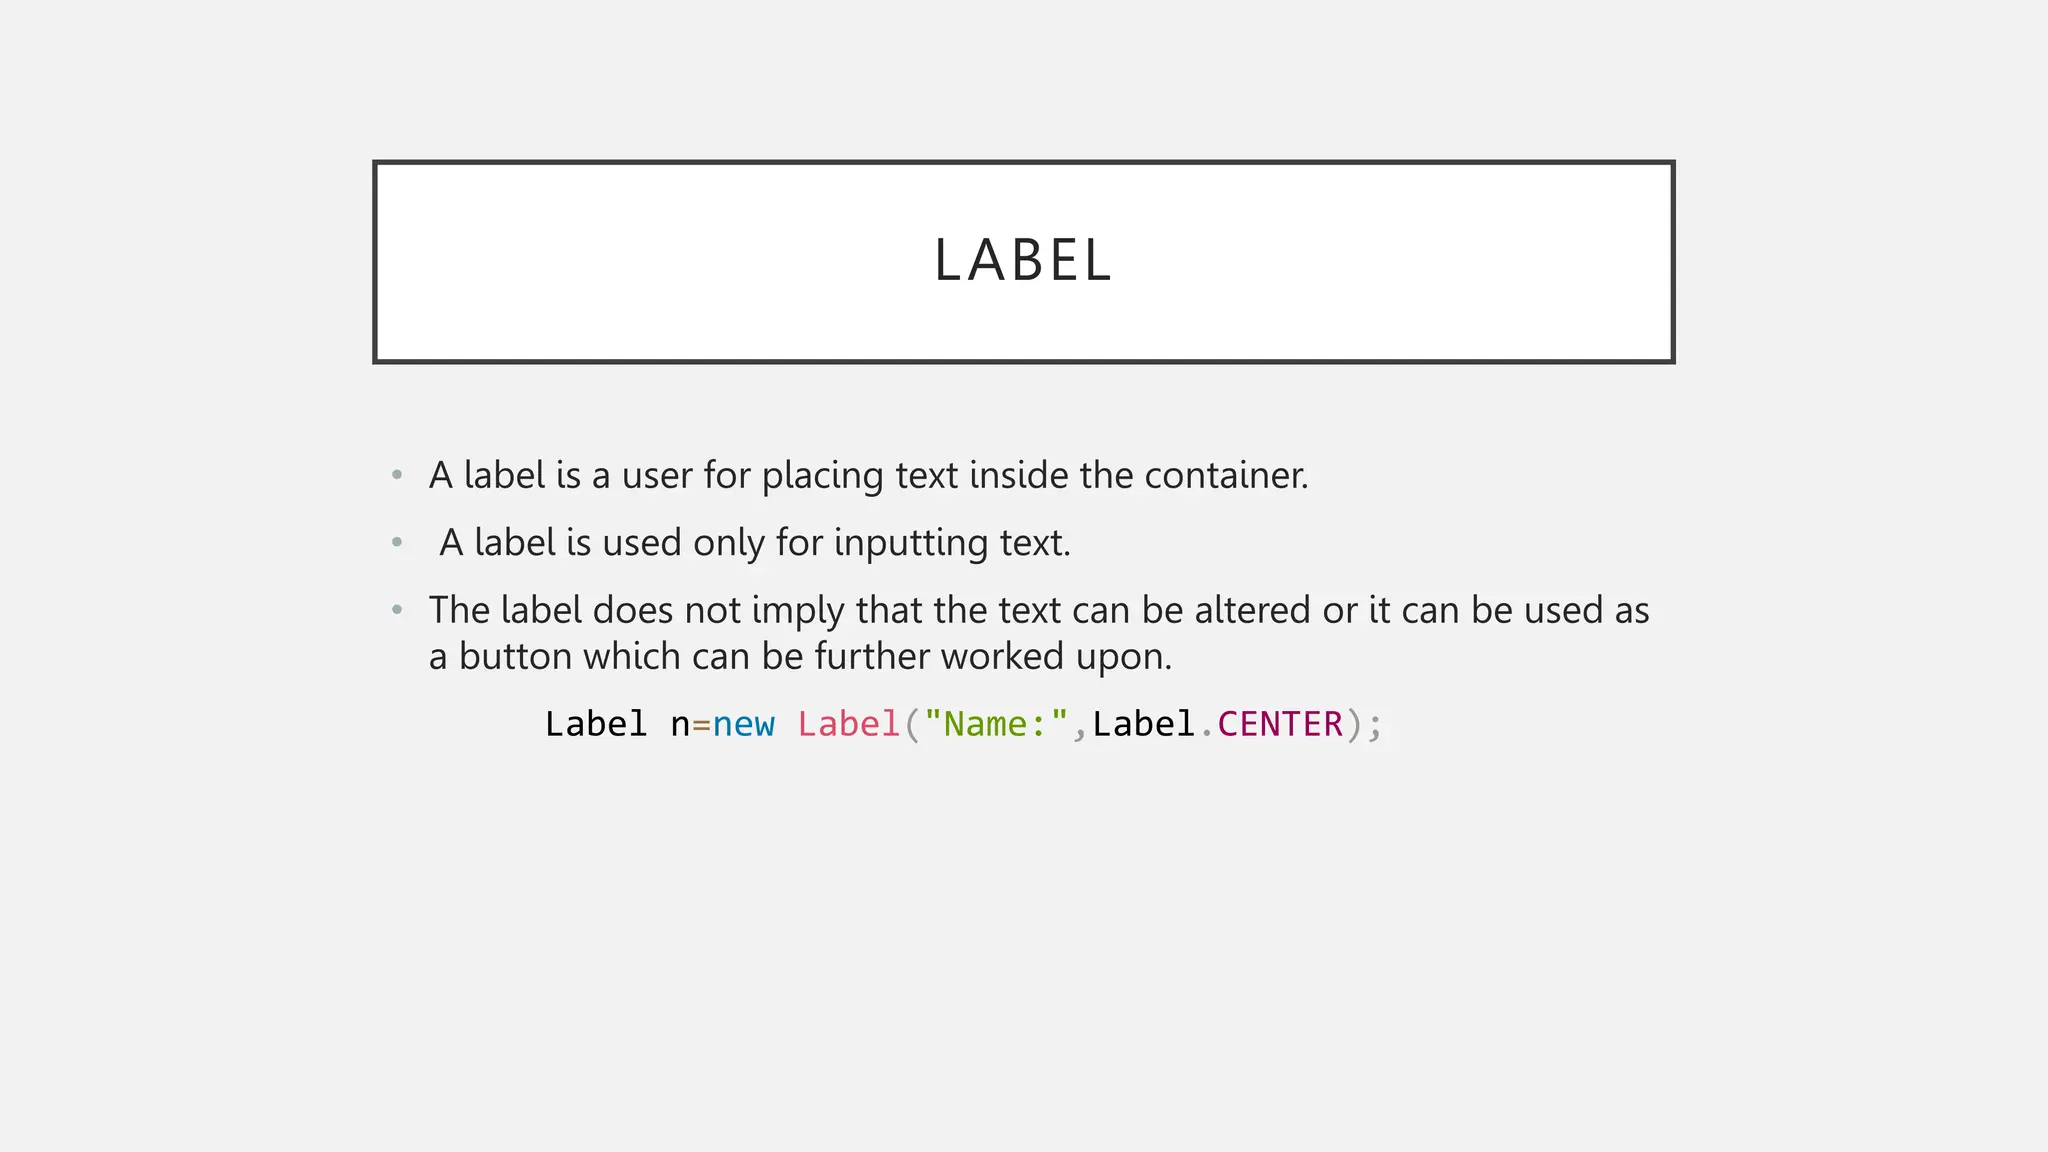
JAVA PROGRAMMING - AWT Prof. Navya Francis Asst. Professor Kristu Jayanti College
ABSTRACT WINDOW TOOL KIT • Java AWT is an API that contains large number of classes and methods to create and manage graphical user interface ( GUI ) applications. • The AWT was designed to provide a common set of tools for GUI design that could work on a variety of platforms. • AWT was Java’s first GUI Framework. • AWT is the foundation upon which Swing is made i.e Swing is a improved GUI API that extends the AWT.
AWT • Java AWT components are platform-dependent i.e. components are displayed according to the view of operating system. • AWT is heavy weight i.e. its components are using the resources of underlying operating system (OS) • Java AWT components are platform-dependent i.e. components are displayed according to the view of operating system. • The java.awt package provides classes for AWT API such as TextField, Label, TextArea, RadioButton, CheckBox, Choice, List etc.
JAVA AWT HIERARCHY
COMPONENTS • All the elements like the button, text fields, scroll bars, etc. are called components. • In Java AWT, there are classes for each component as shown in above diagram. • In order to place every component in a particular position on a screen, we need to add them to a container.
CONTAINER • The Container is a component in AWT that can contain another components like buttons, textfields, labels etc. • The classes that extends Container class are known as container such as Frame, Dialog and Panel. • It is basically a screen where the components are placed at their specific locations. • Thus it contains and controls the layout of components.
TYPES OF CONTAINERS: There are four types of containers in Java AWT: • Window • Panel • Frame • Dialog
TYPES OF CONTAINERS: • Window • The window is the container that have no borders and menu bars. You must use frame, dialog or another window for creating a window. We need to create an instance of Window class to create this container • Panel • The Panel is the container that doesn't contain title bar, border or menu bar. It is generic container for holding the components. It can have other components like button, text field etc. An instance of Panel class creates a container, in which we can add components.
TYPES OF CONTAINERS: • Frame • The Frame is the container that contain title bar and border and can have menu bars. • It can have other components like button, text field, scrollbar etc. • Frame is most widely used container while developing an AWT application. • Frame is a subclass of Window and have resizing canvas.
TYPES OF CONTAINERS: • The Dialog control • The Dialog control represents a top level window with a border and a title used to take some form of input from the user. • It inherits the Window class. • Unlike Frame, it doesn't have maximize and minimize buttons. • Frame and Dialog both inherits Window class. • Frame has maximize and minimize buttons but Dialog doesn't have.
CREATING A FRAME There are two ways to create a Frame. They are, • By Instantiating Frame class • By extending Frame class
POINTS TO REMEMBER: • While creating a frame (either by instantiating or extending Frame class), Following two attributes are must for visibility of the frame: • setSize(int width, int height); • setVisible(true); • When you create other components like Buttons, TextFields, etc. Then you need to add it to the frame by using the method - add(Component's Object); • You can add the following method also for resizing the frame - setResizable(true);
BY INSTANTIATING FRAME CLASS
BY EXTENDING FRAME CLASS
UNDERSTANDING LAYOUT MANAGERS • The layout manager automatically positions all the components within the container. If we do not use layout manager then also the components are positioned by the default layout manager. • Each Container object has a layout manager associated with it. • A layout manager is an instance of any class that implements the LayoutManagerinterface.
UNDERSTANDING LAYOUT MANAGERS • The layout manager is set by the setLayout( ) method. • If no call to setLayout( ) is made,then the default layout manager is used. • Whenever a container is resized (or sized for the first time), the layout manager is used to position each of the components within it. • The setLayout( ) method has the following general form: • void setLayout(LayoutManager layoutObj)
FLOWLAYOUT • It is the default layout manager. • FlowLayout implements a simple layout style, which is similar to how words flow in a text editor. • FlowLayout.LEFT • FlowLayout.CENTER • FlowLayout.RIGHT • FlowLayout.LEADING • FlowLayout.TRAILING • These values specify left, center, right, leading edge, and trailing edge alignment, respectively
BORDERLAYOUT • The BorderLayout class implements a common layout style for top-level windows. • It has four narrow, fixed-width components at the edges and one large area in the center. • The four sides are referred to as north, south, east, and west. The middle area is called the center. BorderLayout defines the following constants that specify the regions: • BorderLayout.CENTER • BorderLayout.SOUTH • BorderLayout.EAST • BorderLayout.WEST • BorderLayout.NORTH
AWT CONTROL FUNDAMENTALS • The AWT supports the following types of controls: • These controls are subclasses of Component. • Labels • Buttons • Check boxes • Check box groups • Choice control • Lists • Scroll bar • Text field • Text area
ADDING AND REMOVING CONTROLS • In order to include a control in a window, we must add it to the window. • So, we must first create an instance of the desired control and then add it to a window by calling add( ), which is defined by Container. • Component add(Component compObj)
ADDING AND REMOVING CONTROLS • Once a control has been added, it will automatically be visible whenever its parent window is displayed. • Sometimes we will want to remove a control from a window when the control is no longer needed. • For doing this, call remove( ). • This method is also defined by Container. • It has this general form: void remove(Component obj) Here, obj is a reference to the control that we want to remove. • We can remove all controls by calling removeAll( )
LABEL • A label is a user for placing text inside the container. • A label is used only for inputting text. • The label does not imply that the text can be altered or it can be used as a button which can be further worked upon. Label n=new Label("Name:",Label.CENTER);
LABEL
BUTTON • This command generates a button in the User Interface. • Clicking on the button would move the command to another page or another web server which is used to show several other outputs in the user interface page. a1=new Button("submit"); a2=new Button("cancel");
BUTTON
CHECK BOXES • A check box is a control that is used to turn an option on or off. It consists of a small box that can either contain a check mark or not. • There is a label associated with each check box that describes what option the box represents. • We change the state of a check box by clicking on it. Check boxes can be used individually or as part of a group. • Check boxes are objects of the Checkbox class • Checkbox checkbox1 = new Checkbox("Hello World");
CHECK BOXES
CHECKBOX GROUP • It is possible to create a set of mutually exclusive check boxes in which one and only one check box in the group can be checked at any one time. • These are often called radio buttons. • For creating a set of mutually exclusive check boxes, we must first define the group to which they will belong and then specify that group when we construct the check boxes. • Check box groups are objects of type CheckBoxGroup. CheckboxGroup cb = new CheckboxGroup(); Checkbox checkBox1 = new Checkbox("Hello", cb, true); checkBox1.setBounds (100,100, 50,50);
CHECKBOX GROUP
MANAGING SCROLL BARS • Scroll bars are used to select continuous values between a specified minimum and maximum. Scroll bars may be oriented horizontally or vertically. • Each end has an arrow that you can click to move the current value of the scroll bar one unit in the direction of the arrow. Scrollbar s=new Scrollbar(); s.setBounds(100,100, 50,100);
MANAGING SCROLL BARS
TEXTFIELD • The TextField class implements a single-line text-entry area, usually called an edit control. • Text fields allow the user to enter strings and to edit the text using the arrow keys, cut and paste keys, and mouse selections. na=new TextField(“my name”);
TEXTFIELD
TEXTAREA • Sometimes a single line of text input is not enough for a given task. To handle these situations, the AWT includes a simple multiline editor called TextArea. TextArea area=new TextArea("Welcome to the universe"); area.setBounds(10,30, 300,300);
TEXTAREA
CHOICE CONTROLS • The Choice class is used to create a pop -up list of items from which the user may choose. Thus, a Choice control is a form of menu. • When inactive, a Choice component takes up only enough space to show the currently selected item. When the user clicks on it, the whole list of choices pops up, and a new selection can be made. Choice c=new Choice(); c.setBounds(100,100, 75,75); c.add("Subject 1"); c.add("Subject 2"); c.add("Subject 3");
CHOICE CONTROLS
LISTS • The List class provides a compact, multiple-choice, scrolling selection list. • Unlike the Choice object, which shows only the single selected item in the menu, a List object can be constructed to show any number of choices in the visible Window. • It can also be created to allow multiple selections.
LISTS
MENU BARS AND MENUS • A top-level window can have a menu bar associated with it. • A menu bar displays a list of top-level menu choices. • Each choice is associated with a drop-down menu. • This concept is implemented in the AWT by the following classes: MenuBar, Menu,and MenuItem.
MENU BARS AND MENUS • In general, a menu bar contains one or more Menu objects. Each Menu object contains a list of MenuItem objects. • Each MenuItem object represents something that can be selected by the user. • Since Menu is a subclass of MenuItem, a hierarchy of nested submenus can be created. • It is also possible to include checkable menu items. • These are menu options of type CheckboxMenuItem and will have a check mark next to them when they are selected.
MENU BARS AND MENUS
MENU BARS AND MENUS
• Creating Menubar MenuBar mb=new MenuBar(); • Menu a creation Menu mnu1=new Menu("BCA"); Menu mnu2=new Menu("BBA");
• sm1 and sm2 will be treated as submenus Menu sm1=new Menu("Semester"); Menu sm2=new Menu("Year"); • adding items and submenus to menu mnu1.add(sm1); mnu1.add(sm2);
• //adding items to submenu sm1.add(i1); sm1.add(i2); sm2.add(i3); • //adding menu to menubar mb.add(mnu1); mb.add(mnu2);
• Creating menu items MenuItem i1,i2,i3; i1=new MenuItem("I"); i2=new MenuItem("II"); i3=new MenuItem("2023");
DIALOG BOXES • Dialog boxes are primarily used to obtain user input and are often child windows of a top-level window. • Dialog boxes don’t have menu bars, but in other respects, they function like frame windows. (You can add controls to them, for example, in the same way that you add controls to a frame window.) • When a modal dialog box is active, all input is directed to it until it is closed.
DIALOG BOXES • This means that you cannot access other parts of your program until you have closed the dialog box. • When a modeless dialog box is active, input focus can be directed to another window in your program. • Thus, other parts of your program remain active and accessible. In the AWT, dialog boxes are of type Dialog
DIALOG BOXES
FILEDIALOG • Java provides a built-in dialog box that lets the user specify a file. • To create a file dialog box, instantiate an object of type FileDialog. This causes a file dialog box to be displayed. • Usually, this is the standard file dialog box provided by the operating system.
FILEDIALOG
HANDLING EVENTS BY EXTENDING AWT COMPONENTS • Handling events by extending AWT components. • The delegation event model was introduced in Event handling, and all of the programs in this book so far have used that design. But Java also allows you to handle events by subclassing AWT components. • Doing so allows you to handle events in much the same way as they were handled under the original 1.0 version of Java. Of course, this technique is discouraged, because it has the same disadvantages of the Java 1.0 event model, the main one being inefficiency.
• To extend an AWT component, you must call the enableEvents( ) method of Component. Its general form is shown here:

JAVA Programming: Topic -AWT(Abstract Window Tool )

  • 1.
    JAVA PROGRAMMING -AWT Prof. Navya Francis Asst. Professor Kristu Jayanti College
  • 2.
    ABSTRACT WINDOW TOOLKIT • Java AWT is an API that contains large number of classes and methods to create and manage graphical user interface ( GUI ) applications. • The AWT was designed to provide a common set of tools for GUI design that could work on a variety of platforms. • AWT was Java’s first GUI Framework. • AWT is the foundation upon which Swing is made i.e Swing is a improved GUI API that extends the AWT.
  • 3.
    AWT • Java AWTcomponents are platform-dependent i.e. components are displayed according to the view of operating system. • AWT is heavy weight i.e. its components are using the resources of underlying operating system (OS) • Java AWT components are platform-dependent i.e. components are displayed according to the view of operating system. • The java.awt package provides classes for AWT API such as TextField, Label, TextArea, RadioButton, CheckBox, Choice, List etc.
  • 4.
  • 5.
    COMPONENTS • All theelements like the button, text fields, scroll bars, etc. are called components. • In Java AWT, there are classes for each component as shown in above diagram. • In order to place every component in a particular position on a screen, we need to add them to a container.
  • 6.
    CONTAINER • The Containeris a component in AWT that can contain another components like buttons, textfields, labels etc. • The classes that extends Container class are known as container such as Frame, Dialog and Panel. • It is basically a screen where the components are placed at their specific locations. • Thus it contains and controls the layout of components.
  • 7.
    TYPES OF CONTAINERS: Thereare four types of containers in Java AWT: • Window • Panel • Frame • Dialog
  • 8.
    TYPES OF CONTAINERS: •Window • The window is the container that have no borders and menu bars. You must use frame, dialog or another window for creating a window. We need to create an instance of Window class to create this container • Panel • The Panel is the container that doesn't contain title bar, border or menu bar. It is generic container for holding the components. It can have other components like button, text field etc. An instance of Panel class creates a container, in which we can add components.
  • 9.
    TYPES OF CONTAINERS: •Frame • The Frame is the container that contain title bar and border and can have menu bars. • It can have other components like button, text field, scrollbar etc. • Frame is most widely used container while developing an AWT application. • Frame is a subclass of Window and have resizing canvas.
  • 10.
    TYPES OF CONTAINERS: •The Dialog control • The Dialog control represents a top level window with a border and a title used to take some form of input from the user. • It inherits the Window class. • Unlike Frame, it doesn't have maximize and minimize buttons. • Frame and Dialog both inherits Window class. • Frame has maximize and minimize buttons but Dialog doesn't have.
  • 11.
    CREATING A FRAME Thereare two ways to create a Frame. They are, • By Instantiating Frame class • By extending Frame class
  • 12.
    POINTS TO REMEMBER: •While creating a frame (either by instantiating or extending Frame class), Following two attributes are must for visibility of the frame: • setSize(int width, int height); • setVisible(true); • When you create other components like Buttons, TextFields, etc. Then you need to add it to the frame by using the method - add(Component's Object); • You can add the following method also for resizing the frame - setResizable(true);
  • 13.
  • 14.
  • 15.
  • 16.
    UNDERSTANDING LAYOUT MANAGERS •The layout manager automatically positions all the components within the container. If we do not use layout manager then also the components are positioned by the default layout manager. • Each Container object has a layout manager associated with it. • A layout manager is an instance of any class that implements the LayoutManagerinterface.
  • 17.
    UNDERSTANDING LAYOUT MANAGERS •The layout manager is set by the setLayout( ) method. • If no call to setLayout( ) is made,then the default layout manager is used. • Whenever a container is resized (or sized for the first time), the layout manager is used to position each of the components within it. • The setLayout( ) method has the following general form: • void setLayout(LayoutManager layoutObj)
  • 18.
    FLOWLAYOUT • It isthe default layout manager. • FlowLayout implements a simple layout style, which is similar to how words flow in a text editor. • FlowLayout.LEFT • FlowLayout.CENTER • FlowLayout.RIGHT • FlowLayout.LEADING • FlowLayout.TRAILING • These values specify left, center, right, leading edge, and trailing edge alignment, respectively
  • 19.
    BORDERLAYOUT • The BorderLayoutclass implements a common layout style for top-level windows. • It has four narrow, fixed-width components at the edges and one large area in the center. • The four sides are referred to as north, south, east, and west. The middle area is called the center. BorderLayout defines the following constants that specify the regions: • BorderLayout.CENTER • BorderLayout.SOUTH • BorderLayout.EAST • BorderLayout.WEST • BorderLayout.NORTH
  • 20.
    AWT CONTROL FUNDAMENTALS •The AWT supports the following types of controls: • These controls are subclasses of Component. • Labels • Buttons • Check boxes • Check box groups • Choice control • Lists • Scroll bar • Text field • Text area
  • 21.
    ADDING AND REMOVINGCONTROLS • In order to include a control in a window, we must add it to the window. • So, we must first create an instance of the desired control and then add it to a window by calling add( ), which is defined by Container. • Component add(Component compObj)
  • 22.
    ADDING AND REMOVINGCONTROLS • Once a control has been added, it will automatically be visible whenever its parent window is displayed. • Sometimes we will want to remove a control from a window when the control is no longer needed. • For doing this, call remove( ). • This method is also defined by Container. • It has this general form: void remove(Component obj) Here, obj is a reference to the control that we want to remove. • We can remove all controls by calling removeAll( )
  • 23.
    LABEL • A labelis a user for placing text inside the container. • A label is used only for inputting text. • The label does not imply that the text can be altered or it can be used as a button which can be further worked upon. Label n=new Label("Name:",Label.CENTER);
  • 24.
  • 25.
    BUTTON • This commandgenerates a button in the User Interface. • Clicking on the button would move the command to another page or another web server which is used to show several other outputs in the user interface page. a1=new Button("submit"); a2=new Button("cancel");
  • 26.
  • 27.
    CHECK BOXES • Acheck box is a control that is used to turn an option on or off. It consists of a small box that can either contain a check mark or not. • There is a label associated with each check box that describes what option the box represents. • We change the state of a check box by clicking on it. Check boxes can be used individually or as part of a group. • Check boxes are objects of the Checkbox class • Checkbox checkbox1 = new Checkbox("Hello World");
  • 28.
  • 29.
    CHECKBOX GROUP • Itis possible to create a set of mutually exclusive check boxes in which one and only one check box in the group can be checked at any one time. • These are often called radio buttons. • For creating a set of mutually exclusive check boxes, we must first define the group to which they will belong and then specify that group when we construct the check boxes. • Check box groups are objects of type CheckBoxGroup. CheckboxGroup cb = new CheckboxGroup(); Checkbox checkBox1 = new Checkbox("Hello", cb, true); checkBox1.setBounds (100,100, 50,50);
  • 30.
  • 31.
    MANAGING SCROLL BARS •Scroll bars are used to select continuous values between a specified minimum and maximum. Scroll bars may be oriented horizontally or vertically. • Each end has an arrow that you can click to move the current value of the scroll bar one unit in the direction of the arrow. Scrollbar s=new Scrollbar(); s.setBounds(100,100, 50,100);
  • 32.
  • 33.
    TEXTFIELD • The TextFieldclass implements a single-line text-entry area, usually called an edit control. • Text fields allow the user to enter strings and to edit the text using the arrow keys, cut and paste keys, and mouse selections. na=new TextField(“my name”);
  • 34.
  • 35.
    TEXTAREA • Sometimes asingle line of text input is not enough for a given task. To handle these situations, the AWT includes a simple multiline editor called TextArea. TextArea area=new TextArea("Welcome to the universe"); area.setBounds(10,30, 300,300);
  • 36.
  • 37.
    CHOICE CONTROLS • TheChoice class is used to create a pop -up list of items from which the user may choose. Thus, a Choice control is a form of menu. • When inactive, a Choice component takes up only enough space to show the currently selected item. When the user clicks on it, the whole list of choices pops up, and a new selection can be made. Choice c=new Choice(); c.setBounds(100,100, 75,75); c.add("Subject 1"); c.add("Subject 2"); c.add("Subject 3");
  • 38.
  • 39.
    LISTS • The Listclass provides a compact, multiple-choice, scrolling selection list. • Unlike the Choice object, which shows only the single selected item in the menu, a List object can be constructed to show any number of choices in the visible Window. • It can also be created to allow multiple selections.
  • 40.
  • 41.
    MENU BARS ANDMENUS • A top-level window can have a menu bar associated with it. • A menu bar displays a list of top-level menu choices. • Each choice is associated with a drop-down menu. • This concept is implemented in the AWT by the following classes: MenuBar, Menu,and MenuItem.
  • 42.
    MENU BARS ANDMENUS • In general, a menu bar contains one or more Menu objects. Each Menu object contains a list of MenuItem objects. • Each MenuItem object represents something that can be selected by the user. • Since Menu is a subclass of MenuItem, a hierarchy of nested submenus can be created. • It is also possible to include checkable menu items. • These are menu options of type CheckboxMenuItem and will have a check mark next to them when they are selected.
  • 43.
  • 44.
  • 45.
    • Creating Menubar MenuBarmb=new MenuBar(); • Menu a creation Menu mnu1=new Menu("BCA"); Menu mnu2=new Menu("BBA");
  • 46.
    • sm1 andsm2 will be treated as submenus Menu sm1=new Menu("Semester"); Menu sm2=new Menu("Year"); • adding items and submenus to menu mnu1.add(sm1); mnu1.add(sm2);
  • 47.
    • //adding itemsto submenu sm1.add(i1); sm1.add(i2); sm2.add(i3); • //adding menu to menubar mb.add(mnu1); mb.add(mnu2);
  • 48.
    • Creating menuitems MenuItem i1,i2,i3; i1=new MenuItem("I"); i2=new MenuItem("II"); i3=new MenuItem("2023");
  • 49.
    DIALOG BOXES • Dialogboxes are primarily used to obtain user input and are often child windows of a top-level window. • Dialog boxes don’t have menu bars, but in other respects, they function like frame windows. (You can add controls to them, for example, in the same way that you add controls to a frame window.) • When a modal dialog box is active, all input is directed to it until it is closed.
  • 50.
    DIALOG BOXES • Thismeans that you cannot access other parts of your program until you have closed the dialog box. • When a modeless dialog box is active, input focus can be directed to another window in your program. • Thus, other parts of your program remain active and accessible. In the AWT, dialog boxes are of type Dialog
  • 51.
  • 52.
    FILEDIALOG • Java providesa built-in dialog box that lets the user specify a file. • To create a file dialog box, instantiate an object of type FileDialog. This causes a file dialog box to be displayed. • Usually, this is the standard file dialog box provided by the operating system.
  • 53.
  • 54.
    HANDLING EVENTS BYEXTENDING AWT COMPONENTS • Handling events by extending AWT components. • The delegation event model was introduced in Event handling, and all of the programs in this book so far have used that design. But Java also allows you to handle events by subclassing AWT components. • Doing so allows you to handle events in much the same way as they were handled under the original 1.0 version of Java. Of course, this technique is discouraged, because it has the same disadvantages of the Java 1.0 event model, the main one being inefficiency.
  • 55.
    • To extendan AWT component, you must call the enableEvents( ) method of Component. Its general form is shown here: