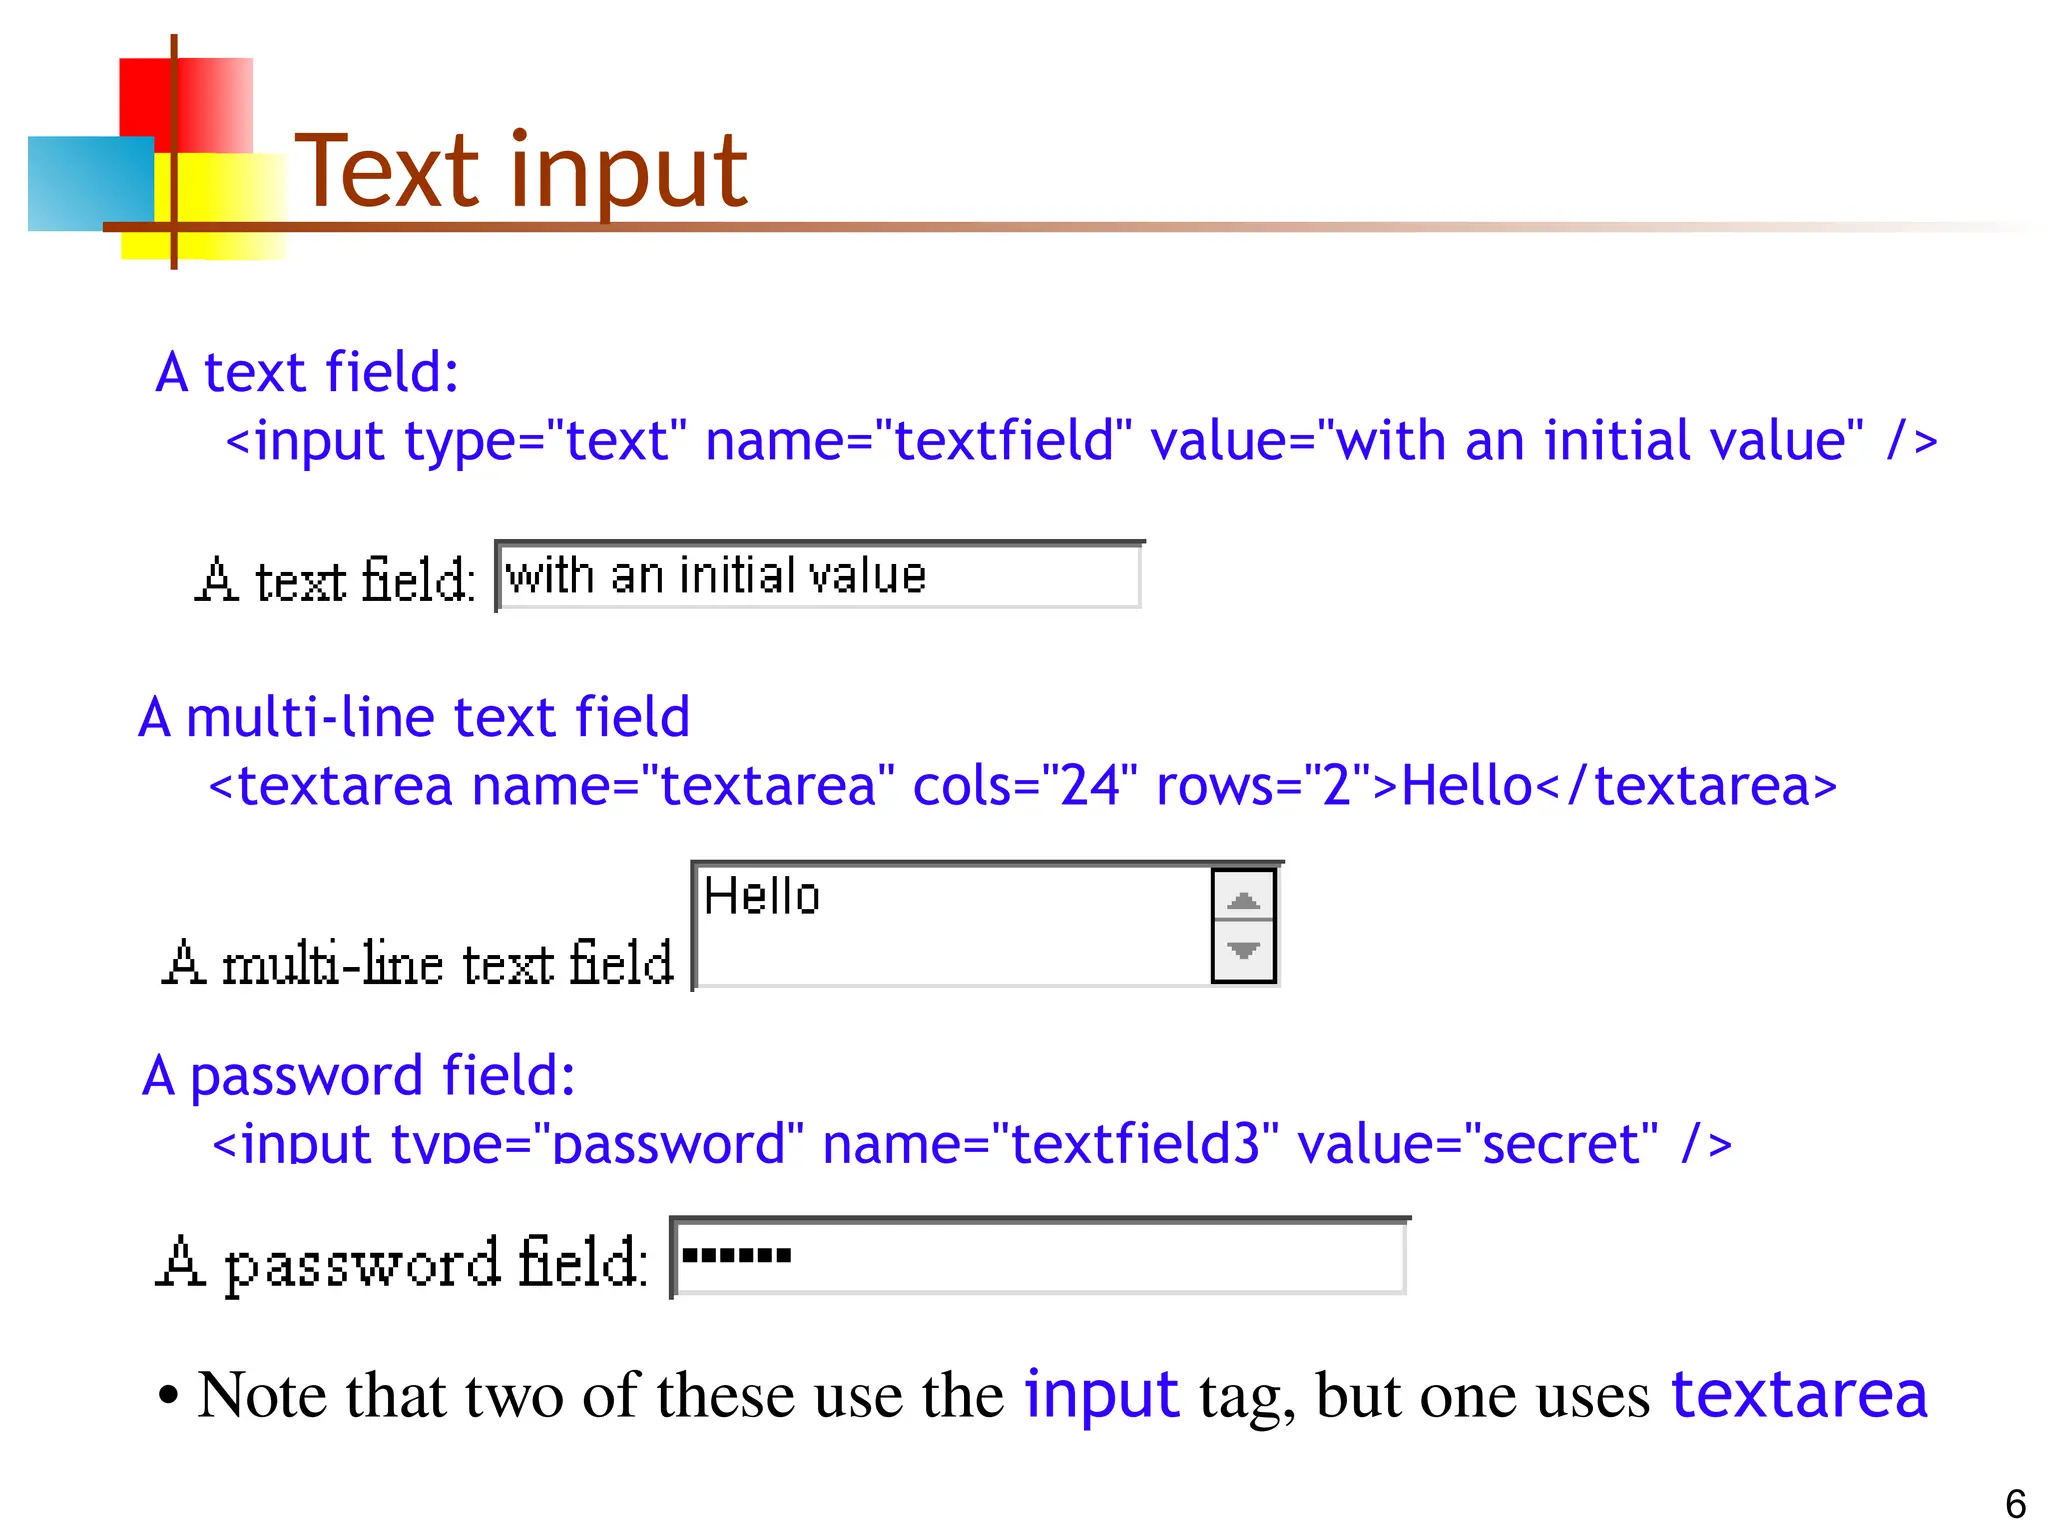
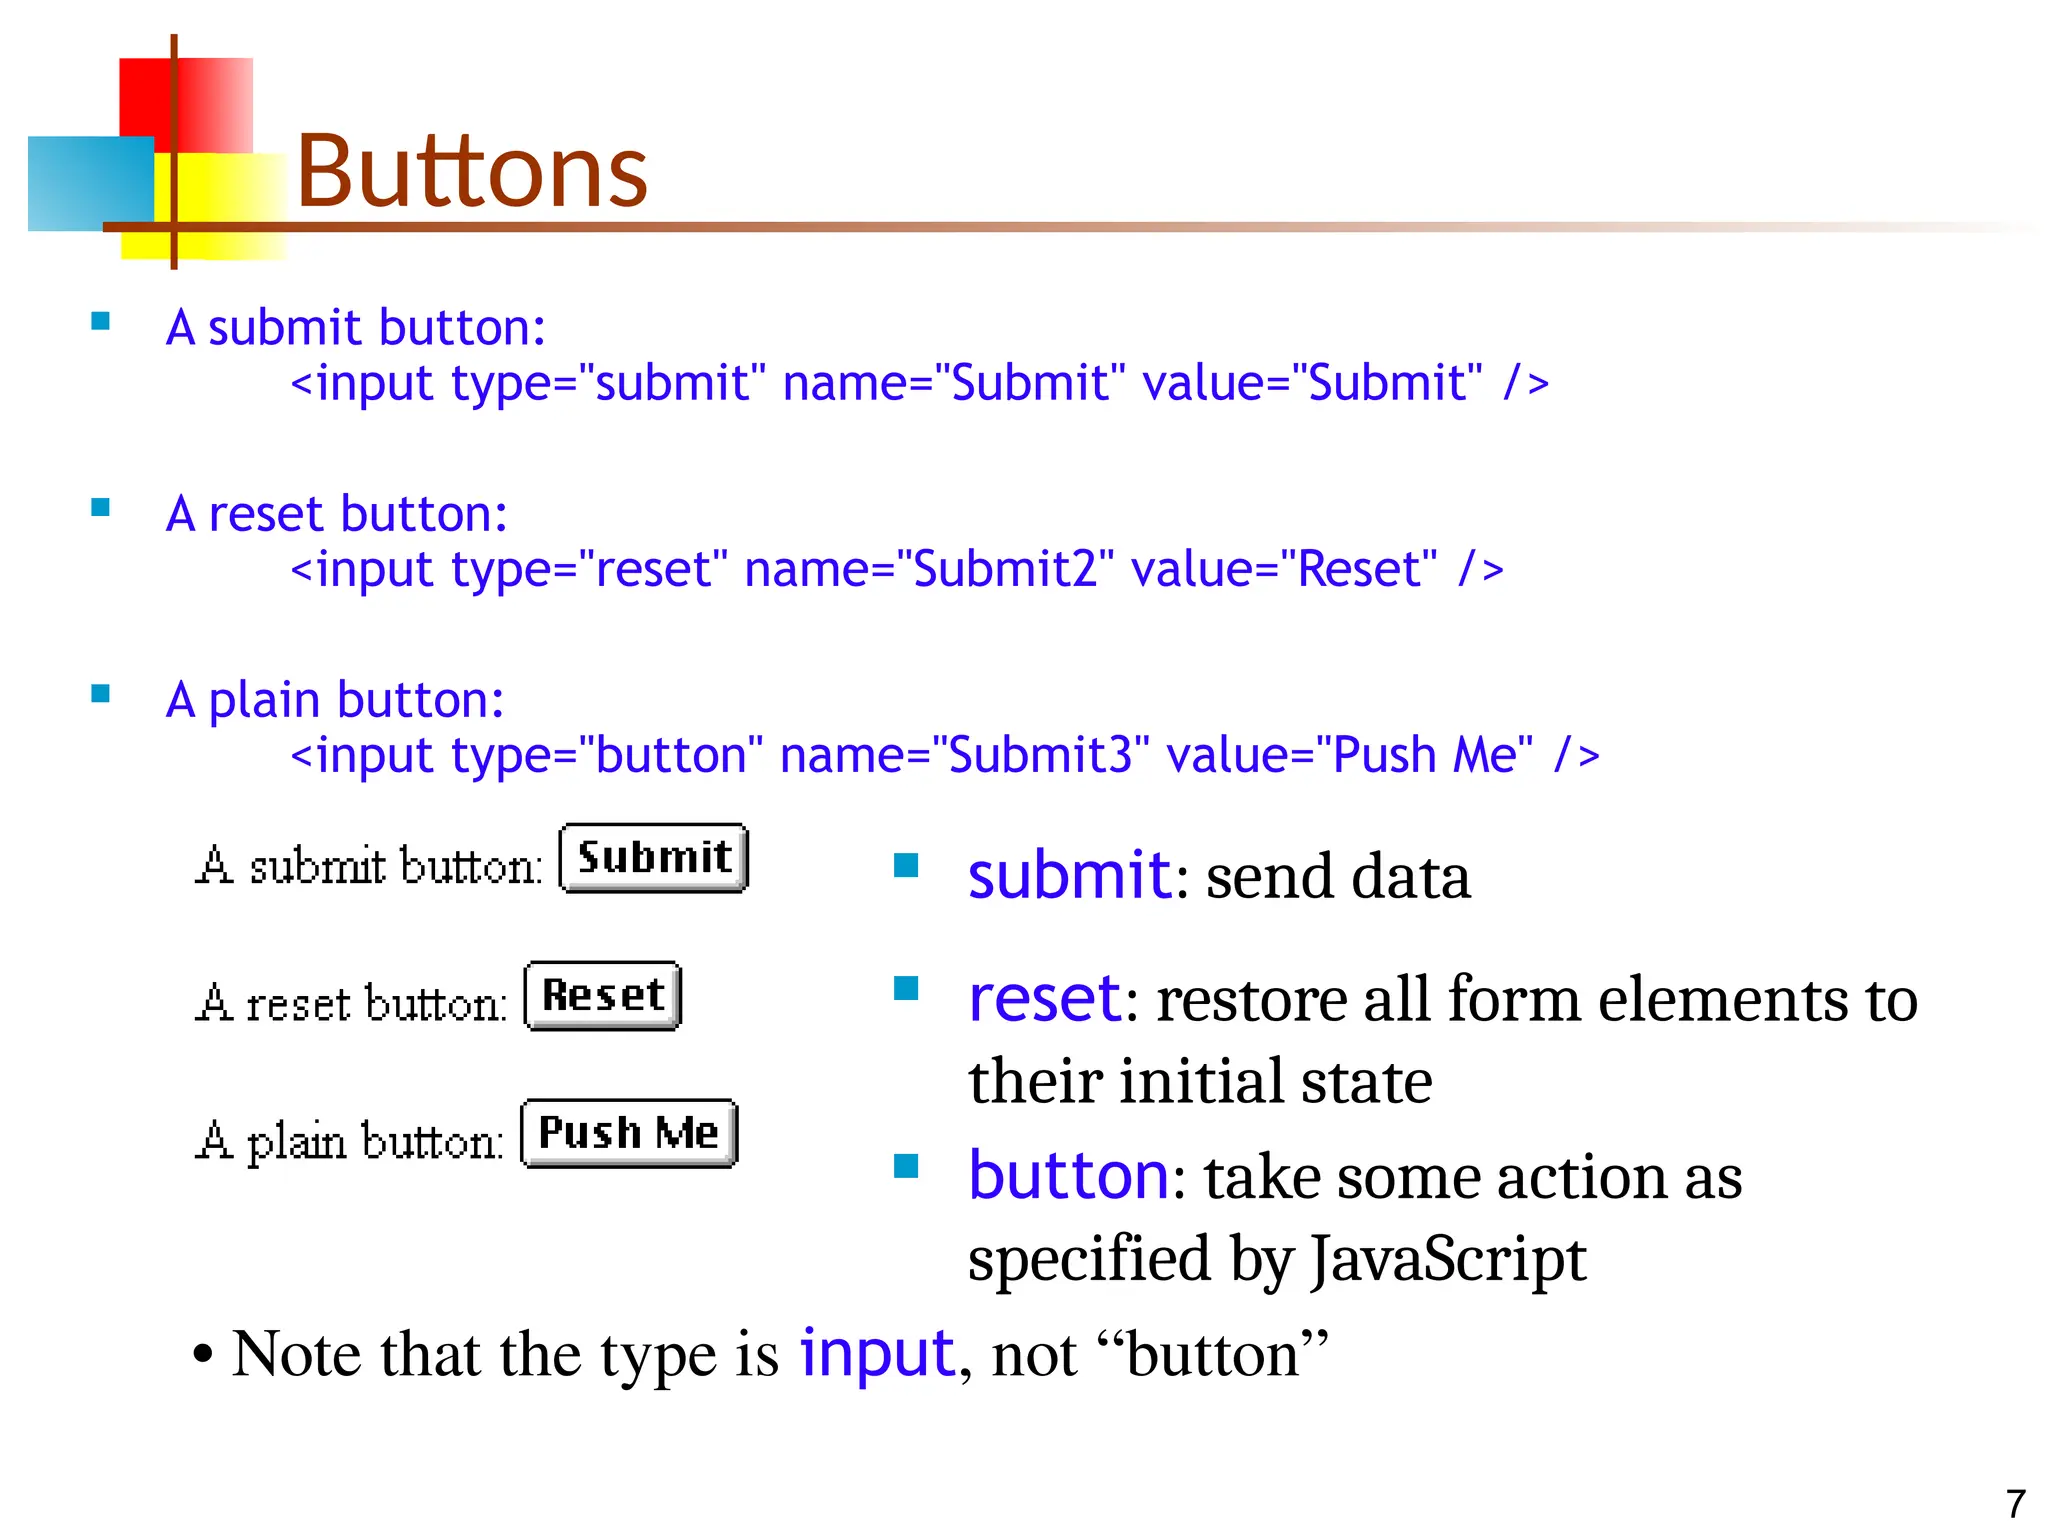
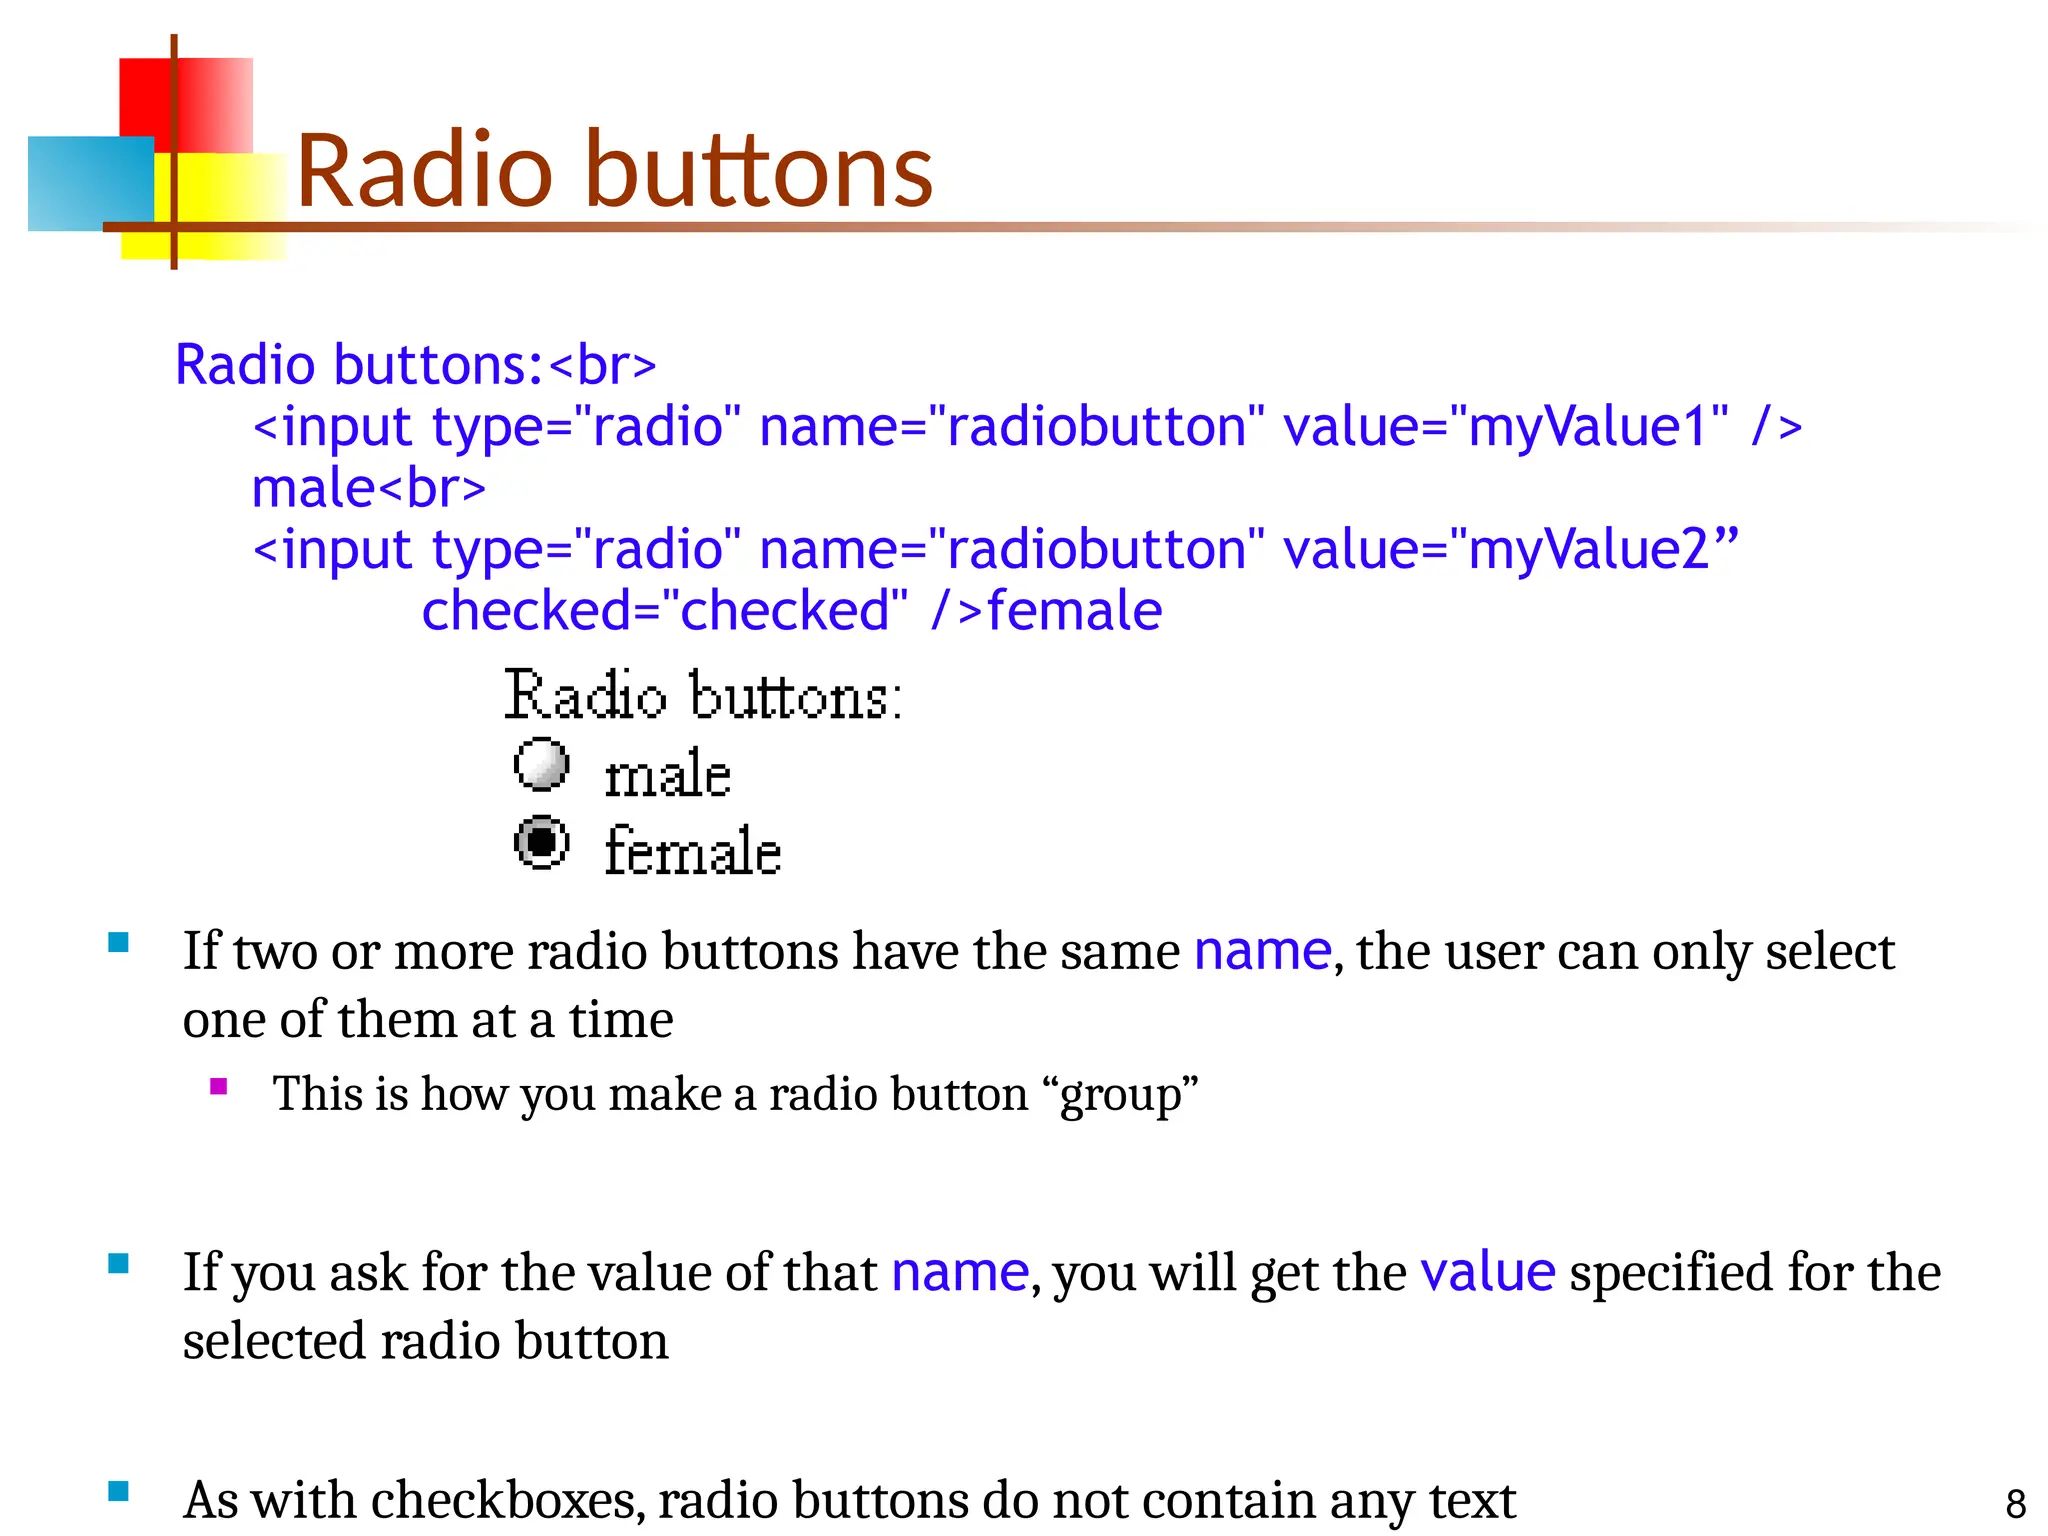
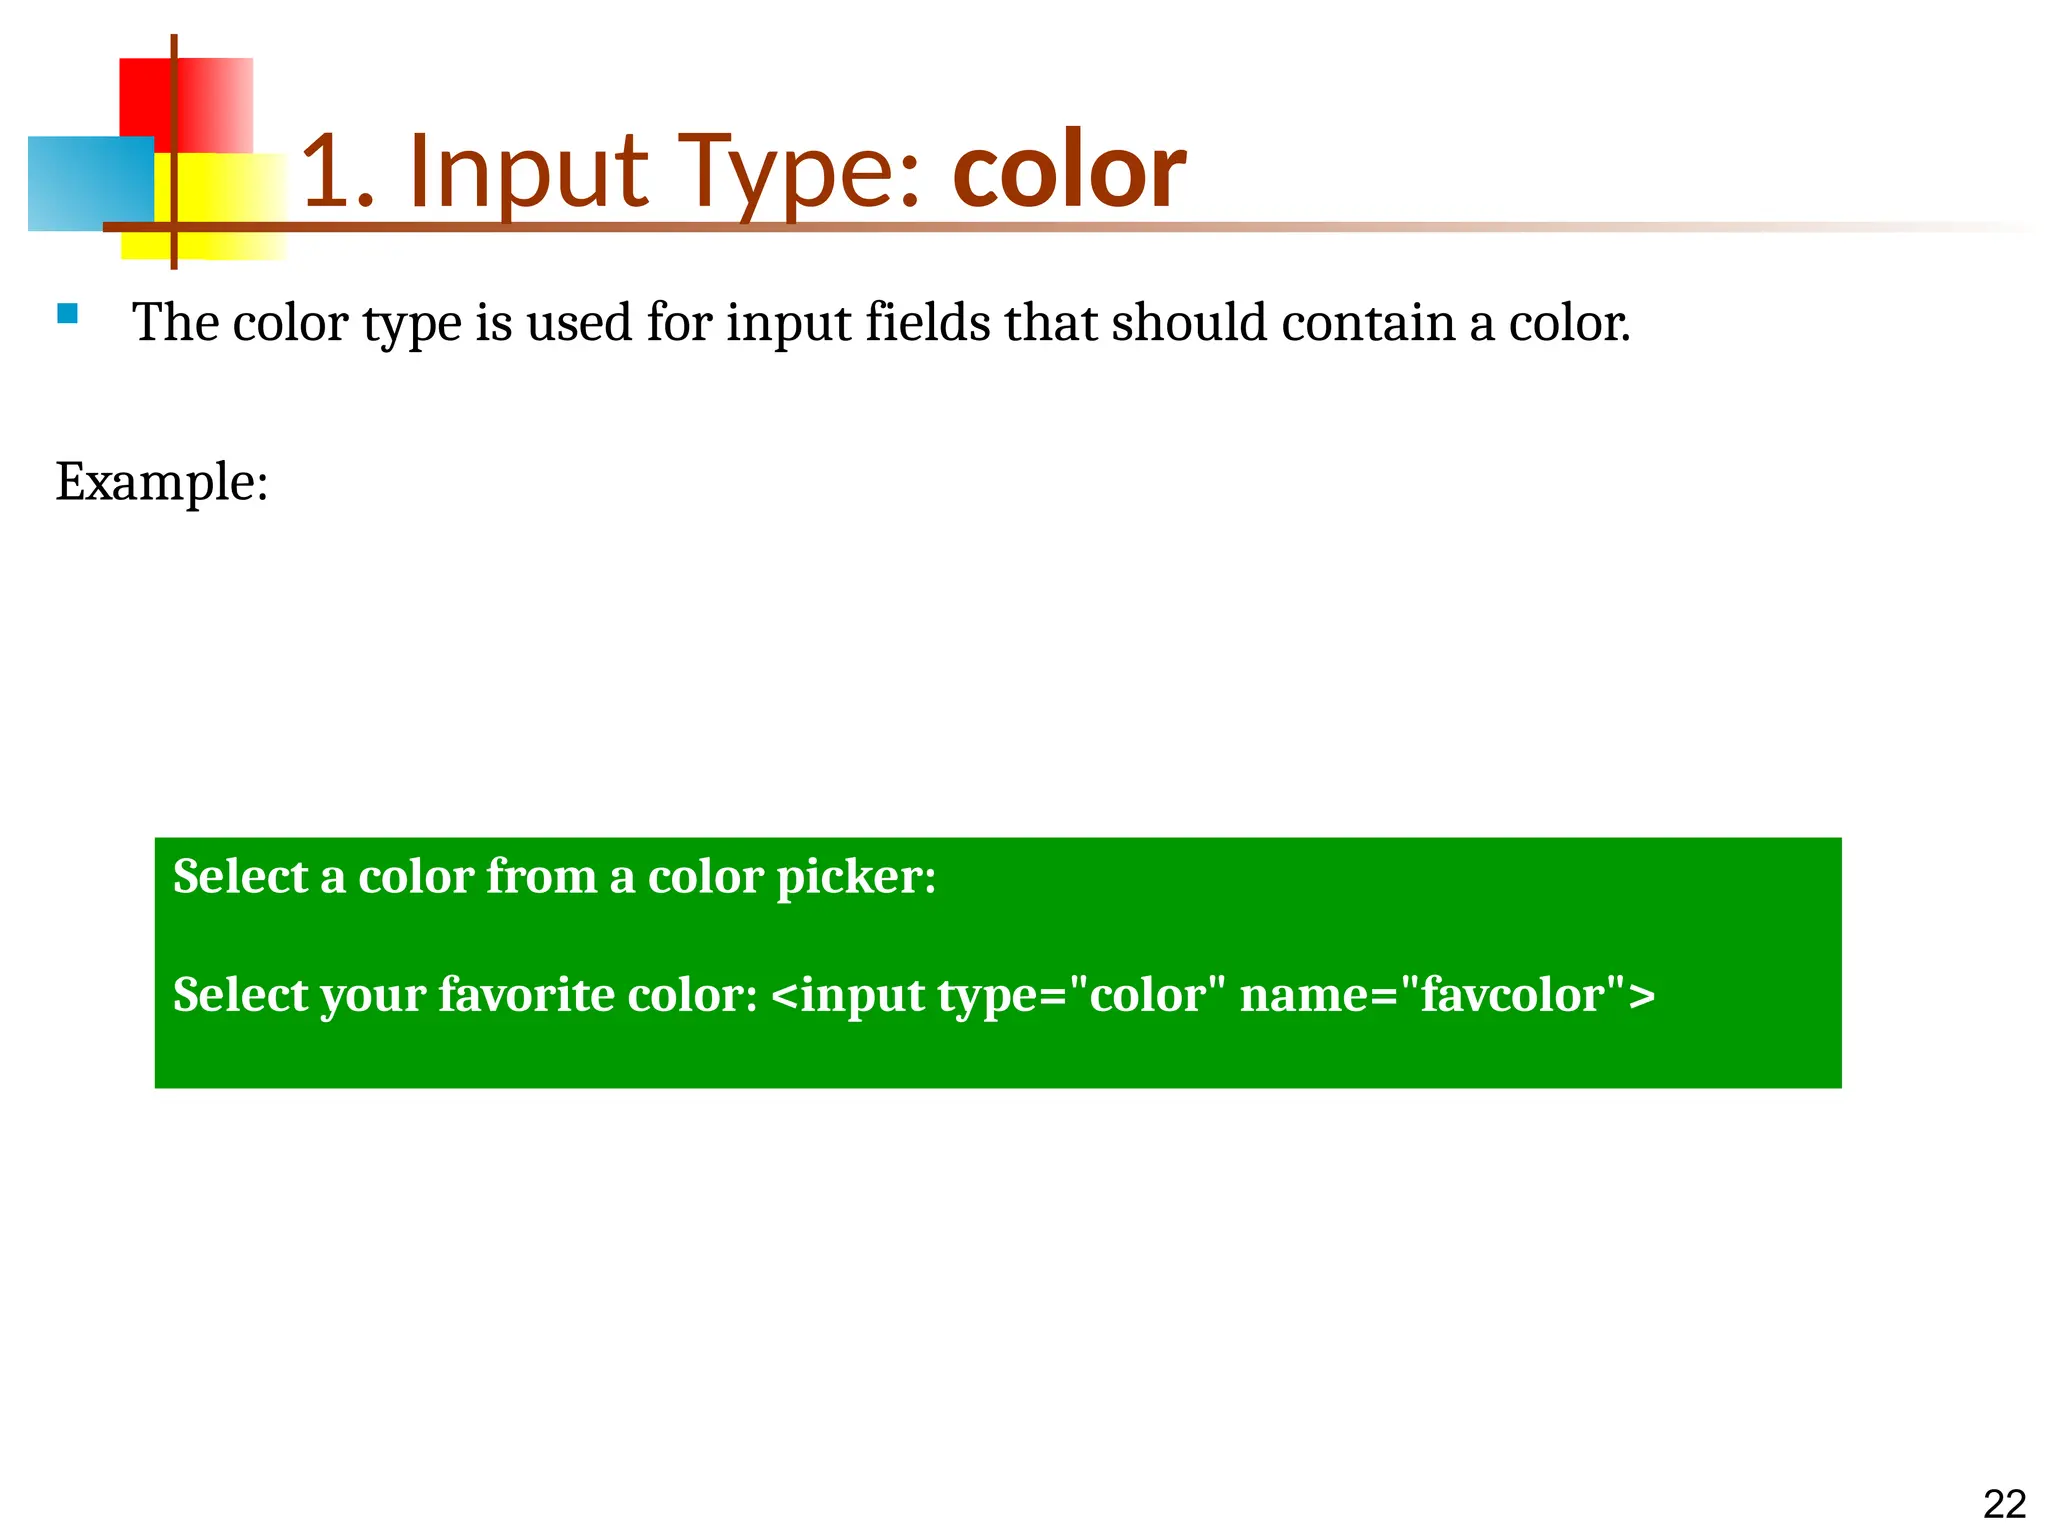
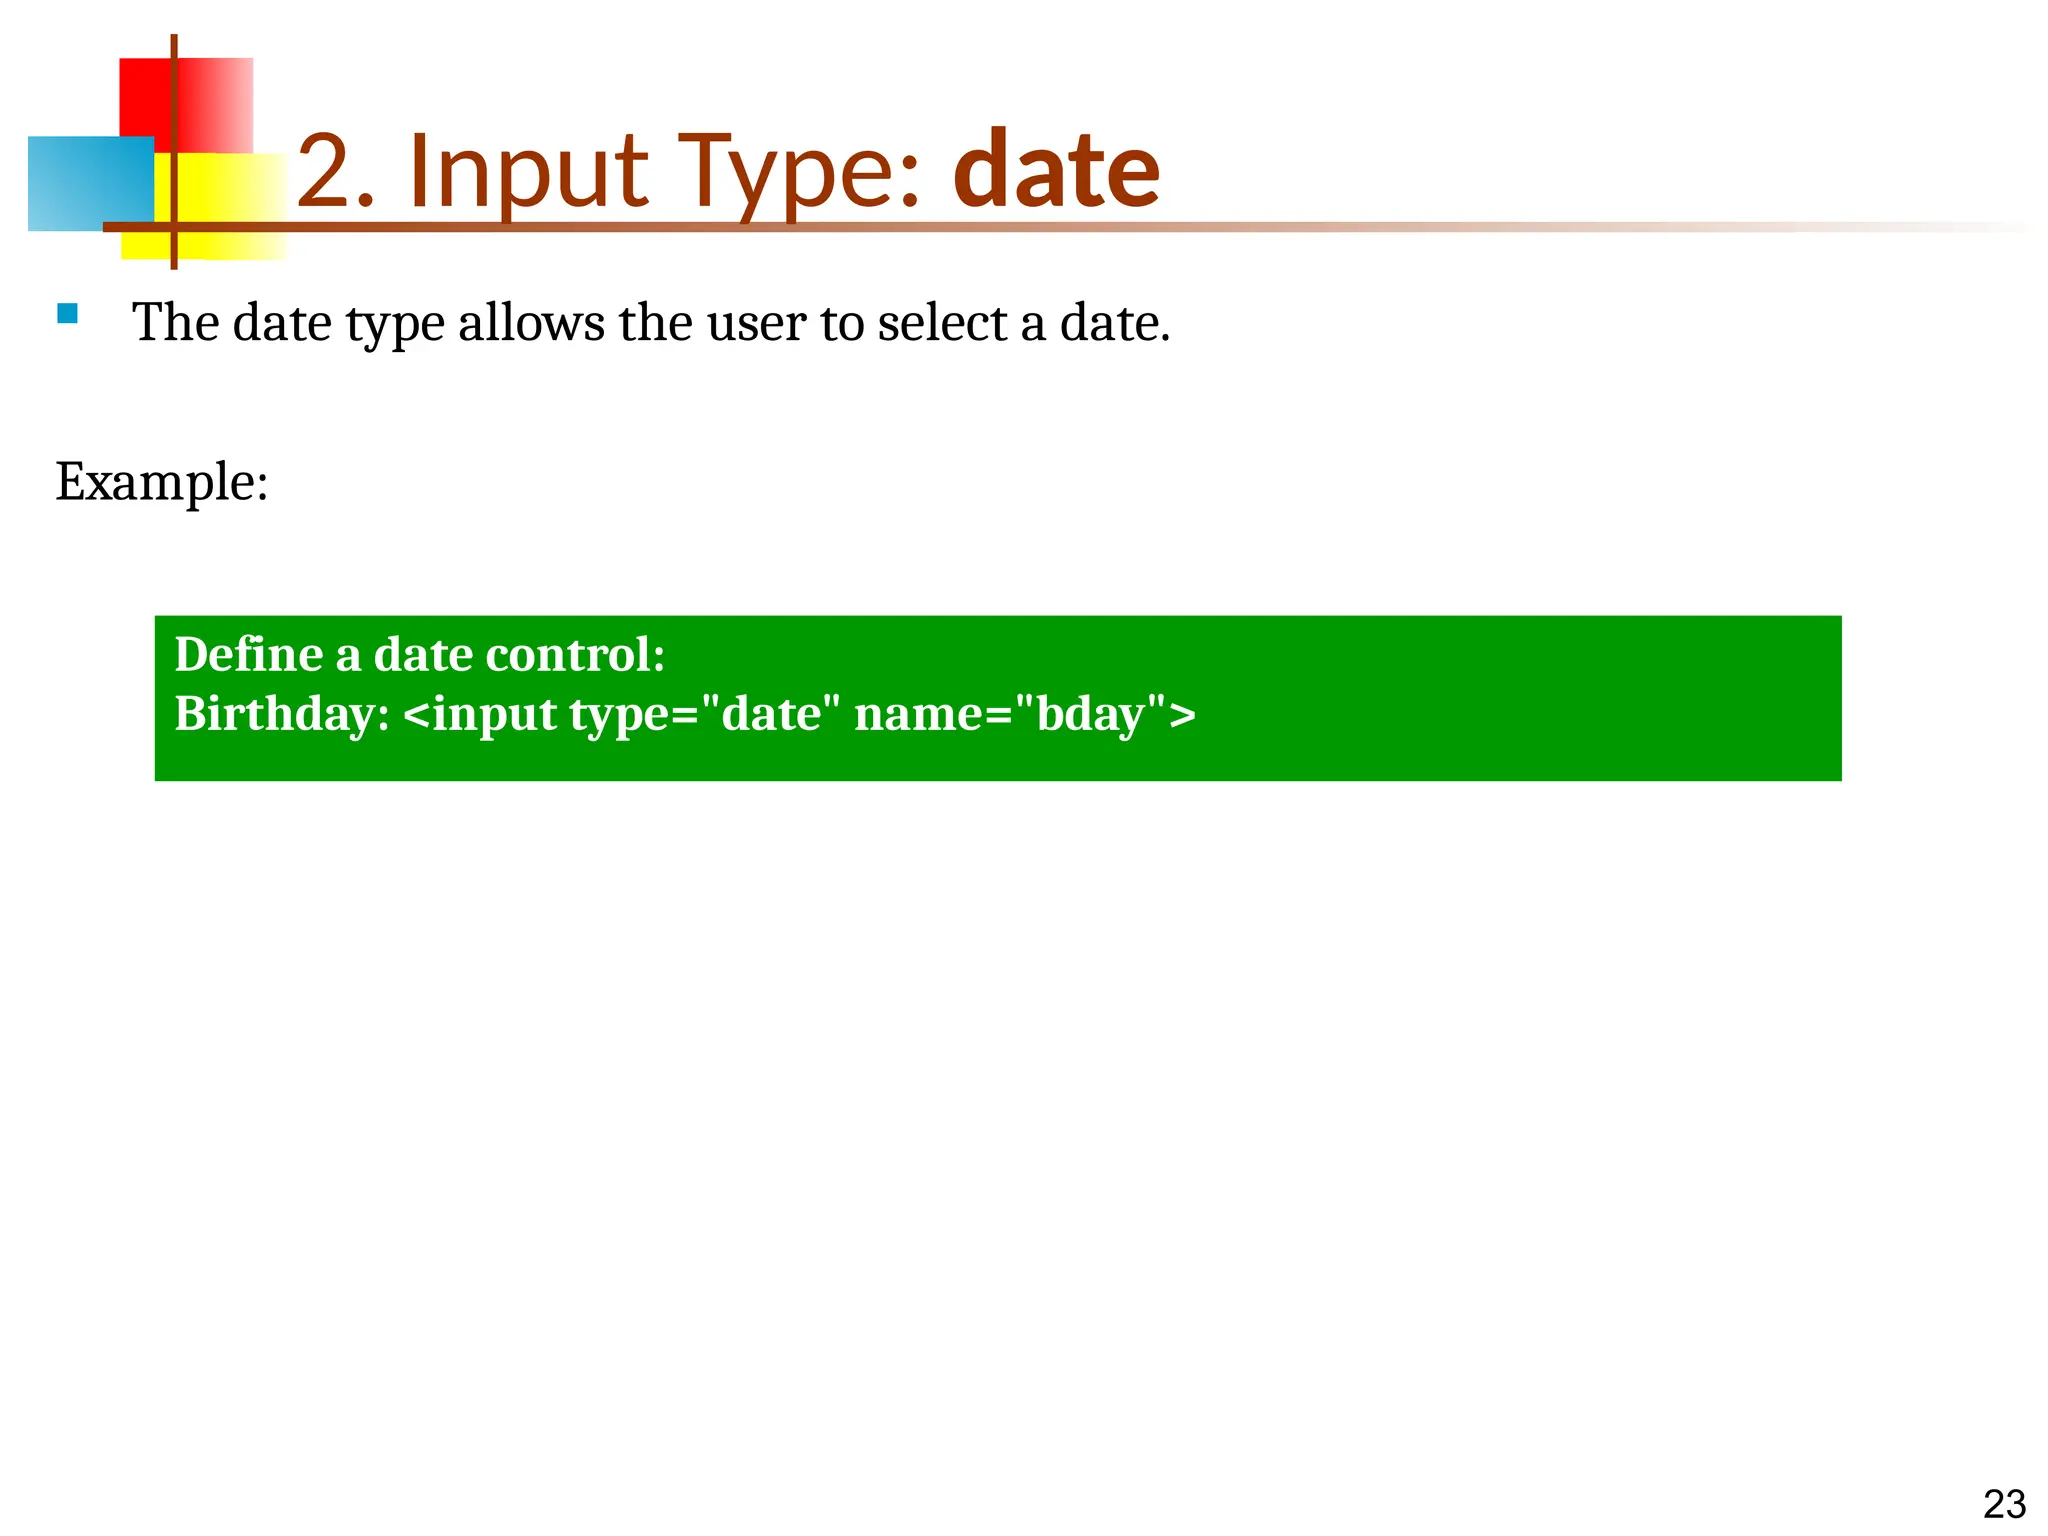
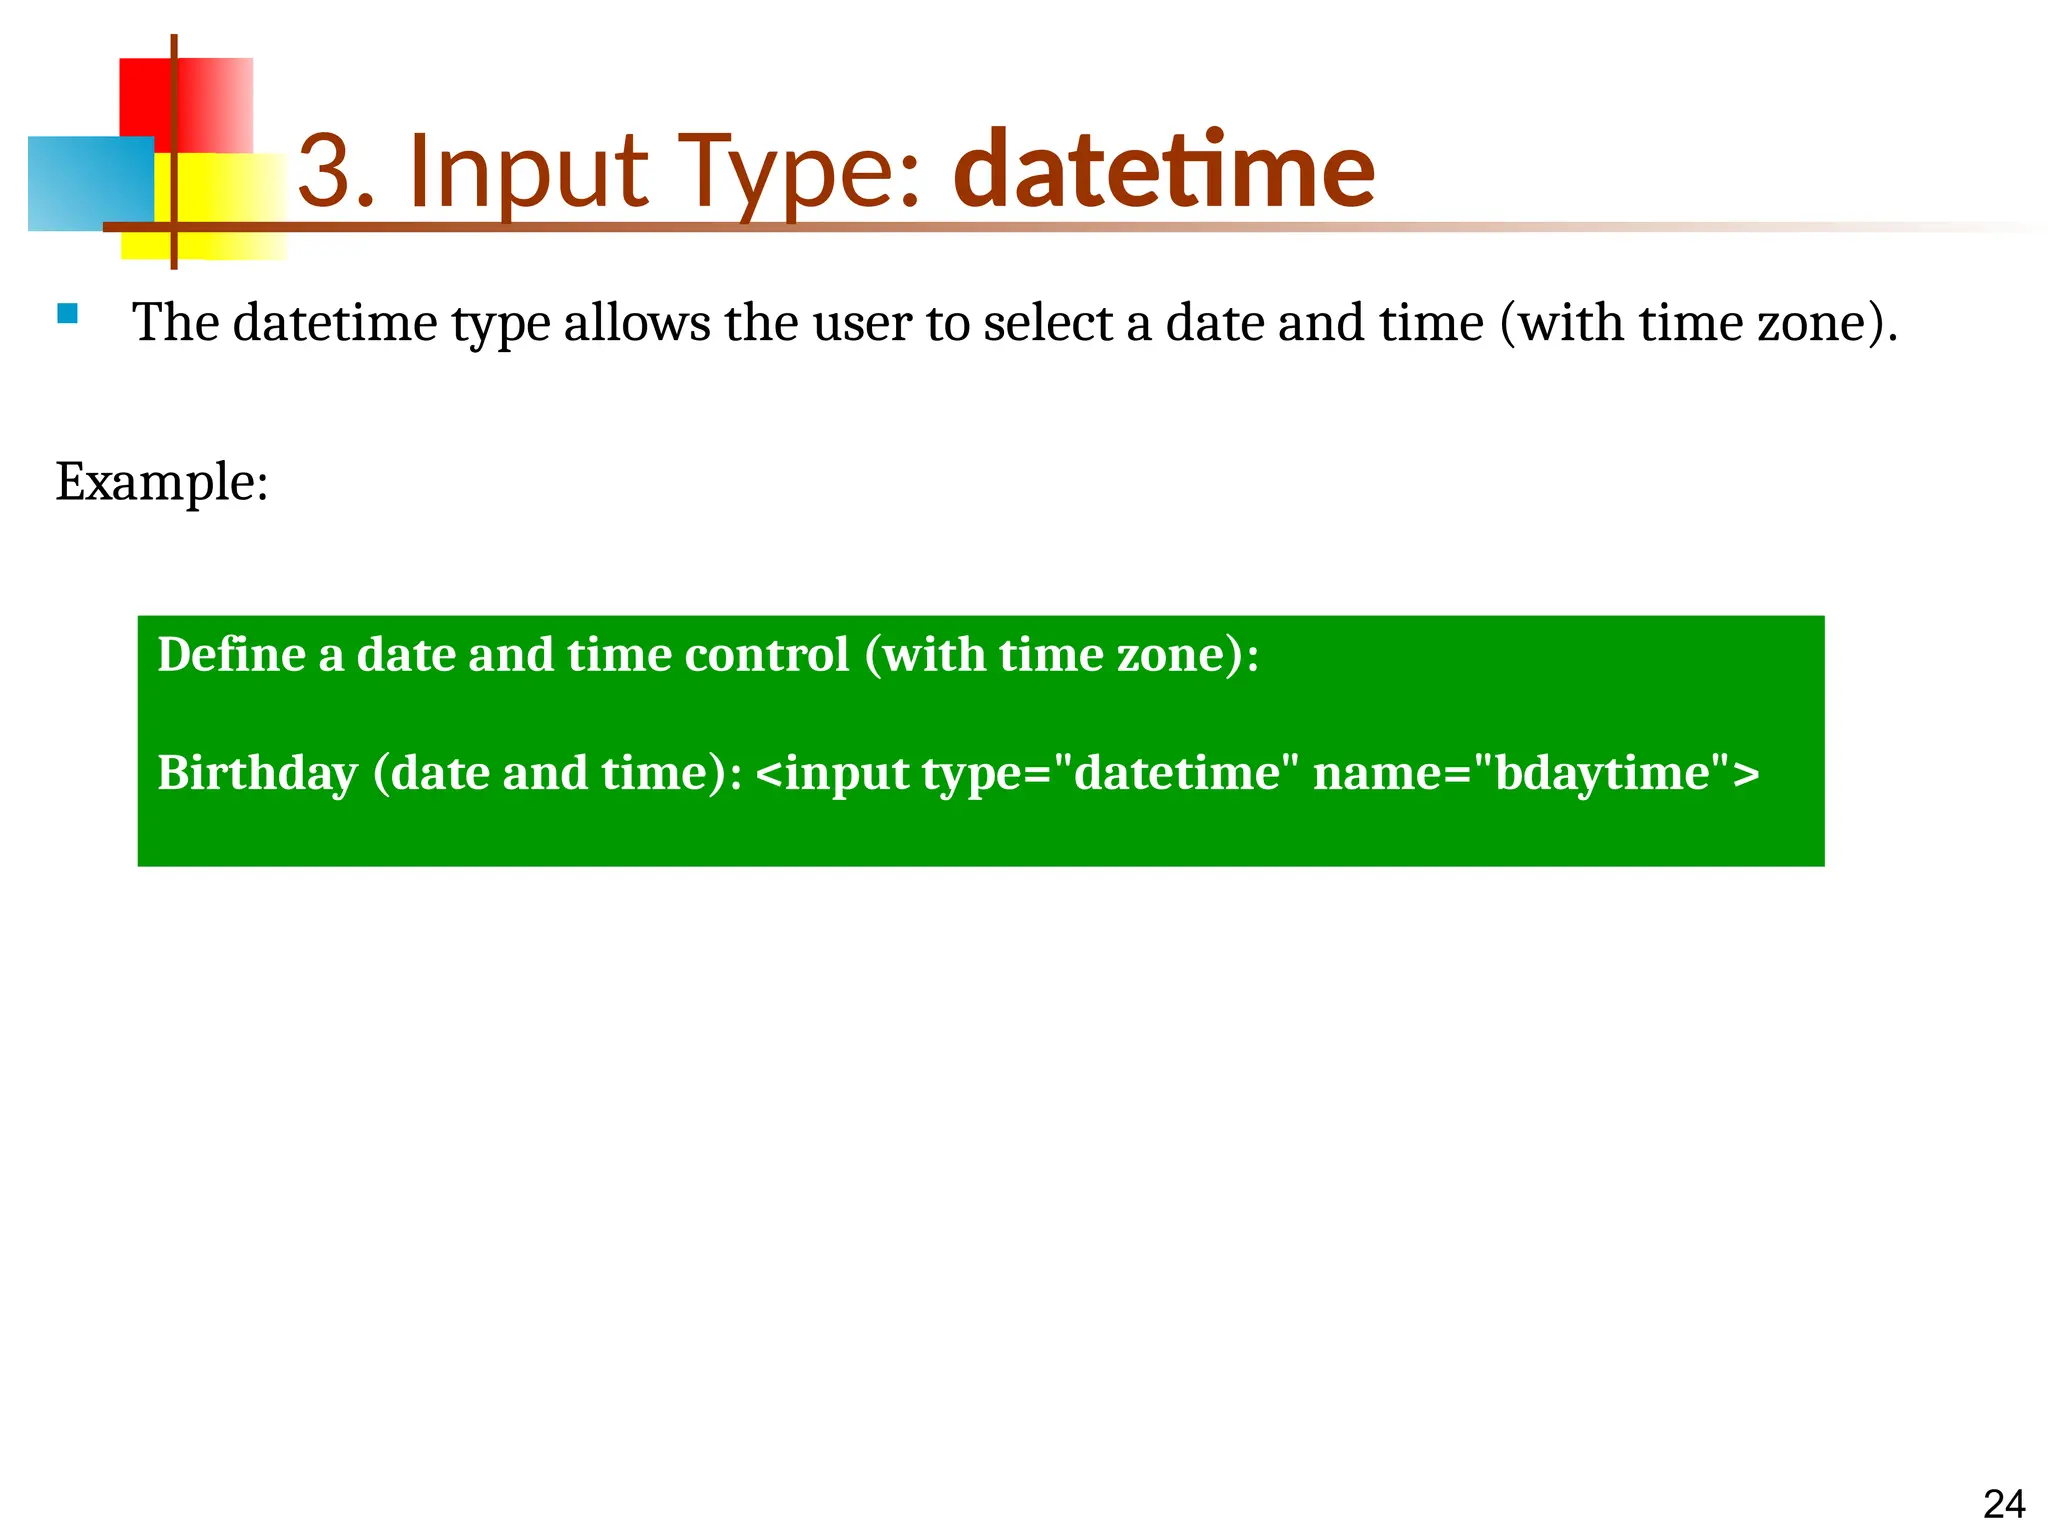
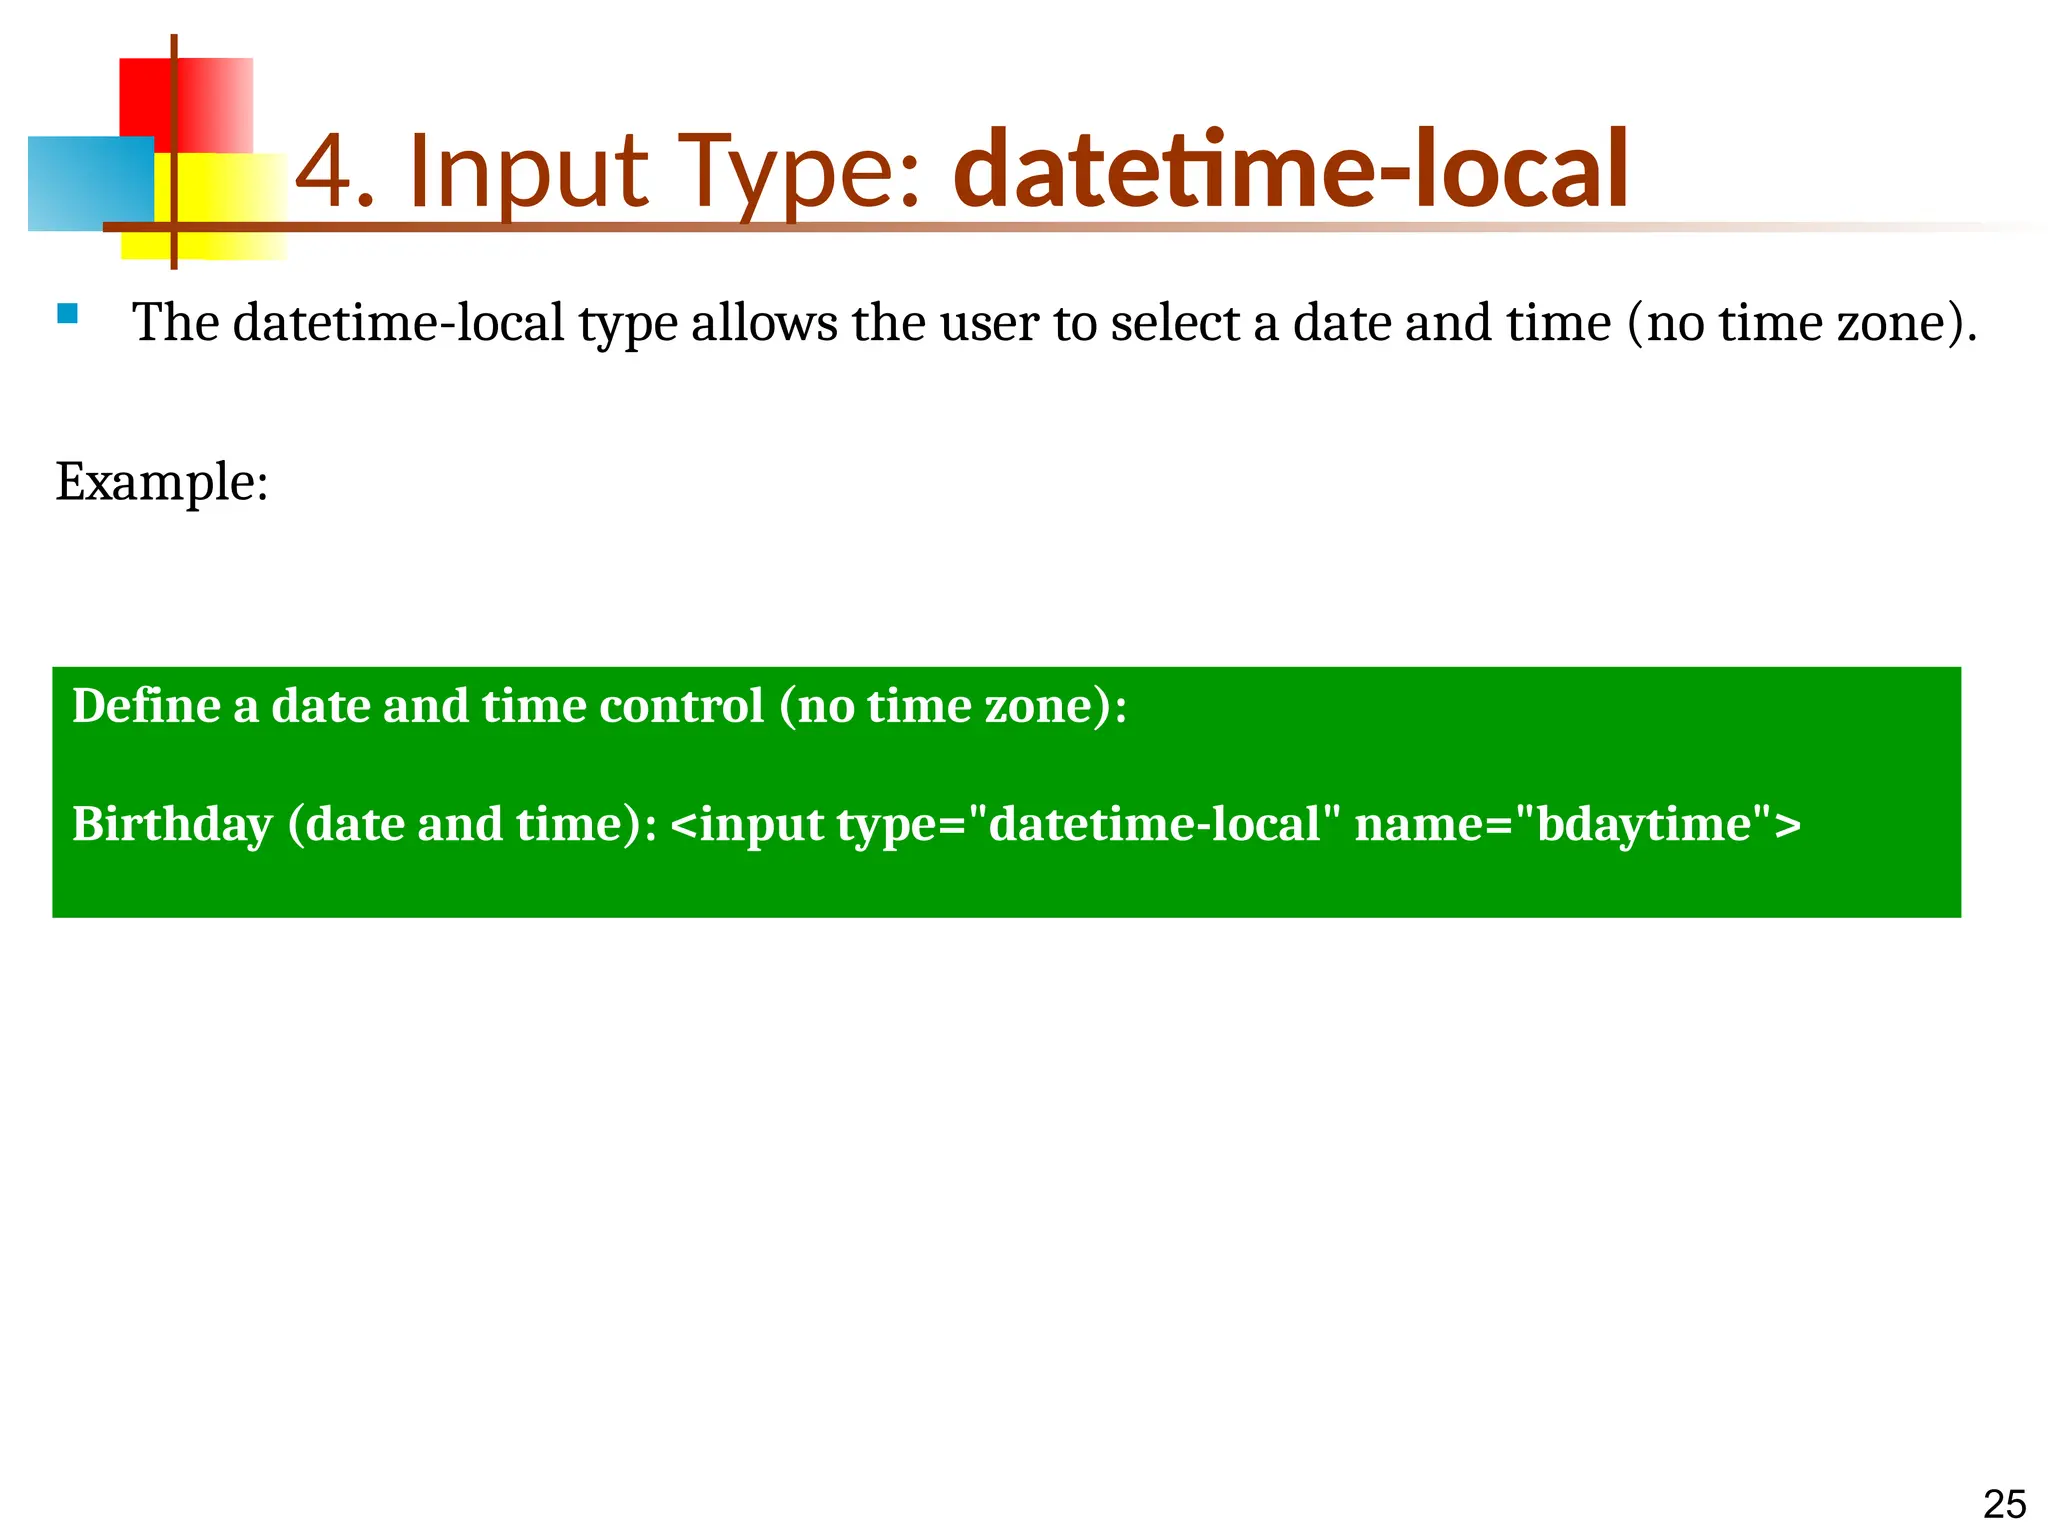
HTML/XHTML Forms
2 What are forms?  <form> is just another kind of XHTML/HTML tag  Forms are used to create (rather primitive) GUIs on Web pages  Usually the purpose is to ask the user for information  The information is then sent back to the server  A form is an area that can contain form elements  The syntax is: <form parameters> ...form elements... </form>  Form elements include: buttons, checkboxes, text fields, radio buttons, drop-down menus, etc  Other kinds of tags can be mixed in with the form elements  A form usually contains a Submit button to send the information in he form elements to the server  The form’s parameters tell JavaScript how to send the information to the server (there are two different ways it could be sent)  Forms can be used for other things, such as a GUI for simple programs
3 Forms and JavaScript  The JavaScript language can be used to make pages that “do something”  You can use JavaScript to write complete programs, but...  Usually you just use snippets of JavaScript here and there throughout your Web page  JavaScript code snippets can be attached to various form elements  For example, you might want to check that a zipcode field contains a 5-digit integer before you send that information to the server  Microsoft calls its version of JavaScript “active scripting”  Forms can be used without JavaScript, and JavaScript can be used without forms, but they work well together  JavaScript for forms is covered in a separate lecture
4 The <form> tag  The <form arguments> ... </form> tag encloses form elements (and probably other elements as well)  The arguments to form tell what to do with the user input  action="url" (required)  Specifies where to send the data when the Submit button is clicked  method="get" (default)  Form data is sent as a URL with ?form_data info appended to the end  Can be used only if data is all ASCII and not more than 100 characters  method="post"  Form data is sent in the body of the URL request  Cannot be bookmarked by most browsers  target="target"  Tells where to open the page sent as a result of the request  target= _blank means open in a new window  target= _top means use the same window
5 The <input> tag  Most, but not all, form elements use the input tag, with a type="..." argument to tell which kind of element it is  type can be text, checkbox, radio, password, hidden, submit, reset, button, file, or image  Other common input tag arguments include:  name: the name of the element  id: a unique identifier for the element  value: the “value” of the element; used in different ways for different values of type  readonly: the value cannot be changed  disabled: the user can’t do anything with this element  Other arguments are defined for the input tag but have meaning only for certain values of type
6 Text input A text field: <input type="text" name="textfield" value="with an initial value" /> A multi-line text field <textarea name="textarea" cols="24" rows="2">Hello</textarea> A password field: <input type="password" name="textfield3" value="secret" /> • Note that two of these use the input tag, but one uses textarea
7 Buttons  A submit button: <input type="submit" name="Submit" value="Submit" />  A reset button: <input type="reset" name="Submit2" value="Reset" />  A plain button: <input type="button" name="Submit3" value="Push Me" />  submit: send data  reset: restore all form elements to their initial state  button: take some action as specified by JavaScript • Note that the type is input, not “button”
8 Radio buttons Radio buttons:<br> <input type="radio" name="radiobutton" value="myValue1" /> male<br> <input type="radio" name="radiobutton" value="myValue2” checked="checked" />female  If two or more radio buttons have the same name, the user can only select one of them at a time  This is how you make a radio button “group”  If you ask for the value of that name, you will get the value specified for the selected radio button  As with checkboxes, radio buttons do not contain any text
9 Labels  In many cases, the labels for controls are not part of the control  <input type="radio" name="gender" value="m" />male  In this case, clicking on the word “male” has no effect  A label tag will bind the text to the control  <label><input type="radio" name="gender" value="m" />male</label>  Clicking on the word “male” now clicks the radio button  w3schools says that you should use the for attribute:  <label for="lname">Last Name:</label> <input type="text" name="lastname" id="lname" />  In my testing (Firefox and Opera), this isn’t necessary, but it may be for some browsers  Labels also help page readers read the page correctly  Some browsers may render labels differently
10 Checkboxes  A checkbox: <input type="checkbox" name="checkbox" value="checkbox" checked="checked">  type: "checkbox"  name: used to reference this form element from JavaScript  value: value to be returned when element is checked  Note that there is no text associated with the checkbox  Unless you use a label tag, only clicking on the box itself has any effect
11 Drop-down menu or list  A menu or list: <select name="select"> <option value="red">red</option> <option value="green">green</option> <option value="BLUE">blue</option> </select>  Additional arguments:  size: the number of items visible in the list (default is "1")  multiple  if set to "true" (or just about anything else), any number of items may be selected  if omitted, only one item may be selected  if set to "false", behavior depends on the particular browser
12 Hidden fields  <input type="hidden" name="hiddenField" value="nyah"> &lt;-- right there, don't you see it?  What good is this?  All input fields are sent back to the server, including hidden fields  This is a way to include information that the user doesn’t need to see (or that you don’t want her to see)  The value of a hidden field can be set programmatically (by JavaScript) before the form is submitted
13 <optgroup> label Attribute  Example: Two option-groups with labels: <select> <optgroup label="Swedish Cars"> <option value="volvo">Volvo</option> <option value="saab">Saab</option> </optgroup> <optgroup label="German Cars"> <option value="mercedes">Mercedes</option> <option value="audi">Audi</option> </optgroup> </select>
14 <fieldset> and <legend>Tags  Example: <form> <fieldset> <legend>Personal Details:</legend> Name: <input type="text"><br> Email: <input type="text"><br> Date of birth: <input type="text"> </fieldset> </form>
15 <progress> Tag  Example: Downloading in progress: <progress value="22" max="100"></progress>
16 <meter> Tag  Example: p>Display the Score:</p> <meter value="2" min="0" max="10">2 out of 10</meter>Passing Score<br> <meter value="0.6">60%</meter>Your Score <p><strong>Note:</strong> The meter tag is not supported in Internet Explorer or Safari 5 (and earlier versions).</p>
17 A complete example <html> <head> <title>Get Identity</title> <meta http-equiv="Content-Type" content="text/html; charset=iso-8859-1"> </head> <body> <p><b>Who are you?</b></p> <form method="post" action=""> <p>Name: <input type="text" name="textfield"> </p> <p>Gender: <label><input type="radio" name="gender" value="m" />Male<label> <label><input type="radio" name="gender" value="f" />Female</label> </p> </form> </body> </html>
18 HTML5 : Form Attributes <input> height and width Attributes  The height and width attributes specify the height and width of an <input> element.  Note: The height and width attributes are only used with <input type="image">. Example: Define an image as the submit button, with height and width attributes: <input type="image" src="img_submit.gif" alt="Submit" width="48" height="48">
19 <input> list Attribute  The list attribute refers to a <datalist> element that contains pre-defined options for an <input> element.  Example: An <input> element with pre-defined values in a <datalist>: <input list="browsers"> <datalist id="browsers"> <option value="Internet Explorer"> <option value="Firefox"> <option value="Chrome"> <option value="Opera"> <option value="Safari"> </datalist>
20 <input> multiple Attribute  The multiple attribute is a boolean attribute.  When present, it specifies that the user is allowed to enter more than one value in the <input> element.  Note: The multiple attribute works with the following input types: email, and file. Example:  A file upload field that accepts multiple values: Select images: <input type="file" name="img" multiple>
21 HTML5 : New Input Types  HTML5 has several new input types for forms. These new features allow better input control and validation.  This chapter covers the new input types: • color • date • datetime • datetime-local • email • month • number • range • search • tel • time • url • week
22 1. Input Type: color  The color type is used for input fields that should contain a color. Example: Select a color from a color picker: Select your favorite color: <input type="color" name="favcolor">
23 2. Input Type: date  The date type allows the user to select a date. Example: Define a date control: Birthday: <input type="date" name="bday">
24 3. Input Type: datetime  The datetime type allows the user to select a date and time (with time zone). Example: Define a date and time control (with time zone): Birthday (date and time): <input type="datetime" name="bdaytime">
25 4. Input Type: datetime-local  The datetime-local type allows the user to select a date and time (no time zone). Example: Define a date and time control (no time zone): Birthday (date and time): <input type="datetime-local" name="bdaytime">
26 5. Input Type: email  The email type is used for input fields that should contain an e-mail address. Example: Define a field for an e-mail address (will be automatically validated when submitted): E-mail: <input type="email" name="email">
27 6. Input Type: month  The month type allows the user to select a month and year.  Example: Define a month and year control (no time zone): Birthday (month and year): <input type="month" name="bdaymonth">
28 7. Input Type: number  The number type is used for input fields that should contain a numeric value.  You can also set restrictions on what numbers are accepted: Example:  Use the following attributes to specify restrictions:  max - specifies the maximum value allowed  min - specifies the minimum value allowed  step - specifies the legal number intervals  value - Specifies the default value Define a numeric field (with restrictions): Quantity (between 1 and 5): <input type="number" name="quantity" min="1" max="5">
29 8. Input Type: range  The range type is used for input fields that should contain a value from a range of numbers.  You can also set restrictions on what numbers are accepted. Example:  Use the following attributes to specify restrictions:  max - specifies the maximum value allowed  min - specifies the minimum value allowed  step - specifies the legal number intervals  value - Specifies the default value Define a control for entering a number whose exact value is not important (like a slider control): <input type="range" name="points" min="1" max="10">
30 9. Input Type: search  The search type is used for search fields (a search field behaves like a regular text field). Example: Define a search field (like a site search, or Google search): Search Google: <input type="search" name="googlesearch">
31 10. Input Type: tel  The tel type is used for input fields that should contain a telephone number. Example: Define a field for entering a telephone number: Telephone: <input type="tel" name="usrtel">
32 11. Input Type: time  The time type allows the user to select a time. Example: Define a control for entering a time (no time zone): Select a time: <input type="time" name="usr_time">
33 12. Input Type: url  The url type is used for input fields that should contain a URL address.  The value of the url field is automatically validated when the form is submitted. Example: Define a field for entering a URL: Add your homepage: <input type="url" name="homepage">
34 13. Input Type: week  The week type allows the user to select a week and year. Example: Define a week and year control (no time zone): Select a week: <input type="week" name="week_year">

HTML Forms: The HTML element represents a document section containing interactive controls for submitting information

  • 1.
  • 2.
    2 What are forms? <form> is just another kind of XHTML/HTML tag  Forms are used to create (rather primitive) GUIs on Web pages  Usually the purpose is to ask the user for information  The information is then sent back to the server  A form is an area that can contain form elements  The syntax is: <form parameters> ...form elements... </form>  Form elements include: buttons, checkboxes, text fields, radio buttons, drop-down menus, etc  Other kinds of tags can be mixed in with the form elements  A form usually contains a Submit button to send the information in he form elements to the server  The form’s parameters tell JavaScript how to send the information to the server (there are two different ways it could be sent)  Forms can be used for other things, such as a GUI for simple programs
  • 3.
    3 Forms and JavaScript The JavaScript language can be used to make pages that “do something”  You can use JavaScript to write complete programs, but...  Usually you just use snippets of JavaScript here and there throughout your Web page  JavaScript code snippets can be attached to various form elements  For example, you might want to check that a zipcode field contains a 5-digit integer before you send that information to the server  Microsoft calls its version of JavaScript “active scripting”  Forms can be used without JavaScript, and JavaScript can be used without forms, but they work well together  JavaScript for forms is covered in a separate lecture
  • 4.
    4 The <form> tag The <form arguments> ... </form> tag encloses form elements (and probably other elements as well)  The arguments to form tell what to do with the user input  action="url" (required)  Specifies where to send the data when the Submit button is clicked  method="get" (default)  Form data is sent as a URL with ?form_data info appended to the end  Can be used only if data is all ASCII and not more than 100 characters  method="post"  Form data is sent in the body of the URL request  Cannot be bookmarked by most browsers  target="target"  Tells where to open the page sent as a result of the request  target= _blank means open in a new window  target= _top means use the same window
  • 5.
    5 The <input> tag Most, but not all, form elements use the input tag, with a type="..." argument to tell which kind of element it is  type can be text, checkbox, radio, password, hidden, submit, reset, button, file, or image  Other common input tag arguments include:  name: the name of the element  id: a unique identifier for the element  value: the “value” of the element; used in different ways for different values of type  readonly: the value cannot be changed  disabled: the user can’t do anything with this element  Other arguments are defined for the input tag but have meaning only for certain values of type
  • 6.
    6 Text input A textfield: <input type="text" name="textfield" value="with an initial value" /> A multi-line text field <textarea name="textarea" cols="24" rows="2">Hello</textarea> A password field: <input type="password" name="textfield3" value="secret" /> • Note that two of these use the input tag, but one uses textarea
  • 7.
    7 Buttons  A submitbutton: <input type="submit" name="Submit" value="Submit" />  A reset button: <input type="reset" name="Submit2" value="Reset" />  A plain button: <input type="button" name="Submit3" value="Push Me" />  submit: send data  reset: restore all form elements to their initial state  button: take some action as specified by JavaScript • Note that the type is input, not “button”
  • 8.
    8 Radio buttons Radio buttons:<br> <inputtype="radio" name="radiobutton" value="myValue1" /> male<br> <input type="radio" name="radiobutton" value="myValue2” checked="checked" />female  If two or more radio buttons have the same name, the user can only select one of them at a time  This is how you make a radio button “group”  If you ask for the value of that name, you will get the value specified for the selected radio button  As with checkboxes, radio buttons do not contain any text
  • 9.
    9 Labels  In manycases, the labels for controls are not part of the control  <input type="radio" name="gender" value="m" />male  In this case, clicking on the word “male” has no effect  A label tag will bind the text to the control  <label><input type="radio" name="gender" value="m" />male</label>  Clicking on the word “male” now clicks the radio button  w3schools says that you should use the for attribute:  <label for="lname">Last Name:</label> <input type="text" name="lastname" id="lname" />  In my testing (Firefox and Opera), this isn’t necessary, but it may be for some browsers  Labels also help page readers read the page correctly  Some browsers may render labels differently
  • 10.
    10 Checkboxes  A checkbox: <inputtype="checkbox" name="checkbox" value="checkbox" checked="checked">  type: "checkbox"  name: used to reference this form element from JavaScript  value: value to be returned when element is checked  Note that there is no text associated with the checkbox  Unless you use a label tag, only clicking on the box itself has any effect
  • 11.
    11 Drop-down menu orlist  A menu or list: <select name="select"> <option value="red">red</option> <option value="green">green</option> <option value="BLUE">blue</option> </select>  Additional arguments:  size: the number of items visible in the list (default is "1")  multiple  if set to "true" (or just about anything else), any number of items may be selected  if omitted, only one item may be selected  if set to "false", behavior depends on the particular browser
  • 12.
    12 Hidden fields  <inputtype="hidden" name="hiddenField" value="nyah"> &lt;-- right there, don't you see it?  What good is this?  All input fields are sent back to the server, including hidden fields  This is a way to include information that the user doesn’t need to see (or that you don’t want her to see)  The value of a hidden field can be set programmatically (by JavaScript) before the form is submitted
  • 13.
    13 <optgroup> label Attribute Example: Two option-groups with labels: <select> <optgroup label="Swedish Cars"> <option value="volvo">Volvo</option> <option value="saab">Saab</option> </optgroup> <optgroup label="German Cars"> <option value="mercedes">Mercedes</option> <option value="audi">Audi</option> </optgroup> </select>
  • 14.
    14 <fieldset> and <legend>Tags Example: <form> <fieldset> <legend>Personal Details:</legend> Name: <input type="text"><br> Email: <input type="text"><br> Date of birth: <input type="text"> </fieldset> </form>
  • 15.
    15 <progress> Tag  Example: Downloadingin progress: <progress value="22" max="100"></progress>
  • 16.
    16 <meter> Tag  Example: p>Displaythe Score:</p> <meter value="2" min="0" max="10">2 out of 10</meter>Passing Score<br> <meter value="0.6">60%</meter>Your Score <p><strong>Note:</strong> The meter tag is not supported in Internet Explorer or Safari 5 (and earlier versions).</p>
  • 17.
    17 A complete example <html> <head> <title>GetIdentity</title> <meta http-equiv="Content-Type" content="text/html; charset=iso-8859-1"> </head> <body> <p><b>Who are you?</b></p> <form method="post" action=""> <p>Name: <input type="text" name="textfield"> </p> <p>Gender: <label><input type="radio" name="gender" value="m" />Male<label> <label><input type="radio" name="gender" value="f" />Female</label> </p> </form> </body> </html>
  • 18.
    18 HTML5 : FormAttributes <input> height and width Attributes  The height and width attributes specify the height and width of an <input> element.  Note: The height and width attributes are only used with <input type="image">. Example: Define an image as the submit button, with height and width attributes: <input type="image" src="img_submit.gif" alt="Submit" width="48" height="48">
  • 19.
    19 <input> list Attribute The list attribute refers to a <datalist> element that contains pre-defined options for an <input> element.  Example: An <input> element with pre-defined values in a <datalist>: <input list="browsers"> <datalist id="browsers"> <option value="Internet Explorer"> <option value="Firefox"> <option value="Chrome"> <option value="Opera"> <option value="Safari"> </datalist>
  • 20.
    20 <input> multiple Attribute The multiple attribute is a boolean attribute.  When present, it specifies that the user is allowed to enter more than one value in the <input> element.  Note: The multiple attribute works with the following input types: email, and file. Example:  A file upload field that accepts multiple values: Select images: <input type="file" name="img" multiple>
  • 21.
    21 HTML5 : NewInput Types  HTML5 has several new input types for forms. These new features allow better input control and validation.  This chapter covers the new input types: • color • date • datetime • datetime-local • email • month • number • range • search • tel • time • url • week
  • 22.
    22 1. Input Type:color  The color type is used for input fields that should contain a color. Example: Select a color from a color picker: Select your favorite color: <input type="color" name="favcolor">
  • 23.
    23 2. Input Type:date  The date type allows the user to select a date. Example: Define a date control: Birthday: <input type="date" name="bday">
  • 24.
    24 3. Input Type:datetime  The datetime type allows the user to select a date and time (with time zone). Example: Define a date and time control (with time zone): Birthday (date and time): <input type="datetime" name="bdaytime">
  • 25.
    25 4. Input Type:datetime-local  The datetime-local type allows the user to select a date and time (no time zone). Example: Define a date and time control (no time zone): Birthday (date and time): <input type="datetime-local" name="bdaytime">
  • 26.
    26 5. Input Type:email  The email type is used for input fields that should contain an e-mail address. Example: Define a field for an e-mail address (will be automatically validated when submitted): E-mail: <input type="email" name="email">
  • 27.
    27 6. Input Type:month  The month type allows the user to select a month and year.  Example: Define a month and year control (no time zone): Birthday (month and year): <input type="month" name="bdaymonth">
  • 28.
    28 7. Input Type:number  The number type is used for input fields that should contain a numeric value.  You can also set restrictions on what numbers are accepted: Example:  Use the following attributes to specify restrictions:  max - specifies the maximum value allowed  min - specifies the minimum value allowed  step - specifies the legal number intervals  value - Specifies the default value Define a numeric field (with restrictions): Quantity (between 1 and 5): <input type="number" name="quantity" min="1" max="5">
  • 29.
    29 8. Input Type:range  The range type is used for input fields that should contain a value from a range of numbers.  You can also set restrictions on what numbers are accepted. Example:  Use the following attributes to specify restrictions:  max - specifies the maximum value allowed  min - specifies the minimum value allowed  step - specifies the legal number intervals  value - Specifies the default value Define a control for entering a number whose exact value is not important (like a slider control): <input type="range" name="points" min="1" max="10">
  • 30.
    30 9. Input Type:search  The search type is used for search fields (a search field behaves like a regular text field). Example: Define a search field (like a site search, or Google search): Search Google: <input type="search" name="googlesearch">
  • 31.
    31 10. Input Type:tel  The tel type is used for input fields that should contain a telephone number. Example: Define a field for entering a telephone number: Telephone: <input type="tel" name="usrtel">
  • 32.
    32 11. Input Type:time  The time type allows the user to select a time. Example: Define a control for entering a time (no time zone): Select a time: <input type="time" name="usr_time">
  • 33.
    33 12. Input Type:url  The url type is used for input fields that should contain a URL address.  The value of the url field is automatically validated when the form is submitted. Example: Define a field for entering a URL: Add your homepage: <input type="url" name="homepage">
  • 34.
    34 13. Input Type:week  The week type allows the user to select a week and year. Example: Define a week and year control (no time zone): Select a week: <input type="week" name="week_year">