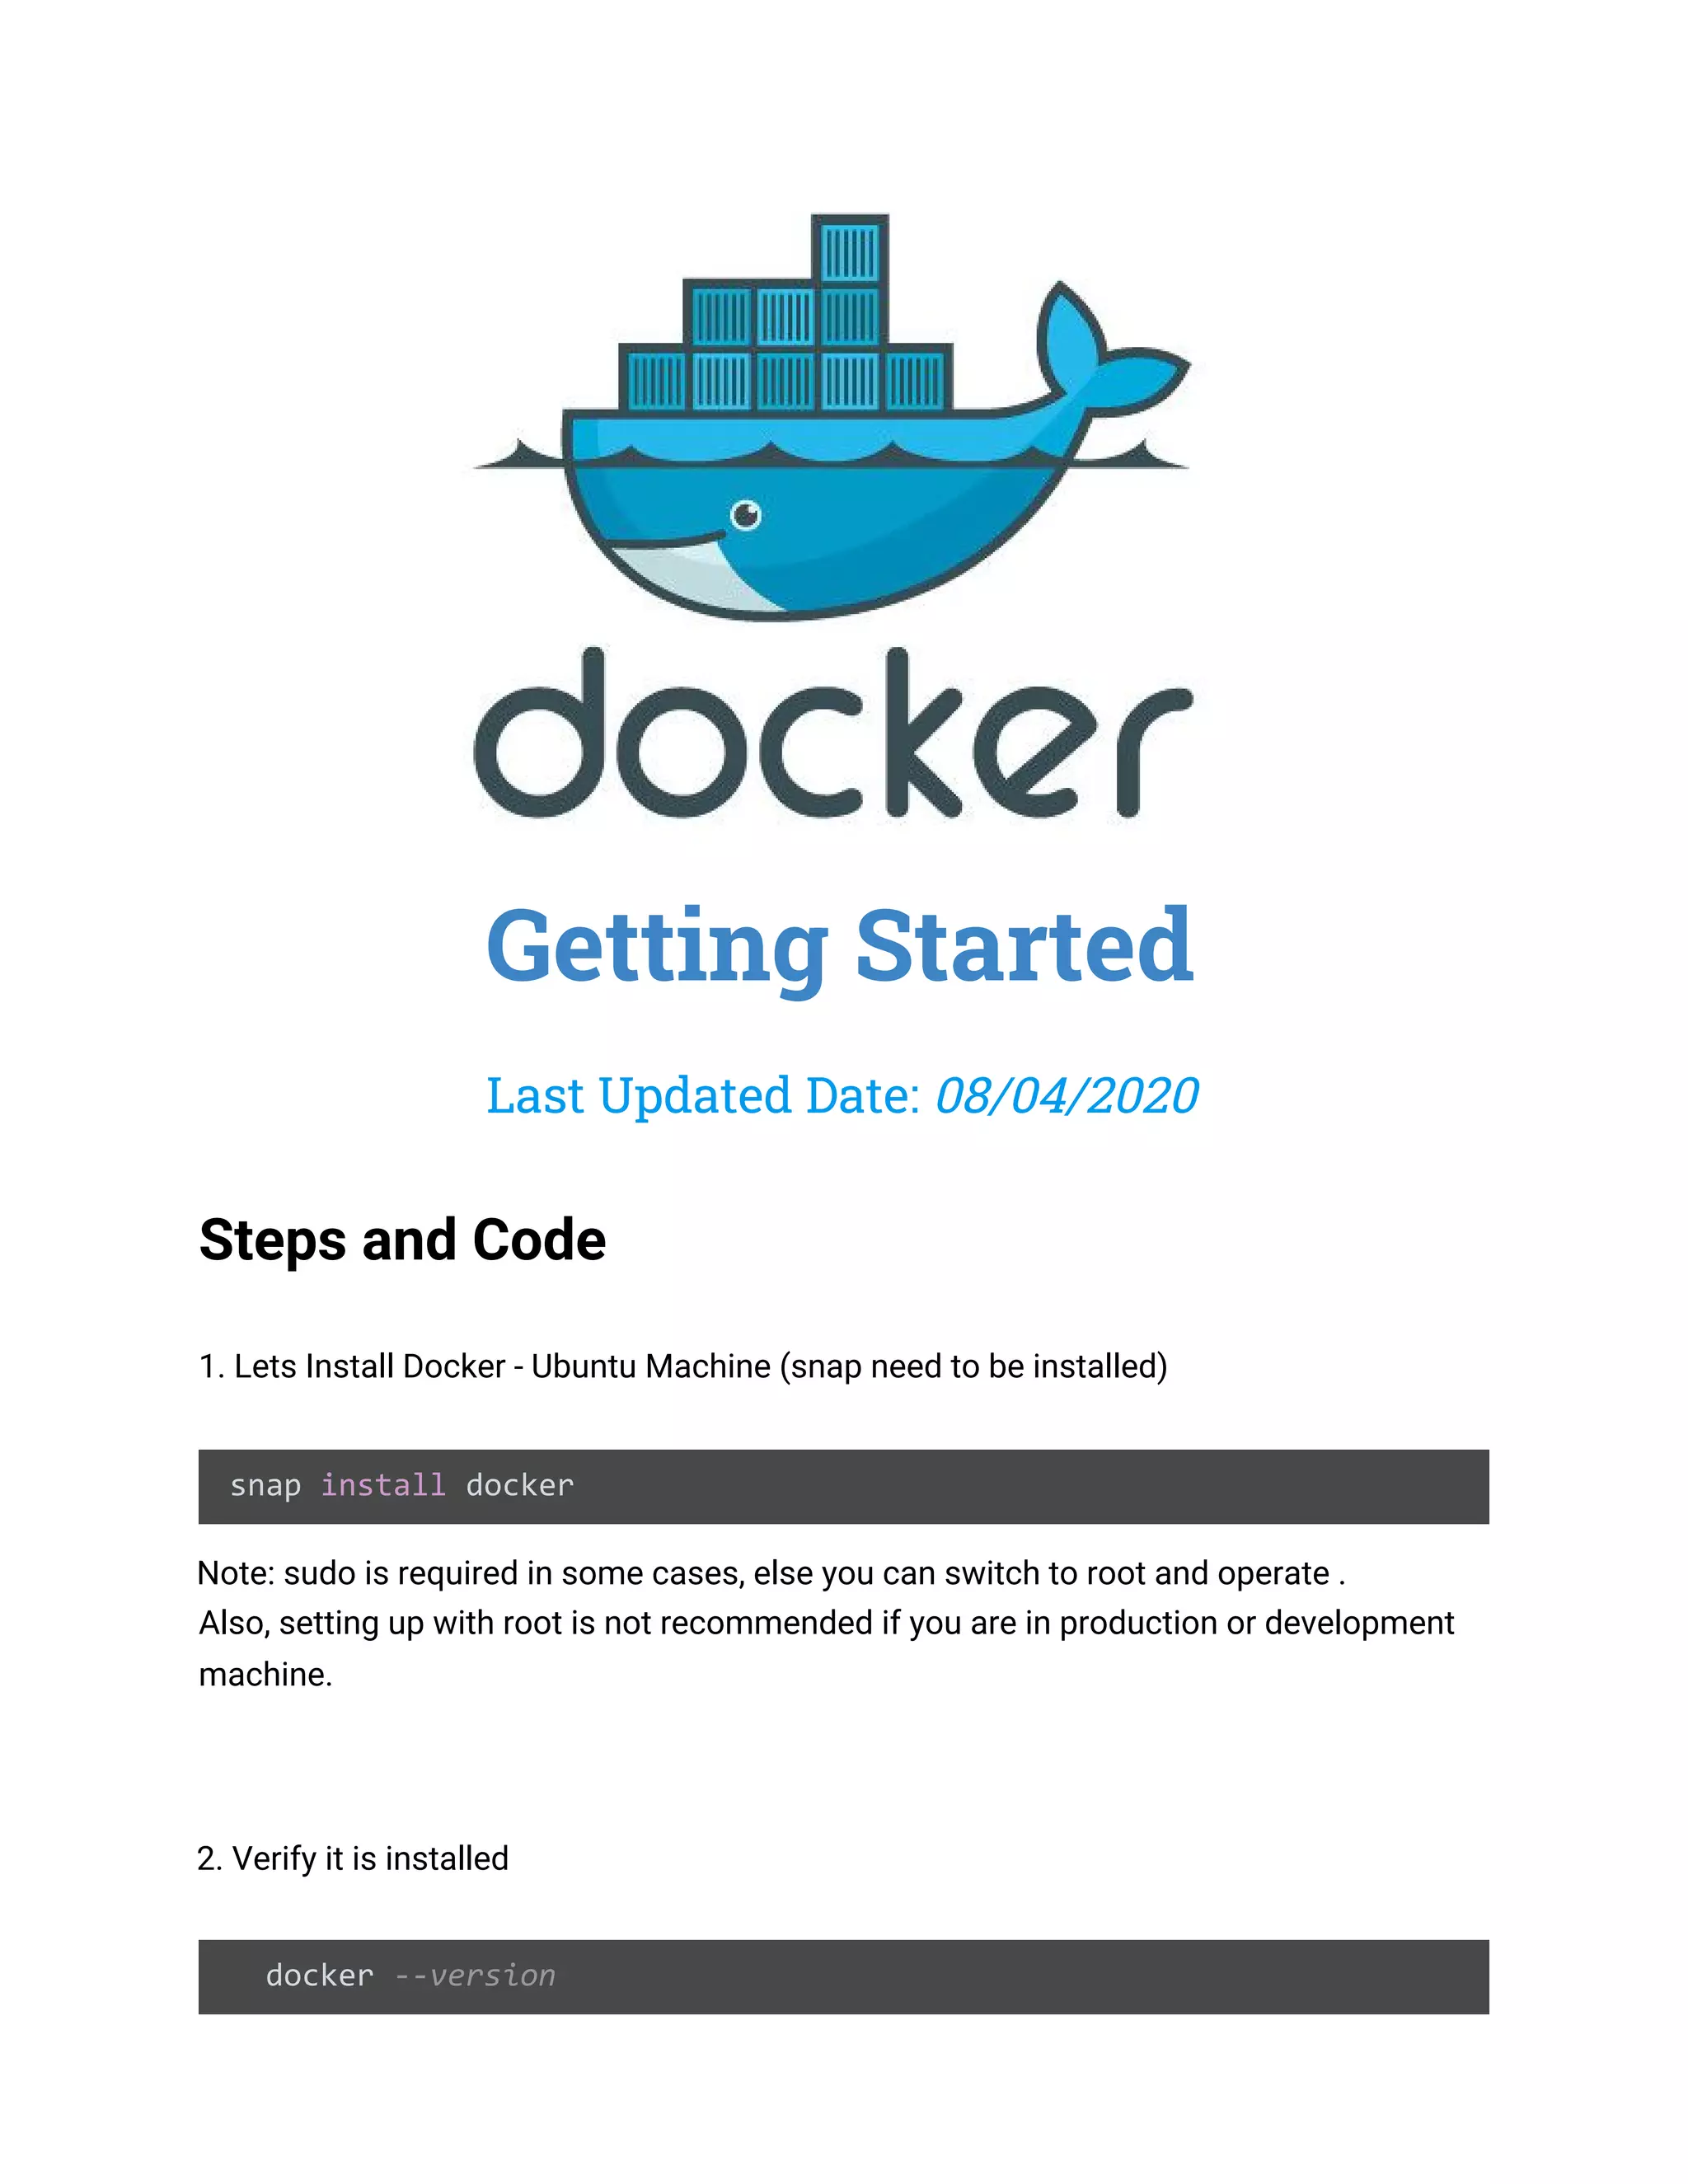
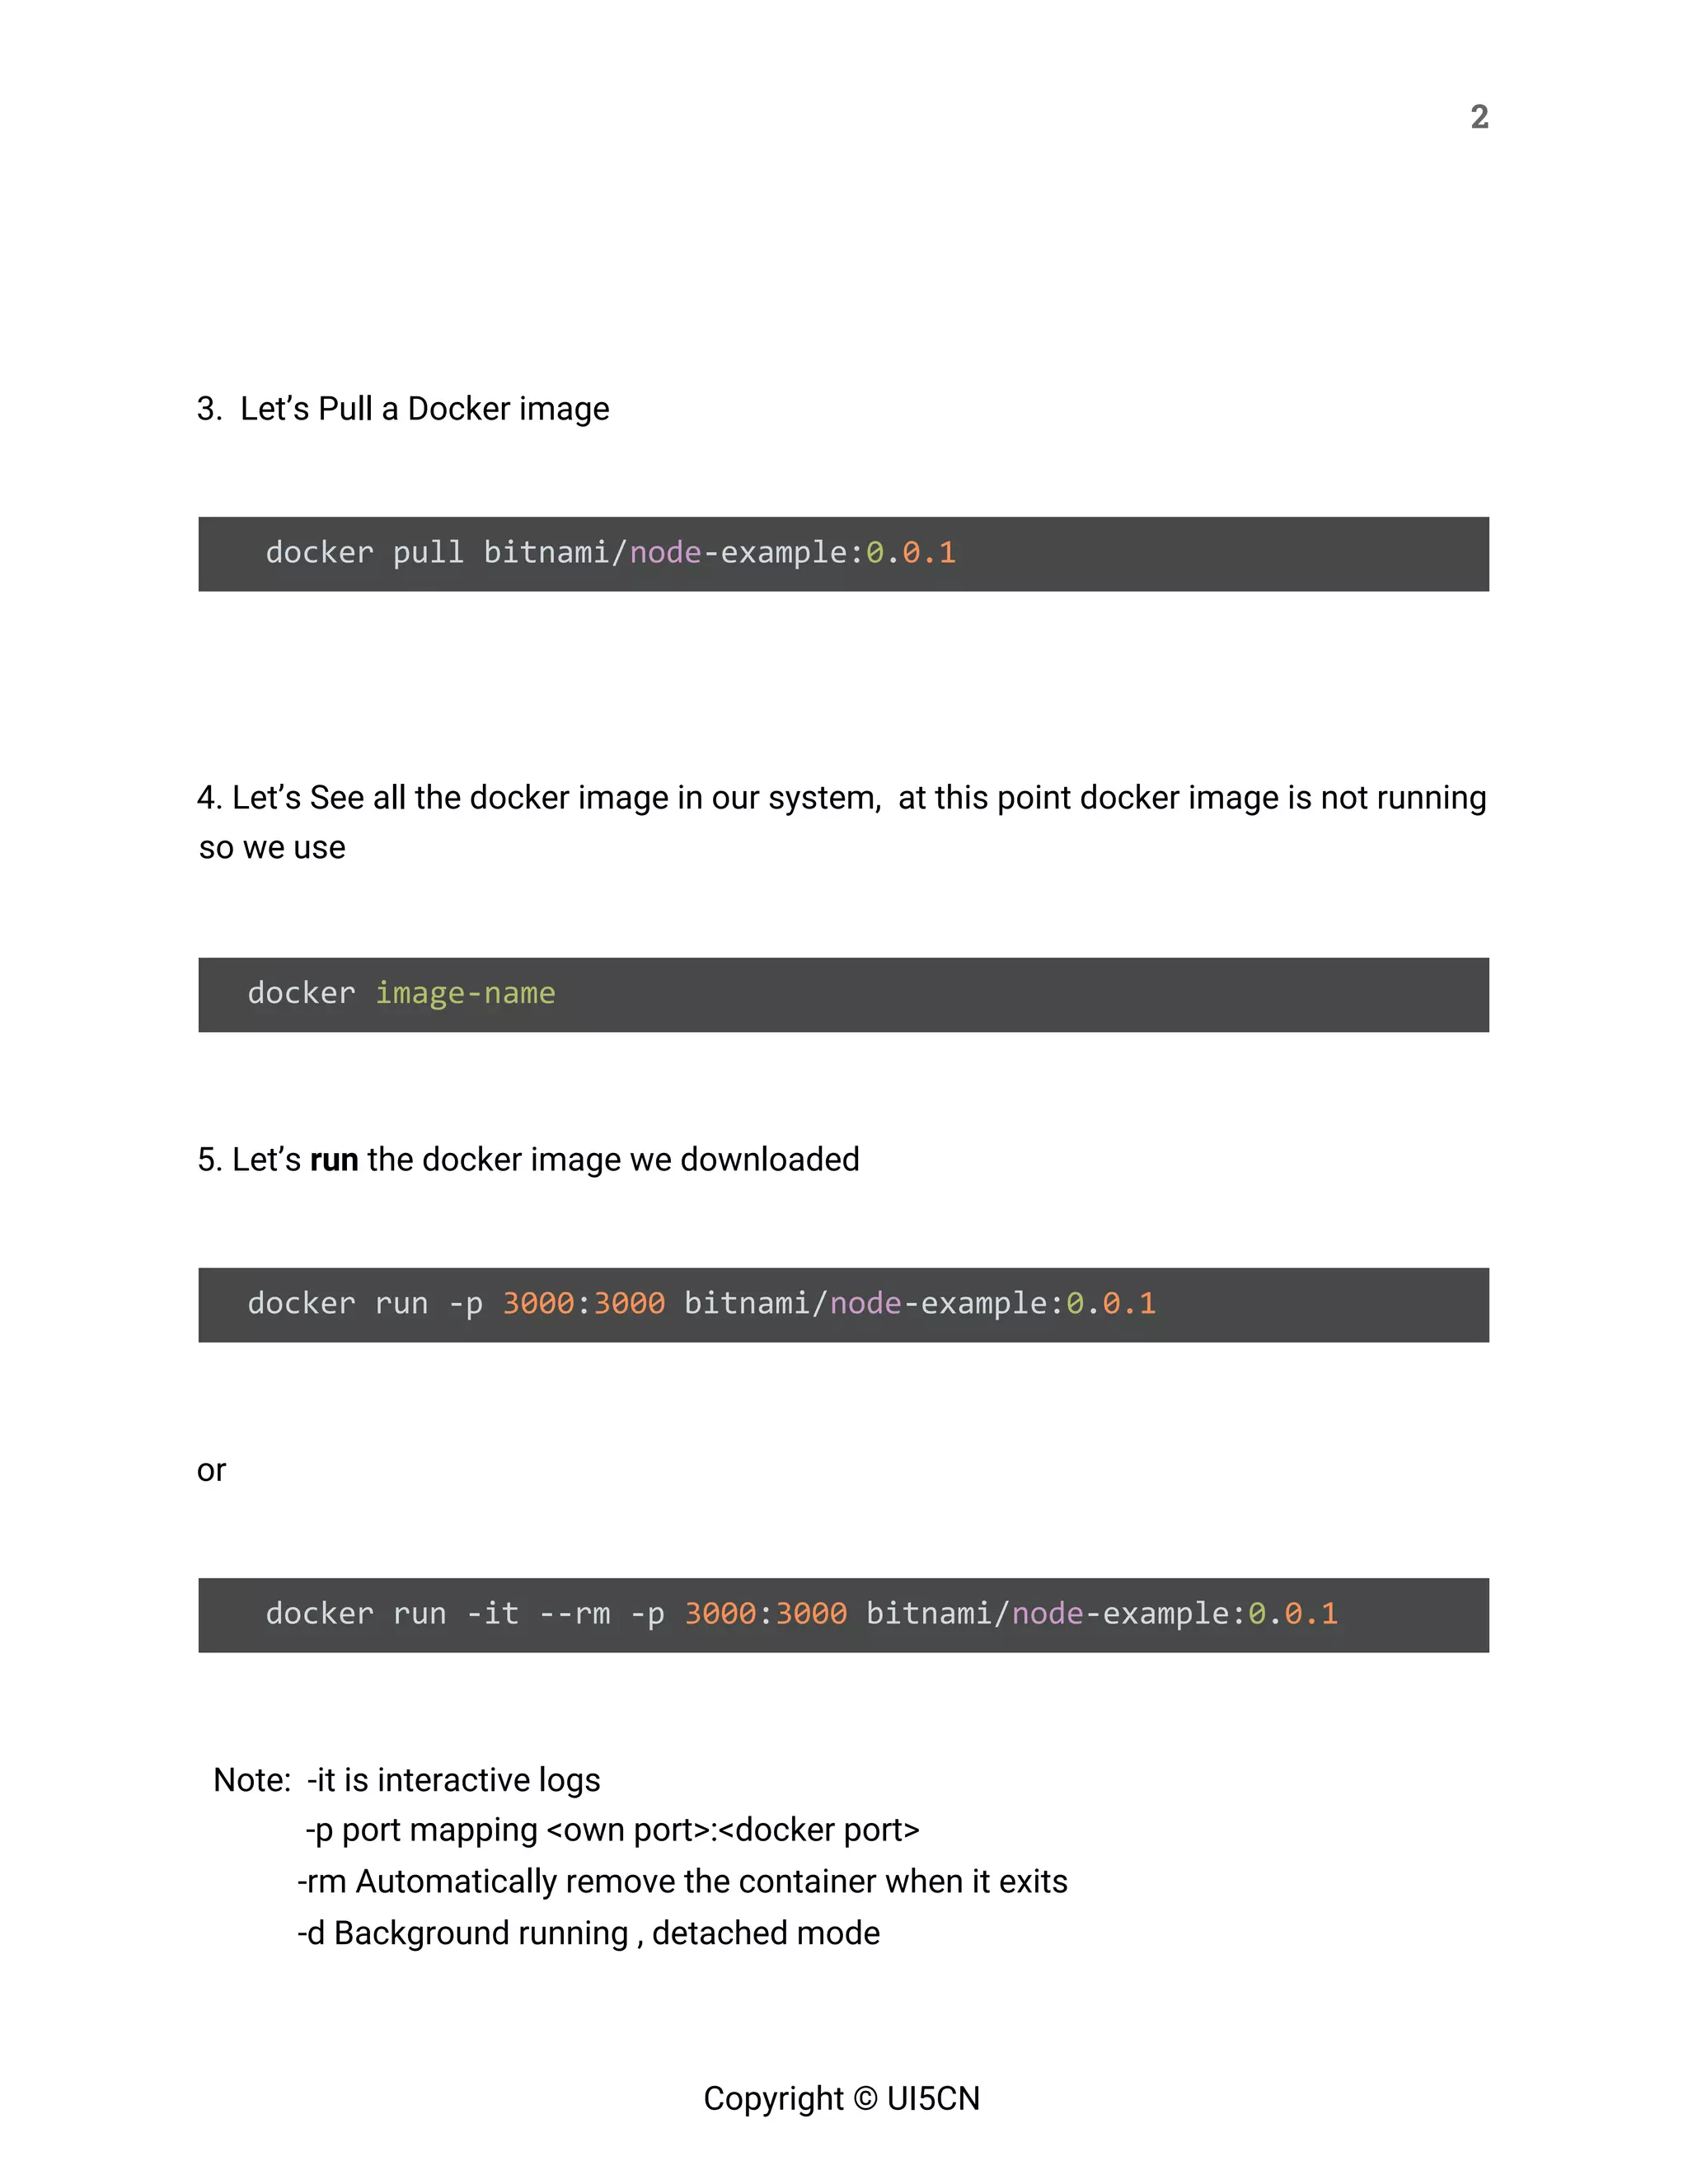
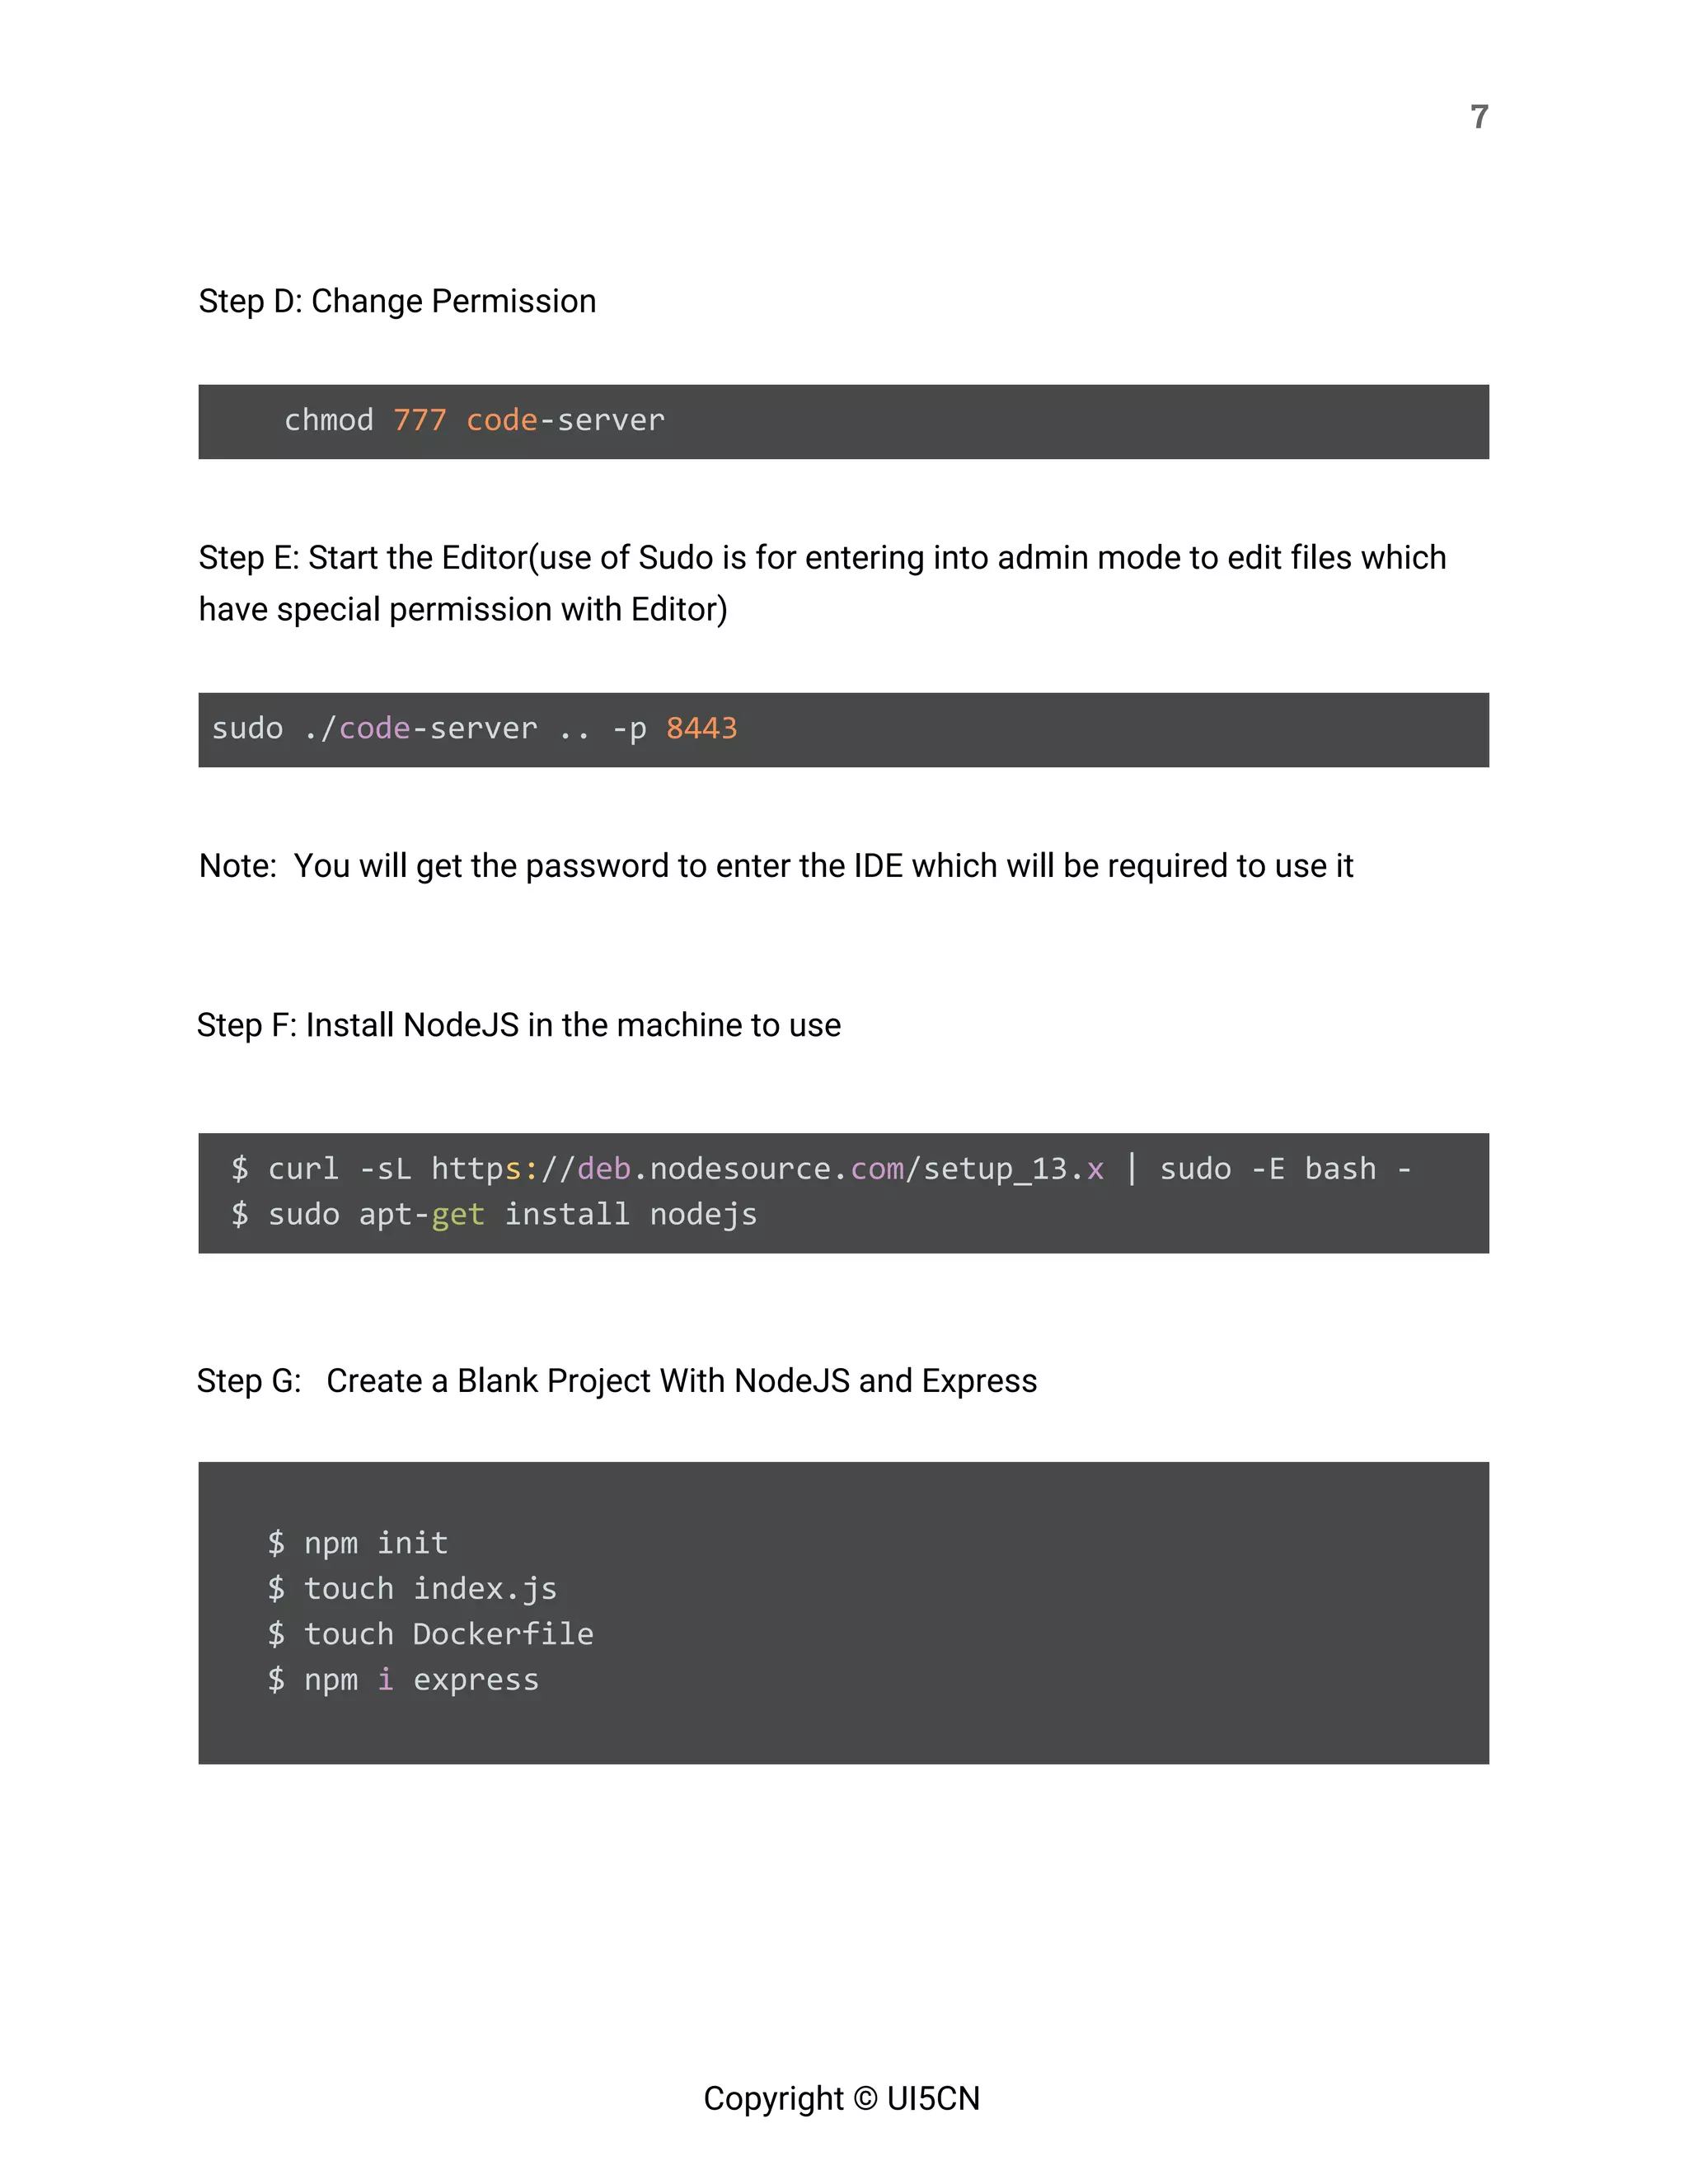
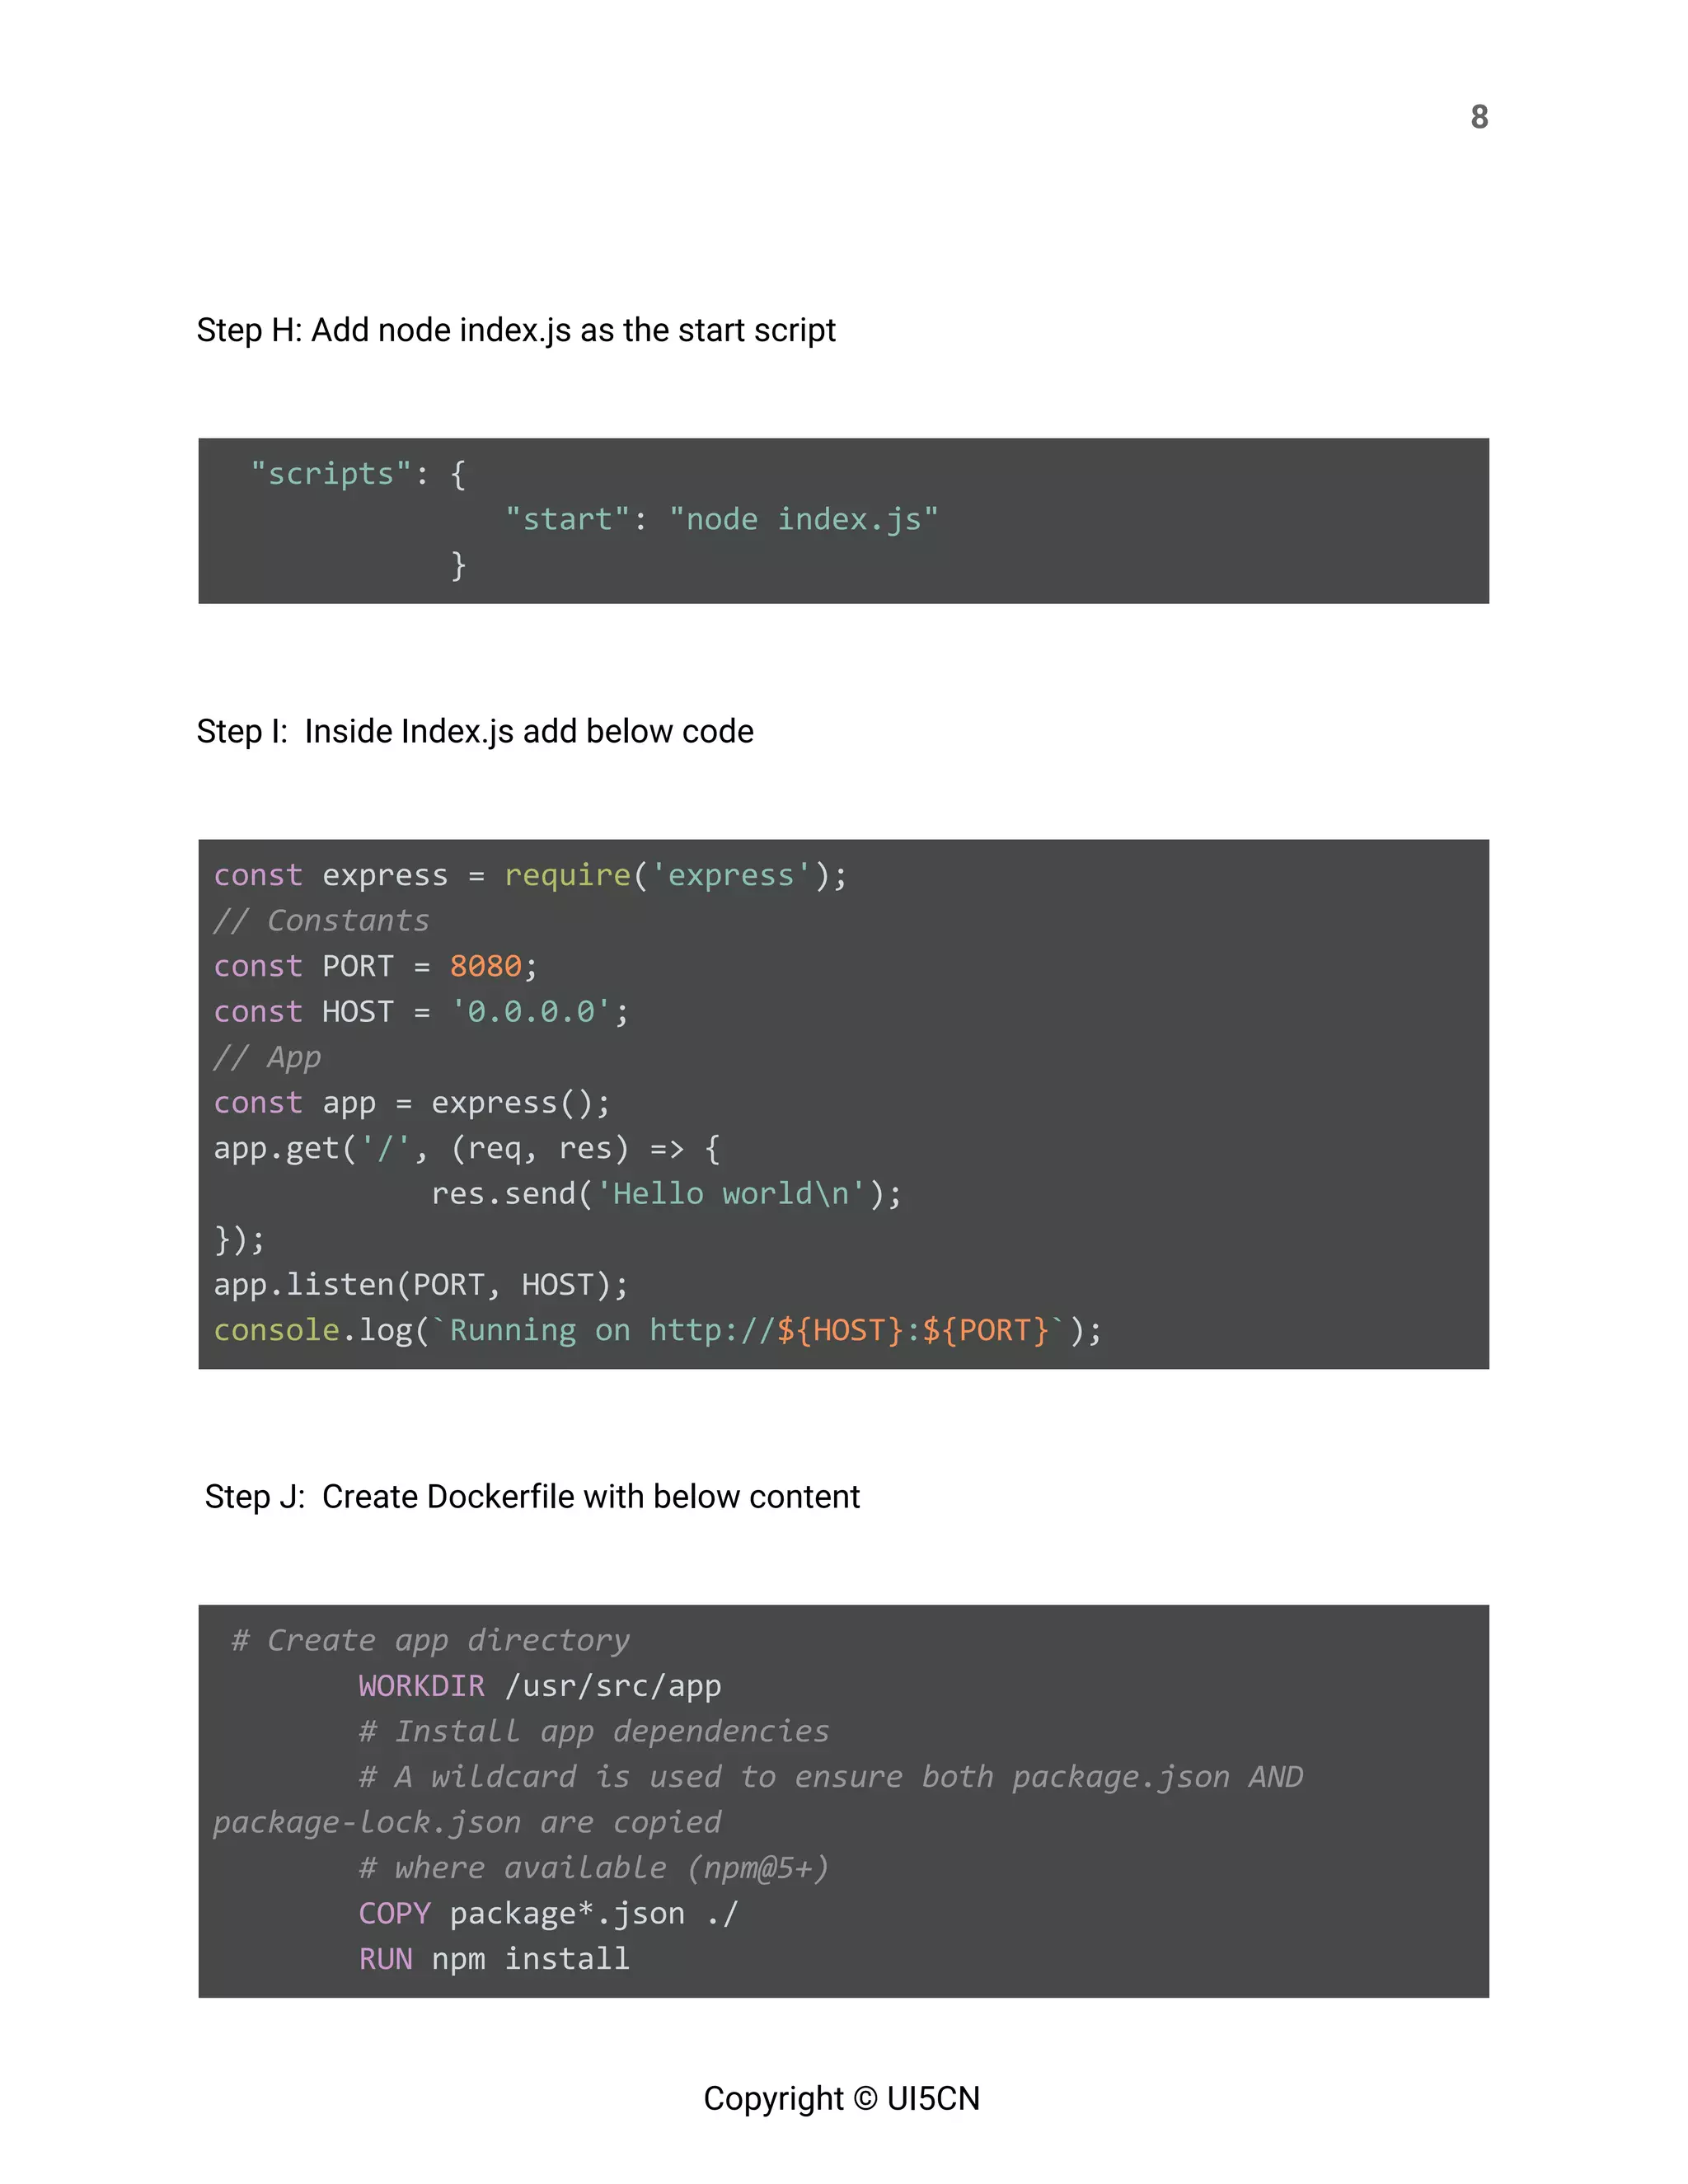
Getting Started  Last Updated Date: ​08/04/2020    Steps and Code    1. Lets Install Docker - Ubuntu Machine (snap need to be installed)    snap ​install​ docker  Note: sudo is required in some cases, else you can switch to root and operate .   Also, setting up with root is not recommended if you are in production or development  machine.       2. Verify it is installed       docker ​--version   
2        3. Let’s Pull a Docker image    docker pull bitnami/​node​-example:​0​.​0.1      4. Let’s See all the docker image in our system, at this point docker image is not running  so we use    docker ​image-name    5. Let’s ​run​ the docker image we downloaded    docker run -p ​3000​:​3000​ bitnami/​node​-example:​0​.​0.1    or    docker run -it --rm -p ​3000​:​3000​ bitnami/​node​-example:​0​.​0.1    Note: -it is interactive logs     -p port mapping <own port>:<docker port>    -rm Automatically remove the container when it exits  -d Background running , detached mode  Copyright © UI5CN 
3    docker run -it --rm -p ​3000​:​3000​ -d bitnami/​node​-example:​0​.​0.1    or     Note: - Running with Docker CONTAINER ID -d,   - For running ID’s 3 characters are enough if it makes it unique    docker run -it --rm -p ​3000​:​3000​ -d ​8b8    or     docker run -it -p ​3000​:​3000​ bitnami/​node​-example:​0​.​0.1    or     Note: name docker run ––name nginx–test –d nginx here, name is optional    docker run -it -p ​3001​:​3000​ --name bit bitnami/​node​-example:​0​.​0.1    or     6. Stop a docker container    docker ​stop​ [​container​ ​ID​/​name​]  Copyright © UI5CN 
4        7. Check the Status and Health of the Docker and status    docker inspect ​[container ID/name]        8. Check the App Logs inside Docker    docker logs ​[container ID/name]        9. Remove the Docker container from memory    docker rm [​Name​ ​of​ Container/ID]    or     Note: We can also perform the below command to remove all, so carefull !    docker rm $​(docker ps -a)          Copyright © UI5CN 
5      10. Remove Image from the Docker container    docker ​image​ rm [​container​ ID/name]       Note: If the image is in memory, it needs to be forced with -f flag, then the image will  delink from the memory instance and get deleted    docker ​image​ rm [​container​ ID/name] -f      or    docker ​image​ rm $(docker ​image​ ​ls​ -a)      11. Connecting to Docker Image    docker pull nginx docker ​run​ -​it​ -p ​8081​:​80​ -d nginx:latest          Copyright © UI5CN 
6    12. Going inside Docker using exec    docker exec -​it​ [​name​] /bin/bash        13. Steps to Build Docker file With a Simple NodeJS App    In these steps, we will install IDE in your cloud VM. After that, we will install the IDE and  create a simple NodeJS App and Add it in a Docker container.  Note: In cloud system you can use cloud editor from here:  https://github.com/cdr/code-server/releases​ With below steps and command  Step A:    wget https://github.com/cdr/code-server/releases/download/​2.1692​-vsc1​.39.2 /code-server2​.1692​-vsc1​.39.2​-linux-x86_64.tar.gz    Step B:    tar​ ​-xf​ ​code-server2​.1692-vsc1.39.2-linux-x86_64.tar.gz     Step C:     cd ​code​-server   Copyright © UI5CN 
7      Step D: Change Permission    chmod ​777​ ​code​-server     Step E: Start the Editor(use of Sudo is for entering into admin mode to edit files which  have special permission with Editor)    sudo ./​code​-server .. -p ​8443    Note: You will get the password to enter the IDE which will be required to use it    Step F: Install NodeJS in the machine to use      $ curl -sL http​s:​//​deb​.nodesource.​com​/setup_13.​x​ | sudo -E bash - $ sudo apt-​get​ install nodejs    Step G: Create a Blank Project With NodeJS and Express    $ npm init $ touch index.js $ touch Dockerfile $ npm ​i​ express           Copyright © UI5CN 
8      Step H: Add node index.js as the start script      ​"scripts"​: { ​"start"​: ​"node index.js" }      Step I: Inside Index.js add below code        const​ express = ​require​(​'express'​); // Constants const​ PORT = ​8080​; const​ HOST = ​'0.0.0.0'​; // App const​ app = express(); app.get(​'/'​, (req, res) => { res.send(​'Hello worldn'​); }); app.listen(PORT, HOST); console​.log(​`Running on http://​${HOST}​:​${PORT}​`​);      Step J: Create Dockerfile with below content      ​# Create app directory ​WORKDIR​ /usr/src/app ​# Install app dependencies ​# A wildcard is used to ensure both package.json AND package-lock.json are copied ​# where available (npm@5+) ​COPY​ package*.json ./ ​RUN​ npm install Copyright © UI5CN 
9    ​# If you are building your code for production ​# RUN npm ci --only=production ​# Bundle app source ​COPY​ . . ​EXPOSE​ ​8080 ​CMD​ [ ​"node"​, ​"index.js"​ ]     Step K: Now Building Docker Image    docker​ ​build ​-t demoapp .    Step L: Now, check the newly build containers    docker ​image​ ​ls​ -a    Step M: Run the Docker image which we created, here demoapp:latest is name:tag    docker ​run​ -​it​ -d -p ​8083​:​8080​ demoapp:latest            Copyright © UI5CN 

Getting started docker notes

  • 1.
        Getting Started  Last UpdatedDate: ​08/04/2020    Steps and Code    1. Lets Install Docker - Ubuntu Machine (snap need to be installed)    snap ​install​ docker  Note: sudo is required in some cases, else you can switch to root and operate .   Also, setting up with root is not recommended if you are in production or development  machine.       2. Verify it is installed       docker ​--version   
  • 2.
    2        3. Let’s Pulla Docker image    docker pull bitnami/​node​-example:​0​.​0.1      4. Let’s See all the docker image in our system, at this point docker image is not running  so we use    docker ​image-name    5. Let’s ​run​ the docker image we downloaded    docker run -p ​3000​:​3000​ bitnami/​node​-example:​0​.​0.1    or    docker run -it --rm -p ​3000​:​3000​ bitnami/​node​-example:​0​.​0.1    Note: -it is interactive logs     -p port mapping <own port>:<docker port>    -rm Automatically remove the container when it exits  -d Background running , detached mode  Copyright © UI5CN 
  • 3.
    3    docker run -it--rm -p ​3000​:​3000​ -d bitnami/​node​-example:​0​.​0.1    or     Note: - Running with Docker CONTAINER ID -d,   - For running ID’s 3 characters are enough if it makes it unique    docker run -it --rm -p ​3000​:​3000​ -d ​8b8    or     docker run -it -p ​3000​:​3000​ bitnami/​node​-example:​0​.​0.1    or     Note: name docker run ––name nginx–test –d nginx here, name is optional    docker run -it -p ​3001​:​3000​ --name bit bitnami/​node​-example:​0​.​0.1    or     6. Stop a docker container    docker ​stop​ [​container​ ​ID​/​name​]  Copyright © UI5CN 
  • 4.
    4        7. Check theStatus and Health of the Docker and status    docker inspect ​[container ID/name]        8. Check the App Logs inside Docker    docker logs ​[container ID/name]        9. Remove the Docker container from memory    docker rm [​Name​ ​of​ Container/ID]    or     Note: We can also perform the below command to remove all, so carefull !    docker rm $​(docker ps -a)          Copyright © UI5CN 
  • 5.
    5      10. Remove Imagefrom the Docker container    docker ​image​ rm [​container​ ID/name]       Note: If the image is in memory, it needs to be forced with -f flag, then the image will  delink from the memory instance and get deleted    docker ​image​ rm [​container​ ID/name] -f      or    docker ​image​ rm $(docker ​image​ ​ls​ -a)      11. Connecting to Docker Image    docker pull nginx docker ​run​ -​it​ -p ​8081​:​80​ -d nginx:latest          Copyright © UI5CN 
  • 6.
    6    12. Going insideDocker using exec    docker exec -​it​ [​name​] /bin/bash        13. Steps to Build Docker file With a Simple NodeJS App    In these steps, we will install IDE in your cloud VM. After that, we will install the IDE and  create a simple NodeJS App and Add it in a Docker container.  Note: In cloud system you can use cloud editor from here:  https://github.com/cdr/code-server/releases​ With below steps and command  Step A:    wget https://github.com/cdr/code-server/releases/download/​2.1692​-vsc1​.39.2 /code-server2​.1692​-vsc1​.39.2​-linux-x86_64.tar.gz    Step B:    tar​ ​-xf​ ​code-server2​.1692-vsc1.39.2-linux-x86_64.tar.gz     Step C:     cd ​code​-server   Copyright © UI5CN 
  • 7.
    7      Step D: ChangePermission    chmod ​777​ ​code​-server     Step E: Start the Editor(use of Sudo is for entering into admin mode to edit files which  have special permission with Editor)    sudo ./​code​-server .. -p ​8443    Note: You will get the password to enter the IDE which will be required to use it    Step F: Install NodeJS in the machine to use      $ curl -sL http​s:​//​deb​.nodesource.​com​/setup_13.​x​ | sudo -E bash - $ sudo apt-​get​ install nodejs    Step G: Create a Blank Project With NodeJS and Express    $ npm init $ touch index.js $ touch Dockerfile $ npm ​i​ express           Copyright © UI5CN 
  • 8.
    8      Step H: Addnode index.js as the start script      ​"scripts"​: { ​"start"​: ​"node index.js" }      Step I: Inside Index.js add below code        const​ express = ​require​(​'express'​); // Constants const​ PORT = ​8080​; const​ HOST = ​'0.0.0.0'​; // App const​ app = express(); app.get(​'/'​, (req, res) => { res.send(​'Hello worldn'​); }); app.listen(PORT, HOST); console​.log(​`Running on http://​${HOST}​:​${PORT}​`​);      Step J: Create Dockerfile with below content      ​# Create app directory ​WORKDIR​ /usr/src/app ​# Install app dependencies ​# A wildcard is used to ensure both package.json AND package-lock.json are copied ​# where available (npm@5+) ​COPY​ package*.json ./ ​RUN​ npm install Copyright © UI5CN 
  • 9.
    9    ​# If youare building your code for production ​# RUN npm ci --only=production ​# Bundle app source ​COPY​ . . ​EXPOSE​ ​8080 ​CMD​ [ ​"node"​, ​"index.js"​ ]     Step K: Now Building Docker Image    docker​ ​build ​-t demoapp .    Step L: Now, check the newly build containers    docker ​image​ ​ls​ -a    Step M: Run the Docker image which we created, here demoapp:latest is name:tag    docker ​run​ -​it​ -d -p ​8083​:​8080​ demoapp:latest            Copyright © UI5CN