Download to read offline


![Step 3: Create a simple form with a model using Angular material and @angular/form import { Component, OnInit } from '@angular/core'; import{FormBuilder,FormGroup} from '@angular/forms'; @Component({ selector: 'app-login', templateUrl: './reactiveform.component.html', styleUrls: ['./reactiveform.component.css'] }) export class ReactiveformComponent implements OnInit { complexForm : FormGroup; constructor(fb:FormBuilder) { this.complexForm = fb.group({ userName:””, email:””, passWord:””, }) } ngOnInit() {} submitForm(value: any){ console.log(value); } } Reactiveform.components.ts www.aimdek.com](https://image.slidesharecdn.com/creatingcustomvalidatorsonreactiveformsusingangular6-180618092408/75/Creating-custom-Validators-on-Reactive-Forms-using-Angular-6-5-2048.jpg)
![Step 3: contd. <div class="login-wrapper"> <mat-card> <div style="text-align:center;"> <img src="http://www.aimdek.com/wp- content/uploads/2016/12/height_70px.png"> </div> <form class="example-form" [formGroup]="complexForm" (ngSubmit)="submitForm(complexForm.value)"> <mat-form-field> <input matInput placeholder="Username" [formControl]="complexForm.controls['userName']" /> </mat-form-field> <br> <mat-form-field> <input matInput placeholder="email" [formControl]="complexForm.controls['email']" /> </mat-form-field> <br> <mat-form-field > <input matInput placeholder="Password" [formControl]="complexForm.controls['passWord']" /> </mat-form-field> <br> <button type="submit" mat-raised-button color="primary" align="right">Login</button> </form> </mat-card> </div> Reactiveform.component.html www.aimdek.com](https://image.slidesharecdn.com/creatingcustomvalidatorsonreactiveformsusingangular6-180618092408/75/Creating-custom-Validators-on-Reactive-Forms-using-Angular-6-6-2048.jpg)

![Step 4: Generate custom validator for password import { Component, OnInit } from '@angular/core'; import{FormBuilder,FormGroup} from '@angular/forms'; @Component({ selector: 'app-login', templateUrl: './reactiveform.component.html', styleUrls: ['./reactiveform.component.css'] }) export class ReactiveformComponent implements OnInit { complexForm : FormGroup; constructor(fb:FormBuilder) { this.complexForm = fb.group({ userName:””, email:””, passWord:””, }) } ngOnInit() {} submitForm(value: any){ console.log(value); } } Reactiveform.components.ts www.aimdek.com](https://image.slidesharecdn.com/creatingcustomvalidatorsonreactiveformsusingangular6-180618092408/75/Creating-custom-Validators-on-Reactive-Forms-using-Angular-6-9-2048.jpg)
![Step 3: contd. <div class="login-wrapper"> <mat-card> <div style="text-align:center;"> <img src="http://www.aimdek.com/wp- content/uploads/2016/12/height_70px.png"> </div> <form class="example-form" [formGroup]="complexForm" (ngSubmit)="submitForm(complexForm.value)"> <mat-form-field> <input matInput placeholder="Username" [formControl]="complexForm.controls['userName']" /> </mat-form-field> <br> <mat-form-field> <input matInput placeholder="email" [formControl]="complexForm.controls['email']" /> </mat-form-field> <br> <mat-form-field > <input matInput placeholder="Password" [formControl]="complexForm.controls['passWord']" /> </mat-form-field> <br> <button type="submit" mat-raised-button color="primary" align="right">Login</button> </form> </mat-card> </div> Reactiveform.component.html www.aimdek.com](https://image.slidesharecdn.com/creatingcustomvalidatorsonreactiveformsusingangular6-180618092408/75/Creating-custom-Validators-on-Reactive-Forms-using-Angular-6-10-2048.jpg)
![Step 4: Generate custom validator for password • For this we have to create password.validator.ts manually because angular CLI is not providing this in it’s package. • In this file we have to import abstractValidator which is also part of @angular/form package. • Following is the snnipet code of password.validator.ts import { AbstractControl,Validator } from '@angular/forms'; export function ValidatePassword(control: AbstractControl) { if (!/^(?=.*[A-Za-z])(?=.*d)[A-Za-zd]{4,20}/.test(control.value)) { return { validPassword: true }; } return null; } This code will return boolean if password is valid and return NULL if it is not www.aimdek.com](https://image.slidesharecdn.com/creatingcustomvalidatorsonreactiveformsusingangular6-180618092408/75/Creating-custom-Validators-on-Reactive-Forms-using-Angular-6-11-2048.jpg)
![Step 4: contd. • Now import this validator in reactiveform.components.ts as following – import { ValidatePassword } from '../validators/password.validator’; • Use the ValidatePassword function along with Validator.required in password field of form model as following: – passWord:[null,[Validators.required,ValidatePassword]], • Now we have to use this in reactiveform.component.html inorder to display custom error message for password as following :- – <div class="error" *ngIf="complexForm.get('passWord').errors && complexForm.get('passWord').dirty && complexForm.get('passWord').errors.validPassword"> Password must contain letter and digit. </div> www.aimdek.com](https://image.slidesharecdn.com/creatingcustomvalidatorsonreactiveformsusingangular6-180618092408/75/Creating-custom-Validators-on-Reactive-Forms-using-Angular-6-12-2048.jpg)


This document details the process of creating custom validators for reactive forms using Angular 6. It covers initial project setup, component creation, and the implementation of both built-in and custom validations, specifically for password requirements. The guide provides code snippets for defining the form and the custom password validator, as well as how to display validation error messages.
Introduction to Angular form validation, its built-in validators, and the need for custom validators.
Steps to create a new Angular project and integrate Angular Material for component design.
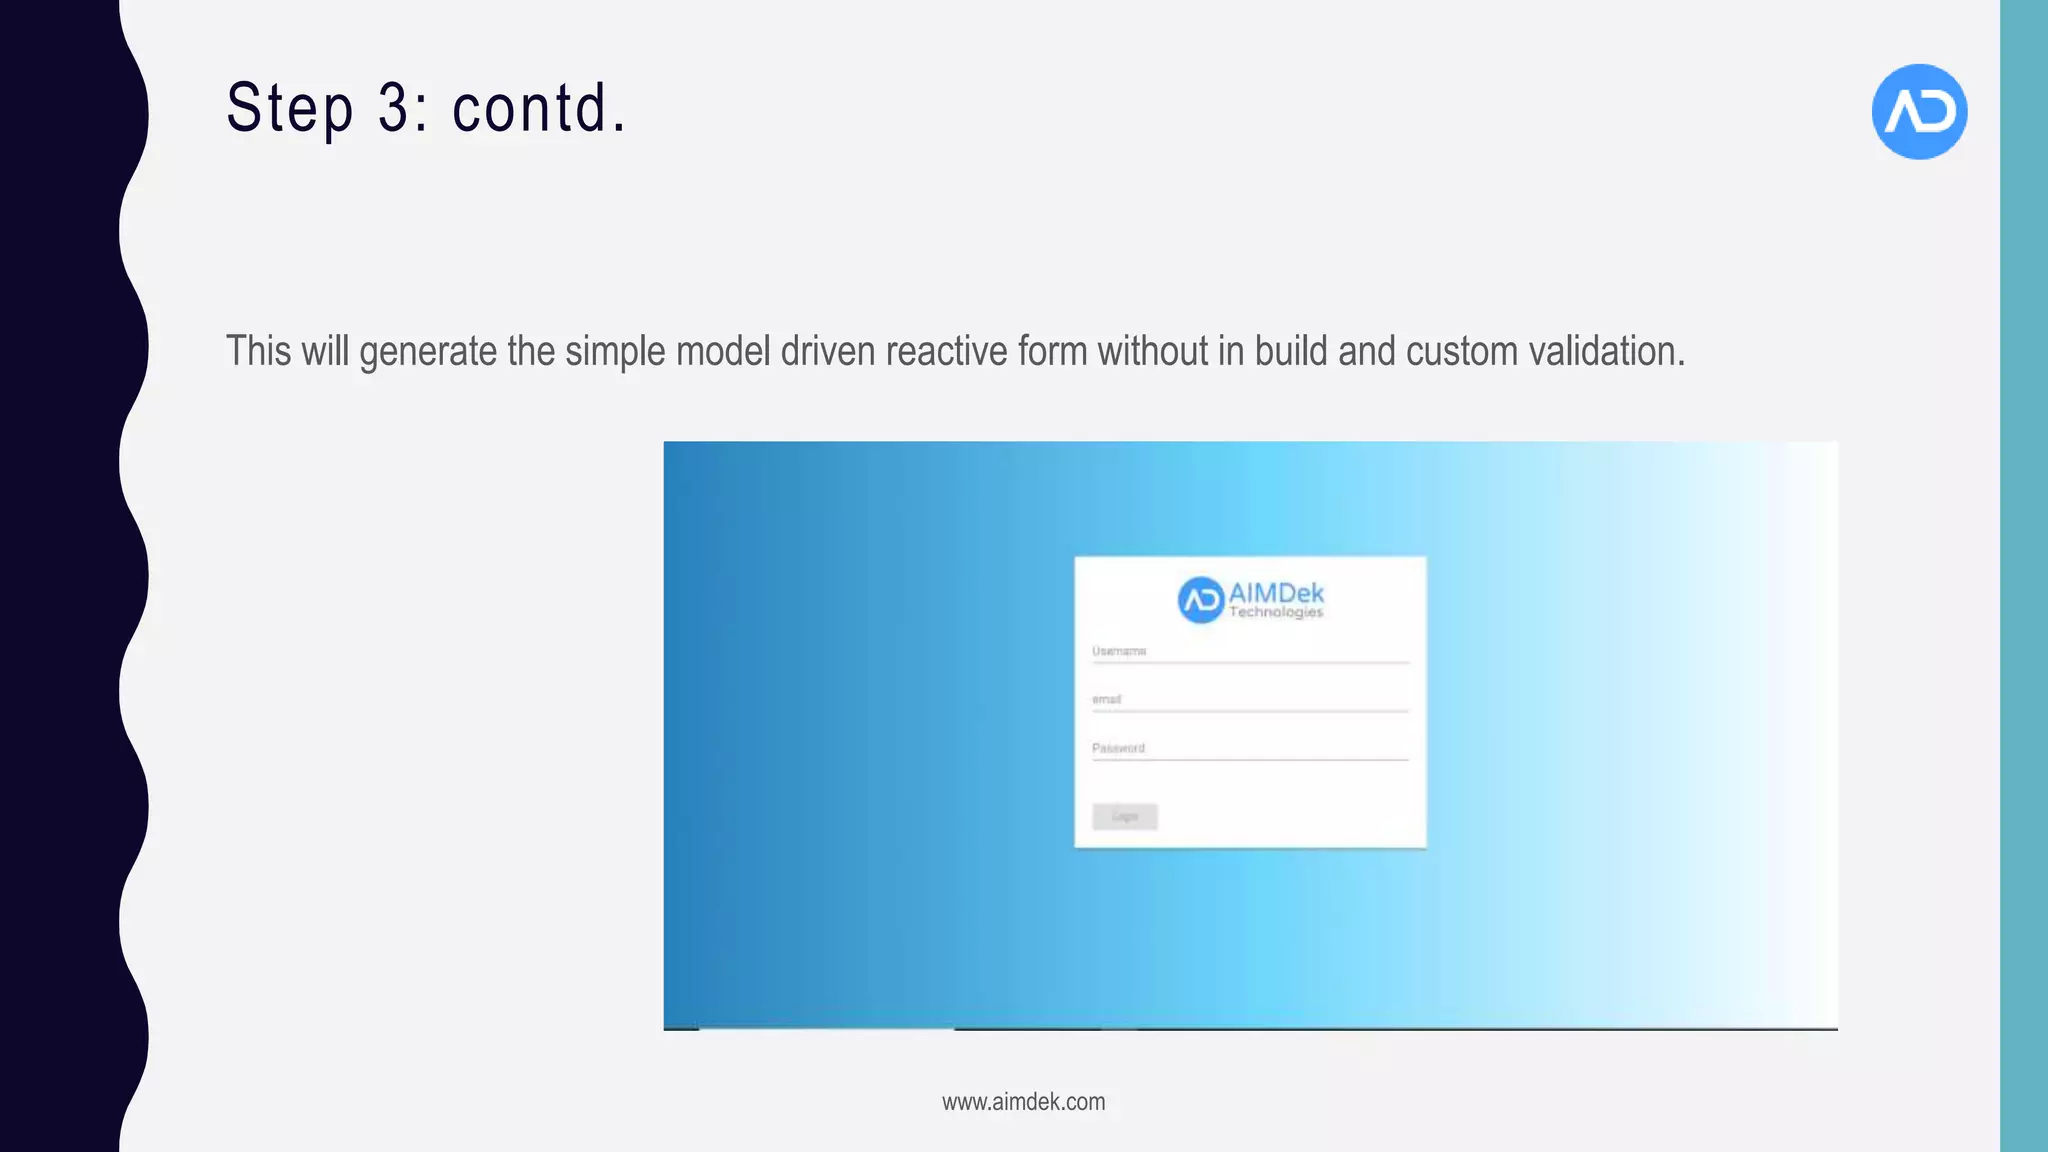
Steps to develop a simple reactive form with username, email, and password fields using Angular Material. Instructions on creating a custom password validator, integrating it into the form, and displaying error messages.
Summary of custom validator creation and contact information for AIMDek Technologies.