Downloaded 202 times


![CODE: (Node MCU ESP8266) #include<SoftwareSerial.h> #include <ESP8266WiFi.h> #include <WiFiClient.h> #include <ESP8266WebServer.h> #include <ESP8266mDNS.h> #include <SPI.h> #include <MFRC522.h> const char* ssid = "TP-LINK_28C6"; const char* password = "02105604"; //WiFiClient client; char server[] = "192.168.0.115"; //YOUR SERVER #define SS_PIN 2 //FOR RFID SS PIN BECASUSE WE ARE USING BOTH ETHERNET SHIELD AND RS-522 #define RST_PIN 15 #define No_Of_Card 3 Cont…. >>>>>](https://image.slidesharecdn.com/attendancesystemusingesp8266wi-fiwithmysql-170420115132/75/Attendance-System-using-ESP8266-Wi-Fi-with-MySQL-9-2048.jpg)
![CODE: (Node MCU ESP8266) WiFiClient client; //WiFiServer server(80); SoftwareSerial mySerial(8,9); MFRC522 rfid(SS_PIN,RST_PIN); MFRC522::MIFARE_Key key; byte id[No_Of_Card][4]={ {44,153,22,219}, //RFID NO-1 {112,224,72,84}, //RFID NO-2 {151,94,80,84} //RFID NO-3 }; byte id_temp[3][3]; byte i; int j=0; Cont…. >>>>>](https://image.slidesharecdn.com/attendancesystemusingesp8266wi-fiwithmysql-170420115132/75/Attendance-System-using-ESP8266-Wi-Fi-with-MySQL-10-2048.jpg)
![CODE: (Node MCU ESP8266) for(byte i=0;i<6;i++) { key.keyByte[i]=0xFF; } // Connect to WiFi network Serial.println(); Serial.println(); Serial.print("Connecting to "); Serial.println(ssid); WiFi.begin(ssid, password); while (WiFi.status() != WL_CONNECTED) { delay(500); Serial.print("."); } Serial.println(""); Serial.println("WiFi connected"); Cont…. >>>>>](https://image.slidesharecdn.com/attendancesystemusingesp8266wi-fiwithmysql-170420115132/75/Attendance-System-using-ESP8266-Wi-Fi-with-MySQL-11-2048.jpg)
![CODE: (Node MCU ESP8266) // Start the server // server.begin(); Serial.println("Server started"); Serial.print(WiFi.localIP()); delay(1000); Serial.println("connecting..."); } void loop() { // Check if a client has connected int m=0; if(!rfid.PICC_IsNewCardPresent()) return; if(!rfid.PICC_ReadCardSerial()) return; for(i=0;i<4;i++) { id_temp[0][i]=rfid.uid.uidByte[i]; delay(50); } Cont…. >>>>>](https://image.slidesharecdn.com/attendancesystemusingesp8266wi-fiwithmysql-170420115132/75/Attendance-System-using-ESP8266-Wi-Fi-with-MySQL-12-2048.jpg)
![for(i=0;i<No_Of_Card;i++) { if(id[i][0]==id_temp[0][0]) { if(id[i][1]==id_temp[0][1]) { if(id[i][2]==id_temp[0][2]) { if(id[i][3]==id_temp[0][3]) { Serial.print("your card no :"); for(int s=0;s<4;s++) { Serial.print(rfid.uid.uidByte[s]); Serial.print(" "); } Cont…. >>>>> CODE: (Node MCU ESP8266)](https://image.slidesharecdn.com/attendancesystemusingesp8266wi-fiwithmysql-170420115132/75/Attendance-System-using-ESP8266-Wi-Fi-with-MySQL-13-2048.jpg)
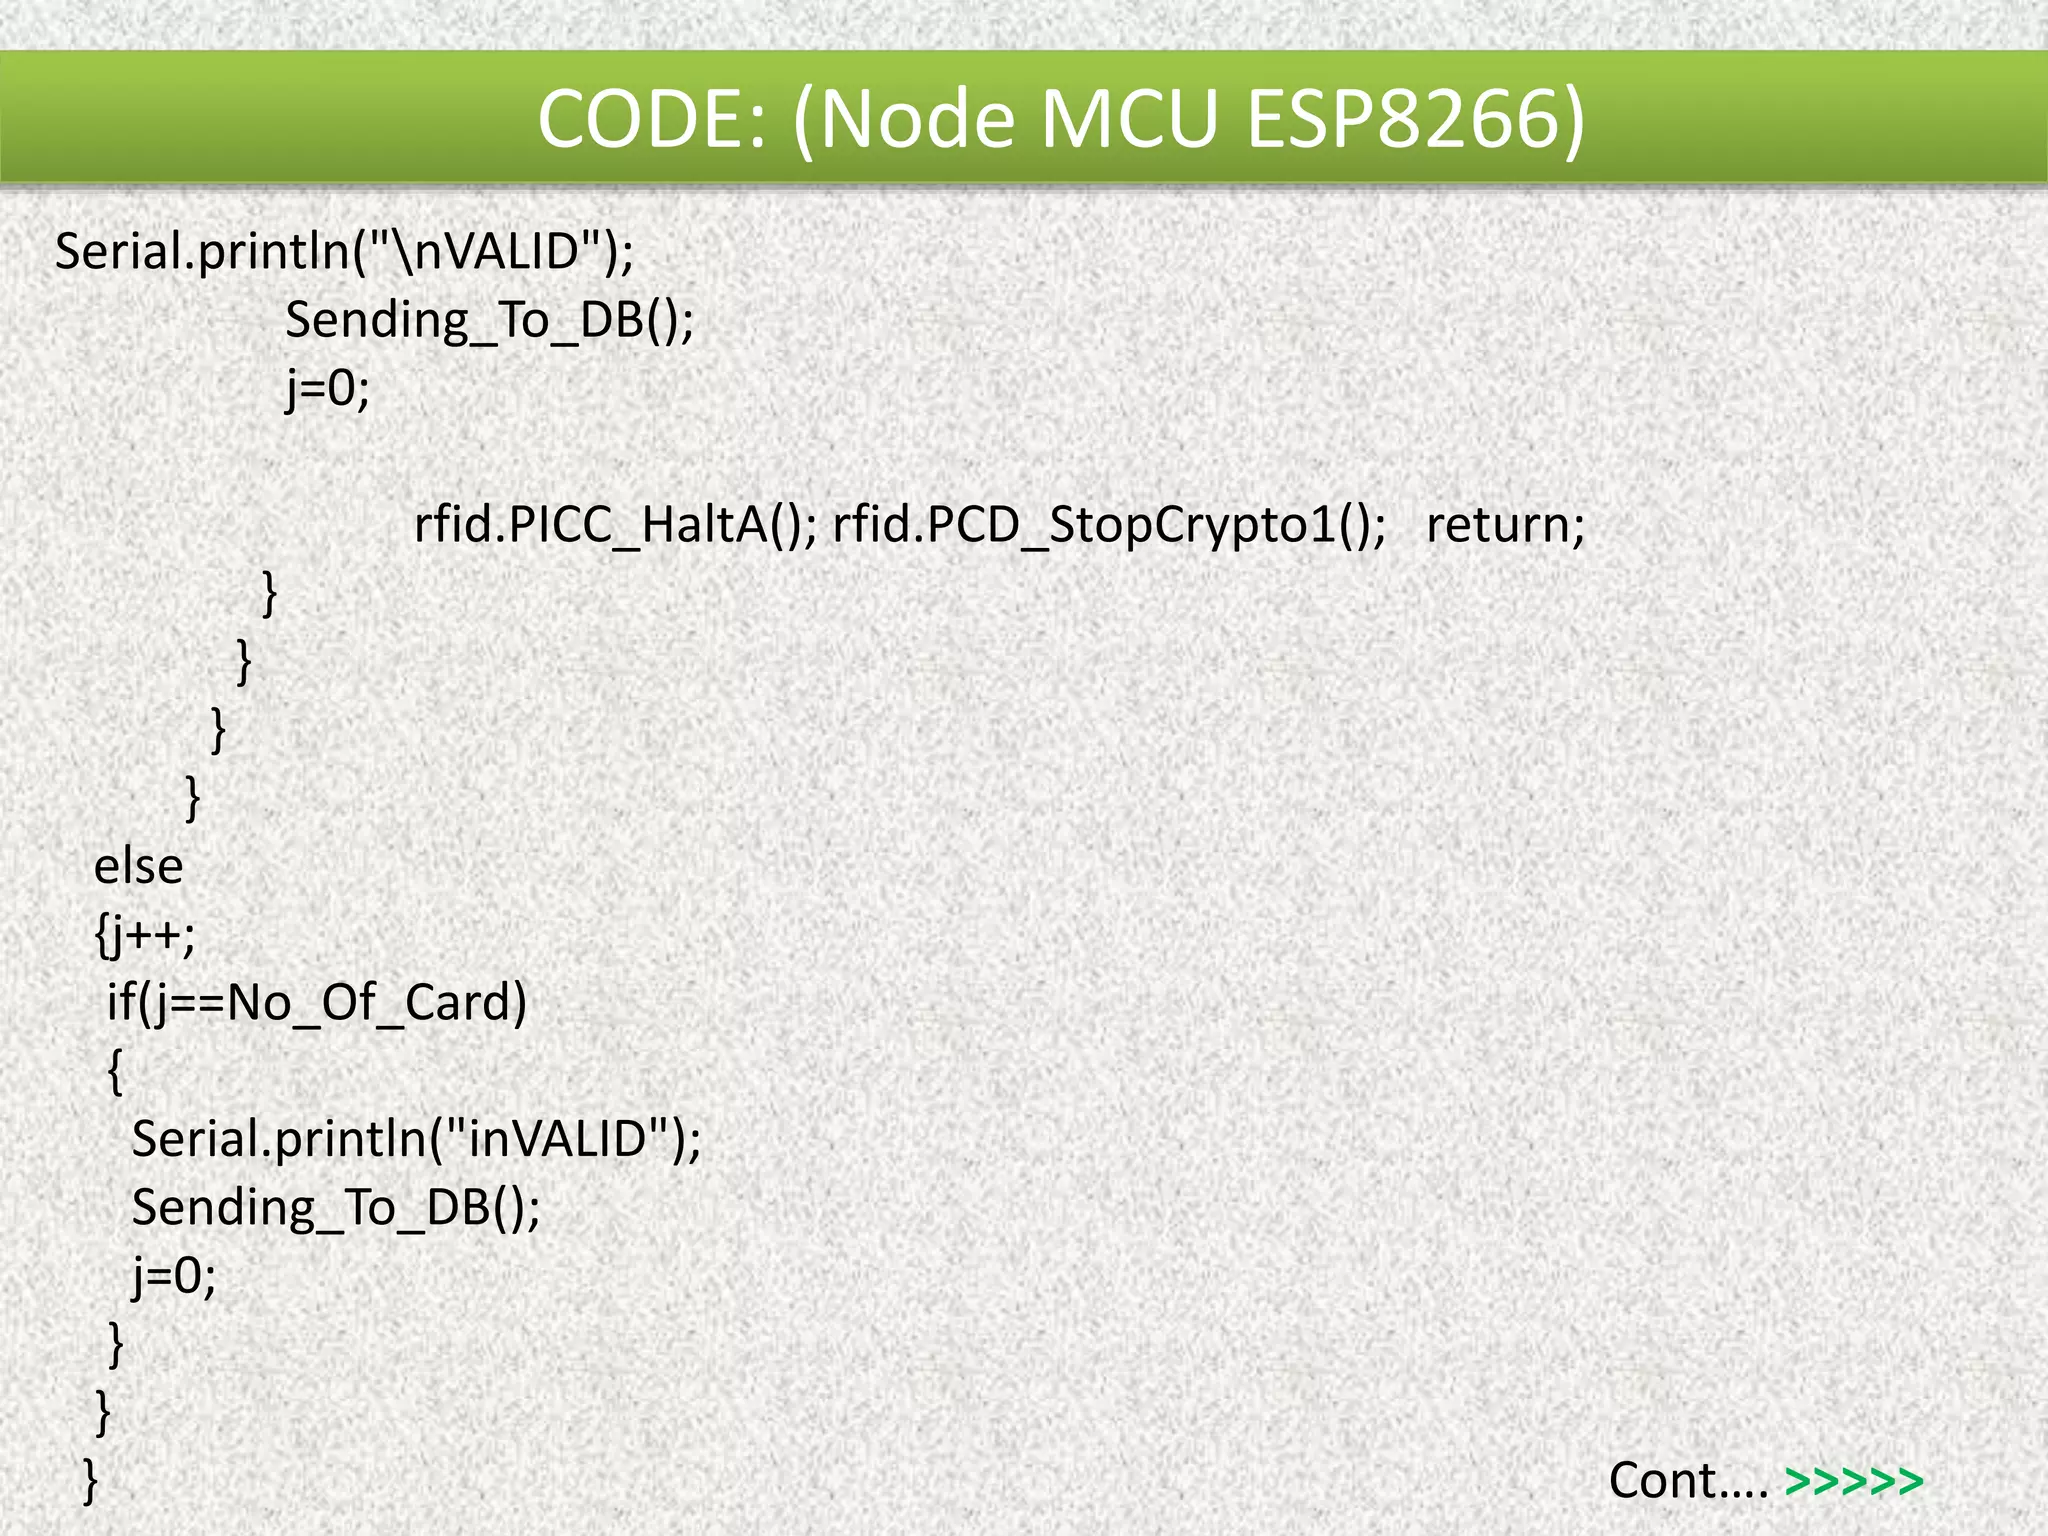
![CODE: (Node MCU ESP8266) if(j!=No_Of_Card) { Serial.println('1'); client.print('1'); } else { Serial.println('0'); client.print('0'); } Serial.println("&id="); client.print("&id="); for(int s=0;s<4;s++) { Serial.println(rfid.uid.uidByte[s]); client.print(rfid.uid.uidByte[s]); } Cont…. >>>>>](https://image.slidesharecdn.com/attendancesystemusingesp8266wi-fiwithmysql-170420115132/75/Attendance-System-using-ESP8266-Wi-Fi-with-MySQL-16-2048.jpg)


![CODE: (PHP) function storeInDB($allow, $id){ $query = "insert into rfid set rfid='".$id."', allow='".$allow."'"; $result = mysqli_query($this->link,$query) or die('Errant query: '.$query); } } if($_GET['allow'] != '' and $_GET['id'] != ''){ $rfid=new rfid($_GET['allow'],$_GET['id']); } ?>](https://image.slidesharecdn.com/attendancesystemusingesp8266wi-fiwithmysql-170420115132/75/Attendance-System-using-ESP8266-Wi-Fi-with-MySQL-19-2048.jpg)


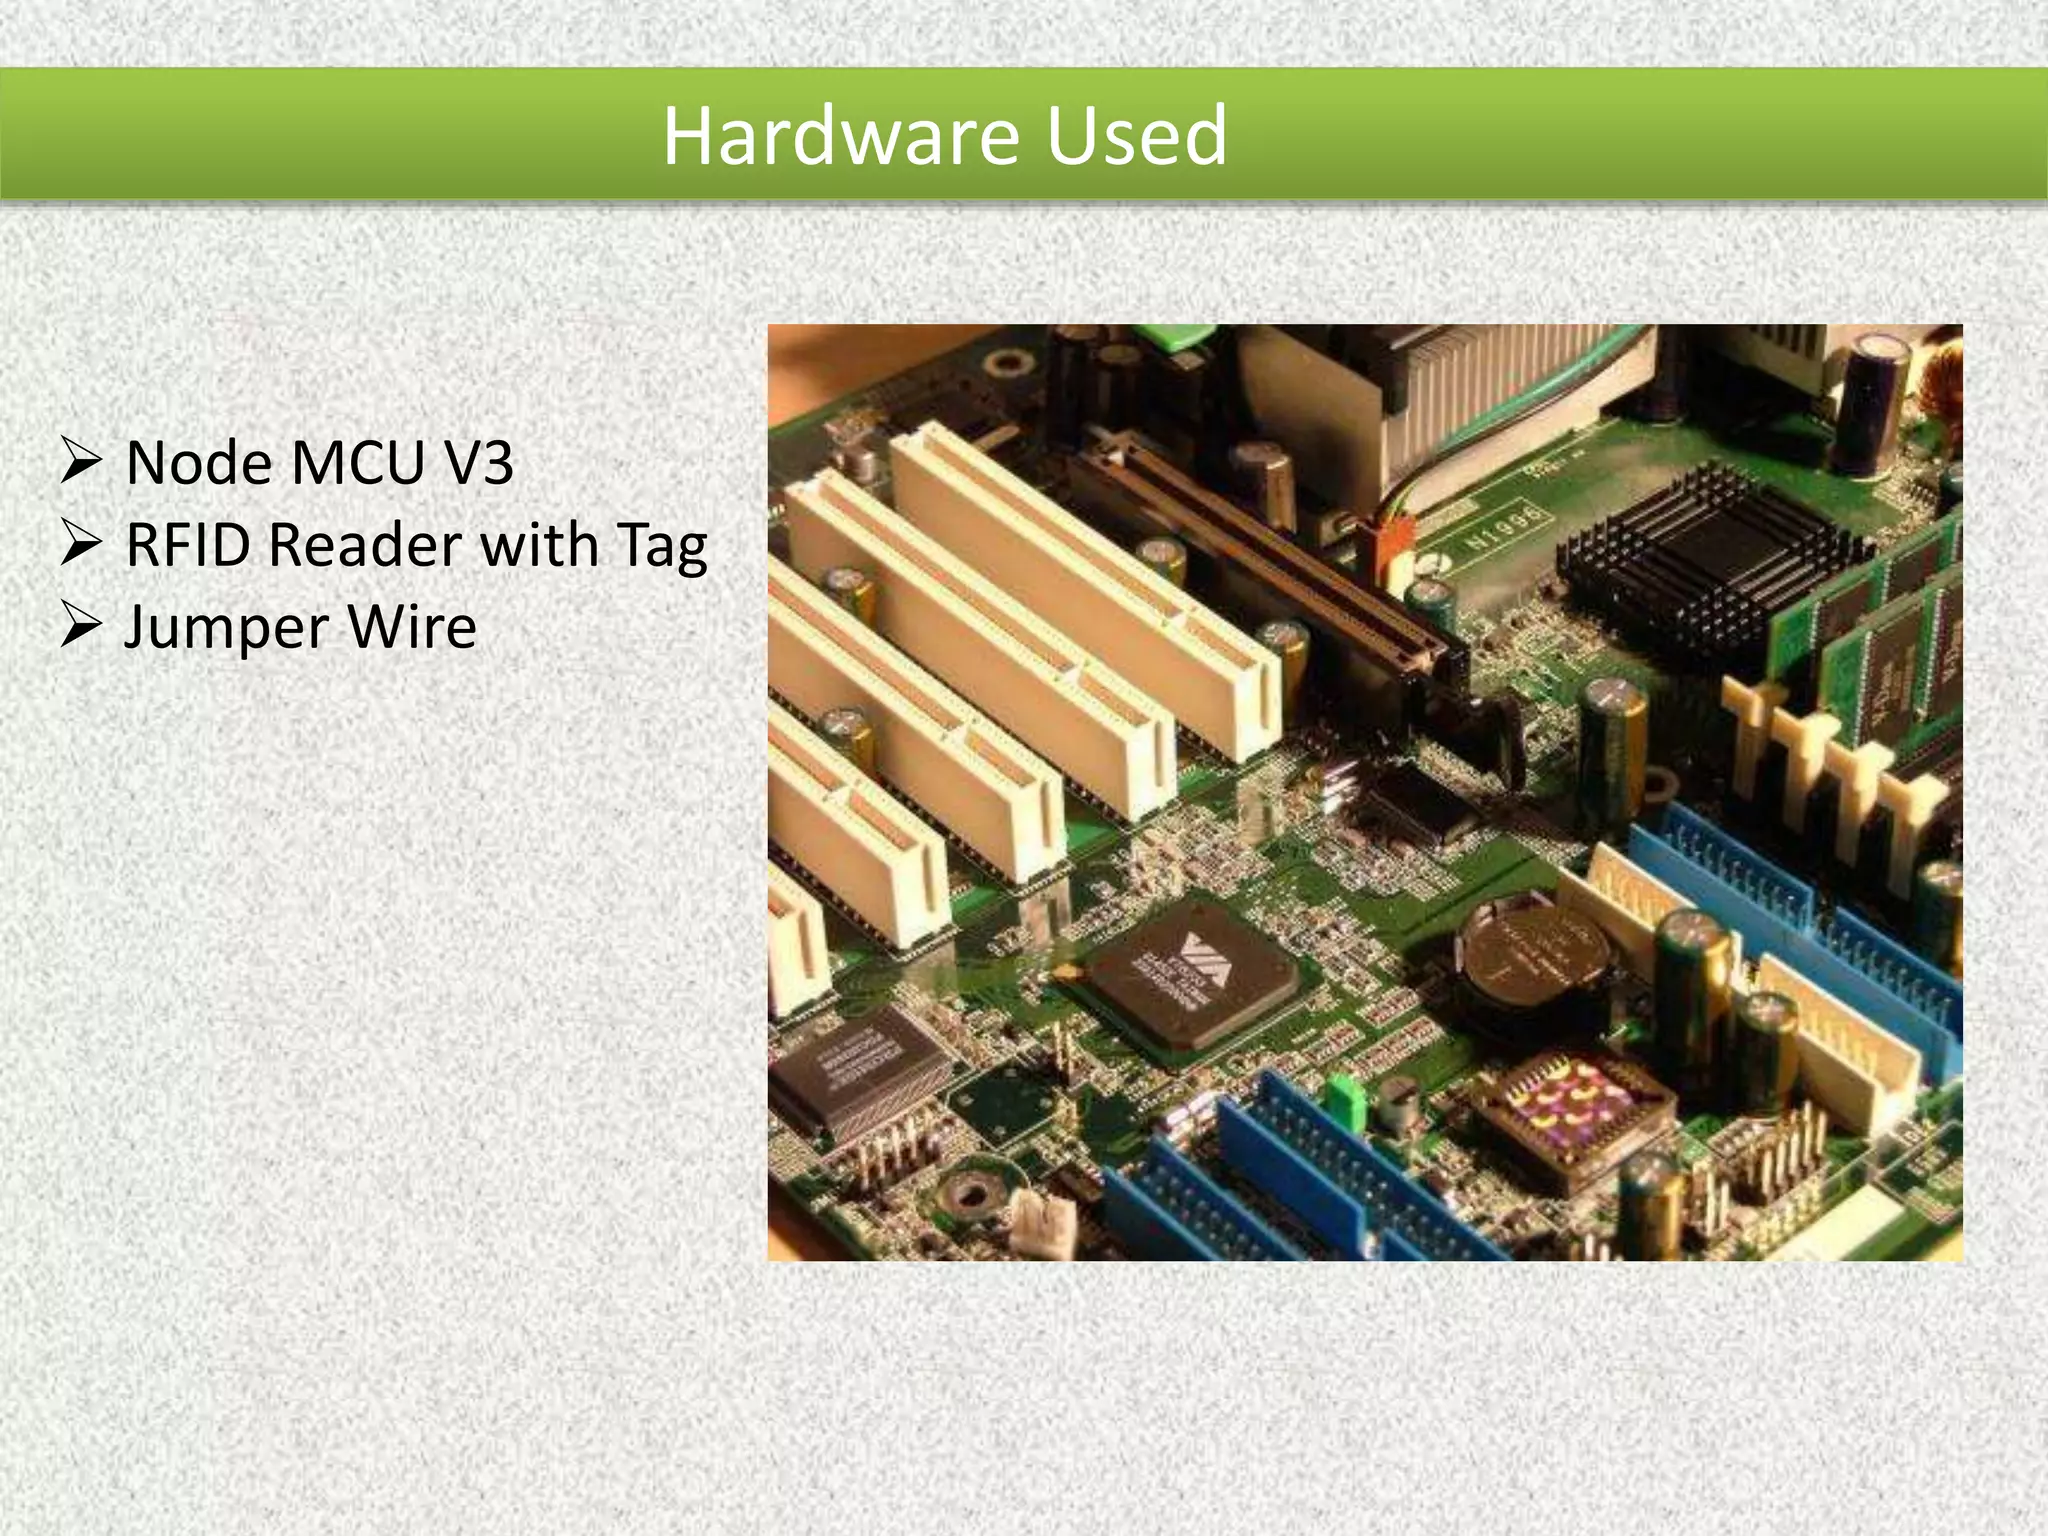
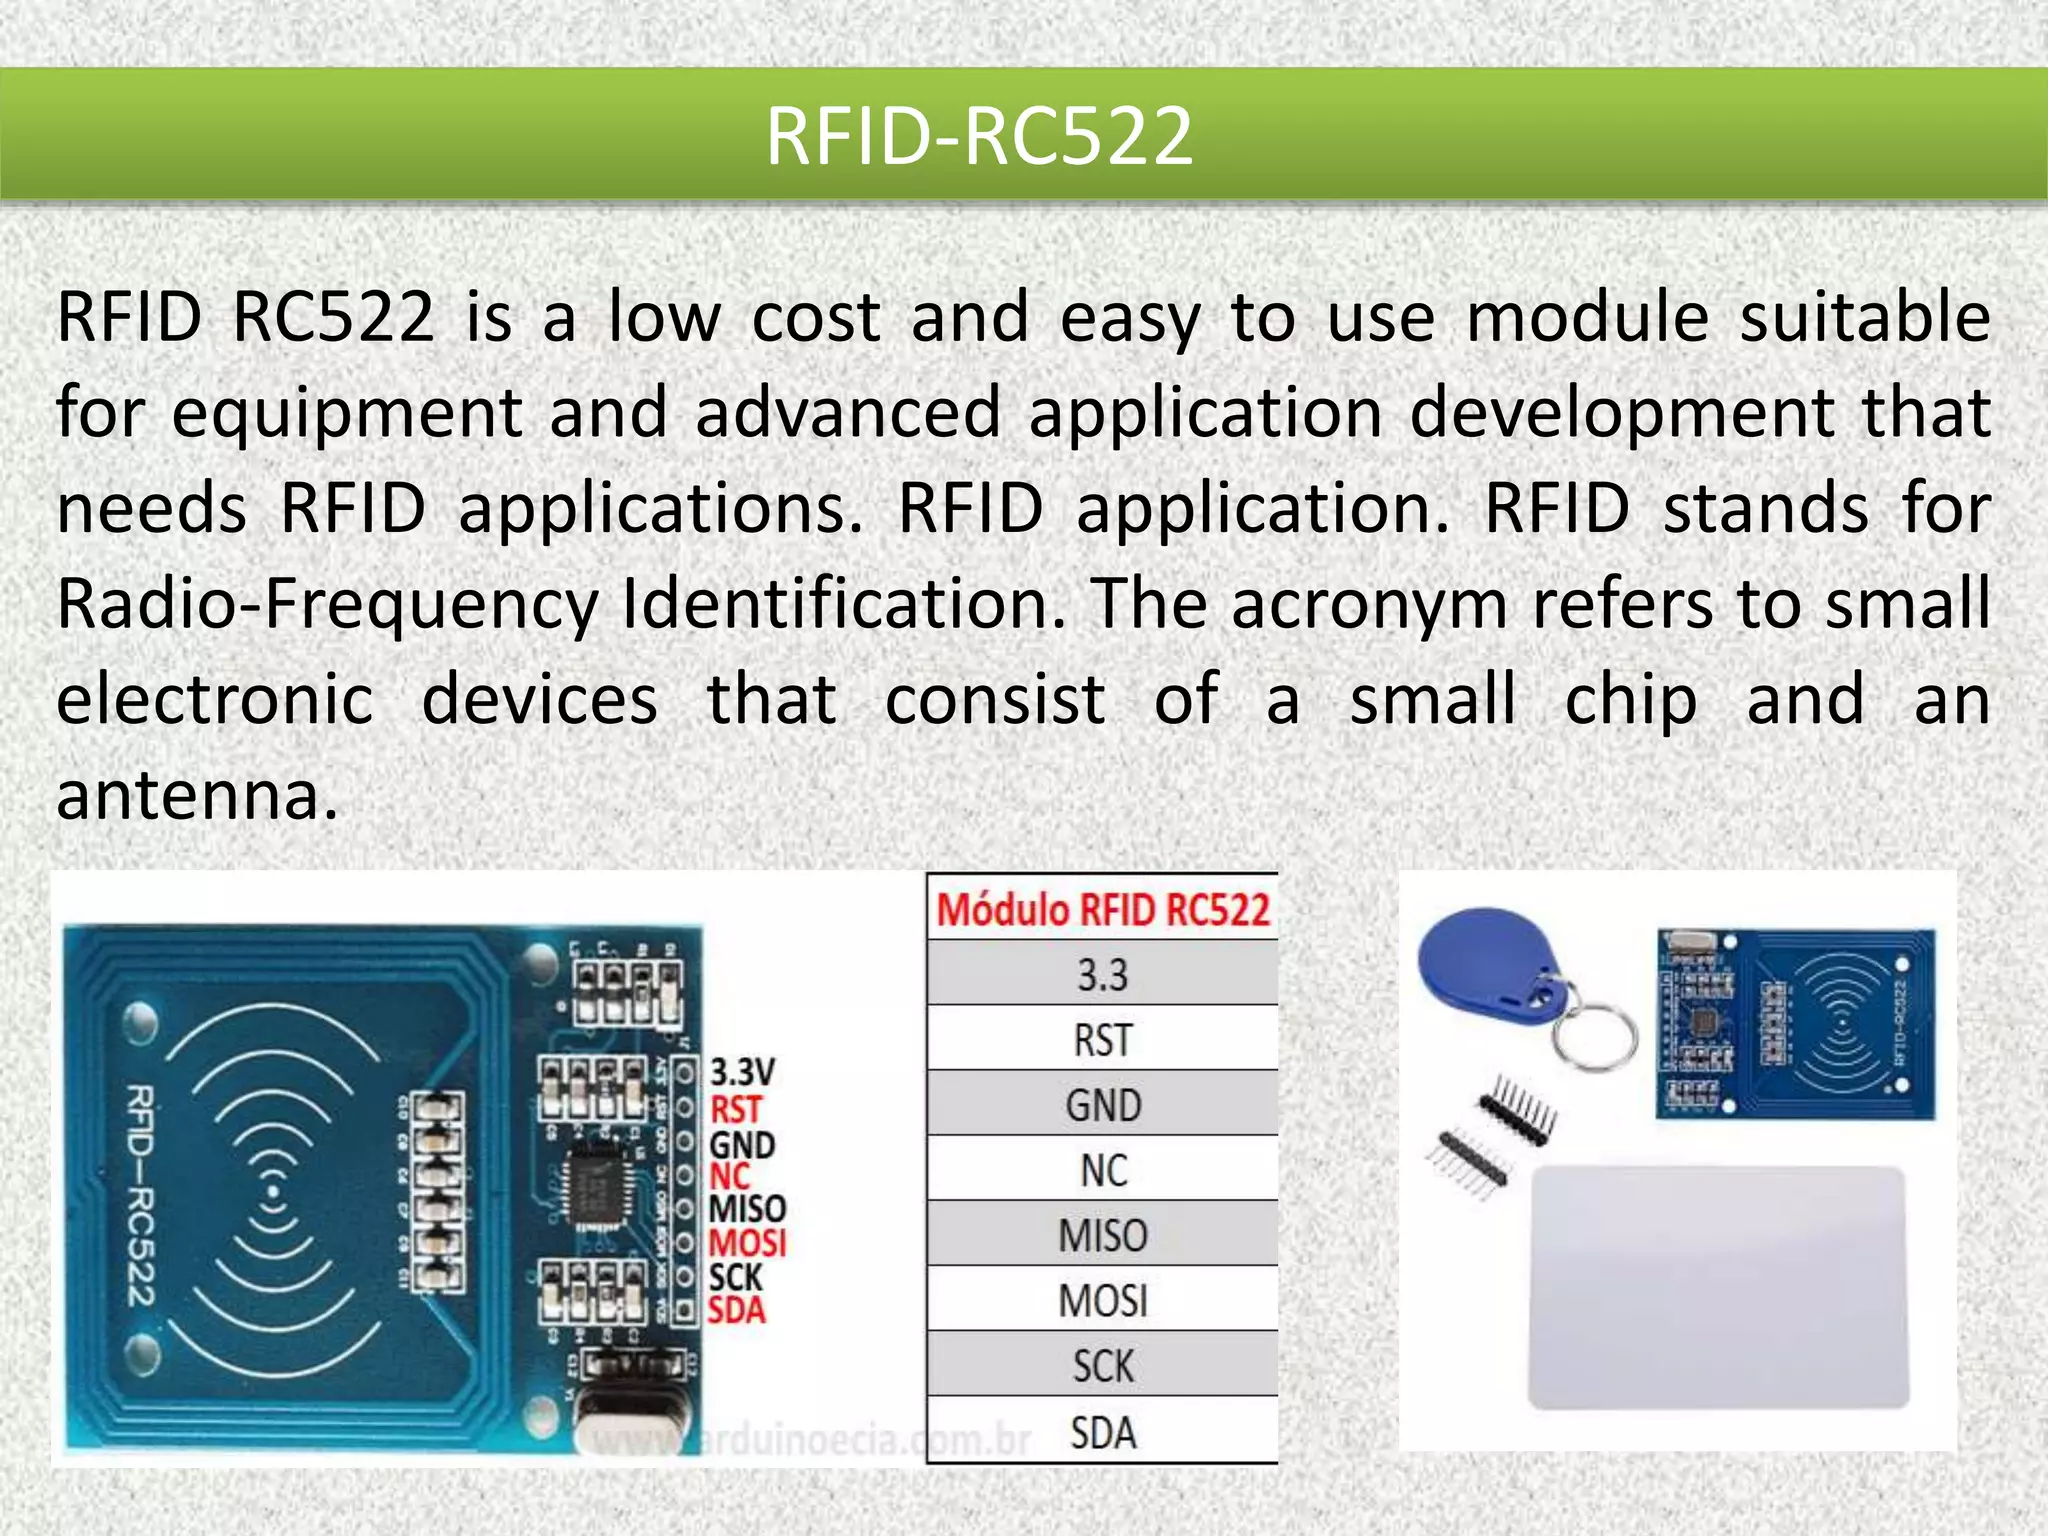
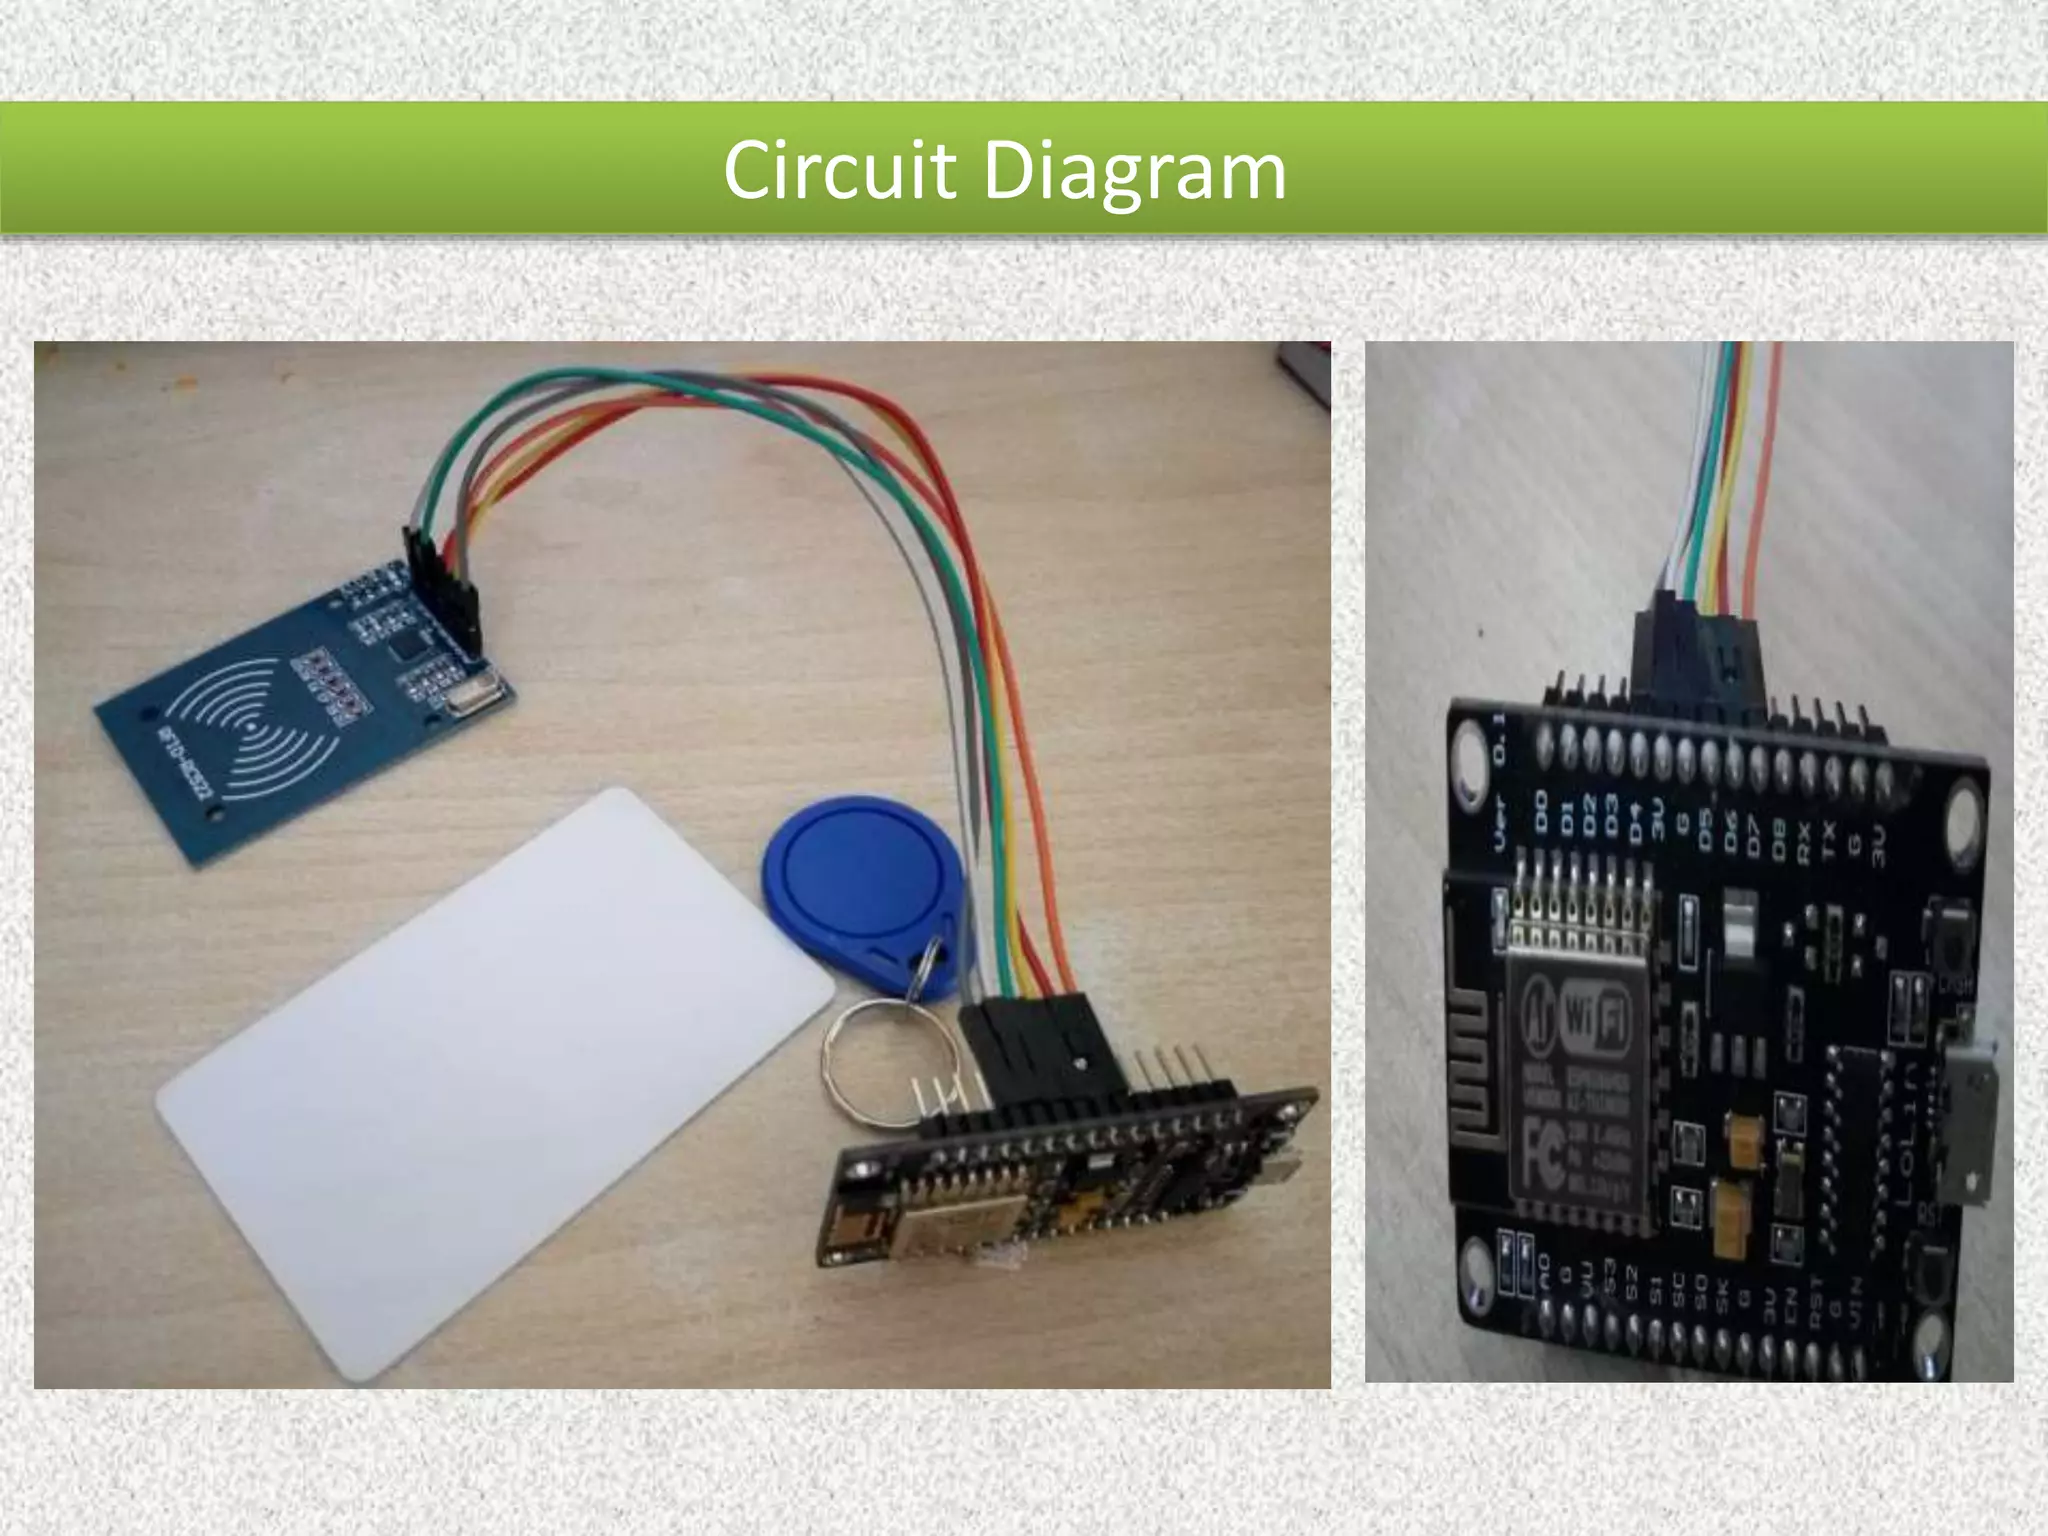
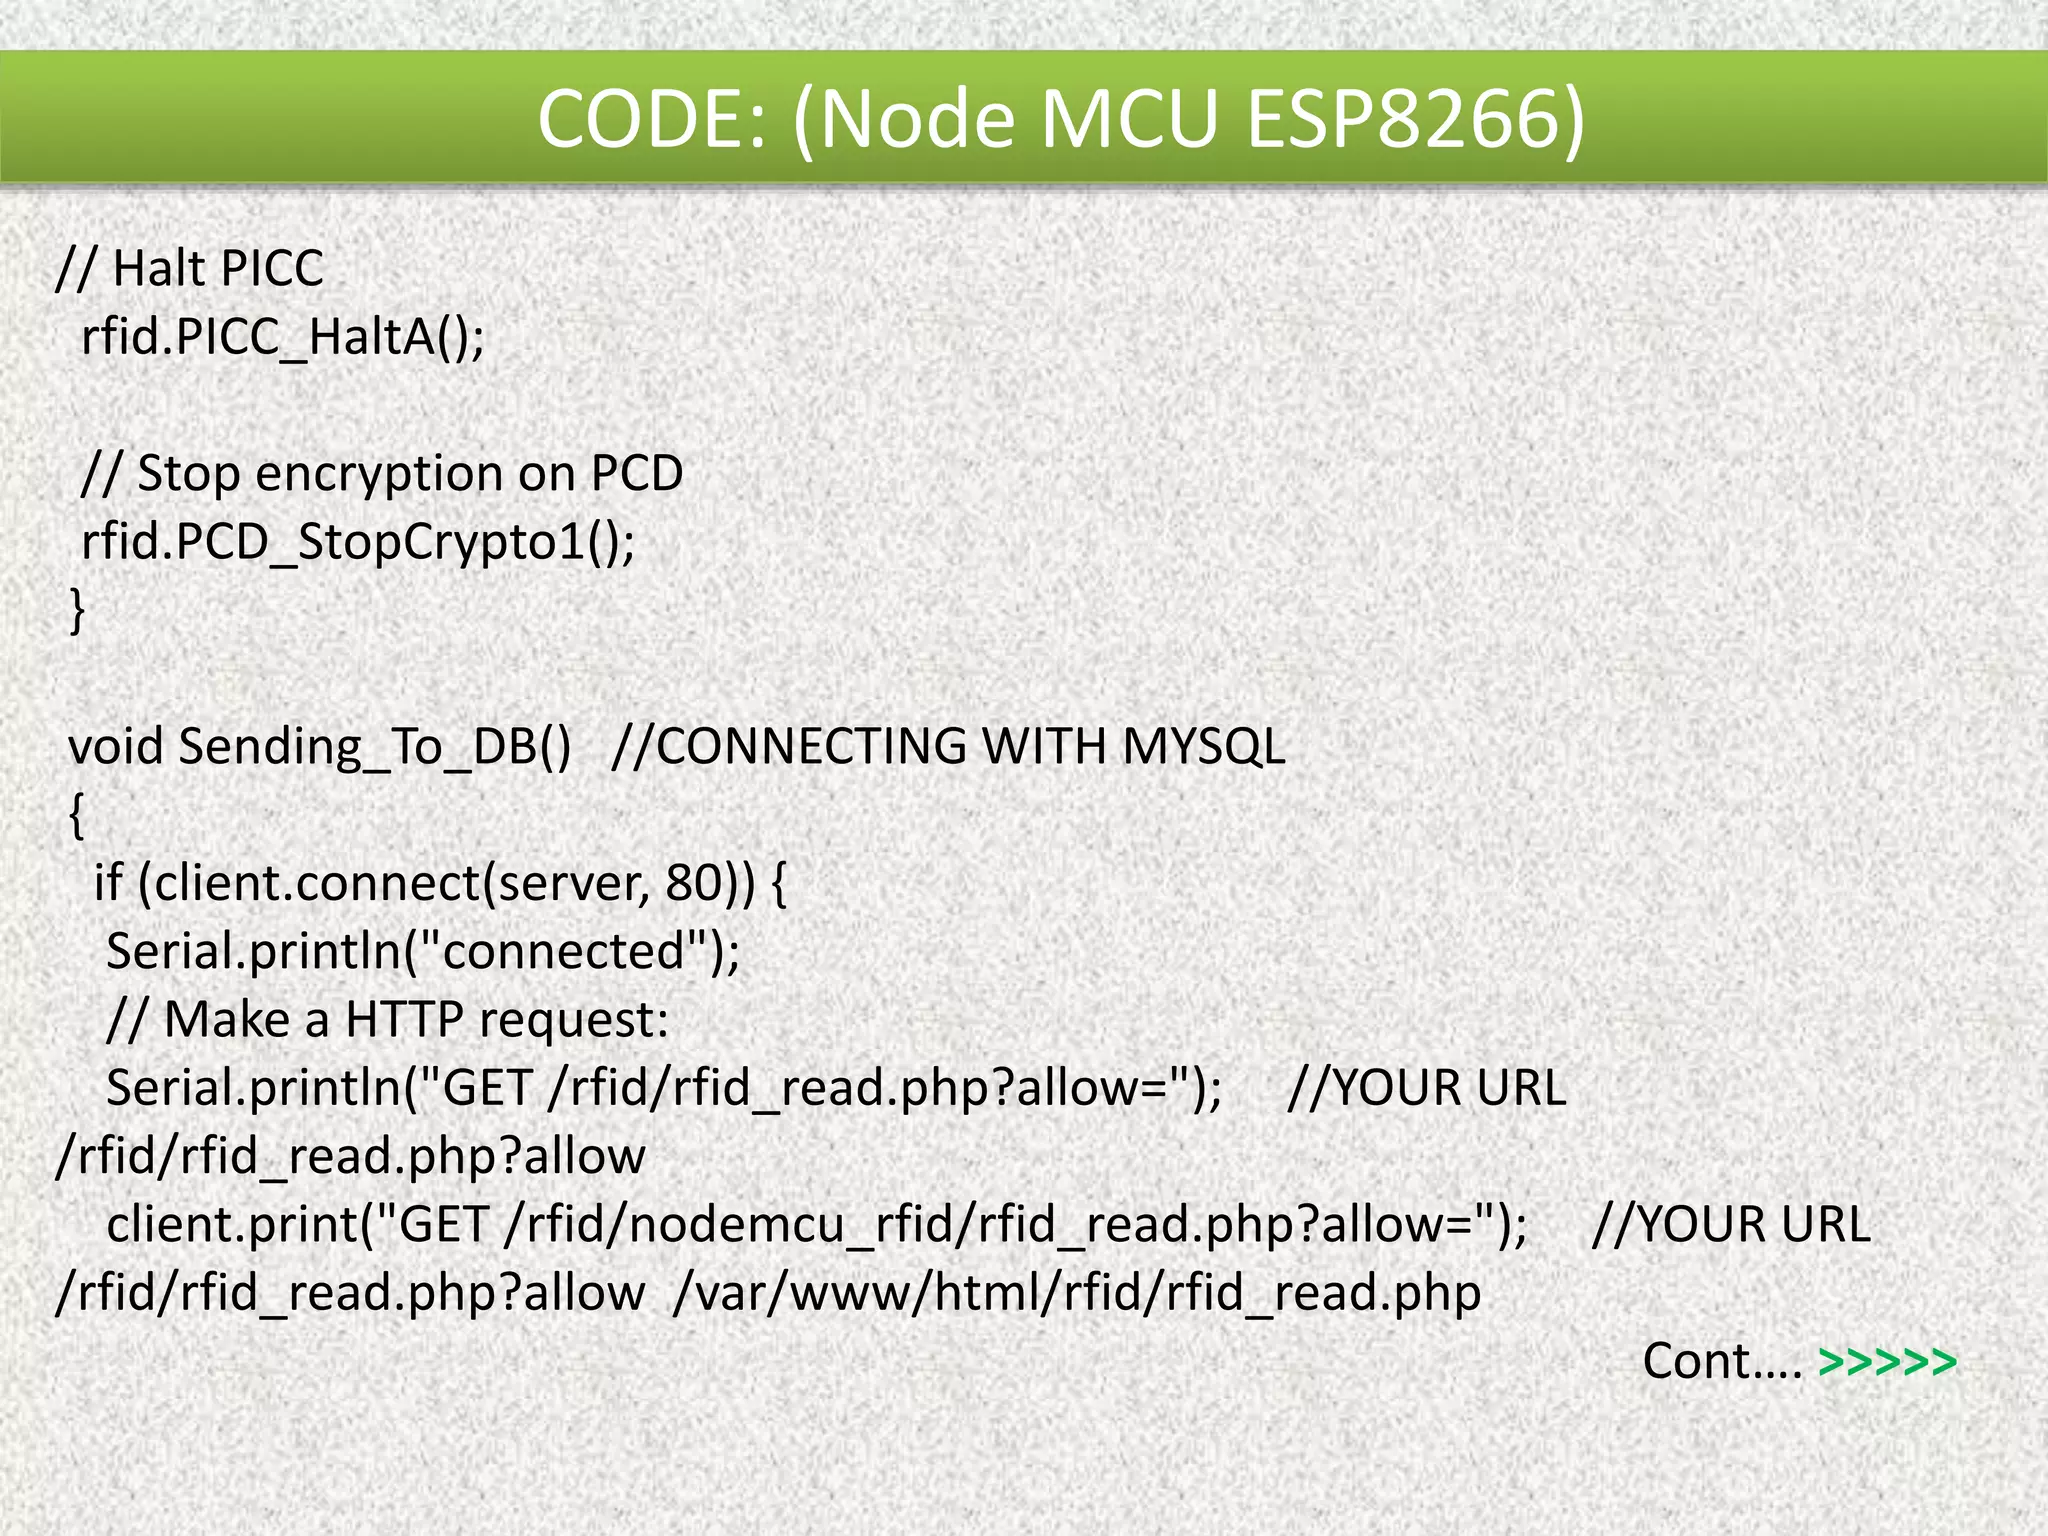
The document describes an attendance system that utilizes the NodeMCU ESP8266 and RFID-RC522 connected to a MySQL database, allowing for the scanning of RFID tags to manage attendance records. It outlines the necessary hardware and software, provides circuit diagrams, and includes relevant code snippets in both NodeMCU and PHP for database interaction. Additionally, resources for further development and contact information for the authors are provided.