Downloaded 488 times


This document summarizes Day 1 of an Arduino robotics workshop. It introduces the instructor and provides an overview of the workshop objectives, which are to introduce Arduino, teach robotics fundamentals, have participants build and program a small autonomous robot. The workshop covers basics like breadboards, Arduino components, circuits, coding blink programs. It also demonstrates using sensors, motors, an H-bridge motor controller to build a crawling robot that can move and turn in different directions.
Presentation on Day 1 of Arduino Robotics Workshop by Sudar Muthu, emphasizing objectives and contributors.
Objectives highlight introductions to Arduino, robotics, sensors, building, and automating a bot.
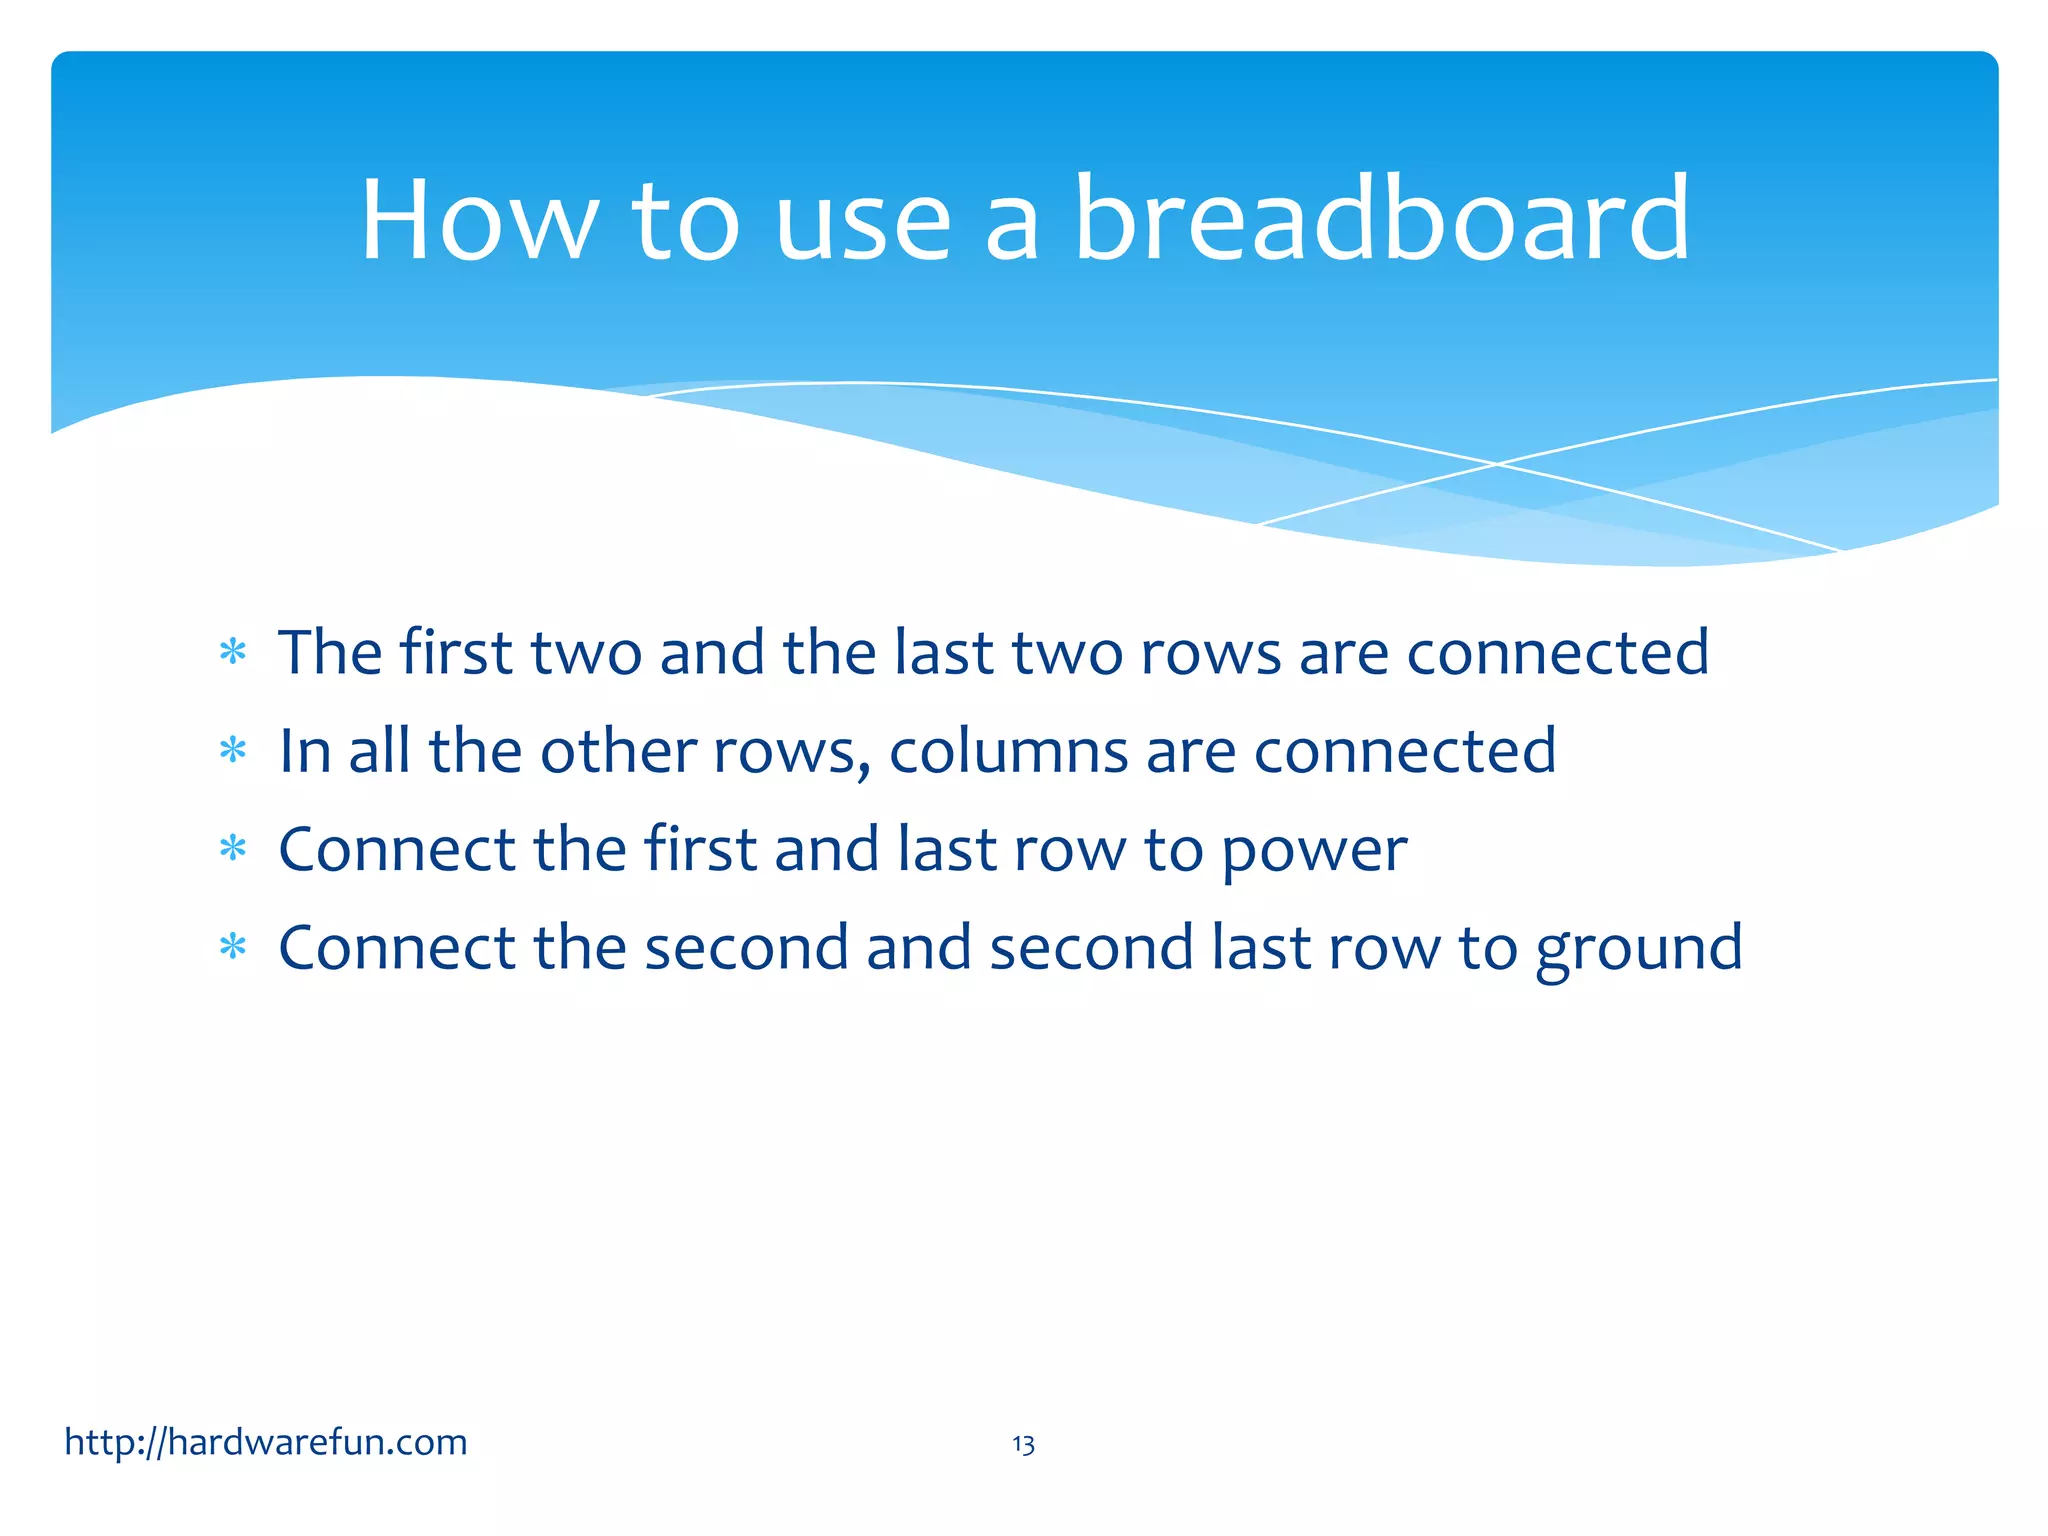
Explanation of breadboard connections and usage essential for wiring components in robotics projects.
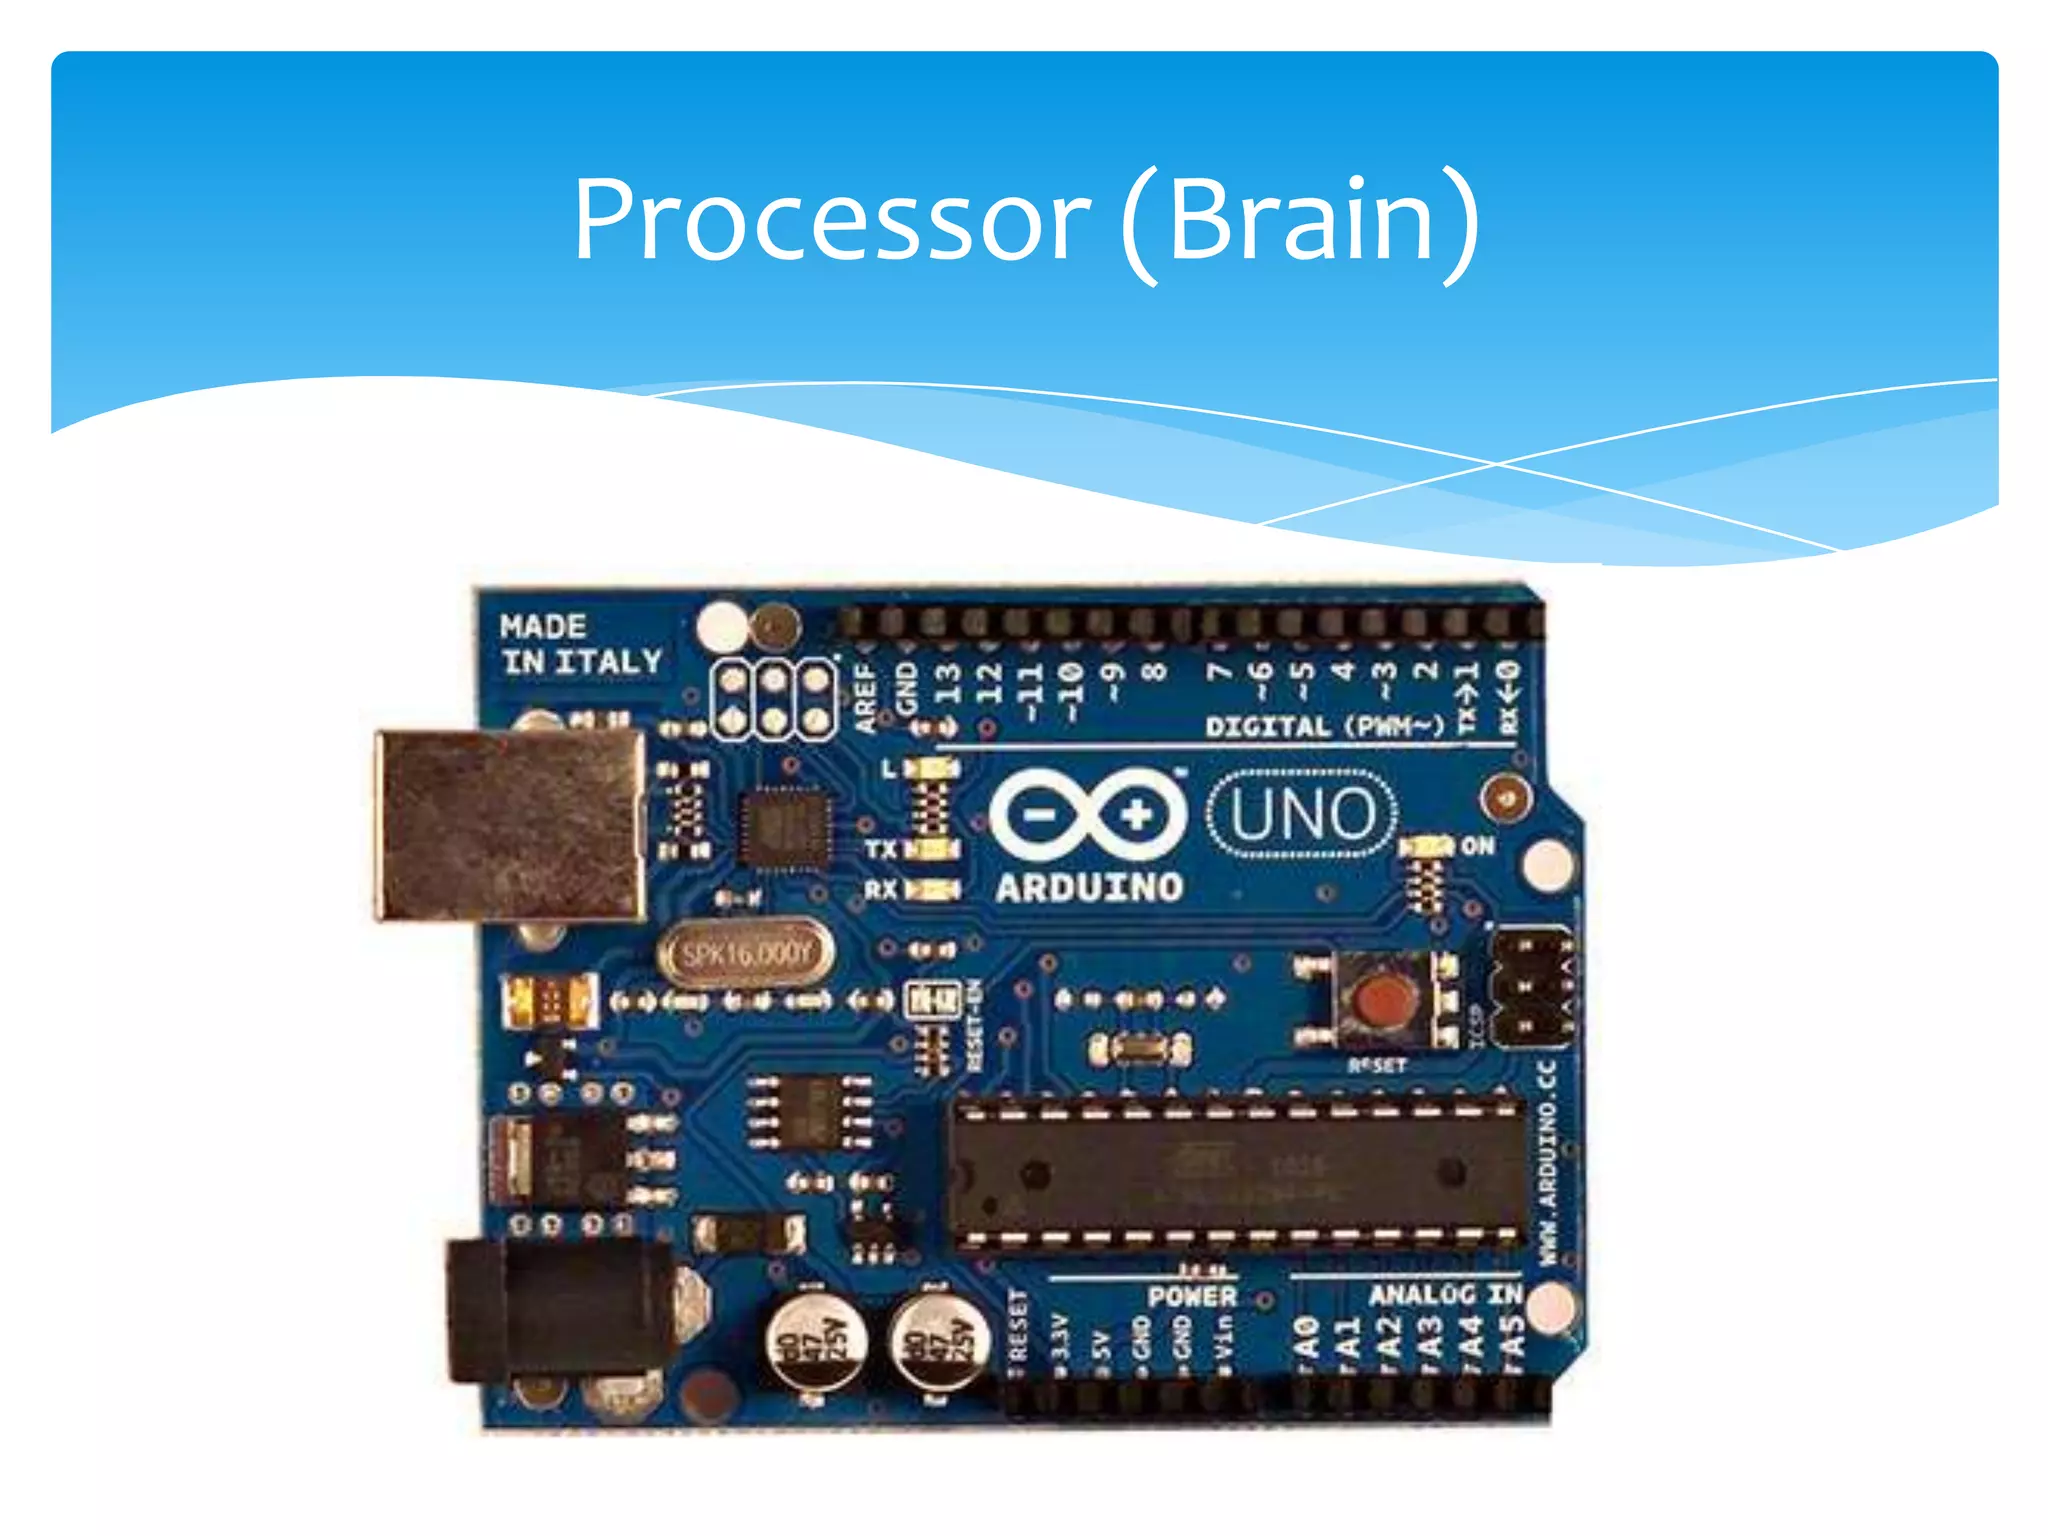
Introduction to Arduino, particularly Arduino Uno used in the workshop, and other available types.
Identification of key components of Arduino boards, including power source, pins, and indicators.
Methods of powering Arduino and initial testing with a fundamental programming exercise.
How to create a simple LED blink program using Arduino, exploring programming and debugging fundamentals.
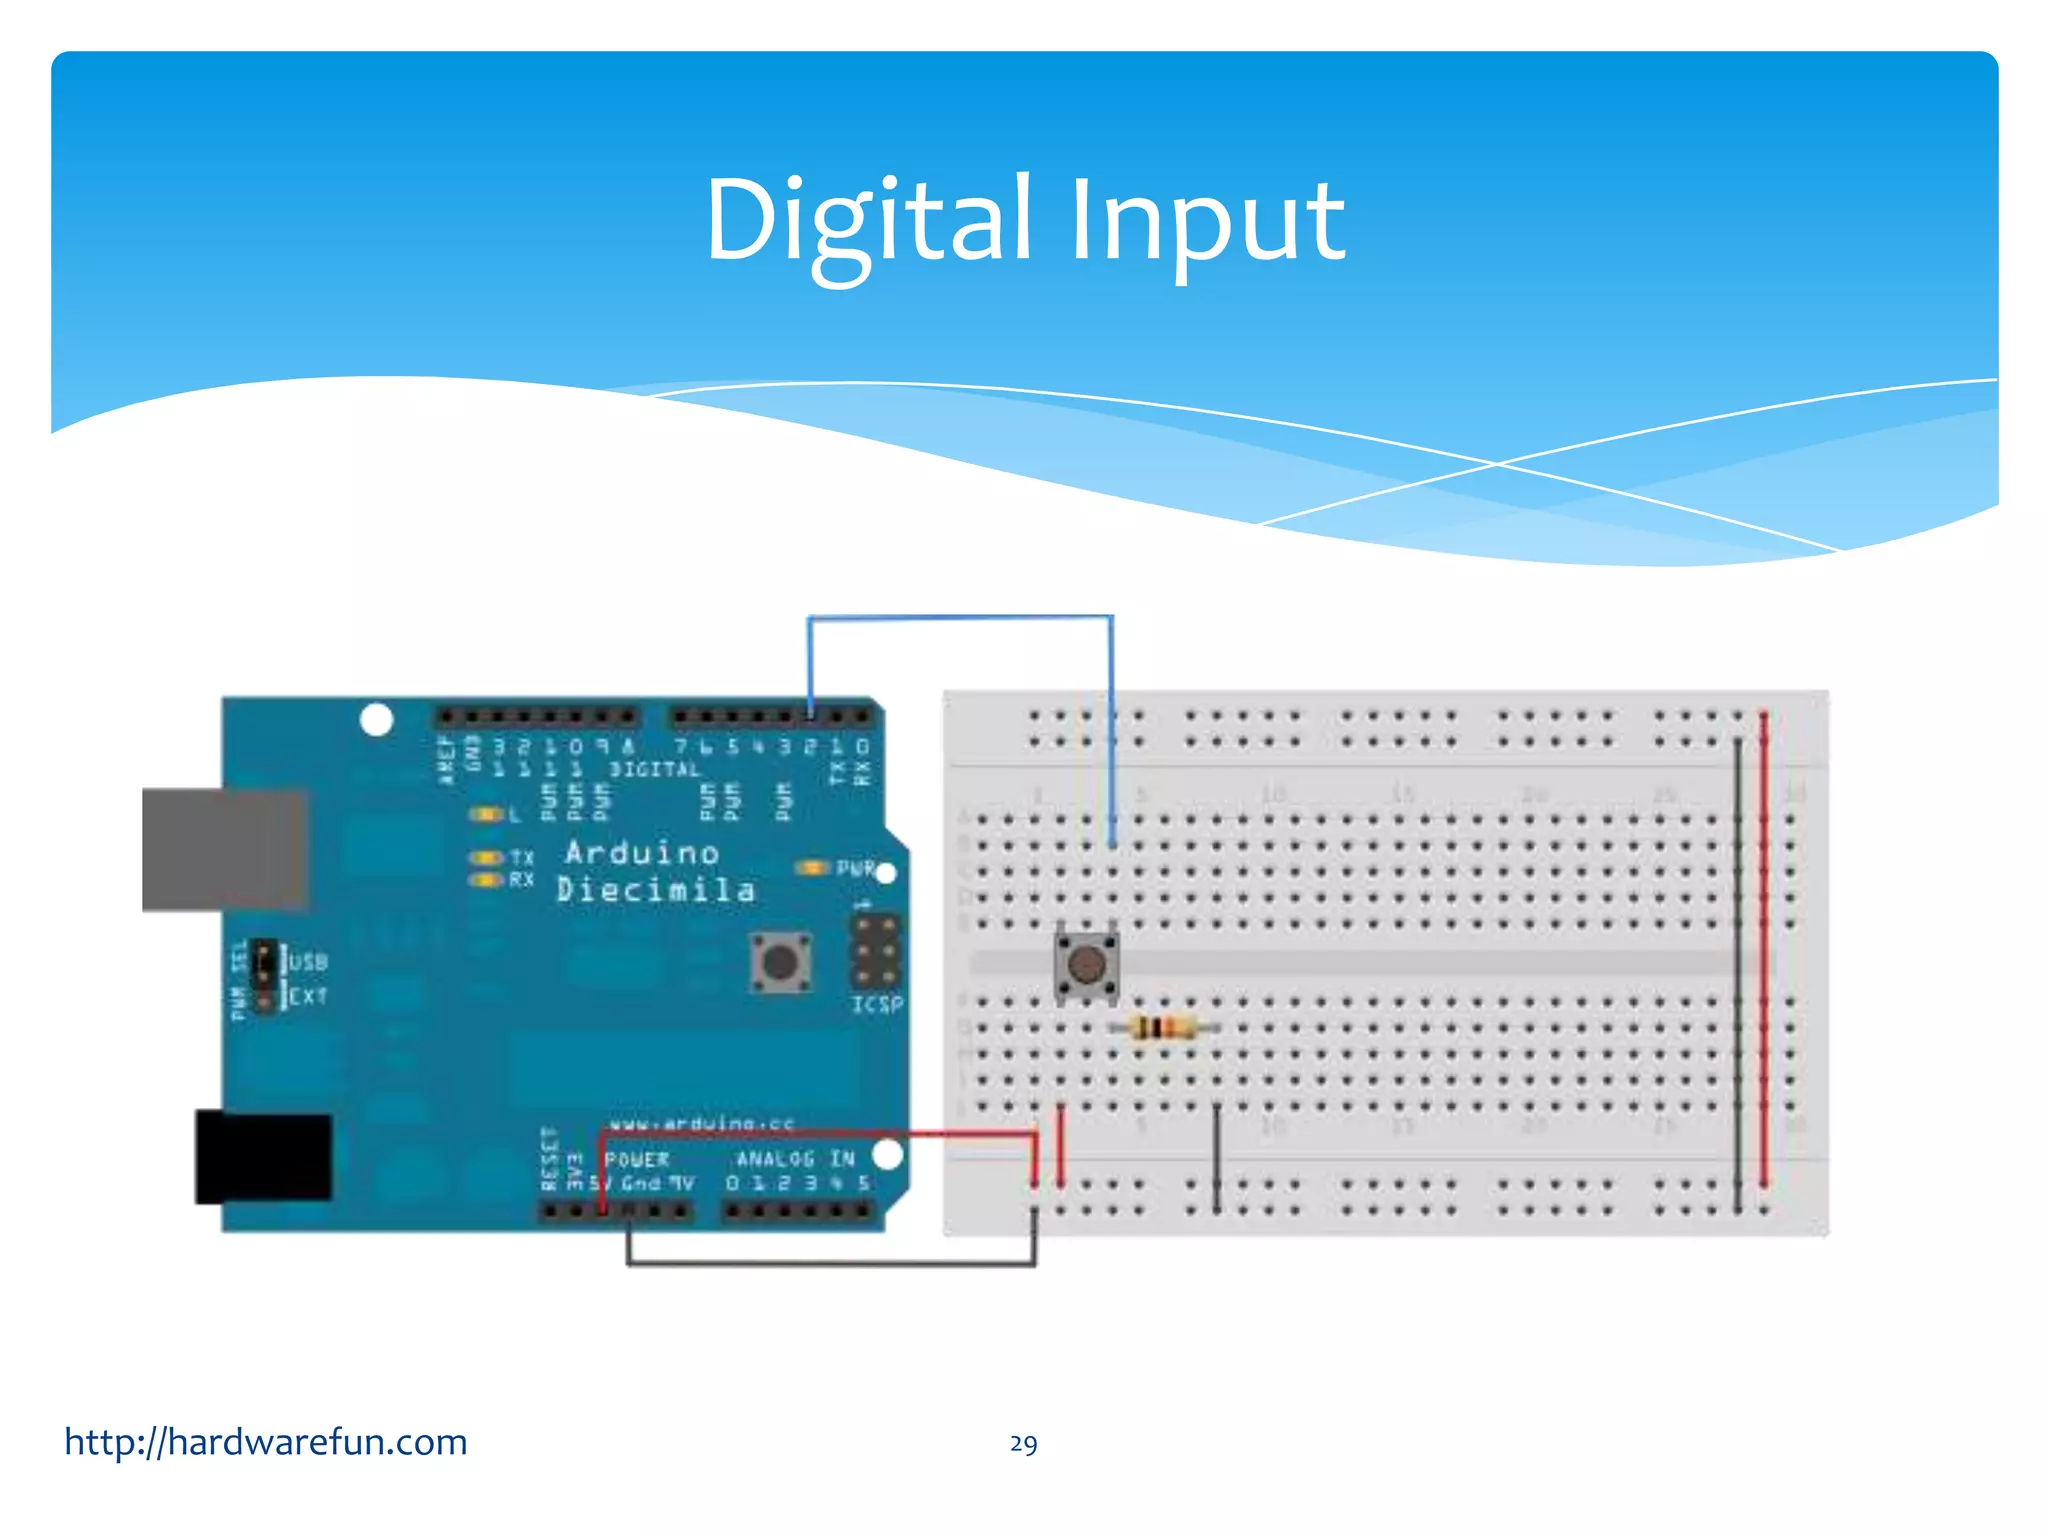
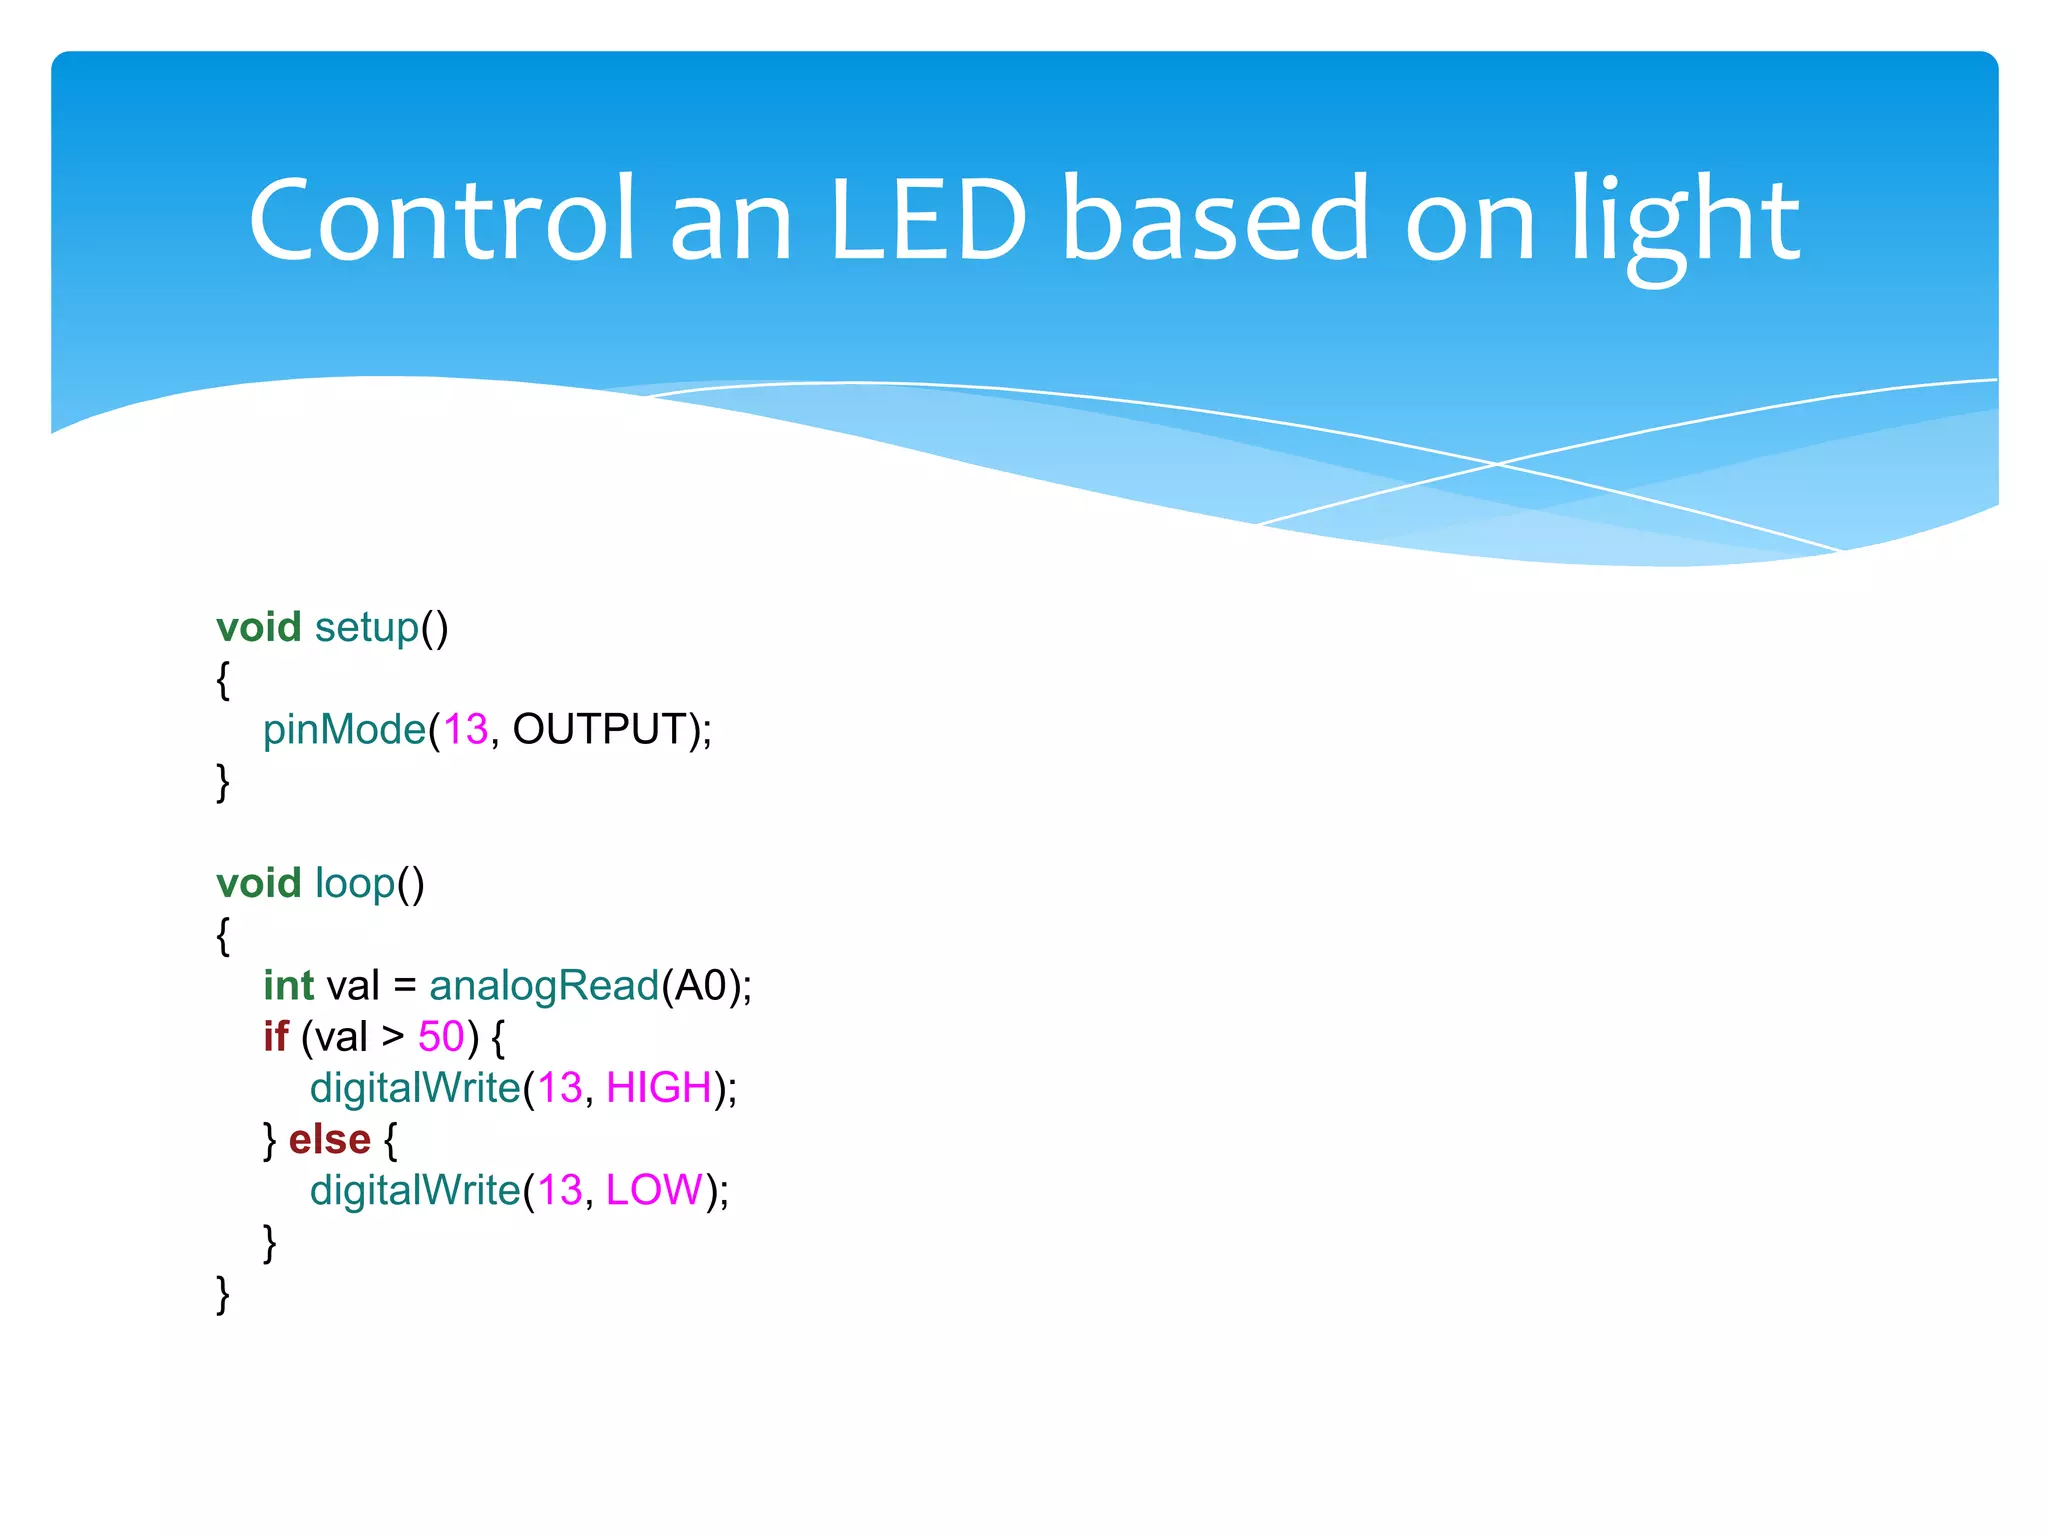
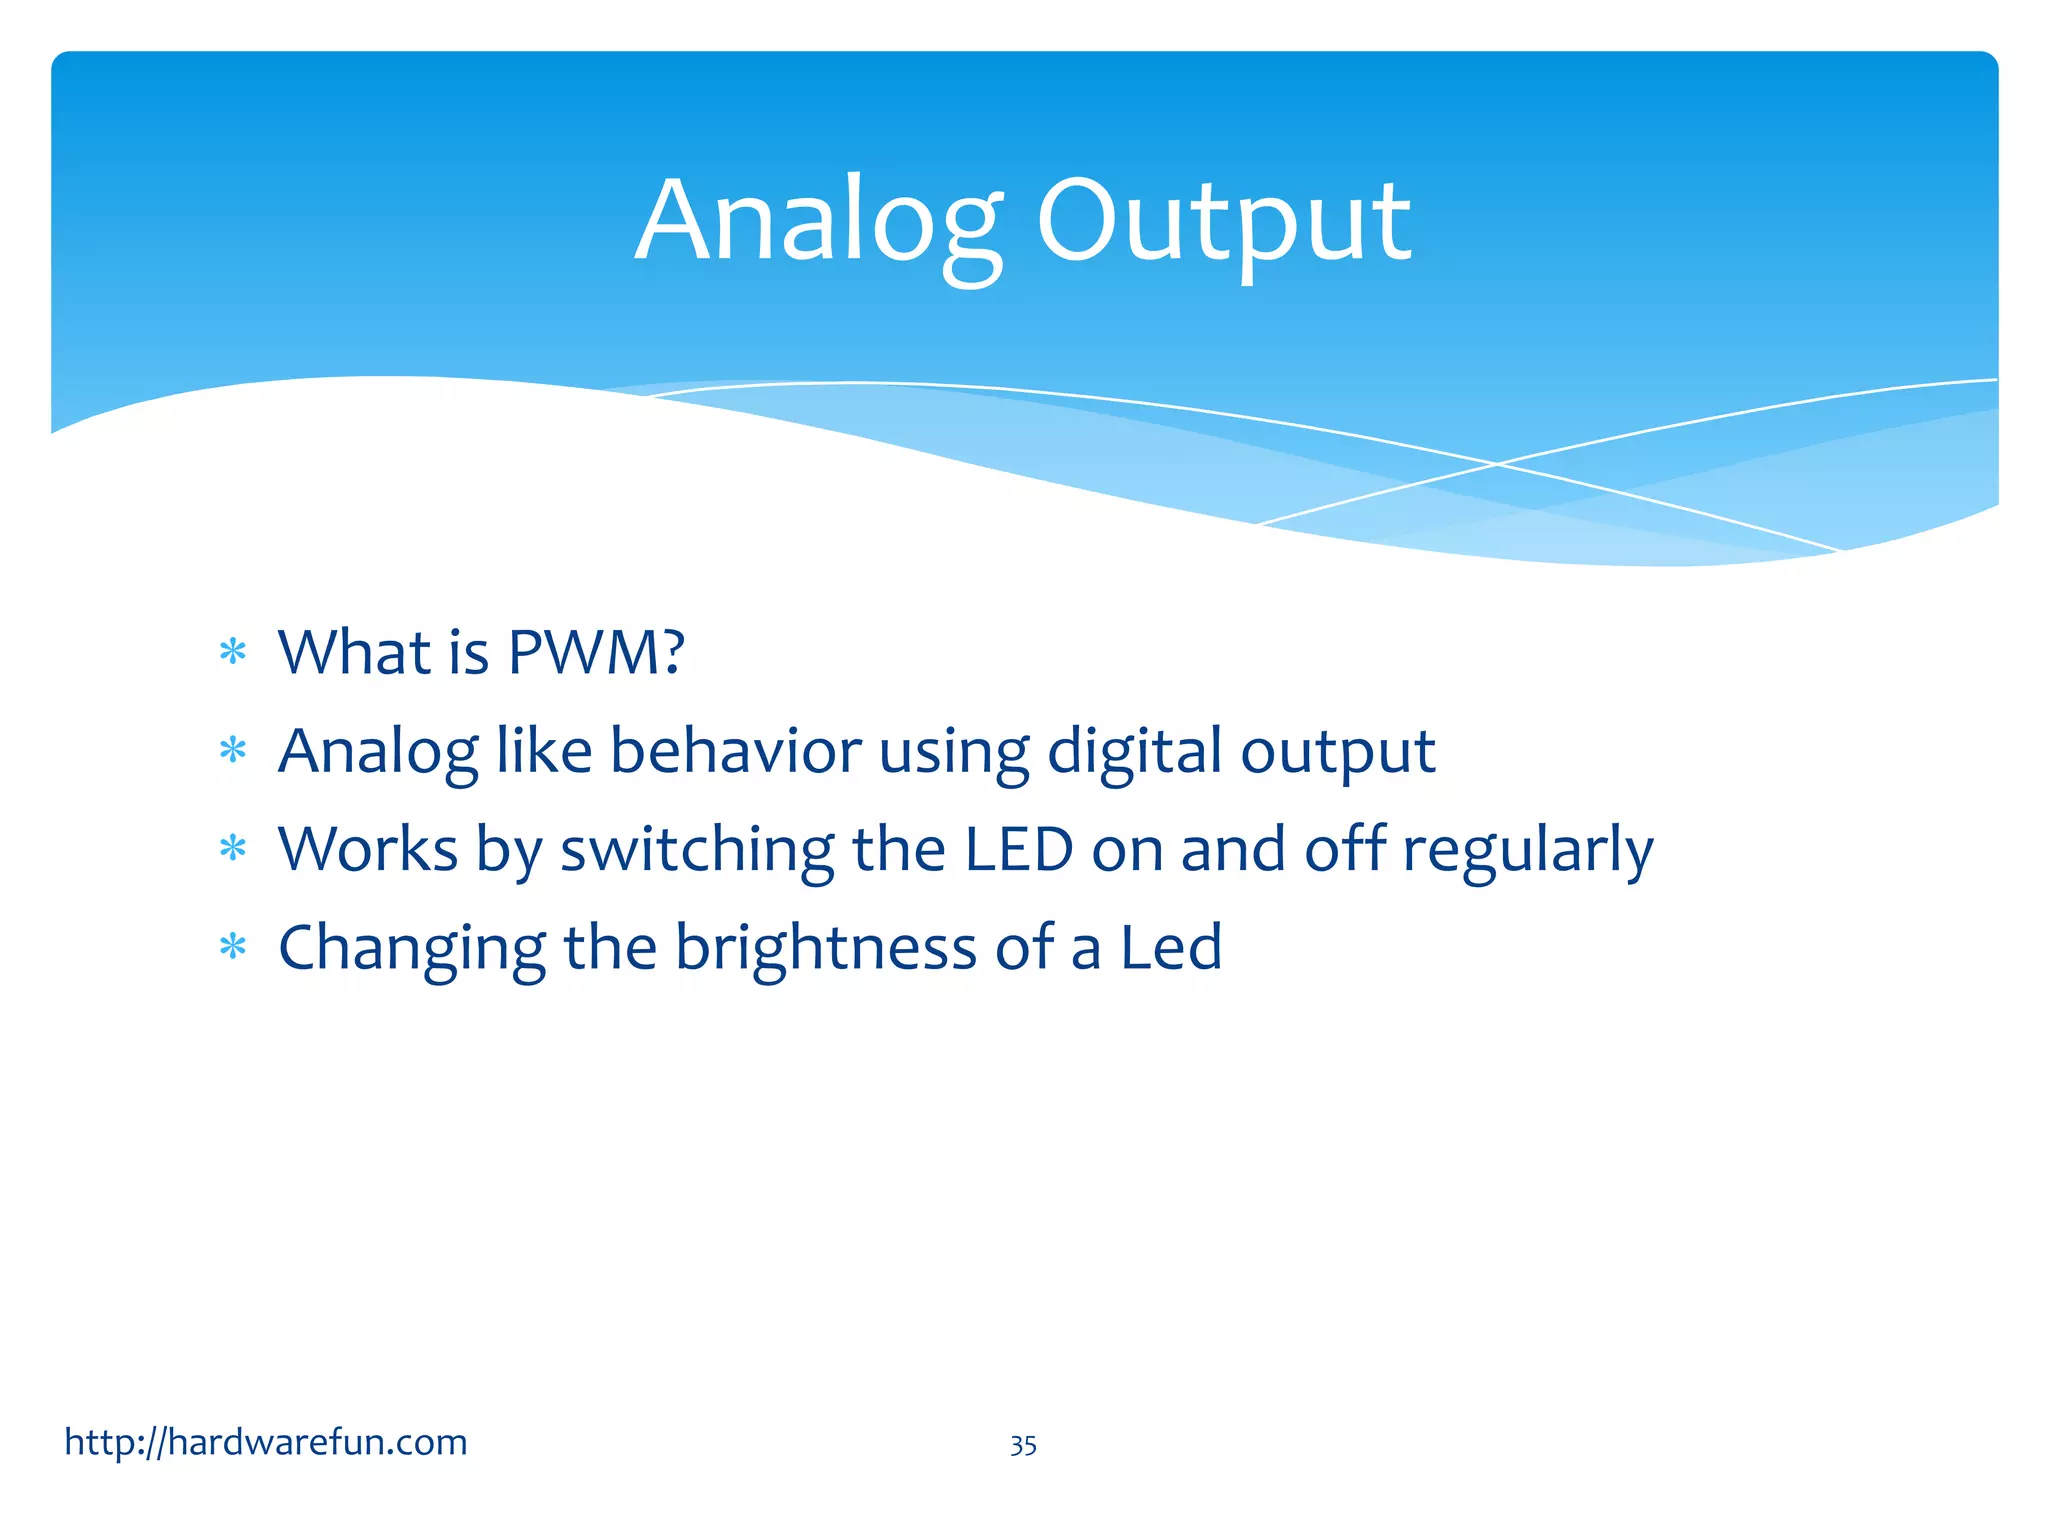
Understanding digital input/output, analog reading, and controlling LED brightness through PWM.
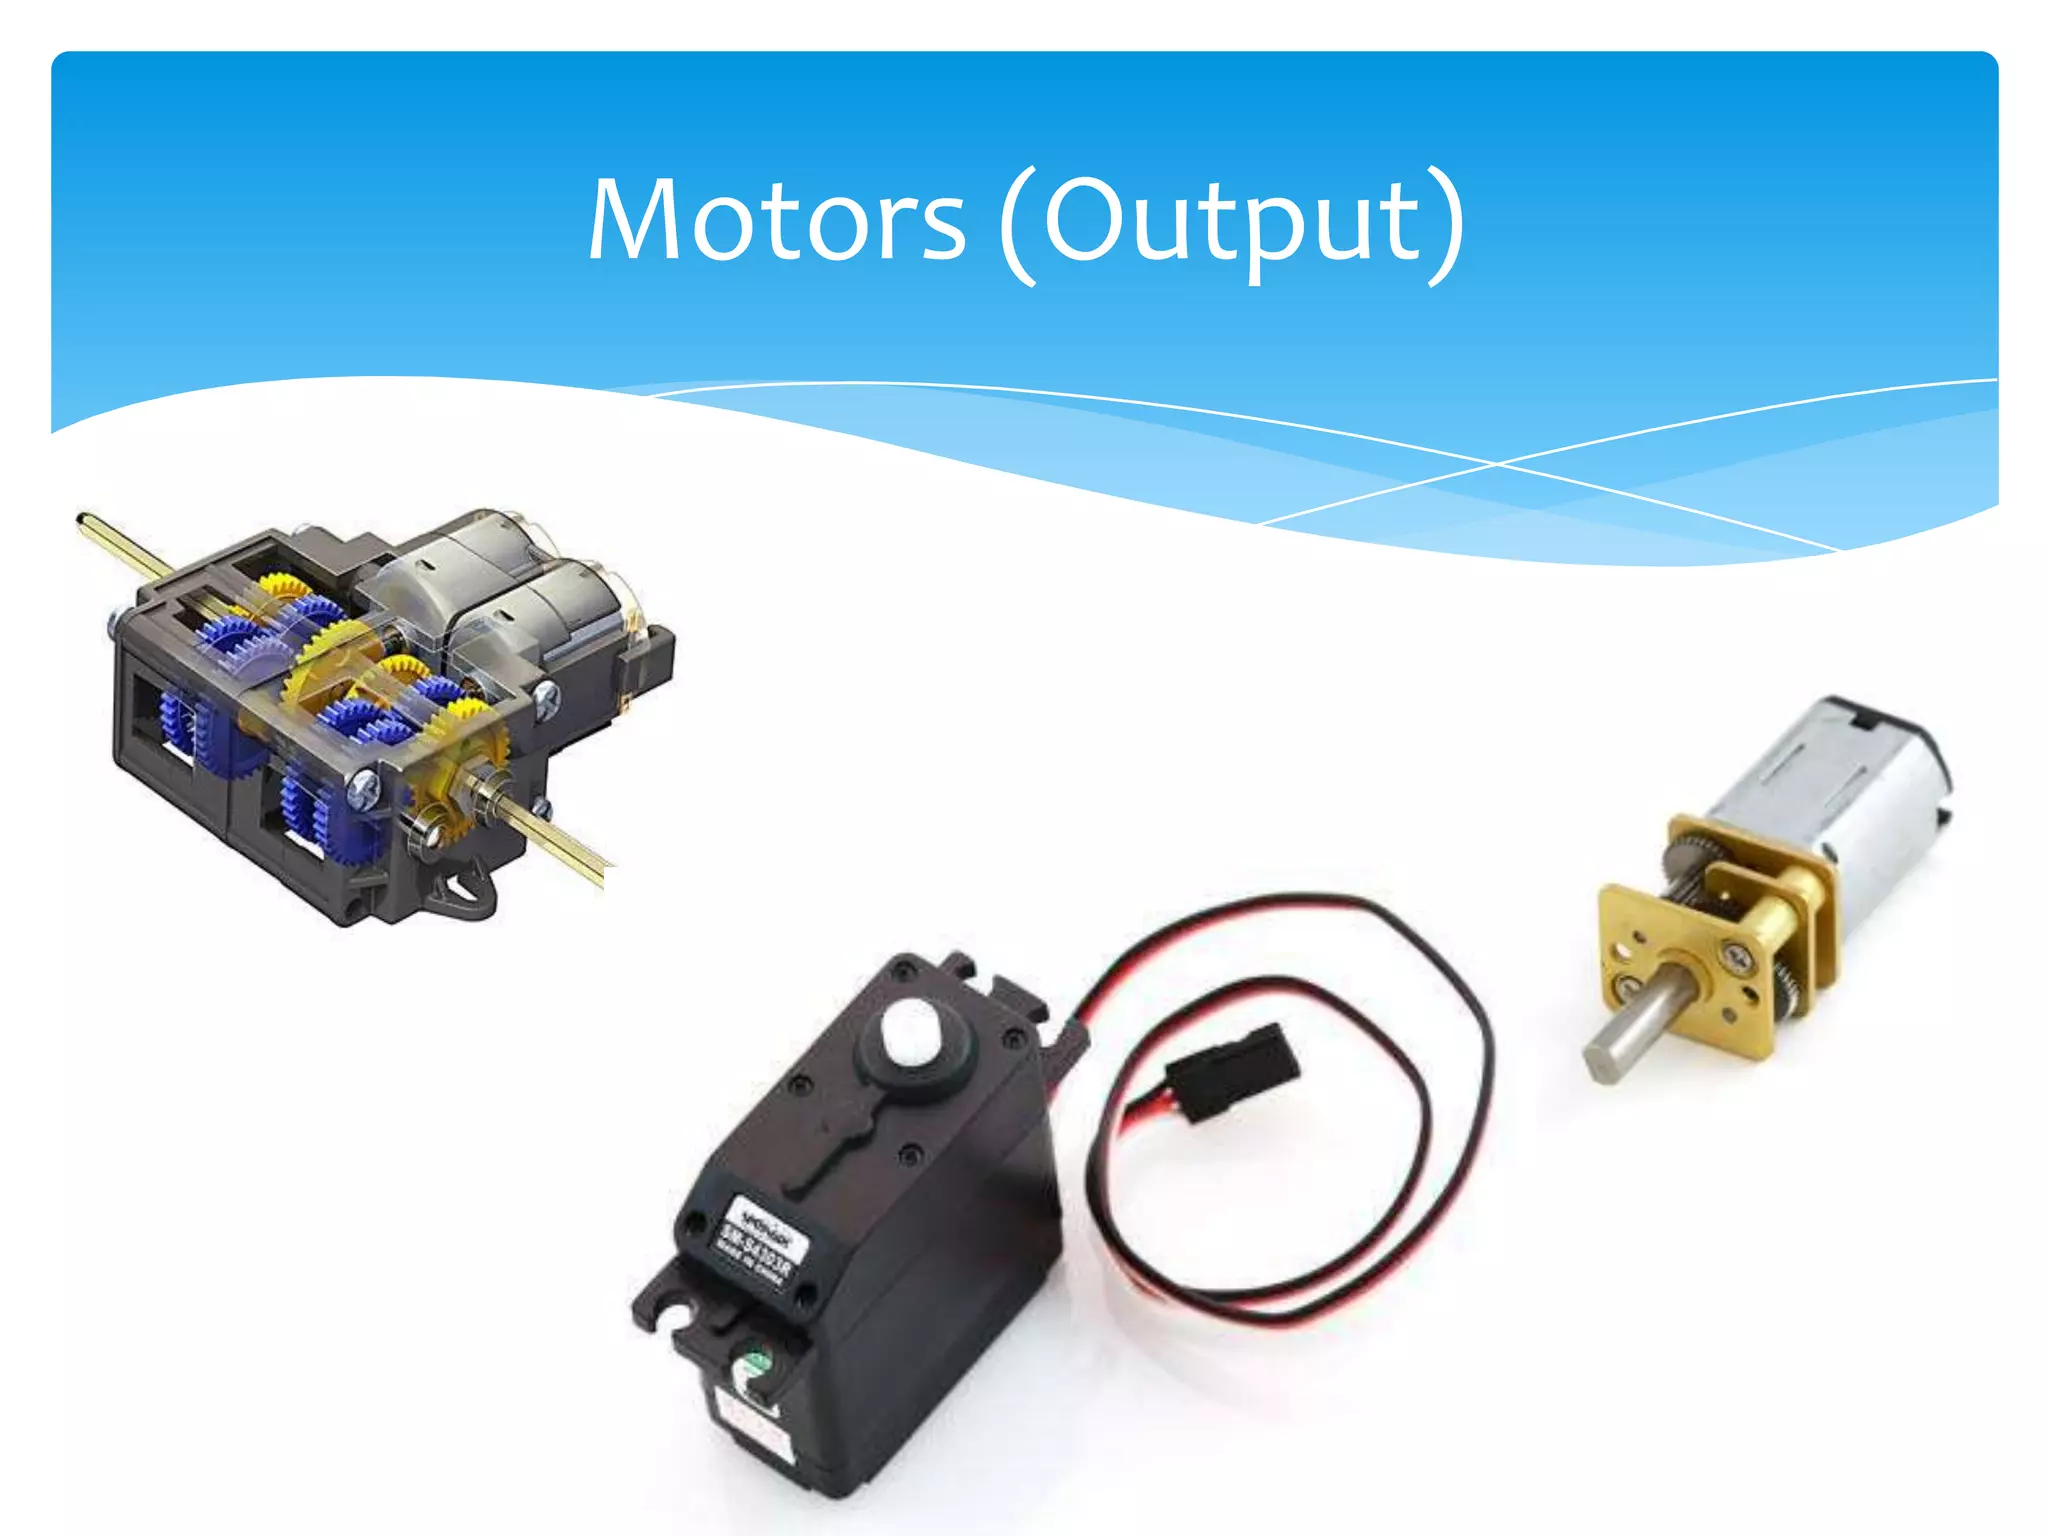
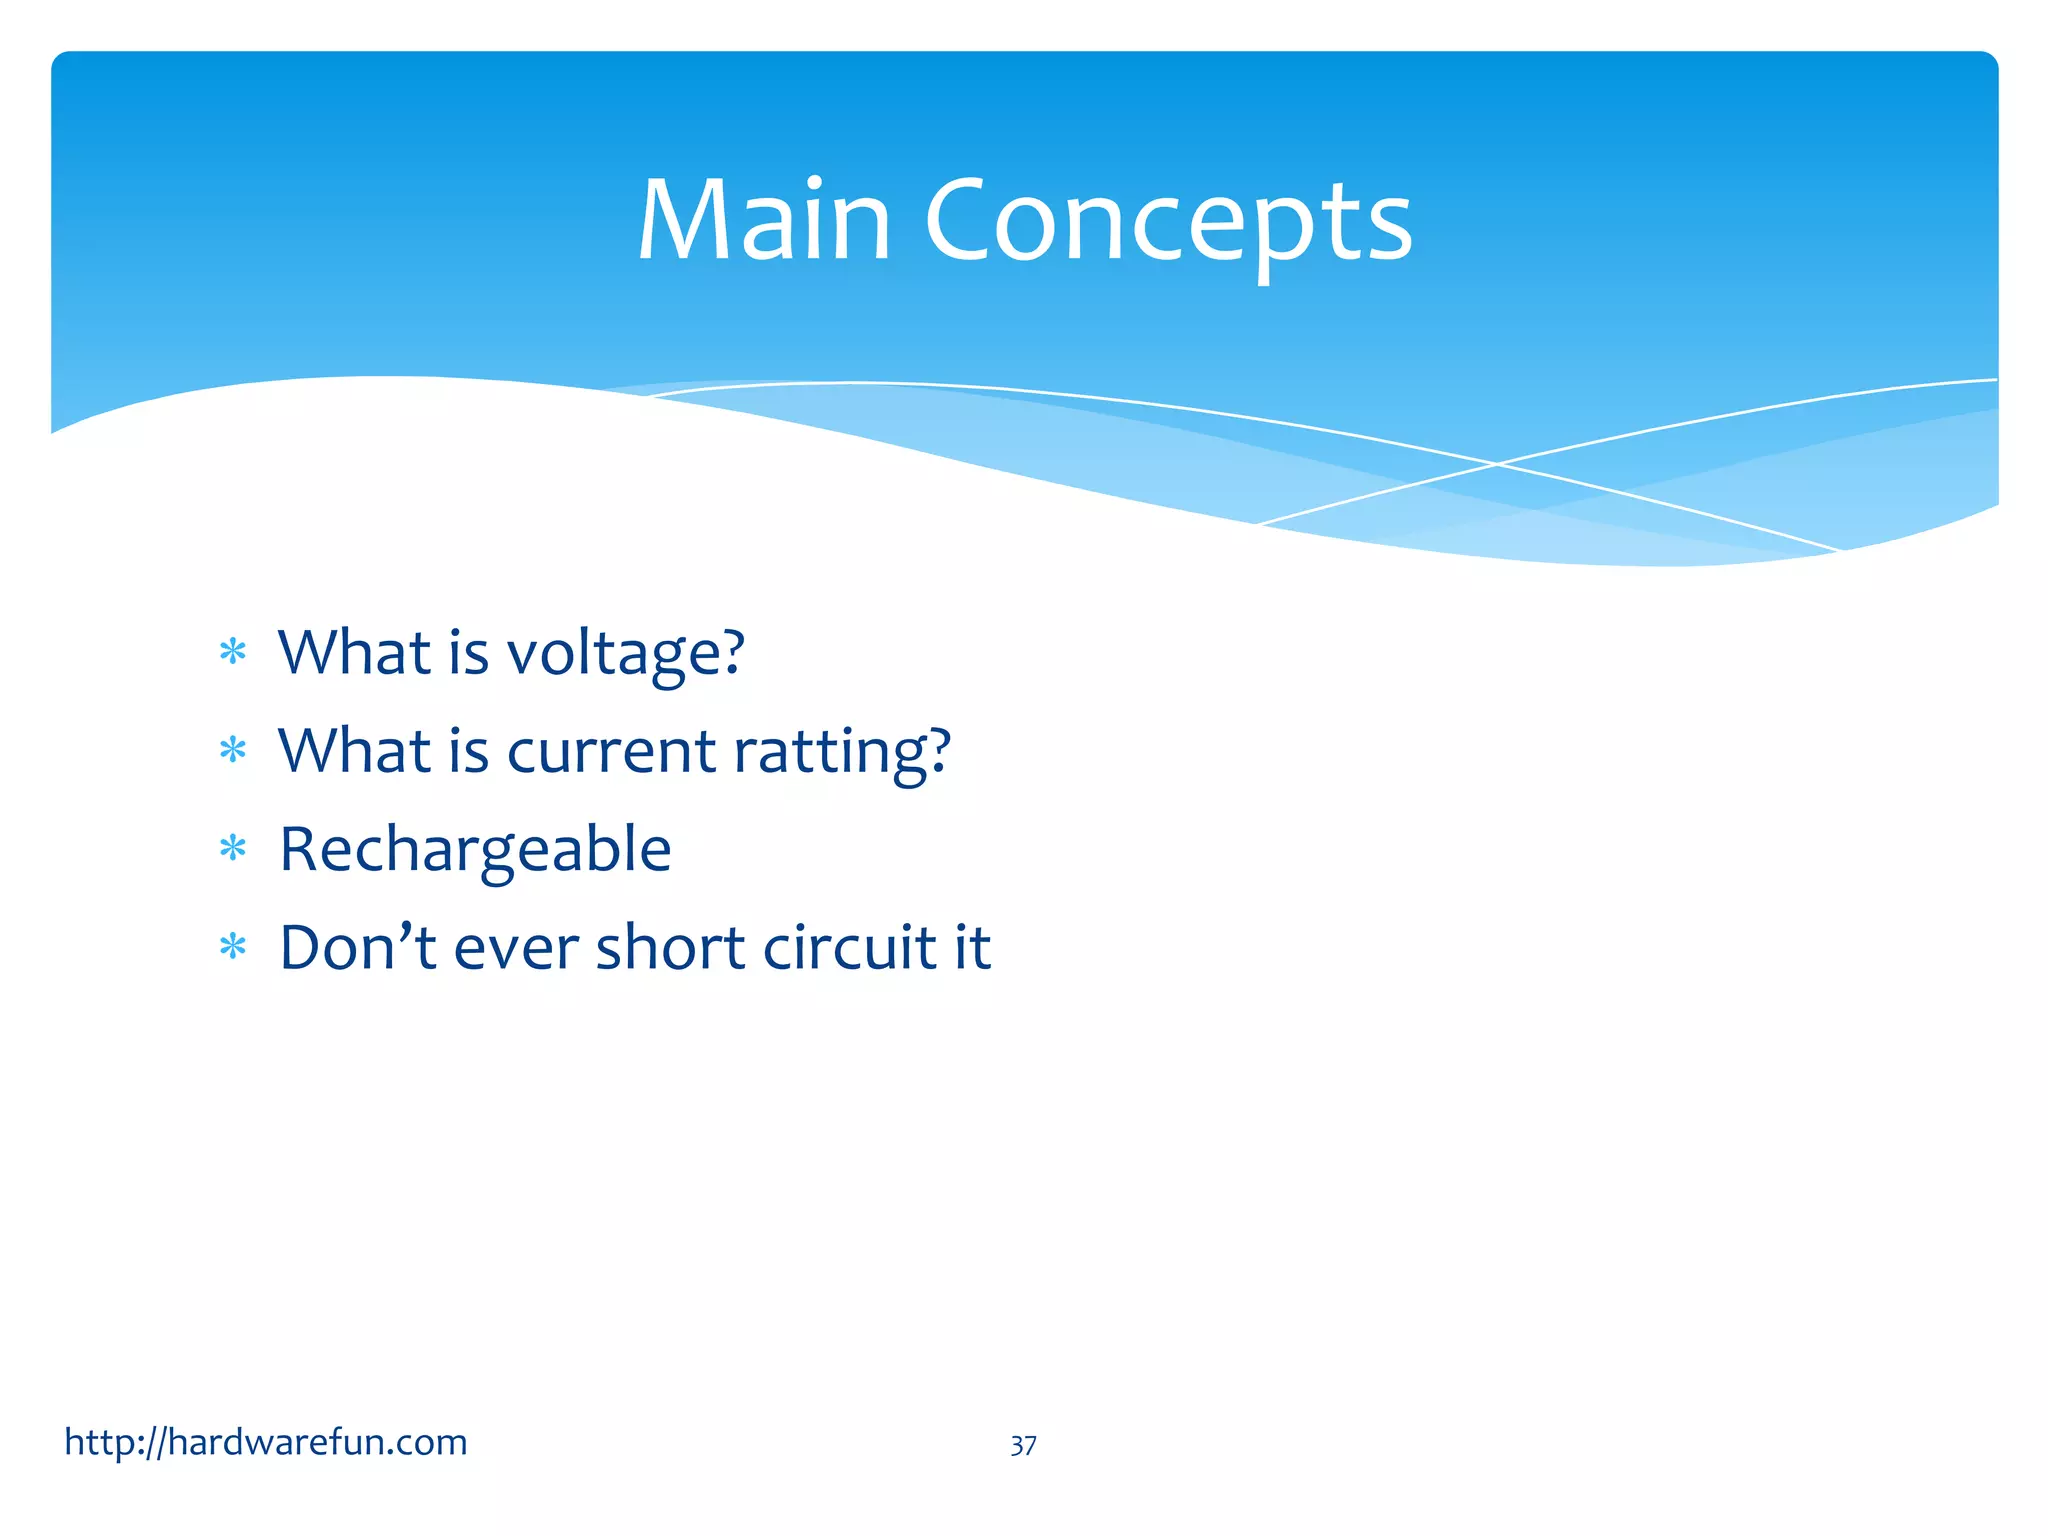
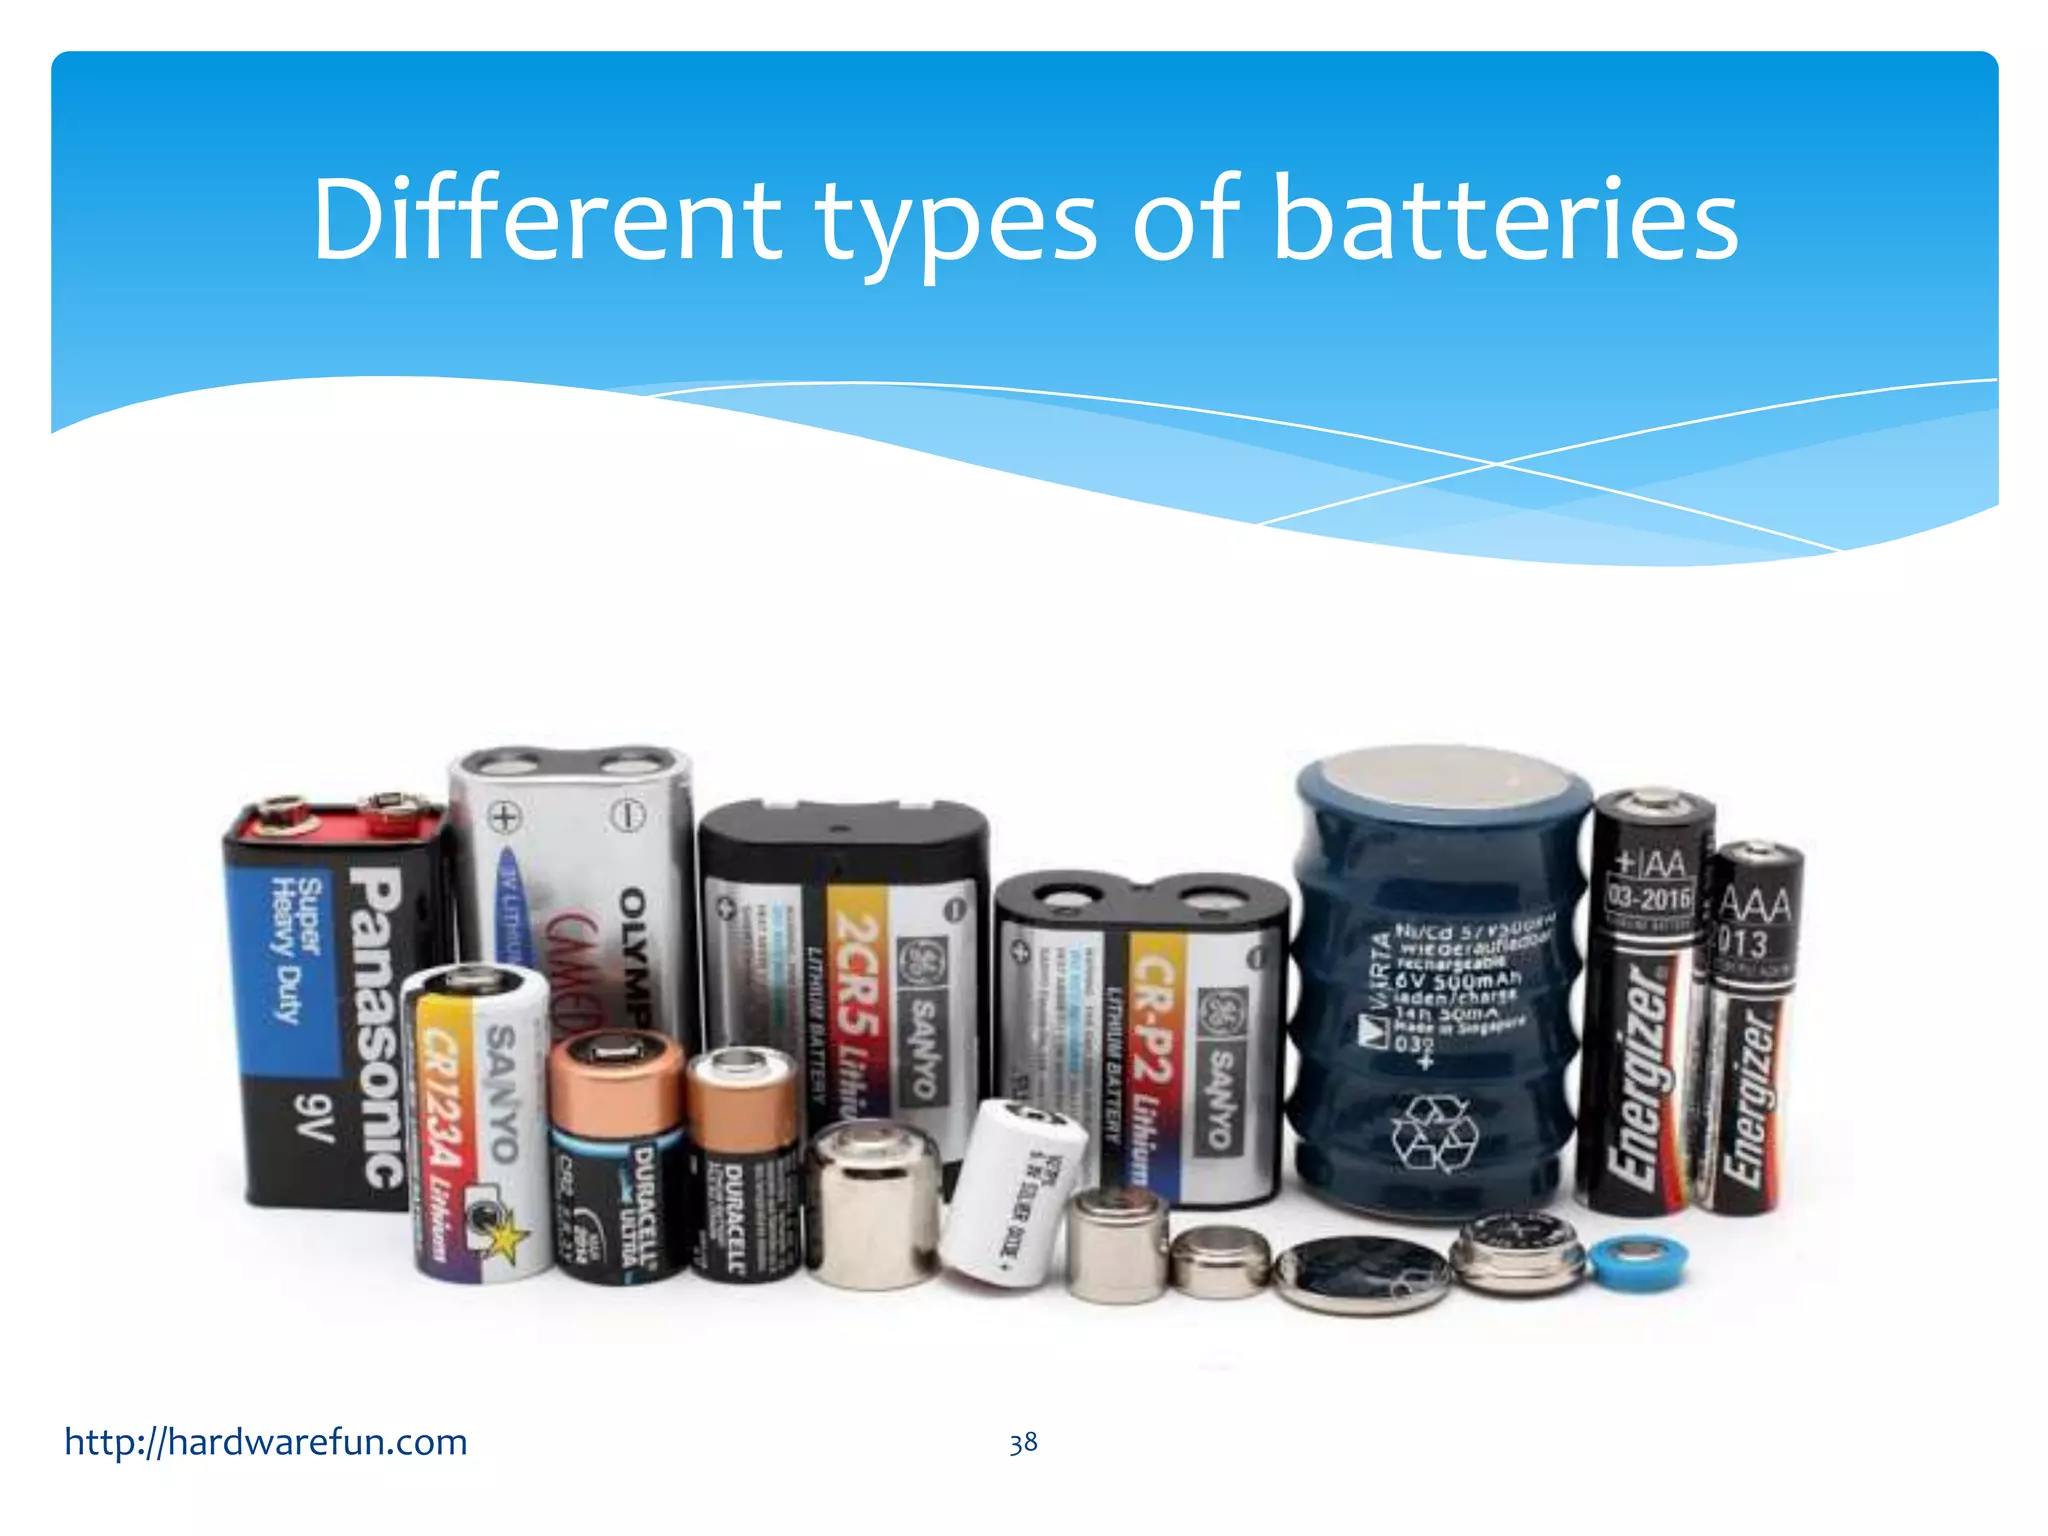
Introduction to batteries, types of batteries in the kit, and a focus on understanding different motors.
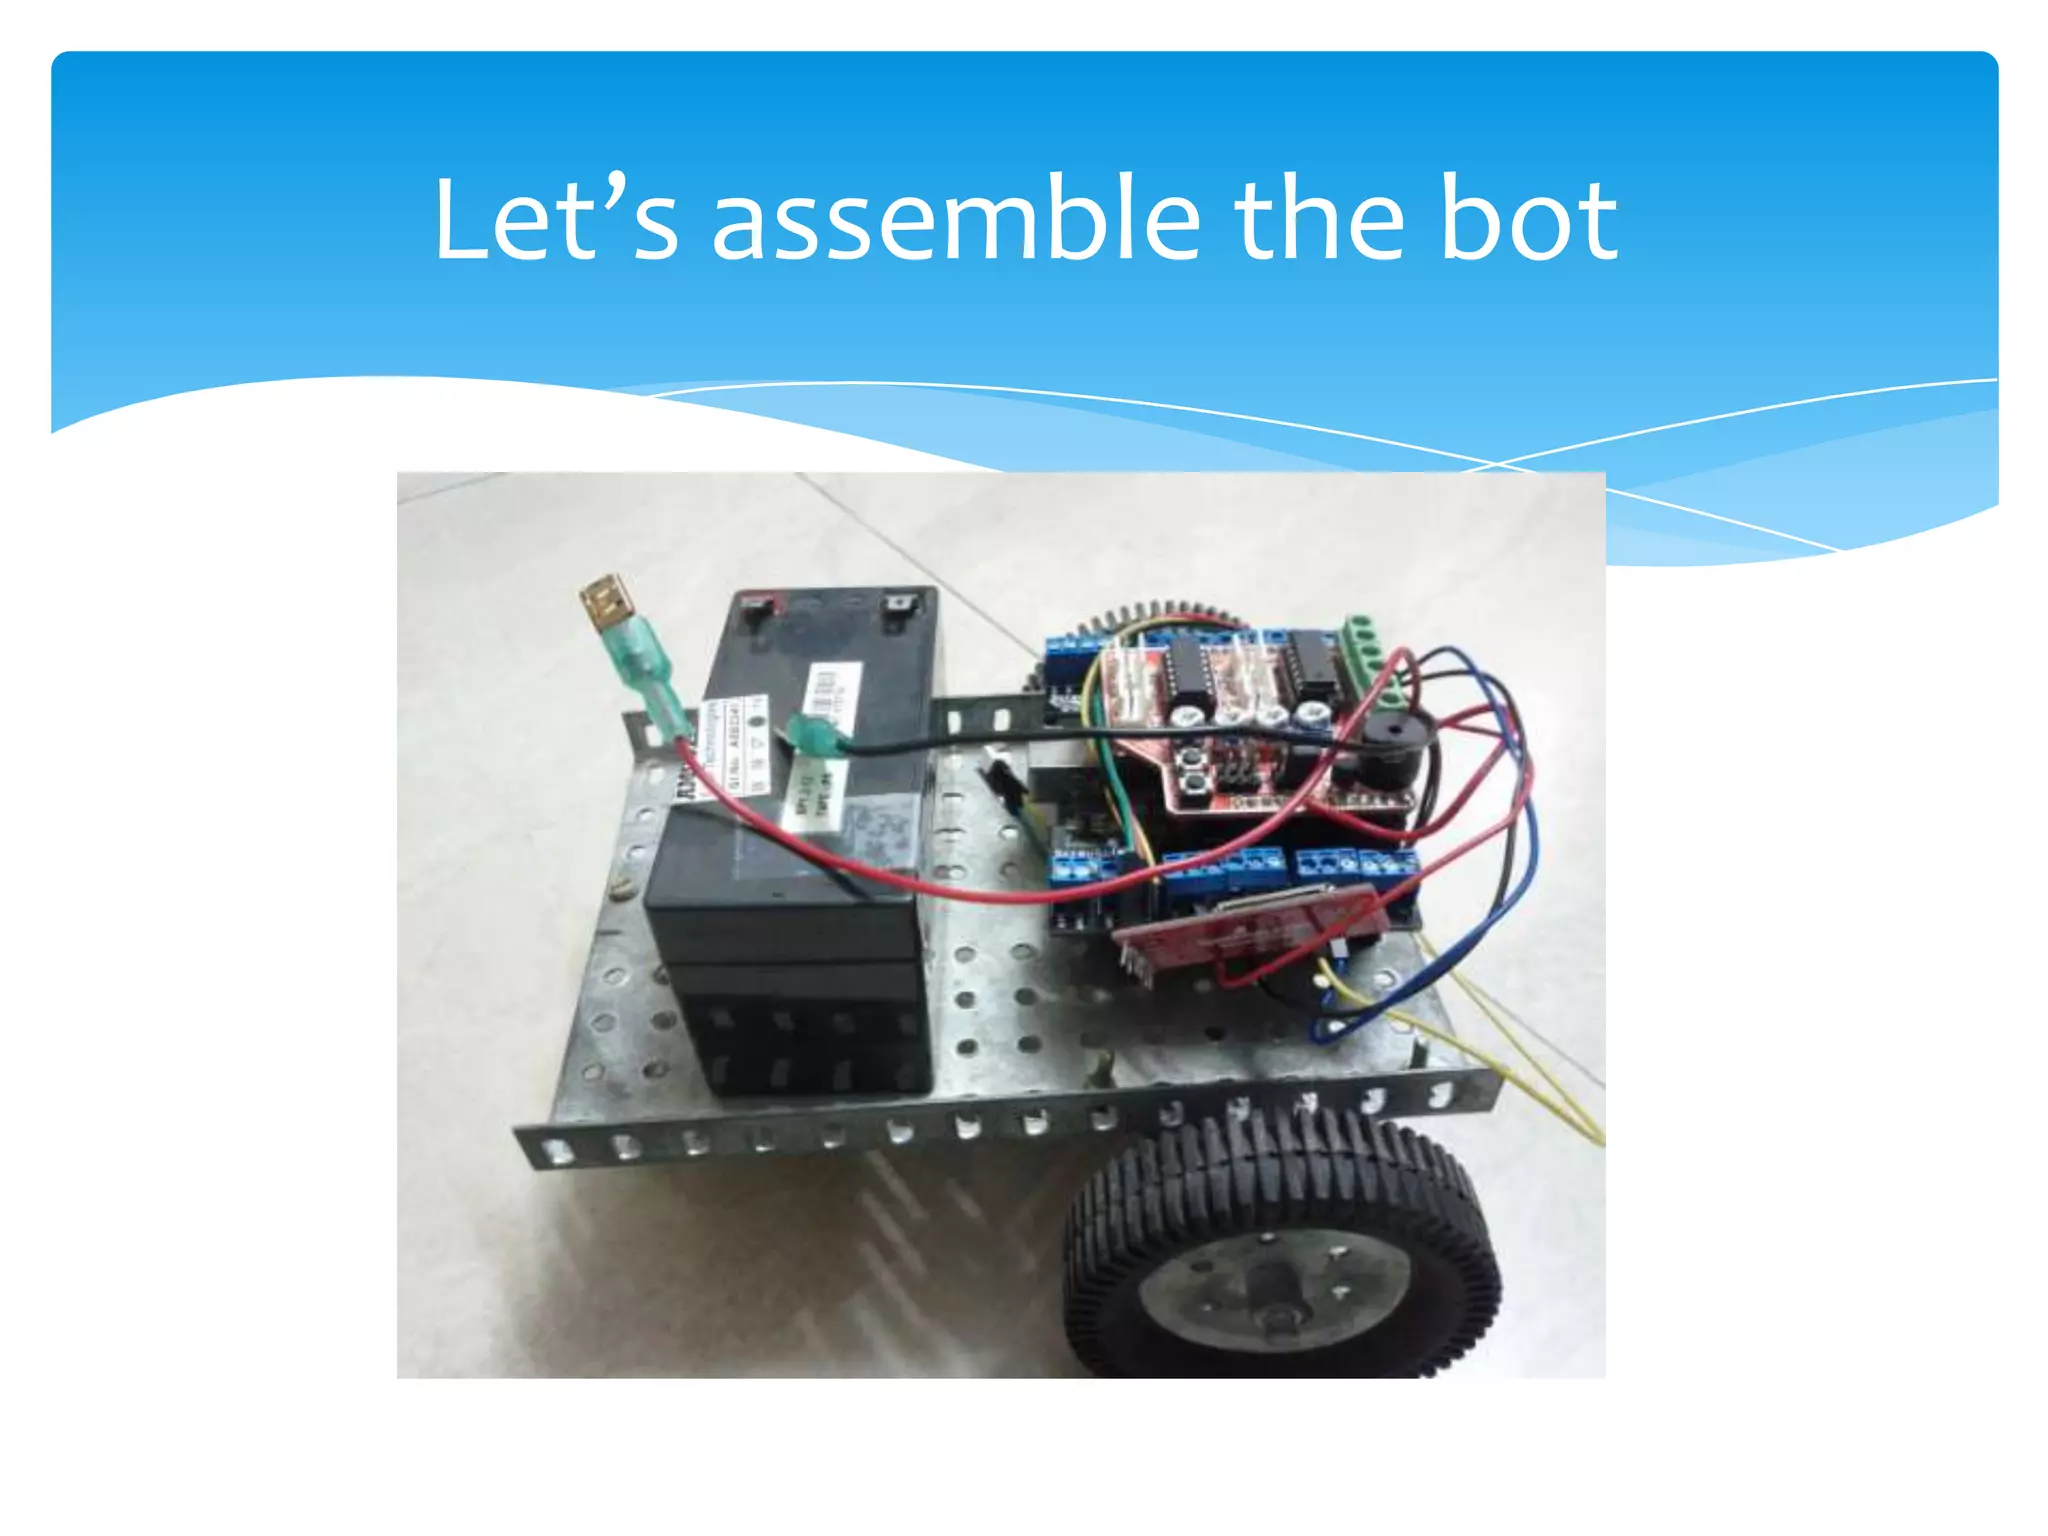
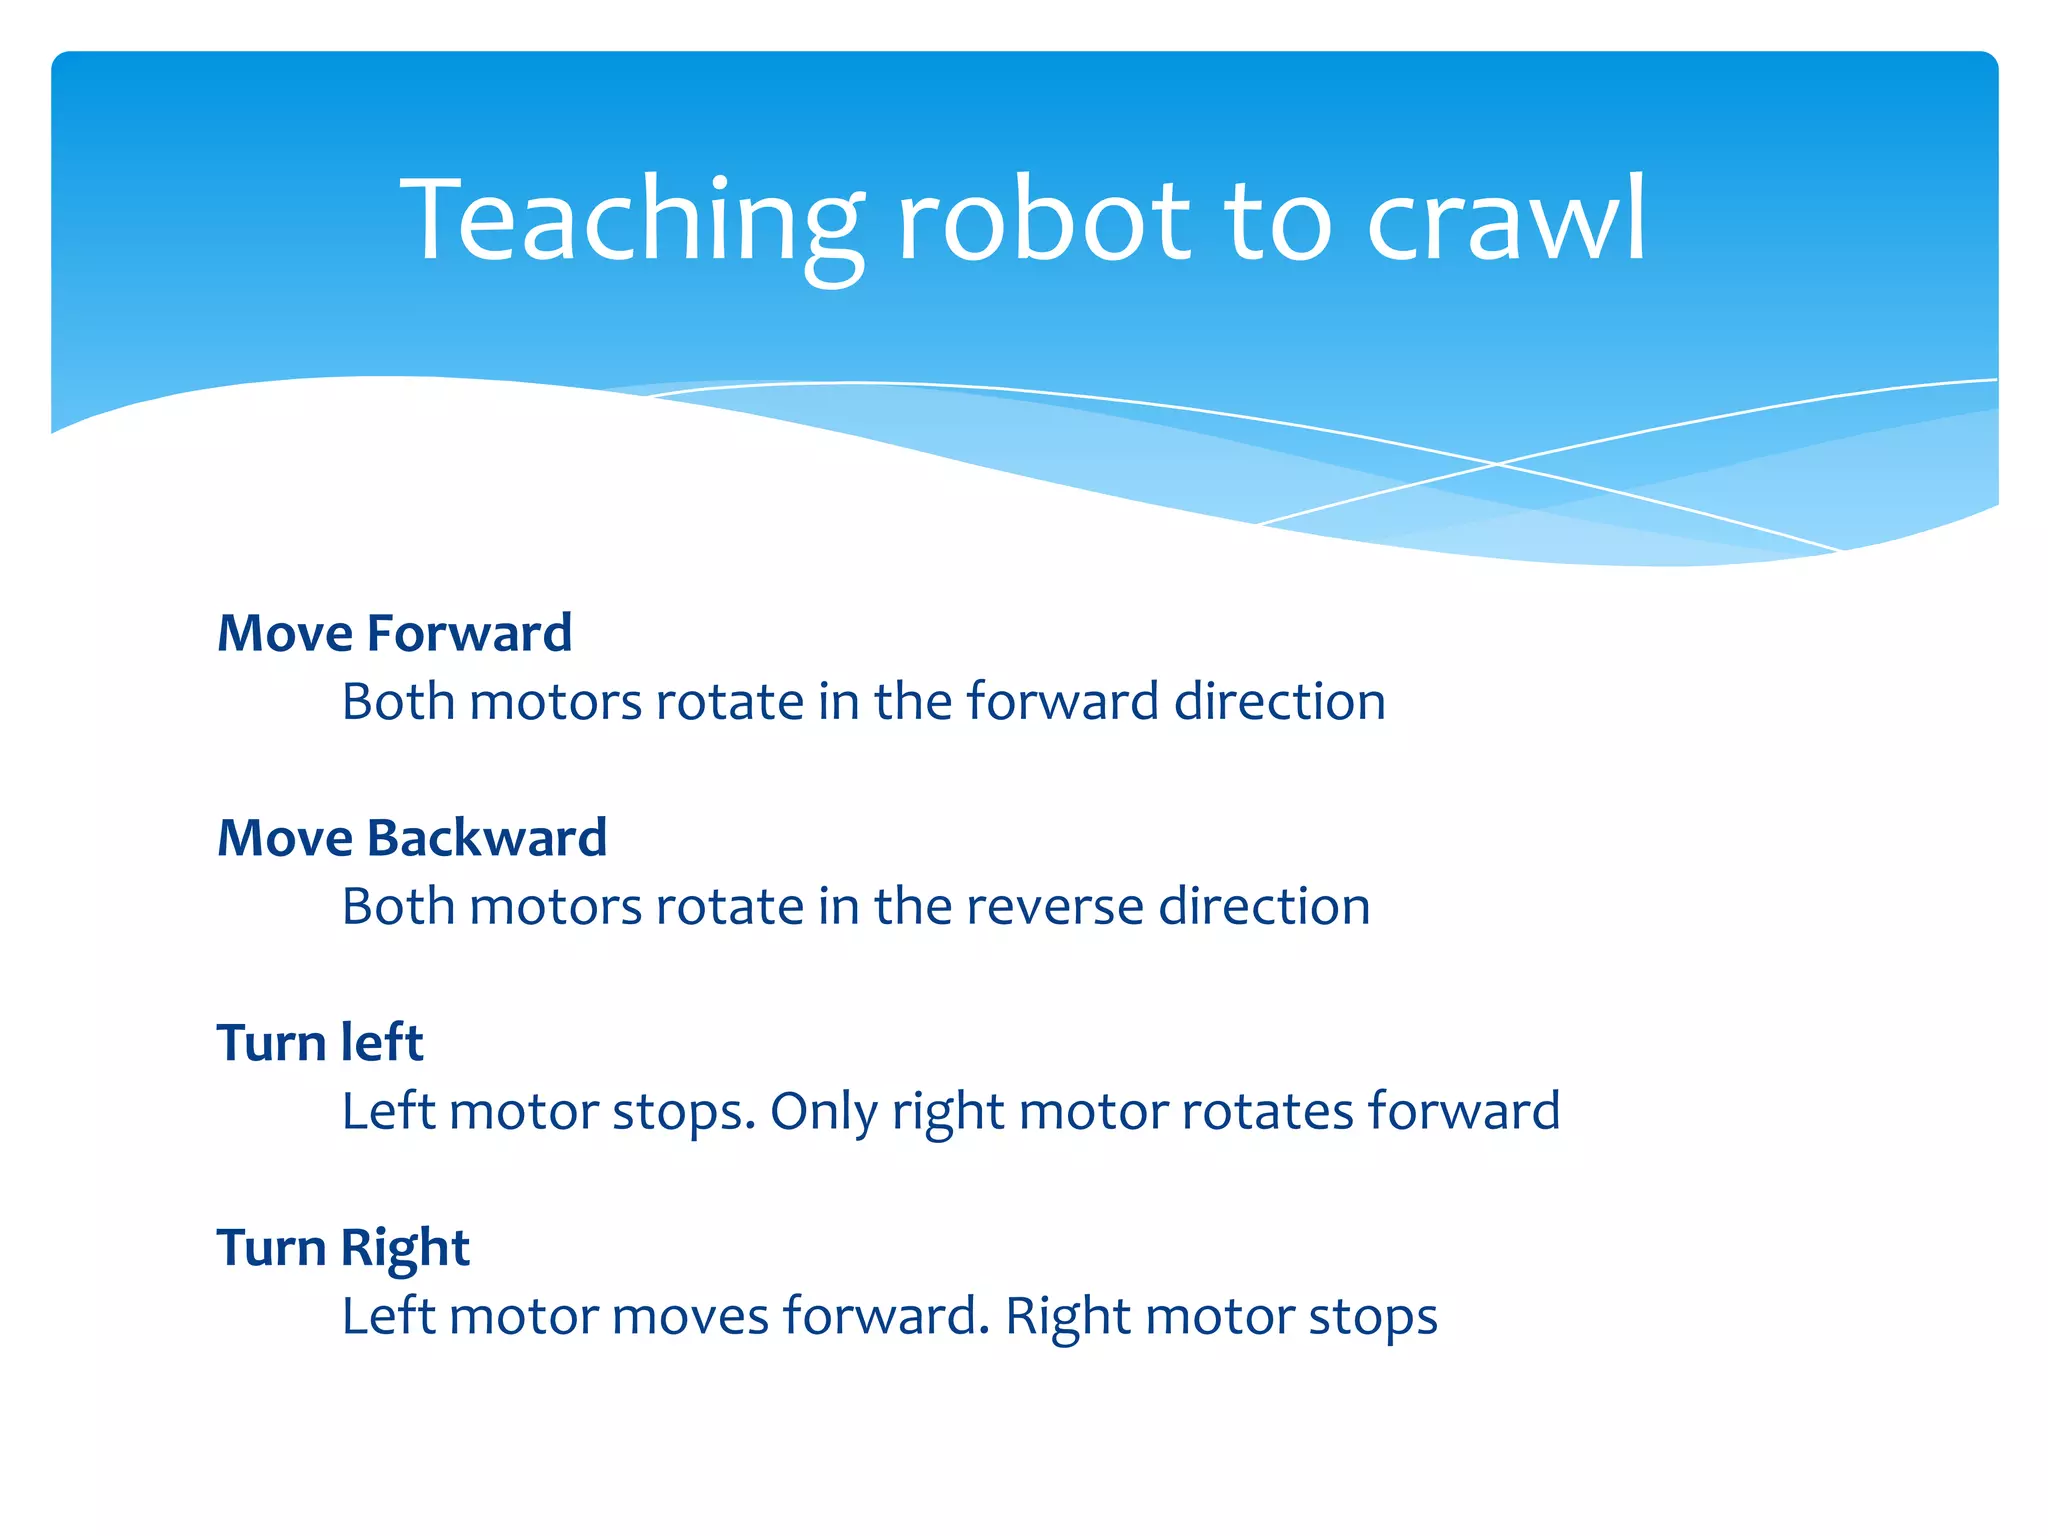
Understanding H-Bridge, connecting motors, and assembling a fully autonomous robot for demonstration.
Summary of the workshop's next steps with concepts like speed variation and autonomous behavior.
Closing remarks, thank you, and open floor for questions in the Arduino Robotics Workshop.