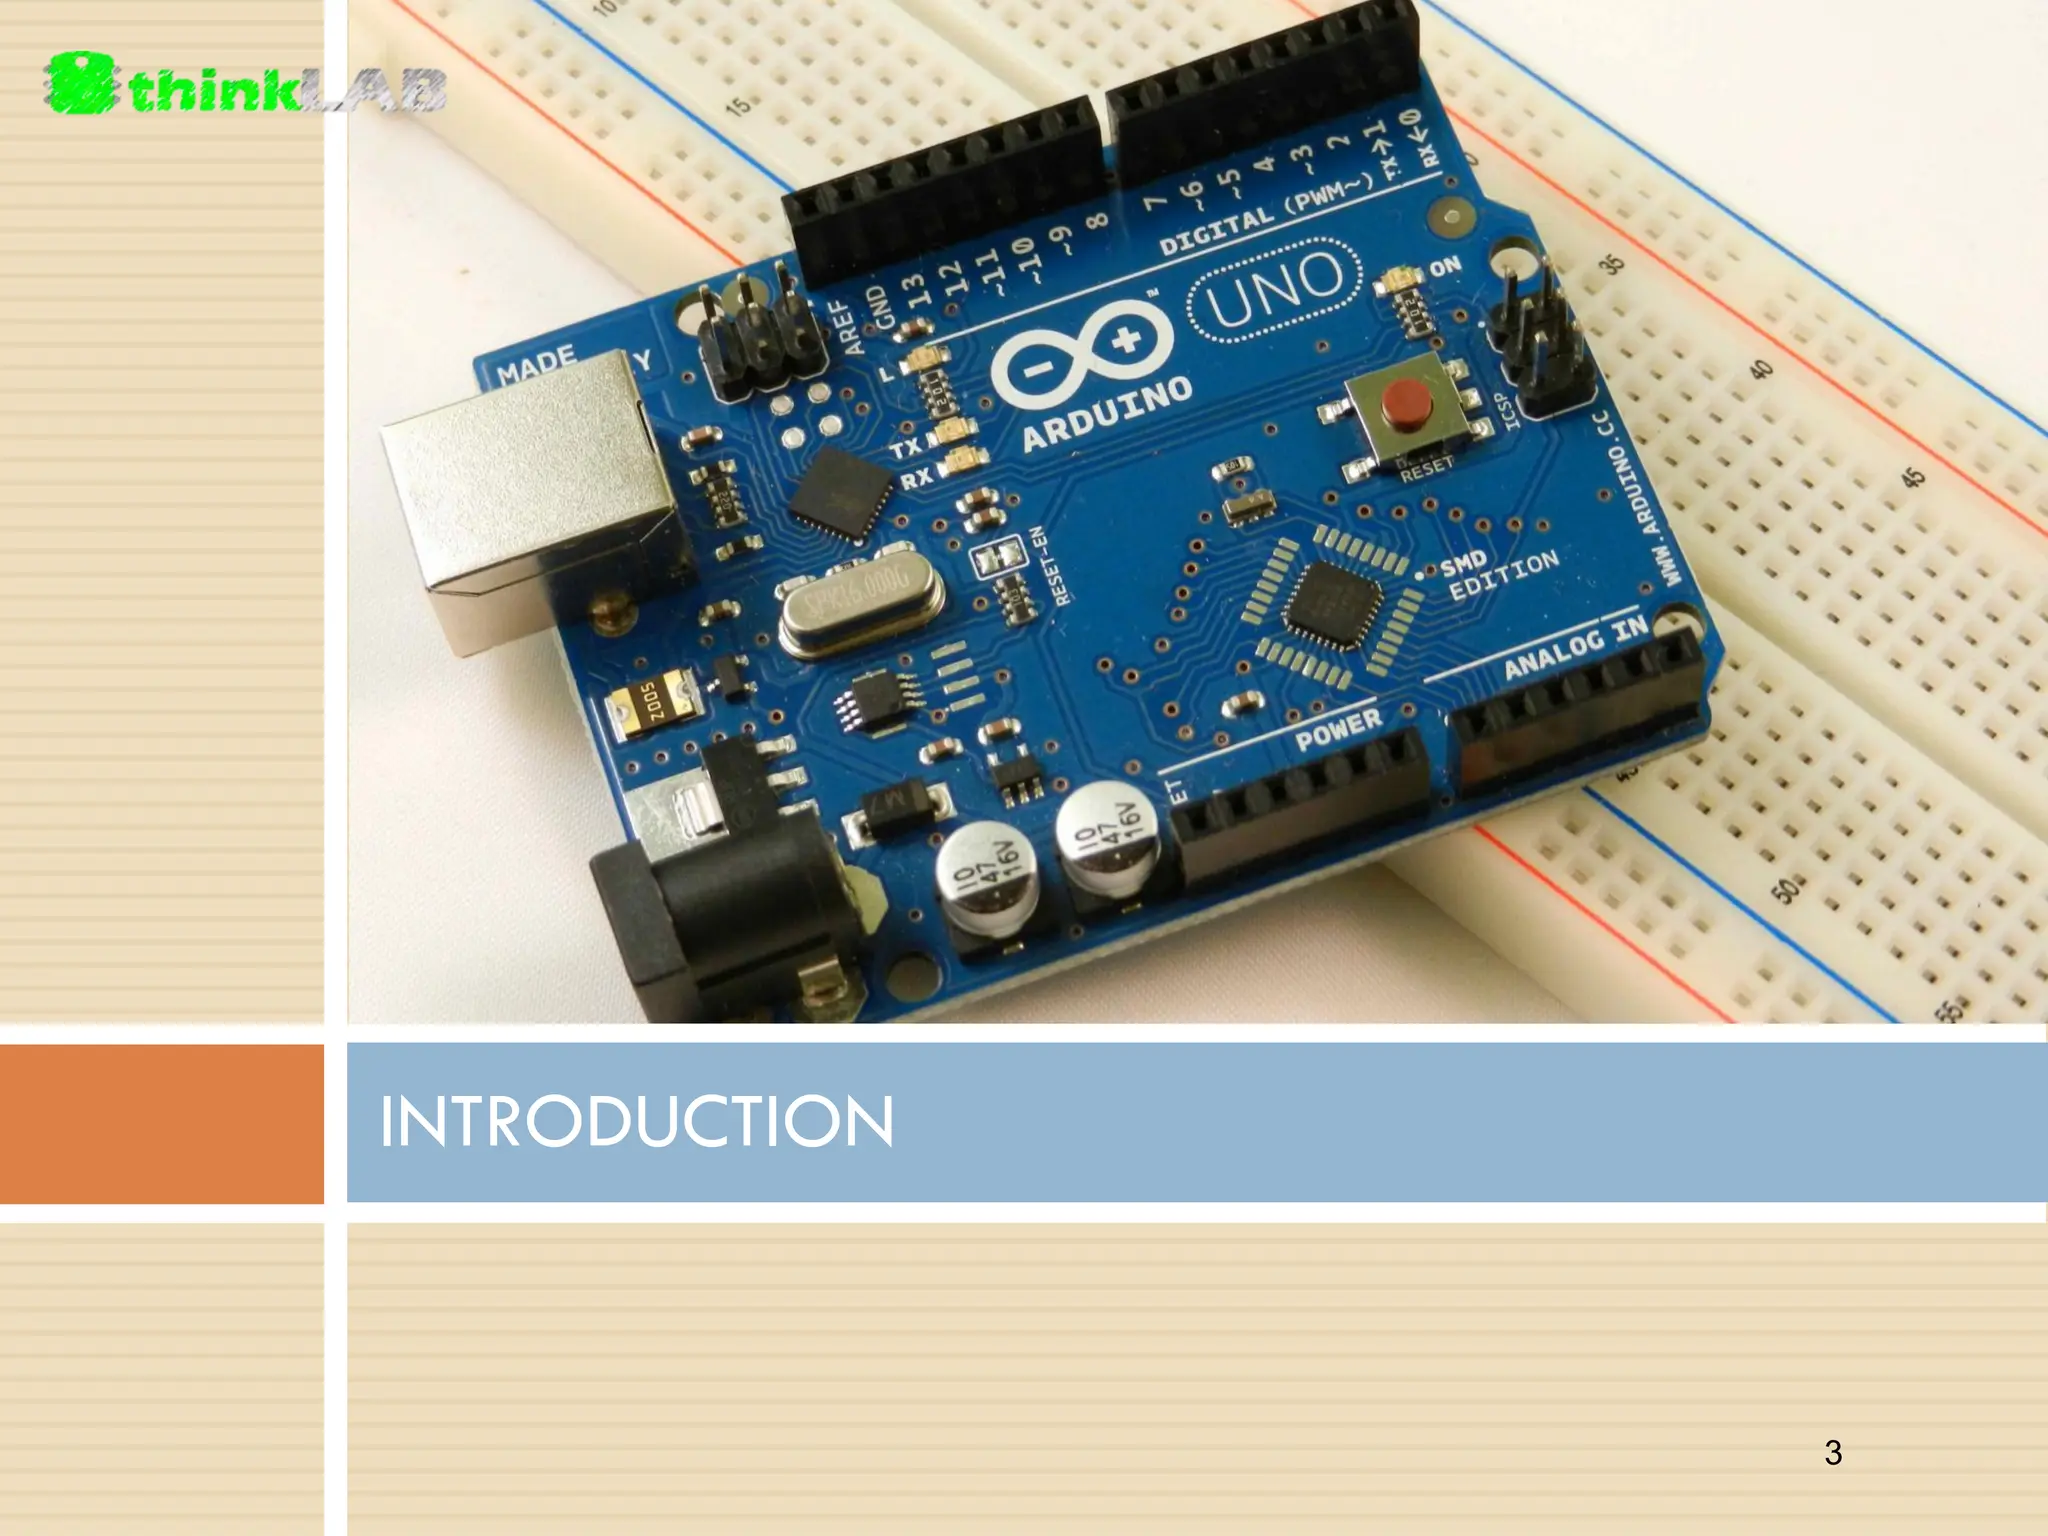
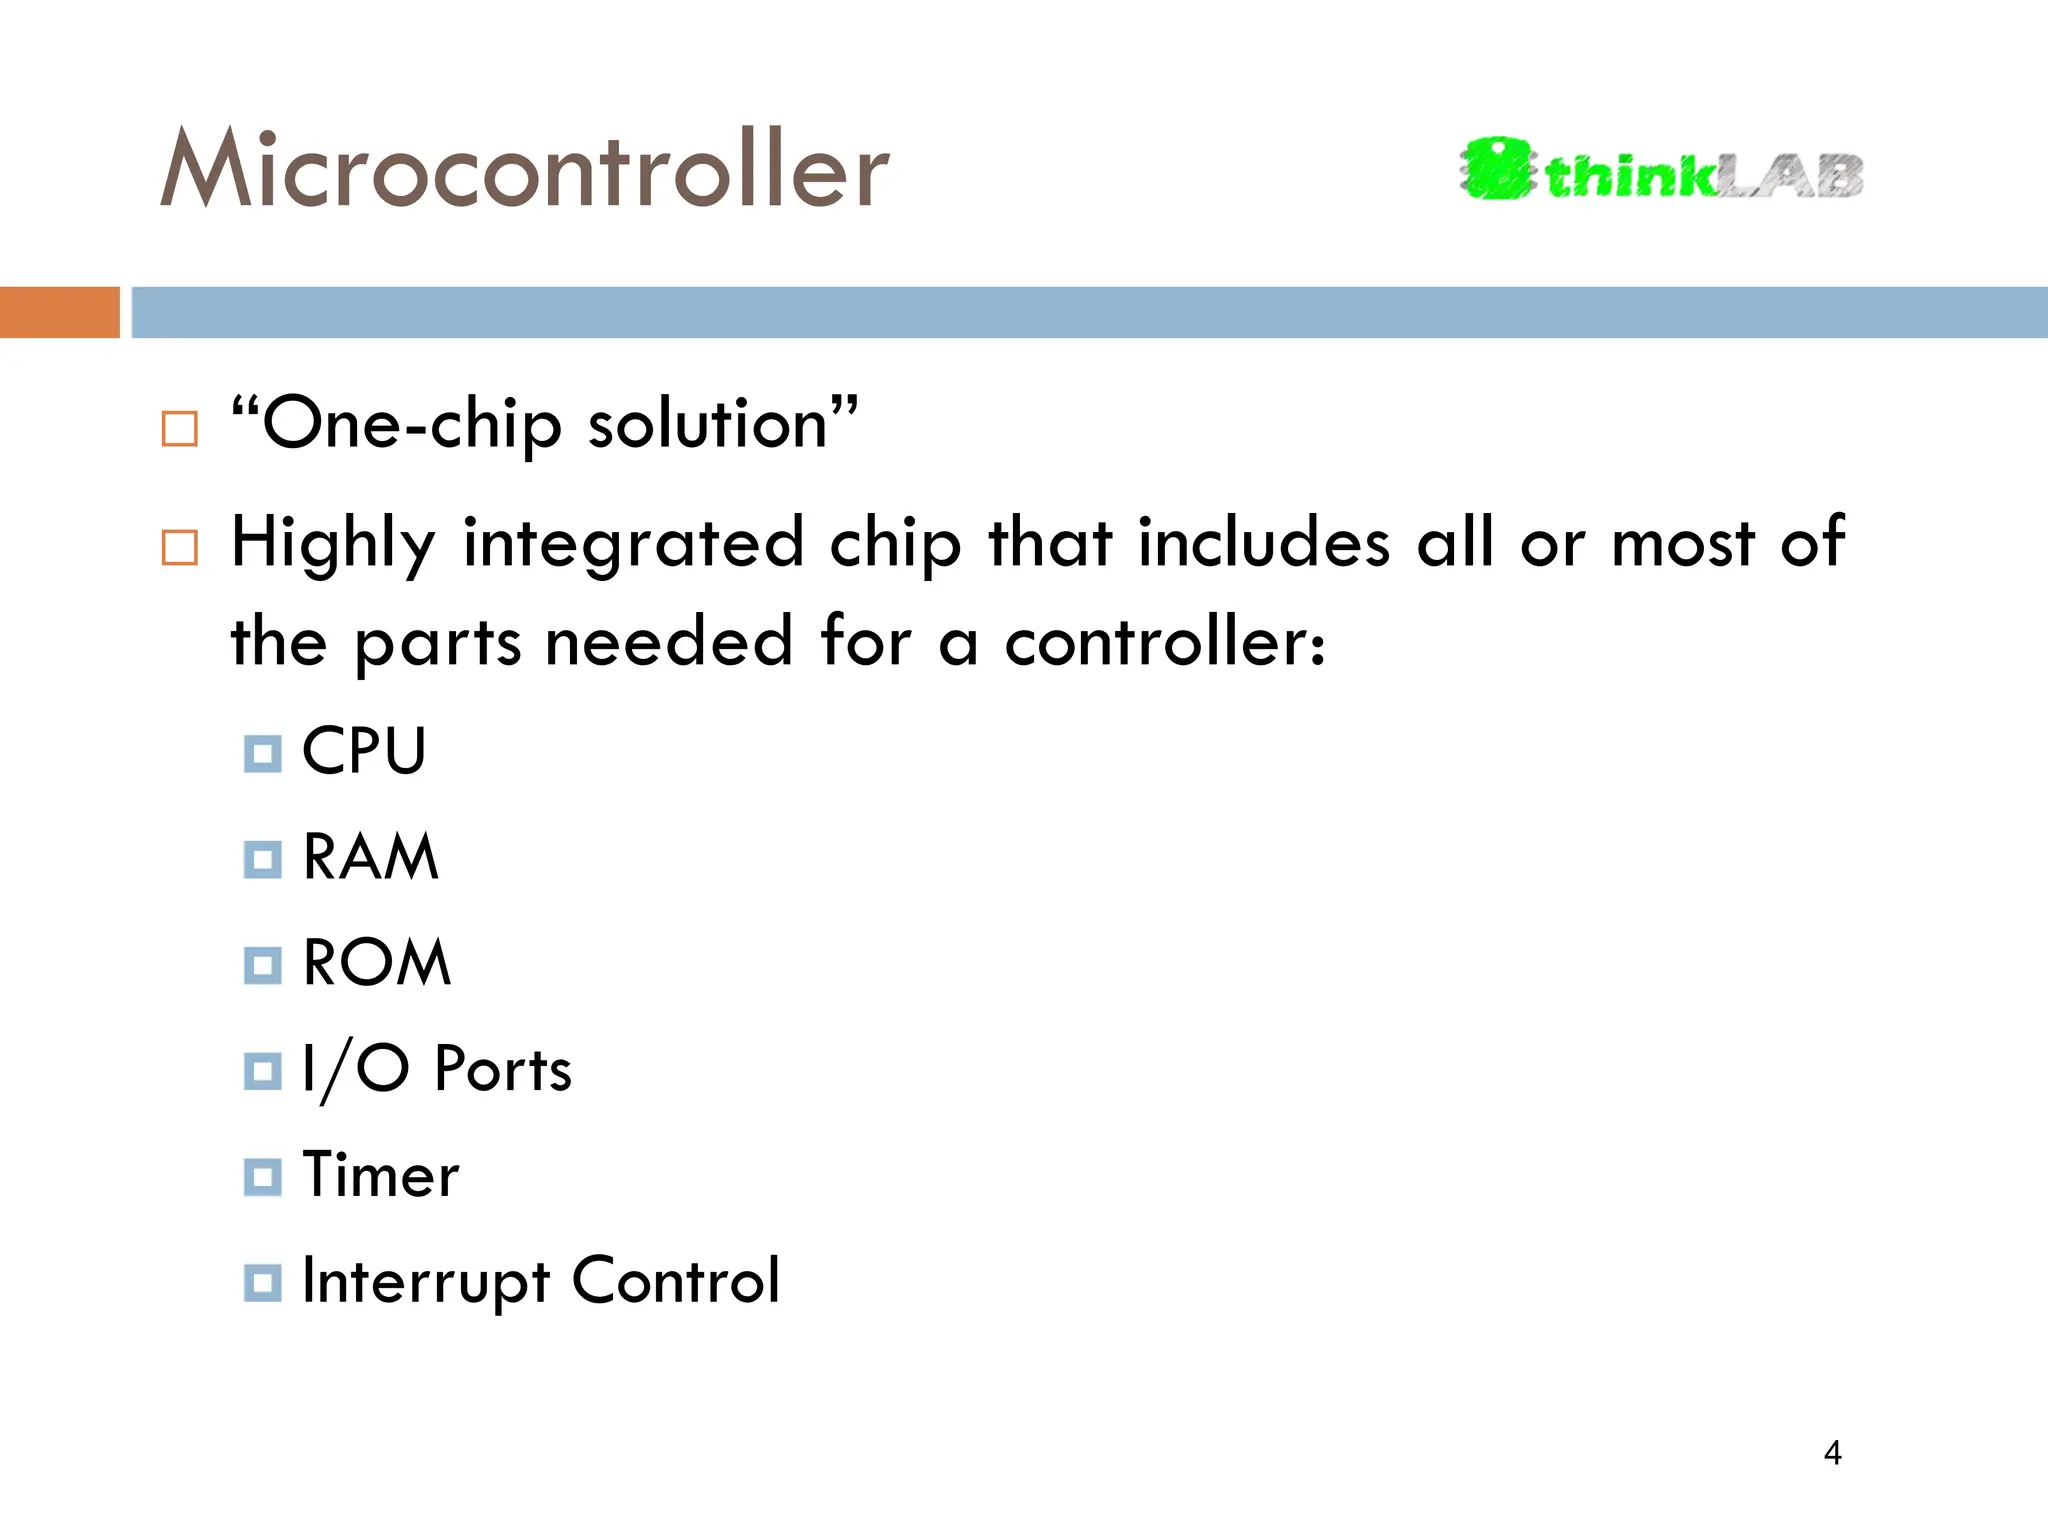
THINKLAB WORKSHOP DAY 1 – Arduino Introduction and Fundamentals 1
Outline  INTRODUCTION  GETTING STARTED WITH ARDUINO  INTERFACING FUNDAMENTALS  SERIAL COMMUNICATIONS 2
INTRODUCTION 3
Microcontroller  “One-chip solution”  Highly integrated chip that includes all or most of the parts needed for a controller:  CPU  RAM  ROM  I/O Ports  Timer  Interrupt Control 4
What is Arduino?  Open-source physical computing platform based on a simple microcontroller board and a development environment for writing software for the board  The Gizduino board is an Arduino clone based on Arduino Diecimila, which is based on the ATmega168 microprocessor  Arduino comes with its own open-source Integrated Development Environment (IDE) 5
Specifications  Microprocessor: ATmega168  Operating voltage: 5V  Input voltage (recommended): 7-12V  Input voltage (limits): 6-20V  Digital I/O Pins: 14 (6 provides PWM)  Analog Input Pins: 6  DC Current per pin: 40mA  Flash Memory: 16kB (2kB used by bootloader) 6
Why Arduino?  Inexpensive  Cross-platform  Simple, clear programming environment  Open-source and extensible software  Open-source and extensible hardware 7
GETTING STARTED 8
Handling the Arduino  Never plug in the USB cable and the DC adapter at the same time!  Prevent the male pins from touching each other, as well as the leads, on the bottom of the board.  Best practice is to hold the boards on its sides/edges.  Another best practice is to unpower the board when adding or removing components or connecting or disconnecting modules. 9
Connect Arduino to PC  Connect the Gizduino board to your computer using the USB cable. The green power LED should turn on. 10
Launching Arduino IDE  Double click the Arduino application  Open the HelloWorld example found on your Thinklab examples folder 11
Setting-up Arduino IDE  Tools > Board menu and select Gizduino (mini) 12
Setting-up Arduino IDE  Select the serial device of the Arduino board from the Tools > Serial Port menu  Disconnect-reconnect the USB of the Arduino to find out which port to pick, or use the Device Manager 13
Uploading the Program  Click “Upload” to check the code and subsequently upload the sketch to your board  If upload is successful, the message “Done Uploading” will appear in the status bar 14
Uploading the Program  Click the Serial Monitor button 15
Uploading the Program  Select 9600  You should see Hello World! Printed  If it does, congratulations! You’ve gotten Arduino up and running! c: 16
What is a Sketch?  It is the unit of code that is uploaded to and run on an Arduino board  Example: HelloWorld code uploaded earlier 17
INTERFACING FUNDAMENTALS 18
Bare Minimum  There are two special functions that are part of every Arduino sketch:  setup()  A function that is called once, when the sketch starts  Setting pin modes or initializing libraries are placed here  loop()  A function that is called over and over and is the heart of most sketches 19
 Grouping symbols  ( )  { }  “ “  Arithmetic symbols  +  -  *  /  %  Punctuation symbols  ;  ,  .  Comparators  =  <  >  &&  || Syntax and Symbols 20
Comments  Statements ignored by the Arduino when it runs the sketch  Used to give information about the sketch, and for people reading the code  Multi-line comment: /* <statement> */  Single-line comment: // 21
Variables  Place for storing a piece of data  Has a name, value, and type  int, char, float  Variable names may not start with a numerical character  Example:  int iamVariable = 9;  char storeChars;  float saveDecimal; 22
Variables  You may now refer to this variable by its name, at which point its value will be looked up and used  Example:  In a statement: Serial.println(105);  Declaring: int storeNum = 105;  We can instead write: Serial.println(storeNum); 23
Variables  Variable Scope  Global – recognized anywhere in the sketch  Local – recognized in a certain function only  Variable Qualifiers  CONST – make assigned variable value unchangeable  STATIC – ensure variable will only and always be manipulated by a certain function call  VOLATILE – load variable directly from RAM to prevent inaccuracy due to access beyond the control of the main code 24
Variables  Types  INT  UNSIGNED INT  LONG  UNSIGNED LONG  FLOAT  CHAR  BYTE  BOOLEAN 25
Variables  Type-cast Conversion – on-the-fly conversion of variables from its default type to another whilst not changing its original declared type  Syntax: variable_type(value)  Example  int(‘N’)  float(100) 26
Variables  Array – a collection of variables of the same type accessed via a numerical index  It is a series of variable instances placed adjacent in memory, and labeled sequentially with the index myArray[0] myArray[1] myArray[2] myArray[3] myArray[4] int myArray[5] 27
Control Structures  Series of program instructions that handle data and execute commands, exhibiting control  DECISIVE – exhibits control by decision making  RECURSIVE – exhibits control by continuous execution of commands  Control element manifests in the form of CONDITIONS 28
Control Structures  Syntax: if (condition) { // do something here } else { // do something here }  If-Else Statement  It allows you to make something happen or not depending on whether a given condition is true or not. 29
Control Structures void setup() { Serial.begin(9600); int test = 0; if (test == 1) { Serial.print(“Success”); } else { Serial.print(“Fail”); } } void loop() { } 30
Control Structures  Replace setup() code with this to show branching … Serial.print(“Score = “); Serial.println(test); if (test == 100) Serial.print(“Perfect! Magaling!”); else if (test >= 90) Serial.print(“Congrats! So close~”); else if (test >= 85) Serial.print(“Pwedeeee”); else if (test >= 80) Serial.print(“More effort”); else if (test >= 75) Serial.print(“Study harder!”); else Serial.print(“Nako summer na yan tsk tsk…”); 31
Control Structures  Syntax: switch (var) { case val01: // do something when var = val01 break; case val02: // do something when var = val02 break; default: // if no match, do default }  Switch-Case Statement  Depends on whether the value of a specified variable matches the values specified in case statements. 32
Control Structures void setup() { Serial.begin(9600); int test = 0; switch (test) { case 1: Serial.print(“Success”); break; case 0: Serial.print(“Fail”); break; } } void loop() { } 33
Control Structures  While Loop  Continue program until a given condition is true  Syntax: while (condition) { // do something here until condition becomes false } 34
Control Structures void setup() { Serial.begin(9600); int count = 0; while (count <= 2) { Serial.println(“Hello”); count++; } } void loop() { } 35
Control Structures  Do-While Loop  Same as While loop however this structure allows the loop to run once before checking the condition  Syntax: do { // do something here until condition becomes false } while (condition) ; 36
Control Structures void setup() { Serial.begin(9600); int count = 0; do { Serial.println(“Hello”); count++; } while (count <= 2); } void loop() { } 37
Control Structures  For Loop  Distinguished by a increment/decrement counter for termination  Syntax: for (start value; condition; operation) { // do something until condition becomes false } 38
Control Structures void setup() { Serial.begin(9600); int count = 0; for (count = 0; count <=5; count++) { Serial.println(“Hello”); } } void loop() { } 39
Control Structures  break;  Used to terminate a loop regardless of the state of the condition  Required in Switch-Case statements as an exit command 40
Control Structures  continue;  Used to skip loop iterations, bypassing the command(s) set  Note that the condition handle of the loop is still checked when using this command 41
Logic  Conditional AND  Symbolized by &&  Used when all conditions need to be satisfied.  Conditional OR  Symbolized by ||  Used when either of the conditions need to be satisfied. 42
Logic  Conditional NOT  Symbolized by !  Appends to other statements to invert its state 43
Logic Serial.begin(9600); int gupit = 0; int ahit = 0; if ((gupit == 1) && (ahit == 1)) Serial.println("Gwapong-gwapo! Pwede nang artista!"); else if ((gupit == 1) || (ahit == 1)) Serial.println("May kulang, pero pwede nang model"); else Serial.println("Eeeew mukhang gusgusin!"); 44
Math Commands  min(x, y) – returns the SMALLER of two numbers x and y  max(x, y) – returns the LARGER of two numbers x and y  constrain(x, A, B) – constrain a number x between a lower value A and a higher value B  map(x, A, B, C, D) – re-map a value x, whose ORIGINAL RANGE runs from A to B, to a NEW RANGE running from C to D 45
Math Commands  abs(x) – returns the ABSOLUTE VALUE of a number x  pow(x, y) – exponential function, returns x^y  sqrt(x) – returns the SQUARE ROOT of a number x 46
Timing Controls  delay()  Halts the sequence of execution during the time specified  Syntax: delay(milliseconds);  milliseconds = the time value in milliseconds 47
Timing Controls  millis()  Gives the number of milliseconds since the Arduino board began running the uploaded sketch  Syntax: variable = millis(); 48
Random Numbers  random()  Generates pseudo-random numbers  Syntax: random(min, max);  min = lower bound of random value, inclusive (optional)  max = upper bound of random value, exclusive 49
Random Numbers  randomSeed()  Varies the sequence of numbers at every start-up  Syntax: randomSeed(source); 50
Functions  Modular pieces of code that perform a defined task outside of the main program  Very useful to reduce repetitive lines of code due to multiple execution of commands  Has a name, type, and value – same as variables? 51
Functions 52
SERIAL COMMUNICATIONS 53
Initializing Serial  Serial.begin()  Initialize serial communication  Comonly placed at the setup function of your sketch  Syntax:  Serial.begin(baud)  baud: serial baud rate value to be used  e.g. 300, 1200, 2400, 4800, 9600, 14400, 28800, 38400, 57600, 115200)  Ex. Serial.begin(9600); 54
Printing Lines using Serial  Serial.println()  Prints data to the Serial port as ASCII text  Syntax:  Serial.println(val)  val: the value to print, which can be any data type  Ex. Serial.println(“Hello World!”);  Displays Hello World! In Serial Monitor 55
void setup() { Serial.begin(9600); } void loop() { Serial.println(“Hello World!”); delay(1000); } Sample Code 56
Available Data from Serial  Serial.available()  Checks if there is data present on the line and returns the number of bytes to be read  Syntax:  Serial.available()  Ex. if (Serial.available() > 0) { … 57
Reading from Serial  Serial.read()  Returns the first byte of incoming serial data  Syntax:  variable = Serial.read();  variable can be either an int or a char 58
void setup() { Serial.begin(9600); } void loop() { if (Serial.available() > 0) { ReceivedByte = Serial.read(); Serial.print(ReceivedByte); delay(10); } } Sample Code 59
SEE YOU IN DAY 2! 60
CONTACT DETAILS Landline: (02) 861-1531 Email: secretariat@thinklab.ph FB account: facebook.com/thinklab.secretariat FB page: facebook.com/thinklab.ph THANK YOU FOR COMING! 61

Arduino - Module 1.pdf

  • 1.
    THINKLAB WORKSHOP DAY 1– Arduino Introduction and Fundamentals 1
  • 2.
    Outline  INTRODUCTION  GETTINGSTARTED WITH ARDUINO  INTERFACING FUNDAMENTALS  SERIAL COMMUNICATIONS 2
  • 3.
  • 4.
    Microcontroller  “One-chip solution” Highly integrated chip that includes all or most of the parts needed for a controller:  CPU  RAM  ROM  I/O Ports  Timer  Interrupt Control 4
  • 5.
    What is Arduino? Open-source physical computing platform based on a simple microcontroller board and a development environment for writing software for the board  The Gizduino board is an Arduino clone based on Arduino Diecimila, which is based on the ATmega168 microprocessor  Arduino comes with its own open-source Integrated Development Environment (IDE) 5
  • 6.
    Specifications  Microprocessor: ATmega168 Operating voltage: 5V  Input voltage (recommended): 7-12V  Input voltage (limits): 6-20V  Digital I/O Pins: 14 (6 provides PWM)  Analog Input Pins: 6  DC Current per pin: 40mA  Flash Memory: 16kB (2kB used by bootloader) 6
  • 7.
    Why Arduino?  Inexpensive Cross-platform  Simple, clear programming environment  Open-source and extensible software  Open-source and extensible hardware 7
  • 8.
  • 9.
    Handling the Arduino Never plug in the USB cable and the DC adapter at the same time!  Prevent the male pins from touching each other, as well as the leads, on the bottom of the board.  Best practice is to hold the boards on its sides/edges.  Another best practice is to unpower the board when adding or removing components or connecting or disconnecting modules. 9
  • 10.
    Connect Arduino toPC  Connect the Gizduino board to your computer using the USB cable. The green power LED should turn on. 10
  • 11.
    Launching Arduino IDE Double click the Arduino application  Open the HelloWorld example found on your Thinklab examples folder 11
  • 12.
    Setting-up Arduino IDE Tools > Board menu and select Gizduino (mini) 12
  • 13.
    Setting-up Arduino IDE Select the serial device of the Arduino board from the Tools > Serial Port menu  Disconnect-reconnect the USB of the Arduino to find out which port to pick, or use the Device Manager 13
  • 14.
    Uploading the Program Click “Upload” to check the code and subsequently upload the sketch to your board  If upload is successful, the message “Done Uploading” will appear in the status bar 14
  • 15.
    Uploading the Program Click the Serial Monitor button 15
  • 16.
    Uploading the Program Select 9600  You should see Hello World! Printed  If it does, congratulations! You’ve gotten Arduino up and running! c: 16
  • 17.
    What is aSketch?  It is the unit of code that is uploaded to and run on an Arduino board  Example: HelloWorld code uploaded earlier 17
  • 18.
  • 19.
    Bare Minimum  Thereare two special functions that are part of every Arduino sketch:  setup()  A function that is called once, when the sketch starts  Setting pin modes or initializing libraries are placed here  loop()  A function that is called over and over and is the heart of most sketches 19
  • 20.
     Grouping symbols ( )  { }  “ “  Arithmetic symbols  +  -  *  /  %  Punctuation symbols  ;  ,  .  Comparators  =  <  >  &&  || Syntax and Symbols 20
  • 21.
    Comments  Statements ignoredby the Arduino when it runs the sketch  Used to give information about the sketch, and for people reading the code  Multi-line comment: /* <statement> */  Single-line comment: // 21
  • 22.
    Variables  Place forstoring a piece of data  Has a name, value, and type  int, char, float  Variable names may not start with a numerical character  Example:  int iamVariable = 9;  char storeChars;  float saveDecimal; 22
  • 23.
    Variables  You maynow refer to this variable by its name, at which point its value will be looked up and used  Example:  In a statement: Serial.println(105);  Declaring: int storeNum = 105;  We can instead write: Serial.println(storeNum); 23
  • 24.
    Variables  Variable Scope Global – recognized anywhere in the sketch  Local – recognized in a certain function only  Variable Qualifiers  CONST – make assigned variable value unchangeable  STATIC – ensure variable will only and always be manipulated by a certain function call  VOLATILE – load variable directly from RAM to prevent inaccuracy due to access beyond the control of the main code 24
  • 25.
    Variables  Types  INT UNSIGNED INT  LONG  UNSIGNED LONG  FLOAT  CHAR  BYTE  BOOLEAN 25
  • 26.
    Variables  Type-cast Conversion– on-the-fly conversion of variables from its default type to another whilst not changing its original declared type  Syntax: variable_type(value)  Example  int(‘N’)  float(100) 26
  • 27.
    Variables  Array –a collection of variables of the same type accessed via a numerical index  It is a series of variable instances placed adjacent in memory, and labeled sequentially with the index myArray[0] myArray[1] myArray[2] myArray[3] myArray[4] int myArray[5] 27
  • 28.
    Control Structures  Seriesof program instructions that handle data and execute commands, exhibiting control  DECISIVE – exhibits control by decision making  RECURSIVE – exhibits control by continuous execution of commands  Control element manifests in the form of CONDITIONS 28
  • 29.
    Control Structures  Syntax: if(condition) { // do something here } else { // do something here }  If-Else Statement  It allows you to make something happen or not depending on whether a given condition is true or not. 29
  • 30.
    Control Structures void setup(){ Serial.begin(9600); int test = 0; if (test == 1) { Serial.print(“Success”); } else { Serial.print(“Fail”); } } void loop() { } 30
  • 31.
    Control Structures  Replacesetup() code with this to show branching … Serial.print(“Score = “); Serial.println(test); if (test == 100) Serial.print(“Perfect! Magaling!”); else if (test >= 90) Serial.print(“Congrats! So close~”); else if (test >= 85) Serial.print(“Pwedeeee”); else if (test >= 80) Serial.print(“More effort”); else if (test >= 75) Serial.print(“Study harder!”); else Serial.print(“Nako summer na yan tsk tsk…”); 31
  • 32.
    Control Structures  Syntax: switch(var) { case val01: // do something when var = val01 break; case val02: // do something when var = val02 break; default: // if no match, do default }  Switch-Case Statement  Depends on whether the value of a specified variable matches the values specified in case statements. 32
  • 33.
    Control Structures void setup(){ Serial.begin(9600); int test = 0; switch (test) { case 1: Serial.print(“Success”); break; case 0: Serial.print(“Fail”); break; } } void loop() { } 33
  • 34.
    Control Structures  WhileLoop  Continue program until a given condition is true  Syntax: while (condition) { // do something here until condition becomes false } 34
  • 35.
    Control Structures void setup(){ Serial.begin(9600); int count = 0; while (count <= 2) { Serial.println(“Hello”); count++; } } void loop() { } 35
  • 36.
    Control Structures  Do-WhileLoop  Same as While loop however this structure allows the loop to run once before checking the condition  Syntax: do { // do something here until condition becomes false } while (condition) ; 36
  • 37.
    Control Structures void setup(){ Serial.begin(9600); int count = 0; do { Serial.println(“Hello”); count++; } while (count <= 2); } void loop() { } 37
  • 38.
    Control Structures  ForLoop  Distinguished by a increment/decrement counter for termination  Syntax: for (start value; condition; operation) { // do something until condition becomes false } 38
  • 39.
    Control Structures void setup(){ Serial.begin(9600); int count = 0; for (count = 0; count <=5; count++) { Serial.println(“Hello”); } } void loop() { } 39
  • 40.
    Control Structures  break; Used to terminate a loop regardless of the state of the condition  Required in Switch-Case statements as an exit command 40
  • 41.
    Control Structures  continue; Used to skip loop iterations, bypassing the command(s) set  Note that the condition handle of the loop is still checked when using this command 41
  • 42.
    Logic  Conditional AND Symbolized by &&  Used when all conditions need to be satisfied.  Conditional OR  Symbolized by ||  Used when either of the conditions need to be satisfied. 42
  • 43.
    Logic  Conditional NOT Symbolized by !  Appends to other statements to invert its state 43
  • 44.
    Logic Serial.begin(9600); int gupit =0; int ahit = 0; if ((gupit == 1) && (ahit == 1)) Serial.println("Gwapong-gwapo! Pwede nang artista!"); else if ((gupit == 1) || (ahit == 1)) Serial.println("May kulang, pero pwede nang model"); else Serial.println("Eeeew mukhang gusgusin!"); 44
  • 45.
    Math Commands  min(x,y) – returns the SMALLER of two numbers x and y  max(x, y) – returns the LARGER of two numbers x and y  constrain(x, A, B) – constrain a number x between a lower value A and a higher value B  map(x, A, B, C, D) – re-map a value x, whose ORIGINAL RANGE runs from A to B, to a NEW RANGE running from C to D 45
  • 46.
    Math Commands  abs(x)– returns the ABSOLUTE VALUE of a number x  pow(x, y) – exponential function, returns x^y  sqrt(x) – returns the SQUARE ROOT of a number x 46
  • 47.
    Timing Controls  delay() Halts the sequence of execution during the time specified  Syntax: delay(milliseconds);  milliseconds = the time value in milliseconds 47
  • 48.
    Timing Controls  millis() Gives the number of milliseconds since the Arduino board began running the uploaded sketch  Syntax: variable = millis(); 48
  • 49.
    Random Numbers  random() Generates pseudo-random numbers  Syntax: random(min, max);  min = lower bound of random value, inclusive (optional)  max = upper bound of random value, exclusive 49
  • 50.
    Random Numbers  randomSeed() Varies the sequence of numbers at every start-up  Syntax: randomSeed(source); 50
  • 51.
    Functions  Modular piecesof code that perform a defined task outside of the main program  Very useful to reduce repetitive lines of code due to multiple execution of commands  Has a name, type, and value – same as variables? 51
  • 52.
  • 53.
  • 54.
    Initializing Serial  Serial.begin() Initialize serial communication  Comonly placed at the setup function of your sketch  Syntax:  Serial.begin(baud)  baud: serial baud rate value to be used  e.g. 300, 1200, 2400, 4800, 9600, 14400, 28800, 38400, 57600, 115200)  Ex. Serial.begin(9600); 54
  • 55.
    Printing Lines usingSerial  Serial.println()  Prints data to the Serial port as ASCII text  Syntax:  Serial.println(val)  val: the value to print, which can be any data type  Ex. Serial.println(“Hello World!”);  Displays Hello World! In Serial Monitor 55
  • 56.
    void setup() { Serial.begin(9600); } voidloop() { Serial.println(“Hello World!”); delay(1000); } Sample Code 56
  • 57.
    Available Data fromSerial  Serial.available()  Checks if there is data present on the line and returns the number of bytes to be read  Syntax:  Serial.available()  Ex. if (Serial.available() > 0) { … 57
  • 58.
    Reading from Serial Serial.read()  Returns the first byte of incoming serial data  Syntax:  variable = Serial.read();  variable can be either an int or a char 58
  • 59.
    void setup() { Serial.begin(9600); } voidloop() { if (Serial.available() > 0) { ReceivedByte = Serial.read(); Serial.print(ReceivedByte); delay(10); } } Sample Code 59
  • 60.
    SEE YOU INDAY 2! 60
  • 61.
    CONTACT DETAILS Landline: (02)861-1531 Email: secretariat@thinklab.ph FB account: facebook.com/thinklab.secretariat FB page: facebook.com/thinklab.ph THANK YOU FOR COMING! 61