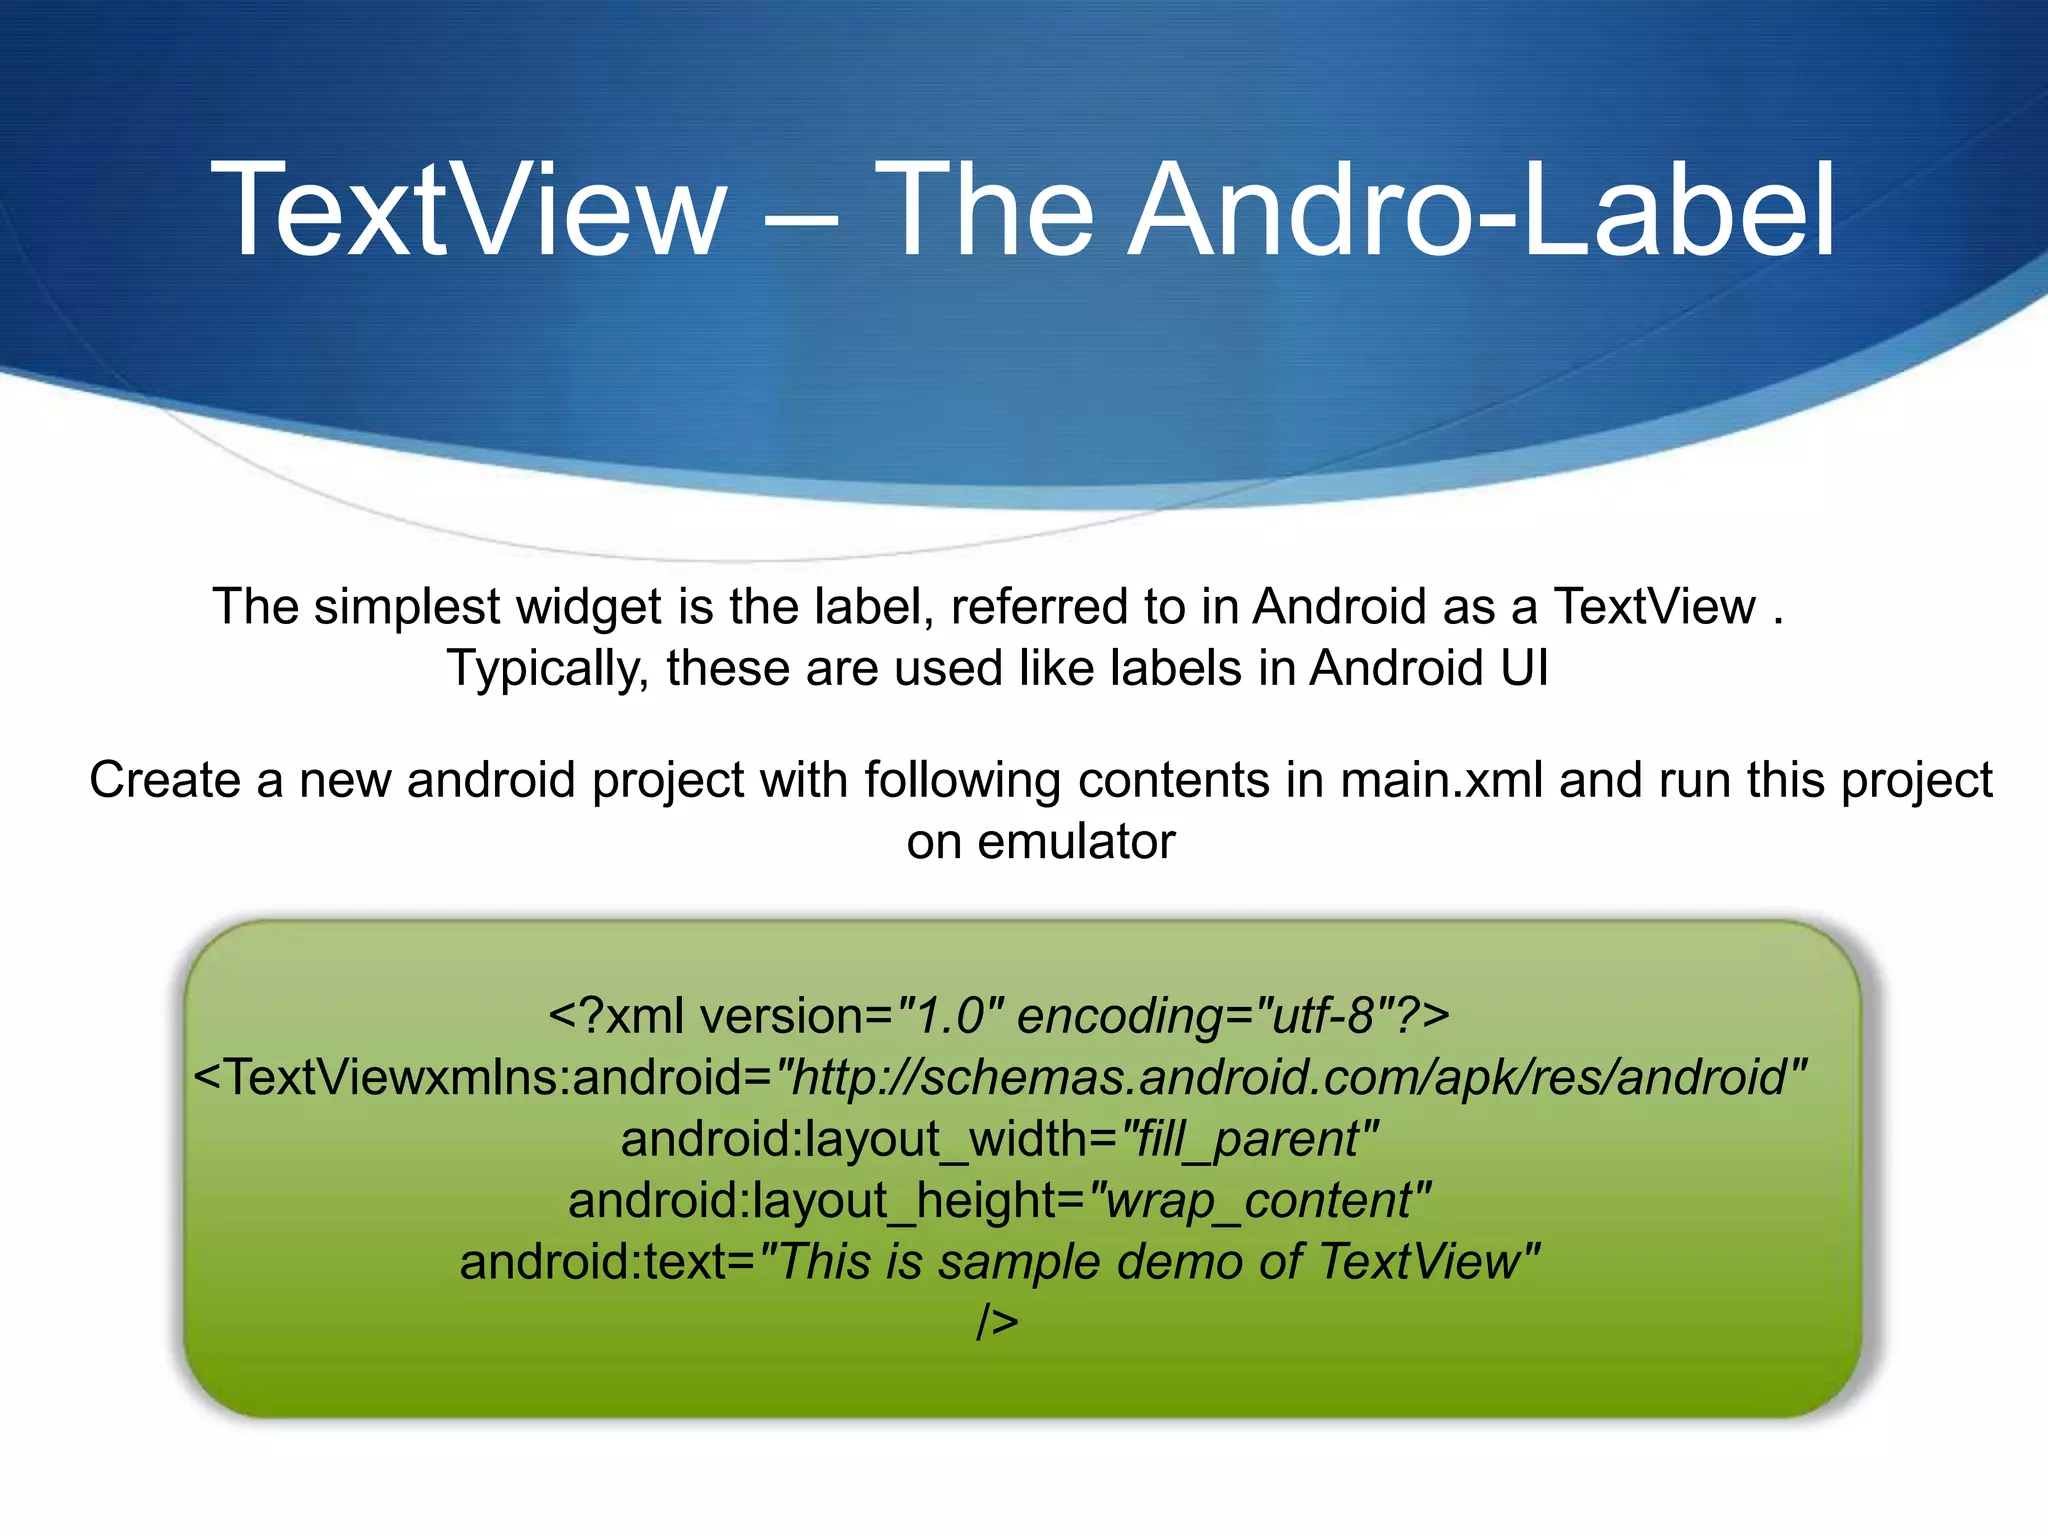
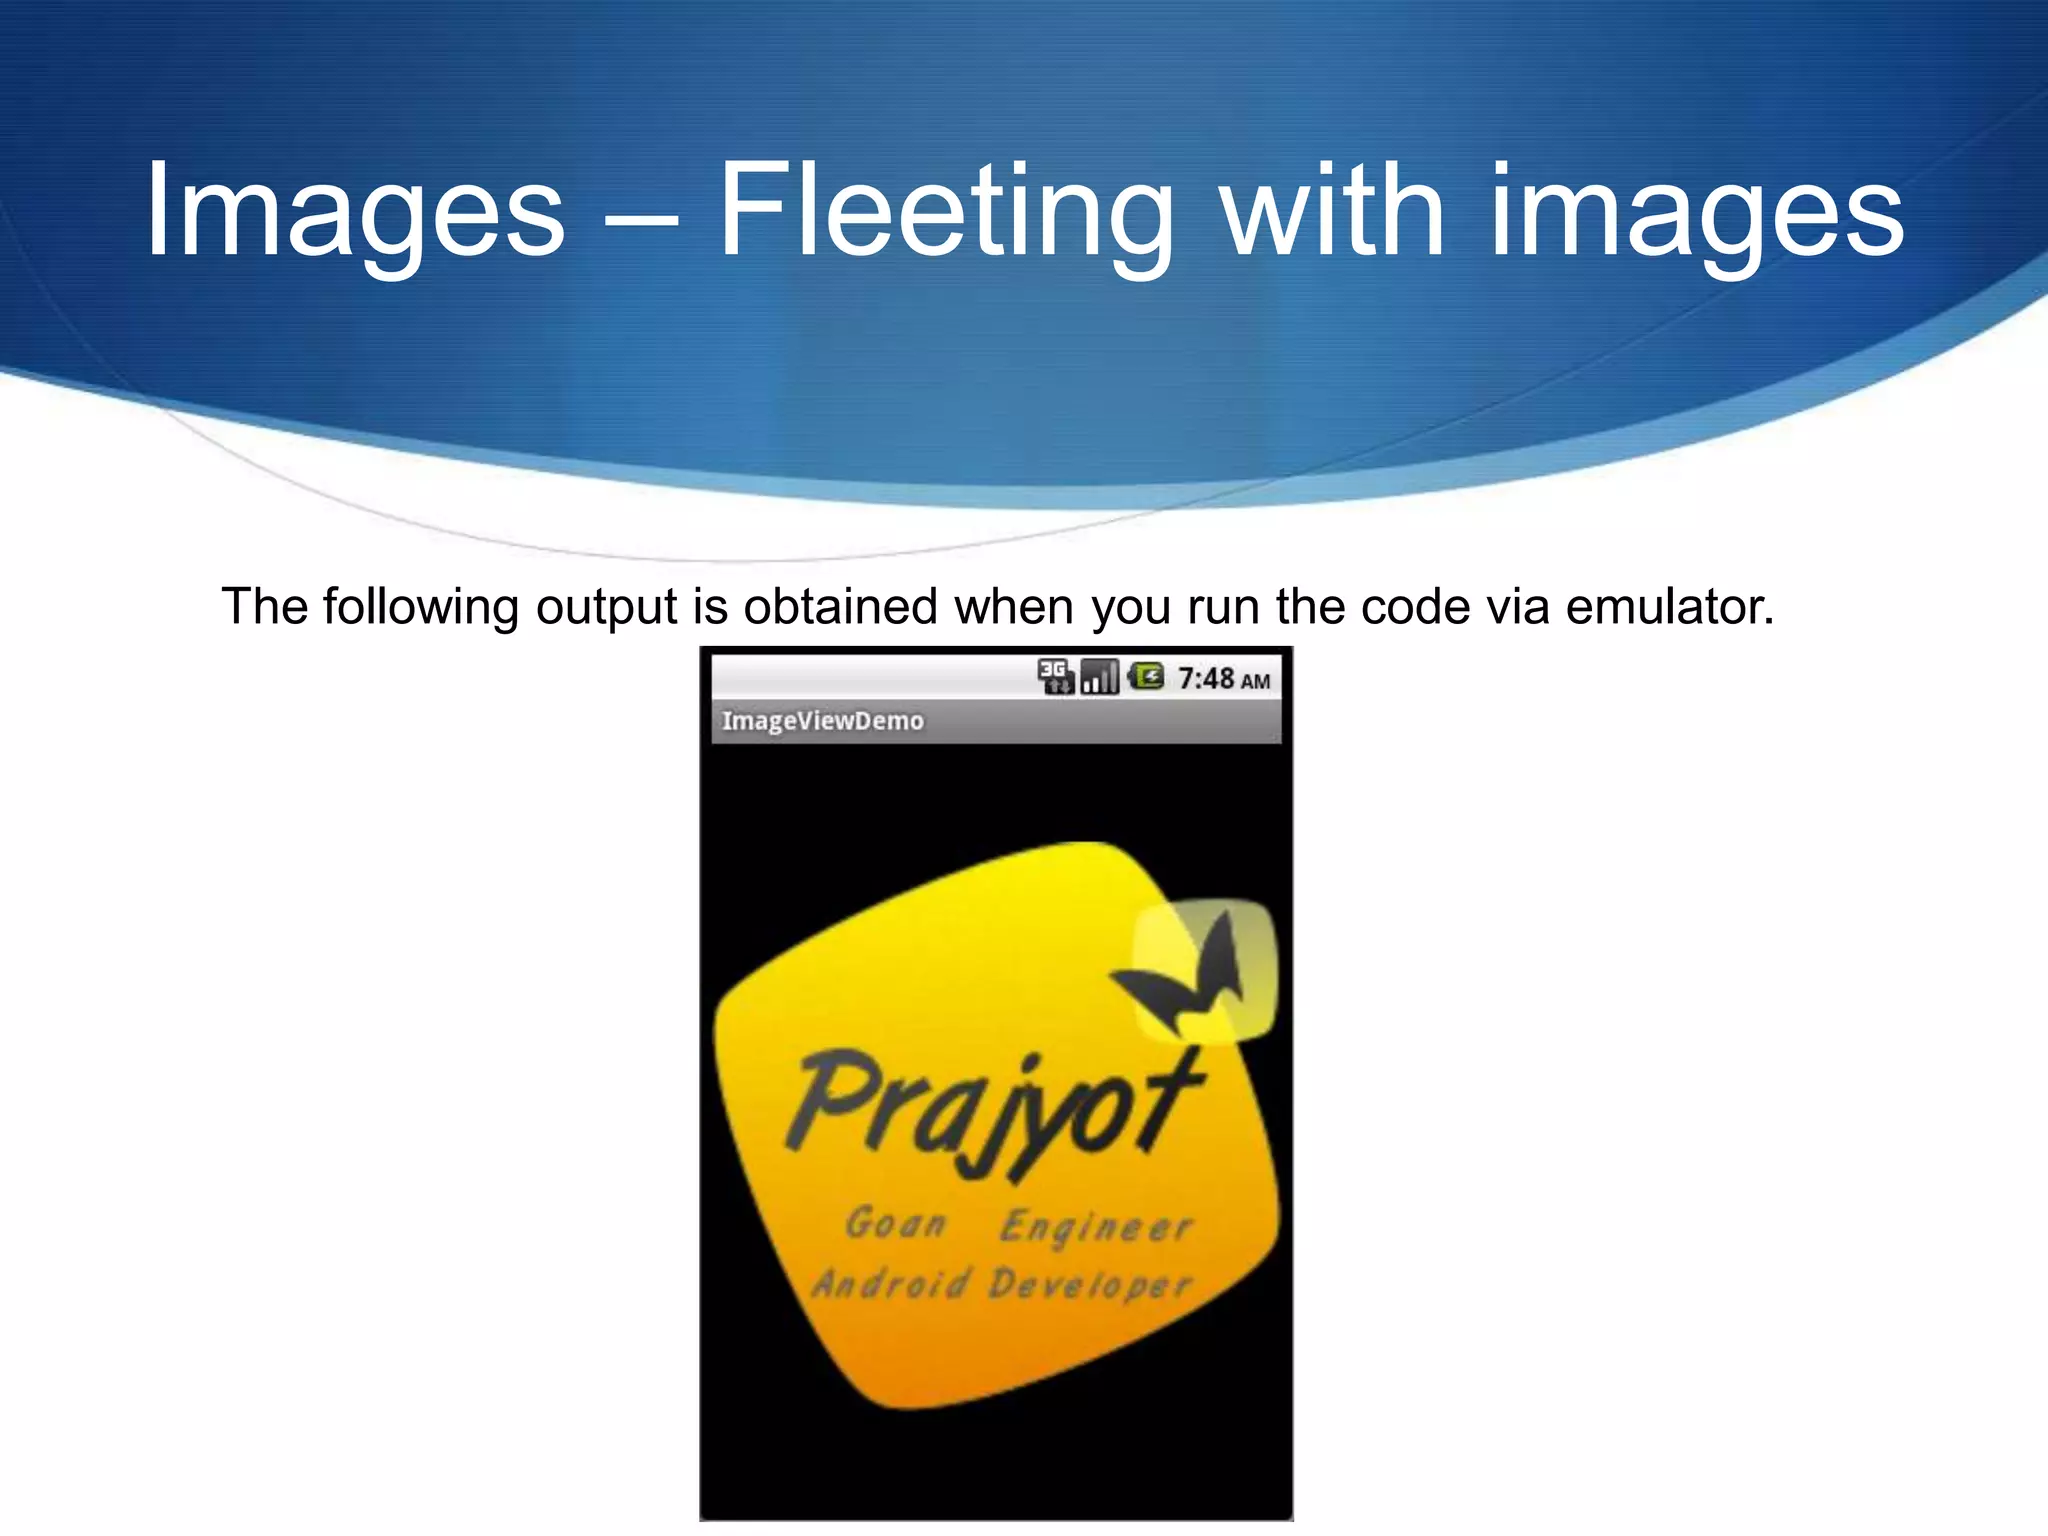
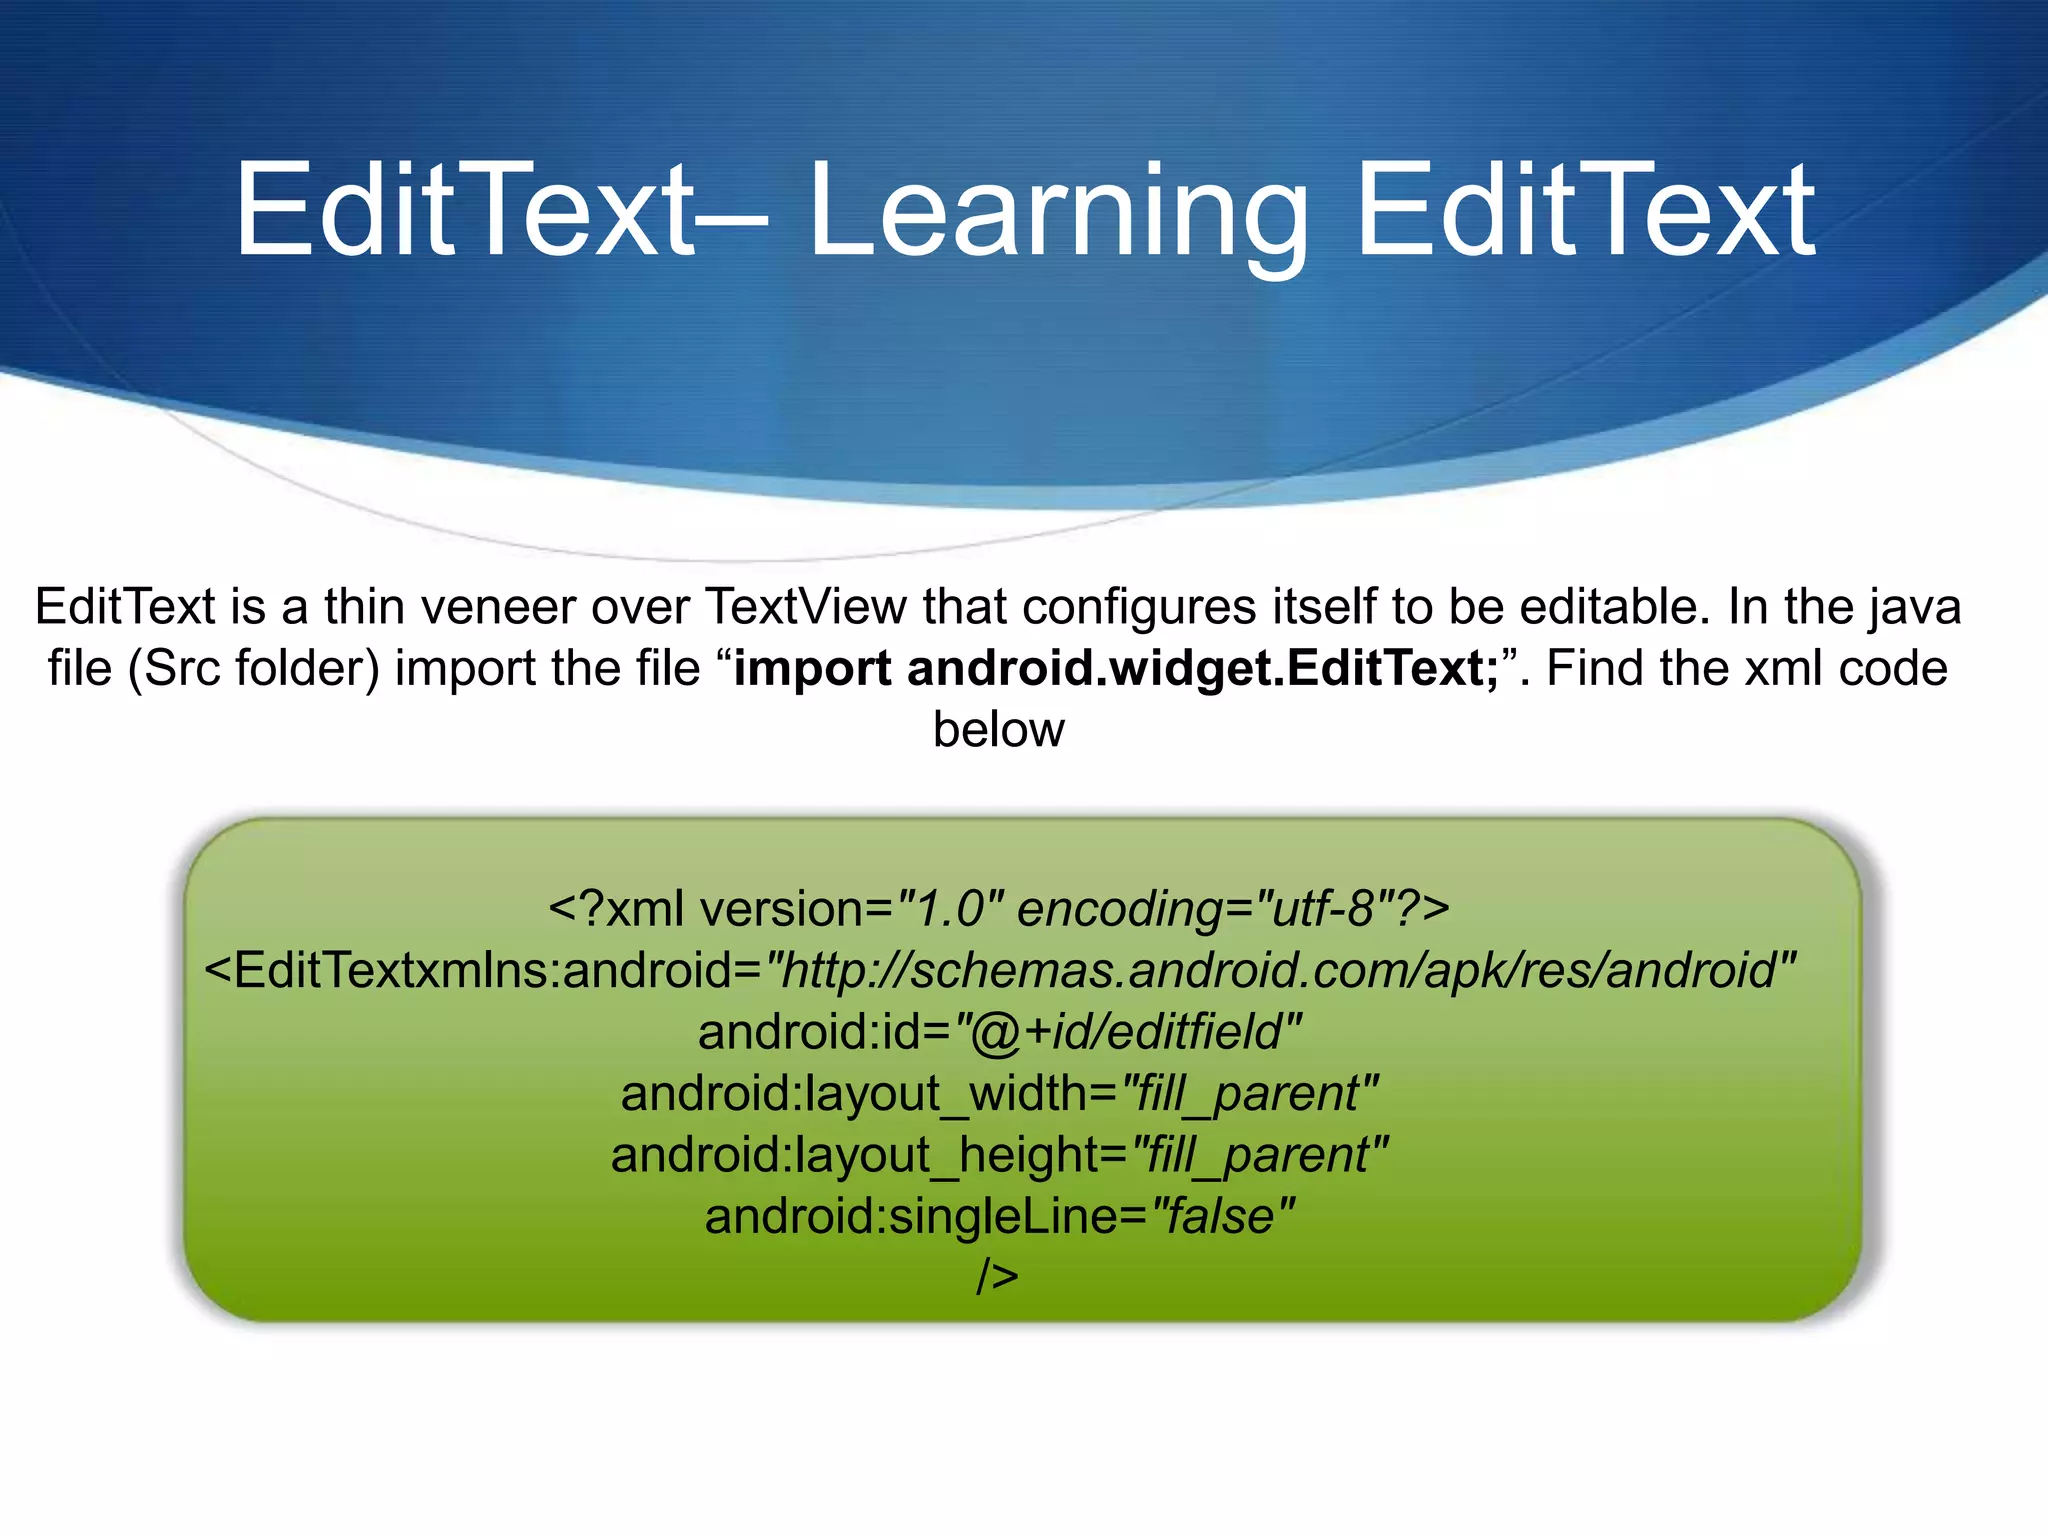
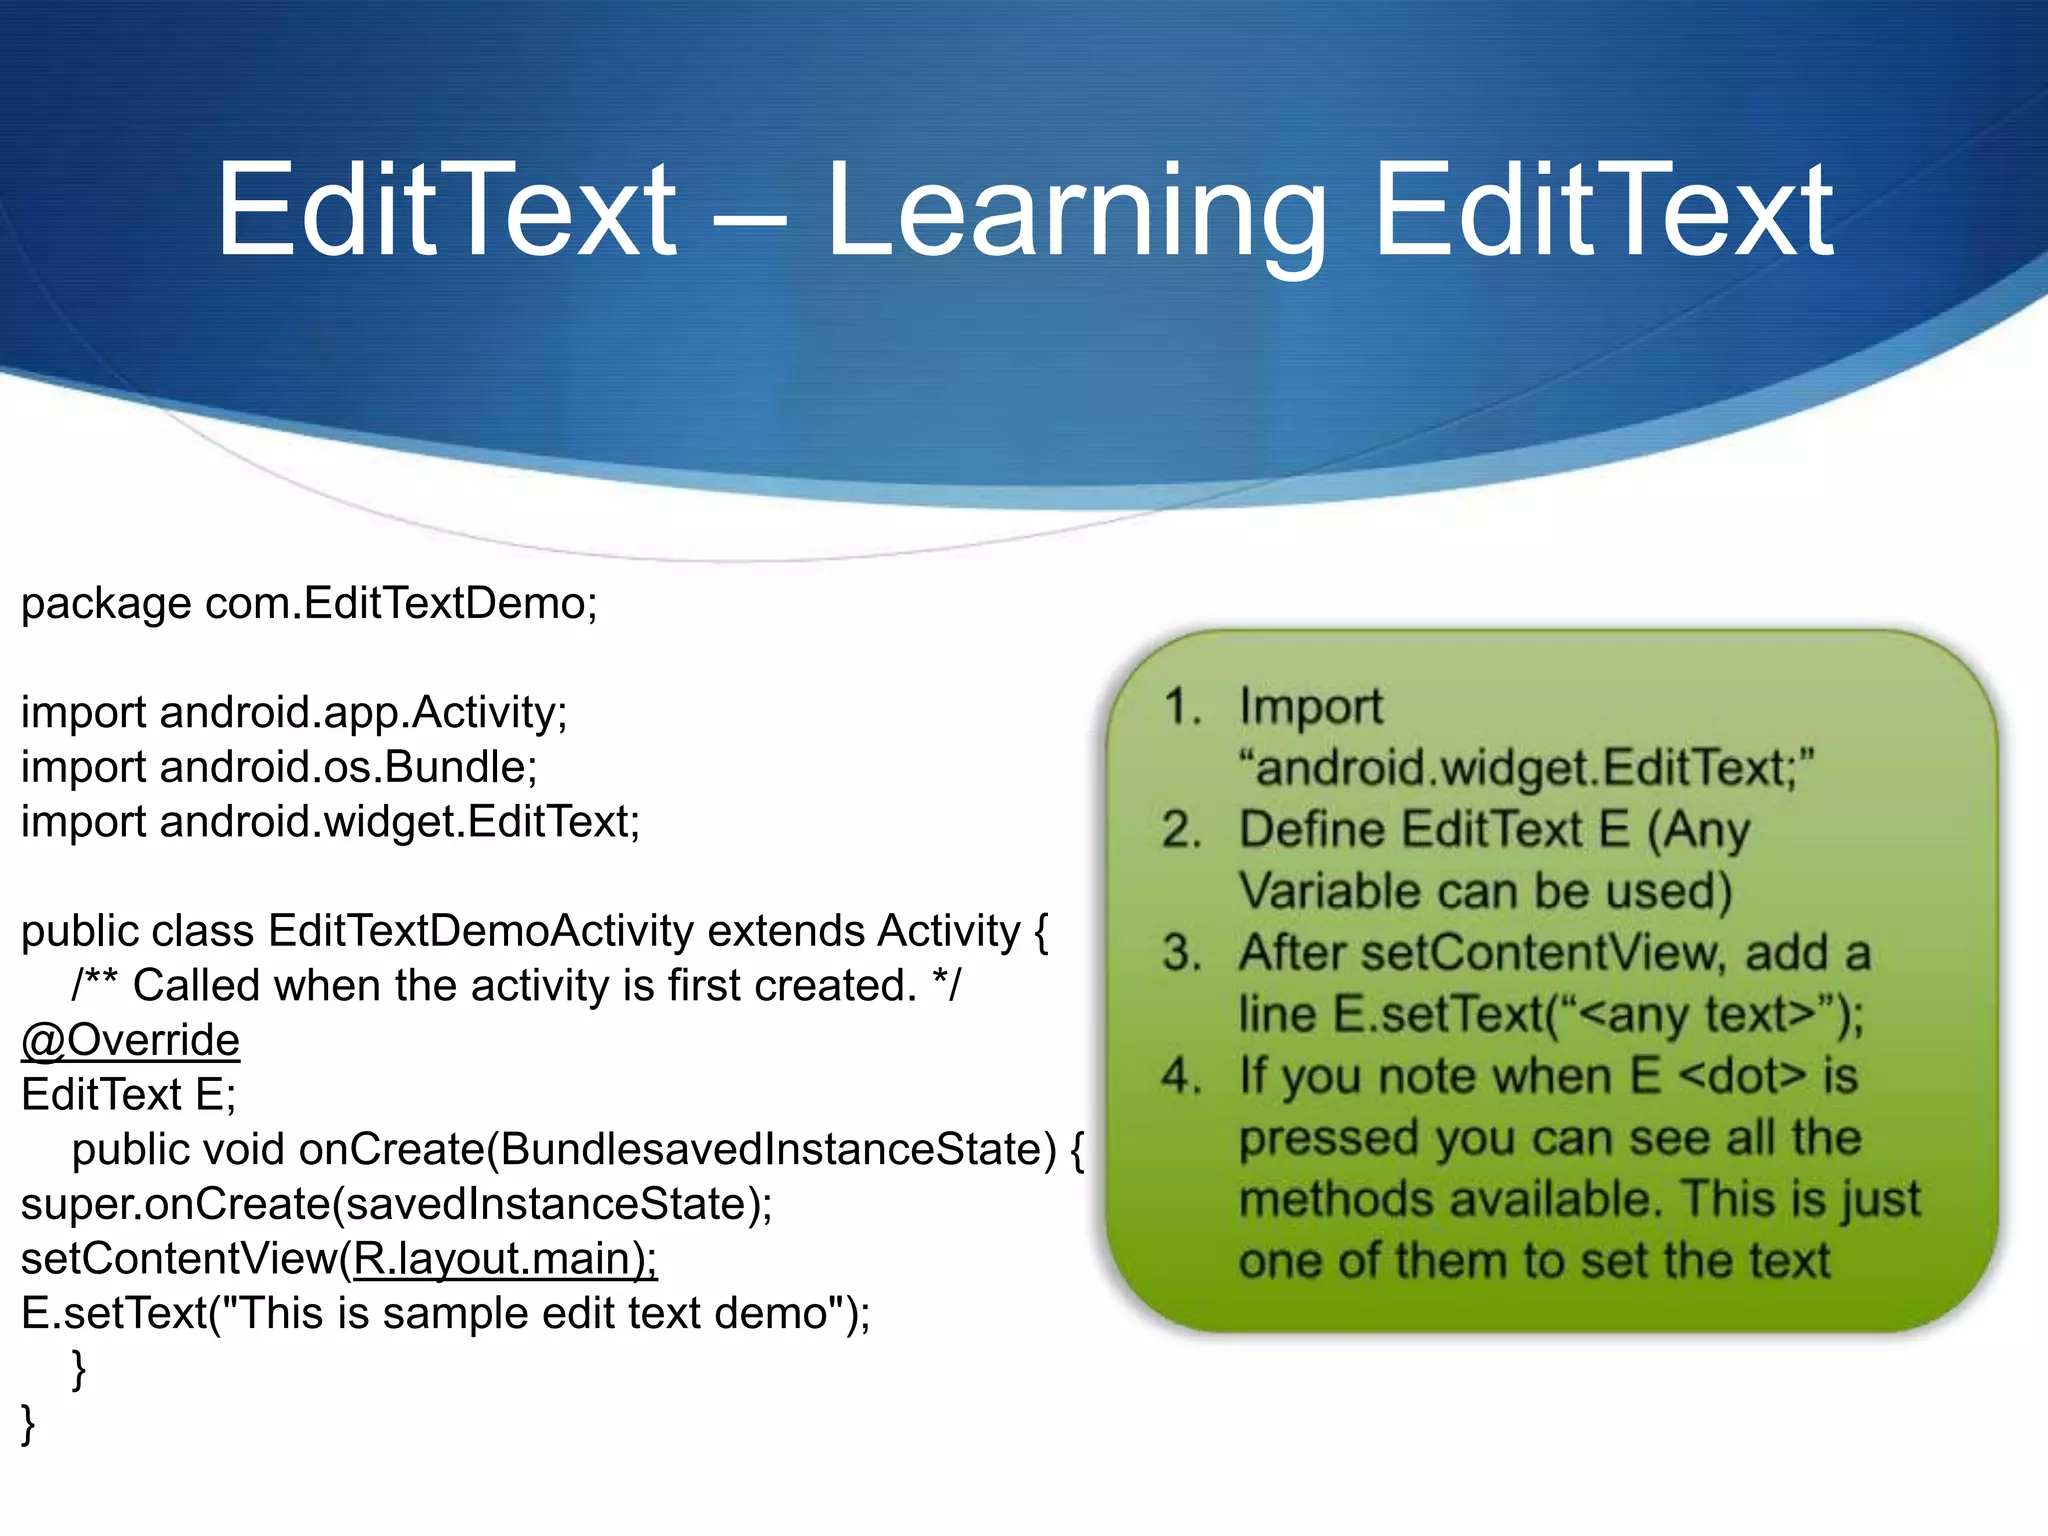
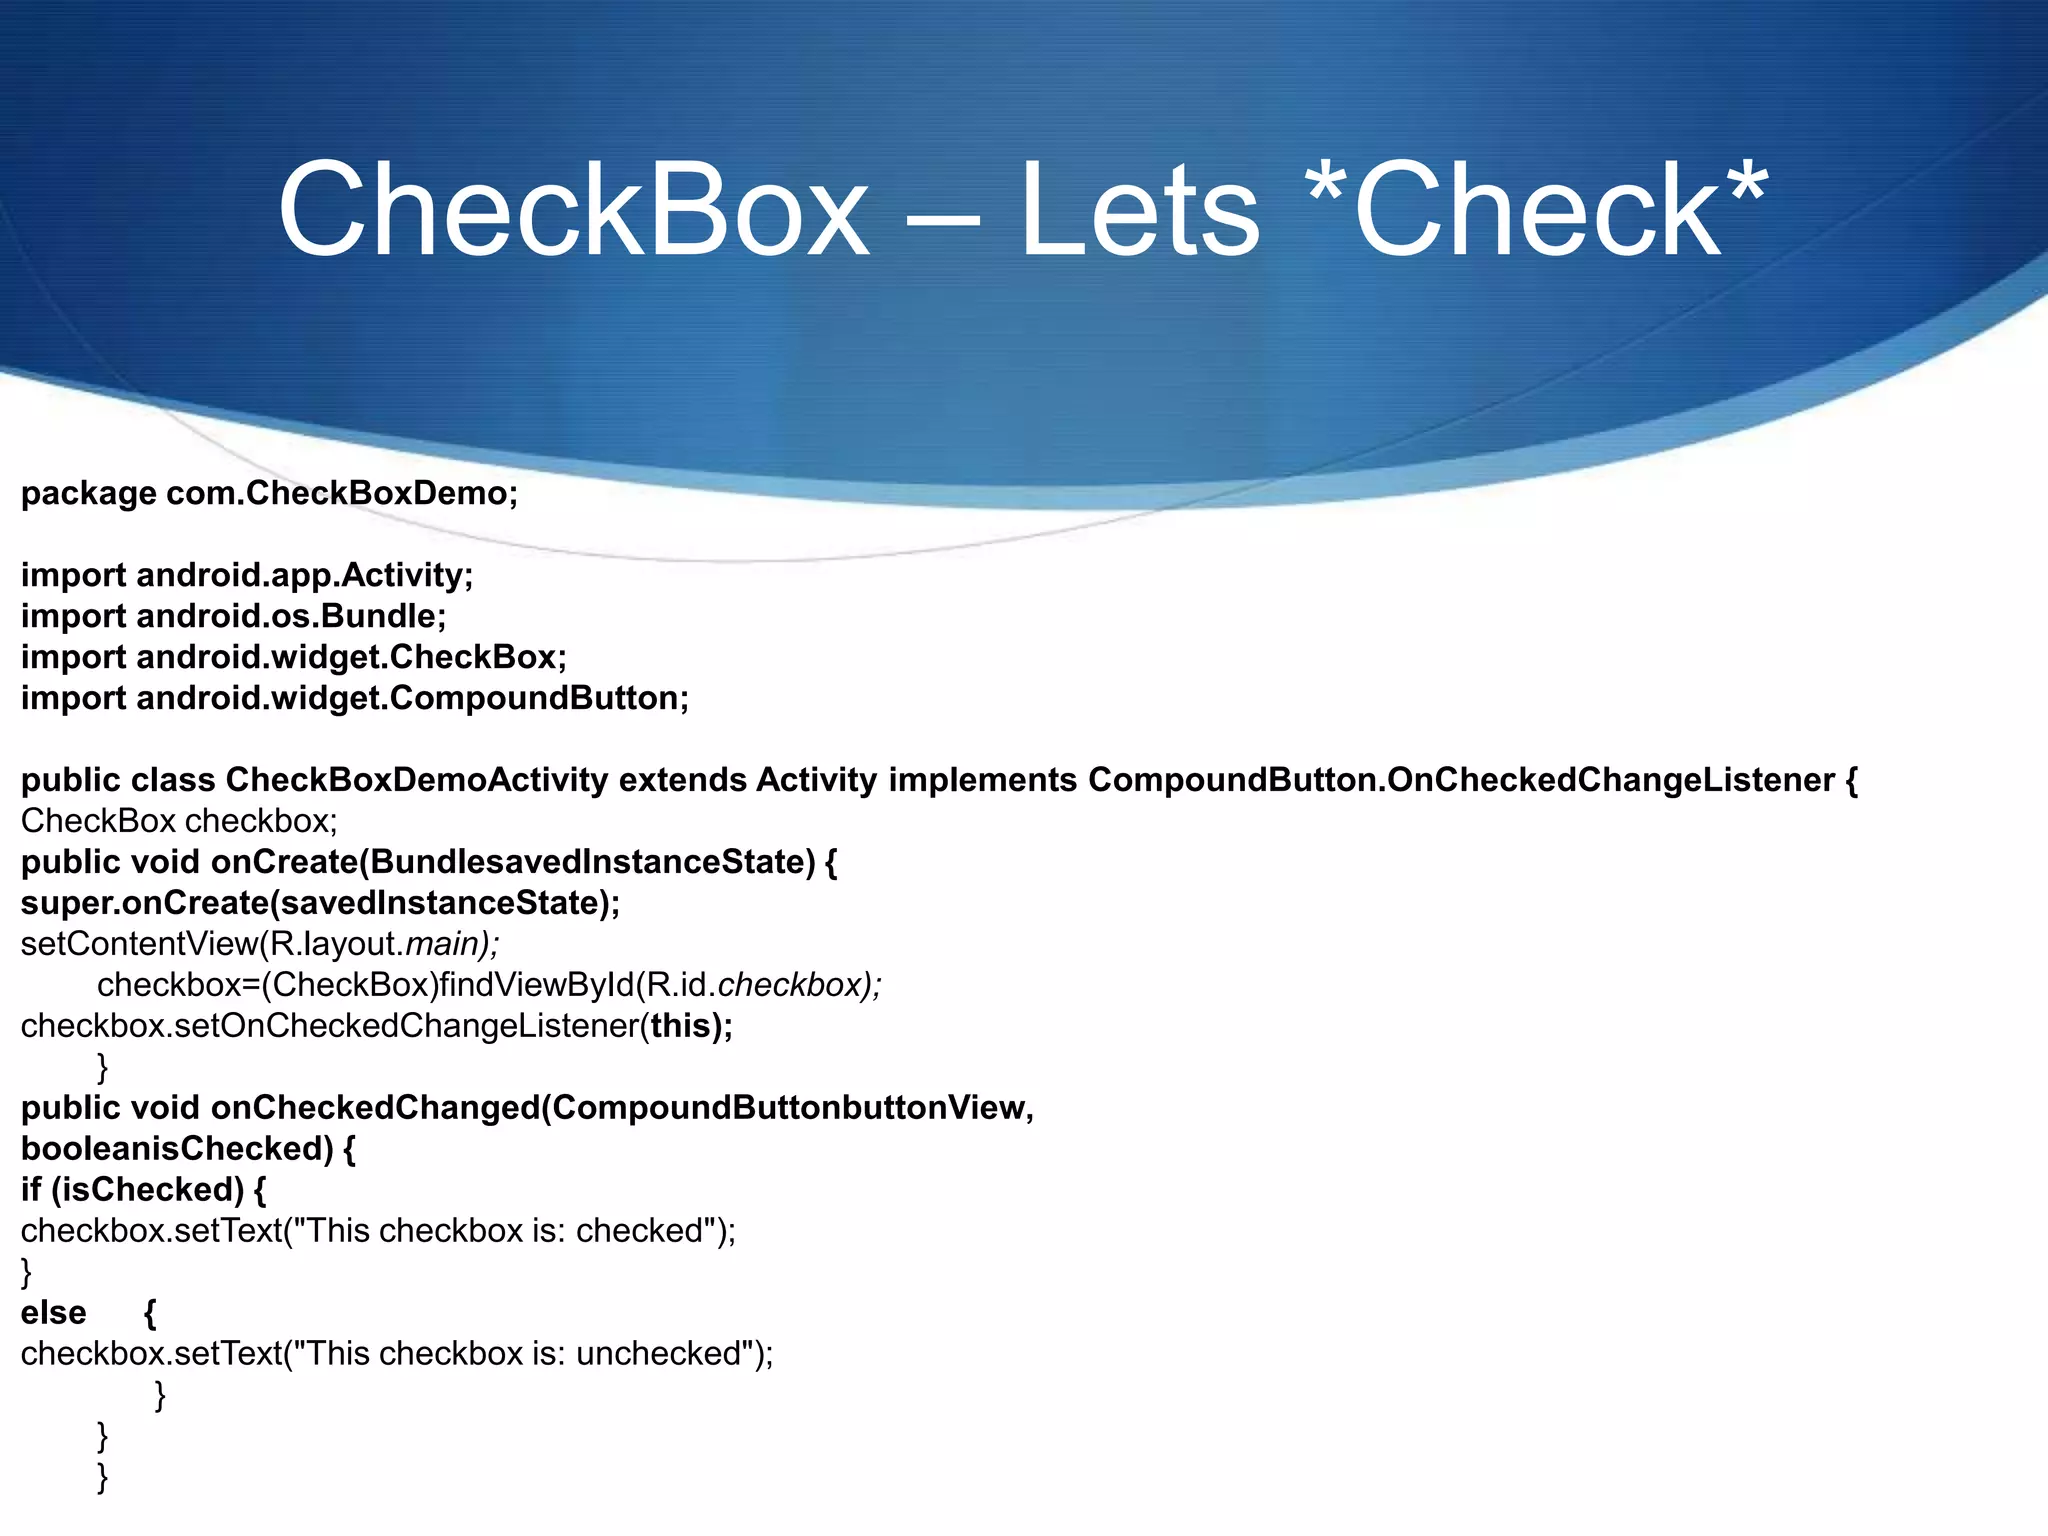
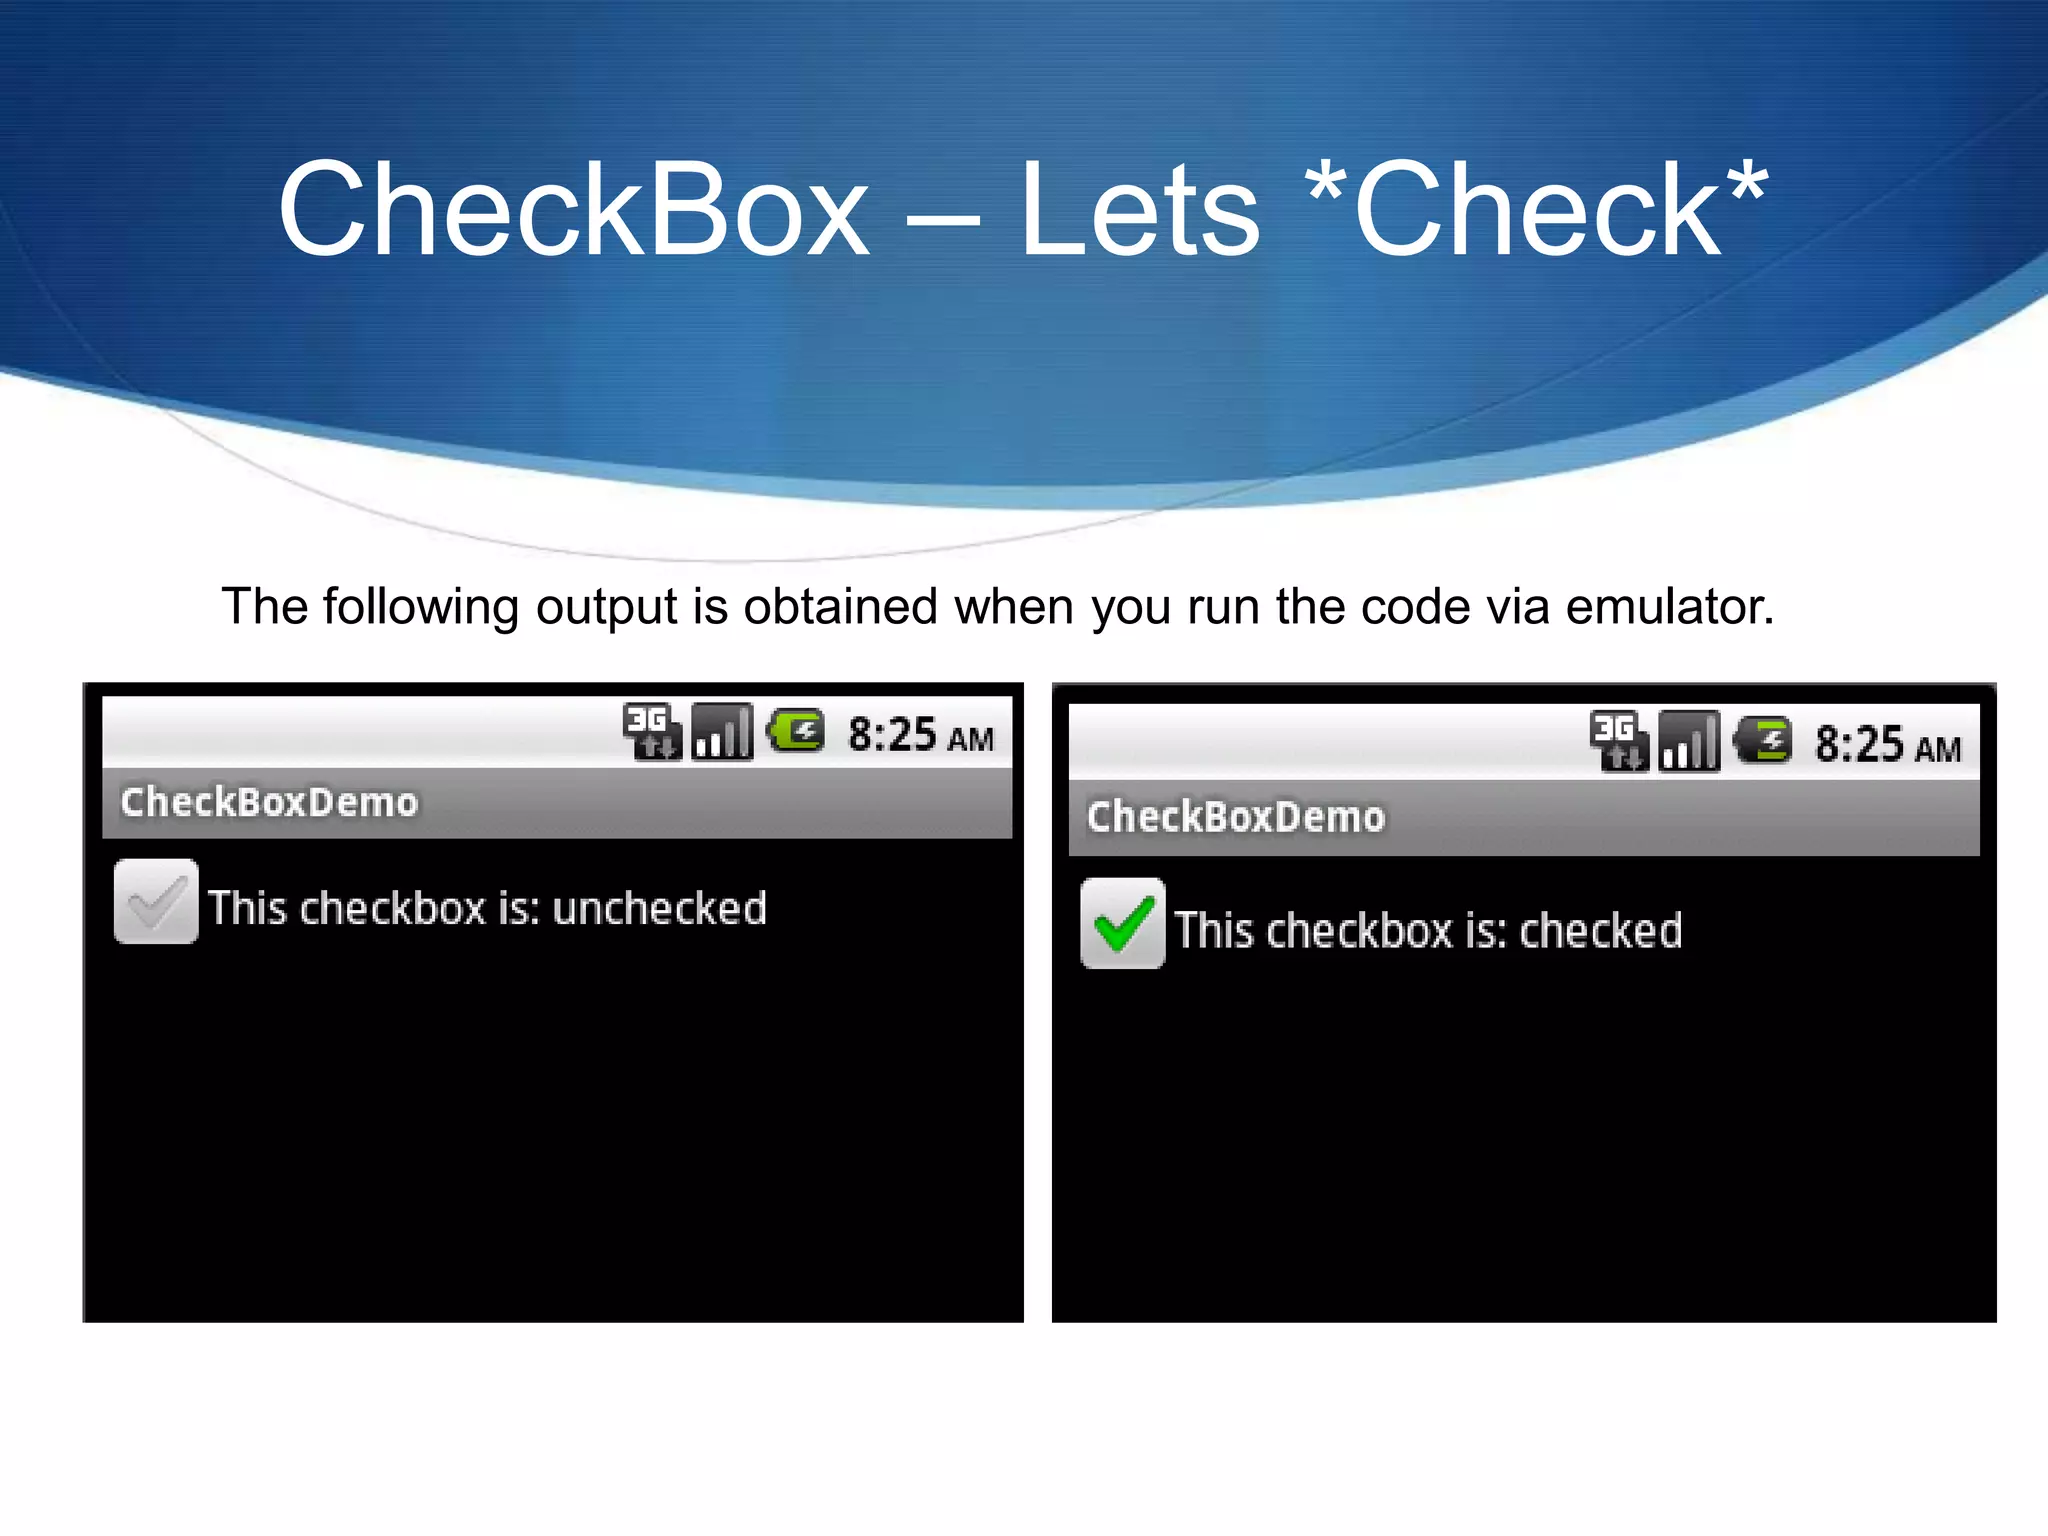
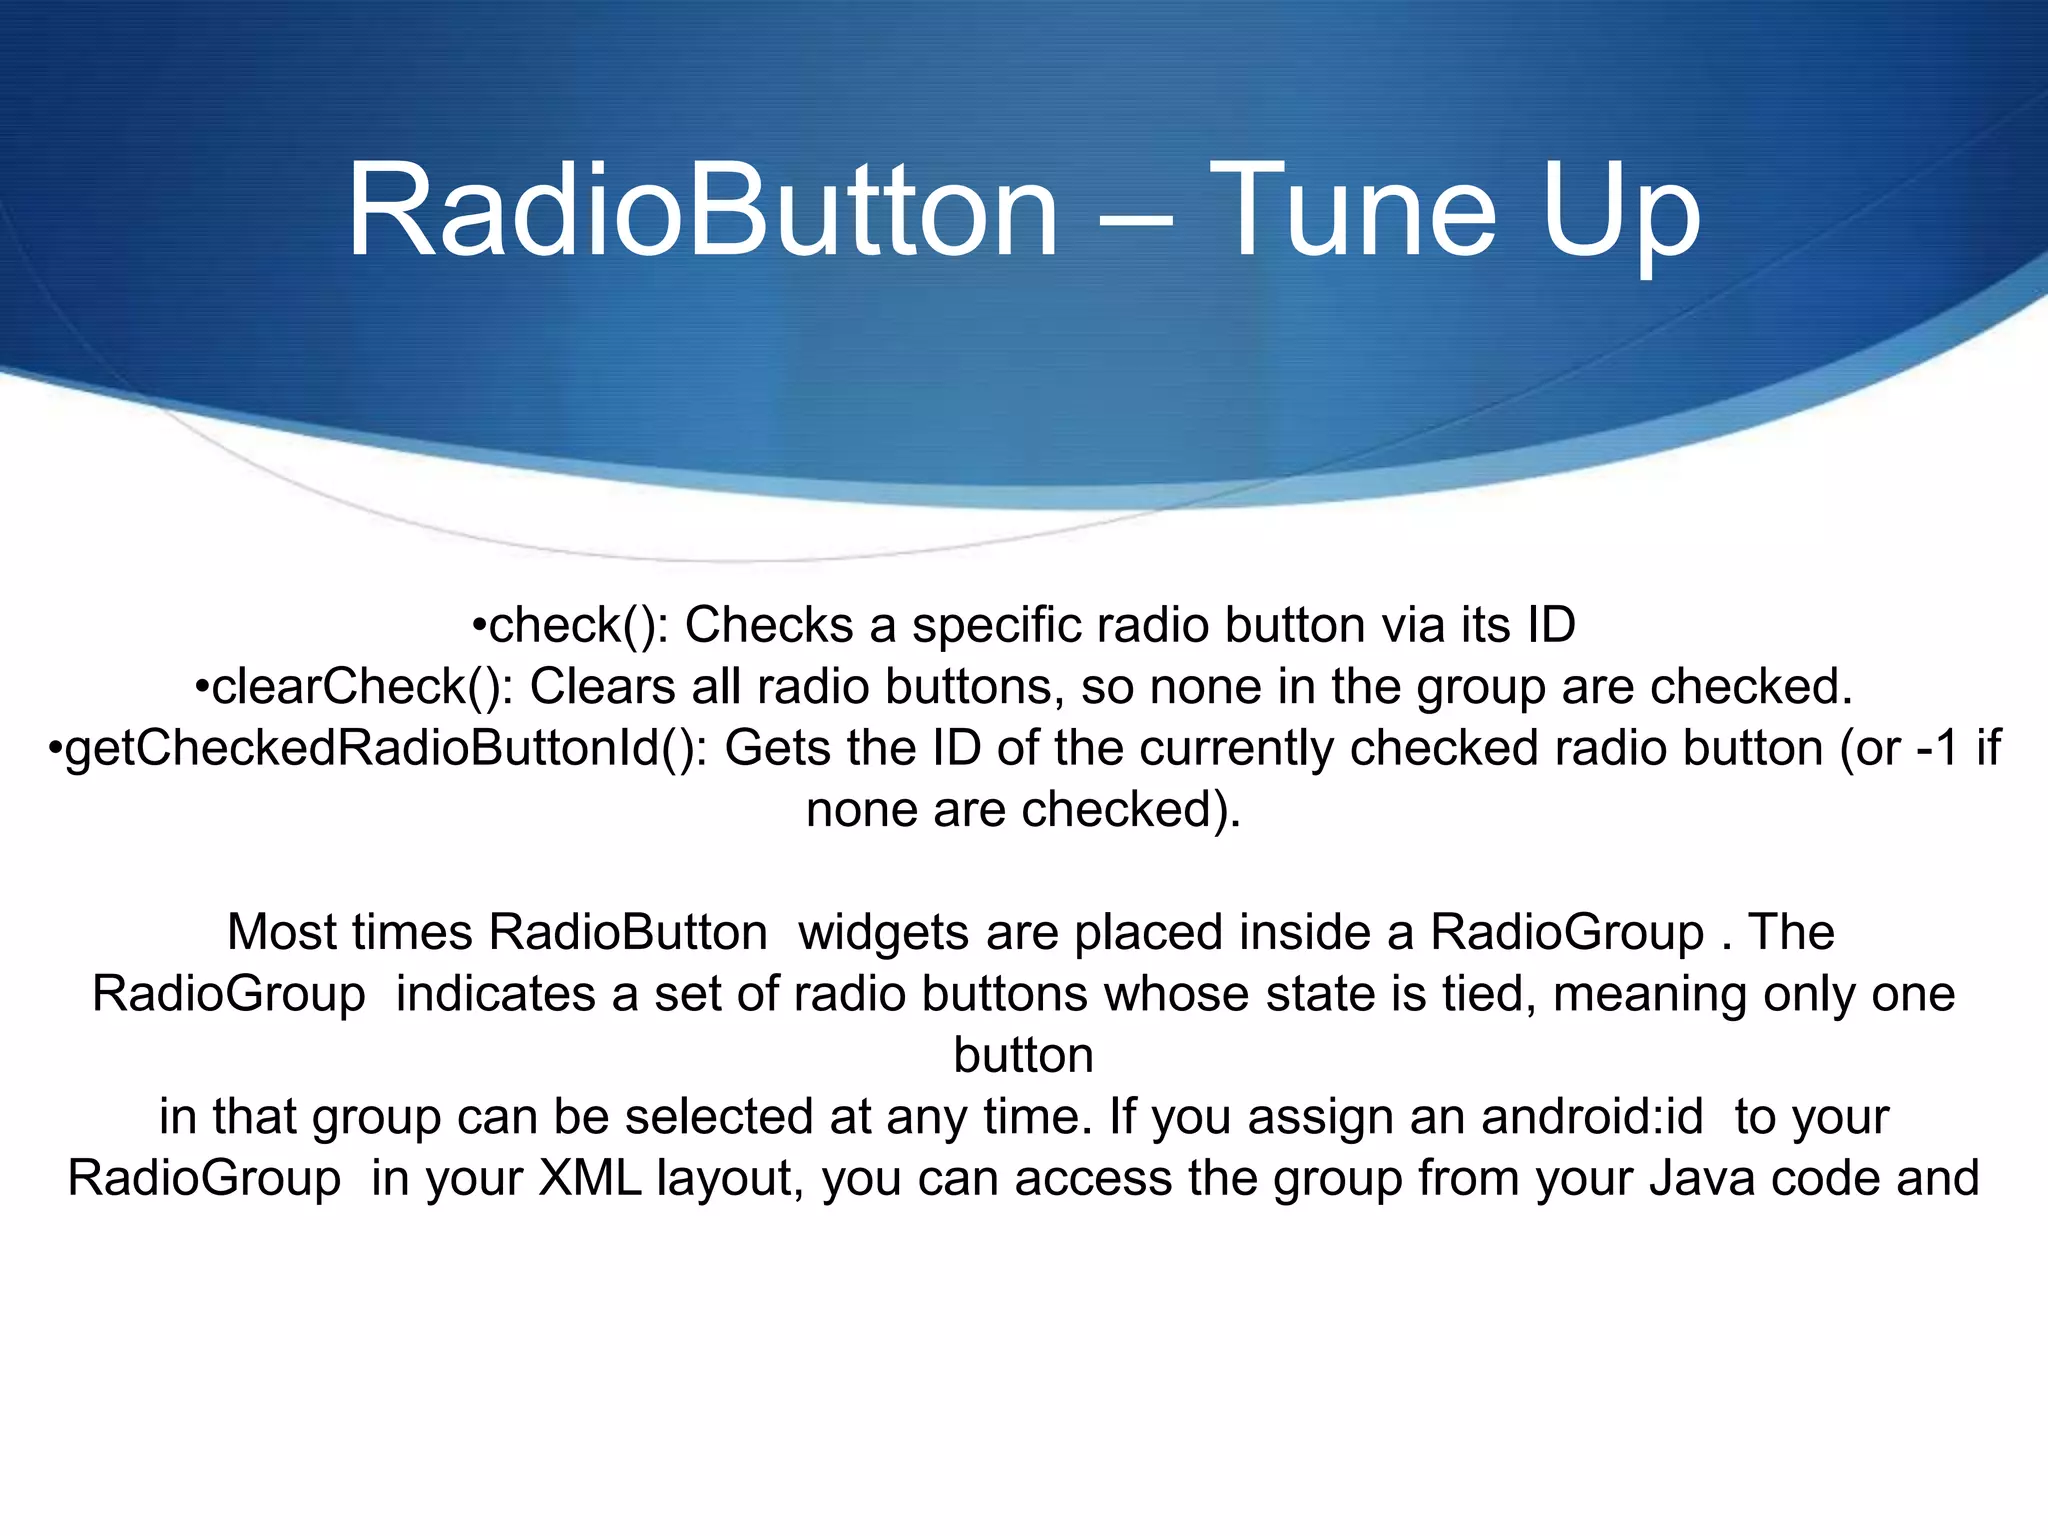
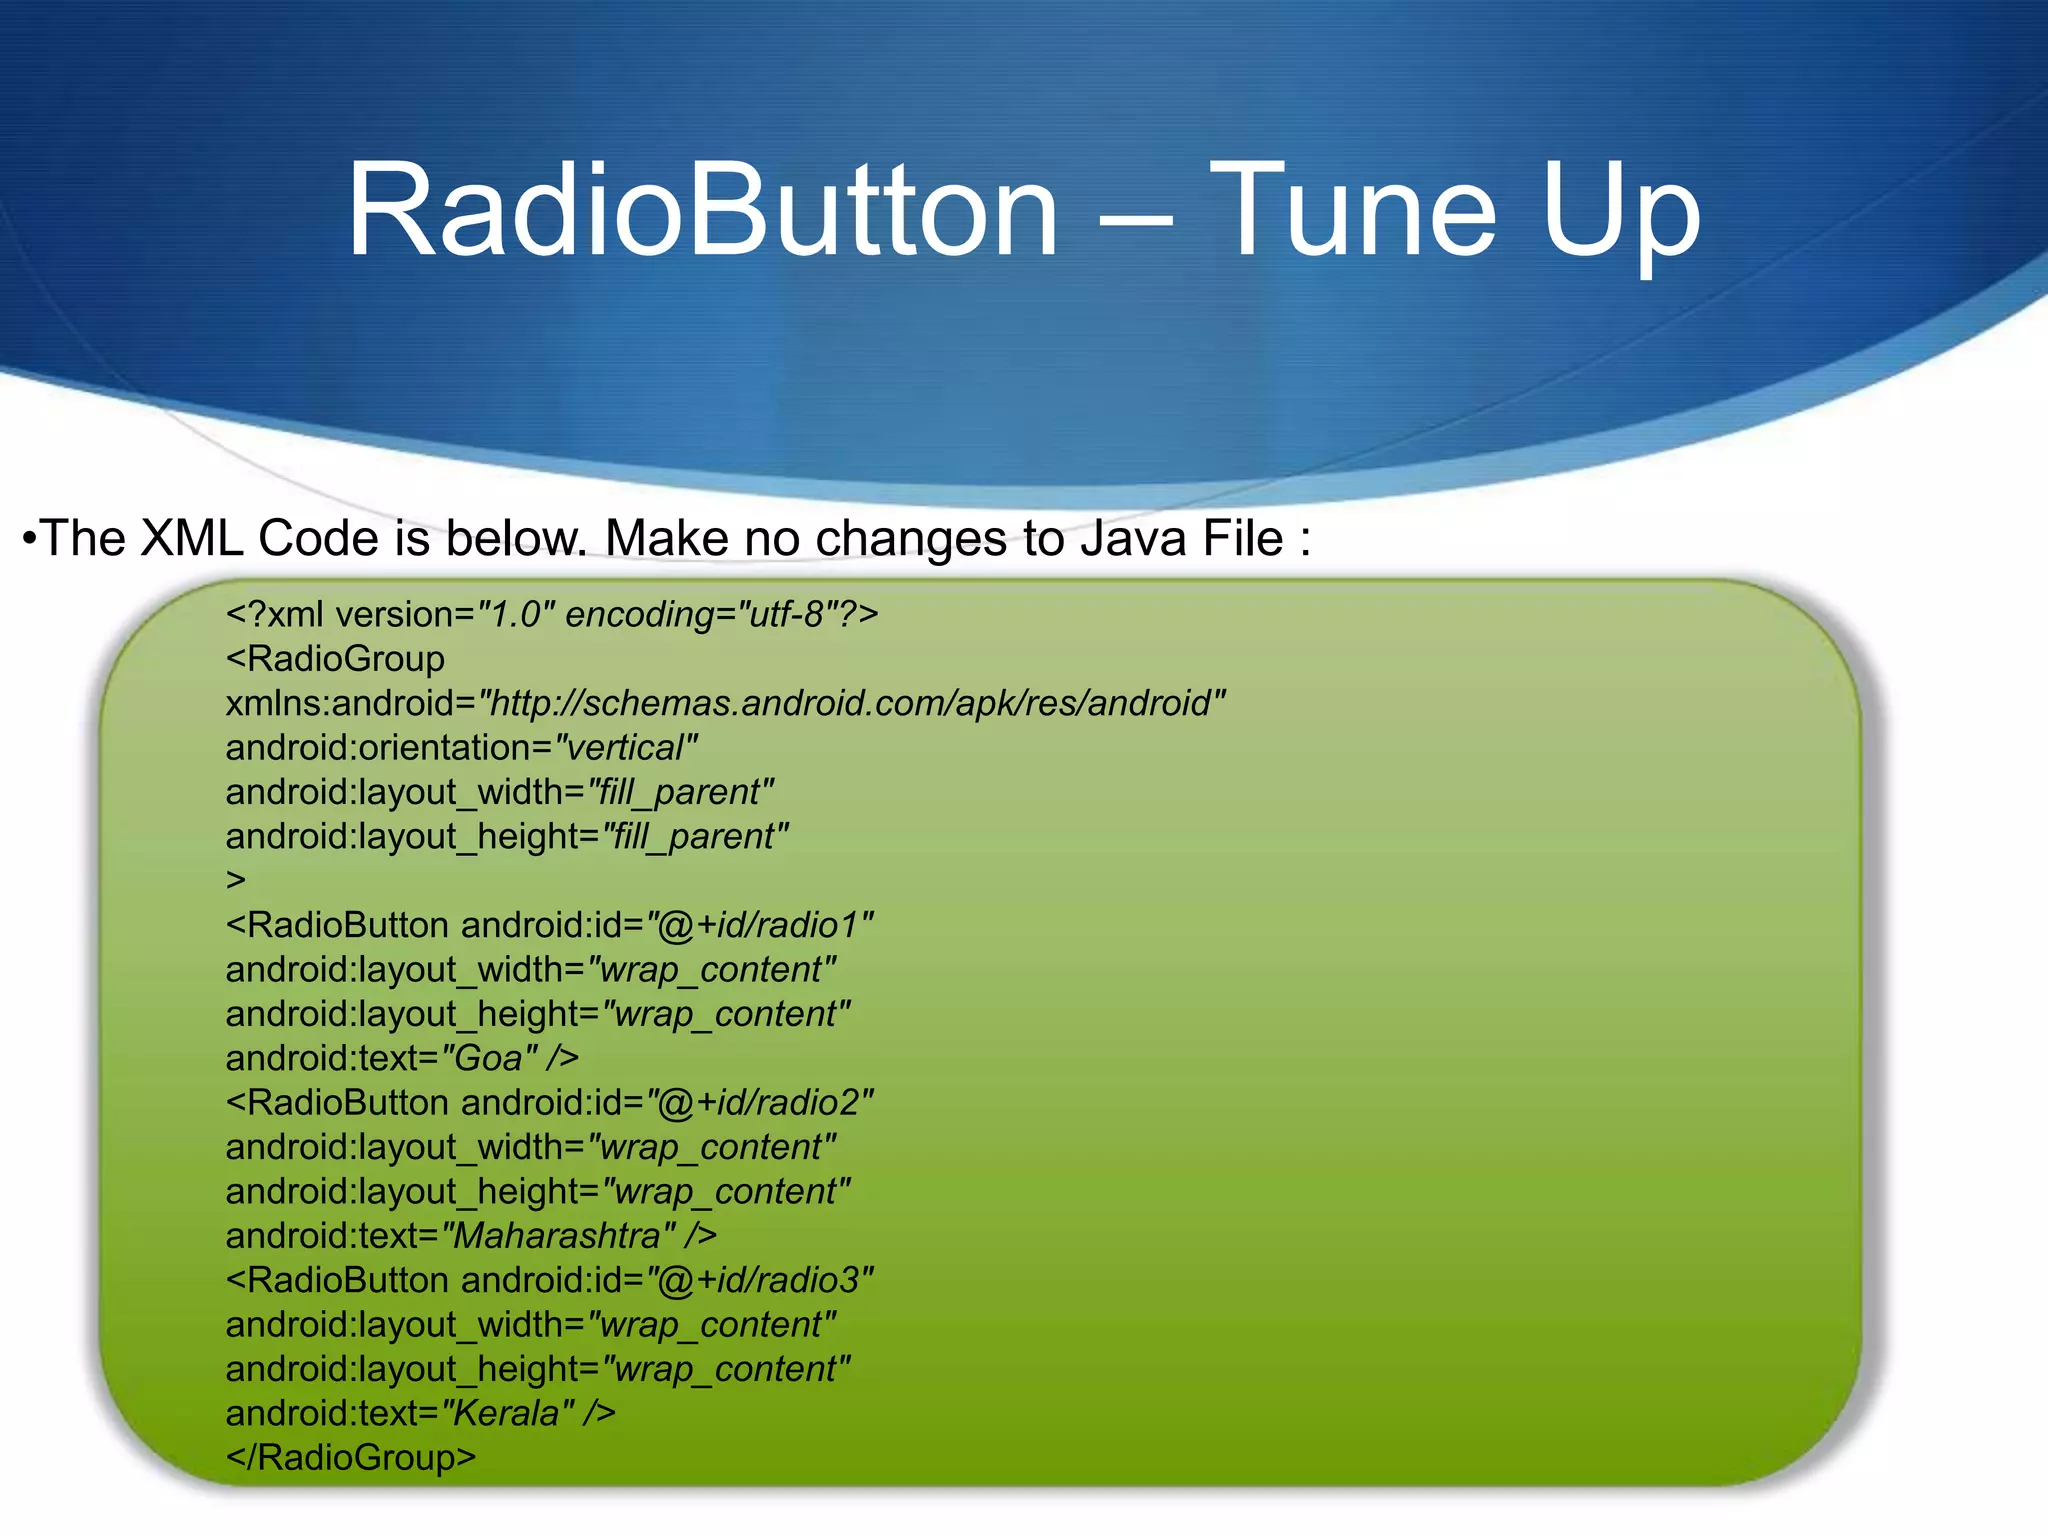
Android.Widgets Tutorial 1 : Empowering Android Widgets By: Mr.PrajyotMainkar MS Software Systems( BITS-Pilani) BE(Hons.) Computer Engineering , PMP( IIT Delhi) S
TextView – The Andro-Label The simplest widget is the label, referred to in Android as a TextView . Typically, these are used like labels in Android UI Create a new android project with following contents in main.xml and run this project on emulator <?xml version="1.0" encoding="utf-8"?> <TextViewxmlns:android="http://schemas.android.com/apk/res/android" android:layout_width="fill_parent" android:layout_height="wrap_content" android:text="This is sample demo of TextView" />
TextView – The Andro-Label The following output is obtained when you run the code via emulator.
Images – Fleeting with images Android has two widgets to help embed images in your activities: ImageViewand ImageButton. As the names suggest, they are image-based analogues to TextView and Button , respectively. <?xml version="1.0" encoding="utf-8"?> <ImageViewxmlns:android="http://schemas.android.com/apk/res/android" android:id="@+id/icon" android:layout_width="fill_parent" android:layout_height="fill_parent" android:adjustViewBounds="true" android:src="@drawable/logo" /> Note that, android:src takes path of image from the drawable folder(@ is the reference), so drag „n drop /paste any logo.png image to drawable folder.
Images – Fleeting with images The following output is obtained when you run the code via emulator.
EditText– Learning EditText EditText is a thin veneer over TextView that configures itself to be editable. In the java file (Src folder) import the file “import android.widget.EditText;”. Find the xml code below <?xml version="1.0" encoding="utf-8"?> <EditTextxmlns:android="http://schemas.android.com/apk/res/android" android:id="@+id/editfield" android:layout_width="fill_parent" android:layout_height="fill_parent" android:singleLine="false" />
EditText – Learning EditText package com.EditTextDemo; import android.app.Activity; import android.os.Bundle; import android.widget.EditText; public class EditTextDemoActivity extends Activity { /** Called when the activity is first created. */ @Override EditText E; public void onCreate(BundlesavedInstanceState) { super.onCreate(savedInstanceState); setContentView(R.layout.main); E.setText("This is sample edit text demo"); } }
CheckBox– Lets *Check* •isChecked(): Determines if the check box has been checked. •setChecked(): Forces the check box into a checked or unchecked •state. •toggle(): Toggles the check box as if the user checked it. <?xml version="1.0" encoding="utf-8"?> <CheckBoxxmlns:android="http://schemas.android.com/apk/res/android" android:id="@+id/checkbox" android:layout_width="wrap_content" android:layout_height="wrap_content" android:text="This checkbox is unchecked" />
CheckBox – Lets *Check* package com.CheckBoxDemo; import android.app.Activity; import android.os.Bundle; import android.widget.CheckBox; import android.widget.CompoundButton; public class CheckBoxDemoActivity extends Activity implements CompoundButton.OnCheckedChangeListener { CheckBox checkbox; public void onCreate(BundlesavedInstanceState) { super.onCreate(savedInstanceState); setContentView(R.layout.main); checkbox=(CheckBox)findViewById(R.id.checkbox); checkbox.setOnCheckedChangeListener(this); } public void onCheckedChanged(CompoundButtonbuttonView, booleanisChecked) { if (isChecked) { checkbox.setText("This checkbox is: checked"); } else { checkbox.setText("This checkbox is: unchecked"); } } }
CheckBox – Lets *Check* The following output is obtained when you run the code via emulator.
RadioButton – Tune Up •check(): Checks a specific radio button via its ID •clearCheck(): Clears all radio buttons, so none in the group are checked. •getCheckedRadioButtonId(): Gets the ID of the currently checked radio button (or -1 if none are checked). Most times RadioButton widgets are placed inside a RadioGroup . The RadioGroup indicates a set of radio buttons whose state is tied, meaning only one button in that group can be selected at any time. If you assign an android:id to your RadioGroup in your XML layout, you can access the group from your Java code and
RadioButton – Tune Up •The XML Code is below. Make no changes to Java File : <?xml version="1.0" encoding="utf-8"?> <RadioGroup xmlns:android="http://schemas.android.com/apk/res/android" android:orientation="vertical" android:layout_width="fill_parent" android:layout_height="fill_parent" > <RadioButton android:id="@+id/radio1" android:layout_width="wrap_content" android:layout_height="wrap_content" android:text="Goa" /> <RadioButton android:id="@+id/radio2" android:layout_width="wrap_content" android:layout_height="wrap_content" android:text="Maharashtra" /> <RadioButton android:id="@+id/radio3" android:layout_width="wrap_content" android:layout_height="wrap_content" android:text="Kerala" /> </RadioGroup>
Thank you.. GET IN TOUCH– Tune Up RadioButton Phone: +91-9822987513 facebook.com/prajyotmainkar Email: twitter.com/prajyotm prajyotm@msn.com

Android Tutorials : Basic widgets

  • 1.
    Android.Widgets Tutorial 1 : Empowering Android Widgets By: Mr.PrajyotMainkar MS Software Systems( BITS-Pilani) BE(Hons.) Computer Engineering , PMP( IIT Delhi) S
  • 2.
    TextView – TheAndro-Label The simplest widget is the label, referred to in Android as a TextView . Typically, these are used like labels in Android UI Create a new android project with following contents in main.xml and run this project on emulator <?xml version="1.0" encoding="utf-8"?> <TextViewxmlns:android="http://schemas.android.com/apk/res/android" android:layout_width="fill_parent" android:layout_height="wrap_content" android:text="This is sample demo of TextView" />
  • 3.
    TextView – TheAndro-Label The following output is obtained when you run the code via emulator.
  • 4.
    Images – Fleetingwith images Android has two widgets to help embed images in your activities: ImageViewand ImageButton. As the names suggest, they are image-based analogues to TextView and Button , respectively. <?xml version="1.0" encoding="utf-8"?> <ImageViewxmlns:android="http://schemas.android.com/apk/res/android" android:id="@+id/icon" android:layout_width="fill_parent" android:layout_height="fill_parent" android:adjustViewBounds="true" android:src="@drawable/logo" /> Note that, android:src takes path of image from the drawable folder(@ is the reference), so drag „n drop /paste any logo.png image to drawable folder.
  • 5.
    Images – Fleetingwith images The following output is obtained when you run the code via emulator.
  • 6.
    EditText– Learning EditText EditTextis a thin veneer over TextView that configures itself to be editable. In the java file (Src folder) import the file “import android.widget.EditText;”. Find the xml code below <?xml version="1.0" encoding="utf-8"?> <EditTextxmlns:android="http://schemas.android.com/apk/res/android" android:id="@+id/editfield" android:layout_width="fill_parent" android:layout_height="fill_parent" android:singleLine="false" />
  • 7.
    EditText – LearningEditText package com.EditTextDemo; import android.app.Activity; import android.os.Bundle; import android.widget.EditText; public class EditTextDemoActivity extends Activity { /** Called when the activity is first created. */ @Override EditText E; public void onCreate(BundlesavedInstanceState) { super.onCreate(savedInstanceState); setContentView(R.layout.main); E.setText("This is sample edit text demo"); } }
  • 8.
    CheckBox– Lets *Check* •isChecked():Determines if the check box has been checked. •setChecked(): Forces the check box into a checked or unchecked •state. •toggle(): Toggles the check box as if the user checked it. <?xml version="1.0" encoding="utf-8"?> <CheckBoxxmlns:android="http://schemas.android.com/apk/res/android" android:id="@+id/checkbox" android:layout_width="wrap_content" android:layout_height="wrap_content" android:text="This checkbox is unchecked" />
  • 9.
    CheckBox – Lets*Check* package com.CheckBoxDemo; import android.app.Activity; import android.os.Bundle; import android.widget.CheckBox; import android.widget.CompoundButton; public class CheckBoxDemoActivity extends Activity implements CompoundButton.OnCheckedChangeListener { CheckBox checkbox; public void onCreate(BundlesavedInstanceState) { super.onCreate(savedInstanceState); setContentView(R.layout.main); checkbox=(CheckBox)findViewById(R.id.checkbox); checkbox.setOnCheckedChangeListener(this); } public void onCheckedChanged(CompoundButtonbuttonView, booleanisChecked) { if (isChecked) { checkbox.setText("This checkbox is: checked"); } else { checkbox.setText("This checkbox is: unchecked"); } } }
  • 10.
    CheckBox – Lets*Check* The following output is obtained when you run the code via emulator.
  • 11.
    RadioButton – TuneUp •check(): Checks a specific radio button via its ID •clearCheck(): Clears all radio buttons, so none in the group are checked. •getCheckedRadioButtonId(): Gets the ID of the currently checked radio button (or -1 if none are checked). Most times RadioButton widgets are placed inside a RadioGroup . The RadioGroup indicates a set of radio buttons whose state is tied, meaning only one button in that group can be selected at any time. If you assign an android:id to your RadioGroup in your XML layout, you can access the group from your Java code and
  • 12.
    RadioButton – TuneUp •The XML Code is below. Make no changes to Java File : <?xml version="1.0" encoding="utf-8"?> <RadioGroup xmlns:android="http://schemas.android.com/apk/res/android" android:orientation="vertical" android:layout_width="fill_parent" android:layout_height="fill_parent" > <RadioButton android:id="@+id/radio1" android:layout_width="wrap_content" android:layout_height="wrap_content" android:text="Goa" /> <RadioButton android:id="@+id/radio2" android:layout_width="wrap_content" android:layout_height="wrap_content" android:text="Maharashtra" /> <RadioButton android:id="@+id/radio3" android:layout_width="wrap_content" android:layout_height="wrap_content" android:text="Kerala" /> </RadioGroup>
  • 13.
    Thank you.. GET INTOUCH– Tune Up RadioButton Phone: +91-9822987513 facebook.com/prajyotmainkar Email: twitter.com/prajyotm prajyotm@msn.com