When you access files such as HTML documents or images using an Object Storage Service (OSS) bucket endpoint, browsers force a download instead of displaying the files. This behavior can degrade the user experience. To enable online previews and more flexible access control, you can map a custom domain name to your bucket to access files directly.
Before you map a custom domain name, you must have a registered domain name. If you do not have one, you can register a new one. If the bucket is located in the Chinese mainland, the mapped domain name must have an ICP filing.
How it works
You can map a custom domain name to an OSS bucket by adding a canonical name (CNAME) record in the Domain Name System (DNS). This record maps your custom domain name to the bucket's endpoint. When a user accesses your custom domain name, the DNS resolves the CNAME record and directs the request to the bucket's endpoint. This provides direct access to your OSS resources.
Choose the appropriate method to map your custom domain name based on your business needs:
For standard access: Map a domain name to a public endpoint
For cross-region or long-distance acceleration: Map a domain name to an acceleration endpoint
Map a domain name to a public endpoint
To host static files such as images or scripts for a website, you can map your domain name to the public endpoint. This enables basic file access and online previews.
Step 1: Map the domain name to the bucket
Go to the Buckets page, click the name of the target bucket, and in the navigation pane on the left, click .
Click Map Custom Domain Name and enter your custom domain name, such as
oss-example.cn. The system automatically checks whether the domain name meets the mapping requirements.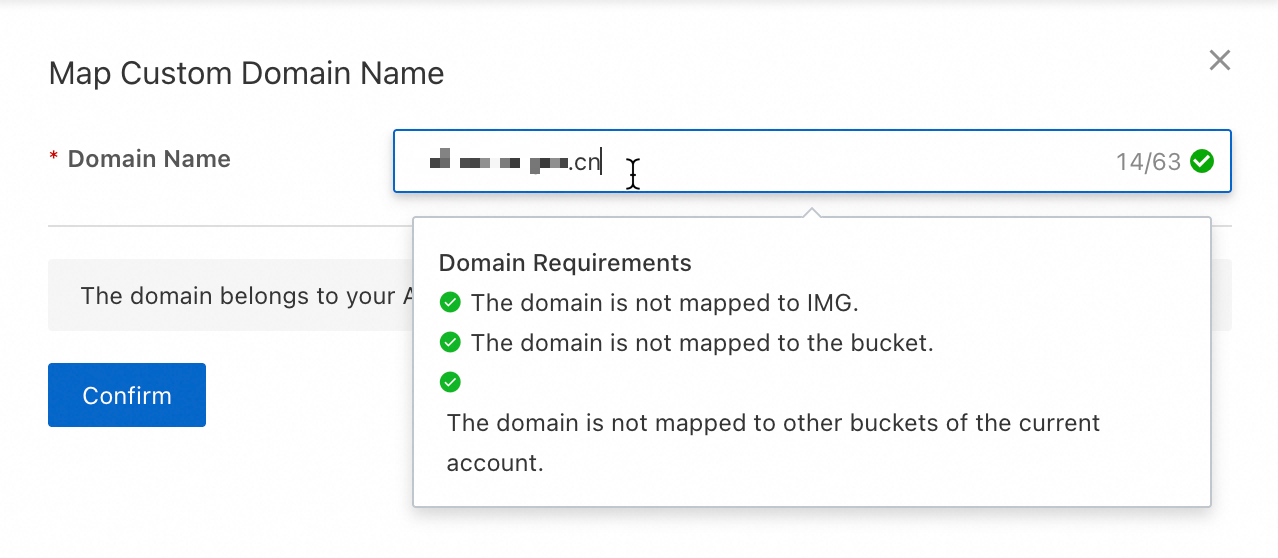
After the domain name passes the check, map it to the bucket.
Direct mapping
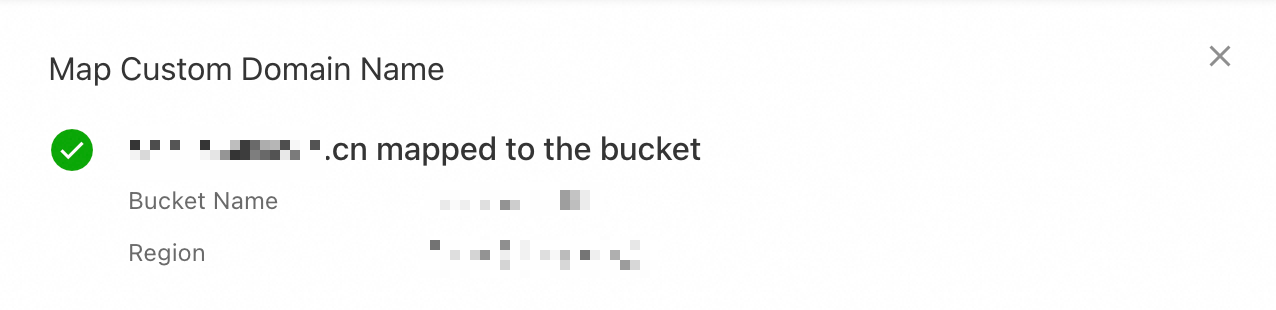
If the domain name belongs to your current Alibaba Cloud account, click Confirm to map the domain name to the bucket.
Verify domain ownership and map
If the domain name belongs to another Alibaba Cloud account or is managed by a different service provider (SP), you must first verify domain ownership before you can map it. The following steps describe how to verify ownership and map a domain name that belongs to another Alibaba Cloud account.
Log on to the Alibaba Cloud DNS console with the account that owns the domain name. In the Actions column for the domain name, click Settings.
Click Add Record. Enter the record information as described in the following list, leaving the other settings at their default values.
For Record Type, select TXT.
Hostname: Enter the hostname from the OSS console, such as
_dnsauth. If you map a subdomain, such asimage.oss-example.cn, prepend the subdomain prefix to the hostname. For example,_dnsauth.image.Record Value: Enter the value that is displayed in the OSS console, such as
21a0****************************.
Click OK. In the Change Resource Record Confirmation dialog box, click OK again.
To map the domain name to the bucket, return to the OSS console and click Verify Domain Name Ownership And Map. DNS records may take some time to take effect. If you see an error, wait a few minutes and try again.
NoteA TXT record is used to verify domain ownership. You can delete the record after the verification is successful. Deleting the record does not affect subsequent use.
Step 2: Configure a CNAME record to point to the public endpoint
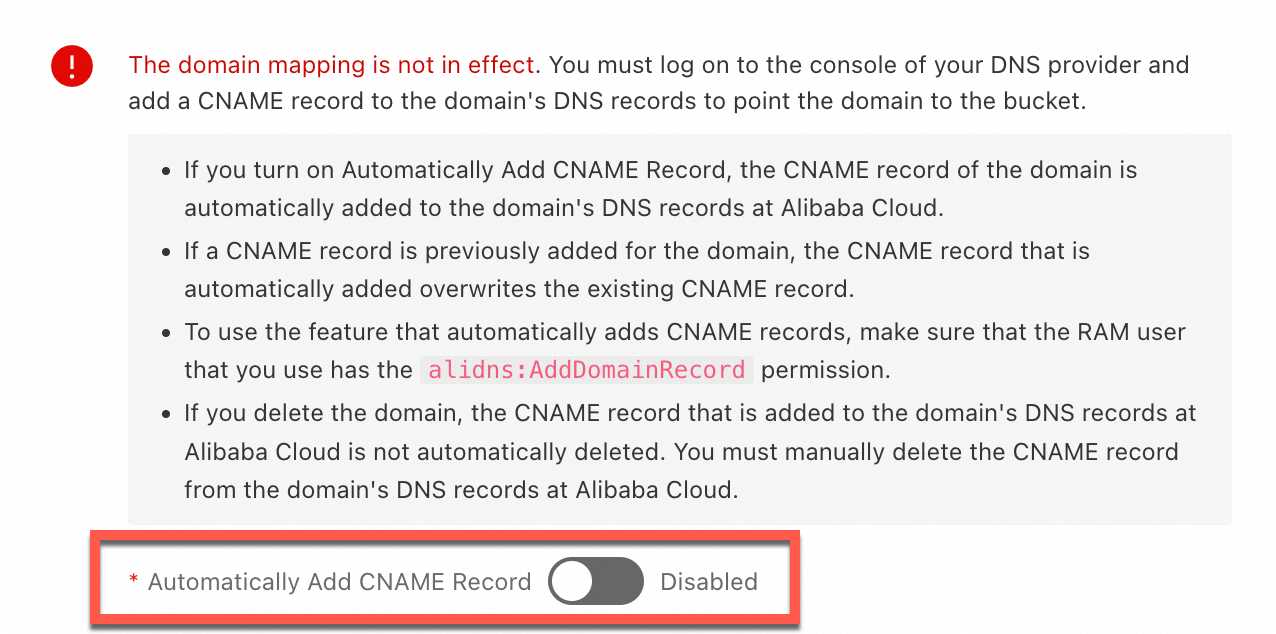
After you map the domain name to the bucket, the custom domain name is not yet active. You must configure a CNAME record to point the custom domain name to the public endpoint to activate it.
Before you configure a CNAME record to point your custom domain name to the OSS public endpoint, map the custom domain name to the OSS bucket in the console. If you do not map the domain name first, OSS may fail to identify the correct bucket when accessed through the custom domain name. This can cause unexpected content to be returned. After you unmap the domain name, you must promptly delete the CNAME record that points to OSS.
Automatic configuration
If a domain name is under your current Alibaba Cloud account, enable Automatically Add CNAME Record in the console after mapping the domain name to automatically add a CNAME record in Alibaba Cloud DNS.
If a message indicates that the CNAME record cannot be added automatically because a record with the same hostname already exists, it means a CNAME record was previously created for this domain name. Log on to the Alibaba Cloud DNS console to check whether the CNAME record is still in use. If not, delete it and then add the correct CNAME record.
Manual configuration
If a CNAME record already exists for the domain name, or if the domain name belongs to another Alibaba Cloud account or DNS provider, you must manually configure the CNAME record with your DNS provider. The following steps describe how to configure a CNAME record using Alibaba Cloud DNS.
Go to the Buckets page, click the name of your target bucket, and in the navigation pane on the left, click Overview. Copy the Bucket Domain Name next to Access Over Internet.
Log in to the Alibaba Cloud DNS console using the account that owns the domain name. Find the target domain name and click Settings in the Actions column.
Click Add Record. Enter the record information as described in the following list. Leave all other settings as their default values.
NoteIf a CNAME record already exists, click Edit in the record's Actions column and change its value to the public endpoint of the OSS bucket.
For Record Type, select CNAME.
Hostname: Enter
@for a primary domain name. For a subdomain, such asimage.oss-example.cn, enter the subdomain prefix. For example,image.Record Value: Enter the public endpoint, such as
pub******.oss-cn-hangzhou.aliyuncs.com.
Click OK. In the Change Resource Record Confirmation dialog box, click OK again to complete the DNS configuration.
The time it takes for a DNS record to take effect depends on its TTL setting. It can take from several minutes to several hours for the change to propagate globally. It is normal if the domain name is not accessible immediately after configuration. You can wait or try to clear your local DNS cache.
Step 3: Verify access through the custom domain name
After you complete the domain name mapping and DNS configuration, you can choose a verification method based on your bucket's access control list (ACL) settings.
Public-read and public-read-write buckets
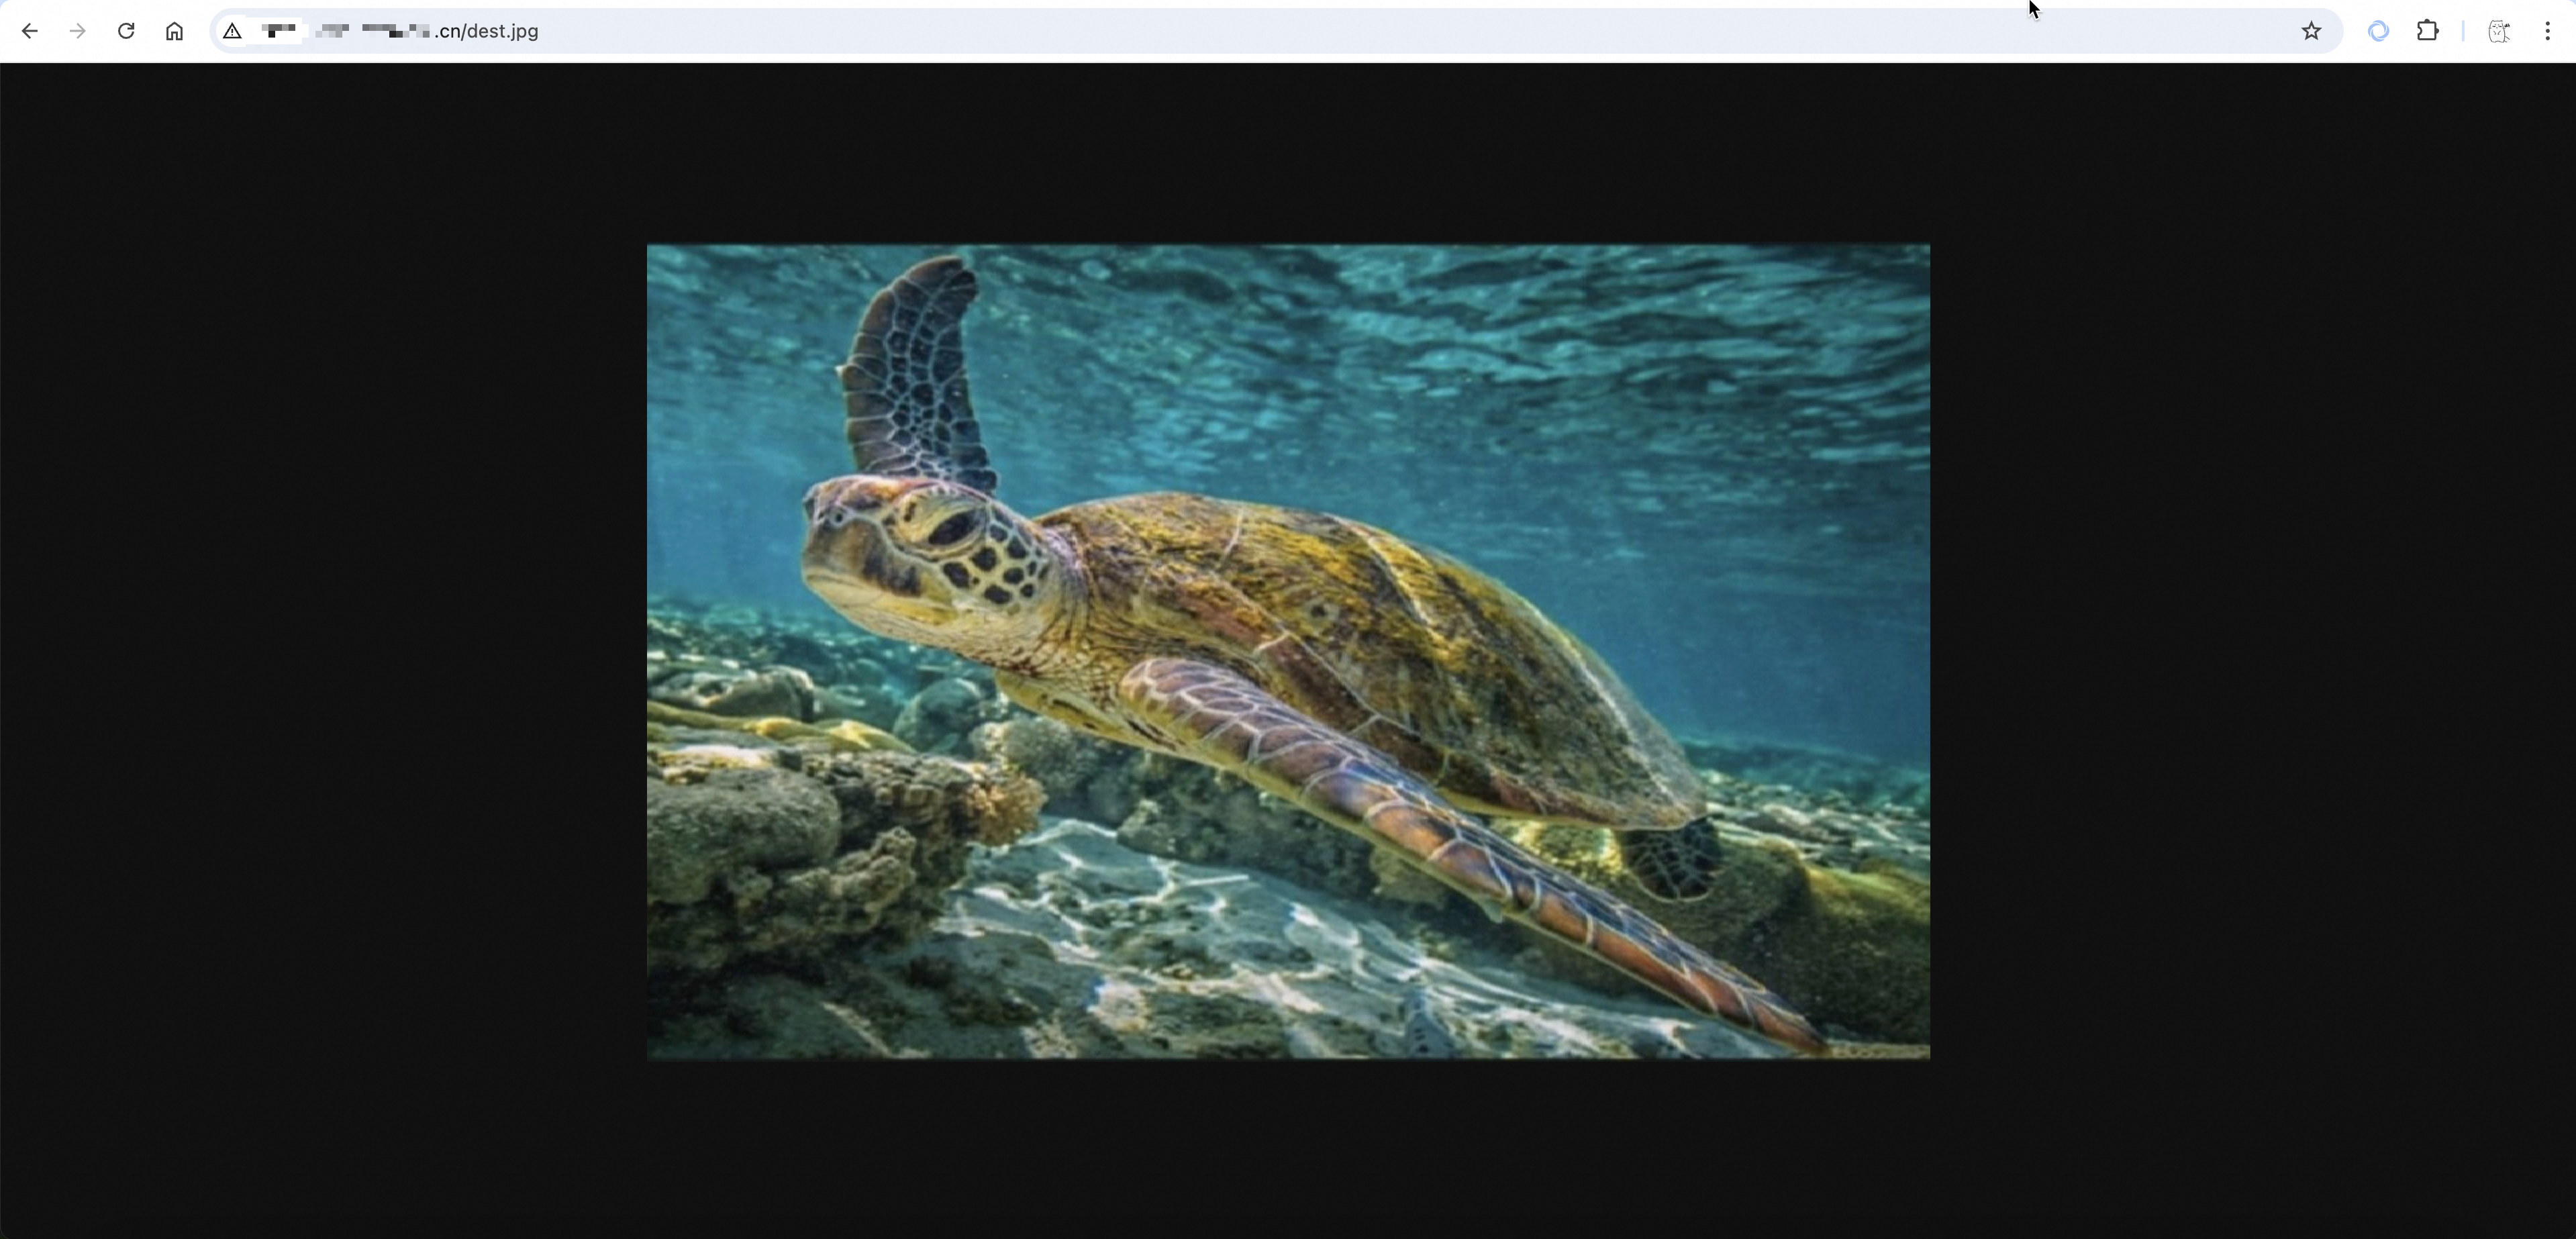
In a browser, access an object in the bucket using the URL format http://your_domain_name/object_path. In this format, your_domain_name is your mapped custom domain name and object_path is the access path of the object in the bucket. For example, if the object dest.jpg is stored in the exampledir directory of the bucket, the object_path is exampledir/dest.jpg. The following figure shows the access result:
Private buckets
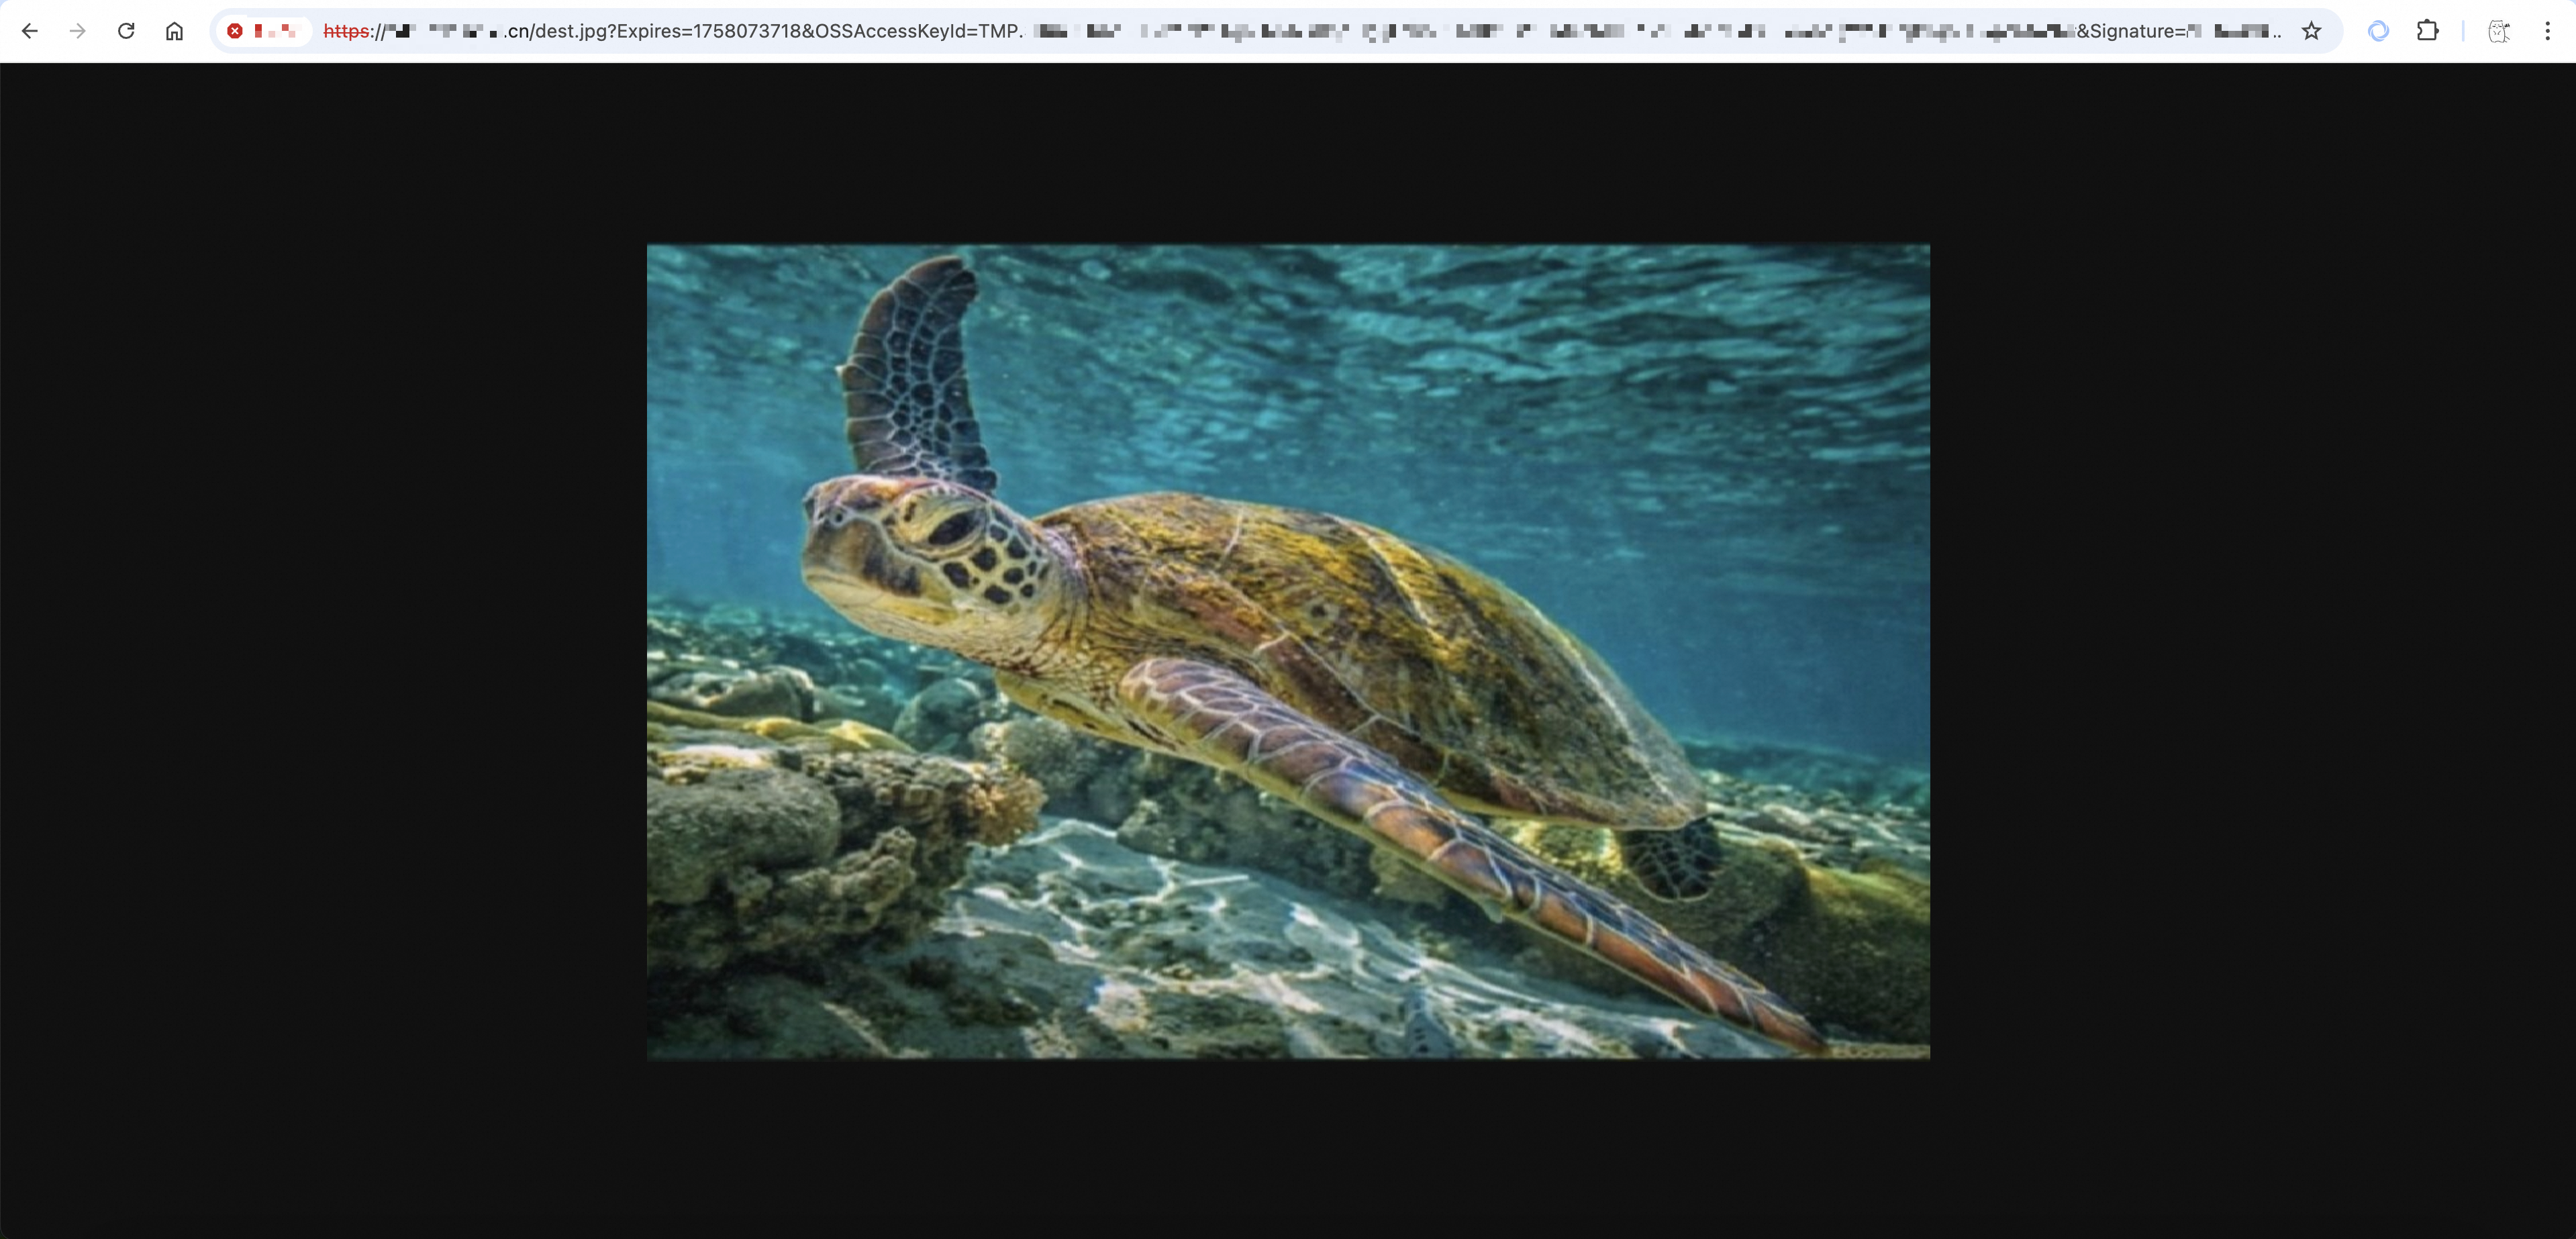
When you access a private bucket, the access URL must include signature information. The following steps describe how to obtain a signed URL for an object from the console. For more information about how to generate signatures, see Signature Version 4 (recommended).
Go to the Buckets page and click the name of the target bucket.
In the Actions column for the target object, click Details.
Set Domain Name to Custom Domain Name. From the dropdown list, select an attached custom domain name and click Copy File URL.
Access the URL in a browser. The following figure shows the access result.
Map a domain name to an acceleration endpoint
To use a custom domain name to accelerate long-distance data transfers for a bucket, such as uploading or downloading files between the Chinese mainland and regions outside the Chinese mainland, you can map the domain name to the bucket, enable transfer acceleration, and then modify the CNAME record to point to the acceleration endpoint.
Step 1: Map the domain name to the bucket
Go to the Buckets page, click the name of the target bucket, and in the navigation pane on the left, click .
Click Map Custom Domain Name and enter your custom domain name, such as
oss-example.cn. The system automatically checks whether the domain name meets the mapping requirements.After the domain name passes the check, map it to the bucket.
Direct mapping
If the domain name belongs to your current Alibaba Cloud account, click Confirm to map the domain name to the bucket.
Verify domain ownership and map
If the domain name belongs to another Alibaba Cloud account or is managed by a different service provider (SP), you must first verify domain ownership before you can map it. The following steps describe how to verify ownership and map a domain name that belongs to another Alibaba Cloud account.
Log on to the Alibaba Cloud DNS console with the account that owns the domain name. In the Actions column for the domain name, click Settings.
Click Add Record. Enter the record information as described in the following list, leaving the other settings at their default values.
For Record Type, select TXT.
Hostname: Enter the hostname from the OSS console, such as
_dnsauth. If you map a subdomain, such asimage.oss-example.cn, prepend the subdomain prefix to the hostname. For example,_dnsauth.image.Record Value: Enter the value that is displayed in the OSS console, such as
21a0****************************.
Click OK. In the Change Resource Record Confirmation dialog box, click OK again.
To map the domain name to the bucket, return to the OSS console and click Verify Domain Name Ownership And Map. DNS records may take some time to take effect. If you see an error, wait a few minutes and try again.
NoteA TXT record is used to verify domain ownership. You can delete the record after the verification is successful. Deleting the record does not affect subsequent use.
Step 2: Enable transfer acceleration
Go to the Buckets page, click the name of your target bucket, and in the navigation pane on the left, click .
Turn on Transfer Acceleration. In the dialog box that appears, carefully read the notice and then click OK.
Copy the Acceleration Endpoint.
Step 3: Configure a CNAME record to point to the acceleration endpoint
The following steps describe how to configure a CNAME record using Alibaba Cloud DNS.
Before you configure a CNAME record to point your custom domain name to the OSS acceleration endpoint, map the custom domain name to the OSS bucket in the console. If you do not map the domain name first, OSS may fail to identify the correct bucket when accessed through the custom domain name. This can cause unexpected content to be returned. After you unmap the domain name, you must promptly delete the CNAME record that points to OSS.
Log on to the Alibaba Cloud DNS console using the account that owns the domain name. In the Actions column of the target domain name, click Settings.
Click Add Record. Enter the record information as described in the following list and leave the other settings at their default values.
NoteIf a CNAME record already exists, click Edit in the Actions column to change the record value to the Acceleration Endpoint.
Record Type: Select CNAME.
Hostname: If you are mapping a primary domain name, enter
@. If you are mapping a subdomain, such asimage.oss-example.cn, enter the subdomain prefix. For example,image.For Record Value, enter the Acceleration Endpoint.
Click OK. In the Change Resource Record Confirmation dialog box, click OK again to complete the DNS configuration.
The time it takes for a DNS record to take effect depends on its TTL setting. It can take from several minutes to several hours for the change to propagate globally. It is normal if the domain name is not accessible immediately after configuration. You can wait or try to clear your local DNS cache.
Step 4: Verify access through the custom domain name
After you complete the domain name mapping and DNS configuration, you can choose a verification method based on your bucket's access control list (ACL) settings.
Public-read and public-read-write buckets
In a browser, access an object in the bucket using the URL format http://your_domain_name/object_path. In this format, your_domain_name is your mapped custom domain name and object_path is the access path of the object in the bucket. For example, if the object dest.jpg is stored in the exampledir directory of the bucket, the object_path is exampledir/dest.jpg. The following figure shows the access result:
Private buckets
When you access a private bucket, the access URL must include signature information. The following steps describe how to obtain a signed URL for an object from the console. For more information about how to generate signatures, see Signature Version 4 (recommended).
Go to the Buckets page and click the name of the target bucket.
In the Actions column for the target object, click Details.
Set Domain Name to Custom Domain Name. From the dropdown list, select an attached custom domain name and click Copy File URL.
Access the URL in a browser. The following figure shows the access result.
Going live
Best practices
Secure transfer: Enable HTTPS
You can configure an SSL certificate for your custom domain name to enforce HTTPS access. The HTTPS protocol encrypts data in transit using TLS/SSL, which prevents data from being stolen or tampered with, helps avoid browser security warnings, and enhances user trust and brand image.
Cross-origin access: Configure CORS rules
If a frontend application, such as one deployed at
https://web.example.cn, needs to access OSS resources at a different domain, such ashttps://oss.example.cn, you must configure cross-origin resource sharing (CORS) rules. These rules allow cross-origin requests from the application's domain. CORS uses HTTP headers to control cross-origin access permissions. This ensures that your application can access OSS resources while it blocks unauthorized requests.Smooth cutover: Switch domain names with zero downtime
To switch from a bucket endpoint to a mapped custom domain name, you can use the following phased strategy to avoid service interruptions and ensure business continuity.
Preparation phase: Map the custom domain name to the bucket and configure the CNAME record. In a test environment, use a
hostsfile or a test domain name to fully verify the functionality and performance of the new custom domain name configuration. Ensure all features work as expected.Phased release phase (recommended during off-peak hours): Gradually switch a portion of your service traffic to the custom domain name. This phased approach minimizes the risk associated with the switch.
Verification phase: Closely monitor access logs and error rates. Analyze key metrics such as response time and success rate to ensure that the service is stable and your business runs smoothly.
Full release phase: After thorough verification, migrate all service traffic to the custom domain name to complete the domain name migration.
Rollback plan: If any issues occur, immediately roll back to the bucket endpoint, analyze the root cause, and then redeploy.
Performance and security: Isolate usage with subdomains
Assign different subdomains for different business purposes, such as
static.example.comfor static web resources andimages.example.comfor image resources. This domain isolation strategy helps optimize browser concurrent connections by bypassing single-domain limits. It also lets you configure independent cache policies and implement fine-grained permission control and security policies. This improves access speed and enhances overall security.Feature extension: Host a static website
To host a complete static website, including HTML, CSS, and JavaScript files, on OSS, you can configure static website hosting after you map your custom domain name. This enables basic website features such as a default index page and a 404 error page.
Performance optimization: Configure CDN acceleration
For scenarios that require distributing static resources to users worldwide, you can configure the CDN service on top of your custom domain name. This caches content on globally distributed edge nodes. This results in lower access latency, higher concurrency, and a better user experience.
Risk prevention
Hotlink protection: Configure Referer-based hotlink protection
To prevent other websites from hotlinking your resources, such as images and videos, and incurring unnecessary traffic fees and bandwidth consumption, you can use a hotlink protection policy to prevent data transmission abuse. You can use a whitelist to restrict access sources. This helps you control costs and protect resources from abuse.
Behavioral audit and troubleshooting: Enable access logs
You can enable OSS real-time log query to record detailed information about all access requests. This information includes the access time, source IP, request type, and response status. This facilitates security audits, performance analysis, troubleshooting, and business operations decisions.
Quotas and limits
Mapping limit: You can map a maximum of 100 custom domain names to each bucket.
Domain uniqueness: A custom domain name can be mapped to only one bucket at a time. To change the mapping, you must first unmap the domain name from the original bucket. This ensures that the domain name has a unique destination and a clear access path.
NoteFor some users of the legacy image processing feature, domain names already used for image processing cannot be mapped to a bucket. The new image processing feature does not have this limitation.
Domain name types: Mapping Chinese domain names and wildcard domain names, such as
*.example.cn, is not supported. This ensures the stability and compatibility of DNS resolution.NoteWhen you accelerate OSS access using CDN, you can map a wildcard domain name, but the domain name is not displayed in the OSS console.
FAQ
What should I do if I receive a NeedVerifyDomainOwnership error when mapping a domain name via the API?
This error indicates that domain ownership is not verified. You can verify domain ownership by performing the following steps:
Call the CreateCnameToken operation to create the
CnameTokenrequired for domain ownership verification.NoteBy default, a
CnameTokenexpires 72 hours after it is created. If you attempt to create a token again before it expires, the existingCnameTokenis returned.Follow the instructions in this document to configure a TXT record with your DNS provider to complete domain ownership verification.
Call the PutCname operation to map the custom domain name.
What should I do if I receive a 502 or 504 error when accessing resources through an acceleration endpoint?
This issue is typically a normal result of the automatic path switching mechanism of OSS Transfer Acceleration. To adapt to network fluctuations and link quality changes during long-distance transfers, the service dynamically selects the optimal transmission path. During a path switch, a small number of requests may be interrupted, which results in a 502/504 error. This cannot be completely avoided. You can implement an exponential backoff retry logic in your client-side code to improve the success rate.
How do I troubleshoot network errors such as resolution failures or connection timeouts?
If OSS returns a response, you can obtain the Request ID and open the OSS self-service diagnostic tool to diagnose the issue.
If the request is interrupted before it reaches the OSS server, which means the Request ID is empty, you can follow these steps to troubleshoot:
Connection refused: This error usually indicates that the client and OSS are in the same region but the port is blocked, or an internal endpoint is used for cross-region access. Check and use the correct public endpoint for access. You can also use the
pingandtelnetcommands to check for client-side firewall settings or network connectivity restrictions.ConnectionTimeOut: This is usually caused by a poor network environment or a short timeout setting. Increase the connection timeout and read timeout values in your software development kit (SDK) and enable the retry mechanism. For large file transfers, use multipart upload and resumable upload to improve transfer stability. If the issue is caused by a network link, consider using CDN or the OSS transfer acceleration service.
Socket timeout or Socket closed: This indicates that the connection to OSS timed out or was closed unexpectedly. Increase the socket timeout in your SDK configuration. For example, use the
ClientConfiguration.setSocketTimeoutmethod in the Java SDK.Connection reset: The connection was reset for various reasons, such as an incorrect endpoint configuration or the bucket being restricted for security reasons. You can troubleshoot the issue in the following order:
Use
pingor the Alibaba Cloud Kunlun diagnostic tool to check whether the client's network connectivity is normal.Confirm that the endpoint configured in your code is correct and includes the proper protocol prefix (
http://orhttps://).Confirm that the bucket has not been placed in the OSS sandbox due to security attacks or policy violations. This would restrict access.
If the problem persists, you can use a tool such as Wireshark to capture network packets and then contact Technical Support for further investigation.
What should I do if OSS upload or download speeds are very slow?
OSS transfer speed is mainly affected by the client's local network bandwidth, network link quality, and transfer policy configuration.
General troubleshooting: First, confirm that your current bandwidth usage has not reached the bucket's bandwidth limit. Second, use the MTR tool for network link analysis to check for packet loss, high latency, or routing anomalies. For cross-region or long-distance transfer scenarios, you can enable and use transfer acceleration to optimize the network path.
Tool optimization: Use the command-line tool ossutil 2.0 for transferring large files or many files. You can use its
probecommand to check the current network status.SDK optimization: For large files, you must use the multipart upload and resumable upload features. Configure the part size (
part_size) and the number of concurrent threads (num_threads) based on your requirements. If the network condition is good, you can increase the part size to reduce the number of requests. Additionally, you can disable the 64-bit cyclic redundancy check (CRC64) when you initialize the SDK client. For example, setenable_crc=Falsein Python. Then, addContent-MD5to the request header for data integrity checks. This can improve transfer performance while it ensures data security.
How do I control whether a file is previewed or downloaded when accessed through a custom domain name?
The Content-Disposition HTTP header determines whether a file is previewed or downloaded. The core mechanism is as follows: when you access a file using an OSS bucket endpoint, OSS forces the addition of the Content-Disposition: attachment header for security. However, when you access a file using a custom domain name, OSS does not add this header. This makes the behavior controllable.
To enable preview: Ensure that the
Content-Disposition: attachmentheader is not set in the object's metadata and that the object'sContent-Type(Multipurpose Internet Mail Extensions (MIME) type) correctly matches the file format. For file formats that are not natively supported by browsers, you can extend preview capabilities in the following ways:For office files such as .doc, .ppt, and .pdf files, you can integrate the WebOffice online preview service.
For special video formats such as .mov, you can use the video transcoding service to convert them to a web-compatible format for preview.
You can install a browser preview plugin for the corresponding file type.
To force download: You can manually set the object's
Content-Dispositionmetadata toattachment. The browser then skips the preview attempt and directly downloads the file.NoteThe
<video>or<audio>HTML tags prioritize playing the media and may ignore theattachmentdownload suggestion.
What should I do if the domain name mapping fails with a message that the domain name is mapped to another bucket?
If a domain name is already mapped to another bucket, you can use one of the following two solutions:
Use a new subdomain for your current business. If the subdomain
oss-example.cnis already mapped to another bucket, you can use a new subdomain such asstatic.oss-example.cnfor the mapping. This lets you isolate services at the domain level.Unmap the domain name from the original bucket and then map it to the target bucket. To unmap a domain name, follow these steps:
If you have enabled CDN acceleration, you must first modify the origin server information in the CDN service so that the accelerated domain name no longer points to the OSS bucket endpoint. This prevents CDN back-to-origin failures. For more information, see Configure an origin server.
Go to the Buckets page and click the name of the bucket that is mapped to the domain name. In the navigation pane on the left, click .
In the domain name list, find the target domain name and click Unmap in the Actions column. In the dialog box that appears, click OK.
Why does access fail when "Domain B is CNAME'd to Domain A, and Domain A is mapped to OSS"?
This is because OSS strictly validates the Host field in the HTTP request header. This field must exactly match the domain name that is actually attached to the bucket (Domain A). When you access Domain B, the Host header is "Domain B". This value does not match the attached domain name, which causes the validation to fail. Therefore, you must directly attach the public-facing domain name (Domain B) to the bucket instead of using a CNAME record to forward requests.
Why is the custom domain name not working or still pointing to an old address after configuration?
This issue is likely caused by DNS caching delays on your local machine and at your internet service provider. To improve resolution efficiency, DNS nodes at various levels cache domain name resolution results for a period that is determined by the TTL value. After you change a CNAME record, outdated caches may continue to direct requests to the old address until the TTL expires. You can try to clear your local DNS cache, or wait for the cache to refresh automatically before you try again. The commands to clear the local DNS cache for different operating systems are as follows:
Windows
ipconfig /flushdnsmacOS
sudo dscacheutil -flushcache; sudo killall -HUP mDNSResponderLinux
sudo systemd-resolve --flush-cachesHow can I access OSS files with a long-lived URL that does not require a signature?
You can create long-lived, signature-free URLs in one of the following two ways:
Set the file to public-read: The object is accessible to anyone without restriction. To prevent extra costs from unauthorized use of your resources, make sure that you configure a hotlink protection policy in OSS to restrict access sources.
Accelerate access to OSS through CDN: Keep the OSS object permission as private and enable the private bucket back-to-origin feature in your CDN to provide public read access. A CDN offers better access performance and caching capabilities. To prevent resource theft, you must configure hotlink protection rules at the CDN level.
After mapping a custom domain name, can I still use the old file URLs?
Yes, you can. Mapping a custom domain name does not affect access through the original OSS bucket endpoint. Both methods can coexist. To obtain the old file URLs, see Use a presigned URL to download a file.
Does using a custom domain name mean public network access?
Yes, it does. The custom domain name mapping feature is primarily for public network access scenarios. It works by resolving the domain name to the bucket's public endpoint. This enables direct browser previews instead of forced downloads.