Downloaded 34 times


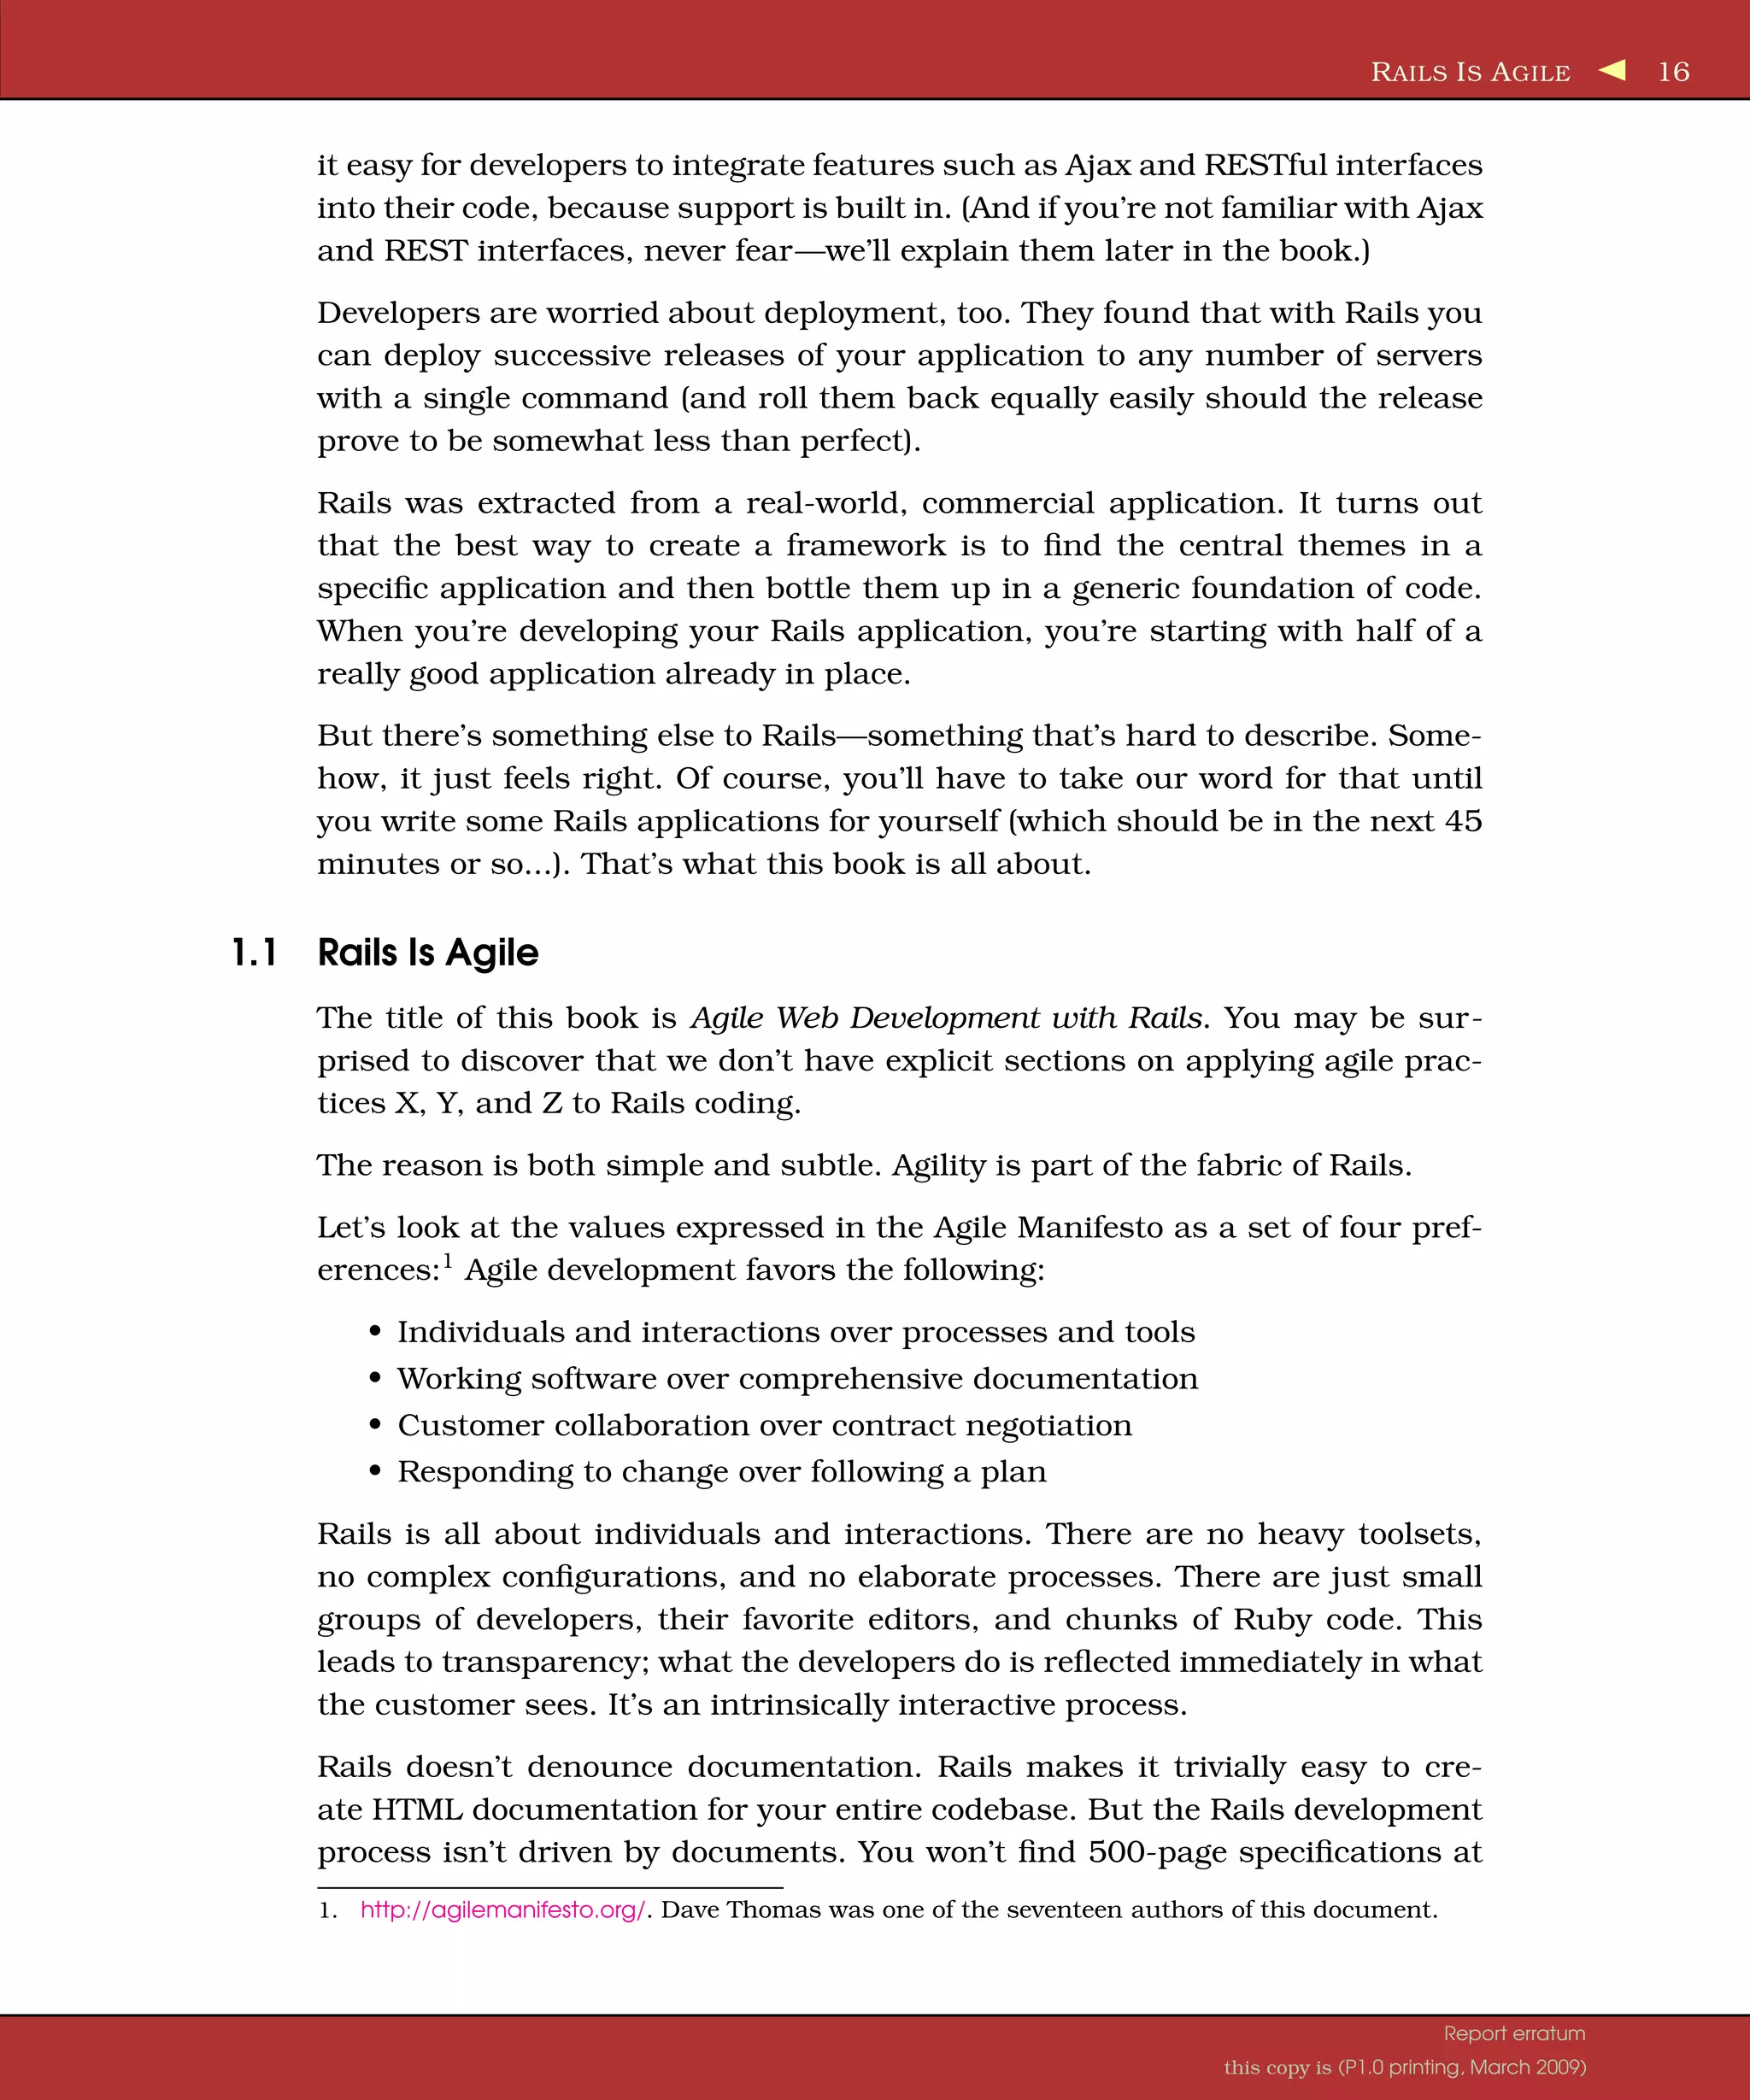
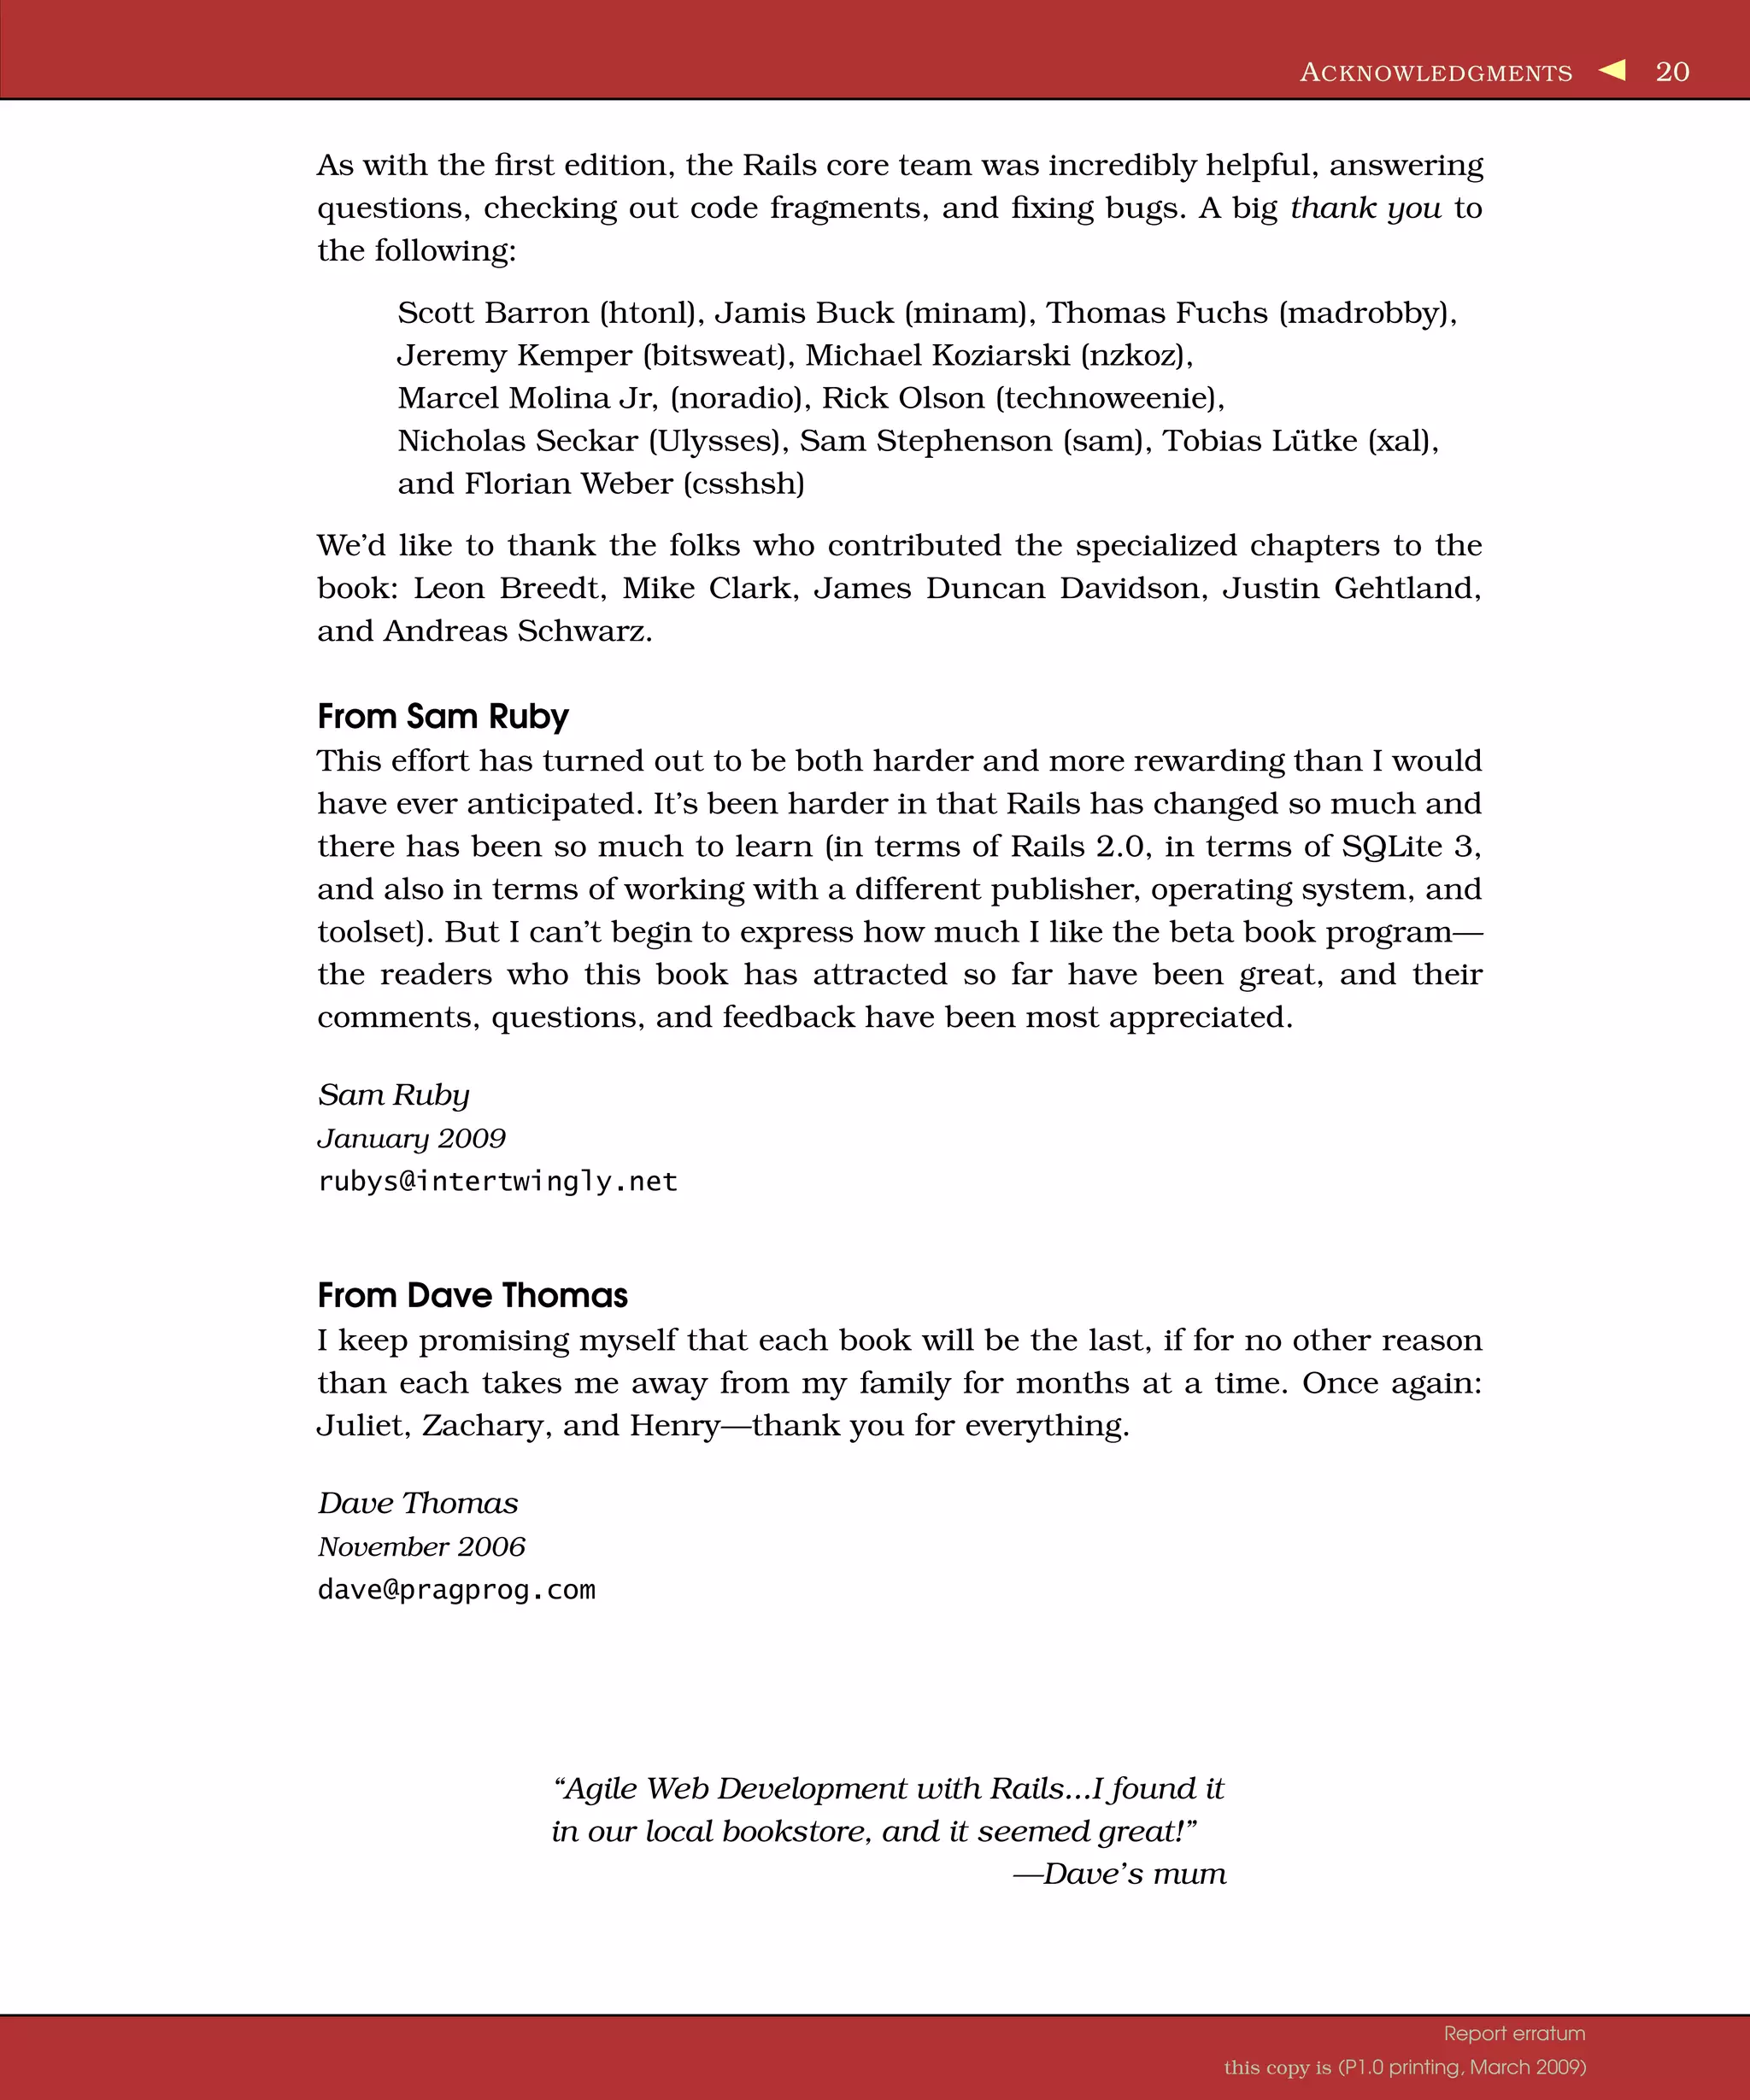


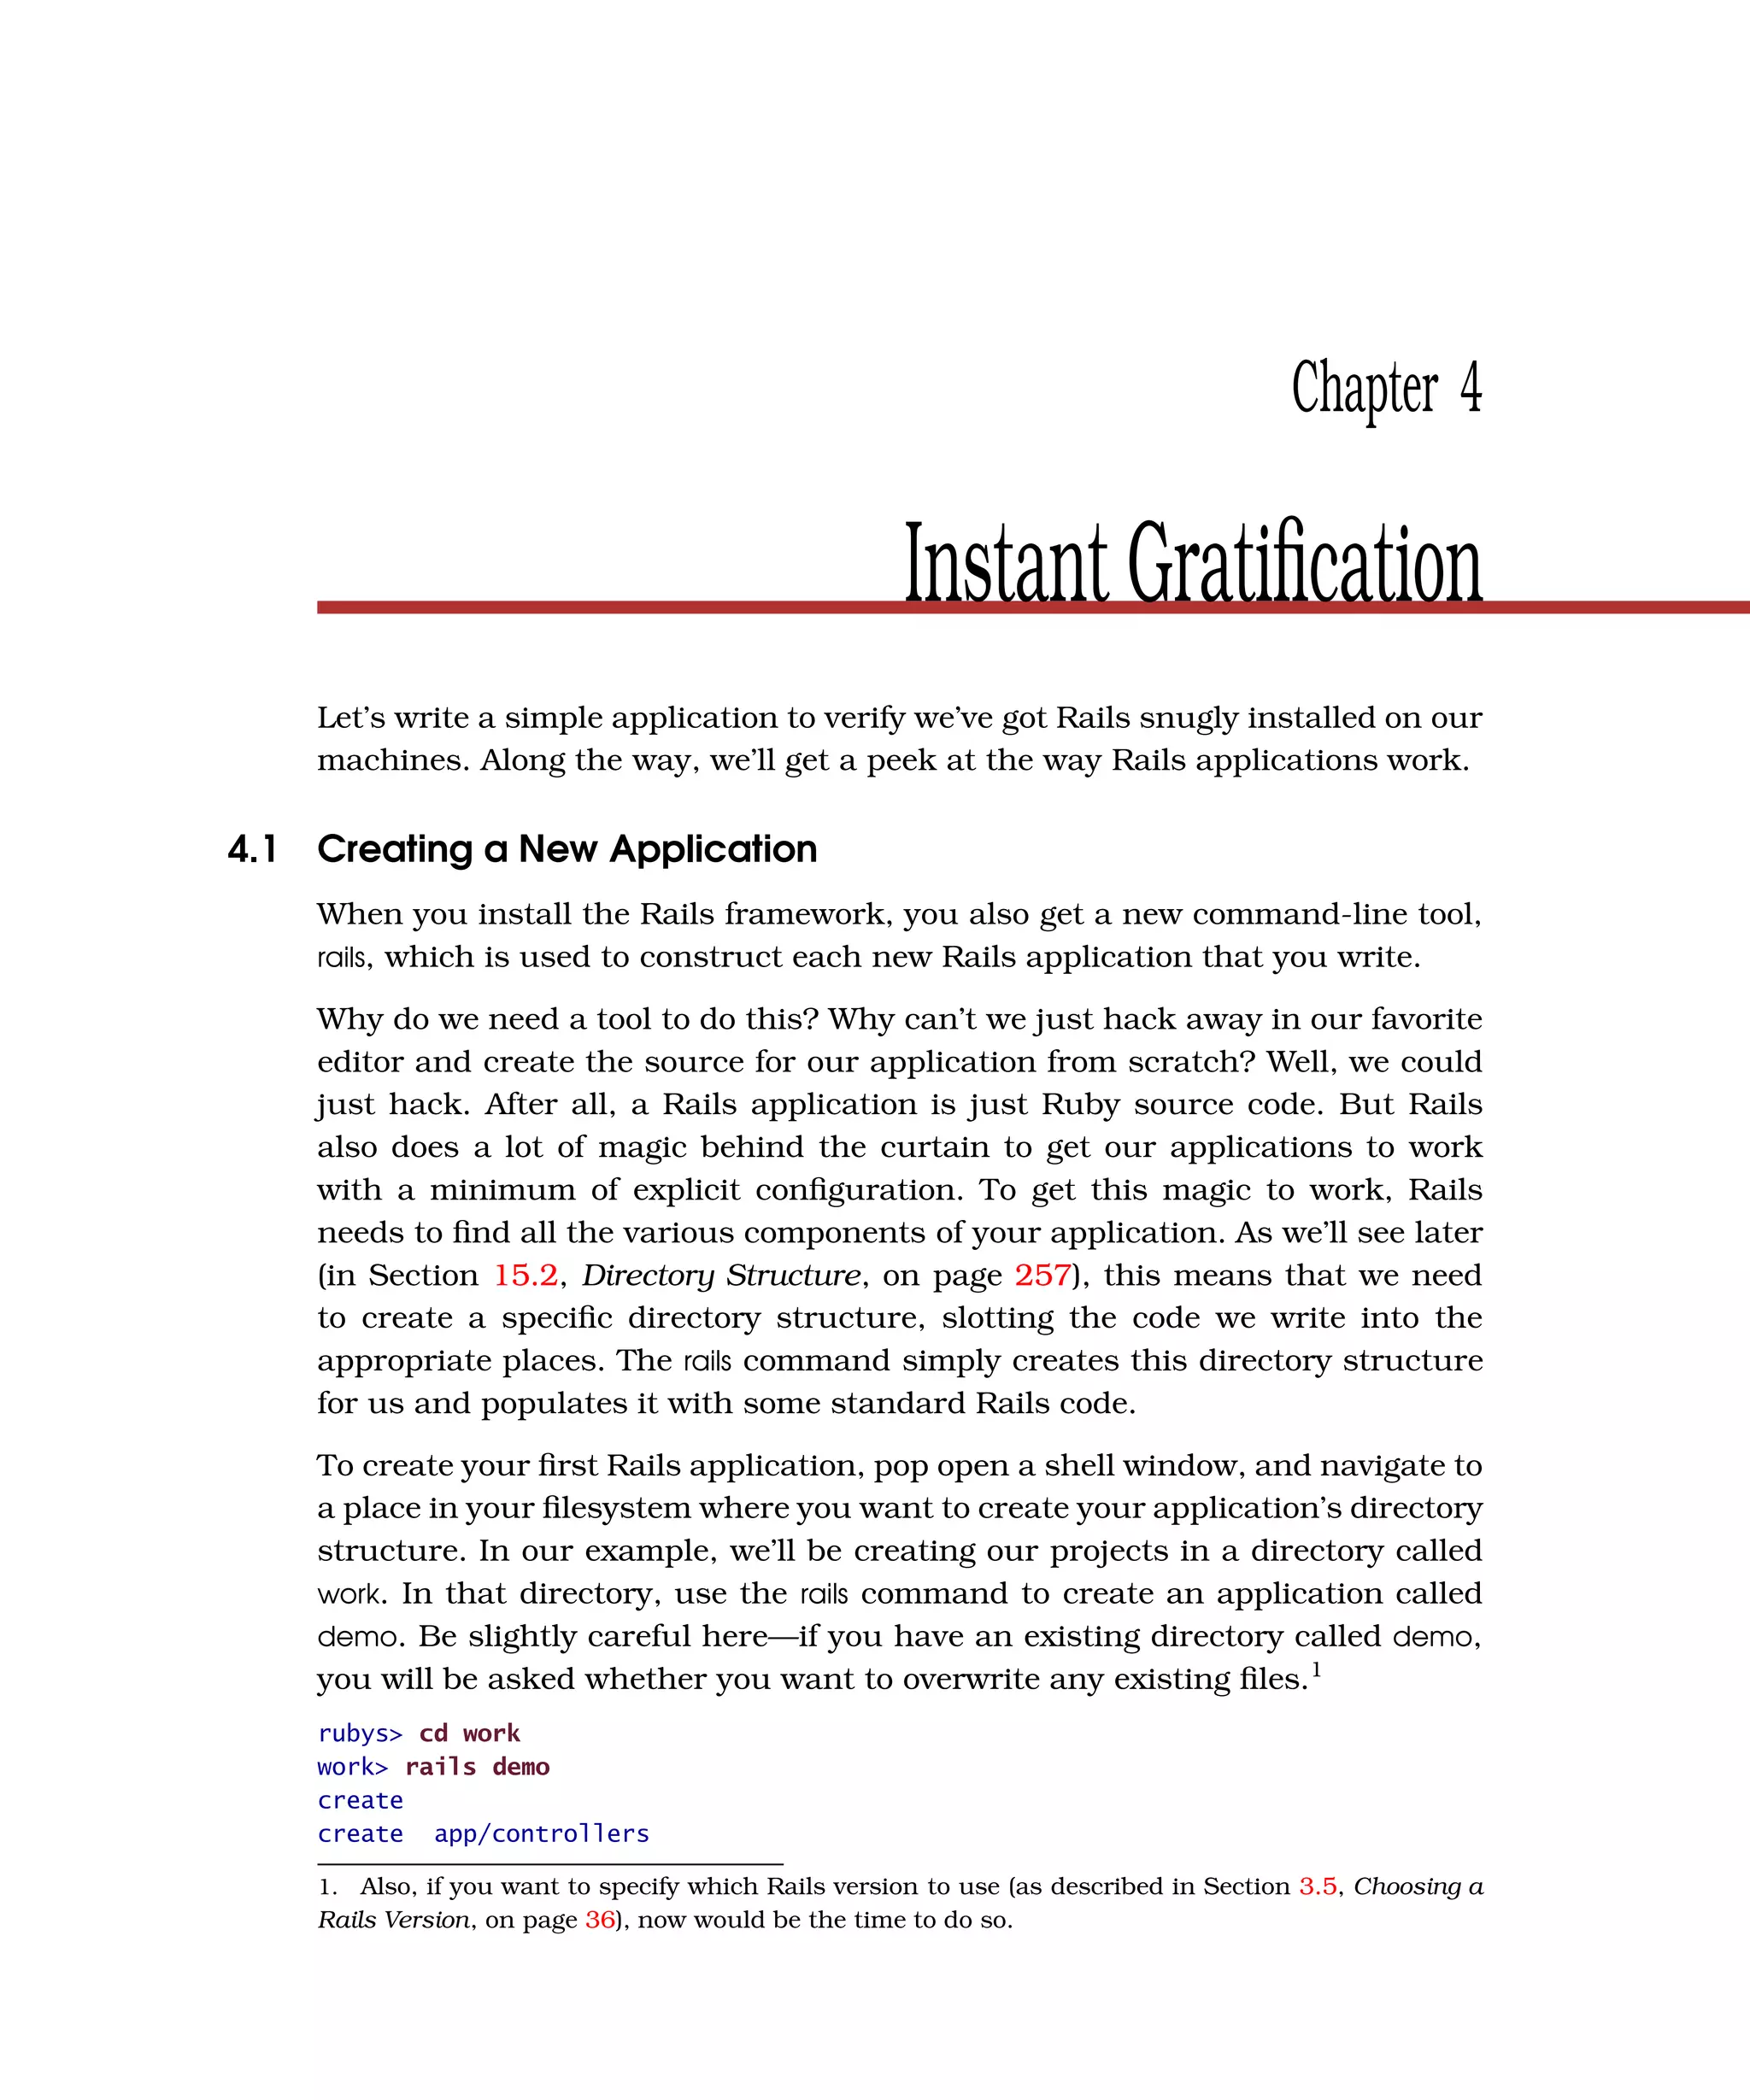
![C REATING A N EW A PPLICATION 45 create app/helpers create app/models : : : create log/development.log create log/test.log work> The command has created a directory named demo. Pop down into that direc- tory, and list its contents (using ls on a Unix box or dir under Windows). You should see a bunch of files and subdirectories: work> cd demo demo> ls -p README config/ lib/ script/ vendor/ Rakefile db/ log/ test/ app/ doc/ public/ tmp/ All these directories (and the files they contain) can be intimidating to start with, but we can ignore most of them for now. In this chapter, we’ll use only two of them directly: the app directory, where we’ll write our application, and the script directory, which contains some useful utility scripts. Let’s start in the script subdirectory. One of the scripts it contains is called server. This script starts a stand-alone web server that can run our newly cre- ated Rails application under WEBrick.2 So, without further ado, let’s start our demo application: demo> ruby script/server => Booting WEBrick... => Rails application started on http://0.0.0.0:3000 => Ctrl-C to shutdown server; call with --help for options [2006-01-08 21:44:10] INFO WEBrick 1.3.1 [2006-01-08 21:44:10] INFO ruby 1.8.2 (2004-12-30) [powerpc-darwin8.2.0] [2006-01-08 21:44:11] INFO WEBrick::HTTPServer#start: pid=10138 port=3000 As the last line of the startup tracing indicates, we just started a web server on port 3000.3 We can access the application by pointing a browser at the URL http://localhost:3000. The result is shown in Figure 4.1. If you look at the window where you started WEBrick, you’ll see tracing show- ing you accessing the application. We’re going to leave WEBrick running in this console window. Later, as we write application code and run it via our browser, 2. WEBrick is a pure-Ruby web server that is distributed with Ruby 1.8.1 and later. Because it is guaranteed to be available, Rails uses it as its development web server. However, if the Mongrel web server is installed on your system (and Rails can find it), the script/server command will use it in preference to WEBrick. You can force Rails to use WEBrick by providing an option to the following command: demo>ruby script/server webrick 3. The 0.0.0.0 part of the address means that WEBrick will accept connections on all interfaces. On Dave’s OS X system, that means both local interfaces (127.0.0.1 and ::1) and his LAN connection. Report erratum this copy is (P1.0 printing, March 2009)](https://image.slidesharecdn.com/pragmatic-agilewebdevelopmentwithrails-3rdedition-2009-091104222637-phpapp01/75/Pragmatic-Agile-Web-Development-With-Rails-3rd-Edition-2009-45-2048.jpg)


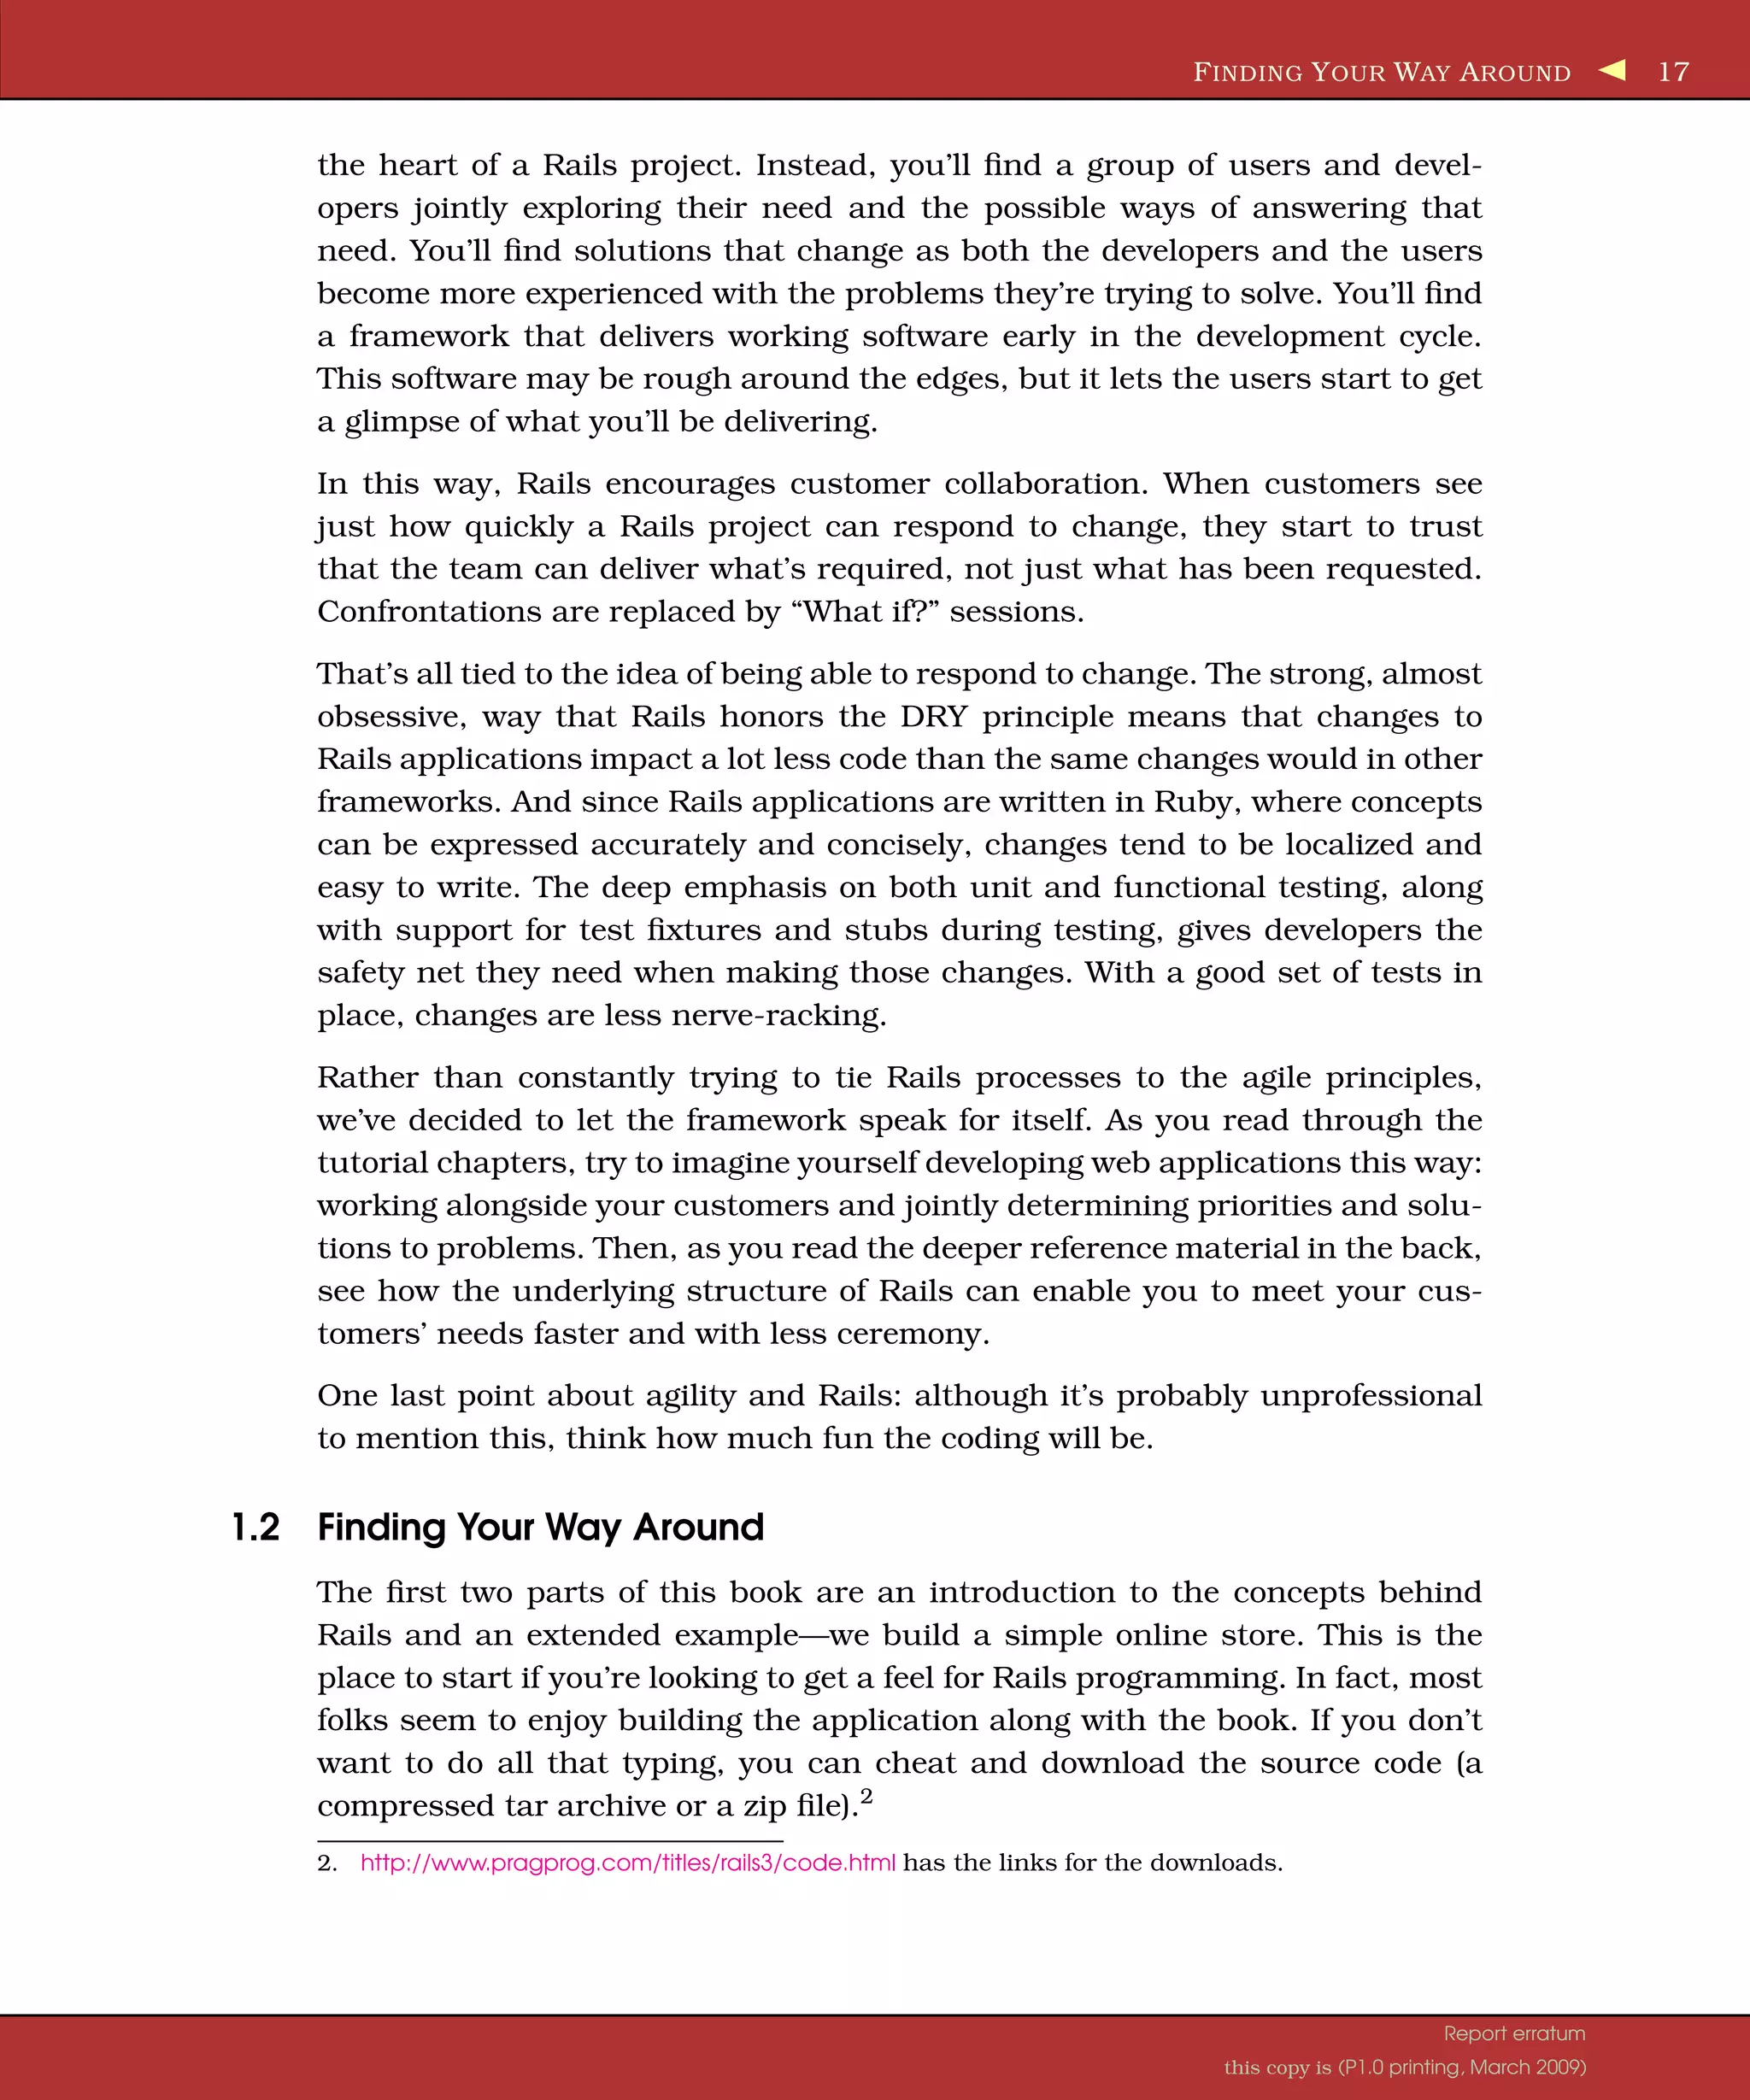
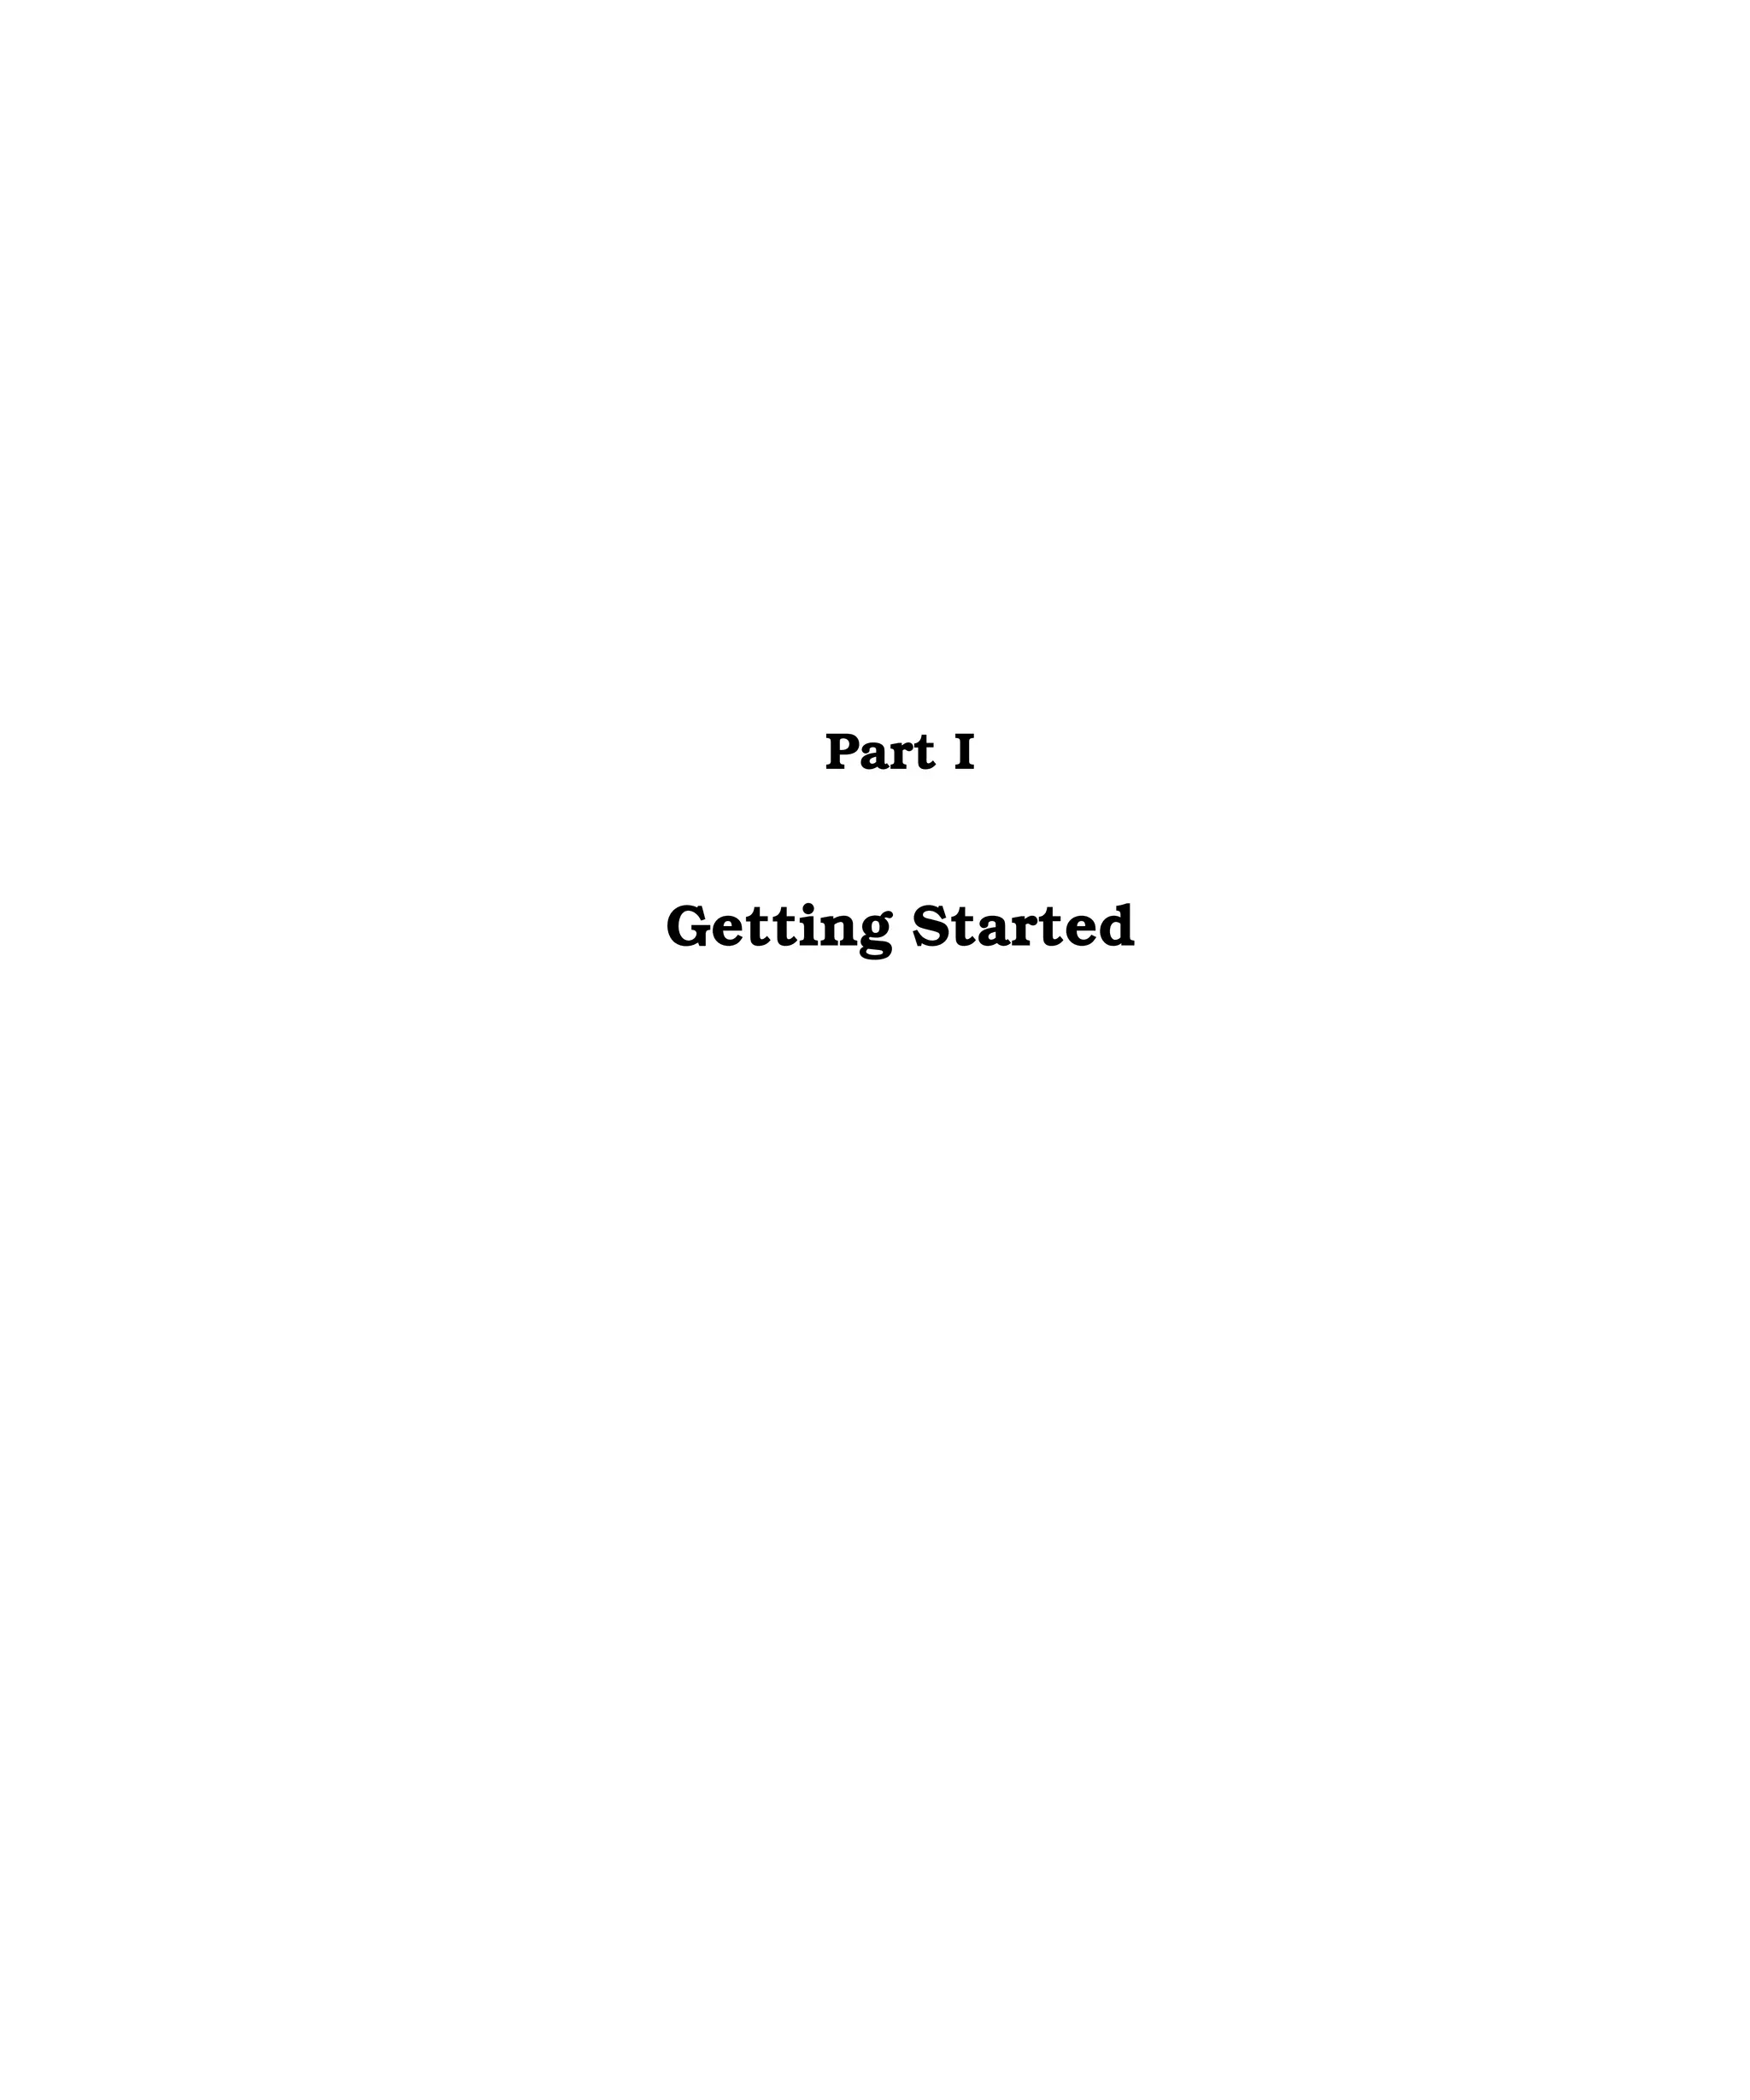
![C REATING THE P RODUCTS M ODEL AND M AINTENANCE A PPLICATION 78 First, we’ll start a local WEBrick-based web server, supplied with Rails: depot> ruby script/server => Booting WEBrick... => Rails application started on http://0.0.0.0:3000 => Ctrl-C to shutdown server; call with --help for options [2008-03-27 11:54:55] INFO WEBrick 1.3.1 [2008-03-27 11:54:55] INFO ruby 1.8.6 (2007-09-24) [i486-linux] [2008-03-27 11:54:55] INFO WEBrick::HTTPServer#start: pid=6200 port=3000 Just as it did with our demo application in Chapter 4, Instant Gratification, this command starts a web server on our local host, port 3000.9 Let’s connect to it. Remember, the URL we give to our browser contains both the port number (3000) and the name of the controller in lowercase (products). That’s pretty boring. It’s showing us an empty list of products. Let’s add some. Click the New product link, and a form should appear. Go ahead and fill it in: 9. You might get an error saying Address already in use when you try to run WEBrick. That simply means that you already have a Rails WEBrick server running on your machine. If you’ve been following along with the examples in the book, that might well be the “Hello, World!” application from Chapter 4. Find its console, and kill the server using Ctrl-C. Report erratum this copy is (P1.0 printing, March 2009)](https://image.slidesharecdn.com/pragmatic-agilewebdevelopmentwithrails-3rdedition-2009-091104222637-phpapp01/75/Pragmatic-Agile-Web-Development-With-Rails-3rd-Edition-2009-78-2048.jpg)
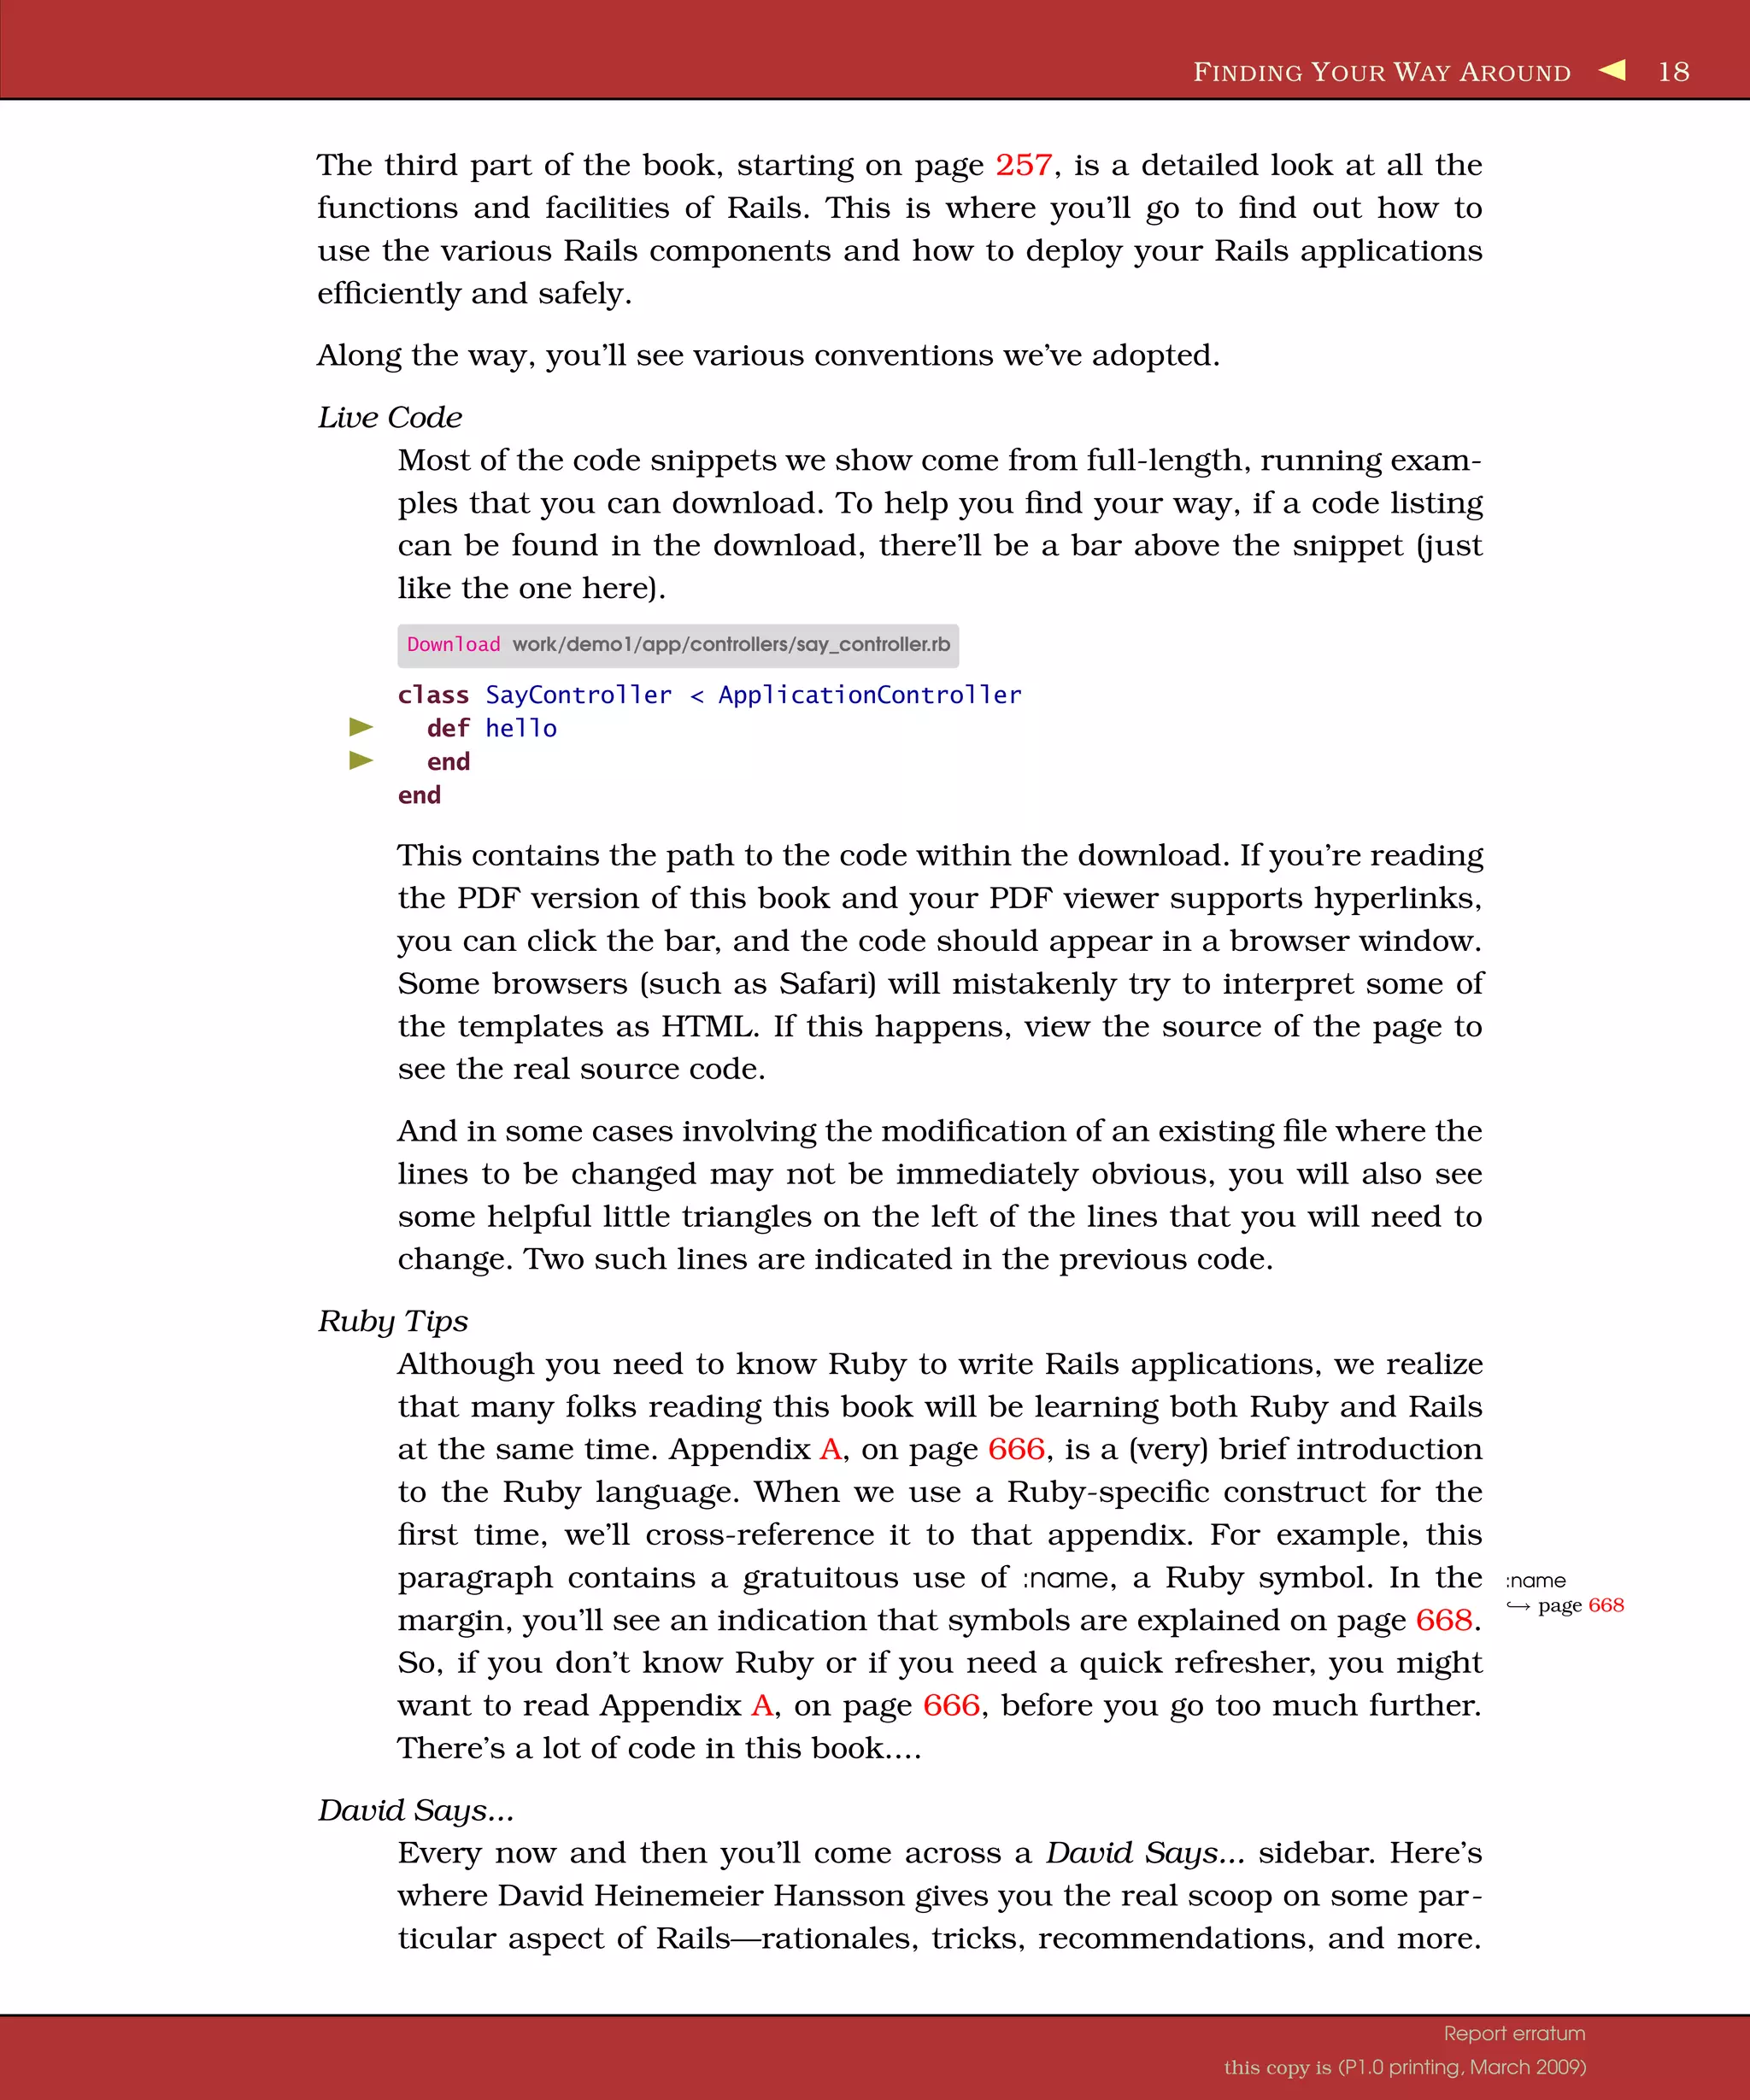
![I TERATION A4: M AKING P RETTIER L ISTINGS 91 it uses Rails’ create method, it will fail silently if records cannot be inserted because of validation errors.) Running the migration will populate your products table with test data: depot> rake db:migrate Now let’s get the product listing tidied up. There are two pieces to this. Even- tually we’ll be writing some HTML that uses CSS to style the presentation. But for this to work, we’ll need to tell the browser to fetch the stylesheet. We need somewhere to put our CSS style definitions. All scaffold-generated applications use the stylesheet scaffold.css in the directory public/stylesheets. Rather than alter this file, we created a new application stylesheet, depot.css, and put it in the same directory. A full listing of this stylesheet starts on page 721. Finally, we need to link these stylesheets into our HTML page. If you look at the .html.erb files we’ve created so far, you won’t find any reference to stylesheets. You won’t even find the HTML <head> section where such references would normally live. Instead, Rails keeps a separate file that is used to create a stan- dard page environment for all product pages. This file, called products.html.erb, is a Rails layout and lives in the layouts directory: Download depot_b/app/views/layouts/products.html.erb Line 1 <!DOCTYPE html PUBLIC "-//W3C//DTD XHTML 1.0 Transitional//EN" - "http://www.w3.org/TR/xhtml1/DTD/xhtml1-transitional.dtd" > - - <html xmlns="http://www.w3.org/1999/xhtml" xml:lang="en" lang="en"> 5 <head> - <meta http-equiv="content-type" content="text/html;charset=UTF-8" /> - <title>Products: <%= controller.action_name %></title> - <%= stylesheet_link_tag 'scaffold' %> - </head> 10 <body> - - <p style="color: green"><%= flash[:notice] %></p> - - <%= yield %> 15 - </body> - </html> The eighth line loads the stylesheet. It uses stylesheet_link_tag to create an HTML <link> tag, which loads the standard scaffold stylesheet. We’ll simply add our depot.css file here (dropping the .css extension). Don’t worry about the rest of the file; we’ll look at that later. Download depot_c/app/views/layouts/products.html.erb <!DOCTYPE html PUBLIC "-//W3C//DTD XHTML 1.0 Transitional//EN" "http://www.w3.org/TR/xhtml1/DTD/xhtml1-transitional.dtd" > Report erratum this copy is (P1.0 printing, March 2009)](https://image.slidesharecdn.com/pragmatic-agilewebdevelopmentwithrails-3rdedition-2009-091104222637-phpapp01/75/Pragmatic-Agile-Web-Development-With-Rails-3rd-Edition-2009-91-2048.jpg)
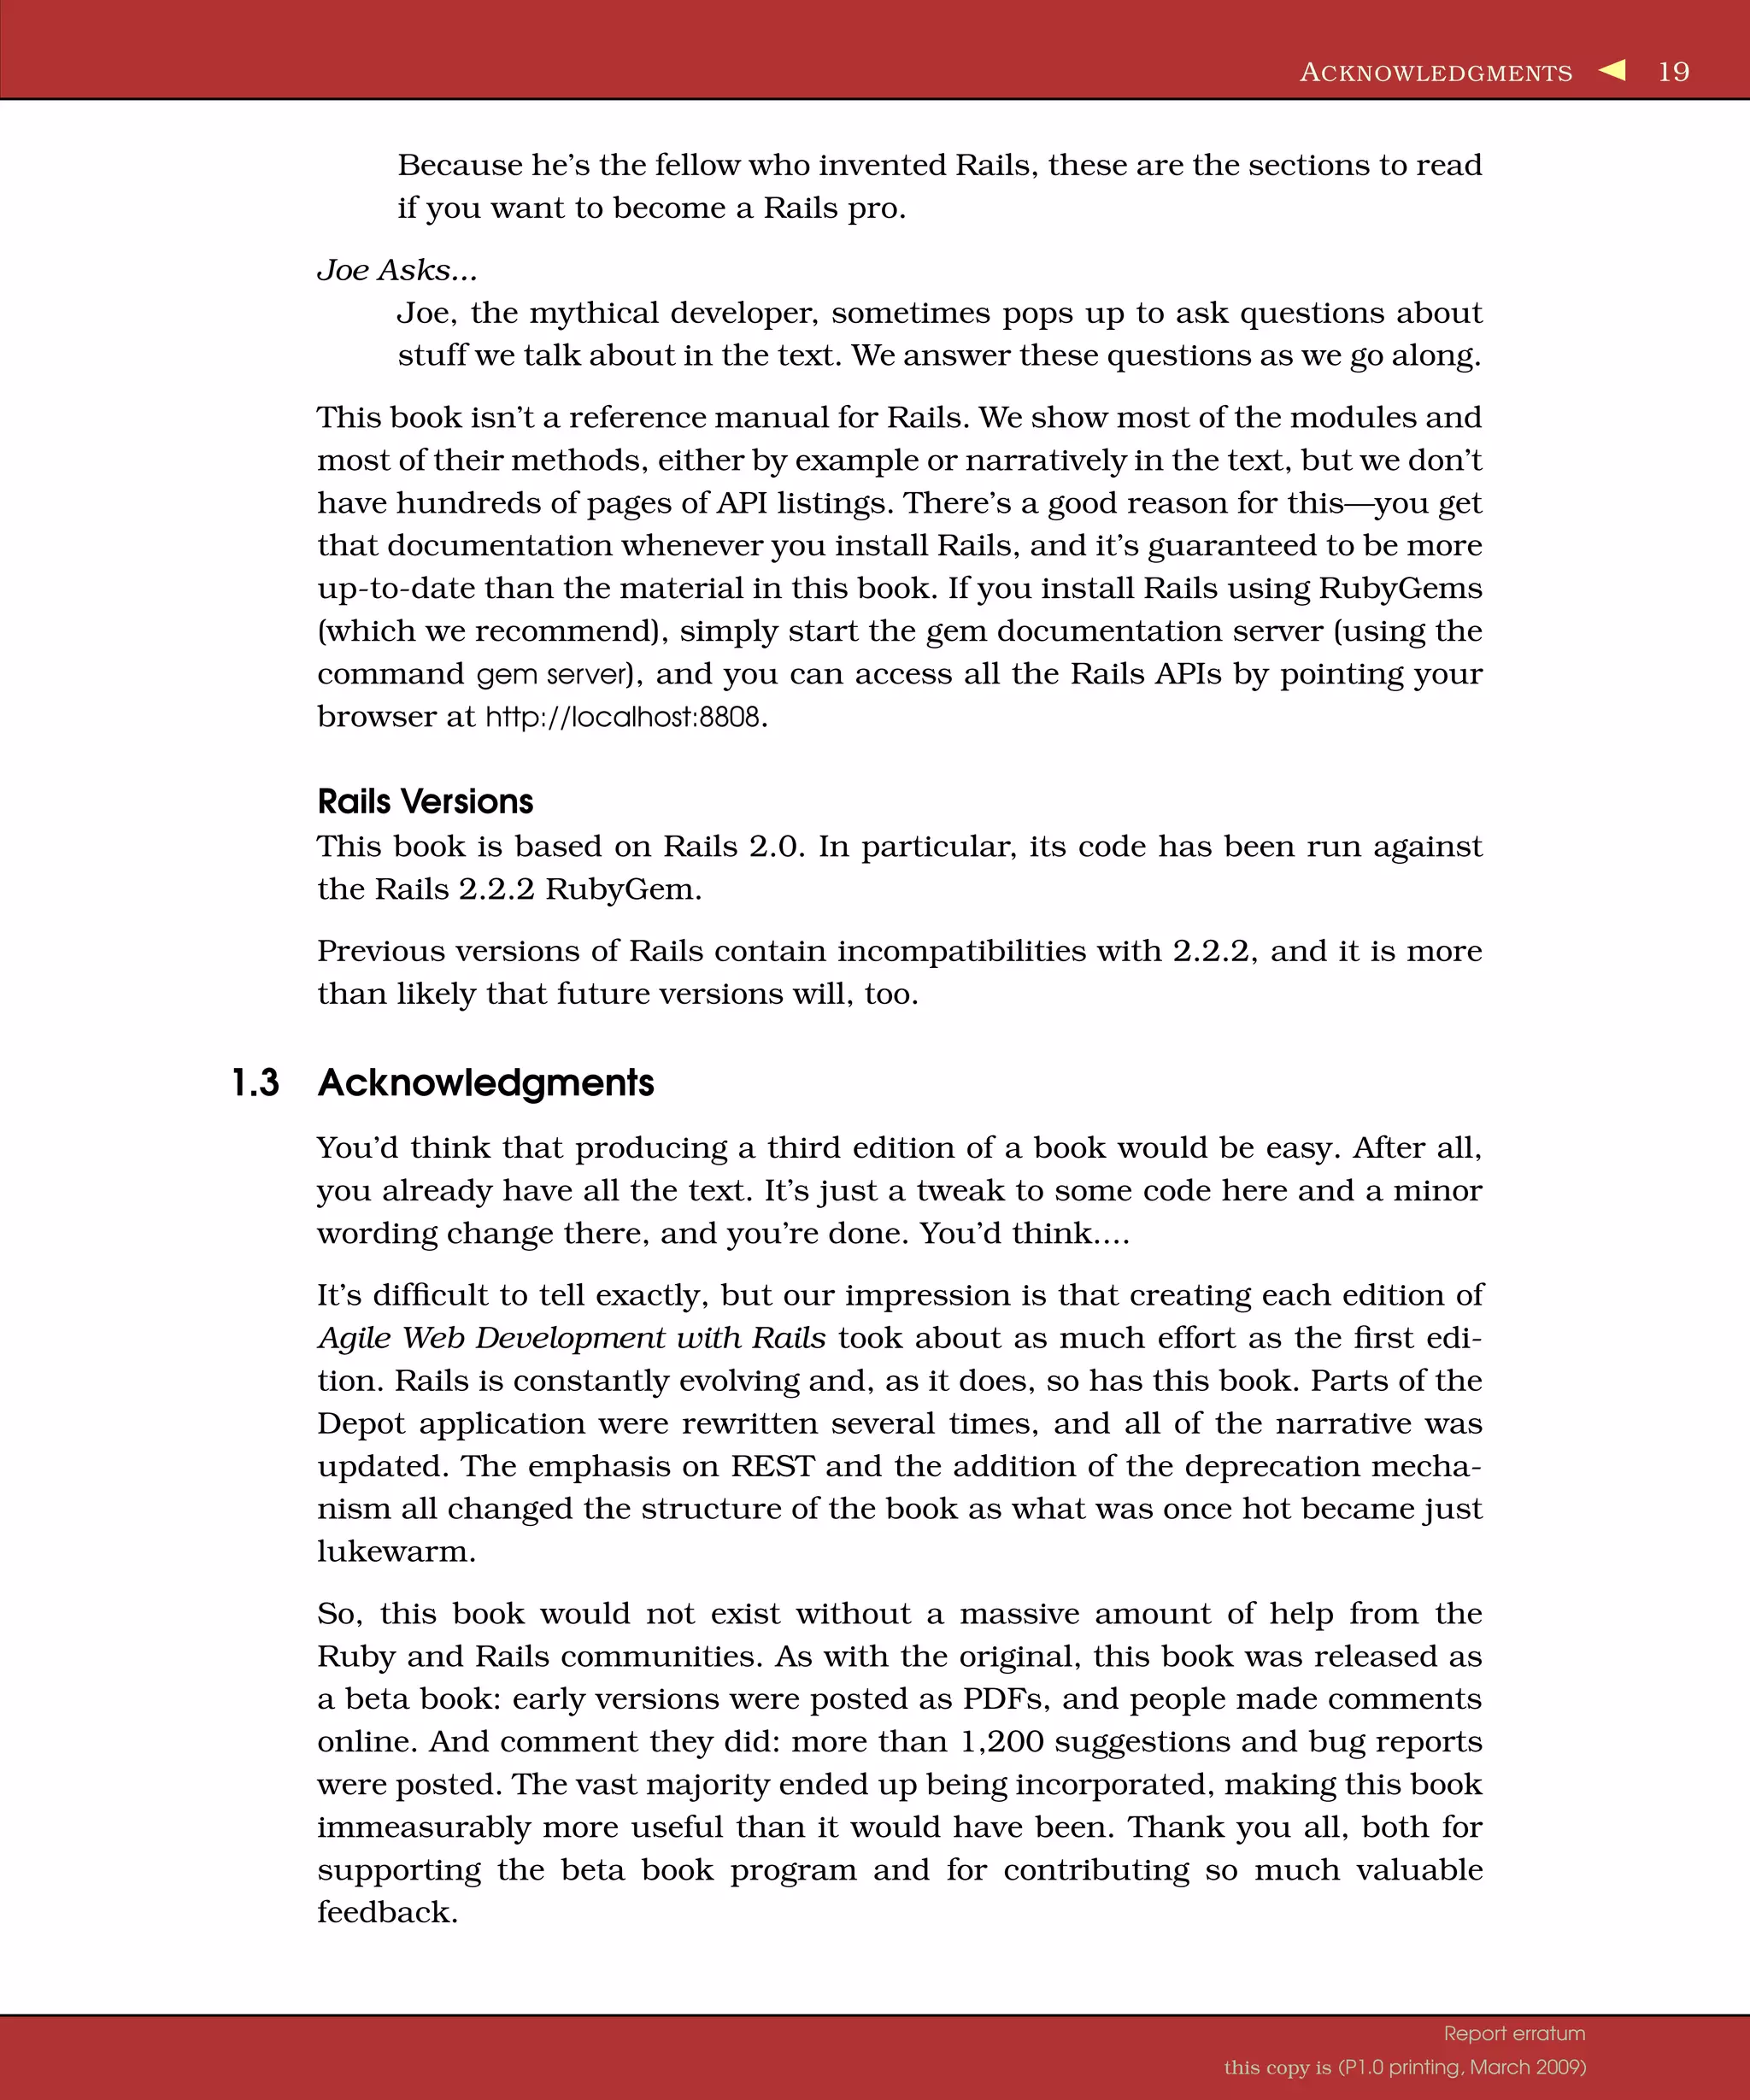
![S ESSIONS 108 The setup is done in the same environment.rb file in the config directory: Download depot_f/config/environment.rb config.action_controller.session = { :session_key => '_depot_session' , :secret => 'f914e9b1bbdb829688de8512f...9b1810a4e238a61dfd922dc9dd62521' } By choosing something other than the cookie store, you do however have one more action you will need to take. You will need to uncomment the secret by removing the # character from one line in the file application.rb2 in the app/controller directory: Download depot_f/app/controllers/application.rb class ApplicationController < ActionController::Base helper :all # include all helpers, all the time # See ActionController::RequestForgeryProtection for details # Uncomment the :secret if you're not using the cookie session store protect_from_forgery :secret => '8fc080370e56e929a2d5afca5540a0f7' # See ActionController::Base for details # Uncomment this to filter the contents of submitted sensitive data parameters # from your application log (in this case, all fields with names like "password"). # filter_parameter_logging :password end That’s it! The next time you restart your application (stopping and starting script/server), it will store its session data in the database. Why not do that now? Carts and Sessions So, having just plowed through all that theory, where does that leave us in practice? We need to be able to assign a new cart object to a session the first time it’s needed and find that cart object again every time it’s needed in the same session. We can achieve that by creating a method, find_cart, in the store controller. A simple (but verbose) implementation would be as follows: def find_cart unless session[:cart] # if there's no cart in the session session[:cart] = Cart.new # add a new one end session[:cart] # return existing or new cart end Remember that Rails makes the current session look like a hash to the con- troller, so we’ll store the cart in the session by indexing it with the symbol :cart. We don’t currently know just what our cart will be—for now let’s assume that it’s a class, so we can create a new cart object using Cart.new. Armed with all this knowledge, we can now arrange to keep a cart in the user’s session. 2. Starting with Rails 2.3, this file will be named application_controller.rb, and the :secret parameter is no longer needed or supported. Report erratum this copy is (P1.0 printing, March 2009)](https://image.slidesharecdn.com/pragmatic-agilewebdevelopmentwithrails-3rdedition-2009-091104222637-phpapp01/75/Pragmatic-Agile-Web-Development-With-Rails-3rd-Edition-2009-108-2048.jpg)
![I TERATION C1: C REATING A C AR T 109 It turns out there’s a more idiomatic way of doing the same thing in Ruby: Download depot_f/app/controllers/store_controller.rb private def find_cart session[:cart] ||= Cart.new end This method is fairly tricky. It uses Ruby’s conditional assignment operator, ||=. If the session hash has a value corresponding to the key :cart, that value is ||= ֒ page 678 → returned immediately. Otherwise, a new Cart object is created and assigned to the session. This new Cart is then returned. Note that we make the find_cart method private. This prevents Rails from mak- ing it available as an action on the controller. Be careful as you add methods to this controller as we work further on the cart—if you add them after the private declaration, they’ll be invisible outside the class. New actions must go before the private line. 8.2 Iteration C1: Creating a Cart We’re looking at sessions because we need somewhere to keep our shopping cart. We’ve got the session stuff sorted out, so let’s move on to implement the cart. For now, let’s keep it simple. It holds data and contains some business logic, so we know that it is logically a model. But, do we need a cart database table? Not necessarily. The cart is tied to the buyer’s session, and as long as that session data is available across all our servers (when we finally deploy in a multiserver environment), that’s probably good enough. So for now, we’ll assume the cart is a regular class and see what happens. We’ll use our editor to create the file cart.rb in the app/models directory.3 The implementation is simple. The cart is basically a wrapper for an array of items. When a product is added (using the add_product method), it is appended to the item list: Download depot_f/app/models/cart.rb class Cart attr_reader attr_reader :items ֒ page 671 → def initialize @items = [] end def add_product(product) @items << product end end 3. Note that we don’t use the Rails model generator to create this file. The generator is used only to create database-backed models. Report erratum this copy is (P1.0 printing, March 2009)](https://image.slidesharecdn.com/pragmatic-agilewebdevelopmentwithrails-3rdedition-2009-091104222637-phpapp01/75/Pragmatic-Agile-Web-Development-With-Rails-3rd-Edition-2009-109-2048.jpg)
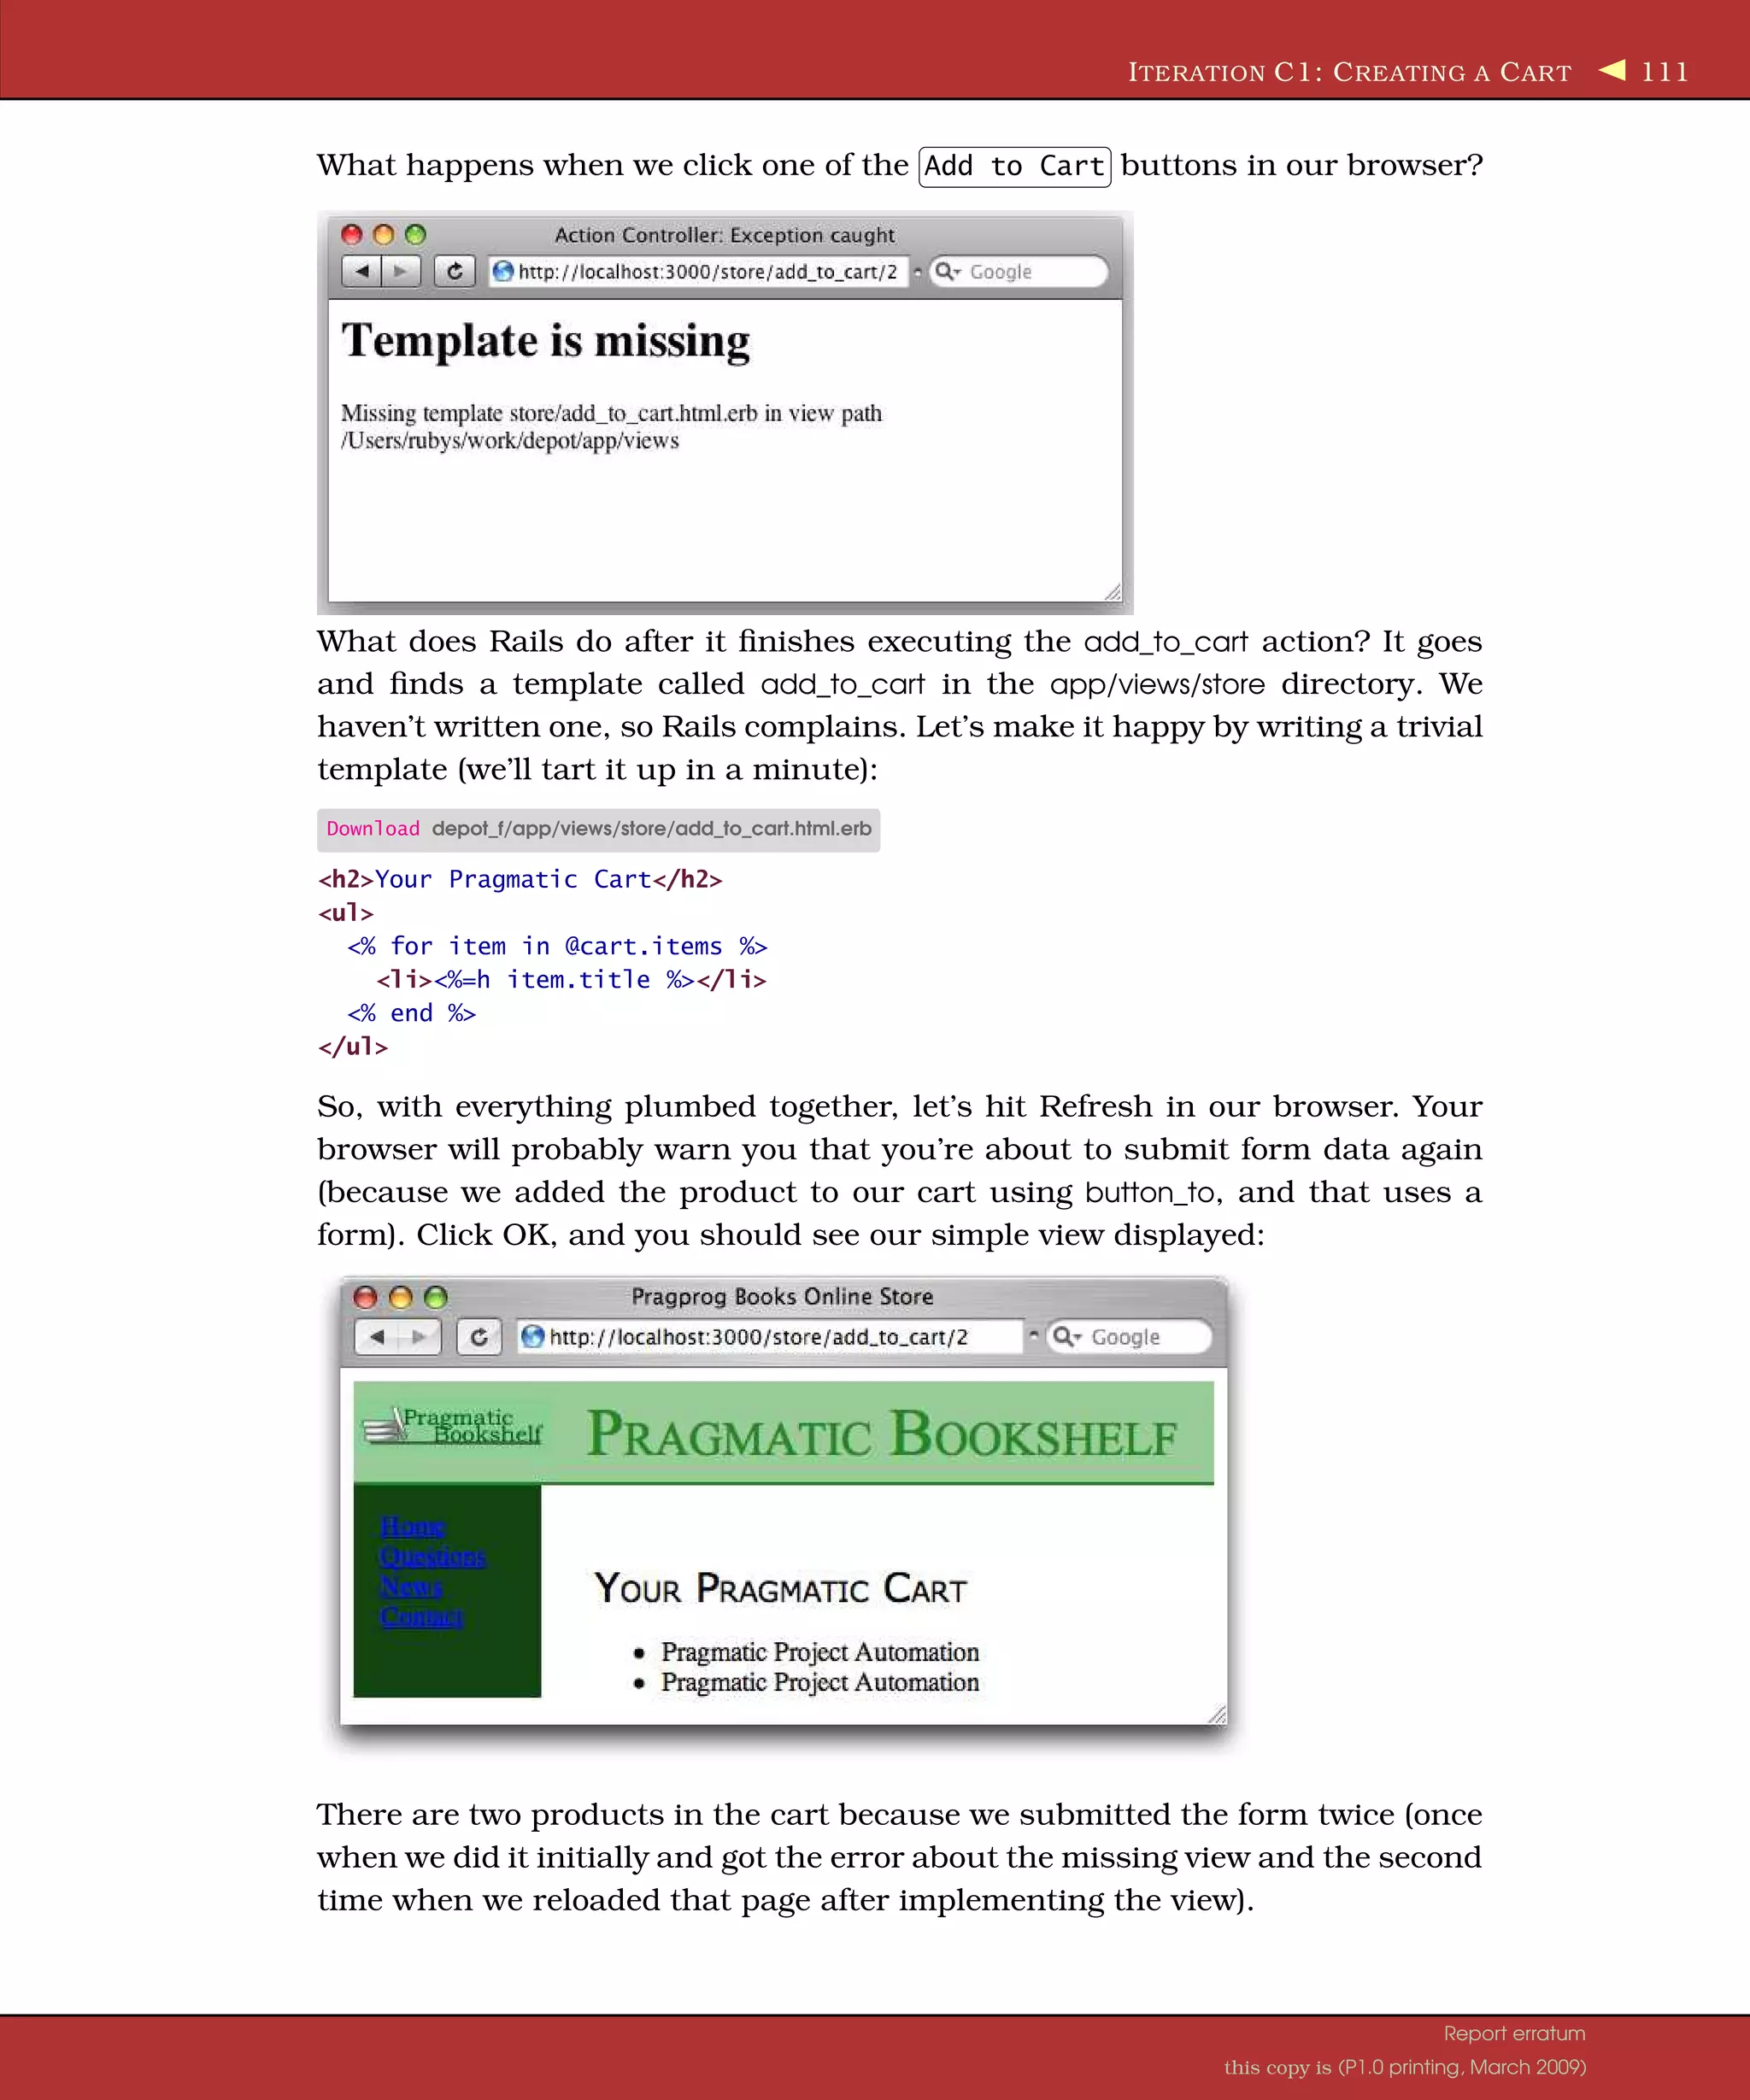
![I TERATION C1: C REATING A C AR T 110 Observant readers (yes, that’s all of you) will have noticed that our catalog listing view already includes an Add to Cart button for each product. What we want to do now is to wire it up to an add_to_cart action on the store controller. However, there’s a problem with this: how will the add_to_cart action know which product to add to our cart? We’ll need to pass it the id of the item corresponding to the button. That’s easy enough—we simply add an :id option to the button_to call.4 Our index.html.erb template now looks like this: Download depot_f/app/views/store/index.html.erb <%= button_to "Add to Cart" , :action => 'add_to_cart', :id => product %> This button links to an add_to_cart action in the store controller (and we haven’t written that action yet). It will pass in the product id as a form param- eter. Here’s where we start to see how important the id field is in our models. Rails identifies model objects (and the corresponding database rows) by their id fields. If we pass an id to add_to_cart, we’re uniquely identifying the product to add. Let’s implement the add_to_cart method now. It needs to find the shopping cart for the current session (creating one if there isn’t one there already), add the selected product to that cart, and display the cart contents. So, rather than worry too much about the details, let’s just write the code at this level of abstraction. Here’s the add_to_cart method in app/controllers/store_controller.rb: Download depot_f/app/controllers/store_controller.rb Line 1 def add_to_cart 2 product = Product.find(params[:id]) 3 @cart = find_cart 4 @cart.add_product(product) 5 end On line 2, we use the params object to get the id parameter from the request, then we call the Product model to find the product with that id, and finally we save the result into a local variable named product. The next line uses the find_cart method we implemented on the previous page to find (or create) a cart in the session. Line 4 then adds the product to this cart. The params object is important inside Rails applications. It holds all of the parameters passed in a browser request. By convention, params[:id] holds the id, or the primary key, of the object to be used by an action. We set that id when we used :id => product in the button_to call in our view. Be careful when you add the add_to_cart method to the controller. Because it is called as an action, it must be public and so must be added above the private directive we put in to hide the find_cart method. 4. Saying :id => product is idiomatic shorthand for :id => product.id. Both pass the product’s id back to the controller. Report erratum this copy is (P1.0 printing, March 2009)](https://image.slidesharecdn.com/pragmatic-agilewebdevelopmentwithrails-3rdedition-2009-091104222637-phpapp01/75/Pragmatic-Agile-Web-Development-With-Rails-3rd-Edition-2009-110-2048.jpg)

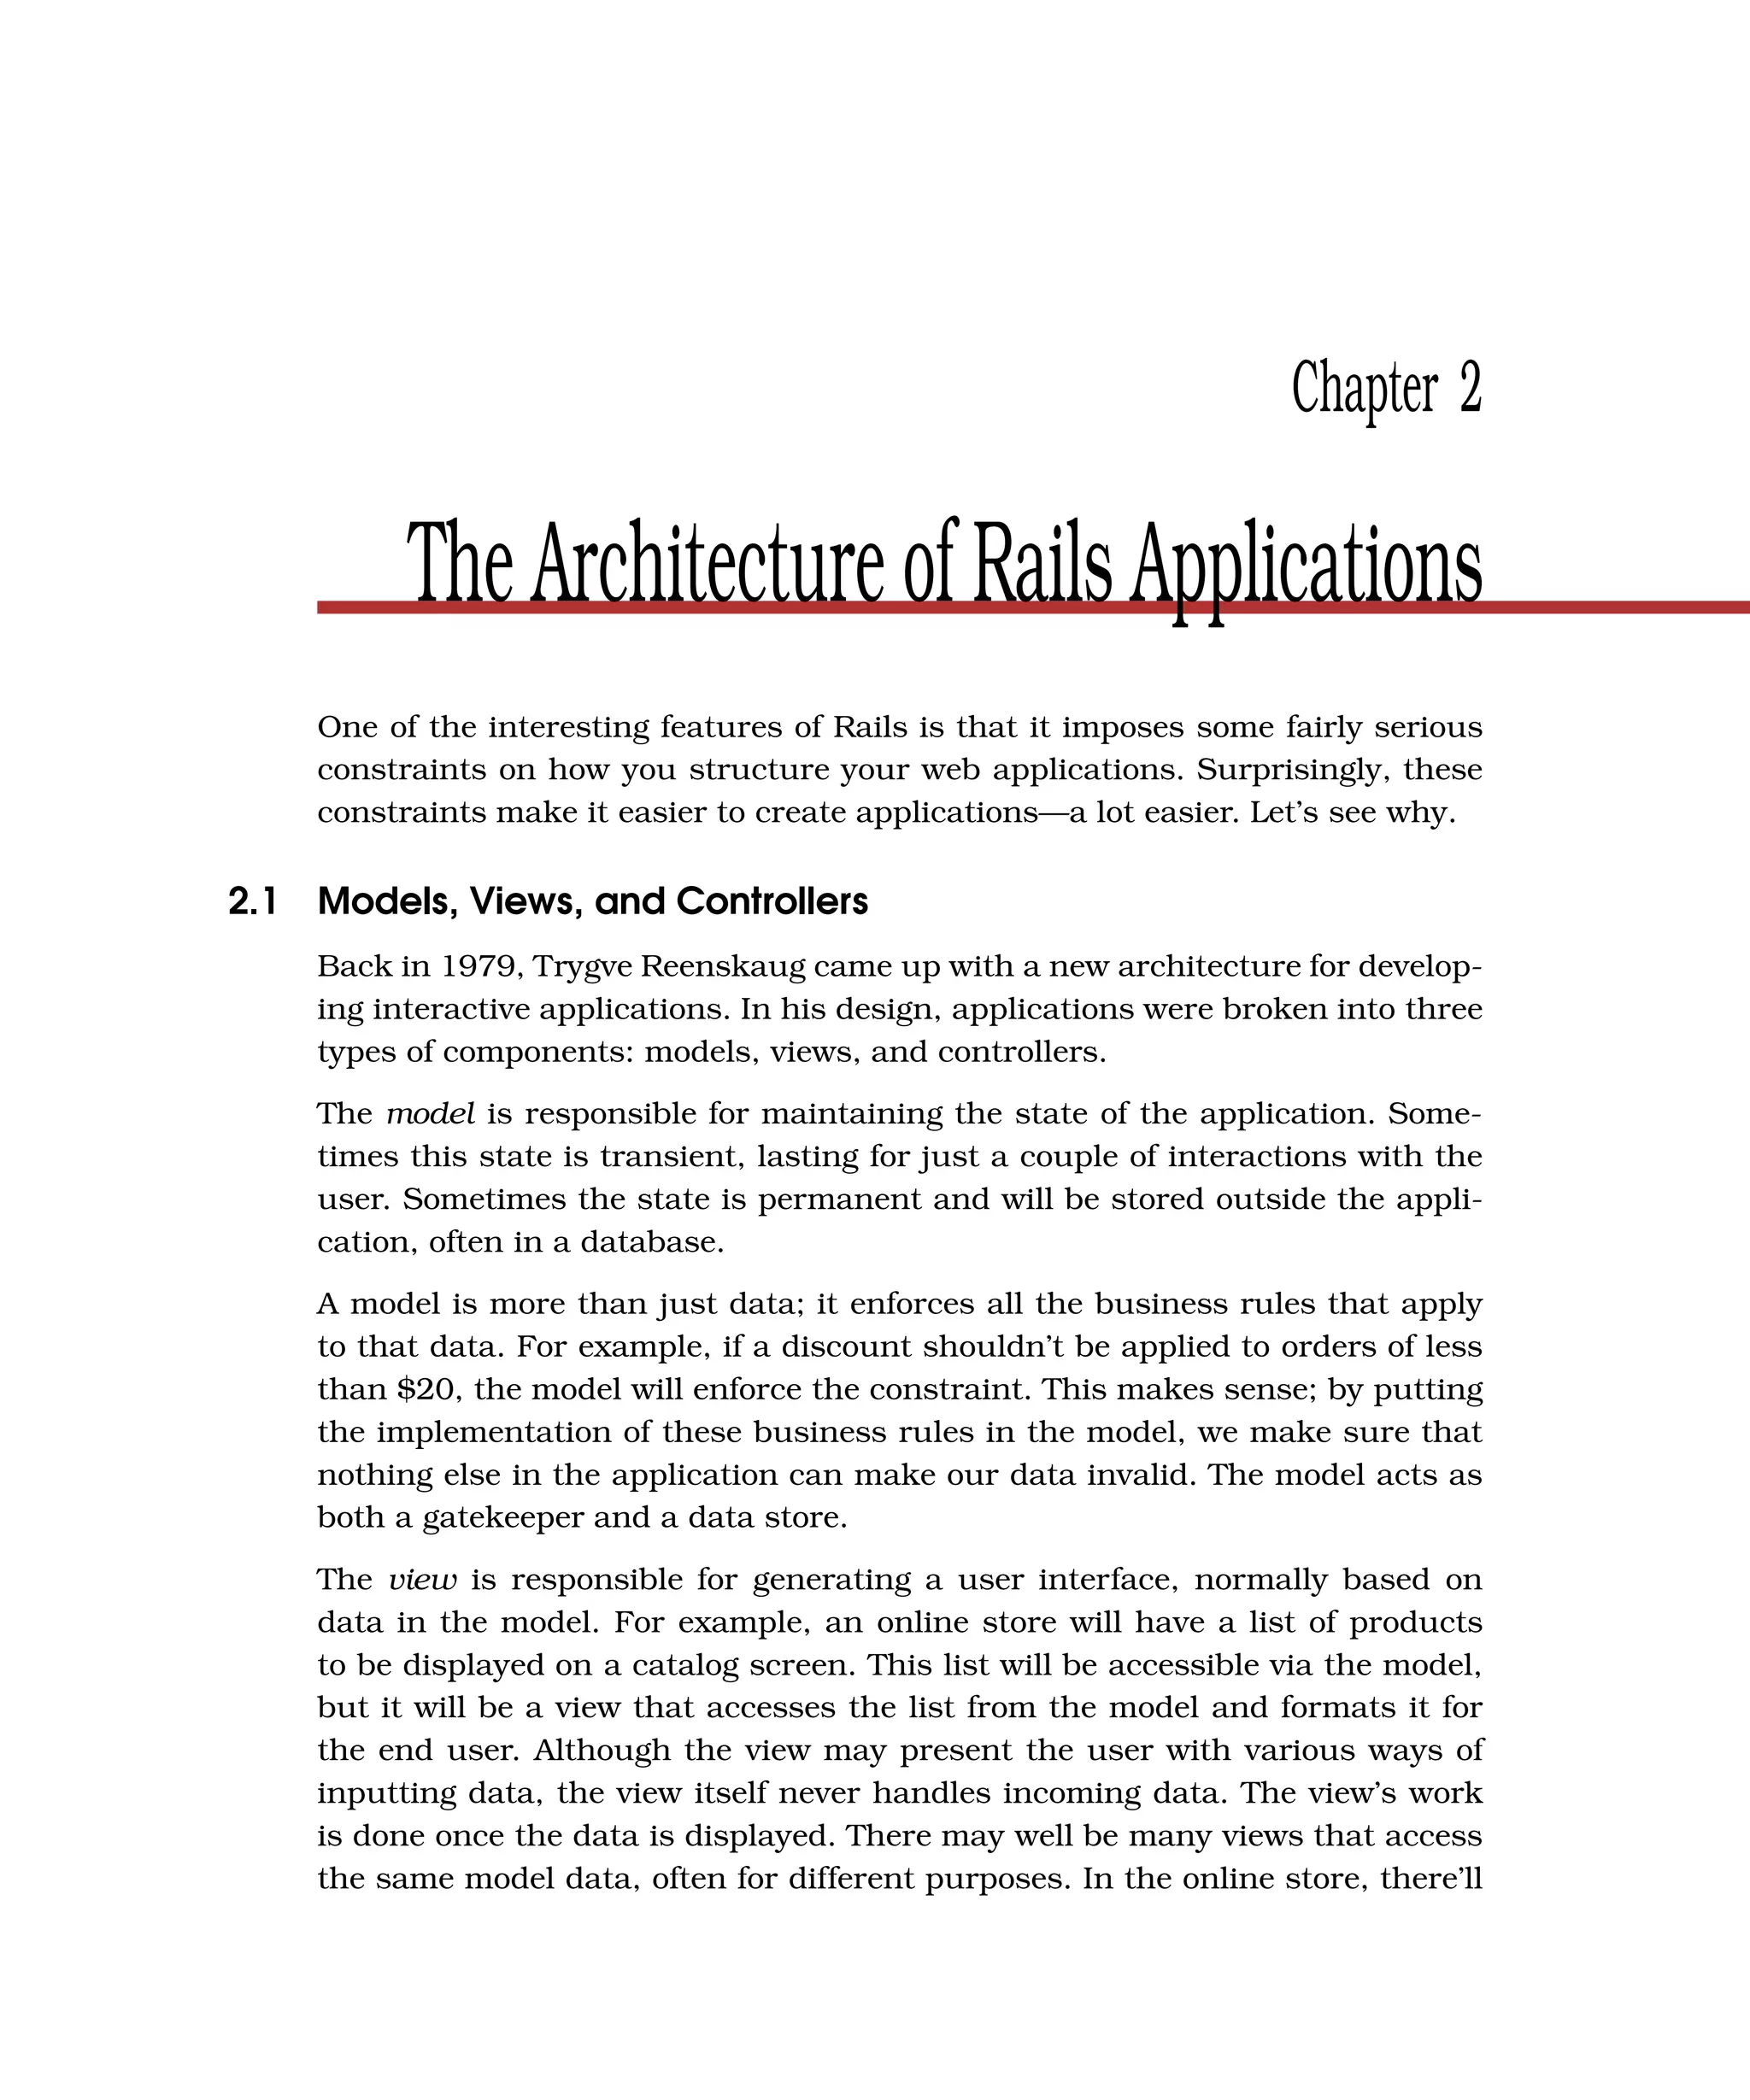
![I TERATION C3: H ANDLING E RRORS 115 Figure 8.1: A cart with quantities Anyway, we now have a cart that maintains a count for each of the products that it holds, and we have a view that displays that count. We can see what this looks like in Figure 8.1. Happy that we have something presentable, we call our customer over and show her the result of our morning’s work. She’s pleased—she can see the site starting to come together. However, she’s also troubled, having just read an article in the trade press on the way e-commerce sites are being attacked and compromised daily. She read that one kind of attack involves feeding requests with bad parameters into web applications, hoping to expose bugs and security flaws. She noticed that the link to add an item to our cart looks like store/add_to_cart/nnn, where nnn is our internal product id. Feeling mali- cious, she manually types this request into a browser, giving it a product id of wibble. She’s not impressed when our application displays the page in Fig- ure 8.2, on the following page. This reveals way too much information about our application. It also seems fairly unprofessional. So, it looks as if our next iteration will be spent making the application more resilient. 8.4 Iteration C3: Handling Errors Looking at the page displayed in Figure 8.2, it’s apparent that our application raised an exception at line 16 of the store controller.7 That turns out to be this line: product = Product.find(params[:id]) 7. Your line number might be different. We have some book-related formatting stuff in our source files. Report erratum this copy is (P1.0 printing, March 2009)](https://image.slidesharecdn.com/pragmatic-agilewebdevelopmentwithrails-3rdedition-2009-091104222637-phpapp01/75/Pragmatic-Agile-Web-Development-With-Rails-3rd-Edition-2009-115-2048.jpg)
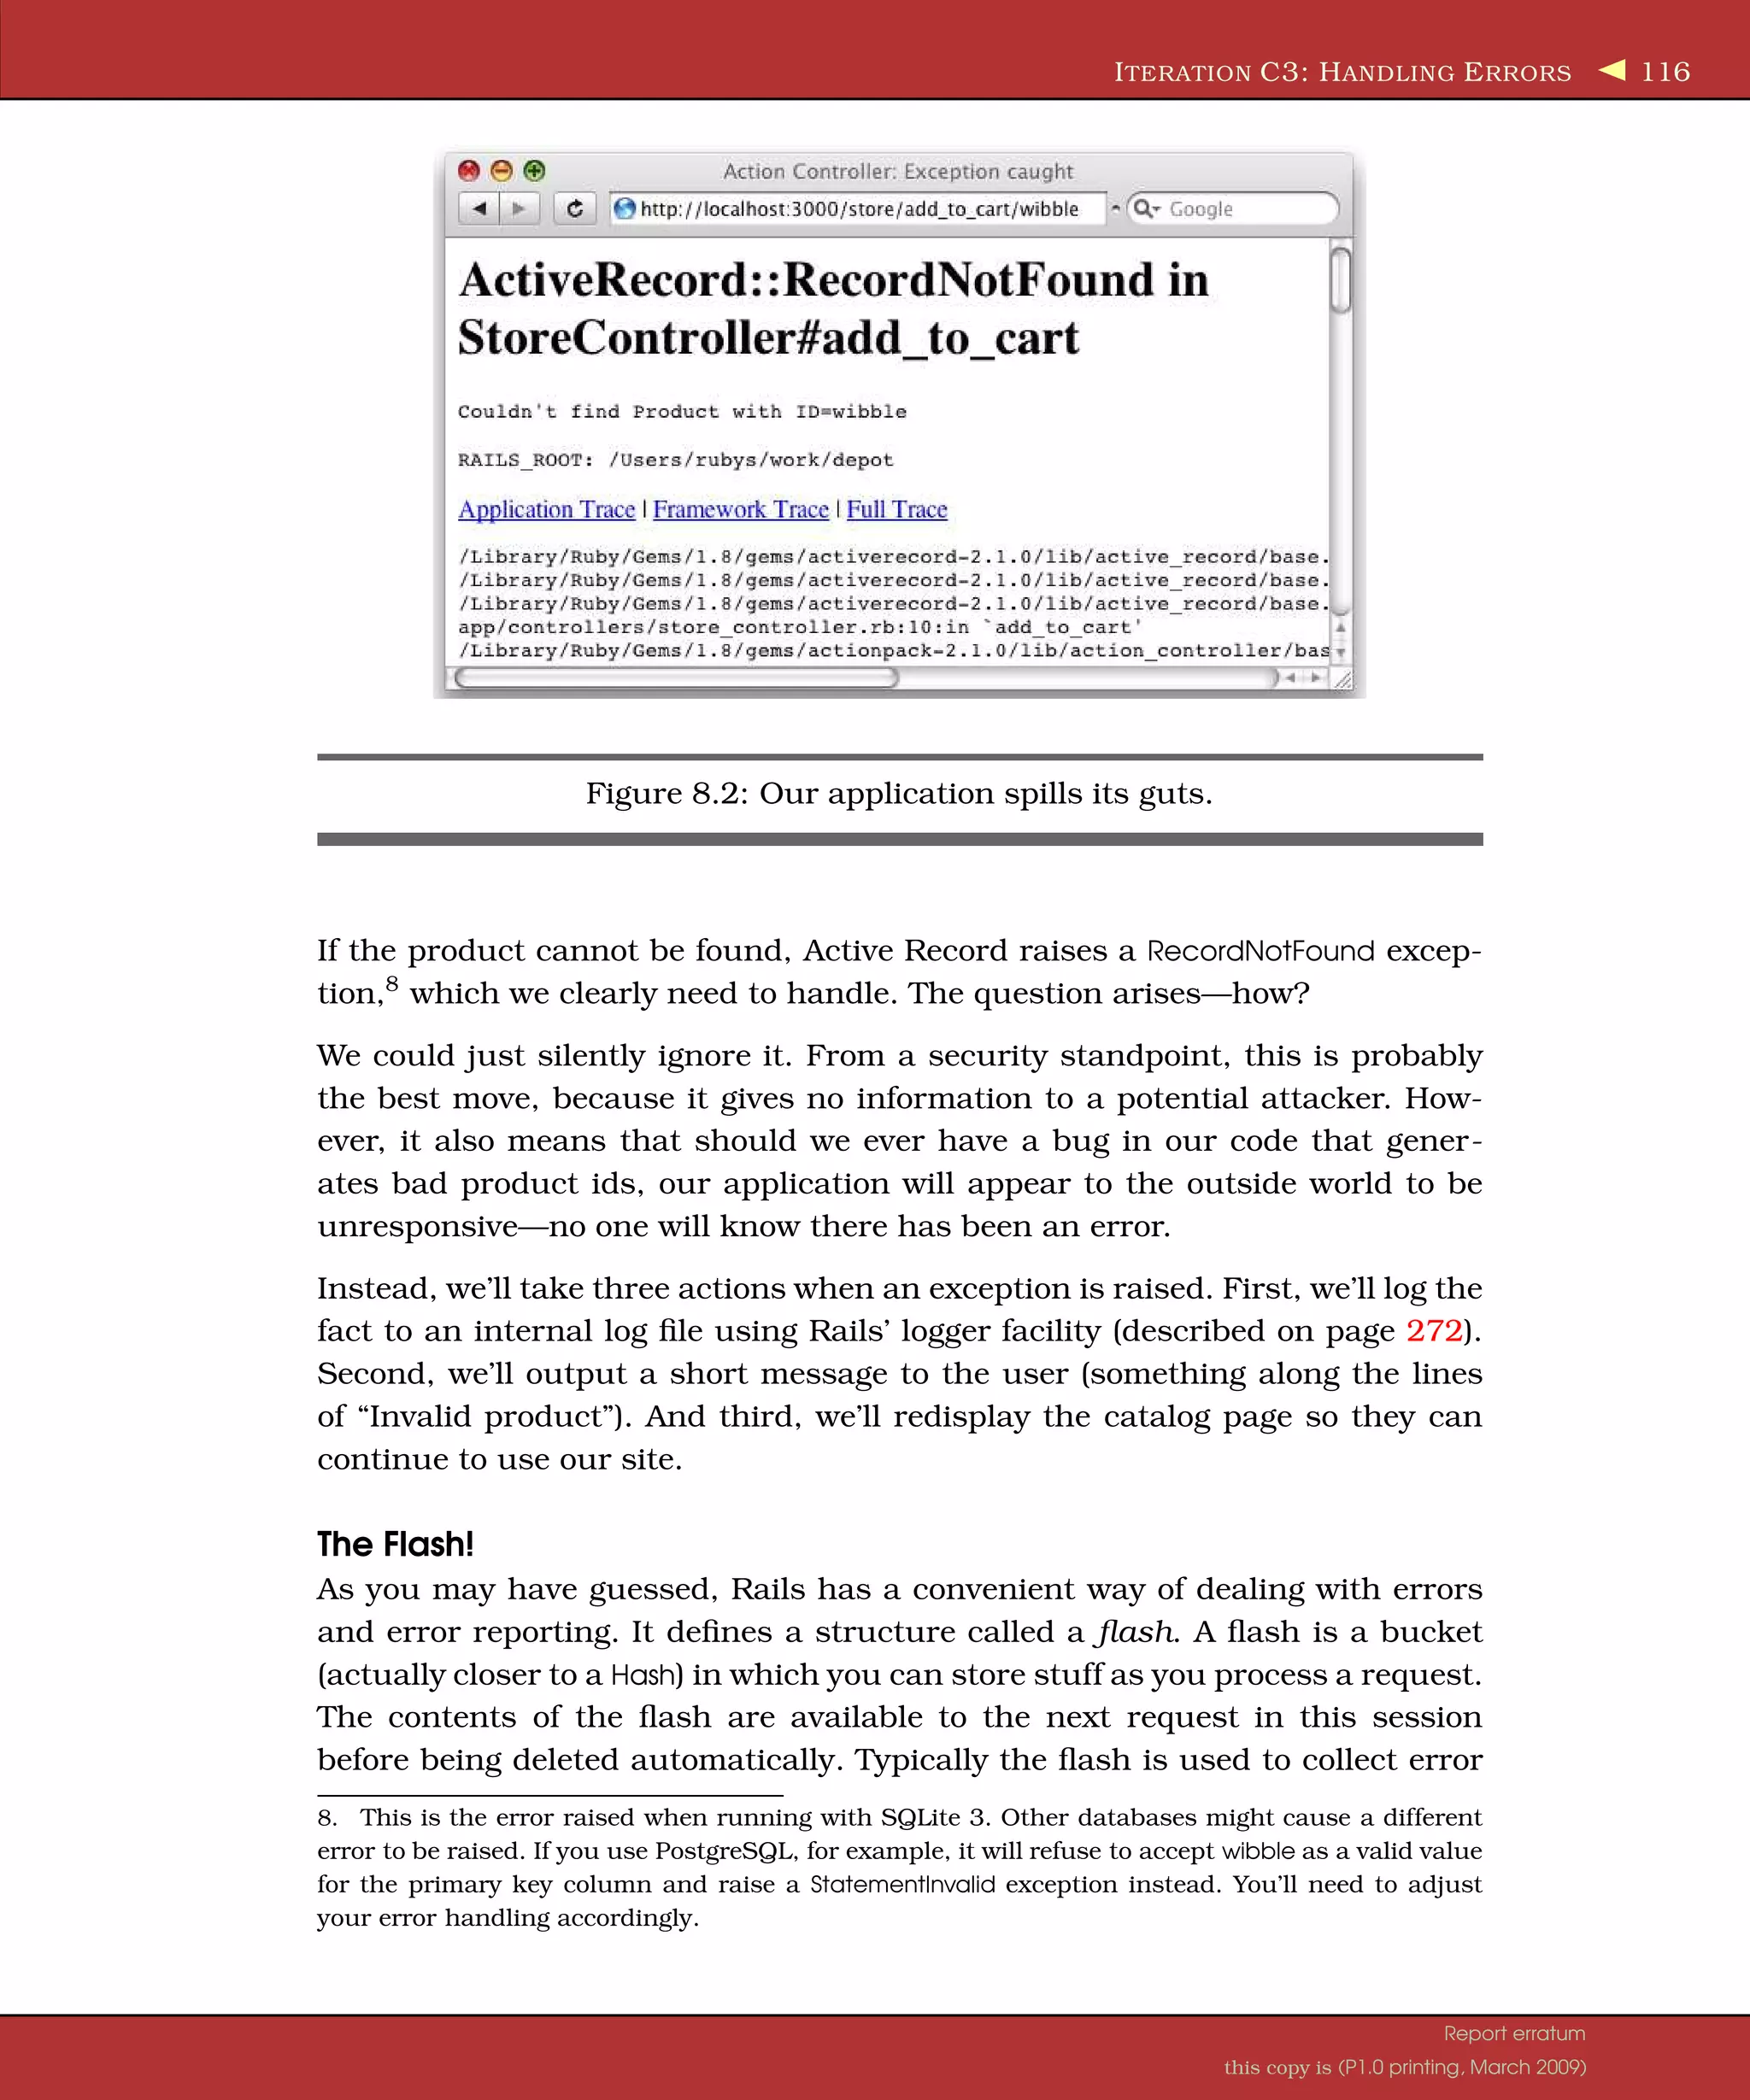
![I TERATION C3: H ANDLING E RRORS 117 messages. For example, when our add_to_cart action detects that it was passed an invalid product id, it can store that error message in the flash area and redirect to the index action to redisplay the catalog. The view for the index action can extract the error and display it at the top of the catalog page. The flash information is accessible within the views by using the flash accessor method. Why couldn’t we just store the error in any old instance variable? Remember that after a redirect is sent by our application to the browser, the browser sends a new request back to our application. By the time we receive that request, our application has moved on—all the instance variables from previ- ous requests are long gone. The flash data is stored in the session in order to make it available between requests. Armed with all this background about flash data, we can now change our add_to_cart method to intercept bad product ids and report on the problem: Download depot_h/app/controllers/store_controller.rb def add_to_cart product = Product.find(params[:id]) @cart = find_cart @cart.add_product(product) rescue ActiveRecord::RecordNotFound logger.error("Attempt to access invalid product #{params[:id]}" ) flash[:notice] = "Invalid product" redirect_to :action => 'index' end The rescue clause intercepts the exception raised by Product.find. In the handler, we do the following: • Use the Rails logger to record the error. Every controller has a logger attribute. Here we use it to record a message at the error logging level. • Create a flash notice with an explanation. Just as with sessions, you access the flash as if it were a hash. Here we used the key :notice to store our message. • Redirect to the catalog display using the redirect_to method. This takes a wide range of parameters (similar to the link_to method we encountered in the templates). In this case, it instructs the browser to immediately request the URL that will invoke the current controller’s index action. Why redirect, rather than just display the catalog here? If we redirect, the user’s browser will end up displaying a URL of http://.../store/index, rather than http://.../store/add_to_cart/wibble. We expose less of the application this way. We also prevent the user from retriggering the error by hitting the Reload button. Report erratum this copy is (P1.0 printing, March 2009)](https://image.slidesharecdn.com/pragmatic-agilewebdevelopmentwithrails-3rdedition-2009-091104222637-phpapp01/75/Pragmatic-Agile-Web-Development-With-Rails-3rd-Edition-2009-117-2048.jpg)
![I TERATION C3: H ANDLING E RRORS 118 With this code in place, we can rerun our customer’s problematic query. This time, when we enter the following URL: http://localhost:3000/store/add_to_cart/wibble we don’t see a bunch of errors in the browser. Instead, the catalog page is dis- played. If we look at the end of the log file (development.log in the log directory), we’ll see our message:9 Parameters: {"action"=>"add_to_cart", "id"=>"wibble", "controller"=>"store"} Product Load (0.000246) SELECT * FROM "products" WHERE ("products"."id" = 0) Attempt to access invalid product wibble Redirected to http://localhost:3000/store/index Completed in 0.00522 (191 reqs/sec) . . . Processing StoreController#index ... : : Rendering within layouts/store Rendering store/index So, the logging worked. But the flash message didn’t appear on the user’s browser. That’s because we didn’t display it. We’ll need to add something to the layout to tell it to display flash messages if they exist. The following html.erb code checks for a notice-level flash message and creates a new <div> contain- ing it if necessary: <% if flash[:notice] -%> <div id="notice"><%= flash[:notice] %></div> <% end -%> So, where do we put this code? We could put it at the top of the catalog display template—the code in index.html.erb. After all, that’s where we’d like it to appear right now. But it would be nice if all pages had a standardized way of displaying errors. 9. On Unix machines, we’d probably use a command such as tail or less to view this file. On Windows, you could use your favorite editor. It’s often a good idea to keep a window open showing new lines as they are added to this file. In Unix you’d use tail -f. You can download a tail command for Windows from http://gnuwin32.sourceforge.net/packages/coreutils.htm or get a GUI-based tool from http://tailforwin32.sourceforge.net/. Finally, some OS X users use Console.app to track log files. Just say open name.log at the command line. Report erratum this copy is (P1.0 printing, March 2009)](https://image.slidesharecdn.com/pragmatic-agilewebdevelopmentwithrails-3rdedition-2009-091104222637-phpapp01/75/Pragmatic-Agile-Web-Development-With-Rails-3rd-Edition-2009-118-2048.jpg)
![I TERATION C3: H ANDLING E RRORS 119 We’re already using a Rails layout to give all the store pages a consistent look, so let’s add the flash-handling code into that layout. That way if our customer suddenly decides that errors would look better in the sidebar, we can make just one change and all our store pages will be updated. So, our new store layout code now looks as follows: Download depot_h/app/views/layouts/store.html.erb <!DOCTYPE html PUBLIC "-//W3C//DTD XHTML 1.0 Transitional//EN" "http://www.w3.org/TR/xhtml1/DTD/xhtml1-transitional.dtd" > <html> <head> <title>Pragprog Books Online Store</title> <%= stylesheet_link_tag "depot" , :media => "all" %> </head> <body id="store"> <div id="banner"> <%= image_tag("logo.png" ) %> <%= @page_title || "Pragmatic Bookshelf" %> </div> <div id="columns"> <div id="side"> <a href="http://www....">Home</a><br /> <a href="http://www..../faq">Questions</a><br /> <a href="http://www..../news">News</a><br /> <a href="http://www..../contact">Contact</a><br /> </div> <div id="main"> <% if flash[:notice] -%> <div id="notice"><%= flash[:notice] %></div> <% end -%> <%= yield :layout %> </div> </div> </body> </html> We’ll also need a new CSS styling rule for the notice box: Download depot_h/public/stylesheets/depot.css #notice { border: 2px solid red; padding: 1em; margin-bottom: 2em; background-color: #f0f0f0 ; font: bold smaller sans-serif; } This time, when we manually enter the invalid product code, we see the error reported at the top of the catalog page. Report erratum this copy is (P1.0 printing, March 2009)](https://image.slidesharecdn.com/pragmatic-agilewebdevelopmentwithrails-3rdedition-2009-091104222637-phpapp01/75/Pragmatic-Agile-Web-Development-With-Rails-3rd-Edition-2009-119-2048.jpg)
![I TERATION C4: F INISHING THE C AR T 120 Sensing the end of an iteration, we call our customer over and show her that the error is now properly handled. She’s delighted and continues to play with the application. She notices a minor problem on our new cart display—there’s no way to empty items out of a cart. This minor change will be our next itera- tion. We should make it before heading home. 8.5 Iteration C4: Finishing the Cart We know by now that in order to implement the “empty cart” function, we have to add a link to the cart and implement an empty_cart method in the store controller. Let’s start with the template. Rather than use a hyperlink, let’s use the button_to method to put a button on the page: Download depot_h/app/views/store/add_to_cart.html.erb <h2>Your Pragmatic Cart</h2> <ul> <% for item in @cart.items %> <li><%= item.quantity %> × <%=h item.title %></li> <% end %> </ul> <%= button_to 'Empty cart', :action => 'empty_cart' %> In the controller, we’ll implement the empty_cart method. It removes the cart from the session and sets a message into the flash before redirecting to the index page: Download depot_h/app/controllers/store_controller.rb def empty_cart session[:cart] = nil flash[:notice] = "Your cart is currently empty" redirect_to :action => 'index' end Now when we view our cart and click the Empty Cart button, we get taken back to the catalog page, and a nice little message says this: Report erratum this copy is (P1.0 printing, March 2009)](https://image.slidesharecdn.com/pragmatic-agilewebdevelopmentwithrails-3rdedition-2009-091104222637-phpapp01/75/Pragmatic-Agile-Web-Development-With-Rails-3rd-Edition-2009-120-2048.jpg)
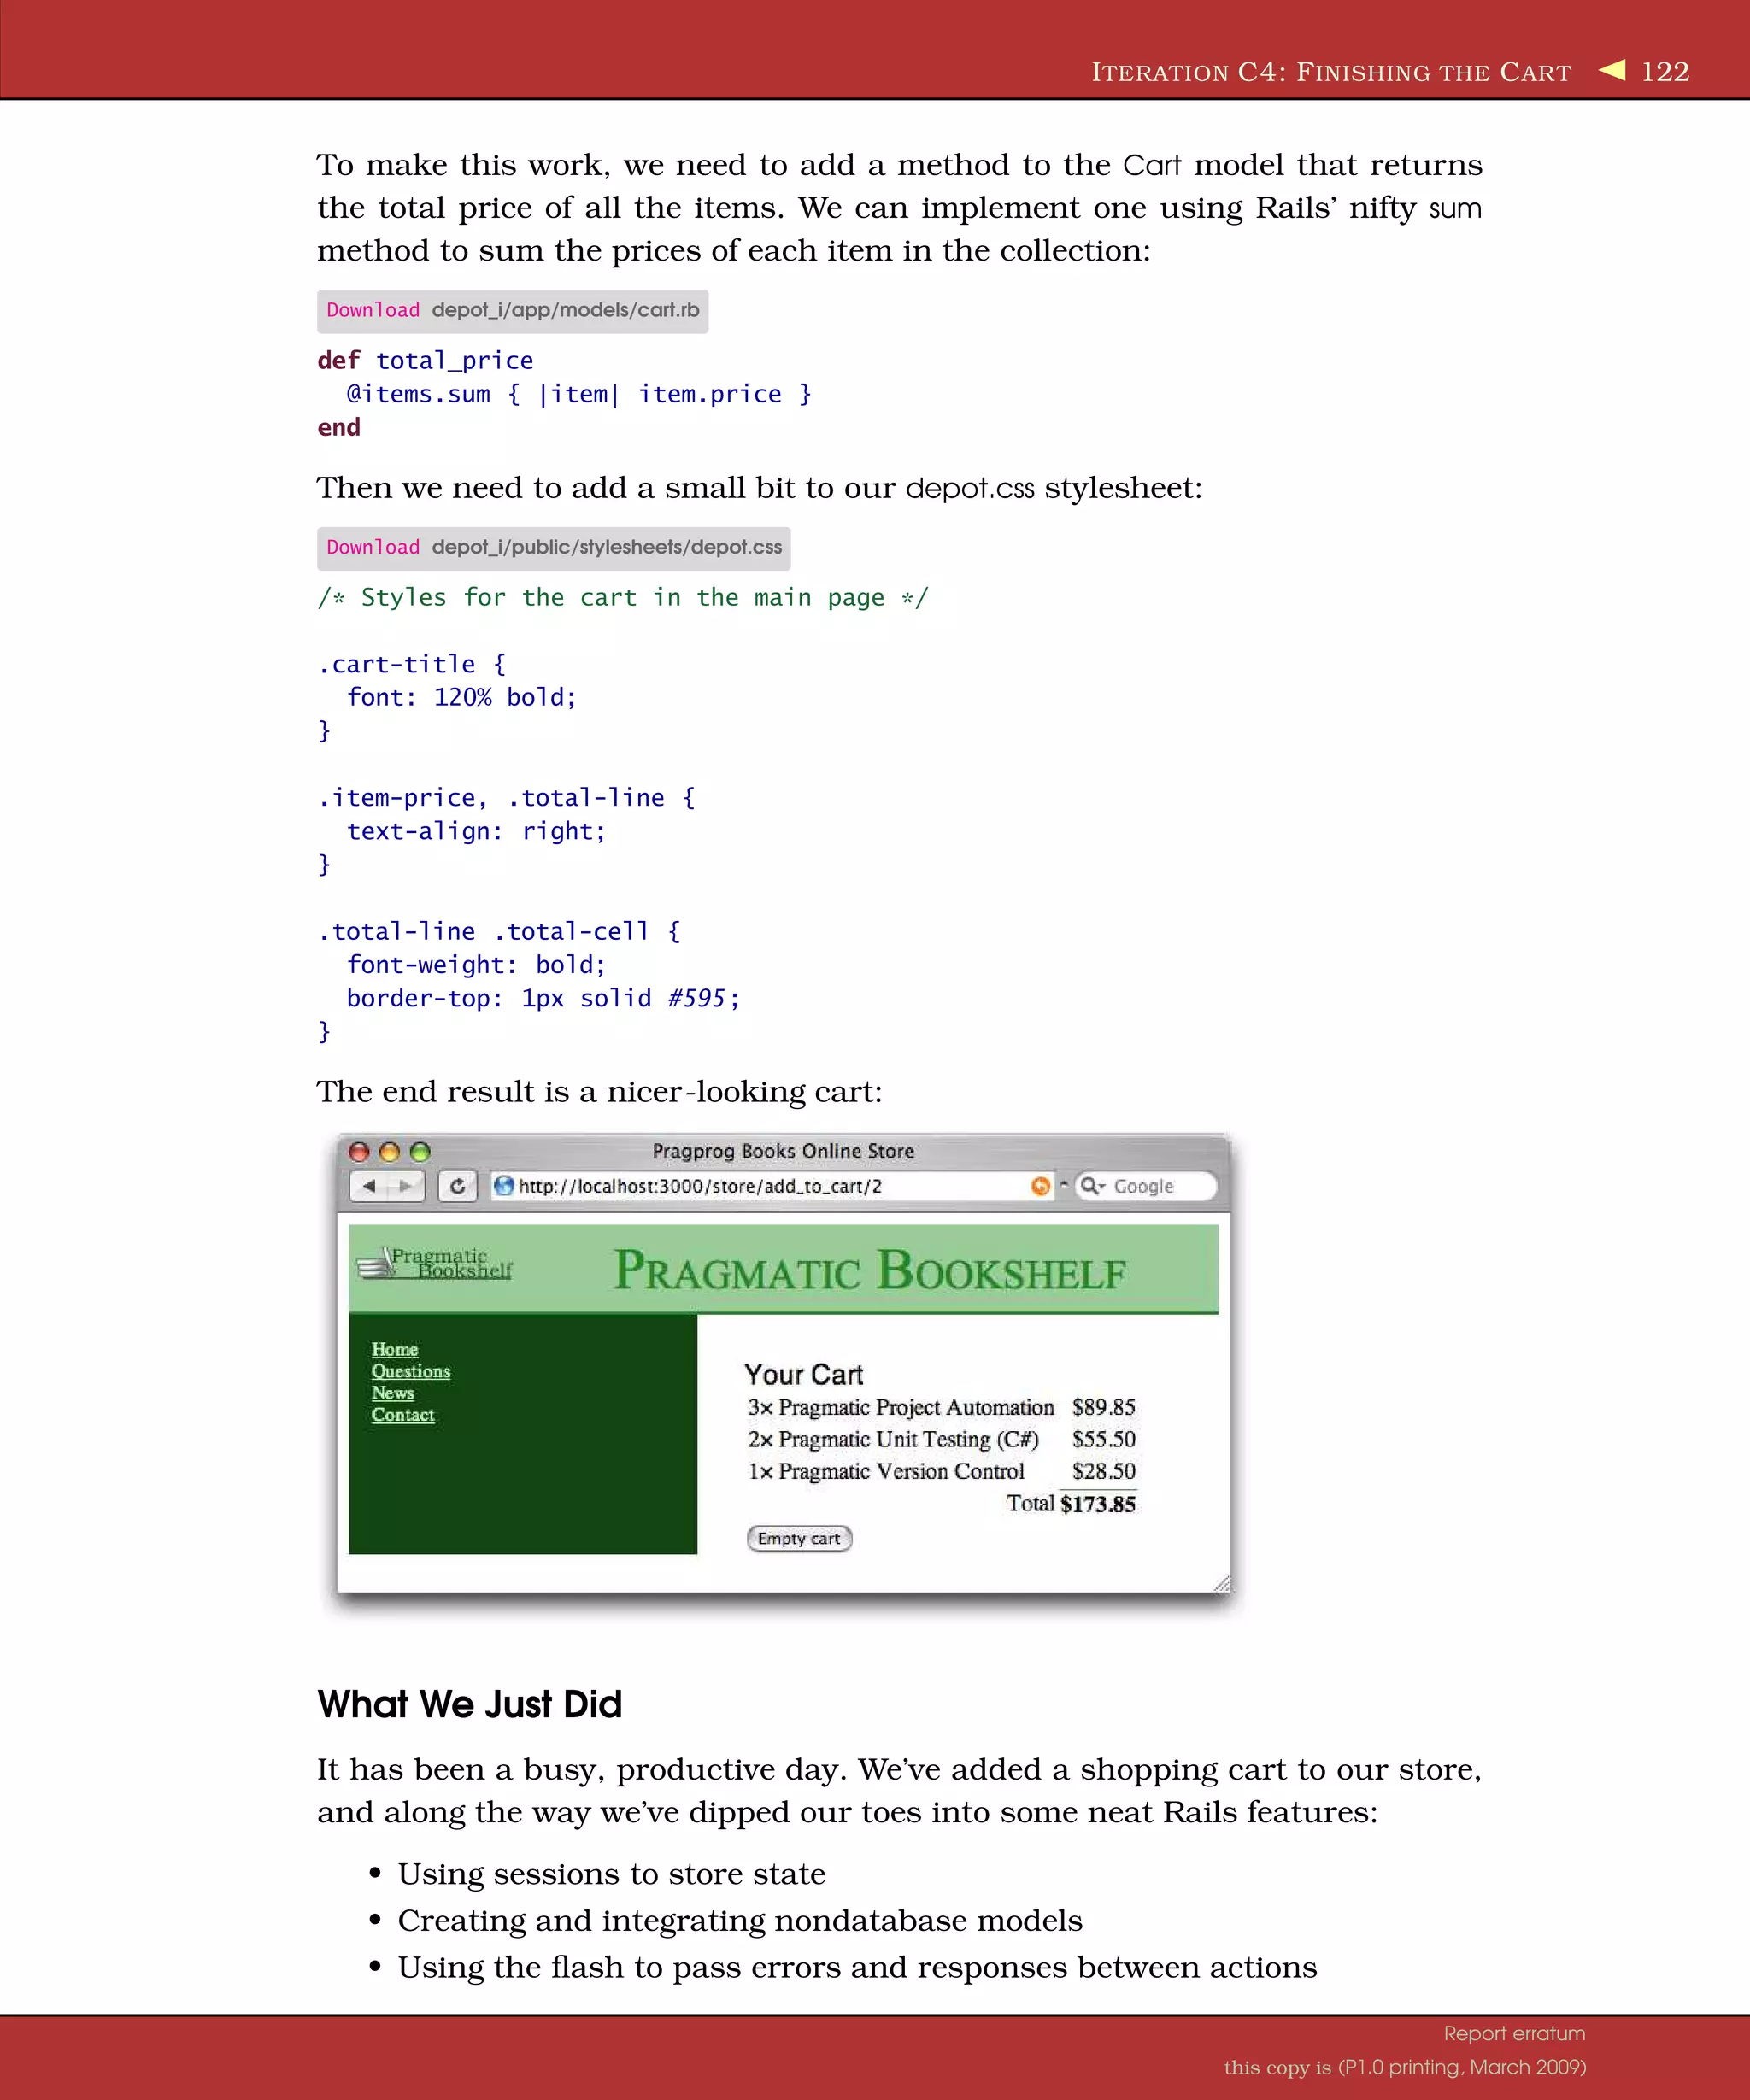
![I TERATION C4: F INISHING THE C AR T 121 However, before we break an arm trying to pat ourselves on the back, let’s look back at our code. We’ve just introduced some duplication. In the store controller, we now have two places that put a message into the flash and redirect to the index page. Sounds like we should extract that com- mon code into a method, so let’s implement redirect_to_index and change the add_to_cart and empty_cart methods to use it: Download depot_i/app/controllers/store_controller.rb def add_to_cart product = Product.find(params[:id]) @cart = find_cart @cart.add_product(product) rescue ActiveRecord::RecordNotFound logger.error("Attempt to access invalid product #{params[:id]}" ) redirect_to_index("Invalid product" ) end def empty_cart session[:cart] = nil redirect_to_index("Your cart is currently empty" ) end private def redirect_to_index(msg) flash[:notice] = msg redirect_to :action => 'index' end And, finally, we’ll get around to tidying up the cart display. Rather than use <li> elements for each item, let’s use a table. Again, we’ll rely on CSS to do the styling: Download depot_i/app/views/store/add_to_cart.html.erb <div class="cart-title">Your Cart</div> <table> <% for item in @cart.items %> <tr> <td><%= item.quantity %>×</td> <td><%=h item.title %></td> <td class="item-price"><%= number_to_currency(item.price) %></td> </tr> <% end %> <tr class="total-line"> <td colspan="2">Total</td> <td class="total-cell"><%= number_to_currency(@cart.total_price) %></td> </tr> </table> <%= button_to "Empty cart" , :action => :empty_cart %> Report erratum this copy is (P1.0 printing, March 2009)](https://image.slidesharecdn.com/pragmatic-agilewebdevelopmentwithrails-3rdedition-2009-091104222637-phpapp01/75/Pragmatic-Agile-Web-Development-With-Rails-3rd-Edition-2009-121-2048.jpg)
![I TERATION C4: F INISHING THE C AR T 123 • Using the logger to log events • Removing duplication from controllers We’ve also generated our fair share of errors and seen how to get around them. But, just as we think we’ve wrapped this functionality up, our customer wan- ders over with a copy of Information Technology and Golf Weekly. Apparently, there’s an article about a new style of browser interface, where stuff gets up- dated on the fly. “Ajax,” she says, proudly. Hmmm...let’s look at that tomorrow. Playtime Here’s some stuff to try on your own: • Add a new variable to the session to record how many times the user has accessed the store controller’s index action. The first time through, your count won’t be in the session. You can test for this with code like this: if session[:counter].nil? ... If the session variable isn’t there, you’ll need to initialize it. Then you’ll be able to increment it. • Pass this counter to your template, and display it at the top of the catalog page. Hint: the pluralize helper (described on page 517) might be useful when forming the message you display. • Reset the counter to zero whenever the user adds something to the cart. • Change the template to display the counter only if it is greater than five. (You’ll find hints at http://pragprog.wikidot.com/rails-play-time.) Report erratum this copy is (P1.0 printing, March 2009)](https://image.slidesharecdn.com/pragmatic-agilewebdevelopmentwithrails-3rdedition-2009-091104222637-phpapp01/75/Pragmatic-Agile-Web-Development-With-Rails-3rd-Edition-2009-123-2048.jpg)

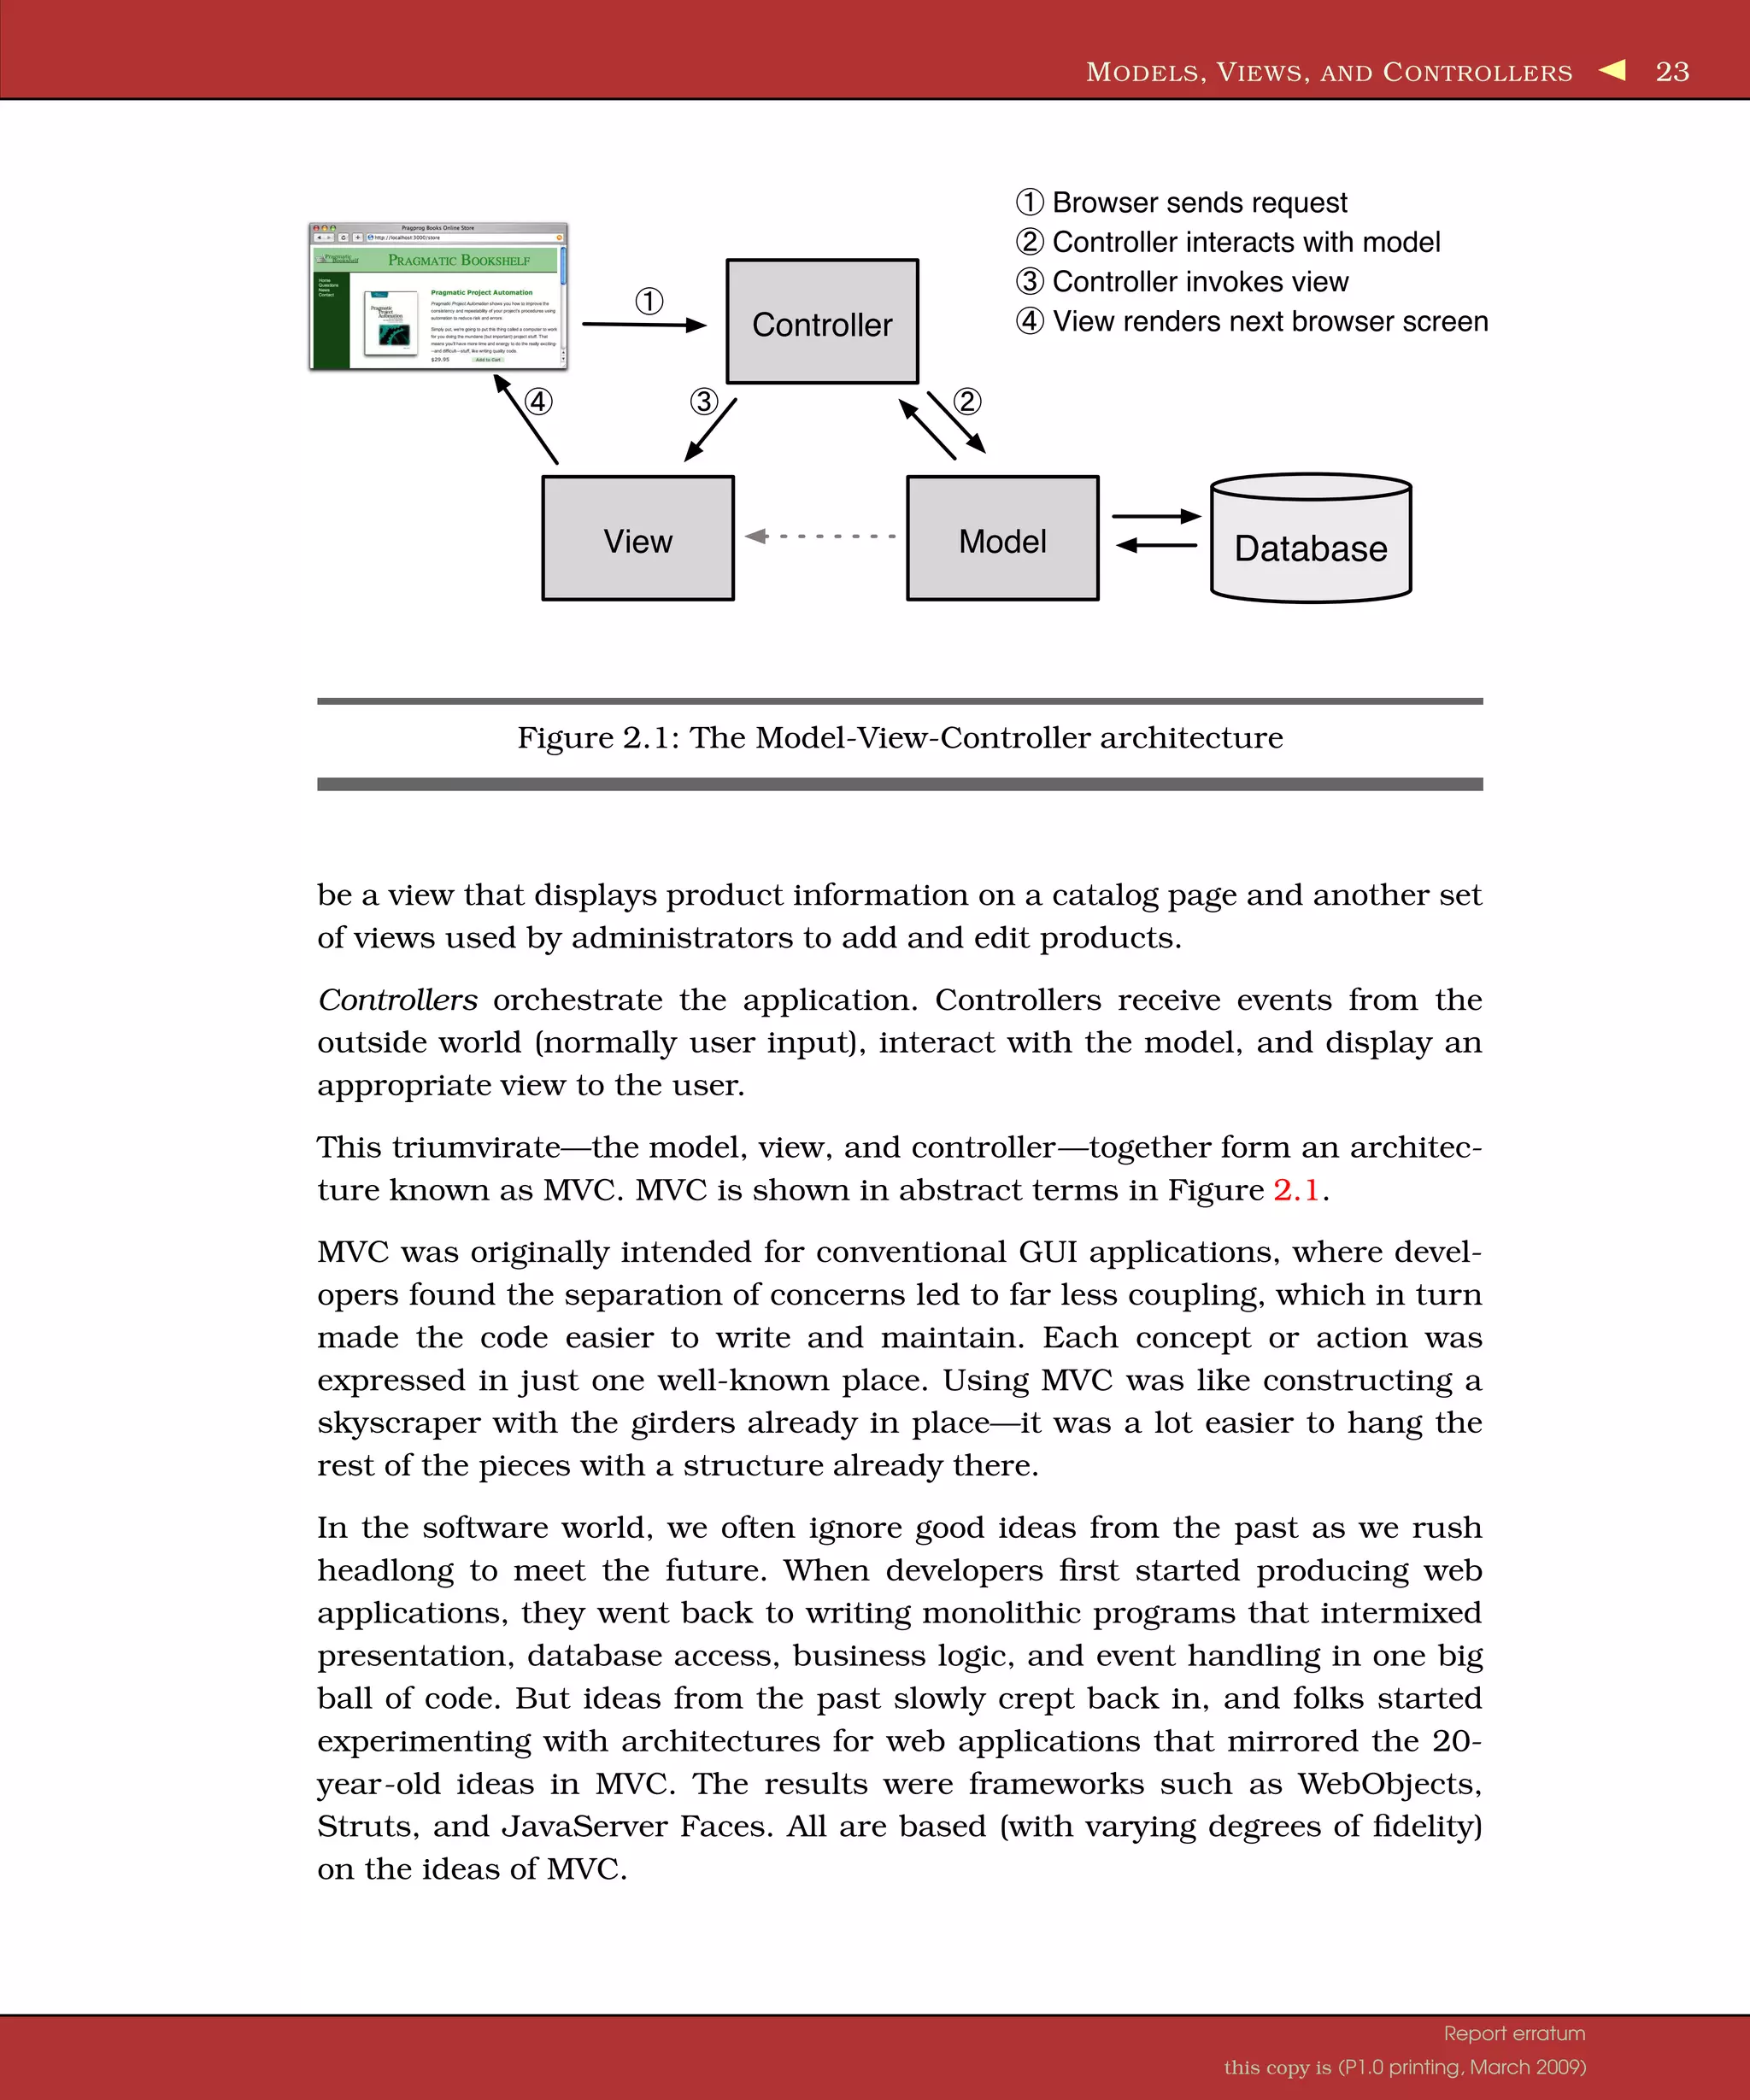
![I TERATION D1: M OVING THE C AR T 128 <a href="http://www....">Home</a><br /> <a href="http://www..../faq">Questions</a><br /> <a href="http://www..../news">News</a><br /> <a href="http://www..../contact">Contact</a><br /> </div> <div id="main"> <% if flash[:notice] -%> <div id="notice"><%= flash[:notice] %></div> <% end -%> <%= yield :layout %> </div> </div> </body> </html> Now we have to make a small change to the store controller. We’re invoking the layout while looking at the store’s index action, and that action doesn’t currently set @cart. That’s easy enough to remedy: Download depot_j/app/controllers/store_controller.rb def index @products = Product.find_products_for_sale @cart = find_cart end Now we add a bit of CSS: Download depot_j/public/stylesheets/depot.css /* Styles for the cart in the sidebar */ #ca rt, #ca rt table { font-size: smaller; color: white; } #ca rt table { border-top: 1px dotted #595 ; border-bottom: 1px dotted #595 ; margin-bottom: 10px; } If you display the catalog after adding something to your cart, you should see something like Figure 9.1, on the next page. Let’s just wait for the Webby Award nomination. Changing the Flow Now that we’re displaying the cart in the sidebar, we can change the way that the Add to Cart button works. Rather than displaying a separate cart page, all it has to do is refresh the main index page. Report erratum this copy is (P1.0 printing, March 2009)](https://image.slidesharecdn.com/pragmatic-agilewebdevelopmentwithrails-3rdedition-2009-091104222637-phpapp01/75/Pragmatic-Agile-Web-Development-With-Rails-3rd-Edition-2009-128-2048.jpg)
![I TERATION D1: M OVING THE C AR T 129 Figure 9.1: The cart is in the sidebar. The change is pretty simple: at the end of the add_to_cart action, we simply redirect the browser back to the index: Download depot_k/app/controllers/store_controller.rb def add_to_cart product = Product.find(params[:id]) @cart = find_cart @cart.add_product(product) redirect_to_index rescue ActiveRecord::RecordNotFound logger.error("Attempt to access invalid product #{params[:id]}" ) redirect_to_index("Invalid product" ) end For this to work, we need to change the definition of redirect_to_index to make the message parameter optional: Download depot_k/app/controllers/store_controller.rb def redirect_to_index(msg = nil) flash[:notice] = msg if msg redirect_to :action => 'index' end We should now get rid of the add_to_cart.html.erb template—it’s no longer needed. (What’s more, leaving it lying around might confuse us later in this chapter.) Report erratum this copy is (P1.0 printing, March 2009)](https://image.slidesharecdn.com/pragmatic-agilewebdevelopmentwithrails-3rdedition-2009-091104222637-phpapp01/75/Pragmatic-Agile-Web-Development-With-Rails-3rd-Edition-2009-129-2048.jpg)
![I TERATION D2: C REATING AN A JAX -B ASED C AR T 131 You tell form_remote_tag how to invoke your server application using the :url parameter. This takes a hash of values that are the same as the trailing param- eters we passed to button_to. The code inside the Ruby block (between the do and end keywords) is the body of the form. In this case, we have a simple submit button. From the user’s perspective, this page looks identical to the previous one. While we’re dealing with the views, we also need to arrange for our application to send the JavaScript libraries used by Rails to the user’s browser. We’ll talk more about this in Chapter 24, The Web, v2.0, on page 563, but for now let’s just add a call to javascript_include_tag to the <head> section of the store layout: Download depot_l/app/views/layouts/store.html.erb <html> <head> <title>Pragprog Books Online Store</title> <%= stylesheet_link_tag "depot" , :media => "all" %> <%= javascript_include_tag :defaults %> </head> So far, we’ve arranged for the browser to send an Ajax request to our applica- tion. The next step is to have the application return a response. The plan is to create the updated HTML fragment that represents the cart and to have the browser stick that HTML into the DOM1 as a replacement for the cart that’s already there. The first change is to stop the add_to_cart action redirecting to the index display. (We know, we just added that only a few pages back. Now we’re taking it out again. We’re agile, right?) What we are going to replace it with is a call to respond_to telling it that we want to respond with a format of .js.2 Download depot_l/app/controllers/store_controller.rb def add_to_cart product = Product.find(params[:id]) @cart = find_cart @cart.add_product(product) respond_to do |format| format.js end rescue ActiveRecord::RecordNotFound logger.error("Attempt to access invalid product #{params[:id]}" ) redirect_to_index("Invalid product" ) end 1. The Document Object Model. This is the browser’s internal representation of the structure and content of the document being displayed. By manipulating the DOM, we cause the display to change in front of the user’s eyes. 2. This syntax may seem surprising at first, but it is simply a method call that is passing a block as an argument. Blocks are described in Section A.9, Blocks and Iterators, on page 675. We will cover the respond_to method in greater detail in Section 12.1, Responding Appropriately, on page 185. Report erratum this copy is (P1.0 printing, March 2009)](https://image.slidesharecdn.com/pragmatic-agilewebdevelopmentwithrails-3rdedition-2009-091104222637-phpapp01/75/Pragmatic-Agile-Web-Development-With-Rails-3rd-Edition-2009-131-2048.jpg)
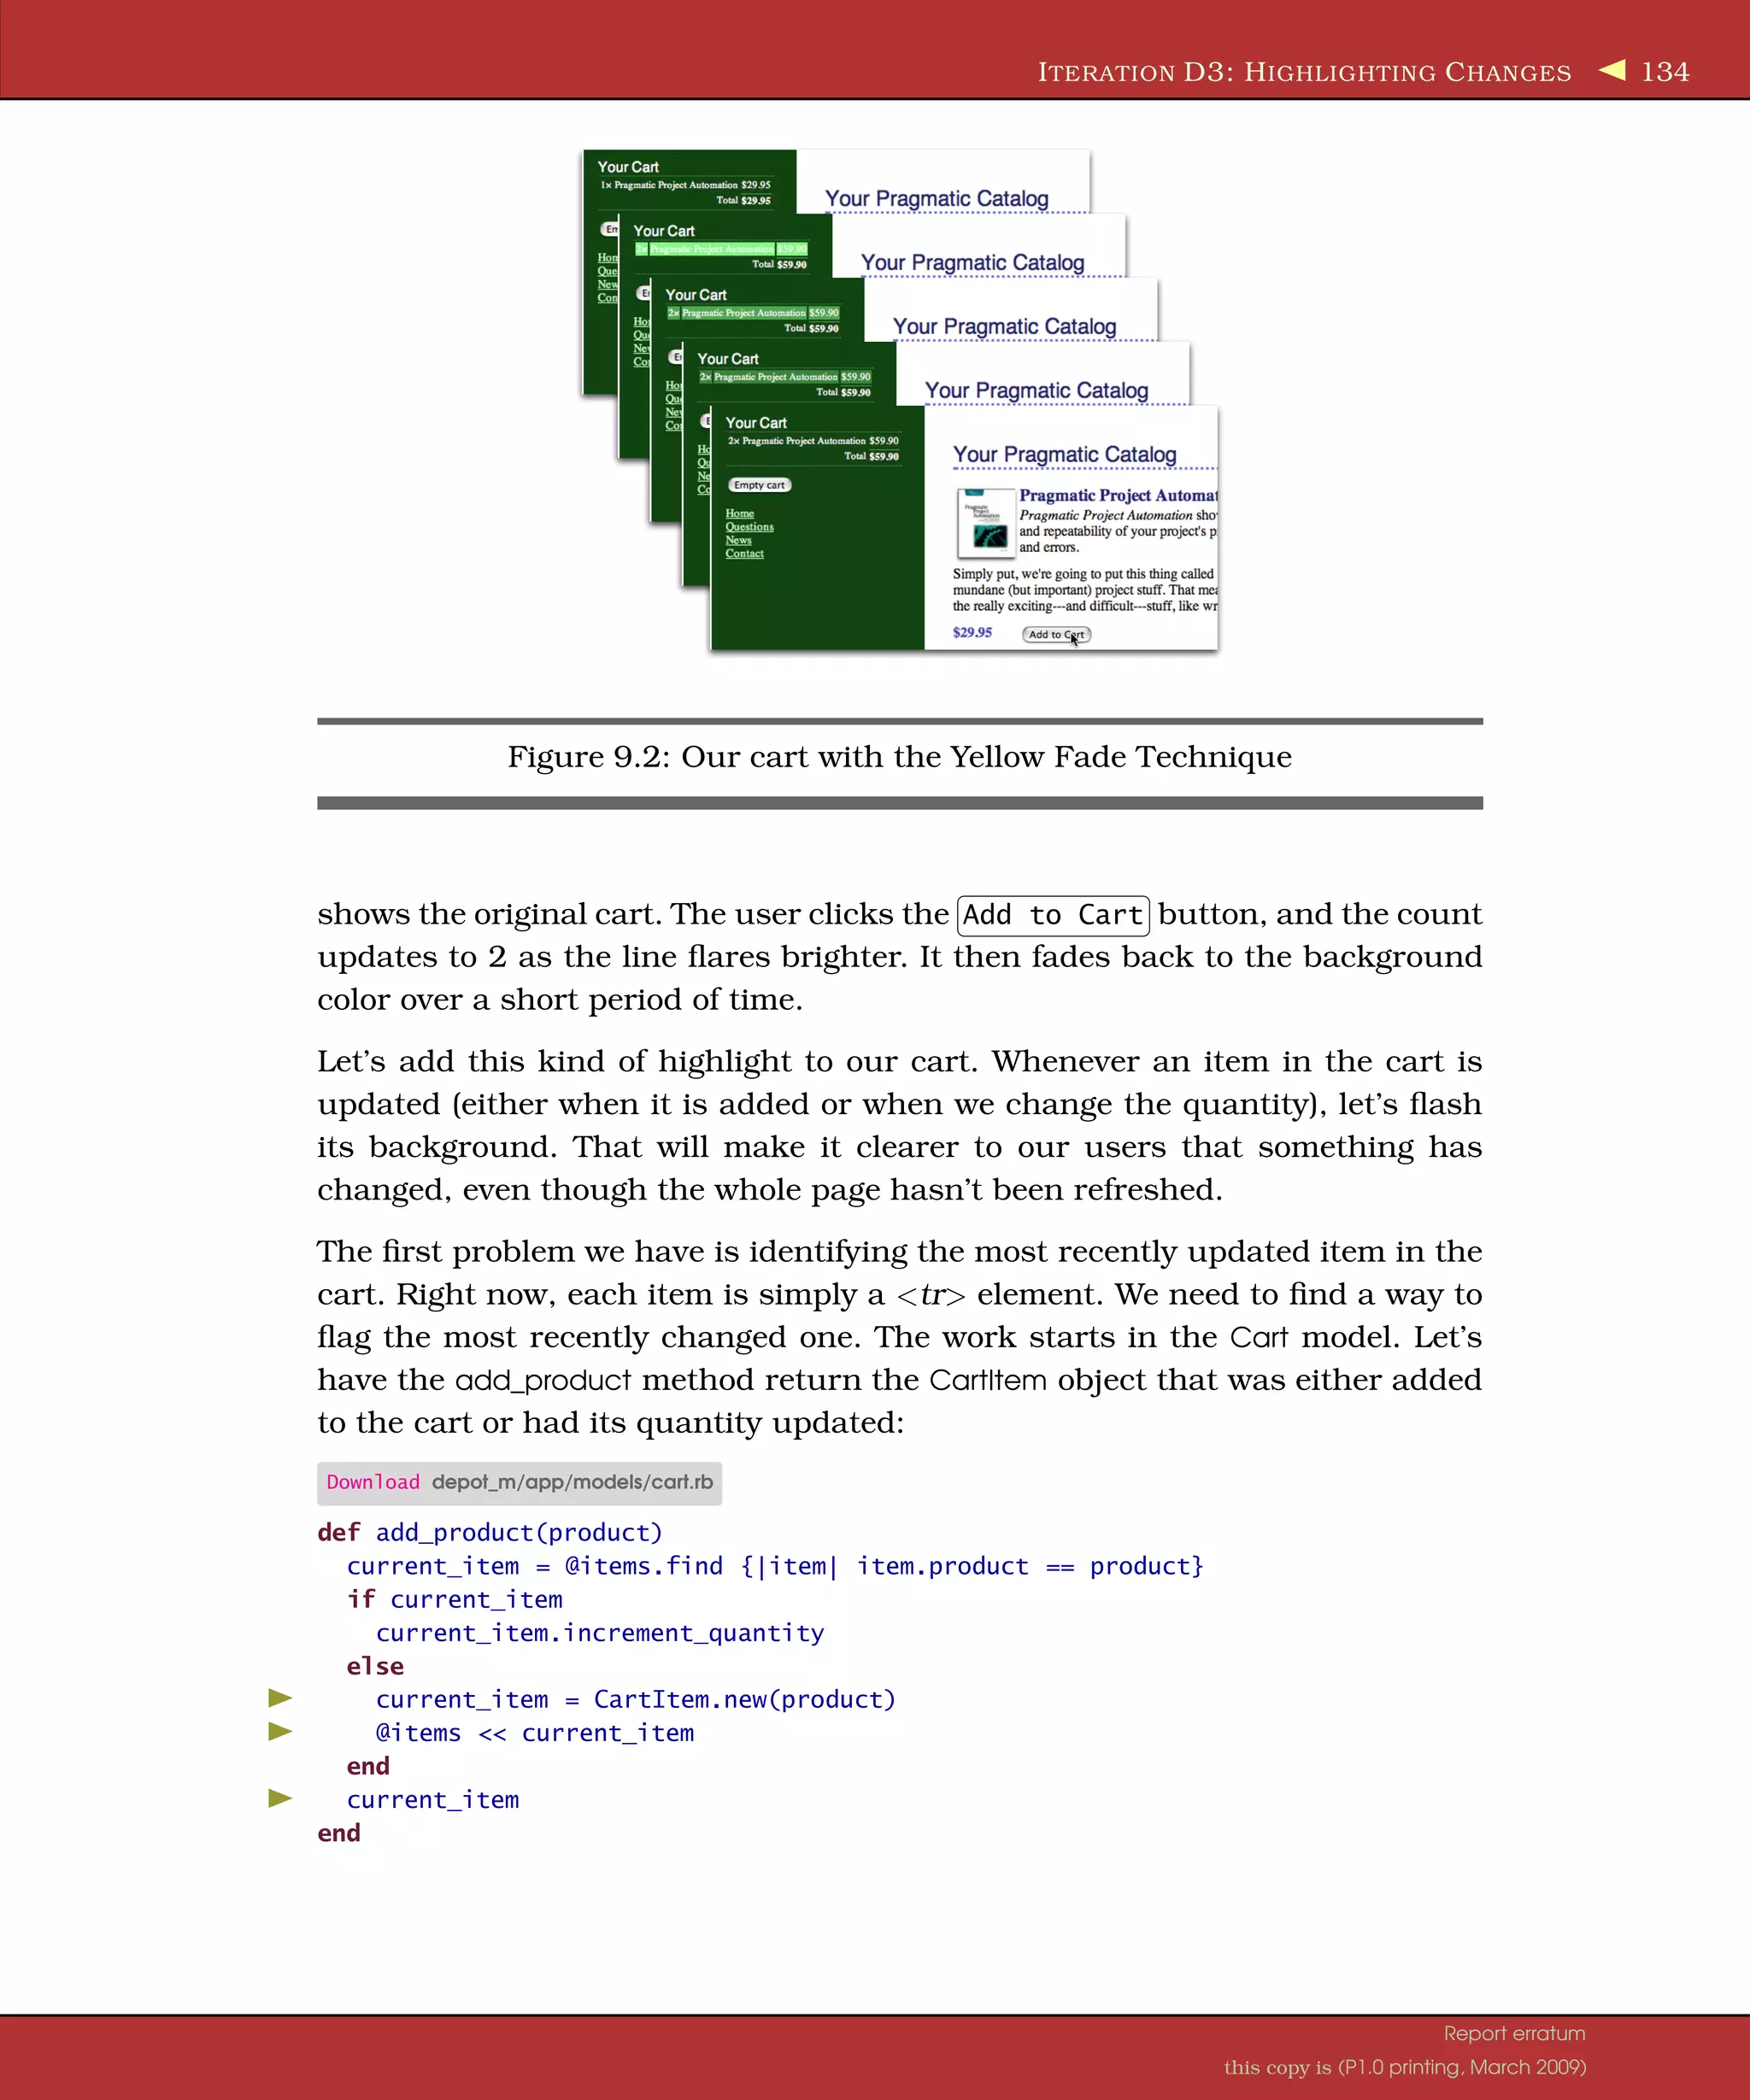
![I TERATION D3: H IGHLIGHTING C HANGES 135 Over in store_controller.rb, we’ll take that information and pass it down to the template by assigning it to an instance variable: Download depot_m/app/controllers/store_controller.rb def add_to_cart product = Product.find(params[:id]) @cart = find_cart @current_item = @cart.add_product(product) respond_to do |format| format.js end rescue ActiveRecord::RecordNotFound logger.error("Attempt to access invalid product #{params[:id]}" ) redirect_to_index("Invalid product" ) end In the _cart_item.html.erb partial, we then check to see whether the item we’re rendering is the one that just changed. If so, we tag it with an id of current_item: Download depot_m/app/views/store/_cart_item.html.erb <% if cart_item == @current_item %> <tr id="current_item"> <% else %> <tr> <% end %> <td><%= cart_item.quantity %>×</td> <td><%=h cart_item.title %></td> <td class="item-price"><%= number_to_currency(cart_item.price) %></td> </tr> As a result of these three minor changes, the <tr> element of the most recently changed item in the cart will be tagged with id="current_item". Now we just need to tell the JavaScript to invoke the highlight effect on that item. We do this in the existing add_to_cart.js.rjs template, adding a call to the visual_effect method: Download depot_m/app/views/store/add_to_cart.js.rjs page.replace_html("cart" , :partial => "cart" , :object => @cart) page[:current_item].visual_effect :highlight, :startcolor => "#88ff88" , :endcolor => "#114411" See how we identified the browser element that we wanted to apply the effect to by passing :current_item to the page? We then asked for the highlight visual effect and overrode the default yellow/white transition with colors that work better with our design. Click to add an item to the cart, and you’ll see the changed item in the cart glow a light green before fading back to merge with the background. Report erratum this copy is (P1.0 printing, March 2009)](https://image.slidesharecdn.com/pragmatic-agilewebdevelopmentwithrails-3rdedition-2009-091104222637-phpapp01/75/Pragmatic-Agile-Web-Development-With-Rails-3rd-Edition-2009-135-2048.jpg)
![I TERATION D4: H IDING AN E MPTY C AR T 136 9.4 Iteration D4: Hiding an Empty Cart There’s one last request from the customer. Right now, even carts with nothing in them are still displayed in the sidebar. Can we arrange for the cart to appear only when it has some content? But of course! In fact, we have a number of options. The simplest is probably to include the HTML for the cart only if the cart has something in it. We could do this totally within the _cart partial: <% unless cart.items.empty? %> <div class="cart-title" >Your Cart</div> <table> <%= render(:partial => "cart_item" , :collection => cart.items) %> <tr class="total-line" > <td colspan="2" >Total</td> <td class="total-cell" ><%= number_to_currency(cart.total_price) %></td> </tr> </table> <%= button_to "Empty cart" , :action => :empty_cart %> <% end %> Although this works, the user interface is somewhat brutal: the whole side- bar redraws on the transition between a cart that’s empty and a cart with something in it. So, let’s not use this code. Instead, let’s smooth it out a little. The Script.aculo.us effects library contains a number of nice transitions that make elements appear. Let’s use blind_down, which will smoothly reveal the cart, sliding the rest of the sidebar down to make room. Not surprisingly, we’ll use our existing .js.rjs template to call the effect. Because the add_to_cart template is invoked only when we add something to the cart, we know that we have to reveal the cart in the sidebar whenever there is exactly one item in the cart (because that means previously the cart was empty and hence hidden). And, because the cart should be visible before we start the highlight effect, we’ll add the code to reveal the cart before the code that triggers the highlight. The template now looks like this: Download depot_n/app/views/store/add_to_cart.js.rjs page.replace_html("cart" , :partial => "cart" , :object => @cart) page[:cart].visual_effect :blind_down if @cart.total_items == 1 page[:current_item].visual_effect :highlight, :startcolor => "#88ff88" , :endcolor => "#114411" Report erratum this copy is (P1.0 printing, March 2009)](https://image.slidesharecdn.com/pragmatic-agilewebdevelopmentwithrails-3rdedition-2009-091104222637-phpapp01/75/Pragmatic-Agile-Web-Development-With-Rails-3rd-Edition-2009-136-2048.jpg)
![I TERATION D4: H IDING AN E MPTY C AR T 138 The Rails generators automatically created a helper file for each of our con- trollers (products and store). The Rails command itself (the one that created the application initially) created the file application_helper.rb. If you like, you can organize your methods into controller-specific helpers, but in reality all helpers are available to all views. For now, we need it just in the store view, so let’s start by putting it there. Let’s take a look at the file store_helper.rb in the helpers directory: module StoreHelper end Let’s write a helper method called hidden_div_if. It takes a condition, an optional set of attributes, and a block. It wraps the output generated by the block in a <div> tag, adding the display: none style if the condition is true. We’d use it in the store layout like this: Download depot_n/app/views/layouts/store.html.erb <% hidden_div_if(@cart.items.empty?, :id => "cart" ) do %> <%= render(:partial => "cart" , :object => @cart) %> <% end %> We’ll write our helper so that it is local to the store controller by adding it to store_helper.rb in the app/helpers directory: Download depot_n/app/helpers/store_helper.rb module StoreHelper def hidden_div_if(condition, attributes = {}, &block) if condition attributes["style" ] = "display: none" end content_tag("div" , attributes, &block) end end This code uses the Rails standard helper, content_tag, which can be used to wrap the output created by a block in a tag. By using the &block notation, we get Ruby to pass the block that was given to hidden_div_if down to content_tag. And, finally, we need to stop setting the message in the flash that we used to display when the user empties a cart. It really isn’t needed anymore, because the cart clearly disappears from the sidebar when the catalog index page is redrawn. But there’s another reason to remove it, too. Now that we’re using Ajax to add products to the cart, the main page doesn’t get redrawn between requests as people shop. That means we’ll continue to display the flash mes- sage saying the cart is empty even as we display a cart in the sidebar. Report erratum this copy is (P1.0 printing, March 2009)](https://image.slidesharecdn.com/pragmatic-agilewebdevelopmentwithrails-3rdedition-2009-091104222637-phpapp01/75/Pragmatic-Agile-Web-Development-With-Rails-3rd-Edition-2009-138-2048.jpg)
![I TERATION D5: D EGRADING I F J AVASCRIPT I S D ISABLED 139 Download depot_n/app/controllers/store_controller.rb def empty_cart session[:cart] = nil redirect_to_index end Although this might seem like a lot of steps, it really isn’t. All we did to make the cart hide and reveal itself was to make the CSS display style conditional on the number of items in the cart and to use the RJS template to invoke the blind_down effect when the cart went from being empty to having one item. Everyone is excited to see our fancy new interface. In fact, because our com- puter is on the office network, our colleagues point their browsers at our test application and try it for themselves. Lots of low whistles follow as folks mar- vel at the way the cart appears and then updates. Everyone loves it. Everyone, that is, except Bruce. Bruce doesn’t trust JavaScript running in his browser and has it turned off. And, with JavaScript disabled, all our fancy Ajax stops working. When Bruce adds something to his cart, he sees something strange: $("cart" ).update("<h1>Your Cart</h1>nn<ul>n n <li id="current_item">nn 3 × Pragmatic Project Automationn</li>n</ul>n n<form method="post" action="/store/empty_cart" class="button-to... Clearly this won’t do. We need to have our application work if our users have disabled JavaScript in their browsers. That’ll be our next iteration. 9.5 Iteration D5: Degrading If Javascript Is Disabled Remember, back on page 128, that we arranged for the cart to appear in the sidebar? We did this before we added a line of Ajax code to the application. If we could fall back to this behavior when JavaScript is disabled in the browser, then the application would work for Bruce in addition to our other co-workers. This basically means that if the incoming request to add_to_cart doesn’t come from JavaScript, we want to do what the original application did and redirect to the index page. When the index displays, the updated cart will appear in the sidebar. If a user clicks the button inside a form_remote_tag, one of two things happens. If JavaScript is disabled, the target action in the application is invoked using a regular HTTP POST request—it acts just like a regular HTML form. If, however, JavaScript is enabled, it overrides this conventional POST and instead uses a JavaScript object to establish a back channel with the server. This object is an instance of class XmlHTTPRequest. Because that’s a mouthful, most folks (and Rails) abbreviate it to xhr. Report erratum this copy is (P1.0 printing, March 2009)](https://image.slidesharecdn.com/pragmatic-agilewebdevelopmentwithrails-3rdedition-2009-091104222637-phpapp01/75/Pragmatic-Agile-Web-Development-With-Rails-3rd-Edition-2009-139-2048.jpg)
![W HAT W E J UST D ID 140 So, on the server, we can tell that we’re talking to a JavaScript-enabled browser by testing to see whether the incoming request was generated by an xhr object. And the Rails request object, available inside controllers and views, makes it easy to test for this condition. It provides an xhr? method. As a result, making our application work regardless of whether JavaScript is enabled requires only two lines of code in the add_to_cart action: Download depot_o/app/controllers/store_controller.rb def add_to_cart product = Product.find(params[:id]) @cart = find_cart @current_item = @cart.add_product(product) respond_to do |format| format.js if request.xhr? format.html {redirect_to_index} end rescue ActiveRecord::RecordNotFound logger.error("Attempt to access invalid product #{params[:id]}" ) redirect_to_index("Invalid product" ) end 9.6 What We Just Did In this iteration we added Ajax support to our cart: • We moved the shopping cart into the sidebar. We then arranged for the add_to_cart action to redisplay the catalog page. • We used form_remote_tag to invoke the add_to_cart action using Ajax. • We then used an RJS template to update the page with just the cart’s HTML. • To help the user see changes to the cart, we added a highlight effect, again using the RJS template. • We wrote a helper method that hides the cart when it is empty and used the RJS template to reveal it when an item is added. • Finally, we made our application work when the user’s browser has JavaScript disabled by reverting to the behavior we implemented before starting on the Ajax journey. The key point to take away is the incremental style of Ajax development. Start with a conventional application, and then add Ajax features, one by one. Ajax can be hard to debug: by adding it slowly to an application, you make it easier to track down what changed if your application stops working. And, as we saw, starting with a conventional application makes it easier to support both Ajax and non-Ajax behavior in the same codebase. Report erratum this copy is (P1.0 printing, March 2009)](https://image.slidesharecdn.com/pragmatic-agilewebdevelopmentwithrails-3rdedition-2009-091104222637-phpapp01/75/Pragmatic-Agile-Web-Development-With-Rails-3rd-Edition-2009-140-2048.jpg)
![W HAT W E J UST D ID 141 Finally, we’ll give you a couple of hints. First, if you plan to do a lot of Ajax development, you’ll probably need to get familiar with your browser’s Java- Script debugging facilities and with its DOM inspectors. Chapter 8 of Pragmatic Ajax: A Web 2.0 Primer [GGA06] has a lot of useful tips. And, second, the NoScript plug-in for Firefox makes checking JavaScript/no JavaScript a one- click breeze. Others find it useful to run two different browsers when they are developing—have JavaScript enabled in one, disabled in the other. Then, as new features are added, poking at it with both browsers will make sure your application works regardless of the state of JavaScript. Playtime Here’s some stuff to try on your own: • In Section 7.4, Playtime, on page 103, one of the activities was to make clicking the image add the item to the cart. Change this to use form_ remote_tag and image_submit_tag. • The cart is currently hidden when the user empties it by redrawing the entire catalog. Can you change the application to use the Script.aculo.us blind_up effect instead? • Does the change you made work if the browser has JavaScript disabled? • Experiment with other visual effects for new cart items. For example, can you set their initial state to hidden and then have them grow into place? Does this make it problematic to share the cart item partial between the Ajax code and the initial page display? • Add a link next to each item in the cart. When clicked, it should invoke an action to decrement the quantity of the item, deleting it from the cart when the quantity reaches zero. Get it working without using Ajax first, and then add the Ajax goodness. (You’ll find hints at http://pragprog.wikidot.com/rails-play-time.) Report erratum this copy is (P1.0 printing, March 2009)](https://image.slidesharecdn.com/pragmatic-agilewebdevelopmentwithrails-3rdedition-2009-091104222637-phpapp01/75/Pragmatic-Agile-Web-Development-With-Rails-3rd-Edition-2009-141-2048.jpg)

![I TERATION E1: C APTURING AN O RDER 149 <div> <%= form.label :email, "E-Mail:" %> <%= form.text_field :email, :size => 40 %> </div> <div> <%= form.label :pay_type, "Pay with:" %> <%= form.select :pay_type, Order::PAYMENT_TYPES, :prompt => "Select a payment method" %> </div> <%= submit_tag "Place Order" , :class => "submit" %> </fieldset> <% end %> </div> The only tricky thing in there is the code associated with the selection list. We’ve assumed that the list of available payment options is an attribute of the Order model—it will be an array of arrays in the model file. The first element of each subarray is the string to be displayed as the option in the selection, and the second value gets submitted in the request and ultimately is what is stored in the database.3 We’d better define the option array in the model order.rb before we forget: Download depot_p/app/models/order.rb class Order < ActiveRecord::Base PAYMENT_TYPES = [ # Displayed stored in db [ "Check" , "check" ], [ "Credit card" , "cc" ], [ "Purchase order" , "po" ] ] # ... In the template, we pass this array of payment type options to the select helper. We also pass the :prompt parameter, which adds a dummy selection containing the prompt text. 3. If we anticipate that other non-Rails applications will update the orders table, we might want to move the list of payment types into a separate lookup table and make the payment type column a foreign key referencing that new table. Rails provides good support for generating selection lists in this context too. You simply pass the select helper the result of doing a find(:all) on your lookup table. Report erratum this copy is (P1.0 printing, March 2009)](https://image.slidesharecdn.com/pragmatic-agilewebdevelopmentwithrails-3rdedition-2009-091104222637-phpapp01/75/Pragmatic-Agile-Web-Development-With-Rails-3rd-Edition-2009-149-2048.jpg)
![I TERATION E1: C APTURING AN O RDER 151 Figure 10.2: Our checkout screen We also validate that the payment type is one of the accepted values.4,5 Download depot_p/app/models/order.rb class Order < ActiveRecord::Base PAYMENT_TYPES = [ # Displayed stored in db [ "Check" , "check" ], [ "Credit card" , "cc" ], [ "Purchase order" , "po" ] ] validates_presence_of :name, :address, :email, :pay_type validates_inclusion_of :pay_type, :in => PAYMENT_TYPES.map {|disp, value| value} # ... Note that we already call the error_messages_for helper at the top of the page. 4. To get the list of valid payment types, we take our array of arrays and use the Ruby map method to extract just the values. 5. Some folks might be wondering why we bother to validate the payment type, given that its value comes from a drop-down list that contains only valid values. We do it because an application can’t assume that it’s being fed values from the forms it creates. Nothing is stopping a malicious user from submitting form data directly to the application, bypassing our form. If the user set an unknown payment type, they might conceivably get our products for free. Report erratum this copy is (P1.0 printing, March 2009)](https://image.slidesharecdn.com/pragmatic-agilewebdevelopmentwithrails-3rdedition-2009-091104222637-phpapp01/75/Pragmatic-Agile-Web-Development-With-Rails-3rd-Edition-2009-151-2048.jpg)
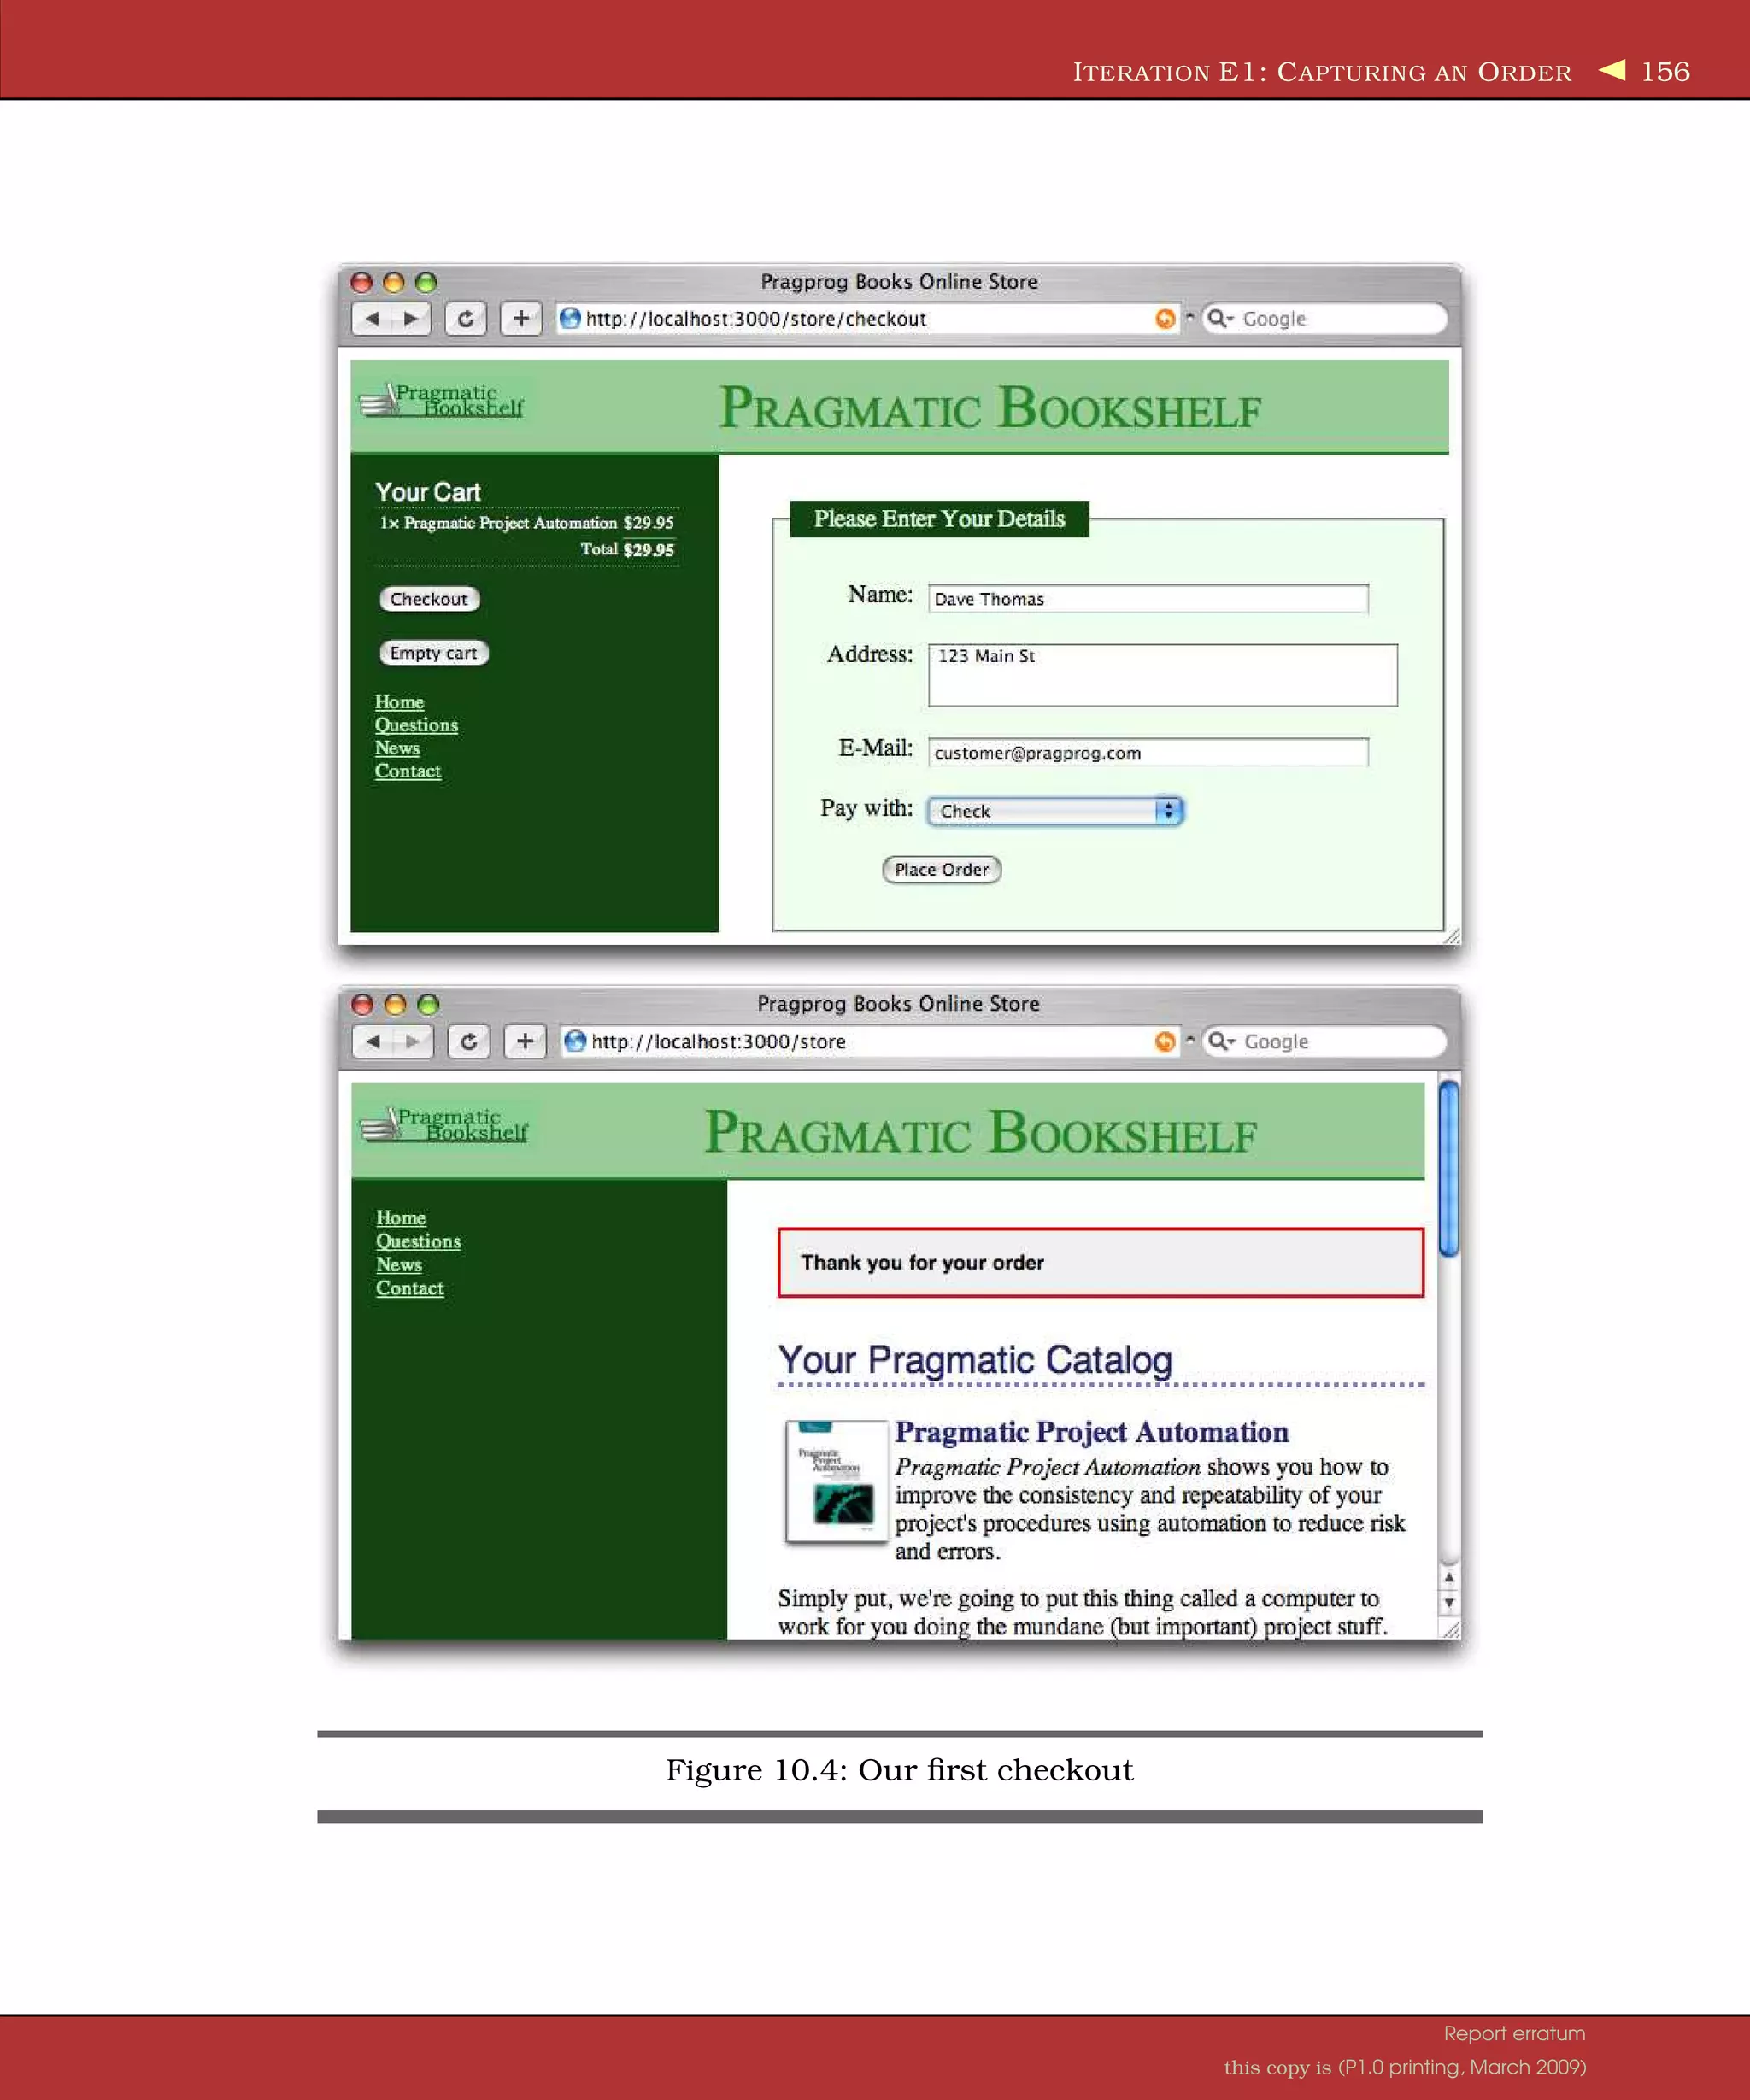
![I TERATION E1: C APTURING AN O RDER 152 This will report validation failures (but only after we’ve written one more chunk of code). Capturing the Order Details Let’s implement the save_order action in the controller. This method has to do the following: 1. Capture the values from the form to populate a new Order model object. 2. Add the line items from our cart to that order. 3. Validate and save the order. If this fails, display the appropriate mes- sages, and let the user correct any problems. 4. Once the order is successfully saved, redisplay the catalog page, includ- ing a message confirming that the order has been placed. The method ends up looking something like this: Download depot_p/app/controllers/store_controller.rb Line 1 def save_order - @cart = find_cart - @order = Order.new(params[:order]) - @order.add_line_items_from_cart(@cart) 5 if @order.save - session[:cart] = nil - redirect_to_index("Thank you for your order" ) - else - render :action => 'checkout' 10 end - end On line 3, we create a new Order object and initialize it from the form data. In this case, we want all the form data related to order objects, so we select the :order hash from the parameters (this is the name we passed as the first parameter to form_for). The next line adds into this order the items that are already stored in the cart—we’ll write the actual method to do this in a minute. Next, on line 5, we tell the order object to save itself (and its children, the line items) to the database. Along the way, the order object will perform validation (but we’ll get to that in a minute). If the save succeeds, we do two things. First, we ready ourselves for this customer’s next order by deleting the cart from the session. Then, we redisplay the catalog using our redirect_to_index method to display a cheerful message. If, instead, the save fails, we redisplay the checkout form. Report erratum this copy is (P1.0 printing, March 2009)](https://image.slidesharecdn.com/pragmatic-agilewebdevelopmentwithrails-3rdedition-2009-091104222637-phpapp01/75/Pragmatic-Agile-Web-Development-With-Rails-3rd-Edition-2009-152-2048.jpg)
![I TERATION E1: C APTURING AN O RDER 155 Figure 10.3: Full house! Every field fails validation. One Last Ajax Change After we accept an order, we redirect to the index page, displaying the cheery flash message “Thank you for your order.” If the user continues to shop and they have JavaScript enabled in their browser, we’ll fill the cart in their side- bar without redrawing the main page. This means that the flash message will continue to be displayed. We’d rather it went away after we add the first item to the cart (as it does when JavaScript is disabled in the browser). Fortunately, the fix is simple: we just hide the <div> that contains the flash message when we add something to the cart. Except, nothing is really ever that simple. A first attempt to hide the flash might involve adding the following line to add_to_cart.js.rjs: page[:notice].hide # rest as before... However, this doesn’t work. If we come to the store for the first time, there’s nothing in the flash, so the <div> with an id of notice is not displayed. And, if there’s no <div> with the id of notice, the JavaScript generated by the RJS Report erratum this copy is (P1.0 printing, March 2009)](https://image.slidesharecdn.com/pragmatic-agilewebdevelopmentwithrails-3rdedition-2009-091104222637-phpapp01/75/Pragmatic-Agile-Web-Development-With-Rails-3rd-Edition-2009-155-2048.jpg)
![I TERATION E1: C APTURING AN O RDER 157 template that tries to hide it bombs out, and the rest of the template never gets run. As a result, you never see the cart update in the sidebar. The solution is a little hack. We want to run the .hide only if the notice <div> is present, but RJS doesn’t give us the ability to generate JavaScript that tests for <div>s. It does, however, let us iterate over elements on the page that match a certain CSS selector pattern. So let’s iterate over all <div> tags with an id of notice. The loop will find either one, which we can hide, or none, in which case the hide won’t get called. Download depot_p/app/views/store/add_to_cart.js.rjs page.select("div#notice" ).each { |div| div.hide } page.replace_html("cart" , :partial => "cart" , :object => @cart) page[:cart].visual_effect :blind_down if @cart.total_items == 1 page[:current_item].visual_effect :highlight, :startcolor => "#88ff88" , :endcolor => "#114411" The customer likes it. We’ve implemented product maintenance, a basic cata- log, and a shopping cart, and now we have a simple ordering system. Obviously we’ll also have to write some kind of fulfillment application, but that can wait for a new iteration. (And that iteration is one that we’ll skip in this book; it doesn’t have much new to say about Rails.) What We Just Did In a fairly short amount of time, we did the following: • We added orders and line_items tables (with the corresponding models) and linked them together. • We created a form to capture details for the order and linked it to the order model. • We added validation and used helper methods to display errors to the user. Playtime Here’s some stuff to try on your own: • Trace the flow through the methods save_order, add_line_items_from_cart, and from_cart_item. Do the controller, order model, and line item model seem suitably decoupled from each other? (One way to tell is to look at potential changes—if you change something, such as by adding a new Report erratum this copy is (P1.0 printing, March 2009)](https://image.slidesharecdn.com/pragmatic-agilewebdevelopmentwithrails-3rdedition-2009-091104222637-phpapp01/75/Pragmatic-Agile-Web-Development-With-Rails-3rd-Edition-2009-157-2048.jpg)
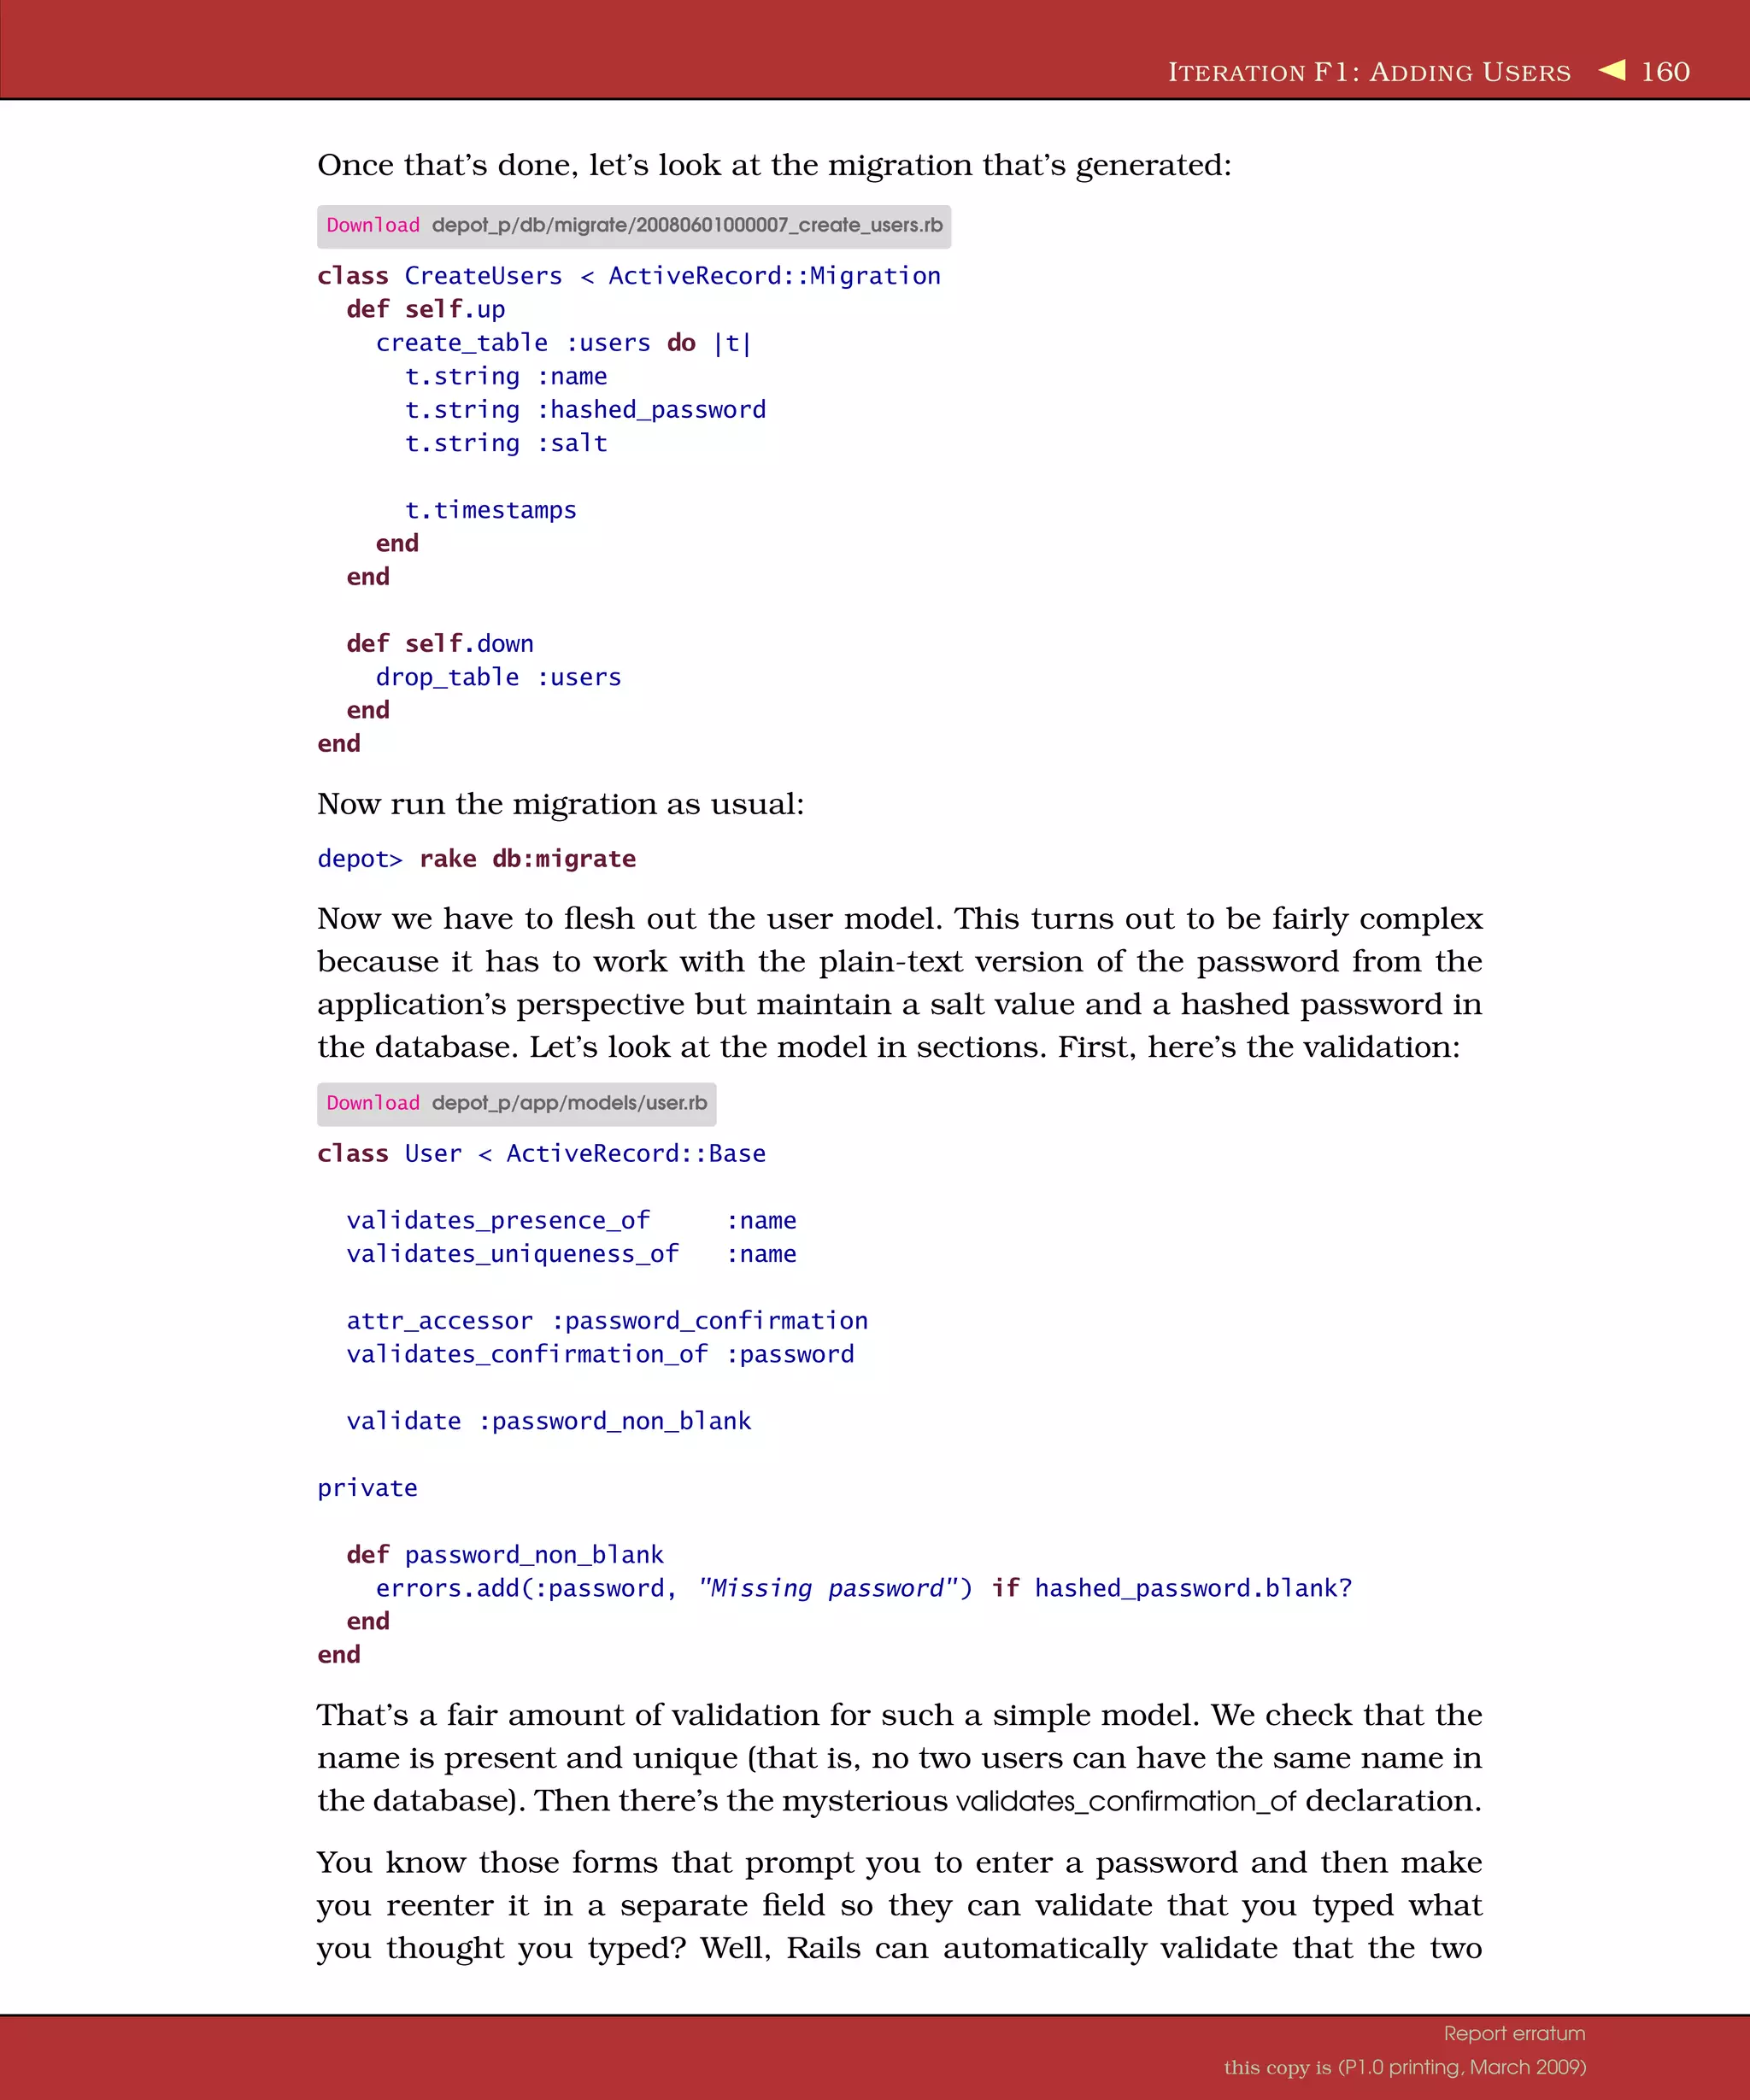
![In this chapter, we’ll see • adding virtual attributes to models, • using more validations, • coding forms without underlying models, • implementing one-action form handling, • adding authentication to a session, • using script/console, • using database transactions, and • writing an Active Record hook. Chapter 11 Task F: Administration We have a happy customer—in a very short time we’ve jointly put together a basic shopping cart that she can start showing to her users. There’s just one more change that she’d like to see. Right now, anyone can access the adminis- trative functions. She’d like us to add a basic user administration system that would force you to log in to get into the administration parts of the site. We’re happy to do that, because it gives us a chance to look at virtual attributes and filters, and it lets us tidy up the application somewhat. Chatting with our customer, it seems as if we don’t need a particularly sophis- ticated security system for our application. We just need to recognize a number of people based on usernames and passwords. Once recognized, these folks can use all of the administration functions. 11.1 Iteration F1: Adding Users Let’s start by creating a model and database table to hold our administrators’ usernames and passwords. Rather than store passwords in plain text, we’ll feed them through an SHA1 digest, resulting in a 160-bit hash. We check a user’s password by digesting the value they give us and comparing that hashed value with the one in the database. This system is made even more secure by salting the password, which varies the seed used when creating the hash by combining the password with a pseudorandom string.1 depot> ruby script/generate scaffold user name:string hashed_password:string salt:string Since this modified config/routes.rb, which is cached for performance reasons, you will need to restart your server. 1. For other recipes on how to do this, see the Authentication and Role-Based Authentication sec- tions in Chad Fowler’s Rails Recipes [Fow06].](https://image.slidesharecdn.com/pragmatic-agilewebdevelopmentwithrails-3rdedition-2009-091104222637-phpapp01/75/Pragmatic-Agile-Web-Development-With-Rails-3rd-Edition-2009-159-2048.jpg)


![I TERATION F1: A DDING U SERS 164 def create_new_salt self.salt = self.object_id.to_s + rand.to_s end def self.encrypted_password(password, salt) string_to_hash = password + "wibble" + salt Digest::SHA1.hexdigest(string_to_hash) end end Administering Our Users In addition to the model and table we set up, we already have some scaffold- ing generated to administer the model. However, this scaffolding needs some tweaks (mostly pruning) to be usable. Let’s start with the controller. It defines the standard methods: index, show, new, edit, update and delete. But in the case of users, there isn’t really much to show, except a name and an unintelligible password hash. So, let’s avoid the redirect to showing the user after either a create operation or an update operation. Instead, let’s redirect to the index and add the username to the flash notice. While we are here, let’s also order the users returned in the index by name: Download depot_p/app/controllers/users_controller.rb class UsersController < ApplicationController # GET /users # GET /users.xml def index @users = User.find(:all, :order => :name) respond_to do |format| format.html # index.html.erb format.xml { render :xml => @users } end end # GET /users/1 # GET /users/1.xml def show @user = User.find(params[:id]) respond_to do |format| format.html # show.html.erb format.xml { render :xml => @user } end end # GET /users/new # GET /users/new.xml def new @user = User.new Report erratum this copy is (P1.0 printing, March 2009)](https://image.slidesharecdn.com/pragmatic-agilewebdevelopmentwithrails-3rdedition-2009-091104222637-phpapp01/75/Pragmatic-Agile-Web-Development-With-Rails-3rd-Edition-2009-164-2048.jpg)
![I TERATION F1: A DDING U SERS 165 respond_to do |format| format.html # new.html.erb format.xml { render :xml => @user } end end # GET /users/1/edit def edit @user = User.find(params[:id]) end # POST /users # POST /users.xml def create @user = User.new(params[:user]) respond_to do |format| if @user.save flash[:notice] = "User #{@user.name} was successfully created." format.html { redirect_to(:action=>'index' ) } format.xml { render :xml => @user, :status => :created, :location => @user } else format.html { render :action => "new" } format.xml { render :xml => @user.errors, :status => :unprocessable_entity } end end end # PUT /users/1 # PUT /users/1.xml def update @user = User.find(params[:id]) respond_to do |format| if @user.update_attributes(params[:user]) flash[:notice] = "User #{@user.name} was successfully updated." format.html { redirect_to(:action=>'index' ) } format.xml { head :ok } else format.html { render :action => "edit" } format.xml { render :xml => @user.errors, :status => :unprocessable_entity } end end end # DELETE /users/1 # DELETE /users/1.xml def destroy @user = User.find(params[:id]) @user.destroy Report erratum this copy is (P1.0 printing, March 2009)](https://image.slidesharecdn.com/pragmatic-agilewebdevelopmentwithrails-3rdedition-2009-091104222637-phpapp01/75/Pragmatic-Agile-Web-Development-With-Rails-3rd-Edition-2009-165-2048.jpg)
![I TERATION F2: L OGGING I N 168 If we look in our database, you’ll see that we’ve stored the user details. (Of course, the values in your row will be different, because the salt value is effec- tively random.) depot> sqlite3 -line db/development.sqlite3 "select * from users" id = 1 name = dave hashed_password = a12b1dbb97d3843ee27626b2bb96447941887ded salt = 203333500.653238054564258 created_at = 2008-05-19 21:40:19 updated_at = 2008-05-19 21:40:19 11.2 Iteration F2: Logging In What does it mean to add login support for administrators of our store? • We need to provide a form that allows them to enter their username and password. • Once they are logged in, we need to record that fact somehow for the rest of their session (or until they log out). • We need to restrict access to the administrative parts of the application, allowing only people who are logged in to administer the store. We’ll need a controller to support a login action, and it will need to record something in session to say that an administrator is logged in. Let’s start by defining an admin controller with three actions, login, logout, and index (which simply welcomes administrators): depot> ruby script/generate controller admin login logout index exists app/controllers/ exists app/helpers/ create app/views/admin exists test/functional/ create app/controllers/admin_controller.rb create test/functional/admin_controller_test.rb create app/helpers/admin_helper.rbs create app/views/admin/login.html.erb create app/views/admin/logout.html.erb create app/views/admin/index.html.erb The login action will need to record something in session to say that an admin- istrator is logged in. Let’s have it store the id of their User object using the key :user_id. The login code looks like this: Download depot_p/app/controllers/admin_controller.rb def login if request.post? user = User.authenticate(params[:name], params[:password]) if user session[:user_id] = user.id Report erratum this copy is (P1.0 printing, March 2009)](https://image.slidesharecdn.com/pragmatic-agilewebdevelopmentwithrails-3rdedition-2009-091104222637-phpapp01/75/Pragmatic-Agile-Web-Development-With-Rails-3rd-Edition-2009-168-2048.jpg)
![I TERATION F2: L OGGING I N 169 redirect_to(:action => "index" ) else flash.now[:notice] = "Invalid user/password combination" end end end Inside this method we’ll detect whether we’re being called to display the ini- tial (empty) form or whether we’re being called to save away the data in a completed form. We’ll do this by looking at the HTTP method of the incoming request. If it comes from an <a href="..."> link, we’ll see it as a GET request. If instead it contains form data (which it will when the user hits the submit but- ton), we’ll see a POST. (For this reason, this style is sometimes called postback handling.) With postback handling, there is no need to issue a redirect and therefore no need to make flash available across requests. flash.now makes the notice available to the template without storing it in the session. We are also doing something else new, namely, using a form that isn’t directly associated with a model object. To see how that works, let’s look at the tem- plate for the login action: Download depot_p/app/views/admin/login.html.erb <div class="depot-form"> <% form_tag do %> <fieldset> <legend>Please Log In</legend> <div> <label for="name">Name:</label> <%= text_field_tag :name, params[:name] %> </div> <div> <label for="password">Password:</label> <%= password_field_tag :password, params[:password] %> </div> <div> <%= submit_tag "Login" %> </div> </fieldset> <% end %> </div> This form is different from ones we saw earlier. Rather than using form_for, it uses form_tag, which simply builds a regular HTML <form>. Inside that form, it uses text_field_tag and password_field_tag, two helpers that create HTML <input> tags. Each helper takes two parameters. The first is the name to give Report erratum this copy is (P1.0 printing, March 2009)](https://image.slidesharecdn.com/pragmatic-agilewebdevelopmentwithrails-3rdedition-2009-091104222637-phpapp01/75/Pragmatic-Agile-Web-Development-With-Rails-3rd-Edition-2009-169-2048.jpg)
![I TERATION F2: L OGGING I N 170 Template <% form_tag do %> Name: <%= text_field_tag :name, params[:name] %> ... <% end %> Controller def login name = params[:name] ... end Figure 11.1: Parameters flow between controllers, templates, and browsers. to the field, and the second is the value with which to populate the field. This style of form allows us to associate values in the params structure directly with form fields—no model object is required. In our case, we chose to use the params object directly in the form. An alternative would be to have the controller set instance variables. The flow for this style of form is illustrated in Figure 11.1. Note how the value of the form field is communicated between the controller and the view using the params hash: the view gets the value to display in the field from params[:name], and when the user submits the form, the new field value is made available to the controller the same way. If the user successfully logs in, we store the id of the user record in the session data. We’ll use the presence of that value in the session as a flag to indicate that an admin user is logged in. Finally, it’s about time to add the index page, the first screen that administra- tors see when they log in. Let’s make it useful—we’ll have it display the total number of orders in our store. Create the template in the file index.html.erb in the directory app/views/admin. (This template uses the pluralize helper, which in Report erratum this copy is (P1.0 printing, March 2009)](https://image.slidesharecdn.com/pragmatic-agilewebdevelopmentwithrails-3rdedition-2009-091104222637-phpapp01/75/Pragmatic-Agile-Web-Development-With-Rails-3rd-Edition-2009-170-2048.jpg)
![I TERATION F3: L IMITING A CCESS 171 this case generates the string order or orders depending on the cardinality of its first parameter.) Download depot_p/app/views/admin/index.html.erb <h1>Welcome</h1> It's <%= Time.now %> We have <%= pluralize(@total_orders, "order" ) %>. The index action sets up the count: Download depot_p/app/controllers/admin_controller.rb def index @total_orders = Order.count end Now we can experience the joy of logging in as an administrator: We show our customer where we are, but she points out that we still haven’t controlled access to the administrative pages (which was, after all, the point of this exercise). 11.3 Iteration F3: Limiting Access We want to prevent people without an administrative login from accessing our site’s admin pages. It turns out that it’s easy to implement using the Rails filter facility. Rails filters allow you to intercept calls to action methods, adding your own processing before they are invoked, after they return, or both. In our case, we’ll use a before filter to intercept all calls to the actions in our admin controller. The interceptor can check session[:user_id]. If set and if it corresponds to a user in the database, the application knows an administrator is logged in, and the Report erratum this copy is (P1.0 printing, March 2009)](https://image.slidesharecdn.com/pragmatic-agilewebdevelopmentwithrails-3rdedition-2009-091104222637-phpapp01/75/Pragmatic-Agile-Web-Development-With-Rails-3rd-Edition-2009-171-2048.jpg)
![I TERATION F3: L IMITING A CCESS 172 call can proceed. If it’s not set, the interceptor can issue a redirect, in this case to our login page. Where should we put this method? It could sit directly in the admin controller, but, for reasons that will become apparent shortly, let’s put it instead in Appli- cationController, the parent class of all our controllers. This is in the file applica- tion.rb3 in the directory app/controllers. Note too that we need to restrict access to this method, because the methods in application.rb appear as instance meth- ods in all our controllers. Any public methods here are exposed to end users as actions. Download depot_p/app/controllers/application.rb # Filters added to this controller apply to all controllers in the application. # Likewise, all the methods added will be available for all controllers. class ApplicationController < ActionController::Base before_filter :authorize, :except => :login helper :all # include all helpers, all the time # See ActionController::RequestForgeryProtection for details # Uncomment the :secret if you're not using the cookie session store protect_from_forgery :secret => '8fc080370e56e929a2d5afca5540a0f7' # See ActionController::Base for details # Uncomment this to filter the contents of submitted sensitive data parameters # from your application log (in this case, all fields with names like "password"). # filter_parameter_logging :password protected def authorize unless User.find_by_id(session[:user_id]) flash[:notice] = "Please log in" redirect_to :controller => 'admin' , :action => 'login' end end end This authorization method can be invoked before any actions in our adminis- tration controller by adding just one line. Note that we do this for all methods in all controllers, with the exception of methods named login, of which there should be only one, namely, in the Admin controller. Note that this is going too far. We have just limited access to the store itself to administrators. That’s not good. We could go back and change things so that we mark only those methods that specifically need authorization. Such an approach is called blacklisting and is prone to errors of omission. A much better approach is to “whitelist” or list methods or controllers for which authorization is not required, as we did for 3. Starting with Rails 2.3, this file will be named application_controller.rb. Report erratum this copy is (P1.0 printing, March 2009)](https://image.slidesharecdn.com/pragmatic-agilewebdevelopmentwithrails-3rdedition-2009-091104222637-phpapp01/75/Pragmatic-Agile-Web-Development-With-Rails-3rd-Edition-2009-172-2048.jpg)
![I TERATION F3: L IMITING A CCESS 173 A Friendlier Login System As the code stands now, if an administrator tries to access a restricted page before they are logged in, they are taken to the login page. When they then log in, the standard status page is displayed—their original request is forgotten. If you want, you can change the application to forward them to their originally requested page once they log in. First, in the authorize method, remember the incoming request’s URI in the ses- sion if you need to log the user in: def authorize unless User.find_by_id(session[:user_id]) session[:original_uri] = request.request_uri flash[:notice] = "Please log in" redirect_to(:controller => "admin" , :action => "login" ) end end Once we log someone in, we can then check to see whether there’s a URI stored in the session and redirect to it if so. We also need to clear that stored URI once used. def login session[:user_id] = nil if request.post? user = User.authenticate(params[:name], params[:password]) if user session[:user_id] = user.id uri = session[:original_uri] session[:original_uri] = nil redirect_to(uri || { :action => "index" }) else flash.now[:notice] = "Invalid user/password combination" end end end the login method. We do this simply by providing an override for the authorize method within the StoreController class: Download depot_q/app/controllers/store_controller.rb class StoreController < ApplicationController #... protected def authorize end end Report erratum this copy is (P1.0 printing, March 2009)](https://image.slidesharecdn.com/pragmatic-agilewebdevelopmentwithrails-3rdedition-2009-091104222637-phpapp01/75/Pragmatic-Agile-Web-Development-With-Rails-3rd-Edition-2009-173-2048.jpg)
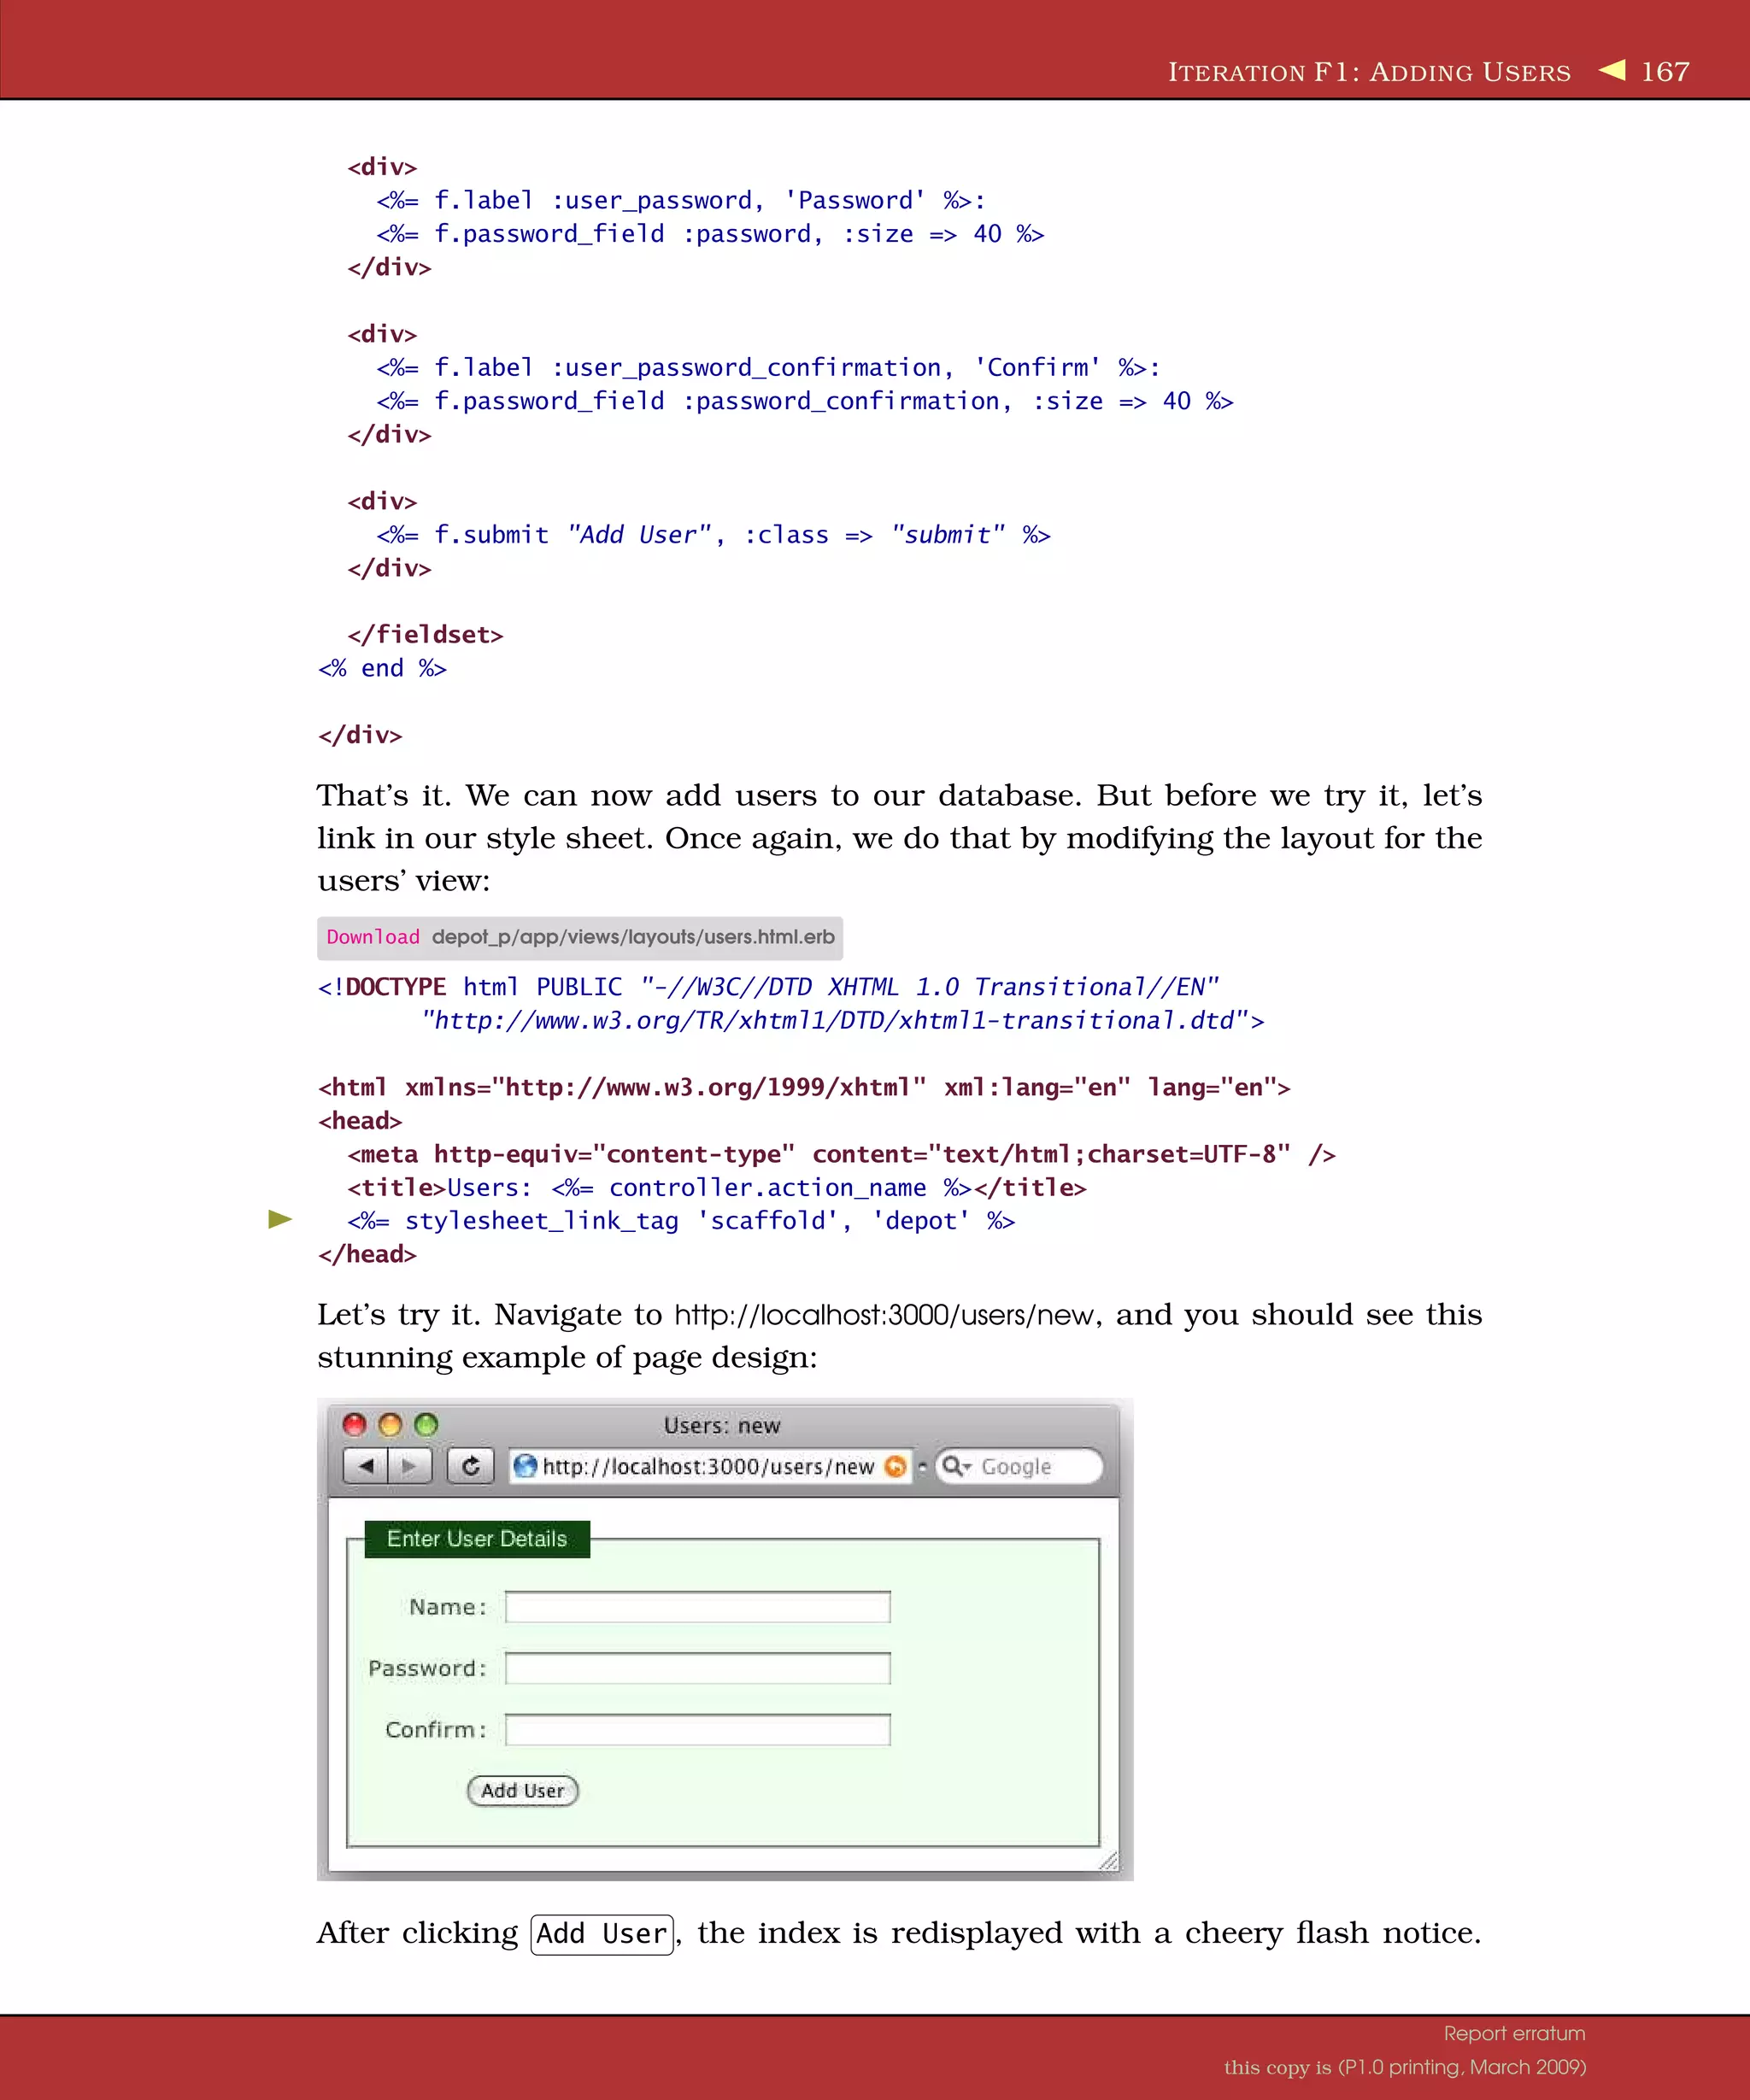
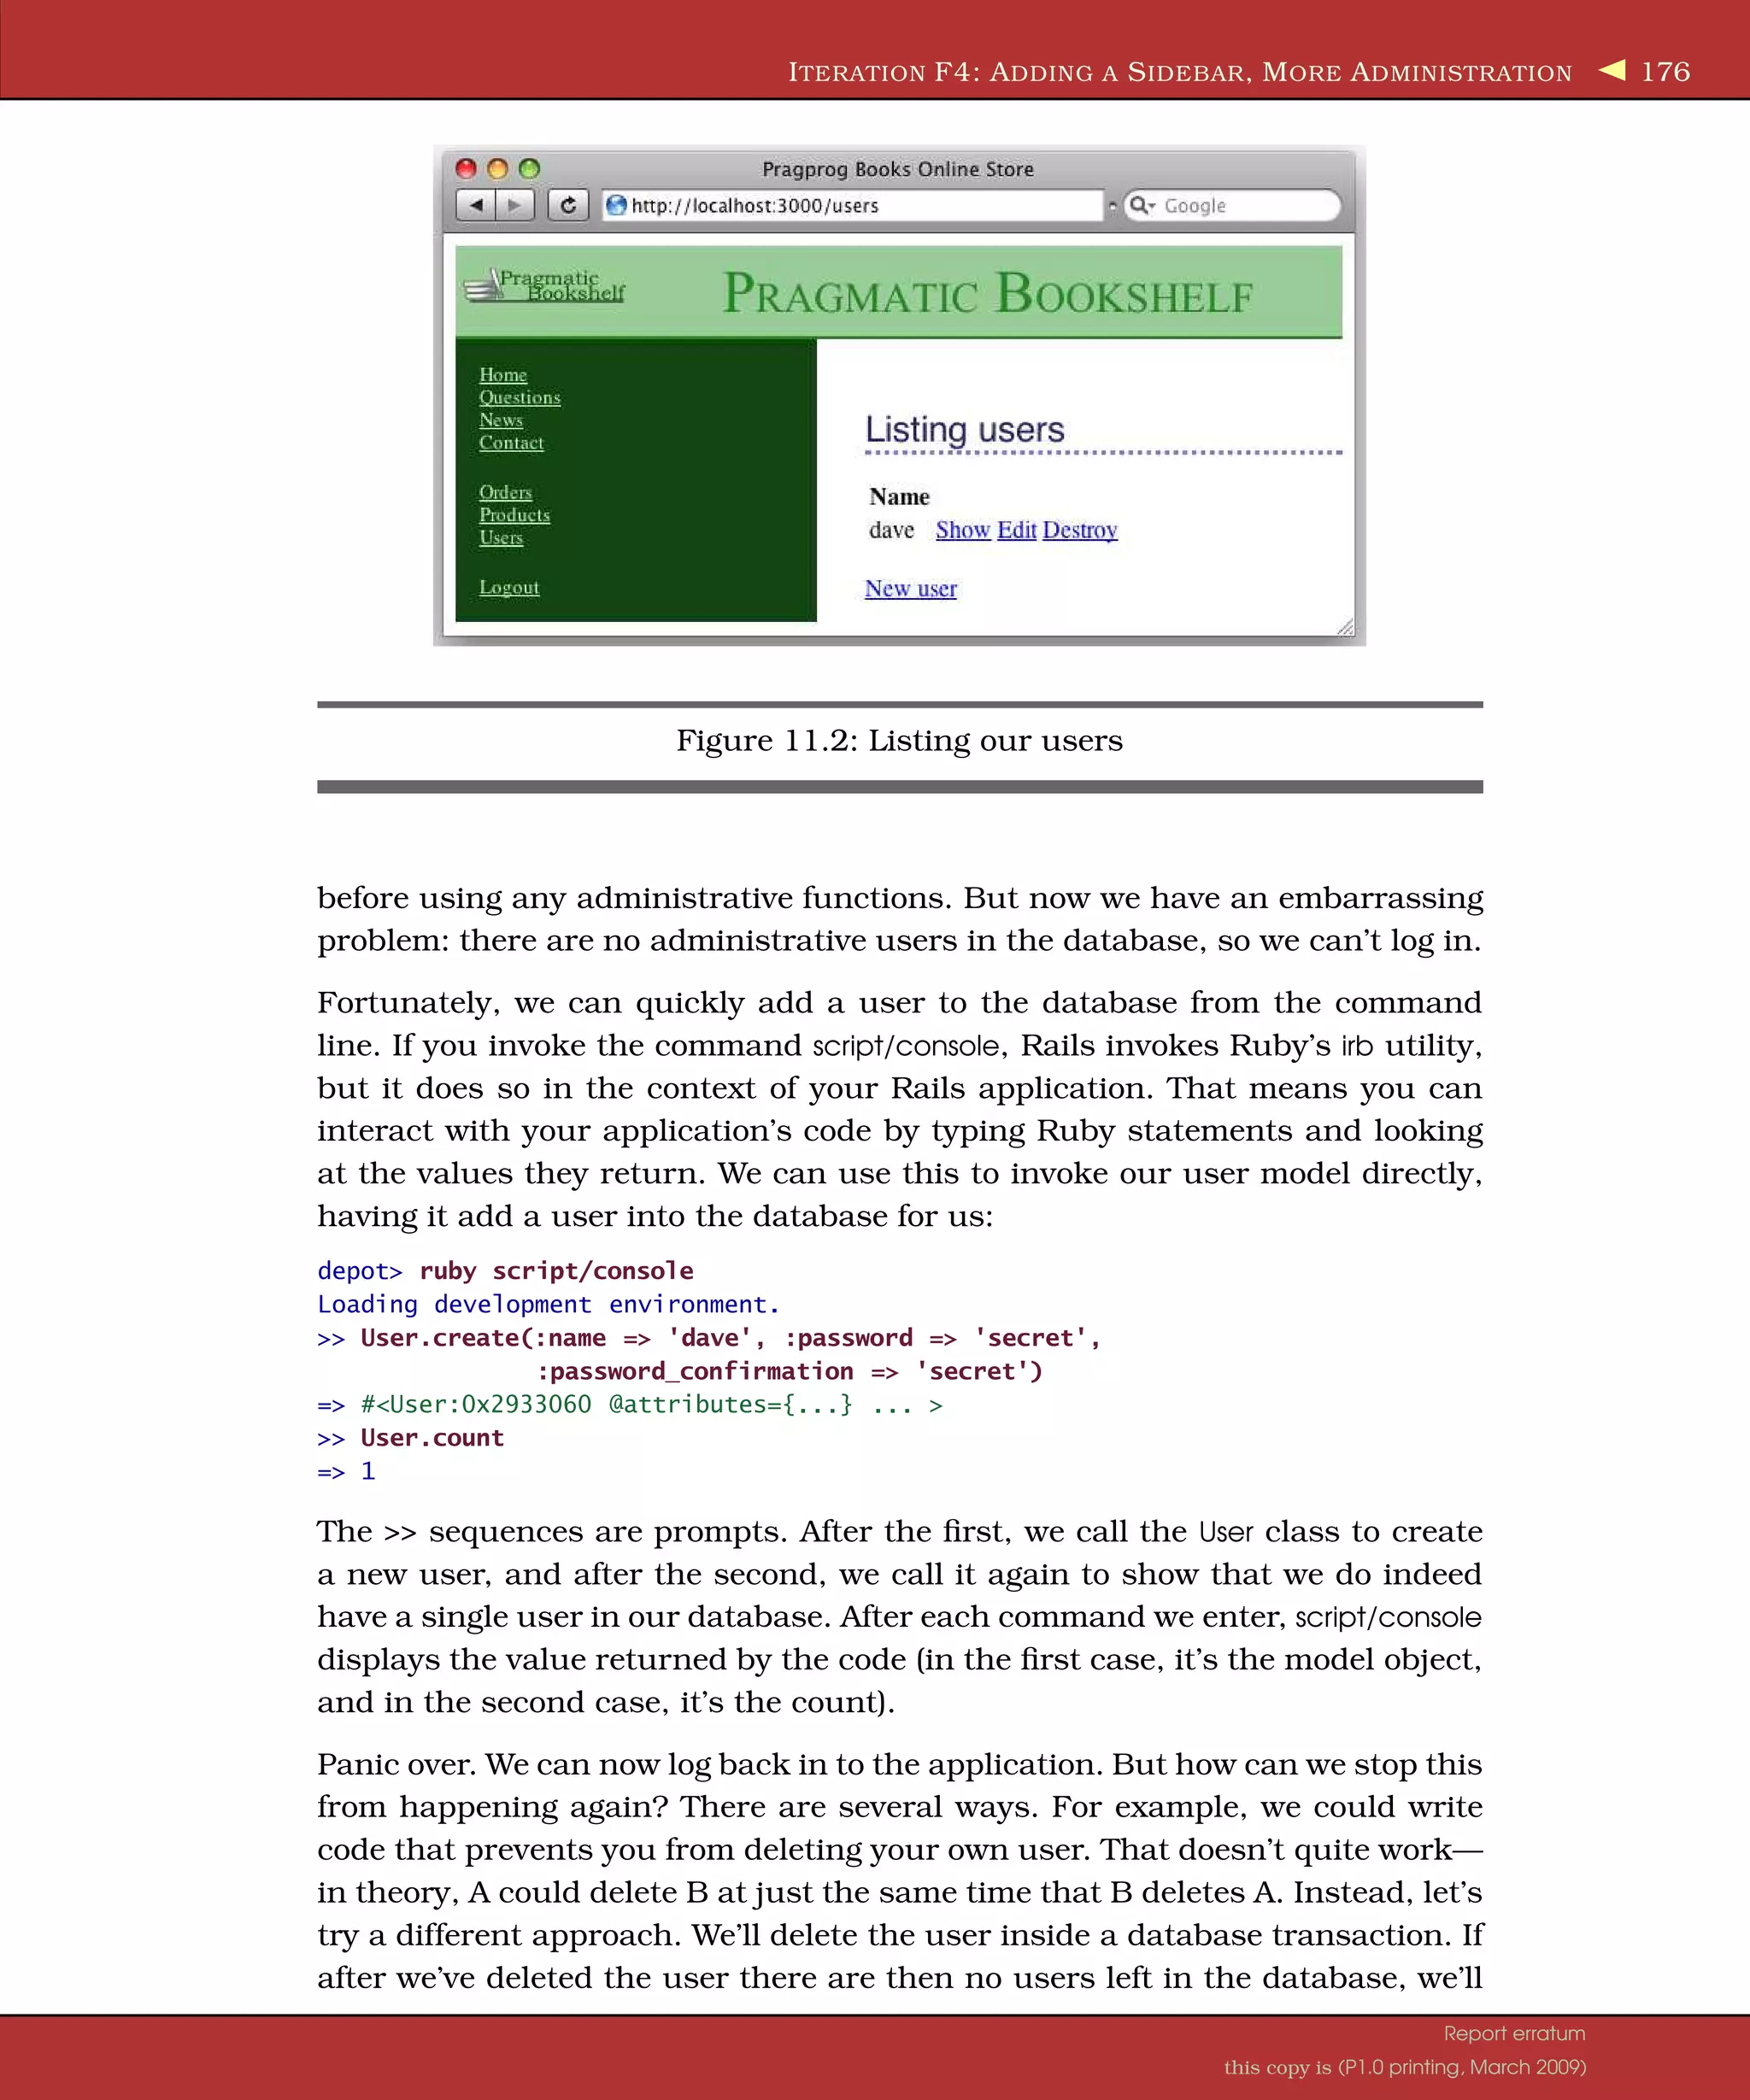
![I TERATION F4: A DDING A S IDEBAR , M ORE A DMINISTRATION 175 <% hidden_div_if(@cart.items.empty?, :id => "cart" ) do %> <%= render(:partial => "cart" , :object => @cart) %> <% end %> <% end %> <a href="http://www....">Home</a><br /> <a href="http://www..../faq">Questions</a><br /> <a href="http://www..../news">News</a><br /> <a href="http://www..../contact">Contact</a><br /> <% if session[:user_id] %> <br /> <%= link_to 'Orders', :controller => 'orders' %><br /> <%= link_to 'Products', :controller => 'products' %><br /> <%= link_to 'Users', :controller => 'users' %><br /> <br /> <%= link_to 'Logout', :controller => 'admin', :action => 'logout' %> <% end %> </div> <div id="main"> <% if flash[:notice] -%> <div id="notice"><%= flash[:notice] %></div> <% end -%> <%= yield :layout %> </div> </div> </body> </html> Now if we return to http://localhost:3000/admin, we see the familiar Pragmatic Bookshelf banner and sidebar. But if we visit http://localhost:3000/users, we do not. It turns out that there is one more thing that we need to do: we need to stop the generated scaffolding from overriding the application default layout. And nothing could be easier. We simply remove the generated layouts:4 rm app/views/layouts/products.html.erb rm app/views/layouts/users.html.erb rm app/views/layouts/orders.html.erb Would the Last Admin to Leave... Now it is all starting to come together. We can log in, and by clicking a link on the sidebar, we can see a list of users. Let’s play with this. We bring up the user list screen that looks something like Figure 11.2, on the next page; then we click the destroy link next to dave to delete that user. Sure enough, our user is removed. But to our surprise, we’re then presented with the login screen instead. We just deleted the only admin- istrative user from the system. When the next request came in, the authenti- cation failed, so the application refused to let us in. We have to log in again 4. Windows users should use the erase command instead. Report erratum this copy is (P1.0 printing, March 2009)](https://image.slidesharecdn.com/pragmatic-agilewebdevelopmentwithrails-3rdedition-2009-091104222637-phpapp01/75/Pragmatic-Agile-Web-Development-With-Rails-3rd-Edition-2009-175-2048.jpg)
![I TERATION F4: A DDING A S IDEBAR , M ORE A DMINISTRATION 177 roll the transaction back, restoring the user we just deleted. To do this, we’ll use an Active Record hook method. We’ve already seen one of these: the validate hook is called by Active Record to validate an object’s state. It turns out that Active Record defines twenty or so hook methods, each called at a particular point in an object’s life cycle. We’ll use the after_destroy hook, which is called after the SQL delete is executed. If a method by this name is publicly visible, it will conveniently be called in the same transaction as the delete, so if it raises an exception, the transaction will be rolled back. The hook method looks like this: Download depot_q/app/models/user.rb def after_destroy if User.count.zero? raise "Can't delete last user" end end The key concept here is the use of an exception to indicate an error when delet- ing the user. This exception serves two purposes. First, because it is raised inside a transaction, it causes an automatic rollback. By raising the exception if the users table is empty after the deletion, we undo the delete and restore that last user. Second, the exception signals the error back to the controller, where we use a begin/end block to handle it and report the error to the user in the flash. If you want only to abort the transaction but not otherwise signal an exception, raise an ActiveRecord::Rollback exception instead, because this is the only exception that won’t be passed on by ActiveRecord::Base.transaction. Download depot_q/app/controllers/users_controller.rb def destroy @user = User.find(params[:id]) begin flash[:notice] = "User #{@user.name} deleted" @user.destroy rescue Exception => e flash[:notice] = e.message end respond_to do |format| format.html { redirect_to(users_url) } format.xml { head :ok } end In fact, this code still has a potential timing issue—it is still possible for two administrators each to delete the last two users if their timing is right. Fixing this would require more database wizardry than we have space for here. Report erratum this copy is (P1.0 printing, March 2009)](https://image.slidesharecdn.com/pragmatic-agilewebdevelopmentwithrails-3rdedition-2009-091104222637-phpapp01/75/Pragmatic-Agile-Web-Development-With-Rails-3rd-Edition-2009-177-2048.jpg)
![I TERATION F4: A DDING A S IDEBAR , M ORE A DMINISTRATION 178 Logging Out Our administration layout has a logout option in the sidebar menu. Its imple- mentation in the admin controller is trivial: Download depot_q/app/controllers/admin_controller.rb def logout session[:user_id] = nil flash[:notice] = "Logged out" redirect_to(:action => "login" ) end We call our customer over one last time, and she plays with the store appli- cation. She tries our new administration functions and checks out the buyer experience. She tries to feed bad data in. The application holds up beautifully. She smiles, and we’re almost done. We’ve finished adding functionality, but before we leave for the day, we have one last look through the code. We notice a slightly ugly piece of duplication in the store controller. Every action apart from empty_cart has to find the user’s cart in the session data. The following line: @cart = find_cart appears all over the controller. Now that we know about filters, we can fix this. We’ll change the find_cart method to store its result directly into the @cart instance variable: Download depot_q/app/controllers/store_controller.rb def find_cart @cart = (session[:cart] ||= Cart.new) end We’ll then use a before filter to call this method on every action apart from empty_cart: Download depot_q/app/controllers/store_controller.rb before_filter :find_cart, :except => :empty_cart This lets us remove the rest of the assignments to @cart in the action methods. The final listing is shown starting on page 694. What We Just Did By the end of this iteration, we’ve done the following: • We created a user model and database table, validating the attributes. It uses a salted hash to store the password in the database. We created a virtual attribute representing the plain-text password and coded it to create the hashed version whenever the plain-text version is updated. Report erratum this copy is (P1.0 printing, March 2009)](https://image.slidesharecdn.com/pragmatic-agilewebdevelopmentwithrails-3rdedition-2009-091104222637-phpapp01/75/Pragmatic-Agile-Web-Development-With-Rails-3rd-Edition-2009-178-2048.jpg)
![I TERATION F4: A DDING A S IDEBAR , M ORE A DMINISTRATION 180 >> prd.errors.full_messages => ["Image url must be a URL for a GIF, JPG, or PNG image", "Image url can't be blank", "Price should be at least 0.01", "Title can't be blank", "Description can't be blank"] (You’ll find hints at http://pragprog.wikidot.com/rails-play-time.) Report erratum this copy is (P1.0 printing, March 2009)](https://image.slidesharecdn.com/pragmatic-agilewebdevelopmentwithrails-3rdedition-2009-091104222637-phpapp01/75/Pragmatic-Agile-Web-Development-With-Rails-3rd-Edition-2009-180-2048.jpg)

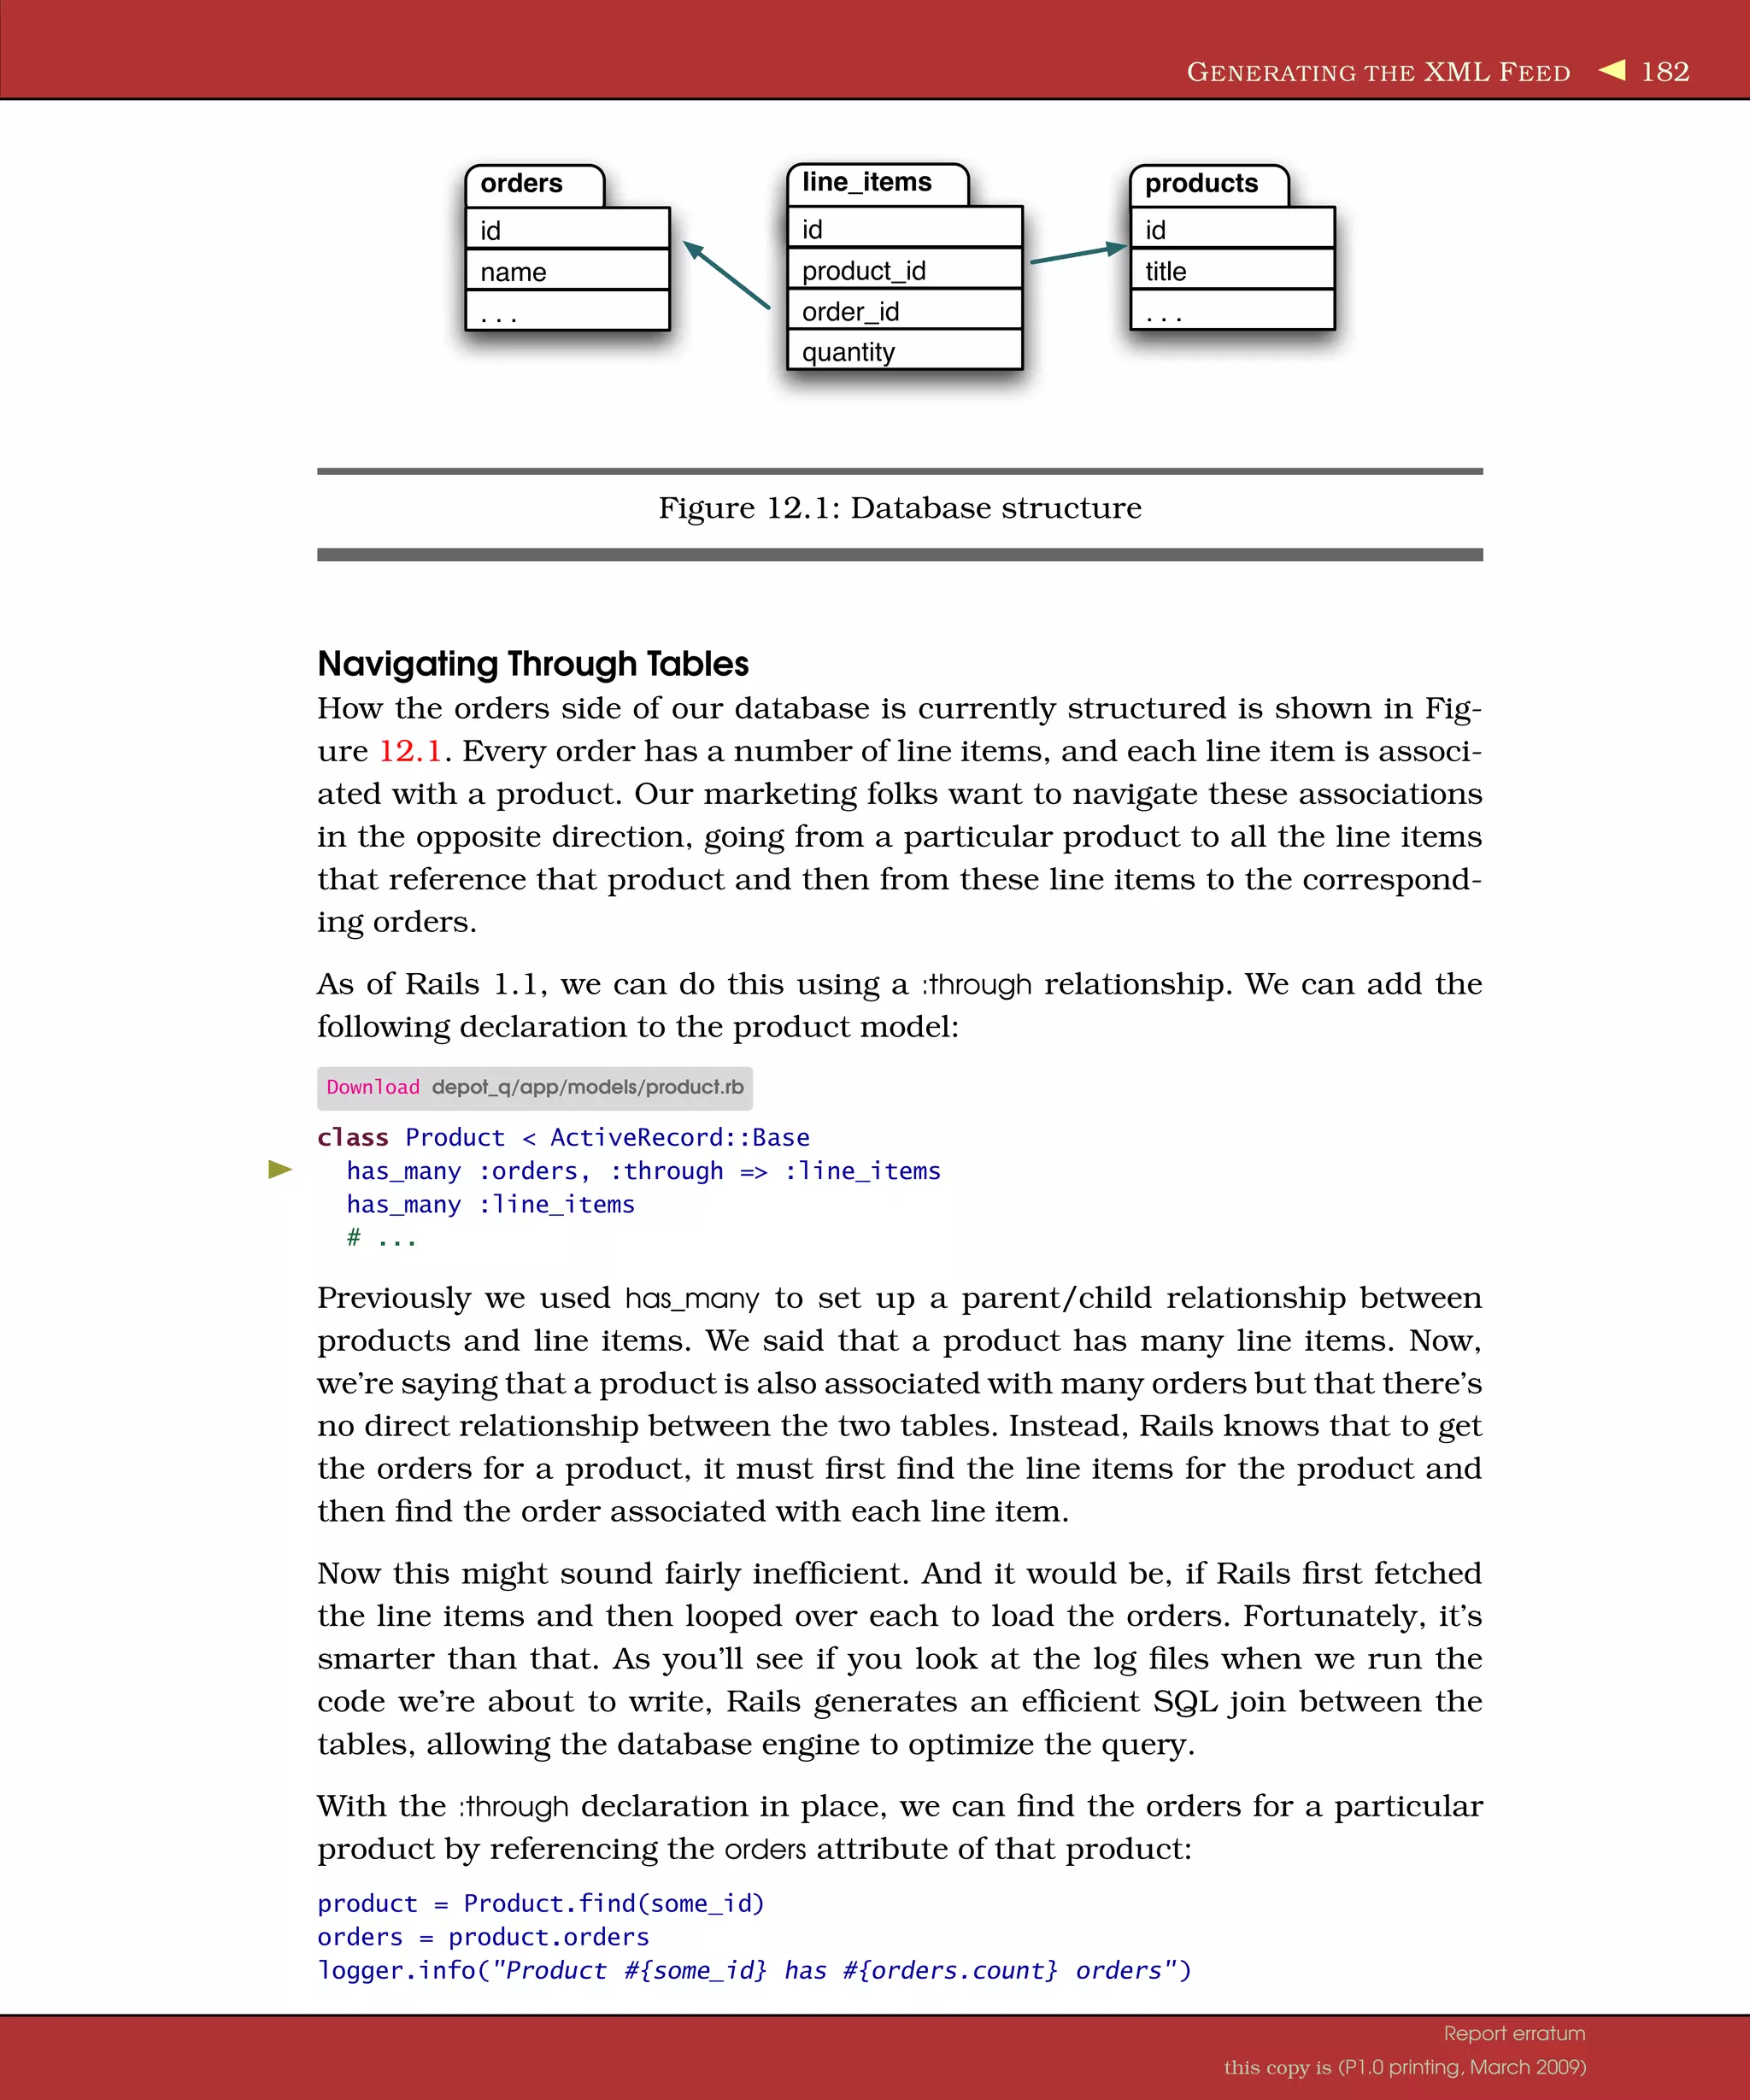
![G ENERATING THE XML F EED 183 Creating a REST Interface Anticipating that this won’t be the last request that the marketing folks make, we create a new controller to handle informational requests: depot> ruby script/generate controller info who_bought exists app/controllers/ exists app/helpers/ create app/views/info exists test/functional/ create app/controllers/info_controller.rb create test/functional/info_controller_test.rb create app/helpers/info_helper.rb create app/views/info/who_bought.html.erb We’ll add the who_bought action to the info controller. It simply loads up the list of orders given a product id: Download depot_q/app/controllers/info_controller.rb class InfoController < ApplicationController def who_bought @product = Product.find(params[:id]) @orders = @product.orders respond_to do |format| format.xml { render :layout => false } end end protected def authorize end end Now we need to implement the template that returns XML to our caller. We could do this using the same ERb templates we’ve been using to render web pages, but there are a couple of better ways. The first uses builder templates, designed to make it easy to create XML documents. Let’s look at the template who_bought.xml.builder, which we create in the app/views/info directory: Download depot_q/app/views/info/who_bought.xml.builder xml.order_list(:for_product => @product.title) do for o in @orders xml.order do xml.name(o.name) xml.email(o.email) end end end Report erratum this copy is (P1.0 printing, March 2009)](https://image.slidesharecdn.com/pragmatic-agilewebdevelopmentwithrails-3rdedition-2009-091104222637-phpapp01/75/Pragmatic-Agile-Web-Development-With-Rails-3rd-Edition-2009-183-2048.jpg)
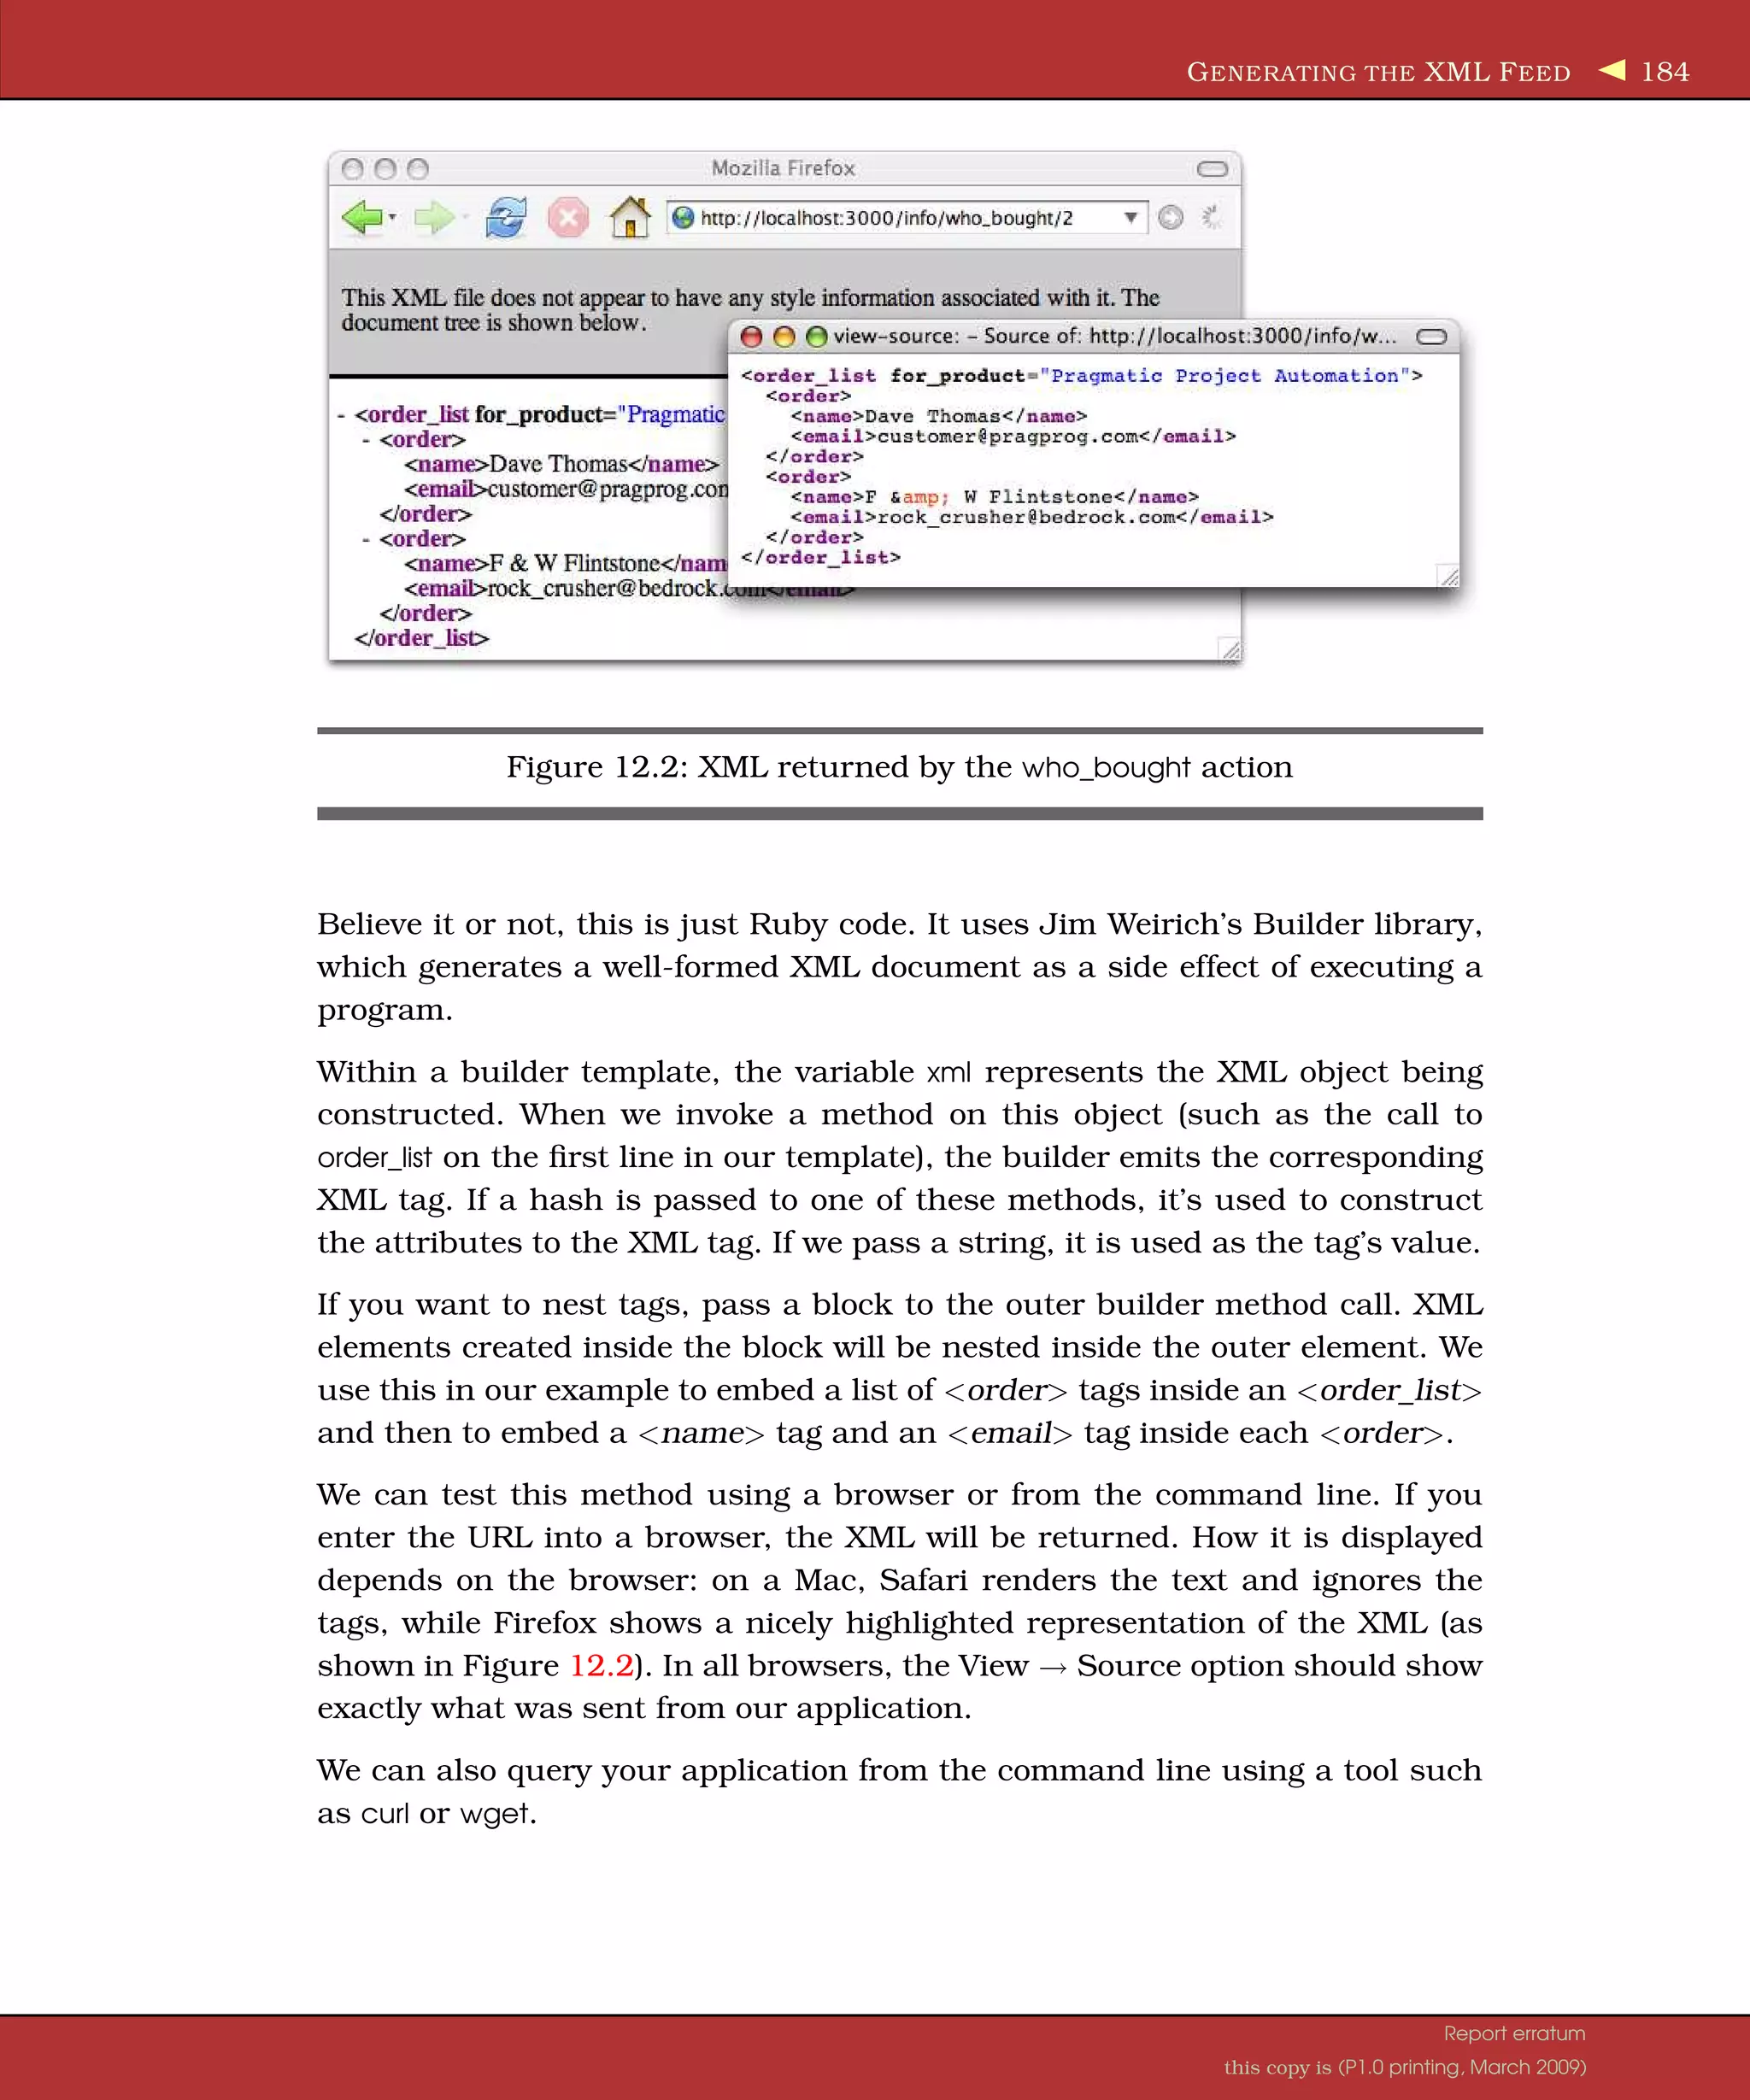
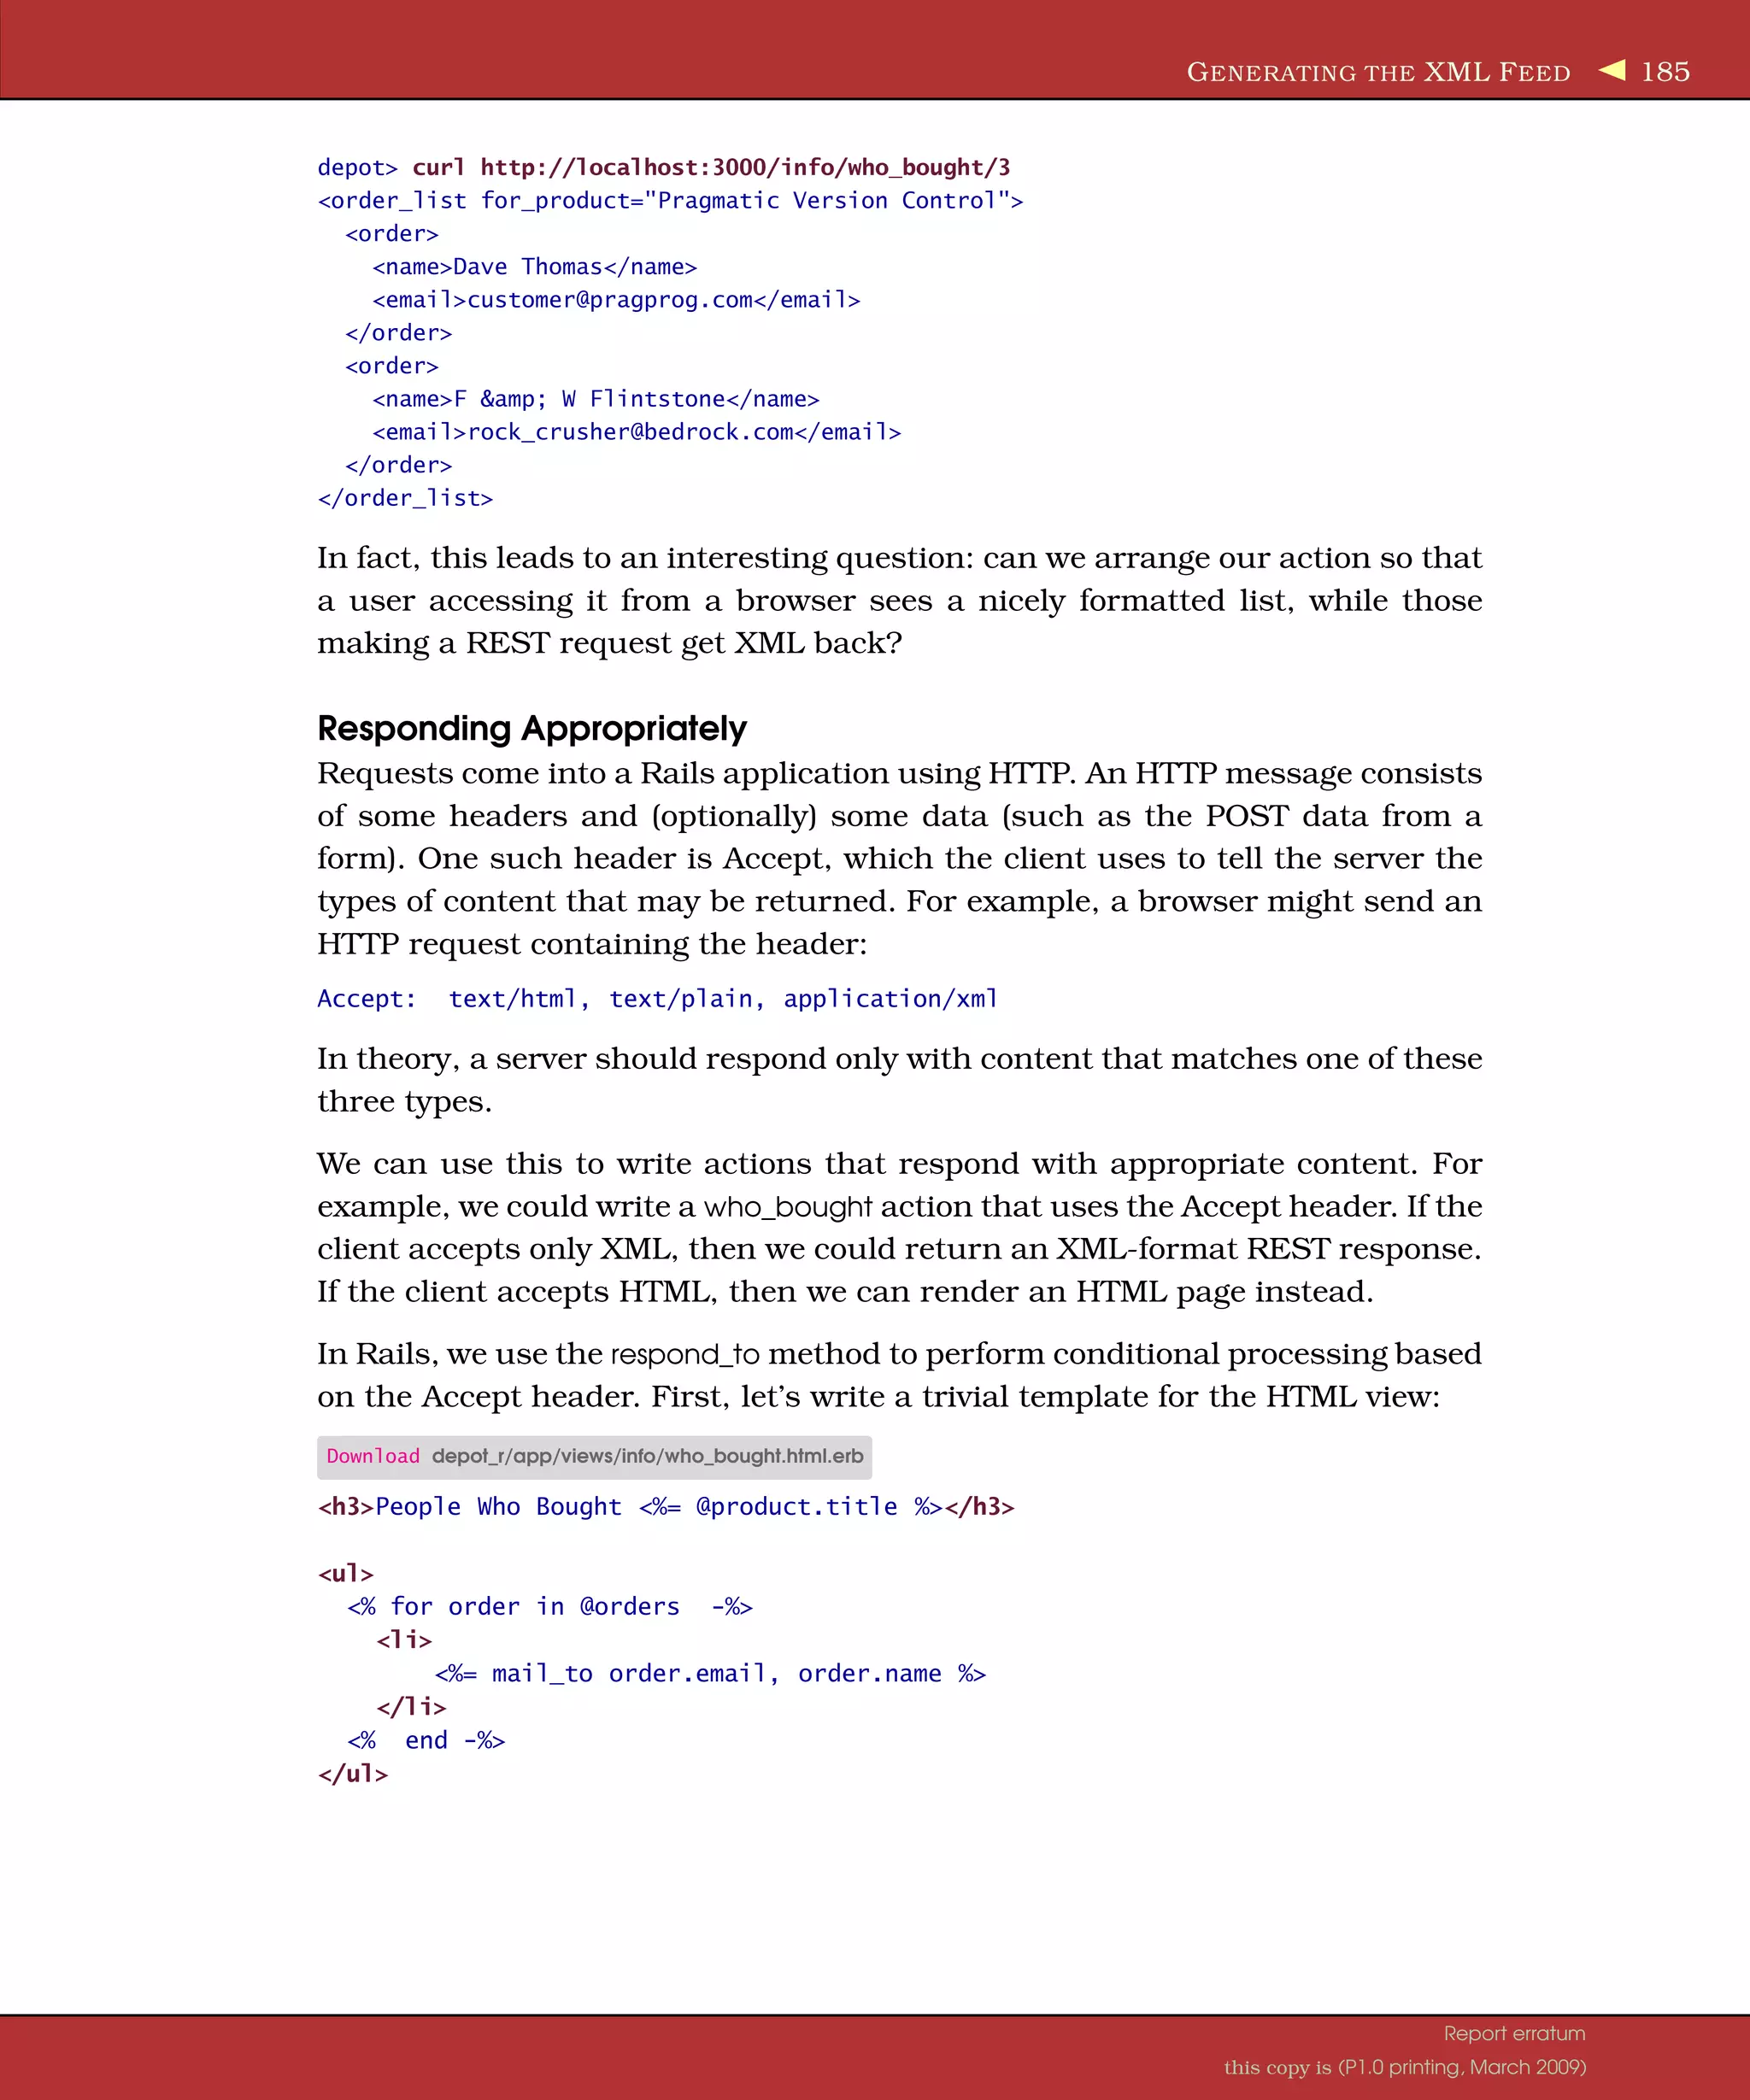
![G ENERATING THE XML F EED 186 Now we’ll use respond_to to vector to the correct template depending on the incoming request accept header: Download depot_r/app/controllers/info_controller.rb def who_bought @product = Product.find(params[:id]) @orders = @product.orders respond_to do |format| format.html format.xml { render :layout => false } end end Inside the respond_to block, we list the content types we accept. You can think of it being a bit like a case statement, but it has one big difference: it ignores the order we list the options in and instead uses the order from the incoming request (because the client gets to say which format it prefers). Here we’re using the default action for each type of content. For html, that action is to invoke render. For xml, the action is to render the builder template. The net effect is that the client can select to receive either HTML or XML from the same action. Unfortunately, this is hard to try with a browser. Instead, let’s use a command- line client. Here we use curl (but tools such as wget work equally as well). The -H option to curl lets us specify a request header. Let’s ask for XML first: depot> curl -H "Accept: application/xml" http://localhost:3000/info/who_bought/3 <order_list for_product="Pragmatic Version Control"> <order> <name>Dave Thomas</name> <email>customer@pragprog.com</email> </order> <order> <name>F & W Flintstone</name> <email>crusher@bedrock.com</email> </order> </order_list> And then HTML: depot> curl -H "Accept: text/html" http://localhost:3000/info/who_bought/3 <h3>People Who Bought Pragmatic Project Automation</h3> <ul> <li> <a href="mailto:customer@pragprog.com">Dave Thomas</a> </li> <li> <a href="mailto:crusher@bedrock.com">F & W Flintstone</a> </li> </ul> Report erratum this copy is (P1.0 printing, March 2009)](https://image.slidesharecdn.com/pragmatic-agilewebdevelopmentwithrails-3rdedition-2009-091104222637-phpapp01/75/Pragmatic-Agile-Web-Development-With-Rails-3rd-Edition-2009-186-2048.jpg)
![G ENERATING THE XML F EED 187 Another Way of Requesting XML Although using the Accept header is the “official” HTTP way of specifying the content type you’d like to receive, it isn’t always possible to set this header from your client. Rails provides an alternative: we can set the preferred format as part of the URL. If we want the response to our who_bought request to come back as HTML, we can ask for /info/who_bought/1.html. If instead we want XML, we can use /info/who_bought/1.xml. And this is extensible to any content type (as long as we write the appropriate handler in our respond_to block). If you need to use a MIME type that isn’t supported by default, you can register your own handlers in environment.rb as follows: Mime::Type.register "image/jpg" , :jpg This behavior is already enabled by the default routing configuration provided by Rails. We’ll explain why this works on page 457—for now, just take it on faith. Open routes.rb in the config directory, and look for the following line: map.connect ':controller/:action/:id.:format' This default route says that a URL may end with a file extension (.html, .xml, and so on). If so, that extension will be stored in the variable format. And Rails uses that variable to fake out the requested content type. Try requesting the URL http://localhost:3000/info/who_bought/3.xml. Depending on your browser, you might see a nicely formatted XML display, or you might see a blank page. If you see the latter, use your browser’s View → Source function to take a look at the response. Autogenerating the XML In the previous examples, we generated the XML responses by hand, using the builder template. That gives us control over the order of the elements returned. But if that order isn’t important, we can let Rails generate the XML for a model object for us by calling the model’s to_xml method. In the code that follows, we’ve overridden the default behavior for XML requests to use this: def who_bought @product = Product.find(params[:id]) @orders = @product.orders respond_to do |format| format.html format.xml { render :layout => false , :xml => @product.to_xml(:include => :orders) } end end The :xml option to render tells it to set the response content type to applica- tion/xml. The result of the to_xml call is then sent back to the client. Report erratum this copy is (P1.0 printing, March 2009)](https://image.slidesharecdn.com/pragmatic-agilewebdevelopmentwithrails-3rdedition-2009-091104222637-phpapp01/75/Pragmatic-Agile-Web-Development-With-Rails-3rd-Edition-2009-187-2048.jpg)
![G ENERATING THE XML F EED 188 In this case, we dump out the @product variable and any orders that reference that product: depot> curl --silent http://localhost:3000/info/who_bought/3.xml <?xml version="1.0" encoding="UTF-8"?> <product> <created-at type="datetime">2008-09-09T01:56:58Z</created-at> <description><p> This book is a recipe-based approach to using Subversion that will get you up and running quickly---and correctly. All projects need version control: it's a foundational piece of any project's infrastructure. Yet half of all project teams in the U.S. don't use any version control at all. Many others don't use it well, and end up experiencing time-consuming problems. </p></description> <id type="integer">3</id> <image-url>/images/svn.jpg</image-url> <price type="decimal">28.5</price> <title>Pragmatic Version Control</title> <updated-at type="datetime">2008-09-09T01:56:58Z</updated-at> <orders type="array"> <order> <address>123 Main St</address> <created-at type="datetime">2008-09-09T01:58:07Z</created-at> <email>customer@pragprog.com</email> <id type="integer">1</id> <name>Dave Thomas</name> <pay-type>check</pay-type> <updated-at type="datetime">2008-09-09T01:58:07Z</updated-at> </order> </orders> </product> Note that by default to_xml dumps everything out. You can tell it to exclude certain attributes, but that can quickly get messy. If you have to generate XML that meets a particular schema or DTD, you’re probably better off sticking with builder templates. Atom Feeds Custom XML is fine if you want to create custom clients. But using a standard feed format, such as Atom, means that you can immediately take advantage of a wide variety of preexisting clients. Because Rails already knows about ids, dates, and links, it can free you from having to worry about these pesky details and let you focus on producing a human-readable summary: def who_bought @product = Product.find(params[:id]) @orders = @product.orders respond_to do |format| format.html format.atom { render :layout => false } end end Report erratum this copy is (P1.0 printing, March 2009)](https://image.slidesharecdn.com/pragmatic-agilewebdevelopmentwithrails-3rdedition-2009-091104222637-phpapp01/75/Pragmatic-Agile-Web-Development-With-Rails-3rd-Edition-2009-188-2048.jpg)
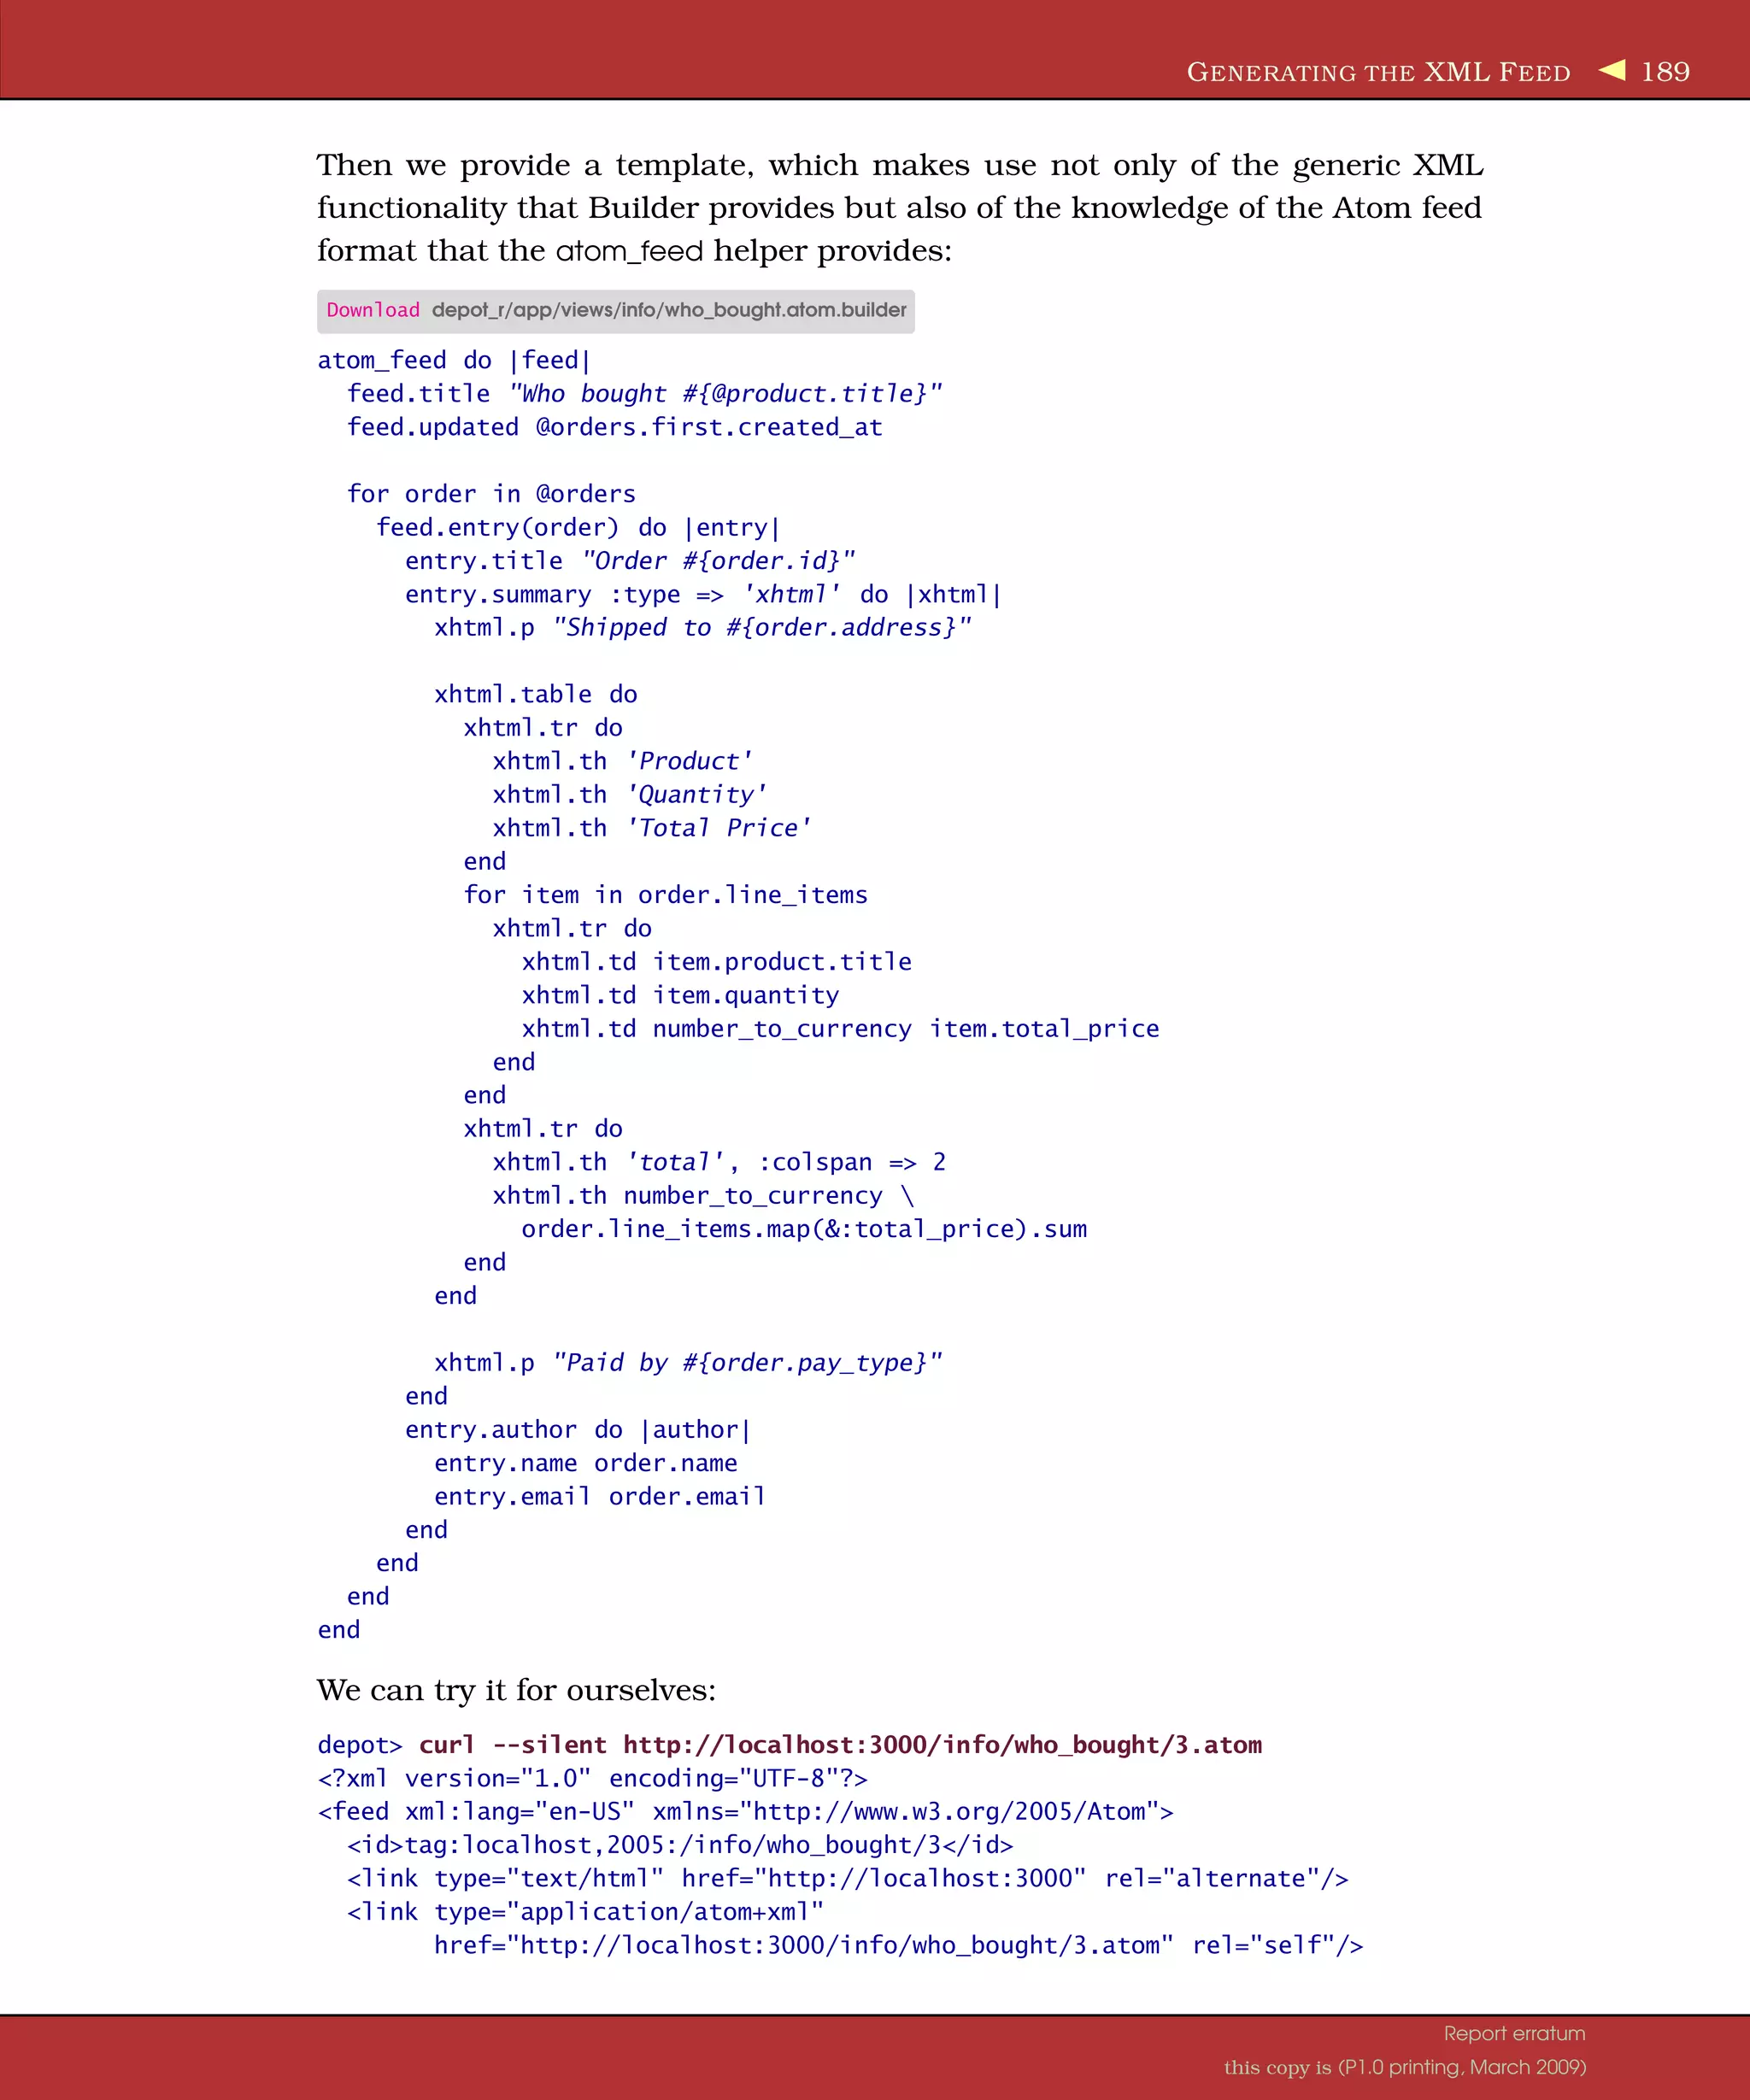
![G ENERATING THE XML F EED 190 <title>Who bought Pragmatic Version Control</title> <updated>2008-09-09T20:19:23Z</updated> <entry> <id>tag:localhost,2005:Order/1</id> <published>2008-09-09T20:19:23Z</published> <updated>2008-09-09T20:19:23Z</updated> <link type="text/html" href="http://localhost:3000/orders/1" rel="alternate"/> <title>Order 1</title> <summary type="xhtml"> <div xmlns="http://www.w3.org/1999/xhtml"> <p>1 line item</p> <p>Shipped to 123 Main St</p> <p>Paid by check</p> </div> </summary> <author> <name>Dave Thomas</name> <email>customer@pragprog.com</email> </author> </entry> </feed> Looks good. Now we can subscribe to this in our favorite feed reader. And JSON Too! And for those who prefer their brackets to be curly, Rails can autogenerate JavaScript Object Notation (JSON) equally as easily: def who_bought @product = Product.find(params[:id]) @orders = @product.orders respond_to do |format| format.html format.json { render :layout => false , :json => @product.to_json(:include => :orders) } end end depot> curl -H "Accept: application/json" http://localhost:3000/info/who_bought/3 {"product": {"price": 28.5, "created_at": "2008-09-09T02:22:29Z", "title": "Pragmatic Version Control", "image_url": "/images/svn.jpg", "updated_at": "2008-09-09T02:22:29Z", "id": 3, "orders": [{"name": "Dave Thomas", "address": "123 Main St", "created_at": "2008-09-09T02:23:39Z", "updated_at": "2008-09-09T02:23:39Z", "pay_type": "check", "id": 1, "email": "customer@pragprog.com"}], "description": "<p>n This book is a recipe-based approach to using Subversion that will n get you up and running quickly---and correctly. All projects needn version control: it's a foundational piece of any project's n infrastructure. Yet half of all project teams in the U.S. don't usen any version control at all. Many others don't use it well, and end n up experiencing time-consuming problems.n </p>"}} Report erratum this copy is (P1.0 printing, March 2009)](https://image.slidesharecdn.com/pragmatic-agilewebdevelopmentwithrails-3rdedition-2009-091104222637-phpapp01/75/Pragmatic-Agile-Web-Development-With-Rails-3rd-Edition-2009-190-2048.jpg)
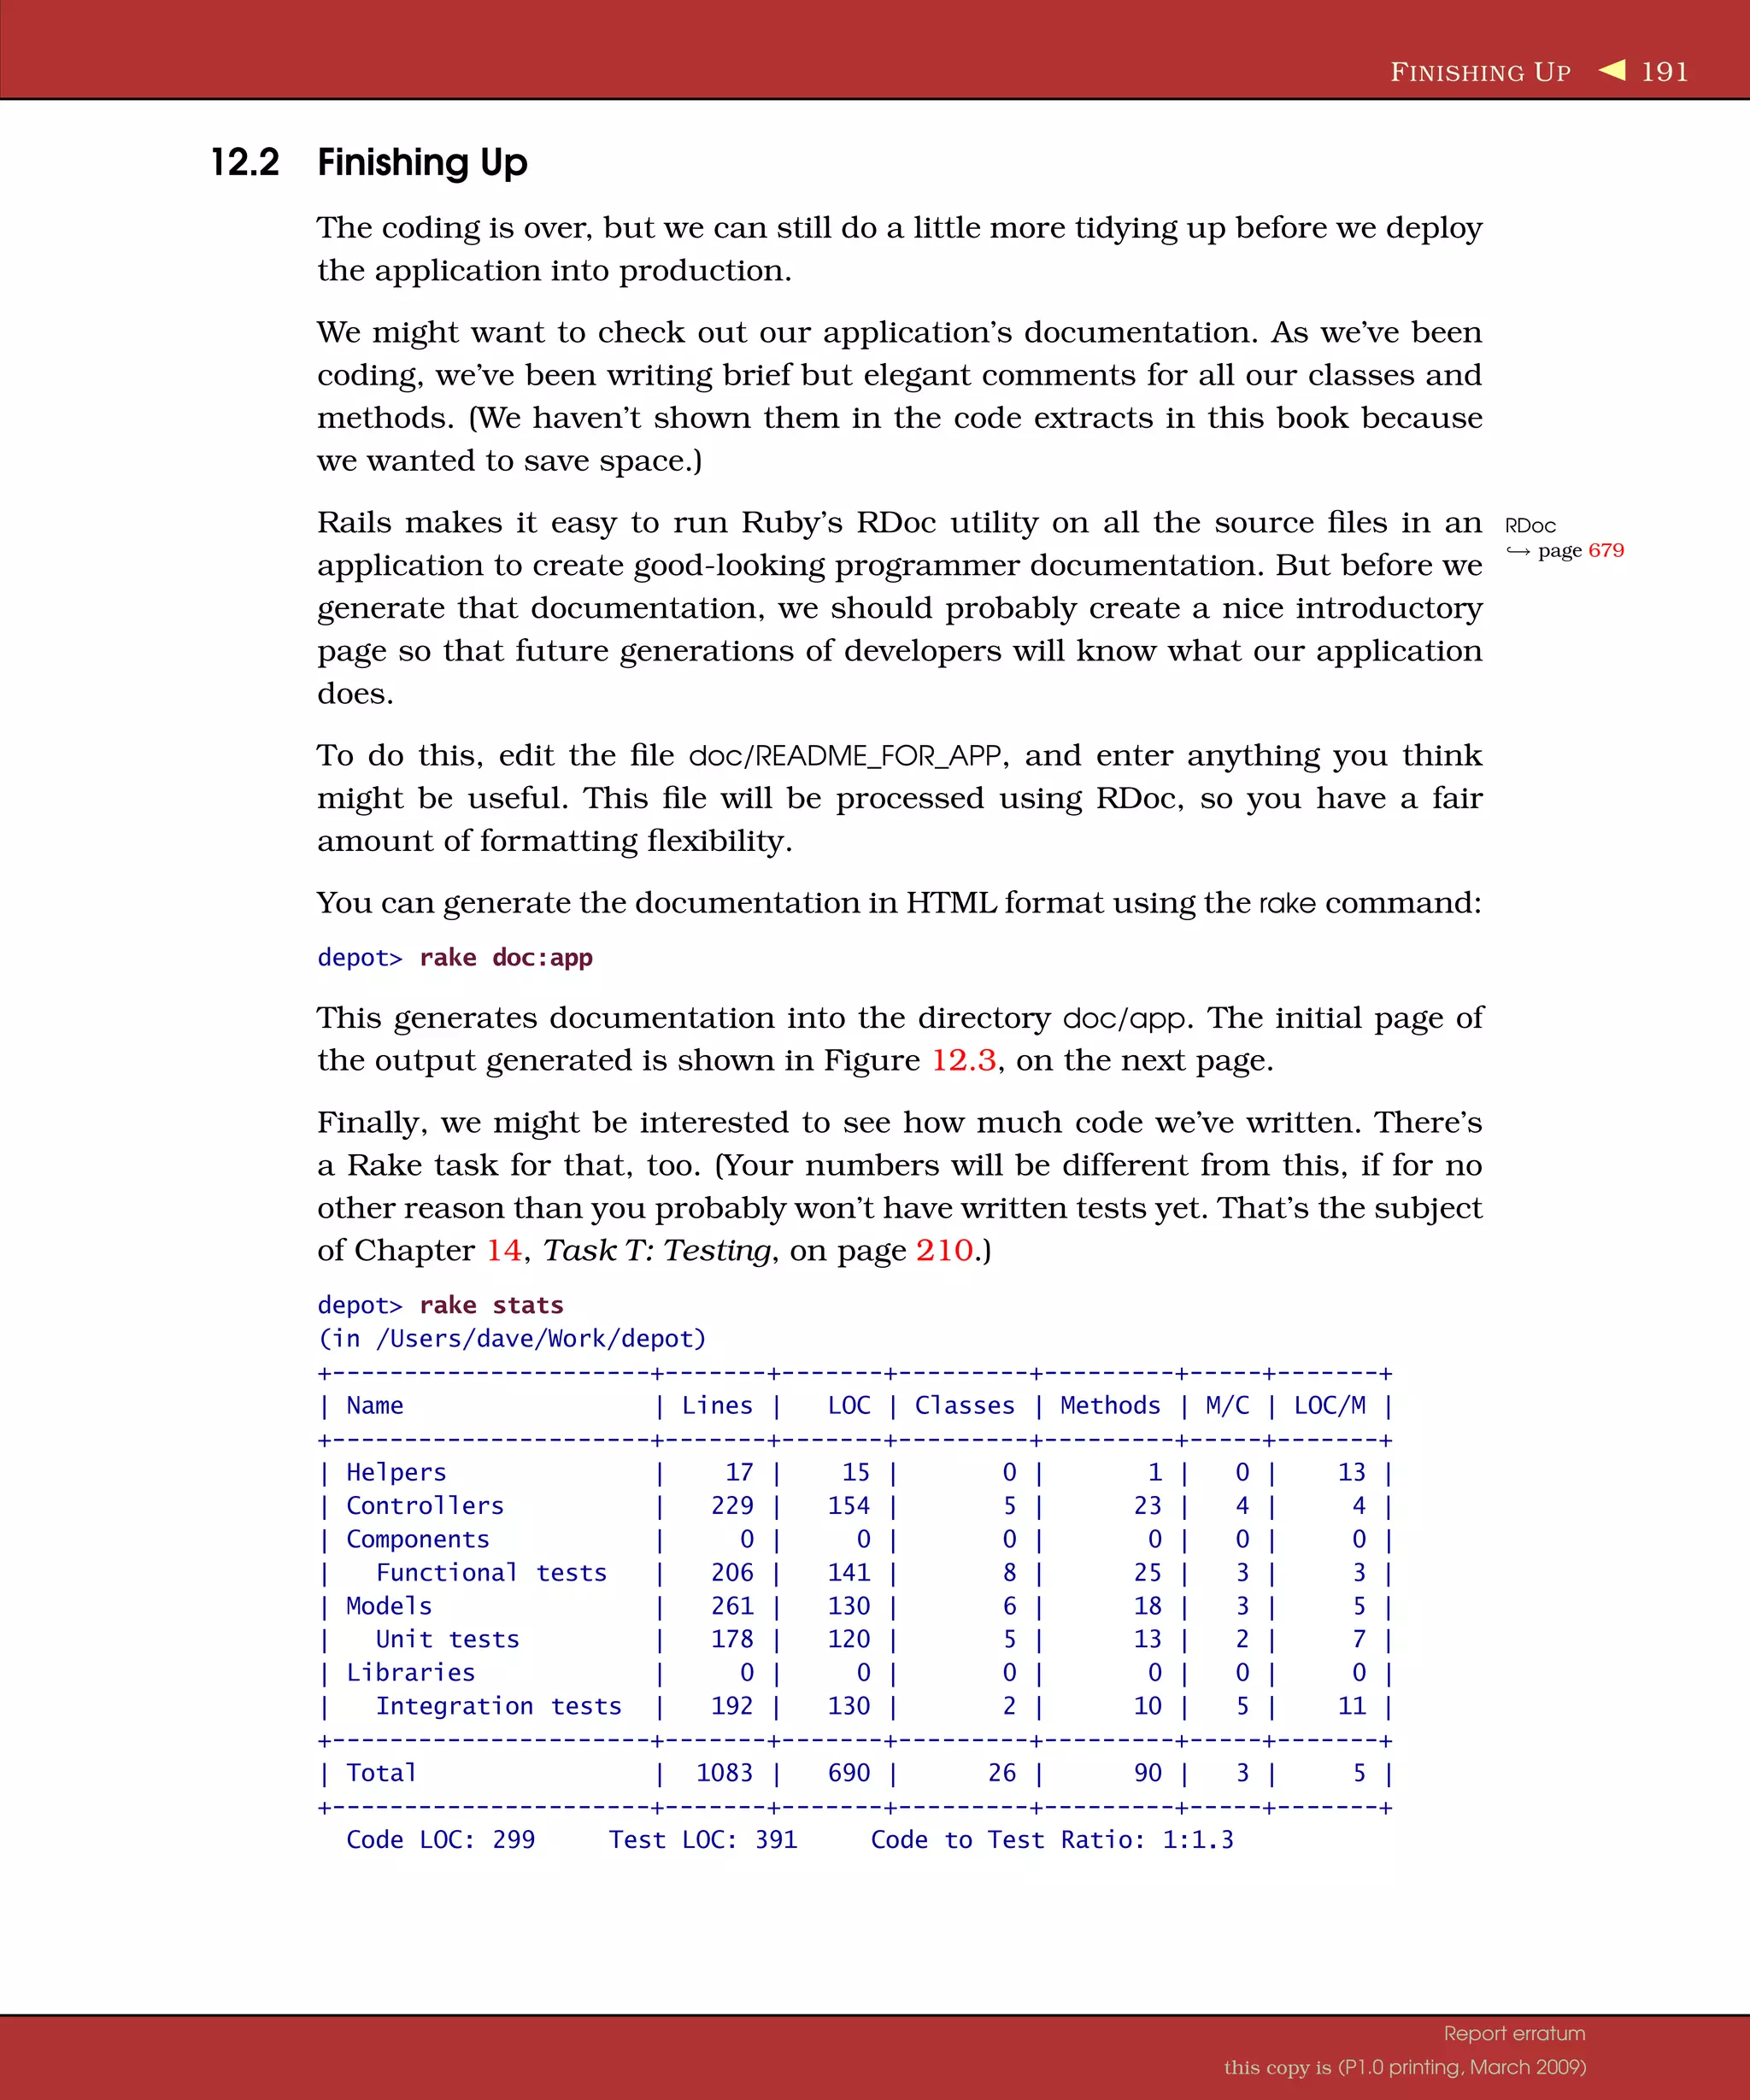
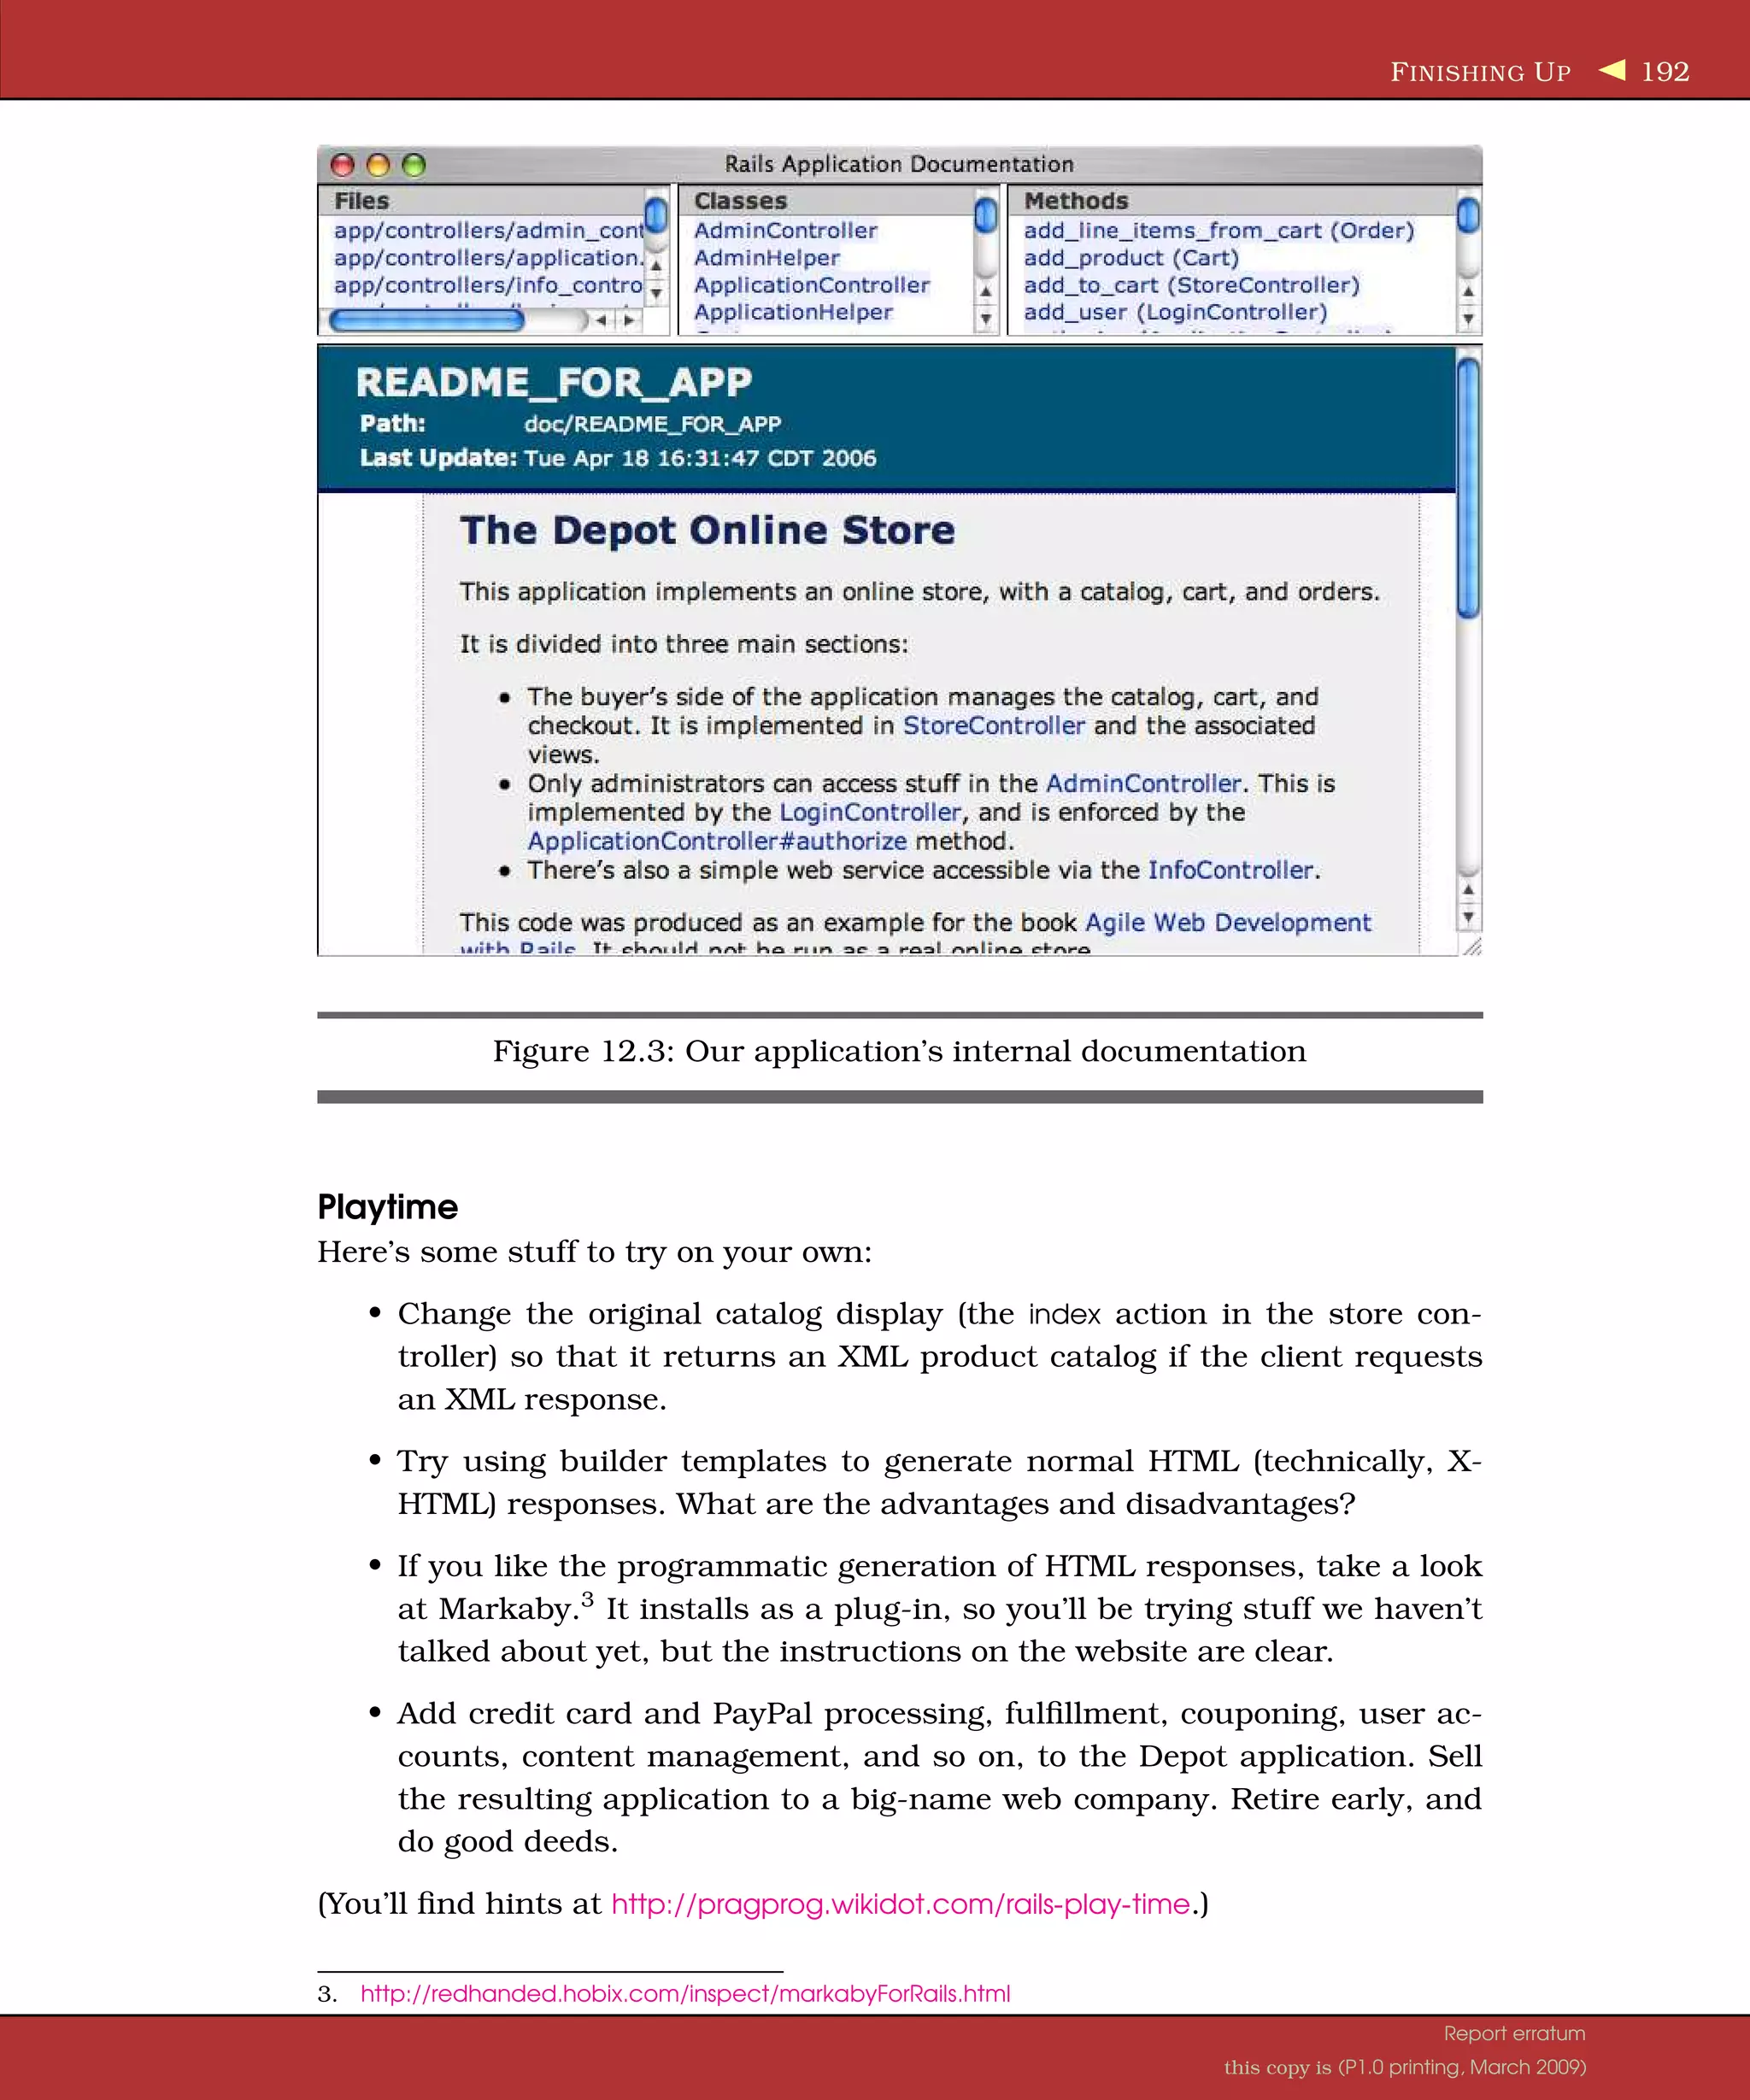
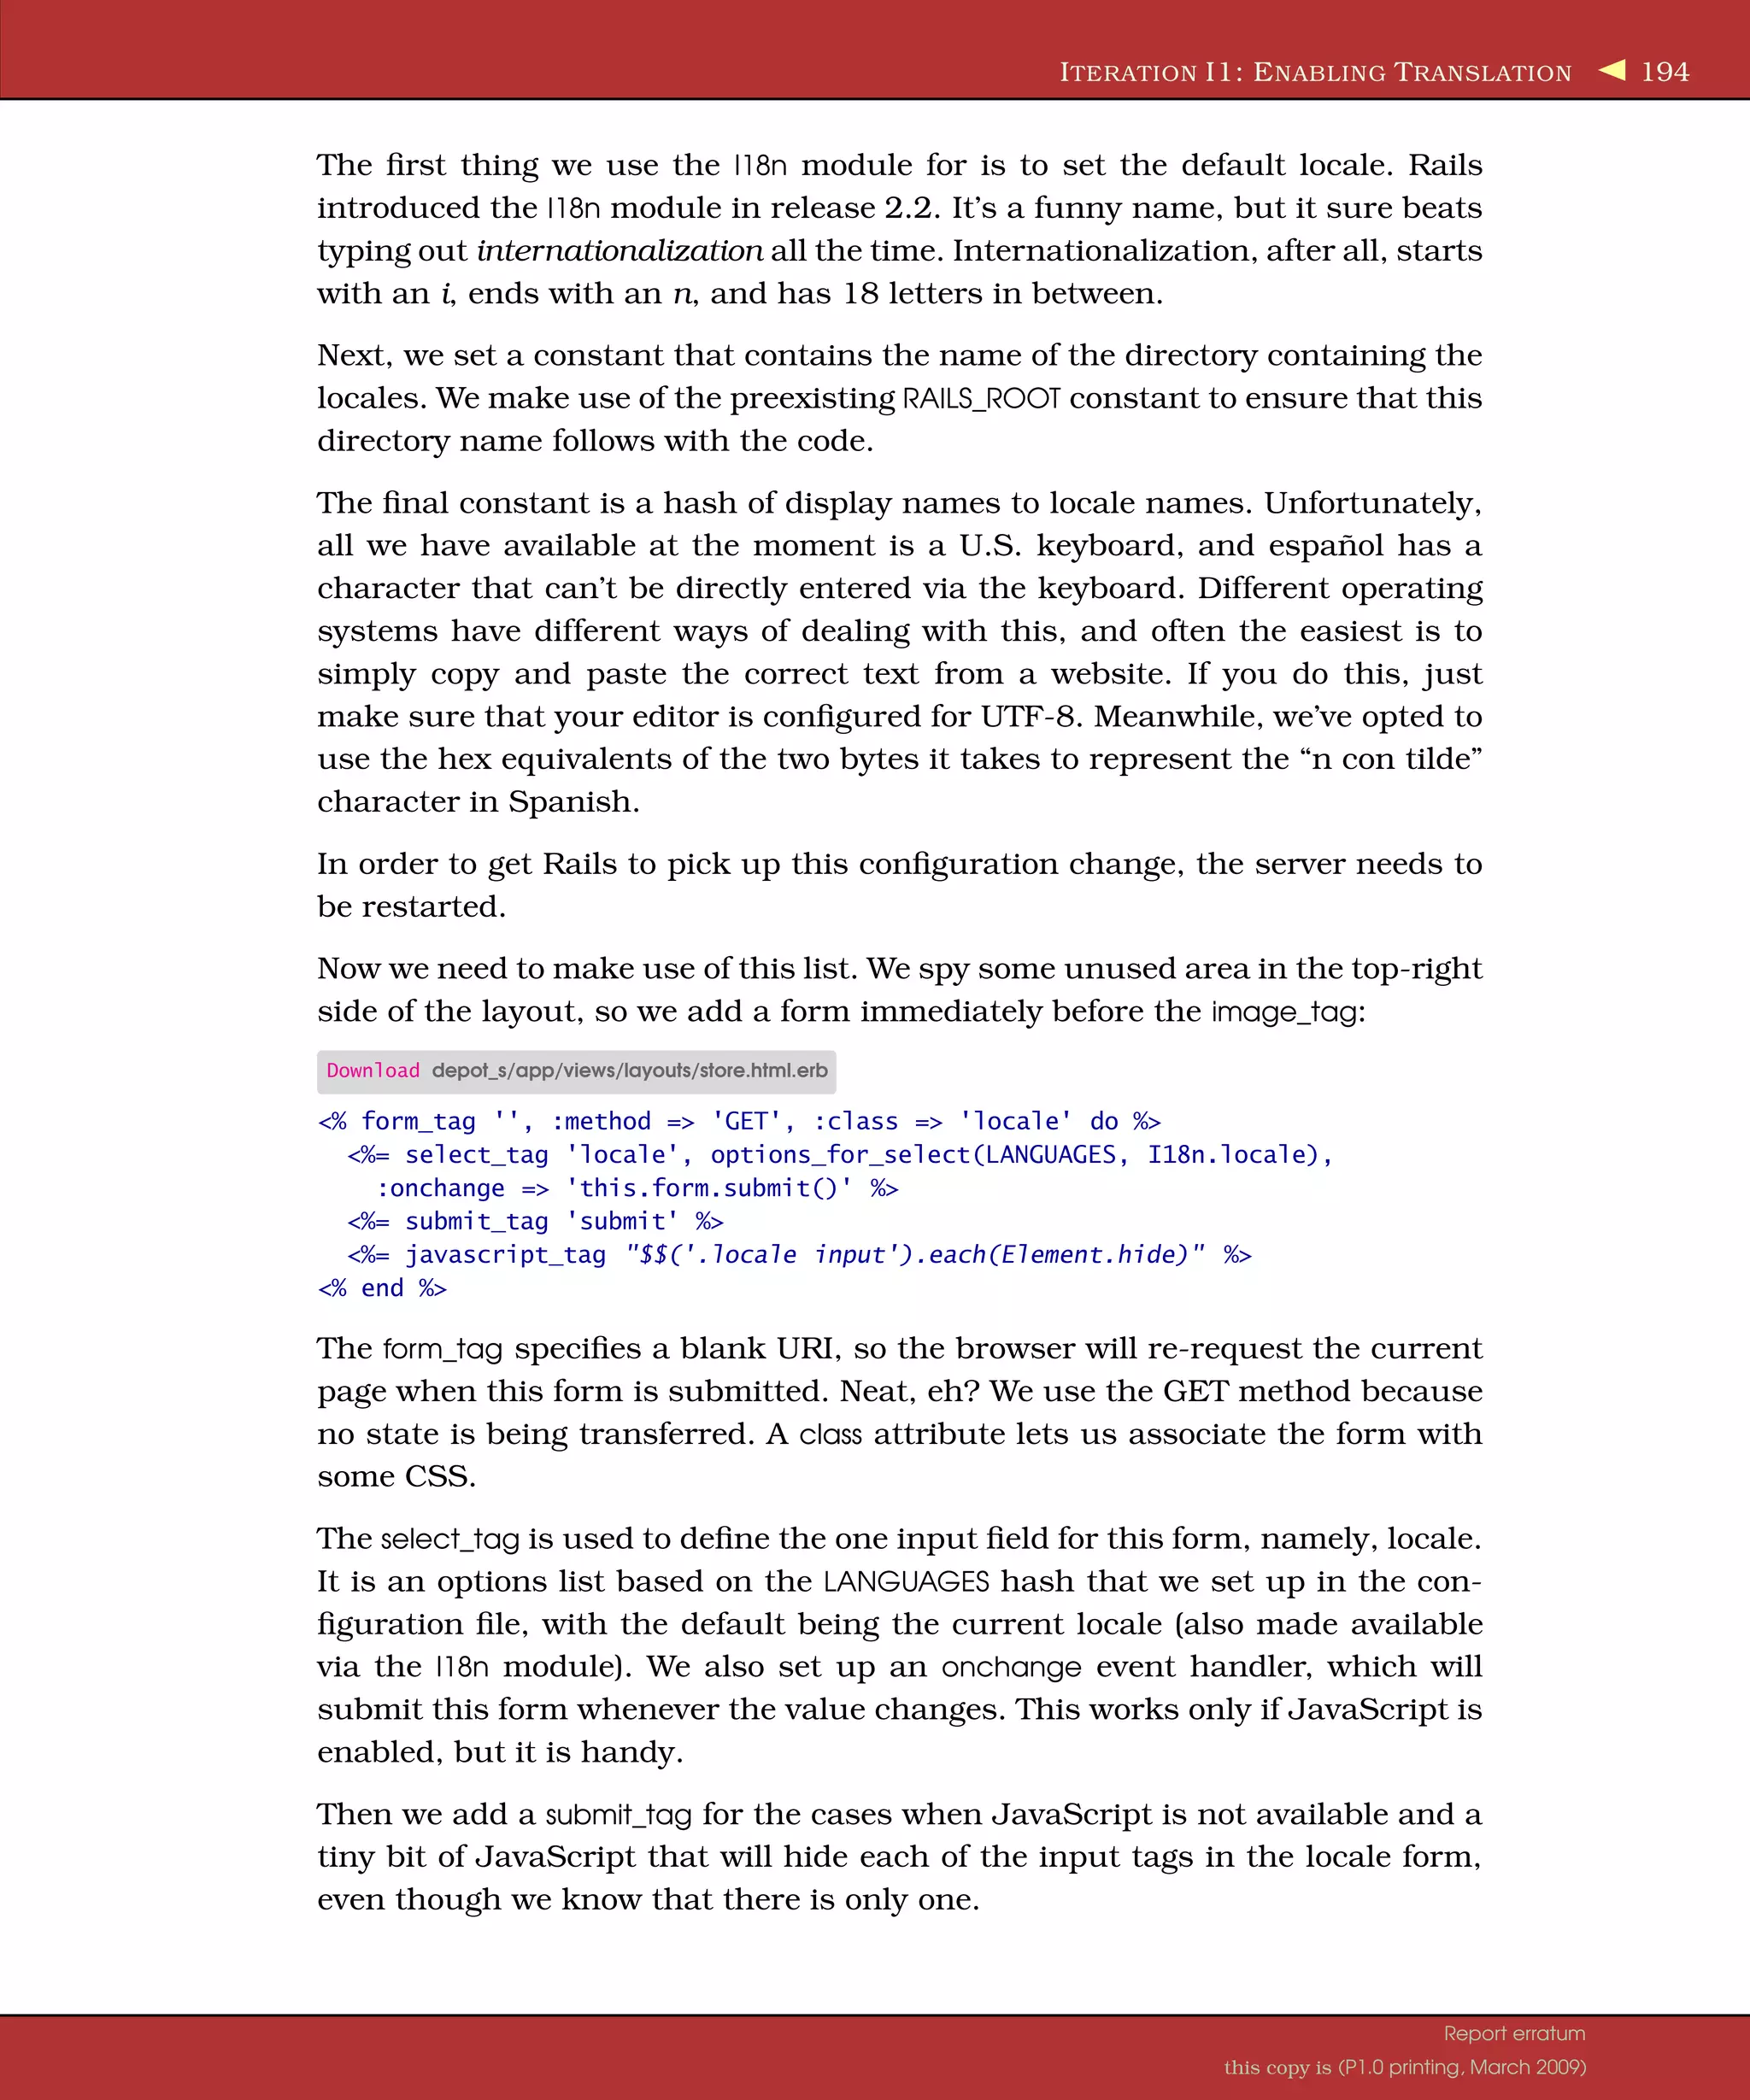
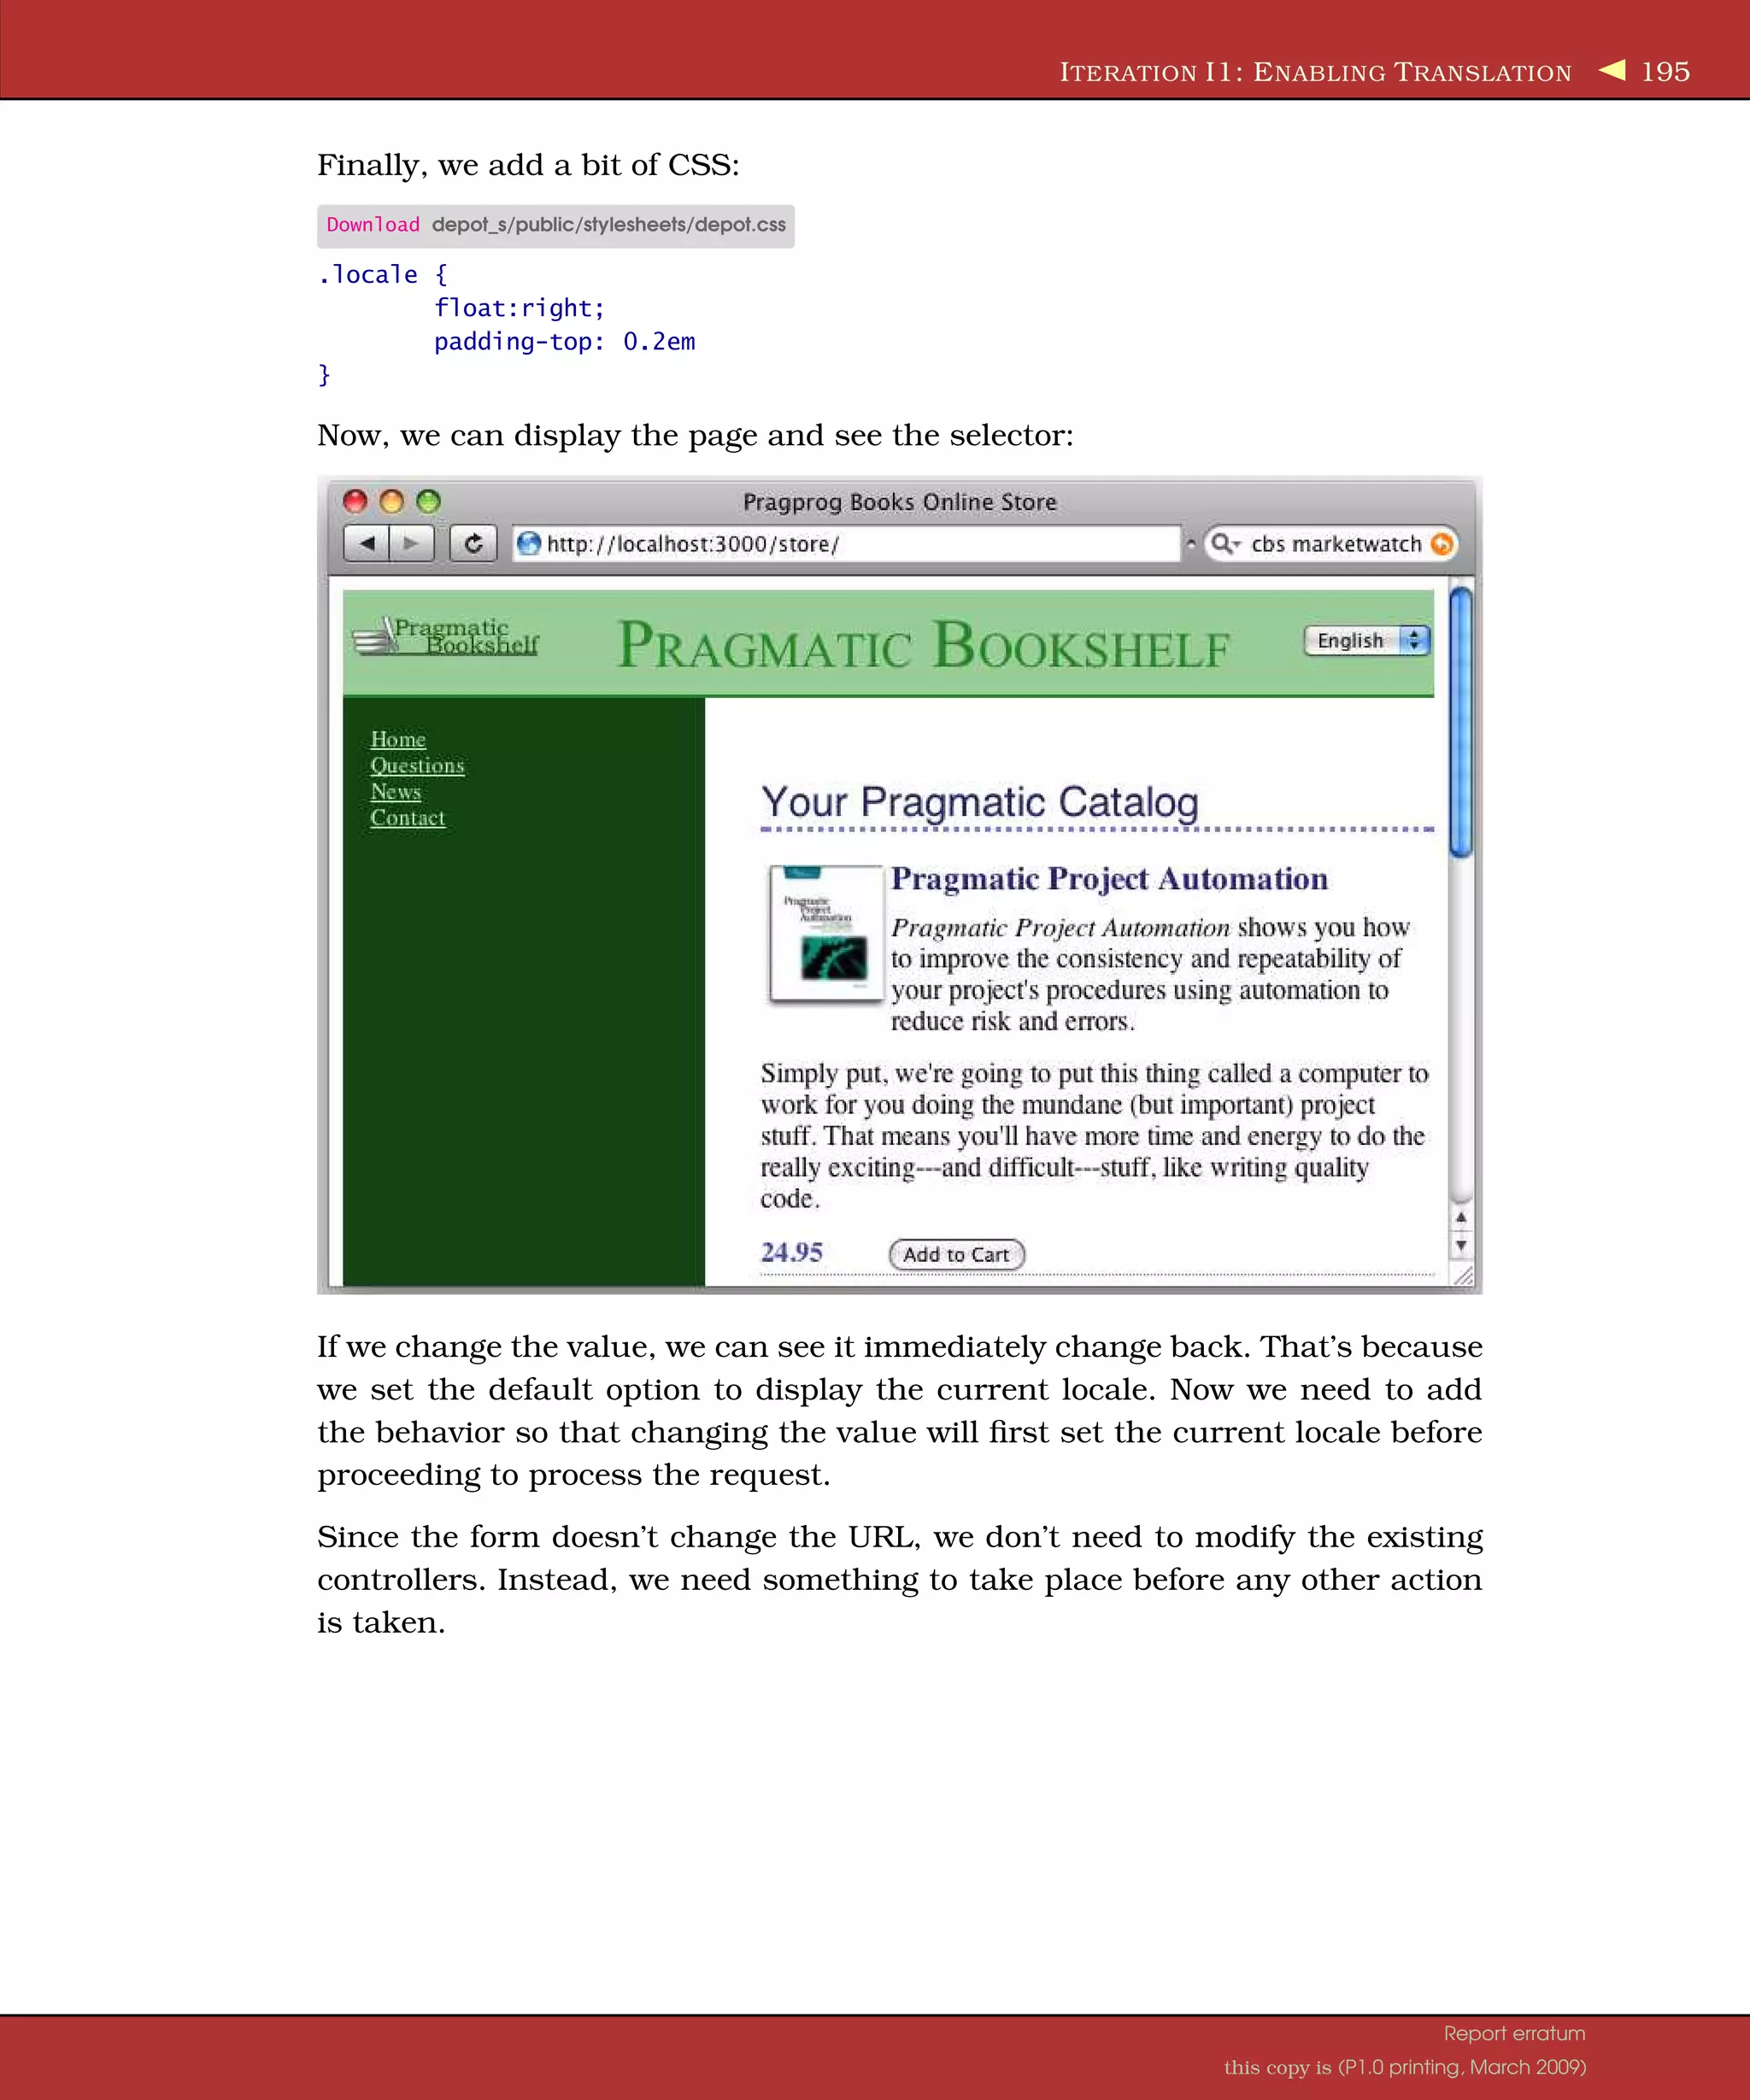
![I TERATION I1: E NABLING T RANSLATION 196 So, we create a before_filter in the common base class for all of our controllers, which is ApplicationController: Download depot_s/app/controllers/application.rb class ApplicationController < ActionController::Base layout "store" before_filter :authorize, :except => :login before_filter :set_locale #... protected def set_locale session[:locale] = params[:locale] if params[:locale] I18n.locale = session[:locale] || I18n.default_locale locale_path = "#{LOCALES_DIRECTORY}#{I18n.locale}.yml" unless I18n.load_path.include? locale_path I18n.load_path << locale_path I18n.backend.send(:init_translations) end rescue Exception => err logger.error err flash.now[:notice] = "#{I18n.locale} translation not available" I18n.load_path -= [locale_path] I18n.locale = session[:locale] = I18n.default_locale end end This code sets the locale in the session from the params, if the locale value is available in the params (it should be, but you can never be too careful). Then it sets the I18n locale from the session, again being overly cautious. Finally, if the locale file is not already in the load path, it is added and loaded. Care is taken to log any errors in full for the administrator, report to the user a generic message on failure so that they are not left wondering why their change didn’t work, and revert any problematic locales from the load path and I18n.locale. Now, when we change the value, the value will still snap back to English, but at least we can see a message on the screen saying that the translation is not available and a message in the log indicating that the file wasn’t found. It might not look like it, but that’s progress. Report erratum this copy is (P1.0 printing, March 2009)](https://image.slidesharecdn.com/pragmatic-agilewebdevelopmentwithrails-3rdedition-2009-091104222637-phpapp01/75/Pragmatic-Agile-Web-Development-With-Rails-3rd-Edition-2009-196-2048.jpg)
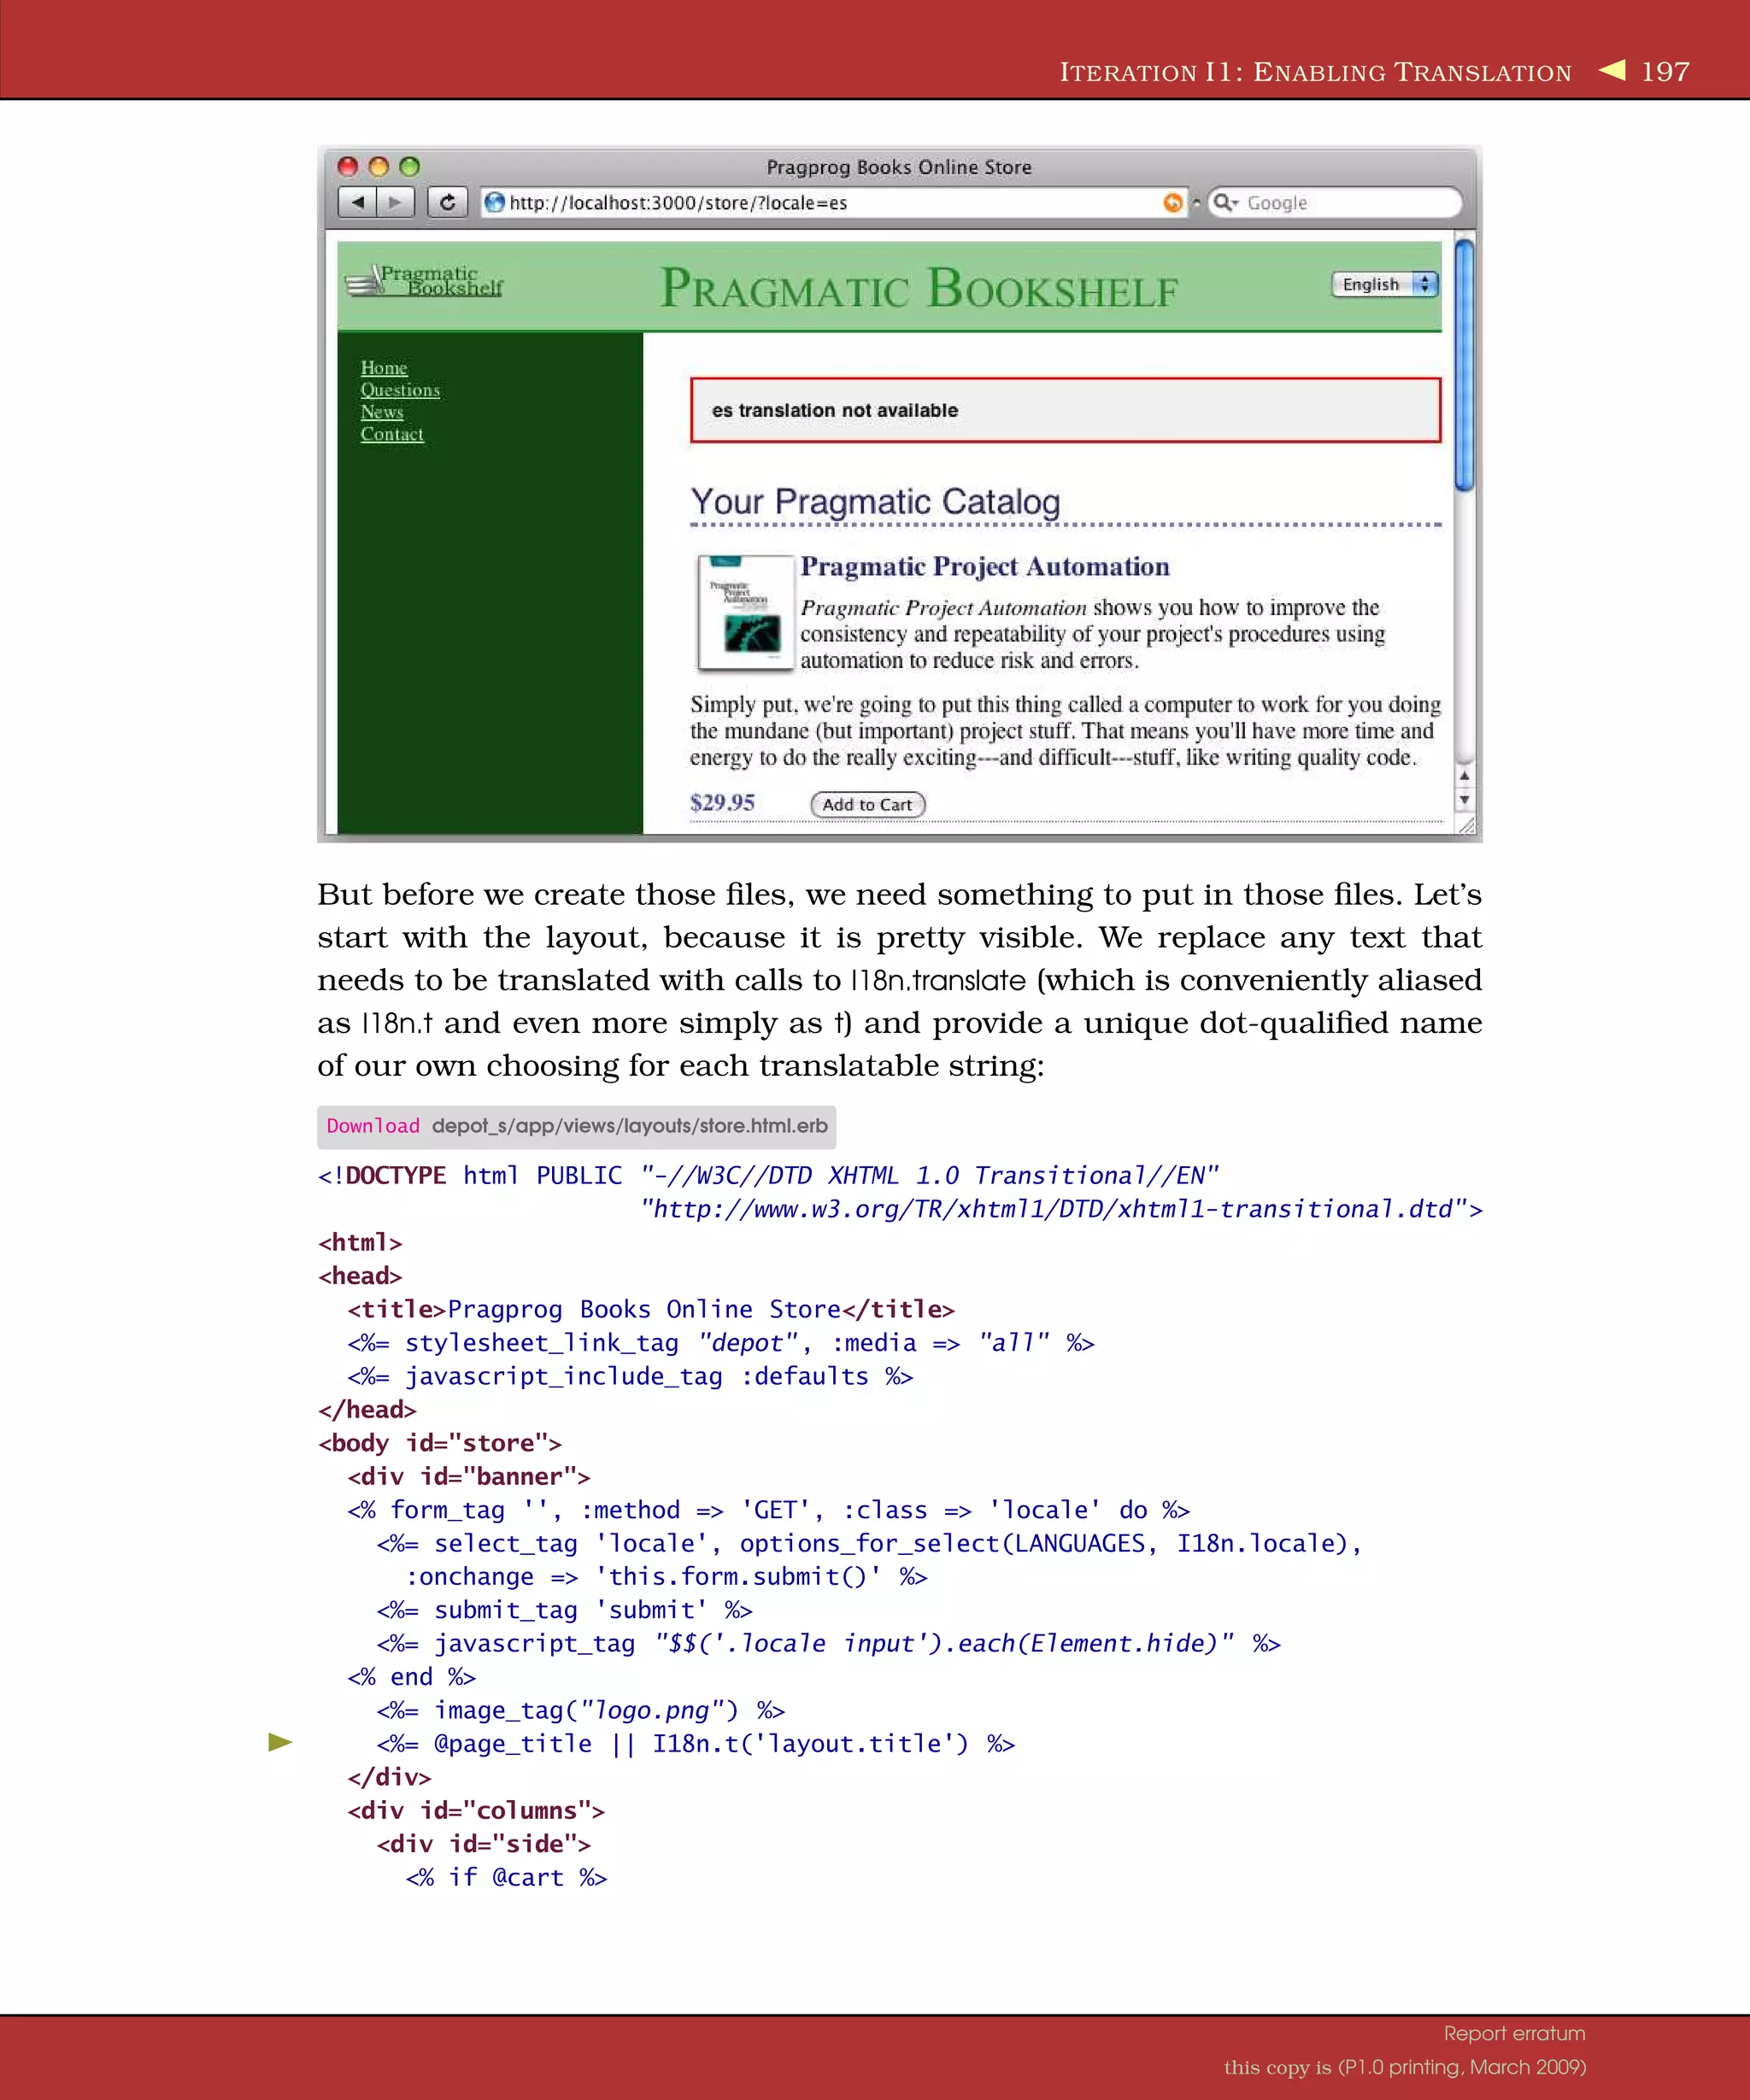
![I TERATION I1: E NABLING T RANSLATION 198 <% hidden_div_if(@cart.items.empty?, :id => "cart" ) do %> <%= render(:partial => "cart" , :object => @cart) %> <% end %> <% end %> <a href="http://www...."><%= I18n.t 'layout.side.home' %></a><br /> <a href="http://www..../faq"><%= I18n.t 'layout.side.questions' %></a><br /> <a href="http://www..../news"><%= I18n.t 'layout.side.news' %></a><br /> <a href="http://www..../contact"><%= I18n.t 'layout.side.contact' %></a><br /> <% if session[:user_id] %> <br /> <%= link_to 'Orders', :controller => 'orders' %><br /> <%= link_to 'Products', :controller => 'products' %><br /> <%= link_to 'Users', :controller => 'users' %><br /> <br /> <%= link_to 'Logout', :controller => 'admin', :action => 'logout' %> <% end %> </div> <div id="main"> <% if flash[:notice] -%> <div id="notice"><%= flash[:notice] %></div> <% end -%> <%= yield :layout %> </div> </div> </body> </html> Here’s the corresponding locale file, first in English: Download depot_s/config/locales/en.yml en: layout: title: "Pragmatic Bookshelf" side: home: "Home" questions: "Questions" news: "News" contact: "Contact" and next in Spanish: Download depot_s/config/locales/es.yml es: layout: title: "Publicaciones de Pragmatic" side: home: "Inicio" questions: "Preguntas" news: "Noticias" contact: "Contacto" Report erratum this copy is (P1.0 printing, March 2009)](https://image.slidesharecdn.com/pragmatic-agilewebdevelopmentwithrails-3rdedition-2009-091104222637-phpapp01/75/Pragmatic-Agile-Web-Development-With-Rails-3rd-Edition-2009-198-2048.jpg)
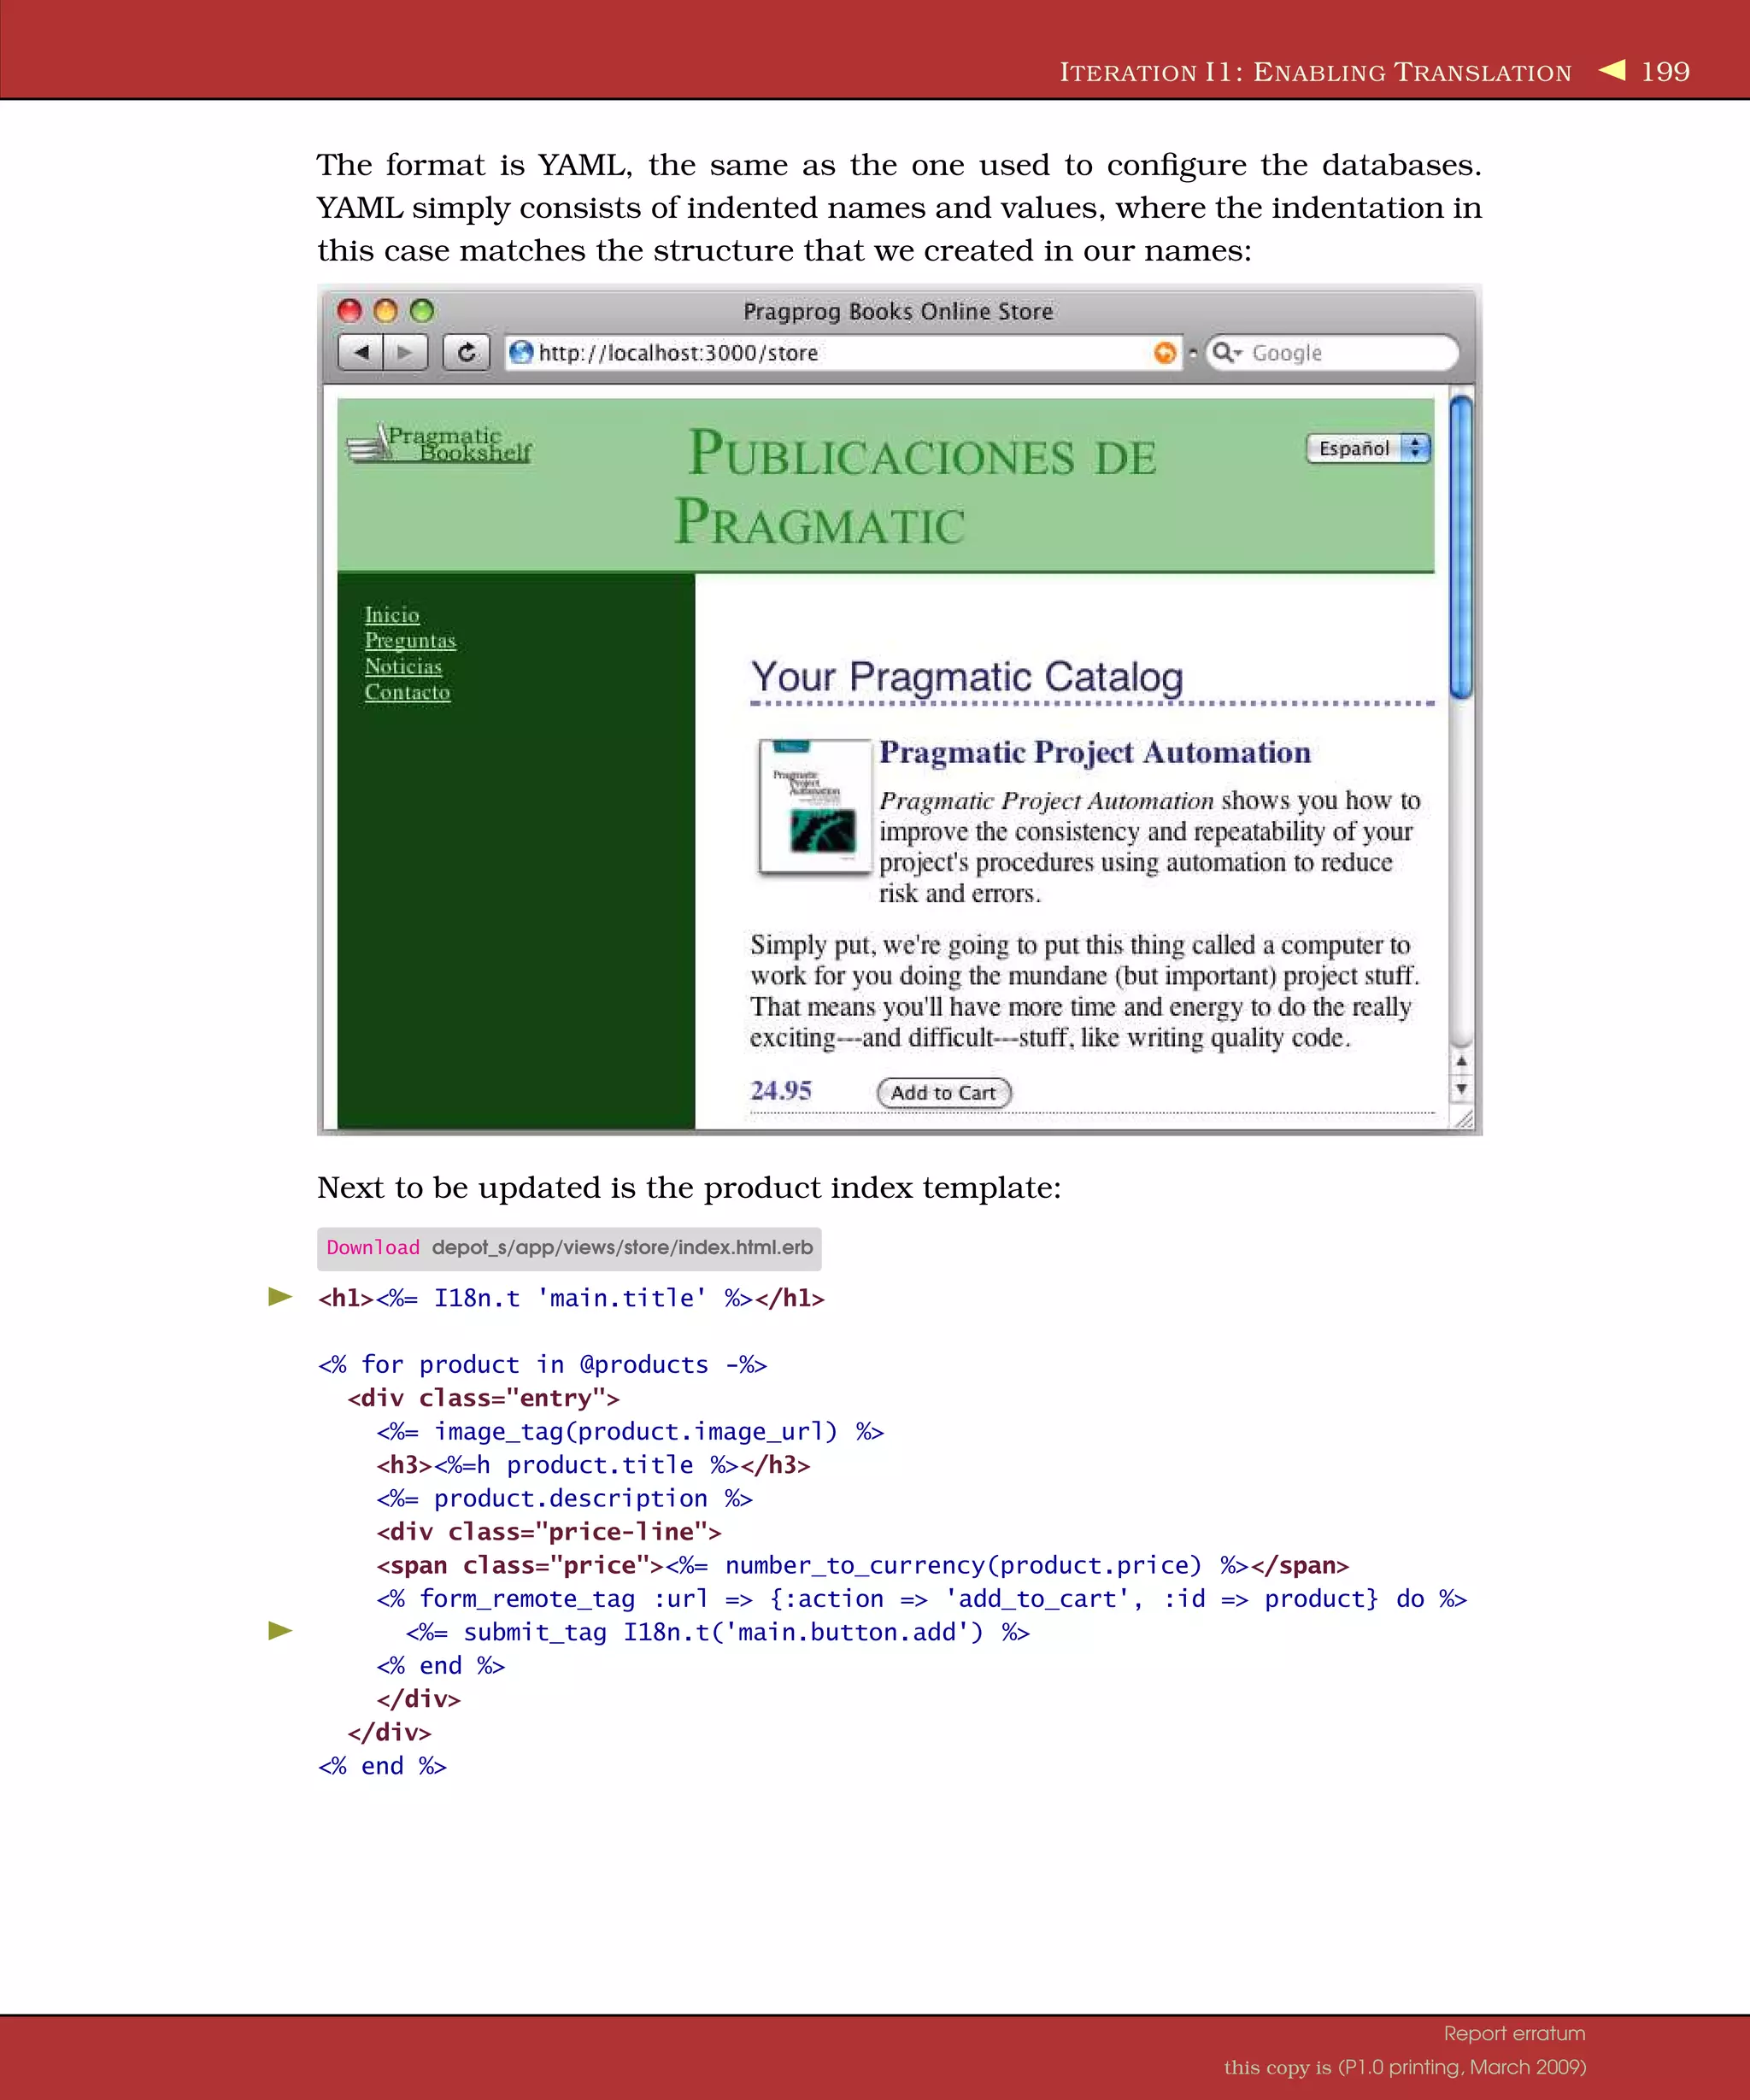
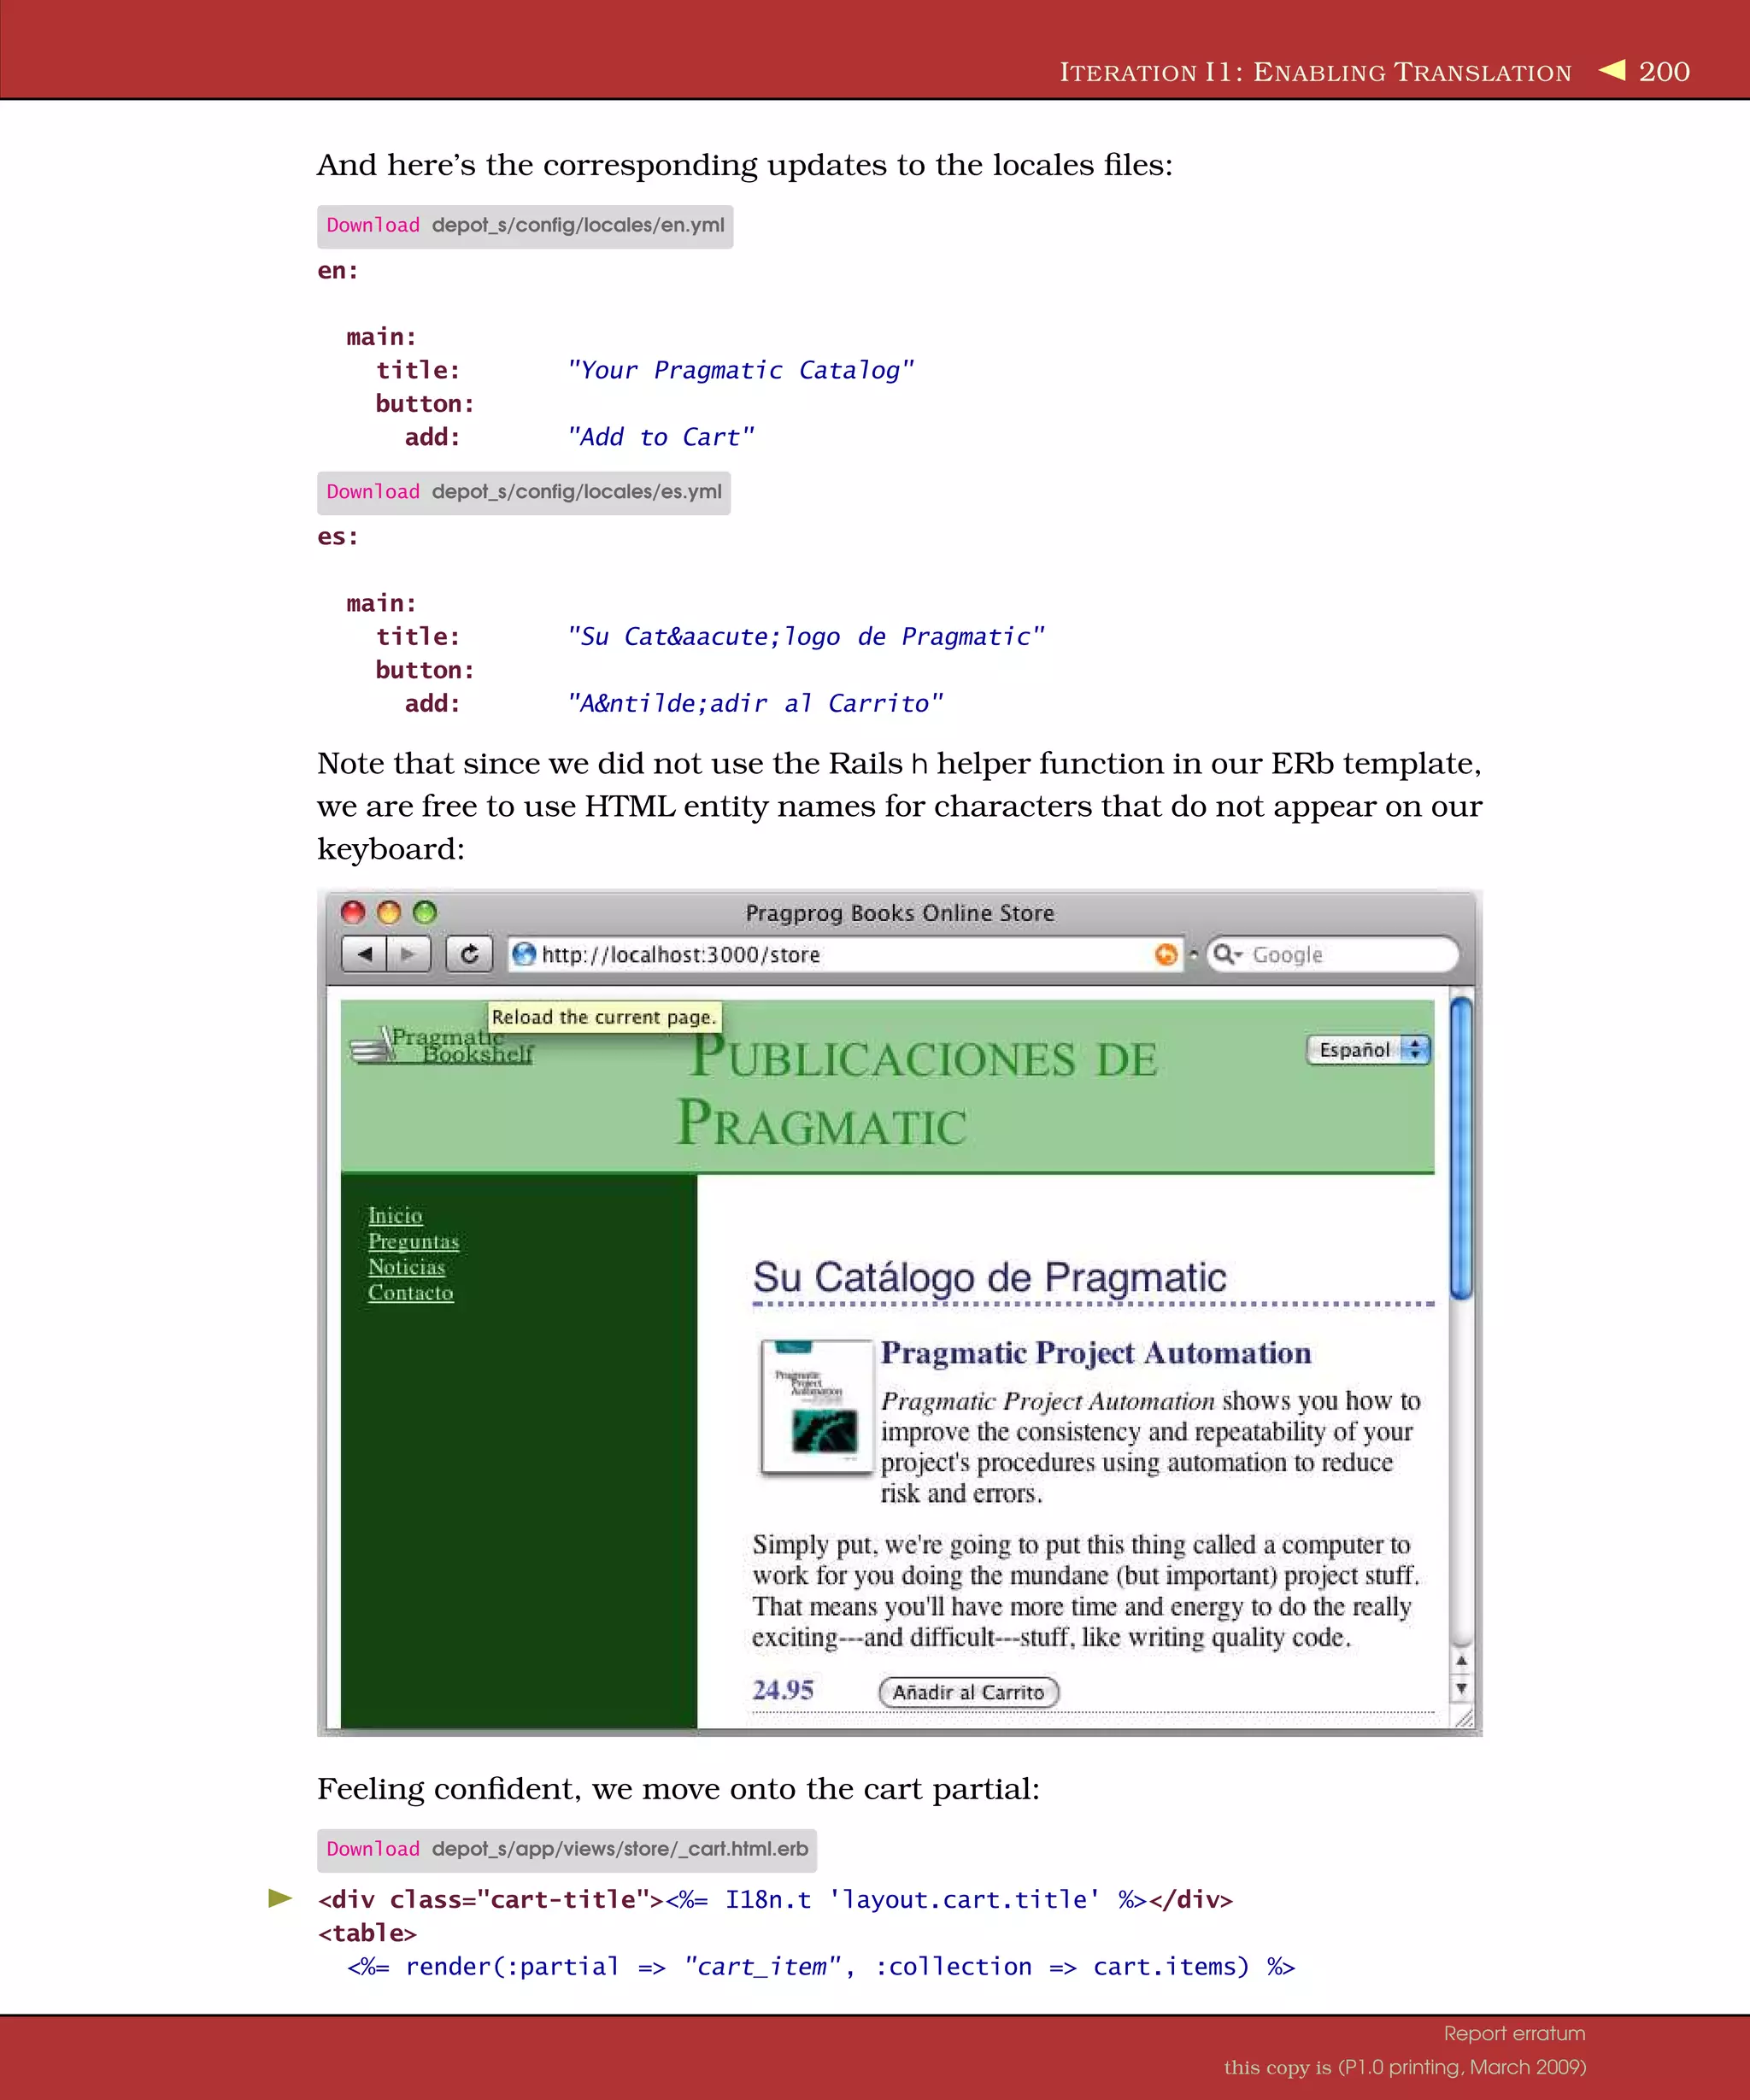

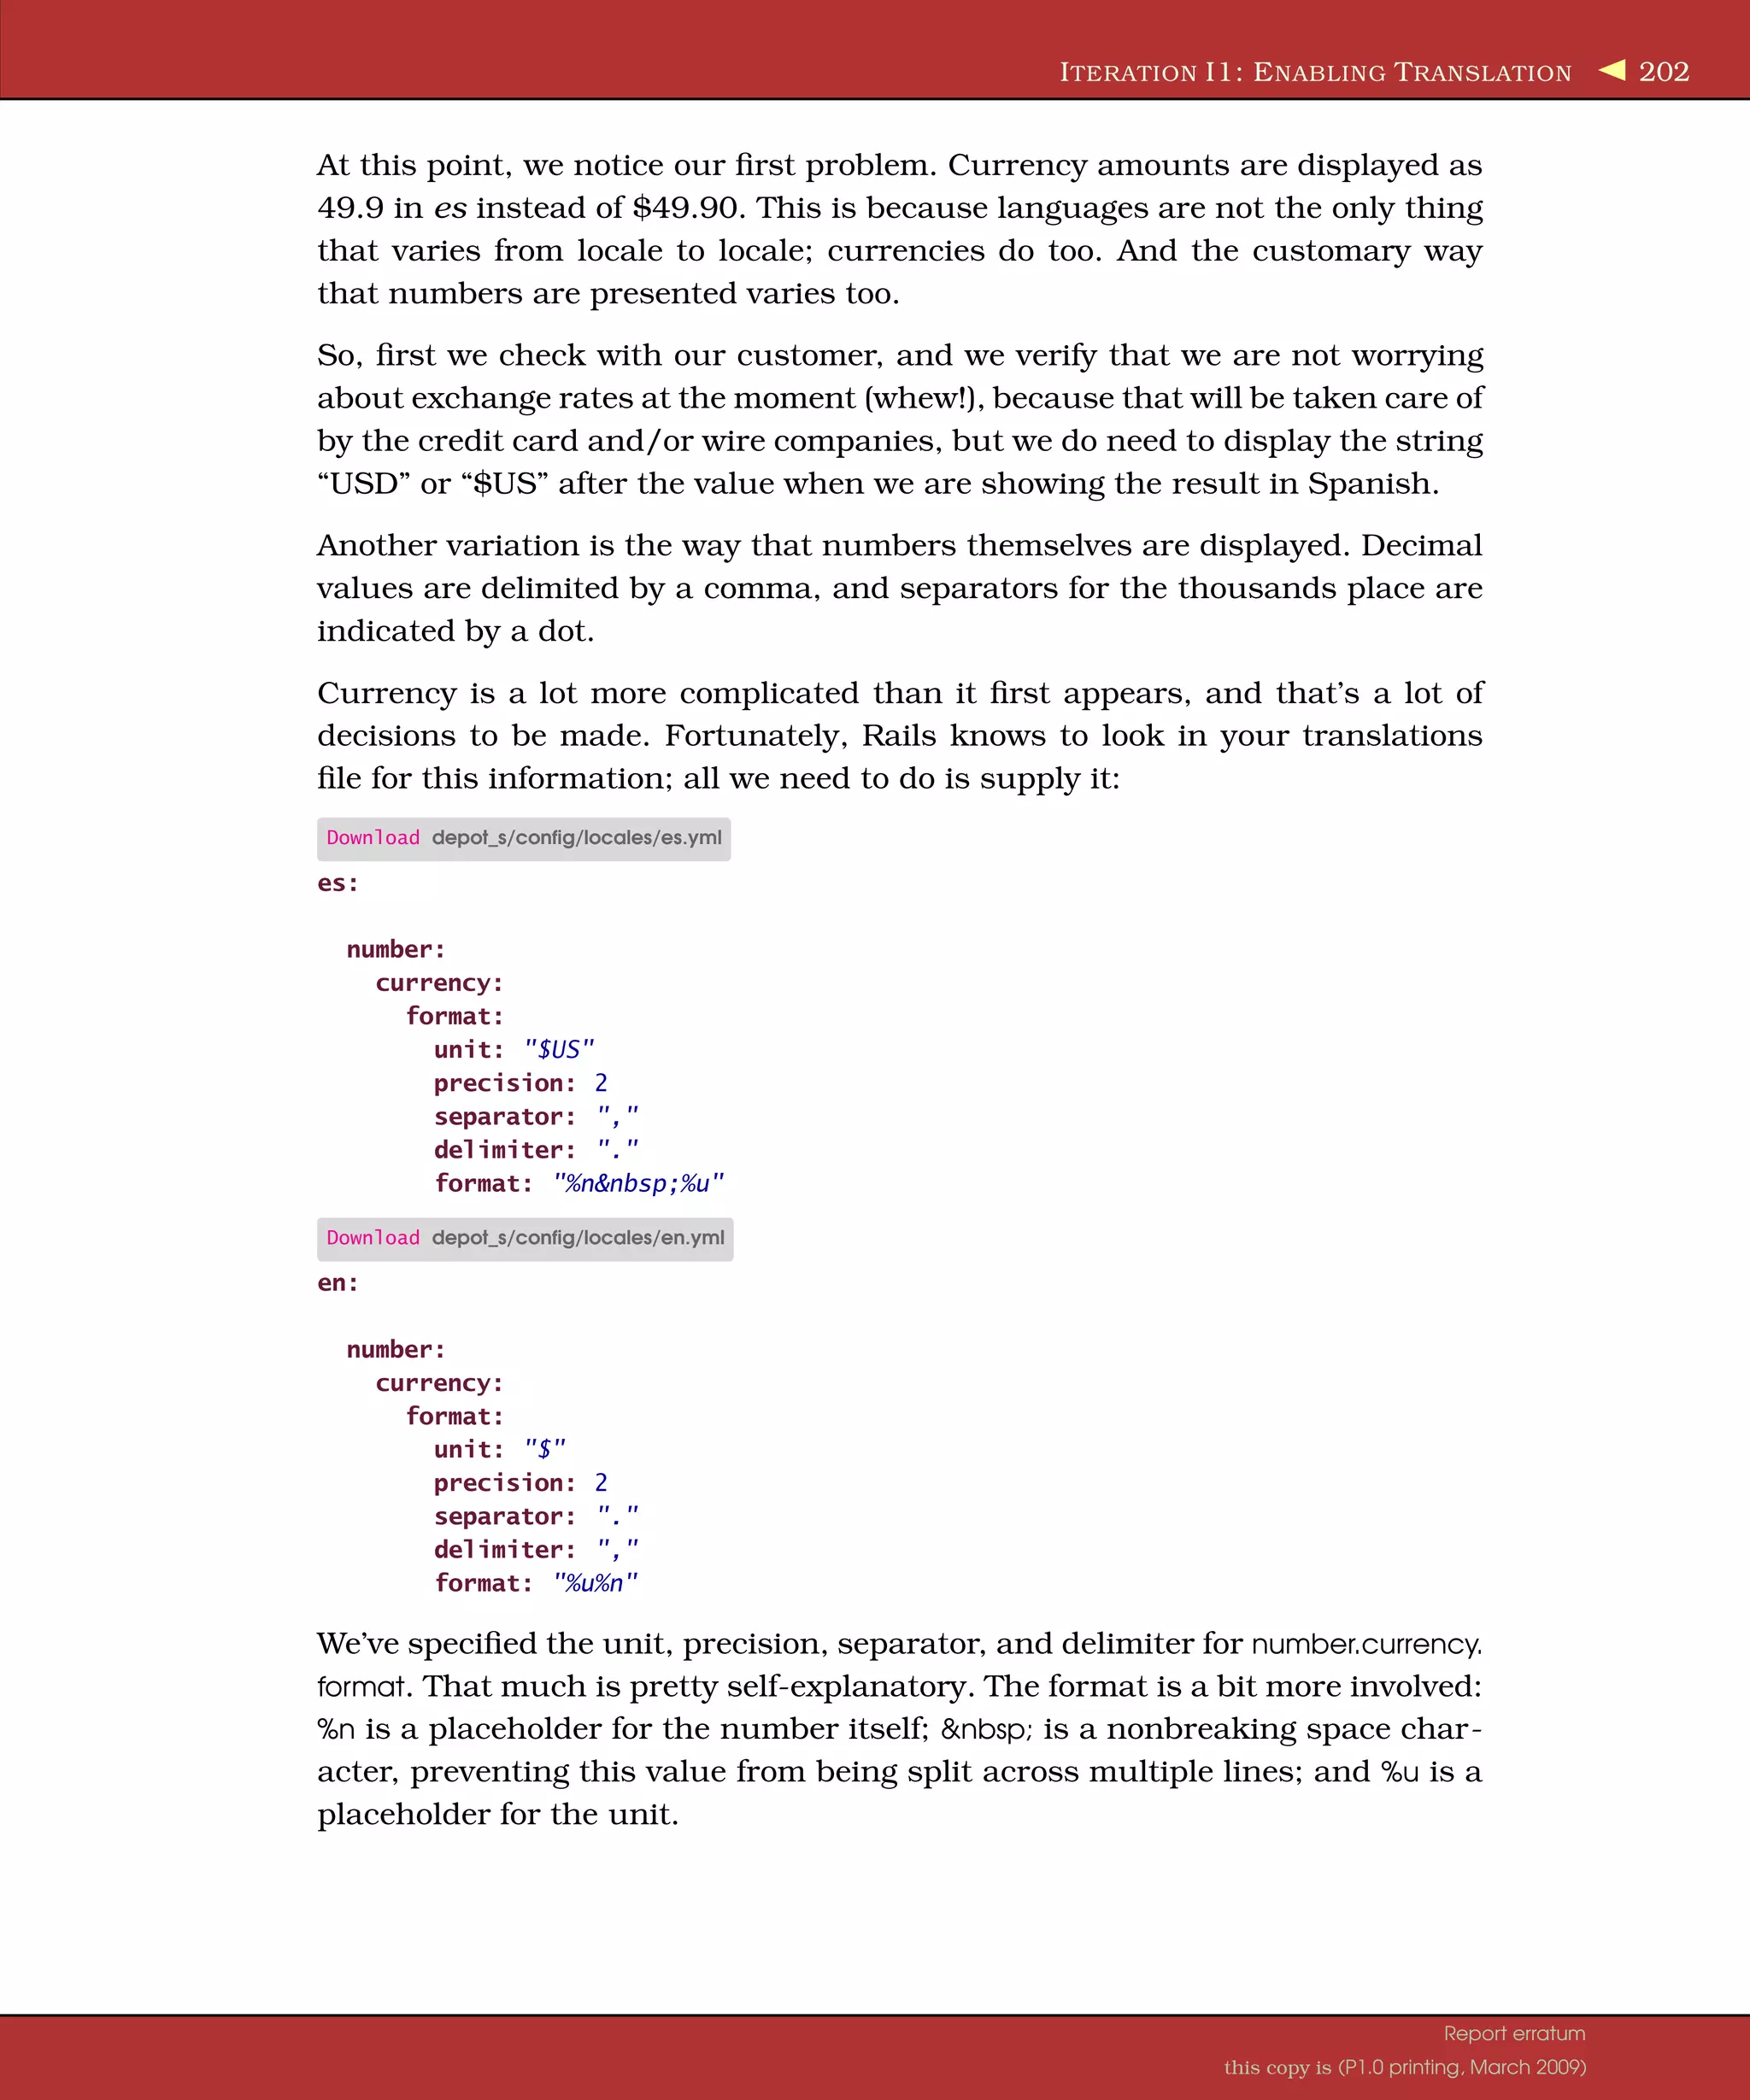
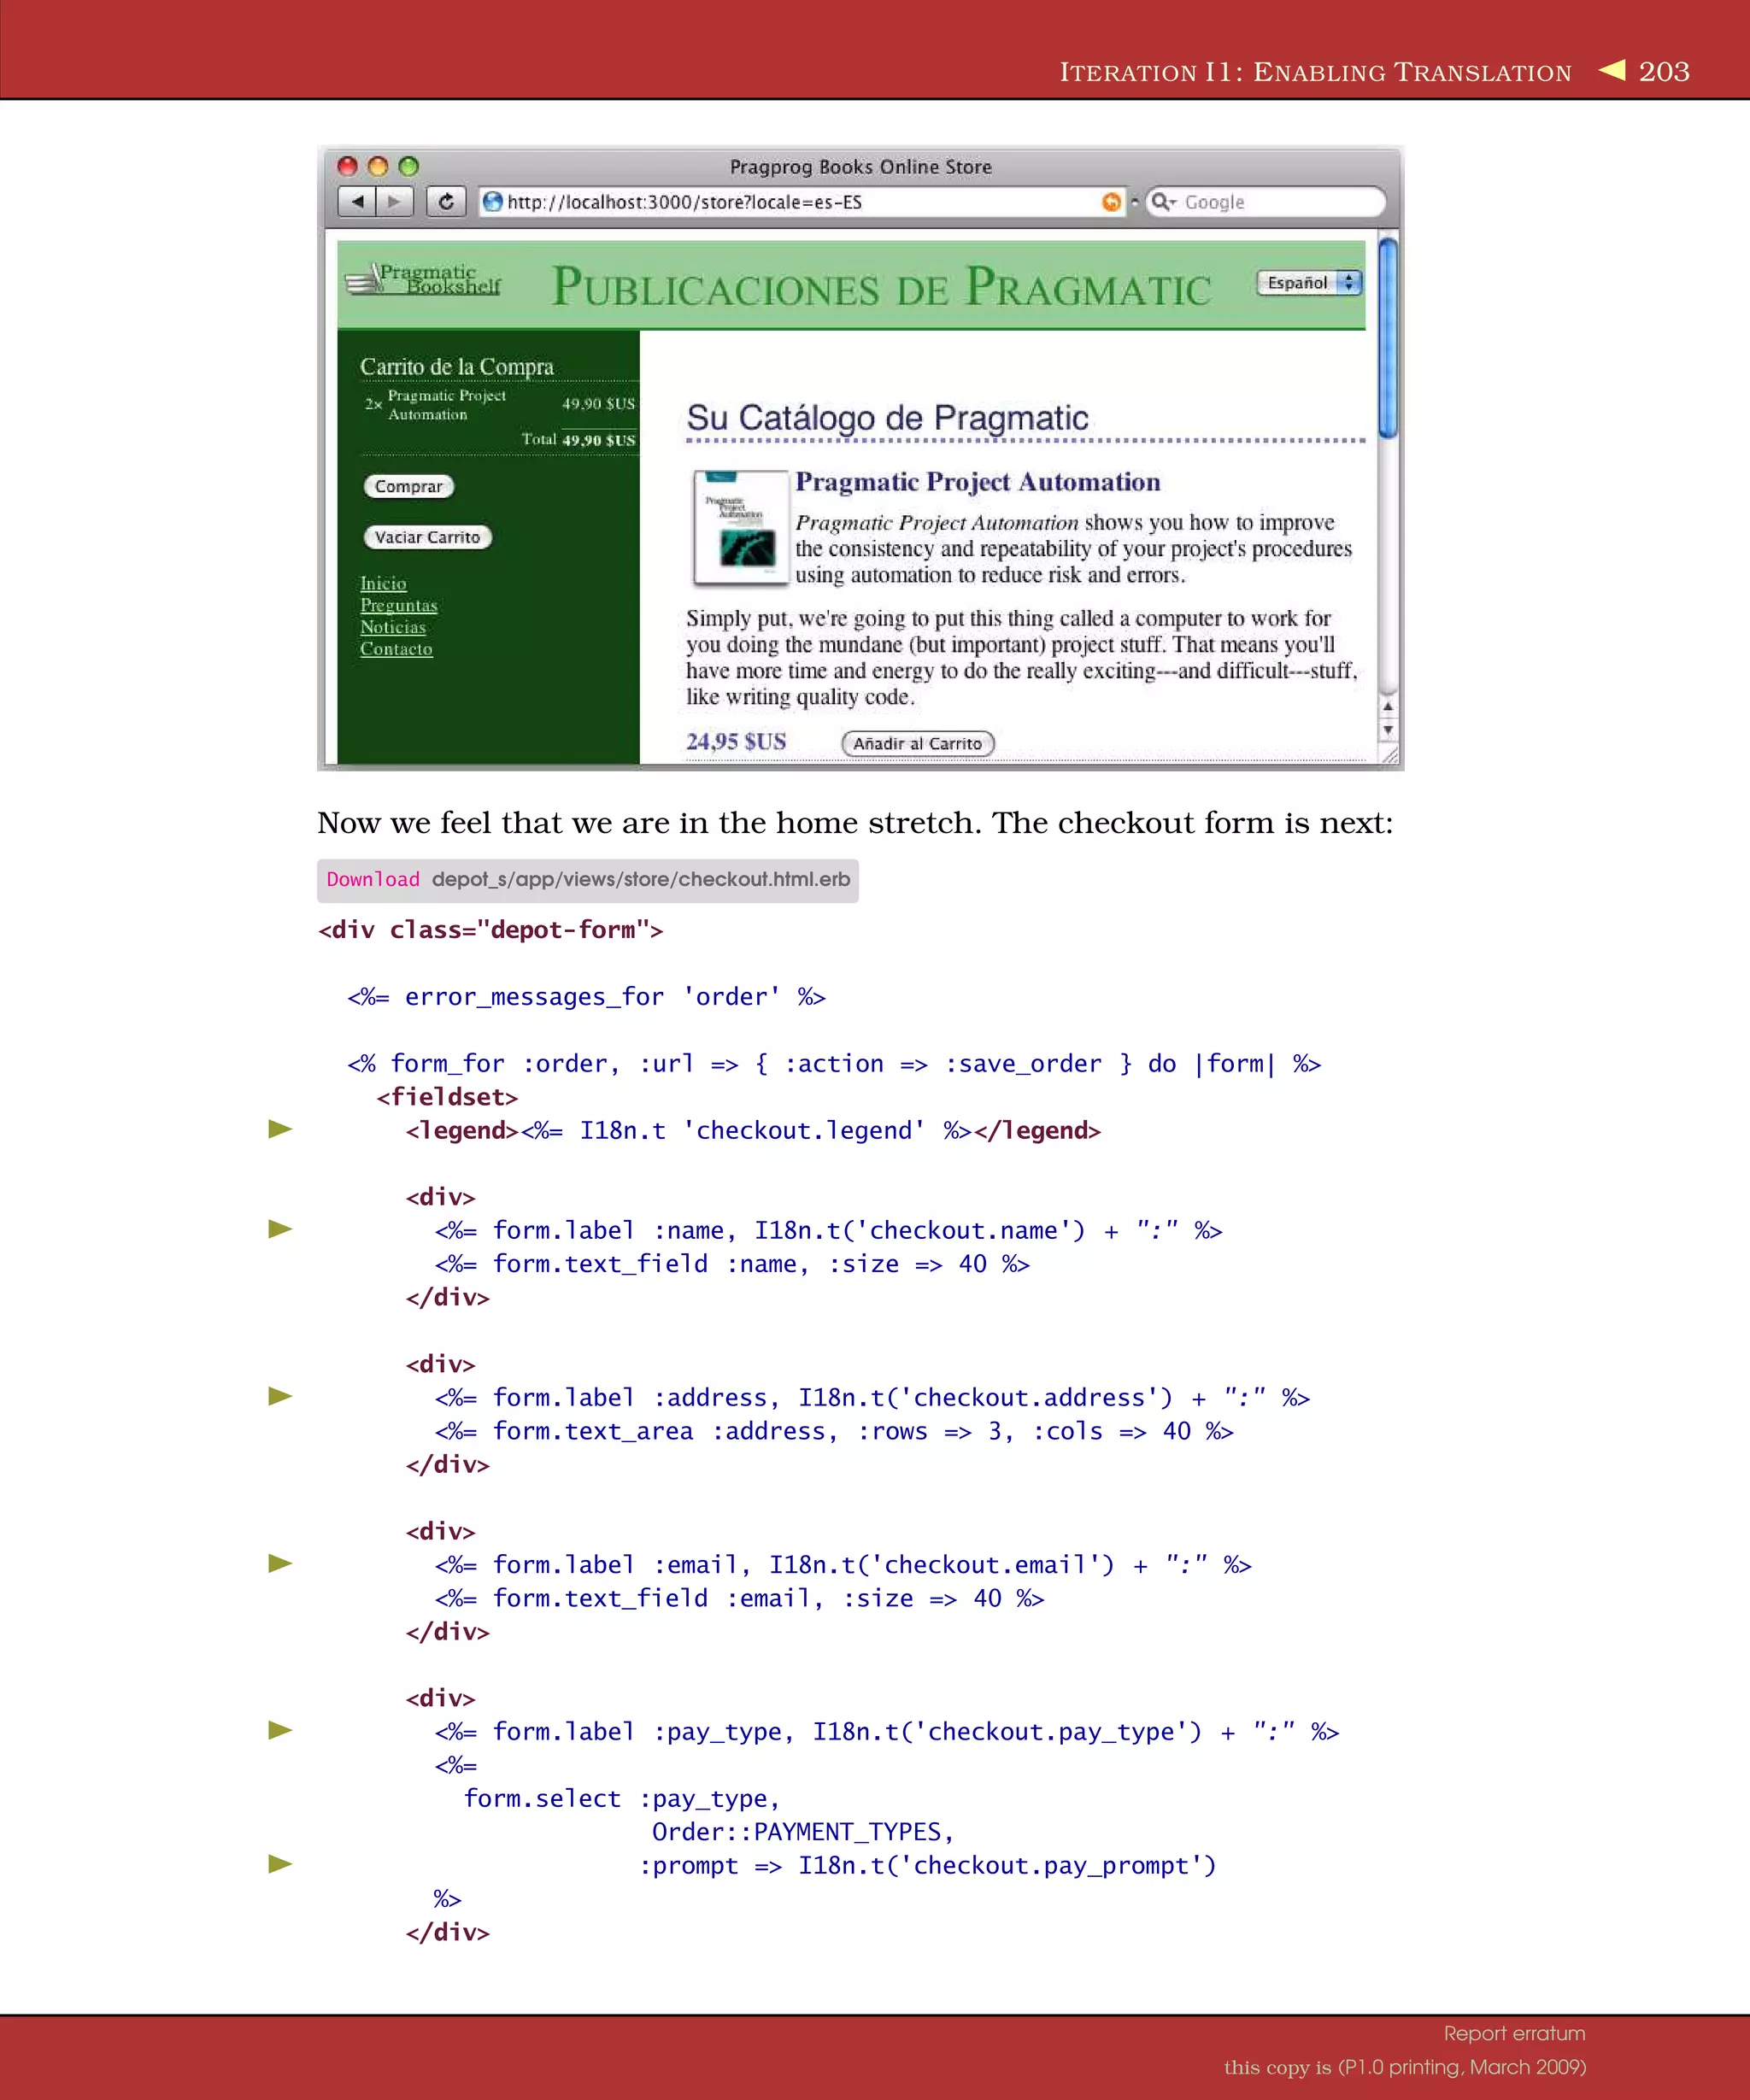
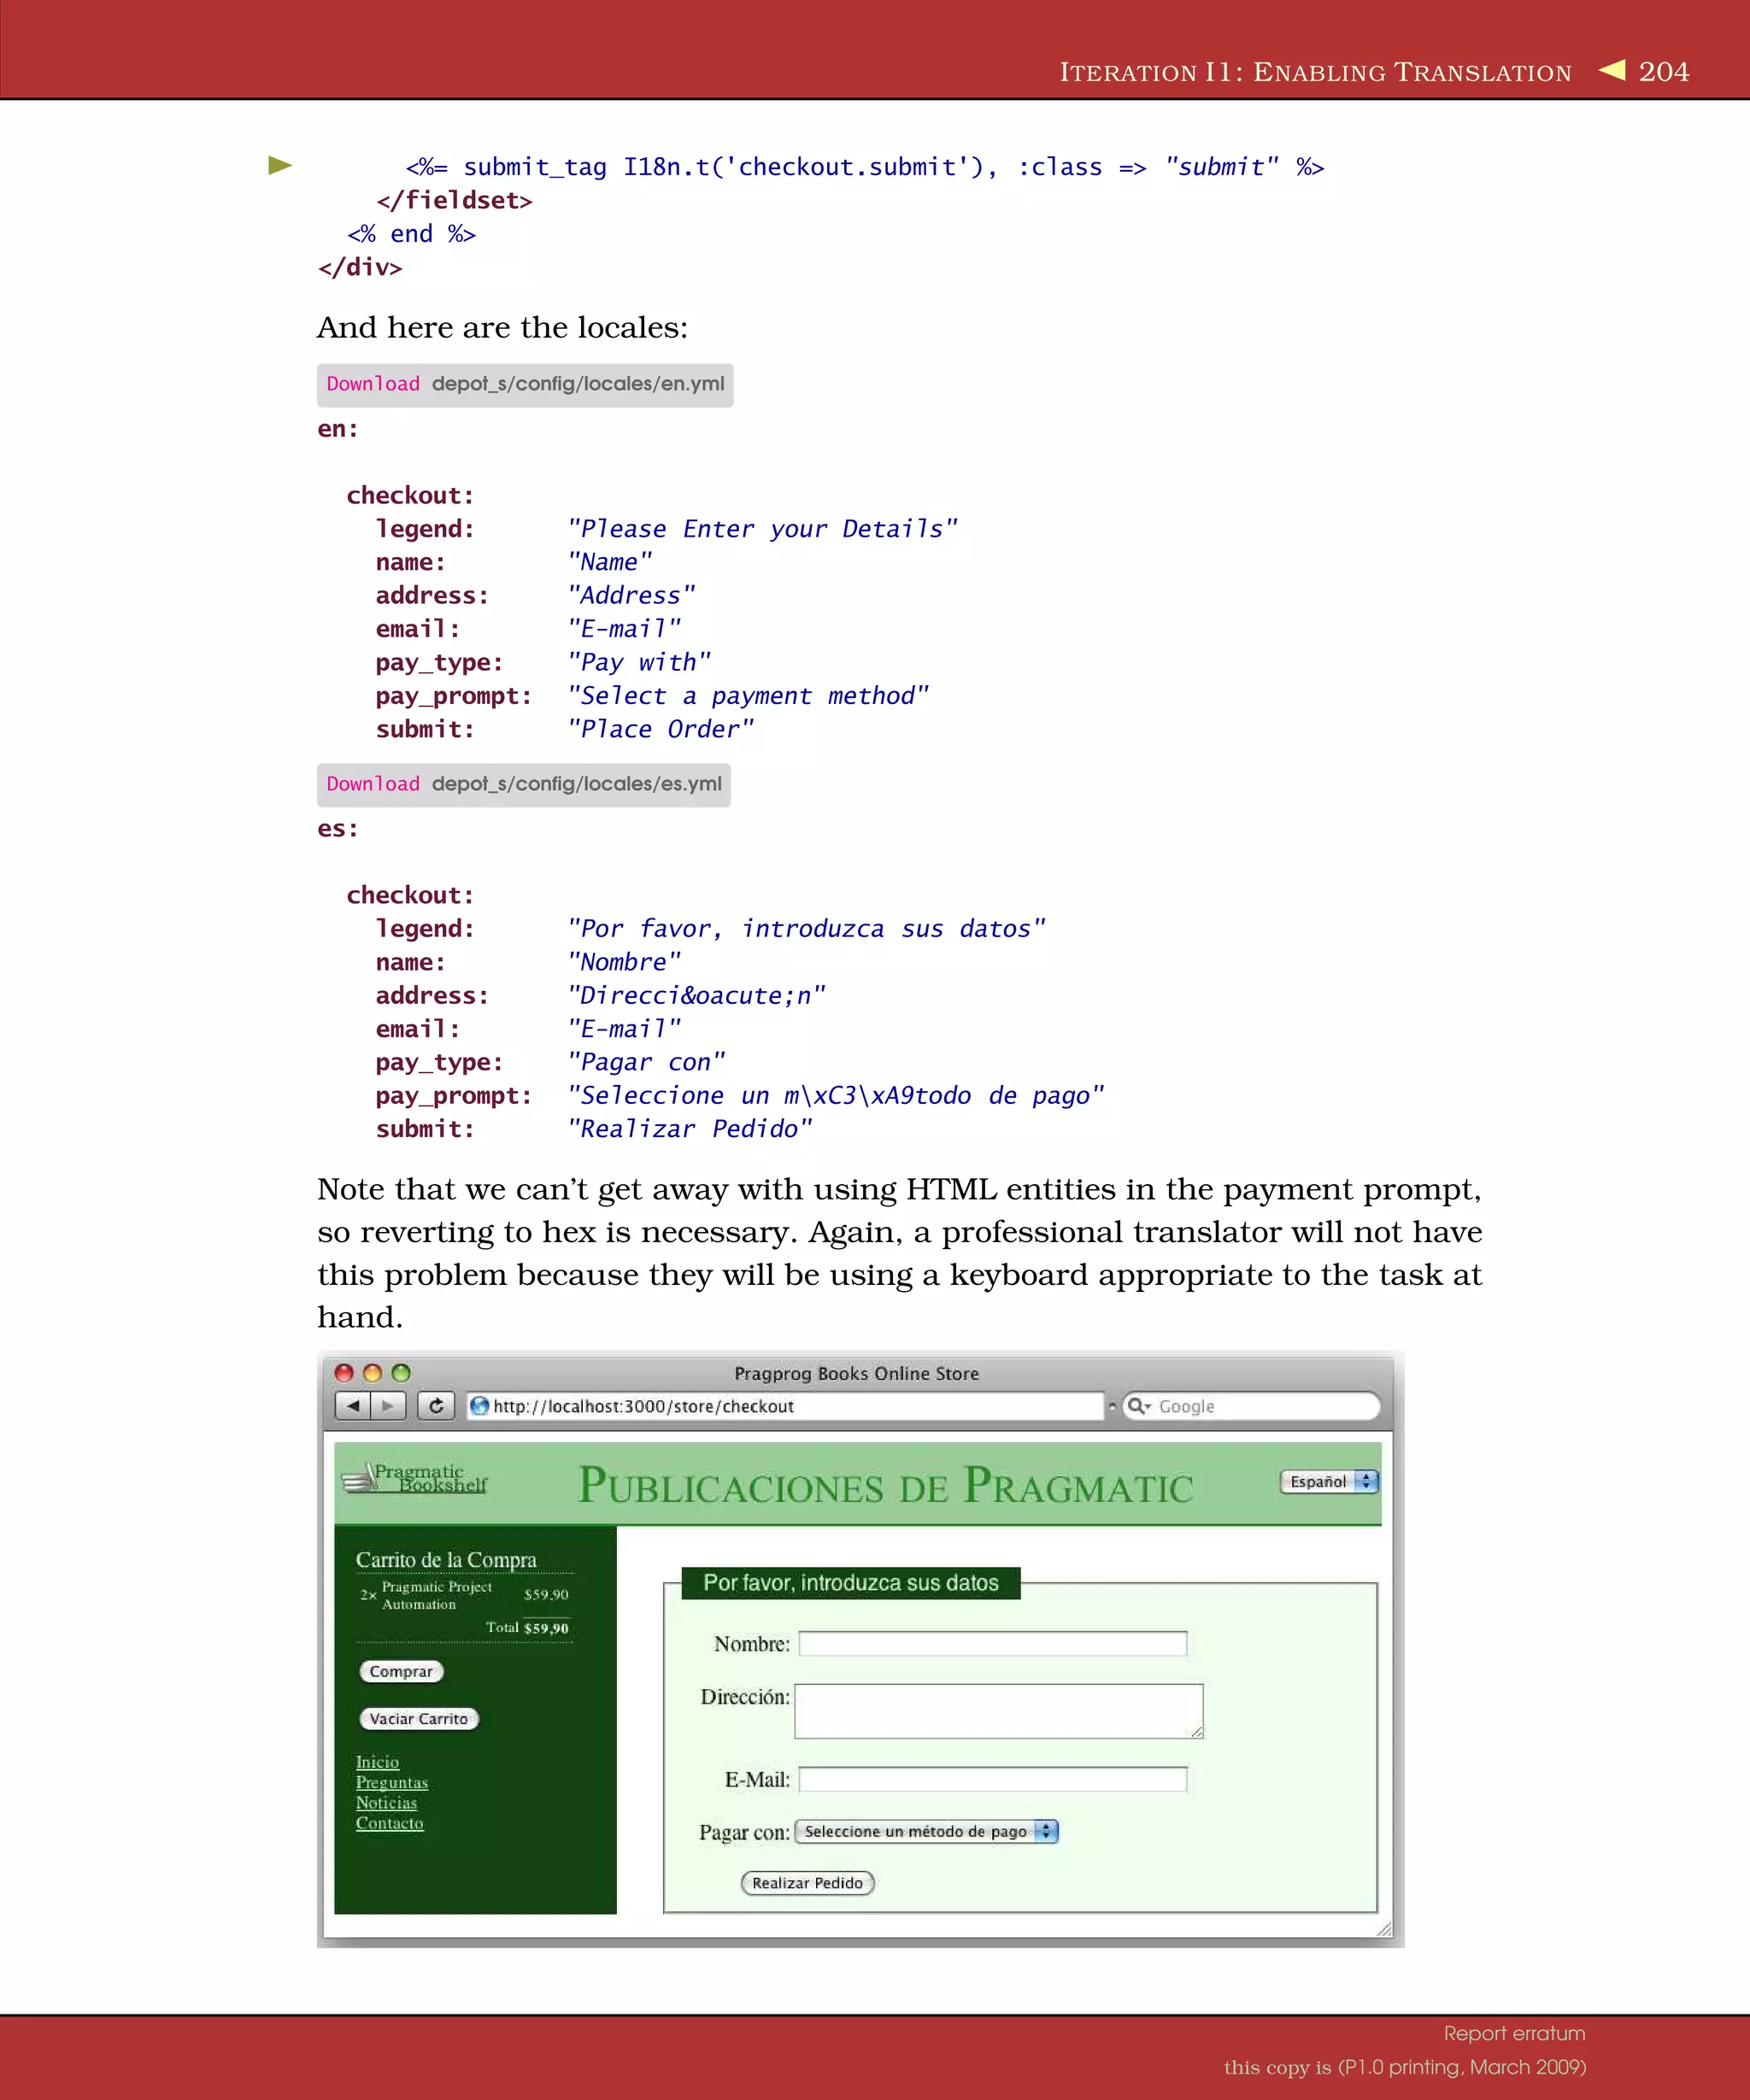
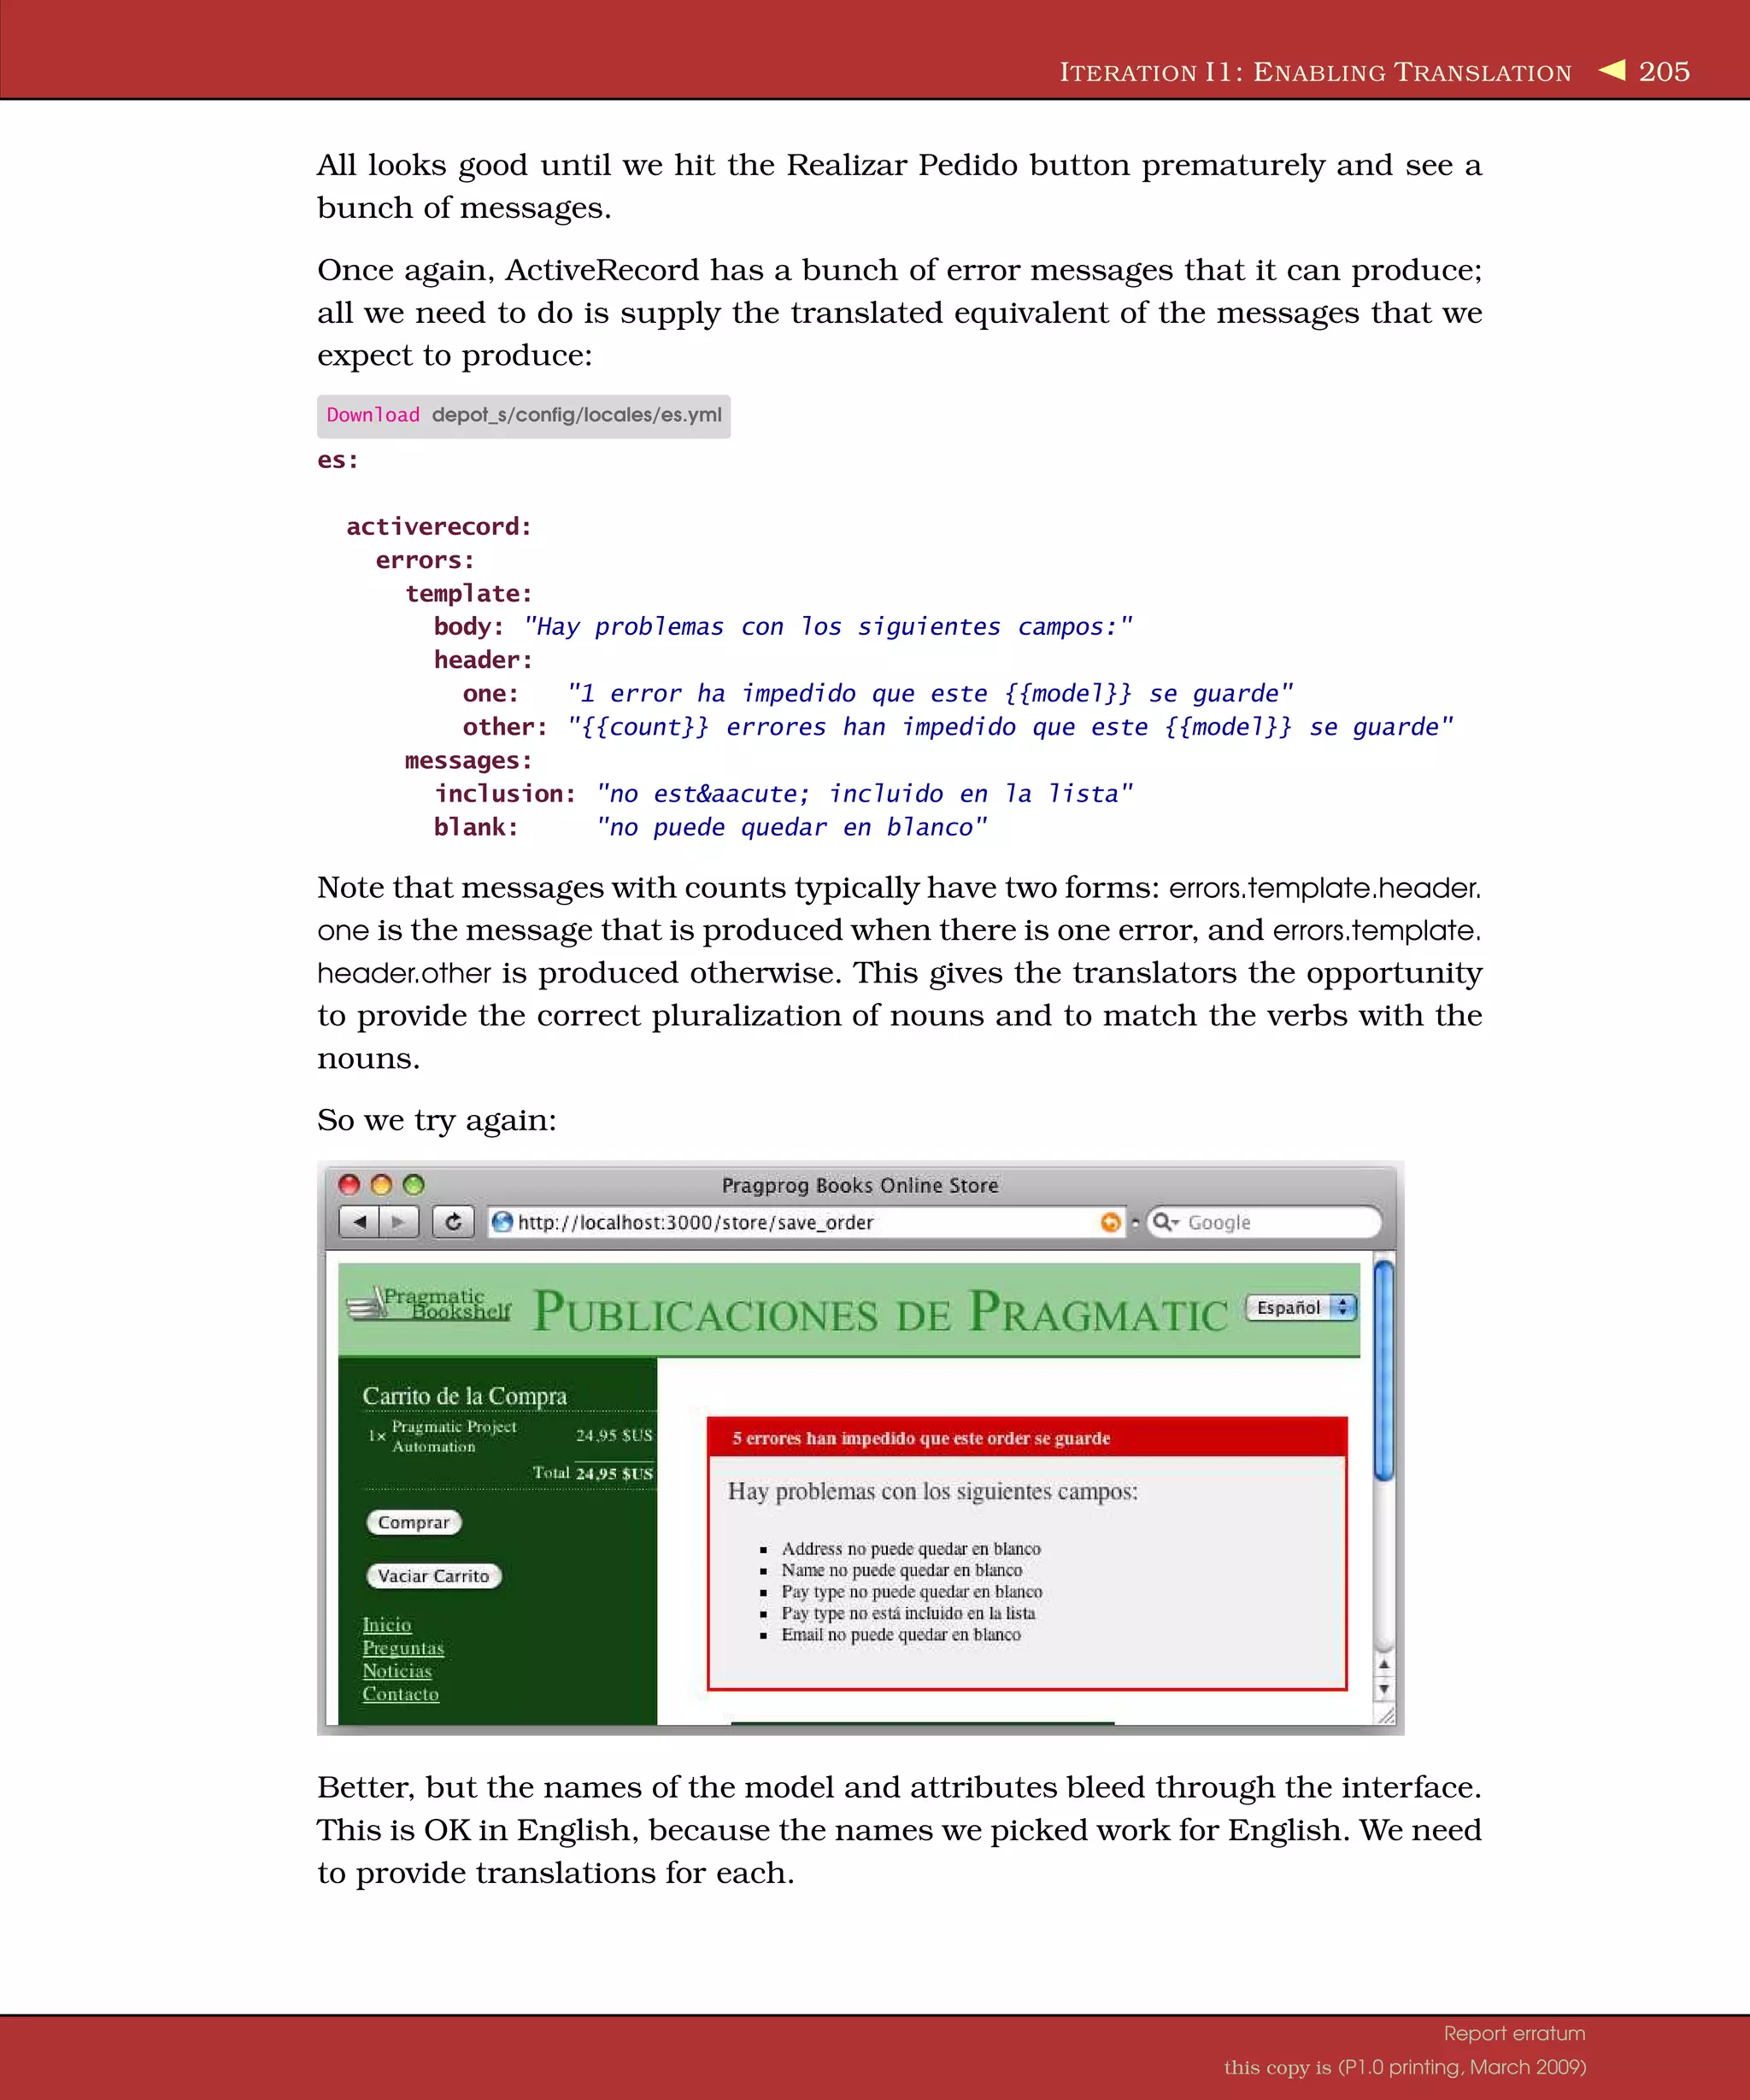
![I TERATION I1: E NABLING T RANSLATION 206 This, too, goes into the YAML file: Download depot_s/config/locales/es.yml es: activerecord: models: order: "pedido" attributes: order: address: "Dirección" name: "Nombre" email: "E-mail" pay_type: "Forma de pago" We now submit the order, and we get a “Thank you for your order” message. We need to update the flash messages: Download depot_s/app/controllers/store_controller.rb def save_order @order = Order.new(params[:order]) @order.add_line_items_from_cart(@cart) if @order.save session[:cart] = nil redirect_to_index(I18n.t('flash.thanks' )) else render :action => 'checkout' end end Download depot_s/config/locales/en.yml en: flash: thanks: "Thank you for your order" Report erratum this copy is (P1.0 printing, March 2009)](https://image.slidesharecdn.com/pragmatic-agilewebdevelopmentwithrails-3rdedition-2009-091104222637-phpapp01/75/Pragmatic-Agile-Web-Development-With-Rails-3rd-Edition-2009-206-2048.jpg)
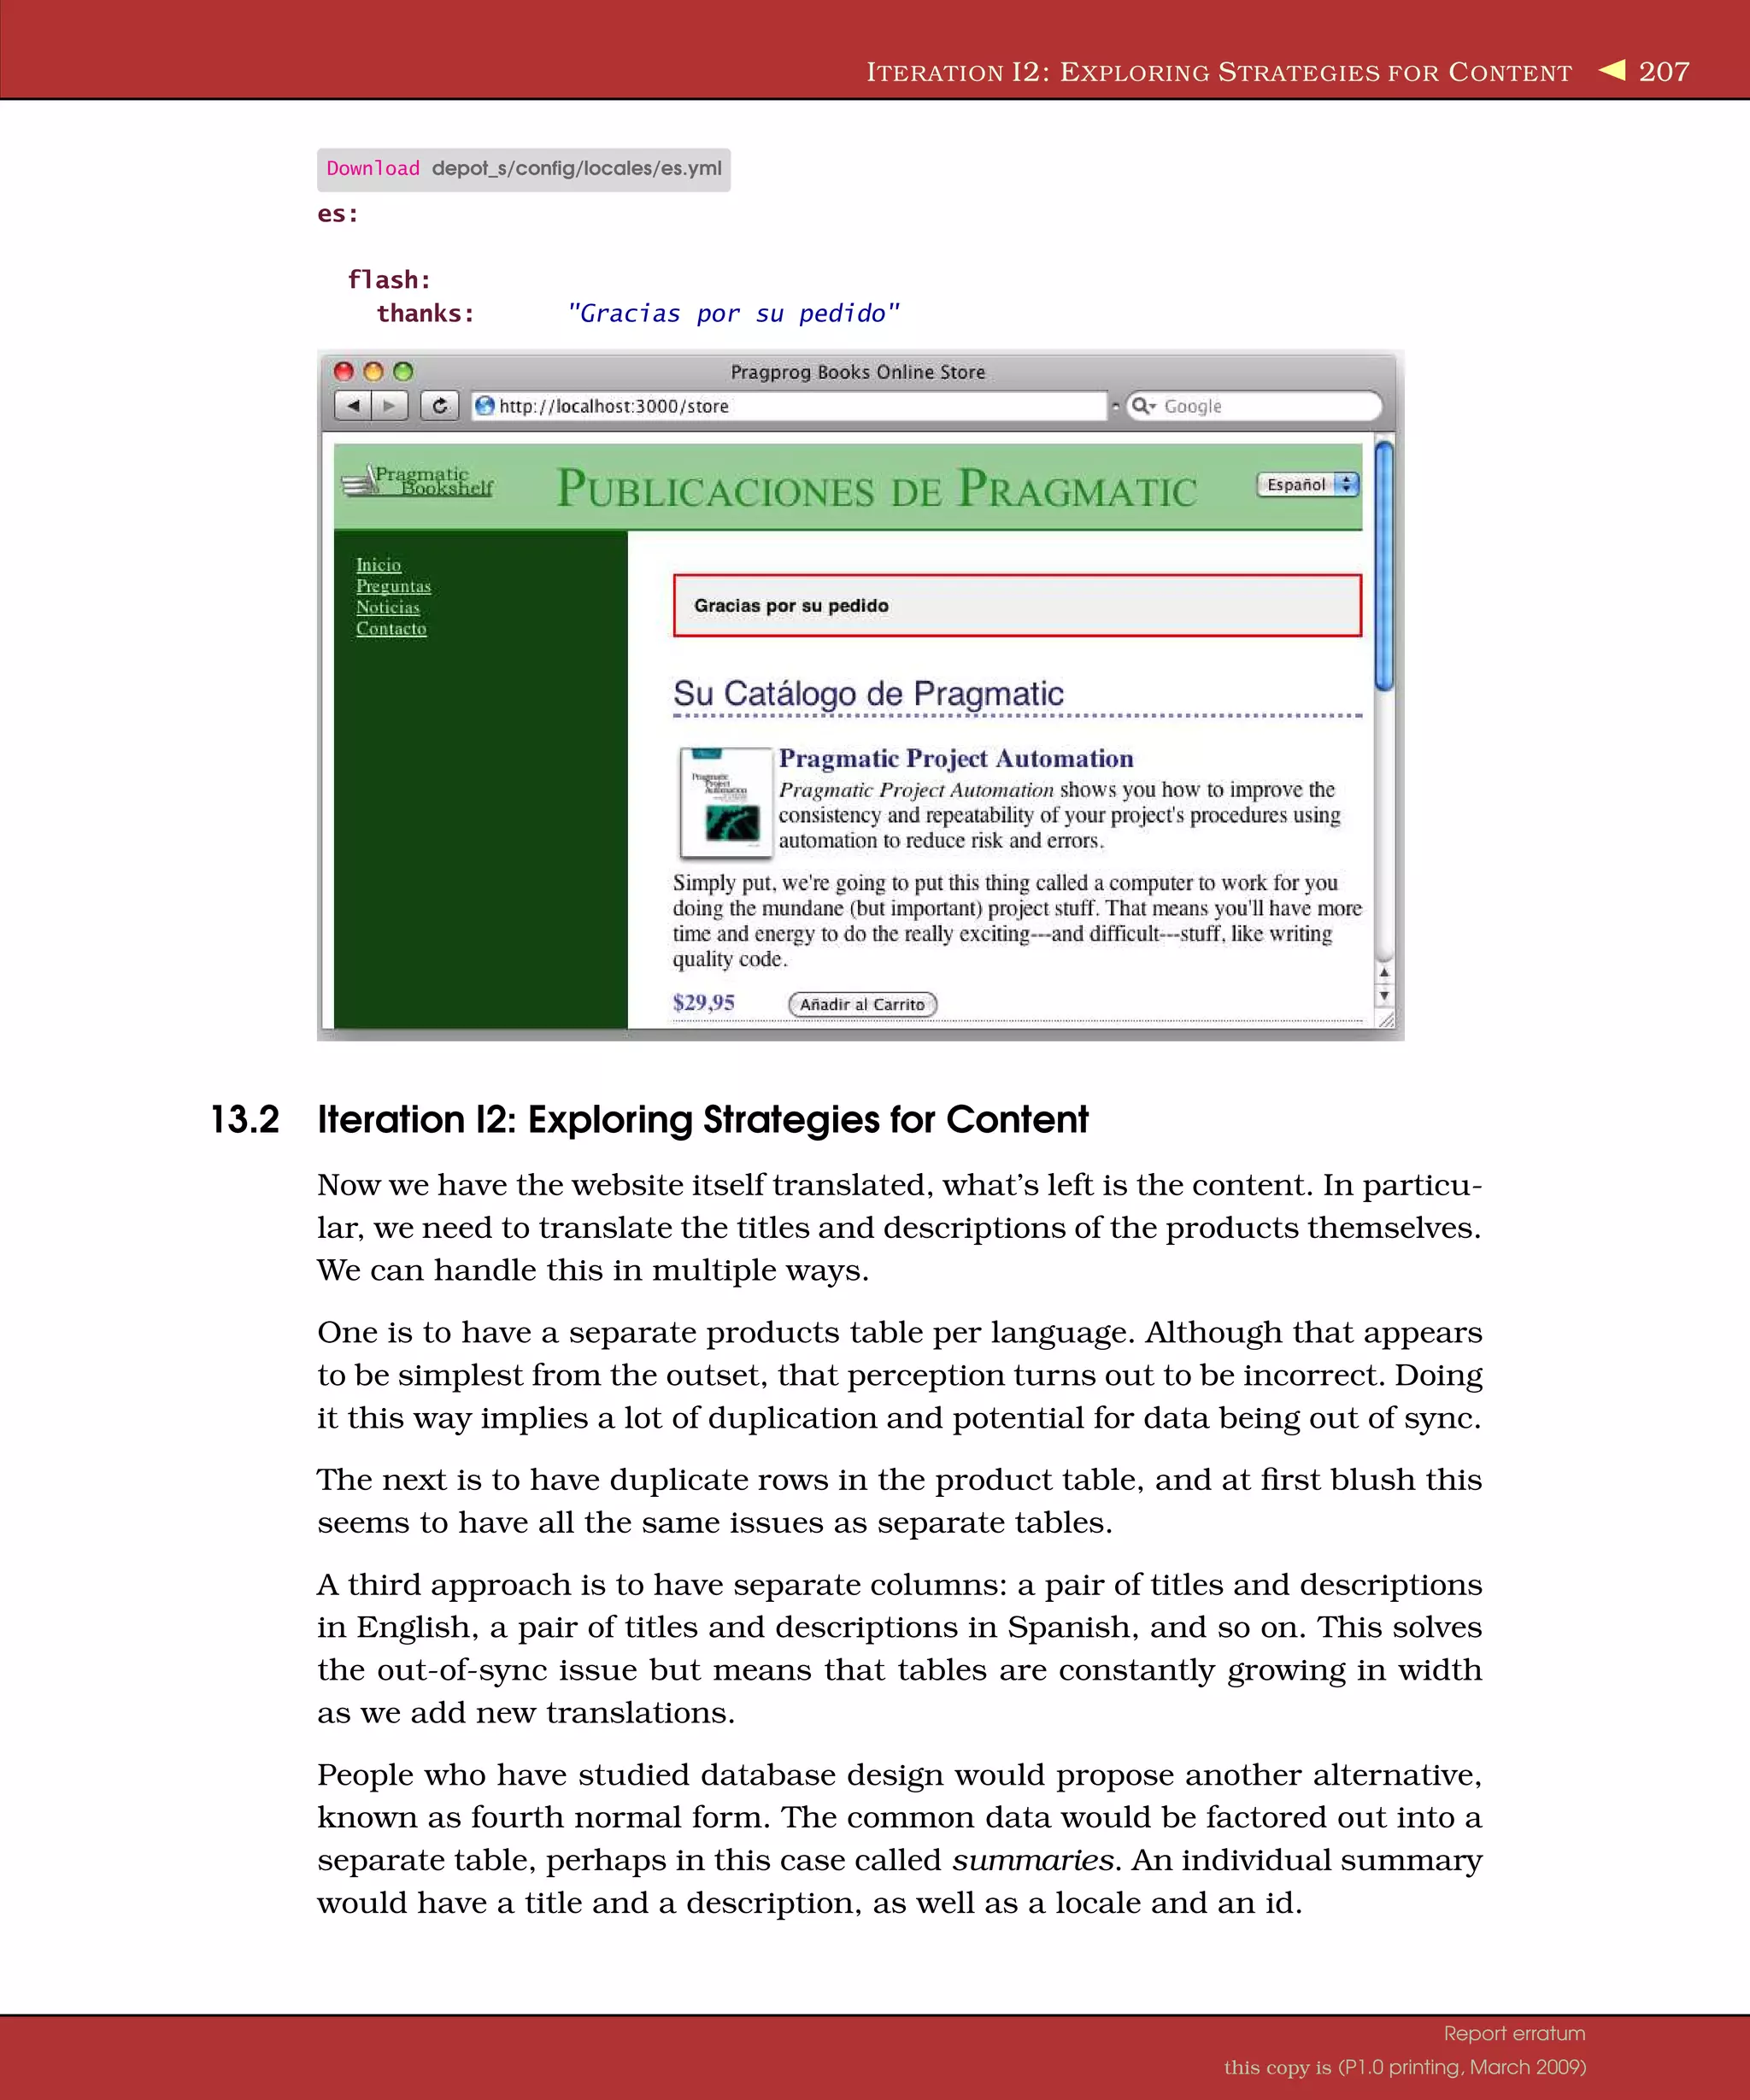
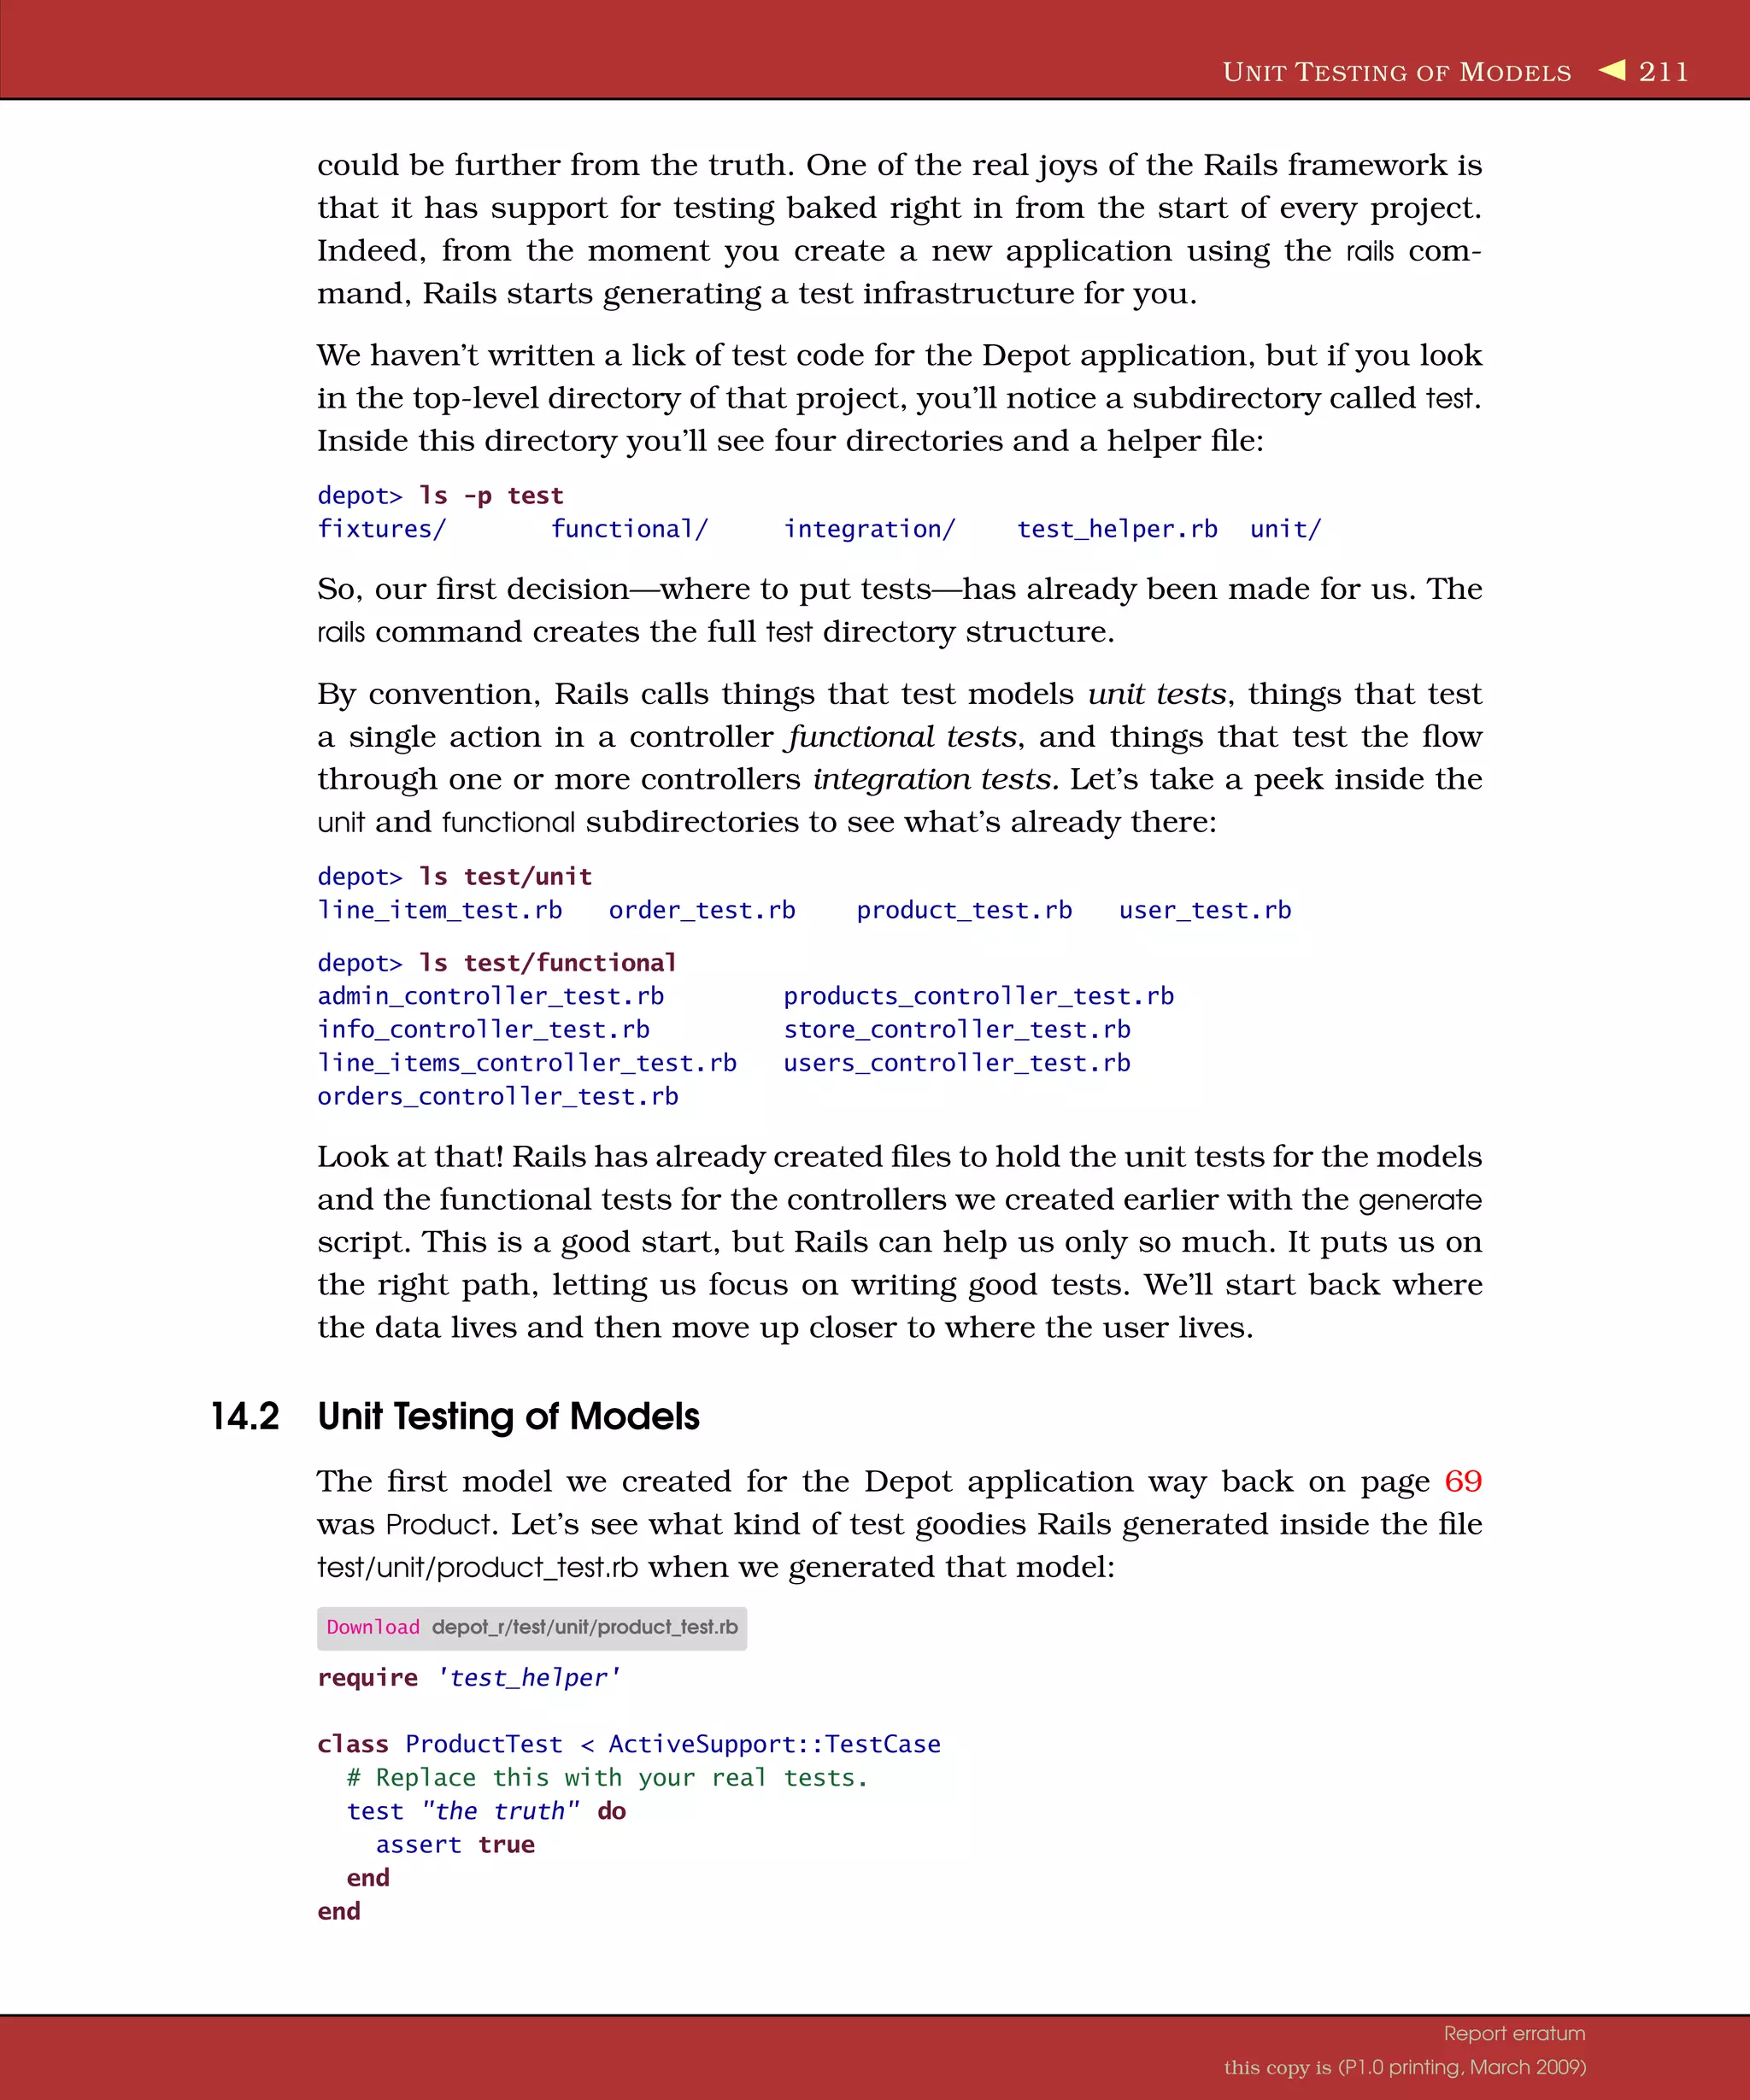

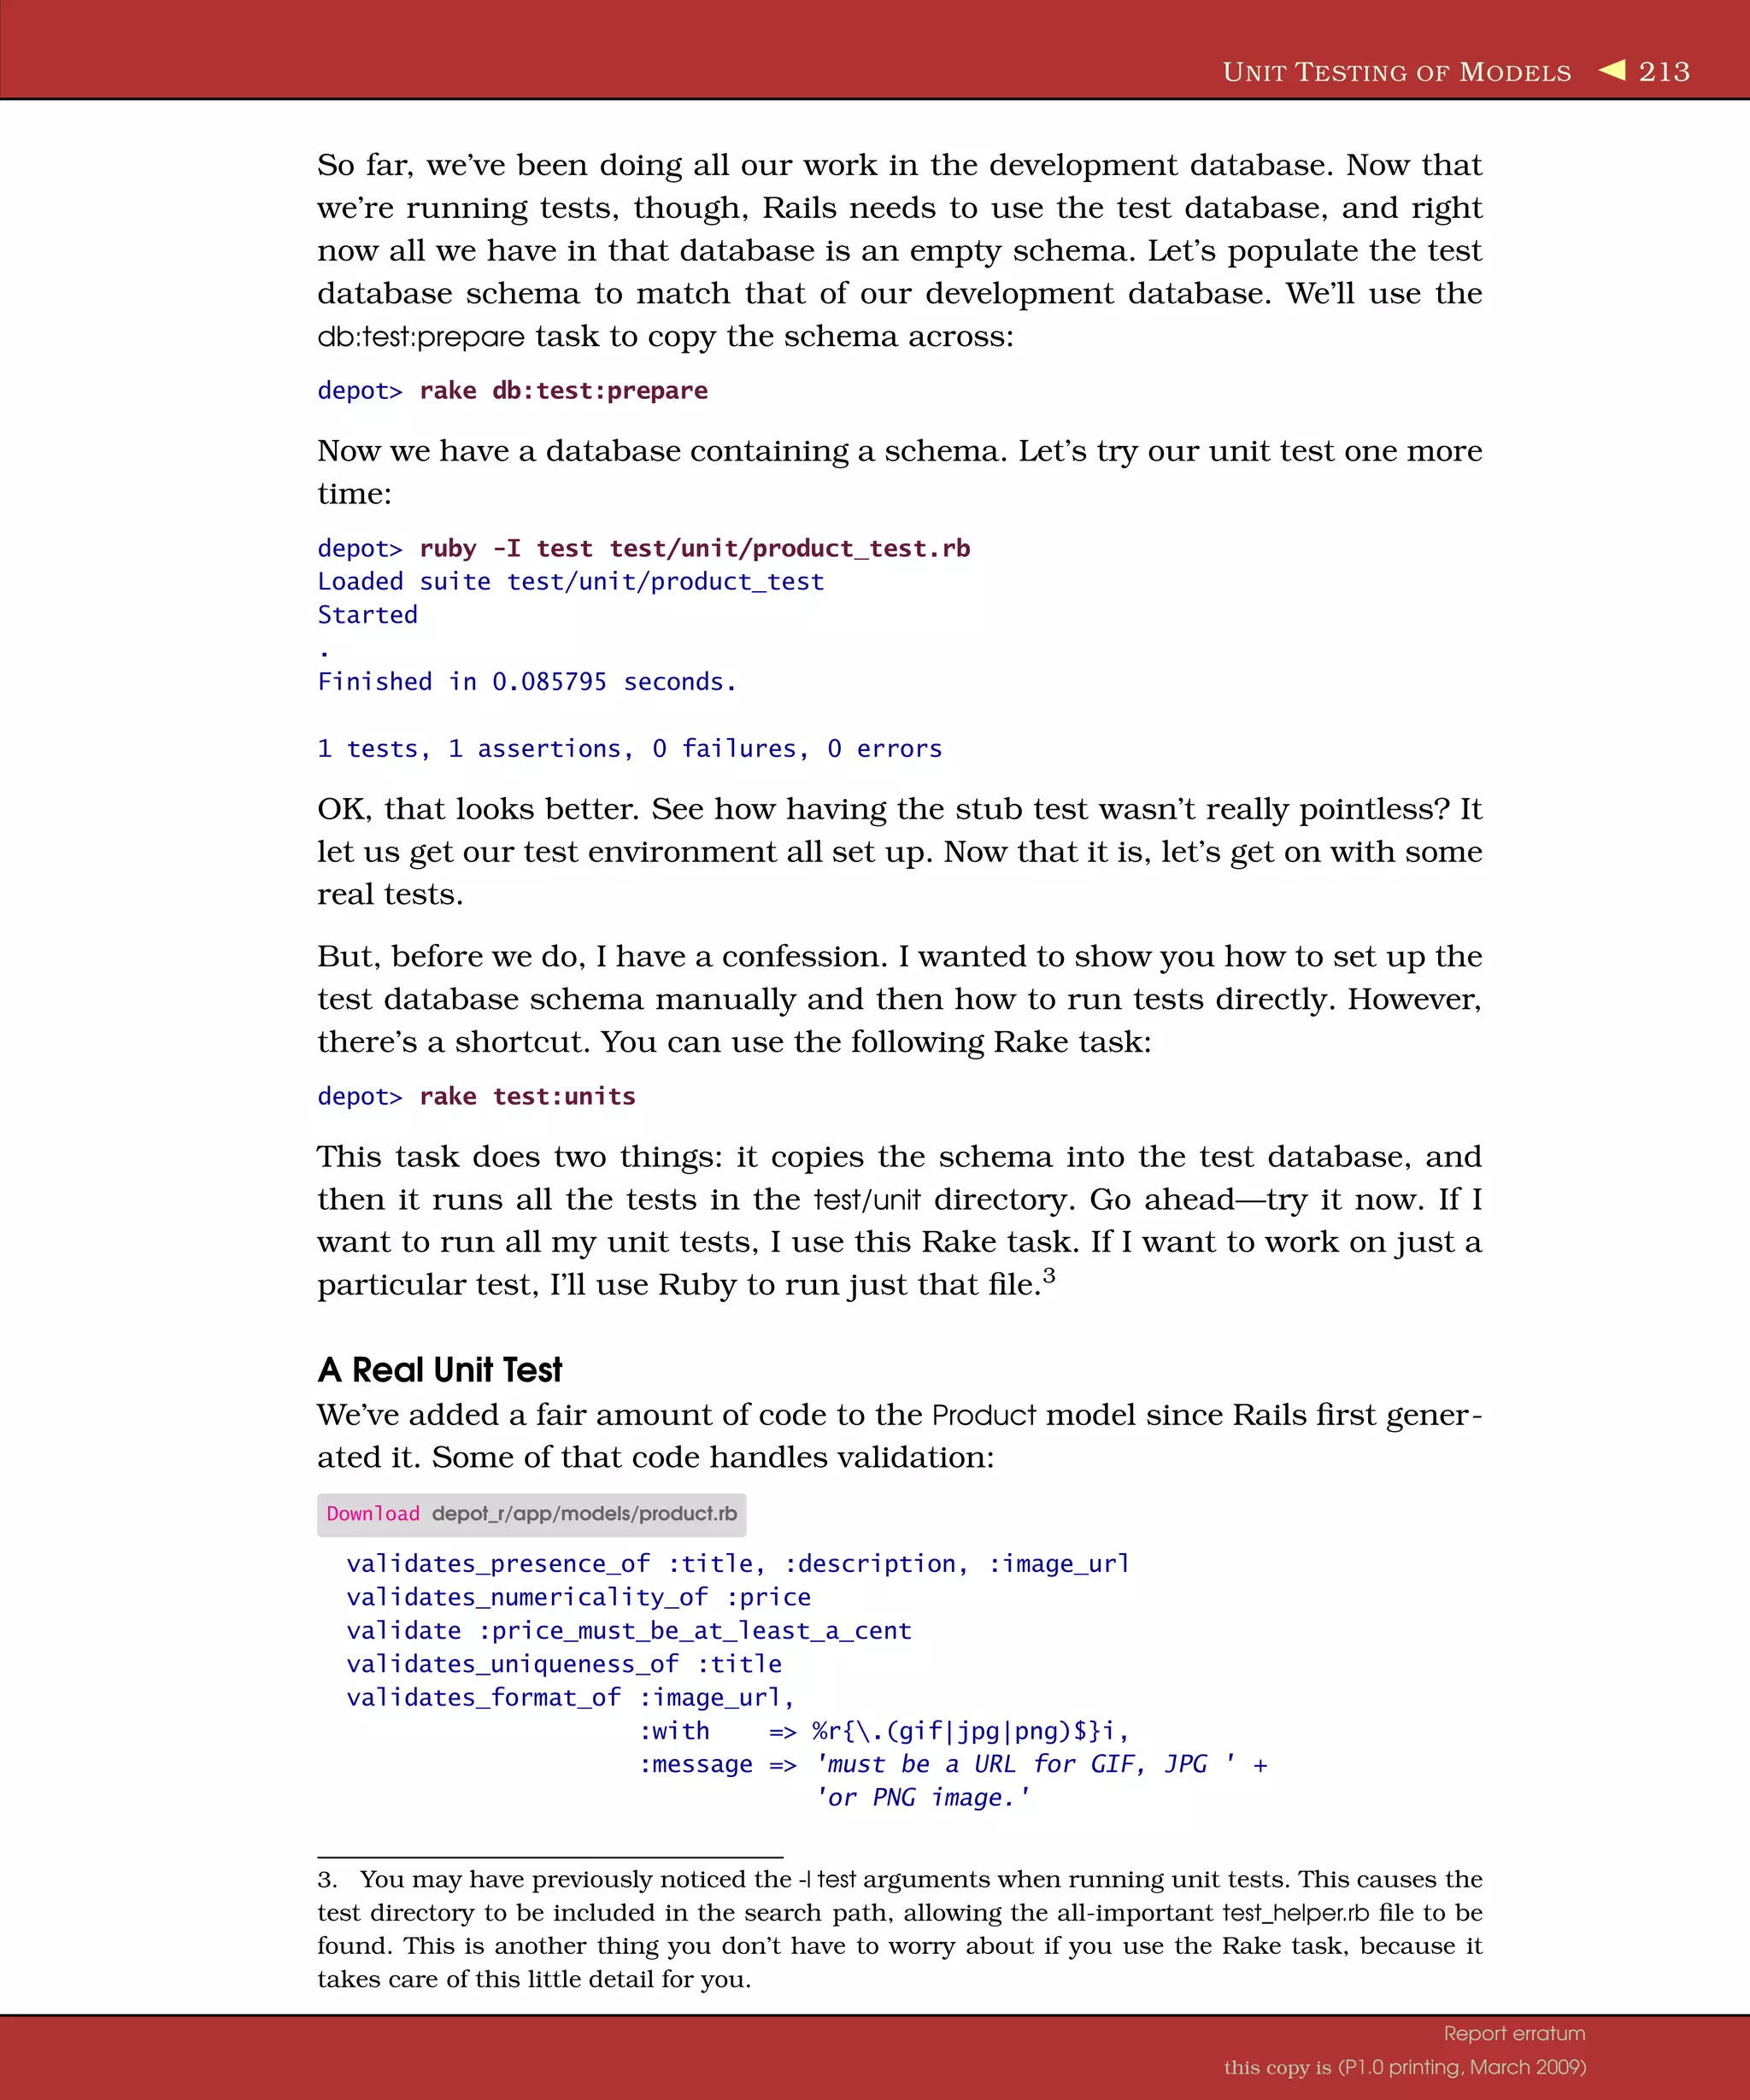
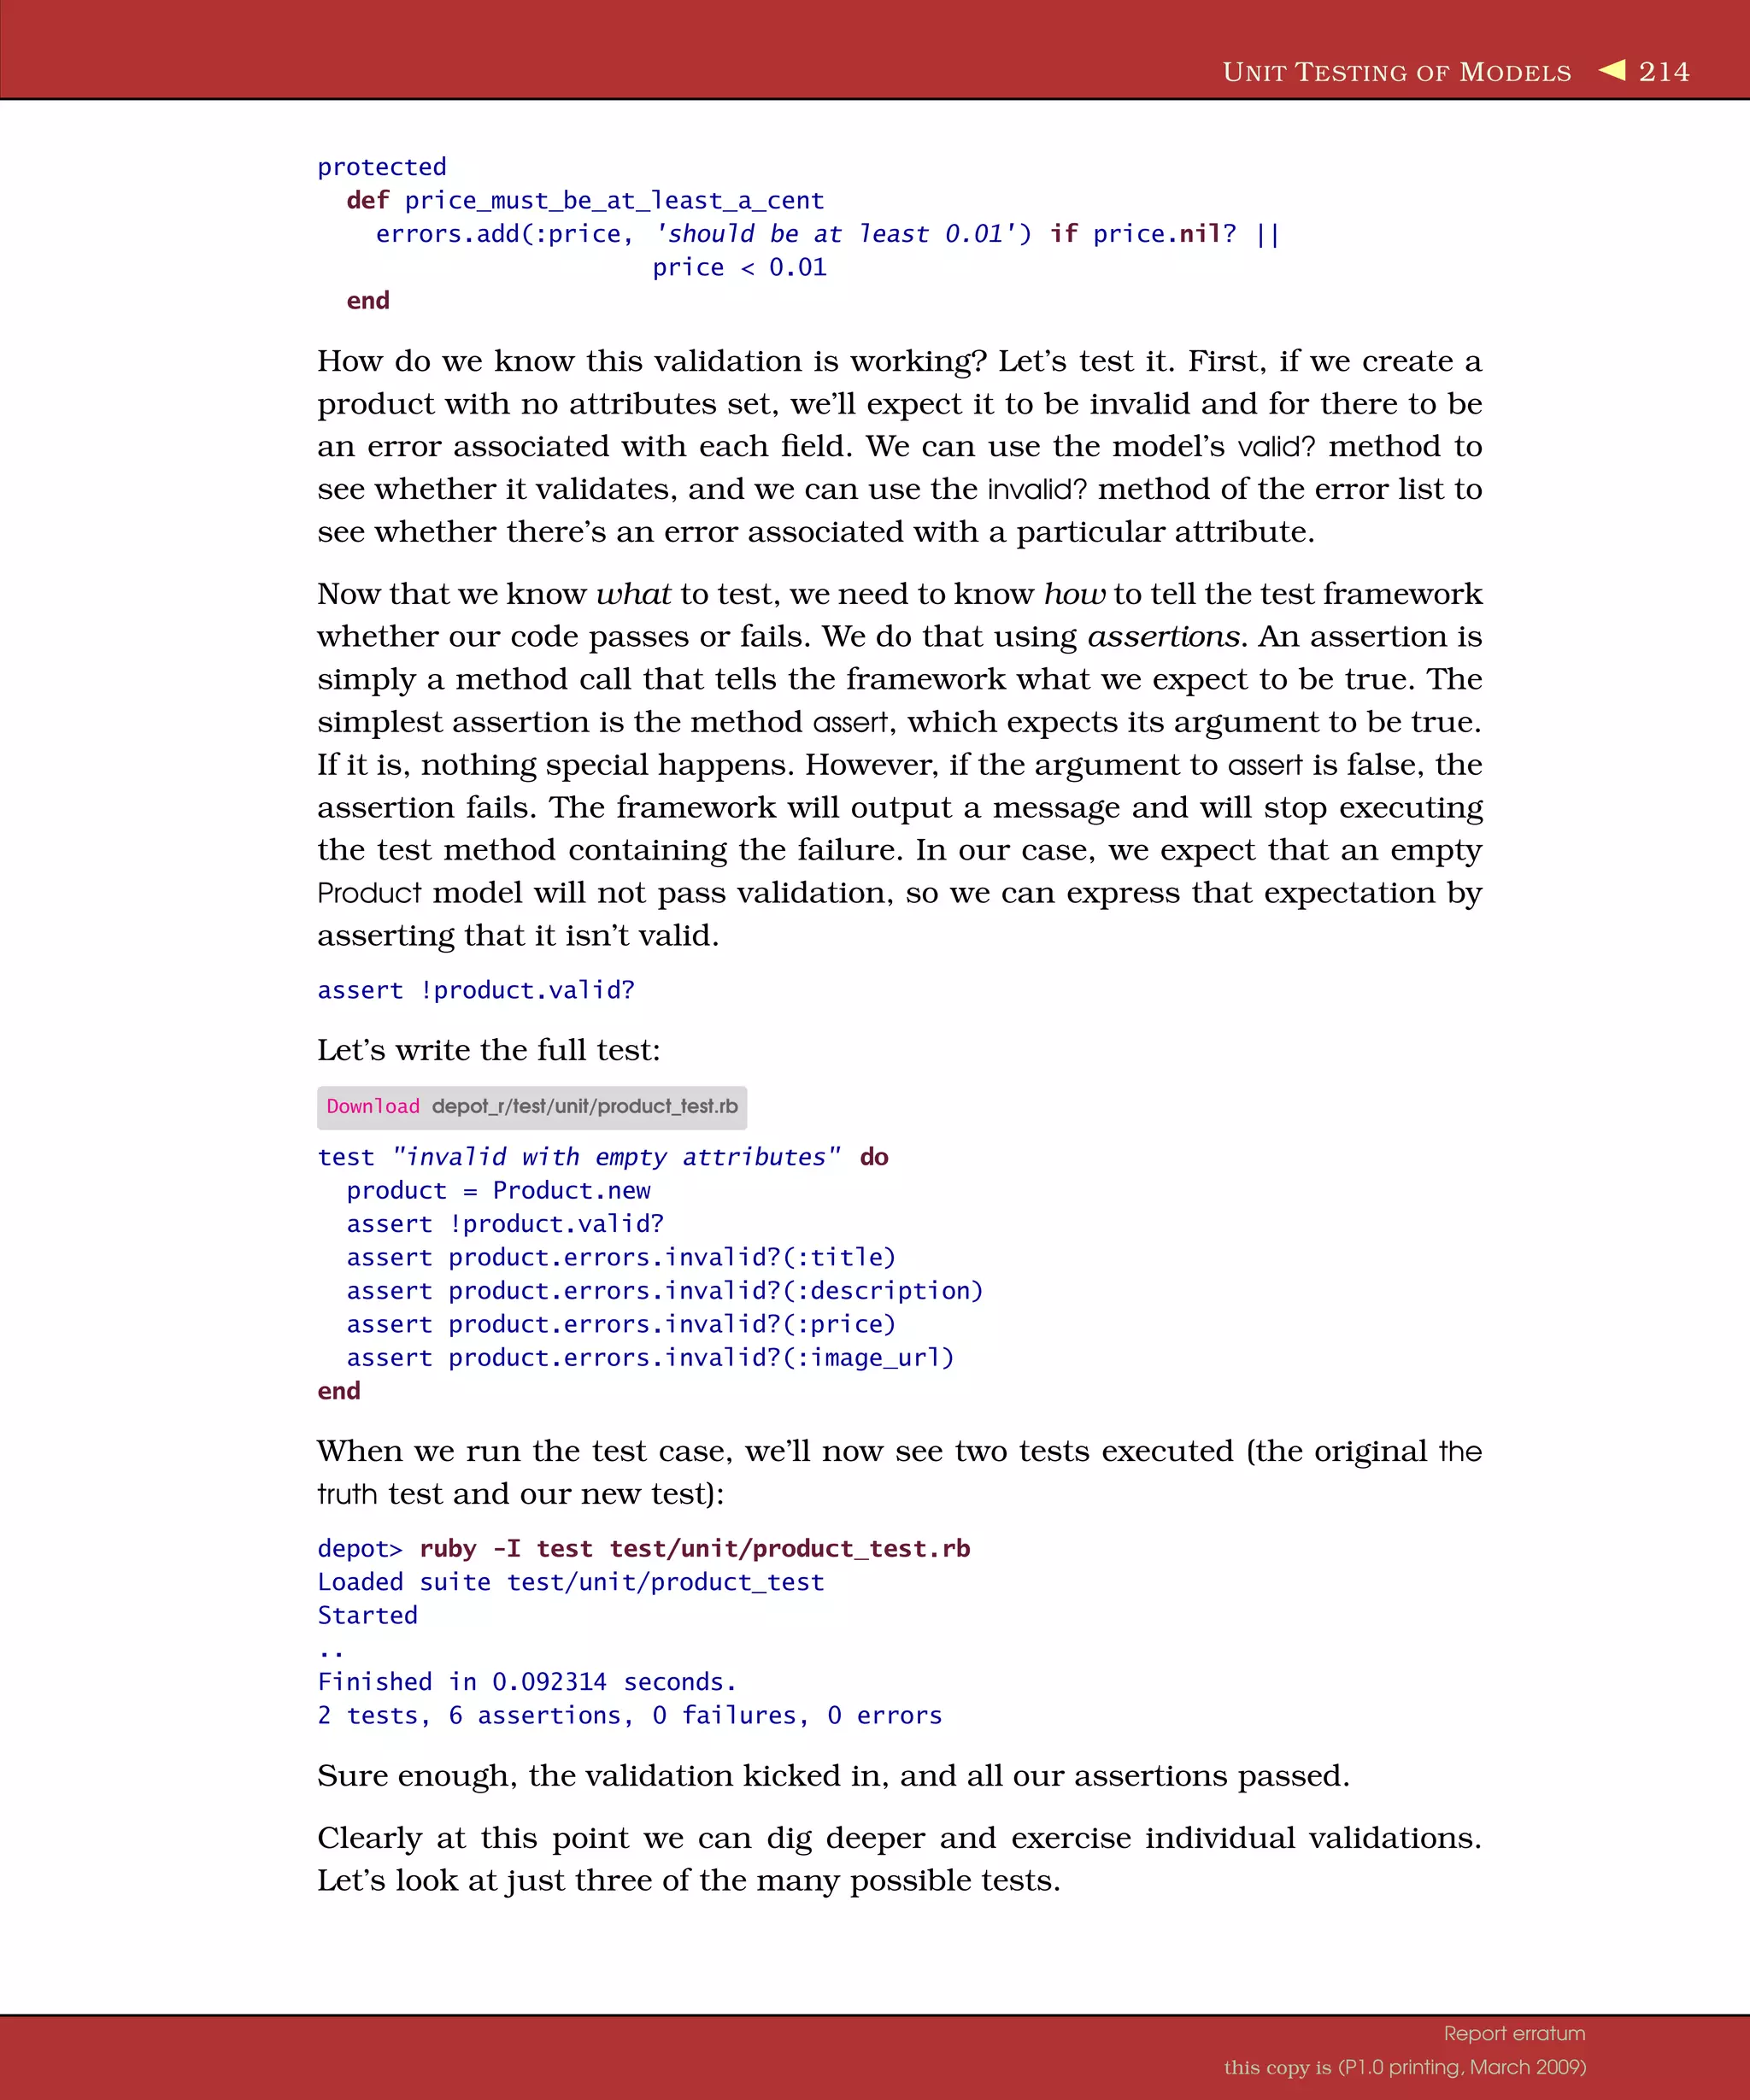
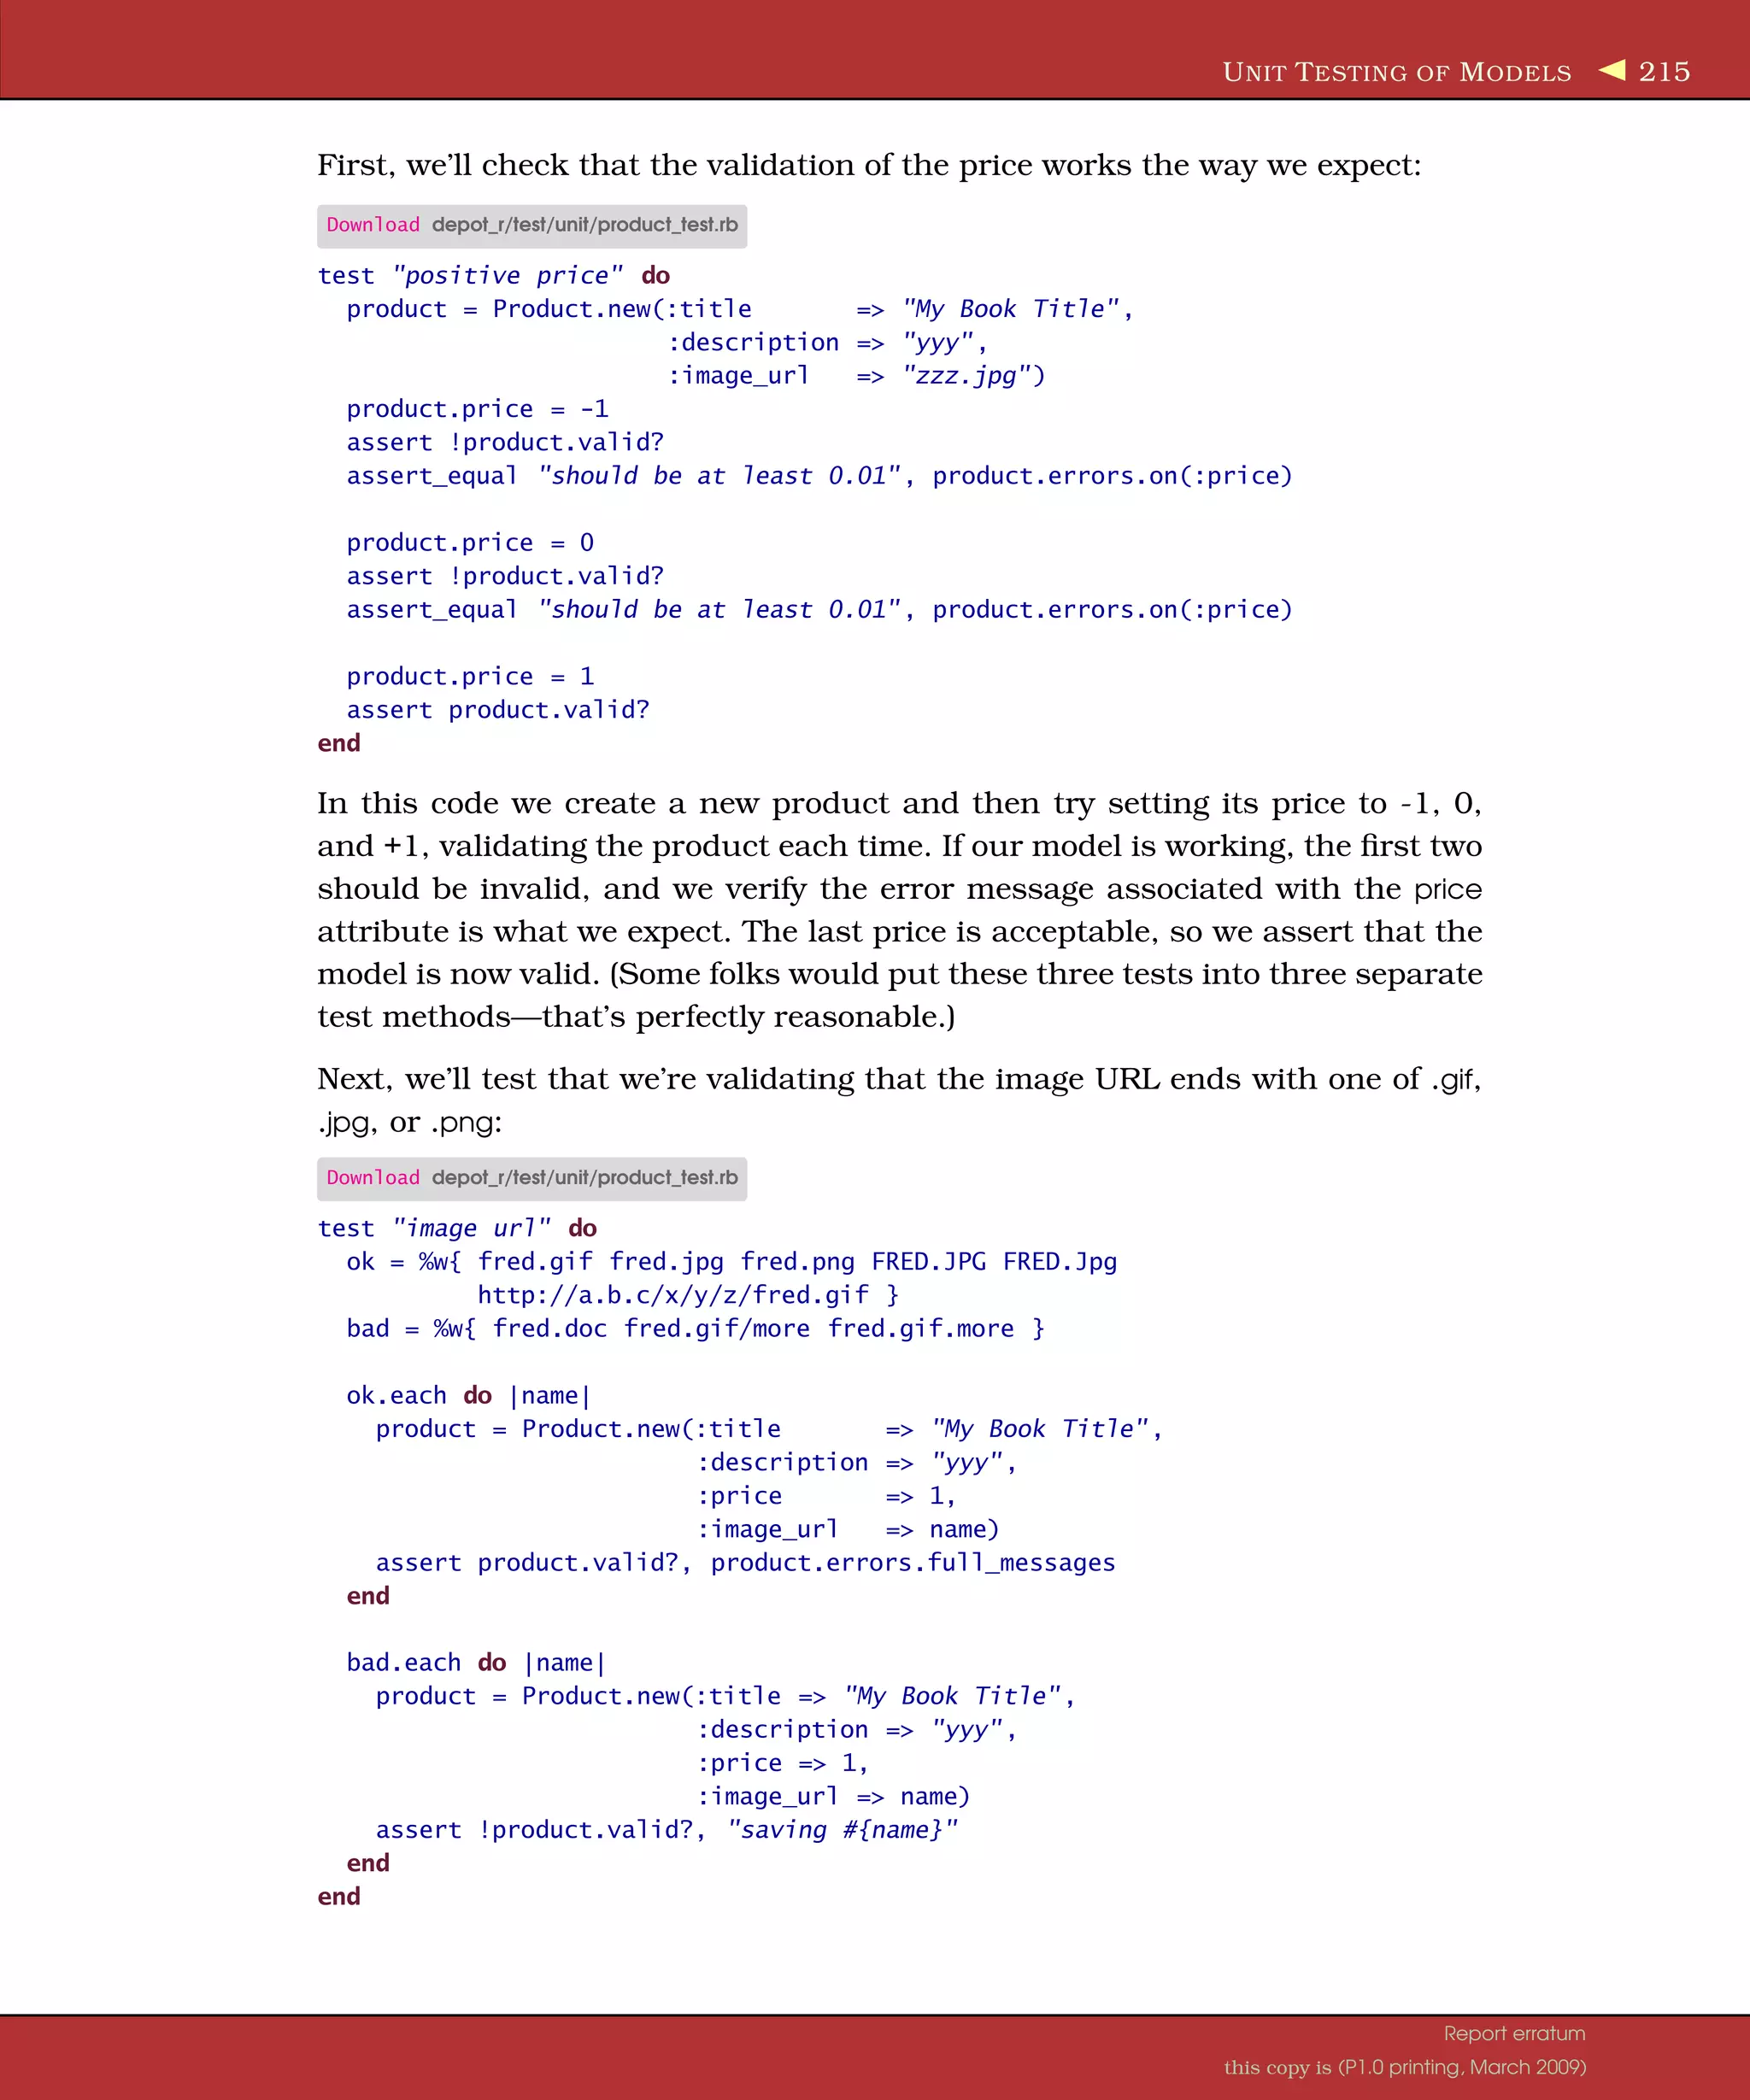
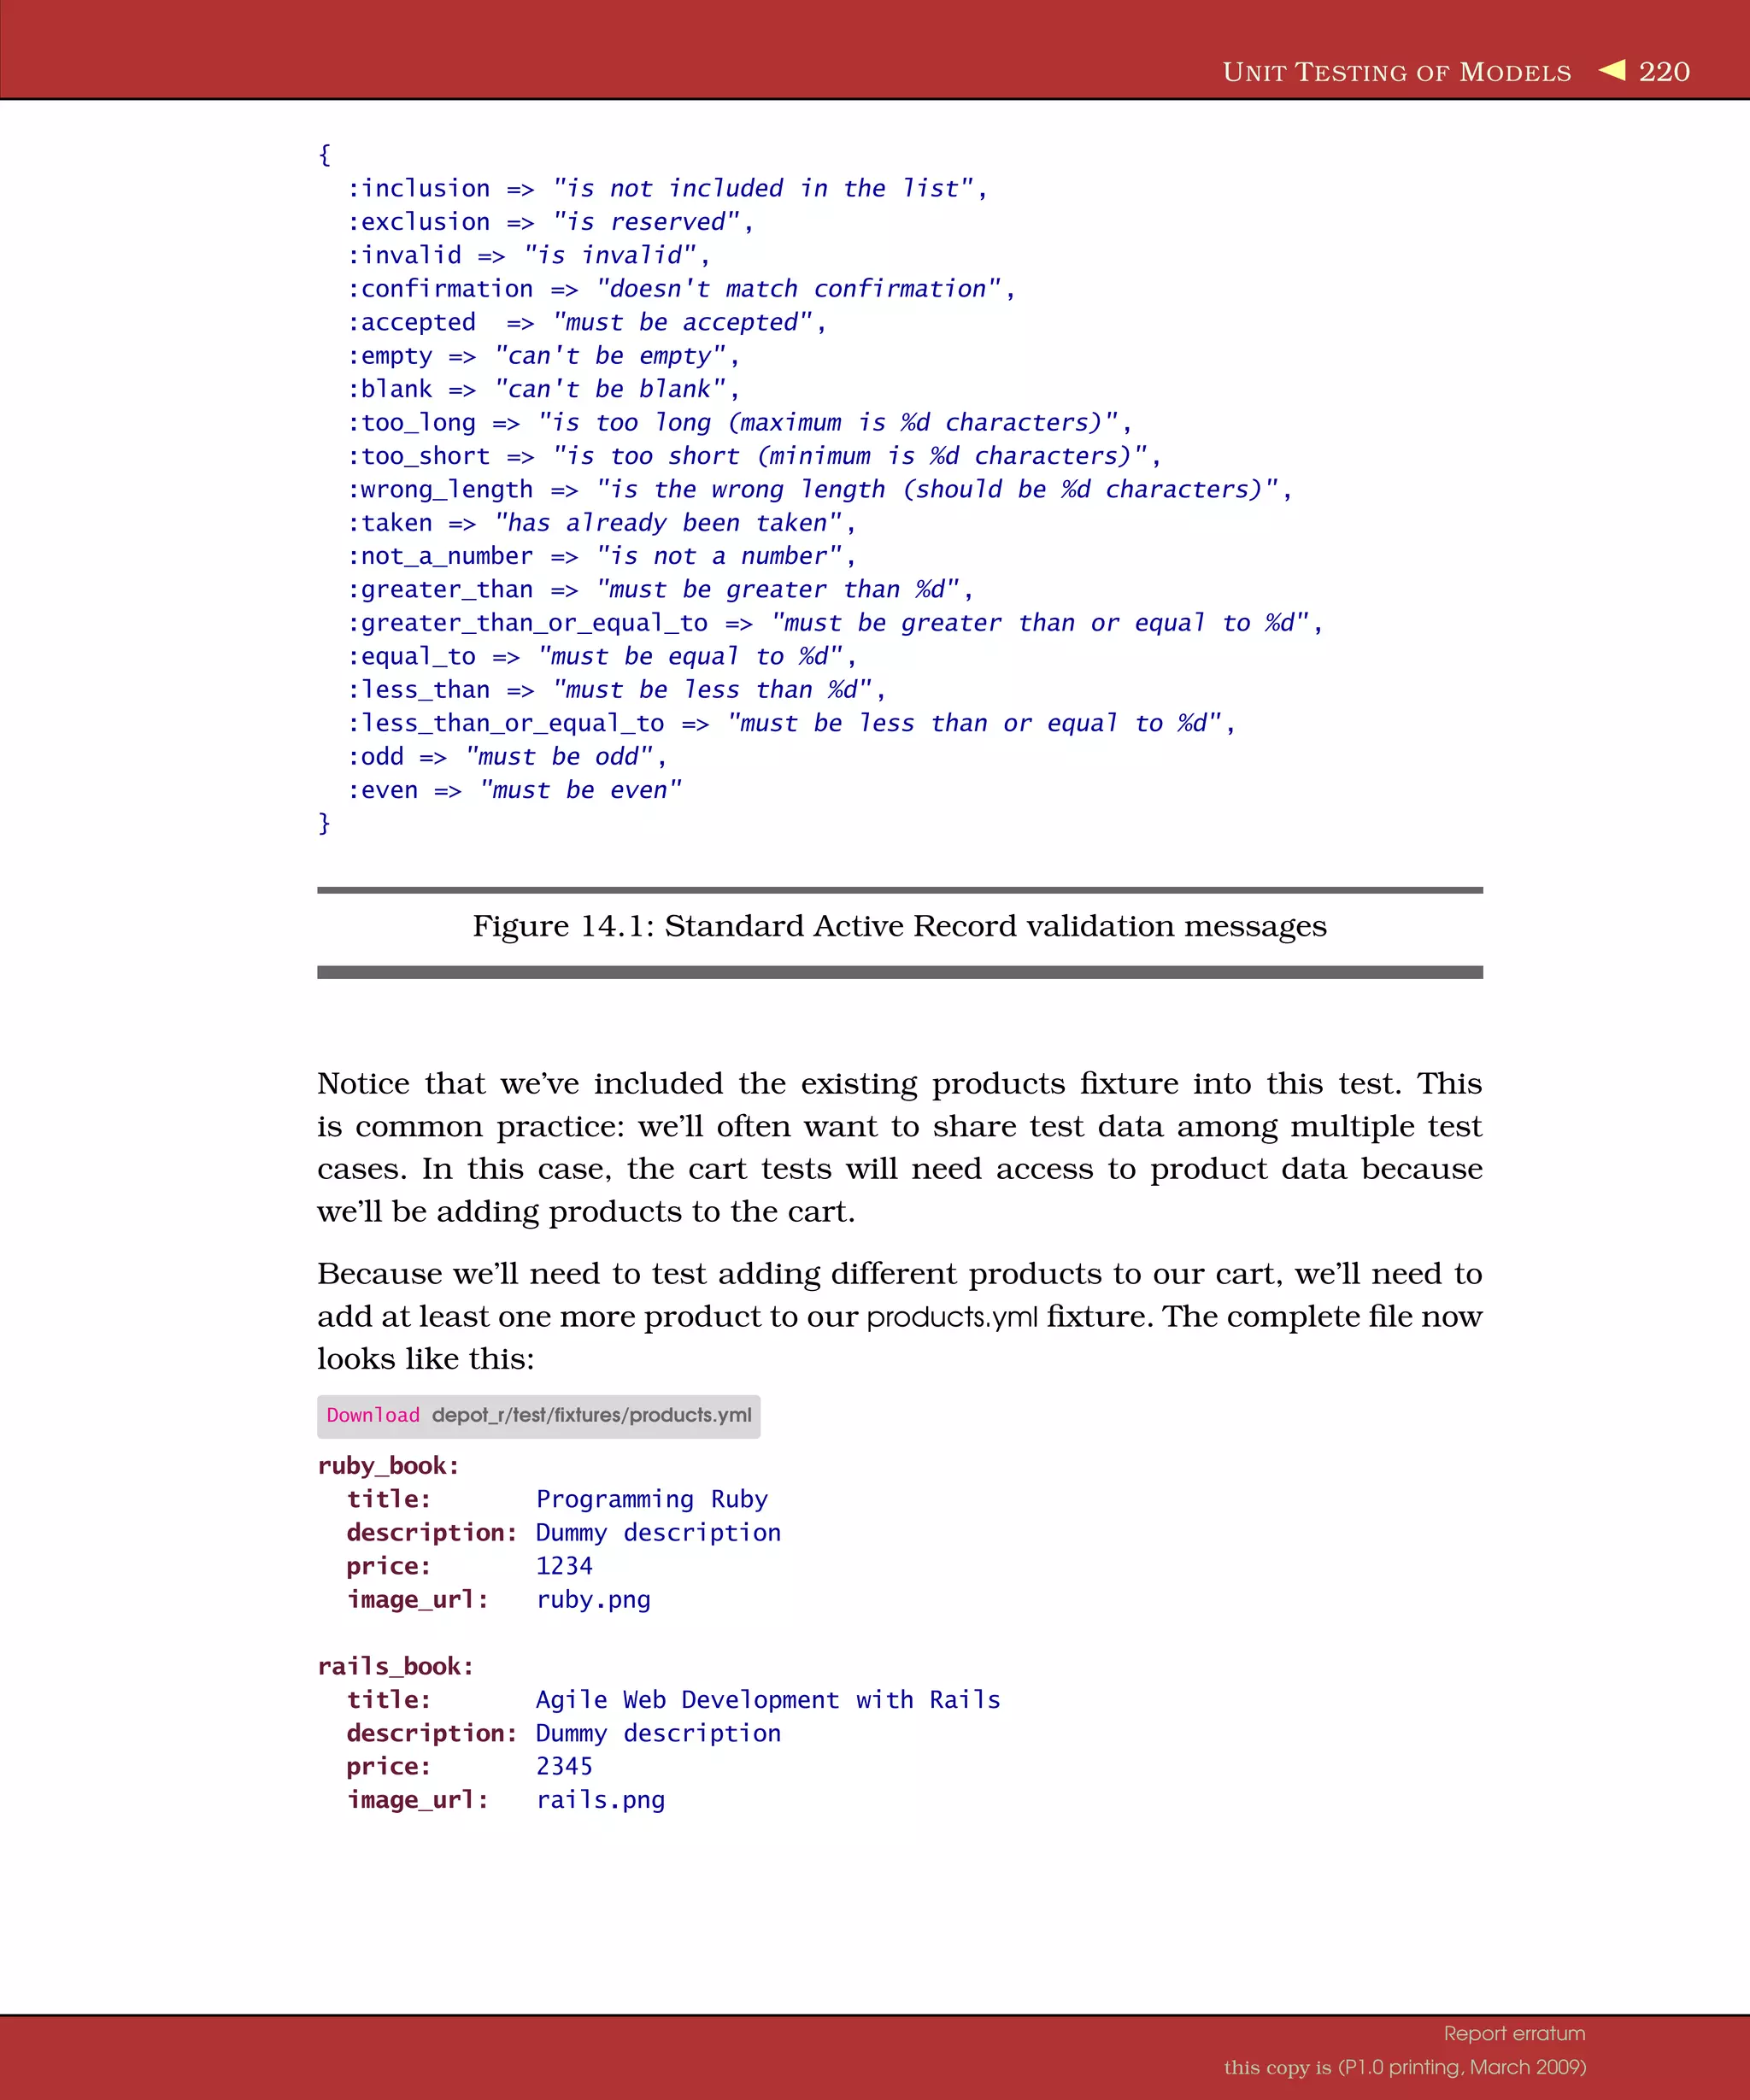
![U NIT T ESTING OF M ODELS 221 Let’s start by seeing what happens when we add a Ruby book and a Rails book to our cart. We’d expect to end up with a cart containing two items. The total price of items in the cart should be the Ruby book’s price plus the Rails book’s price: Download depot_r/test/unit/cart_test.rb def test_add_unique_products cart = Cart.new rails_book = products(:rails_book) ruby_book = products(:ruby_book) cart.add_product rails_book cart.add_product ruby_book assert_equal 2, cart.items.size assert_equal rails_book.price + ruby_book.price, cart.total_price end Let’s run the test: depot> ruby -I test test/unit/cart_test.rb Loaded suite test/unit/cart_test Started . Finished in 0.12138 seconds. 1 tests, 2 assertions, 0 failures, 0 errors So far, so good. Let’s write a second test, this time adding two Rails books to the cart. Now we should see just one item in the cart but with a quantity of 2: Download depot_r/test/unit/cart_test.rb def test_add_duplicate_product cart = Cart.new rails_book = products(:rails_book) cart.add_product rails_book cart.add_product rails_book assert_equal 2*rails_book.price, cart.total_price assert_equal 1, cart.items.size assert_equal 2, cart.items[0].quantity end We’re starting to see a little bit of duplication creeping into these tests. Both create a new cart, and both set up local variables as shortcuts for the fixture data. Luckily, the Ruby unit testing framework gives us a convenient way of setting up a common environment for each test method. If you add a method named setup in a test case, it will be run before each test method—the setup method sets up the environment for each test. We can therefore use it to set up some instance variables to be used by the tests. Report erratum this copy is (P1.0 printing, March 2009)](https://image.slidesharecdn.com/pragmatic-agilewebdevelopmentwithrails-3rdedition-2009-091104222637-phpapp01/75/Pragmatic-Agile-Web-Development-With-Rails-3rd-Edition-2009-221-2048.jpg)
![U NIT T ESTING OF M ODELS 222 Download depot_r/test/unit/cart_test1.rb require 'test_helper' class CartTest < ActiveSupport::TestCase fixtures :products def setup @cart = Cart.new @rails = products(:rails_book) @ruby = products(:ruby_book) end def test_add_unique_products @cart.add_product @rails @cart.add_product @ruby assert_equal 2, @cart.items.size assert_equal @rails.price + @ruby.price, @cart.total_price end def test_add_duplicate_product @cart.add_product @rails @cart.add_product @rails assert_equal 2*@rails.price, @cart.total_price assert_equal 1, @cart.items.size assert_equal 2, @cart.items[0].quantity end end Is this kind of setup useful for this particular test? It could be argued either way. But, as we’ll see when we look at functional testing, the setup method can play a critical role in keeping tests consistent. Unit Testing Support As you write your unit tests, you’ll probably end up using most of the asser- tions in the list that follows: assert(boolean,message) Fails if boolean is false or nil. assert(User.find_by_name("dave" ), "user 'dave' is missing" ) assert_equal(expected, actual,message) assert_not_equal(expected, actual,message) Fails unless expected and actual are/are not equal. assert_equal(3, Product.count) assert_not_equal(0, User.count, "no users in database" ) Report erratum this copy is (P1.0 printing, March 2009)](https://image.slidesharecdn.com/pragmatic-agilewebdevelopmentwithrails-3rdedition-2009-091104222637-phpapp01/75/Pragmatic-Agile-Web-Development-With-Rails-3rd-Edition-2009-222-2048.jpg)
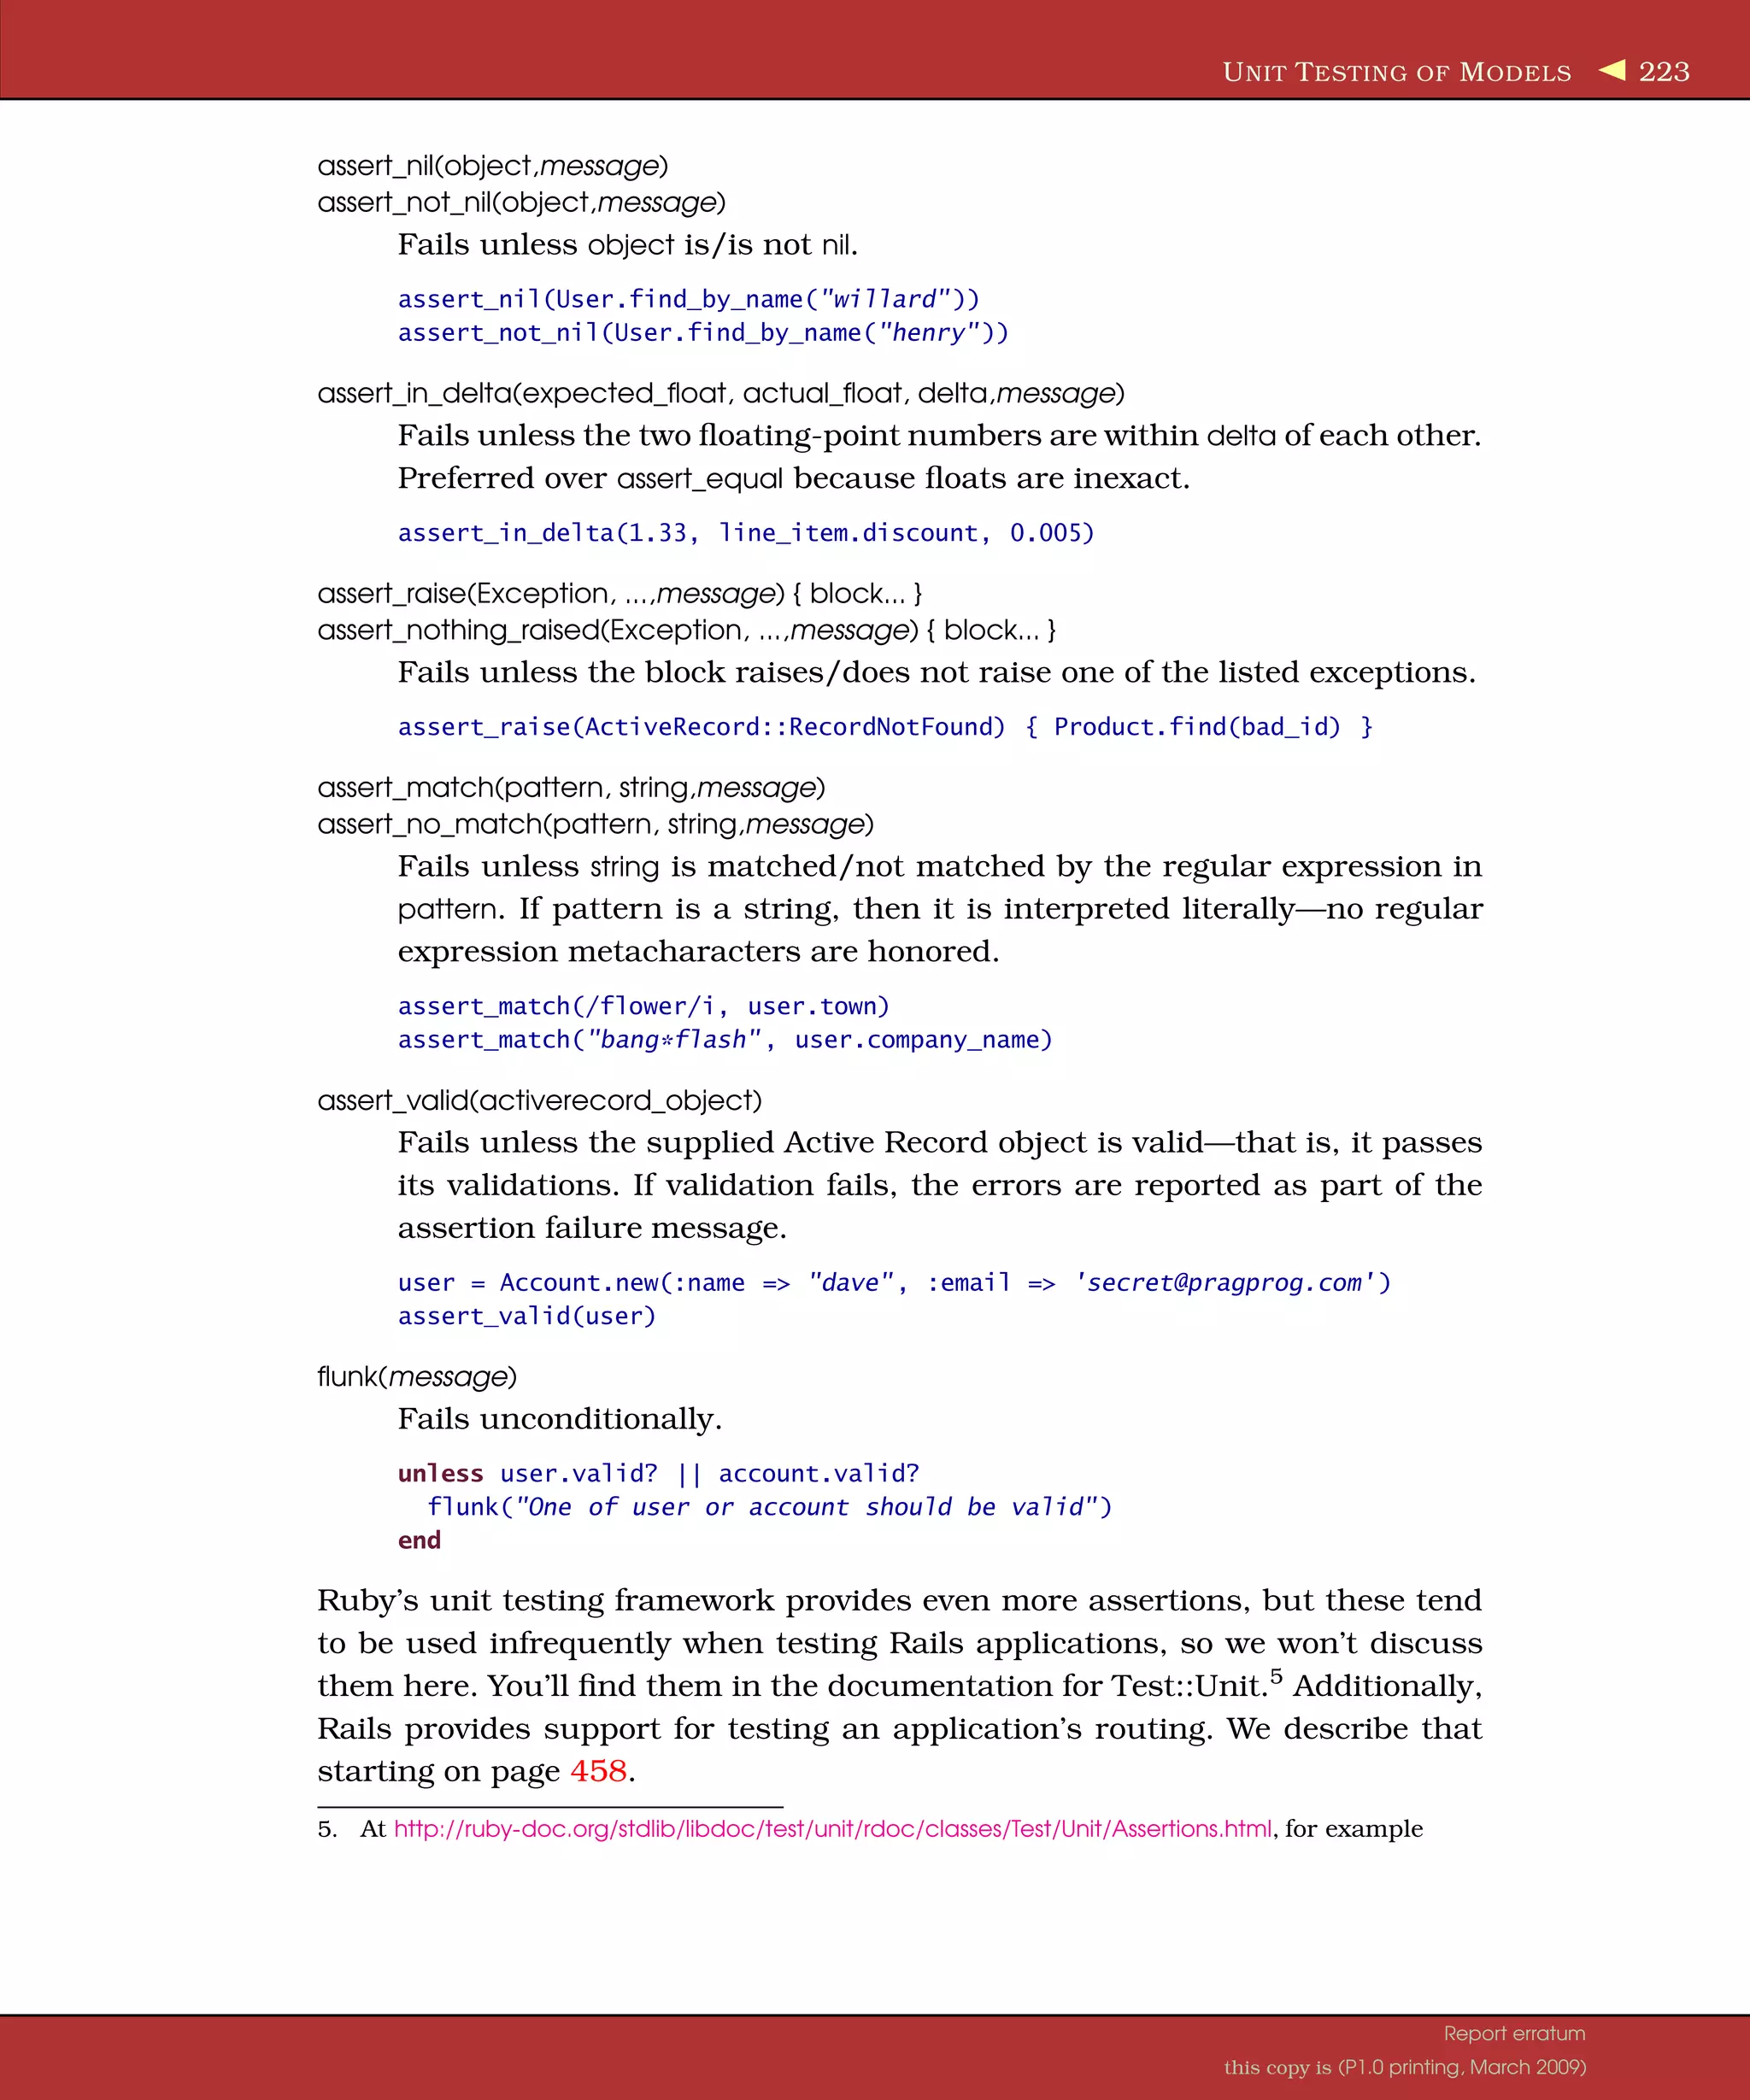
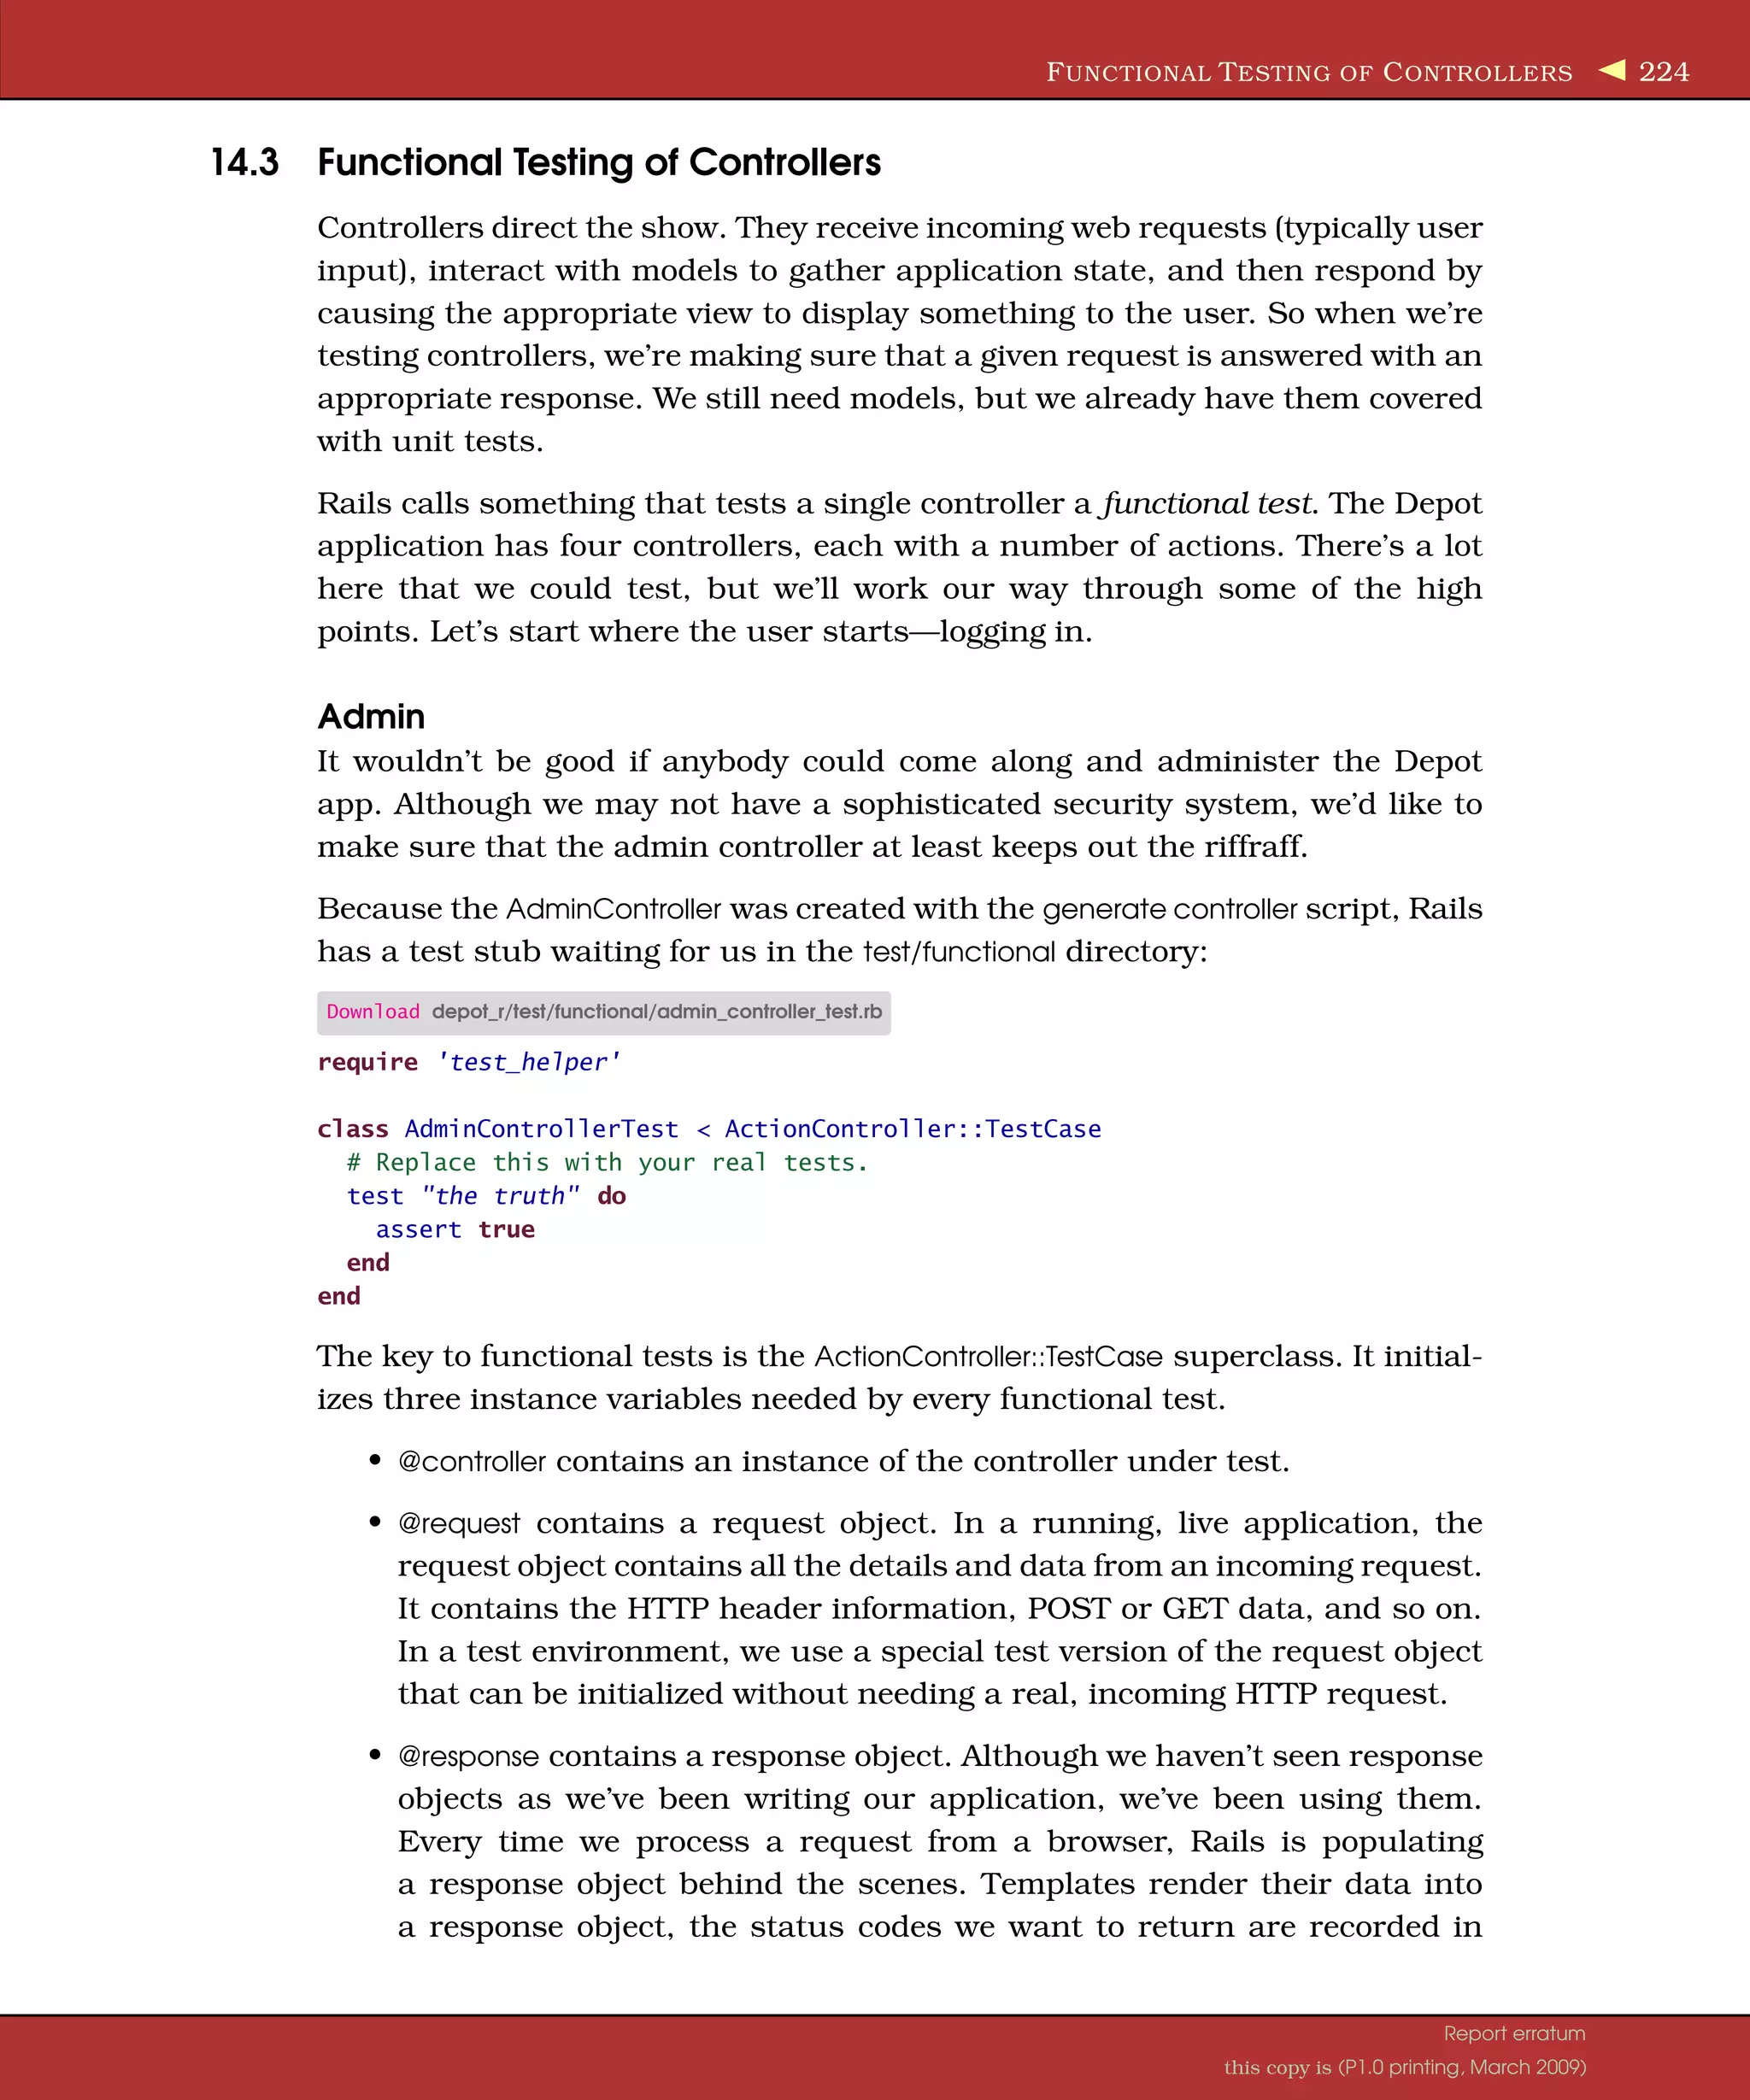
![F UNCTIONAL T ESTING OF C ONTROLLERS 225 response objects, and so on. After our application finishes processing a request, Rails takes the information in the response object and uses it to send a response back to the client. The request and response objects are crucial to the operation of our functional tests—using them means we don’t have to fire up a real web server to run controller tests. That is, functional tests don’t necessarily need a web server, a network, or a client. Index: For Admins Only Great, now let’s write our first controller test—a test that simply “hits” the index page: Download depot_r/test/functional/admin_controller_test.rb test "index" do get :index assert_response :success end The get method, a convenience method loaded by the test helper, simulates a web request (think HTTP GET) to the index action of AdminController and captures the response. The assert_response method then checks whether the response was successful. OK, let’s see what happens when we run the test. We’ll use the -n option to specify the name of a particular test method that we want to run: depot> ruby -I test test/functional/admin_controller_test.rb -n test_index Loaded suite test/functional/admin_controller_test Started F Finished in 0.239281 seconds. 1) Failure: test_index(AdminControllerTest) [test/functional/admin_controller_test.rb:20:in `test_index' /Library/Ruby/Gems/1.8/ ... /setup_and_teardown.rb:33:in `__send__' /Library/Ruby/Gems/1.8/ ... /setup_and_teardown.rb:33:in `run']: Expected response to be a <:success>, but was <302> That seemed simple enough, so what happened? A response code of 302 means the request was redirected, so it’s not considered a success. But why did it redirect? Well, because that’s the way we designed ApplicationController. It uses a before filter to intercept calls to actions that aren’t available to users without an administrative login. In this case, the before filter makes sure that the authorize method is run before the index action is run. Report erratum this copy is (P1.0 printing, March 2009)](https://image.slidesharecdn.com/pragmatic-agilewebdevelopmentwithrails-3rdedition-2009-091104222637-phpapp01/75/Pragmatic-Agile-Web-Development-With-Rails-3rd-Edition-2009-225-2048.jpg)
![F UNCTIONAL T ESTING OF C ONTROLLERS 226 Download depot_r/app/controllers/application.rb class ApplicationController < ActionController::Base layout "store" before_filter :authorize, :except => :login #... protected def authorize unless User.find_by_id(session[:user_id]) flash[:notice] = "Please log in" redirect_to :controller => 'admin' , :action => 'login' end end end Since we haven’t logged in, a valid user isn’t in the session, so the request gets redirected to the login action. According to authorize, the resulting page should include a flash notice telling us that we need to log in. OK, so let’s rewrite the functional test to capture that flow: Download depot_r/test/functional/admin_controller_test.rb test "index without user" do get :index assert_redirected_to :action => "login" assert_equal "Please log in" , flash[:notice] end This time when we request the index action, we expect to get redirected to the login action and see a flash notice generated by the view: depot> ruby -I test test/functional/admin_controller_test.rb Loaded suite test/functional/admin_controller_test Started . Finished in 0.0604571 seconds. 1 tests, 2 assertions, 0 failures, 0 errors Indeed, we get what we expect.6 Now we know the administrator-only actions are off-limits until a user has logged in (the before filter is working). Let’s try looking at the index page if we have a valid user. Recall that the application stores the id of the currently logged in user into the session, indexed by the :user_id key. So, to fake out a logged in user, we just need to set a user id into the session before issuing the index request. Our only problem now is knowing what to use for a user id. 6. Depending on your version of Rails, the console log might show three assertions passed. That’s because the assert_redirected_to method in older versions of Rails used two low-level assertions internally. Report erratum this copy is (P1.0 printing, March 2009)](https://image.slidesharecdn.com/pragmatic-agilewebdevelopmentwithrails-3rdedition-2009-091104222637-phpapp01/75/Pragmatic-Agile-Web-Development-With-Rails-3rd-Edition-2009-226-2048.jpg)
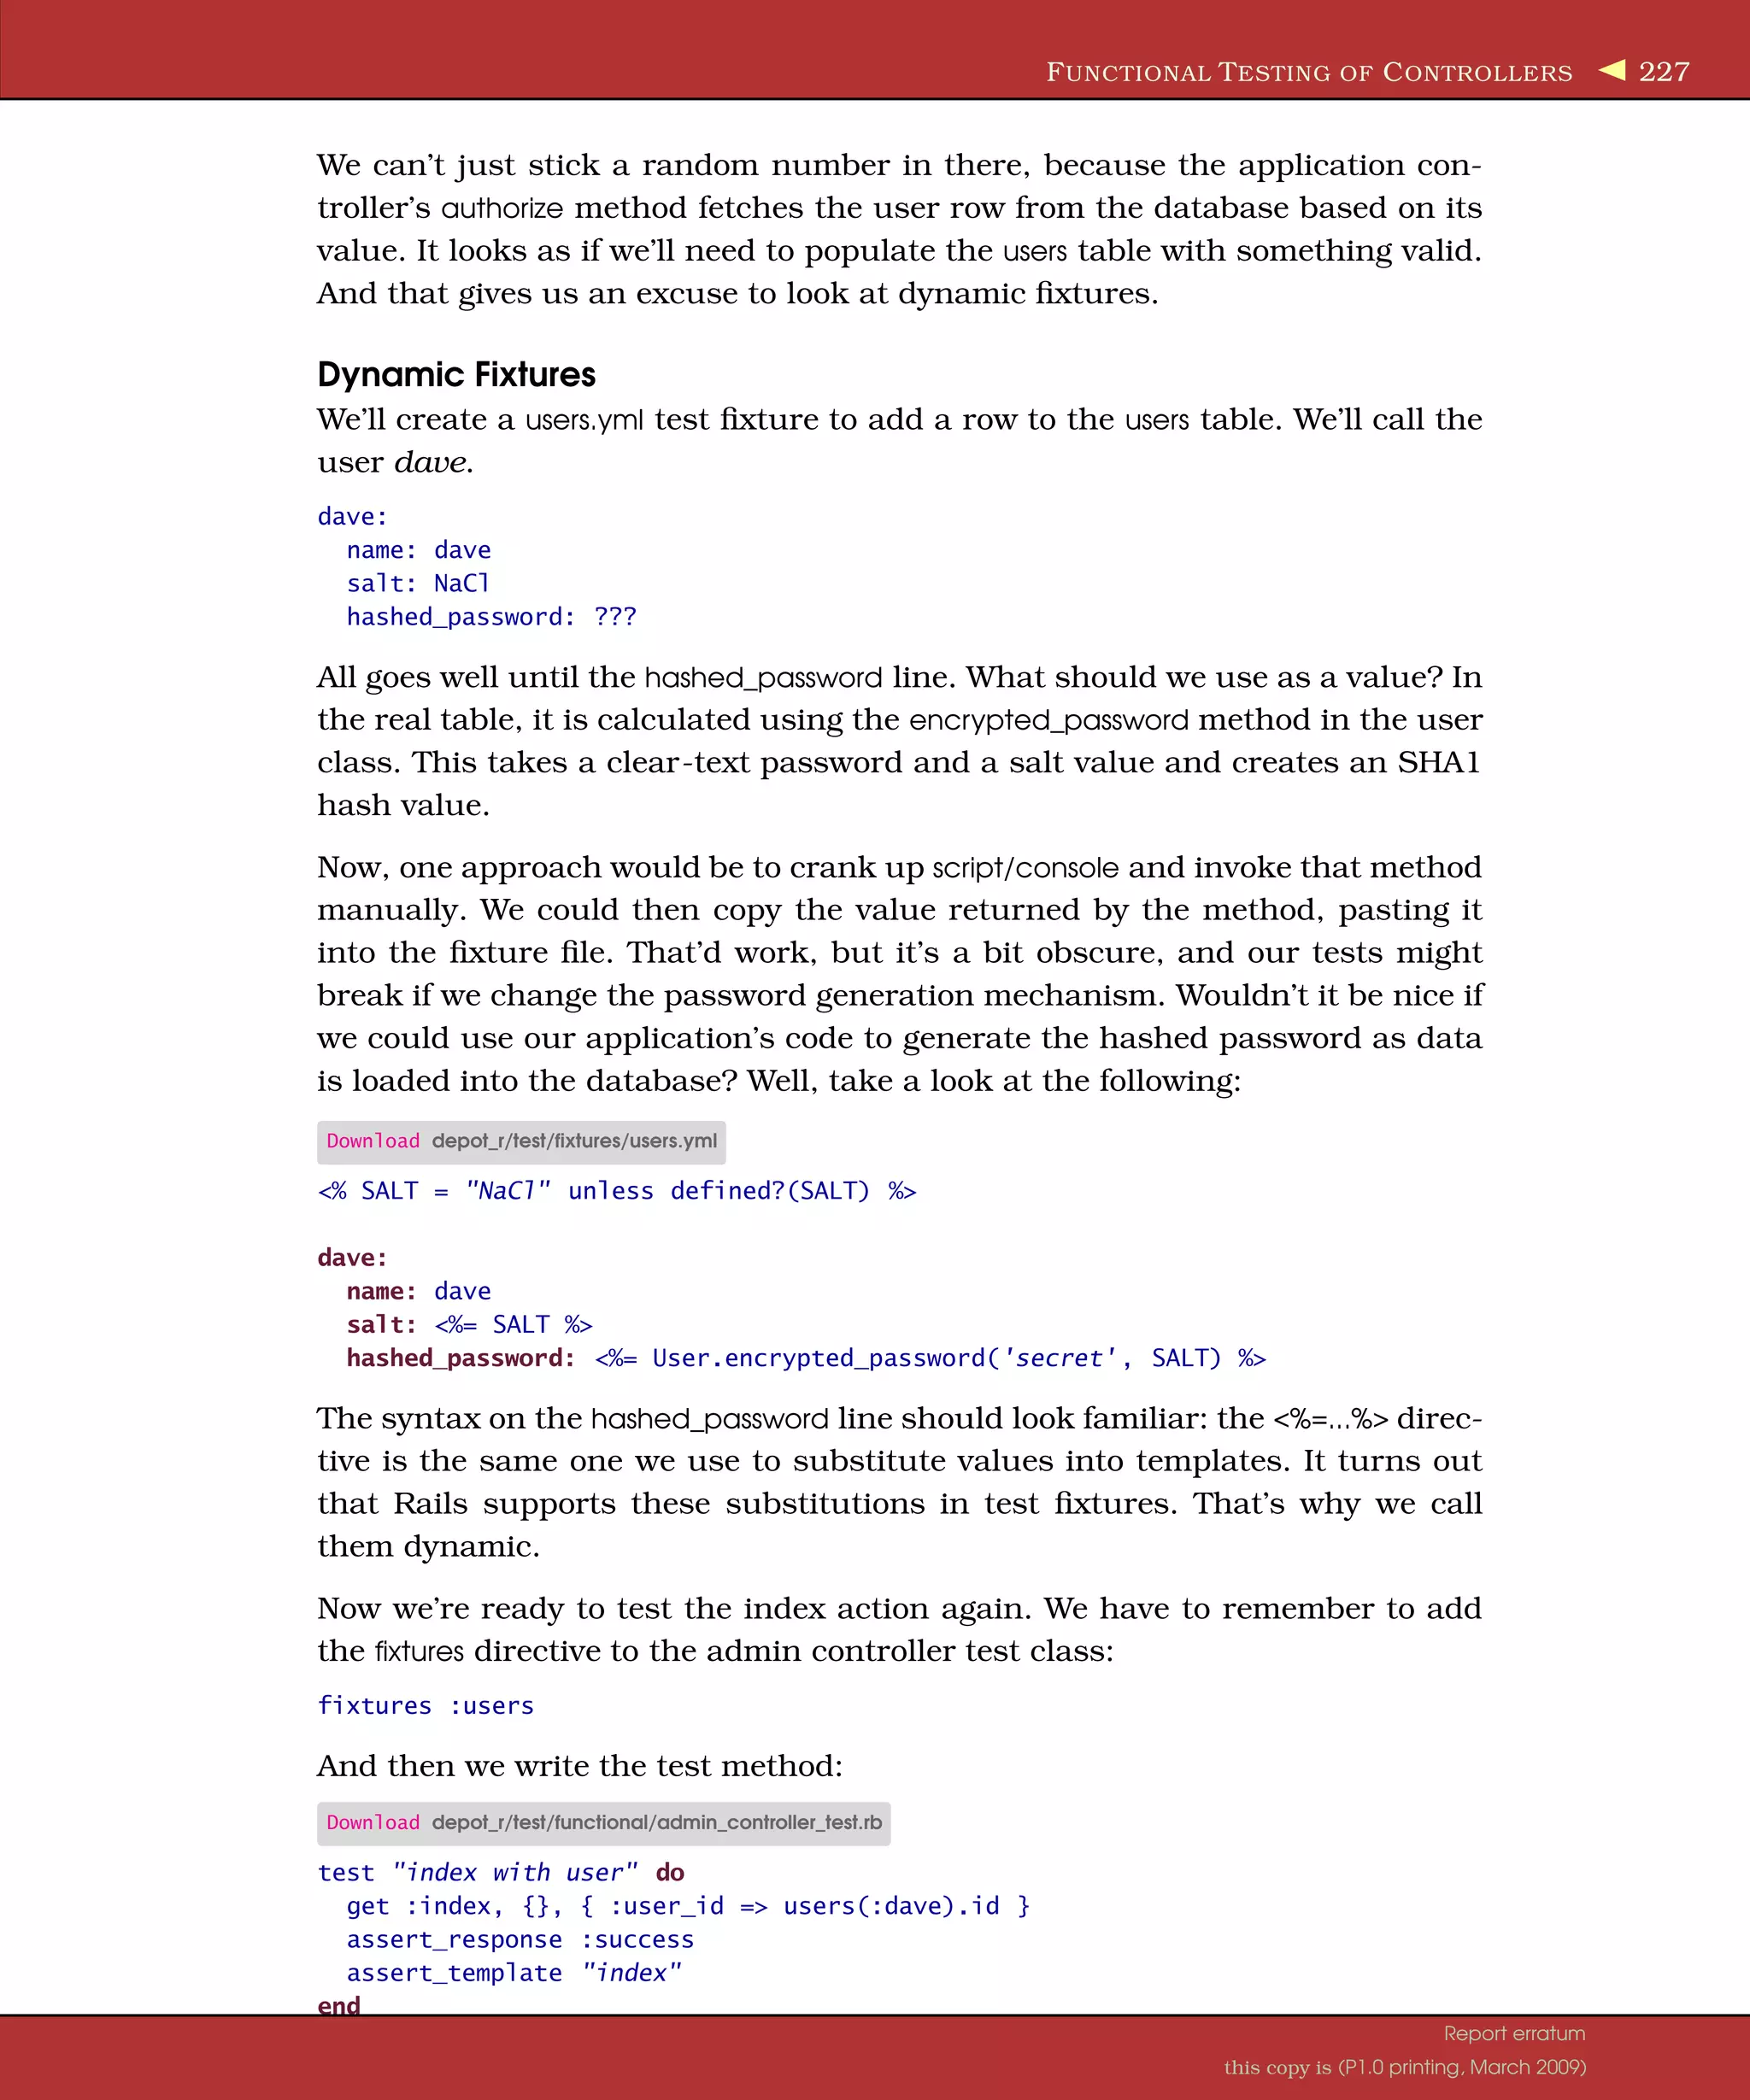
![F UNCTIONAL T ESTING OF C ONTROLLERS 228 The key concept here is the call to the get method. Notice that we added a couple of new parameters after the action name. Parameter 2 is an empty hash—this represents the parameters to be passed to the action. Parameter 3 is a hash that’s used to populate the session data. This is where we use our user fixture, setting the session entry :user_id to be our test user’s id. Our test then asserts that we had a successful response (not a redirection) and that the action rendered the index template. (We’ll look at all these assertions in more depth shortly.) Logging In Now that we have a user in the test database, let’s see whether we can log in as that user. If we were using a browser, we’d navigate to the login form, enter our username and password, and then submit the fields to the login action of the admin controller. We’d expect to get redirected to the index listing and to have the session contain the id of our test user neatly tucked inside. Here’s how we do this in a functional test: Download depot_r/test/functional/admin_controller_test.rb test "login" do dave = users(:dave) post :login, :name => dave.name, :password => 'secret' assert_redirected_to :action => "index" assert_equal dave.id, session[:user_id] end Here we used a post method to simulate entering form data and passed the name and password form field values as parameters. What happens if we try to log in with an invalid password? Download depot_r/test/functional/admin_controller_test.rb test "bad password" do dave = users(:dave) post :login, :name => dave.name, :password => 'wrong' assert_template "login" end As expected, rather than getting redirected to the index listing, our test user sees the login form again. Functional Testing Conveniences That was a brisk tour through how to write a functional test for a controller. Along the way, we used a number of support methods and assertions included with Rails that make your testing life easier. Before we go much further, let’s now take a closer look at some of the Rails-specific conveniences for testing controllers. Report erratum this copy is (P1.0 printing, March 2009)](https://image.slidesharecdn.com/pragmatic-agilewebdevelopmentwithrails-3rdedition-2009-091104222637-phpapp01/75/Pragmatic-Agile-Web-Development-With-Rails-3rd-Edition-2009-228-2048.jpg)
![F UNCTIONAL T ESTING OF C ONTROLLERS 233 assert_no_tag(...) Identical to assert_tag but asserts that a matching tag does not exist. Rails has some additional assertions to test the routing component of your controllers. We discuss these in Section 21.4, Testing Routing, on page 458. Variables After a request has been executed, functional tests can make assertions using the values in the following variables: assigns(key=nil) Instance variables that were assigned in the last action. assert_not_nil assigns["items" ] The assigns hash must be given strings as index references. For example, assigns[:items] will not work because the key is a symbol. To use symbols as keys, use a method call instead of an index reference: assert_not_nil assigns(:items) We can test that a controller action found three orders with the following: assert_equal 3, assigns(:orders).size session A hash of objects in the session. assert_equal 2, session[:cart].items.size flash A hash of flash objects currently in the session. assert_equal "Danger!" , flash[:notice] cookies A hash of cookies being sent to the user. assert_equal "Fred" , cookies[:name] redirect_to_url The full URL that the previous action redirected to. assert_equal "http://test.host/login" , redirect_to_url Functional Testing Helpers Rails provides the following helper methods in functional tests: find_tag(conditions) Finds a tag in the response, using the same conditions as assert_tag. get :index tag = find_tag :tag => "form" , :attributes => { :action => "/store/add_to_cart/993" } Report erratum this copy is (P1.0 printing, March 2009)](https://image.slidesharecdn.com/pragmatic-agilewebdevelopmentwithrails-3rdedition-2009-091104222637-phpapp01/75/Pragmatic-Agile-Web-Development-With-Rails-3rd-Edition-2009-233-2048.jpg)
![F UNCTIONAL T ESTING OF C ONTROLLERS 234 assert_equal "post" , tag.attributes["method" ] This is probably better written using assert_select. find_all_tag(conditions) Returns an array of tags meeting the given conditions. follow_redirect If the preceding action generated a redirect, this method follows it by issuing a get request. Functional tests can follow redirects only to their own controller. post :add_to_cart, :id => 123 assert_redirect :action => :index follow_redirect assert_response :success fixture_file_upload(path, mime_type) Creates the MIME-encoded content that would normally be uploaded by a browser <input type="file"...> field. Use this to set the corresponding form parameter in a post request. post :report_bug, :screenshot => fixture_file_upload("screen.png" , "image/png" ) with_routing Temporarily replaces ActionController::Routing::Routes with a new RouteSet instance. Use this to test different route configurations. with_routing do |set| set.draw do |map| map.connect ':controller/:action/:id' assert_equal( ['/content/10/show' , {}], map.generate(:controller => 'content' , :id => 10, :action => 'show' ) end end Testing Response Content Rails 1.2 introduced a new assertion, assert_select, which allows you to dig into the structure and content of the responses returned by your application. It generally is more functional and easier to use than assert_tag. For example, a functional test could verify that the response contained a title element con- taining the text Pragprog Books Online Store with the following assertion: assert_select "title" , "Pragprog Books Online Store" For the more adventurous, the following tests that the response contains a <div> with the id cart. Within that <div>, there must be a table containing three rows. The last <td> in the row with the class total-line must have the content $57.70. Report erratum this copy is (P1.0 printing, March 2009)](https://image.slidesharecdn.com/pragmatic-agilewebdevelopmentwithrails-3rdedition-2009-091104222637-phpapp01/75/Pragmatic-Agile-Web-Development-With-Rails-3rd-Edition-2009-234-2048.jpg)
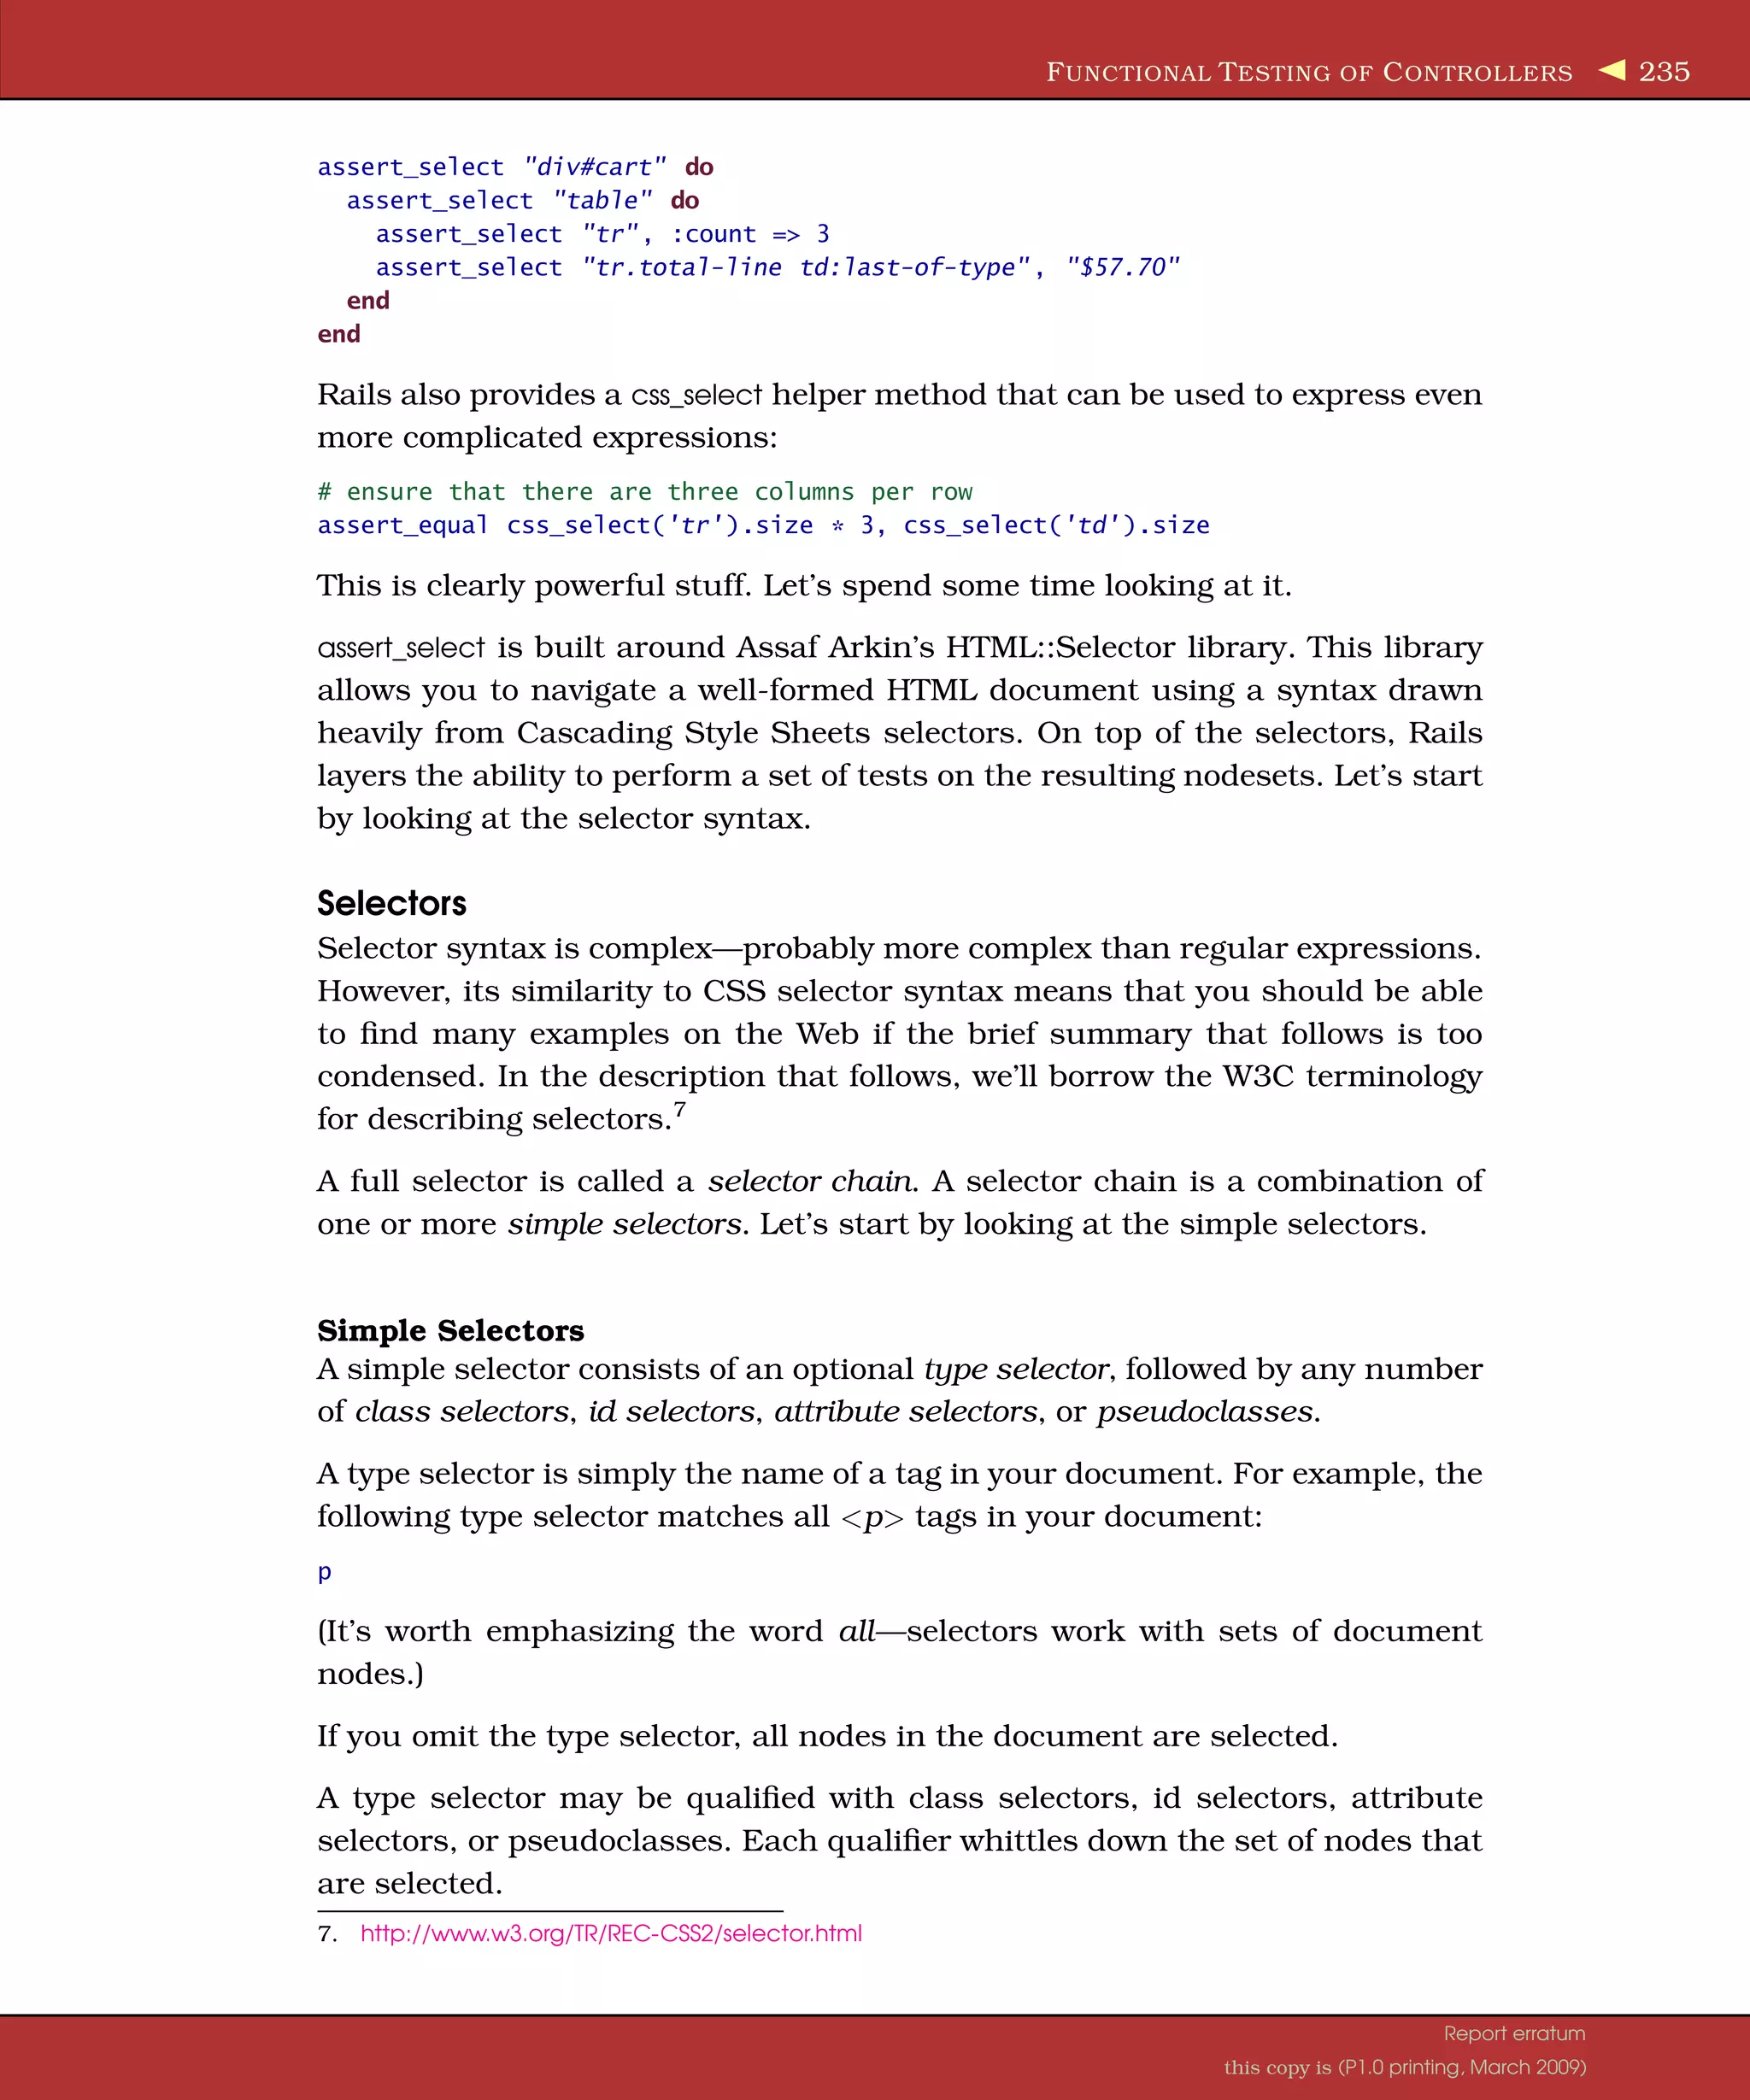
![F UNCTIONAL T ESTING OF C ONTROLLERS 236 Class and id selectors are easy: p#some-id # selects the paragraph with id="some-id" p.some-class # selects paragraph(s) with class="some-class" Attribute selectors appear between square brackets. The syntax is as follows: p[name] # paragraphs with an attribute name p[name=value] # paragraphs with an attribute name=value p[name^=string] # ... name=value, value starts with 'string' p[name$=string] # ... name=value, value ends with 'string' p[name*=string] # ... name=value, value must contain 'string' p[name~=string] # ... name=value, value must contain 'string' # as a space-separated word p[name|=string] # ... name=value, value starts 'string' # followed by a space Let’s look at some examples: p[class=warning] # all paragraphs with class="warning" tr[id=total] # the table row with id="total" table[cellpadding] # all table tags with a cellpadding attribute div[class*=error] # all div tags with a class attribute # containing the text error p[secret][class=shh] # all p tags with both a secret attribute # and a class="shh" attribute [class=error] # all tags with class="error" The class and id selectors are shortcuts for class= and id=: p#some-id # same as p[id=some-id] p.some-class # same as p[class=some-class] Chained Selectors You can combine multiple simple selectors to create chained selectors. These allow you to describe the relationship between elements. In the descriptions that follow, sel_1, sel_2, and so on, represent simple selectors. sel_1 sel_2 Selects all sel_2s that have a sel_1 as an ancestor. (The selectors are separated by one or more spaces.) sel_1 > sel_2 Selects all sel_2s that have sel_1 as a parent. Thus: table td # will match all td tags inside table tags table > td # won't match in well-formed HTML, # as td tags have tr tags as parents Report erratum this copy is (P1.0 printing, March 2009)](https://image.slidesharecdn.com/pragmatic-agilewebdevelopmentwithrails-3rdedition-2009-091104222637-phpapp01/75/Pragmatic-Agile-Web-Development-With-Rails-3rd-Edition-2009-236-2048.jpg)
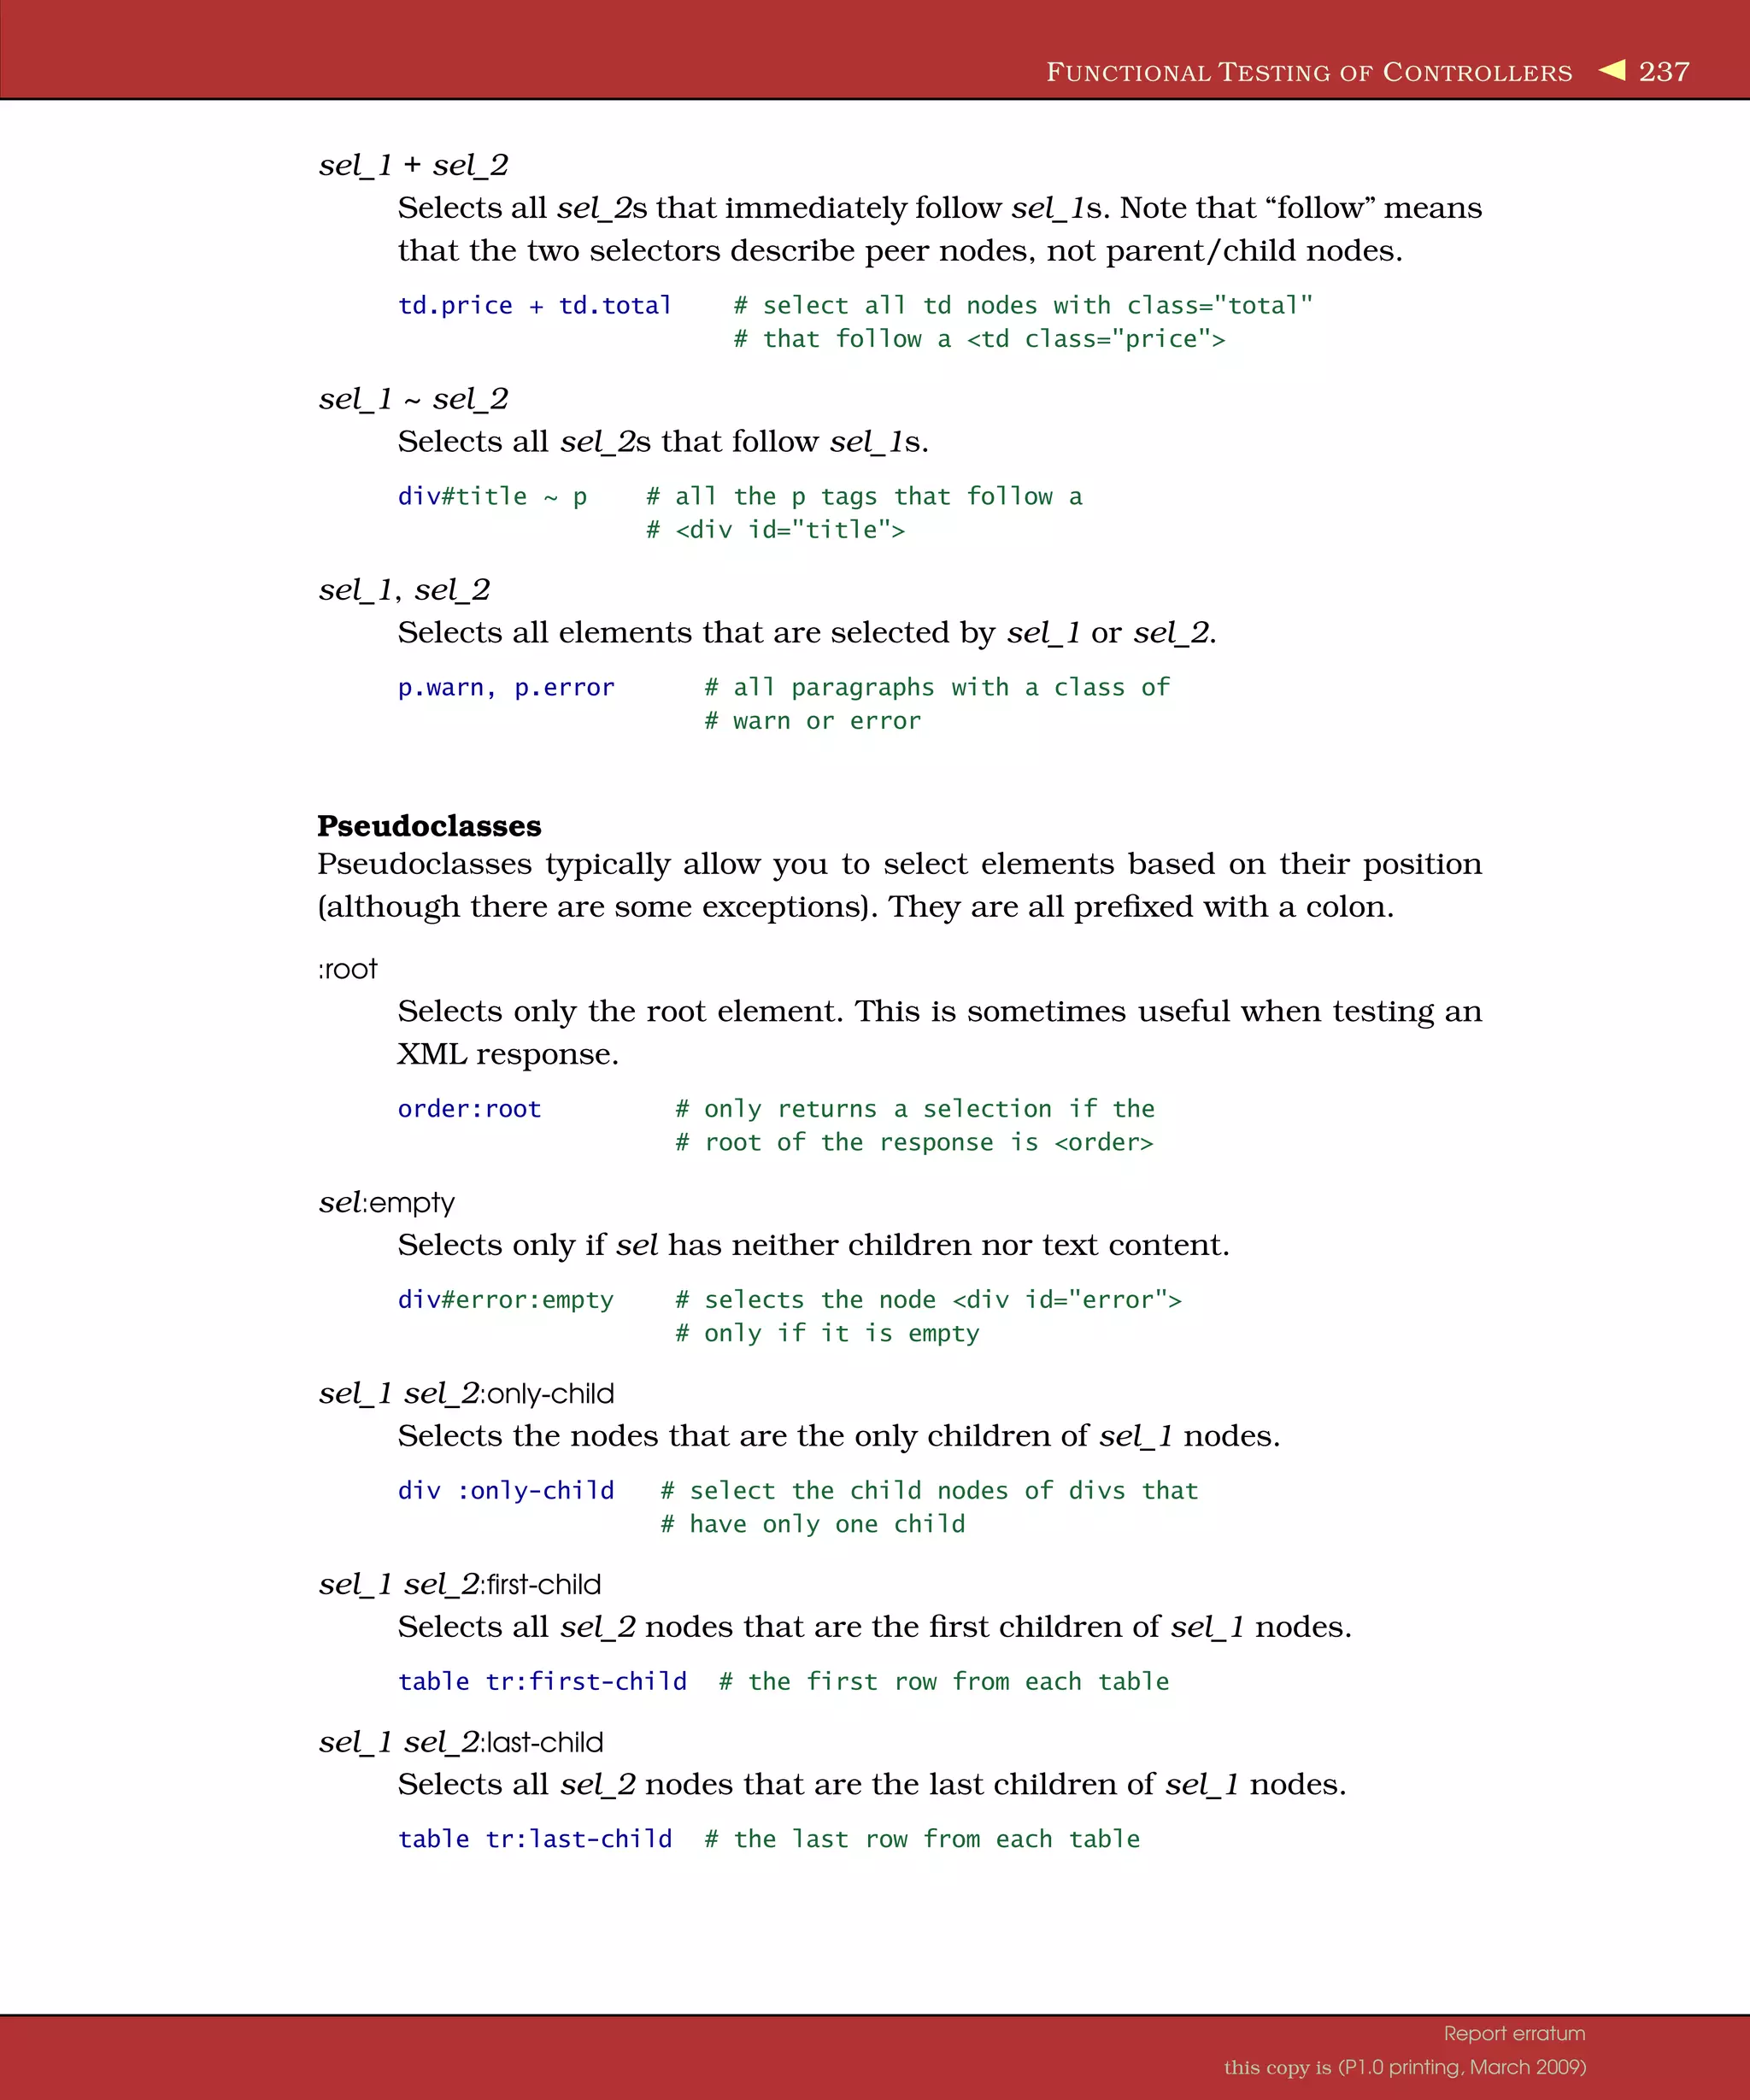
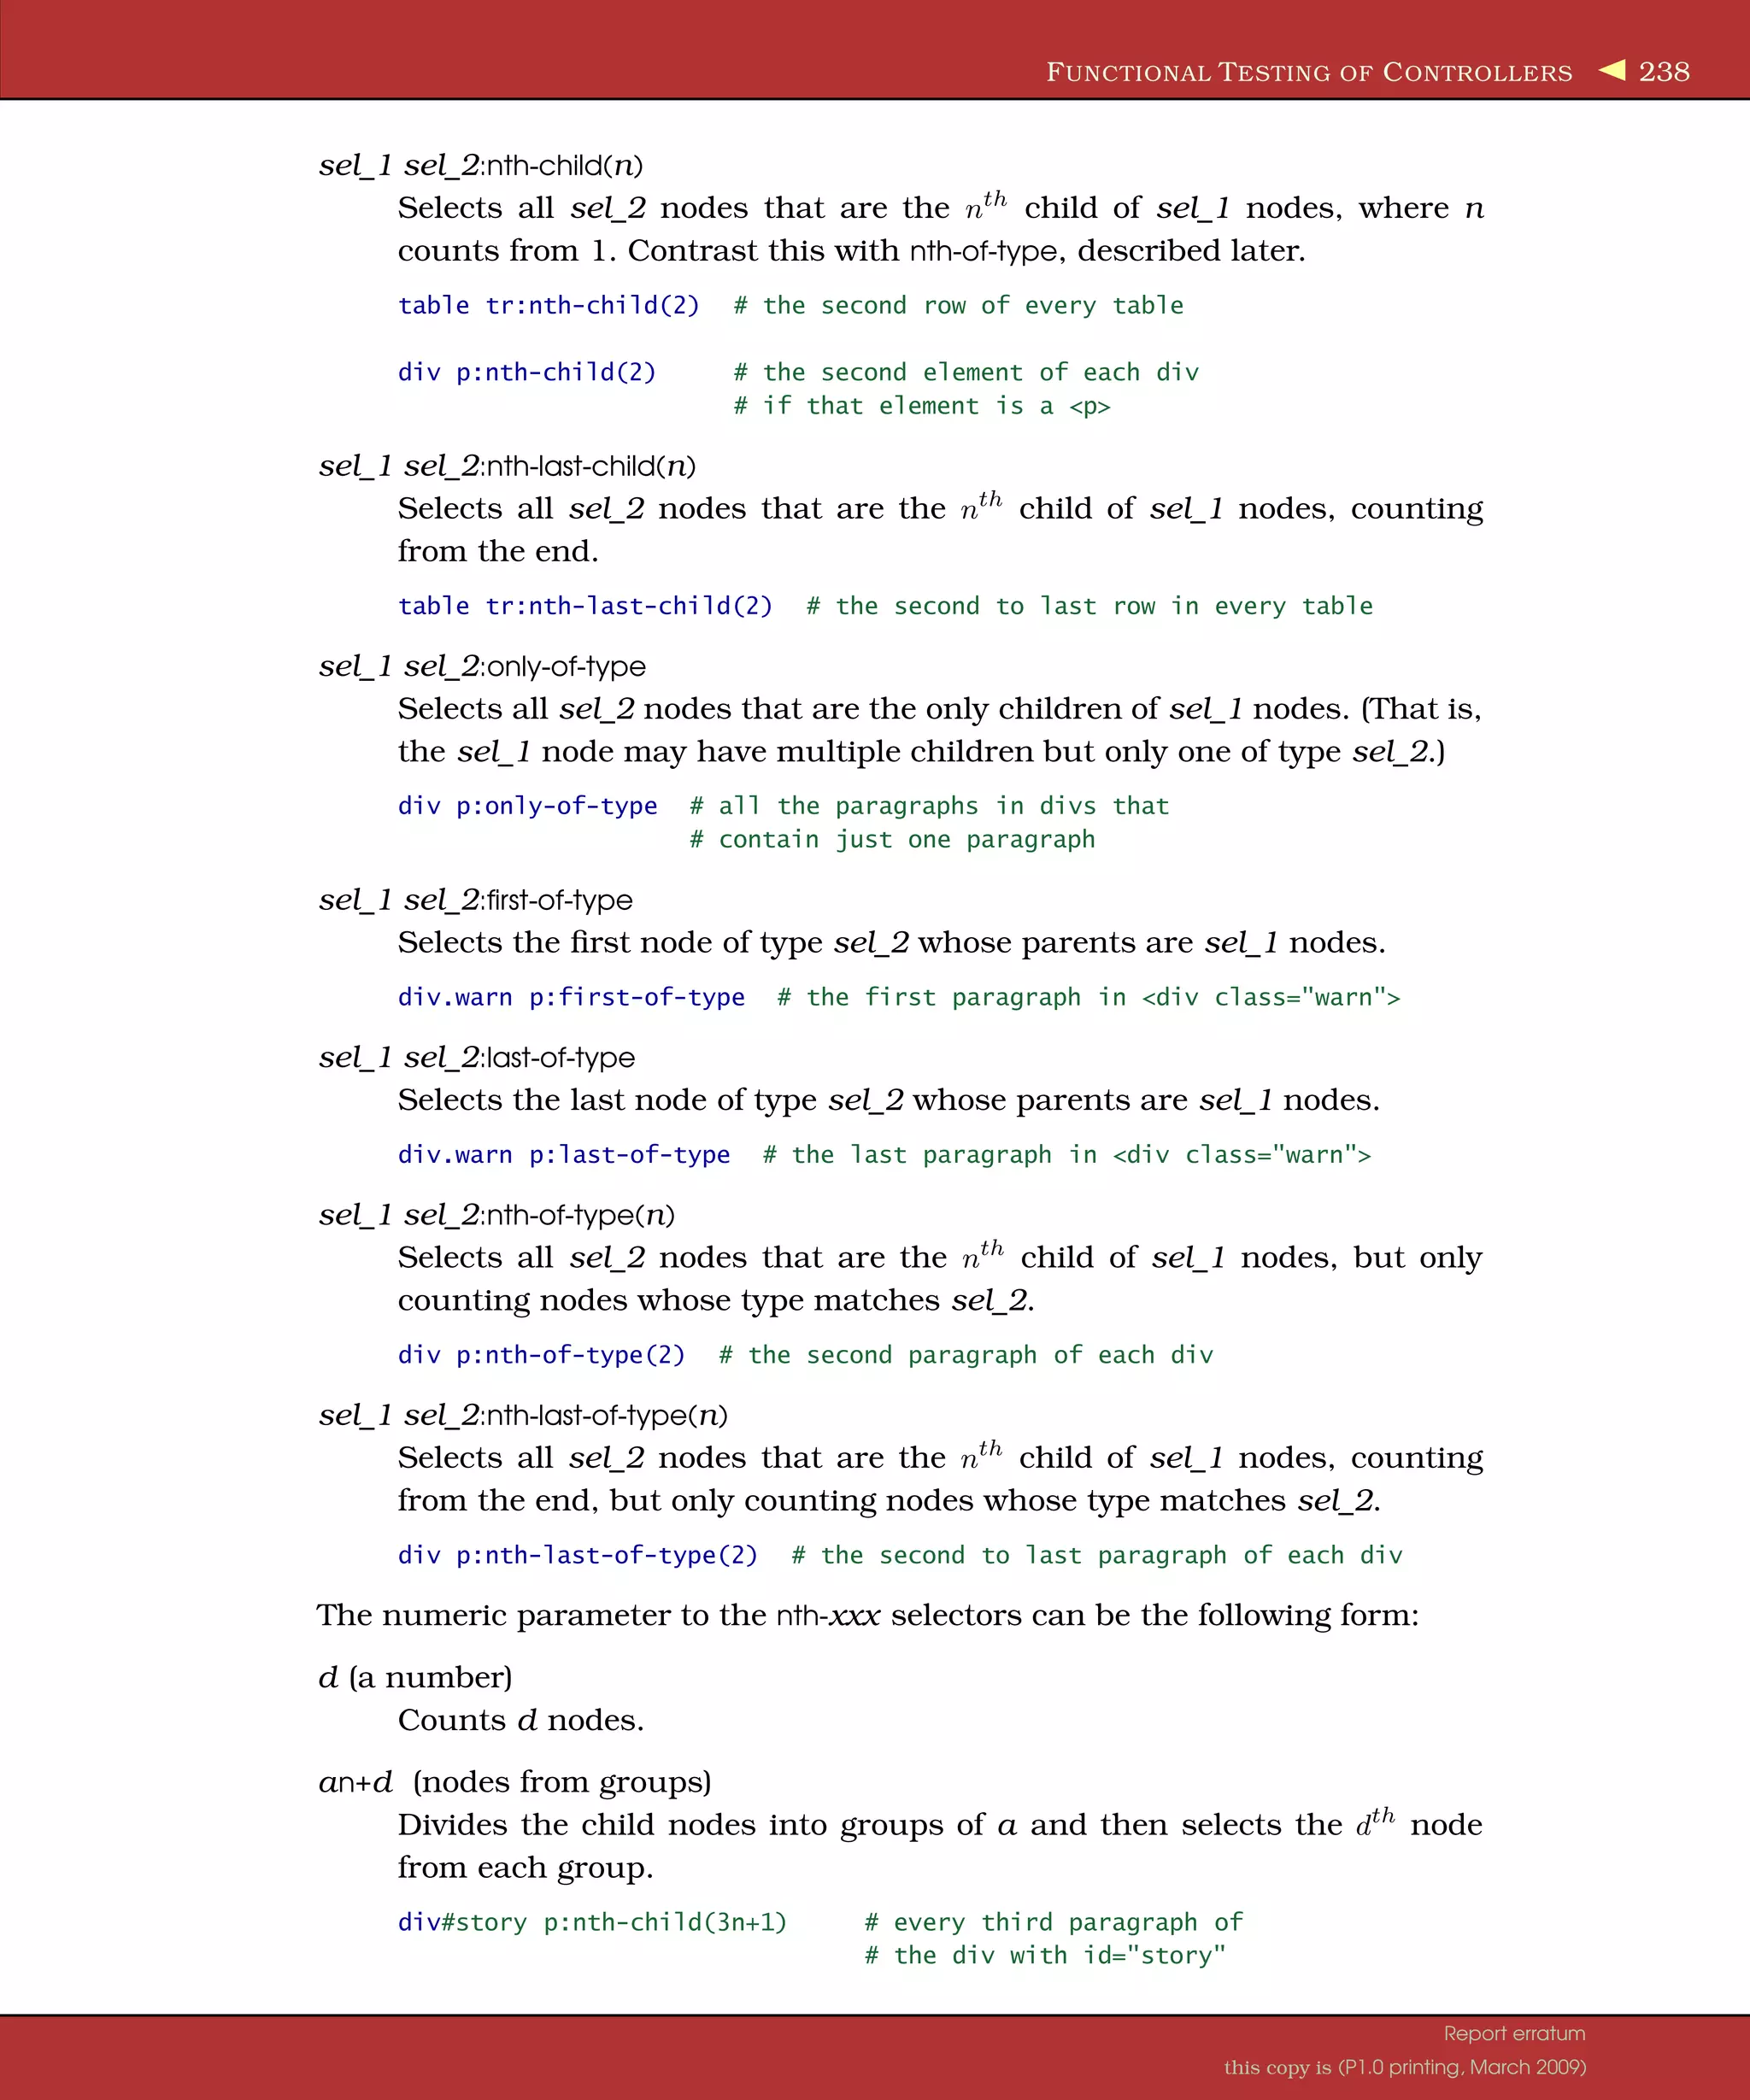
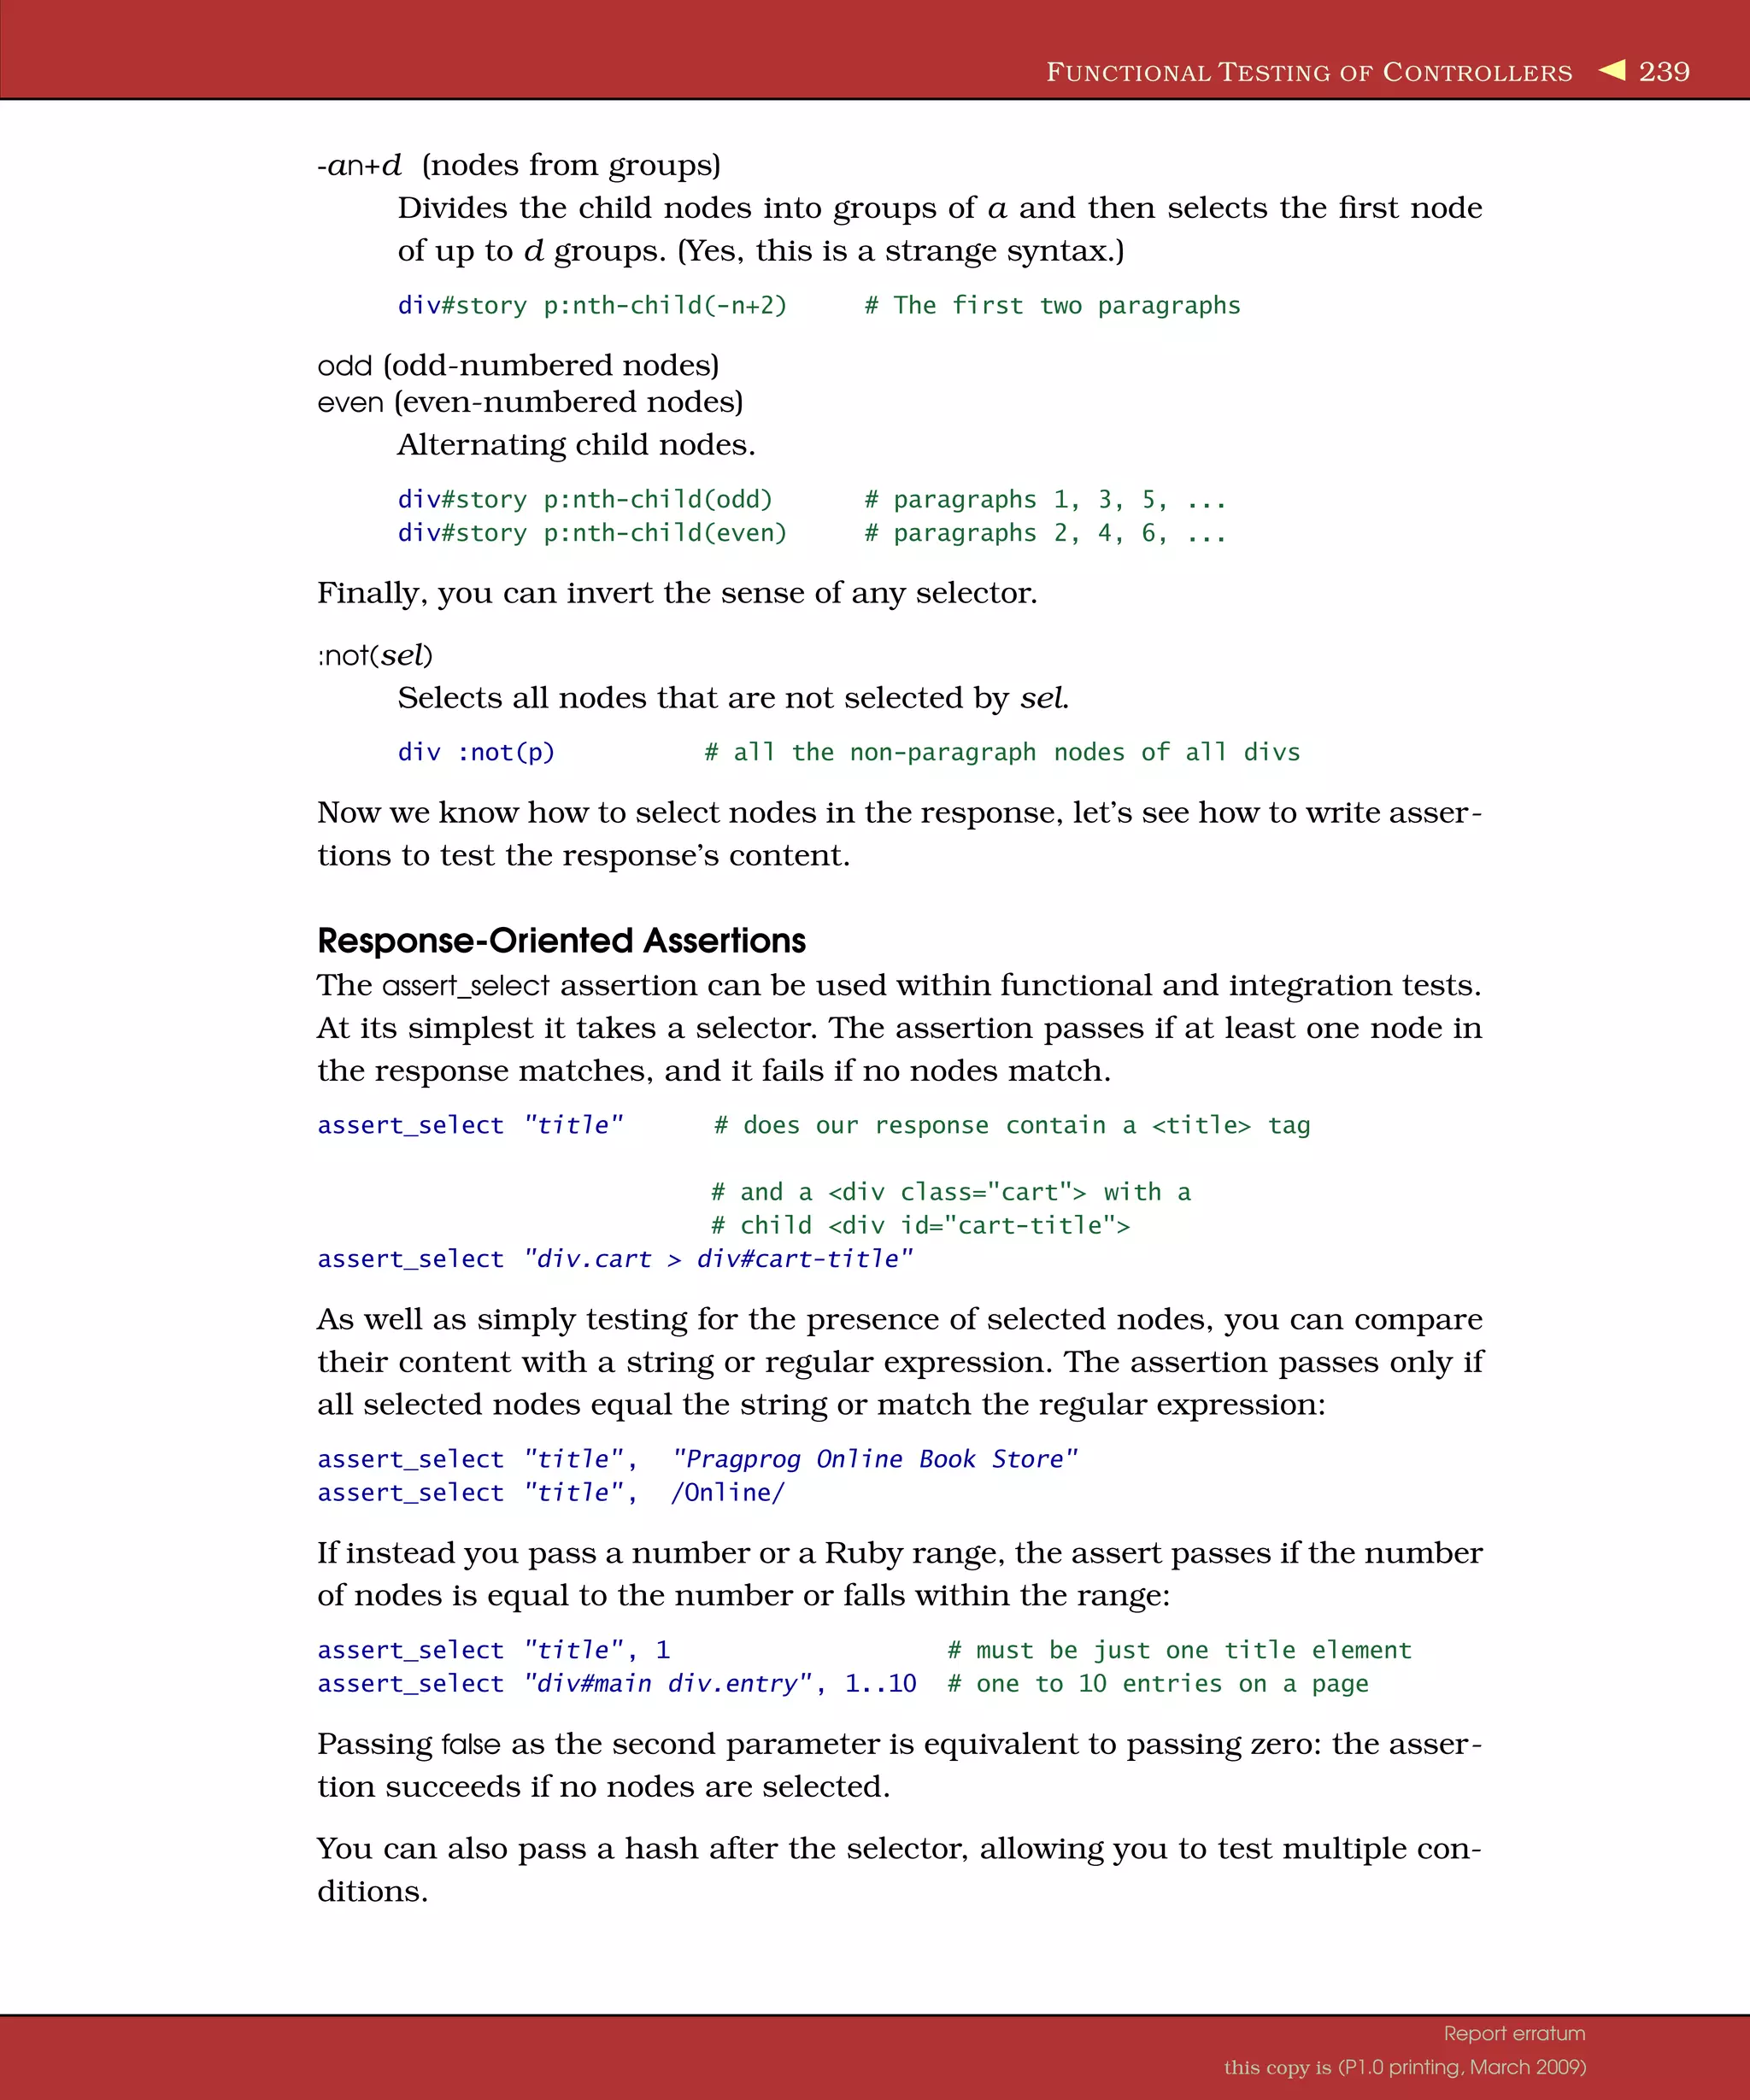
![I NTEGRATION T ESTING OF A PPLICATIONS 242 Let’s attack the first sentence in the user story: A user goes to the store index page. Download depot_r/test/integration/user_stories_test.rb get "/store/index" assert_response :success assert_template "index" This almost looks like a functional test. The main difference is the get method. In a functional test we check just one controller, so we specify just an action when calling get. In an integration test, however, we can wander all over the application, so we need to pass in a full (relative) URL for the controller and action to be invoked. The next sentence in the story goes They select a product, adding it to their cart. We know that our application uses an Ajax request to add things to the cart, so we’ll use the xml_http_request method to invoke the action. When it returns, we’ll check that the cart now contains the requested product: Download depot_r/test/integration/user_stories_test.rb xml_http_request :put, "/store/add_to_cart" , :id => ruby_book.id assert_response :success cart = session[:cart] assert_equal 1, cart.items.size assert_equal ruby_book, cart.items[0].product In a thrilling plot twist, the user story continues, They then check out.... That’s easy in our test: Download depot_r/test/integration/user_stories_test.rb post "/store/checkout" assert_response :success assert_template "checkout" At this point, the user has to fill in their details on the checkout form. Once they do and they post the data, our application creates the order and redi- rects to the index page. Let’s start with the HTTP side of the world by post- ing the form data to the save_order action and verifying we’ve been redirected to the index. We’ll also check that the cart is now empty. The test helper method post_via_redirect generates the post request and then follows any redi- rects returned until a nonredirect response is returned. Download depot_r/test/integration/user_stories_test.rb post_via_redirect "/store/save_order" , :order => { :name => "Dave Thomas" , :address => "123 The Street" , :email => "dave@pragprog.com" , :pay_type => "check" } Report erratum this copy is (P1.0 printing, March 2009)](https://image.slidesharecdn.com/pragmatic-agilewebdevelopmentwithrails-3rdedition-2009-091104222637-phpapp01/75/Pragmatic-Agile-Web-Development-With-Rails-3rd-Edition-2009-242-2048.jpg)
![I NTEGRATION T ESTING OF A PPLICATIONS 243 assert_response :success assert_template "index" assert_equal 0, session[:cart].items.size Finally, we’ll wander into the database and make sure we’ve created an order and corresponding line item and that the details they contain are correct. Because we cleared out the orders table at the start of the test, we’ll simply verify that it now contains just our new order: Download depot_r/test/integration/user_stories_test.rb orders = Order.find(:all) assert_equal 1, orders.size order = orders[0] assert_equal "Dave Thomas" , order.name assert_equal "123 The Street" , order.address assert_equal "dave@pragprog.com" , order.email assert_equal "check" , order.pay_type assert_equal 1, order.line_items.size line_item = order.line_items[0] assert_equal ruby_book, line_item.product And that’s it. Here’s the full source of the integration test: Download depot_r/test/integration/user_stories_test.rb require 'test_helper' class UserStoriesTest < ActionController::IntegrationTest fixtures :products # A user goes to the index page. They select a product, adding it to their # cart, and check out, filling in their details on the checkout form. When # they submit, an order is created containing their information, along with a # single line item corresponding to the product they added to their cart. test "buying a product" do LineItem.delete_all Order.delete_all ruby_book = products(:ruby_book) get "/store/index" assert_response :success assert_template "index" xml_http_request :put, "/store/add_to_cart" , :id => ruby_book.id assert_response :success cart = session[:cart] assert_equal 1, cart.items.size assert_equal ruby_book, cart.items[0].product Report erratum this copy is (P1.0 printing, March 2009)](https://image.slidesharecdn.com/pragmatic-agilewebdevelopmentwithrails-3rdedition-2009-091104222637-phpapp01/75/Pragmatic-Agile-Web-Development-With-Rails-3rd-Edition-2009-243-2048.jpg)
![I NTEGRATION T ESTING OF A PPLICATIONS 244 post "/store/checkout" assert_response :success assert_template "checkout" post_via_redirect "/store/save_order" , :order => { :name => "Dave Thomas" , :address => "123 The Street" , :email => "dave@pragprog.com" , :pay_type => "check" } assert_response :success assert_template "index" assert_equal 0, session[:cart].items.size orders = Order.find(:all) assert_equal 1, orders.size order = orders[0] assert_equal "Dave Thomas" , order.name assert_equal "123 The Street" , order.address assert_equal "dave@pragprog.com" , order.email assert_equal "check" , order.pay_type assert_equal 1, order.line_items.size line_item = order.line_items[0] assert_equal ruby_book, line_item.product end end Even Higher-Level Tests (This section contains advanced material that can safely be skipped.) The integration test facility is very nice: we know of no other framework that offers built-in testing at this high of a level. But we can take it even higher. Imagine being able to give your QA people a mini-language (sometimes called a domain-specific language) for application testing. They could write our pre- vious test with language like this: Download depot_r/test/integration/dsl_user_stories_test.rb def test_buying_a_product dave = regular_user dave.get "/store/index" dave.is_viewing "index" dave.buys_a @ruby_book dave.has_a_cart_containing @ruby_book dave.checks_out DAVES_DETAILS dave.is_viewing "index" check_for_order DAVES_DETAILS, @ruby_book end Report erratum this copy is (P1.0 printing, March 2009)](https://image.slidesharecdn.com/pragmatic-agilewebdevelopmentwithrails-3rdedition-2009-091104222637-phpapp01/75/Pragmatic-Agile-Web-Development-With-Rails-3rd-Edition-2009-244-2048.jpg)
![I NTEGRATION T ESTING OF A PPLICATIONS 245 This code uses a hash, DAVES_DETAILS, defined inside the test class: Download depot_r/test/integration/dsl_user_stories_test.rb DAVES_DETAILS = { :name => "Dave Thomas" , :address => "123 The Street" , :email => "dave@pragprog.com" , :pay_type => "check" } It might not be great literature, but it’s still pretty readable. So, how do we provide them with this kind of functionality? It turns out to be fairly easy using a neat Ruby facility called singleton methods. If obj is a variable containing any Ruby object, we can define a method that applies only to that object using this syntax: def obj.method_name # ... end Once we’ve done this, we can call method_name on obj just like any other method: obj.method_name That’s how we’ll implement our testing language. We’ll create a new testing session using the open_session method and define all our helper methods on this session. In our example, this is done in the regular_user method: Download depot_r/test/integration/dsl_user_stories_test.rb def regular_user open_session do |user| def user.is_viewing(page) assert_response :success assert_template page end def user.buys_a(product) xml_http_request :put, "/store/add_to_cart" , :id => product.id assert_response :success end def user.has_a_cart_containing(*products) cart = session[:cart] assert_equal products.size, cart.items.size for item in cart.items assert products.include?(item.product) end end def user.checks_out(details) post "/store/checkout" Report erratum this copy is (P1.0 printing, March 2009)](https://image.slidesharecdn.com/pragmatic-agilewebdevelopmentwithrails-3rdedition-2009-091104222637-phpapp01/75/Pragmatic-Agile-Web-Development-With-Rails-3rd-Edition-2009-245-2048.jpg)
![I NTEGRATION T ESTING OF A PPLICATIONS 246 assert_response :success assert_template "checkout" post_via_redirect "/store/save_order" , :order => { :name => details[:name], :address => details[:address], :email => details[:email], :pay_type => details[:pay_type] } assert_response :success assert_template "index" assert_equal 0, session[:cart].items.size end end end The regular_user method returns this enhanced session object, and the rest of our script can then use it to run the tests. Once we have this mini-language defined, it’s easy to write more tests. For example, here’s a test that verifies that there’s no interaction between two users buying products at the same time. (We’ve indented the lines related to Mike’s session to make it easier to see the flow.) Download depot_r/test/integration/dsl_user_stories_test.rb def test_two_people_buying dave = regular_user mike = regular_user dave.buys_a @ruby_book mike.buys_a @rails_book dave.has_a_cart_containing @ruby_book dave.checks_out DAVES_DETAILS mike.has_a_cart_containing @rails_book check_for_order DAVES_DETAILS, @ruby_book mike.checks_out MIKES_DETAILS check_for_order MIKES_DETAILS, @rails_book end We show the full listing of the mini-language version of the testing class start- ing on page 717. Integration Testing Support Integration tests are deceptively similar to functional tests, and indeed all the same assertions we’ve used in unit and functional testing work in integration tests. However, some care is needed, because many of the helper methods are subtly different. Integration tests revolve around the idea of a session. The session represents a user at a browser interacting with our application. Although similar in concept to the session variable in controllers, the word session here means something different. Report erratum this copy is (P1.0 printing, March 2009)](https://image.slidesharecdn.com/pragmatic-agilewebdevelopmentwithrails-3rdedition-2009-091104222637-phpapp01/75/Pragmatic-Agile-Web-Development-With-Rails-3rd-Edition-2009-246-2048.jpg)
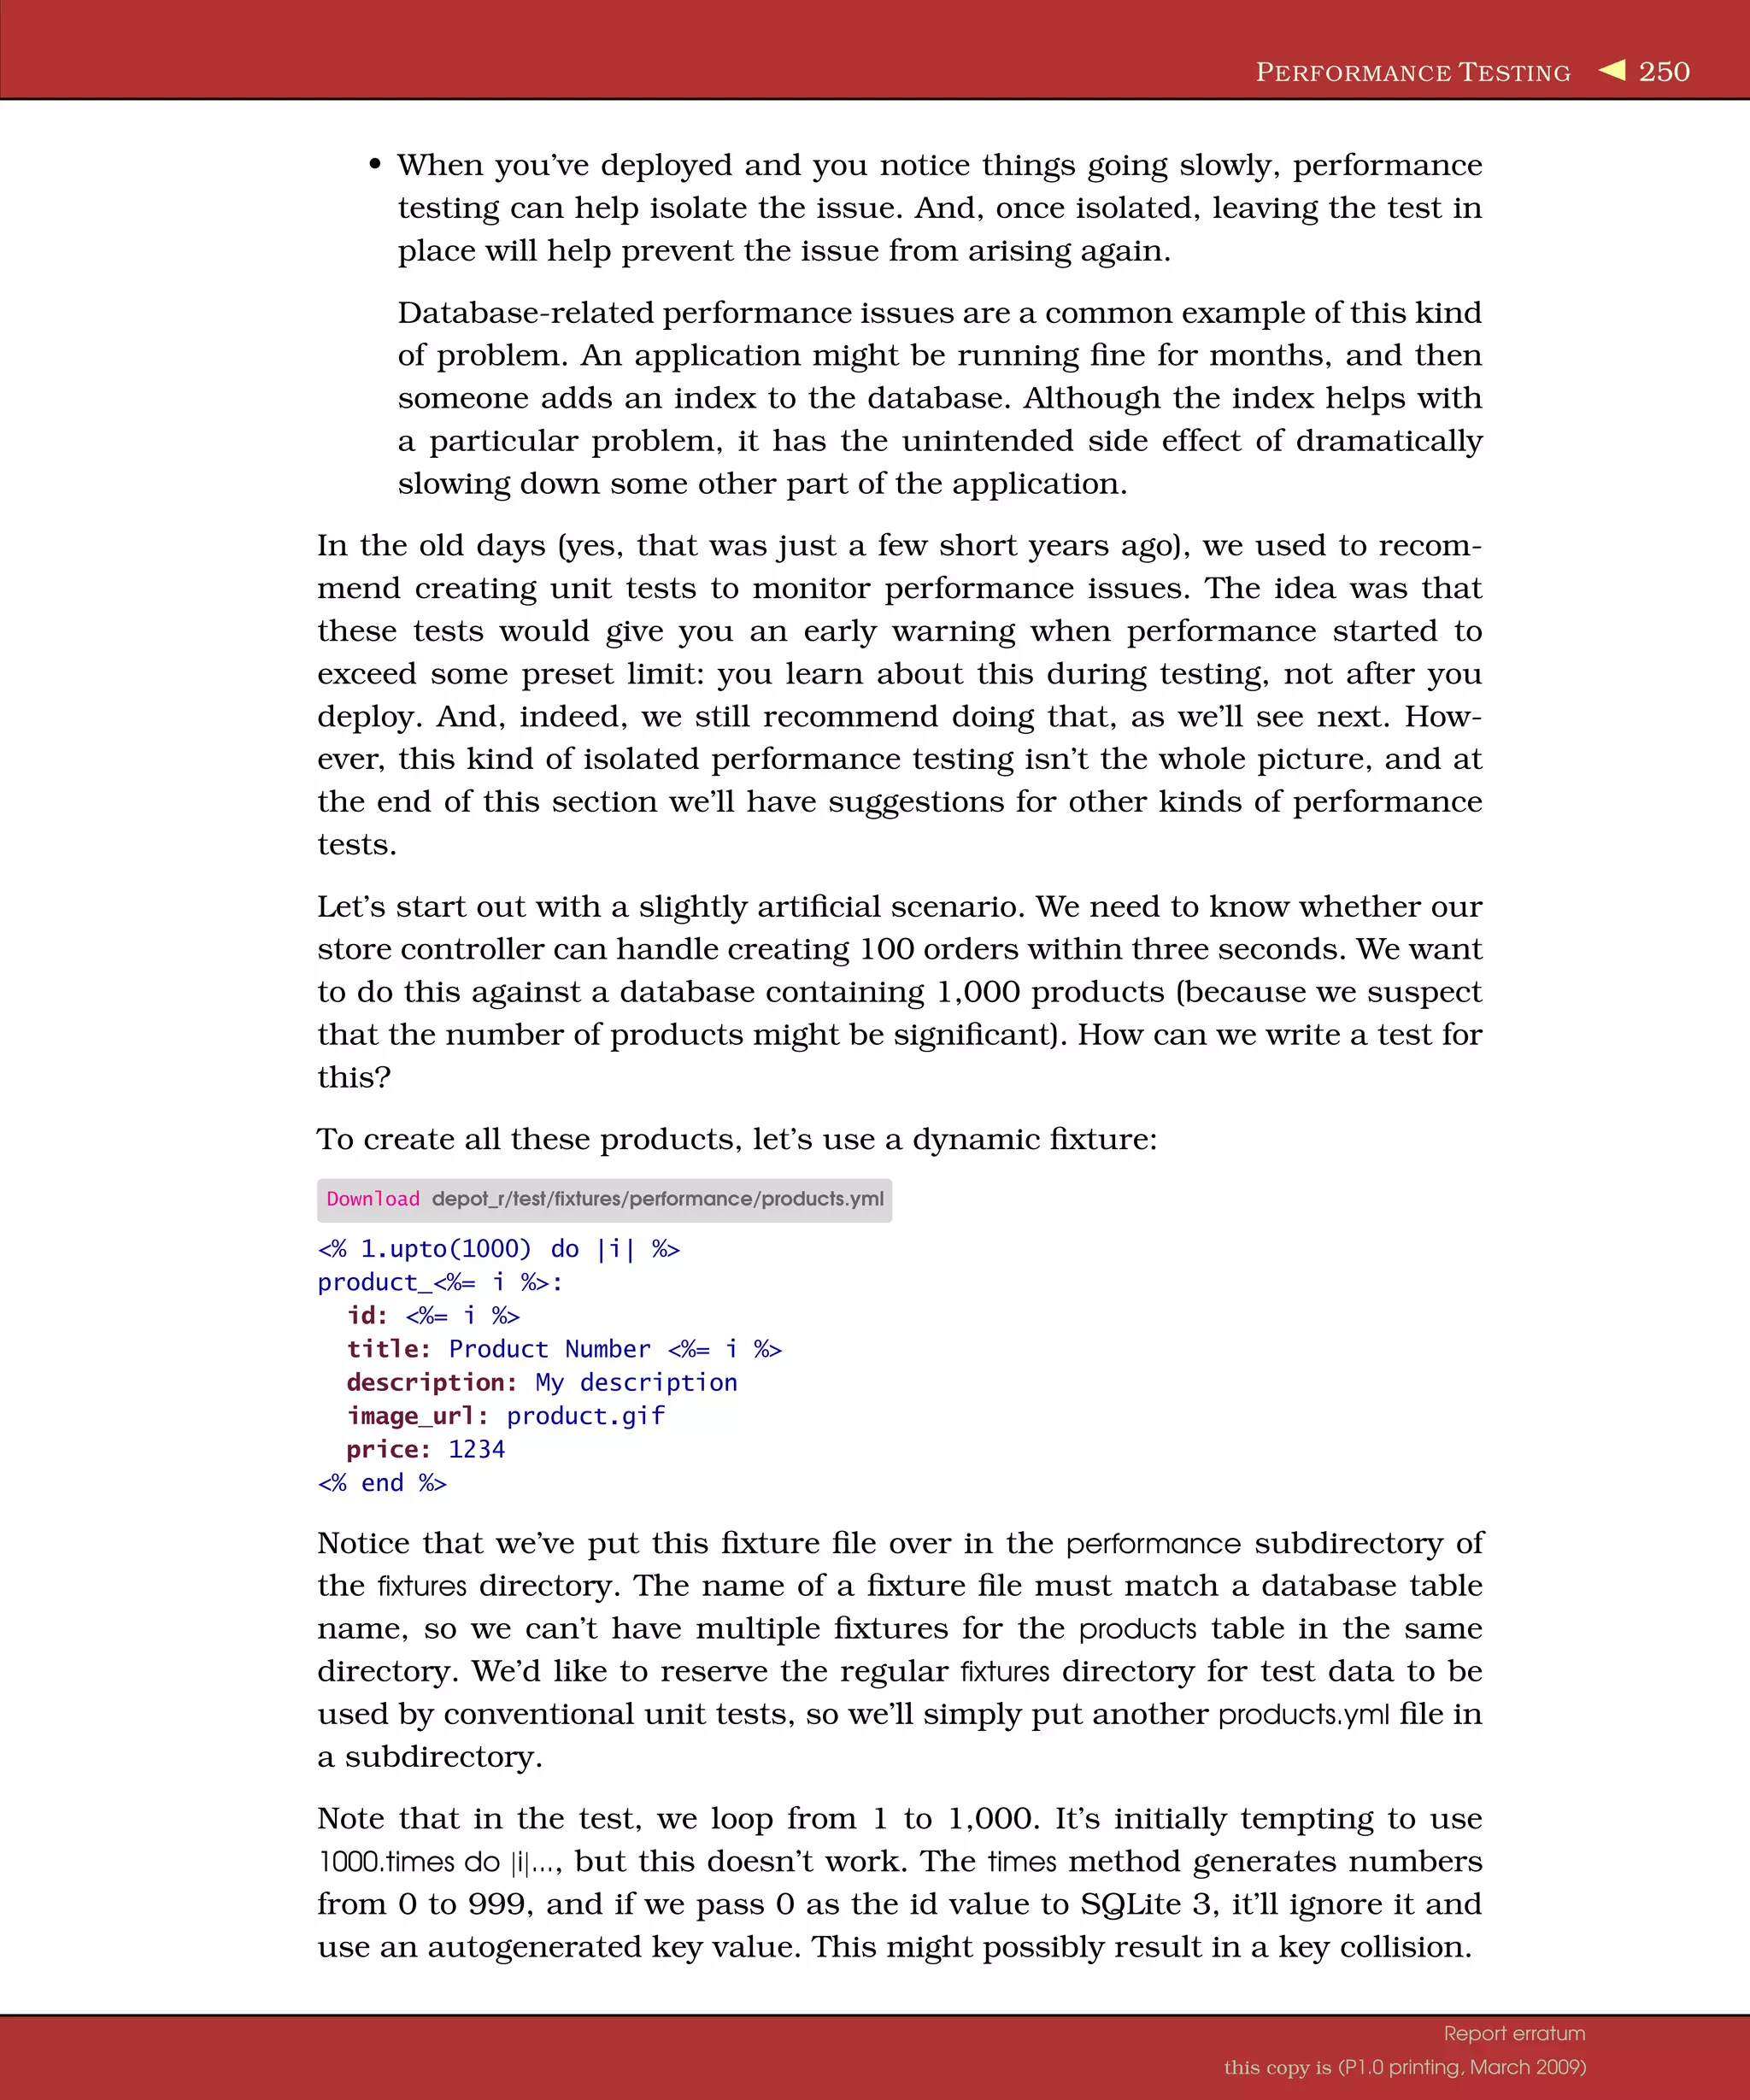
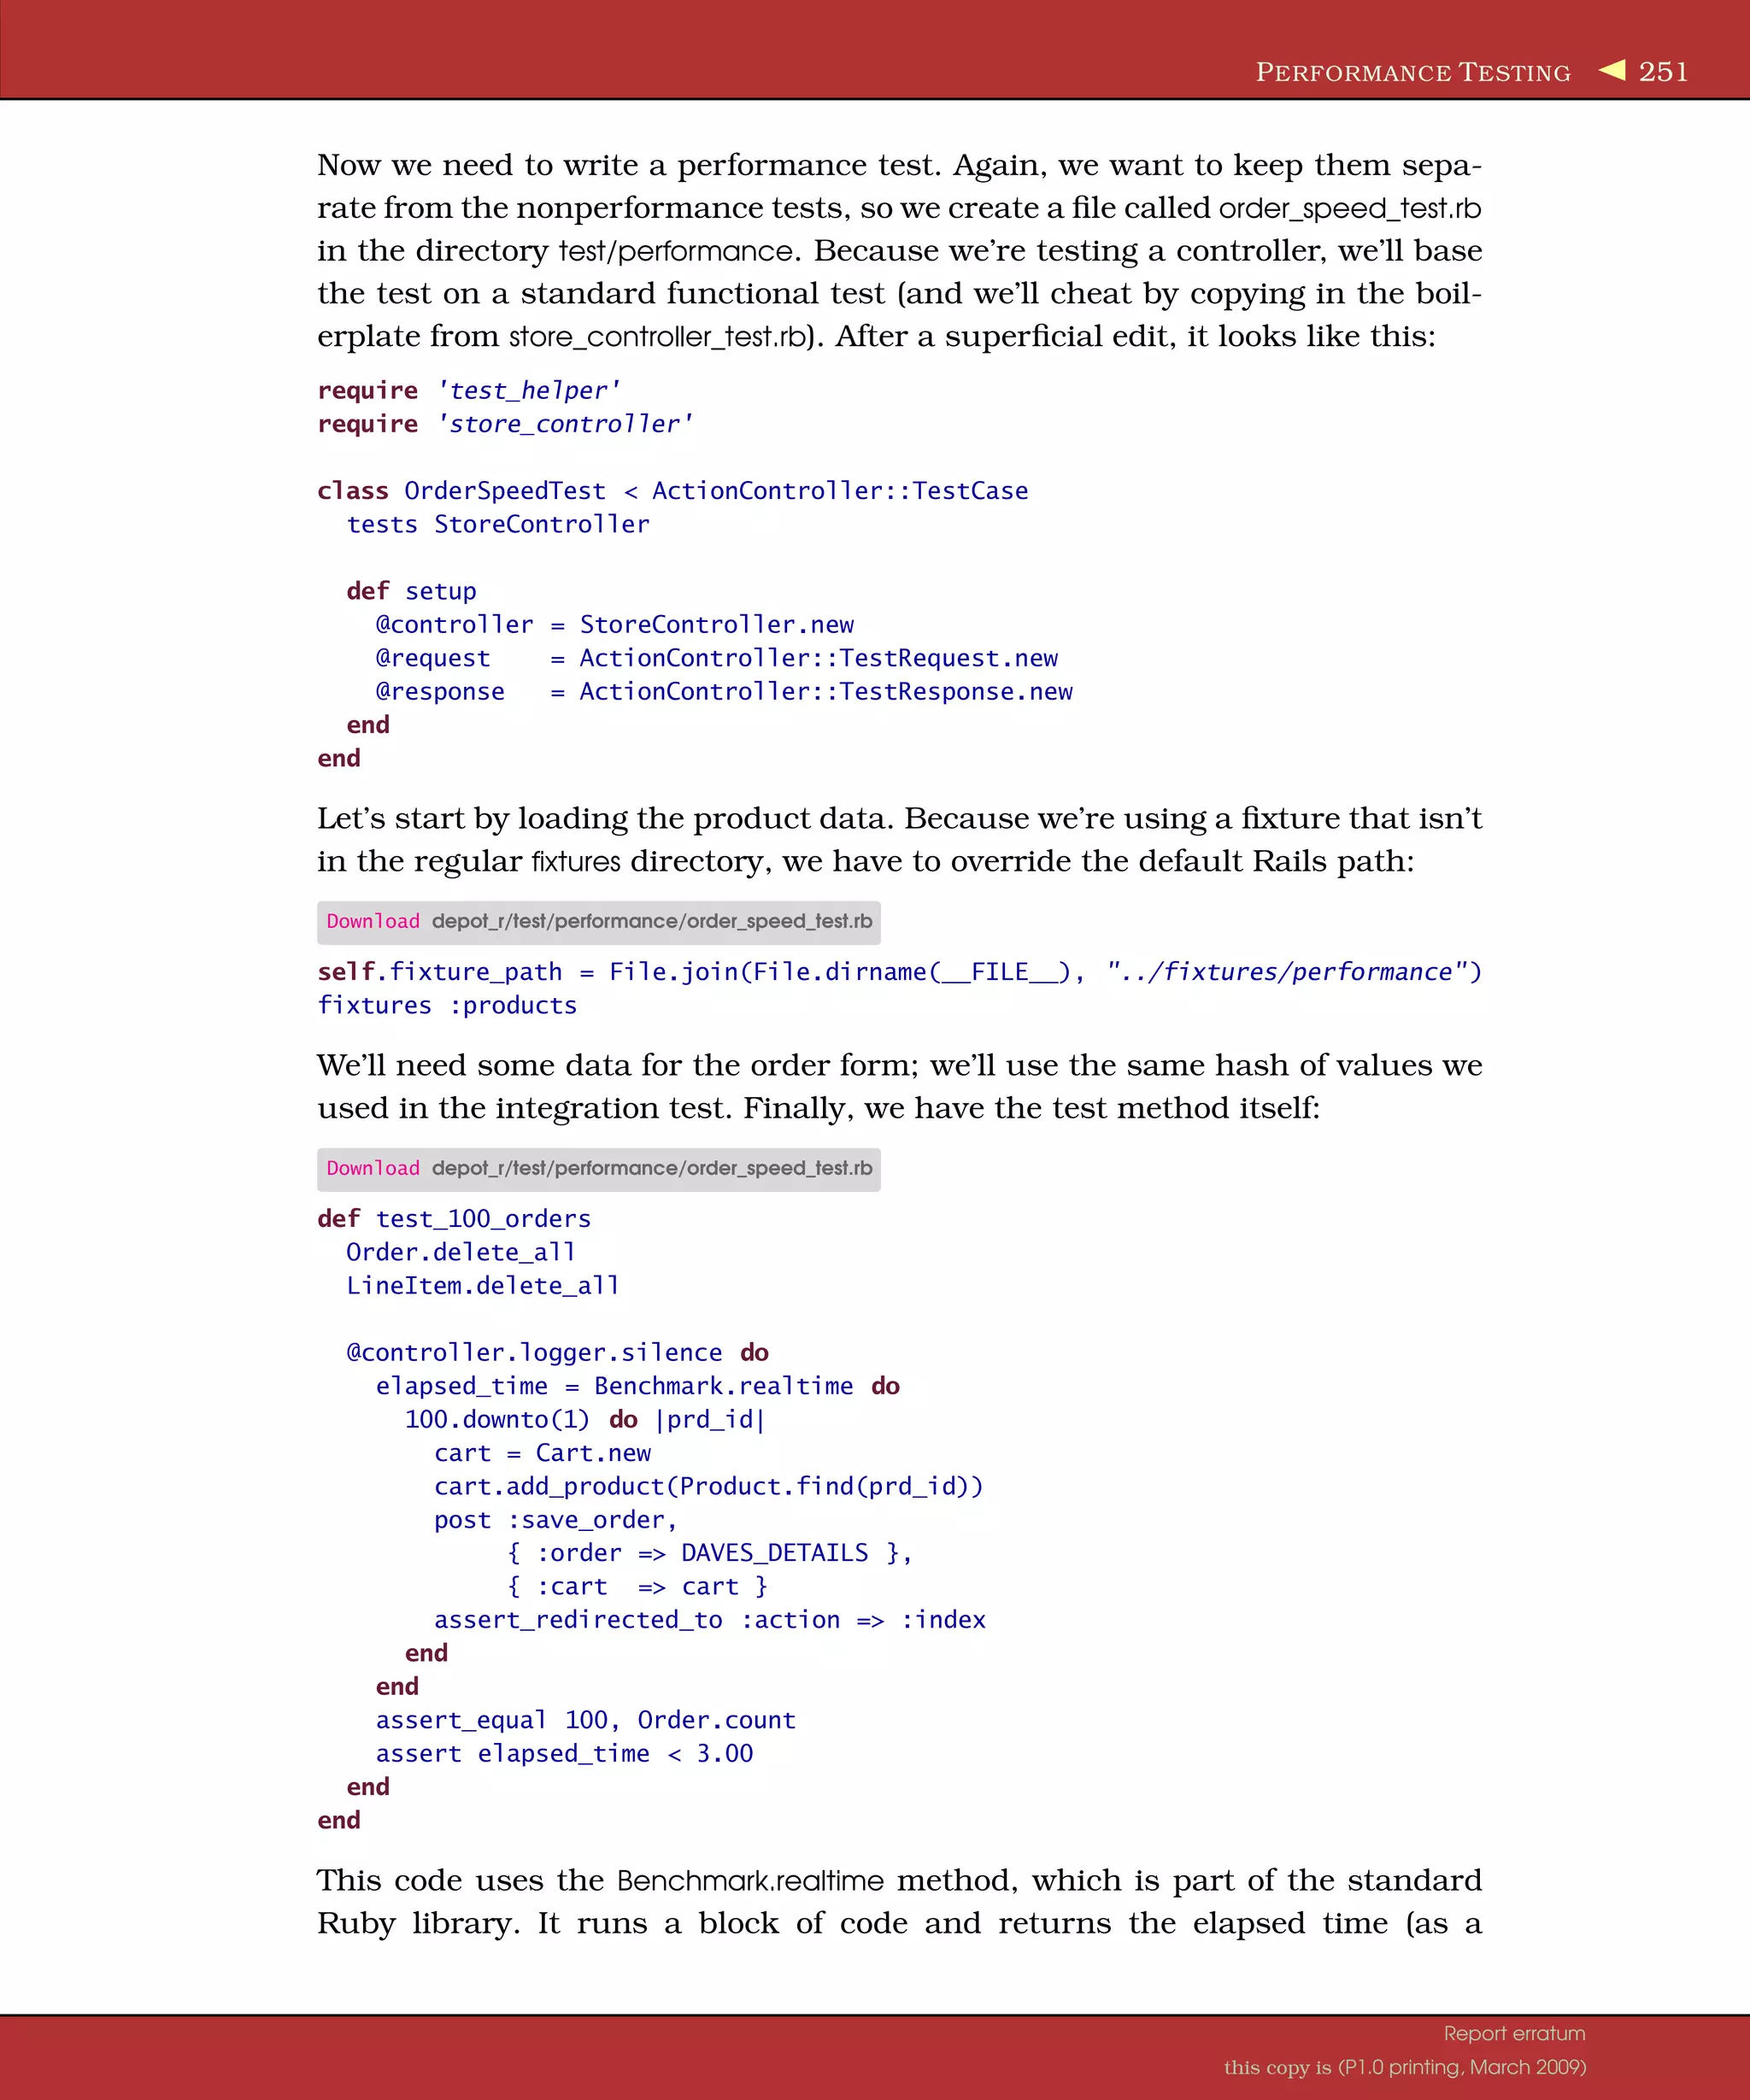
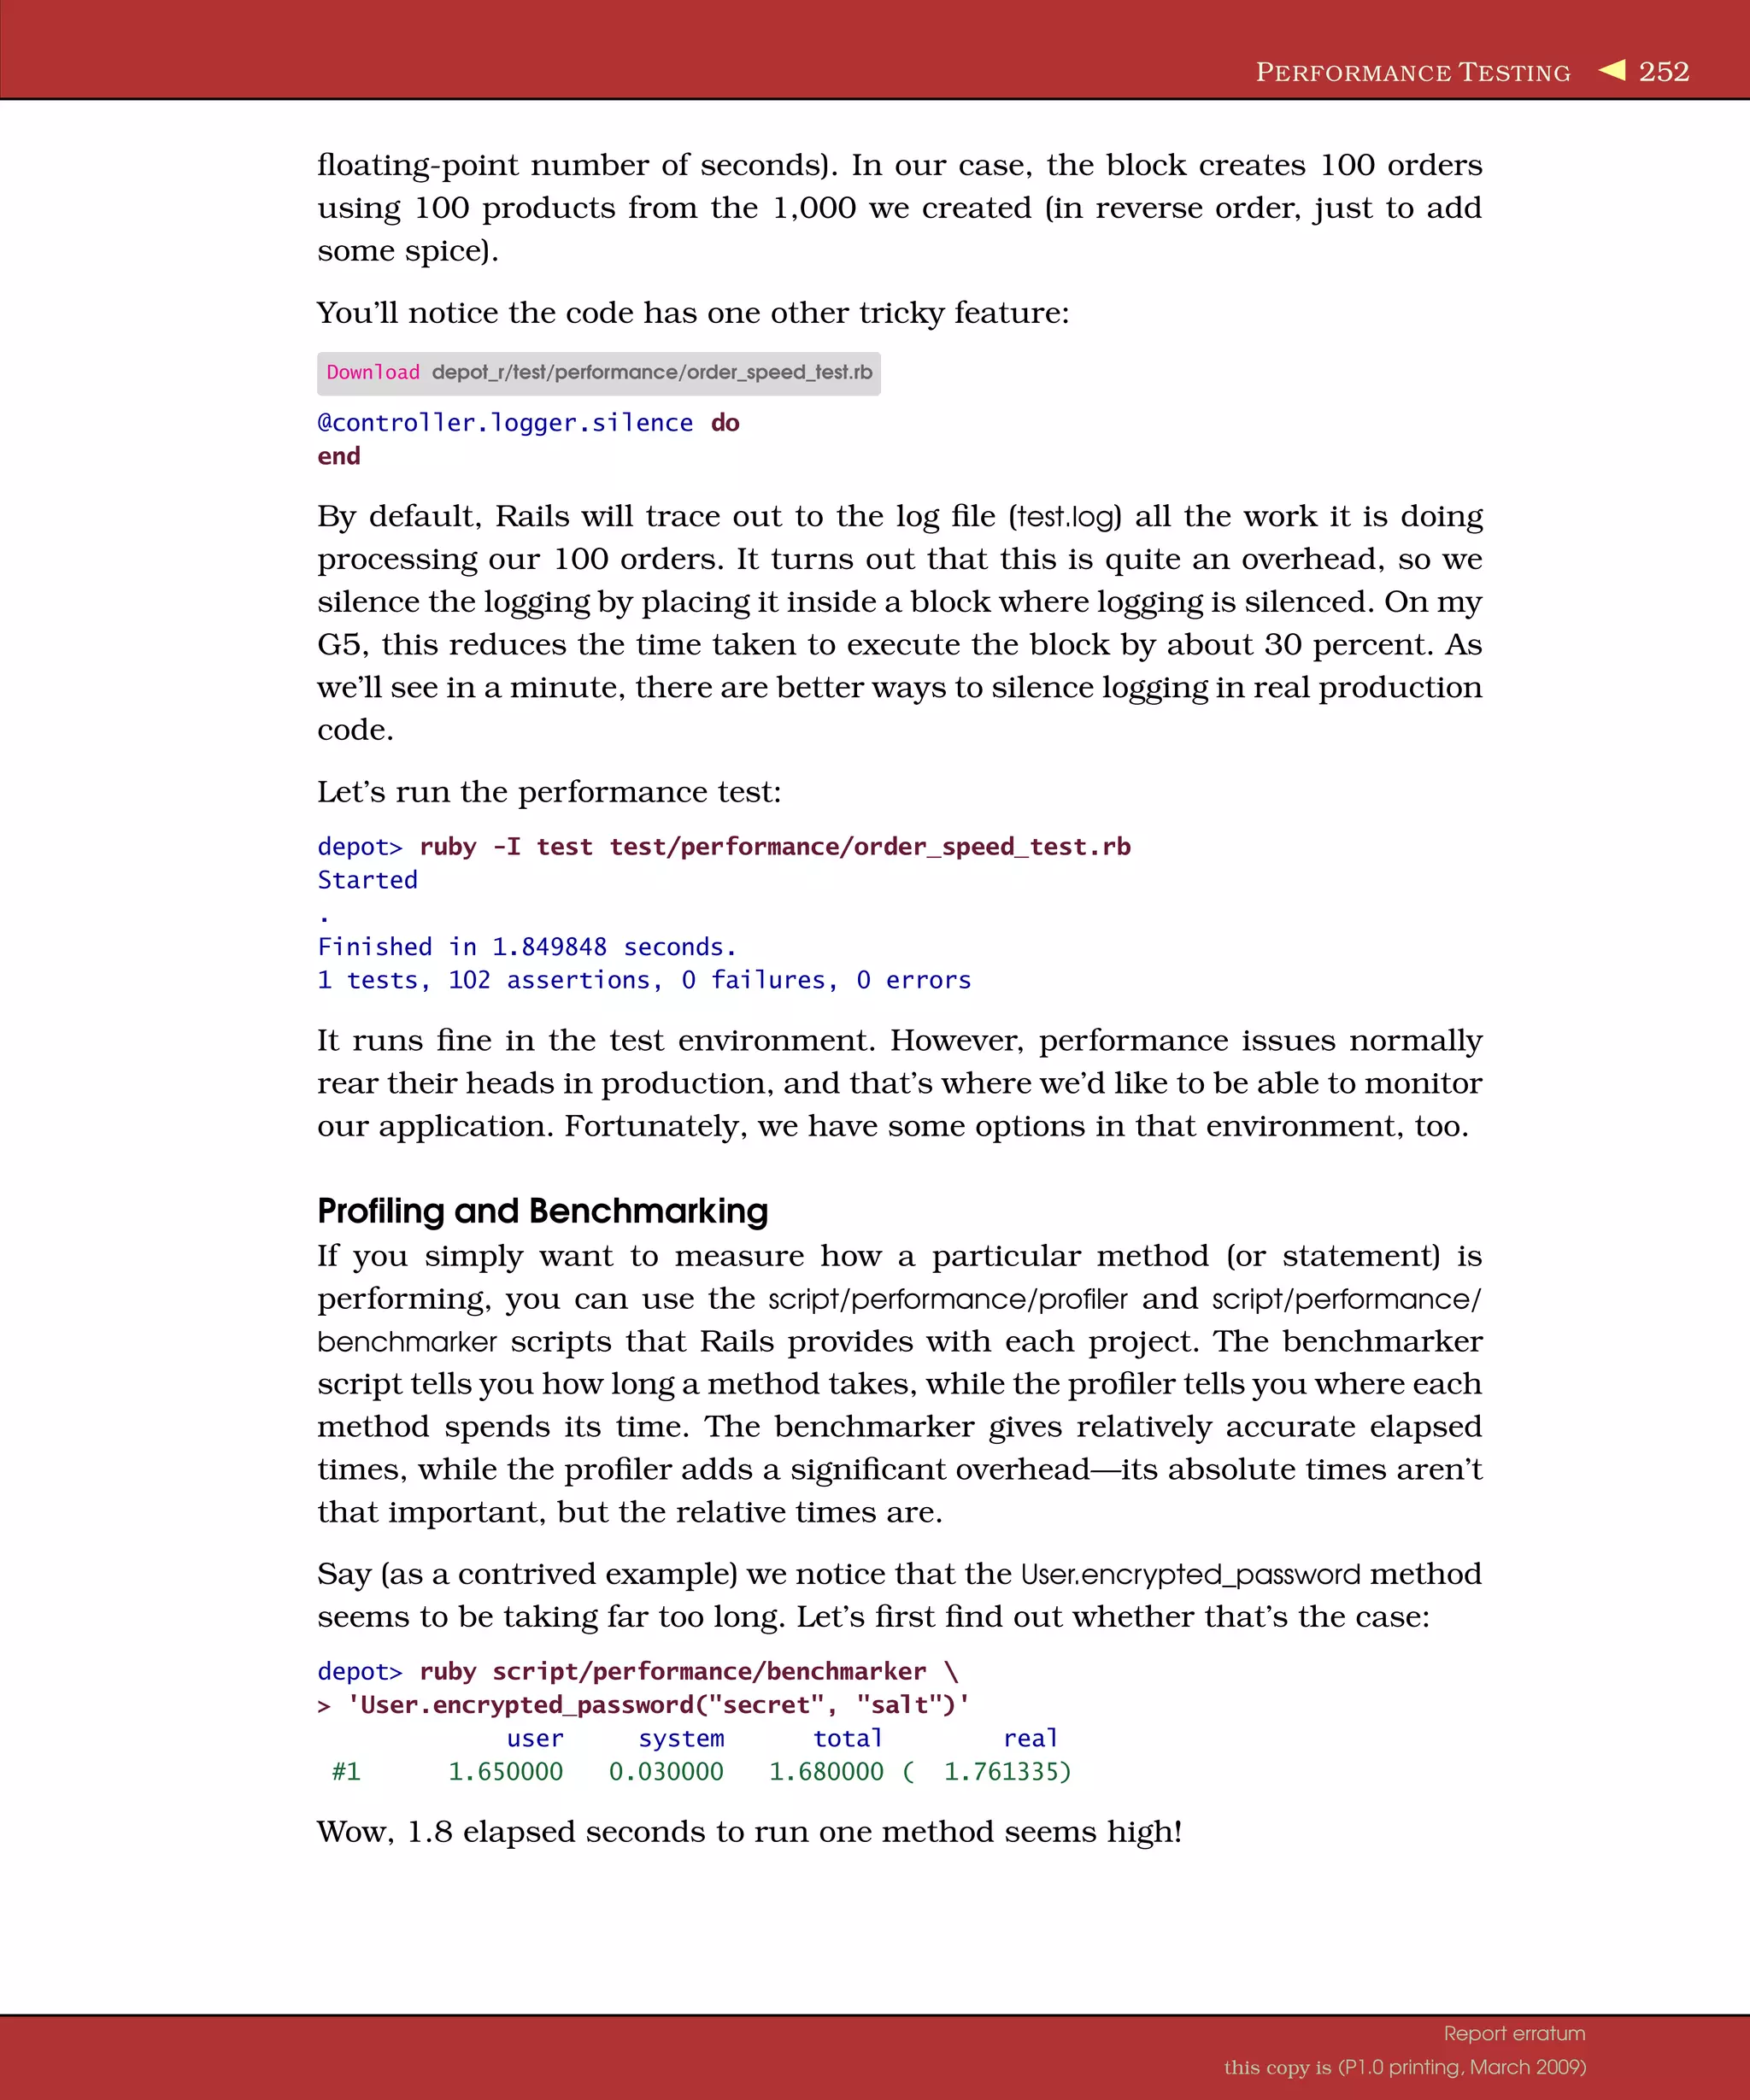
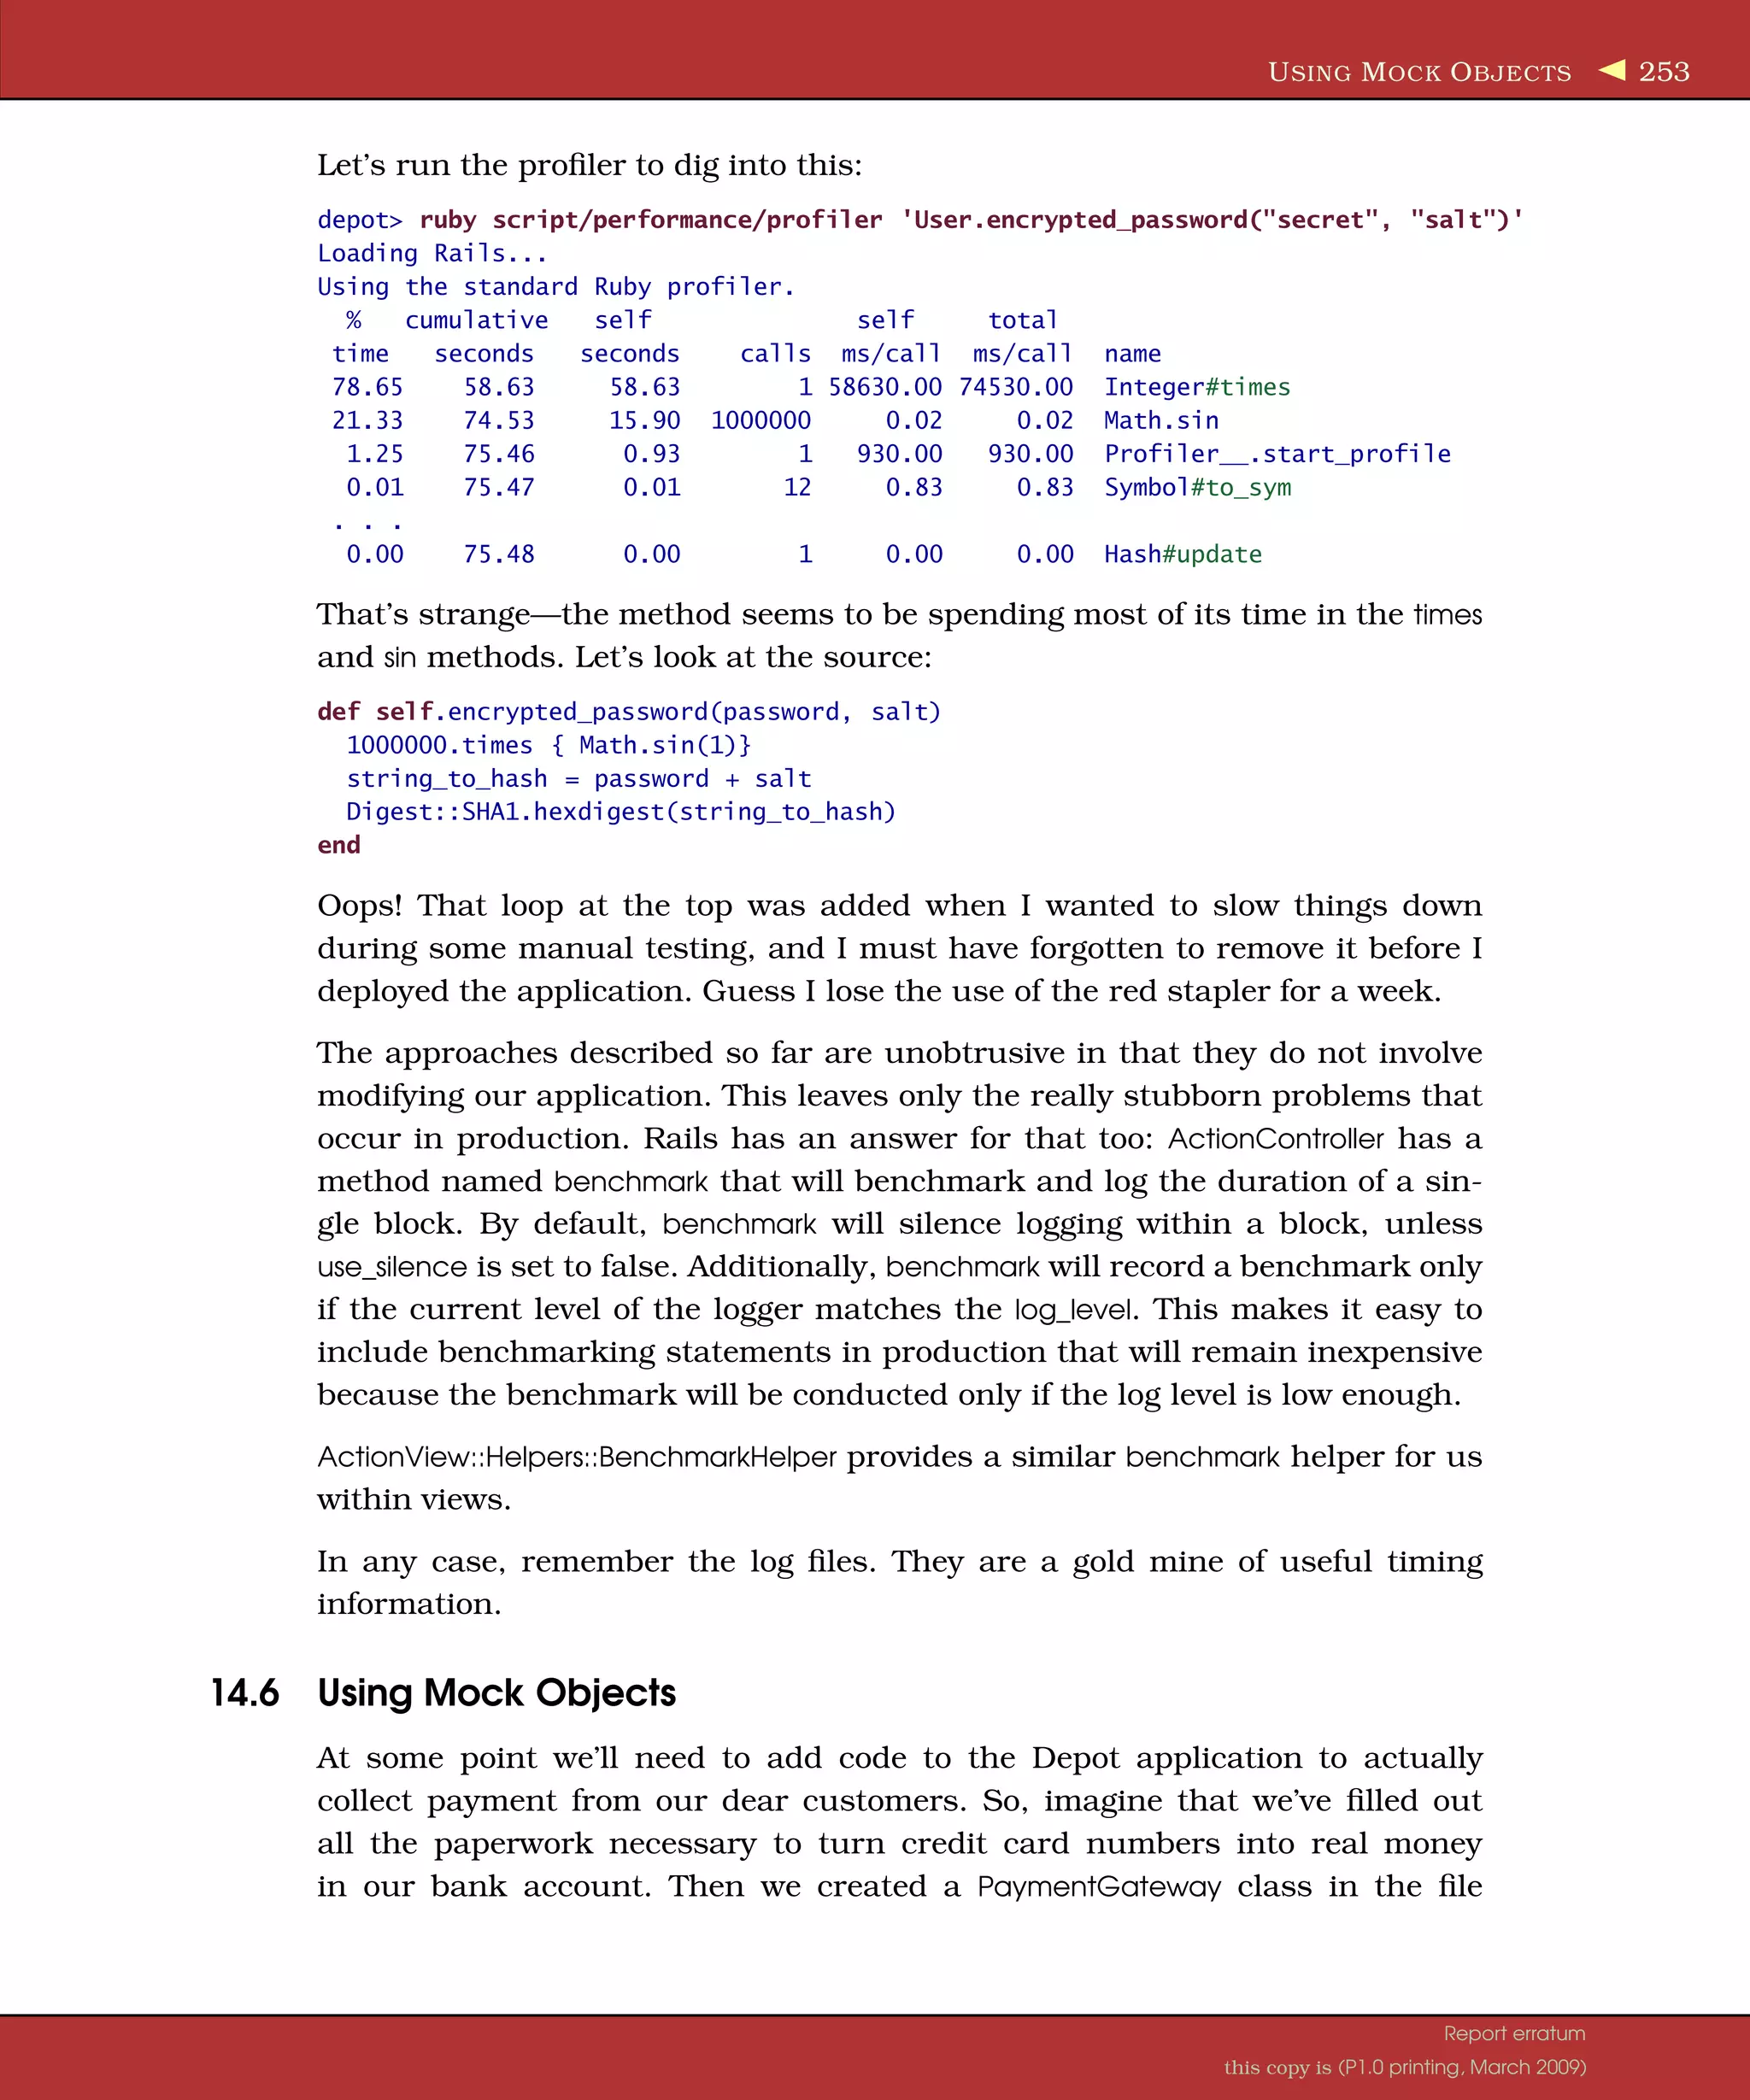
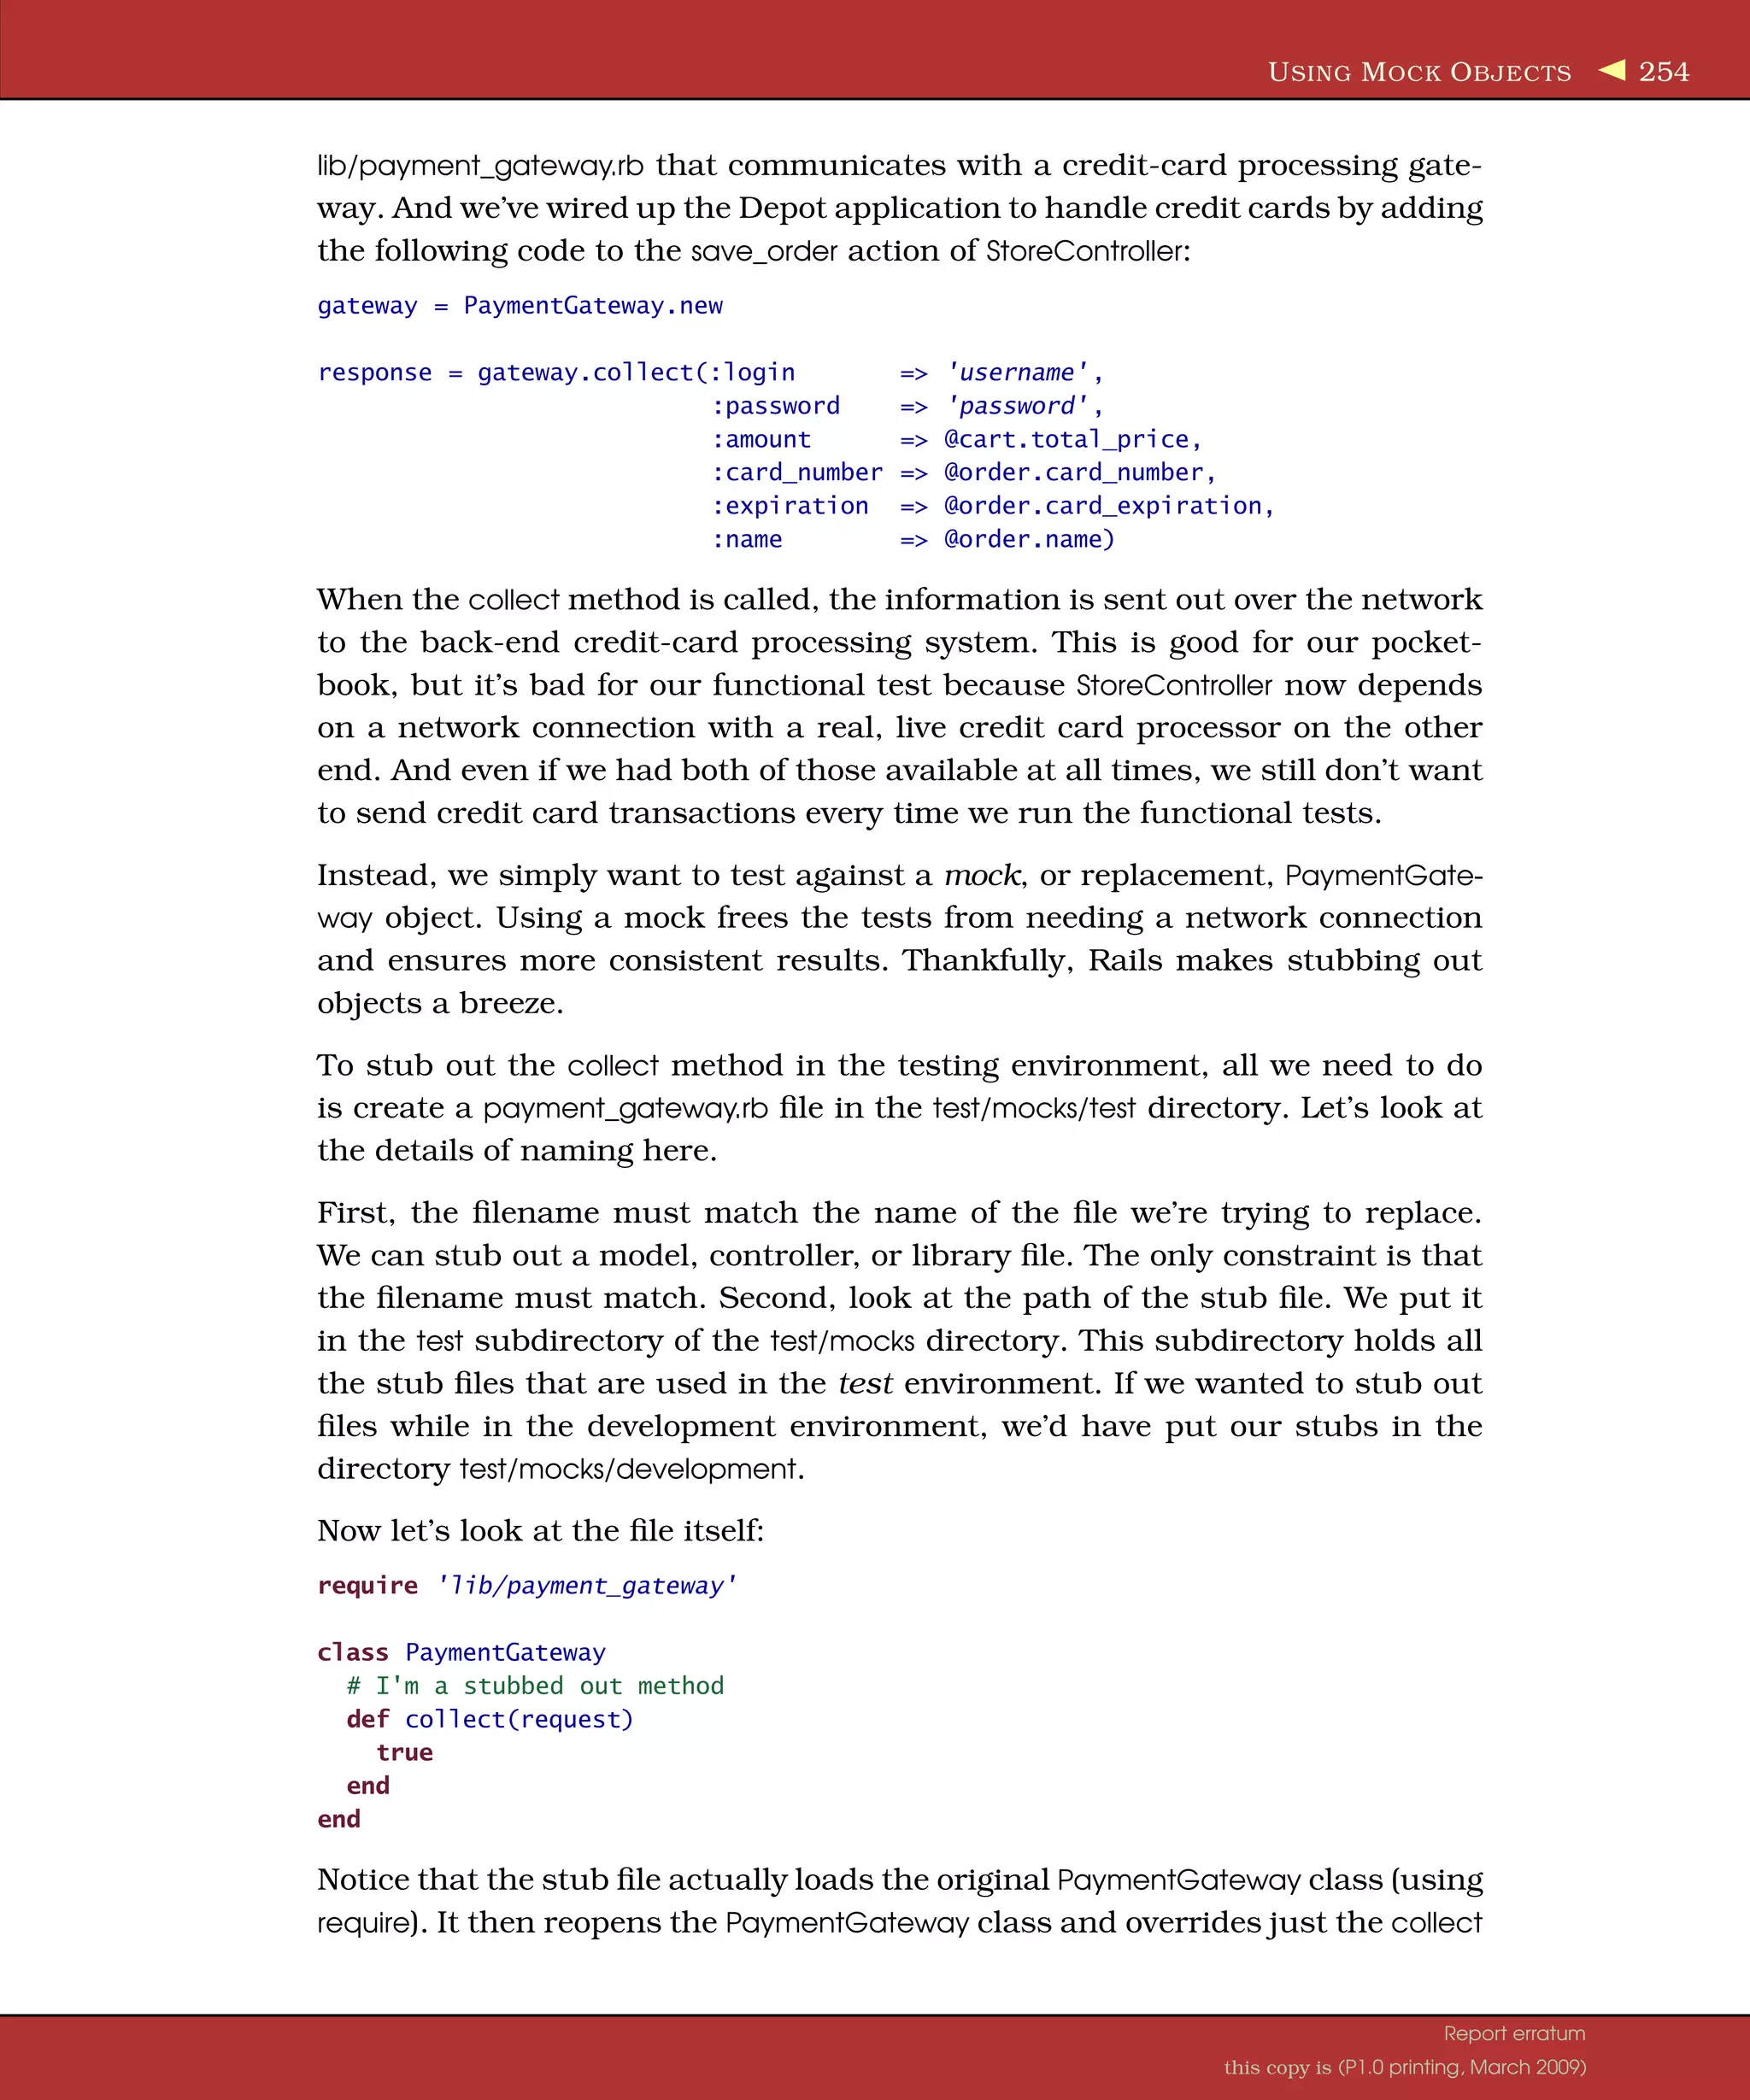
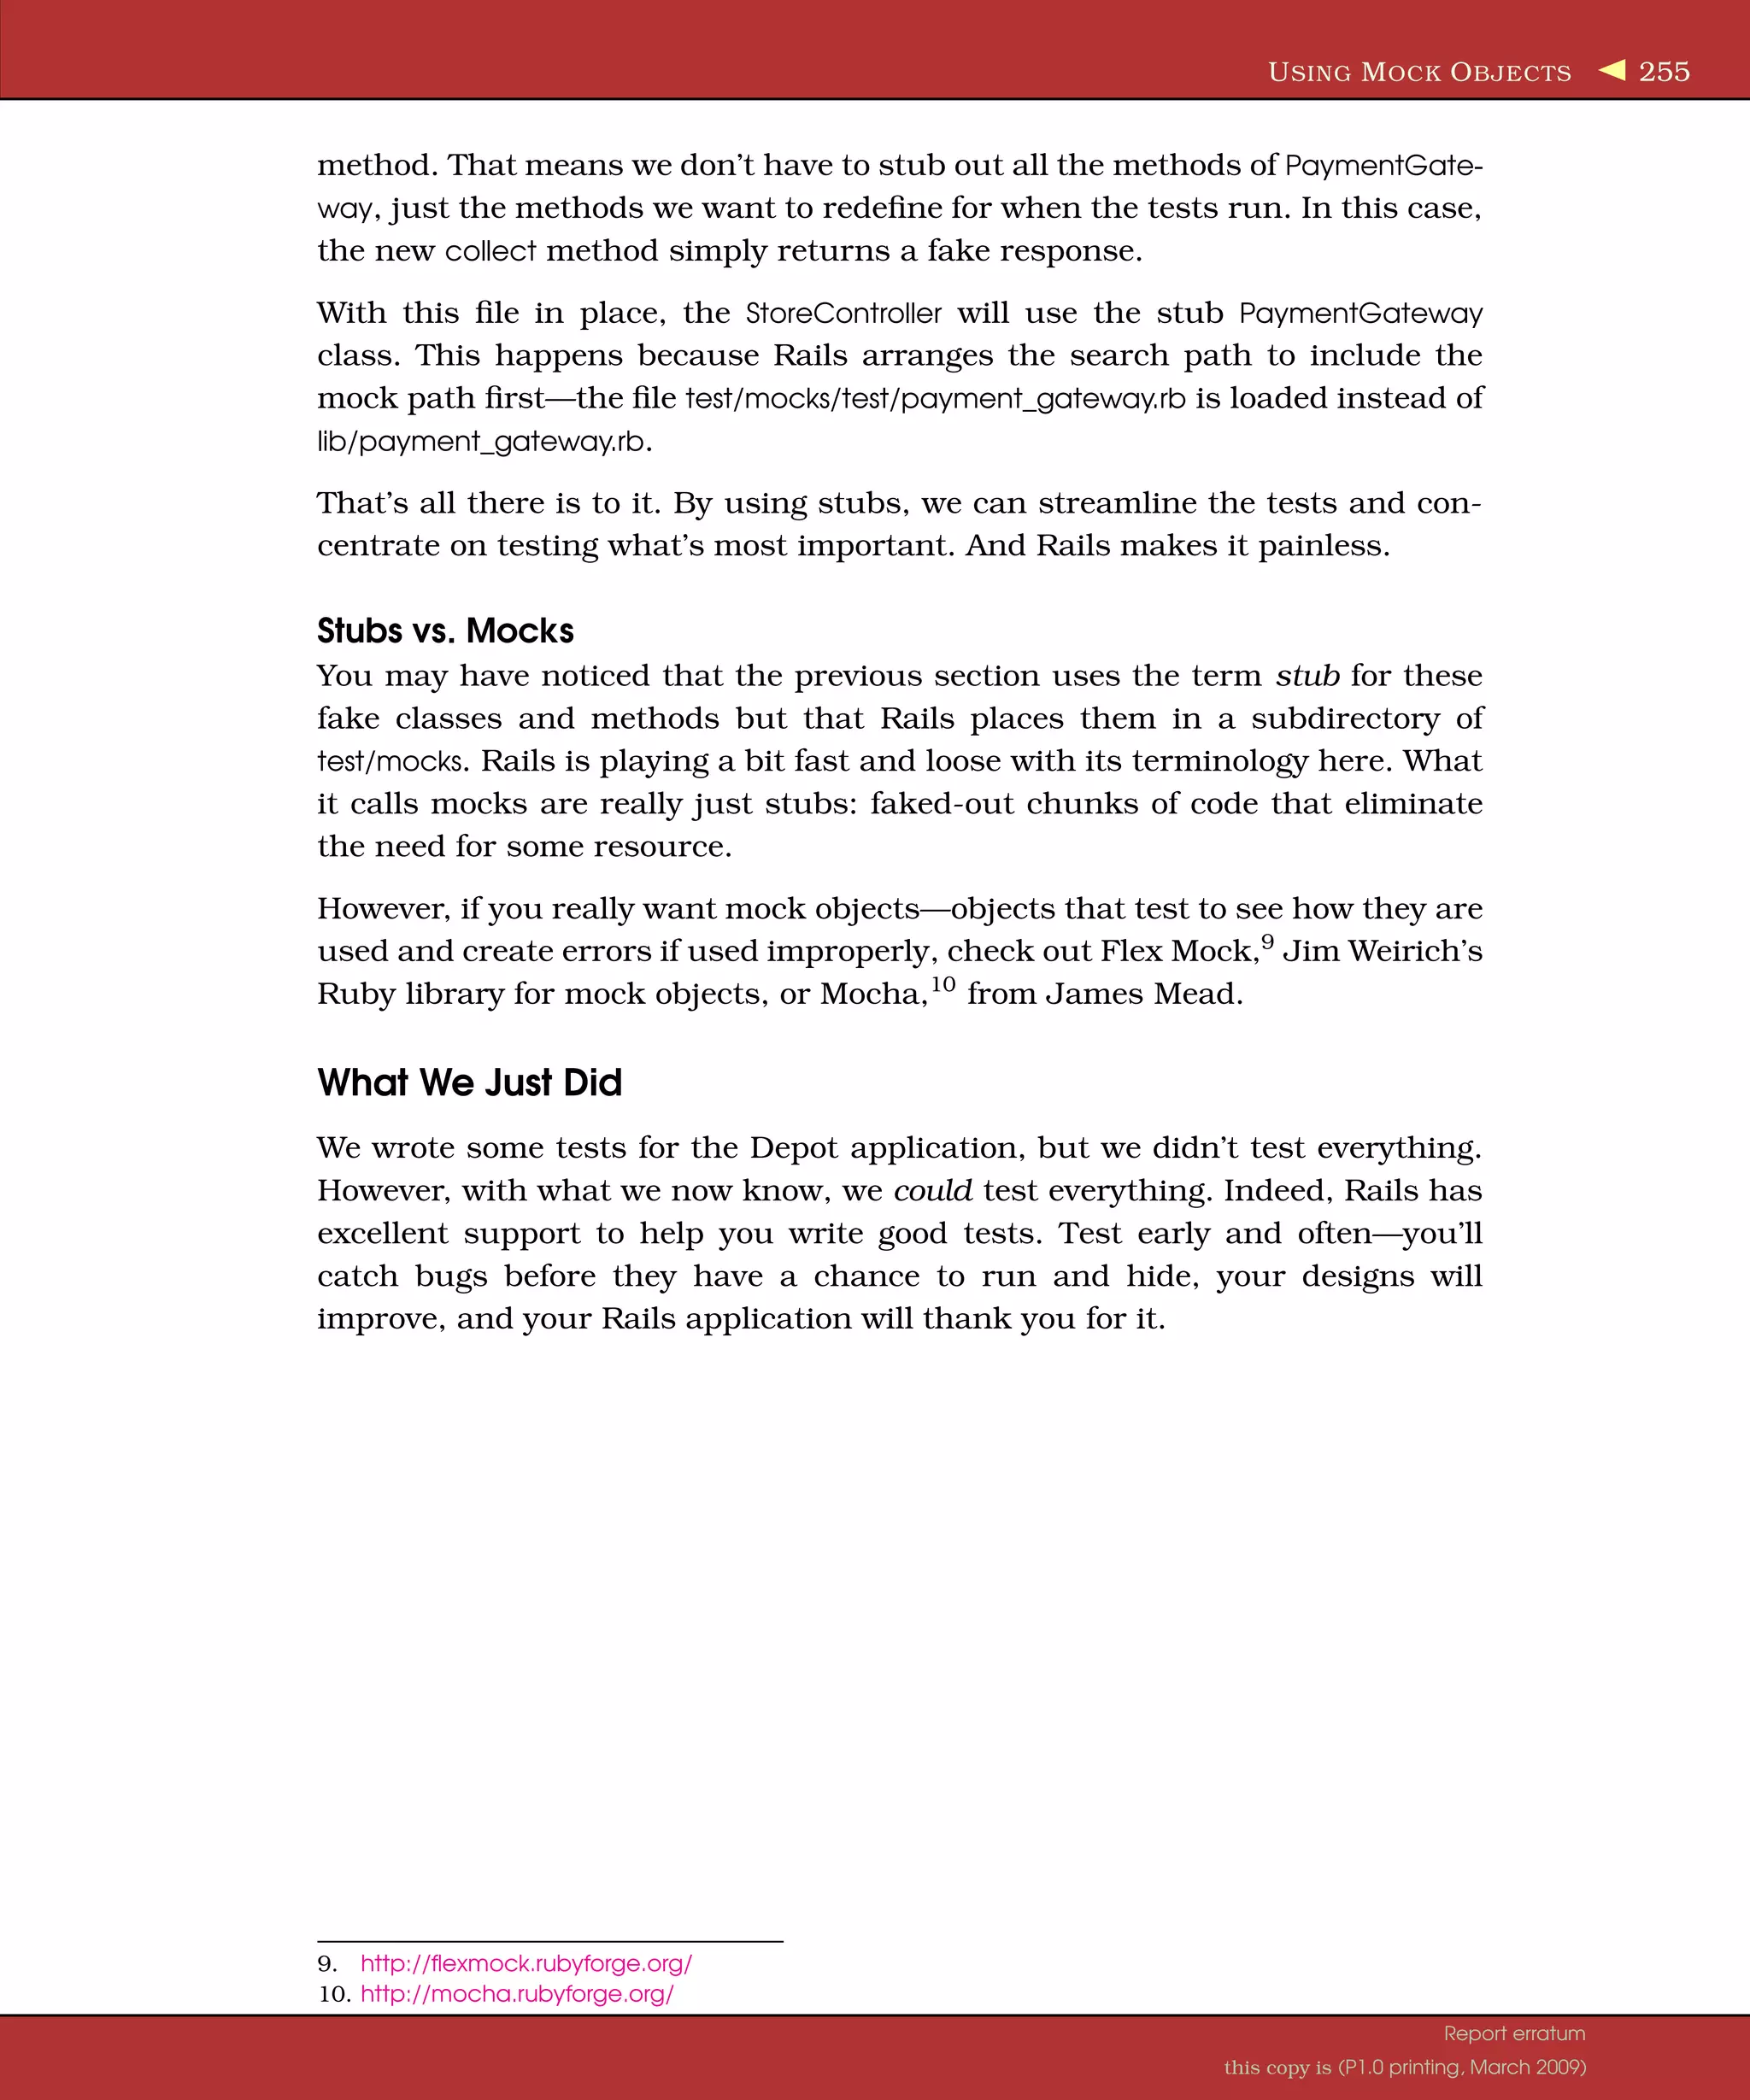
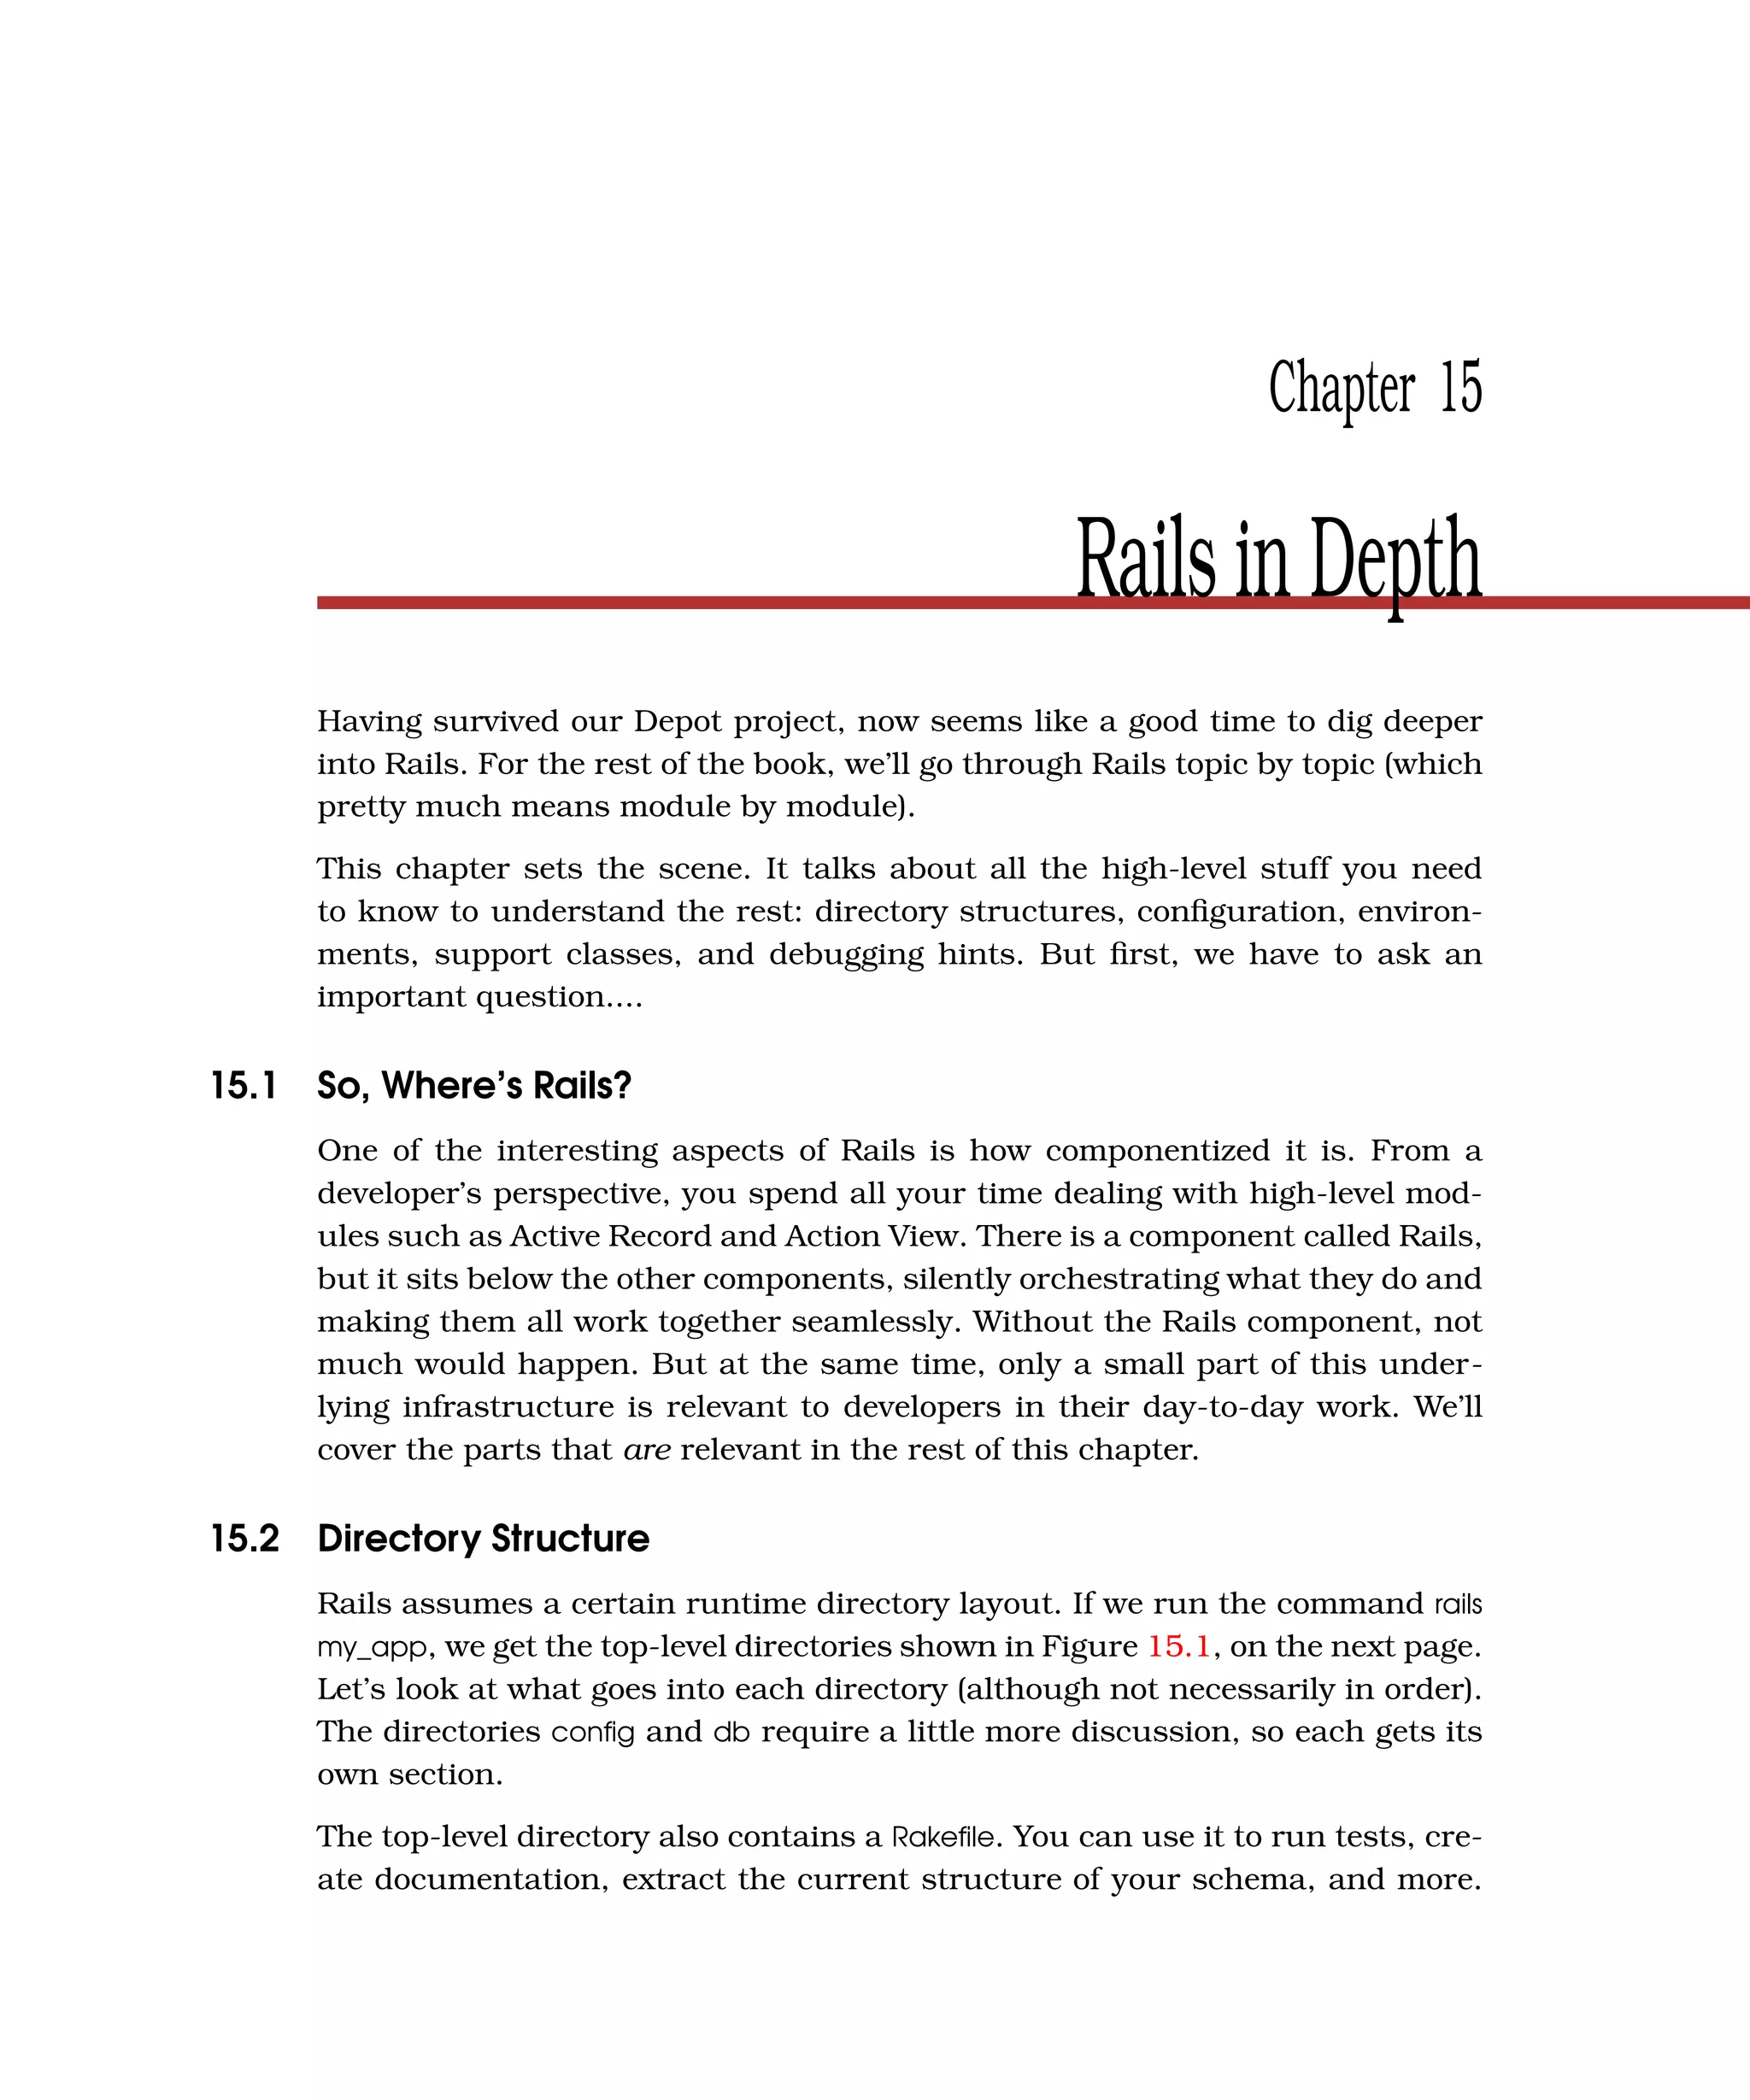
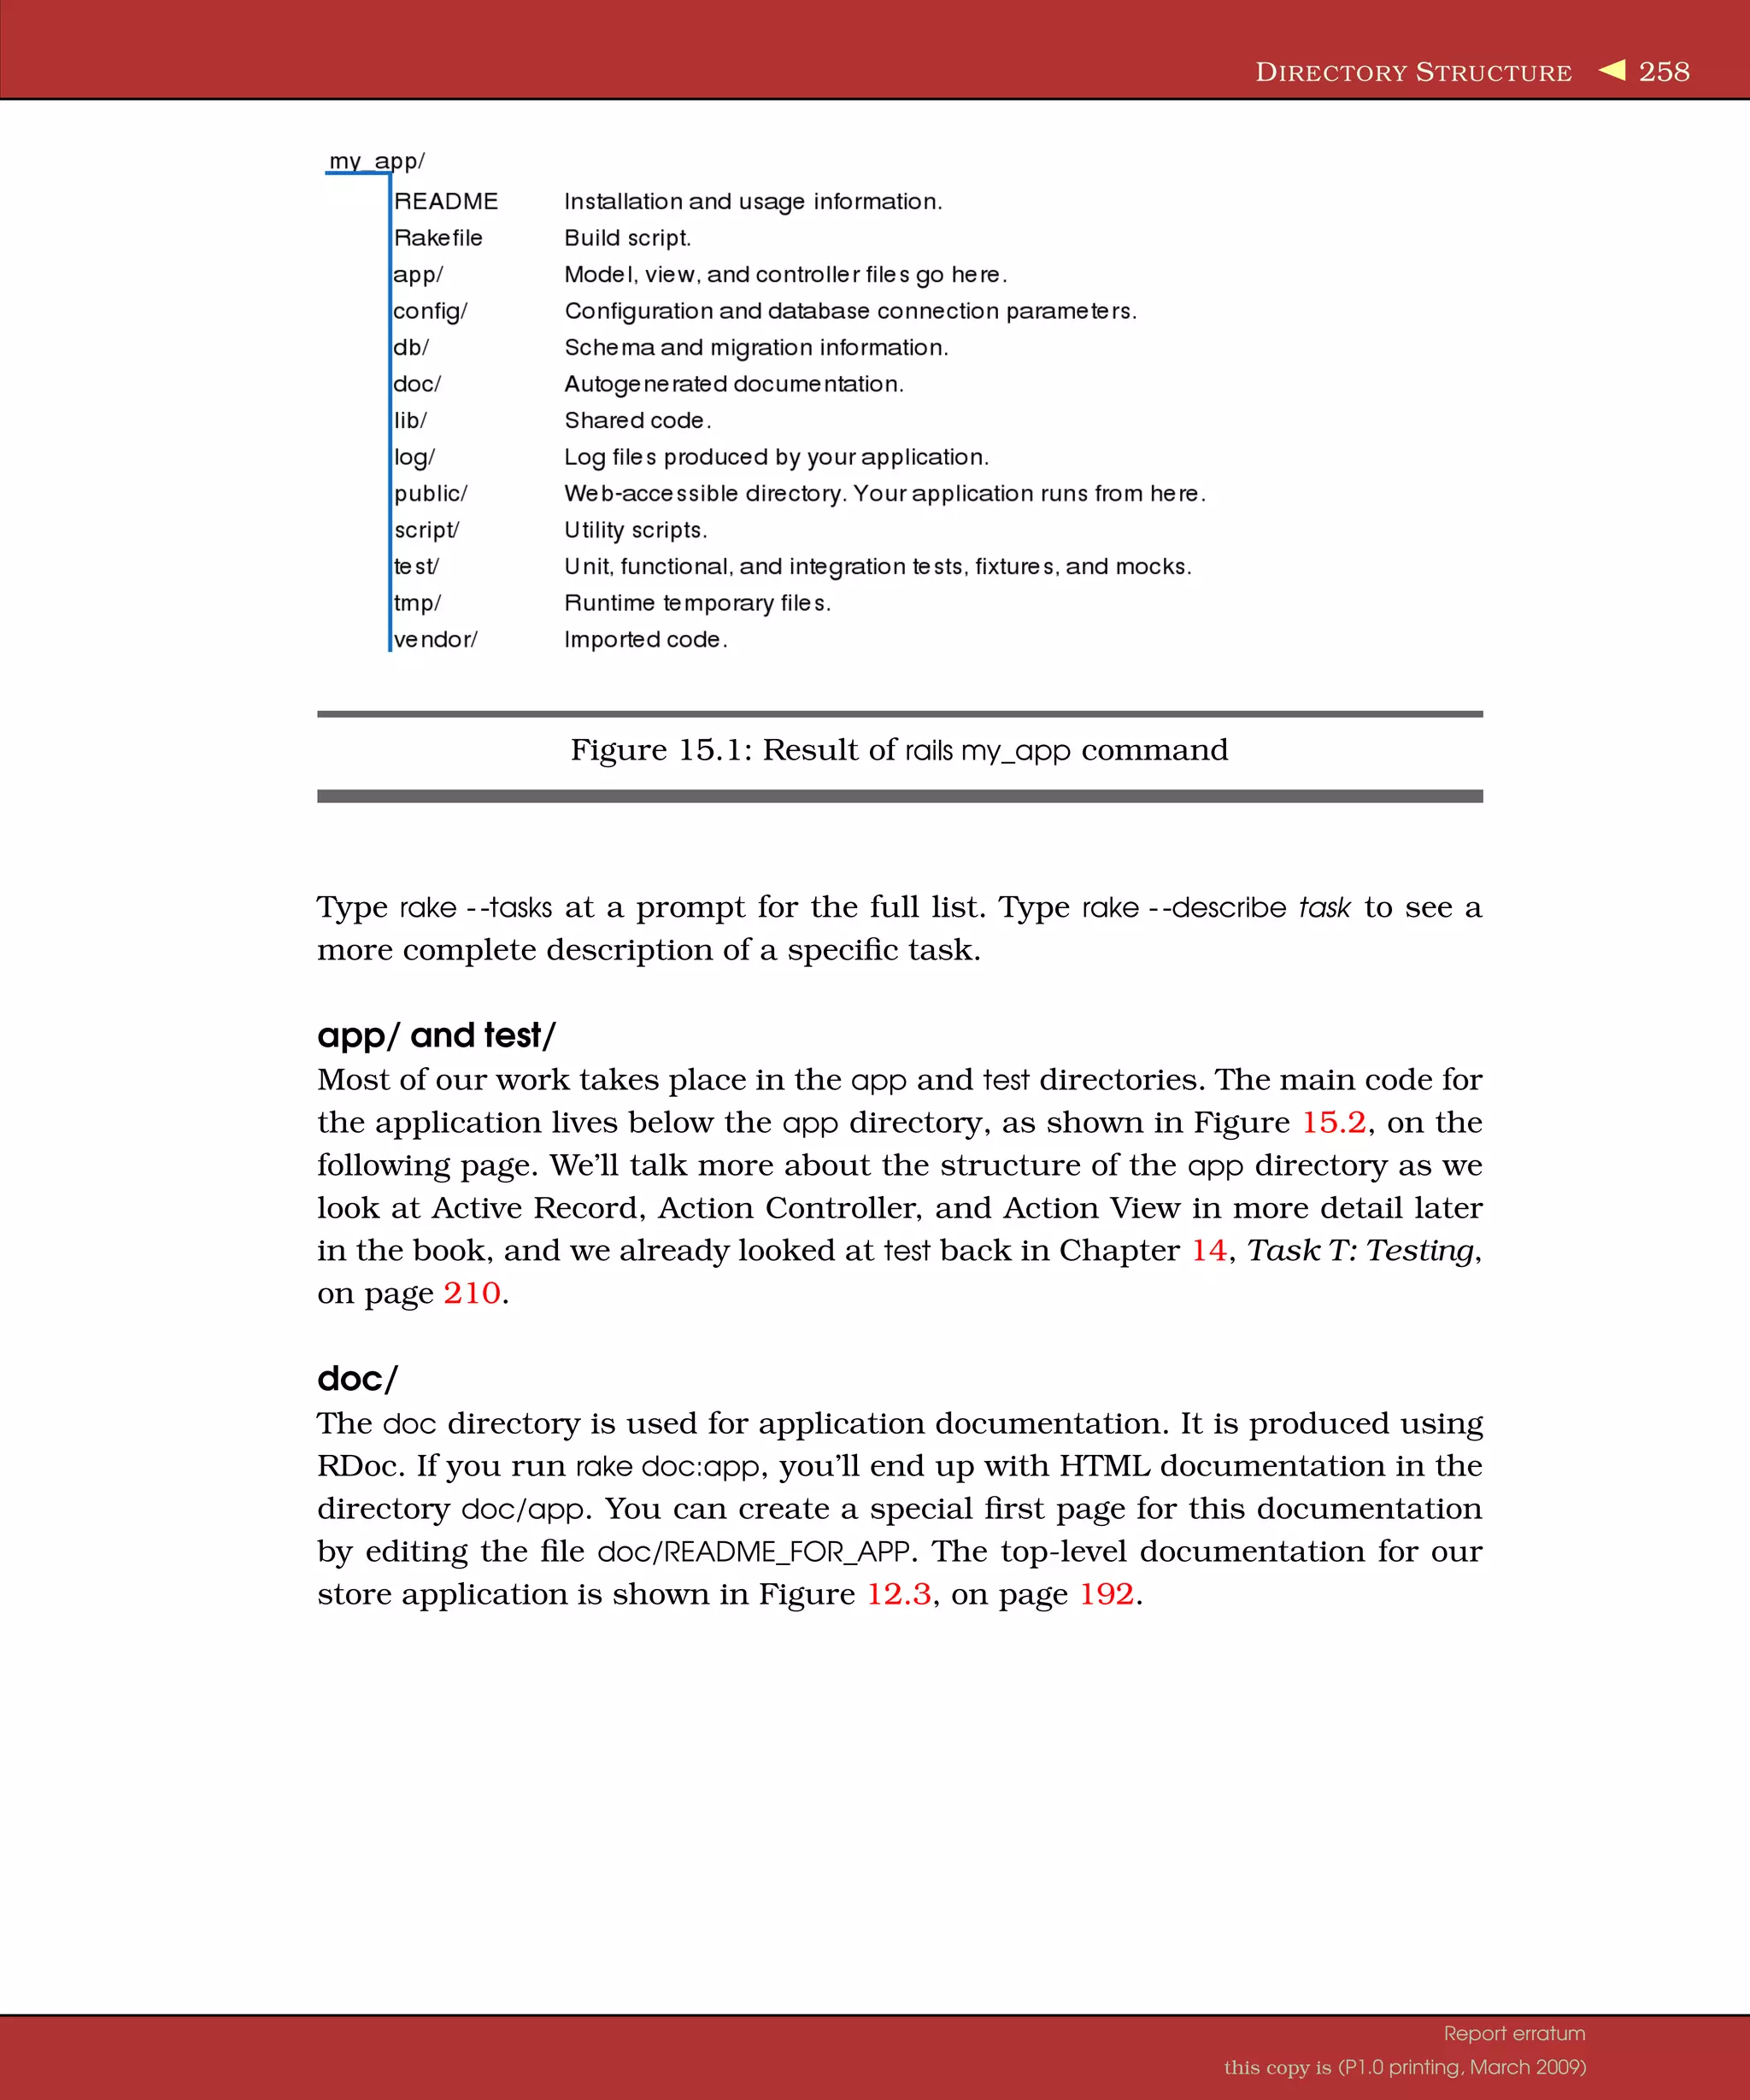
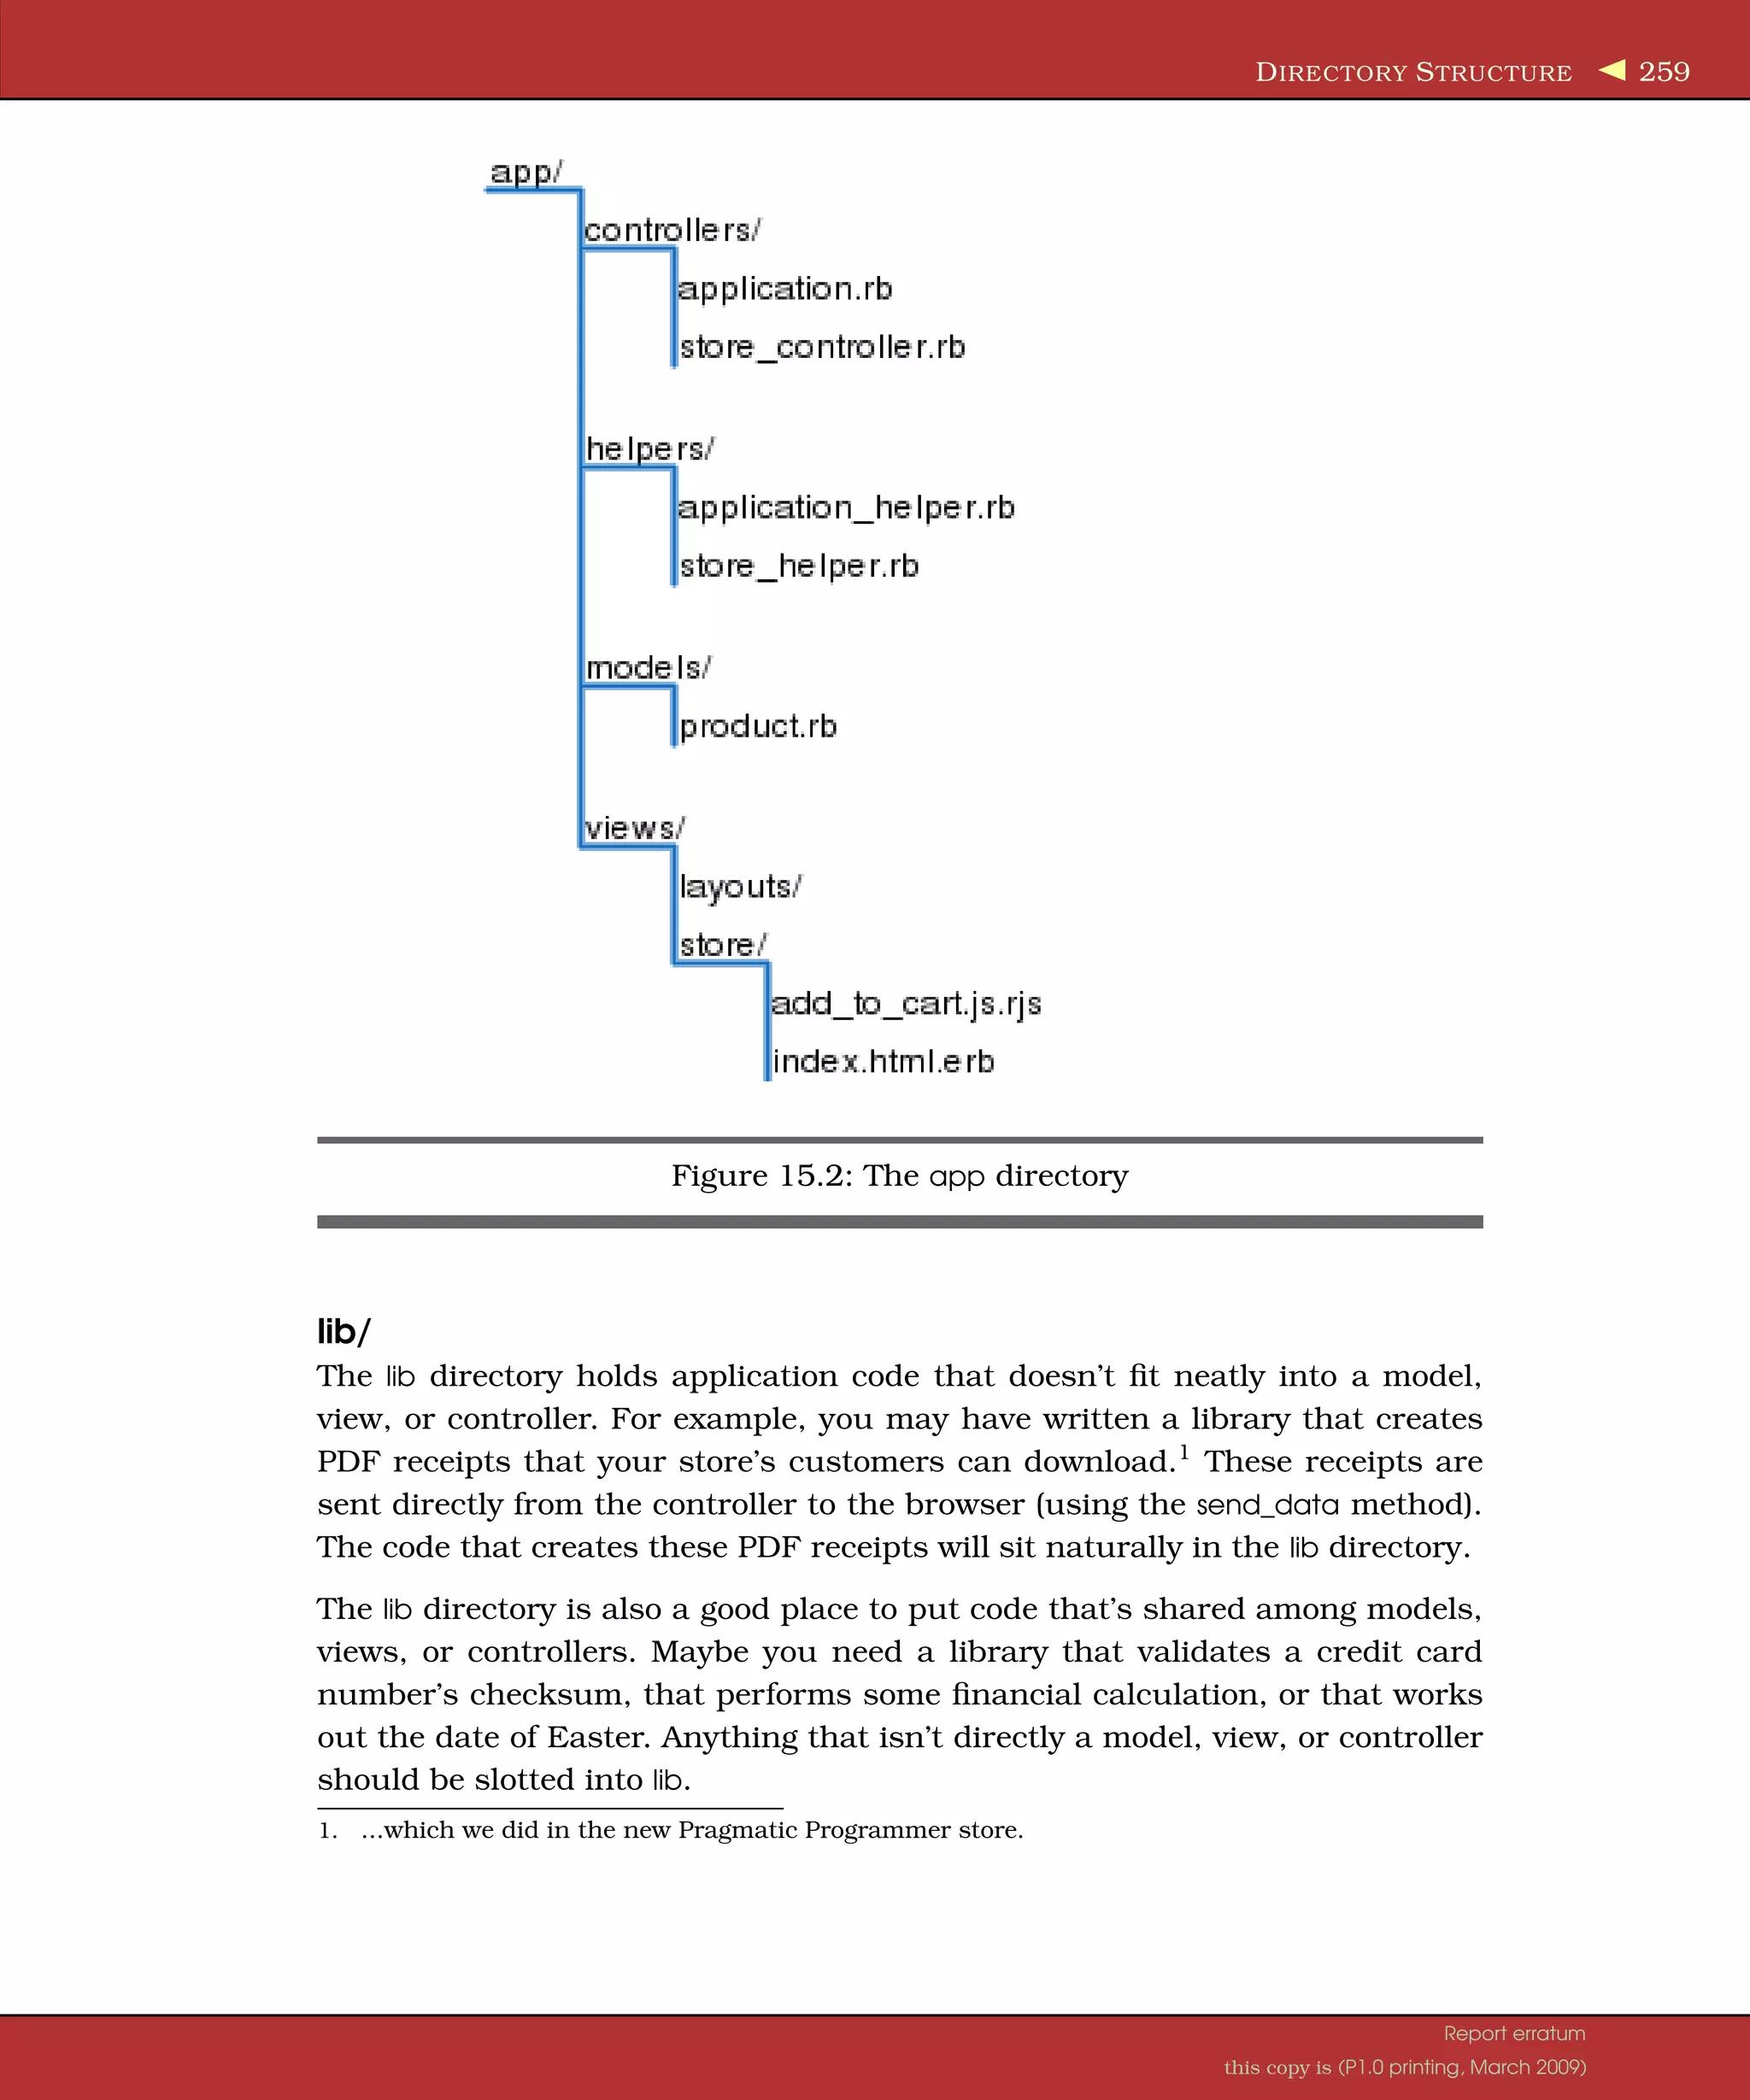

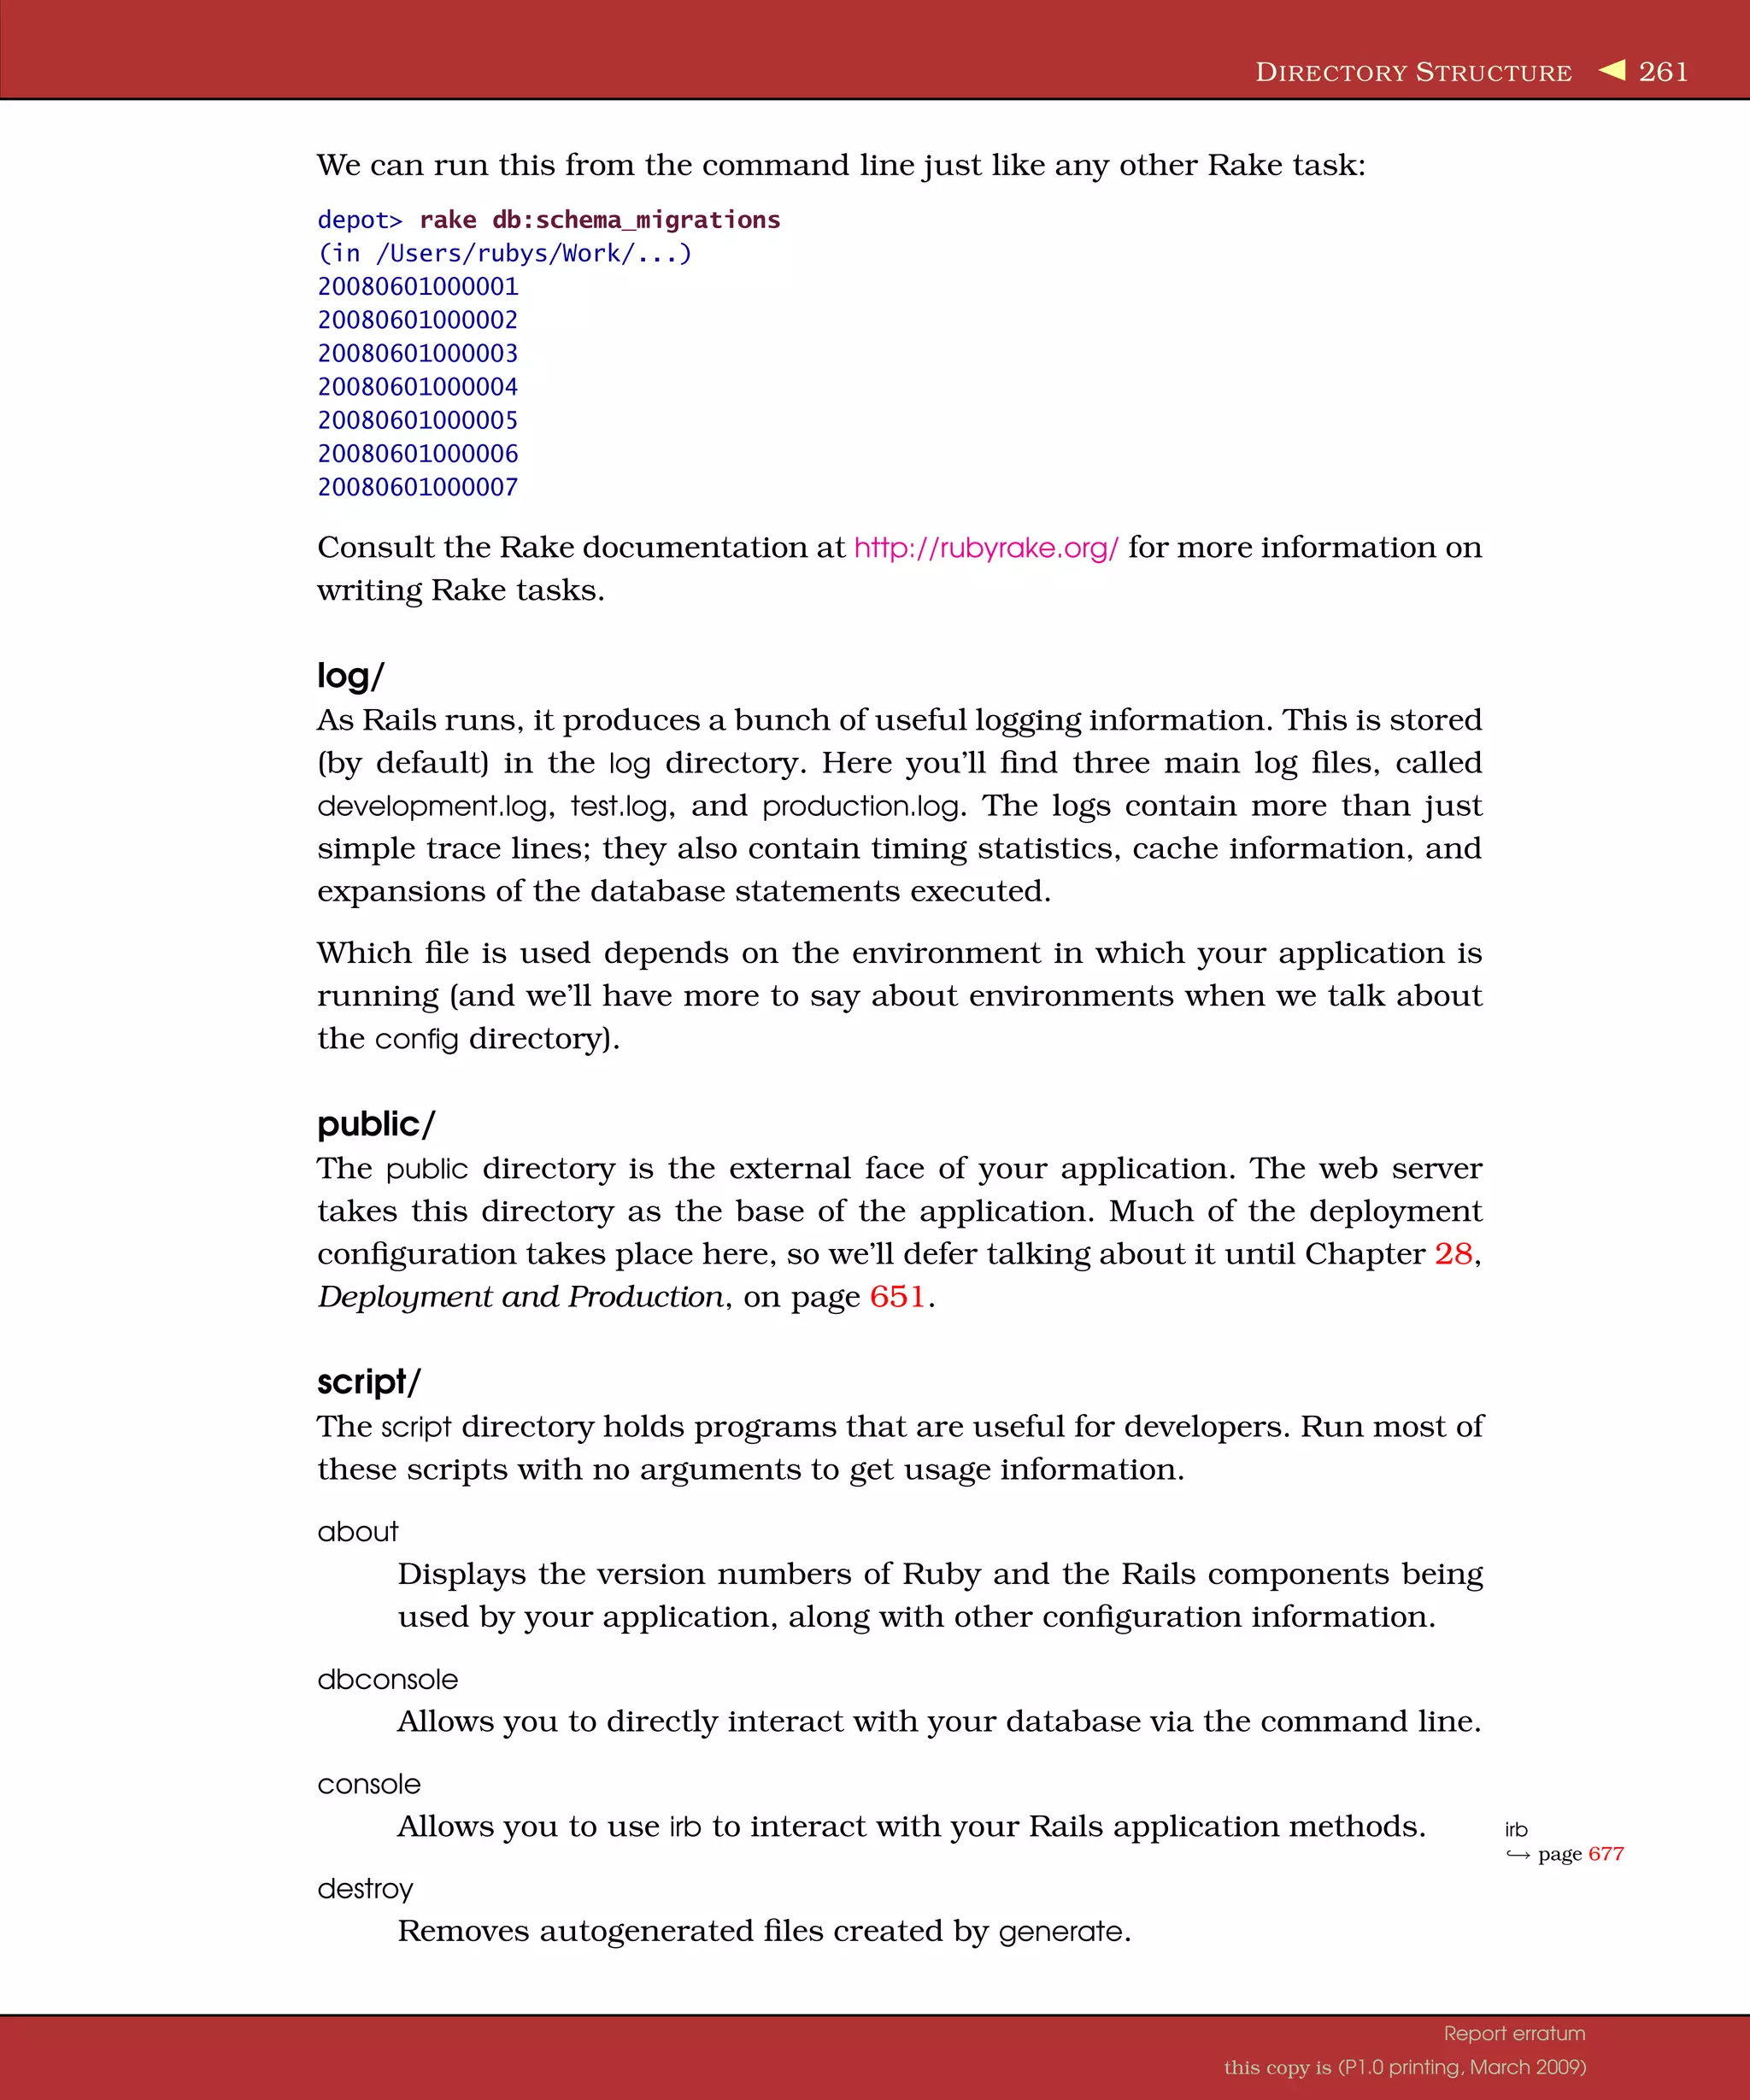

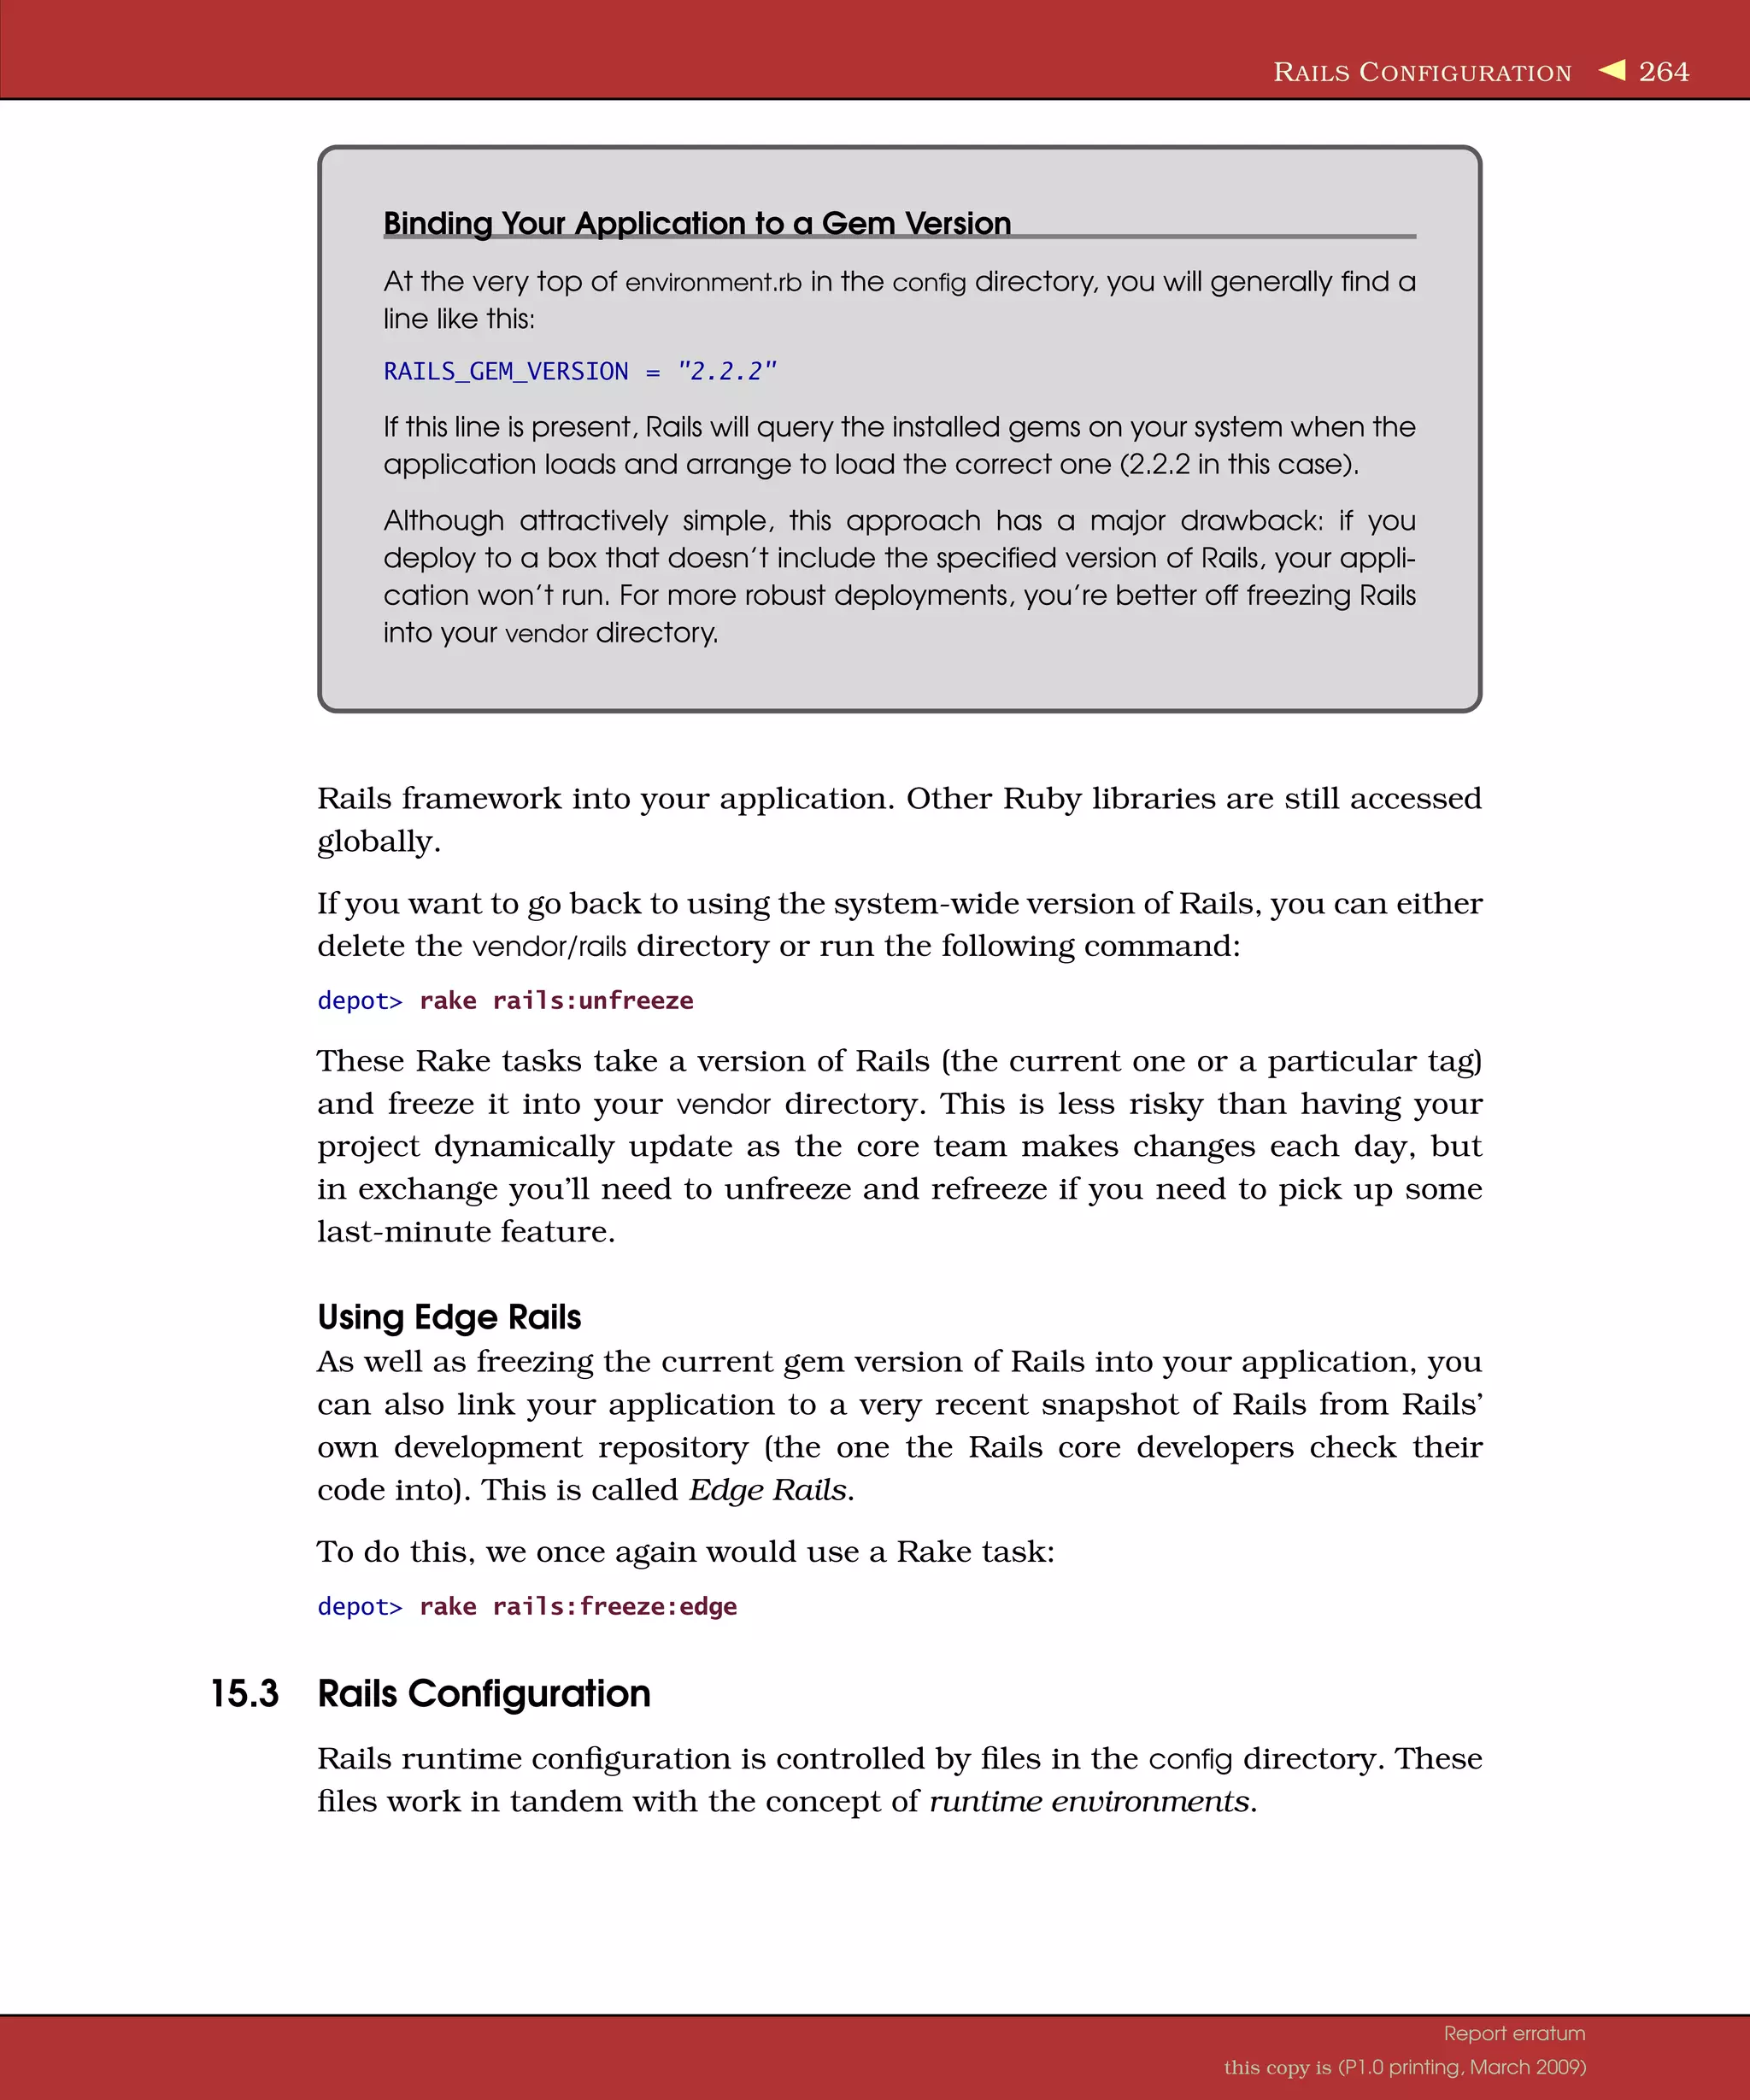
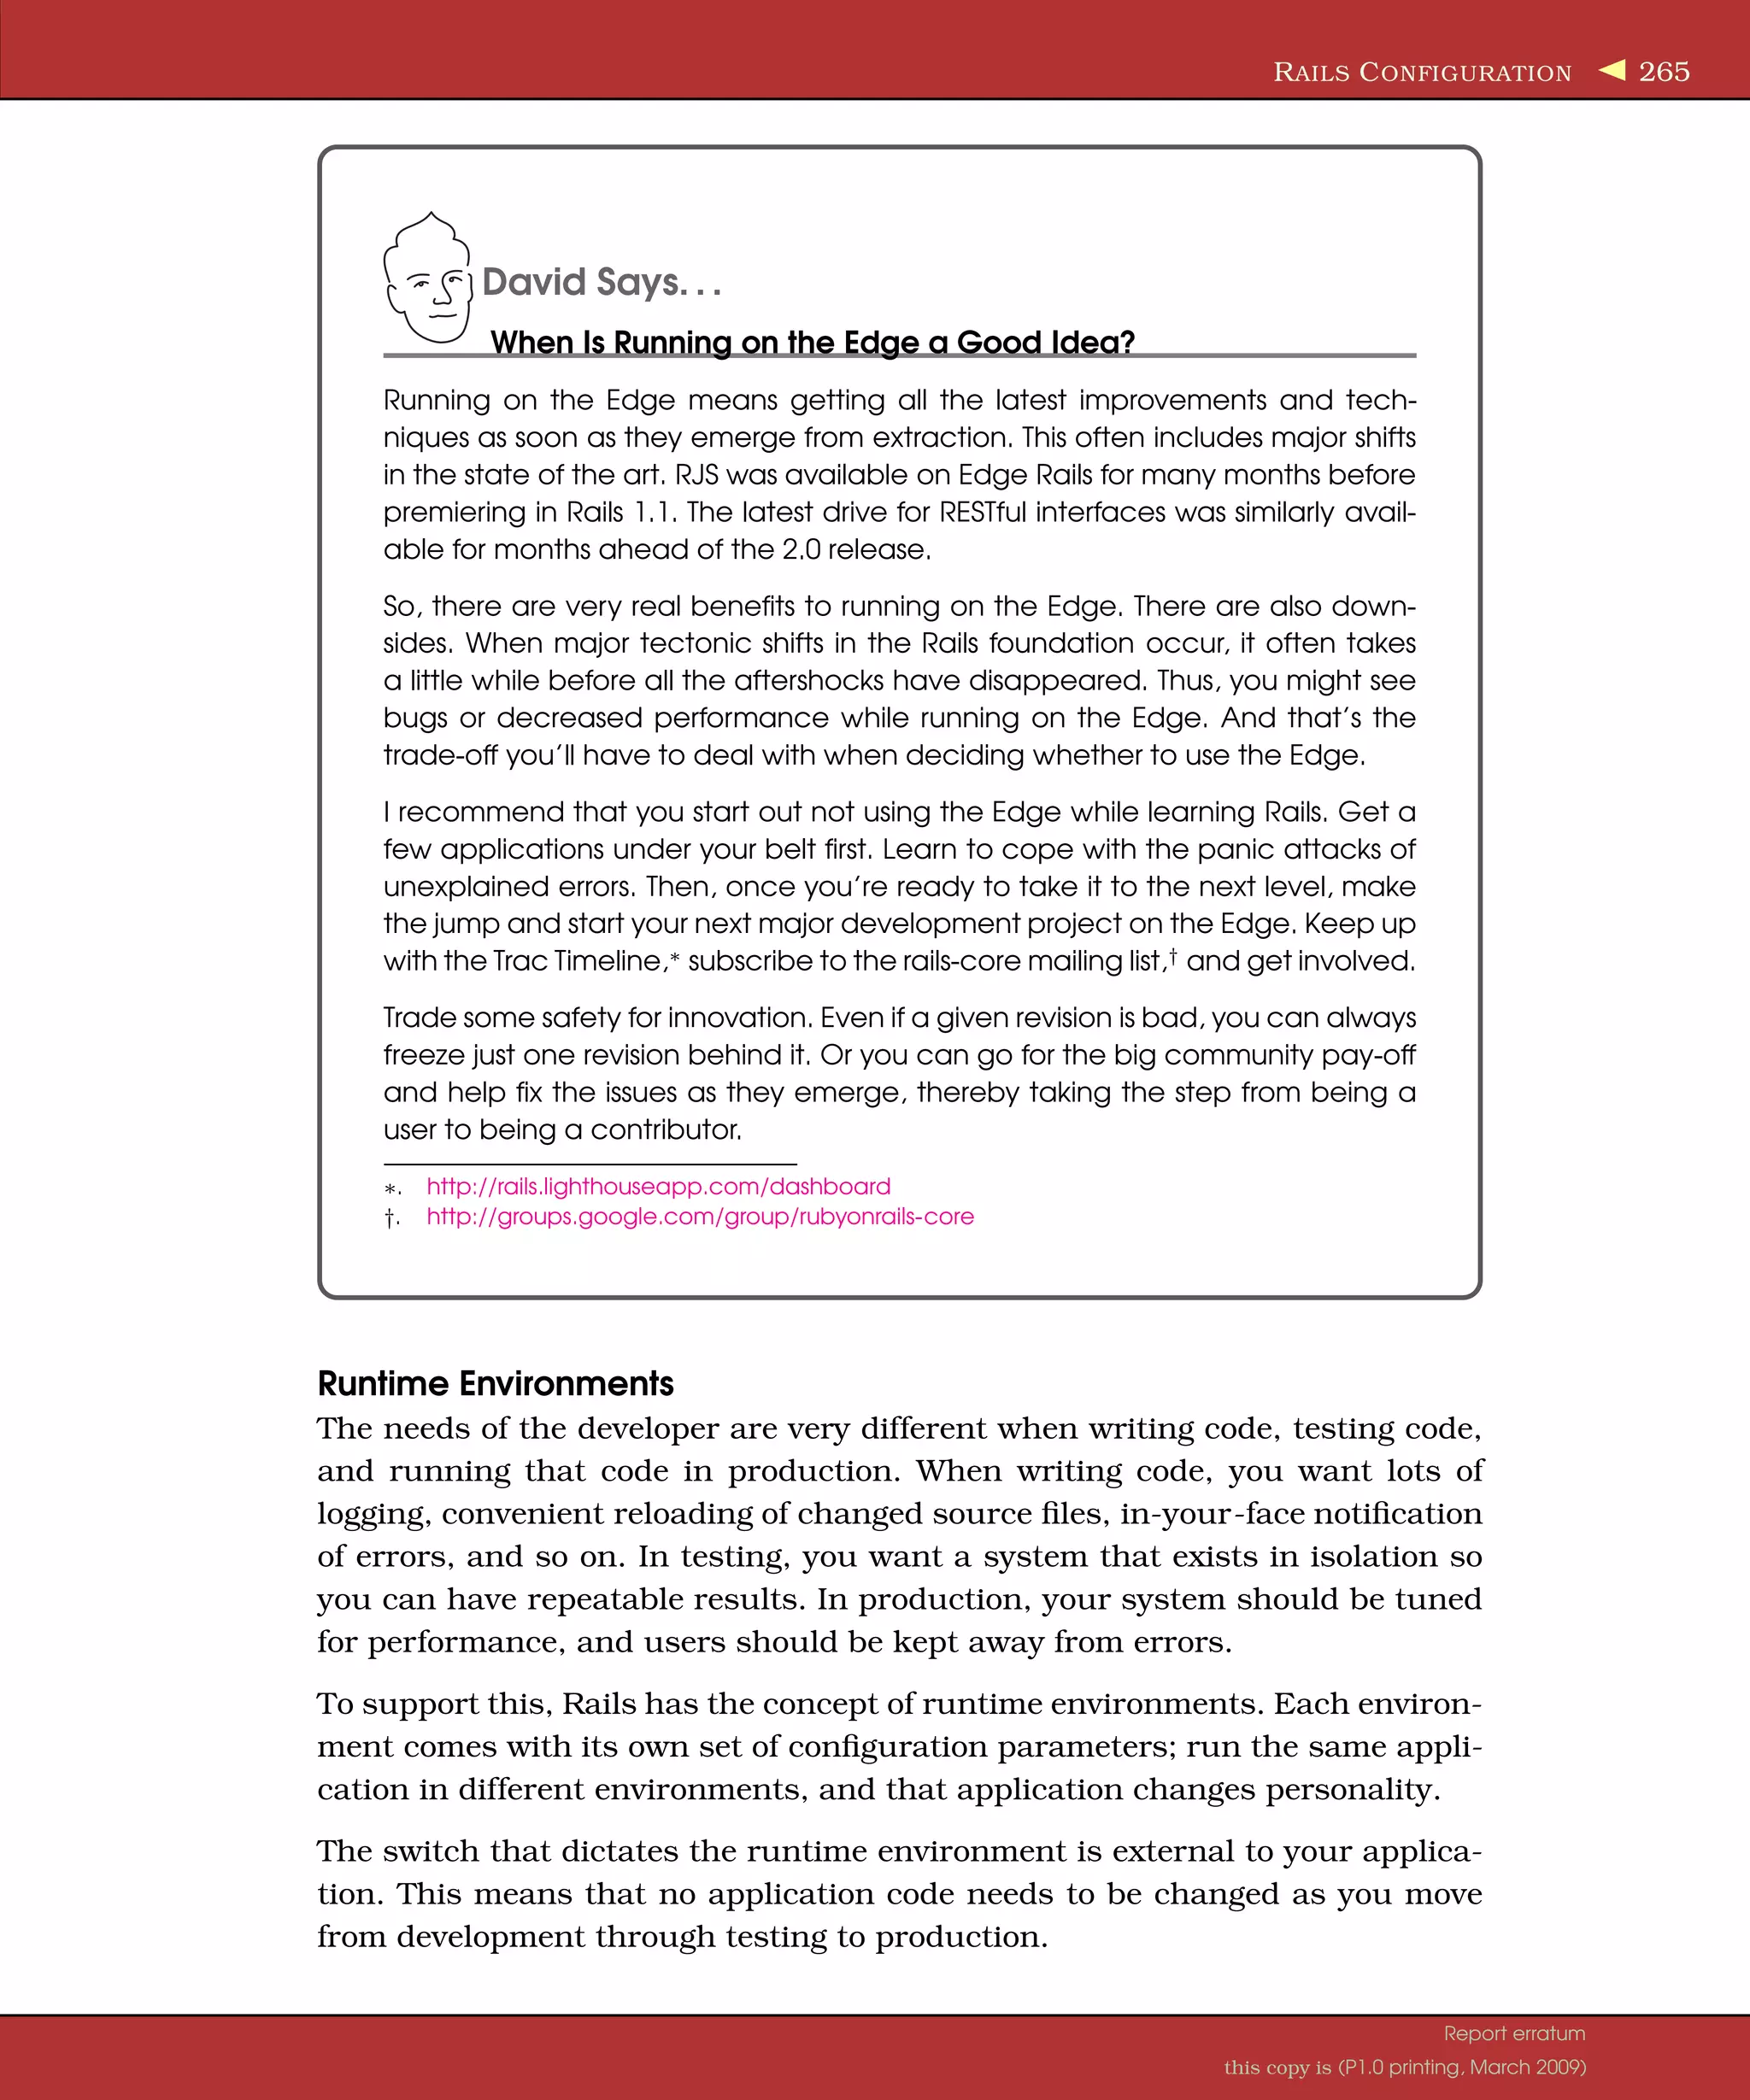
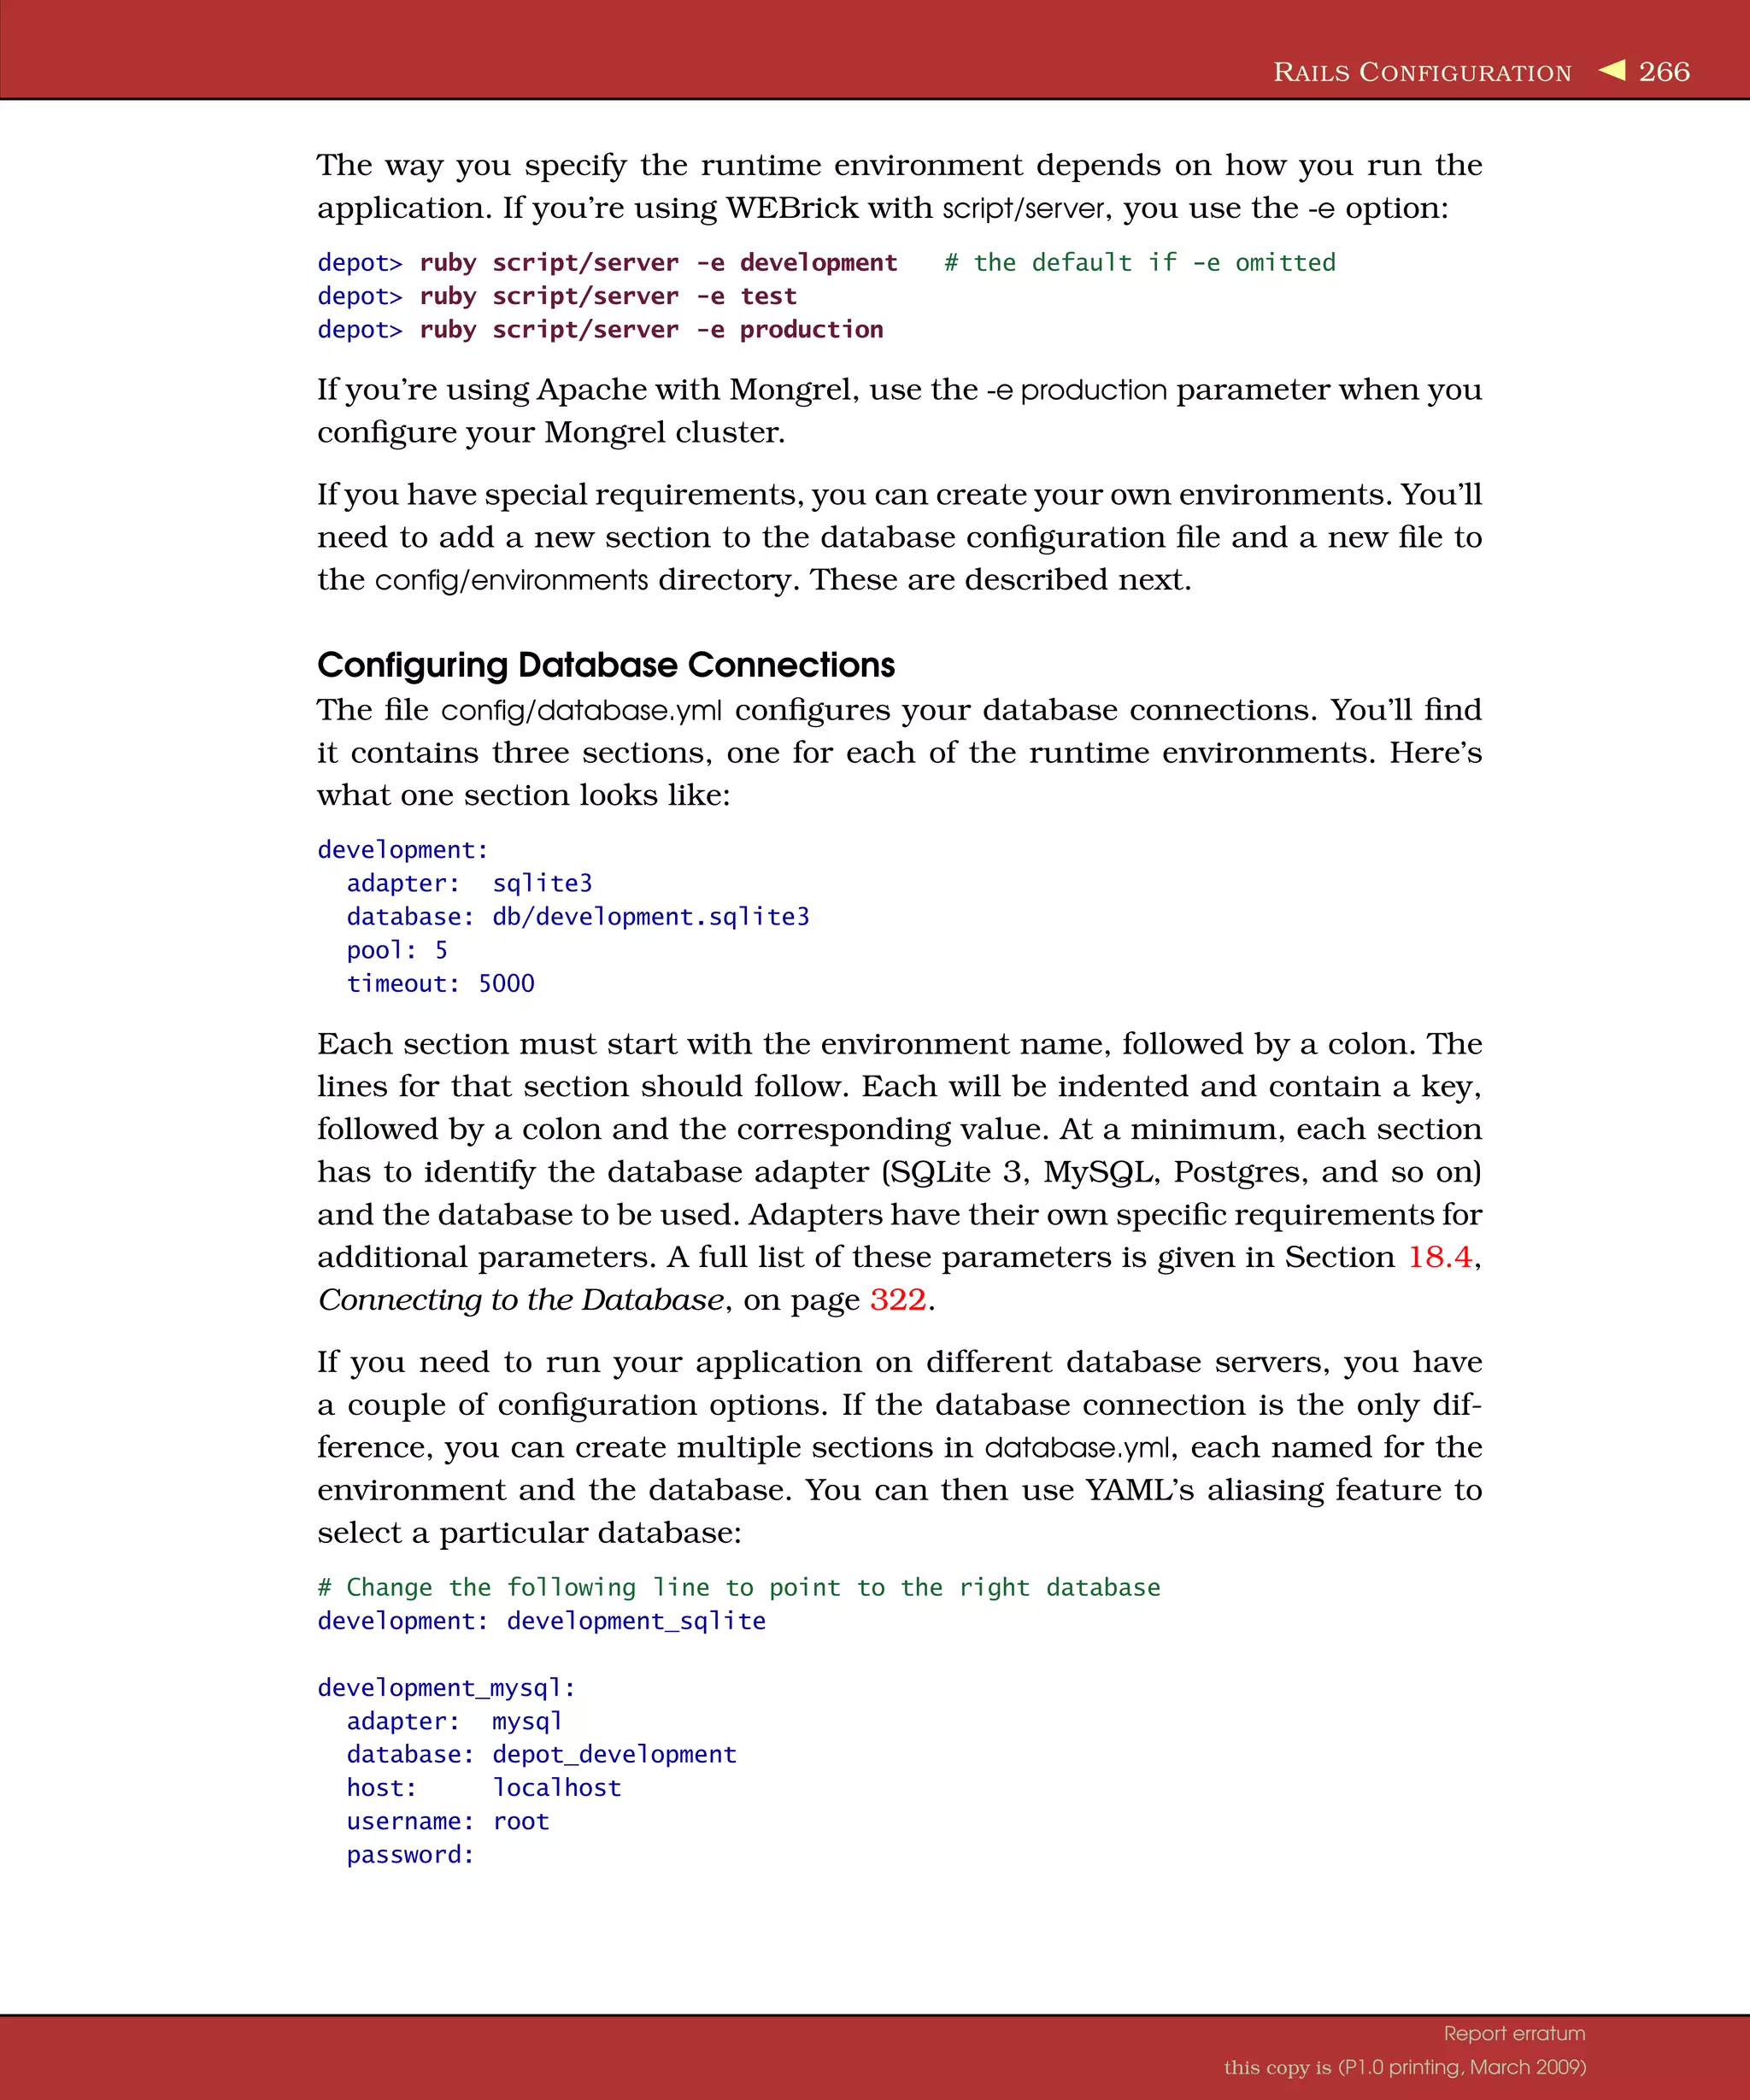
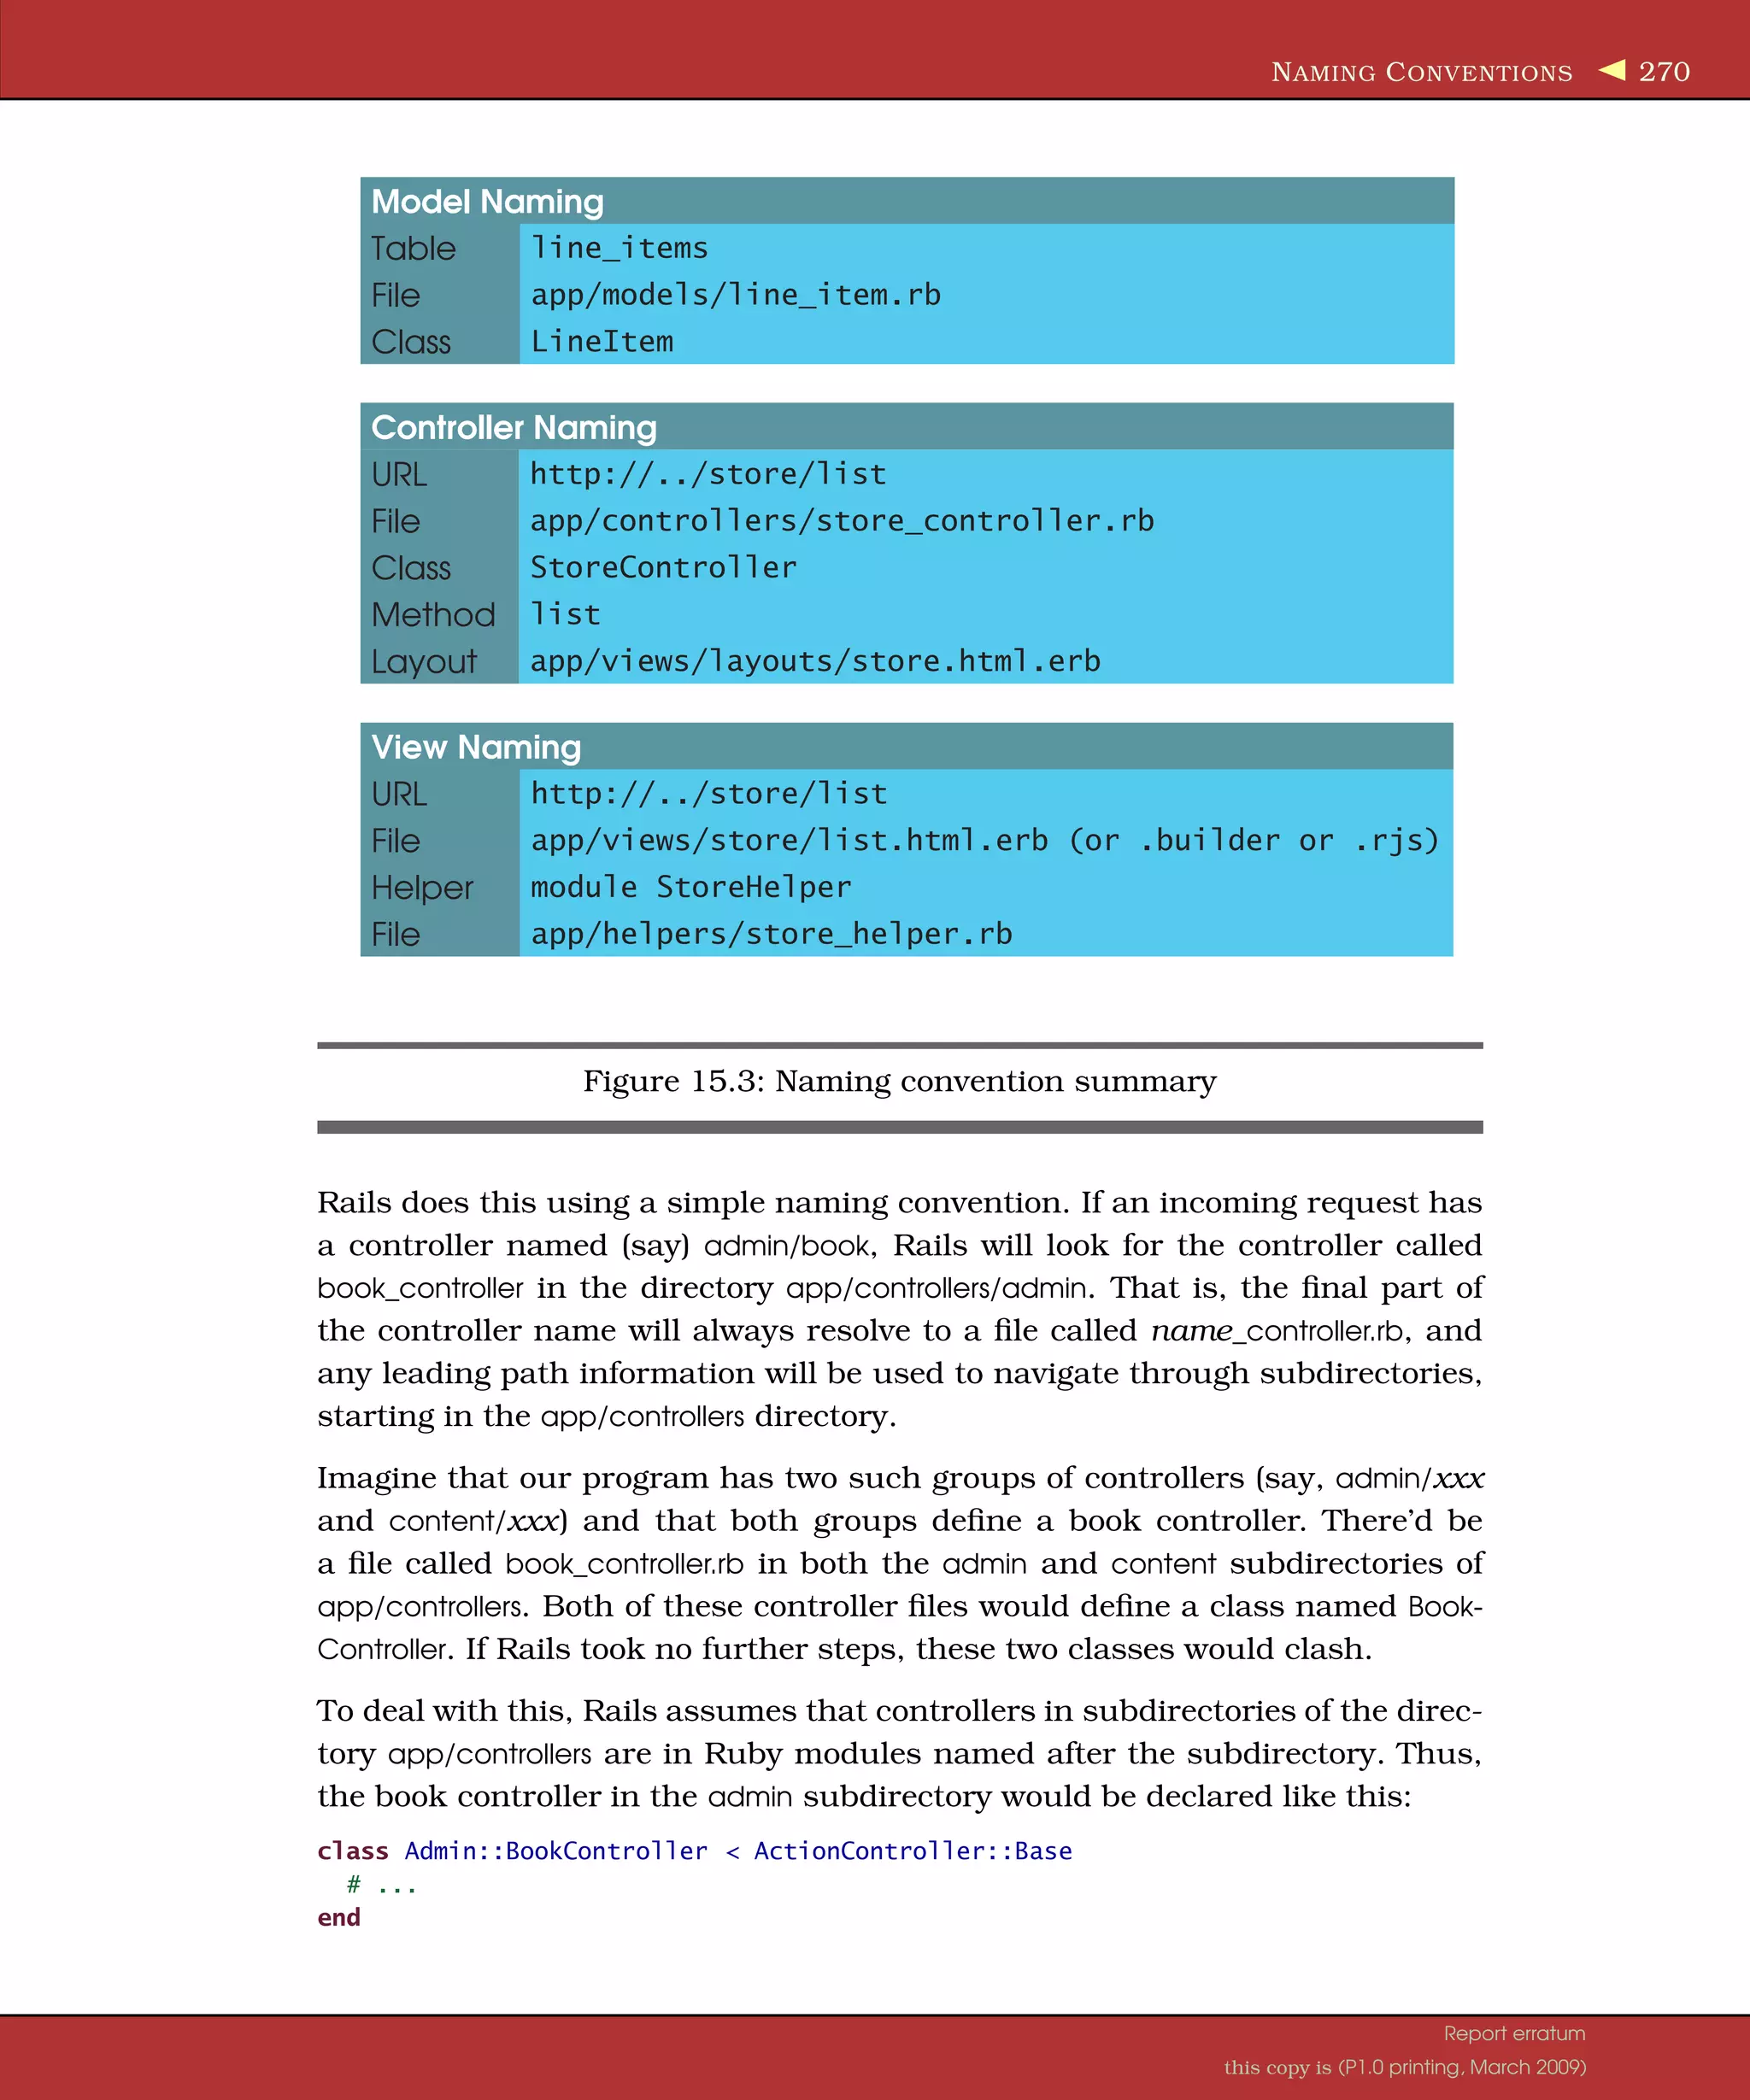
![L OGGING IN R AILS 272 15.5 Logging in Rails Rails has logging built right into the framework. Or, to be more accurate, Rails exposes a Logger object to all the code in a Rails application. Logger is a simple logging framework that ships with recent versions of Ruby. (You can get more information by typing ri Logger at a command prompt or by looking in the standard library documentation in Programming Ruby [TFH05].) For our purposes, it’s enough to know that we can generate log messages at the warning, info, error, and fatal levels. We can then decide (probably in an environment file) which levels of logging to write to the log files. logger.warn("I don't think that's a good idea" ) logger.info("Dave's trying to do something bad" ) logger.error("Now he's gone and broken it" ) logger.fatal("I give up" ) In a Rails application, these messages are written to a file in the log directory. The file used depends on the environment in which your application is run- ning. A development application will log to log/development.log, an application under test to test.log, and a production app to production.log. 15.6 Debugging Hints Bugs happen. Even in Rails applications. This section has some hints on track- ing them down. First and foremost, write tests! Rails makes it easy to write both unit tests and functional tests (as we saw in Chapter 14, Task T: Testing, on page 210). Use them, and you’ll find that your bug rate drops way down. You’ll also decrease the likelihood of bugs suddenly appearing in code that you wrote a month ago. Tests are cheap insurance. Tests tell you whether something works, and they help you isolate the code that has a problem. Sometimes, though, the cause isn’t immediately apparent. If the problem is in a model, you might be able to track it down by running the offending class outside the context of a web application. The script/console script lets you bring up part of a Rails application in an irb session, letting you experiment with methods. Here’s a session where we use the console to update the price of a product: depot> ruby script/console Loading development environment. irb(main):001:0> pr = Product.find(:first) => #<Product:0x248acd0 @attributes={"image_url"=>"/images/sk..." irb(main):002:0> pr.price => 29.95 irb(main):003:0> pr.price = 34.95 => 34.95 Report erratum this copy is (P1.0 printing, March 2009)](https://image.slidesharecdn.com/pragmatic-agilewebdevelopmentwithrails-3rdedition-2009-091104222637-phpapp01/75/Pragmatic-Agile-Web-Development-With-Rails-3rd-Edition-2009-272-2048.jpg)
![Chapter 16 Active Support Active Support is a set of libraries that are shared by all Rails components. Much of what’s in there is intended for Rails’ internal use. However, Active Support also extends some of Ruby’s built-in classes in interesting and useful ways. In this section, we’ll quickly list the most popular of these extensions. We’ll also end with a brief look at how Ruby and Rails can handle Unicode strings, making it possible to create websites that correctly handle interna- tional text. 16.1 Generally Available Extensions As we’ll see when we look at Ajax on page 563, it’s sometimes useful to be able to convert Ruby objects into a neutral form to allow them to be sent to a remote program (often JavaScript running in the user’s browser). Rails extends Ruby objects with two methods, to_json and to_yaml. These convert objects into JavaScript Object Notation (JSON) and YAML (the same notation used in Rails configuration and fixture files): require 'rubygems' require 'activesupport' # For demo purposes, create a Ruby structure with two attributes Rating = Struct.new(:name, :ratings) rating = Rating.new("Rails" , [ 10, 10, 9.5, 10 ]) # and serialize an object of that structure two ways... puts rating.to_json #=> ["Rails", [10, 10, 9.5, 10]] puts rating.to_yaml #=> --- !ruby/struct:Rating name: Rails ratings: - 10 - 10 - 9.5 - 10](https://image.slidesharecdn.com/pragmatic-agilewebdevelopmentwithrails-3rdedition-2009-091104222637-phpapp01/75/Pragmatic-Agile-Web-Development-With-Rails-3rd-Edition-2009-275-2048.jpg)
![E NUMERATIONS AND A RRAYS 276 David Says. . . Why Extending Base Classes Doesn’t Lead to the Apocalypse The awe that seeing 5.months + 30.minutes for the first time generates is usually replaced by a state of panic shortly thereafter. If everyone can just change how integers work, won’t that lead to an utterly unmaintainable spaghetti land of hell? Yes, if everyone did that all the time, it would. But they don’t, so it doesn’t. Don’t think of Active Support as a collection of random extensions to the Ruby language that invites everyone and their brother to add their own pet fea- ture to the string class. Think of it as a dialect of Ruby spoken universally by all Rails programmers. Because Active Support is a required part of Rails, you can always rely on the fact that 5.months will work in any Rails application. That negates the problem of having a thousand personal dialects of Ruby. Active Support gives us the best of both worlds when it comes to language extensions. It’s contextual standardization. In addition, all Active Record objects, and all hashes, support a to_xml method. We saw this in Section 12.1, Autogenerating the XML, on page 187. To make it easier to tell whether something has no content, Rails extends all Ruby objects with the blank? method. It always returns true for nil and false, and it always returns false for numbers and for true. For all other objects, it returns true if that object is empty. (A string containing just spaces is considered to be empty.) puts [ ].blank? #=> true puts { 1 => 2}.blank? #=> false puts " cat ".blank? #=> false puts "".blank? #=> true puts " ".blank? #=> true puts nil.blank? #=> true 16.2 Enumerations and Arrays Because our web applications spend a lot of time working with collections, Rails adds some magic to Ruby’s Enumerable mixin. The group_by method partitions a collection into sets of values. It does this by calling a block once for each element in the collection and using the result returned by the block as the partitioning key. The result is a hash where each of the keys is associated with an array of elements from the original Report erratum this copy is (P1.0 printing, March 2009)](https://image.slidesharecdn.com/pragmatic-agilewebdevelopmentwithrails-3rdedition-2009-091104222637-phpapp01/75/Pragmatic-Agile-Web-Development-With-Rails-3rd-Edition-2009-276-2048.jpg)
![E NUMERATIONS AND A RRAYS 277 collection that share a common partitioning key. For example, the following splits a group of posts by author: groups = posts.group_by {|post| post.author_id} The variable groups will reference a hash where the keys are the author ids and the values are arrays of posts written by the corresponding author. You could also write this as follows: groups = posts.group_by {|post| post.author} The groupings will be the same in both cases, but in the second case entire Author objects will be used as the hash keys (which means that the author objects will be retrieved from the database for each post). Which form is correct depends on your application. Rails also extends Enumerable with two other methods. The index_by method takes a collection and converts it into a hash where the values are the values from the original collection. The key for an element is the return value of the block, which is passed each element in turn. us_states = State.find(:all) state_lookup = us_states.index_by {|state| state.short_name} The sum method sums a collection by passing each element to a block and accumulating the total of the values returned by that block. It assumes the initial value of the accumulator is the number 0; you can override this by passing a parameter to sum: total_orders = Order.find(:all).sum {|order| order.value } The many? will test to see whether the collection size is greater than one. The Ruby 1.9 each_with_object method was found to be so handy that the Rails crew backported it to Ruby 1.8 for you. It iterates over a collection, passing the argument and the current element to the block: us_states = State.find(:all) state_lookup = us_states.each_with_object({}) do |hash,state| hash[state.short_name] = state end Rails also extends arrays with a couple of convenience methods: puts [ "ant" , "bat" , "cat" ].to_sentence #=> "ant, bat, and cat" puts [ "ant" , "bat" , "cat" ].to_sentence(:connector => "and not forgetting" ) #=> "ant, bat, and not forgetting cat" puts [ "ant" , "bat" , "cat" ].to_sentence(:skip_last_comma => true) #=> "ant, bat and cat" [1,2,3,4,5,6,7].in_groups_of(3) {|slice| puts slice.inspect} #=> [1, 2, 3] [4, 5, 6] [7, nil, nil] Report erratum this copy is (P1.0 printing, March 2009)](https://image.slidesharecdn.com/pragmatic-agilewebdevelopmentwithrails-3rdedition-2009-091104222637-phpapp01/75/Pragmatic-Agile-Web-Development-With-Rails-3rd-Edition-2009-277-2048.jpg)
![H ASHES 278 [1,2,3,4,5,6,7].in_groups_of(3, "X" ) {|slice| puts slice.inspect} #=> [1, 2, 3] [4, 5, 6] [7, "X" , "X" ] Although Ruby has always provided first and last methods on Arrays, Rails adds second, third, fourth, and fifth, as well as forty_two. Also provided are methods that help you to take a slice out of an array. from returns the tail of an array starting at a given index, and to returns the head of an array up to and including a given index. rand will return a random element from an array. Finally, split acts like the similarly named method on String, splitting an array based on a delimiting value or the result of an optional block. 16.3 Hashes Hashes aren’t left out either; they get a bunch of useful methods too. Follow- ing Ruby’s convention, methods ending in a bang (!) are destructive; in other words, they update the calling object as a side effect. reverse_merge and reverse_merge! behave similarly to Ruby’s merge, except that the keys in the calling hash take precedence over those in the hash that is passed as a parameter. This is particularly useful for initializing an option hash with default values. deep_merge and deep_merge! will return a new hash with the two hashes merged recursively. diff will return a new hash that represents the difference between two hashes. except and except! will return a new hash without the given keys. slice and slice! return a new hash with only the given keys. stringify_keys and stringify_keys! will convert all keys to strings. symbolize_keys and symbolize_keys! will convert all keys to symbols. 16.4 String Extensions Newcomers to Ruby 1.8 are often surprised that indexing into a string using something like string[2] returns an integer, not a one-character string. This is fixed in Ruby 1.9, but for now, most people are still using Ruby 1.8. Rails eases this transition in a number of ways. First, it adds some helper methods to strings that give some more natural behavior: string = "Now is the time" puts string.at(2) #=> "w" puts string.from(8) #=> "he time" puts string.to(8) #=> "Now is th" Report erratum this copy is (P1.0 printing, March 2009)](https://image.slidesharecdn.com/pragmatic-agilewebdevelopmentwithrails-3rdedition-2009-091104222637-phpapp01/75/Pragmatic-Agile-Web-Development-With-Rails-3rd-Edition-2009-278-2048.jpg)
![S TRING E XTENSIONS 279 puts string.first #=> "N" puts string.first(3) #=> "Now" puts string.last #=> "e" puts string.last(4) #=> "time" puts string.starts_with?("No" ) #=> true puts string.ends_with?("ME" ) #=> false count = Hash.new(0) string.each_char {|ch| count[ch] += 1} puts count.inspect #=> {" "=>3, "w"=>1, "m"=>1, "N"=>1, "o"=>1, "e" =>2, "h" =>1, "s" =>1, "t" =>2, "i" =>2} Additionally, Rails provides a method named is_utf8?, which tests a string for conformance to a common Unicode encoding. Finally, Rails provides an ActiveSupport::Multibyte::Chars and an mb_chars on the String class. On Rails 1.9, mb_chars returns self, but on Ruby 1.8 it wraps the string in a multibyte proxy: >> name = 'Se303261or Frog' => "Señor Frog" >> name.reverse => "gorF ro261�eS" >> name.length => 11 >> name.mb_chars.reverse.to_s => "gorF roñeS" >> name.mb_chars.length => 10 Other (unrelated) extensions include squish and squish!, which will remove all leading and trailing whitespace and convert all occurrences of consecutive spaces with a single space. This is particularly useful for taming Ruby’s here documents. Active Support also adds methods to all strings to support the way Rails itself converts names from singular to plural, from lowercase to mixed case, and so on. A few of these might be useful in the average application: puts "cat".pluralize #=> cats puts "cats".pluralize #=> cats puts "erratum".pluralize #=> errata puts "cats".singularize #=> cat puts "errata".singularize #=> erratum puts "first_name".humanize #=> "First name" puts "now is the time".titleize #=> "Now Is The Time" Writing Your Rules for Inflections Rails comes with a fairly decent set of rules for forming plurals for English words, but it doesn’t (yet) know every single irregular form. For example, if Report erratum this copy is (P1.0 printing, March 2009)](https://image.slidesharecdn.com/pragmatic-agilewebdevelopmentwithrails-3rdedition-2009-091104222637-phpapp01/75/Pragmatic-Agile-Web-Development-With-Rails-3rd-Edition-2009-279-2048.jpg)
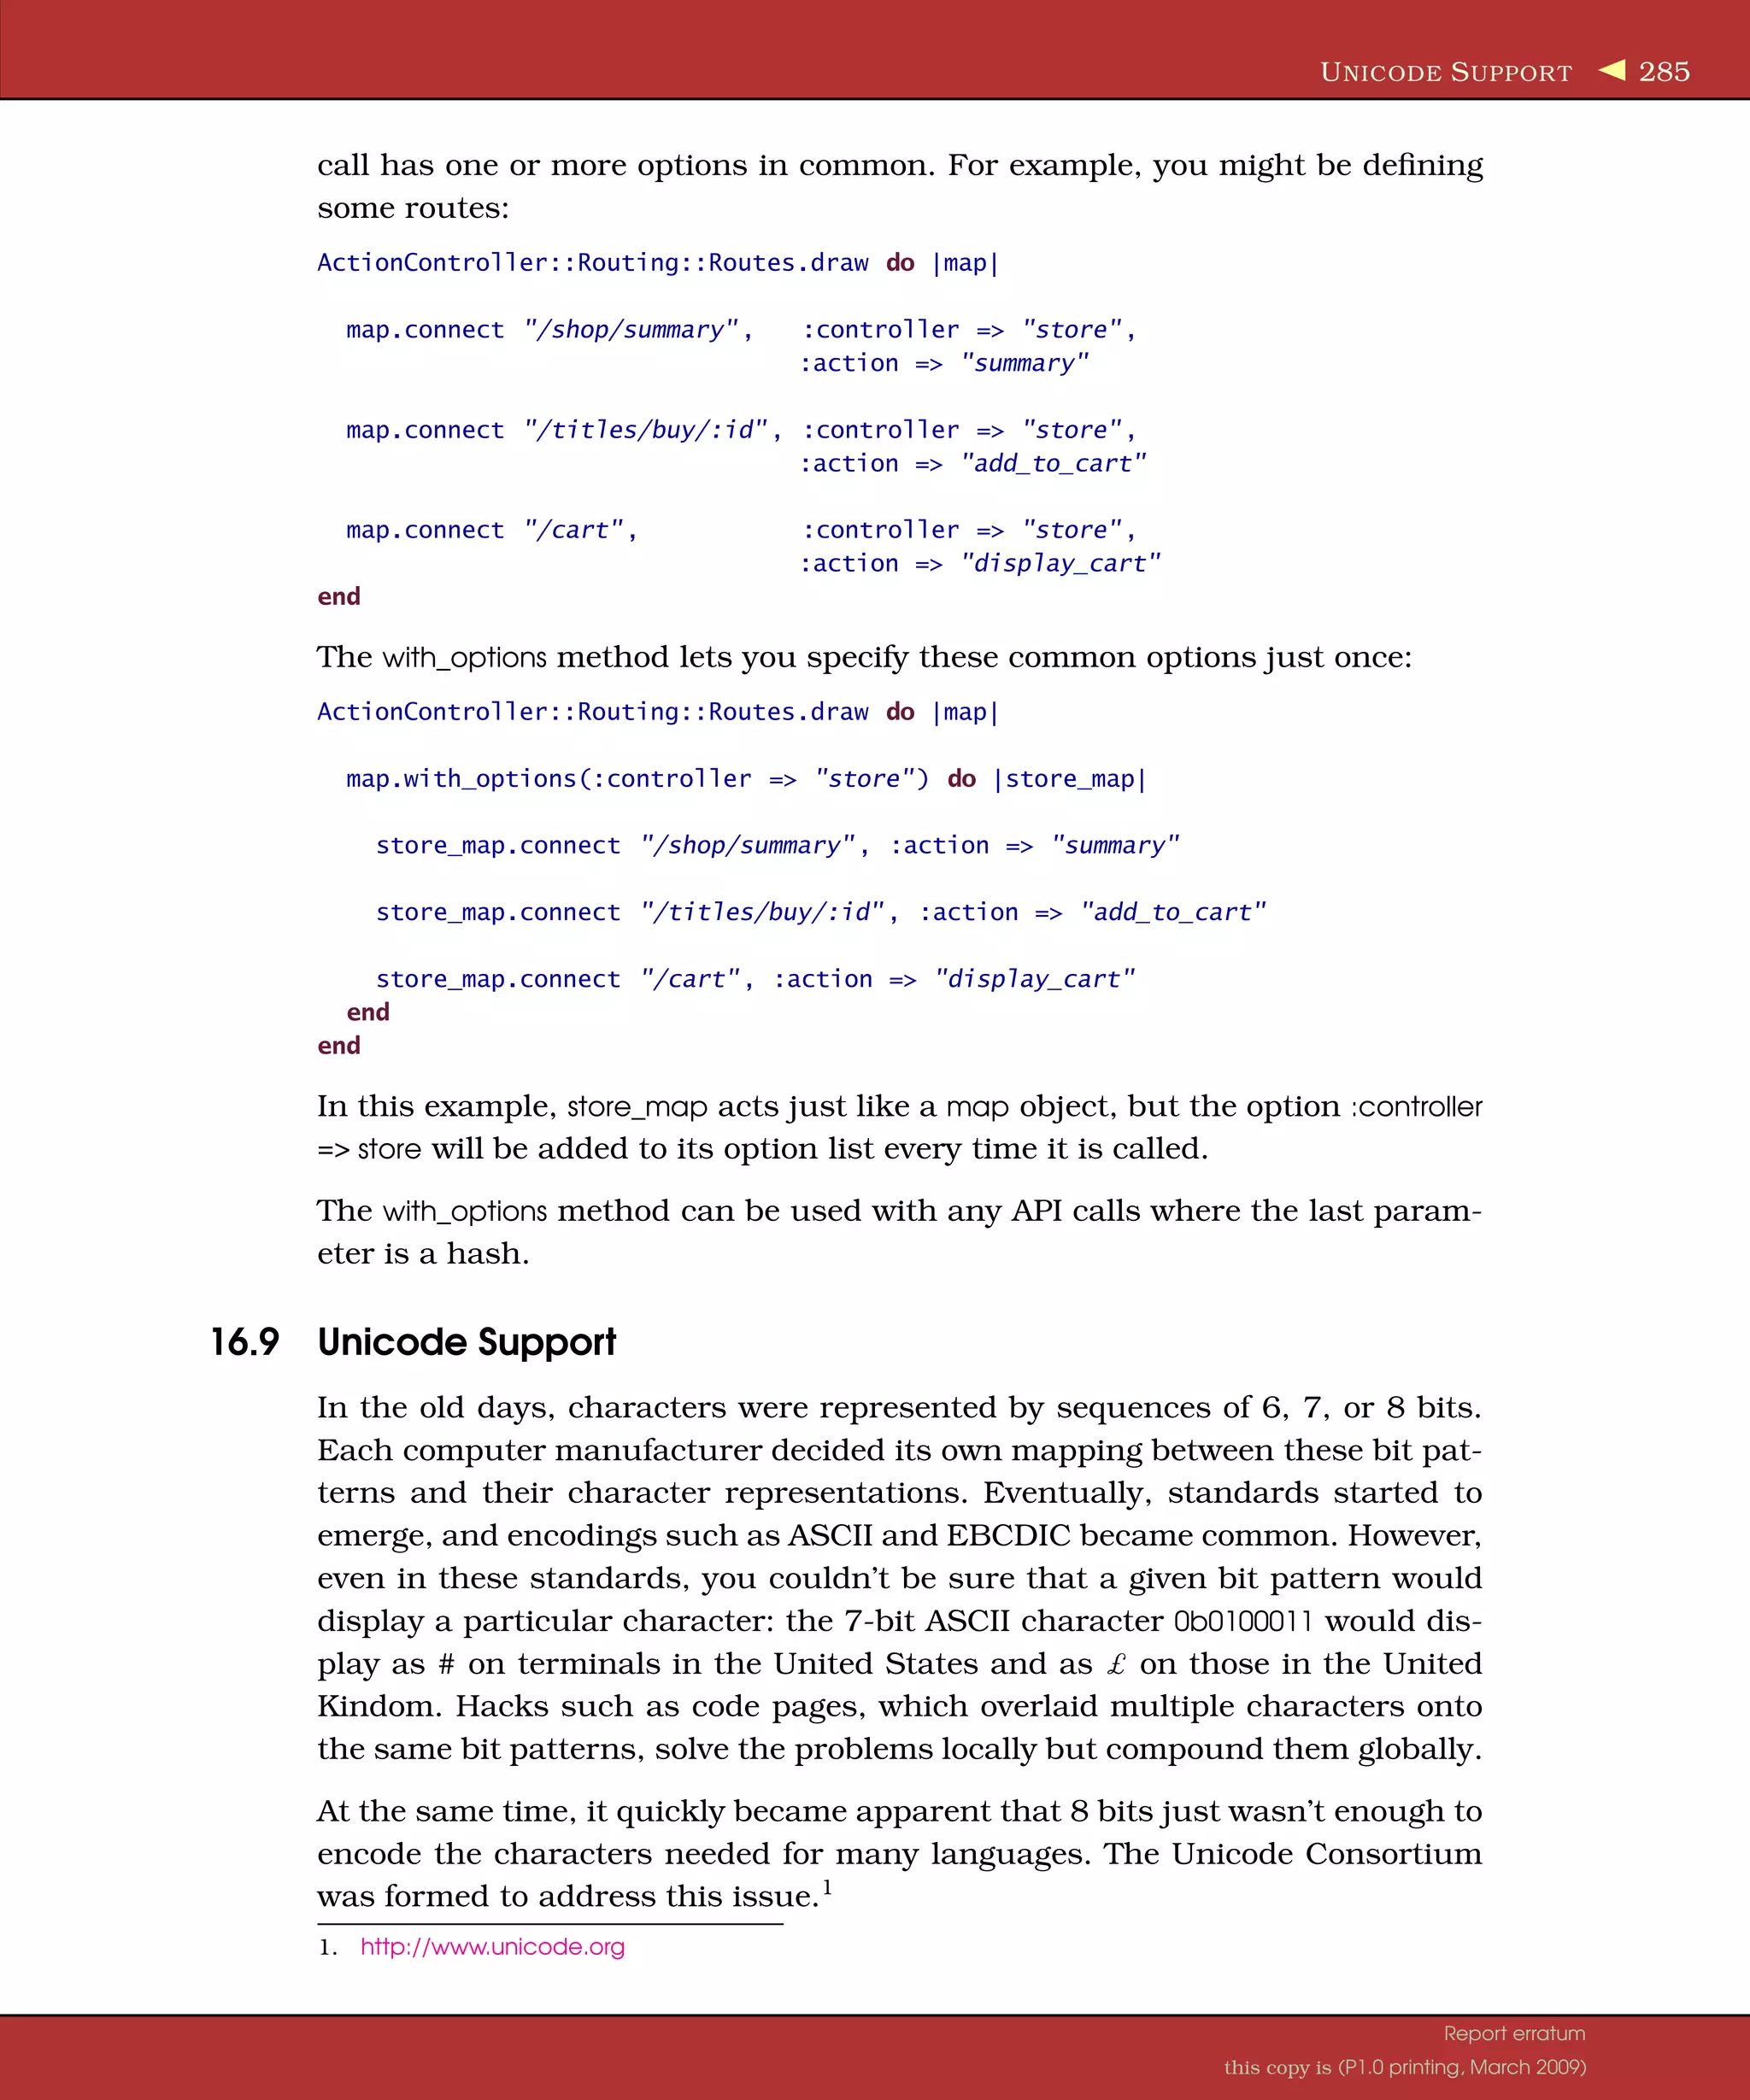
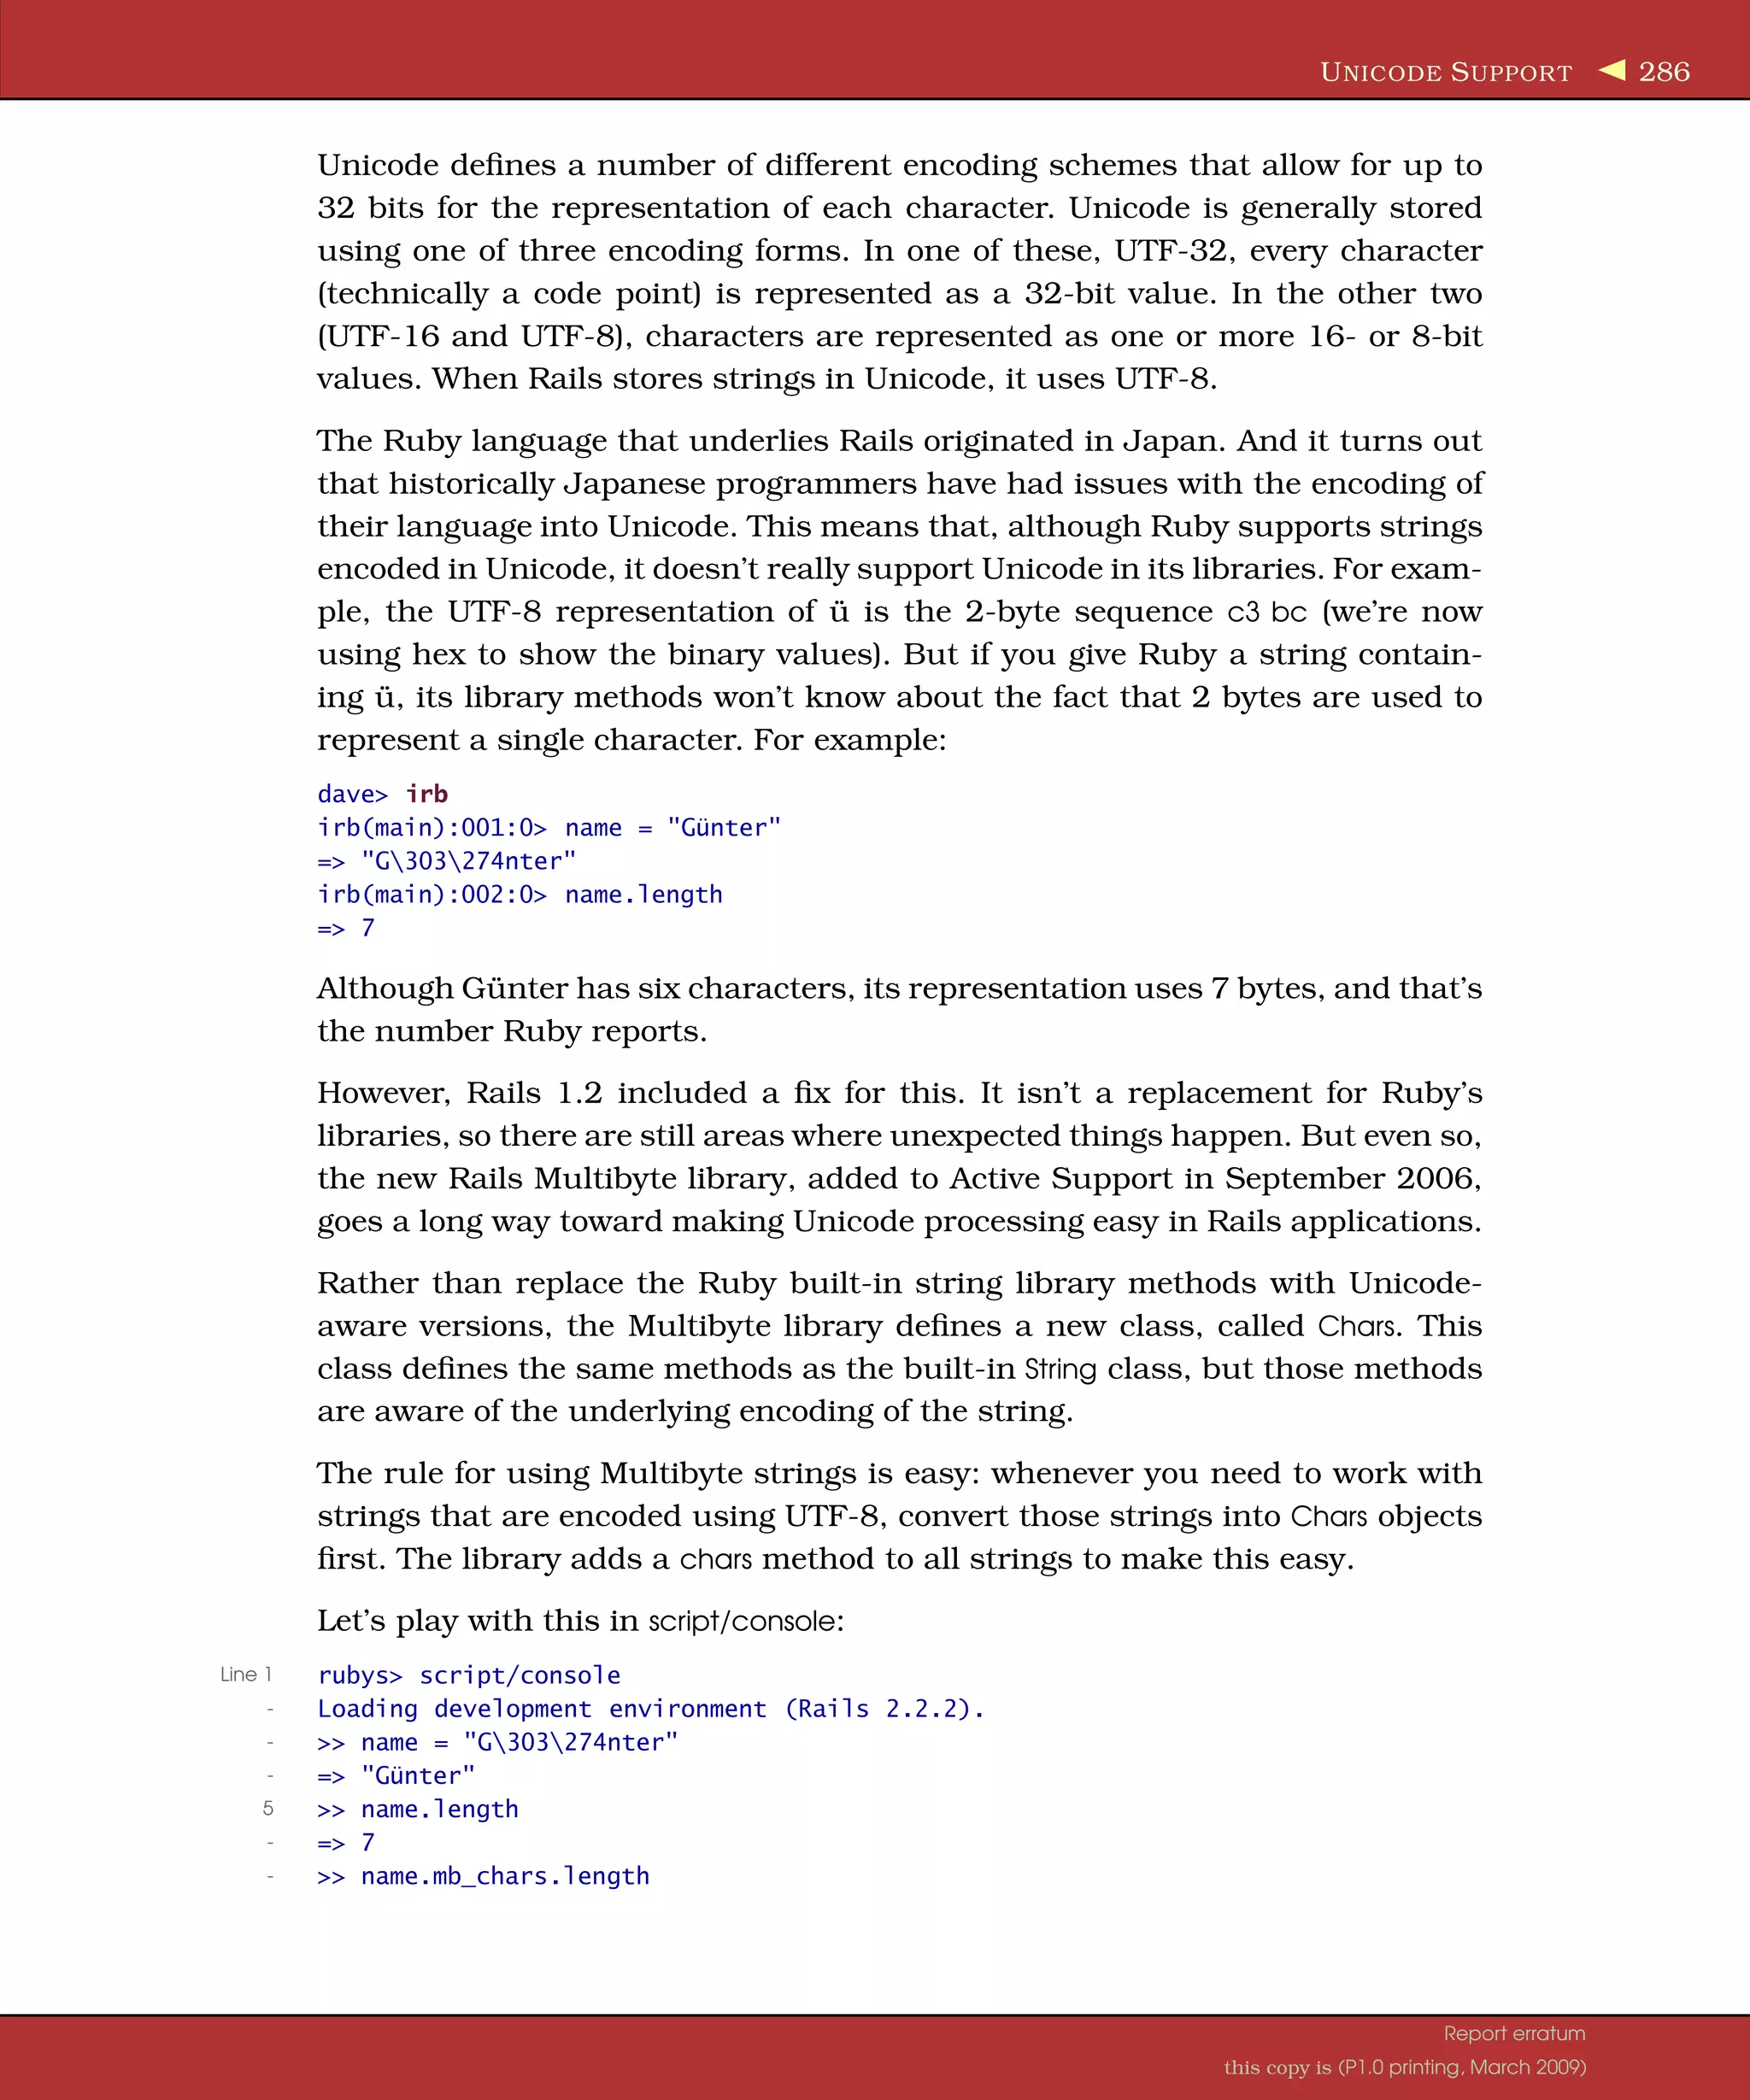
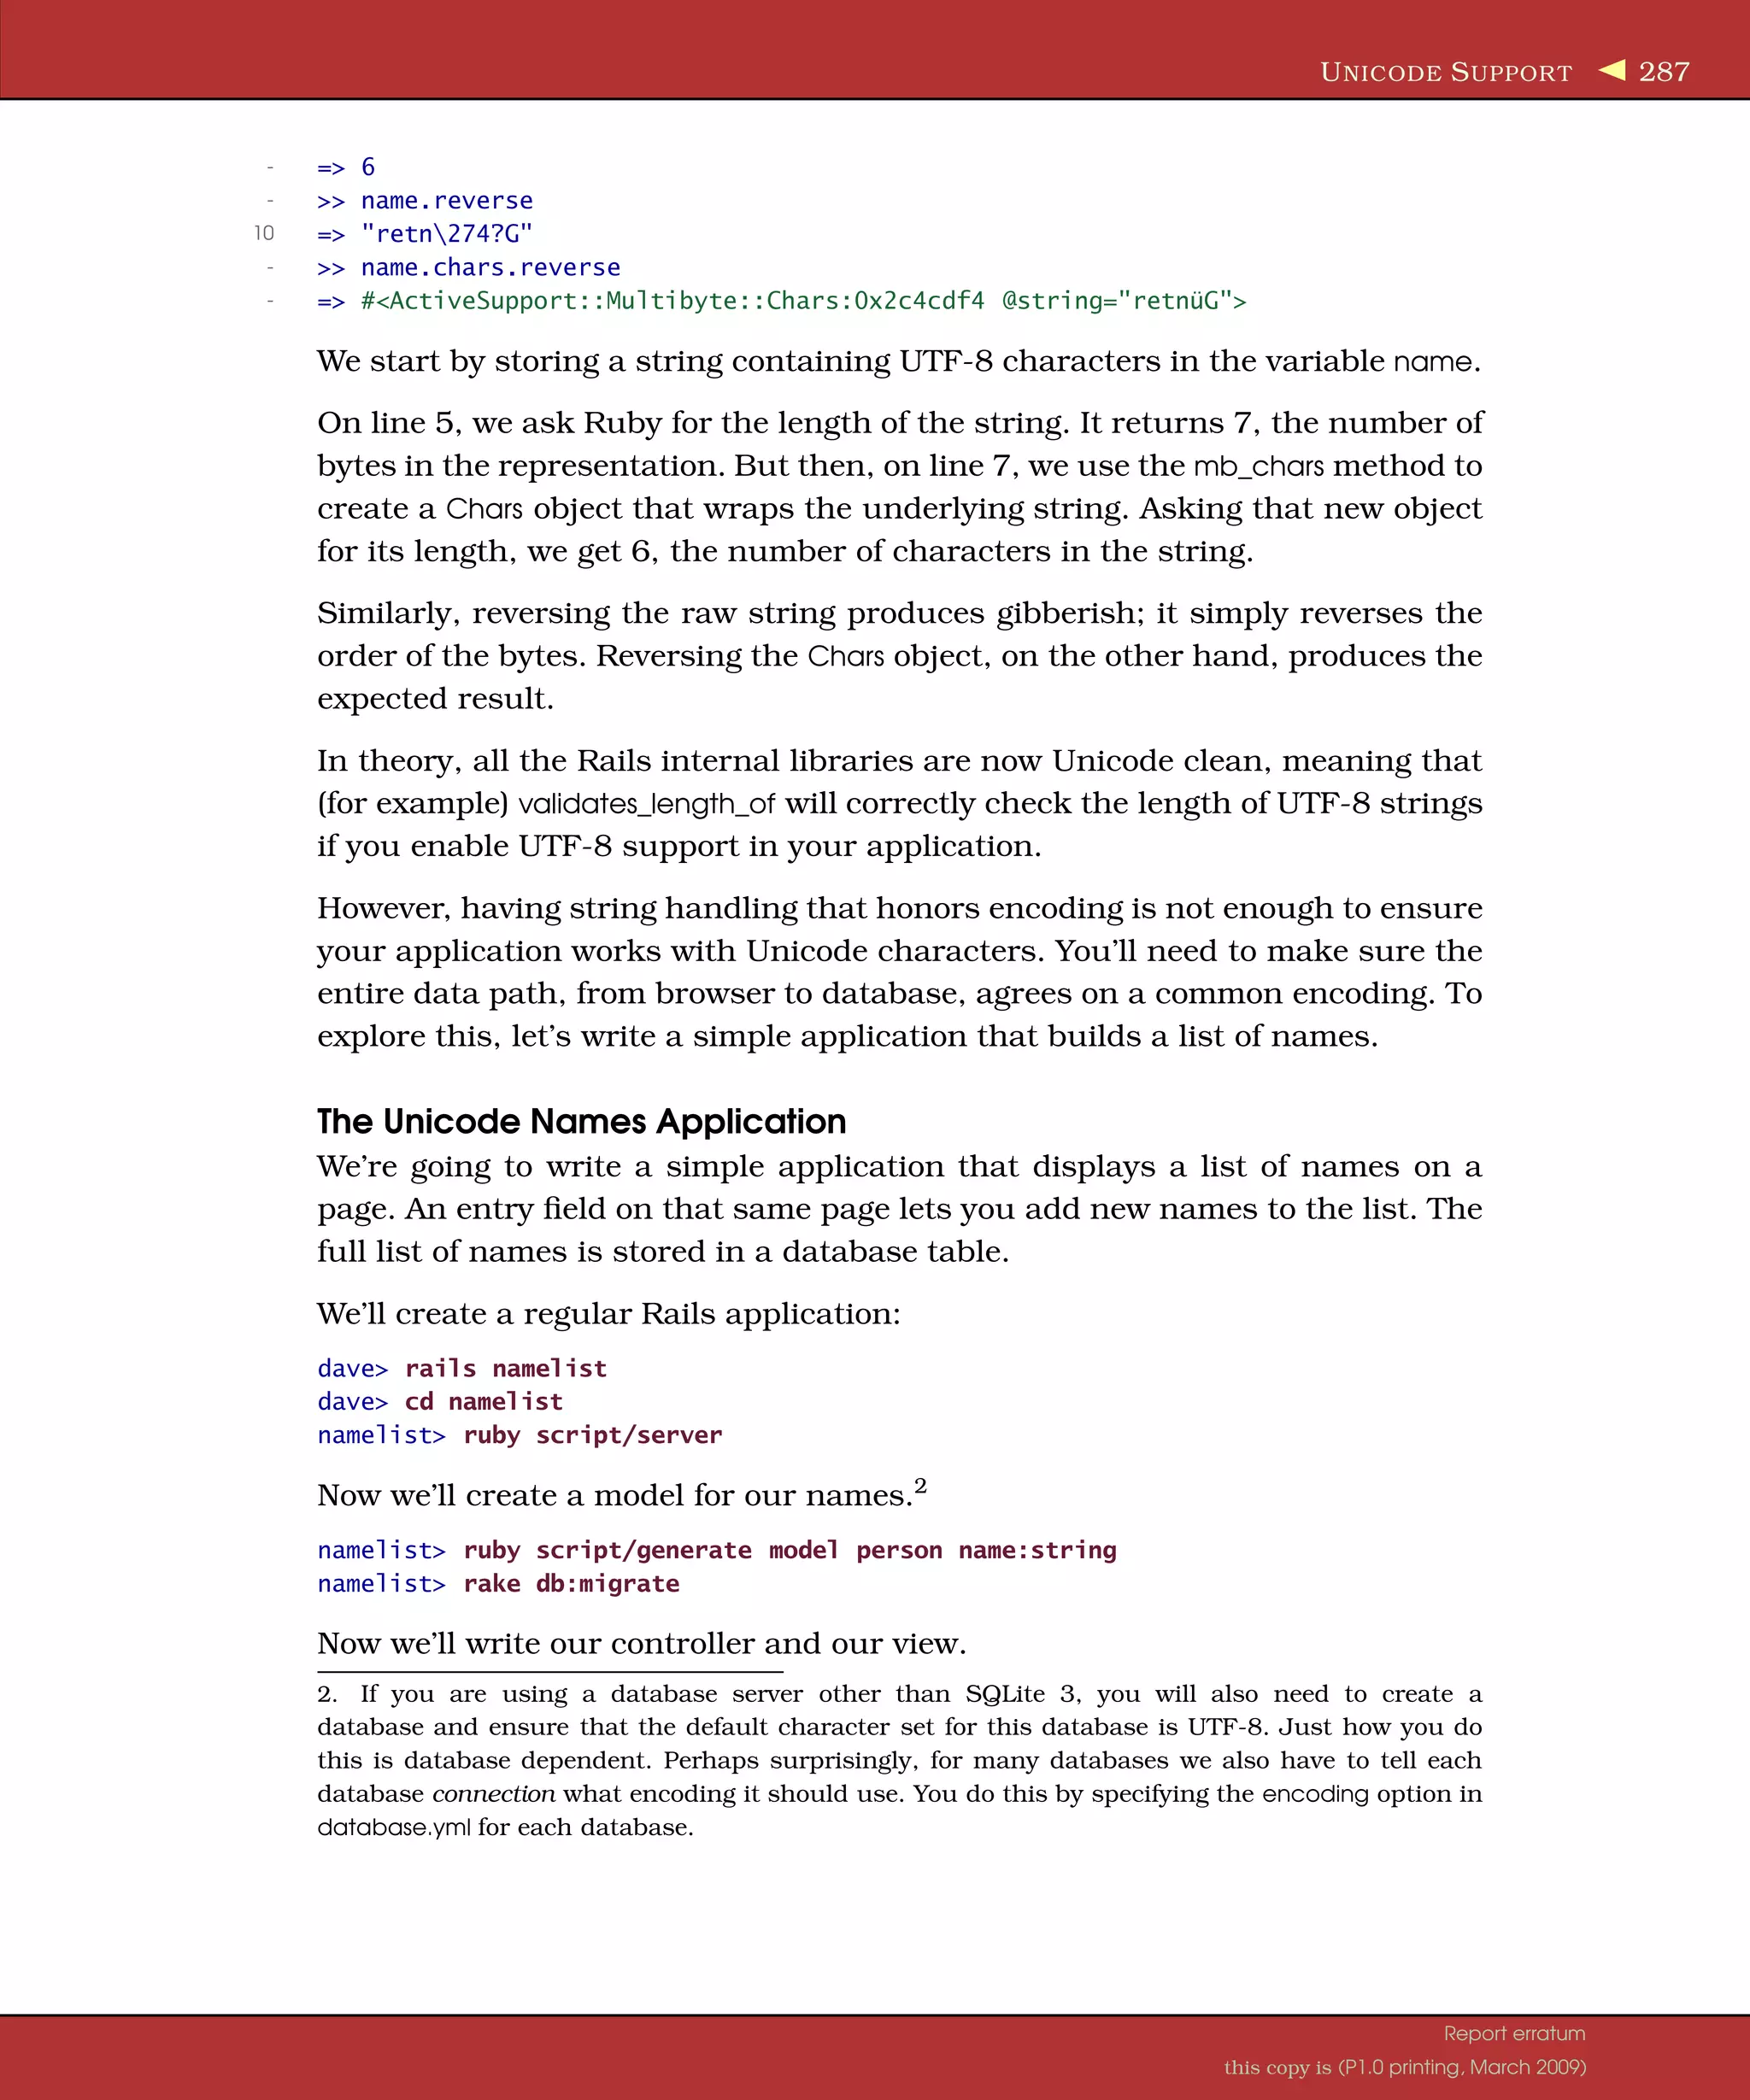
![U NICODE S UPPOR T 288 We’ll keep the controller simple by using a single action: Download e1/namelist/app/controllers/people_controller.rb class PeopleController < ApplicationController def index @person = Person.new(params[:person]) @person.save! if request.post? @people = Person.find(:all) end end The database is Unicode-aware. Now we just need to make sure that the browser side is too. As of Rails 1.2, the default content-type header is as follows: Content-Type: text/html; charset=UTF-8 However, just to be sure, we’ll also add a <meta> tag to the page header to enforce this. This also means that if a user saves a page to a local file, it will display correctly later. This is our layout file: Download e1/namelist/app/views/layouts/people.html.erb <!DOCTYPE html PUBLIC "-//W3C//DTD XHTML 1.0 Transitional//EN" "http://www.w3.org/TR/xhtml1/DTD/xhtml1-transitional.dtd" > <html xmlns="http://www.w3.org/1999/xhtml" xml:lang="en" lang="en"> <head> <meta http-equiv="content-type" content="text/html; charset=UTF-8"></meta> <title>My Name List</title> </head> <body> <%= yield :layout %> </body> </html> In our index view, we’ll show the full list of names in the database and provide a simple form to let folks enter new ones. In the list, we’ll display the name and its size in bytes and characters, and, just to show off, we’ll reverse it. Download e1/namelist/app/views/people/index.html.erb <table border="1"> <tr> <th>Name</th><th>bytes</th><th>chars</th><th>reversed</th> </tr> <% for person in @people %> <tr> <td><%=h person.name %></td> <td><%= person.name.length %></td> <td><%= person.name.chars.length %></td> <td><%=h person.name.chars.reverse %></td> </tr> <% end %> </table> Report erratum this copy is (P1.0 printing, March 2009)](https://image.slidesharecdn.com/pragmatic-agilewebdevelopmentwithrails-3rdedition-2009-091104222637-phpapp01/75/Pragmatic-Agile-Web-Development-With-Rails-3rd-Edition-2009-288-2048.jpg)

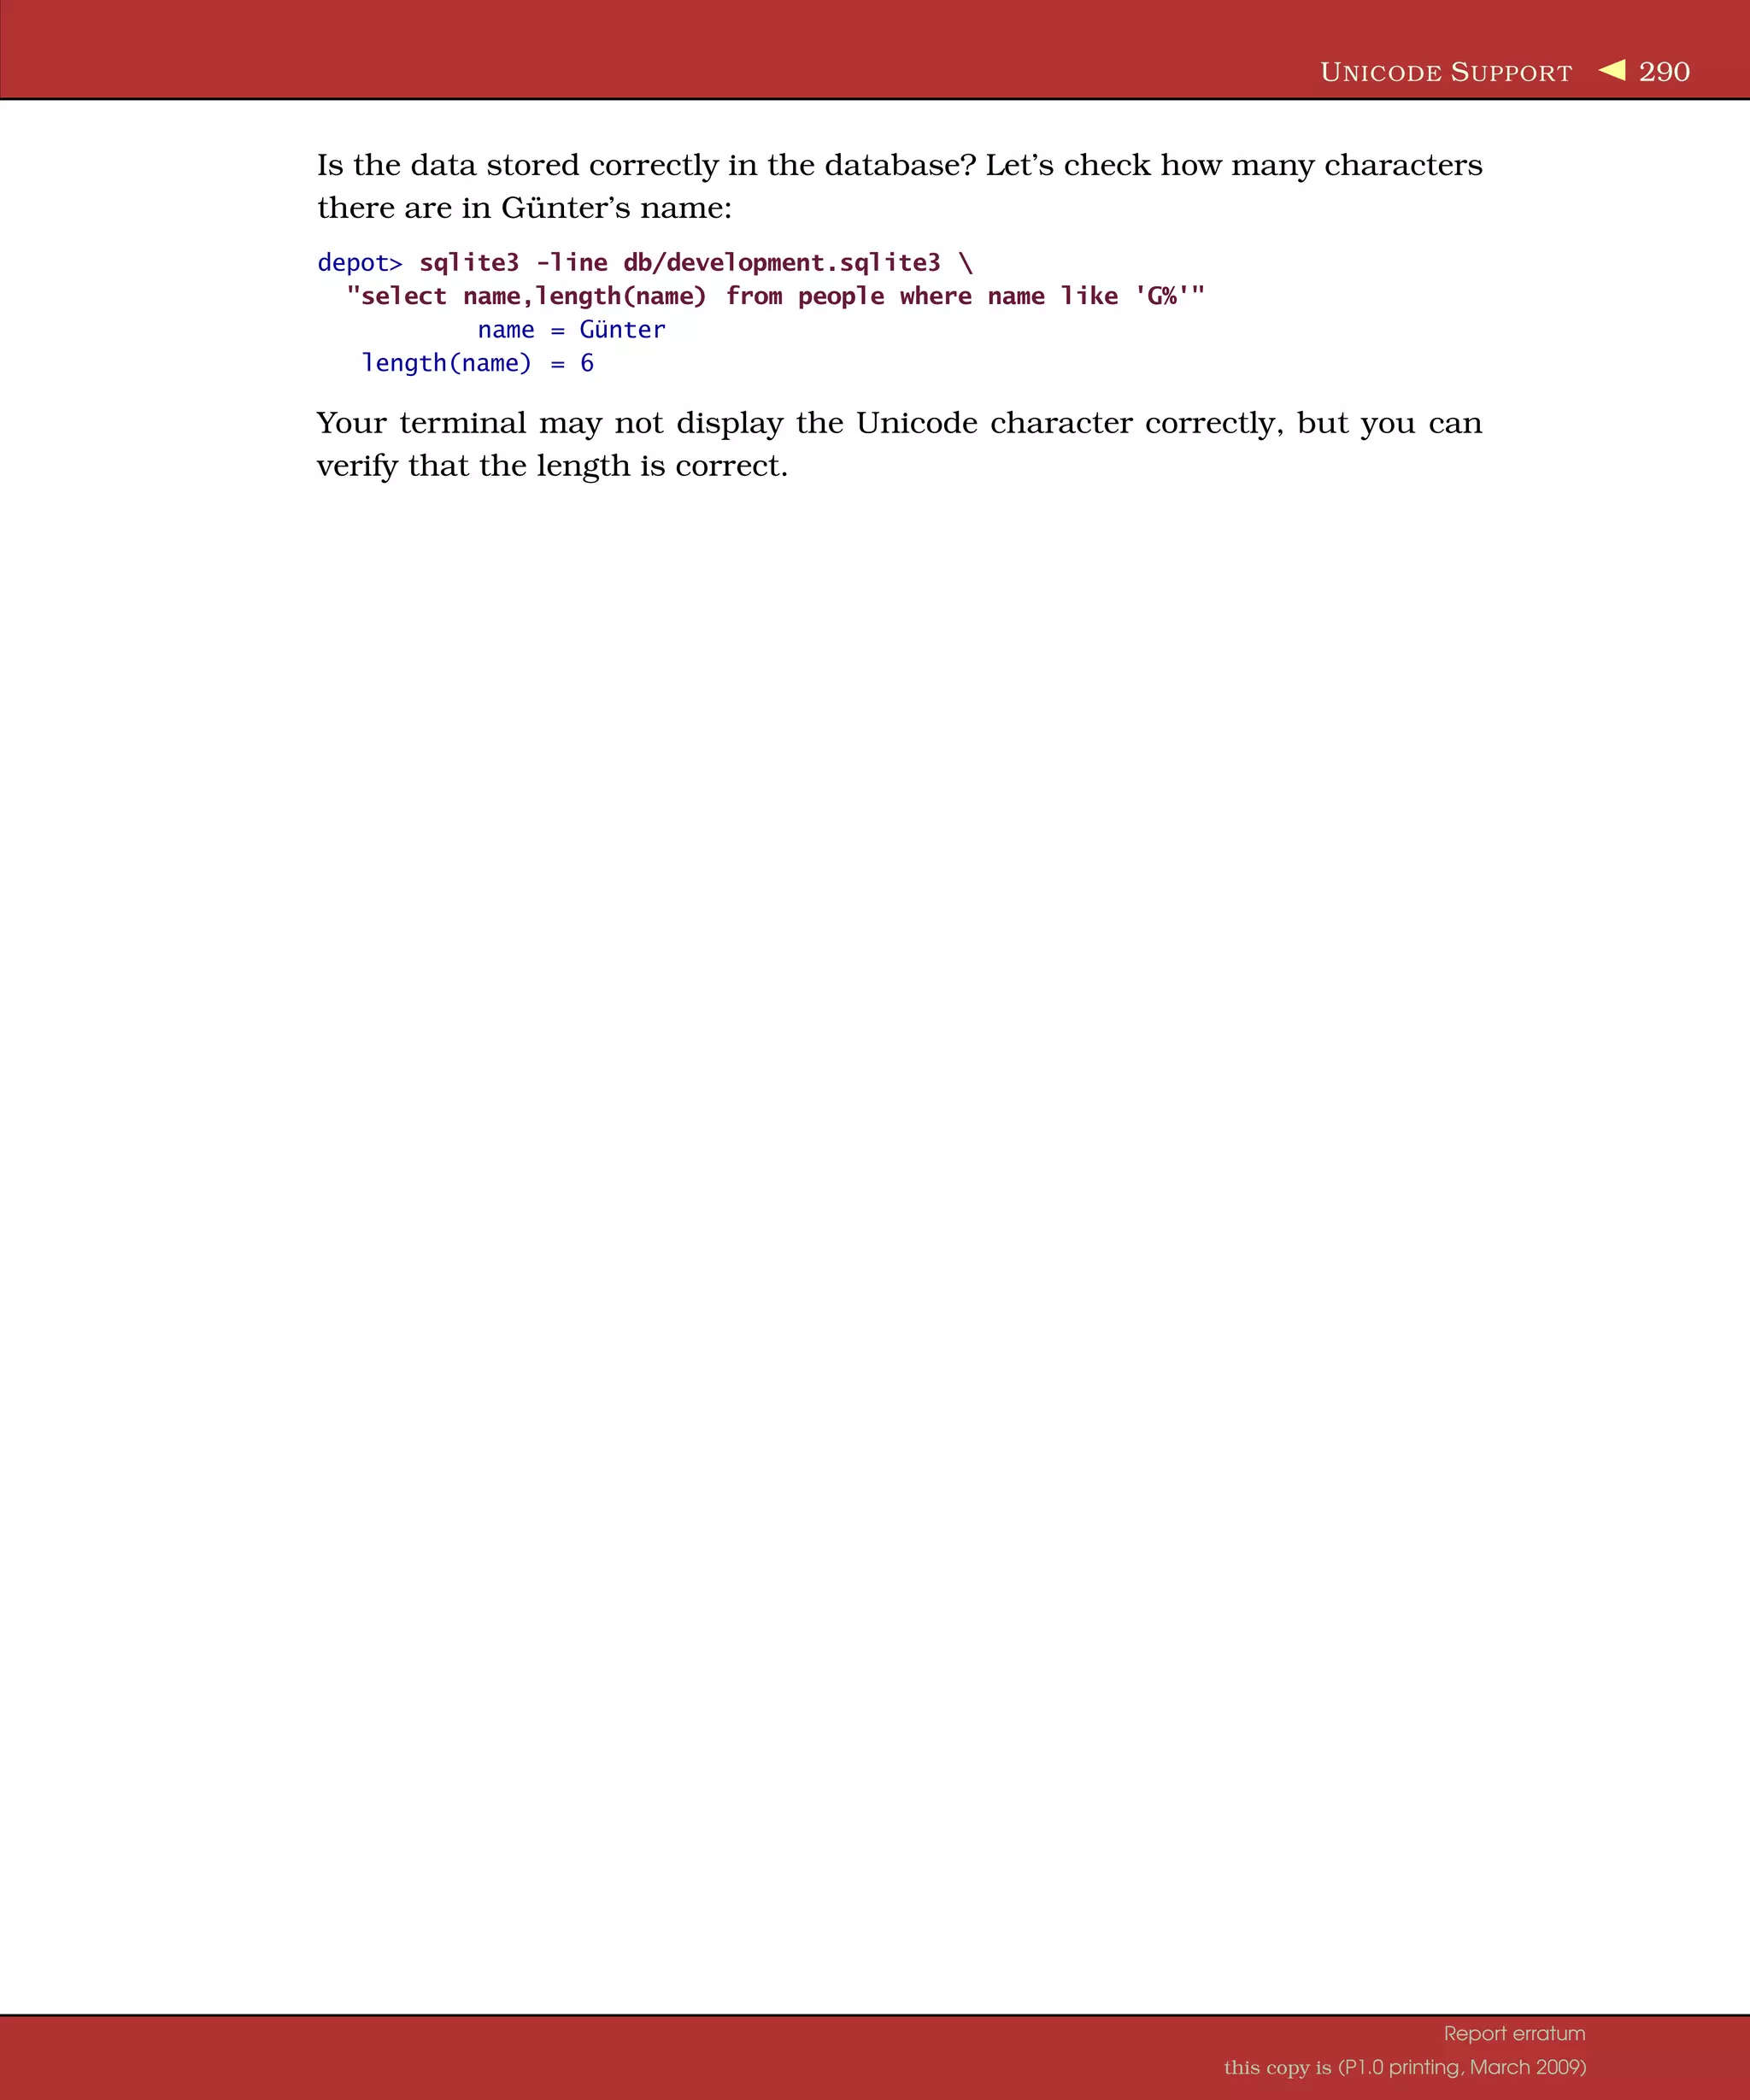

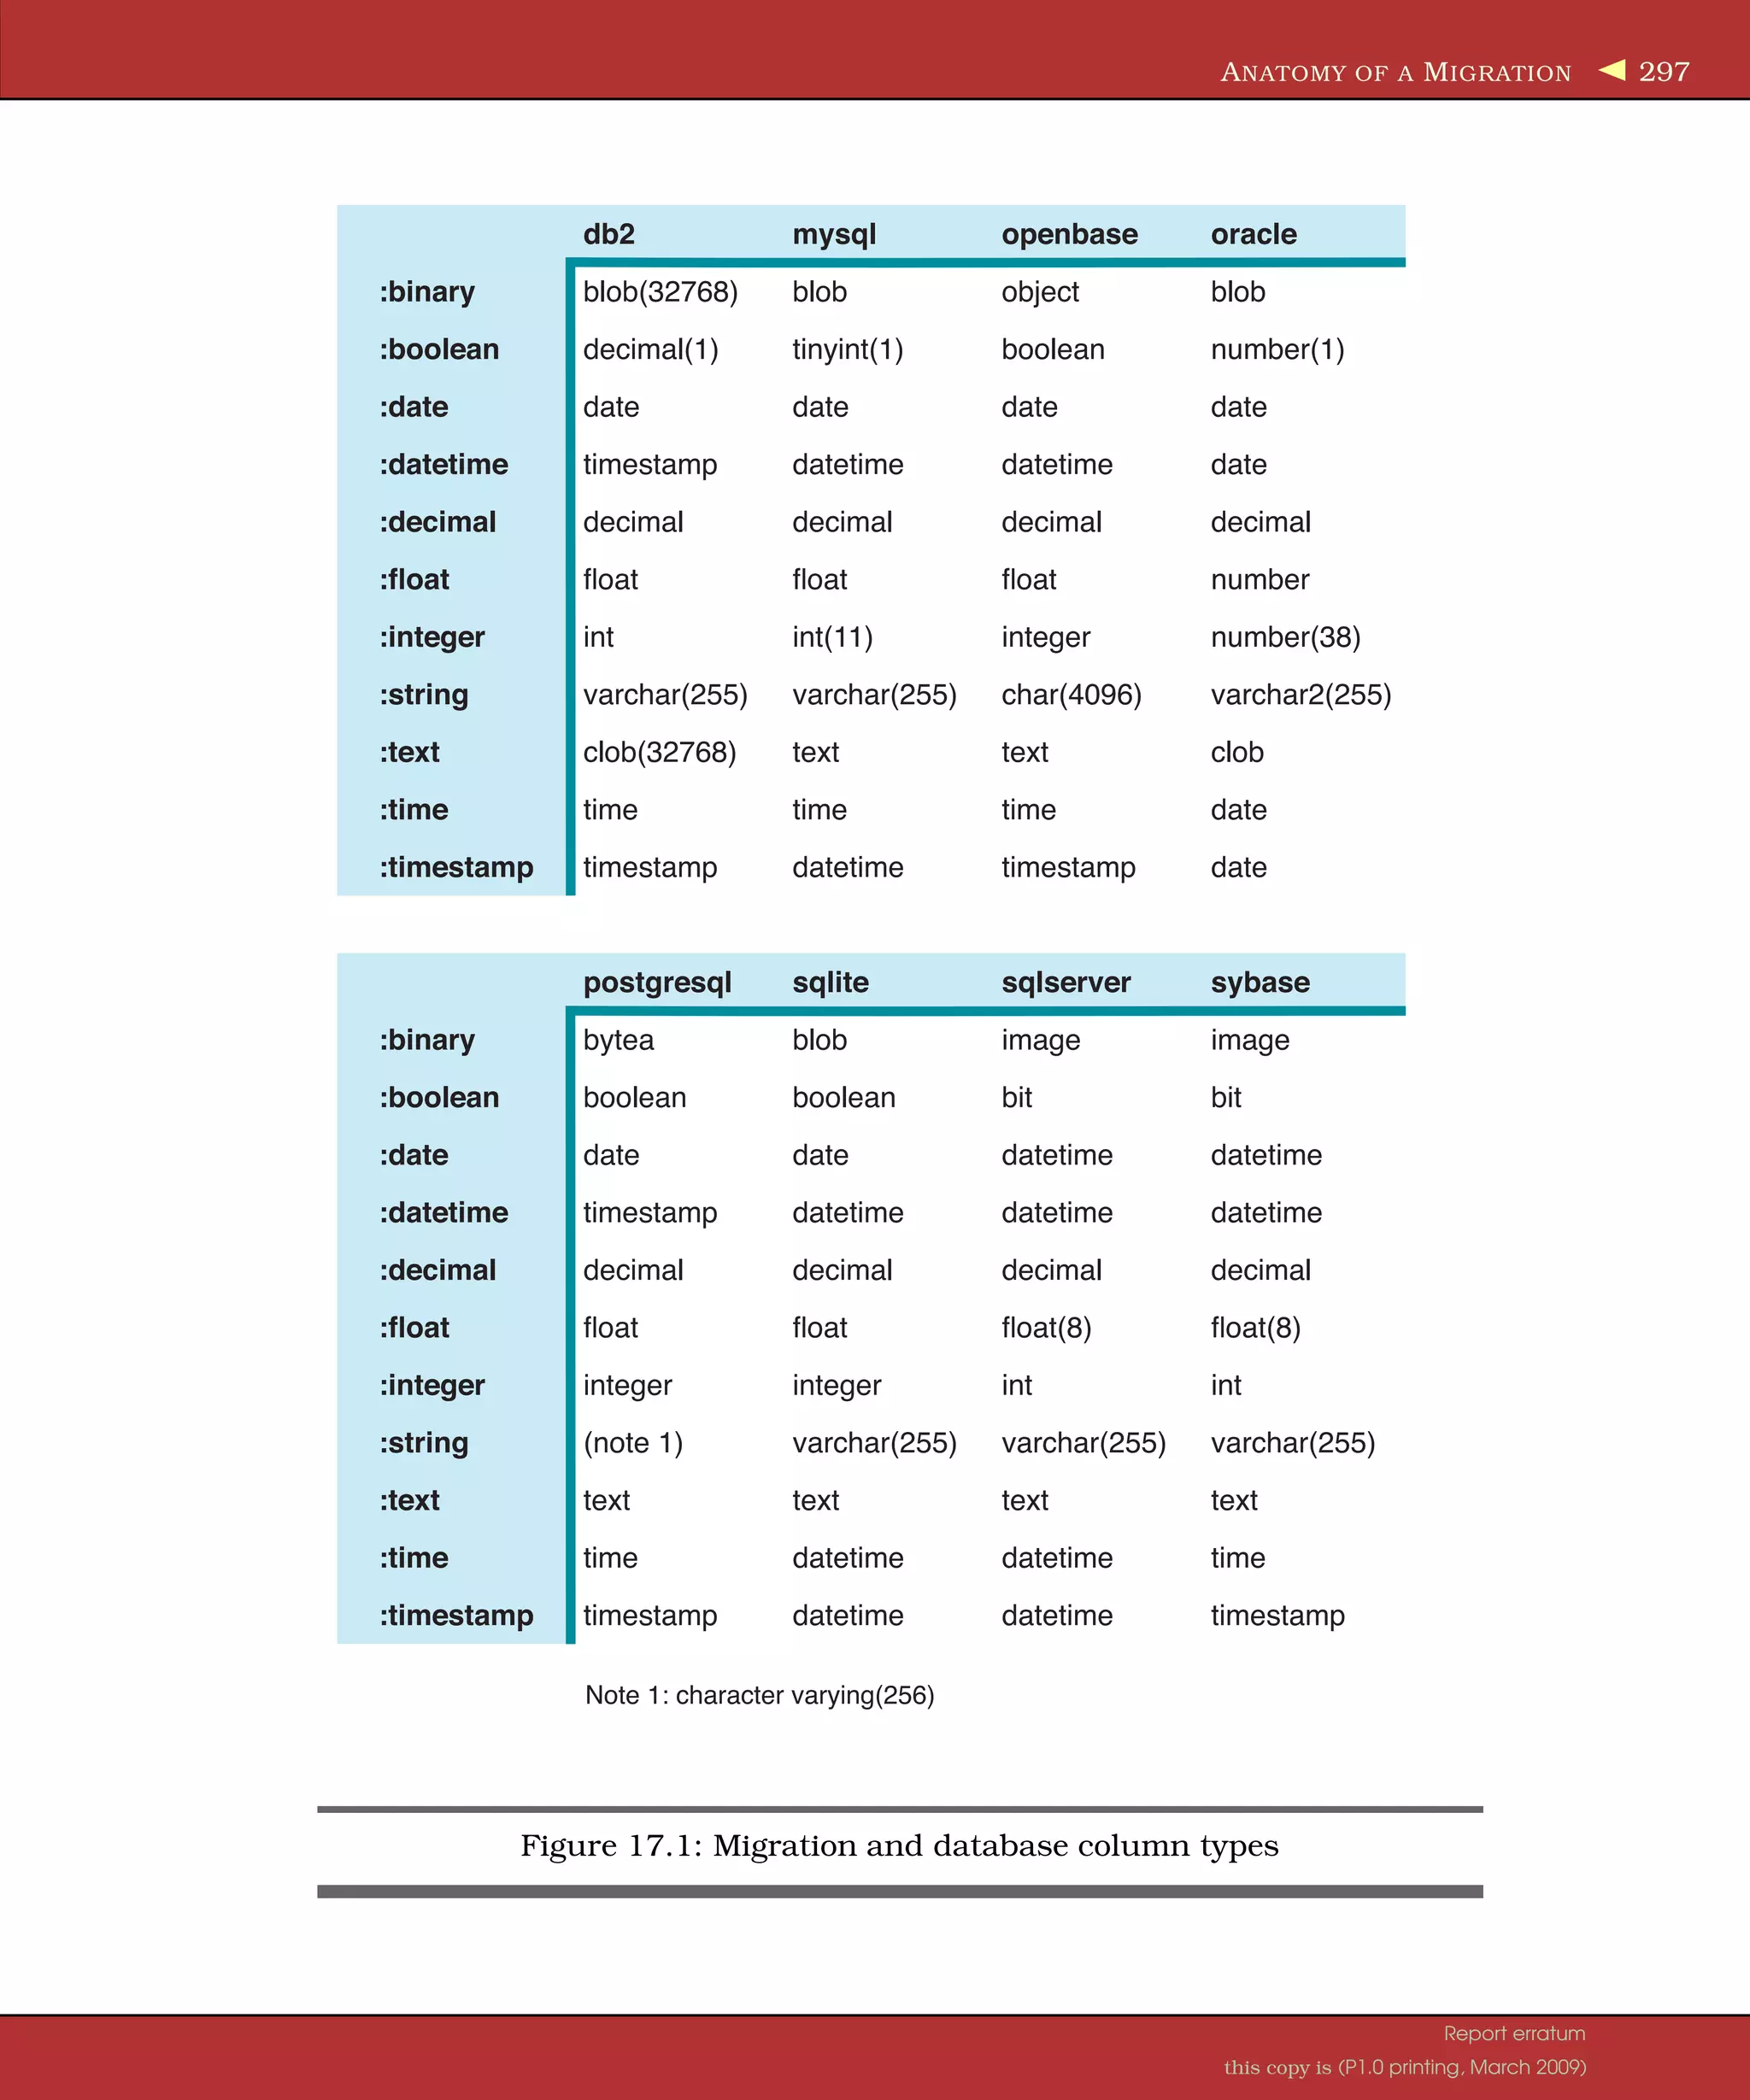

![D ATA M IGRATIONS 305 on. In the old days, developers used to hack this data into their databases, often by typing SQL insert statements by hand. This was hard to manage and tended not to be repeatable. It also made it hard for developers joining the project halfway through to get up to speed. Migrations make this a lot easier. On virtually all our Rails projects, we find ourselves creating data-only migrations—migrations that load data into an existing schema rather than changing the schema itself. Note that we’re talking here about creating data that’s a convenience for the developer when they play with the application and for creating “fixed” data such as lookup tables. You’ll still want to create fixtures containing data spe- cific to tests. Here’s a data-only migration drawn from the Rails application for the new Pragmatic Bookshelf store: class TestDiscounts < ActiveRecord::Migration def self.up down rails_book_sku = Sku.find_by_sku("RAILS-B-00" ) ruby_book_sku = Sku.find_by_sku("RUBY-B-00" ) auto_book_sku = Sku.find_by_sku("AUTO-B-00" ) discount = Discount.create(:name => "Rails + Ruby Paper" , :action => "DEDUCT_AMOUNT" , :amount => "15.00" ) discount.skus = [rails_book_sku, ruby_book_sku] discount.save! discount = Discount.create(:name => "Automation Sale" , :action => "DEDUCT_PERCENT" , :amount => "5.00" ) discount.skus = [auto_book_sku] discount.save! end def self.down Discount.delete_all end end Notice how this migration uses the full power of our existing Active Record classes to find existing SKUs, create new discount objects, and knit the two together. Also, notice the subtlety at the start of the up method—it initially calls the down method, and the down method in turn deletes all rows from the discounts table. This is a common pattern with data-only migrations. Report erratum this copy is (P1.0 printing, March 2009)](https://image.slidesharecdn.com/pragmatic-agilewebdevelopmentwithrails-3rdedition-2009-091104222637-phpapp01/75/Pragmatic-Agile-Web-Development-With-Rails-3rd-Edition-2009-305-2048.jpg)
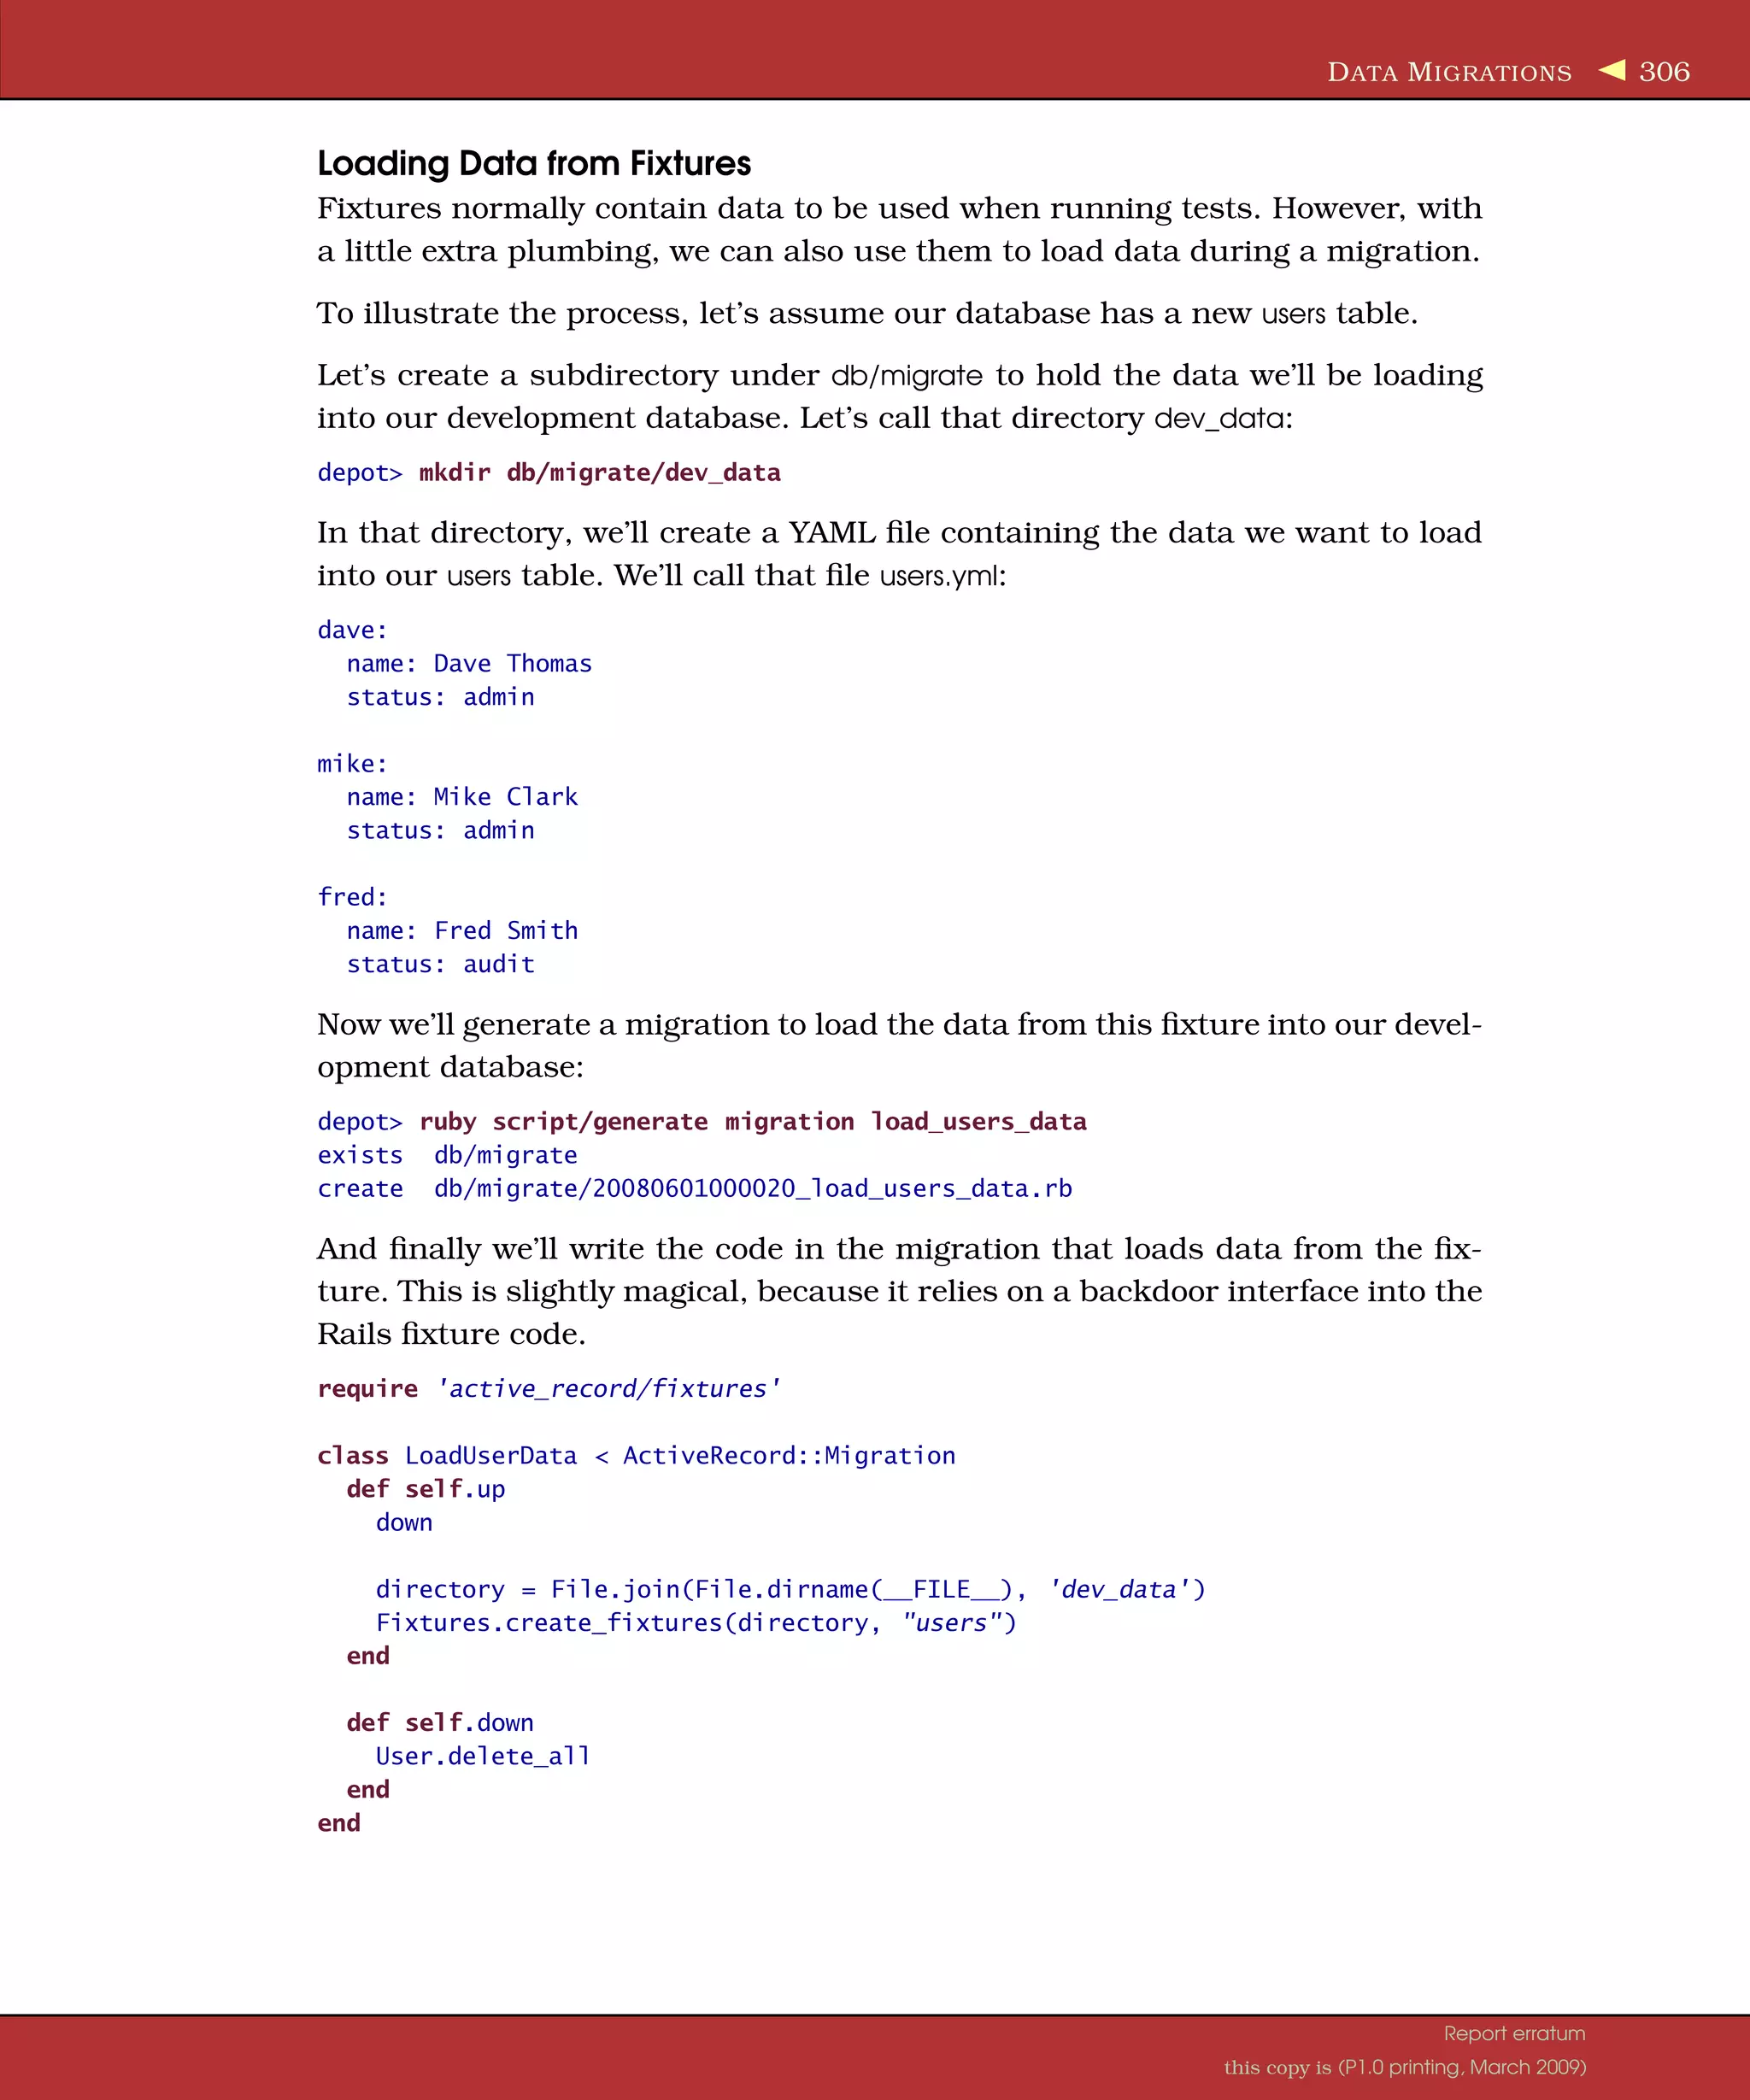
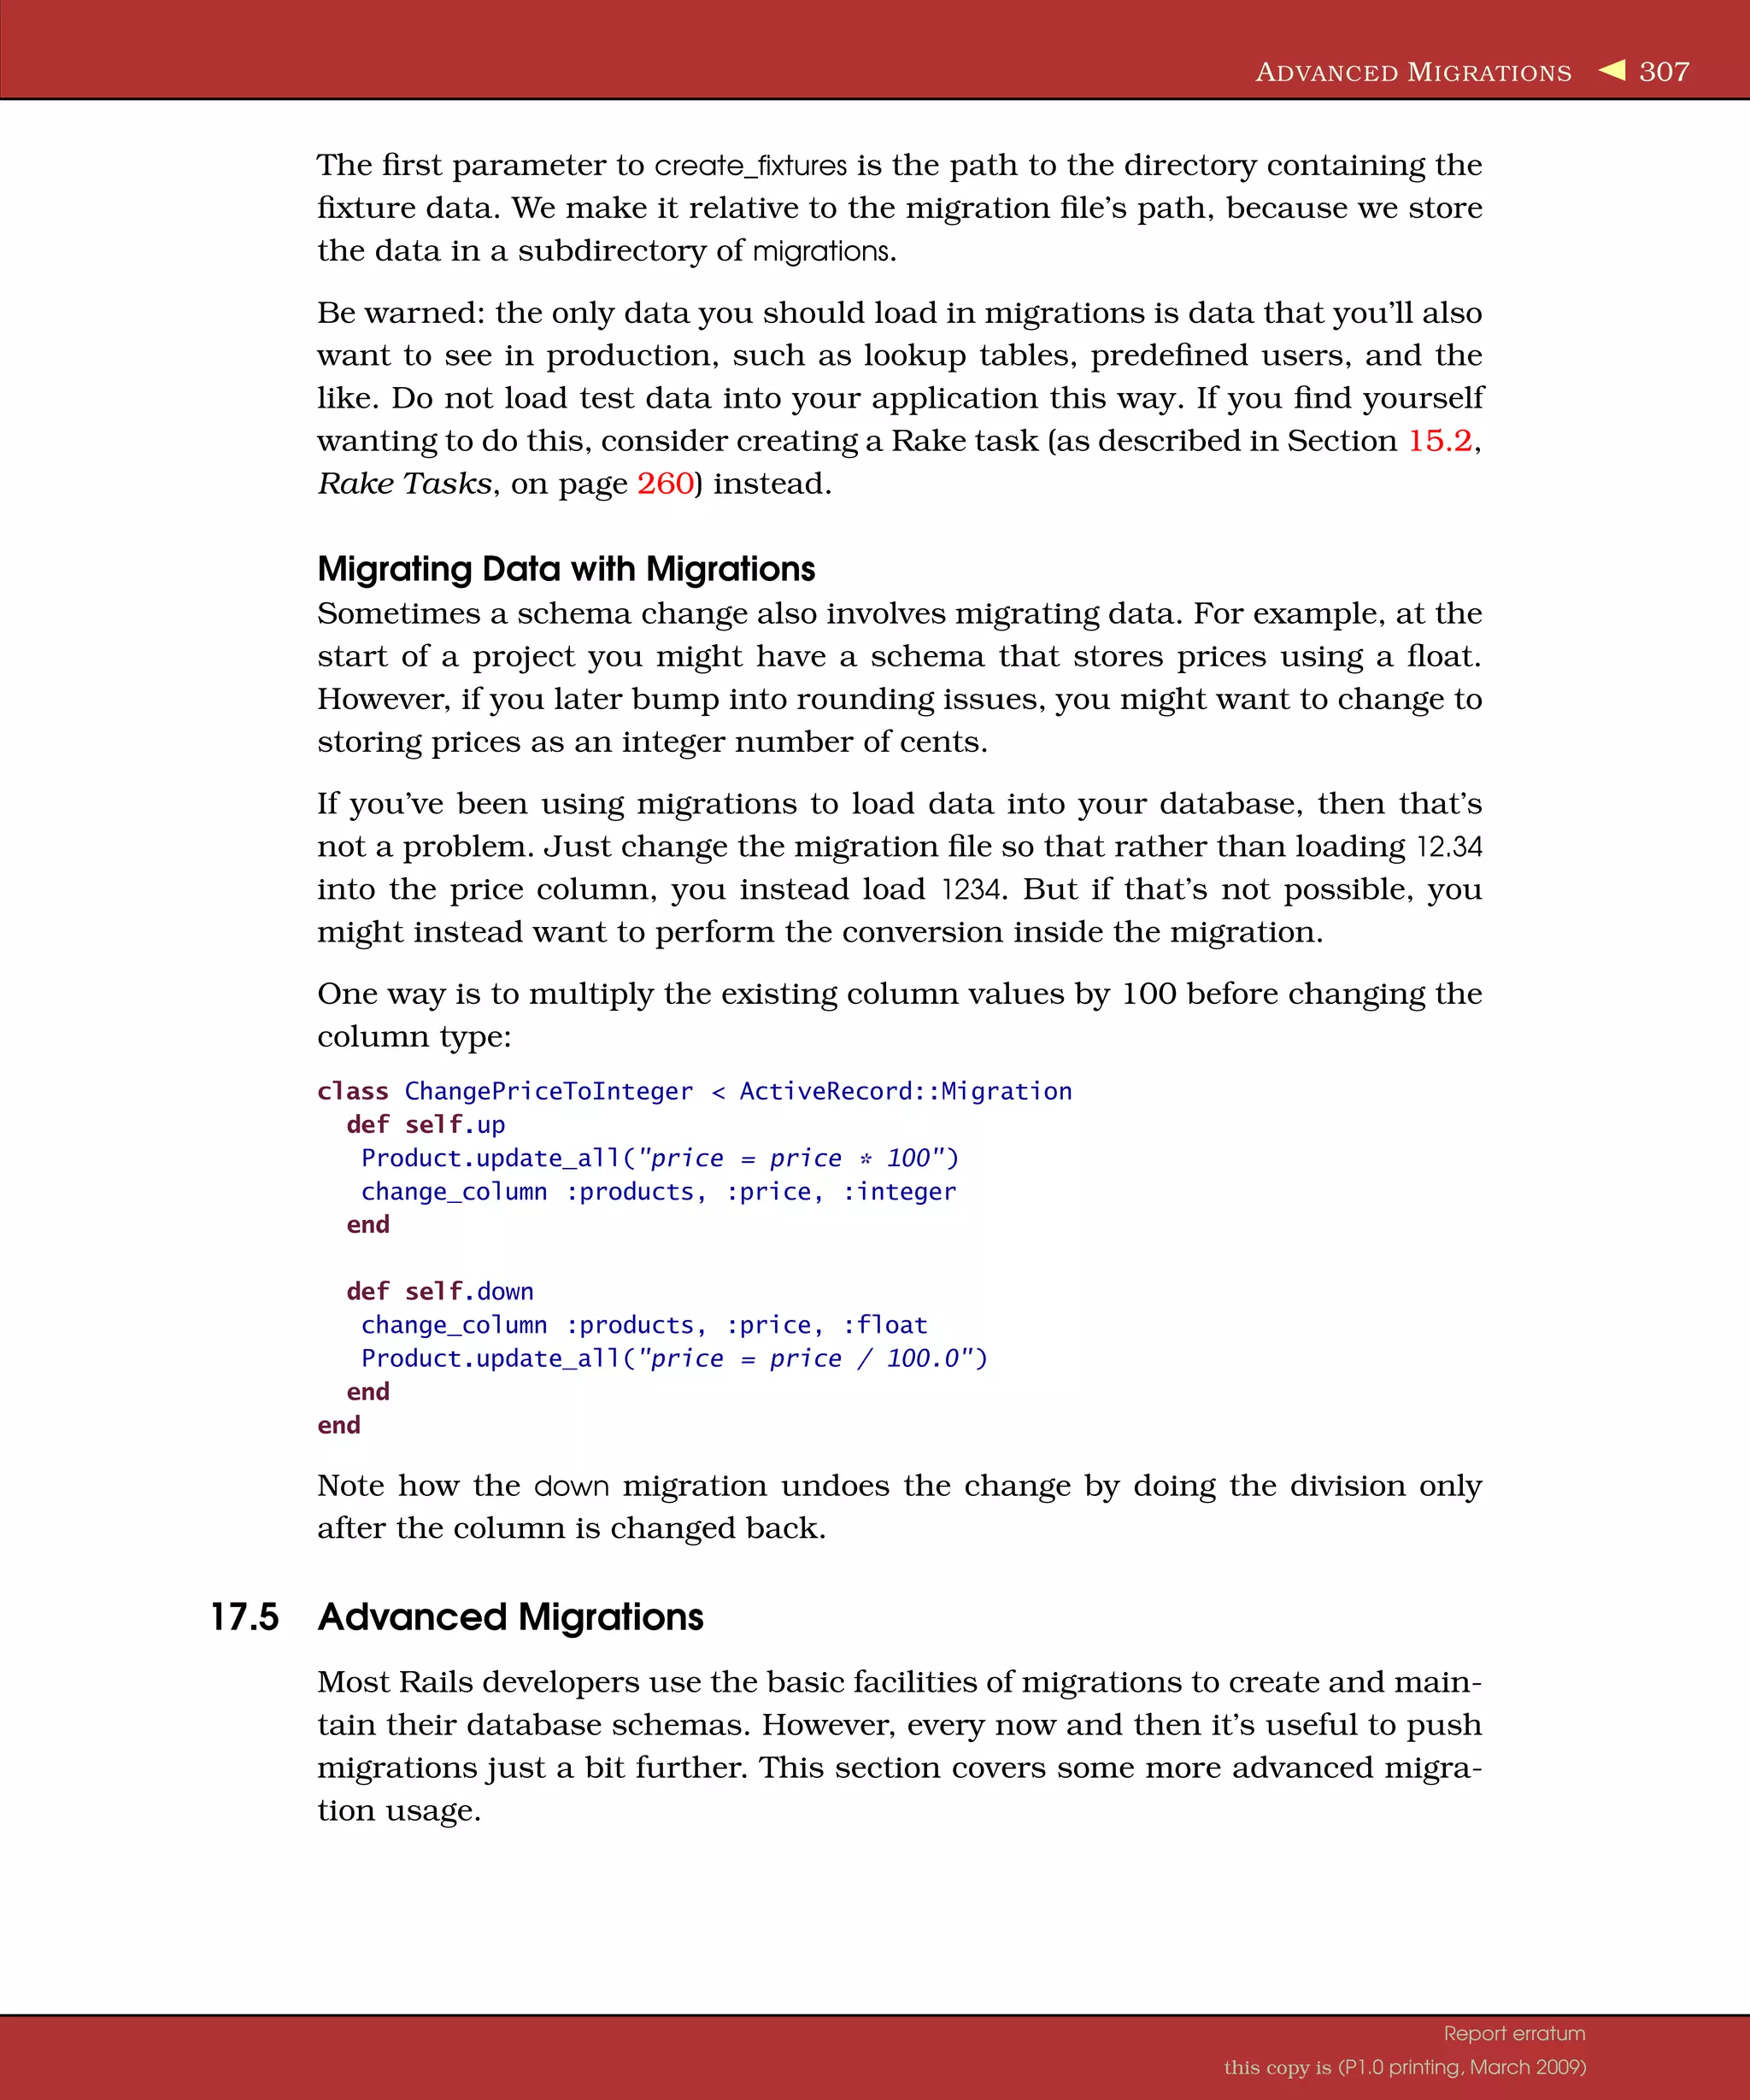

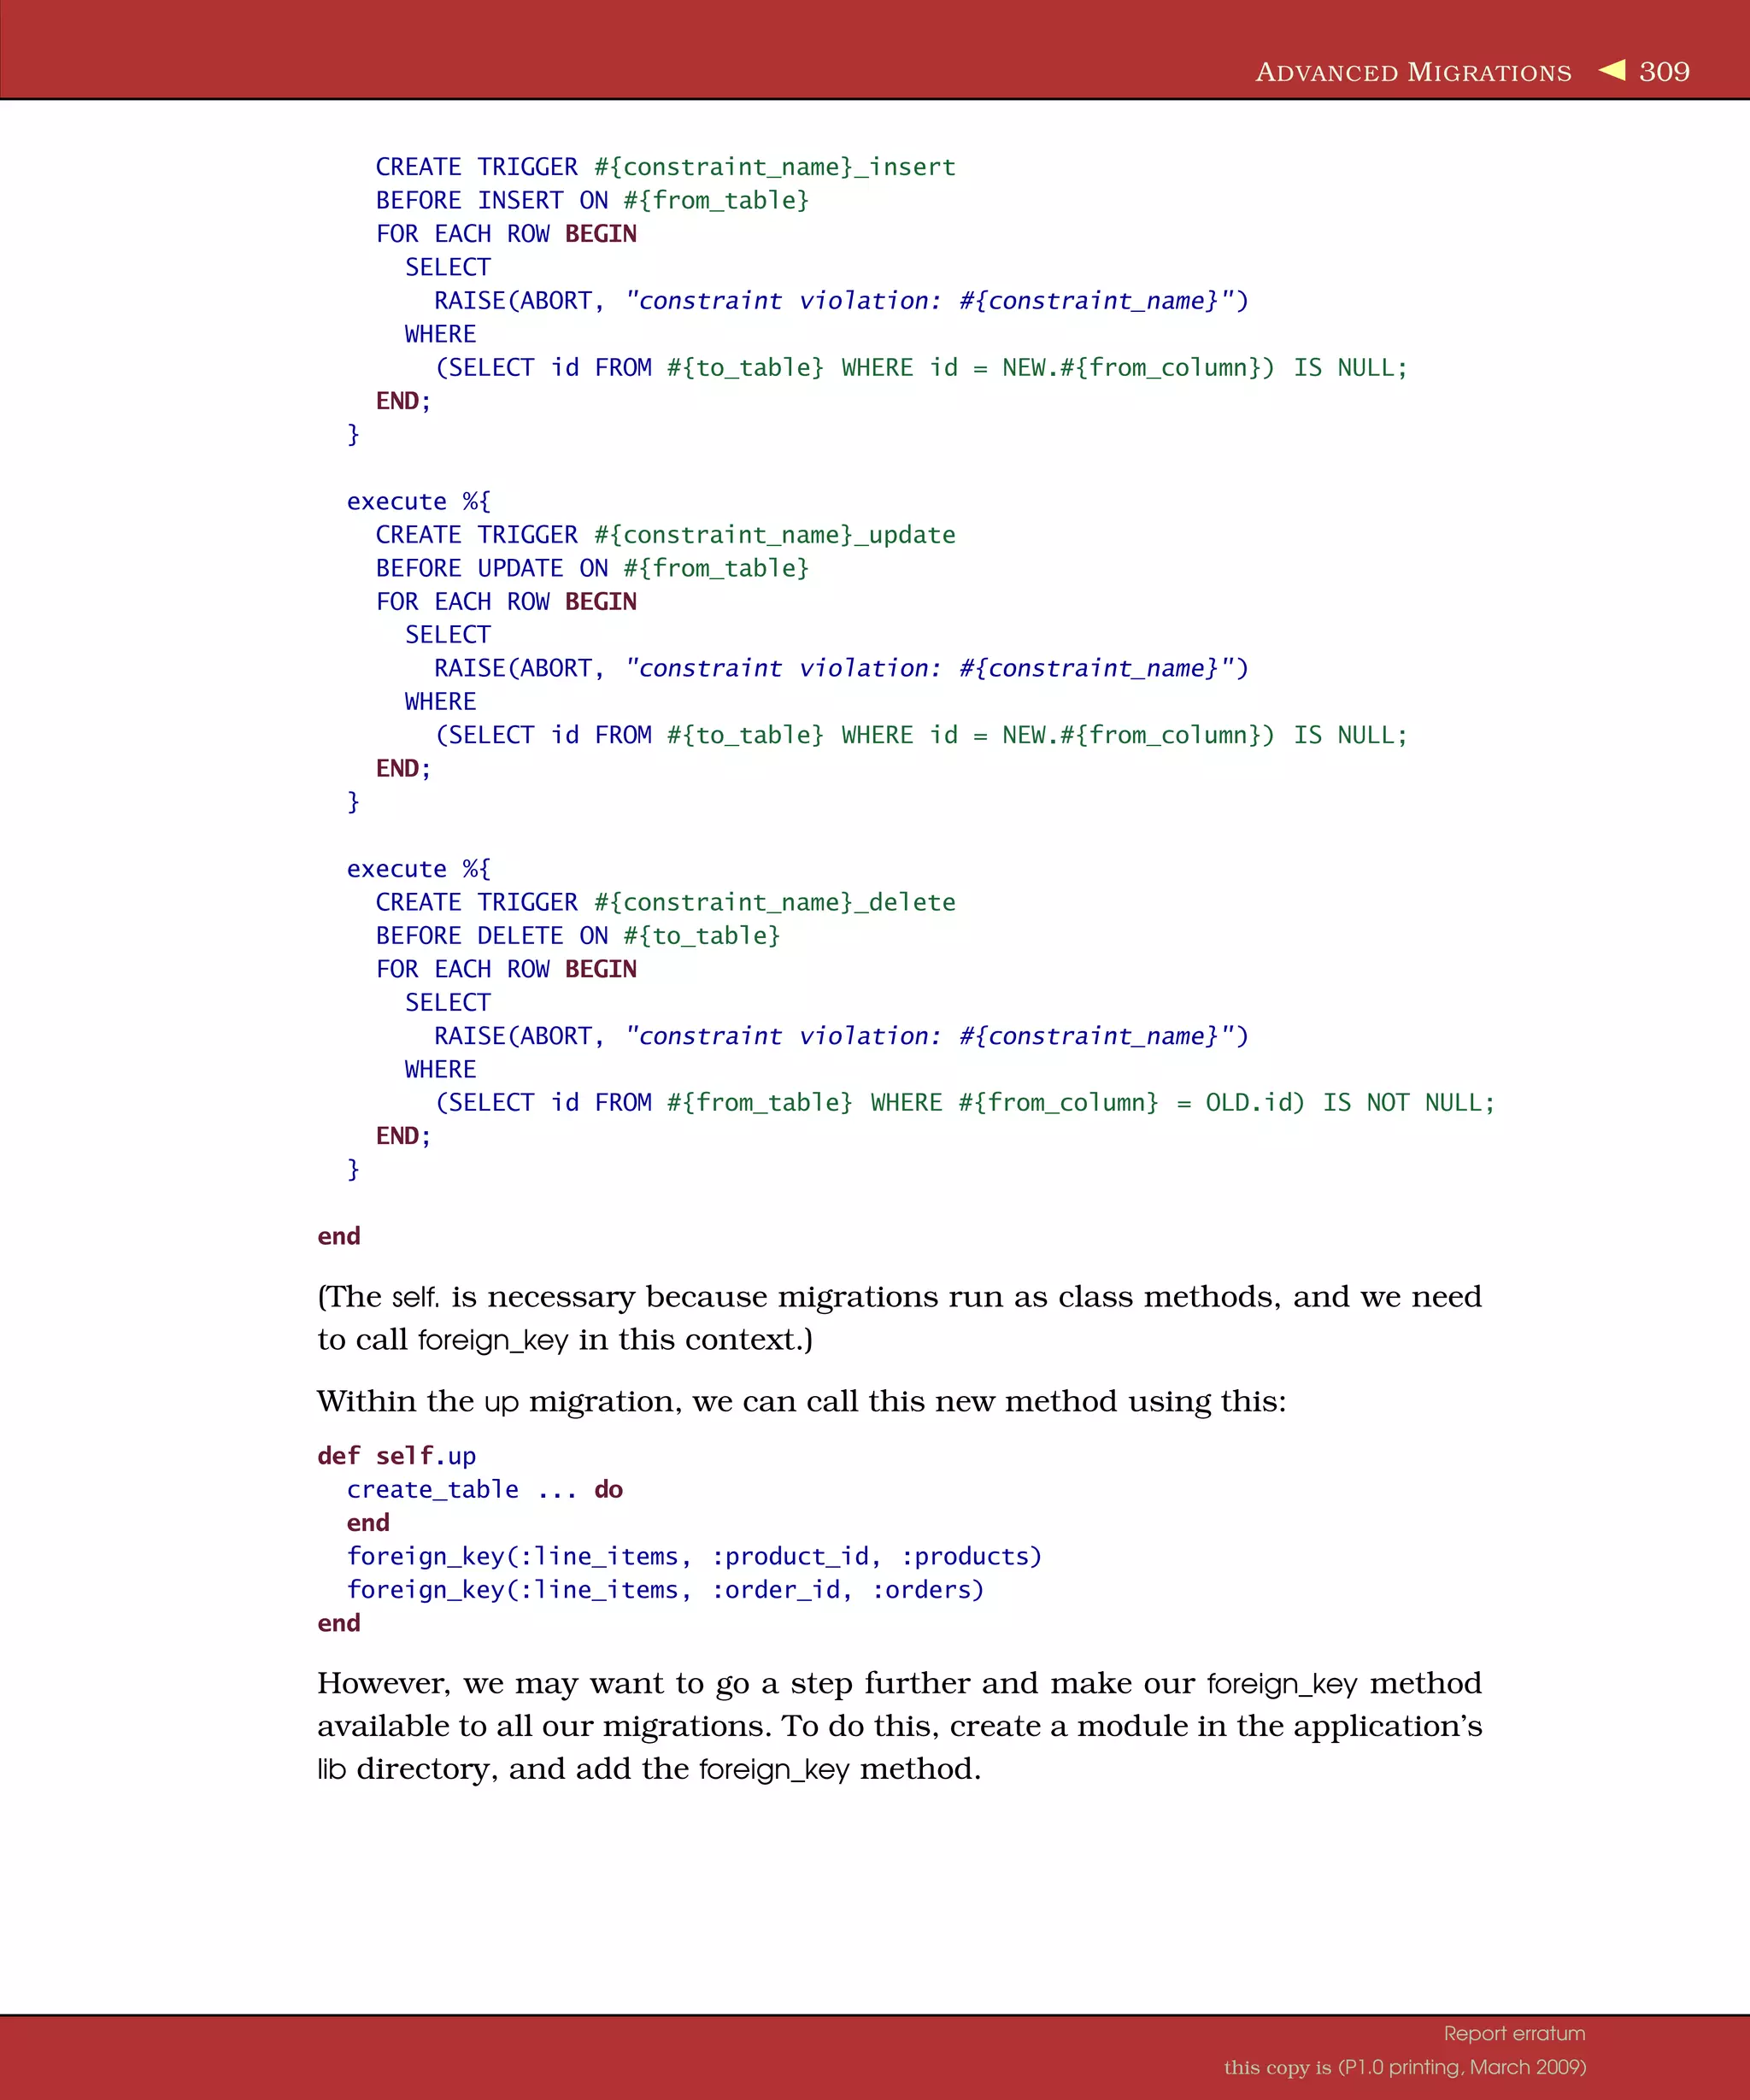
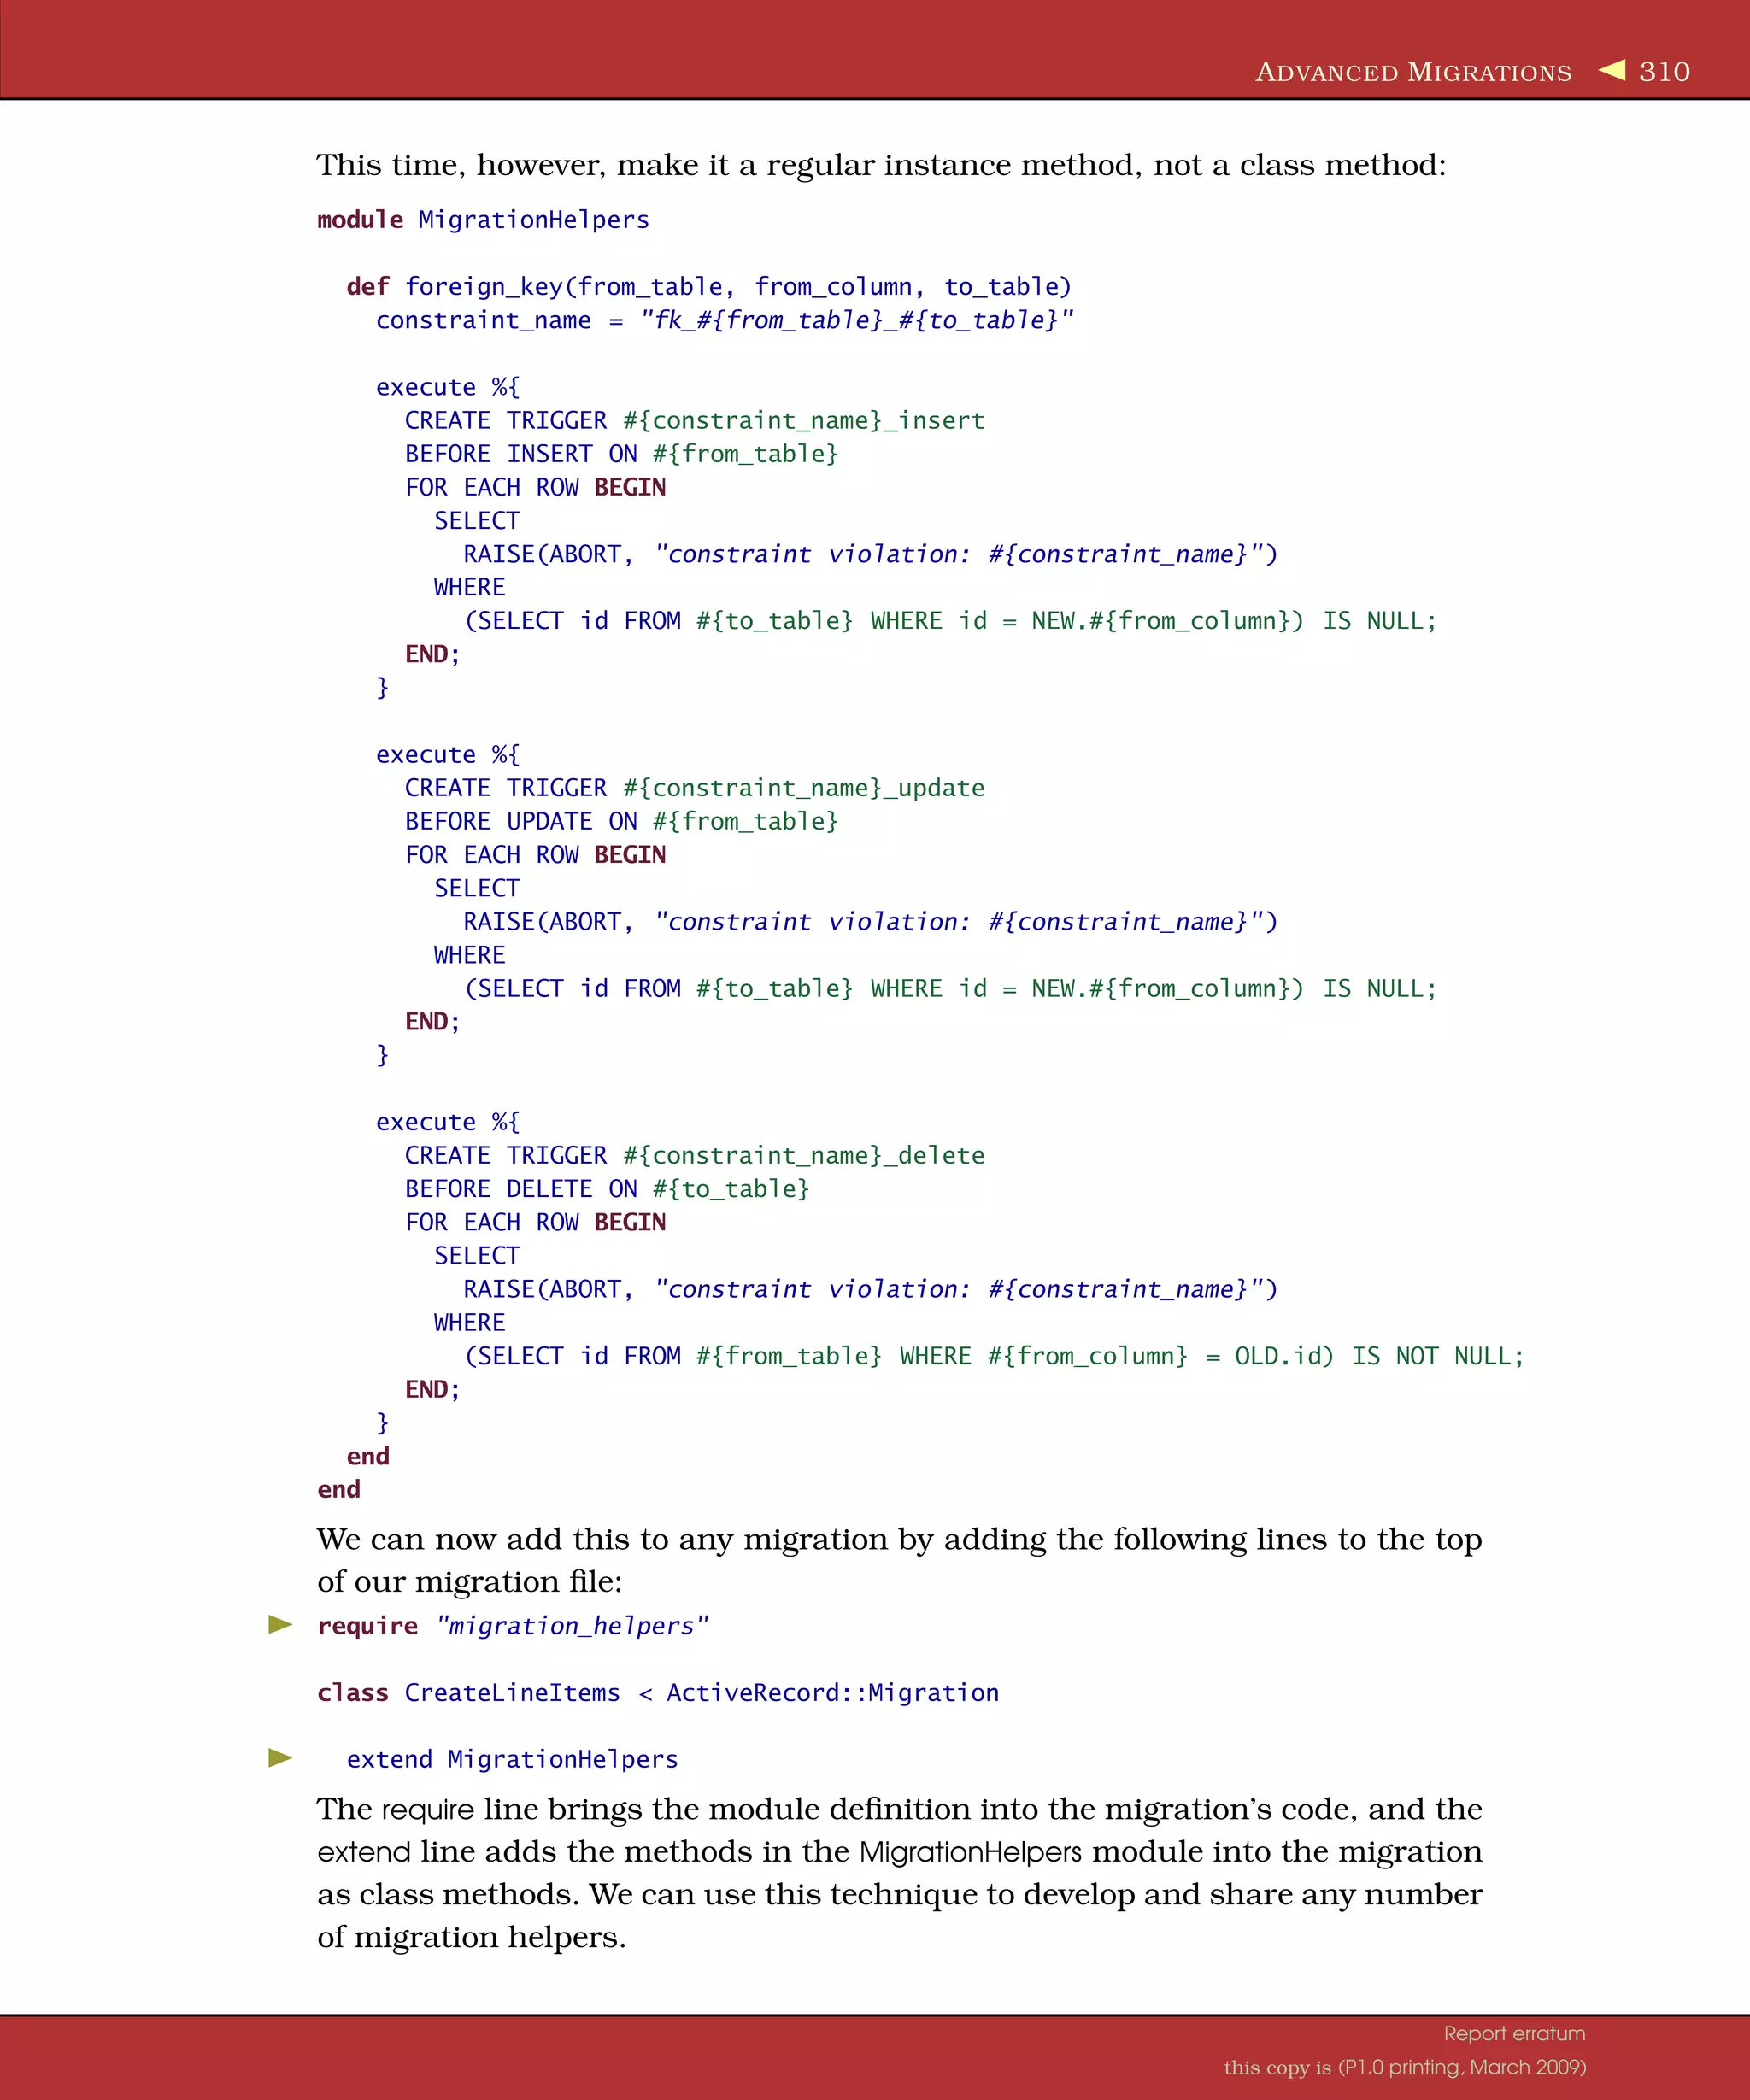


![C OLUMNS AND A TTRIBUTES 317 David Says. . . Where Are Our Attributes? The notion of a database administrator (DBA) as a separate role from pro- grammer has led some developers to see strict boundaries between code and schema. Active Record blurs that distinction, and no other place is that more apparent than in the lack of explicit attribute definitions in the model. But fear not. Practice has shown that it makes little difference whether we’re looking at a database schema, a separate XML mapping file, or inline attributes in the model. The composite view is similar to the separations already happening in the Model-View-Control pattern—just on a smaller scale. Once the discomfort of treating the table schema as part of the model def- inition has dissipated, you’ll start to realize the benefits of keeping DRY. When you need to add an attribute to the model, you simply create a new migration and reload the application. Taking the “build” step out of schema evolution makes it just as agile as the rest of the code. It becomes much easier to start with a small schema and extend and change it as needed. In the Depot application, our orders table is defined by the following migration: Download depot_r/db/migrate/20080601000005_create_orders.rb def self.up create_table :orders do |t| t.string :name t.text :address t.string :email t.string :pay_type, :limit => 10 t.timestamps end end We’ve already written an Order model class as part of the Depot application. Let’s use the handy-dandy script/console command to play with it. First, we’ll ask for a list of column names: depot> ruby script/console Loading development environment (Rails 2.2.2) >> Order.column_names => ["id", "name", "address", "email", "pay_type", "created_at", "updated_at"] Report erratum this copy is (P1.0 printing, March 2009)](https://image.slidesharecdn.com/pragmatic-agilewebdevelopmentwithrails-3rdedition-2009-091104222637-phpapp01/75/Pragmatic-Agile-Web-Development-With-Rails-3rd-Edition-2009-317-2048.jpg)
![C OLUMNS AND A TTRIBUTES 318 SQL Type Ruby Class SQL Type Ruby Class int, integer Fixnum float, double Float decimal, numeric BigDecimal¹ char, varchar, string String interval, date Date datetime, time Time clob, blob, text String boolean see text ¹ Decimal and numeric columns are mapped to integers when their scale is 0 Figure 18.1: Mapping SQL types to Ruby types Then we’ll ask for the details of the pay_type column: >> Order.columns_hash["pay_type"] => #<ActiveRecord::ConnectionAdapters::SQLiteColumn:0x13d371c @precision=nil, @primary=false, @limit=10, @default=nil, @null=true, @name="pay_type", @type=:string, @scale=nil, @sql_type="varchar(10)"> Notice that Active Record has gleaned a fair amount of information about the pay_type column. It knows that it’s a string of at most ten characters, it has no default value, it isn’t the primary key, and it may contain a null value. This information was obtained by asking the underlying database the first time we tried to use the Order class. We can see the mapping between SQL types and their Ruby representation in Figure 18.1. Decimal columns are slightly tricky: if the schema specifies columns with no decimal places, they are mapped to Ruby Fixnum objects; oth- erwise, they are mapped to Ruby BigDecimal objects, ensuring that no precision is lost. Accessing Rows and Attributes Active Record classes correspond to tables in a database. Instances of a class correspond to the individual rows in a database table. Calling Order.find(1), for instance, returns an instance of an Order class containing the data in the row with the primary key of 1. The attributes of an Active Record instance generally correspond to the data in the corresponding row of the database table. For example, our orders table might contain the following data: depot> sqlite3 -line db/development.sqlite3 "select * from orders limit 1" id = 1 name = Dave Thomas address = 123 Main St email = customer@pragprog.com pay_type = check created_at = 2008-05-13 10:13:48 updated_at = 2008-05-13 10:13:48 Report erratum this copy is (P1.0 printing, March 2009)](https://image.slidesharecdn.com/pragmatic-agilewebdevelopmentwithrails-3rdedition-2009-091104222637-phpapp01/75/Pragmatic-Agile-Web-Development-With-Rails-3rd-Edition-2009-318-2048.jpg)


![C REATE , R EAD , U PDATE , D ELETE (CRUD) 329 Download e1/ar/new_examples.rb an_order = Order.create( :name => "Dave Thomas" , :email => "dave@pragprog.com" , :address => "123 Main St" , :pay_type => "check" ) You can pass create an array of attribute hashes; it’ll create multiple rows in the database and return an array of the corresponding model objects: Download e1/ar/new_examples.rb orders = Order.create( [ { :name => "Dave Thomas" , :email => "dave@pragprog.com" , :address => "123 Main St" , :pay_type => "check" }, { :name => "Andy Hunt" , :email => "andy@pragprog.com" , :address => "456 Gentle Drive" , :pay_type => "po" } ] ) The real reason that new and create take a hash of values is that you can construct model objects directly from form parameters: order = Order.new(params[:order]) Reading Existing Rows Reading from a database involves first specifying which particular rows of data you are interested in—you’ll give Active Record some kind of criteria, and it will return objects containing data from the row(s) matching the criteria. The simplest way of finding a row in a table is by specifying its primary key. Every model class supports the find method, which takes one or more primary key values. If given just one primary key, it returns an object containing data for the corresponding row (or throws a RecordNotFound exception). If given mul- tiple primary key values, find returns an array of the corresponding objects. Note that in this case a RecordNotFound exception is raised if any of the ids cannot be found (so if the method returns without raising an error, the length of the resulting array will be equal to the number of ids passed as parameters): an_order = Order.find(27) # find the order with id == 27 # Get a list of product ids from a form, then # sum the total price product_list = params[:product_ids] total = Product.find(product_list).sum(&:price) Report erratum this copy is (P1.0 printing, March 2009)](https://image.slidesharecdn.com/pragmatic-agilewebdevelopmentwithrails-3rdedition-2009-091104222637-phpapp01/75/Pragmatic-Agile-Web-Development-With-Rails-3rd-Edition-2009-329-2048.jpg)
![C REATE , R EAD , U PDATE , D ELETE (CRUD) 331 The result will be an array of all the matching rows, each neatly wrapped in an Order object. If no orders match the criteria, the array will be empty. That’s fine if our condition is predefined, but how do we handle the situation where the name of the customer is set externally (perhaps coming from a web form)? One way is to substitute the value of that variable into the condition string: # get the name from the form name = params[:name] # DON'T DO THIS!!! pos = Order.find(:all, :conditions => "name = '#{name}' and pay_type = 'po'" ) As the comment suggests, this really isn’t a good idea. Why? It leaves the database wide open to something called a SQL injection attack, which we describe in more detail in Chapter 27, Securing Your Rails Application, on page 637. For now, take it as a given that substituting a string from an exter- nal source into a SQL statement is effectively the same as publishing your entire database to the whole online world. Instead, the safe way to generate dynamic SQL is to let Active Record handle it. Wherever we can pass in a string containing SQL, we can also pass in an array or a hash. Doing this allows Active Record to create properly escaped SQL, which is immune from SQL injection attacks. Let’s see how this works. If we pass an array when Active Record is expecting SQL, it treats the first element of that array as a template for the SQL to generate. Within this SQL, we can embed placeholders, which will be replaced at runtime by the values in the rest of the array. One way of specifying placeholders is to insert one or more question marks in the SQL. The first question mark is replaced by the second element of the array, the next question mark by the third, and so on. For example, we could rewrite the previous query as this: name = params[:name] pos = Order.find(:all, :conditions => ["name = ? and pay_type = 'po'" , name]) We can also use named placeholders. Each placeholder is of the form :name, and the corresponding values are supplied as a hash, where the keys corre- spond to the names in the query: name = params[:name] pay_type = params[:pay_type] pos = Order.find(:all, :conditions => ["name = :name and pay_type = :pay_type" , {:pay_type => pay_type, :name => name}]) Report erratum this copy is (P1.0 printing, March 2009)](https://image.slidesharecdn.com/pragmatic-agilewebdevelopmentwithrails-3rdedition-2009-091104222637-phpapp01/75/Pragmatic-Agile-Web-Development-With-Rails-3rd-Edition-2009-331-2048.jpg)
![C REATE , R EAD , U PDATE , D ELETE (CRUD) 332 We can take this a step further. Because params is effectively a hash, we can simply pass it all to the condition. If we have a form that can be used to enter search criteria, we can use the hash of values returned from that form directly: pos = Order.find(:all, :conditions => ["name = :name and pay_type = :pay_type" , params[:order]]) As of Rails 1.2, we can take this even further. If we pass just a hash as the condition, Rails generates a where clause where the hash keys are used as column names and the hash values the values to match. Thus, we could have written the previous code even more succinctly: pos = Order.find(:all, :conditions => params[:order]) (Be careful with this latter form of condition: it takes all the key/value pairs in the hash you pass in when constructing the condition.) Regardless of which form of placeholder you use, Active Record takes great care to quote and escape the values being substituted into the SQL. Use these forms of dynamic SQL, and Active Record will keep you safe from injection attacks. Using Like Clauses We might be tempted to do something like the following to use parameterized like clauses in conditions: # Doesn't work User.find(:all, :conditions => ["name like '?%'" , params[:name]]) Rails doesn’t parse the SQL inside a condition and so doesn’t know that the name is being substituted into a string. As a result, it will go ahead and add extra quotes around the value of the name parameter. The correct way to do this is to construct the full parameter to the like clause and pass that parameter into the condition: # Works User.find(:all, :conditions => ["name like ?" , params[:name]+"%" ]) Of course, if we do this, we need to consider that characters such as percent signs, should they happen to appear in the value of the name parameter, will be treated as wildcards. Power find() Now that we know how to specify conditions, let’s turn our attention to the various options supported by find(:first, ...) and find(:all, ...).. It’s important to understand that find(:first, ...) generates an identical SQL query to doing find(:all, ...) with the same conditions, except that the result set is limited to a single row. We’ll describe the parameters for both methods in one Report erratum this copy is (P1.0 printing, March 2009)](https://image.slidesharecdn.com/pragmatic-agilewebdevelopmentwithrails-3rdedition-2009-091104222637-phpapp01/75/Pragmatic-Agile-Web-Development-With-Rails-3rd-Edition-2009-332-2048.jpg)
![C REATE , R EAD , U PDATE , D ELETE (CRUD) 333 place and illustrate them using find(:all, ...). We’ll call find with a first parameter of :first or :all the finder method. With no extra parameters, the finder effectively executes a select * from... state- ment. The :all form returns all rows from the table, and :first returns one. The order is not guaranteed (so Order.find(:first) will not necessarily return the first order created by your application). :conditions As we saw in the previous section, the :conditions parameter lets us specify the condition passed to the SQL where clause used by the find method. This condi- tion can be a string containing SQL, an array containing SQL and substitution values, or a hash. (From now on we won’t mention this explicitly—whenever we talk about a SQL parameter, assume the method can accept an array, a string, or a hash.) daves_orders = Order.find(:all, :conditions => "name = 'Dave'" ) name = params[:name] other_orders = Order.find(:all, :conditions => ["name = ?" , name]) yet_more = Order.find(:all, :conditions => ["name = :name and pay_type = :pay_type" , params[:order]]) still_more = Order.find(:all, :conditions => params[:order]) :order SQL doesn’t guarantee that rows will be returned in any particular order unless we explicitly add an order by clause to the query. The :order parame- ter lets us specify the criteria we’d normally add after the order by keywords. For example, the following query would return all of Dave’s orders, sorted first by payment type and then by shipping date (the latter in descending order): orders = Order.find(:all, :conditions => "name = 'Dave'" , :order => "pay_type, shipped_at DESC" ) :limit We can limit the number of rows returned by find(:all, ...) with the :limit param- eter. If we use the limit parameter, we’ll probably also want to specify the sort order to ensure consistent results. For example, the following returns the first ten matching orders: orders = Order.find(:all, :conditions => "name = 'Dave'" , :order => "pay_type, shipped_at DESC" , :limit => 10) Report erratum this copy is (P1.0 printing, March 2009)](https://image.slidesharecdn.com/pragmatic-agilewebdevelopmentwithrails-3rdedition-2009-091104222637-phpapp01/75/Pragmatic-Agile-Web-Development-With-Rails-3rd-Edition-2009-333-2048.jpg)
![C REATE , R EAD , U PDATE , D ELETE (CRUD) 337 objects from the result set. The attributes in these models will be set from the columns returned by the query. We’d normally use the select * form to return all columns for a table, but this isn’t required.11 Download e1/ar/find_examples.rb orders = LineItem.find_by_sql("select line_items.* from line_items, orders " + " where order_id = orders.id " + " and orders.name = 'Dave Thomas' ") Only those attributes returned by a query will be available in the resulting model objects. We can determine the attributes available in a model object using the attributes, attribute_names, and attribute_present? methods. The first returns a hash of attribute name/value pairs, the second returns an array of names, and the third returns true if a named attribute is available in this model object. Download e1/ar/find_examples.rb orders = Order.find_by_sql("select name, pay_type from orders" ) first = orders[0] p first.attributes p first.attribute_names p first.attribute_present?("address" ) This code produces the following: {"name" =>"Dave Thomas" , "pay_type" =>"check" } ["name" , "pay_type" ] false find_by_sql can also be used to create model objects containing derived column data. If we use the as xxx SQL syntax to give derived columns a name in the result set, this name will be used as the name of the attribute. Download e1/ar/find_examples.rb items = LineItem.find_by_sql("select *, " + " quantity*unit_price as total_price, " + " products.title as title " + " from line_items, products " + " where line_items.product_id = products.id ") li = items[0] puts "#{li.title}: #{li.quantity}x#{li.unit_price} => #{li.total_price}" As with conditions, we can also pass an array to find_by_sql, where the first element is a string containing placeholders. The rest of the array can be either a hash or a list of values to be substituted. 11. But if you fail to fetch the primary key column in your query, you won’t be able to write updated data from the model back into the database. See Section 18.7, The Case of the Missing id, on page 354. Report erratum this copy is (P1.0 printing, March 2009)](https://image.slidesharecdn.com/pragmatic-agilewebdevelopmentwithrails-3rdedition-2009-091104222637-phpapp01/75/Pragmatic-Agile-Web-Development-With-Rails-3rd-Edition-2009-337-2048.jpg)
![C REATE , R EAD , U PDATE , D ELETE (CRUD) 338 David Says. . . But Isn’t SQL Dirty? Ever since developers first wrapped relational databases with an object- oriented layer, they’ve debated the question of how deep to run the abstrac- tion. Some object-relational mappers seek to eliminate the use of SQL entirely, hoping for object-oriented purity by forcing all queries through an OO layer. Active Record does not. It was built on the notion that SQL is neither dirty nor bad, just verbose in the trivial cases. The focus is on removing the need to deal with the verbosity in those trivial cases (writing a ten-attribute insert by hand will leave any programmer tired) but keeping the expressiveness around for the hard queries—the type SQL was created to deal with elegantly. Therefore, you shouldn’t feel guilty when you use find_by_sql to handle either performance bottlenecks or hard queries. Start out using the object-oriented interface for productivity and pleasure, and then dip beneath the surface for a close-to-the-metal experience when you need to do so. Order.find_by_sql(["select * from orders where amount > ?" , params[:amount]]) In the old days of Rails, people frequently resorted to using find_by_sql. Since then, all the options added to the basic find method mean that you can avoid resorting to this low-level method. Getting Column Statistics Rails 1.1 added the ability to perform statistics on the values in a column. For example, given a table of orders, we can calculate the following: average = Order.average(:amount) # average amount of orders max = Order.maximum(:amount) min = Order.minimum(:amount) total = Order.sum(:amount) number = Order.count These all correspond to aggregate functions in the underlying database, but they work in a database-independent manner. If you want to access database- specific functions, you can use the more general-purpose calculate method. For example, the MySQL std function returns the population standard deviation of an expression. We can apply this to our amount column: std_dev = Order.calculate(:std, :amount) Report erratum this copy is (P1.0 printing, March 2009)](https://image.slidesharecdn.com/pragmatic-agilewebdevelopmentwithrails-3rdedition-2009-091104222637-phpapp01/75/Pragmatic-Agile-Web-Development-With-Rails-3rd-Edition-2009-338-2048.jpg)
![C REATE , R EAD , U PDATE , D ELETE (CRUD) 339 All the aggregation functions take a hash of options, very similar to the hash that can be passed to find. (The count function is anomalous—we’ll look at it separately.) :conditions Limits the function to the matched rows. Conditions can be specified in the same format as for the find method. :joins Specifies joins to additional tables. :limit Restricts the result set to the given number of rows. This is useful only when grouping results (which we’ll talk about shortly). :order Orders the result set (useful only with :group). :having Specifies the SQL HAVING ... clause. :select Nominates a column to be used in the aggregation (but this can simply be specified as the first parameter to the aggregation functions). :distinct (for count only) Counts only distinct values in the column. These options can be combined: Order.minimum :amount Order.minimum :amount, :conditions => "amount > 20" These functions aggregate values. By default, they return a single result, pro- ducing, for example, the minimum order amount for orders meeting some con- dition. However, if you include the :group clause, the functions instead produce a series of results, one result for each set of records where the grouping expres- sion has the same value. For example, the following calculates the maximum sale amount for each state: result = Order.maximum :amount, :group => "state" puts result #=> [["TX", 12345], ["NC", 3456], ...] This code returns an ordered hash. You index it using the grouping element ("TX", "NC", ... in our example). You can also iterate over the entries in order using each. The value of each entry is the value of the aggregation function. The :order and :limit parameters come into their own when using groups. Report erratum this copy is (P1.0 printing, March 2009)](https://image.slidesharecdn.com/pragmatic-agilewebdevelopmentwithrails-3rdedition-2009-091104222637-phpapp01/75/Pragmatic-Agile-Web-Development-With-Rails-3rd-Edition-2009-339-2048.jpg)
![C REATE , R EAD , U PDATE , D ELETE (CRUD) 340 For example, the following returns the three states with the highest orders, sorted by the order amount: result = Order.maximum :amount, :group => "state" , :limit => 3, :order => "max(amount) desc" This code is no longer database independent—in order to sort on the aggre- gated column, we had to use the SQLite syntax for the aggregation function (max, in this case). Counting We said that counting rows is treated somewhat differently. For historical rea- sons, there are several forms of the count function—it takes zero, one, or two parameters. With no parameters, it returns the number of rows in the underlying table: order_count = Order.count If called with one or two parameters, Rails first determines whether either is a hash. If not, it treats the first parameter as a condition to determine which rows are counted. result = Order.count "amount > 10" result1 = Order.count ["amount > ?" , minimum_purchase] With two nonhash parameters, the second is treated as join conditions (just like the :joins parameter to find): result = Order.count "amount > 10 and line_items.name like 'rails%'" , "left join line_items on order_id = orders.id" However, if count is passed a hash as a parameter, that hash is interpreted just like the hash argument to the other aggregation functions: Order.count :conditions => "amount > 10" , :group => "state" You can optionally pass a column name before the hash parameter. This col- umn name is passed to the database’s count function so that only rows with a non-NULL value in that column will be counted. Finally, Active Record defines the method count_by_sql that returns a single number generated by a SQL statement (that statement will normally be a select count(*) from...): count = LineItem.count_by_sql("select count(*) " + " from line_items, orders " + " where line_items.order_id = orders.id " + " and orders.name = 'Dave Thomas' ") Report erratum this copy is (P1.0 printing, March 2009)](https://image.slidesharecdn.com/pragmatic-agilewebdevelopmentwithrails-3rdedition-2009-091104222637-phpapp01/75/Pragmatic-Agile-Web-Development-With-Rails-3rd-Edition-2009-340-2048.jpg)
![C REATE , R EAD , U PDATE , D ELETE (CRUD) 341 As with find_by_sql, count_by_sql is falling into disuse as the basic count function becomes more sophisticated. Dynamic Finders Probably the most common search performed on databases is to return the row or rows where a column matches a given value. A query might be return all the orders for Dave or get all the blog postings with a subject of “Rails Rocks.” In many other languages and frameworks, you’d construct SQL queries to perform these searches. Active Record uses Ruby’s dynamic power to do this for you. For example, our Order model has attributes such as name, email, and address. We can use these names in finder methods to return rows where the corre- sponding columns match some value: Download e1/ar/find_examples.rb order = Order.find_by_name("Dave Thomas" ) orders = Order.find_all_by_name("Dave Thomas" ) orders = Order.find_all_by_email(params['email' ]) If you invoke a model’s class method where the method name starts find_by_, find_last_by_, or find_all_by_, Active Record converts it to a finder, using the rest of the method’s name to determine the column to be checked. Thus, the call to this: order = Order.find_by_name("Dave Thomas" , other args...) is (effectively) converted by Active Record into this: order = Order.find(:first, :conditions => ["name = ?" , "Dave Thomas" ], other_args...) Similarly, calls to find_all_by_xxx are converted into matching find(:all, ...) calls, and calls to find_last_by_xxx are converted into matching find(:last, ...) calls. Appending a bang (!) character to the find_by_ call will cause a ActiveRecord:: RecordNotFound exception to be raised instead of returning nil if it can’t find a matching record: order = Order.find_by_name!("Dave Thomas" ) The magic doesn’t stop there. Active Record will also create finders that search on multiple columns. For example, you could write this: user = User.find_by_name_and_password(name, pw) This is equivalent to the following: user = User.find(:first, :conditions => ["name = ? and password = ?" , name, pw]) Report erratum this copy is (P1.0 printing, March 2009)](https://image.slidesharecdn.com/pragmatic-agilewebdevelopmentwithrails-3rdedition-2009-091104222637-phpapp01/75/Pragmatic-Agile-Web-Development-With-Rails-3rd-Edition-2009-341-2048.jpg)
![C REATE , R EAD , U PDATE , D ELETE (CRUD) 342 To determine the names of the columns to check, Active Record simply splits the name that follows the find_by_ or find_all_by_ around the string _and_. This is good enough most of the time but breaks down if you ever have a column name such as tax_and_shipping. In these cases, you’ll have to use conventional finder methods. Dynamic finders accept an optional hash of finder parameters, just like those that can be passed to the conventional find method. If you specify :conditions in this hash, these conditions are added to the underlying dynamic finder condition. five_texan_daves = User.find_all_by_name('dave' , :limit => 5, :conditions => "state = 'TX'" ) There are times when you want to ensure you always have a model object to work with. If there isn’t one in the database, you want to create one. Dynamic finders can handle this. Calling a method whose name starts find_or_initialize_by_ or find_or_create_by_ will call either new or create on the model class if the finder would otherwise return nil. The new model object will be initialized so that its attributes corresponding to the finder criteria have the values passed to the finder method, and it will have been saved to the database if the create variant is used. cart = Cart.find_or_initialize_by_user_id(user.id) cart.items << new_item cart.save And, no, there isn’t a find_by_ form that lets you use _or_ rather than _and_ between column names. Named and Anonymous Scopes Closely related to dynamic finders are their more static cousins, named (and unnamed) scopes. A named scope can be associated with a Proc and therefore may have arguments: class Order < ActiveRecord::Base named_scope :last_n_days, lambda { |days| :condition => ['updated < ?' , days] } end Such a named scope would make finding the last weeks worth of orders a snap: orders = Orders.last_n_days(7) More simple named scopes can simply be a set of options: class Order < ActiveRecord::Base named_scope :checks, :conditions => {:pay_type => :check} end Report erratum this copy is (P1.0 printing, March 2009)](https://image.slidesharecdn.com/pragmatic-agilewebdevelopmentwithrails-3rdedition-2009-091104222637-phpapp01/75/Pragmatic-Agile-Web-Development-With-Rails-3rd-Edition-2009-342-2048.jpg)
![C REATE , R EAD , U PDATE , D ELETE (CRUD) 344 had previously been read from the database, this save will update the existing row; otherwise, the save will insert a new row. If an existing row is updated, Active Record will use its primary key column to match it with the in-memory object. The attributes contained in the Active Record object determine the columns that will be updated—a column will be updated in the database even if its value has not changed. In the following example, all the values in the row for order 123 will be updated in the database table: order = Order.find(123) order.name = "Fred" order.save However, in the following example, the Active Record object contains just the attributes id, name, and paytype—only these columns will be updated when the object is saved. (Note that you have to include the id column if you intend to save a row fetched using find_by_sql.) orders = Order.find_by_sql("select id, name, pay_type from orders where id=123" ) first = orders[0] first.name = "Wilma" first.save In addition to the save method, Active Record lets us change the values of attributes and save a model object in a single call to update_attribute: order = Order.find(123) order.update_attribute(:name, "Barney" ) order = Order.find(321) order.update_attributes(:name => "Barney" , :email => "barney@bedrock.com" ) The update_attributes method is most commonly used in controller actions where it merges data from a form into an existing database row: def save_after_edit order = Order.find(params[:id]) if order.update_attributes(params[:order]) redirect_to :action => :index else render :action => :edit end end We can combine the functions of reading a row and updating it using the class methods update and update_all. The update method takes an id parameter and a set of attributes. It fetches the corresponding row, updates the given attributes, saves the result to the database, and returns the model object. order = Order.update(12, :name => "Barney" , :email => "barney@bedrock.com" ) Report erratum this copy is (P1.0 printing, March 2009)](https://image.slidesharecdn.com/pragmatic-agilewebdevelopmentwithrails-3rdedition-2009-091104222637-phpapp01/75/Pragmatic-Agile-Web-Development-With-Rails-3rd-Edition-2009-344-2048.jpg)
![A GGREGATION AND S TRUCTURED D ATA 346 Deleting Rows Active Record supports two styles of row deletion. First, it has two class-level methods, delete and delete_all, that operate at the database level. The delete method takes a single id or an array of ids and deletes the corresponding row(s) in the underlying table. delete_all deletes rows matching a given condition (or all rows if no condition is specified). The return values from both calls depend on the adapter but are typically the number of rows affected. An exception is not thrown if the row doesn’t exist prior to the call. Order.delete(123) User.delete([2,3,4,5]) Product.delete_all(["price > ?" , @expensive_price]) The various destroy methods are the second form of row deletion provided by Active Record. These methods all work via Active Record model objects. The destroy instance method deletes from the database the row correspond- ing to a particular model object. It then freezes the contents of that object, preventing future changes to the attributes. order = Order.find_by_name("Dave" ) order.destroy # ... order is now frozen There are two class-level destruction methods, destroy (which takes an id or an array of ids) and destroy_all (which takes a condition). Both read the corre- sponding rows in the database table into model objects and call the instance- level destroy method of those objects. Neither method returns anything meaningful. 30.days.ago Order.destroy_all(["shipped_at < ?" , 30.days.ago]) ֒ page 281 → Why do we need both the delete and the destroy class methods? The delete methods bypass the various Active Record callback and validation functions, while the destroy methods ensure that they are all invoked. (We talk about call- backs starting on page 407.) In general, it is better to use the destroy methods if you want to ensure that your database is consistent according to the business rules defined in your model classes. 18.6 Aggregation and Structured Data (This section contains material you can safely skip on first reading.) Storing Structured Data It is sometimes helpful to store attributes containing arbitrary Ruby objects directly into database tables. One way that Active Record supports this is by serializing the Ruby object into a string (in YAML format) and storing that Report erratum this copy is (P1.0 printing, March 2009)](https://image.slidesharecdn.com/pragmatic-agilewebdevelopmentwithrails-3rdedition-2009-091104222637-phpapp01/75/Pragmatic-Agile-Web-Development-With-Rails-3rd-Edition-2009-346-2048.jpg)
![A GGREGATION AND S TRUCTURED D ATA 347 string in the database column corresponding to the attribute. In the schema, this column must be defined as type text. Because Active Record normally maps a character or text column to a plain Ruby string, you need to tell Active Record to use serialization if you want to take advantage of this functionality. For example, we might want to record the last five purchases made by our customers. We’ll create a table containing a text column to hold this information: Download e1/ar/dump_serialize_table.rb create_table :purchases, :force => true do |t| t.string :name t.text :last_five end In the Active Record class that wraps this table, we’ll use the serialize declara- tion to tell Active Record to marshal objects into and out of this column: Download e1/ar/dump_serialize_table.rb class Purchase < ActiveRecord::Base serialize :last_five # ... end When we create new Purchase objects, we can assign any Ruby object to the last_five column. In this case, we set it to an array of strings: purchase = Purchase.new purchase.name = "Dave Thomas" purchase.last_five = [ 'shoes' , 'shirt' , 'socks' , 'ski mask' , 'shorts' ] purchase.save When we later read it in, the attribute is set back to an array: purchase = Purchase.find_by_name("Dave Thomas" ) pp purchase.last_five pp purchase.last_five[3] This code outputs the following: ["shoes", "shirt", "socks", "ski mask", "shorts"] "ski mask" Although powerful and convenient, this approach is problematic if we ever need to be able to use the information in the serialized columns outside a Ruby application. Unless that application understands the YAML format, the column contents will be opaque to it. In particular, it will be difficult to use the structure inside these columns in SQL queries. For these reasons, object aggregation using composition is normally the better approach to use. Report erratum this copy is (P1.0 printing, March 2009)](https://image.slidesharecdn.com/pragmatic-agilewebdevelopmentwithrails-3rdedition-2009-091104222637-phpapp01/75/Pragmatic-Agile-Web-Development-With-Rails-3rd-Edition-2009-347-2048.jpg)
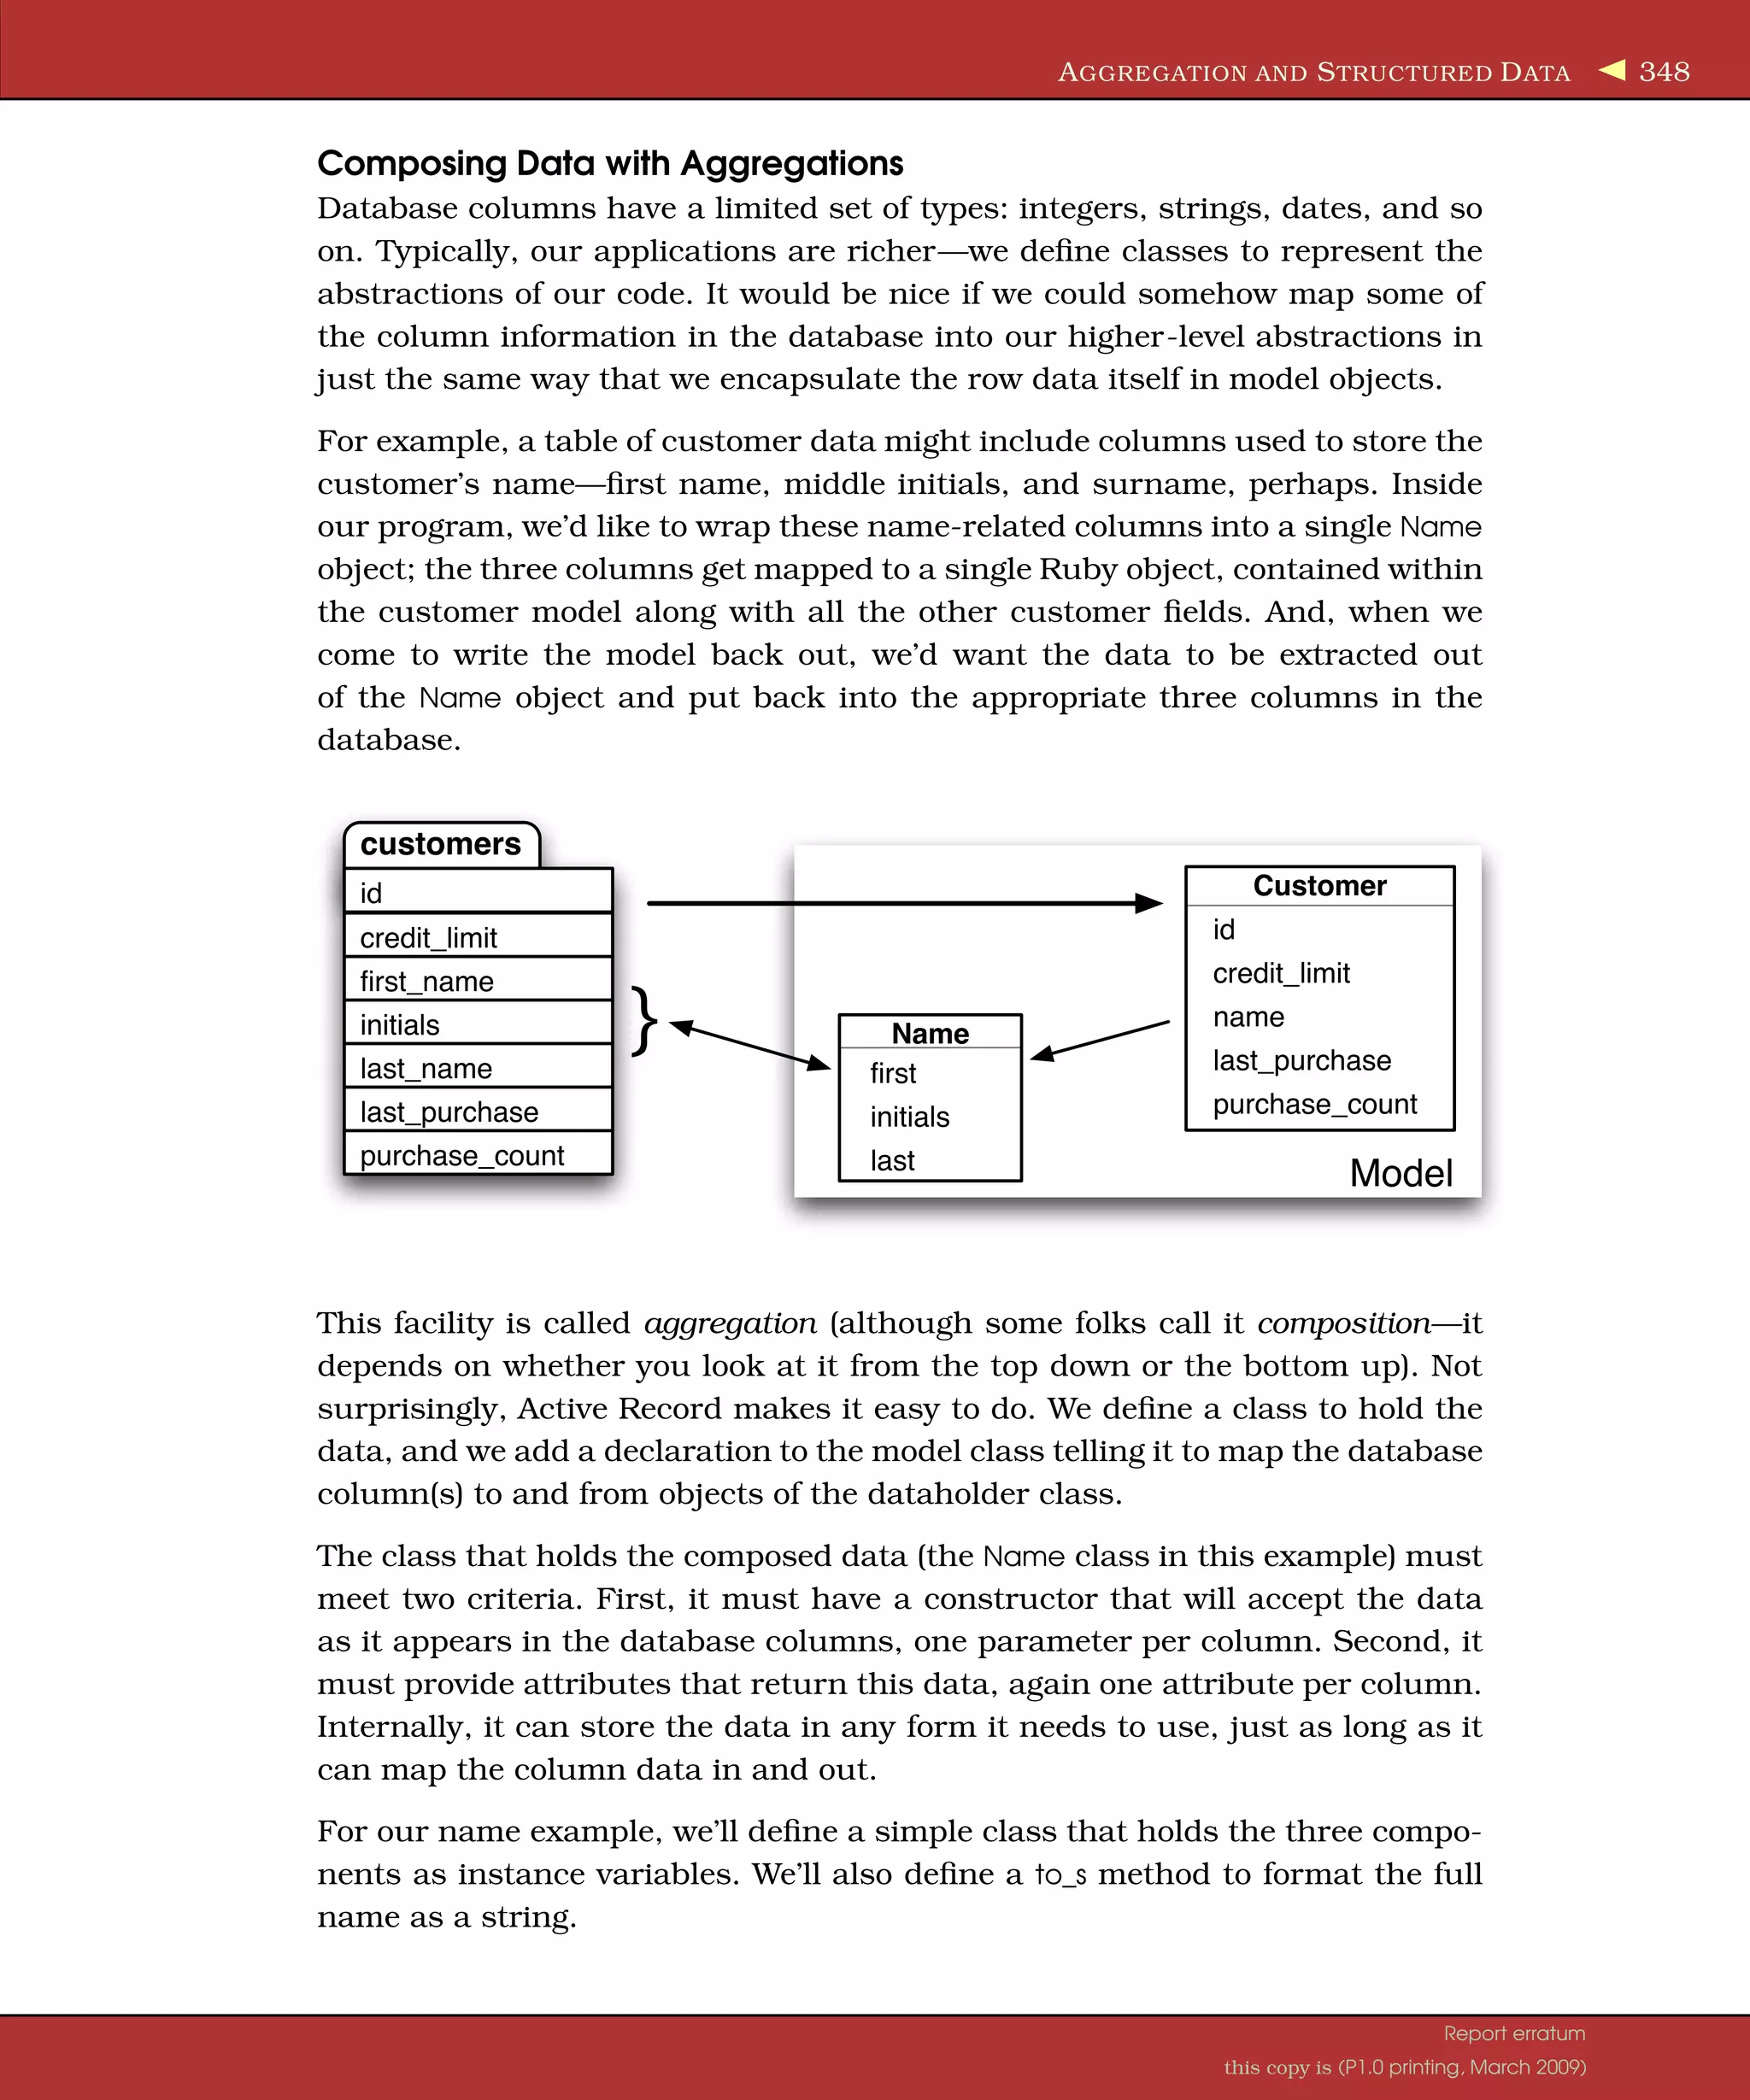
![A GGREGATION AND S TRUCTURED D ATA 349 Download e1/ar/aggregation.rb class Name attr_reader :first, :initials, :last def initialize(first, initials, last) @first = first @initials = initials @last = last end def to_s [ @first, @initials, @last ].compact.join(" " ) end end Now we have to tell our Customer model class that the three database columns first_name, initials, and last_name should be mapped into Name objects. We do this using the composed_of declaration. Although composed_of can be called with just one parameter, it’s easiest to describe first the full form of the declaration and show how various fields can be defaulted: composed_of :attr_name, :class_name => SomeClass, :mapping => mapping, :allow_nil => boolean, :constructor => SomeProc, :converter => SomeProc The attr_name parameter specifies the name that the composite attribute will be given in the model class. If we defined our customer as follows: class Customer < ActiveRecord::Base composed_of :name, ... end we could access the composite object using the name attribute of customer objects: customer = Customer.find(123) puts customer.name.first The :class_name option specifies the name of the class holding the composite data. The value of the option can be a class constant or a string or symbol containing the class name. In our case, the class is Name, so we could specify this: class Customer < ActiveRecord::Base composed_of :name, :class_name => 'Name' , ... end If the class name is simply the mixed-case form of the attribute name (which it is in our example), we can omit it. Report erratum this copy is (P1.0 printing, March 2009)](https://image.slidesharecdn.com/pragmatic-agilewebdevelopmentwithrails-3rdedition-2009-091104222637-phpapp01/75/Pragmatic-Agile-Web-Development-With-Rails-3rd-Edition-2009-349-2048.jpg)
![A GGREGATION AND S TRUCTURED D ATA 350 class Name customers class Customer < ActiveRecord::Base attr_reader :first, :initials, :last id composed_of :name, created_at :class_name => Name, def initialize(first, initials, last) :mapping => credit_limit @first = first [ [ :first_name, :first ], first_name @initials = initials [ :initials, :initials ], @last = last initials [ :last_name, :last ] last_name end ] end last_purchase end purchase_count Figure 18.2: How mappings relate to tables and classes The :mapping parameter tells Active Record how the columns in the table map to the attributes and constructor parameters in the composite object. The parameter to :mapping is either a two-element array or an array of two-element arrays. The first element of each two-element array is the name of a database column. The second element is the name of the corresponding accessor in the composite attribute. The order that elements appear in the mapping parameter defines the order in which database column contents are passed as parame- ters to the composite object’s initialize method. We can see how the mapping option works in Figure 18.2. If this option is omitted, Active Record assumes that both the database column and the composite object attribute are named the same as the model attribute. The :allow_nil parameter, if set, causes all the mapped attributes to be set to nil when the value object itself is set to nil. The default for this value is false. The :constructor parameter specifies either a symbol specifying a method name or a Proc that is called to initialize the value object. The constructor is passed all the mapped attributes in the order that they are defined in the :mapping parameter. The default is :new. The :converter parameter specifies either a symbol specifying a method name or a Proc that is called when a new value is assigned to the value object. The converter is passed a single value that is used in the assignment and is called only if the new value is not an instance of :class_name. For our Name class, we need to map three database columns into the compos- ite object. Report erratum this copy is (P1.0 printing, March 2009)](https://image.slidesharecdn.com/pragmatic-agilewebdevelopmentwithrails-3rdedition-2009-091104222637-phpapp01/75/Pragmatic-Agile-Web-Development-With-Rails-3rd-Edition-2009-350-2048.jpg)
![A GGREGATION AND S TRUCTURED D ATA 351 The customers table definition looks like this: Download e1/ar/aggregation.rb create_table :customers, :force => true do |t| t.datetime :created_at t.decimal :credit_limit, :precision => 10, :scale => 2, :default => 100 t.string :first_name t.string :initials t.string :last_name t.datetime :last_purchase t.integer :purchase_count, :default => 0 end The columns first_name, initials, and last_name should be mapped to the first, initials, and last attributes in the Name class.12 To specify this to Active Record, we’d use the following declaration: Download e1/ar/aggregation.rb class Customer < ActiveRecord::Base composed_of :name, :class_name => "Name" , :mapping => [ # database ruby %w[ first_name first ], %w[ initials initials ], %w[ last_name last ] ] end Although we’ve taken a while to describe the options, in reality it takes very little effort to create these mappings. Once done, they’re easy to use, because the composite attribute in the model object will be an instance of the composite class that you defined. Download e1/ar/aggregation.rb name = Name.new("Dwight" , "D" , "Eisenhower" ) Customer.create(:credit_limit => 1000, :name => name) customer = Customer.find(:first) puts customer.name.first #=> Dwight puts customer.name.last #=> Eisenhower puts customer.name.to_s #=> Dwight D Eisenhower customer.name = Name.new("Harry" , nil, "Truman" ) customer.save This code creates a new row in the customers table with the columns first_name, initials, and last_name initialized from the attributes first, initials, and last in the new Name object. It fetches this row from the database and accesses the fields 12. In a real application, we’d prefer to see the attribute names be the same as the name of the column. Using different names here helps us show what the parameters to the :mapping option do. Report erratum this copy is (P1.0 printing, March 2009)](https://image.slidesharecdn.com/pragmatic-agilewebdevelopmentwithrails-3rdedition-2009-091104222637-phpapp01/75/Pragmatic-Agile-Web-Development-With-Rails-3rd-Edition-2009-351-2048.jpg)
![A GGREGATION AND S TRUCTURED D ATA 352 through the composite object. Finally, it updates the row. Note that you cannot change the fields in the composite. Instead, you must pass in a new object. The composite object does not necessarily have to map multiple columns in the database into a single object; it’s often useful to take a single column and map it into a type other than integers, floats, strings, or dates and times. A common example is a database column representing money. Rather than hold the data in native floats, you might want to create special Money objects that have the properties (such as rounding behavior) that you need in your application. We can store structured data in the database using the composed_of declara- tion. Instead of using YAML to serialize data into a database column, we can instead use a composite object to do its own serialization. As an example, let’s revisit the way we store the last five purchases made by a customer. Previ- ously, we held the list as a Ruby array and serialized it into the database as a YAML string. Now let’s wrap the information in an object and have that object save the data in its own format. In this case, we’ll save the list of products as a set of comma-separated values in a regular string. First, we’ll create the class LastFive to wrap the list. Because the database stores the list in a simple string, its constructor will also take a string, and we’ll need an attribute that returns the contents as a string. Internally, though, we’ll store the list in a Ruby array: Download e1/ar/aggregation.rb class LastFive attr_reader :list # Takes a string containing "a,b,c" and # stores [ 'a', 'b', 'c' ] def initialize(list_as_string) @list = list_as_string.split(/,/) end # Returns our contents as a # comma delimited string def last_five @list.join(',' ) end end We can declare that our LastFive class wraps the last_five database column: Download e1/ar/aggregation.rb class Purchase < ActiveRecord::Base composed_of :last_five end Report erratum this copy is (P1.0 printing, March 2009)](https://image.slidesharecdn.com/pragmatic-agilewebdevelopmentwithrails-3rdedition-2009-091104222637-phpapp01/75/Pragmatic-Agile-Web-Development-With-Rails-3rd-Edition-2009-352-2048.jpg)
![M ISCELLANY 353 When we run this, we can see that the last_five attribute contains an array of values: Download e1/ar/aggregation.rb Purchase.create(:last_five => LastFive.new("3,4,5" )) purchase = Purchase.find(:first) puts purchase.last_five.list[1] #=> 4 Composite Objects Are Value Objects A value object is an object whose state may not be changed after it has been created—it is effectively frozen. The philosophy of aggregation in Active Record is that the composite objects are value objects: you should never change their internal state. This is not always directly enforceable by Active Record or Ruby—you could, for example, use the replace method of the String class to change the value of one of the attributes of a composite object. However, should you do this, Active Record will ignore the change if you subsequently save the model object. The correct way to change the value of the columns associated with a compos- ite attribute is to assign a new composite object to that attribute: customer = Customer.find(123) old_name = customer.name customer.name = Name.new(old_name.first, old_name.initials, "Smith" ) customer.save 18.7 Miscellany This section contains various Active Record–related topics that just didn’t seem to fit anywhere else. Object Identity Model objects redefine the Ruby id and hash methods to reference the model’s primary key. This means that model objects with valid ids may be used as hash keys. It also means that unsaved model objects cannot reliably be used as hash keys (because they won’t yet have a valid id). Two model objects are considered equal (using ==) if they are instances of the same class and have the same primary key. This means that unsaved model objects may compare as equal even if they have different attribute data. If you find yourself comparing unsaved model objects (which is not a particularly frequent operation), you might need to override the == method. Report erratum this copy is (P1.0 printing, March 2009)](https://image.slidesharecdn.com/pragmatic-agilewebdevelopmentwithrails-3rdedition-2009-091104222637-phpapp01/75/Pragmatic-Agile-Web-Development-With-Rails-3rd-Edition-2009-353-2048.jpg)
![M ISCELLANY 354 Using the Raw Connection You can execute SQL statements using the underlying Active Record connec- tion adapter. This is useful for those (rare) circumstances when you need to interact with the database outside the context of an Active Record model class. At the lowest level, you can call execute to run a (database-dependent) SQL statement. The return value depends on the database adapter being used. If you really need to work down at this low level, you’d probably need to read the details of this call from the code itself. Fortunately, you shouldn’t have to, because the database adapter layer provides a higher-level abstraction. The select_all method executes a query and returns an array of attribute hashes corresponding to the result set: res = Order.connection.select_all("select id, quantity*unit_price as total " + " from line_items" ) p res This produces something like this: [{"total"=>"29.95", "id"=>"91"}, {"total"=>"59.90", "id"=>"92"}, {"total"=>"44.95", "id"=>"93"}] The select_one method returns a single hash, derived from the first row in the result set. Take a look at the Rails API documentation for the module DatabaseStatements for a full list of the low-level connection methods available. The Case of the Missing id There’s a hidden danger when you use your own finder SQL to retrieve rows into Active Record objects. Active Record uses a row’s id column to keep track of where data belongs. If you don’t fetch the id with the column data when you use find_by_sql, you won’t be able to store the result in the database. Unfortunately, Active Record still tries and fails silently. The following code, for example, will not update the database: result = LineItem.find_by_sql("select quantity from line_items" ) result.each do |li| li.quantity += 2 li.save end Perhaps one day Active Record will detect the fact that the id is missing and throw an exception in these circumstances. In the meantime, the moral is clear: always fetch the primary key column if you intend to save an Active Record object into the database. In fact, unless you have a particular reason not to, it’s probably safest to do a select * in custom queries. Report erratum this copy is (P1.0 printing, March 2009)](https://image.slidesharecdn.com/pragmatic-agilewebdevelopmentwithrails-3rdedition-2009-091104222637-phpapp01/75/Pragmatic-Agile-Web-Development-With-Rails-3rd-Edition-2009-354-2048.jpg)
![M ISCELLANY 356 user.changed? # => true user.changed # => ['name'] user.changes # => {"name"=>["dave", "Dave Thomas"]} user.name_changed? # => true user.name_was # => 'Dave' user.name_change # => ['Dave', 'Dave Thomas'] user.name = 'Bill' user.name_change # => ['Dave', 'Dave Thomas'] user.save user.changed? # => false user.name_changed? # => false user.name = 'Dave Thomas' user.name_changed? # => false user.name_change # => nil One caution: before modifying an attribute by any other means than direct assignment, we will need to call the associated _will_change! method to inform ActiveRecord of this event: user.name_will_change! user.name << ' Thomas' user.name_change #= ['Dave', 'Dave Thomas'] To disable this functionality, set partial_updates to false in each model. To dis- able this system-wide, add the following line to a file in the config/initializer directory: ActiveRecord::Base.partial_updates = false Query Cache In an ideal world, you wouldn’t be issuing the same queries over and over again within the scope of a single action. But if your code is modular enough, you may very well be doing so. To support such modularity without a performance penalty, Rails will cache the results of queries. This is automatic, and usually transparent, so generally you need do nothing to obtain this benefit. Instead, you will need to take an additional action in the rare event that you might actually want to bypass the cache: uncached do first_order = Orders.find(:first) end If you really want to get your hands dirty, you can find additional information in the documentation for ActiveRecord::ConnectionAdapters::QueryCache. Report erratum this copy is (P1.0 printing, March 2009)](https://image.slidesharecdn.com/pragmatic-agilewebdevelopmentwithrails-3rdedition-2009-091104222637-phpapp01/75/Pragmatic-Agile-Web-Development-With-Rails-3rd-Edition-2009-356-2048.jpg)
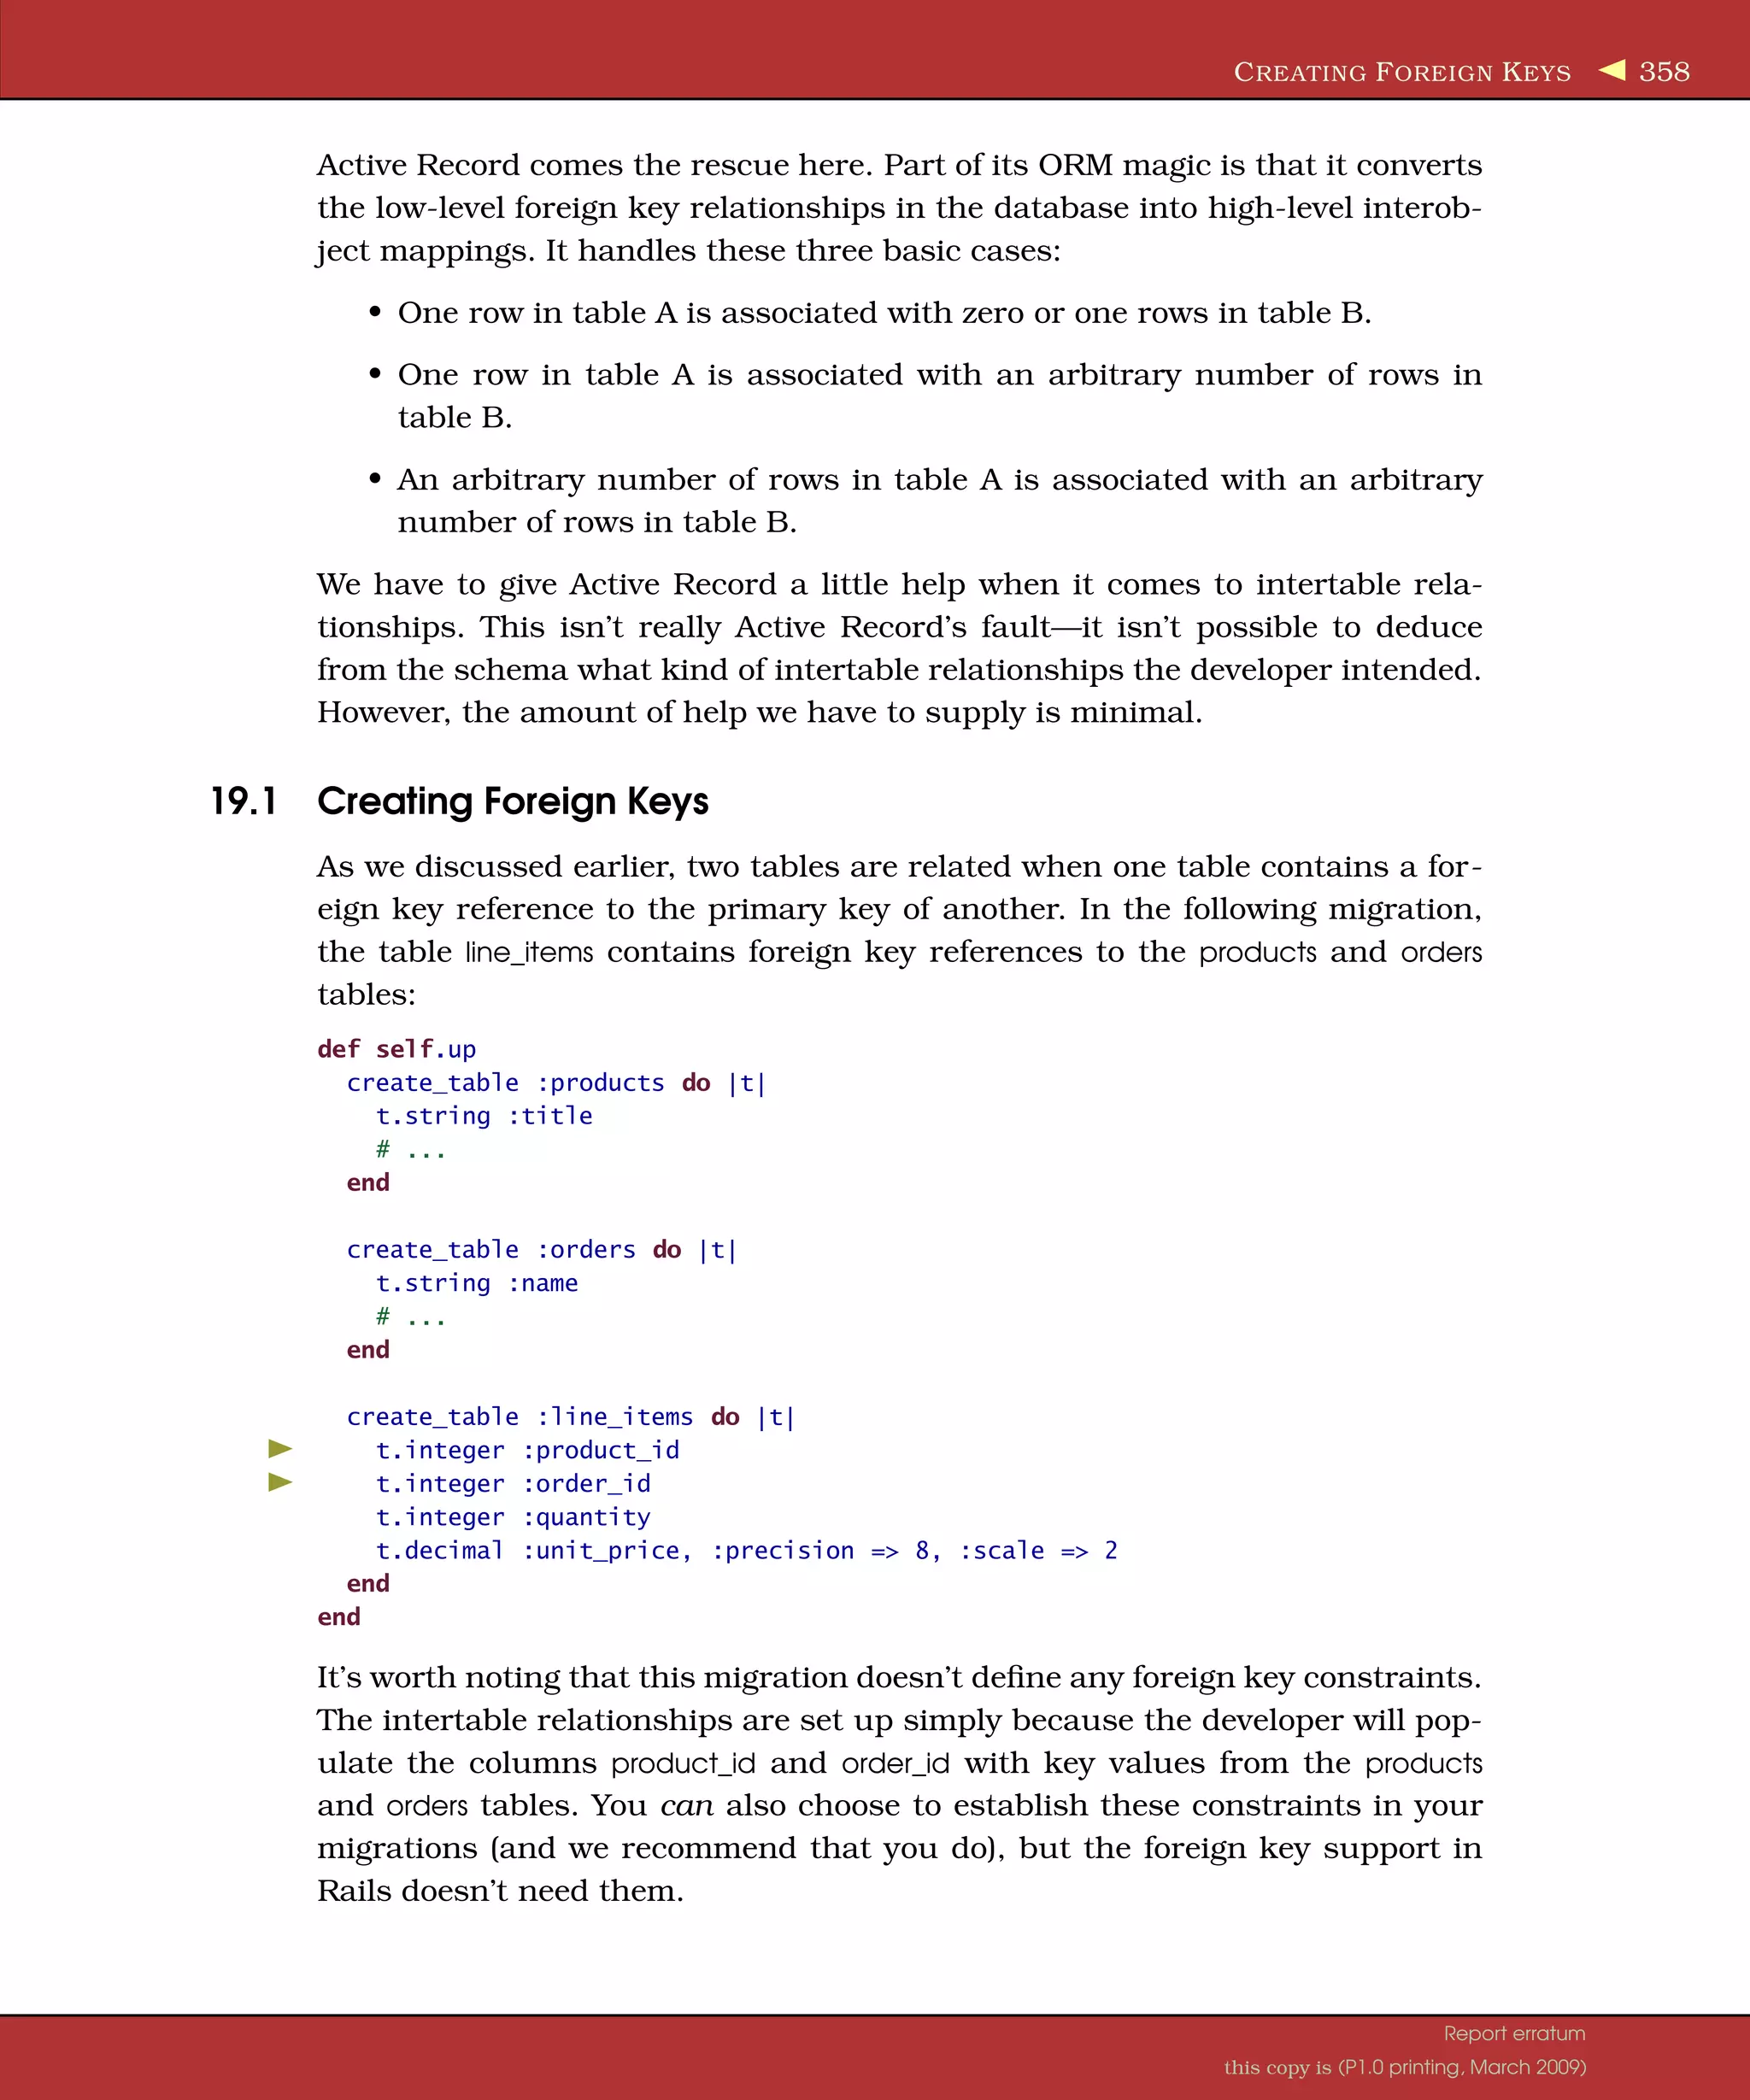
![C REATING F OREIGN K EYS 359 Looking at this migration, we can see why it’s hard for Active Record to divine the relationships between tables automatically. The order_id and product_id for- eign key references in the line_items table look identical. However, the product_id column is used to associate a line item with exactly one product. The order_id column is used to associate multiple line items with a single order. The line item is part of the order but references the product. This example also shows the standard Active Record naming convention. The foreign key column should be named after the class of the target table, con- verted to lowercase, with _id appended. Note that between the pluralization and _id appending conventions, the assumed foreign key name will be consis- tently different from the name of the referenced table. If you have an Active Record model called Person, it will map to the database table people. A foreign key reference from some other table to the people table will have the column name person_id. The other type of relationship is where some number of one item is related to some number of another item (such as products belonging to multiple cate- gories and categories containing multiple products). The SQL convention for handling this uses a third table, called a join table. The join table contains a foreign key for each of the tables it’s linking, so each row in the join table represents a linkage between the two other tables. Here’s another migration: def self.up create_table :products do |t| t.string :title # ... end create_table :categories do |t| t.string :name # ... end create_table :categories_products, :id => false do |t| t.integer :product_id t.integer :category_id end # Indexes are important for performance if join tables grow big add_index :categories_products, [:product_id, :category_id], :unique => true add_index :categories_products, :category_id, :unique => false end Rails assumes that a join table is named after the two tables it joins (with the names in alphabetical order). Rails will automatically find the join table cat- egories_products linking categories and products. If you used some other name, you’ll need to add a :foreign_key declaration so Rails can find it. We describe this in Section 19.3, belongs_to and has_xxx Declarations, on page 362. Report erratum this copy is (P1.0 printing, March 2009)](https://image.slidesharecdn.com/pragmatic-agilewebdevelopmentwithrails-3rdedition-2009-091104222637-phpapp01/75/Pragmatic-Agile-Web-Development-With-Rails-3rd-Edition-2009-359-2048.jpg)
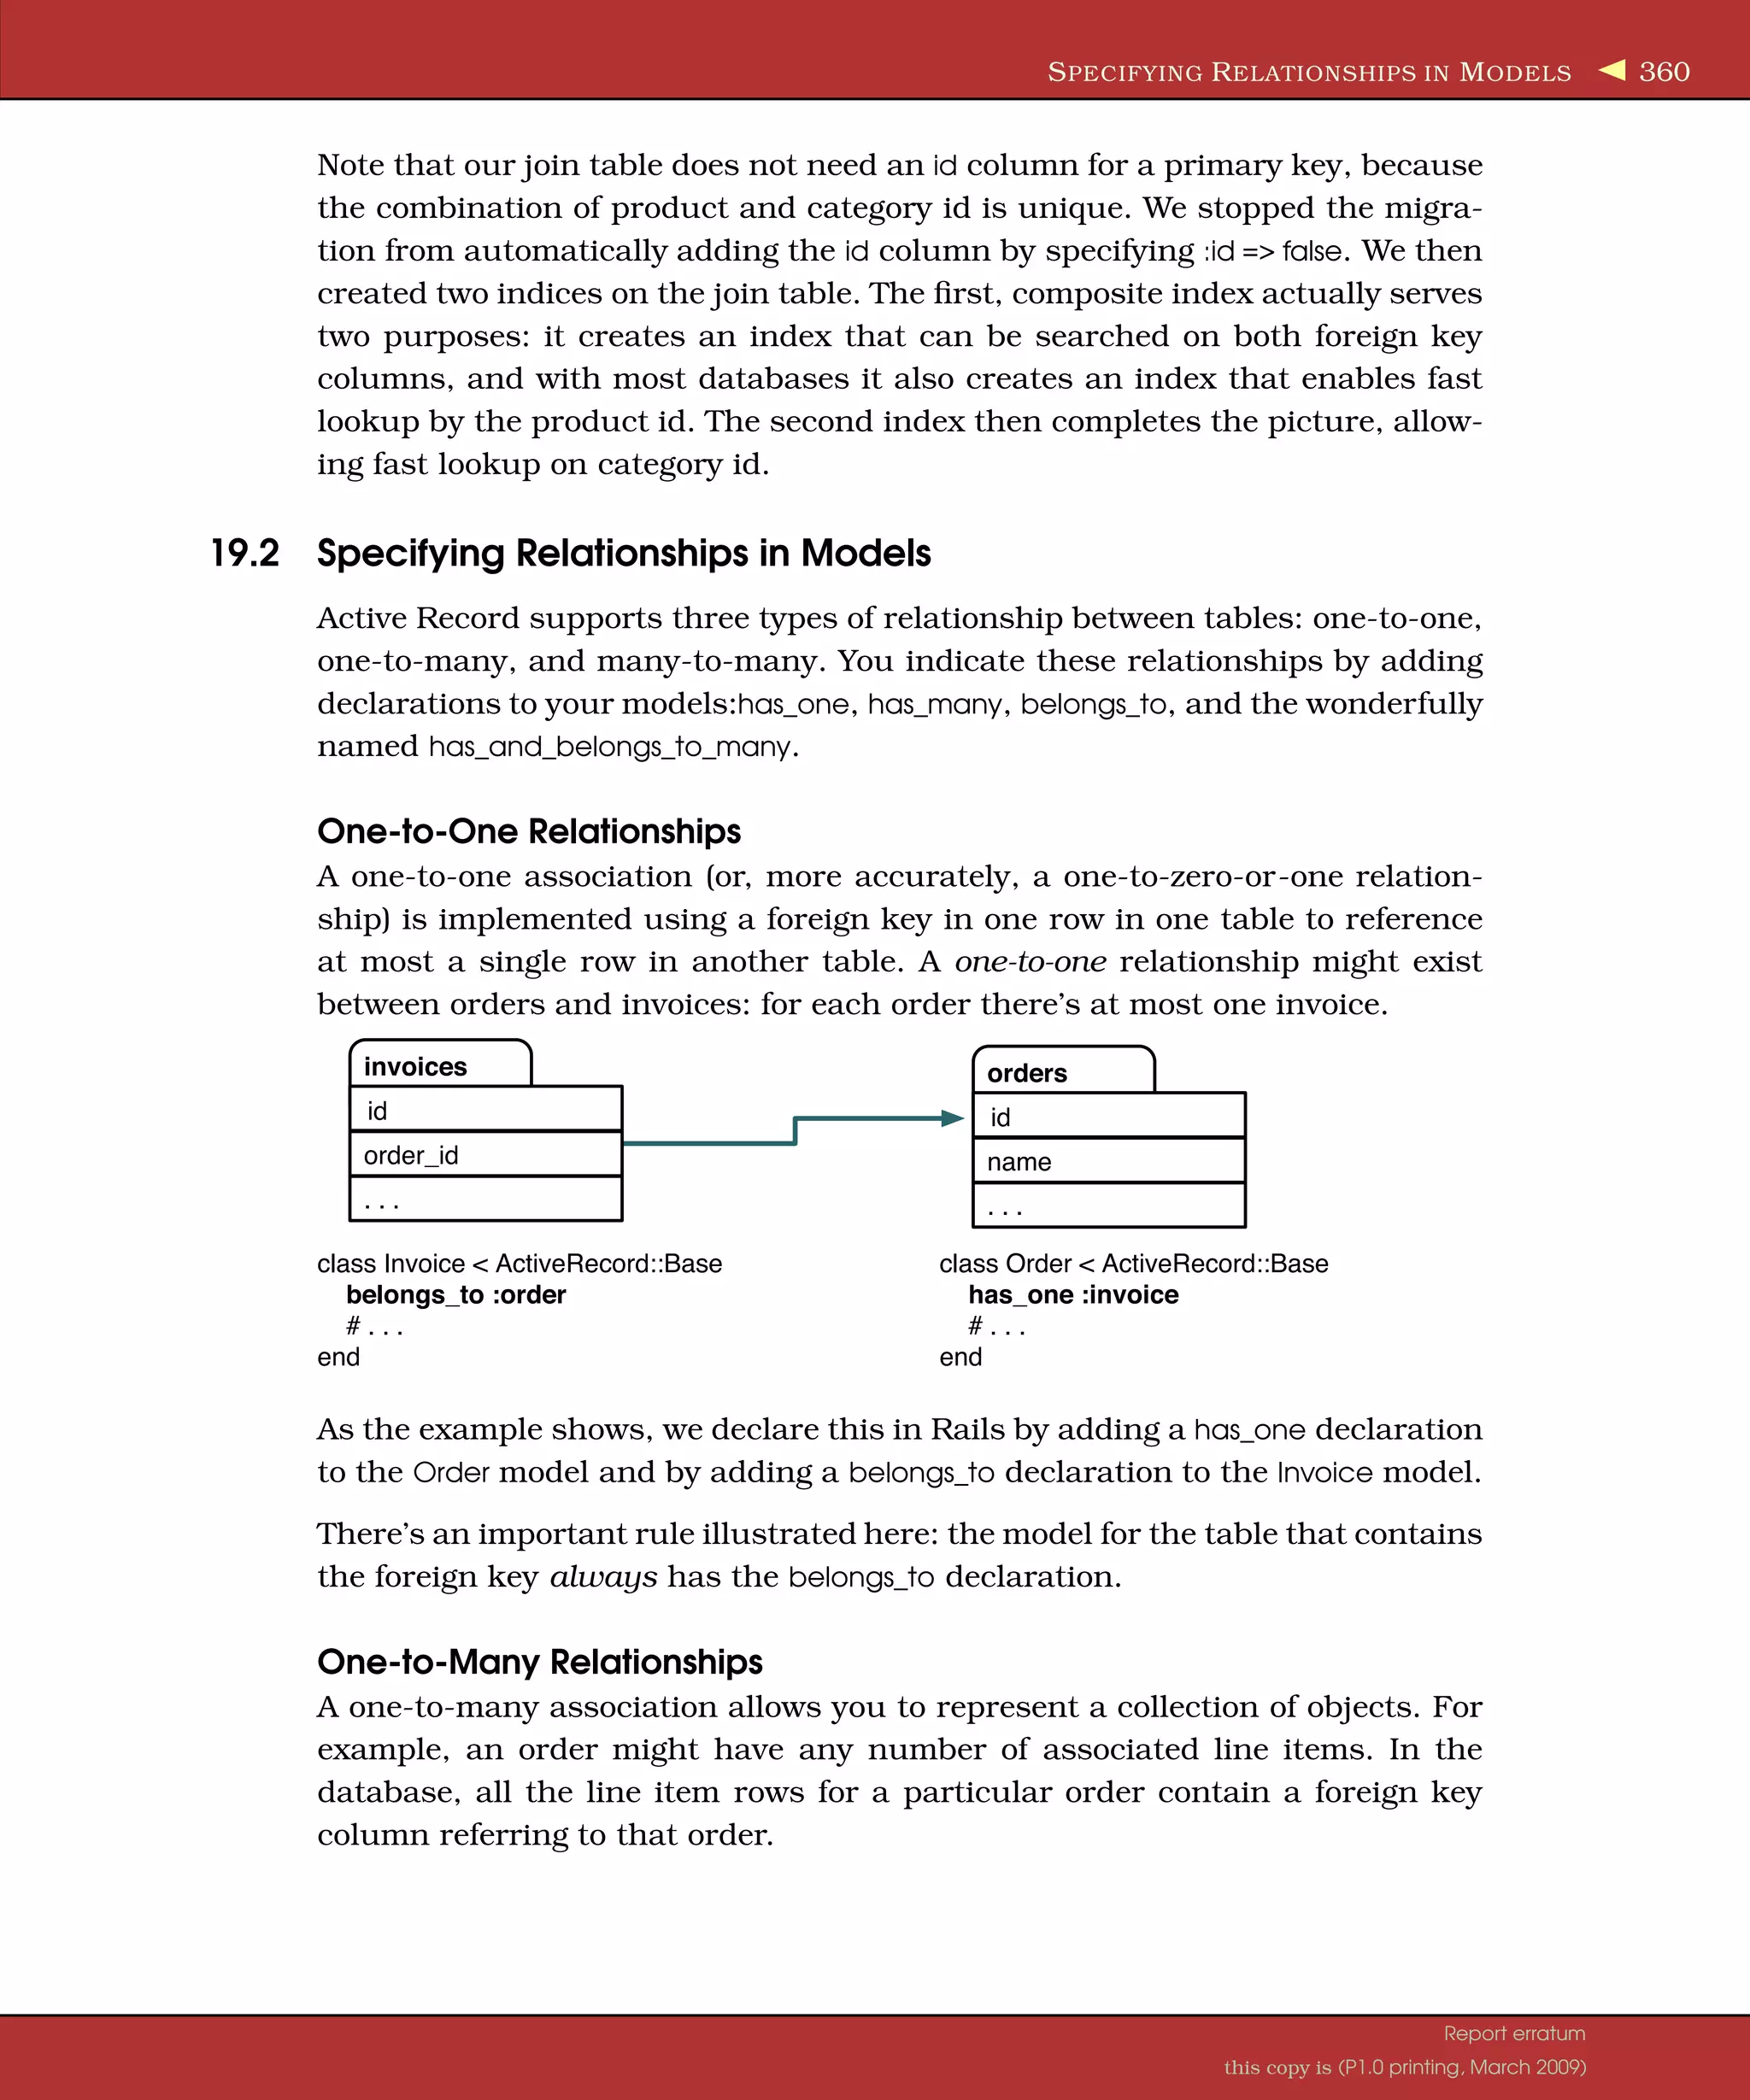
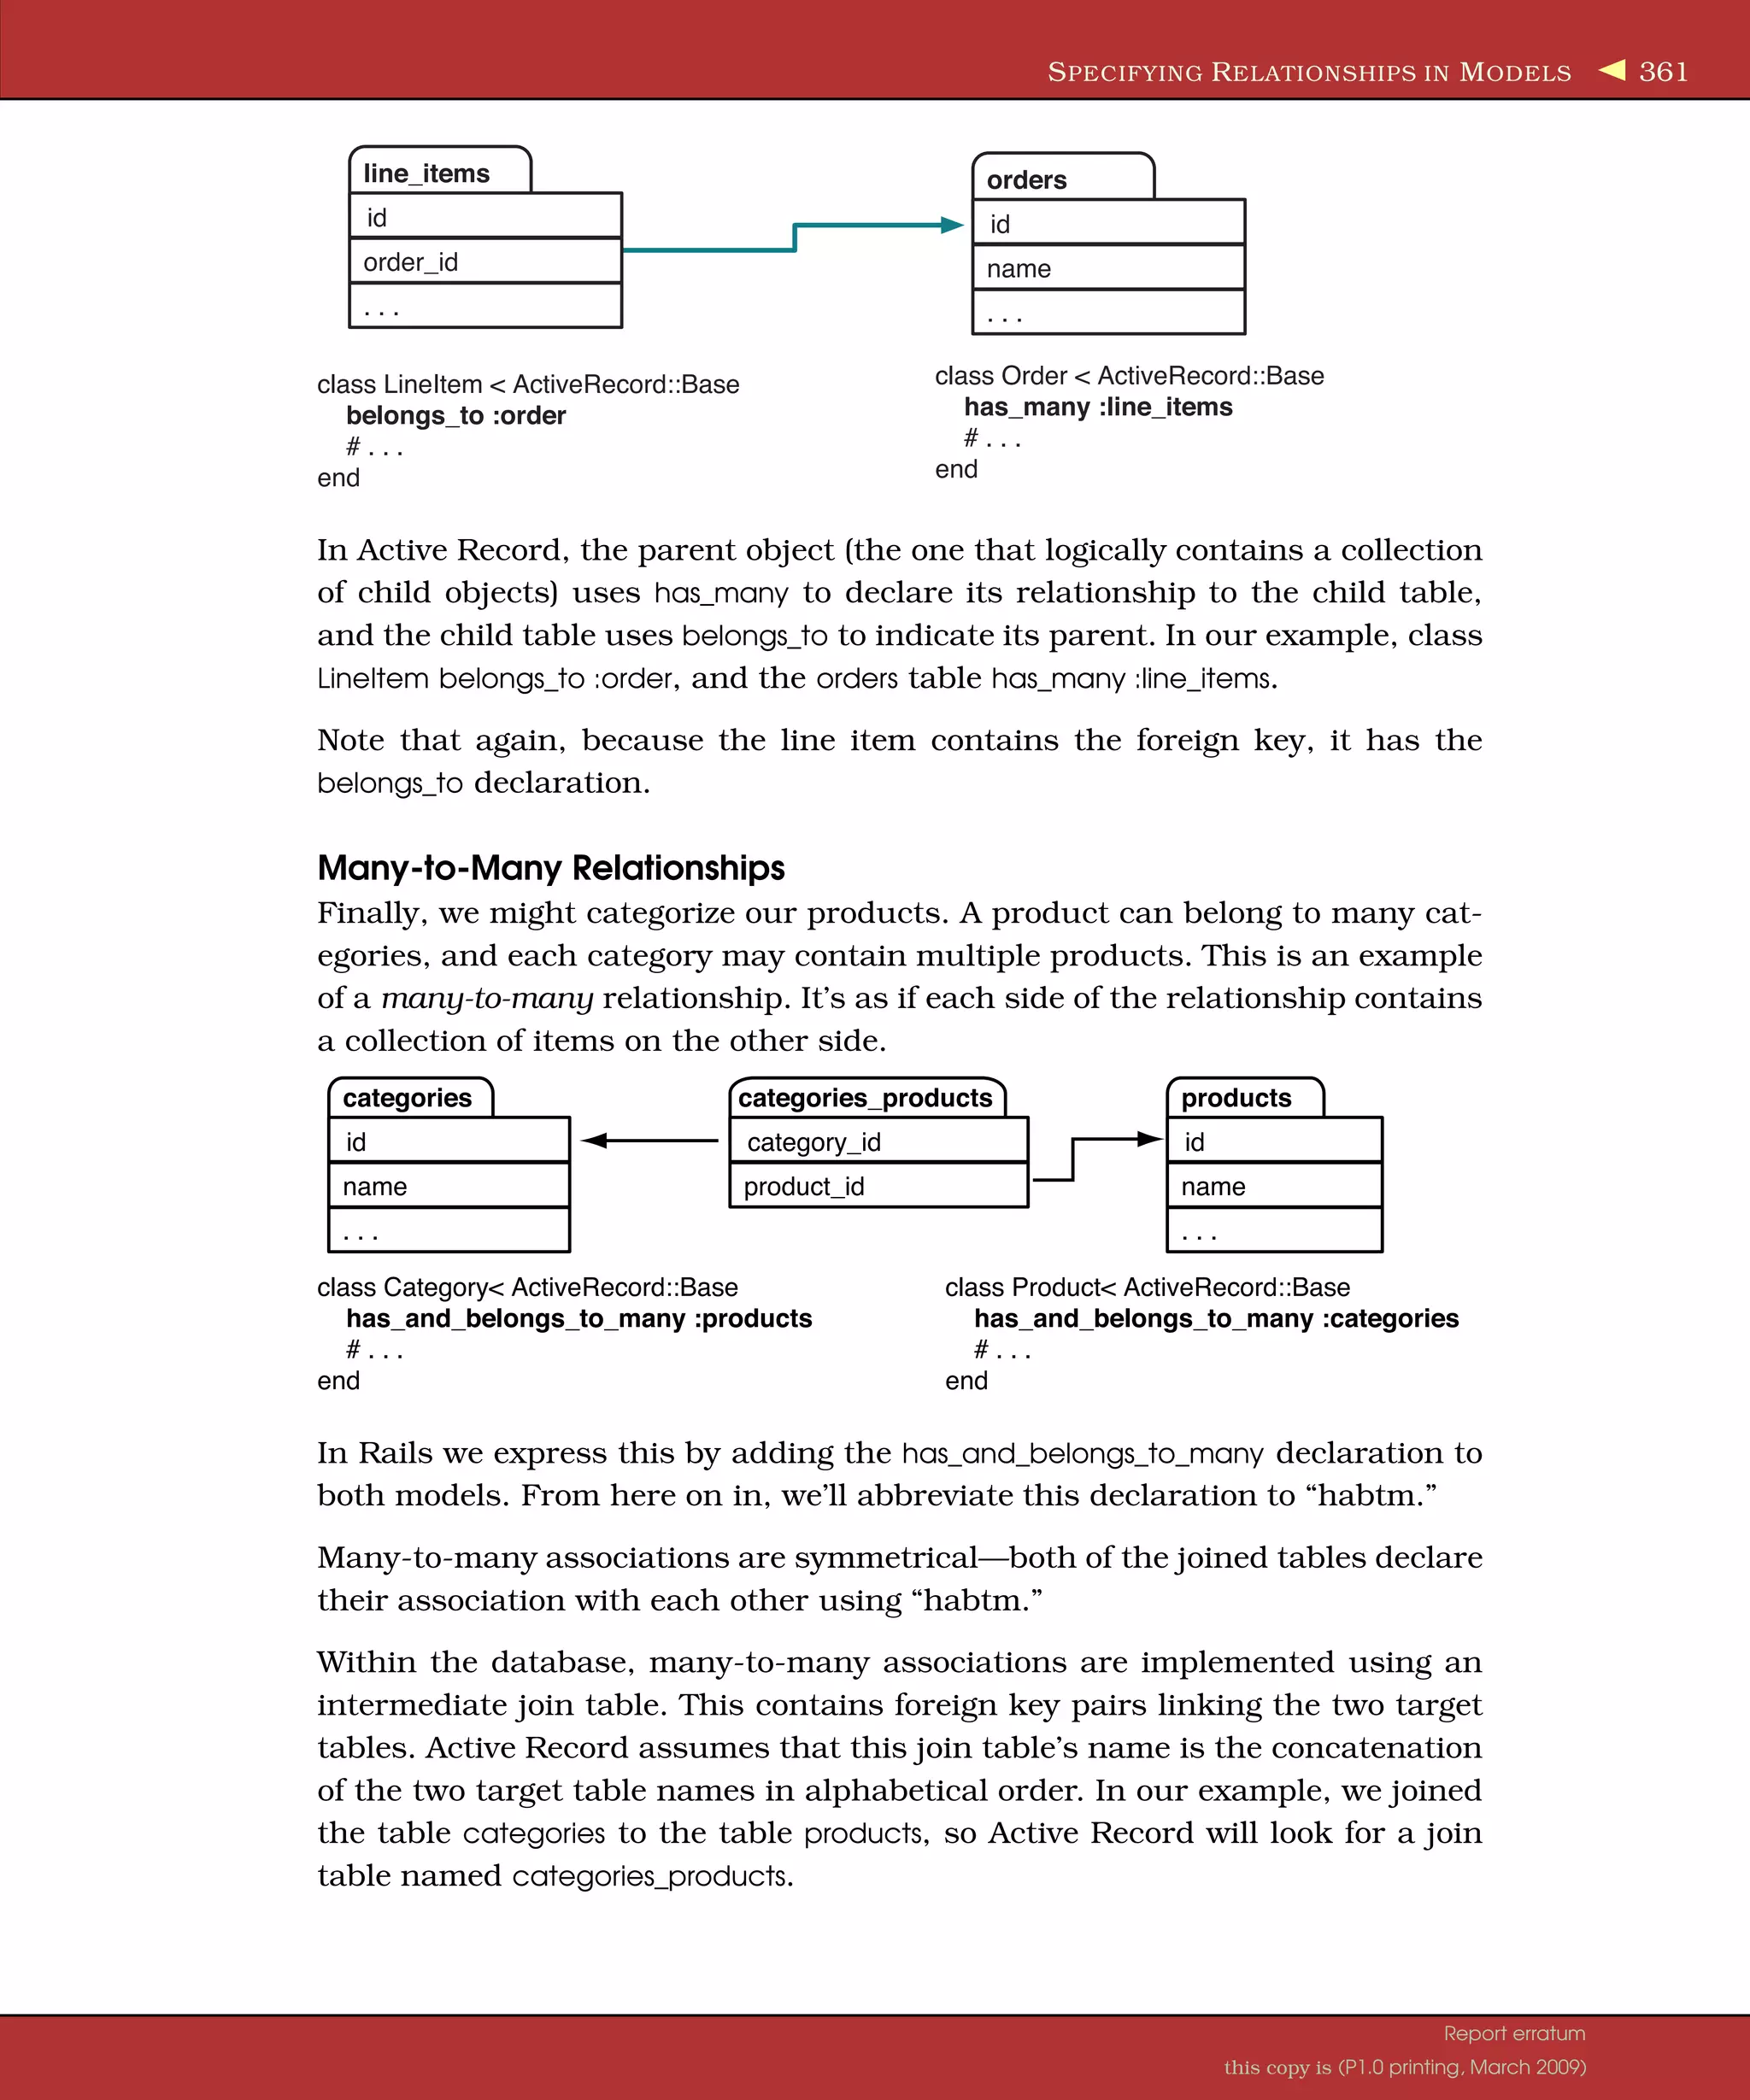
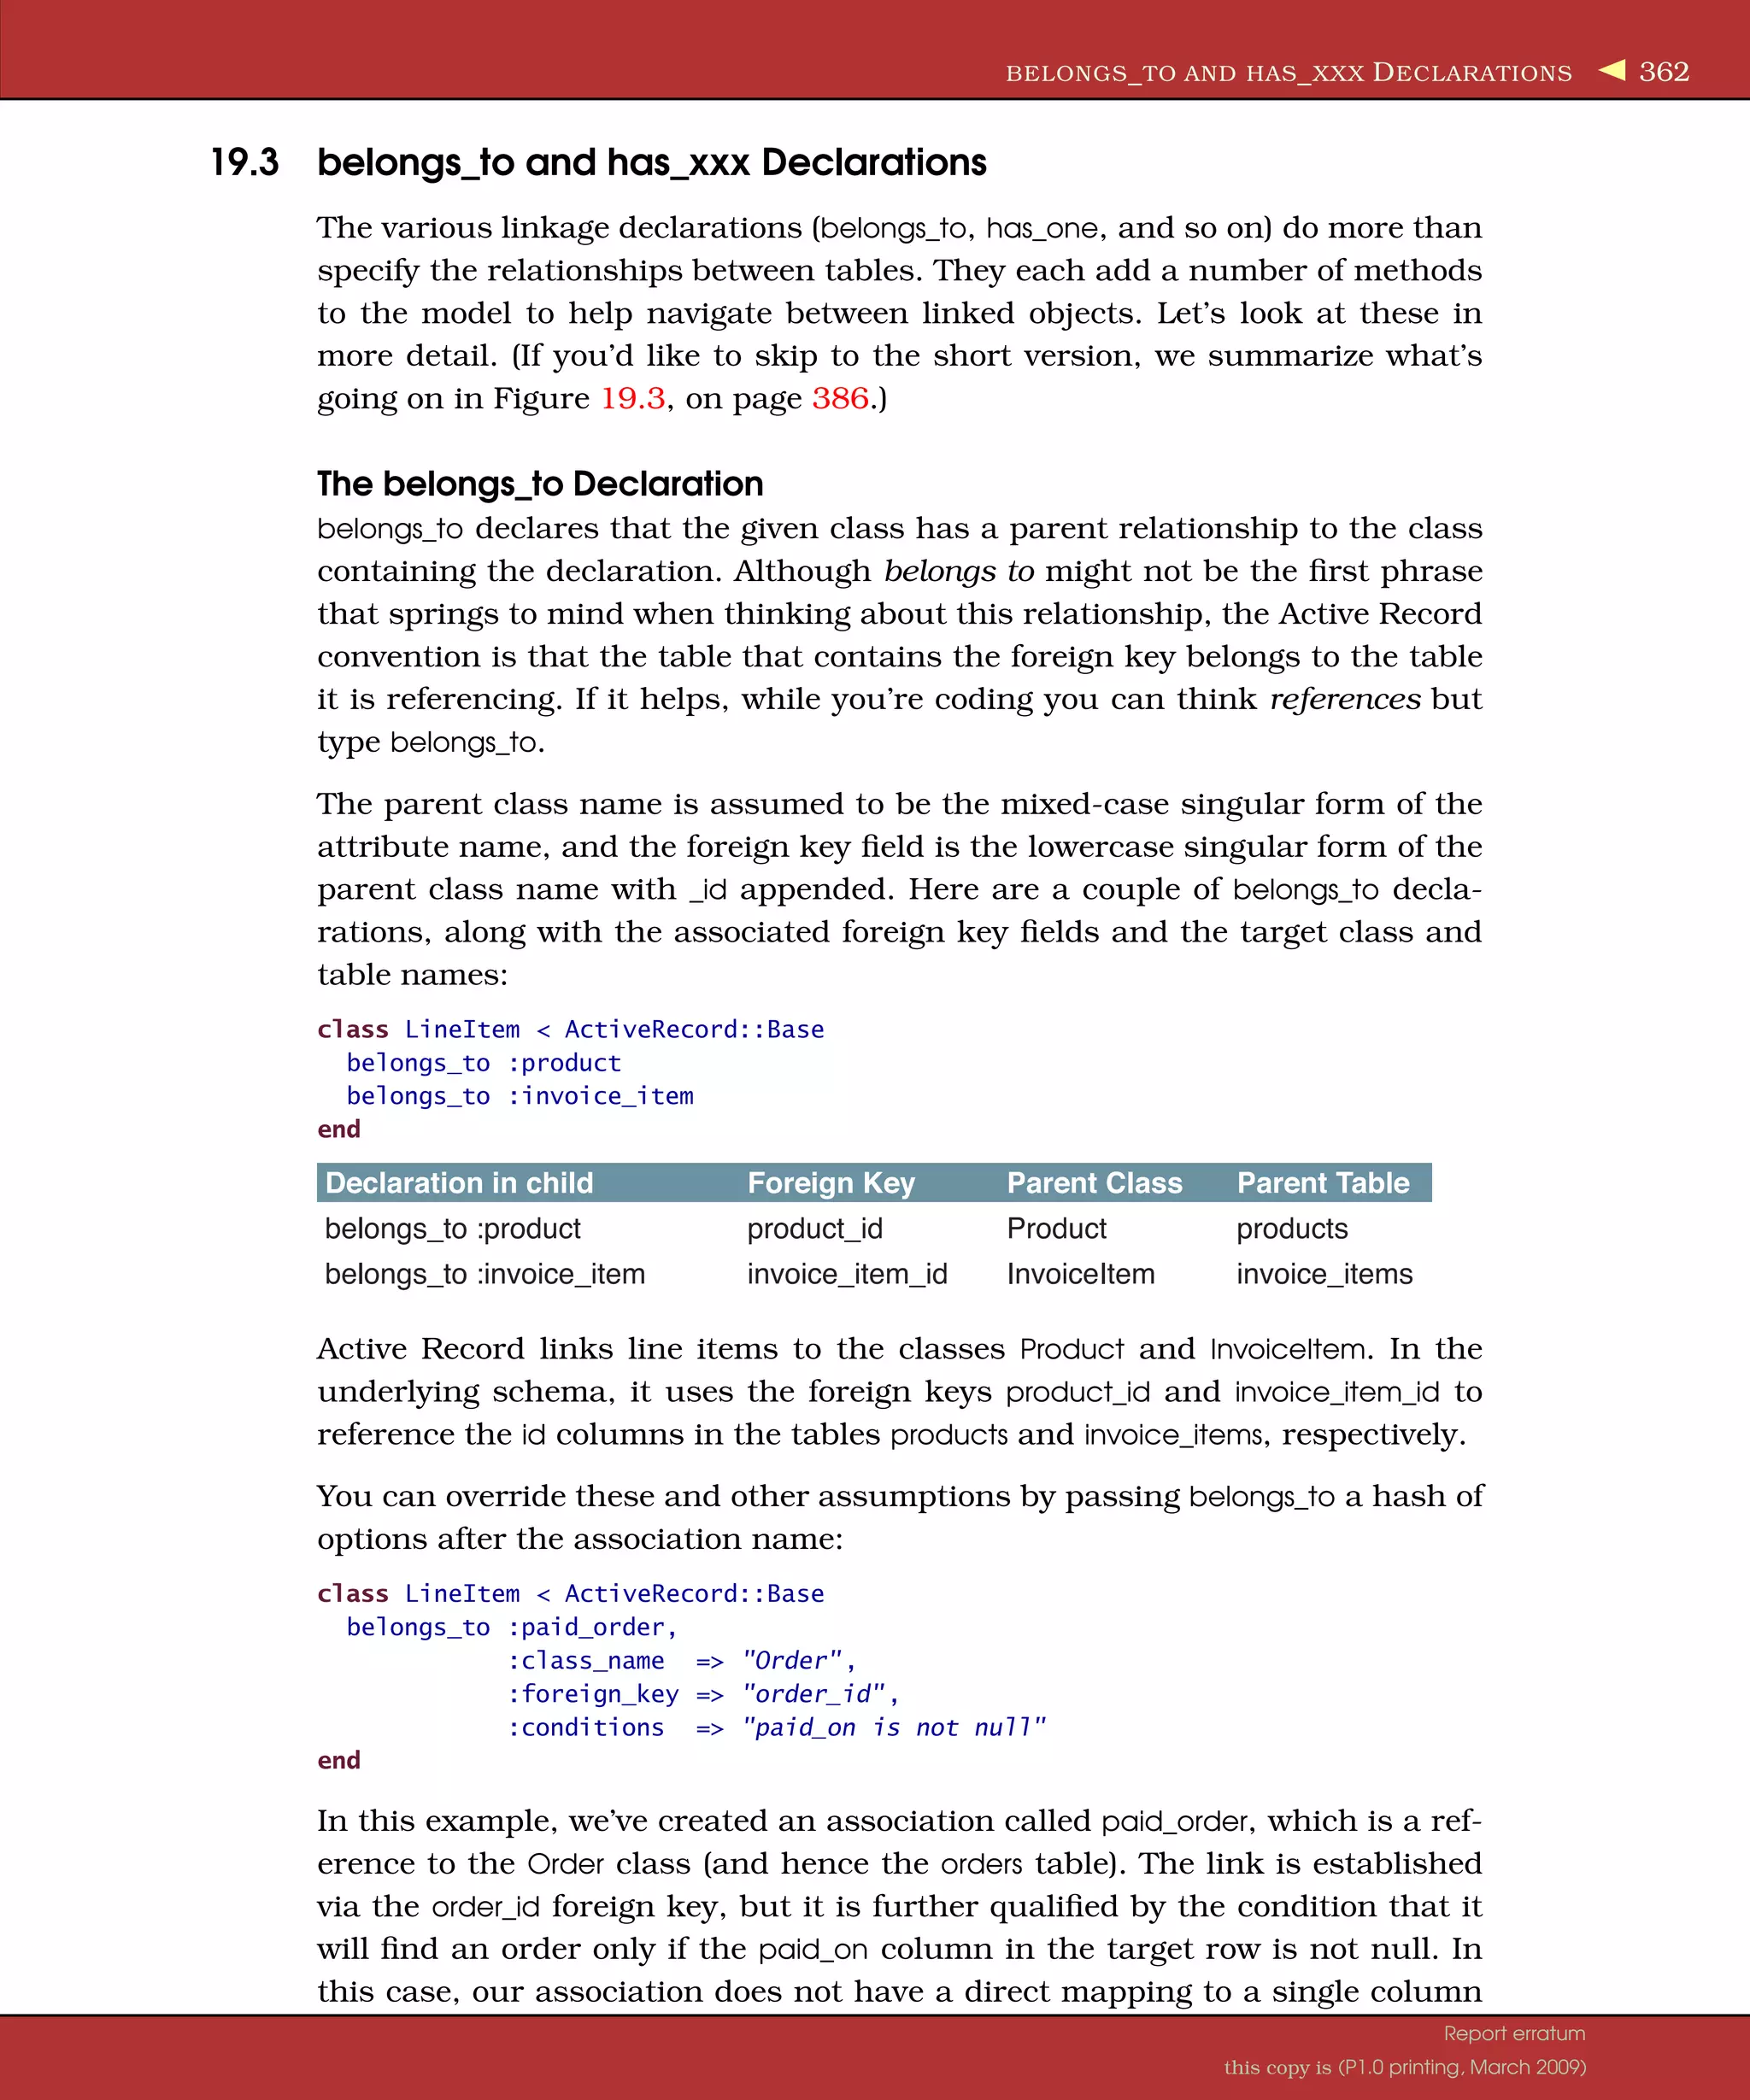
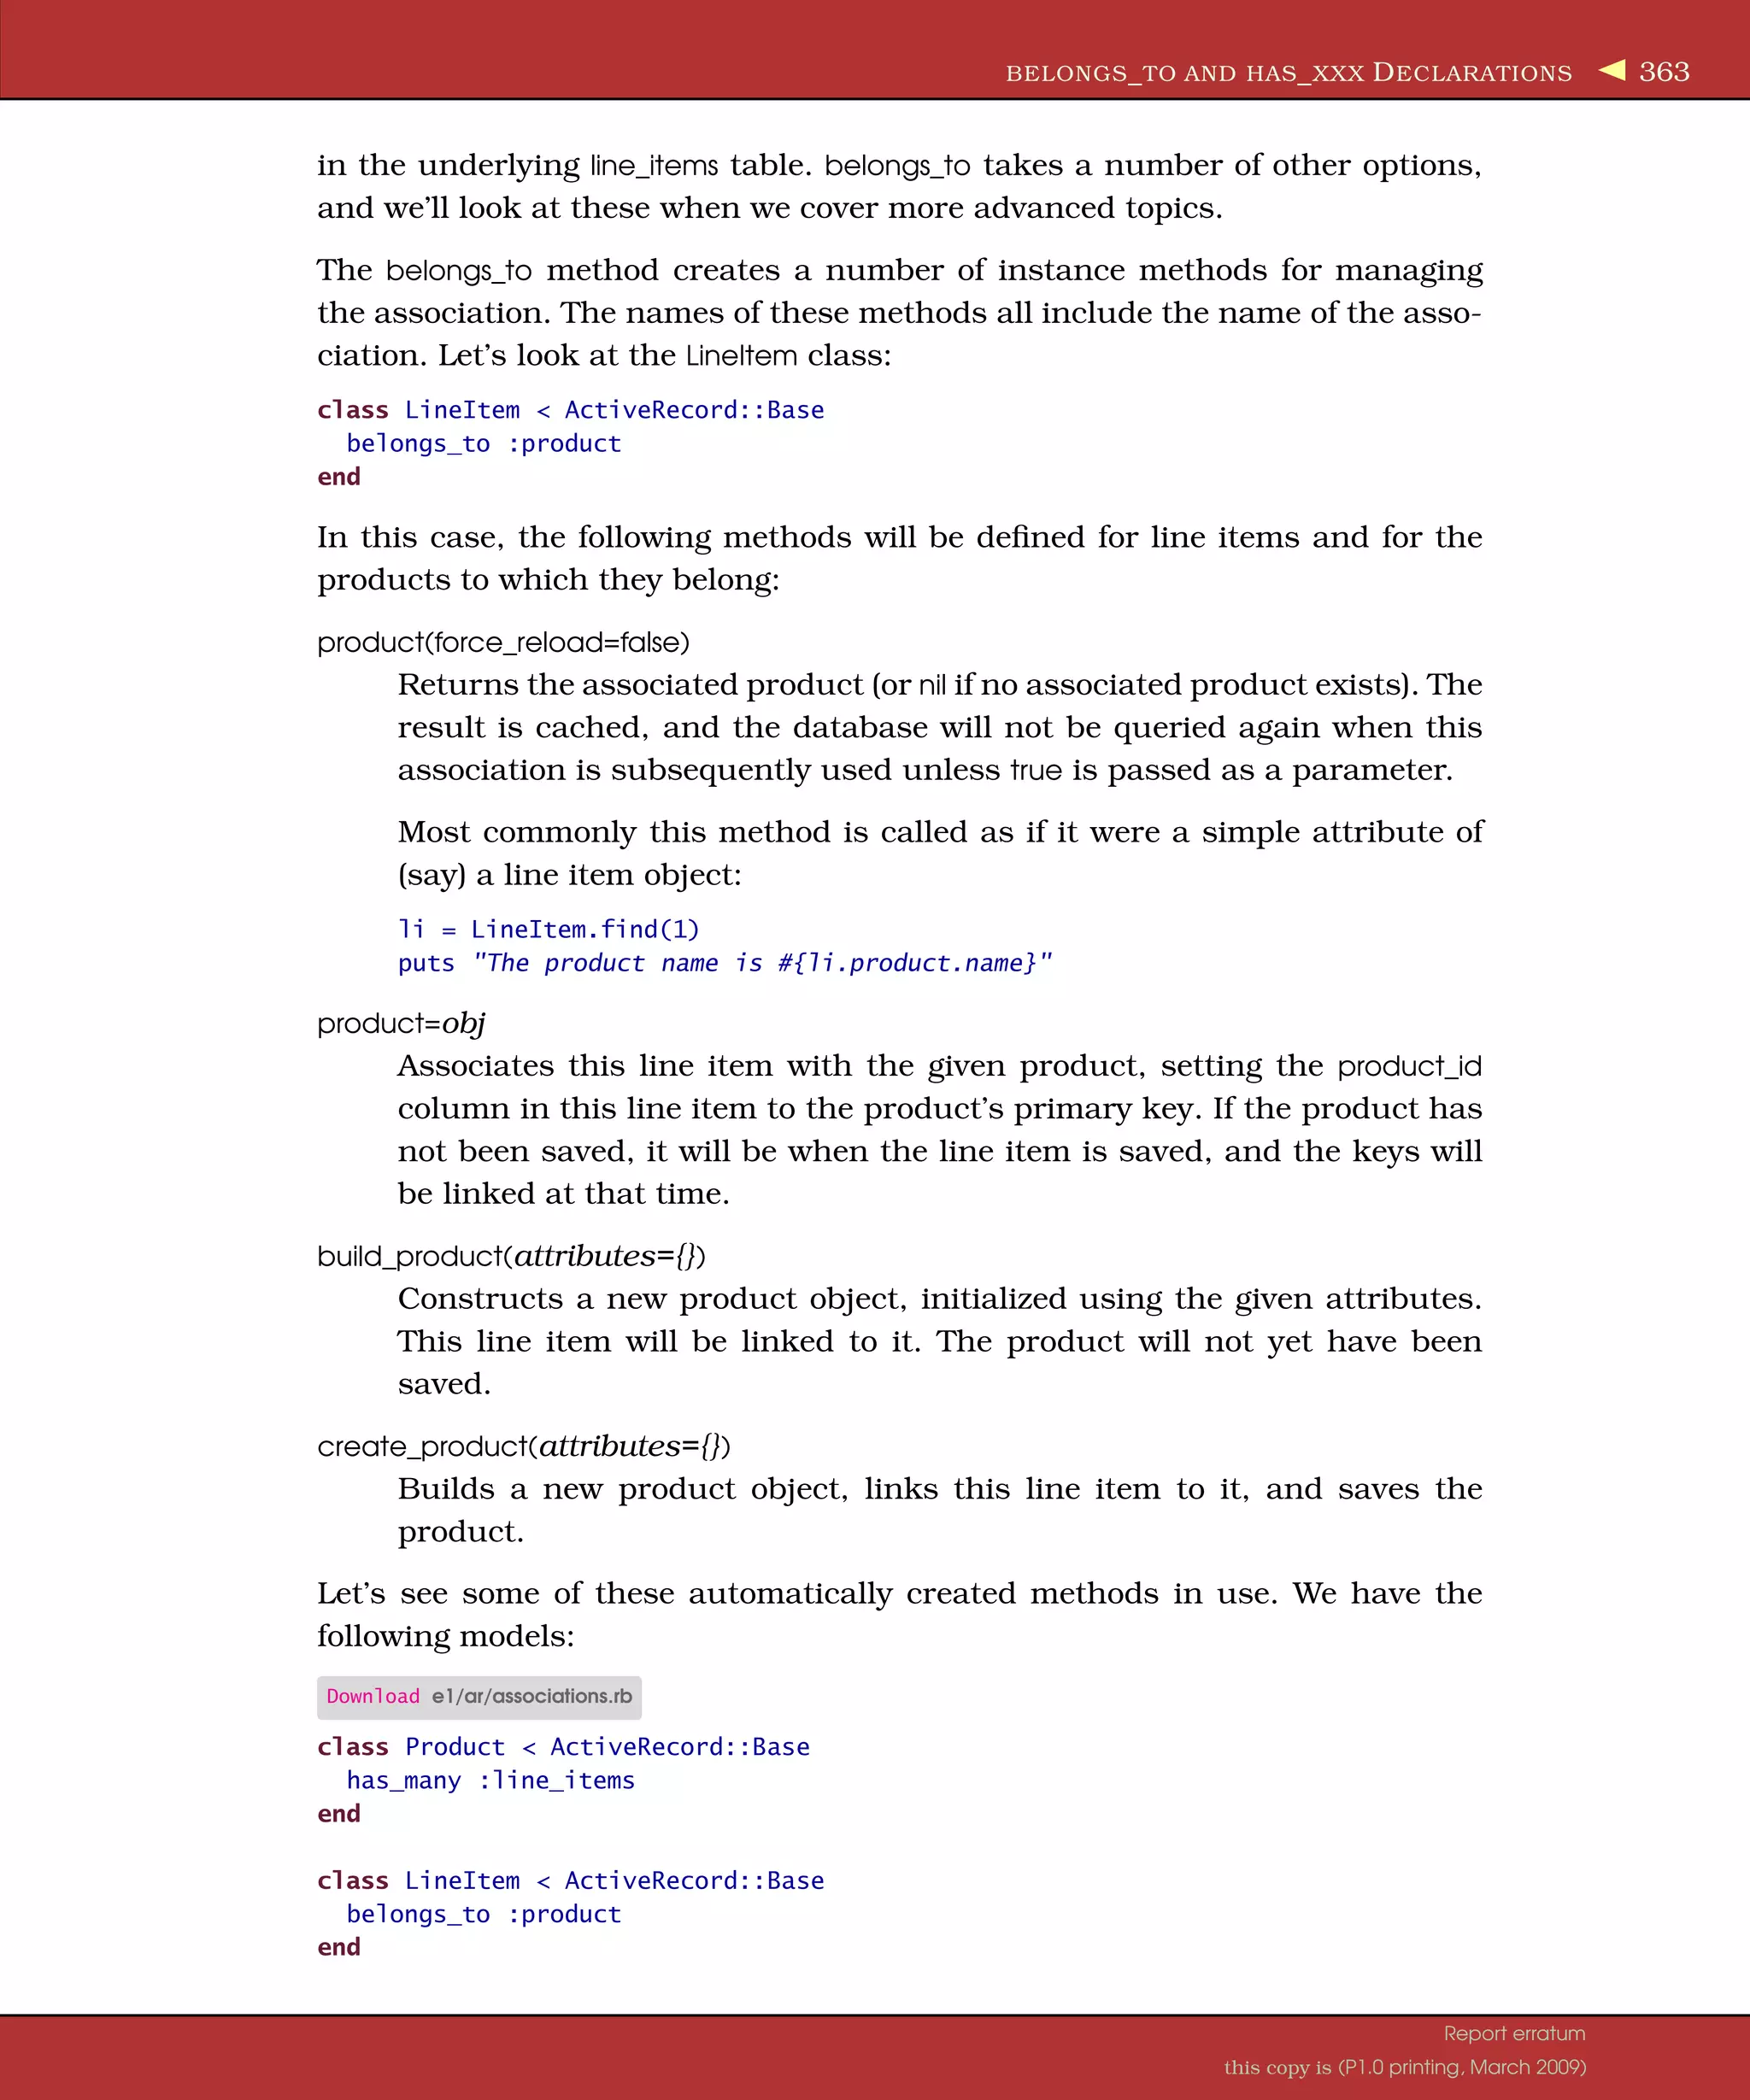
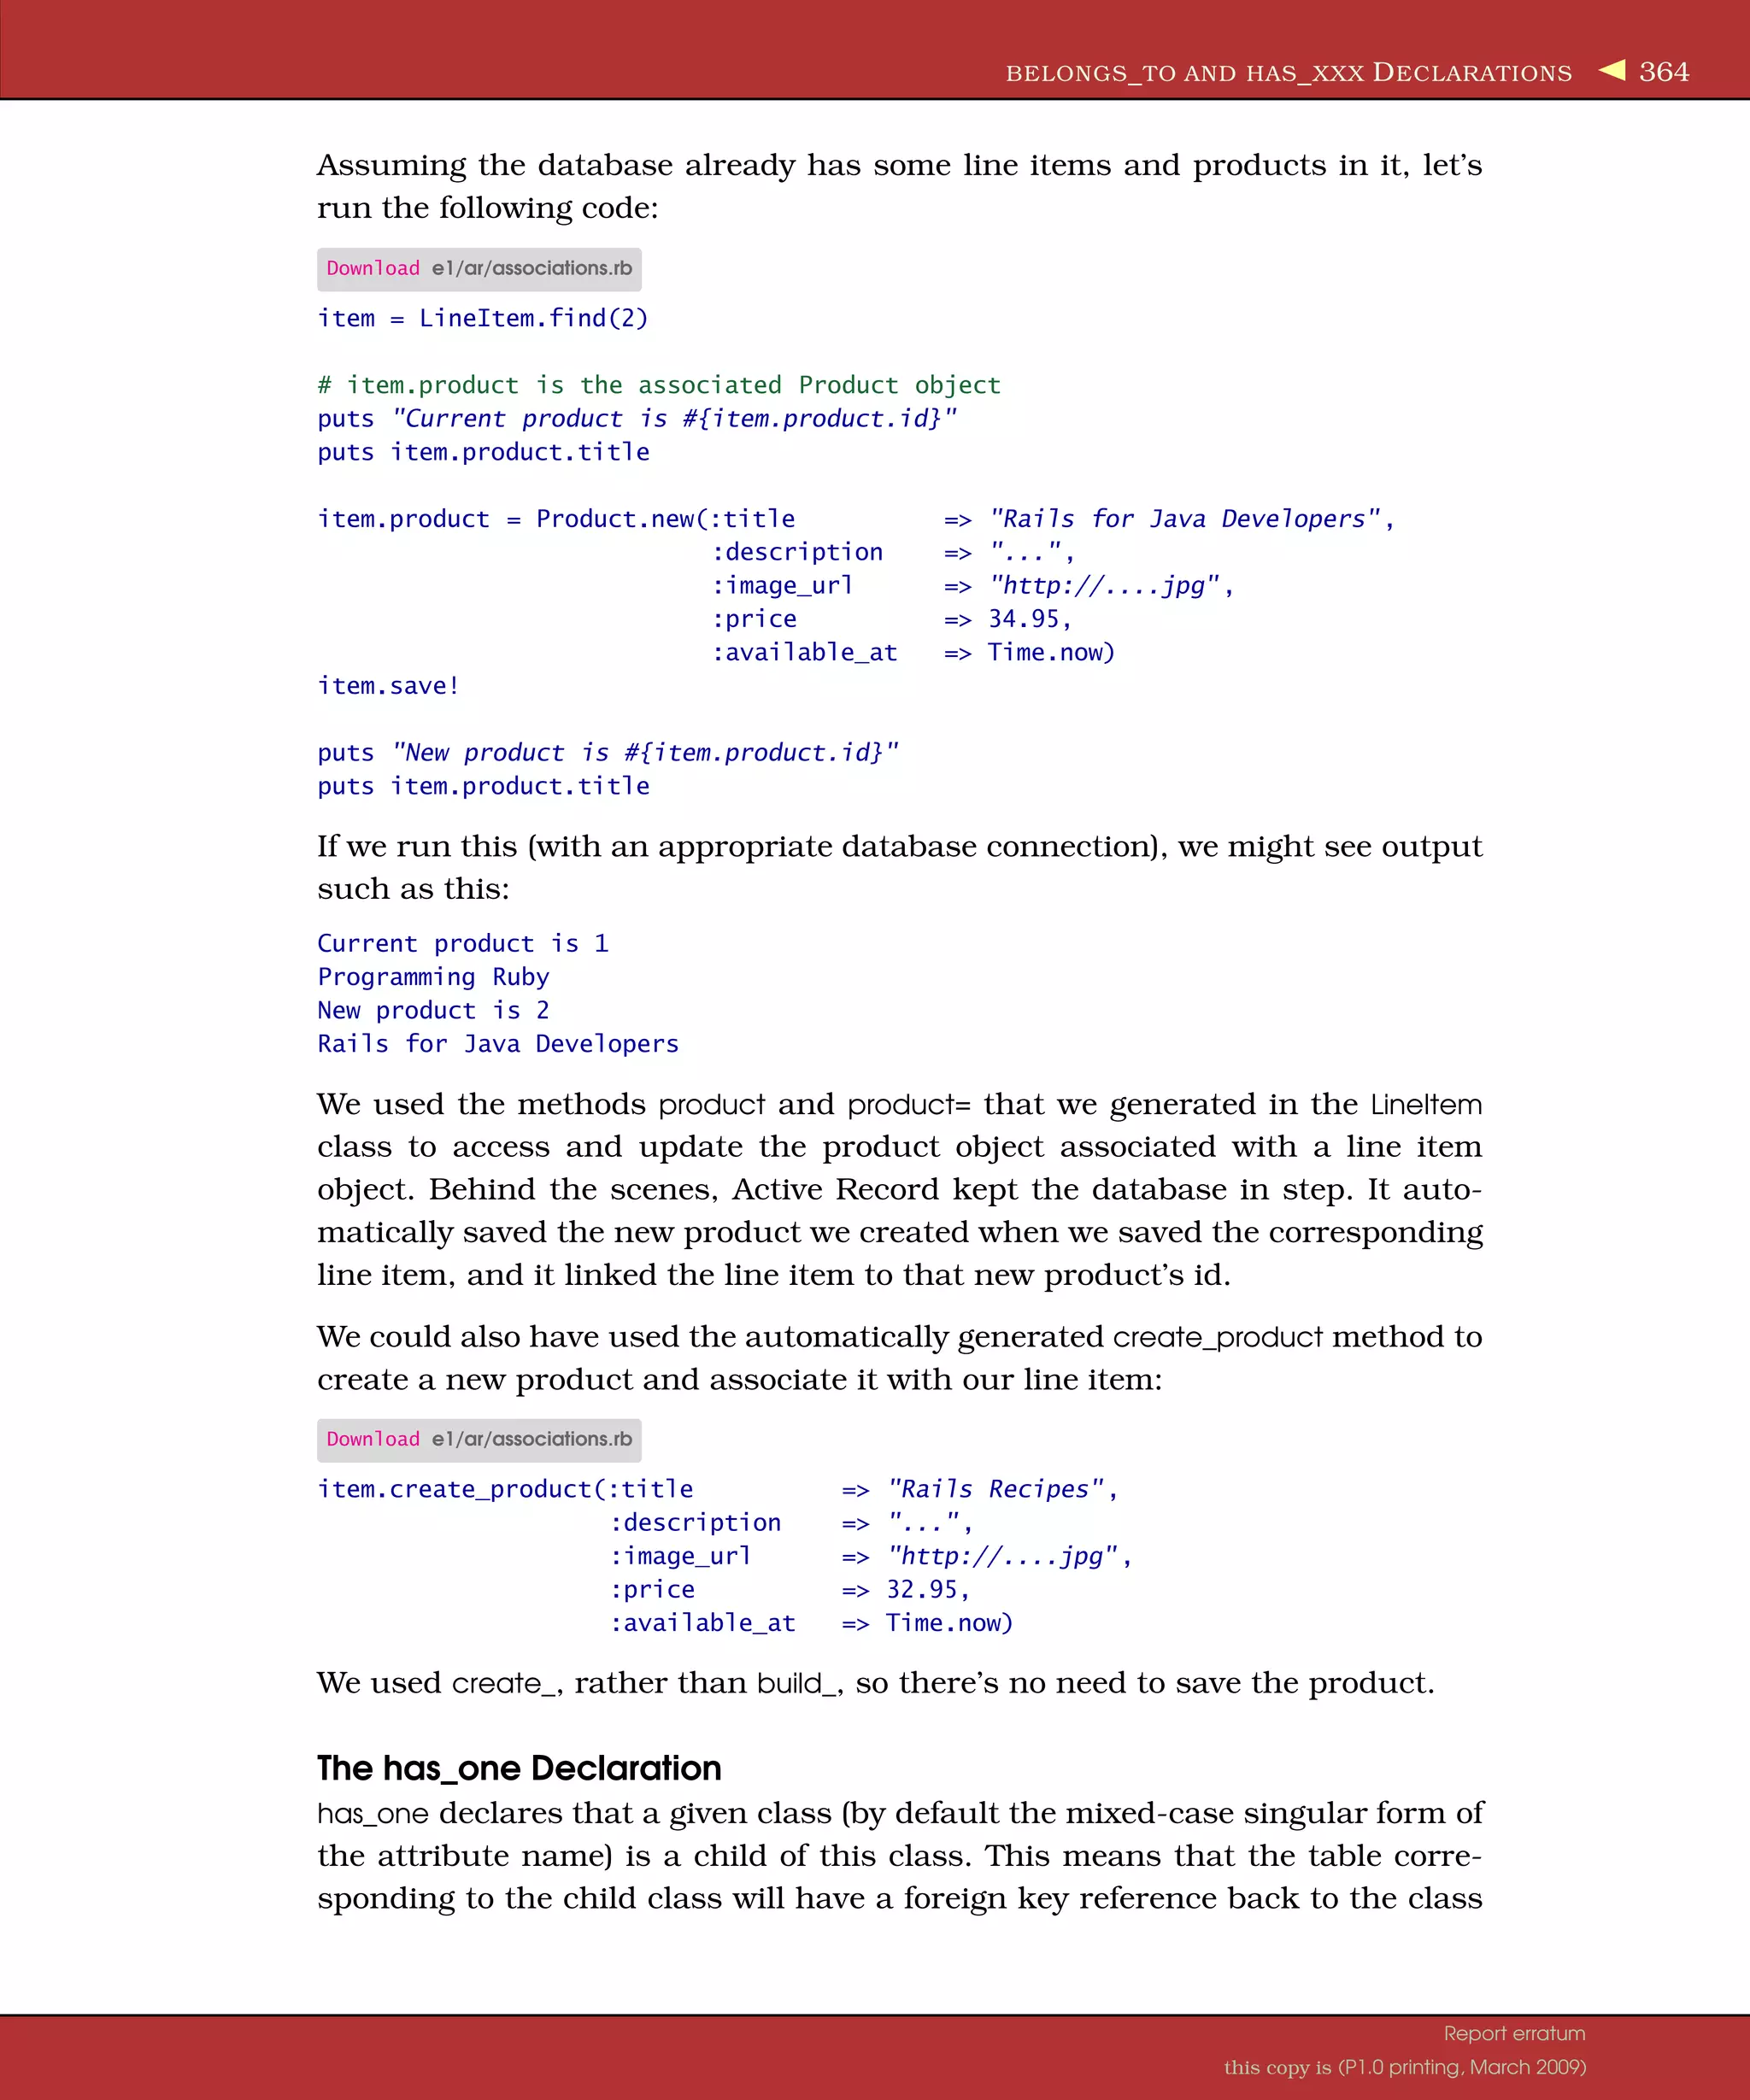
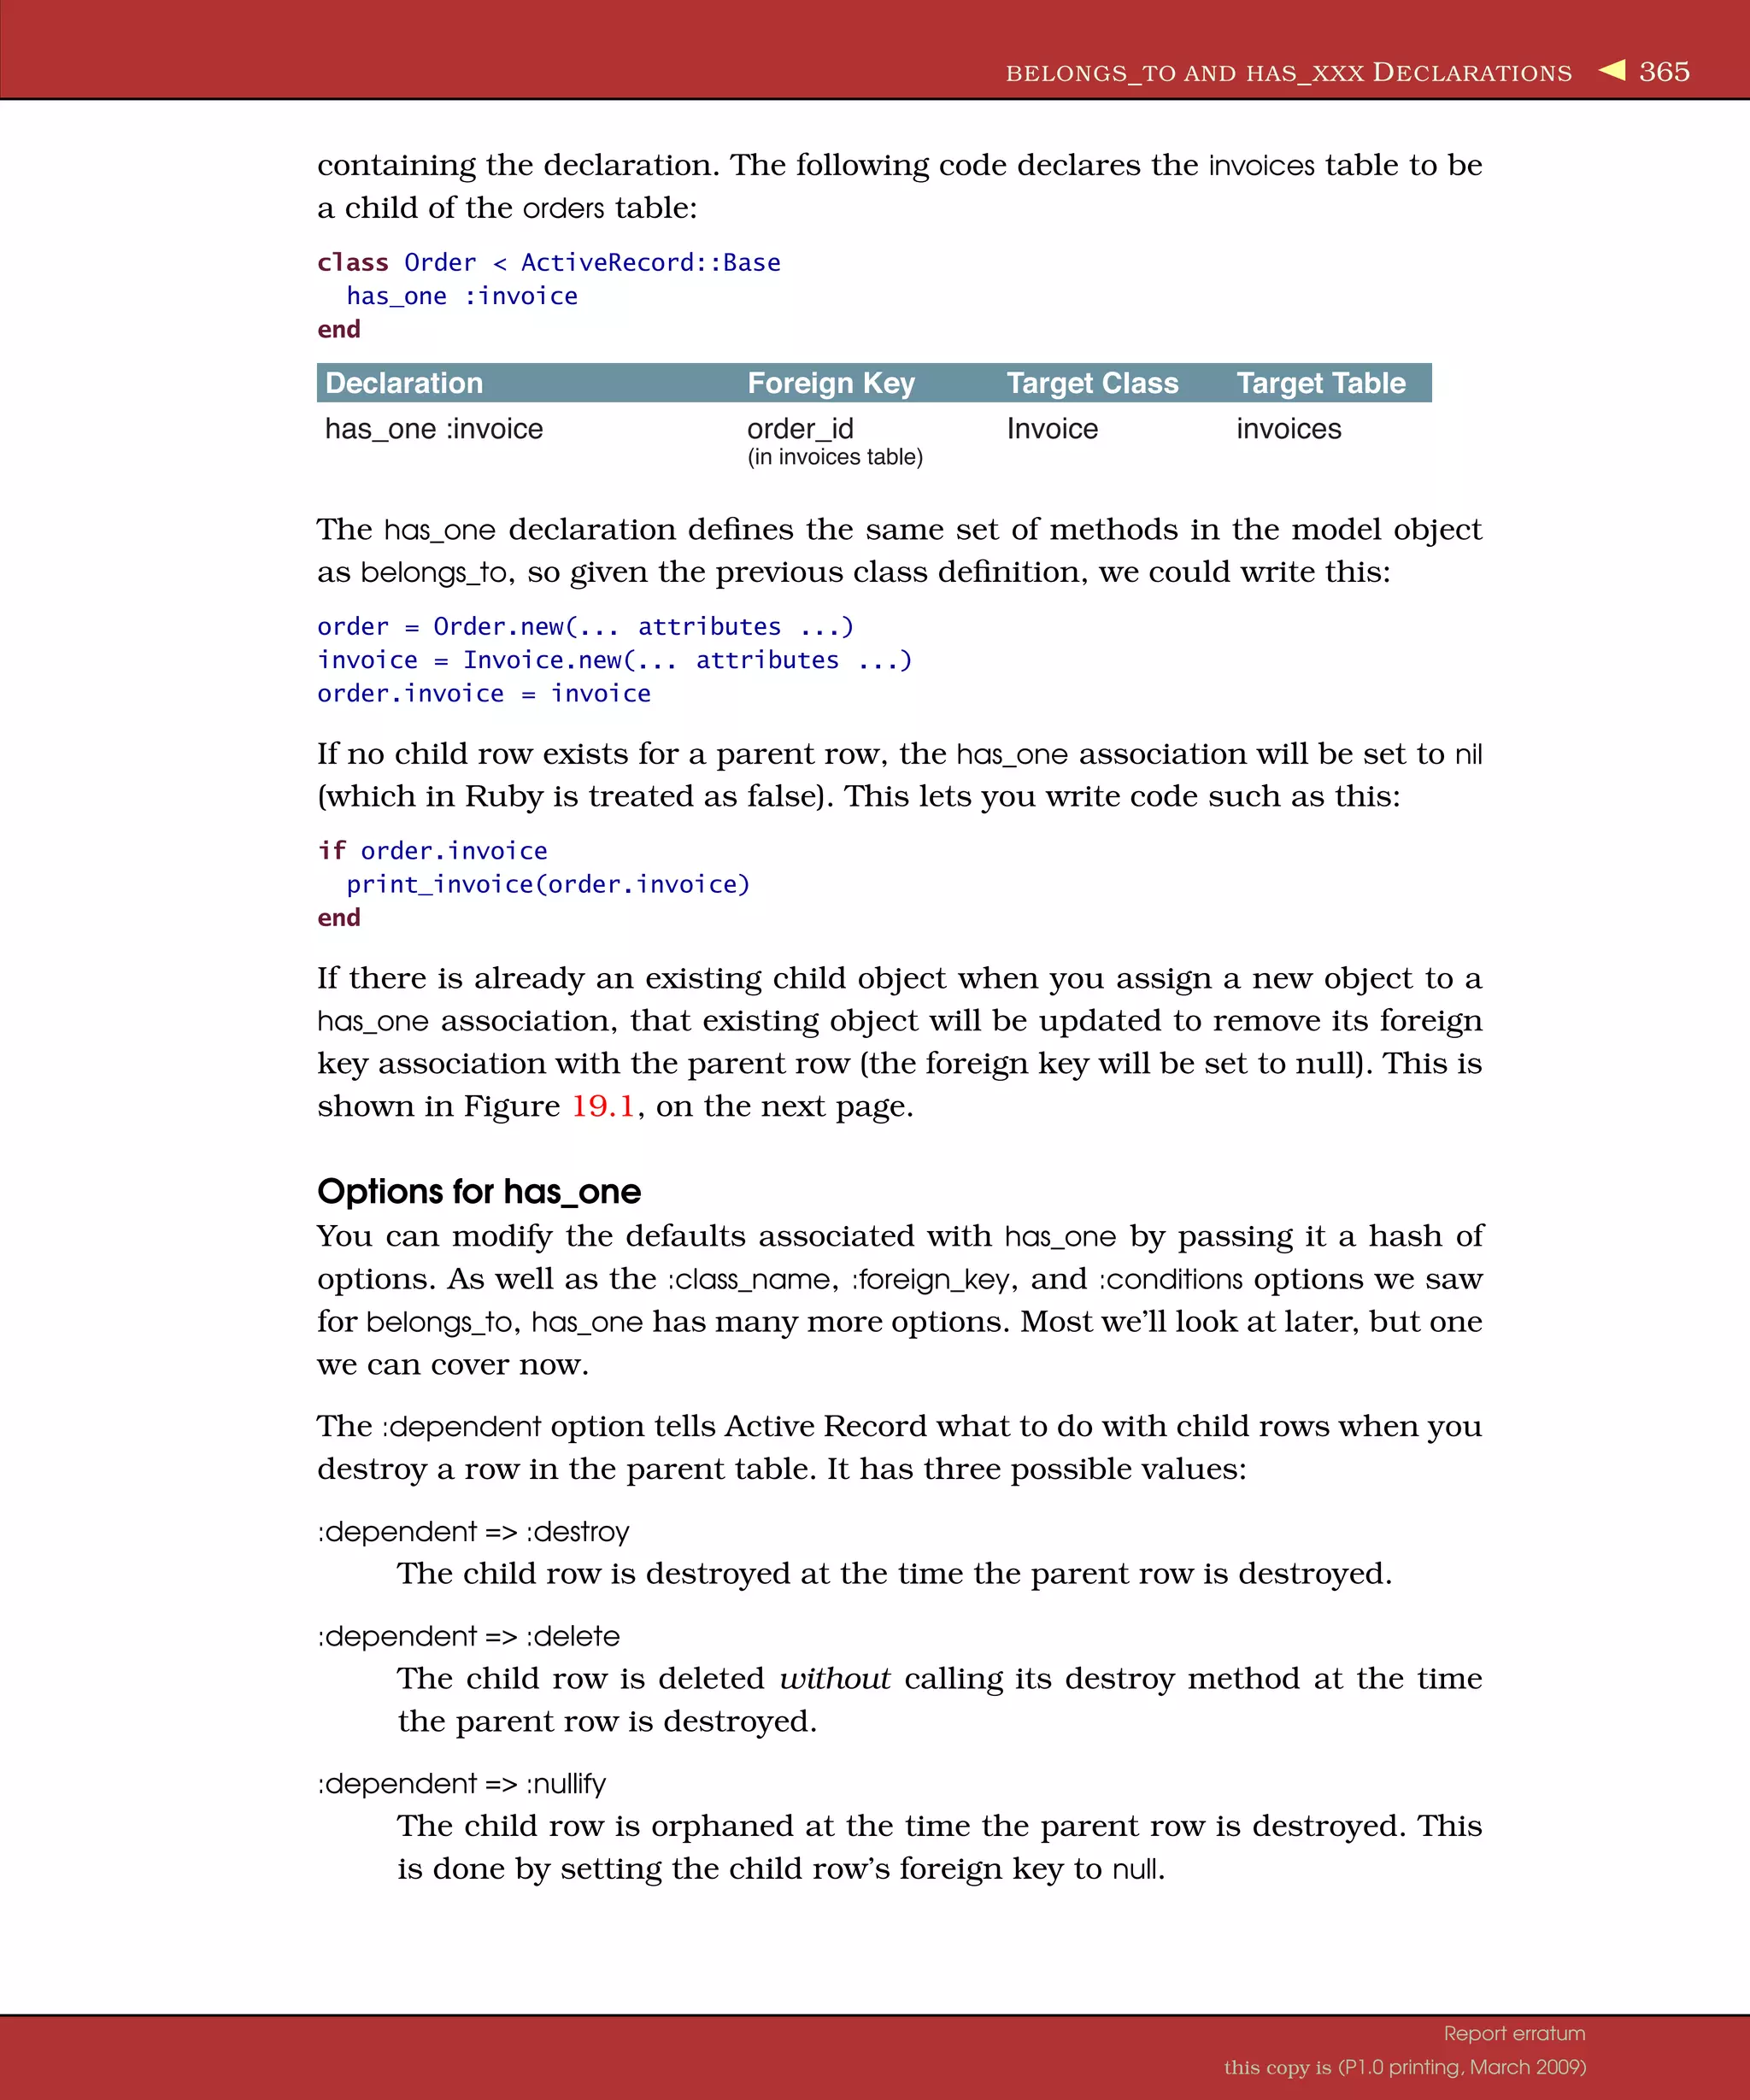
![BELONGS _ TO AND HAS _ XXX D ECLARATIONS 366 orders invoices id name ... id order_id ... 300 Dave 123 300 ... ... order = Order.find(300) order.invoice = Invoice.new(...) Existing invoice invoices is orphaned id order_id ... 123 NULL 124 300 Figure 19.1: Adding to a has_one relationship The has_many Declaration has_many defines an attribute that behaves like a collection of the child objects: class Order < ActiveRecord::Base has_many :line_items end Declaration Foreign Key Target Class Target Table has_many :line_items order_id LineItem line_items (in line_items) You can access the children as an array, find particular children, and add new children. For example, the following code adds some line items to an order: order = Order.new params[:products_to_buy].each do |prd_id, qty| product = Product.find(prd_id) order.line_items << LineItem.new(:product => product, :quantity => qty) end order.save The append operator (<<) does more than just append an object to a list within the order. It also arranges to link the line items back to this order by setting their foreign key to this order’s id and for the line items to be saved automati- cally when the parent order is saved. Report erratum this copy is (P1.0 printing, March 2009)](https://image.slidesharecdn.com/pragmatic-agilewebdevelopmentwithrails-3rdedition-2009-091104222637-phpapp01/75/Pragmatic-Agile-Web-Development-With-Rails-3rd-Edition-2009-366-2048.jpg)
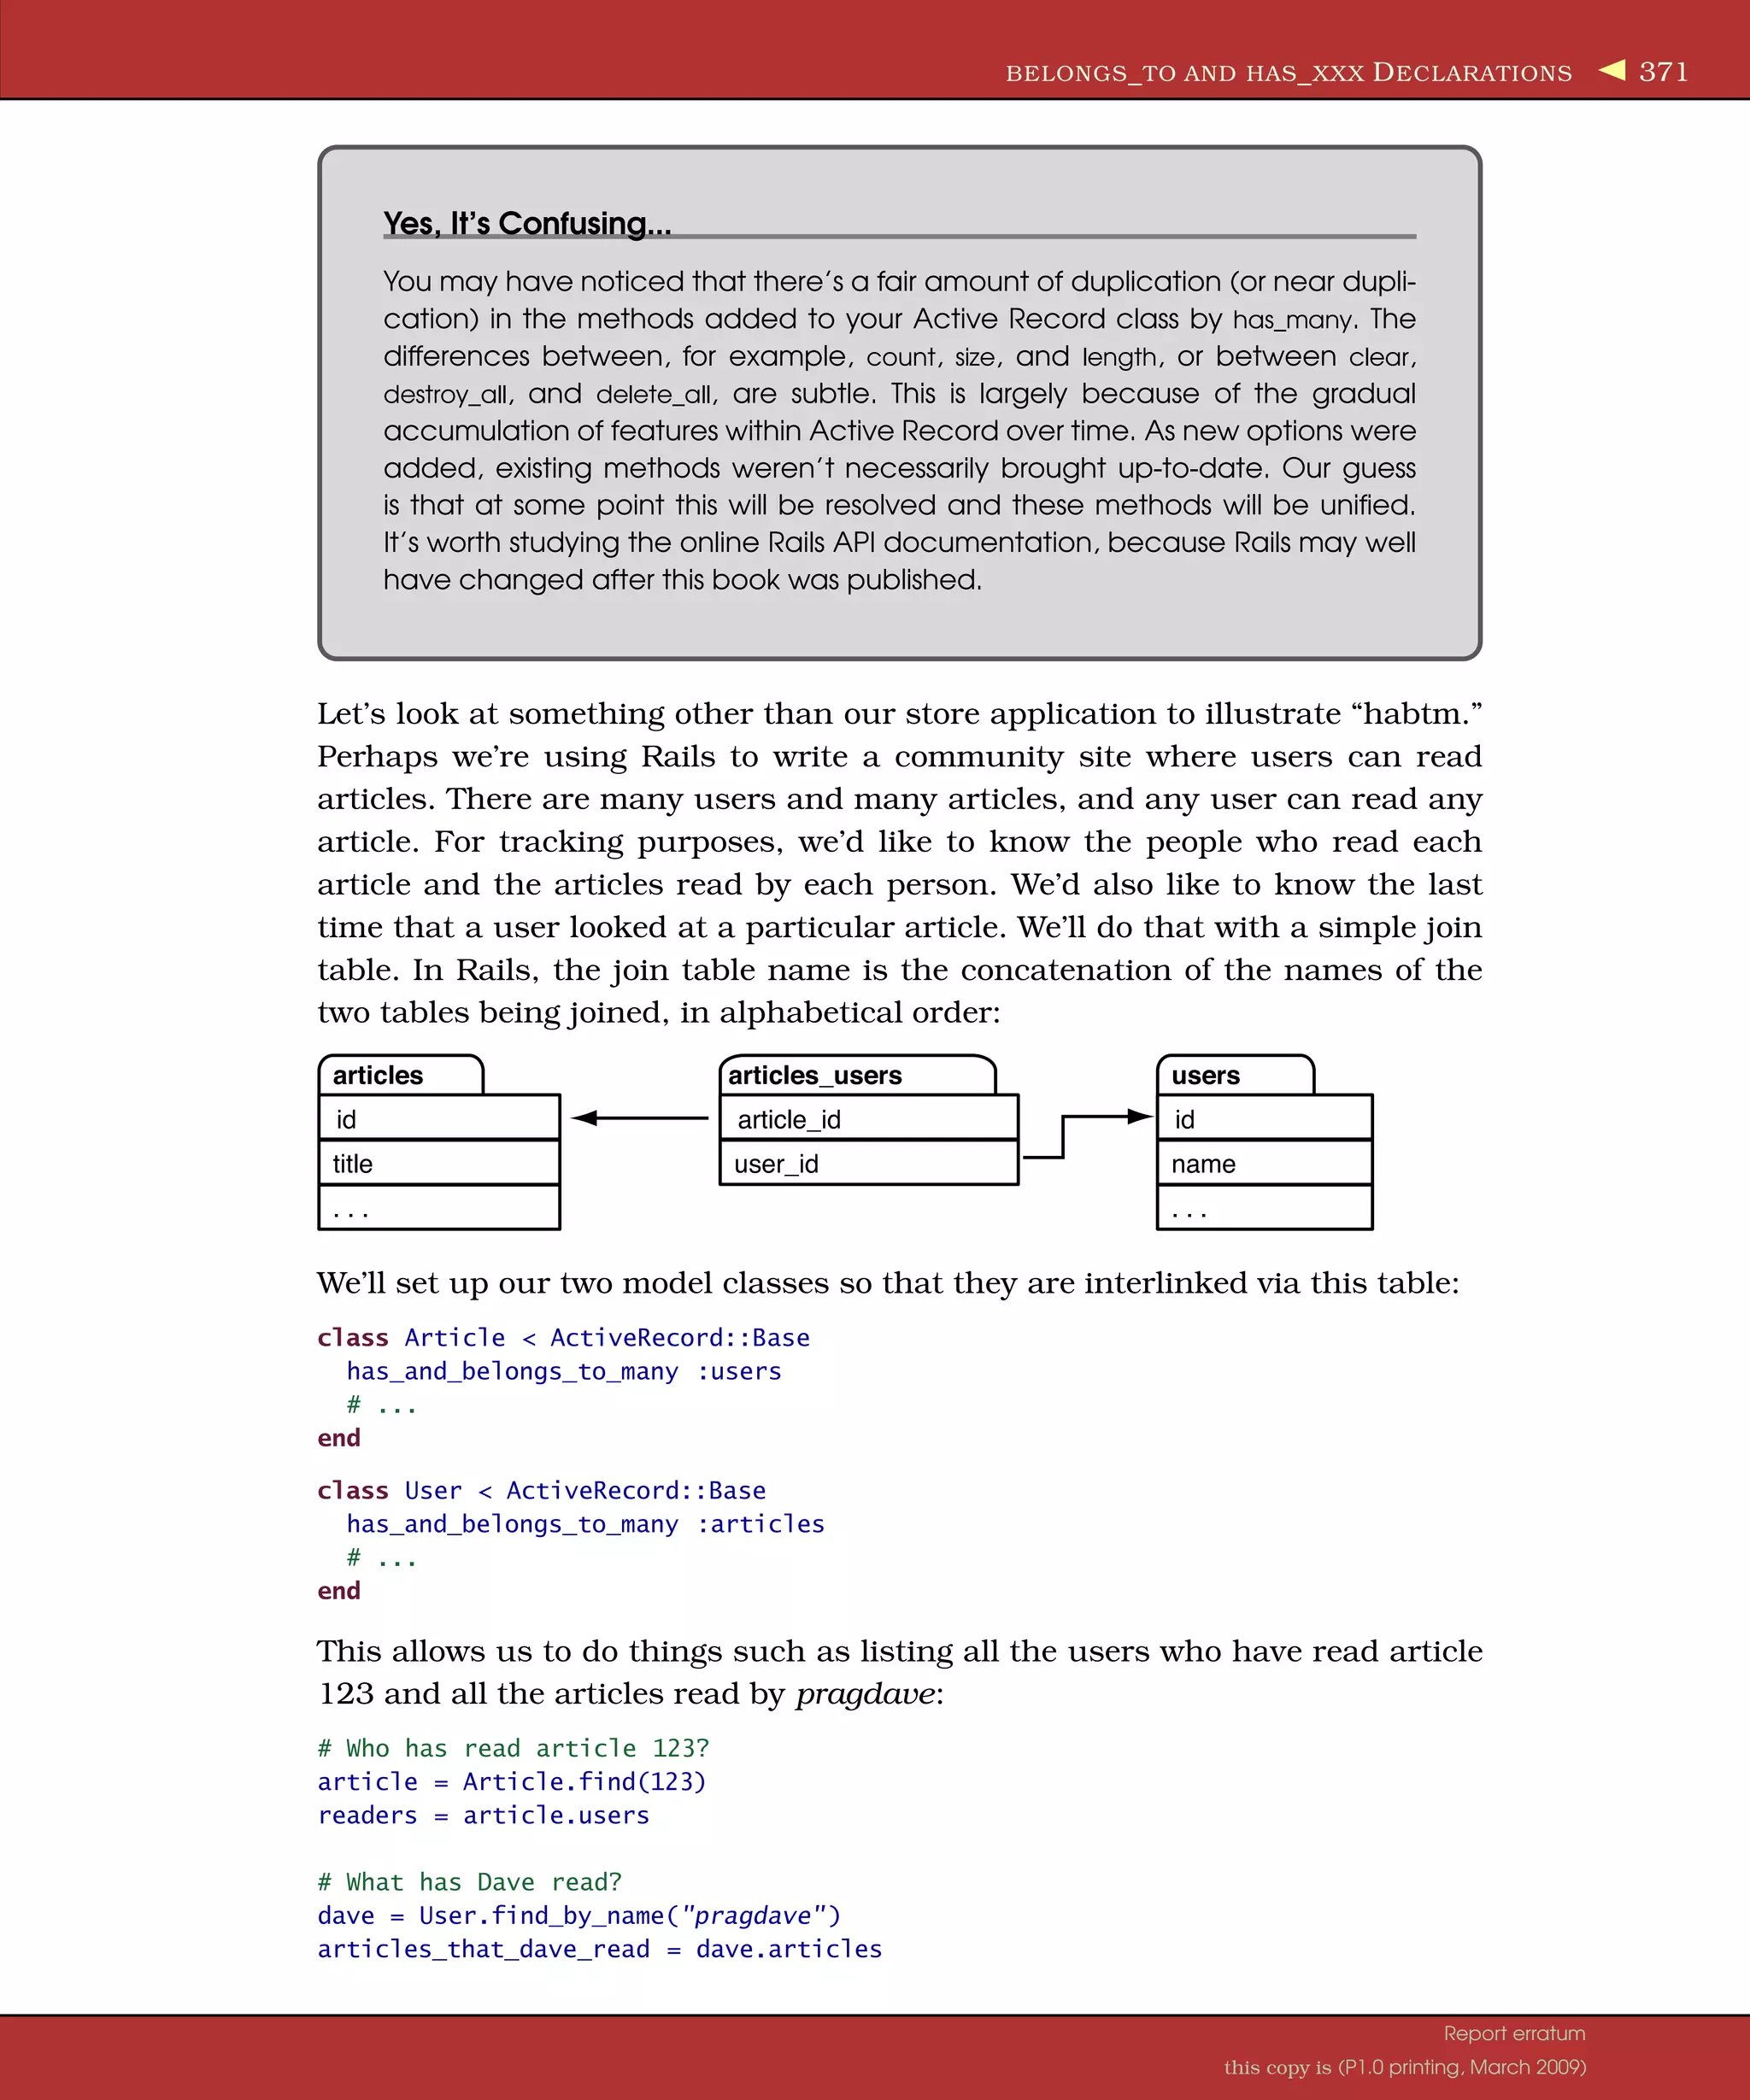
![BELONGS _ TO AND HAS _ XXX D ECLARATIONS 373 Using Models as Join Tables Current Rails thinking is to keep join tables pure—a join table should contain only a pair of foreign key columns. Whenever you feel the need to add more data to this kind of table, what you’re really doing is creating a new model, because the join table changes from a simple linkage mechanism into a fully fledged participant in the business of your application. Let’s look back at the previous example with articles and users. In the simple “habtm” implementation, the join table records the fact that an article was read by a user. Rows in the join table have no independent existence. But pretty soon we find ourselves wanting to add information to this table. We want to record when the reader read the article and how many stars they gave it when finished. The join table suddenly has a life of its own and deserves its own Active Record model. Let’s call it Reading. The schema looks like this: articles readings users id id id title article_id name ... user_id ... read_at rating Using the Rails facilities we’ve seen so far in this chapter, we could model this using the following: class Article < ActiveRecord::Base has_many :readings end class User < ActiveRecord::Base has_many :readings end class Reading < ActiveRecord::Base belongs_to :article belongs_to :user end When a user reads an article, we can record that fact: reading = Reading.new reading.rating = params[:rating] reading.read_at = Time.now reading.article = current_article reading.user = session[:user] reading.save However, we’ve lost something compared to the “habtm” solution. We can no longer easily ask an article who its readers are or ask a user which articles Report erratum this copy is (P1.0 printing, March 2009)](https://image.slidesharecdn.com/pragmatic-agilewebdevelopmentwithrails-3rdedition-2009-091104222637-phpapp01/75/Pragmatic-Agile-Web-Development-With-Rails-3rd-Edition-2009-373-2048.jpg)
![BELONGS _ TO AND HAS _ XXX D ECLARATIONS 376 This code is equivalent to the previous example: article = Article.create(:name => "Join Models" ) article.users.create!(:name => "dave" ) Note that it isn’t possible to set attributes in the intermediate table using this approach. Extending Associations An association declaration (belongs_to, has_xxx) makes a statement about the business relationship between your model objects. Quite often, additional business logic is associated with that particular association. In the previous example, we defined a relationship between articles and their readers called Reading. This relationship incorporated the user’s rating of the article they’d just read. Given a user, how can we get a list of all the articles they’ve rated with three stars or higher? Four or higher? We’ve already seen one way: we can construct new associations where the result set meets some additional criteria. We did that with the happy_users asso- ciation on the previous page. However, this method is constrained—we can’t parameterize the query, letting our caller determine the rating that counts as being “happy.” An alternative is to have the code that uses our model add additional condi- tions on the query itself: user = User.find(some_id) user.articles.find(:all, :conditions => [ 'rating >= ?' , 3]) This works but gently breaks encapsulation: we’d really like to keep the idea of finding articles based on their rating wrapped inside the articles associa- tion. Rails lets us do this by adding a block to any has_many declaration. Any methods defined in this block become methods of the association. The following code adds the finder method rated_at_or_above to the articles asso- ciation in the user model: class User < ActiveRecord::Base has_many :readings has_many :articles, :through => :readings do def rated_at_or_above(rating) find :all, :conditions => ['rating >= ?' , rating] end end end Given a user model object, we can now call this method to retrieve a list of the articles they’ve rated highly: user = User.find(some_id) good_articles = user.articles.rated_at_or_above(4) Report erratum this copy is (P1.0 printing, March 2009)](https://image.slidesharecdn.com/pragmatic-agilewebdevelopmentwithrails-3rdedition-2009-091104222637-phpapp01/75/Pragmatic-Agile-Web-Development-With-Rails-3rd-Edition-2009-376-2048.jpg)
![J OINING TO M UL TIPLE T ABLES 377 Although we’ve illustrated it here with a :through option to has_many, this ability to extend an association with our own methods applies to all the association declarations. Sharing Association Extensions We’ll sometimes want to apply the same set of extensions to a number of asso- ciations. We can do this by putting our extension methods in a Ruby module and passing that module to the association declaration with the :extend param- eter: has_many :articles, :extend => RatingFinder We can extend an association with multiple modules by passing :extend an array: has_many :articles, :extend => [ RatingFinder, DateRangeFinder ] 19.4 Joining to Multiple Tables Relational databases allow us to set up joins between tables. A row in our orders table is associated with a number of rows in the line items table, for example. The relationship is statically defined. However, sometimes that isn’t convenient. We could get around this with some clever coding, but fortunately we don’t have to do so. Rails provides two mechanisms for mapping a relational model into a more complex object-oriented one: single-table inheritance and polymor- phic associations. Let’s look at each in turn. Single-Table Inheritance When we program with objects and classes, we sometimes use inheritance to express the relationship between abstractions. Our application might deal with people in various roles: customers, employees, managers, and so on. All roles will have some properties in common and other properties that are role specific. We might model this by saying that class Employee and class Customer are both subclasses of class Person and that Manager is in turn a subclass of Employee. The subclasses inherit the properties and responsibilities of their parent class.2 In the relational database world, we don’t have the concept of inheritance: relationships are expressed primarily in terms of associations. But single-table inheritance, described by Martin Fowler in Patterns of Enterprise Application Architecture [Fow03], lets us map all the classes in the inheritance hierarchy 2. Of course, inheritance is a much-abused construct in programming. Before going down this road, ask yourself whether you truly do have an is-a relationship. For example, an employee might also be a customer, which is hard to model given a static inheritance tree. Consider alternatives (such as tagging or role-based taxonomies) in these cases. Report erratum this copy is (P1.0 printing, March 2009)](https://image.slidesharecdn.com/pragmatic-agilewebdevelopmentwithrails-3rdedition-2009-091104222637-phpapp01/75/Pragmatic-Agile-Web-Development-With-Rails-3rd-Edition-2009-377-2048.jpg)
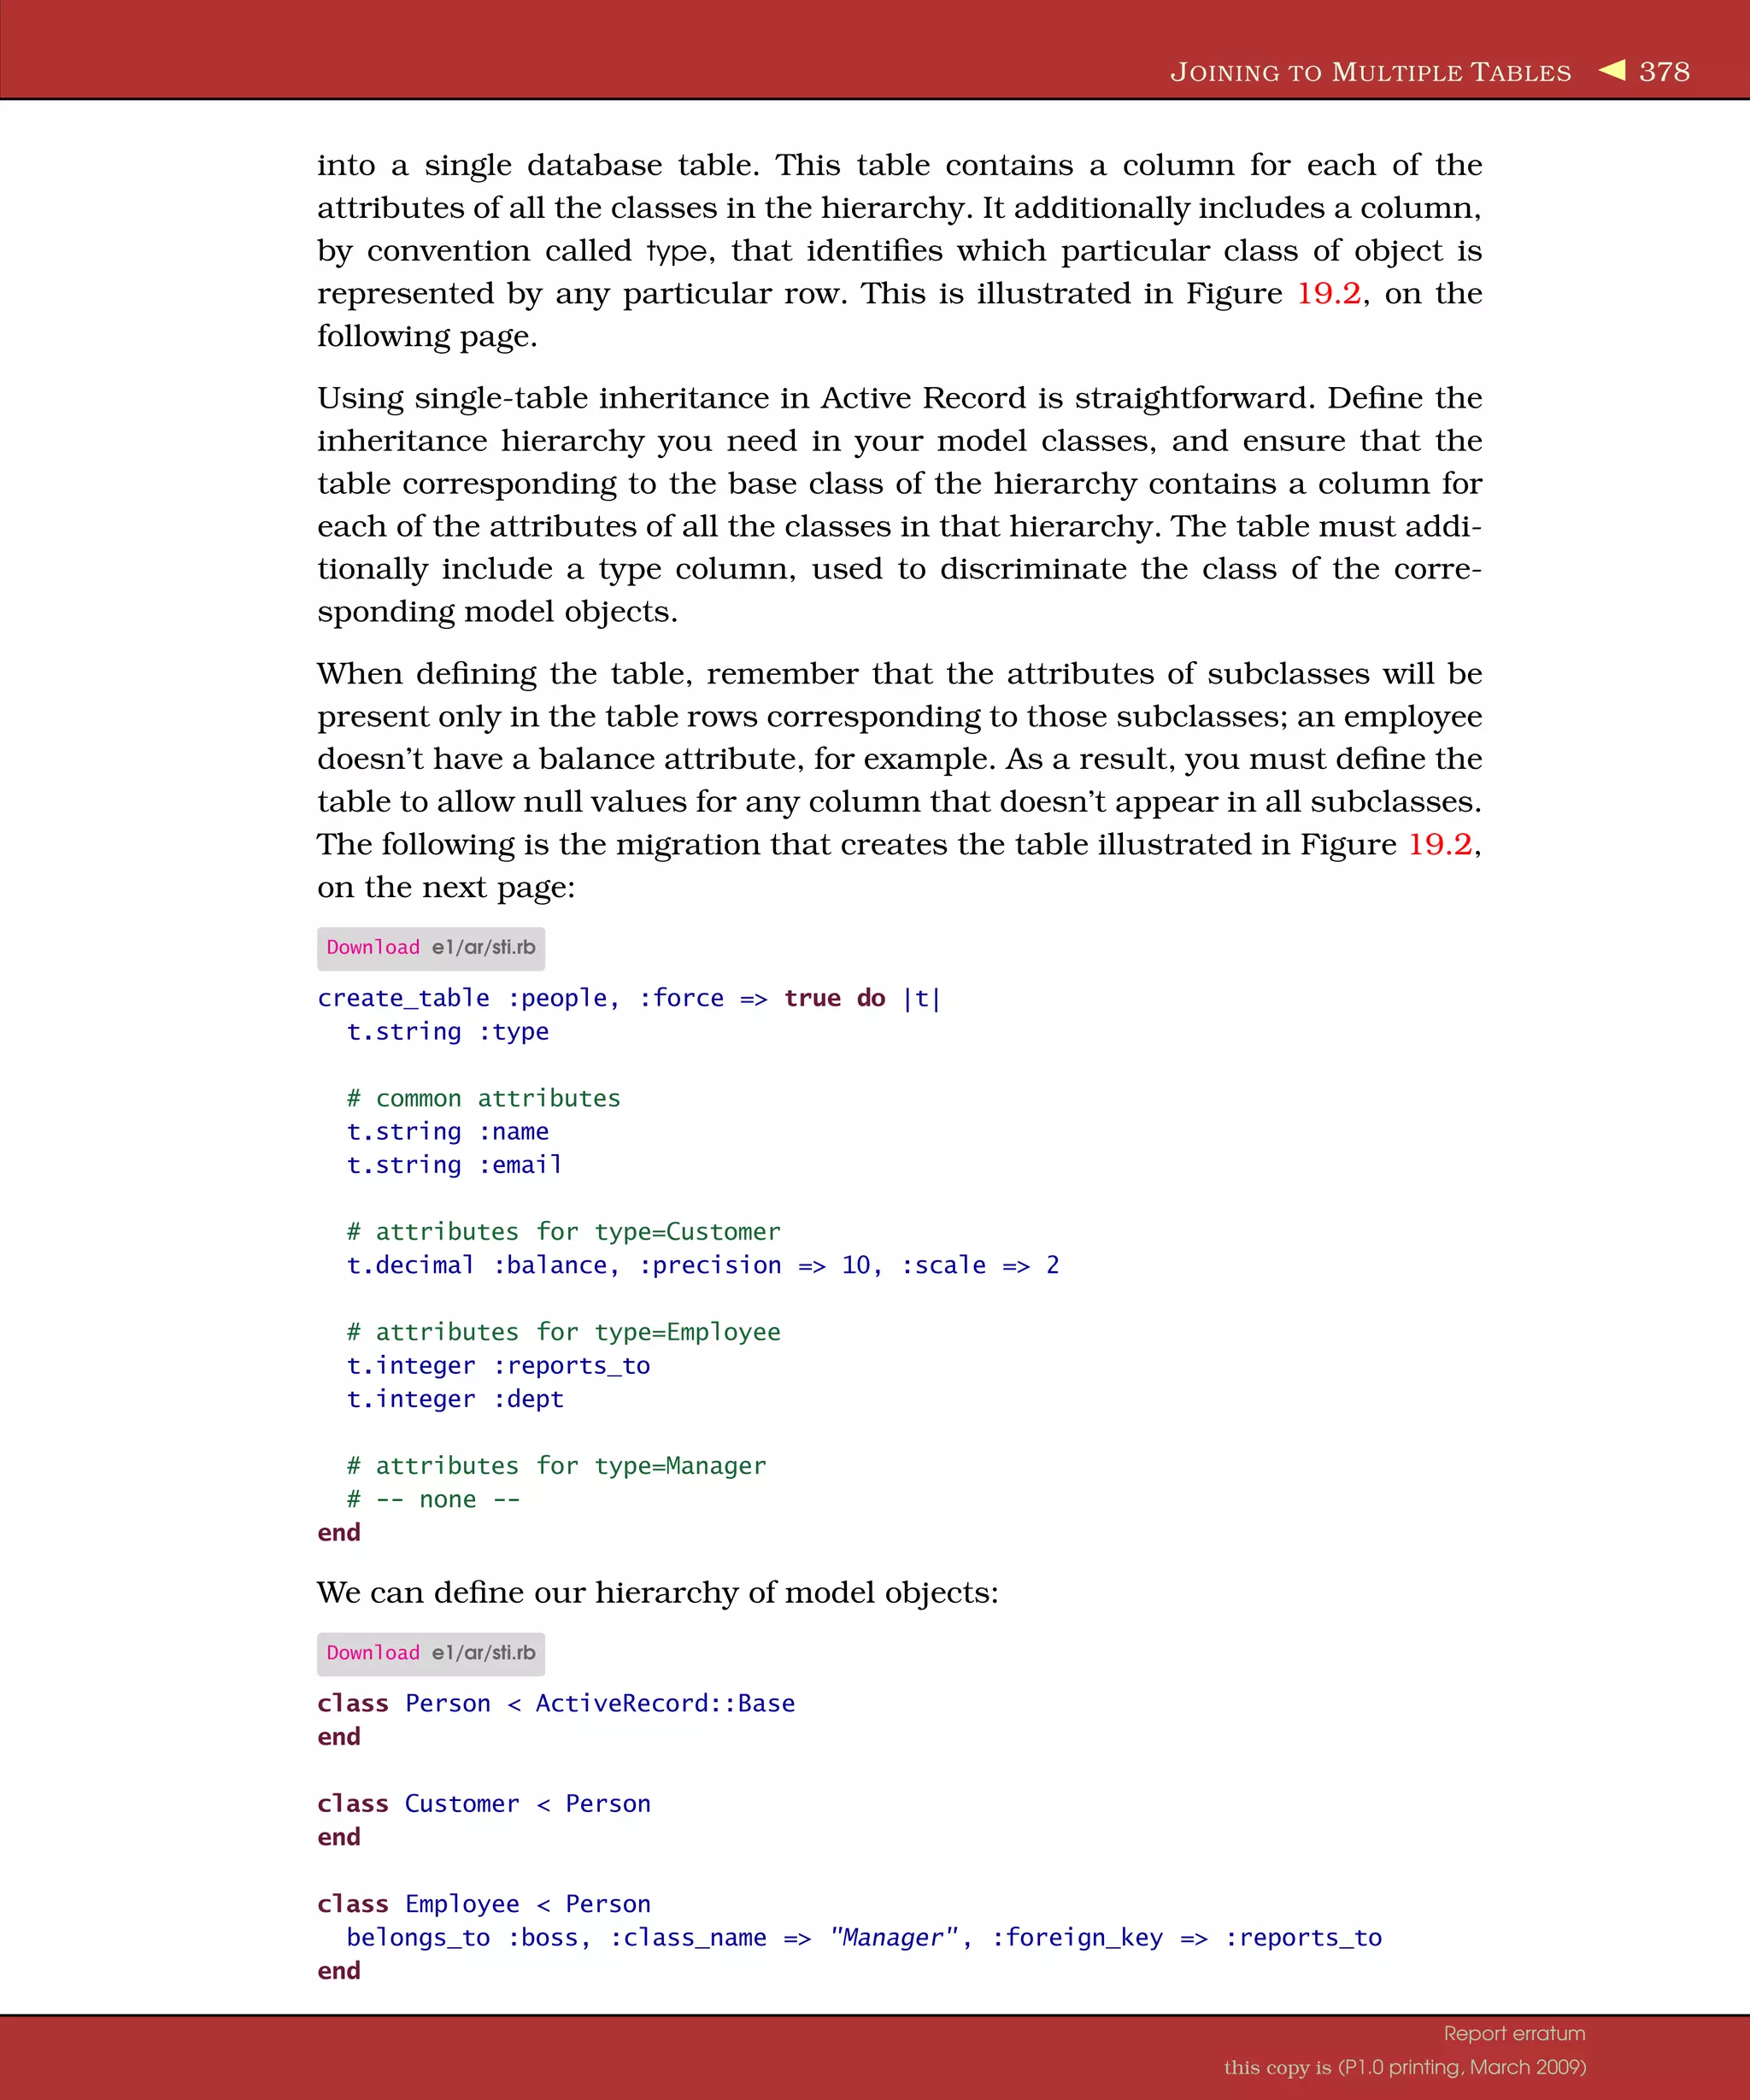
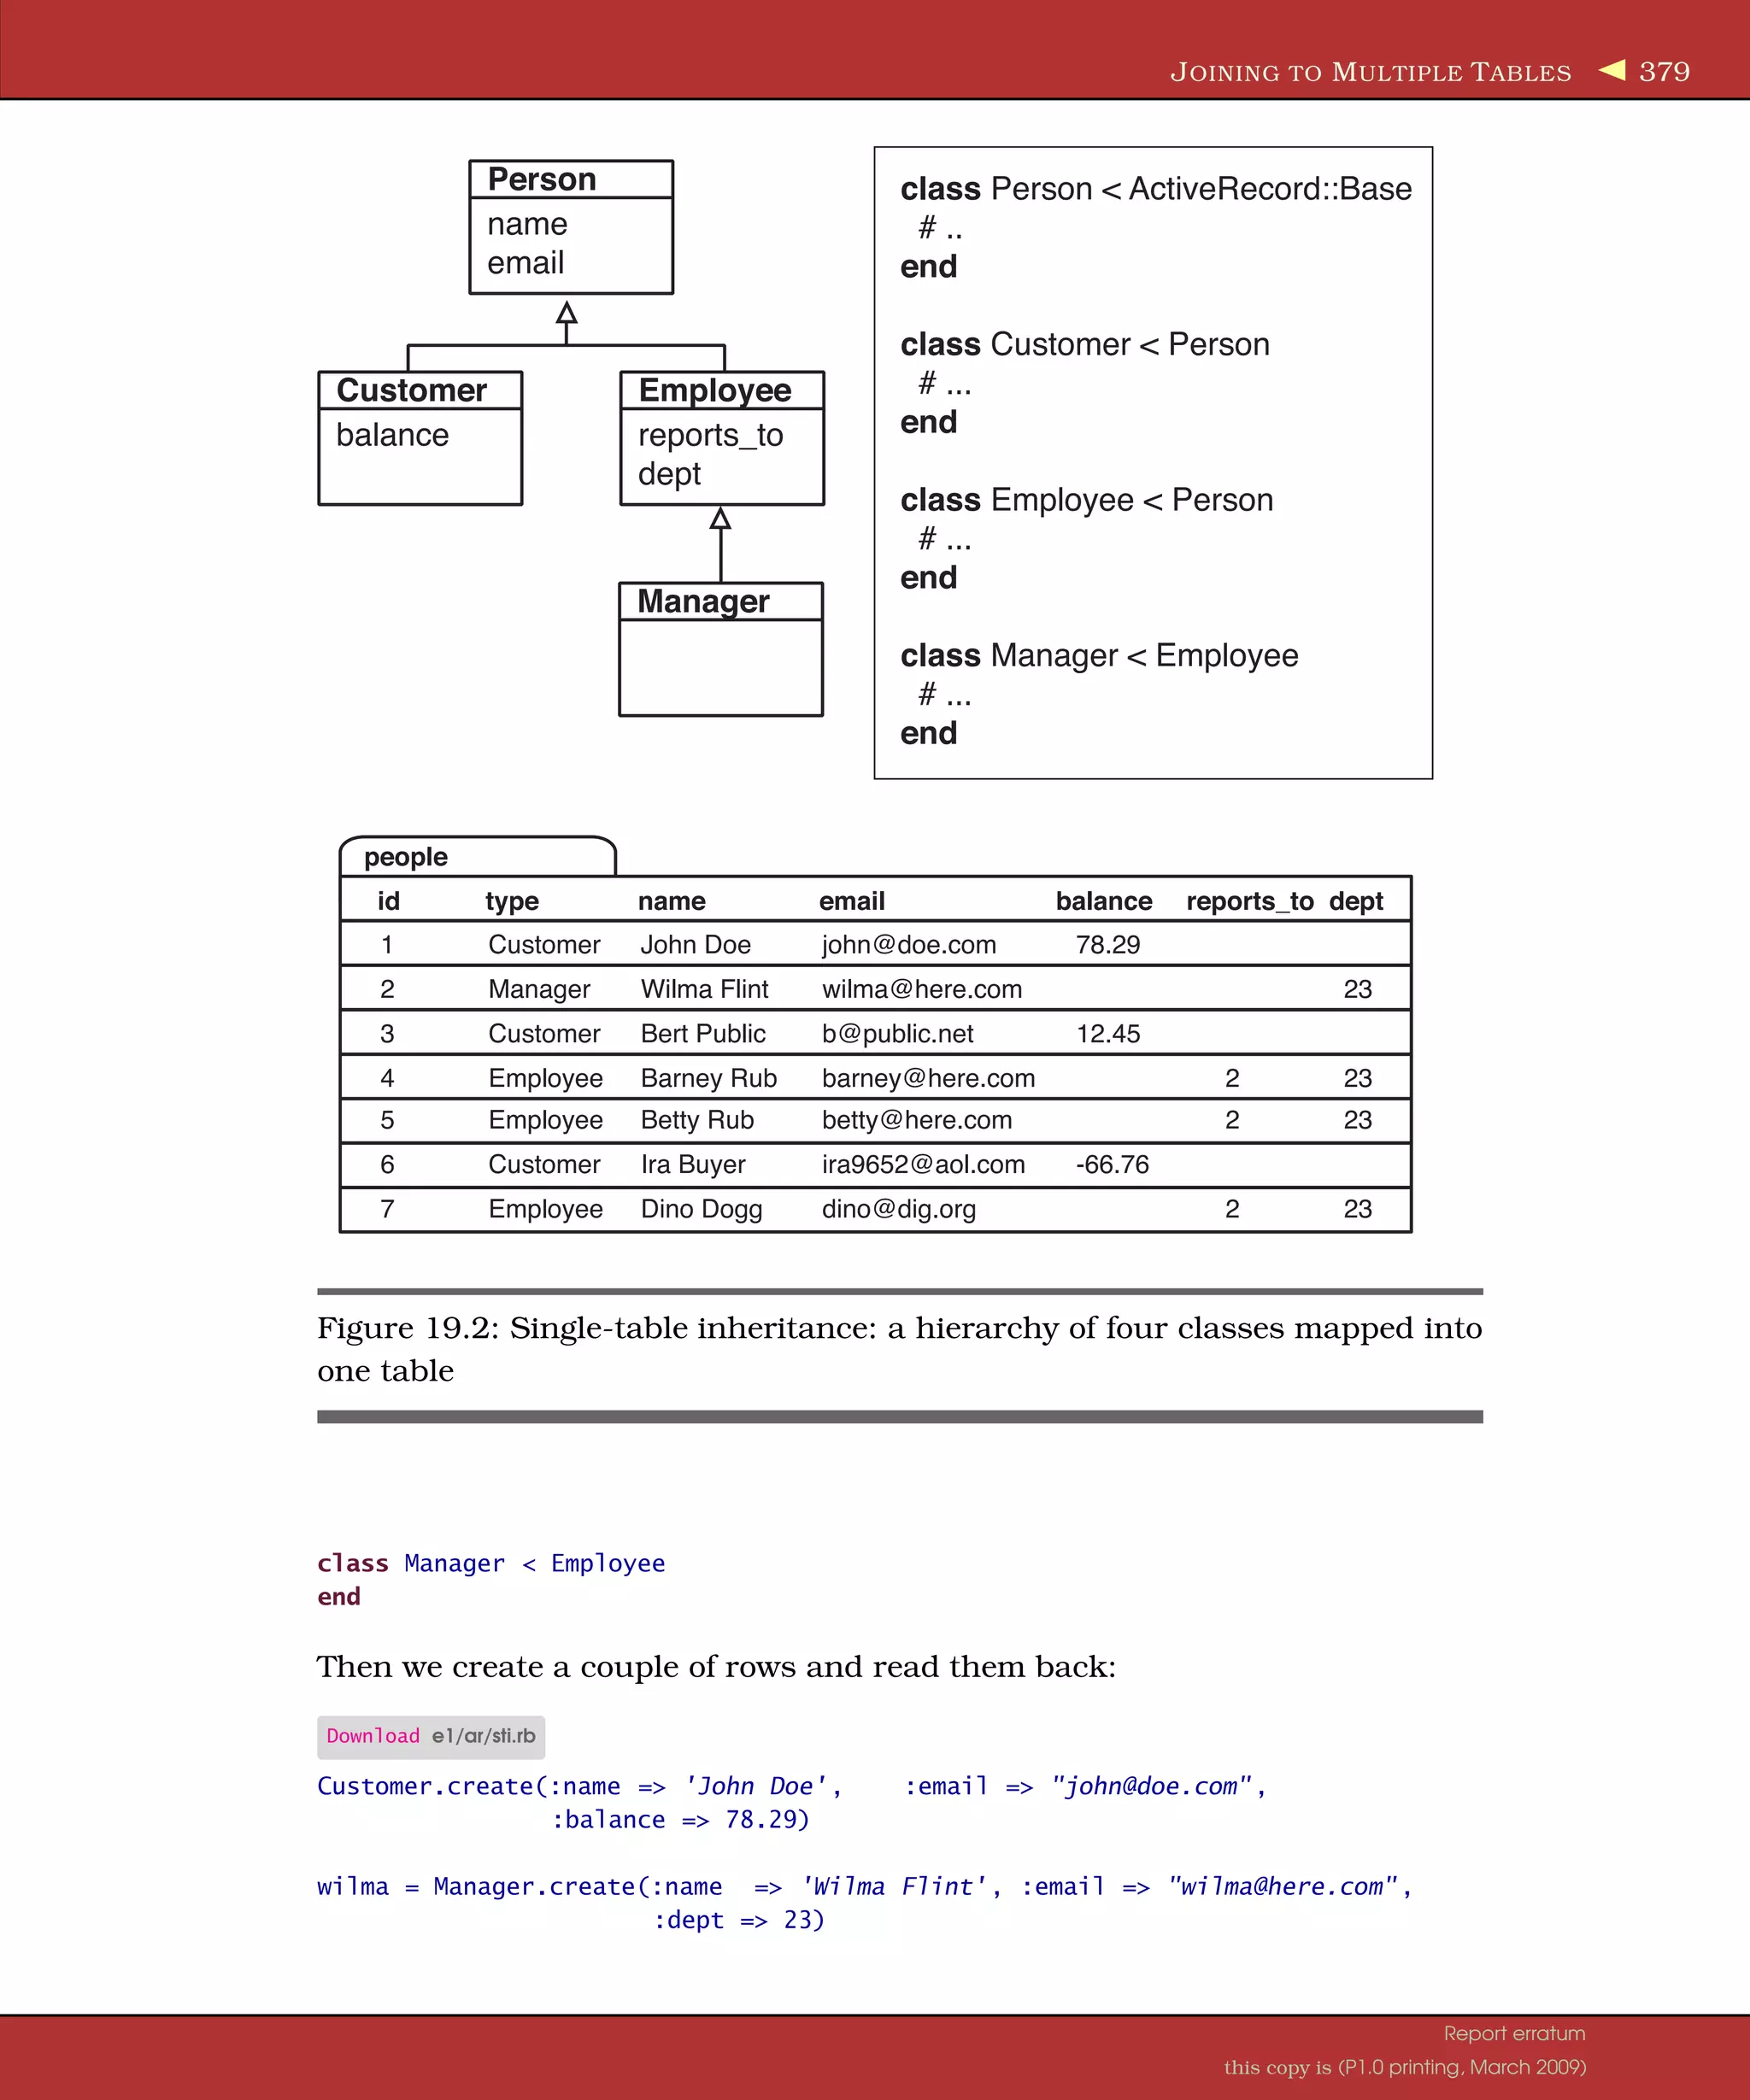
![J OINING TO M UL TIPLE T ABLES 380 Customer.create(:name => 'Bert Public' , :email => "b@public.net" , :balance => 12.45) barney = Employee.new(:name => 'Barney Rub' , :email => "barney@here.com" , :dept => 23) barney.boss = wilma barney.save! manager = Person.find_by_name("Wilma Flint" ) puts manager.class #=> Manager puts manager.email #=> wilma@here.com puts manager.dept #=> 23 customer = Person.find_by_name("Bert Public" ) puts customer.class #=> Customer puts customer.email #=> b@public.net puts customer.balance #=> 12.45 Notice how we ask the base class, Person, to find a row, but the class of the object returned is Manager in one instance and Customer in the next; Active Record determined the type by examining the type column of the row and created the appropriate object. Notice also a small trick we used in the Employee class. We used belongs_to to create an attribute named boss. This attribute uses the reports_to column, which points back into the people table. That’s what lets us say barney.boss = wilma. There’s one fairly obvious constraint when using single-table inheritance. Two subclasses can’t have attributes with the same name but with different types, because the two attributes would map to the same column in the underlying schema. There’s also a less obvious constraint. The attribute type is also the name of a built-in Ruby method, so accessing it directly to set or change the type of a row may result in strange Ruby messages. Instead, access it implicitly by creating objects of the appropriate class, or access it via the model object’s indexing interface, using something such as this: person[:type] = 'Manager' Polymorphic Associations One major downside of STI is that there’s a single underlying table that con- tains all the attributes for all the subclasses in our inheritance tree. We can overcome this using Rails’ second form of heterogeneous aggregation, polymor- phic associations. Report erratum this copy is (P1.0 printing, March 2009)](https://image.slidesharecdn.com/pragmatic-agilewebdevelopmentwithrails-3rdedition-2009-091104222637-phpapp01/75/Pragmatic-Agile-Web-Development-With-Rails-3rd-Edition-2009-380-2048.jpg)
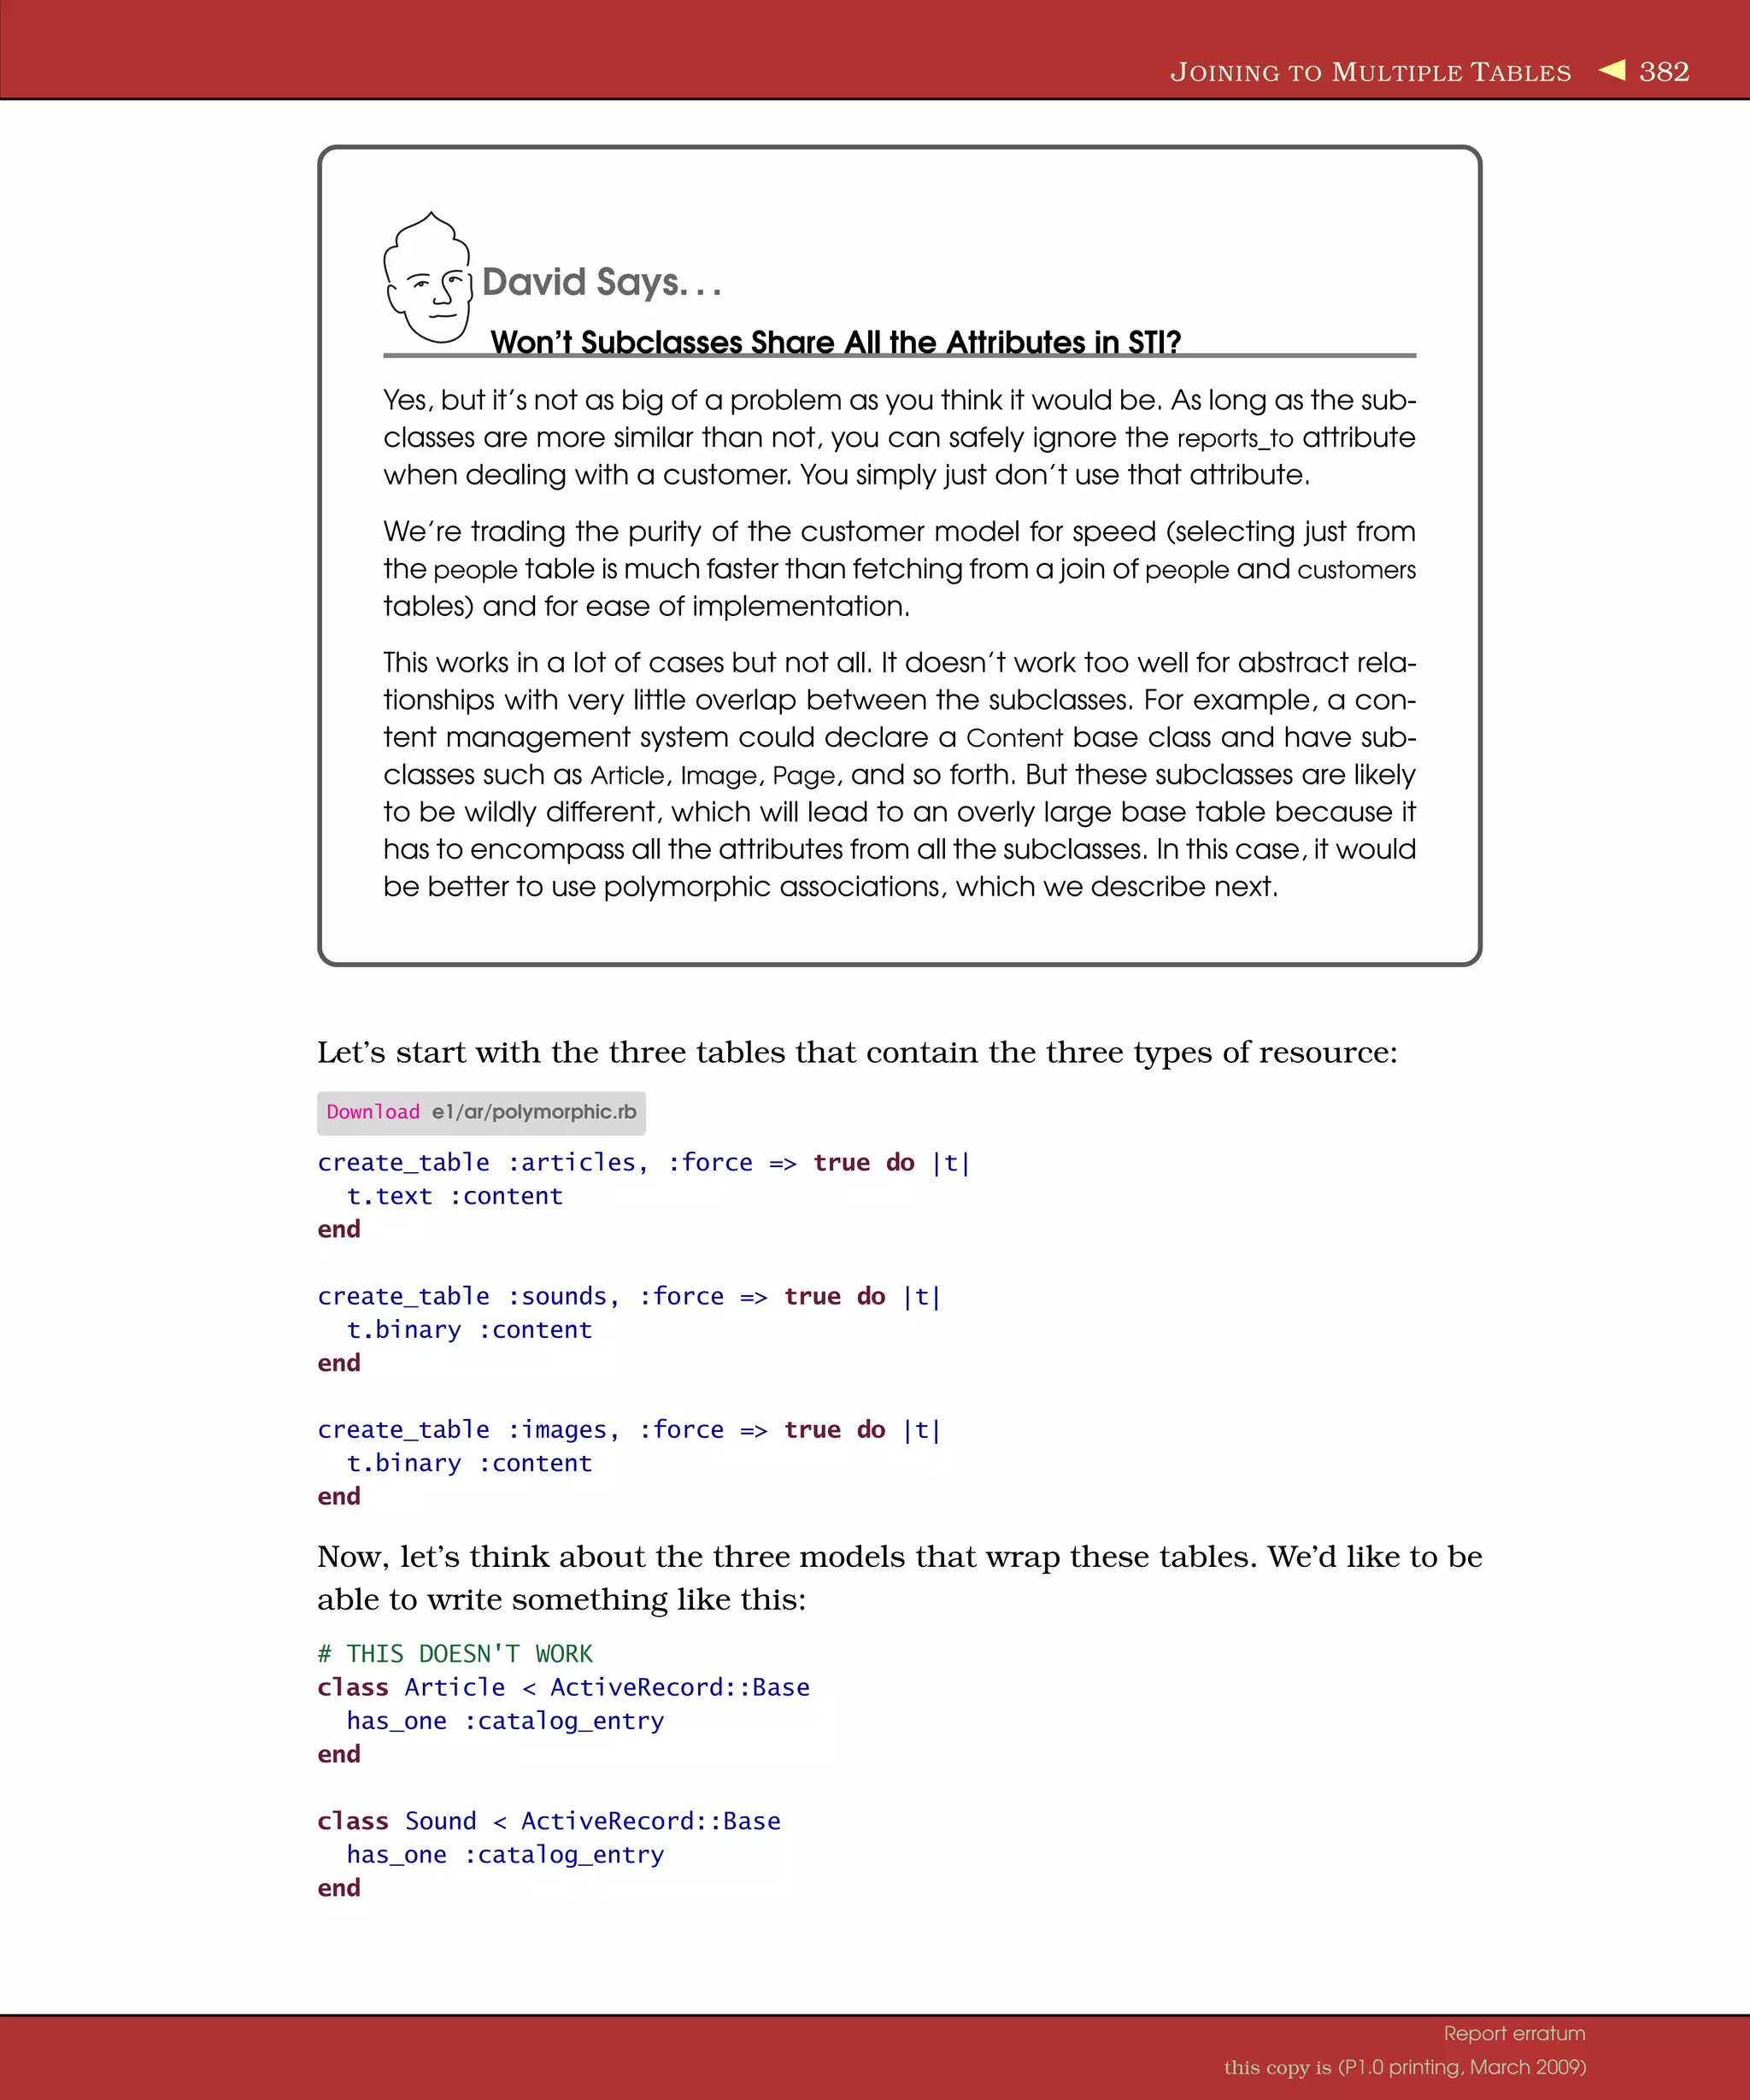
![J OINING TO M UL TIPLE T ABLES 386 has_one :other belongs_to :other other(reload=false) other= create_other(...) build_other(...) replace updated? has_many :others habtm :others others others= other_ids= others.<< others.build(...) others.clear(...) others.concat(...) others.count others.create(...) others.delete(...) others.delete_all others.destroy_all others.empty? others.find(...) others.length others.push(...) others.replace(...) others.reset others.size others.sum(...) others.to_ary others.uniq push_with_attributes(...) [deprecated] Figure 19.3: Methods created by relationship declarations Report erratum this copy is (P1.0 printing, March 2009)](https://image.slidesharecdn.com/pragmatic-agilewebdevelopmentwithrails-3rdedition-2009-091104222637-phpapp01/75/Pragmatic-Agile-Web-Development-With-Rails-3rd-Edition-2009-386-2048.jpg)
![S ELF - REFERENTIAL J OINS 387 19.5 Self-referential Joins It’s possible for a row in a table to reference back to another row in that same table. For example, every employee in a company might have both a manager and a mentor, both of whom are also employees. You could model this in Rails using the following Employee class: Download e1/ar/self_association.rb class Employee < ActiveRecord::Base belongs_to :manager, :class_name => "Employee" , :foreign_key => "manager_id" belongs_to :mentor, :class_name => "Employee" , :foreign_key => "mentor_id" has_many :mentored_employees, :class_name => "Employee" , :foreign_key => "mentor_id" has_many :managed_employees, :class_name => "Employee" , :foreign_key => "manager_id" end Let’s load up some data. Clem and Dawn each have a manager and a mentor: Download e1/ar/self_association.rb Employee.delete_all adam = Employee.create(:name => "Adam" ) beth = Employee.create(:name => "Beth" ) clem = Employee.new(:name => "Clem" ) clem.manager = adam clem.mentor = beth clem.save! dawn = Employee.new(:name => "Dawn" ) dawn.manager = adam dawn.mentor = clem dawn.save! Then we can traverse the relationships, answering questions such as “Who is the mentor of X?” and “Which employees does Y manage?” Download e1/ar/self_association.rb p adam.managed_employees.map {|e| e.name} # => [ "Clem", "Dawn" ] p adam.mentored_employees # => [] p dawn.mentor.name # => "Clem" You might also want to look at the various acts as relationships. Report erratum this copy is (P1.0 printing, March 2009)](https://image.slidesharecdn.com/pragmatic-agilewebdevelopmentwithrails-3rdedition-2009-091104222637-phpapp01/75/Pragmatic-Agile-Web-Development-With-Rails-3rd-Edition-2009-387-2048.jpg)
![Acts As 389 Next we’ll create the model classes. Note that in the Parent class, we order our children based on the value in the position column. This ensures that the array fetched from the database is in the correct list order. Download e1/ar/acts_as_list.rb class Parent < ActiveRecord::Base has_many :children, :order => :position end class Child < ActiveRecord::Base belongs_to :parent acts_as_list :scope => :parent end In the Child class, we have the conventional belongs_to declaration, establishing the connection with the parent. We also have an acts_as_list declaration. We qualify this with a :scope option, specifying that the list is per parent record. Without this scope operator, there’d be one global list for all the entries in the children table. Now we can set up some test data: we’ll create four children for a particular parent, calling them One, Two, Three, and Four: Download e1/ar/acts_as_list.rb parent = Parent.create %w{ One Two Three Four}.each do |name| parent.children.create(:name => name) end parent.save We’ll write a method to let us examine the contents of the list. There’s a sub- tlety here—notice that we pass true to the children association. That forces it to be reloaded every time we access it. That’s because the various move_ meth- ods update the child items in the database, but because they operate on the children directly, the parent will not know about the change immediately. The reload forces them to be brought into memory. Download e1/ar/acts_as_list.rb def display_children(parent) puts parent.children(true).map {|child| child.name }.join(", " ) end And finally we’ll play around with our list. The comments show the output produced by display_children: Download e1/ar/acts_as_list.rb display_children(parent) #=> One, Two, Three, Four puts parent.children[0].first? #=> true Report erratum this copy is (P1.0 printing, March 2009)](https://image.slidesharecdn.com/pragmatic-agilewebdevelopmentwithrails-3rdedition-2009-091104222637-phpapp01/75/Pragmatic-Agile-Web-Development-With-Rails-3rd-Edition-2009-389-2048.jpg)
![Acts As 390 two = parent.children[1] puts two.lower_item.name #=> Three puts two.higher_item.name #=> One parent.children[0].move_lower display_children(parent) #=> Two, One, Three, Four parent.children[2].move_to_top display_children(parent) #=> Three, Two, One, Four parent.children[2].destroy display_children(parent) #=> Three, Two, Four The list library uses the terminology lower and higher to refer to the rela- tive positions of elements. Higher means closer to the front of the list; lower means closer to the end. The top of the list is therefore the same as the front, and the bottom of the list is the end. The methods move_higher, move_lower, move_to_bottom, and move_to_top move a particular item around in the list, automatically adjusting the position of the other elements. higher_item and lower_item return the next and previous elements from the cur- rent one, and first? and last? return true if the current element is at the front or end of the list. Newly created children are automatically added to the end of the list. When a child row is destroyed, the children after it in the list are subsequently moved up to fill the gap. Acts As Tree Active Record provides support for organizing the rows of a table into a hierar- chical, or tree, structure. This is useful for creating structures where entries have subentries and those subentries may have their own subentries. Category listings often have this structure, as do descriptions of permissions, directory listings, and so on. This tree-like structure is achieved by adding a single column (by default called parent_id) to the table. This column is a foreign key reference back into the same table, linking child rows to their parent row. This is illustrated in Fig- ure 19.4, on the following page. To show how trees work, let’s create a simple category table, where each top- level category may have subcategories and each subcategory may have addi- tional levels of subcategories. Note the foreign key pointing back into the same table. Report erratum this copy is (P1.0 printing, March 2009)](https://image.slidesharecdn.com/pragmatic-agilewebdevelopmentwithrails-3rdedition-2009-091104222637-phpapp01/75/Pragmatic-Agile-Web-Development-With-Rails-3rd-Edition-2009-390-2048.jpg)
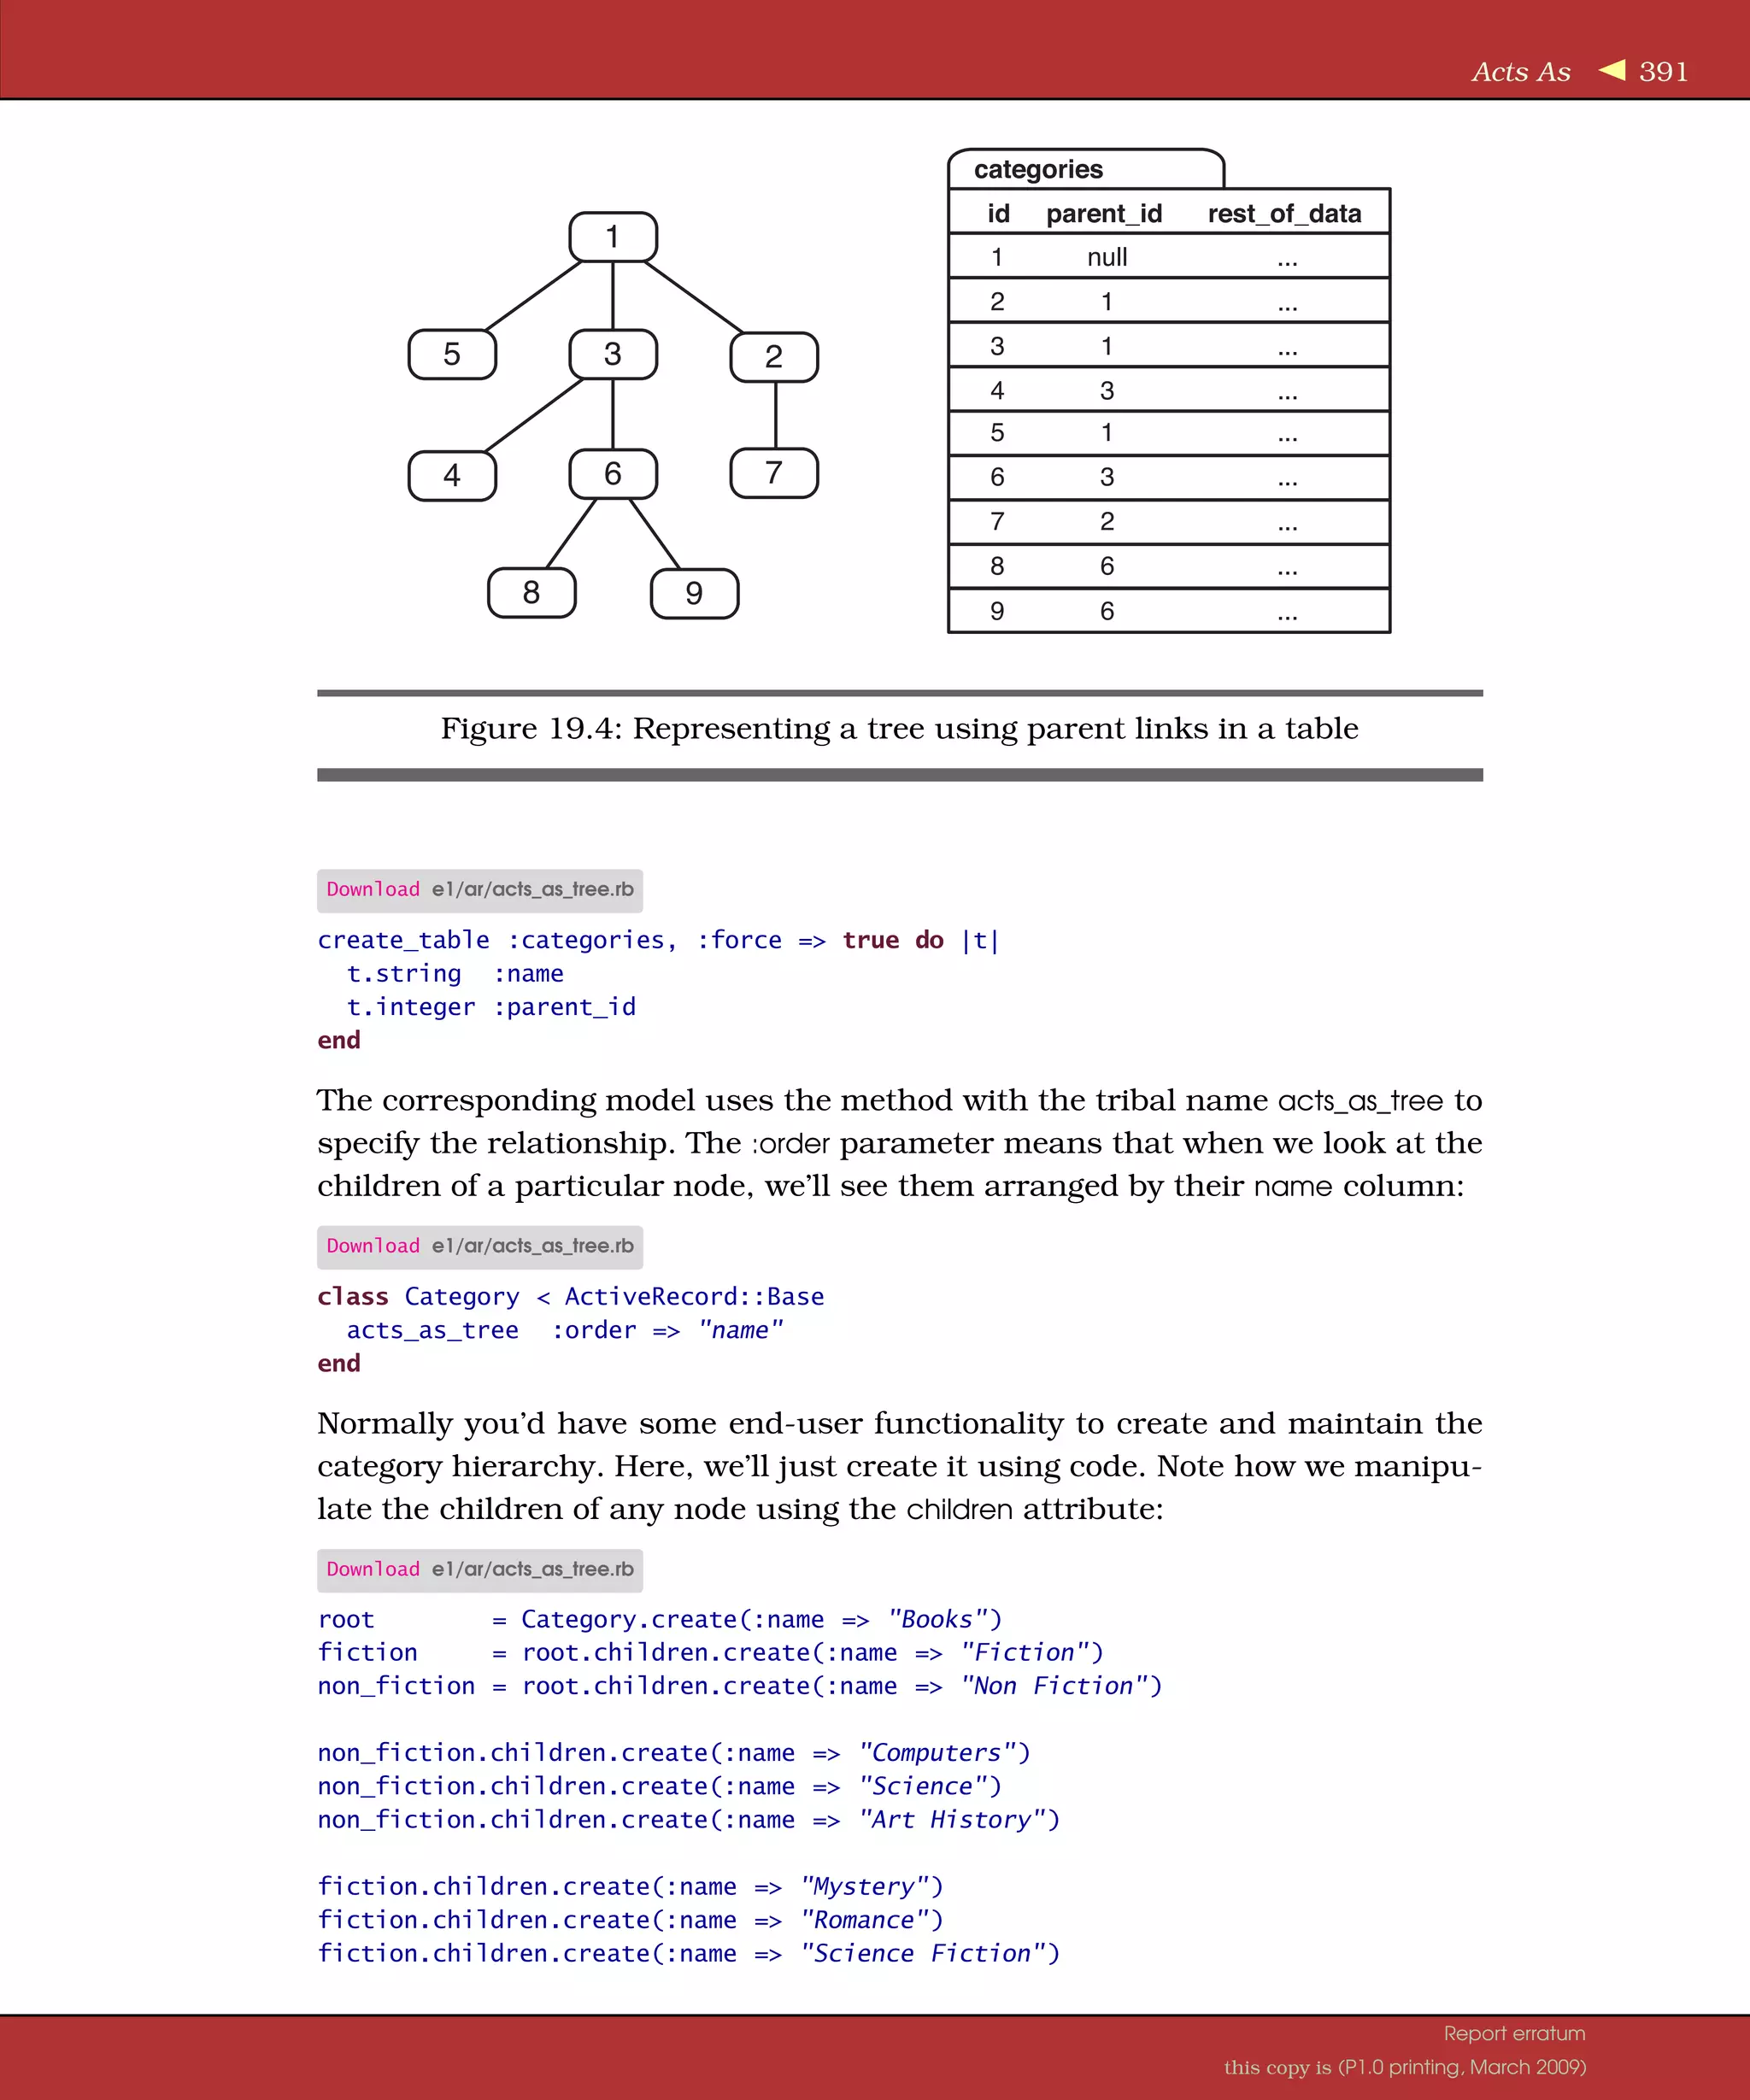
![C OUNTERS 395 And this example will bring it all down to as few queries, possibly even to the point of doing all the work in a single query: for post in Post.find(:all, :include => [:author, :comments]) puts "Post: #{post.title}" puts "Written by: #{post.author.name}" puts "Last comment on: #{post.comments.first.created_on}" end This preloading is not guaranteed to improve performance.5 And even if the optimization does work, the query can end up returning a lot of data to be converted into Active Record objects. If your application doesn’t use the extra information, you’ve incurred a cost for no benefit. You might also have prob- lems if the parent table contains a large number of rows—compared with the row-by-row lazy loading of data, the preloading technique will consume a lot more server memory. If you use :include, you’ll need to disambiguate all column names used in other parameters to find—prefix each with the name of the table that contains it. In the following example, the title column in the condition needs the table name prefix for the query to succeed: for post in Post.find(:all, :conditions => "posts.title like '%ruby%'" , :include => [:author, :comments]) # ... end 19.9 Counters The has_many relationship defines an attribute that is a collection. It seems reasonable to be able to ask for the size of this collection: how many line items does this order have? And indeed you’ll find that the aggregation has a size method that returns the number of objects in the association. This method goes to the database and performs a select count(*) on the child table, counting the number of rows where the foreign key references the parent table row. This works and is reliable. However, if you’re writing a site where you fre- quently need to know the counts of child items, this extra SQL might be an overhead you’d rather avoid. Active Record can help using a technique called counter caching. In the belongs_to declaration in the child model we can ask Active Record to maintain a count of the number of associated children in the parent table rows. This count will be automatically maintained—if we add a child row, the count in the parent row will be incremented, and if we delete a child row, it will be decremented. 5. In fact, it might not work at all! If your database doesn’t support left outer joins, you can’t use the feature. Oracle 8 users, for instance, will need to upgrade to version 9 to use preloading. Report erratum this copy is (P1.0 printing, March 2009)](https://image.slidesharecdn.com/pragmatic-agilewebdevelopmentwithrails-3rdedition-2009-091104222637-phpapp01/75/Pragmatic-Agile-Web-Development-With-Rails-3rd-Edition-2009-395-2048.jpg)
![VALIDATION 398 One of the other two is invoked depending on whether the record is new or whether it was previously read from the database. You can also run validation at any time without saving the model object to the database by calling the valid? method. This invokes the same two validation methods that would be invoked if save had been called. For example, the following code ensures that the username column is always set to something valid and that the name is unique for new User objects. (We’ll see later how these types of constraints can be specified more simply.) class User < ActiveRecord::Base validate :valid_name? validate_on_create :unique_name? private def valid_name? unless name && name =~ /^w+$/ errors.add(:name, "is missing or invalid" ) end end def unique_name? if User.find_by_name(name) errors.add(:name, "is already being used" ) end end end When a validate method finds a problem, it adds a message to the list of errors for this model object using errors.add. The first parameter is the name of the offending attribute, and the second is an error message. If you need to add an error message that applies to the model object as a whole, use the add_to_base method instead. (Note that this code uses the support method blank?, which returns true if its receiver is nil or an empty string.) def one_of_name_or_email_required if name.blank? && email.blank? errors.add_to_base("You must specify a name or an email address" ) end end As we’ll see on page 536, Rails views can use this list of errors when dis- playing forms to end users—the fields that have errors will be automatically highlighted, and it’s easy to add a pretty box with an error list to the top of the form. You can get the errors for a particular attribute using errors.on(:name) (aliased to errors[:name]), and you can clear the full list of errors using errors.clear. If you Report erratum this copy is (P1.0 printing, March 2009)](https://image.slidesharecdn.com/pragmatic-agilewebdevelopmentwithrails-3rdedition-2009-091104222637-phpapp01/75/Pragmatic-Agile-Web-Development-With-Rails-3rd-Edition-2009-398-2048.jpg)

![VALIDATION 400 validates_acceptance_of Validates that a checkbox has been checked. validates_acceptance_of attr... [ options... ] Many forms have a checkbox that users must select in order to accept some terms or conditions. This validation simply verifies that this box has been checked by validating that the value of the attribute is the string 1 (or the value of the :accept parameter). The attribute itself doesn’t have to be stored in the database (although there’s nothing to stop you storing it if you want to record the confirmation explicitly). class Order < ActiveRecord::Base validates_acceptance_of :terms, :message => "Please accept the terms to proceed" end Options: :accept value The value that signifies acceptance (defaults to 1). :allow_nil boolean If true, nil attributes are considered valid. :if code See discussion on page 406. :unless code See discussion on page 406. :message text Default is “must be accepted.” :on :save, :create, or :update. validates_associated Performs validation on associated objects. validates_associated name... [ options... ] Performs validation on the given attributes, which are assumed to be Active Record models. For each attribute where the associated validation fails, a single message will be added to the errors for that attribute (that is, the individual detailed reasons for failure will not appear in this model’s errors). Be careful not to include a validates_associated call in models that refer to each other; the first will try to validate the second, which in turn will validate the first, and so on, until you run out of stack. class Order < ActiveRecord::Base has_many :line_items belongs_to :user validates_associated :line_items, :message => "are messed up" validates_associated :user end Options: :if code See discussion on page 406. :unless code See discussion on page 406. :message text Default is “is invalid.” :on :save, :create, or :update. Report erratum this copy is (P1.0 printing, March 2009)](https://image.slidesharecdn.com/pragmatic-agilewebdevelopmentwithrails-3rdedition-2009-091104222637-phpapp01/75/Pragmatic-Agile-Web-Development-With-Rails-3rd-Edition-2009-400-2048.jpg)
![VALIDATION 401 validates_confirmation_of Validates that a field and its doppelgänger have the same content. validates_confirmation_of attr... [ options... ] Many forms require a user to enter some piece of information twice, the second copy acting as a confirmation that the first was not mistyped. If you use the naming conven- tion that the second field has the name of the attribute with _confirmation appended, you can use validates_confirmation_of to check that the two fields have the same value. The second field need not be stored in the database. For example, a view might contain the following: <%= password_field "user" , "password" %><br /> <%= password_field "user" , "password_confirmation" %><br /> Within the User model, you can validate that the two passwords are the same using this: class User < ActiveRecord::Base validates_confirmation_of :password end Options: :if code See discussion on page 406. :unless code See discussion on page 406. :message text Default is “doesn’t match confirmation.” :on :save, :create, or :update. validates_each Validates one or more attributes using a block. validates_each attr... [ options... ] { |model, attr, value| ... } Invokes the block for each attribute (skipping those that are nil if :allow_nil is true). Passes in the model being validated, the name of the attribute, and the attribute’s value. As the following example shows, the block should add to the model’s error list if a validation fails: class User < ActiveRecord::Base validates_each :name, :email do |model, attr, value| if value =~ /groucho|harpo|chico/i model.errors.add(attr, "You can't be serious, #{value}" ) end end end Options: :allow_nil boolean If :allow_nil is true, attributes with values of nil will not be passed into the block. By default they will. :if code See discussion on page 406. :unless code See discussion on page 406. :on :save, :create, or :update. Report erratum this copy is (P1.0 printing, March 2009)](https://image.slidesharecdn.com/pragmatic-agilewebdevelopmentwithrails-3rdedition-2009-091104222637-phpapp01/75/Pragmatic-Agile-Web-Development-With-Rails-3rd-Edition-2009-401-2048.jpg)
![VALIDATION 402 validates_exclusion_of Validates that attributes are not in a set of values. validates_exclusion_of attr..., :in => enum [ options... ] Validates that none of the attributes occurs in enum (any object that supports the include? predicate). class User < ActiveRecord::Base validates_exclusion_of :genre, :in => %w{ polka twostep foxtrot }, :message => "no wild music allowed" validates_exclusion_of :age, :in => 13..19, :message => "cannot be a teenager" end Options: :allow_nil boolean If true, nil attributes are considered valid. :allow_blank boolean If true, blank attributes are considered valid. :if code See discussion on page 406. :unless code See discussion on page 406. :in (or :within) enumerable An enumerable object. :message text Default is “is not included in the list.” :on :save, :create, or :update. validates_format_of Validates attributes against a pattern. validates_format_of attr..., :with => regexp [ options... ] Validates each of the attributes by matching its value against regexp. class User < ActiveRecord::Base validates_format_of :length, :with => /^d+(in|cm)/ end Options: :if code See discussion on page 406. :unless code See discussion on page 406. :message text Default is “is invalid.” :on :save, :create, or :update. :with The regular expression used to validate the attributes. validates_inclusion_of Validates that attributes belong to a set of values. validates_inclusion_of attr..., :in => enum [ options... ] Validates that the value of each of the attributes occurs in enum (any object that sup- ports the include? predicate). Report erratum this copy is (P1.0 printing, March 2009)](https://image.slidesharecdn.com/pragmatic-agilewebdevelopmentwithrails-3rdedition-2009-091104222637-phpapp01/75/Pragmatic-Agile-Web-Development-With-Rails-3rd-Edition-2009-402-2048.jpg)
![VALIDATION 403 class User < ActiveRecord::Base validates_inclusion_of :gender, :in => %w{ male female }, :message => "should be 'male' or 'female'" validates_inclusion_of :age, :in => 0..130, :message => "should be between 0 and 130" end Options: :allow_nil boolean If true, nil attributes are considered valid. :allow_blank boolean If true, blank attributes are considered valid. :if code See discussion on page 406. :unless code See discussion on page 406. :in (or :within) enumerable An enumerable object. :message text Default is “is not included in the list.” :on :save, :create, or :update. validates_length_of Validates the length of attribute values. validates_length_of attr..., [ options... ] Validates that the length of the value of each of the attributes meets some constraint: at least a given length, at most a given length, between two lengths, or exactly a given length. Rather than having a single :message option, this validator allows separate mes- sages for different validation failures, although :message may still be used. In all options, the lengths may not be negative. class User < ActiveRecord::Base validates_length_of :name, :maximum => 50 validates_length_of :password, :in => 6..20 validates_length_of :address, :minimum => 10, :message => "seems too short" end Options: :allow_nil boolean If true, nil attributes are considered valid. :allow_blank boolean If true, blank attributes are considered valid. :if code See discussion on page 406. :unless code See discussion on page 406. :in (or :within) range The length of value must be in range. :is integer Value must be integer characters long. :minimum integer Value may not be less than the integer characters long. :maximum integer Value may not be greater than integer characters long. :message text The default message depends on the test being performed. The mes- sage may contain a single %d sequence, which will be replaced by the maximum, minimum, or exact length required. :on :save, :create, or :update. Report erratum this copy is (P1.0 printing, March 2009)](https://image.slidesharecdn.com/pragmatic-agilewebdevelopmentwithrails-3rdedition-2009-091104222637-phpapp01/75/Pragmatic-Agile-Web-Development-With-Rails-3rd-Edition-2009-403-2048.jpg)
![VALIDATION 404 Options (for validates_length_of, continued): :too_long text A synonym for :message when :maximum is being used. :too_short text A synonym for :message when :minimum is being used. :wrong_length text A synonym for :message when :is is being used. validates_numericality_of Validates that attributes are valid numbers. validates_numericality_of attr... [ options... ] Validates that each of the attributes is a valid number. With the :only_integer option, the attributes must consist of an optional sign followed by one or more digits. Without the option (or if the option is not true), any floating-point format accepted by the Ruby Float method is allowed. class User < ActiveRecord::Base validates_numericality_of :height_in_meters validates_numericality_of :age, :only_integer => true end Options: :allow_nil boolean If true, nil attributes are considered valid. :allow_blank boolean If true, blank attributes are considered valid. :if code See discussion on page 406. :unless code See discussion on page 406. :message text Default is “is not a number.” :on :save, :create, or :update. :only_integer If true, the attributes must be strings that contain an optional sign followed only by digits. :greater_than Only values greather than the specified value are consid- ered valid. :greater_than_or_equal_to Only values greather than or equal to the specified value are considered valid. :equal_to Only values equal to the specified value are considered valid. :less_than Only values less than the specified value are considered valid. :less_than_or_equal_to Only values less than or equal to the specified value are considered valid. even Only even values are considered valid. odd Only odd values are considered valid. validates_presence_of Validates that attributes are not empty. validates_presence_of attr... [ options... ] Validates that each of the attributes is neither nil nor empty. class User < ActiveRecord::Base validates_presence_of :name, :address end Report erratum this copy is (P1.0 printing, March 2009)](https://image.slidesharecdn.com/pragmatic-agilewebdevelopmentwithrails-3rdedition-2009-091104222637-phpapp01/75/Pragmatic-Agile-Web-Development-With-Rails-3rd-Edition-2009-404-2048.jpg)
![VALIDATION 405 Options: :allow_nil boolean If true, nil attributes are considered valid. :allow_blank boolean If true, nil attributes are considered valid. :if code See discussion on the next page. :unless code See discussion on the following page. :message text Default is “can’t be empty.” :on :save, :create, or :update. validates_size_of Validates the length of an attribute. validates_size_of attr..., [ options... ] Alias for validates_length_of. validates_uniqueness_of Validates that attributes are unique. validates_uniqueness_of attr... [ options... ] For each attribute, validates that no other row in the database currently has the same value in that given column. When the model object comes from an existing database row, that row is ignored when performing the check. The optional :scope parameter can be used to filter the rows tested to those having the same value in the :scope column as the current record. This code ensures that usernames are unique across the database: class User < ActiveRecord::Base validates_uniqueness_of :name end This code ensures that user names are unique within a group: class User < ActiveRecord::Base validates_uniqueness_of :name, :scope => "group_id" end Except...despite its name, validates_uniqueness_of doesn’t really guarantee that column values will be unique. All it can do is verify that no column has the same value as that in the record being validated at the time the validation is performed. It’s possible for two records to be created at the same time, each with the same value for a column that should be unique, and for both records to pass validation. The most reliable way to enforce uniqueness is with a database-level constraint. Options: :allow_nil boolean If true, nil attributes are considered valid. :case_sensitive boolean If true (the default), an attempt is made to force the test to be case sensitive; otherwise, case is ignored; works only if your database is configured to support case-sensitive comparisons in conditions. :if code See discussion on the next page. Report erratum this copy is (P1.0 printing, March 2009)](https://image.slidesharecdn.com/pragmatic-agilewebdevelopmentwithrails-3rdedition-2009-091104222637-phpapp01/75/Pragmatic-Agile-Web-Development-With-Rails-3rd-Edition-2009-405-2048.jpg)
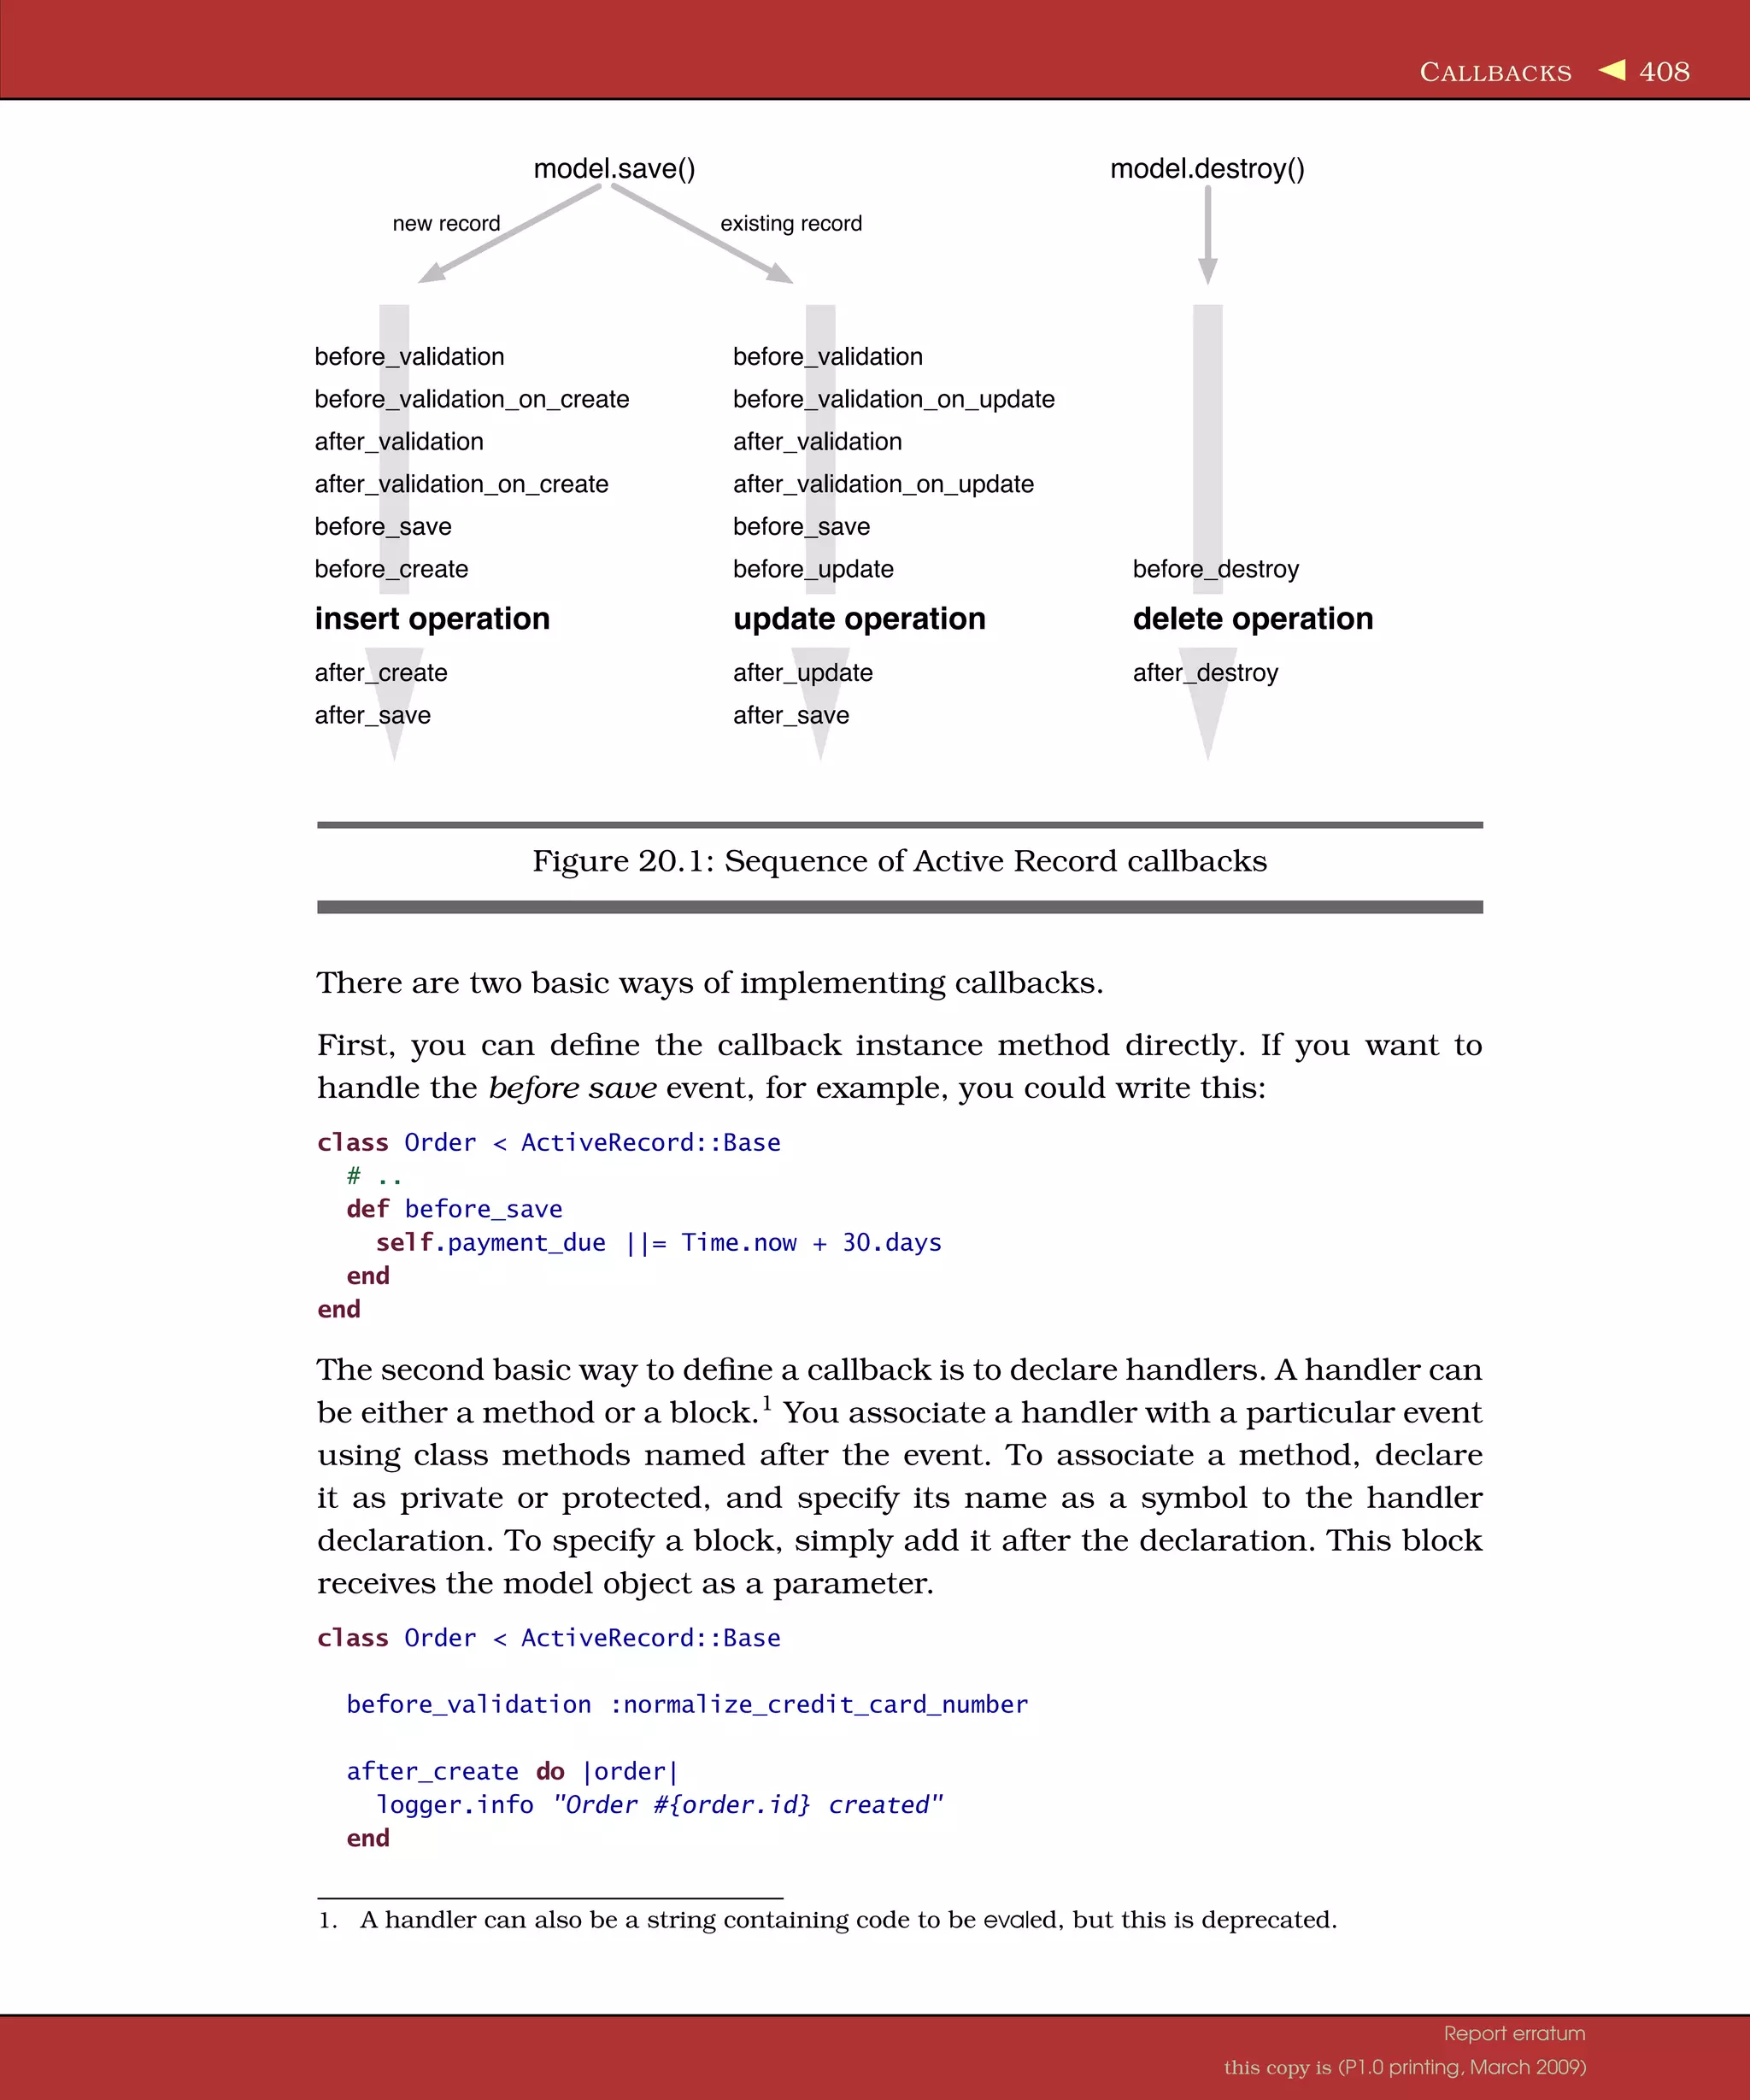
![C ALLBACKS 409 protected def normalize_credit_card_number self.cc_number.gsub!(/[-s]/, '' ) end end You can specify multiple handlers for the same callback. They will generally be invoked in the order they are specified unless a handler returns false (and it must be the actual value false), in which case the callback chain is broken early. Because of a performance optimization, the only way to define callbacks for the after_find and after_initialize events is to define them as methods. If you try declaring them as handlers using the second technique, they’ll be silently ignored. (Sometimes folks ask why this was done. Rails has to use reflec- tion to determine whether there are callbacks to be invoked. When doing real database operations, the cost of doing this is normally not significant com- pared to the database overhead. However, a single database select statement could return hundreds of rows, and both callbacks would have to be invoked for each. This slows the query down significantly. The Rails team decided that performance trumps consistency in this case.) Timestamping Records One potential use of the before_create and before_update callbacks is times- tamping rows: class Order < ActiveRecord::Base def before_create self.order_created ||= Time.now end def before_update self.order_modified = Time.now end end However, Active Record can save you the trouble of doing this. If your database table has a column named created_at or created_on, it will automatically be set to the timestamp of the row’s creation time. Similarly, a column named updated_at or updated_on will be set to the timestamp of the latest modifica- tion. These timestamps will by default be in local time; to make them UTC (also known as GMT), include the following line in your code (either inline for stand-alone Active Record applications or in an environment file for a full Rails application): ActiveRecord::Base.default_timezone = :utc Report erratum this copy is (P1.0 printing, March 2009)](https://image.slidesharecdn.com/pragmatic-agilewebdevelopmentwithrails-3rdedition-2009-091104222637-phpapp01/75/Pragmatic-Agile-Web-Development-With-Rails-3rd-Edition-2009-409-2048.jpg)
![C ALLBACKS 410 To disable this behavior altogether, use this: ActiveRecord::Base.record_timestamps = false Callback Objects As a variant to specifying callback handlers directly in the model class, you can create separate handler classes that encapsulate all the callback methods. These handlers can be shared between multiple models. A handler class is simply a class that defines callback methods (before_save, after_create, and so on). Create the source files for these handler classes in app/models. In the model object that uses the handler, you create an instance of this han- dler class and pass that instance to the various callback declarations. A couple of examples will make this clearer. If our application uses credit cards in multiple places, we might want to share our normalize_credit_card_number method across multiple models. To do that, we’d extract the method into its own class and name it after the event we want it to handle. This method will receive a single parameter, the model object that generated the callback. class CreditCardCallbacks # Normalize the credit card number def before_validation(model) model.cc_number.gsub!(/[-s]/, '' ) end end Now, in our model classes, we can arrange for this shared callback to be invoked: class Order < ActiveRecord::Base before_validation CreditCardCallbacks.new # ... end class Subscription < ActiveRecord::Base before_validation CreditCardCallbacks.new # ... end In this example, the handler class assumes that the credit card number is held in a model attribute named cc_number; both Order and Subscription would have an attribute with that name. But we can generalize the idea, making the handler class less dependent on the implementation details of the classes that use it. Report erratum this copy is (P1.0 printing, March 2009)](https://image.slidesharecdn.com/pragmatic-agilewebdevelopmentwithrails-3rdedition-2009-091104222637-phpapp01/75/Pragmatic-Agile-Web-Development-With-Rails-3rd-Edition-2009-410-2048.jpg)
![C ALLBACKS 411 For example, we could create a generalized encryption and decryption han- dler. This could be used to encrypt named fields before they are stored in the database and to decrypt them when the row is read back. You could include it as a callback handler in any model that needed the facility. The handler needs to encrypt2 a given set of attributes in a model just before that model’s data is written to the database. Because our application needs to deal with the plain-text versions of these attributes, it arranges to decrypt them again after the save is complete. It also needs to decrypt the data when a row is read from the database into a model object. These requirements mean we have to handle the before_save, after_save, and after_find events. Because we need to decrypt the database row both after saving and when we find a new row, we can save code by aliasing the after_find method to after_save—the same method will have two names. Download e1/ar/encrypt.rb class Encrypter # We're passed a list of attributes that should # be stored encrypted in the database def initialize(attrs_to_manage) @attrs_to_manage = attrs_to_manage end # Before saving or updating, encrypt the fields using the NSA and # DHS approved Shift Cipher def before_save(model) @attrs_to_manage.each do |field| model[field].tr!("a-z" , "b-za" ) end end # After saving, decrypt them back def after_save(model) @attrs_to_manage.each do |field| model[field].tr!("b-za" , "a-z" ) end end # Do the same after finding an existing record alias_method :after_find, :after_save end 2. Our example here uses trivial encryption—you might want to beef it up before using this class for real. Report erratum this copy is (P1.0 printing, March 2009)](https://image.slidesharecdn.com/pragmatic-agilewebdevelopmentwithrails-3rdedition-2009-091104222637-phpapp01/75/Pragmatic-Agile-Web-Development-With-Rails-3rd-Edition-2009-411-2048.jpg)
![C ALLBACKS 412 We can now arrange for the Encrypter class to be invoked from inside our orders model: require "encrypter" class Order < ActiveRecord::Base encrypter = Encrypter.new([:name, :email]) before_save encrypter after_save encrypter after_find encrypter protected def after_find end end We create a new Encrypter object and hook it up to the events before_save, after_save, and after_find. This way, just before an order is saved, the method before_save in the encrypter will be invoked, and so on. So, why do we define an empty after_find method? Remember that we said that for performance reasons after_find and after_initialize are treated specially. One of the consequences of this special treatment is that Active Record won’t know to call an after_find handler unless it sees an actual after_find method in the model class. We have to define an empty placeholder to get after_find processing to take place. This is all very well, but every model class that wants to use our encryption handler would need to include some eight lines of code, just as we did with our Order class. We can do better than that. We’ll define a helper method that does all the work and make that helper available to all Active Record models. To do that, we’ll add it to the ActiveRecord::Base class: Download e1/ar/encrypt.rb class ActiveRecord::Base def self.encrypt(*attr_names) encrypter = Encrypter.new(attr_names) before_save encrypter after_save encrypter after_find encrypter define_method(:after_find) { } end end Given this, we can now add encryption to any model class’s attributes using a single call. Report erratum this copy is (P1.0 printing, March 2009)](https://image.slidesharecdn.com/pragmatic-agilewebdevelopmentwithrails-3rdedition-2009-091104222637-phpapp01/75/Pragmatic-Agile-Web-Development-With-Rails-3rd-Edition-2009-412-2048.jpg)

![A DVANCED A TTRIBUTES 414 When ActiveRecord::Observer is subclassed, it looks at the name of the new class, strips the word Observer from the end, and assumes that what is left is the name of the model class to be observed. In our example, we called our observer class OrderObserver, so it automatically hooked itself into the model Order. Sometimes this convention breaks down. When it does, the observer class can explicitly list the model or models it wants to observe using the observe method: Download e1/ar/observer.rb class AuditObserver < ActiveRecord::Observer observe Order, Payment, Refund def after_save(model) model.logger.info("[Audit] #{model.class.name} #{model.id} created" ) end end By convention, observer source files live in app/models. Instantiating Observers So far we’ve defined our observers. However, we also need to instantiate them— if we don’t, they simply won’t fire. How we instantiate observers depends on whether we’re using them inside or outside the context of a Rails application. If you’re using observers within a Rails application, you need to list them in your application’s environment.rb file (in the config directory): config.active_record.observers = :order_observer, :audit_observer If instead you’re using your Active Record objects in a stand-alone application (that is, you’re not running Active Record within a Rails application), you need to create instances of the observers manually using instance: OrderObserver.instance AuditObserver.instance In a way, observers bring to Rails much of the benefits of first-generation aspect-oriented programming in languages such as Java. They allow you to inject behavior into model classes without changing any of the code in those classes. 20.3 Advanced Attributes Back when we first introduced Active Record, we said that an Active Record object has attributes that correspond to the columns in the database table it wraps. We went on to say that this wasn’t strictly true. Here’s the rest of the story. Report erratum this copy is (P1.0 printing, March 2009)](https://image.slidesharecdn.com/pragmatic-agilewebdevelopmentwithrails-3rdedition-2009-091104222637-phpapp01/75/Pragmatic-Agile-Web-Development-With-Rails-3rd-Edition-2009-414-2048.jpg)
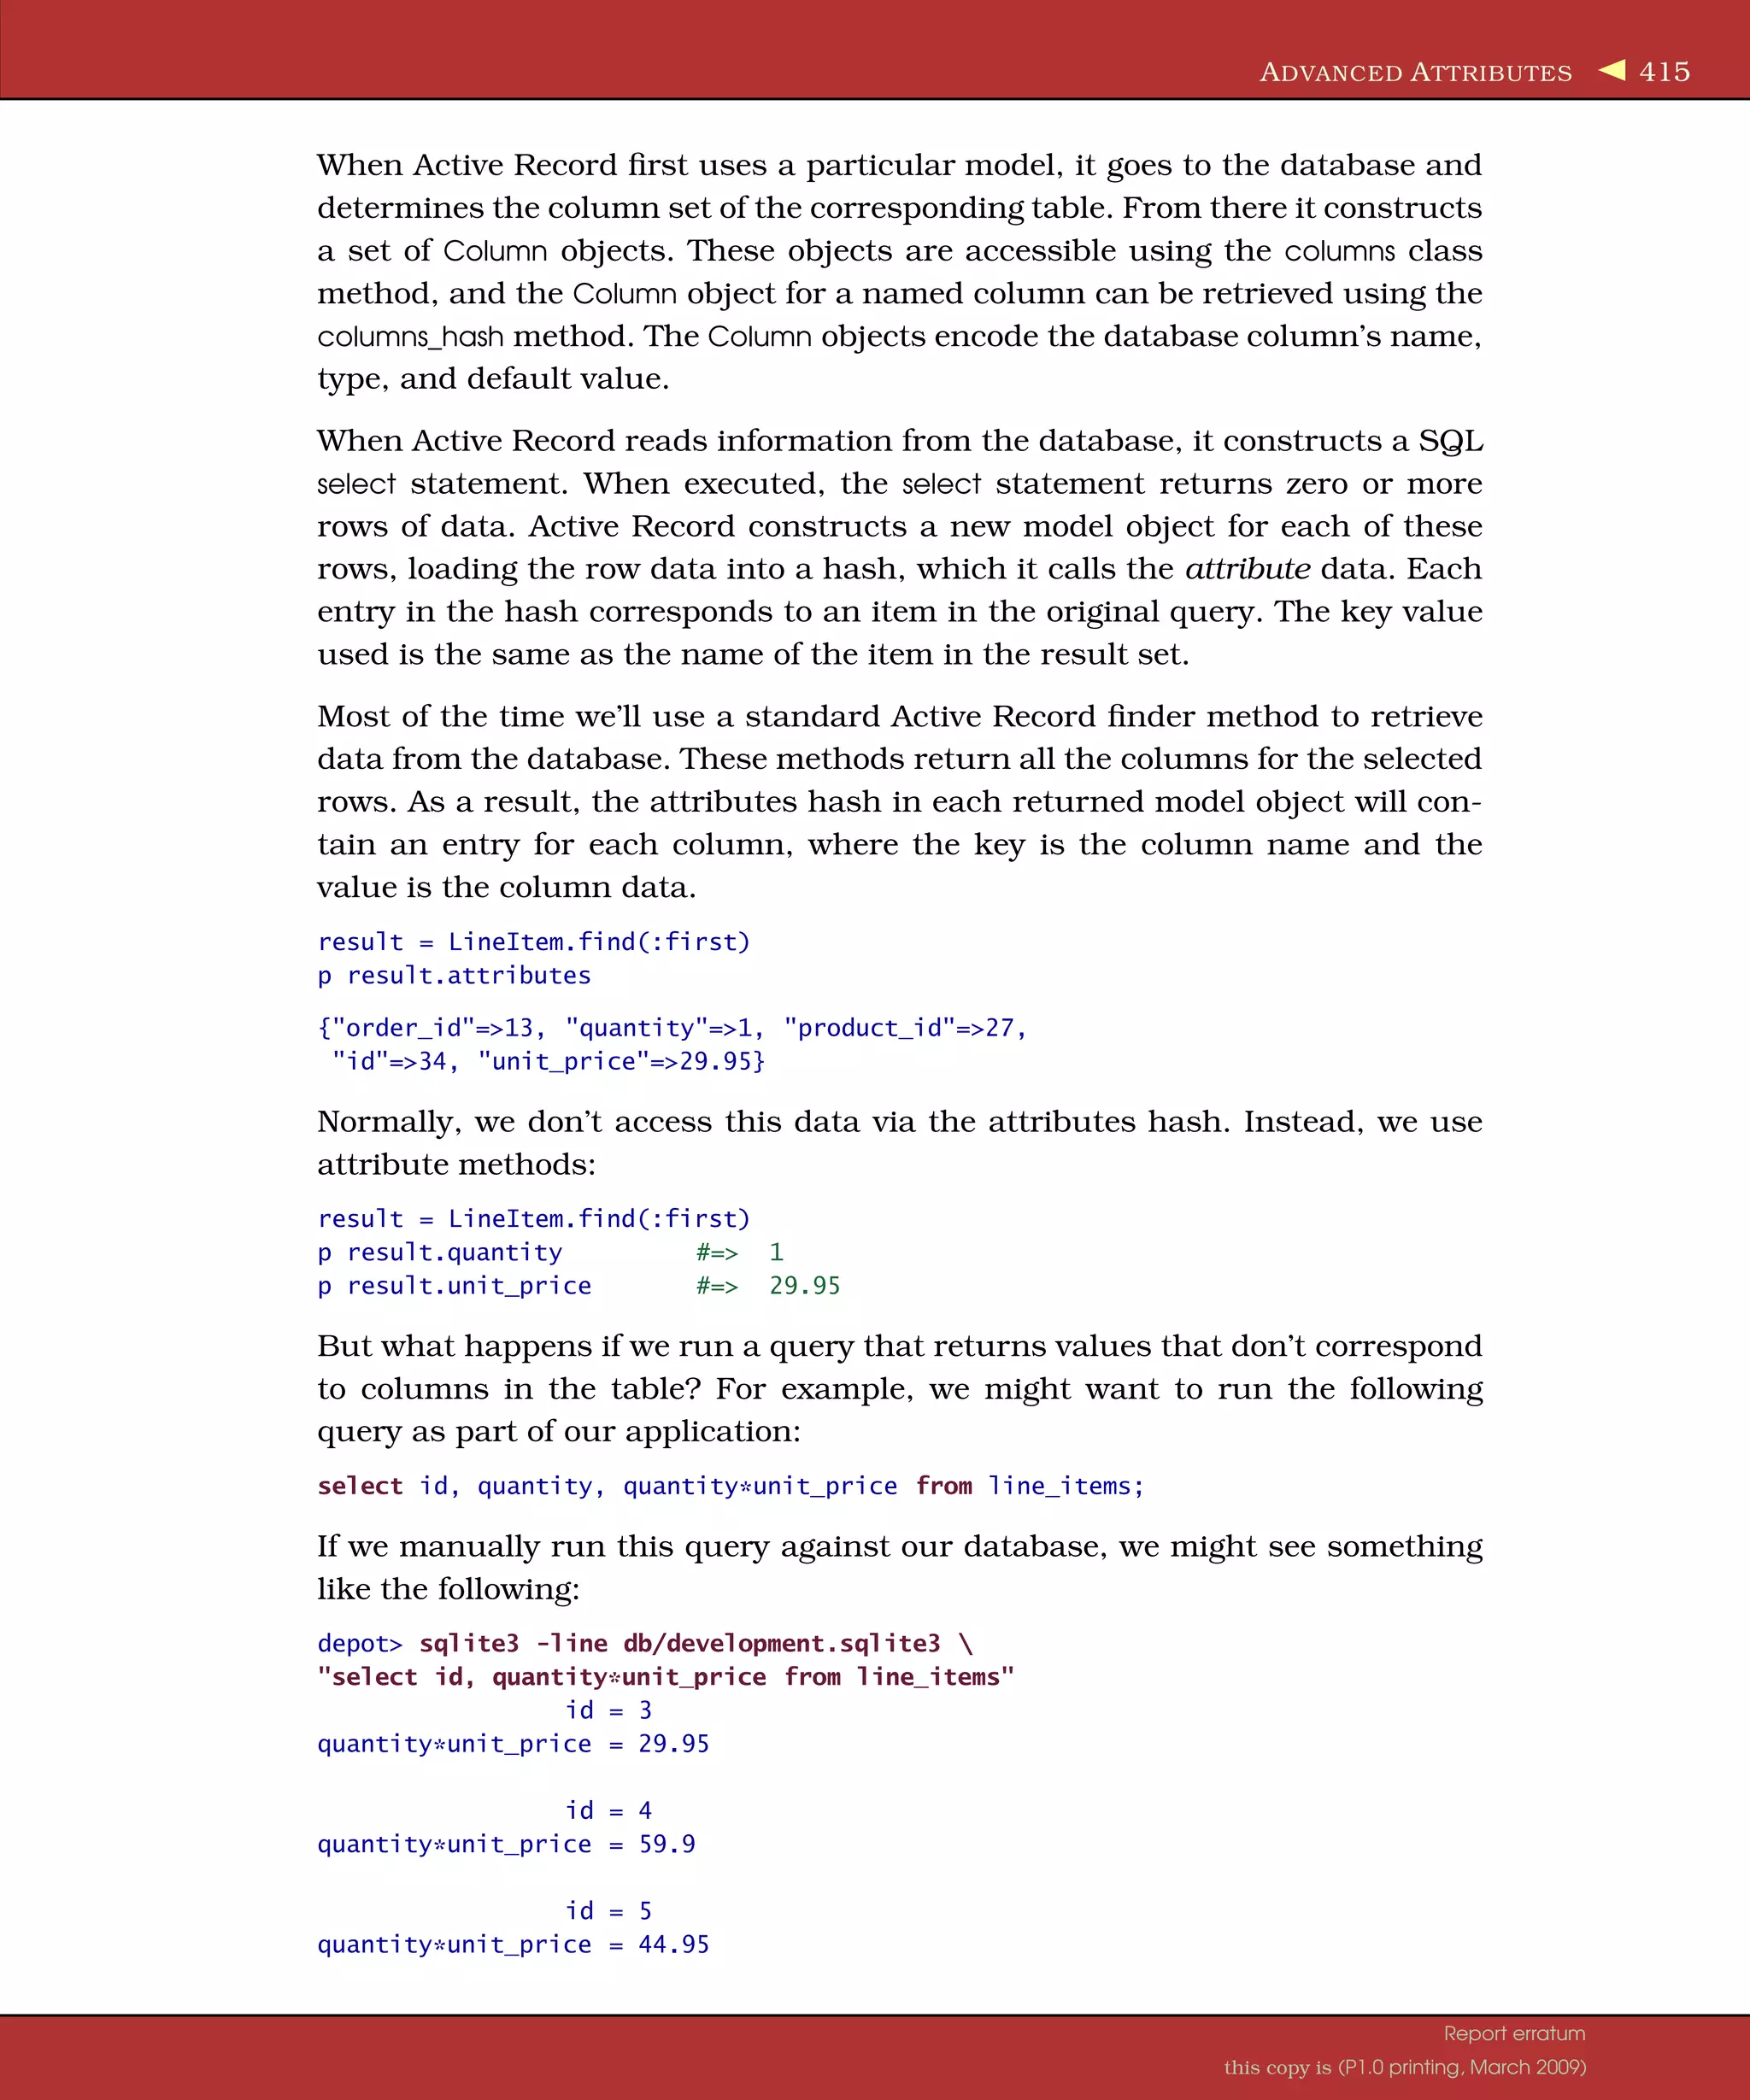
![A DVANCED A TTRIBUTES 416 Notice that the column headings of the result set reflect the terms we gave to the select statement. These column headings are used by Active Record when populating the attributes hash. We can run the same query using Active Record’s find_by_sql method and look at the resulting attributes hash: result = LineItem.find_by_sql("select id, quantity, " + "quantity*unit_price " + "from line_items" ) p result[0].attributes The output shows that the column headings have been used as the keys in the attributes hash: {"id" => 23, "quantity*unit_price"=>"29.95", "quantity"=>1} Note that the value for the calculated column is a string. Active Record knows the types of the columns in our table, but many databases do not return type information for calculated columns. In this case we’re using MySQL, which doesn’t provide type information, so Active Record leaves the value as a string. Had we been using Oracle, we’d have received a Float back, because the OCI interface can extract type information for all columns in a result set. It isn’t particularly convenient to access the calculated attribute using the key quantity*price, so you’d normally rename the column in the result set using the as qualifier: result = LineItem.find_by_sql("select id, quantity, " + " quantity*unit_price as total_price " + " from line_items" ) p result[0].attributes This produces the following: {"total_price"=>"29.95", "id"=>23 "quantity"=>1} The attribute total_price is easier to work with: result.each do |line_item| puts "Line item #{line_item.id}: #{line_item.total_price}" end Remember, though, that the values of these calculated columns will be stored in the attributes hash as strings. You’ll get an unexpected result if you try something like this: TAX_RATE = 0.07 # ... sales_tax = line_item.total_price * TAX_RATE Perhaps surprisingly, the code in the previous example sets sales_tax to an empty string. The value of total_price is a string, and the * operator for strings duplicates their contents. Because TAX_RATE is less than 1, the contents are duplicated zero times, resulting in an empty string. Report erratum this copy is (P1.0 printing, March 2009)](https://image.slidesharecdn.com/pragmatic-agilewebdevelopmentwithrails-3rdedition-2009-091104222637-phpapp01/75/Pragmatic-Agile-Web-Development-With-Rails-3rd-Edition-2009-416-2048.jpg)
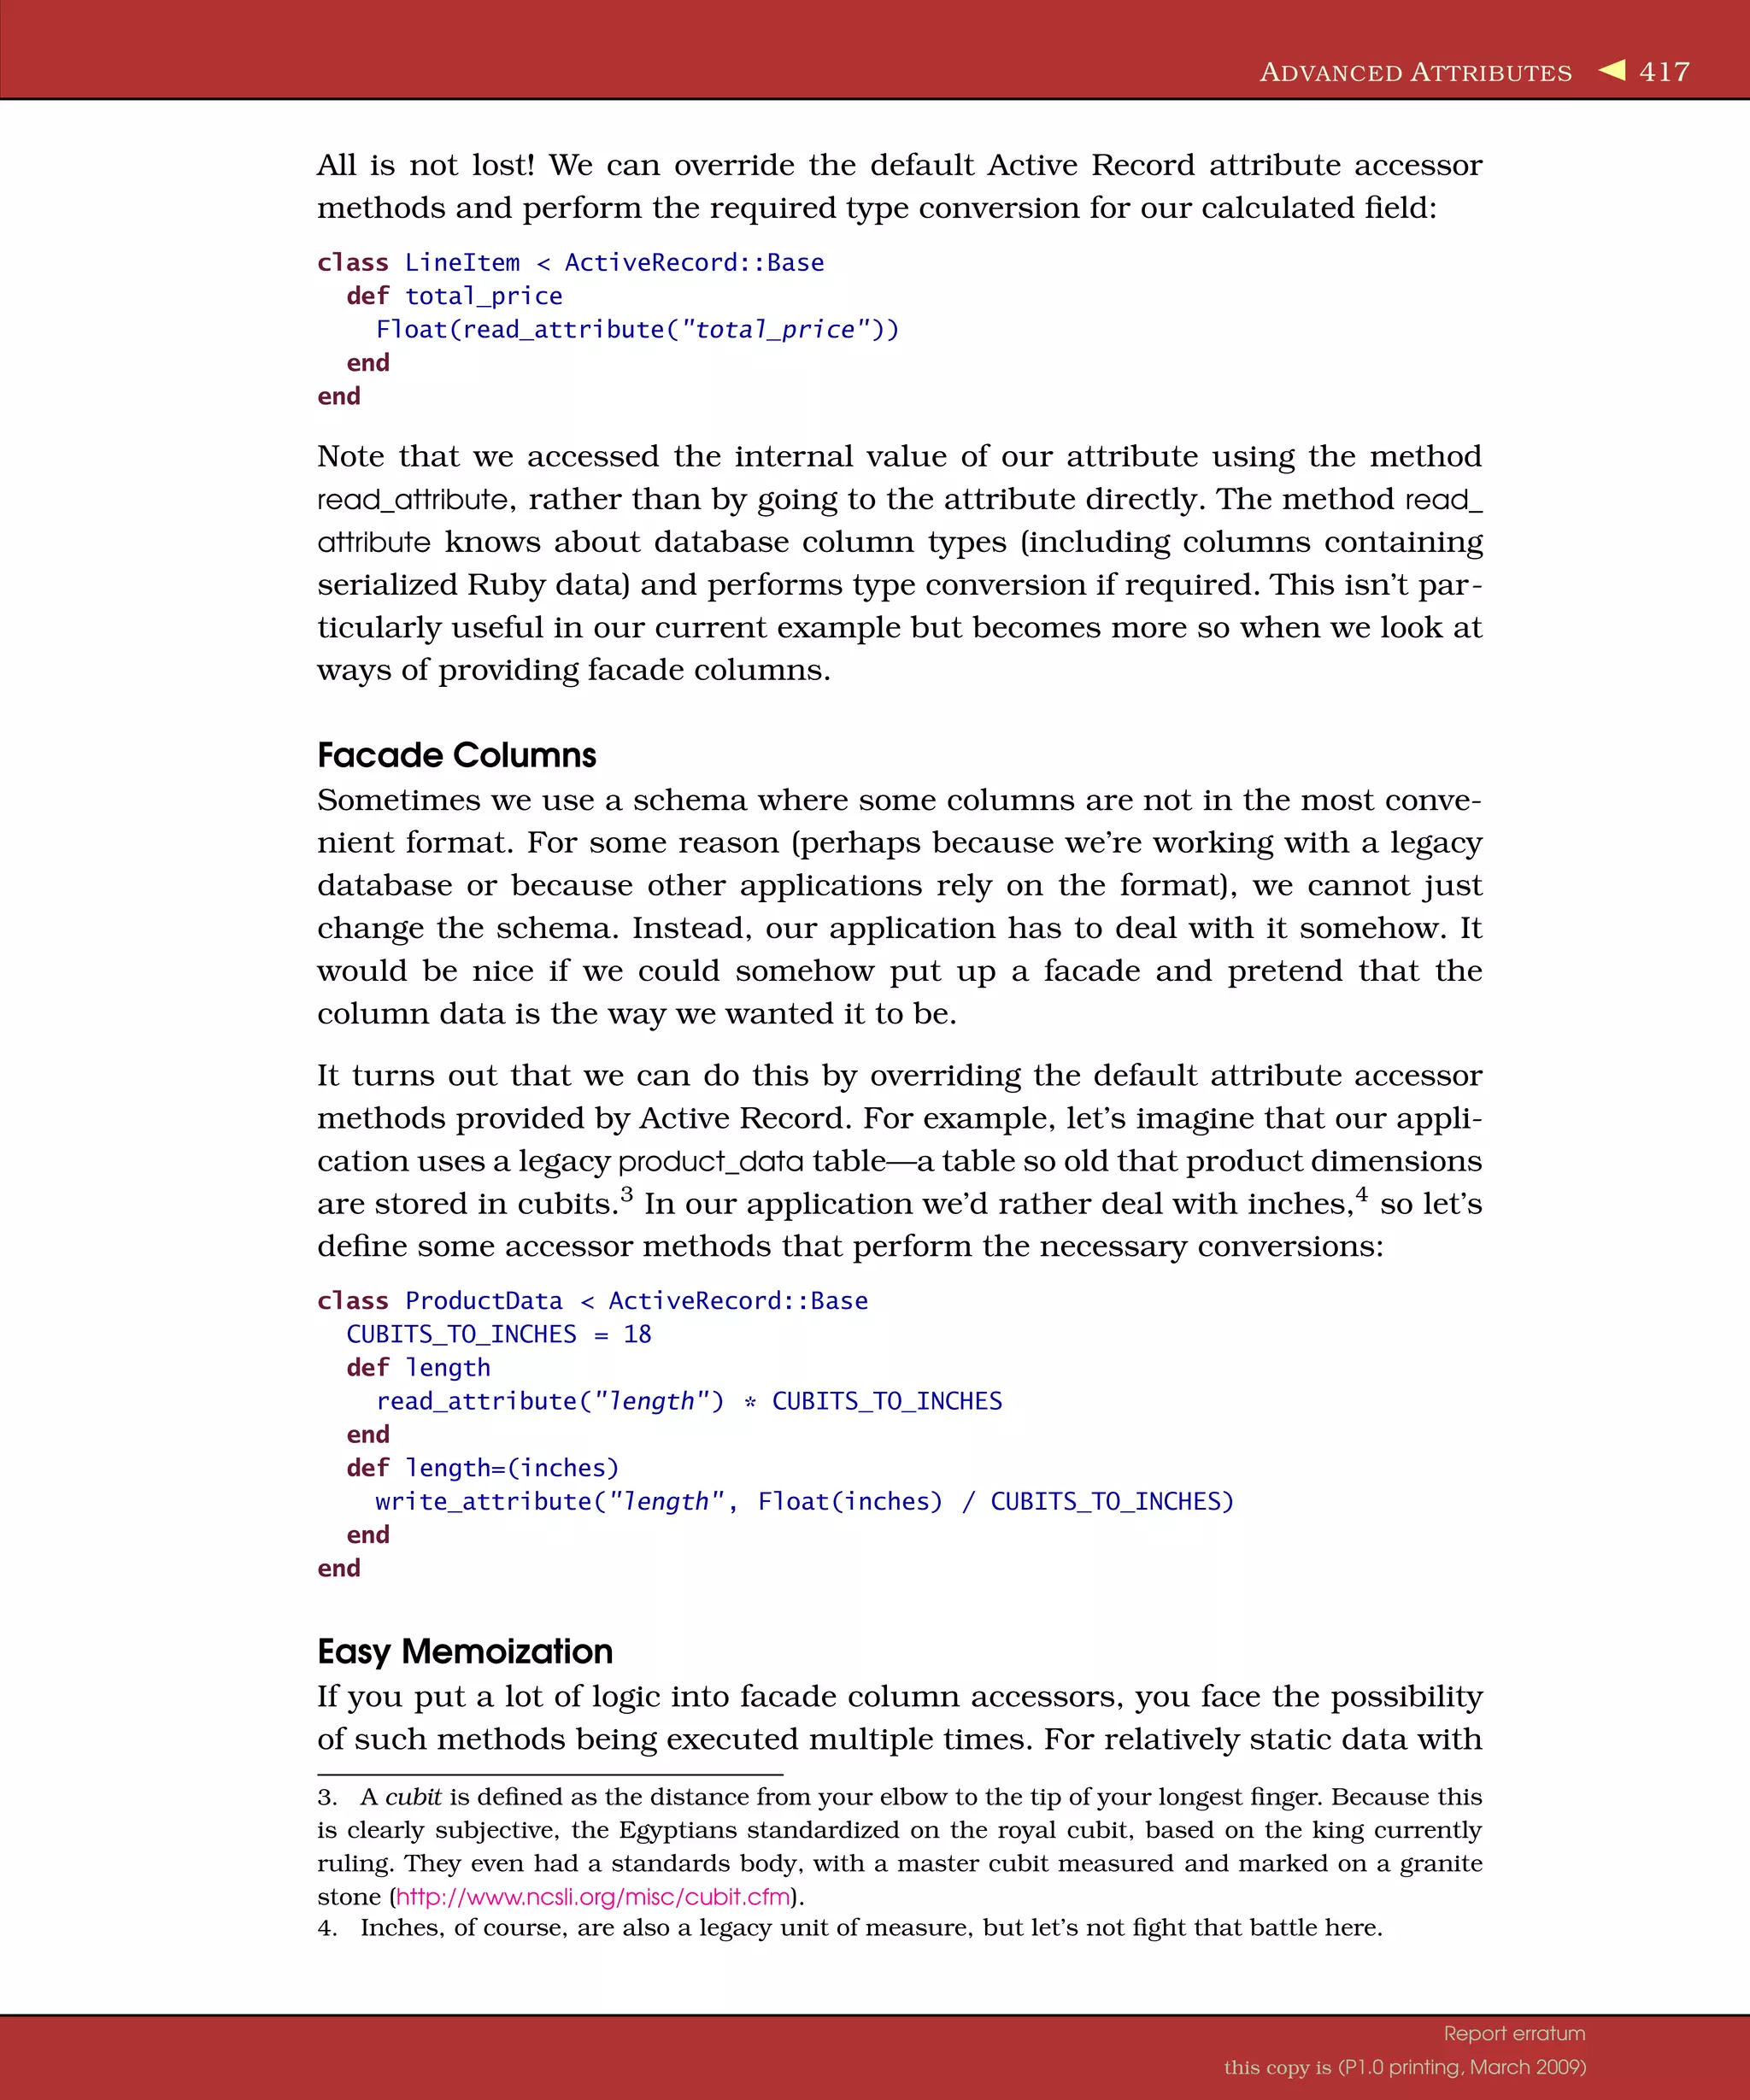
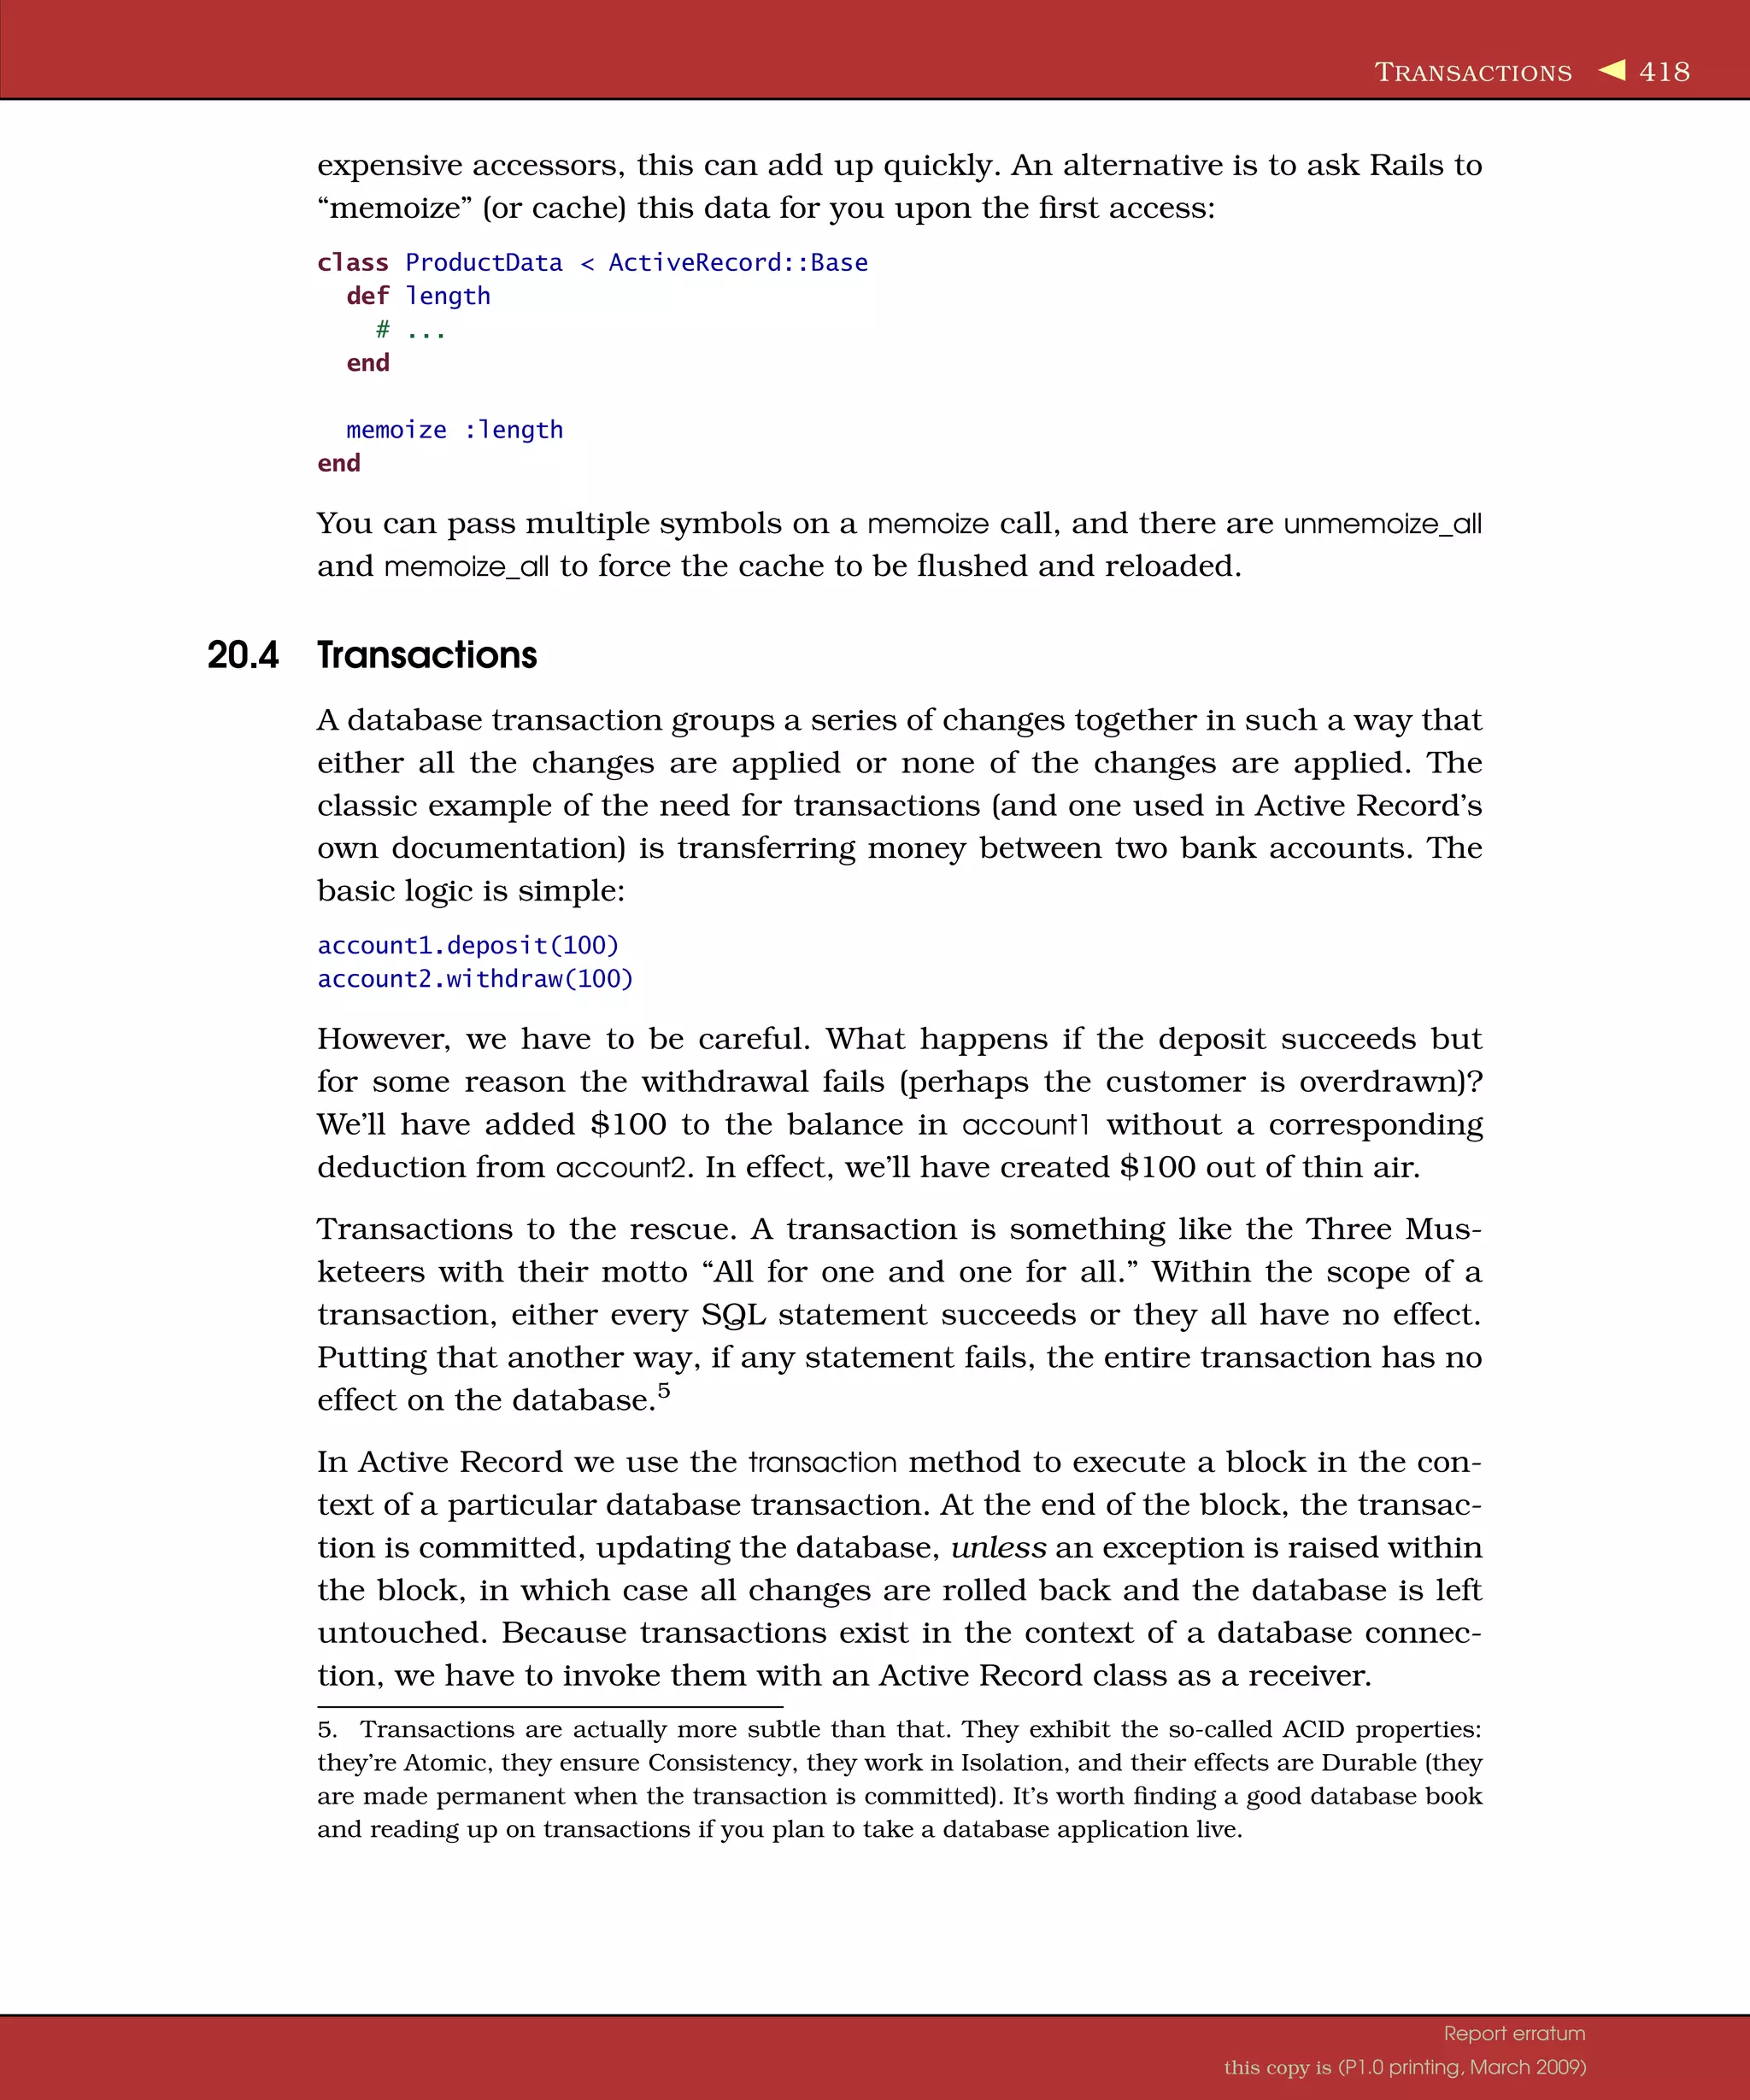

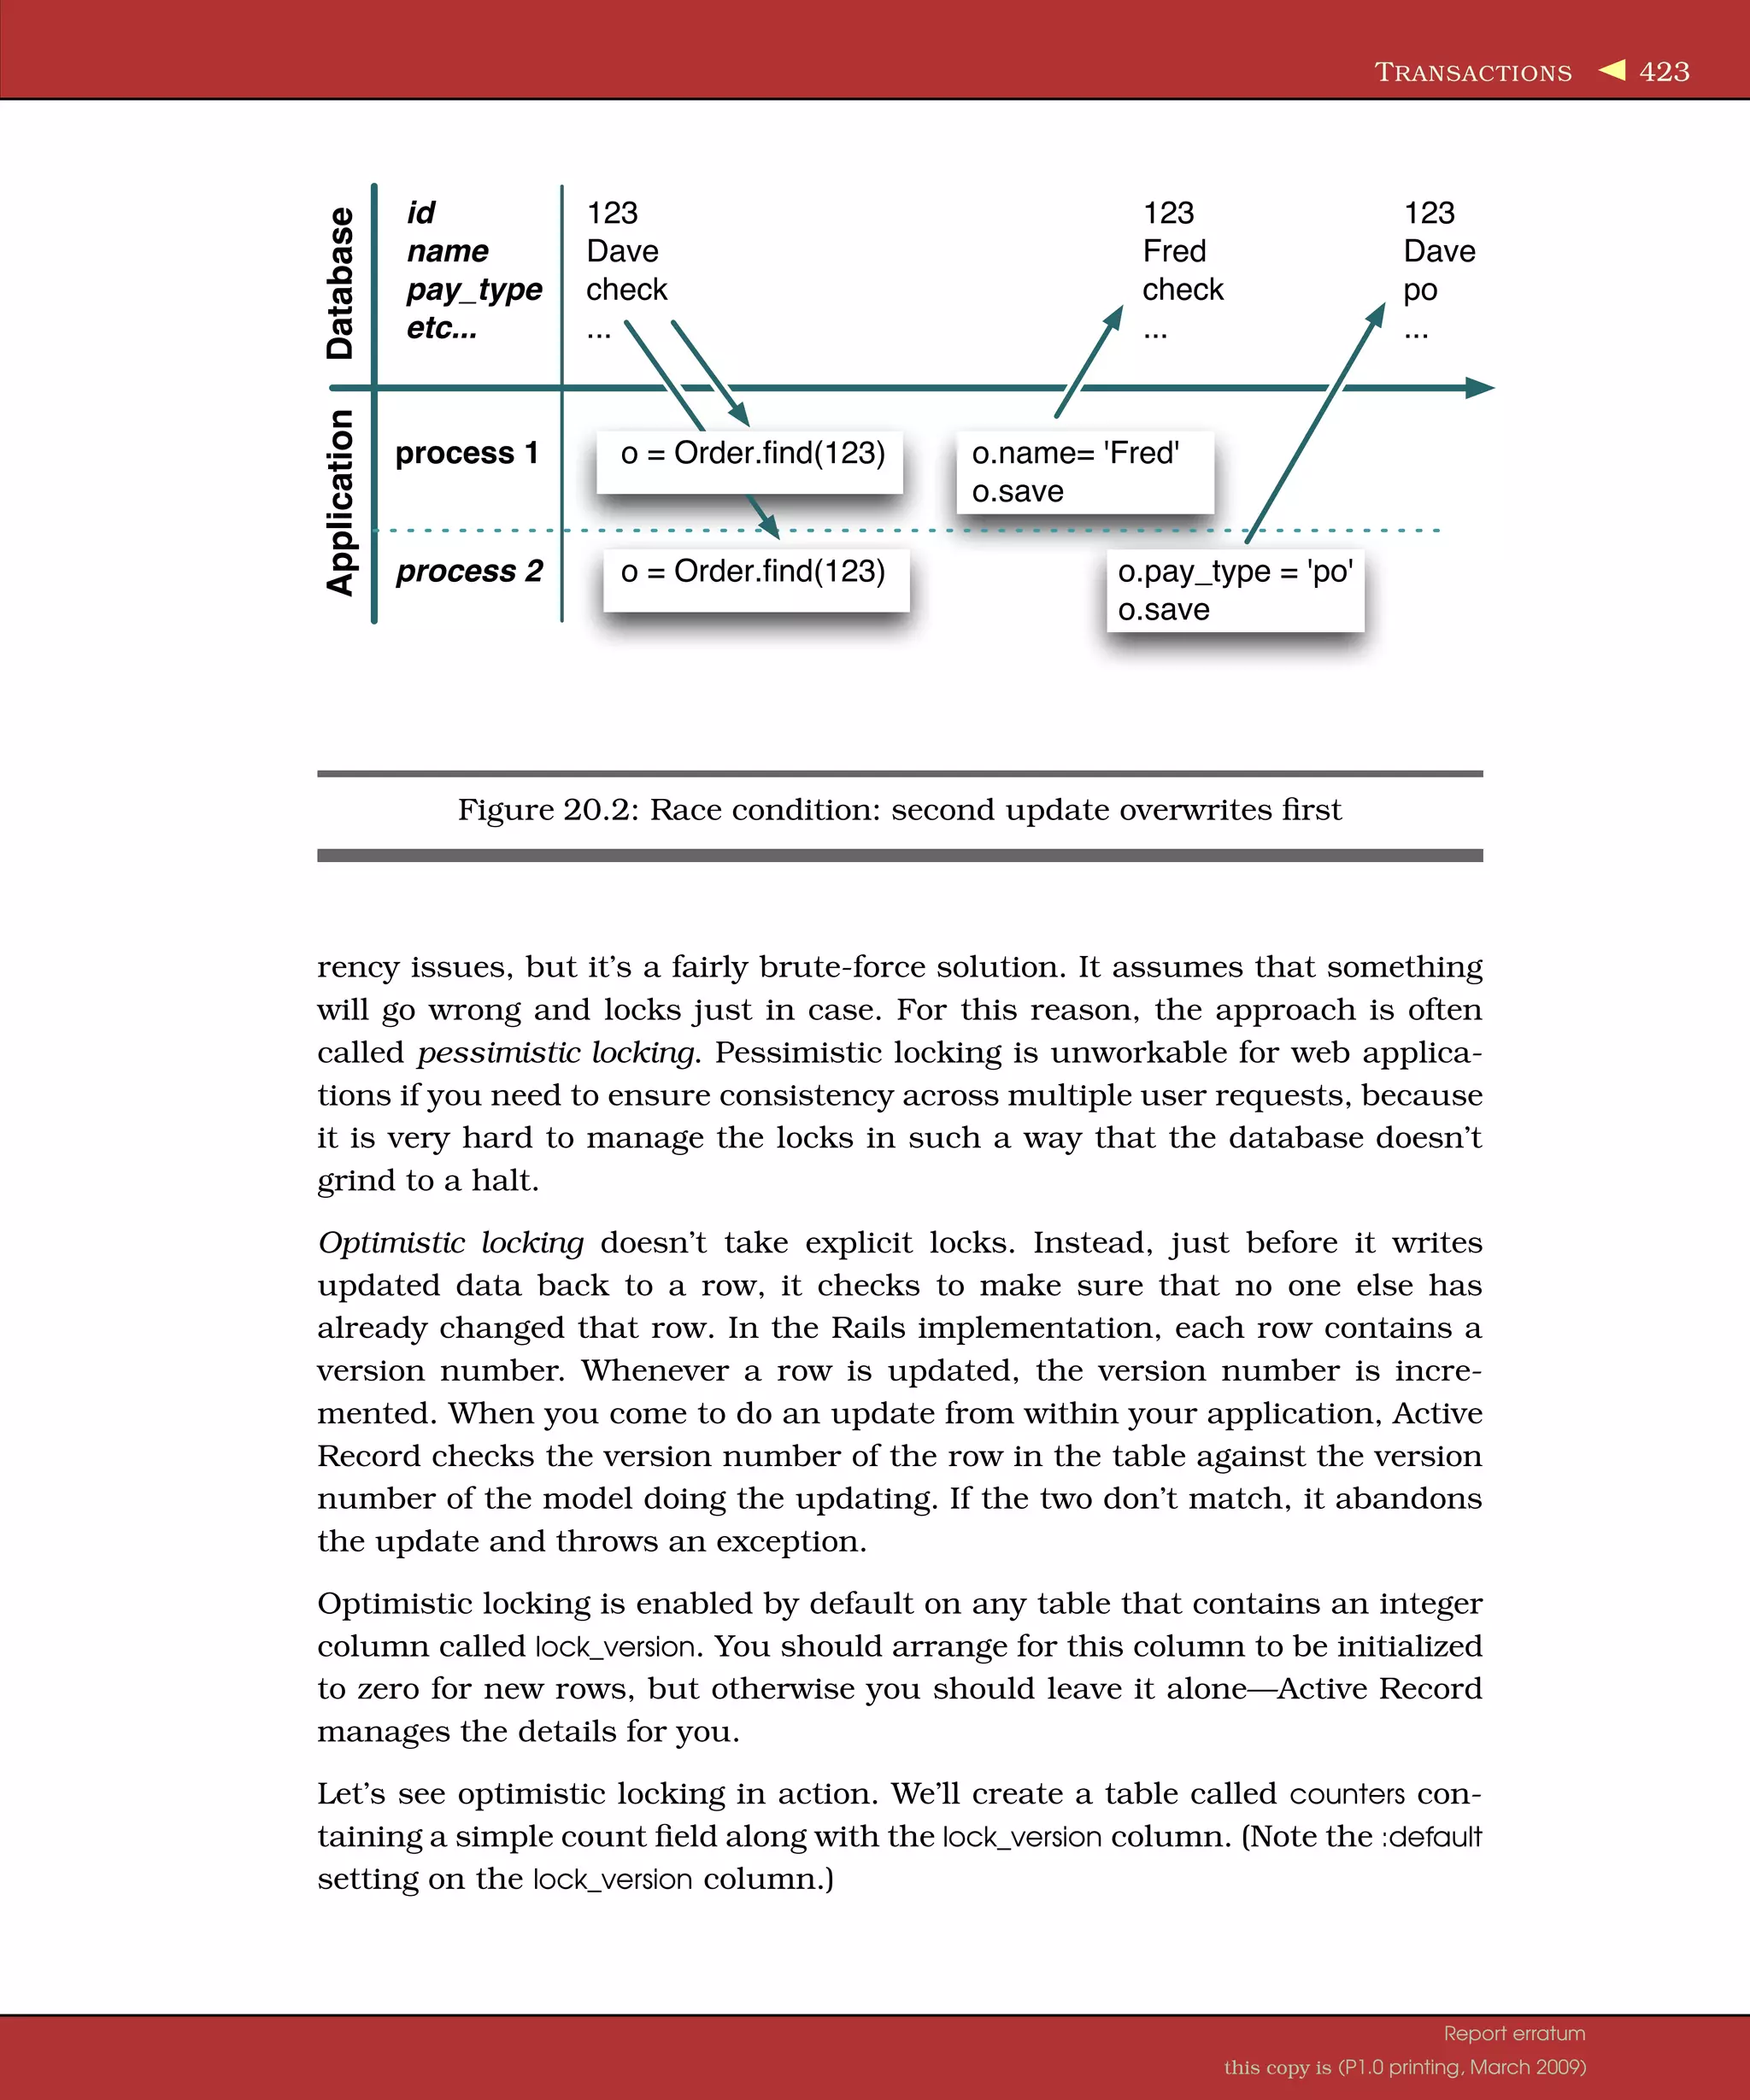
![R OUTING R EQUESTS 429 >> rs.generate :controller => :store => "/store" >> rs.generate :controller => :store, :id => 123 => "/store/index/123" All of these examples used our application’s routing and relied on our appli- cation having implemented all the controllers referenced in the request path— routing checks that the controller is valid and so won’t parse a request for a controller it can’t find. For example, our Depot application doesn’t have a coupon controller. If we try to parse an incoming route that uses this con- troller, the path won’t be recognized: >> rs.recognize_path "/coupon/show/1" ActionController::RoutingError: no route found to match "/coupon/show/1" with {} We can tell routing to pretend that our application contains controllers that have not yet been written with the use_controllers! method: >> ActionController::Routing.use_controllers! ["store", "admin", "coupon"] => ["store", "admin", "coupon"] However, for this change to take effect, we need to reload the definition of the routes: >> load "config/routes.rb" => true >> rs.recognize_path "/coupon/show/1" => {:action=>"show", :controller=>"coupon", :id=>"1"} We can use this trick to test routing schemes that are not yet part of our application: create a new Ruby source file containing the Routes.draw block that would normally be in the routes.rb configuration file, and load this new file using load. Defining Routes with map.connect The patterns accepted by map.connect are simple but powerful: • Components are separated by forward slash characters and periods. Each component in the pattern matches one or more components in the URL. Components in the pattern match in order against the URL. • A pattern component of the form :name sets the parameter name to what- ever value is in the corresponding position in the URL. • A pattern component of the form *name accepts all remaining compo- nents in the incoming URL. The parameter name will reference an array containing their values. Because it swallows all remaining components of the URL, *name must appear at the end of the pattern. link_to to generate route-based URLs. The only reason we’re using the generate method here is that it works in the context of a console session. Report erratum this copy is (P1.0 printing, March 2009)](https://image.slidesharecdn.com/pragmatic-agilewebdevelopmentwithrails-3rdedition-2009-091104222637-phpapp01/75/Pragmatic-Agile-Web-Development-With-Rails-3rd-Edition-2009-429-2048.jpg)
![R OUTING R EQUESTS 432 # Return articles for a year, year/month, or year/month/day map.connect "blog/:year/:month/:day" , :controller => "blog" , :action => "show_date" , :requirements => { :year => /(19|20)dd/, :month => /[01]?d/, :day => /[0-3]?d/}, :day => nil, :month => nil # Show an article identified by an id map.connect "blog/show/:id" , :controller => "blog" , :action => "show" , :id => /d+/ # Regular Rails routing for admin stuff map.connect "blog/:controller/:action/:id" # Catchall so we can gracefully handle badly formed requests map.connect "*anything" , :controller => "blog" , :action => "unknown_request" end Note two things in this code. First, we constrained the date-matching rule to look for reasonable-looking year, month, and day values. Without this, the rule would also match regular controller/action/id URLs. Second, notice how we put the catchall rule ("*anything") at the end of the list. Because this rule matches any request, putting it earlier would stop subsequent rules from being examined. We can see how these rules handle some request URLs: >> ActionController::Routing.use_controllers! [ "article", "blog" ] => ["article", "blog"] >> load "config/routes_for_blog.rb" => [] >> rs.recognize_path "/blog" => {:controller=>"blog", :action=>"index"} >> rs.recognize_path "/blog/show/123" => {:controller=>"blog", :action=>"show", :id=>"123"} >> rs.recognize_path "/blog/2004" => {:year=>"2004", :controller=>"blog", :action=>"show_date"} >> rs.recognize_path "/blog/2004/12" => {:month=>"12", :year=>"2004", :controller=>"blog", :action=>"show_date"} Report erratum this copy is (P1.0 printing, March 2009)](https://image.slidesharecdn.com/pragmatic-agilewebdevelopmentwithrails-3rdedition-2009-091104222637-phpapp01/75/Pragmatic-Agile-Web-Development-With-Rails-3rd-Edition-2009-432-2048.jpg)
![R OUTING R EQUESTS 433 >> rs.recognize_path "/blog/2004/12/25" => {:month=>"12", :year=>"2004", :controller=>"blog", :day=>"25", :action=>"show_date"} >> rs.recognize_path "/blog/article/edit/123" => {:controller=>"article", :action=>"edit", :id=>"123"} >> rs.recognize_path "/blog/article/show_stats" => {:controller=>"article", :action=>"show_stats"} >> rs.recognize_path "/blog/wibble" => {:controller=>"blog", :anything=>["blog", "wibble"], :action=>"unknown_request"} >> rs.recognize_path "/junk" => {:controller=>"blog", :anything=>["junk"], :action=>"unknown_request"} We’re not quite done with specifying routes yet, but before we look at creating named routes, let’s first see the other side of the coin—generating a URL from within our application. URL Generation Routing takes an incoming URL and decodes it into a set of parameters that are used by Rails to dispatch to the appropriate controller and action (potentially setting additional parameters along the way). But that’s only half the story. Our application also needs to create URLs that refer back to itself. Every time it displays a form, for example, that form needs to link back to a controller and action. But the application code doesn’t necessarily know the format of the URLs that encode this information; all it sees are the parameters it receives once routing has done its work. We could hard-code all the URLs into the application, but sprinkling knowl- edge about the format of requests in multiple places would make our code more brittle. This is a violation of the DRY principle;2 change the application’s location or the format of URLs, and we’d have to change all those strings. Fortunately, we don’t have to worry about this, because Rails also abstracts the generation of URLs using the url_for method (and a number of higher-level friends that use it). To illustrate this, let’s go back to a simple mapping: map.connect ":controller/:action/:id" The url_for method generates URLs by applying its parameters to a mapping. It works in controllers and in views. Let’s try it: @link = url_for(:controller => "store" , :action => "display" , :id => 123) 2. DRY stands for don’t repeat yourself, an acronym coined in The Pragmatic Programmer [HT00]. Report erratum this copy is (P1.0 printing, March 2009)](https://image.slidesharecdn.com/pragmatic-agilewebdevelopmentwithrails-3rdedition-2009-091104222637-phpapp01/75/Pragmatic-Agile-Web-Development-With-Rails-3rd-Edition-2009-433-2048.jpg)
![R OUTING R EQUESTS 435 available only to controllers, but script/console provides us with an app object with a similar method, the key difference being that the method on the app object doesn’t have a default request. This means that we can’t rely on defaults being provided for :controller and :action: >> app.url_for :controller => :store, :action => :display, :id => 123 => http://example.com/store/status URL generation works for more complex routings as well. For example, the routing for our blog includes the following mappings: Download e1/routing/config/routes_for_blog.rb # Return articles for a year, year/month, or year/month/day map.connect "blog/:year/:month/:day" , :controller => "blog" , :action => "show_date" , :requirements => { :year => /(19|20)dd/, :month => /[01]?d/, :day => /[0-3]?d/}, :day => nil, :month => nil # Show an article identified by an id map.connect "blog/show/:id" , :controller => "blog" , :action => "show" , :id => /d+/ # Regular Rails routing for admin stuff map.connect "blog/:controller/:action/:id" Imagine the incoming request was http://pragprog.com/blog/2006/07/28. This will have been mapped to the show_date action of the Blog controller by the first rule: >> ActionController::Routing.use_controllers! [ "blog" ] => ["blog"] >> load "config/routes_for_blog.rb" => true >> last_request = rs.recognize_path "/blog/2006/07/28" => {:month=>"07", :year=>"2006", :controller=>"blog", :day=>"28", :action=>"show_date"} Let’s see what various url_for calls will generate in these circumstances. If we ask for a URL for a different day, the mapping call will take the values from the incoming request as defaults, changing just the day parameter: >> rs.generate({:day => 25}, last_request) => "/blog/2006/07/25" Now let’s see what happens if we instead give it just a year: >> rs.generate({:year => 2005}, last_request) => "/blog/2005" Report erratum this copy is (P1.0 printing, March 2009)](https://image.slidesharecdn.com/pragmatic-agilewebdevelopmentwithrails-3rdedition-2009-091104222637-phpapp01/75/Pragmatic-Agile-Web-Development-With-Rails-3rd-Edition-2009-435-2048.jpg)
![R OUTING R EQUESTS 437 URL. To do this, we can fake out the routing code—we use the :overwrite_params option to tell url_for that the original request parameters contained the new year that we want to use. Because it thinks that the year hasn’t changed, it con- tinues to use the rest of the defaults. (Note that this option doesn’t work down within the routing API, so we can’t demonstrate it directly in script/console.) url_for(:year => "2002" ) => http://example.com/blog/2002 url_for(:overwrite_params => {:year => "2002" }) => http://example.com/blog/2002/4/15 One last gotcha. Say a mapping has a requirement such as this: map.connect "blog/:year/:month/:day" , :controller => "blog" , :action => "show_date" , :requirements => { :year => /(19|20)dd/, :month => /[01]d/, :day => /[0-3]d/}, Note that the :day parameter is required to match /[0-3]d/; it must be two digits long. This means that if you pass in a Fixnum value less than 10 when creating a URL, this rule will not be used. url_for(:year => 2005, :month => 12, :day => 8) Because the number 8 converts to the string "8" and that string isn’t two digits long, the mapping won’t fire. The fix is either to relax the rule (making the leading zero optional in the requirement with [0-3]?d) or to make sure you pass in two-digit numbers: url_for(:year=>year, :month=>sprintf("%02d" , month), :day=>sprintf("%02d" , day)) The url_for Method Now that we’ve looked at how mappings are used to generate URLs, we can look at the url_for method in all its glory: url_for Create a URL that references this application url_for(option => value, ...) Creates a URL that references a controller in this application. The options hash supplies parameter names and their values that are used to fill in the URL (based on a mapping). The parameter values must match any constraints imposed by the mapping that is used. Certain parameter names, listed in the Options: section that follows, are reserved and are used to fill in the nonpath part of the URL. If you use an Active Record model object as a value in url_for (or any related method), that object’s database id will be used. Report erratum this copy is (P1.0 printing, March 2009)](https://image.slidesharecdn.com/pragmatic-agilewebdevelopmentwithrails-3rdedition-2009-091104222637-phpapp01/75/Pragmatic-Agile-Web-Development-With-Rails-3rd-Edition-2009-437-2048.jpg)
![R OUTING R EQUESTS 439 For example, we might recode our blog routing as follows: Download e1/routing/config/routes_with_names.rb ActionController::Routing::Routes.draw do |map| # Straight 'http://my.app/blog/' displays the index map.index "blog/" , :controller => "blog" , :action => "index" # Return articles for a year, year/month, or year/month/day map.date "blog/:year/:month/:day" , :controller => "blog" , :action => "show_date" , :requirements => { :year => /(19|20)dd/, :month => /[01]?d/, :day => /[0-3]?d/}, :day => nil, :month => nil # Show an article identified by an id map.show_article "blog/show/:id" , :controller => "blog" , :action => "show" , :id => /d+/ # Regular Rails routing for admin stuff map.blog_admin "blog/:controller/:action/:id" # Catchall so we can gracefully handle badly formed requests map.catch_all "*anything" , :controller => "blog" , :action => "unknown_request" end Here we’ve named the route that displays the index as index, the route that accepts dates is called date, and so on. We can use these to generate URLs by appending _url to their names and using them in the same way we’d otherwise use url_for. Thus, to generate the URL for the blog’s index, we could use this: @link = index_url This will construct a URL using the first routing, resulting in the following: http://pragprog.com/blog/ You can pass additional parameters as a hash to these named routes. The parameters will be added into the defaults for the particular route. This is illustrated by the following examples: index_url #=> http://pragprog.com/blog date_url(:year => 2005) #=> http://pragprog.com/blog/2005 Report erratum this copy is (P1.0 printing, March 2009)](https://image.slidesharecdn.com/pragmatic-agilewebdevelopmentwithrails-3rdedition-2009-091104222637-phpapp01/75/Pragmatic-Agile-Web-Development-With-Rails-3rd-Edition-2009-439-2048.jpg)
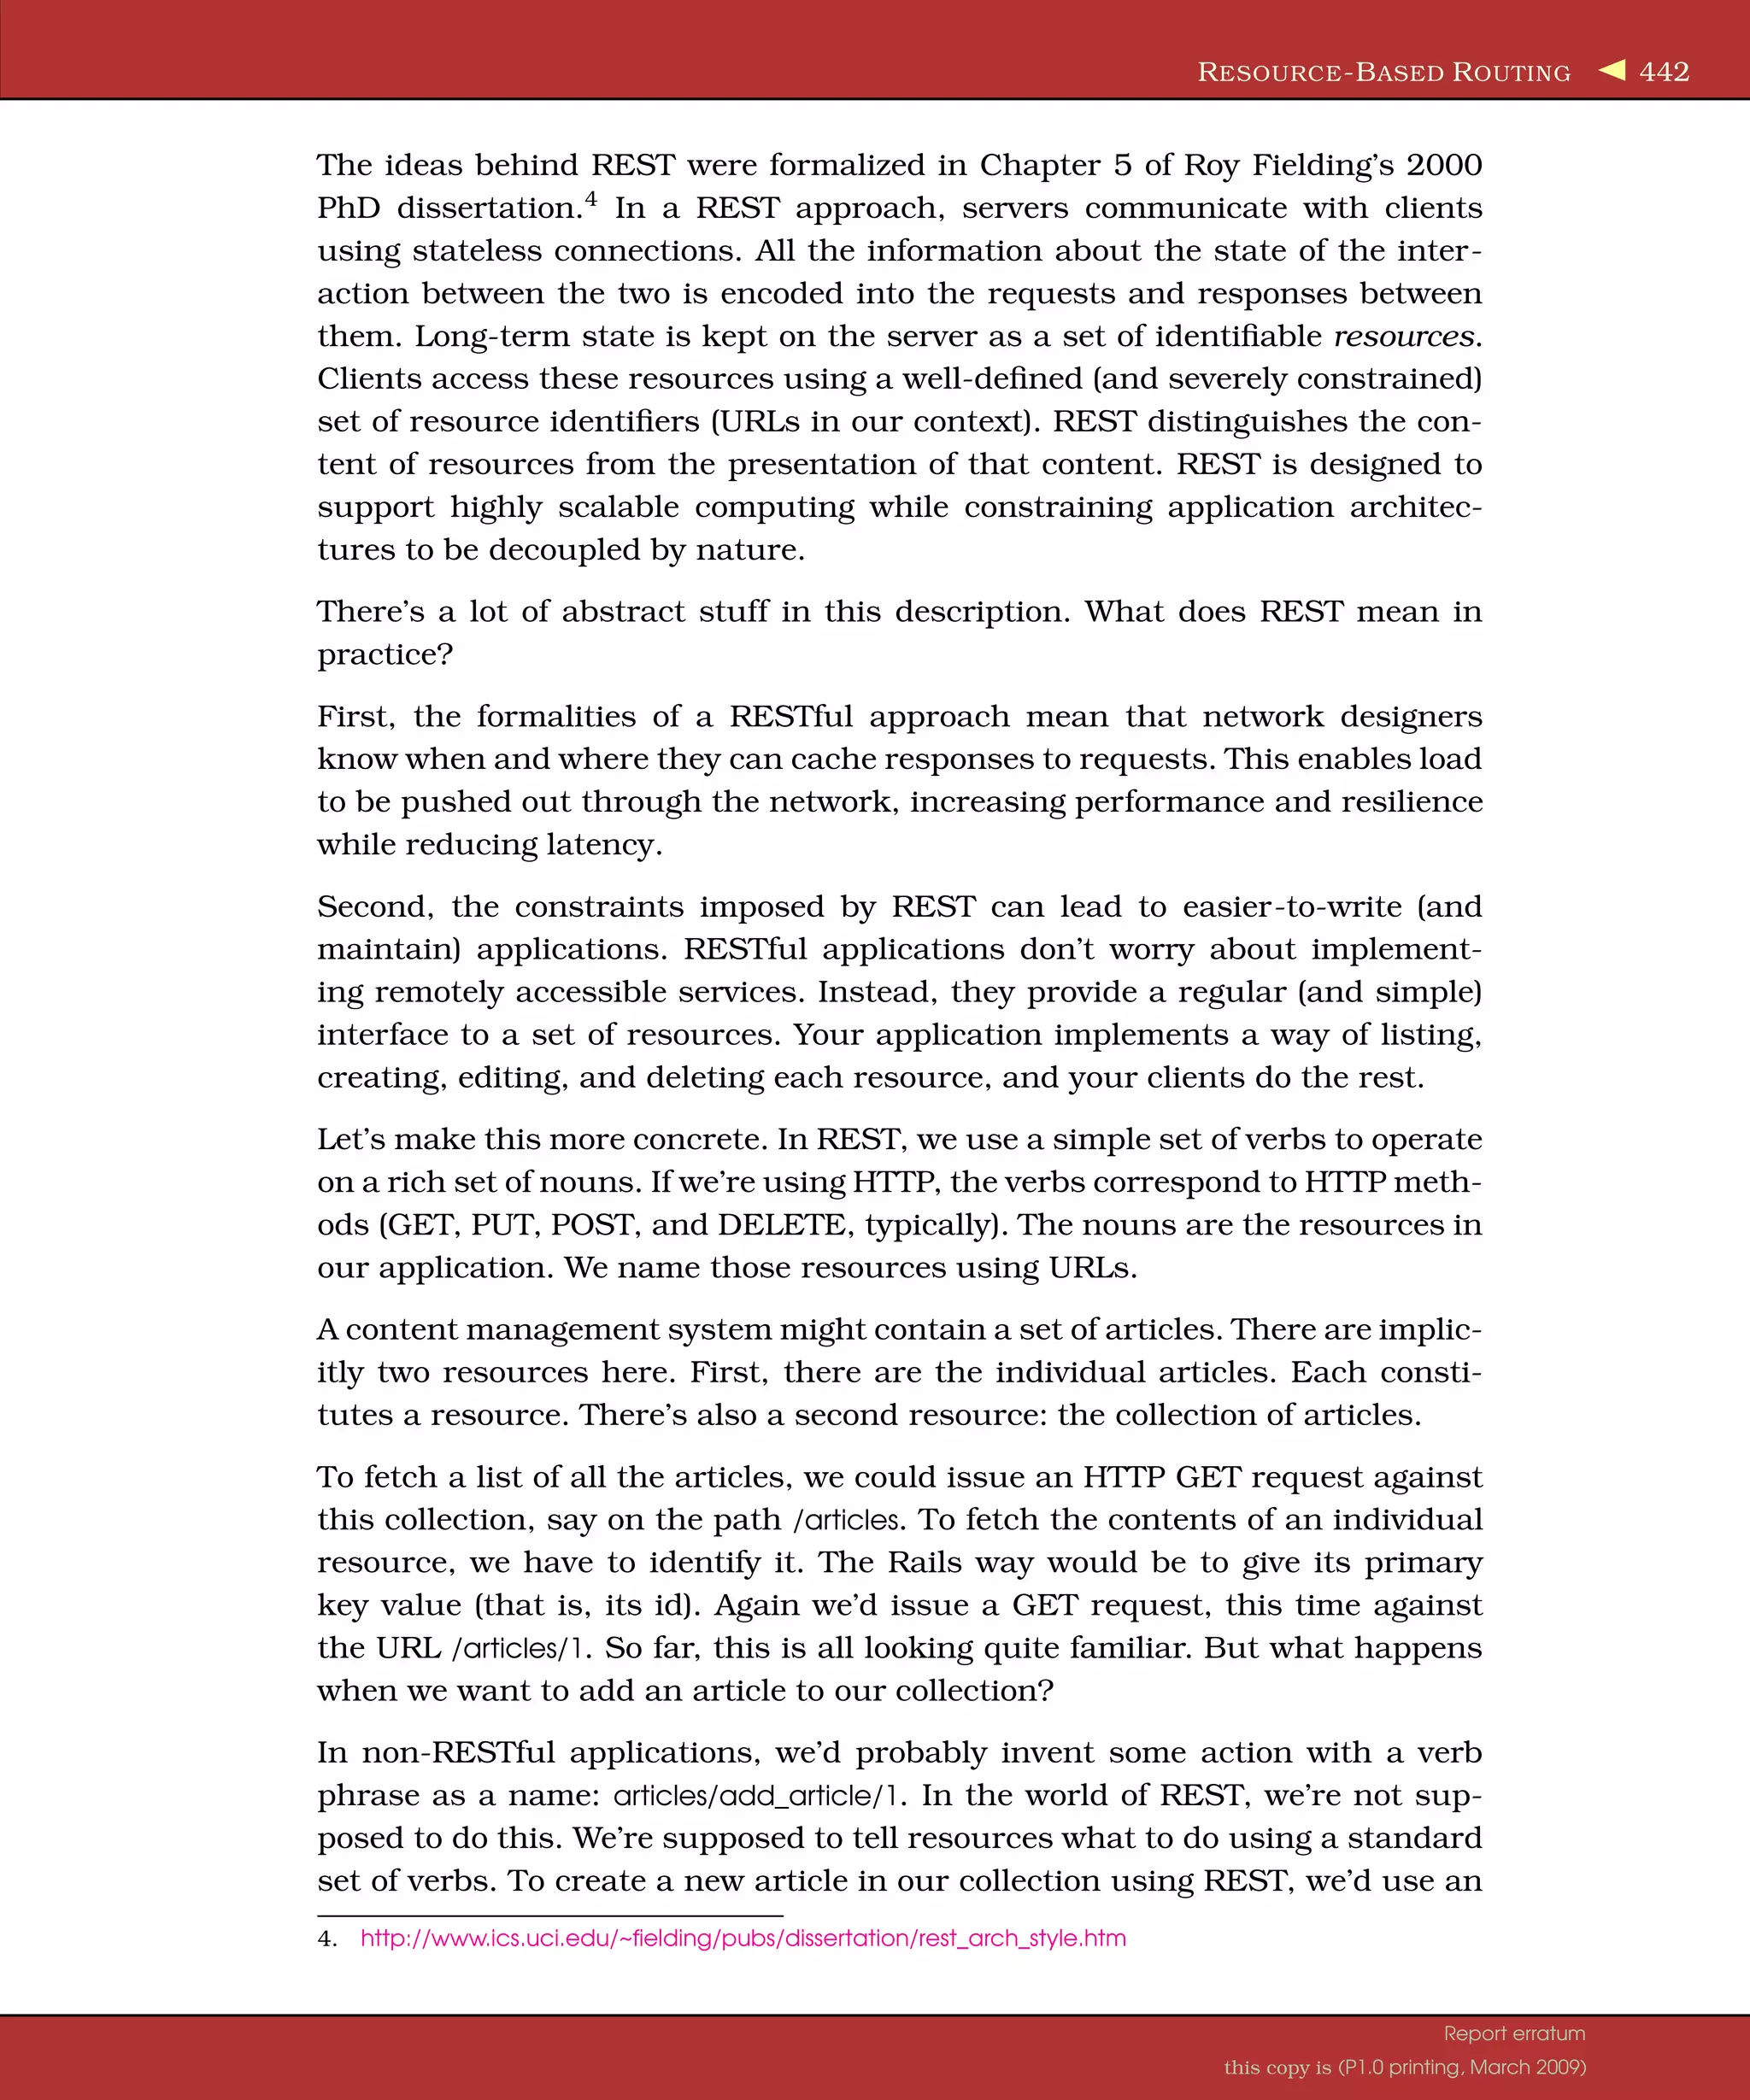
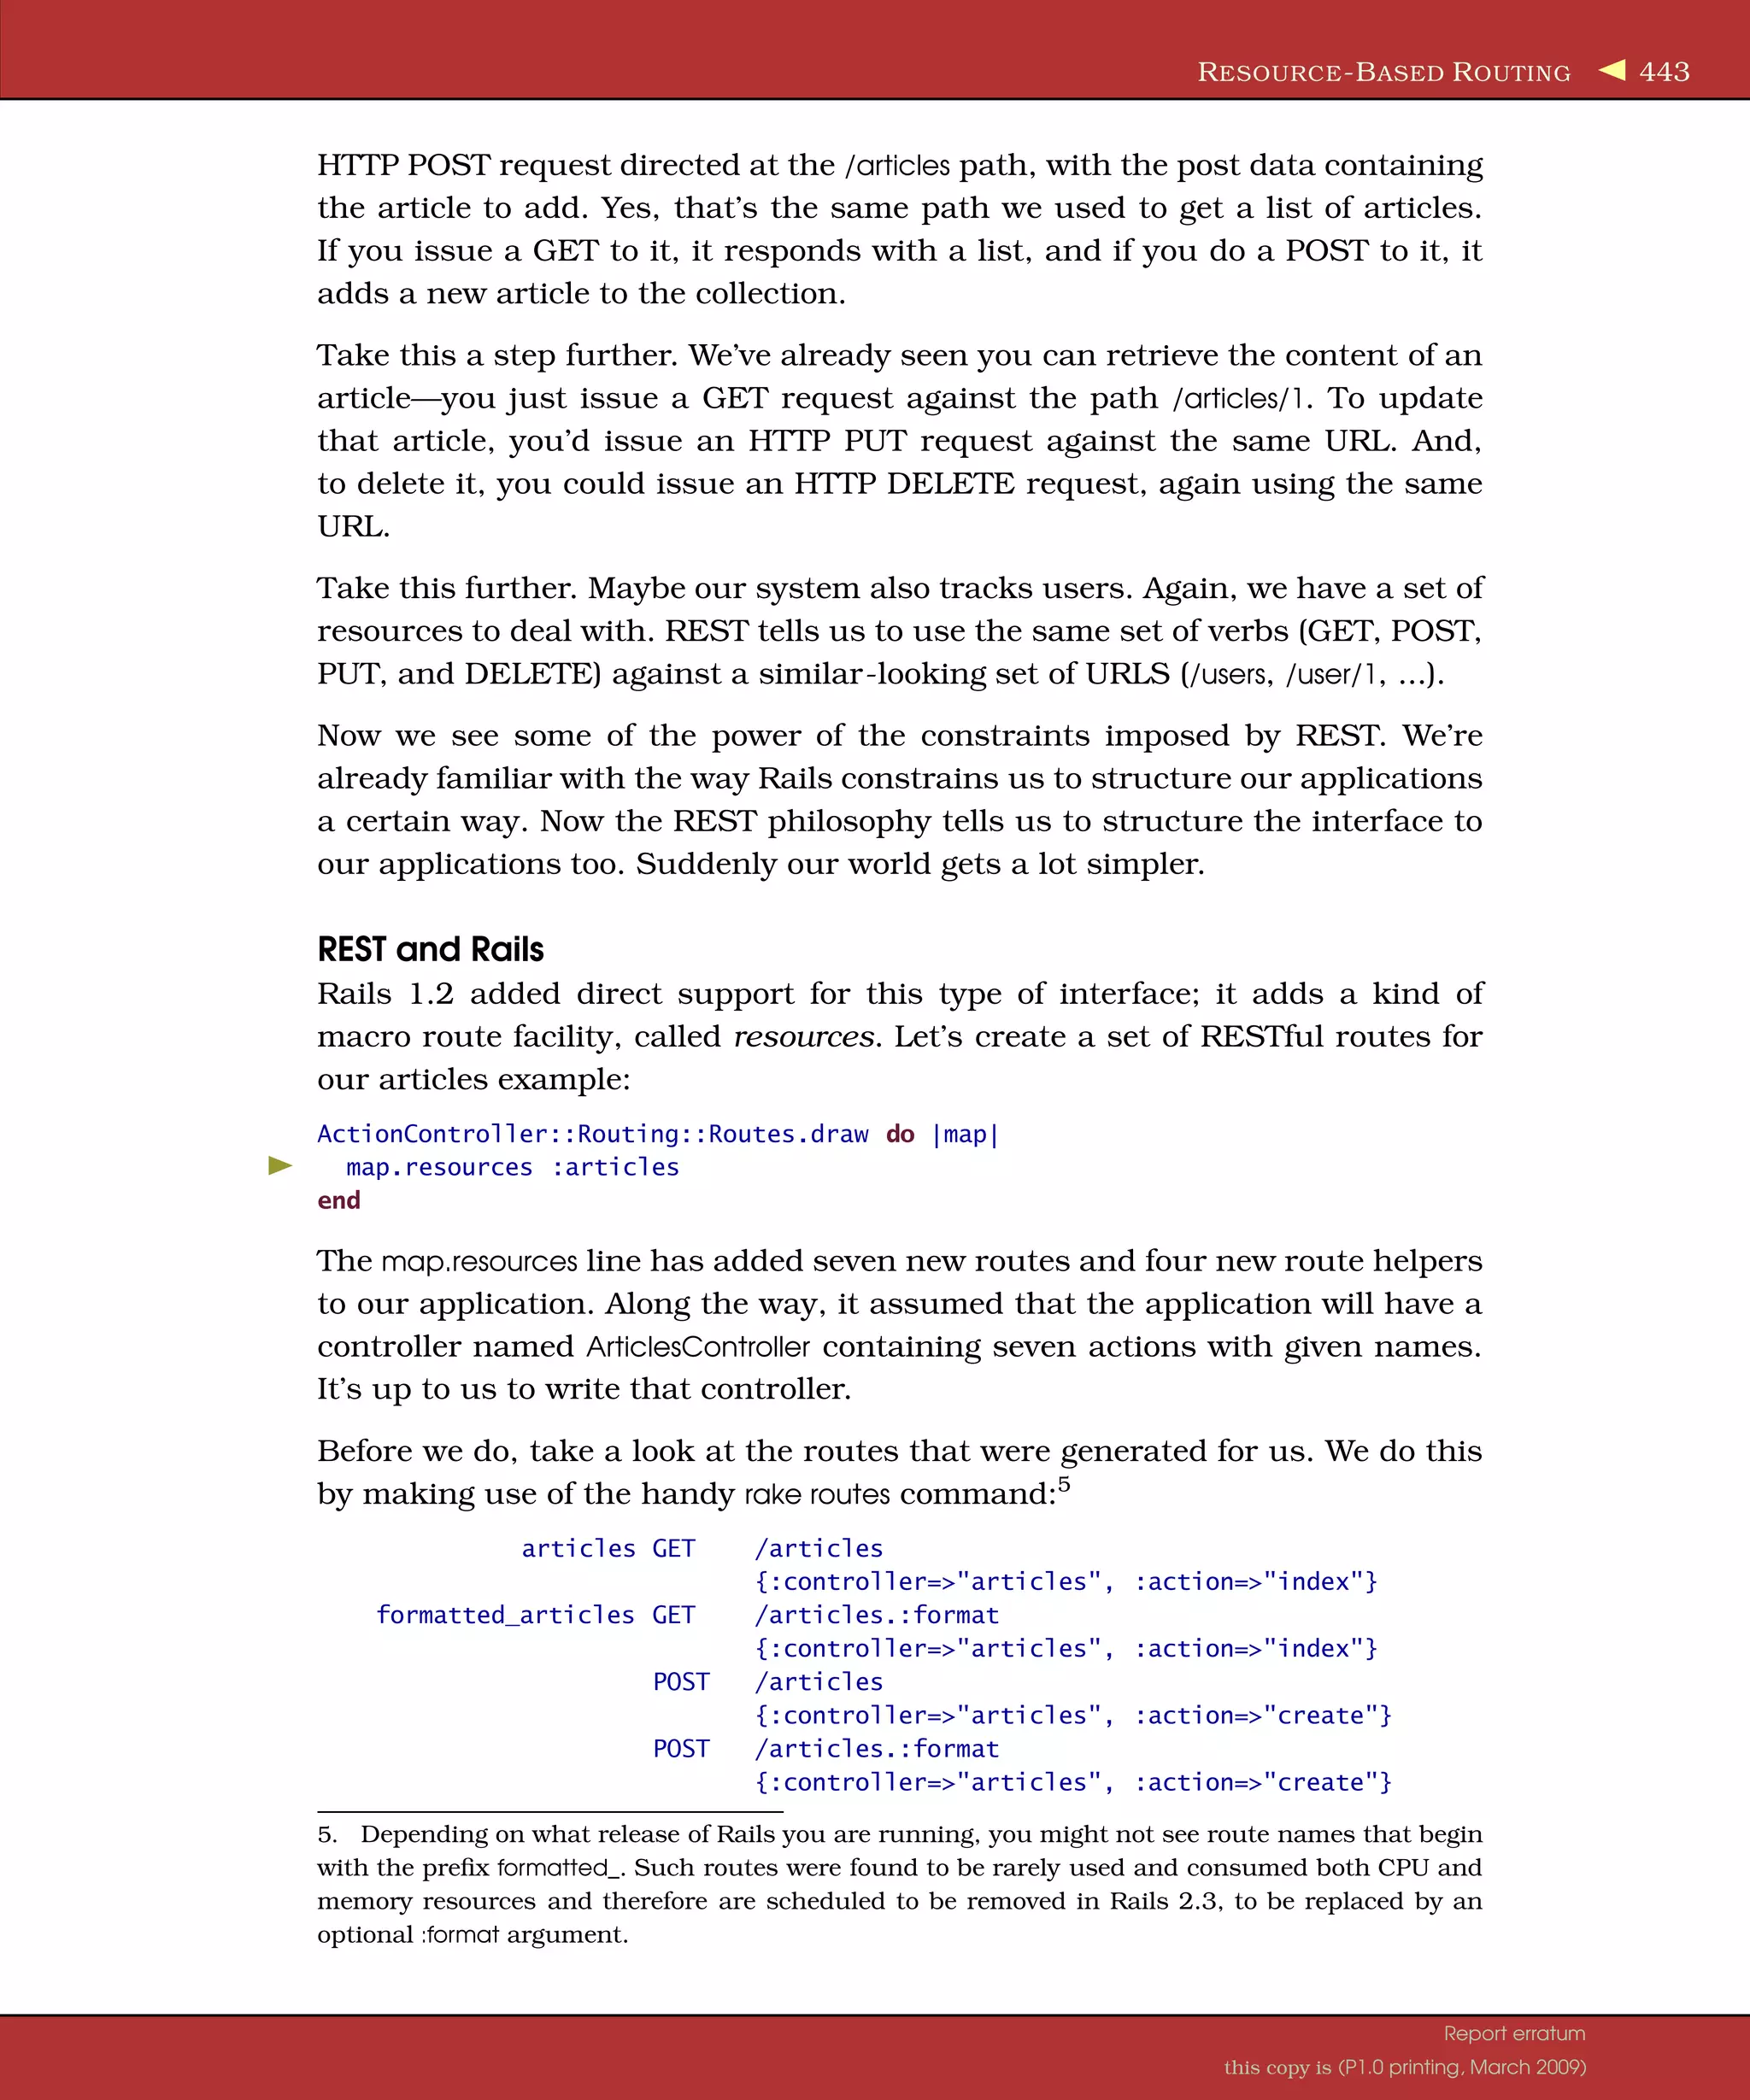
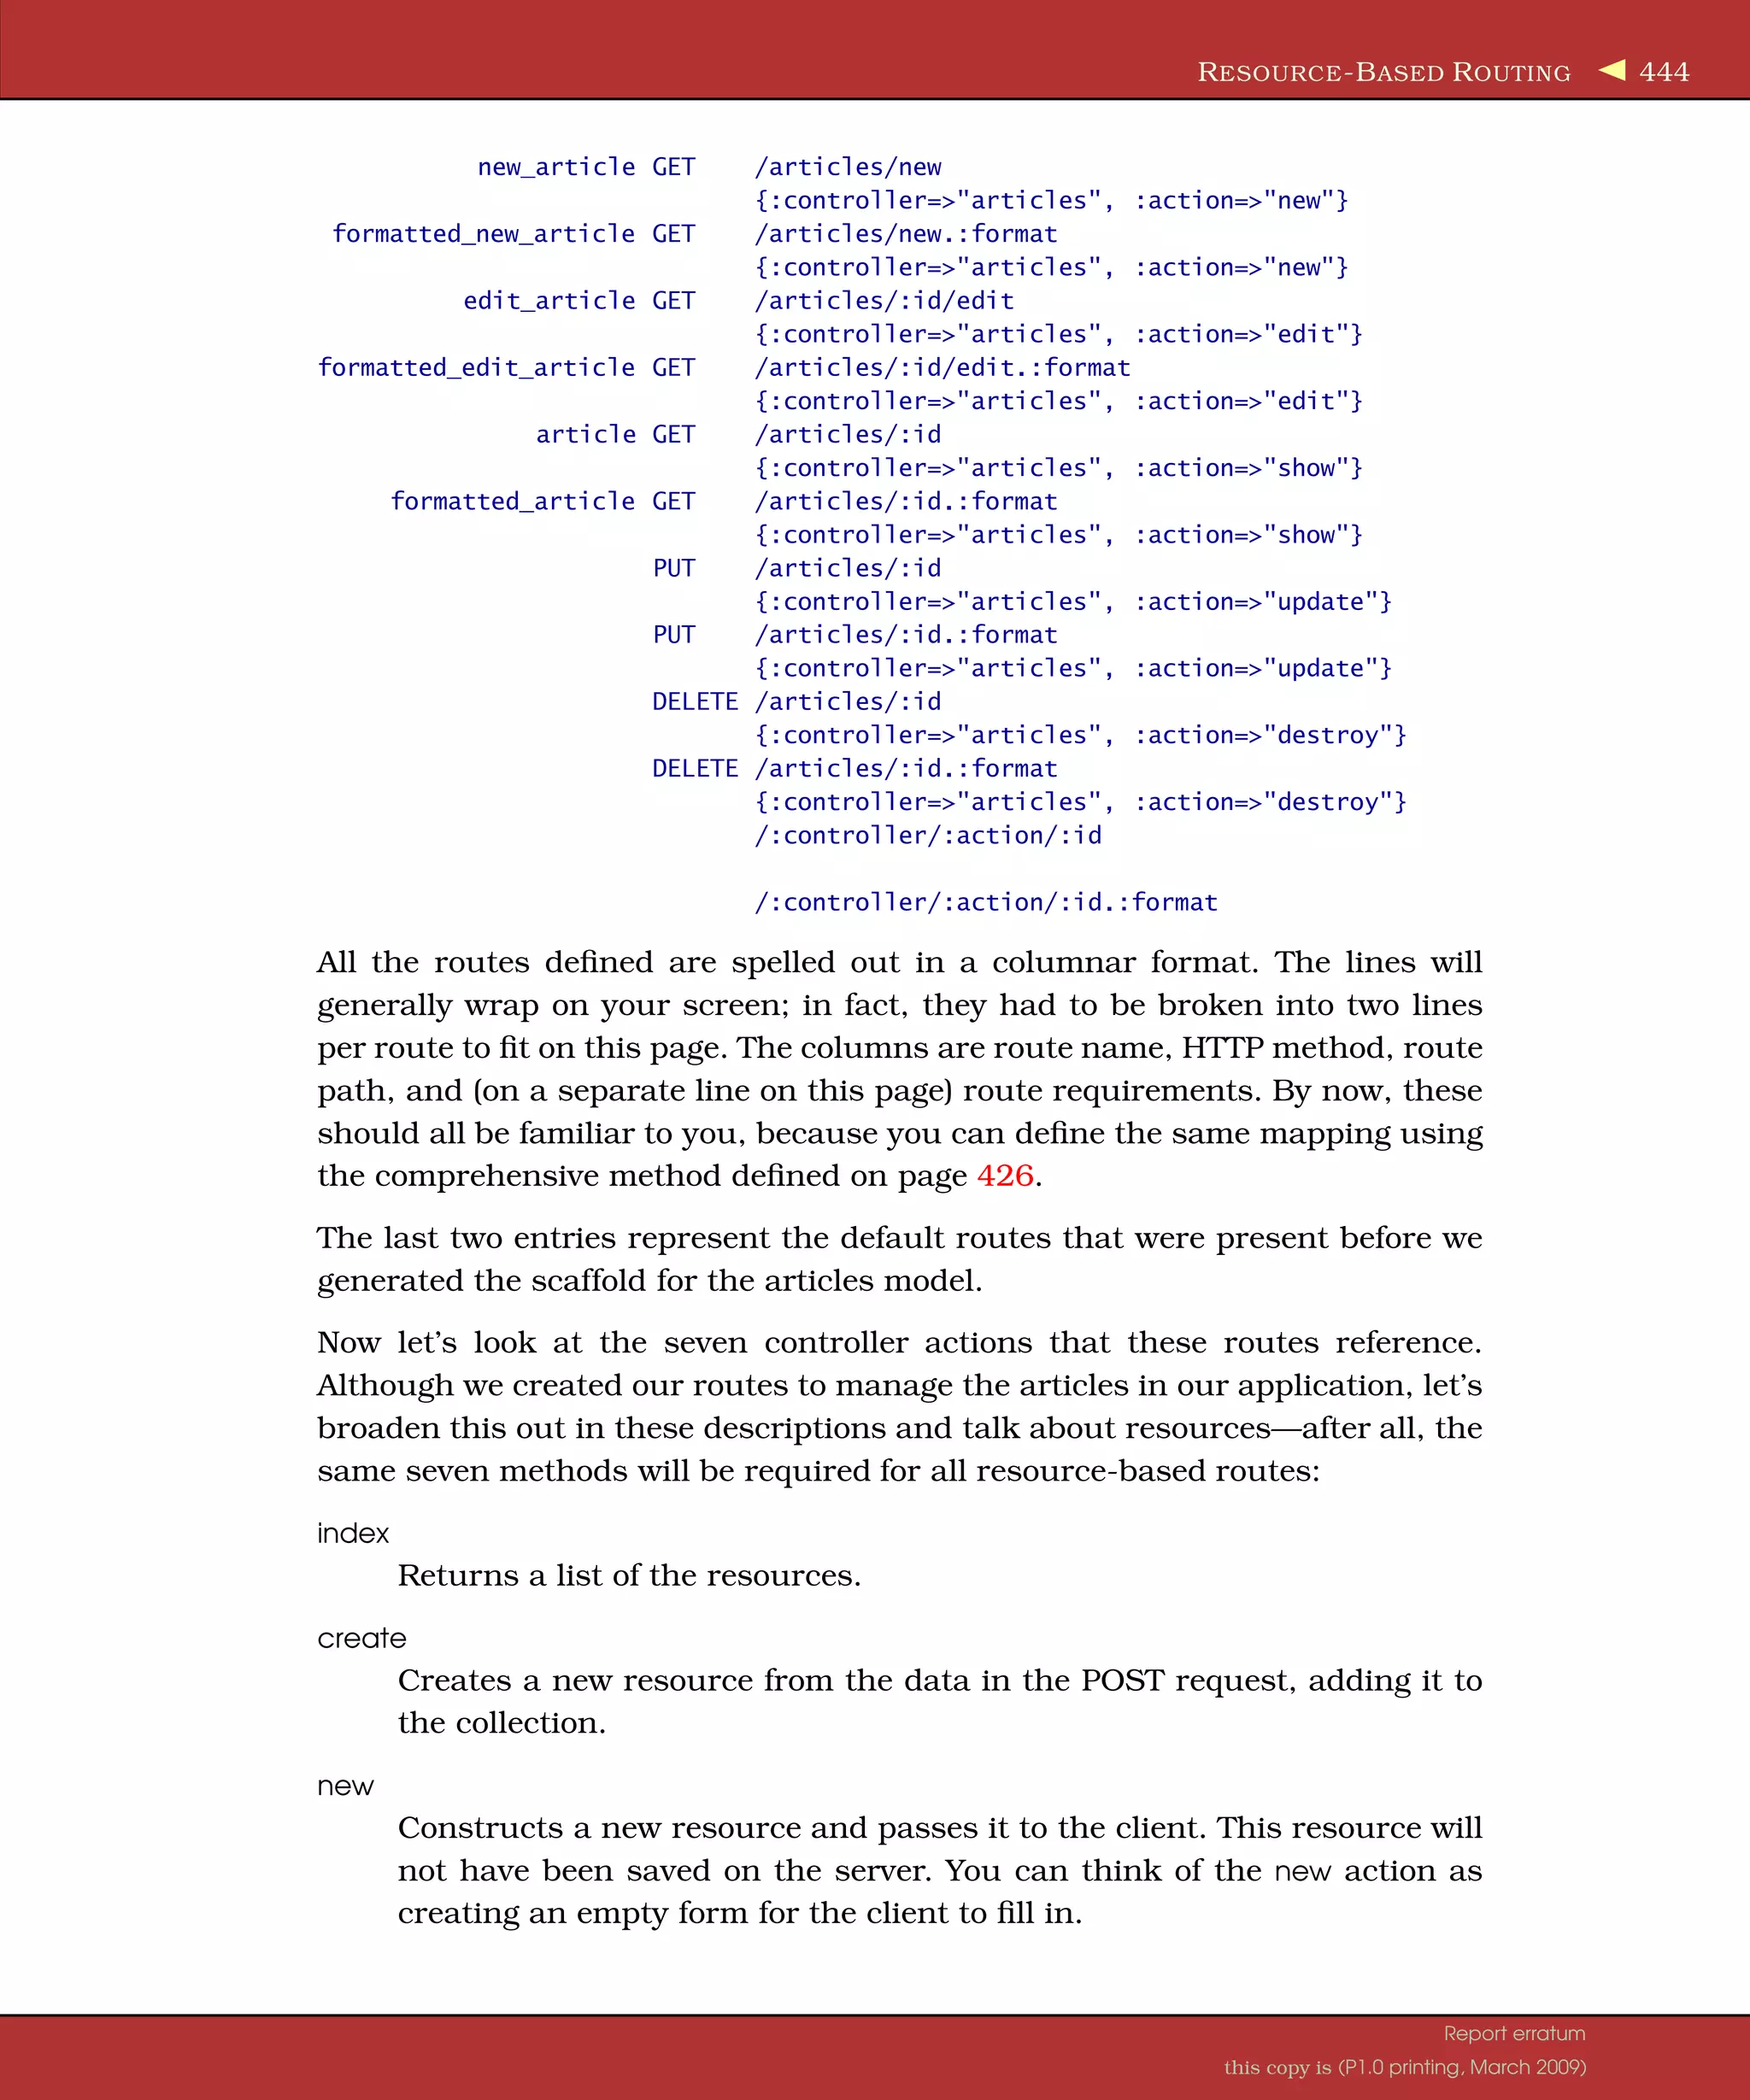
![R ESOURCE -B ASED R OUTING 445 show Returns the contents of the resource identified by params[:id]. update Updates the contents of the resource identified by params[:id] with the data associated with the request. edit Returns the contents of the resource identified by params[:id] in a form suitable for editing. destroy Destroys the resource identified by params[:id]. You can see that these seven actions contain the four basic CRUD operations (create, read, update, and delete). They also contain an action to list resources and two auxiliary actions that return new and existing resources in a form suitable for editing on the client. If for some reason you don’t need or want all seven actions, you can limit the actions produced using :only or :except options on your map.resource: map.resources :comments, :except => [:update, :destroy] Several of the routes are named routes—as described in Section 21.2, Named Routes, on page 438—enabling you to use helper functions such as articles_url and edit_article_url(:id=>1). Two routes are defined for each controller action: one with a default format and one with an explicit format. We will cover formats in more detail in Section 21.3, Selecting a Data Representation, on page 457. But first, let’s create a simple application to play with this. By now, you know the drill, so we’ll take it quickly. We’ll create an application called restful: work> rails restful So, now we’ll start creating our model, controller, views, and so on. We could do this manually, but Rails comes ready-made to produce scaffolding that uses resource-based routing, so let’s save ourselves some typing. The gener- ator takes the name of the model (the resource) and optionally a list of field names and types. In our case, the article model has three attributes: a title, a summary, and the content: restful> ruby script/generate scaffold article title:string summary:text content:text exists app/models/ exists app/controllers/ exists app/helpers/ create app/views/articles exists app/views/layouts/ exists test/functional/ exists test/unit/ exists public/stylesheets/ Report erratum this copy is (P1.0 printing, March 2009)](https://image.slidesharecdn.com/pragmatic-agilewebdevelopmentwithrails-3rdedition-2009-091104222637-phpapp01/75/Pragmatic-Agile-Web-Development-With-Rails-3rd-Edition-2009-445-2048.jpg)
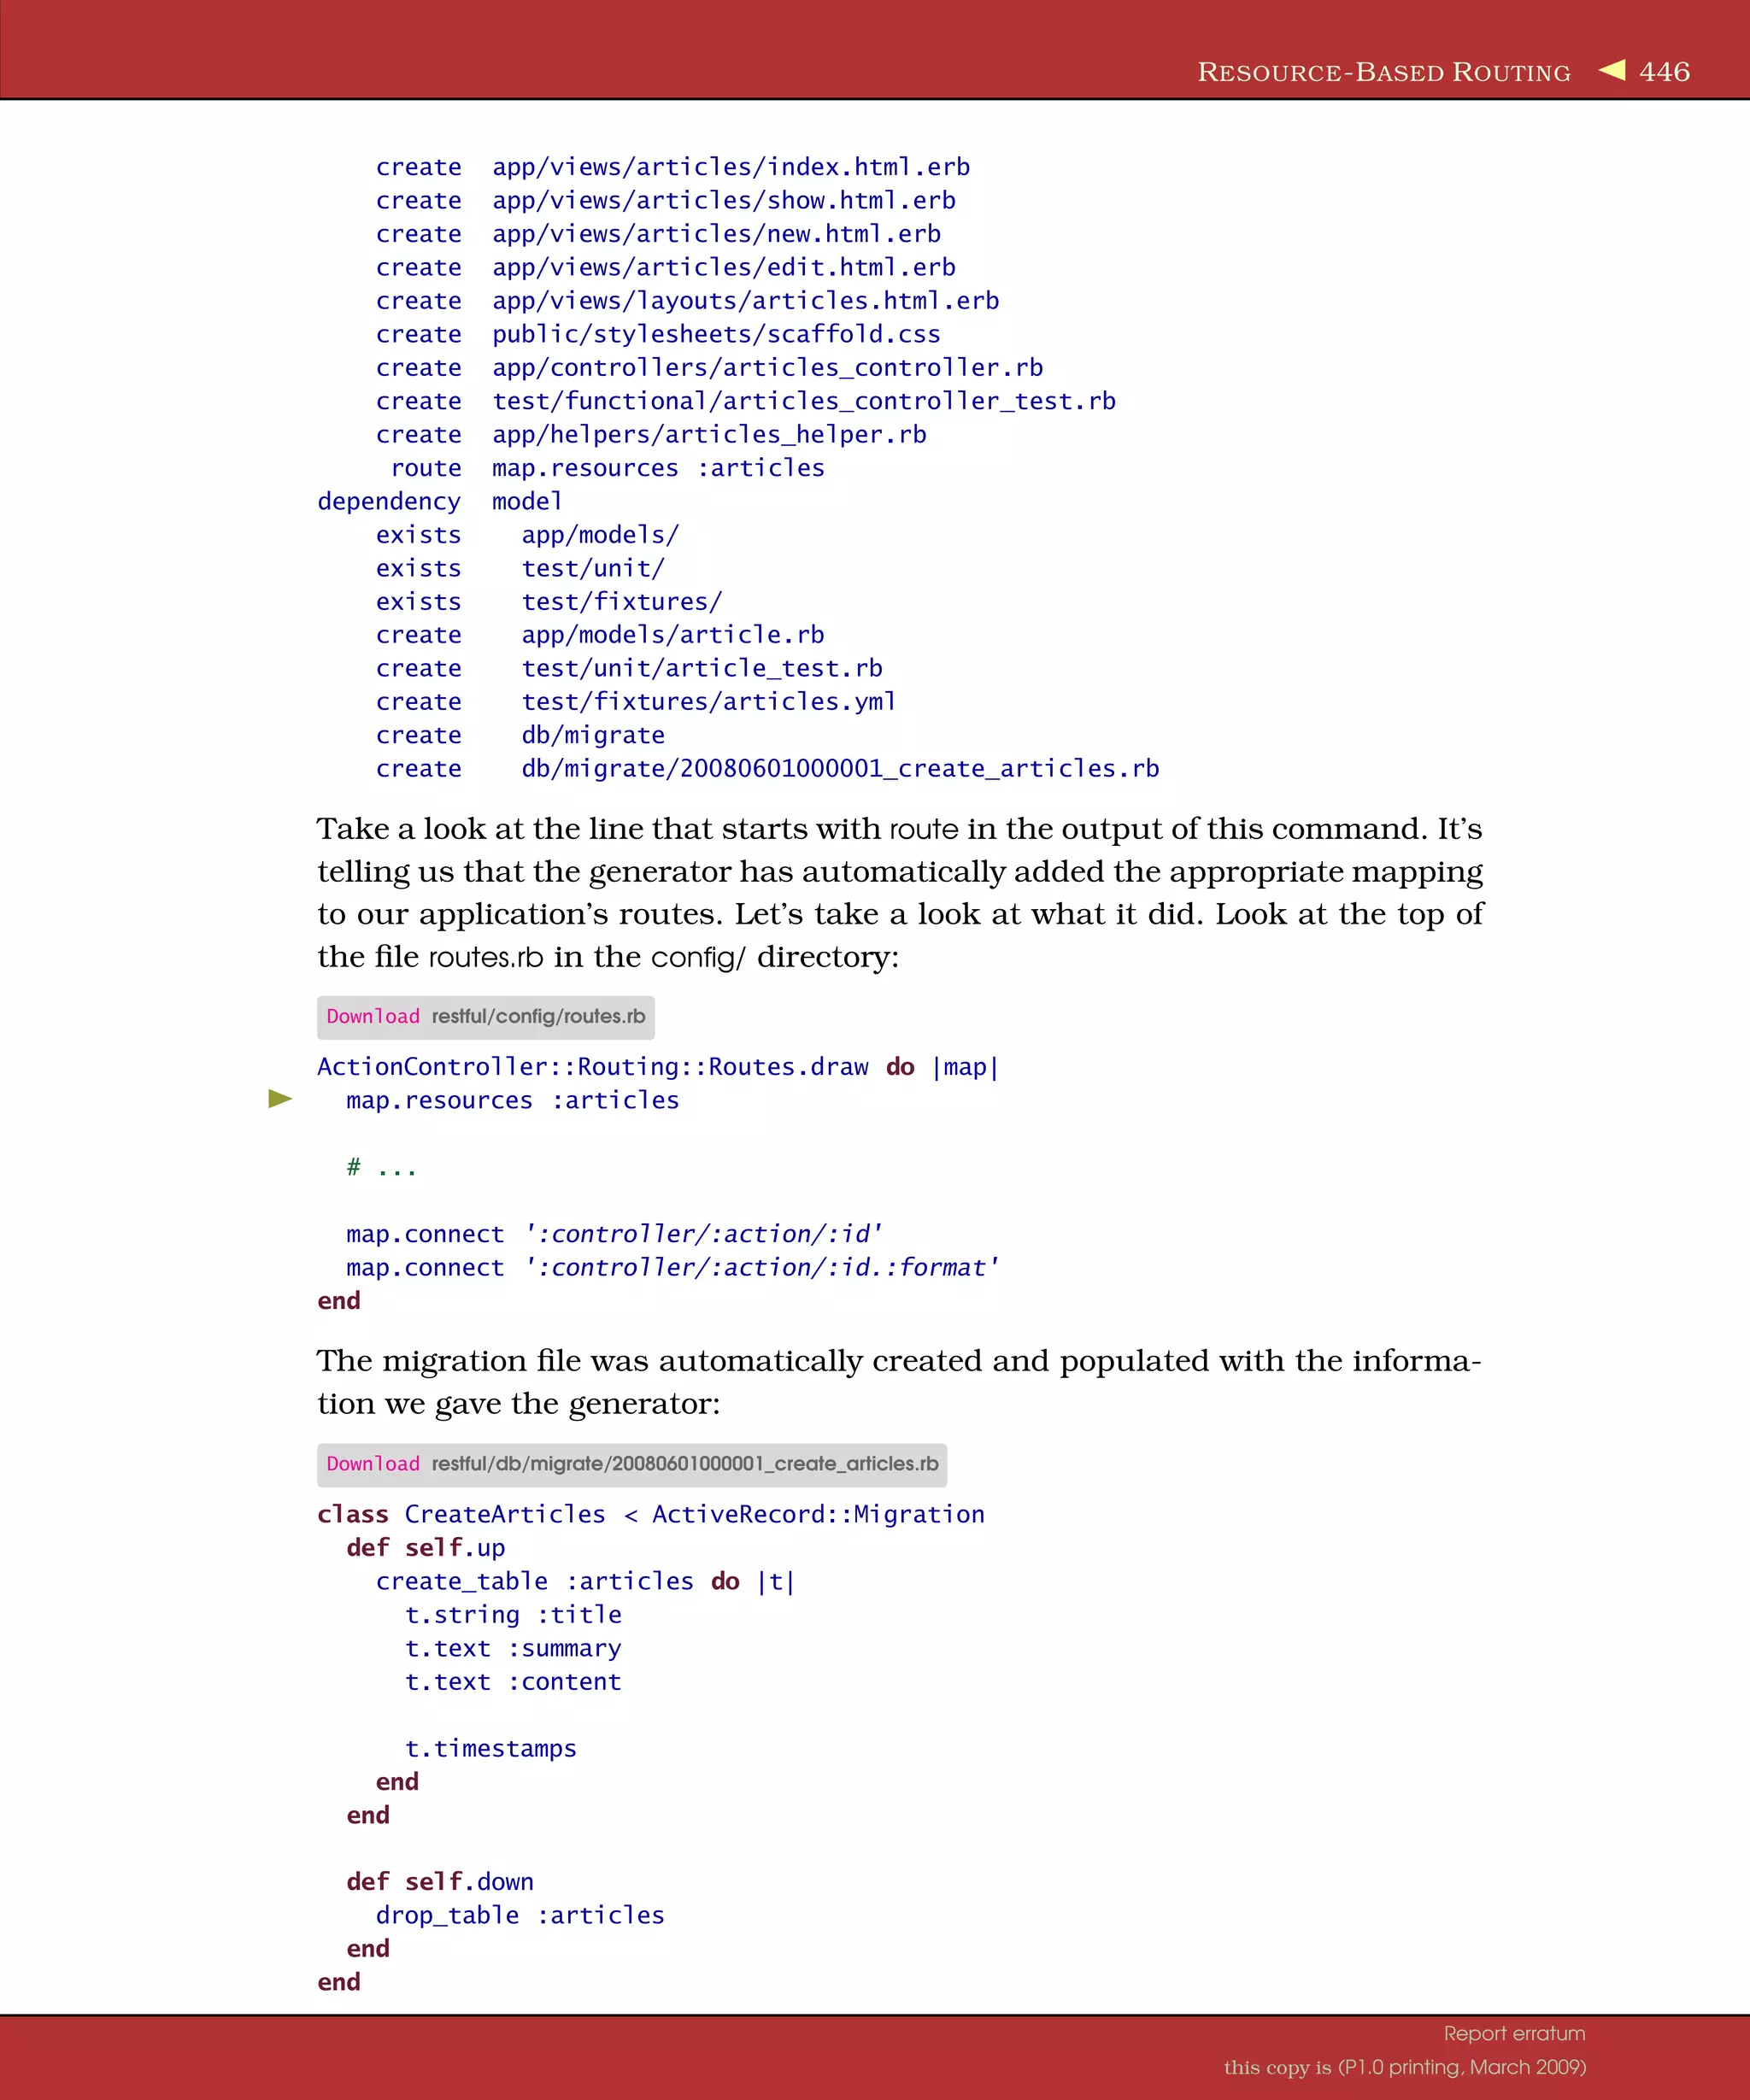
![R ESOURCE -B ASED R OUTING 447 So, all we have to do is run the migration: restful> rake db:migrate Now we can start the application (by running script/server) and play. The index page lists existing articles; you can add an article, edit an existing article, and so on. But, as you’re playing, take a look at the URLs that are generated. Let’s take a look at the controller code: Download restful/app/controllers/articles_controller.rb class ArticlesController < ApplicationController # GET /articles # GET /articles.xml def index @articles = Article.find(:all) respond_to do |format| format.html # index.html.erb format.xml { render :xml => @articles } end end # GET /articles/1 # GET /articles/1.xml def show @article = Article.find(params[:id]) respond_to do |format| format.html # show.html.erb format.xml { render :xml => @article } end end # GET /articles/new # GET /articles/new.xml def new @article = Article.new respond_to do |format| format.html # new.html.erb format.xml { render :xml => @article } end end # GET /articles/1/edit def edit @article = Article.find(params[:id]) end # POST /articles # POST /articles.xml def create @article = Article.new(params[:article]) Report erratum this copy is (P1.0 printing, March 2009)](https://image.slidesharecdn.com/pragmatic-agilewebdevelopmentwithrails-3rdedition-2009-091104222637-phpapp01/75/Pragmatic-Agile-Web-Development-With-Rails-3rd-Edition-2009-447-2048.jpg)
![R ESOURCE -B ASED R OUTING 448 respond_to do |format| if @article.save flash[:notice] = 'Article was successfully created.' format.html { redirect_to(@article) } format.xml { render :xml => @article, :status => :created, :location => @article } else format.html { render :action => "new" } format.xml { render :xml => @article.errors, :status => :unprocessable_entity } end end end # PUT /articles/1 # PUT /articles/1.xml def update @article = Article.find(params[:id]) respond_to do |format| if @article.update_attributes(params[:article]) flash[:notice] = 'Article was successfully updated.' format.html { redirect_to(@article) } format.xml { head :ok } else format.html { render :action => "edit" } format.xml { render :xml => @article.errors, :status => :unprocessable_entity } end end end # DELETE /articles/1 # DELETE /articles/1.xml def destroy @article = Article.find(params[:id]) @article.destroy respond_to do |format| format.html { redirect_to(articles_url) } format.xml { head :ok } end end end Notice how we have one action for each of the RESTful actions. The comment before each shows the format of the URL that invokes it. Notice also that many of the actions contain a respond_to block. As we saw back on page 185, Rails uses this to determine the type of content to send in a response. The scaffold generator automatically creates code that will respond appropriately to requests for HTML or XML content. We’ll play with that in a little while. Report erratum this copy is (P1.0 printing, March 2009)](https://image.slidesharecdn.com/pragmatic-agilewebdevelopmentwithrails-3rdedition-2009-091104222637-phpapp01/75/Pragmatic-Agile-Web-Development-With-Rails-3rd-Edition-2009-448-2048.jpg)
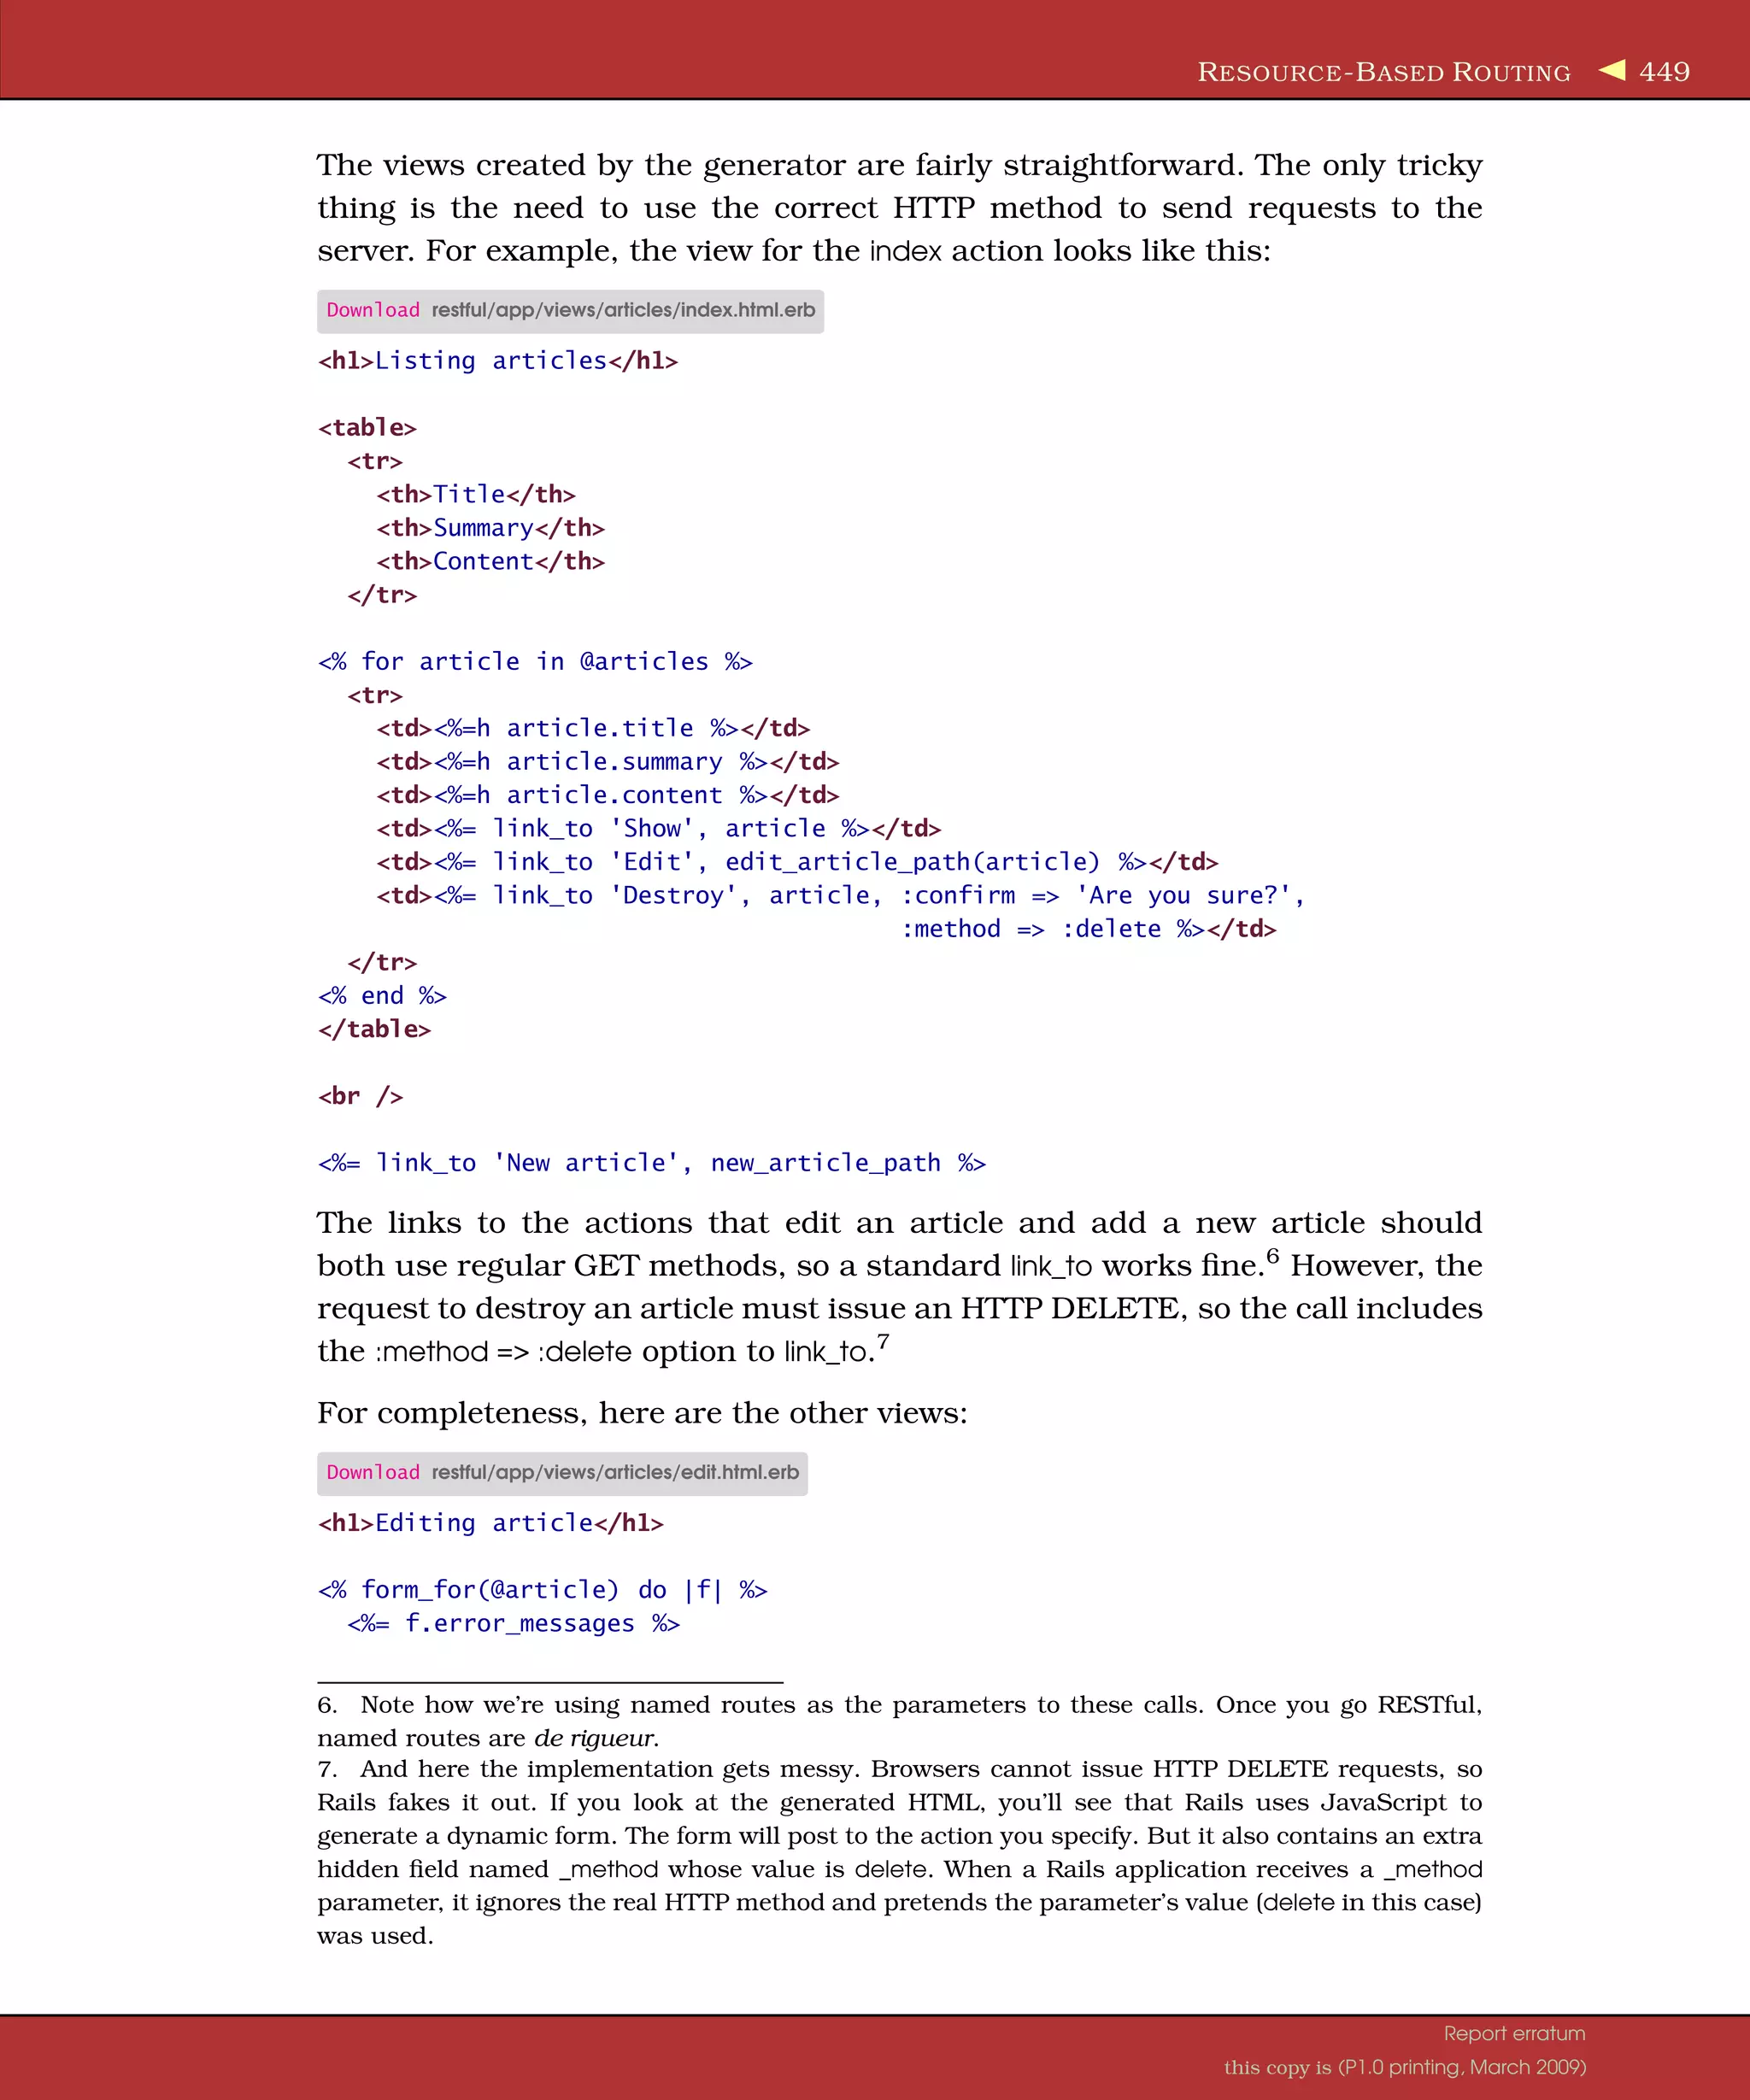

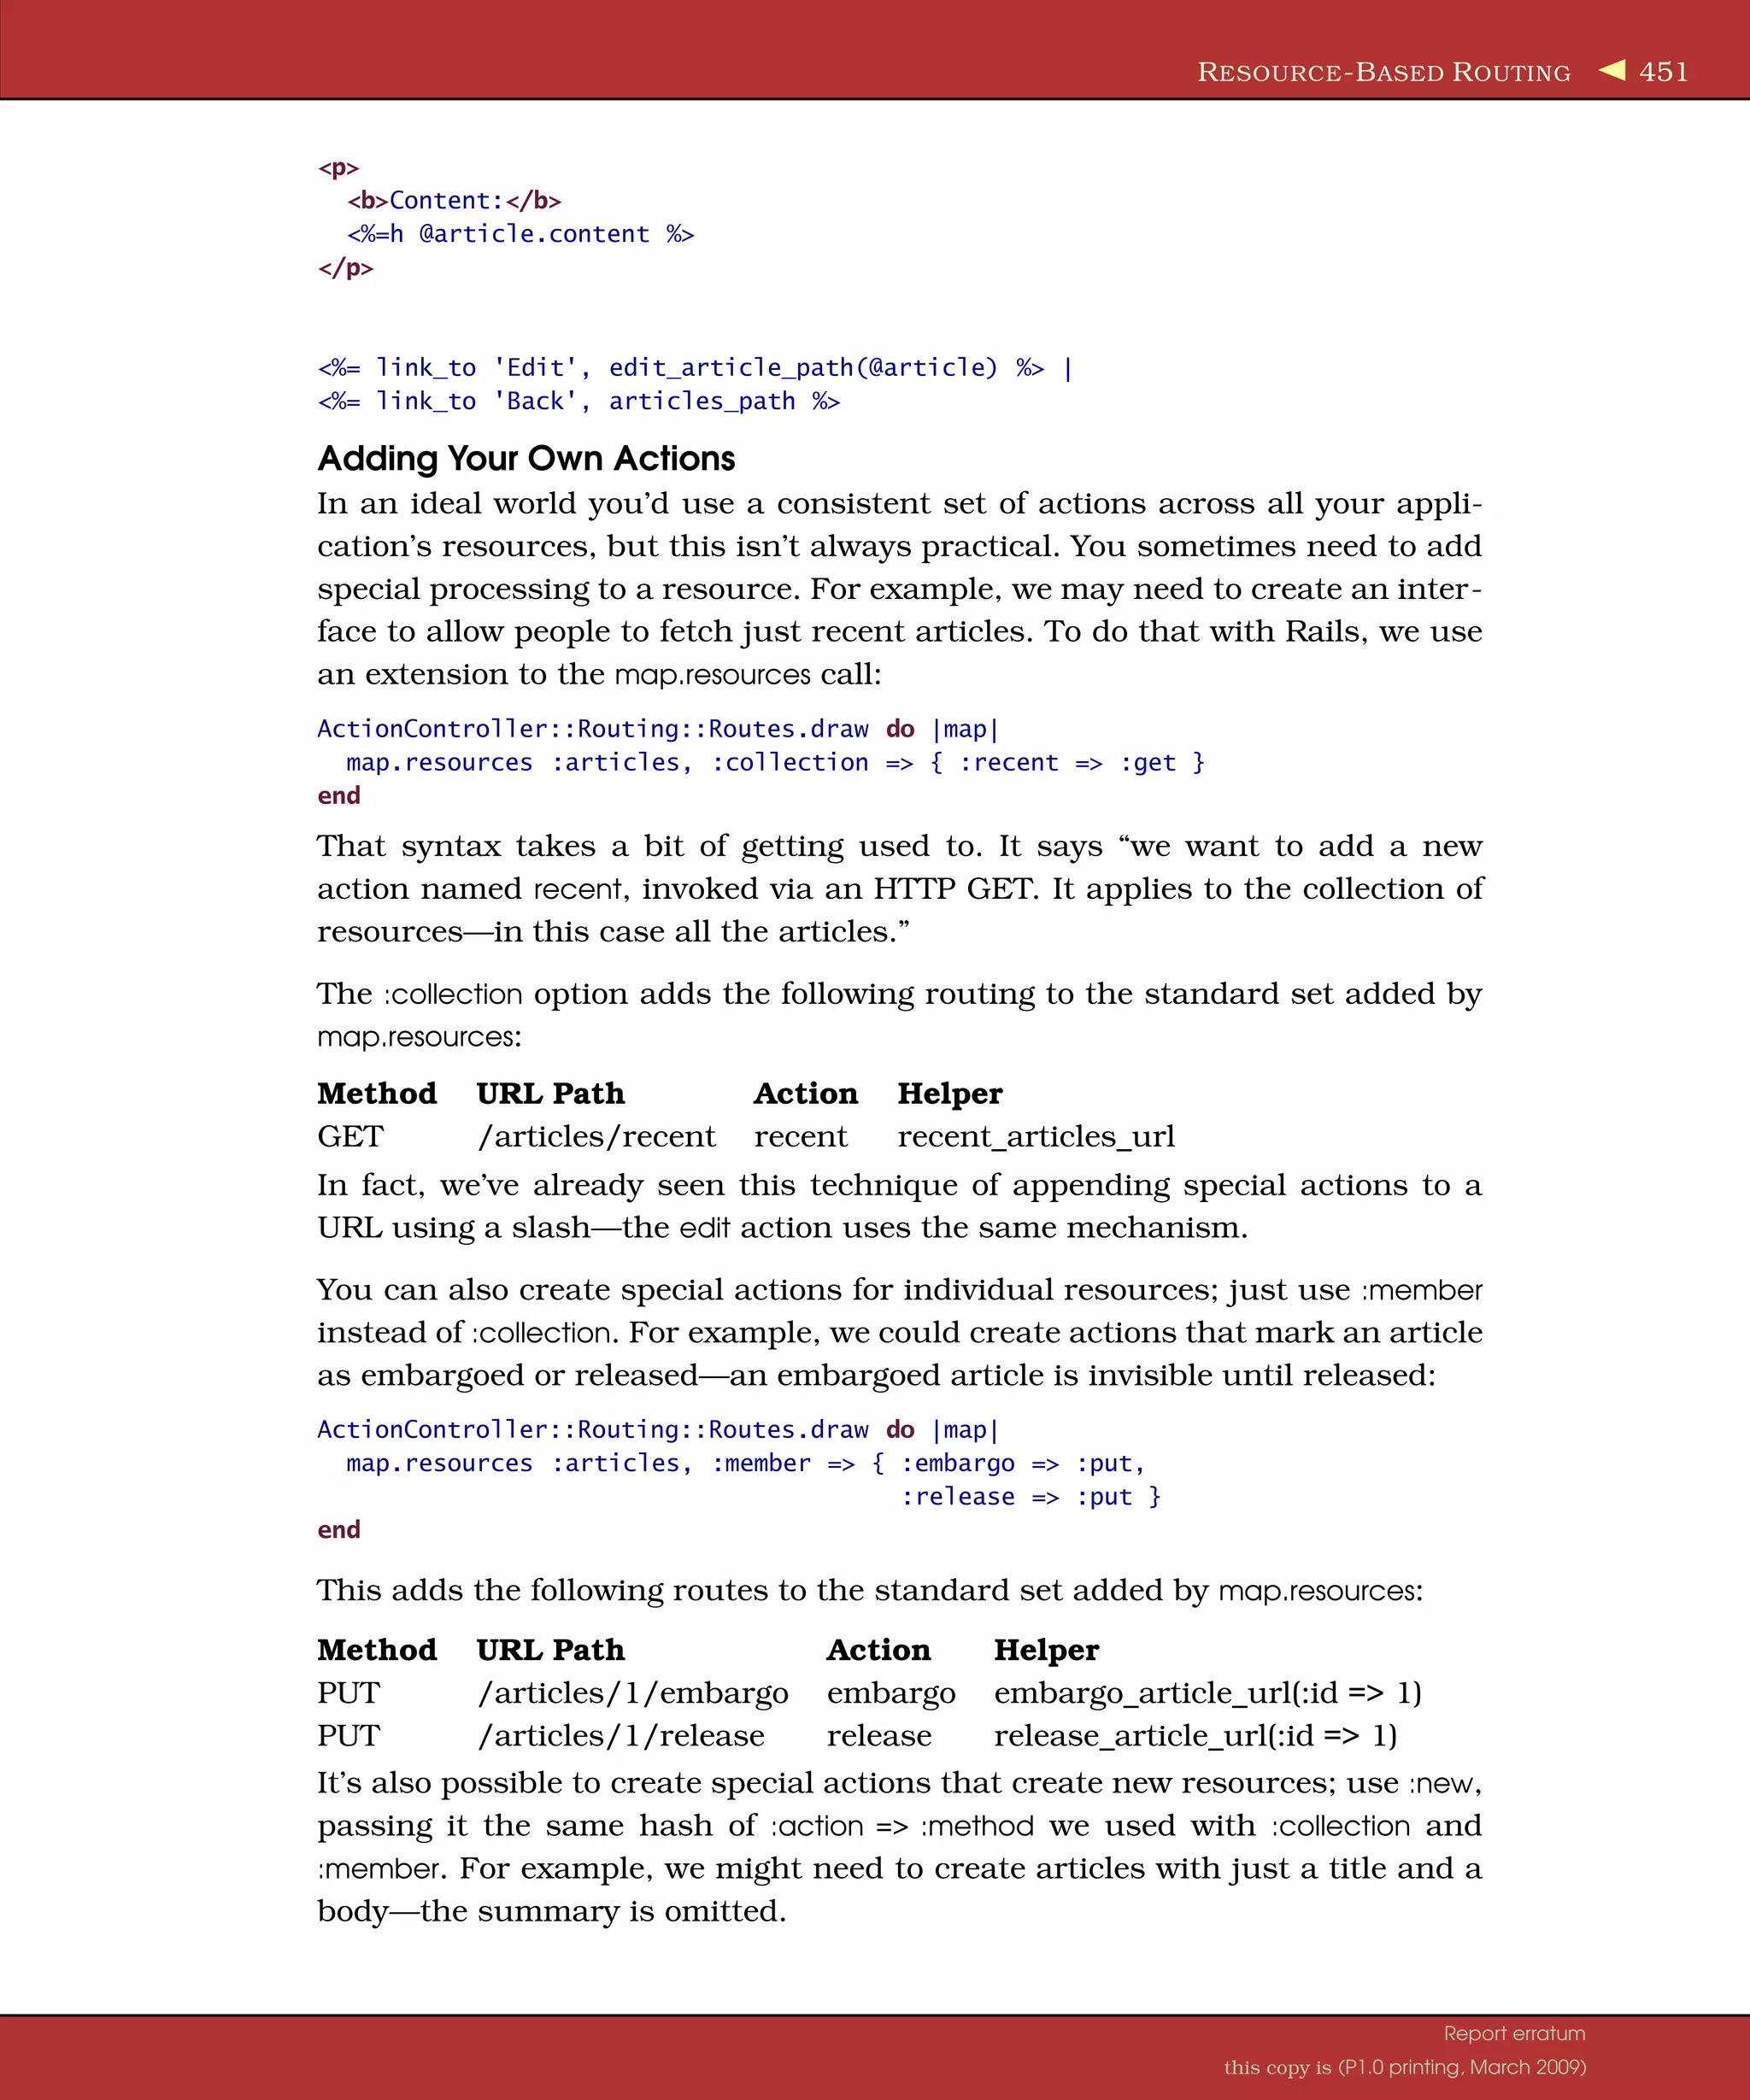
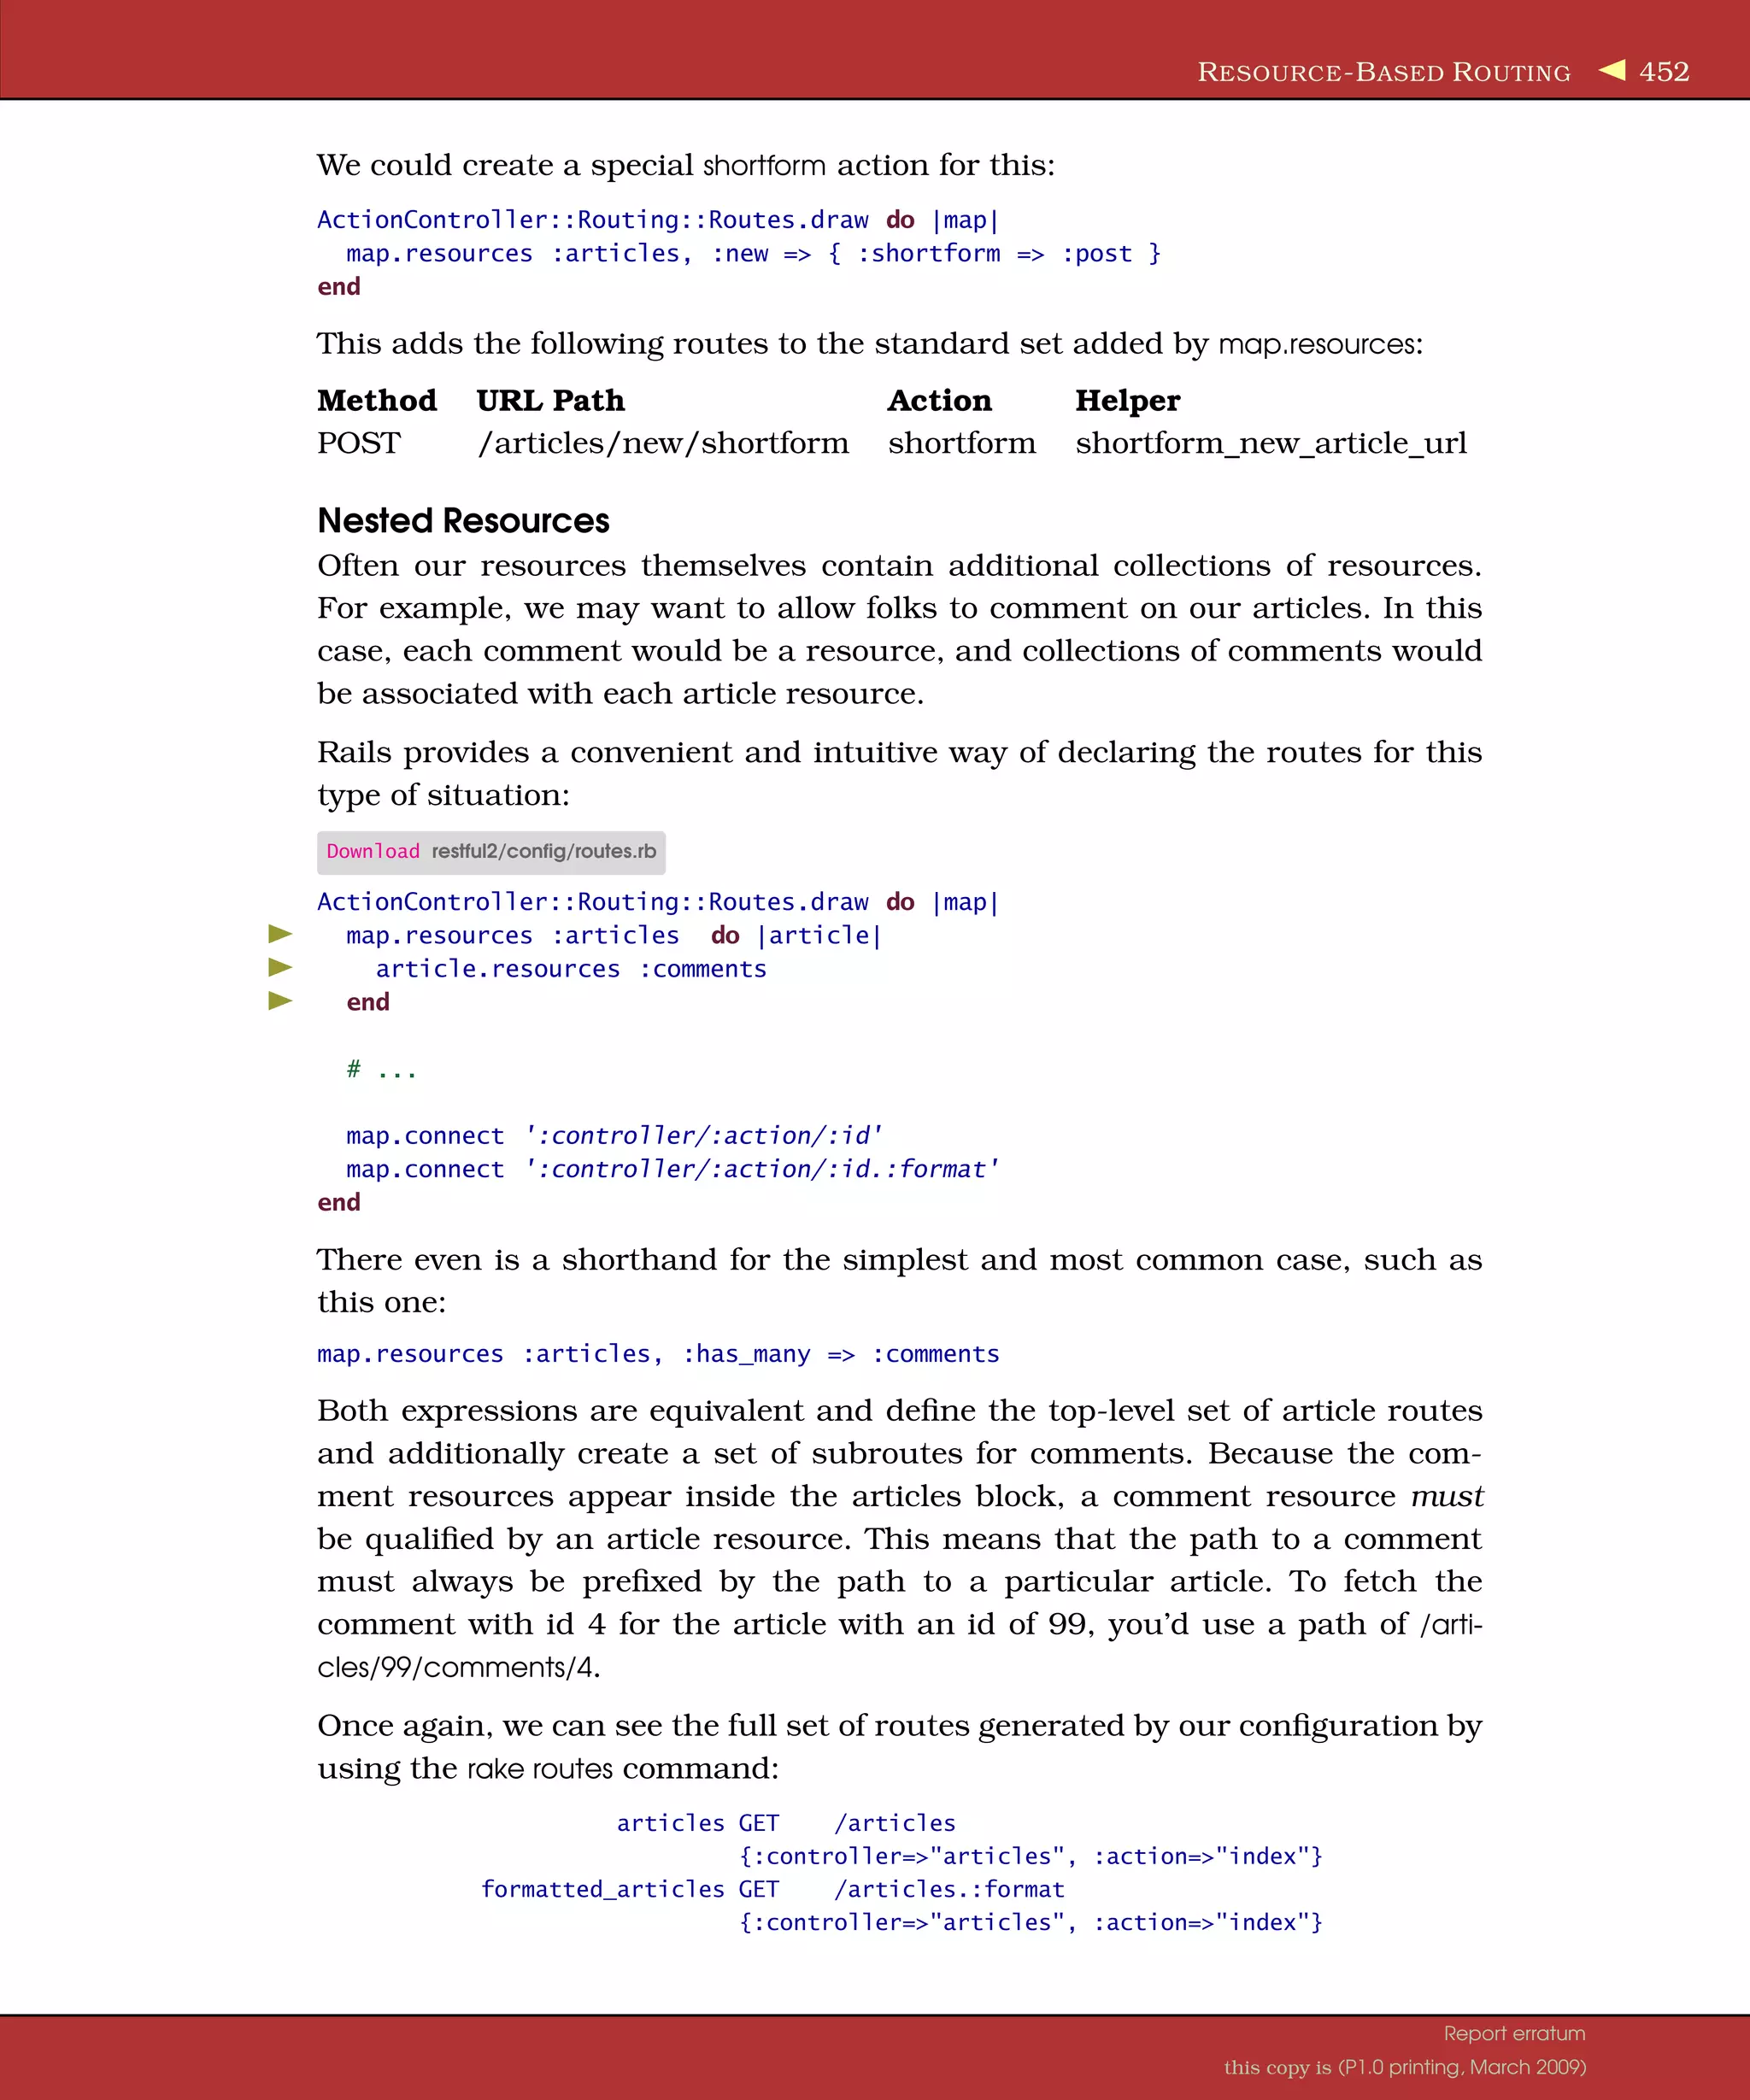
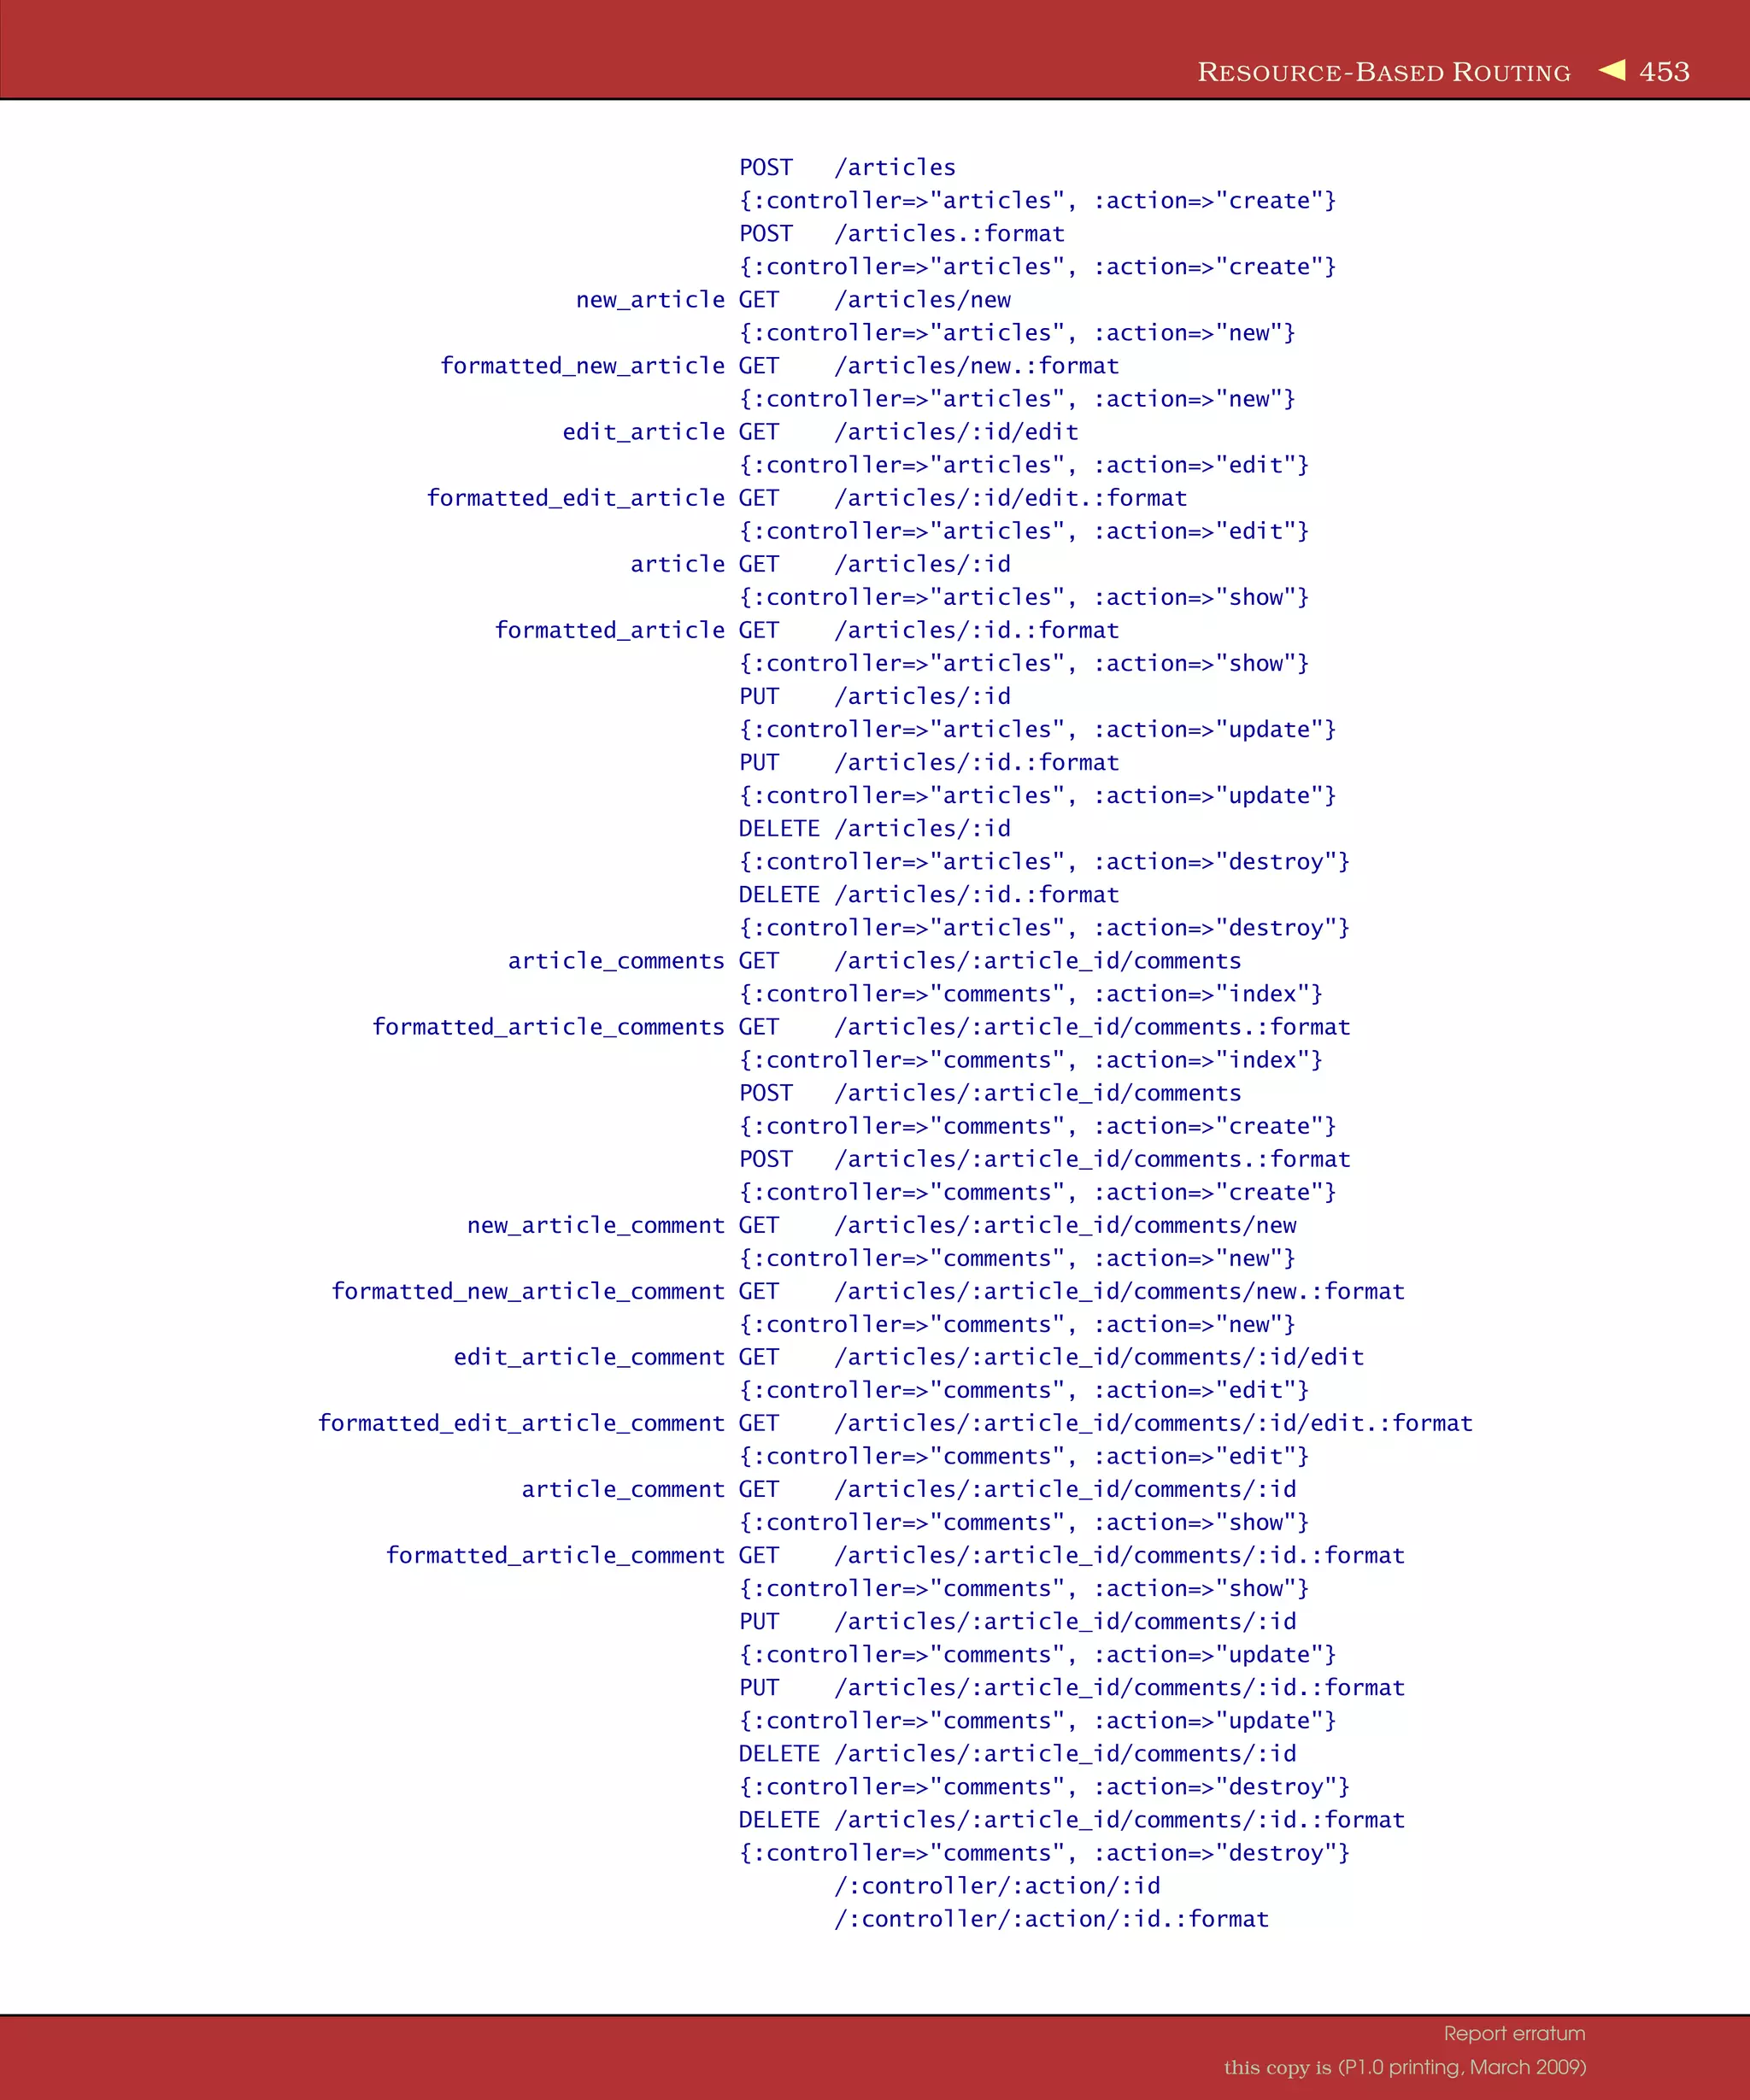
![R ESOURCE -B ASED R OUTING 456 def edit @comment = @article.comments.find(params[:id]) end def create @comment = Comment.new(params[:comment]) if (@article.comments << @comment) redirect_to article_url(@article) else render :action => :new end end def update @comment = @article.comments.find(params[:id]) if @comment.update_attributes(params[:comment]) redirect_to article_url(@article) else render :action => :edit end end def destroy comment = @article.comments.find(params[:id]) @article.comments.delete(comment) redirect_to article_url(@article) end private def find_article @article_id = params[:article_id] return(redirect_to(articles_url)) unless @article_id @article = Article.find(@article_id) end end The full source code for this application, showing the additional views for com- ments, is available online. Shallow Route Nesting At times, nested resources can produce cumbersome URL. A solution to this is to use shallow route nesting: map.resources :articles, :shallow => true do |article| article.resources :comments end This will enable the recognition of the following routes: /articles/1 => article_path(1) /articles/1/comments => article_comments_path(1) /comments/2 => comment_path(2) Report erratum this copy is (P1.0 printing, March 2009)](https://image.slidesharecdn.com/pragmatic-agilewebdevelopmentwithrails-3rdedition-2009-091104222637-phpapp01/75/Pragmatic-Agile-Web-Development-With-Rails-3rd-Edition-2009-456-2048.jpg)
![T ESTING R OUTING 458 Rails makes it simple to develop an application that is based on Resource- based routing. Many claim it greatly simplifies the coding of their applications. However, it isn’t always appropriate. Don’t feel compelled to use it if you can’t find a way of making it work. And you can always mix and match. Some controllers can be resourced based, and others can be based on actions. Some controllers can even be resource based with a few extra actions. 21.4 Testing Routing So far we’ve experimented with routes by poking at them manually using script/console. When it comes time to roll out an application, though, we might want to be a little more formal and include unit tests that verify our routes work as expected. Rails includes a number of test helpers that make this easy: assert_generates(path, options, defaults={}, extras={}, message=nil) Verifies that the given set of options generates the specified path. Download e1/routing/test/unit/routing_test.rb def test_generates ActionController::Routing.use_controllers! ["store" ] load "config/routes.rb" assert_generates("/store" , :controller => "store" , :action => "index" ) assert_generates("/store/list" , :controller => "store" , :action => "list" ) assert_generates("/store/add_to_cart/1" , { :controller => "store" , :action => "add_to_cart" , :id => "1" , :name => "dave" }, {}, { :name => "dave" }) end The extras parameter is used to tell the request the names and values of additional request parameters (in the third assertion in the previous code, this would be ?name=dave). The test framework does not add these as strings to the generated URL; instead, it tests that the values it would have added appears in the extras hash. The defaults parameter is unused. assert_recognizes(options, path, extras={}, message=nil) Verifies that routing returns a specific set of options given a path. Download e1/routing/test/unit/routing_test.rb def test_recognizes ActionController::Routing.use_controllers! ["store" ] load "config/routes.rb" Report erratum this copy is (P1.0 printing, March 2009)](https://image.slidesharecdn.com/pragmatic-agilewebdevelopmentwithrails-3rdedition-2009-091104222637-phpapp01/75/Pragmatic-Agile-Web-Development-With-Rails-3rd-Edition-2009-458-2048.jpg)
![T ESTING R OUTING 460 assert_routing(path, options, defaults={}, extras={}, message=nil) Combines the previous two assertions, verifying that the path generates the options and then that the options generate the path. Download e1/routing/test/unit/routing_test.rb def test_routing ActionController::Routing.use_controllers! ["store" ] load "config/routes.rb" assert_routing("/store" , :controller => "store" , :action => "index" ) assert_routing("/store/list" , :controller => "store" , :action => "list" ) assert_routing("/store/add_to_cart/1" , :controller => "store" , :action => "add_to_cart" , :id => "1" ) end It’s important to use symbols as the keys and use strings as the values in the options hash. If you don’t, asserts that compare your options with those returned by routing will fail. Report erratum this copy is (P1.0 printing, March 2009)](https://image.slidesharecdn.com/pragmatic-agilewebdevelopmentwithrails-3rdedition-2009-091104222637-phpapp01/75/Pragmatic-Agile-Web-Development-With-Rails-3rd-Edition-2009-460-2048.jpg)
![Chapter 22 Action Controller and Rails In the previous chapter, we worked out how Action Controller routes an incom- ing request to the appropriate code in your application. Now let’s see what happens inside that code. 22.1 Action Methods When a controller object processes a request, it looks for a public instance method with the same name as the incoming action. If it finds one, that method is invoked. If not but the controller implements method_missing, that method is called, passing in the action name as the first parameter and an empty argument list as the second. If no method can be called, the controller looks for a template named after the current controller and action. If found, this template is rendered directly. If none of these things happen, an Unknown Action error is generated. By default, any public method in a controller may be invoked as an action method. You can prevent particular methods from being accessible as actions by making them protected or private. If for some reason you must make a method in a controller public but don’t want it to be accessible as an action, hide it using hide_action: class OrderController < ApplicationController def create_order order = Order.new(params[:order]) if check_credit(order) order.save else # ... end end](https://image.slidesharecdn.com/pragmatic-agilewebdevelopmentwithrails-3rdedition-2009-091104222637-phpapp01/75/Pragmatic-Agile-Web-Development-With-Rails-3rd-Edition-2009-461-2048.jpg)
![A CTION M ETHODS 462 hide_action :check_credit def check_credit(order) # ... end end If you find yourself using hide_action because you want to share the nonaction methods in one controller with another, consider moving these methods into separate libraries—your controllers may contain too much application logic. Controller Environment The controller sets up the environment for actions (and, by extension, for the views that they invoke). Many of these methods provide direct access to infor- mation contained in the URL or request. action_name The name of the action currently being processed. cookies The cookies associated with the request. Setting values into this object stores cookies on the browser when the response is sent. We discuss cookies on page 473. headers A hash of HTTP headers that will be used in the response. By default, Cache-Control is set to no-cache. You might want to set Content-Type head- ers for special-purpose applications. Note that you shouldn’t set cookie values in the header directly—use the cookie API to do this. params A hash-like object containing request parameters (along with pseudo- parameters generated during routing). It’s hash-like because you can index entries using either a symbol or a string—params[:id] and params[’id’] return the same value. Idiomatic Rails applications use the symbol form. request The incoming request object. It includes these attributes: • request_method returns the request method, one of :delete, :get, :head, :post, or :put. • method returns the same value as request_method except for :head, which it returns as :get because these two are functionally equiva- lent from an application point of view. Report erratum this copy is (P1.0 printing, March 2009)](https://image.slidesharecdn.com/pragmatic-agilewebdevelopmentwithrails-3rdedition-2009-091104222637-phpapp01/75/Pragmatic-Agile-Web-Development-With-Rails-3rd-Edition-2009-462-2048.jpg)
![A CTION M ETHODS 463 • delete?, get?, head?, post?, and put? return true or false based on the request method. • xml_http_request? and xhr? return true if this request was issued by one of the Ajax helpers. Note that this parameter is independent of the method parameter. • url, which returns the full URL used for the request. • protocol, host, port, path, and query_string, which returns components of the URL used for the request, based on the following pattern: protocol://host:port/path?query_string. • domain, which returns the last two components of the domain name of the request. • host_with_port, which is a host:port string for the request. • port_string, which is a :port string for the request if the port is not the default port. • ssl?, which is true if this is an SSL request; in other words, the request was made with the HTTPS protocol. • remote_ip, which returns the remote IP address as a string. The string may have more than one address in it if the client is behind a proxy. • path_without_extension, path_without_format_and_extension, format_and_ extension, and relative_path return portions of the full path. • env, the environment of the request. You can use this to access val- ues set by the browser, such as this: request.env['HTTP_ACCEPT_LANGUAGE' ] • accepts, which is the value of the accepts MIME type for the request. • format, which is the value of the accepts MIME type for the request. If no format is available, the first of the accept types will be used. • mime_type, which is the MIME type associated with the extension. • content_type, which is the MIME type for the request. This is useful for put and post requests. • headers, which is the complete set of HTTP headers. • body, which is the request body as an I/O stream. Report erratum this copy is (P1.0 printing, March 2009)](https://image.slidesharecdn.com/pragmatic-agilewebdevelopmentwithrails-3rdedition-2009-091104222637-phpapp01/75/Pragmatic-Agile-Web-Development-With-Rails-3rd-Edition-2009-463-2048.jpg)
![A CTION M ETHODS 464 • content_length, which is the number of bytes purported to be in the body. class BlogController < ApplicationController def add_user if request.get? @user = User.new else @user = User.new(params[:user]) @user.created_from_ip = request.env["REMOTE_HOST" ] if @user.save redirect_to_index("User #{@user.name} created" ) end end end end See the documentation of ActionController::AbstractRequest for full details. response The response object, filled in during the handling of the request. Nor- mally, this object is managed for you by Rails. As we’ll see when we look at filters on page 490, we sometimes access the internals for specialized processing. session A hash-like object representing the current session data. We describe this on page 477. In addition, a logger is available throughout Action Pack. We describe this on page 272. Responding to the User Part of the controller’s job is to respond to the user. There are basically four ways of doing this: • The most common way is to render a template. In terms of the MVC paradigm, the template is the view, taking information provided by the controller and using it to generate a response to the browser. • The controller can return a string directly to the browser without invok- ing a view. This is fairly rare but can be used to send error notifications. • The controller can return nothing to the browser.1 This is sometimes used when responding to an Ajax request. • The controller can send other data to the client (something other than HTML). This is typically a download of some kind (perhaps a PDF docu- ment or a file’s contents). 1. In fact, the controller returns a set of HTTP headers, because some kind of response is expected. Report erratum this copy is (P1.0 printing, March 2009)](https://image.slidesharecdn.com/pragmatic-agilewebdevelopmentwithrails-3rdedition-2009-091104222637-phpapp01/75/Pragmatic-Agile-Web-Development-With-Rails-3rd-Edition-2009-464-2048.jpg)
![A CTION M ETHODS 466 It is tempting to write code in our controllers that looks like this: # DO NOT DO THIS def update @user = User.find(params[:id]) if @user.update_attributes(params[:user]) render :action => show end render :template => "fix_user_errors" end It seems somehow natural that the act of calling render (and redirect_to) should somehow terminate the processing of an action. This is not the case. The pre- vious code will generate an error (because render is called twice) in the case where update_attributes succeeds. Let’s look at the render options used in the controller here (we’ll look separately at rendering in the view starting on page 552): render() With no overriding parameter, the render method renders the default tem- plate for the current controller and action. The following code will render the template app/views/blog/index.html.erb: class BlogController < ApplicationController def index render end end So will the following (as the default action of a controller is to call render if the action doesn’t): class BlogController < ApplicationController def index end end And so will this (because the controller will call a template directly if no action method is defined): class BlogController < ApplicationController end render(:text =>string) Sends the given string to the client. No template interpretation or HTML escaping is performed. class HappyController < ApplicationController def index render(:text => "Hello there!" ) end end Report erratum this copy is (P1.0 printing, March 2009)](https://image.slidesharecdn.com/pragmatic-agilewebdevelopmentwithrails-3rdedition-2009-091104222637-phpapp01/75/Pragmatic-Agile-Web-Development-With-Rails-3rd-Edition-2009-466-2048.jpg)
![A CTION M ETHODS 467 render(:inline =>string, [ :type =>"erb"|"builder"|"rjs" ], [ :locals =>hash] ) Interprets string as the source to a template of the given type, rendering the results back to the client. If the :locals hash is given, the contents are used to set the values of local variables in the template. The following code adds method_missing to a controller if the application is running in development mode. If the controller is called with an invalid action, this renders an inline template to display the action’s name and a formatted version of the request parameters. class SomeController < ApplicationController if RAILS_ENV == "development" def method_missing(name, *args) render(:inline => %{ <h2>Unknown action: #{name}</h2> Here are the request parameters:<br/> <%= debug(params) %> }) end end end render(:action =>action_name) Renders the template for a given action in this controller. Sometimes folks use the :action form of render when they should use redirects. See the discussion starting on page 470 for why this is a bad idea. def display_cart if @cart.empty? render(:action => :index) else # ... end end Note that calling render(:action...) does not call the action method; it sim- ply displays the template. If the template needs instance variables, these must be set up by the method that calls the render. Let’s repeat this, because this is a mistake that beginners often make: calling render(:action...) does not invoke the action method. It simply ren- ders that action’s default template. render(:file =>path, [ :use_full_path =>true|false], [:locals =>hash]) Renders the template in the given path (which must include a file exten- sion). By default this should be an absolute path to the template, but if the :use_full_path option is true, the view will prepend the value of the template base path to the path you pass in. The template base path is set in the configuration for your application. If specified, the values in the :locals hash are used to set local variables in the template. Report erratum this copy is (P1.0 printing, March 2009)](https://image.slidesharecdn.com/pragmatic-agilewebdevelopmentwithrails-3rdedition-2009-091104222637-phpapp01/75/Pragmatic-Agile-Web-Development-With-Rails-3rd-Edition-2009-467-2048.jpg)
![A CTION M ETHODS 468 render(:template =>name, [:locals =>hash] ) Renders a template and arranges for the resulting text to be sent back to the client. The :template value must contain both the controller and action parts of the new name, separated by a forward slash. The following code will render the template app/views/blog/short_list: class BlogController < ApplicationController def index render(:template => "blog/short_list" ) end end render(:partial =>name, ...) Renders a partial template. We talk about partial templates in depth on page 552. render(:nothing => true) Returns nothing—sends an empty body to the browser. render(:xml =>stuff ) Renders stuff as text, forcing the content type to be application/xml. render(:json =>stuff, [callback =>hash] ) Renders stuff as JSON, forcing the content type to be application/json. Specifying :callback will cause the result to be wrapped in a call to the named callback function. render(:update) do |page| ... end Renders the block as an RJS template, passing in the page object. render(:update) do |page| page[:cart].replace_html :partial => 'cart' , :object => @cart page[:cart].visual_effect :blind_down if @cart.total_items == 1 end All forms of render take optional :status, :layout, and :content_type parameters. The :status parameter is used to set the status header in the HTTP response. It defaults to "200 OK". Do not use render with a 3xx status to do redirects; Rails has a redirect method for this purpose. The :layout parameter determines whether the result of the rendering will be wrapped by a layout (we first came across layouts on page 99, and we’ll look at them in depth starting on page 548). If the parameter is false, no layout will be applied. If set to nil or true, a layout will be applied only if there is one associated with the current action. If the :layout parameter has a string as a value, it will be taken as the name of the layout to use when rendering. A layout is never applied when the :nothing option is in effect. The :content_type parameter lets you specify a value that will be passed to the browser in the Content-Type HTTP header. Report erratum this copy is (P1.0 printing, March 2009)](https://image.slidesharecdn.com/pragmatic-agilewebdevelopmentwithrails-3rdedition-2009-091104222637-phpapp01/75/Pragmatic-Agile-Web-Development-With-Rails-3rd-Edition-2009-468-2048.jpg)
![A CTION M ETHODS 470 Options: :buffer_size number The amount sent to the browser in each write if streaming is enabled (:stream is true). :disposition string Suggests to the browser that the file should be displayed inline (option inline) or downloaded and saved (option attachment, the default). :filename string A suggestion to the browser of the default filename to use when saving the file. If not set, defaults to the filename part of path. :status string The status code (defaults to "200 OK"). :stream true or false If false, the entire file is read into server memory and sent to the client. Otherwise, the file is read and written to the client in :buffer_size chunks. :type string The content type, defaulting to application/octet-stream. You can set additional headers for either send_ method using the headers attribute in the controller. def send_secret_file send_file("/files/secret_list" ) headers["Content-Description" ] = "Top secret" end We show how to upload files starting on page 544. Redirects An HTTP redirect is sent from a server to a client in response to a request. In effect, it says, “I can’t handle this request, but here’s some URL that can.” The redirect response includes a URL that the client should try next along with some status information saying whether this redirection is permanent (status code 301) or temporary (307). Redirects are sometimes used when web pages are reorganized; clients accessing pages in the old locations will get referred to the page’s new home. More commonly, Rails applications use redirects to pass the processing of a request off to some other action. Redirects are handled behind the scenes by web browsers. Normally, the only way you’ll know that you’ve been redirected is a slight delay and the fact that the URL of the page you’re viewing will have changed from the one you requested. This last point is important—as far as the browser is concerned, a redirect from a server acts pretty much the same as having an end user enter the new destination URL manually. Redirects turn out to be important when writing well-behaved web applica- tions. Let’s look at a simple blogging application that supports comment post- ing. After a user has posted a comment, our application should redisplay the article, presumably with the new comment at the end. Report erratum this copy is (P1.0 printing, March 2009)](https://image.slidesharecdn.com/pragmatic-agilewebdevelopmentwithrails-3rdedition-2009-091104222637-phpapp01/75/Pragmatic-Agile-Web-Development-With-Rails-3rd-Edition-2009-470-2048.jpg)
![A CTION M ETHODS 471 It’s tempting to code this using logic such as the following: class BlogController def display @article = Article.find(params[:id]) end def add_comment @article = Article.find(params[:id]) comment = Comment.new(params[:comment]) @article.comments << comment if @article.save flash[:note] = "Thank you for your valuable comment" else flash[:note] = "We threw your worthless comment away" end # DON'T DO THIS render(:action => 'display' ) end end The intent here was clearly to display the article after a comment has been posted. To do this, the developer ended the add_comment method with a call to render(:action=>'display'). This renders the display view, showing the updated article to the end user. But think of this from the browser’s point of view. It sends a URL ending in blog/add_comment and gets back an index listing. As far as the browser is concerned, the current URL is still the one that ends in blog/add_comment. This means that if the user hits Refresh or Reload (perhaps to see whether anyone else has posted a comment), the add_comment URL will be sent again to the application. The user intended to refresh the display, but the application sees a request to add another comment. In a blog application, this kind of unintentional double entry is inconvenient. In an online store, it can get expensive. In these circumstances, the correct way to show the added comment in the index listing is to redirect the browser to the display action. We do this using the Rails redirect_to method. If the user subsequently hits Refresh, it will simply reinvoke the display action and not add another comment: def add_comment @article = Article.find(params[:id]) comment = Comment.new(params[:comment]) @article.comments << comment if @article.save flash[:note] = "Thank you for your valuable comment" else flash[:note] = "We threw your worthless comment away" end redirect_to(:action => 'display') end Rails has a simple yet powerful redirection mechanism. It can redirect to an Report erratum this copy is (P1.0 printing, March 2009)](https://image.slidesharecdn.com/pragmatic-agilewebdevelopmentwithrails-3rdedition-2009-091104222637-phpapp01/75/Pragmatic-Agile-Web-Development-With-Rails-3rd-Edition-2009-471-2048.jpg)
![A CTION M ETHODS 472 action in a given controller (passing parameters), to a URL (on or off the current server), or to the previous page. Let’s look at these three forms in turn. redirect_to Redirects to an action. redirect_to(:action => ..., options...) Sends a temporary redirection to the browser based on the values in the options hash. The target URL is generated using url_for, so this form of redirect_to has all the smarts of Rails routing code behind it. See Section 21.2, Routing Requests, on page 426 for a description. redirect_to Redirects to a URL. redirect_to(path) Redirects to the given path. If the path does not start with a protocol (such as http://), the protocol and port of the current request will be prepended. This method does not perform any rewriting on the URL, so it should not be used to create paths that are intended to link to actions in the application (unless you generate the path using url_for or a named route URL generator). def save order = Order.new(params[:order]) if order.save redirect_to :action => "display" else session[:error_count] ||= 0 session[:error_count] += 1 if session[:error_count] < 4 flash[:notice] = "Please try again" else # Give up -- user is clearly struggling redirect_to("/help/order_entry.html" ) end end end redirect_to Redirects to the referrer. redirect_to(:back) Redirects to the URL given by the HTTP_REFERER header in the current request. def save_details unless params[:are_you_sure] == 'Y' redirect_to(:back) else ... end end Report erratum this copy is (P1.0 printing, March 2009)](https://image.slidesharecdn.com/pragmatic-agilewebdevelopmentwithrails-3rdedition-2009-091104222637-phpapp01/75/Pragmatic-Agile-Web-Development-With-Rails-3rd-Edition-2009-472-2048.jpg)
![C OOKIES AND S ESSIONS 473 By default all redirections are flagged as temporary (they will affect only the current request). When redirecting to a URL, it’s possible you might want to make the redirection permanent. In that case, set the status in the response header accordingly: headers["Status" ] = "301 Moved Permanently" redirect_to("http://my.new.home" ) Because redirect methods send responses to the browser, the same rules apply as for the rendering methods—you can issue only one per request. 22.2 Cookies and Sessions Cookies allow web applications to get hash-like functionality from browser sessions. You can store named strings on the client browser that are sent back to your application on subsequent requests. This is significant because HTTP, the protocol used between browsers and web servers, is stateless. Cookies provide a means for overcoming this limitation, allowing web applications to maintain data between requests. Rails abstracts cookies behind a convenient and simple interface. The con- troller attribute cookies is a hash-like object that wraps the cookie protocol. When a request is received, the cookies object will be initialized to the cookie names, and values will be sent from the browser to the application. At any time the application can add new key/value pairs to the cookies object. These will be sent to the browser when the request finishes processing. These new values will be available to the application on subsequent requests (subject to various limitations, described in a moment). Here’s a simple Rails controller that stores a cookie in the user’s browser and redirects to another action. Remember that the redirect involves a round-trip to the browser and that the subsequent call into the application will create a new controller object. The new action recovers the value of the cookie sent up from the browser and displays it. Download e1/cookies/cookie1/app/controllers/cookies_controller.rb class CookiesController < ApplicationController def action_one cookies[:the_time] = Time.now.to_s redirect_to :action => "action_two" end def action_two cookie_value = cookies[:the_time] render(:text => "The cookie says it is #{cookie_value}" ) end end Report erratum this copy is (P1.0 printing, March 2009)](https://image.slidesharecdn.com/pragmatic-agilewebdevelopmentwithrails-3rdedition-2009-091104222637-phpapp01/75/Pragmatic-Agile-Web-Development-With-Rails-3rd-Edition-2009-473-2048.jpg)
![C OOKIES AND S ESSIONS 474 You must pass a string as the cookie value—no implicit conversion is per- formed. You’ll probably get an obscure error containing private method ‘gsub’ called... if you pass something else. Browsers store a small set of options with each cookie: the expiry date and time, the paths that are relevant to the cookie, and the domain to which the cookie will be sent. If you create a cookie by assigning a value to cookies[name], you get a default set of these options: the cookie will apply to the whole site, it will expire when the browser is closed, and it will apply to the domain of the host doing the setting. However, these options can be overridden by passing in a hash of values, rather than a single string. (In this example, we use the groovy #days.from_now extension to Fixnum. This is described in Chapter 16, Active Support, on page 275.) cookies[:marsupial] = { :value => "wombat" , :expires => 30.days.from_now, :path => "/store" } The valid options are :domain, :expires, :path, :secure, and :value. The :domain and :path options determine the relevance of a cookie—a browser will send a cookie back to the server if the cookie path matches the leading part of the request path and if the cookie’s domain matches the tail of the request’s domain. The :expires option sets a time limit for the life of the cookie. It can be an absolute time, in which case the browser will store the cookie on disk and delete it when that time passes,3 or an empty string, in which case the browser will store it in memory and delete it at the end of the browsing session. If no expiry time is given, it is treated as if it were an empty string. Finally, the :secure option tells the browser to send back the cookie only if the request uses https://. Cookies are fine for storing small strings on a user’s browser but don’t work so well for larger amounts of more structured data. Cookie Detection The problem with using cookies is that some users don’t like them and disable cookie support in their browser. You’ll need to design your application to be robust in the face of missing cookies. (It needn’t be fully functional; it just needs to be able to cope with missing data.) Doing this isn’t very hard, but it does require a number of steps. The end result will be something that will be completely transparent to most users: two quick redirects, which occur only the very first time they access your site, which is when the session is established. 3. This time is absolute and is set when the cookie is created. If your application needs to set a cookie that expires so many minutes after the user last sent a request, you either need to reset the cookie on each request or (better yet) keep the session expiry time in session data in the server and update it there. Report erratum this copy is (P1.0 printing, March 2009)](https://image.slidesharecdn.com/pragmatic-agilewebdevelopmentwithrails-3rdedition-2009-091104222637-phpapp01/75/Pragmatic-Agile-Web-Development-With-Rails-3rd-Edition-2009-474-2048.jpg)
![C OOKIES AND S ESSIONS 475 The first thing we need to do is make the SESSION_KEY a constant that can be referred to later in the application. In your config/environment.rb file, this value is currently hardcoded in the assignment to config.action_controller.session. We need to refactor that out: Download e1/cookies/cookie2/config/environment.rb # Be sure to restart your server when you modify this file # Uncomment below to force Rails into production mode when # you don't control web/app server and can't set it the proper way # ENV['RAILS_ENV'] ||= 'production' # Specifies gem version of Rails to use when vendor/rails is not present RAILS_GEM_VERSION = '2.2.2' unless defined? RAILS_GEM_VERSION # Bootstrap the Rails environment, frameworks, and default configuration require File.join(File.dirname(__FILE__), 'boot' ) # Define session key as a constant SESSION_KEY = '_cookie2_session' Rails::Initializer.run do |config| # ... # Your secret key for verifying cookie session data integrity. # If you change this key, all old sessions will become invalid! # Make sure the secret is at least 30 characters and all random, # no regular words or you'll be exposed to dictionary attacks. config.action_controller.session = { :session_key => SESSION_KEY, :secret => 'cbd4061f23fe1dfeb087dd38c...888cdd186e23c9d7137606801cb7665' } # ... end Now we need to do two things. First, we need to define a cookies_required filter that we apply to all actions in our application that require cookies. For simplicity, we will do it for all actions except for the cookies test itself. If your application has different needs, adjust accordingly. This method does nothing if the session is already defined; otherwise, it attempts to save the request URI in a new session and redirect to the cookies test. Then we need to define the cookies_test method itself. It, too, is straightforward: if there is no session, we log that fact and render a simple template that will inform the user that enabling cookies is required in order to use this applica- tion. If there is a session at this point, we simply redirect back, taking care to provide a default destination in case some joker decides to directly access this Report erratum this copy is (P1.0 printing, March 2009)](https://image.slidesharecdn.com/pragmatic-agilewebdevelopmentwithrails-3rdedition-2009-091104222637-phpapp01/75/Pragmatic-Agile-Web-Development-With-Rails-3rd-Edition-2009-475-2048.jpg)
![C OOKIES AND S ESSIONS 476 action and then remove this information from the session. Adjust the default destination as required: Download e1/cookies/cookie2/app/controllers/application.rb # Filters added to this controller apply to all controllers in the application. # Likewise, all the methods added will be available for all controllers. class ApplicationController < ActionController::Base helper :all # include all helpers, all the time before_filter :cookies_required, :except => [:cookies_test] # See ActionController::RequestForgeryProtection for details # Uncomment the :secret if you're not using the cookie session store protect_from_forgery # :secret => 'cde978d90e26e7230552d3593d445759' # See ActionController::Base for details # Uncomment this to filter the contents of submitted sensitive data parameters # from your application log (in this case, all fields with names like "password"). # filter_parameter_logging :password def cookies_test if request.cookies[SESSION_KEY].blank? logger.warn("** Cookies are disabled for #{request.remote_ip} at #{Time.now}" ) render :template => 'cookies_required' else redirect_to(session[:return_to] || {:controller => "store" }) session[:return_to] = nil end end protected def cookies_required return unless request.cookies[SESSION_KEY].blank? session[:return_to] = request.request_uri redirect_to :action => "cookies_test" end end We have one last thing to attend to. Although the previous works just fine, it has one unfortunate side effect: pretty much all of our functional test will now be failing, because whatever they were expecting before, the one thing they are not expecting is a redirect to a cookies test. This can be rectified by creating a faux session. And, of course, while we are here, any self-respecting agile developer would create a functional test of the cookies test itself: Download e1/cookies/cookie2/test/functional/store_controller_test.rb require 'test_helper' class StoreControllerTest < ActionController::TestCase def setup Report erratum this copy is (P1.0 printing, March 2009)](https://image.slidesharecdn.com/pragmatic-agilewebdevelopmentwithrails-3rdedition-2009-091104222637-phpapp01/75/Pragmatic-Agile-Web-Development-With-Rails-3rd-Edition-2009-476-2048.jpg)
![C OOKIES AND S ESSIONS 477 @request.cookies[SESSION_KEY] = "faux session" end test "existing functional tests should continue to work" do get :hello assert_response :success end test "when cookies are disabled a redirect results" do @request.cookies.delete SESSION_KEY get :hello assert_response :redirect assert_equal 'http://test.host/store/cookies_test' , redirect_to_url end end Rails Sessions A Rails session is a hash-like structure that persists across requests. Unlike raw cookies, sessions can hold any objects (as long as those objects can be marshaled), which makes them ideal for holding state information in web marshal ֒ page 677 → applications. For example, in our store application, we used a session to hold the shopping cart object between requests. The Cart object could be used in our application just like any other object. But Rails arranged things such that the cart was saved at the end of handling each request and, more important, that the correct cart for an incoming request was restored when Rails started to handle that request. Using sessions, we can pretend that our application stays around between requests. And that leads to an interesting question: exactly where does this data stay around between requests? One choice is for the server to send it down to the client as a cookie. This is the default for Rails 2.0. It places limitations on the size and increases the bandwidth but means that there is less for the server to manage and clean up. Note that the contents are cryptographically signed but (by default) unencrypted, which means that users can see but not tamper with the contents. The other option is to store the data on the server. There are two parts to this. First, Rails has to keep track of sessions. It does this by creating (by default) a 32-hex character key (which means there are 1632 possible combinations). This key is called the session id, and it’s effectively random. Rails arranges to store this session id as a cookie (with the key _session_id) on the user’s browser. Because subsequent requests come into the application from this browser, Rails can recover the session id. Second, Rails keeps a persistent store of session data on the server, indexed by the session id. When a request comes in, Rails looks up the data store using the session id. The data that it finds there is a serialized Ruby object. Report erratum this copy is (P1.0 printing, March 2009)](https://image.slidesharecdn.com/pragmatic-agilewebdevelopmentwithrails-3rdedition-2009-091104222637-phpapp01/75/Pragmatic-Agile-Web-Development-With-Rails-3rd-Edition-2009-477-2048.jpg)
![C OOKIES AND S ESSIONS 480 Because the session store is hash-like, you can save multiple objects in it, each with its own key. In the following code, we store the id of the logged-in user in the session. We use this later in the index action to create a customized menu for that user. We also record the id of the last menu item selected and use that id to highlight the selection on the index page. When the user logs off, we reset all session data. Download e1/cookies/cookie1/app/controllers/session_controller.rb class SessionController < ApplicationController def login user = User.find_by_name_and_password(params[:user], params[:password]) if user session[:user_id] = user.id redirect_to :action => "index" else reset_session flash[:note] = "Invalid user name/password" end end def index @menu = create_menu_for(session[:user_id]) @menu.highlight(session[:last_selection]) end def select_item @item = Item.find(params[:id]) session[:last_selection] = params[:id] end def logout reset_session end end As is usual with Rails, session defaults are convenient, but we can override them if necessary. This is done using the session declaration in your controllers. Every new Rails application already has one example of this—a declaration such as the following is added to the top-level application controller to set an application-specific cookie name for session data: class ApplicationController < ActionController::Base session :session_key => '_myapp_session_id' end The session directive is inherited by subclasses, so placing this declaration in ApplicationController makes it apply to every action in your application. The available session options are as follows: :session_domain The domain of the cookie used to store the session id on the browser. This defaults to the application’s host name. Report erratum this copy is (P1.0 printing, March 2009)](https://image.slidesharecdn.com/pragmatic-agilewebdevelopmentwithrails-3rdedition-2009-091104222637-phpapp01/75/Pragmatic-Agile-Web-Development-With-Rails-3rd-Edition-2009-480-2048.jpg)
![C OOKIES AND S ESSIONS 482 name the session storage strategy; the symbol is converted into a CamelCase class name. session_store = :cookie_store This is the default session storage mechanism used by Rails, starting with version 2.0. This format represents objects in their marshaled form, which allows any serializable data to be stored in sessions but is limited to 4KB total. session_store = :p_store Data for each session is stored in a flat file in PStore format. This format keeps objects in their marshaled form, which allows any serializable data to be stored in sessions. This mechanism supports the additional con- figuration options :prefix and :tmpdir. The following code in the file environ- ment.rb in the config directory might be used to configure PStore sessions: Rails::Initializer.run do |config| config.action_controller.session_store = CGI::Session::PStore config.action_controller.session_options[:tmpdir] = "/Users/dave/tmp" config.action_controller.session_options[:prefix] = "myapp_session_" # ... session_store = :active_record_store You can store your session data in your application’s database using ActiveRecordStore. You can generate a migration that creates the sessions table using Rake: depot> rake db:sessions:create Run rake db:migrate to create the actual table. If you look at the migration file, you’ll see that Rails creates an index on the session_id column, because it is used to look up session data. Rails also defines a column called updated_at, so Active Record will automati- cally timestamp the rows in the session table—we’ll see later why this is a good idea. session_store = :drb_store DRb is a protocol that allows Ruby processes to share objects over a network connection. Using the DRbStore database manager, Rails stores session data on a DRb server (which you manage outside the web appli- cation). Multiple instances of your application, potentially running on distributed servers, can access the same DRb store. A simple DRb server that works with Rails is included in the Rails source.5 DRb uses Marshal to serialize objects. 5. If you install from gems, you’ll find it in {RUBYBASE}/lib/ruby/gems/1.8/gems/actionpack- x.y/lib/action_controller/session/drb_server.rb. Report erratum this copy is (P1.0 printing, March 2009)](https://image.slidesharecdn.com/pragmatic-agilewebdevelopmentwithrails-3rdedition-2009-091104222637-phpapp01/75/Pragmatic-Agile-Web-Development-With-Rails-3rd-Edition-2009-482-2048.jpg)
![C OOKIES AND S ESSIONS 483 session_store = :mem_cache_store memcached is a freely available, distributed object caching system from Danga Interactive.6 The Rails MemCacheStore uses Michael Granger’s Ruby interface7 to memcached to store sessions. memcached is more complex to use than the other alternatives and is probably interesting only if you are already using it for other reasons at your site. session_store = :memory_store This option stores the session data locally in the application’s memory. Because no serialization is involved, any object can be stored in an in- memory session. As we’ll see in a minute, this generally is not a good idea for Rails applications. session_store = :file_store Session data is stored in flat files. It’s pretty much useless for Rails appli- cations, because the contents must be strings. This mechanism supports the additional configuration options :prefix, :suffix, and :tmpdir. You can enable or disable session storage for your entire application, for a par- ticular controller, or for certain actions. This is done with the session declaration. To disable sessions for an entire application, add the following line to your application.rb file in the app/controllers directory: class ApplicationController < ActionController::Base session :off # ... If you put the same declaration inside a particular controller, you localize the effect to that controller: class RssController < ActionController::Base session :off # ... Finally, the session declaration supports the :only, :except, and :if options. The first two take the name of an action or an array containing action names. The last takes a block that is called to determine whether the session directive should be honored. Here are some examples of session directives you could put in a controller: # Disable sessions for the rss action session :off, :only => :rss # Disable sessions for the show and list actions session :off, :only => [ :show, :list ] 6. http://www.danga.com/memcached 7. Available from http://www.deveiate.org/projects/RMemCache Report erratum this copy is (P1.0 printing, March 2009)](https://image.slidesharecdn.com/pragmatic-agilewebdevelopmentwithrails-3rdedition-2009-091104222637-phpapp01/75/Pragmatic-Agile-Web-Development-With-Rails-3rd-Edition-2009-483-2048.jpg)
![C OOKIES AND S ESSIONS 484 # Enable sessions for all actions except show and list session :except => [ :show, :list ] # Disable sessions on Sundays :) session :off, :if => proc { Time.now.wday == 0 } Comparing Session Storage Options With all these session options to choose from, which should you use in your application? As always, the answer is “It depends.” If you’re a high-volume site, keeping the size of the session data small, keeping sensitive data out of the session, and going with cookie_store is the way to go. If we rule out memory store as being too simplistic, file store as too restric- tive, and memcached as overkill, the server-side choices boil down to PStore, Active Record store, and DRb-based storage. We can compare performance and functionality across these options. Scott Barron has performed a fascinating analysis of the performance of these storage options.8 His findings are somewhat surprising. For low numbers of sessions, PStore and DRb are roughly equal. As the number of sessions rises, PStore performance starts to drop. This is probably because the host operating system struggles to maintain a directory that contains tens of thousands of session data files. DRb performance stays relatively flat. Performance using Active Record as the backing storage is lower but stays flat as the number of sessions rises. What does this mean for you? Reviewer Bill Katz summed it up in the following paragraph: “If you expect to be a large website, the big issue is scalability, and you can address it either by “scaling up” (enhancing your existing servers with addi- tional CPUs, memory, and so on) or “scaling out” (adding new servers). The current philosophy, popularized by companies such as Google, is scaling out by adding cheap, commodity servers. Ideally, each of these servers should be able to handle any incoming request. Because the requests in a single ses- sion might be handled on multiple servers, we need our session storage to be accessible across the whole server farm. The session storage option you choose should reflect your plans for optimizing the whole system of servers. Given the wealth of possibilities in hardware and software, you could opti- mize along any number of axes that impacts your session storage choice. For example, you could use the new MySQL cluster database with extremely fast in-memory transactions; this would work quite nicely with an Active Record approach. You could also have a high-performance storage area network that 8. Mirrored at http://media.pragprog.com/ror/sessions Report erratum this copy is (P1.0 printing, March 2009)](https://image.slidesharecdn.com/pragmatic-agilewebdevelopmentwithrails-3rdedition-2009-091104222637-phpapp01/75/Pragmatic-Agile-Web-Development-With-Rails-3rd-Edition-2009-484-2048.jpg)
![F LASH : C OMMUNICATING B ETWEEN A CTIONS 486 For Active Record–based session storage, use the updated_at columns in the sessions table. You can delete all sessions that have not been modified in the last hour (ignoring daylight saving time changes) by having your sweeper task issue SQL such as this: delete from sessions where now() - updated_at > 3600; For DRb-based solutions, expiry takes place within the DRb server process. You’ll probably want to record timestamps alongside the entries in the session data hash. You can run a separate thread (or even a separate process) that periodically deletes the entries in this hash. In all cases, your application can help this process by calling reset_session to delete sessions when they are no longer needed (for example, when a user logs out). 22.3 Flash: Communicating Between Actions When we use redirect_to to transfer control to another action, the browser gen- erates a separate request to invoke that action. That request will be handled by our application in a fresh instance of a controller object—instance variables that were set in the original action are not available to the code handling the redirected action. But sometimes we need to communicate between these two instances. We can do this using a facility called the flash. The flash is a temporary scratchpad for values. It is organized like a hash and stored in the session data, so you can store values associated with keys and later retrieve them. It has one special property. By default, values stored into the flash during the processing of a request will be available during the processing of the immediately following request. Once that second request has been processed, those values are removed from the flash.9 Probably the most common use of the flash is to pass error and informational strings from one action to the next. The intent here is that the first action notices some condition, creates a message describing that condition, and redi- rects to a separate action. By storing the message in the flash, the second action is able to access the message text and use it in a view. class BlogController def display @article = Article.find(params[:id]) end 9. If you read the RDoc for the flash functionality, you’ll see that it talks about values being made available just to the next action. This isn’t strictly accurate: the flash is cleared out at the end of handling the next request, not on an action-by-action basis. Report erratum this copy is (P1.0 printing, March 2009)](https://image.slidesharecdn.com/pragmatic-agilewebdevelopmentwithrails-3rdedition-2009-091104222637-phpapp01/75/Pragmatic-Agile-Web-Development-With-Rails-3rd-Edition-2009-486-2048.jpg)
![F LASH : C OMMUNICATING B ETWEEN A CTIONS 487 def add_comment @article = Article.find(params[:id]) comment = Comment.new(params[:comment]) @article.comments << comment if @article.save flash[:notice] = "Thank you for your valuable comment" else flash[:notice] = "We threw your worthless comment away" end redirect_to :action => 'display' end In this example, the add_comment method stores one of two different messages in the flash using the key :notice. It redirects to the display action. The display action doesn’t seem to make use of this information. To see what’s going on, we’ll have to dig deeper and look at the template file that defines the layout for the blog controller. This will be in the file blog.html.erb in the app/views/layouts directory. <head> <title>My Blog</title> <%= stylesheet_link_tag("blog" ) %> </head> <body> <div id="main"> <% if flash[:notice] -%> <div id="notice"><%= flash[:notice] %></div> <% end -%> <%= yield :layout %> </div> </body> </html> In this example, our layout generated the appropriate <div> if the flash con- tained a :notice key. It is sometimes convenient to use the flash as a way of passing messages into a template in the current action. For example, our display method might want to output a cheery banner if there isn’t another, more pressing note. It doesn’t need that message to be passed to the next action—it’s for use in the current request only. To do this, it could use flash.now, which updates the flash but does not add to the session data: class BlogController def display flash.now[:notice] = "Welcome to my blog" unless flash[:notice] @article = Article.find(params[:id]) end end Report erratum this copy is (P1.0 printing, March 2009)](https://image.slidesharecdn.com/pragmatic-agilewebdevelopmentwithrails-3rdedition-2009-091104222637-phpapp01/75/Pragmatic-Agile-Web-Development-With-Rails-3rd-Edition-2009-487-2048.jpg)
![F IL TERS AND V ERIFICATION 488 While flash.now creates a transient flash entry, flash.keep does the opposite, making entries that are currently in the flash stick around for another request cycle: class SillyController def one flash[:notice] = "Hello" flash[:error] = "Boom!" redirect_to :action => "two" end def two flash.keep(:notice) flash[:warning] = "Mewl" redirect_to :action => "three" end def three # At this point, # flash[:notice] => "Hello" # flash[:warning] => "Mewl" # and flash[:error] is unset render end end If you pass no parameters to flash.keep, all the flash contents are preserved. Flashes can store more than just text messages—you can use them to pass all kinds of information between actions. Obviously, for longer-term information you’d want to use the session (probably in conjunction with your database) to store the data, but the flash is great if you want to pass parameters from one request to the next. Because the flash data is stored in the session, all the usual rules apply. In particular, every object must be serializable. We strongly recommend passing only simple objects in the flash. 22.4 Filters and Verification Filters enable you to write code in your controllers that wrap the processing performed by actions—you can write a chunk of code once and have it be called before or after any number of actions in your controller (or your con- troller’s subclasses). This turns out to be a powerful facility. Using filters, we can implement authentication schemes, logging, response compression, and even response customization. Rails supports three types of filter: before, after, and around. Filters are called just prior to and/or just after the execution of actions. Depending on how you define them, they either run as methods inside the controller or are passed Report erratum this copy is (P1.0 printing, March 2009)](https://image.slidesharecdn.com/pragmatic-agilewebdevelopmentwithrails-3rdedition-2009-091104222637-phpapp01/75/Pragmatic-Agile-Web-Development-With-Rails-3rd-Edition-2009-488-2048.jpg)
![F IL TERS AND V ERIFICATION 489 the controller object when they are run. Either way, they get access to details of the request and response objects, along with the other controller attributes. Before and After Filters As their names suggest, before and after filters are invoked before or after an action. Rails maintains two chains of filters for each controller. When a controller is about to run an action, it executes all the filters on the before chain. It executes the action before running the filters on the after chain. Filters can be passive, monitoring activity performed by a controller. They can also take a more active part in request handling. If a before filter returns false, processing of the filter chain terminates, and the action is not run. A filter may also render output or redirect requests, in which case the original action never gets invoked. We saw an example of using filters for authorization in the administration part of our store example on page 171. We defined an authorization method that redirected to a login screen if the current session didn’t have a logged- in user. We then made this method a before filter for all the actions in the administration controller. Download depot_r/app/controllers/application.rb class ApplicationController < ActionController::Base layout "store" before_filter :authorize, :except => :login #... protected def authorize unless User.find_by_id(session[:user_id]) flash[:notice] = "Please log in" redirect_to :controller => 'admin' , :action => 'login' end end end This is an example of having a method act as a filter; we passed the name of the method as a symbol to before_filter. The filter declarations also accept blocks and the names of classes. If a block is specified, it will be called with the current controller as a parameter. If a class is given, its filter class method will be called with the controller as a parameter. class AuditFilter def self.filter(controller) AuditLog.create(:action => controller.action_name) end end Report erratum this copy is (P1.0 printing, March 2009)](https://image.slidesharecdn.com/pragmatic-agilewebdevelopmentwithrails-3rdedition-2009-091104222637-phpapp01/75/Pragmatic-Agile-Web-Development-With-Rails-3rd-Edition-2009-489-2048.jpg)
![F IL TERS AND V ERIFICATION 490 # ... class SomeController < ApplicationController before_filter do |controller| logger.info("Processing #{controller.action_name}" ) end after_filter AuditFilter # ... end By default, filters apply to all actions in a controller (and any subclasses of that controller). You can modify this with the :only option, which takes one or more actions to be filtered, and the :except option, which lists actions to be excluded from filtering. class BlogController < ApplicationController before_filter :authorize, :only => [ :delete, :edit_comment ] after_filter :log_access, :except => :rss # ... The before_filter and after_filter declarations append to the controller’s chain of filters. Use the variants prepend_before_filter and prepend_after_filter to put filters at the front of the chain. After Filters and Response Munging After filters can be used to modify the outbound response, changing the head- ers and content if required. Some applications use this technique to perform global replacements in the content generated by the controller’s templates (for example, substituting a customer’s name for the string <customer/> in the response body). Another use might be compressing the response if the user’s browser supports it. The following code is an example of how this might work.10 The controller declares the compress method as an after filter. The method looks at the request header to see whether the browser accepts compressed responses. If so, it uses the Zlib library to compress the response body into a string.11 If the result is shorter than the original body, it substitutes in the compressed version and updates the response’s encoding type. 10. This code is not a complete implementation of compression. In particular, it won’t compress streamed data downloaded to the client using send_file. 11. Note that the Zlib Ruby extension might not be available on your platform—it relies on the presence of the underlying libzlib.a library. Report erratum this copy is (P1.0 printing, March 2009)](https://image.slidesharecdn.com/pragmatic-agilewebdevelopmentwithrails-3rdedition-2009-091104222637-phpapp01/75/Pragmatic-Agile-Web-Development-With-Rails-3rd-Edition-2009-490-2048.jpg)
![F IL TERS AND V ERIFICATION 491 Download e1/filter/app/controllers/compress_controller.rb require 'zlib' require 'stringio' class CompressController < ApplicationController after_filter :compress def index render(:text => "<pre>" + File.read("/etc/motd" ) + "</pre>" ) end protected def compress accepts = request.env['HTTP_ACCEPT_ENCODING' ] return unless accepts && accepts =~ /(x-gzip|gzip)/ encoding = $1 output = StringIO.new def output.close # Zlib does a close. Bad Zlib... rewind end gz = Zlib::GzipWriter.new(output) gz.write(response.body) gz.close if output.length < response.body.length response.body = output.string response.headers['Content-encoding' ] = encoding end end end Around Filters Around filters wrap the execution of actions. You can write an around filter in two different styles. In the first, the filter is a single chunk of code. That code is called before the action is executed. If the filter code invokes yield, the action is executed. When the action completes, the filter code continues executing. Thus, the code before the yield is like a before filter, and the code after the yield is the after filter. If the filter code never invokes yield, the action is not run—this is the same as having a before filter return false. The benefit of around filters is that they can retain context across the invoca- tion of the action. Report erratum this copy is (P1.0 printing, March 2009)](https://image.slidesharecdn.com/pragmatic-agilewebdevelopmentwithrails-3rdedition-2009-091104222637-phpapp01/75/Pragmatic-Agile-Web-Development-With-Rails-3rd-Edition-2009-491-2048.jpg)
![F IL TERS AND V ERIFICATION 495 This declaration applies the verification to the post_comment action. If the ses- sion does not contain the key :user_id, a note is added to the flash, and the request is redirected to the index action. The parameters to verify can be split into three categories. Applicability These options select that actions have the verification applied: :only =>:name or [ :name, ... ] Verifies only the listed action or actions. :except =>:name or [ :name, ... ] Verifies all actions except those listed. Tests These options describe the tests to be performed on the request. If more than one of these is given, all must be true for the verification to succeed. :flash =>:key or [ :key, ... ] The flash must include the given key or keys. :method =>:symbol or [ :symbol, ... ] The request method (:get, :post, :head, or :delete) must match one of the given symbols. :params =>:key or [ :key, ... ] The request parameters must include the given key or keys. :session =>:key or [ :key, ... ] The session must include the given key or keys. :xhr => true or false The request must (must not) come from an Ajax call. Actions These options describe what should happen if a verification fails. If no actions are specified, the verification returns an empty response to the browser on failure. :add_flash =>hash Merges the given hash of key/value pairs into the flash. This can be used to generate error responses to users. :add_headers =>hash Merges the given hash of key/value pairs into the response headers. Report erratum this copy is (P1.0 printing, March 2009)](https://image.slidesharecdn.com/pragmatic-agilewebdevelopmentwithrails-3rdedition-2009-091104222637-phpapp01/75/Pragmatic-Agile-Web-Development-With-Rails-3rd-Edition-2009-495-2048.jpg)
![C ACHING , P AR T O NE 497 With action caching, your application controller is still invoked, and its before filters are run. However, the action itself is not called if there’s an existing cached page. Let’s look at this in the context of a site that has public content and pre- mium, members-only content. We have two controllers: an admin controller that verifies that someone is a member and a content controller with actions to show both public and premium content. The public content consists of a single page with links to premium articles. If someone requests premium con- tent and they’re not a member, we redirect them to an action in the admin controller that signs them up. Ignoring caching for a minute, we can implement the content side of this appli- cation using a before filter to verify the user’s status and a couple of action methods for the two kinds of content: Download e1/cookies/cookie1/app/controllers/content_controller.rb class ContentController < ApplicationController before_filter :verify_premium_user, :except => :public_content def public_content @articles = Article.list_public end def premium_content @articles = Article.list_premium end private def verify_premium_user user = session[:user_id] user = User.find(user) if user unless user && user.active? redirect_to :controller => "login" , :action => "signup_new" end end end Because the content pages are fixed, they can be cached. We can cache the public content at the page level, but we have to restrict access to the cached premium content to members, so we need to use action-level caching for it. To enable caching, we simply add two declarations to our class: Download e1/cookies/cookie1/app/controllers/content_controller.rb class ContentController < ApplicationController before_filter :verify_premium_user, :except => :public_content caches_page :public_content caches_action :premium_content Report erratum this copy is (P1.0 printing, March 2009)](https://image.slidesharecdn.com/pragmatic-agilewebdevelopmentwithrails-3rdedition-2009-091104222637-phpapp01/75/Pragmatic-Agile-Web-Development-With-Rails-3rd-Edition-2009-497-2048.jpg)
![C ACHING , P AR T O NE 499 However, caching can cope with pages generated from volatile content that’s under your control. As we’ll see in the next section, it’s simply a question of removing the cached pages when they become outdated. Expiring Pages Creating cached pages is only one half of the equation. If the content initially used to create these pages changes, the cached versions will become out-of- date, and we’ll need a way of expiring them. The trick is to code the application to notice when the data used to create a dynamic page has changed and then to remove the cached version. The next time a request comes through for that URL, the cached page will be regener- ated based on the new content. Expiring Pages Explicitly The low-level way to remove cached pages is with the methods expire_page and expire_action. These take the same parameters as url_for and expire the cached page that matches the generated URL. For example, our content controller might have an action that allows us to create an article and another action that updates an existing article. When we create an article, the list of articles on the public page will become obsolete, so we call expire_page, passing in the action name that displays the public page. When we update an existing article, the public index page remains unchanged (at least, it does in our application), but any cached version of this particular article should be deleted. Because this cache was created using caches_action, we need to expire the page using expire_action, passing in the action name and the article id. Download e1/cookies/cookie1/app/controllers/content_controller.rb def create_article article = Article.new(params[:article]) if article.save expire_page :action => "public_content" else # ... end end def update_article article = Article.find(params[:id]) if article.update_attributes(params[:article]) expire_action :action => "premium_content" , :id => article else # ... end end Report erratum this copy is (P1.0 printing, March 2009)](https://image.slidesharecdn.com/pragmatic-agilewebdevelopmentwithrails-3rdedition-2009-091104222637-phpapp01/75/Pragmatic-Agile-Web-Development-With-Rails-3rd-Edition-2009-499-2048.jpg)
![C ACHING , P AR T O NE 500 The method that deletes an article does a bit more work—it has to both inval- idate the public index page and remove the specific article page: Download e1/cookies/cookie1/app/controllers/content_controller.rb def delete_article Article.destroy(params[:id]) expire_page :action => "public_content" expire_action :action => "premium_content" , :id => params[:id] end Picking a Caching Store Strategy Caching, like sessions, features a number of storage options. You can keep the fragments in files, in a database, in a DRb server, or in memcached servers. But whereas sessions usually contain small amounts of data and require only one row per user, fragment caching can easily create sizeable amounts of data, and you can have many per user. This makes database storage a poor fit. For many setups, it’s easiest to keep cache files on the filesystem. But you can’t keep these cached files locally on each server, because expiring a cache on one server would not expire it on the rest. You therefore need to set up a network drive that all the servers can share for their caching. As with session configuration, you can configure a file-based caching store globally in environment.rb or in a specific environment’s file: ActionController::Base.cache_store = :file_store, "#{RAILS_ROOT}/cache" This configuration assumes that a directory named cache is available in the root of the application and that the web server has full read and write access to it. This directory can easily be symlinked to the path on the server that represents the network drive. Regardless of which store you pick for caching fragments, you should be aware that network bottlenecks can quickly become a problem. If your site depends heavily on fragment caching, every request will need a lot of data transfer- ring from the network drive to the specific server before it’s again sent on to the user. To use this on a high-profile site, you really need to have a high- bandwidth internal network between your servers, or you will see slowdown. The caching store system is available only for caching actions and fragments. Full-page caches need to be kept on the filesystem in the public directory. In this case, you will have to go the network drive route if you want to use page caching across multiple web servers. You can then symlink either the entire public directory (but that will also cause your images, stylesheets, and JavaScript to be passed over the network, which may be a problem) or just the individual directories that are needed for your page caches. In the latter case, Report erratum this copy is (P1.0 printing, March 2009)](https://image.slidesharecdn.com/pragmatic-agilewebdevelopmentwithrails-3rdedition-2009-091104222637-phpapp01/75/Pragmatic-Agile-Web-Development-With-Rails-3rd-Edition-2009-500-2048.jpg)
![C ACHING , P AR T O NE 502 def expire_article_page(article_id) expire_action(:controller => "content" , :action => "premium_content" , :id => article_id) end end The flow through the sweeper is somewhat convoluted: • The sweeper is defined as an observer on one or more Active Record classes. In our example case, it observes the Article model. (We first talked about observers back on page 413.) The sweeper uses hook methods (such as after_update) to expire cached pages if appropriate. • The sweeper is also declared to be active in a controller using the directive cache_sweeper: class ContentController < ApplicationController before_filter :verify_premium_user, :except => :public_content caches_page :public_content caches_action :premium_content cache_sweeper :article_sweeper, :only => [ :create_article, :update_article, :delete_article ] # ... • If a request comes in that invokes one of the actions that the sweeper is filtering, the sweeper is activated. If any of the Active Record observer methods fires, the page and action expiry methods will be called. If the Active Record observer gets invoked but the current action is not selected as a cache sweeper, the expire calls in the sweeper are ignored. Other- wise, the expiry takes place. Time-Based Expiry of Cached Pages Consider a site that shows fairly volatile information such as stock quotes or news headlines. If we did the style of caching where we expired a page when- ever the underlying information changed, we’d be expiring pages constantly. The cache would rarely get used, and we’d lose the benefit of having it. In these circumstances, you might want to consider switching to time-based caching, where you build the cached pages exactly as we did previously but don’t expire them when their content becomes obsolete. You run a separate background process that periodically goes into the cache directory and deletes the cache files. You choose how this deletion occurs—you could simply remove all files, the files created more than so many minutes ago, or the files whose names match some pattern. That part is application-specific. Report erratum this copy is (P1.0 printing, March 2009)](https://image.slidesharecdn.com/pragmatic-agilewebdevelopmentwithrails-3rdedition-2009-091104222637-phpapp01/75/Pragmatic-Agile-Web-Development-With-Rails-3rd-Edition-2009-502-2048.jpg)
![C ACHING , P AR T O NE 504 An alternate use for the Expires header is to indicate that the response is not to be cached at all. This can be accomplished with the expires_now method, which understandably takes no parameters. You can find additional information on more expiration options at http://www. w3.org/Protocols/rfc2616/rfc2616-sec14.html#sec14.9.3. Be aware that if you are using page-level caching, requests that are cached at the server won’t get to your application, so this mechanism needs to also be implemented at the server level to be effective. Here’s an example for the Apache web server: ExpiresActive On <FilesMatch ".(ico|gif|jpe?g|png|js|css)$"> ExpiresDefault "access plus 1 year" </FilesMatch> LastModified and ETag Support The next best thing to eliminating requests entirely is to respond immediately with an HTTP 304 Not Modified response. At a minimum, such responses will save on bandwidth. Often this will enable you to eliminate the server load associated with producing a more complete response. If you are already doing page-level caching with Apache, the web server will generally take care of this for you, based on the timestamp associated with the on disk cache. For all other requests, Rails will produce the necessary HTTP headers for you, if you call one of the stale? or fresh_when methods. Both methods accept both a :last_modified timestamp (in UTC) and an :etag. The latter is either an object on which the response depends or an array of such objects. Such objects need to respond to either cache_key or to_param. ActiveRecord takes care of this for you. stale? is typically used in if statements when custom rendering is involved. fresh_when is often more convenient when you are making use of default rendering: def show @article = Article.find(params[:id]) if stale?(:etag=>@article, :last_modified=>@article.created_at.utc) # ... end end def show fresh_when(:etag=>@article, :last_modified=>@article.created_at.utc) end Report erratum this copy is (P1.0 printing, March 2009)](https://image.slidesharecdn.com/pragmatic-agilewebdevelopmentwithrails-3rdedition-2009-091104222637-phpapp01/75/Pragmatic-Agile-Web-Development-With-Rails-3rd-Edition-2009-504-2048.jpg)
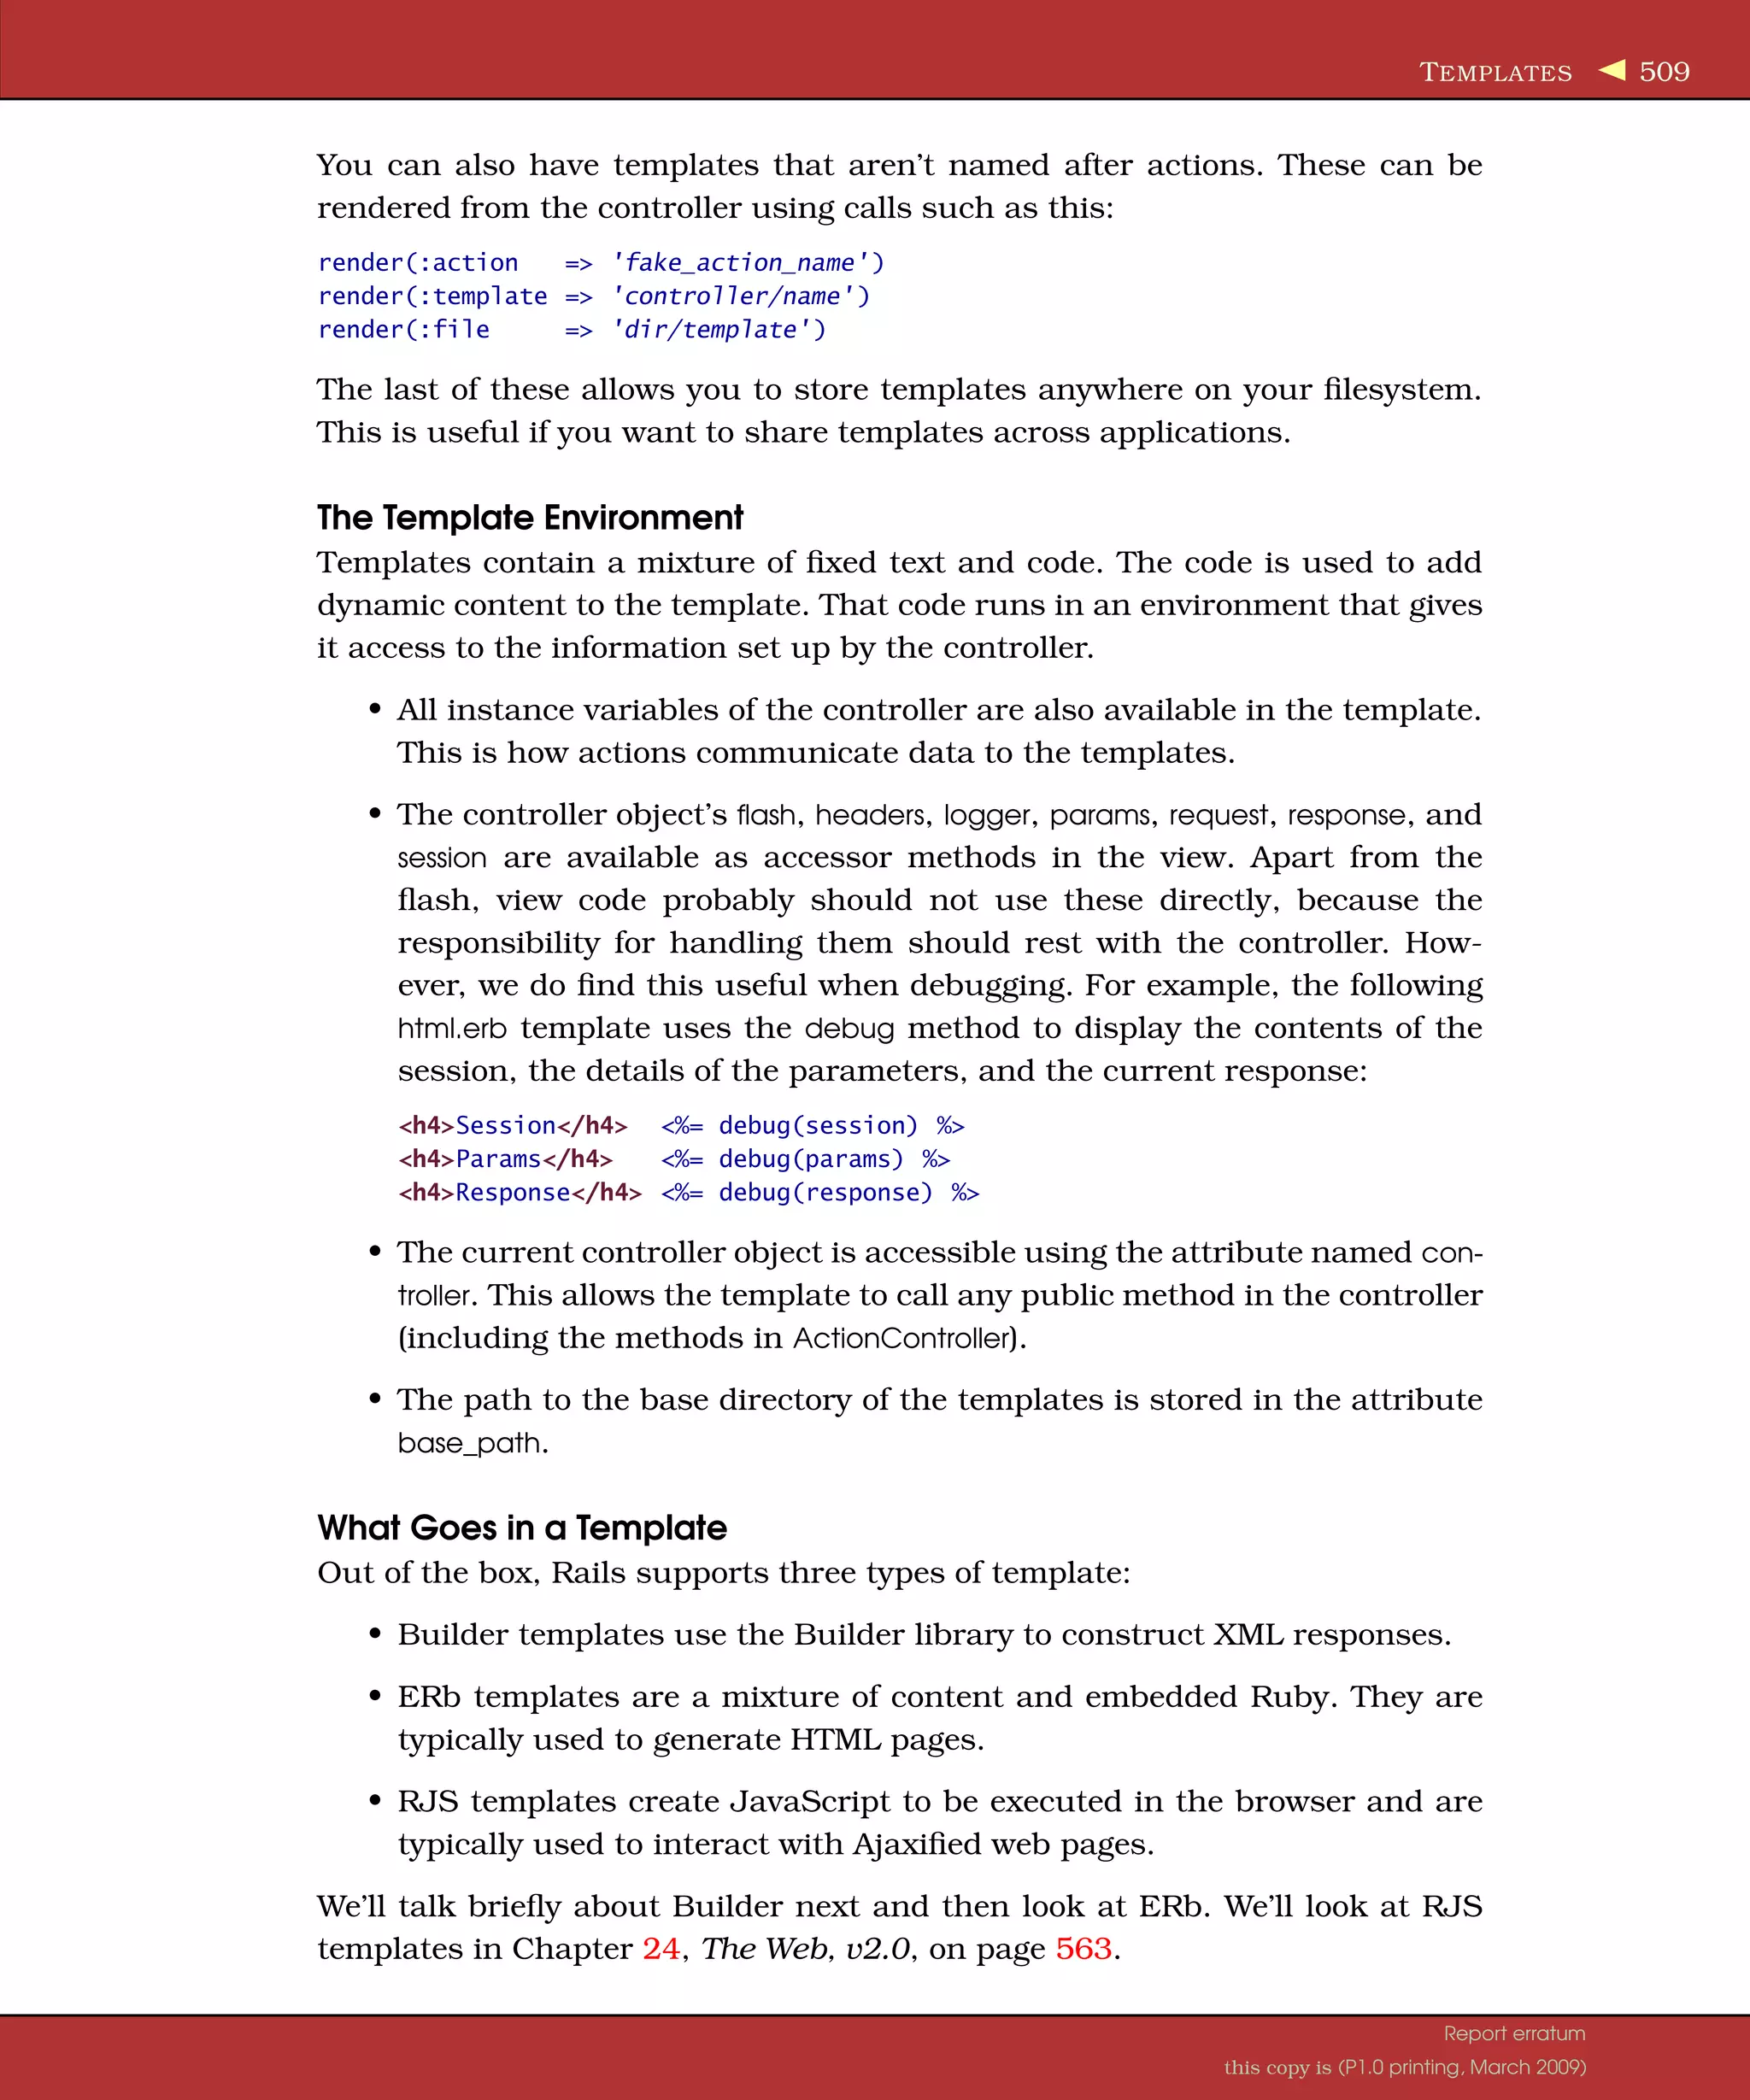
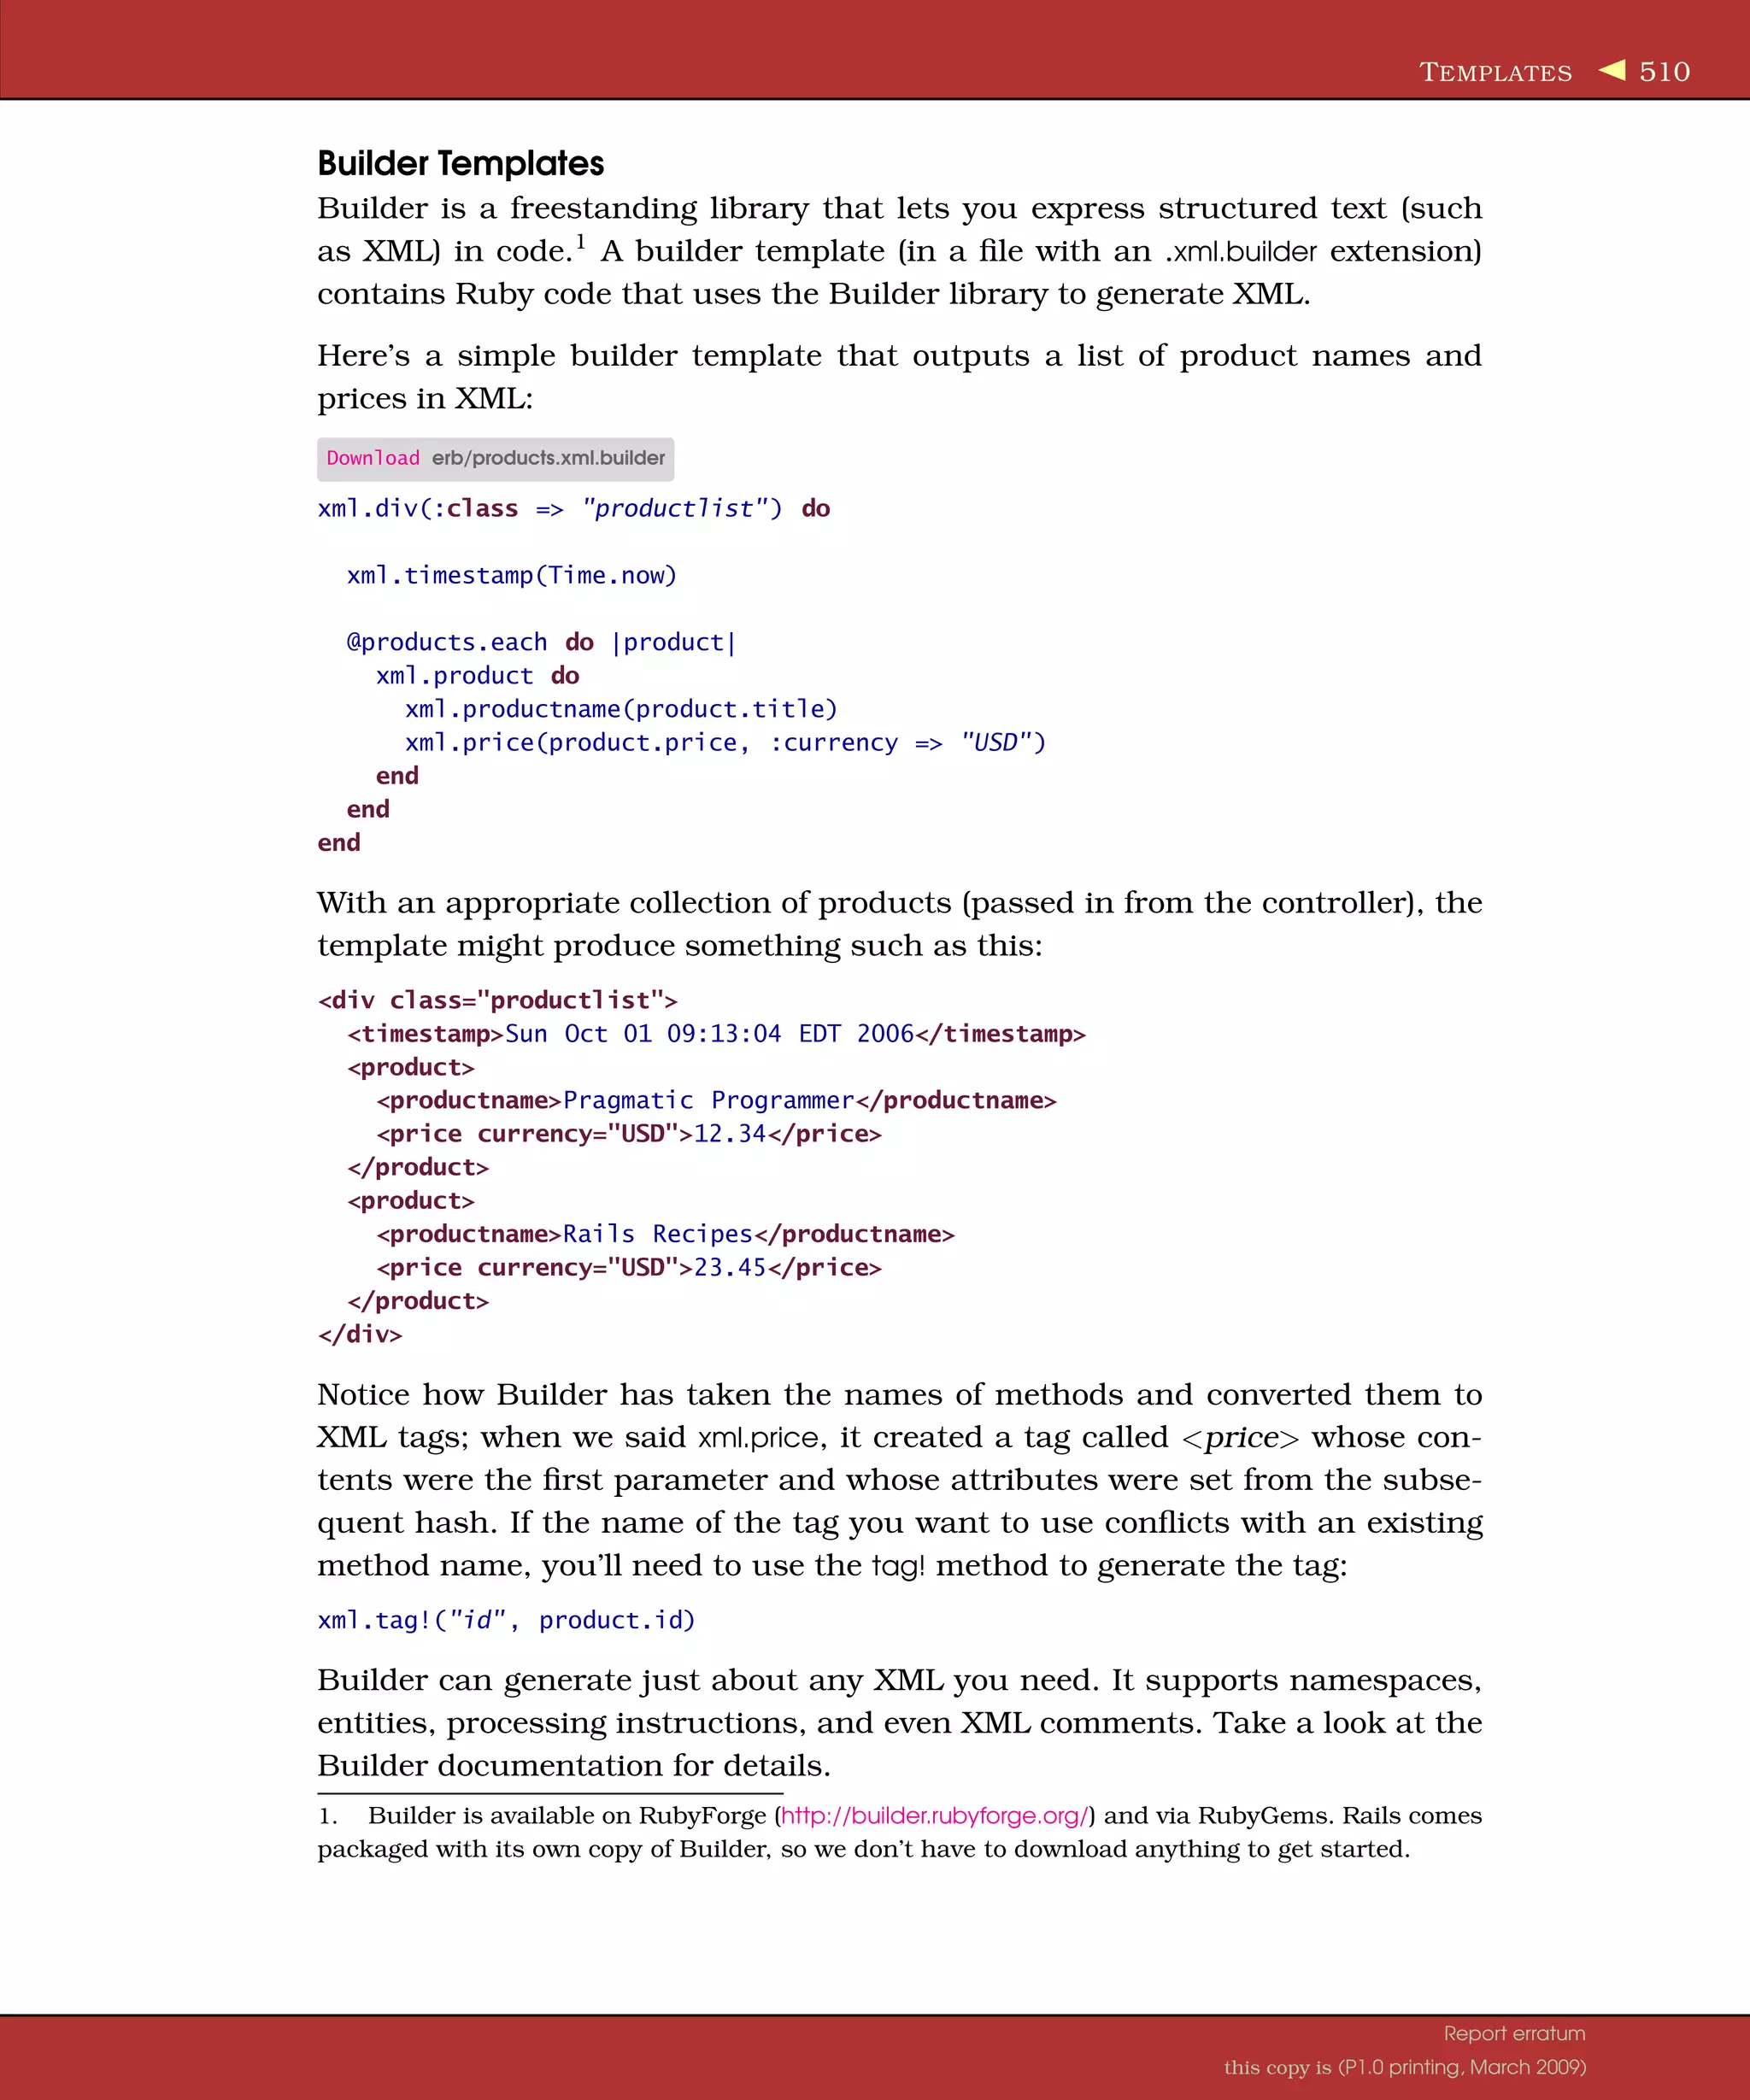
![T EMPLATES 511 ERb Templates At its simplest, an ERb template is just a regular HTML file. If a template contains no dynamic content, it is simply sent as is to the user’s browser. The following is a perfectly valid html.erb template: <h1>Hello, Dave!</h1> <p> How are you, today? </p> However, applications that just render static templates tend to be a bit boring to use. We can spice them up using dynamic content: <h1>Hello, Dave!</h1> <p> It's <%= Time.now %> </p> If you’re a JSP programmer, you’ll recognize this as an inline expression: any code between <%= and %> is evaluated, the result is converted to a string using to_s, and that string is substituted into the resulting page. The expression inside the tags can be arbitrary code: <h1>Hello, Dave!</h1> <p> It's <%= require 'date' DAY_NAMES = %w{ Sunday Monday Tuesday Wednesday Thursday Friday Saturday } today = Date.today DAY_NAMES[today.wday] %> </p> Putting lots of business logic into a template is generally considered to be a Very Bad Thing, and you’ll risk incurring the wrath of the coding police should you get caught. We’ll look at a better way of handling this when we discuss helpers on page 514. Sometimes you need code in a template that doesn’t directly generate any out- put. If you leave the equals sign off the opening tag, the contents are executed, but nothing is inserted into the template. We could have written the previous example as follows: <% require 'date' DAY_NAMES = %w{ Sunday Monday Tuesday Wednesday Thursday Friday Saturday } today = Date.today %> <h1>Hello, Dave!</h1> <p> It's <%= DAY_NAMES[today.wday] %>. Tomorrow is <%= DAY_NAMES[(today + 1).wday] %>. </p> Report erratum this copy is (P1.0 printing, March 2009)](https://image.slidesharecdn.com/pragmatic-agilewebdevelopmentwithrails-3rdedition-2009-091104222637-phpapp01/75/Pragmatic-Agile-Web-Development-With-Rails-3rd-Edition-2009-511-2048.jpg)
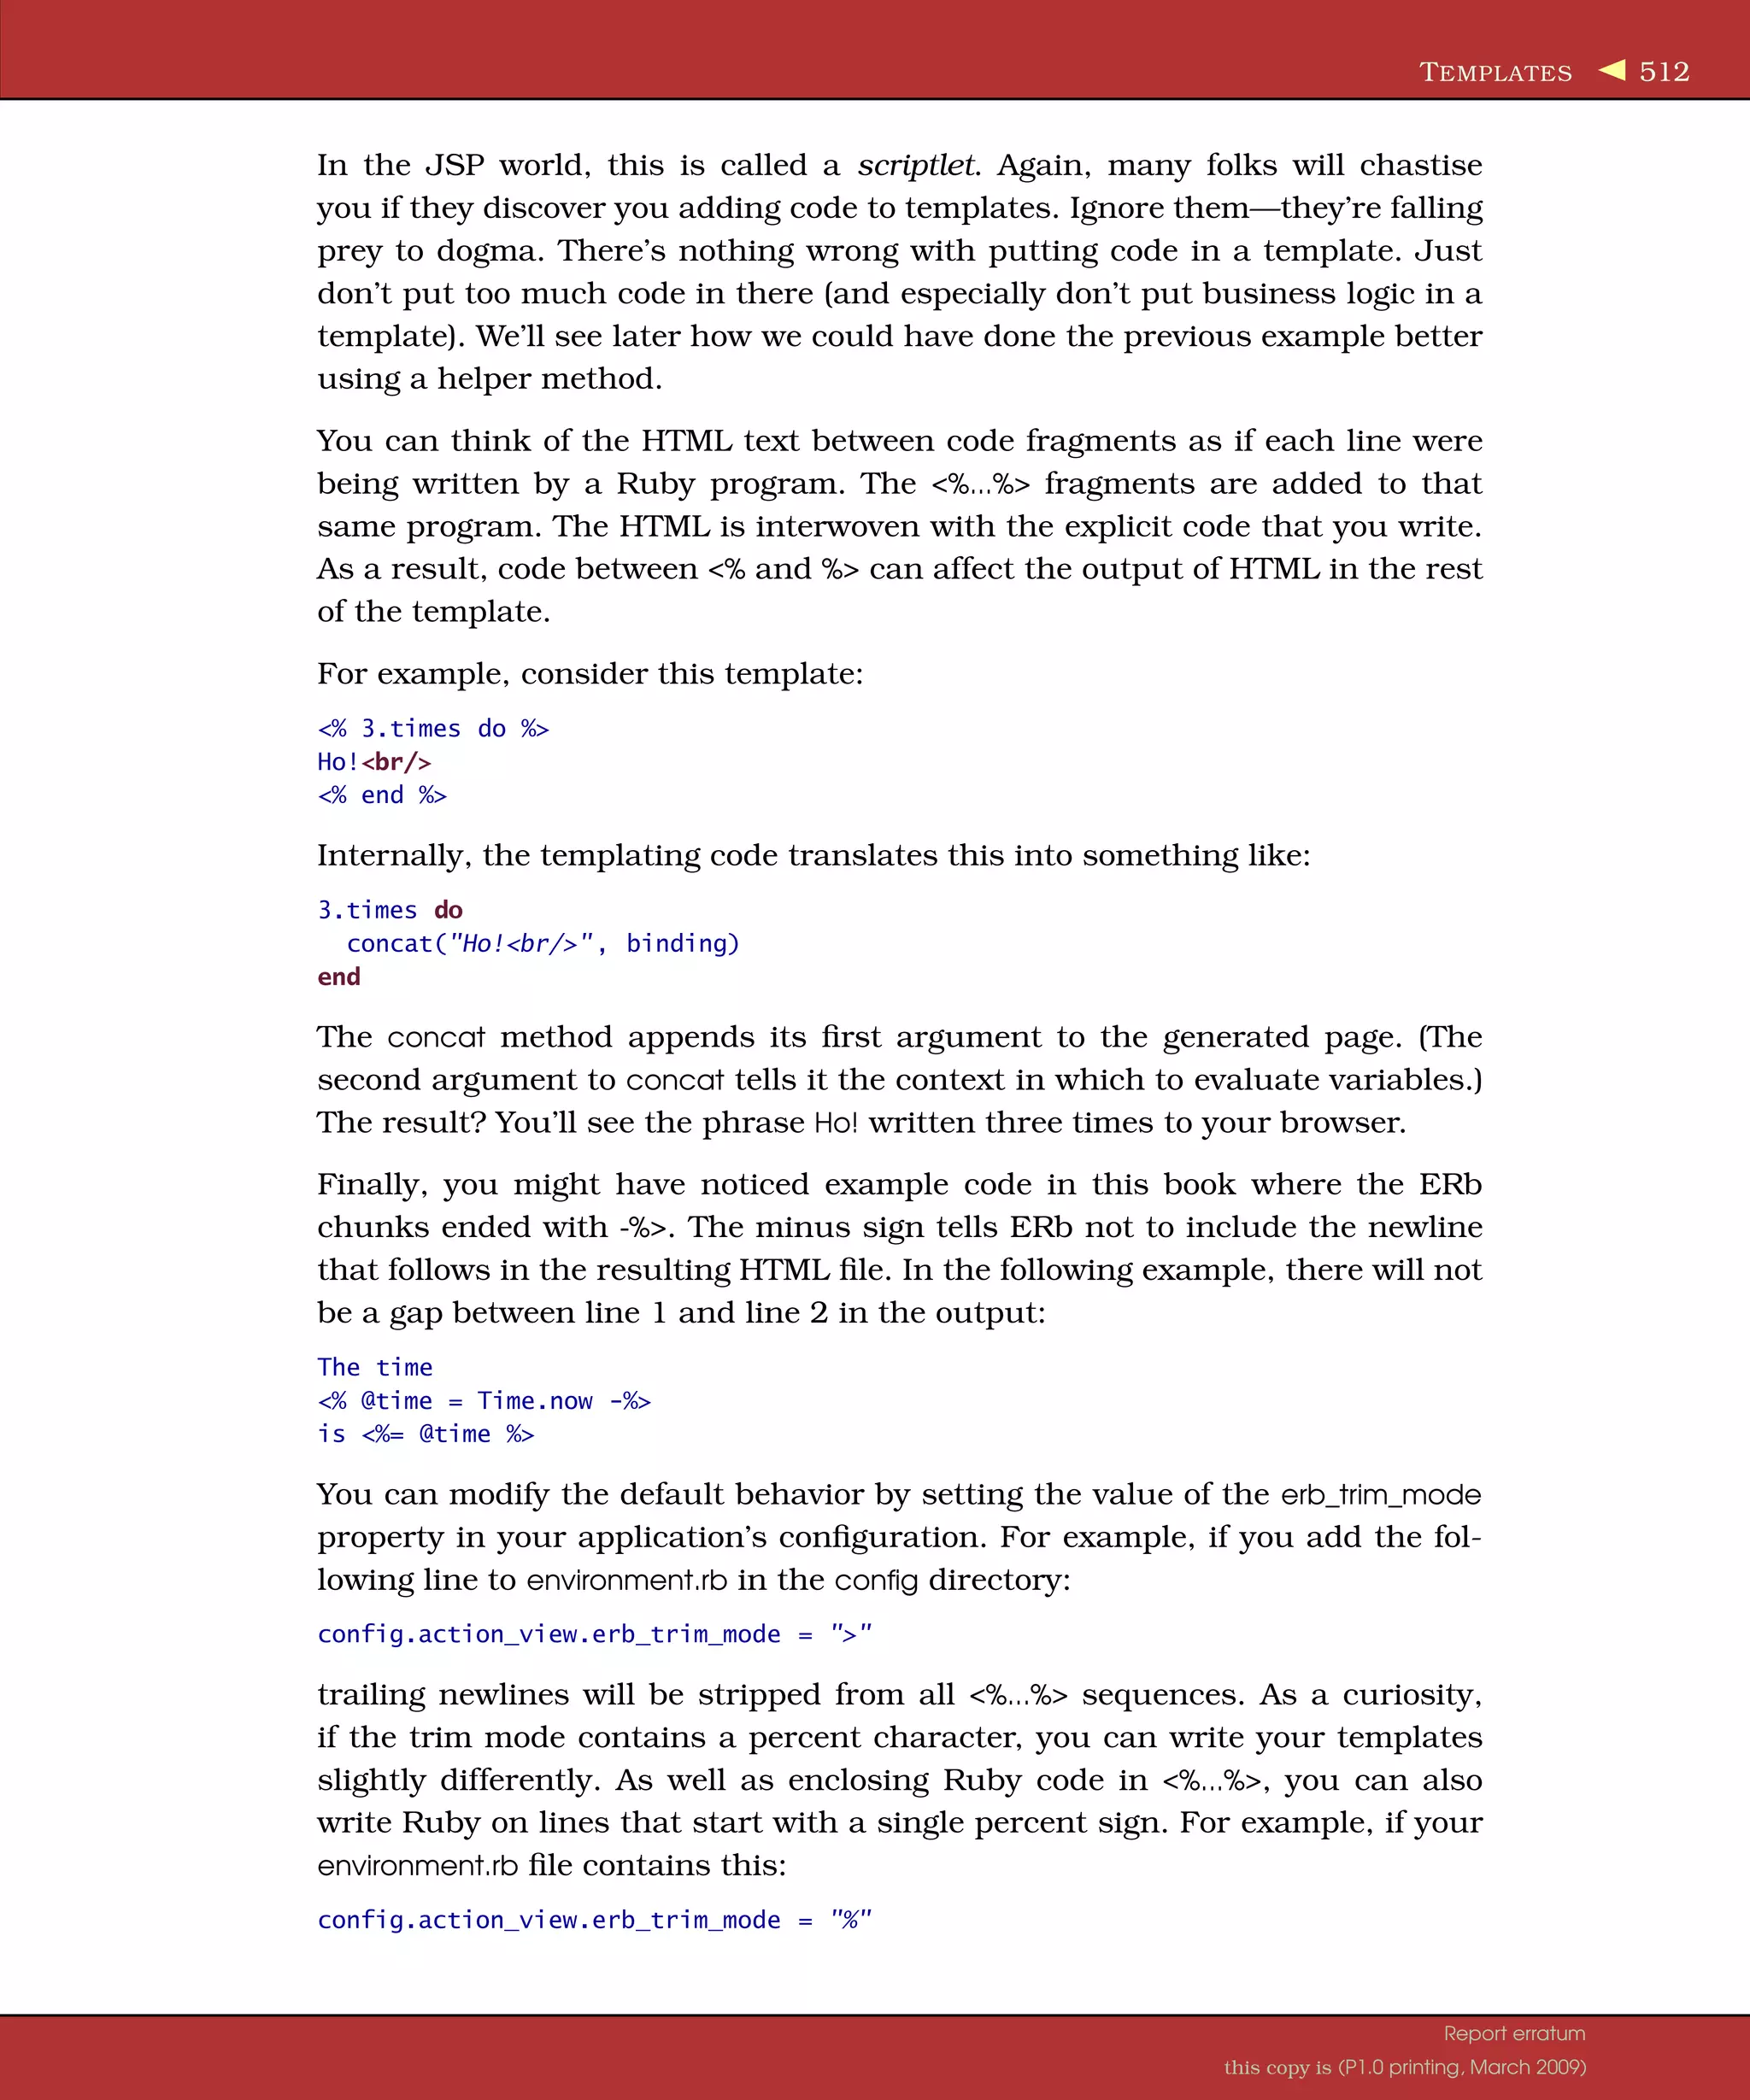
![T EMPLATES 513 you could write something like this: % 5.downto(1) do |i| <%= i %>... <br/> % end See the ERb documentation for more possible values for the trim mode. Escaping Substituted Values There’s one critical danger with ERb templates. When you insert a value using <%=...%>, it goes directly into the output stream. Take the following case: The value of name is <%= params[:name] %> In the normal course of things, this will substitute in the value of the request parameter name. But what if our user entered the following URL? http://x.y.com/myapp?name=Hello%20%3cb%3ethere%3c/b%3e The strange sequence %3cb%3ethere%3c/b%3e is a URL-encoded version of the HTML <b>there</b>. Our template will substitute this in, and the page will be displayed with the word there in bold. This might not seem like a big deal, but at best it leaves your pages open to defacement. At worst, as we’ll see in Chapter 27, Securing Your Rails Applica- tion, on page 637, it’s a gaping security hole that makes your site vulnerable to attack and data loss. Fortunately, the solution is simple. Always escape any text that you substitute into templates that isn’t meant to be HTML. Rails comes with a method to do just that. Its long name is html_escape, but most people just call it h. The value of name is <%=h params[:name] %> In fact, because Ruby doesn’t generally require parentheses around outermost calls to methods, most templates generated by Rails, and in fact most Rails code these days, choose to tuck the h immediately after the %=: The value of name is <%=h params[:name] %> Get into the habit of typing h immediately after you type <%=. You can’t use the h method if the text you’re substituting contains HTML that you want to be interpreted, because the HTML tags will be escaped—if you cre- ate a string containing <em>hello</em> and then substitute it into a template using the h method, the user will see <em>hello</em> rather than hello. The sanitize method offers some protection. It takes a string containing HTML and cleans up dangerous elements: <form> and <script> tags are escaped, and on= attributes and links starting javascript: are removed. Report erratum this copy is (P1.0 printing, March 2009)](https://image.slidesharecdn.com/pragmatic-agilewebdevelopmentwithrails-3rdedition-2009-091104222637-phpapp01/75/Pragmatic-Agile-Web-Development-With-Rails-3rd-Edition-2009-513-2048.jpg)
![H ELPERS FOR F ORMATTING , L INKING , AND P AGINATION 518 The first parameter to link_to is the text displayed for the link. The next is a hash specifying the link’s target. This uses the same format as the controller url_for method, which we discussed back on page 433. A third parameter may be used to set HTML attributes on the generated link: <%= link_to "Delete" , { :action => "delete" , :id => @product}, { :class => "dangerous" } %> This third parameter supports three additional options that modify the behav- ior of the link. Each requires JavaScript to be enabled in the browser. The :confirm option takes a short message. If present, JavaScript will be gener- ated to display the message and get the user’s confirmation before the link is followed: <%= link_to "Delete" , { :action => "delete" , :id => @product}, { :class => "dangerous" , :confirm => "Are you sure?" , :method => :delete} %> The :popup option takes either the value true or a two-element array of win- dow creation options (the first element is the window name passed to the JavaScript window.open method; the second element is the option string). The response to the request will be displayed in this pop-up window: <%= link_to "Help" , { :action => "help" }, :popup => ['Help' , 'width=200,height=150' ] %> The :method option is a hack—it allows you to make the link look to the appli- cation as if the request were created by a POST, PUT, or DELETE, rather than the normal GET method. This is done by creating a chunk of JavaScript that submits the request when the link is clicked—if JavaScript is disabled in the browser, a GET will be generated. <%= link_to "Delete" , { :controller => 'articles' , :id => @article }, :method => :delete %> The button_to method works the same as link_to but generates a button in a self-contained form, rather than a straight hyperlink. As we discussed in Sec- tion 22.6, The Problem with GET Requests, on page 505, this is the preferred method of linking to actions that have side effects. However, these buttons live in their own forms, which imposes a couple of restrictions: they cannot appear inline, and they cannot appear inside other forms. Rails has conditional linking methods that generate hyperlinks if some con- dition is met and just return the link text otherwise. link_to_if and link_to_unless Report erratum this copy is (P1.0 printing, March 2009)](https://image.slidesharecdn.com/pragmatic-agilewebdevelopmentwithrails-3rdedition-2009-091104222637-phpapp01/75/Pragmatic-Agile-Web-Development-With-Rails-3rd-Edition-2009-518-2048.jpg)
![H ELPERS FOR F ORMATTING , L INKING , AND P AGINATION 521 application. That’s the subject of a separate chapter, Chapter 24, The Web, v2.0, on page 563. By default, image and stylesheet assets are assumed to live in the images and stylesheets directories relative to the application’s public directory. If the path given to an asset tag method includes a forward slash, then the path is assumed to be absolute, and no prefix is applied. Sometimes it makes sense to move this static content onto a separate box or to different locations on the current box. Do this by setting the configuration variable asset_host: config.action_controller.asset_host = "http://media.my.url/assets" Pagination Helpers A community site might have thousands of registered users. We might want to create an administration action to list these, but dumping thousands of names to a single page is somewhat rude. Instead, we’d like to divide the output into pages and allow the user to scroll back and forth in these. As of Rails 2.0, pagination is no longer part of Rails; instead, this functionality is provided by a gem. You can add this gem to an existing application by adding the following to the end of config/environment.rb: Rails::Initializer.run do |config| config.gem 'mislav-will_paginate' , :version => '~> 2.3.2' , :lib => 'will_paginate' , :source => 'http://gems.github.com' end To install this gem (and any other missing gem dependencies), run this: sudo rake gems:install Now pagination is ready to use. Pagination works at the controller level and at the view level. In the controller, it controls which rows are fetched from the database. In the view, it displays the links necessary to navigate between different pages. Let’s start in the controller. We’ve decided to use pagination when displaying the list of users. In the controller, we declare a paginator for the users table: Download e1/views/app/controllers/pager_controller.rb def user_list @users = User.paginate :page => params[:page], :order => 'name' end Other than requiring a :page parameter, paginate works just like find—it just doesn’t fetch all of the records. paginate returns a PaginatedCollection proxy object paginator. This object can be used by our view to display the users, thirty at a time. The paginator knows which set of users to show by looking for a request parameter, by default called Report erratum this copy is (P1.0 printing, March 2009)](https://image.slidesharecdn.com/pragmatic-agilewebdevelopmentwithrails-3rdedition-2009-091104222637-phpapp01/75/Pragmatic-Agile-Web-Development-With-Rails-3rd-Edition-2009-521-2048.jpg)
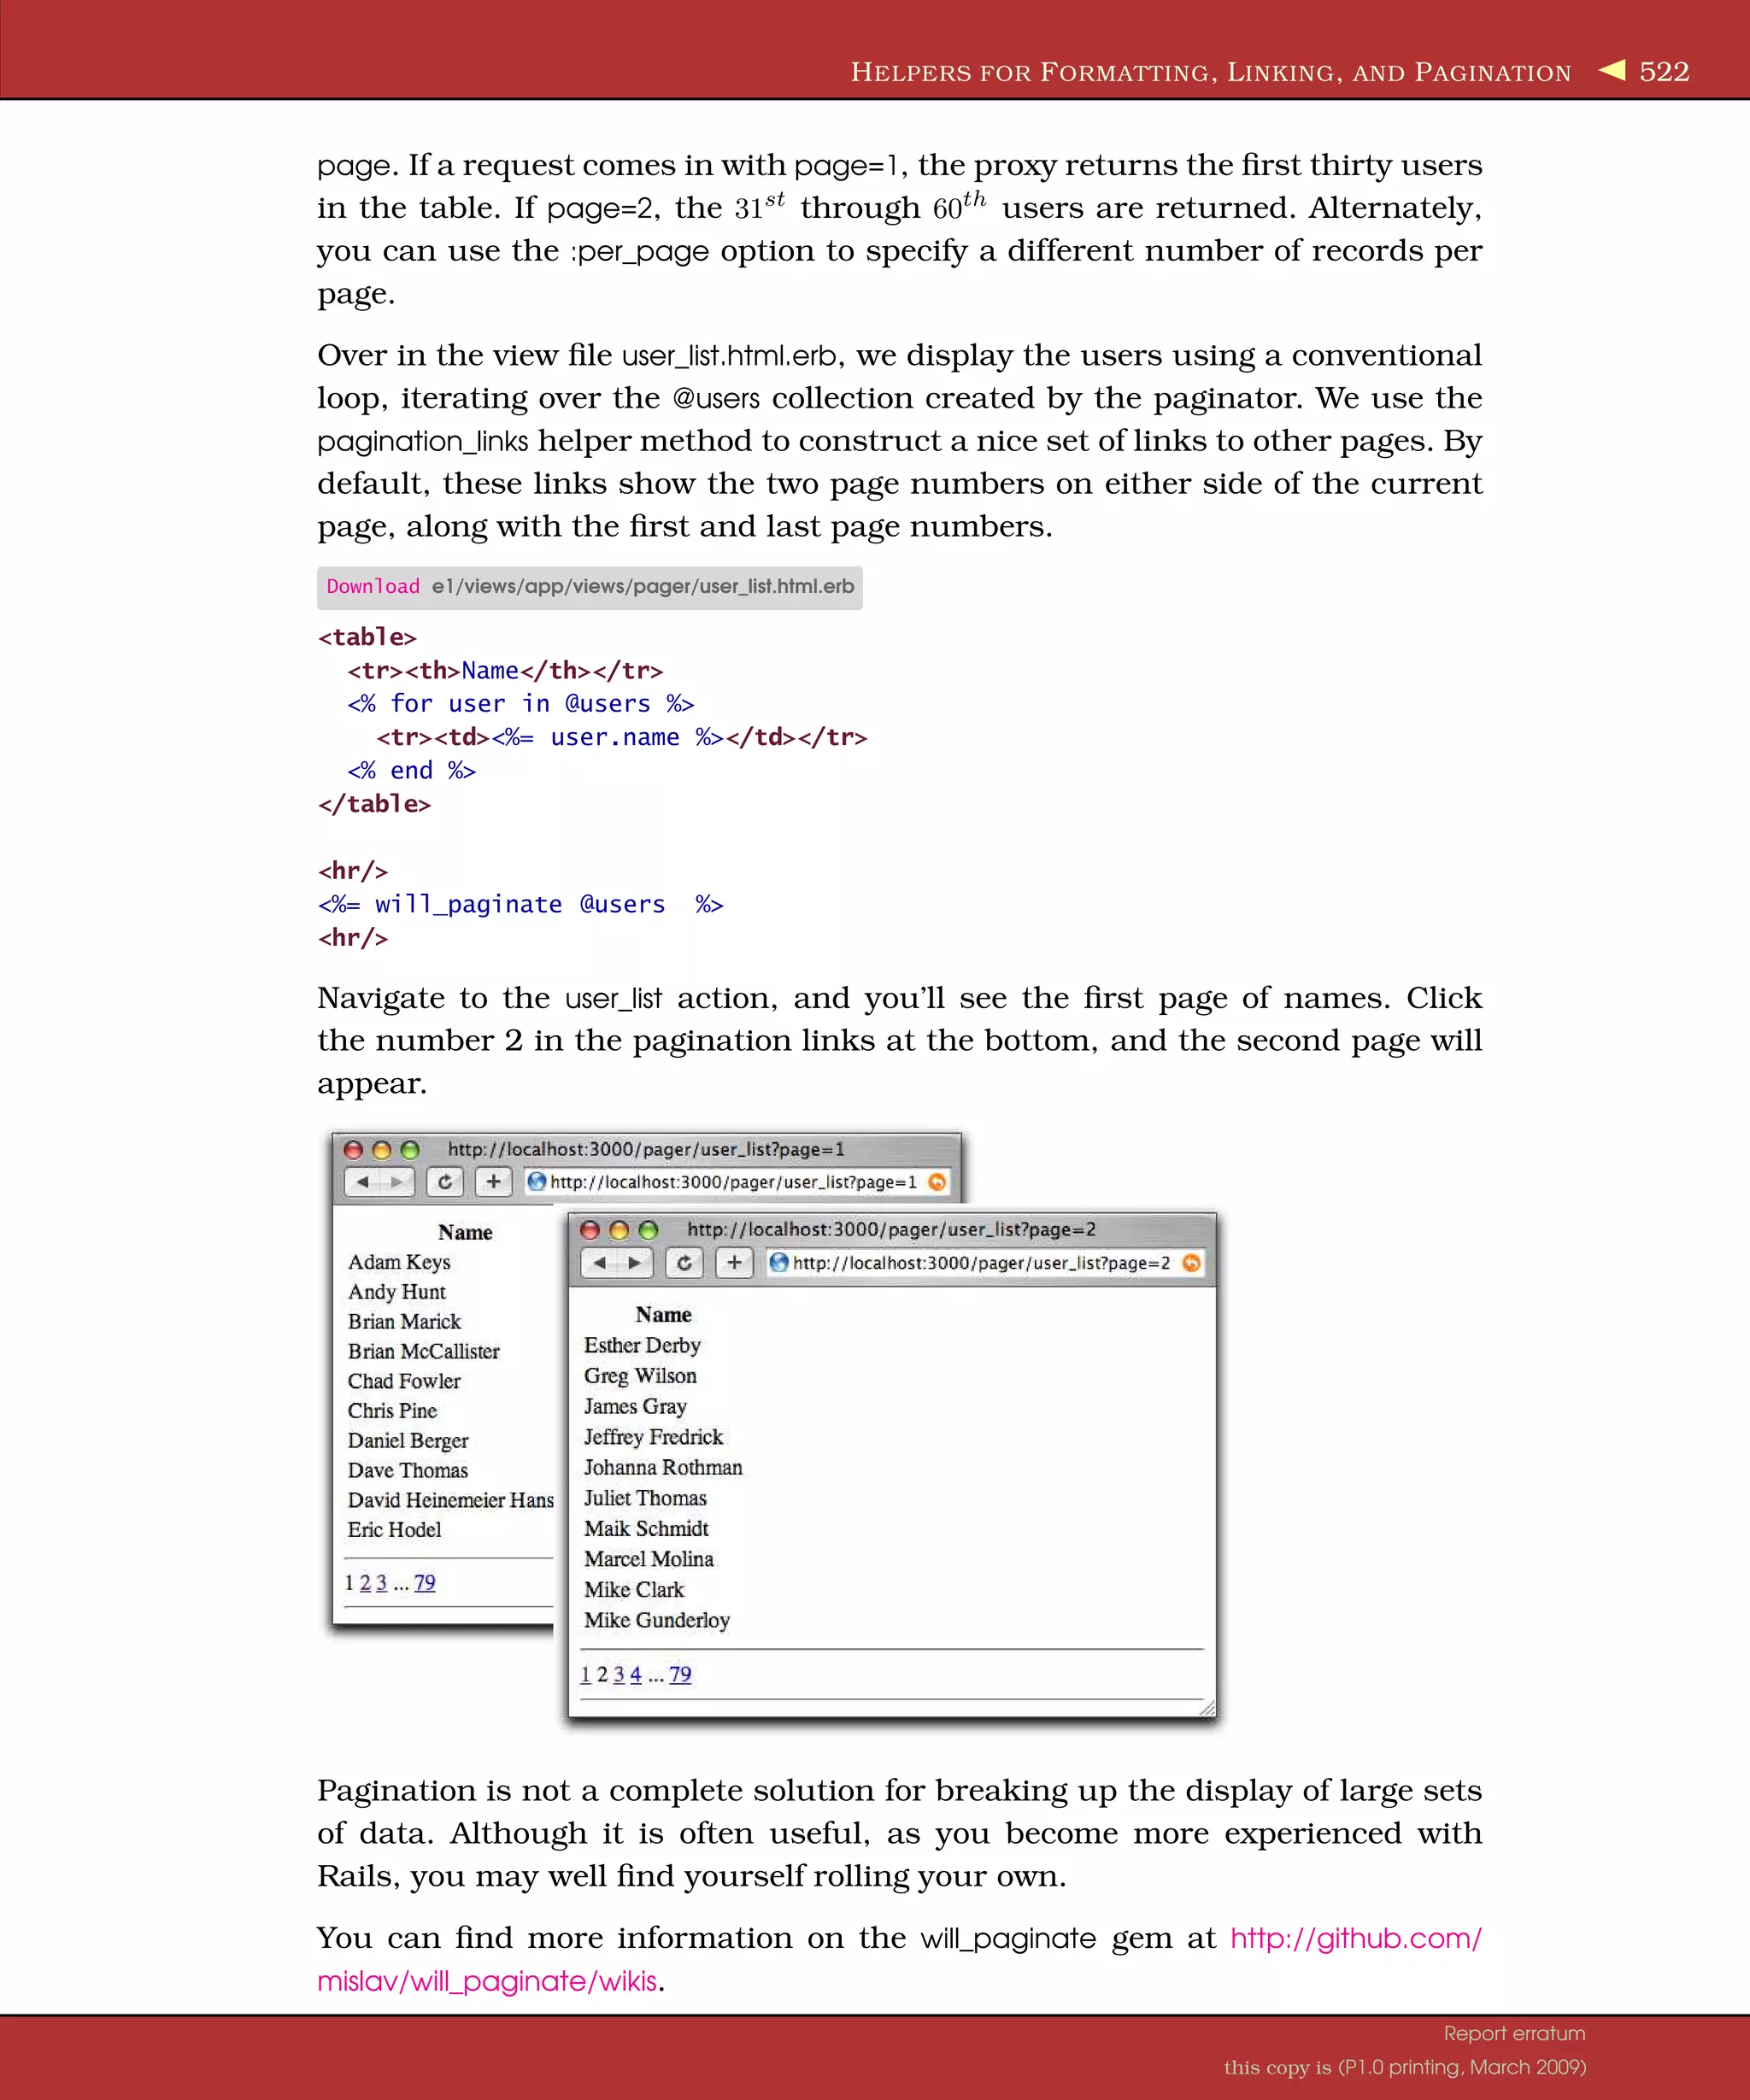
![H OW F ORMS W ORK 523 myapp_controller.rb def edit @user = User.find(params[:id]) end edit.html.erb <% form_for :user, :url => { :action => 'save', :id => @user } do |f| %> <%= f.text_field 'name' %></p> <%= f.text_field 'country' %></p> The application receives a request <%= f.password_field 'password' %></p> to edit a user. It reads the data into ... a new User model object. <% end %> The edit.html.erb template is called. It uses the information in the user object to generate... <form action="/myapp/save/1234"> <input name="user[name]" ... > the HTML is sent to the browser. <input name="user[country]" ... > When the response is received... <input name="user[password]" ... > ... the parameters are extracted into a </form> nested hash. The save action uses the parameters to find the user record and update it. @params = { :id => 1234, :user => { :name => " ... ", :country => " ... ", def save :password => " ... " } user = User.find(params[:id]) } if user.update_attributes(params[:user]) ... end end Figure 23.1: Models, controllers, and views work together. 23.4 How Forms Work Rails features a fully integrated web stack. This is most apparent in the way that the model, controller, and view components interoperate to support cre- ating and editing information in database tables. In Figure 23.1, we can see how the various attributes in the model pass through the controller to the view, on to the HTML page, and back again into the model. The model object has attributes such as name, country, and password. The template uses helper methods (which we’ll discuss shortly) to construct an HTML form to let the user edit the data in the model. Note how the form fields are named. The country attribute, for example, is mapped to an HTML input field with the name user[country]. Report erratum this copy is (P1.0 printing, March 2009)](https://image.slidesharecdn.com/pragmatic-agilewebdevelopmentwithrails-3rdedition-2009-091104222637-phpapp01/75/Pragmatic-Agile-Web-Development-With-Rails-3rd-Edition-2009-523-2048.jpg)
![F ORMS T HAT W RAP M ODEL O BJECTS 524 When the user submits the form, the raw POST data is sent back to our appli- cation. Rails extracts the fields from the form and constructs the params hash. Simple values (such as the id field, extracted by routing from the form action) are stored as scalars in the hash. But, if a parameter name has brackets in it, Rails assumes that it is part of more structured data and constructs a hash to hold the values. Inside this hash, the string inside the brackets is used as the key. This process can repeat if a parameter name has multiple sets of brackets in it. Form parameters params id=123 { :id => "123" } user[name]=Dave { :user => { :name => "Dave" }} user[address][city]=Wien { :user => { :address => { :city => "Wien" }}} In the final part of the integrated whole, model objects can accept new attribute values from hashes, which allows us to say this: user.update_attributes(params[:user]) Rails integration goes deeper than this. Looking at the .html.erb file in Fig- ure 23.1, we can see that the template uses a set of helper methods to create the form’s HTML; these are methods such as form_for and text_field. In fact, Rails’ form support has something of a split personality. When you’re writing forms that map to database resources, you’ll likely use the form_for style of form. When you’re writing forms that don’t map easily to database tables, you’ll probably use the lower-level form_tag style. (In fact, this naming is consistent across most of the Rails form helper methods; a name ending with _tag is generally lower level than the corresponding name without _tag.) Let’s start by looking at the high-level, resource-centric form_for type of form. 23.5 Forms That Wrap Model Objects A form that wraps a single Active Record module should be created using the form_for helper. (Note that form_for goes inside a <%...%> construct, not <%=...%>.) <% form_for :user do |form| %> . . . <% end %> The first parameter does double duty. It tells Rails the name of the object being manipulated (:user in this case) and also the name of the instance variable that holds a reference to that object (@user). Thus, in a controller action that rendered the template containing this form, we might write this: def new @user = User.new end Report erratum this copy is (P1.0 printing, March 2009)](https://image.slidesharecdn.com/pragmatic-agilewebdevelopmentwithrails-3rdedition-2009-091104222637-phpapp01/75/Pragmatic-Agile-Web-Development-With-Rails-3rd-Edition-2009-524-2048.jpg)
![F ORMS T HAT W RAP M ODEL O BJECTS 525 The action that receives the form data back would use the name to select that data from the request parameters: def create @user = User.new(params[:user]) ... end If for some reason the variable containing the model object is not named after the model’s class, we can give the variable as an optional second argument to form_for: <% form_for :user, @account_holder do |form| %> . . . <% end %> People first using form_for are often tripped up by the fact that it should not be used in an ERb substitution block. You should write this: <% form_for :user, @account_holder do |form| %> and not the variant with the equals sign shown next: <%= form_for :user, @account_holder do |form| %><!-- DON'T DO THIS --> form_for takes a hash of options. The two most commonly used options are :url and :html. The :url option takes the same fields that you can use in the url_for and link_to methods. It specifies the URL to be invoked when the form is submitted. <% form_for :user, :url => { :action => :create } %> . . . It also works with named routes (and this ought to be the way you use it). If we don’t specify a :url option, form_for posts the form data back to the origi- nating action: <% form_for :user, :url => users_url %> . . . The :html option lets us add HTML attributes to the generated form tag: <% form_for :product, :url => { :action => :create, :id => @product }, :html => { :class => "my_form" } do |form| %> As a special case, if the :html hash contains :multipart => true, the form will return multipart form data, allowing it to be used for file uploads (see Section 23.8, Uploading Files to Rails Applications, on page 544). We can use the :method parameter in the :html options to simulate using some- thing other than POST to send the form data: <% form_for :product, :url => { :action => :create, :id => @product }, :html => { :class => "my_form" , :method => :put } do |form| %> Report erratum this copy is (P1.0 printing, March 2009)](https://image.slidesharecdn.com/pragmatic-agilewebdevelopmentwithrails-3rdedition-2009-091104222637-phpapp01/75/Pragmatic-Agile-Web-Development-With-Rails-3rd-Edition-2009-525-2048.jpg)
![F ORMS T HAT W RAP M ODEL O BJECTS 526 Field Helpers and form_for form_for takes a block (the code between it and the <% end %>). It passes this block a form builder object. Inside the block we can use all the normal mixture of HTML and ERb available anywhere in a template. But, we can also use the form builder object to add form elements. As an example, here’s a simple form that captures new product information: Download e1/views/app/views/form_for/new.html.erb <% form_for :product, :url => { :action => :create } do |form| %> <p>Title: <%= form.text_field :title, :size => 30 %></p> <p>Description: <%= form.text_area :description, :rows => 3 %></p> <p>Image URL: <%= form.text_field :image_url %></p> <p>Price: <%= form.text_field :price, :size => 10 %></p> <%= form.select :title, %w{ one two three } %> <p><%= submit_tag %></p> <% end %> The significant thing here is the use of form builder helpers to construct the HTML <input> tags on the form. When we create a template containing some- thing like this: <% form_for :product, :url => { :action => :create } do |form| %> <p> Title: <%= form.text_field :title, :size => 30 %> </p> Rails will generate HTML like this: <form action="/form_for/create" method="post"> <p> Title: <input id="product_title" name="product[title]" size="30" type="text" /> </p> Notice how Rails has automatically named the input field after both the name of the model object (product) and the name of the field (title). Rails provides helper support for text fields (regular, hidden, password, and text areas), radio buttons, and checkboxes. (It also supports <input> tags with type="file", but we’ll discuss these in Section 23.8, Uploading Files to Rails Applications, on page 544.) All form builder helper methods take at least one parameter: the name of the attribute in the model to be queried when setting the field value. When we say this: <% form_for :product, :url => { :action => :create } do |form| %> <p> Title: <%= form.text_field :title, :size => 30 %> </p> Rails will populate the <input> tag with the value from @product.title. The name parameter may be a string or a symbol; idiomatic Rails uses symbols. Report erratum this copy is (P1.0 printing, March 2009)](https://image.slidesharecdn.com/pragmatic-agilewebdevelopmentwithrails-3rdedition-2009-091104222637-phpapp01/75/Pragmatic-Agile-Web-Development-With-Rails-3rd-Edition-2009-526-2048.jpg)
![F ORMS T HAT W RAP M ODEL O BJECTS 528 Selection Lists Selection lists are those drop-down list boxes with the built-in artificial intel- ligence that guarantees the choice you want can be reached only by scrolling past everyone else’s choice. Selection lists contain a set of choices. Each choice has a display string and an optional value attribute. The display string is what the user sees, and the value attribute is what is sent back to the application if that choice is selected. For regular selection lists, one choice may be marked as being selected; its display string will be the default shown to the user. For multiselect lists, more than one choice may be selected, in which case all of their values will be sent to the application. A basic selection list is created using the select helper method: form.select(:attribute, choices, options, html_options) The choices parameter populates the selection list. The parameter can be any enumerable object (so arrays, hashes, and the results of database queries are all acceptable). The simplest form of choices is an array of strings. Each string becomes a choice in the drop-down list, and if one of them matches the current value of @variable.attribute, it will be selected. (These examples assume that @user.name is set to Dave.) Download e1/views/app/views/test/select.html.erb <% form_for :user do |form| %> <%= form.select(:name, %w{ Andy Bert Chas Dave Eric Fred }) %> <% end %> This generates the following HTML: <select id="user_name" name="user[name]"> <option value="Andy">Andy</option> <option value="Bert">Bert</option> <option value="Chas">Chas</option> <option value="Dave" selected="selected">Dave</option> <option value="Eric">Eric</option> <option value="Fred">Fred</option> </select> If the elements in the choices argument each respond to first and last (which will be the case if each element is itself an array), the selection will use the first value as the display text and the last value as the internal key: Download e1/views/app/views/test/select.html.erb <%= form.select(:id, [ ['Andy', 1], ['Bert', 2], ['Chas', 3], ['Dave', 4], ['Eric', 5], ['Fred', 6]]) %> Report erratum this copy is (P1.0 printing, March 2009)](https://image.slidesharecdn.com/pragmatic-agilewebdevelopmentwithrails-3rdedition-2009-091104222637-phpapp01/75/Pragmatic-Agile-Web-Development-With-Rails-3rd-Edition-2009-528-2048.jpg)
![F ORMS T HAT W RAP M ODEL O BJECTS 529 The list displayed by this example will be identical to that of the first, but the values it communicates back to the application will be 1, or 2, or 3, or..., rather than Andy, Bert, or Chas. The HTML generated is as follows: <select id="user_id" name="user[id]"> <option value="1">Andy</option> <option value="2">Bert</option> <option value="3">Chas</option> <option value="4" selected="selected">Dave</option> <option value="5">Eric</option> <option value="6">Fred</option> </select> Finally, if you pass a hash as the choices parameter, the keys will be used as the display text and the values as the internal keys. Because it’s a hash, you can’t control the order of the entries in the generated list. Applications commonly need to construct selection boxes based on informa- tion stored in a database table. One way of doing this is by having the model’s find method populate the choices parameter. Although we show the find call adjacent to the select in this code fragment, in reality the find would probably be either in the controller or in a helper module. Download e1/views/app/views/test/select.html.erb <%= @users = User.find(:all, :order => "name" ).map {|u| [u.name, u.id] } form.select(:name, @users) %> Note how we take the result set and convert it into an array of arrays, where each subarray contains the name and the id. A higher-level way of achieving the same effect is to use collection_select. This takes a collection, where each member has attributes that return the display string and key for the options. In this example, the collection is a list of user model objects, and we build our select list using those models’ id and name attributes. Download e1/views/app/views/test/select.html.erb <%= @users = User.find(:all, :order => "name" ) form.collection_select(:name, @users, :id, :name) %> Grouped Selection Lists Groups are a rarely used but powerful feature of selection lists. You can use them to give headings to entries in the list. In Figure 23.2, on the next page, we can see a selection list with three groups. The full selection list is represented as an array of groups. Each group is an object that has a name and a collection of suboptions. In the following Report erratum this copy is (P1.0 printing, March 2009)](https://image.slidesharecdn.com/pragmatic-agilewebdevelopmentwithrails-3rdedition-2009-091104222637-phpapp01/75/Pragmatic-Agile-Web-Development-With-Rails-3rd-Edition-2009-529-2048.jpg)
![F ORMS T HAT W RAP M ODEL O BJECTS 530 Figure 23.2: Select list with grouped options example, we’ll set up a list containing shipping options, grouped by speed of delivery. We’ll create a nondatabase model called Shipping that encapsulates the shipping options. In it we’ll define a structure to hold each shipping option and a class that defines a group of options. We’ll initialize this statically (in a real application you’d probably drag the data in from a table). Download e1/views/app/models/shipping.rb class Shipping ShippingOption = Struct.new(:id, :name) class ShippingType attr_reader :type_name, :options def initialize(name) @type_name = name @options = [] end def <<(option) @options << option end end ground = ShippingType.new("SLOW" ) ground << ShippingOption.new(100, "Ground Parcel" ) ground << ShippingOption.new(101, "Media Mail" ) regular = ShippingType.new("MEDIUM" ) regular << ShippingOption.new(200, "Airmail" ) regular << ShippingOption.new(201, "Certified Mail" ) priority = ShippingType.new("FAST" ) priority << ShippingOption.new(300, "Priority" ) priority << ShippingOption.new(301, "Express" ) OPTIONS = [ ground, regular, priority ] end Report erratum this copy is (P1.0 printing, March 2009)](https://image.slidesharecdn.com/pragmatic-agilewebdevelopmentwithrails-3rdedition-2009-091104222637-phpapp01/75/Pragmatic-Agile-Web-Development-With-Rails-3rd-Edition-2009-530-2048.jpg)
![F ORMS T HAT W RAP M ODEL O BJECTS 531 In the view we’ll create the selection control to display the list. There isn’t a high-level wrapper that both creates the <select> tag and populates a grouped set of options, and there isn’t a form builder helper, so we have to use the (amazingly named) option_groups_from_collection_for_select method. This takes the collection of groups, the names of the accessors to use to find the groups and items, and the current value from the model. We put this inside a <select> tag that’s named for the model and attribute: Download e1/views/app/views/test/select.html.erb <label for="order_shipping_option">Shipping: </label> <select name="order[shipping_option]" id="order_shipping_option"> <%= option_groups_from_collection_for_select(Shipping::OPTIONS, :options, :type_name, # <- groups :id,:name, # <- items @order.shipping_option) %> </select> Finally, some high-level helpers make it easy to create selection lists for coun- tries and time zones. See the Rails API documentation for details. Date and Time Fields form.date_select(:attribute, options) form.datetime_select(:attribute, options) select_date(date = Date.today, options) select_day(date, options) select_month(date, options) select_year(date, options) select_datetime(time = Time.now, options) select_hour(time, options) select_minute(time, options) select_second(time, options) select_time(time, options) There are two sets of date selection widgets. The first set, date_select and date- time_select, works with date and datetime attributes of Active Record models. The second set, the select_xxx variants, also works well without Active Record support. Report erratum this copy is (P1.0 printing, March 2009)](https://image.slidesharecdn.com/pragmatic-agilewebdevelopmentwithrails-3rdedition-2009-091104222637-phpapp01/75/Pragmatic-Agile-Web-Development-With-Rails-3rd-Edition-2009-531-2048.jpg)
![F ORMS T HAT W RAP M ODEL O BJECTS 532 We can see some of these methods in action here: The select_xxx widgets are by default given the names date[xxx], so in the con- troller you could access the minutes selection as params[:date][:minute]. You can change the prefix from date using the :prefix option, and you can disable adding the field type in square brackets using the :discard_type option. The :include_blank option adds an empty option to the list. The select_minute method supports the :minute_step => nn option. Setting it to 15, for example, would list just the options 0, 15, 30, and 45. The select_month method normally lists month names. To show month num- bers as well, set the option :add_month_numbers => true. To display only the numbers, set :use_month_numbers => true. The select_year method by default lists from five years before to five years after the current year. This can be changed using the :start_year => yyyy and :end_year => yyyy options. date_select and datetime_select create widgets to allow the user to set a date (or datetime) in Active Record models using selection lists. The date stored in @variable.attribute is used as the default value. The display includes sep- arate selection lists for the year, month, day (and hour, minute, second). Select lists for particular fields can be removed from the display by setting the options :discard_month => 1, :discard_day => 1, and so on. Only one discard option is required—all lower-level units are automatically removed. The order of field display for date_select can be set using the :order => [ symbols,... ] option, where the symbols are :year, :month, and :day. In addition, all the options from the select_xxx widgets are supported. Labels form.label(:object, :method, 'text' , options) Returns a label tag tailored for labeling an input field for a specified attribute (identified by :method) on an object assigned to the template (identified by :object). The text of label will default to the attribute name unless you specify Report erratum this copy is (P1.0 printing, March 2009)](https://image.slidesharecdn.com/pragmatic-agilewebdevelopmentwithrails-3rdedition-2009-091104222637-phpapp01/75/Pragmatic-Agile-Web-Development-With-Rails-3rd-Edition-2009-532-2048.jpg)
![F ORMS T HAT W RAP M ODEL O BJECTS 533 it explicitly. Additional options on the label tag can be passed as a hash with options. Field Helpers Without Using form_for So far we’ve seen the input field helpers used in the context of a form_for block; each is called on the instance of a form builder object passed to the block. However, each has an alternate form that can be called without a form builder. This form of the helpers takes the name of the model object as a mandatory first parameter. So, for example, if an action set up a user object like this: def edit @user = User.find(params[:id]) end we could use form_for like this: <% form_for :user do |form| %> Name: <%= form.text_field :name %> ... The version using the alternate helper syntax would be as follows: <% form_for :user do |form| %> Name: <%= text_field :user, :name %> ... These style of helpers are going out of fashion for general forms. However, we may still need them when we construct forms that map to multiple Active Record objects. Multiple Models in a Form So far, we’ve used form_for to create forms for a single model. How can it be used to capture information for two or more models on a single web form? One problem is that form_for does two things. First, it creates a context (the Ruby block) in which the form builder helpers can associate HTML tags with model attributes. Second, it creates the necessary <form> tag and associated attributes. This latter behavior means we can’t use form_for to manage two model objects, because that would mean there were two independent forms on the browser page. Enter the fields_for helper. This creates the context to use form builder helpers, associating them with some model object, but it does not create a separate form context. Using this, we can embed fields for one object within the form for another. For example, a product might have ancillary information associated with it— information that we wouldn’t typically use when displaying the catalog. Report erratum this copy is (P1.0 printing, March 2009)](https://image.slidesharecdn.com/pragmatic-agilewebdevelopmentwithrails-3rdedition-2009-091104222637-phpapp01/75/Pragmatic-Agile-Web-Development-With-Rails-3rd-Edition-2009-533-2048.jpg)
![F ORMS T HAT W RAP M ODEL O BJECTS 534 Rather than clutter the products table, we’ll keep it in an ancillary details table: Download e1/views/db/migrate/004_create_details.rb class CreateDetails < ActiveRecord::Migration def self.up create_table :details do |t| t.integer :product_id t.string :sku t.string :manufacturer end end def self.down drop_table :details end end The model is equally trivial: Download e1/views/app/models/detail.rb class Detail < ActiveRecord::Base belongs_to :product validates_presence_of :sku end The view uses form_for to capture the fields for the product model and uses a fields_for call within that form to capture the details model data: Download e1/views/app/views/products/new.html.erb <% form_for :product, :url => { :action => :create } do |form| %> <%= error_messages_for :product %> Title: <%= form.text_field :title %><br/> Description: <%= form.text_area :description, :rows => 3 %><br/> Image url: <%=form.text_field :image_url %><br/> <fieldset> <legend>Details...</legend> <%= error_messages_for :details %> <% fields_for :details do |detail| %> SKU: <%= detail.text_field :sku %><br/> Manufacturer: <%= detail.text_field :manufacturer %> <% end %> </fieldset> <%= submit_tag %> <% end %> We can look at the generated HTML to see this in action: <form action="/products/create" method="post"> Title: <input id="product_title" name="product[title]" size="30" type="text" /><br/> Description: <textarea cols="40" id="product_description" name="product[description]" rows="3" ></textarea><br/> Report erratum this copy is (P1.0 printing, March 2009)](https://image.slidesharecdn.com/pragmatic-agilewebdevelopmentwithrails-3rdedition-2009-091104222637-phpapp01/75/Pragmatic-Agile-Web-Development-With-Rails-3rd-Edition-2009-534-2048.jpg)
![F ORMS T HAT W RAP M ODEL O BJECTS 535 Image url: <input id="product_image_url" name="product[image_url]" size="30" type="text" /><br/> <fieldset> <legend>Details...</legend> SKU: <input id="details_sku" name="details[sku]" size="30" type="text" /><br/> Manufacturer: <input id="details_manufacturer" name="details[manufacturer]" size="30" type="text" /> </fieldset> <input name="commit" type="submit" value="Save changes" /> </form> Note how the fields for the details model are named appropriately, ensuring their data will be returned in the correct subhash of params. The new action, called to render this form initially, simply creates two new model objects: Download e1/views/app/controllers/products_controller.rb def new @product = Product.new @details = Detail.new end The create action is responsible for receiving the form data and saving the models back into the database. It is considerably more complex than a single model save. This is because it has to take into account two factors: • If either model contains invalid data, neither model should be saved. • If both models contain validation errors, we want to display the messages from both—that is, we don’t want to stop checking for errors if we find problems in one model. Our solution uses transactions and an exception handler: Download e1/views/app/controllers/products_controller.rb def create @product = Product.new(params[:product]) @details = Detail.new(params[:details]) Product.transaction do @product.save! @details.product = @product @details.save! redirect_to :action => :show, :id => @product end Report erratum this copy is (P1.0 printing, March 2009)](https://image.slidesharecdn.com/pragmatic-agilewebdevelopmentwithrails-3rdedition-2009-091104222637-phpapp01/75/Pragmatic-Agile-Web-Development-With-Rails-3rd-Edition-2009-535-2048.jpg)
![F ORMS T HAT W RAP M ODEL O BJECTS 536 rescue ActiveRecord::RecordInvalid => e @details.valid? # force checking of errors even if products failed render :action => :new end This should be more than enough to get you started. For those who need more, see Recipe 13 in Advanced Rails Recipes [Cla08]. Error Handling and Model Objects The various helper widgets we’ve seen so far in this chapter know about Active Record models. They can extract the data they need from the attributes of model objects, and they name their parameters in such a way that models can extract them from request parameters. The helper objects interact with models in another important way; they are aware of the errors structure held within each model and will use it to flag attributes that have failed validation. When constructing the HTML for each field in a model, the helper methods invoke that model’s errors.on(field) method. If any errors are returned, the gen- erated HTML will be wrapped in <div> tags with class="fieldWithErrors". If you apply the appropriate stylesheet to your pages (we saw how on page 520), you can highlight any field in error. For example, the following CSS snippet, taken from the stylesheet used by the scaffolding-generated code, puts a red border around fields that fail validation: .fieldWithErrors { padding: 2px; background-color: red; display: table; } As well as highlighting fields in error, you’ll probably also want to display the text of error messages. Action View has two helper methods for this. error_message_on returns the error text associated with a particular field: <%= error_message_on(:product, :title) %> The scaffold-generated code uses a different pattern; it highlights the fields in error and displays a single box at the top of the form showing all errors in the form. It does this using error_messages_for, which takes the model object as a parameter: <%= error_messages_for(:product) %> Report erratum this copy is (P1.0 printing, March 2009)](https://image.slidesharecdn.com/pragmatic-agilewebdevelopmentwithrails-3rdedition-2009-091104222637-phpapp01/75/Pragmatic-Agile-Web-Development-With-Rails-3rd-Edition-2009-536-2048.jpg)
![C USTOM F ORM B UILDERS 538 It could look something like this: class TaggedBuilder < ActionView::Helpers::FormBuilder # Generate something like: # <p> # <label for="product_description">Description</label><br/> # <%= form.text_area 'description' %> # </p> def text_field(label, *args) @template.content_tag("p" , @template.content_tag("label" , label.to_s.humanize, :for => "#{@object_name}_#{label}" ) + "<br/>" + super) end end This code uses a couple of instance variables that are set up by the base class, FormBuilder. The instance variable @template gives us access to existing helper methods. We use it to invoke content_tag, a helper that creates a tag pair con- taining content. We also use the parent class’s instance variable @object_name, which is the name of the Active Record object passed to form_for. Also notice that at the end we call super. This invokes the original version of the text_field method, which in turn returns the <input> tag for this field. The result of all this is a string containing the HTML for a single field. For the title attribute of a product object, it would look something like the following (which has been reformatted to fit the page): <p><label for="product_title">Title</label><br/> <input id="product_title" name="product[title]" size="30" type="text" /> </p> Now we have to define text_area: def text_area(label, *args) @template.content_tag("p" , @template.content_tag("label" , label.to_s.humanize, :for => "#{@object_name}_#{label}" ) + "<br/>" + super) end Hmmm...apart from the method name, it’s identical to the text_field code. Let us now eliminate that duplication. First, we’ll write a class method in Tagged- Builder that uses the Ruby define_method function to dynamically create new tag helper methods. Report erratum this copy is (P1.0 printing, March 2009)](https://image.slidesharecdn.com/pragmatic-agilewebdevelopmentwithrails-3rdedition-2009-091104222637-phpapp01/75/Pragmatic-Agile-Web-Development-With-Rails-3rd-Edition-2009-538-2048.jpg)
![C USTOM F ORM B UILDERS 539 Download e1/views/app/helpers/tagged_builder.rb def self.create_tagged_field(method_name) define_method(method_name) do |label, *args| @template.content_tag("p" , @template.content_tag("label" , label.to_s.humanize, :for => "#{@object_name}_#{label}" ) + "<br/>" + super) end end We could then call this method twice in our class definition, once to create a text_field helper and again to create a text_area helper: create_tagged_field(:text_field) create_tagged_field(:text_area) But even this contains duplication. We could use a loop instead: [ :text_field, :text_area ].each do |name| create_tagged_field(name) end We can do even better. The base FormBuilder class defines a collection called field_helpers—a list of the names of all the helpers it defines. Using this our final helper class looks like this: Download e1/views/app/helpers/tagged_builder.rb class TaggedBuilder < ActionView::Helpers::FormBuilder # <p> # <label for="product_description">Description</label><br/> # <%= form.text_area 'description' %> #</p> def self.create_tagged_field(method_name) define_method(method_name) do |label, *args| @template.content_tag("p" , @template.content_tag("label" , label.to_s.humanize, :for => "#{@object_name}_#{label}" ) + "<br/>" + super) end end field_helpers.each do |name| create_tagged_field(name) end end Report erratum this copy is (P1.0 printing, March 2009)](https://image.slidesharecdn.com/pragmatic-agilewebdevelopmentwithrails-3rdedition-2009-091104222637-phpapp01/75/Pragmatic-Agile-Web-Development-With-Rails-3rd-Edition-2009-539-2048.jpg)
![W ORKING WITH N ONMODEL F IELDS 541 Forms Containing Collections If you need to edit multiple objects from the same model on one form, add open and closed brackets to the name of the instance variable you pass to the form helpers. This tells Rails to include the object’s id as part of the field name. For example, the following template lets a user alter one or more image URLs associated with a list of products: Download e1/views/app/views/array/edit.html.erb <% form_tag do %> <% for @product in @products %> <%= text_field("product[]" , 'image_url') %><br /> <% end %> <%= submit_tag %> <% end %> When the form is submitted to the controller, params[:product] will be a hash of hashes, where each key is the id of a model object and the corresponding value are the values from the form for that object. In the controller, this could be used to update all product rows with something like this: Download e1/views/app/controllers/array_controller.rb Product.update(params[:product].keys, params[:product].values) can share them between applications to impose a company-wide standard for your user interactions. They will also help when you need to follow accessibility guidelines for your applications. We recommend using form builders for all your Rails forms. 23.7 Working with Nonmodel Fields So far, we’ve focused on the integration between models, controllers, and views in Rails. But Rails also provides support for creating fields that have no corre- sponding model. These helper methods, documented in FormTagHelper, all take a simple field name, rather than a model object and attribute. The contents of the field will be stored under that name in the params hash when the form is submitted to the controller. These nonmodel helper methods all have names ending in _tag. We need to create a form in which to use these field helpers. So far we’ve been using form_for to do this, but this assumes we’re building a form around a model object, and this isn’t necessarily the case when using the low-level helpers. We could just hard-code a <form> tag into our HTML, but Rails has a better way: create a form using the form_tag helper. Like form_for, a form_tag should Report erratum this copy is (P1.0 printing, March 2009)](https://image.slidesharecdn.com/pragmatic-agilewebdevelopmentwithrails-3rdedition-2009-091104222637-phpapp01/75/Pragmatic-Agile-Web-Development-With-Rails-3rd-Edition-2009-541-2048.jpg)
![W ORKING WITH N ONMODEL F IELDS 542 appear within <%...%> sequences and should take a block containing the form contents:7 <% form_tag :action => 'save', :id => @product do %> Quantity: <%= text_field_tag :quantity, '0' %> <% end %> The first parameter to form_tag is a hash identifying the action to be invoked when the form is submitted. This hash takes the same options as url_for (see page 437). An optional second parameter is another hash, letting you set attributes on the HTML form tag itself. (Note that the parameter list to a Ruby method must be in parentheses if it contains two literal hashes.) <% form_tag({ :action => :save }, { :class => "compact" }) do ...%> We can illustrate nonmodel forms with a simple calculator. It prompts us for two numbers, lets us select an operator, and displays the result. The file calculate.html.erb in app/views/test uses text_field_tag to display the two number fields and select_tag to display the list of operators. Note how we had to initialize a default value for all three fields using the values currently in the params hash. We also need to display a list of any errors found while processing the form data in the controller and show the result of the calculation. Download e1/views/app/views/test/calculate.html.erb <% unless @errors.blank? %> <ul> <% for error in @errors %> <li><p><%= h(error) %></p></li> <% end %> </ul> <% end %> <% form_tag(:action => :calculate) do %> <%= text_field_tag(:arg1, params[:arg1], :size => 3) %> <%= select_tag(:operator, options_for_select(%w{ + - * / }, params[:operator])) %> <%= text_field_tag(:arg2, params[:arg2], :size => 3) %> <% end %> <strong><%= @result %></strong> 7. This is a change in Rails 1.2. Report erratum this copy is (P1.0 printing, March 2009)](https://image.slidesharecdn.com/pragmatic-agilewebdevelopmentwithrails-3rdedition-2009-091104222637-phpapp01/75/Pragmatic-Agile-Web-Development-With-Rails-3rd-Edition-2009-542-2048.jpg)
![W ORKING WITH N ONMODEL F IELDS 543 Without error checking, the controller code would be trivial: def calculate if request.post? @result = Float(params[:arg1]).send(params[:operator], params[:arg2]) end end However, running a web page without error checking is a luxury we can’t afford, so we’ll have to go with the longer version: Download e1/views/app/controllers/test_controller.rb def calculate if request.post? @errors = [] arg1 = convert_float(:arg1) arg2 = convert_float(:arg2) op = convert_operator(:operator) if @errors.empty? begin @result = op.call(arg1, arg2) rescue Exception => err @result = err.message end end end end private def convert_float(name) if params[name].blank? @errors << "#{name} missing" else begin Float(params[name]) rescue Exception => err @errors << "#{name}: #{err.message}" nil end end end def convert_operator(name) case params[name] when "+" then proc {|a,b| a+b} when "-" then proc {|a,b| a-b} when "*" then proc {|a,b| a*b} when "/" then proc {|a,b| a/b} else @errors << "Missing or invalid operator" nil end end Report erratum this copy is (P1.0 printing, March 2009)](https://image.slidesharecdn.com/pragmatic-agilewebdevelopmentwithrails-3rdedition-2009-091104222637-phpapp01/75/Pragmatic-Agile-Web-Development-With-Rails-3rd-Edition-2009-543-2048.jpg)
![U PLOADING F ILES TO R AILS A PPLICATIONS 546 def uploaded_picture=(picture_field) self.name = base_part_of(picture_field.original_filename) self.content_type = picture_field.content_type.chomp self.data = picture_field.read end def base_part_of(file_name) File.basename(file_name).gsub(/[^w._-]/, '' ) end end We define an accessor called uploaded_picture= to receive the file uploaded by the form. The object returned by the form is an interesting hybrid. It is file- like, so we can read its contents with the read method; that’s how we get the image data into the data column. It also has the attributes content_type and original_filename, which let us get at the uploaded file’s metadata. All this picking apart is performed by our accessor method: a single object is stored as separate attributes in the database. Note that we also add a simple validation to check that the content type is of the form image/xxx. We don’t want someone uploading JavaScript. The save action in the controller is totally conventional: Download e1/views/app/controllers/upload_controller.rb def save @picture = Picture.new(params[:picture]) if @picture.save redirect_to(:action => 'show' , :id => @picture.id) else render(:action => :get) end end So, now that we have an image in the database, how do we display it? One way is to give it its own URL and simply link to that URL from an image tag. For example, we could use a URL such as upload/picture/123 to return the image for picture 123. This would use send_data to return the image to the browser. Note how we set the content type and filename—this lets browsers interpret the data and supplies a default name should the user choose to save the image: Download e1/views/app/controllers/upload_controller.rb def picture @picture = Picture.find(params[:id]) send_data(@picture.data, :filename => @picture.name, :type => @picture.content_type, :disposition => "inline" ) end Report erratum this copy is (P1.0 printing, March 2009)](https://image.slidesharecdn.com/pragmatic-agilewebdevelopmentwithrails-3rdedition-2009-091104222637-phpapp01/75/Pragmatic-Agile-Web-Development-With-Rails-3rd-Edition-2009-546-2048.jpg)
![U PLOADING F ILES TO R AILS A PPLICATIONS 547 Figure 23.3: Uploading a file Finally, we can implement the show action, which displays the comment and the image. The action simply loads up the picture model object: Download e1/views/app/controllers/upload_controller.rb def show @picture = Picture.find(params[:id]) end In the template, the image tag links back to the action that returns the picture content. In Figure 23.3, we can see the get and show actions in all their glory: Download e1/views/app/views/upload/show.html.erb <h3><%= @picture.comment %></h3> <img src="<%= url_for(:action => 'picture', :id => @picture.id) %>"/> You can optimize the performance of this technique by caching the picture action. (We discuss caching starting on page 496.) If you’d like an easier way of dealing with uploading and storing images, take a look at Rick Olson’s Acts as Attachment plug-in.8 Create a database table that includes a given set of columns (documented on Rick’s site), and the plug-in will automatically manage storing both the uploaded data and the upload’s metadata. Unlike our previous approach, it handles storing the uploads in both your filesystem or a database table. And, if you’re uploading large files, you might want to show your users the status of the upload as it progresses. Take a look at the upload_progress plug- in, which adds a new form_with_upload_progress helper to Rails. 8. http://technoweenie.stikipad.com/plugins/show/Acts+as+Attachment Report erratum this copy is (P1.0 printing, March 2009)](https://image.slidesharecdn.com/pragmatic-agilewebdevelopmentwithrails-3rdedition-2009-091104222637-phpapp01/75/Pragmatic-Agile-Web-Development-With-Rails-3rd-Edition-2009-547-2048.jpg)
![L AYOUTS AND C OMPONENTS 550 You can qualify which actions will have the layout applied to them using the :only and :except qualifiers: class StoreController < ApplicationController layout "standard" , :except => [ :rss, :atom ] # ... end Specifying a layout of nil turns off layouts for a controller. Sometimes you need to change the appearance of a set of pages at runtime. For example, a blogging site might offer a different-looking side menu if the user is logged in, or a store site might have different-looking pages if the site is down for maintenance. Rails supports this need with dynamic layouts. If the parameter to the layout declaration is a symbol, it’s taken to be the name of a controller instance method that returns the name of the layout to be used: class StoreController < ApplicationController layout :determine_layout # ... private def determine_layout if Store.is_closed? "store_down" else "standard" end end end Subclasses of a controller will use the parent’s layout unless they override it using the layout directive. Finally, individual actions can choose to render using a specific layout (or with no layout at all) by passing render the :layout option: def rss render(:layout => false) # never use a layout end def checkout render(:layout => "layouts/simple" ) end Passing Data to Layouts Layouts have access to all the same data that’s available to conventional tem- plates. In addition, any instance variables set in the normal template will be Report erratum this copy is (P1.0 printing, March 2009)](https://image.slidesharecdn.com/pragmatic-agilewebdevelopmentwithrails-3rdedition-2009-091104222637-phpapp01/75/Pragmatic-Agile-Web-Development-With-Rails-3rd-Edition-2009-550-2048.jpg)
![L AYOUTS AND C OMPONENTS 553 Other templates use the render(:partial=>) method to invoke this: <%= render(:partial => "article" , :object => @an_article) %> <h3>Add Comment</h3> . . . The :partial parameter to render is the name of the template to render (but without the leading underscore). This name must be both a valid filename and a valid Ruby identifier (so a-b and 20042501 are not valid names for partials). The :object parameter identifies an object to be passed into the partial. This object will be available within the template via a local variable with the same name as the template. In this example, the @an_article object will be passed to the template, and the template can access it using the local variable article. That’s why we could write things such as article.title in the partial. Idiomatic Rails developers use a variable named after the template (article in this instance). In fact, it’s normal to take this a step further. If the object to be passed to the partial is in a controller instance variable with the same name as the partial, you can omit the :object parameter. If, in the previous example, our controller had set up the article in the instance variable @article, the view could have rendered the partial using just this: <%= render(:partial => "article" ) %> <h3>Add Comment</h3> . . . You can set additional local variables in the template by passing render a :locals parameter. This takes a hash where the entries represent the names and val- ues of the local variables to set. render(:partial => 'article' , :object => @an_article, :locals => { :authorized_by => session[:user_name], :from_ip => request.remote_ip }) Partials and Collections Applications commonly need to display collections of formatted entries. A blog might show a series of articles, each with text, author, date, and so on. A store might display entries in a catalog, where each has an image, a description, and a price. The :collection parameter to render can be used in conjunction with the :partial parameter. The :partial parameter lets us use a partial to define the format of an individual entry, and the :collection parameter applies this template to each member of the collection. To display a list of article model objects using our previously defined _article.html.erb partial, we could write this: <%= render(:partial => "article" , :collection => @article_list) %> Report erratum this copy is (P1.0 printing, March 2009)](https://image.slidesharecdn.com/pragmatic-agilewebdevelopmentwithrails-3rdedition-2009-091104222637-phpapp01/75/Pragmatic-Agile-Web-Development-With-Rails-3rd-Edition-2009-553-2048.jpg)
![C ACHING , P AR T T WO 556 Here’s our mock Article class. It simulates a model class that in normal cir- cumstances would fetch articles from the database. We’ve arranged for the first article in our list to display the time at which it was created. Download e1/views/app/models/article.rb class Article attr_reader :body def initialize(body) @body = body end def self.find_recent [ new("It is now #{Time.now.to_s}" ), new("Today I had pizza" ), new("Yesterday I watched Spongebob" ), new("Did nothing on Saturday" ) ] end end Now we’d like to set up a template that uses a cached version of the rendered articles but still updates the dynamic data. It turns out to be trivial. Download e1/views/app/views/blog/list.html.erb <%= @dynamic_content %> <!-- Here's dynamic content. --> <% cache do %> <!-- Here's the content we cache --> <ul> <% for article in Article.find_recent -%> <li><p><%= h(article.body) %></p></li> <% end -%> </ul> <% end %> <!-- End of cached content --> <%= @dynamic_content %> <!-- More dynamic content. --> The magic is the cache method. All output generated in the block associated with this method will be cached. The next time this page is accessed, the dynamic content will still be rendered, but the stuff inside the block will come straight from the cache—it won’t be regenerated. We can see this if we bring up our skeletal application and hit Refresh after a few seconds, as shown in Figure 23.4, on the next page. The times at the top and bottom of the page— the dynamic portion of our data—change on the refresh. However, the time in the center section remains the same, because it is being served from the cache. (If you’re trying this at home and you see all three time strings change, chances are you’re running your application in development mode. Caching is enabled by default only in production mode. If you’re testing using WEBrick, the -e production option will do the trick.) Report erratum this copy is (P1.0 printing, March 2009)](https://image.slidesharecdn.com/pragmatic-agilewebdevelopmentwithrails-3rdedition-2009-091104222637-phpapp01/75/Pragmatic-Agile-Web-Development-With-Rails-3rd-Edition-2009-556-2048.jpg)
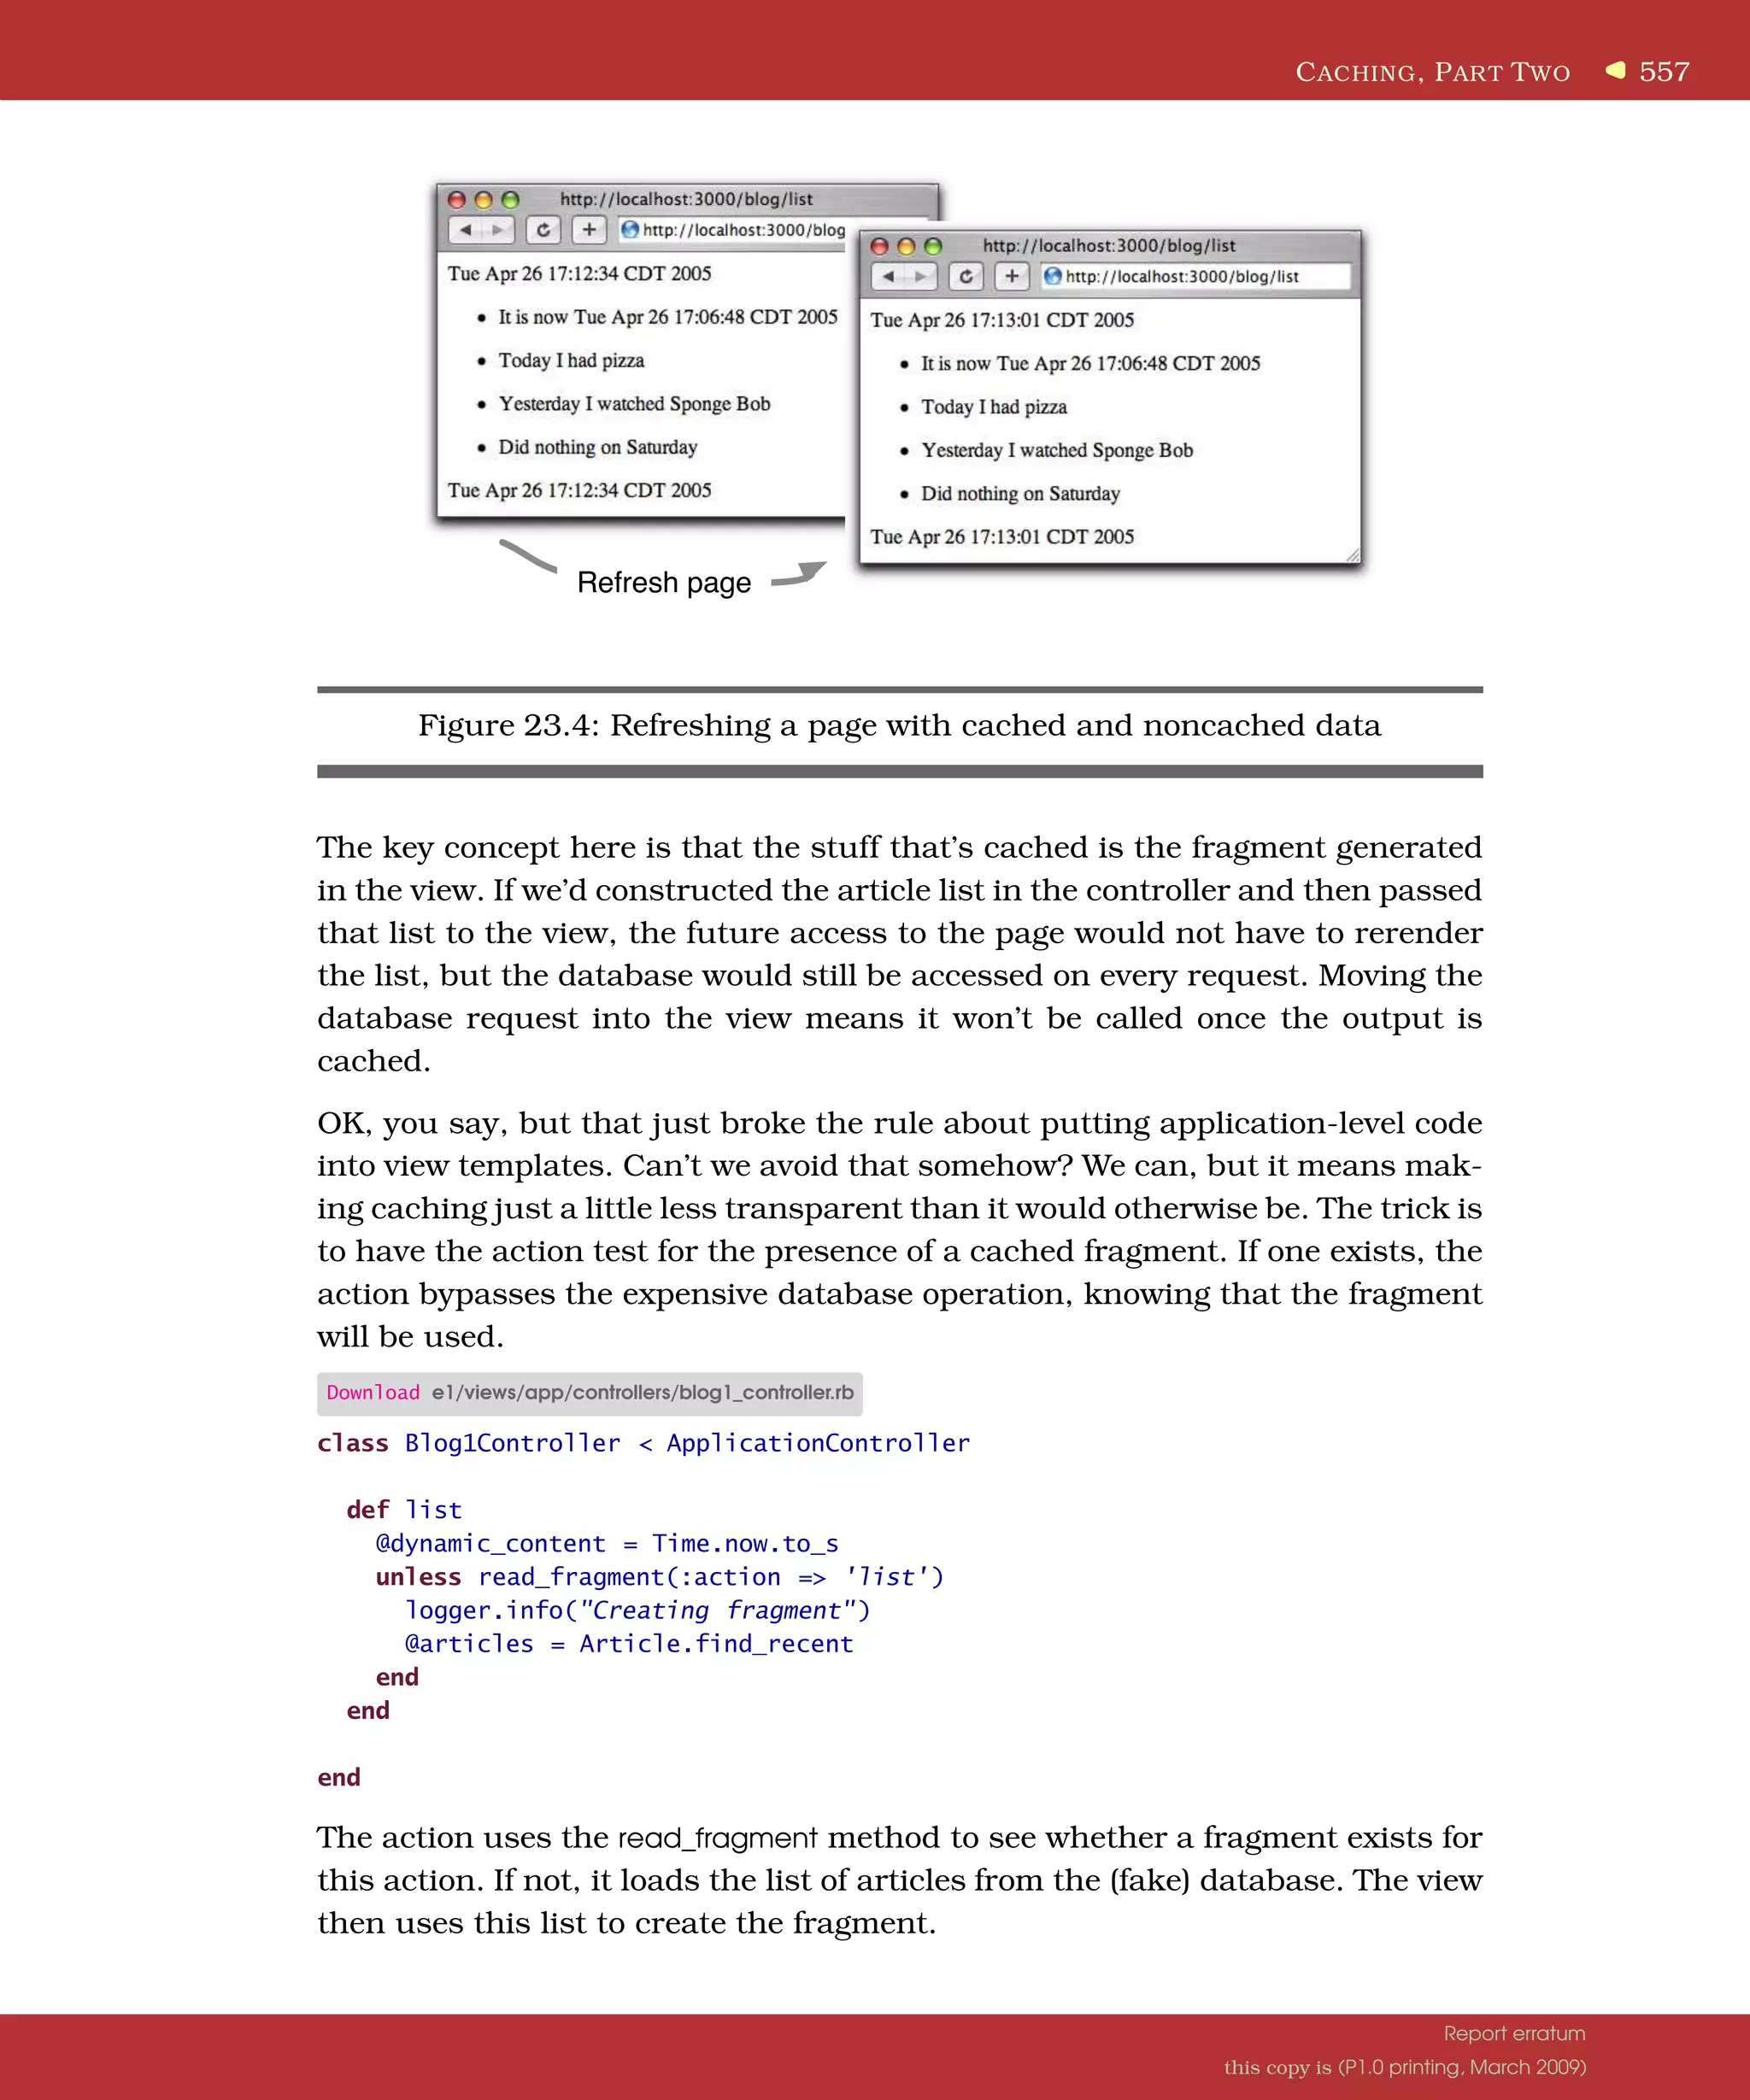


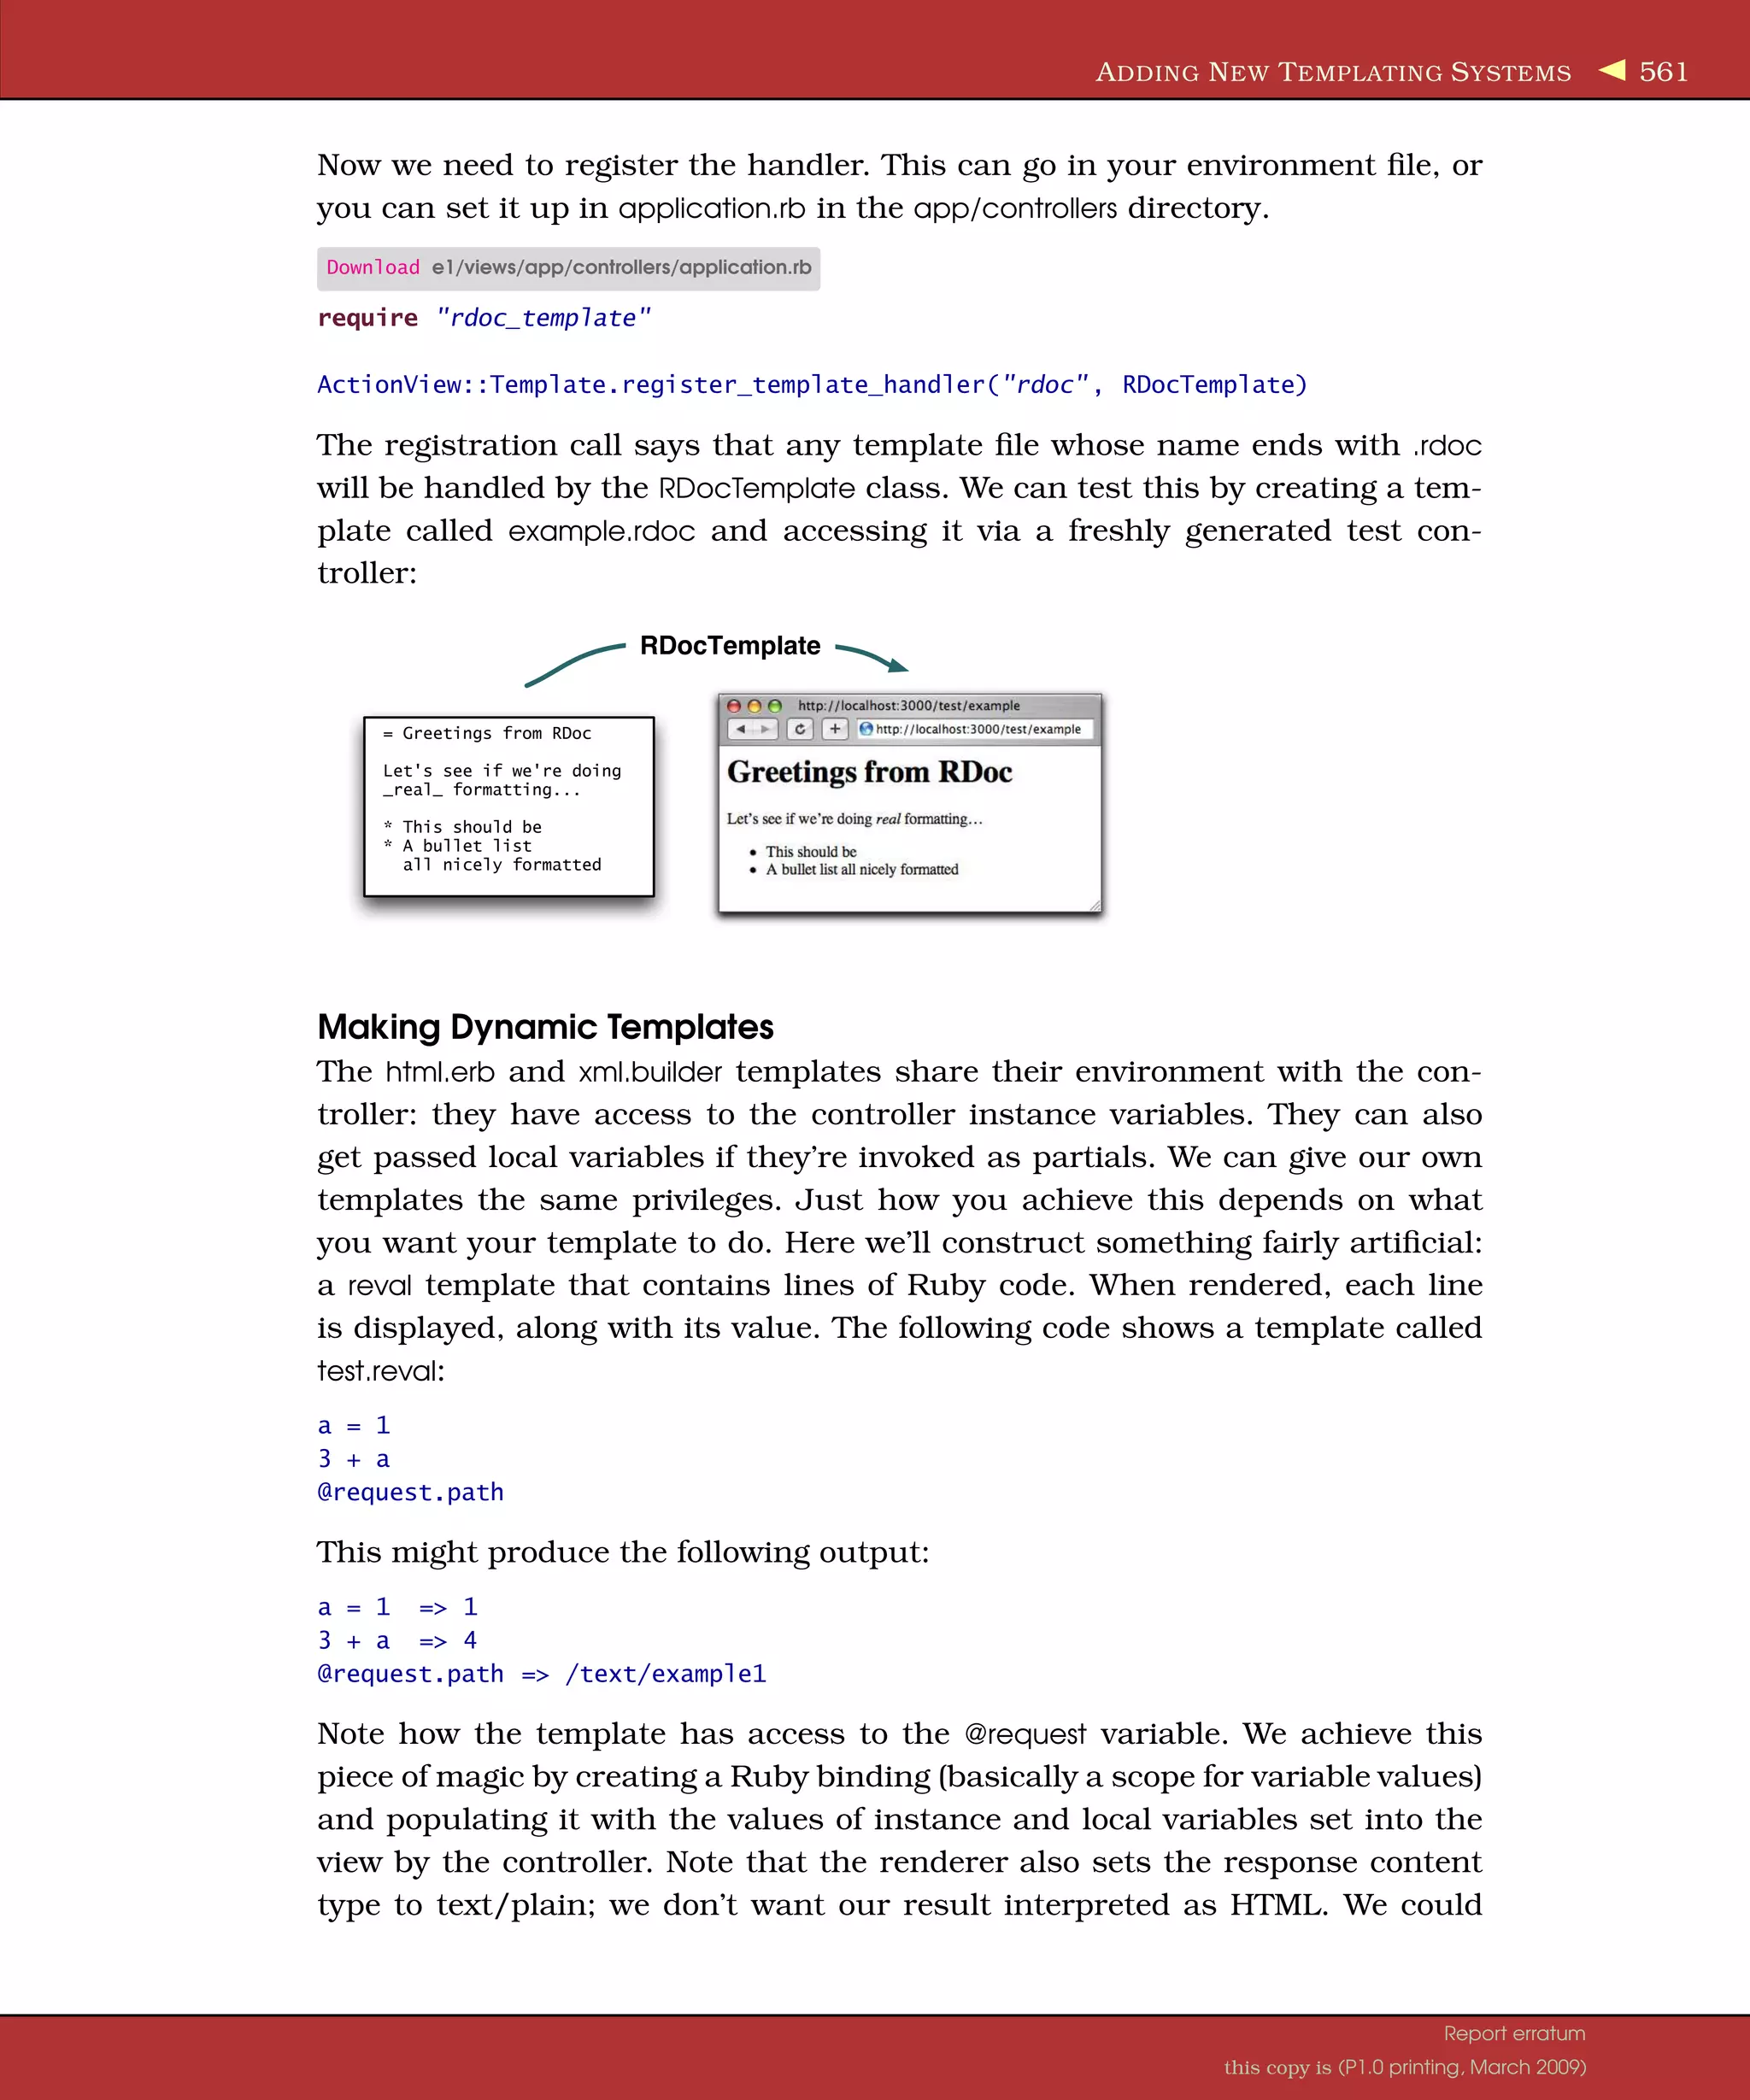
![A DDING N EW T EMPLATING S YSTEMS 562 also have defined an accessor method called request, which would make our template handler more like Rails’ built-in ones. Download e1/views/lib/eval_template.rb class EvalTemplate < ActionView::TemplateHandler def render(template) # Add in the instance variables from the view @view.send :evaluate_assigns # create get a binding for @view bind = @view.send(:binding) # and local variables if we're a partial template.locals.each do |key, value| eval("#{key} = #{value}" , bind) end @view.controller.headers["Content-Type" ] ||= 'text/plain' # evaluate each line and show the original alongside # its value template.source.split(/n/).map do |line| begin line + " => " + eval(line, bind).to_s rescue Exception => err line + " => " + err.inspect end end.join("n" ) end end Report erratum this copy is (P1.0 printing, March 2009)](https://image.slidesharecdn.com/pragmatic-agilewebdevelopmentwithrails-3rdedition-2009-091104222637-phpapp01/75/Pragmatic-Agile-Web-Development-With-Rails-3rd-Edition-2009-562-2048.jpg)


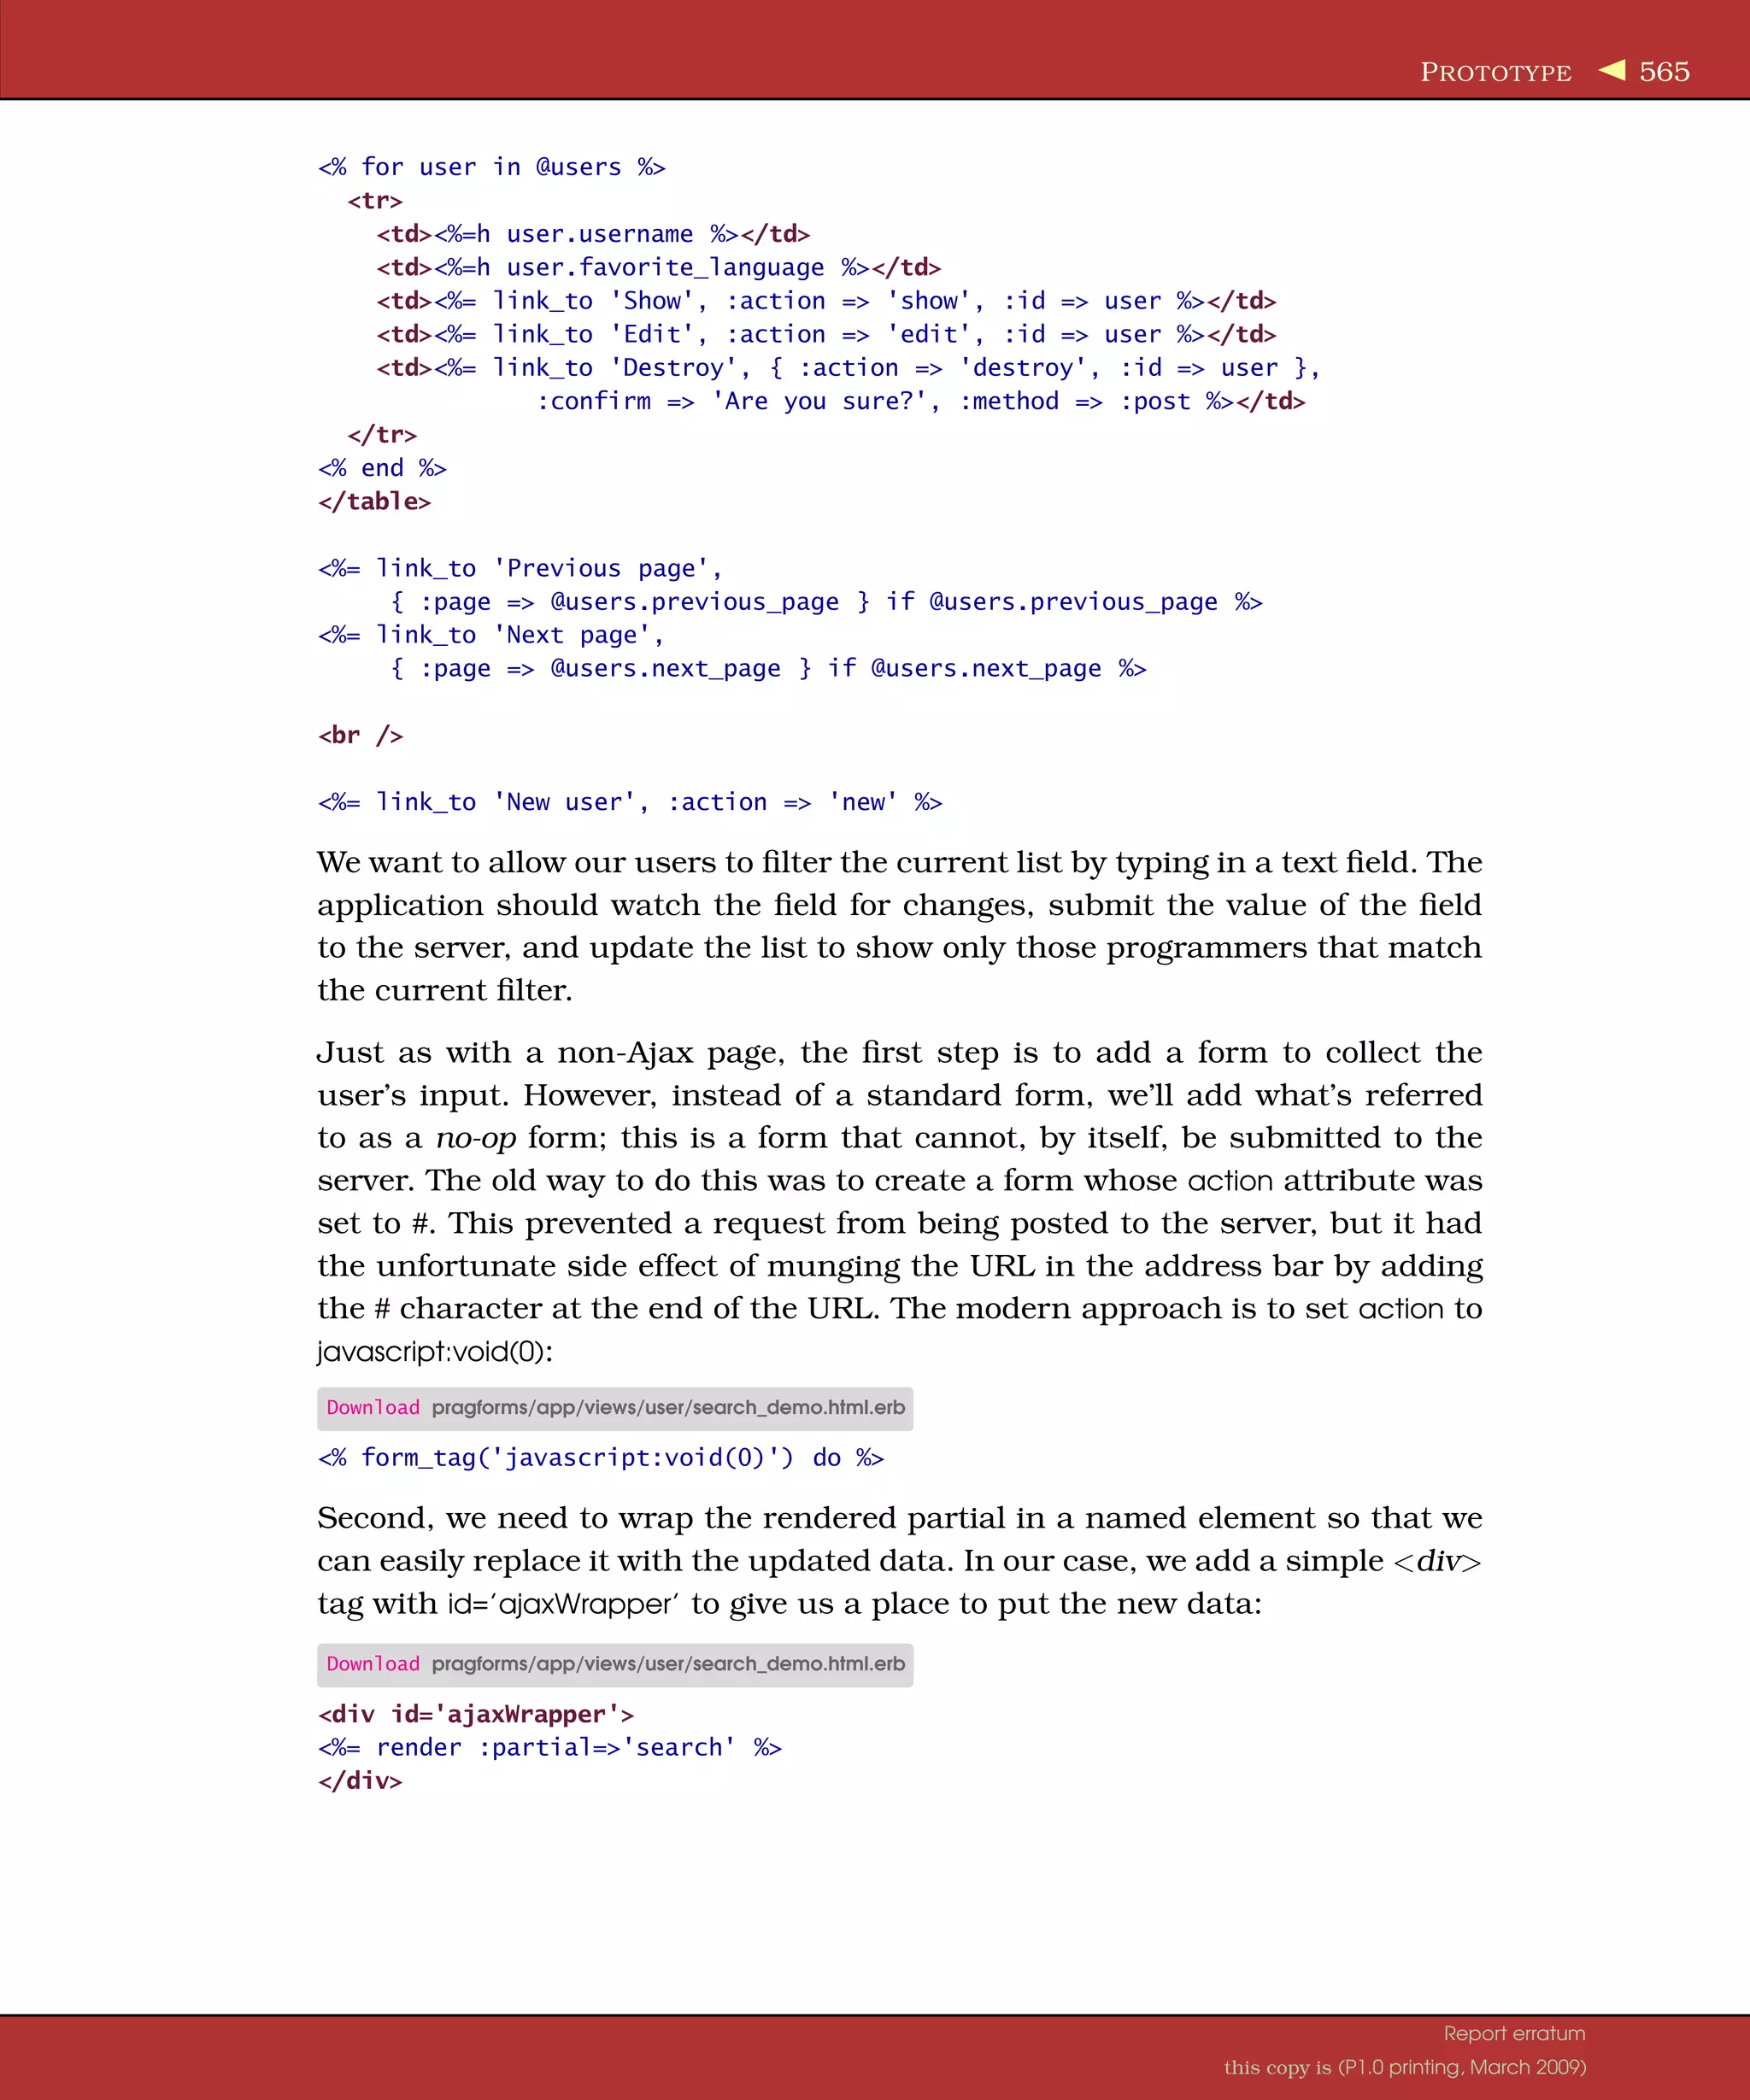
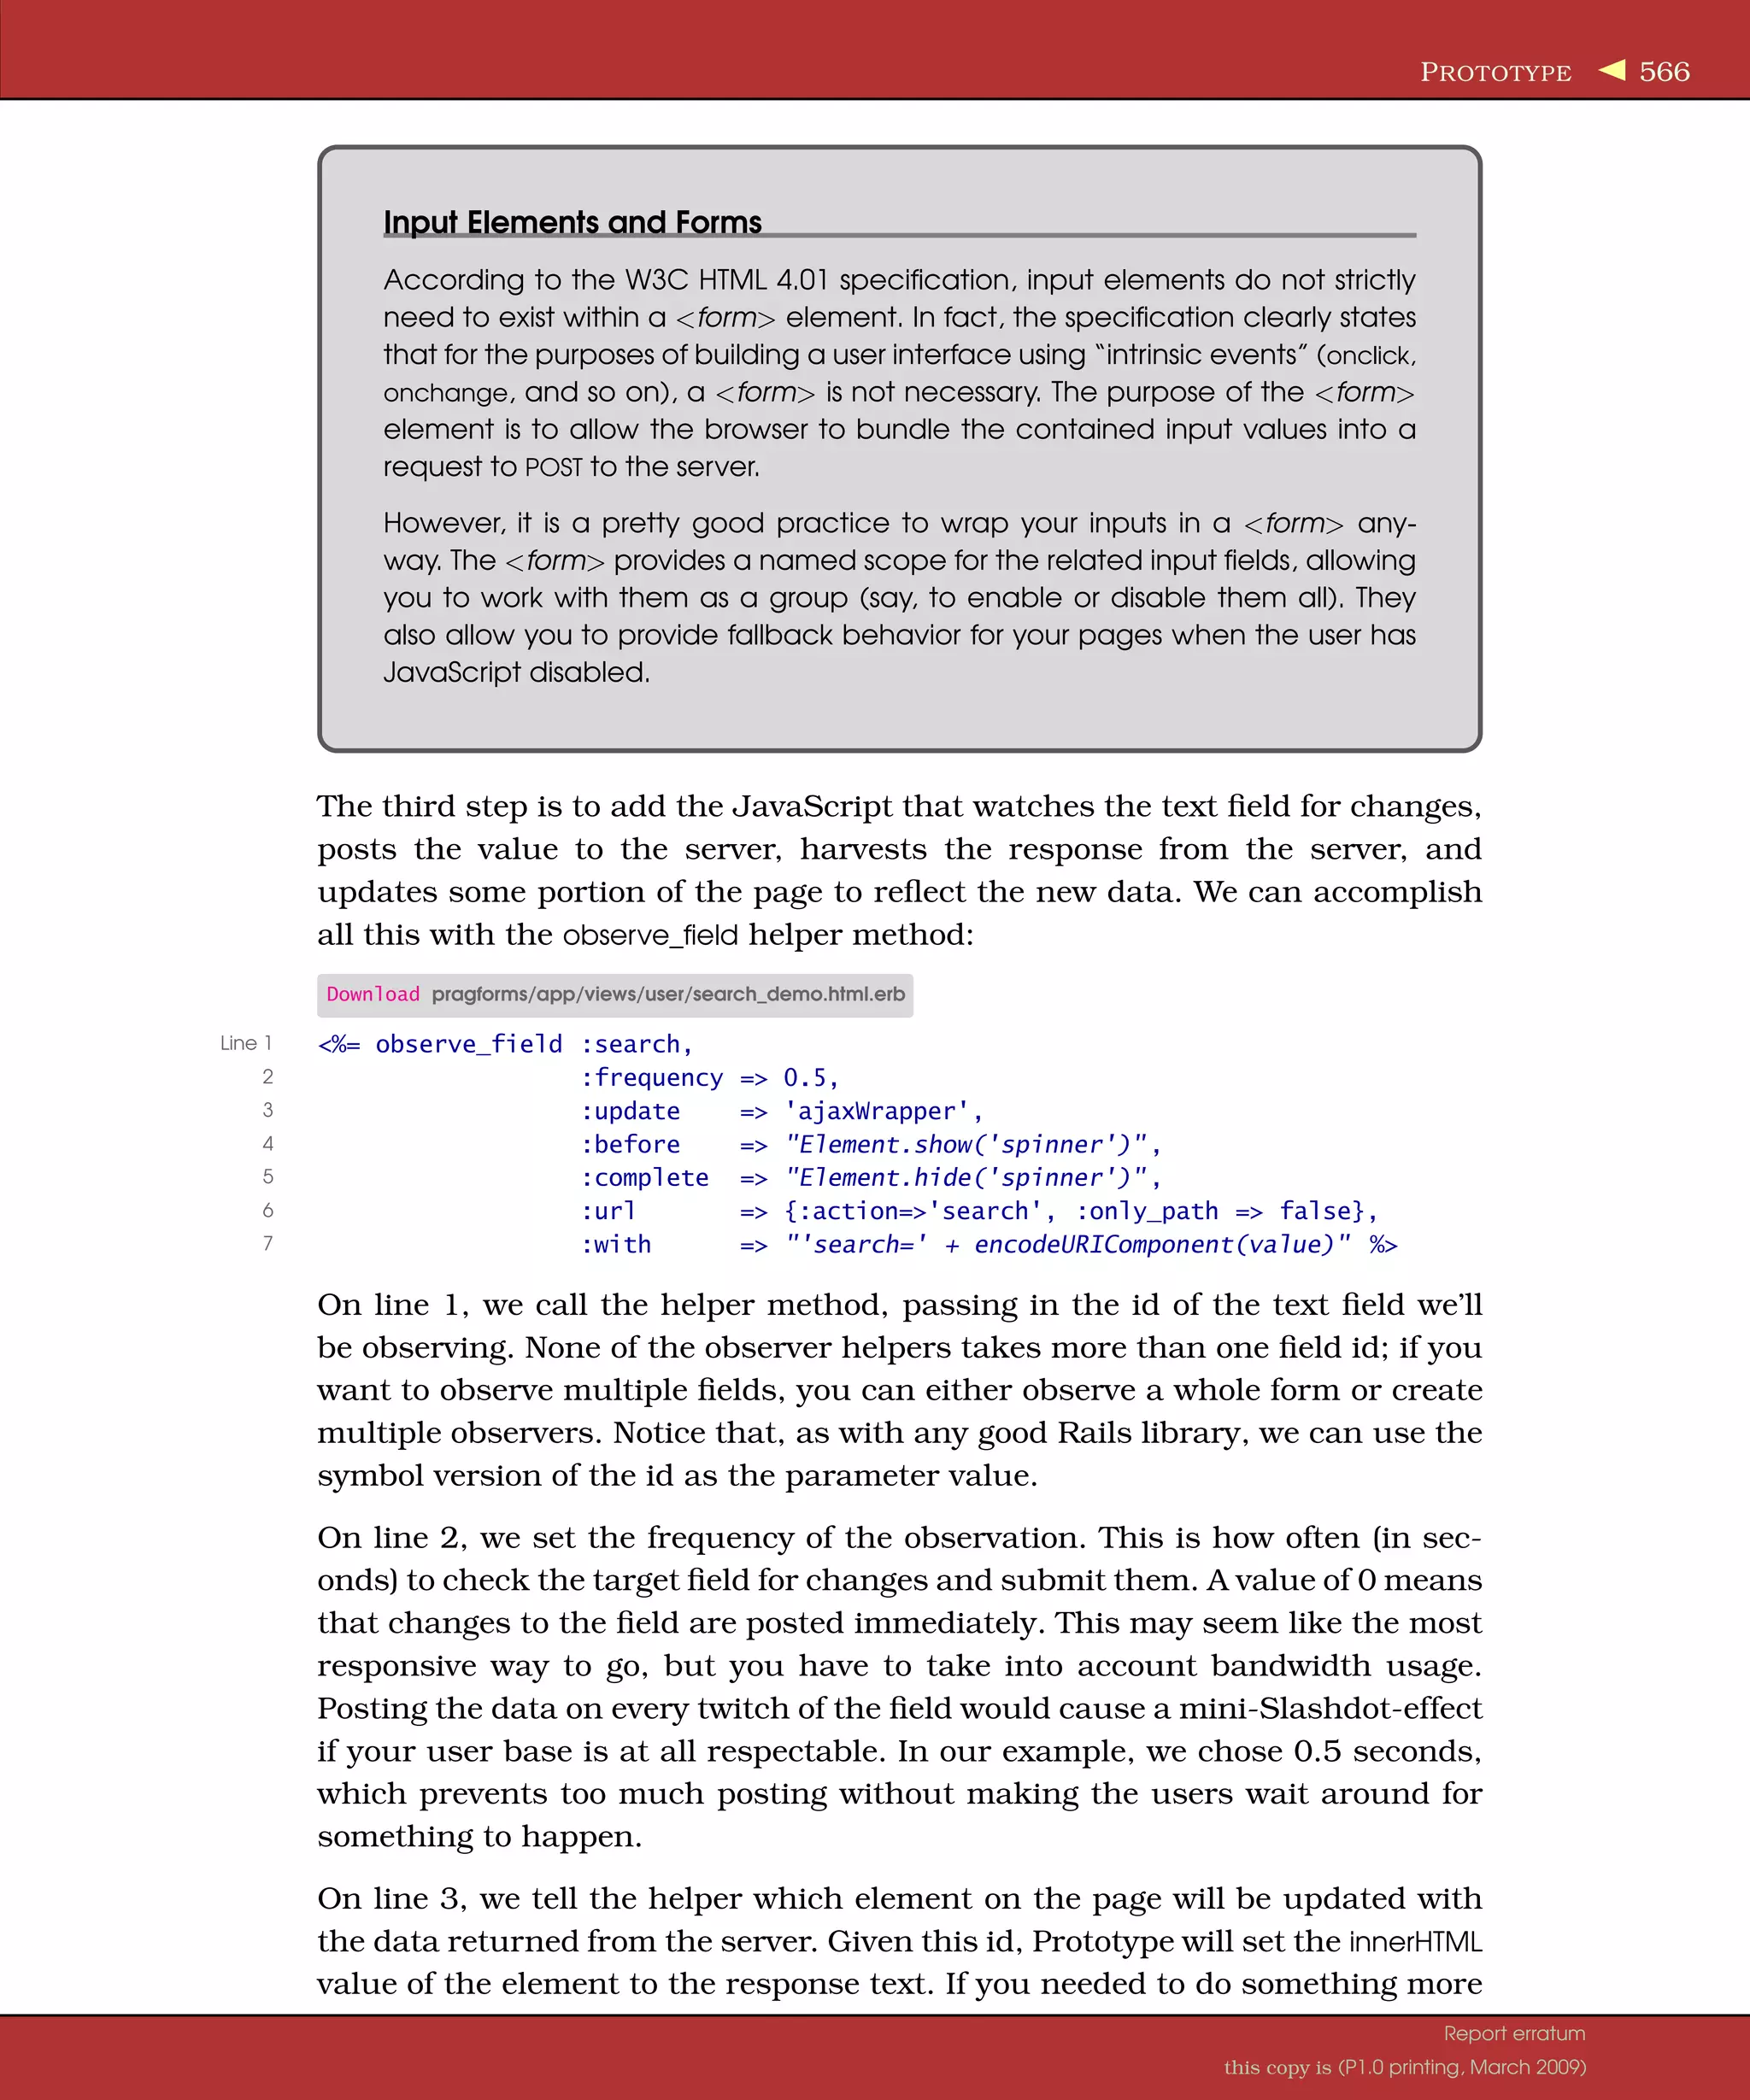
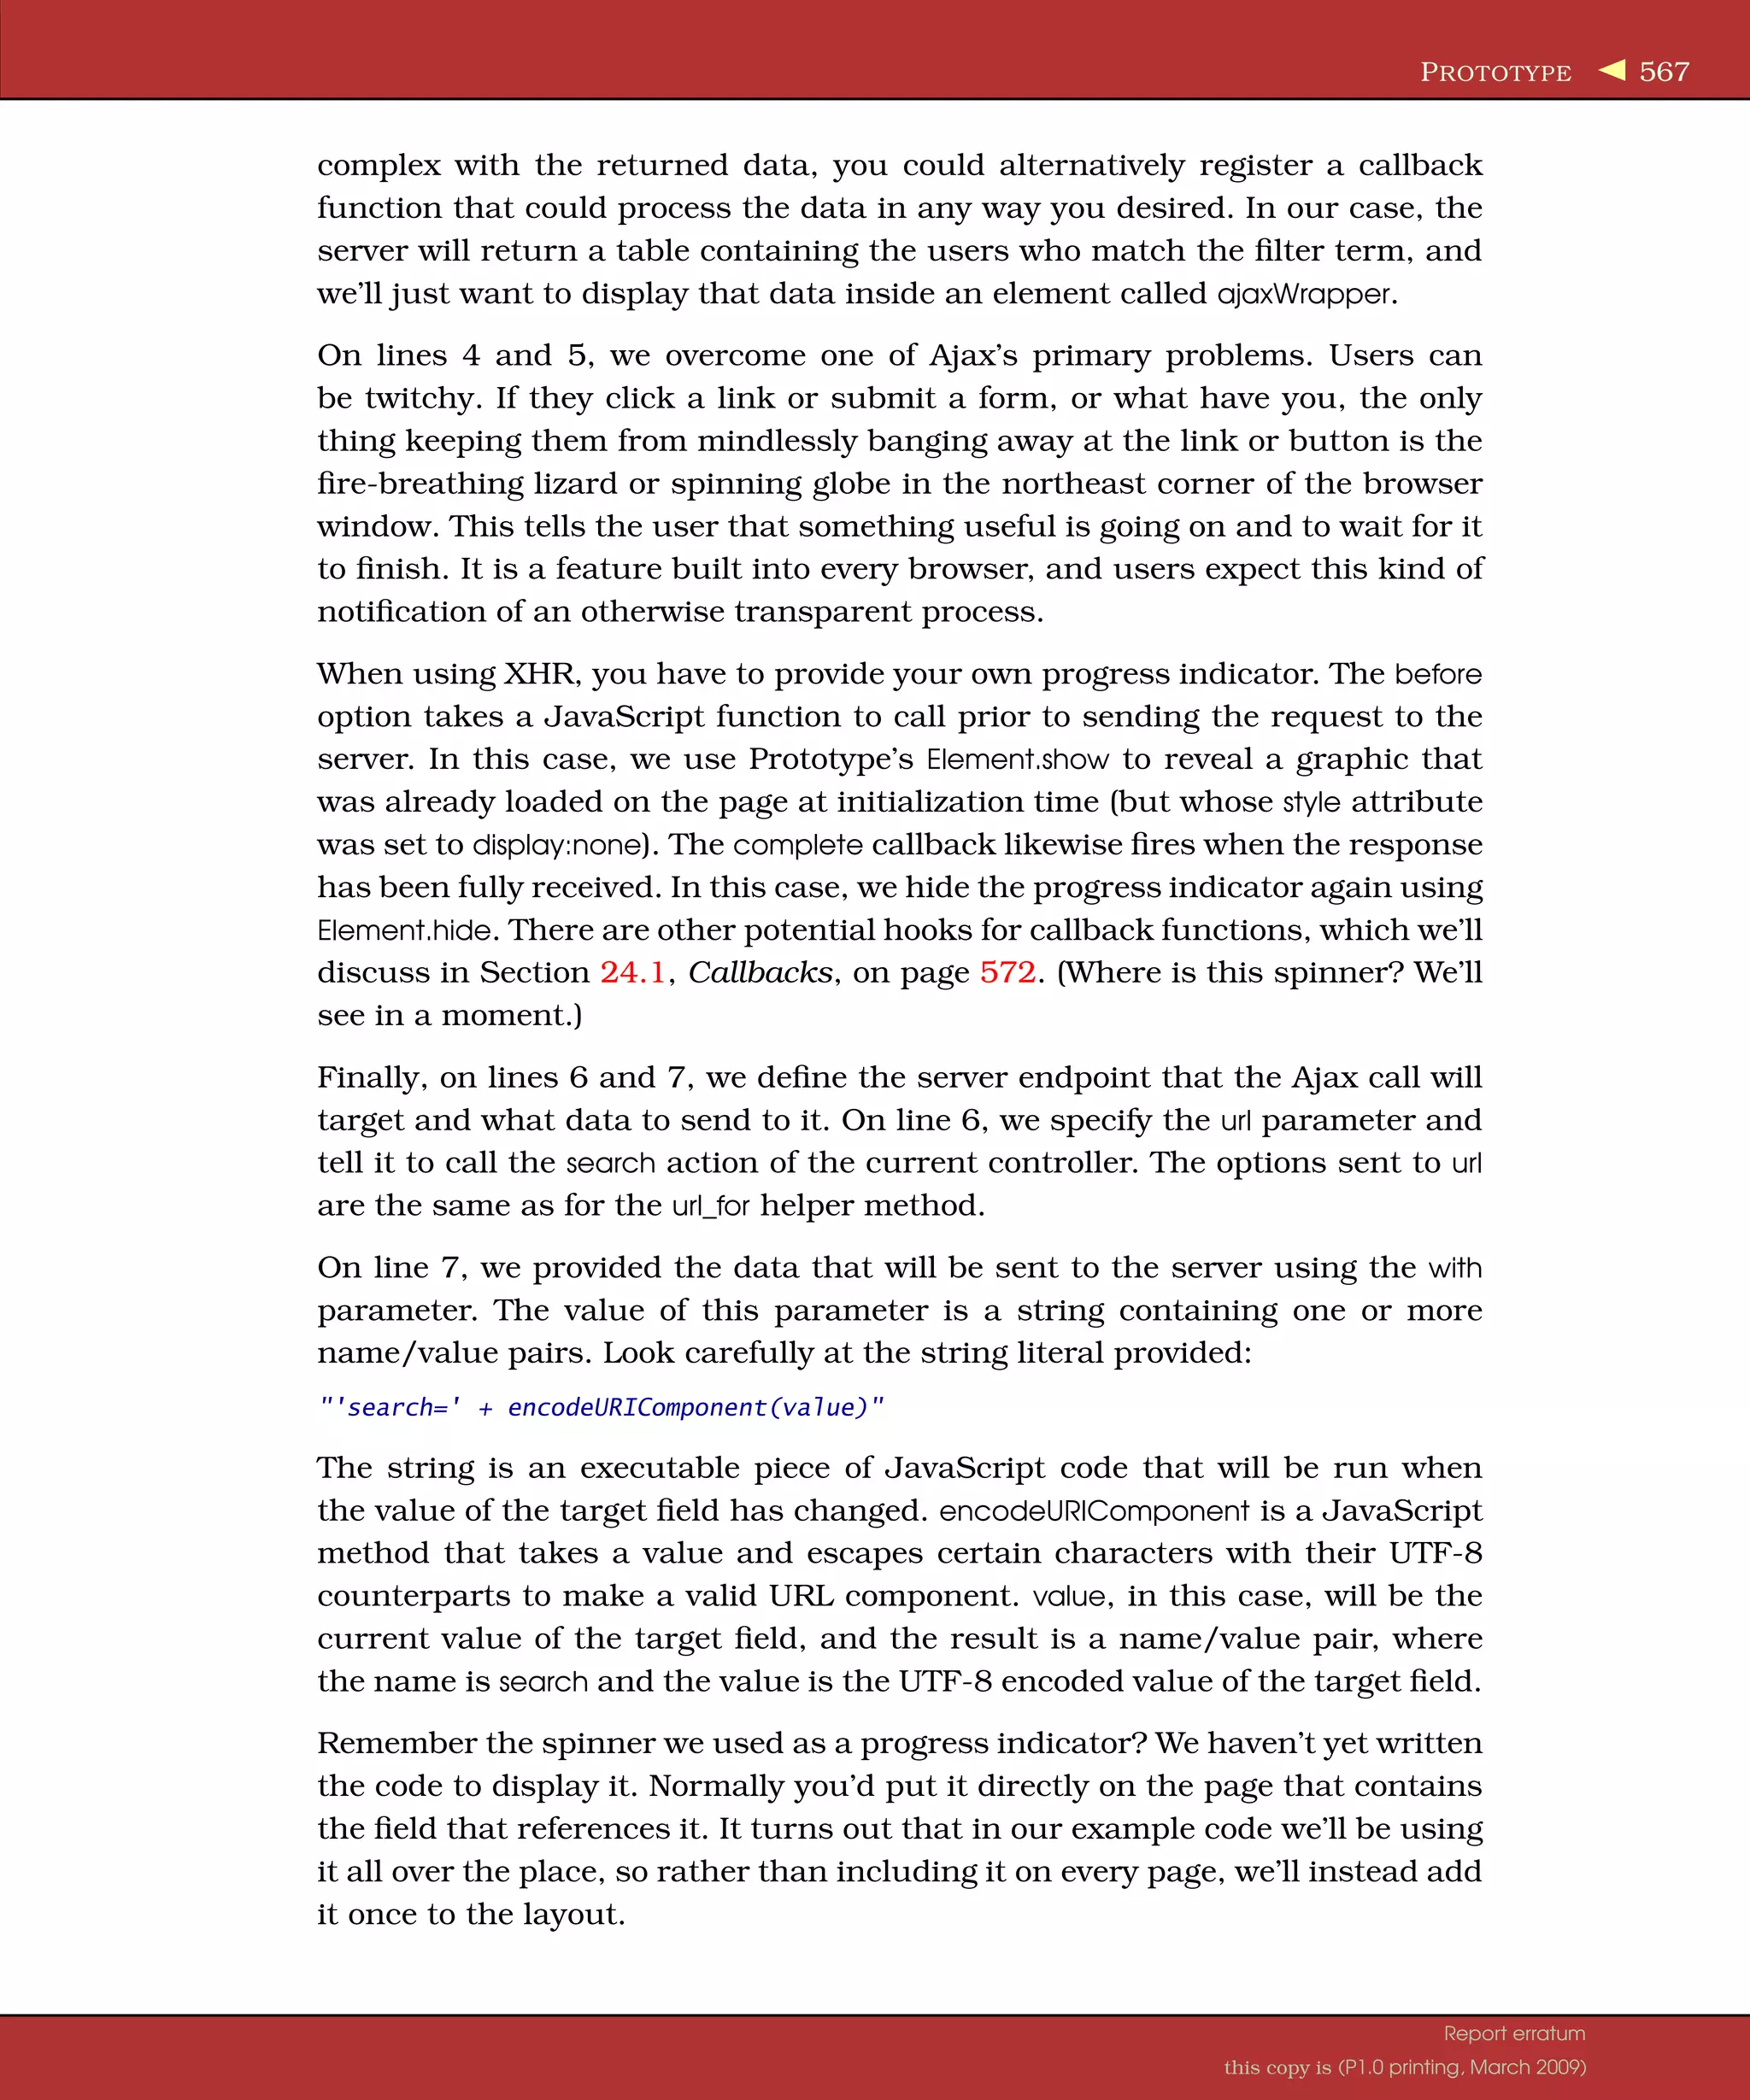
![P ROTOTYPE 568 Download pragforms/app/views/layouts/user.html.erb <html> <head> <title>User: <%= controller.action_name %></title> <%= stylesheet_link_tag 'scaffold' %> <%= javascript_include_tag :defaults %> </head> <body> <p style="color: green"><%= flash[:notice] %></p> <%= image_tag 'loading.gif', :id=>'spinner', :style=>"display:none; float:right;" %> <%= yield :layout %> </body> </html> When this template is rendered to the browser, the result will be a combina- tion of static HTML and JavaScript code. Here is the actual output that was generated by using the observe_field helper: <input id="search" name="search" type="text" value="" /> <script type="text/javascript" > //<![CDATA [ new Form.Element.Observer('search' , 0.5, function(element, value) { Element.show('spinner' ); new Ajax.Updater('ajaxWrapper' , '/user/search' , { onComplete:function(request){ Element.hide('spinner' ); }, parameters:'search=' + encodeURIComponent(value) }) }) //] ]> Now, as the user types into the text field, the value of the field will be sent to the User controller’s search action. Bear in mind that, because we provided the update parameter, the JavaScript code is going to take what the server returns and set it as the value of the target element’s innerHTML attribute. So, what does search do? Download pragforms/app/controllers/user_controller.rb def search unless params[:search].blank? @users = User.paginate :page => params[:page], :per_page => 10, :order => order_from_params, :conditions => User.conditions_by_like(params[:search]) logger.info @users.size else list end render :partial=>'search' , :layout=>false end Report erratum this copy is (P1.0 printing, March 2009)](https://image.slidesharecdn.com/pragmatic-agilewebdevelopmentwithrails-3rdedition-2009-091104222637-phpapp01/75/Pragmatic-Agile-Web-Development-With-Rails-3rd-Edition-2009-568-2048.jpg)
![P ROTOTYPE 569 conditions_by_like The method User.conditions_by_like(params[:search]) is not part of Active Record. It is actually code lifted from the Streamlined framework. It provides a quick way to search across all fields in a model. Here is the full implementation: Download pragforms/vendor/plugins/relevance_extensions/lib/active_record_extensions.rb def conditions_by_like(value, *columns) columns = self.user_columns if columns.size==0 columns = columns[0] if columns[0].kind_of?(Array) conditions = columns.map {|c| c = c.name if c.kind_of? ActiveRecord::ConnectionAdapters::Column "`#{c}` LIKE " + ActiveRecord::Base.connection.quote("%#{value}%" ) }.join(" OR " ) end If the search parameter is passed to the search action, the action will perform a pagination based on a query to the database, looking for items that match the search value. Otherwise, the action calls the list action, which populates the @users and @user_pages values using the full table set. Finally, the action ren- ders the partial _search.html.erb, which returns just the table of values, just as it did for the non-Ajax version. Note that we’ve explicitly disabled any layout dur- ing the rendering of the partial. This prevents recursive layout-within-layout problems. Using Prototype Helpers Rails provides an entire library of Prototype helper methods that provide a wide variety of Ajax solutions for your applications. All of them require you to include the prototype.js file in your pages. Some version of this file ships with Rails, and you can include it in your pages using the javascript_include_tag helper: <%= javascript_include_tag "prototype" %> Many applications include Prototype in the default layout; if you are using Ajax liberally throughout your application, this makes sense. If you are more con- cerned about bandwidth limitations, you might choose to be more judicious about including it only in pages where it is needed. If you follow the standard Rails generator style, your application.html.erb file will include the following dec- laration: <%= javascript_include_tag :defaults %> This will include Prototype, Script.aculo.us, and the generated application.js file for application-specific JavaScript. In either case, once your page has Proto- type included, you can use any of the various Prototype helpers to add Ajax to the page. Report erratum this copy is (P1.0 printing, March 2009)](https://image.slidesharecdn.com/pragmatic-agilewebdevelopmentwithrails-3rdedition-2009-091104222637-phpapp01/75/Pragmatic-Agile-Web-Development-With-Rails-3rd-Edition-2009-569-2048.jpg)
![P ROTOTYPE 578 <div id="email_form"> <% form_remote_tag(:url => {:action => 'send_email'}, :update => 'email_form') do %> To: <%= text_field 'email', 'to' %><br/> From: <%= text_field 'email', 'from' %><br/> Body: <%= text_area 'email', 'body' %><br/> <%= submit_tag 'Send Email' %> <% end %> </div> Here’s the generated page: <div id="email_form"> <form action="/user/send_email" method="post" onsubmit="new Ajax.Updater('email_form', '/user/send_email', {asynchronous:true, evalScripts:true, parameters:Form.serialize(this)}); return false;"> To: <input id="email_to" name="email[to]" size="30" type="text" /><br/> From: <input id="email_from" name="email[from]" size="30" type="text" /><br/> Body: <textarea cols="40" id="email_body" name="email[body]" rows="20"></textarea><br/> <input name="commit" type="submit" value="Send Email" /> </form> </div> Notice that the value of onsubmit is actually two JavaScript commands. The first creates the Ajax.Updater that sends the XHR request and updates the page with the response. The second returns false from the handler. This is what prevents the form from being submitted via a non-Ajax POST. Without this return value, the form would be posted both through the Ajax call and through a regular POST, which would cause two identical e-mails to reach the recipient, which could have disastrous consequences if the body of the message was “Please deduct $1000.00 from my account.” The helper remote_form_for works just like form_remote_tag except it allows you to use the newer form_for syntax for defining the form elements. You can read more about this alternate syntax in Section 23.5, Forms That Wrap Model Objects, on page 524. submit_to_remote Finally, you may be faced with a generated form that, for some reason or another, you can’t modify into a remote form. Maybe some other department or team is in charge of that code and you don’t have the authority to change it, or maybe you absolutely cannot bind JavaScript to the onsubmit event. In these cases, the alternate strategy is to add a submit_to_remote to the form. This helper creates a button inside the form that, when clicked, serializes the form data and posts it to the target specified via the helper’s options. It does not affect the containing form, and it doesn’t interfere with any <submit> Report erratum this copy is (P1.0 printing, March 2009)](https://image.slidesharecdn.com/pragmatic-agilewebdevelopmentwithrails-3rdedition-2009-091104222637-phpapp01/75/Pragmatic-Agile-Web-Development-With-Rails-3rd-Edition-2009-578-2048.jpg)
![P ROTOTYPE 579 buttons already associated with form. Instead, it creates a child <button> of the form and binds a remote call to the onclick handler, which serializes the containing form and uses that as the :with option for the remote function. Here, we rewrite the e-mail submission form using submit_to_remote. The first two parameters are the name and value attributes of the button. <div id="email_form"> <% form_tag :action => 'send_email_without_ajax' do %> To: <%= text_field 'email', 'to' %><br/> From: <%= text_field 'email', 'from' %><br/> Body: <%= text_area 'email', 'body' %><br/> <%= submit_to_remote 'Send Email', 'send', :url => {:action => 'send_email'}, :update => 'email_form' %> <% end %> </div> And this is the generated HTML: <div id="email_form"> <form action="/user/send_email_without_ajax" method="post"> To: <input id="email_to" name="email[to]" size="30" type="text" /><br/> From: <input id="email_from" name="email[from]" size="30" type="text" /><br/> Body: <textarea cols="40" id="email_body" name="email[body]" rows="20"></textarea><br/> <input name="Send Email" type="button" value="send" onclick="new Ajax.Updater('email_form', '/user/send_email', {asynchronous:true, evalScripts:true, parameters:Form.serialize(this.form)}); return false;" /> </form> </div> Be forewarned: the previous example is not consistent across browsers. For example, in Firefox 1.5, the only way to submit that form is to click the Ajax submitter button. In Safari, however, if the focus is on either of the two reg- ular text inputs (email_to and email_from), pressing the Enter key will actually submit the form the old-fashioned way. If you really want to ensure that the form can be submitted by a regular POST only when JavaScript is disabled, you would have to add an onsubmit handler that just returns false: <div id="email_form"> <% form_tag({:action => 'send_email_without_ajax'}, {:onsubmit => 'return false;'}) do %> To: <%= text_field 'email', 'to' %><br/> From: <%= text_field 'email', 'from' %><br/> Body: <%= text_area 'email', 'body' %><br/> <%= submit_to_remote 'Send Email', 'send', :url => {:action => 'send_email'}, :update => 'email_form' %> <% end %> </div> Report erratum this copy is (P1.0 printing, March 2009)](https://image.slidesharecdn.com/pragmatic-agilewebdevelopmentwithrails-3rdedition-2009-091104222637-phpapp01/75/Pragmatic-Agile-Web-Development-With-Rails-3rd-Edition-2009-579-2048.jpg)
![P ROTOTYPE 582 after_filter :gzip_compress, :only => [:send_email_no_ajax] def send_email actually_send_email params[:email] render :text => 'Email sent.' end def send_email_no_ajax actually_send_email params[:email] flash[:notice] = 'Email sent.' render :template => 'list_emails' end private def actually_send_email(email) # send the email end Degrade to the Same URL Alternatively, you can degrade the call to the same URL. When you do this, there has to be some piece of data that accompanies the request to distin- guish between an Ajax call and a non-Ajax call. With that piece of data, your controller can make a decision between rendering a partial, rendering an entire layout, or doing something else entirely. There is no industry-standard way to do this yet. Prototype provides a solution that Rails integrates with directly. Whenever you use Prototype to fire an XHR request, Prototype embeds a pro- prietary HTTP header in the request. HTTP_X_REQUESTED_WITH=XMLHttpRequest Rails queries the inbound headers for this value and uses its existence (or lack thereof) to set the value returned by the xhr? method1 on the Rails request object. When the header is present, the call returns true. With this facility in hand, you can decide how to render content based on the type of request being made: def send_email actually_send_email params[:email] if request.xhr? render :text => 'Email sent.' else flash[:notice] => 'Email sent.' render :template => 'list_emails' end end 1. For those who feel a compelling need to understand how this works under the covers: this method returns true if the request’s X-Requested-With header contains XMLHttpRequest. The Proto- type Javascript library sends this header with every Ajax request. Report erratum this copy is (P1.0 printing, March 2009)](https://image.slidesharecdn.com/pragmatic-agilewebdevelopmentwithrails-3rdedition-2009-091104222637-phpapp01/75/Pragmatic-Agile-Web-Development-With-Rails-3rd-Edition-2009-582-2048.jpg)
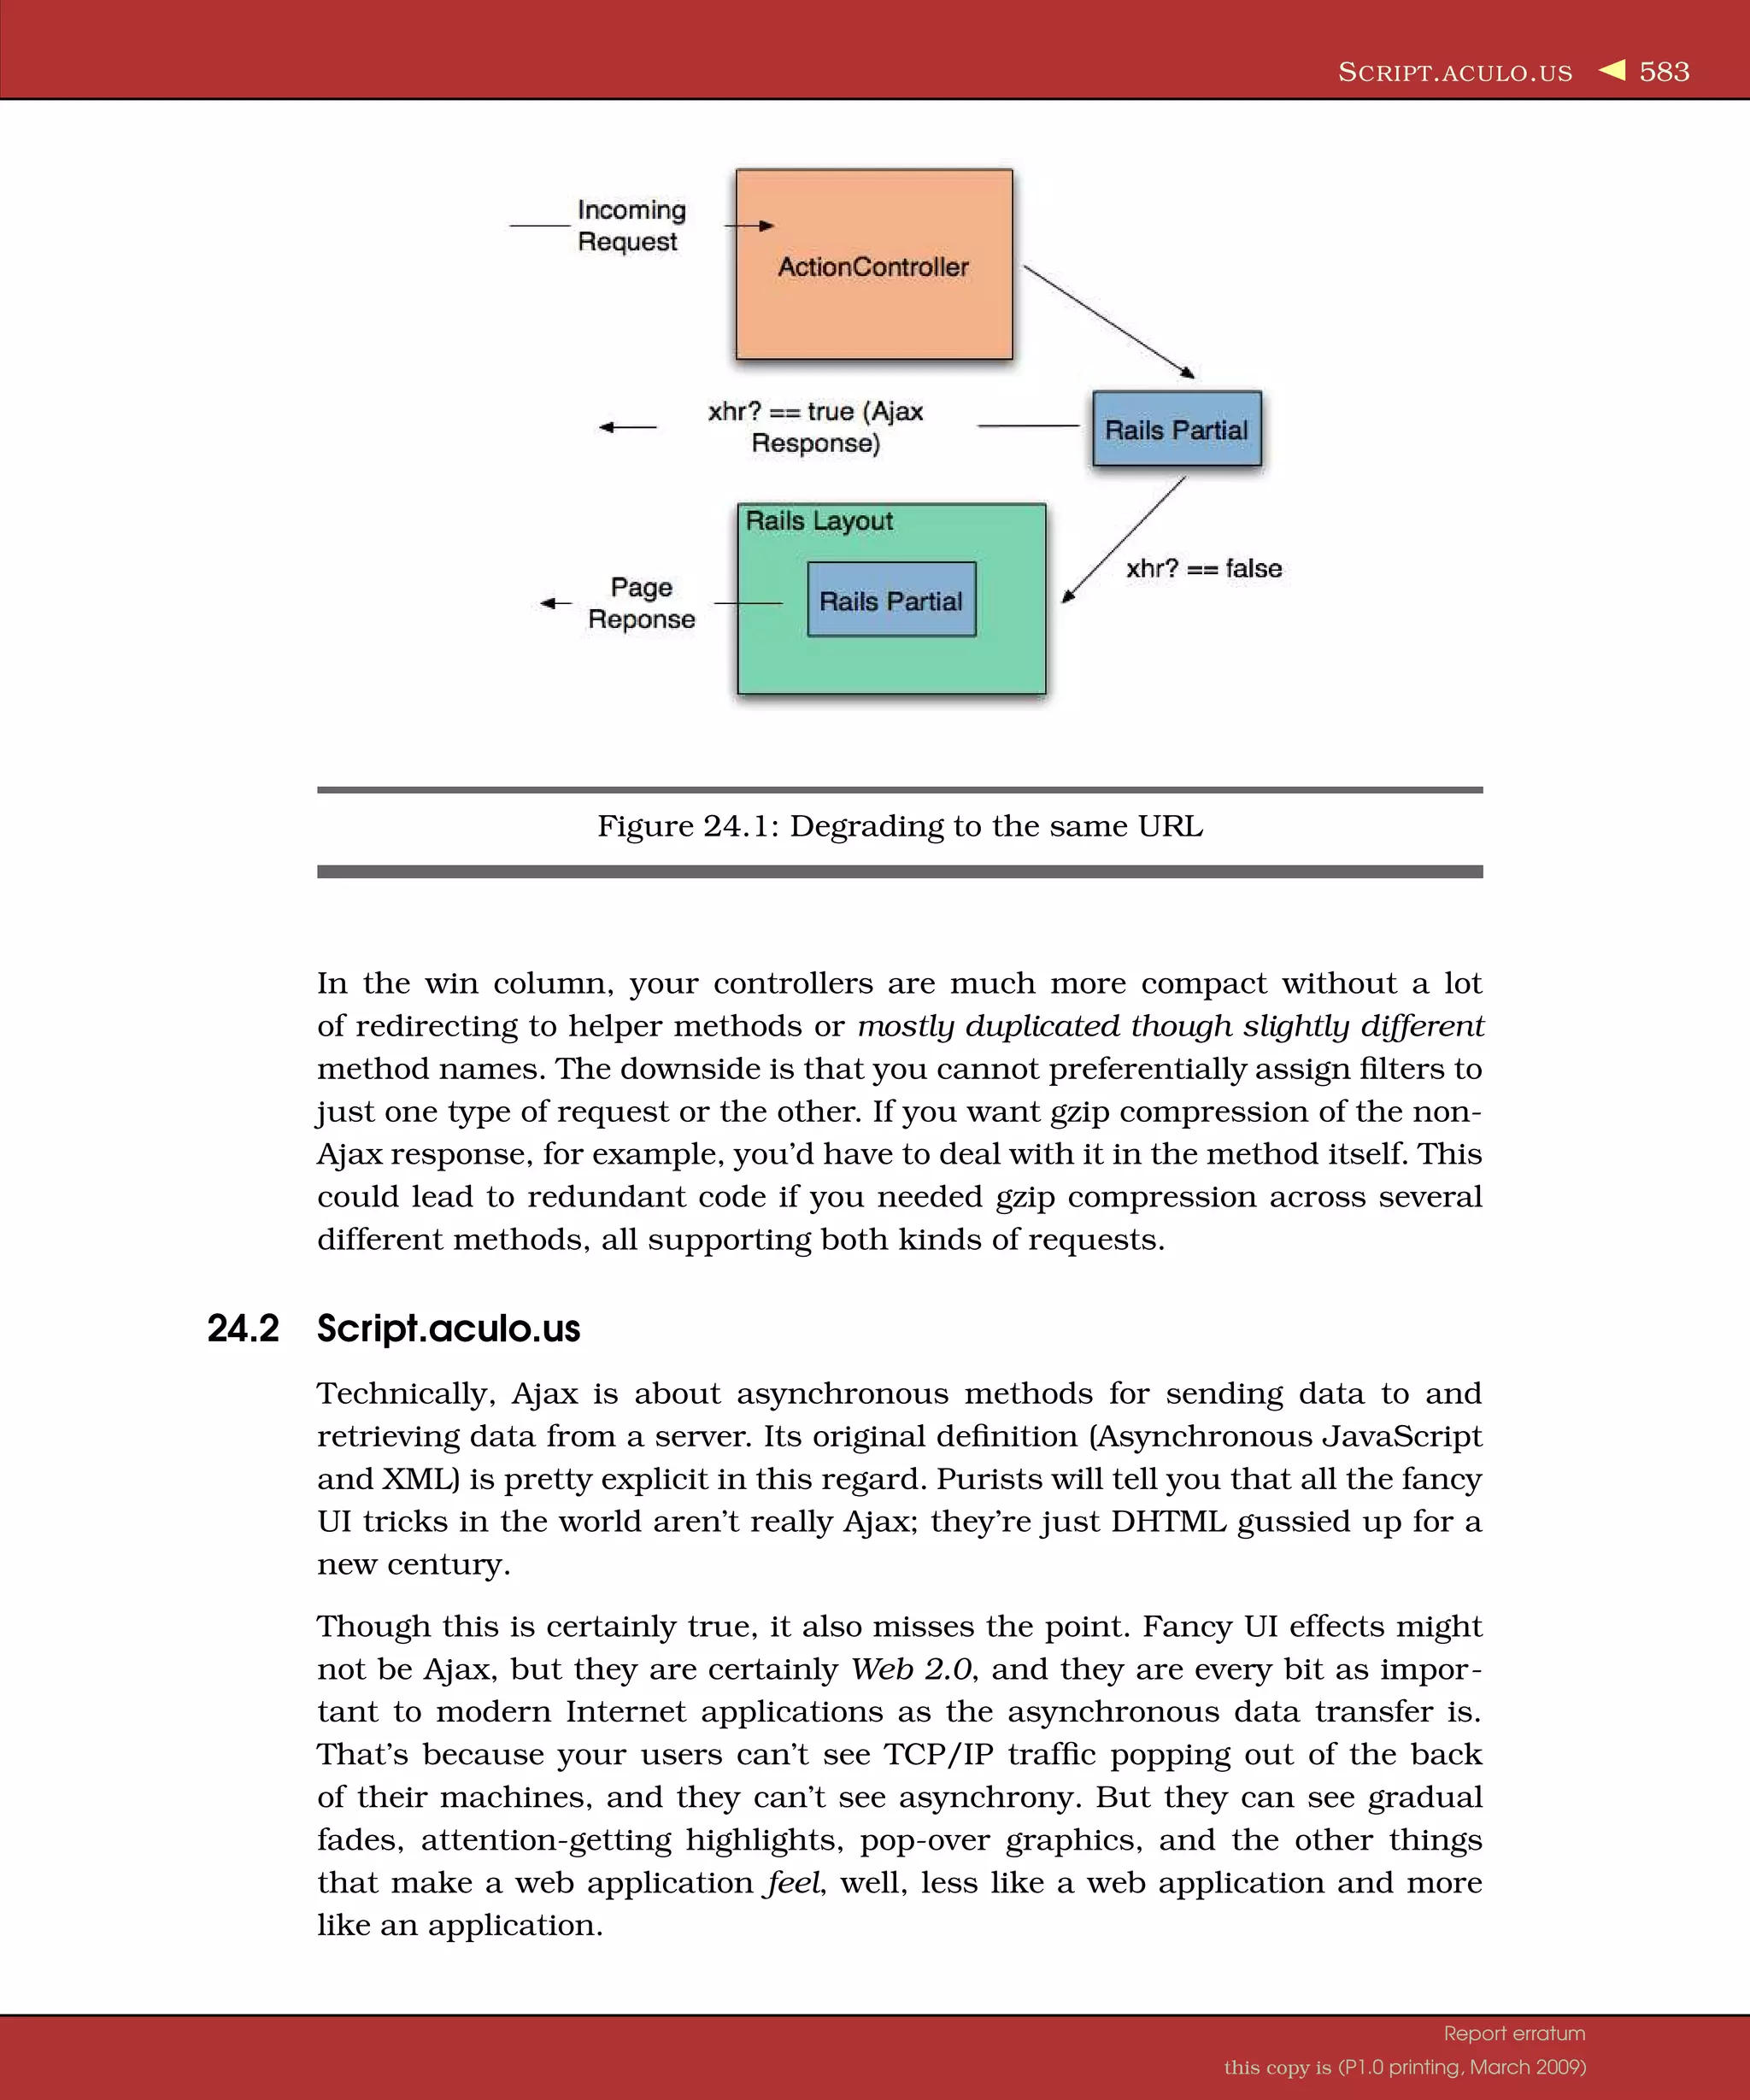
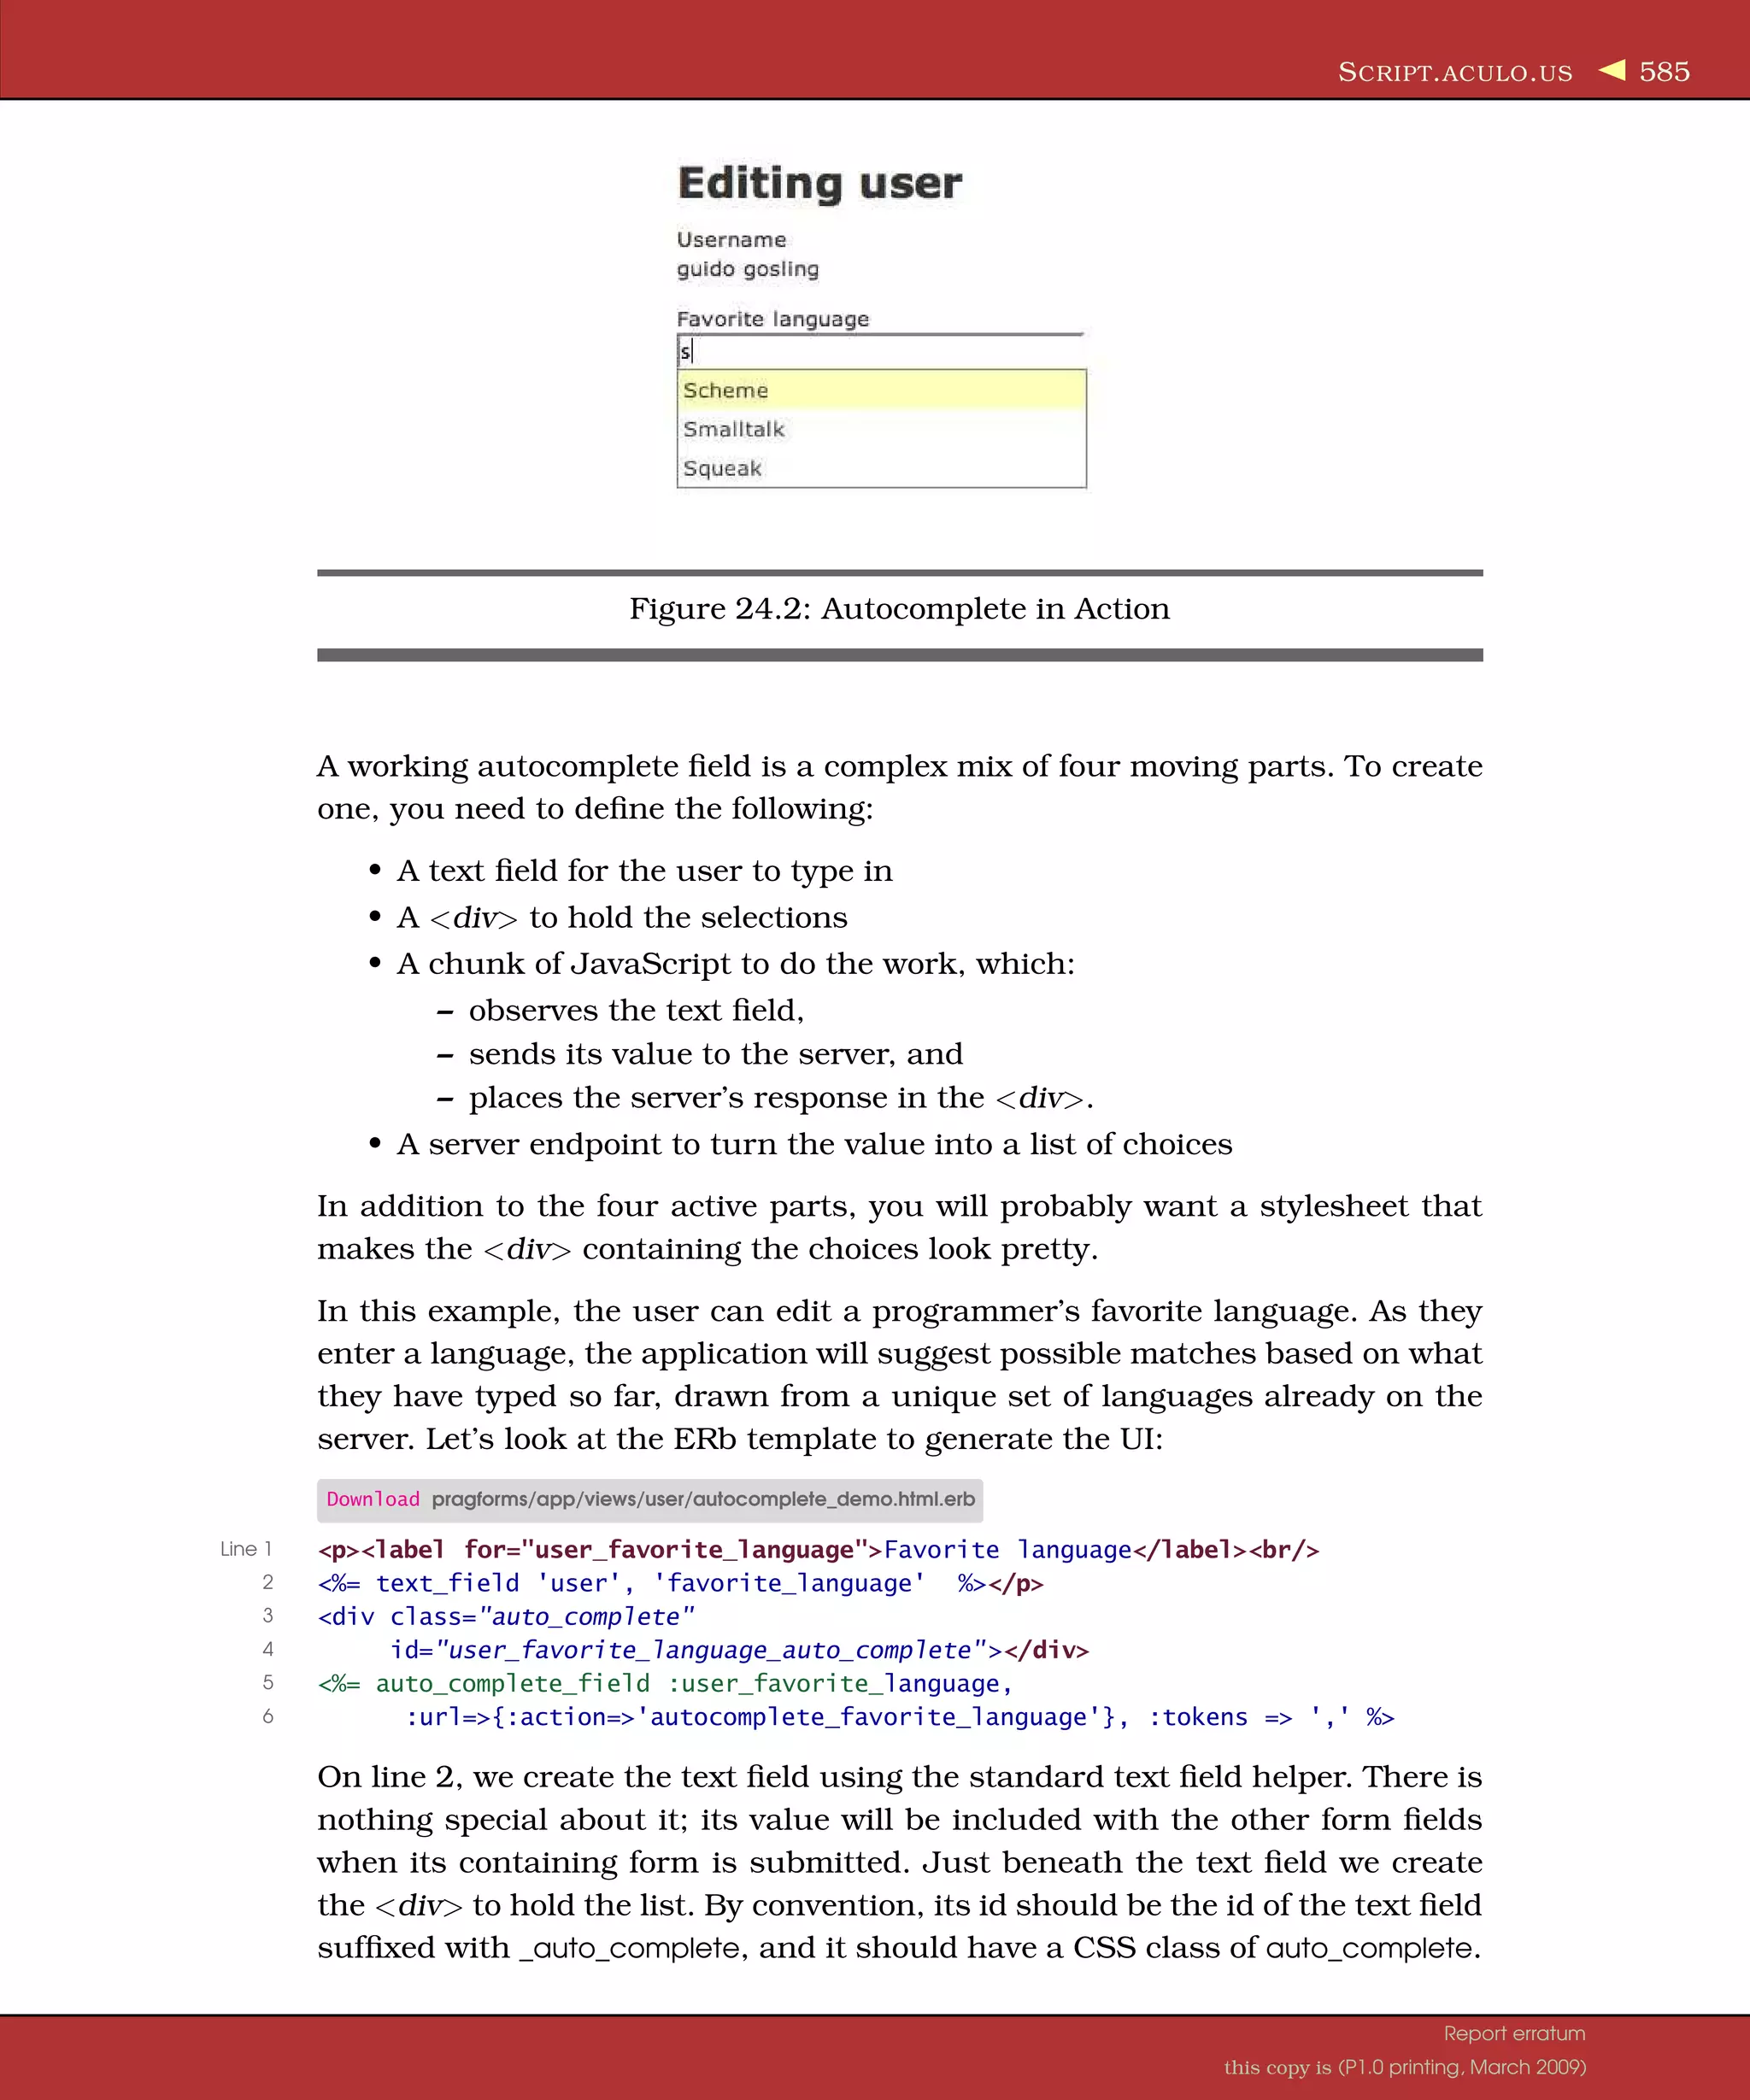
![S CRIPT. ACULO . US 586 Finally, on line 5, we invoke the helper that creates the JavaScript. Assuming we followed the conventions for naming the text field and <div>, the only options we need to pass are the id of the text field and the server endpoint, which receives the current value of the field. The helper will automatically discover the associated <div> and place the server results therein. Here’s the generated code: <input id="user_favorite_language" name="user[favorite_language]" size="30" type="text" value="C++" /> <div class="auto_complete" id="user_favorite_language_auto_complete" ></div> <script type="text/javascript" > //<![CDATA[ var user_favorite_language_auto_completer = new Ajax.Autocompleter('user_favorite_language' , 'user_favorite_language_auto_complete' , '/user/autocomplete_favorite_language' , {}) //]]> </script> The Ajax.Autocompleter is provided by the Script.aculo.us library and does the work of periodically executing the filter. auto_complete_field options You might not like the default options. If not, the auto_complete_field helper provides a slew of other options to choose from. If your autocomplete list field can’t have an id that follows the convention, you can override that with the :update option, which contains the DOM id of the target <div>. You can also override the default server endpoint by specifying the :url option, which takes either a literal URL or the same options you can pass to url_for: <%= auto_complete_field :user_favorite_language, :update => 'pick_a_language' , :url => {:action => 'pick_language' } %> <div class="auto_complete" id="pick_a_language" ></div> You can set the :frequency of the observer of the field to adjust how responsive the autocomplete field is. Similarly, you can also specify the minimum number of characters a user has to enter before the autocomplete is fired. Combining these two options gives you fairly fine-grained control over how responsive the field appears to the user and how much traffic it generates to the server. <%= auto_complete_field :user_favorite_language, :frequency => 0.5, :min_chars => 3 %> Report erratum this copy is (P1.0 printing, March 2009)](https://image.slidesharecdn.com/pragmatic-agilewebdevelopmentwithrails-3rdedition-2009-091104222637-phpapp01/75/Pragmatic-Agile-Web-Development-With-Rails-3rd-Edition-2009-586-2048.jpg)
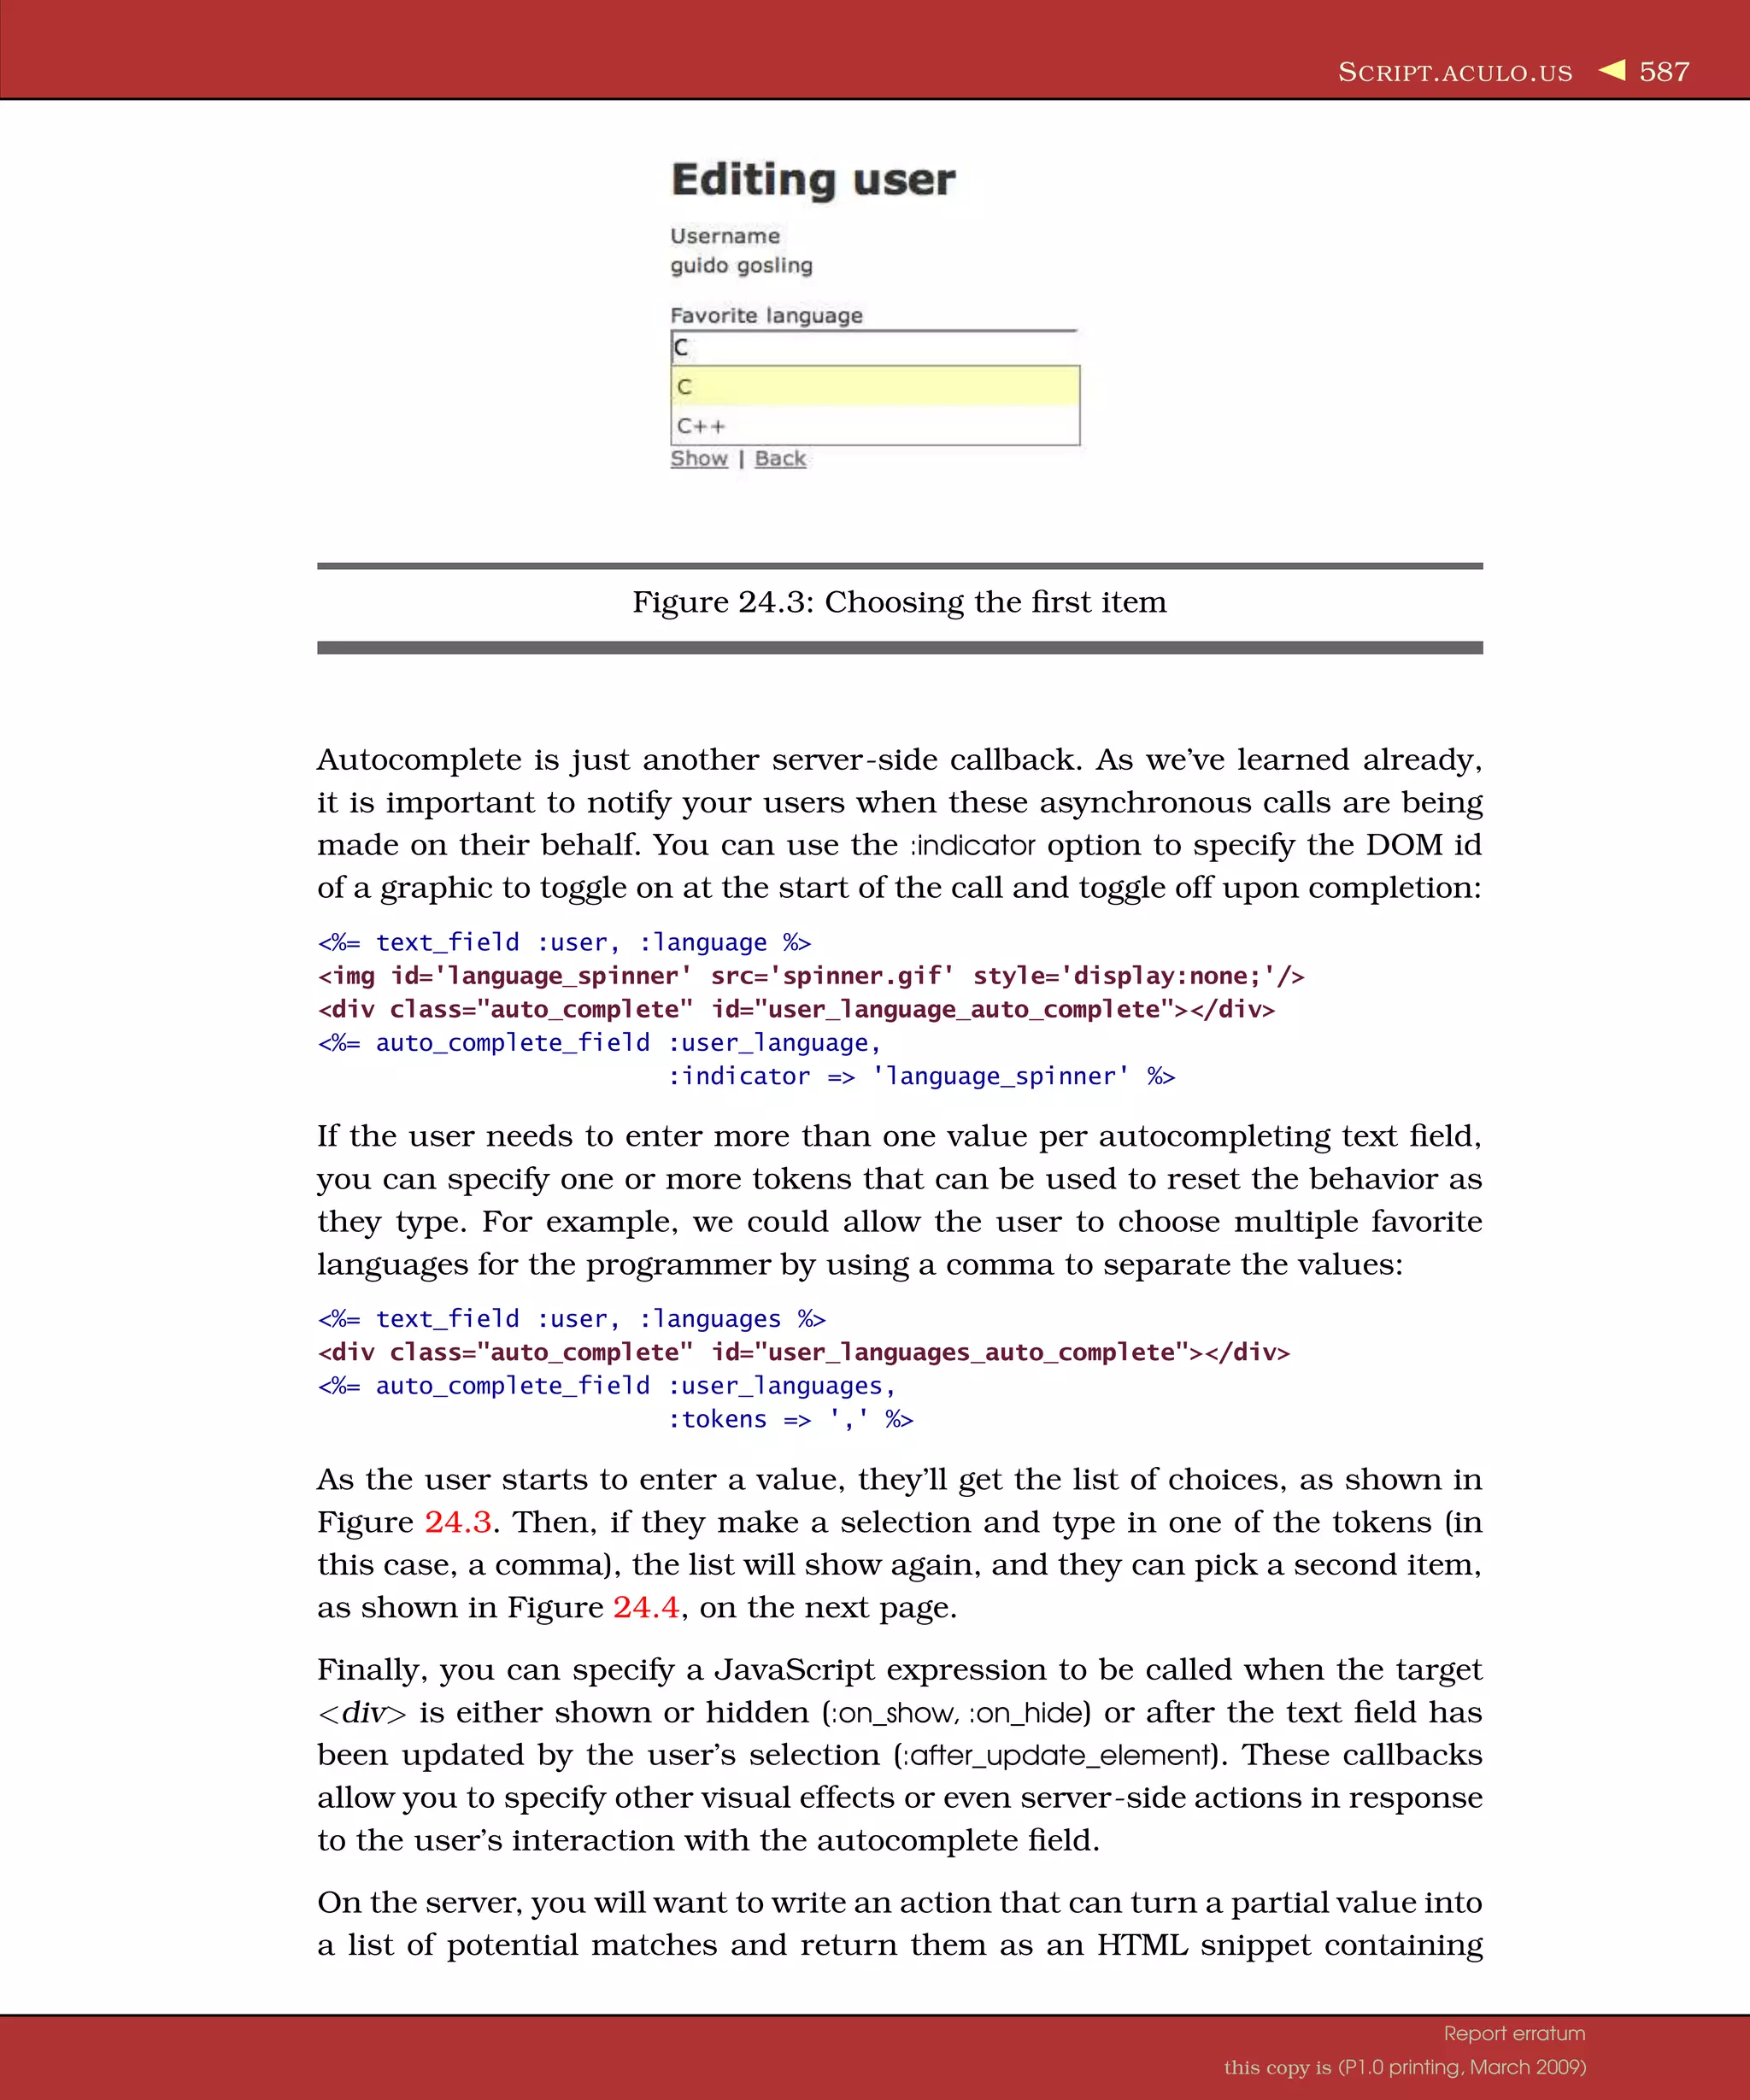
![S CRIPT. ACULO . US 588 Figure 24.4: Choosing the second item just <li> elements. Our example uses a regular expression match to find the partial value anywhere in the language name, not just at the start of the name. It then renders them using a partial, taking care not to render using any layout. Download pragforms/app/controllers/user_controller.rb def autocomplete_favorite_language re = Regexp.new("#{params[:user][:favorite_language]}" , "i" ) @languages= LANGUAGES.find_all do |l| l.match re end render :layout=>false end Download pragforms/app/views/user/autocomplete_favorite_language.html.erb <ul class="autocomplete_list"> <% @languages.each do |l| %> <li class="autocomplete_item"><%= l %></li> <% end %> </ul> In this case, LANGUAGES is a predefined list of possible choices, defined in a separate module: Download pragforms/app/helpers/favorite_language.rb module FavoriteLanguage LANGUAGES = %w{ Ada Basic C C++ Delphi Emacs Lisp Forth Fortran Haskell Java JavaScript Lisp Perl Python Ruby Scheme Smalltalk Squeak} end It is equally (or even more) likely that you will want to pull the selection list from the database table. If so, you could easily change the code to perform a lookup on the table using a conditional find and then render them appro- Report erratum this copy is (P1.0 printing, March 2009)](https://image.slidesharecdn.com/pragmatic-agilewebdevelopmentwithrails-3rdedition-2009-091104222637-phpapp01/75/Pragmatic-Agile-Web-Development-With-Rails-3rd-Edition-2009-588-2048.jpg)
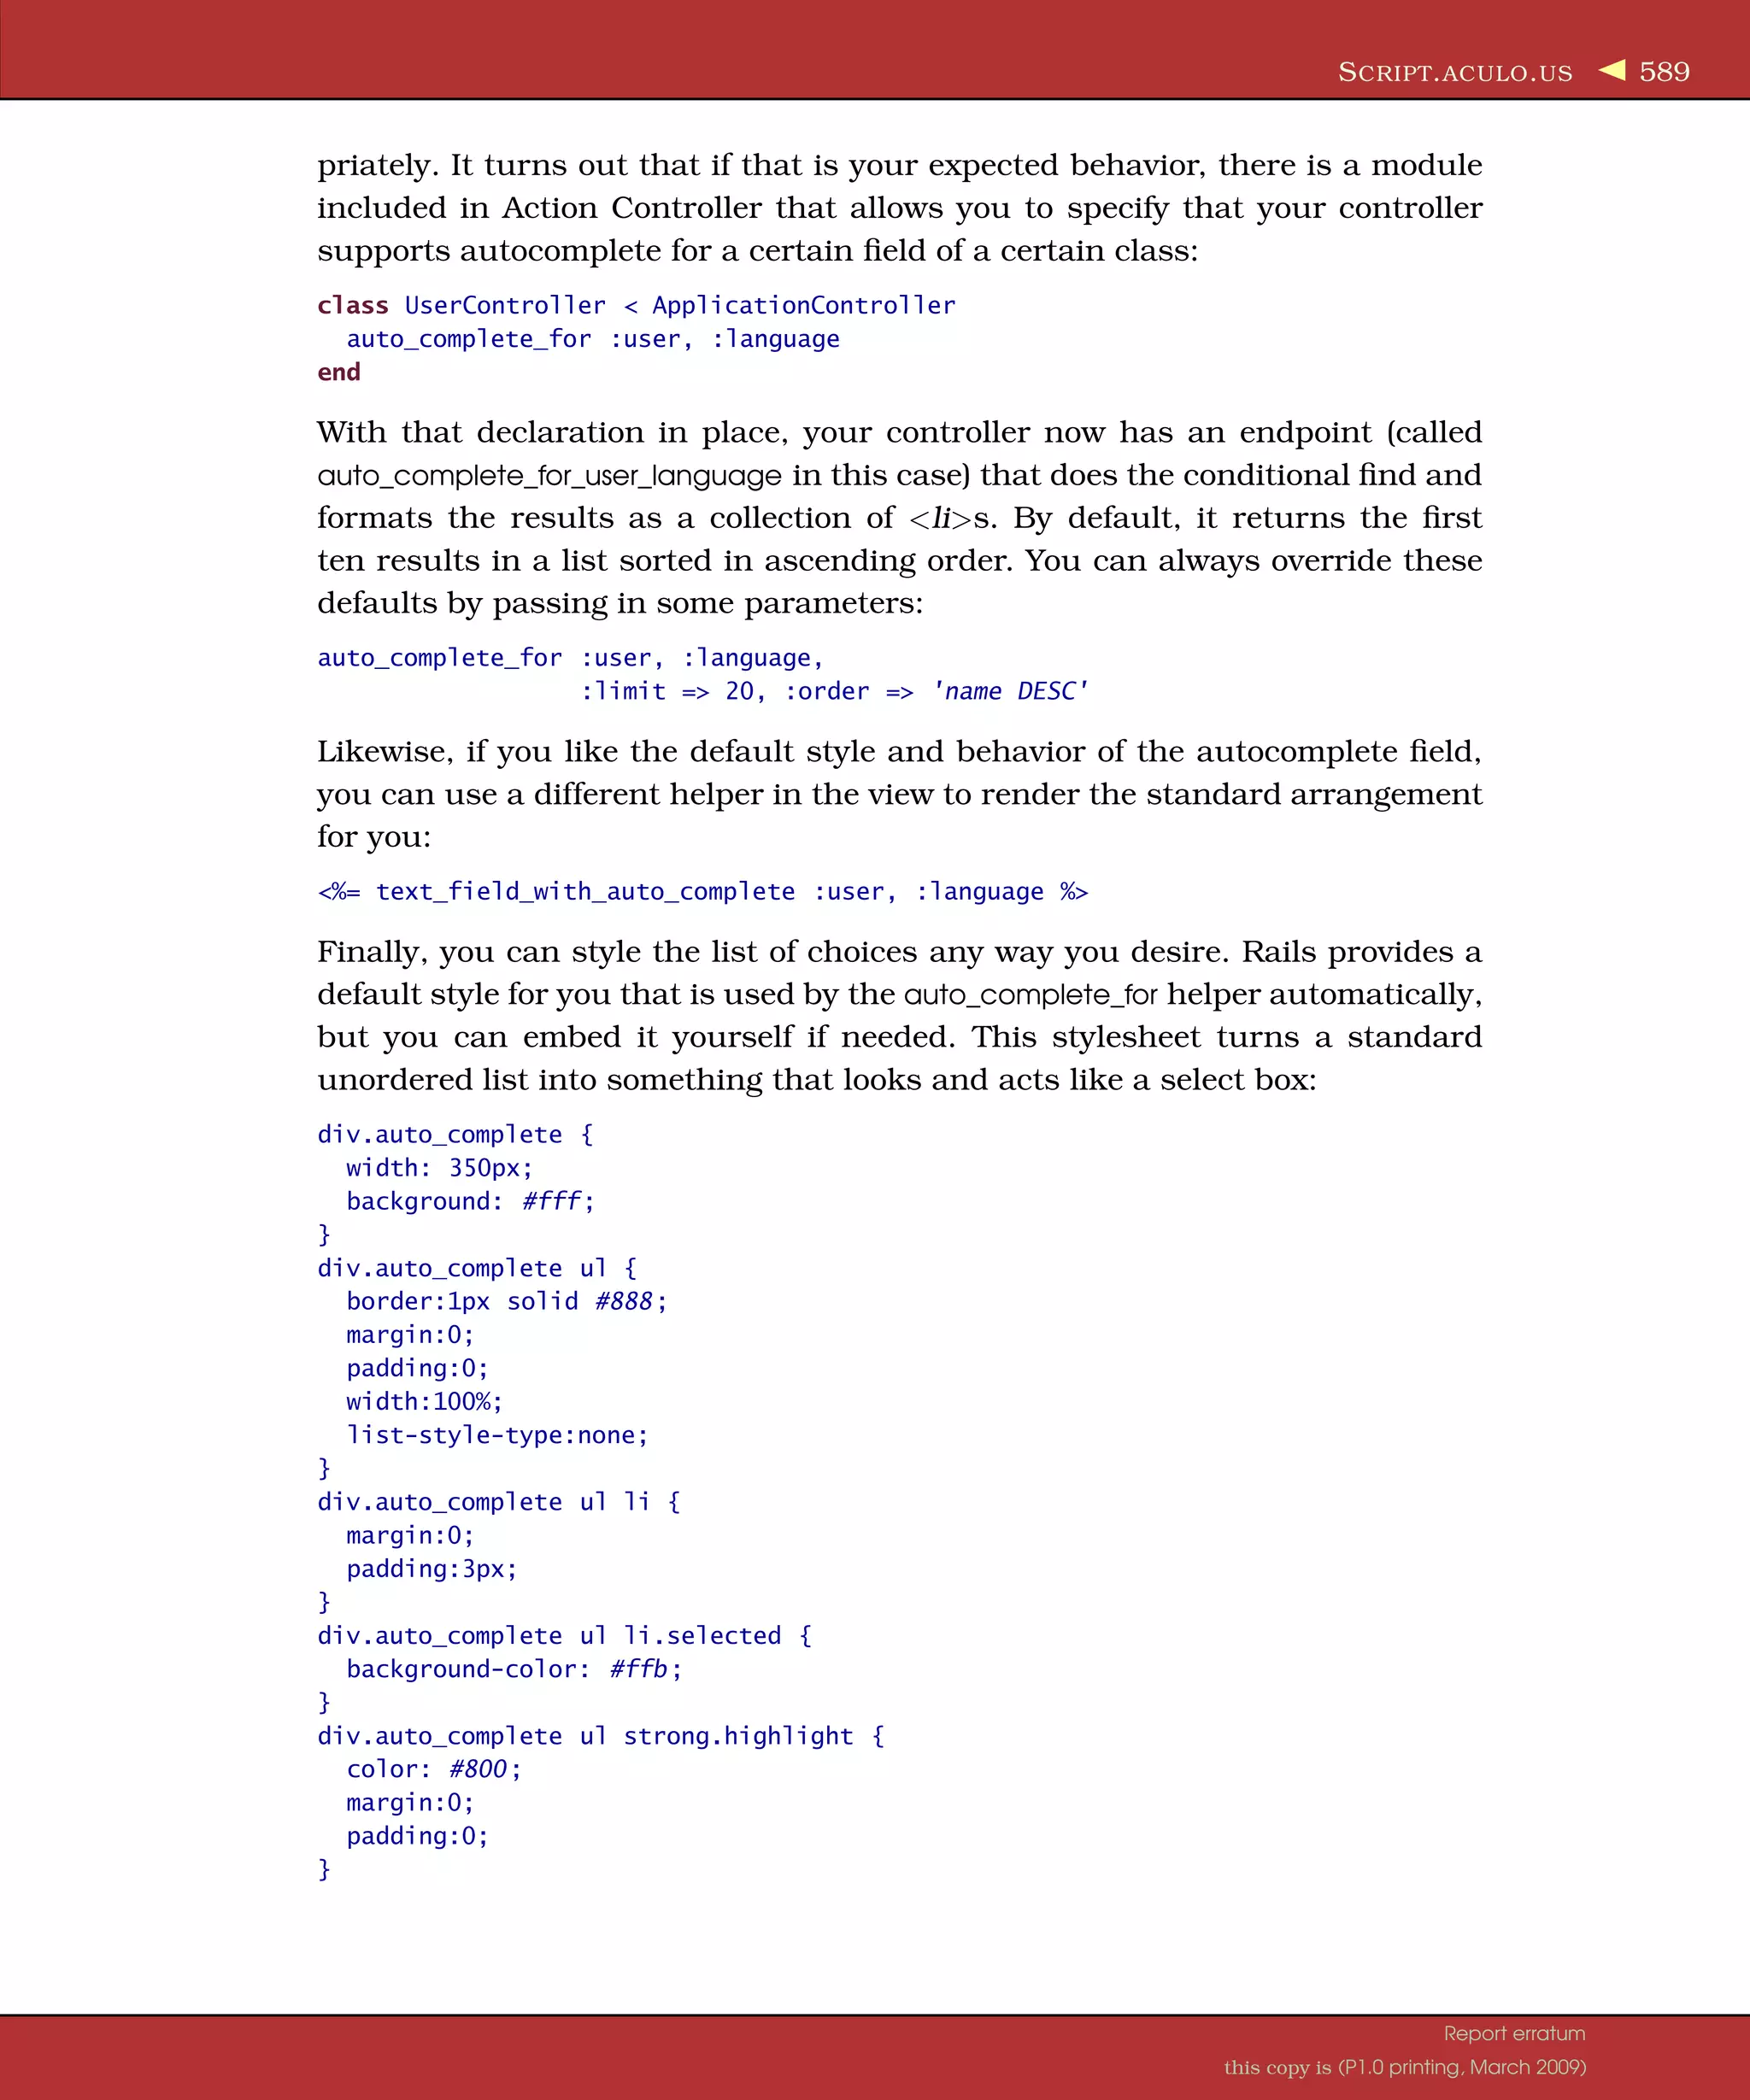
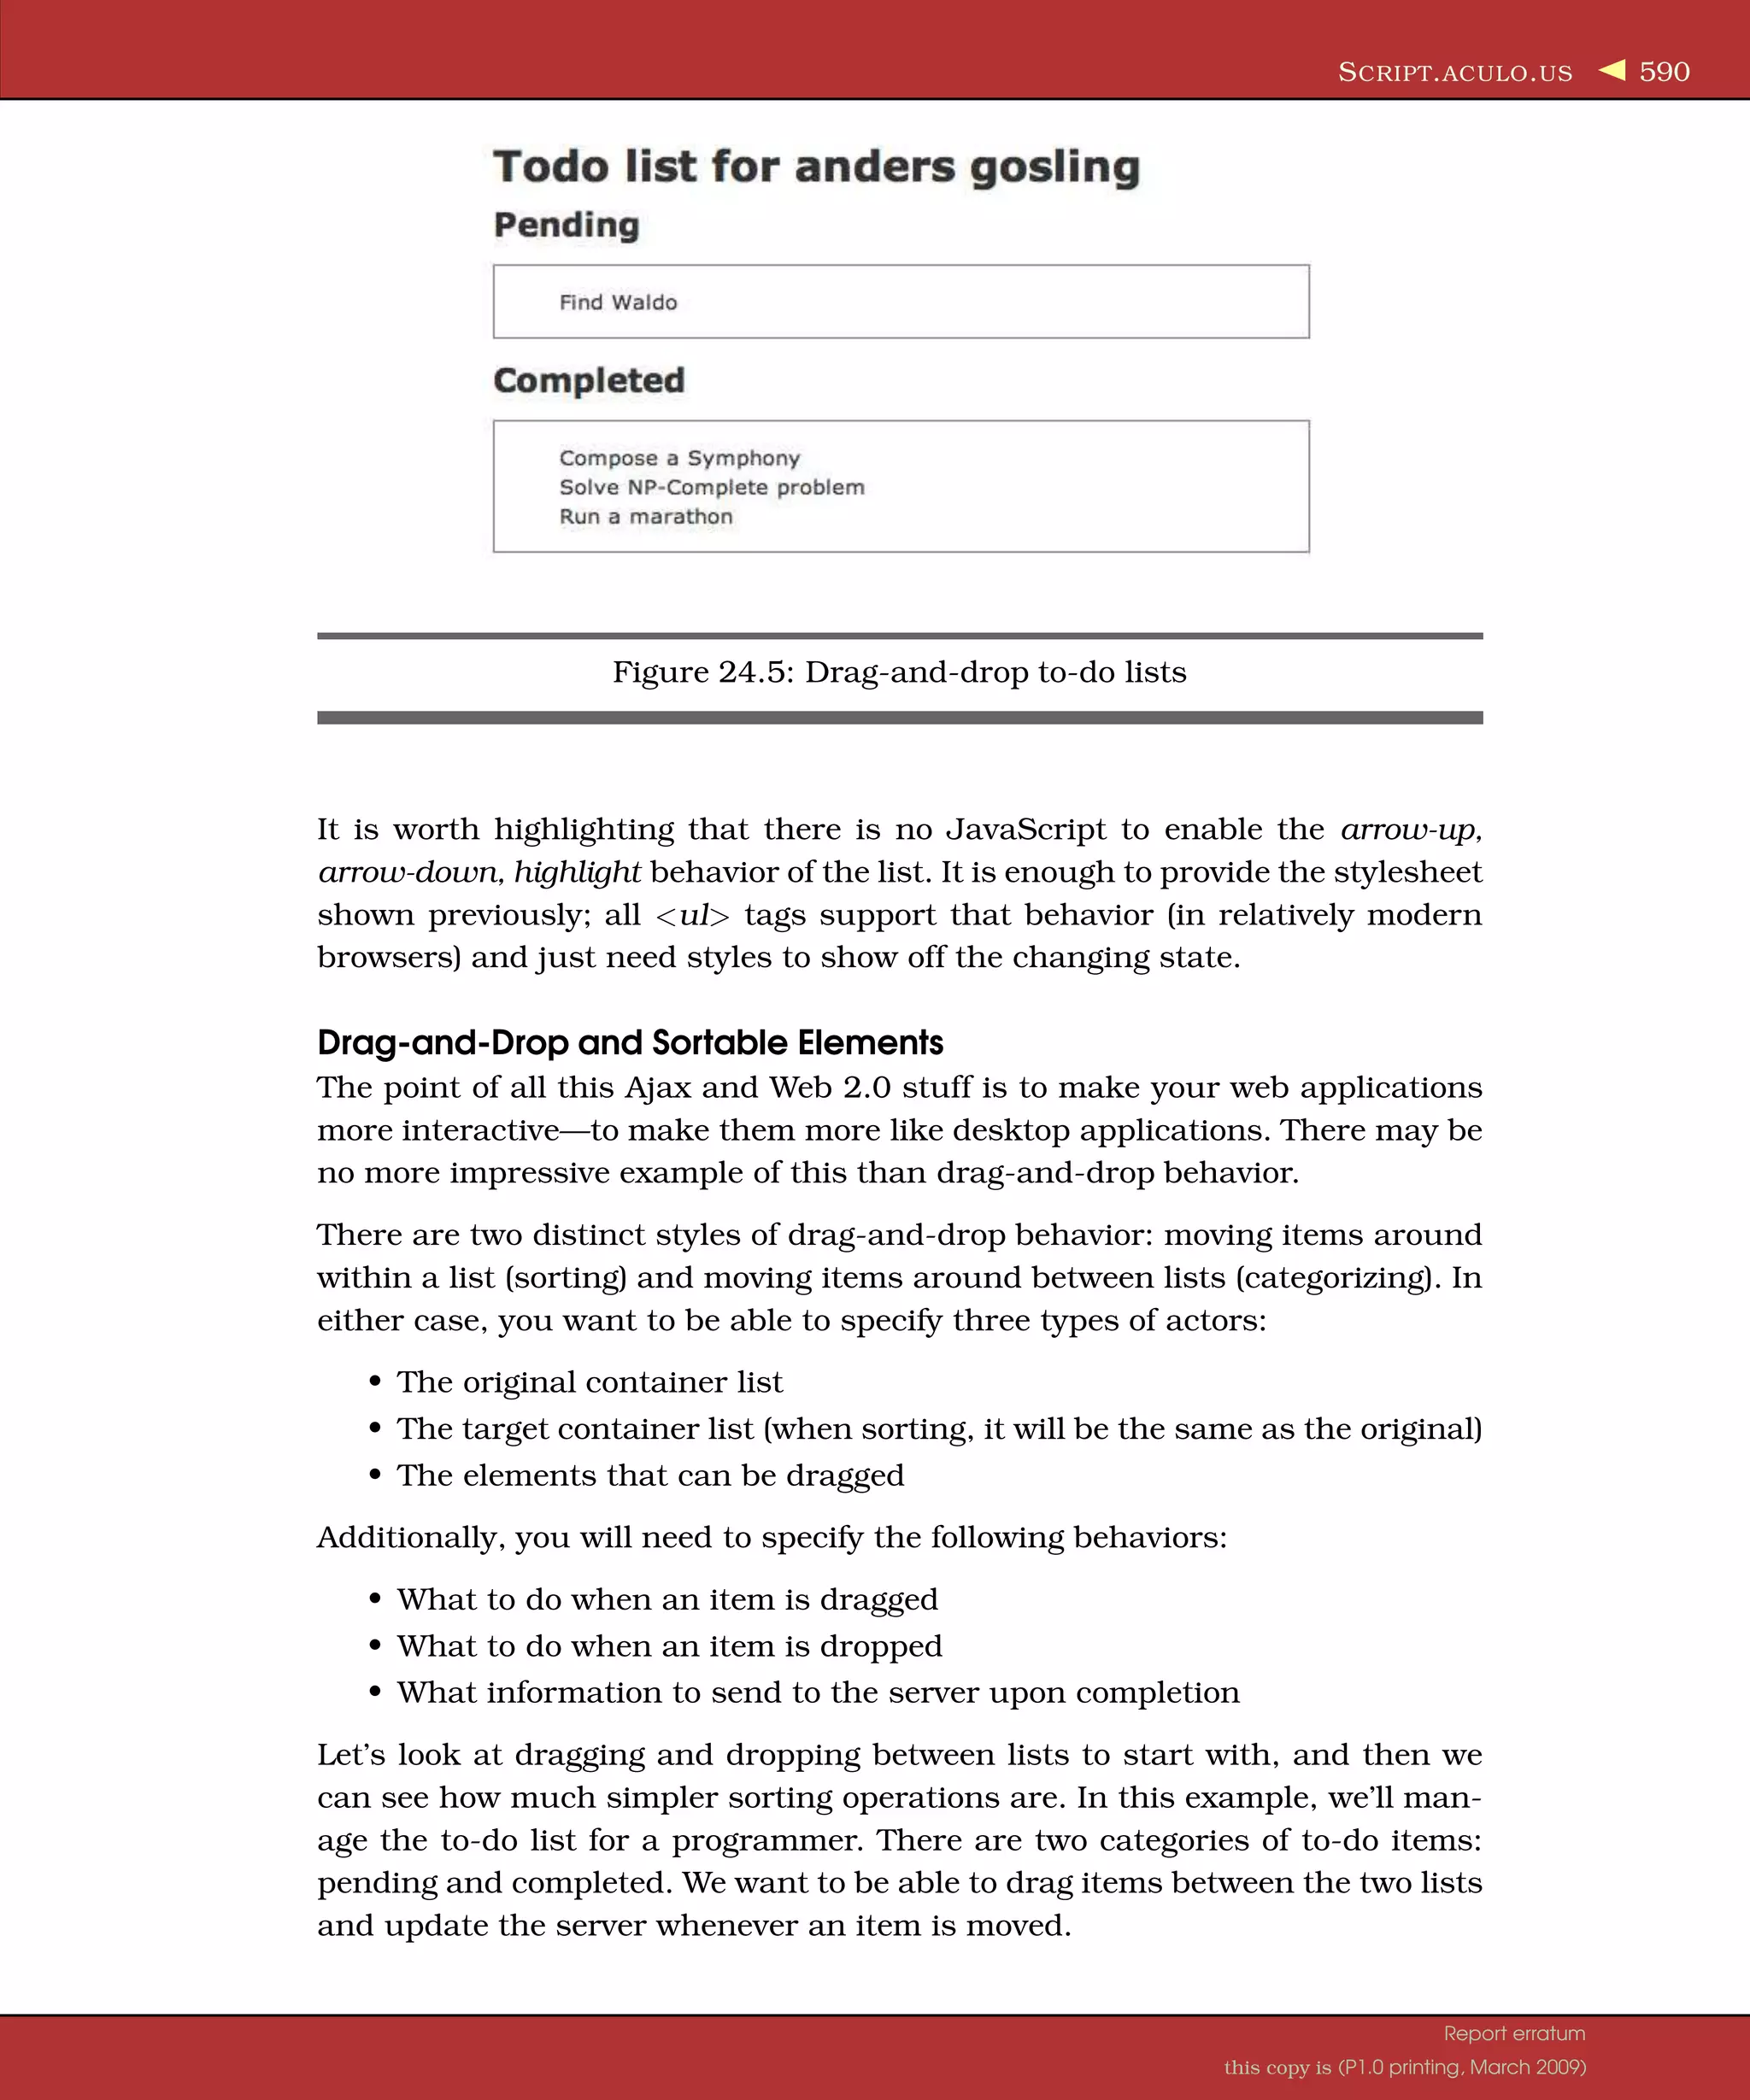
![S CRIPT. ACULO . US 594 In many cases, there isn’t anything to do in the browser since the list is already in order. Here is the output of the previous code: <ul id="priority_todos"> <li id="todo_421">Climb Baldwin Auditorium</li> <li id="todo_359">Find Waldo</li> </ul> <script type="text/javascript"> //<![CDATA[ Sortable.create("priority_todos" , {onUpdate:function(){ new Ajax.Request('/user/sort_todos', {asynchronous:true, evalScripts:true, parameters:Sortable.serialize("priority_todos" )})}}) //]]> </script> Script.aculo.us provides a helper JavaScript method called Sortable.serialize. It takes a list and creates a JSON dump of the ids of its contained elements in their current order, which is sent back to the server. Here are the parameters the action receives on re-order: Processing UserController#sort_todos (for 127.0.0.1 at 2006-09-15 07:32:16) [POST] Session ID: 00dd9070b55b89aa8ca7c0507030139d Parameters: {"action" =>"sort_todos" , "controller" =>"user" , "priority_todos" =>["359" , "421" ]} Notice that the priority_todos parameter contains an array of database ids, not the DOM ids from the list (which were formatted as todo_421, not 421). The Sortable.serialize helper automatically uses the underscore as a delimiter to parse out the actual database id, leaving you less work to do on the server. There is a problem with this behavior, however. The default is to eliminate everything before and including the first underscore character in the DOM id. If your DOM is formatted as priority_todo_database id, then the serializer will send "priority_todos"=>["todo_359", "todo_421"] to the server. To override that, you have to provide the format option to the helper, which is just one of many sortable-specific options. In addition, you can pass any of the options that we have seen previously. :format => regexp A regular expression to determine what to send as the serialized id to the server (the default is /∧[∧_]*_(.*)$/). :constraint => value Whether to constrain the dragging to either :horizontal or :vertical (or false to make it unconstrained). :overlap => value Calculates the item overlap in the :horizontal or :vertical direction. :tag => string Determines which children of the container element to treat as sortable (default is LI). Report erratum this copy is (P1.0 printing, March 2009)](https://image.slidesharecdn.com/pragmatic-agilewebdevelopmentwithrails-3rdedition-2009-091104222637-phpapp01/75/Pragmatic-Agile-Web-Development-With-Rails-3rd-Edition-2009-594-2048.jpg)
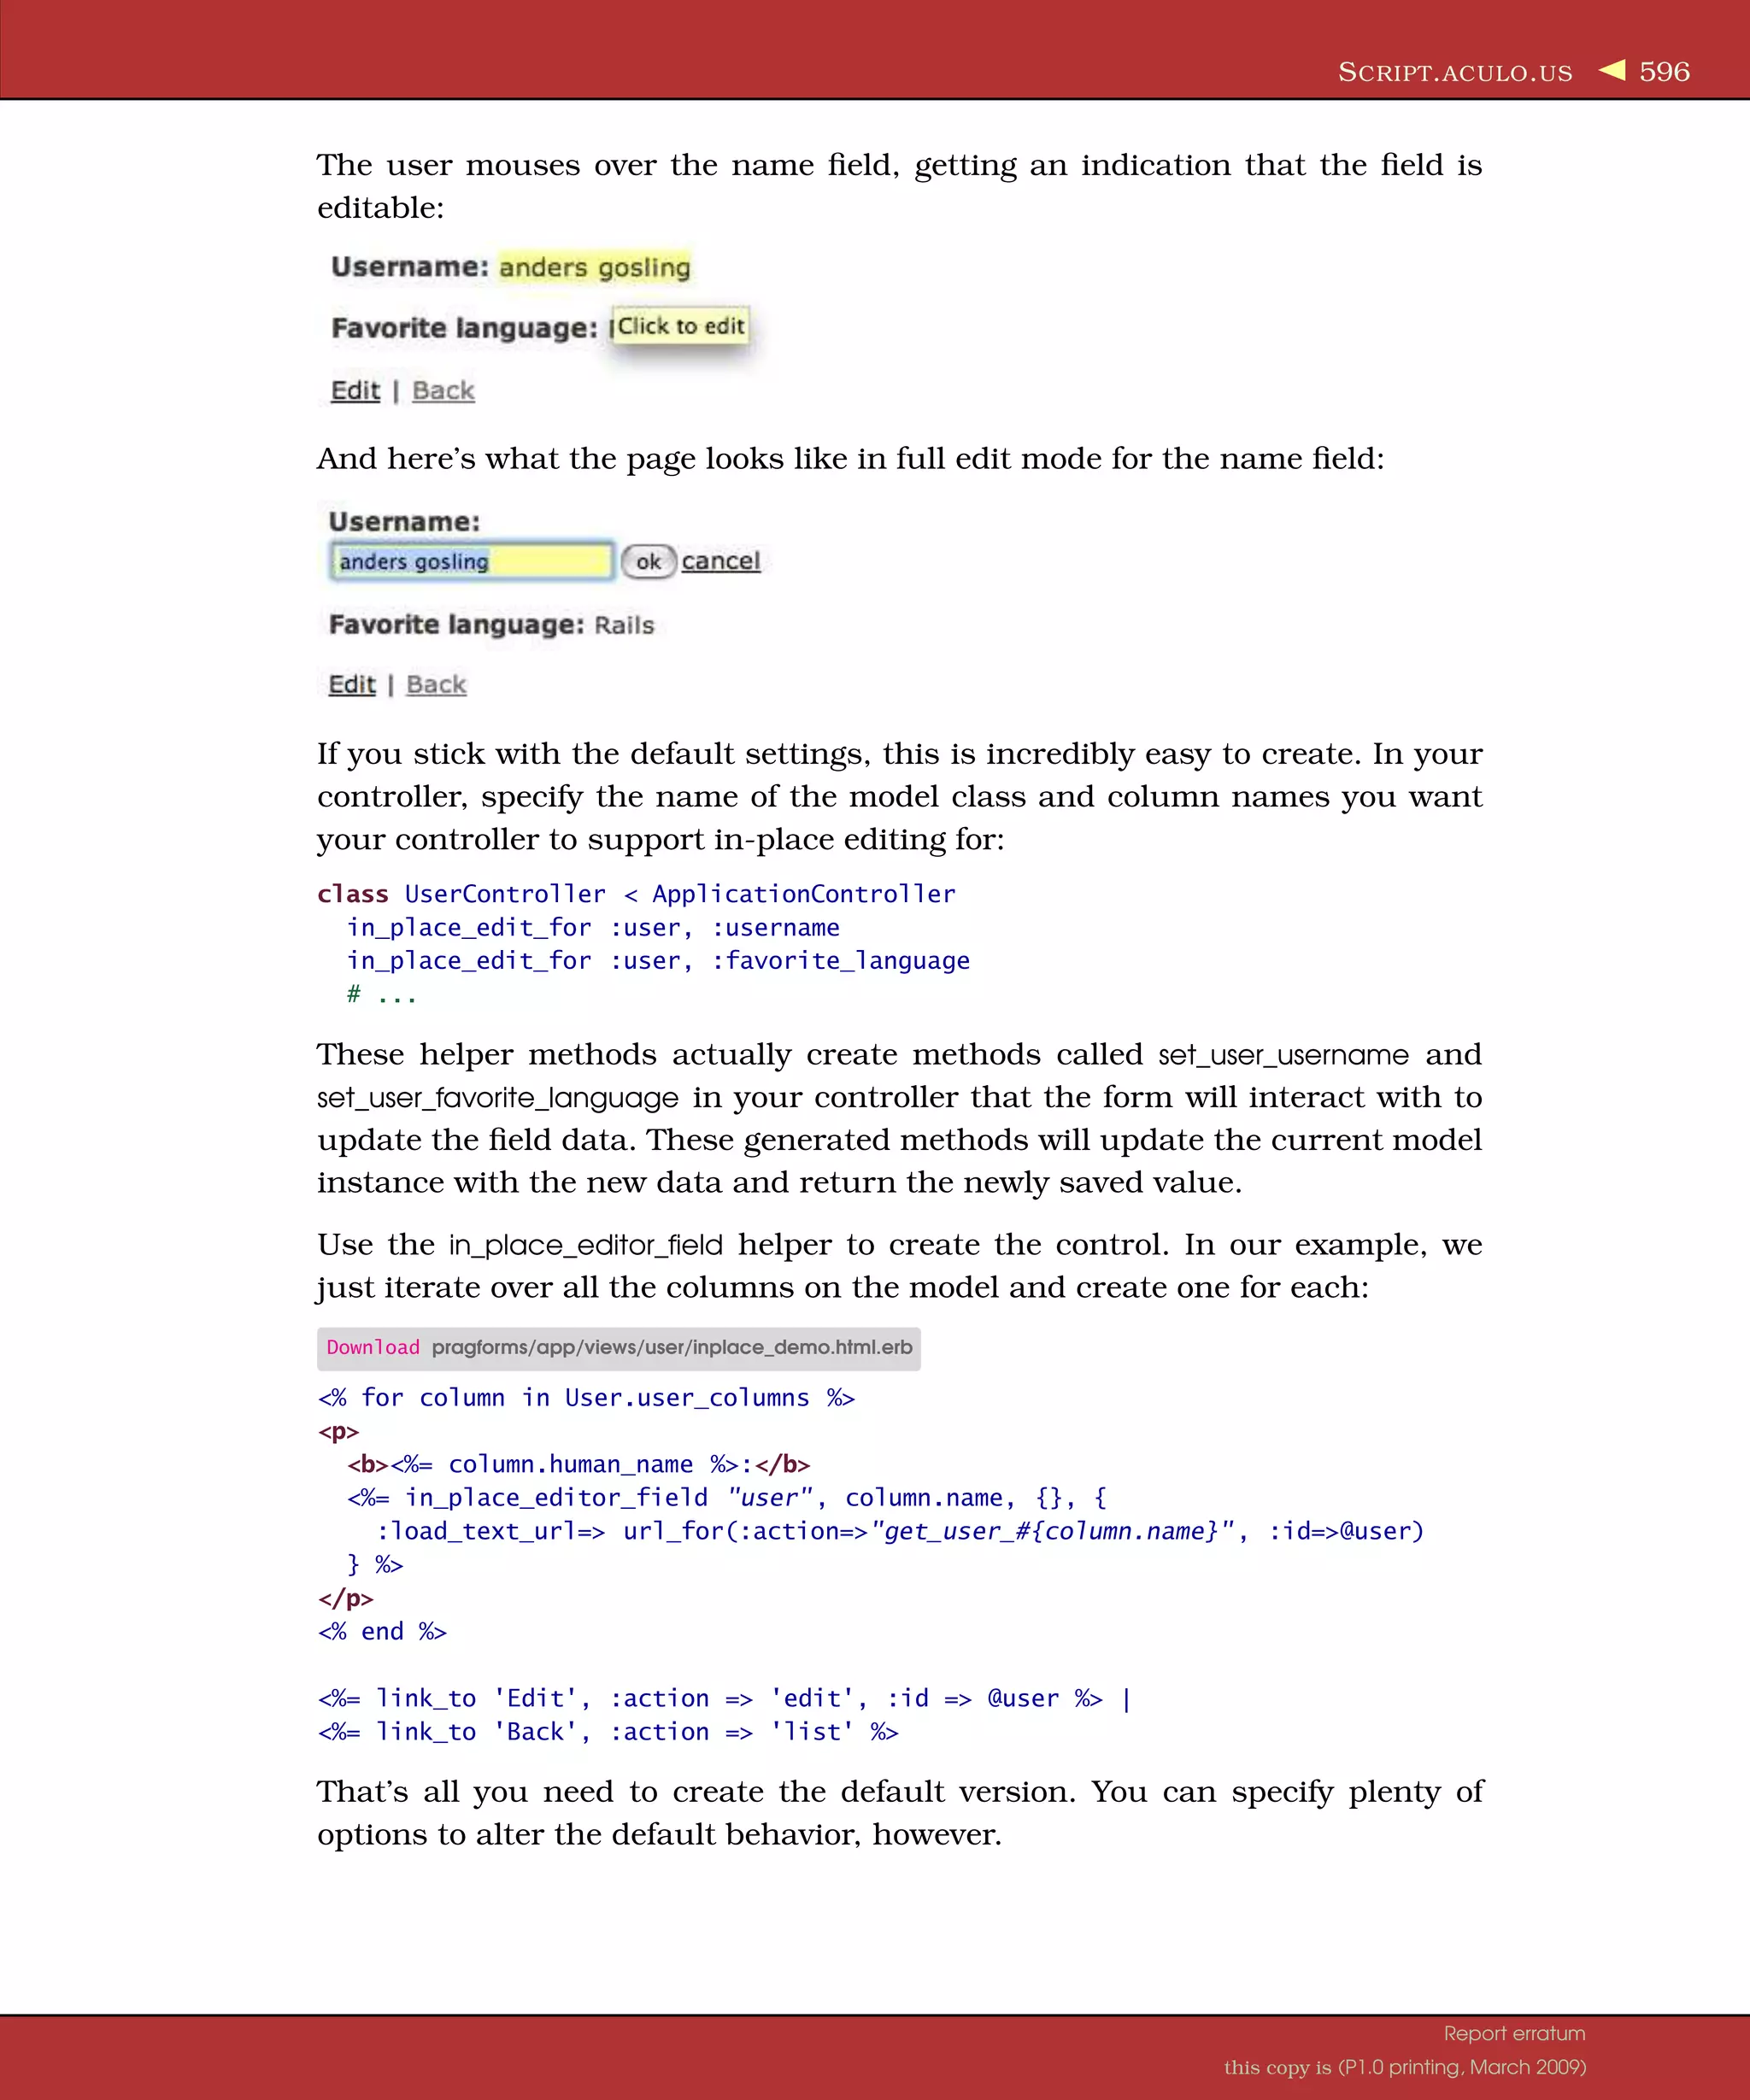
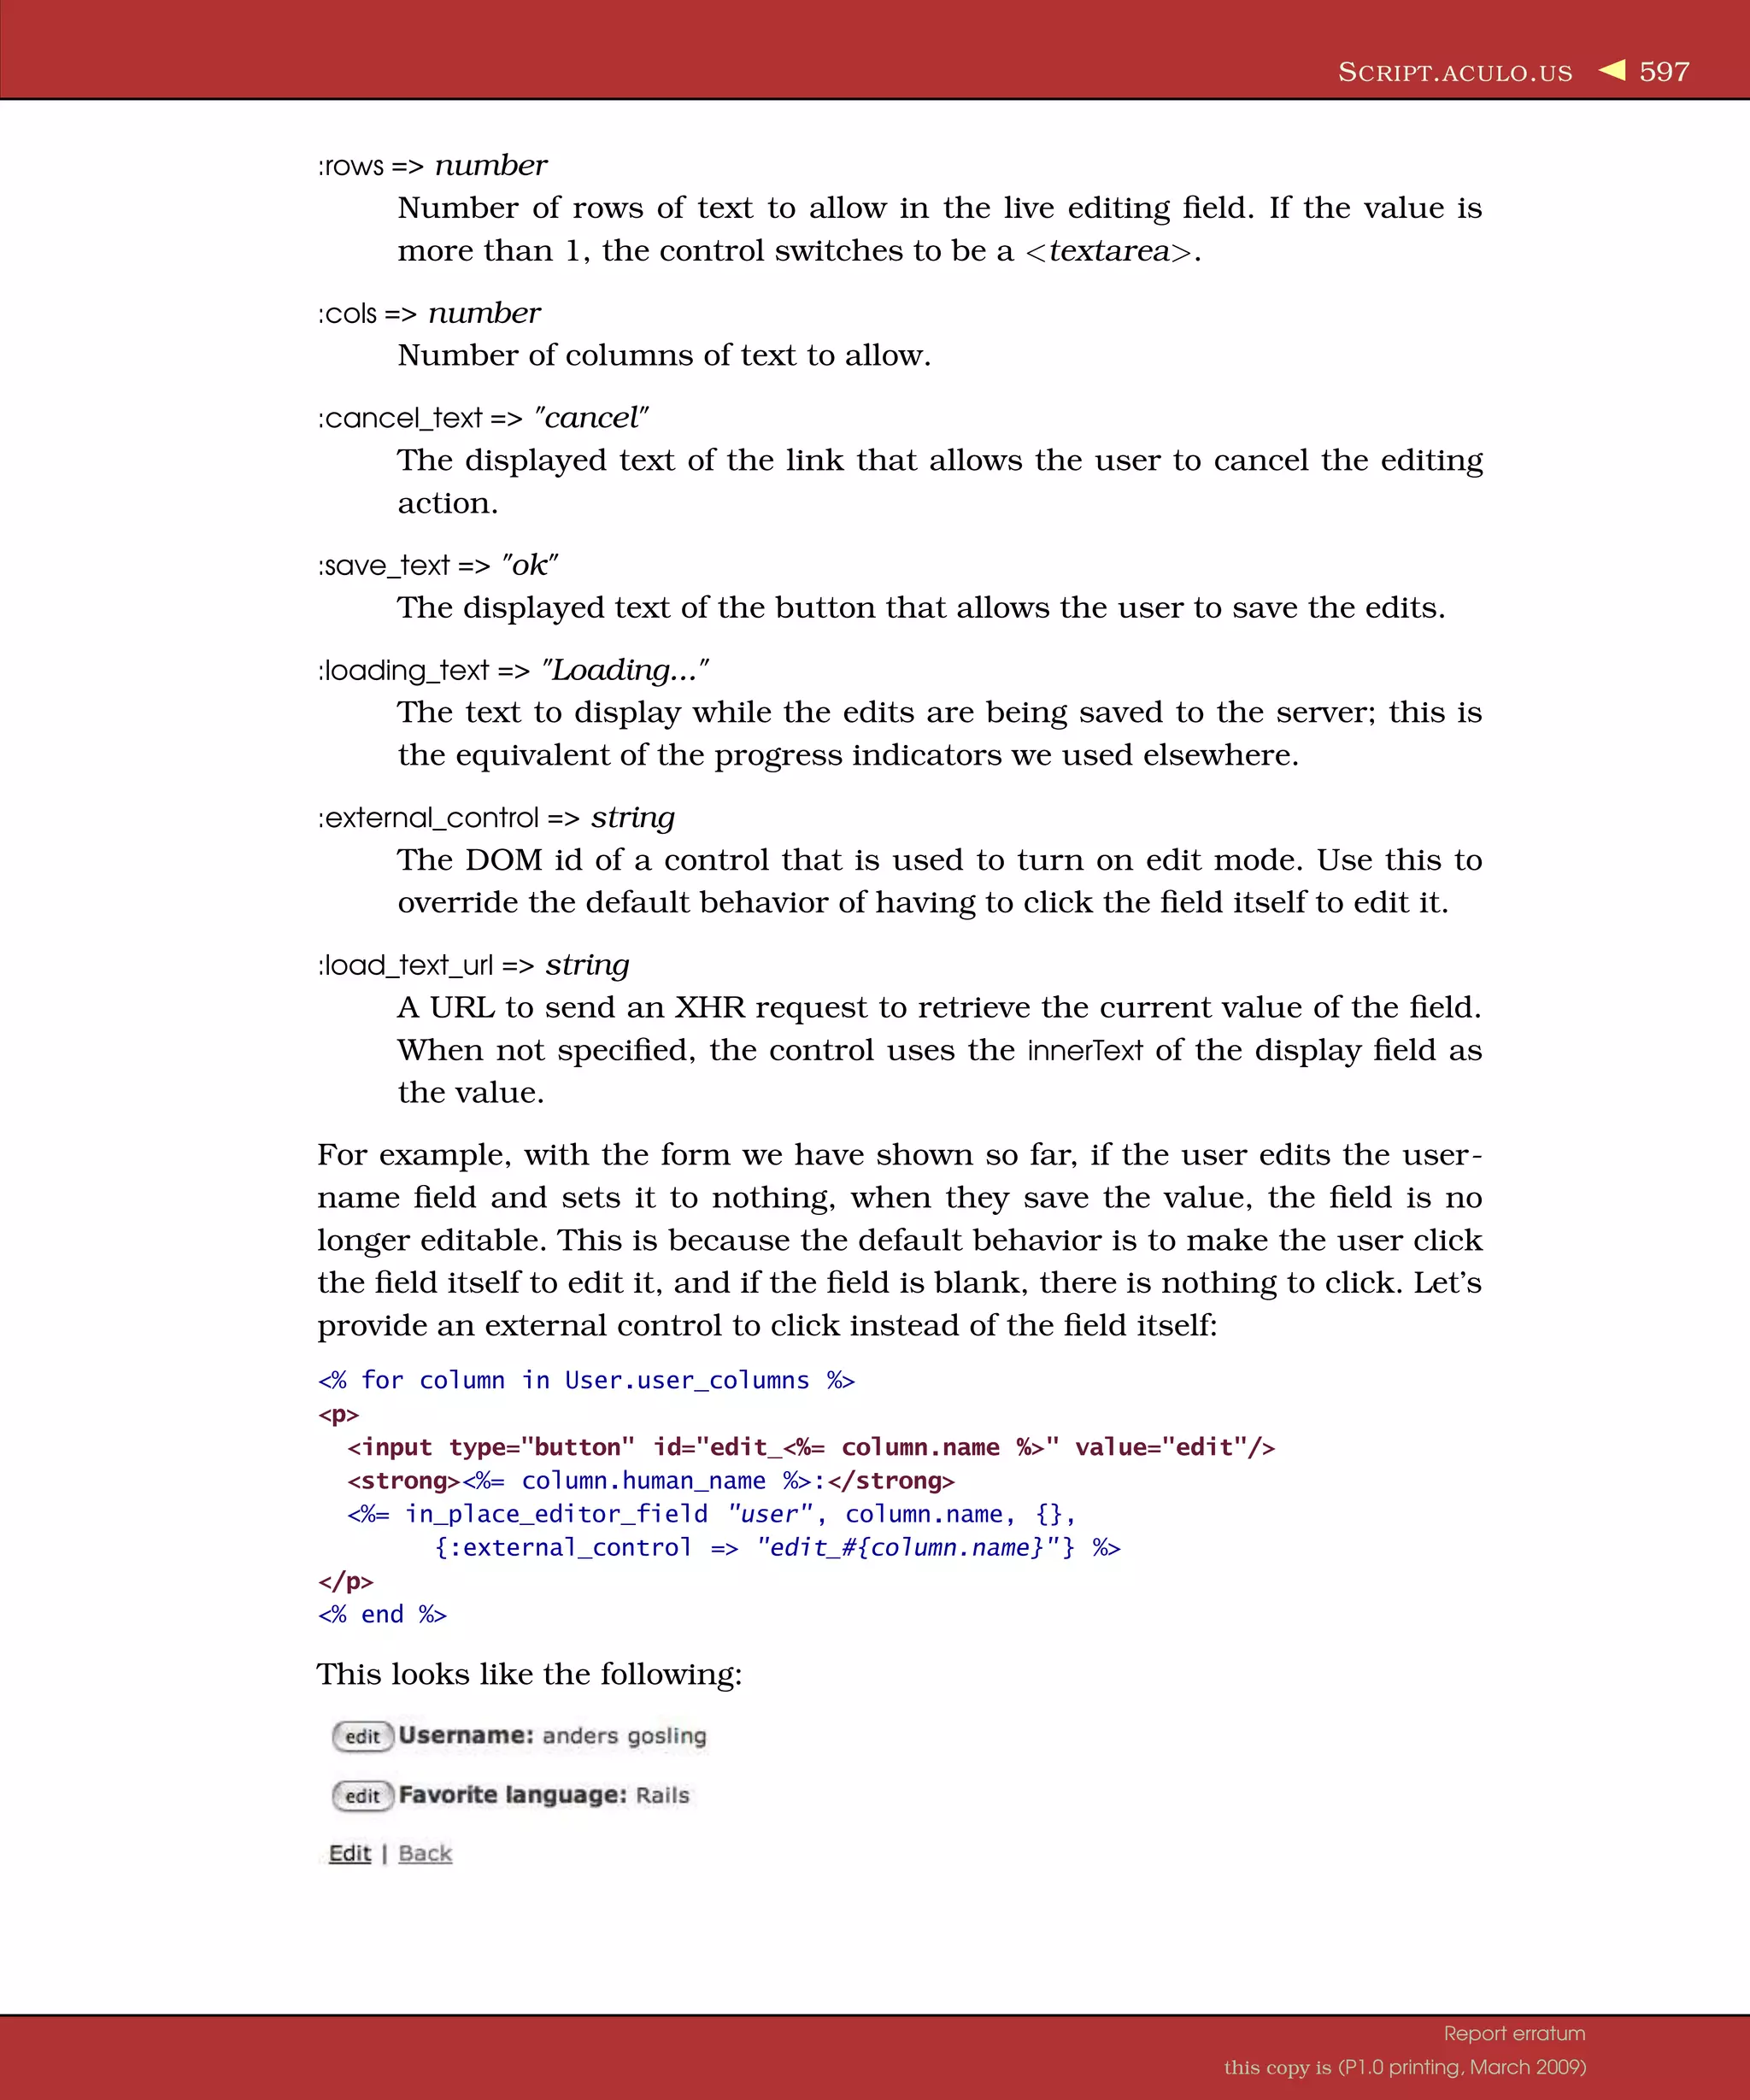
![S CRIPT. ACULO . US 598 Further, in the case of the blank value, you might want to provide some kind of default text in the editor field when the user goes to edit mode. To provide that, you have to create a server-side action that the editor can call to ask for the value of the field and then provide that in the load_text_url option. Here’s an example of creating your own helper method, much like in_place_edit_for to provide a default value: class UserController < ApplicationController def self.in_place_loader_for(object, attribute, options = {}) define_method("get_#{object}_#{attribute}" ) do @item = object.to_s.camelize.constantize.find(params[:id]) render :text => @item.send(attribute) || "[No Name]" end end in_place_edit_for :user, :username in_place_loader_for :user, :username in_place_edit_for :user, :favorite_language in_place_loader_for :user, :favorite_language In the view, you just pass the appropriate option: <% for column in User.user_columns %> <p> <input type="button" id="edit_<%= column.name %>" value="edit"/> <b><%= column.human_name %>:</b> <%= in_place_editor_field "user" , column.name, {}, {:external_control => "edit_#{column.name}" , :load_text_url=> url_for(:action=>"get_user_#{column.name}" , :id=>@user) } %> </p> <% end %> It looks like this: Notice that the editor field has [No Name] in the text field since no value was retrieved from the database. Also, you can see that the in-place editor takes care of hiding the external button control when in edit mode. Visual Effects Script.aculo.us also provides a bevy of visual effects you can apply to your DOM elements. The effects can be roughly categorized as effects that show an element, effects that hide an element, and effects that highlight an element. Conveniently, they mostly share the same optional parameters, and they can be combined either serially or in parallel to create more complex events. Report erratum this copy is (P1.0 printing, March 2009)](https://image.slidesharecdn.com/pragmatic-agilewebdevelopmentwithrails-3rdedition-2009-091104222637-phpapp01/75/Pragmatic-Agile-Web-Development-With-Rails-3rd-Edition-2009-598-2048.jpg)
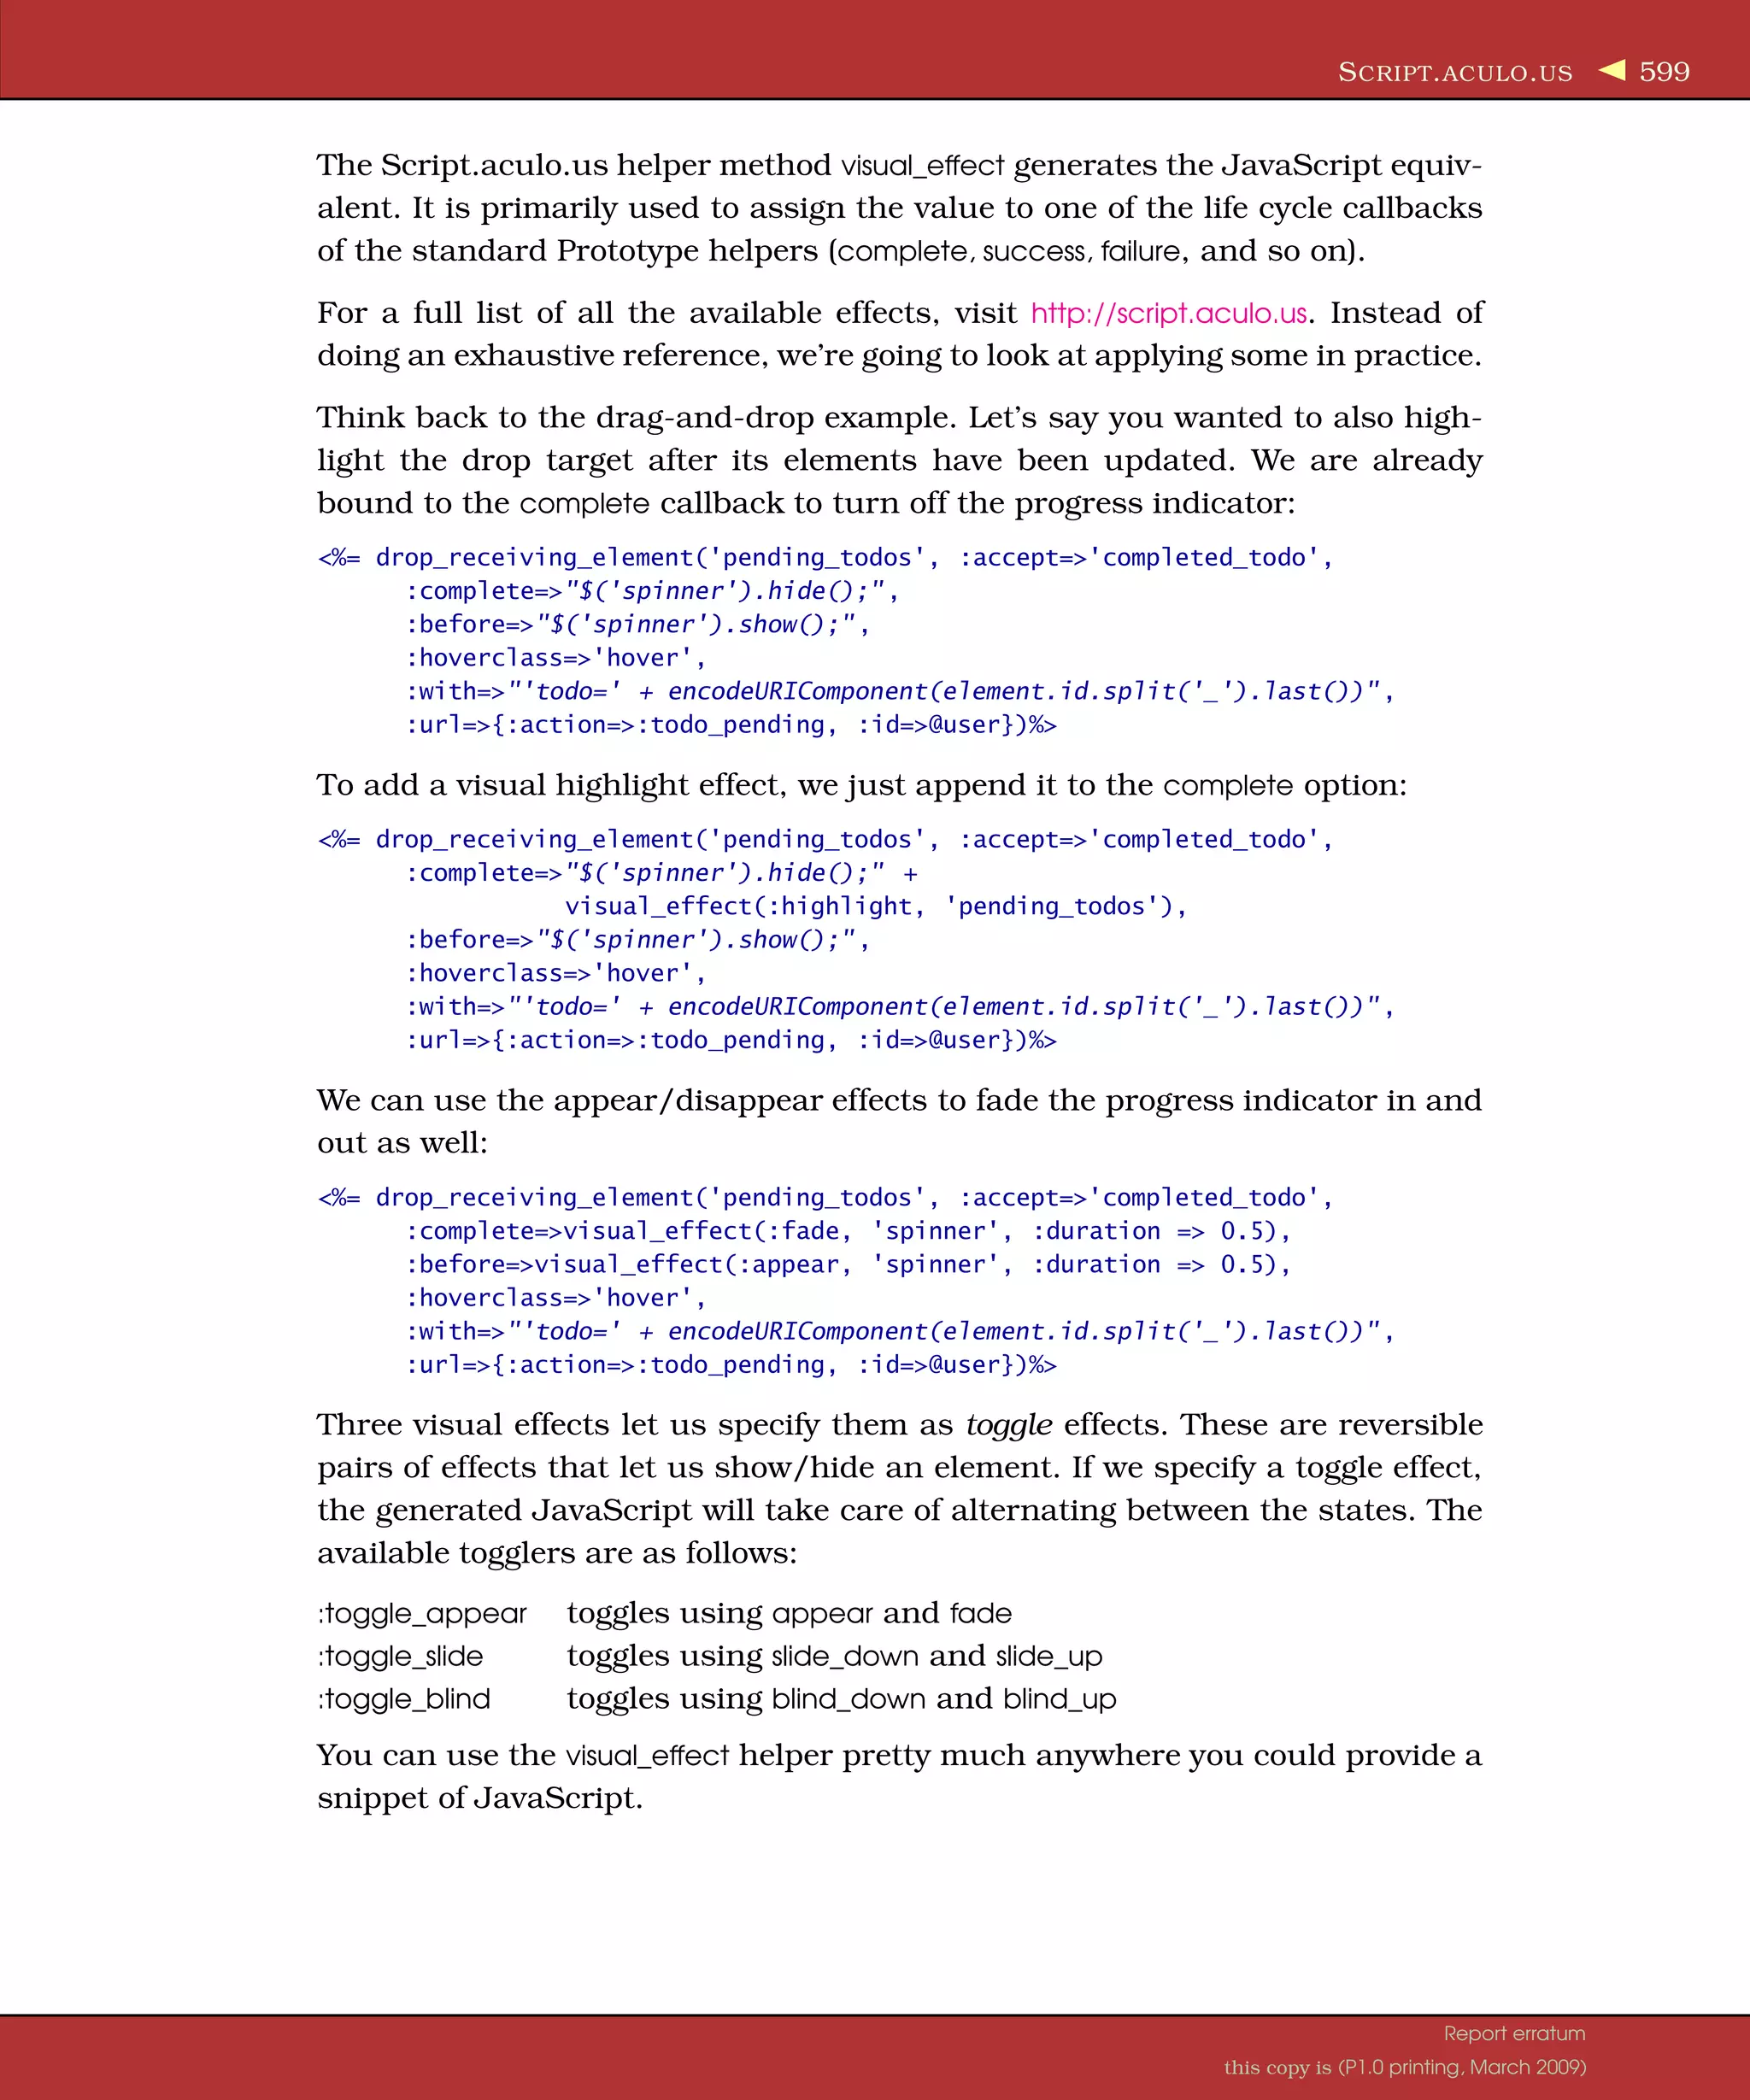
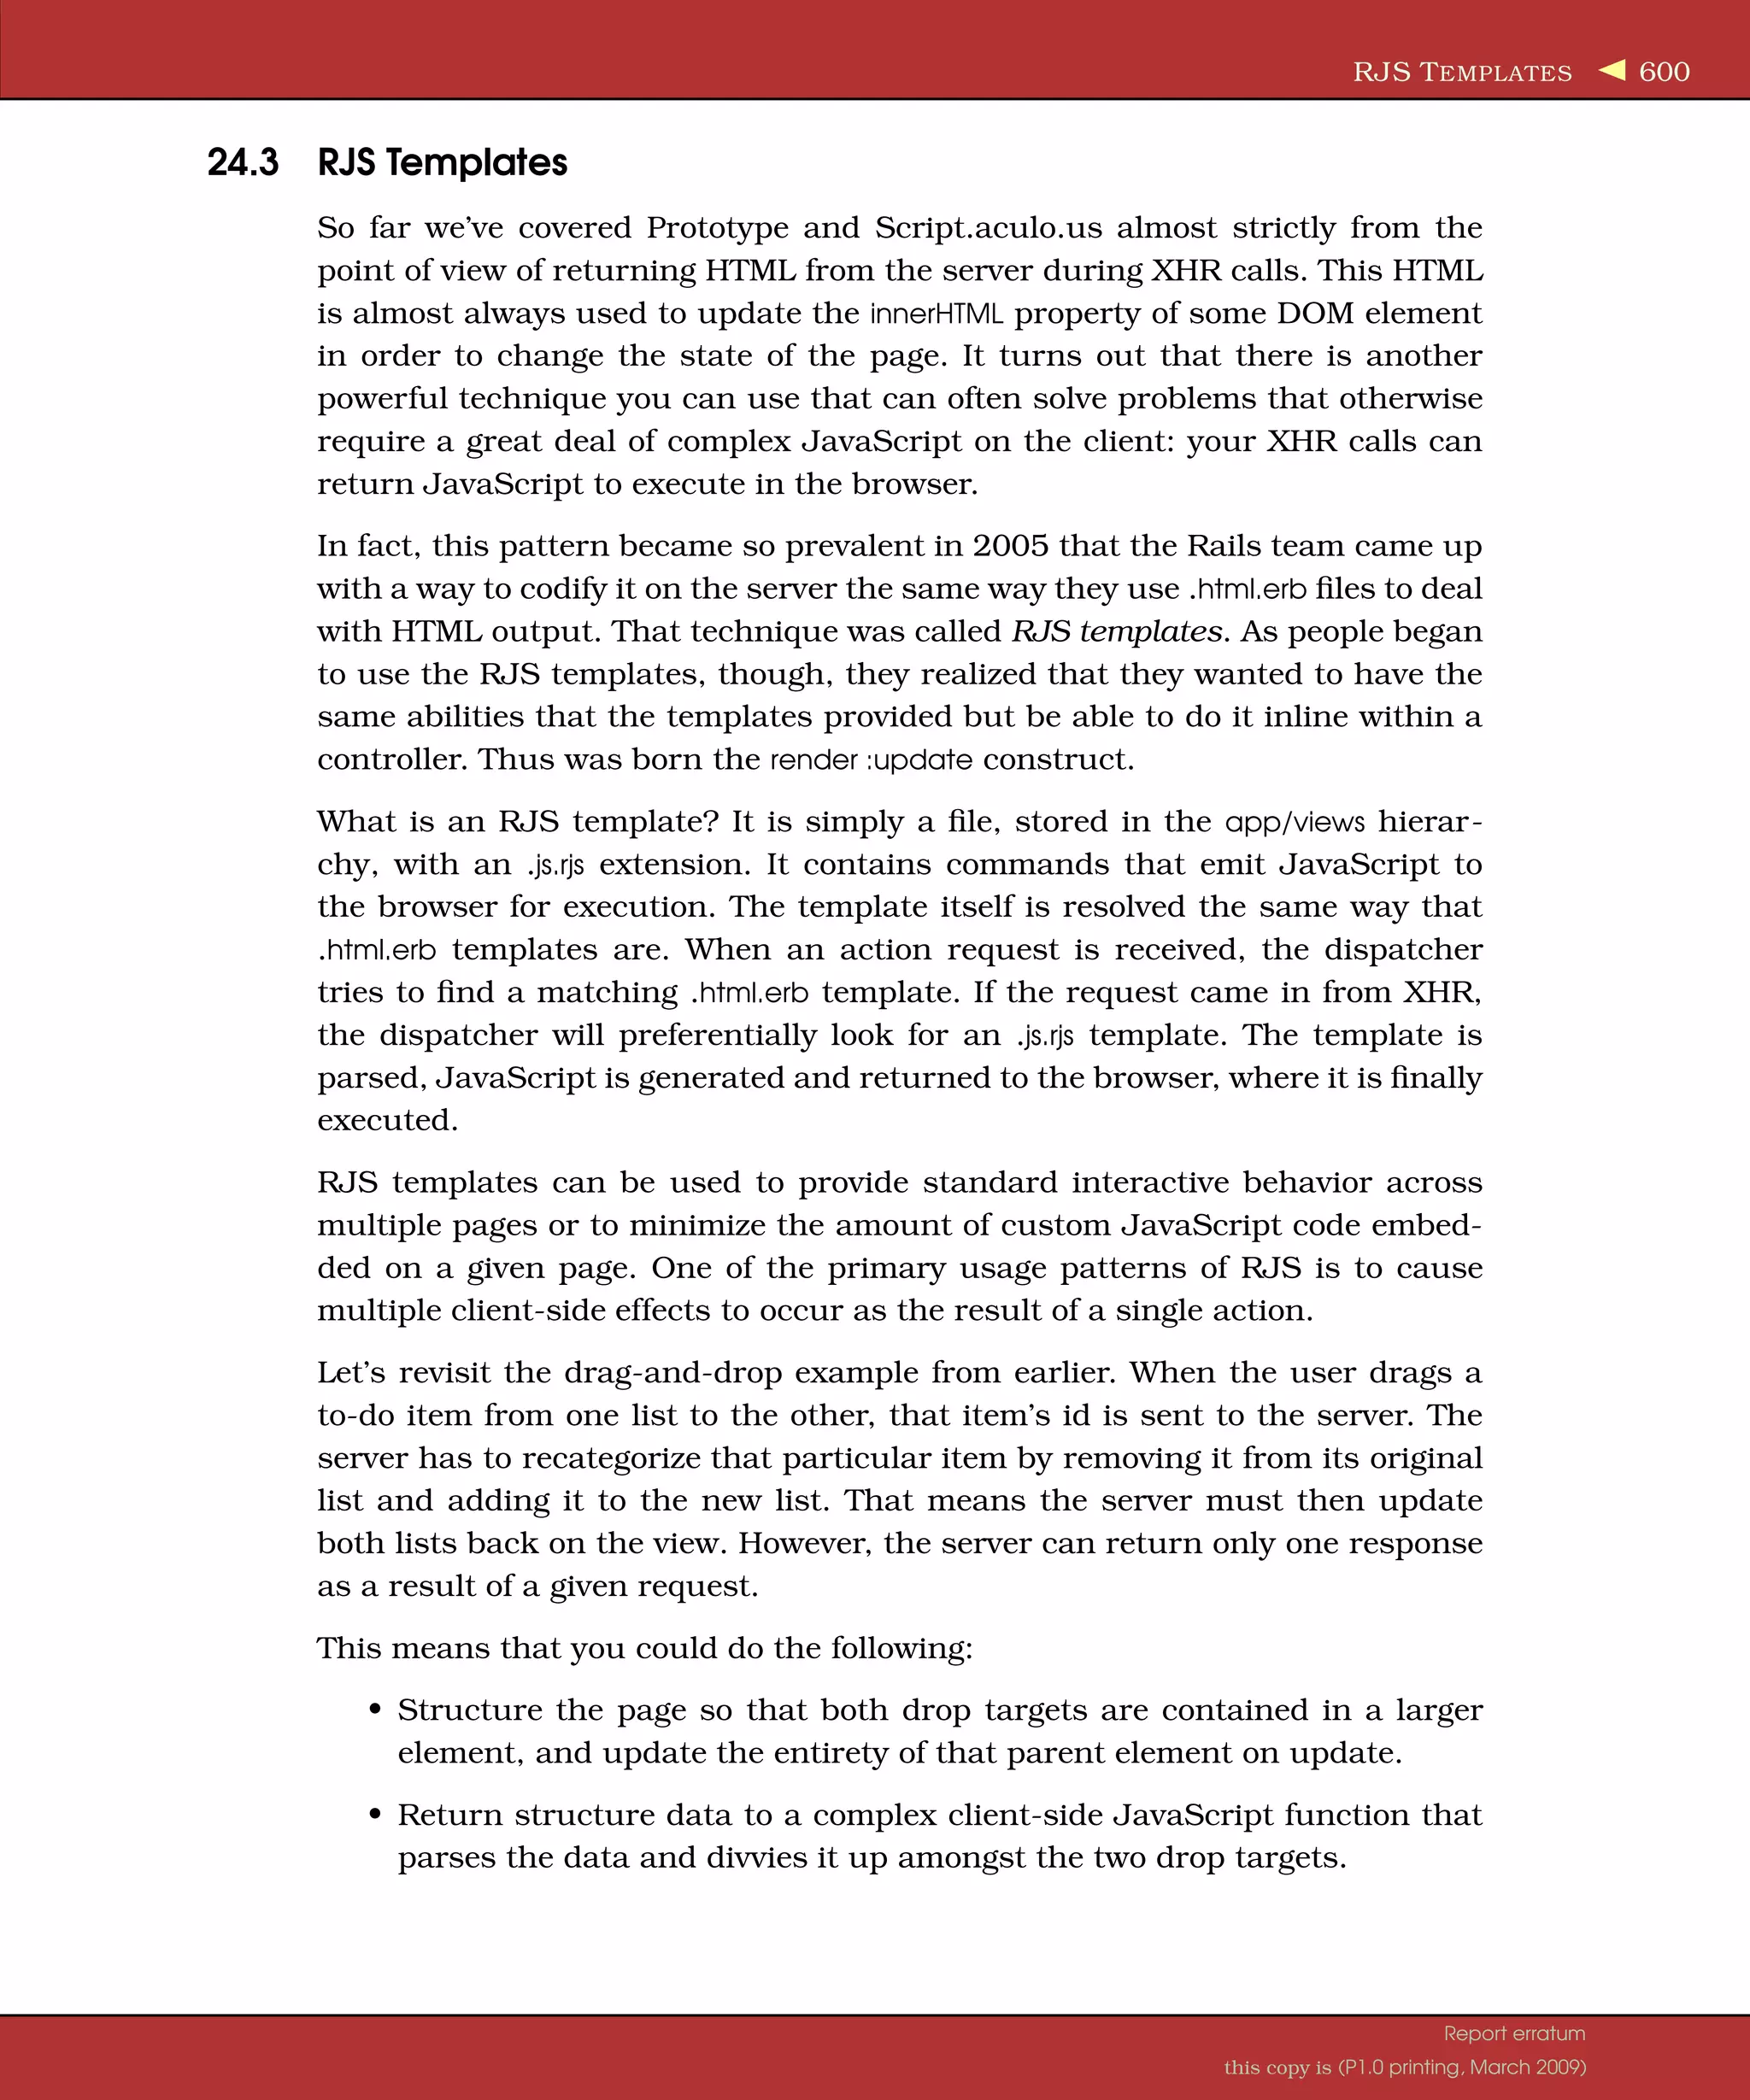
![RJS T EMPLATES 601 • Use RJS to execute several JavaScript calls on the client, one to update each drop target and then one to reset the sortability of the new lists. Here is the server-side code for the todo_pending and todo_completed meth- ods on the server. When the user completes an item, it has a completed date assigned to it. When the user moves it back out of completed, the completed date is set to nil. Download pragforms/app/controllers/user_controller.rb def todo_completed update_todo_completed_date Time.now end def todo_pending update_todo_completed_date nil end private def update_todo_completed_date(newval) @user = User.find(params[:id]) @todo = @user.todos.find(params[:todo]) @todo.completed = newval @todo.save! @completed_todos = @user.completed_todos @pending_todos = @user.pending_todos render :update do |page| page.replace_html 'pending_todos' , :partial => 'pending_todos' page.replace_html 'completed_todos' , :partial => 'completed_todos' page.sortable "pending_todo_list" , :url=>{:action=>:sort_pending_todos, :id=>@user} end end After performing the standard CRUD operations that most controllers contain, you can see the new render :update do |page| section. When you call render :update, it generates an instance of JavaScriptGenerator, which is used to create the code you’ll send back to the browser. You pass in a block, which uses the generator to do the work. In our case, we are making three calls to the generator: two to update the drop target lists on the page and one to reset the sortability of the pending to- dos. We have to perform the last step because when we overwrite the original version, any behavior bound to it disappears, and we have to re-create it if we want the updated version to act the same way. The calls to page.replace_html take two parameters: the id (or an array of ids) of elements to update and a hash of options that define what to render. That second hash of options can be anything you can pass in a normal render call. Here, we are rendering partials. Report erratum this copy is (P1.0 printing, March 2009)](https://image.slidesharecdn.com/pragmatic-agilewebdevelopmentwithrails-3rdedition-2009-091104222637-phpapp01/75/Pragmatic-Agile-Web-Development-With-Rails-3rd-Edition-2009-601-2048.jpg)
![RJS T EMPLATES 602 The call to page.sortable also takes the id of the element to make sortable, followed by all of the possible options to the original sortable_element helper. Here is the resulting response from the server as passed back across to the browser (reformatted slightly to make it fit): try { Element.update("pending_todos" , "<ul id='pending_todo_list' > <li class="pending_todo" id='todo_38' >Build a house</li> <script type="text/javascript">n//<![CDATA[nnew Draggable("todo_38", {ghosting:true, revert:true})n//n</script> <li class="pending_todo" id='todo_39' >Read the Hugo Award Winners</li> <script type="text/javascript">n//<![CDATA[nnew Draggable("todo_39", {ghosting:true, revert:true})n//]]>n</script>n n</ul>n"); // . . . Sortable.create("pending_todo_list", {onUpdate:function(){new Ajax.Request('/user/sort_pending_todos/10', {asynchronous:true, evalScripts:true, parameters:Sortable.serialize("pending_todo_list")})}});'); throw e } ]]> The response is pure JavaScript; the Prototype helper methods on the client must be set to execute JavaScripts, or nothing will happen on the client. It updates the drop targets with new HTML, which was rendered back on the server into string format. It then creates the new sortable element on top of the pending to-dos. The code is wrapped in a try/catch block. If something goes wrong on the client, a JavaScript alert box will pop up and attempt to describe the problem. If you don’t like the inline style of render :update, you can use the original version, an .js.rjs template. If you switch to the template style, the action code would reduce to this: def update_todo_completed_date(newval) @user = User.find(params[:id]) @todo = @user.todos.find(params[:todo]) @todo.completed = newval @todo.save! @completed_todos = @user.completed_todos @pending_todos = @user.pending_todos end Then, add a file called todo_completed.js.rjs in app/views/user/ that contains this: page.replace_html 'pending_todos' , :partial => 'pending_todos' page.replace_html 'completed_todos' , :partial => 'completed_todos' page.sortable "pending_todo_list" , :url=>{:action=>:sort_pending_todos, :id=>@user} Rails will autodiscover the file, create an instance of JavaScriptGenerator called page, and pass it in. The results will be rendered back to the client, just as with the inline version. Report erratum this copy is (P1.0 printing, March 2009)](https://image.slidesharecdn.com/pragmatic-agilewebdevelopmentwithrails-3rdedition-2009-091104222637-phpapp01/75/Pragmatic-Agile-Web-Development-With-Rails-3rd-Edition-2009-602-2048.jpg)
![RJS T EMPLATES 603 Let’s take a categorized look at the available RJS helper methods. Editing Data You might have several elements on a page whose data needs to be updated as a result of an XHR call. If you need to replace only the data inside the element, you will use replace_html. If you need to replace the entire element, including its tag, you need replace. Both methods take an id and a hash of options. Those options are the same as you would use in any normal render call to render text back to the client. However, replace_html merely sets the innerHTML of the specified element to the rendered text, while replace first deletes the original element and then inserts the rendered text in its place. In this example, our controller mixes using RJS to update the page upon suc- cessful edit or redraws the form with a standard render if not: def edit_user @user = User.find(params[:id]) if @user.update_attributes(params[:user]) render :update do |page| page.replace_html "user_#{@user.id}" , :partial => "_user" end else render :action => 'edit' end end Inserting Data Use the insert_html method to insert data. This method takes three parameters: the position of the insert, the id of a target element, and the options for render- ing the text to be inserted. The position parameter can be any of the positional options accepted by the update Prototype helper (:before, :top, :bottom, and :after). Here is an example of adding an item to a to-do list. The form might look like this: <ul id="todo_list"> <% for item in @todos %> <li><%= item.name %></li> <% end %> </ul> <% form_remote_tag :url => {:action => 'add_todo'} do %> <%= text_field 'todo', 'name' %> <%= submit_tag 'Add...' %> <% end %> Report erratum this copy is (P1.0 printing, March 2009)](https://image.slidesharecdn.com/pragmatic-agilewebdevelopmentwithrails-3rdedition-2009-091104222637-phpapp01/75/Pragmatic-Agile-Web-Development-With-Rails-3rd-Edition-2009-603-2048.jpg)
![RJS T EMPLATES 604 On the server, you would store the to-do item and then add the new value into the existing list at the bottom: def add_todo todo = Todo.new(params[:todo]) if todo.save render :update do |page| page.insert_html :bottom, 'todo_list' , "<li>#{todo.name}</li>" end end end Showing/Hiding Data You’ll often need to toggle the visibility of DOM elements after the completion of an XHR call. Showing and hiding progress indicators are a good example; toggling between an Edit button and a Save button is another. We can use three methods to handle these states: show, hide, and toggle. Each takes a single id or an array of ids to modify. For example, when using Ajax calls instead of standard HTML requests, the standard Rails pattern of assigning a value to flash[:notice] doesn’t do anything because the code to display the flash is executed only the first time the page is rendered. Instead, you can use RJS to show and hide the notification: def add_todo todo = Todo.new(params[:todo]) if todo.save render :update do |page| page.insert_html :bottom, 'todo_list' , "<li>#{todo.name}</li>" page.replace_html 'flash_notice' , "Todo added: #{todo.name}" page.show 'flash_notice' end end end Alternatively, you can choose to delete an element from the page entirely by calling remove. Successful execution of remove means that the node or nodes specified will be removed from the page entirely. This does not mean just hid- den; the element is removed from the DOM and cannot be retrieved. Here’s an example of our to-do list again, but now the individual items have an id and a Delete button. Delete will make an XHR call to remove the item from the database, and the controller will respond by issuing a call to delete the individual list item: <ul id="todo_list"> <% for item in @todos %> <li id='todo_<%= item.id %>'><%= item.name %> <%= link_to_remote 'Delete', :url => {:action => 'delete_todo', Report erratum this copy is (P1.0 printing, March 2009)](https://image.slidesharecdn.com/pragmatic-agilewebdevelopmentwithrails-3rdedition-2009-091104222637-phpapp01/75/Pragmatic-Agile-Web-Development-With-Rails-3rd-Edition-2009-604-2048.jpg)
![RJS T EMPLATES 605 :id => item} %> </li> <% end %> </ul> <% form_remote_tag :url => {:action => 'add_todo'} do %> <%= text_field 'todo', 'name' %> <%= submit_tag 'Add...' %> <% end %> def delete_todo if Todo.destroy(params[:id]) render :update do |page| page.remove "todo_#{params[:id]}" end end end Selecting Elements If you need to access page elements directly, you can select one or more of them to call methods on. The simplest method is to look them up by id. You can use the [ ] syntax to do that; it takes a single id and returns a proxy to the underlying element. You can then call any method that exists on the returned instance. This is functionally equivalent to using the Prototype $ method in the client. In conjunction with the fact that the newest versions of Prototype allow you to chain almost any call to an object, the [ ] syntax turns out to be a very powerful way to interact with the elements on a page. Here’s an alternate way to show the flash notification upon successfully adding a to-do item: def add_todo todo = Todo.new(params[:todo]) if todo.save render :update do |page| page.insert_html :bottom, 'todo_list' , "<li>#{todo.name}</li>" page['flash_notice' ].update("Added todo: #{todo.name}" ).show end end end Another option is to select all the elements that utilize some CSS class(es). Pass one or more CSS classes into select; all DOM elements that have one or more of the classes in the class list will be returned in an array. You can then manipulate the array directly or pass in a block that will handle the iteration for you. Direct JavaScript Interaction If you need to render raw JavaScript that you create, instead of using the helper syntax described here, you can do that with the << method. This sim- ply appends whatever value you give it to the response; it will be evaluated Report erratum this copy is (P1.0 printing, March 2009)](https://image.slidesharecdn.com/pragmatic-agilewebdevelopmentwithrails-3rdedition-2009-091104222637-phpapp01/75/Pragmatic-Agile-Web-Development-With-Rails-3rd-Edition-2009-605-2048.jpg)
![RJS T EMPLATES 606 immediately along with the rest of the response. If the string you provide is not executable JavaScript, the user will get the RJS error dialog box: render :update do |page| page << "cur_todo = #{todo.id};" page << "show_todo(#{todo.id});" end If, instead of rendering raw JavaScript, you need to call an existing JavaScript function, use the call method. call takes the name of a JavaScript function (that must already exist in page scope in the browser) and an optional array of arguments to pass to it. The function call will be executed as the response is parsed. Likewise, if you just need to assign a value to a variable, use assign, which takes the name of the variable and the value to assign to it: render :update do |page| page.assign 'cur_todo' , todo.id page.call 'show_todo' , todo.id end There is a special shortcut version of call for one of the most common cases, calling the JavaScript alert function. Using the RJS alert method, you pass a message that will be immediately rendered in the (always annoying) JavaScript alert dialog. There is a similar shortcut version of assign called redirect_to. This method takes a URL and merely assigns it to the standard property win- dow.location.href. Finally, you can create a timer in the browser to pause or delay the execution of any script you send. Using the delay method, you pass in a number of seconds to pause and a block to execute. The rendered JavaScript will create a timer to wait that many seconds before executing a function wrapped around the block you passed in. In this example, we will show the notification of an added to-do item, wait three seconds, and then remove the message from the <div> and hide it. def add_todo todo = Todo.new(params[:todo]) if todo.save render :update do |page| page.insert_html :bottom, 'todo_list' , "<li>#{todo.name}</li>" page.replace_html 'flash_notice' , "Todo added: #{todo.name}" page.show 'flash_notice' page.delay(3) do page.replace_html 'flash_notice' , '' page.hide 'flash_notice' end end end end Report erratum this copy is (P1.0 printing, March 2009)](https://image.slidesharecdn.com/pragmatic-agilewebdevelopmentwithrails-3rdedition-2009-091104222637-phpapp01/75/Pragmatic-Agile-Web-Development-With-Rails-3rd-Edition-2009-606-2048.jpg)
![C ONCLUSION 607 Script.aculo.us Helpers In addition to all the Prototype and raw JavaScript helpers, RJS also provides support for most of the functions of Script.aculo.us. By far the most common is the visual_effect method. This is a straightforward wrapper around the different visual effects supplied by Script.aculo.us. You pass in the name of the visual effect desired, the DOM id of the element to perform the effect on, and a hash containing the standard effect options. In this example, we add a pulsate effect to the flash notice after we show it and then fade it away to remove it: def add_todo todo = Todo.new(params[:todo]) if todo.save render :update do |page| page.insert_html :bottom, 'todo_list' , "<li>#{todo.name}</li>" page.replace_html 'flash_notice' , "Todo added: #{todo.name}" page.show 'flash_notice' page.visual_effect :pulsate, 'flash_notice' page.delay(3) do page.replace_html 'flash_notice' , '' page.visual_effect :fade, 'flash_notice' end end end end You can also manipulate the sort and drag-and-drop characteristics of items on your page. To create a sortable list, use the sortable method, and pass in the id of the list to be sortable and a hash of all the options you need. draggable creates an element that can be moved, and drop_receiving creates a drop target element. 24.4 Conclusion Ajax is all about making web applications feel more like interactive client appli- cations and less like a physics white paper. It is about breaking the hegemony of the page and replacing it with the glorious new era of data. That data doesn’t have to stream back and forth on the wire as XML (no matter what Jesse James Garrett said back in February 2005). It just means that users get to interact with their data in appropriate-sized chunks, not in the arbitrary notion of a page. Rails does a great job of integrating Ajax into the regular development flow. It is no harder to make an Ajax link than a regular one, thanks to the wonders of the helpers. What is hard, and will remain hard for a very long time, is making Ajax work efficiently and safely. So although it is great to be able to rely on Report erratum this copy is (P1.0 printing, March 2009)](https://image.slidesharecdn.com/pragmatic-agilewebdevelopmentwithrails-3rdedition-2009-091104222637-phpapp01/75/Pragmatic-Agile-Web-Development-With-Rails-3rd-Edition-2009-607-2048.jpg)


![S ENDING E- MAIL 613 When a headers ’return-path’ is specified, that value will be used as the “envelope from” address. Setting this is useful when you want delivery notifications sent to a different address from the one in from. headers "Organization" => "Pragmatic Programmers, LLC" recipients array or string One or more recipient e-mail addresses. These may be simple addresses, such as dave@pragprog.com, or some identifying phrase followed by the e-mail address in angle brackets. recipients [ "andy@pragprog.com" , "Dave Thomas <dave@pragprog.com>" ] reply_to array or string These addresses will by listed as the default recipients when replying to your email. Sets the e-mail’s Reply-To: header. sent_on time A Time object that sets the e-mail’s Date: header. If not specified, the current date and time will be used. subject string The subject line for the e-mail. The body takes a hash, used to pass values to the template that contains the e-mail. We’ll see how that works shortly. E-mail Templates The generate script created two e-mail templates in app/views/order_mailer, one for each action in the OrderMailer class. These are regular .erb files. We’ll use them to create plain-text e-mails (we’ll see later how to create HTML e-mail). As with the templates we use to create our application’s web pages, the files contain a combination of static text and dynamic content. We can customize the template in confirm.erb; this is the e-mail that is sent to confirm an order: Download e1/mailer/app/views/order_mailer/confirm.erb Dear <%= @order.name %> Thank you for your recent order from The Pragmatic Store. You ordered the following items: <%= render(:partial => "line_item" , :collection => @order.line_items) %> We'll send you a separate e-mail when your order ships. There’s one small wrinkle in this template. We have to give render the explicit path to the template (the leading ./) because we’re not invoking the view from a real controller and Rails can’t guess the default location. Report erratum this copy is (P1.0 printing, March 2009)](https://image.slidesharecdn.com/pragmatic-agilewebdevelopmentwithrails-3rdedition-2009-091104222637-phpapp01/75/Pragmatic-Agile-Web-Development-With-Rails-3rd-Edition-2009-613-2048.jpg)
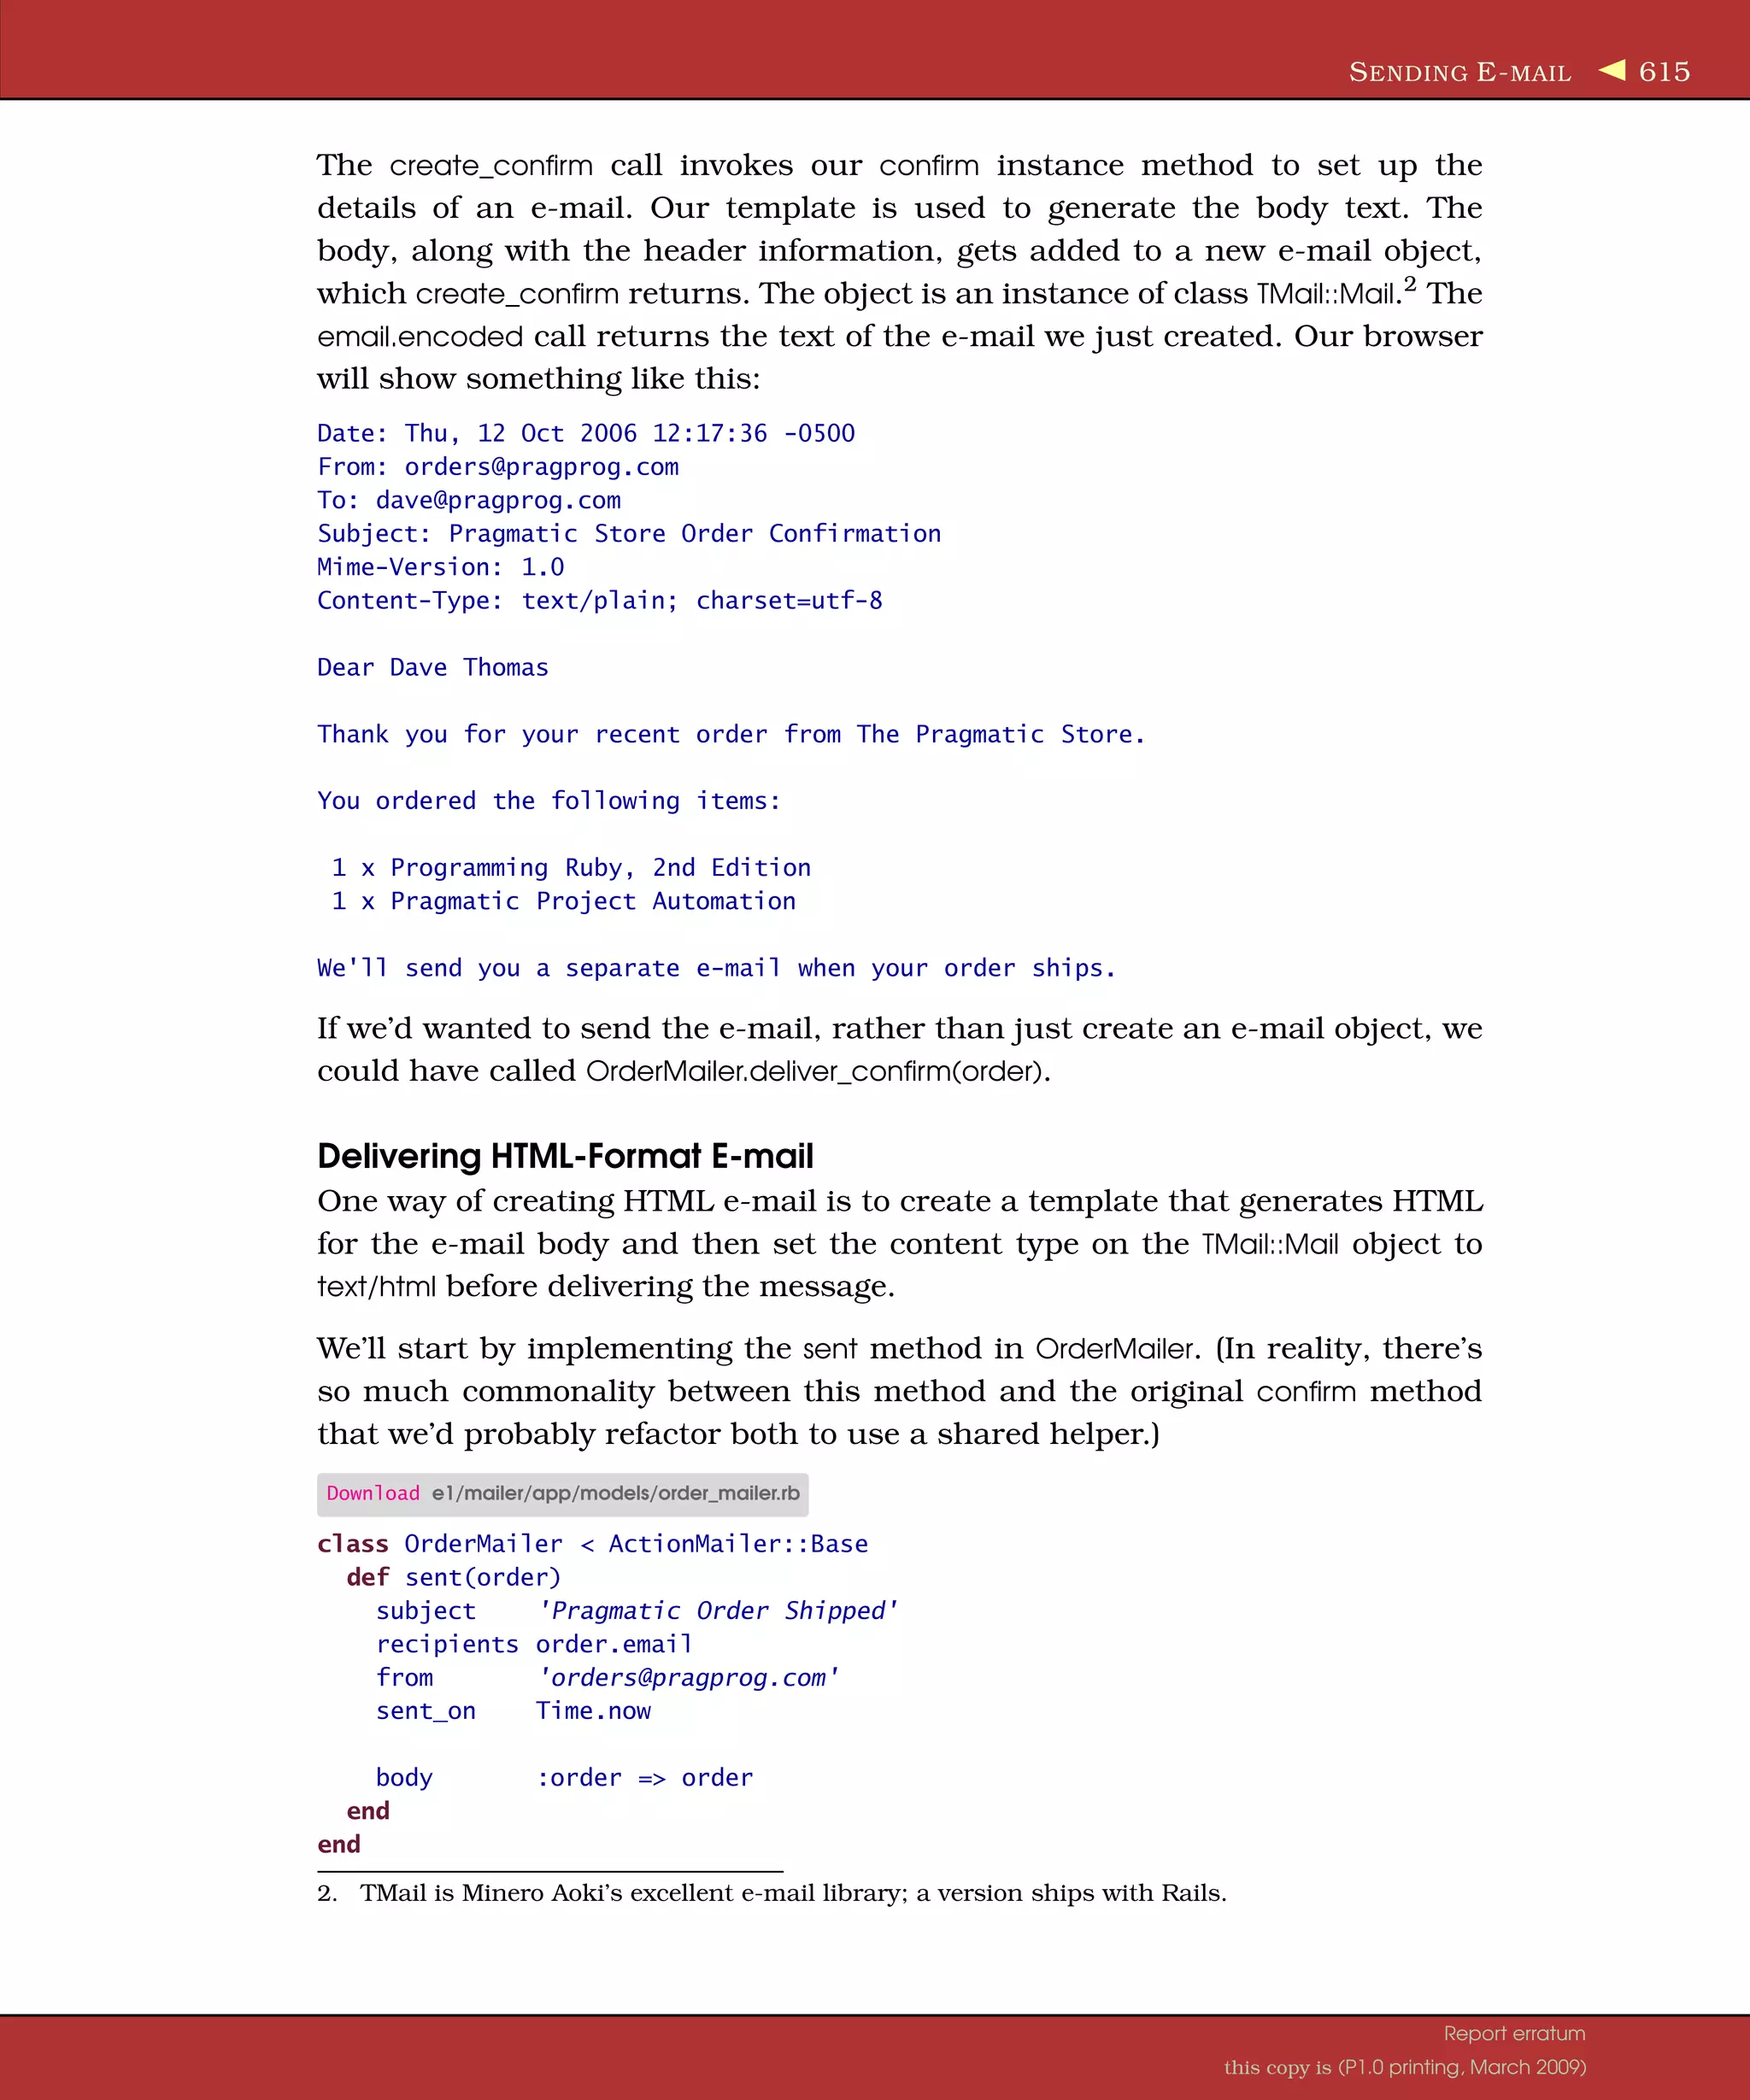
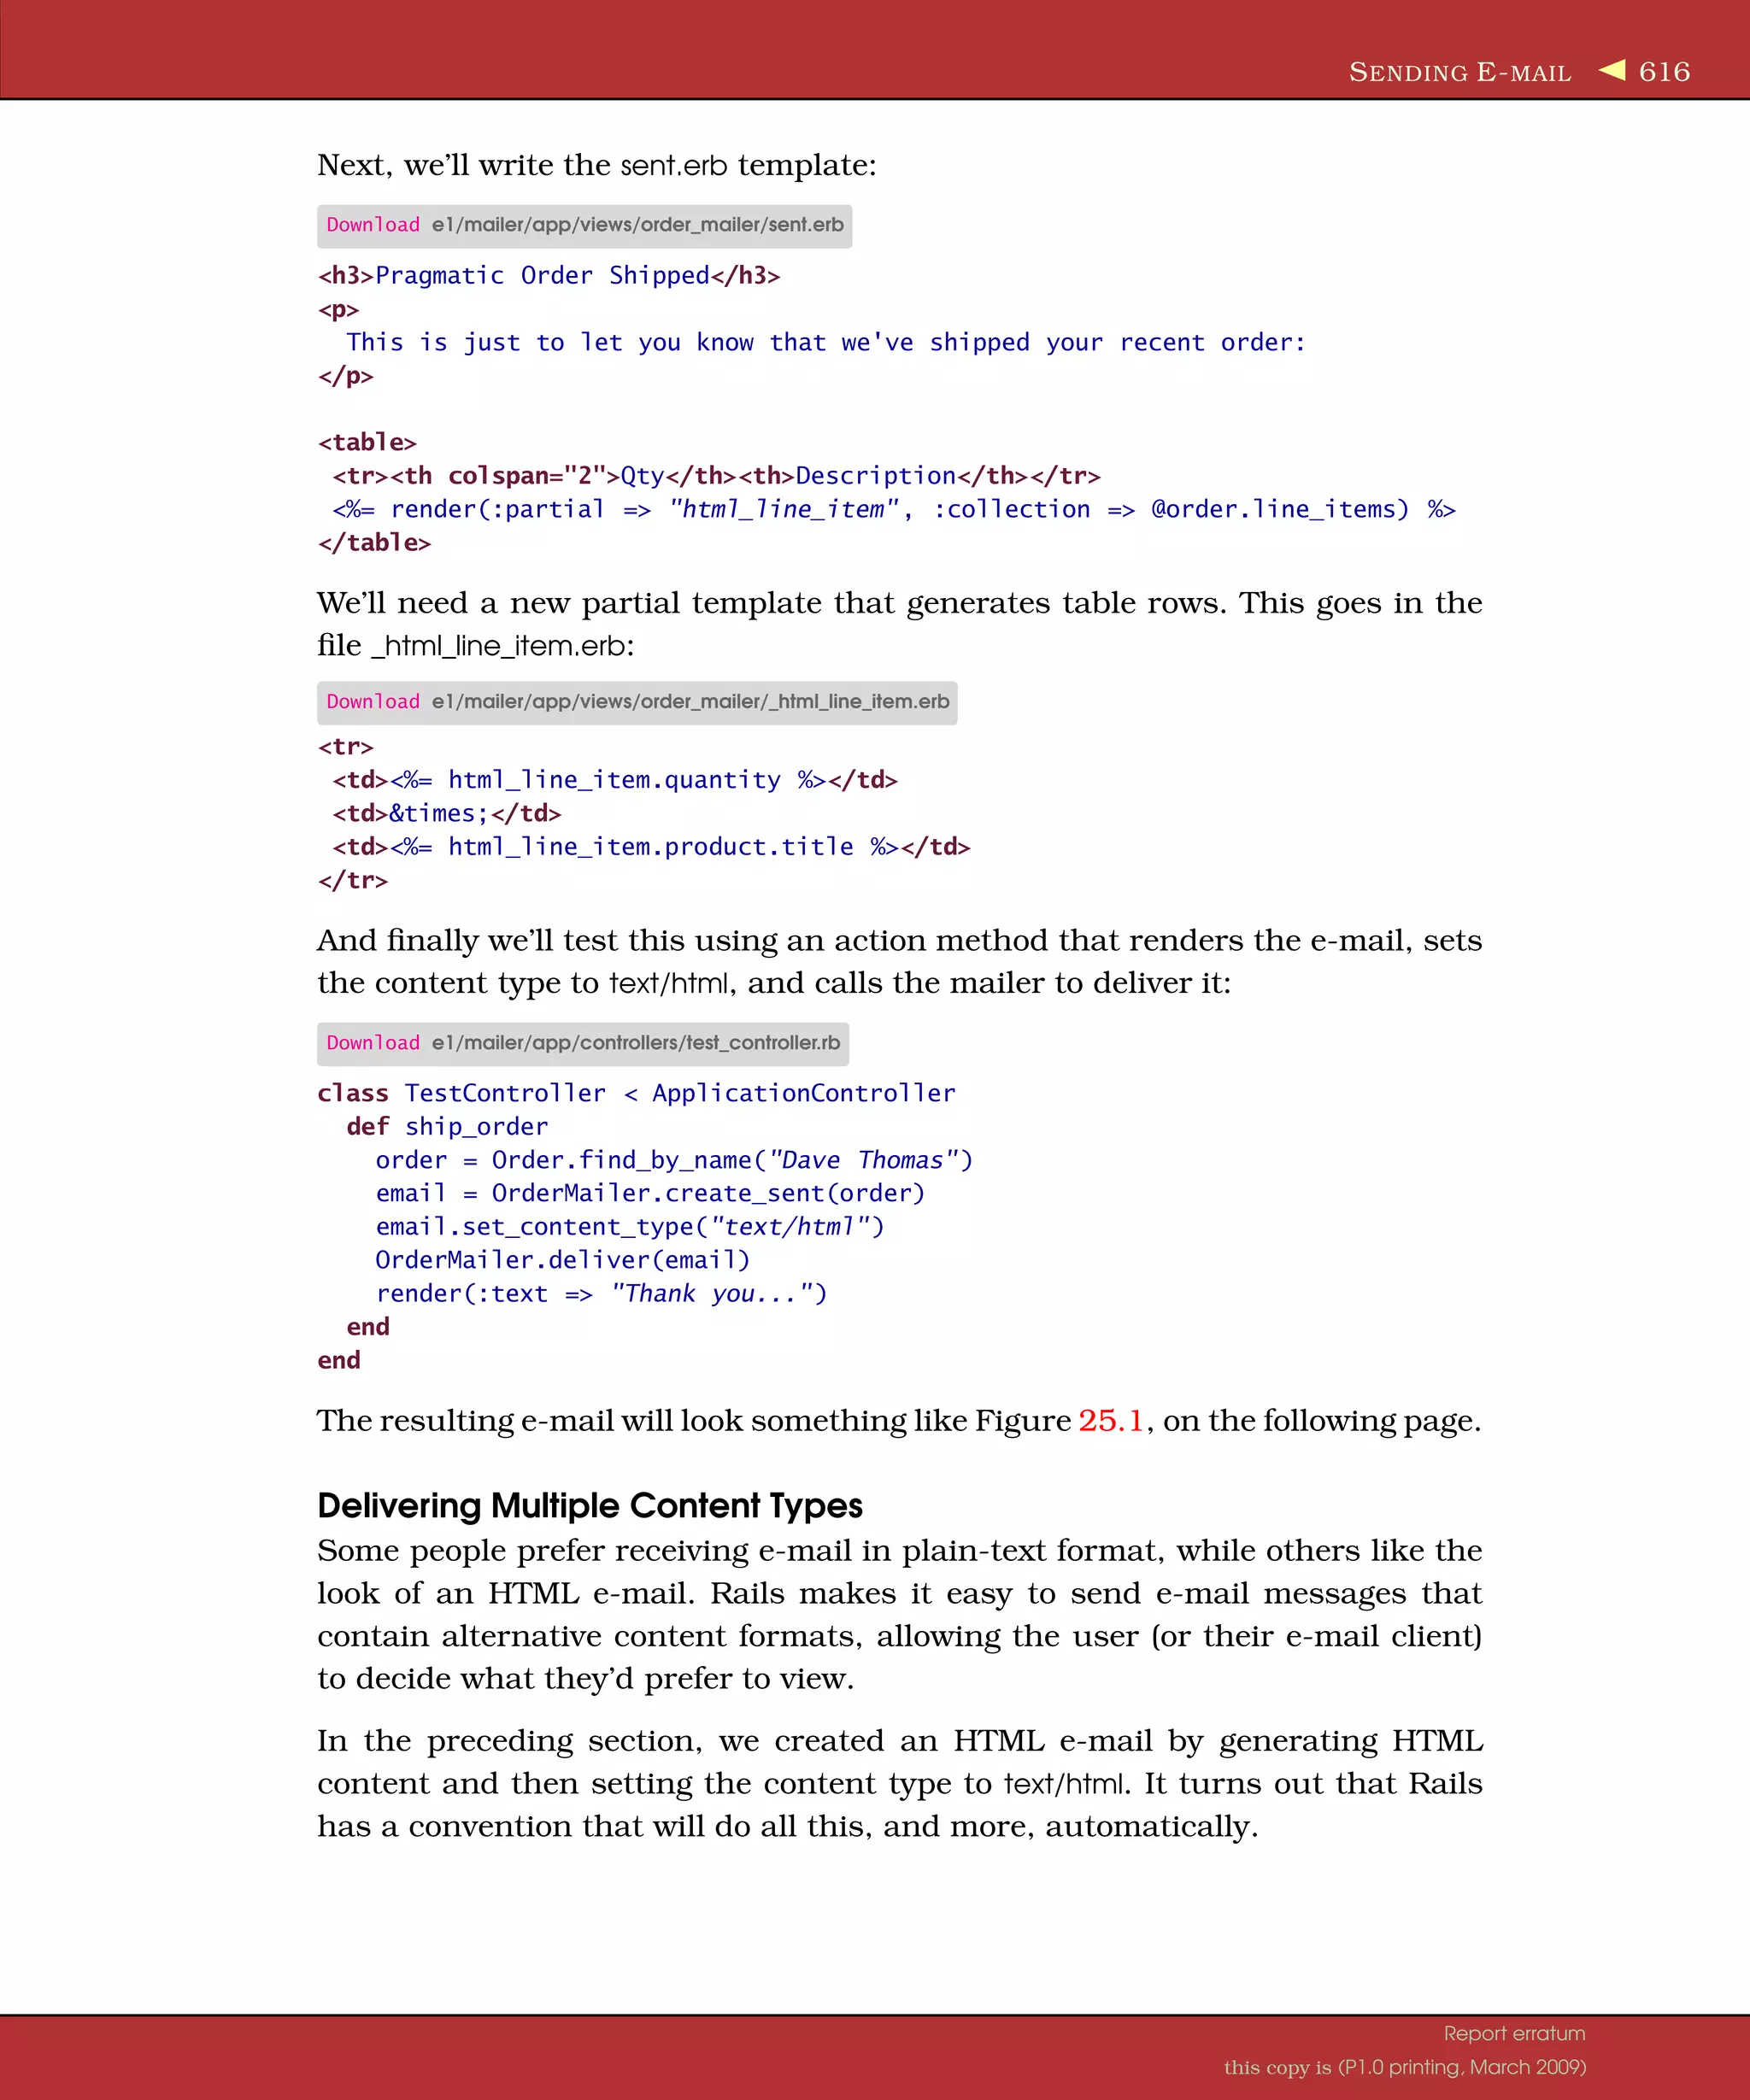

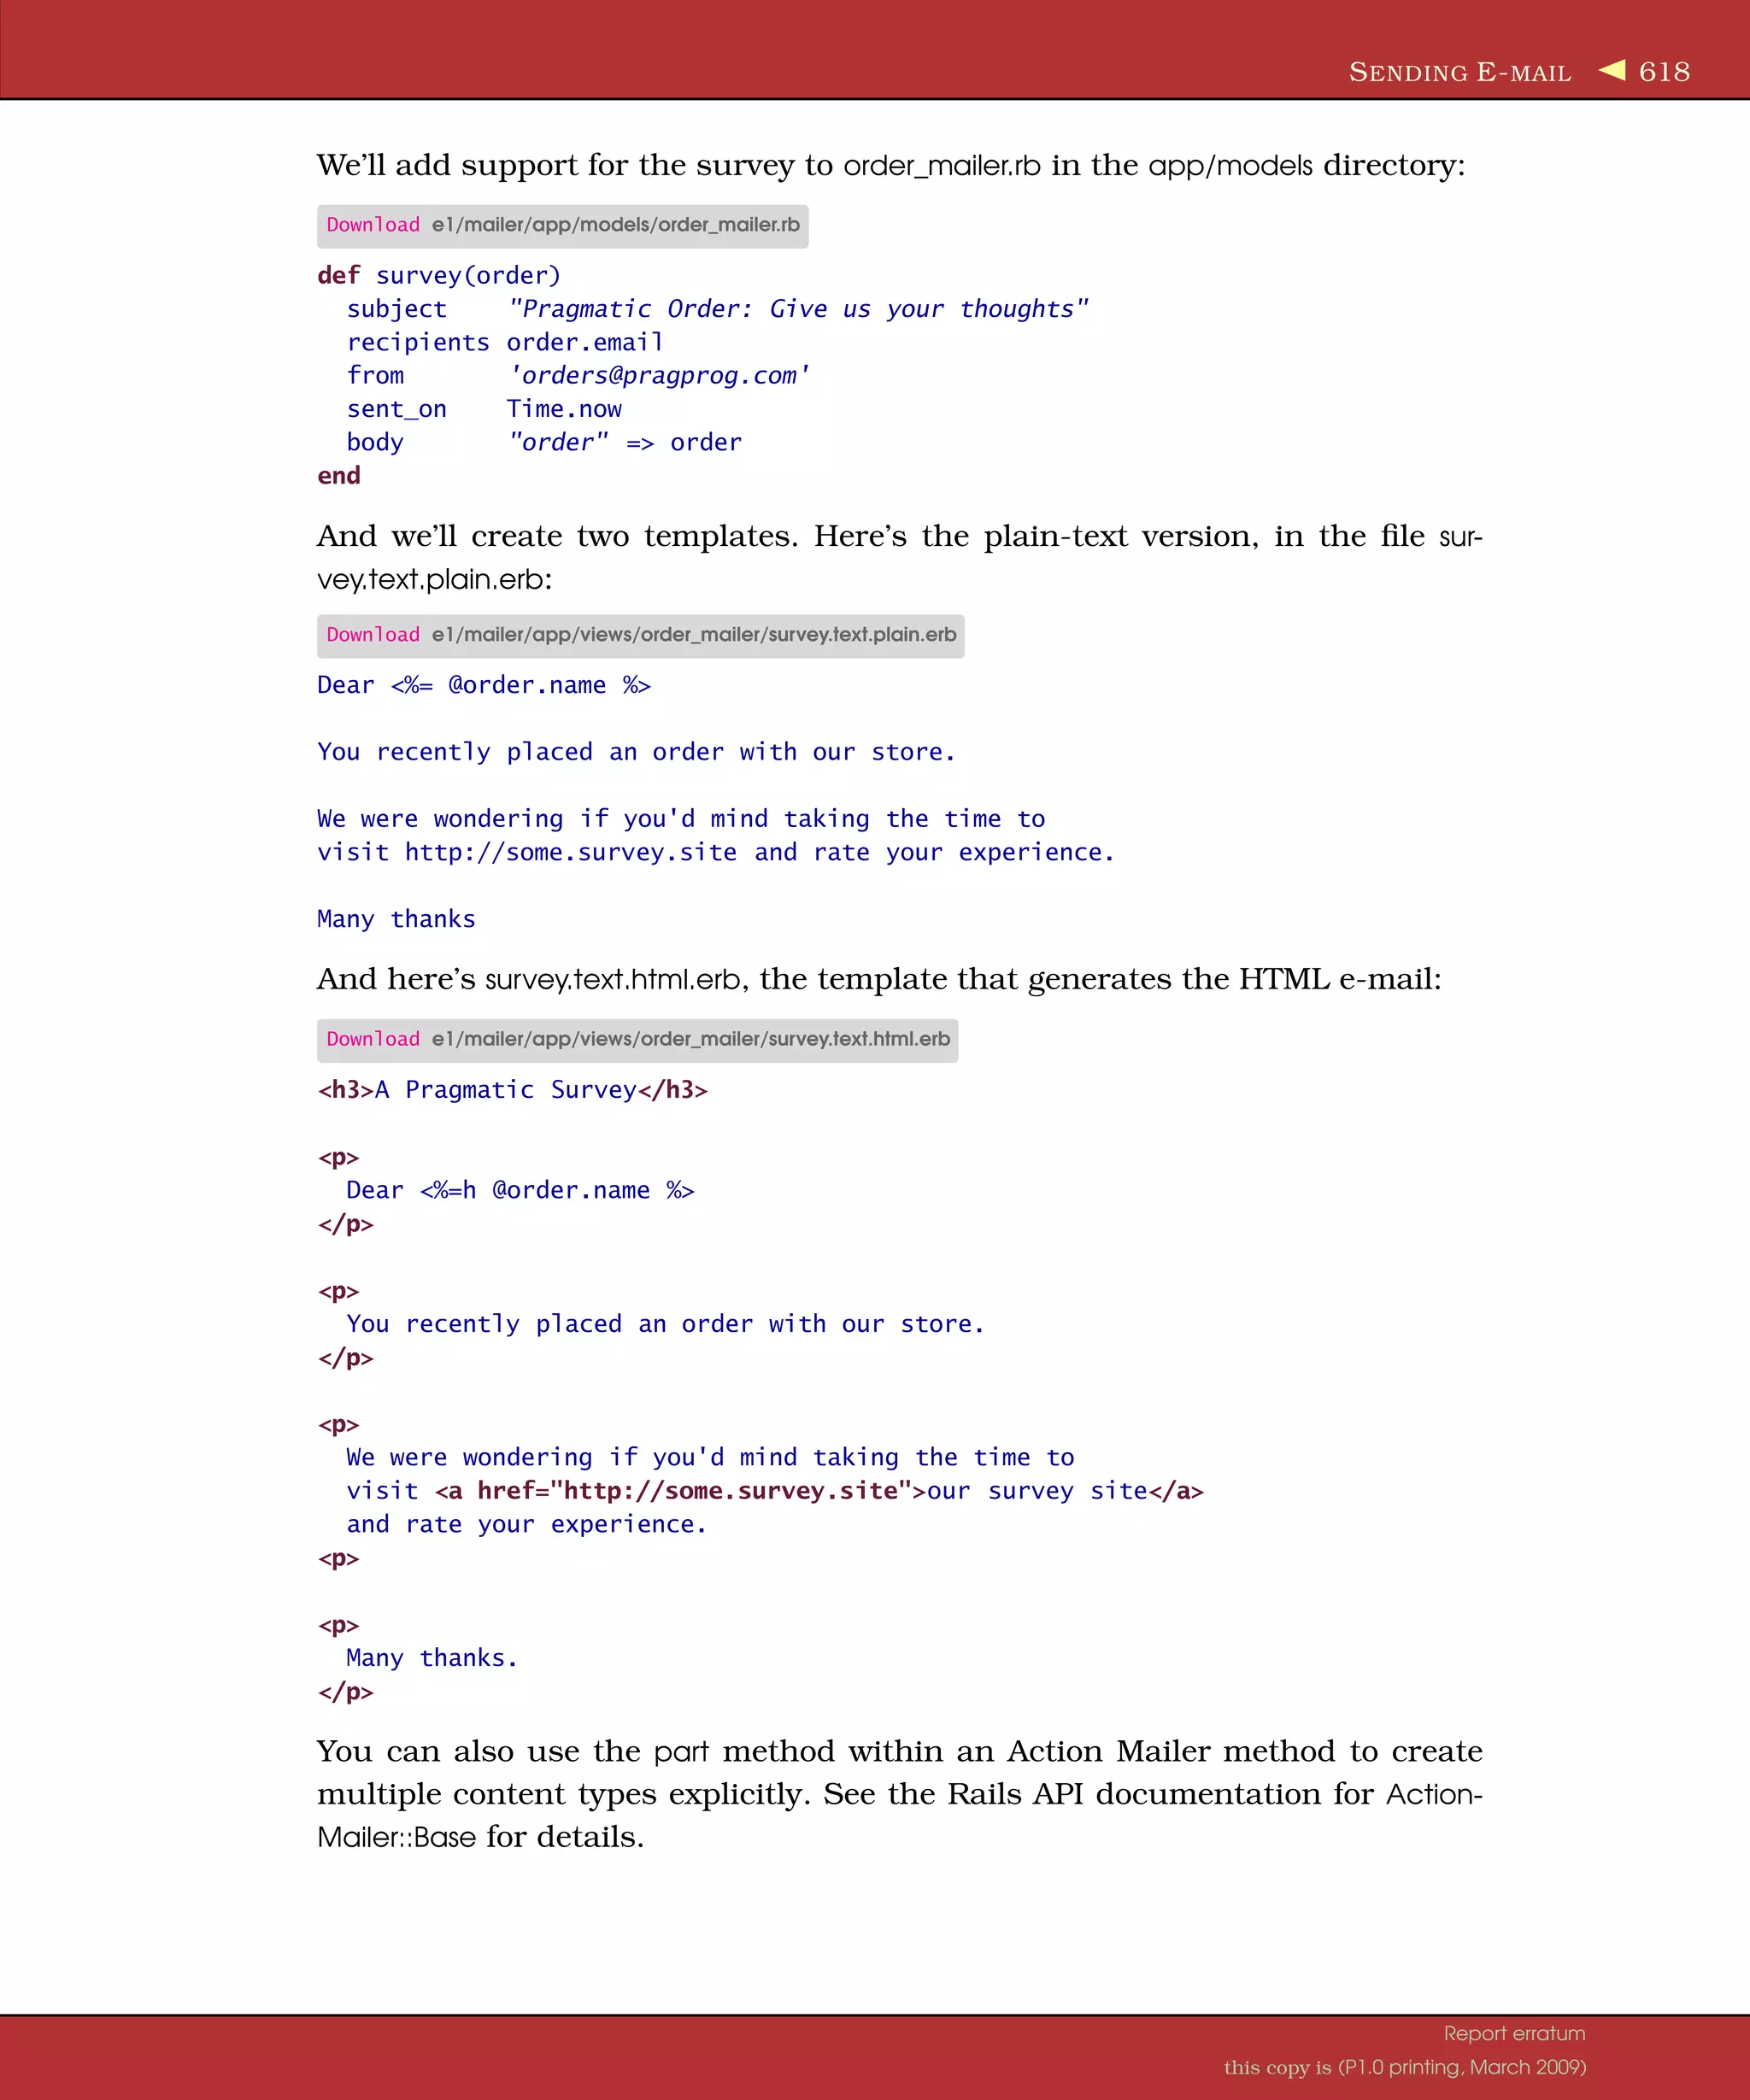
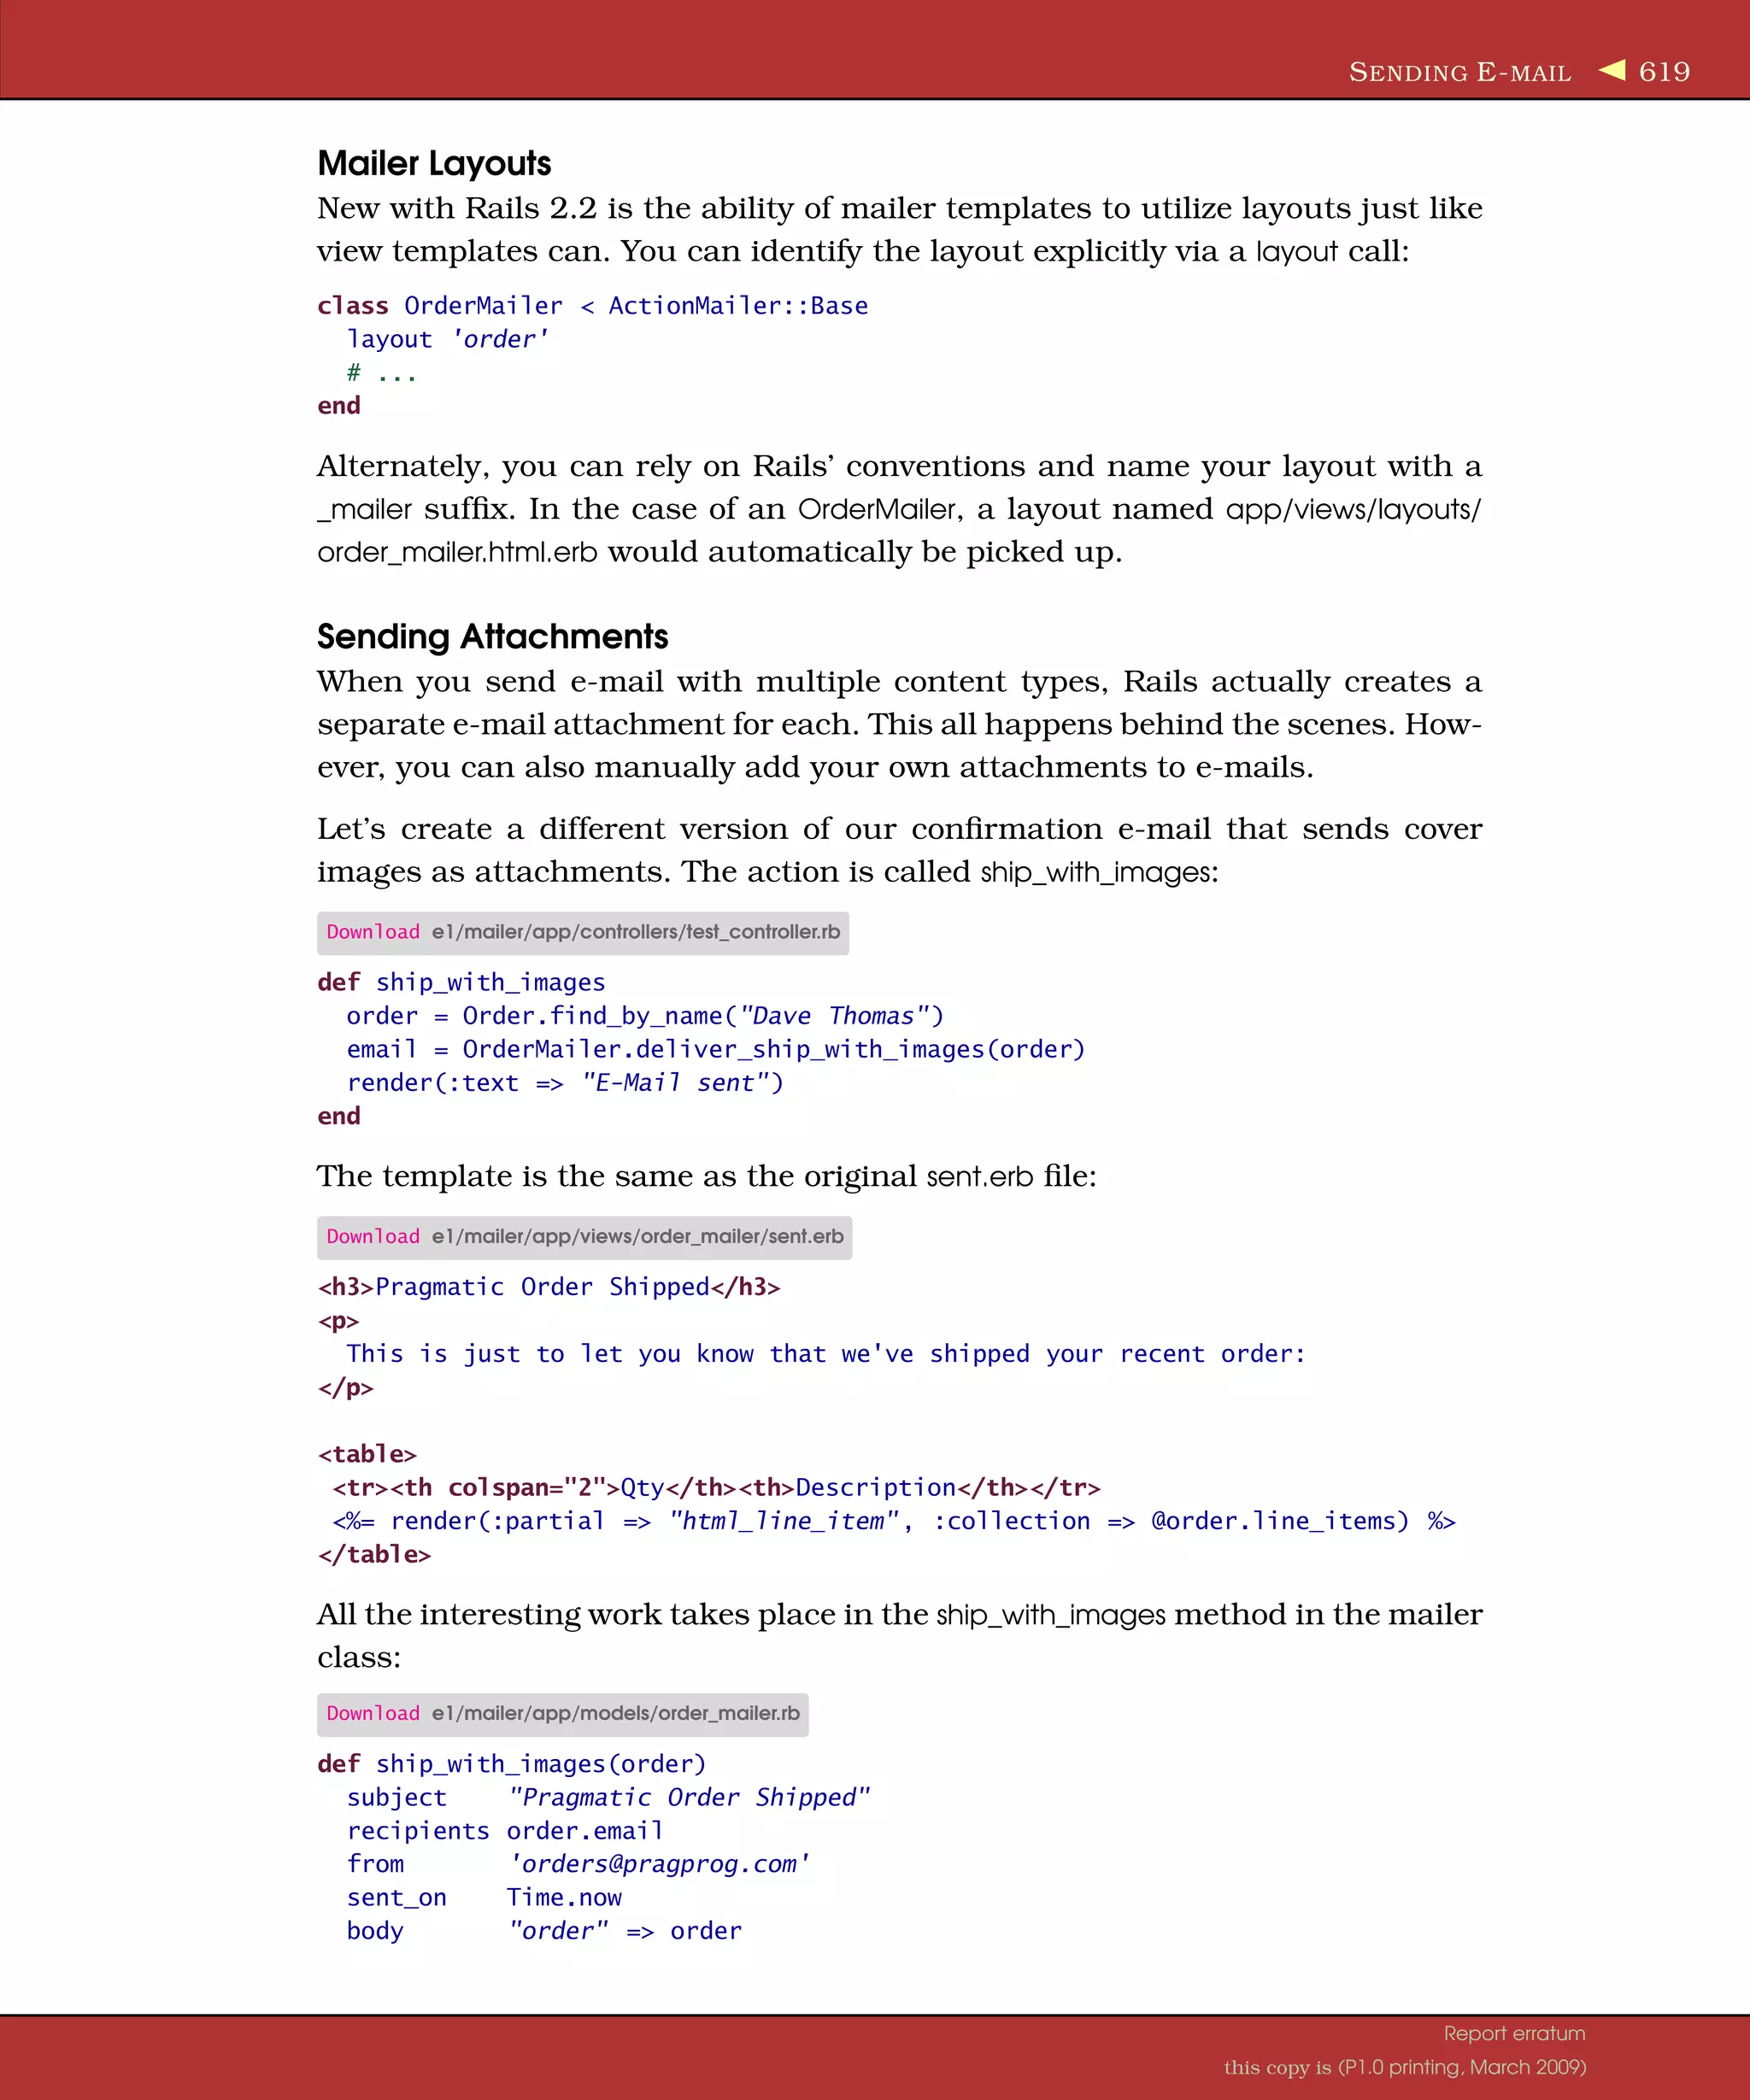
![R ECEIVING E- MAIL 621 Download e1/mailer/app/models/incoming_ticket_handler.rb class IncomingTicketHandler < ActionMailer::Base def receive(email) ticket = Ticket.new ticket.from_email = email.from[0] ticket.initial_report = email.body if email.has_attachments? email.attachments.each do |attachment| collateral = TicketCollateral.new( :name => attachment.original_filename, :body => attachment.read) ticket.ticket_collaterals << collateral end end ticket.save end end So, now we have the problem of feeding an e-mail received by our server com- puter into the receive instance method of our IncomingTicketHandler. This prob- lem is actually two problems in one. First we have to arrange to intercept the reception of e-mails that meet some kind of criteria, and then we have to feed those e-mails into our application. If you have control over the configuration of your mail server (such as a Postfix or sendmail installation on Unix-based systems), you might be able to arrange to run a script when an e-mail addressed to a particular mailbox or virtual host is received. Mail systems are complex, though, and we don’t have room to go into all the possible configuration permutations here. There’s a good introduction to this on the Rails development wiki.4 If you don’t have this kind of system-level access but you are on a Unix system, you could intercept e-mail at the user level by adding a rule to your .procmailrc file. We’ll see an example of this shortly. The objective of intercepting incoming e-mail is to pass it to our application. To do this, we use the Rails runner facility. This allows us to invoke code within our application’s codebase without going through the Web. Instead, the runner loads up the application in a separate process and invokes code that we specify in the application. All of the normal techniques for intercepting incoming e-mail end up running a command, passing that command the content of the e-mail as standard input. If we make the Rails runner script the command that’s invoked whenever an e-mail arrives, we can arrange to pass that e-mail into our application’s e- mail handling code. For example, using procmail-based interception, we could 4. http://wiki.rubyonrails.com/rails/show/HowToReceiveEmailsWithActionMailer Report erratum this copy is (P1.0 printing, March 2009)](https://image.slidesharecdn.com/pragmatic-agilewebdevelopmentwithrails-3rdedition-2009-091104222637-phpapp01/75/Pragmatic-Agile-Web-Development-With-Rails-3rd-Edition-2009-621-2048.jpg)

![T ESTING E- MAIL 623 Here’s a typical e-mail unit test: Download e1/mailer/test/unit/order_mailer_test.rb require 'test_helper' class OrderMailerTest < ActionMailer::TestCase tests OrderMailer def setup @order = Order.new(:name =>"Dave Thomas" , :email => "dave@pragprog.com" ) end def test_confirm response = OrderMailer.create_confirm(@order) assert_equal("Pragmatic Store Order Confirmation" , response.subject) assert_equal("dave@pragprog.com" , response.to[0]) assert_match(/Dear Dave Thomas/, response.body) end end The setup method creates an order object for the mail sender to use. In the test method we get the mail class to create (but not to send) an e-mail, and we use assertions to verify that the dynamic content is what we expect. Note the use of assert_match to validate just part of the body content. Functional Testing of E-mail Now that we know that e-mails can be created for orders, we’d like to make sure that our application sends the correct e-mail at the right time. This is a job for functional testing. Let’s start by generating a new controller for our application: depot> ruby script/generate controller Order confirm We’ll implement the single action, confirm, which sends the confirmation e-mail for a new order: Download e1/mailer/app/controllers/order_controller.rb class OrderController < ApplicationController def confirm order = Order.find(params[:id]) OrderMailer.deliver_confirm(order) redirect_to(:action => :index) end end We saw how Rails constructs a stub functional test for generated controllers back in Section 14.3, Functional Testing of Controllers, on page 224. We’ll add our mail testing to this generated test. Action Mailer does not deliver e-mail in the test environment. Instead, it adds each e-mail it generates to an array, ActionMailer::Base.deliveries. We’ll use this Report erratum this copy is (P1.0 printing, March 2009)](https://image.slidesharecdn.com/pragmatic-agilewebdevelopmentwithrails-3rdedition-2009-091104222637-phpapp01/75/Pragmatic-Agile-Web-Development-With-Rails-3rd-Edition-2009-623-2048.jpg)
![T ESTING E- MAIL 624 to get at the e-mail generated by our controller. We’ll add a couple of lines to the generated test’s setup method. One line aliases this array to the more manageable name emails. The second clears the array at the start of each test. Download e1/mailer/test/functional/order_controller_test.rb @emails = ActionMailer::Base.deliveries @emails.clear We’ll also need a fixture holding a sample order. We’ll create a file called orders.yml in the test/fixtures directory: Download e1/mailer/test/fixtures/orders.yml daves_order: id: 1 name: Dave Thomas address: 123 Main St email: dave@pragprog.com Now we can write a test for our action. Here’s the full source for the test class: Download e1/mailer/test/functional/order_controller_test.rb require 'test_helper' class OrderControllerTest < ActionController::TestCase fixtures :orders def setup @controller = OrderController.new @request = ActionController::TestRequest.new @response = ActionController::TestResponse.new @emails = ActionMailer::Base.deliveries @emails.clear end def test_confirm get(:confirm, :id => orders(:daves_order).id) assert_redirected_to(:action => :index) assert_equal(1, @emails.size) email = @emails.first assert_equal("Pragmatic Store Order Confirmation" , email.subject) assert_equal("dave@pragprog.com" , email.to[0]) assert_match(/Dear Dave Thomas/, email.body) end end It uses the emails alias to access the array of e-mails generated by Action Mailer since the test started running. Having checked that exactly one e-mail is in the list, it then validates the contents are what we expect. We can run this test either by using the test_functional target of rake or by executing the script directly: depot> ruby test/functional/order_controller_test.rb Report erratum this copy is (P1.0 printing, March 2009)](https://image.slidesharecdn.com/pragmatic-agilewebdevelopmentwithrails-3rdedition-2009-091104222637-phpapp01/75/Pragmatic-Agile-Web-Development-With-Rails-3rd-Edition-2009-624-2048.jpg)
![S HOW M E THE C ODE ! 629 Oh, dear. Our login wasn’t recognized, and we were redirected to a login screen. At this point we need to understand something about HTTP authentication, because our client clearly isn’t going to understand the form we set up. In fact, the client (in this case, the one-line command and the stub that we created) doesn’t understand cookies or sessions. HTTP Basic Authentication isn’t hard, and as of Rails 2.0, Rails provides direct support for it. Our authentication logic is in app/controllers/application.rb, so we will replace the body of the unless clause with the following: authenticate_or_request_with_http_basic('Depot' ) do |username, password| user = User.authenticate(username, password) session[:user_id] = user.id if user end With that code in place, we try again: depot_client> ruby script/console Loading development environment (Rails 2.2.2) >> Product.find(2).title => "Pragmatic Project Automation" Success! Note that the change we made affects the user interface. Administrators will no longer see the login form; they will see a browser-provided pop-up. The pro- cess is automatically “friendly” because once you provide the correct user and password, you proceed directly to the page you requested without redirection. One downside is that logging out doesn’t do what it is expected to do anymore. Yes, the session is cleared, but the next time a page is visited, most browsers will automatically provide the previous credentials, and the login will happen automatically. A partial solution to this is to use the session to indicate that the user was logged out and then use the original login form in that case: Download depot_t/app/controllers/admin_controller.rb class AdminController < ApplicationController # just display the form and wait for user to # enter a name and password def login if request.post? user = User.authenticate(params[:name], params[:password]) if user session[:user_id] = user.id redirect_to(:action => "index" ) else flash.now[:notice] = "Invalid user/password combination" end end end Report erratum this copy is (P1.0 printing, March 2009)](https://image.slidesharecdn.com/pragmatic-agilewebdevelopmentwithrails-3rdedition-2009-091104222637-phpapp01/75/Pragmatic-Agile-Web-Development-With-Rails-3rd-Edition-2009-629-2048.jpg)
![S HOW M E THE C ODE ! 630 def logout session[:user_id] = :logged_out flash[:notice] = "Logged out" redirect_to(:action => "login" ) end def index @total_orders = Order.count end end And we can use that information in the Application controller: Download depot_t/app/controllers/application.rb class ApplicationController < ActionController::Base layout "store" before_filter :authorize, :except => :login before_filter :set_locale #... protected def authorize unless User.find_by_id(session[:user_id]) if session[:user_id] != :logged_out authenticate_or_request_with_http_basic('Depot' ) do |username, password| user = User.authenticate(username, password) session[:user_id] = user.id if user end else flash[:notice] = "Please log in" redirect_to :controller => 'admin' , :action => 'login' end end end def set_locale session[:locale] = params[:locale] if params[:locale] I18n.locale = session[:locale] || I18n.default_locale locale_path = "#{LOCALES_DIRECTORY}#{I18n.locale}.yml" unless I18n.load_path.include? locale_path I18n.load_path << locale_path I18n.backend.send(:init_translations) end rescue Exception => err logger.error err flash.now[:notice] = "#{I18n.locale} translation not available" I18n.load_path -= [locale_path] I18n.locale = session[:locale] = I18n.default_locale end end Report erratum this copy is (P1.0 printing, March 2009)](https://image.slidesharecdn.com/pragmatic-agilewebdevelopmentwithrails-3rdedition-2009-091104222637-phpapp01/75/Pragmatic-Agile-Web-Development-With-Rails-3rd-Edition-2009-630-2048.jpg)
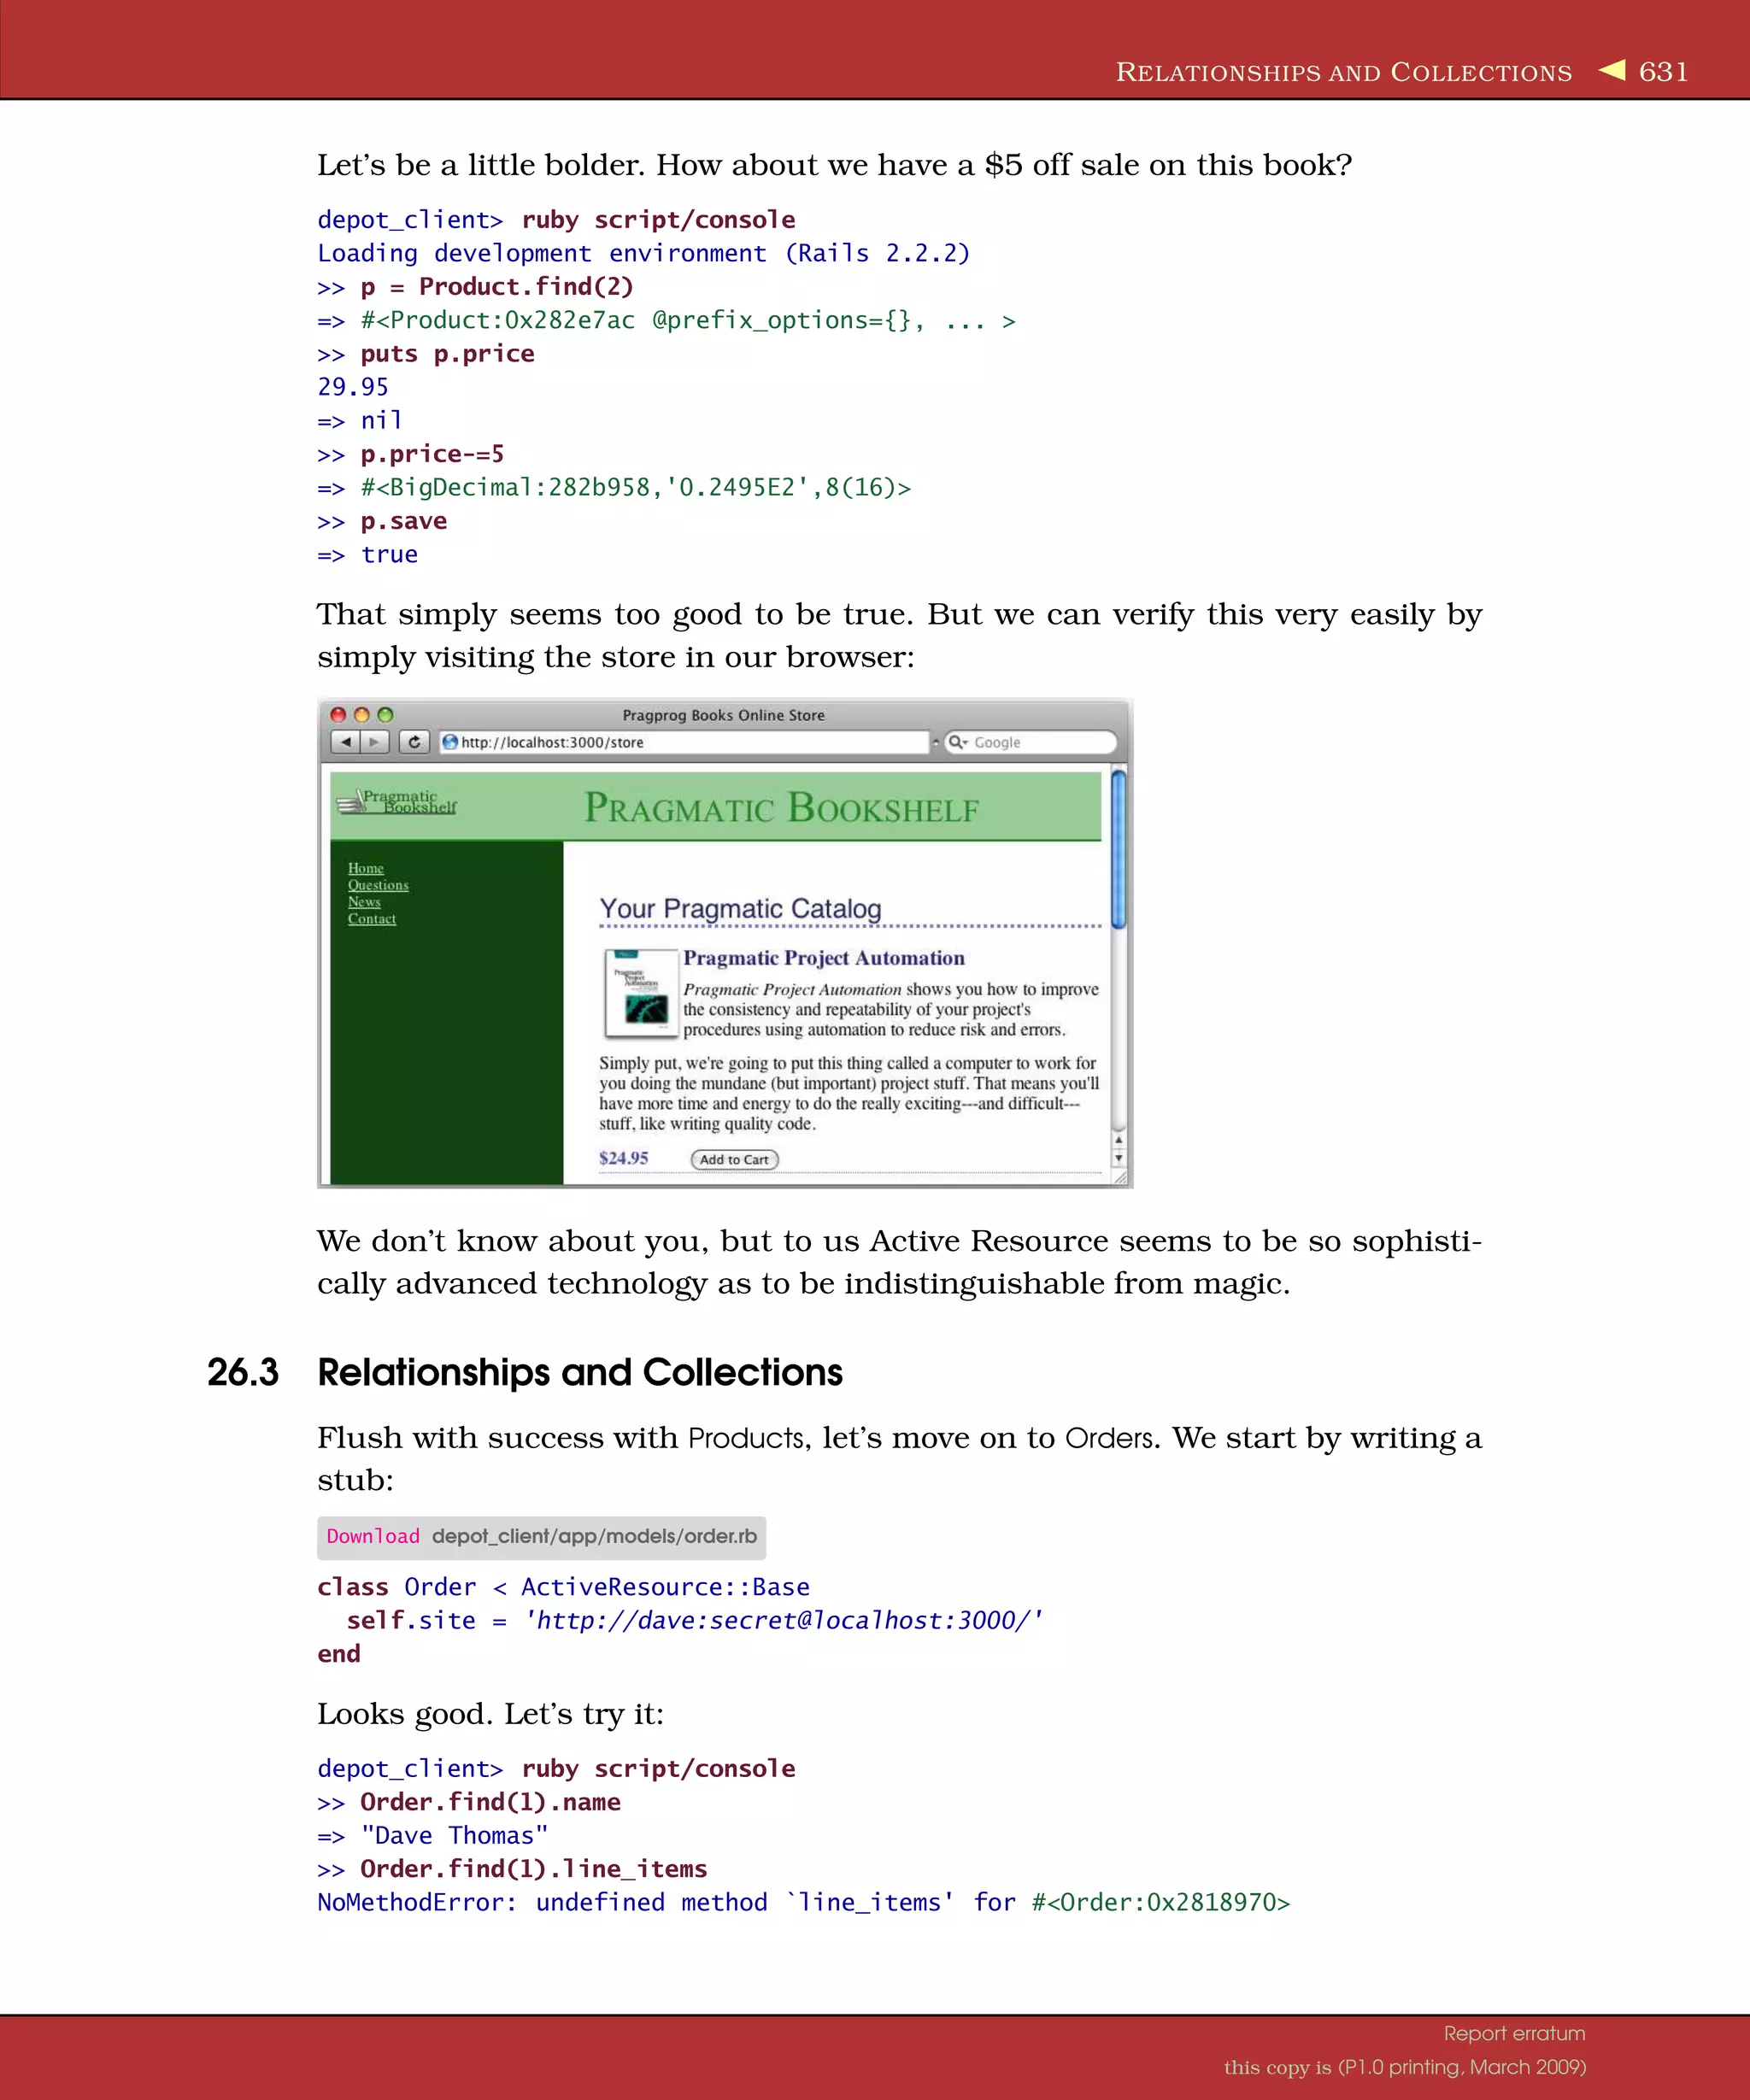
![R ELATIONSHIPS AND C OLLECTIONS 632 OK, at this point, we need to understand how things work under the covers. Back to theory, but not to worry, it’s not much. The way the magic works is that it exploits all the REST and XML interfaces that the scaffolding provides. To get a list of products, it goes to http://localhost: 3000/products.xml. To fetch product #2, it will GET http://rubymac:3000/products/ 2.xml. To save changes to product #2, it will PUT the updated product to http:// rubymac:3000/products/2.xml. So, that’s what the magic is—producing URLs, much like what was discussed in Chapter 21, Action Controller: Routing and URLs, on page 425. And produc- ing (and consuming) XML, much like what was discussed in Chapter 12, Task G: One Last Wafer-Thin Change, on page 181. Let’s see that in action. First we make line items a nested resource under order. We do that by editing the config.routes file in the server application: map.resources :orders, :has_many => :line_items Once we add this, we need to restart our server. Now change the line items controller to look for the :order_id in the params and treat it as a part of the line item: Download depot_t/app/controllers/line_items_controller.rb def create params[:line_item][:order_id] ||= params[:order_id] @line_item = LineItem.new(params[:line_item]) respond_to do |format| if @line_item.save flash[:notice] = 'LineItem was successfully created.' format.html { redirect_to(@line_item) } format.xml { render :xml => @line_item, :status => :created, :location => @line_item } else format.html { render :action => "new" } format.xml { render :xml => @line_item.errors, :status => :unprocessable_entity } end end end Let’s fetch the data, just to see what it looks like: <?xml version="1.0" encoding="UTF-8"?> <line-items type="array"> <line-item> <created-at type="datetime">2008-09-10T11:44:25Z</created-at> <id type="integer">1</id> <order-id type="integer">1</order-id> Report erratum this copy is (P1.0 printing, March 2009)](https://image.slidesharecdn.com/pragmatic-agilewebdevelopmentwithrails-3rdedition-2009-091104222637-phpapp01/75/Pragmatic-Agile-Web-Development-With-Rails-3rd-Edition-2009-632-2048.jpg)
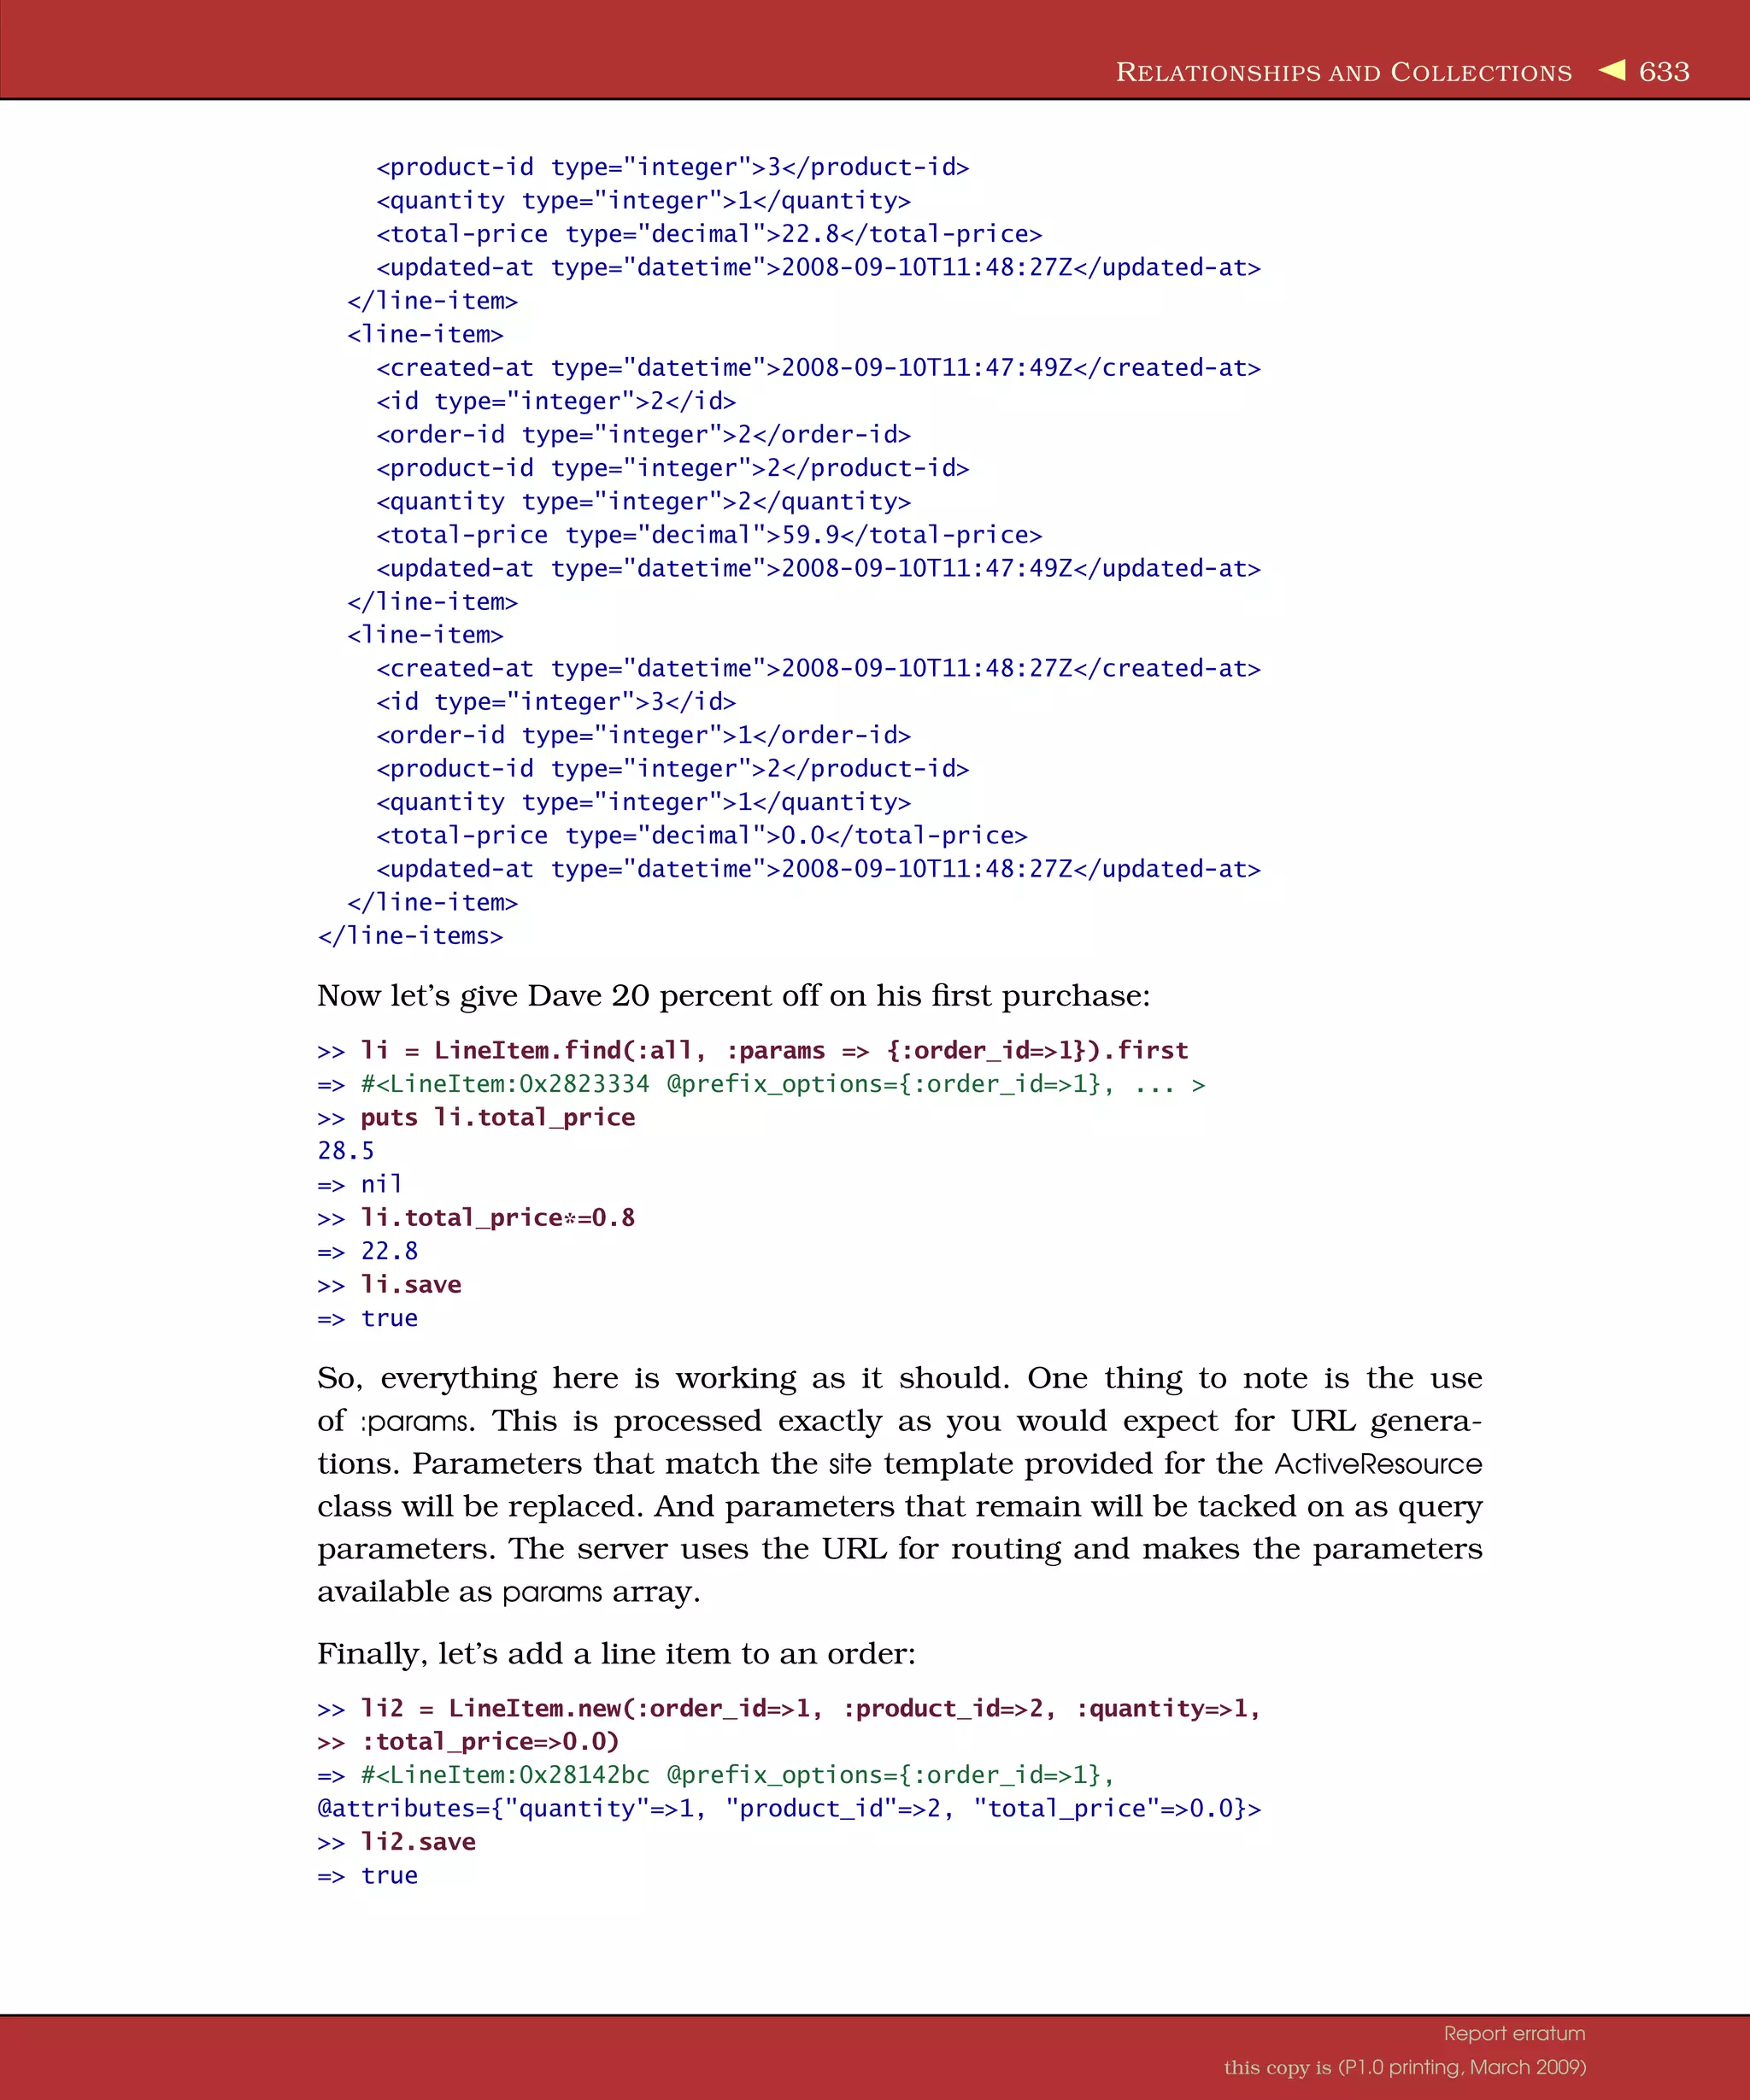

![This chapter is an adaptation and extension of Andreas Schwarz’s online manual on Rails security. This was available at http://manuals.rubyonrails.com/read/book/8 (but the site appears to be down at time of printing). Chapter 27 Securing Your Rails Application Applications on the Web are under constant attack. Rails applications are not exempt from this onslaught. Security is a big topic—the subject of whole books. We can’t do it justice in just one chapter. You’ll probably want to do some research before you put your applications on the scary, mean ’net. A good place to start reading about secu- rity on the Web is the Open Web Application Security Project (OWASP) at http:// www.owasp.org/. It’s a group of volunteers who put together “free, professional- quality, open-source documentation, tools, and standards” related to security. Be sure to check out their top ten list of security issues in web applications. If you follow a few basic guidelines, you can make your Rails application a lot more secure. 27.1 SQL Injection SQL injection is the number-one security problem in many web applications. So, what is SQL injection, and how does it work? Let’s say a web application takes strings from unreliable sources (such as the data from web form fields) and uses these strings directly in SQL statements. If the application doesn’t correctly quote any SQL metacharacters (such as backslashes or single quotes), an attacker can take control of the SQL executed on your server, making it return sensitive data, create records with invalid data, or even execute arbitrary SQL statements. Imagine a web mail system with a search capability. The user could enter a string on a form, and the application would list all the e-mails with that string as a subject. Inside our application’s model there might be a query that looks like the following: Email.find(:all, :conditions => "owner_id = 123 AND subject = '#{params[:subject]}'" )](https://image.slidesharecdn.com/pragmatic-agilewebdevelopmentwithrails-3rdedition-2009-091104222637-phpapp01/75/Pragmatic-Agile-Web-Development-With-Rails-3rd-Edition-2009-637-2048.jpg)
![SQL I NJECTION 638 This is dangerous. Imagine a malicious user manually sending the string "’ OR 1 --’" as the subject parameter. After Rails substituted this into the SQL it generates for the find method, the resulting statement will look like this:1 select * from emails where owner_id = 123 AND subject = '' OR 1 --'' The OR 1 condition is always true. The two minus signs start a SQL comment; everything after them will be ignored. Our malicious user will get a list of all the e-mails in the database.2 Protecting Against SQL Injection If you use only the predefined Active Record functions (such as attributes, save, and find) and if you don’t add your own conditions, limits, and SQL when invoking these methods, then Active Record takes care of quoting any danger- ous characters in the data for you. For example, the following call is safe from SQL injection attacks: order = Order.find(params[:id]) Even though the id value comes from the incoming request, the find method takes care of quoting metacharacters. The worst a malicious user could do is to raise a Not Found exception. But if your calls do include conditions, limits, or SQL and if any of the data in these comes from an external source (even indirectly), you have to make sure that this external data does not contain any SQL metacharacters. Some potentially insecure queries include the following: Email.find(:all, :conditions => "owner_id = 123 AND subject = '#{params[:subject]}'" ) Users.find(:all, :conditions => "name like '%#{session[:user].name}%'" ) Orders.find(:all, :conditions => "qty > 5" , :limit => #{params[:page_size]}) The correct way to defend against these SQL injection attacks is never to sub- stitute anything into a SQL statement using the conventional Ruby #{...} mech- anism. Instead, use the Rails bind variable facility. For example, you’d want to rewrite the web mail search query as follows: subject = params[:subject] Email.find(:all, :conditions => [ "owner_id = 123 AND subject = ?" , subject ]) 1. The actual attacks used depend on the database. These examples are based on MySQL. 2. Of course, the owner id would have been inserted dynamically in a real application; this was omitted to keep the example simple. Report erratum this copy is (P1.0 printing, March 2009)](https://image.slidesharecdn.com/pragmatic-agilewebdevelopmentwithrails-3rdedition-2009-091104222637-phpapp01/75/Pragmatic-Agile-Web-Development-With-Rails-3rd-Edition-2009-638-2048.jpg)
![SQL I NJECTION 639 If the argument to find is an array instead of a string, Active Record will insert the values of the second, third, and fourth (and so on) elements for each of the ? placeholders in the first element. It will add quotation marks if the ele- ments are strings and quote all characters that have a special meaning for the database adapter used by the Email model. Rather than using question marks and an array of values, you can also use named bind values and pass in a hash. We talk about both forms of place- holder starting on page 330. Extracting Queries into Model Methods If you need to execute a query with similar options in several places in your code, you should create a method in the model class that encapsulates that query. For example, a common query in your application might be this: emails = Email.find(:all, :conditions => ["owner_id = ? and read='NO'" , owner.id]) It might be better to encapsulate this query instead in a class method in the Email model: class Email < ActiveRecord::Base def self.find_unread_for_owner(owner) find(:all, :conditions => ["owner_id = ? and read='NO'" , owner.id]) end # ... end In the rest of your application, you can call this method whenever you need to find any unread e-mail: emails = Email.find_unread_for_owner(owner) If you code this way, you don’t have to worry about metacharacters—all the security concerns are encapsulated down at a lower level within the model. You should ensure that this kind of model method cannot break anything, even if it is called with untrusted arguments. Also remember that Rails automatically generates finder methods for you for all attributes in a model, and these finders are secure from SQL injection attacks. If you wanted to search for e-mails with a given owner and subject, you could simply use the Rails autogenerated method: list = Email.find_all_by_owner_id_and_subject(owner.id, subject) Report erratum this copy is (P1.0 printing, March 2009)](https://image.slidesharecdn.com/pragmatic-agilewebdevelopmentwithrails-3rdedition-2009-091104222637-phpapp01/75/Pragmatic-Agile-Web-Development-With-Rails-3rd-Edition-2009-639-2048.jpg)
![C REATING R ECORDS D IRECTLY FROM F ORM P ARAMETERS 640 27.2 Creating Records Directly from Form Parameters Let’s say you want to implement a user registration system. Your users table looks like this: create_table :users do |t| ( t.string :name t.string :password t.string :role, :default => "user" t.integer :approved, :default => 0 end The role column contains one of admin, moderator, or user, and it defines this user’s privileges. The approved column is set to 1 once an administrator has approved this user’s access to the system. The corresponding registration form’s HTML looks like this: <form method="post" action="http://website.domain/user/register"> <input type="text" name="user[name]" /> <input type="text" name="user[password]" /> </form> Within our application’s controller, the easiest way to create a user object from the form data is to pass the form parameters directly to the create method of the User model: def register User.create(params[:user]) end But what happens if someone decides to save the registration form to disk and play around by adding a few fields? Perhaps they manually submit a web page that looks like this: <form method="post" action="http://website.domain/user/register"> <input type="text" name="user[name]" /> <input type="text" name="user[password]" /> <input type="text" name="user[role]" value="admin" /> <input type="text" name="user[approved]" value="1" /> </form> Although the code in our controller intended only to initialize the name and password fields for the new user, this attacker has also given himself admin- istrator status and approved his own account. Active Record provides two ways of securing sensitive attributes from being overwritten by malicious users who change the form. The first is to list the attributes to be protected as parameters to the attr_protected method. Any attribute flagged as protected will not be assigned using the bulk assignment of attributes by the create and new methods of the model. Report erratum this copy is (P1.0 printing, March 2009)](https://image.slidesharecdn.com/pragmatic-agilewebdevelopmentwithrails-3rdedition-2009-091104222637-phpapp01/75/Pragmatic-Agile-Web-Development-With-Rails-3rd-Edition-2009-640-2048.jpg)
![D ON ’ T T RUST ID P ARAMETERS 641 We can use attr_protected to secure the User model: class User < ActiveRecord::Base attr_protected :approved, :role # ... rest of model ... end This ensures that User.create(params[:user]) will not set the approved and role attributes from any corresponding values in params. If you wanted to set them in your controller, you’d need to do it manually. (This code assumes the model does the appropriate checks on the values of approved and role.) user = User.new(params[:user]) user.approved = params[:user][:approved] user.role = params[:user][:role] If you’re worried that you might forget to apply attr_protected to the correct attributes before exposing your model to the cruel world, you can specify the protection in reverse. The method attr_accessible allows you to list the attributes that may be assigned automatically—all other attributes will be protected. This is particularly useful if the structure of the underlying table is liable to change—any new columns you add will be protected by default. Using attr_accessible, we can secure the User models like this: class User < ActiveRecord::Base attr_accessible :name, :password # ... rest of model end 27.3 Don’t Trust id Parameters When we first discussed retrieving data, we introduced the basic find method, which retrieved a row based on its primary key value. Given that a primary key uniquely identifies a row in a table, why would we want to apply additional search criteria when fetching rows using that key? It turns out to be a useful security device. Perhaps our application lets customers see a list of their orders. If a customer clicks an order in the list, the application displays order details—the click calls the action order/show/nnn, where nnn is the order id. An attacker might notice this URL and attempt to view the orders for other customers by manually entering different order ids. We can prevent this by using a constrained find in the action. In this example, we qualify the search with the additional criteria that the owner of the order must match the current user. An exception will be thrown if no order matches, which we handle by redisplaying the index page. Report erratum this copy is (P1.0 printing, March 2009)](https://image.slidesharecdn.com/pragmatic-agilewebdevelopmentwithrails-3rdedition-2009-091104222637-phpapp01/75/Pragmatic-Agile-Web-Development-With-Rails-3rd-Edition-2009-641-2048.jpg)
![D ON ’ T E XPOSE C ONTROLLER M ETHODS 642 This code assumes that a before filter has set up the current user’s information in the @user instance variable: def show @order = Order.find(params[:id], :conditions => [ "user_id = ?" , @user.id]) rescue redirect_to :action => "index" end Even better, consider using the new collection-based finder methods, which constrain their results to only those rows that are in the collection. For exam- ple, if we assume that the user model has_many :orders, then Rails would let us write the previous code as this: def show id = params[:id] @order = @user.orders.find(id) rescue redirect_to :action => "index" end This solution is not restricted to the find method. Actions that delete or destroy rows based on an id (or ids) returned from a form are equally dangerous. Get into the habit of constraining calls to delete and destroy using something like this: def destroy id = params[:id] @order = @user.orders.find(id).destroy rescue redirect_to :action => "index" end 27.4 Don’t Expose Controller Methods An action is simply a public method in a controller. This means that if you’re not careful, you can expose as actions methods that were intended to be called only internally in your application. For example, a controller might contain the following code: class OrderController < ApplicationController # Invoked from a webform def accept_order process_payment mark_as_paid end def process_payment @order = Order.find(params[:id]) CardProcessor.charge_for(@order) end Report erratum this copy is (P1.0 printing, March 2009)](https://image.slidesharecdn.com/pragmatic-agilewebdevelopmentwithrails-3rdedition-2009-091104222637-phpapp01/75/Pragmatic-Agile-Web-Development-With-Rails-3rd-Edition-2009-642-2048.jpg)
![C ROSS -S ITE S CRIPTING (CSS/XSS) 643 def mark_as_paid @order = Order.find(params[:id]) @order.mark_as_paid @order.save end end OK, so it’s not great code, but it illustrates a problem. Clearly, the accept_order method is intended to handle a POST request from a form. The developer decided to factor out its two responsibilities by wrapping them in two separate controller methods, process_payment and mark_as_paid. Unfortunately, the developer left these two helper methods with public visibil- ity. This means that anyone can enter the following in their browser: http://unlucky.company/order/mark_as_paid/123 and order 123 will magically be marked as being paid, bypassing all credit- card processing. Every day is free giveaway day at Unlucky Company. The basic rule is simple: the only public methods in a controller should be actions that can be invoked from a browser. This rule also applies to methods you add to application.rb. This is the parent of all controller classes, and its public methods can also be called as actions. 27.5 Cross-Site Scripting (CSS/XSS) Many web applications use session cookies to track the requests of a user. The cookie is used to identify the request and connect it to the session data (session in Rails). Often this session data contains a reference to the user that is currently logged in. Cross-site scripting is a technique for “stealing” the cookie from another visitor of the website and thus potentially stealing that person’s login. The cookie protocol has a small amount of built-in security; browsers send cookies only to the domain where they were originally created. But this secu- rity can be bypassed. The easiest way to get access to someone else’s cookie is to place a specially crafted piece of JavaScript code on the website; the script can read the cookie of a visitor and send it to the attacker (for example, by transmitting the data as a URL parameter to another website). A Typical Attack Any site that displays data that came from outside the application is vul- nerable to XSS attack unless the application takes care to filter that data. Sometimes the path taken by the attack is complex and subtle. For example, consider a shopping application that allows users to leave comments for the Report erratum this copy is (P1.0 printing, March 2009)](https://image.slidesharecdn.com/pragmatic-agilewebdevelopmentwithrails-3rdedition-2009-091104222637-phpapp01/75/Pragmatic-Agile-Web-Development-With-Rails-3rd-Edition-2009-643-2048.jpg)
![D ON ’ T S TORE S ENSITIVE I NFORMATION IN THE C LEAR 647 Input Validation Is Difficult Johannes Brodwall wrote the following in a review of this chapter: When you validate input, it is important to keep in mind the following: • Validate with a whitelist : There are many ways of encoding dots and slashes that may escape your validation but be interpreted by the under- lying systems. For example, ../, .., %2e%2e%2f, %2e%2e%5c, and ..%c0%af (Unicode) may bring you up a directory level. Accept a very small set of characters (try [a-zA-Z][a-zA-Z0-9_]* for a start). • Don’t try to recover from weird paths by replacing, stripping, and the like: For example, if you strip out the string ../, a malicious input such as ....// will still get through. If there is anything weird going on, someone is trying something clever. Just kick them out with a terse, noninformative message, such as “Intrusion attempt detected. Incident logged.” We often check that dirname(full_file_name_from_user) is the same as the expected directory. That way we know that the filename is hygienic. Within this action, be sure that you do the following: • Validate that the name in the request is a simple, valid filename match- ing an existing file in the directory or row in the table. Do not accept filenames such as ../../etc/passwd (see the sidebar Input Validation Is Dif- ficult). You might even want to store uploaded files in a database table and use ids, rather than names, to refer to them. • When you download a file that will be displayed in a browser, be sure to escape any HTML sequences it contains to eliminate the potential for XSS attacks. If you allow the downloading of binary files, make sure you set the appropriate Content-Type HTTP header to ensure that the file will not be displayed in the browser accidentally. The descriptions starting on page 469 describe how to download files from a Rails application, and the section on uploading files starting on page 544 shows an example that uploads image files into a database table and provides an action to display them. 27.8 Don’t Store Sensitive Information in the Clear You might be writing applications that are governed by external regulations (in the United States, the CISP rules might apply if you handle credit card data, and HIPAA might apply if you work with medical data). These regulations impose some serious constraints on how you handle information. Even if you Report erratum this copy is (P1.0 printing, March 2009)](https://image.slidesharecdn.com/pragmatic-agilewebdevelopmentwithrails-3rdedition-2009-091104222637-phpapp01/75/Pragmatic-Agile-Web-Development-With-Rails-3rd-Edition-2009-647-2048.jpg)
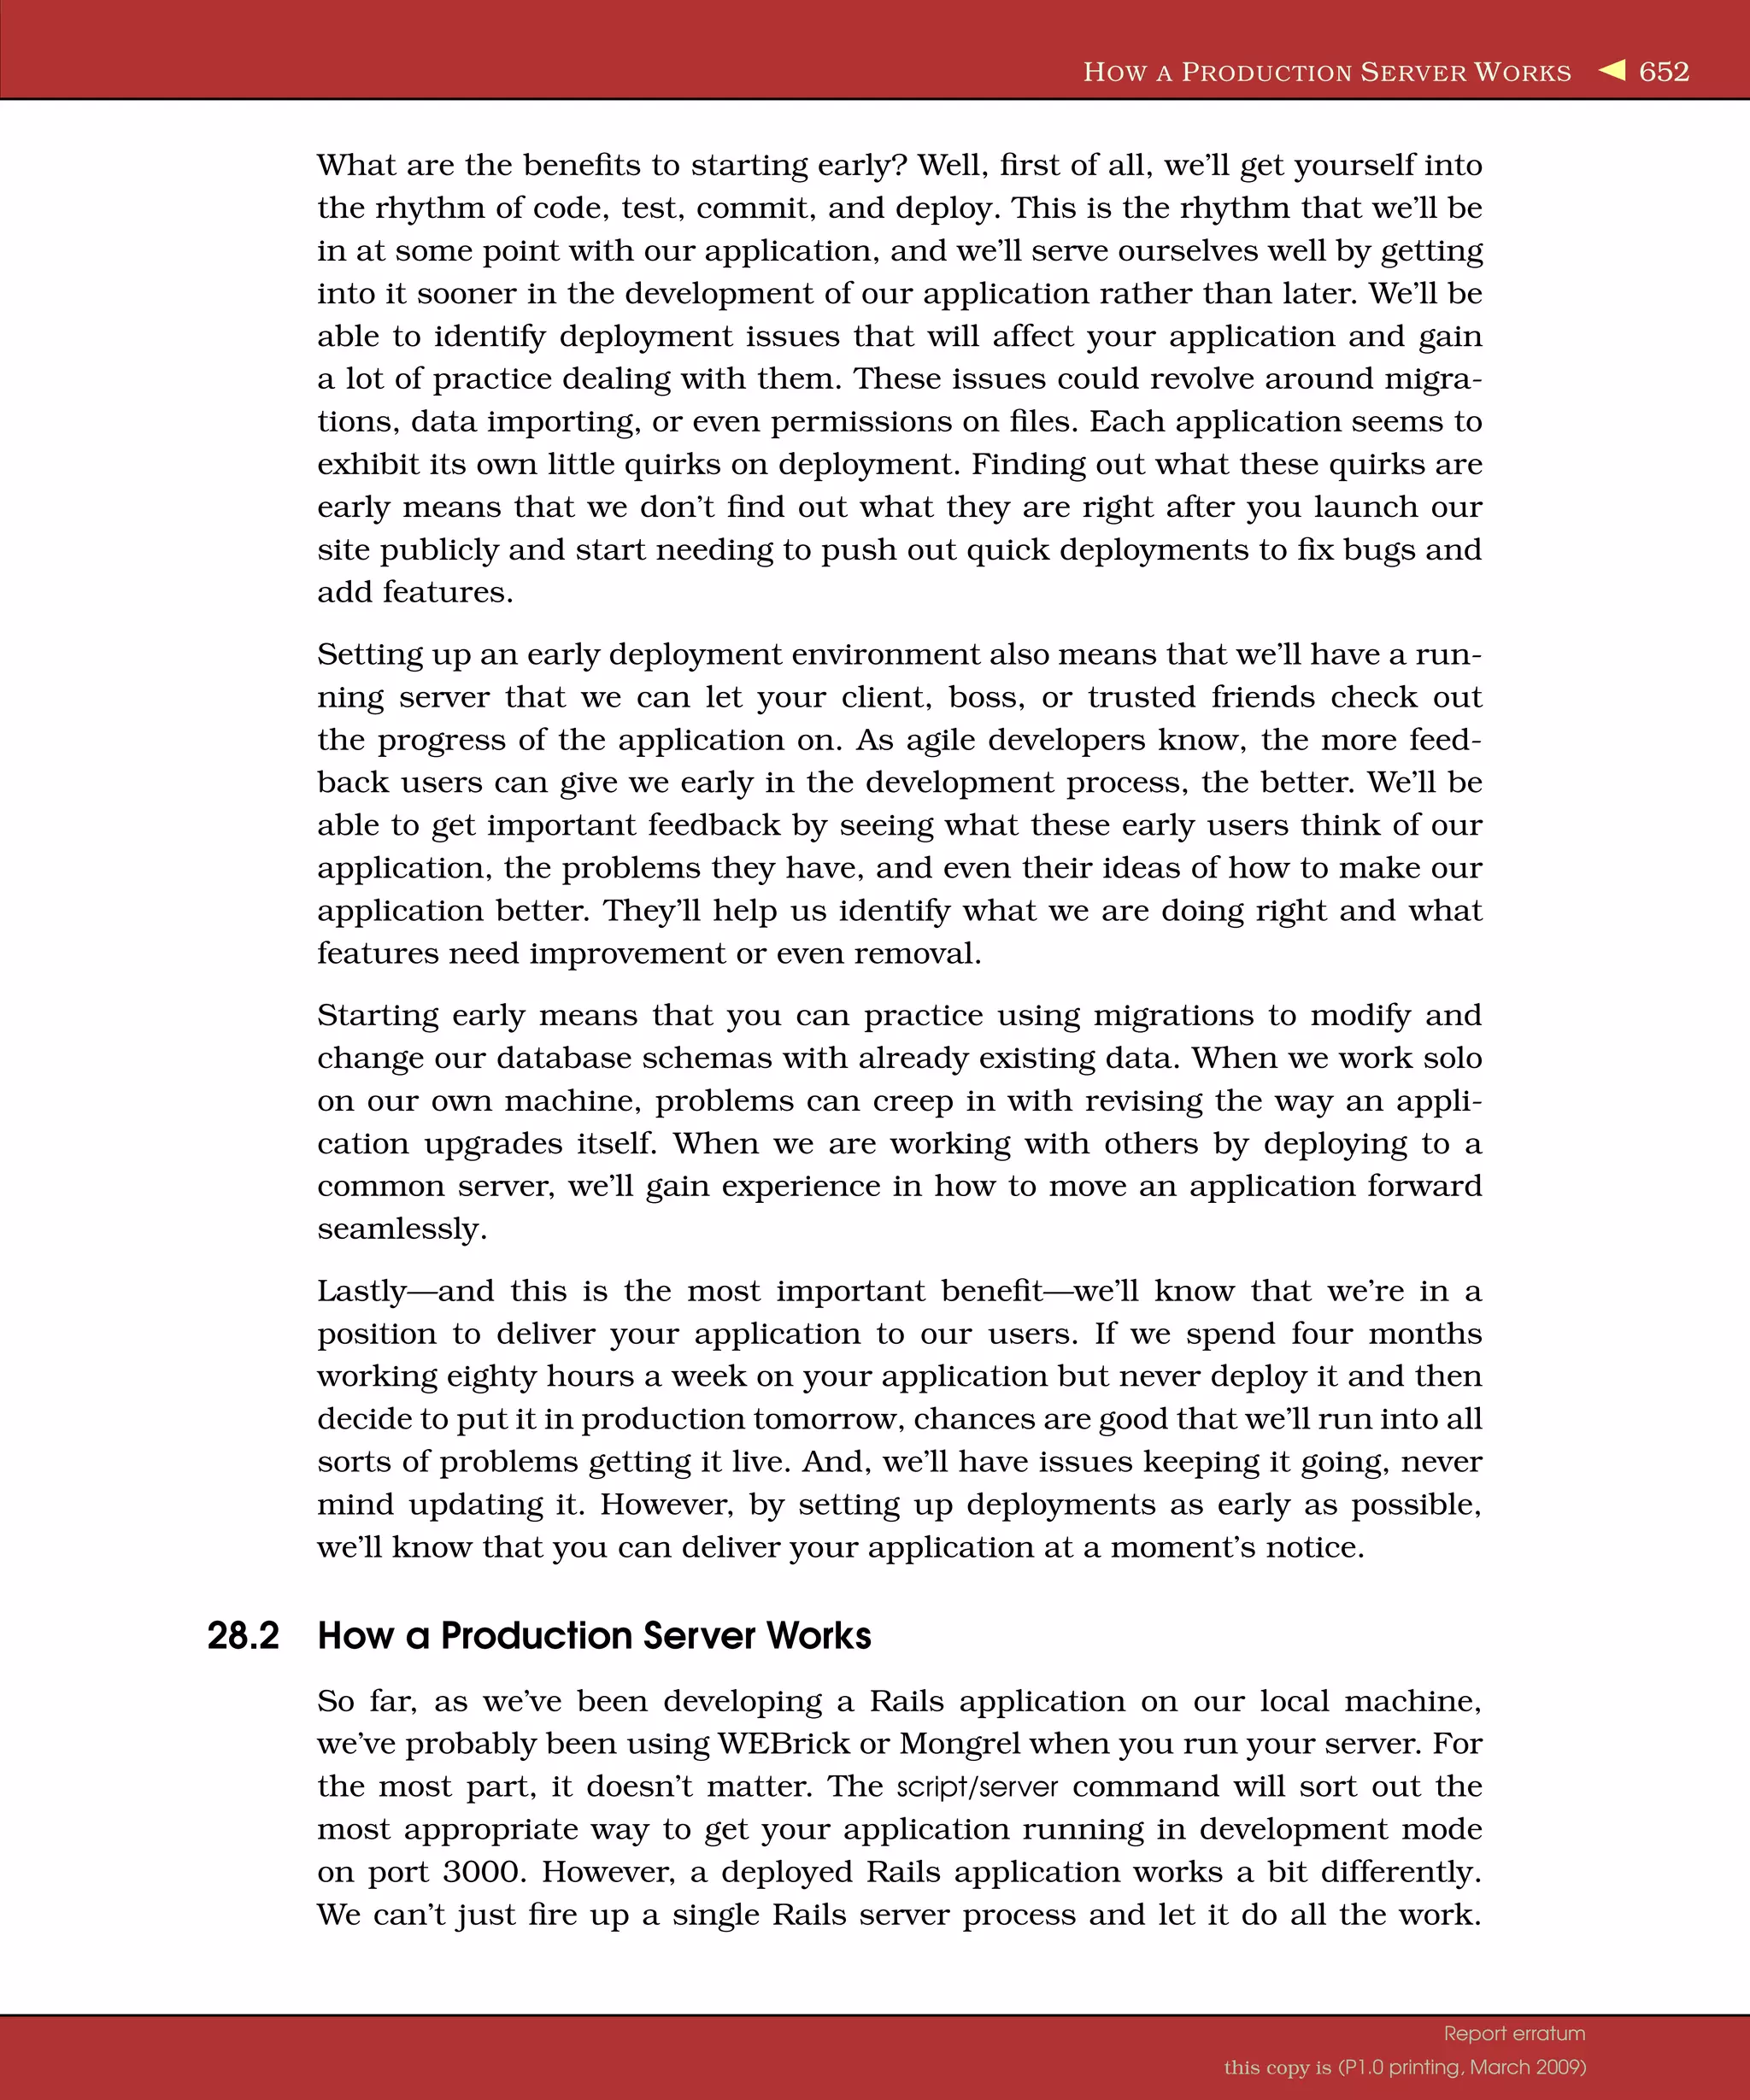
![I NSTALLING P ASSENGER 655 28.3 Installing Passenger The following instructions assume that you have already followed the instruc- tion Chapter 3, Installing Rails, on page 31; furthermore, you should have a runnable Rails application installed on your server.1 The first step is to ensure that the Apache web server is installed. For Mac OS X users, and many Linux users, it is already installed with the operating system.2 The next step is to install Passenger: $ sudo gem install passenger $ sudo passenger-install-apache2-module The latter command causes a number of sources to be compiled and the con- figuration files to be updated. During the process, it will ask us to update our Apache configuration twice. The first will be to enable your freshly built mod- ule and will involve the addition of lines such as the following to our Apache configuration. (Note: Passenger will tell you the exact lines to copy and paste into this file, so use those, not these. Also, we’ve had to wrap the LoadModule line to make it fit the page. When you type it, it all goes on one line.) LoadModule passenger_module /opt/local/lib/ruby/gems/1.8/gems/passenger-2.0.6←֓ /ext/apache2/mod_passenger.so PassengerRoot /opt/local/lib/ruby/gems/1.8/gems/passenger-2.0.6 PassengerRuby /opt/local/bin/ruby To find out where your Apache configuration file is, try issuing the following command:3 $ apachectl -V | grep SERVER_CONFIG_FILE The next step is to deploy our application. Whereas the previous step is done once per server, this step is actually once per application. For the remainder of the chapter, we’ll assume that the name of the application is depot. Since your application’s name is undoubtedly different, simply substitute the real name of your application instead. <VirtualHost *:80> ServerName www.yourhost.com DocumentRoot /home/rubys/work/depot/public/ </VirtualHost> 1. If you are deploying to a host that already has Passenger installed, feel free to skip ahead to Section 28.4, Worry-Free Deployment with Capistrano, on page 657. 2. Although Windows users can find instructions on installing this product at http://httpd.apache.org/docs/2.2/platform/windows.html#inst, Windows as a server platform is not supported by Passenger. If deploying on Windows is a requirement for your installation, then you can find good advice in Chapter 6 of Deploying Rails Applications: A Step-by-Step Guide [ZT08]. 3. On some systems, the command name is apache2ctl; on others, it’s httpd. Report erratum this copy is (P1.0 printing, March 2009)](https://image.slidesharecdn.com/pragmatic-agilewebdevelopmentwithrails-3rdedition-2009-091104222637-phpapp01/75/Pragmatic-Agile-Web-Development-With-Rails-3rd-Edition-2009-655-2048.jpg)
![W ORRY -F REE D EPLOYMENT WITH C APISTRANO 659 manage. What it does is put the version of the software that you are dependent on into the repository: $ rake rails:freeze:gems $ rake gems:unpack $ git add vendor $ git commit -m "freeze gems" From here, it is a simple matter to push all your code out to the server: $ git remote add origin ssh://user@host/~/git/depot.git $ git push origin master Deploying the Application The prep work is now done. Our code is now on the SCM server where it can be accessed by the app server.5 Now we can install Capistrano via gem install capistrano. To add the necessary files to the project for Capistrano to do its magic, execute the following command: $ capify . [add] writing './Capfile' [add] writing './config/deploy.rb' [done] capified! From the output, we can see that Capistrano set up two files. The first, Capfile, is Capistrano’s analog to a Rakefile. We won’t need to touch this file further. The second, config/deploy.rb, contains the recipes needed to deploy our application. Capistrano will provide us with a minimal version of this file, but the following is a somewhat more complete version that you can download and use as a starting point: Download config/deploy.rb # be sure to change these set :user, 'rubys' set :domain, 'depot.pragprog.com' set :application, 'depot' # file paths set :repository, "#{user}@#{domain}:git/#{application}.git" set :deploy_to, "/home/#{user}/#{domain}" # distribute your applications across servers (the instructions below put them # all on the same server, defined above as 'domain', adjust as necessary) role :app, domain role :web, domain role :db, domain, :primary => true 5. It matters not whether these two servers are the same; what is important here is the roles that are being performed. Report erratum this copy is (P1.0 printing, March 2009)](https://image.slidesharecdn.com/pragmatic-agilewebdevelopmentwithrails-3rdedition-2009-091104222637-phpapp01/75/Pragmatic-Agile-Web-Development-With-Rails-3rd-Edition-2009-659-2048.jpg)
![W ORRY -F REE D EPLOYMENT WITH C APISTRANO 660 # you might need to set this if you aren't seeing password prompts # default_run_options[:pty] = true # As Capistrano executes in a non-interactive mode and therefore doesn't cause # any of your shell profile scripts to be run, the following might be needed # if (for example) you have locally installed gems or applications. Note: # this needs to contain the full values for the variables set, not simply # the deltas. # default_environment['PATH']='<your paths>:/usr/local/bin:/usr/bin:/bin' # default_environment['GEM_PATH']='<your paths>:/usr/lib/ruby/gems/1.8' # miscellaneous options set :deploy_via, :remote_cache set :scm, 'git' set :branch, 'master' set :scm_verbose, true set :use_sudo, false # task which causes Passenger to initiate a restart namespace :deploy do task :restart do run "touch #{current_path}/tmp/restart.txt" end end # optional task to reconfigure databases after "deploy:update_code" , :configure_database desc "copy database.yml into the current release path" task :configure_database, :roles => :app do db_config = "#{deploy_to}/config/database.yml" run "cp #{db_config} #{release_path}/config/database.yml" end We will need to edit several properties to match our application. We certainly will need to change the :user, :domain, and :application. The :repository matches where we put our Git file earlier. The :deploy_to may need to be tweaked to match where we told Apache it could find the config/public directory for the application. The default_run_options and default_environment are to be used only if you have specific problems. The “miscellaneous options” provided are based on Git. Two tasks are defined. One tells Capistrano how to restart Passenger. The other updates the file database.yml from the copy that we previously placed on the sever. Feel free to adjust these tasks as you see fit. The first time we deploy our application, we have to perform an additional step to set up the basic directory structure to deploy into on the server: $ cap deploy:setup When we execute this command, Capistrano will prompt us for our server’s password. If it fails to do so and fails to log in, we might need to uncomment out the default_run_options line in our deploy.rb file and try again. Once it can Report erratum this copy is (P1.0 printing, March 2009)](https://image.slidesharecdn.com/pragmatic-agilewebdevelopmentwithrails-3rdedition-2009-091104222637-phpapp01/75/Pragmatic-Agile-Web-Development-With-Rails-3rd-Edition-2009-660-2048.jpg)
![P RODUCTION A PPLICATION C HORES 663 can roll over log files to create a progressive set of log files of increasing age. This will break up our log files into manageable chunks that can be archived off or even deleted after a certain amount of time has passed. The Logger class supports rollover. We simply need to decide how many (or how often) log files we want and the size of each. To enable this, simply add a line like one of the following to the file config/environments/production.rb: config.logger = Logger.new(config.log_path, 10, 10.megabytes) config.logger = Logger.new(config.log_path, 'daily') Alternately, we can direct our logs to the system logs for our machine: config.logger = SyslogLogger.new Find more options at http://wiki.rubyonrails.com/rails/pages/DeploymentTips. Clearing Out Sessions If you are not using cookie-based session management, be aware that the session handler in Rails doesn’t do automated housekeeping. This means that once the data for a session is created, it isn’t automatically cleared out after the session expires. This can quickly spell trouble. The default file-based session handler will run into trouble long before the database-based session handler will, but both handlers will create an endless amount of data. Since Rails doesn’t clean up after itself, we’ll need to do it ourselves. The eas- iest way is to run a script periodically. If we keep sessions in files, the script needs to look at when each session file was last touched and then delete the older ones. For example, we could put the following command into a script that will delete files that haven’t been touched in the last twelve hours: # On your server $ find /tmp/ -name 'ruby_sess*' -ctime +12h -delete If our application keeps session data in the database, our script can look at the updated_at column and delete rows accordingly. We can use script/runner to execute this command: > RAILS_ENV=production ./script/runner CGI::Session::ActiveRecordStore::Session.delete_all( ["updated_at < ?", 12.hours.ago]) Keeping on Top of Application Errors Controller actions that fail are handled differently in development vs. produc- tion. In development, we get tons of debugging information. In production, the default behavior is to render a static HTML file with the name of the error code thrown. Custom rescue behavior can be achieved by overriding the res- cue_action_in_public and rescue_action_locally methods. We can override what is Report erratum this copy is (P1.0 printing, March 2009)](https://image.slidesharecdn.com/pragmatic-agilewebdevelopmentwithrails-3rdedition-2009-091104222637-phpapp01/75/Pragmatic-Agile-Web-Development-With-Rails-3rd-Edition-2009-663-2048.jpg)
![M OVING O N TO L AUNCH AND B EYOND 664 considered a local request by overriding the local_request? method in our own controller. Instead of writing our own custom recovery, we might want to look at the exception notification plug-in to set up a way of e-mailing support staff when exceptions are thrown in your application. Install using this: depot> ruby script/plugin install git://github.com/rails/exception_notification.git Then we add the following to our application controller: class ApplicationController < ActionController::Base include ExceptionNotifiable # ... Then set up a list of people to receive notification e-mails in our environment.rb file: ExceptionNotifier.exception_recipients = %w(support@my-org.com dave@cell-phone.company) We need to ensure that Action Mailer is configured to send e-mail, as described starting on page 609. 28.7 Moving On to Launch and Beyond Once we’ve set up your initial deployment, we’re ready to finish the devel- opment of our application and launch it into production. We’ll likely set up additional deployment servers, and the lessons we learn from our first deploy- ment will tell us a lot about how we should structure later deployments. For example, we’ll likely find that Rails is one of the slower components of our system—more of the request time will be spent in Rails than in waiting on the database or filesystem. This indicates that the way to scale up is to add machines to split up the Rails load across. However, we might find that the bulk of the time a request takes is in the database. If this is the case, we’ll want to look at how to optimize our database activity. Maybe we’ll want to change how we access data. Or maybe we’ll need to custom craft some SQL to replace the default Active Record behaviors. One thing is for sure: every application will require a different set of tweaks over its lifetime. The most important activity to do is to listen to it over time and discover what needs to be done. Our job isn’t done when we launch our application. It’s actually just starting. If and when you do get to the point where you want to explore alternate deploy- ment options, you can find plenty of good advice in Deploying Rails Applica- tions: A Step-by-Step Guide [ZT08]. Report erratum this copy is (P1.0 printing, March 2009)](https://image.slidesharecdn.com/pragmatic-agilewebdevelopmentwithrails-3rdedition-2009-091104222637-phpapp01/75/Pragmatic-Agile-Web-Development-With-Rails-3rd-Edition-2009-664-2048.jpg)
![Appendix A Introduction to Ruby Ruby is a fairly simple language. Even so, it isn’t really possible to do it justice in a short appendix such as this. Instead, we hope to explain enough Ruby that the examples in the book make sense. This chapter draws heavily from material in Chapter 2 of Programming Ruby [TFH05].1 A.1 Ruby Is an Object-Oriented Language Everything you manipulate in Ruby is an object, and the results of those manipulations are themselves objects. When you write object-oriented code, you’re normally looking to model con- cepts from the real world. Typically during this modeling process you’ll dis- cover categories of things that need to be represented. In an online store, the concept of a line item could be such a category. In Ruby, you’d define a class to represent each of these categories. A class is a combination of state (for example, the quantity and the product id) and methods that use that state (perhaps a method to calculate the line item’s total cost). We’ll show how to create classes on page 670. Once you’ve defined these classes, you’ll typically want to create instances of each of them. For example, in a store, you have separate LineItem instances for when Fred orders a book and when Wilma orders a PDF. The word object is used interchangeably with class instance (and since we’re lazy typists, we’ll use the word object). Objects are created by calling a constructor, a special method associated with a class. The standard constructor is called new. 1. At the risk of being grossly self-serving, we’d like to suggest that the best way to learn Ruby, and the best reference for Ruby’s classes, modules, and libraries, is Programming Ruby [TFH05] (also known as the PickAxe book). Welcome to the Ruby community.](https://image.slidesharecdn.com/pragmatic-agilewebdevelopmentwithrails-3rdedition-2009-091104222637-phpapp01/75/Pragmatic-Agile-Web-Development-With-Rails-3rd-Edition-2009-666-2048.jpg)

![M ETHODS 668 Class names, module names, and constants must start with an uppercase letter. By convention they use capitalization, rather than underscores, to dis- tinguish the start of words within the name. Class names look like Object, PurchaseOrder, and LineItem. Rails makes extensive use of symbols. A symbol looks like a variable name, but it’s prefixed with a colon. Examples of symbols include :action, :line_items, and :id. You can think of symbols as string literals that are magically made into constants. Alternatively, you can consider the colon to mean “thing named” so :id is “the thing named id.” Rails uses symbols to identify things. In particular, it uses them as keys when naming method parameters and looking things up in hashes. For example: redirect_to :action => "edit" , :id => params[:id] A.3 Methods Let’s write a method that returns a cheery, personalized greeting. We’ll invoke that method a couple of times: def say_goodnight(name) result = "Good night, " + name return result end # Time for bed... puts say_goodnight("Mary-Ellen" ) puts say_goodnight("John-Boy" ) You don’t need a semicolon at the end of a statement as long as you put each statement on a separate line. Ruby comments start with a # character and run to the end of the line. Indentation is not significant (but two-character indentation is the de facto Ruby standard). Methods are defined with the keyword def, followed by the method name (in this case, say_goodnight) and the method’s parameters between parentheses. Ruby doesn’t use braces to delimit the bodies of compound statements and definitions (such as methods and classes). Instead, you simply finish the body with the keyword end. The first line of the method’s body concatenates the literal string "Good night, " and the parameter name, and it assigns the result to the local variable result. The next line returns that result to the caller. Note that we didn’t have to declare the variable result; it sprang into existence when we assigned to it. Having defined the method, we call it twice. In both cases, we pass the result to the method puts, which outputs to the console its argument followed by a newline (moving on to the next line of output). Report erratum this copy is (P1.0 printing, March 2009)](https://image.slidesharecdn.com/pragmatic-agilewebdevelopmentwithrails-3rdedition-2009-091104222637-phpapp01/75/Pragmatic-Agile-Web-Development-With-Rails-3rd-Edition-2009-668-2048.jpg)
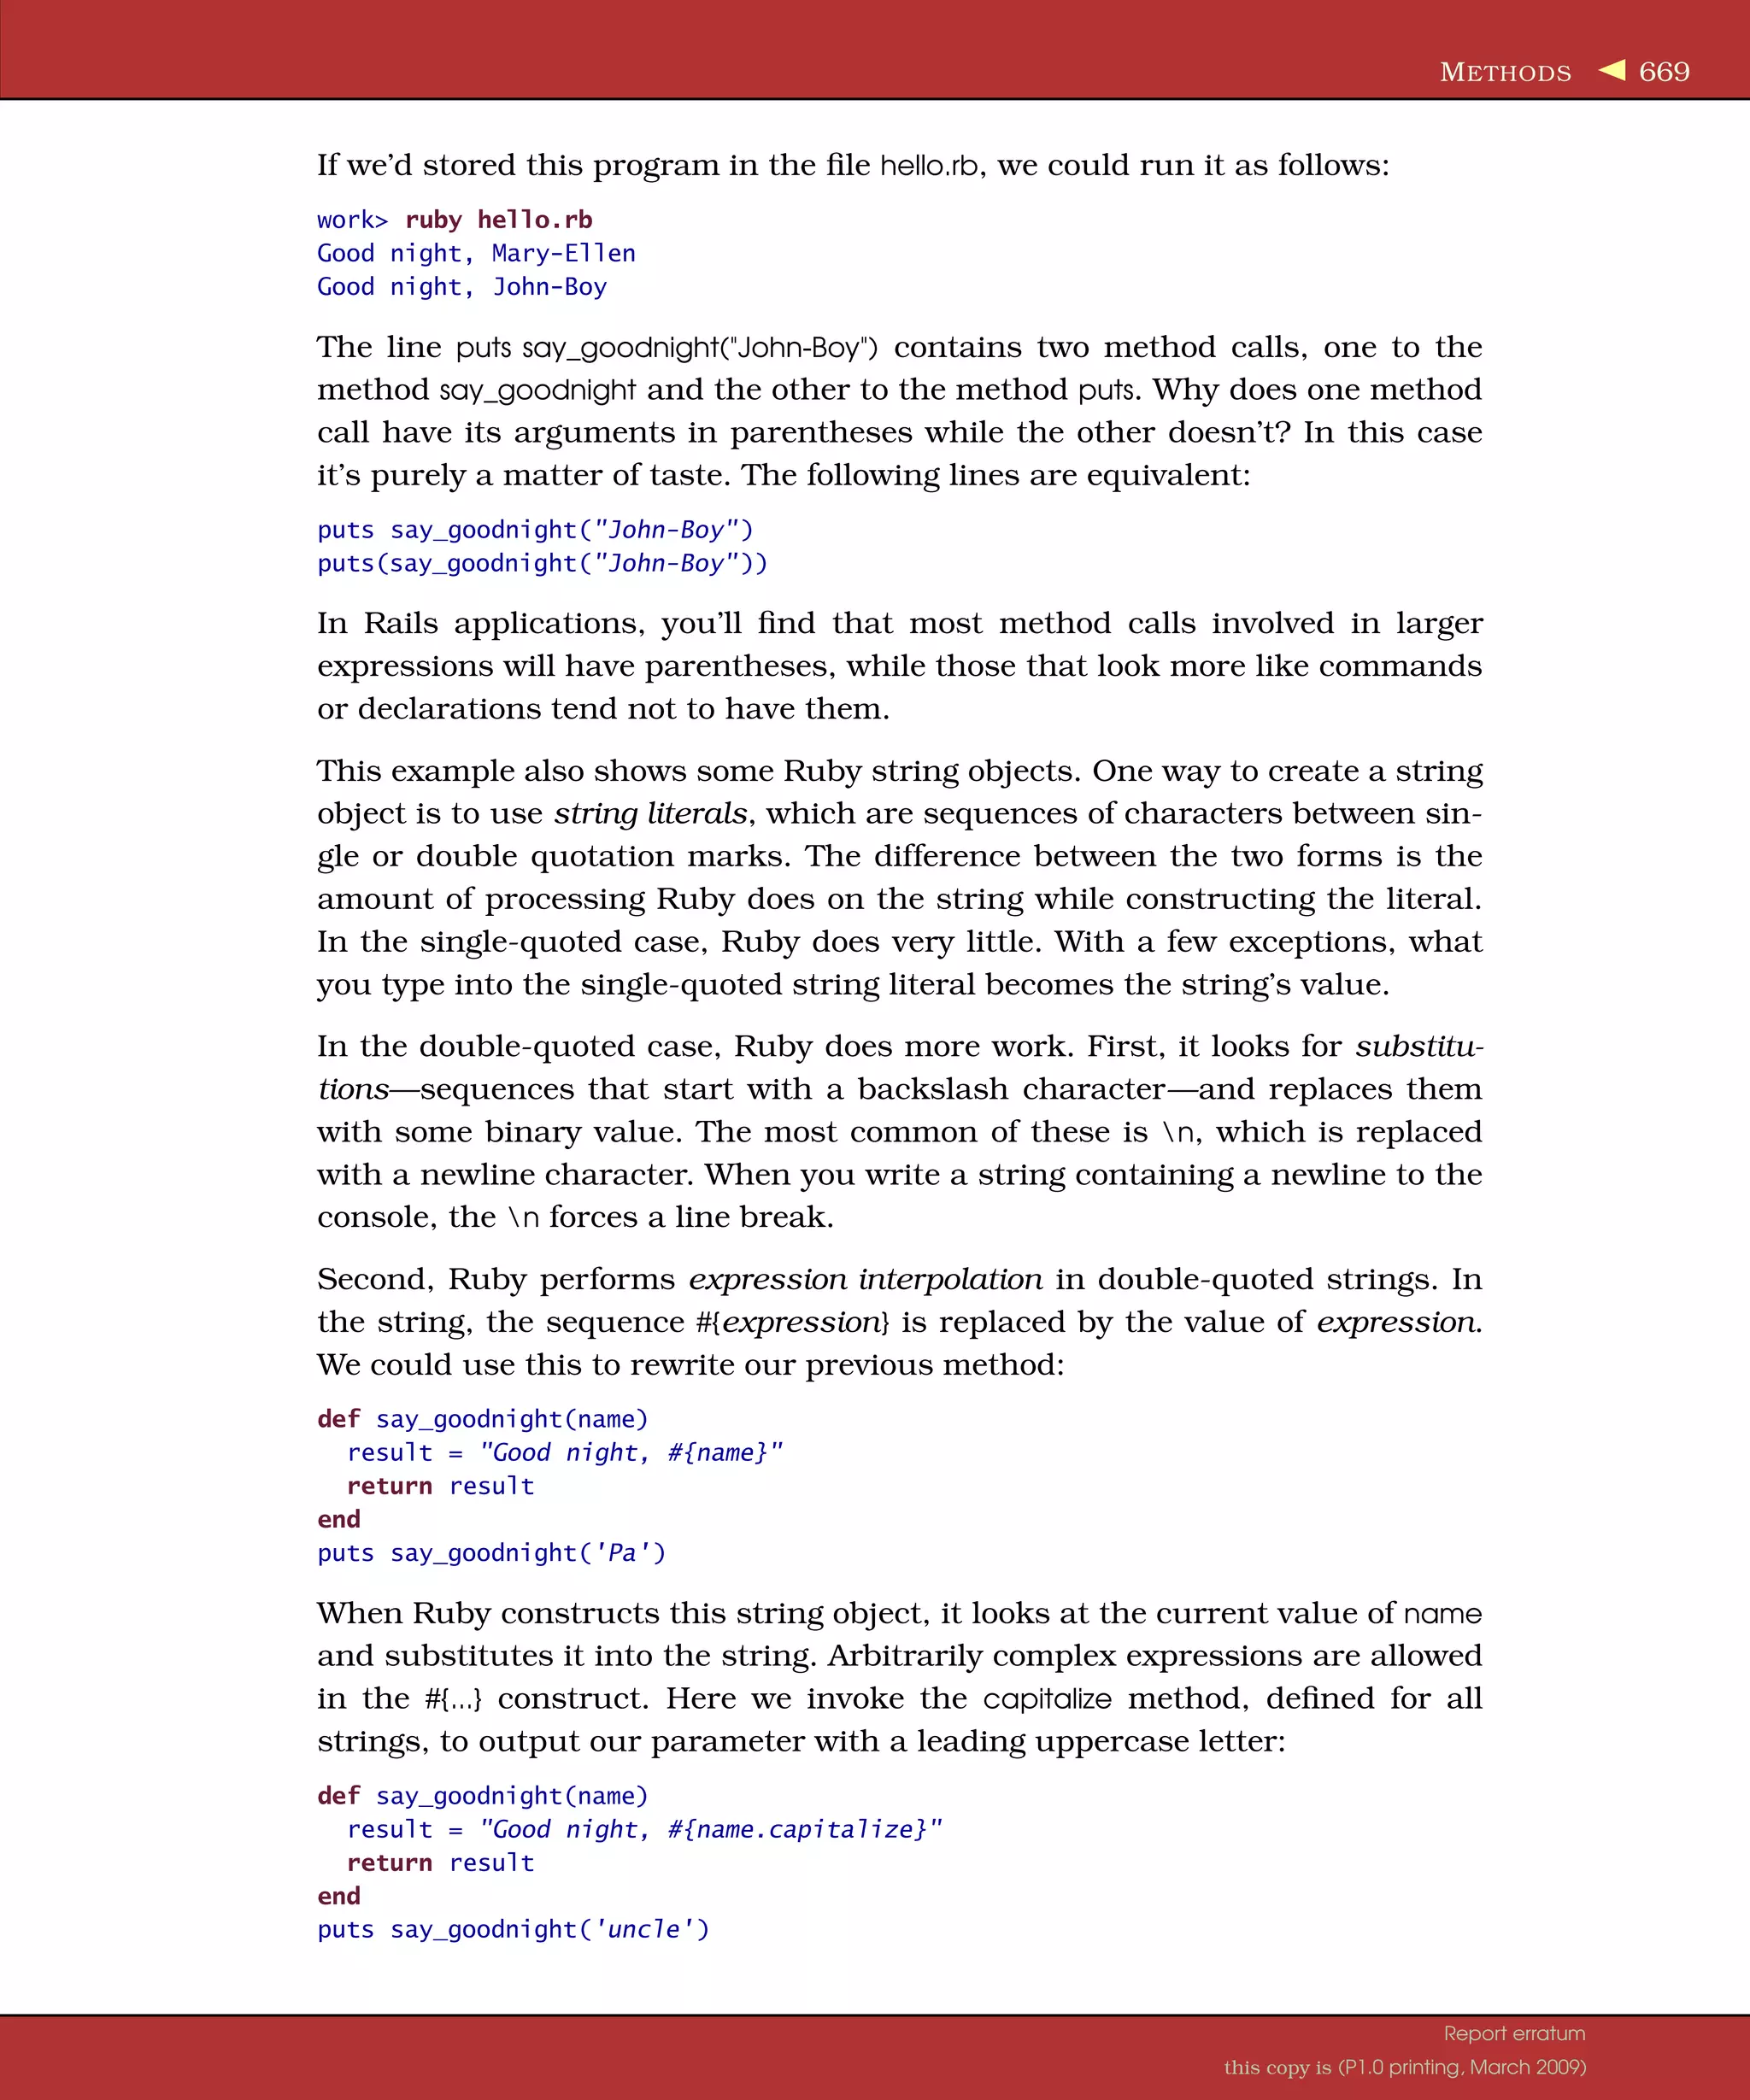
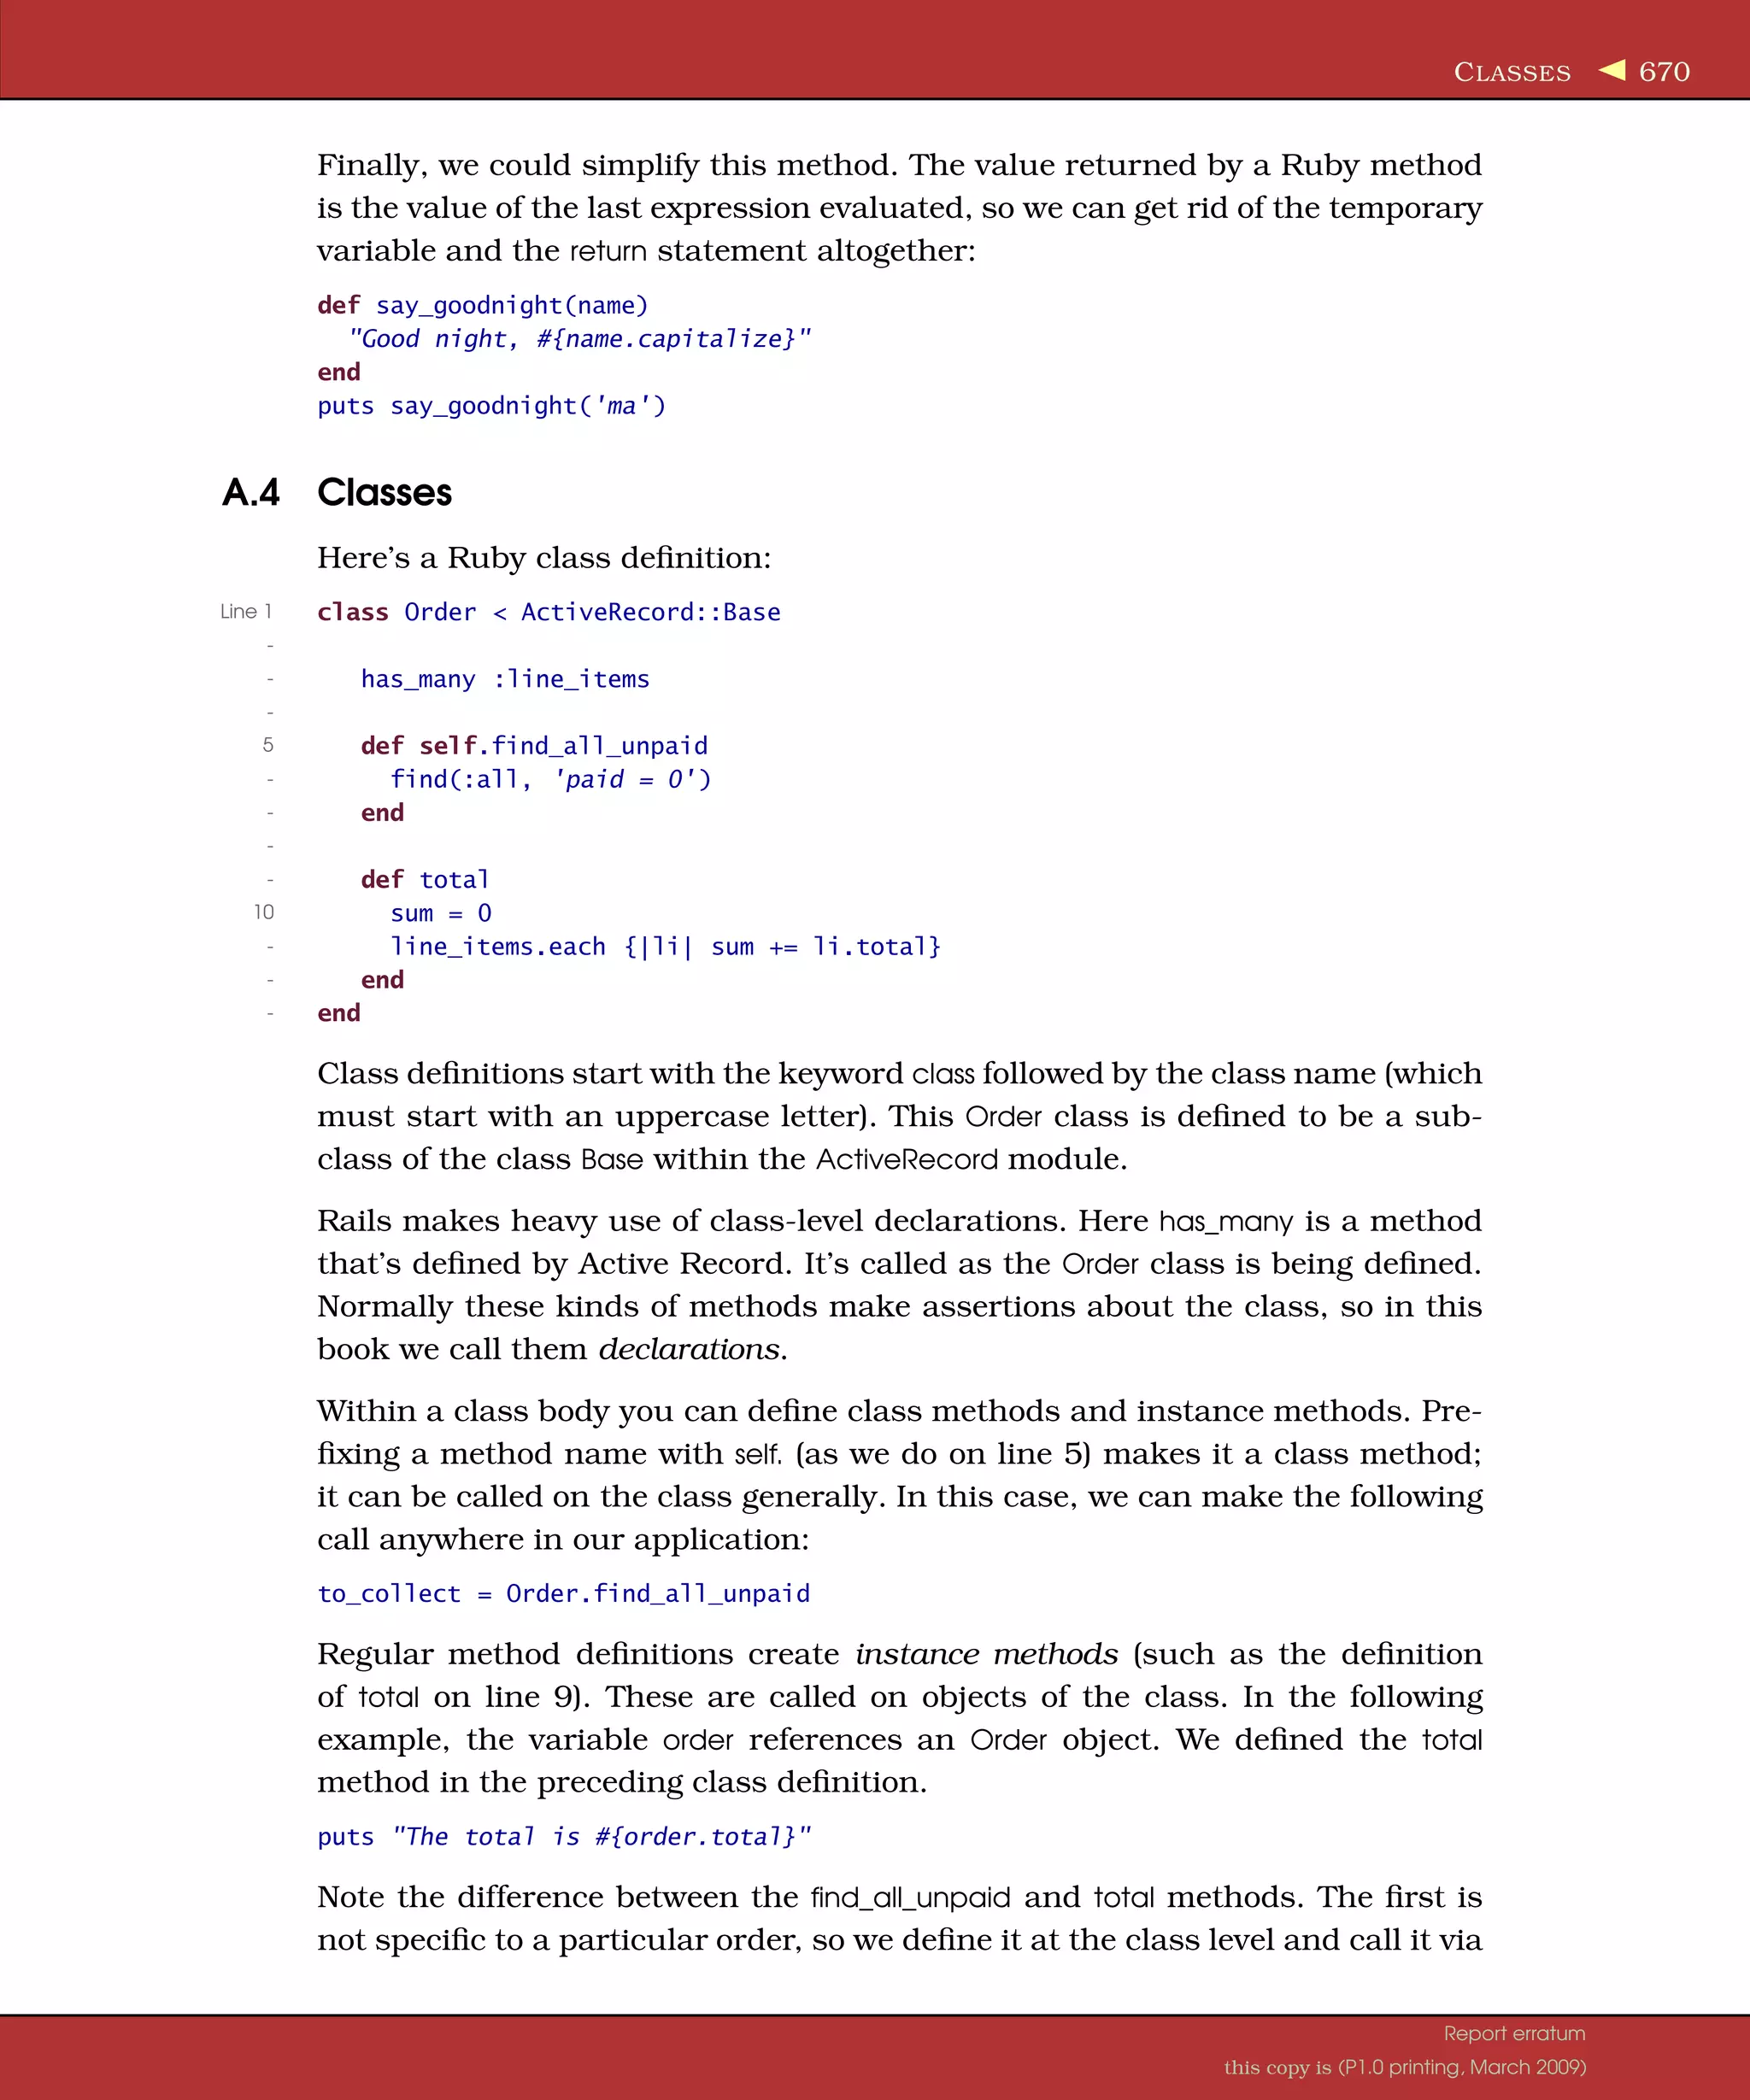
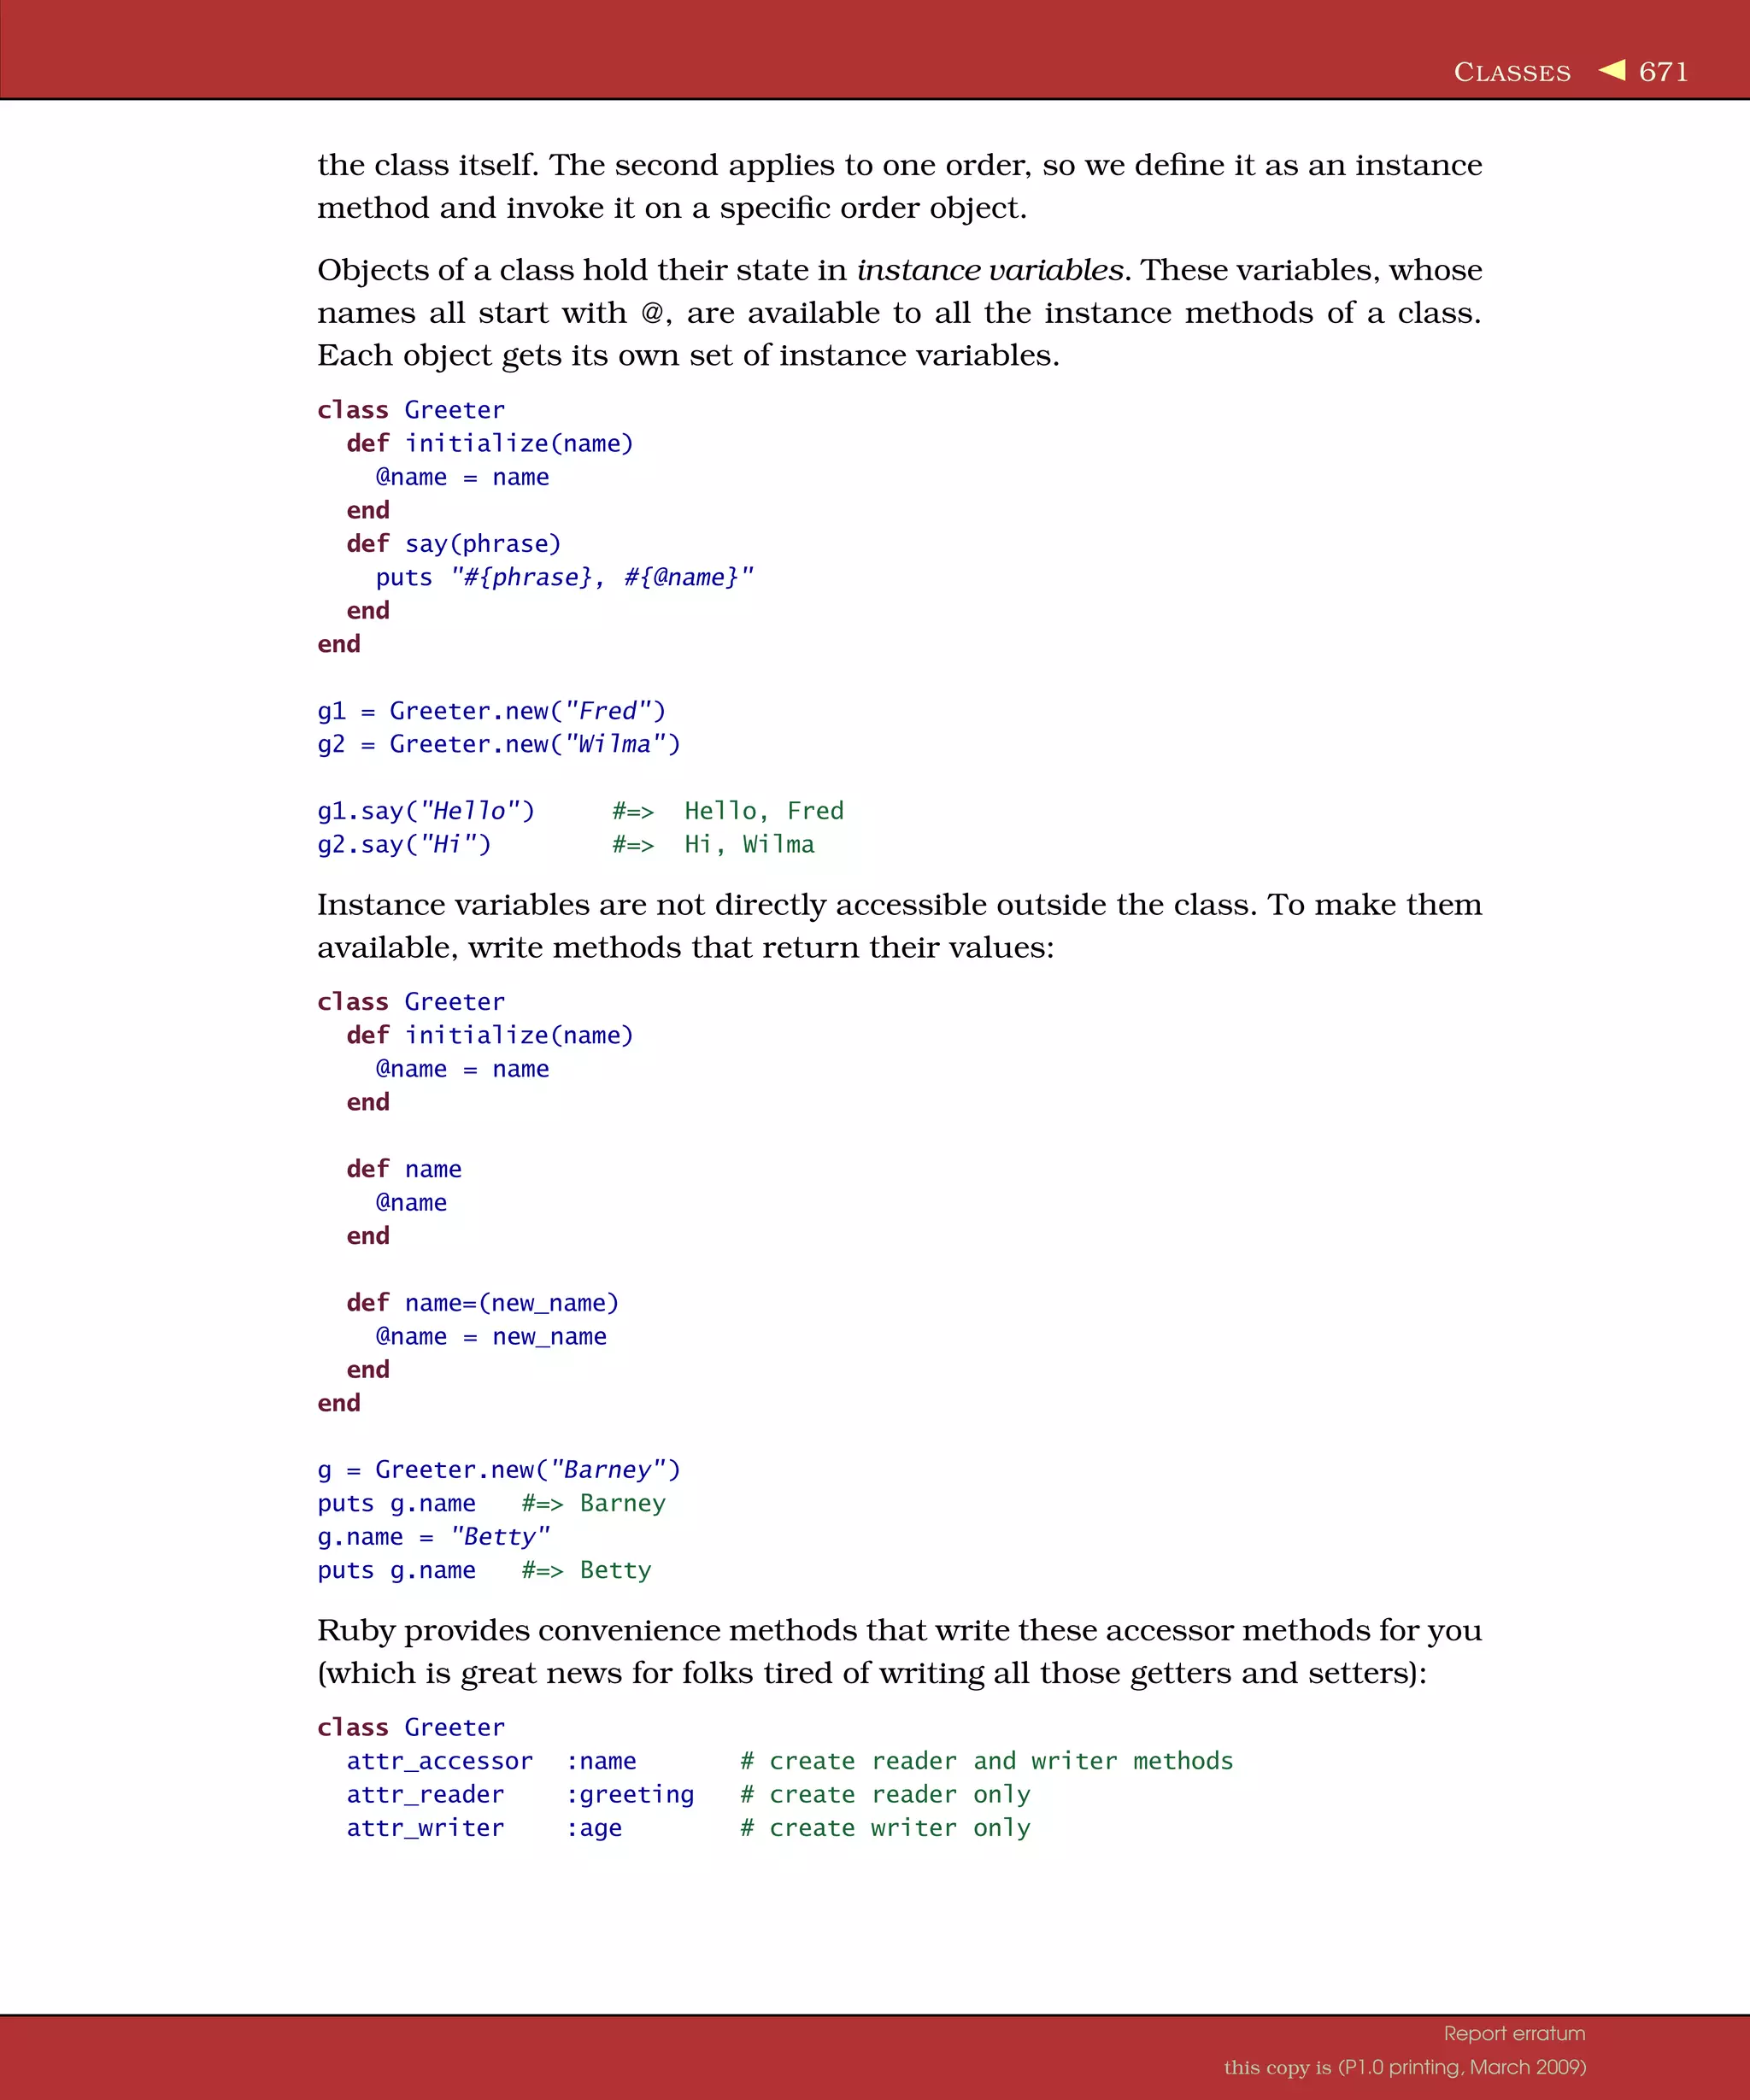
![A RRAYS AND H ASHES 673 A.6 Arrays and Hashes Ruby’s arrays and hashes are indexed collections. Both store collections of objects, accessible using a key. With arrays, the key is an integer, whereas hashes support any object as a key. Both arrays and hashes grow as needed to hold new elements. It’s more efficient to access array elements, but hashes provide more flexibility. Any particular array or hash can hold objects of dif- fering types; you can have an array containing an integer, a string, and a floating-point number, for example. You can create and initialize a new array object using an array literal—a set of elements between square brackets. Given an array object, you can access individual elements by supplying an index between square brackets, as the next example shows. Ruby array indices start at zero. a = [ 1, 'cat' , 3.14 ] # array with three elements a[0] # access the first element (1) a[2] = nil # set the third element # array now [ 1, 'cat', nil ] You may have noticed that we used the special value nil in this example. In many languages, the concept of nil (or null) means “no object.” In Ruby, that’s not the case; nil is an object, just like any other, that happens to represent nothing. The method << is commonly used with arrays. It appends a value to its receiver. ages = [] for person in @people ages << person.age end Ruby has a shortcut for creating an array of words: a = [ 'ant' , 'bee' , 'cat' , 'dog' , 'elk' ] # this is the same: a = %w{ ant bee cat dog elk } Ruby hashes are similar to arrays. A hash literal uses braces rather than square brackets. The literal must supply two objects for every entry: one for the key, the other for the value. For example, you may want to map musical instruments to their orchestral sections: inst_section = { :cello => 'string' , :clarinet => 'woodwind' , :drum => 'percussion' , :oboe => 'woodwind' , :trumpet => 'brass' , :violin => 'string' } Report erratum this copy is (P1.0 printing, March 2009)](https://image.slidesharecdn.com/pragmatic-agilewebdevelopmentwithrails-3rdedition-2009-091104222637-phpapp01/75/Pragmatic-Agile-Web-Development-With-Rails-3rd-Edition-2009-673-2048.jpg)
![C ONTROL S TRUCTURES 674 The thing to the left of the => is the key, and that on the right is the corre- sponding value. Keys in a particular hash must be unique—you can’t have two entries for :drum. The keys and values in a hash can be arbitrary objects— you can have hashes where the values are arrays, other hashes, and so on. In Rails, hashes typically use symbols as keys. Many Rails hashes have been subtly modified so that you can use either a string or a symbol interchangeably as a key when inserting and looking up values. Hashes are indexed using the same square bracket notation as arrays: inst_section[:oboe] #=> 'woodwind' inst_section[:cello] #=> 'string' inst_section[:bassoon] #=> nil As the last example shows, a hash returns nil when indexed by a key it doesn’t contain. Normally this is convenient, because nil means false when used in conditional expressions. Hashes and Parameter Lists You can pass hashes as parameters on method calls. Ruby allows you to omit the braces, but only if the hash is the last parameter of the call. Rails makes extensive use of this feature. The following code fragment shows a two-element hash being passed to the redirect_to method. In effect, though, you can ignore the fact that it’s a hash and pretend that Ruby has keyword arguments. redirect_to :action => 'show' , :id => product.id A.7 Control Structures Ruby has all the usual control structures, such as if statements and while loops. Java, C, and Perl programmers may well get caught by the lack of braces around the bodies of these statements. Instead, Ruby uses the keyword end to signify the end of a body: if count > 10 puts "Try again" elsif tries == 3 puts "You lose" else puts "Enter a number" end Similarly, while statements are terminated with end: while weight < 100 and num_pallets <= 30 pallet = next_pallet() weight += pallet.weight num_pallets += 1 end Report erratum this copy is (P1.0 printing, March 2009)](https://image.slidesharecdn.com/pragmatic-agilewebdevelopmentwithrails-3rdedition-2009-091104222637-phpapp01/75/Pragmatic-Agile-Web-Development-With-Rails-3rd-Edition-2009-674-2048.jpg)

![T OP -L EVEL C ONFIGURATION 681 config.database_configuration_file = "config/database.yml" This is the path to the database configuration file to use. config.frameworks = [ :active_record, :action_controller, :action_view, :action_mailer, :action_web_service ] This is the list of Rails framework components that should be loaded. You can speed up application loading by removing those you don’t use. config.gem name [, options] This adds a single gem dependency to the Rails application: Rails::Initializer.run do |config| config.gem 'mislav-will_paginate' , :version => '~> 2.3.2' , :lib => 'will_paginate' , :source => 'http://gems.github.com' end config.load_once_paths = [ ... ] If there are autoloaded components in your application that won’t change between requests, you can add their paths to this parameter to stop Rails reloading them. By default, all autoloaded plug-ins are in this list, so plug-ins will not be reloaded on each request in development mode. config.load_paths = [dir...] This is the paths to be searched by Ruby when loading libraries. This defaults to the following: • The mocks directory for the current environment • app/controllers and subdirectories • app, app/models, app/helpers, app/services, app/apis, components, config, lib, and vendor • The Rails libraries config.log_level = :debug | :info | :error | :fatal This is the application-wide log level. Set this to :debug in development and test and to :info in production. config.log_path = log/environment .log This is the path to the log file. By default, this is a file in the log directory named after the current environment. config.logger = Logger.new(...) This is the log object to use. By default, Rails uses an instance of class Logger, initialized to use the given log_path and to log at the given log_level. config.plugin_loader = Rails::Plugin::Loader This is the class that handles loading each plug-in. See the implementa- tion of Rails::Plugin::Loader for more details. Report erratum this copy is (P1.0 printing, March 2009)](https://image.slidesharecdn.com/pragmatic-agilewebdevelopmentwithrails-3rdedition-2009-091104222637-phpapp01/75/Pragmatic-Agile-Web-Development-With-Rails-3rd-Edition-2009-681-2048.jpg)
![A CTIVE R ECORD C ONFIGURATION 682 config.plugin_locators = Rails::Plugin::FileSystemLocator These are the classes that handle finding the desired plug-ins that you’d like to load for your application. config.plugin_paths = "vendor/plugins" This is the path to the root of the plug-ins directory. config.plugins = nil This is the list of plug-ins to load. If this is set to nil, all plug-ins will be loaded. If this is set to [ ], no plug-ins will be loaded. Otherwise, plug-ins will be loaded in the order specified. config.routes_configuration_file = "config/routes.rb" This is the path to the routes configuration file to use. config.time_zone = "UTC" This sets the default time_zone. Setting this will enable time zone aware- ness for Active Record models and set the Active Record default time zone to :utc. If you want to use another time zone, the following Rake tasks may be of help: time:zones:all, time:zones:us, and time:zones:local. time:zones:local will attempt to narrow down the possibilities based on the system local time. config.view_path = "app/views" This is the where to look for view templates. config.whiny_nils = true | false If set to true, Rails will try to intercept times when you invoke a method on an uninitialized object. For example, if your @orders variable is not set and you call @orders.each, Ruby will normally simply say something like undefined method ‘each’ for nil. With whiny_nils enabled, Rails will intercept this and instead say that you were probably expecting an array. This is on by default in development. B.2 Active Record Configuration config.active_record.allow_concurrency = true | false If this is set to true, a separate database connection will be used for each thread. Because Rails is not thread-safe when used to serve web appli- cations, this variable is false by default. You might consider (gingerly) setting it to true if you are writing a multithreaded application that uses Active Record outside the scope of the rest of Rails. config.active_record.colorize_logging = true | false By default, Active Record log messages have embedded ANSI control sequences, which colorize certain lines when viewed using a terminal Report erratum this copy is (P1.0 printing, March 2009)](https://image.slidesharecdn.com/pragmatic-agilewebdevelopmentwithrails-3rdedition-2009-091104222637-phpapp01/75/Pragmatic-Agile-Web-Development-With-Rails-3rd-Edition-2009-682-2048.jpg)
![A CTION C ONTROLLER C ONFIGURATION 684 a file that looks like a big migration. It can be used portably to load a schema into any supported database (allowing you to use a different database type in development and testing). However, schemas dumped this way will contain only things that are supported by migrations. If you used any execute statements in your original migrations, it is likely that they will be lost when the schema is dumped. If you specify :sql as the format, the database will be dumped using a format native to the particular database. All schema details will be pre- served, but you won’t be able to use this dump to create a schema in a different type of database. config.active_record.store_full_sti_class = false | true If this is set to true, the full class name, including the namespace, will be stored when using single-table inheritance. If it’s false, all subclasses will be required to be in the same namespace as the baseclass. This is off by default. Miscellaneous Active Record Configuration These parameters are set using the old-style, assign-to-an-attribute syntax. ActiveRecord::Migration.verbose = true | false If this is set to true, the default, migrations will report what they do to the console. ActiveRecord::SchemaDumper.ignore_tables = [ ... ] This is an array of strings or regular expressions. If schema_format is set to :ruby, tables whose names match the entries in this array will not be dumped. (But, then again, you should probably not be using a schema format of :ruby if this is the case.) B.3 Action Controller Configuration config.action_controller.allow_concurrency = true | false If this is set to true, Mongrel and WEBrick will allow concurrent action processing. This is turned off by default. config.action_controller.append_view_pathdir Template files not otherwise found in the view path are looked for beneath this directory. config.action_controller.asset_host =url This sets the host and/or path of stylesheet and image assets linked using the asset helper tags. This defaults to the public directory of the application. config.action_controller.asset_host = "http://media.my.url" Report erratum this copy is (P1.0 printing, March 2009)](https://image.slidesharecdn.com/pragmatic-agilewebdevelopmentwithrails-3rdedition-2009-091104222637-phpapp01/75/Pragmatic-Agile-Web-Development-With-Rails-3rd-Edition-2009-684-2048.jpg)
![A CTION C ONTROLLER C ONFIGURATION 685 config.action_controller.consider_all_requests_local = true | false The default setting of true means that all exceptions will display error and backtrace information in the browser. Set this to false in production to stop users from seeing this information. config.action_controller.default_charset = "utf-8" This is the default character set for template rendering. config.action_controller.debug_routes = true | false Although defined, this parameter is no longer used. config.action_controller.cache_store =caching_class This determines the mechanism used to store cached fragments. Cache storage is discussed on page 559. config.action_controller.logger =logger This sets the logger used by this controller. The logger object is also avail- able to your application code. config.action_controller.optimise_named_routes = true | false If this is true, the generated named route helper methods are optimized. This is on by default. config.action_controller.page_cache_directory =dir This is where cache files are stored. This must be the document root for your web server. This defaults to your application’s public directory. config.action_controller.page_cache_extension =string This overrides the default .html extension used for cached files. config.action_controller.param_parsers[:type ] =proc This registers a parser to decode an incoming content type, automatically populating the params hash from incoming data. Rails by default will parse incoming application/xml data and comes with a parser for YAML data. See the API documentation for more details. config.action_controller.perform_caching = true | false Set this to false to disable all caching. (Caching is by default disabled in development and testing and enabled in production.) config.action_controller.prepend_view_pathdir Template files are looked for in this directory before looking in the view path. config.action_controller.request_forgery_protection_token = value This sets the token parameter name for RequestForgery. Calling protect_ from_forgery sets it to :authenticity_token by default. Report erratum this copy is (P1.0 printing, March 2009)](https://image.slidesharecdn.com/pragmatic-agilewebdevelopmentwithrails-3rdedition-2009-091104222637-phpapp01/75/Pragmatic-Agile-Web-Development-With-Rails-3rd-Edition-2009-685-2048.jpg)
![A CTION V IEW C ONFIGURATION 686 config.action_controller.resource_action_separator = "/" This is the separator to use between resource id and actions in URLs. Earlier releases used ;, so this is provided for backward compatibility. config.action_controller.resource_path_names = { :new => ’new’, :edit => ’edit’ } This is the default strings to use in URIs for resource actions. config.action_controller.session_store =name or class This determines the mechanism used to store sessions. This is discussed starting on page 481. config.action_controller.use_accept_header =name or class If this is set to true, then respond_to and Request.format will take the HTTP Accept header into account. If it is set to false, then the request format will be determined by params[:format] if set; otherwise, the format will either be HTML or JavaScript depending on whether the request is an Ajax request. B.4 Action View Configuration config.action_view.cache_template_loading = false | true Turn this on to cache the rendering of templates, which improves per- formance. However, you’ll need to restart the server should you change a template on disk. This defaults to false, so templates are not cached. config.action_view.debug_rjs = true | false If this is true, JavaScript generated by RJS will be wrapped in an excep- tion handler that will display a browser-side alert box on error. config.action_view.erb_trim_mode = "-" This determines how ERb handles lines in rhtml templates. See the dis- cussion on page 512. config.action_view.field_error_proc =proc This Ruby proc is called to wrap a form field that fails validation. The default value is as follows: Proc.new do |html_tag, instance| %{<div class="fieldWithErrors" >#{html_tag}</div>} end B.5 Action Mailer Configuration The use of these settings is described in Section 25.1, E-mail Configuration, on page 609. config.action_mailer.default_charset = "utf-8" This is the default character set for e-mails. Report erratum this copy is (P1.0 printing, March 2009)](https://image.slidesharecdn.com/pragmatic-agilewebdevelopmentwithrails-3rdedition-2009-091104222637-phpapp01/75/Pragmatic-Agile-Web-Development-With-Rails-3rd-Edition-2009-686-2048.jpg)
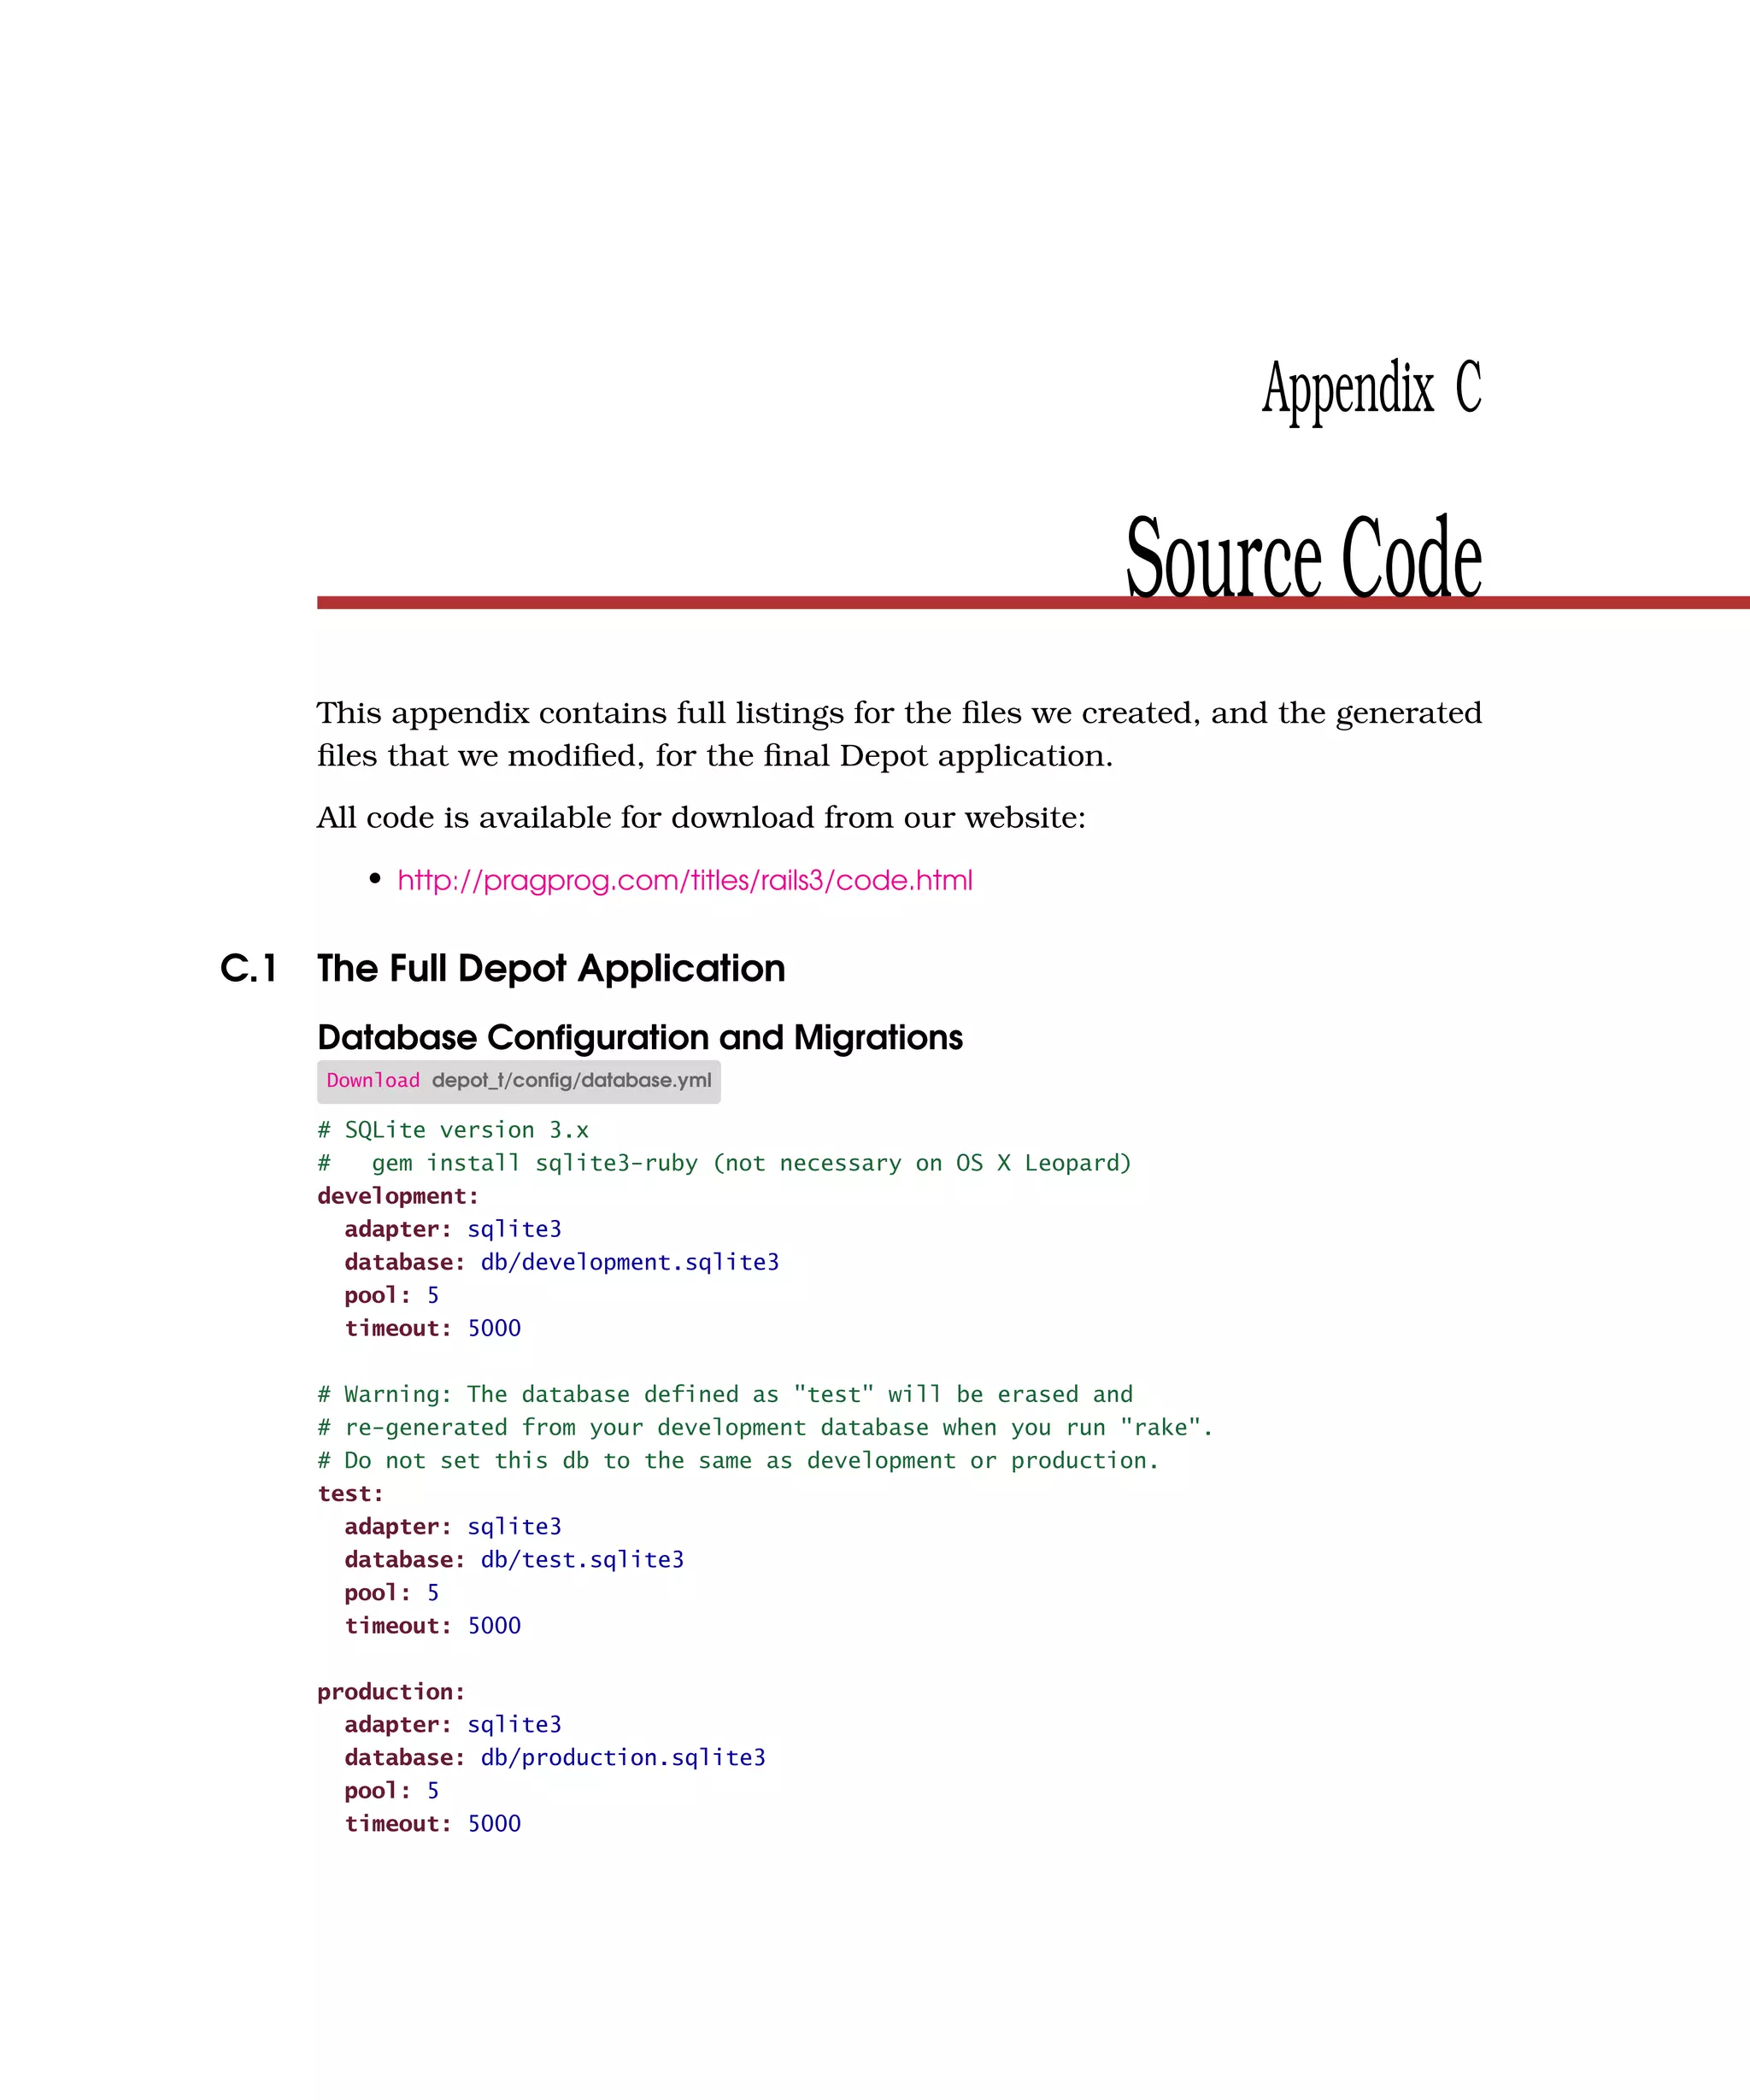
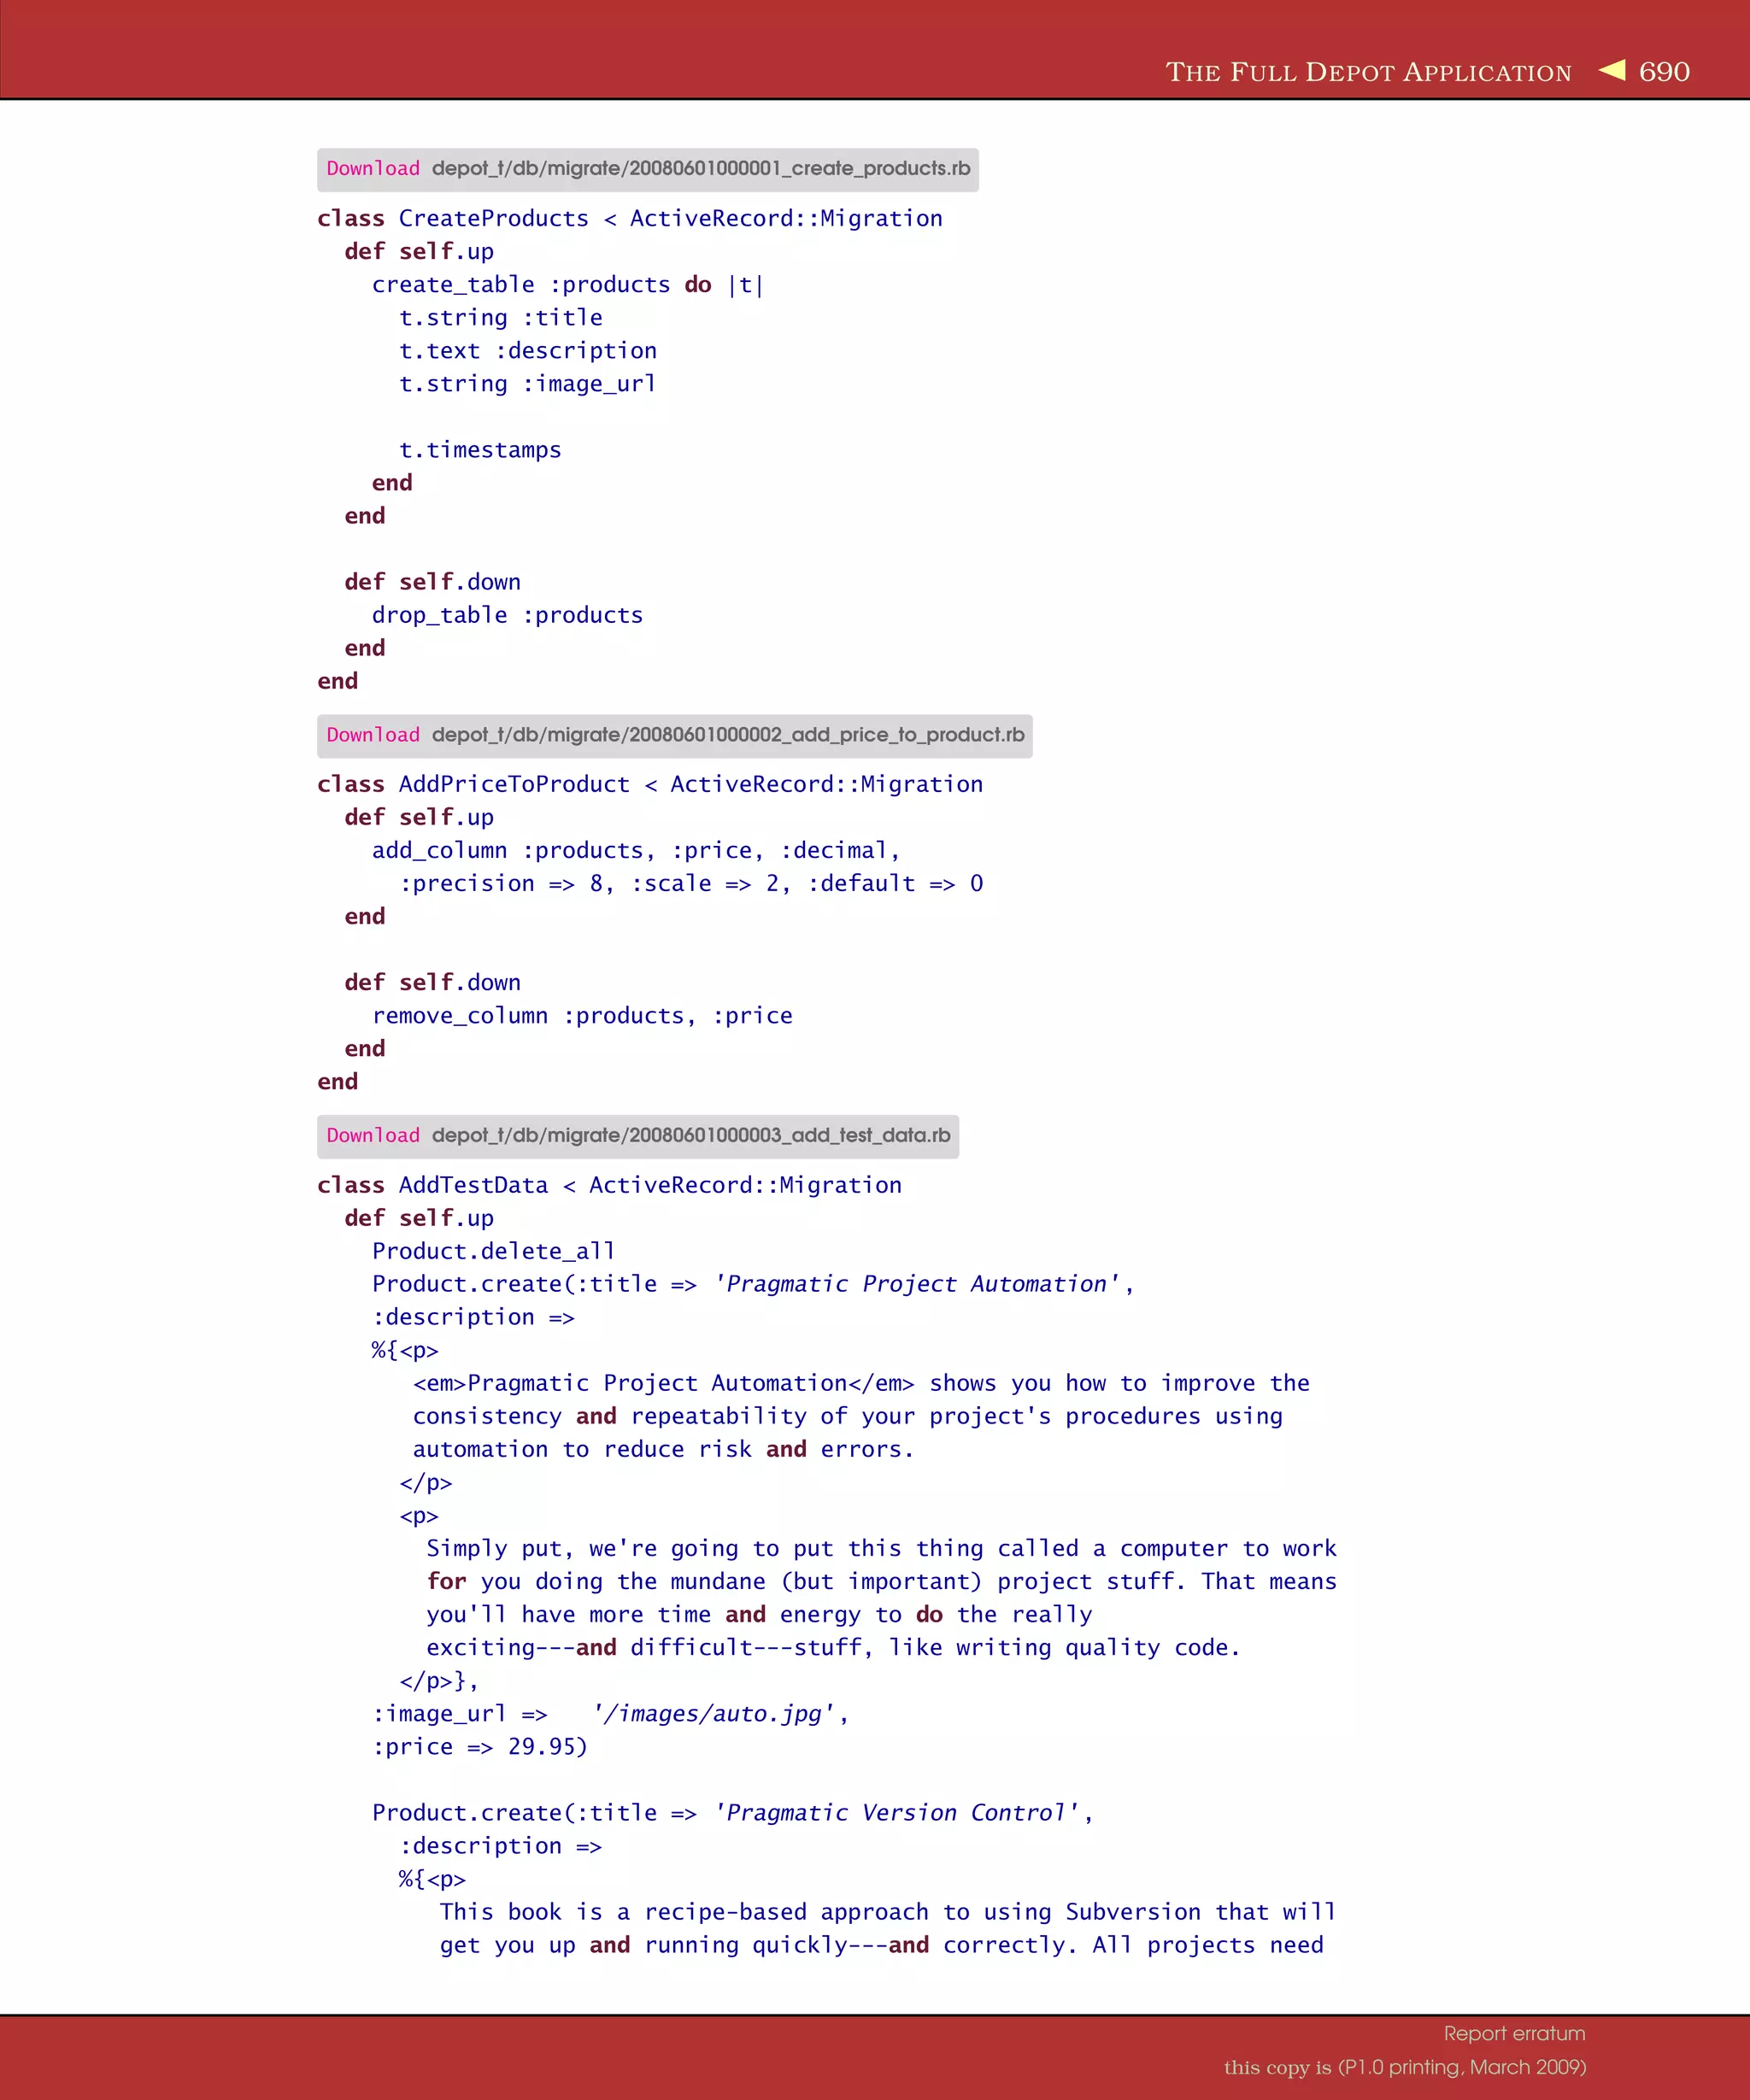
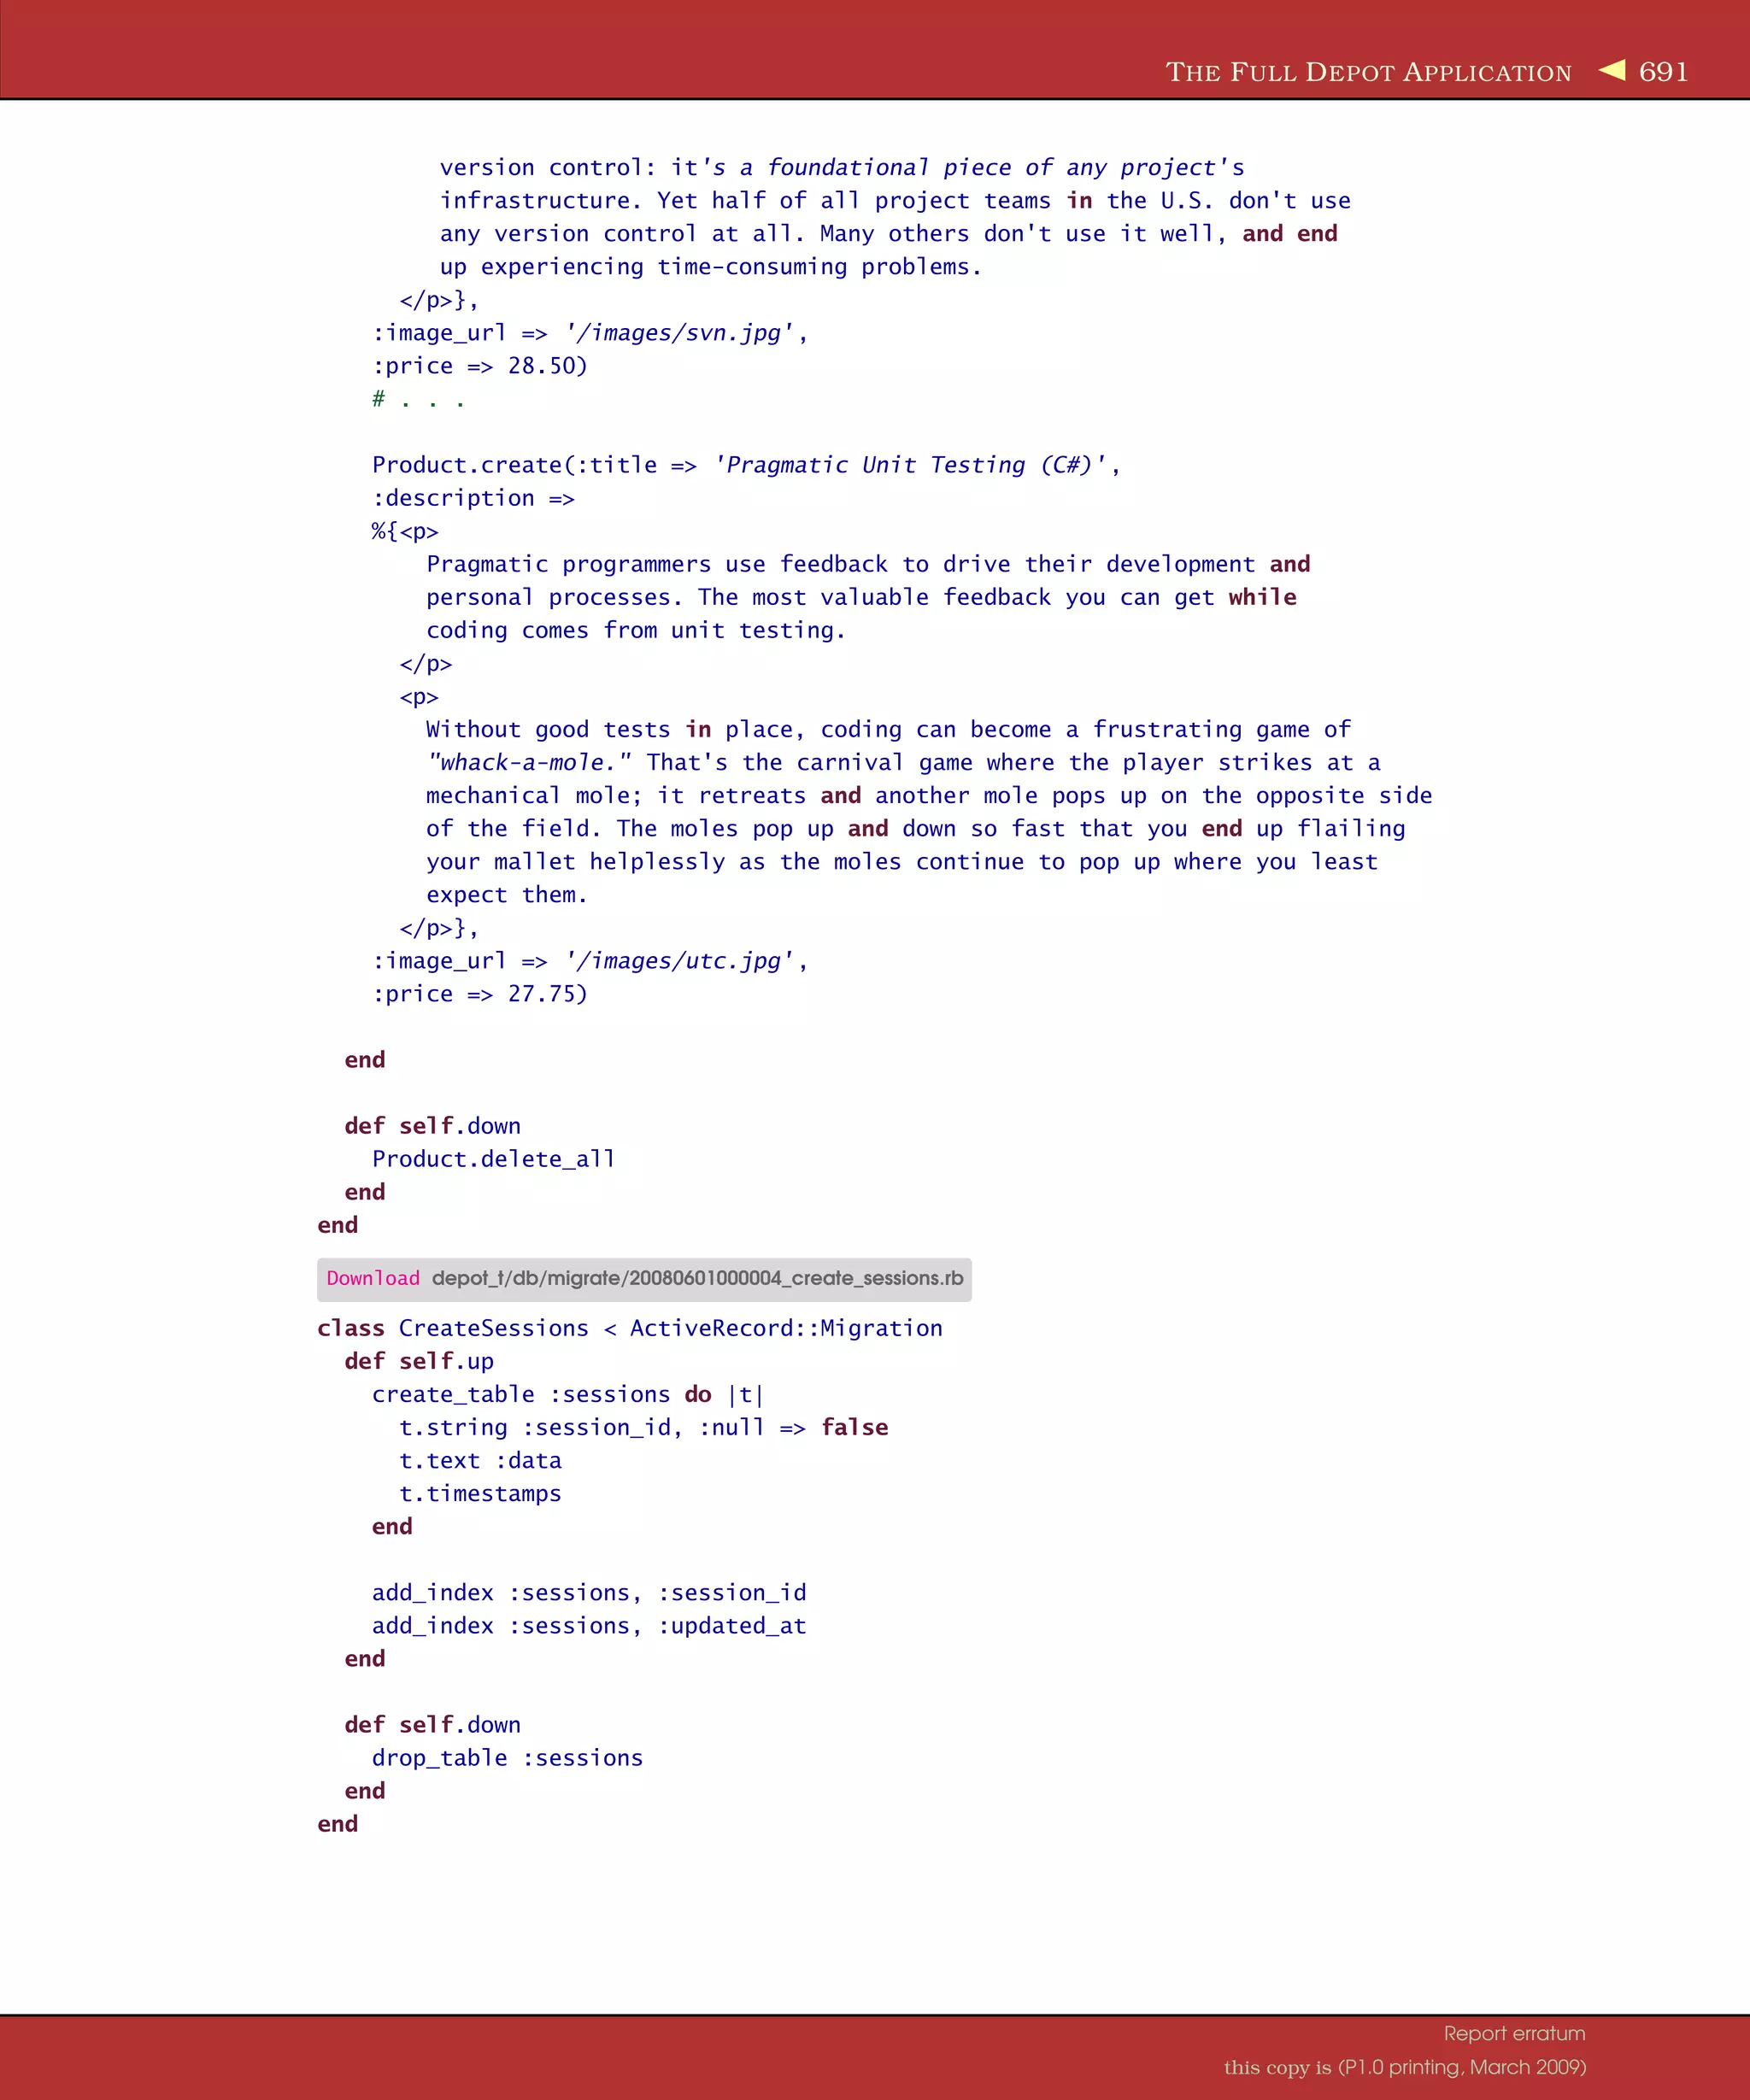
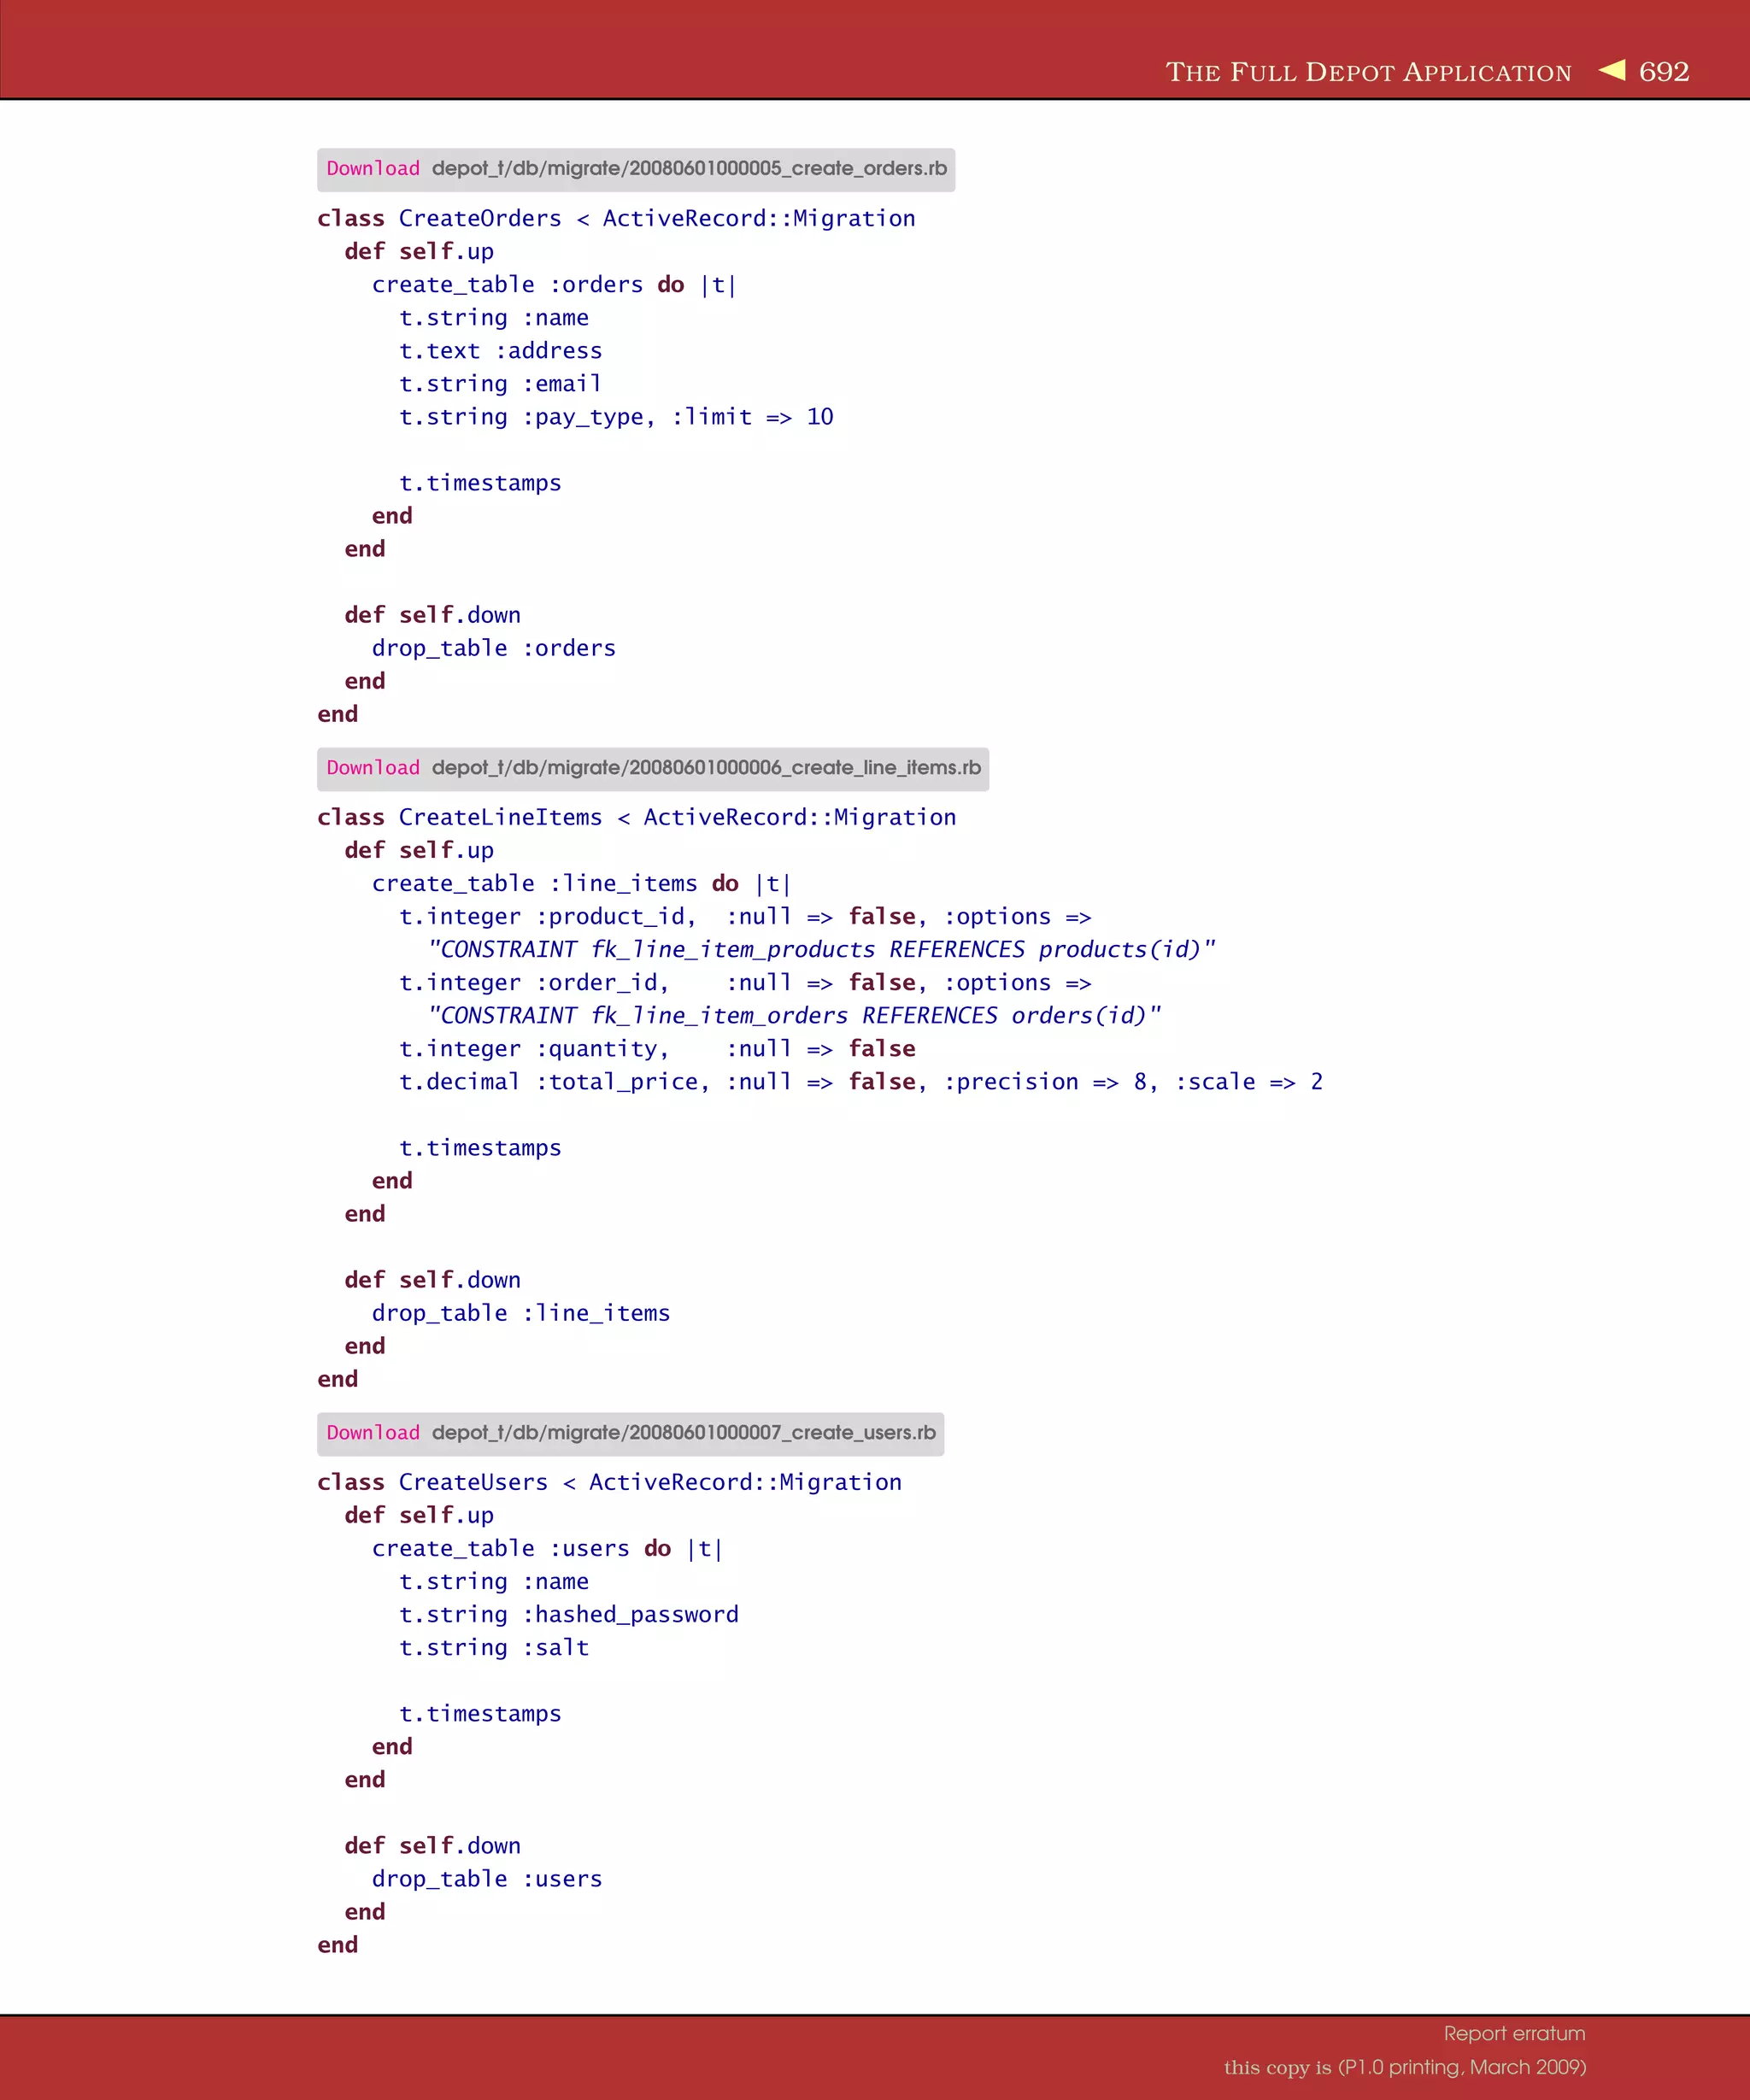
![T HE F ULL D EPOT A PPLICATION 693 Controllers Download depot_t/app/controllers/application.rb # Filters added to this controller apply to all controllers in the application. # Likewise, all the methods added will be available for all controllers. class ApplicationController < ActionController::Base layout "store" before_filter :authorize, :except => :login before_filter :set_locale #... helper :all # include all helpers, all the time # See ActionController::RequestForgeryProtection for details # Uncomment the :secret if you're not using the cookie session store protect_from_forgery :secret => '8fc080370e56e929a2d5afca5540a0f7' # See ActionController::Base for details # Uncomment this to filter the contents of submitted sensitive data parameters # from your application log (in this case, all fields with names like "password"). # filter_parameter_logging :password protected def authorize unless User.find_by_id(session[:user_id]) if session[:user_id] != :logged_out authenticate_or_request_with_http_basic('Depot' ) do |username, password| user = User.authenticate(username, password) session[:user_id] = user.id if user end else flash[:notice] = "Please log in" redirect_to :controller => 'admin' , :action => 'login' end end end def set_locale session[:locale] = params[:locale] if params[:locale] I18n.locale = session[:locale] || I18n.default_locale locale_path = "#{LOCALES_DIRECTORY}#{I18n.locale}.yml" unless I18n.load_path.include? locale_path I18n.load_path << locale_path I18n.backend.send(:init_translations) end rescue Exception => err logger.error err flash.now[:notice] = "#{I18n.locale} translation not available" I18n.load_path -= [locale_path] I18n.locale = session[:locale] = I18n.default_locale end end Report erratum this copy is (P1.0 printing, March 2009)](https://image.slidesharecdn.com/pragmatic-agilewebdevelopmentwithrails-3rdedition-2009-091104222637-phpapp01/75/Pragmatic-Agile-Web-Development-With-Rails-3rd-Edition-2009-693-2048.jpg)
![T HE F ULL D EPOT A PPLICATION 694 Download depot_t/app/controllers/admin_controller.rb class AdminController < ApplicationController # just display the form and wait for user to # enter a name and password def login if request.post? user = User.authenticate(params[:name], params[:password]) if user session[:user_id] = user.id redirect_to(:action => "index" ) else flash.now[:notice] = "Invalid user/password combination" end end end def logout session[:user_id] = :logged_out flash[:notice] = "Logged out" redirect_to(:action => "login" ) end def index @total_orders = Order.count end end Download depot_t/app/controllers/info_controller.rb class InfoController < ApplicationController def who_bought @product = Product.find(params[:id]) @orders = @product.orders respond_to do |format| format.html format.xml { render :layout => false } end end protected def authorize end end Download depot_t/app/controllers/store_controller.rb class StoreController < ApplicationController before_filter :find_cart, :except => :empty_cart def index @products = Product.find_products_for_sale end Report erratum this copy is (P1.0 printing, March 2009)](https://image.slidesharecdn.com/pragmatic-agilewebdevelopmentwithrails-3rdedition-2009-091104222637-phpapp01/75/Pragmatic-Agile-Web-Development-With-Rails-3rd-Edition-2009-694-2048.jpg)
![T HE F ULL D EPOT A PPLICATION 695 def add_to_cart product = Product.find(params[:id]) @current_item = @cart.add_product(product) respond_to do |format| format.js if request.xhr? format.html {redirect_to_index} end rescue ActiveRecord::RecordNotFound logger.error("Attempt to access invalid product #{params[:id]}" ) redirect_to_index("Invalid product" ) end def checkout if @cart.items.empty? redirect_to_index("Your cart is empty" ) else @order = Order.new end end def save_order @order = Order.new(params[:order]) @order.add_line_items_from_cart(@cart) if @order.save session[:cart] = nil redirect_to_index(I18n.t('flash.thanks' )) else render :action => 'checkout' end end def empty_cart session[:cart] = nil redirect_to_index end private def redirect_to_index(msg = nil) flash[:notice] = msg if msg redirect_to :action => 'index' end def find_cart @cart = (session[:cart] ||= Cart.new) end #... protected def authorize end end Report erratum this copy is (P1.0 printing, March 2009)](https://image.slidesharecdn.com/pragmatic-agilewebdevelopmentwithrails-3rdedition-2009-091104222637-phpapp01/75/Pragmatic-Agile-Web-Development-With-Rails-3rd-Edition-2009-695-2048.jpg)
![T HE F ULL D EPOT A PPLICATION 696 Download depot_t/app/controllers/line_items_controller.rb class LineItemsController < ApplicationController # GET /line_items # GET /line_items.xml def index @line_items = LineItem.find(:all) respond_to do |format| format.html # index.html.erb format.xml { render :xml => @line_items } end end # GET /line_items/1 # GET /line_items/1.xml def show @line_item = LineItem.find(params[:id]) respond_to do |format| format.html # show.html.erb format.xml { render :xml => @line_item } end end # GET /line_items/new # GET /line_items/new.xml def new @line_item = LineItem.new respond_to do |format| format.html # new.html.erb format.xml { render :xml => @line_item } end end # GET /line_items/1/edit def edit @line_item = LineItem.find(params[:id]) end # POST /line_items # POST /line_items.xml def create params[:line_item][:order_id] ||= params[:order_id] @line_item = LineItem.new(params[:line_item]) respond_to do |format| if @line_item.save flash[:notice] = 'LineItem was successfully created.' format.html { redirect_to(@line_item) } format.xml { render :xml => @line_item, :status => :created, :location => @line_item } else format.html { render :action => "new" } Report erratum this copy is (P1.0 printing, March 2009)](https://image.slidesharecdn.com/pragmatic-agilewebdevelopmentwithrails-3rdedition-2009-091104222637-phpapp01/75/Pragmatic-Agile-Web-Development-With-Rails-3rd-Edition-2009-696-2048.jpg)
![T HE F ULL D EPOT A PPLICATION 697 format.xml { render :xml => @line_item.errors, :status => :unprocessable_entity } end end end # PUT /line_items/1 # PUT /line_items/1.xml def update @line_item = LineItem.find(params[:id]) respond_to do |format| if @line_item.update_attributes(params[:line_item]) flash[:notice] = 'LineItem was successfully updated.' format.html { redirect_to(@line_item) } format.xml { head :ok } else format.html { render :action => "edit" } format.xml { render :xml => @line_item.errors, :status => :unprocessable_entity } end end end # DELETE /line_items/1 # DELETE /line_items/1.xml def destroy @line_item = LineItem.find(params[:id]) @line_item.destroy respond_to do |format| format.html { redirect_to(line_items_url) } format.xml { head :ok } end end end Download depot_t/app/controllers/users_controller.rb class UsersController < ApplicationController # GET /users # GET /users.xml def index @users = User.find(:all, :order => :name) respond_to do |format| format.html # index.html.erb format.xml { render :xml => @users } end end # GET /users/1 # GET /users/1.xml def show @user = User.find(params[:id]) Report erratum this copy is (P1.0 printing, March 2009)](https://image.slidesharecdn.com/pragmatic-agilewebdevelopmentwithrails-3rdedition-2009-091104222637-phpapp01/75/Pragmatic-Agile-Web-Development-With-Rails-3rd-Edition-2009-697-2048.jpg)
![T HE F ULL D EPOT A PPLICATION 698 respond_to do |format| format.html # show.html.erb format.xml { render :xml => @user } end end # GET /users/new # GET /users/new.xml def new @user = User.new respond_to do |format| format.html # new.html.erb format.xml { render :xml => @user } end end # GET /users/1/edit def edit @user = User.find(params[:id]) end # POST /users # POST /users.xml def create @user = User.new(params[:user]) respond_to do |format| if @user.save flash[:notice] = "User #{@user.name} was successfully created." format.html { redirect_to(:action=>'index' ) } format.xml { render :xml => @user, :status => :created, :location => @user } else format.html { render :action => "new" } format.xml { render :xml => @user.errors, :status => :unprocessable_entity } end end end # PUT /users/1 # PUT /users/1.xml def update @user = User.find(params[:id]) respond_to do |format| if @user.update_attributes(params[:user]) flash[:notice] = "User #{@user.name} was successfully updated." format.html { redirect_to(:action=>'index' ) } format.xml { head :ok } else format.html { render :action => "edit" } Report erratum this copy is (P1.0 printing, March 2009)](https://image.slidesharecdn.com/pragmatic-agilewebdevelopmentwithrails-3rdedition-2009-091104222637-phpapp01/75/Pragmatic-Agile-Web-Development-With-Rails-3rd-Edition-2009-698-2048.jpg)
![T HE F ULL D EPOT A PPLICATION 699 format.xml { render :xml => @user.errors, :status => :unprocessable_entity } end end end # DELETE /users/1 # DELETE /users/1.xml def destroy @user = User.find(params[:id]) begin flash[:notice] = "User #{@user.name} deleted" @user.destroy rescue Exception => e flash[:notice] = e.message end respond_to do |format| format.html { redirect_to(users_url) } format.xml { head :ok } end end end Models Download depot_t/app/models/cart.rb class Cart attr_reader attr_reader :items ֒ page 671 → def initialize @items = [] end def add_product(product) current_item = @items.find {|item| item.product == product} if current_item current_item.increment_quantity else current_item = CartItem.new(product) @items << current_item end current_item end def total_price @items.sum { |item| item.price } end def total_items @items.sum { |item| item.quantity } end end Report erratum this copy is (P1.0 printing, March 2009)](https://image.slidesharecdn.com/pragmatic-agilewebdevelopmentwithrails-3rdedition-2009-091104222637-phpapp01/75/Pragmatic-Agile-Web-Development-With-Rails-3rd-Edition-2009-699-2048.jpg)
![T HE F ULL D EPOT A PPLICATION 700 Download depot_t/app/models/cart_item.rb class CartItem attr_reader :product, :quantity def initialize(product) @product = product @quantity = 1 end def increment_quantity @quantity += 1 end def title @product.title end def price @product.price * @quantity end end Download depot_t/app/models/line_item.rb class LineItem < ActiveRecord::Base belongs_to :order belongs_to :product def self.from_cart_item(cart_item) li = self.new li.product = cart_item.product li.quantity = cart_item.quantity li.total_price = cart_item.price li end end Download depot_t/app/models/order.rb class Order < ActiveRecord::Base PAYMENT_TYPES = [ # Displayed stored in db [ "Check" , "check" ], [ "Credit card" , "cc" ], [ "Purchase order" , "po" ] ] # ... validates_presence_of :name, :address, :email, :pay_type validates_inclusion_of :pay_type, :in => PAYMENT_TYPES.map {|disp, value| value} # ... Report erratum this copy is (P1.0 printing, March 2009)](https://image.slidesharecdn.com/pragmatic-agilewebdevelopmentwithrails-3rdedition-2009-091104222637-phpapp01/75/Pragmatic-Agile-Web-Development-With-Rails-3rd-Edition-2009-700-2048.jpg)
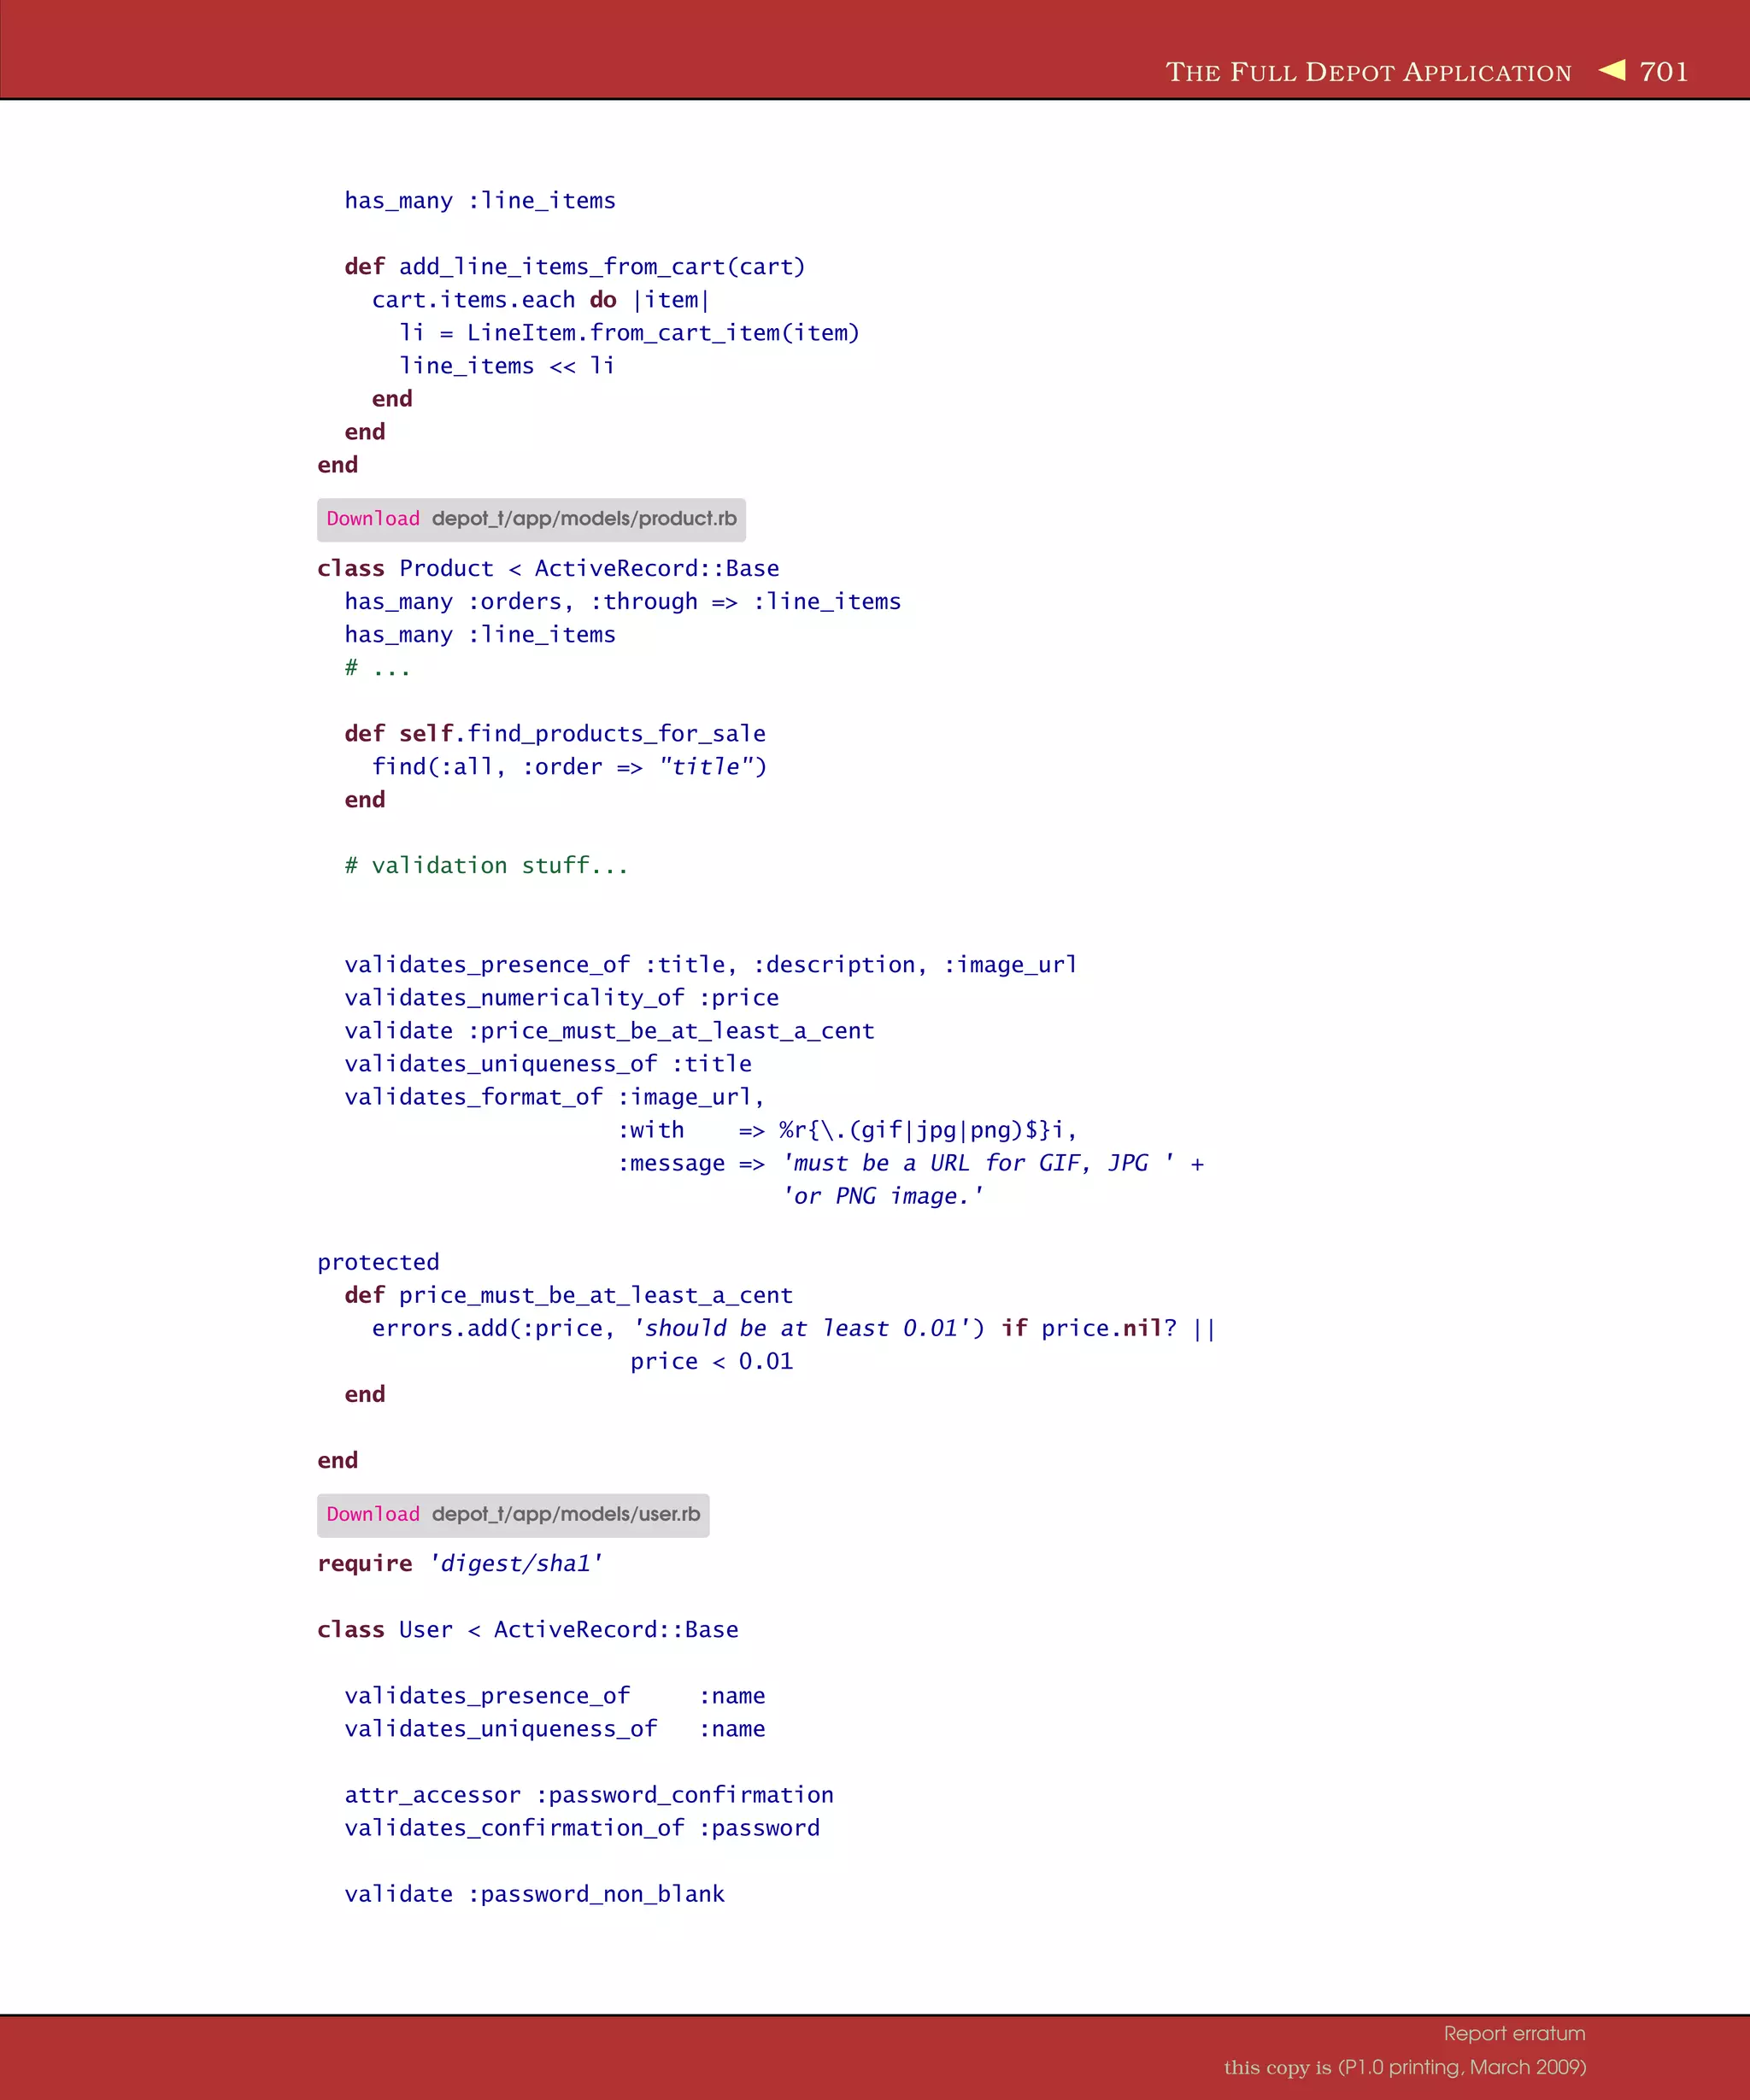
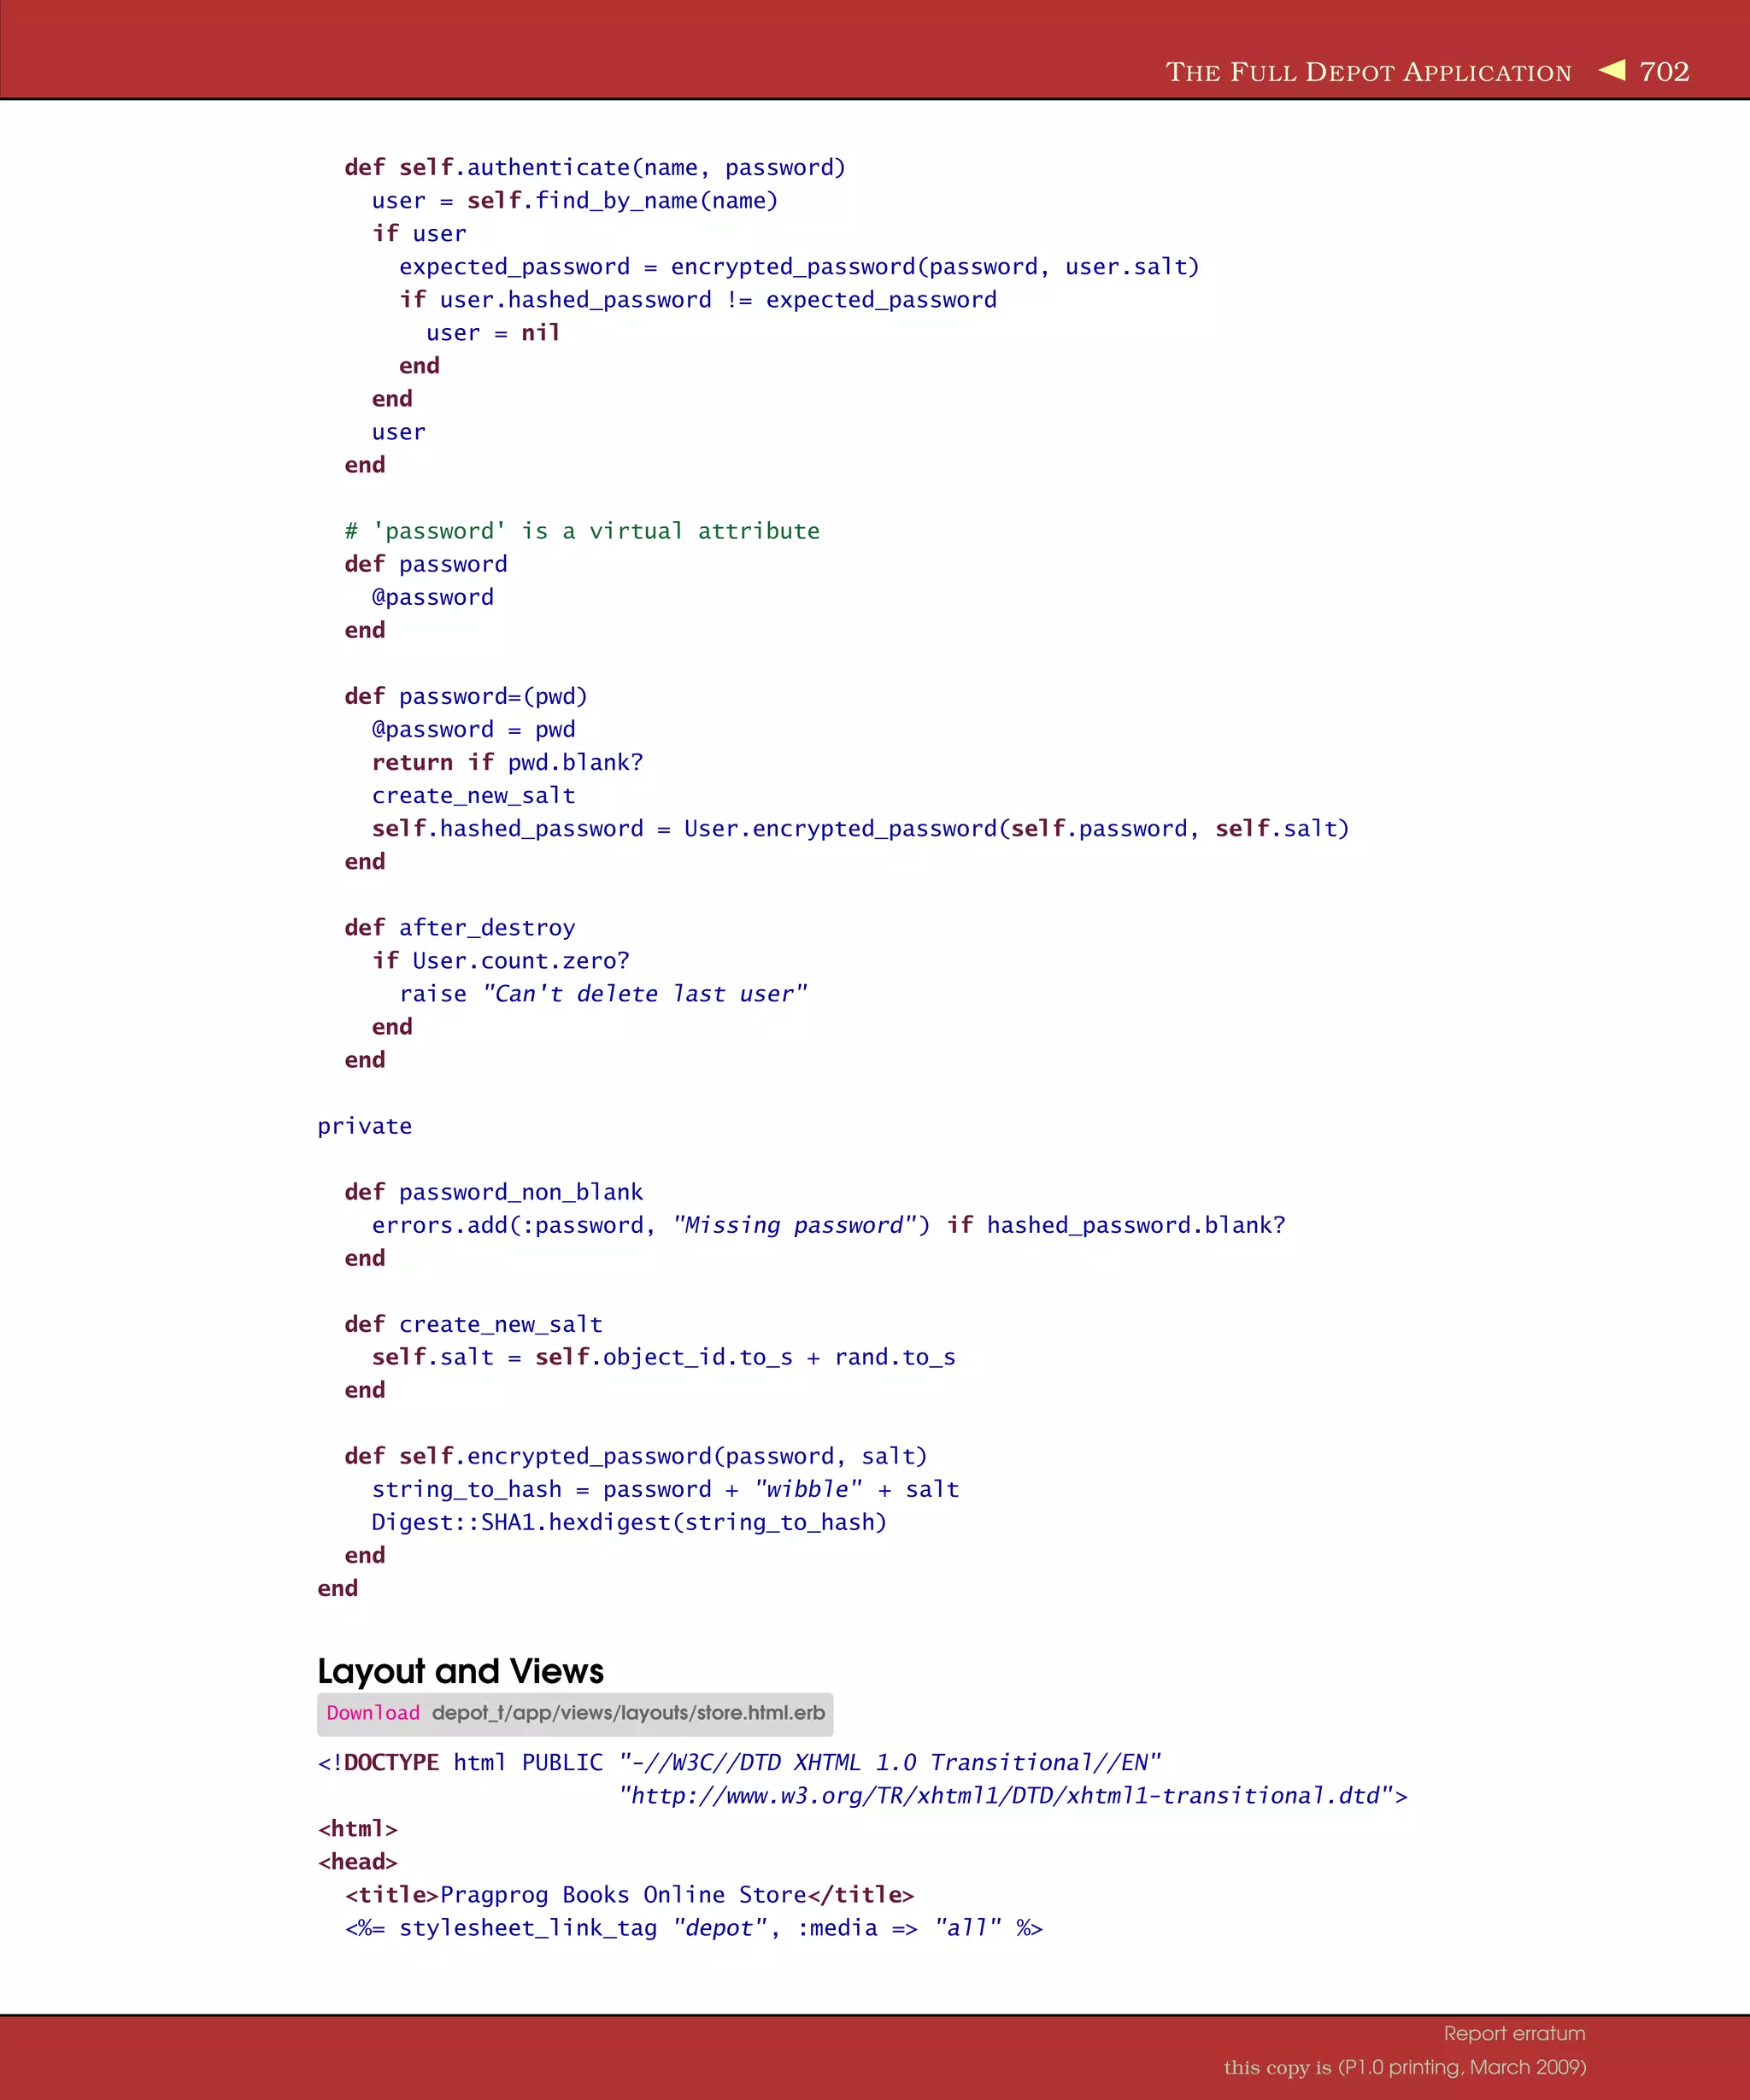
![T HE F ULL D EPOT A PPLICATION 703 <%= javascript_include_tag :defaults %> </head> <body id="store"> <div id="banner"> <% form_tag '', :method => 'GET', :class => 'locale' do %> <%= select_tag 'locale', options_for_select(LANGUAGES, I18n.locale), :onchange => 'this.form.submit()' %> <%= submit_tag 'submit' %> <%= javascript_tag "$$('.locale input').each(Element.hide)" %> <% end %> <%= image_tag("logo.png" ) %> <%= @page_title || I18n.t('layout.title') %> </div> <div id="columns"> <div id="side"> <% if @cart %> <% hidden_div_if(@cart.items.empty?, :id => "cart" ) do %> <%= render(:partial => "cart" , :object => @cart) %> <% end %> <% end %> <a href="http://www...."><%= I18n.t 'layout.side.home' %></a><br /> <a href="http://www..../faq"><%= I18n.t 'layout.side.questions' %></a><br /> <a href="http://www..../news"><%= I18n.t 'layout.side.news' %></a><br /> <a href="http://www..../contact"><%= I18n.t 'layout.side.contact' %></a><br /> <% if session[:user_id] %> <br /> <%= link_to 'Orders', :controller => 'orders' %><br /> <%= link_to 'Products', :controller => 'products' %><br /> <%= link_to 'Users', :controller => 'users' %><br /> <br /> <%= link_to 'Logout', :controller => 'admin', :action => 'logout' %> <% end %> </div> <div id="main"> <% if flash[:notice] -%> <div id="notice"><%= flash[:notice] %></div> <% end -%> <%= yield :layout %> </div> </div> </body> </html> Admin Views Download depot_t/app/views/admin/index.html.erb <h1>Welcome</h1> It's <%= Time.now %> We have <%= pluralize(@total_orders, "order" ) %>. Report erratum this copy is (P1.0 printing, March 2009)](https://image.slidesharecdn.com/pragmatic-agilewebdevelopmentwithrails-3rdedition-2009-091104222637-phpapp01/75/Pragmatic-Agile-Web-Development-With-Rails-3rd-Edition-2009-703-2048.jpg)
![T HE F ULL D EPOT A PPLICATION 704 Download depot_t/app/views/admin/login.html.erb <div class="depot-form"> <% form_tag do %> <fieldset> <legend>Please Log In</legend> <div> <label for="name">Name:</label> <%= text_field_tag :name, params[:name] %> </div> <div> <label for="password">Password:</label> <%= password_field_tag :password, params[:password] %> </div> <div> <%= submit_tag "Login" %> </div> </fieldset> <% end %> </div> Download depot_t/app/views/admin/login.html.erb <div class="depot-form"> <% form_tag do %> <fieldset> <legend>Please Log In</legend> <div> <label for="name">Name:</label> <%= text_field_tag :name, params[:name] %> </div> <div> <label for="password">Password:</label> <%= password_field_tag :password, params[:password] %> </div> <div> <%= submit_tag "Login" %> </div> </fieldset> <% end %> </div> Product Views Download depot_t/app/views/products/edit.html.erb <h1>Editing product</h1> <% form_for(@product) do |f| %> <%= f.error_messages %> Report erratum this copy is (P1.0 printing, March 2009)](https://image.slidesharecdn.com/pragmatic-agilewebdevelopmentwithrails-3rdedition-2009-091104222637-phpapp01/75/Pragmatic-Agile-Web-Development-With-Rails-3rd-Edition-2009-704-2048.jpg)
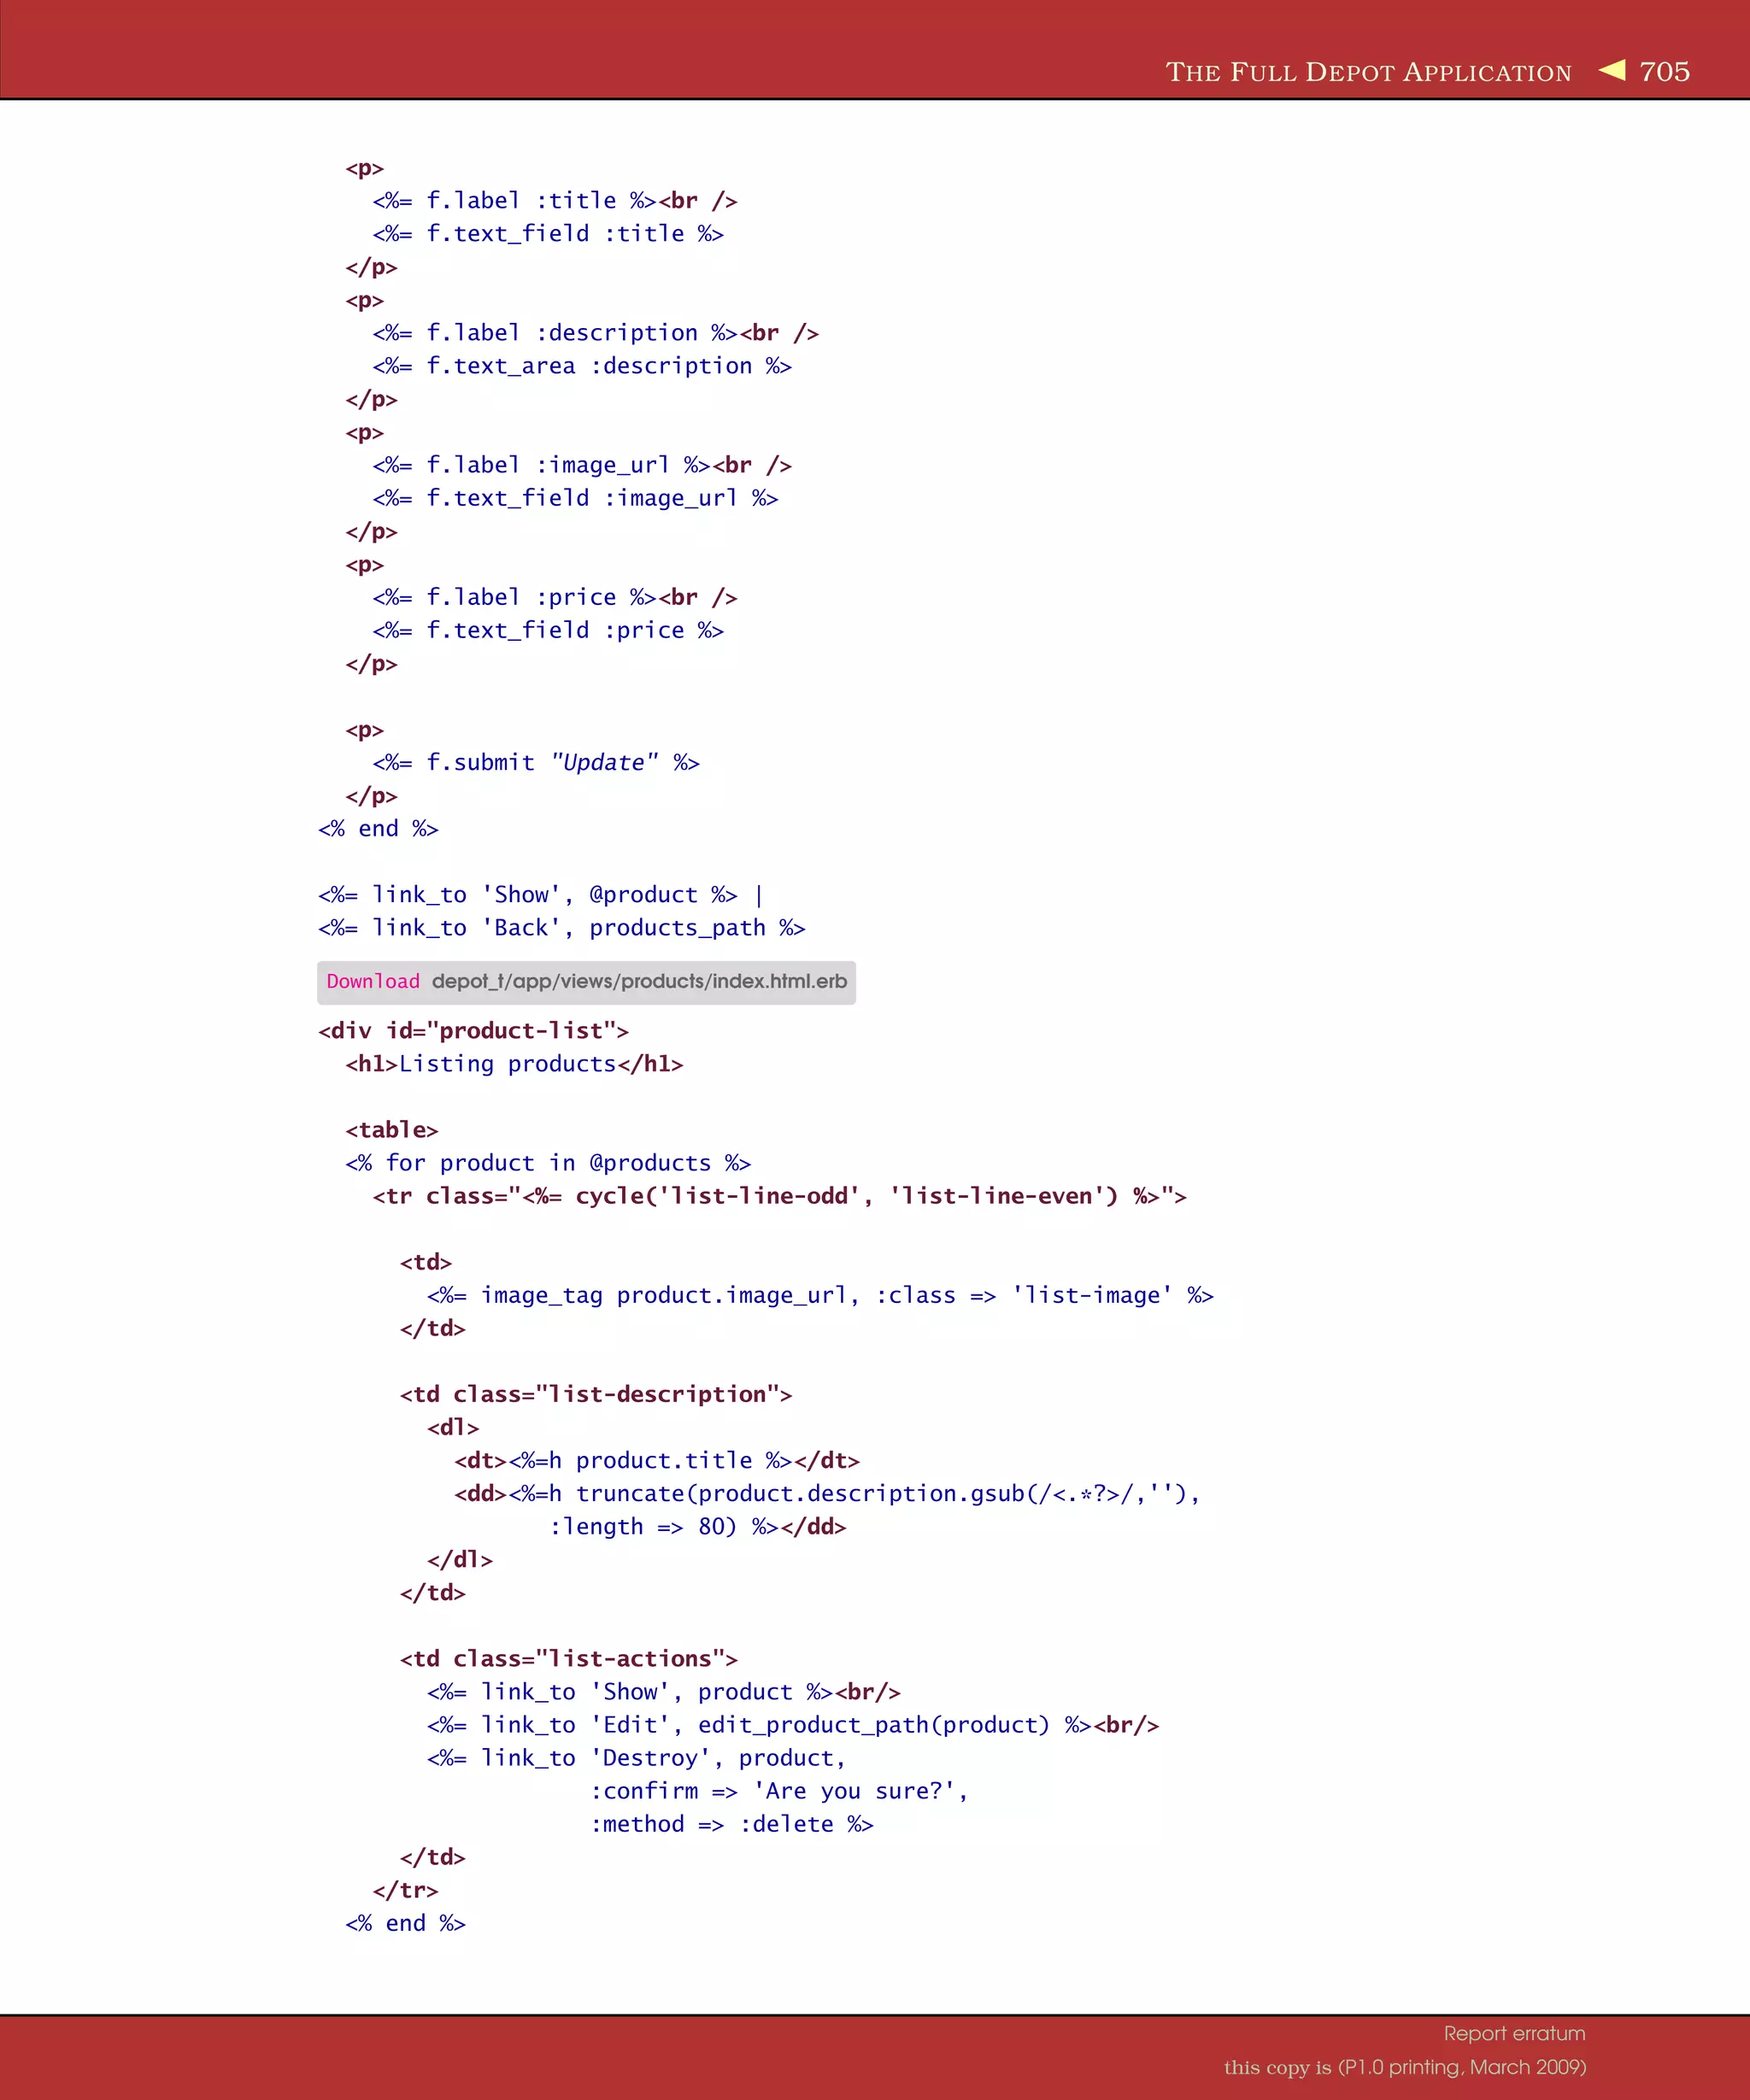
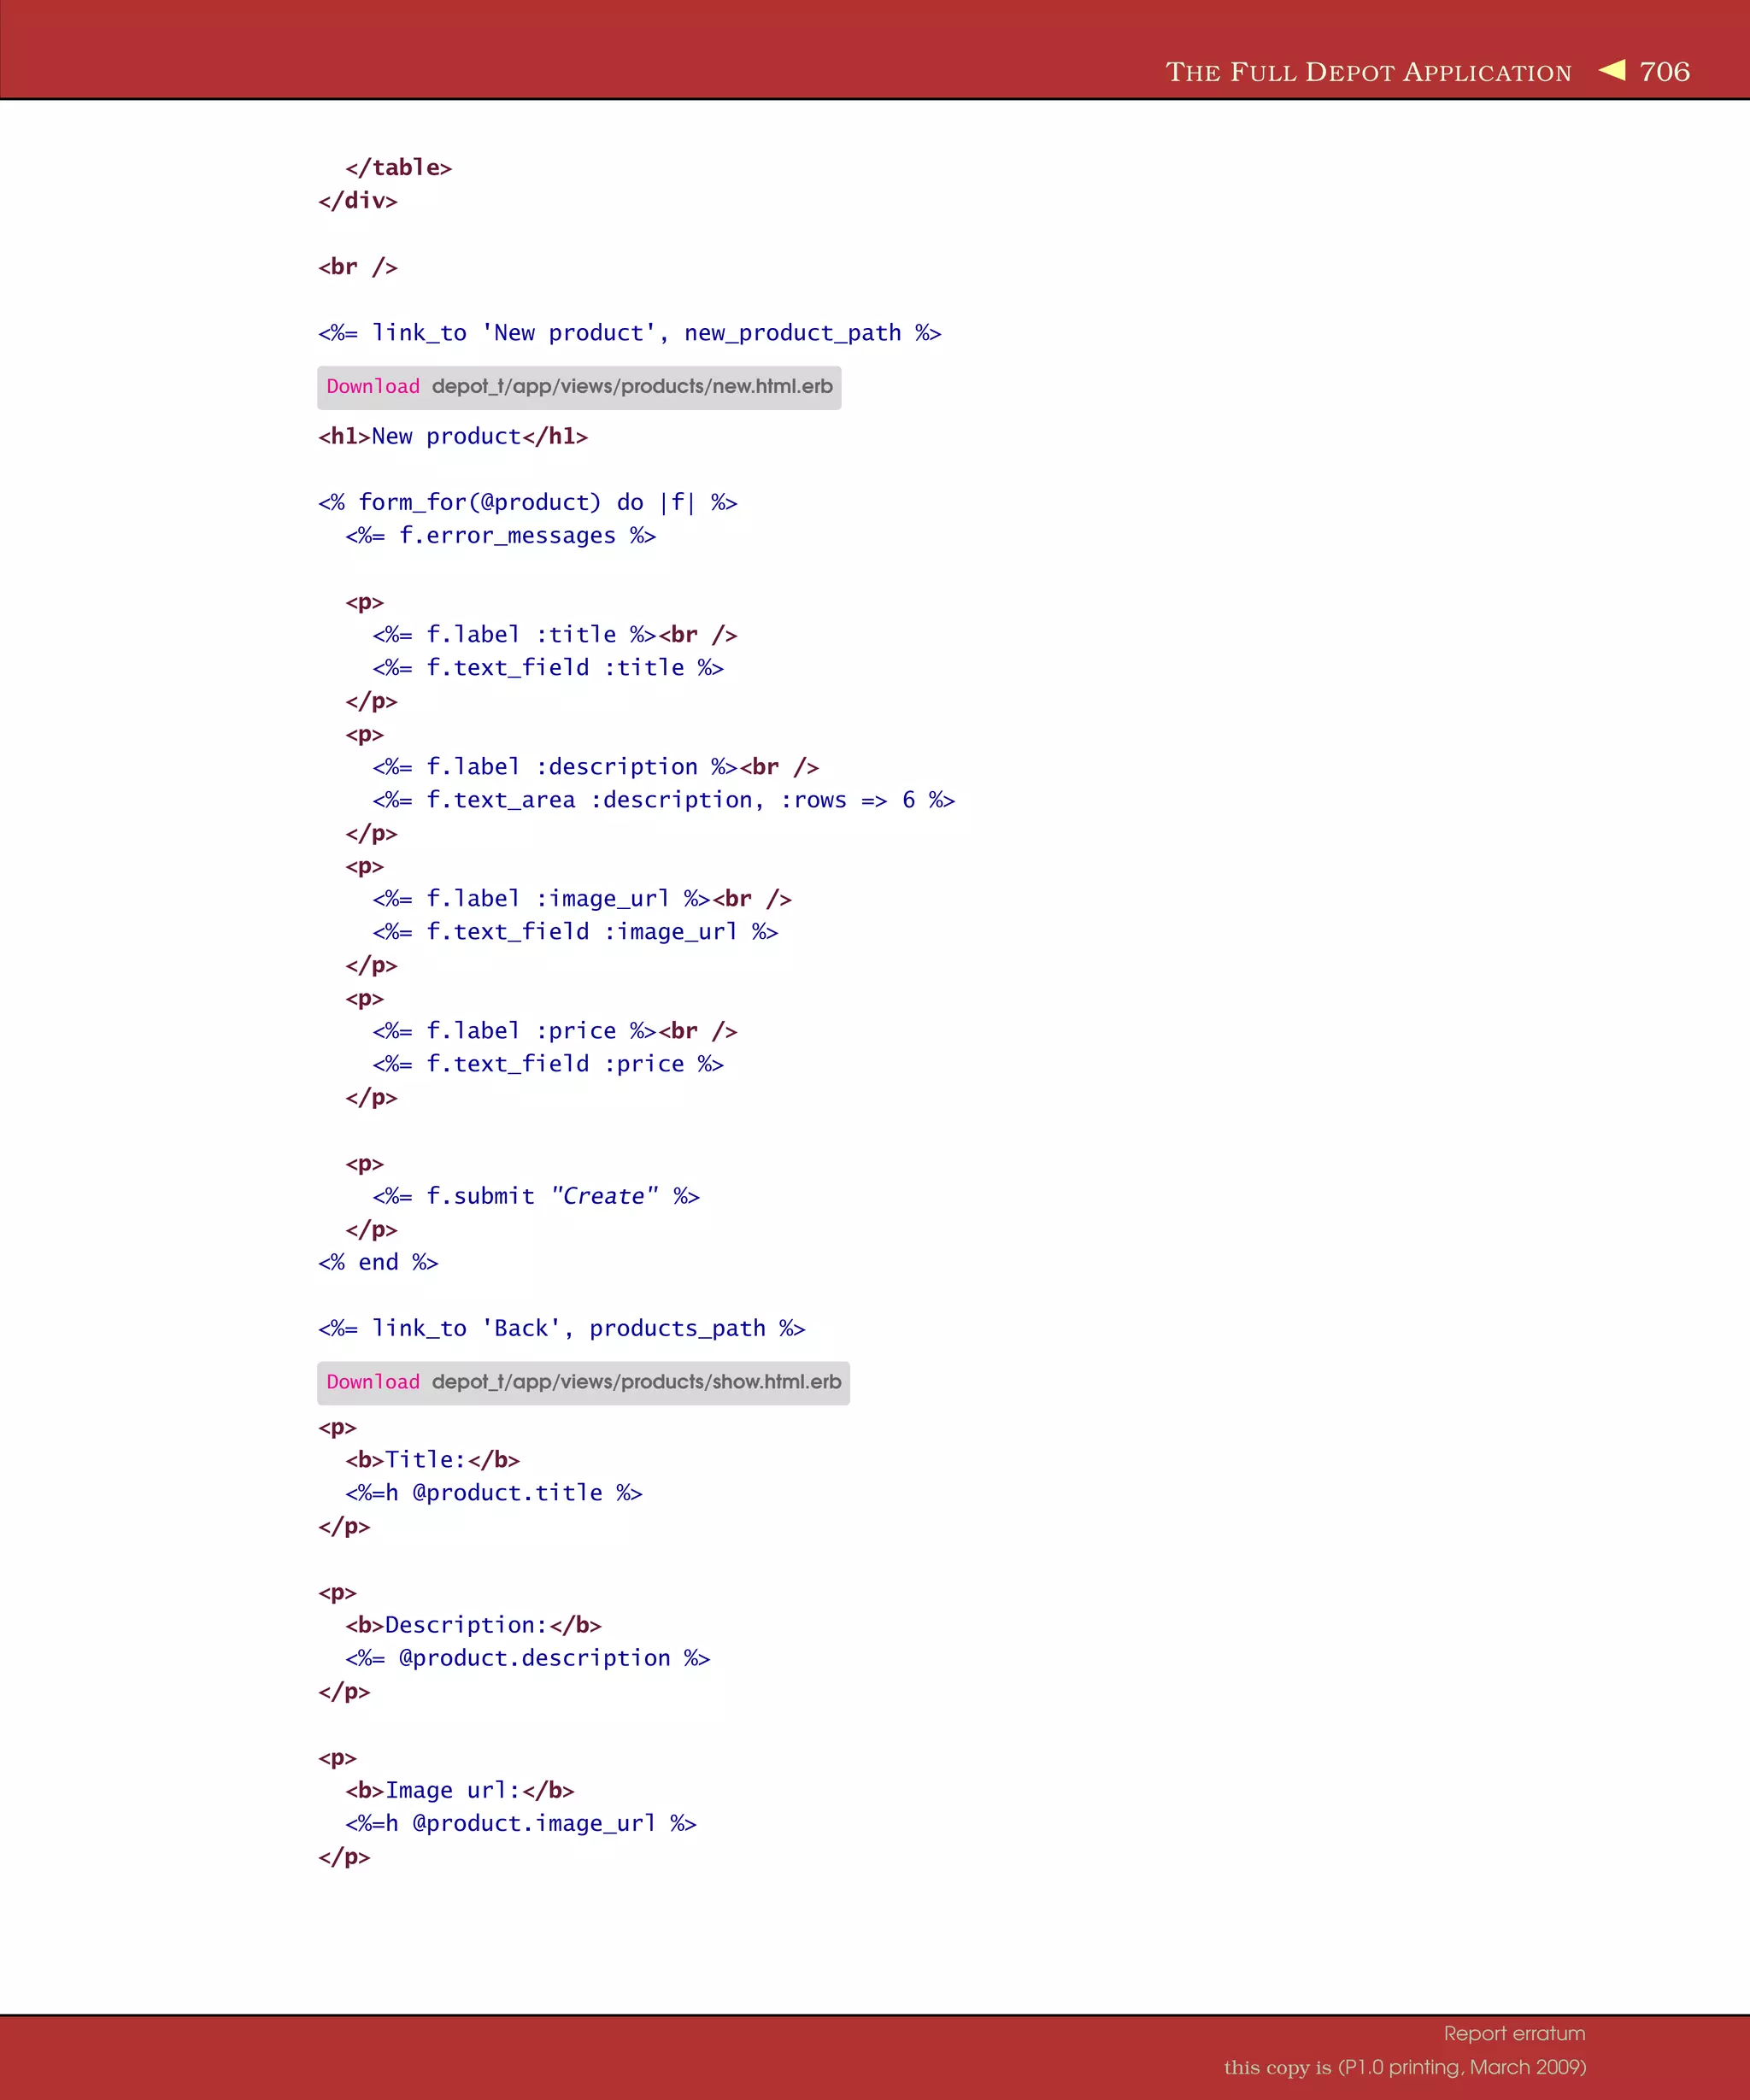
![T HE F ULL D EPOT A PPLICATION 707 <p> <b>Price:</b> <%=h @product.price %> </p> <%= link_to 'Edit', edit_product_path(@product) %> | <%= link_to 'Back', products_path %> Store Views Download depot_t/app/views/store/_cart.html.erb <div class="cart-title"><%= I18n.t 'layout.cart.title' %></div> <table> <%= render(:partial => "cart_item" , :collection => cart.items) %> <tr class="total-line"> <td colspan="2">Total</td> <td class="total-cell"><%= number_to_currency(cart.total_price) %></td> </tr> </table> <%= button_to I18n.t('layout.cart.button.checkout'), :action => 'checkout' %> <%= button_to I18n.t('layout.cart.button.empty'), :action => :empty_cart %> Download depot_t/app/views/store/_cart_item.html.erb <% if cart_item == @current_item %> <tr id="current_item"> <% else %> <tr> <% end %> <td><%= cart_item.quantity %>×</td> <td><%=h cart_item.title %></td> <td class="item-price"><%= number_to_currency(cart_item.price) %></td> </tr> Download depot_t/app/views/store/add_to_cart.js.rjs page.select("div#notice" ).each { |div| div.hide } page.replace_html("cart" , :partial => "cart" , :object => @cart) page[:cart].visual_effect :blind_down if @cart.total_items == 1 page[:current_item].visual_effect :highlight, :startcolor => "#88ff88" , :endcolor => "#114411" Download depot_t/app/views/store/checkout.html.erb <div class="depot-form"> <%= error_messages_for 'order' %> Report erratum this copy is (P1.0 printing, March 2009)](https://image.slidesharecdn.com/pragmatic-agilewebdevelopmentwithrails-3rdedition-2009-091104222637-phpapp01/75/Pragmatic-Agile-Web-Development-With-Rails-3rd-Edition-2009-707-2048.jpg)
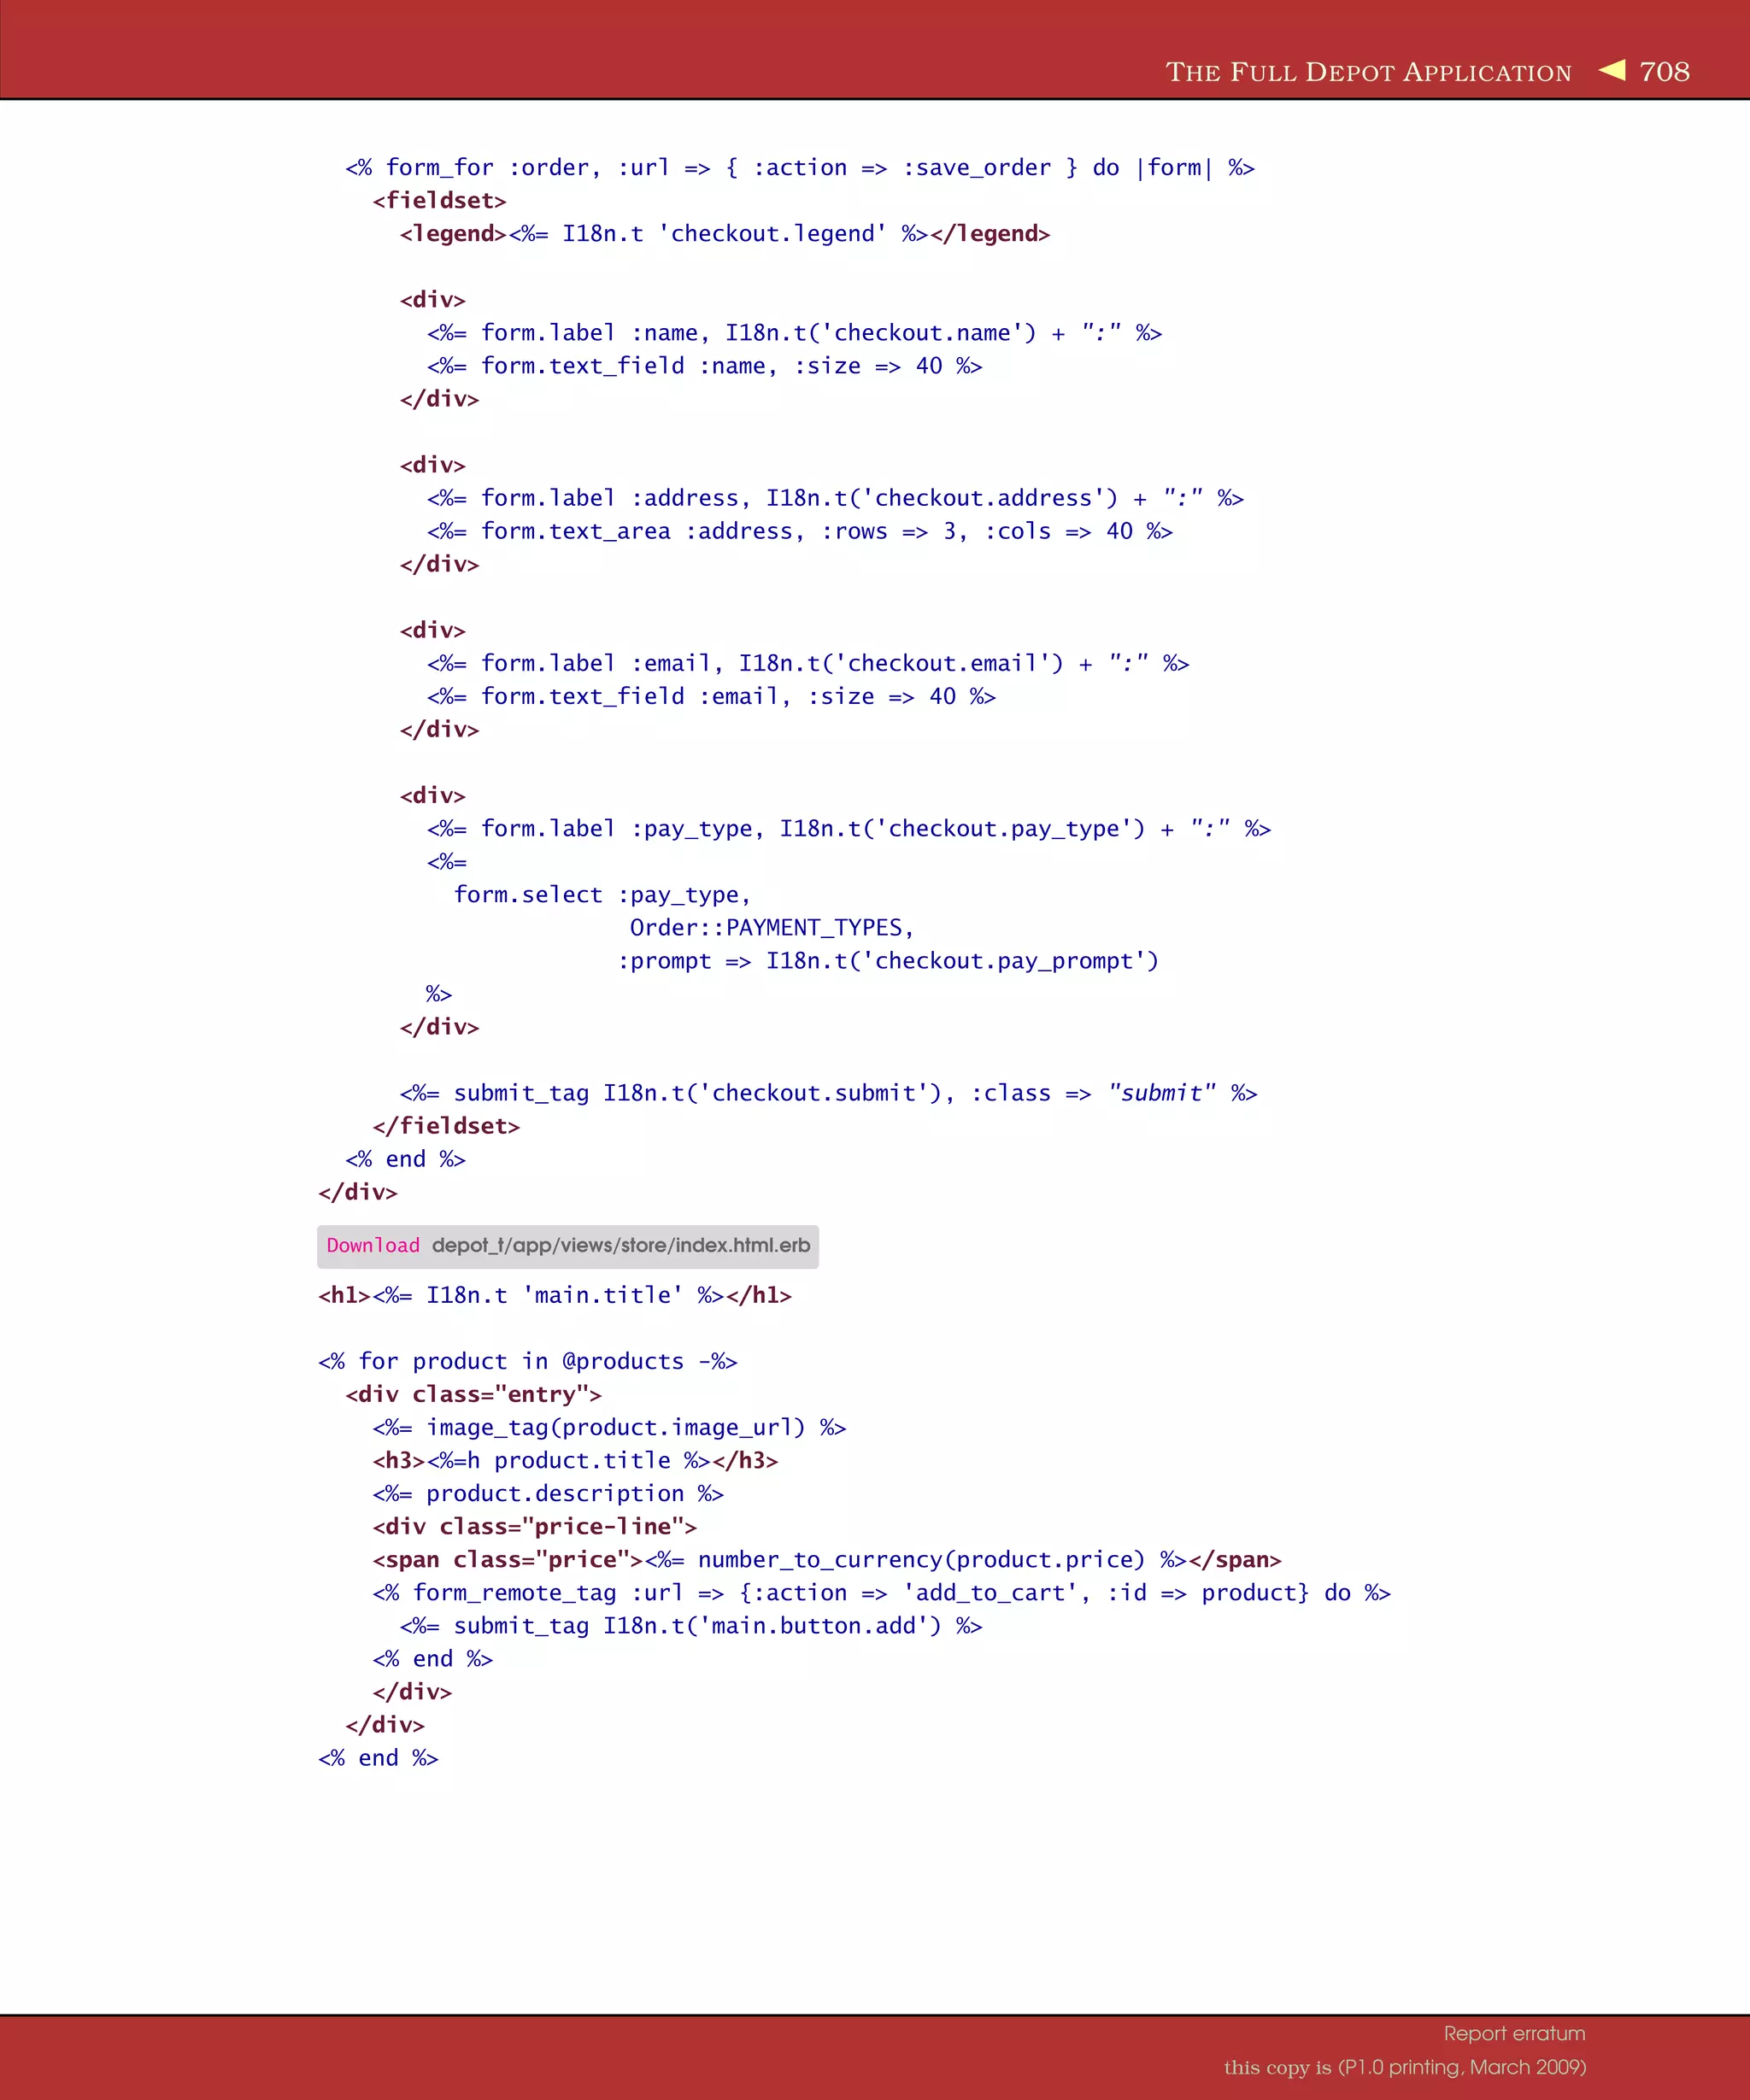
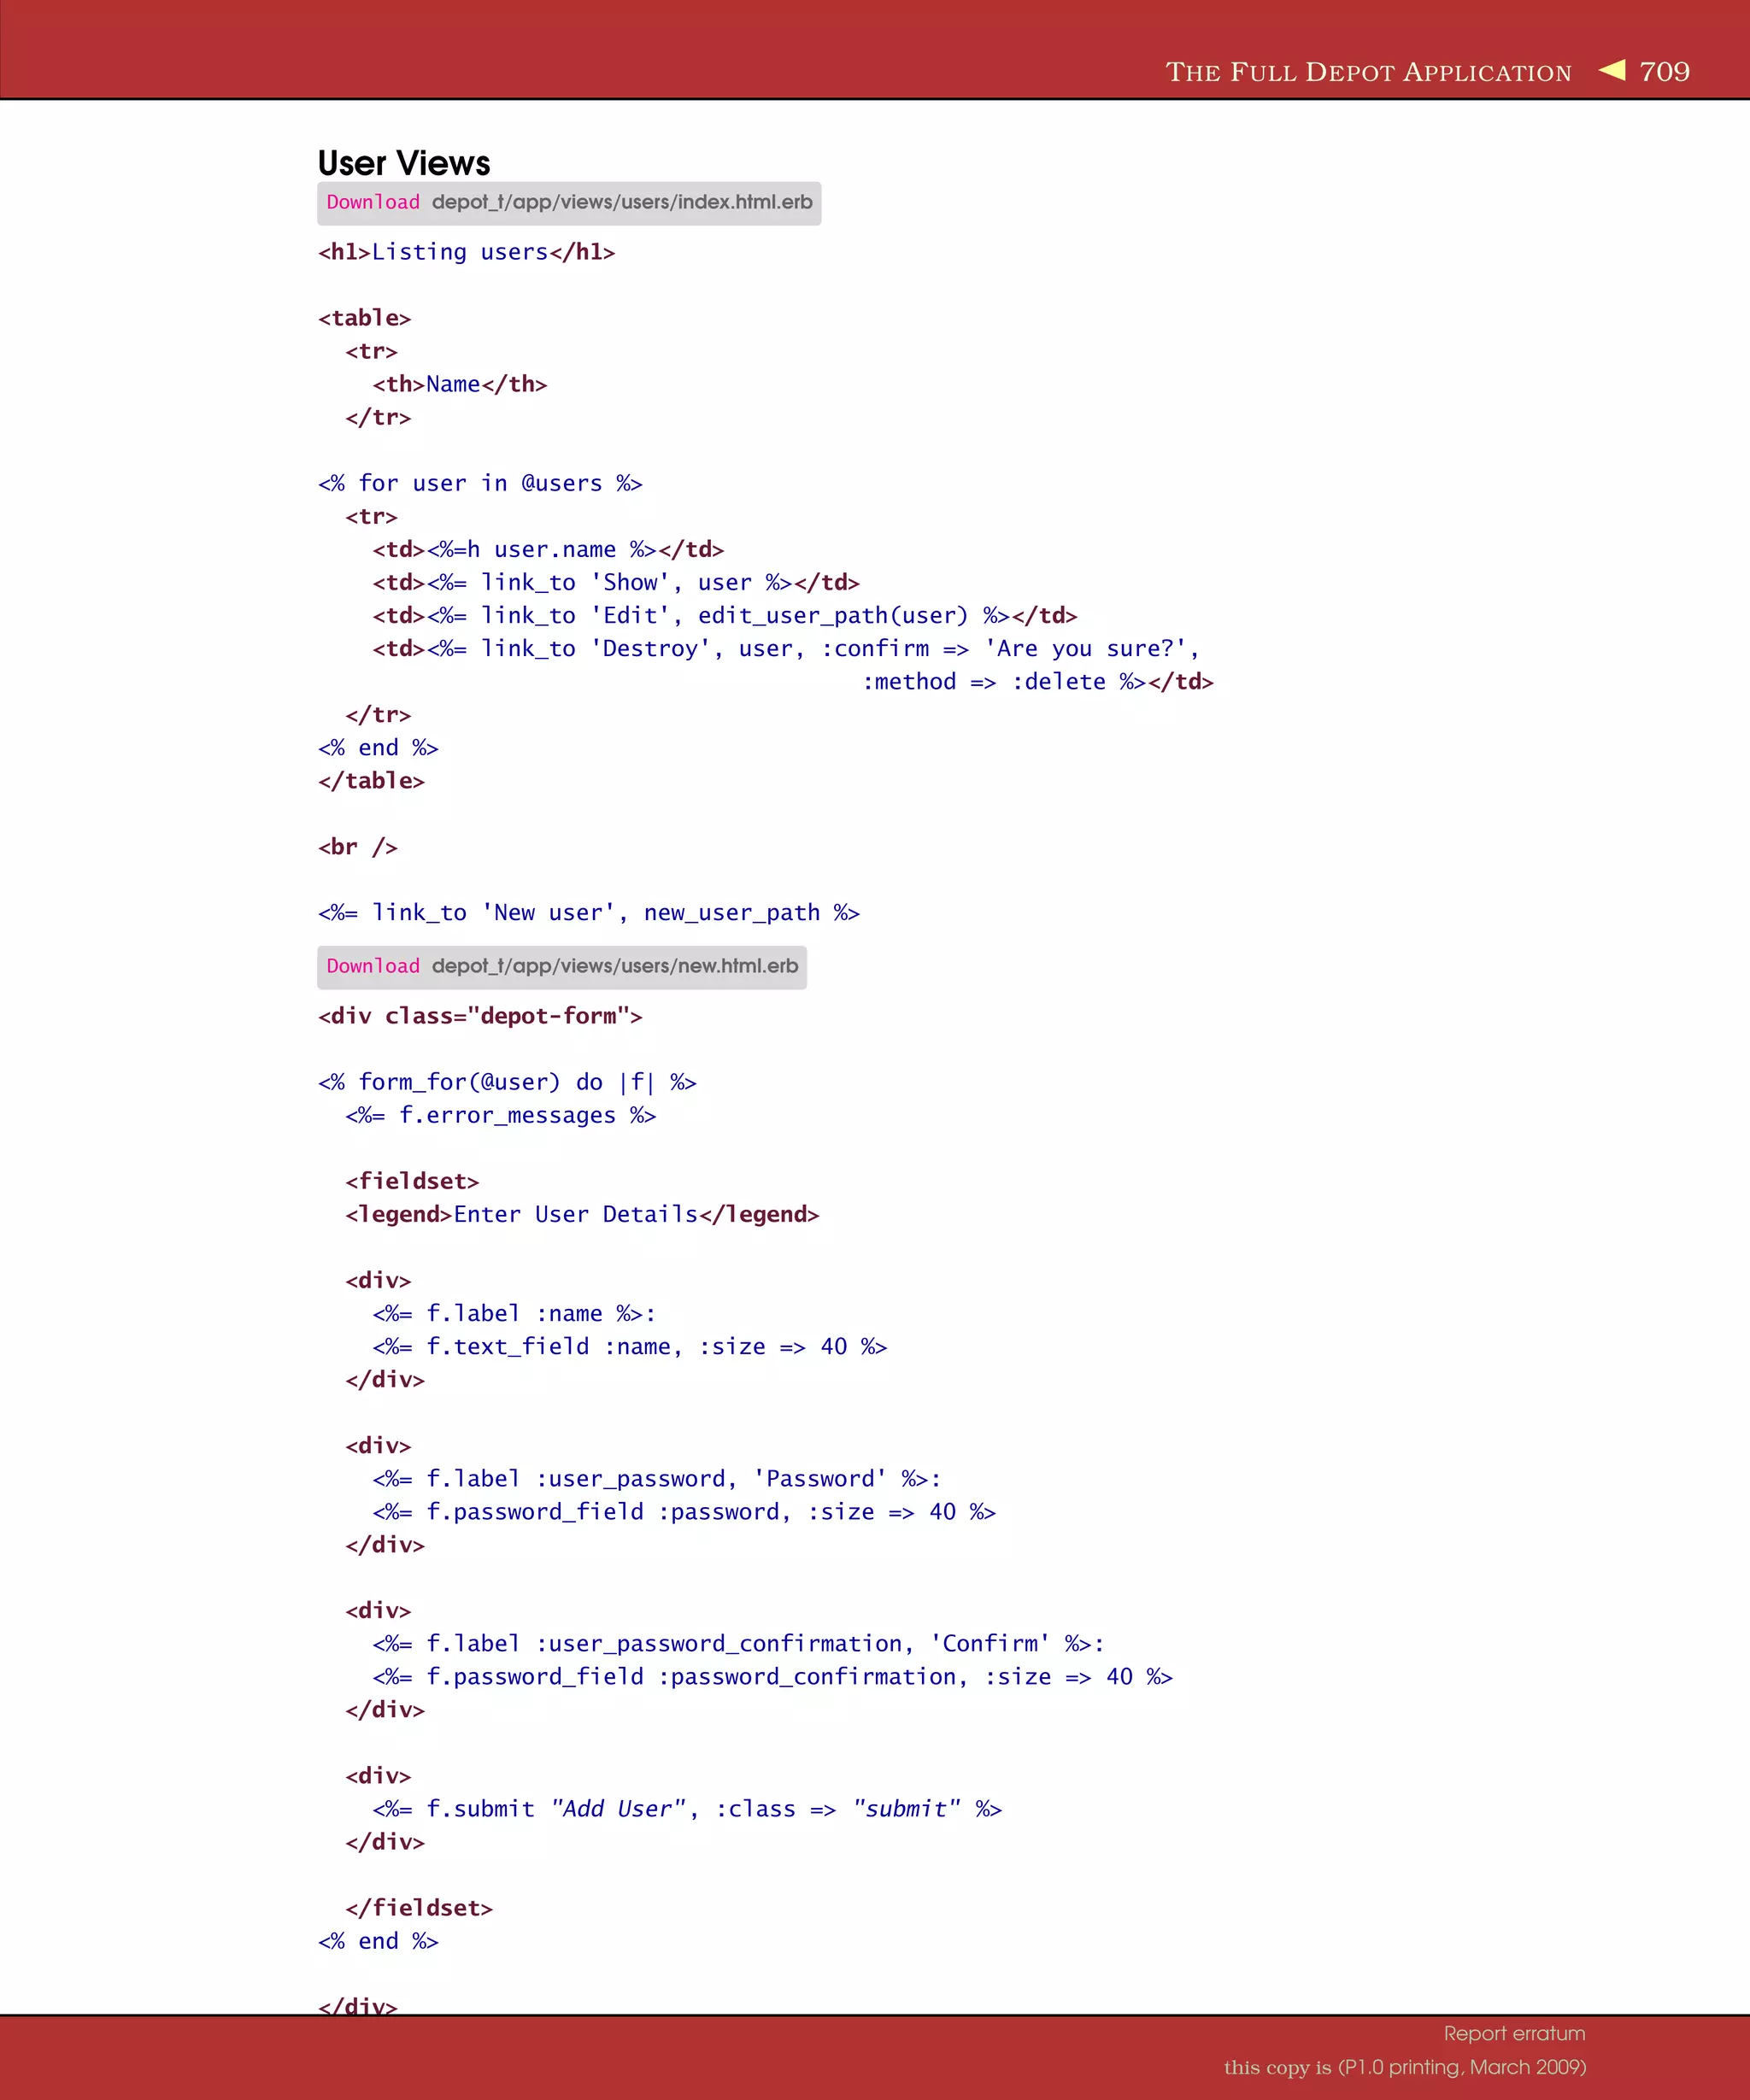
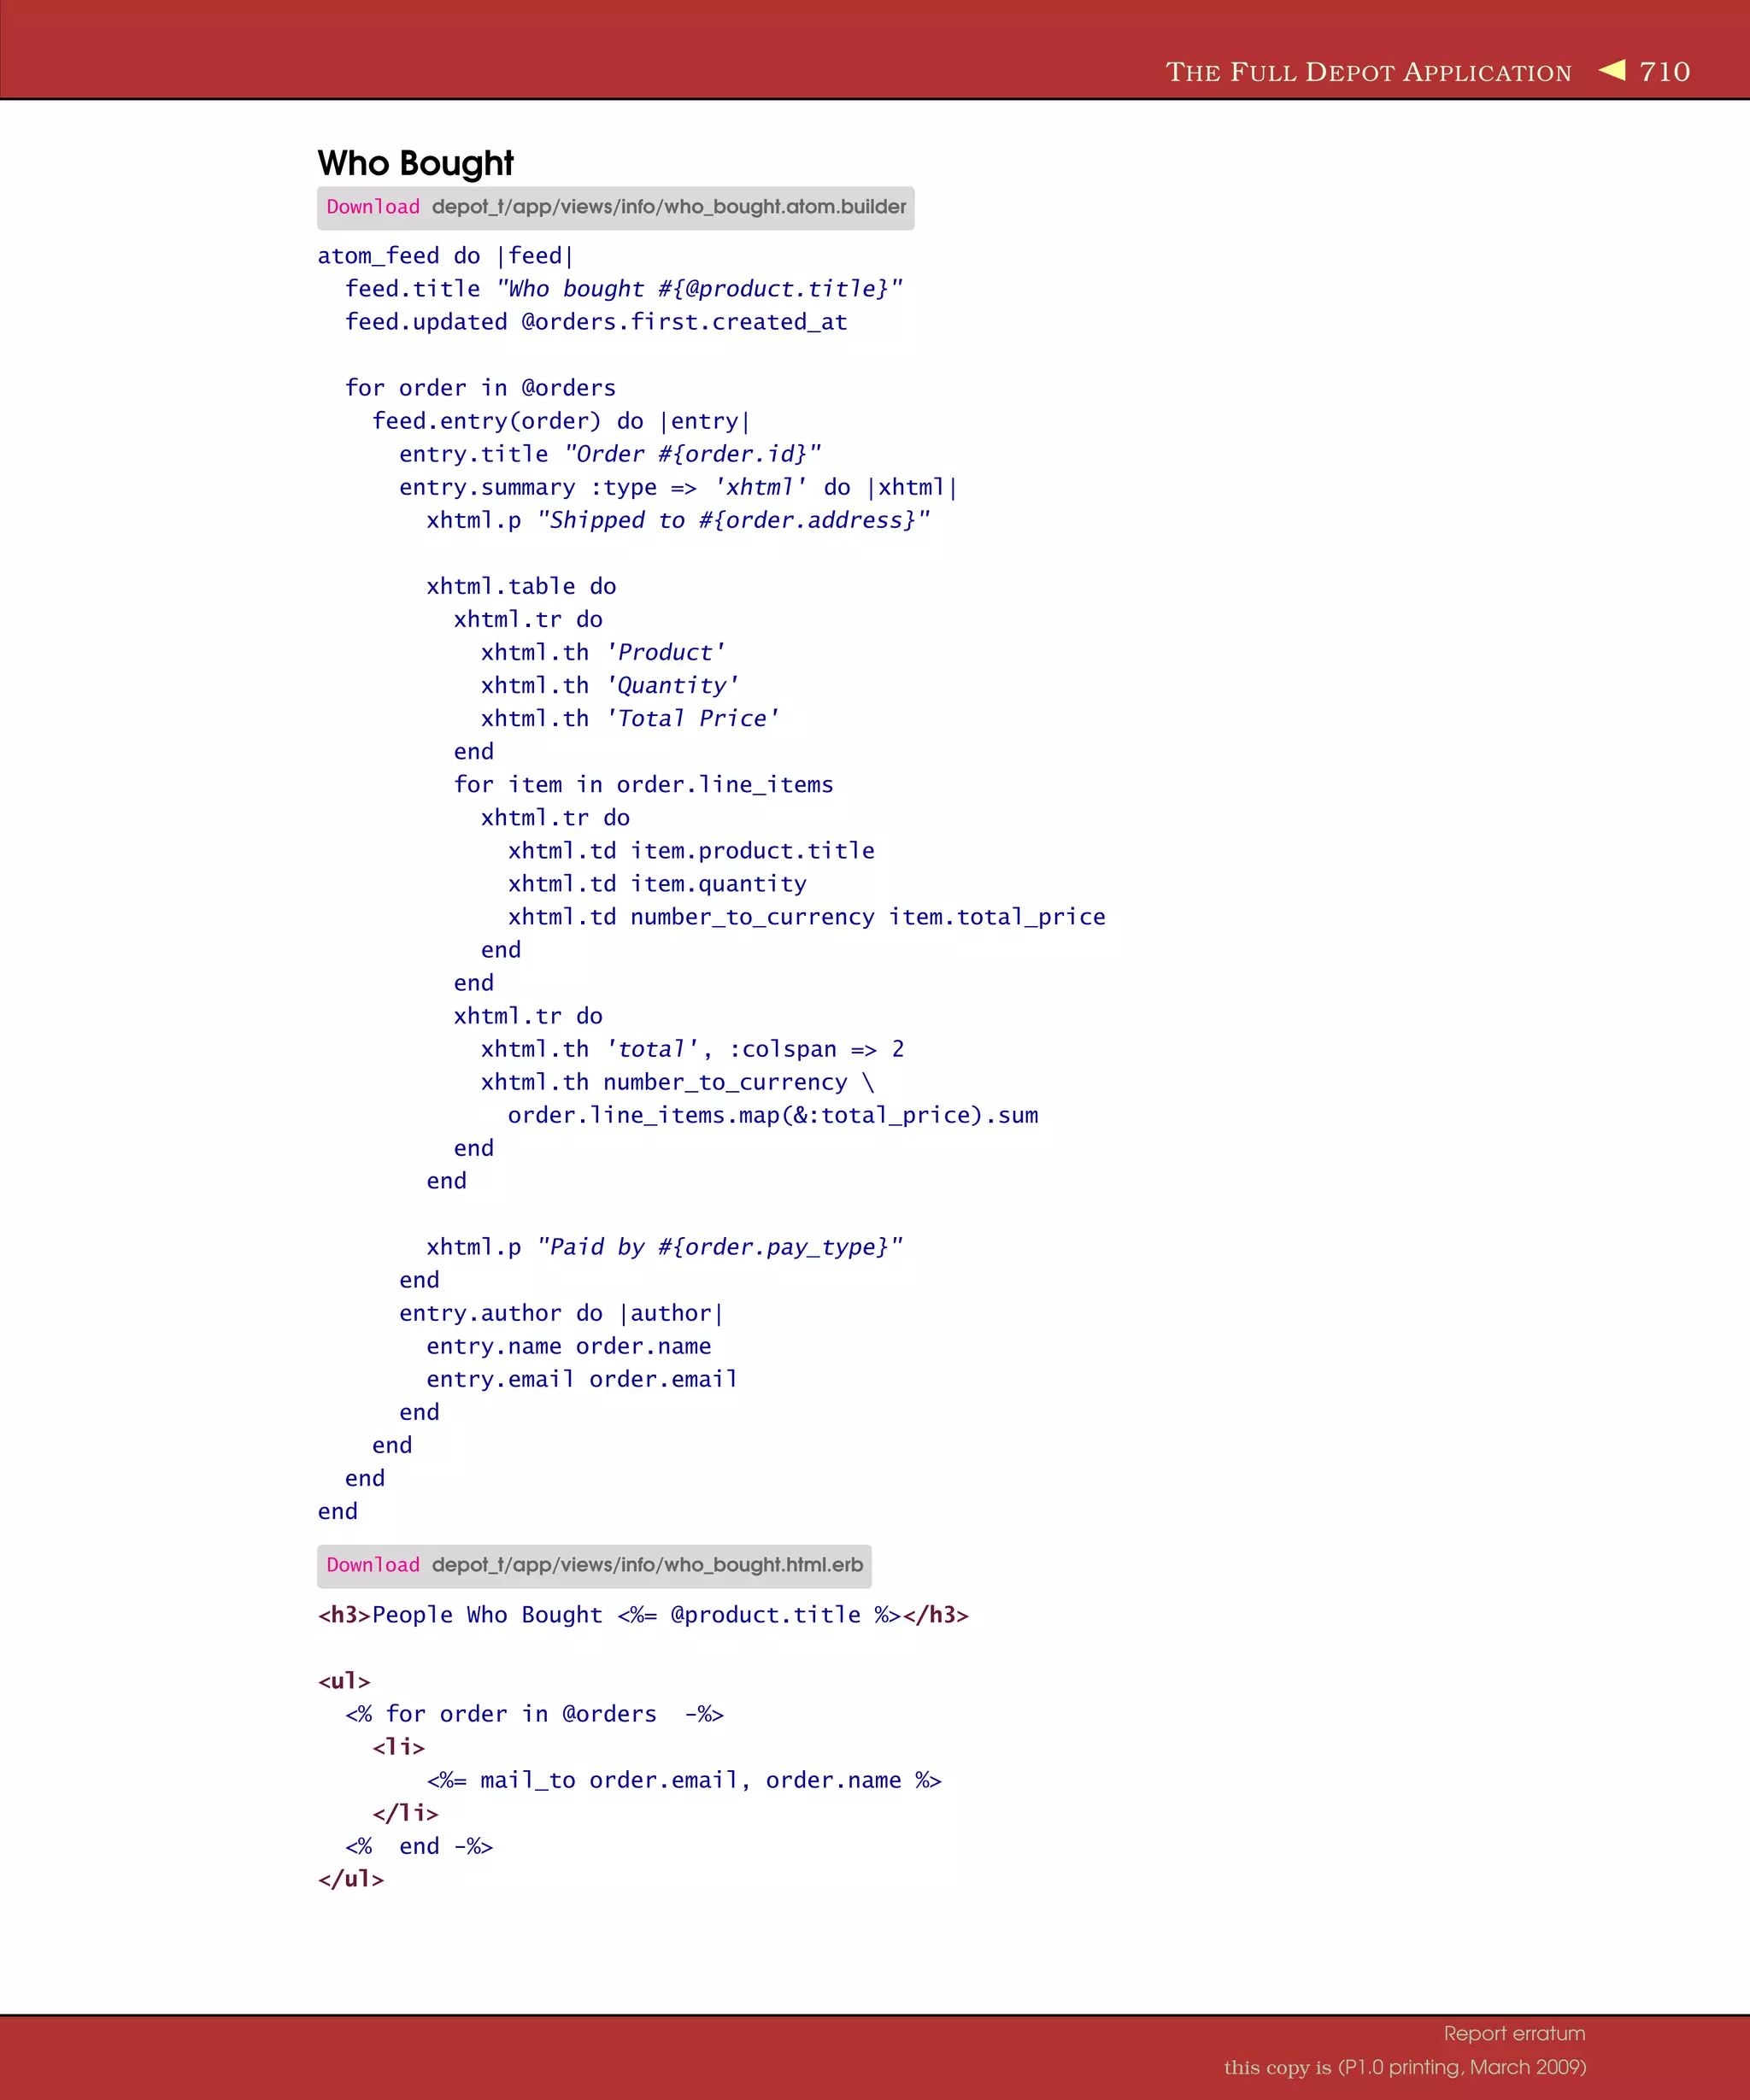
![T HE F ULL D EPOT A PPLICATION 711 Download depot_t/app/views/info/who_bought.xml.builder xml.order_list(:for_product => @product.title) do for o in @orders xml.order do xml.name(o.name) xml.email(o.email) end end end Helper Download depot_t/app/helpers/store_helper.rb module StoreHelper def hidden_div_if(condition, attributes = {}, &block) if condition attributes["style" ] = "display: none" end content_tag("div" , attributes, &block) end end Internationalization Download depot_t/config/initializers/i18n.rb I18n.default_locale = 'en' LOCALES_DIRECTORY = "#{RAILS_ROOT}/config/locales/" LANGUAGES = { 'English' => 'en' , "Espaxc3xb1ol" => 'es' } Download depot_t/config/locales/en.yml en: number: currency: format: unit: "$" precision: 2 separator: "." delimiter: "," format: "%u%n" layout: title: "Pragmatic Bookshelf" side: home: "Home" questions: "Questions" news: "News" contact: "Contact" Report erratum this copy is (P1.0 printing, March 2009)](https://image.slidesharecdn.com/pragmatic-agilewebdevelopmentwithrails-3rdedition-2009-091104222637-phpapp01/75/Pragmatic-Agile-Web-Development-With-Rails-3rd-Edition-2009-711-2048.jpg)
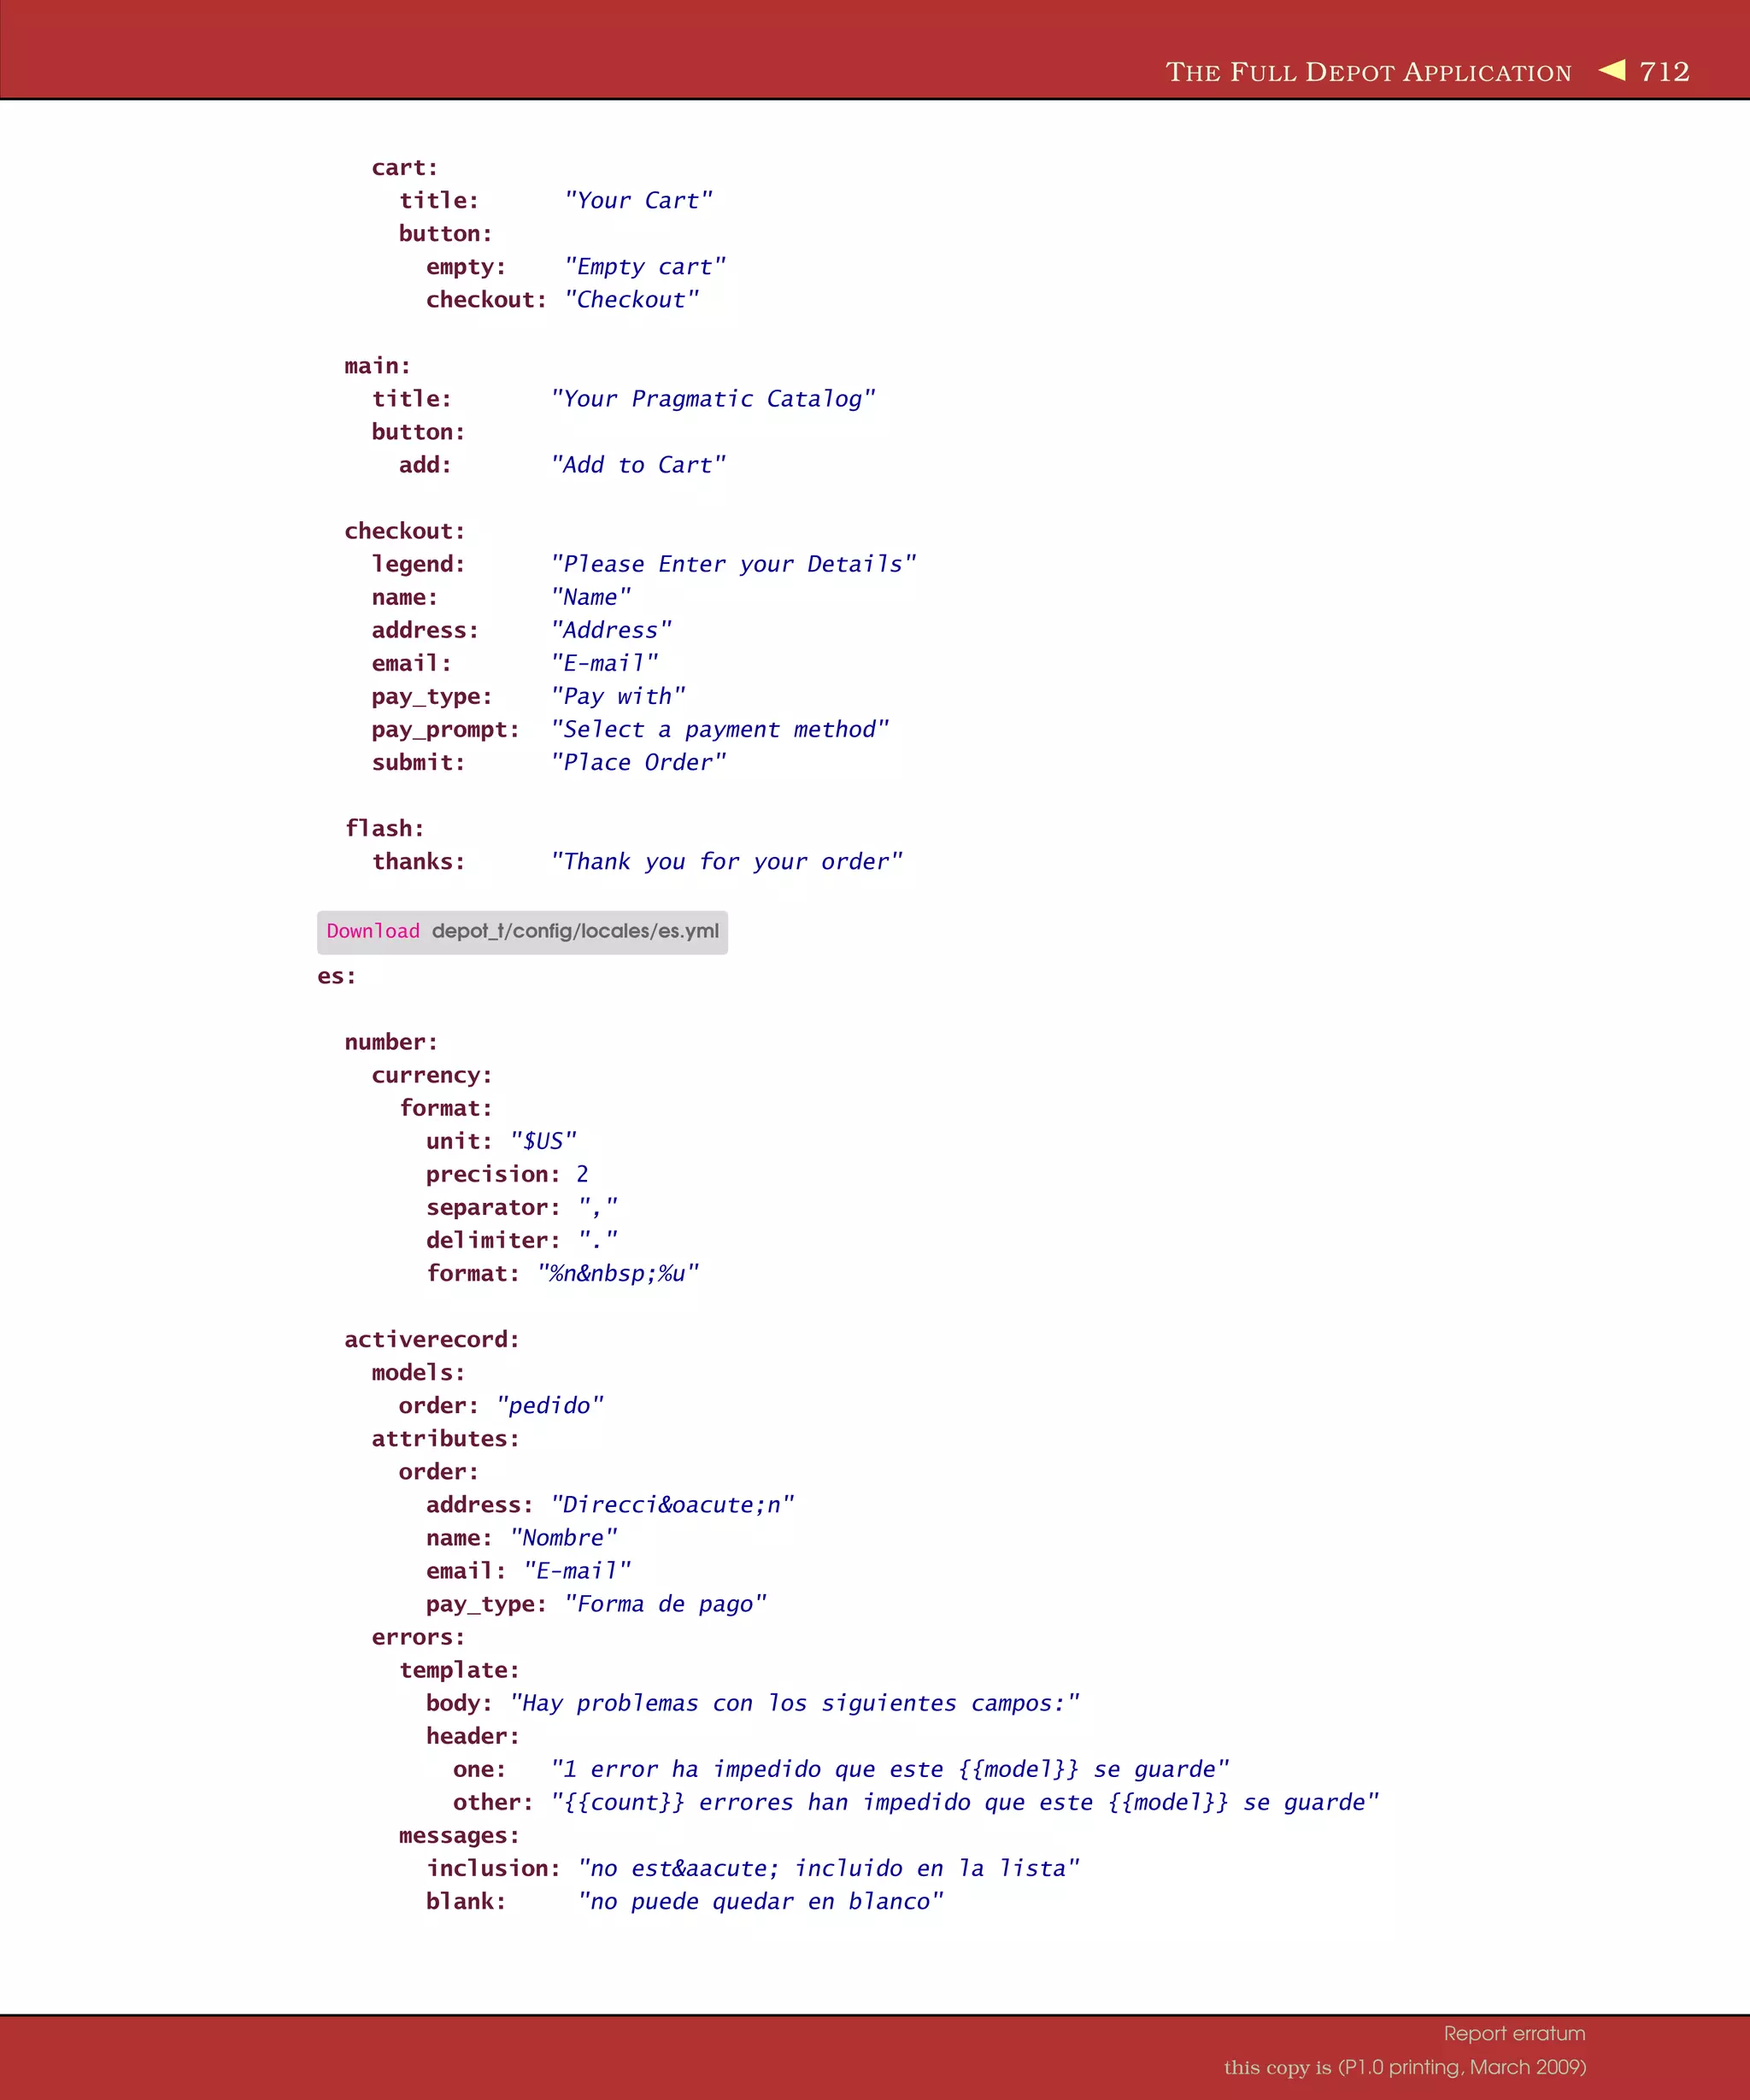
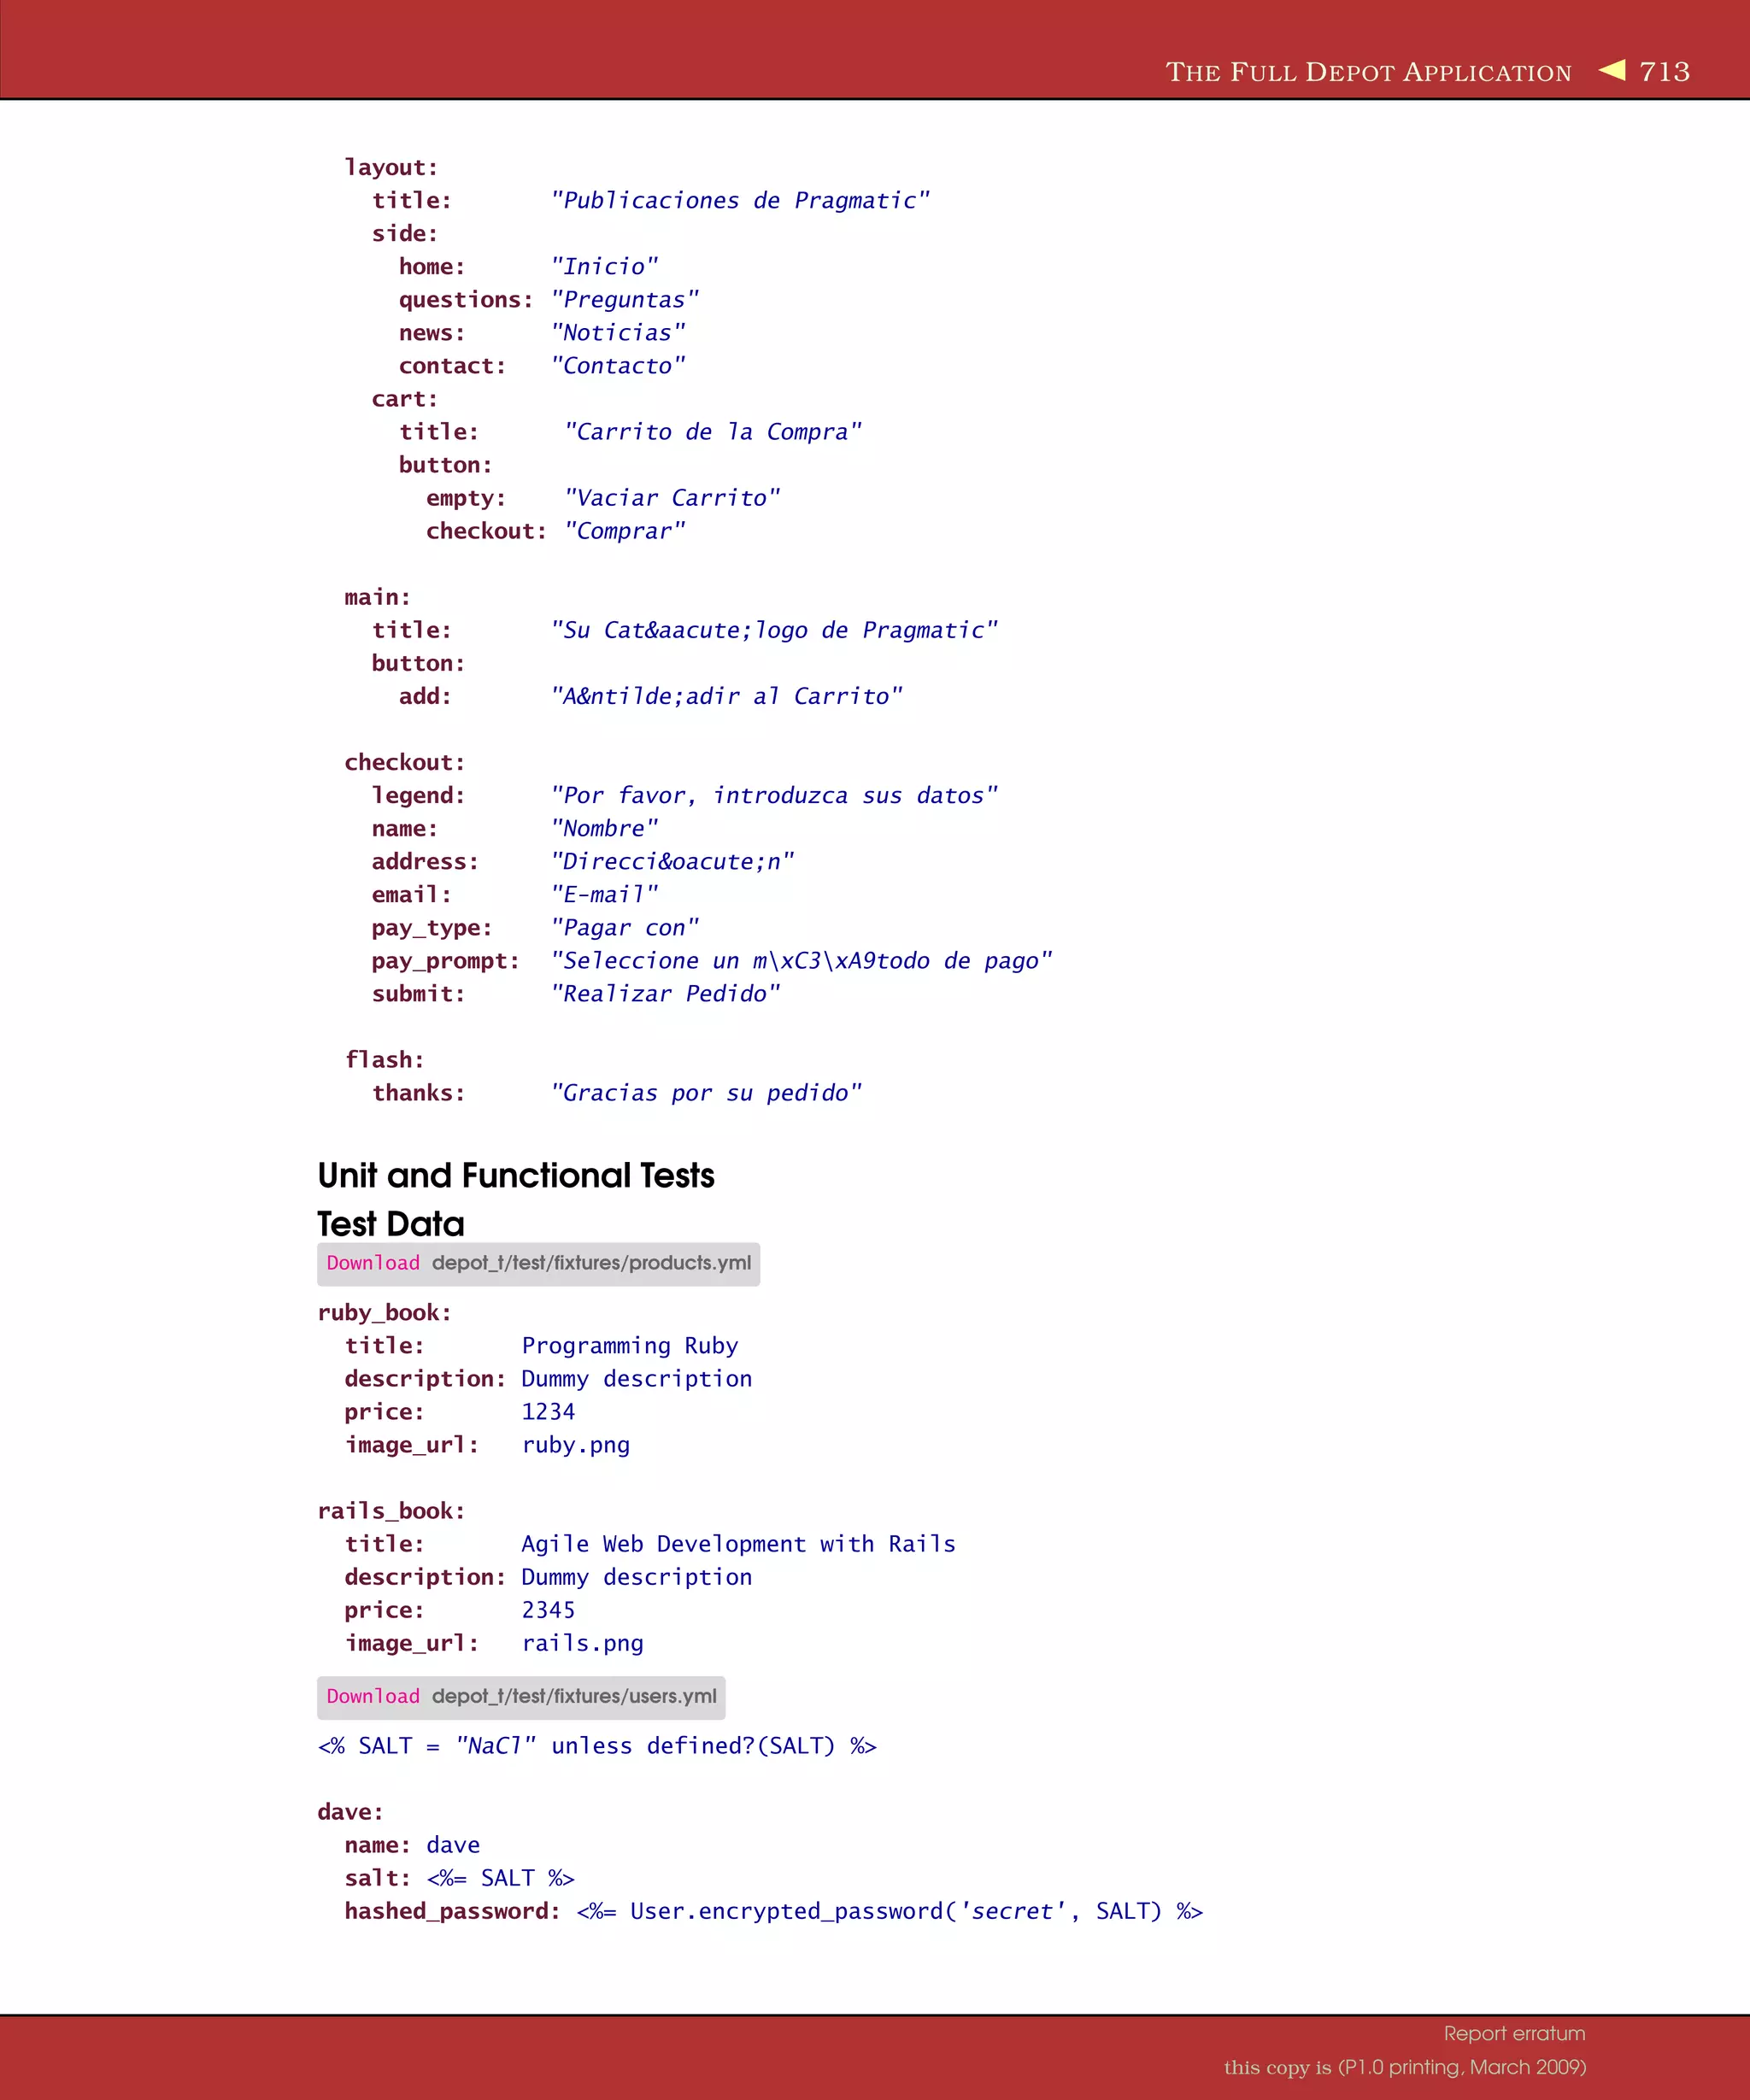
![T HE F ULL D EPOT A PPLICATION 714 Unit Tests Download depot_t/test/unit/cart_test.rb require 'test_helper' class CartTest < ActiveSupport::TestCase fixtures :products def test_add_unique_products cart = Cart.new rails_book = products(:rails_book) ruby_book = products(:ruby_book) cart.add_product rails_book cart.add_product ruby_book assert_equal 2, cart.items.size assert_equal rails_book.price + ruby_book.price, cart.total_price end def test_add_duplicate_product cart = Cart.new rails_book = products(:rails_book) cart.add_product rails_book cart.add_product rails_book assert_equal 2*rails_book.price, cart.total_price assert_equal 1, cart.items.size assert_equal 2, cart.items[0].quantity end end Download depot_t/test/unit/cart_test1.rb require 'test_helper' class CartTest < ActiveSupport::TestCase fixtures :products def setup @cart = Cart.new @rails = products(:rails_book) @ruby = products(:ruby_book) end def test_add_unique_products @cart.add_product @rails @cart.add_product @ruby assert_equal 2, @cart.items.size assert_equal @rails.price + @ruby.price, @cart.total_price end def test_add_duplicate_product @cart.add_product @rails @cart.add_product @rails assert_equal 2*@rails.price, @cart.total_price assert_equal 1, @cart.items.size assert_equal 2, @cart.items[0].quantity end end Report erratum this copy is (P1.0 printing, March 2009)](https://image.slidesharecdn.com/pragmatic-agilewebdevelopmentwithrails-3rdedition-2009-091104222637-phpapp01/75/Pragmatic-Agile-Web-Development-With-Rails-3rd-Edition-2009-714-2048.jpg)
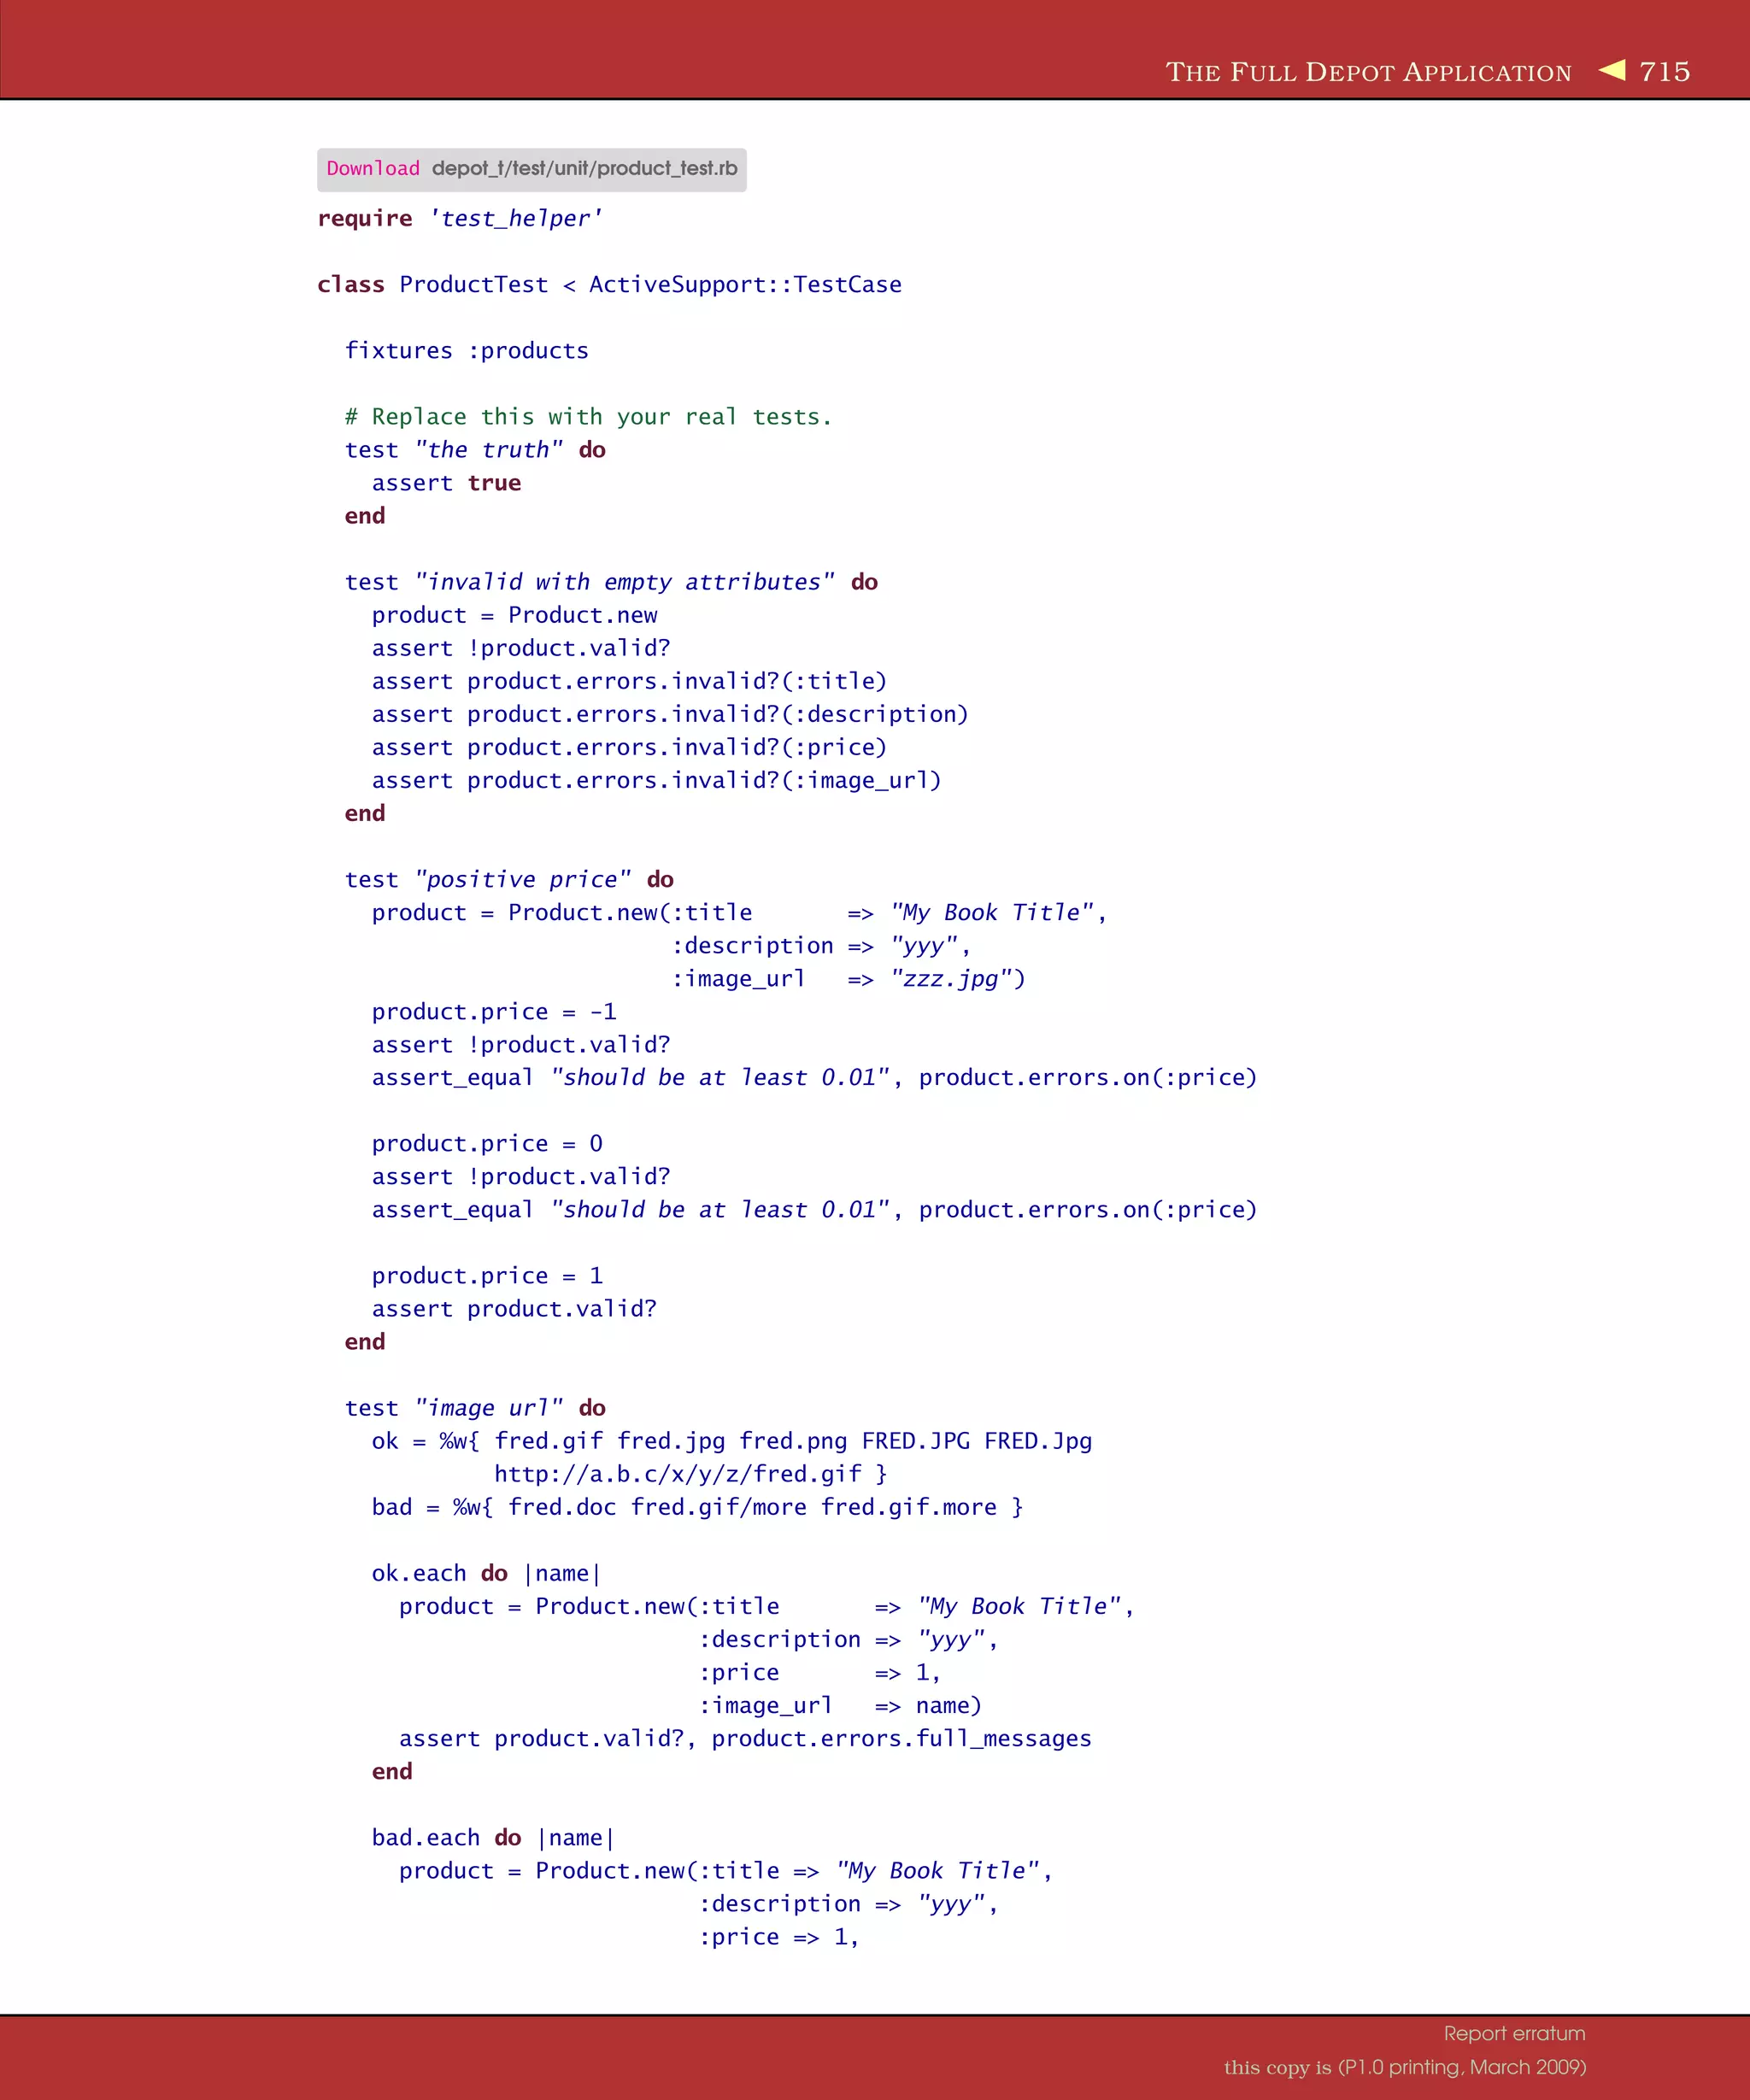
![T HE F ULL D EPOT A PPLICATION 716 :image_url => name) assert !product.valid?, "saving #{name}" end end test "unique title" do product = Product.new(:title => products(:ruby_book).title, :description => "yyy" , :price => 1, :image_url => "fred.gif" ) assert !product.save assert_equal "has already been taken" , product.errors.on(:title) end test "unique title1" do product = Product.new(:title => products(:ruby_book).title, :description => "yyy" , :price => 1, :image_url => "fred.gif" ) assert !product.save assert_equal I18n.translate('activerecord.errors.messages.taken' ), product.errors.on(:title) end end Functional Tests Download depot_t/test/functional/admin_controller_test.rb require 'test_helper' class AdminControllerTest < ActionController::TestCase fixtures :users # Replace this with your real tests. test "the truth" do assert true end if false test "index" do get :index assert_response :success end end test "index without user" do get :index assert_redirected_to :action => "login" assert_equal "Please log in" , flash[:notice] end Report erratum this copy is (P1.0 printing, March 2009)](https://image.slidesharecdn.com/pragmatic-agilewebdevelopmentwithrails-3rdedition-2009-091104222637-phpapp01/75/Pragmatic-Agile-Web-Development-With-Rails-3rd-Edition-2009-716-2048.jpg)
![T HE F ULL D EPOT A PPLICATION 717 test "index with user" do get :index, {}, { :user_id => users(:dave).id } assert_response :success assert_template "index" end test "login" do dave = users(:dave) post :login, :name => dave.name, :password => 'secret' assert_redirected_to :action => "index" assert_equal dave.id, session[:user_id] end test "bad password" do dave = users(:dave) post :login, :name => dave.name, :password => 'wrong' assert_template "login" end end Download depot_t/test/functional/store_controller_test.rb require 'test_helper' class StoreControllerTest < ActionController::TestCase # Replace this with your real tests. test "the truth" do assert true end end Integration Tests Download depot_t/test/integration/dsl_user_stories_test.rb require 'test_helper' class DslUserStoriesTest < ActionController::IntegrationTest fixtures :products DAVES_DETAILS = { :name => "Dave Thomas" , :address => "123 The Street" , :email => "dave@pragprog.com" , :pay_type => "check" } MIKES_DETAILS = { :name => "Mike Clark" , :address => "345 The Avenue" , :email => "mike@pragmaticstudio.com" , :pay_type => "cc" } Report erratum this copy is (P1.0 printing, March 2009)](https://image.slidesharecdn.com/pragmatic-agilewebdevelopmentwithrails-3rdedition-2009-091104222637-phpapp01/75/Pragmatic-Agile-Web-Development-With-Rails-3rd-Edition-2009-717-2048.jpg)
![T HE F ULL D EPOT A PPLICATION 718 def setup LineItem.delete_all Order.delete_all @ruby_book = products(:ruby_book) @rails_book = products(:rails_book) end # A user goes to the store index page. They select a product, # adding it to their cart. They then check out, filling in # their details on the checkout form. When they submit, # an order is created in the database containing # their information, along with a single line item # corresponding to the product they added to their cart. def test_buying_a_product dave = regular_user dave.get "/store/index" dave.is_viewing "index" dave.buys_a @ruby_book dave.has_a_cart_containing @ruby_book dave.checks_out DAVES_DETAILS dave.is_viewing "index" check_for_order DAVES_DETAILS, @ruby_book end def test_two_people_buying dave = regular_user mike = regular_user dave.buys_a @ruby_book mike.buys_a @rails_book dave.has_a_cart_containing @ruby_book dave.checks_out DAVES_DETAILS mike.has_a_cart_containing @rails_book check_for_order DAVES_DETAILS, @ruby_book mike.checks_out MIKES_DETAILS check_for_order MIKES_DETAILS, @rails_book end def regular_user open_session do |user| def user.is_viewing(page) assert_response :success assert_template page end def user.buys_a(product) xml_http_request :put, "/store/add_to_cart" , :id => product.id assert_response :success end def user.has_a_cart_containing(*products) cart = session[:cart] assert_equal products.size, cart.items.size for item in cart.items Report erratum this copy is (P1.0 printing, March 2009)](https://image.slidesharecdn.com/pragmatic-agilewebdevelopmentwithrails-3rdedition-2009-091104222637-phpapp01/75/Pragmatic-Agile-Web-Development-With-Rails-3rd-Edition-2009-718-2048.jpg)
![T HE F ULL D EPOT A PPLICATION 719 assert products.include?(item.product) end end def user.checks_out(details) post "/store/checkout" assert_response :success assert_template "checkout" post_via_redirect "/store/save_order" , :order => { :name => details[:name], :address => details[:address], :email => details[:email], :pay_type => details[:pay_type] } assert_response :success assert_template "index" assert_equal 0, session[:cart].items.size end end end def check_for_order(details, *products) order = Order.find_by_name(details[:name]) assert_not_nil order assert_equal details[:name], order.name assert_equal details[:address], order.address assert_equal details[:email], order.email assert_equal details[:pay_type], order.pay_type assert_equal products.size, order.line_items.size for line_item in order.line_items assert products.include?(line_item.product) end end end Download depot_t/test/integration/user_stories_test.rb require 'test_helper' class UserStoriesTest < ActionController::IntegrationTest fixtures :products # A user goes to the index page. They select a product, adding it to their # cart, and check out, filling in their details on the checkout form. When # they submit, an order is created containing their information, along with a # single line item corresponding to the product they added to their cart. test "buying a product" do LineItem.delete_all Order.delete_all ruby_book = products(:ruby_book) Report erratum this copy is (P1.0 printing, March 2009)](https://image.slidesharecdn.com/pragmatic-agilewebdevelopmentwithrails-3rdedition-2009-091104222637-phpapp01/75/Pragmatic-Agile-Web-Development-With-Rails-3rd-Edition-2009-719-2048.jpg)
![T HE F ULL D EPOT A PPLICATION 720 get "/store/index" assert_response :success assert_template "index" xml_http_request :put, "/store/add_to_cart" , :id => ruby_book.id assert_response :success cart = session[:cart] assert_equal 1, cart.items.size assert_equal ruby_book, cart.items[0].product post "/store/checkout" assert_response :success assert_template "checkout" post_via_redirect "/store/save_order" , :order => { :name => "Dave Thomas" , :address => "123 The Street" , :email => "dave@pragprog.com" , :pay_type => "check" } assert_response :success assert_template "index" assert_equal 0, session[:cart].items.size orders = Order.find(:all) assert_equal 1, orders.size order = orders[0] assert_equal "Dave Thomas" , order.name assert_equal "123 The Street" , order.address assert_equal "dave@pragprog.com" , order.email assert_equal "check" , order.pay_type assert_equal 1, order.line_items.size line_item = order.line_items[0] assert_equal ruby_book, line_item.product end end Performance Tests Download depot_t/test/fixtures/performance/products.yml <% 1.upto(1000) do |i| %> product_<%= i %>: id: <%= i %> title: Product Number <%= i %> description: My description image_url: product.gif price: 1234 <% end %> Download depot_t/test/performance/order_speed_test.rb require 'test_helper' require 'store_controller' Report erratum this copy is (P1.0 printing, March 2009)](https://image.slidesharecdn.com/pragmatic-agilewebdevelopmentwithrails-3rdedition-2009-091104222637-phpapp01/75/Pragmatic-Agile-Web-Development-With-Rails-3rd-Edition-2009-720-2048.jpg)
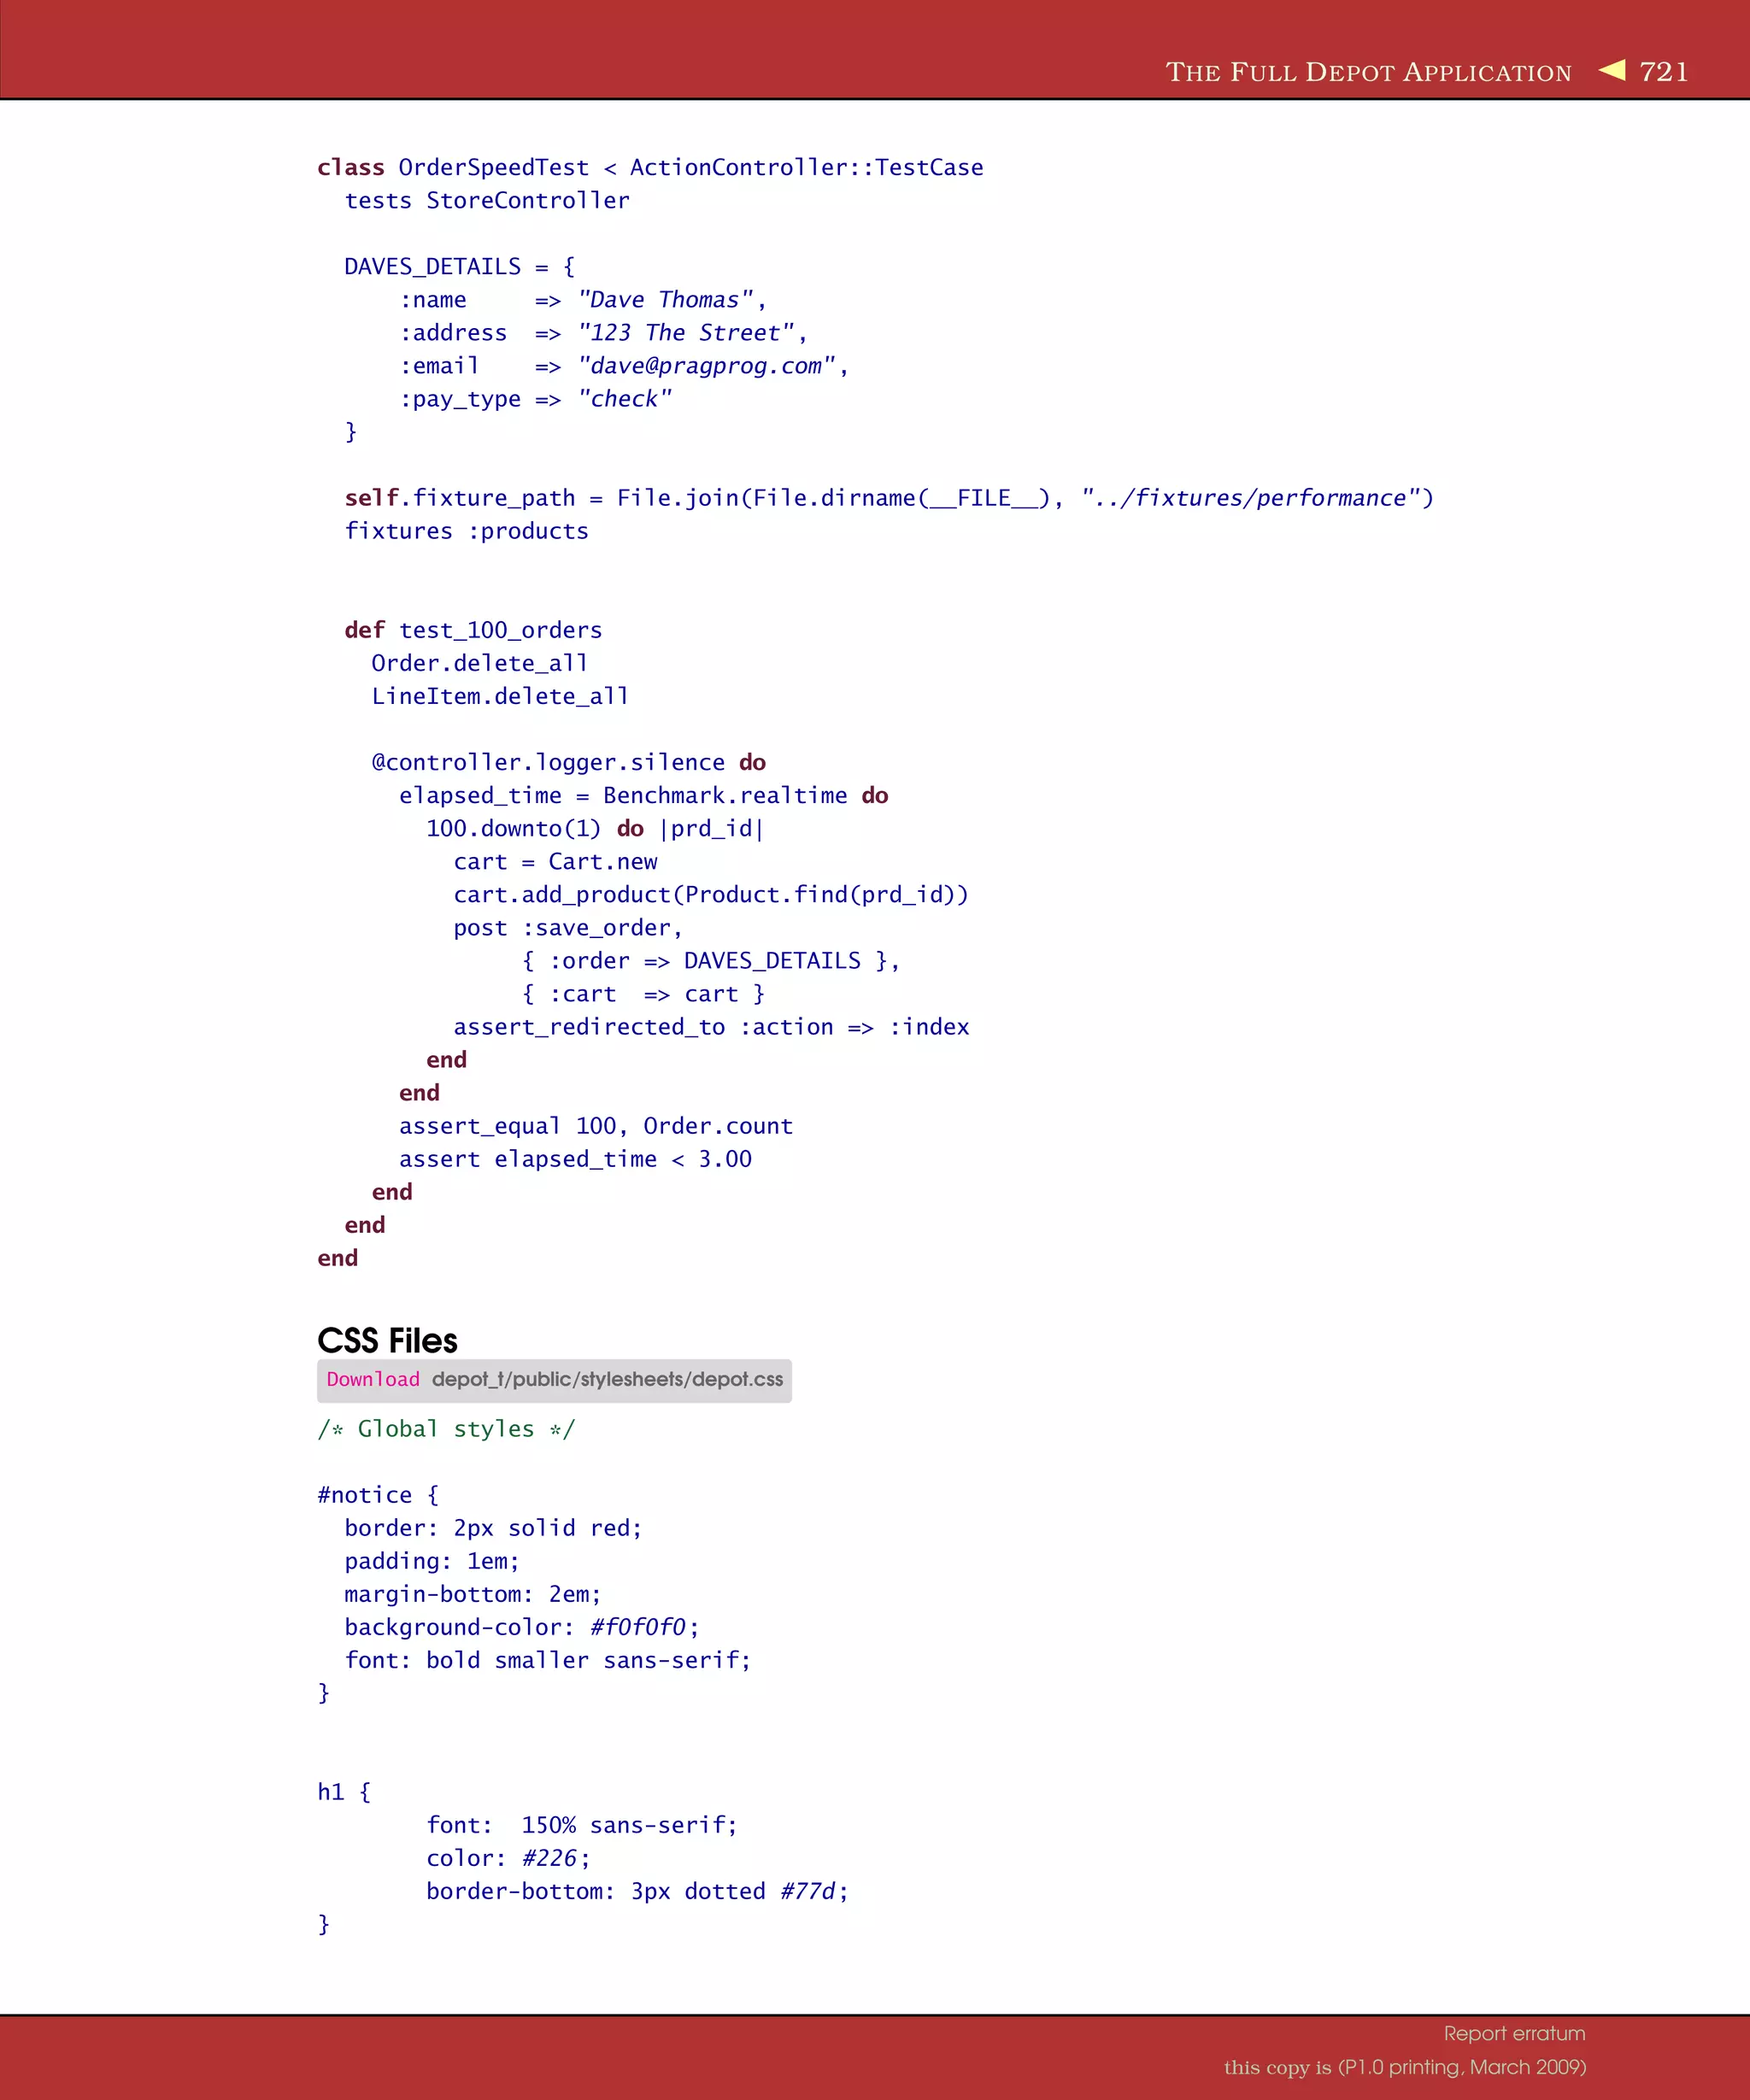
![Appendix D Resources D.1 Online Resources Ruby on Rails. . . . . . . . . . . . . . . . . . . . . . . . . . . . . . . . . . . . . . . . . . . . . http://www.rubyonrails.com/ This is the official Rails home page, with links to testimonials, documentation, commu- nity pages, downloads, and more. Some of the best resources for beginners include the movies showing folks coding Rails applications. Ruby on Rails (for developers) . . . . . . . . . . . . . . . . . . . . . . . . . . . http://dev.rubyonrails.com/ This is the page for serious Rails developers. Here you find pointers to the latest Rails source. You’ll also find the Rails Trac system,1 containing (among other things) the lists of current bugs, feature requests, and experimental changes. [Cla08] Mike Clark. Advanced Rails Recipes: 84 New Ways to Build Stun- ning Rails Apps. The Pragmatic Programmers, LLC, Raleigh, NC, and Dallas, TX, 2008. [Fow03] Martin Fowler. Patterns of Enterprise Application Architecture. Addi- son Wesley Longman, Reading, MA, 2003. [Fow06] Chad Fowler. Rails Recipes. The Pragmatic Programmers, LLC, Raleigh, NC, and Dallas, TX, 2006. [GGA06] Justin Gehtland, Ben Galbraith, and Dion Almaer. Pragmatic Ajax: A Web 2.0 Primer. The Pragmatic Programmers, LLC, Raleigh, NC, and Dallas, TX, 2006. [HT00] Andrew Hunt and David Thomas. The Pragmatic Programmer: From Journeyman to Master. Addison-Wesley, Reading, MA, 2000. 1. http://www.edgewall.com/trac/. Trac is an integrated source code management system and project management system.](https://image.slidesharecdn.com/pragmatic-agilewebdevelopmentwithrails-3rdedition-2009-091104222637-phpapp01/75/Pragmatic-Agile-Web-Development-With-Rails-3rd-Edition-2009-727-2048.jpg)
![O NLINE R ESOURCES 728 [TFH05] David Thomas, Chad Fowler, and Andrew Hunt. Programming Ruby: The Pragmatic Programmers’ Guide. The Pragmatic Program- mers, LLC, Raleigh, NC, and Dallas, TX, second edition, 2005. [ZT08] Ezra Zygmuntowicz and Bruce Tate. Deploying Rails Applications: A Step-by-Step Guide. The Pragmatic Programmers, LLC, Raleigh, NC, and Dallas, TX, 2008. Report erratum this copy is (P1.0 printing, March 2009)](https://image.slidesharecdn.com/pragmatic-agilewebdevelopmentwithrails-3rdedition-2009-091104222637-phpapp01/75/Pragmatic-Agile-Web-Development-With-Rails-3rd-Edition-2009-728-2048.jpg)
![Index Symbols template for, 465 ! (methods named xxx!), 678 URLs and, 25, 48f, 426 &:xxx notation, 284 URls and, 48 /.../ (regular expression), 675 verify conditions before running, 495 :name notation, 668 :action parameter, 467 => (in hashes), 673 Action caching, 496 => (in parameter lists), 674 Action Controller, 30, 425–507 @name (instance variable), 671 action, 461 [ a, b, c ] (array literal), 673 action_name attribute, 462 [] method, 605 after_filter, 489 || (Ruby OR operator), 678 allow_concurrency (config), 684 ||= (conditional assignment), 678 append_view_path (config), 684 <%...%>, 52, 511 around filter, 491 suppress blank line with -%>, 512 asset_host (config), 521, 684 <%=...%>, 51, 511 autoloading, 269 << method, 366, 375, 605, 673 automatic render, 465 { a => b } (hash literal), 673 before_filter, 172, 489 { code } (code block), 675 cache_store (config), 500, 559, 685 301 and 307 redirect status, 470 cache_sweeper, 502 cache_template_loading (config), 686 caches_action, 498 A caches_page, 497 about (script), 261 caching, 496–504 abstract_class method, 381 consider_all_requests_local (config), 685 Accept header, 185, see HTTP, Accept cookies attribute, 462, 473 header cookies and, 473–474 :accepted parameter, 230 data and files, sending, 469 accepts attribute, 463 debug_rjs (config), 686 Access, limiting, 171–174 debug_routes (config), 685 Accessor method, 319, 671 default_charset (config), 685 ACID, see Transaction default_url_options, 438 ACROS Security, 646 environment, 462 Action, 24 erase_render_results, 465 automatic rendering, 465 erb_trim_mode (config), 686 caching, 496 expire_action, 499 exposing by mistake, 642 expire_fragment, 558, 559 flash data, 486 expire_page, 499 hiding using private, 109 field_error_proc (config), 686 index, 96 filter, see Filter method, 461 filter_parameter_logging, 648 Rails routes to, 49f filters and verification, 488–496 REST actions, 444 flash attribute, 509](https://image.slidesharecdn.com/pragmatic-agilewebdevelopmentwithrails-3rdedition-2009-091104222637-phpapp01/75/Pragmatic-Agile-Web-Development-With-Rails-3rd-Edition-2009-729-2048.jpg)

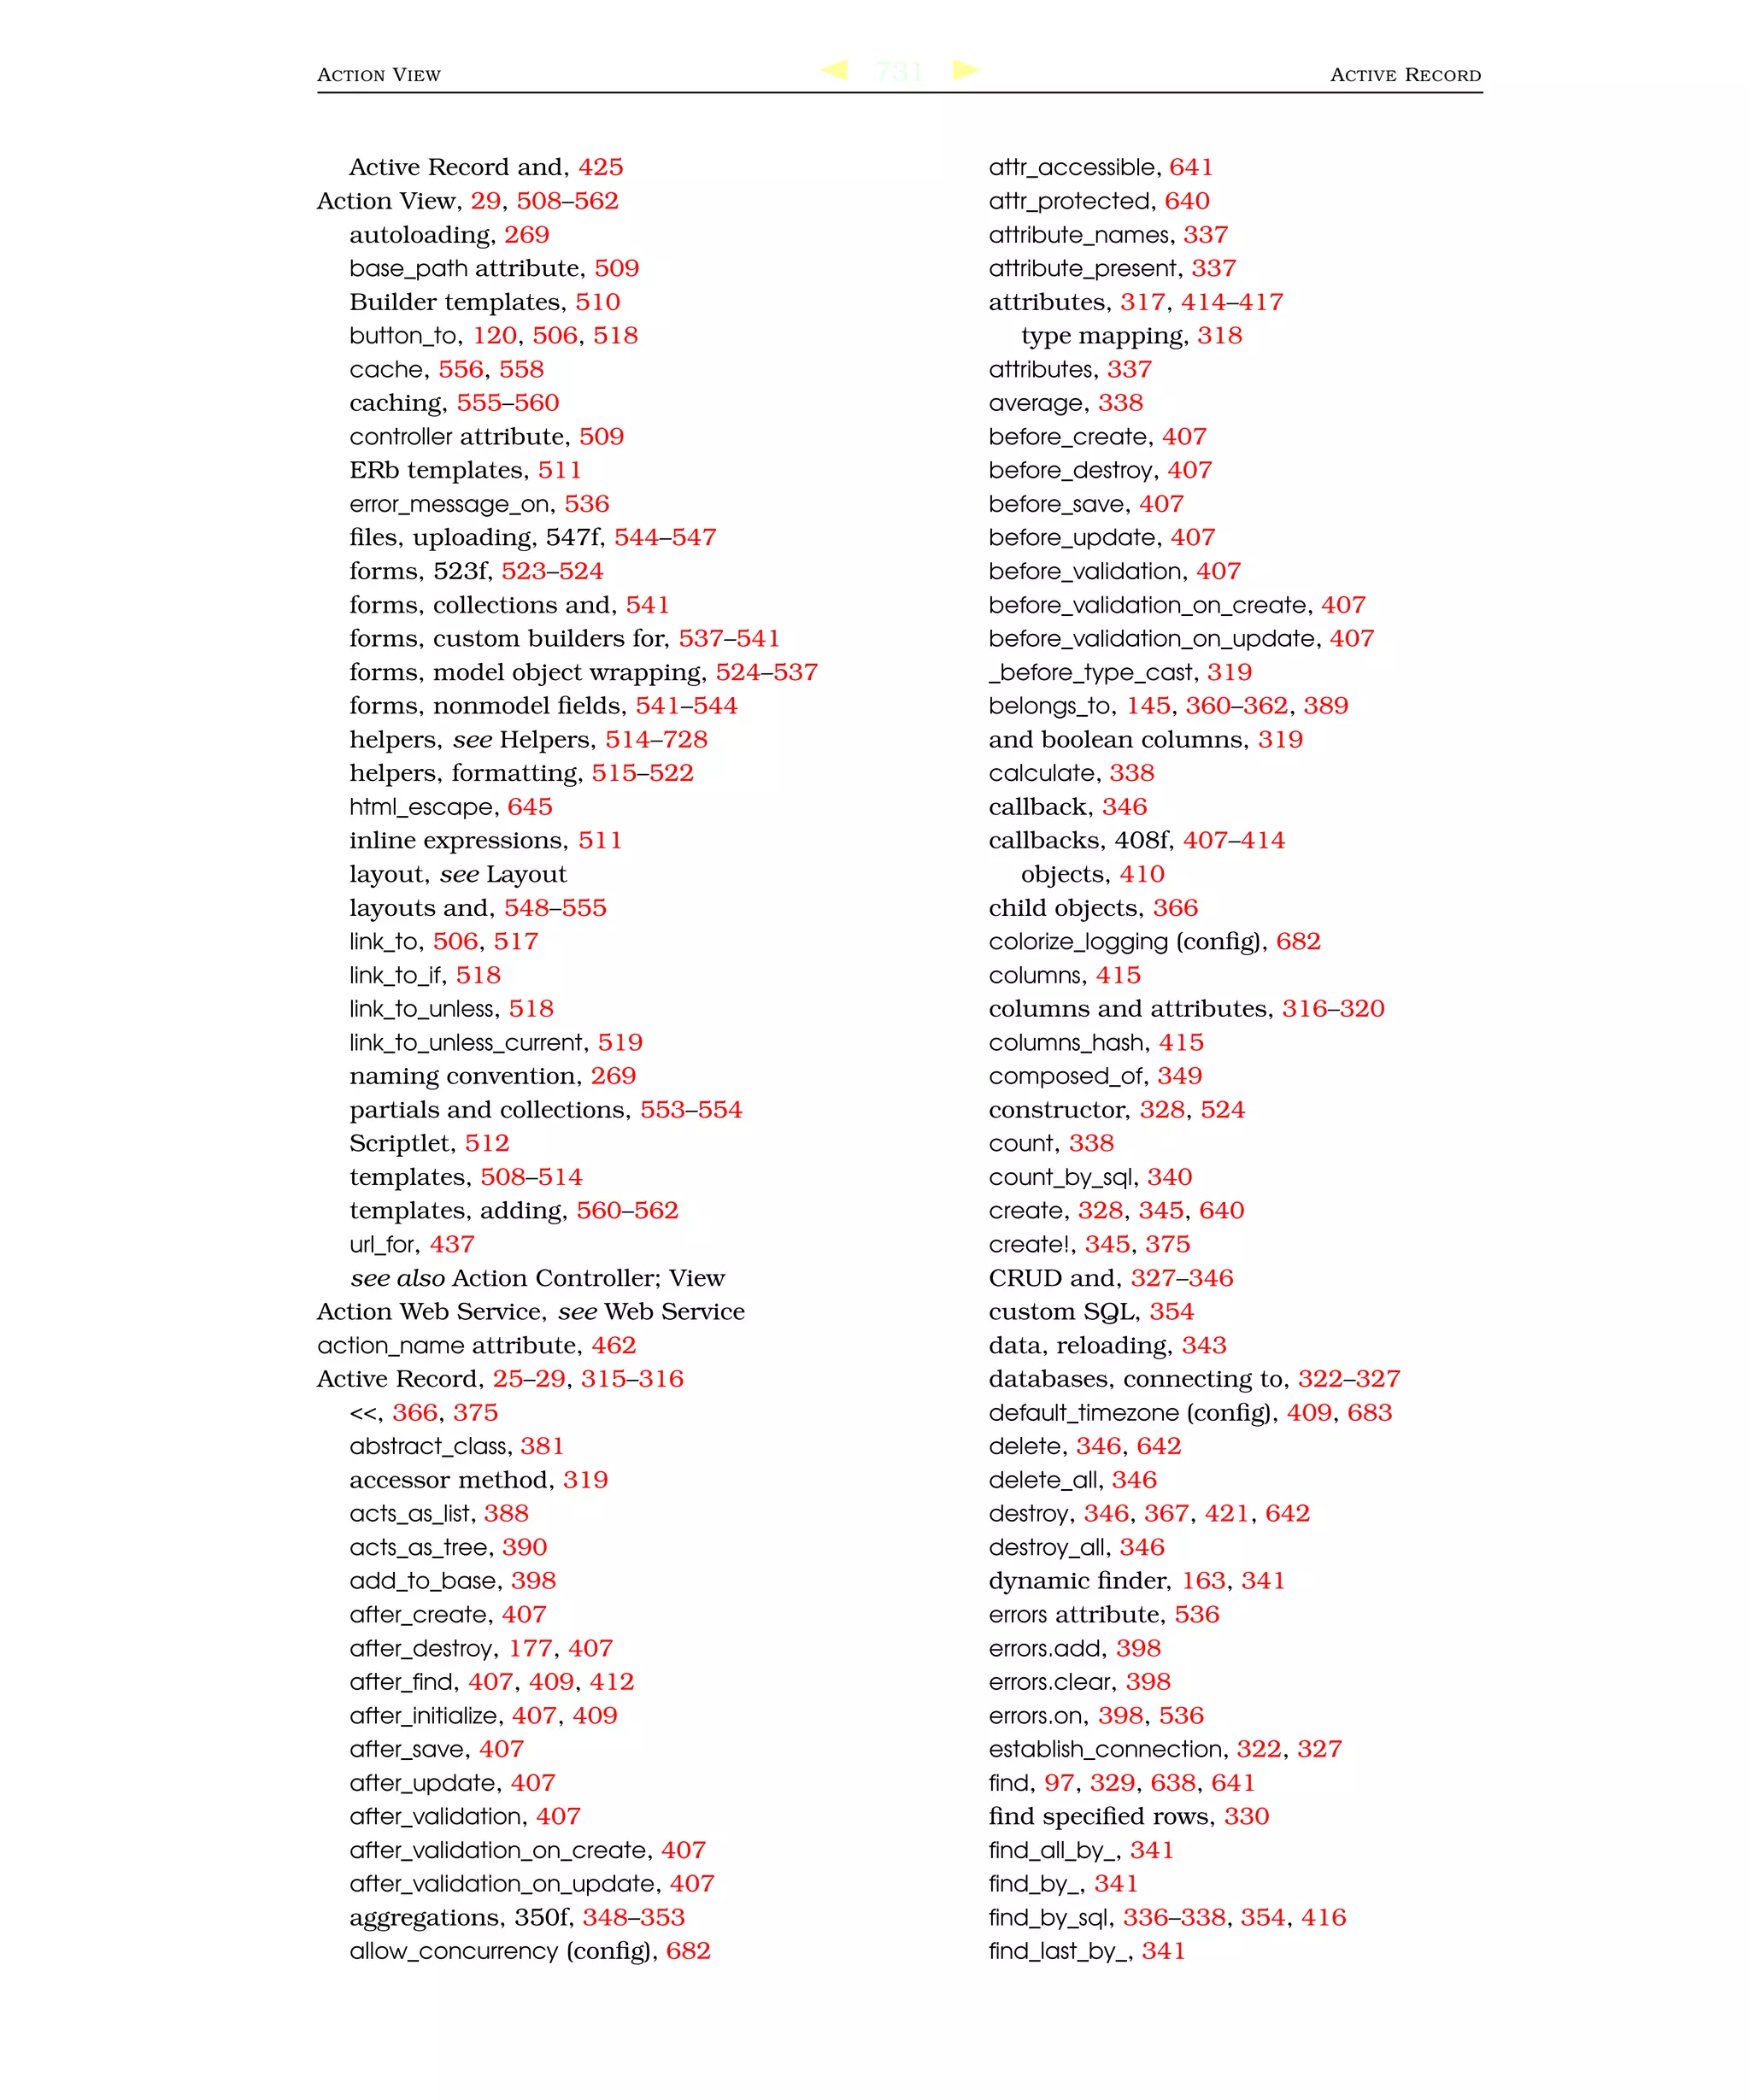
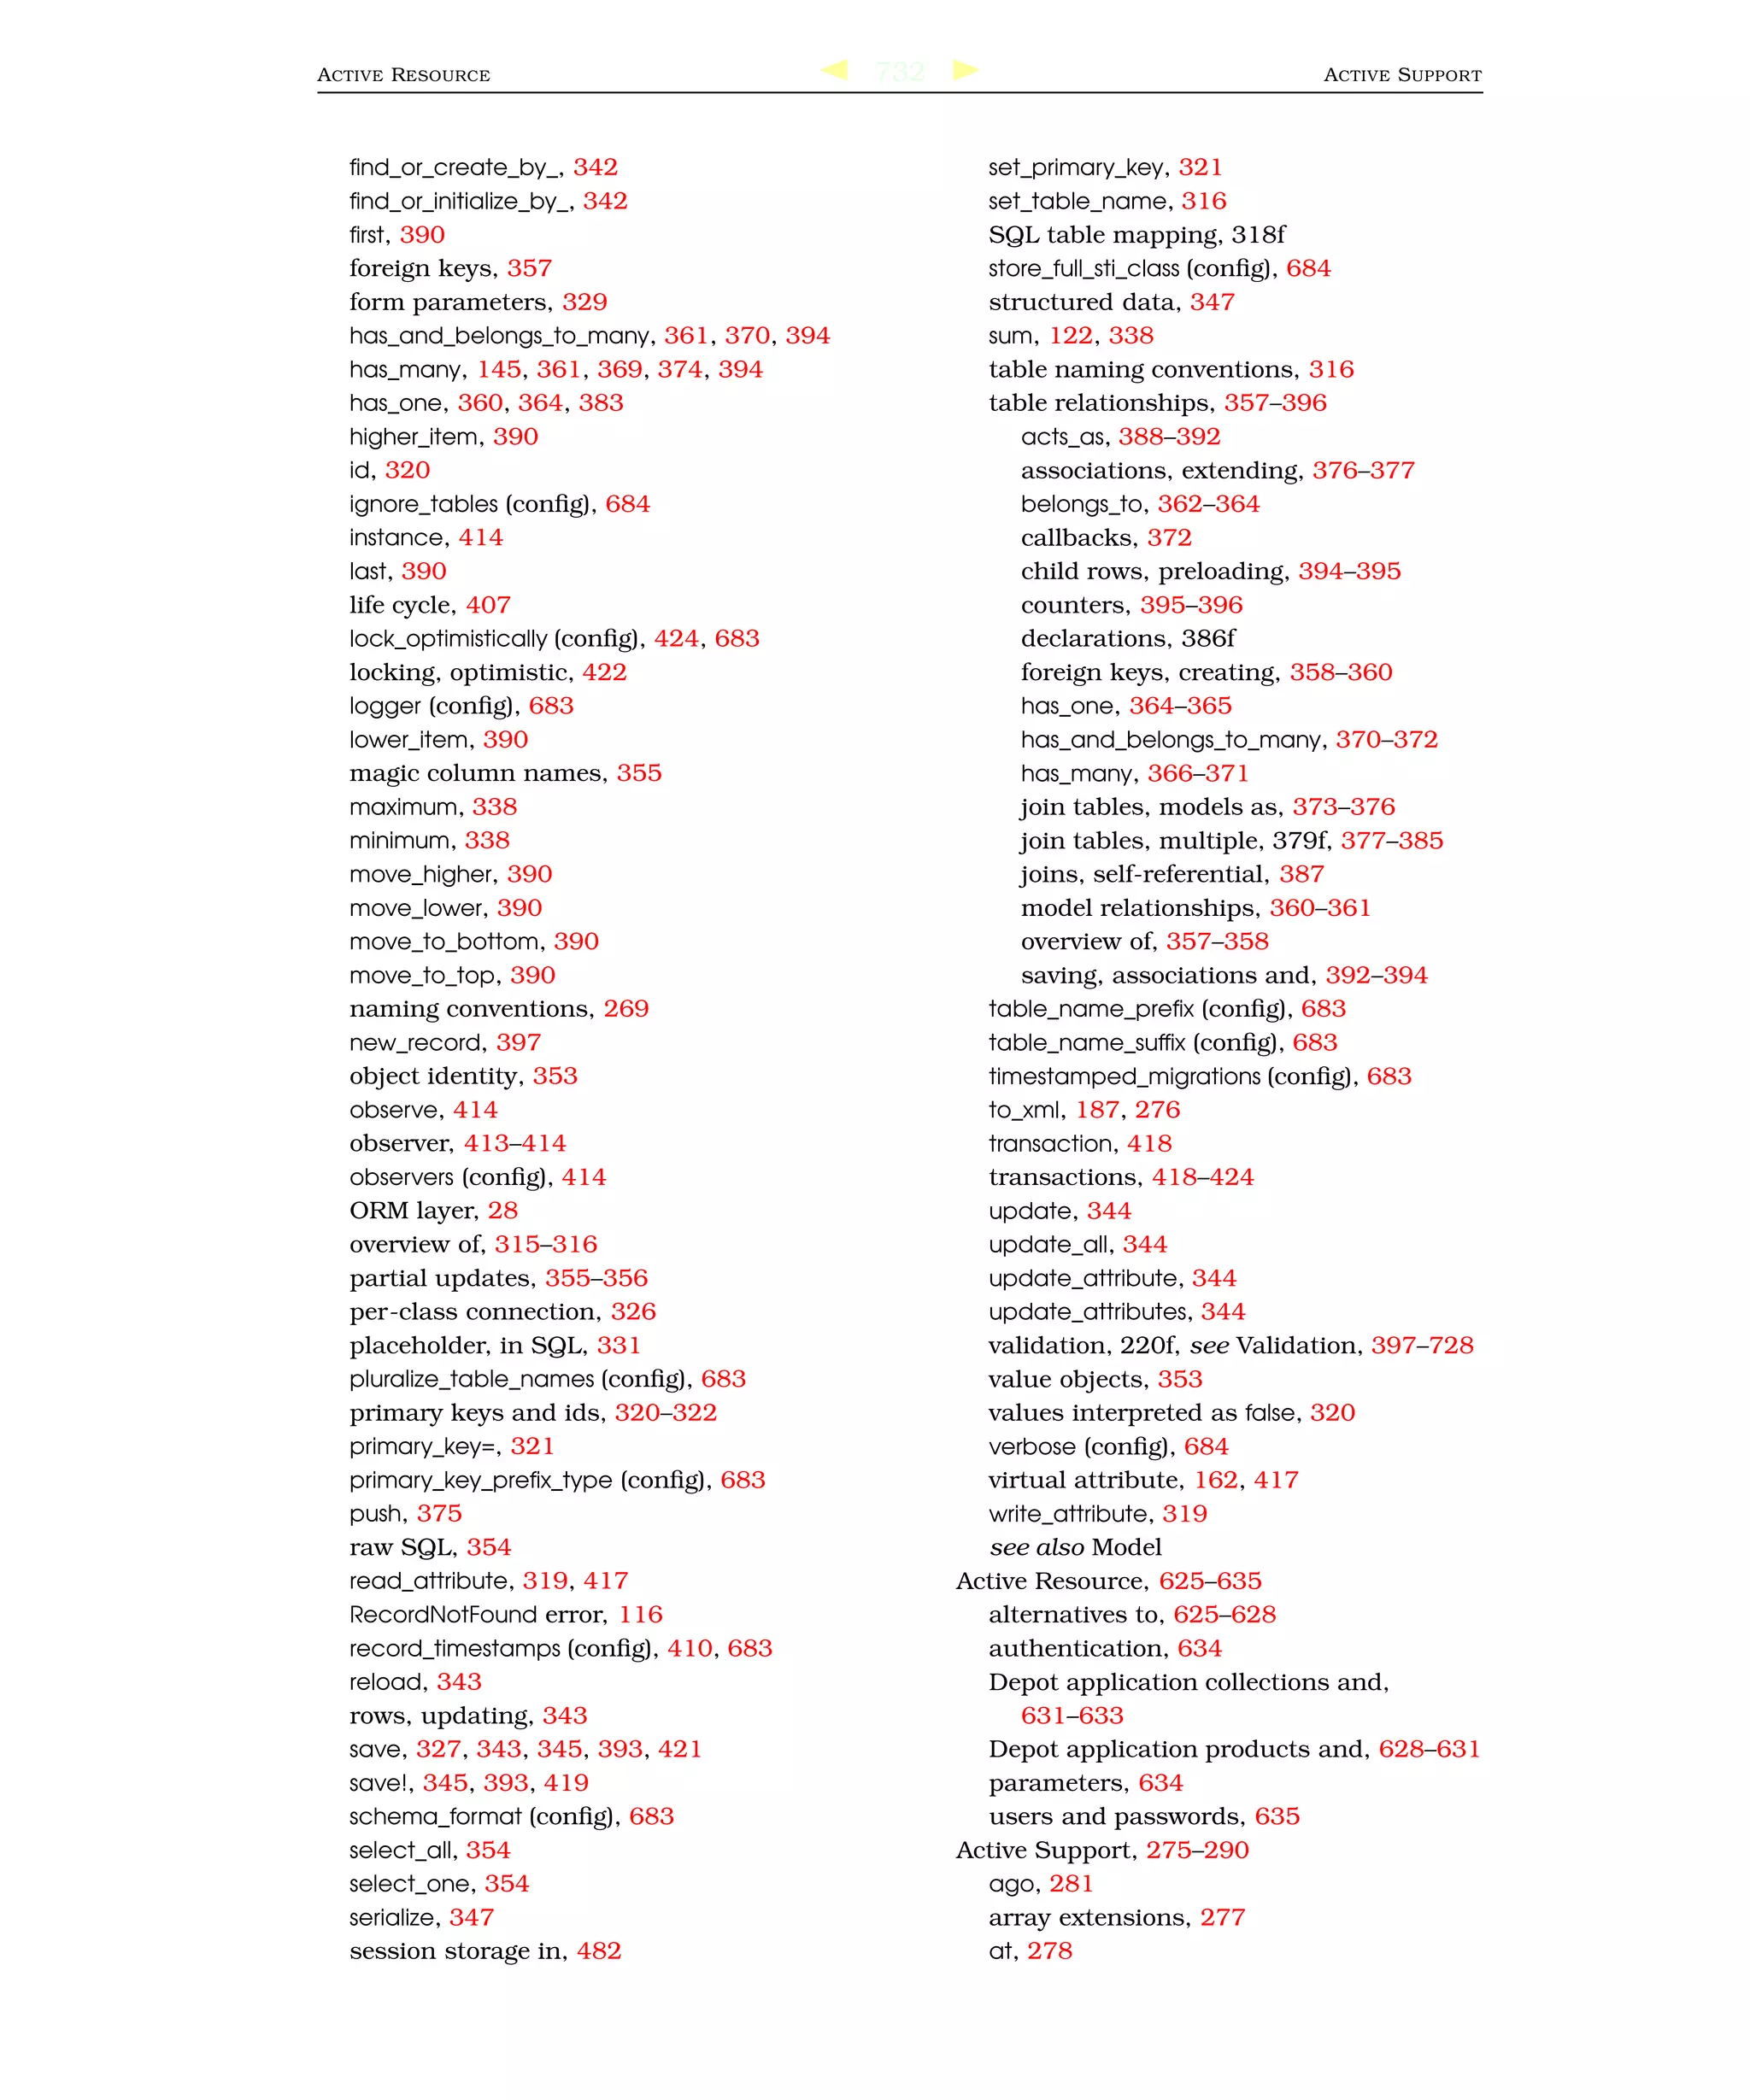
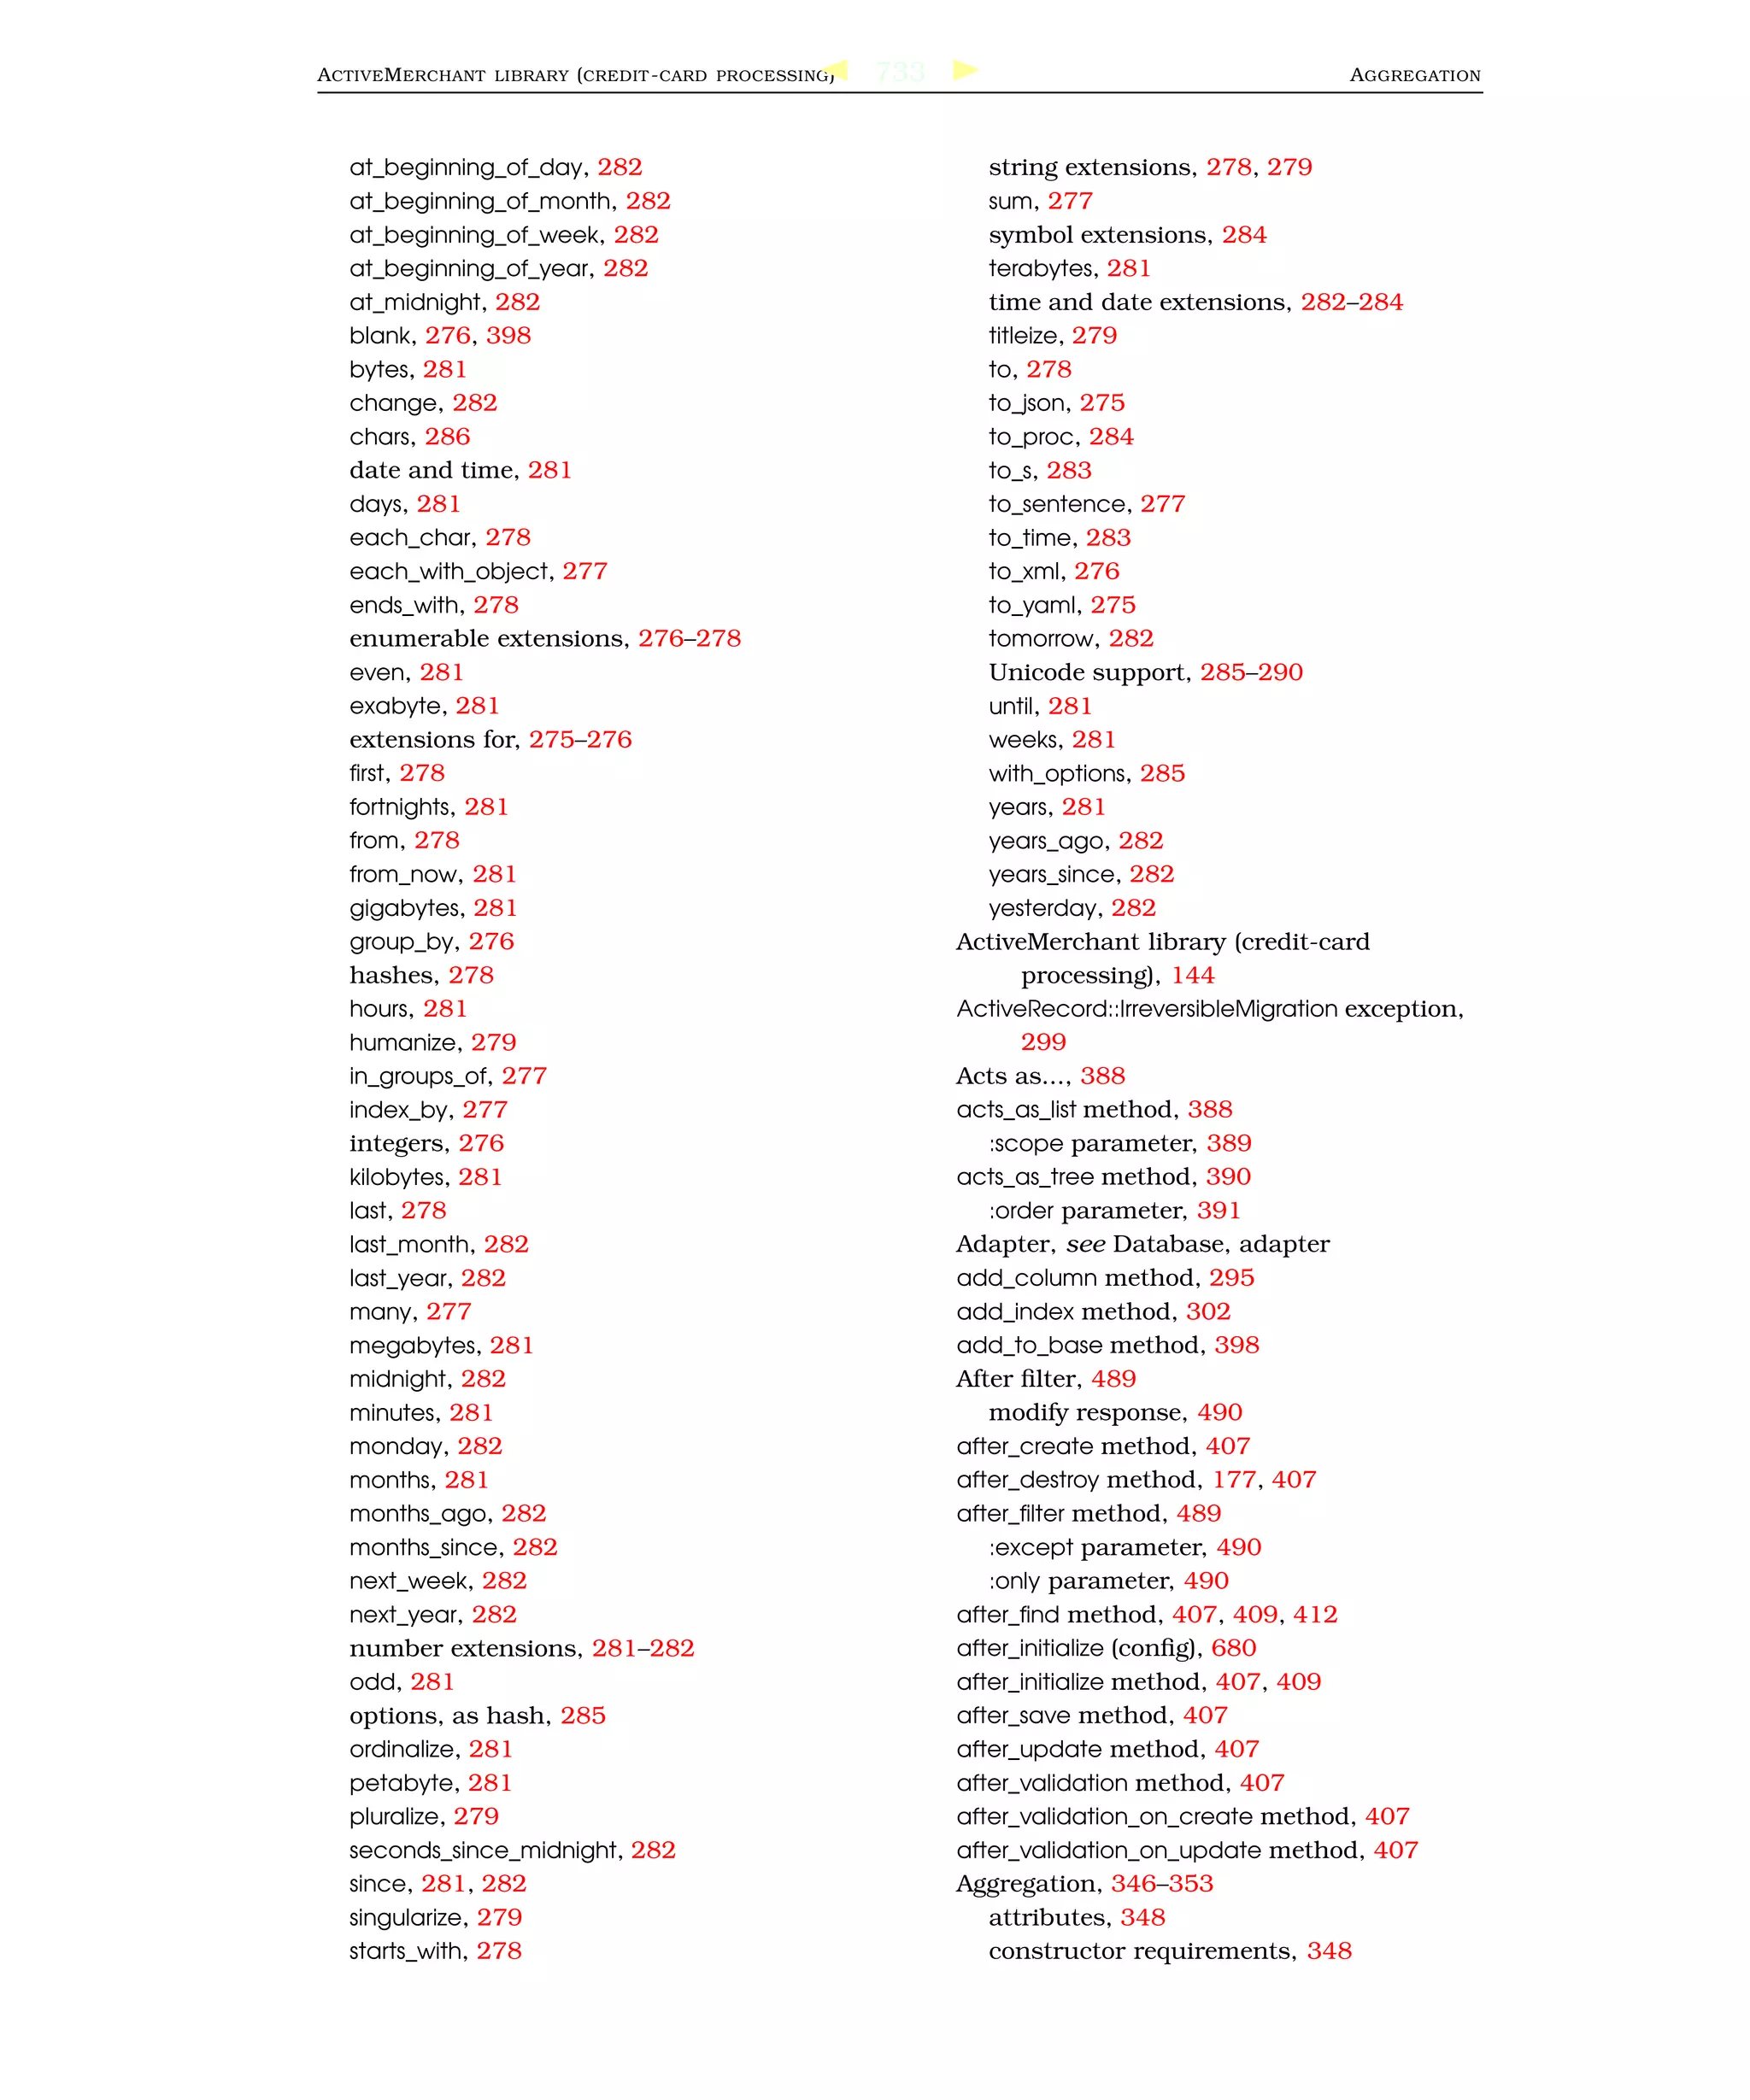


![P ARAMETERS 752 P ARAMETERS :collection (render), 126, 553 :http_version_not_supported :collection (resources), 451 (assert_response), 230 :cols (text_area), 527 :id (button_to), 110 :conditions (Statistics [sum, maximum, :im_used (assert_response), 230 etc.] in database queries), 339 :include (find), 336, 394 :conditions (belongs_to), 362 :inline (render), 467 :conditions (connect), 430 :insufficient_storage (assert_response), 230 :conditions (find), 330, 333 :internal_server_error (assert_response), :conditions (has_and_belongs_to_many), 230 372 :joins (Statistics [sum, maximum, etc.] in :conditions (has_one), 365 database queries), 339 :confirm (link_to), 518 :joins (find), 334 :conflict (assert_response), 230 :layout (render), 468, 550 :constructor (composed_of), 350 :length_required (assert_response), 230 :content_type (render), 468 :limit (Statistics [sum, maximum, etc.] in :continue (assert_response), 230 database queries), 339 :converter (composed_of), 350 :limit (find), 333 :counter_cache (belongs_to), 396 :lock (find), 336 :locked (assert_response), 230 :created (assert_response), 230 :mapping (composed_of), 350 :defaults (connect), 430 :maxlength (hidden_field), 527 :dependent (has_one), 365 :maxlength (password_field), 527 :disposition (send_data), 469 :maxlength (text_field), 527 :disposition (send_file), 469 :member (resource), 451 :disposition (send_data), 469 :method (link_to), 93, 449, 518 :distinct (Statistics [sum, maximum, etc.] :method_not_allowed (assert_response), in database queries), 339 230 :encode (mail_to), 519 :missing (assert_response), 230 :error (assert_response), 230 :moved_permanently (assert_response), :except (after_filter), 490 230 :expectation_failed (assert_response), 230 :multi_status (assert_response), 230 :failed_dependency (assert_response), 230 :multipart (form_tag), 525, 545 :file (render), 467 :multiple_choices (assert_response), 230 :filename (send_data), 469 :new (resource), 451 :filename (send_file), 469 :no_content (assert_response), 230 :filename (send_data), 469 :non_authoritative_information :first (find), 332, 336 (assert_response), 230 :forbidden (assert_response), 230 :not_acceptable (assert_response), 230 :foreign_key (belongs_to), 362 :not_extended (assert_response), 231 :foreign_key (has_and_belongs_to_many), :not_found (assert_response), 231 372 :not_implemented (assert_response), 231 :foreign_key (has_one), 365 :not_modified (assert_response), 231 :format (connect), 457 :nothing (render), 468 :format (resource), 457 :object (render), 127 :found (assert_response), 230 :offset (find), 334 :from (find), 335 :ok (assert_response), 231 :gateway_timeout (assert_response), 230 :only (after_filter), 490 :gone (assert_response), 230 :only (before_filter), 490 :group (find), 335 :only_path (url_for), 438 :having (Statistics (sum, maximum, etc.) :order (Statistics [sum, maximum, etc.] in in database queries), 339 database queries), 339 :host (url_for), 438 :order (acts_as_tree), 391 :html (form_for), 525 :order (find), 333 :html (form_remote_tag), 581 :overwrite_params (url_for), 437, 438](https://image.slidesharecdn.com/pragmatic-agilewebdevelopmentwithrails-3rdedition-2009-091104222637-phpapp01/75/Pragmatic-Agile-Web-Development-With-Rails-3rd-Edition-2009-752-2048.jpg)
![P ARAMETERS 753 P ESSIMISTIC LOCKING :partial (render), 126, 468, 553, 554 :unprocessable_entity (assert_response), :partial_content (assert_response), 231 231 :password (url_for), 438 :unsupported_media_type :payment_required (assert_response), 231 (assert_response), 231 :popup (link_to), 518 :update (link_to_remote), 571 :port (url_for), 438 :update (render), 468, 600 :position (link_to_remote), 571 :upgrade_required (assert_response), 231 :precondition_failed (assert_response), 231 :url (form_for), 148, 525 :processing (assert_response), 231 :url_based_filename (send_data), 469 :protocol (url_for), 438 :use_proxy (assert_response), 231 :proxy_authentication_required :user (url_for), 438 (assert_response), 231 :xml (render), 187, 468 :readonly (find), 335 Parameters, configuration, 268 :redirect (assert_response), 231 params attribute, 110, 332, 462, 509, 524 :request_entity_too_large Parent table, see Association (assert_response), 231 parent_id column, 355, 390 :request_timeout (assert_response), 231 part method, 620 :request_uri_too_long (assert_response), :partial parameter, 126, 468, 553, 554 231 Partial template, see Template, partial :requested_range_not_satisfiable Partial-page templates, 552 (assert_response), 231 :partial_content parameter, 231 :requirements (connect), 430 Passenger, installation of, 655–656 :reset_content (assert_response), 231 :password parameter, 438 :rows (text_area), 527 password_field method, 527 :scope (acts_as_list), 389 :maxlength parameter, 527 security and, 641–642 :size parameter, 527 :see_other (assert_response), 231 password_field_tag method, 169 :select (Statistics [sum, maximum, etc.] in Passwords, 41, 70, 72, 635 database queries), 339 storing, 159 :select (find), 334 path attribute, 463 :select (has_many), 375 path_without_extension attribute, 463 :service_unavailable (assert_response), path_without_format_and_extension attribute, 231 463 :size (hidden_field), 527 Pattern matching, 675 :size (password_field), 527 Payment.rb, 144 :size (text_field), 527 :payment_required parameter, 231 :skip_relative_url_root (url_for), 438 perform_caching (config), 498, 685 :source (has_many), 374 perform_deliveries (config), 610, 687 :spacer_template (render), 554 Performance :status (render), 468 benchmark, 262 :status (send_data), 469 cache storage, 500 :streaming (send_file), 469 caching child rows, 394 :success (assert_response), 231 caching pages and actions, 496 :switching_protocols (assert_response), 231 counter caching, 395 :template (render), 468 profiling, 252, 262 :temporary_redirect (assert_response), 231 scaling options, 484 :text (render), 466 session storage options, 484 :through (has_many), 182, 374 and single-table inheritance, 382 :trailing_slash (url_for), 438 see also Deployment :type (send_data), 469 Performance testing, 249–253 :type (send_file), 469 Periodic sweeper, 485 :type (send_data), 469 periodically_call_remote, 575 :unauthorized (assert_response), 231 periodically_call_remote method, 575 :unique (has_many), 375 Pessimistic locking, 423](https://image.slidesharecdn.com/pragmatic-agilewebdevelopmentwithrails-3rdedition-2009-091104222637-phpapp01/75/Pragmatic-Agile-Web-Development-With-Rails-3rd-Edition-2009-753-2048.jpg)
![RESPOND _ TO METHOD 757 R UBY respond_to method, 185, 448, 457 connect, 429 Response controller, 440 compression, 488 defaults for url_for, 438 content type, 469 defaults used, 434 data and files, 469 displaying, 428 header, 469 experiment in script/console, 427 HTTP status, 468 :format for content type, 187 see also Render; Request handling generate, 428, 434 response attribute, 464, 509 map specification, 427, 429 REST, 181, 183, 441–458 map.connect, 427 adding actions, 451 named, 438 content types and, 457 named parameters, 429 controller actions for, 444 partial URL, 436 and forms, 525 pattern, 427 generate XML, 181–188 recognize_path, 428 HTTP verbs, 442 resources, 443 nested resources, 452 rooted URLs, 441 routing, 443 setting defaults, 430 scaffolding, 445 testing, 458–460 standard URLS, 443 URL generation, 433 Return value (methods), 670 and url_for, 433 Revealing elements, 136 use_controllers!, 429 rhtml, see Template validate parameters, 430 RJS wildcard parameters, 429 [], 605 with multiple rules, 431 <<, 605 :rows parameter, 527 alert, 606 RSS (autodiscovery), 520 call, 606 Ruby delay, 606 accessors, 671 draggable, 607 advantages of, 15 hide, 604 array, 673 insert_html, 603 begin statement, 676 redirect_to, 606 block, 675 remove, 604 classes, 666, 670 rendering, 468 comments, 668 replace, 603 constants, 668 replace_html, 601, 603 conventions, 15 select, 605 declarations, 670 show, 604 dynamic content, 51 sortable, 602, 607 editors for, 37 template, 600 exception handling, 117, 676 toggle, 604 exceptions, 676 update, 603 extensions to, see Active Support visual_effect, 607 hash, 673 see also Ajax; Template idioms, 677 RJS templates, 132 if statement, 674 robots.txt, 507 inheritance, 670 Rollback, see Transaction see also Single Table Inheritance Rolling log files, 662 instance method, 667, 670 Rooted URL, 441 instance variable, 667, 671 routes.rb, 427 introduction to, 666–679 routes_configuration_file (config), 682 iterator, 675 RouteSet class, 428 marshaling, 677 Routing, 25, 426–438 methods, 668](https://image.slidesharecdn.com/pragmatic-agilewebdevelopmentwithrails-3rdedition-2009-091104222637-phpapp01/75/Pragmatic-Agile-Web-Development-With-Rails-3rd-Edition-2009-757-2048.jpg)
![SQL INJECTION SECURITY 760 T ABLES lock_version column, 355 String extension locking, 422 at, 278 magic column names, 355 chars, 286 parent_id column, 355, 390 each_char, 278 placeholders, 331 ends_with, 278 position column, 355, 388 first, 278 rows, deleting, 346 from, 278 select, 336 humanize, 279 type column, 355 last, 278 update, 343, 345, 397 pluralize, 279 updated_at/updated_on column, 355, singularize, 279 409 starts_with, 278 see also Database titleize, 279 SQL injection security, 637–639 to, 278 SQL Server, 41, 325, see Database String extensions, 278–280 SQL, in migration, 308 Strings (Ruby), 669 SQLite, 325, see Database Struts, 14, 23 SQLite 3, 34, 70 Stubs, 255 SQLite Manager, 75 Stylesheet, 91 SSL, 648 linking into page, 520 ssl? attribute, 463 stylesheet_include_tag method, 520 StaleObjectError exception, 424 stylesheet_link_tag method, 91, 520 Standard deviation, 338 subject method starts_with method, 278 :body parameter, 519 State, of application, 22 Subject (e-mail), 613 StatementInvalid exception, 116n submit_to_remote, 578 Static scaffold, see Scaffold submit_to_remote method, 578 Statistics (sum, maximum, and so on) in Submodules (for controllers), 269 database queries, 338 Subpages, see Layout Statistics (sum, maximum, etc.) in database :success parameter, 231 queries method sum method, 122, 277, 338 :having parameter, 339 Sweeper (caching), 501 Statistics [sum, maximum, etc.] in database Sweeper (session data), 485 queries method :switching_protocols parameter, 231 :conditions parameter, 339 SwitchTower, see Capistrano :distinct parameter, 339 Sybase, 326 :joins parameter, 339 Symbol extension :limit parameter, 339 to_proc, 284 :order parameter, 339 Symbol extensions, 284 :select parameter, 339 Symbols (:name notation), 668 Statistics for code, 191 Synchronicity, 570 stats, 191 :status parameter, 468 T :status parameter, 469 Tab completion, 37n Stephenson, Sam, 20, 563 Table naming, 269, 271, 316 store_full_sti_class (config), 684 table_name_prefix (config), 683 Straight inheritance, 381 table_name_suffix (config), 683 :streaming parameter, 469 Tables String creating, 300 extensions, 279 migrations, 299–304 format with Blue and RedCloth, 517 relationships between, 357–396 formatting, 515, 516 acts_as, 388–392 String column type, 318 associations, extending, 376–377 :string column type, 296 belongs_to, 362–364](https://image.slidesharecdn.com/pragmatic-agilewebdevelopmentwithrails-3rdedition-2009-091104222637-phpapp01/75/Pragmatic-Agile-Web-Development-With-Rails-3rd-Edition-2009-760-2048.jpg)

This document contains important information regarding the Rails version used in the book, which is Rails 2.2.2, and notes potential incompatibilities with future releases. It also provides instructions on determining the Rails version in use and directs readers to a wiki for any necessary code updates. Furthermore, the book covers various aspects of web application development using Rails, including architecture, installation, and practical tasks.