Overview of JSPTechnology Introduction ⚫ It stands for Java Server Pages. ⚫ It is a server side technology. ⚫ It is used for creating web application. ⚫ It is used to create dynamic web content. ⚫ In this JSP tags are used to insert JAVA code into HTML pages. ⚫ It is an advanced version of Servlet Technology. ⚫ It is a Web based technology helps us to create dynamic and platform independent web pages. ⚫ In this, Java code can be inserted in HTML/ XML pages or both. ⚫ JSP is first converted into servlet by JSP container before processing the client’s request.
2.
Advantageous than Servlet: •They are easy to maintain. ⚫ No recompilation or redeployment is required. ⚫ JSP has access to entire API of JAVA . ⚫ JSP are extended version of Servlet. Features of JSP ⚫ Coding in JSP is easy :- As it is just adding JAVA code to HTML/XML. ⚫ Reduction in the length of Code :- In JSP we use action tags, custom tags etc. ⚫ Connection to Database is easier :-It is easier to connect website to database and allows to read or write data easily to the database. ⚫ Make Interactive websites :- In this we can create dynamic web pages which helps user to interact in real time environment. ⚫ Portable, Powerful, flexible and easy to maintain :- as these are browser and server independent.
3.
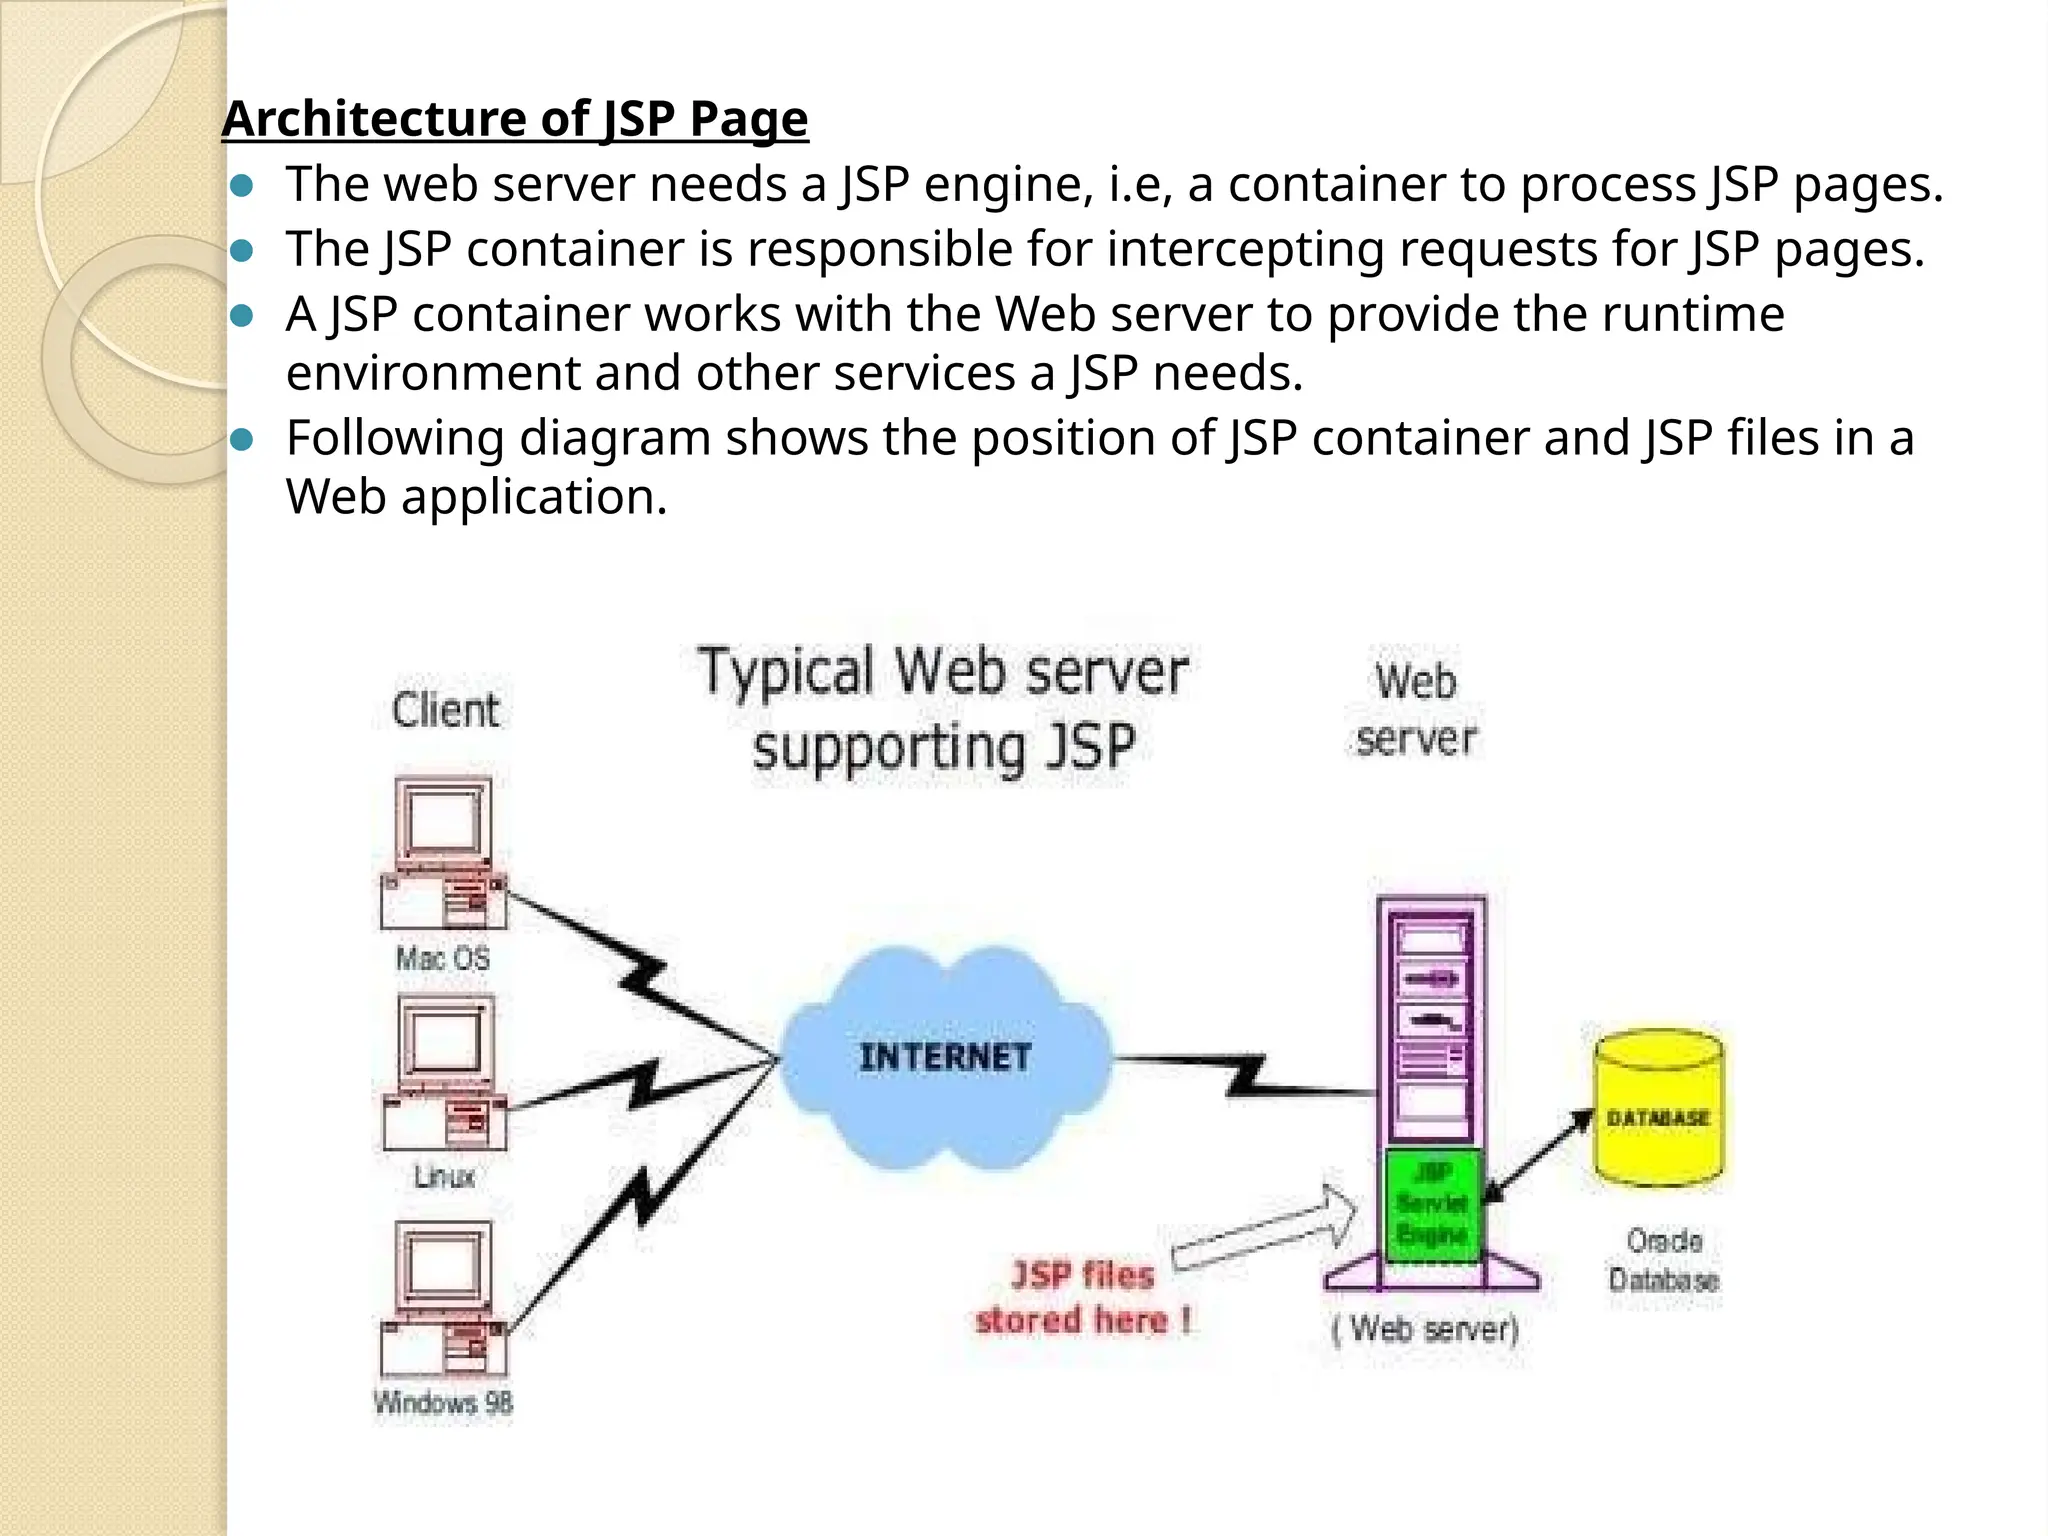
Architecture of JSPPage ⚫ The web server needs a JSP engine, i.e, a container to process JSP pages. ⚫ The JSP container is responsible for intercepting requests for JSP pages. ⚫ A JSP container works with the Web server to provide the runtime environment and other services a JSP needs. ⚫ Following diagram shows the position of JSP container and JSP files in a Web application.
5.
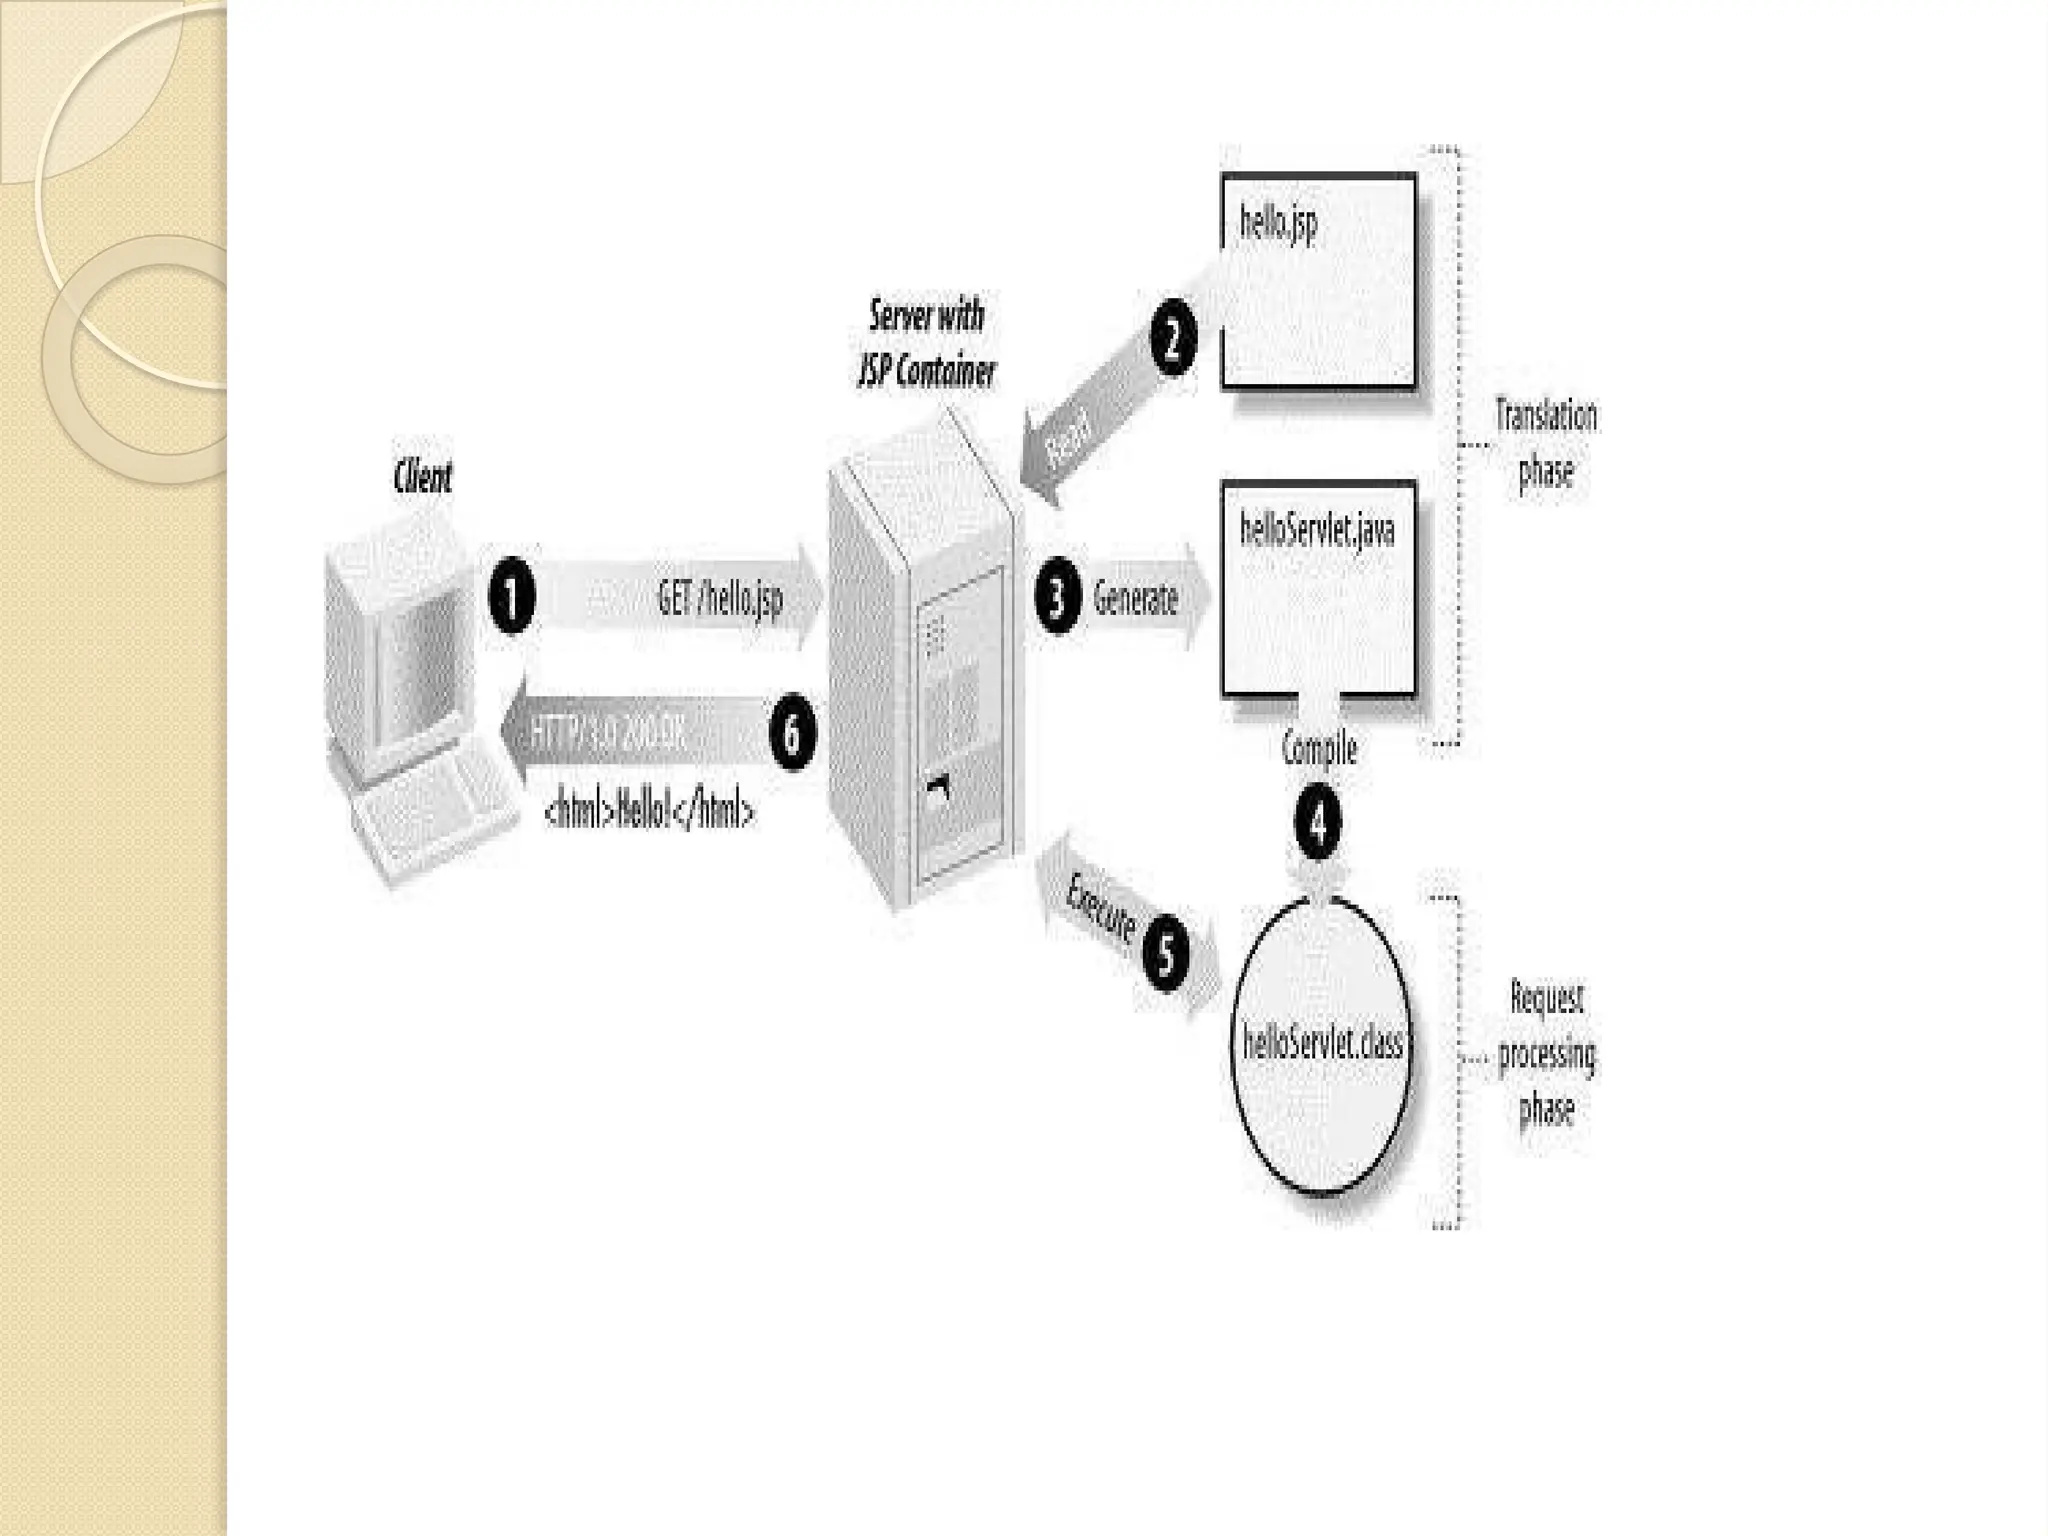
Understanding the JSPPage Lifecycle ⚫The JSP pages follow these phases: ● Compilation ● Initialization ● Execution ● Cleanup ⚫ jspInit(), _jspService() and jspDestroy() are the life cycle methods of JSP.
6.
Compilation ⚫ The compilationprocess involves three steps − ● Parsing the JSP. ● Turning the JSP into a servlet. ● Compiling the servlet. Initialization public void jspInit(){ // Initialization code... } Execution void _jspService(HttpServletRequest request, HttpServletResponse response) { // Service handling code...} Cleanup public void jspDestroy() { // Your cleanup code goes here.}
7.
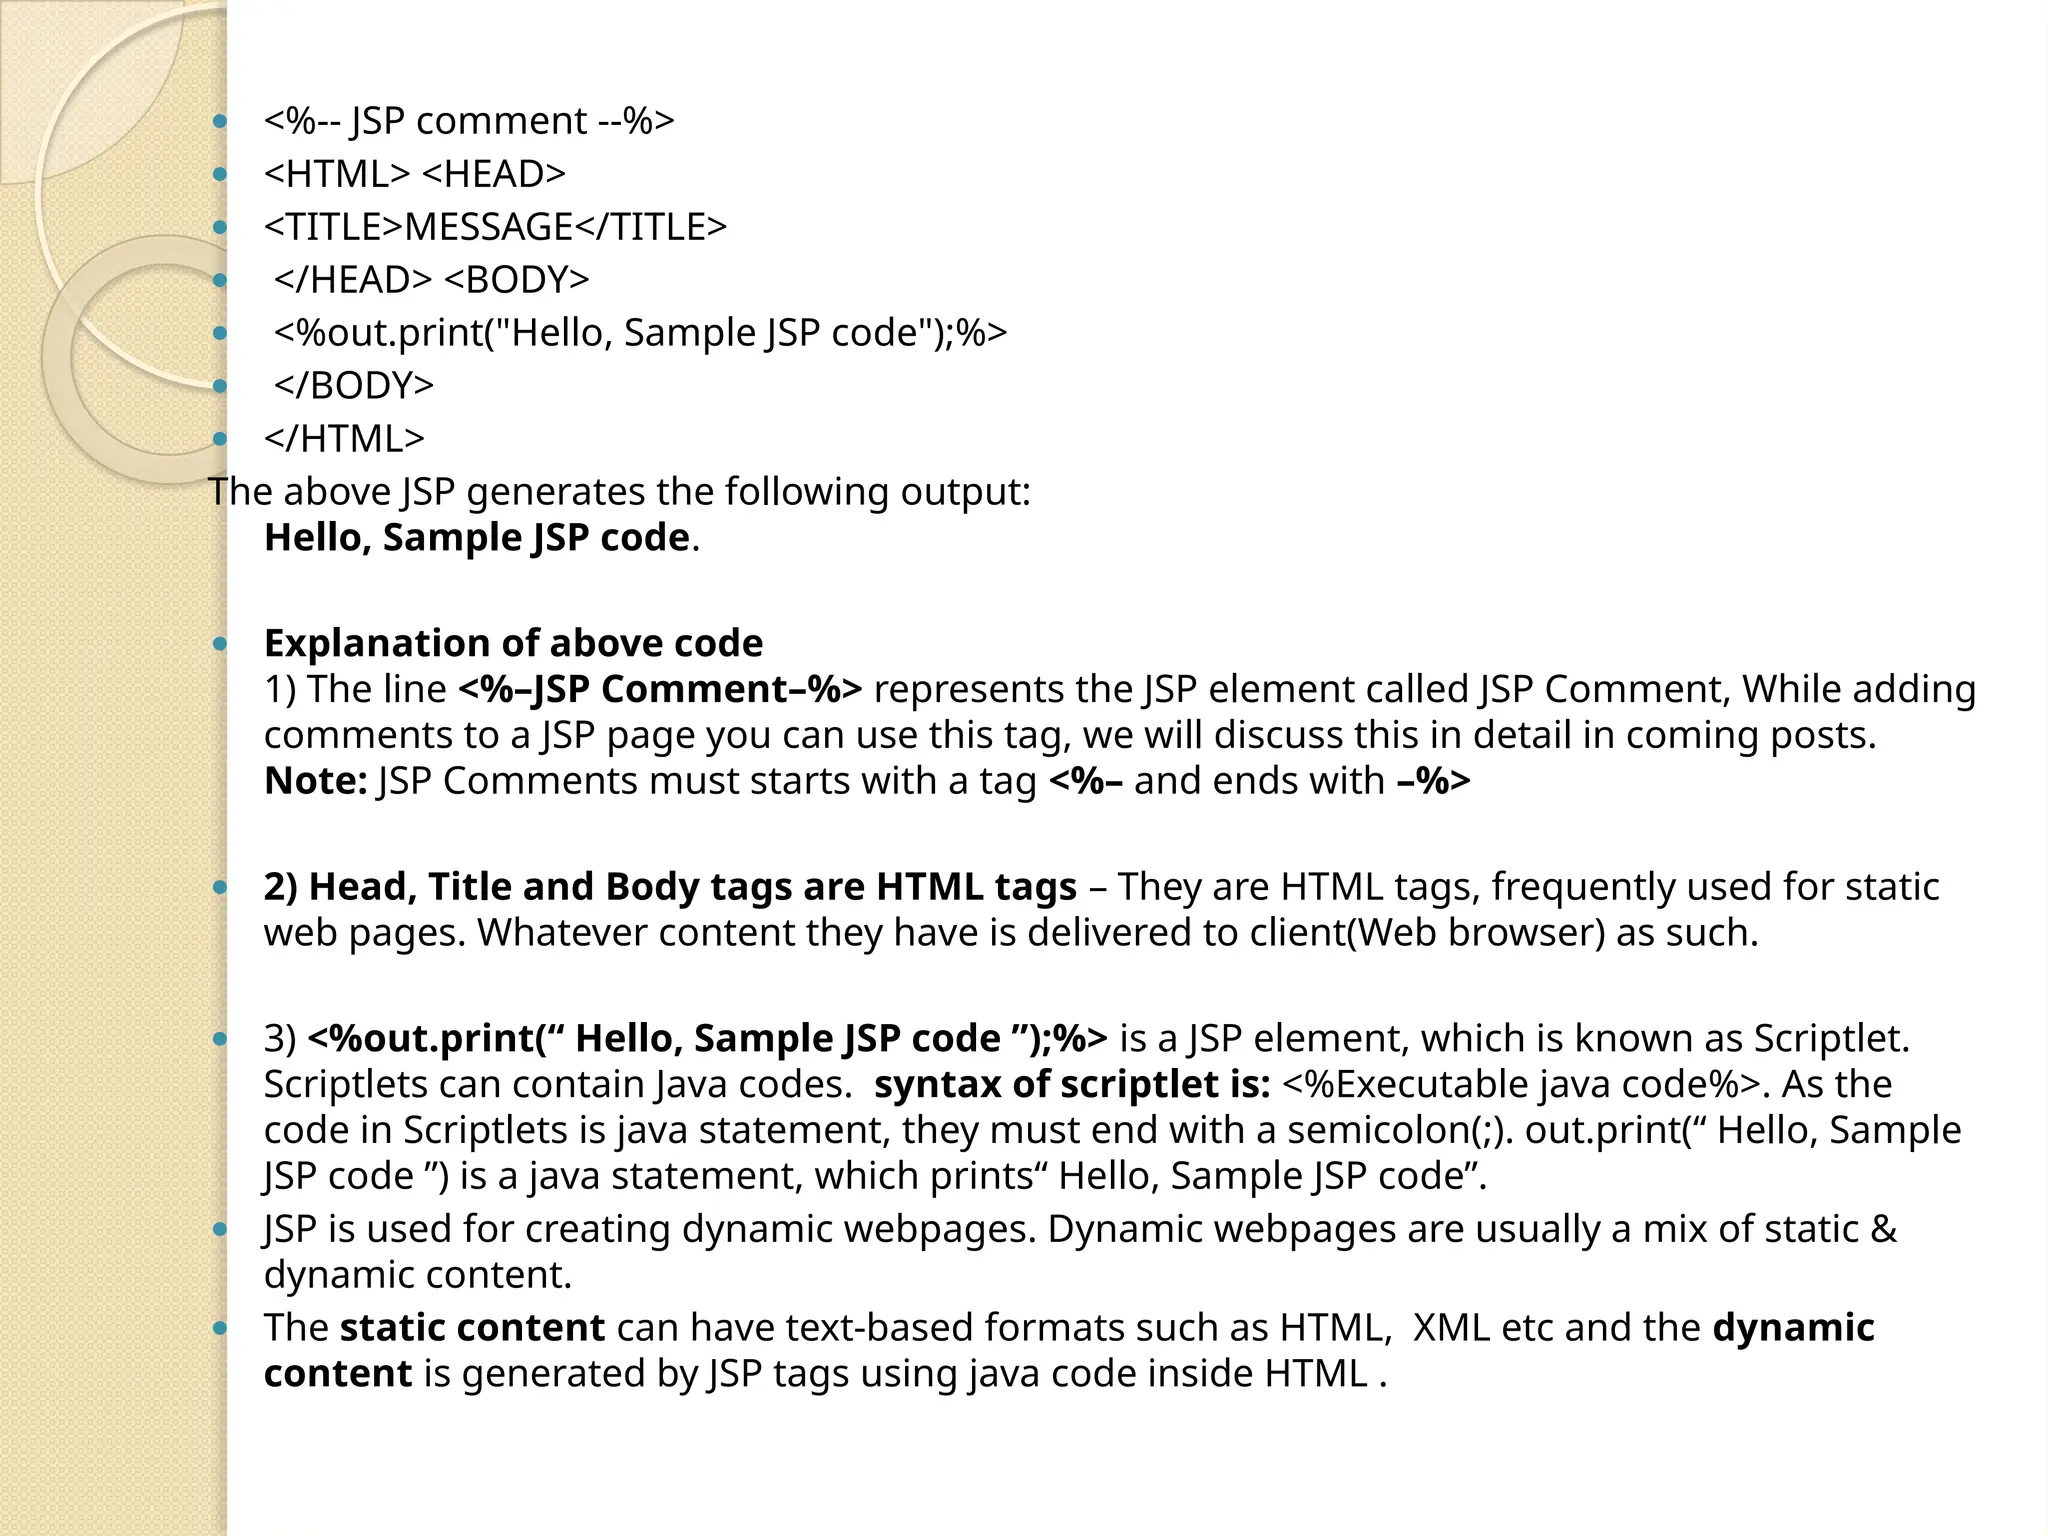
⚫ <%-- JSPcomment --%> ⚫ <HTML> <HEAD> ⚫ <TITLE>MESSAGE</TITLE> ⚫ </HEAD> <BODY> ⚫ <%out.print("Hello, Sample JSP code");%> ⚫ </BODY> ⚫ </HTML> The above JSP generates the following output: Hello, Sample JSP code. ⚫ Explanation of above code 1) The line <%–JSP Comment–%> represents the JSP element called JSP Comment, While adding comments to a JSP page you can use this tag, we will discuss this in detail in coming posts. Note: JSP Comments must starts with a tag <%– and ends with –%> ⚫ 2) Head, Title and Body tags are HTML tags – They are HTML tags, frequently used for static web pages. Whatever content they have is delivered to client(Web browser) as such. ⚫ 3) <%out.print(“ Hello, Sample JSP code ”);%> is a JSP element, which is known as Scriptlet. Scriptlets can contain Java codes. syntax of scriptlet is: <%Executable java code%>. As the code in Scriptlets is java statement, they must end with a semicolon(;). out.print(“ Hello, Sample JSP code ”) is a java statement, which prints“ Hello, Sample JSP code”. ⚫ JSP is used for creating dynamic webpages. Dynamic webpages are usually a mix of static & dynamic content. ⚫ The static content can have text-based formats such as HTML, XML etc and the dynamic content is generated by JSP tags using java code inside HTML .
8.
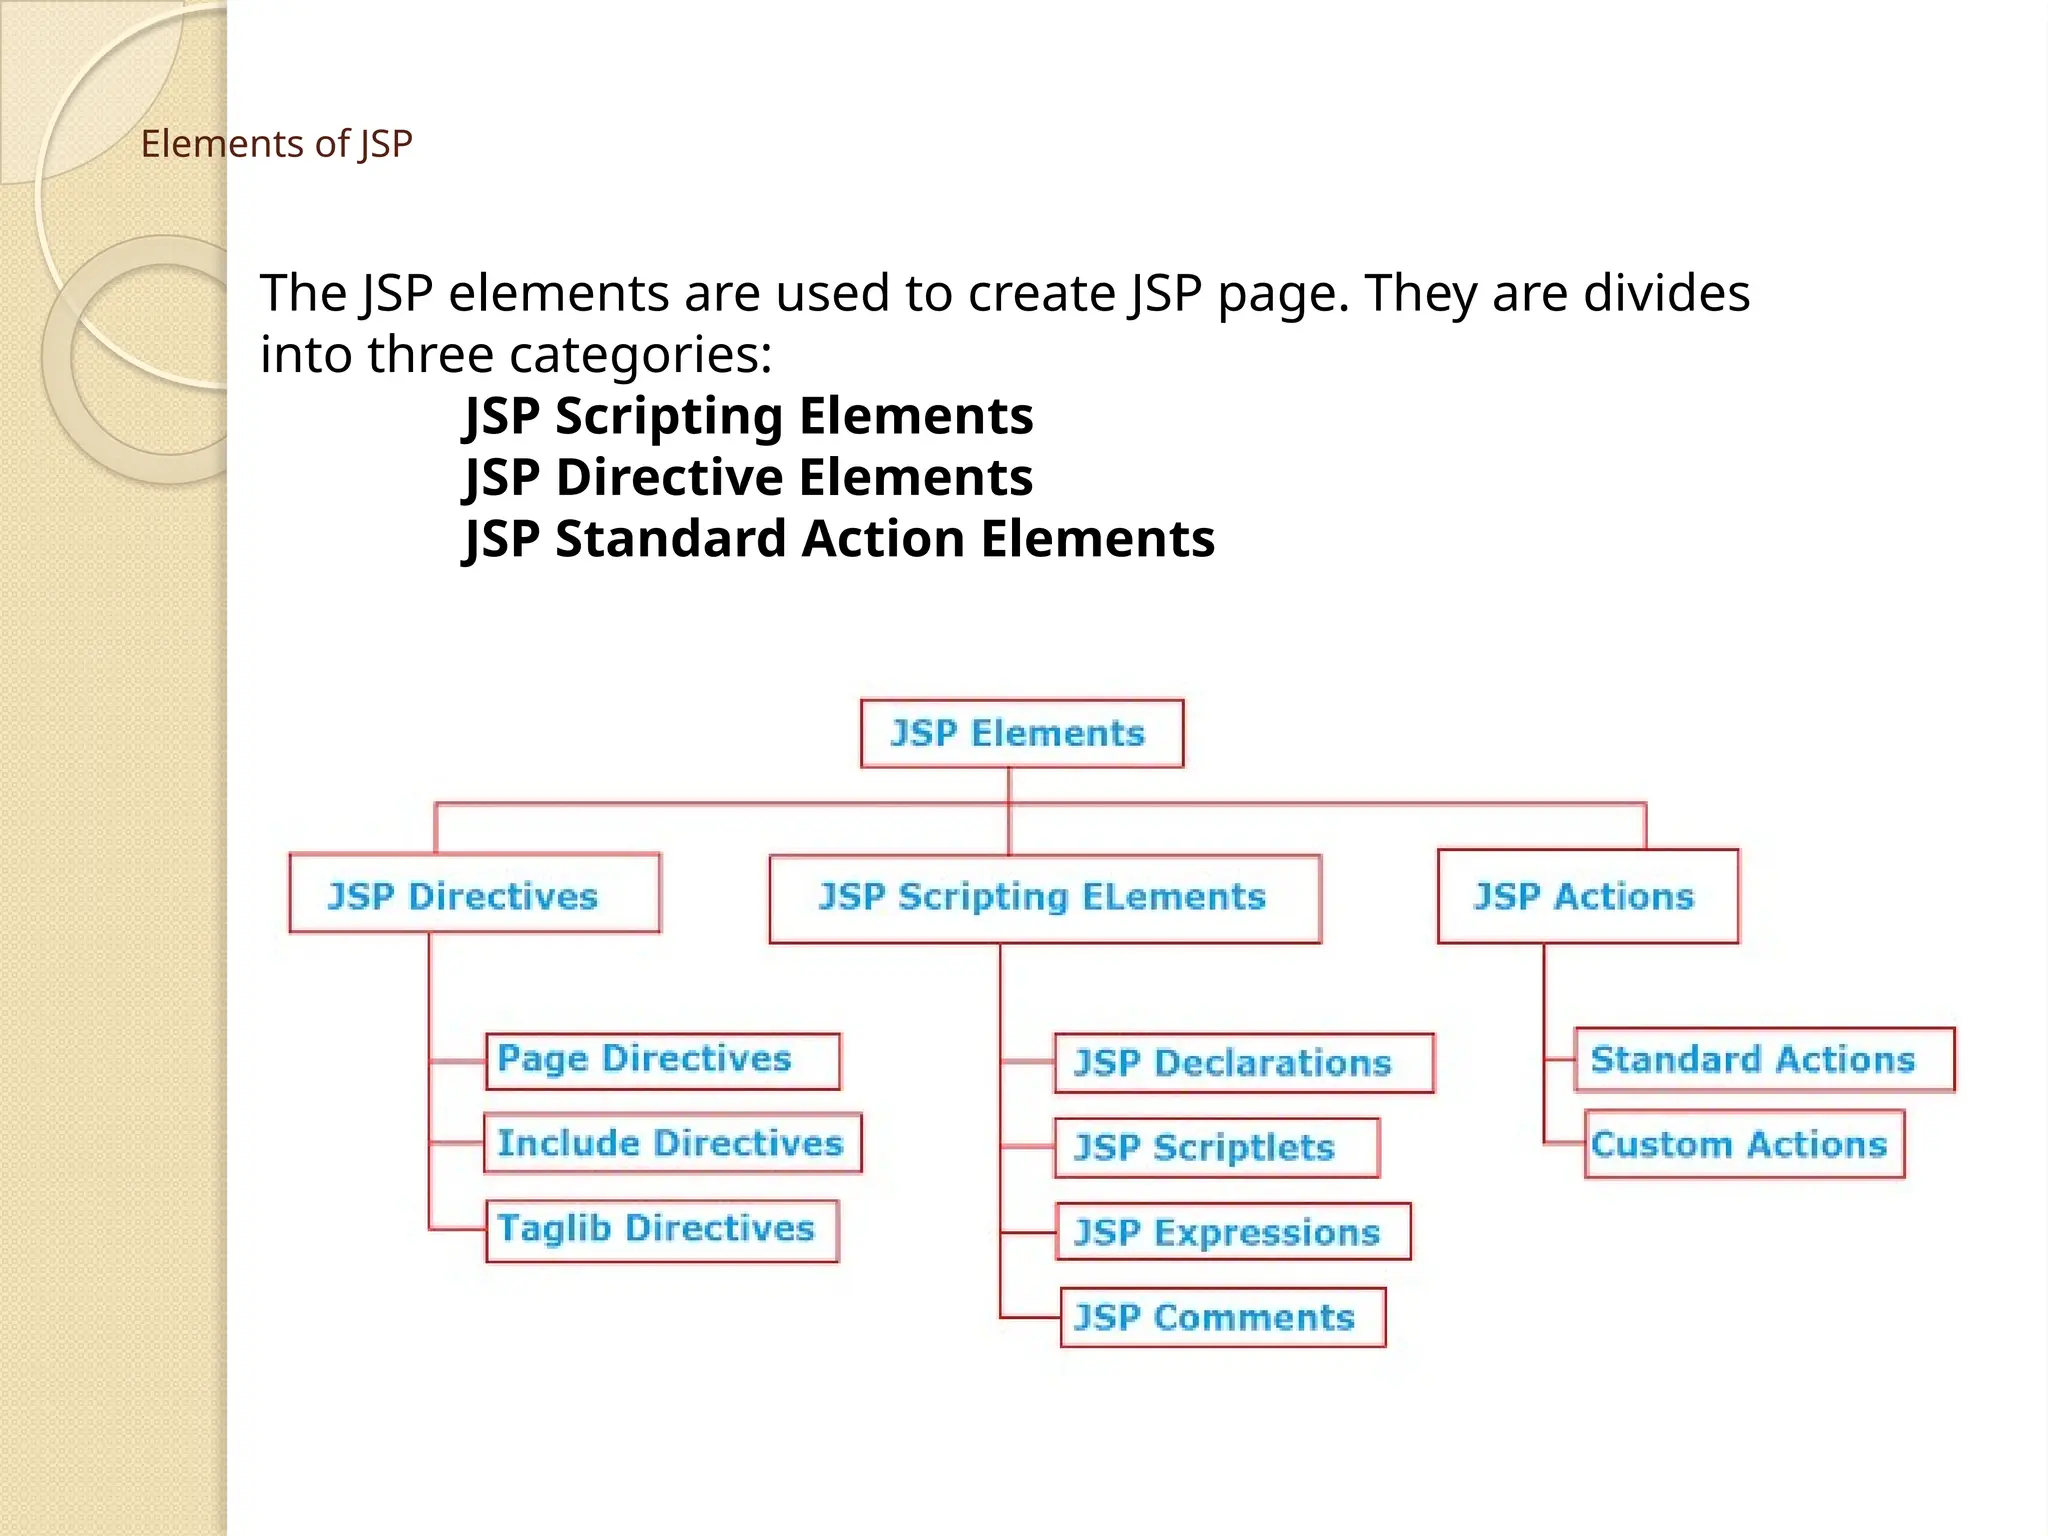
Elements of JSP TheJSP elements are used to create JSP page. They are divides into three categories: JSP Scripting Elements JSP Directive Elements JSP Standard Action Elements
9.
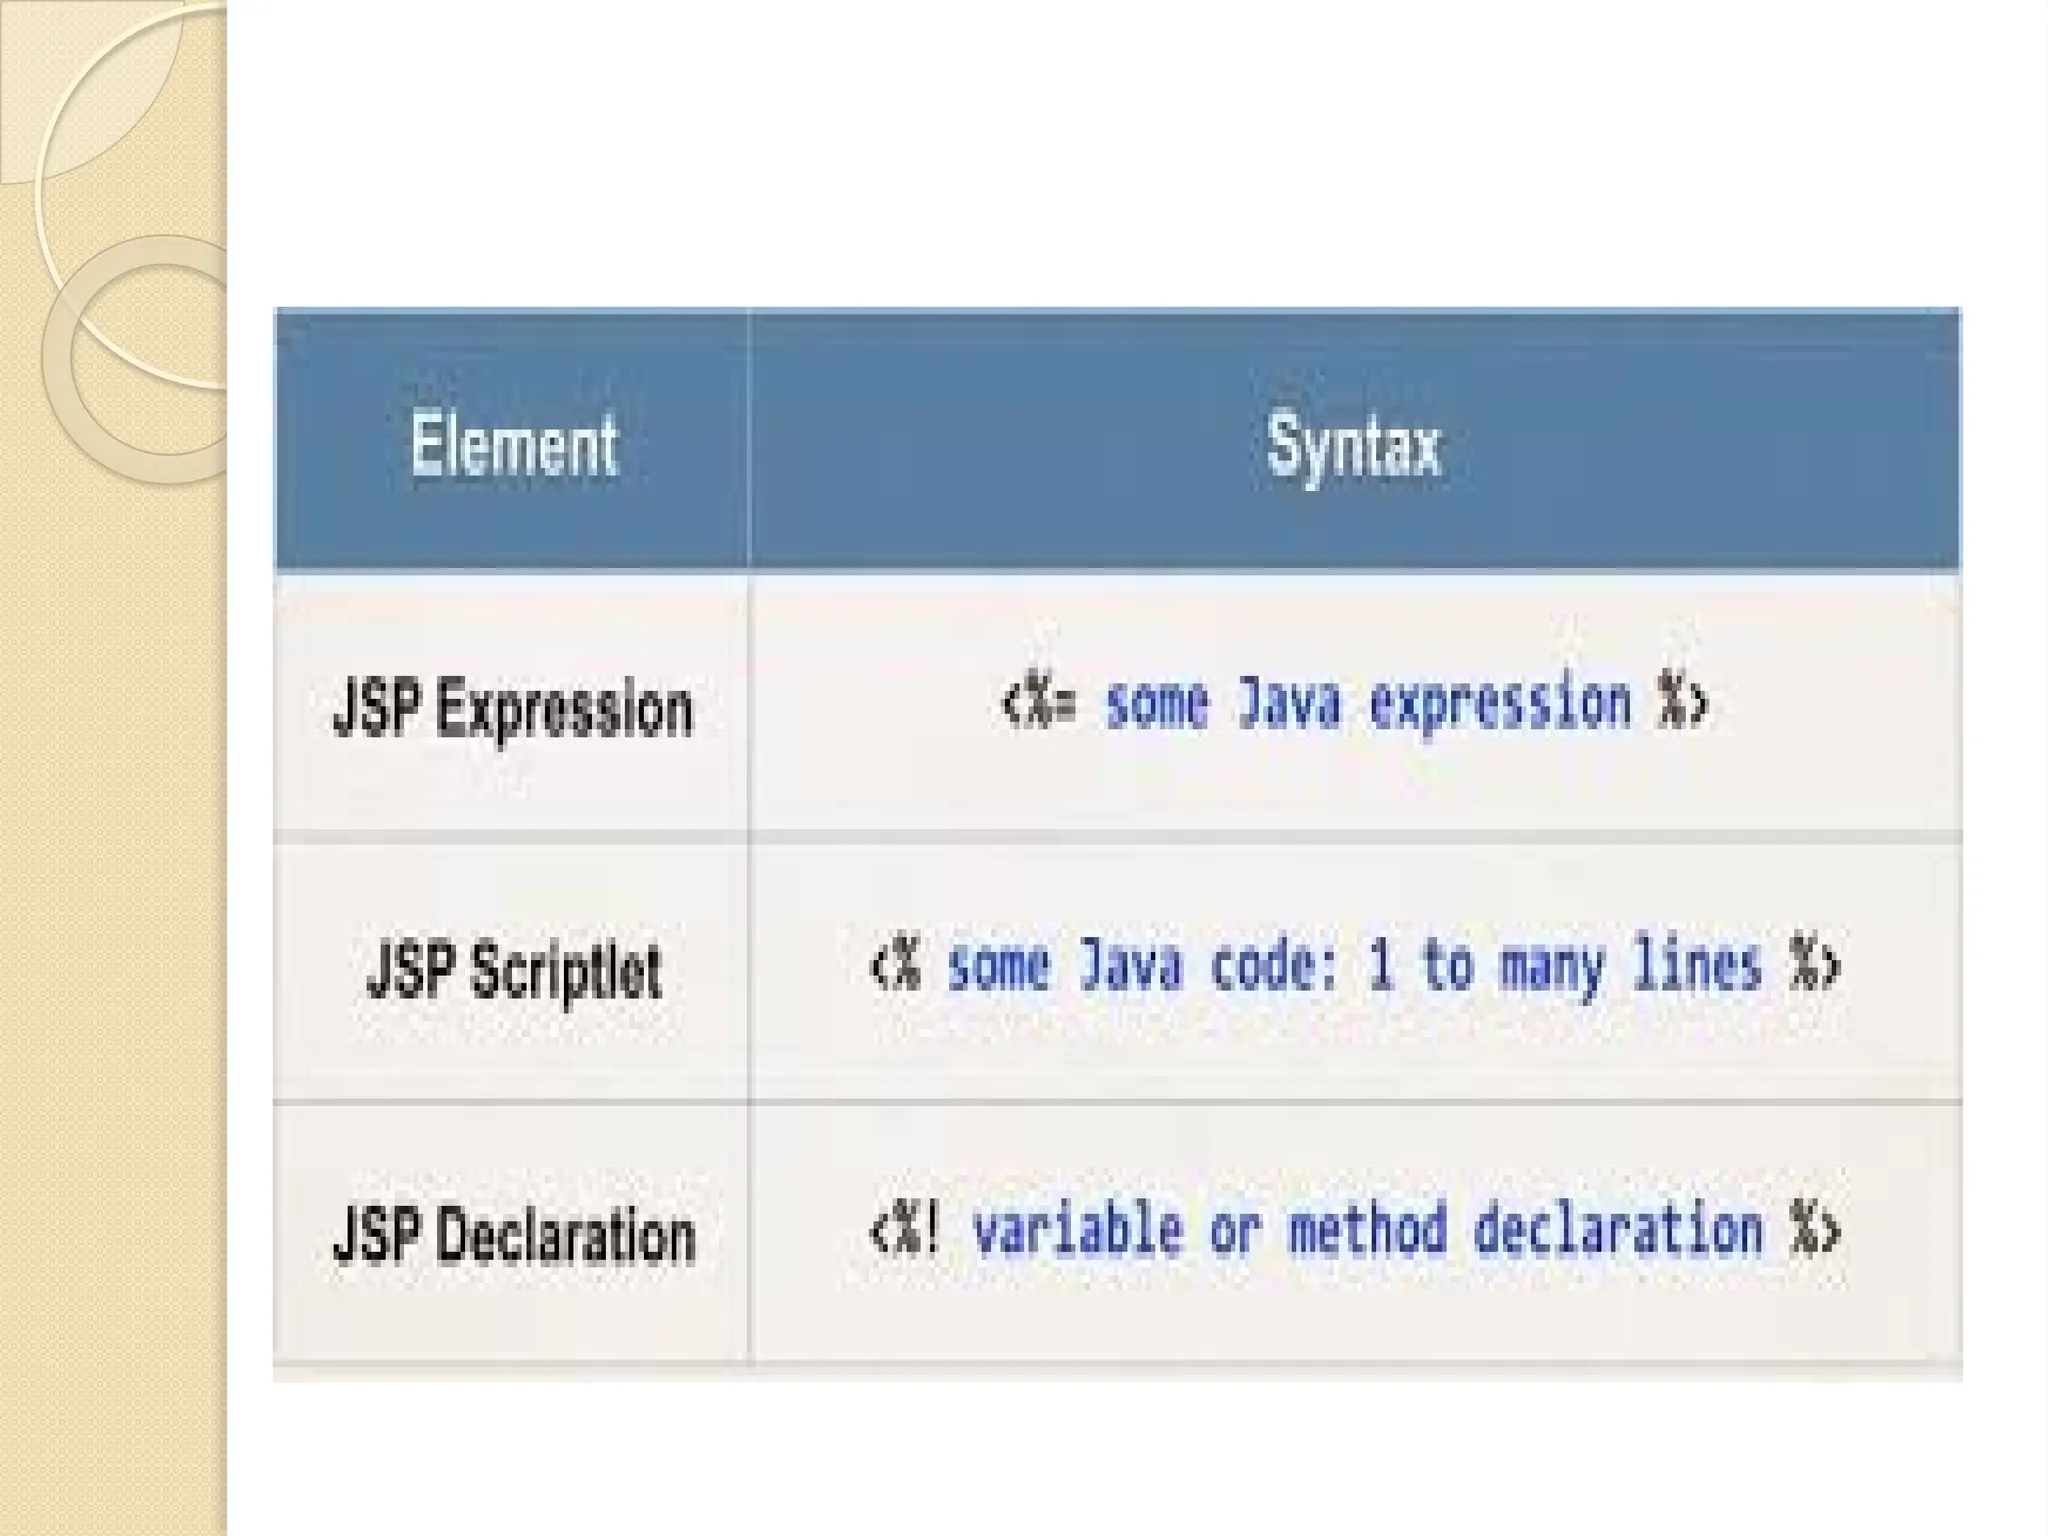
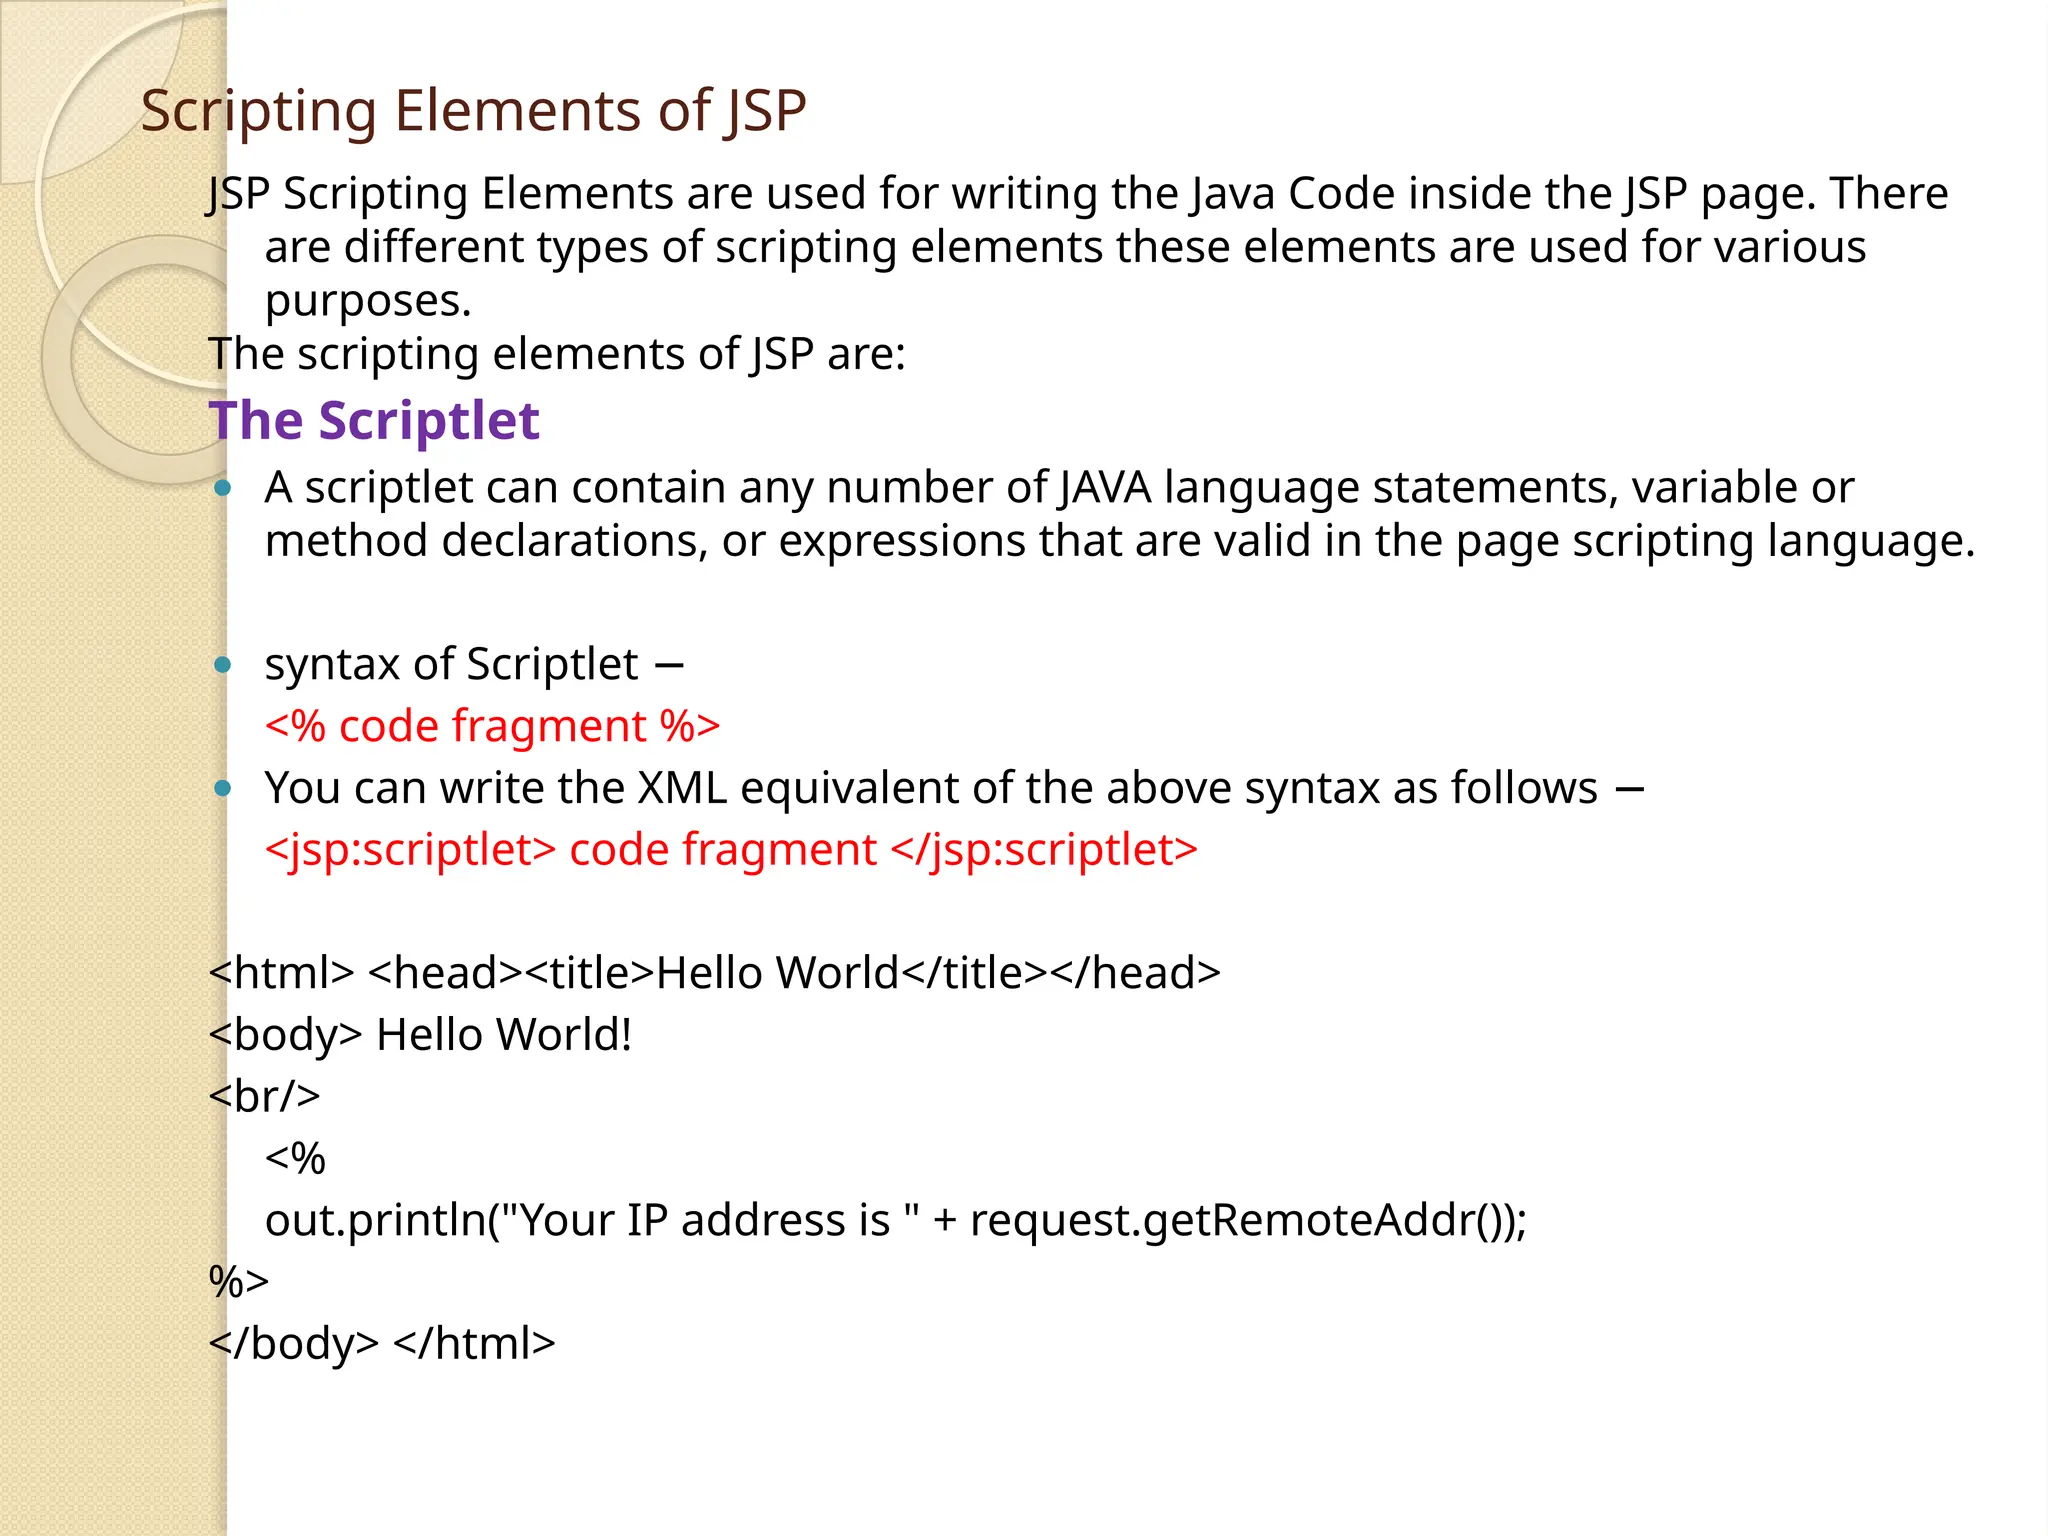
Scripting Elements ofJSP JSP Scripting Elements are used for writing the Java Code inside the JSP page. There are different types of scripting elements these elements are used for various purposes. The scripting elements of JSP are: The Scriptlet ⚫ A scriptlet can contain any number of JAVA language statements, variable or method declarations, or expressions that are valid in the page scripting language. ⚫ syntax of Scriptlet − <% code fragment %> ⚫ You can write the XML equivalent of the above syntax as follows − <jsp:scriptlet> code fragment </jsp:scriptlet> <html> <head><title>Hello World</title></head> <body> Hello World! <br/> <% out.println("Your IP address is " + request.getRemoteAddr()); %> </body> </html>
10.
JSP Declarations ⚫ Adeclaration declares one or more variables or methods that you can use in Java code later in the JSP file. ⚫ You must declare the variable or method before you use it in the JSP file. ⚫ syntax for JSP Declarations − <%! declaration; [ declaration; ]+ ... %> You can write the XML equivalent of the above syntax as follows − <jsp:declaration> code fragment </jsp:declaration> example for JSP Declarations − ⚫ <%! int i = 0; %> ⚫ <%! int a, b, c; %> ⚫ <%! Circle a = new Circle(2.0); %>
11.
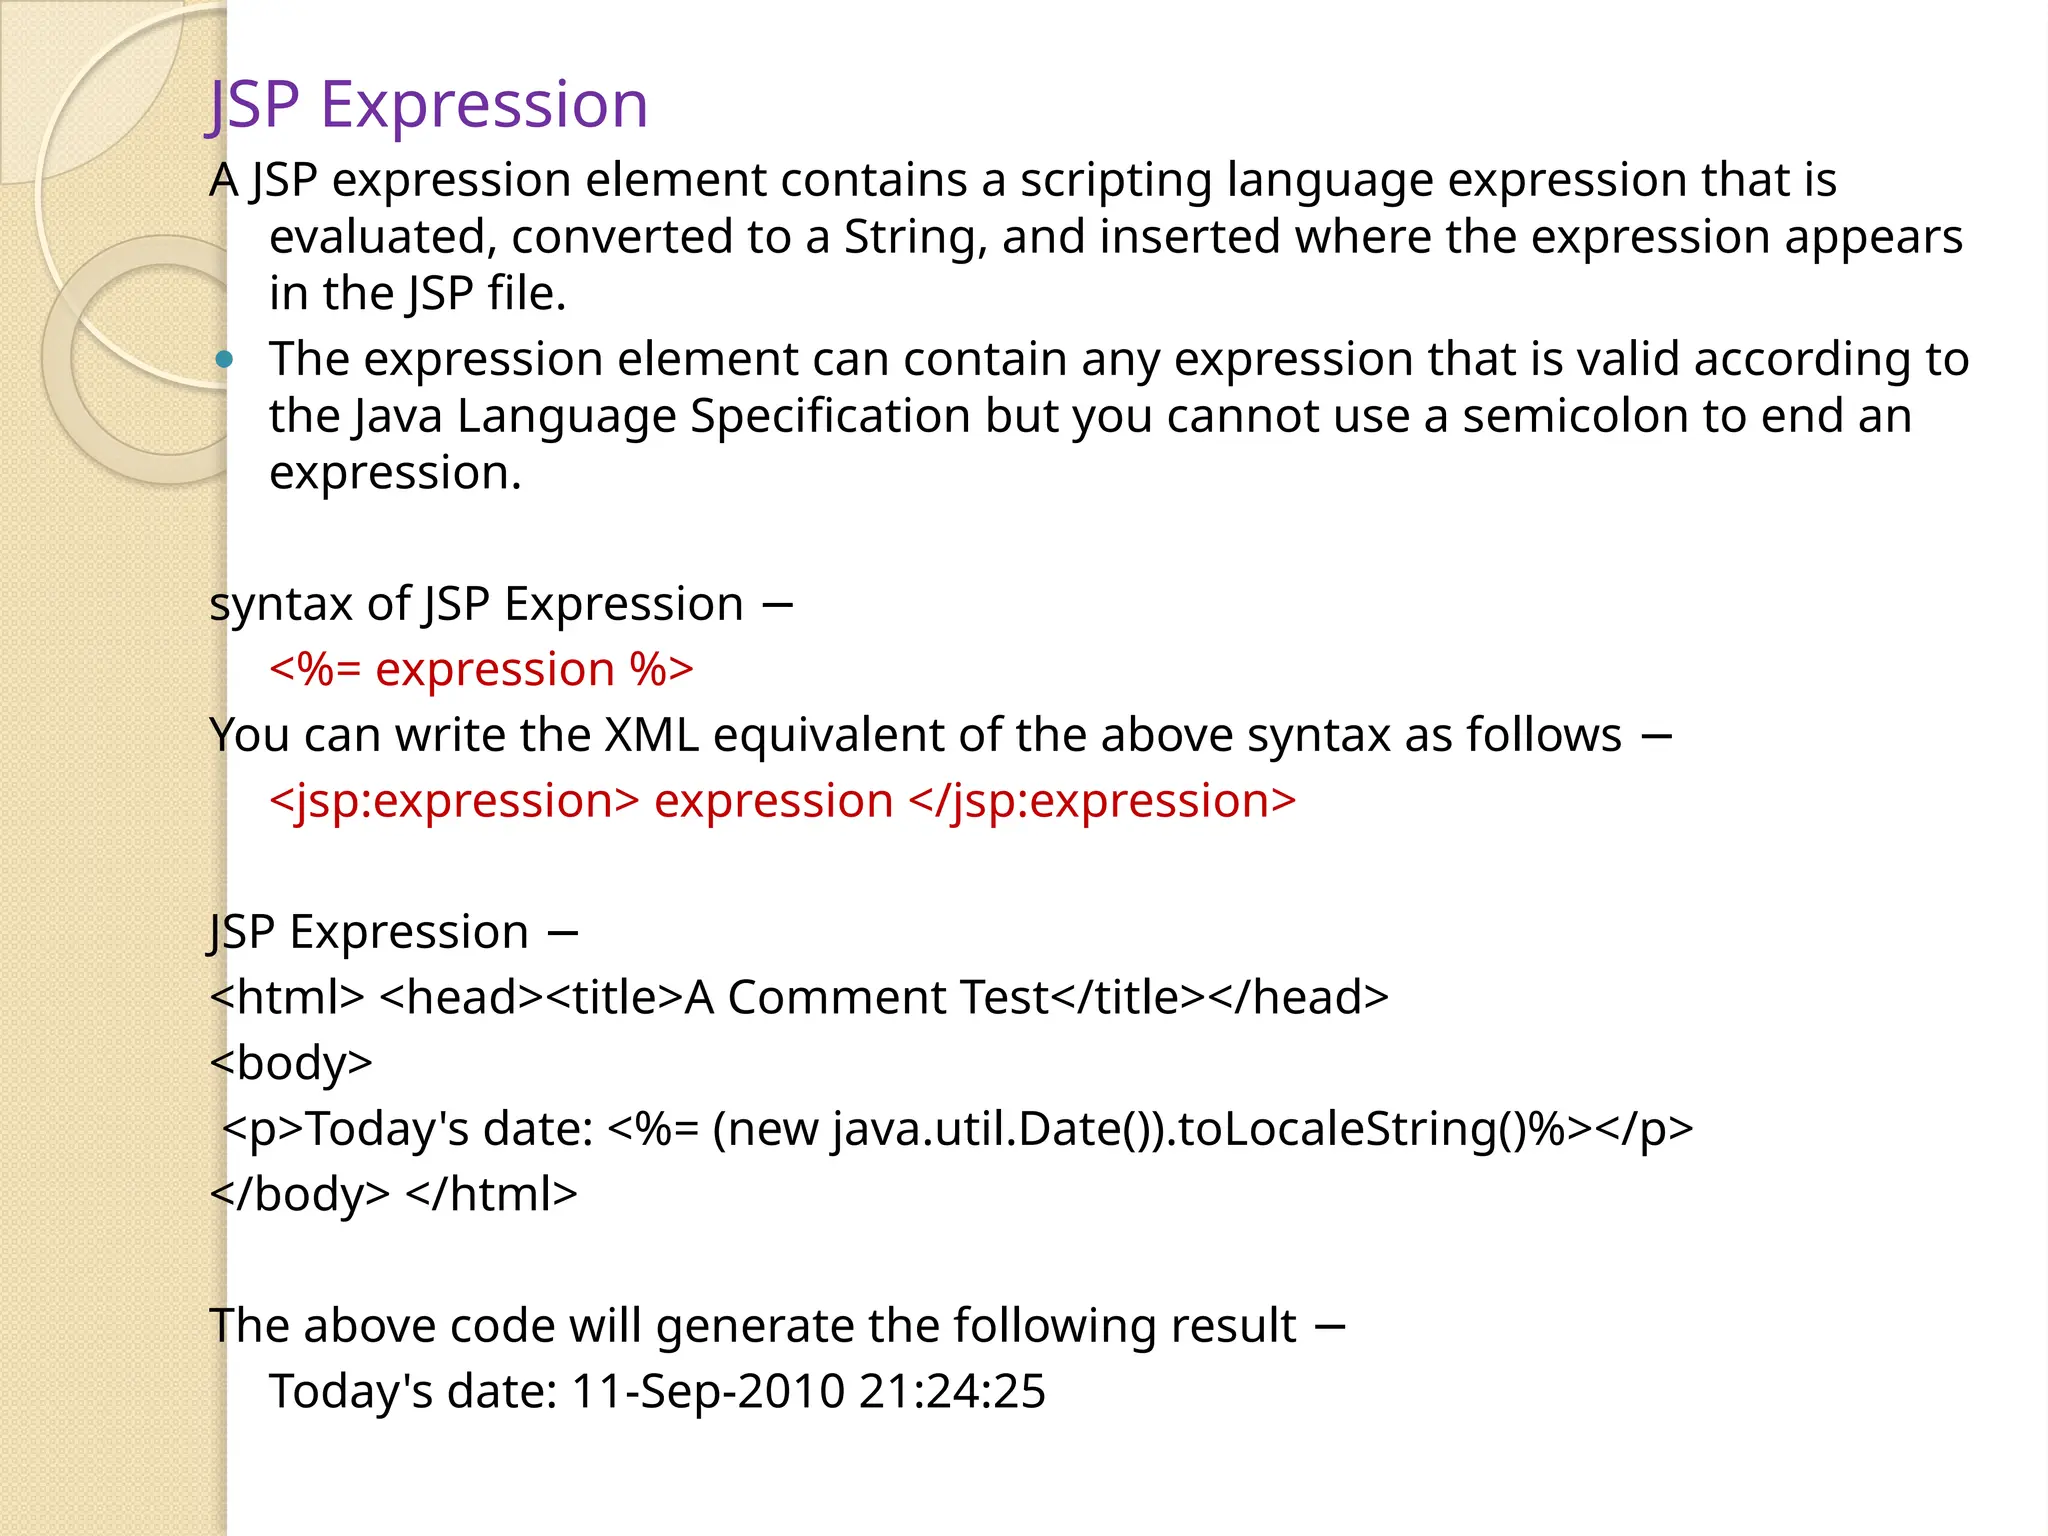
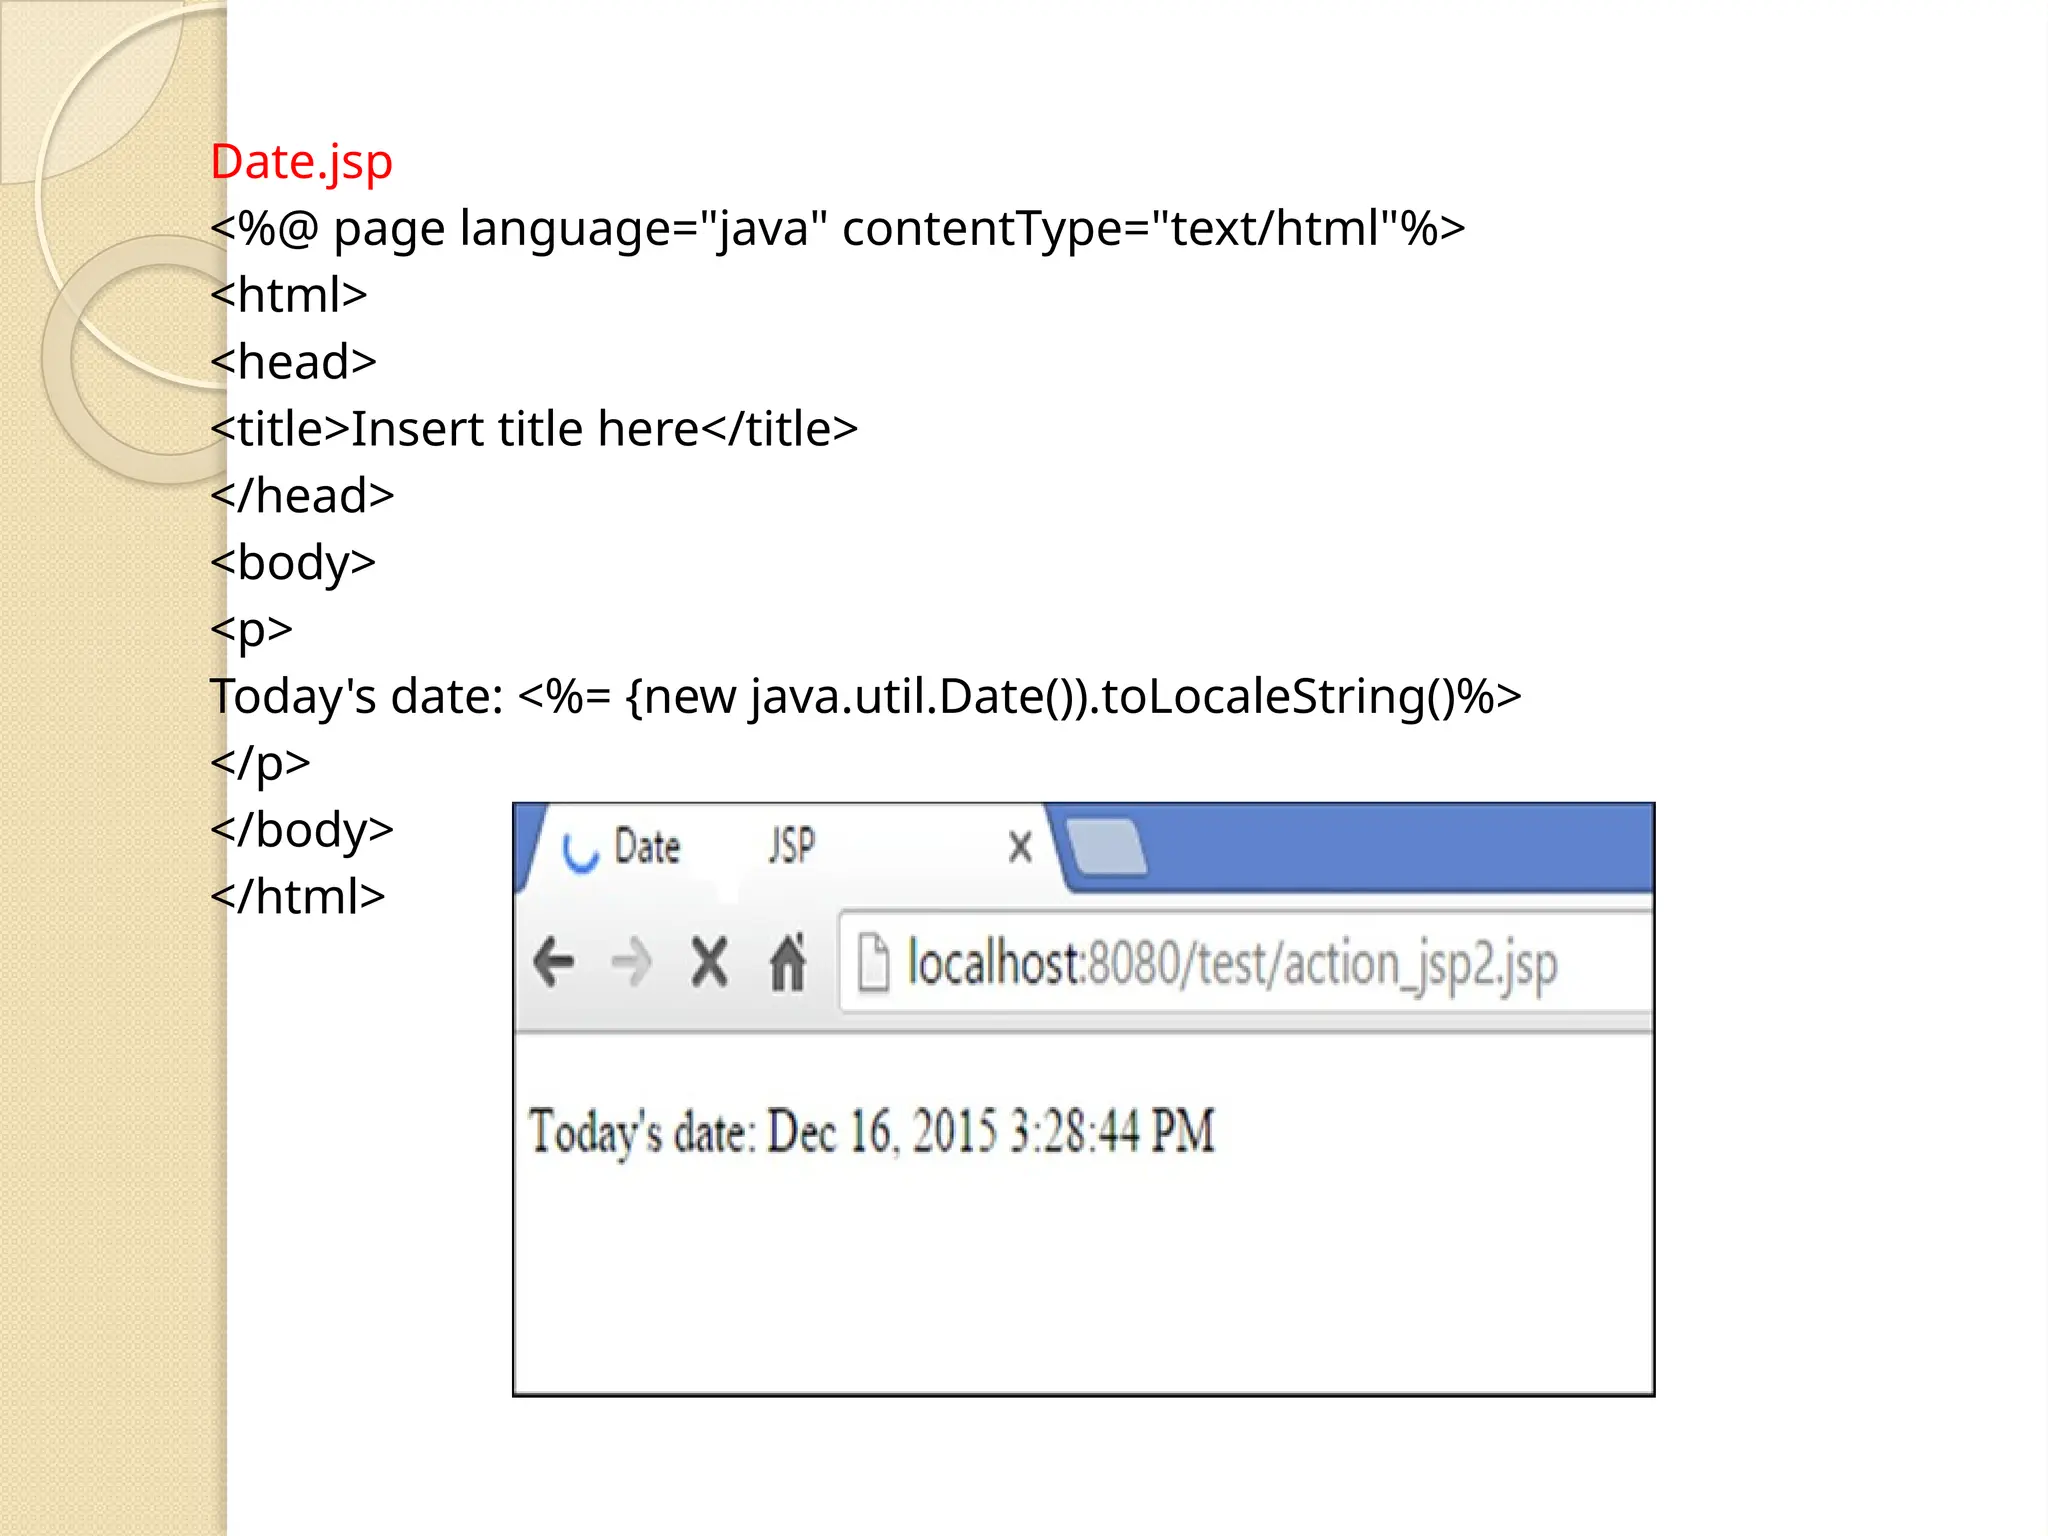
JSP Expression A JSPexpression element contains a scripting language expression that is evaluated, converted to a String, and inserted where the expression appears in the JSP file. ⚫ The expression element can contain any expression that is valid according to the Java Language Specification but you cannot use a semicolon to end an expression. syntax of JSP Expression − <%= expression %> You can write the XML equivalent of the above syntax as follows − <jsp:expression> expression </jsp:expression> JSP Expression − <html> <head><title>A Comment Test</title></head> <body> <p>Today's date: <%= (new java.util.Date()).toLocaleString()%></p> </body> </html> The above code will generate the following result − Today's date: 11-Sep-2010 21:24:25
12.
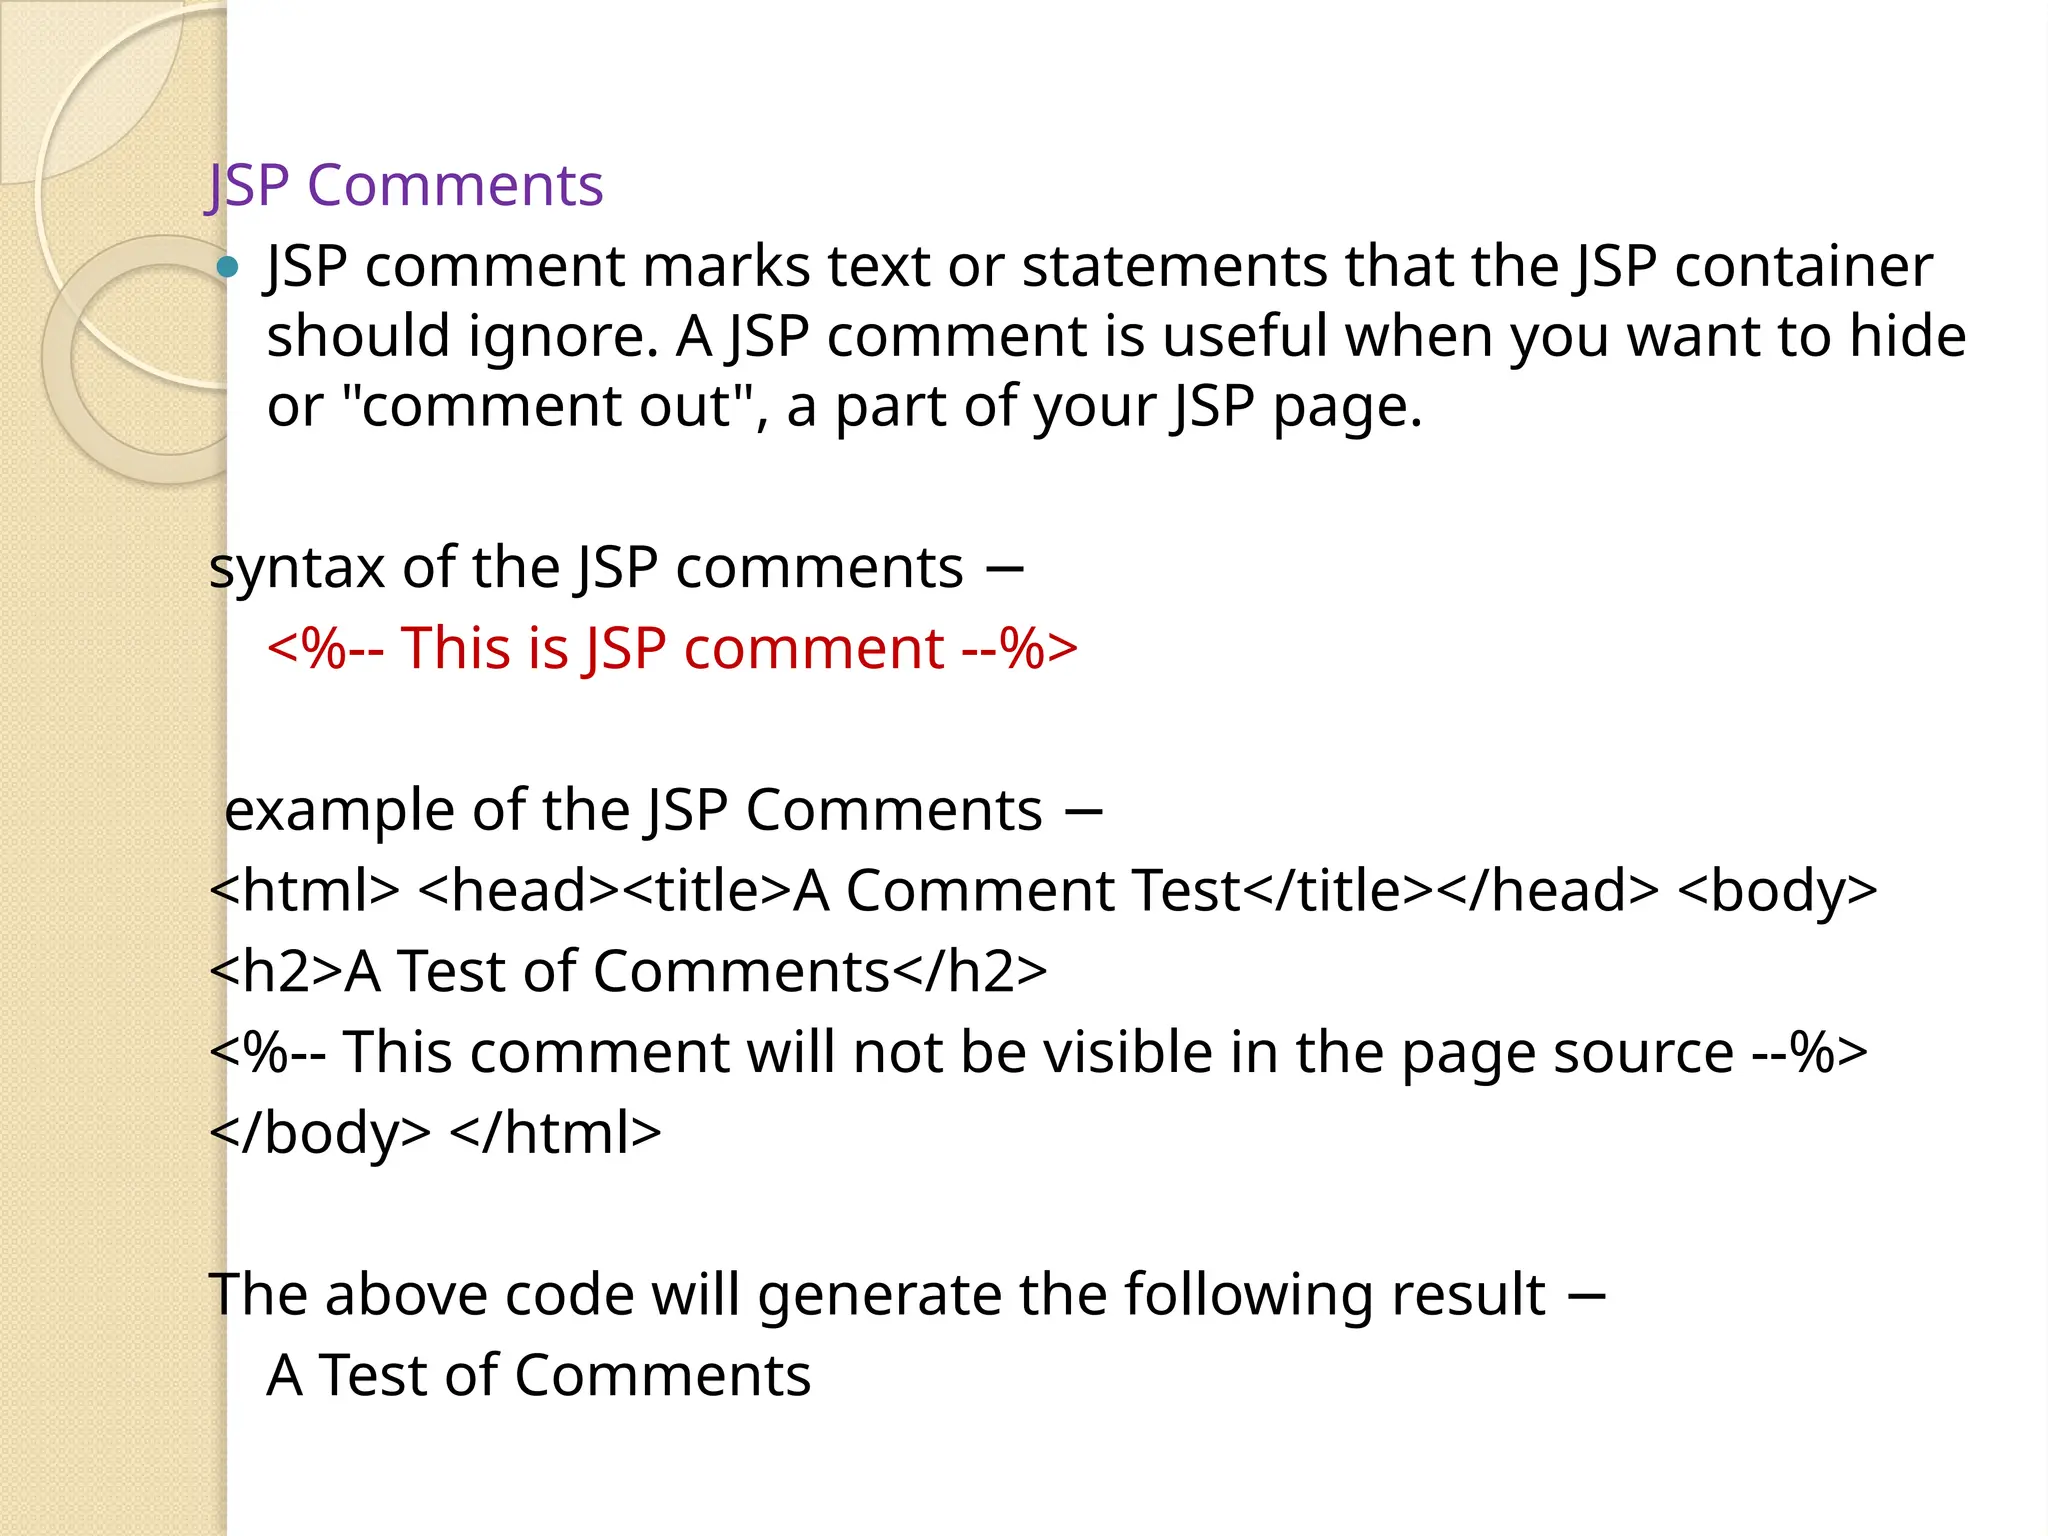
JSP Comments ⚫ JSPcomment marks text or statements that the JSP container should ignore. A JSP comment is useful when you want to hide or "comment out", a part of your JSP page. syntax of the JSP comments − <%-- This is JSP comment --%> example of the JSP Comments − <html> <head><title>A Comment Test</title></head> <body> <h2>A Test of Comments</h2> <%-- This comment will not be visible in the page source --%> </body> </html> The above code will generate the following result − A Test of Comments
14.
JSP directives ⚫ JSPdirectives are the messages to JSP container. They provide global information about an entire JSP page. ⚫ JSP directives are used to give special instruction to a container for translation of JSP to servlet code. ⚫ In JSP, directive is described in <%@ %> tags. Syntax of Directive: <%@ directive attribute=“value" %> There are three types of directives: ⚫ Page directive ⚫ Include directive ⚫ Taglib directive
15.
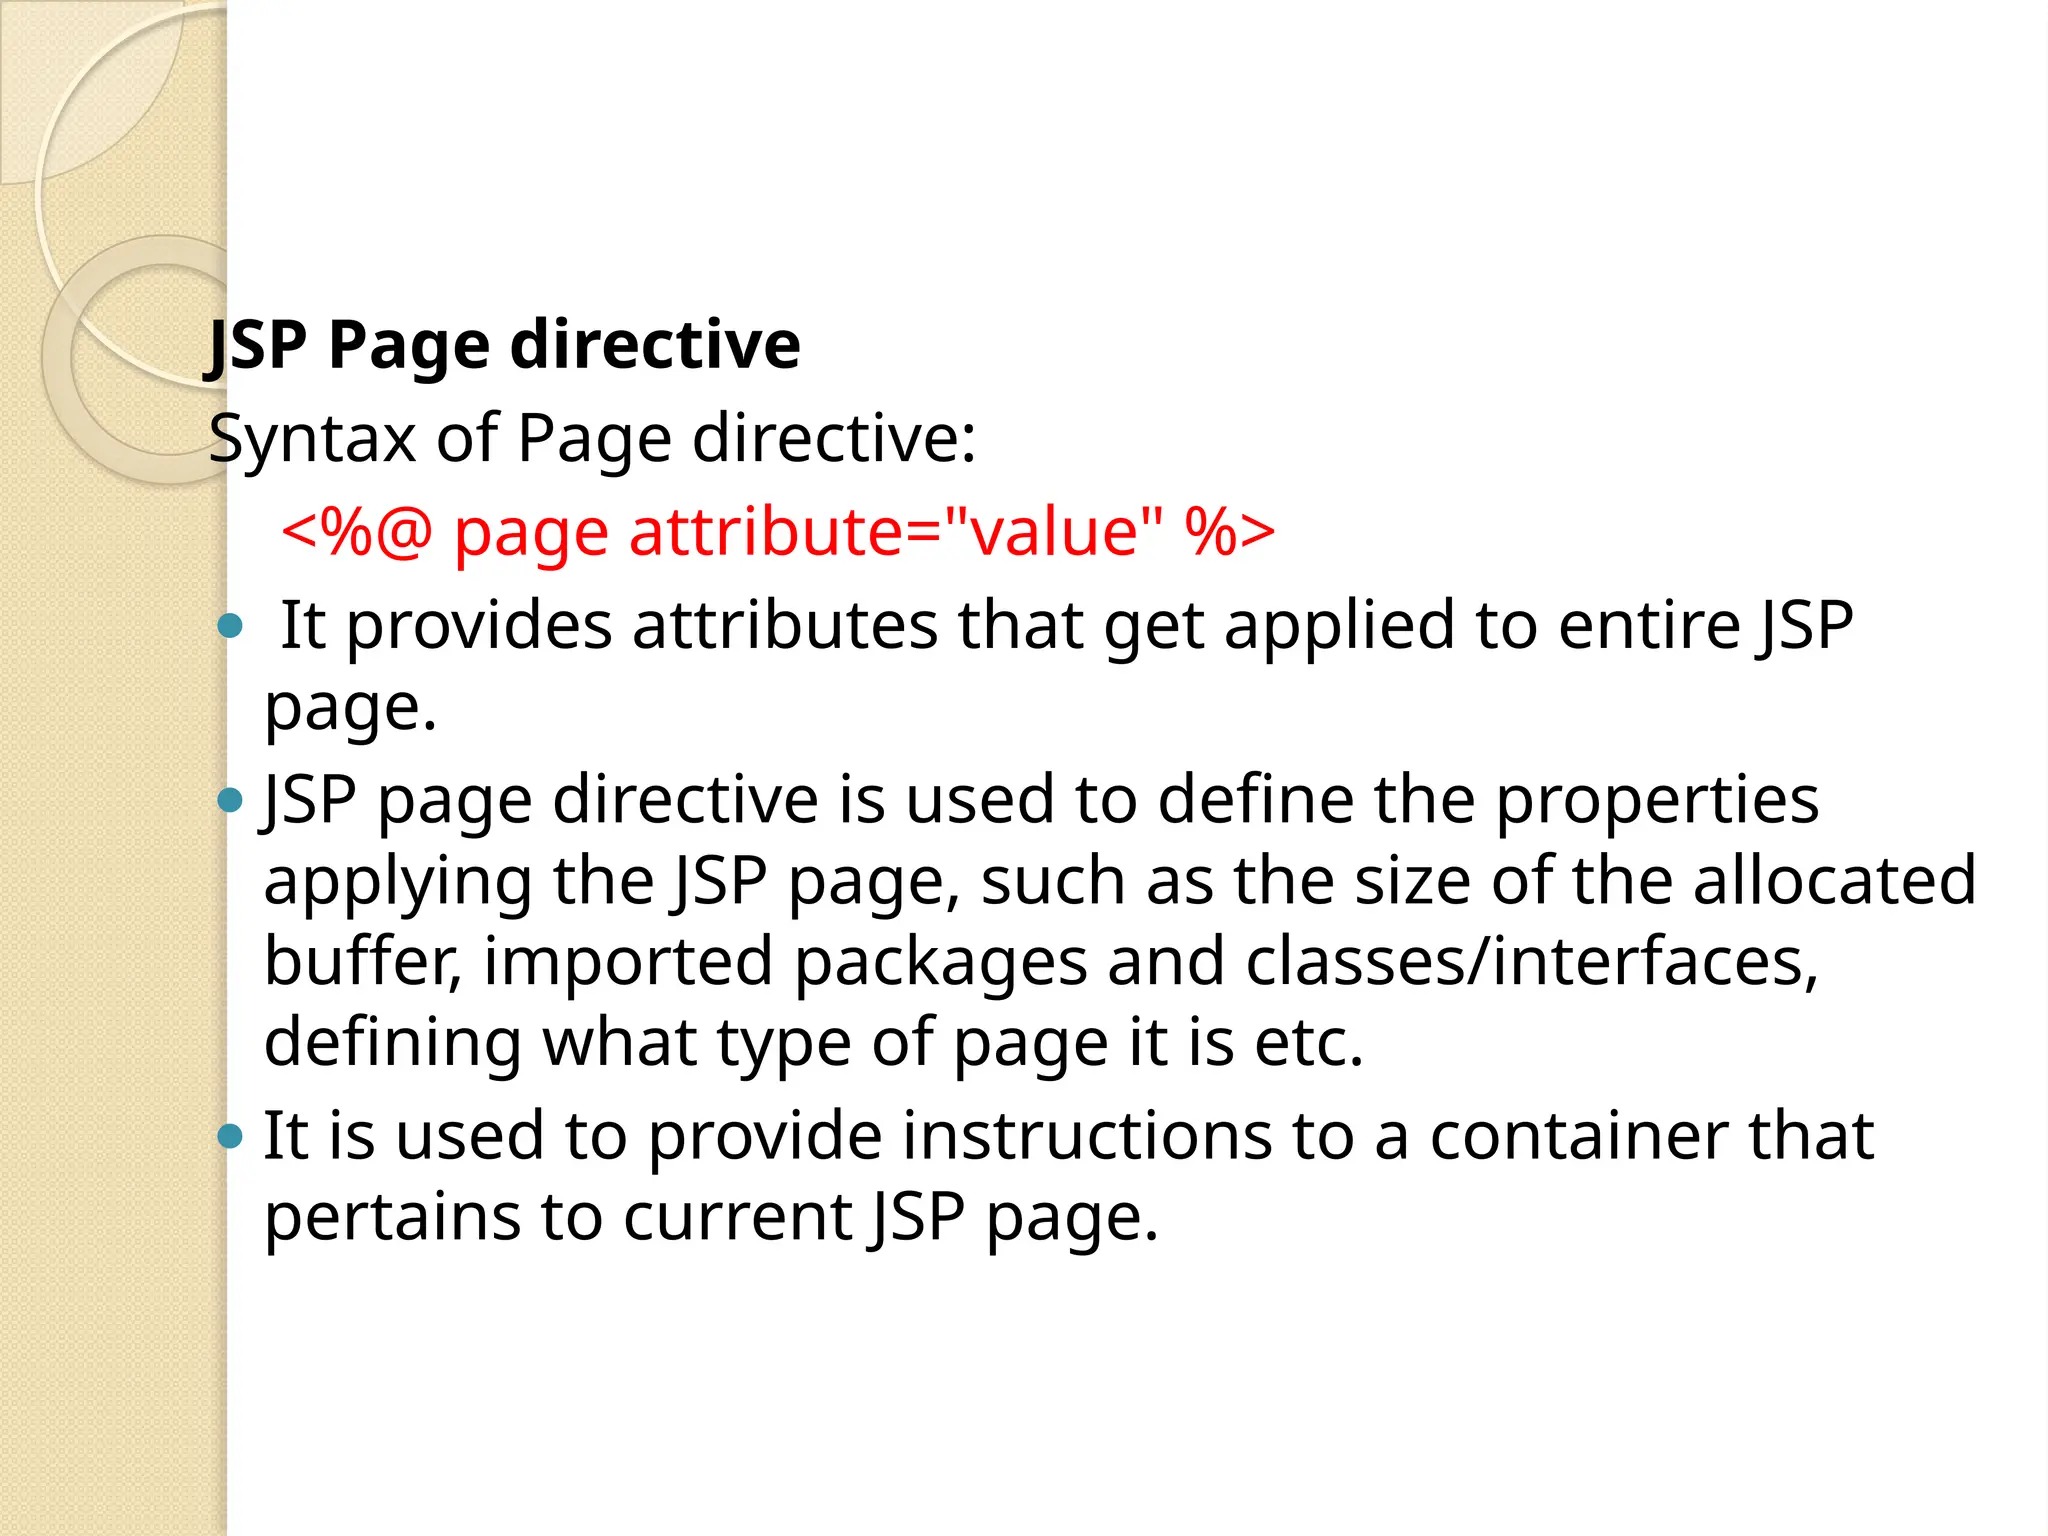
JSP Page directive Syntaxof Page directive: <%@ page attribute="value" %> ⚫ It provides attributes that get applied to entire JSP page. ⚫ JSP page directive is used to define the properties applying the JSP page, such as the size of the allocated buffer, imported packages and classes/interfaces, defining what type of page it is etc. ⚫ It is used to provide instructions to a container that pertains to current JSP page.
16.
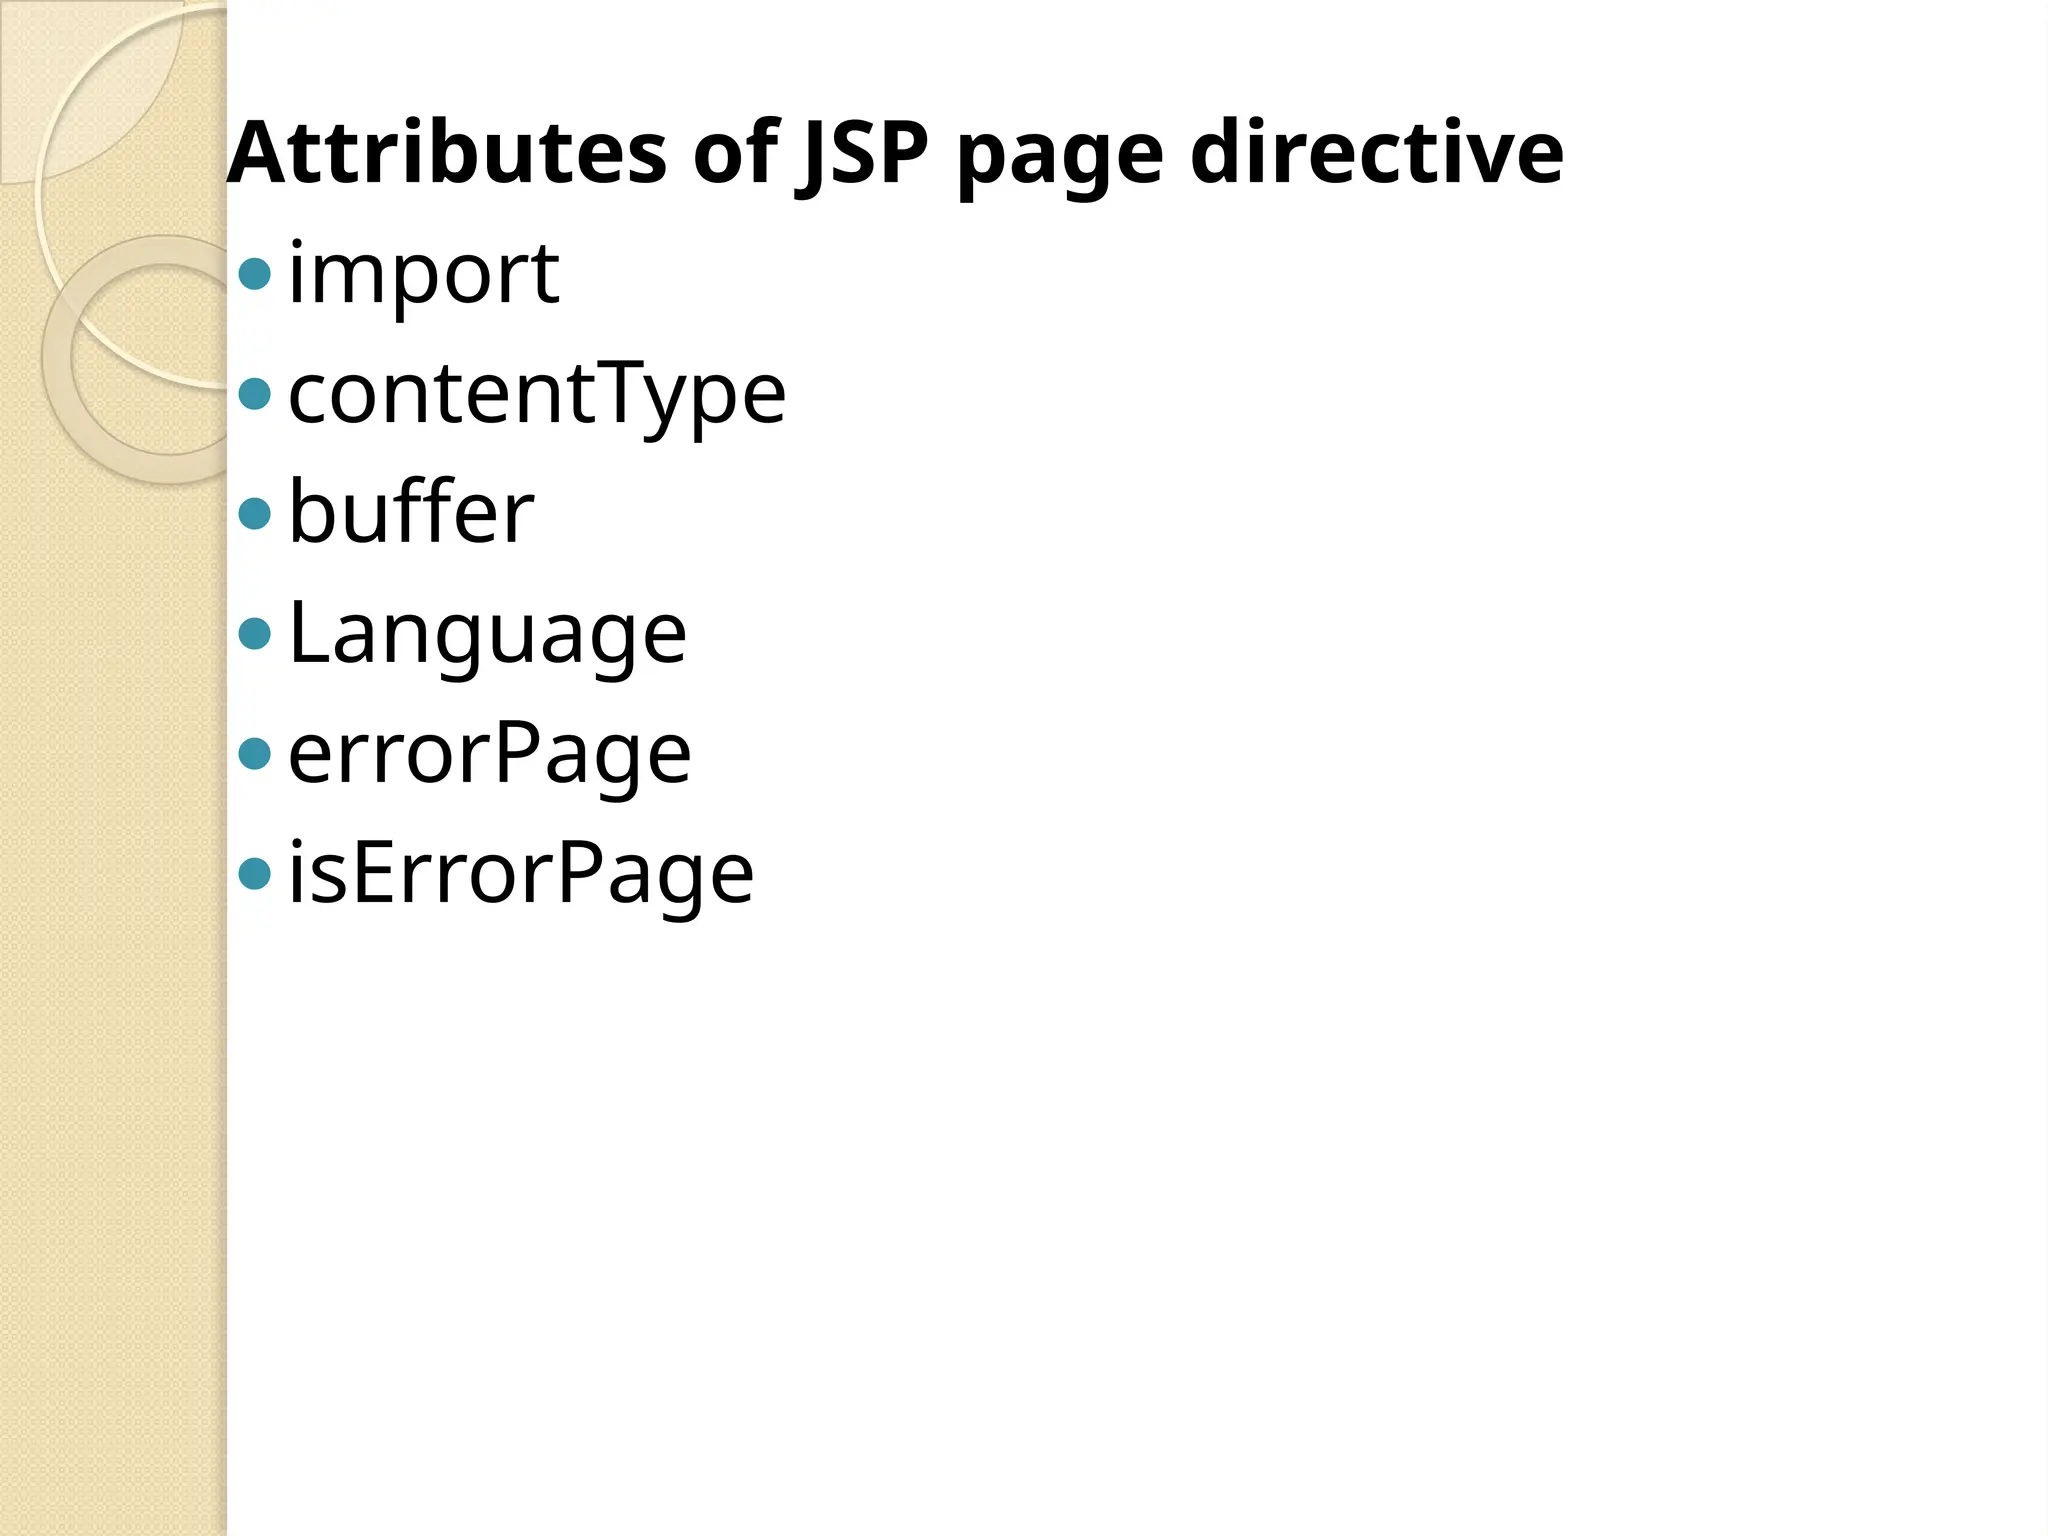
Attributes of JSPpage directive ⚫import ⚫contentType ⚫buffer ⚫Language ⚫errorPage ⚫isErrorPage
17.
Import Attribute This tellsthe container what packages/classes are needed to be imported into the program. Syntax: <%@page import = "value"%> Example : <%-- JSP code to demonstrate how to use page directive to import a package --%> <%@page import = "java.util.Date"%> <%Date d = new Date();%> <%=d%>
18.
contentType Attribute This definesthe format of data that is being exchanged between the client and the server. It does the same thing as the setContentType method in servlet used to. Syntax: <%@page contentType="value“ %> <%-- JSP code to demonstrate how to use page directive to set the type of content --%> <%@page contentType = "text/html" %> <% = "This is sparta" %>
19.
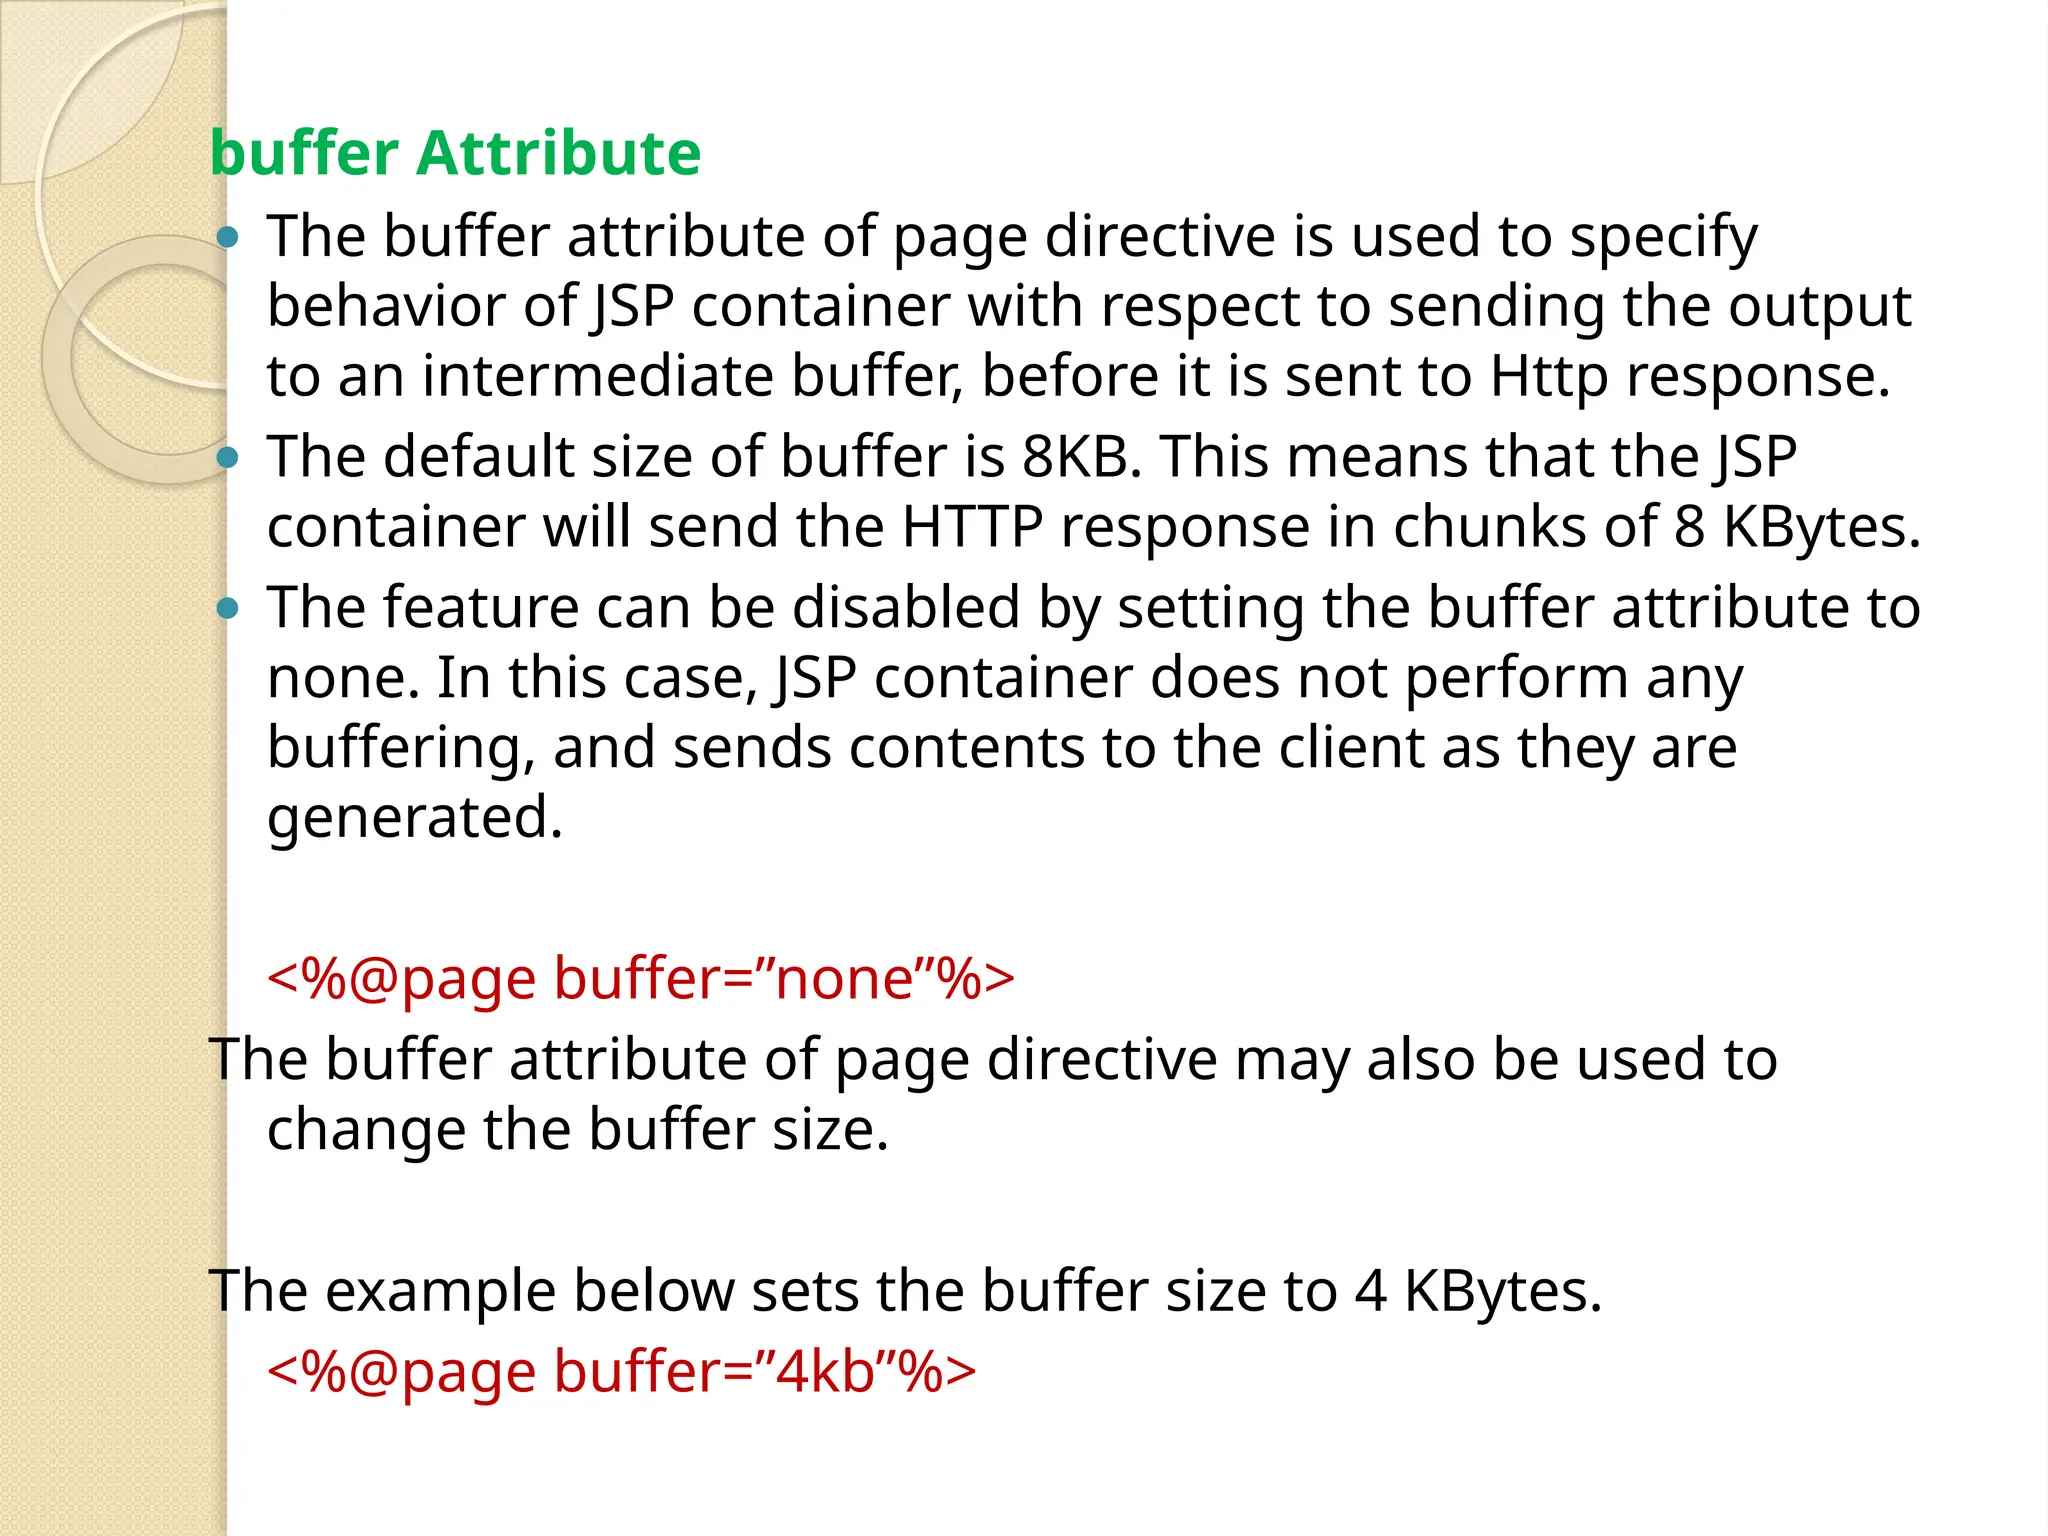
buffer Attribute ⚫ Thebuffer attribute of page directive is used to specify behavior of JSP container with respect to sending the output to an intermediate buffer, before it is sent to Http response. ⚫ The default size of buffer is 8KB. This means that the JSP container will send the HTTP response in chunks of 8 KBytes. ⚫ The feature can be disabled by setting the buffer attribute to none. In this case, JSP container does not perform any buffering, and sends contents to the client as they are generated. <%@page buffer=”none”%> The buffer attribute of page directive may also be used to change the buffer size. The example below sets the buffer size to 4 KBytes. <%@page buffer=”4kb”%>
20.
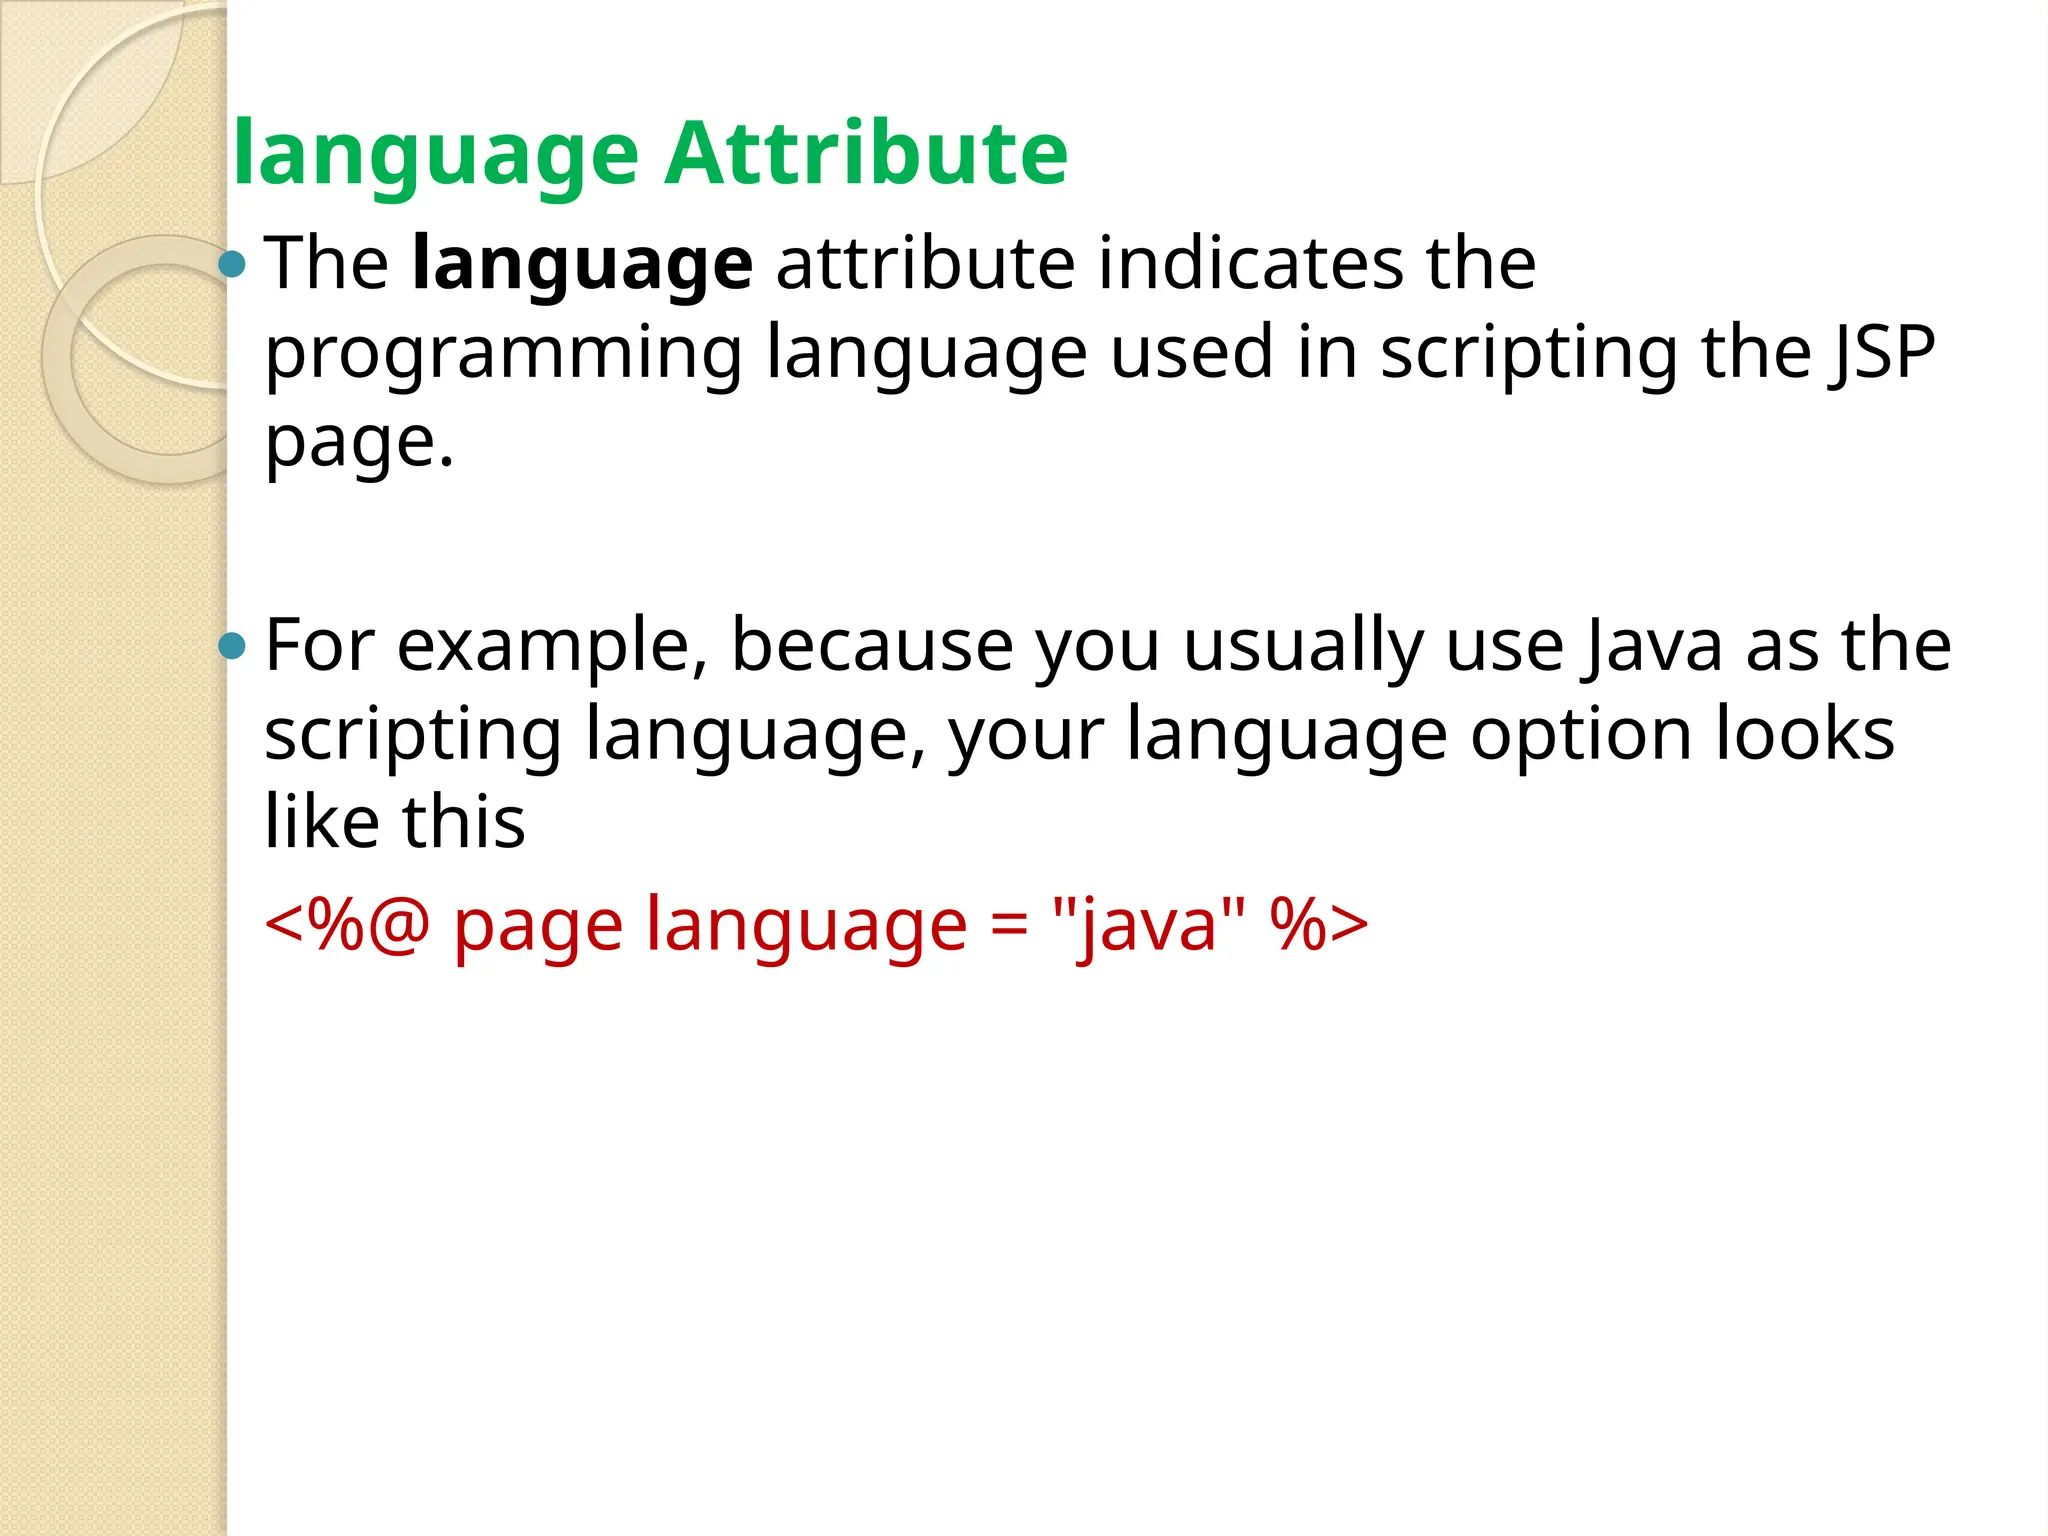
language Attribute ⚫The languageattribute indicates the programming language used in scripting the JSP page. ⚫For example, because you usually use Java as the scripting language, your language option looks like this <%@ page language = "java" %>
21.
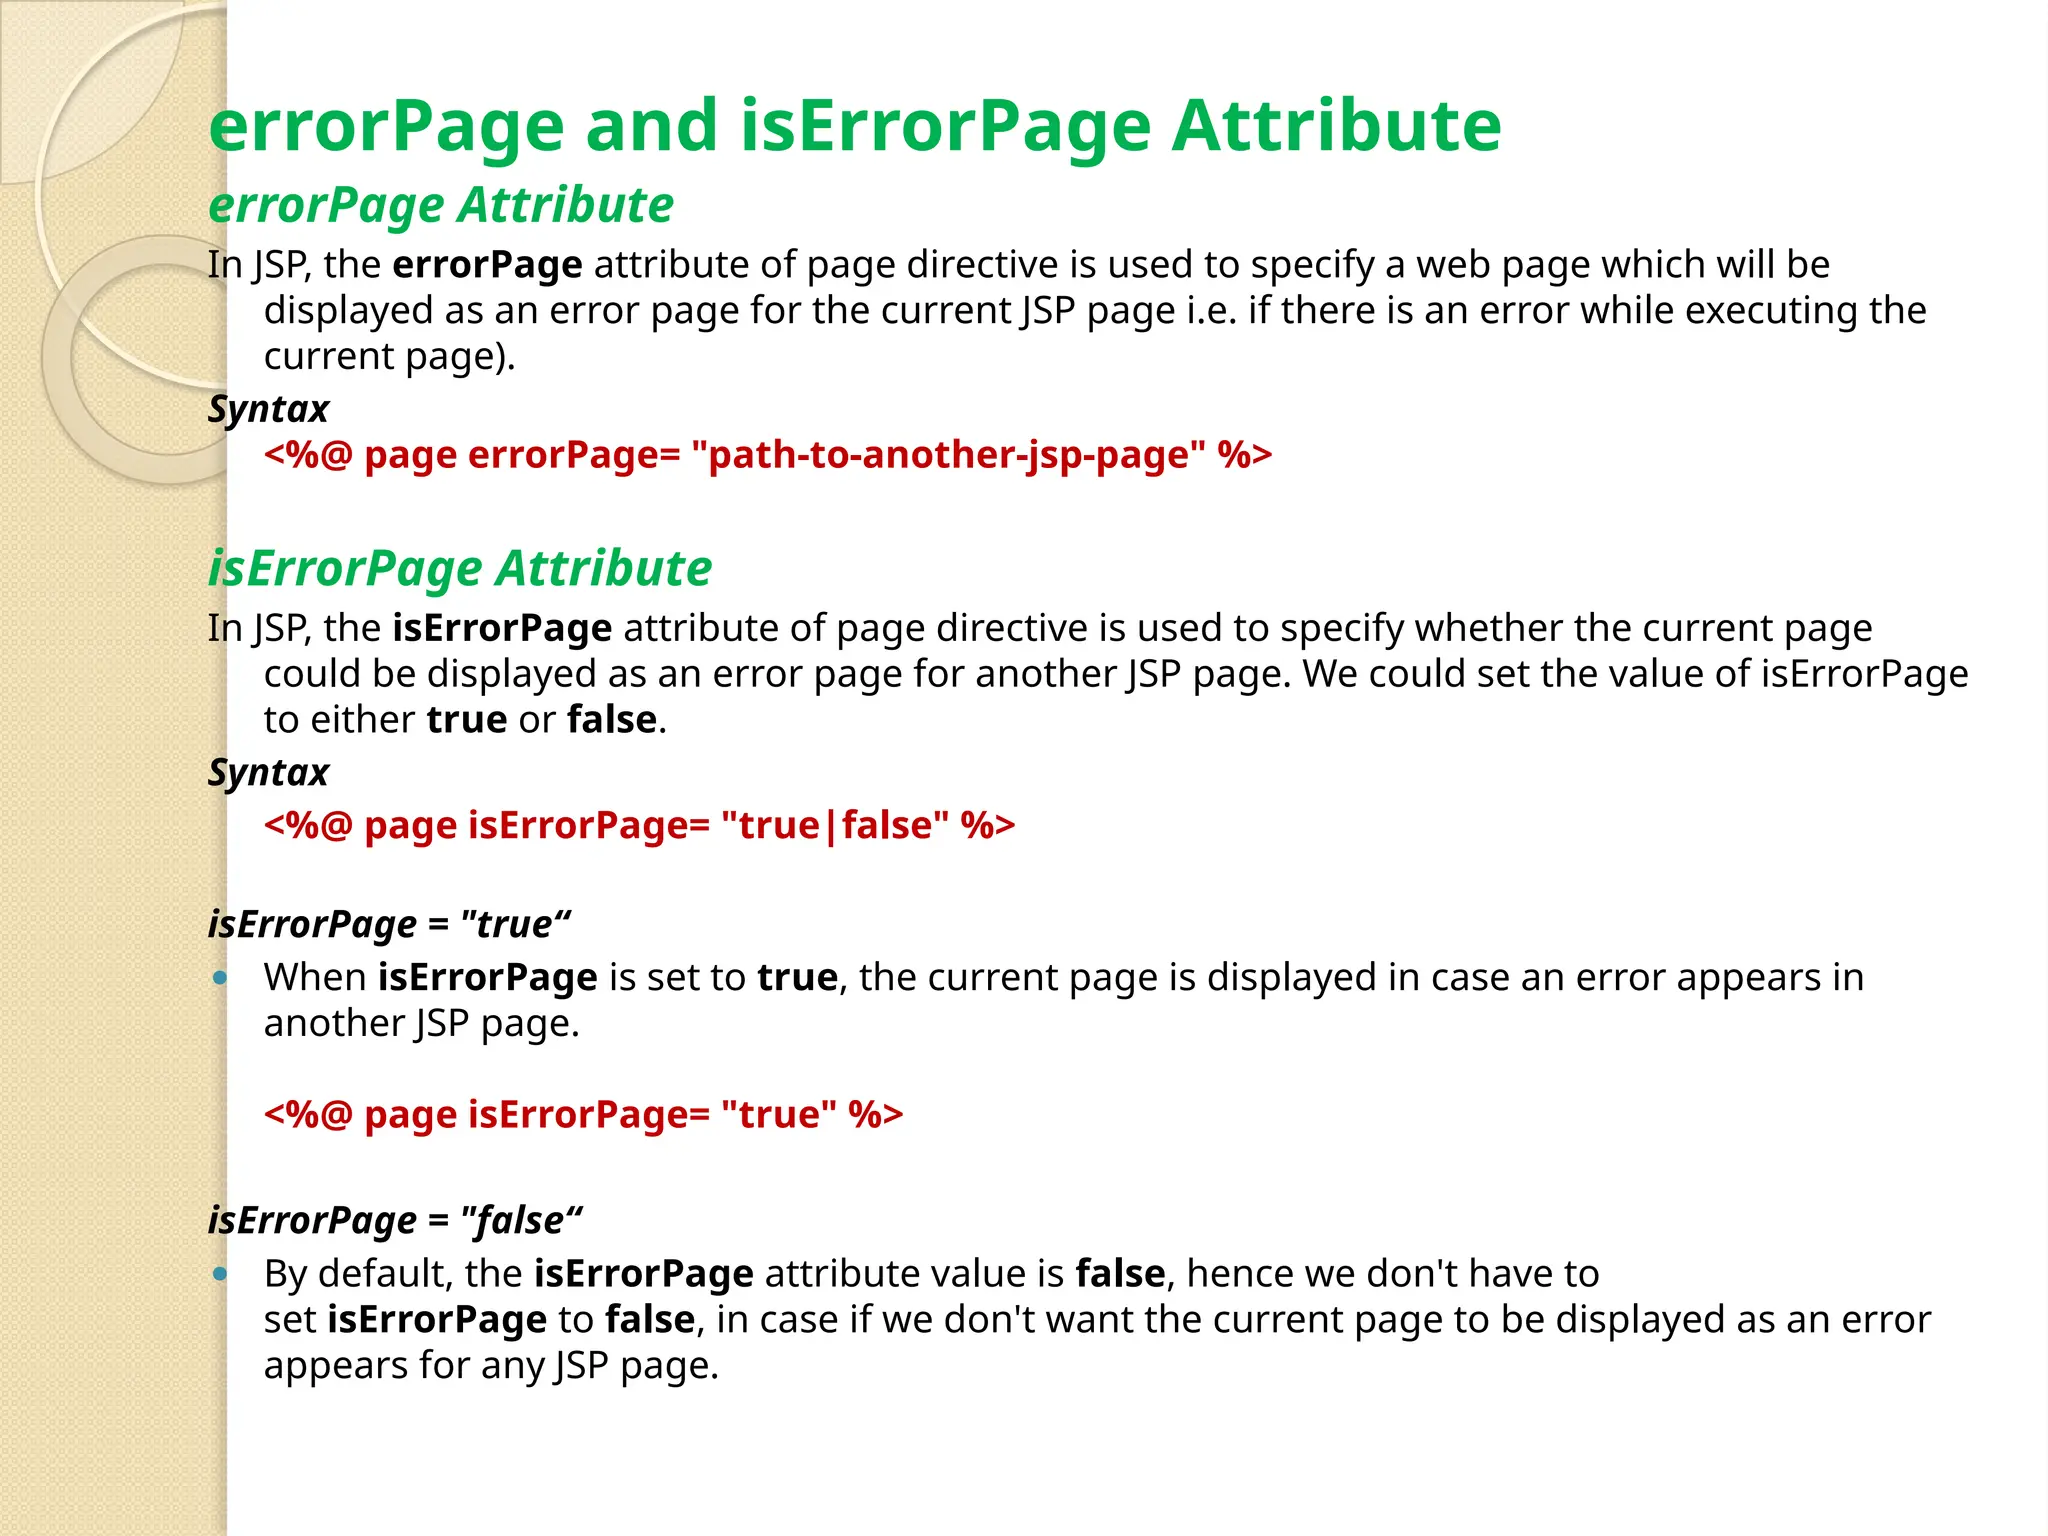
errorPage and isErrorPageAttribute errorPage Attribute In JSP, the errorPage attribute of page directive is used to specify a web page which will be displayed as an error page for the current JSP page i.e. if there is an error while executing the current page). Syntax <%@ page errorPage= "path-to-another-jsp-page" %> isErrorPage Attribute In JSP, the isErrorPage attribute of page directive is used to specify whether the current page could be displayed as an error page for another JSP page. We could set the value of isErrorPage to either true or false. Syntax <%@ page isErrorPage= "true|false" %> isErrorPage = "true“ ⚫ When isErrorPage is set to true, the current page is displayed in case an error appears in another JSP page. <%@ page isErrorPage= "true" %> isErrorPage = "false“ ⚫ By default, the isErrorPage attribute value is false, hence we don't have to set isErrorPage to false, in case if we don't want the current page to be displayed as an error appears for any JSP page.
22.
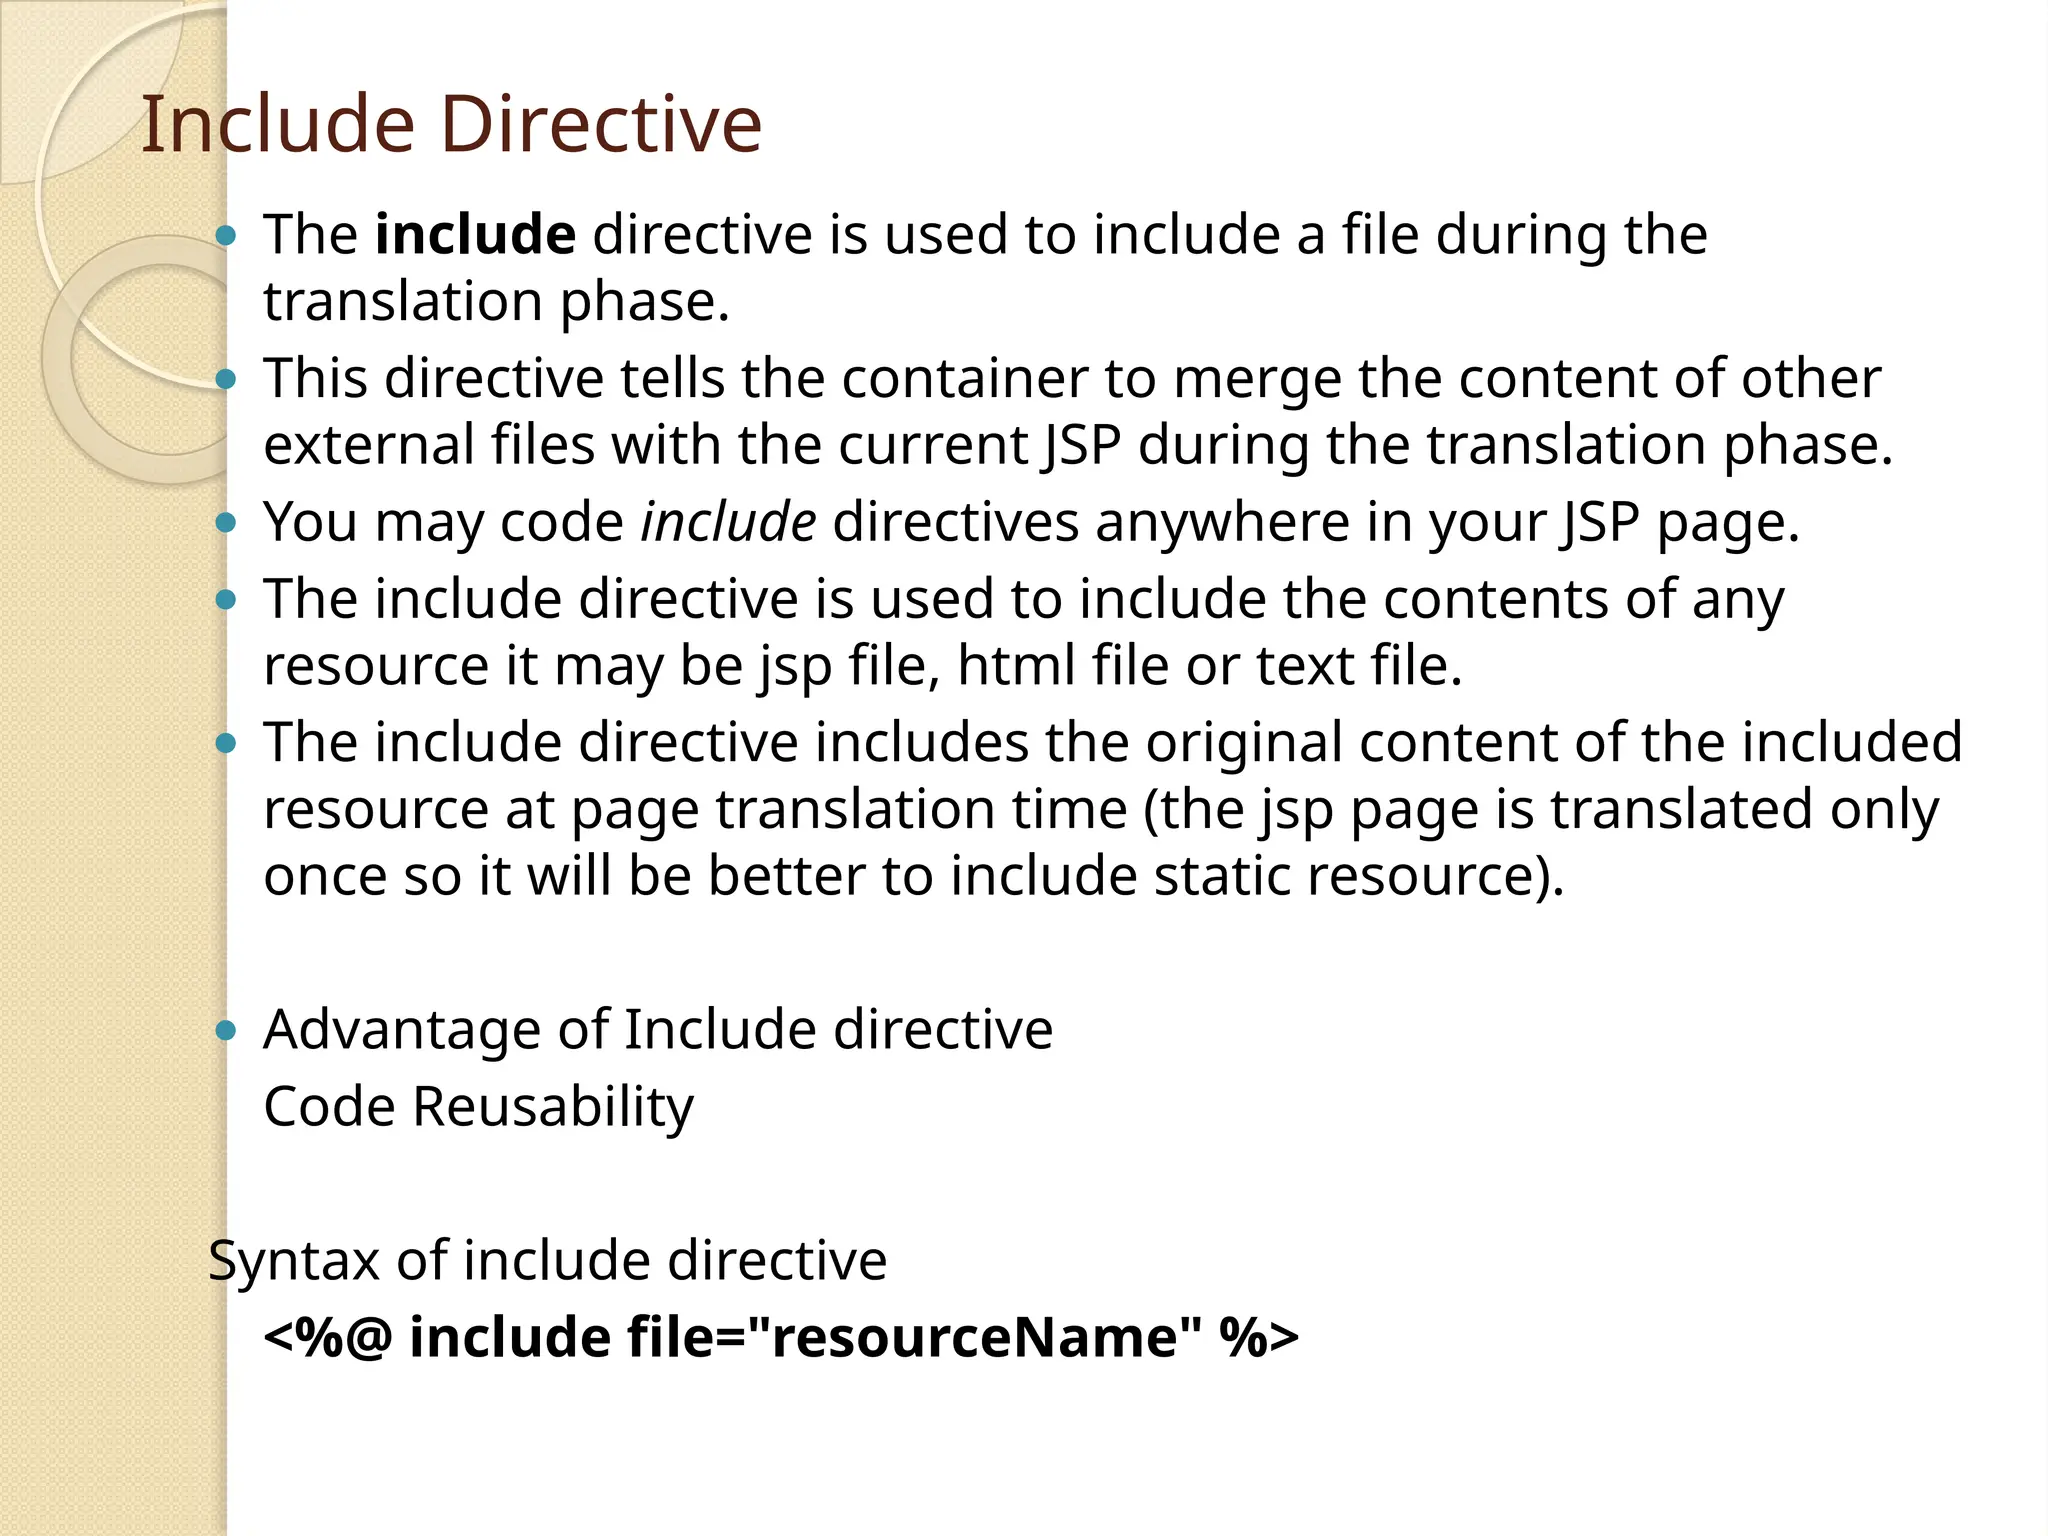
Include Directive ⚫ Theinclude directive is used to include a file during the translation phase. ⚫ This directive tells the container to merge the content of other external files with the current JSP during the translation phase. ⚫ You may code include directives anywhere in your JSP page. ⚫ The include directive is used to include the contents of any resource it may be jsp file, html file or text file. ⚫ The include directive includes the original content of the included resource at page translation time (the jsp page is translated only once so it will be better to include static resource). ⚫ Advantage of Include directive Code Reusability Syntax of include directive <%@ include file="resourceName" %>
23.
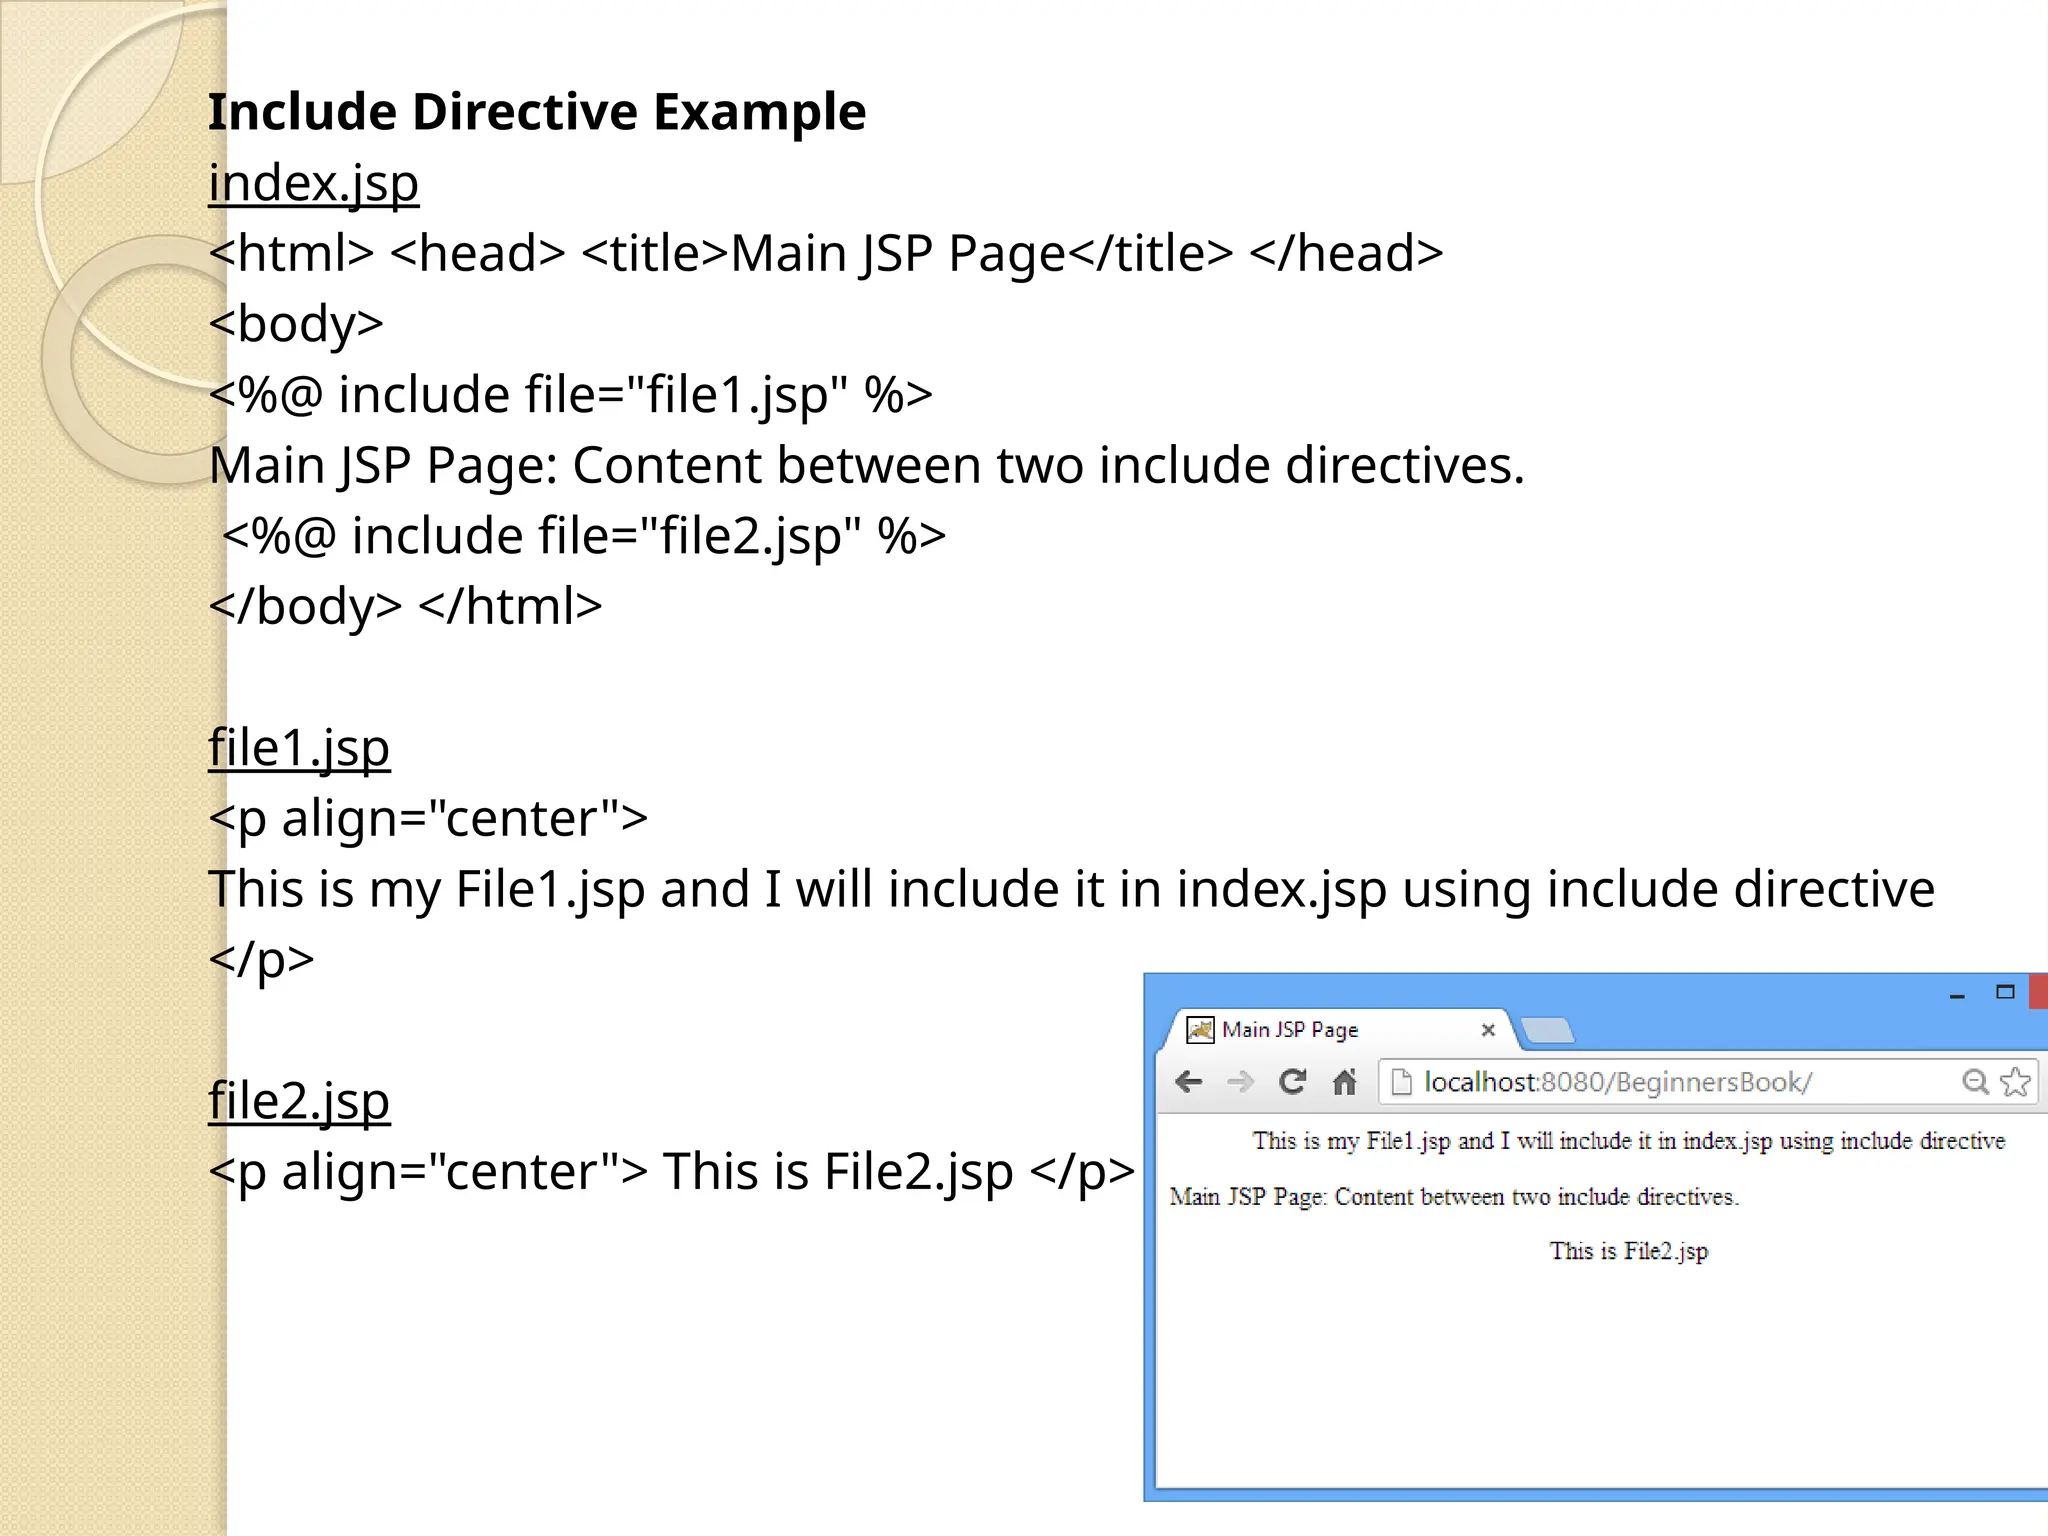
Include Directive Example index.jsp <html><head> <title>Main JSP Page</title> </head> <body> <%@ include file="file1.jsp" %> Main JSP Page: Content between two include directives. <%@ include file="file2.jsp" %> </body> </html> file1.jsp <p align="center"> This is my File1.jsp and I will include it in index.jsp using include directive </p> file2.jsp <p align="center"> This is File2.jsp </p>
25.
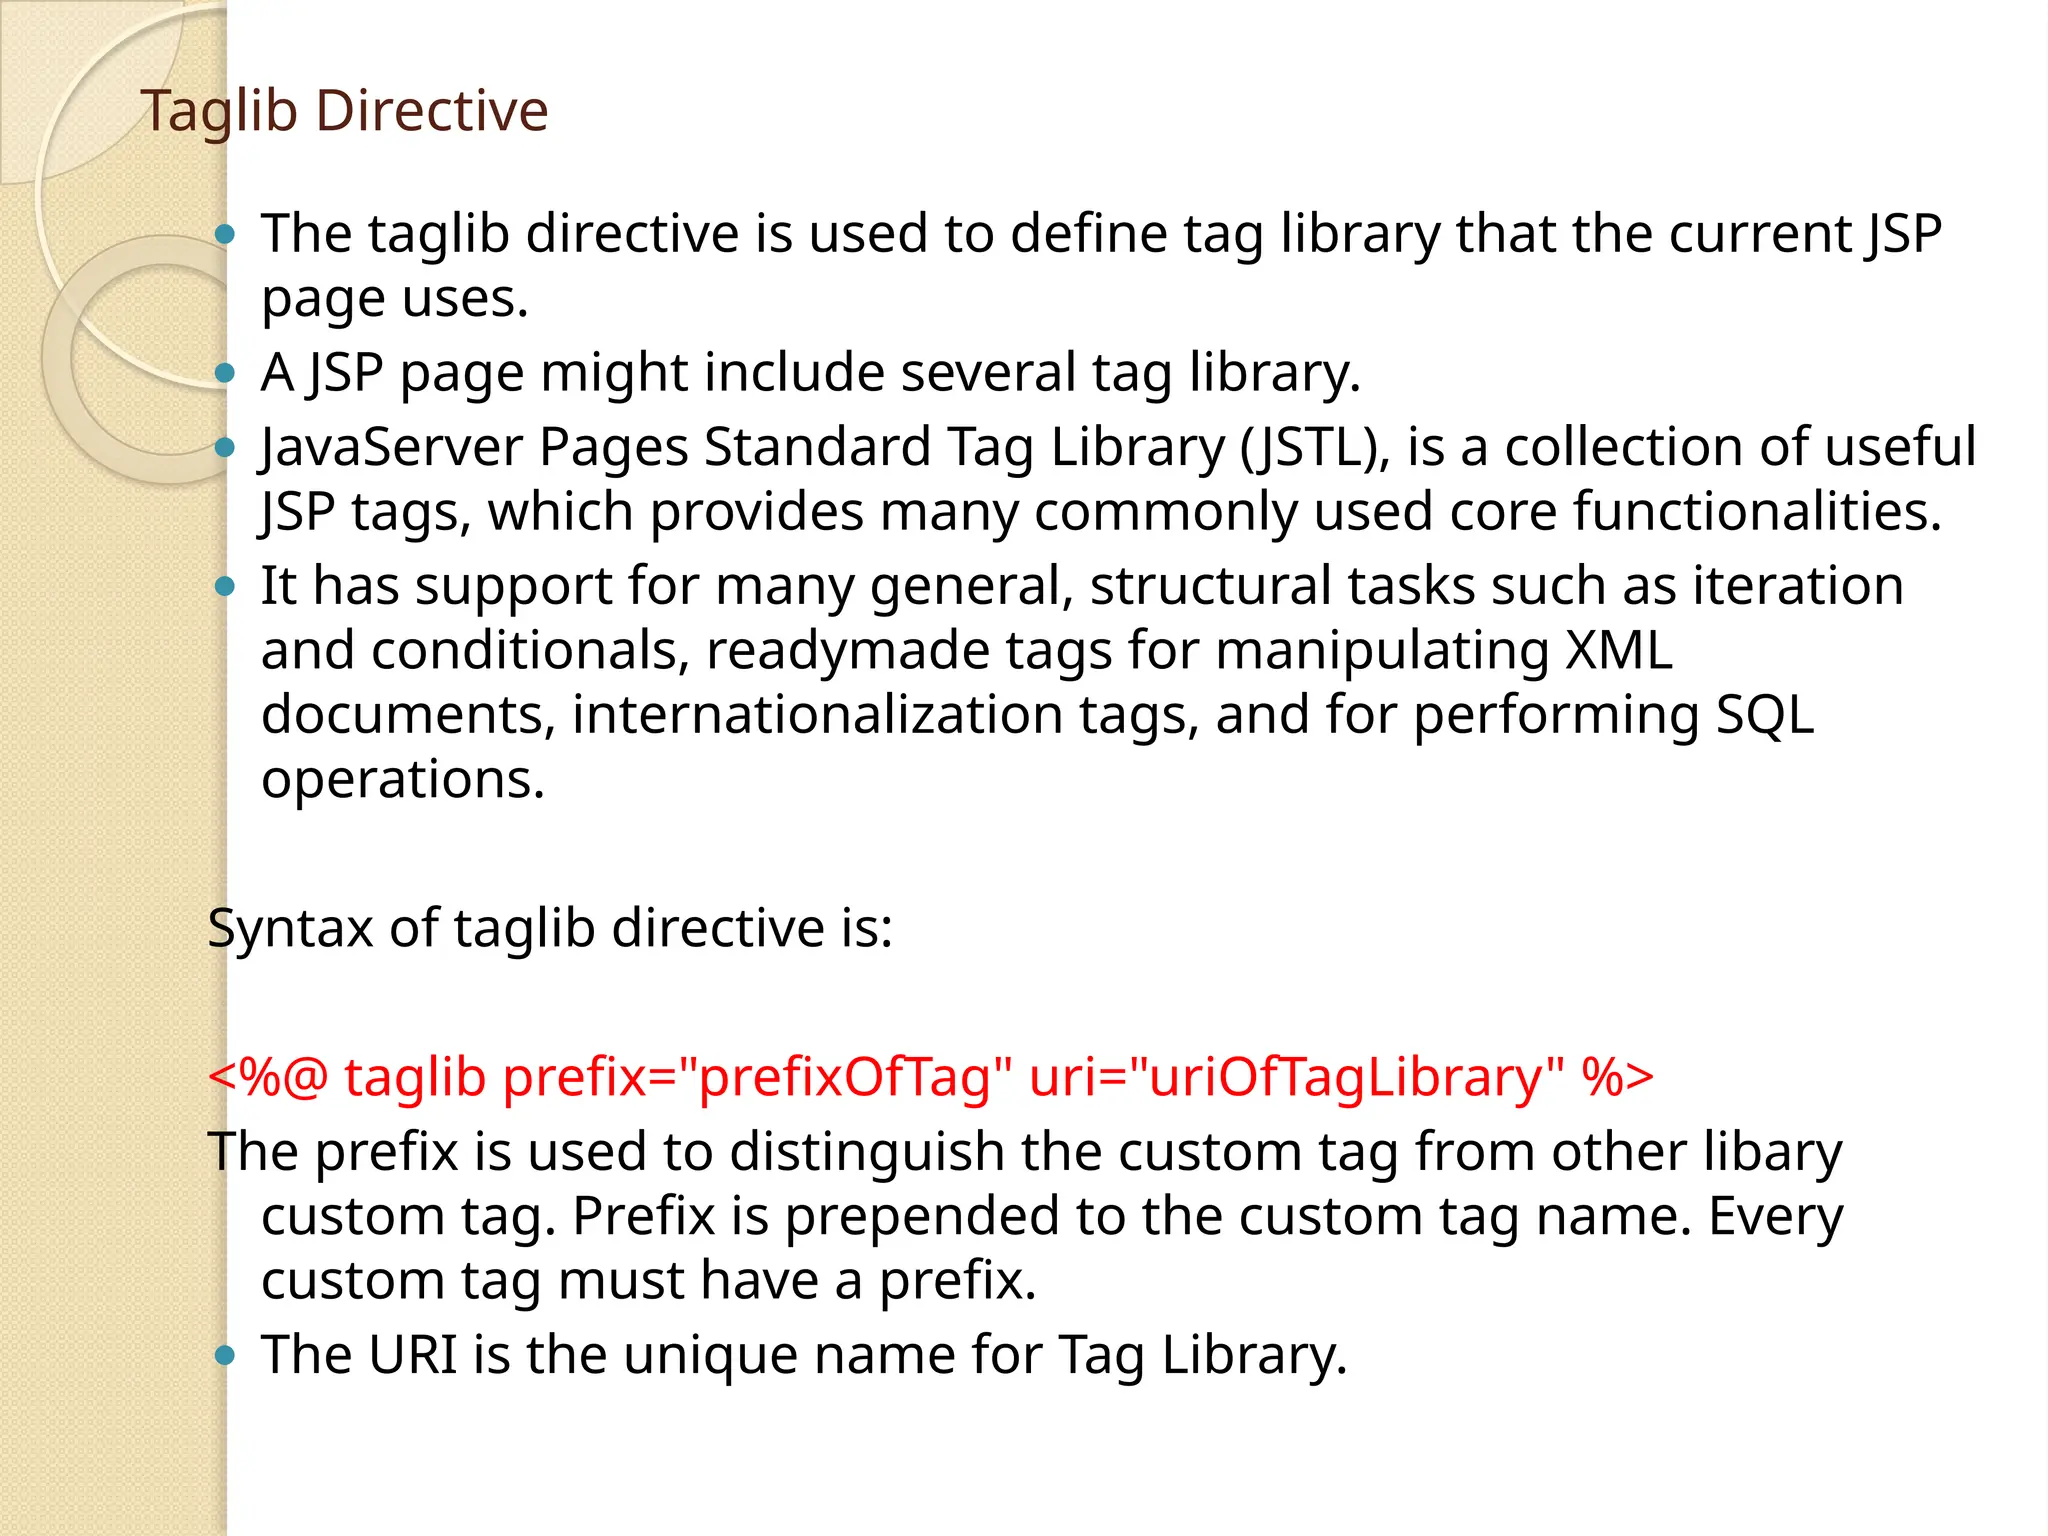
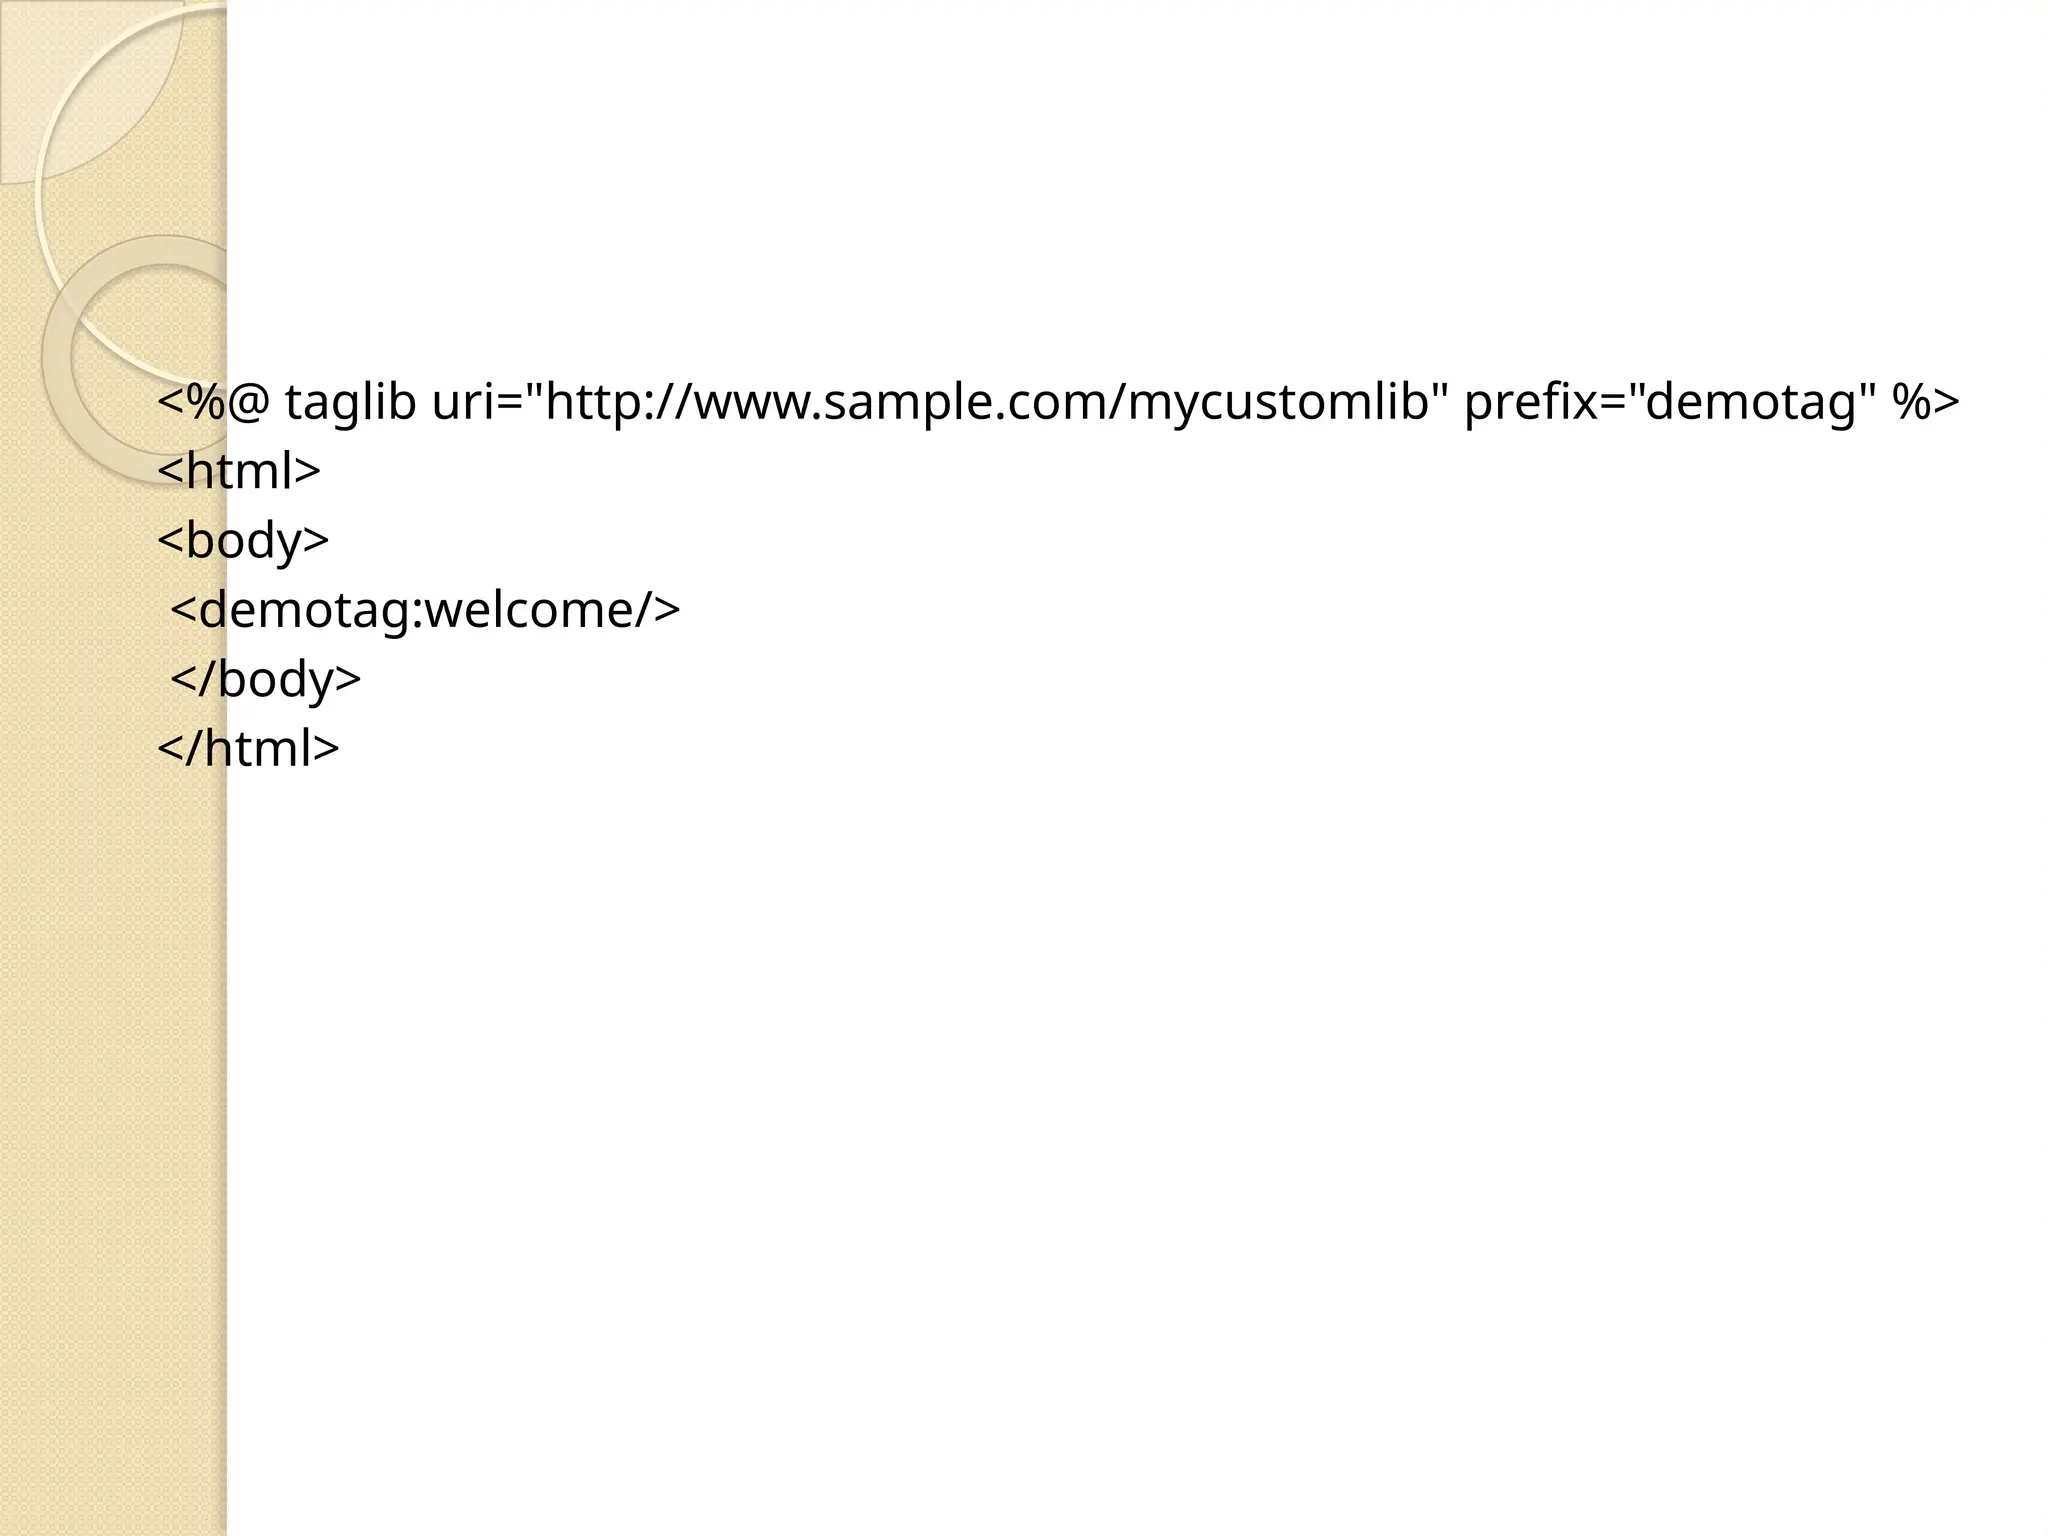
Taglib Directive ⚫ Thetaglib directive is used to define tag library that the current JSP page uses. ⚫ A JSP page might include several tag library. ⚫ JavaServer Pages Standard Tag Library (JSTL), is a collection of useful JSP tags, which provides many commonly used core functionalities. ⚫ It has support for many general, structural tasks such as iteration and conditionals, readymade tags for manipulating XML documents, internationalization tags, and for performing SQL operations. Syntax of taglib directive is: <%@ taglib prefix="prefixOfTag" uri="uriOfTagLibrary" %> The prefix is used to distinguish the custom tag from other libary custom tag. Prefix is prepended to the custom tag name. Every custom tag must have a prefix. ⚫ The URI is the unique name for Tag Library.
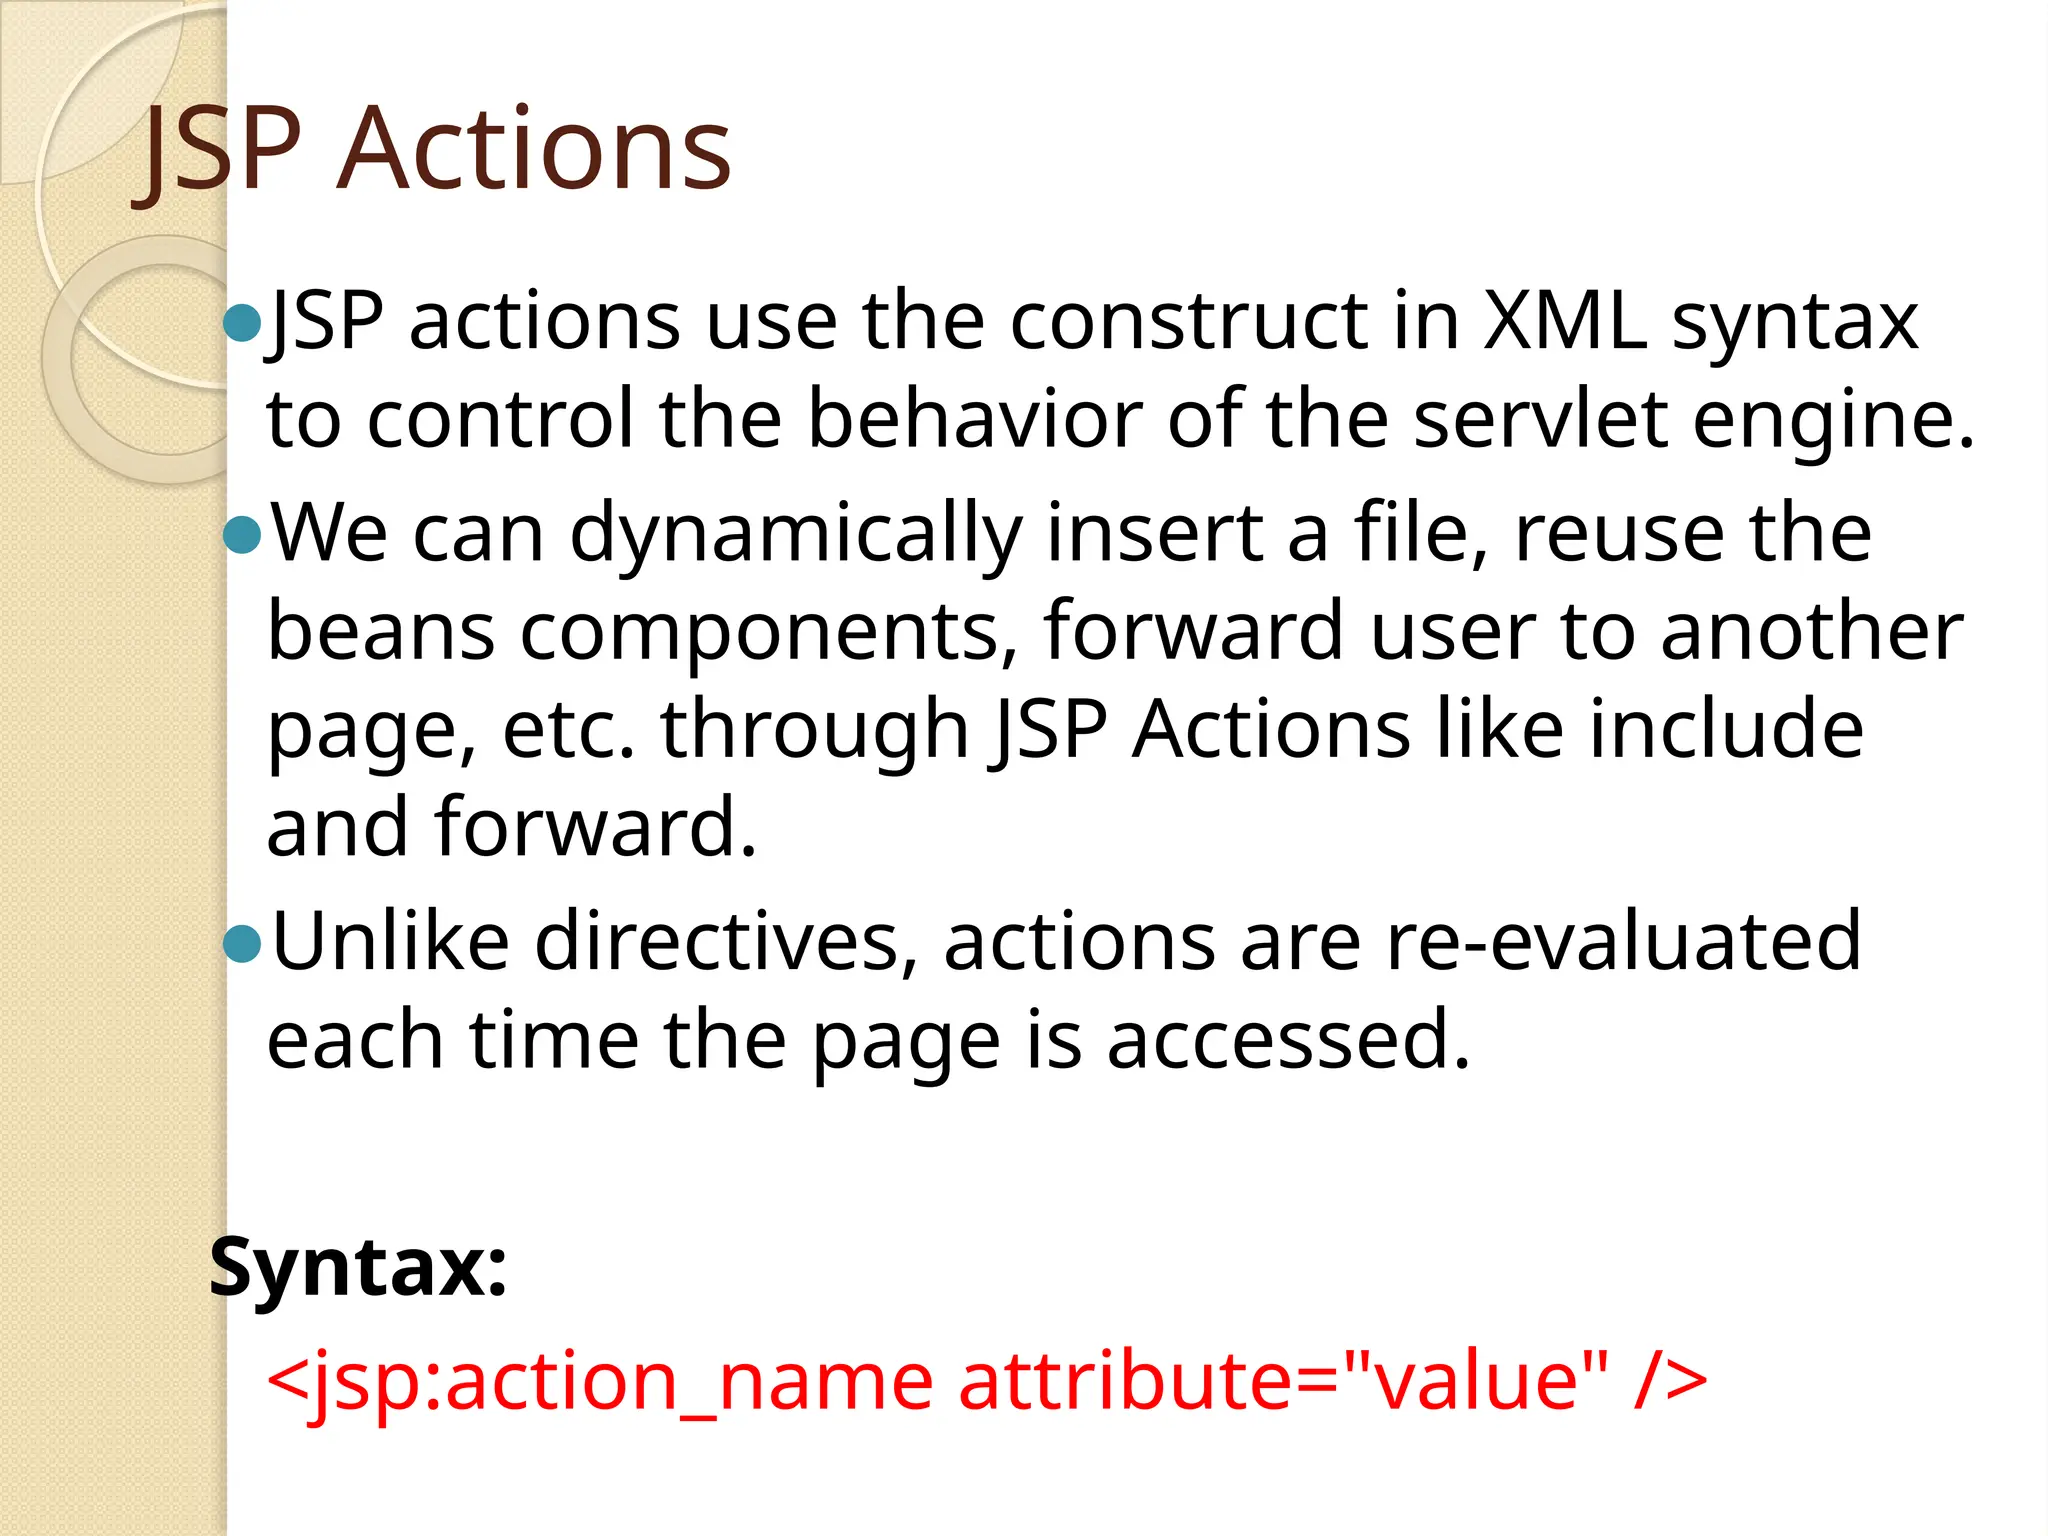
JSP Actions ⚫JSP actionsuse the construct in XML syntax to control the behavior of the servlet engine. ⚫We can dynamically insert a file, reuse the beans components, forward user to another page, etc. through JSP Actions like include and forward. ⚫Unlike directives, actions are re-evaluated each time the page is accessed. Syntax: <jsp:action_name attribute="value" />
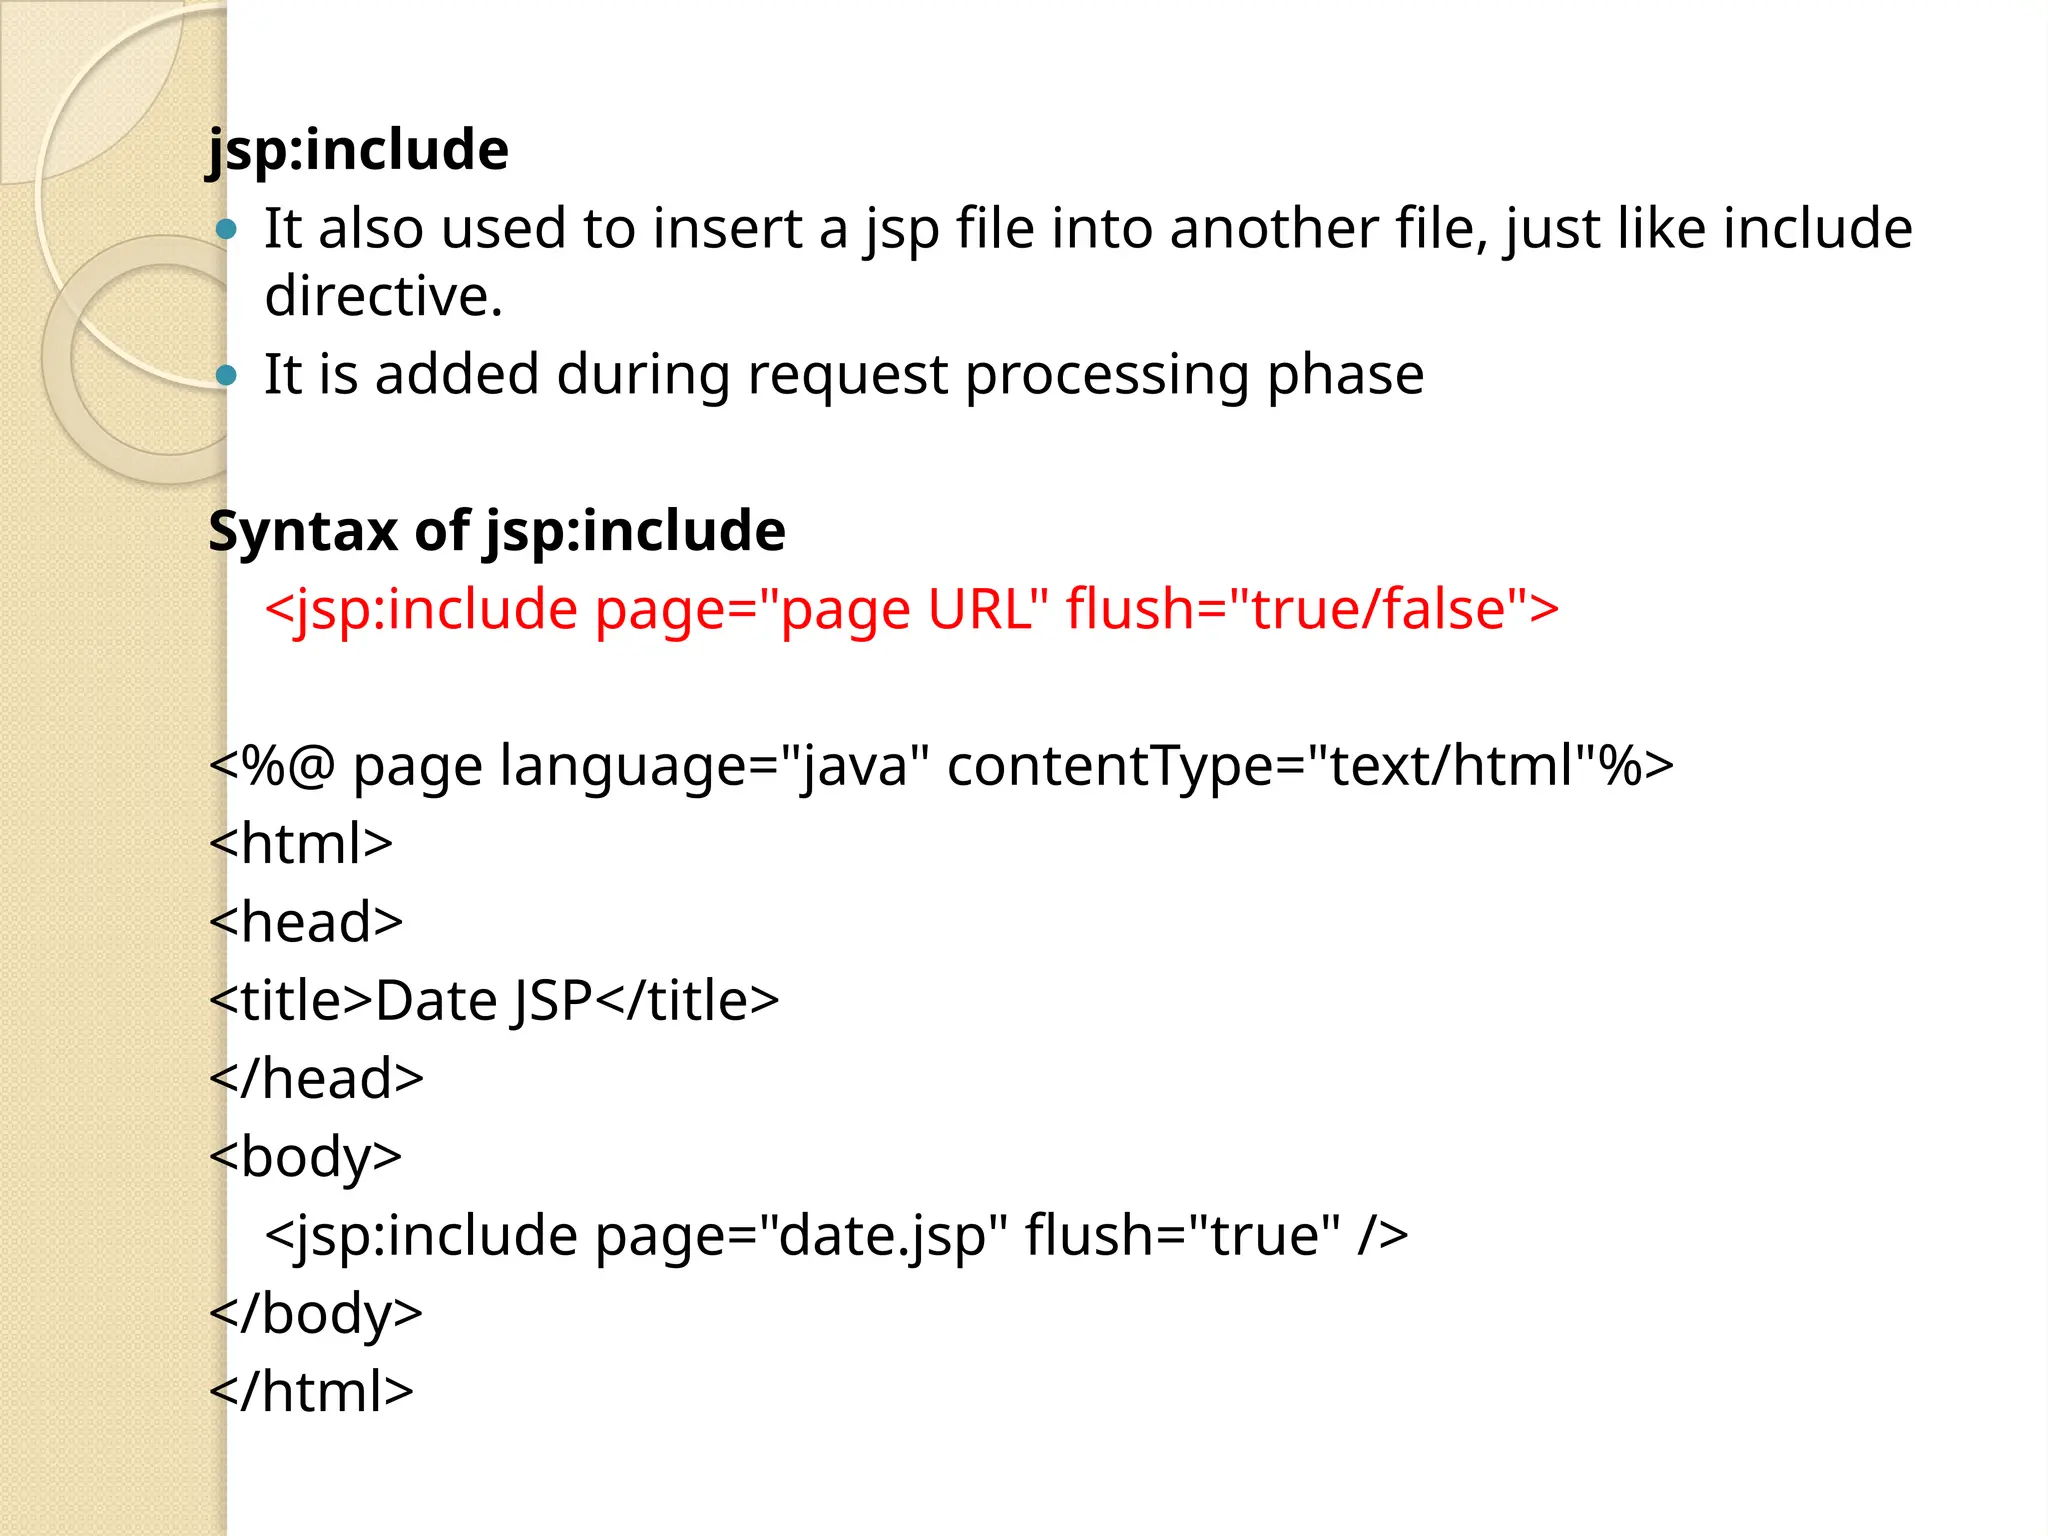
jsp:include ⚫ It alsoused to insert a jsp file into another file, just like include directive. ⚫ It is added during request processing phase Syntax of jsp:include <jsp:include page="page URL" flush="true/false"> <%@ page language="java" contentType="text/html"%> <html> <head> <title>Date JSP</title> </head> <body> <jsp:include page="date.jsp" flush="true" /> </body> </html>
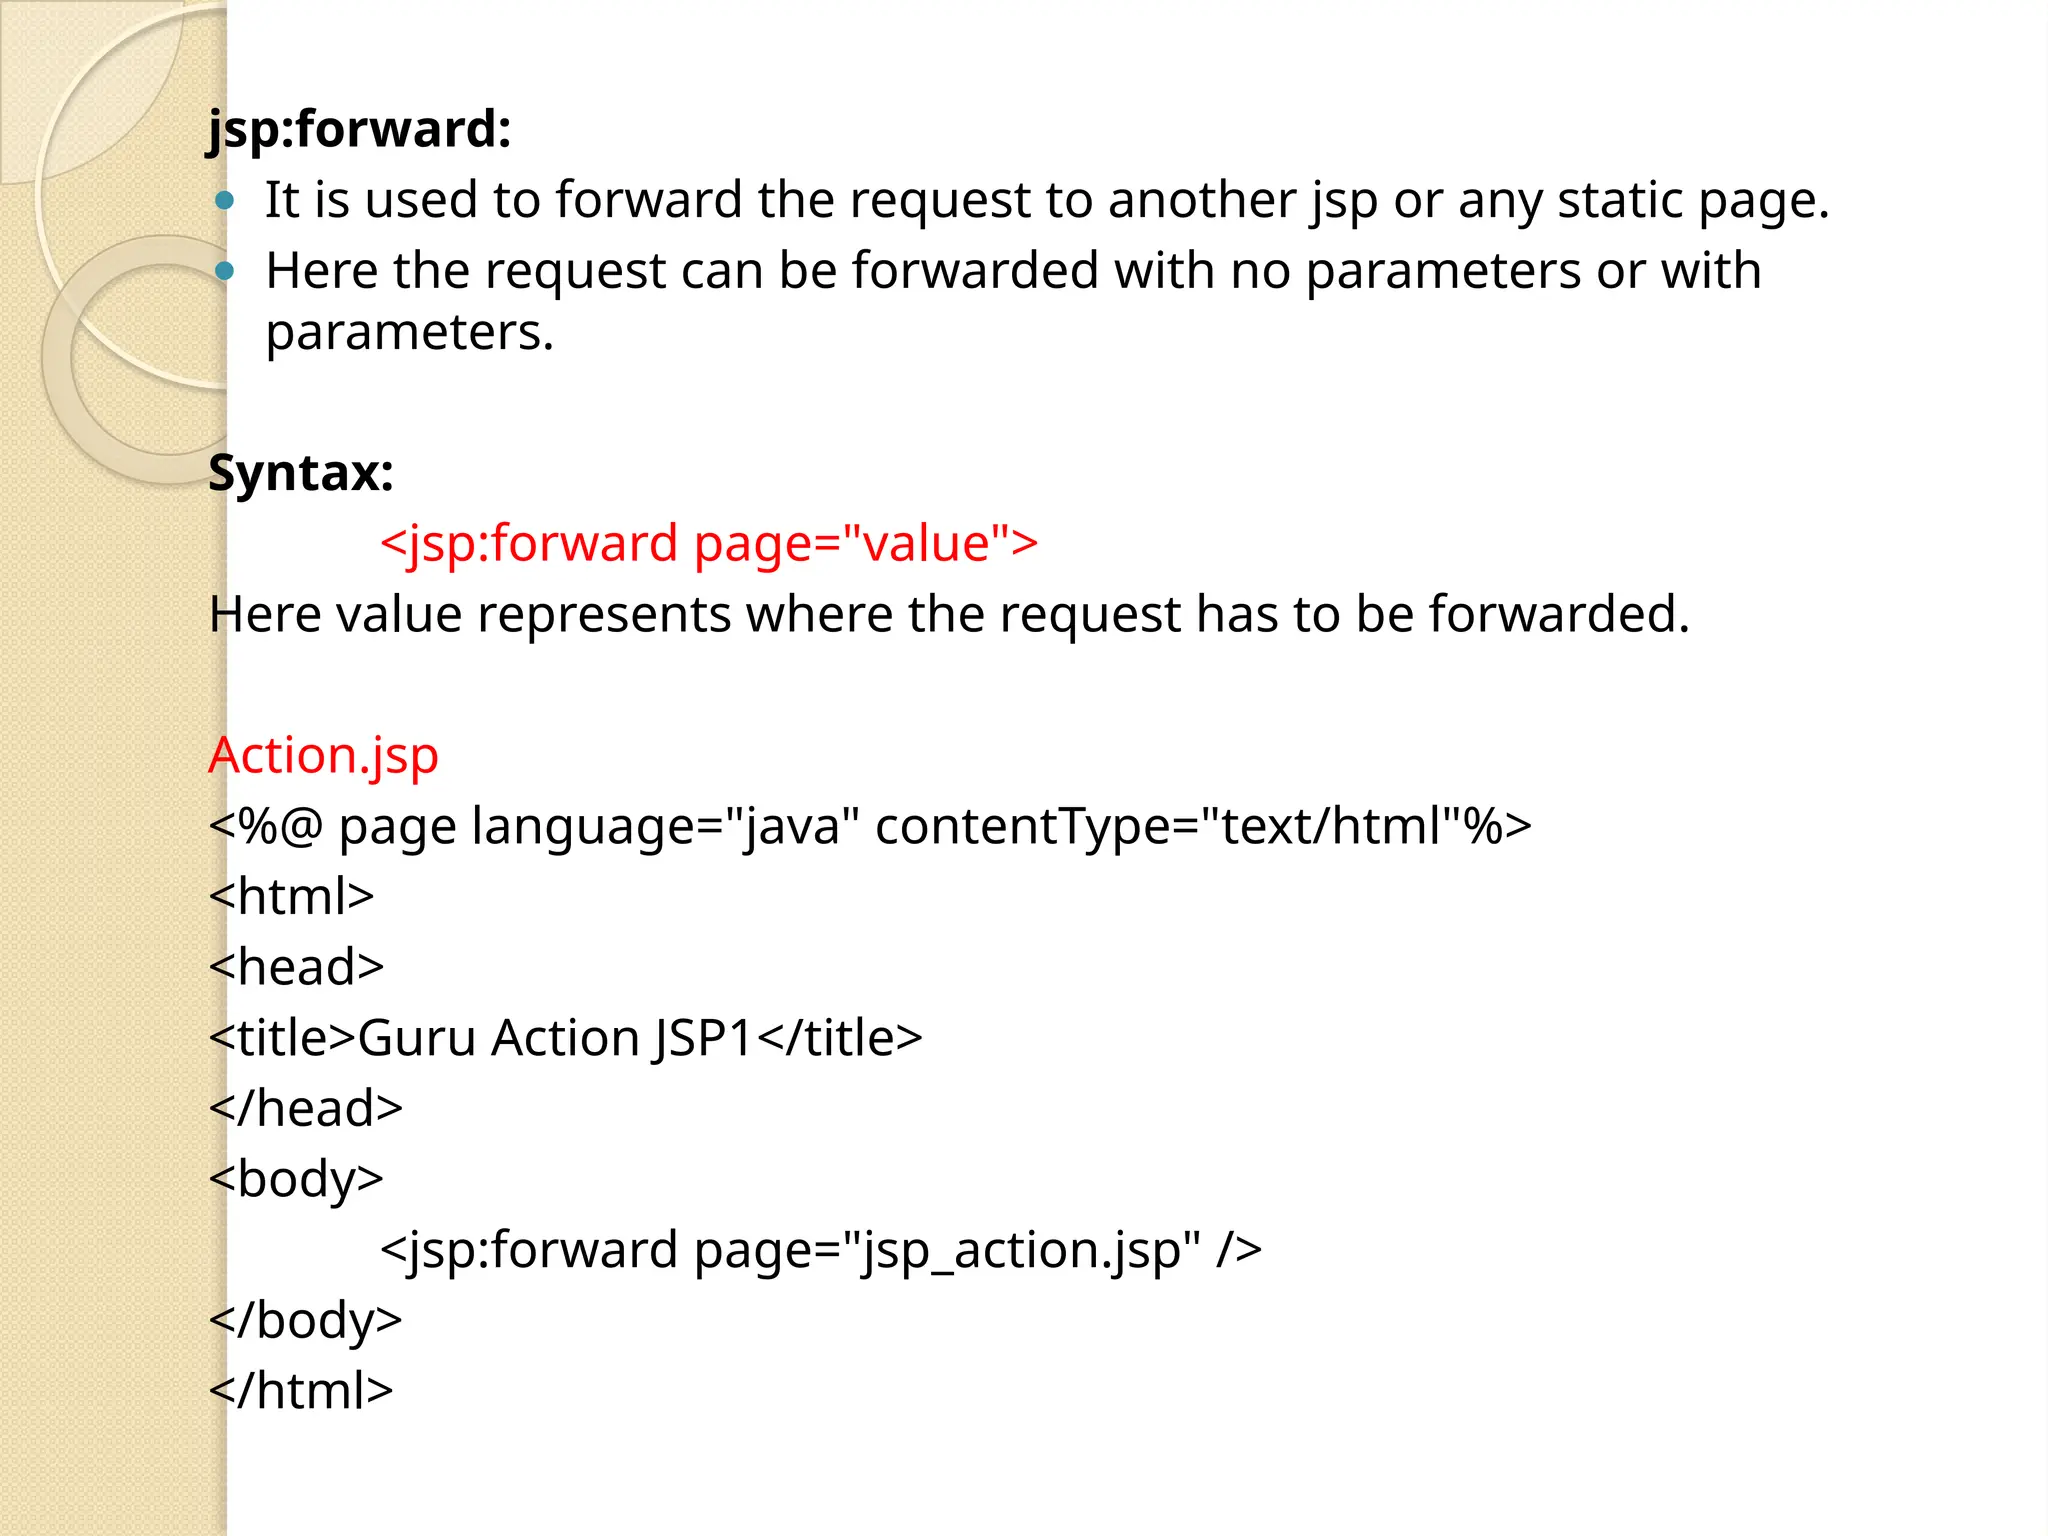
jsp:forward: ⚫ It isused to forward the request to another jsp or any static page. ⚫ Here the request can be forwarded with no parameters or with parameters. Syntax: <jsp:forward page="value"> Here value represents where the request has to be forwarded. Action.jsp <%@ page language="java" contentType="text/html"%> <html> <head> <title>Guru Action JSP1</title> </head> <body> <jsp:forward page="jsp_action.jsp" /> </body> </html>

![JSP Declarations ⚫ A declaration declares one or more variables or methods that you can use in Java code later in the JSP file. ⚫ You must declare the variable or method before you use it in the JSP file. ⚫ syntax for JSP Declarations − <%! declaration; [ declaration; ]+ ... %> You can write the XML equivalent of the above syntax as follows − <jsp:declaration> code fragment </jsp:declaration> example for JSP Declarations − ⚫ <%! int i = 0; %> ⚫ <%! int a, b, c; %> ⚫ <%! Circle a = new Circle(2.0); %>](https://image.slidesharecdn.com/jsp-250613152008-47c9bae3/75/Introduction-Java-Server-Programming-JSP-10-2048.jpg)