Downloaded 502 times


![Thank You Please send your queries, comments and suggestions to [email_address] Or [email_address]](https://image.slidesharecdn.com/install-wordpress-blogging-software-with-easyphp-25408/75/Install-WordPress-Blogging-Software-with-EasyPHP-51-2048.jpg)

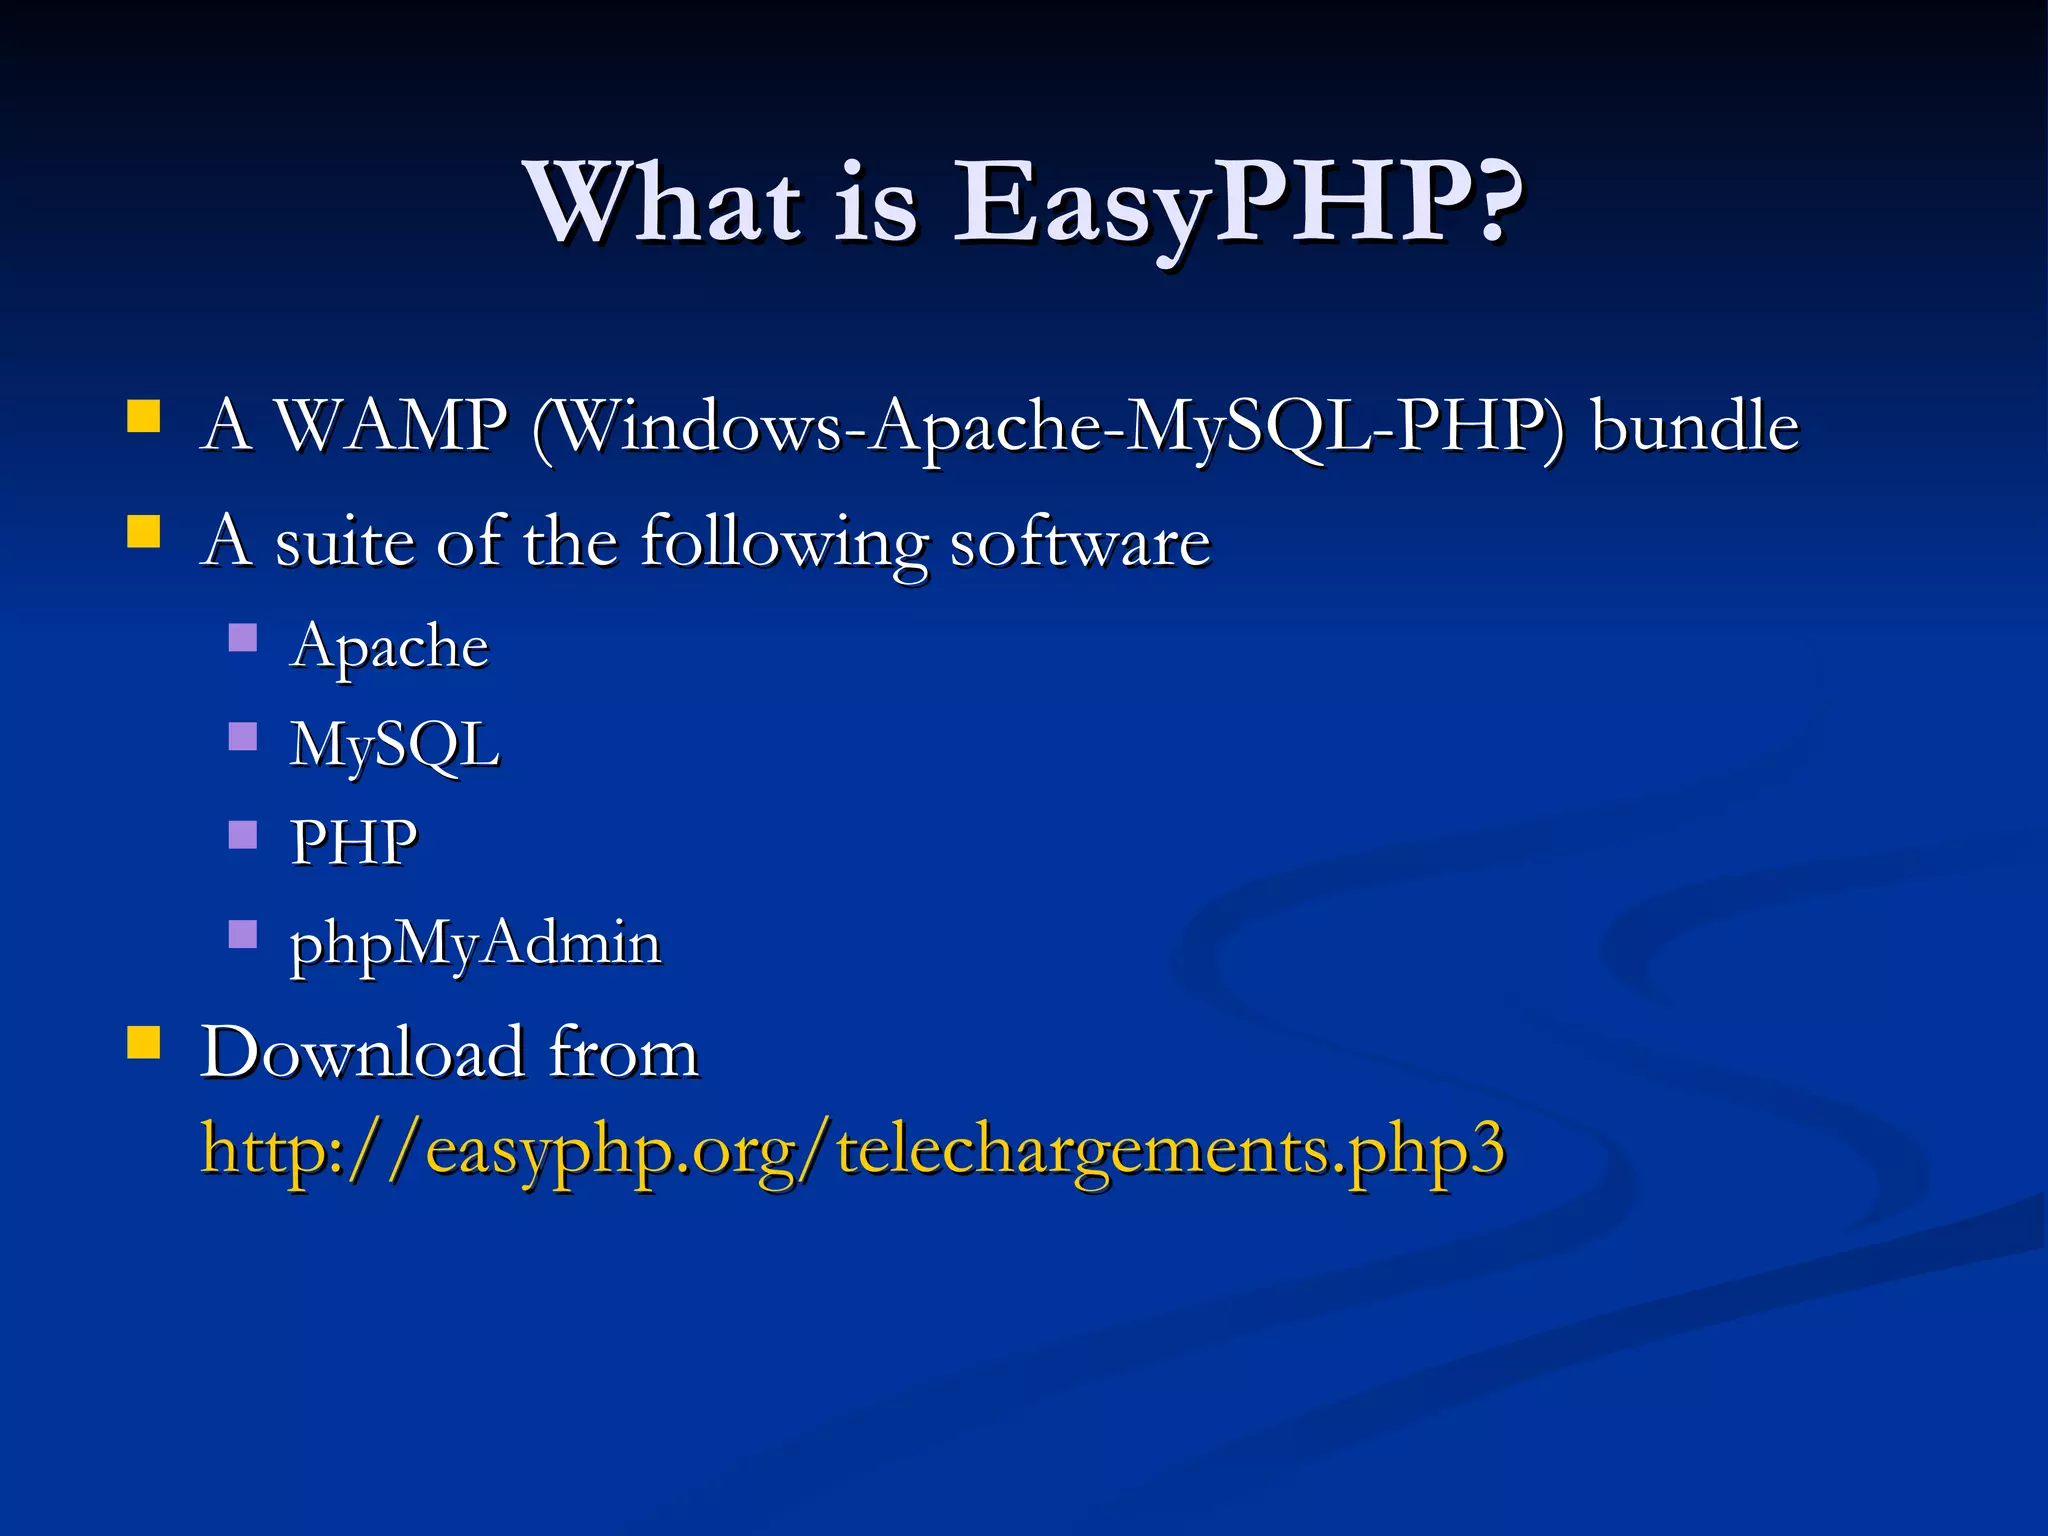
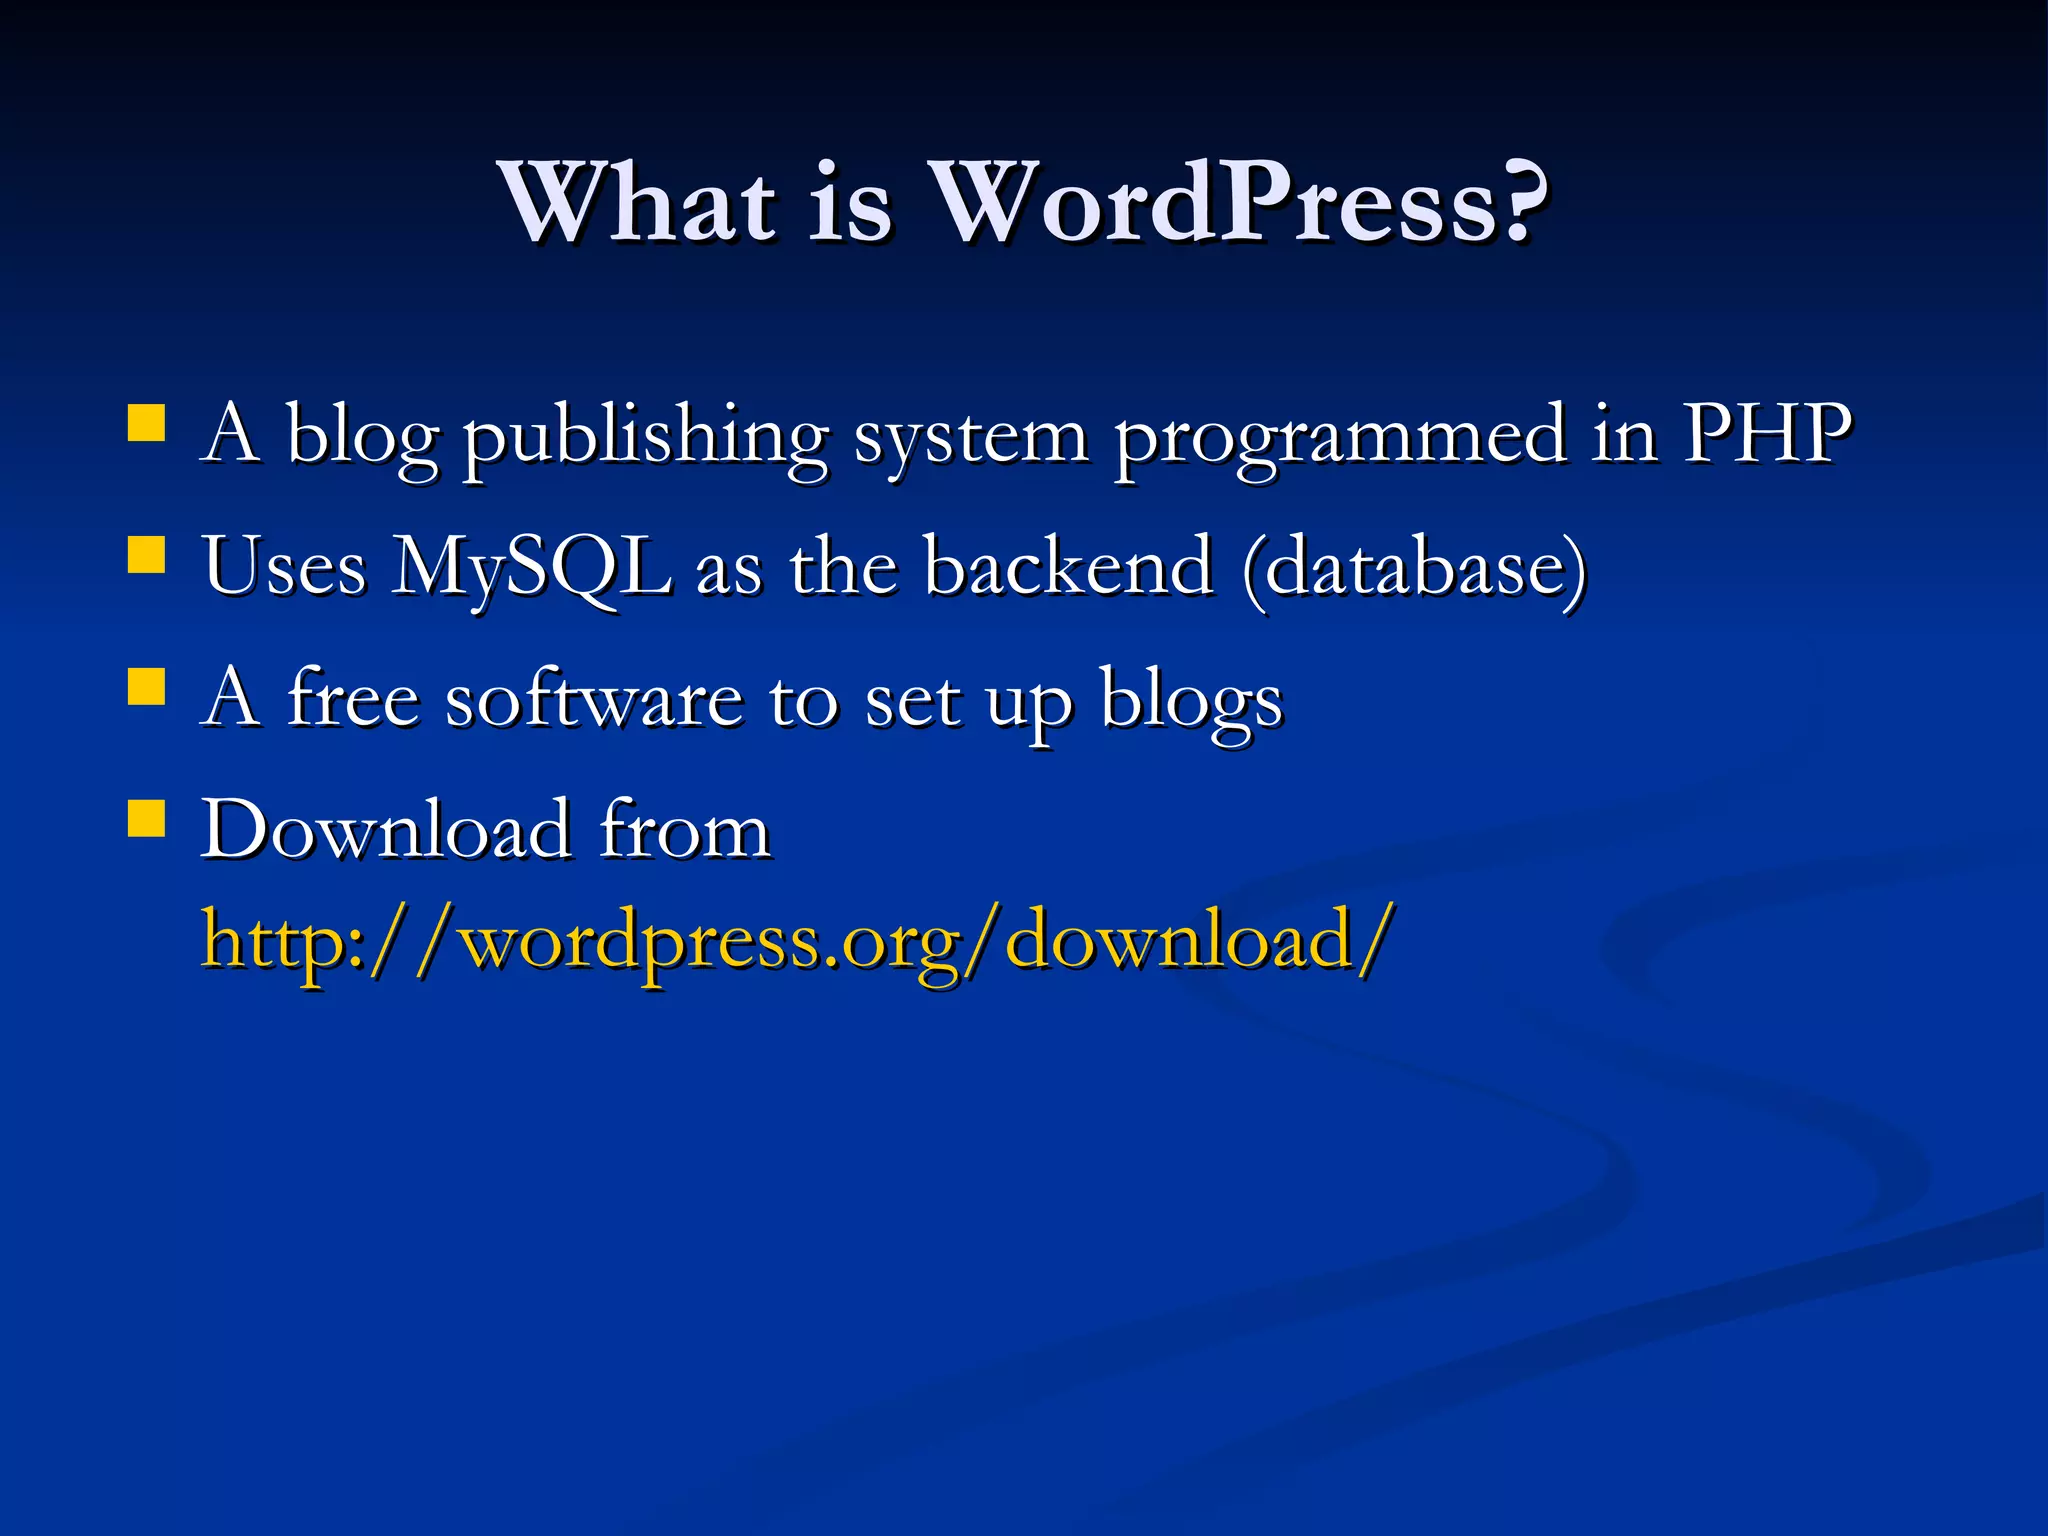
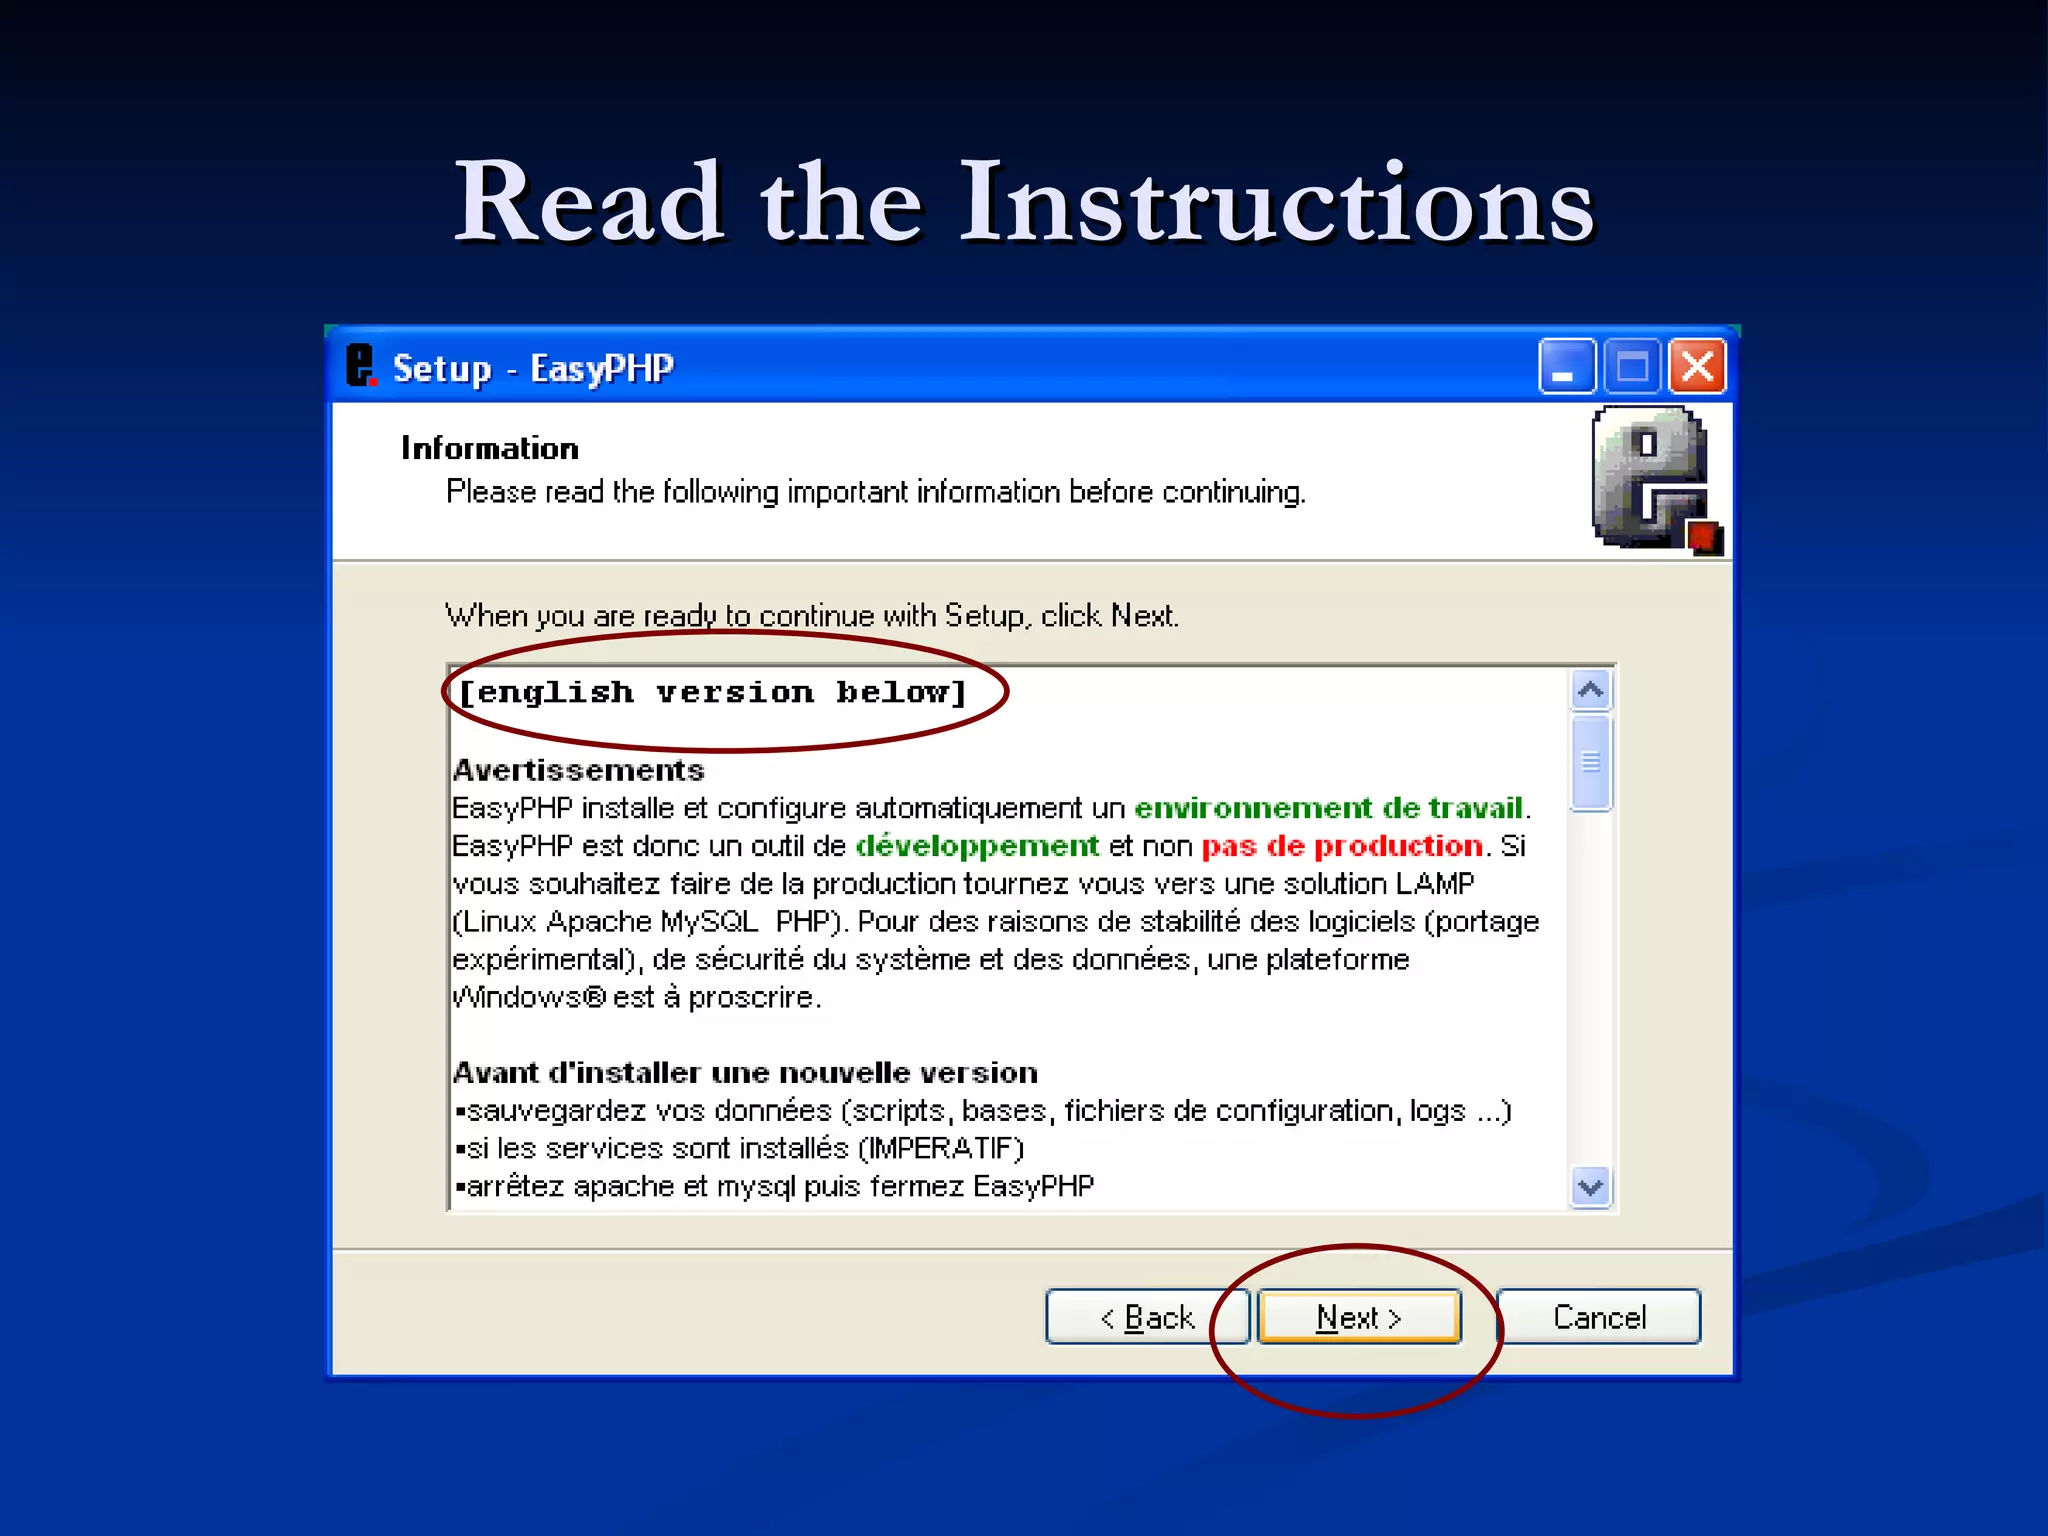
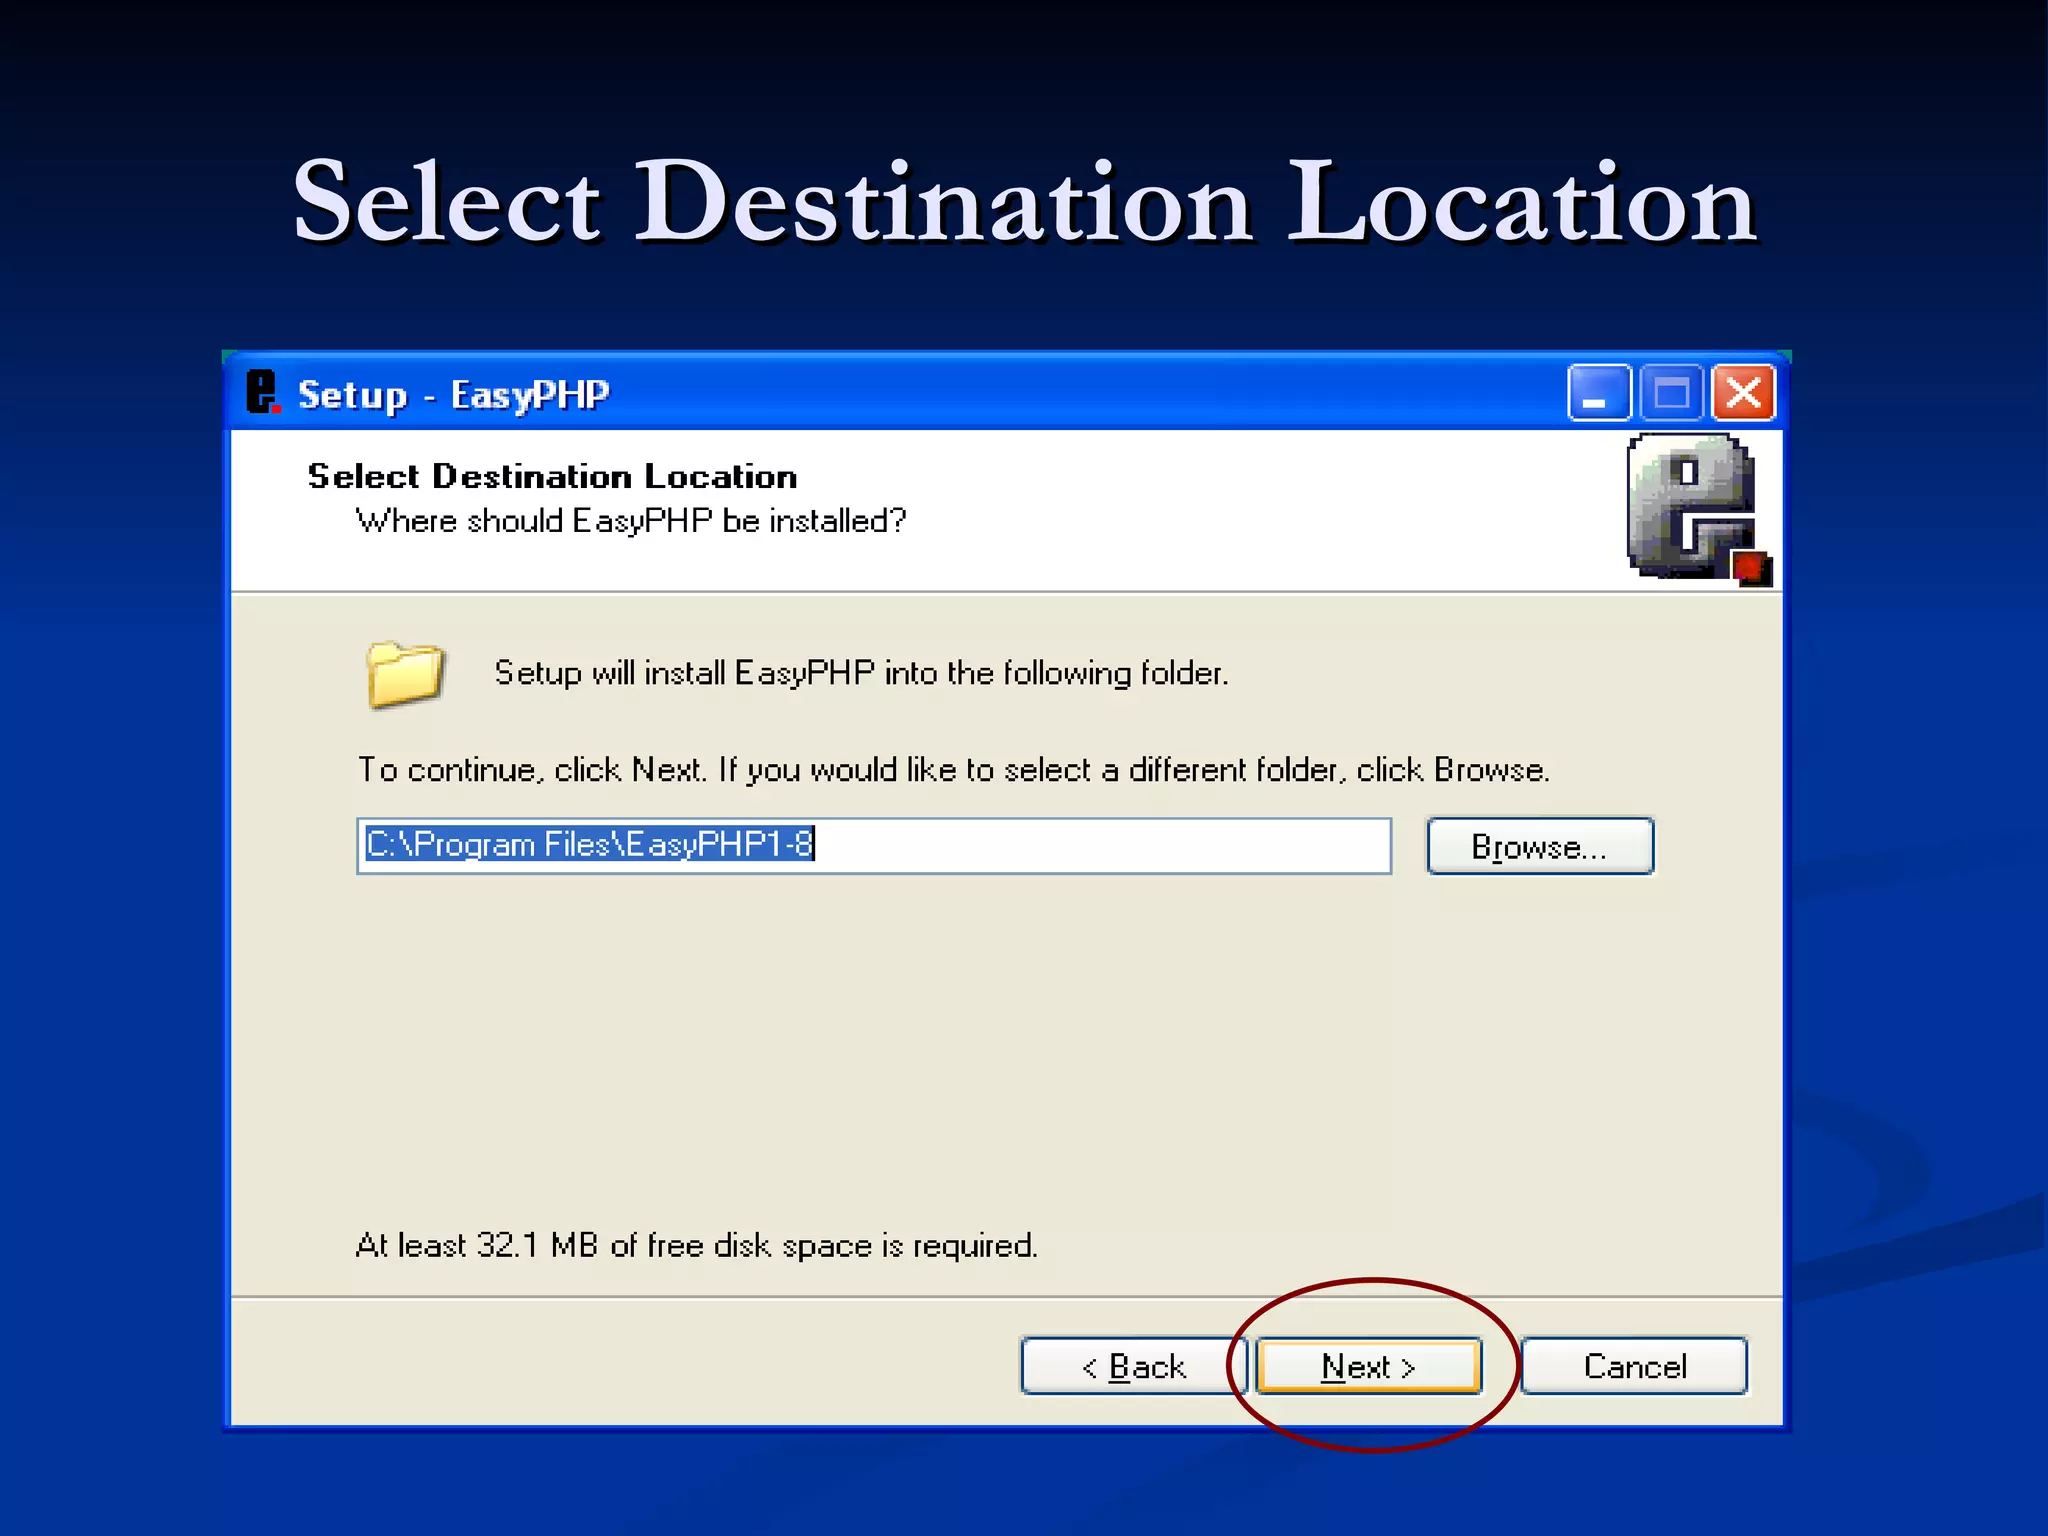
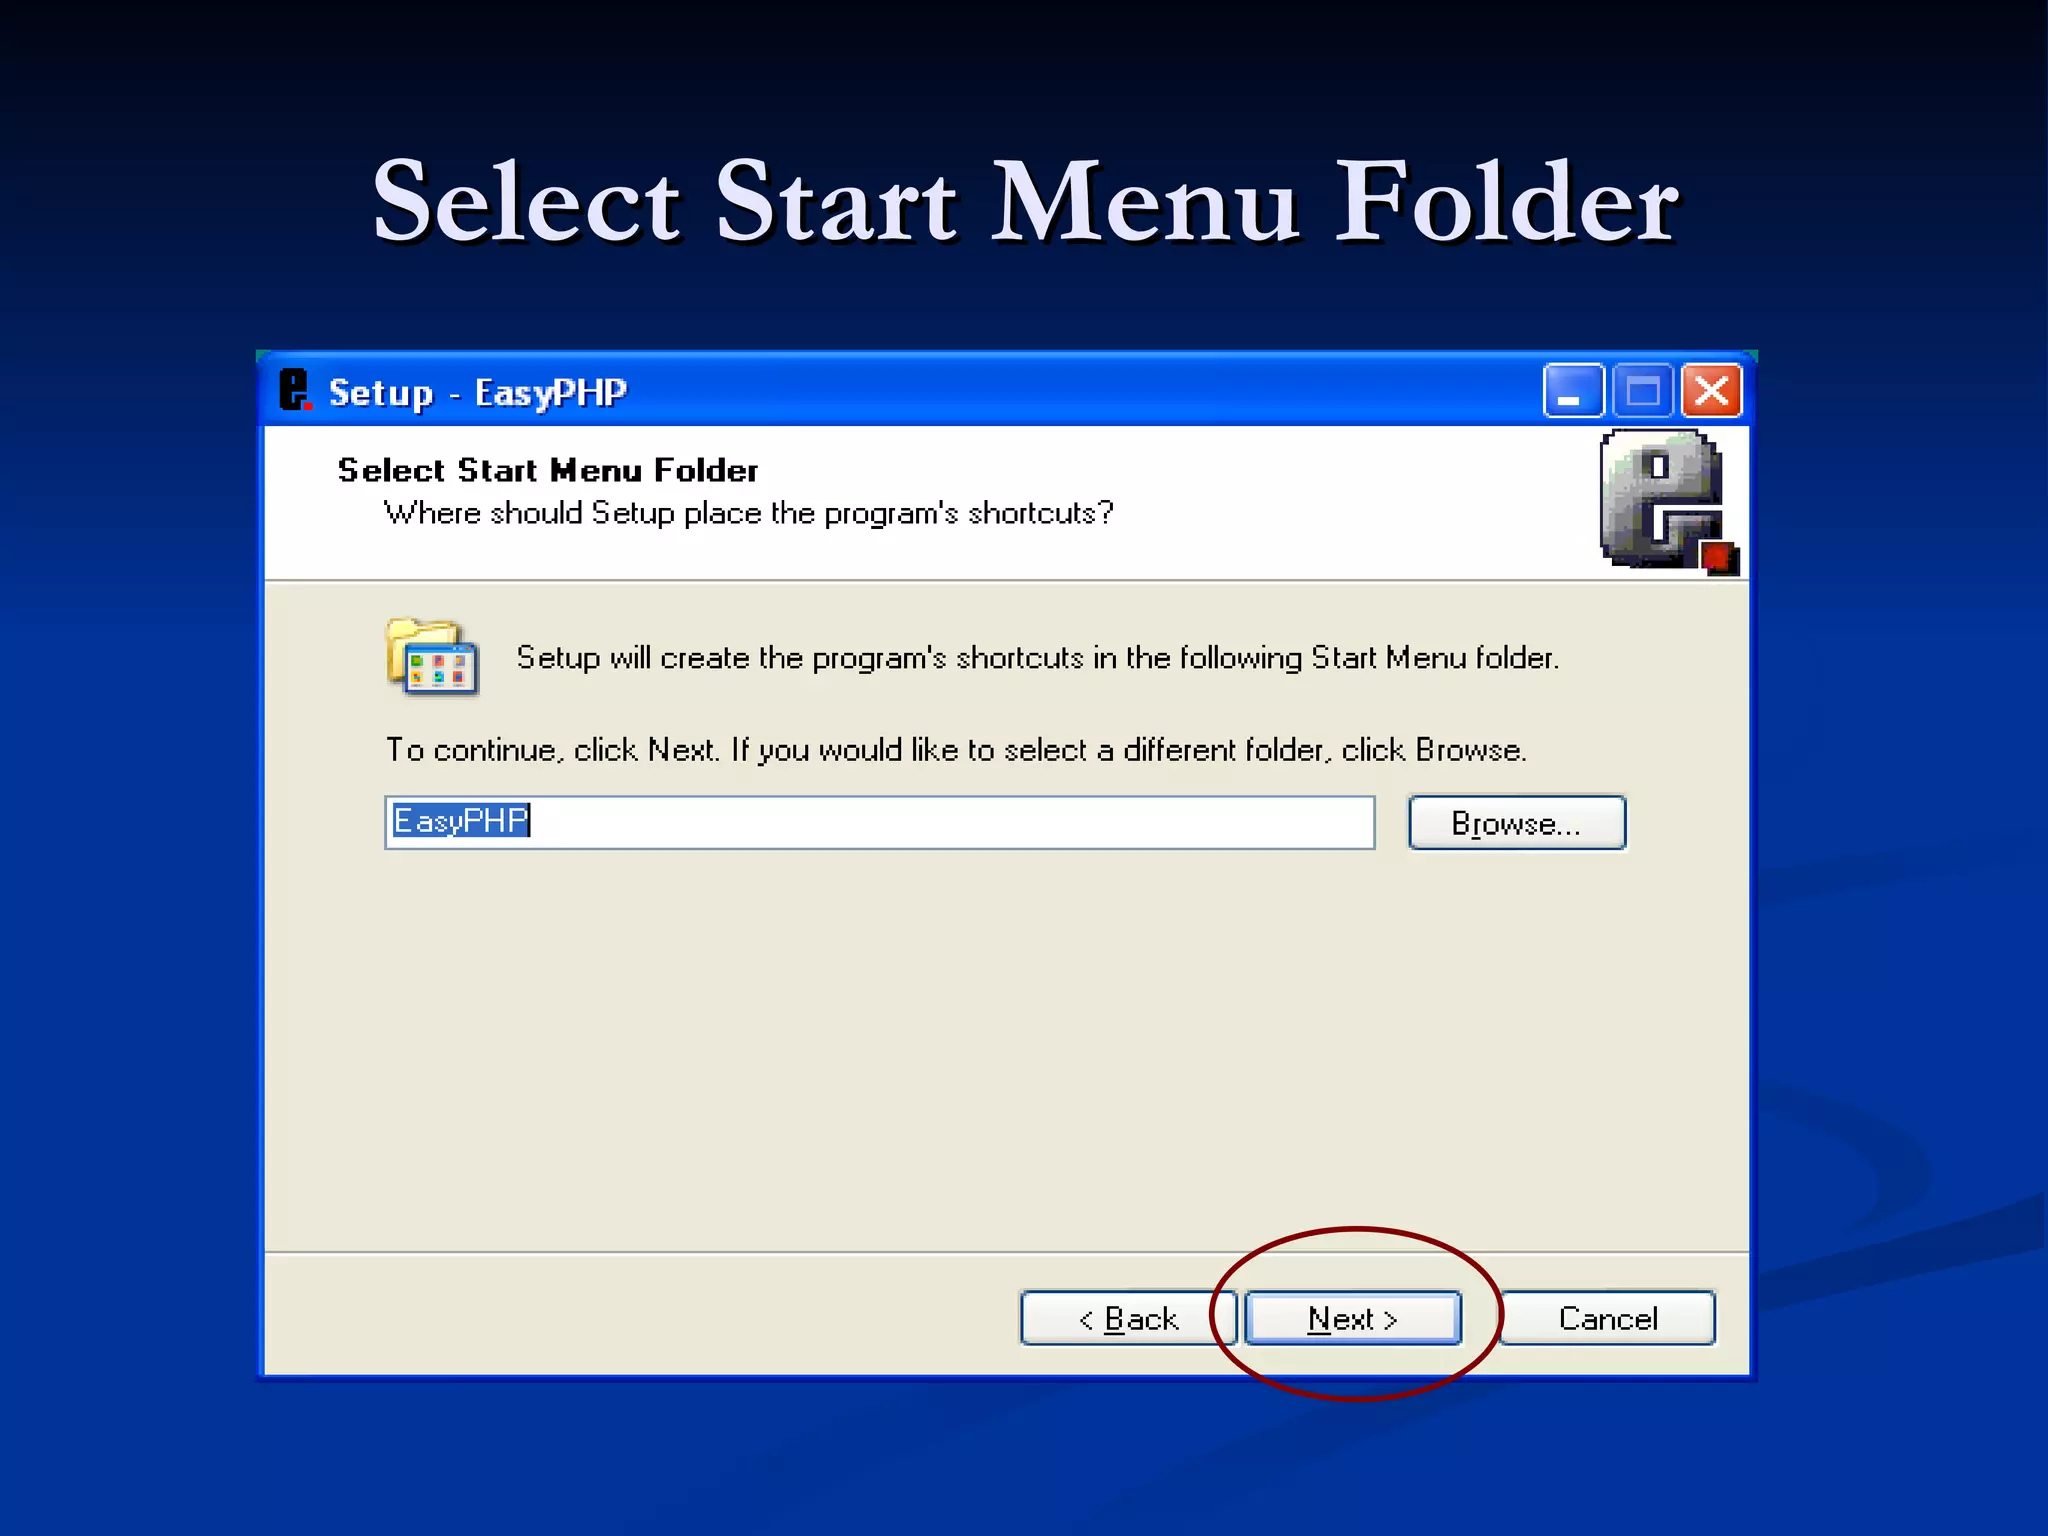
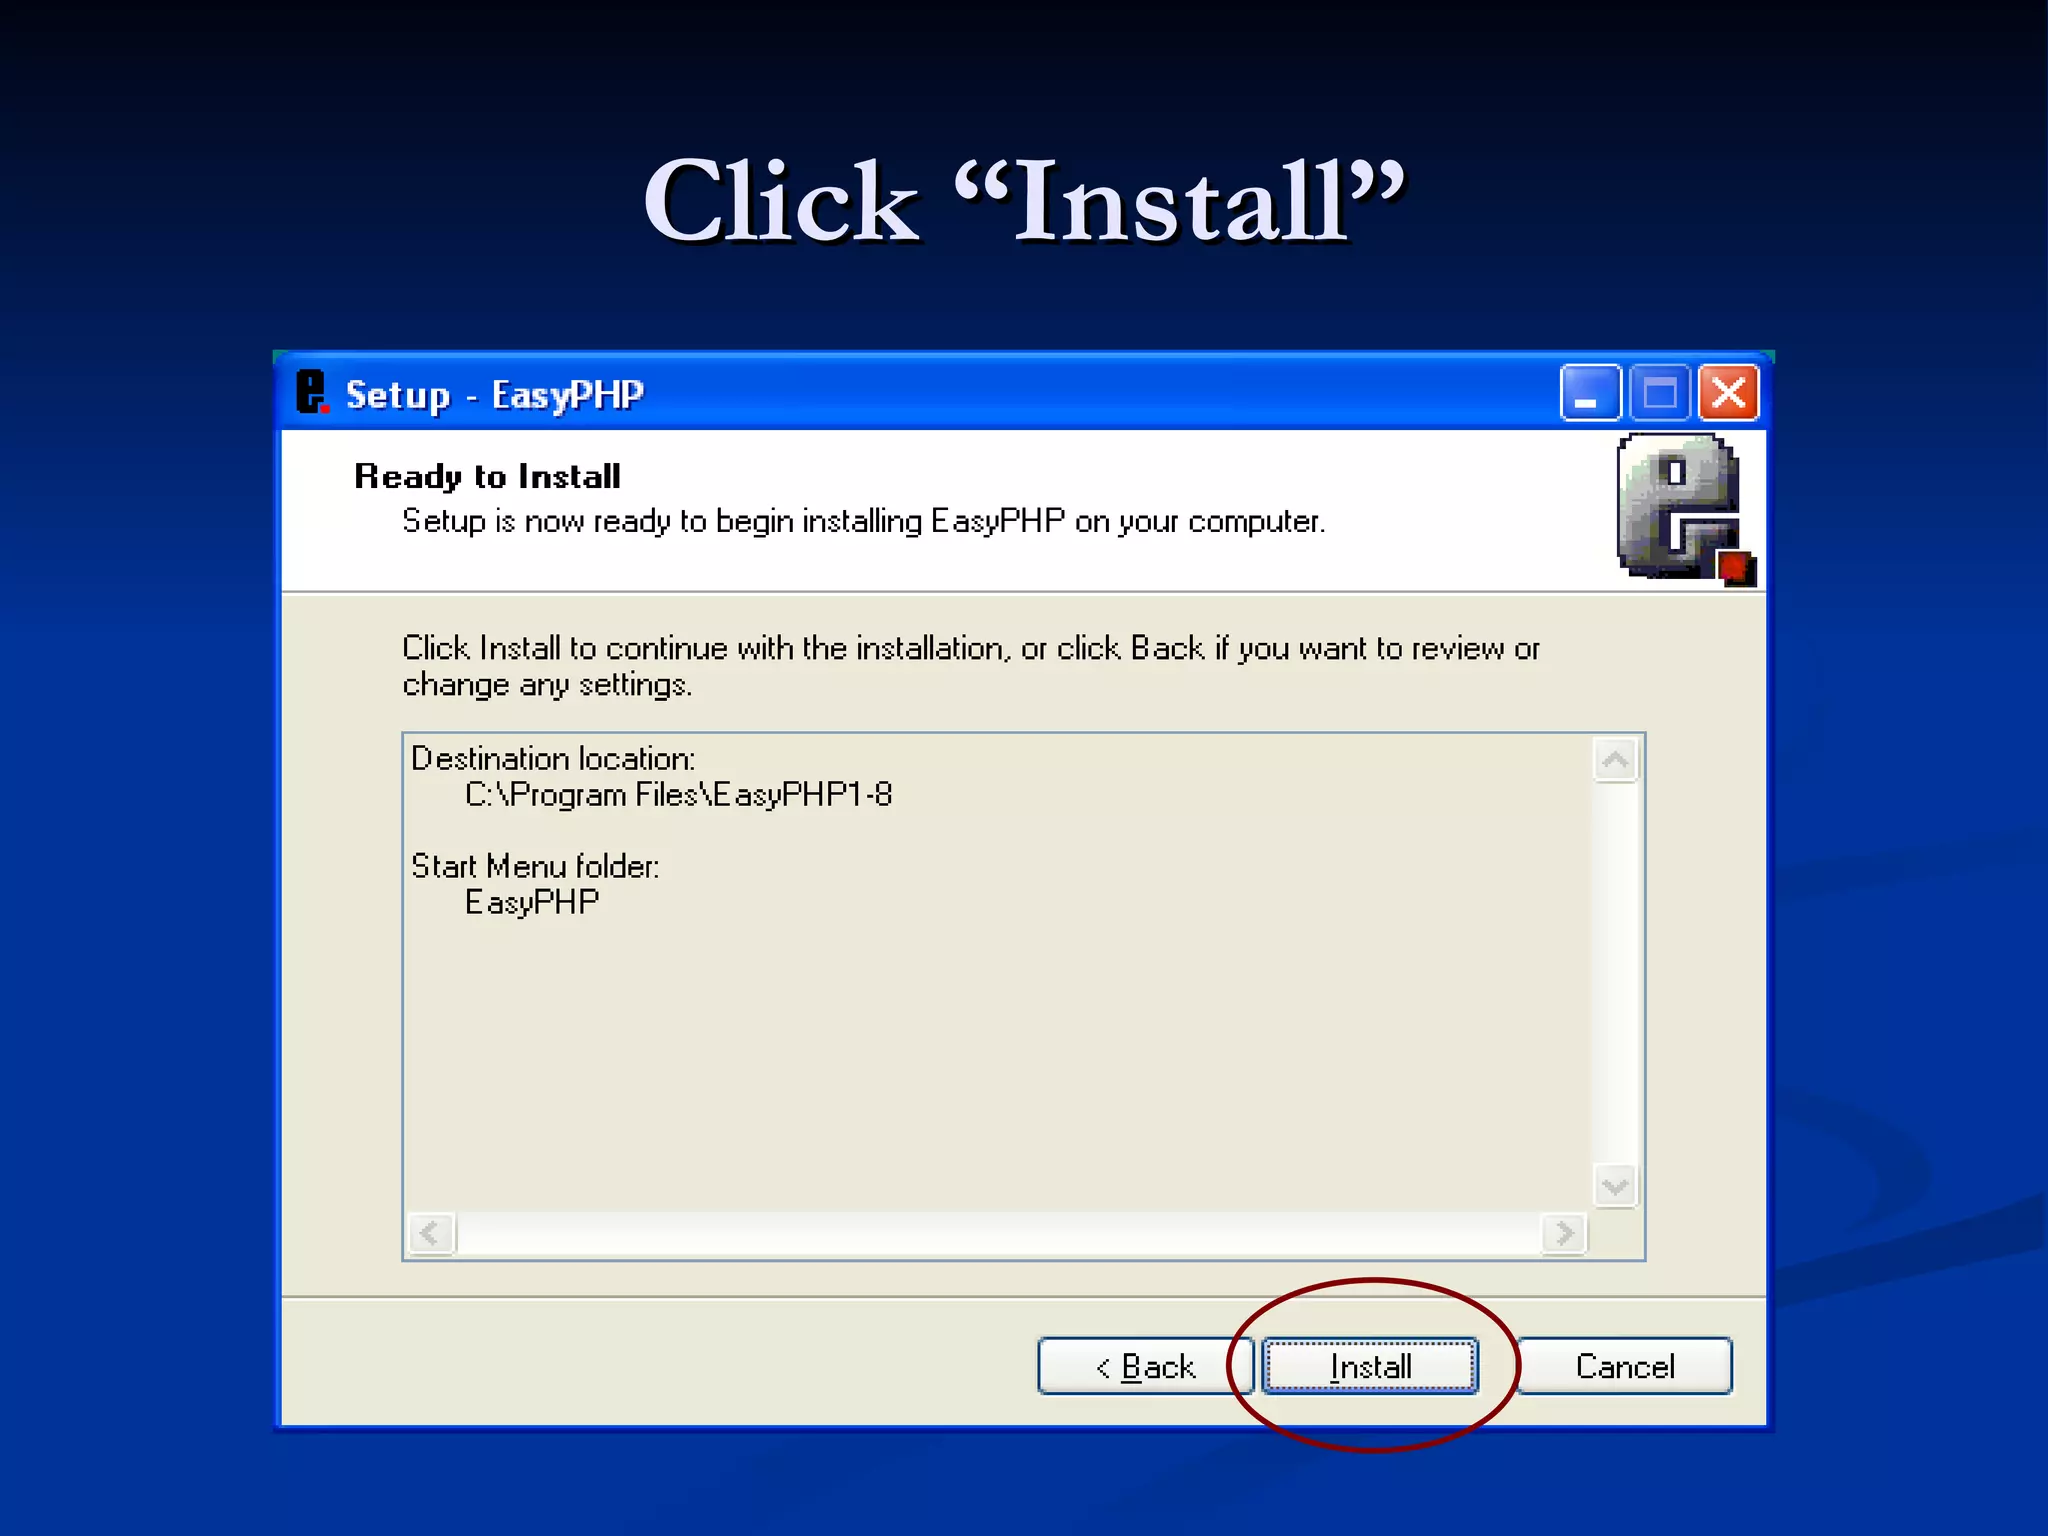
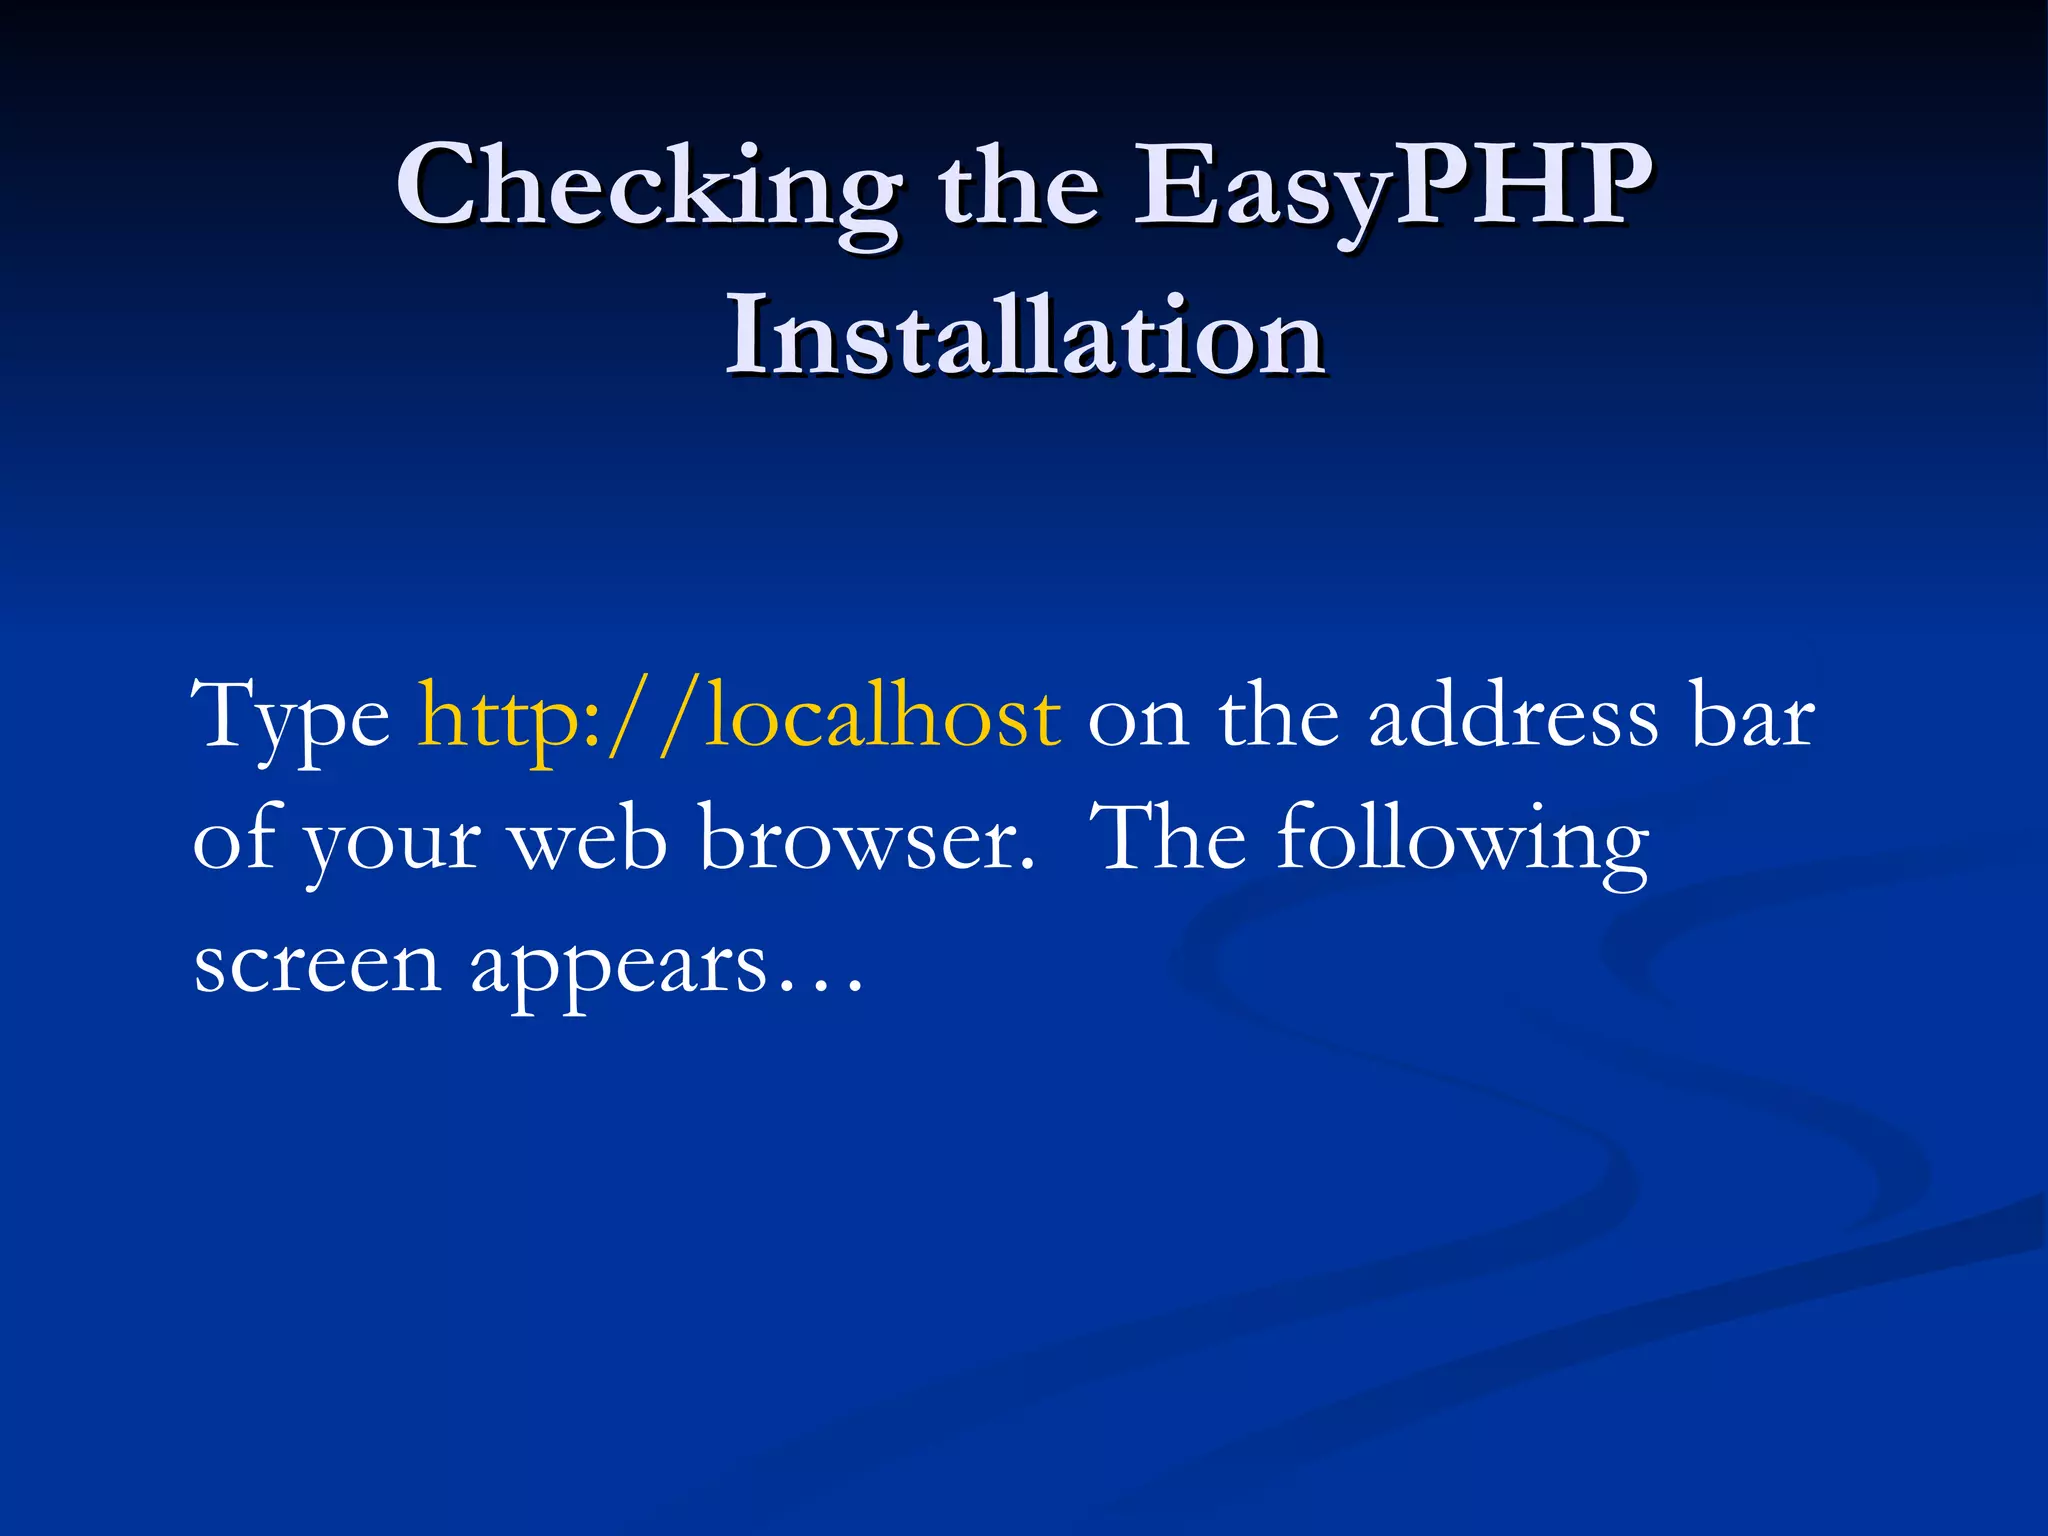
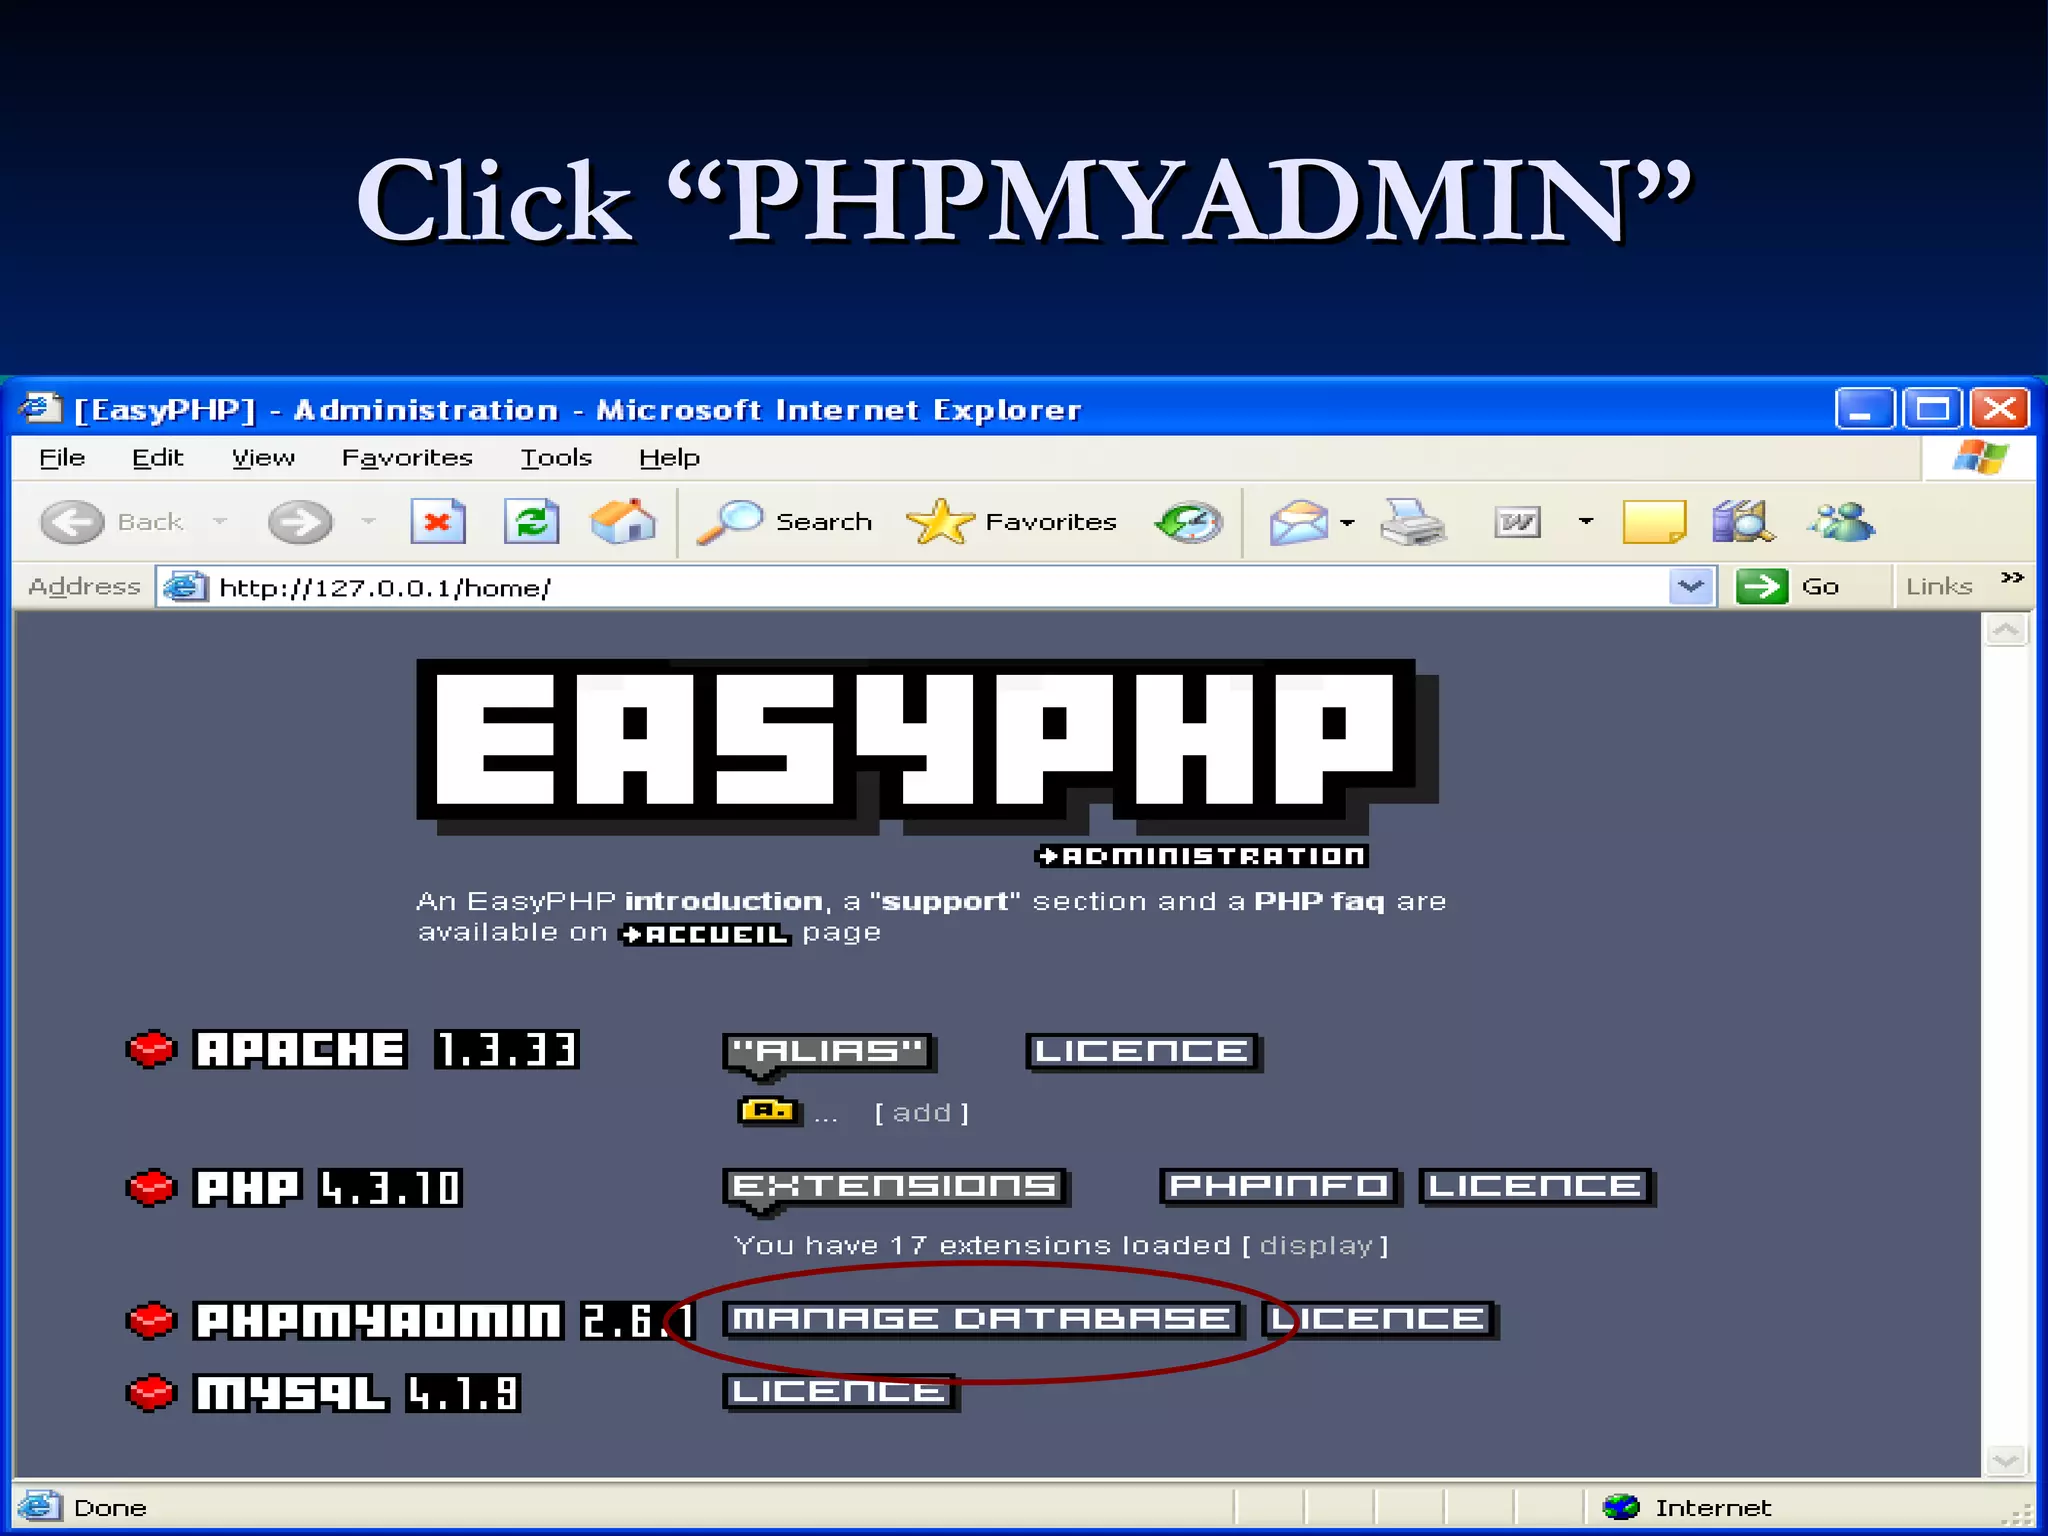
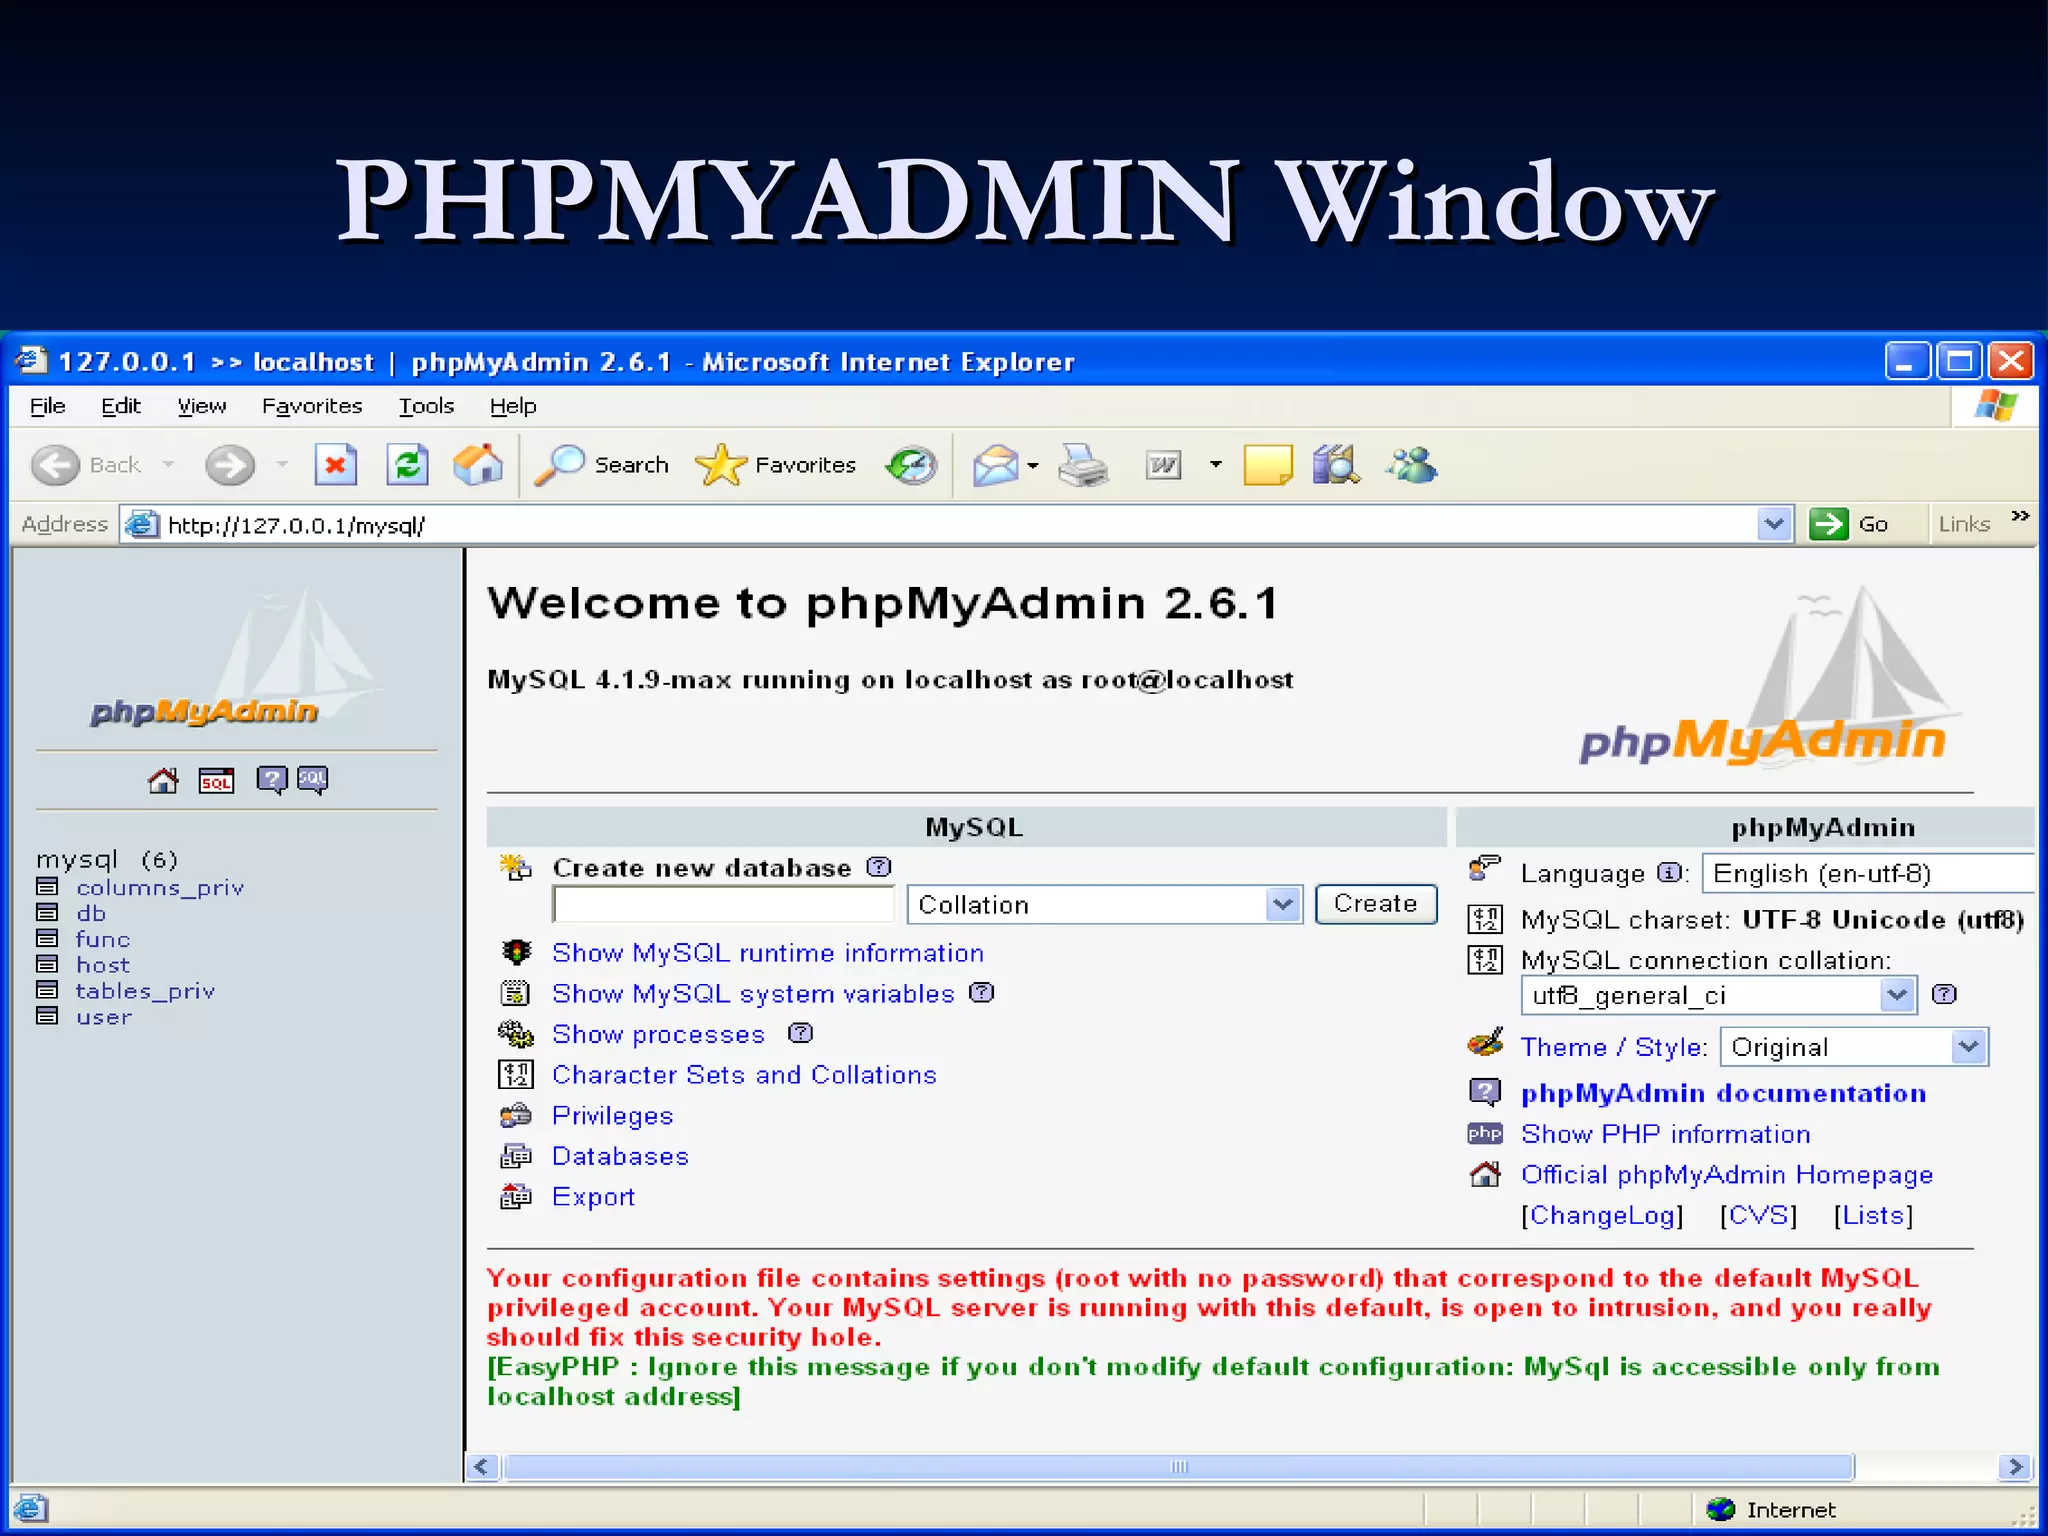
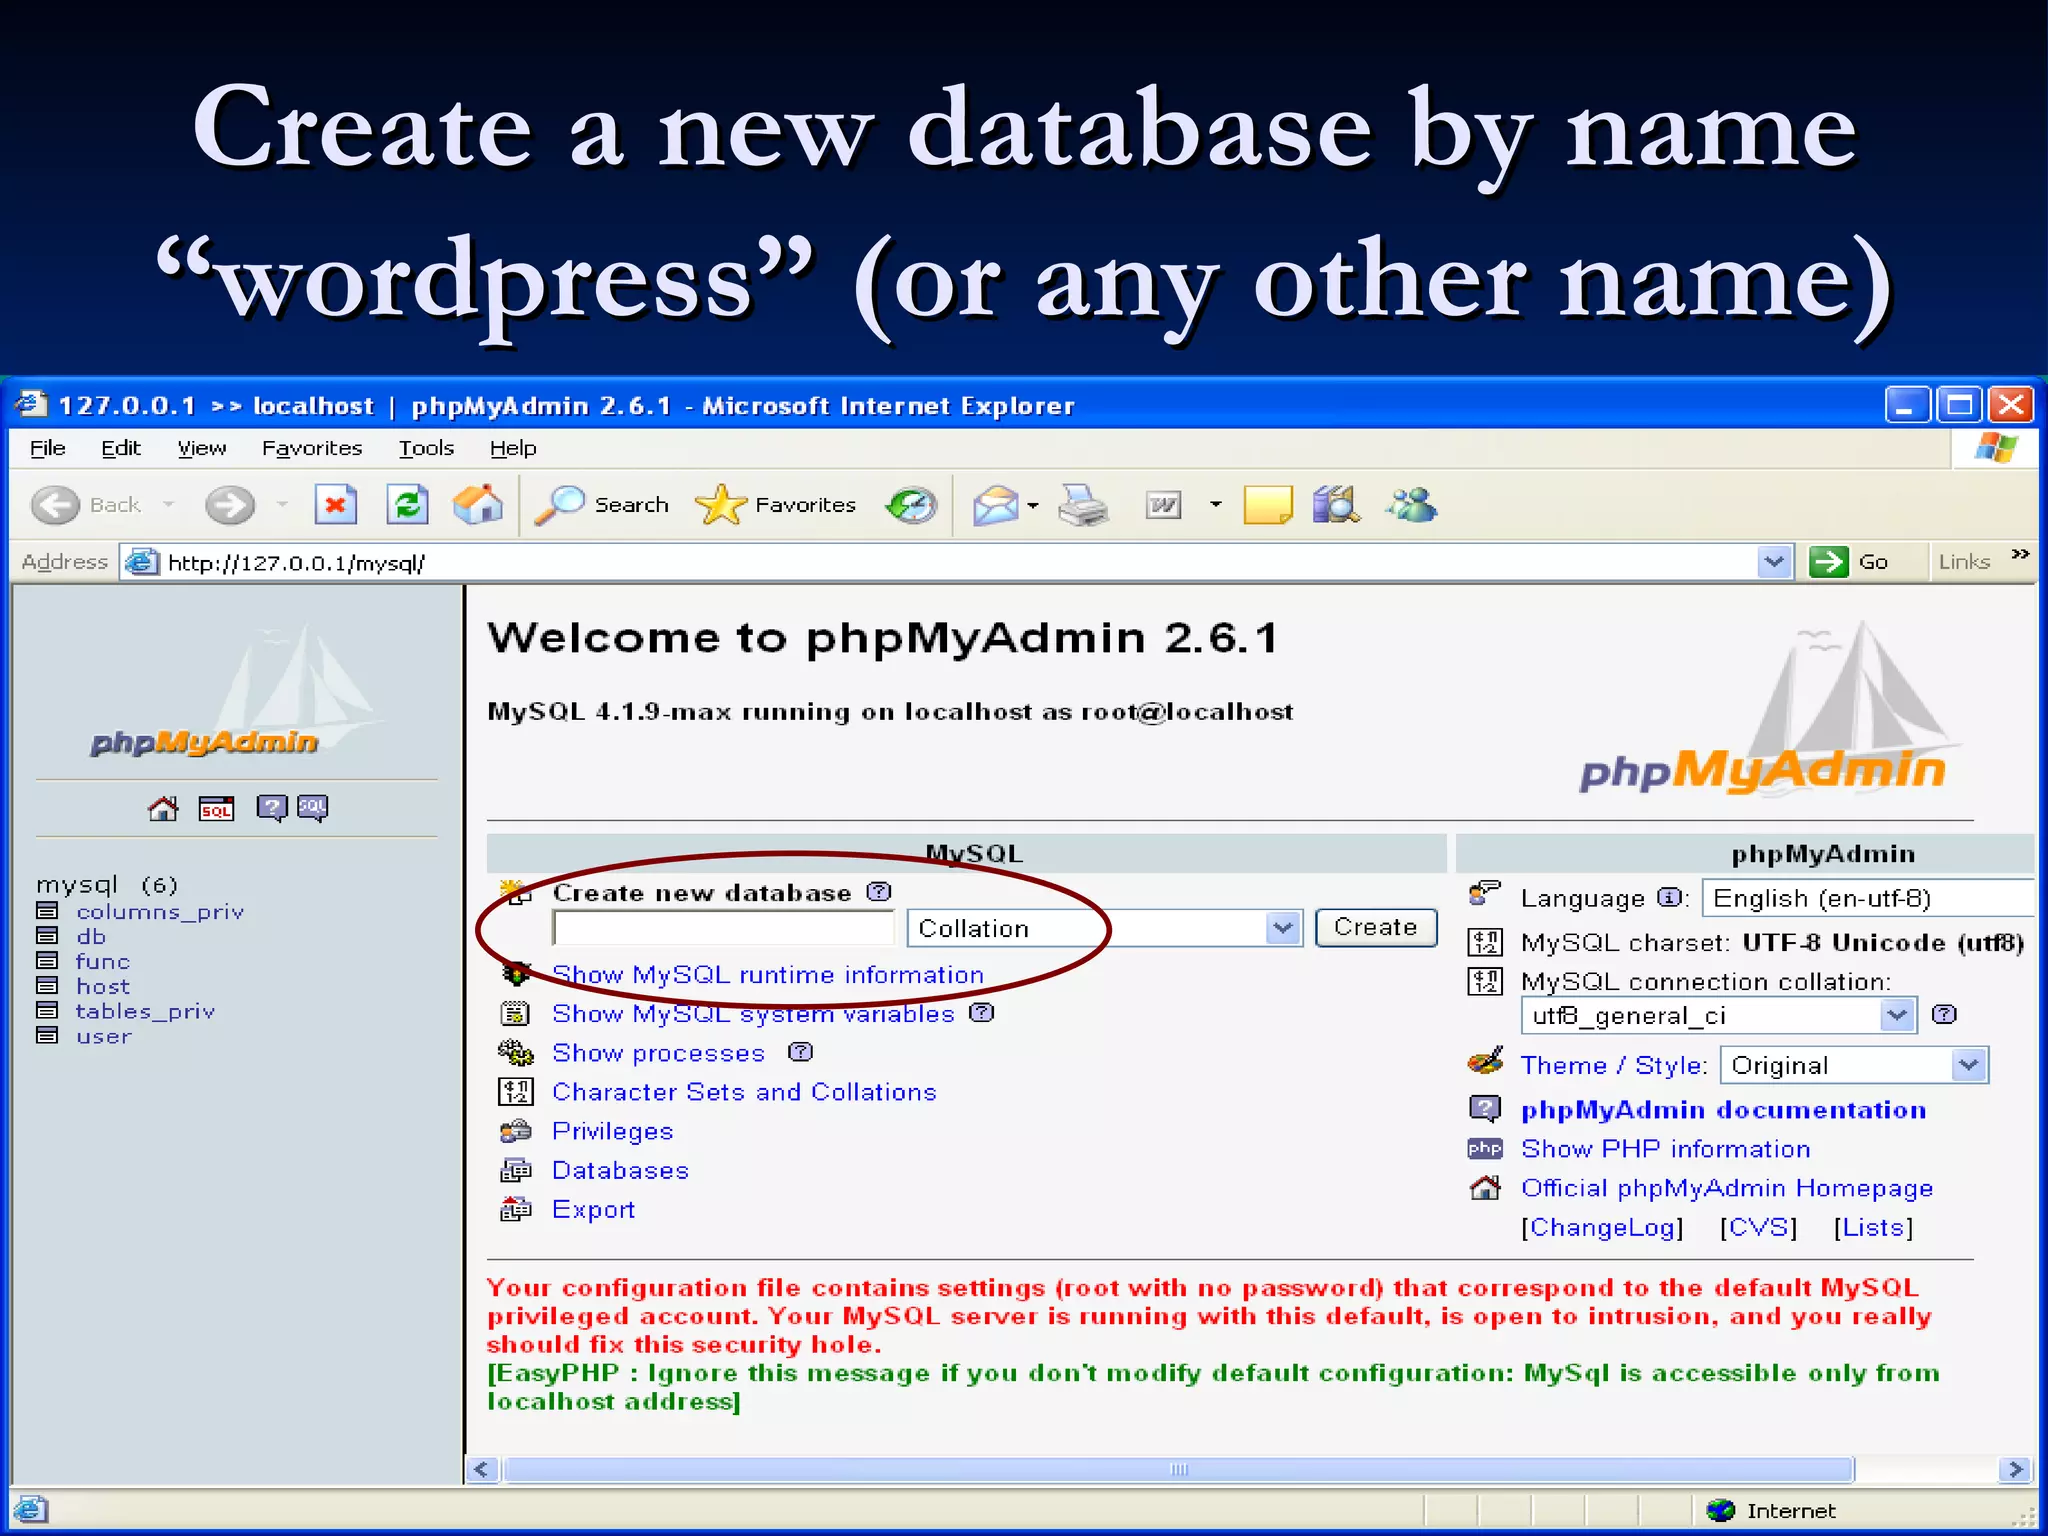
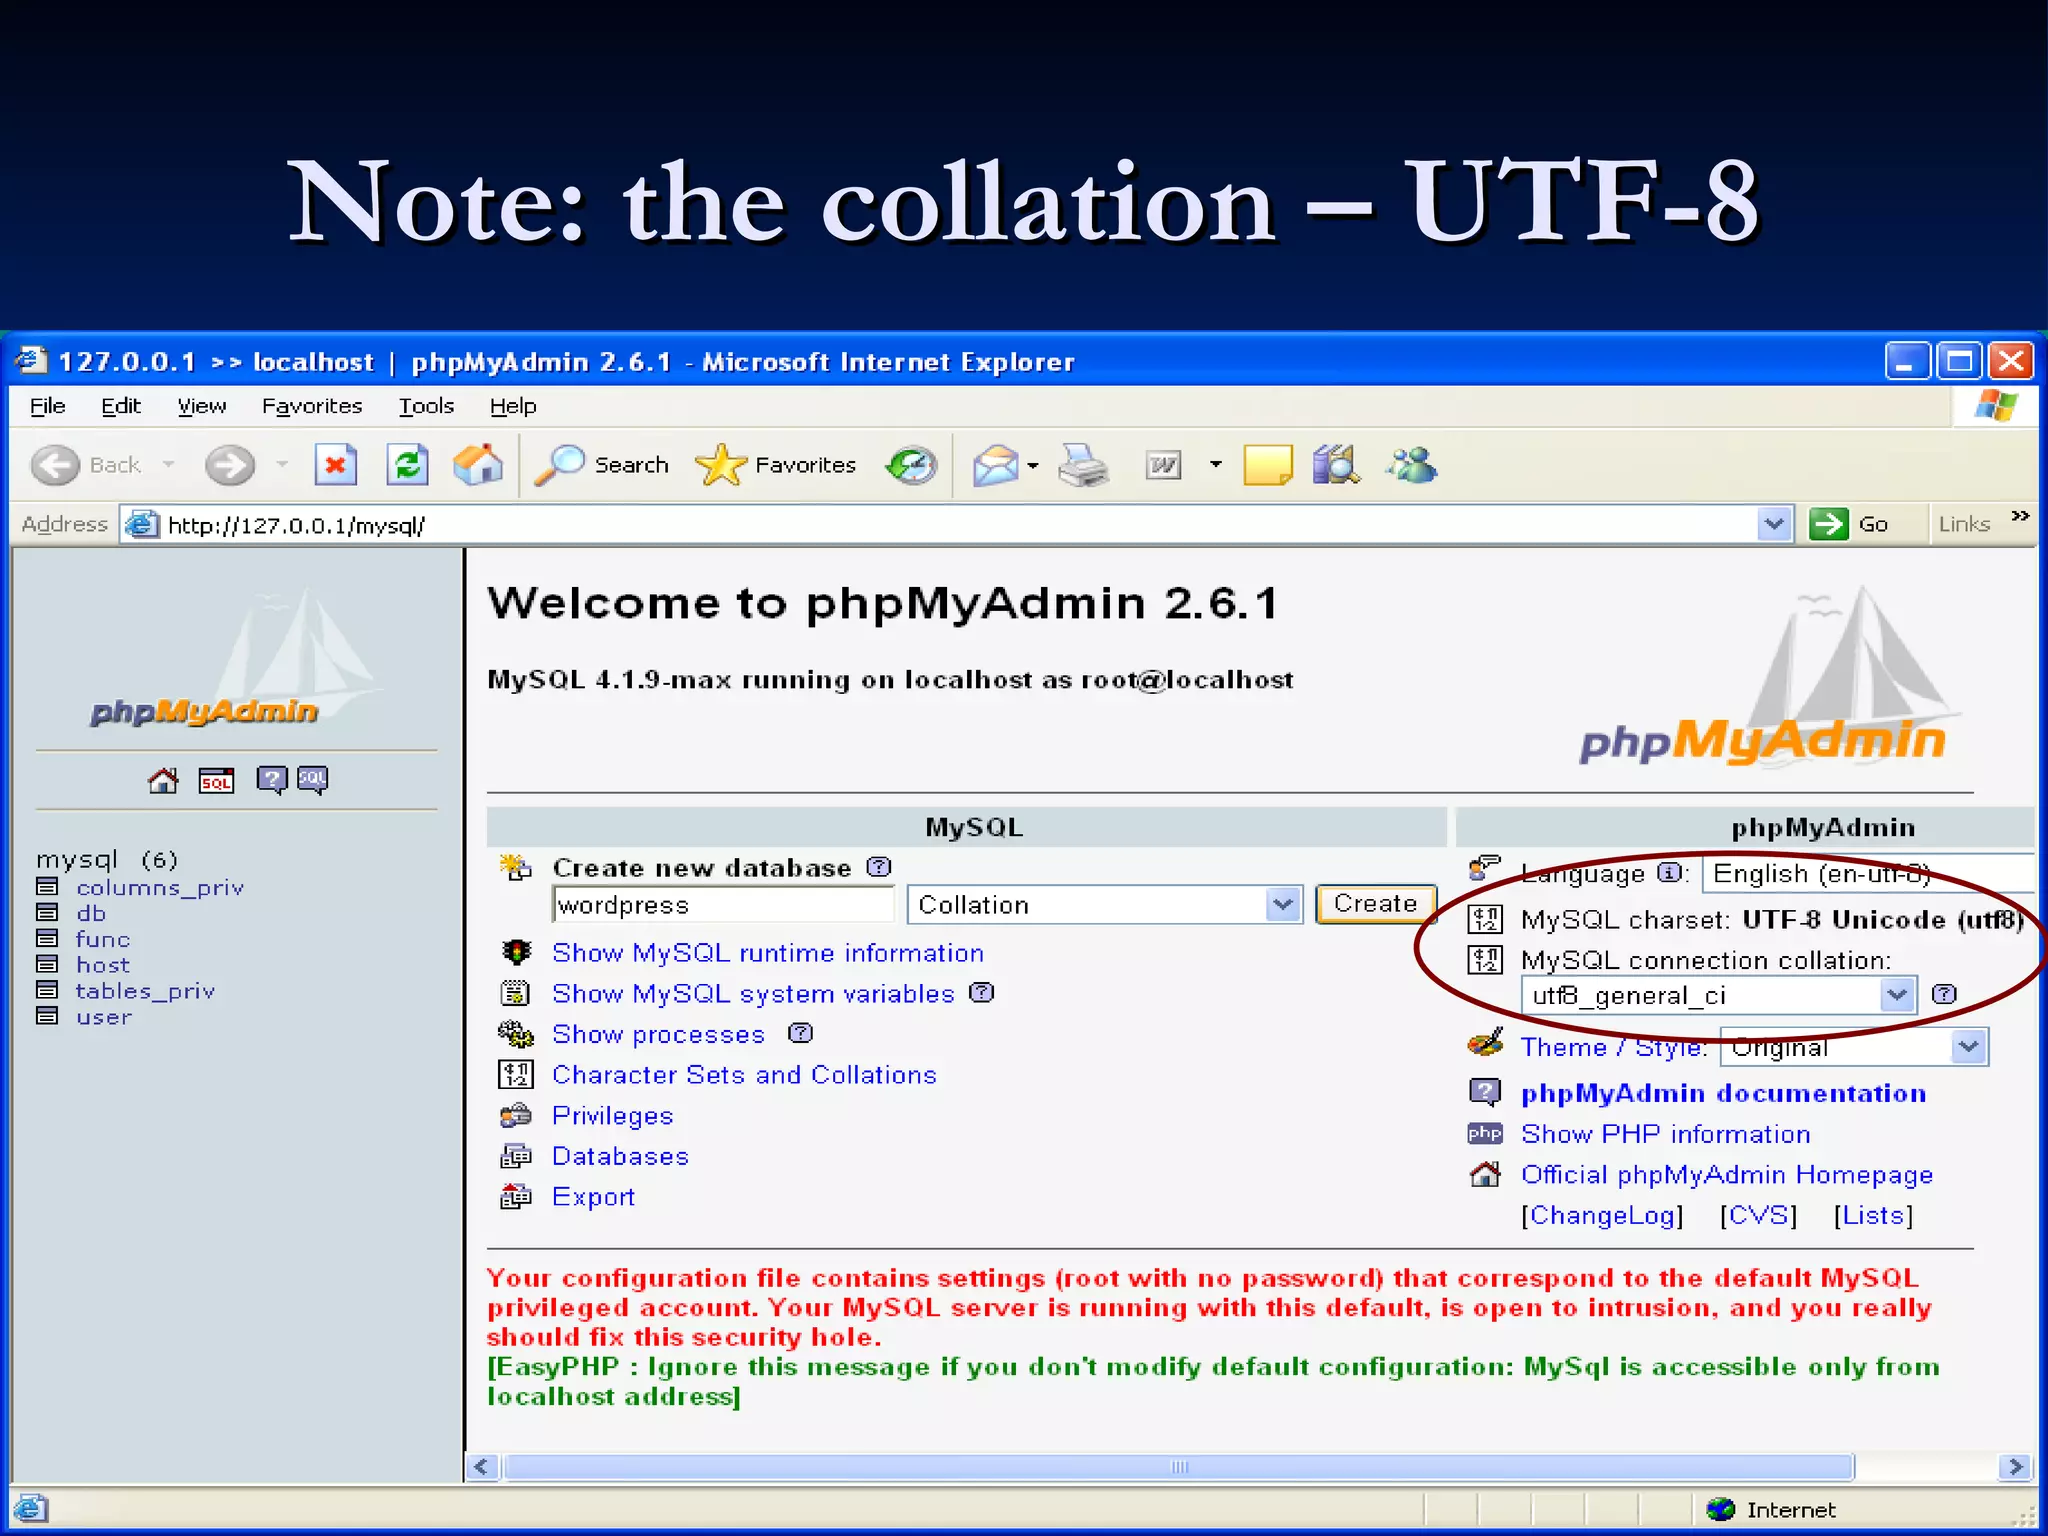
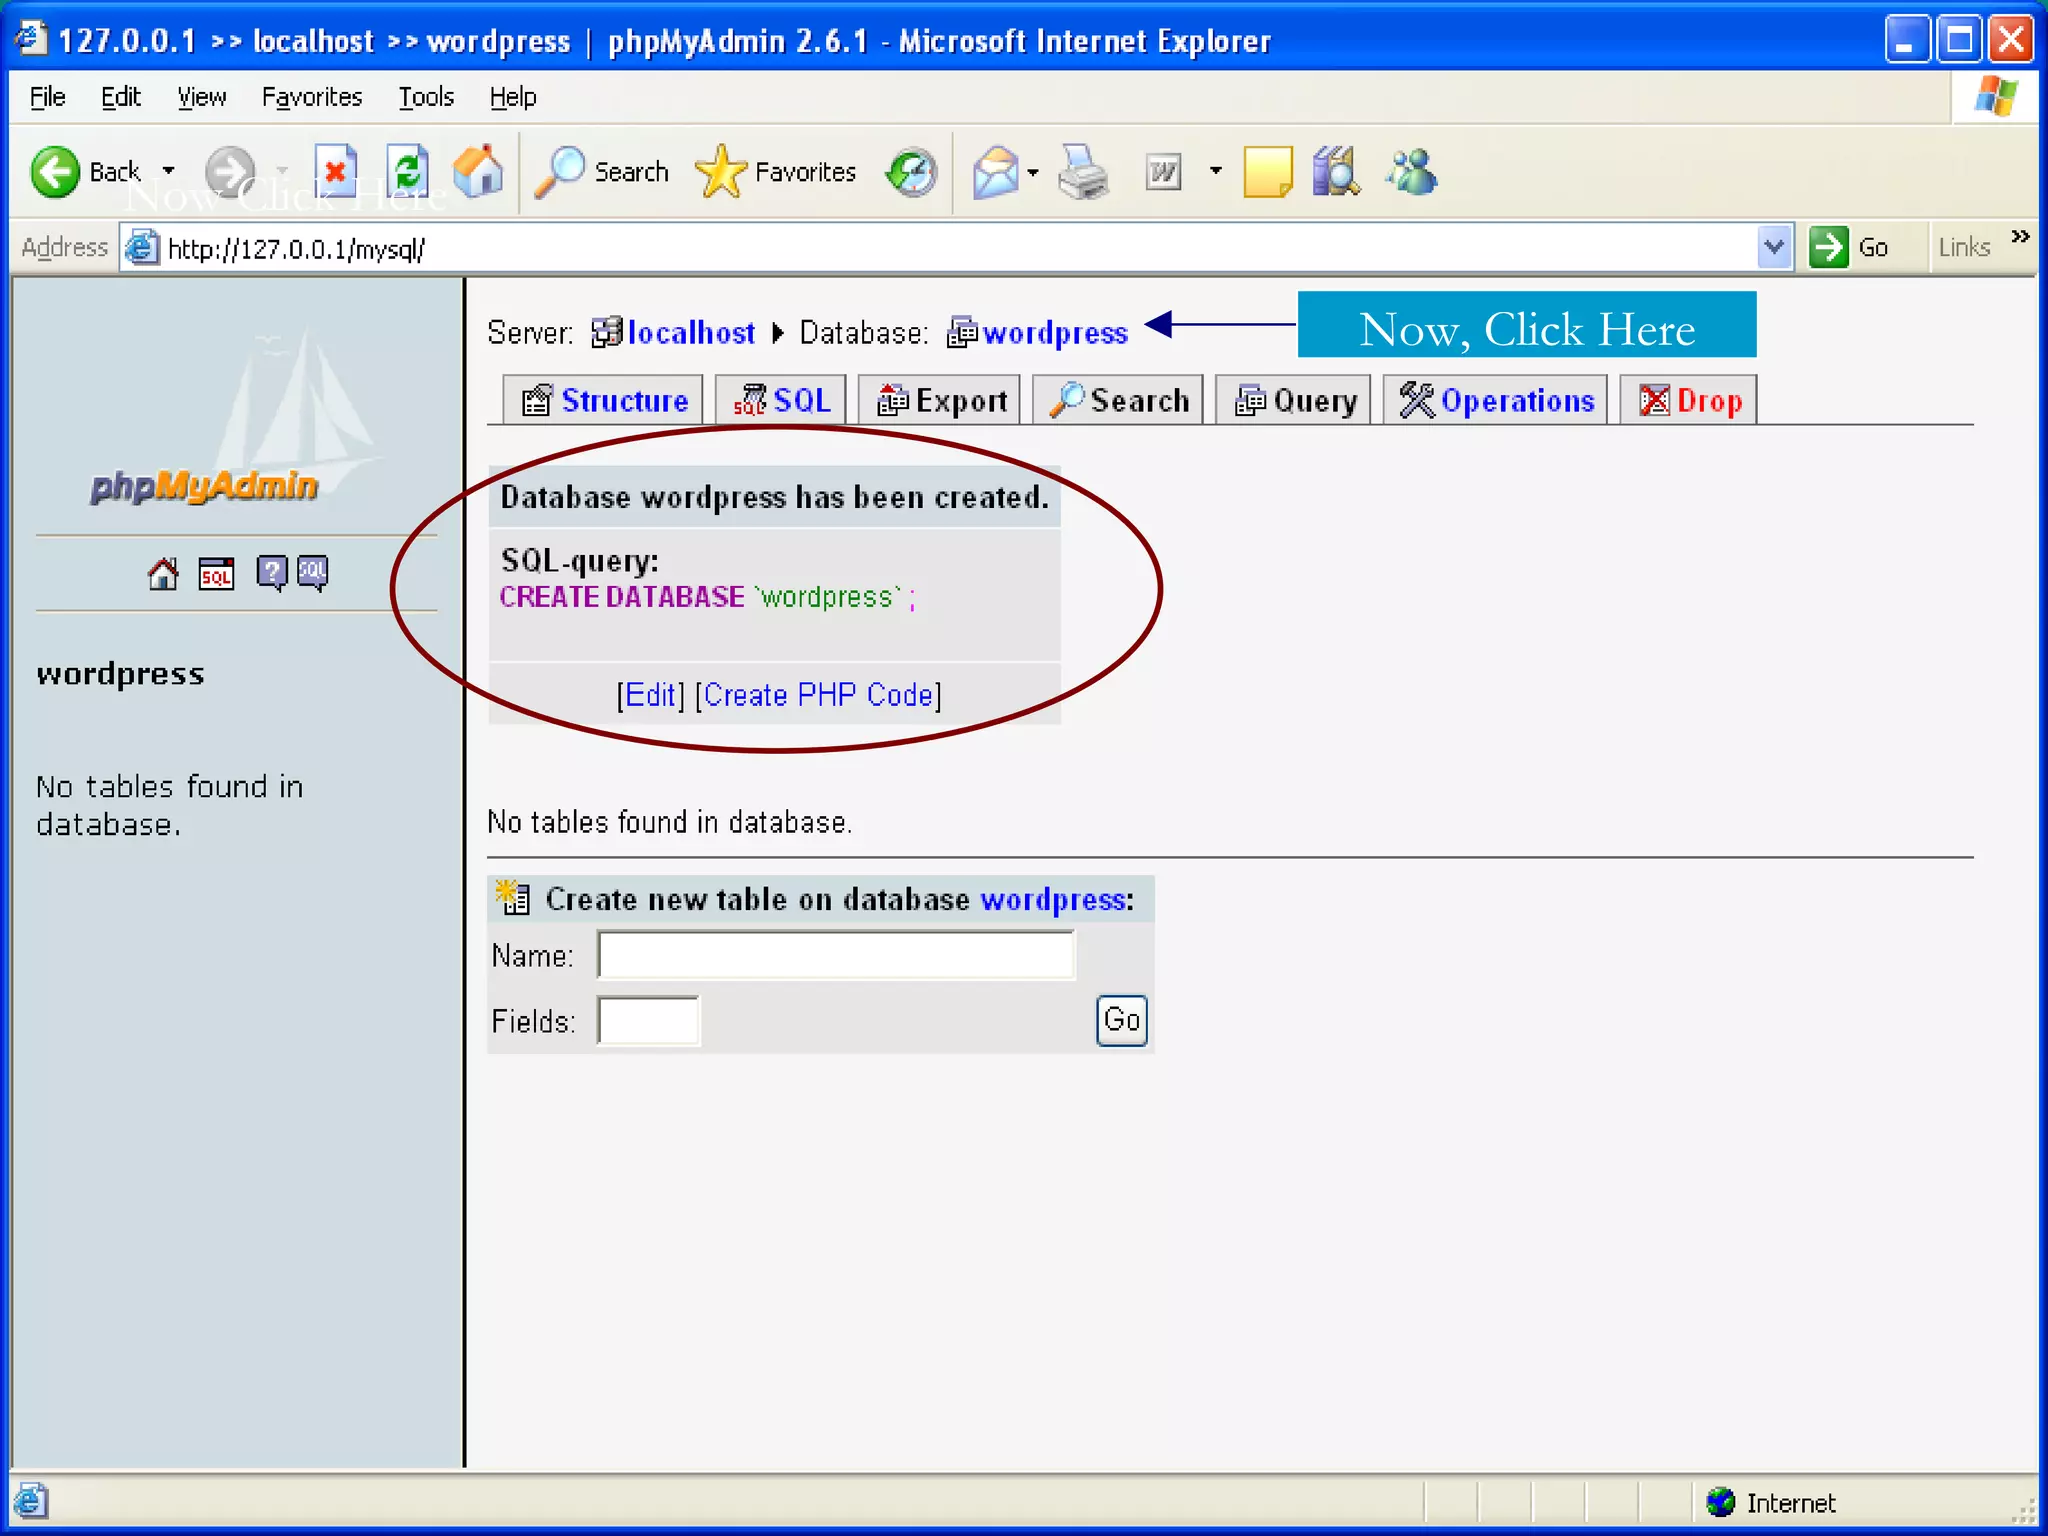
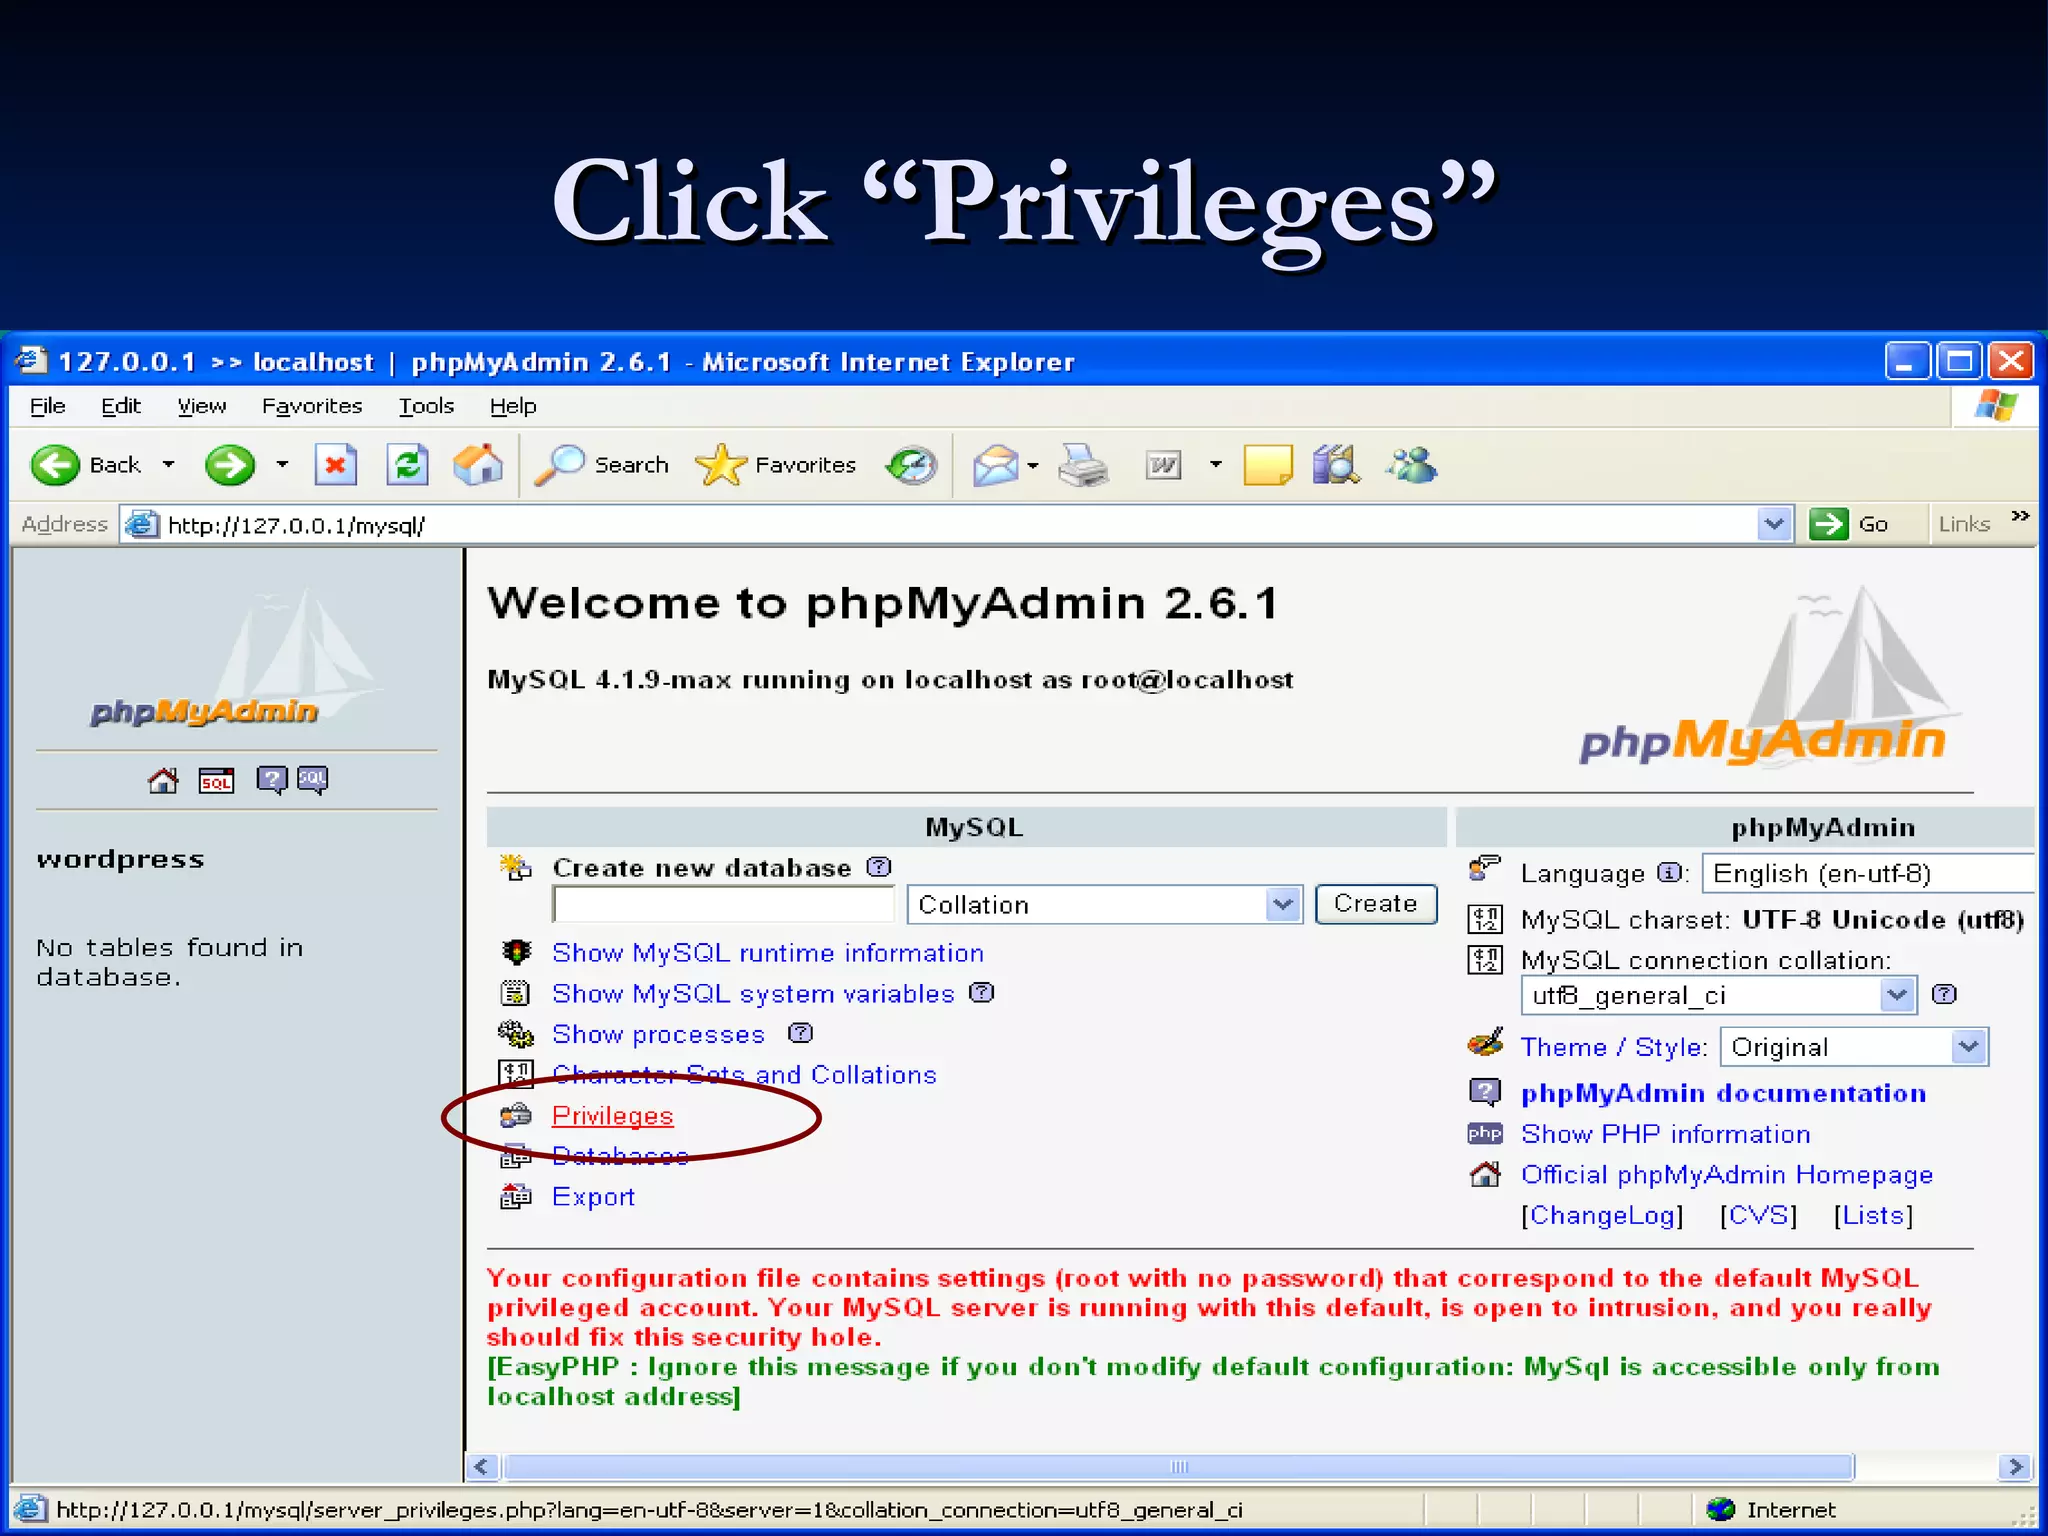
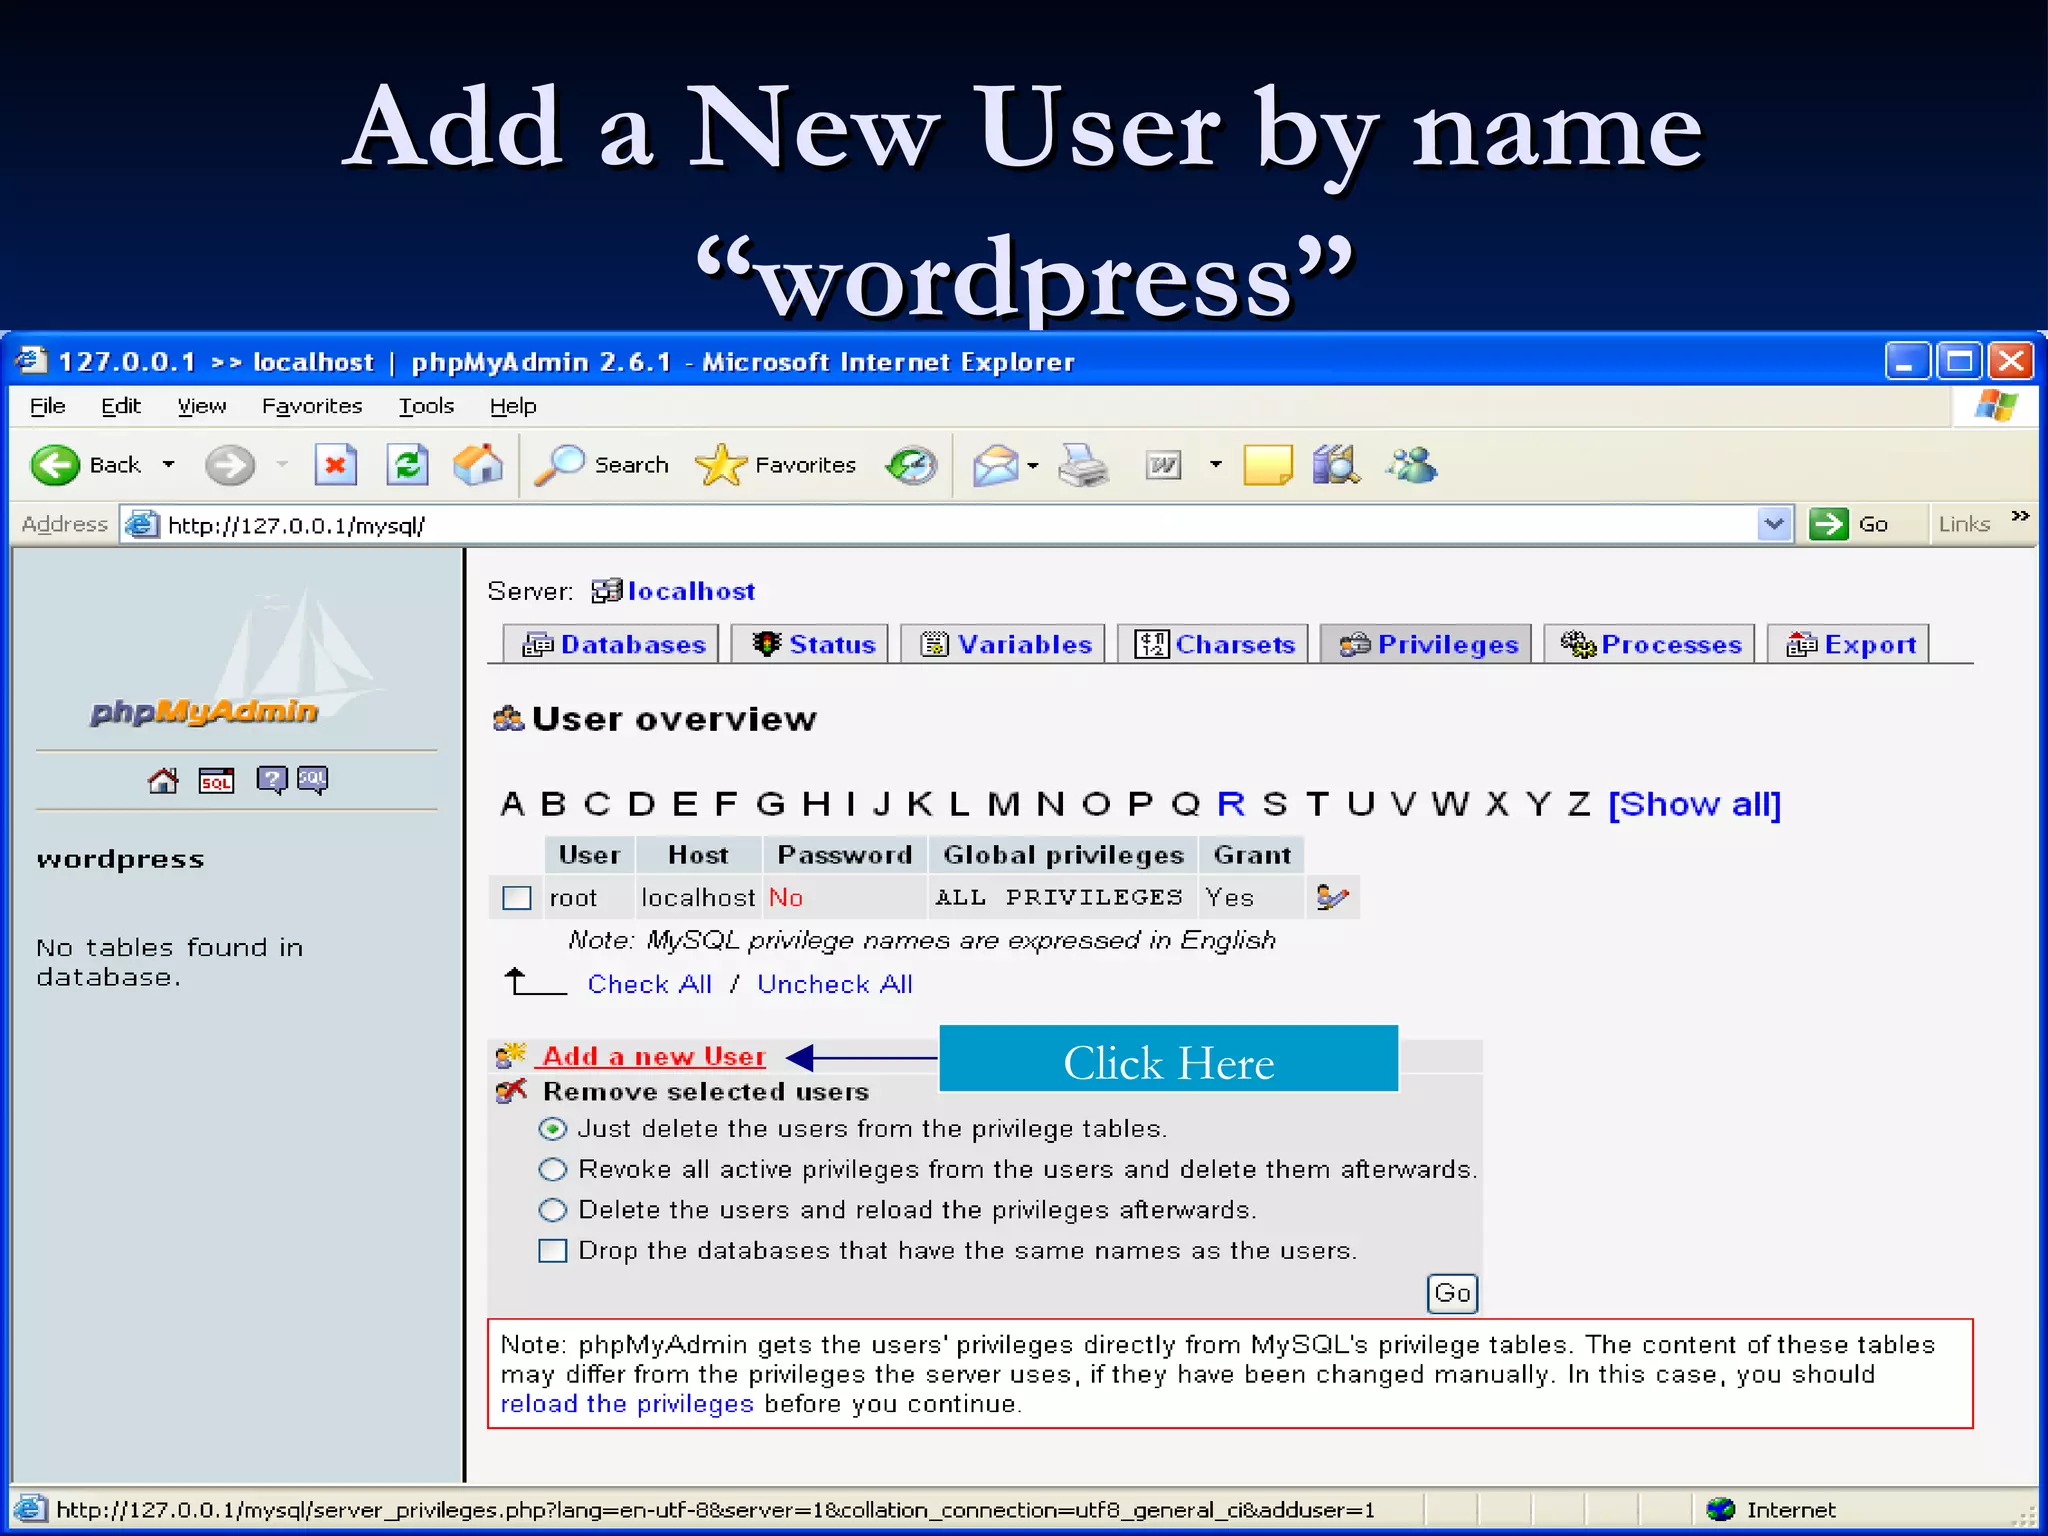
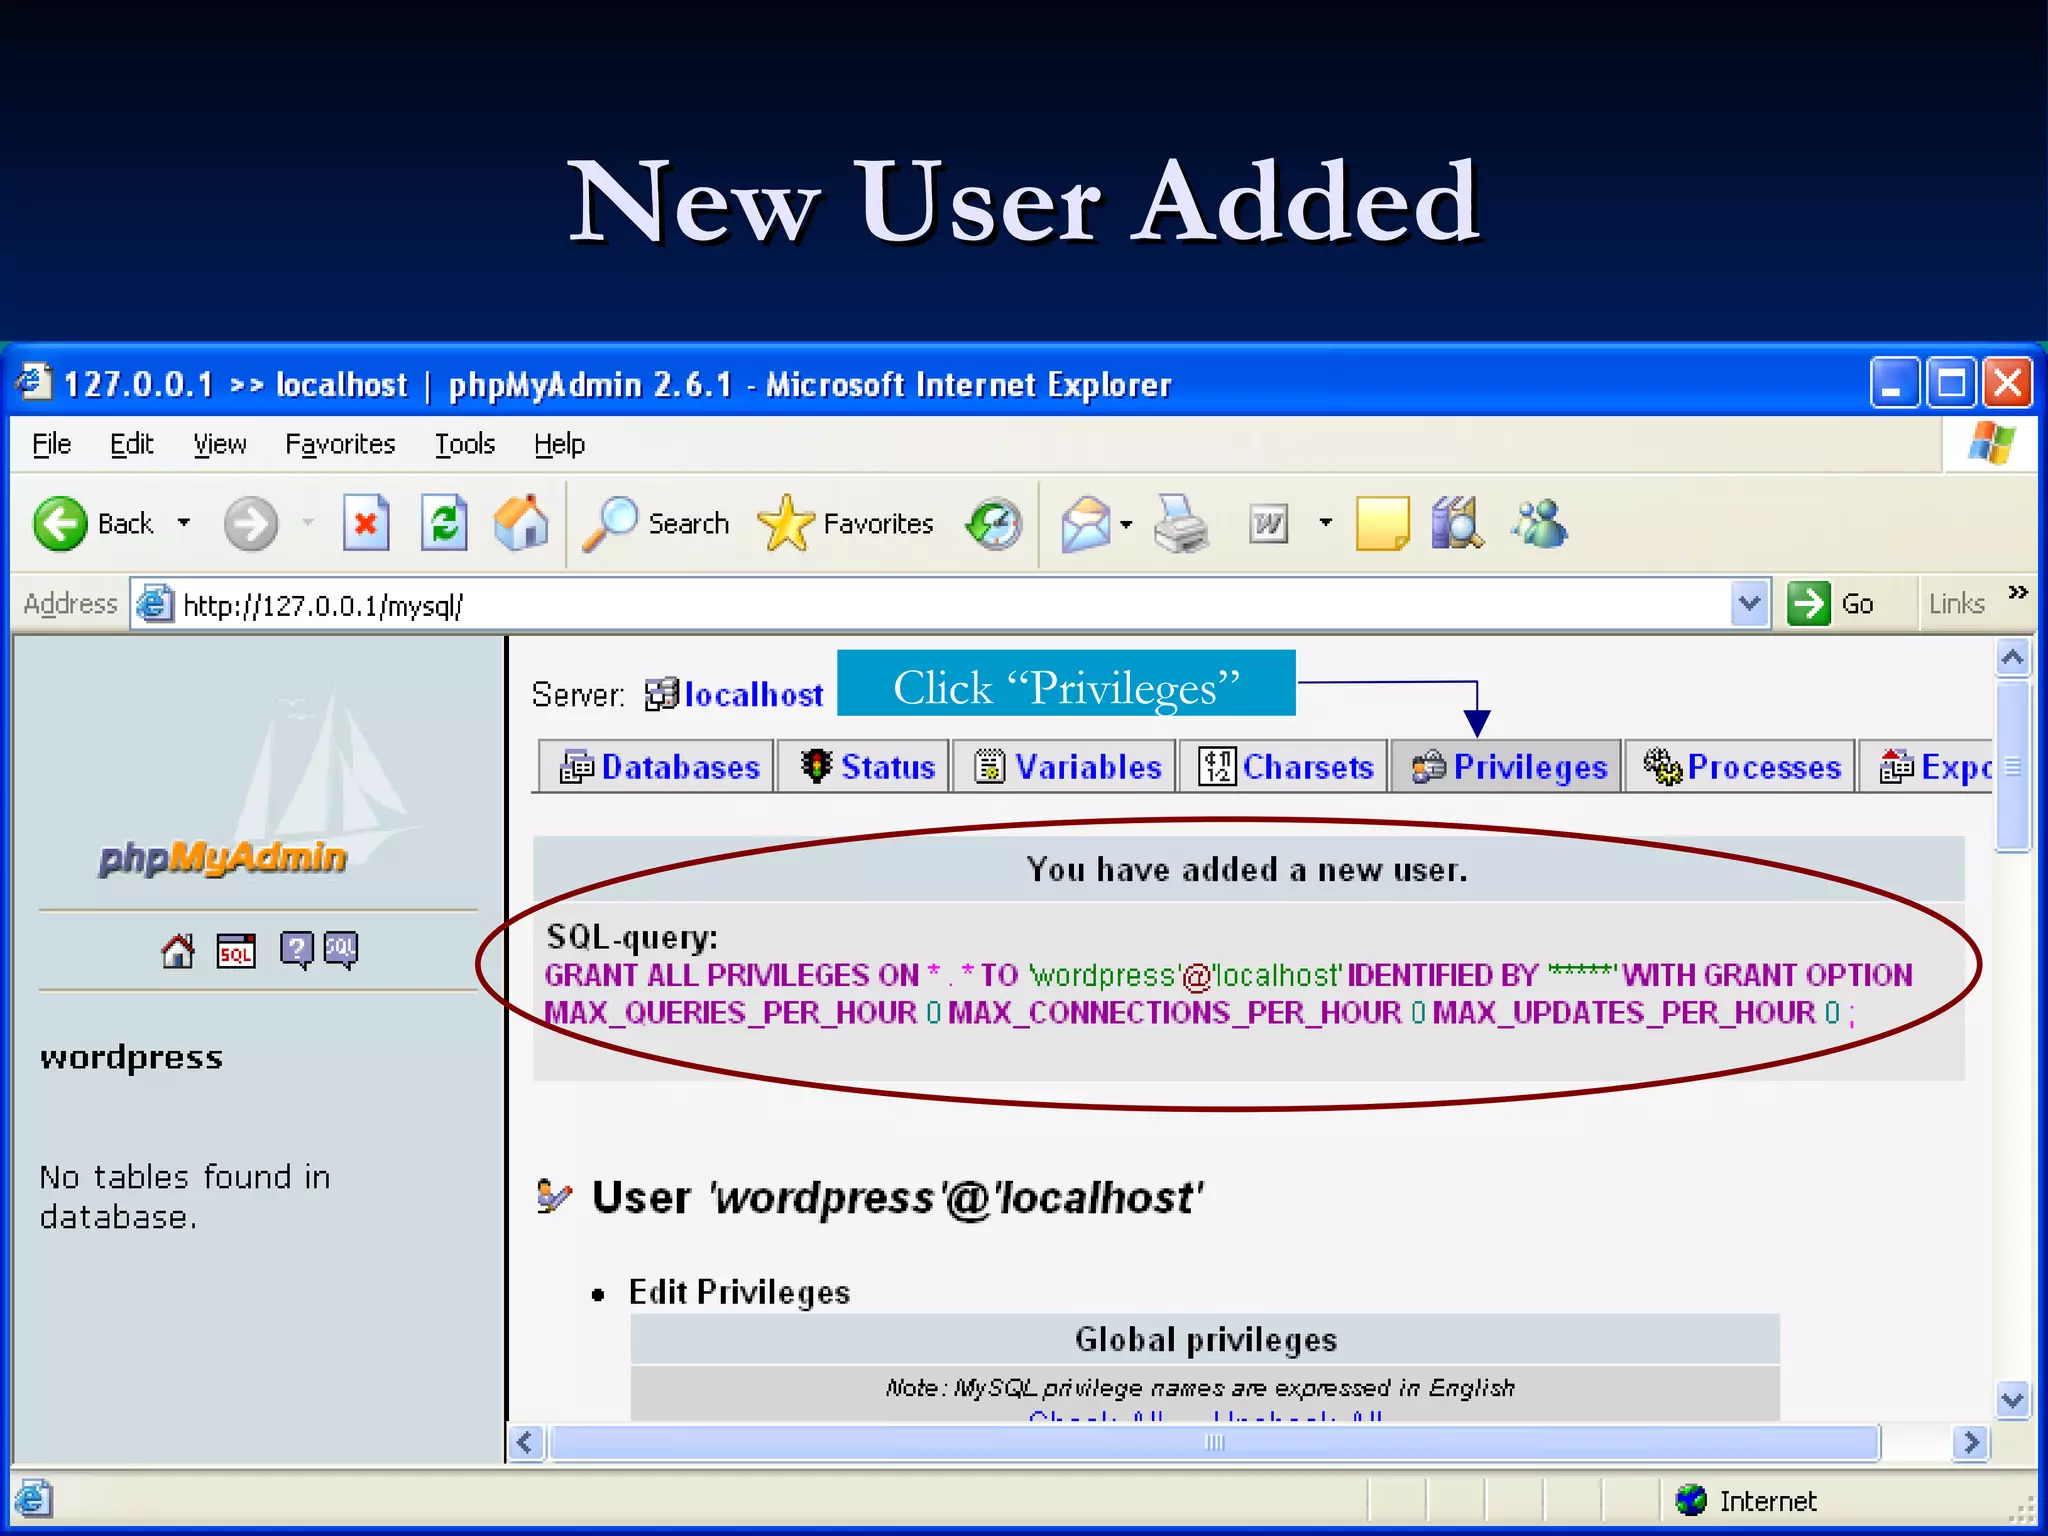
This document provides a step-by-step guide on how to install WordPress blogging software using EasyPHP. It outlines prerequisites, installation instructions for EasyPHP, creating a database, and setting up WordPress. Detailed instructions include downloading software, configuring settings, and accessing the blog once installation is complete.