Downloaded 50 times


![Create an a127 account a127 account create Apigee [?] Provider? apigee [?] Do you already have an account on apigee? Yes [?] Base URI? [Just hit Return] [?] Organization? YOURORGNAME [?] User Id? YOUREMAILADDRESS [?] Password? **************** [?] Environment? test [?] Virtual Hosts? [Just hit Return] [?] Create account service? Yes [?] Service Type? RemoteProxy [?] Service name? RemoteProxy [or whatever you want to name it] 92](https://image.slidesharecdn.com/iloveapis2015codersworkshop-151021060001-lva1-app6891/75/Coders-Workshop-API-First-Mobile-Development-Featuring-Angular-and-Node-92-2048.jpg)


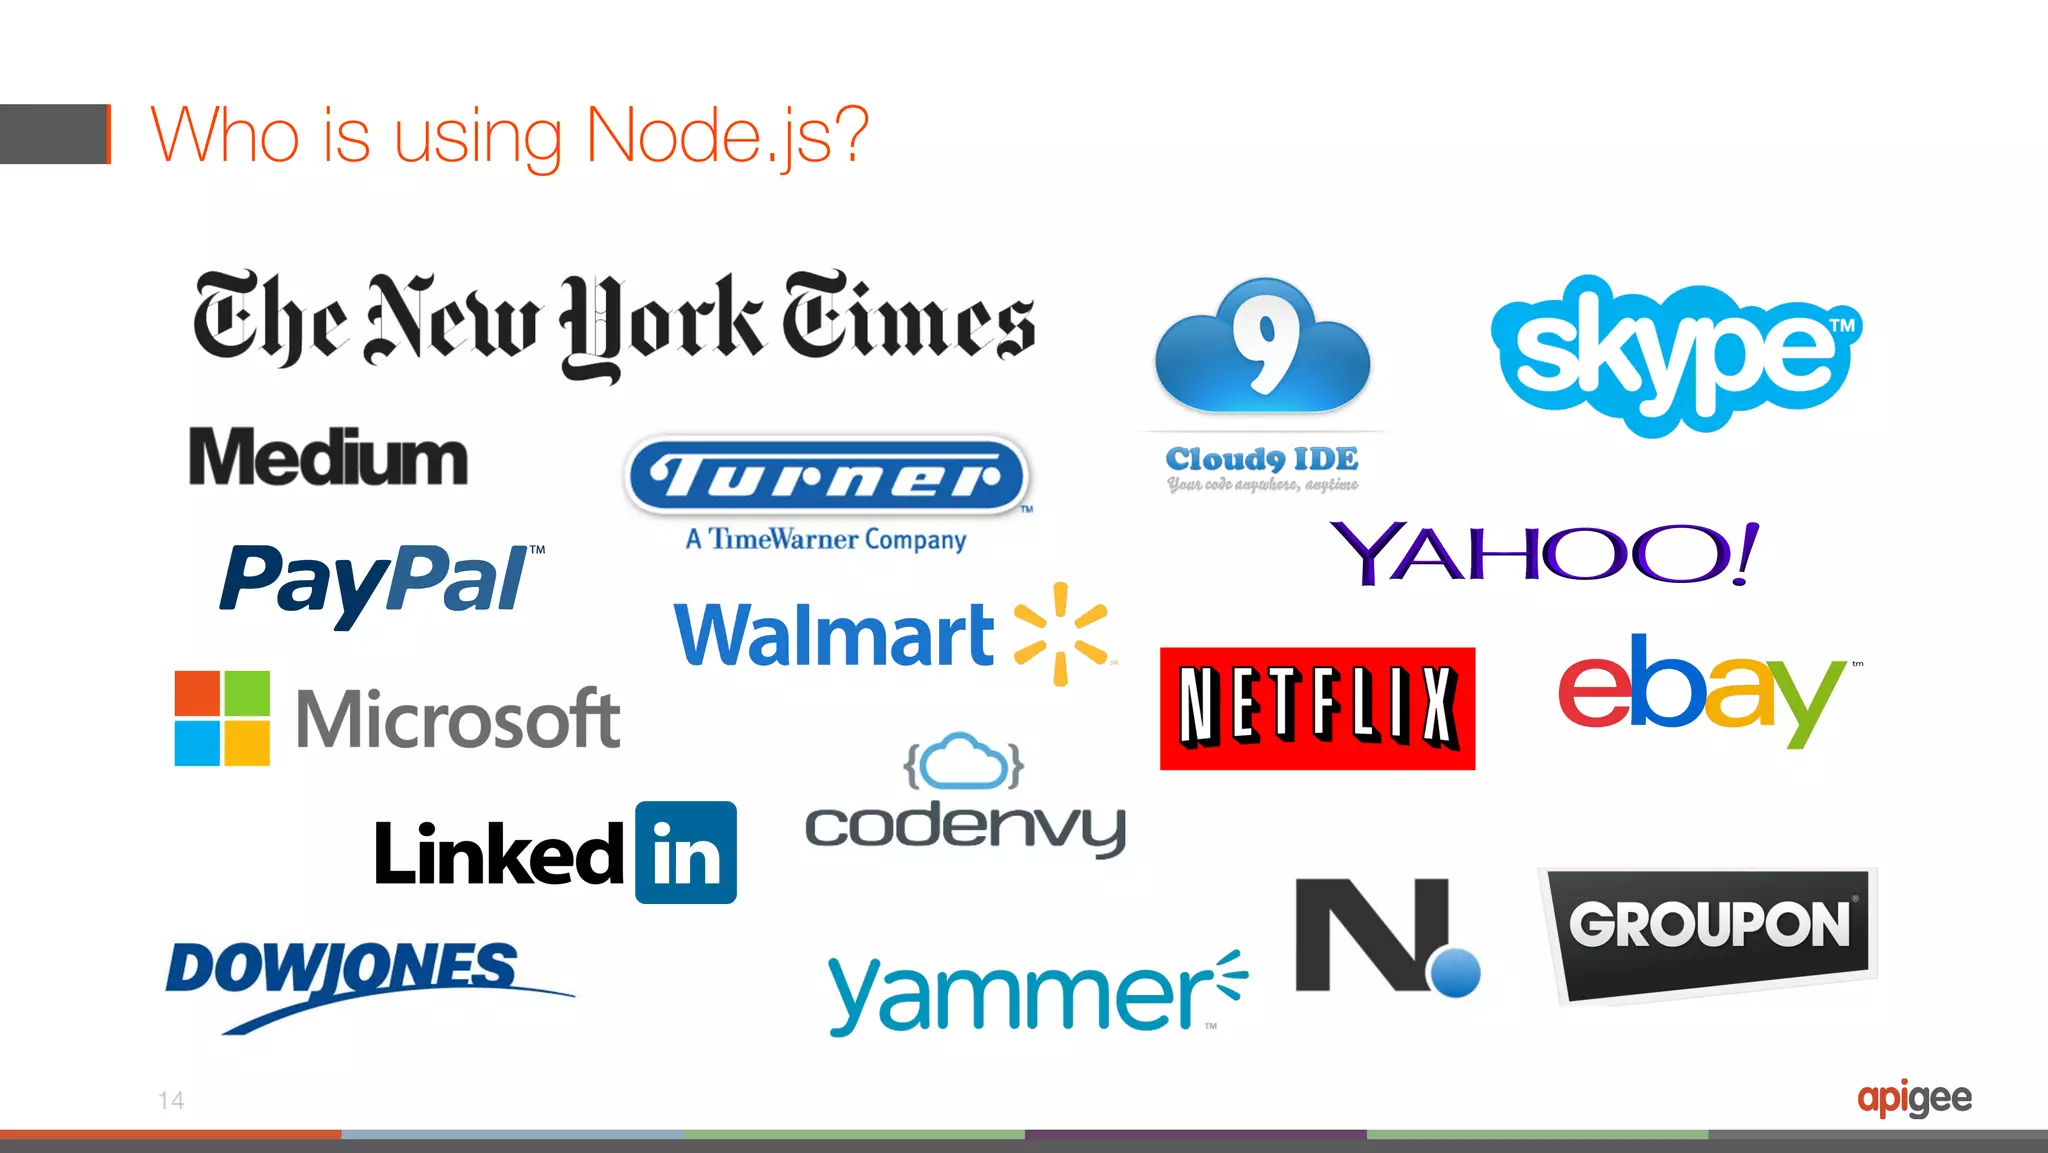
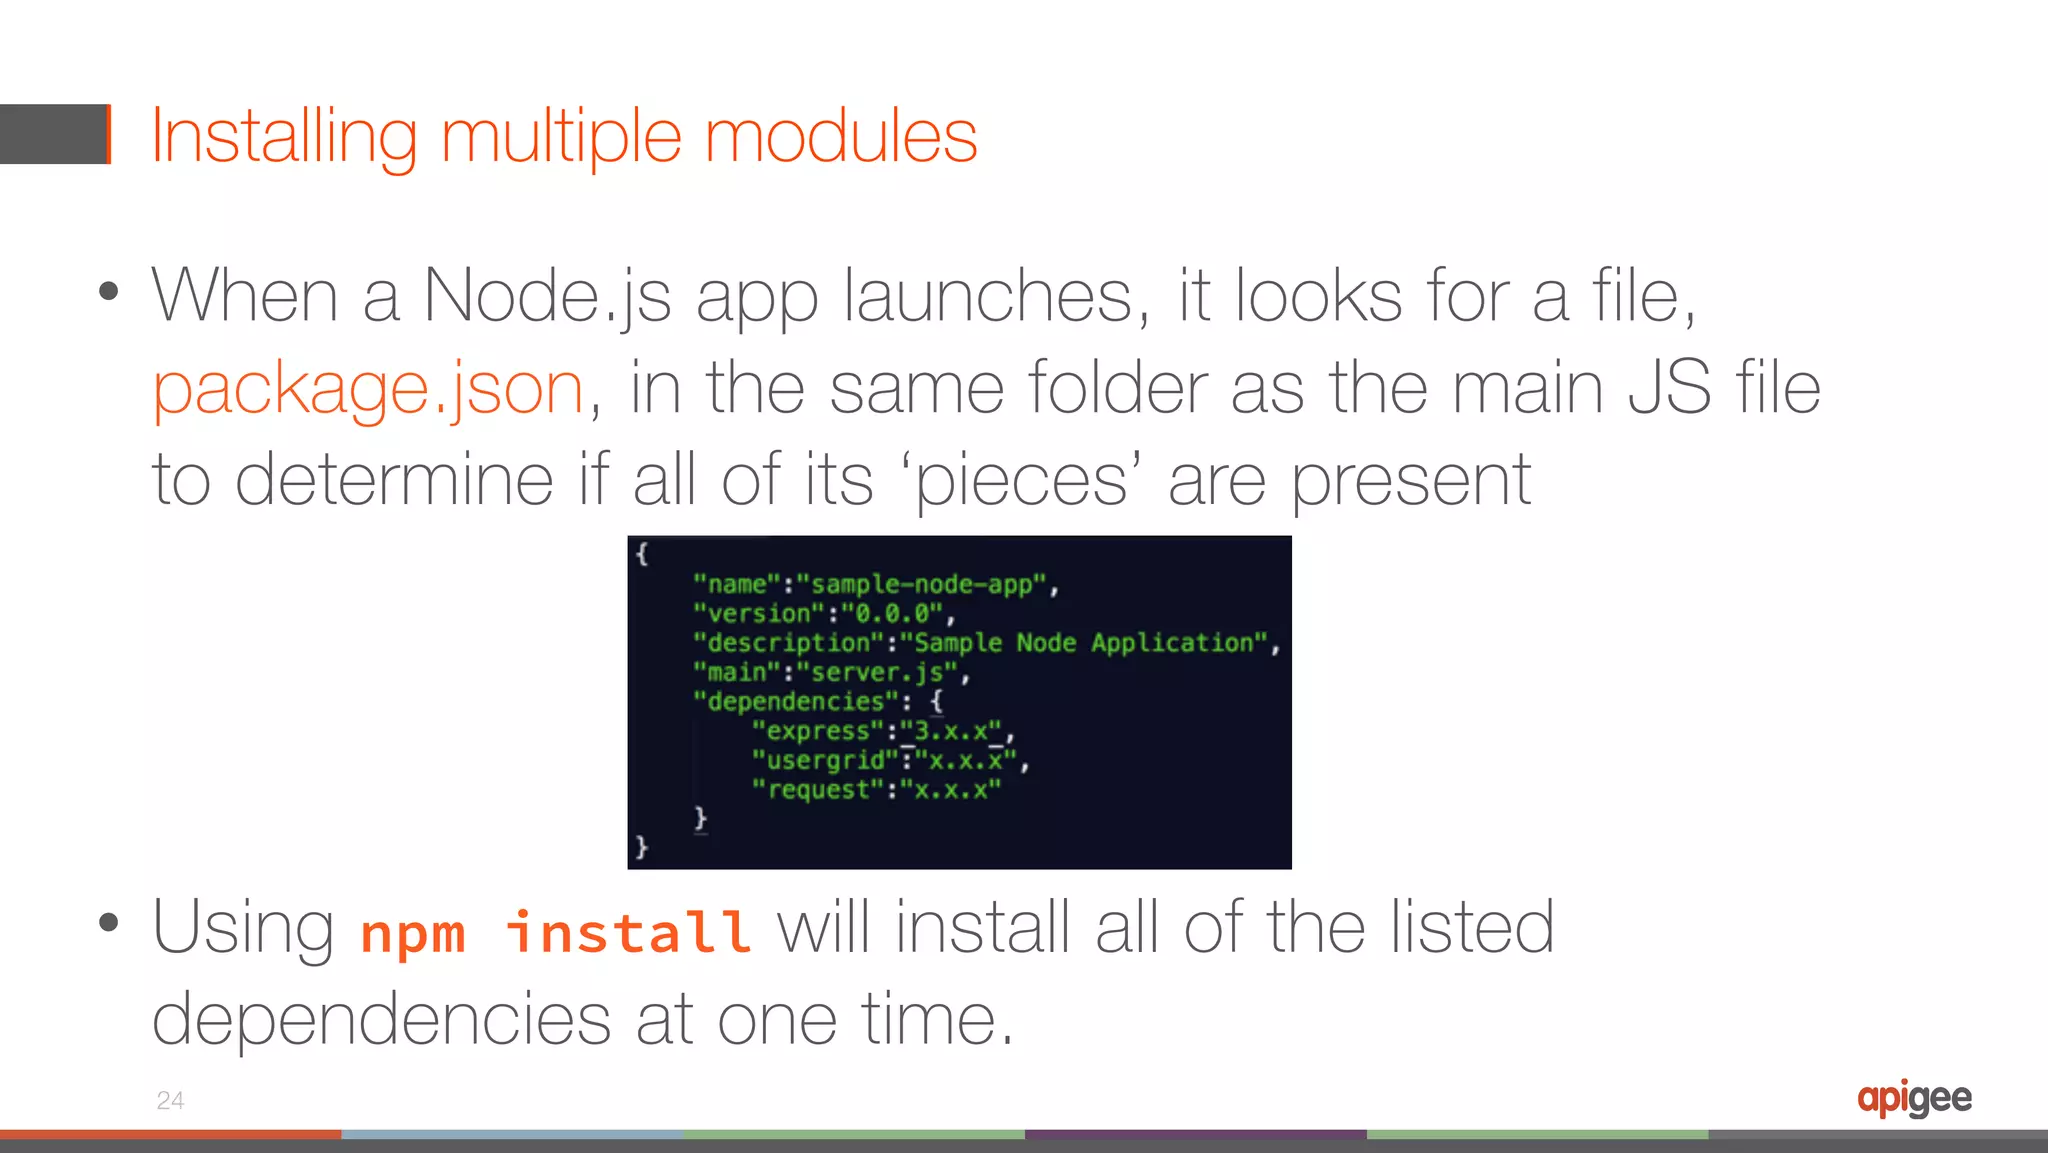
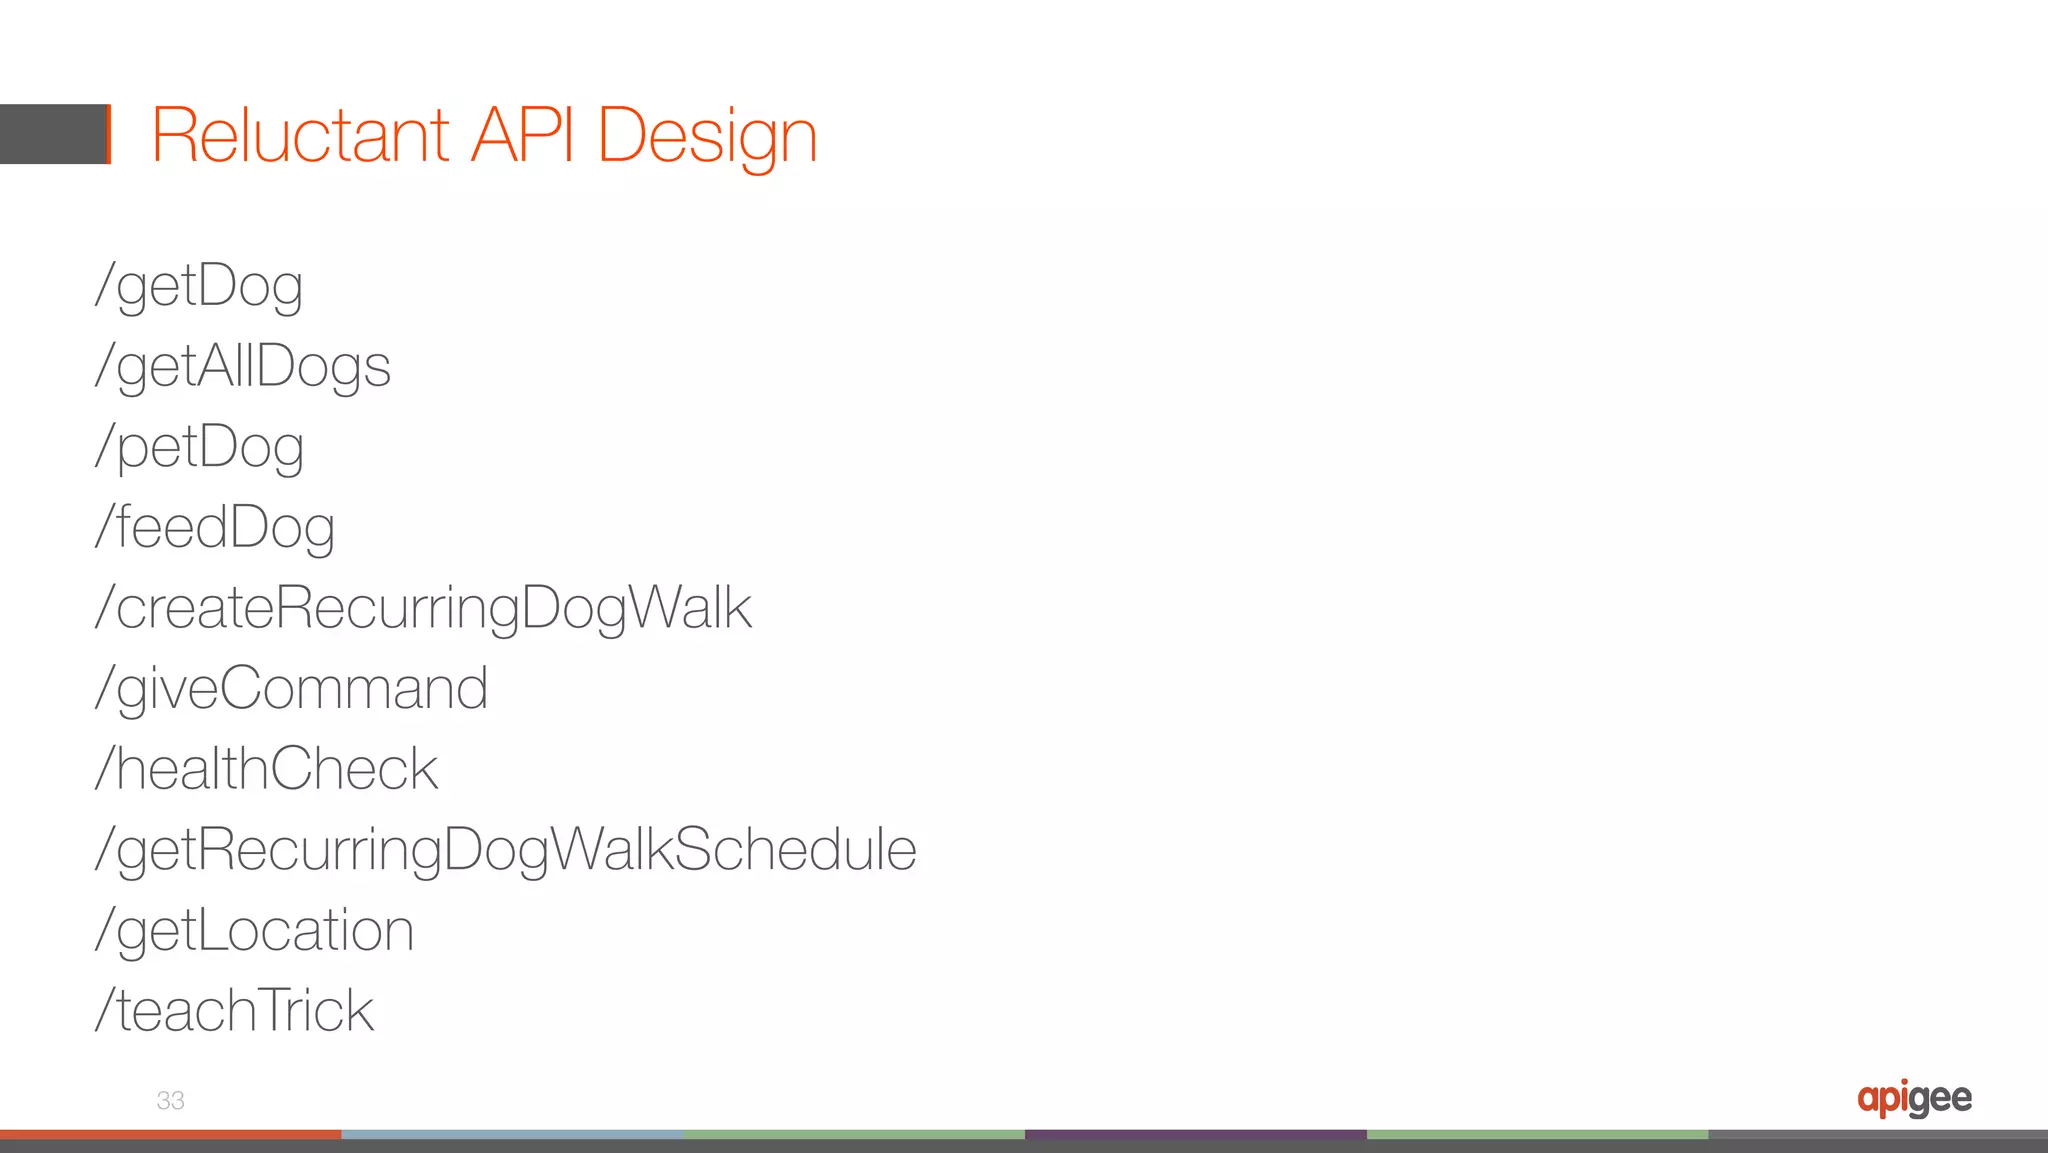
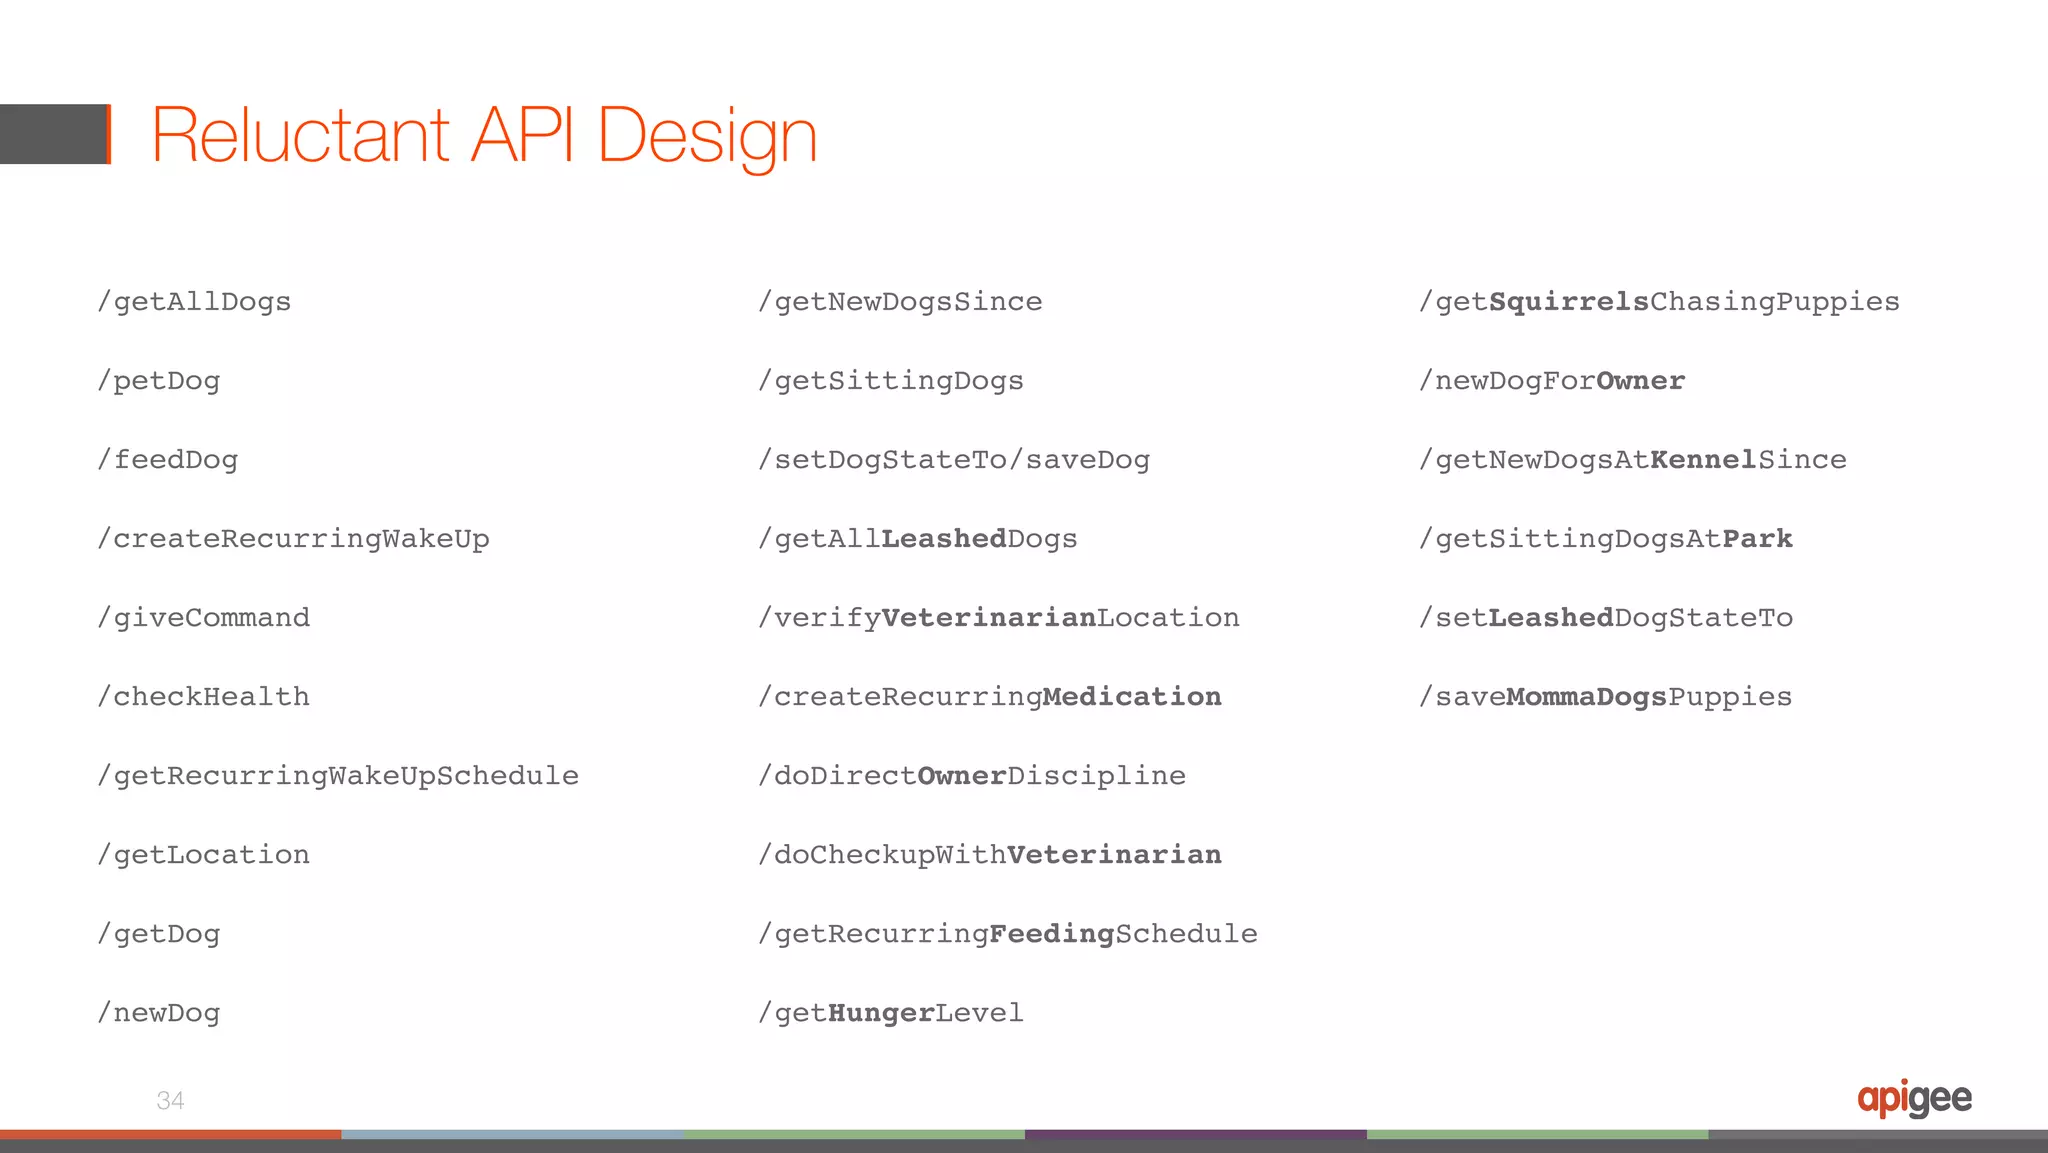
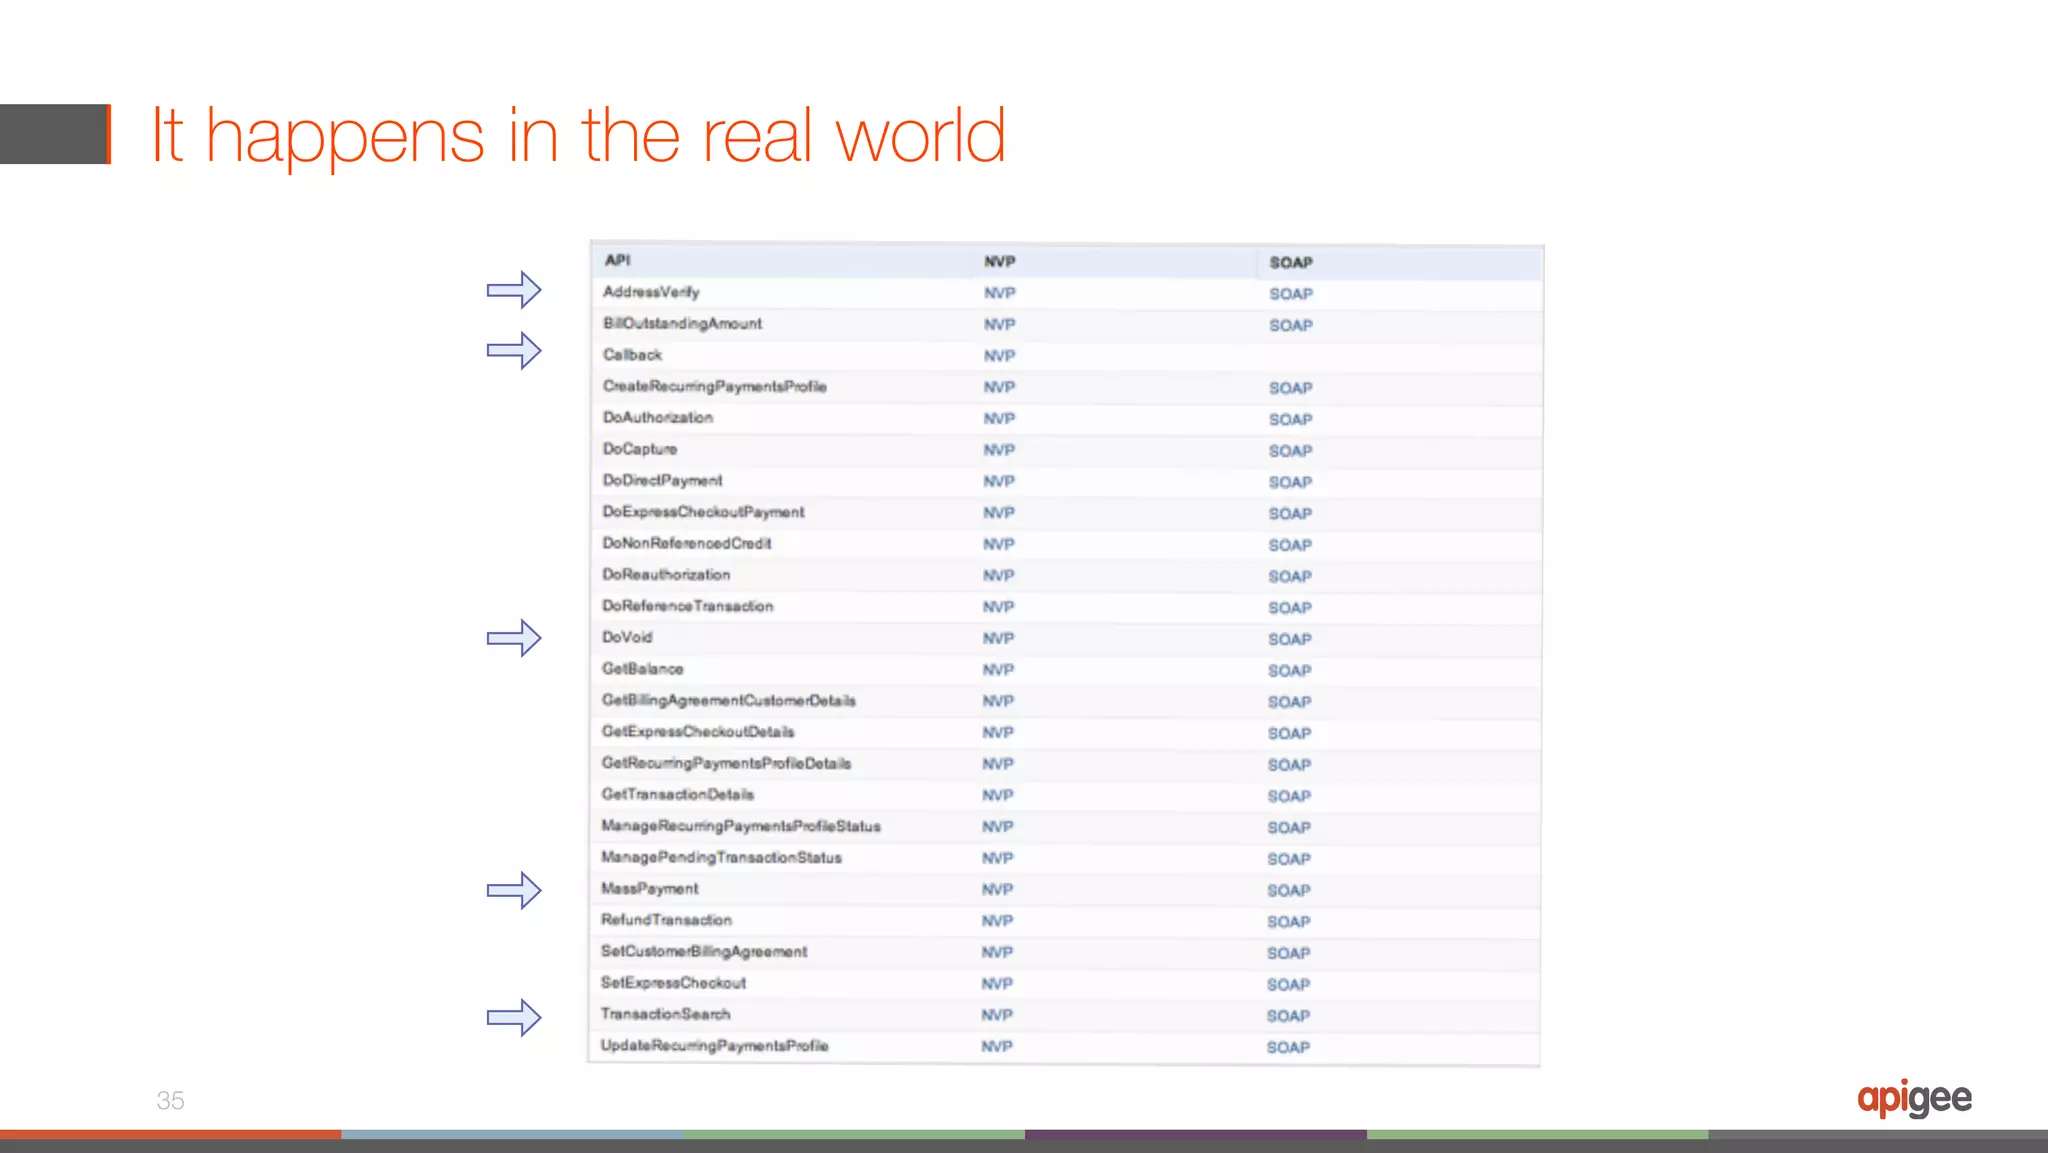
This document provides an agenda and overview for a workshop on API-driven app development. The agenda includes sections on Node.js, RESTful API best practices, Apigee 127, AngularJS, mobile backend as a service (mBaaS), and building a sample application that integrates these technologies. It discusses Node.js, why it is popular, and provides a crash course on key concepts. It also covers RESTful API design best practices and introduces Apigee 127 for building and deploying APIs. The document introduces AngularJS and Ionic for building hybrid mobile apps, and using a mBaaS like Apigee's API platform. It concludes with an exercise of integrating these pieces to build