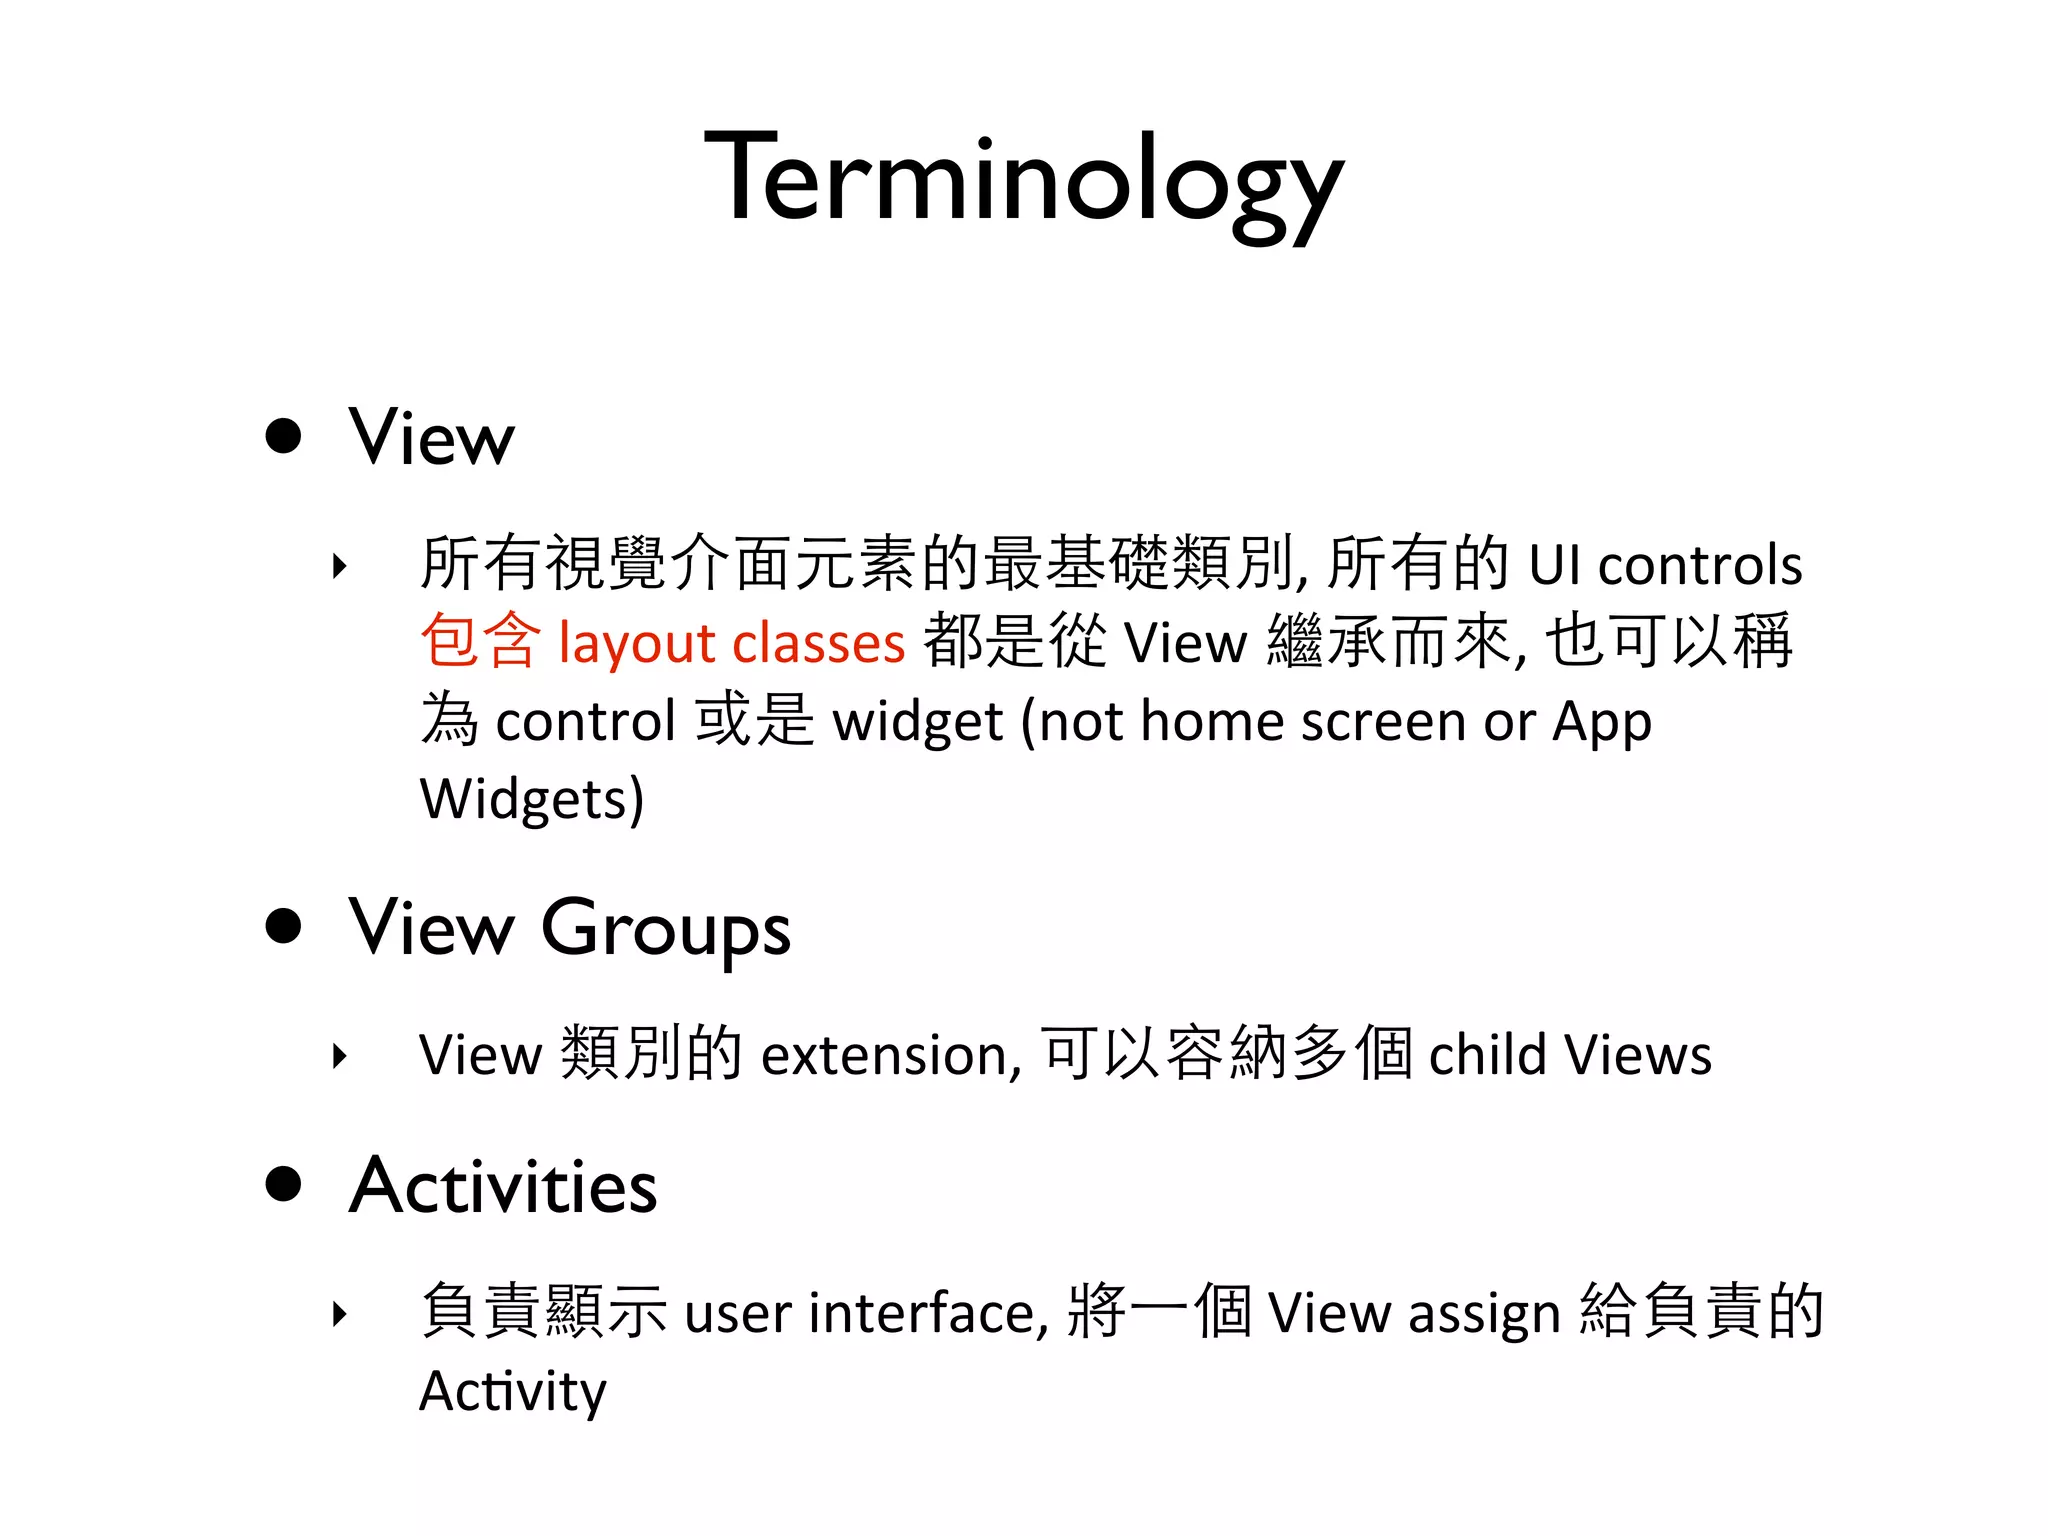
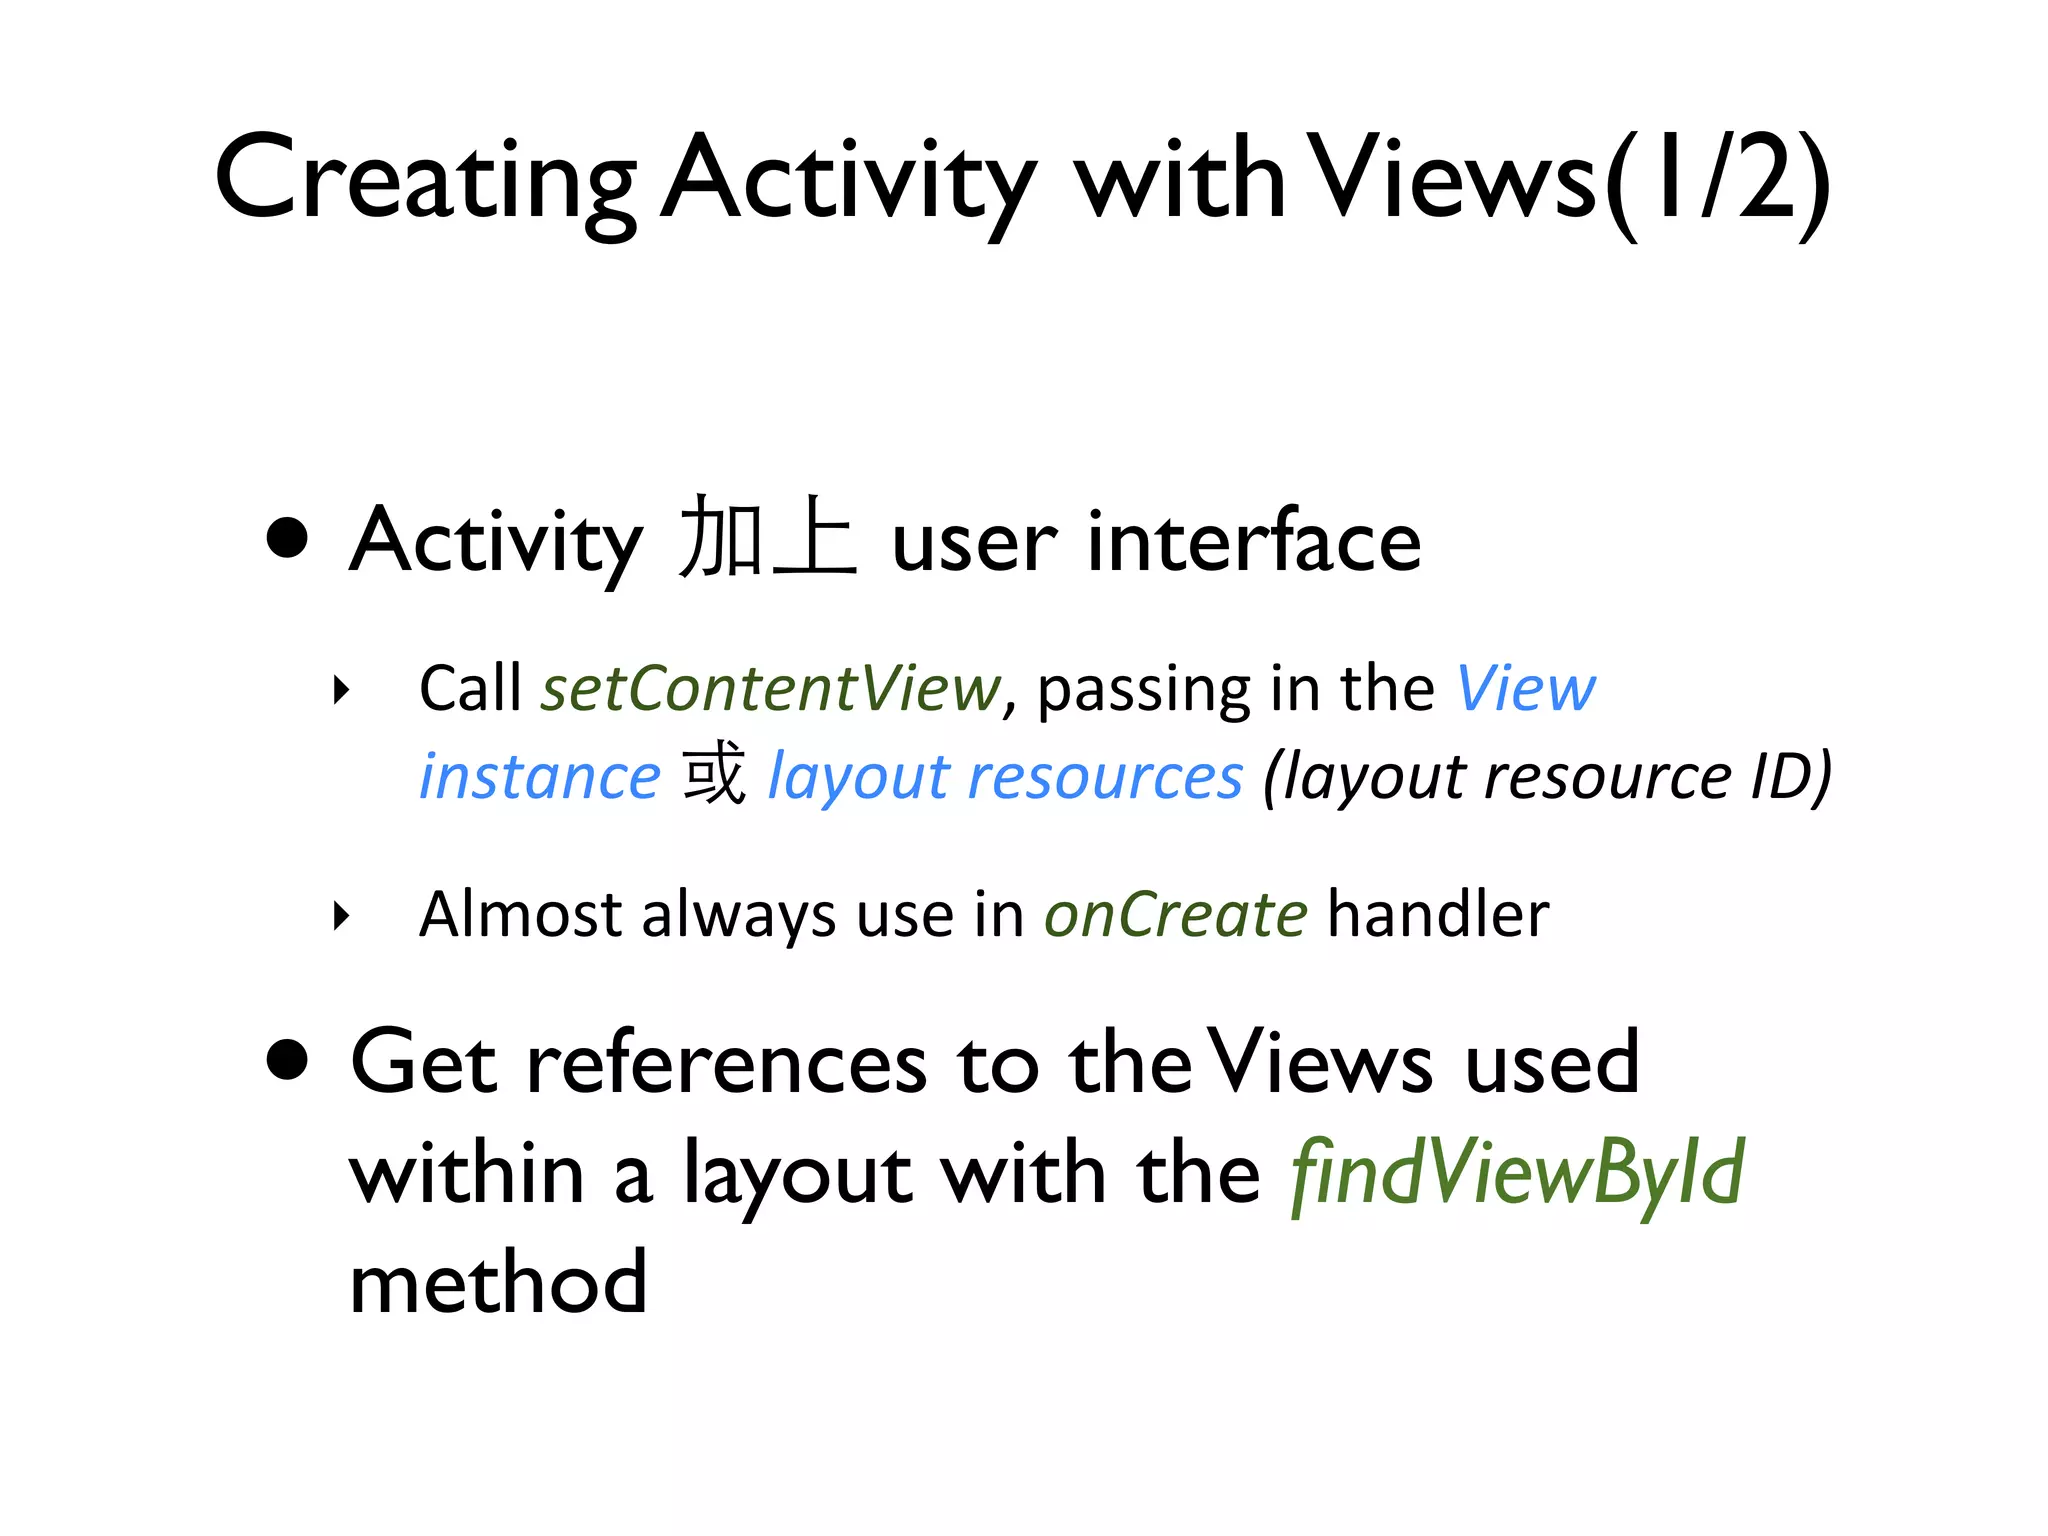
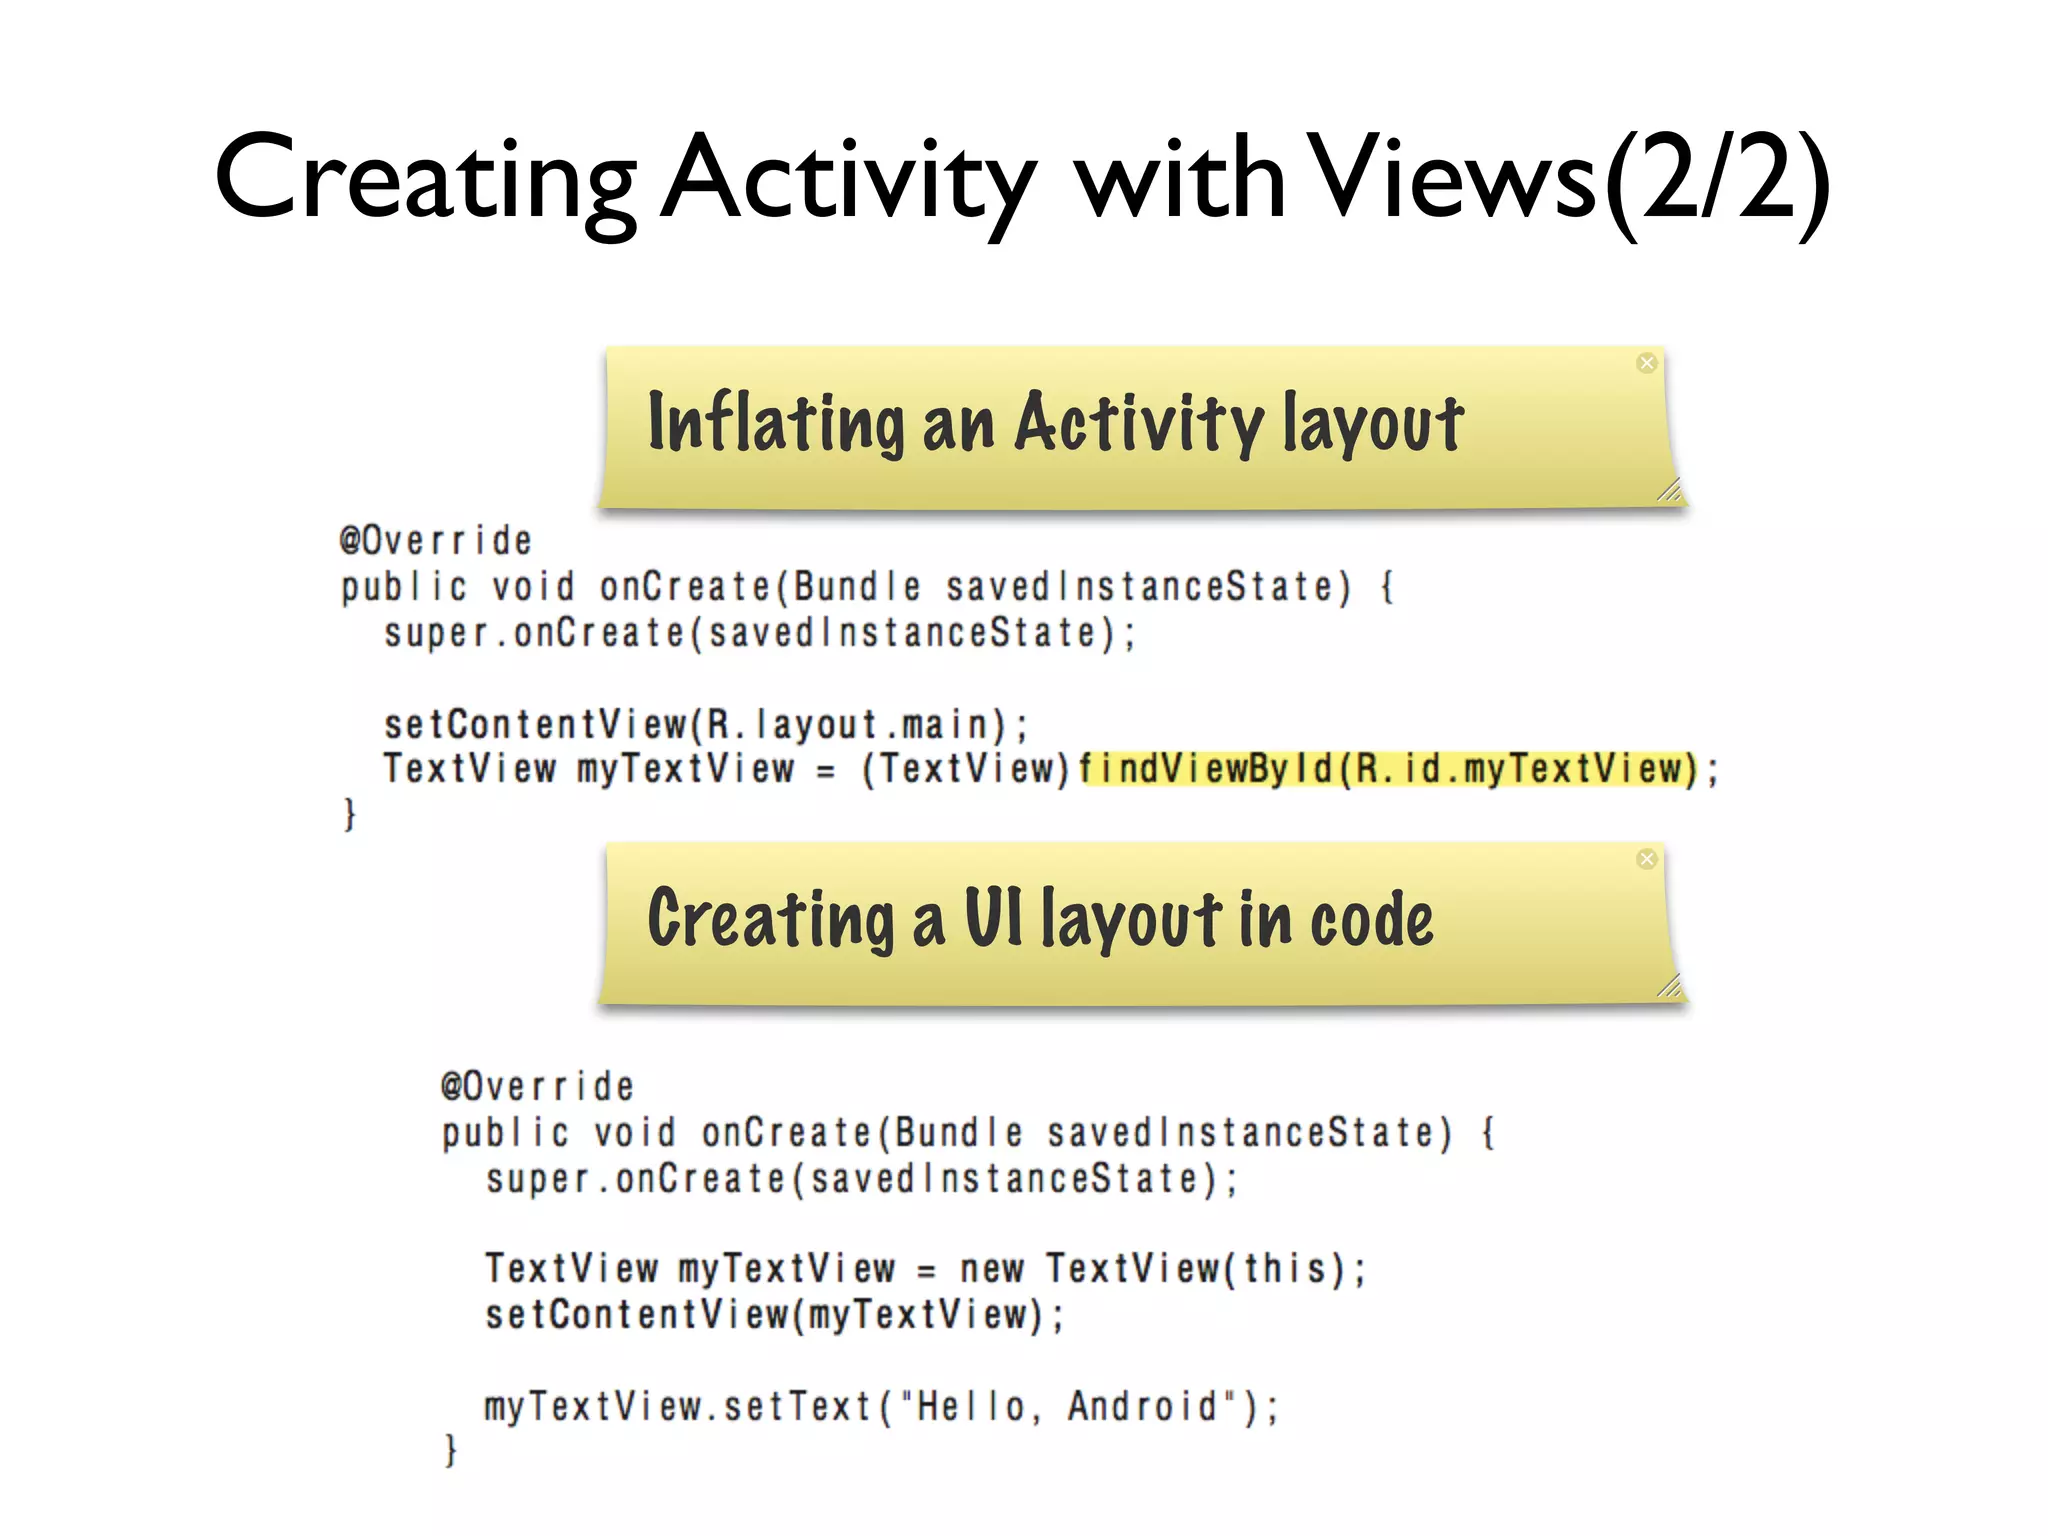
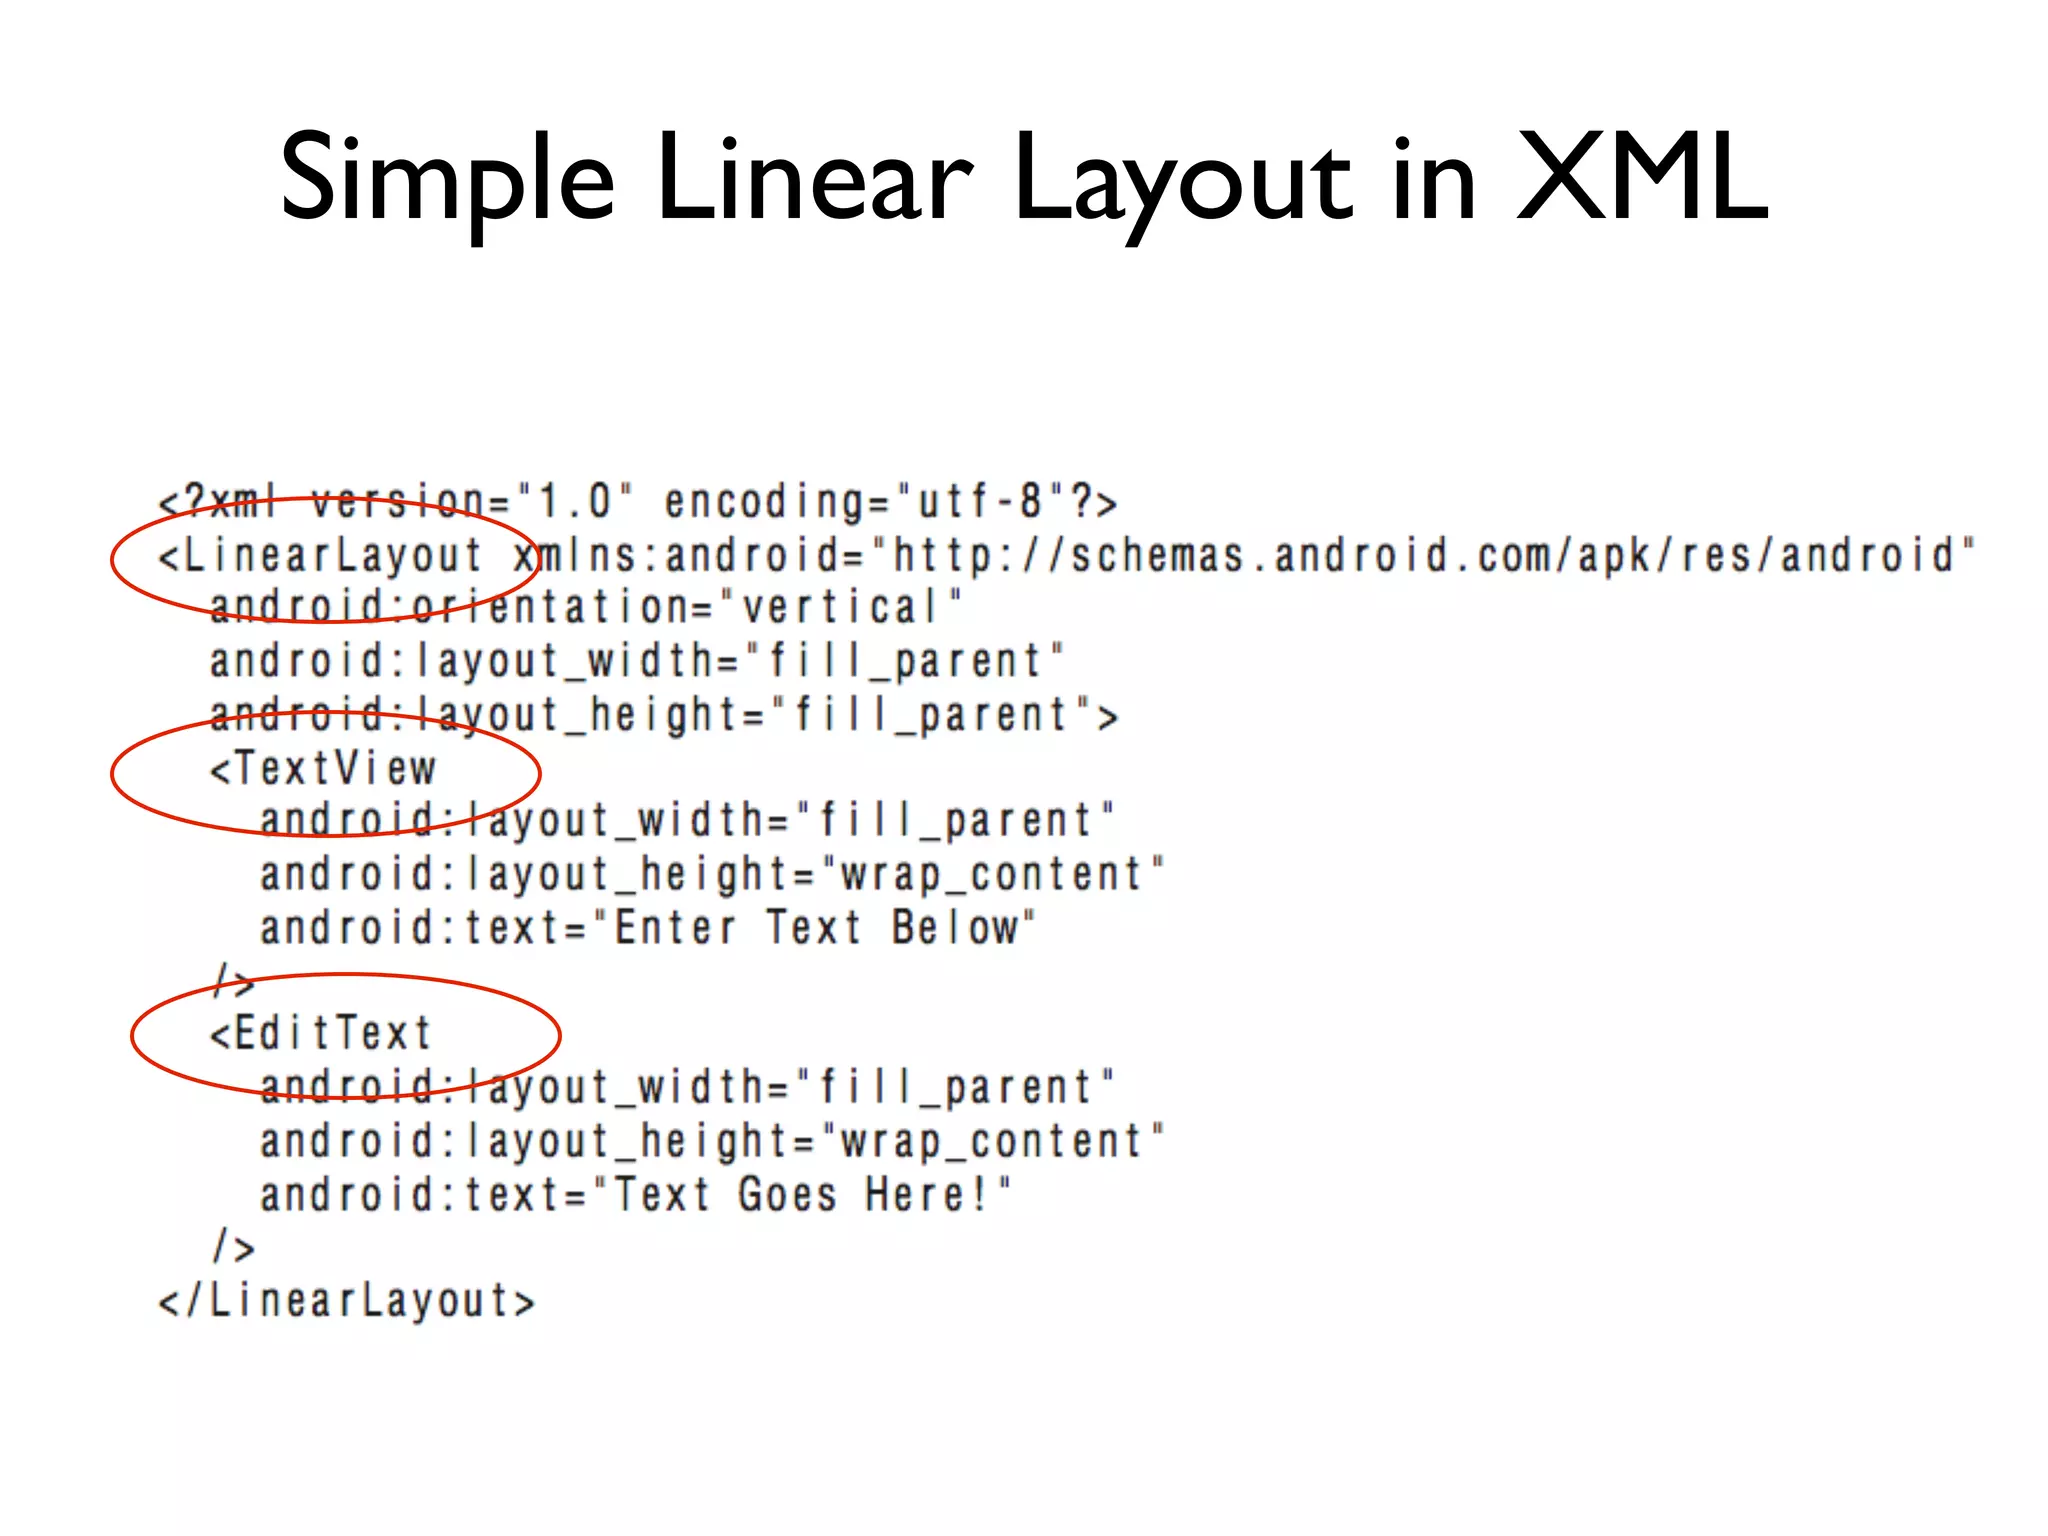
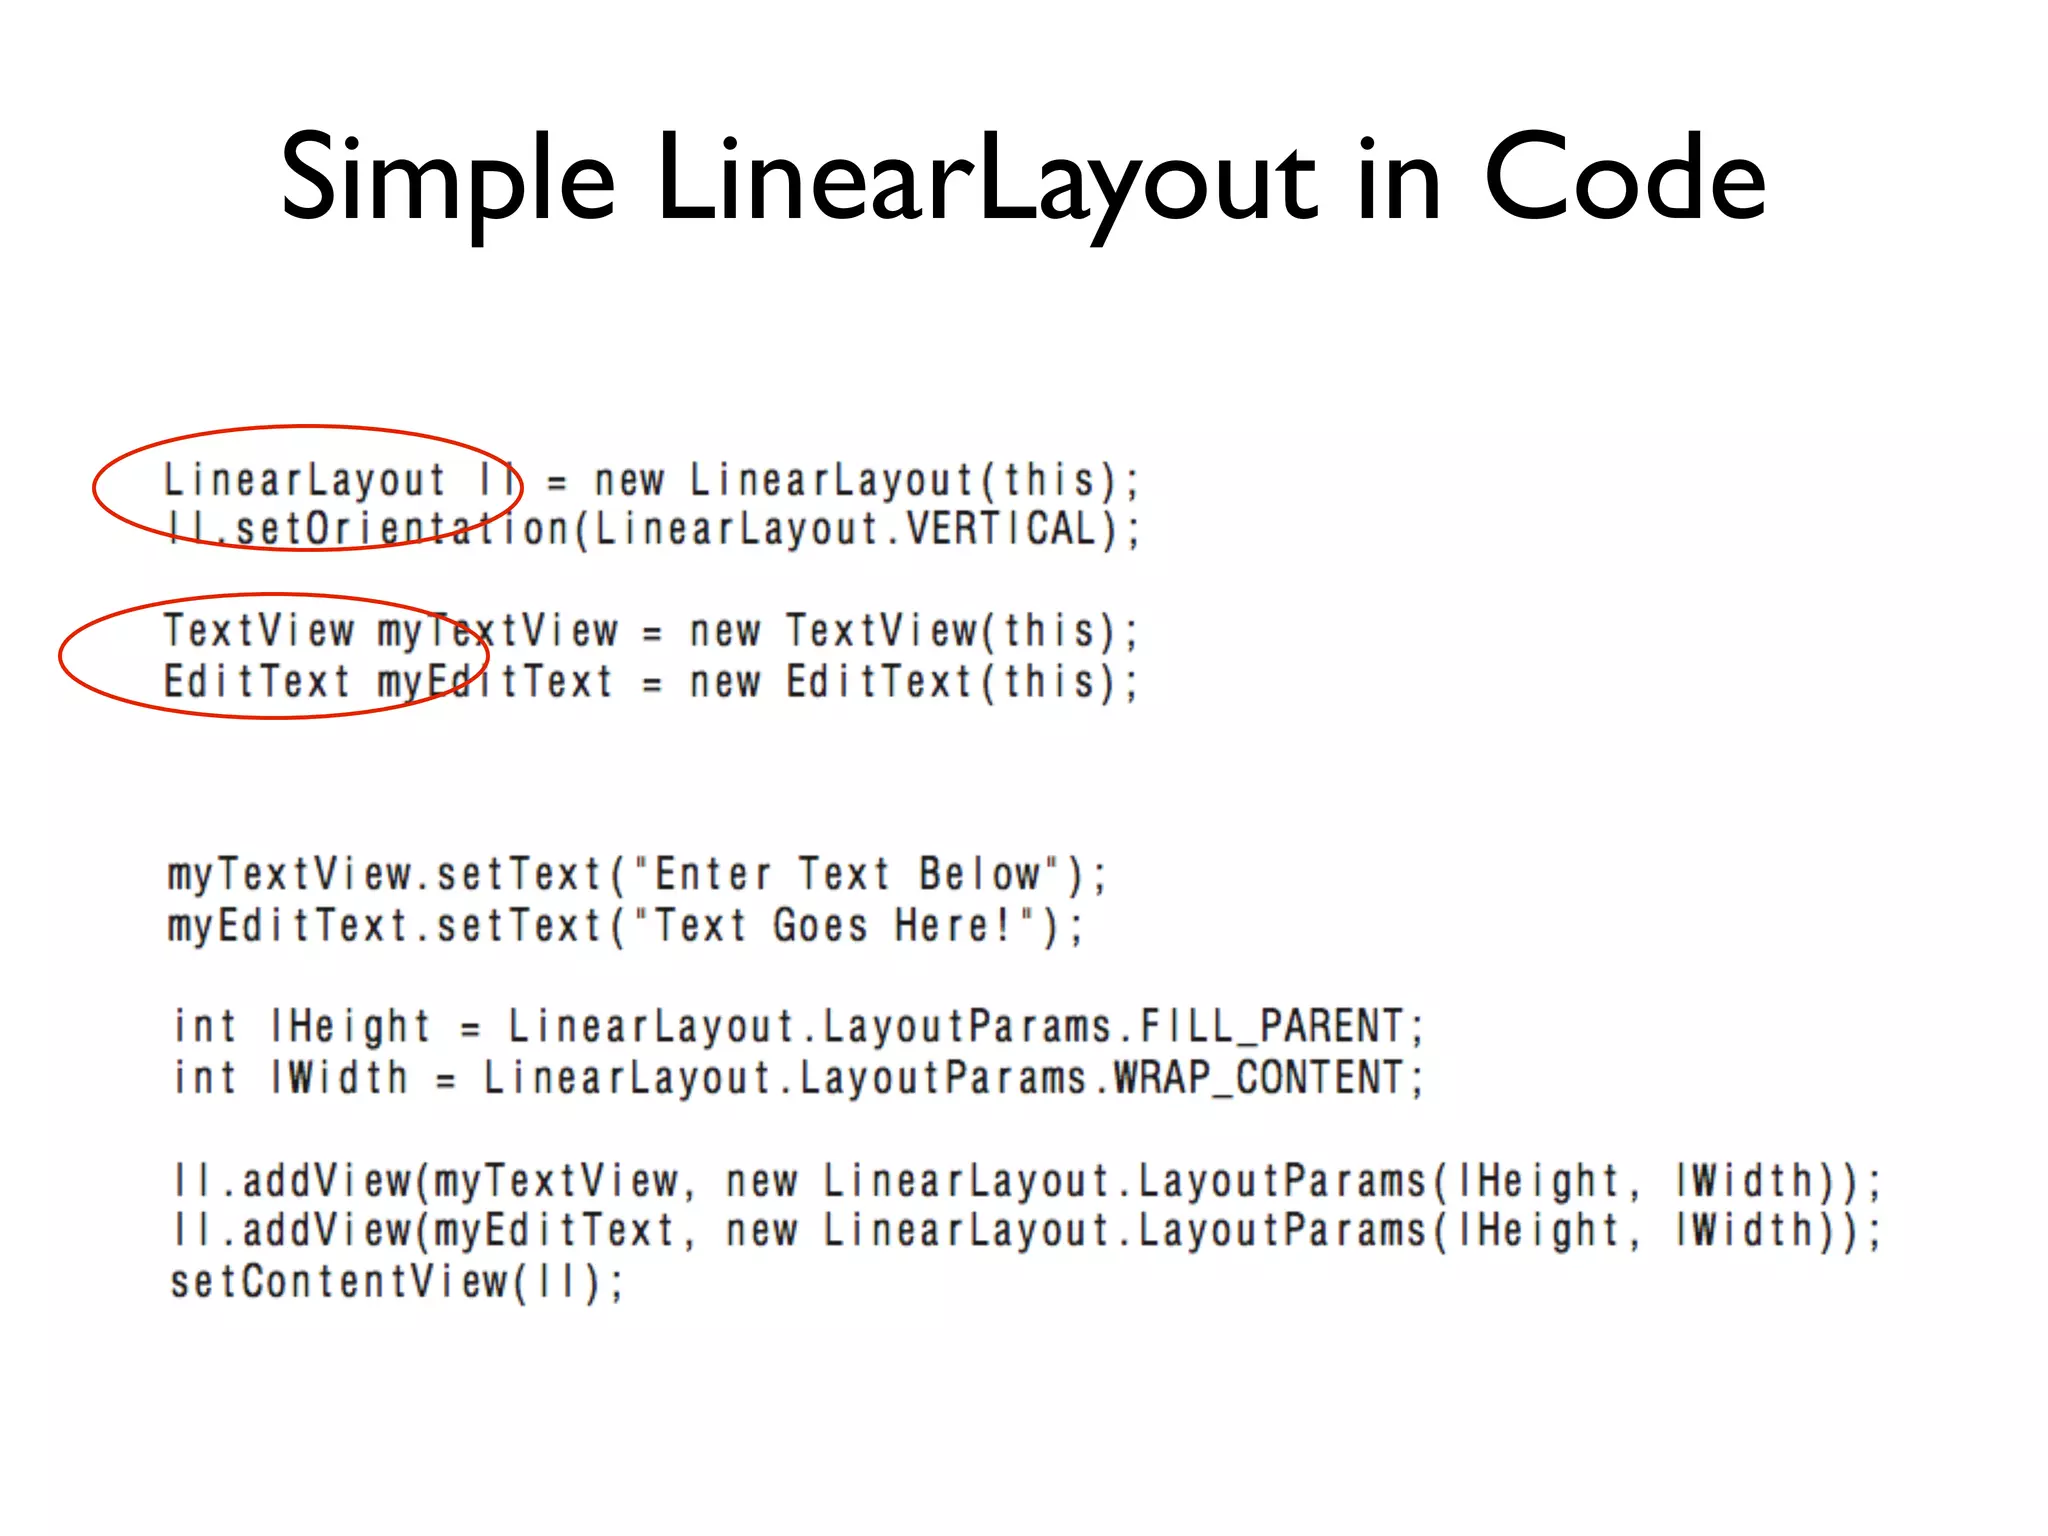
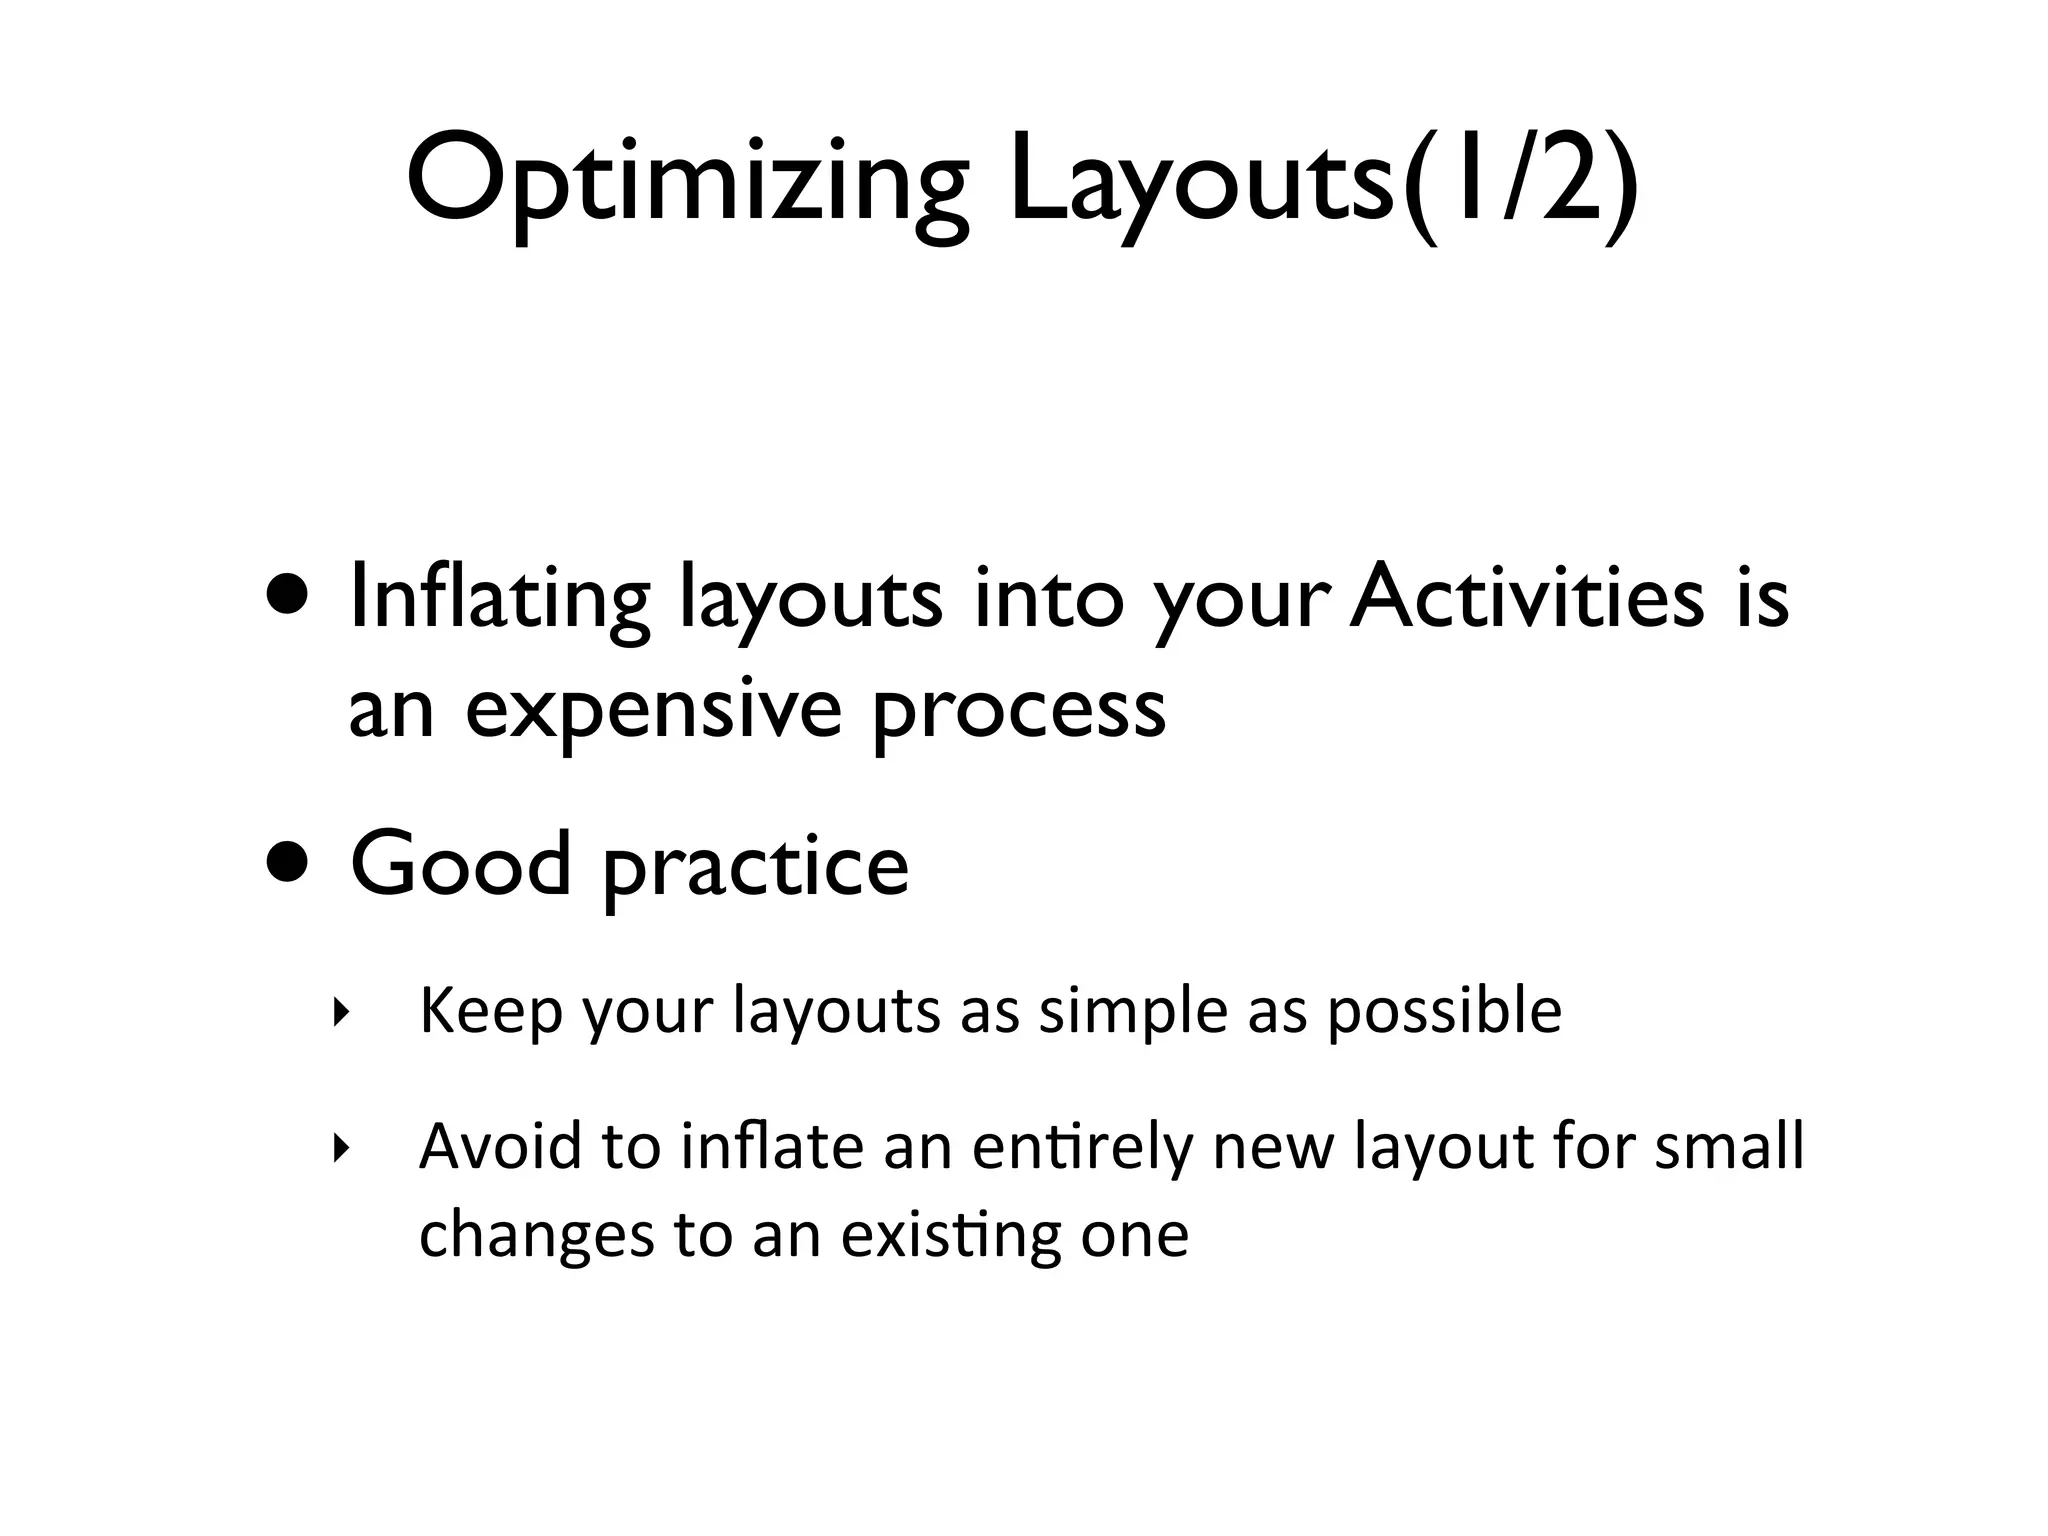
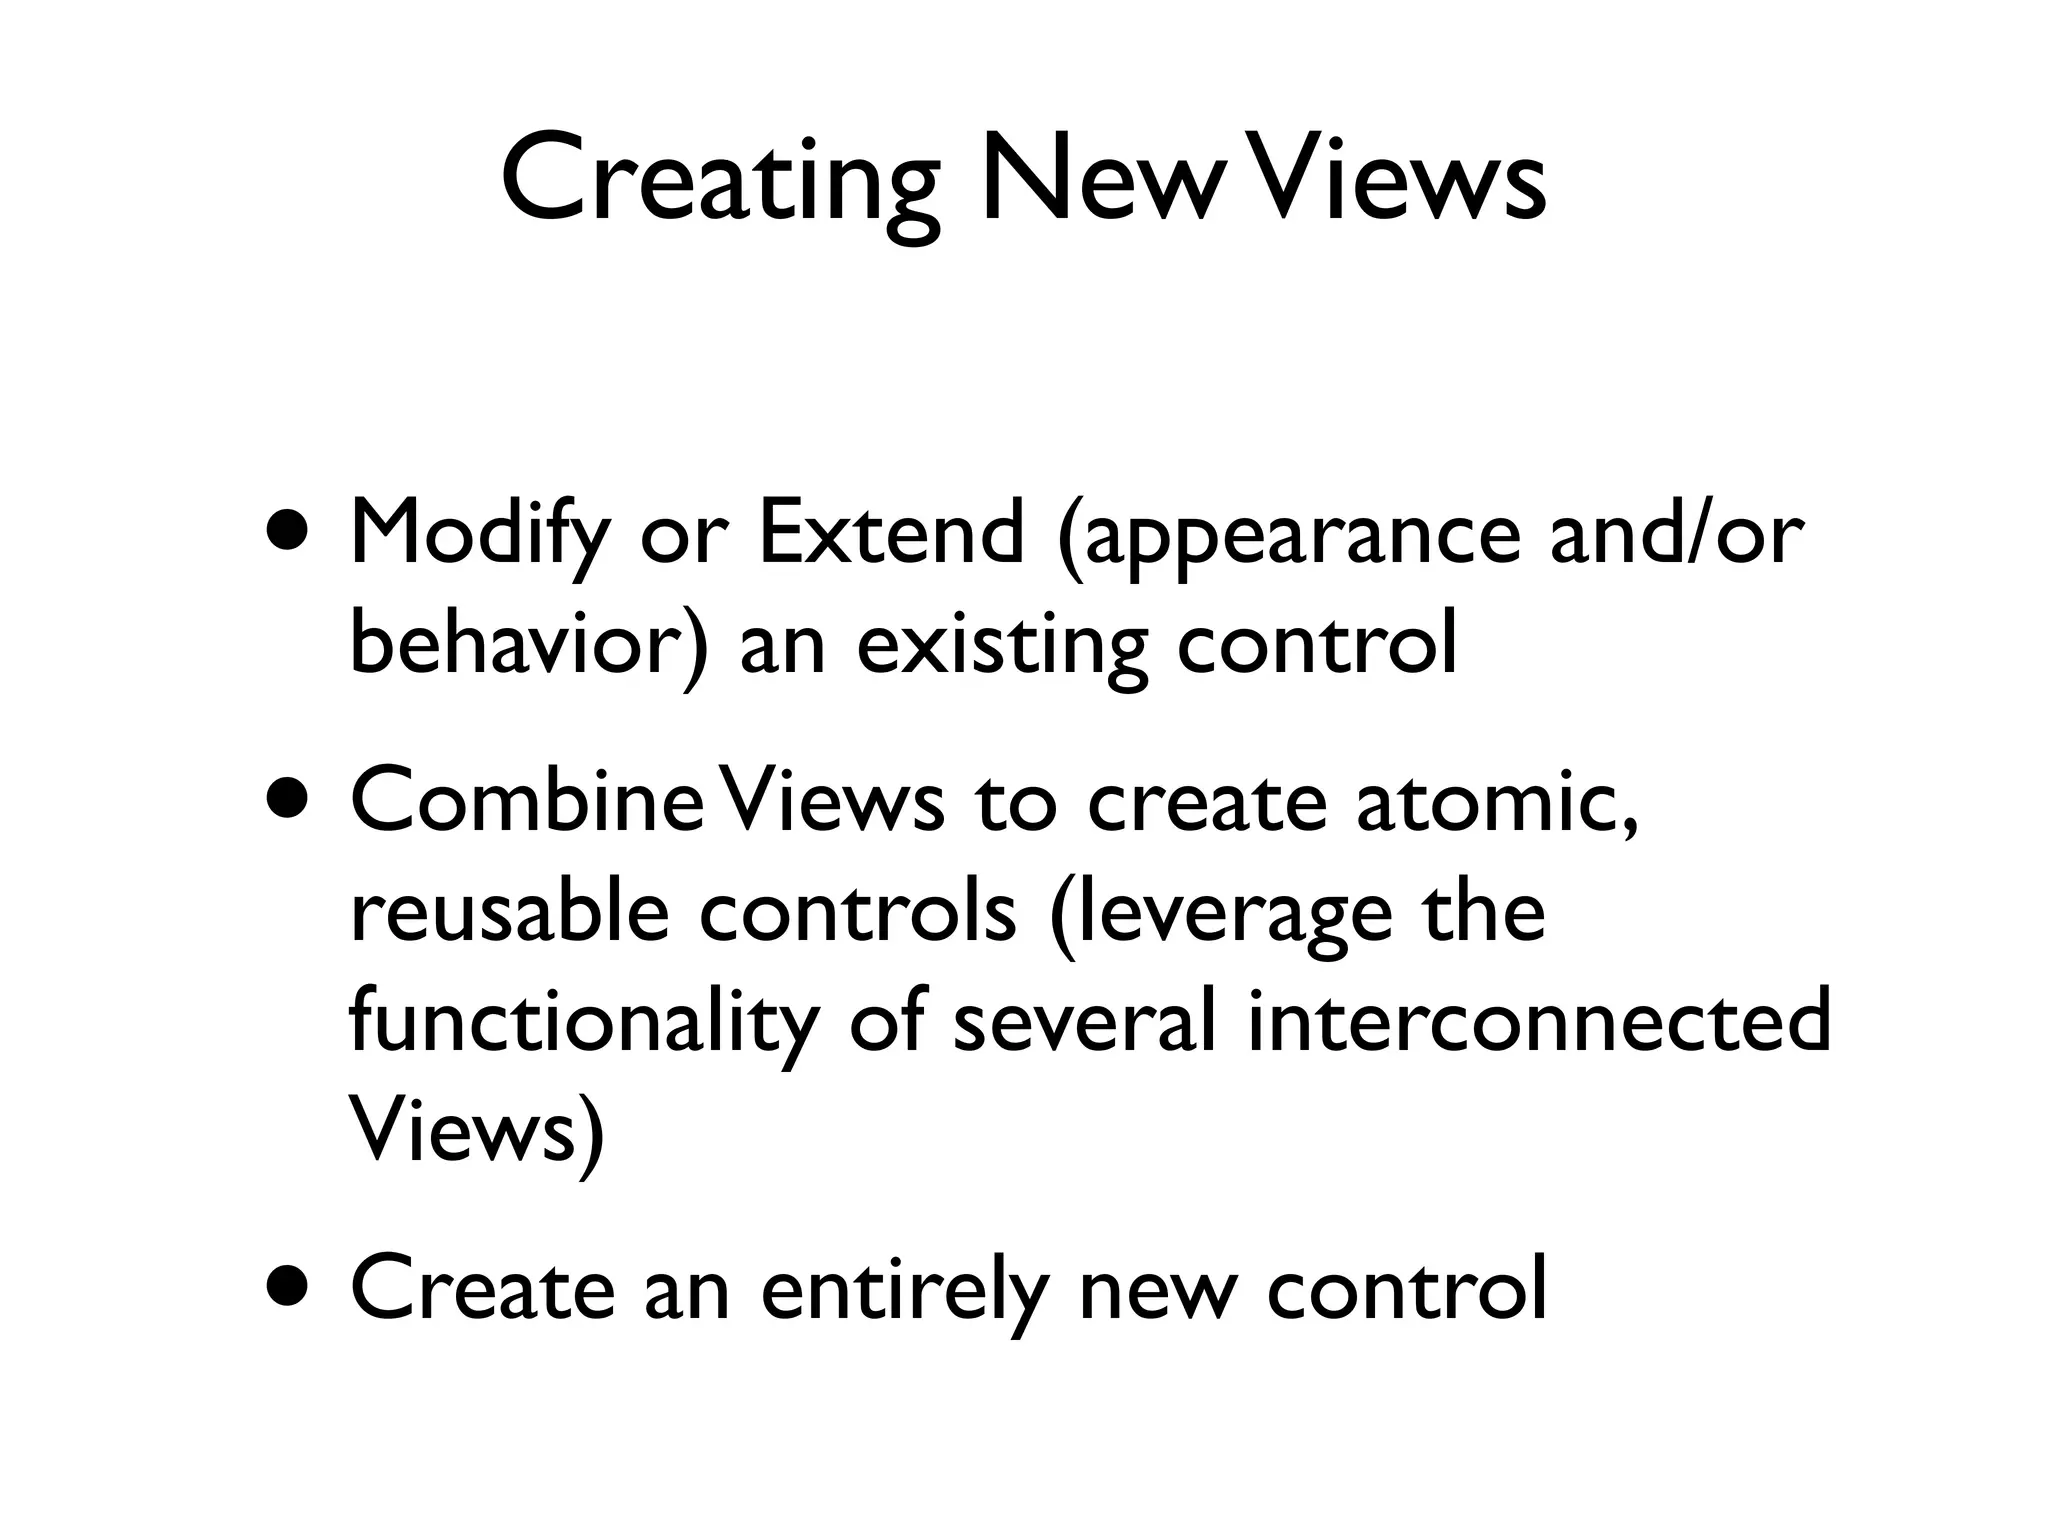
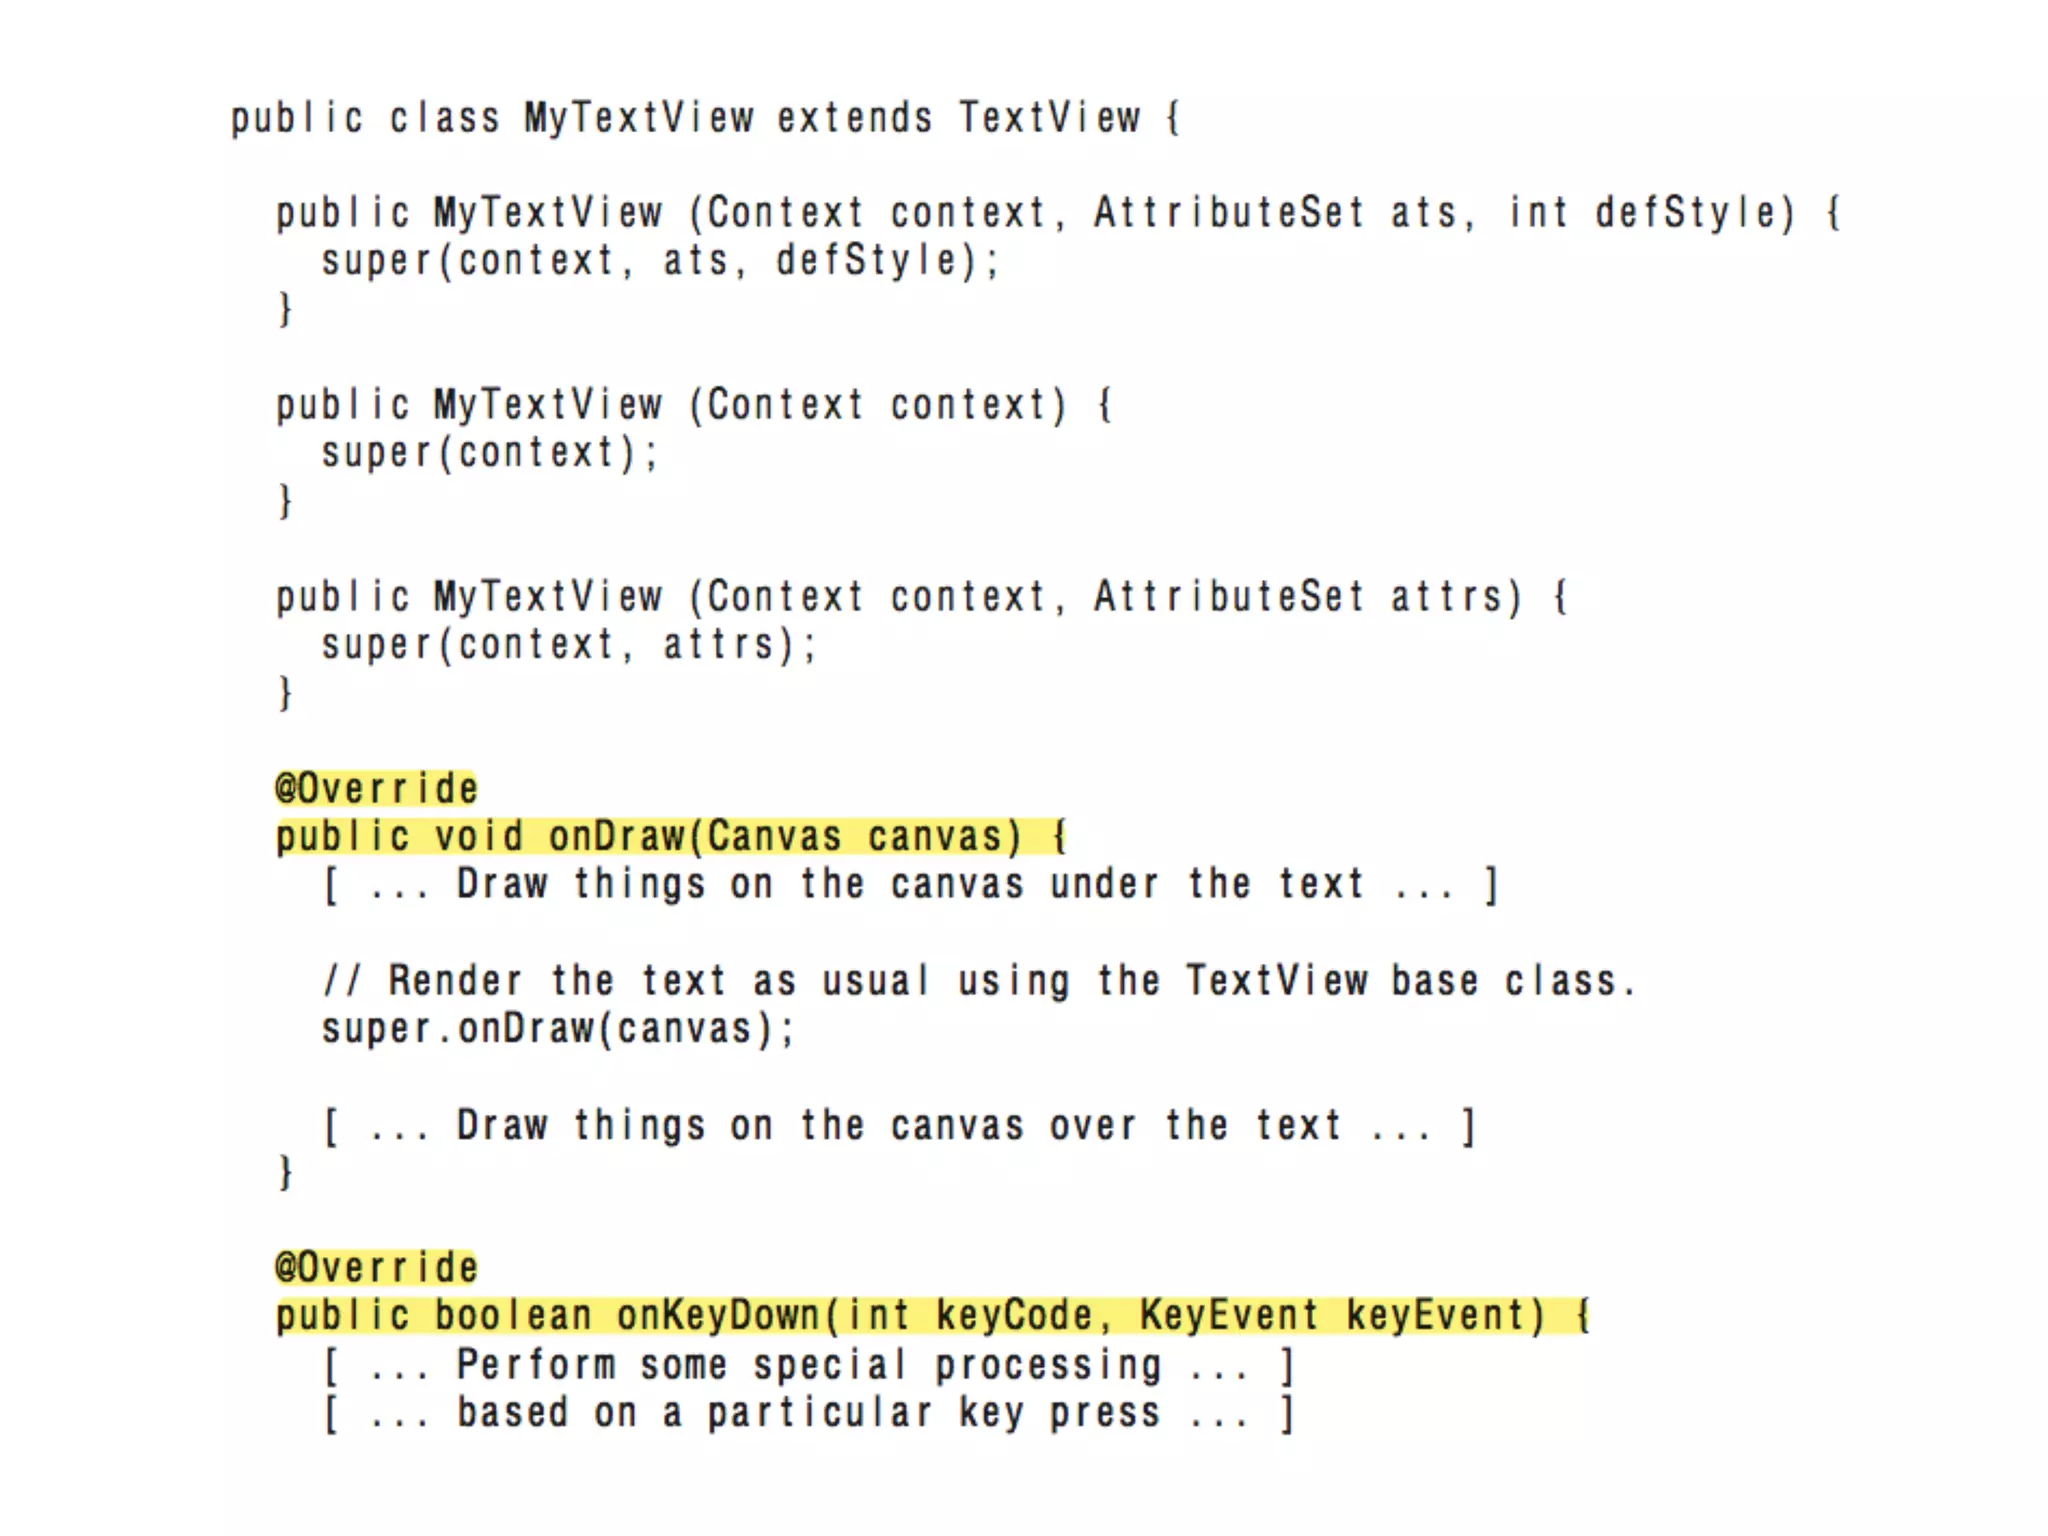
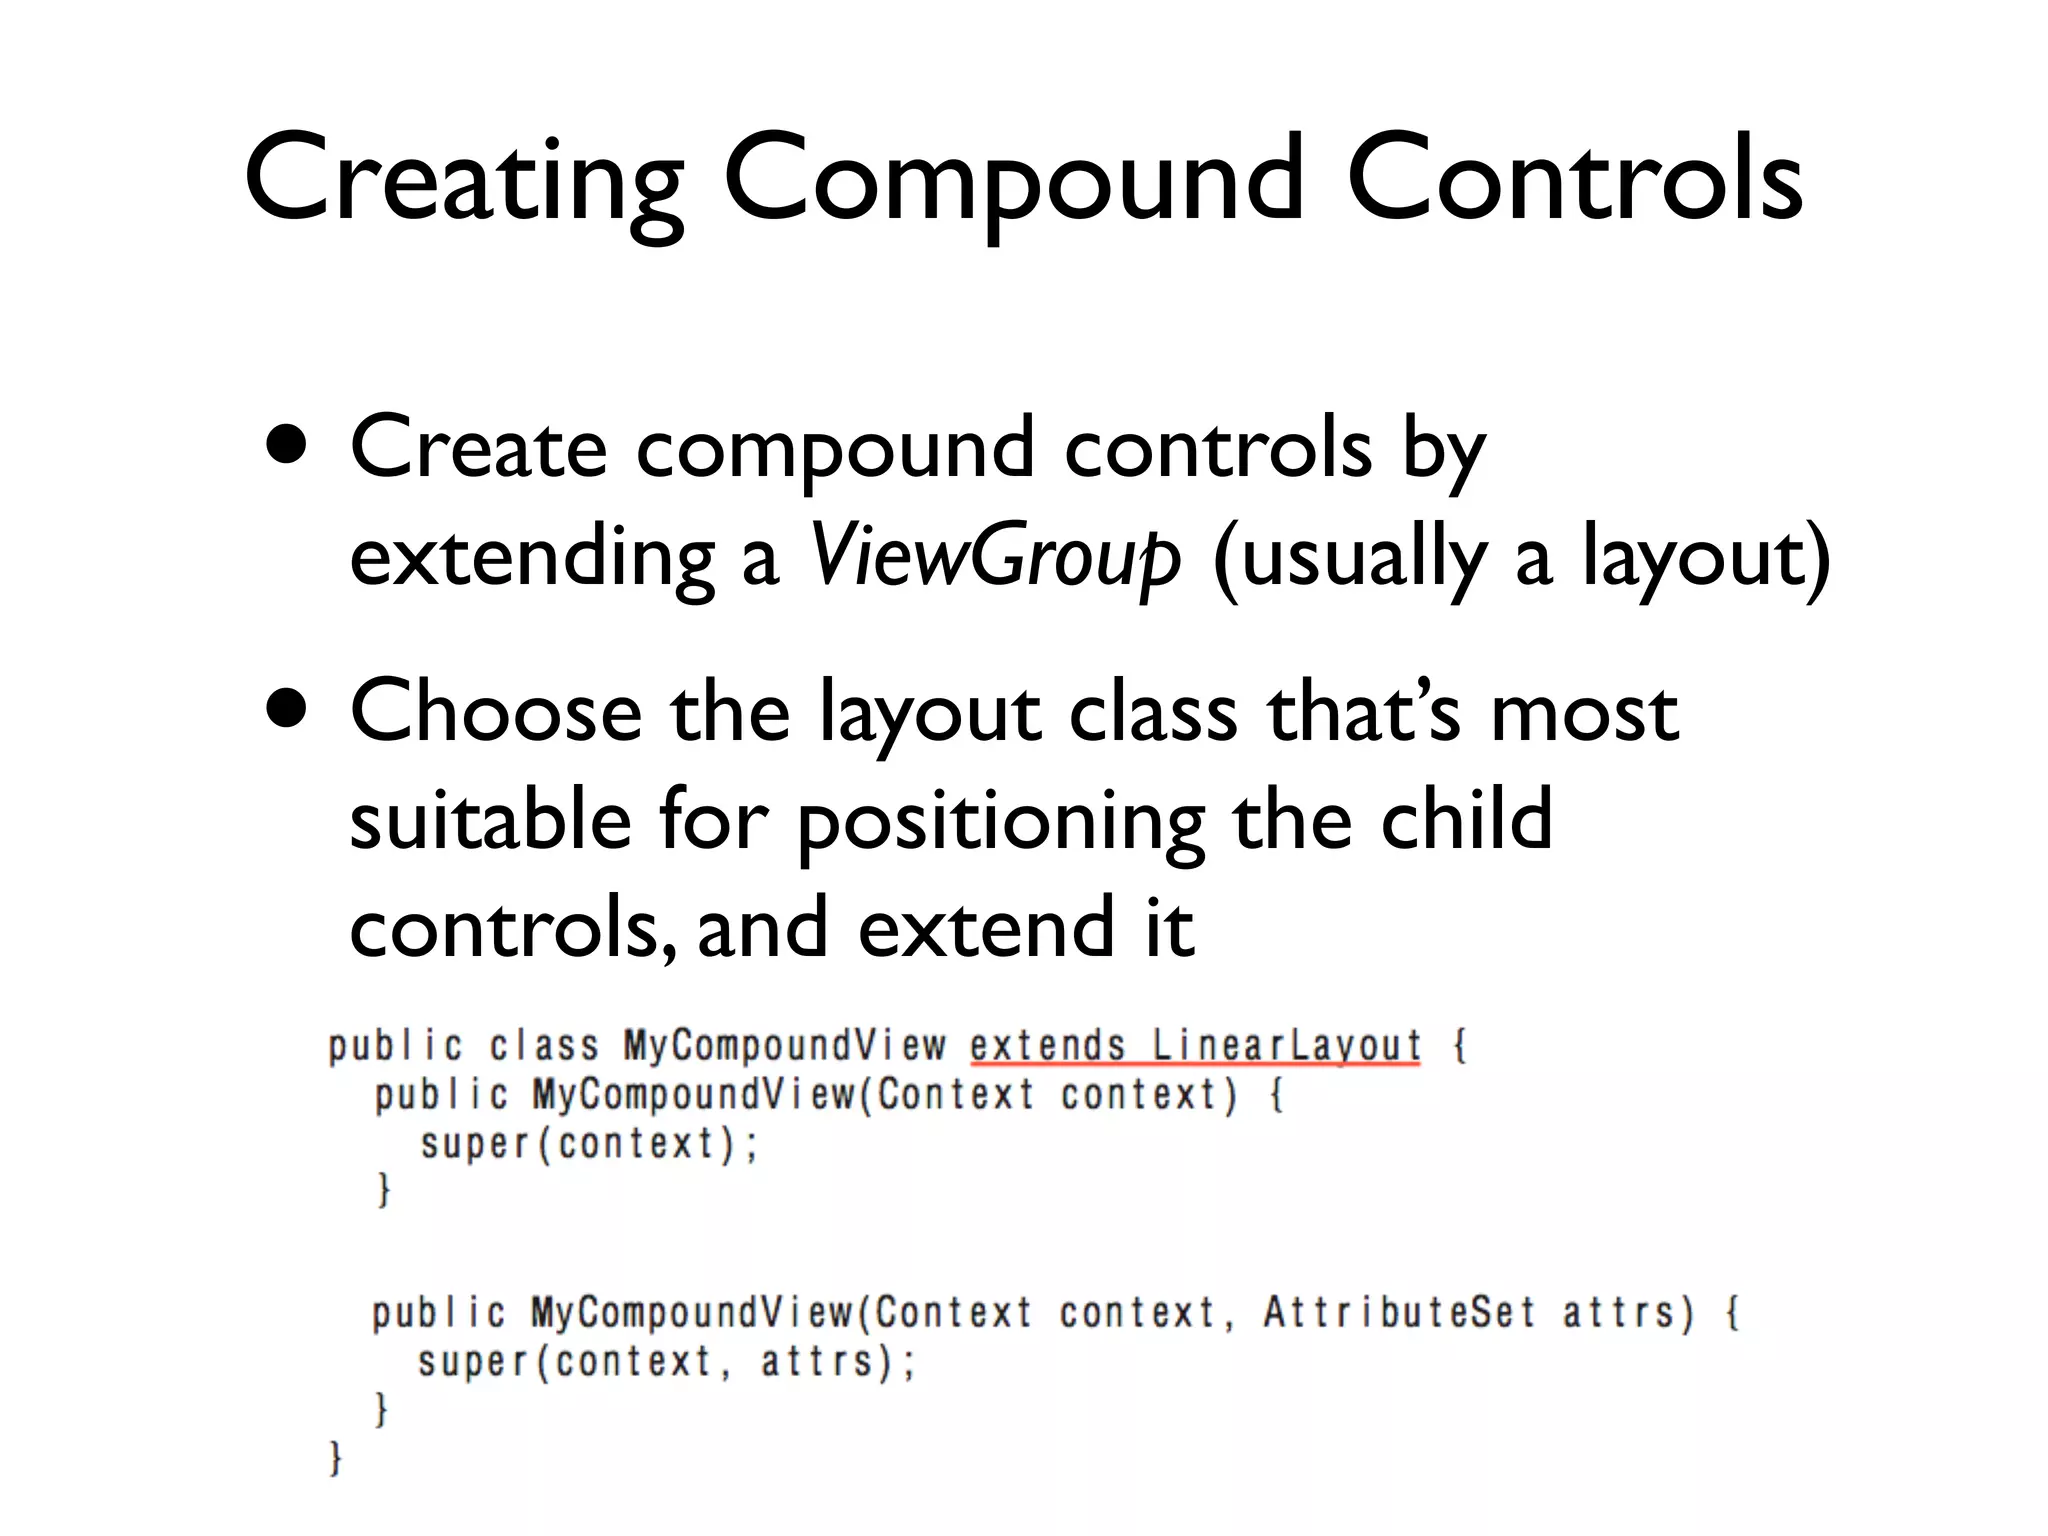
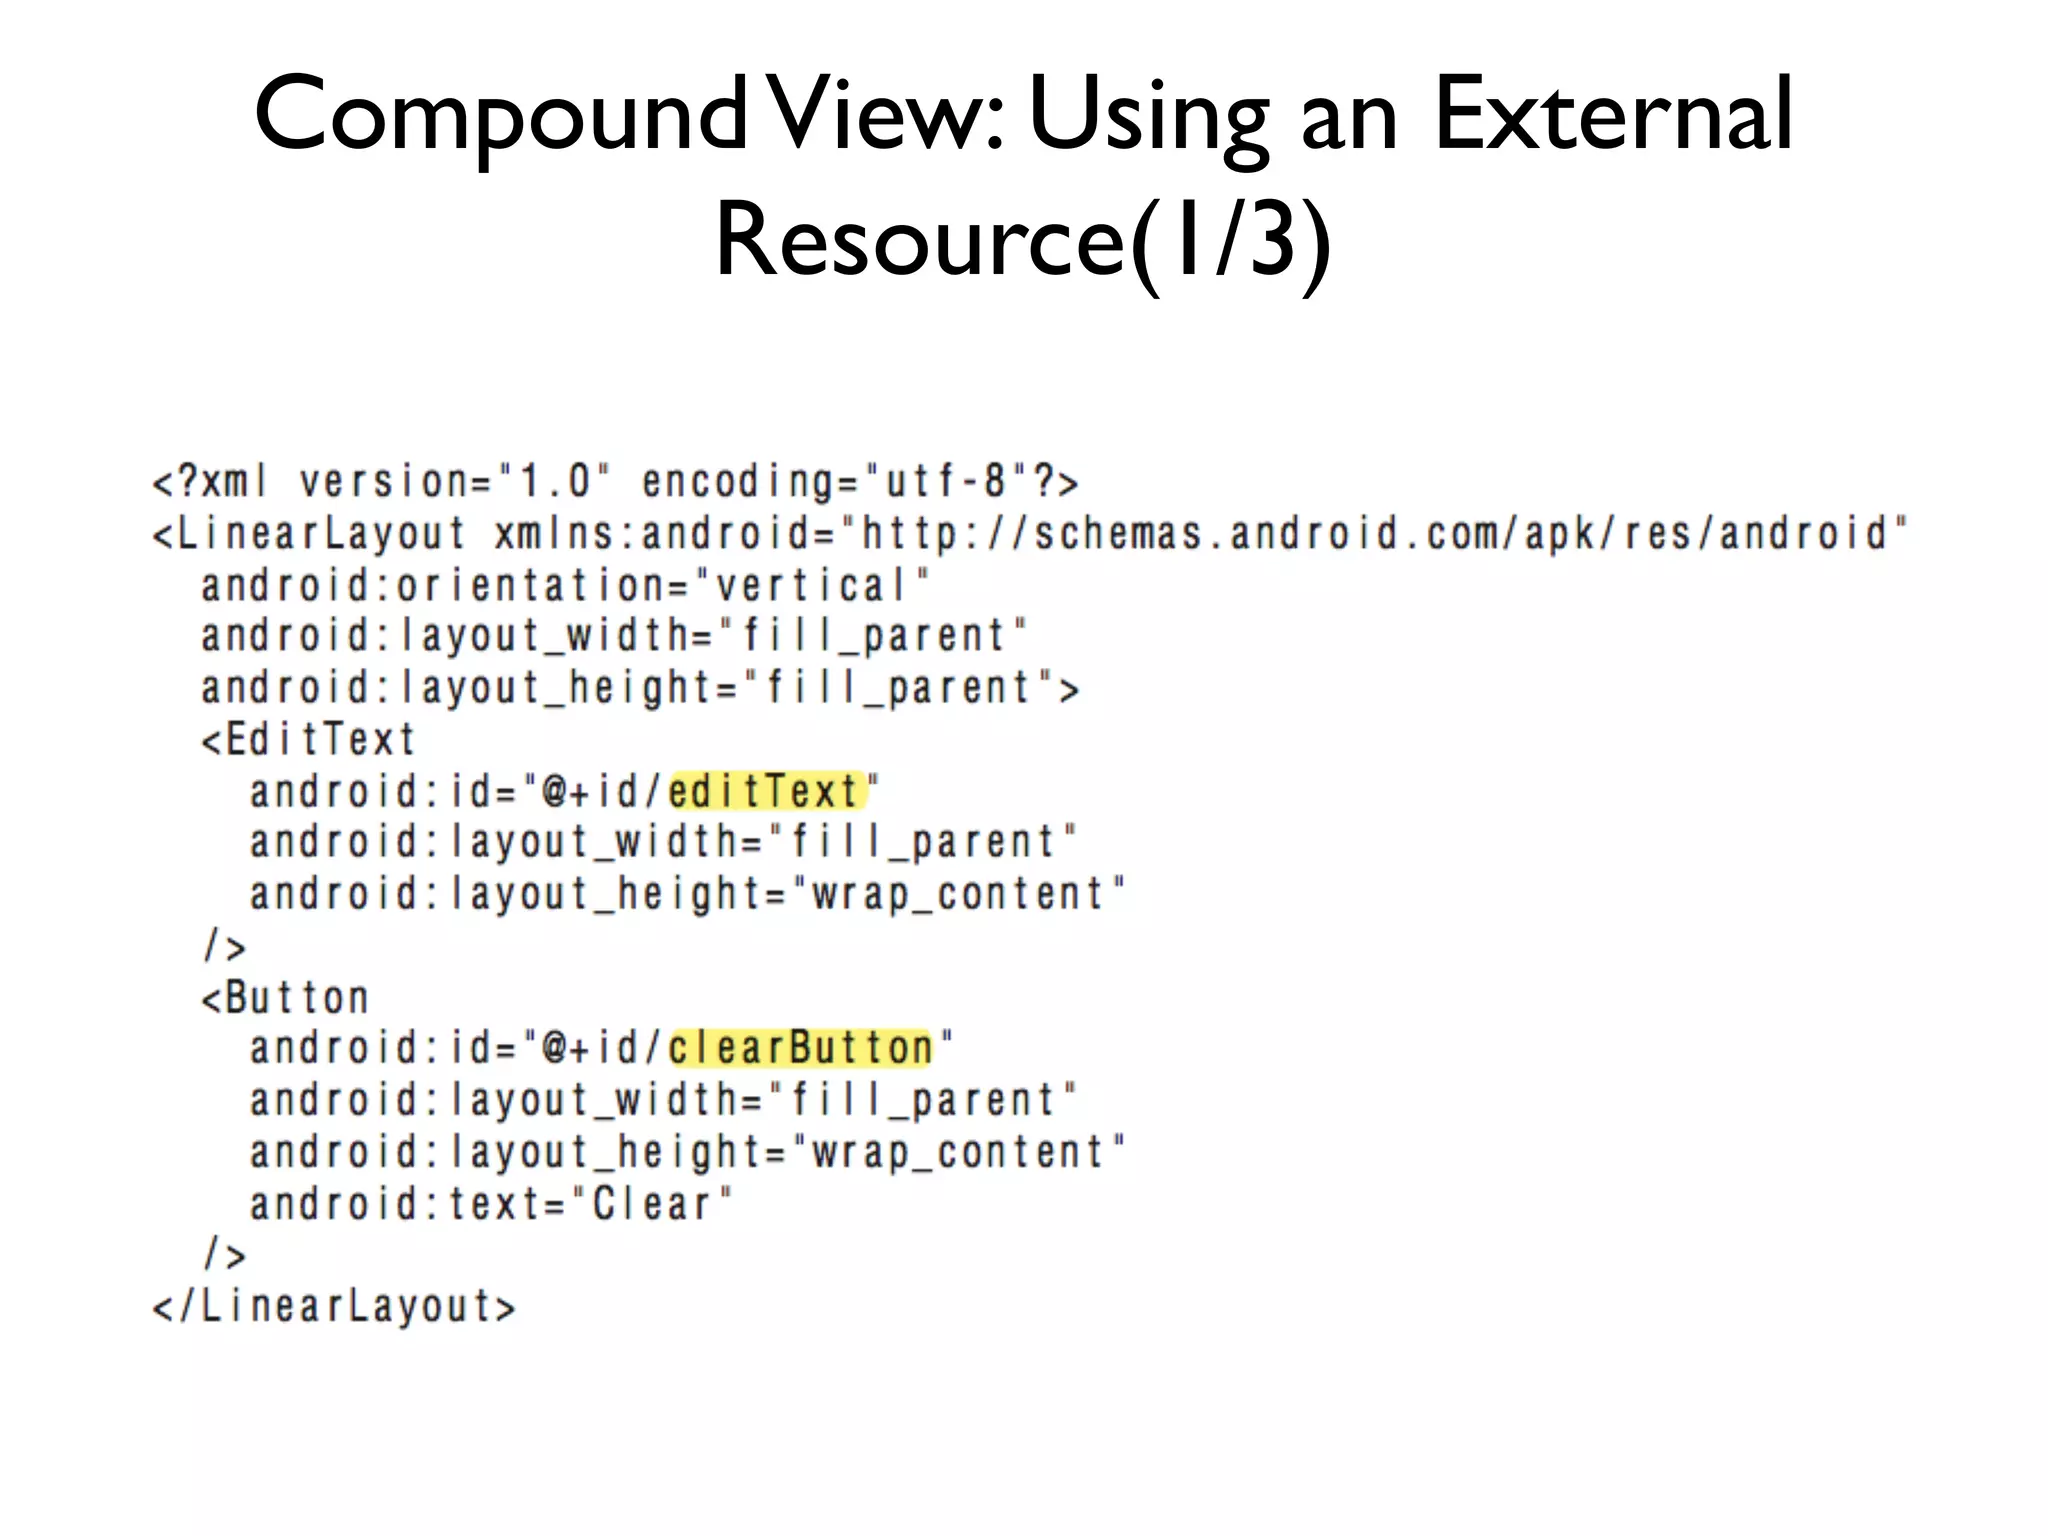
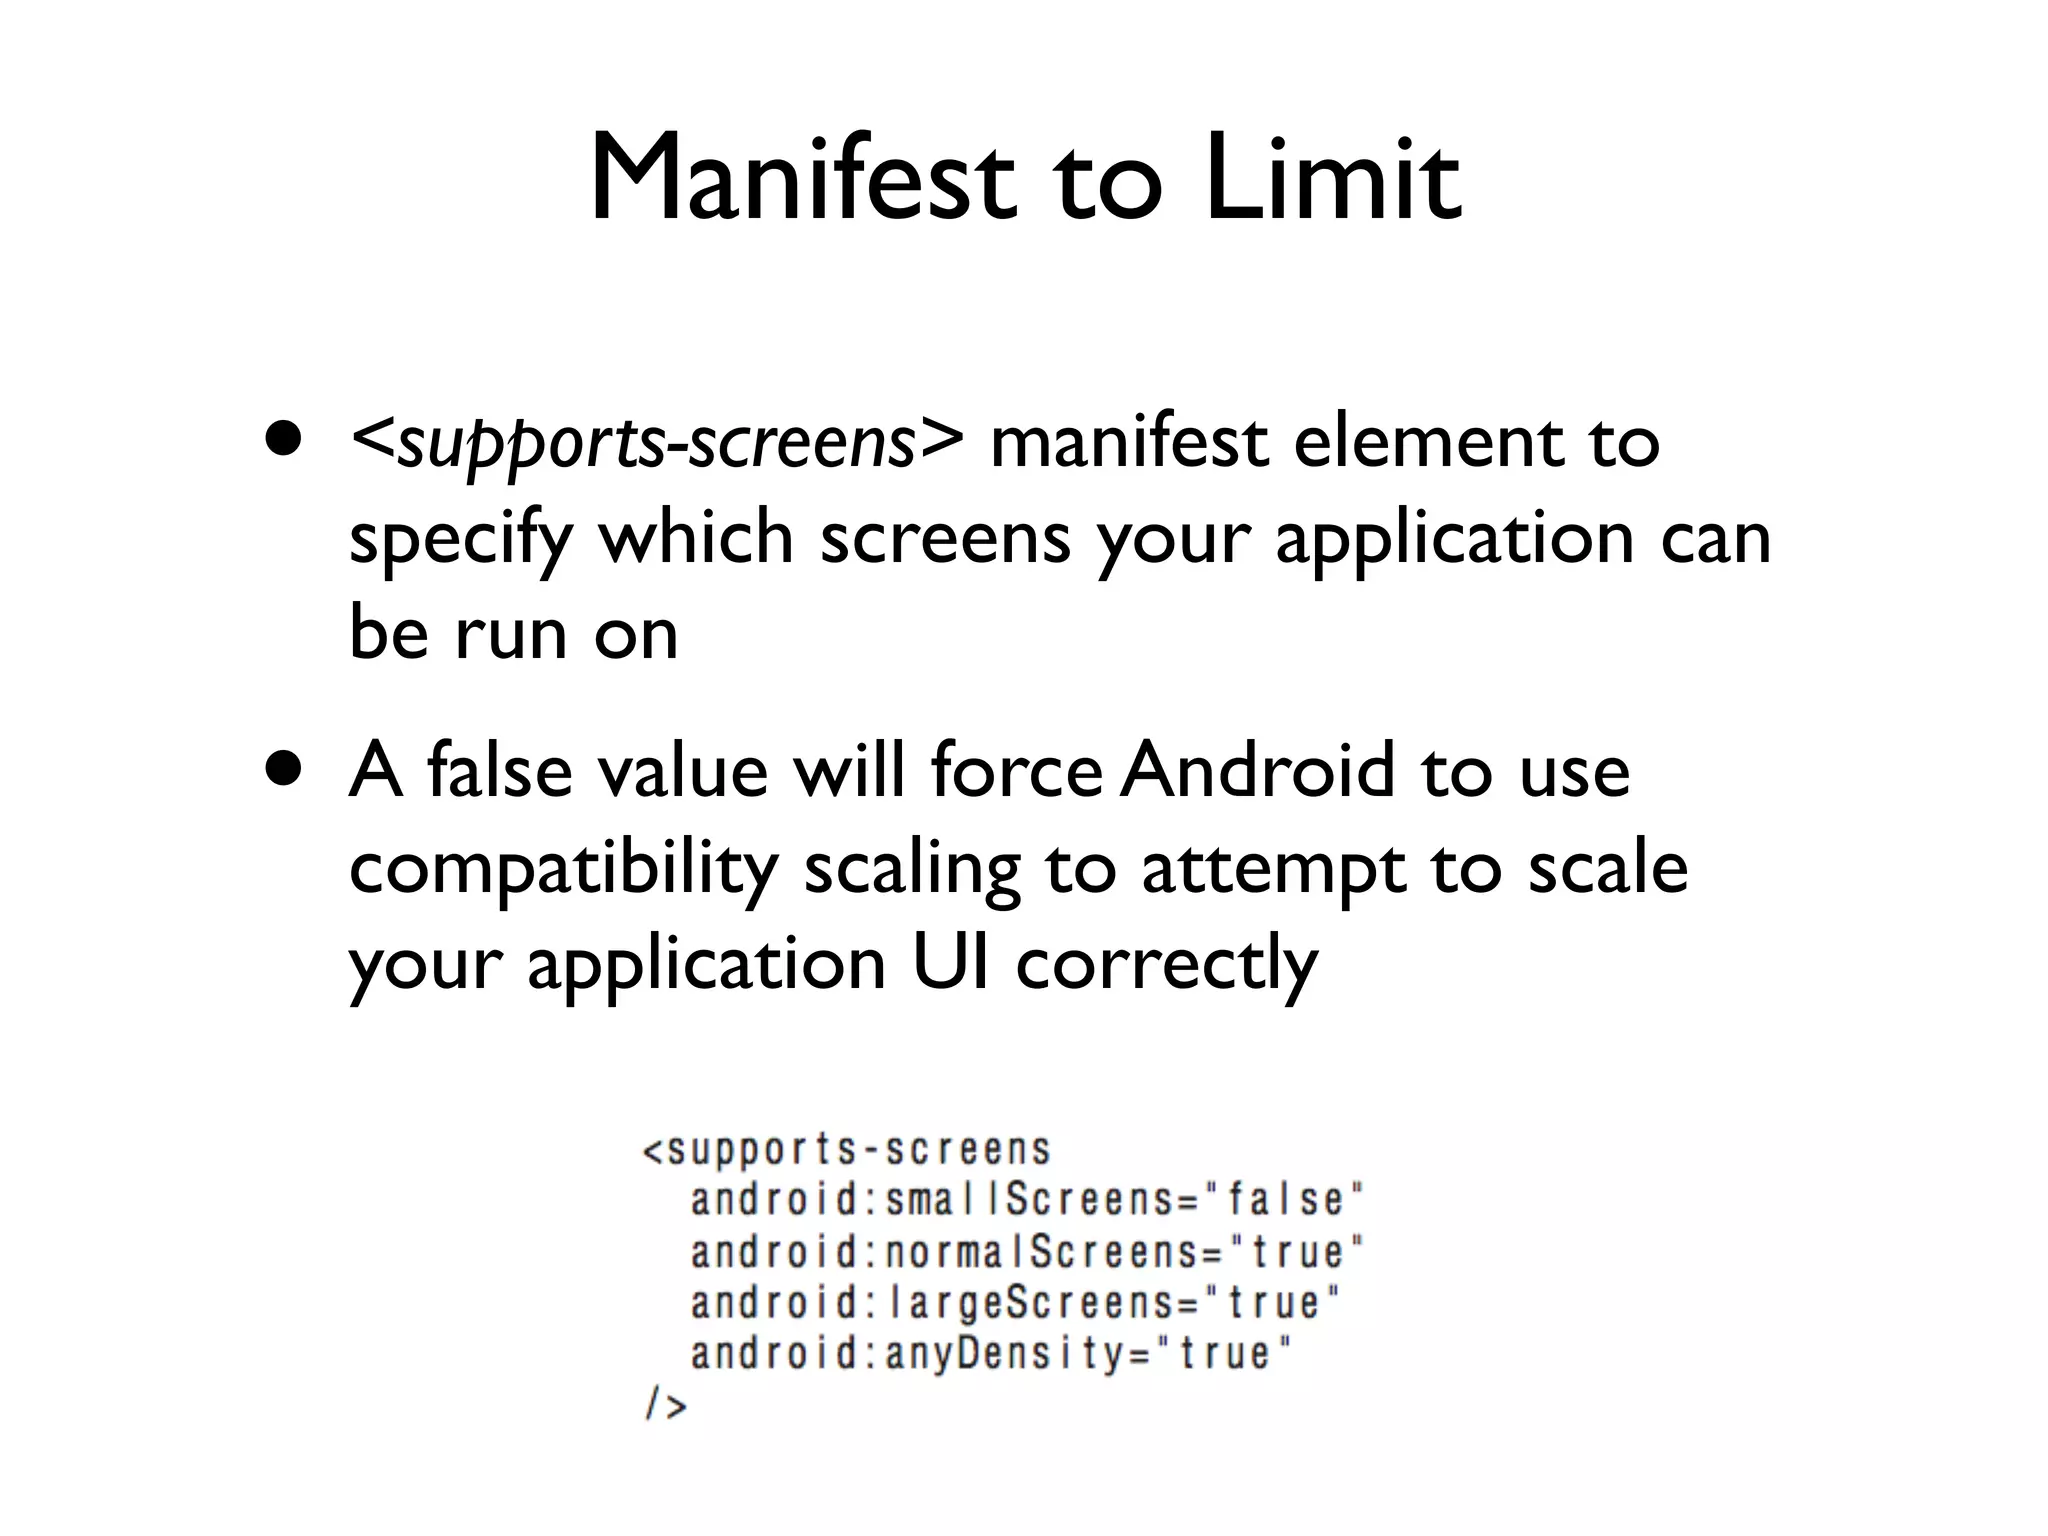
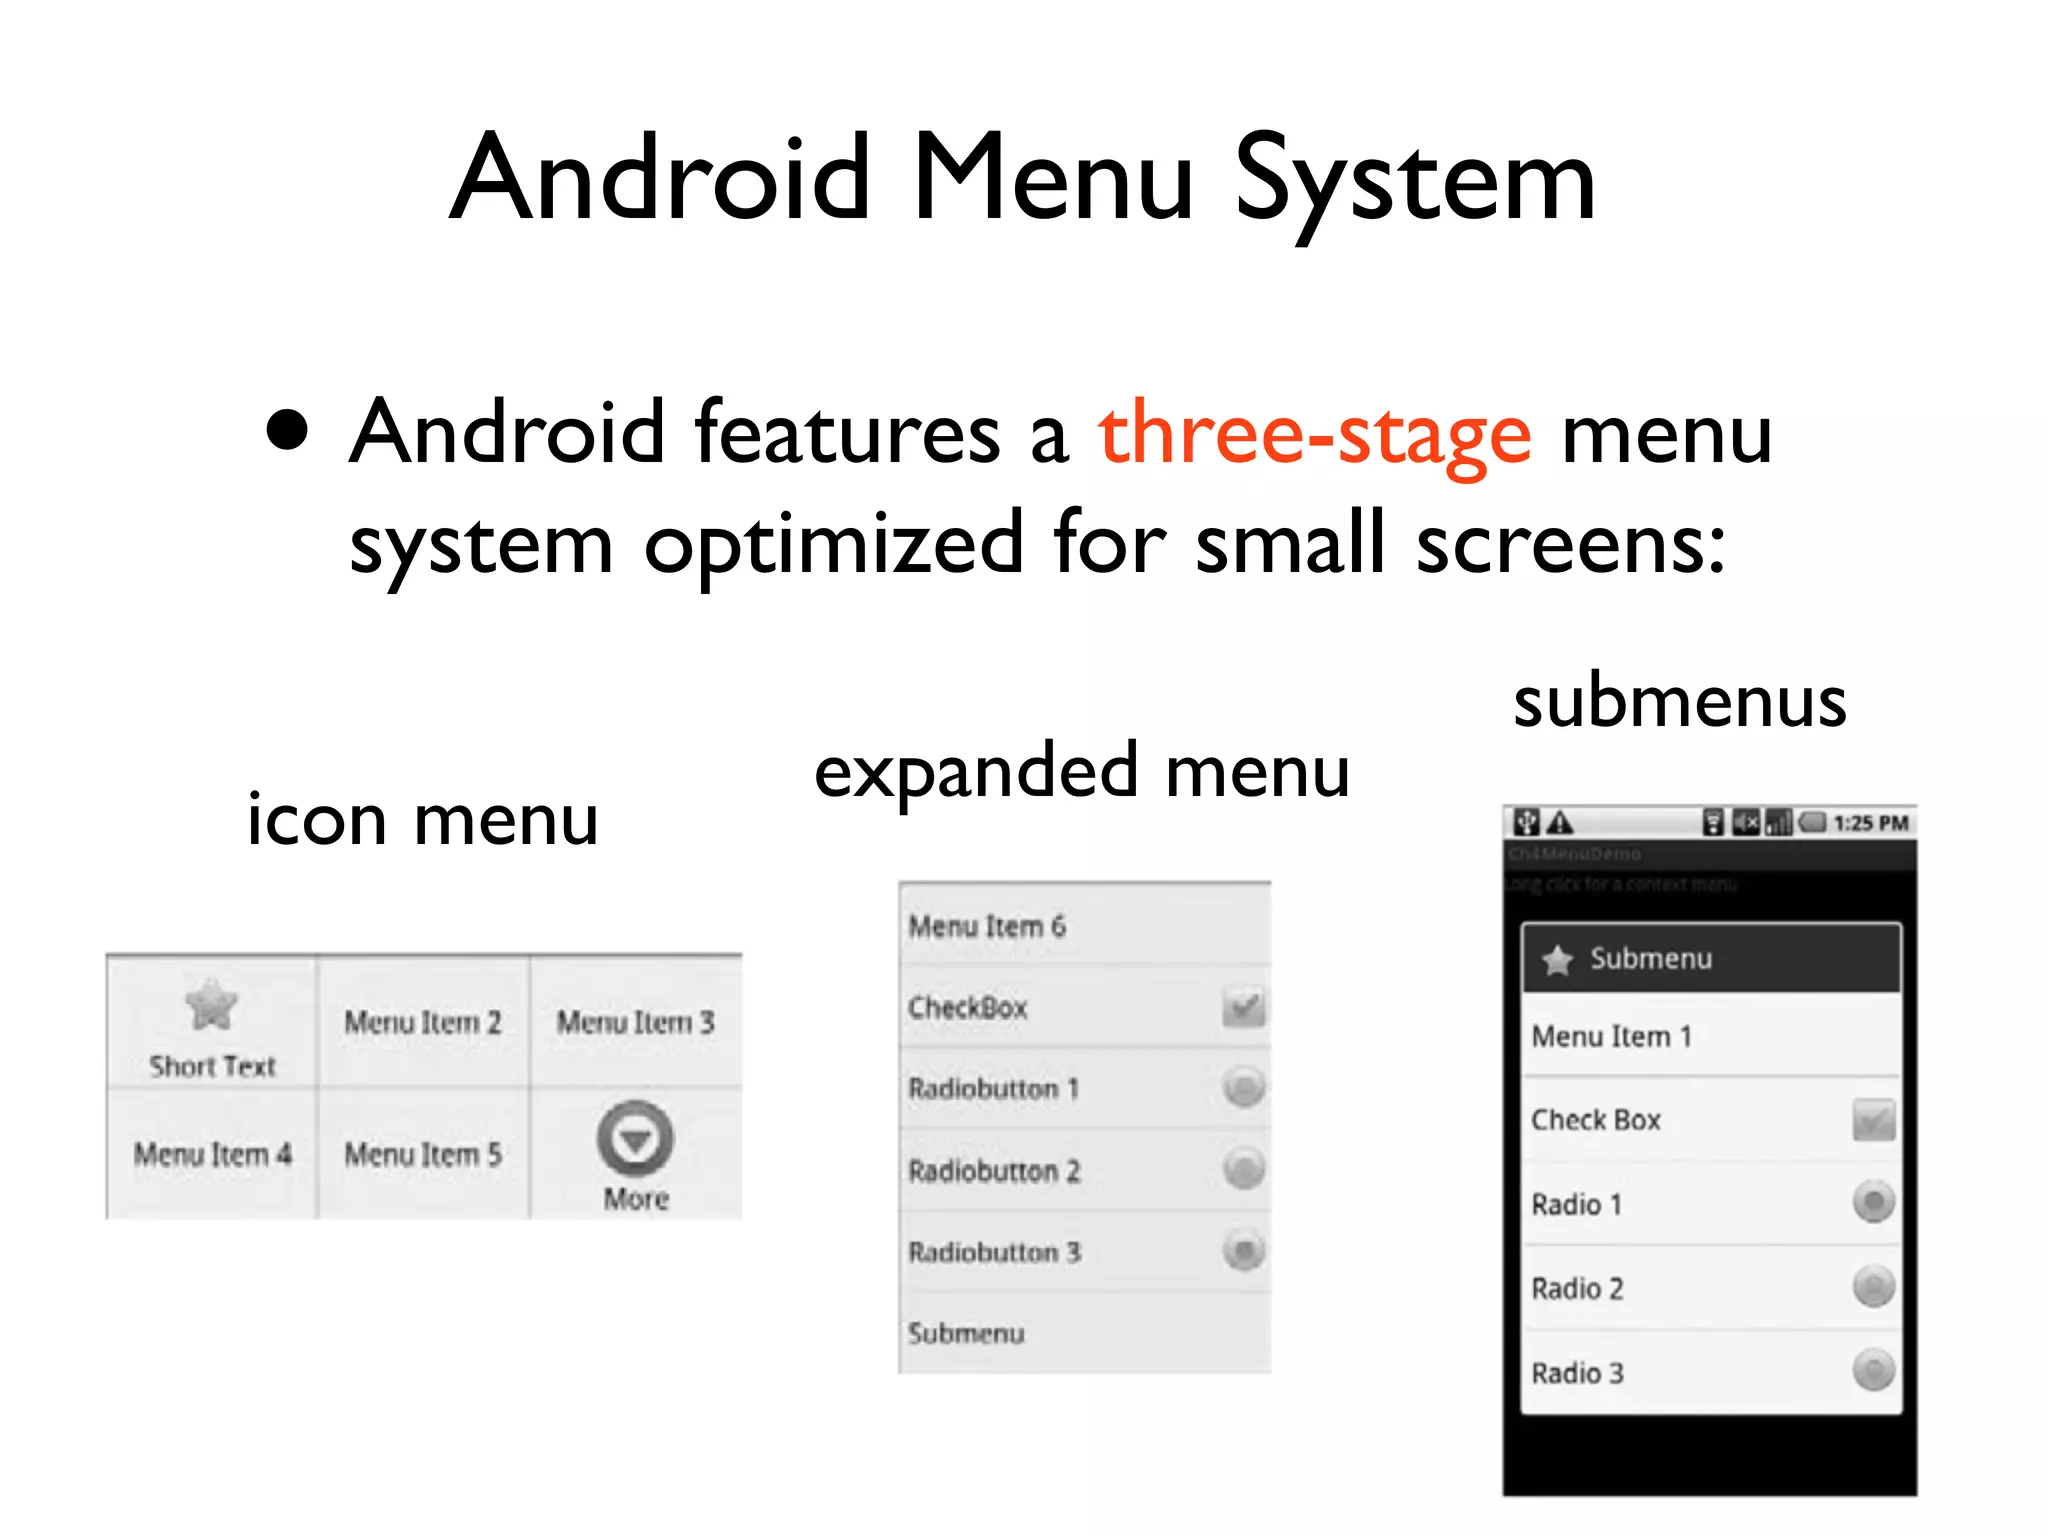
Ch4. Creating User Interface Browny 10, May, 2011
Outline • Introducing Views • Introducing Layouts • Creating New Views • Drawable Resources • Creating and Using Menus
Terminology • View ‣ ,    UI  controls    layout  classes    View   ,    control    widget  (not  home  screen  or  App   Widgets) • View Groups ‣ View    extension,    child  Views • Activities ‣  user  interface,    View  assign     Ac>vity
Creating Activity with Views(1/2) • Activity user interface ‣ Call  setContentView,  passing  in  the  View   instance    layout  resources  (layout  resource  ID) ‣ Almost  always  use  in  onCreate  handler • Get references to the Views used within a layout with the findViewById method
Creating Activity with Views(2/2) Inflating an Activity layout Creating a UI layout in code
The Android Widget Toolbox • Android supplies a toolbox of standard Views to help you create simple interfaces • TextView, EditText, ListView, Spinner, Button, CheckBox, RadioButton, ViewFlipper, QuickContactBadge http://developer.android.com/guide/tutorials/views/index.html
Layouts • Layout managers (layouts) are extensions of the ViewGroup class used to position child controls for your UI • The Android SDK includes some simple layouts to help you construct your UI http://developer.android.com/guide/topics/ui/
Using Layouts • Preferred way ‣ Implement  layouts  by  using  XML  as  external   resources • A simple layout that places a TextView above an EditText control using a vertical LinearLayout
Simple Linear Layout in XML
Simple LinearLayout in Code
Optimizing Layouts(1/2) • Inflating layouts into your Activities is an expensive process • Good practice ‣ Keep  your  layouts  as  simple  as  possible ‣ Avoid  to  inflate  an  en>rely  new  layout  for  small   changes  to  an  exis>ng  one
Optimizing Layouts(2/2) • Avoid unnecessary nesting (Don’t put one layout within another unless it is necessary) • Avoid using too many Views • Avoid deep nesting (It’s good practice to restrict nesting to fewer than 10 levels) • Android SDK includes the layoutopt command line tool
Creating New Views • Modify or Extend (appearance and/or behavior) an existing control • Combine Views to create atomic, reusable controls (leverage the functionality of several interconnected Views) • Create an entirely new control
Modifying Existing Views • Create a new class that extends an existing control • To override the appearance (onDraw) • To override behavior (onKeyDown)
Creating Compound Controls • Create compound controls by extending a ViewGroup (usually a layout) • Choose the layout class that’s most suitable for positioning the child controls, and extend it
Compound View: Using an External Resource(1/3)
Compound View: Using an External Resource(2/3) • To use this layout for your new View, override the View’s constructor to inflate the layout resource using the inflate method from the LayoutInflate system service
Compound View: Using an External Resource(3/3)
Compound View: in code
Hook up the event handlers for each child control
Creating Custom Views • Extend either the View (lightweight solution) or SurfaceView classes (supports drawing from a background thread and using openGL for 3D graphics) • The View class provides a Canvas object with a series of draw methods and Paint classes. Use them to create a visual interface with bitmaps and raster graphics
Creating a New Visual Interface(1/2) • The base View class presents a distinctly empty 100-pixel-by-100- pixel square • You need to override the onMeasure and onDraw methods to change it
Creating a New Visual Interface(2/2)
Drawing Your Control(1/3) • Android provides a variety of tools to help draw your design on the Canvas using various Paint objects • The Canvas class includes helper methods for drawing primitive 2D objects including circles, lines, etc. • Also supports transformations that let you rotate, translate (move), and scale (resize) the Canvas while you draw on it
Drawing Your Control(2/3) • Any object created in your onDraw method will be created and destroyed every time the screen refreshes ( ) • Improve efficiency by making as many of these objects (particularly instances of Paint and Drawable) class-scoped and by moving their creation into the constructor
Drawing Your Control(3/3)
Sizing Your Control(1/3) • The onMeasure method is called when the control’s parent is laying out its child controls ‣ It  asks  the  ques>on  ‘‘How  much  space  will  you   use?’’  and  passes  in  two  parameters:   widthMeasureSpec  and  heightMeasureSpec • Rather than return a result, you pass the View’s height and width into the setMeasuredDimension method
Sizing Your Control (3/3) • Before widthMeasureSpec and heightMeasureSpec can be used, they first need to be decoded using the static getMode and getSize methods from the MeasureSpec class • Depending on the mode value, the size represents either the maximum space available for the control (AT_MOST), or the exact size that your control will occupy (EXACTLY)
Handling User Interaction Events (1/2) • Android exposes several virtual event handlers that let you react to user input ‣ onKeyDown  (D-­‐pad,  keyboard,  hang-­‐up,  call,   back,  and  camera  buPons) ‣ onKeyUp ‣ onTrackballEvent ‣ onTouchEvent
Handling User Interaction Events (2/2)
Using Custom Controls In Code In XML
Drawable Resources • Introduce several new types of Drawables resources • Show how to use these resources to create user interfaces that are independent of screen size and resolution
Shapes, Colors, and Gradients • Android includes a number of simple Drawable resource types that can be defined entirely in XML ‣ ColorDrawable,  ShapeDrawable,  and  GradientDrawable   classes ‣ Composite  Drawables  (Transforma>ve  Drawables,  Layer   Drawable,  State  List  Drawables,  Level  List  Drawables) ‣ NinePatch  Drawable • These resources are stored in the res/drawable folder and can then be identified in code by their lowercase XML filenames
Resolution and Density Independence • The resource directory qualifiers ‣ Store  alterna>ve  assets  and  layouts  for  different   screen  configura>ons   • The manifest elements ‣ Limit  the  screen  sizes  your  applica>on  supports.
Resource Qualifiers for Screen Size and Pixel Density • Folder-name qualifiers ‣ Include  alterna>ve  resources  for  different   screen  sizes,  pixel  densi>es,  and  aspect  ra>os ‣ Screen  size  (small,  medium,  large),  Pixel  density   (ldpi,  mdpi,  hdpi,  nodpi),  Aspect  ra>o  (long,   notlong) • Can be used independently, or in combination with each other
Manifest to Limit • <supports-screens> manifest element to specify which screens your application can be run on • A false value will force Android to use compatibility scaling to attempt to scale your application UI correctly
Best Practices for Resolution Independence • Relative Layouts and Density- Independent Pixels • Using Scalable Graphics Assets • Provide Optimized Resources for Different Screens • Testing, Testing and Testing
Android Menu System • Android features a three-stage menu system optimized for small screens: submenus expanded menu icon menu
The Icon Menu • It displays the icons and text for a limited number of Menu Items (typically six) • If the menu contains more than the maximum number of visible Menu Items, a More Menu Item is displayed. When selected, it displays the expanded menu
The Expanded Menu • The expanded menu is triggered when a user selects the More Menu Item from the icon menu • It does not display icons. Pressing back from the expanded menu returns you to the icon menu • You cannot force Android to display the expanded menu instead of the icon menu
Submenus • Android does not support nested submenus, you can’t add a submenu to a submenu • As with the extended menu, icons are not displayed in the submenu
Thank you :)

Ch4 creating user interfaces

  • 1.
    Ch4. Creating User Interface Browny 10, May, 2011
  • 2.
    Outline • Introducing Views •Introducing Layouts • Creating New Views • Drawable Resources • Creating and Using Menus
  • 3.
    Terminology • View ‣ ,    UI  controls    layout  classes    View   ,    control    widget  (not  home  screen  or  App   Widgets) • View Groups ‣ View    extension,    child  Views • Activities ‣  user  interface,    View  assign     Ac>vity
  • 4.
    Creating Activity withViews(1/2) • Activity user interface ‣ Call  setContentView,  passing  in  the  View   instance    layout  resources  (layout  resource  ID) ‣ Almost  always  use  in  onCreate  handler • Get references to the Views used within a layout with the findViewById method
  • 5.
    Creating Activity withViews(2/2) Inflating an Activity layout Creating a UI layout in code
  • 6.
    The Android WidgetToolbox • Android supplies a toolbox of standard Views to help you create simple interfaces • TextView, EditText, ListView, Spinner, Button, CheckBox, RadioButton, ViewFlipper, QuickContactBadge http://developer.android.com/guide/tutorials/views/index.html
  • 7.
    Layouts • Layout managers(layouts) are extensions of the ViewGroup class used to position child controls for your UI • The Android SDK includes some simple layouts to help you construct your UI http://developer.android.com/guide/topics/ui/
  • 8.
    Using Layouts • Preferredway ‣ Implement  layouts  by  using  XML  as  external   resources • A simple layout that places a TextView above an EditText control using a vertical LinearLayout
  • 9.
  • 10.
  • 11.
    Optimizing Layouts(1/2) • Inflatinglayouts into your Activities is an expensive process • Good practice ‣ Keep  your  layouts  as  simple  as  possible ‣ Avoid  to  inflate  an  en>rely  new  layout  for  small   changes  to  an  exis>ng  one
  • 12.
    Optimizing Layouts(2/2) • Avoidunnecessary nesting (Don’t put one layout within another unless it is necessary) • Avoid using too many Views • Avoid deep nesting (It’s good practice to restrict nesting to fewer than 10 levels) • Android SDK includes the layoutopt command line tool
  • 13.
    Creating New Views •Modify or Extend (appearance and/or behavior) an existing control • Combine Views to create atomic, reusable controls (leverage the functionality of several interconnected Views) • Create an entirely new control
  • 14.
    Modifying Existing Views •Create a new class that extends an existing control • To override the appearance (onDraw) • To override behavior (onKeyDown)
  • 16.
    Creating Compound Controls •Create compound controls by extending a ViewGroup (usually a layout) • Choose the layout class that’s most suitable for positioning the child controls, and extend it
  • 17.
    Compound View: Usingan External Resource(1/3)
  • 18.
    Compound View: Usingan External Resource(2/3) • To use this layout for your new View, override the View’s constructor to inflate the layout resource using the inflate method from the LayoutInflate system service
  • 19.
    Compound View: Usingan External Resource(3/3)
  • 20.
  • 21.
    Hook up theevent handlers for each child control
  • 22.
    Creating Custom Views •Extend either the View (lightweight solution) or SurfaceView classes (supports drawing from a background thread and using openGL for 3D graphics) • The View class provides a Canvas object with a series of draw methods and Paint classes. Use them to create a visual interface with bitmaps and raster graphics
  • 23.
    Creating a NewVisual Interface(1/2) • The base View class presents a distinctly empty 100-pixel-by-100- pixel square • You need to override the onMeasure and onDraw methods to change it
  • 24.
    Creating a NewVisual Interface(2/2)
  • 25.
    Drawing Your Control(1/3) •Android provides a variety of tools to help draw your design on the Canvas using various Paint objects • The Canvas class includes helper methods for drawing primitive 2D objects including circles, lines, etc. • Also supports transformations that let you rotate, translate (move), and scale (resize) the Canvas while you draw on it
  • 26.
    Drawing Your Control(2/3) •Any object created in your onDraw method will be created and destroyed every time the screen refreshes ( ) • Improve efficiency by making as many of these objects (particularly instances of Paint and Drawable) class-scoped and by moving their creation into the constructor
  • 27.
  • 28.
    Sizing Your Control(1/3) •The onMeasure method is called when the control’s parent is laying out its child controls ‣ It  asks  the  ques>on  ‘‘How  much  space  will  you   use?’’  and  passes  in  two  parameters:   widthMeasureSpec  and  heightMeasureSpec • Rather than return a result, you pass the View’s height and width into the setMeasuredDimension method
  • 30.
    Sizing Your Control(3/3) • Before widthMeasureSpec and heightMeasureSpec can be used, they first need to be decoded using the static getMode and getSize methods from the MeasureSpec class • Depending on the mode value, the size represents either the maximum space available for the control (AT_MOST), or the exact size that your control will occupy (EXACTLY)
  • 31.
    Handling User InteractionEvents (1/2) • Android exposes several virtual event handlers that let you react to user input ‣ onKeyDown  (D-­‐pad,  keyboard,  hang-­‐up,  call,   back,  and  camera  buPons) ‣ onKeyUp ‣ onTrackballEvent ‣ onTouchEvent
  • 32.
  • 33.
    Using Custom Controls In Code In XML
  • 34.
    Drawable Resources • Introduceseveral new types of Drawables resources • Show how to use these resources to create user interfaces that are independent of screen size and resolution
  • 35.
    Shapes, Colors, andGradients • Android includes a number of simple Drawable resource types that can be defined entirely in XML ‣ ColorDrawable,  ShapeDrawable,  and  GradientDrawable   classes ‣ Composite  Drawables  (Transforma>ve  Drawables,  Layer   Drawable,  State  List  Drawables,  Level  List  Drawables) ‣ NinePatch  Drawable • These resources are stored in the res/drawable folder and can then be identified in code by their lowercase XML filenames
  • 36.
    Resolution and Density Independence • The resource directory qualifiers ‣ Store  alterna>ve  assets  and  layouts  for  different   screen  configura>ons   • The manifest elements ‣ Limit  the  screen  sizes  your  applica>on  supports.
  • 37.
    Resource Qualifiers forScreen Size and Pixel Density • Folder-name qualifiers ‣ Include  alterna>ve  resources  for  different   screen  sizes,  pixel  densi>es,  and  aspect  ra>os ‣ Screen  size  (small,  medium,  large),  Pixel  density   (ldpi,  mdpi,  hdpi,  nodpi),  Aspect  ra>o  (long,   notlong) • Can be used independently, or in combination with each other
  • 38.
    Manifest to Limit •<supports-screens> manifest element to specify which screens your application can be run on • A false value will force Android to use compatibility scaling to attempt to scale your application UI correctly
  • 39.
    Best Practices forResolution Independence • Relative Layouts and Density- Independent Pixels • Using Scalable Graphics Assets • Provide Optimized Resources for Different Screens • Testing, Testing and Testing
  • 40.
    Android Menu System •Android features a three-stage menu system optimized for small screens: submenus expanded menu icon menu
  • 41.
    The Icon Menu •It displays the icons and text for a limited number of Menu Items (typically six) • If the menu contains more than the maximum number of visible Menu Items, a More Menu Item is displayed. When selected, it displays the expanded menu
  • 42.
    The Expanded Menu •The expanded menu is triggered when a user selects the More Menu Item from the icon menu • It does not display icons. Pressing back from the expanded menu returns you to the icon menu • You cannot force Android to display the expanded menu instead of the icon menu
  • 43.
    Submenus • Android doesnot support nested submenus, you can’t add a submenu to a submenu • As with the extended menu, icons are not displayed in the submenu
  • 44.