Download to read offline


![–17– The default authorization in the Web.config file has commented fields to specify users and roles. <!-- AUTHORIZATION This section sets the authorization policies of the application. You can allow or deny access to application resources by user or role. Wildcards: "* " mean everyone, "?" means anonymous (unauthenticated) users. --> <authorization> <allow users="* " /> <!-- Allow all users --> <!-- <allow users="[comma separated list of users]" roles="[comma separated list of roles]"/> <deny users="[comma separated list of users]" roles="[comma separated list of roles]"/> --> </authorization> Writing Secure Code Programmers need to be aware of how hackers are able to gain access to a database or a network through code. Two primary areas of importance are string injections and error messages that may give away important information about a data source. SQL Injection Proper validation of the code is extremely important. A system vulnerability occurs when code is "injected" into a string. A text box or a combo box control allows the user to type in information. It is the responsibility of the programmer to make sure that the code typed does not contain any scripting code or disruptive characters. When a program is working with a database there must be no way for the user to inject code into that database. It is wise to validate the keystrokes to be sure that the input text contains only valid characters. Error Messages Another technique that hackers use to find information about a database is to input wrong data hoping that the error message will give significant information. The default error messages indicate the name of the field containing an error. Plan your error messages so that you don't allow someone to determine valid field names or values.](https://image.slidesharecdn.com/advancedprogrammingusingvisualbasic-230805195550-f979aee2/75/Advanced-Programming-Using-Visual-Basic-NET-17-2048.jpg)

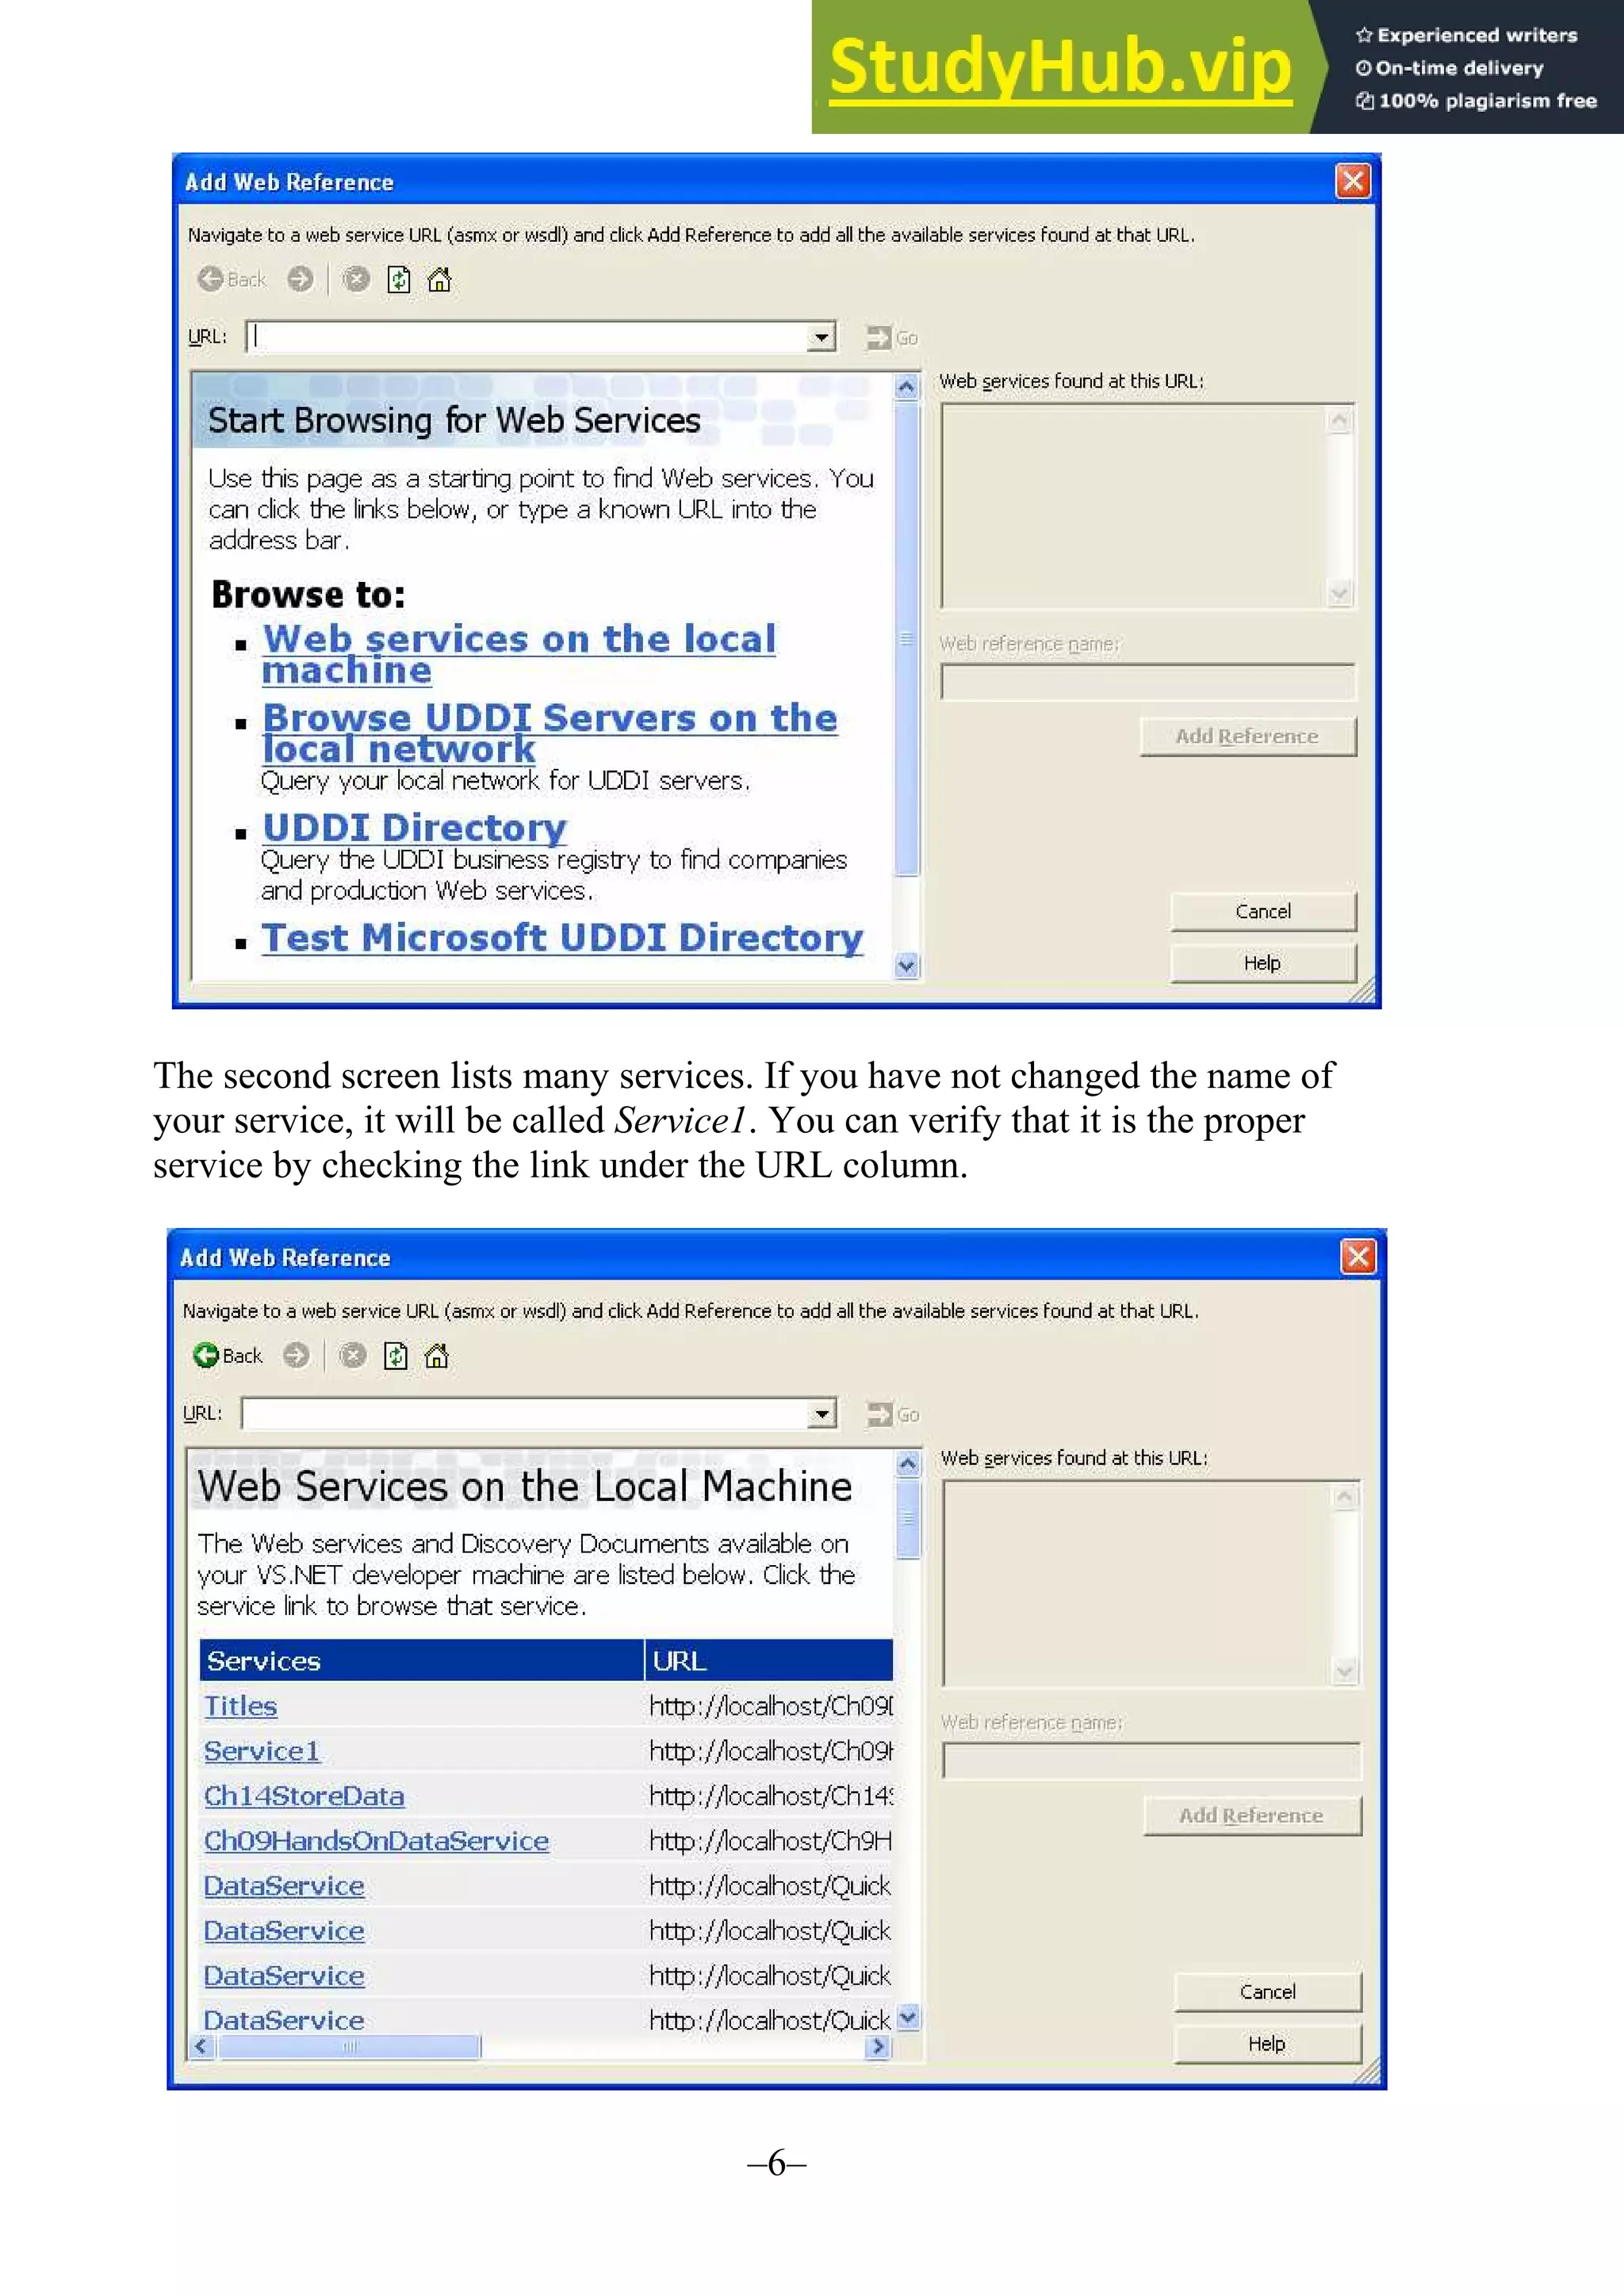
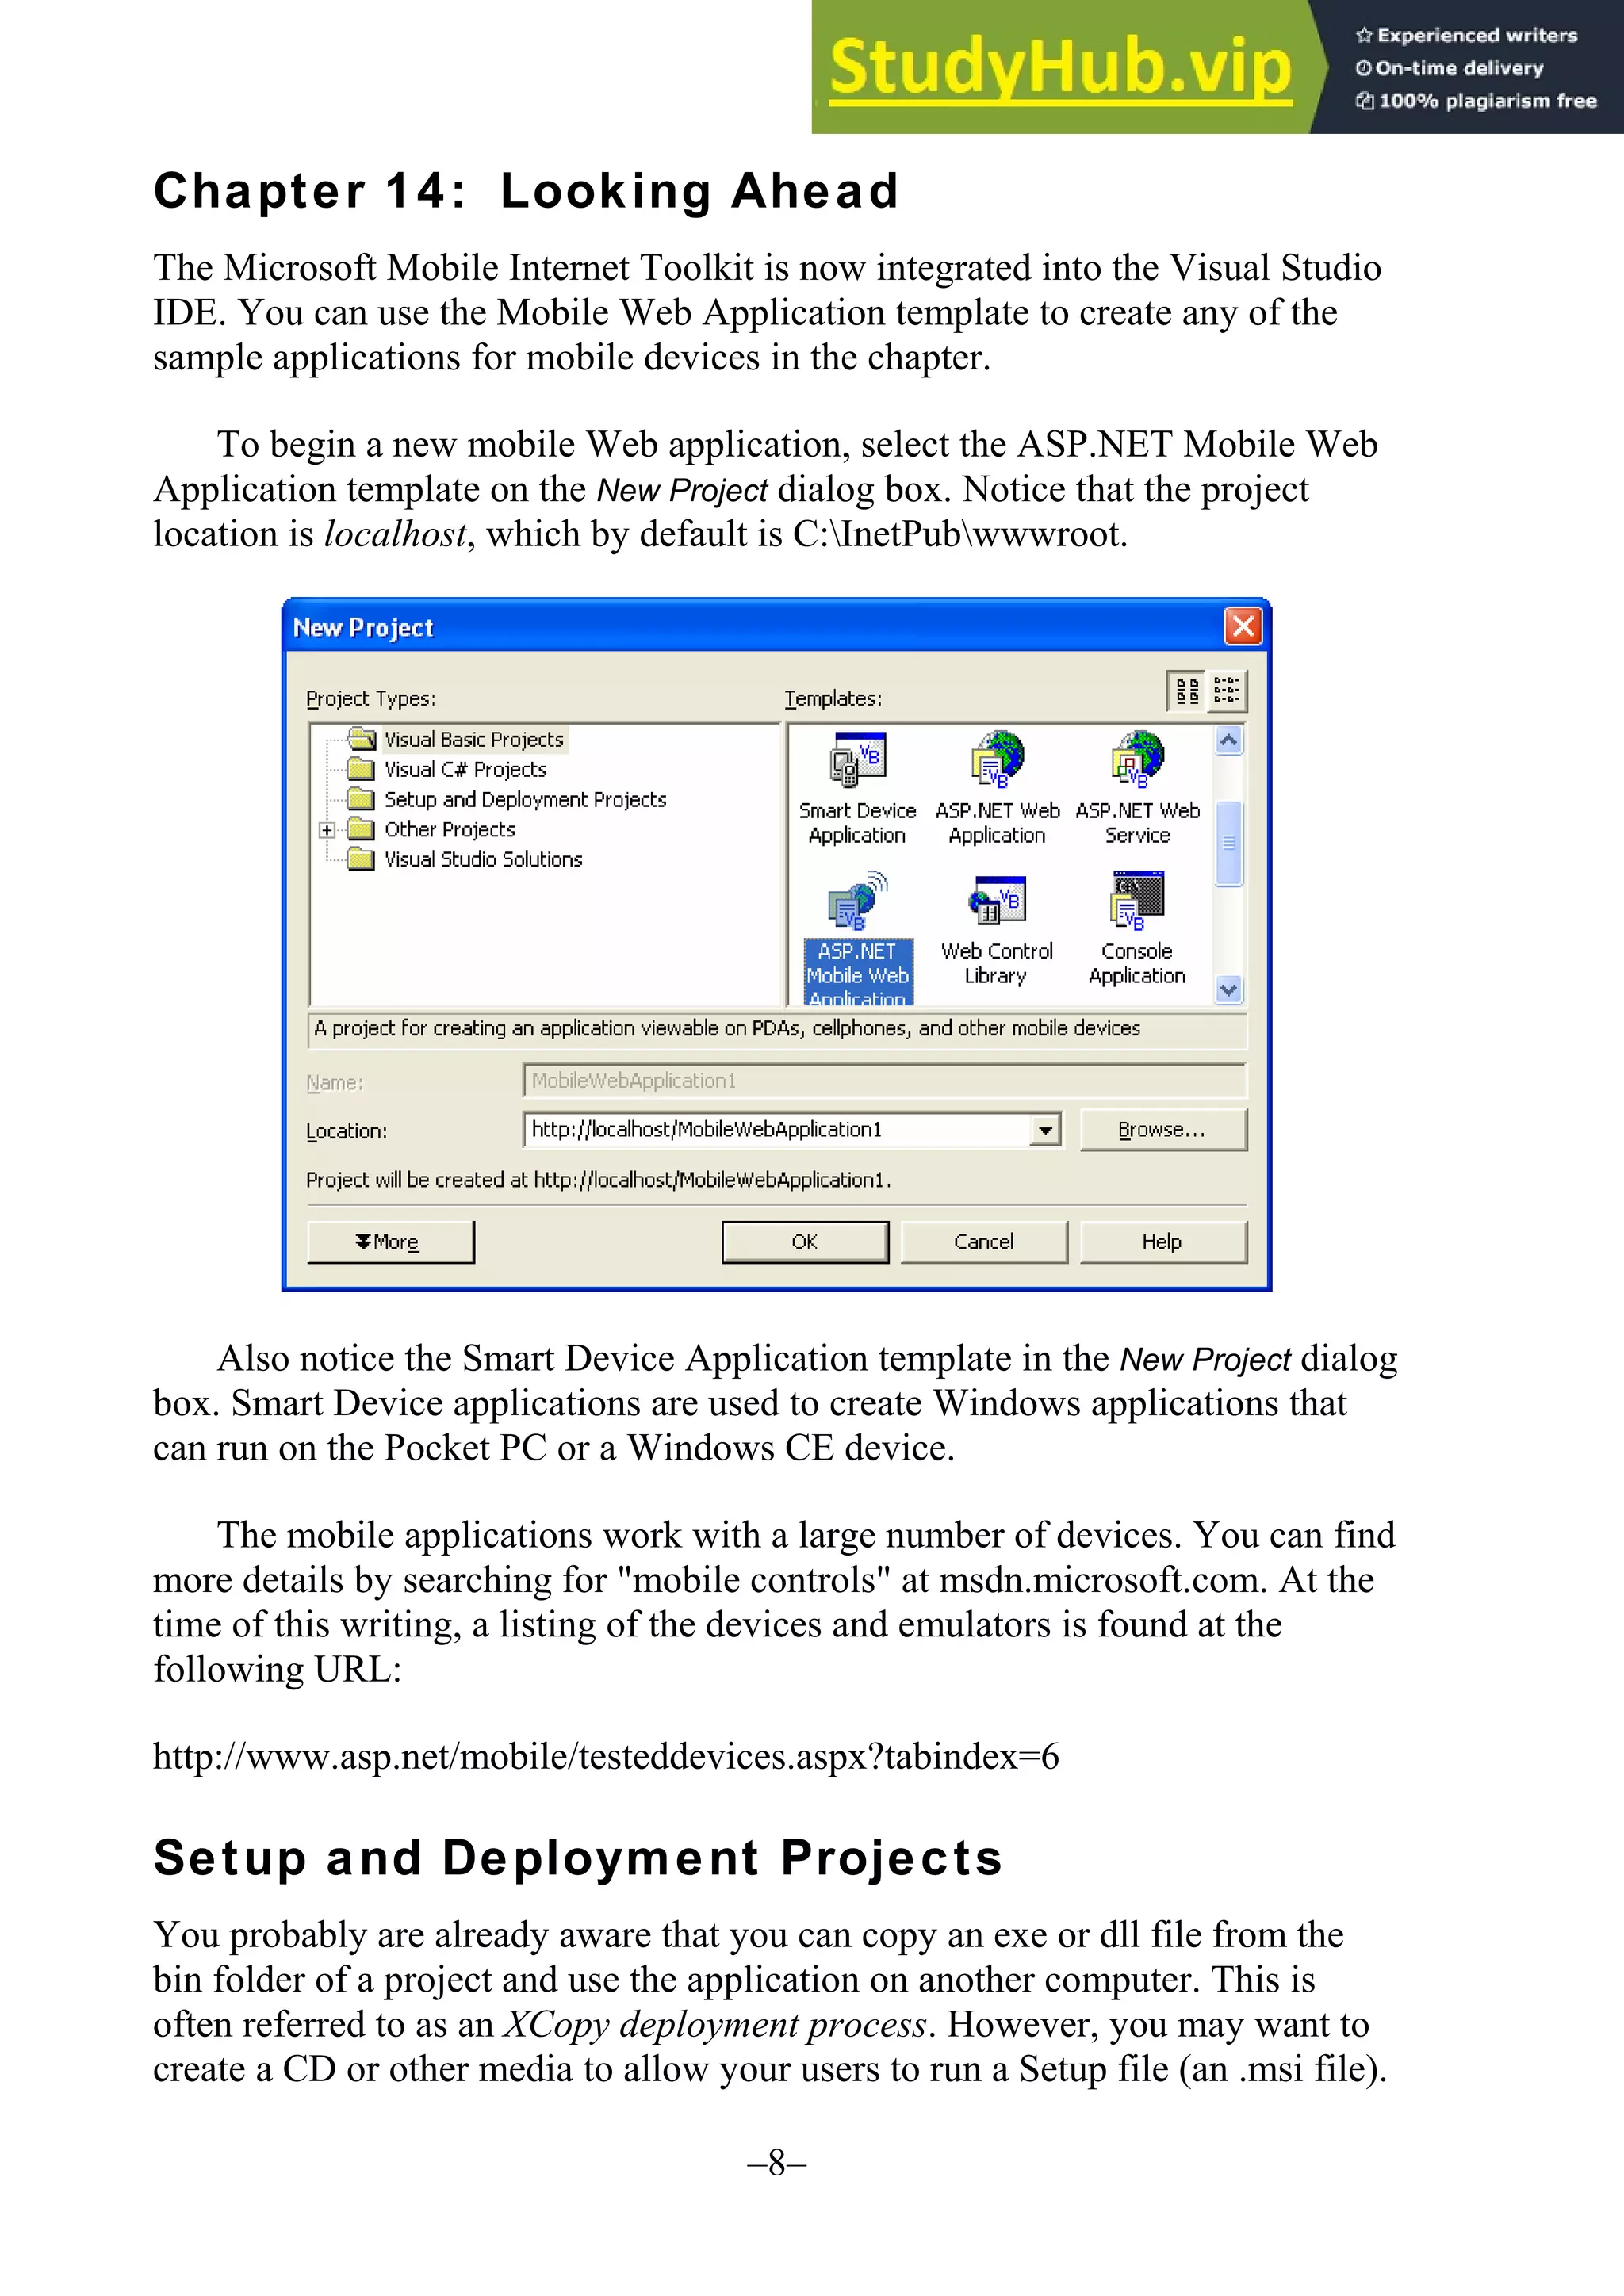
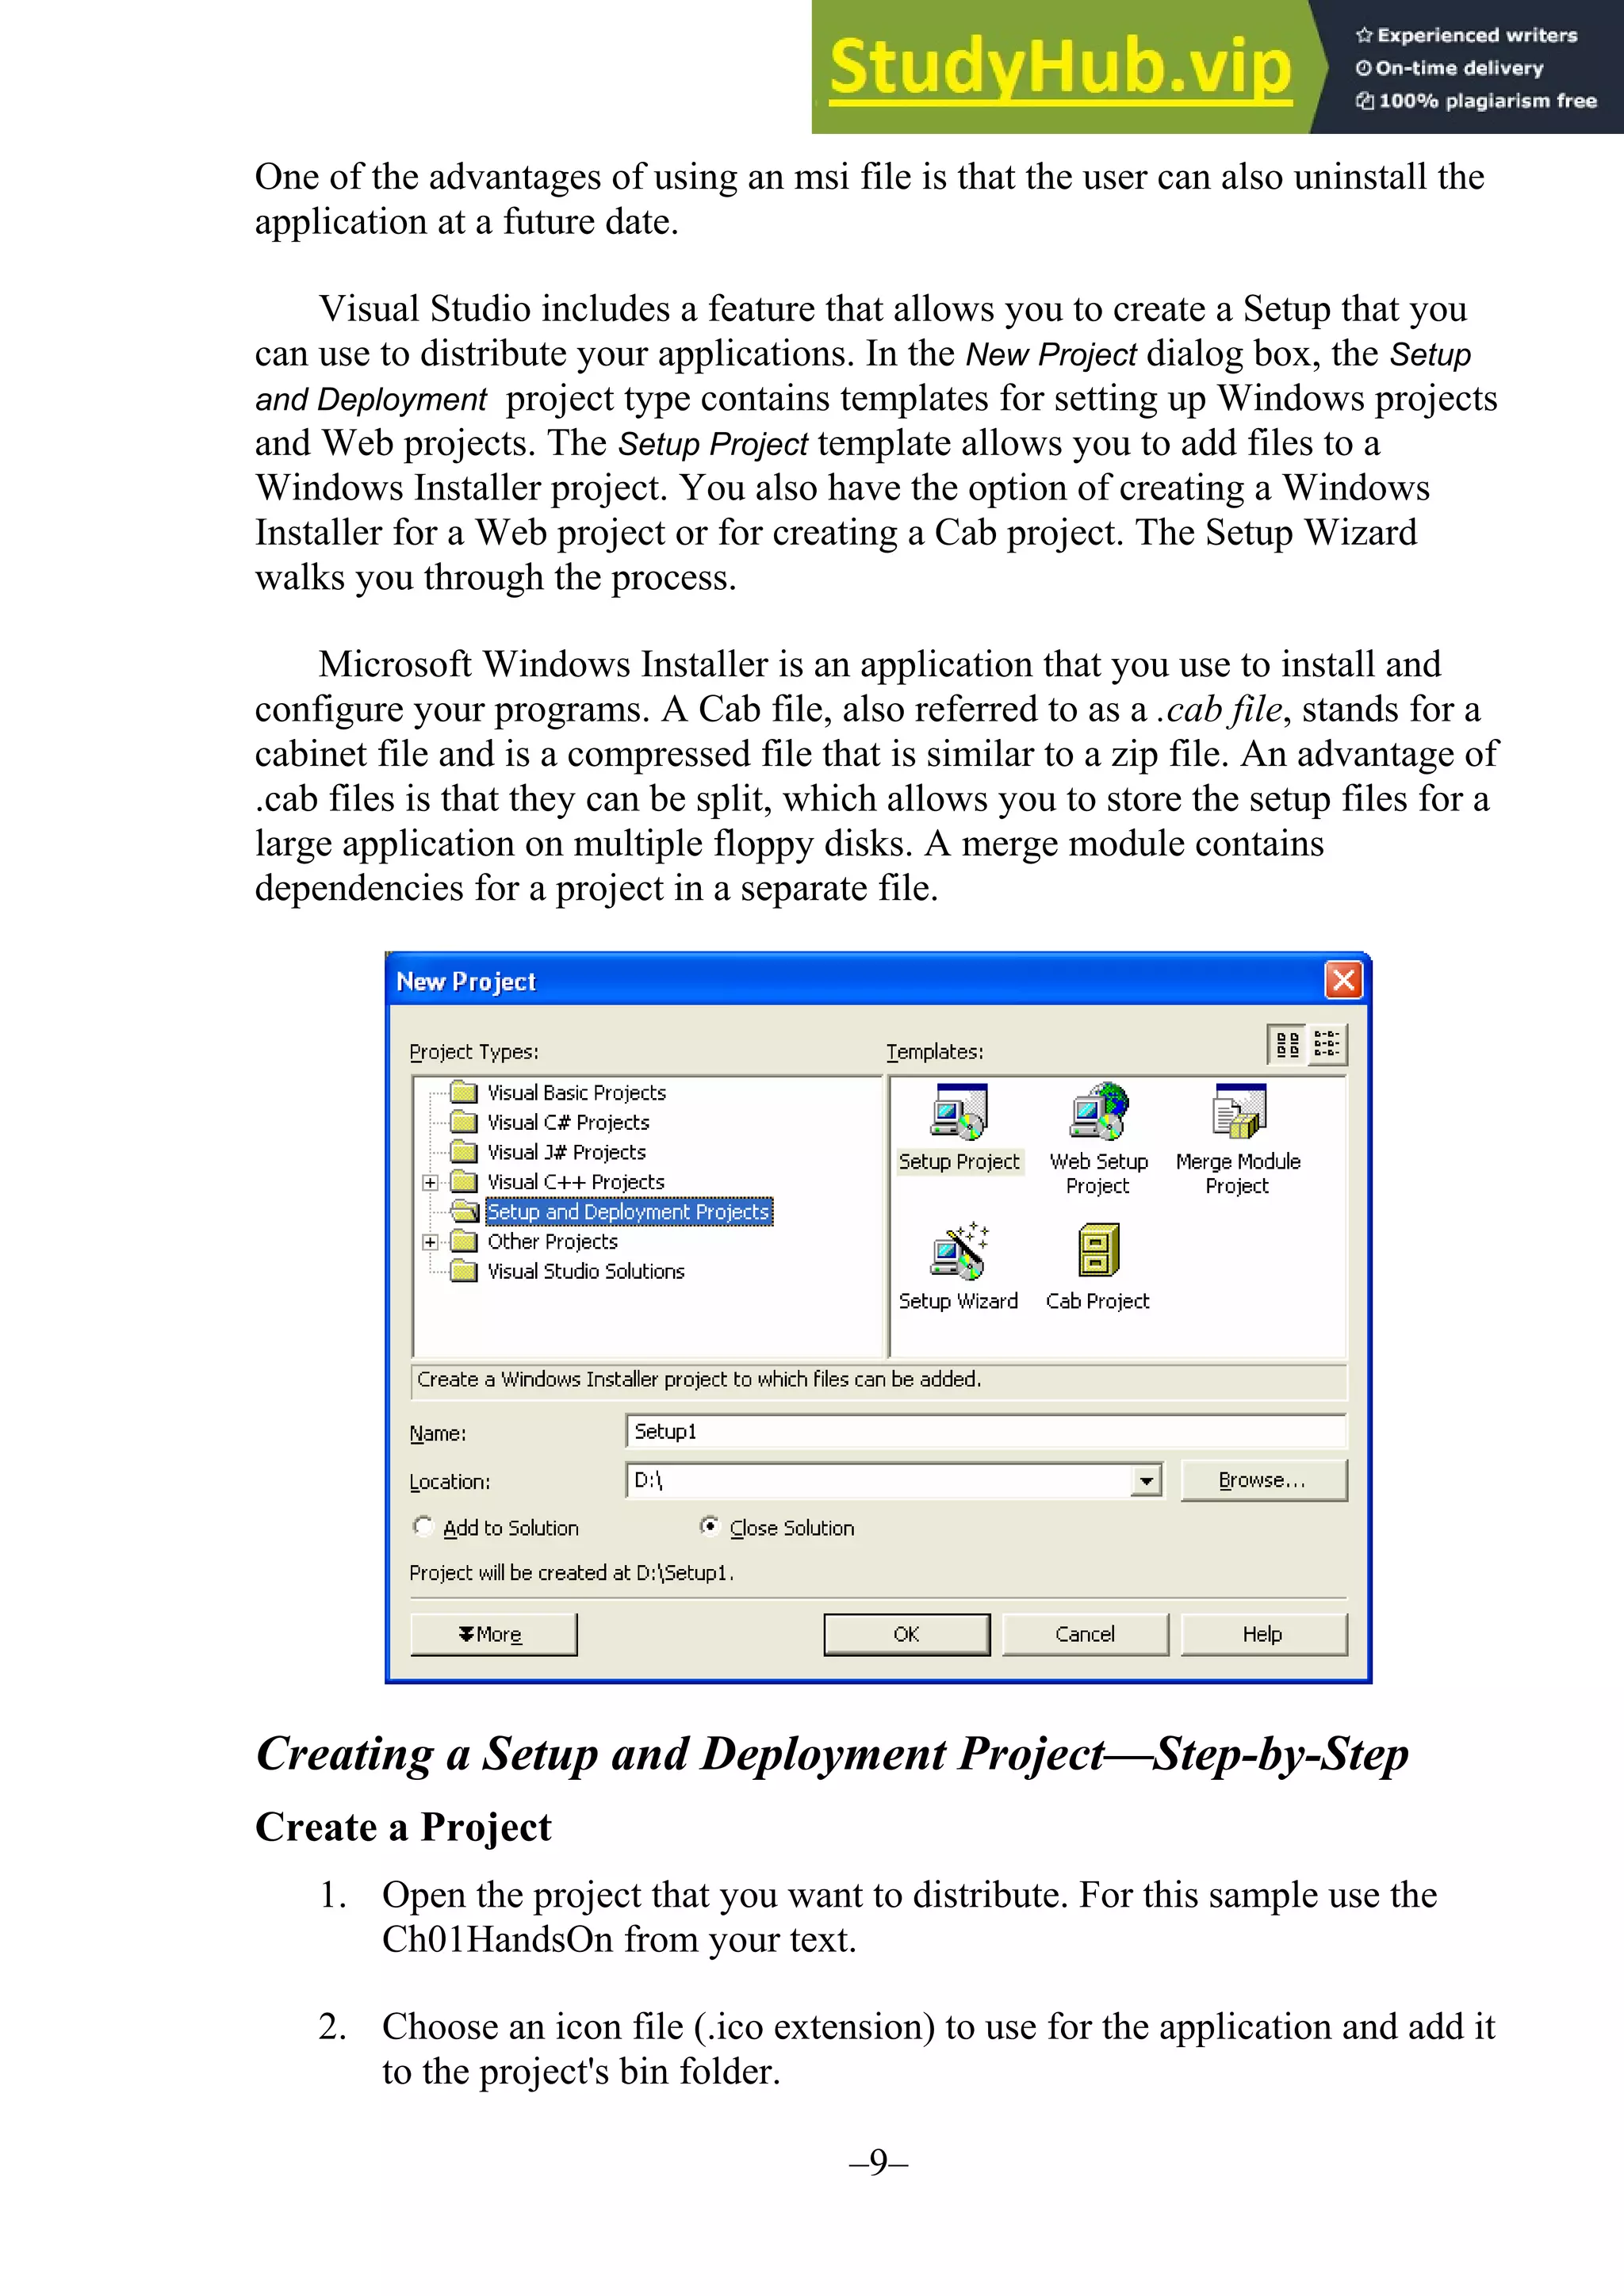
The document provides updates and changes to Visual Basic .NET and Visual Studio since the original text was written. It summarizes changes to installing MSDE, security for web applications, and using web services with databases. It also describes new features for mobile applications, setup and deployment projects, and .NET security.