- SpreadJS Overview
- Getting Started
- JavaScript Frameworks
- Best Practices
- Features
- SpreadJS Designer
- Tutorials
- SpreadJS Designer Component
- Getting Started
- Quick Start
- Theme
- Designer Interface
- JavaScript Frameworks
- Customizations
- Add a Tab
- Add Elements to a Tab
- Set Active Ribbon Tab
- Enable/Disable Ribbon Elements
- Create/Customize Page Themes
- Add Context Menu Item
- Add New Dialog
- Bind File Import Events
- Customize Status Bar
- Add a Custom Component
- Customize Designer Localization
- Customize File Menu
- Customize Format Culture Dialog
- Customize Save File Dialog
- Work in Designer Component
- Toolbar Ribbon
- API Documentation
- SpreadJS Collaboration Server
- Touch Support
- Formula Reference
- Import and Export Reference
- Frequently Used Events
- API Documentation
- Release Notes
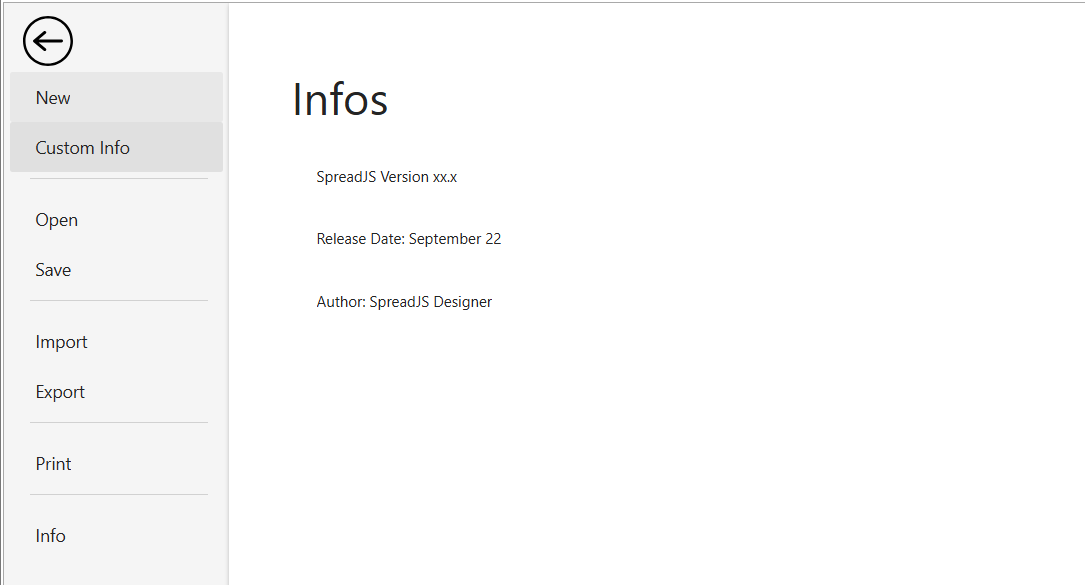
Customize File Menu
Follow the below steps to add a new item to the Designer Component File Menu.
Get the File Menu panel template using the getTemplate method.
var fileMenuTemplate = GC.Spread.Sheets.Designer.getTemplate(GC.Spread.Sheets.Designer.TemplateNames.FileMenuPanelTemplate);Modify the File Menu panel template to add a custom item and related options.
var listContainer = fileMenuTemplate["content"][0]["children"][0]["children"][0]["children"][0]["children"][1]; listContainer.items.push({ text: "Custom Info", value: "CustomItem" }); var listDisplayContainer = fileMenuTemplate["content"][0]["children"][0]["children"][1]; listDisplayContainer.children.push({ type: "Container", visibleWhen: "activeCategory_main=CustomItem", children: [ { type: "TextBlock", margin: "50px 0 15px 50px", text: "Infos", style: "font-size:36px;line-heigth:80px" }, { type: "ColumnSet", margin: "0 0 0 50px", children: [ { type: "Column", children: [ { type: "List", className: "file-menu-list", items: [ { text: "SpreadJS Version xx.x", value: "item1" }, { text: "Release Date: September 22", value: "Item2" }, { text: "Author: SpreadJS Designer", value: "Item3" } ], bindingPath: "" } ], width: "350px" } ] } ] });Register the modified template using the registerTemplate method.
GC.Spread.Sheets.Designer.registerTemplate(GC.Spread.Sheets.Designer.TemplateNames.FileMenuPanelTemplate, fileMenuTemplate);Initialize the designer instance by passing the relevant config parameter for customizable configuration.
// Initialize the designer instance var designer = new GC.Spread.Sheets.Designer.Designer("designerHost");
The below output will be generated: