![]()
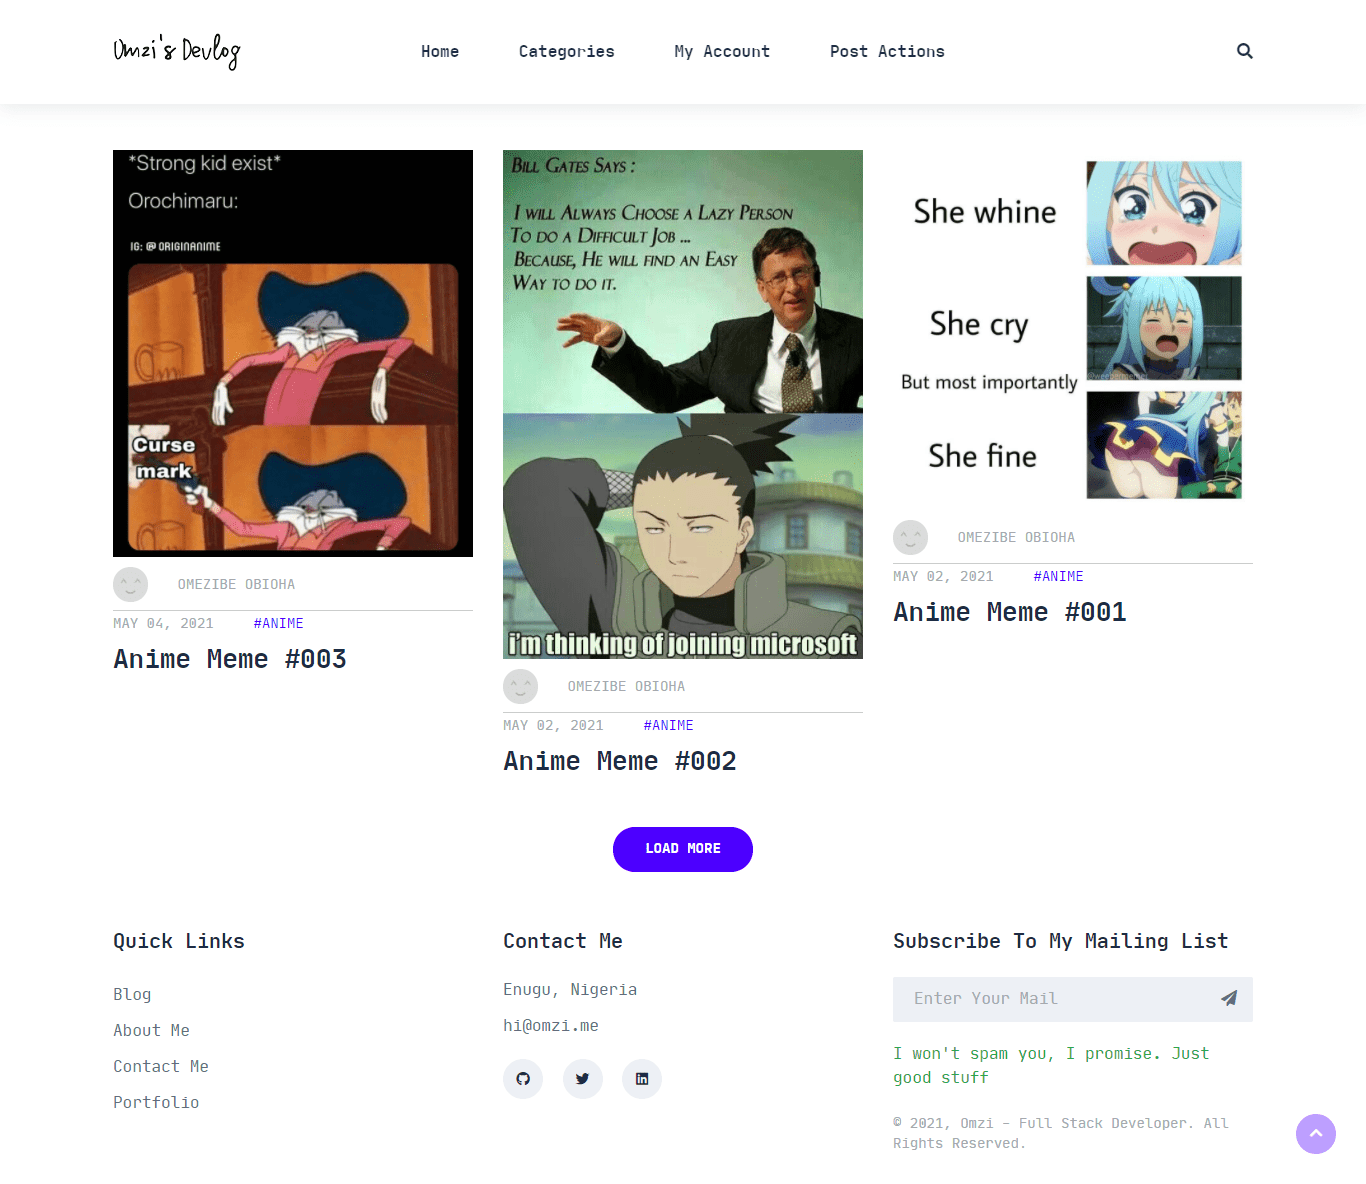
A slick, minimalist blog powered by Django & PostgreSQL✍.


![]()
![]()


Implemented / Planned:
- Dynamic blog
- Reverse order post listing
- Comments system
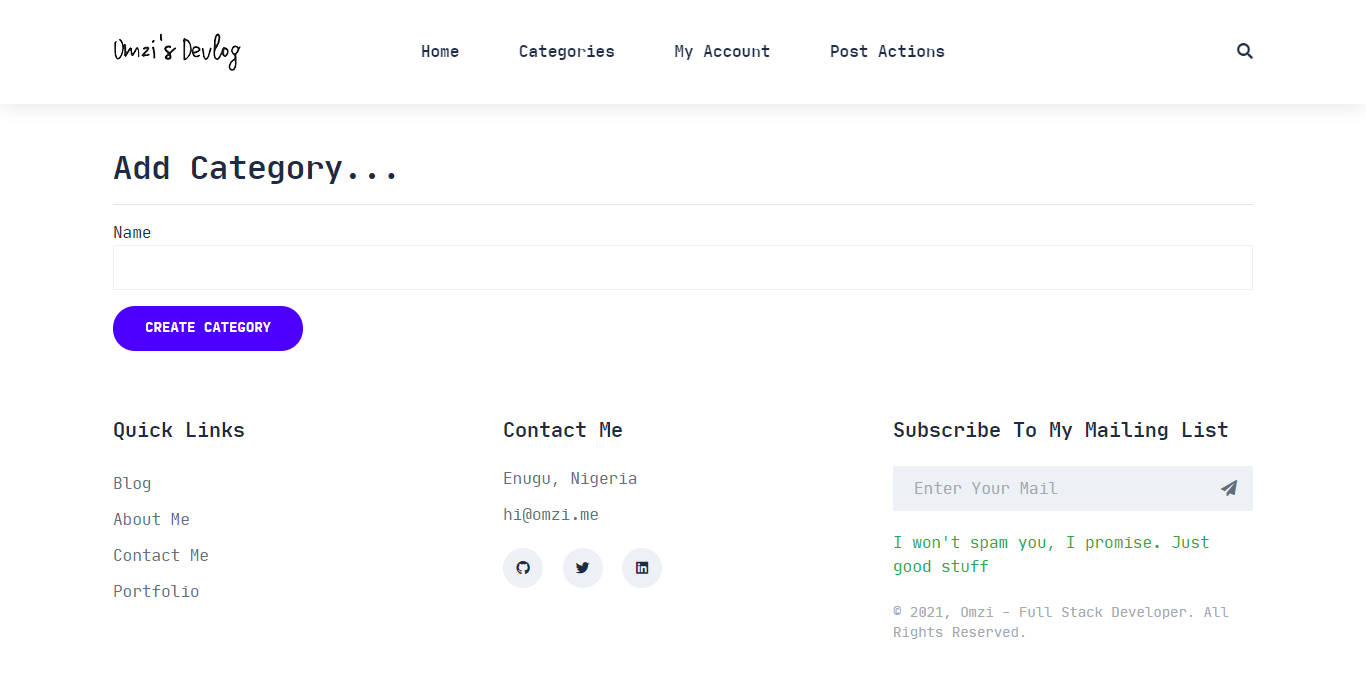
- Category system
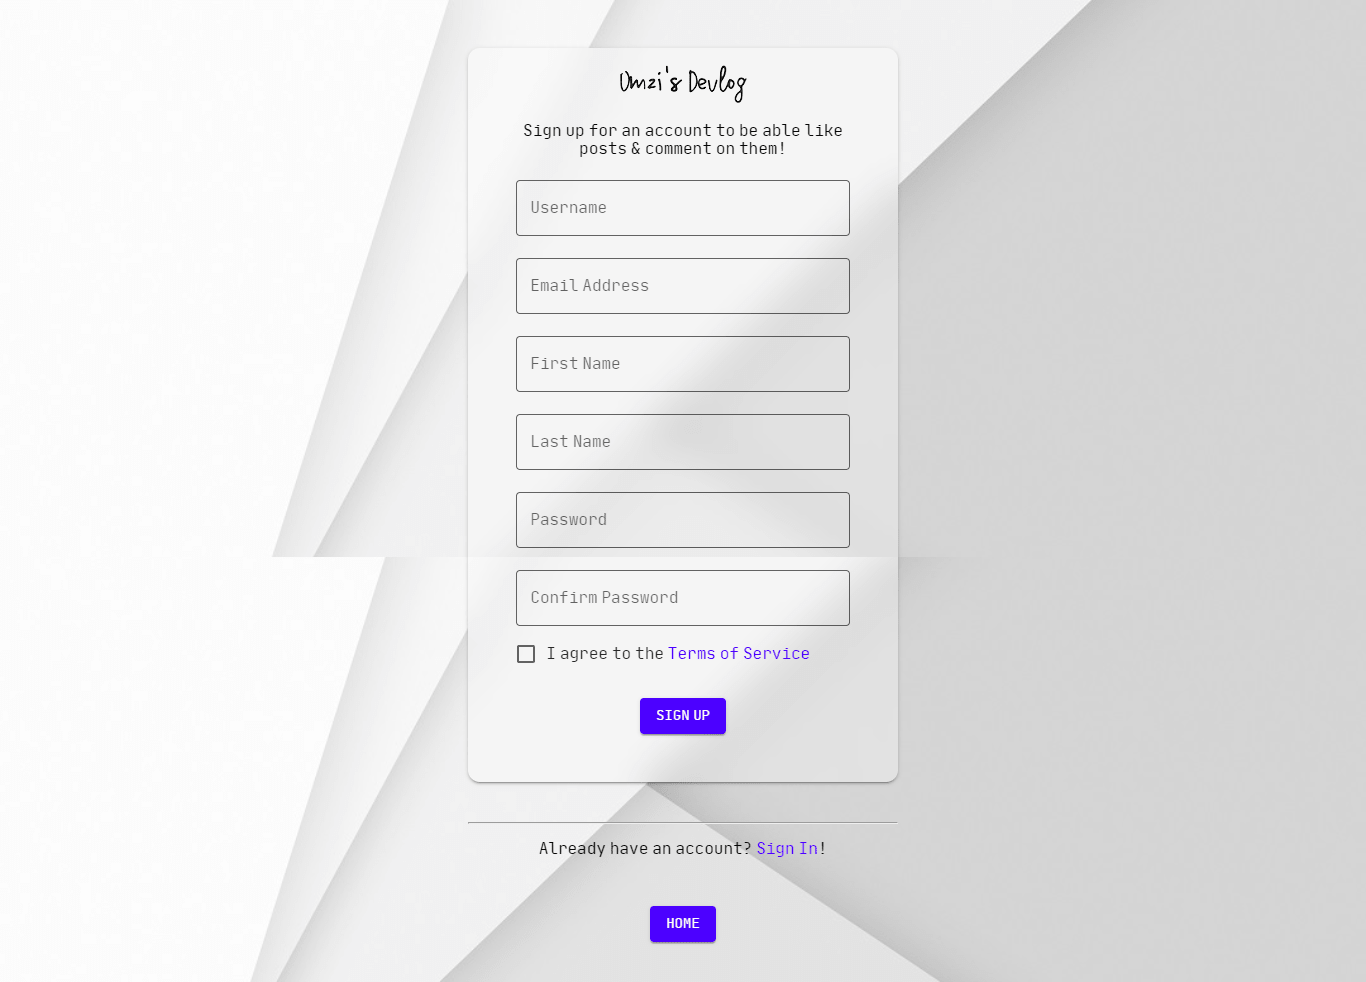
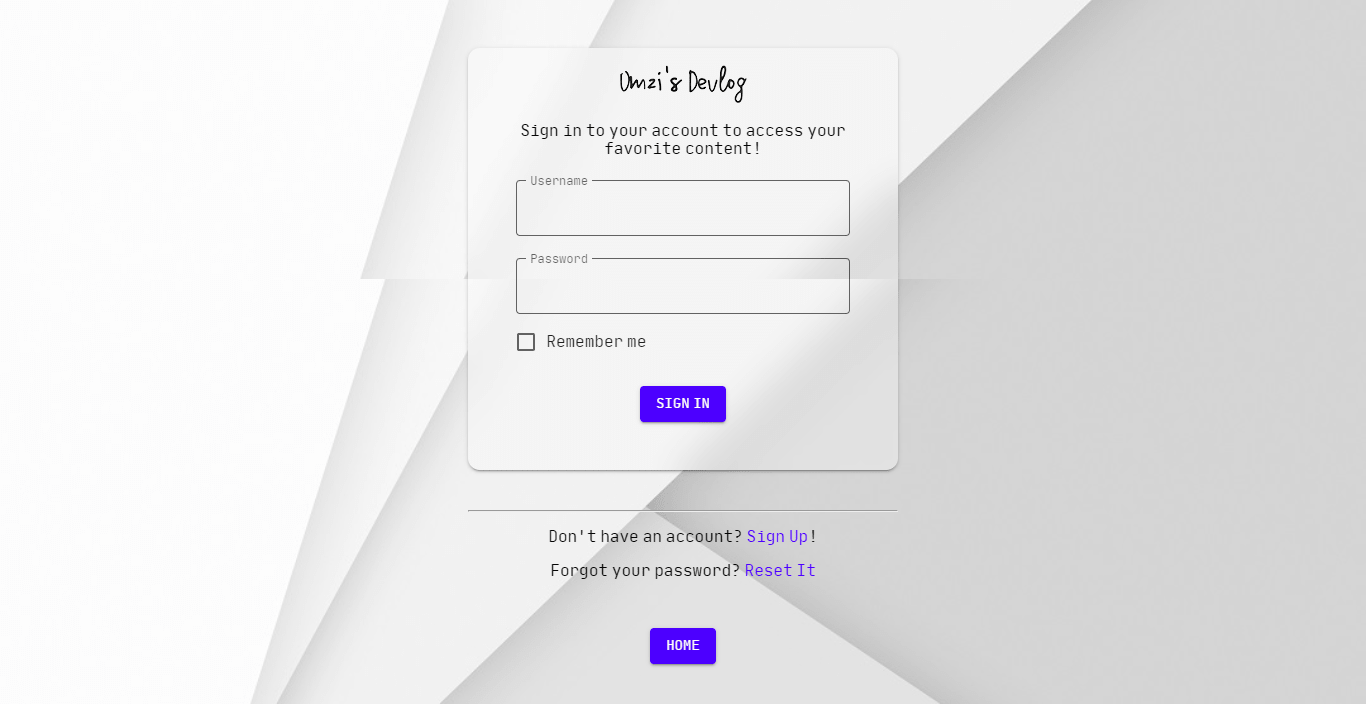
- Sign Up & Log In (& log out, obviously)
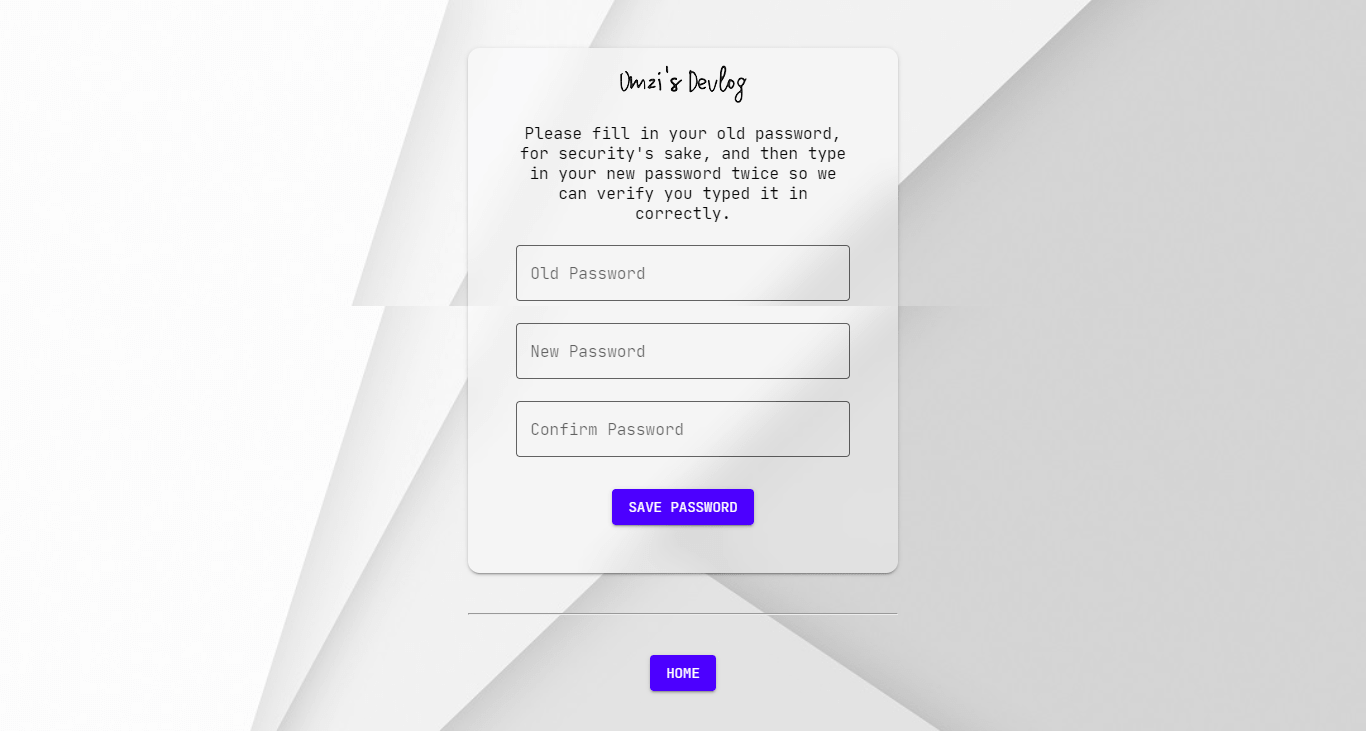
- Password reset functionality
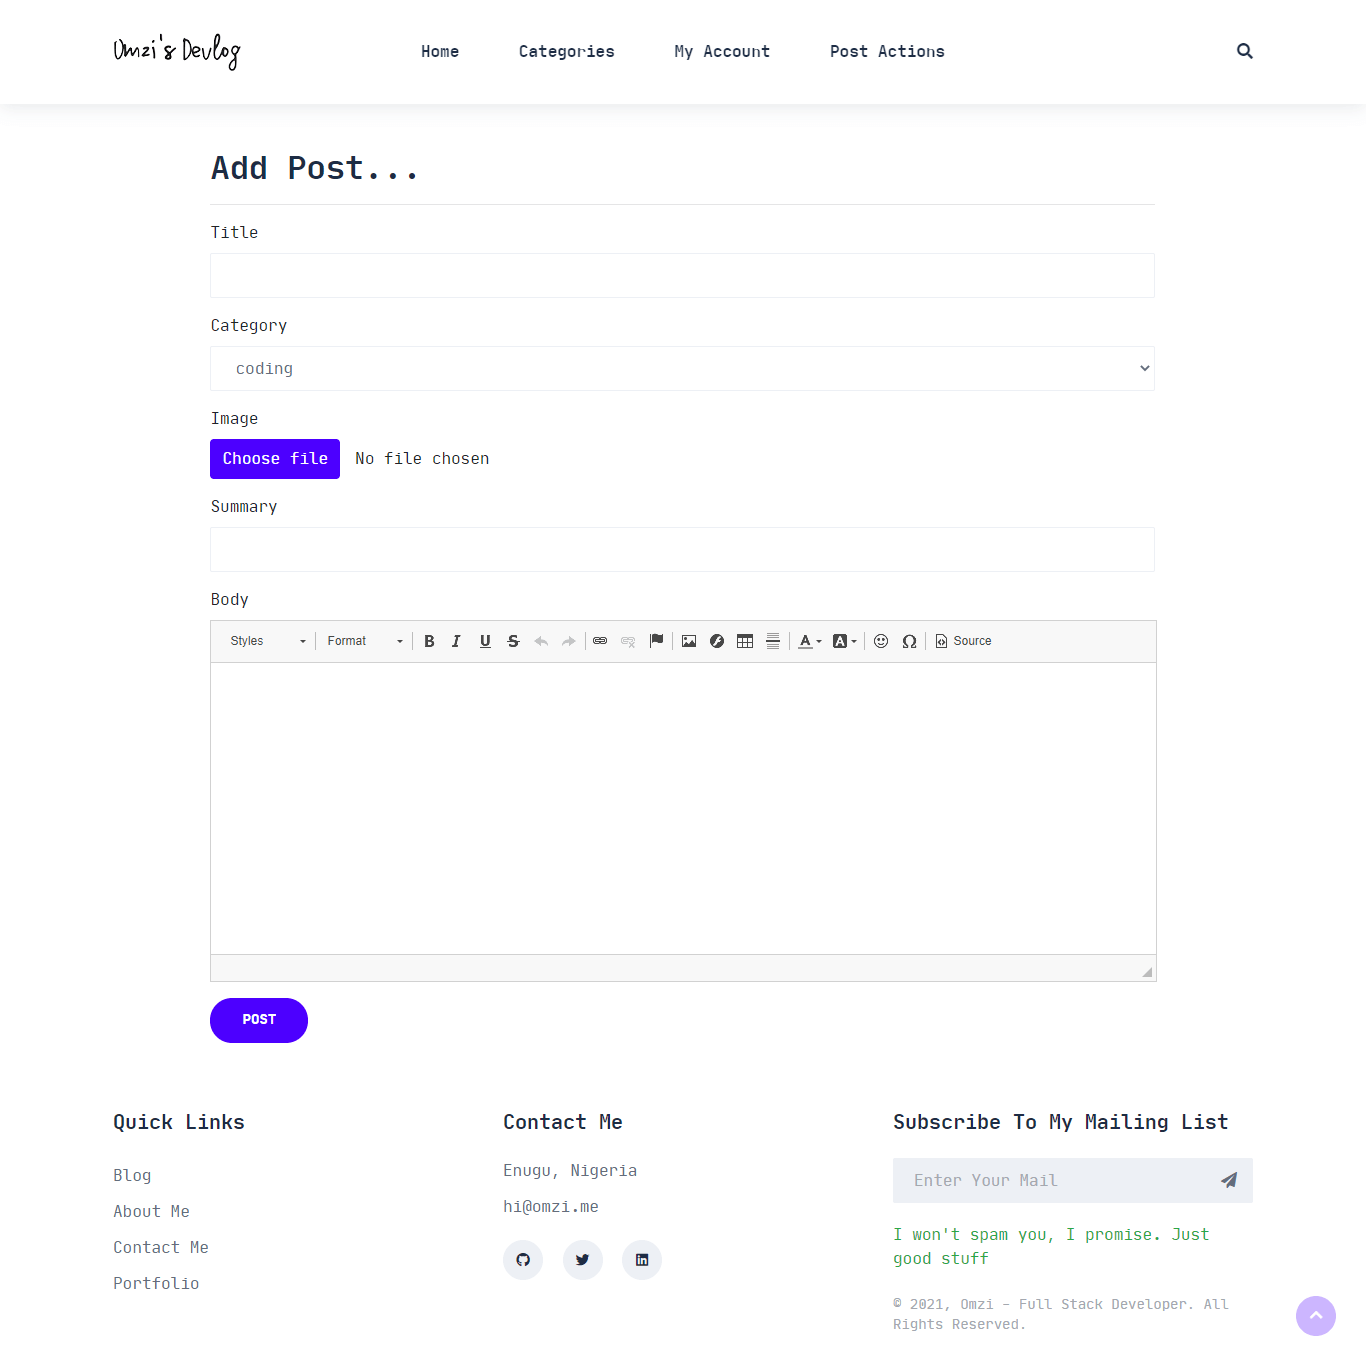
- Add posts & categories (via the FrontEnd)
- Update posts & delete posts (via the FrontEnd)
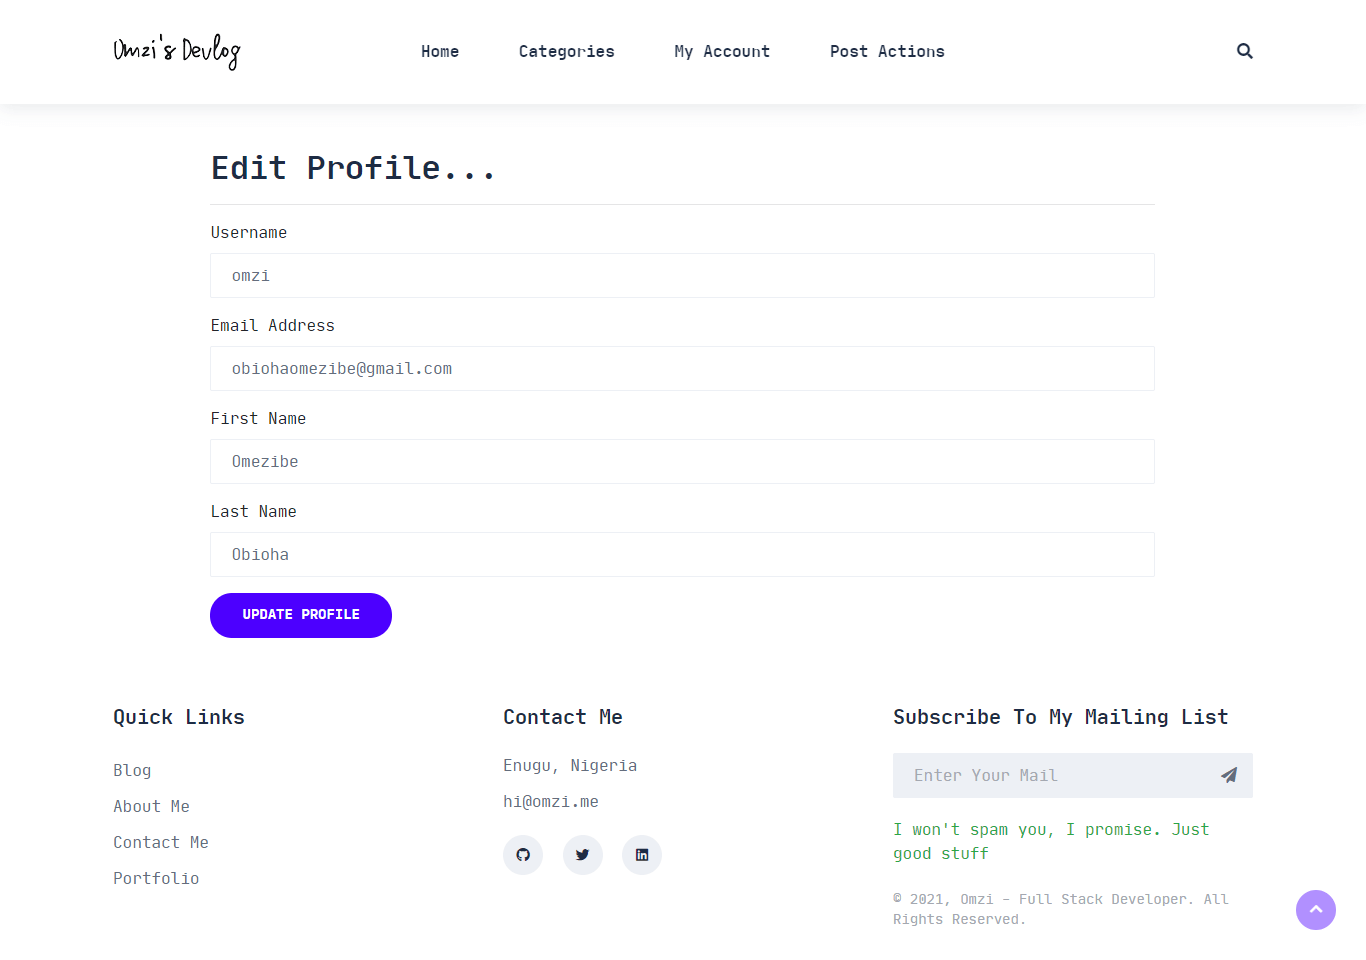
- Update Profile (via the FrontEnd)
- Post images stored on Cloudinary
- User generic avatars (on comments)
- Like/Unlike posts
- Social sharing buttons
- Email subscription
- View Profile
- User profile avatars
- 'Deploy to Heroku' button
- HTML + CSS
- Bootstrap
- Matter
- JavaScript
- Python
- Django
- PostgreSQL
- Cloudinary
You should have the following installed on your system:
- Python version => 3.8.9
- PIP version >= 21.0.1
- virtualenv version >= 20.4.3
Before you proceed, please ensure your system satisfies the prerequisites above.
First things first, clone the repo into your desired folder & cd into it:
$ git clone https://github.com/omzi/django-blog.git && cd django-blogEnter the command to activate the virtual environment for the project:
blog\scripts\activateAfter that, install this project's dependencies by entering the command:
pip install -r requirements.txtThis project comes with required environment variables that must be setup to avoid errors. First, rename the .env.example file in this project's root to .env. You should have something like this:
export DEBUG = # Boolean [True/False] export SECRET_KEY = # Django secret key export DATABASE_URL = sqlite:///db.sqlite3 # Or PostgreSQL URL export EMAIL_HOST = # Email SMTP server export EMAIL_HOST_USER = # Email account export EMAIL_HOST_PASSWORD = # Password of email account export CLOUDINARY_CLOUD_NAME = # Your Cloudinary 'cloud' name export CLOUDINARY_API_KEY = # Your Cloudinary API key export CLOUDINARY_API_SECRET = # Your Cloudinary API secretA rundown of available environment variables:
DEBUG: Set it to"True"if you want errors to be displayed on the site, otherwise set it to"False".SECRET_KEY: To generate a secret key, enter Python's REPL & type the following:
from django.core.management.utils import get_random_secret_key # Print new random secret key print(get_random_secret_key())Set the value of SECRET_KEY to the result.
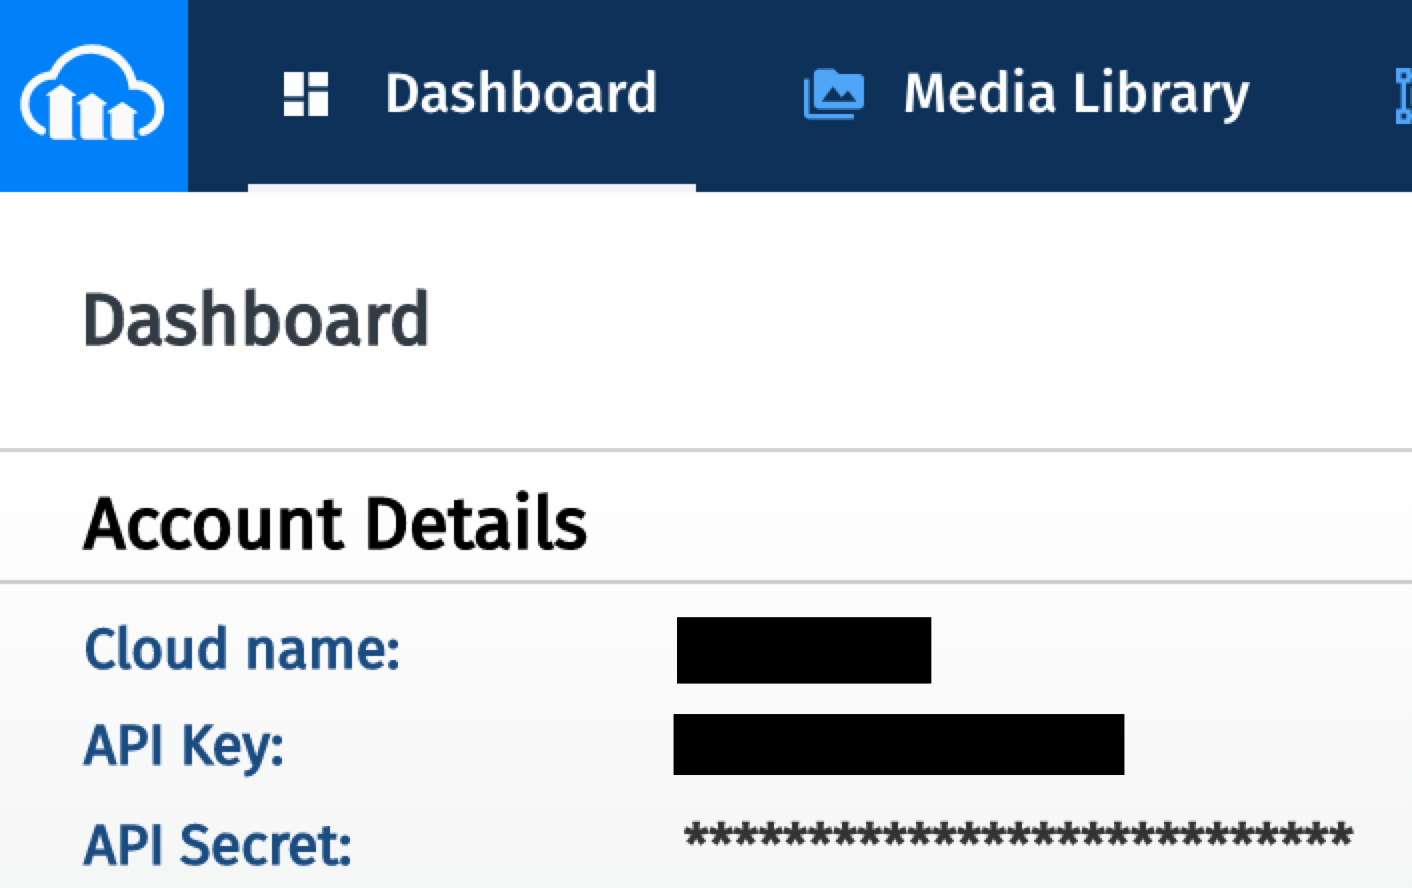
DATABASE_URL: If you're working locally, you can leave the default as is, though it's preferable (in my opinion) working with a live database from the get-go. During deployment to platforms like Heroku, ensure you set the value to the URL of a live database.EMAIL_HOST: The password reset feature needs an email address to send the password reset mail. I used the SMTP option here, so set the value of this environment variable to the SMTP server hosting mails forEMAIL_HOST_USER.EMAIL_HOST_USER: Set it's value to the email address you intend to use for this project. Please ensure theEMAIL_HOSTvariable is valid for your email address.EMAIL_HOST_PASSWORD: The password of the email address you intend to use for this project.CLOUDINARY_CLOUD_NAME,CLOUDINARY_API_KEYandCLOUDINARY_API_SECRET: You can sign up for Cloudinary for free, if you don't have an account. Once you're logged in, you'll need to retrieve your Cloud name, API key and API secret from the upper left corner of the Cloudinary console. Set their respective values in the.envfile.
After you're done setting your environment variables, migrate the models to create the necessary database tables:
python manage.py migrateAlso, don't forget to create a superuser account using:
python manage.py createsuperuserTo run the project locally, enter the command:
python manage.py runserverOpen up your browser and visit the URL: http://127.0.0.1:8000/.
To run the tests, ensure you're in the project's root folder, i.e, the folder where manage.py is located. Then run the command:
python manage.py test homeIf you want to contribute to the project, please make a pull request or send your files to me via e-mail obiohaomezibe@gmail.com as an attachment.
Your contribution is much appreciated. Thank you.
If you have questions, feedback or anything to share, you can get in touch via:
- Twitter @o_obioha
- GitHub @omzi
- LinkedIn /omezibe-obioha/
- or submit an issue
This project is my submission to one of the tasks in the Zuri Internship, '21 cohort. It is NOT yet production-ready!
This project is licensed under the terms of the MIT license.