Overview
Operators can extend Chainloop functionality by setting up third-party integrations that operate on your attestation metadata and workflow events. Integrations can range from sending a Slack message, uploading the attestation to a storage backend or sending a Software Bill Of Materials (SBOMs) to a third-party service for analysis, for example.
Integration Types Comparison
| Fan-Out | Notification | |
|---|---|---|
| Purpose | Distribute attestations to external systems | Send notifications about product updates and system alerts |
| Configuration | Register per organization, then attach to workflows | Register per organization, then configured in different scopes |
| Use Cases | • Send attestations to external storage • Integrate with compliance tools • Distribute artifacts to registries | • System status notifications • Storage backends failures & recoveries • Administrative notifications |
| Examples | Dependency Track, Webhooks, GUAC, Storage backends | Email Notification, Microsoft Teams Webhook |
Available integrations
Fan-Out Integrations
Fan-Out integrations distribute attestations, SBOMs, and artifacts to external systems.| Name | Description | Supported Metadata |
|---|---|---|
| dependency-track | Send CycloneDX SBOMs to your Dependency-Track instance | SBOM |
| discord-webhook | Send attestations to Discord | Attestation |
| guac | Export Attestation and SBOMs metadata to a blob storage backend so guacsec/guac can consume it | SBOM |
| slack-webhook | Send attestations to Slack | Attestation |
| smtp | Send emails with information about a received attestation | Attestation |
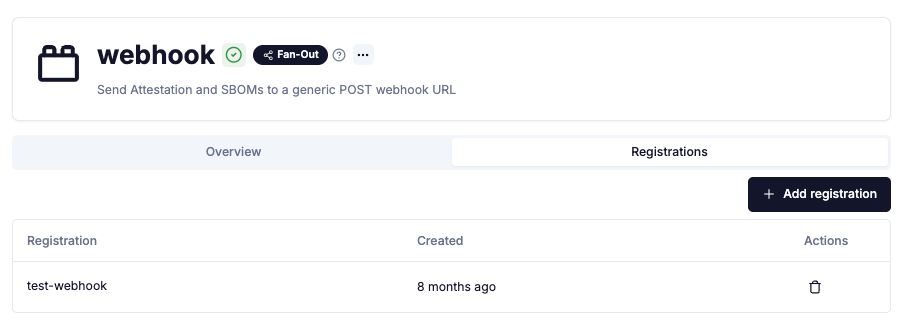
| webhook | Send attestations and SBOMs to a generic POST webhook URL | Attestation, SBOM |
Notification Integrations
This feature is only available on Chainloop’s platform paid plans.
Setting up integrations
Both Fan-Out and Notification integrations follow the same registration process. The key difference is how they are used after registration:- Fan-Out integrations are attached to individual workflows
- Notification integrations are configured at different scopes for alerting purposes (Organization-level, Product-level)
Step 1: Check available integrations
First, make sure that the integration you are looking for is available in your Chainloop instance:- Web UI
- CLI
Go to the Integrations page and check if the integration you are looking for is available.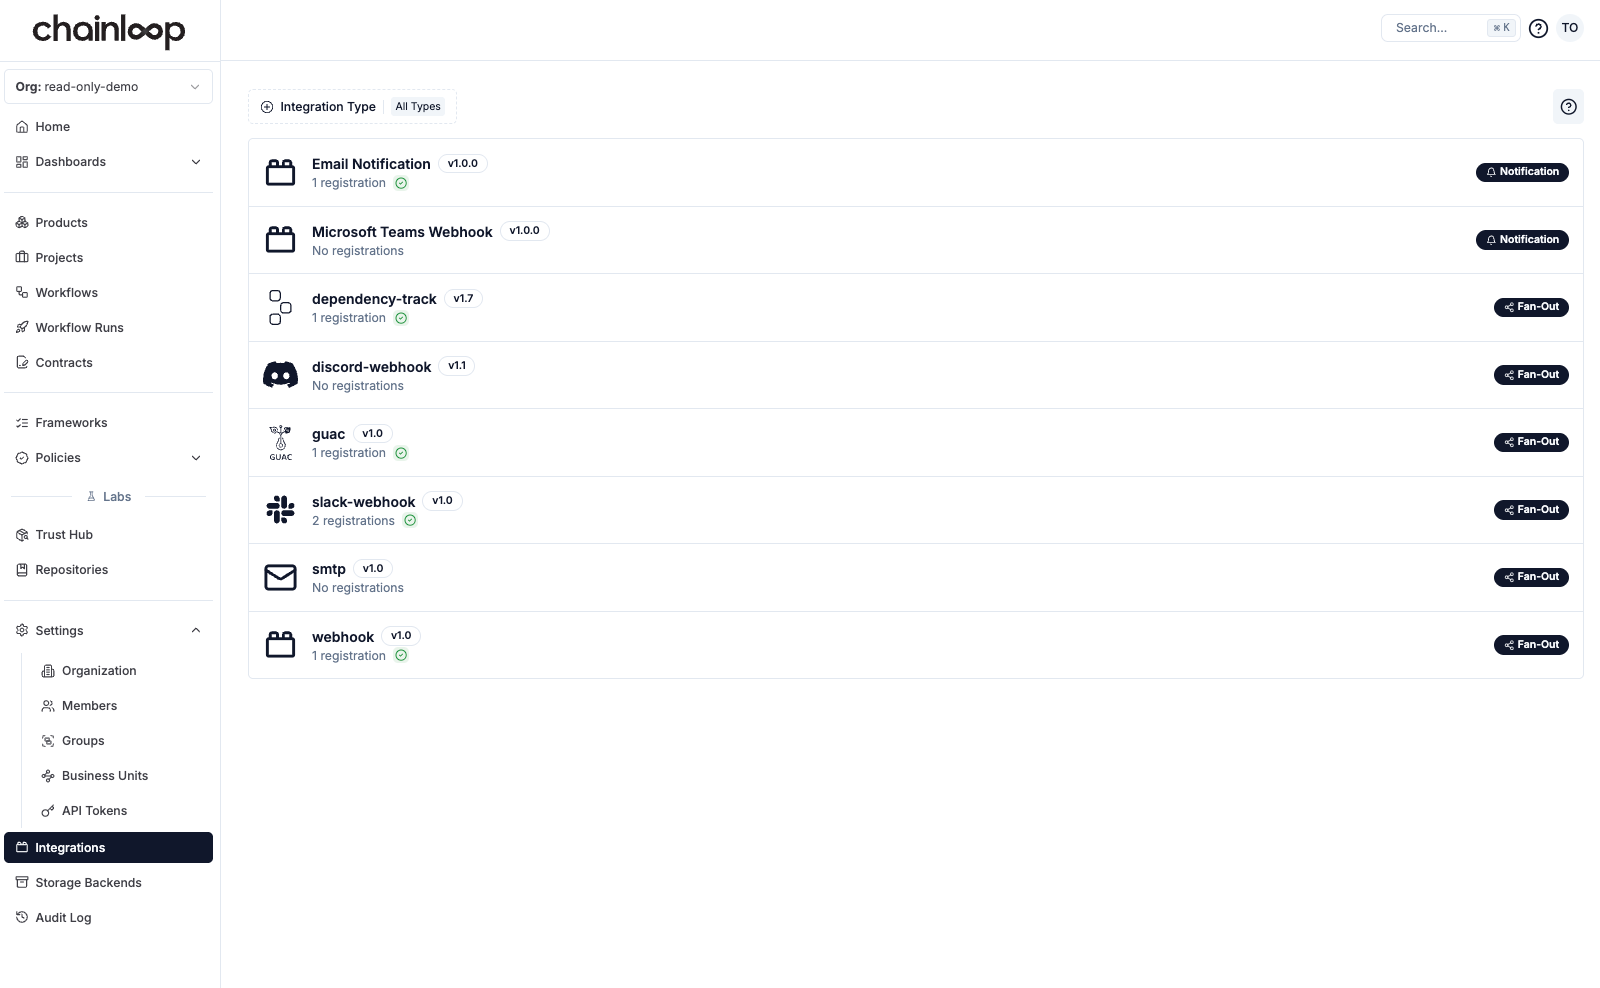
Step 2: Register the integration
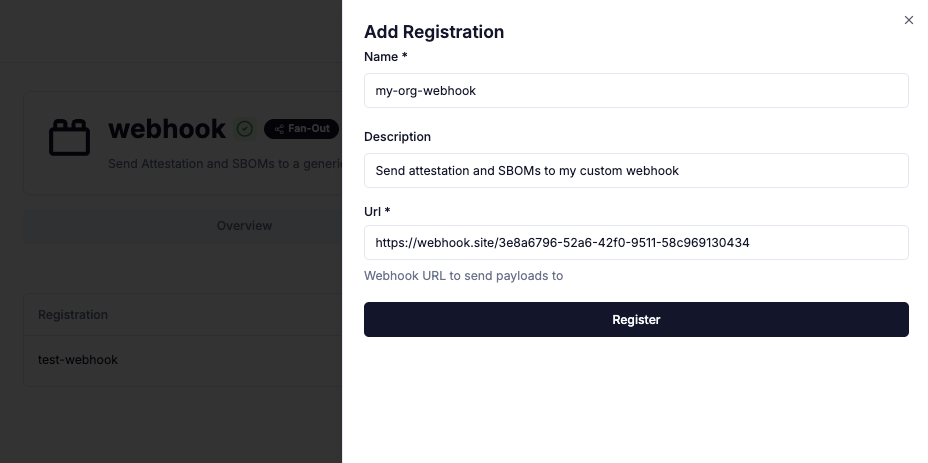
Registration is when a specific instance of the integration is configured in a Chainloop organization. A registered instance is then available to be attached to workflows (for Fan-Out) or configured globally (for Notifications). Each registration shows its configuration status in the UI. In our case, as an example, we want to register an instance of the webhook integration.- Web UI
- CLI
To do so, click on the integration. You’ll see two sections: Registration inputs, and Attachment inputs.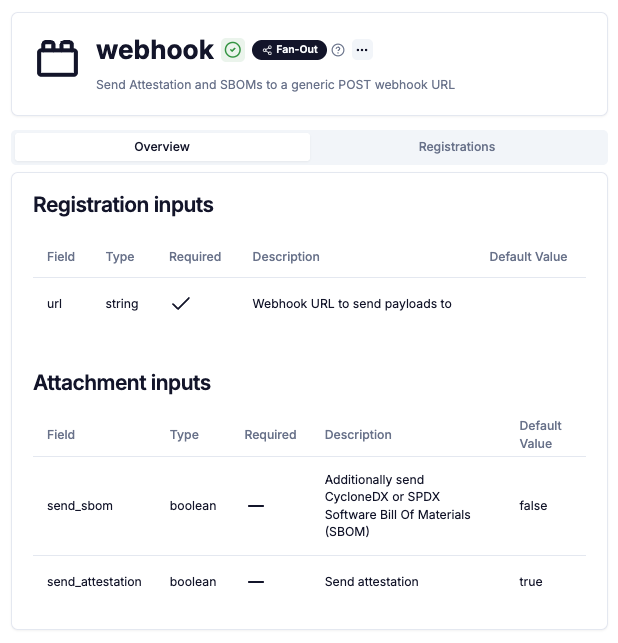
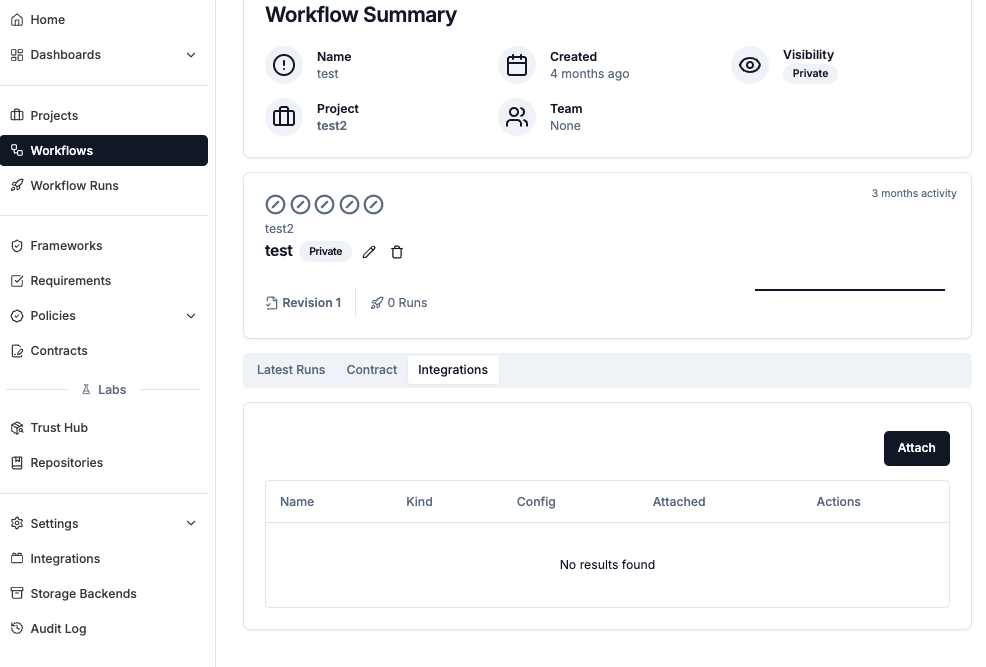
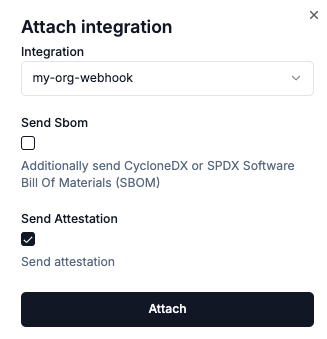
Step 3: Attaching Fan-Out integrations to workflows
For Notification integrations: Check the Notifications documentation for reference.
- Web UI
- CLI
In the workflow view, click on the integrations tab: