My Workflow
This workflow will run puppeteer and capture screenshots of a web application, and then add screenshots to commit comments or pull request comments. This will ease the process of verifying the web app UI state.

Submission Category:
Maintainer Must-Haves
Yaml File
name: Browser-Testing on: [push, pull_request] jobs: Browser-Testing: runs-on: ubuntu-latest # Service containers to run postgres services: postgres: image: postgres env: POSTGRES_PASSWORD: postgres POSTGRES_USER: postgres POSTGRES_DB: postgres options: >- --health-cmd pg_isready --health-interval 10s --health-timeout 5s --health-retries 5 ports: - 5432:5432 steps: - name: Checkout repository uses: actions/checkout@v2 - name: Set up Node.js 14.x uses: actions/setup-node@v1 with: node-version: 14.x # install puppeteer dependency libraries using apt - name: install puppeteer libraries run: | sudo apt-get update sudo apt-get install -y libgbm1 # since puppeteer is large in size caching will reduce the runtime - name: Cache node modules uses: actions/cache@v2 env: cache-name: cache-node-modules with: path: "node_modules" key: ${{ runner.os }}-build-${{ env.cache-name }}-${{ hashFiles('**/package-lock.json') }} restore-keys: | ${{ runner.os }}-build-${{ env.cache-name }}- ${{ runner.os }}-build- ${{ runner.os }}- - name: Install dependencies run: npm install - name: Install puppeteer run: npm install puppeteer - name: Migrate database run: npm run prismamigrateprod env: NODE_ENV: production DATABASE_URL: "postgres://postgres:postgres@localhost:5432/postgres" - name: Seed database run: npm run seed env: NODE_ENV: production DATABASE_URL: "postgres://postgres:postgres@localhost:5432/postgres" # run a bash script to start the server and then run puppeteer to capture the screenshots # after capturing screenshots , they will be uploaded to cloudinary image service and pass the image url to next step using environment variables - name: Run browser testing script id: browser-testing env: HASHSALT: 123 DATABASE_URL: "postgres://postgres:postgres@localhost:5432/postgres" CLOUDINARY_CLOUD_NAME: ${{ secrets.CLOUDINARY_CLOUD_NAME }} CLOUDINARY_API_KEY: ${{ secrets.CLOUDINARY_API_KEY }} CLOUDINARY_API_SECRET: ${{ secrets.CLOUDINARY_API_SECRET }} run: | chmod +x run-browser-testing.sh ./run-browser-testing.sh # add comment to commit or pull request - name: Add comment uses: actions/github-script@v5 env: SHA: ${{ github.sha }} commentBody: ${{ env.commentBody }} with: github-token: ${{ secrets.GITHUB_TOKEN }} script: | let buffercommentBody = process.env.commentBody let utf8commentBody = new Buffer.from(buffercommentBody, "base64").toString("utf8"); console.log(utf8commentBody); github.rest.repos.createCommitComment({ owner: context.repo.owner, repo: context.repo.repo, commit_sha: process.env.SHA, body: utf8commentBody }) Main workflow steps boils down to
- Run puppeteer and capture the screenshots.
- upload the screenshots to a external image service (in this case cloudinary) and get the image url.
- Create markdown file as string using the image urls.
- Convert markdown file string into base64 encoded string to ease passing to the environment variables (easier to pass control characters such as newlines).
- Use
actions/github-scriptactioncreateCommitCommentmethod to post the comment to commit or pull request.
Additional Info
Used in
 RizkyRajitha / linkin
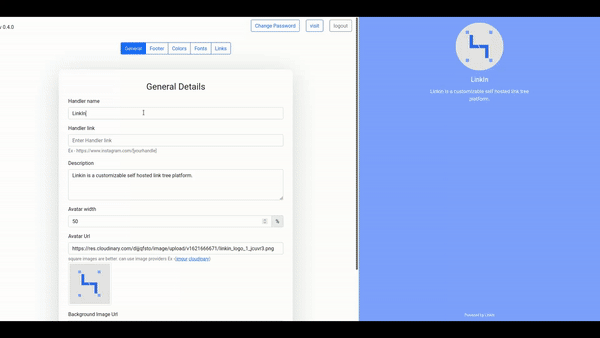
Linkin is a customizable self hosted link tree platform.

Linkin · 


Linkin is a customizable self-hosted link tree application.
Free and Open Source 💯
Self Hosted, you own your data 💽
Customize your link tree with few clicks using a feature-rich dashboard 🤖
SEO friendly design built using Next js 🕸️
Supports one-click deploy using multiple cloud providers 🚀
View Demo
Demo Admin http://linkindemo.vercel.app/admin
- Demo username =
admin - Demo password =
linkin123
Deploy with Vercel
Deploy with Heroku

Deploy with Railway


Getting started
- Deploy in Vercel
- set environment variables
-
DATABASE_URL- Postgres database url -
HASHSALT- random secret key -
NODE_ENV- set NODE_ENV toproduction
-
- after successfully deploying visit
youdomain/adminto view admin login - use default login credentials
- username =
admin - password =
linkin123
- username =
- after a successfull login you will be able to see above admin dashboard.
- set environment variables
- Deploy in Heroku
- set environment variables
-
DATABASE_URL- Postgres database url -
HASHSALT- random secret key
-
- after successfully deploying visit
youdomain/adminto…
- set environment variables

Top comments (0)