这篇文章将为大家详细讲解有关Android中shape的自定义艺术效果怎么用,小编觉得挺实用的,因此分享给大家做个参考,希望大家阅读完这篇文章后可以有所收获。
shape形状之意,可自定义各种形状,如背景椭圆,圆角等等
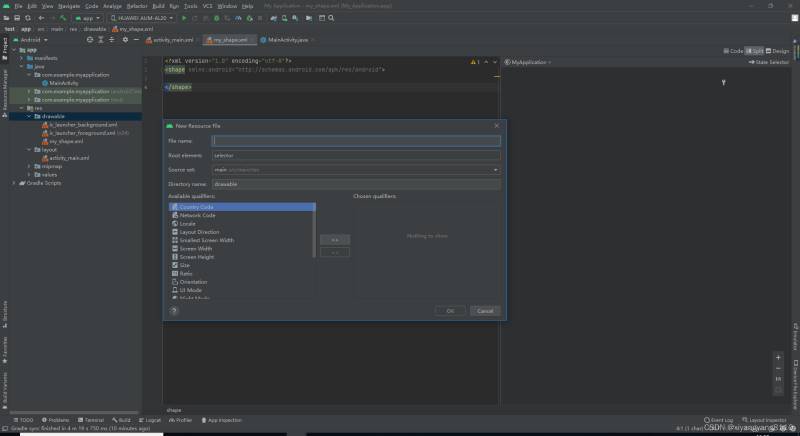
创建目录:drawable–右键–new–drawable resourse file–键入文件名my_shape–ok–修改selector标签为shape
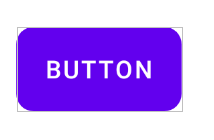
1圆角
<?xml version="1.0" encoding="utf-8"?> <shape xmlns:android="http://schemas.android.com/apk/res/android"> <corners android:radius="10dp"/> </shape>
引用:android:background="@drawable/my_shape"
<Button android:id="@+id/button" android:layout_width="wrap_content" android:layout_height="wrap_content" android:layout_marginStart="148dp" android:layout_marginTop="102dp" android:background="@drawable/my_shape" android:text="Button" app:layout_constraintStart_toStartOf="parent" app:layout_constraintTop_toTopOf="parent" />
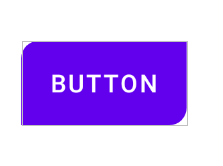
2 单独控制某个圆角,如左上,右下。
<?xml version="1.0" encoding="utf-8"?> <shape xmlns:android="http://schemas.android.com/apk/res/android"> <corners android:topLeftRadius="10dp" android:bottomRightRadius="10dp" /> </shape>
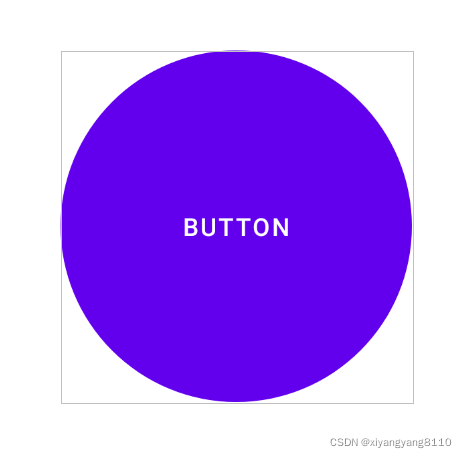
3 圆形背景
前提button宽高一样,圆角大小为button的一半大
<?xml version="1.0" encoding="utf-8"?> <shape xmlns:android="http://schemas.android.com/apk/res/android"> <corners android:radius="100dp"/> </shape>
<Button android:id="@+id/button" android:layout_width="200dp" android:layout_height="200dp" android:layout_marginStart="148dp" android:layout_marginTop="102dp" android:background="@drawable/my_shape" android:text="Button" app:layout_constraintStart_toStartOf="parent" app:layout_constraintTop_toTopOf="parent" />
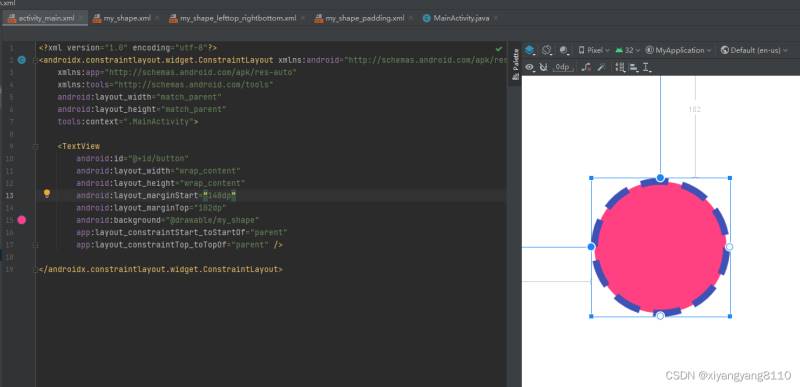
3 描边效果
注意此时用textview引用,botton无效
solid:实体,可设置主体颜色
stroke:描边,dashWidth虚线宽度,dashGap虚线间的距离
<?xml version="1.0" encoding="utf-8"?> <shape xmlns:android="http://schemas.android.com/apk/res/android"> <corners android:radius="50dp"/> <size android:height="100dp" android:width="100dp"/> <solid android:color="#FF4081"/> <stroke android:width="5dp" android:color="#3F51B5" android:dashWidth="20dp" android:dashGap="10dp"/> </shape>
引用
<?xml version="1.0" encoding="utf-8"?> <androidx.constraintlayout.widget.ConstraintLayout xmlns:android="http://schemas.android.com/apk/res/android" xmlns:app="http://schemas.android.com/apk/res-auto" xmlns:tools="http://schemas.android.com/tools" android:layout_width="match_parent" android:layout_height="match_parent" tools:context=".MainActivity"> <TextView android:id="@+id/button" android:layout_width="wrap_content" android:layout_height="wrap_content" android:layout_marginStart="148dp" android:layout_marginTop="102dp" android:background="@drawable/my_shape" app:layout_constraintStart_toStartOf="parent" app:layout_constraintTop_toTopOf="parent" /> </androidx.constraintlayout.widget.ConstraintLayout>
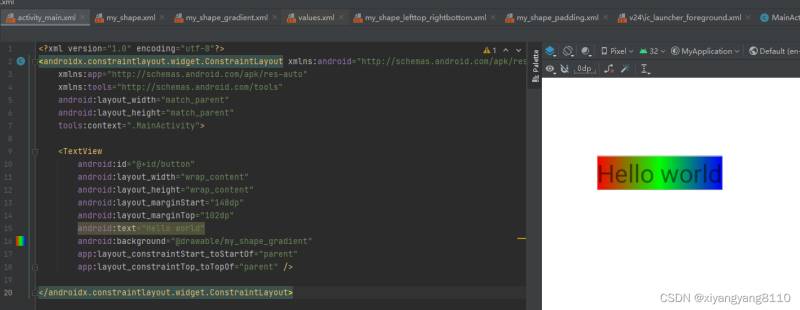
4渐变色
gradient:倾斜度,标签实现
红绿蓝
<?xml version="1.0" encoding="utf-8"?> <shape xmlns:android="http://schemas.android.com/apk/res/android"> <gradient android:startColor="#ff0000" android:centerColor="#00ff00" android:endColor="#0000ff" /> </shape>
引用
<?xml version="1.0" encoding="utf-8"?> <androidx.constraintlayout.widget.ConstraintLayout xmlns:android="http://schemas.android.com/apk/res/android" xmlns:app="http://schemas.android.com/apk/res-auto" xmlns:tools="http://schemas.android.com/tools" android:layout_width="match_parent" android:layout_height="match_parent" tools:context=".MainActivity"> <TextView android:id="@+id/button" android:layout_width="wrap_content" android:layout_height="wrap_content" android:layout_marginStart="148dp" android:layout_marginTop="102dp" android:text="Hello world" android:background="@drawable/my_shape_gradient" app:layout_constraintStart_toStartOf="parent" app:layout_constraintTop_toTopOf="parent" /> </androidx.constraintlayout.widget.ConstraintLayout>
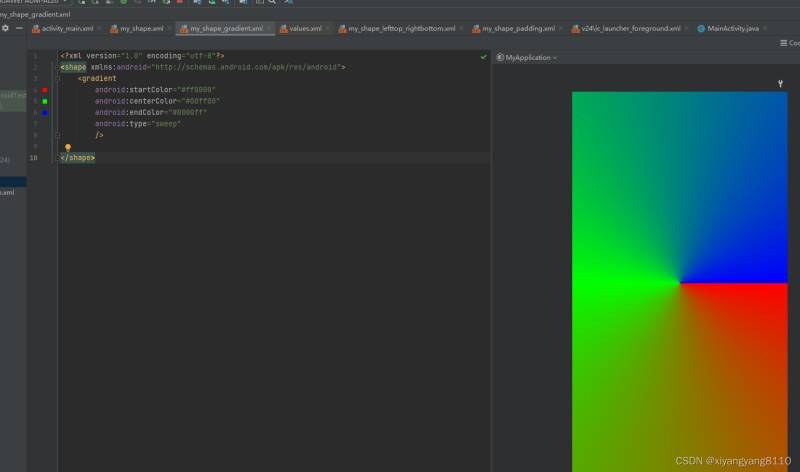
拓展
1gradient标签默认类型是线性的android:type=“linear”,还有一种炫酷的效果是扫射sweep
<?xml version="1.0" encoding="utf-8"?> <shape xmlns:android="http://schemas.android.com/apk/res/android"> <gradient android:startColor="#ff0000" android:centerColor="#00ff00" android:endColor="#0000ff" android:type="sweep" /> </shape>
2确定逆时针旋转的角度angle属性,如android:angle="90"表示逆时针转90度
<?xml version="1.0" encoding="utf-8"?> <shape xmlns:android="http://schemas.android.com/apk/res/android"> <gradient android:startColor="#ff0000" android:centerColor="#00ff00" android:endColor="#0000ff" android:angle="90" android:type="linear" /> </shape>

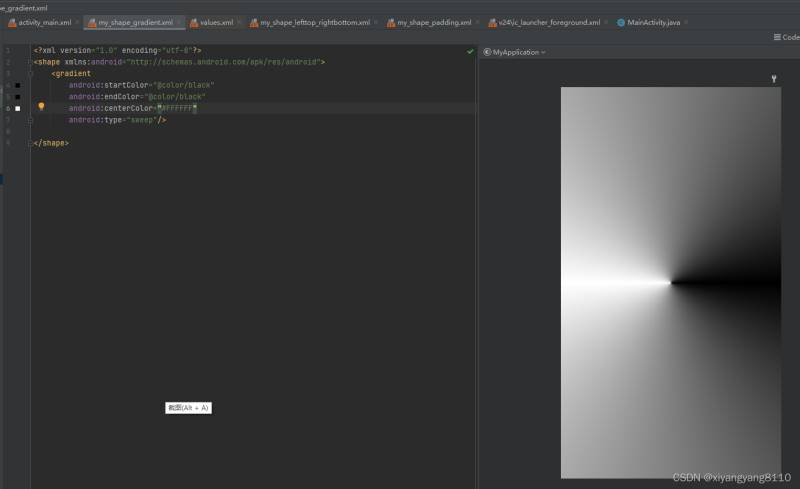
最后来一个好叼的样子
<?xml version="1.0" encoding="utf-8"?> <shape xmlns:android="http://schemas.android.com/apk/res/android"> <gradient android:startColor="@color/black" android:endColor="@color/black" android:centerColor="#FFFFFF" android:type="sweep"/> </shape>
关于“Android中shape的自定义艺术效果怎么用”这篇文章就分享到这里了,希望以上内容可以对大家有一定的帮助,使各位可以学到更多知识,如果觉得文章不错,请把它分享出去让更多的人看到。
免责声明:本站发布的内容(图片、视频和文字)以原创、转载和分享为主,文章观点不代表本网站立场,如果涉及侵权请联系站长邮箱:is@yisu.com进行举报,并提供相关证据,一经查实,将立刻删除涉嫌侵权内容。


