这篇文章主要介绍Android应用内悬浮窗Activity如何实现,文中介绍的非常详细,具有一定的参考价值,感兴趣的小伙伴们一定要看完!
缩放activity需要使用WindowManager.LayoutParams,控制window的宽高
在activity中调用
android.view.WindowManager.LayoutParams p = getWindow().getAttributes(); p.height = 480; // 高度 p.width = 360; // 宽度 p.dimAmount = 0.0f; // 不让下面的界面变暗 getWindow().setAttributes(p);
dim: adj. 暗淡的; 昏暗的; 微弱的; 不明亮的; 光线暗淡的; v. (使)变暗淡,变微弱,变昏暗; (使)减弱,变淡漠,失去光泽;
修改了WindowManager.LayoutParams的宽高,activity的window大小会发生变化。
要变回默认大小,在activity中调用
getWindow().setLayout(ViewGroup.LayoutParams.MATCH_PARENT, ViewGroup.LayoutParams.MATCH_PARENT);
如果缩小时改变了位置,需要把window的位置置为0
WindowManager.LayoutParams lp = getWindow().getAttributes(); lp.x = 0; lp.y = 0; getWindow().setAttributes(lp);
activity变小时,后面可能是黑色的背景。这需要进行下面的操作。
在styles.xml里新建一个MeTranslucentAct。
<resources> <!-- Base application theme. --> <style name="AppTheme" parent="Theme.AppCompat.Light.DarkActionBar"> <!-- Customize your theme here. --> <item name="colorPrimary">@color/colorPrimary</item> <item name="colorPrimaryDark">@color/colorPrimaryDark</item> <item name="colorAccent">@color/colorAccent</item> <item name="windowNoTitle">true</item> </style> <style name="TranslucentAct" parent="AppTheme"> <item name="android:windowBackground">#80000000</item> <item name="android:windowIsTranslucent">true</item> <item name="android:windowAnimationStyle">@android:style/Animation.Translucent</item> </style> </resources>
主要style是AppCompat的。
指定一个window的背景android:windowBackground 使用的Activity继承自androidx.appcompat.app.AppCompatActivity
activity缩小后,背景是透明的,可以看到后面的其他页面
activity缩小后,点击旁边空白处,其他组件能接到点击事件
在onCreate方法的setContentView之前,给WindowManager.LayoutParams添加标记FLAG_LAYOUT_NO_LIMITS和FLAG_NOT_TOUCH_MODAL
WindowManager.LayoutParams layoutParams = getWindow().getAttributes(); layoutParams.flags = WindowManager.LayoutParams.FLAG_LAYOUT_NO_LIMITS | WindowManager.LayoutParams.FLAG_NOT_TOUCH_MODAL; mBinding = DataBindingUtil.setContentView(this, R.layout.act_float_scale);
监听触摸事件,计算出手指移动的距离,然后移动悬浮窗。
private boolean mIsSmall = false; // 当前是否小窗口 private float mLastTx = 0; // 手指的上一个位置x private float mLastTy = 0; // .... mBinding.root.setOnTouchListener((v, event) -> { switch (event.getAction()) { case MotionEvent.ACTION_DOWN: Log.d(TAG, "down " + event); mLastTx = event.getRawX(); mLastTy = event.getRawY(); return true; case MotionEvent.ACTION_MOVE: Log.d(TAG, "move " + event); float dx = event.getRawX() - mLastTx; float dy = event.getRawY() - mLastTy; mLastTx = event.getRawX(); mLastTy = event.getRawY(); Log.d(TAG, " dx: " + dx + ", dy: " + dy); if (mIsSmall) { WindowManager.LayoutParams lp = getWindow().getAttributes(); lp.x += dx; lp.y += dy; getWindow().setAttributes(lp); } break; case MotionEvent.ACTION_UP: Log.d(TAG, "up " + event); return true; case MotionEvent.ACTION_CANCEL: Log.d(TAG, "cancel " + event); return true; } return false; });mIsSmall用来记录当前activity是否变小(悬浮)。
在触摸监听器中返回true,表示消费这个触摸事件。
event.getX()和event.getY()获取到的是当前View的触摸坐标。 event.getRawX()和event.getRawY()获取到的是屏幕的触摸坐标。即触摸点在屏幕上的位置。
启用了databinding
android { dataBinding { enabled = true } }新建一个样式
<style name="TranslucentAct" parent="AppTheme"> <item name="android:windowBackground">#80000000</item> <item name="android:windowIsTranslucent">true</item> <item name="android:windowAnimationStyle">@android:style/Animation.Translucent</item> </style>
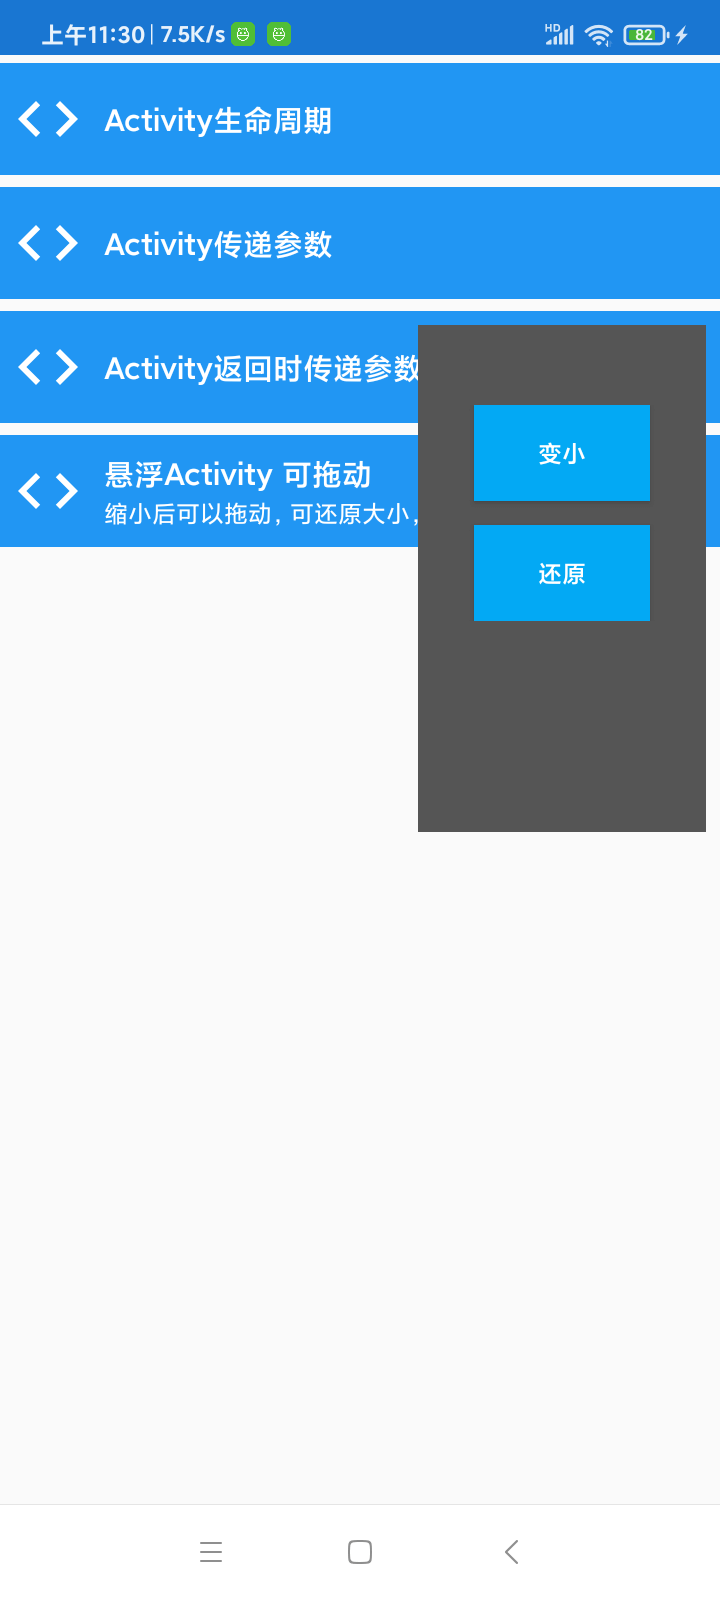
act_float_scale.xml里面放一些按钮,控制放大和缩小。 ConstraintLayout拿来监听触摸事件。
<?xml version="1.0" encoding="utf-8"?> <layout xmlns:android="http://schemas.android.com/apk/res/android" xmlns:app="http://schemas.android.com/apk/res-auto"> <androidx.constraintlayout.widget.ConstraintLayout android:id="@+id/root" android:layout_width="match_parent" android:layout_height="match_parent" android:background="#555555"> <LinearLayout android:layout_width="match_parent" android:layout_height="wrap_content" android:gravity="center" android:orientation="vertical" app:layout_constraintTop_toTopOf="parent"> <Button android:id="@+id/to_small" android:layout_width="wrap_content" android:layout_height="wrap_content" android:text="变小" /> <Button android:id="@+id/to_reset" android:layout_width="wrap_content" android:layout_height="wrap_content" android:layout_marginTop="12dp" android:text="还原" /> </LinearLayout> </androidx.constraintlayout.widget.ConstraintLayout> </layout>
FloatingScaleAct
import android.os.Bundle; import android.util.Log; import android.view.Display; import android.view.MotionEvent; import android.view.ViewGroup; import android.view.WindowManager; import androidx.appcompat.app.AppCompatActivity; import androidx.databinding.DataBindingUtil; import com.rustfisher.tutorial2020.R; import com.rustfisher.tutorial2020.databinding.ActFloatScaleBinding; public class FloatingScaleAct extends AppCompatActivity { private static final String TAG = "rfDevFloatingAct"; ActFloatScaleBinding mBinding; private boolean mIsSmall = false; // 当前是否小窗口 private float mLastTx = 0; // 手指的上一个位置 private float mLastTy = 0; @Override protected void onCreate(Bundle savedInstanceState) { super.onCreate(savedInstanceState); WindowManager.LayoutParams layoutParams = getWindow().getAttributes(); layoutParams.flags = WindowManager.LayoutParams.FLAG_LAYOUT_NO_LIMITS | WindowManager.LayoutParams.FLAG_NOT_TOUCH_MODAL; mBinding = DataBindingUtil.setContentView(this, R.layout.act_float_scale); mBinding.toSmall.setOnClickListener(v -> toSmall()); mBinding.toReset.setOnClickListener(v -> { WindowManager.LayoutParams lp = getWindow().getAttributes(); lp.x = 0; lp.y = 0; getWindow().setAttributes(lp); getWindow().setLayout(ViewGroup.LayoutParams.MATCH_PARENT, ViewGroup.LayoutParams.MATCH_PARENT); mIsSmall = false; }); mBinding.root.setOnTouchListener((v, event) -> { switch (event.getAction()) { case MotionEvent.ACTION_DOWN: Log.d(TAG, "down " + event); mLastTx = event.getRawX(); mLastTy = event.getRawY(); return true; case MotionEvent.ACTION_MOVE: Log.d(TAG, "move " + event); float dx = event.getRawX() - mLastTx; float dy = event.getRawY() - mLastTy; mLastTx = event.getRawX(); mLastTy = event.getRawY(); Log.d(TAG, " dx: " + dx + ", dy: " + dy); if (mIsSmall) { WindowManager.LayoutParams lp = getWindow().getAttributes(); lp.x += dx; lp.y += dy; getWindow().setAttributes(lp); } break; case MotionEvent.ACTION_UP: Log.d(TAG, "up " + event); return true; case MotionEvent.ACTION_CANCEL: Log.d(TAG, "cancel " + event); return true; } return false; }); } private void toSmall() { mIsSmall = true; WindowManager m = getWindowManager(); Display d = m.getDefaultDisplay(); WindowManager.LayoutParams p = getWindow().getAttributes(); p.height = (int) (d.getHeight() * 0.35); p.width = (int) (d.getWidth() * 0.4); p.dimAmount = 0.0f; getWindow().setAttributes(p); } }manifest里注册这个activity
<activity android:name=".act.FloatingScaleAct" android:theme="@style/TranslucentAct" />
在红米9A(Android 10,MIUI 12.5.1 稳定版)和荣耀(Android 5.1)上运行OK
以上是“Android应用内悬浮窗Activity如何实现”这篇文章的所有内容,感谢各位的阅读!希望分享的内容对大家有帮助,更多相关知识,欢迎关注亿速云行业资讯频道!
免责声明:本站发布的内容(图片、视频和文字)以原创、转载和分享为主,文章观点不代表本网站立场,如果涉及侵权请联系站长邮箱:is@yisu.com进行举报,并提供相关证据,一经查实,将立刻删除涉嫌侵权内容。


