本篇内容主要讲解“如何搭建springboot+websocket+redis”,感兴趣的朋友不妨来看看。本文介绍的方法操作简单快捷,实用性强。下面就让小编来带大家学习“如何搭建springboot+websocket+redis”吧!
在多负载环境下使用websocket。
在某些业务场景,我们需要页面对于后台的操作进行实时的刷新,这时候就需要使用websocket。
通常在后台单机的情况下没有任何的问题,如果后台经过nginx等进行负载的话,则会导致前台不能准备的接收到后台给与的响应。socket属于长连接,其session只会保存在一台服务器上,其他负载及其不会持有这个session,此时,我们需要使用redis的发布订阅来实现,session的共享。
在https://mvnrepository.com/里,查找websocket的依赖。使用springboot的starter依赖,注意对应自己springboot的版本。
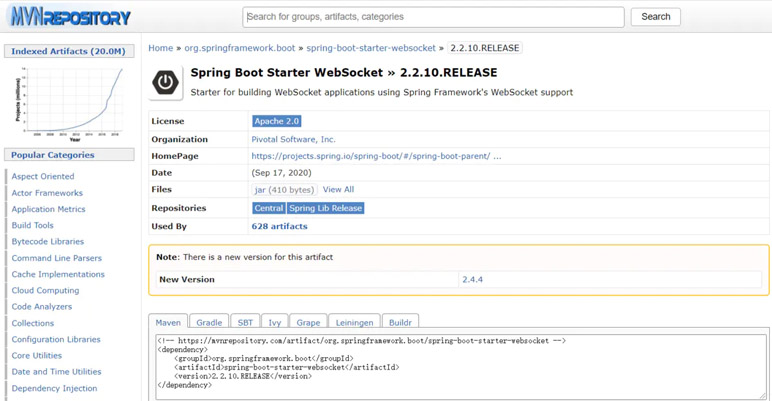
<!-- https://mvnrepository.com/artifact/org.springframework.boot/spring-boot-starter-websocket --> <dependency> <groupId>org.springframework.boot</groupId> <artifactId>spring-boot-starter-websocket</artifactId> <version>2.2.10.RELEASE</version> </dependency>
除此之外添加redis的依赖,也使用starter版本:
<!-- redis --> <dependency> <groupId>org.springframework.boot</groupId> <artifactId>spring-boot-starter-data-redis</artifactId> </dependency>
redis监听配置:
/** * @description: redis监听配置类 * @author:weirx * @date:2021/3/22 14:08 * @version:3.0 */ @Configuration public class RedisConfig { /** * description: 手动注册Redis监听到IOC * * @param redisConnectionFactory * @return: org.springframework.data.redis.listener.RedisMessageListenerContainer * @author: weirx * @time: 2021/3/22 14:11 */ @Bean public RedisMessageListenerContainer redisMessageListenerContainer(RedisConnectionFactory redisConnectionFactory) { RedisMessageListenerContainer container = new RedisMessageListenerContainer(); container.setConnectionFactory(redisConnectionFactory); return container; } }webSocket配置:
/** * @description: websocket配置类 * @author:weirx * @date:2021/3/22 14:11 * @version:3.0 */ @Configuration public class WebSocketConfig { /** * description: 这个配置类的作用是要注入ServerEndpointExporter, * 这个bean会自动注册使用了@ServerEndpoint注解声明的Websocket endpoint。 * 如果是使用独立的servlet容器,而不是直接使用springboot的内置容器, * 就不要注入ServerEndpointExporter,因为它将由容器自己提供和管理。 * * @return: org.springframework.web.socket.server.standard.ServerEndpointExporter * @author: weirx * @time: 2021/3/22 14:12 */ @Bean public ServerEndpointExporter serverEndpointExporter(){ return new ServerEndpointExporter(); } }redis工具类:
@Component public class RedisUtil { @Autowired private StringRedisTemplate stringRedisTemplate; /** * 发布 * * @param key */ public void publish(String key, String value) { stringRedisTemplate.convertAndSend(key, value); } }WebSocket服务提供类:
/** * description: @ServerEndpoint 注解是一个类层次的注解, * 它的功能主要是将目前的类定义成一个websocket服务器端,注解的值将被用于监听用户连接的终端访问URL地址, * 客户端可以通过这个URL来连接到WebSocket服务器端使用springboot的唯一区别是要@Component声明下, * 而使用独立容器是由容器自己管理websocket的,但在springboot中连容器都是spring管理的。 * * @author: weirx * @time: 2021/3/22 14:31 */ @Slf4j @Component @ServerEndpoint("/websocket/server/{loginName}") public class WebSocketServer { /** * 因为@ServerEndpoint不支持注入,所以使用SpringUtils获取IOC实例 */ private RedisMessageListenerContainer redisMessageListenerContainer = ApplicationContextProvider.getBean(RedisMessageListenerContainer.class); /** * 静态变量,用来记录当前在线连接数。应该把它设计成线程安全的。 */ private static AtomicInteger onlineCount = new AtomicInteger(0); /** * concurrent包的线程安全Set,用来存放每个客户端对应的webSocket对象。 * 若要实现服务端与单一客户端通信的话,可以使用Map来存放,其中Key可以为用户标识 */ private static CopyOnWriteArraySet<WebSocketServer> webSocketSet = new CopyOnWriteArraySet<WebSocketServer>(); /** * 与某个客户端的连接会话,需要通过它来给客户端发送数据 */ private Session session; /** * redis监听 */ private SubscribeListener subscribeListener; /** * 连接建立成功调用的方法 * * @param session 可选的参数。session为与某个客户端的连接会话,需要通过它来给客户端发送数据 */ @OnOpen public void onOpen(@PathParam("loginName") String loginName, Session session) { this.session = session; //加入set中 webSocketSet.add(this); //在线数加1 addOnlineCount(); log.info("有新连接[" + loginName + "]加入!当前在线人数为{}", getOnlineCount()); subscribeListener = new SubscribeListener(); subscribeListener.setSession(session); //设置订阅topic redisMessageListenerContainer.addMessageListener( subscribeListener, new ChannelTopic(Constants.TOPIC_PREFIX + loginName)); } /** * 连接关闭调用的方法 */ @OnClose public void onClose() throws IOException { //从set中删除 webSocketSet.remove(this); //在线数减1 subOnlineCount(); redisMessageListenerContainer.removeMessageListener(subscribeListener); log.info("有一连接关闭!当前在线人数为{}", getOnlineCount()); } /** * 收到客户端消息后调用的方法 * * @param message 客户端发送过来的消息 * @param session 可选的参数 */ @OnMessage public void onMessage(String message, Session session) { log.info("来自客户端的消息:{}", message); //群发消息 for (WebSocketServer item : webSocketSet) { try { item.sendMessage(message); } catch (IOException e) { log.info("发送消息异常:msg = {}", e); continue; } } } /** * 发生错误时调用 * * @param session * @param error */ @OnError public void onError(Session session, Throwable error) { log.info("发生错误,{}", error); } /** * 这个方法与上面几个方法不一样。没有用注解,是根据自己需要添加的方法。 * * @param message * @throws IOException */ public void sendMessage(String message) throws IOException { this.session.getBasicRemote().sendText(message); } public int getOnlineCount() { return onlineCount.get(); } public void addOnlineCount() { WebSocketServer.onlineCount.getAndIncrement(); } public void subOnlineCount() { WebSocketServer.onlineCount.getAndDecrement(); } }redis消息发布:
@Autowired private RedisUtil redisUtil; @Override public Result send(String loginName, String msg) { //推送站内信webSocket redisUtil.publish("TOPIC" + loginName, msg); return Result.success(); }前端vue代码:
<template> <div class="dashboard-container"> <div class="dashboard-text">消息内容: {{ responseData }}</div> </div> </template> <script> import {mapGetters} from 'vuex' export default { data() { return { websocket: null, responseData: null } }, created() { this.initWebSocket(); }, destroyed() { this.websock.close() //离开路由之后断开websocket连接 }, methods: { //初始化websocket initWebSocket() { const wsUri = "ws://127.0.0.1:21116/websocket/server/" + "admin"; this.websock = new WebSocket(wsUri); this.websock.onmessage = this.websocketonmessage; this.websock.onopen = this.websocketonopen; this.websock.onerror = this.websocketonerror; this.websock.onclose = this.websocketclose; }, websocketonopen() { //连接建立之后执行send方法发送数据 let actions = {"用户账号": "admin"}; this.websocketsend(JSON.stringify(actions)); }, websocketonerror() {//连接建立失败重连 this.initWebSocket(); }, websocketonmessage(e) { //数据接收 const redata = JSON.parse(e.data); this.responseData = redata; }, websocketsend(Data) {//数据发送 this.websock.send(Data); }, websocketclose(e) { //关闭 console.log('断开连接', e); }, }, name: 'Dashboard', computed: { ...mapGetters([ 'name', 'roles' ]) } } </script>
发送前
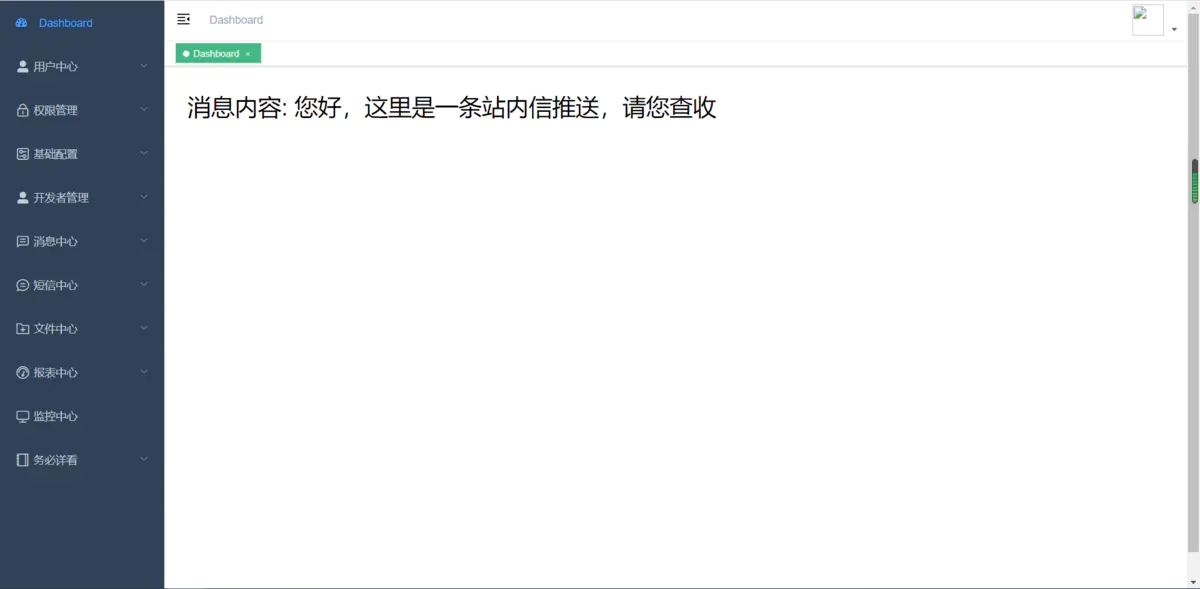
发送后
到此,相信大家对“如何搭建springboot+websocket+redis”有了更深的了解,不妨来实际操作一番吧!这里是亿速云网站,更多相关内容可以进入相关频道进行查询,关注我们,继续学习!
免责声明:本站发布的内容(图片、视频和文字)以原创、转载和分享为主,文章观点不代表本网站立场,如果涉及侵权请联系站长邮箱:is@yisu.com进行举报,并提供相关证据,一经查实,将立刻删除涉嫌侵权内容。


