LAMP的搭建:
准备前提:
虚拟机:Centos7 172.18.250.77 安装httpd,通过Fcgi模块来跟php互动,只处理静态网页。
虚拟机:Centos7 172.18.250.78 安装php-fpm程序,php-5.3.3的版本已经包含了php-fpm,不需要在打补丁,但CentOS6上官方源没有php-fpm包,所以用CentOS 7 实验。
虚拟机:CentOS6 172.18.250.76 安装mysql,实现php跟mysql的互动。
httpd提供两个虚拟主机,分别安装wordpress博客及discuz论坛。
一、yum安装httpd
[root@localhost local]# yum -y install httpd
1、编辑主配置文件,注释DocumentRoot
[root@localhost httpd]# vim conf/httpd.conf #DocumentRoot "/var/www/html"
2、创建虚拟主机文件
[root@localhost httpd]# cd /etc/httpd/conf.d/ [root@localhost conf.d]# vim vhost.conf <VirtualHost *:80> ServerName www.a.com DocumentRoot "/www/blog" <Directory "/www/blog"> Options None Allowoverride None Require all granted <Directory> ProxyRequests Off ProxyPassMatch ^/(.*\.php)$ fcgi://172.18.250.78:9000/www/blog/$1 </VirtualHost> <VirtualHost *:80> ServerName www.b.net DocumentRoot "/www/php" <Directory "/www/php"> Options None Allowoverride None Require all granted <Directory> ProxyRequests Off ProxyPassMatch ^/(.*\.php)$ fcgi://172.18.250.78:9000/www/php/$1 </VirtualHost>
3、创建虚拟主机需要的目录
[root@localhost conf.d]# mkdir -p /www/blog [root@localhost conf.d]# mkdir -p /www/php
4、启动httpd服务,查看监听端口
[root@localhost conf.d]# systemctl start httpd.service [root@localhost conf.d]# ss -tan LISTEN 0 128 :::80 :::*
5、在虚拟主机目录创建测试页,看httpd是否正常
[root@localhost conf.d]# echo "www.a.com" >/www/blog/index.html [root@localhost conf.d]# echo "www.b.net" >/www/php/index.html
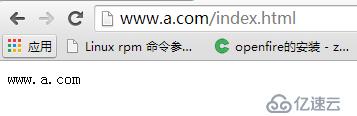

OK,虚拟主机正常
二、yum安装PHP
[root@localhost ~]# yum -y install php-fpm
PHP-FPM是一个PHPFastCGI管理器,是只用于PHP的,httpd通过Fcgi模块来把php的文件传送给php-fpm进行处理
1、编辑php-fpm文件
[root@localhost ~]# vim /etc/php-fpm.d/www.conf listen = 172.18.250.78:9000 //本机IP listen.allowed_clients = 172.18.250.77 //httpd端IP
2、重启php-fpm程序,查看监听端口
[root@localhost ~]# systemctl start php-fpm.service [root@localhost ~]# ss -tan LISTEN 0 128 172.18.250.78:9000 *:*
3、在php端上创建和httpd上一样的目录
[root@localhost ~]# mkdir -p /www/blog [root@localhost ~]# mkdir -p /www/php
4、创建测试页,验证看httpd能不能转发过来
[root@localhost ~]# mkdir -p /www/blog [root@localhost ~]# mkdir -p /www/php [root@localhost ~]# vim /www/blog/index.php [root@localhost ~]# vim /www/php/index.php <?php phpinfo(); ?>
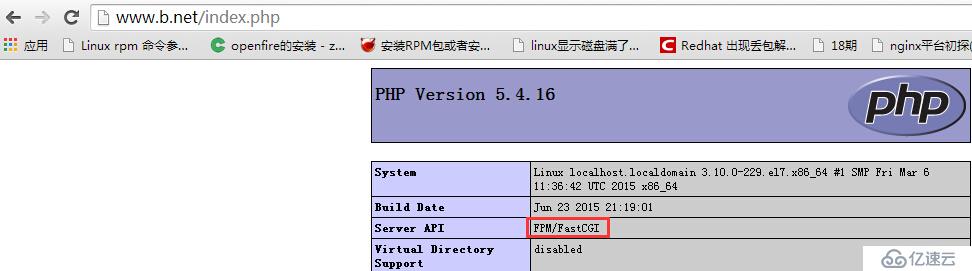
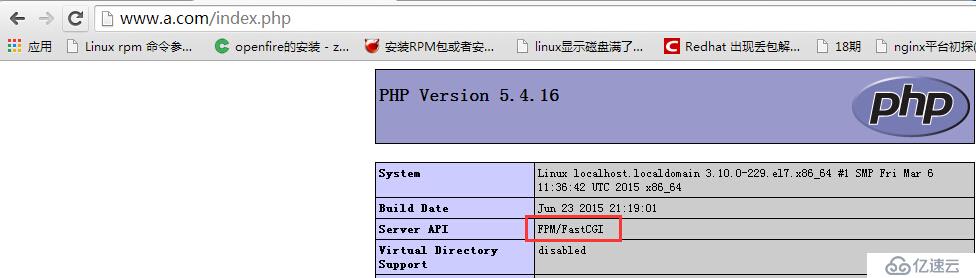
OK,httpd能读到.php结尾的文件并转发给php处理
三、yum安装mysql
[root@localhost ~]# yum -y install mysql-server
1、启动mysql,并对数据库就行安全加固
[root@localhost ~]# service mysqld start [root@localhost ~]# mysql_secure_installation Enter current password for root (enter for none): //默认数据库密码为空 Set root password? [Y/n] y //设置新密码 Remove anonymous users? [Y/n] y //移除匿名用户 Disallow root login remotely? [Y/n] n //是否禁止用户远程登录 Remove test database and access to it? [Y/n] y //是否移除test数据库 Reload privilege tables now? [Y/n] y //是否重启加载权限列表
2、创建用户和数据库,并授权php端能远程登录
mysql> grant all on *.* to 'admin'@'172.18.250.78' identified by "admin"; Query OK, 0 rows affected (0.00 sec) mysql> flush privileges; Query OK, 0 rows affected (0.00 sec) mysql> create database mytest; Query OK, 1 row affected (0.00 sec) mysql> create database bbs; Query OK, 1 row affected (0.01 sec)
3、测试php能不能登录数据库
[root@localhost ~]# yum -y install php-mysql //安装mysql驱动 [root@localhost ~]# vim /www/blog/index.php [root@localhost ~]# vim /www/php/index.php <?php $conn = mysql_connect ('172.18.250.76','admin','admin'); if( $conn ) echo "SUCCESS"; else echo "Failure"; ?> [root@localhost ~]# systemctl restart php-fpm.service 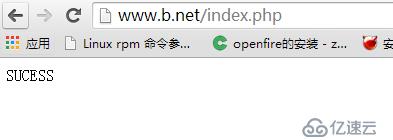
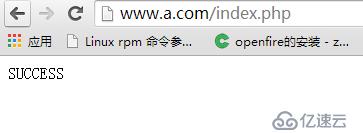
OK,测试正常,可以安装wordpress和Discuz论坛
1、分别在php服务器上和httpd上解压wordpress包
[root@localhost blog]# unzip wordpress-4.3.1-zh_CN.zip [root@localhost blog]# unzip wordpress-4.3.1-zh_CN.zip [root@localhost blog]# cd wordpress //只需在php上改动 [root@localhost wordpress]# cp wp-config-sample.php wp-config.php /** WordPress数据库的名称 */ define('DB_NAME', 'mytest'); /** MySQL数据库用户名 */ define('DB_USER', 'admin'); /** MySQL数据库密码 */ define('DB_PASSWORD', 'admin'); /** MySQL主机 */ define('DB_HOST', '172.18.250.76'); 
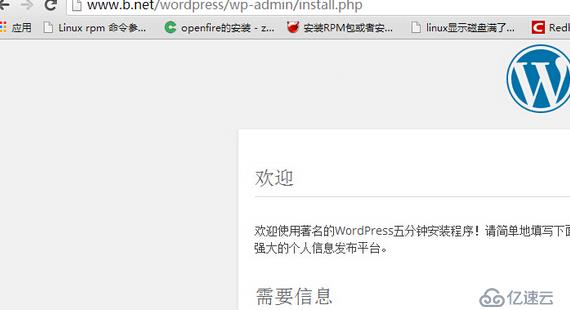
出现这个页面的话只需要修改httpd主配置文件,让httpd能识别php的文件代码
[root@localhost blog]# vim /etc/httpd/conf/httpd.conf AddType application/x-httpd-php .php //添加下面的语句就行 AddType aaplication/x-httpd-source .phps <IfModule dir_module> DirectoryIndex index.php index.html </IfModule>
重启httpd服务,再次测试下
登录wordPress博客:
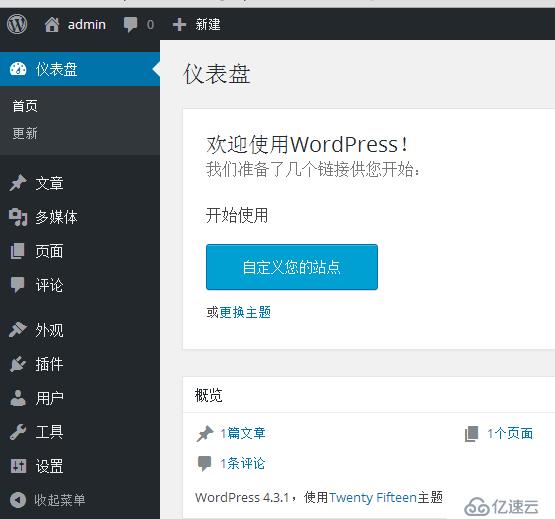
OK,WordPress博客能正常加载
1、分别在php服务器上和httpd上解压Discuz包
[root@localhost php]# unzip Discuz_X3.2_SC_UTF8.zip [root@localhost php]# unzip Discuz_X3.2_SC_UTF8.zip [root@localhost php]# cd upload //在php服务器上

修改目录的权限即可:
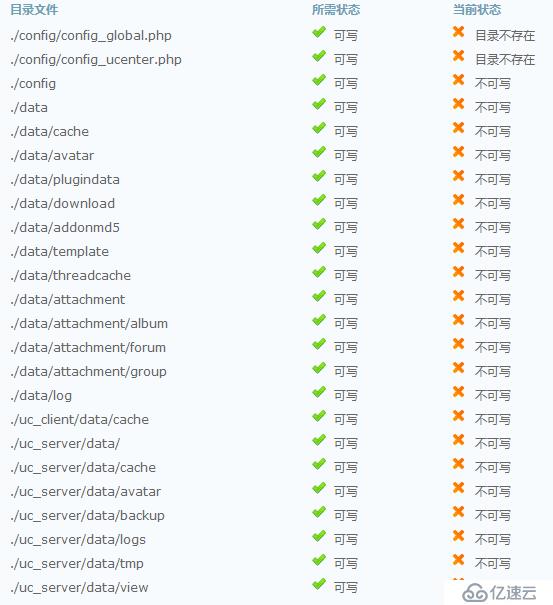
[root@localhost upload]# chown -R apache config/ [root@localhost upload]# chown -R apache uc_client/ //httpd和php上都需要改 [root@localhost upload]# chown -R apache data [root@localhost upload]# chown -R apache template/ [root@localhost upload]# chown -R apache uc_server/
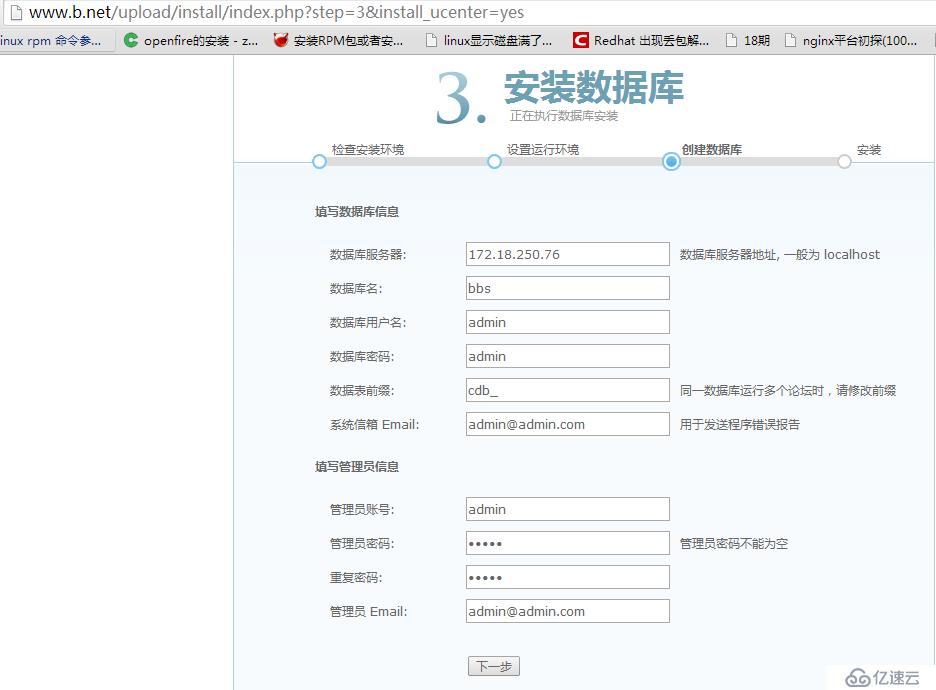
根据步骤一步步执行就行:
注册完后登录论坛:
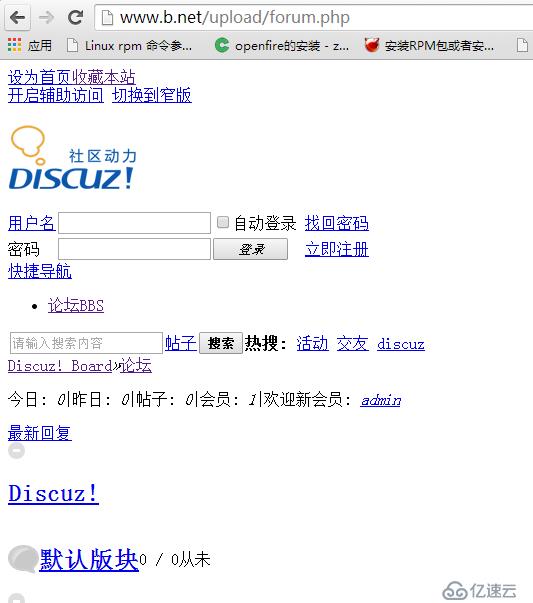
。。。。。发现论坛只有文字,这是因为php安装了Discuz后修改了程序的文件导致的,这时httpd上的静态程序文件跟php上的动态程序文件不一致,所以只需要同步下就行。
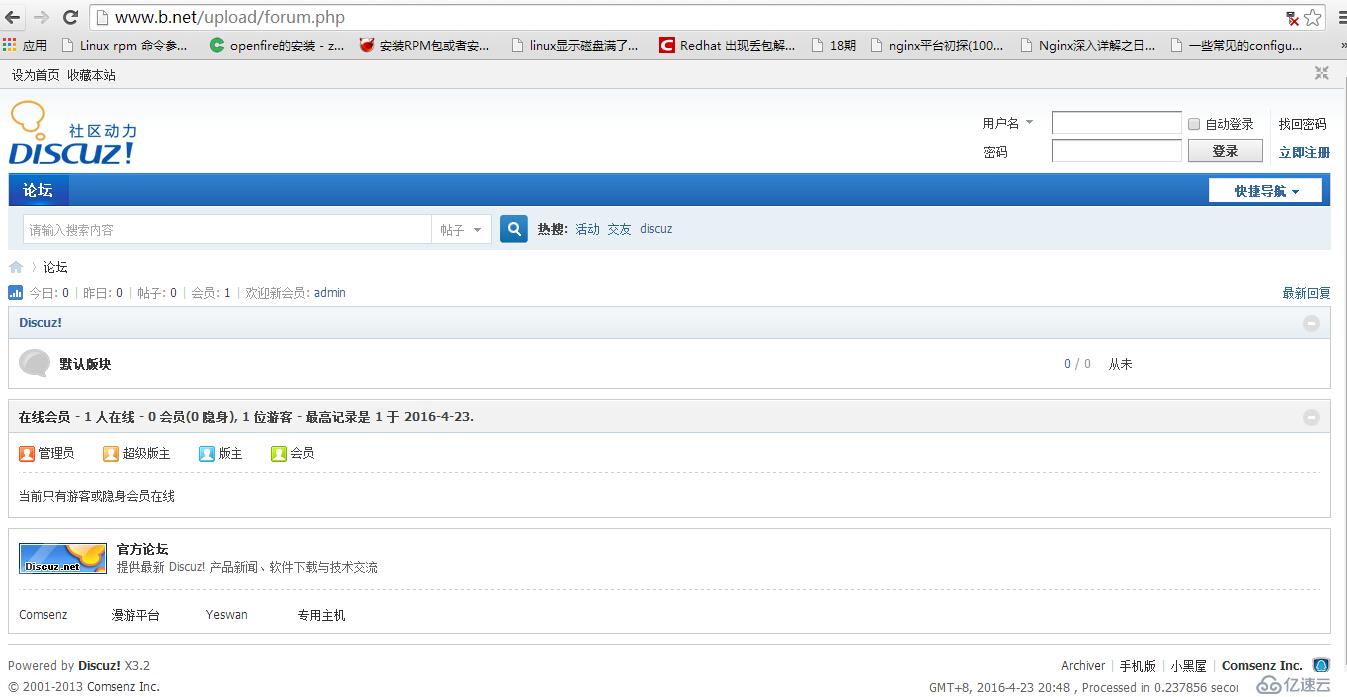
[root@localhost php]# scp -r upload/* root@172.18.250.77:/www/php/upload/
再次刷新:OK
如果想要实现自动同步的话,可以使用initory+rsync、sersync等工具。
四:安装Xcahe对php进行加速
[root@localhost src]# tar -xf xcache-3.2.0.tar.bz2 //只需在PHP服务器上 [root@localhost src]# ls xcache-3.2.0 xcache-3.2.0.tar.bz2 [root@localhost src]# cd xcache-3.2.0 [root@localhost xcache-3.2.0]# yum -y install php-devel //安装php开发工具包 [root@localhost xcache-3.2.0]# phpize //检查php的版本及api接口 Configuring for: PHP Api Version: 20100412 Zend Module Api No: 20100525 Zend Extension Api No: 220100525 [root@localhost xcache-3.2.0]# ./configure --enable-xcache --with-php-config=/usr/bin/php-config [root@localhost xcache-3.2.0]# make && make install [root@localhost xcache-3.2.0]# cp xcache.ini /etc/php.d/
[root@localhost upload]# ab -n100 -c10 http://172.18.250.77/wordpress/index.php Benchmarking 172.18.250.77 (be patient).....done Server Software: Apache/2.4.6 Server Hostname: 172.18.250.77 Server Port: 80 Document Path: /wordpress/index.php Document Length: 0 bytes Concurrency Level: 10 Time taken for tests: 3.908 seconds Complete requests: 100 Failed requests: 0 Write errors: 0 Non-2xx responses: 100 Total transferred: 34900 bytes HTML transferred: 0 bytes Requests per second: 25.59 [#/sec] (mean) //ab压力测试每秒请求个数 Time per request: 390.849 [ms] (mean) Time per request: 39.085 [ms] (mean, across all concurrent requests) Transfer rate: 8.72 [Kbytes/sec] received Connection Times (ms) min mean[+/-sd] median max Connect: 0 0 0.3 0 1 Processing: 104 369 95.7 368 589 Waiting: 104 367 94.8 367 589 Total: 105 369 95.7 368 589 Percentage of the requests served within a certain time (ms) 50% 368 66% 410 75% 443 80% 455 90% 502 95% 536 98% 589 99% 589 100% 589 (longest request)
重启php-fpm服务,看xcache有没有加载:
[root@localhost blog]# php -m [Zend Modules] //表明xcache已经开启 XCache XCache Cacher

再一次做ab压力测试:
[root@localhost upload]# ab -n100 -c10 http://172.18.250.77/wordpress/index.php Benchmarking 172.18.250.77 (be patient).....done Server Software: Apache/2.4.6 Server Hostname: 172.18.250.77 Server Port: 80 Document Path: /wordpress/index.php Document Length: 0 bytes Concurrency Level: 10 Time taken for tests: 1.489 seconds Complete requests: 100 Failed requests: 0 Write errors: 0 Non-2xx responses: 100 Total transferred: 34900 bytes HTML transferred: 0 bytes Requests per second: 67.18 [#/sec] (mean) //加载xcache后有了提升 Time per request: 148.853 [ms] (mean) Time per request: 14.885 [ms] (mean, across all concurrent requests) Transfer rate: 22.90 [Kbytes/sec] received Connection Times (ms) min mean[+/-sd] median max Connect: 0 0 0.2 0 1 Processing: 38 141 31.0 139 240 Waiting: 37 141 31.0 138 240 Total: 38 141 31.0 139 240 Percentage of the requests served within a certain time (ms) 50% 139 66% 152 75% 160 80% 168 90% 179 95% 194 98% 216 99% 240 100% 240 (longest request)
免责声明:本站发布的内容(图片、视频和文字)以原创、转载和分享为主,文章观点不代表本网站立场,如果涉及侵权请联系站长邮箱:is@yisu.com进行举报,并提供相关证据,一经查实,将立刻删除涉嫌侵权内容。


