| 操作系统要求(OS requirement): # cat /proc/version Asianux Server 3 SP2 Oracle Linux 4 Update 7 Oracle Linux 5 Update 2 (with Red Hat Compatible Kernel) Oracle Linux 5 Update 5 Oracle Linux 6 Oracle Linux 6 (with Red Hat Compatible Kernel) Red Hat Enterprise Linux 4 Update 7 Red Hat Enterprise Linux 5 Update 2 Red Hat Enterprise Linux 5 Update 5 (with the Oracle Unbreakable Enterprise Kernel for Linux) Red Hat Enterprise Linux 6 Red Hat Enterprise Linux 6 (with the Oracle Unbreakable Enterprise Kernel for Linux) SUSE Linux Enterprise Server 10 SP2 SUSE Linux Enterprise Server 11 内核需求(kernel requirements): # uname -r On Oracle Linux 4 and Red Hat Enterprise Linux 4 2.6.9 or later On Oracle Linux 5 Update 5 2.6.32-100.0.19 or later On Oracle Linux 5 Update 2 2.6.18 or later (with Red Hat Compatible Kernel) On Oracle Linux 6 2.6.32-100.28.5.el6.x86_64 or later On Oracle Linux 6 2.6.32-71.el6.x86_64 or later (with Red Hat Compatible Kernel) On Red Hat Enterprise Linux 5 Update 5 with the Oracle Unbreakable Enterprise Kernel for Linux 2.6.32 or later On Red Hat Enterprise Linux 6 with the Oracle Unbreakable Enterprise Kernel for Linux 2.6.32-100.28.5.el6.x86_64 or later On Red Hat Enterprise Linux 6 2.6.32-71.el6.x86_64 or later On Asianux Server 3, Oracle Linux 5 Update 2, and Red Hat Enterprise Linux 5 Update 2 2.6.18 or later On SUSE Linux Enterprise Server 10 2.6.16.21 or later On SUSE Linux Enterprise Server 11 2.6.27.19 or later Installation: 1. 修改sysctl.conf文件,在文件末尾插入 Edit sysctl.conf file,at the end of file add in | vi /etc/sysctl.conf fs.aio-max-nr = 1048576 fs.file-max = 6815744 kernel.shmmni = 4096 kernel.sem = 250 32000 100 128 net.ipv4.ip_local_port_range = 9000 65500 net.core.rmem_default = 262144 net.core.rmem_max = 4194304 net.core.wmem_default = 262144
2. 执行sysctl –p,确保输出结果与第一步的数据相同 Enter sysctl –p, make sure the output is the same as step 1 | 3. 修改limits.conf,在文件末尾插入 Edit limits.conf file,at the end of file add in | vi /etc/security/limits.conf oracle soft nproc 2047 oracle hard nproc 16384 oracle soft nofile 1024 oracle hard nofile 65536 oracle hard stack 10241 | 4. 关闭selinux,把enforcing 改为disabled Turn off selinux, change enforcing to disabled | vi /etc/sysconfig/selinux selinux=disabled | 5. 关闭linux防火墙 Turn off iptables | service iptables stop chkconfig iptables off | 6. 查看防火墙启动状态 Check iptables status | 7. 配置yum Yum configuration | mkdir /iso umount /dev/sr0 mount /dev/sr0 /iso vi /etc/yum.repos.d/local.repo [server] name=server baseurl=file:///iso enabled=1 gpgcheck=0 | 8. Yum install | Create users and groups | groupadd dba groupadd oinstall groupadd oper useradd oracle 创建oracle用户 /usr/sbin/useradd -g oinstall -G dba,oper oracle usermod -g dba oracle 把oracle用户加到dba组里 passwd oracle 给oracle用户建密码 | 10. 给oracle建安装目录 Create install dirctory for oracle | mkdir -p /u01/app/oracle chown -R oracle:dba /u01/app/oracle 把文件属主改为oracle chmod -R 777 /u01/app/oracle 把文件权限改为777 | 11. 配置oracle用户环境变量(home、base、sid、path、umask) Configure oracle user's environment variable | su - oracle vi /home/oracle/.bash_profile ORACLE_BASE=/u01/app/oracle ORACLE_SID=sales ORACLE_HOME=$ORACLE_BASE/11.2.4/dbhome_1 export ORACLE_BASE ORACLE_SID ORACLE_HOME export PATH=$ORACLE_HOME/bin:$PATH | (ORACLE_HOME路径跟安装路径一定要一致) (ORACLE_HOME must be the same with install path)
12. 使新环境变量生效 Make new environment variables effective | 13. 添加/etc/hosts Edit /etc/hosts | su vi /etc/hosts (写本机ip和主机名) (write your ip and username)
14. Reboot
15. 上传oracle文件到/u01并解压
Upload oracle files to /u01 and unzip
16. 切换到oracle用户
Switch to oracle user | dbca NEXT 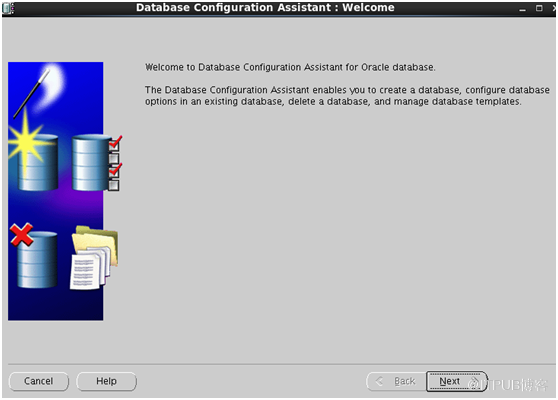 NEXT 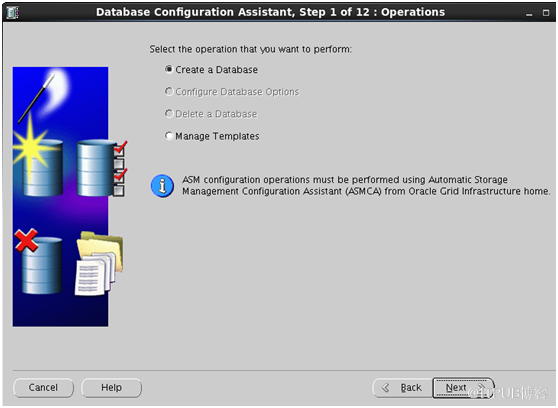
NEXT 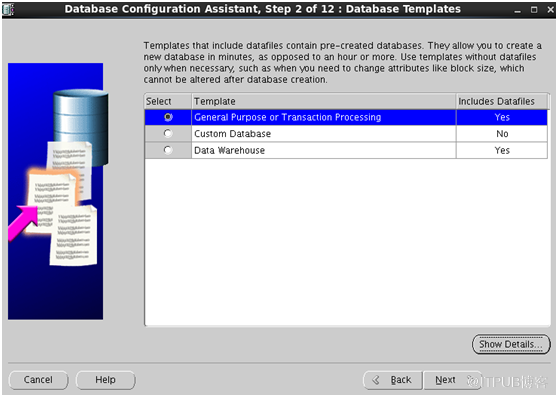
SID与环境变量中的SID一致 SID here must be the same as SID in .bash_profile 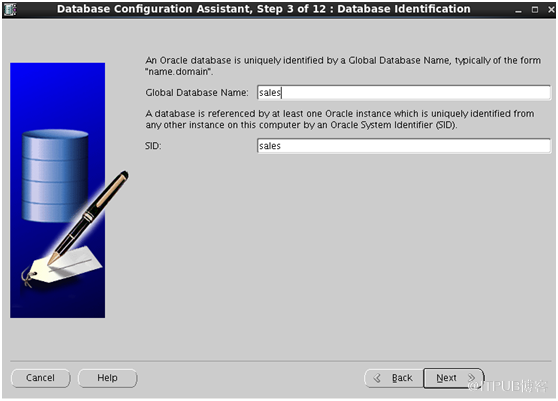
不勾选 Do not tick 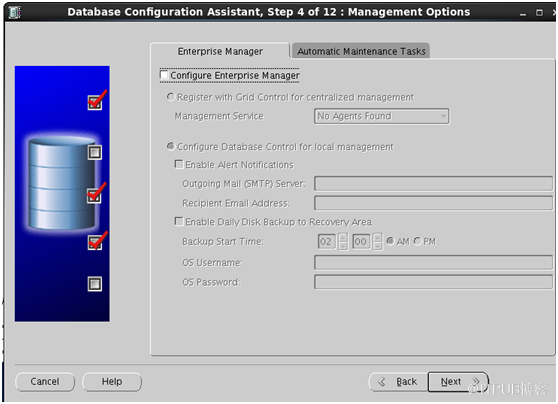
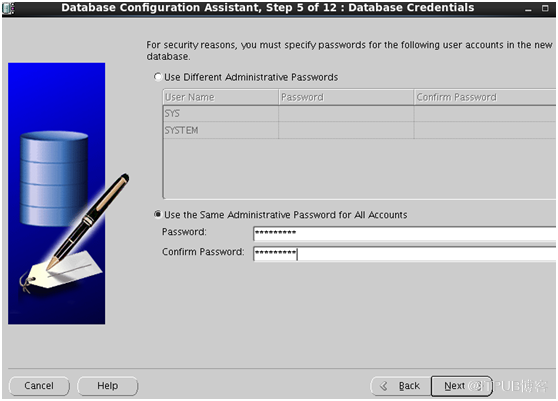
输入密码 Enter password
NEXT 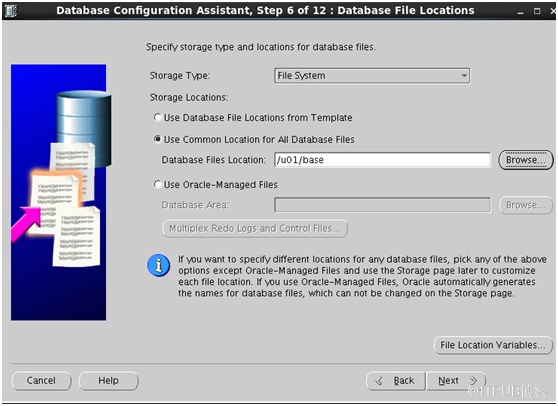
NEXT 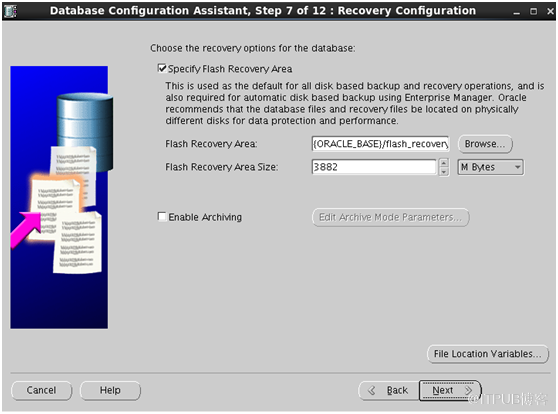
勾选 这个就会装练习用的表,不选就是空白数据库 Tick this will have sample schemas, otherwise is empty database 
第 一个是内存分配,第二个是进程分配,第三个是字符集,第四个是pga运行方式 
NEXT 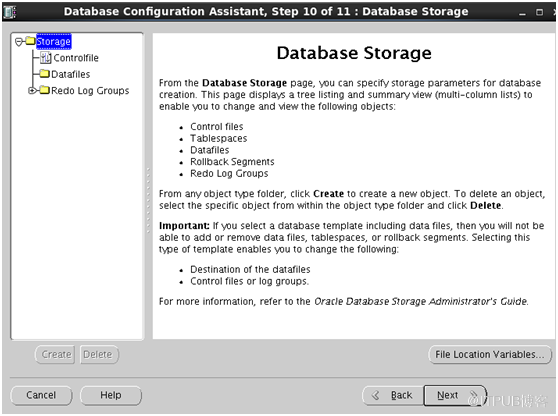
NEXT 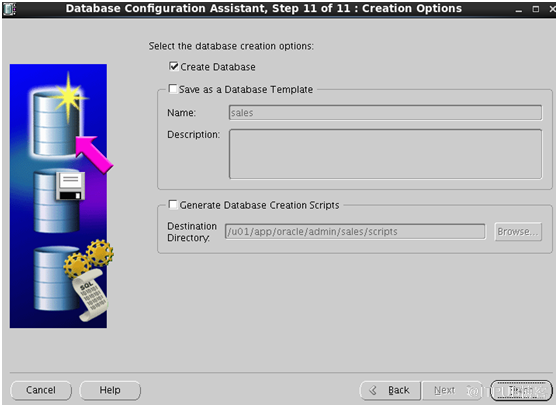
建监听(Listener configuration)
-
netca -
NEXT 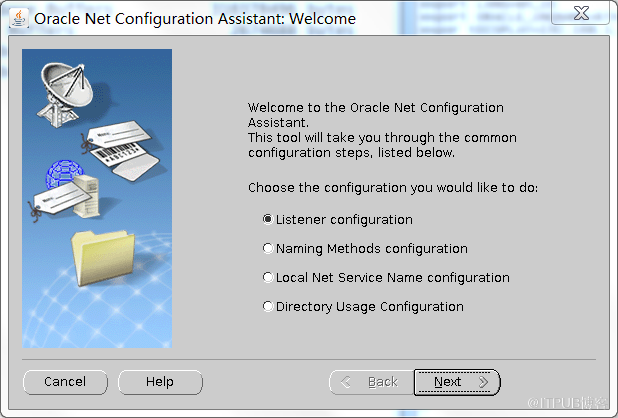
-
NEXT 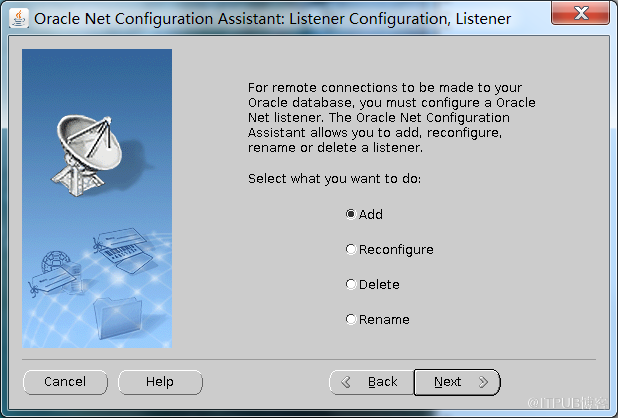
-
NEXT 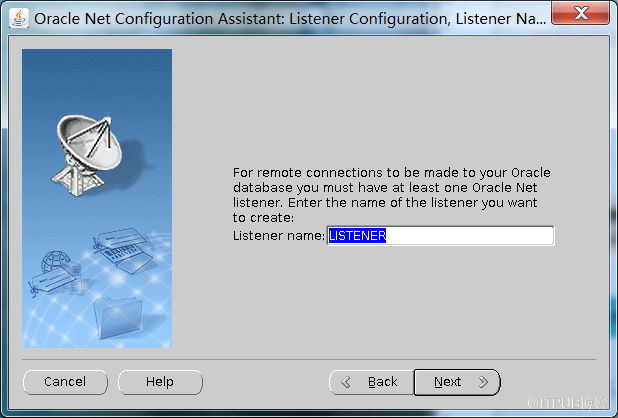
-
NEXT 
-
NEXT 
-
NEXT 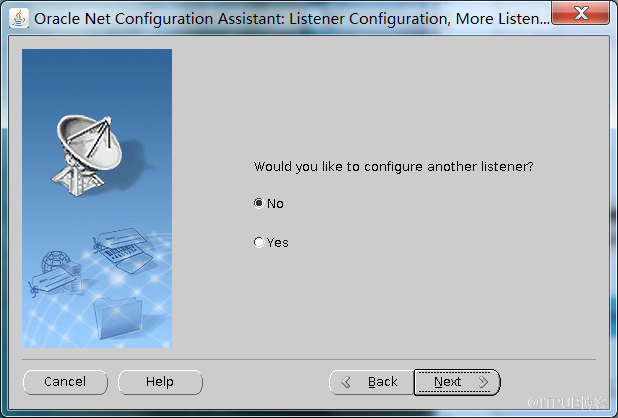
向AI问一下细节 AI
助
手
| | | | | | | | 


