小编给大家分享一下基于Node.js搭建hexo博客的示例,相信大部分人都还不怎么了解,因此分享这篇文章给大家参考一下,希望大家阅读完这篇文章后大有收获,下面让我们一起去了解一下吧!
一、安装新版本的nodejs和npm
安装n模块:
npm install -g n
升级node.js到最新稳定版
n stable
二、安装hexo
note: 参考github,不要去其官网
安装Hexo
npm install hexo-cli -g
Setup your blog
hexo init blemesh cd blemesh
安装Cactus主题,众多开源主题中比较简洁的一个:
主题页
Cactus页
git clone https://github.com/probberechts/hexo-theme-cactus.git themes/cactus
修改主题配置:
vim _config.yml
# Extensions ## Plugins: https://hexo.io/plugins/ ## Themes: https://hexo.io/themes/ ## theme: landscape theme: cactus theme_config: colorscheme: white
Create pages and articles with the hexo new [layout] <title> command. For example, to create an "about me" page, run:
hexo new page about
This will create a new file in source/about/index.md Similary, you can create a new article with
hexo new post "hello world"
and add some interesting content in source/_posts/hello-world.md.
Start the server:
hexo server
8001 port:
hexo server -p 8001
三、安装hexo-admin并配置
安装:
npm install --save hexo-admin
打开目录下的_config.yml配置hexo-admin:
admin:
username: XXXX(自己设置用户名) password_hash: XXXXXXXXX(密码,但是是明文经过bcrypt hash加密后生成的) secret: hey hexo(用于cookie安全) deployCommand: './admin_script/hexo-generate.sh'(调用该脚本)
注:
1)其中password_hash是你自己的明文密码经过加密后的字符串,但是如果用类似下面的网址: https://bcrypt-generator.com/ 会生成:$2y$10$pJjIxxxxxfMn9U/xxxxxNuuA20kh2eoB7vZxxxxx/7WpeV7IOxxxx类似的加密串,但是运行会报invalid salt revision错误,其原因是:
➜ blemesh cat node_modules/hexo-admin/www/bundle.js | head -4851 | tail -10 if (salt.charAt(0) != '$' || salt.charAt(1) != '2') throw "Invalid salt version"; if (salt.charAt(2) == '$') off = 3; else { minor = salt.charAt(2); if (minor != 'a' || salt.charAt(3) != '$') throw "Invalid salt revision"; off = 4; }需要版本号是2a的加密方式,因此只能用python自己写了:
https://pypi.org/project/bcrypt/3.1.0/
>>> hashed = bcrypt.hashpw(password, bcrypt.gensalt(prefix=b"2a")) >>> print(hashed) b'$2a$12$PAoJr3USOBxxxxxxxxxxxxxxV/.h.QNbh/6q.xxxxxxxxxxxxxxxxcDcJ.'
2)其中配置中有个脚本: ./admin_script/hexo-generate.sh 需要自己创建:
➜ blemesh cat admin_script/hexo-generate.sh hexo g ➜ blemesh chmod +x admin_script/hexo-generate.sh
这个脚本有什么用,啥时候触发?可以参考: https://www.jianshu.com/p/68e727dda16d step 5,admin后台管理博客有个deploy按钮,点击这个按钮就会执行这个脚本,该脚本会将md文件生成静态网页,如果用nginx配置去访问静态网页,速度会快很多。
四、nginx配置
配置nginx:编辑 /etc/nginx/nginx.conf 插入下面代码:
server { listen 3001; server_name www.beautifulzzzz.com; index index.html index.htm index; root /root/App/blemesh/public; }之后重启nginx:nginx -s reload
注:
执行nginx后会报错误:nginx 403 Forbidden,原因是配置文件nginx.conf文件的执行用户和当前用户不一致导致的,把之前的nobody改成当前用户root。
五、增加tag
hexo主页下的tag标签、category标签无显示找不到:
解决办法: 在主目录下执行 hexo new page "tags"或者hexo new page "category"
在/source/tags/index.md中设置修改
➜ blemesh cat ./source/tags/index.md --- type: "tags" comments: false date: 2019-02-24 02:53:03 ---
同理categories:
➜ blemesh cat ./source/category/index.md --- type: "category" comments: false date: 2019-02-24 02:53:34 ---
或者about me:
➜ blemesh cat ./source/about/index.md --- title: about type: "about-me" comments: false date: 2019-02-22 00:09:58 ---
六、后台启动
hexo server进程一直在后台运行的办法(执行hexo server -d &在一段时间后会停止hexo,此时无法打开后台),采用pm2接管hexo进程:
npm install -g pm2
在博客的根目录下创建一个hexo_run.js的文件,文件内容如下:
➜ blemesh cat hexo_run.js const { exec } = require('child_process') exec('hexo server -p 8001 -d',(error, stdout, stderr) => { if(error){ console.log('exec error: ${error}') return } console.log('stdout: ${stdout}'); console.log('stderr: ${stderr}'); })运行开启命令: pm2 start hexo_run.js
最后附上 zhouwaiqiang 写的一个hexo重启脚本restart_hexo.sh(需要先配置好nginx),需要重启刷新的时候执行source restart_hexo.sh即可:
➜ blemesh cat restart_hexo.sh #!/bin/bash PROCESS=`ps -ef|grep hexo|grep -v grep|grep -v PPID|awk '{ print $2 }'` PROC_NAME="pm2" for i in $PROCESS do echo "Kill the $1 process [ $i ]" kill -9 $i done hexo clean #清除数据 hexo generate #生成静态文件public文件夹 ProcNumber=`ps -ef |grep -w $PROC_NAME|grep -v grep|wc -l` if [ $ProcNumber -le 0 ];then pm2 start hexo_run.js else pm2 restart hexo_run.js fi service nginx restart七、体验
启动:sh ./restart_hexo.sh
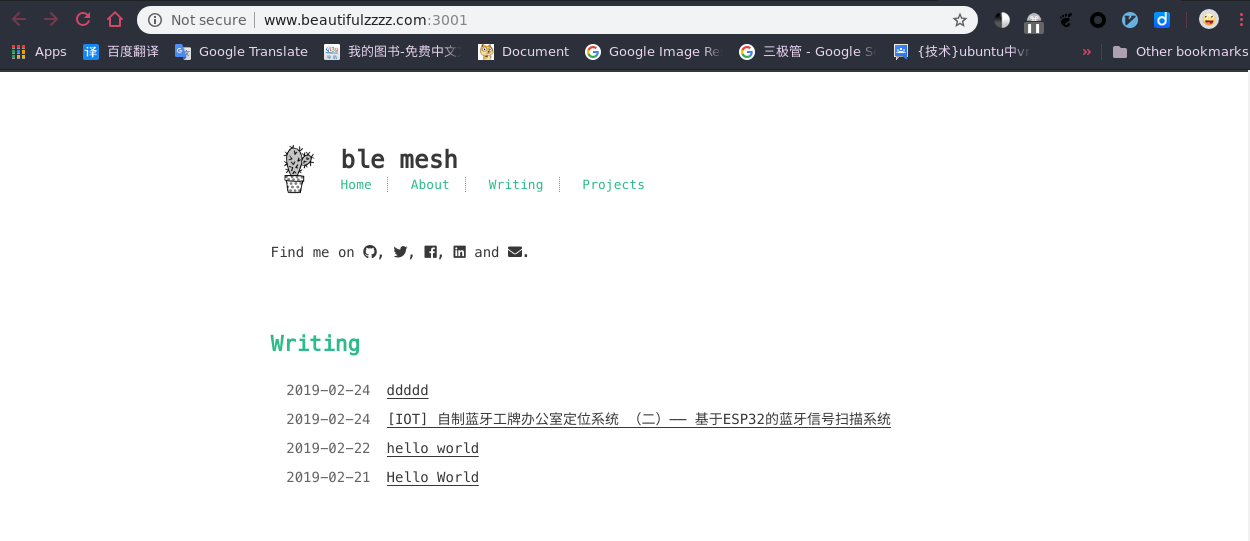
访问主页: http://www.beautifulzzzz.com:8001/
访问nginx静态快速版网页: http://www.beautifulzzzz.com:3001/
访问后台编写文章: http://www.beautifulzzzz.com:8001/admin/
编写好之后点击Deploy会自动调用之前的脚本,静态网页就有了
以上是“基于Node.js搭建hexo博客的示例”这篇文章的所有内容,感谢各位的阅读!相信大家都有了一定的了解,希望分享的内容对大家有所帮助,如果还想学习更多知识,欢迎关注亿速云行业资讯频道!
免责声明:本站发布的内容(图片、视频和文字)以原创、转载和分享为主,文章观点不代表本网站立场,如果涉及侵权请联系站长邮箱:is@yisu.com进行举报,并提供相关证据,一经查实,将立刻删除涉嫌侵权内容。


