Setting up your Next.js development environment
Setting up Next.js Development Environment
Step 1: Install Node.js
Next.js requires Node.js to run. Let's download and install it first.
-
Go to the Node.js Website and download the LTS (Long Term Support) version.
https://nodejs.org/
-
Choose the appropriate installer for your operating system:
- Windows: Download the Windows Installer (.msi)
- macOS: Download the macOS Installer (.pkg)
- Linux: Use your package manager or download the binary
Step 2: Install Node.js on Your System
-
Run the Installer:
Open the downloaded installer file and follow the installation wizard.
https://nodejs.org/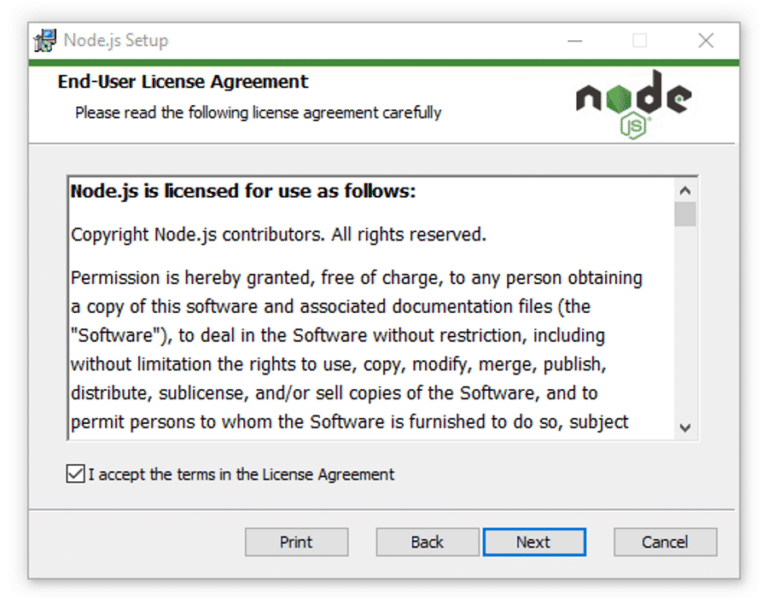
- Accept the license agreement
- Choose the installation directory (default is recommended)
- Select "Add to PATH" option (should be checked by default)
- Complete the installation
-
Verify Installation:
Open your terminal/command prompt and run:
Verify Node.js and npm installationnode --version
npm --version
Step 3: Install a Code Editor
For the best Next.js development experience, we recommend Visual Studio Code.
-
Download VS Code:
Go to Visual Studio Code and download the installer.
https://code.visualstudio.com/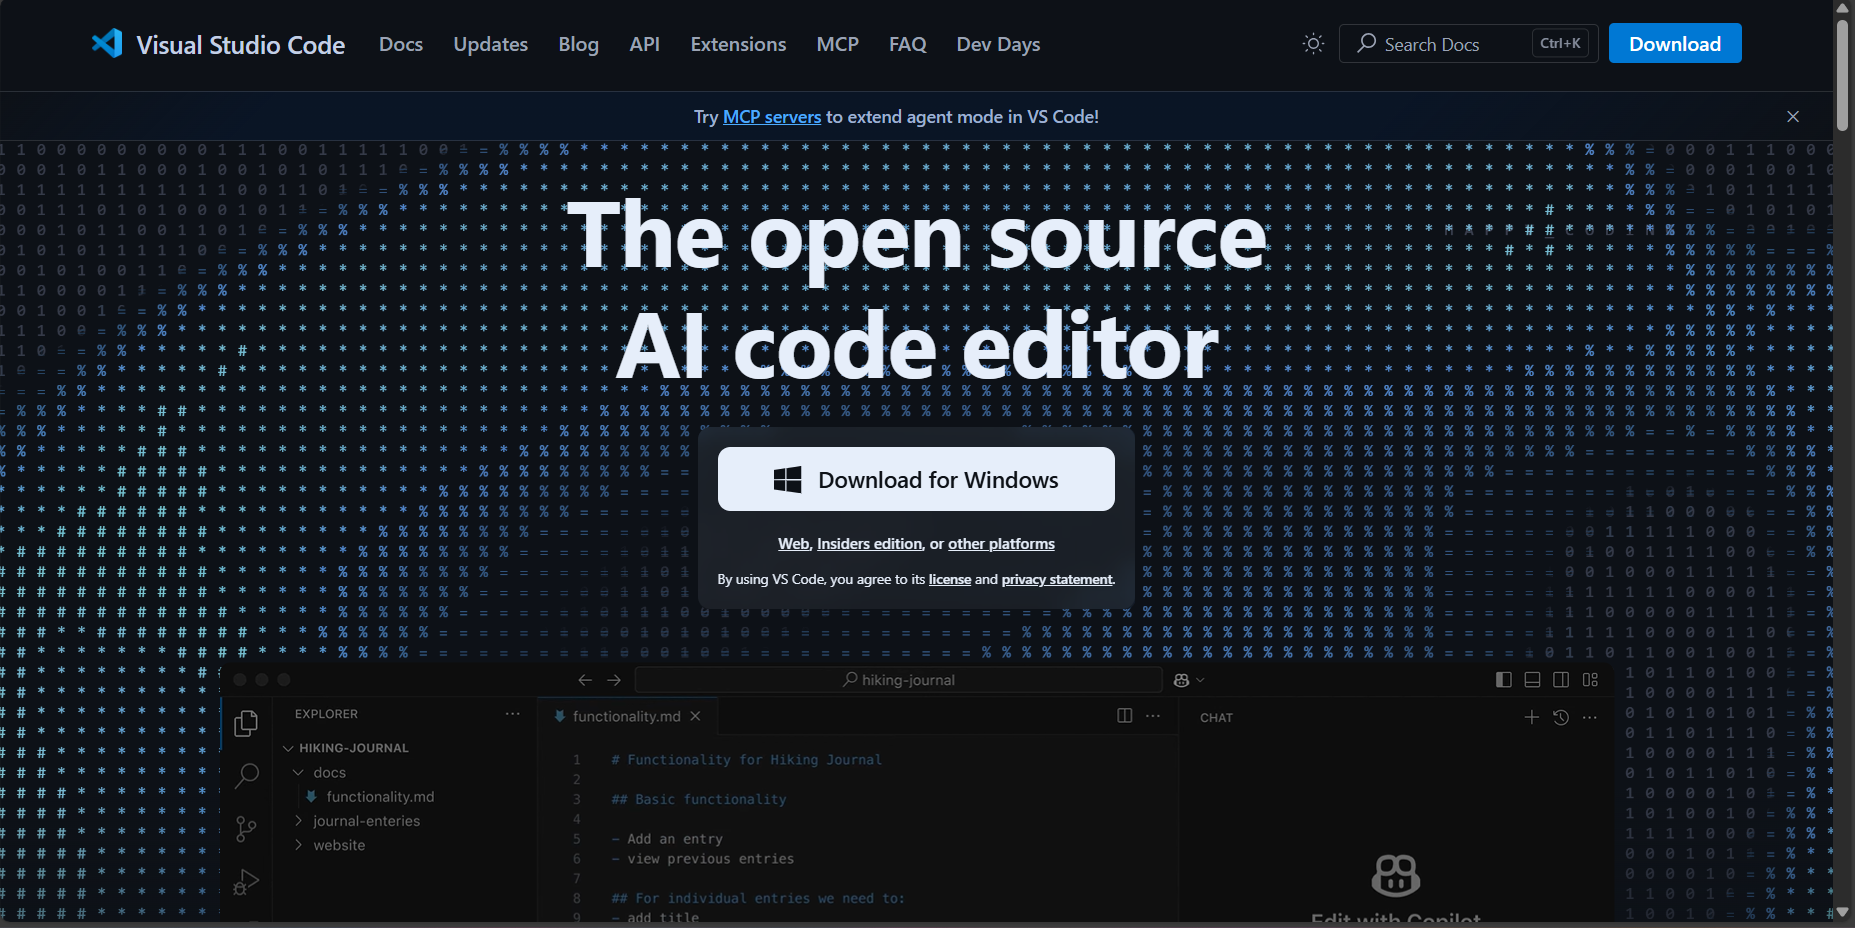
-
Install Useful Extensions:
After installing VS Code, add these helpful extensions:
- ES7+ React/Redux/React-Native snippets
- Prettier - Code formatter
- Auto Rename Tag
- Bracket Pair Colorizer
- GitLens
Step 4: Create Your First Next.js Project
Now let's create a new Next.js application.
-
Using Create Next App (Recommended):
Open your terminal and run:
Create a new Next.js projectnpx create-next-app@latest my-nextjs-app -
Configuration Options:
The installer will ask you several questions:
- Would you like to use TypeScript? → Yes/No
- Would you like to use ESLint? → Yes (recommended)
- Would you like to use Tailwind CSS? → Yes/No
- Would you like to use
src/directory? → Yes/No - Would you like to use App Router? → Yes (recommended)
- Would you like to customize the default import alias? → No
Step 5: Navigate and Start Your Project
-
Navigate to Project Directory:
Navigate to your projectcd my-nextjs-app -
Start the Development Server:
Start the development servernpm run devhttp://localhost:3000
-
Open in Browser:
Your Next.js application will be available at
http://localhost:3000
Step 6: Understanding the Project Structure
Let's explore the key files and folders in your Next.js project:
my-nextjs-app/
├── app/ # App Router directory (Next.js 13+)
│ ├── globals.css # Global styles
│ ├── layout.js # Root layout component
│ └── page.js # Home page component
├── public/ # Static assets
├── next.config.js # Next.js configuration
├── package.json # Project dependencies
└── README.md # Project documentation
Key Directories:
- app/: Contains your application pages and layouts (App Router)
- public/: Static files like images, icons, etc.
- components/: Reusable React components (you'll create this)
Step 7: Install Additional Dependencies
Depending on your project needs, you might want to install additional packages:
-
For Styling:
Install styling librariesnpm install styled-components
# or
npm install @emotion/react @emotion/styled -
For State Management:
Install state managementnpm install zustand
# or
npm install redux @reduxjs/toolkit react-redux -
For API Requests:
Install HTTP clientnpm install axios
# or use built-in fetch API
Step 8: Version Control Setup
Initialize Git for your project:
git init
git add .
git commit -m "Initial commit"
Step 9: Development Best Practices
-
Environment Variables:
Create a
.env.localfile for environment variables:.env.localNEXT_PUBLIC_API_URL=http://localhost:3001/api
DATABASE_URL=your-database-url -
Code Formatting:
Create a
.prettierrcfile:.prettierrc{
"semi": true,
"trailingComma": "es5",
"singleQuote": true,
"tabWidth": 2,
"useTabs": false
} -
ESLint Configuration:
Your project comes with ESLint pre-configured. Run:
Run ESLintnpm run lint
Step 10: Building for Production
When you're ready to deploy:
-
Build the Project:
Build for productionnpm run build -
Start Production Server:
Start production servernpm run start
Useful Commands Reference
Here are some essential commands you'll use frequently:
# Start development server
npm run dev

# Build for production
npm run build

# Start production server
npm run start

# Run linting
npm run lint

# Install new packages
npm install package-name

# Install development dependencies
npm install --save-dev package-name
Troubleshooting Common Issues
-
Port 3000 already in use:
npm run dev -- -p 3001 -
Clear Next.js cache:
rm -rf .next
npm run dev -
Update Next.js:
npm install next@latest react@latest react-dom@latest
Conclusion
Congratulations! You've successfully set up your Next.js development environment. You now have:
- Node.js and npm installed
- A code editor with useful extensions
- A working Next.js application
- Understanding of the project structure
- Knowledge of essential commands
In the next tutorial, we'll explore creating your first pages and components in Next.js. Happy coding!
This guide was created to help developers get started with Next.js quickly and efficiently.