In this Spring Security tutorial, we will learn how to use Spring Security’s built-in Form-Based Authentication. Spring Security provides support for username and password authentication through an HTML form, making it a user-friendly option for securing web applications.
Form-Based Authentication Overview
Form-based authentication uses standard HTML form fields (login form) to pass the username and password values to the server via a POST request. The server validates the provided credentials and creates a session tied to a unique token stored in a cookie. This token is passed between the client and the server on each HTTP request. If the cookie is invalid or the user logs out, the server redirects to the login page.
Key Points:
- Form-based authentication uses HTML forms to collect user credentials.
- The server validates credentials and creates a session token.
- The session token is stored in a cookie and used for subsequent requests.
- If the session token is invalid, the user is redirected to the login page.
Step 1: Create a Spring Boot Project
Using Spring Initializr
-
Navigate to Spring Initializr: Open Spring Initializr in your browser.
-
Configure the Project:
- Project: Maven Project
- Language: Java
- Spring Boot: 3.2
- Group: com.rameshfadatare
- Artifact: springsecurityformauth
- Name: springsecurityformauth
- Description: Demo project for Spring Boot Security Form-Based Authentication
- Package name: com.rameshfadatare.springsecurityformauth
- Packaging: Jar
- Java: 17
-
Add Dependencies:
- Spring Web
- Spring Security
- Thymeleaf
-
Generate the Project: Click on the Generate button to download the project as a zip file.
-
Extract the Zip File: Extract the zip file to your preferred location.
Using an IDE
- Open Your IDE: Open your preferred IDE (IntelliJ IDEA, Eclipse, etc.).
- Import the Project: Import the extracted project as a Maven project.
Step 2: Add Maven Dependencies
Ensure your pom.xml contains the necessary dependencies. It should look something like this:
<dependencies> <dependency> <groupId>org.springframework.boot</groupId> <artifactId>spring-boot-starter-security</artifactId> </dependency> <dependency> <groupId>org.springframework.boot</groupId> <artifactId>spring-boot-starter-thymeleaf</artifactId> </dependency> <dependency> <groupId>org.springframework.boot</groupId> <artifactId>spring-boot-starter-web</artifactId> </dependency> <dependency> <groupId>org.springframework.boot</groupId> <artifactId>spring-boot-starter</artifactId> </dependency> </dependencies> Step 3: Create the Spring Security Configuration
Create a SpringSecurityConfig class under the com.rameshfadatare.springsecurityformauth.config package and add the following code:
package com.rameshfadatare.springsecurityformauth.config; import org.springframework.context.annotation.Bean; import org.springframework.context.annotation.Configuration; import org.springframework.security.config.Customizer; import org.springframework.security.config.annotation.web.builders.HttpSecurity; import org.springframework.security.core.userdetails.User; import org.springframework.security.core.userdetails.UserDetails; import org.springframework.security.core.userdetails.UserDetailsService; import org.springframework.security.crypto.bcrypt.BCryptPasswordEncoder; import org.springframework.security.crypto.password.PasswordEncoder; import org.springframework.security.provisioning.InMemoryUserDetailsManager; import org.springframework.security.web.SecurityFilterChain; @Configuration public class SpringSecurityConfig { @Bean public static PasswordEncoder passwordEncoder() { return new BCryptPasswordEncoder(); } @Bean SecurityFilterChain securityFilterChain(HttpSecurity http) throws Exception { http.csrf().disable() .authorizeHttpRequests((authorize) -> { authorize.anyRequest().authenticated(); }).formLogin(Customizer.withDefaults()); return http.build(); } @Bean public UserDetailsService userDetailsService() { UserDetails ramesh = User.builder() .username("ramesh") .password(passwordEncoder().encode("password")) .roles("USER") .build(); UserDetails admin = User.builder() .username("admin") .password(passwordEncoder().encode("admin")) .roles("ADMIN") .build(); return new InMemoryUserDetailsManager(ramesh, admin); } } Explanation
- Password Encoder: The
passwordEncoder()method creates aBCryptPasswordEncoderinstance for encoding passwords. - Security Filter Chain: The
securityFilterChain()method configures HTTP security settings, disables CSRF protection, and sets up form-based authentication. - In-Memory User Details: The
userDetailsService()method defines two users,rameshandadmin, and stores them in memory usingInMemoryUserDetailsManager.
Step 4: Create WelcomeController and Thymeleaf Template
WelcomeController.java
Create a WelcomeController class under the com.rameshfadatare.springsecurityformauth package and add the following code:
package com.rameshfadatare.springsecurityformauth; import org.springframework.stereotype.Controller; import org.springframework.web.bind.annotation.GetMapping; @Controller public class WelcomeController { @GetMapping("/") public String greeting() { return "welcome"; } } Thymeleaf Template – welcome.html
Under the /src/main/resources/templates folder, create a welcome.html file and add the following content:
<!DOCTYPE html> <html xmlns:th="http://www.thymeleaf.org"> <head> <title>Welcome</title> </head> <body> <h1>Welcome to the Spring Security World!</h1> </body> </html> Step 5: Run the Application
Run the Spring Boot application from your IDE or by using the command line:
mvn spring-boot:run Step 6: Test Using Browser
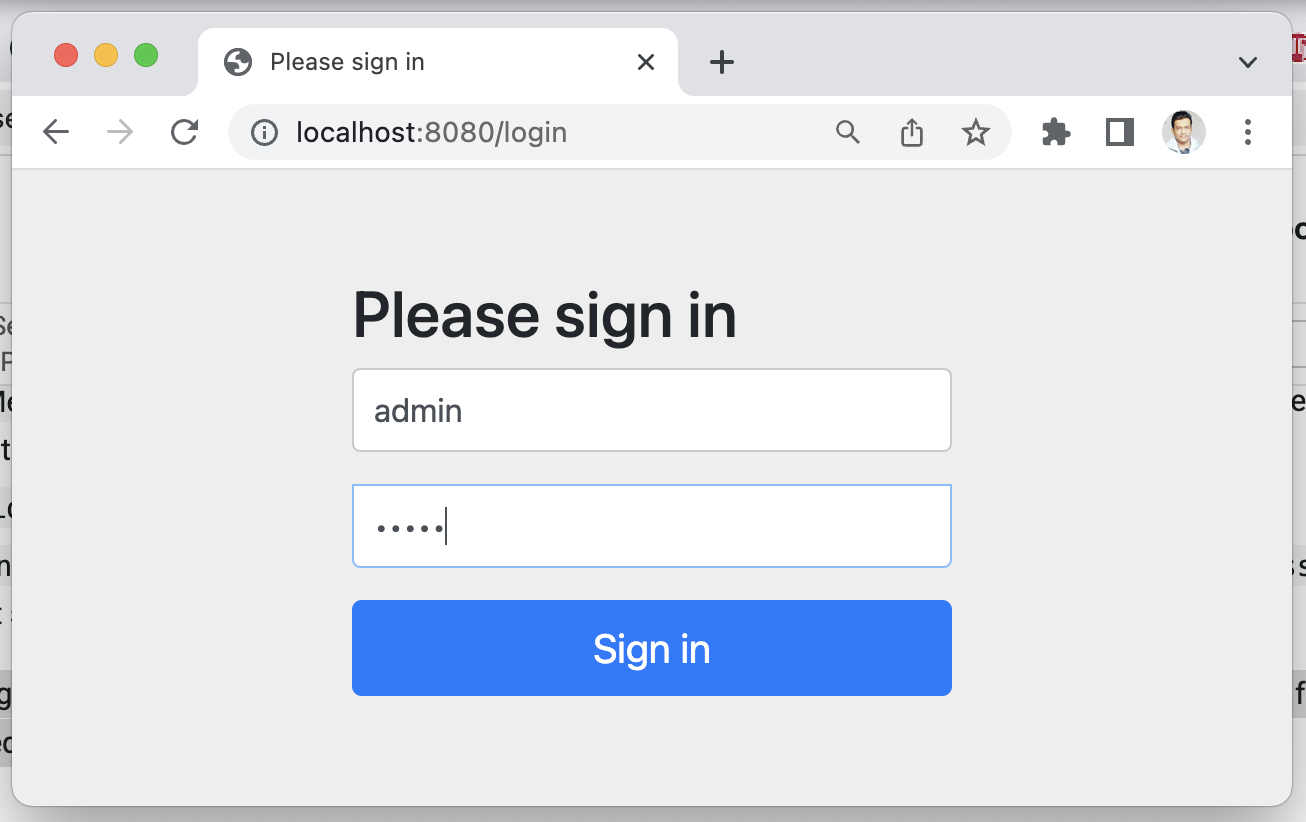
Enter http://localhost:8080 in the browser, which will navigate to the login page. Enter the username as admin, password as admin, and click on the Sign-in button:
After a successful login, you will see the welcome page:

Step 7: Built-In Logout Feature
Spring Security provides a built-in logout feature. Just enter http://localhost:8080/logout in the browser to log out from the application:

Conclusion
In this tutorial, we have seen how to configure Spring Security’s built-in form-based authentication to secure a simple web page. By following these steps, you can easily implement form-based authentication in your Spring Boot applications.